
























Ocarina of Time Remake 100% Completion Walkthrough41 chapters
- Kokiri ForestFind the Kokiri Sword, buy the Deku Shield for 40 rupees and get past Mido to the Great Deku Tree.
- The Great Deku TreeFairy Slingshot, Dungeon Map, Compass, four Gold Skulltulas, Gohma and the Kokiri Emerald.
- Leaving Kokiri ForestSay goodbye to Mido and Saria, get the Fairy Ocarina, meet Kaepora Gaebora and cross Hyrule Field.
- Hyrule Castle TownGold Skulltula, Bazaar, Shooting Gallery seed bag, Potion Shop bottle and the Temple of Time.
- Hyrule CastleGet the Weird Egg, wake Talon, sneak in, meet Zelda, learn Zelda’s Lullaby and collect Zelda’s Letter.
- Kakariko VillageCucco Lady’s bottle, House of Skulltula, Adult’s Wallet and the rooftop Heart Piece.
- GraveyardDampé’s Grave-Diggin’ Tour Heart Piece, Sharp and Flat, the Royal Family’s Tomb and the Sun’s Song.
- Lon Lon RanchTalon’s cucco game, Lon Lon Milk, Epona’s Song, a Heart Piece and Gold Skulltula.
- Gerudo ValleyTwo Heart Pieces, Lon Lon milk from Miss Moo with Epona’s Song, and a Gold Skulltula token.
- Lake HyliaLakeside Laboratory, the scarecrow quest, a Gold Skulltula and the fishing Heart Piece.
- Lost Woods and Sacred GroveRichard’s Heart Piece, Happy Mask Shop, Skull Kid, Saria’s Song, Gold Skulltulas 16 to 19 and the Business Scrubs.
- Death Mountain Trail and Goron CityClimb to Goron City, win over Darunia with Saria’s Song and take the Goron Bracelet before Dodongo Cavern.
- Dodongo CavernDungeon Map, Compass, Bomb Bag, four Gold Skulltulas, King Dodongo and the Goron Ruby.
- Death Mountain Summit and CraterGoron City Heart Piece and Bigger Bomb Bag, Din’s Fire and magic meter, crater Heart Piece, Echo Gem.
- Bombchu Bowling and the Great Fairy of PowerWin the Bombchus, Biggest Bomb Bag and Heart Piece, then get the enhanced Spin Attack.
- Zora River and Zora DomainHeart Pieces, a Gold Skulltula, the Silver Scale, Ruto’s bottle in Lake Hylia and King Zora’s request.
- Lord Jabu-Jabu’s BellyFarore’s Wind, the Boomerang, Ruto, Barinade, the Heart Container and the Spiritual Stone of Water for child Link.
- Errands Before the Temple of TimeThe child errands before the Temple of Time in the Ocarina of Time Remake.
- Temple of TimeFind the Ocarina of Time, open the Door of Time, draw the Master Sword and earn the Light Medallion.
- Ingo Ranch and EponaIngo’s two horse races, winning Epona and teaching Bonooru the Scarecrow Song.
- Kakariko Village and the HookshotDampé’s race, the Hookshot, Song of Storms and Heart Pieces #17 to #19.
- Sacred Grove as an AdultGet past Mido with Saria’s Song, cross the Moblin maze, beat the Great Moblin.
- Forest TempleSmall keys, Fairy Bow, four Poe Sisters, Phantom Ganon, Heart Container and Forest Medallion.
- Poes, the Hall of Fallen Foes and Lake HyliaBigger Quiver, Prelude of Light, Big Poes, Golden Scale and three Heart Pieces.
- Goron City as an AdultHeart Pieces, a Gold Skulltula, the Goron Tunic from the small Goron.
- Fire TempleFree all nine Gorons, find the Megaton Hammer and Boss Key, beat Volvagia and earn the Fire Medallion.
- Double Magic and Death MountainCrater Great Fairy Fountain, doubled magic, Gold Skulltulas 60 to 62 and a Business Scrub Seed as adult Link.
- Ice CavernBlue Fire, Iron Boots, Serenade of Water, the Zora Tunic and two Heart Pieces.
- The Biggoron Sword RouteBuy the Giant’s Knife, trade from the Pocket Egg to Cojiro, and finish every step up to the Biggoron Sword.
- Water TempleTriforce doors, small keys, Longshot, Dark Link, Morpha, the Water Medallion and Gold Skulltulas 68 to 73.
- Kakariko Village and the Nocturne of ShadowLearn the Nocturne of Shadow and find two Gold Skulltulas and two Heart Pieces.
- Bottom of the WellLenses of Truth, Dungeon Map, Compass, both small keys, Dead Hand and Gold Skulltulas 76 to 78.
- Treasure Box Shop and the Way to the Shadow TempleWin the Piece of Heart with the Lenses of Truth, then warp to the Shadow Temple via the Nocturne.
- Shadow TempleFloors B1 to B4, Hover Boots, Bongo Bongo, Heart Container and the Shadow Medallion from Impa.
- Gerudo FortressRescue all four carpenters, win the Gerudo Pass, find Gold Skulltulas 84 and 85.
- Mirage Desert and Evil Desert ColossusPhantom Guide, Requiem of Spirit, five Gold Skulltulas, three Heart Pieces, Biggest Quiver, Nayru’s Love.
- Spirit TempleChild and adult routes, Silver Gauntlets, Mirror Shield, Boss Key, Iron Knuckle Nabooru, Twinrova.
- Gerudo Proving GroundsPay 30 rupees, solve every room, and claim the Ice Arrow and a Business Scrub Seed.
- Last Heart Pieces and Gold SkulltulasTokens 96 to 100, Heart Pieces 33 to 35, the Rich Man reward and Light Arrow.
- Ganondorf’s CastleClear the six barriers, get the Golden Gauntlets and the Great Fairy of Courage’s gift.
- Ganondorf and GanonTower climb, Boss Key, Ganondorf boss fight, the escape with Zelda and the Ganon boss fight.
| Covers | The tower above Ganondorf’s Castle, Ganondorf boss fight, the escape with Zelda, Ganon boss fight, sealing and ending scene |
|---|---|
| Link | Adult |
| You need | Fairy Bow with Light Arrows, plenty of magic and arrows, Master Sword, Hylian Shield, Longshot, Megaton Hammer, a spare sword for one stretch of the Ganon fight, and Green Potions or Fairies for emergencies |
| Rewards | 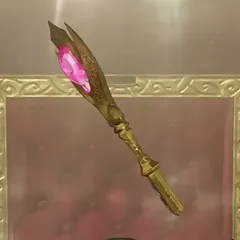 Boss Key (1), 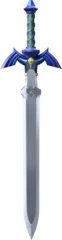 the Master Sword returned after a short loss, the story ending. No Heart Pieces and no Gold Skulltula tokens are found here |
Once the six barriers in Ganondorf’s Castle are gone, you climb the central tower past three sealed arenas, open a chest for the Boss Key and face Ganondorf, who floats above a crumbling floor. Beating him sets off a run through the burning castle with Zelda, then a fight with Ganon on the ruins outside, then the sealing and the farewell.

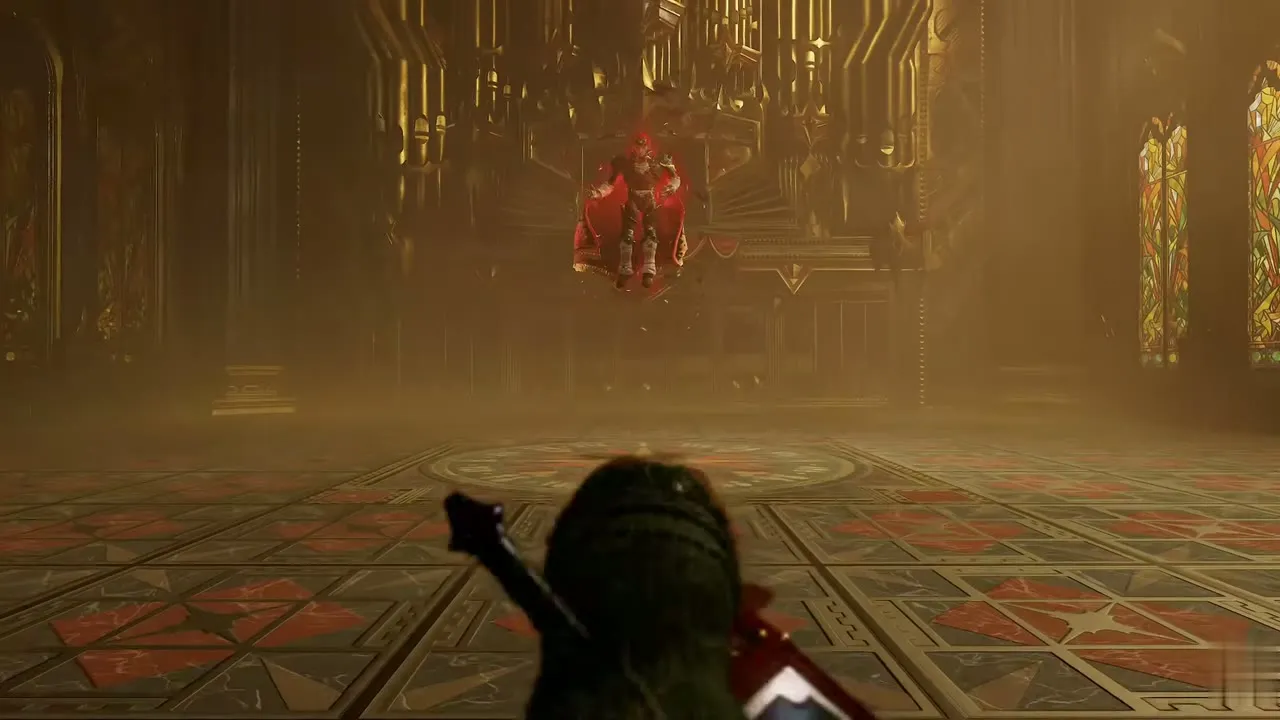
Table of Contents
Climb the tower to Ganondorf
Tower stairs and red pots
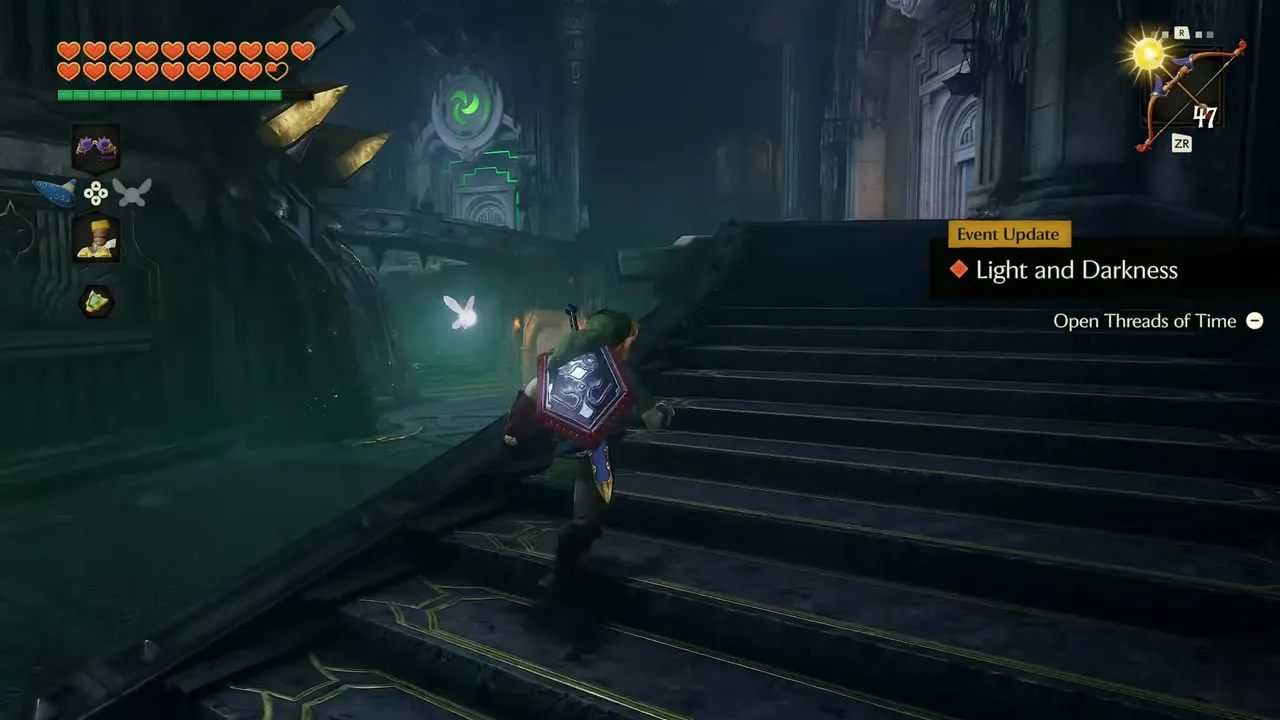
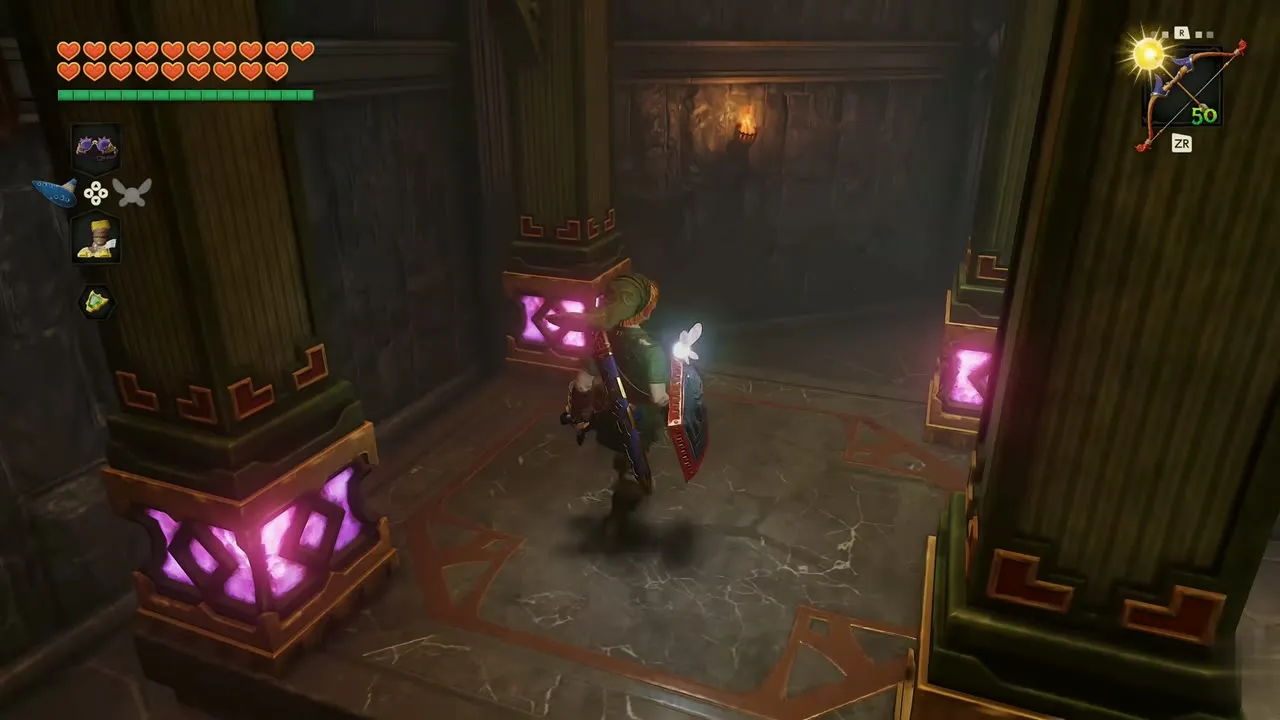
Rauru sends you to the tower, and the Light and Darkness quest update appears as you start up its dark stairs. Follow the stone walkway to a hall with a red carpet and a row of red pots. Smash them for arrows and other drops, then take the stairs beyond. The next rooms have glowing pink symbols on their pillars. Keep your sword handy, because fights are coming.


Fire Arrow torch stairwell
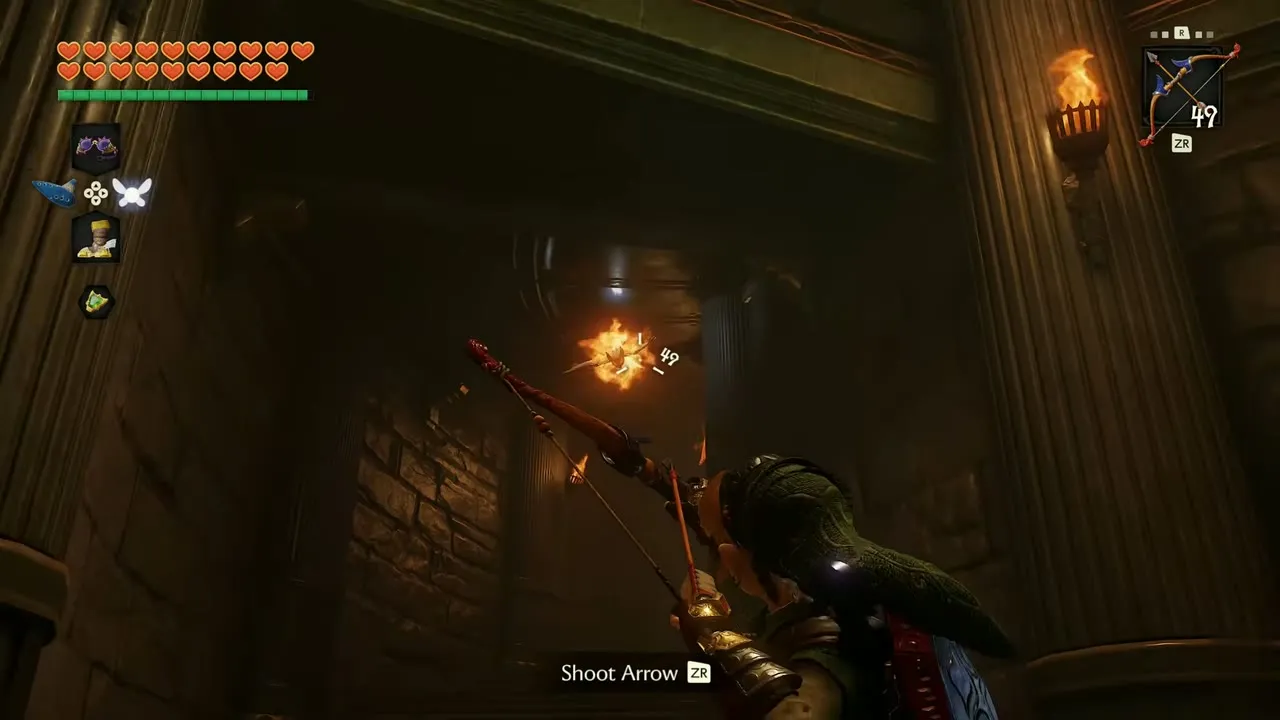
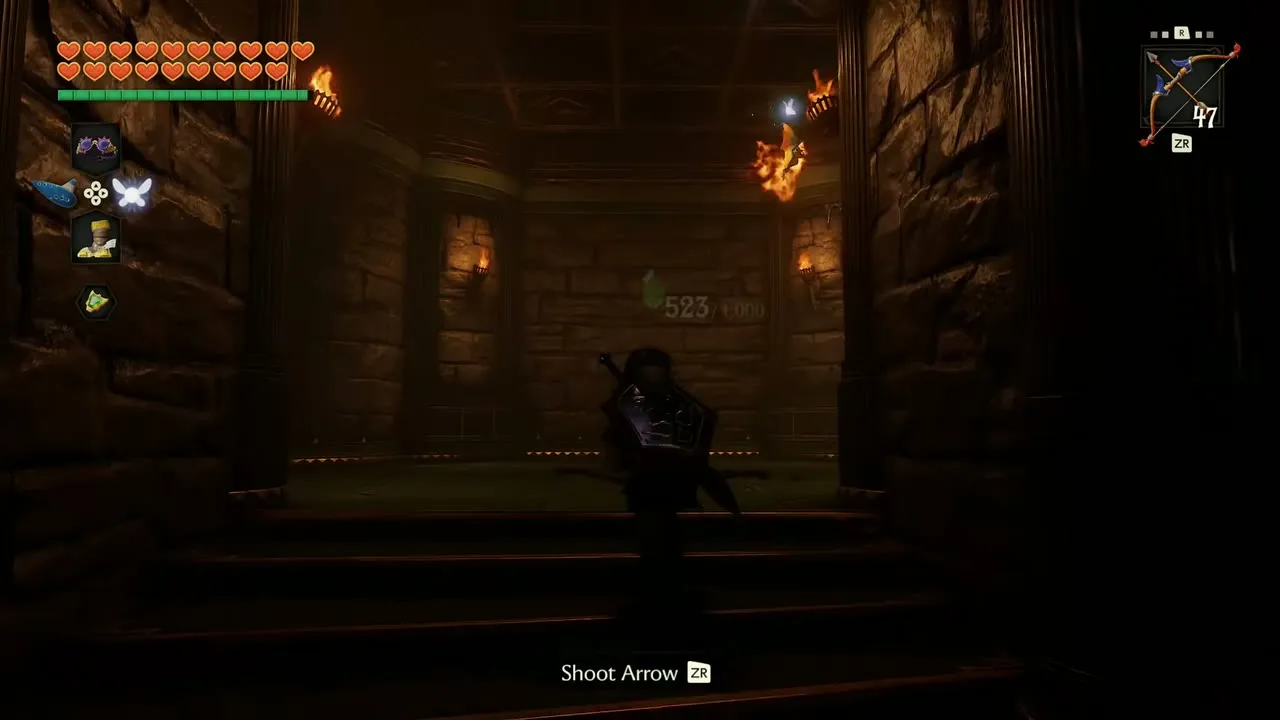
Further up, a narrow stairwell has torches on its walls. Open the item menu, switch the Fairy Bow from Light Arrows to ordinary arrows and shoot each torch from the steps, climbing a few stairs between shots. Then go up to the ornate door at the top. The game saves as you pass through the door.

Dinolfos arena
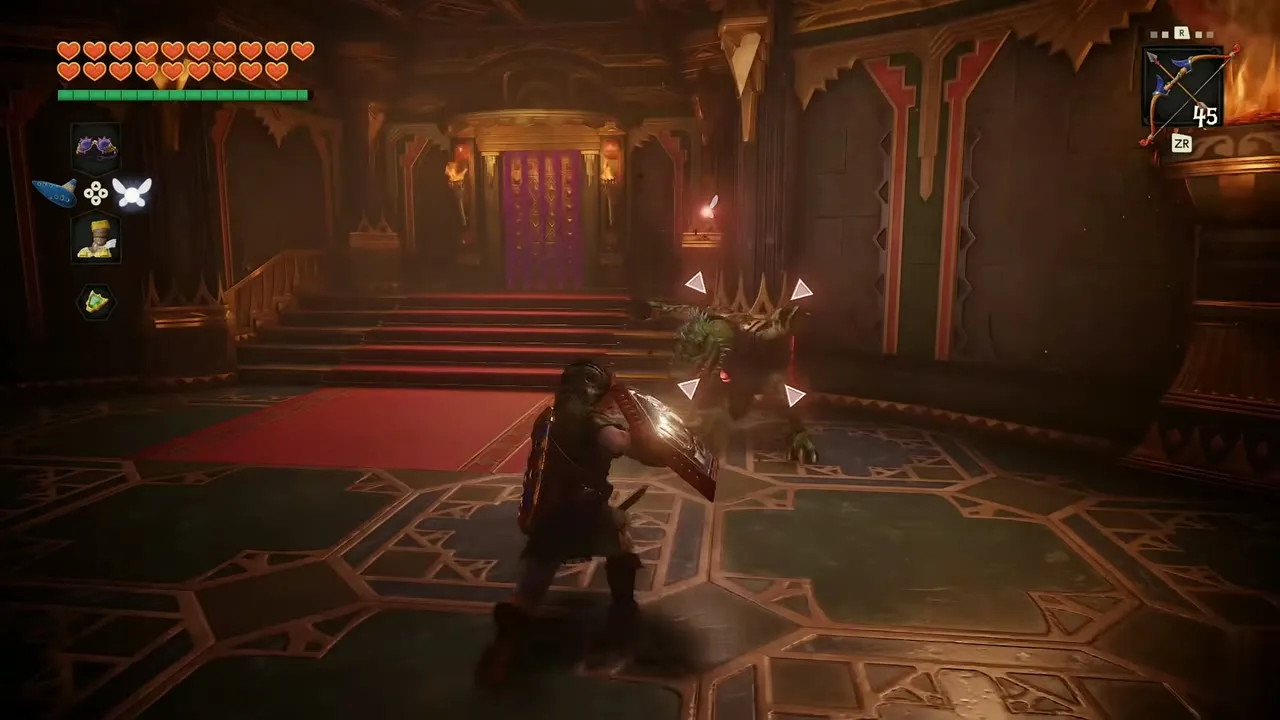
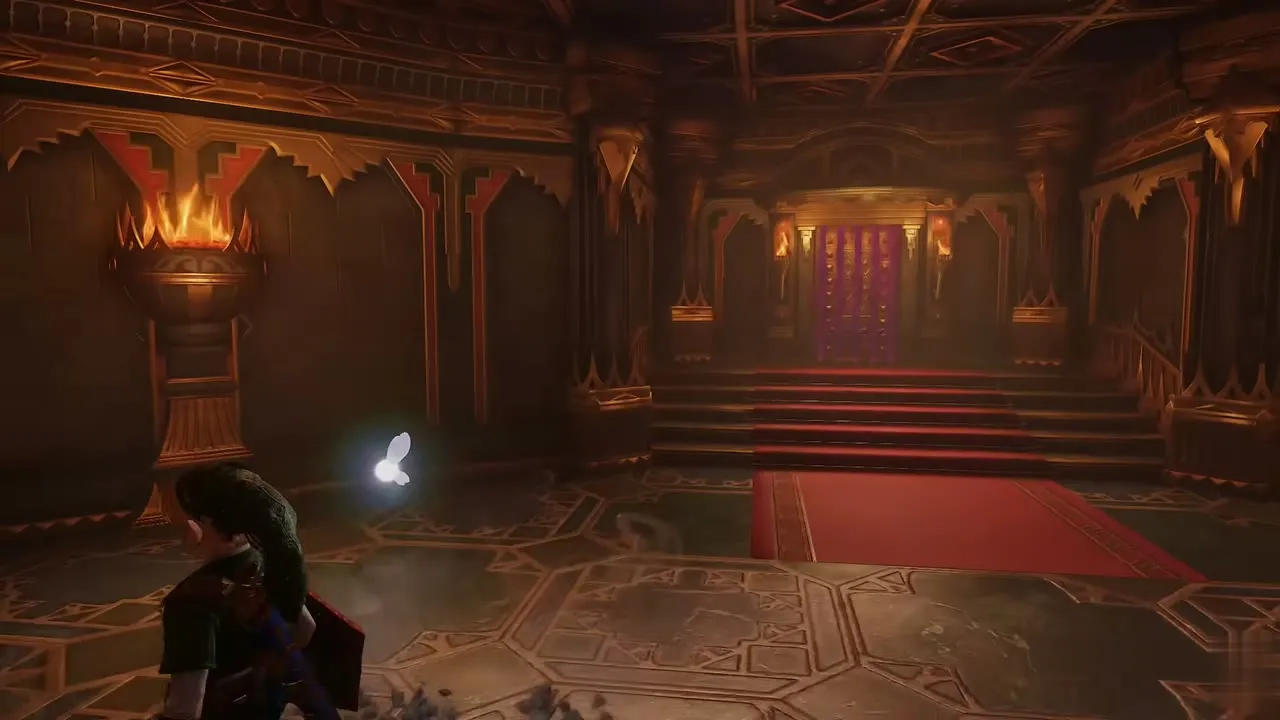
A purple banner hangs in the small room beyond, and the door past it opens into a round arena with a green mosaic floor. Two Dinolfos attack at once. Lock on to one, raise your shield for its sword swings and slash when it recovers, then turn on the second. Keep moving around the ring so that they cannot corner you. When both fall, the purple seal on the far door fades and a red-carpeted staircase leads up.

Stalfos arena
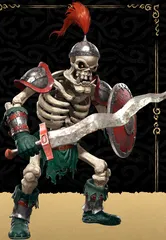
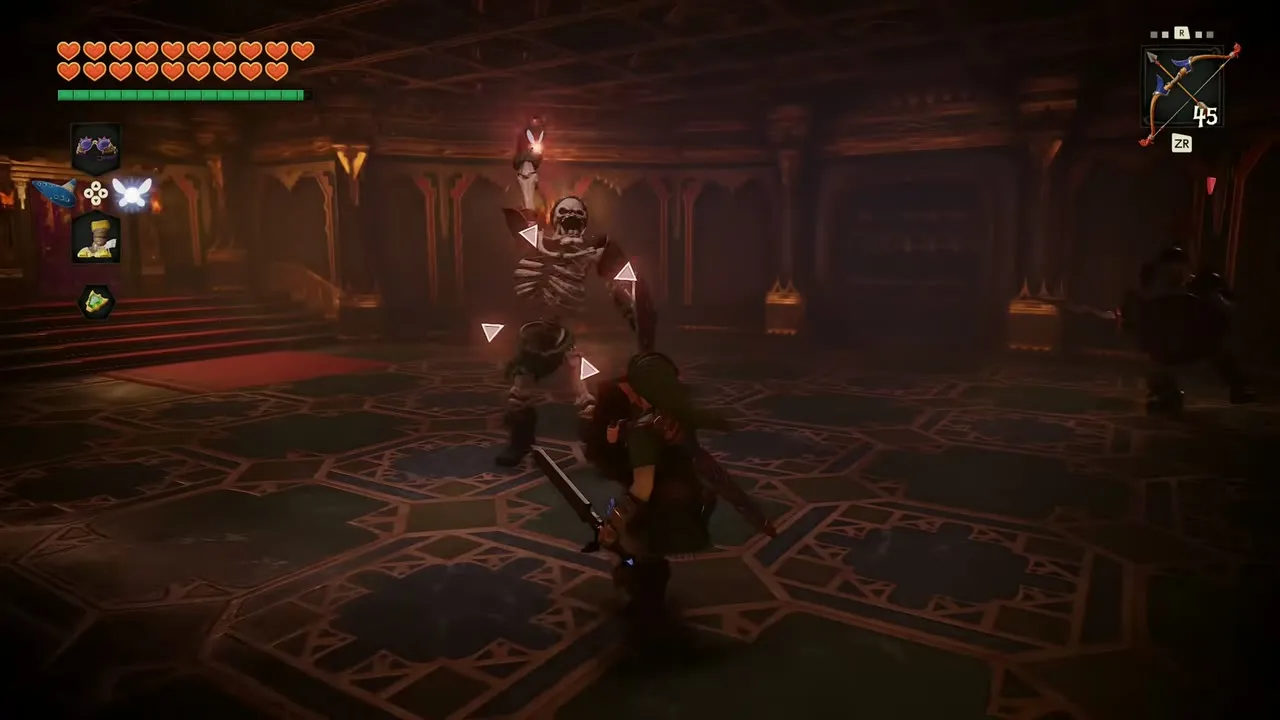
Another save door, then another round arena. This time two Stalfos in red-plumed armor attack. Block their blade swings with the shield, sidestep, and strike from the side or back while they swing. They hit hard, so back off when your hearts run low. After the second Stalfos goes down, a purple burst clears the door ahead and you can climb the carpeted stairs.

Iron Knuckle arena
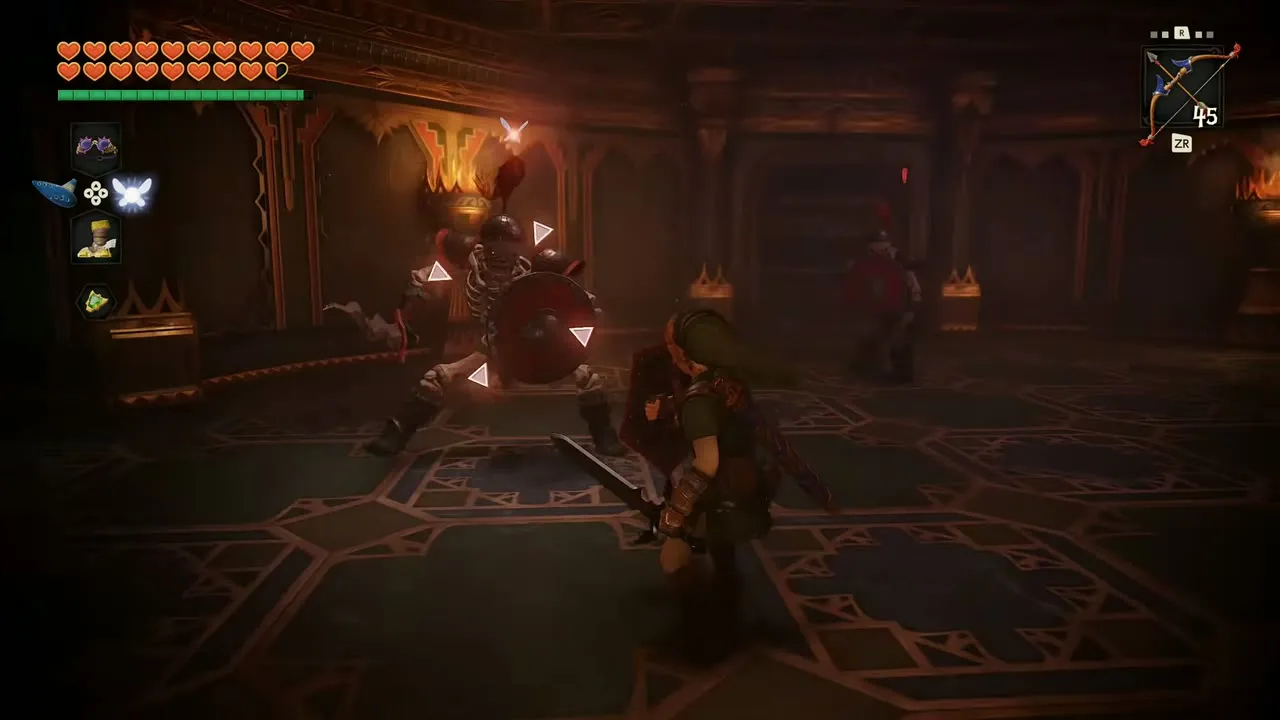
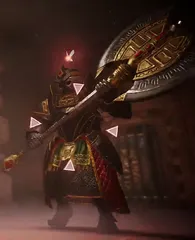
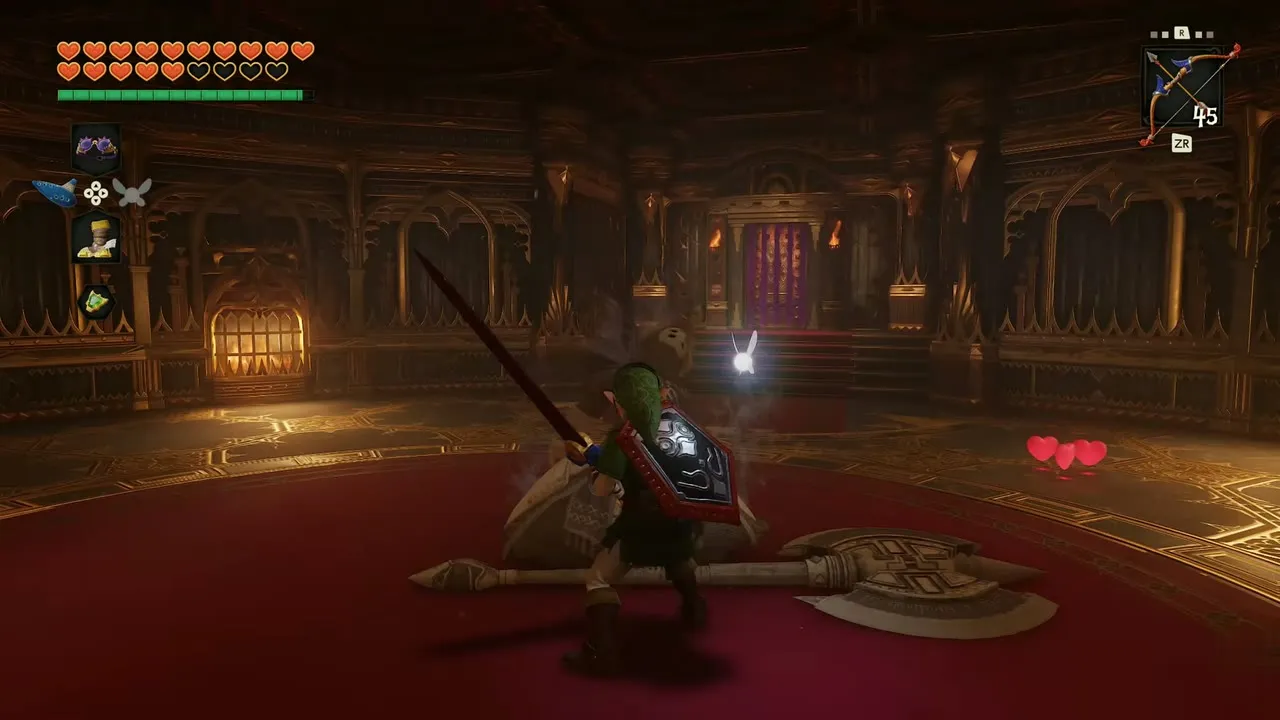
The third arena is red and circular, and its guards are two Iron Knuckles with huge axes. Each flashes red just before a swing, so raise the shield, take the hit on it, and strike back when the axe is in the floor. Fight them one at a time and keep your distance whenever the second one closes in.


Boss Key
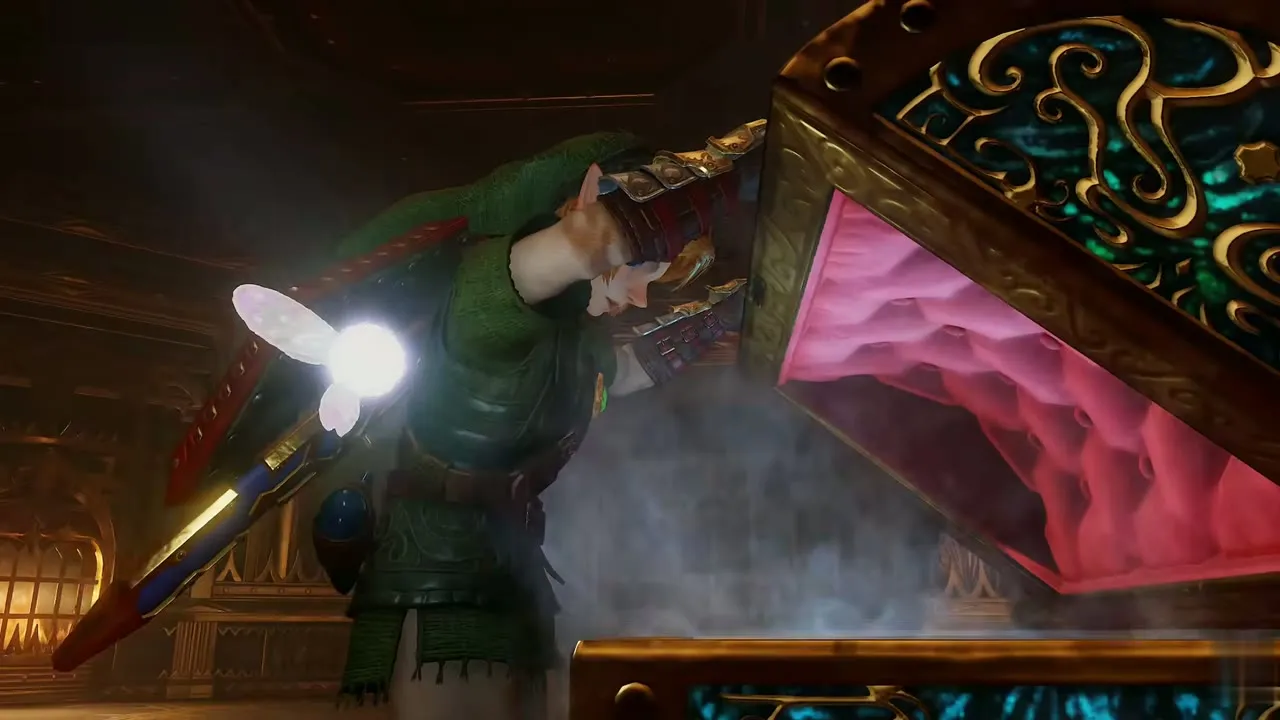
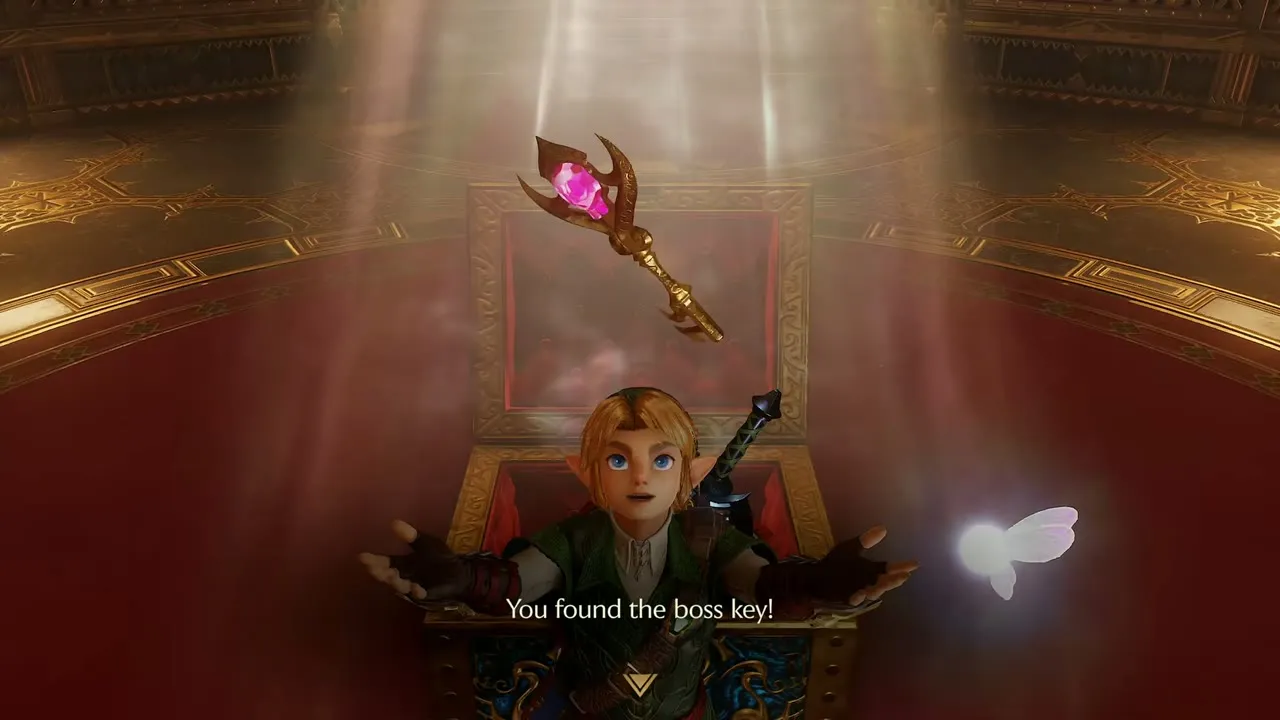
When the second Iron Knuckle drops, purple smoke fills the arena and an ornate gold-and-teal chest appears at the side of the arena. Open it to receive the Boss Key. The box reads “You found the boss key!” and explains that it lets you enter the chamber where the dungeon’s boss waits. A key symbol appears on the HUD while you carry it.

Stairs to the boss door
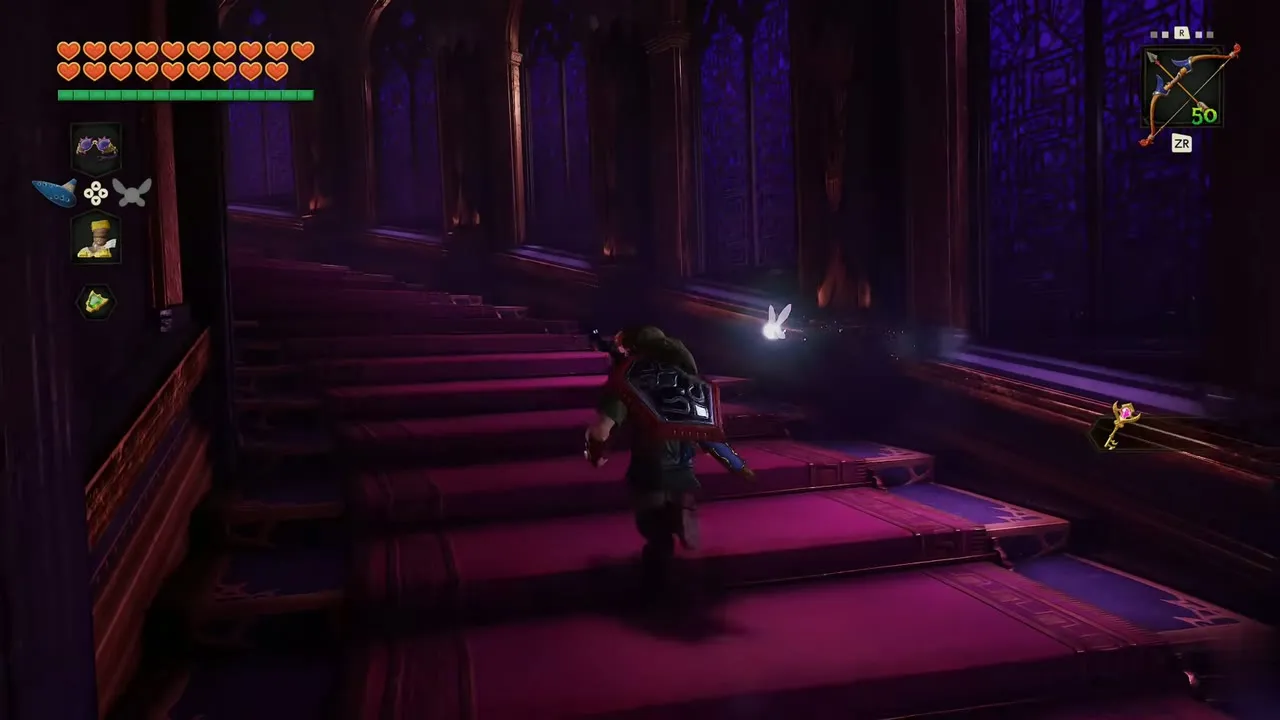
Go through the door and up the next stairs. A room beyond has more red pots. Break them to refill your arrows, and the counter climbs from 45 to 50. A red door at the far end leads to a flight of magenta-carpeted stairs, and a gold-patterned hall follows. At the end stands a tall red door with a Triforce emblem and stained-glass windows. Use the Boss Key on it and step through.



Ganondorf boss fight
Ganondorf at the organ
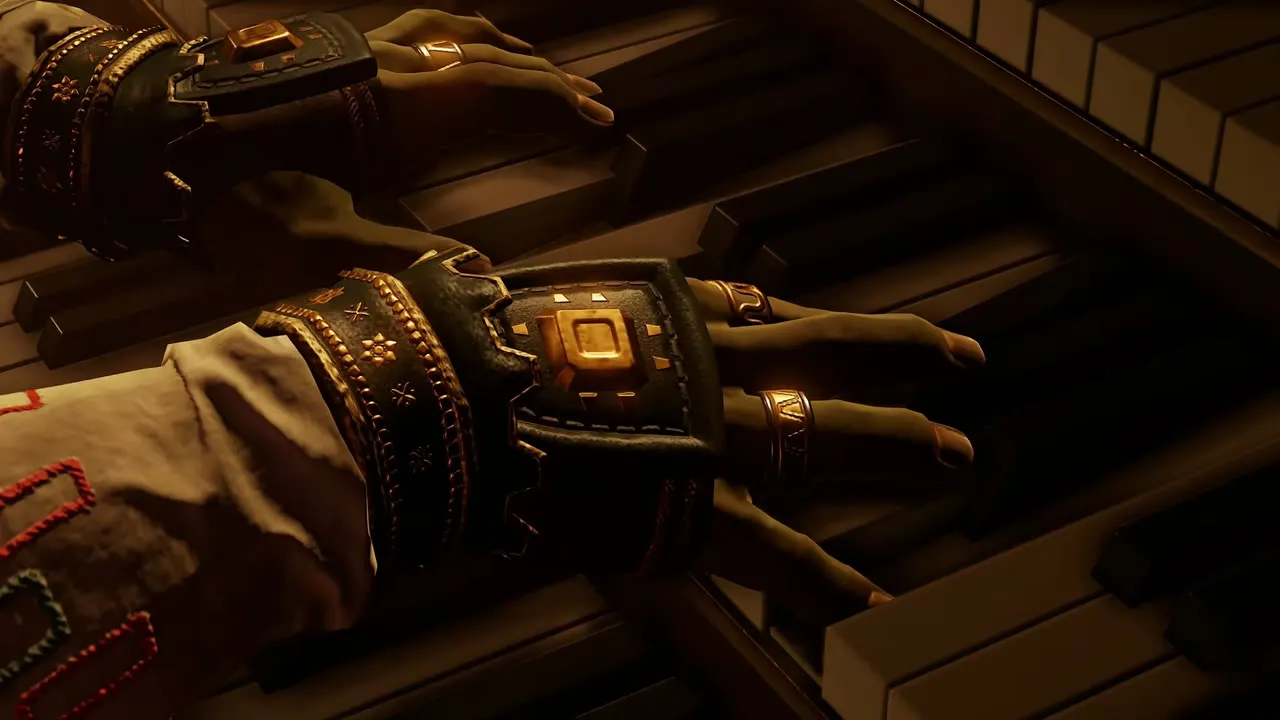
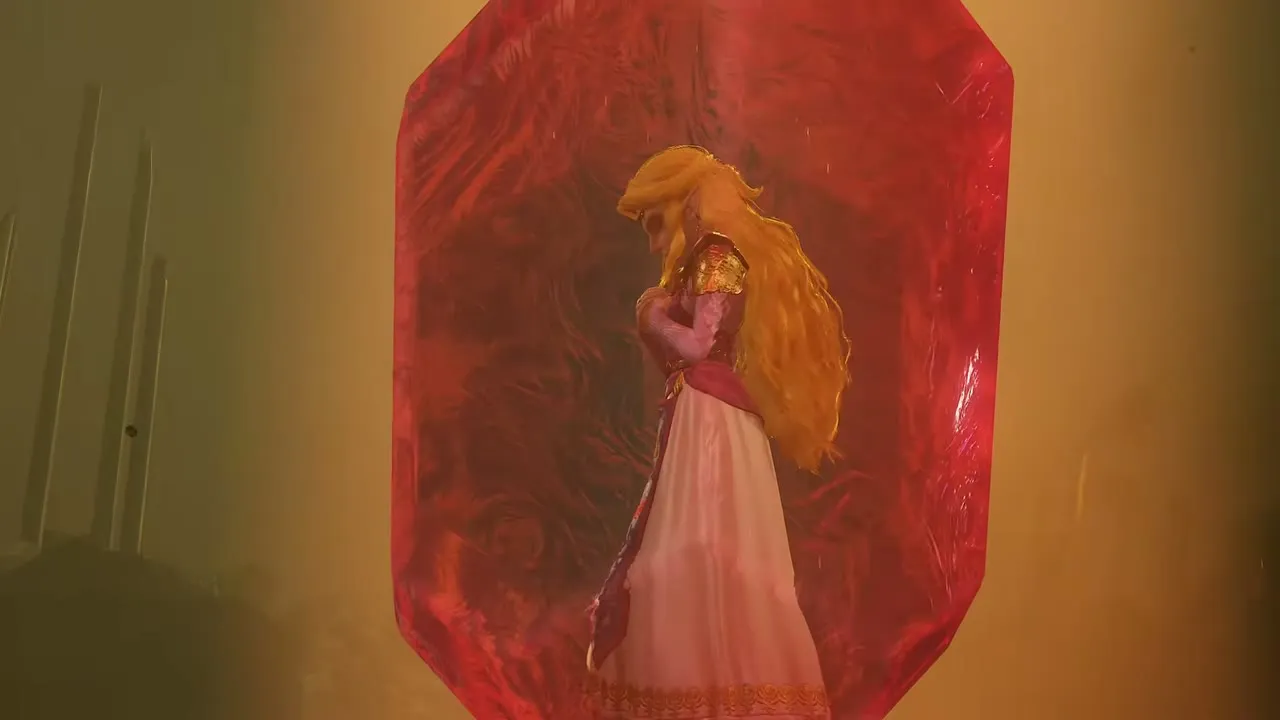
Zelda stands inside a crystal while Ganondorf plays an organ in the hall. Navi calls out for the princess. Ganondorf turns, tells you that the Triforce is trying to become whole again, and demands the pieces held by you and Zelda. Navi warns that his darkness is keeping her from getting near him, then the title card “Great Demon King Ganondorf” appears and the fight begins.

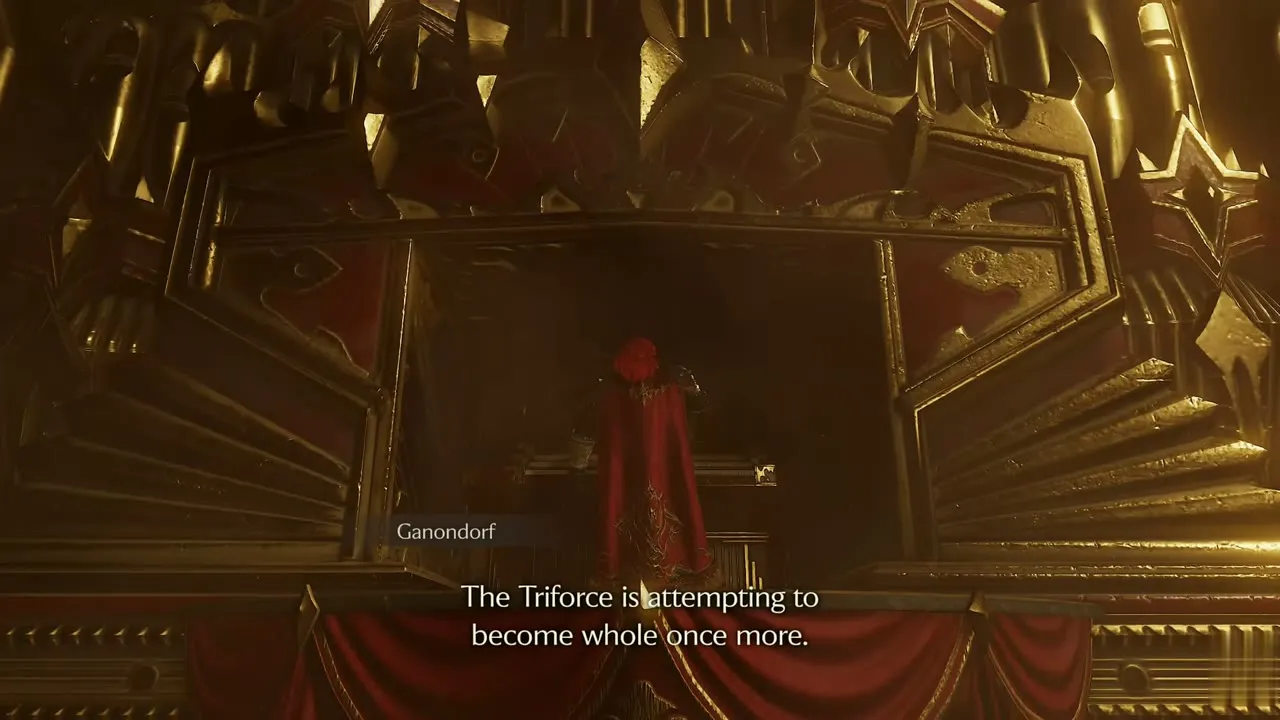


Ganondorf boss fight: return the orbs
Ganondorf hovers above the arena, ringed by fire. A message tells you that you cannot target him without Navi, so nothing locks on to him in the air. He hurls an energy orb at you, either orange or red. Face it, wait until it is close and swing the Master Sword to bat it back. If it reaches him, he reels with a purple burst, and the Shoot Arrow prompt appears on screen.


Ganondorf boss fight: Light Arrow and slashes
While he is stunned, draw the Fairy Bow with Light Arrows and shoot him; the arrow bursts against him in green light. He drops to the floor. Run in and slash with the Master Sword until he is back in the air, then back off for the next orb. Repeat the cycle several times.
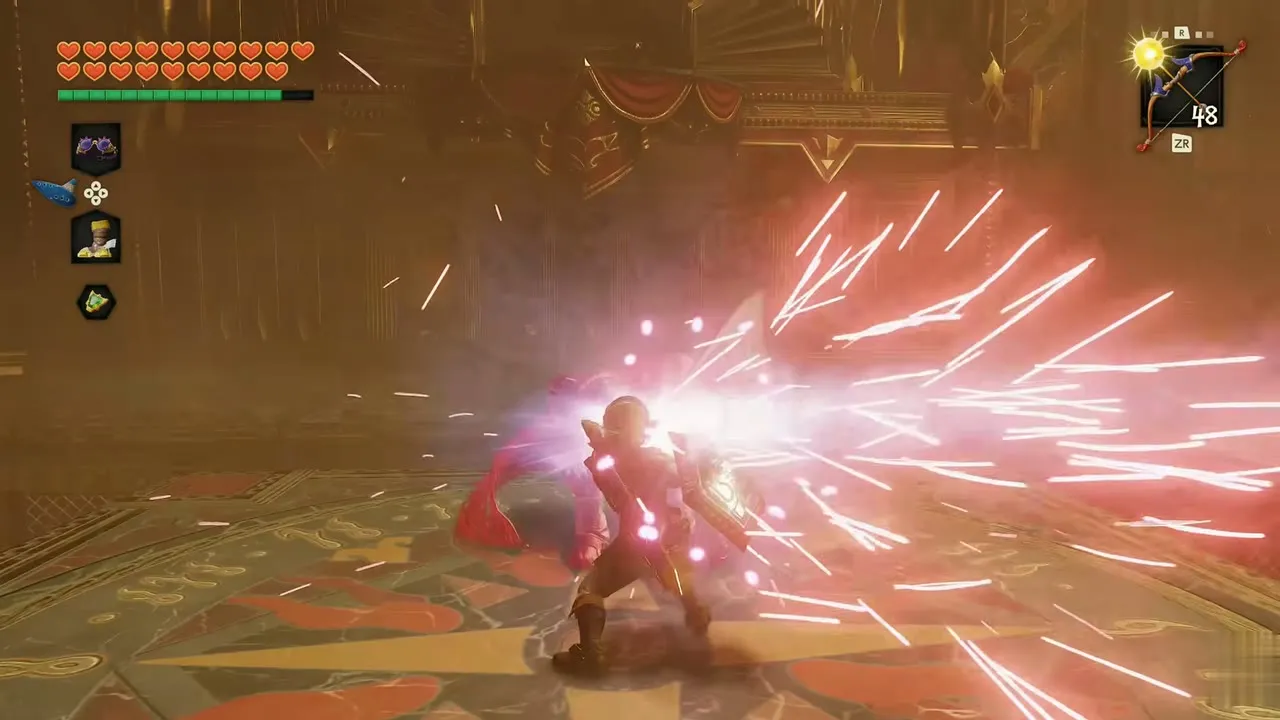
Ganondorf boss fight: the collapsing floor
As the fight goes on, sections of the floor sink, leaving raised blocks and open gaps. Ganondorf also fires volleys of red energy that arrive in a fan. Keep moving, and use the sword to knock back the lines of red energy. The blocks have lattice sides: hold on to one to climb, and press Let Go or Jump when you need to move.
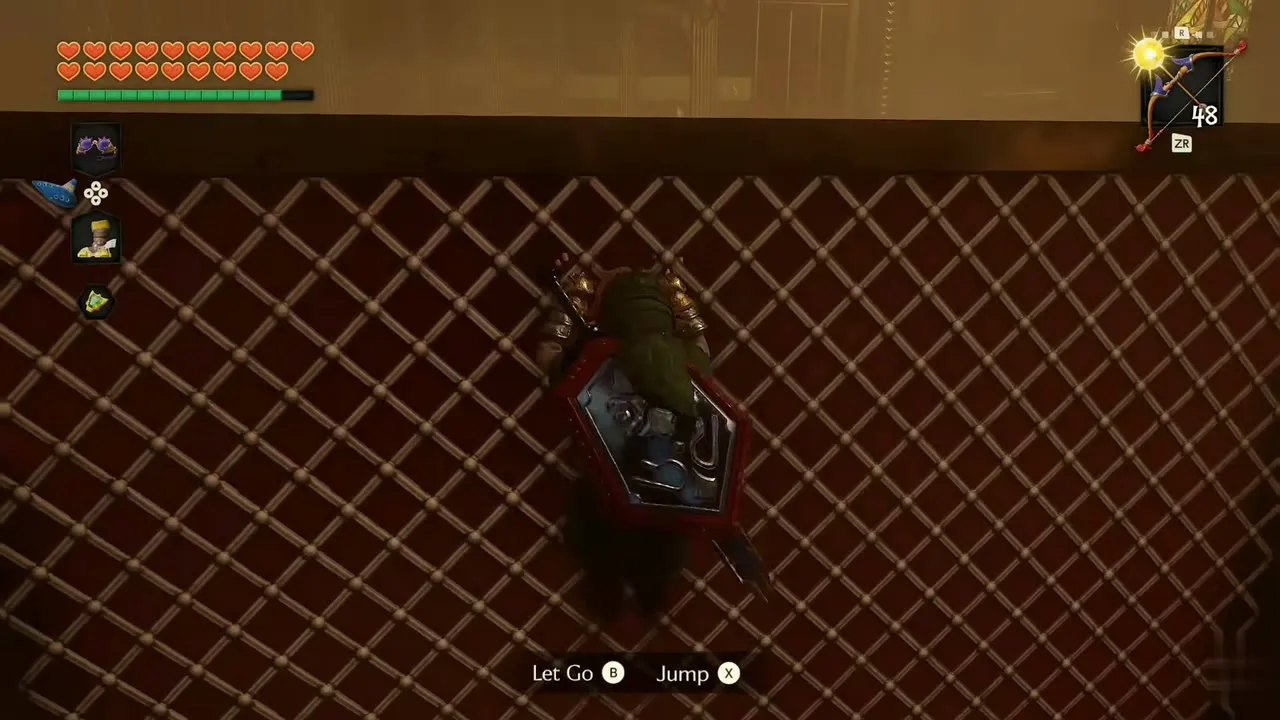
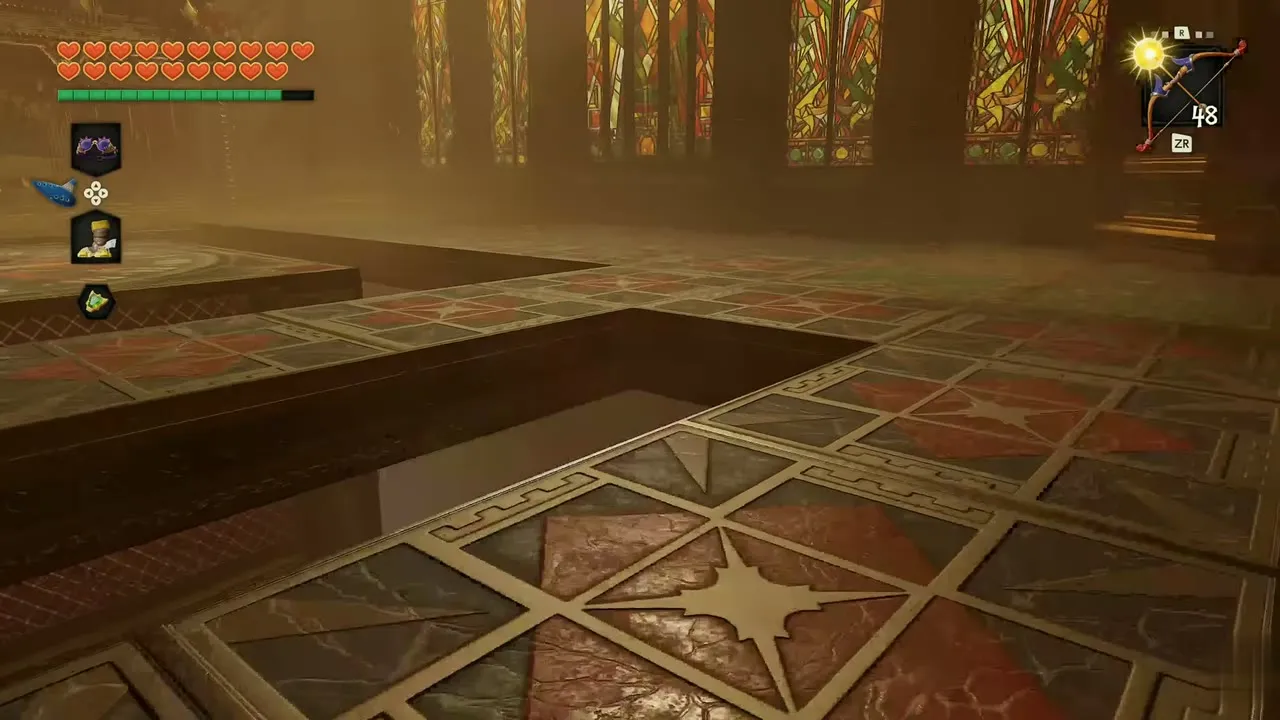
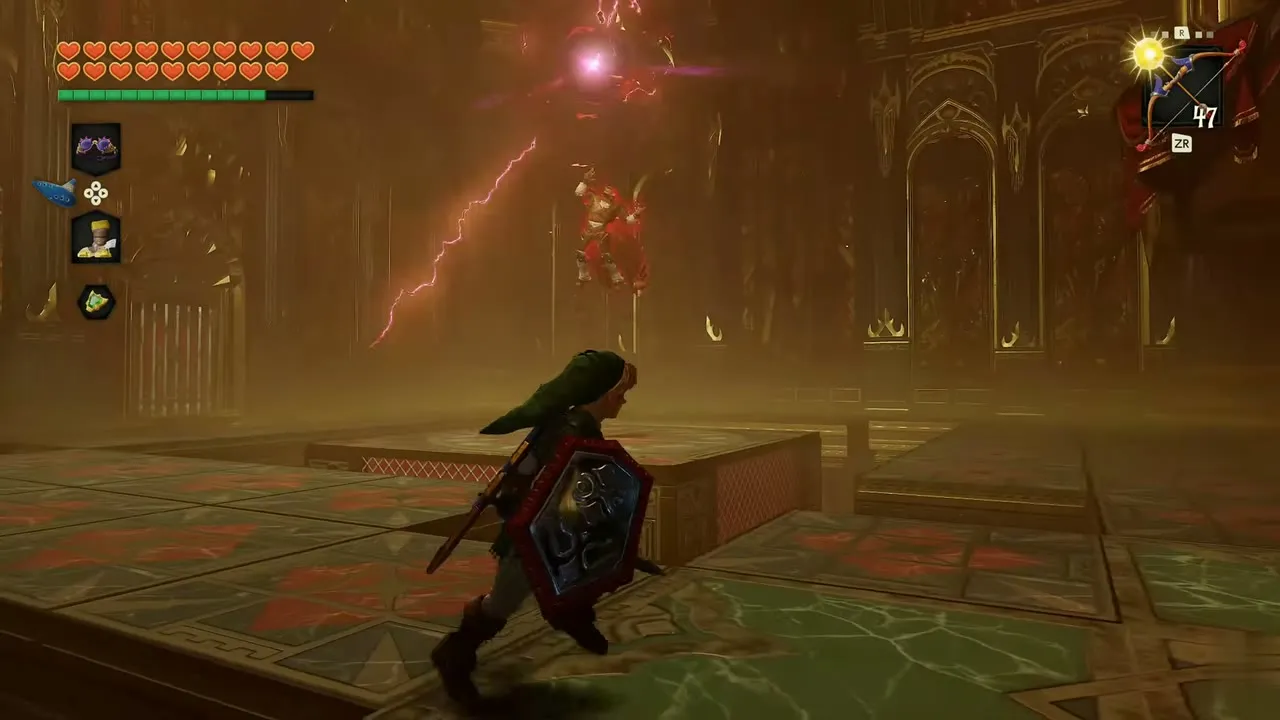
Ganondorf boss fight: final phase
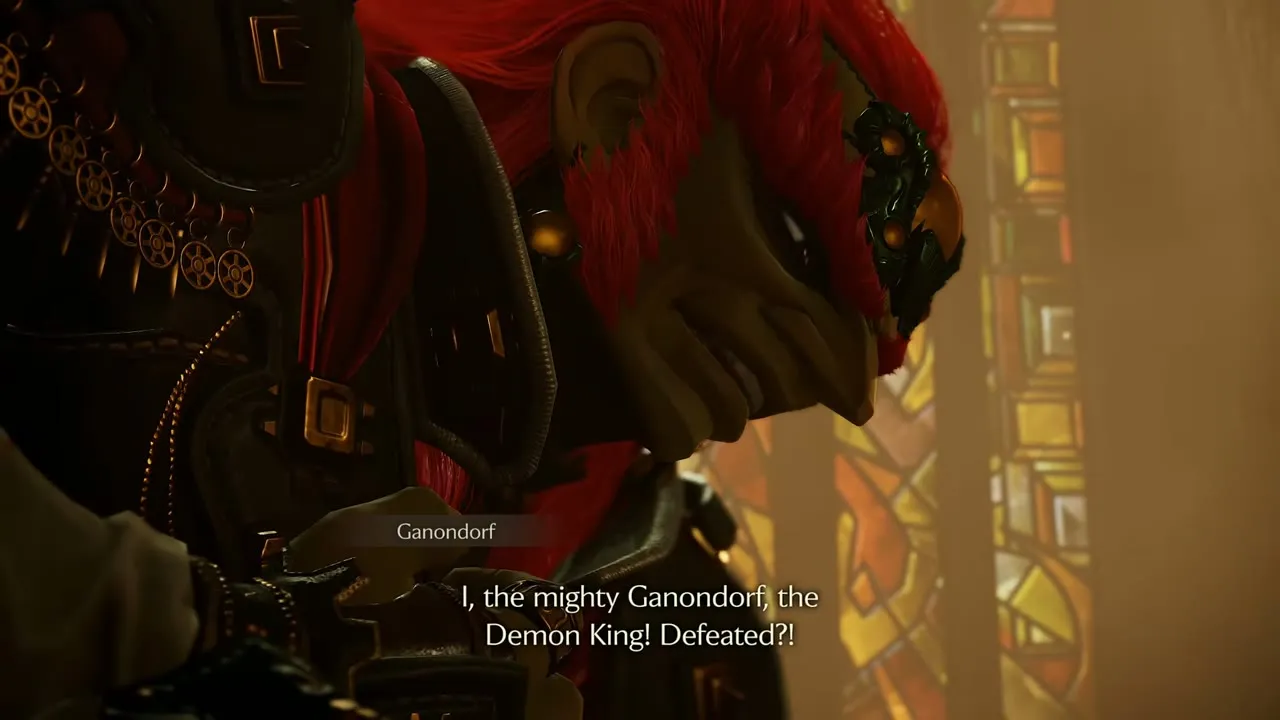
Keep returning his orbs, shooting him when he reels and slashing when he drops. A last burst of pink sparks from the Master Sword ends the fight. Ganondorf, on his knees, says he cannot be losing to some pathetic child.




Zelda freed
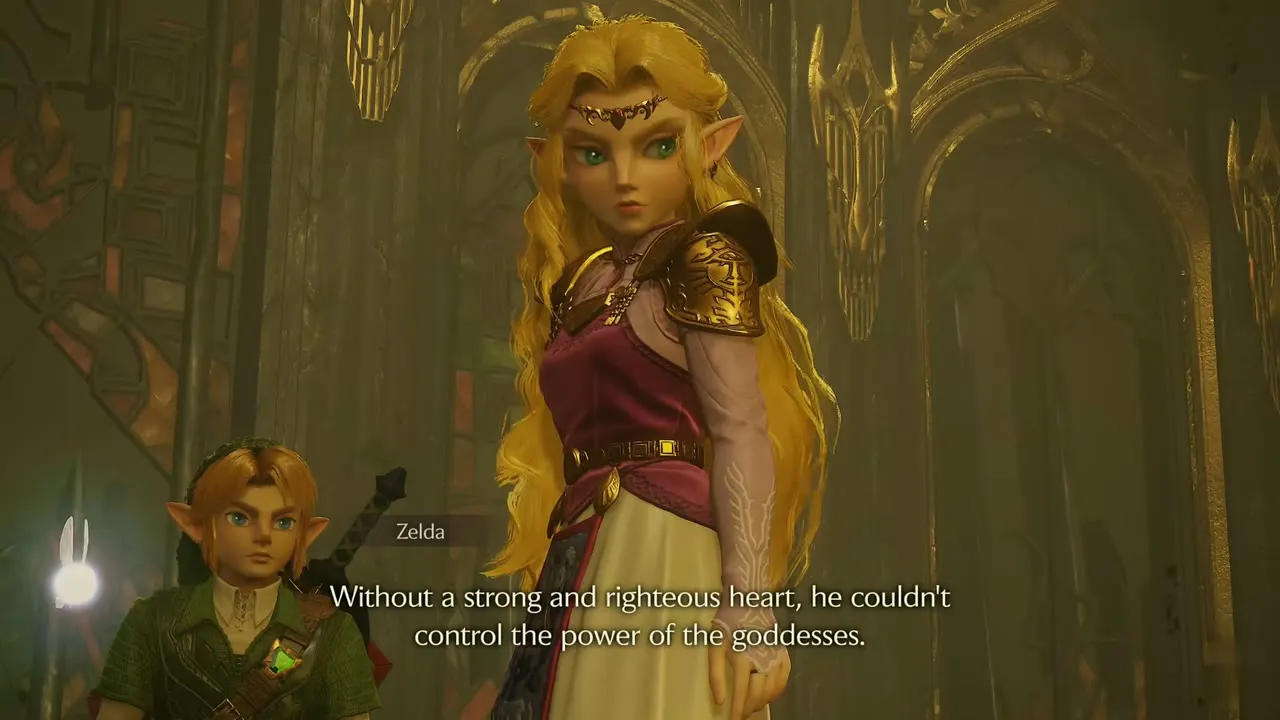
The hall starts to cave in around you, and the red crystal around Zelda fades so that she stands free beside you. She says that without a strong and righteous heart, Ganondorf could not control the power of the goddesses. Then the tower begins to collapse, so she tells you to hurry and follow her.

Escape the collapsing castle with Zelda
Burning halls
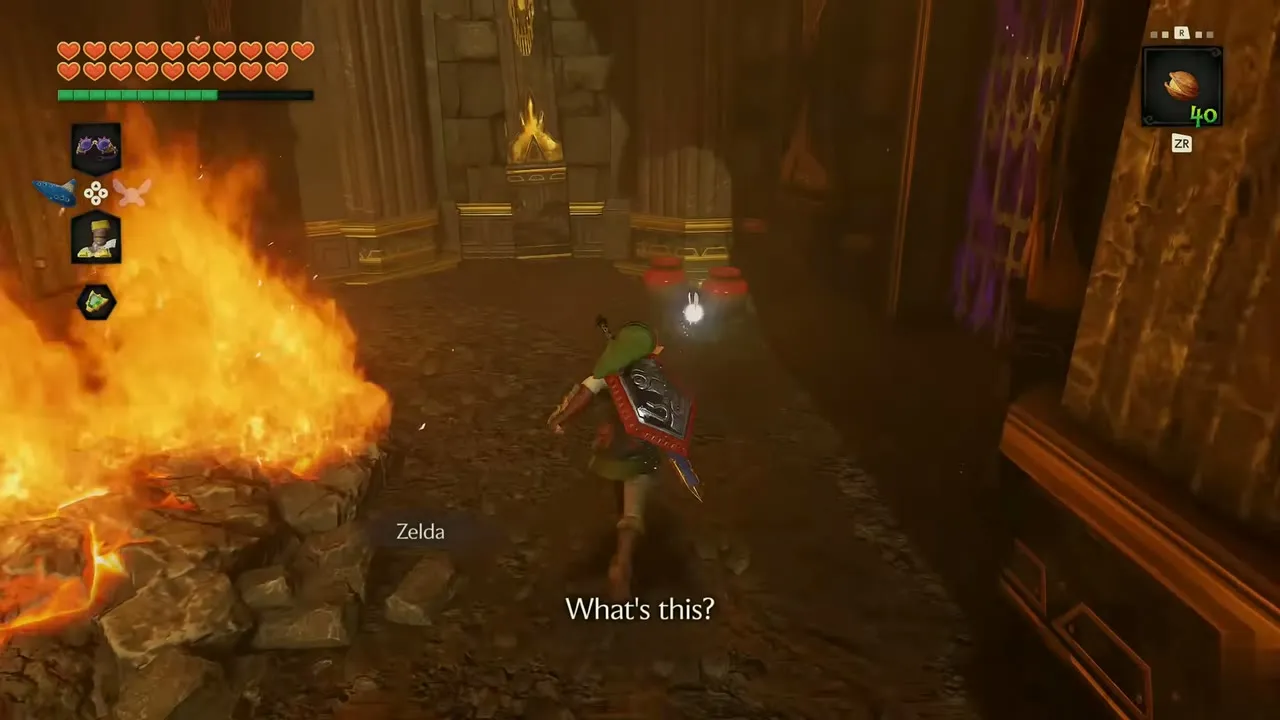
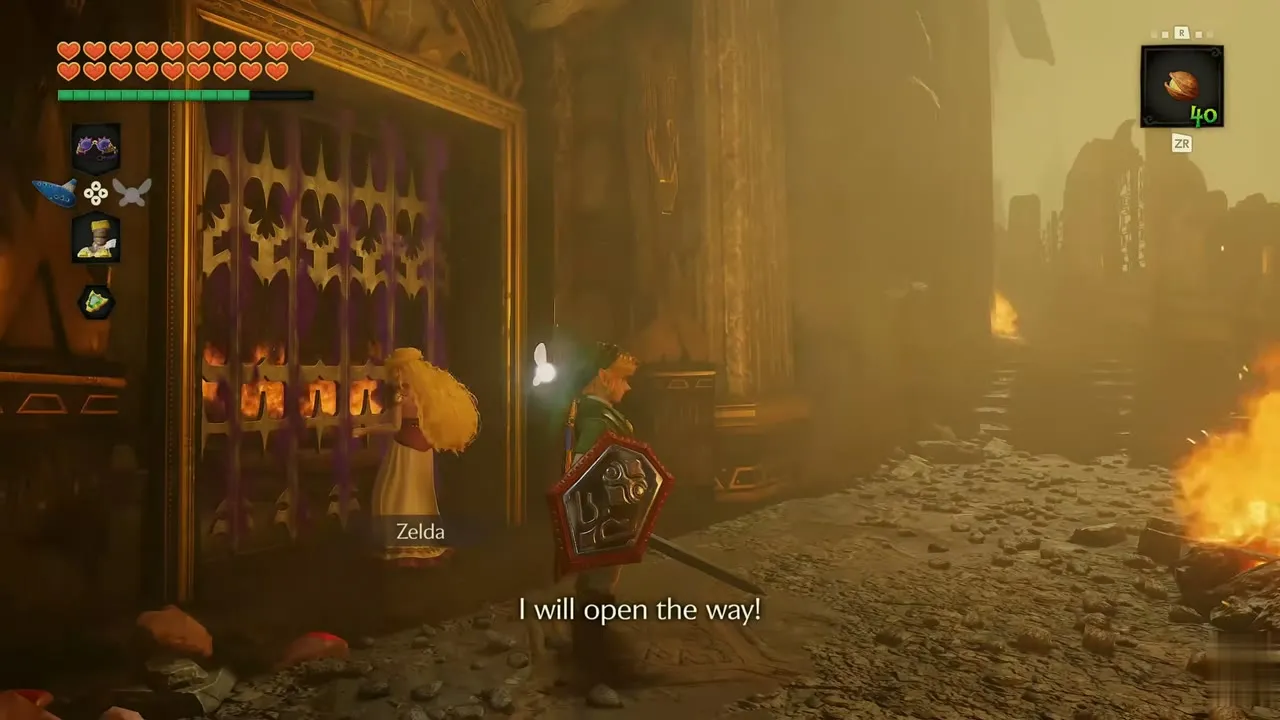
Run down the burning hall, over the rubble slope and past a golden gate. Zelda asks what is going on as flames light up the passage, and she stays close behind you. Follow the fire corridors until a barred gate stops you, and Zelda says she will handle it.

Stalfos gate
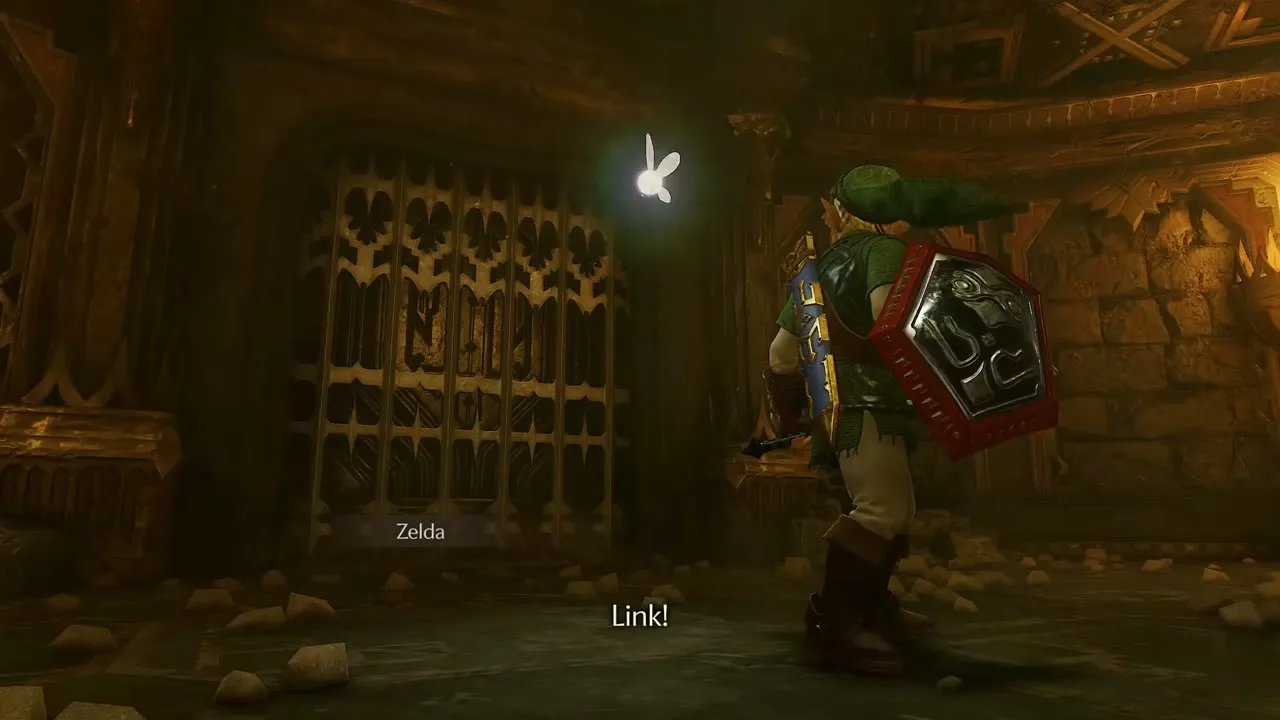
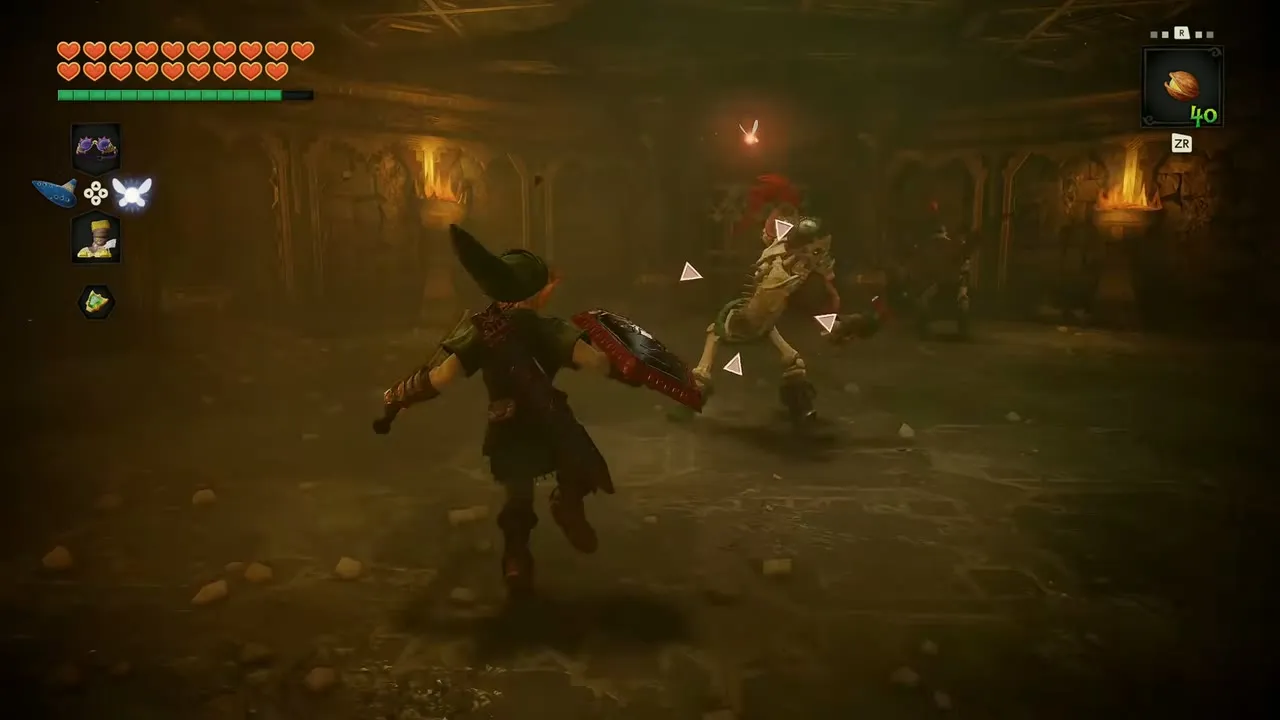
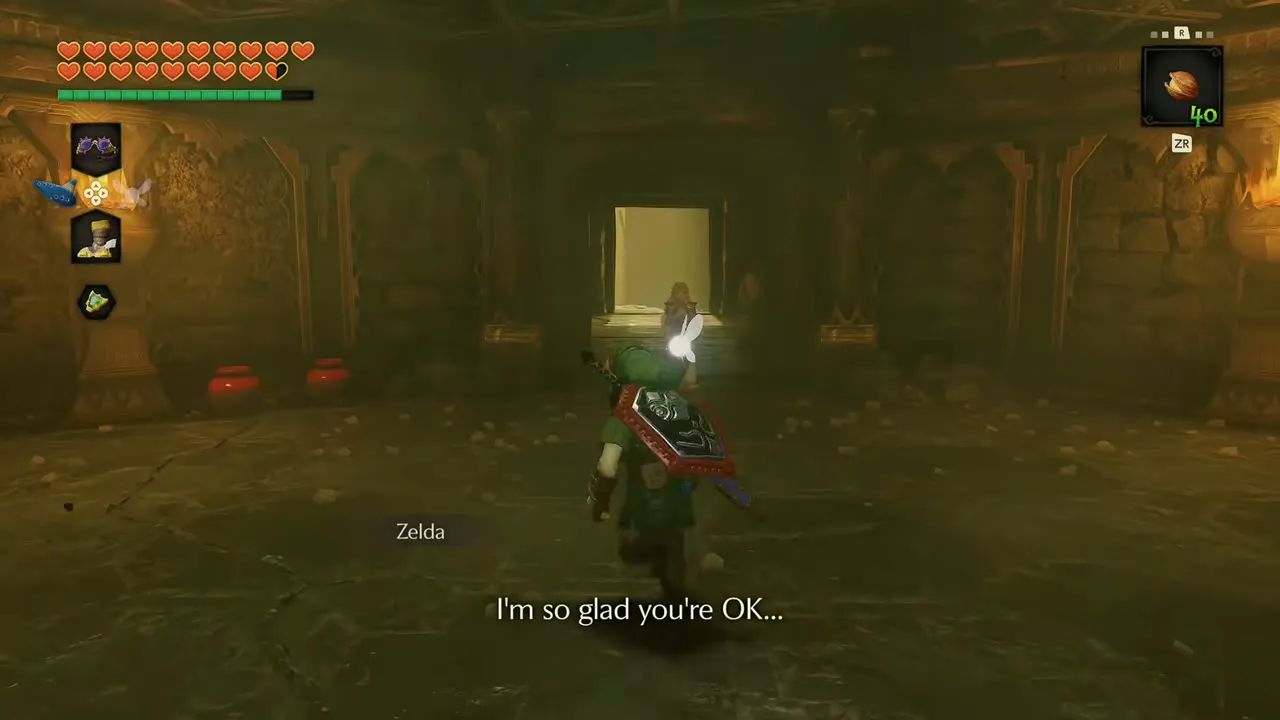
Zelda unlocks the gate, but when you step through, bars close and two Stalfos attack with Zelda on the other side. Block their blows with the shield and attack when they swing. When the second one falls, the bars rise again, Zelda tells you how glad she is that you are all right, and you can move on.

Broken bridge and Longshot
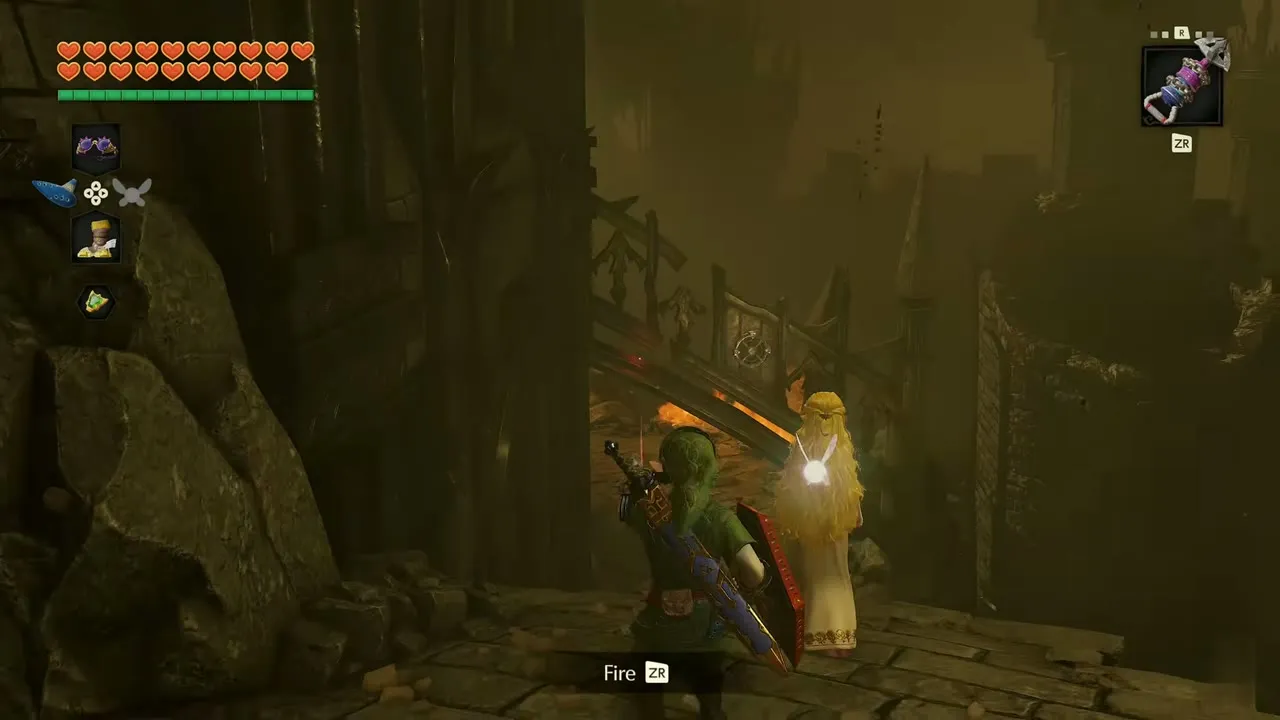
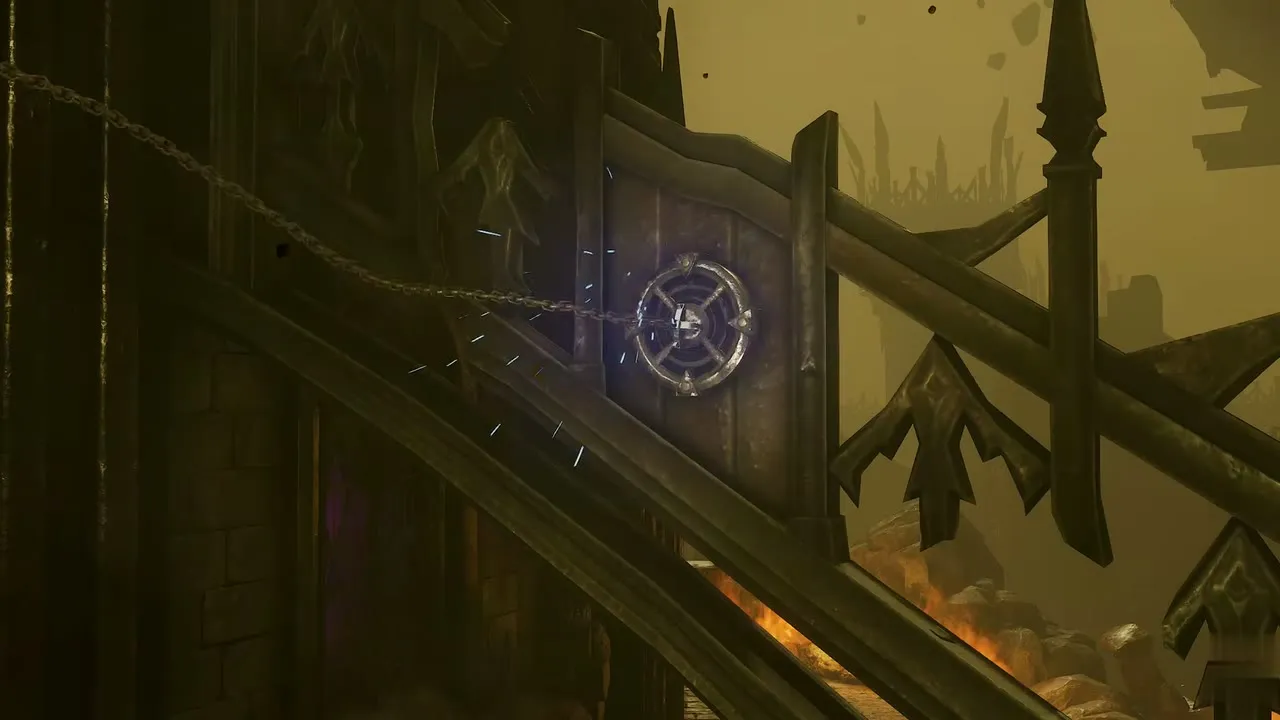
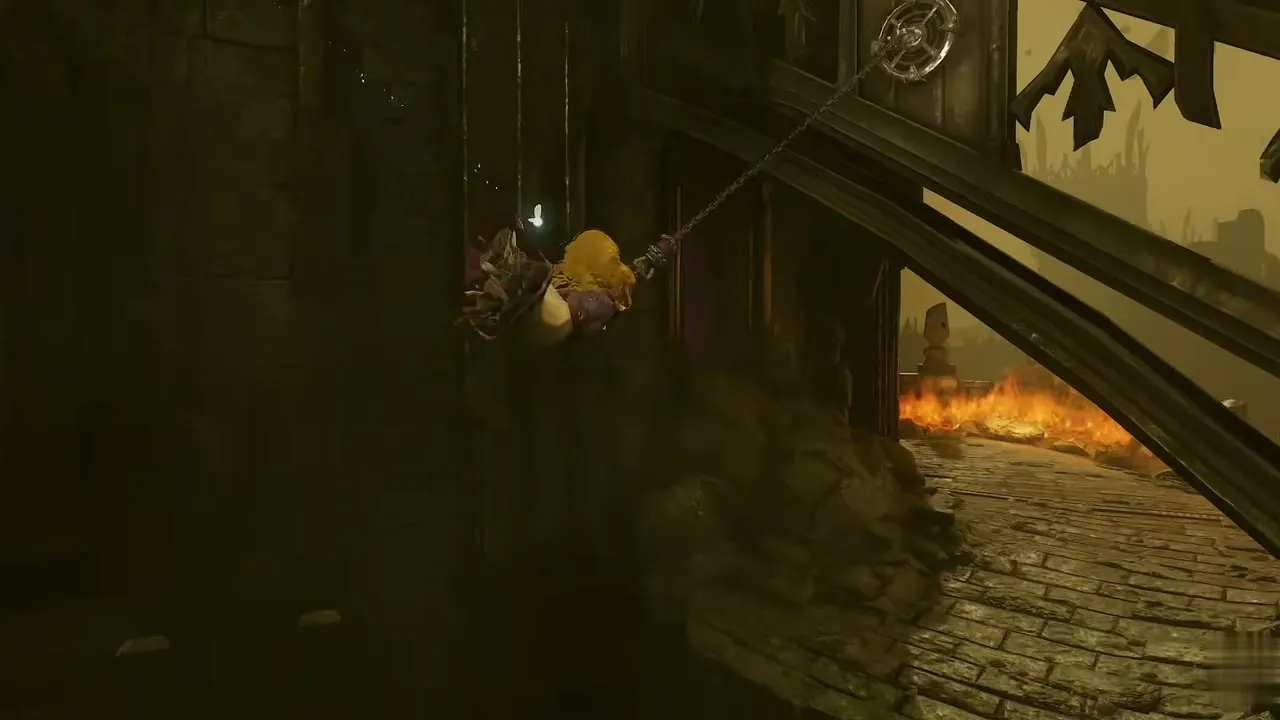
The path ends at a broken bridge over a drop. Zelda asks what you should do. Open the item menu, equip the Longshot and aim it at the wheel-shaped target on the gate across the gap. Press the fire button to shoot, and Link carries Zelda across with him. Continue along the stone path beside the flames and through a doorway into a rubble-filled tunnel.
Megaton Hammer through the rubble
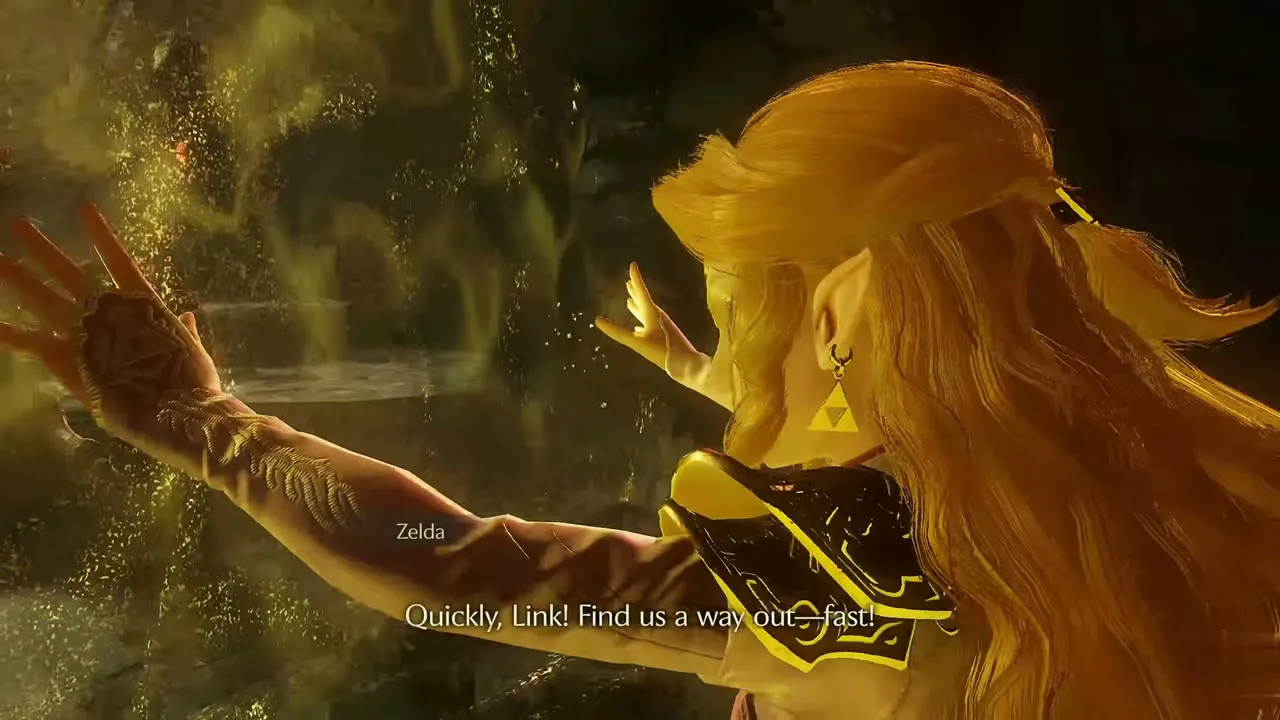
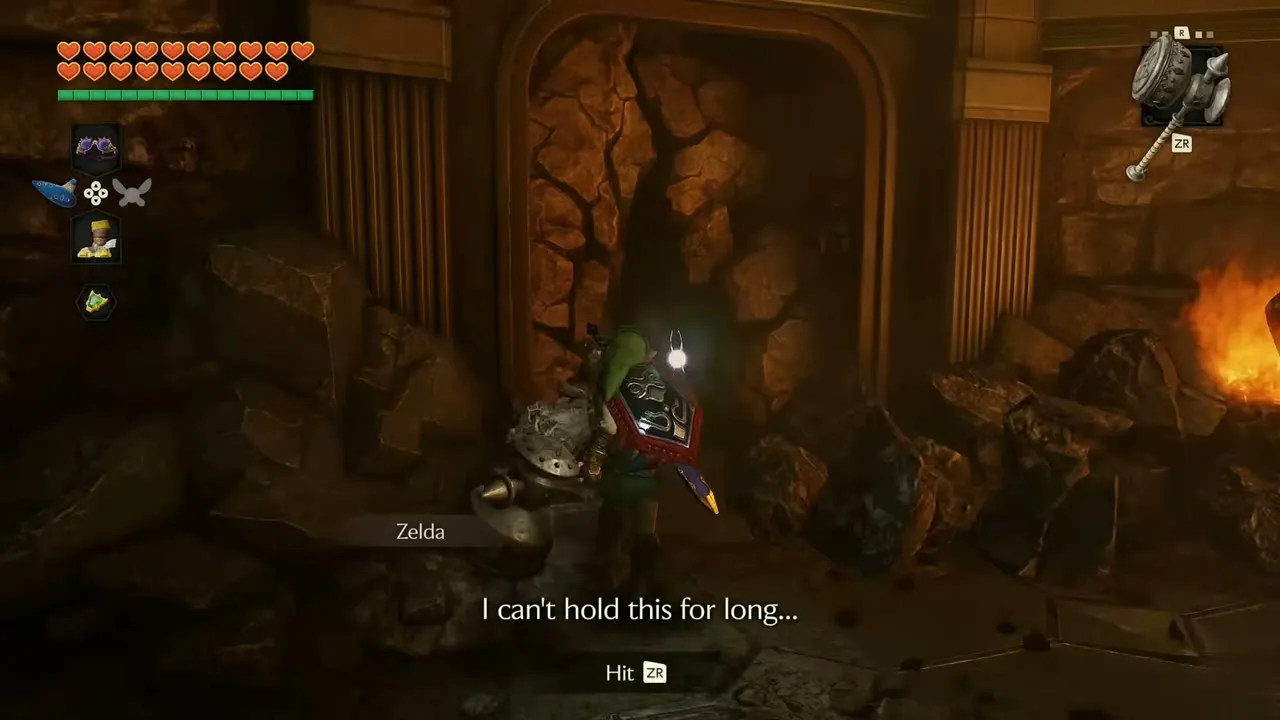
Stalfos with shields cut off the tunnel, and Zelda holds them behind a wall of golden light. She urges you to find a way out fast. Open the menu, switch to the Megaton Hammer and press the Hit prompt on the heap of rubble at the end to smash it. Zelda says she cannot hold the light for long, so move quickly. The way beyond leads into a corridor with fire on every side.

ReDeads on the bridge
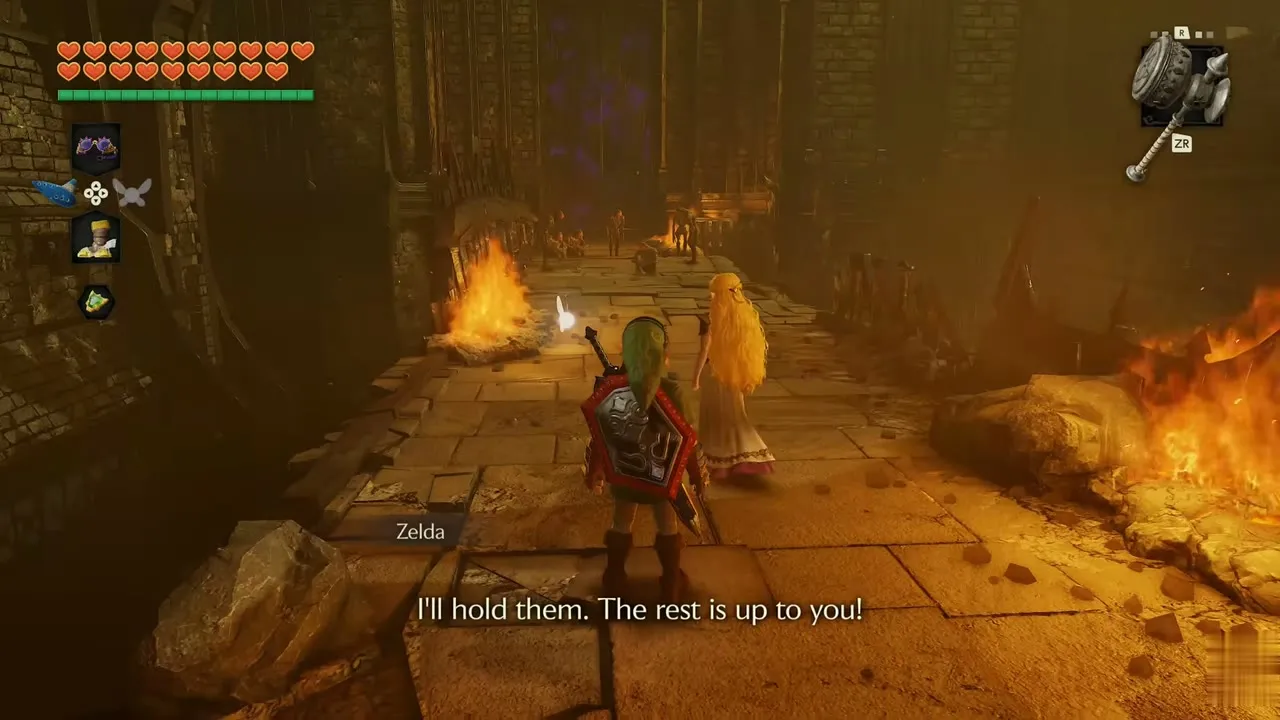
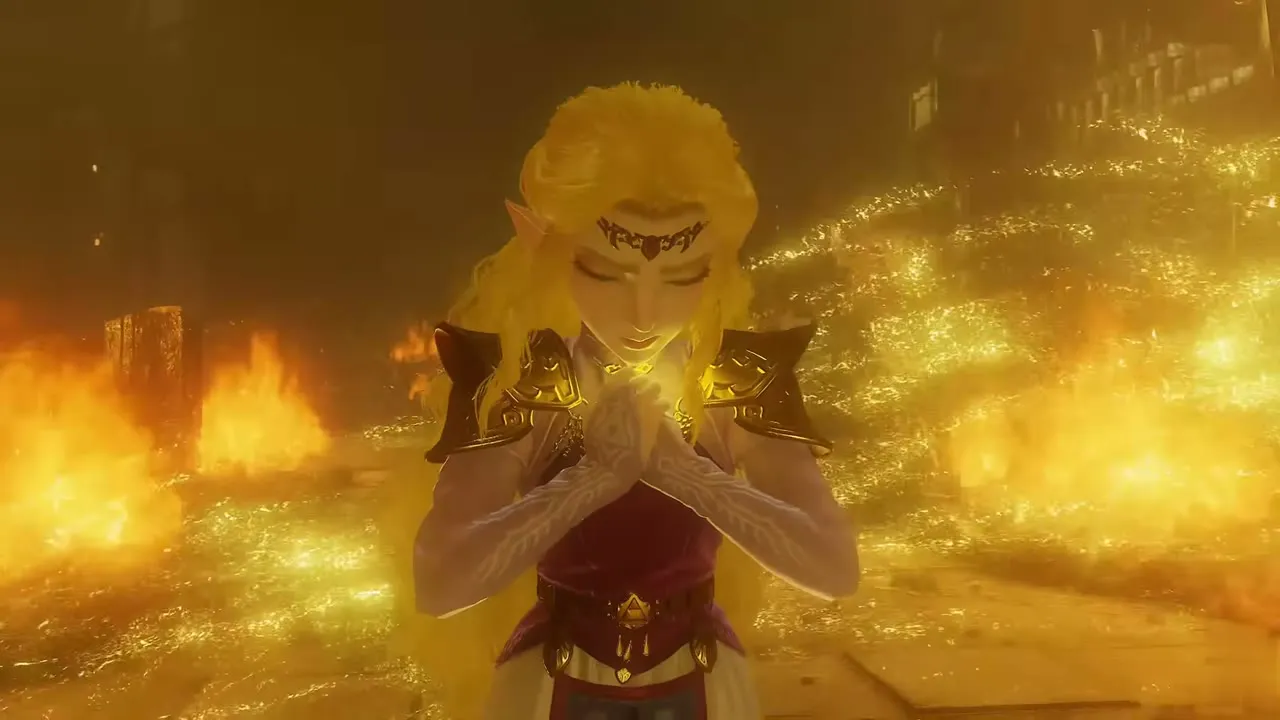
A pack of ReDeads blocks a stone bridge. Zelda says she will hold them, and gold light rains down and freezes them in place. Cut them down with the Master Sword while they are still. Past the bridge, she says that you are almost there and you reach a gate sealed by purple crystal. Zelda kneels in prayer, and a streak of golden light breaks the barrier.


The castle falls
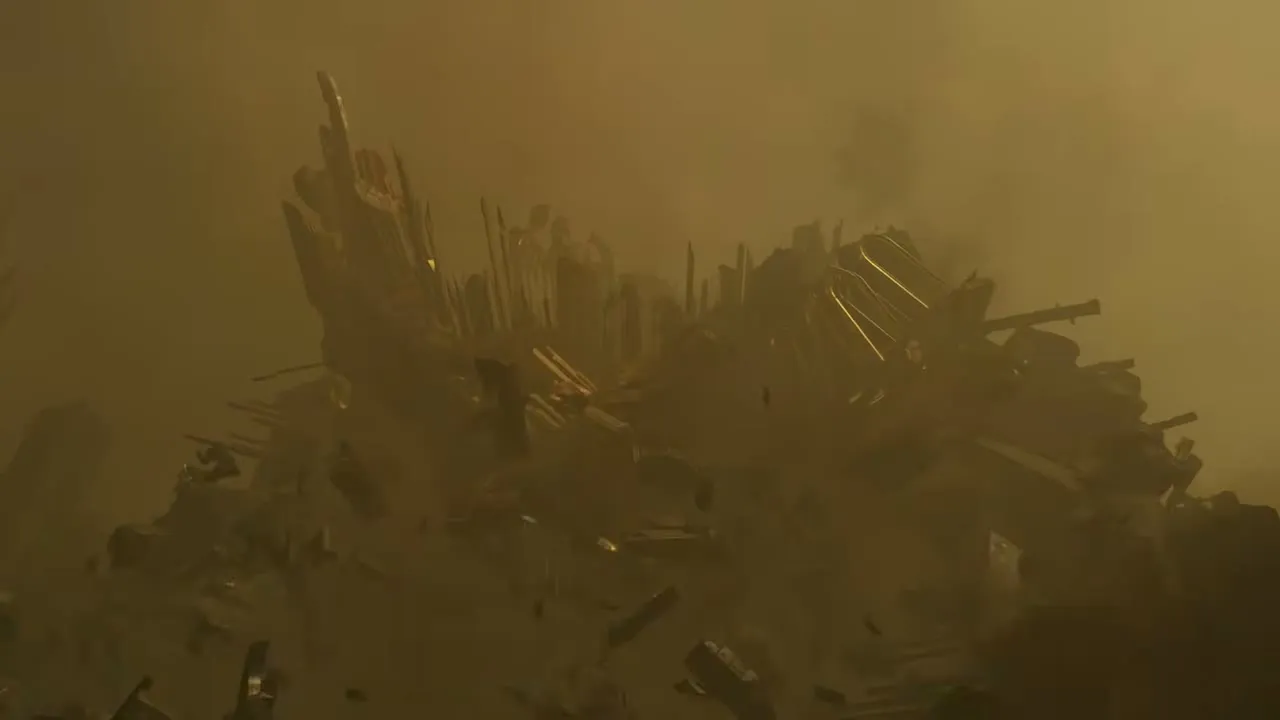
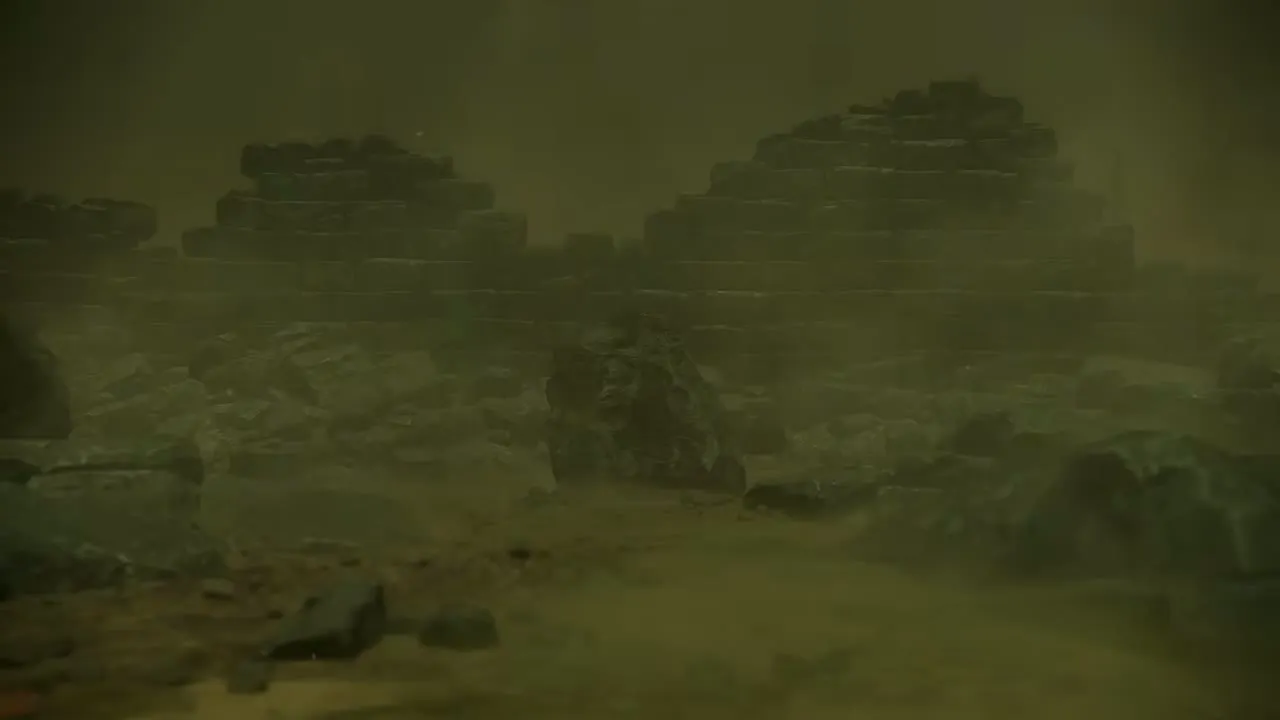
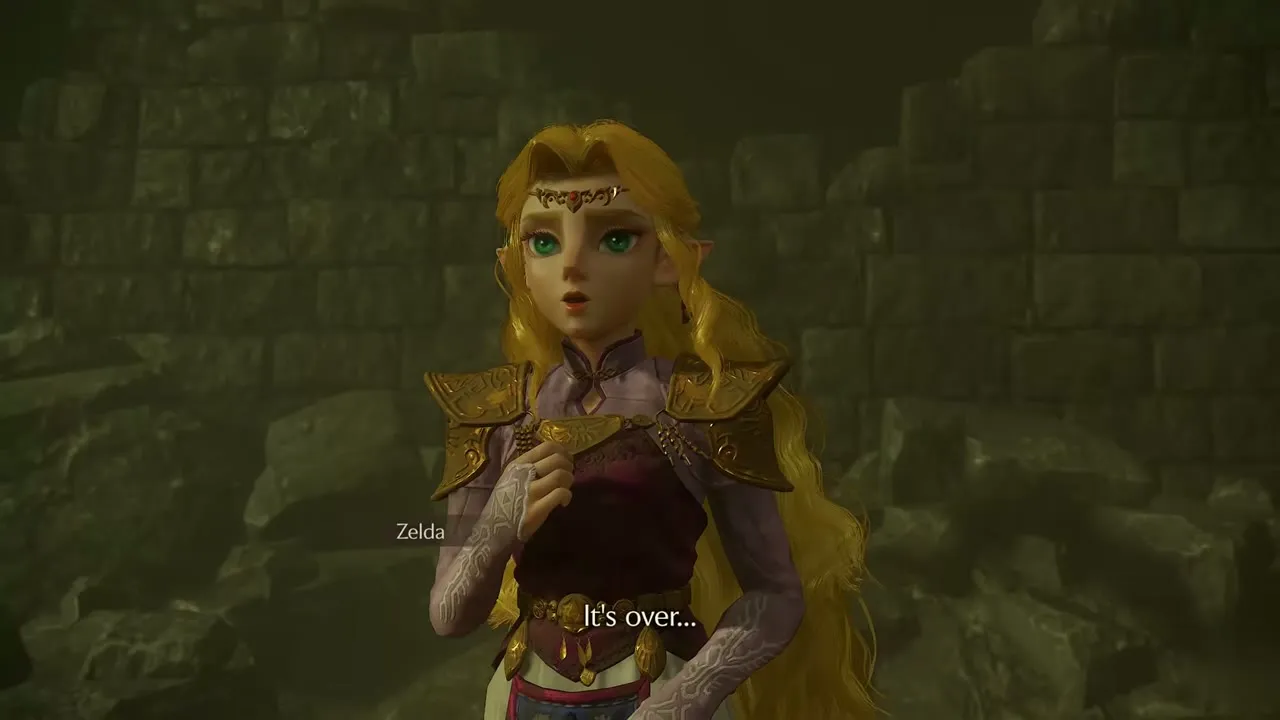
You run into the open as the castle tower burns behind you. A fade to black ends the run. Outside, you watch the whole castle collapse in a cloud of dust and rubble, with its spiked roof pieces falling, and you and Zelda walk through the mist-covered ruins. She says it is over at last, and Navi apologizes that she could not fight beside you.


Ganon boss fight
Ganon arrives
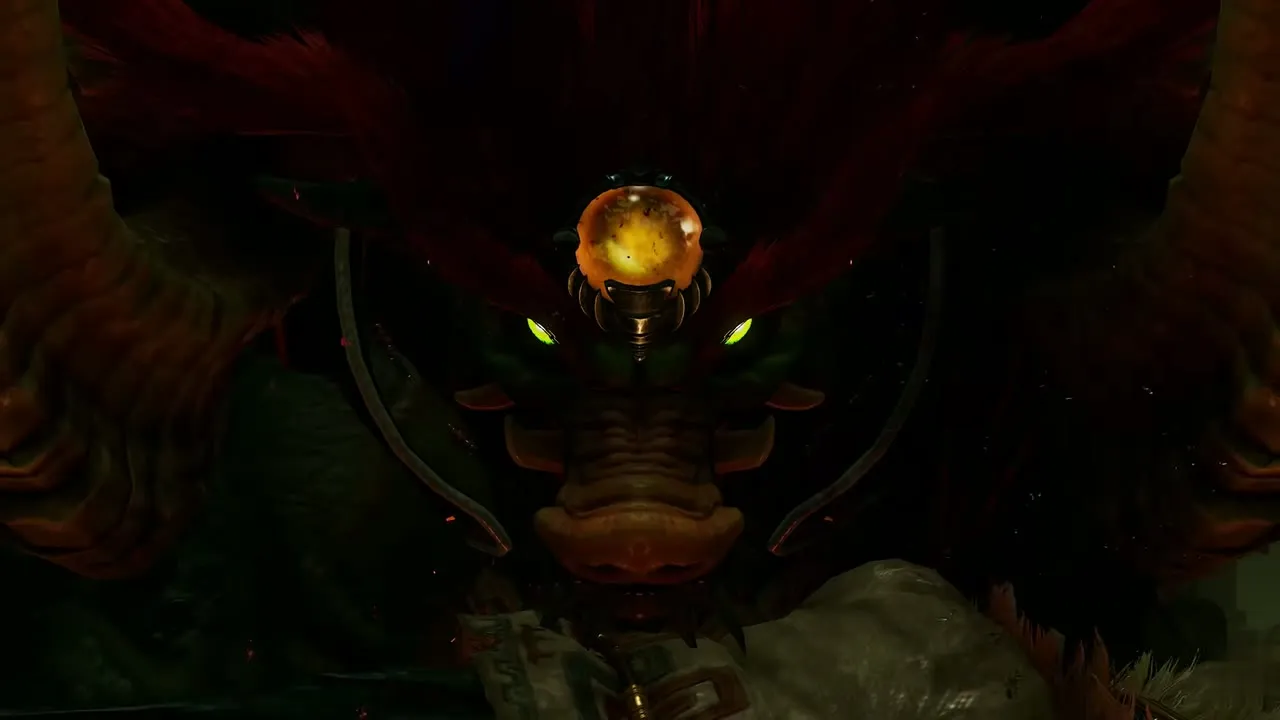
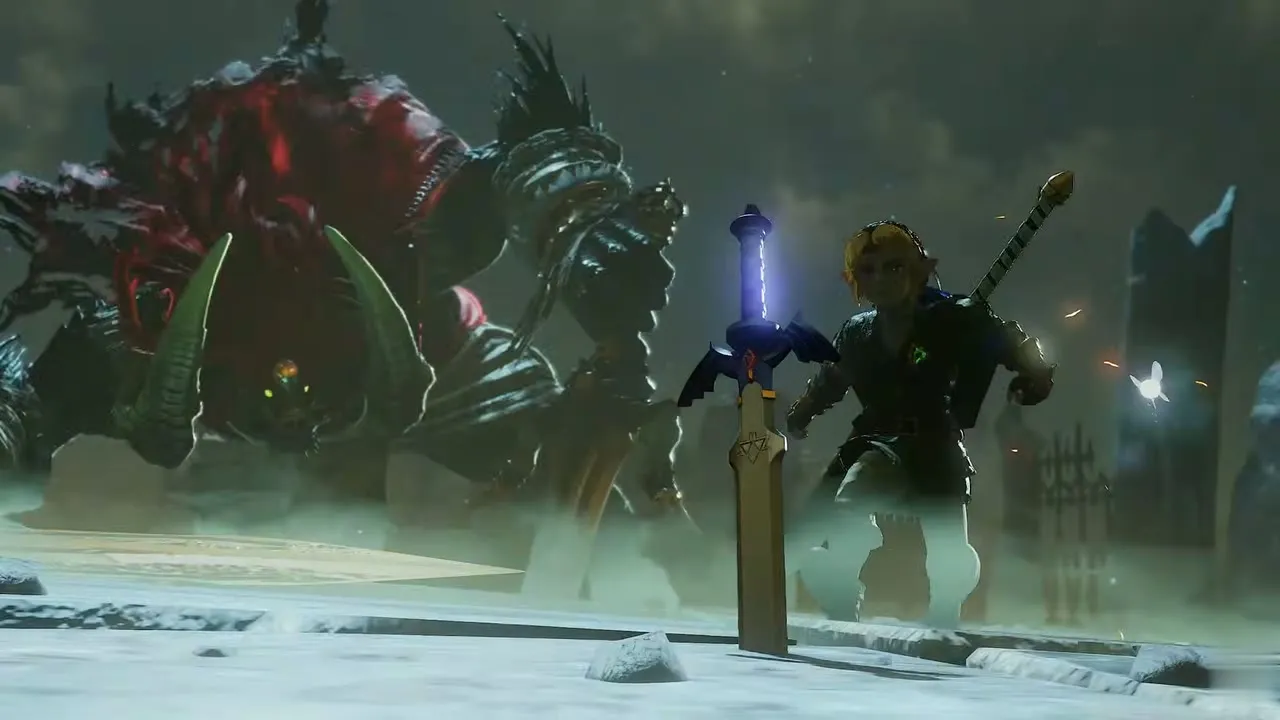
Something stirs in the ruins. A ring of fire surrounds you, and Ganondorf rises from the rubble with a glowing Triforce on his hand. He becomes a huge beast, and the title card “Ganon” appears. Navi says that this time you will fight together because you are a team. The Master Sword is stuck in the ground inside the ring of fire, so open the Equipment screen and equip a spare sword in its place. The screen lists the Biggoron Sword, which is two-handed, so your shield stays on your back.


Ganon boss fight: the tail crystal
Ganon swings two huge golden blades, so keep moving. Shoot Light Arrows at him when the Shoot Arrow prompt shows, and hit the purple crystal on his back with your spare sword until it shatters; each hit sends crystal chips flying. When the crystal breaks, a burst of red light finishes the first stage.


Master Sword returns
With the crystal gone, Zelda stands beside the Master Sword where it is stuck in the ground. She says “Now’s our chance!” and calls “Link!” as she hands it over. Draw it and it is yours again. The fight enters its second stage. Keep the Hylian Shield up against his heavy blows, and stay near the ruined stone pillars so that you can duck behind them.
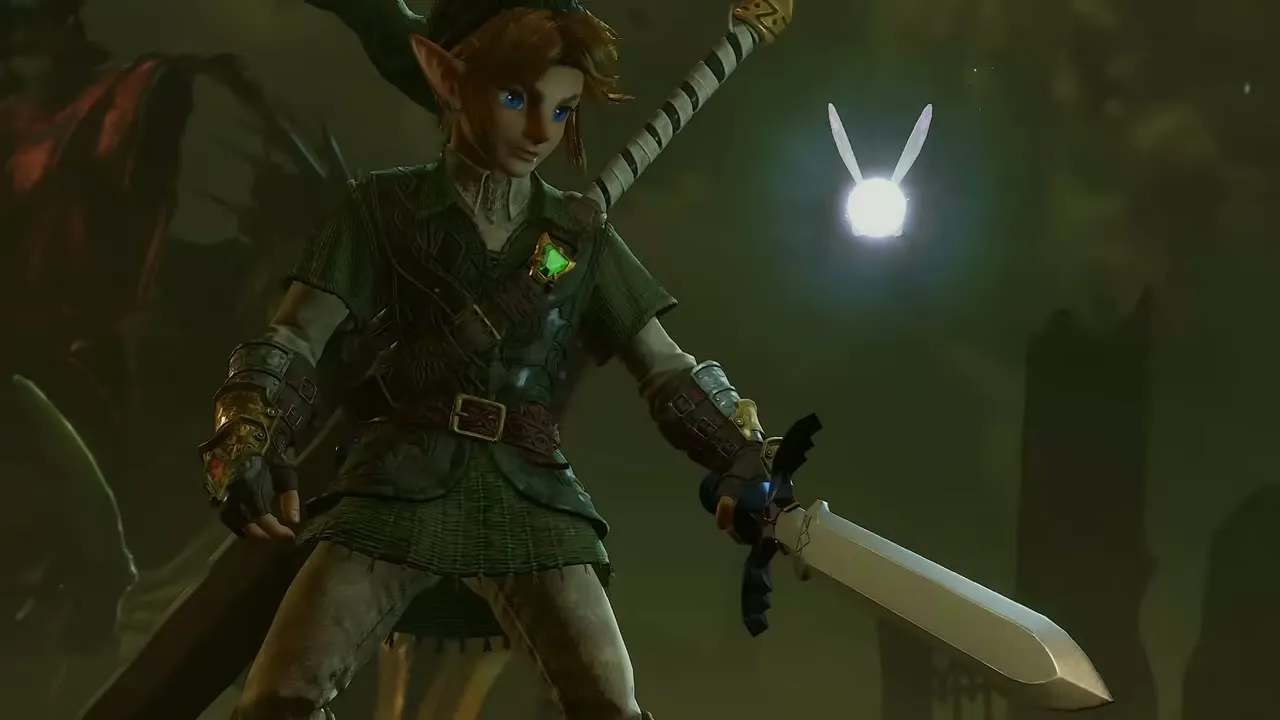
Ganon boss fight: Light Arrows and sword
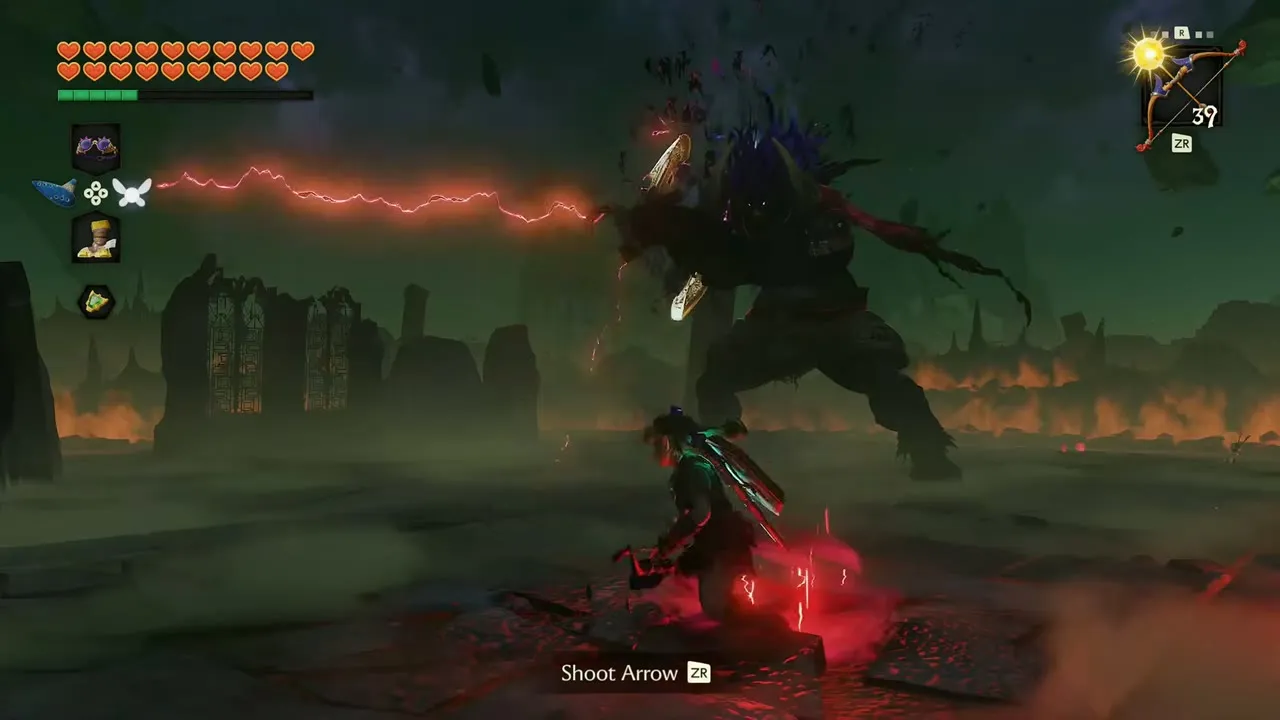
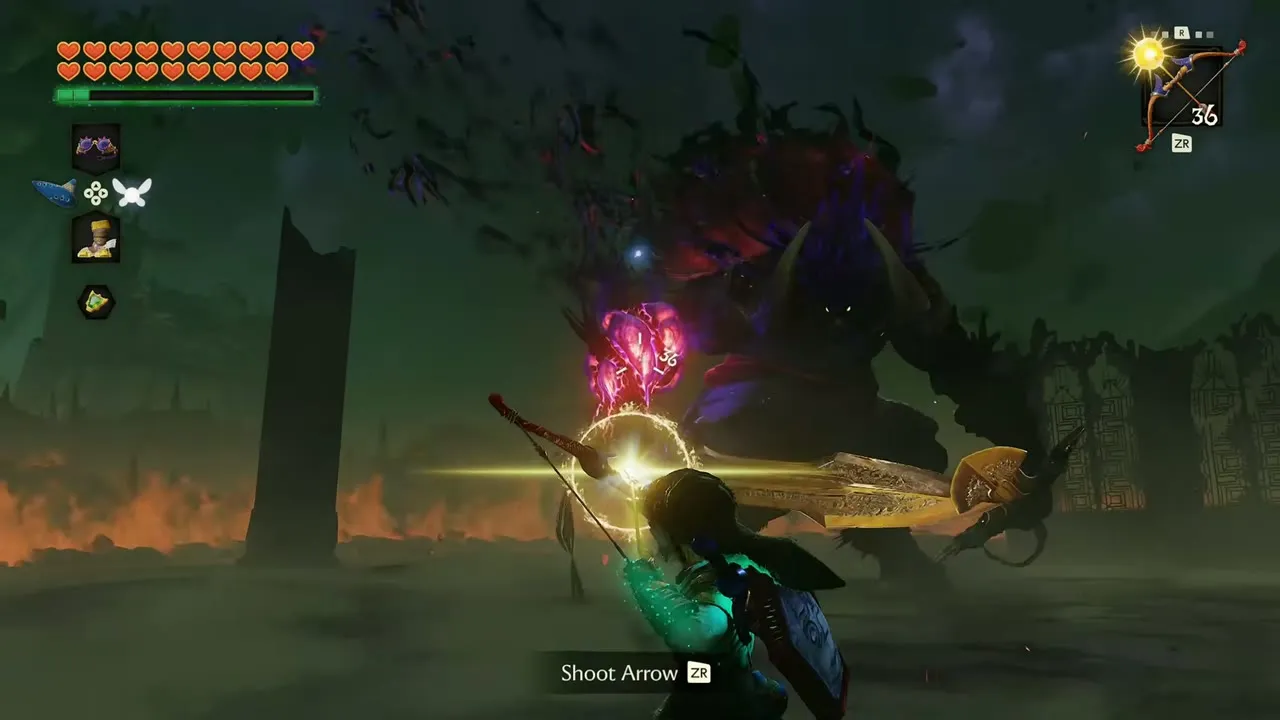
The rest of the fight is run and shoot. Ganon shows glowing pink spots on his body, and Light Arrows hit those spots hard. Draw the bow whenever you have room, then slash with the Master Sword when he staggers. Red lightning and red pools mark where his magic will strike, so keep moving. Zelda warns that his power is running wild and tells you to hang on. Hearts drop as you go, and the Green Potion in the item menu refills your magic.
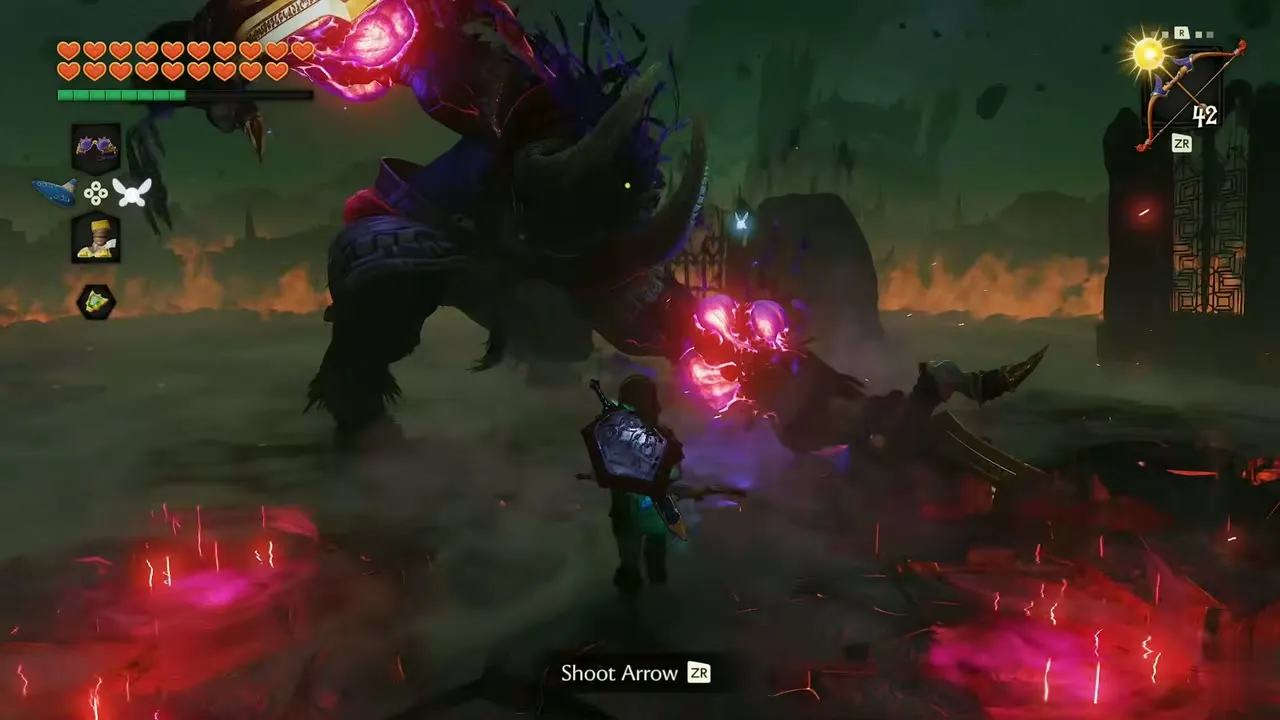
Ganon boss fight: the forehead eye
Zelda calls “Link!” and golden light pours onto Ganon’s face, opening the purple eye on his forehead. Zelda tells you that the rest is up to you. Shoot Light Arrows into the eye while you dodge the columns of red lightning that rise from the ground. Pick up hearts as they fall, and keep shooting until Ganon staggers.
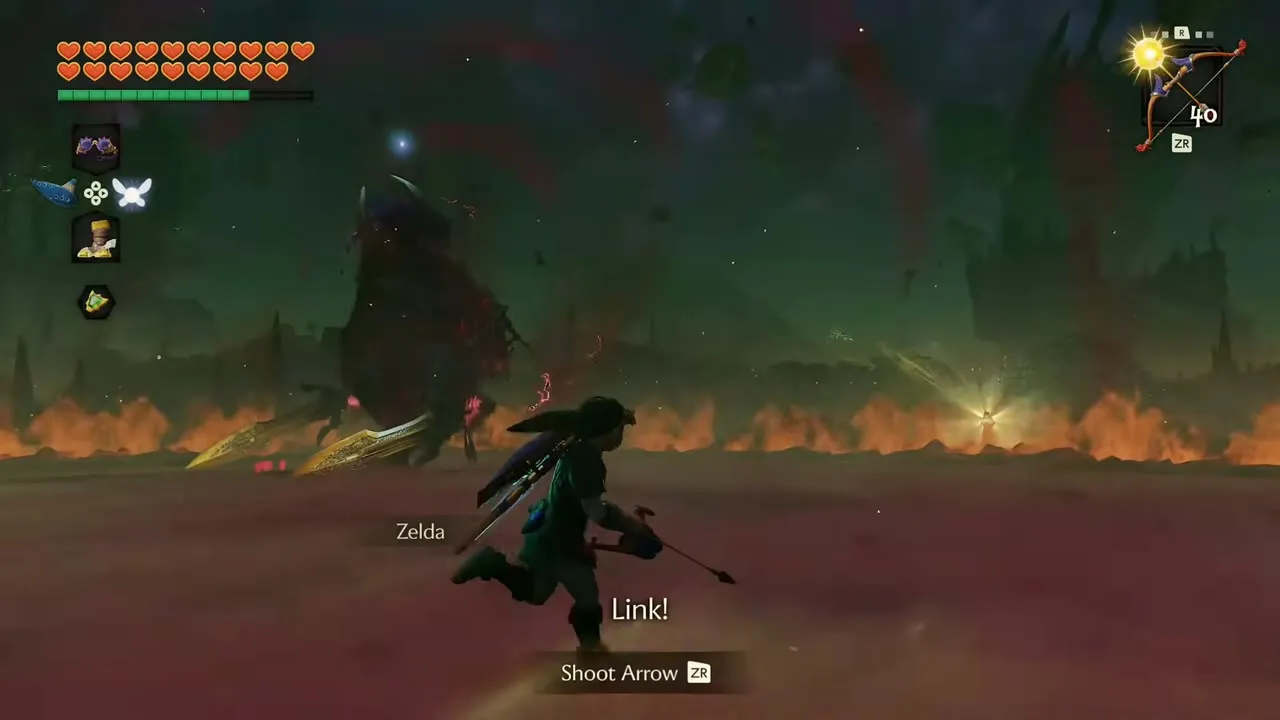


Ganon boss fight: final blow
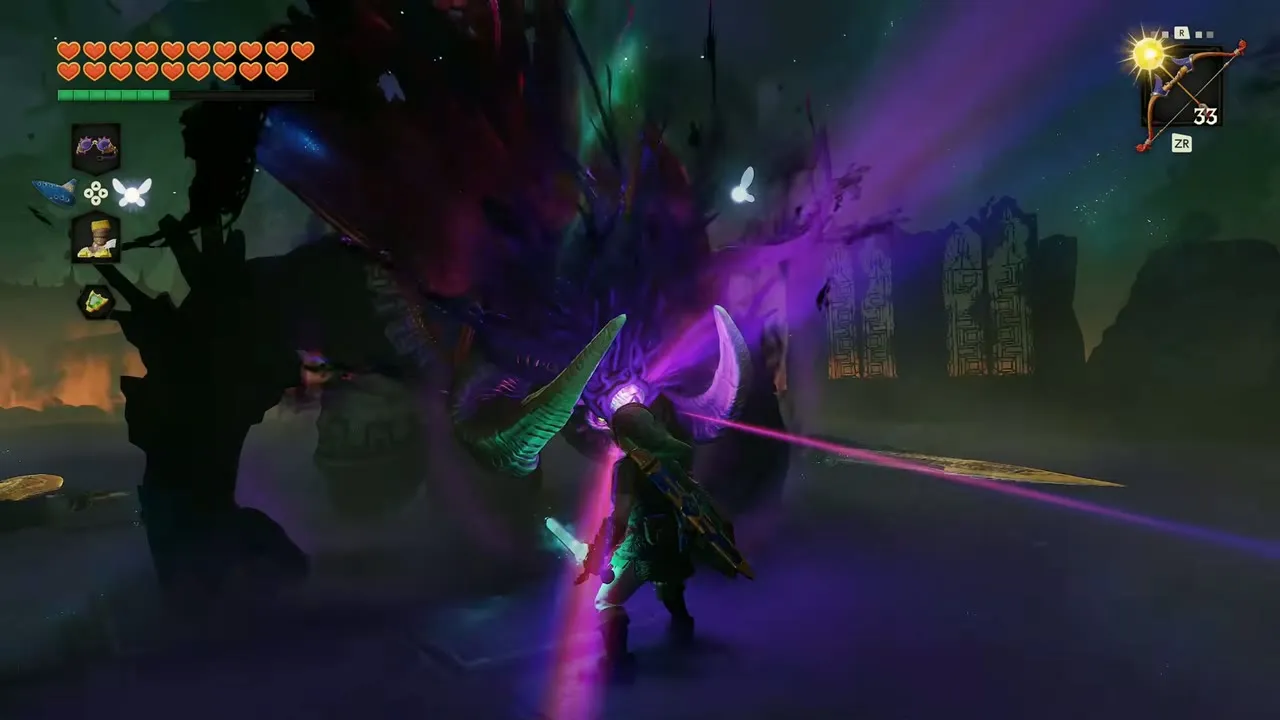
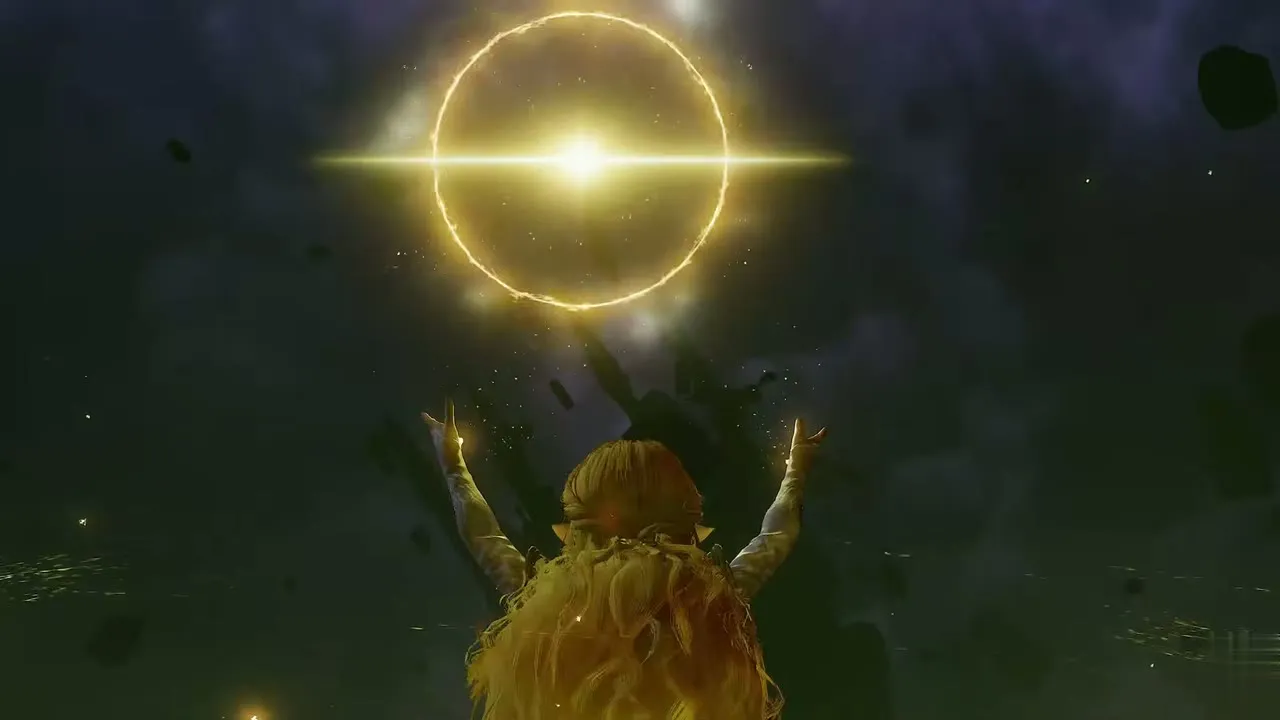
When Ganon is staggered, run in close. Strike his face with the Master Sword and a short sequence of cyan and white light finishes him. Zelda lifts her hands, and a ring of golden light forms in the sky above the ruins.

Sealing and ending
The sages seal Ganon
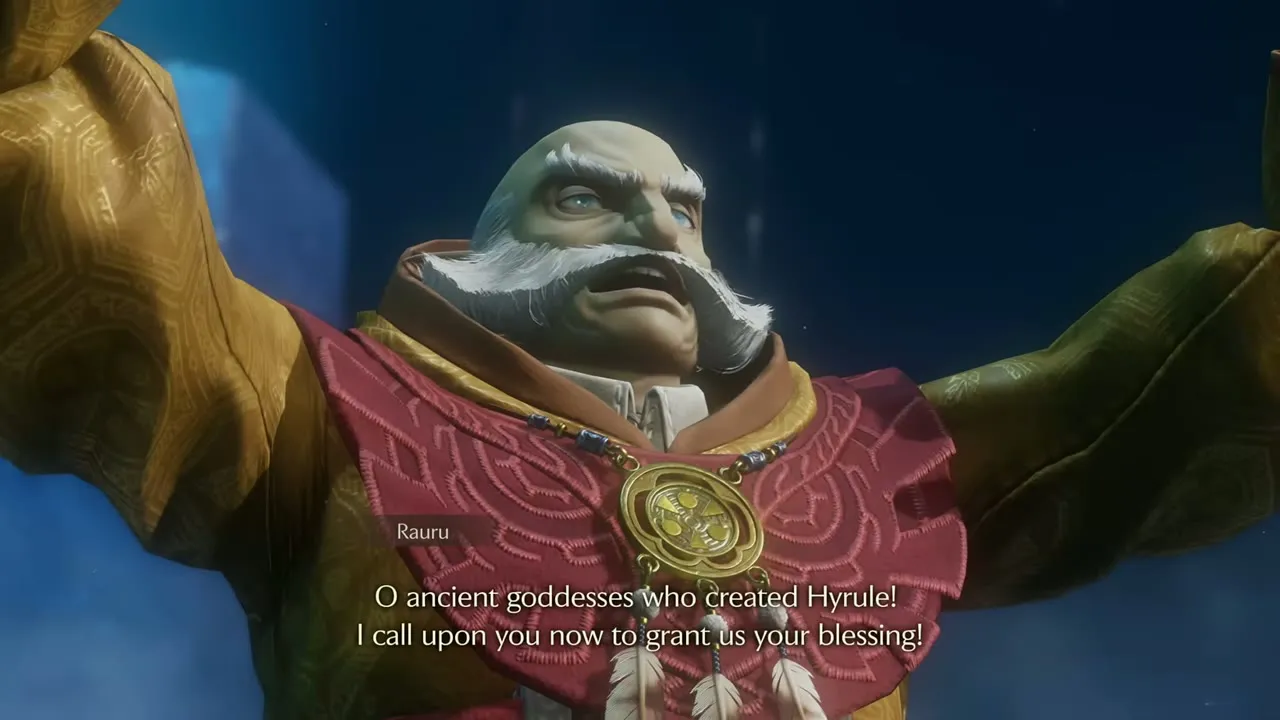
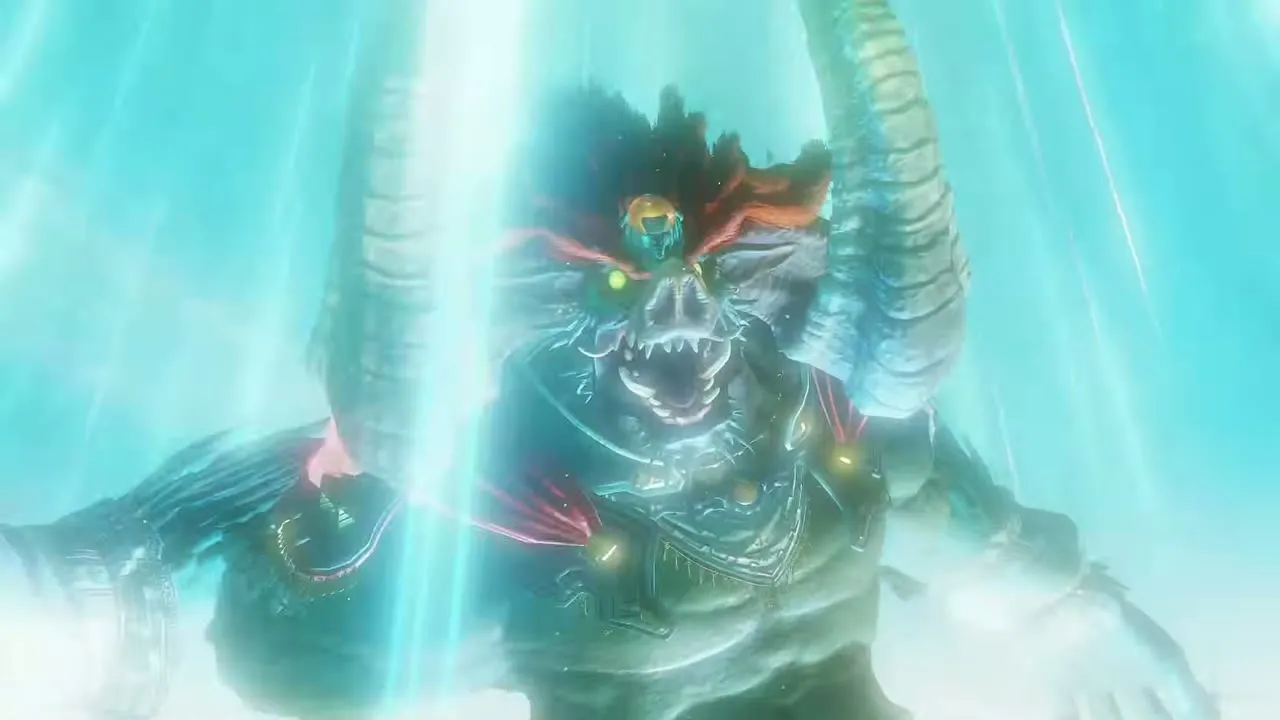
Rauru calls on the other sages to open the sealed gateway and entomb the evil one forever. Impa, Saria and the other sages answer, and they appear on their platforms around the Triforce. Ganondorf drops into a column of blue light. He curses Link, swears that he will break free some day and says that he will hunt your bloodline as long as he holds the Triforce of Power.


Farewell and the Ocarina of Time
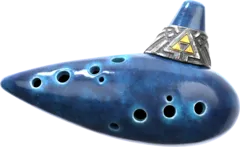
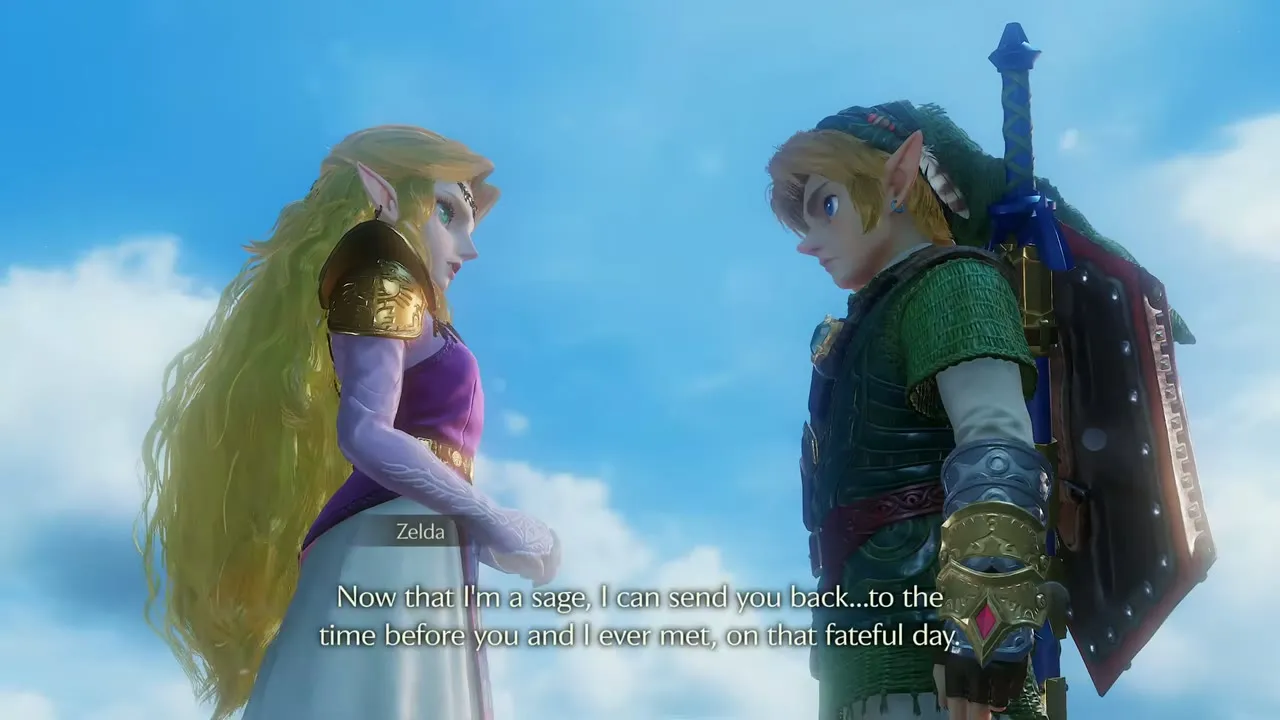
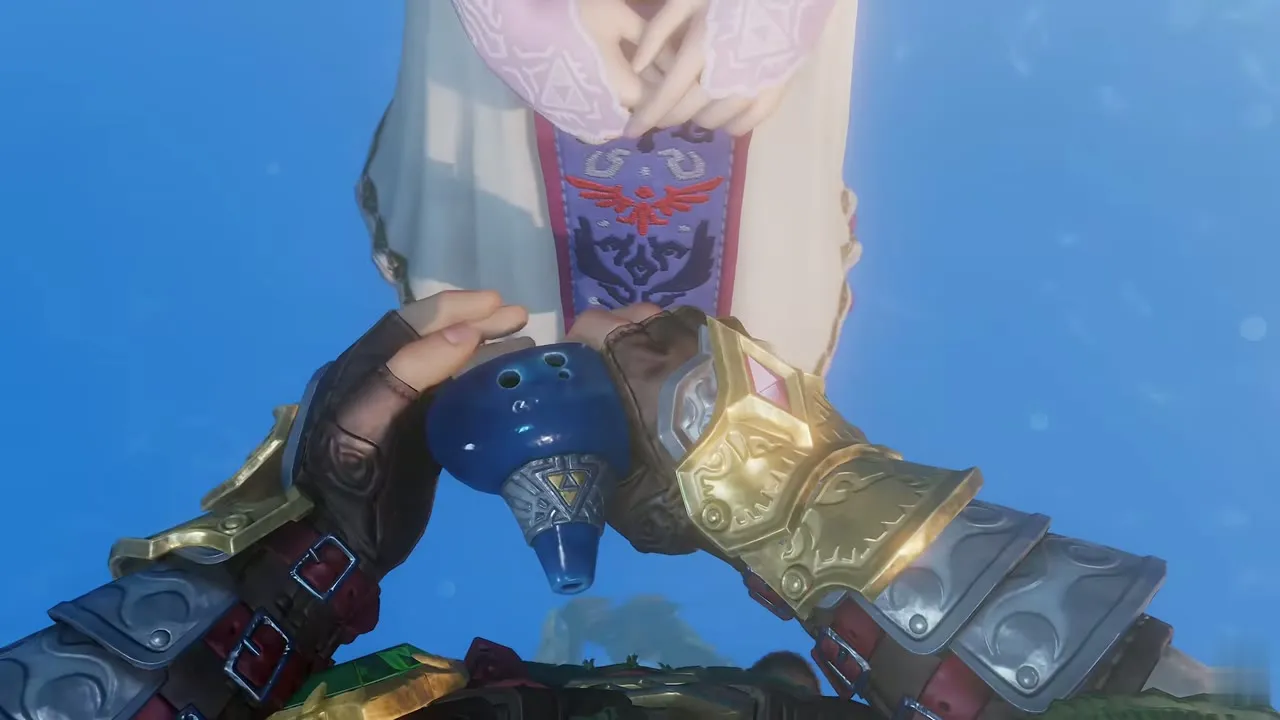
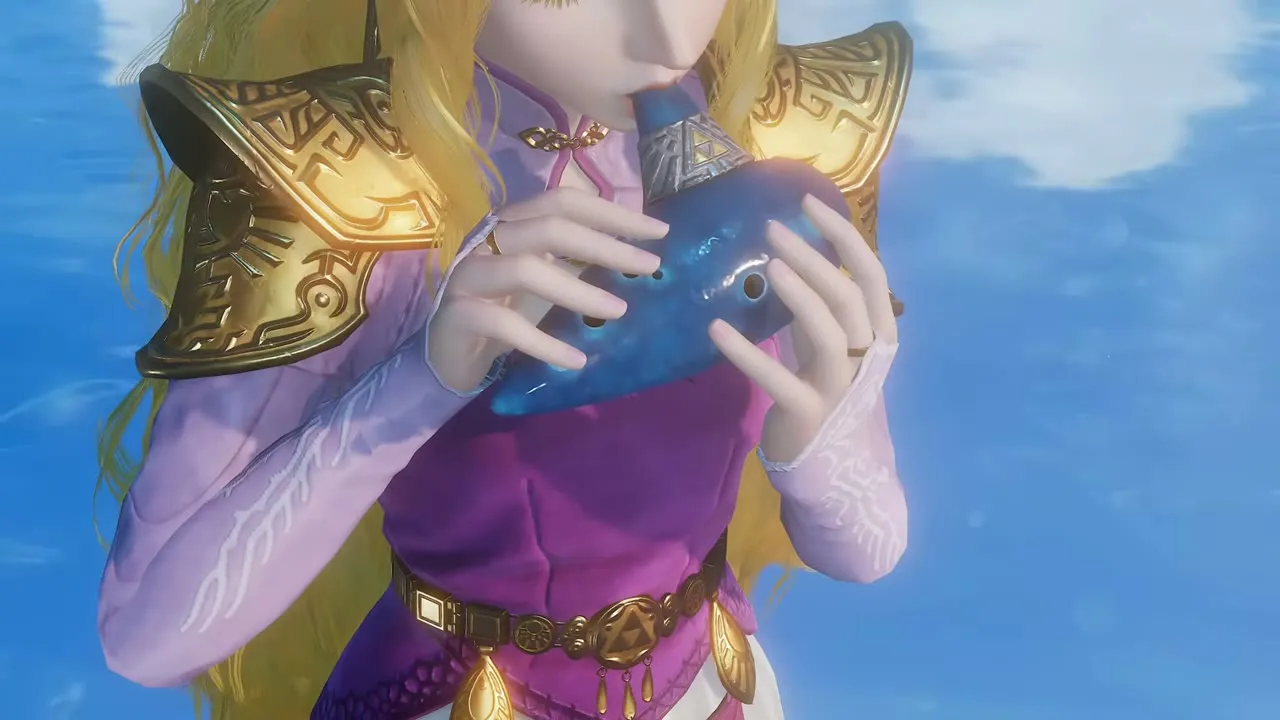
You and Zelda stand together on a calm sky-sea. She tells you that Ganondorf has been banished to the Evil Realm and that peace can begin. She says that the tragedies were her fault, apologizes and takes the Ocarina of Time from you. Then she says she can send you back to the time before the two of you ever met, so that you can go where you belong. She plays the Ocarina, thanks you for everything and says goodbye. The staff roll begins as the screen fades.


Chapter checklist
| Collectible | Type | Where |
|---|---|---|
| Boss Key | Key item | Gold-and-teal chest in the Iron Knuckle arena of the tower |
| Arrows (refilled to 50) | Pickup | Red pots in the room before the boss door |
| Master Sword | Equipment | Comes back to you early in the Ganon fight |
| Ocarina of Time | Key item | Returned to Zelda in the final scene |
Nothing remains after the credits begin, so check your totals against the other chapters. Fight tips for every boss are in Boss Strategies.
