
























Oracle of Seasons 100% Completion Walkthrough26 chapters
- Getting Started in Holodrum and the Hero’s CaveImpa’s request, Mayor Ruul’s Gasha Seed, Vasu’s Ring Box, the Hero’s Cave ledge chest, shop Bombs and the Gnarled Key.
- Gnarled Root Dungeon (Dungeon 1)Keys, map, compass, Seed Satchel, Boss Key, Aquamentus and the Essence of Fertile Soil.
- Subrosia, the Tower of Winter and the Rod of SeasonsGasha Nuts, Boomerang, Ore Chunks, the Rod and the Ghastly Doll.
- Woods of Winter and the ShovelPay the old man, bomb the 30 Rupee cave, get the Shovel from Holly, find the Mystery Seed tree.
- Snake’s Remains (Dungeon 2)Compass, rupee room, Power Bracelet, Dungeon Map, bomb merchant, Facade, Dodongo boss, Heart Container and Gift of Time.
- Farore’s Secrets and Princess Zelda’s RescueThree Pieces of Heart, a Gasha Nut, Vasu’s rings, the L-3 Ring Box, Zelda and the Blue Joy Ring.
- Spool Swamp and the Floodgate KeyRicky’s Gloves, the Iron Pot trade, Pegasus Seeds, the Floodgate Key and freeing Dimitri for his flute.
- The Tower of Summer and Rosa’s RibbonStar-Shaped Ore, Rosa’s Ribbon, Subrosian Market buys (Heart Piece, Bomb Bag), the Spirit of Summer.
- Poison Moth’s Lair (Dungeon 3)Both Small Keys, Roc’s Feather, Compass, Map, Gasha Seed, Omuai, Boss Key, Mothula and the Bright Sun Essence.
- Natzu, Sunken City and Zora’s FlippersDimitri’s swim, Gale Seeds, Master’s Plaque, Master Diver and the Pyramid Jewel in Oracle of Seasons.
- The Hall of Secrets and the Noble SwordFarore’s secrets, Bombchu, the Noble Sword, Advance Shop rings, Vasu’s appraisals and a first Hero’s Cave visit.
- Great Moblin’s Keep and Goron MountainBomb-catching boss fight, Heart Piece, Tokay secret, bigger Ring Box, 300 Rupees and a Gasha Seed spot.
- The Strange Brothers, the Tower of Spring and Mt. CuccoWin back Roc’s Feather from the Strange Brothers, Spring power, Moosh, Heart Piece, Dragon Key and Dungeon 4.
- Dancing Dragon Dungeon (Dungeon 4)All five Small Keys, Map, Compass, Agunima, Slingshot, Boss Key, Gohma and the Essence of Soothing Rain.
- The Tower of Autumn and Eyeglass LakeGasha Seeds, ring appraisals, Seed Satchel, Treasure Map, Bomb Flower and Power of Autumn.
- Unicorn’s Cave (Dungeon 5)Compass, five Small Keys, Magnetic Gloves, Syger and Digdogger, Heart Container and Nurturing Warmth Essence.
- The Four Jewels, Tarm Ruins and the Lost WoodsRed Ore, Iron Shield, Round Jewel, Vasu’s rings, the Lost Woods seasons and the Master Sword.
- Ancient Ruins (Dungeon 6)Dungeon Map, Compass, three Small Keys, Magical Boomerang, Vire, Manhandla, Heart Container and Blowing Wind.
- Samasa Desert and the Pirate’s BellThe desert ring chest, the polished Rusty Bell and the way to Explorer’s Crypt.
- Explorer’s Crypt (Dungeon 7)Beat the Poe Sisters, get Roc’s Cape and the Boss Key, defeat Gleeok and claim the Seed of Life essence.
- Temple Remains and the Volcano EruptionMaku Tree secrets, Vasu ring appraisals, the Subrosian volcano eruption and the last Piece of Heart in the temple.
- Sword & Shield Maze (Dungeon 8)Compass, Dungeon Map, Hyper Slingshot, Frypolar, Medusa Head and the Changing Seasons essence.
- The Huge Maku Seed, the Last Trades and the Hero’s CaveThe Goron Vase to Phonograph trade chain, Gasha Seed planting, and the linked Hero’s Cave chest trial.
- Side Quests and Collectibles Before Onox’s CastleGasha Nuts, Vasu’s rings, the Mirror Shield, the chest game, Maple and Biggoron’s Sword.
- Onox’s Castle and the Final BattleClear the castle rooms, beat Facade, buy the Mirror Shield, then defeat General Onox and free Din.
- The Linked Game FinaleBeat Twinrova and Ganon in the Room of Rites, then finish at the Maku Tree and find the Hero’s Secret.
| Covers | North Horon and Horon Village after the first dungeon, the fields east of the village, the portal at Eyeglass Lake, Subrosia (Dance Hall, Temple of Seasons, Tower of Winter) and the tree stump where you first use the Rod. You cannot choose the season until you own the Rod, so the weather changes by itself on the way. |
|---|---|
| Dungeon | None. The Tower of Winter is a one-puzzle tower: a crystal switch across lava, two staircases and the Spirit of Winter. |
| Rewards | Rod of Seasons with the power of winter, Boomerang (Level 1), 103 Ore Chunks (2 x 50 from dances plus a few found), Piece of Heart 1 of 12, 2 Gasha Nuts (2 unappraised rings), 1 Gasha Seed from the Mayor’s hidden room, 2 x 100 Rupees from secret caves, Wooden Shield, and trade items 1 to 3 (Cuccodex, Lon Lon Egg, Ghastly Doll). |
This chapter turns the end of the first dungeon into the Rod of Seasons. You collect the easy rewards around Horon (two secret caves, two Gasha Nuts, a Piece of Heart and a Gasha Seed), start the trading sequence, buy a shield, follow Rosa to a portal at Eyeglass Lake and cross Subrosia to the Temple of Seasons. The Rod gets its first power, winter, in the Tower of Winter, and you test it on a stump back in Holodrum.
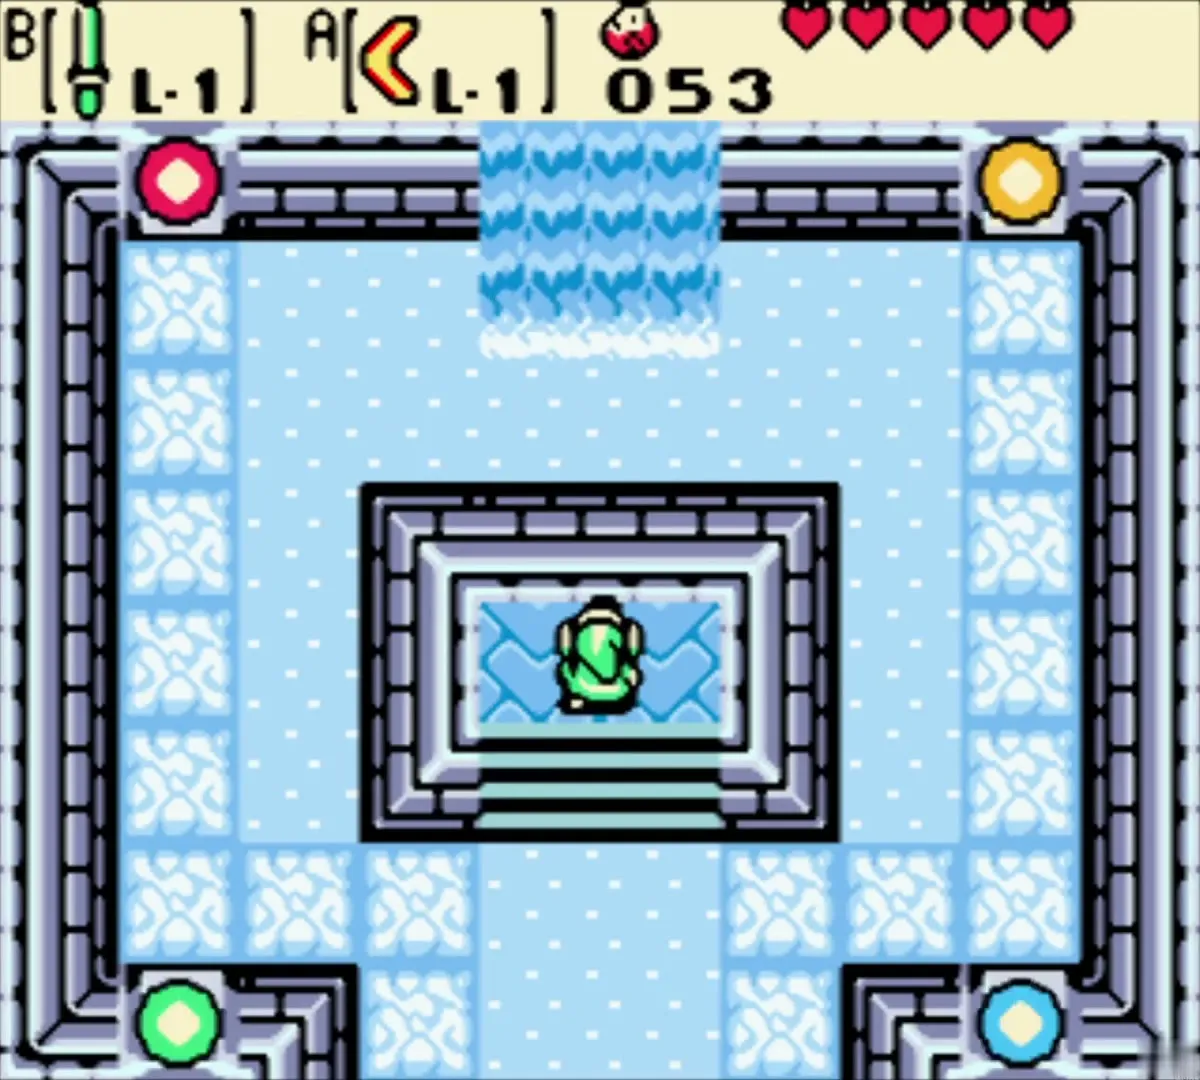
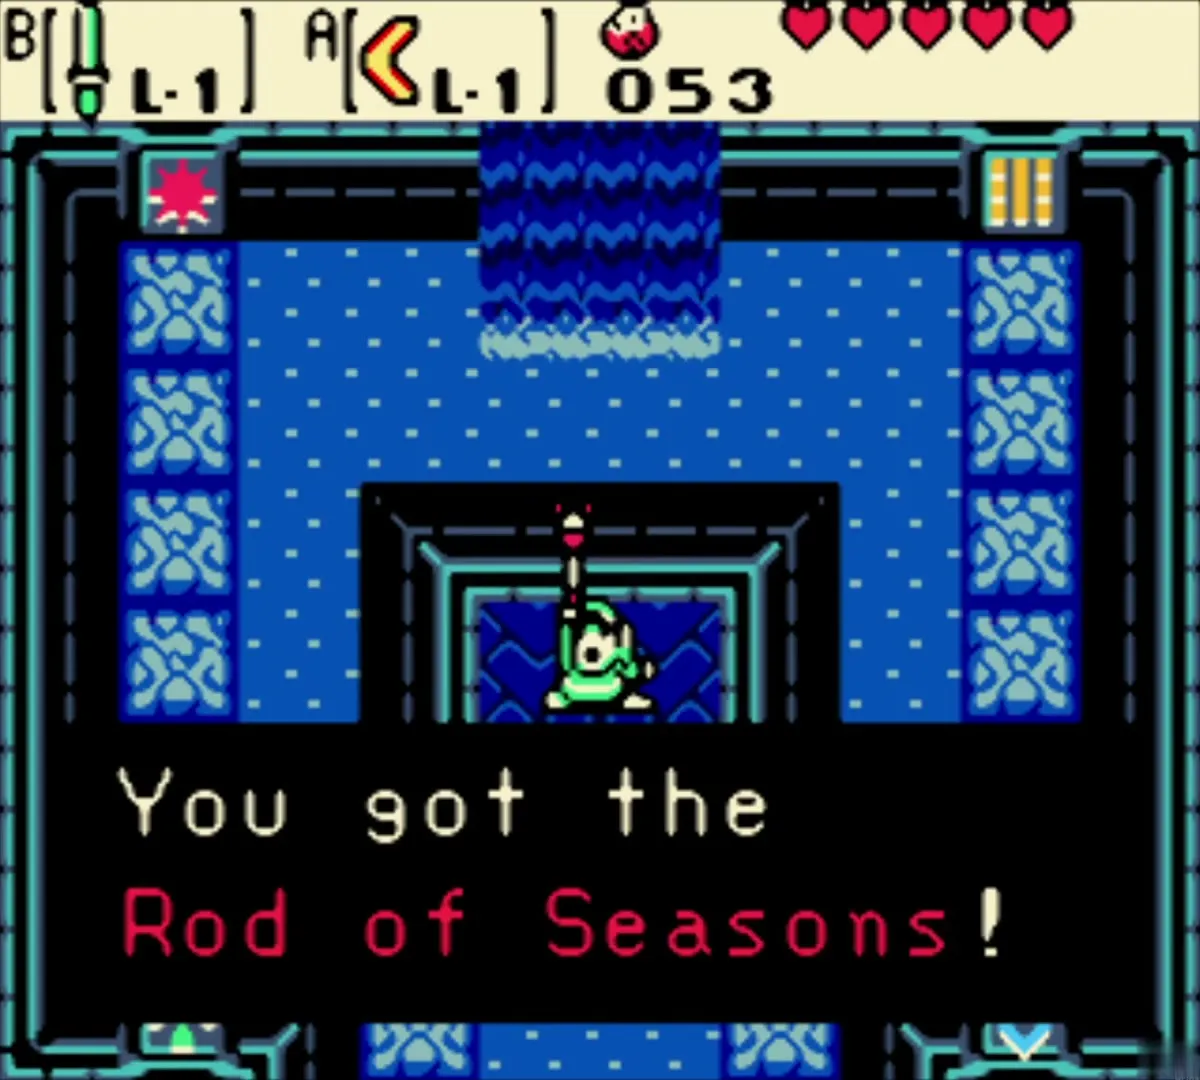
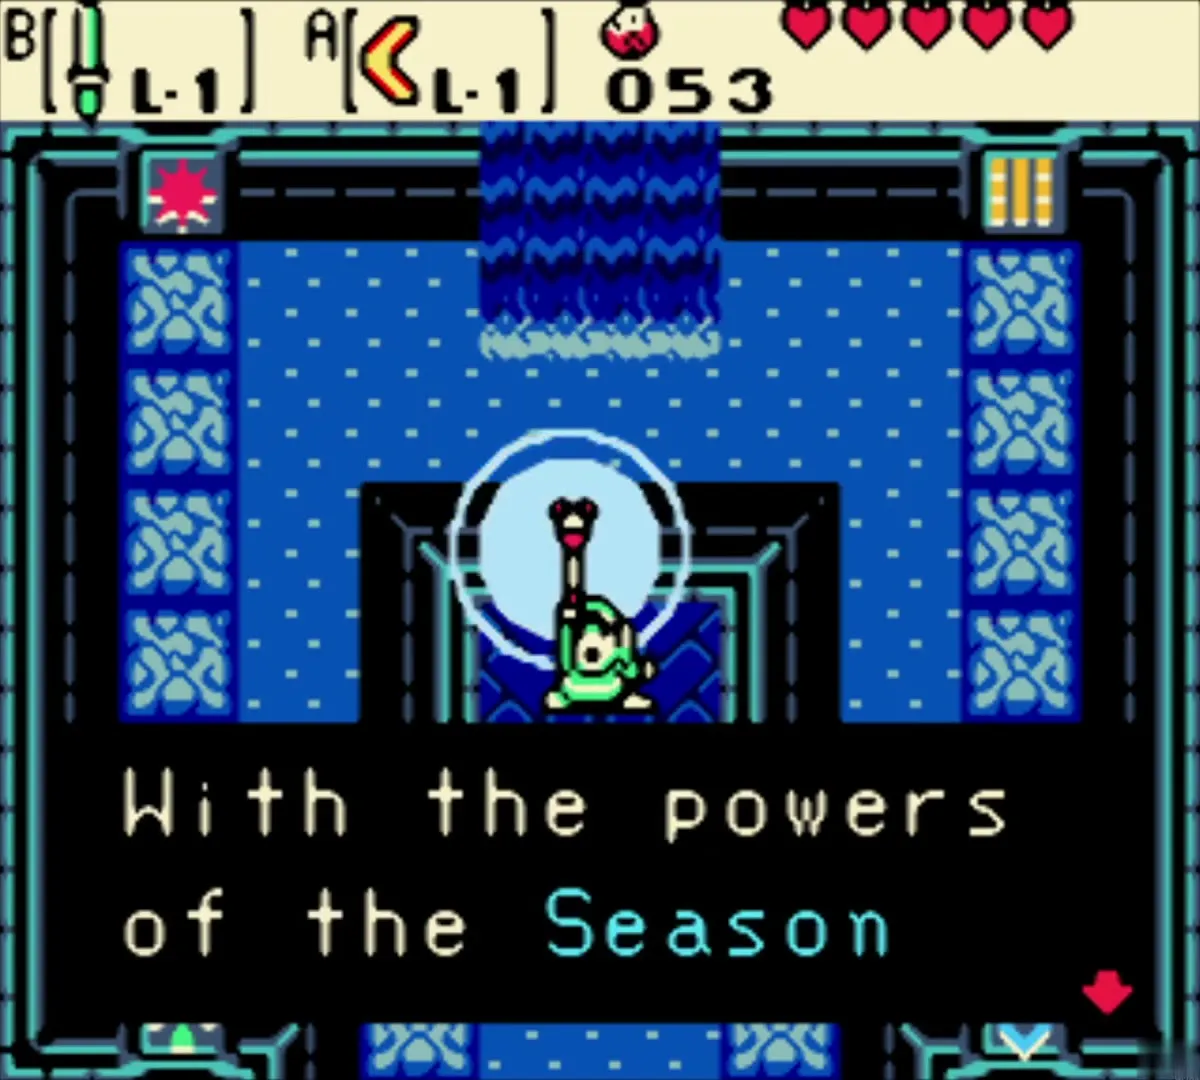
Table of Contents
North Horon after the first dungeon
Maple’s bump at the bridge
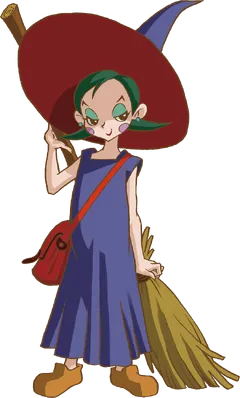
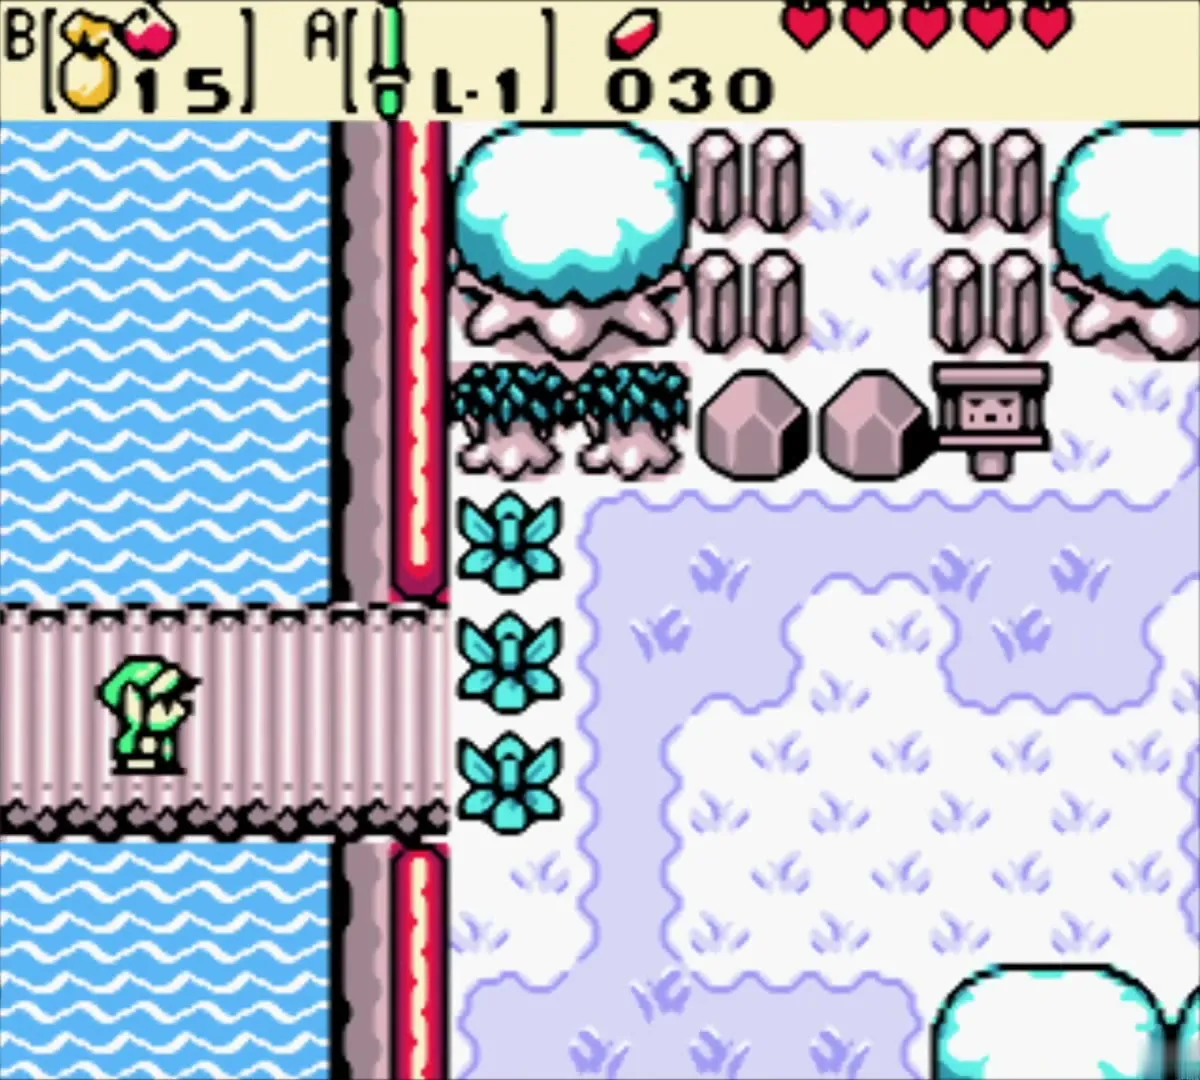
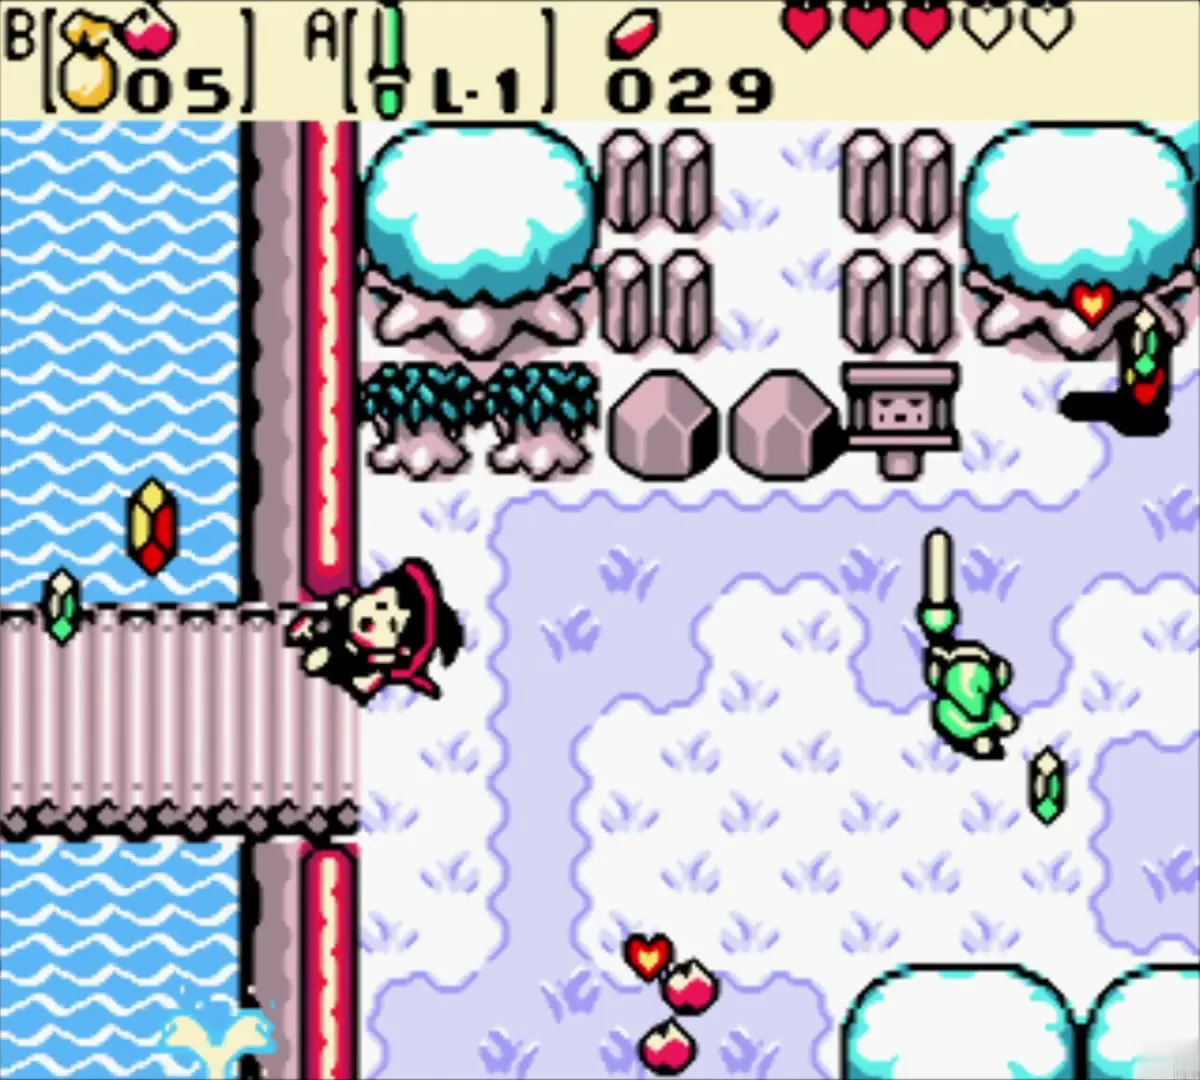
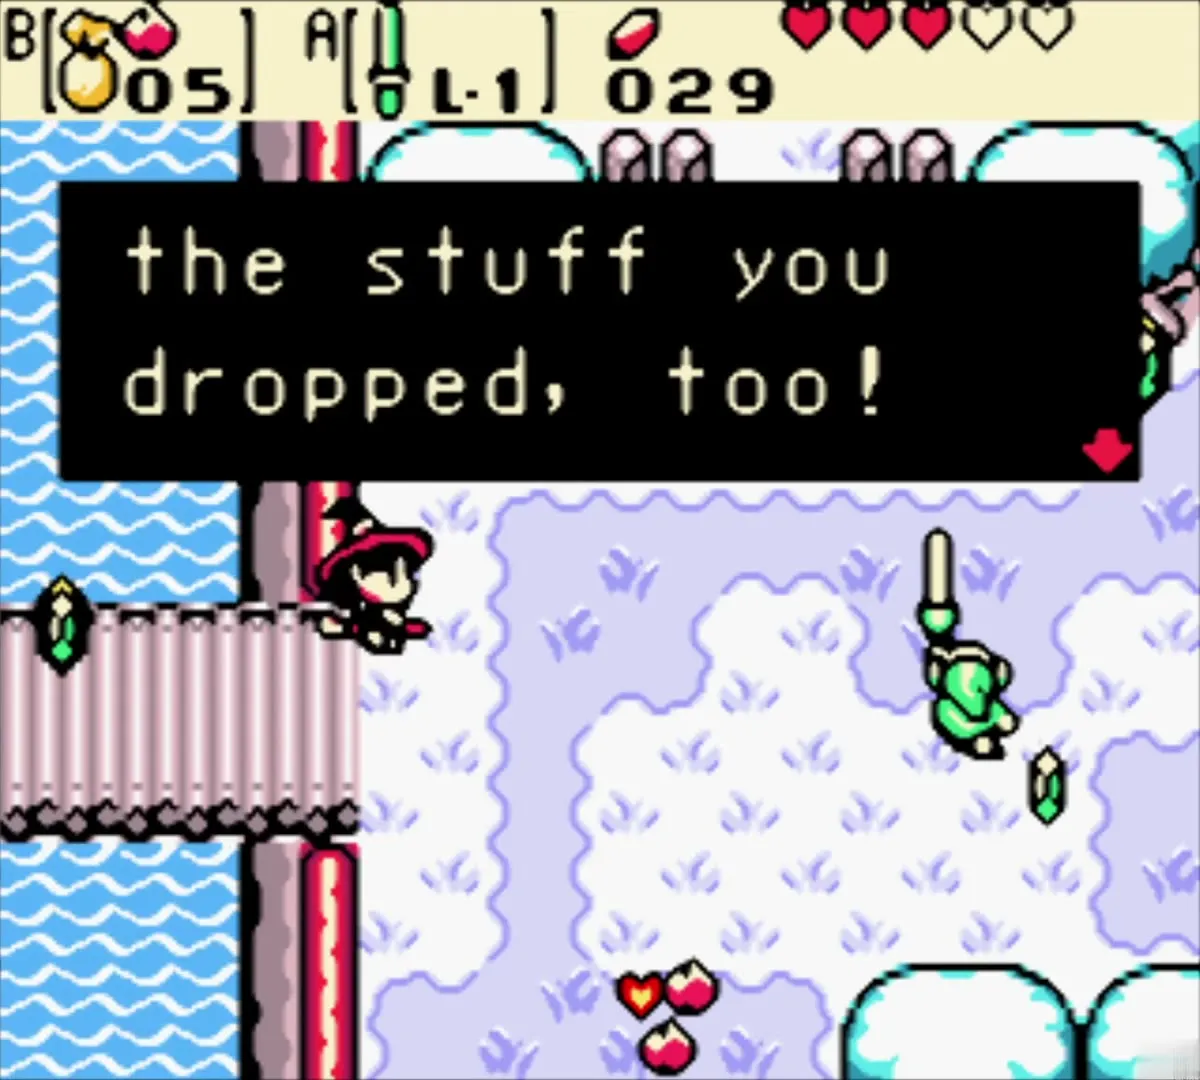
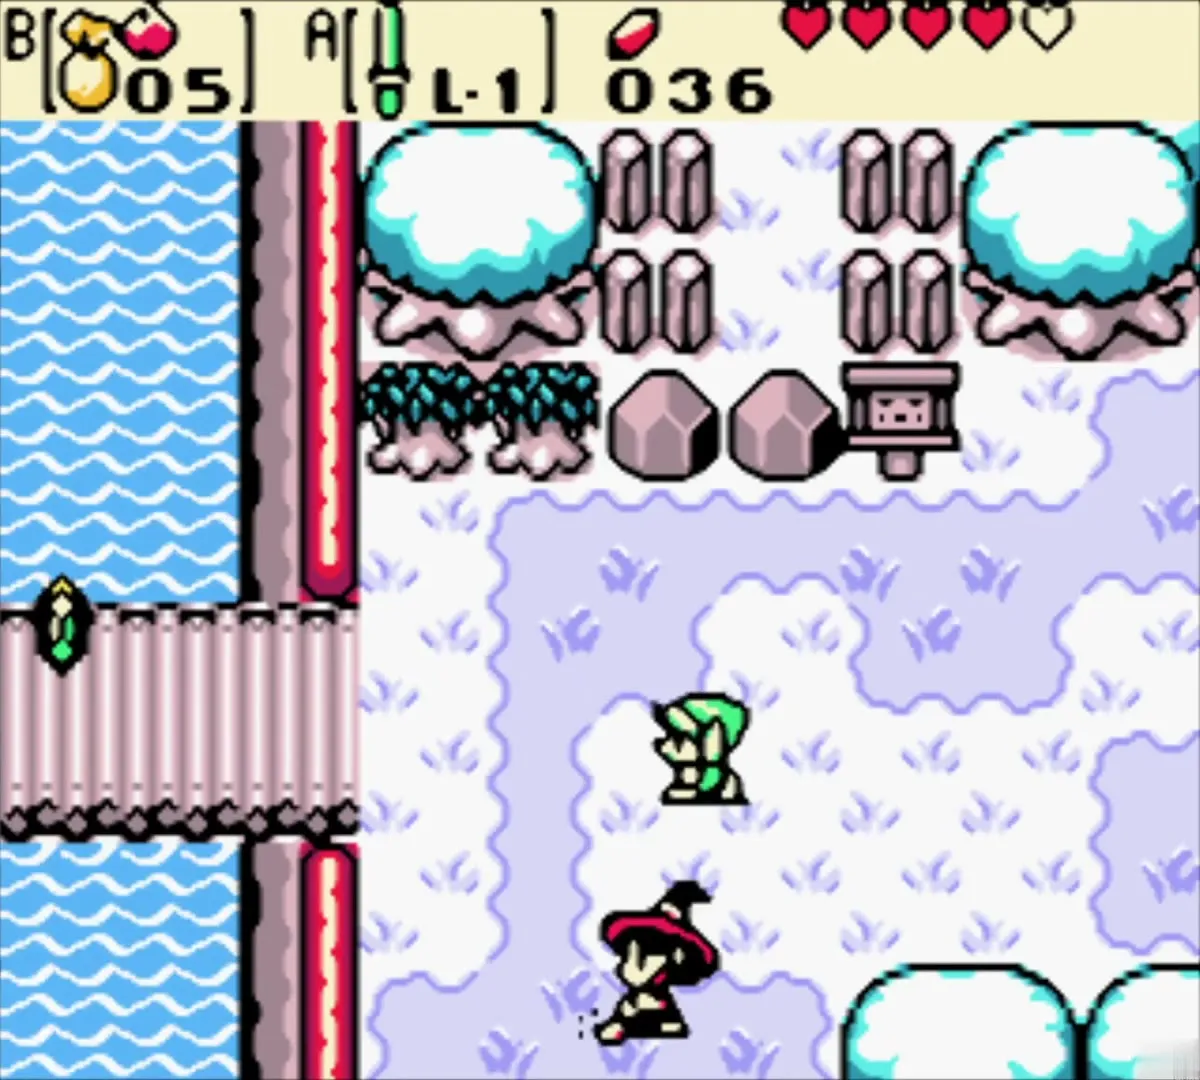
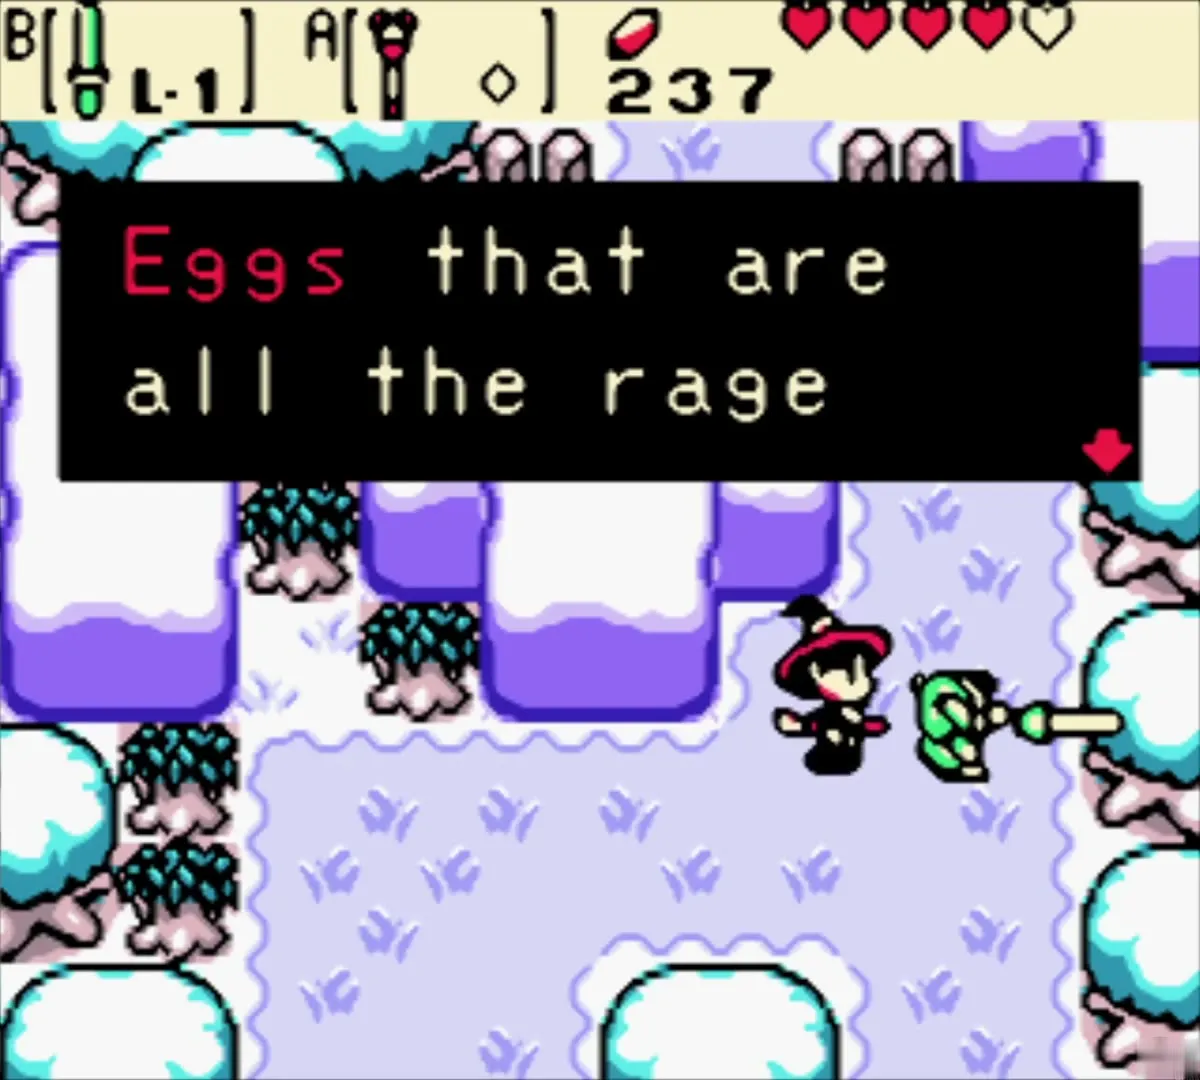
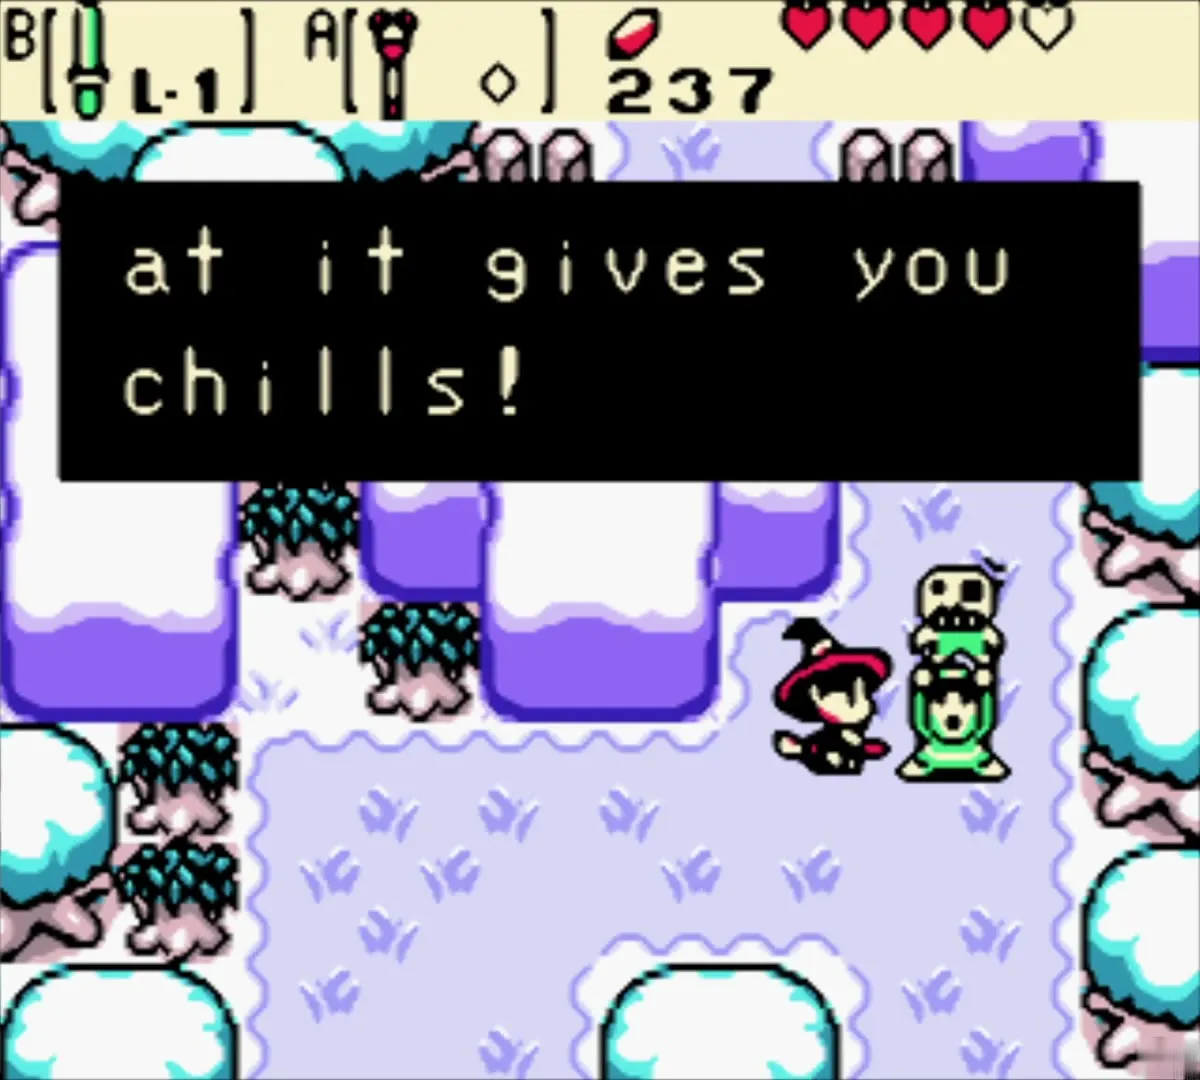
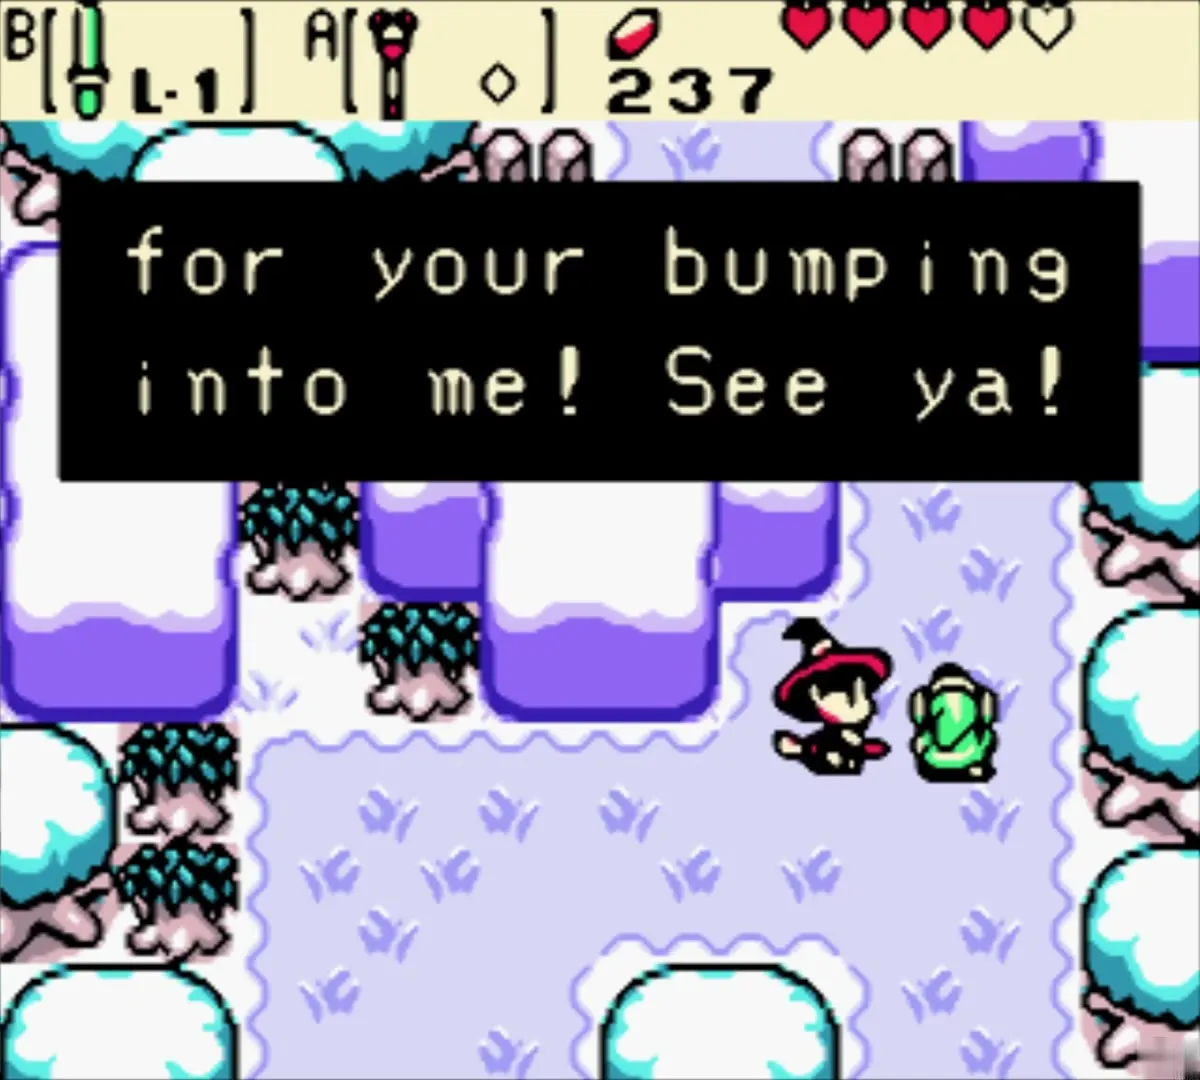
Leave the dungeon island and walk west over the bridge. Maple, the witch’s apprentice, zooms in on her broom and crashes into you. The bump spills your belongings and she keeps some: here your Seed Satchel drops from 15 to 5 Ember Seeds, while the things that fall out are worth about 13 Rupees and a few Recovery Hearts, so grab them quickly. Maple is a random visitor who appears after 30 kills (15 with Maple’s Ring), and a visit of hers can drop a Piece of Heart, though not this one. See Maple encounters.

Secret cave: 100 Rupees
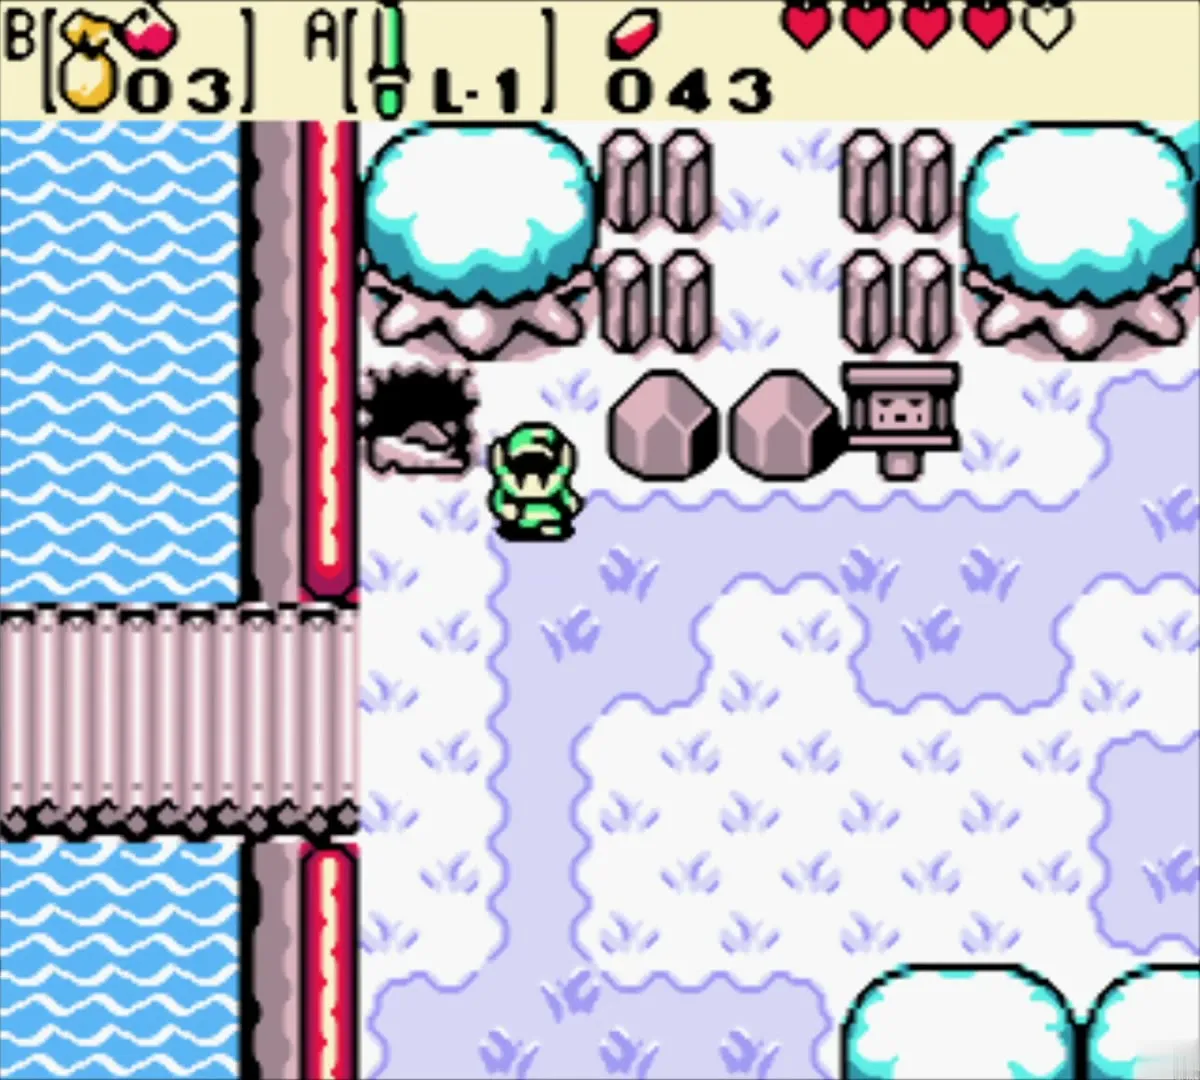
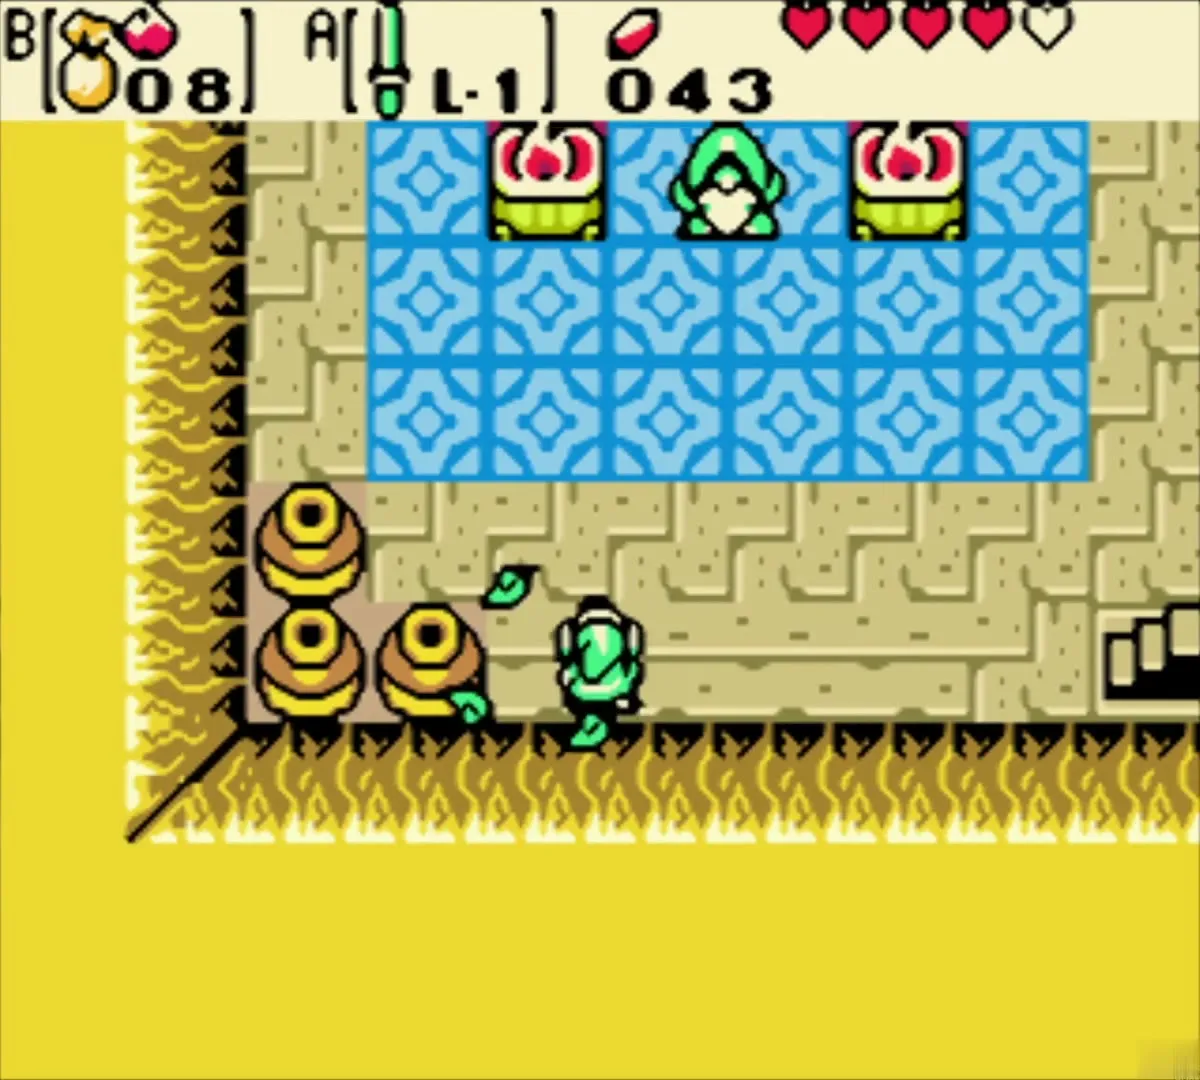
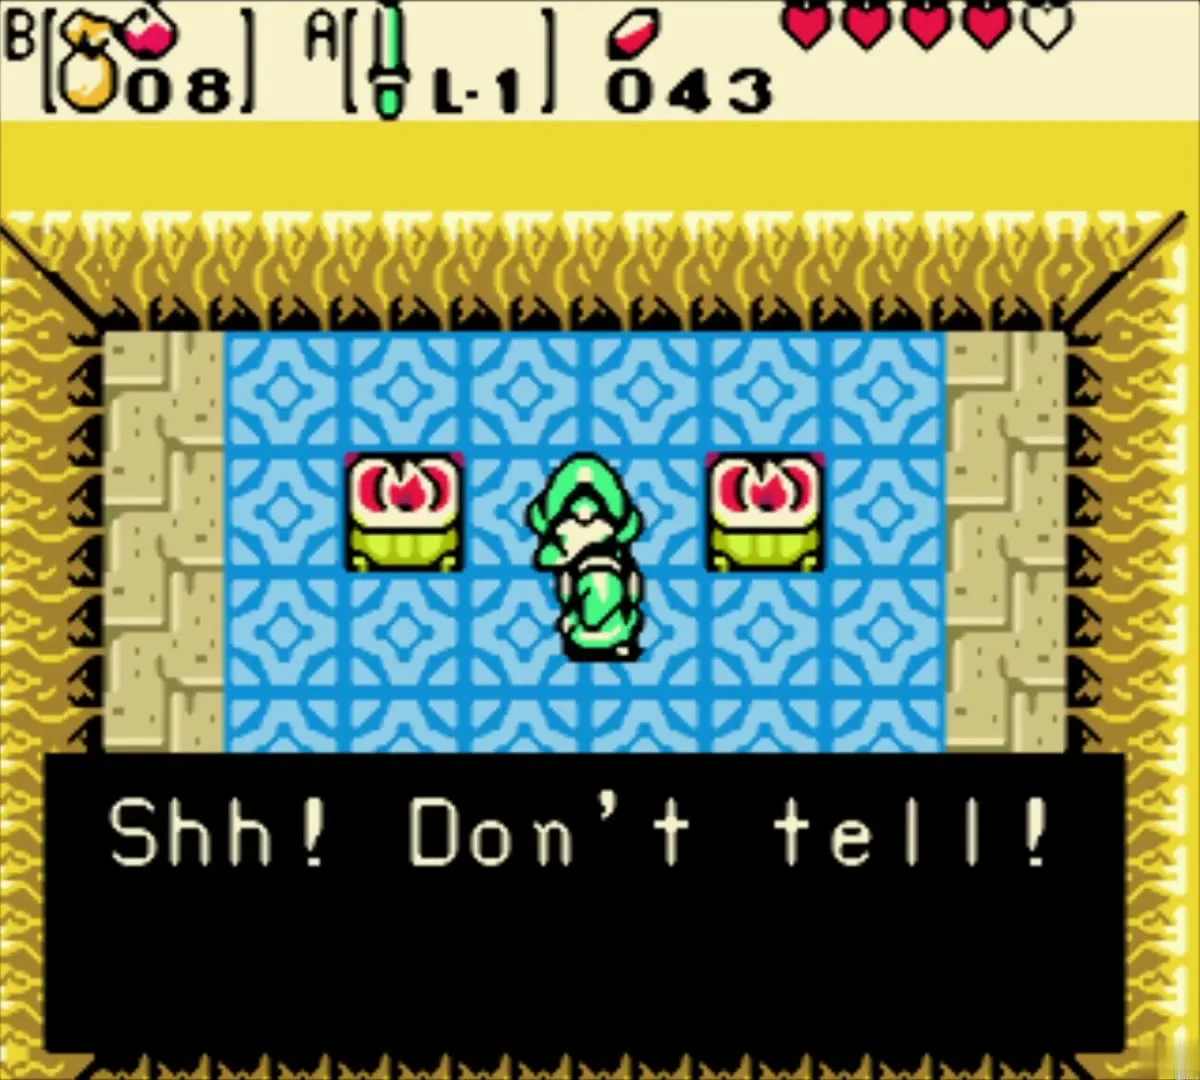
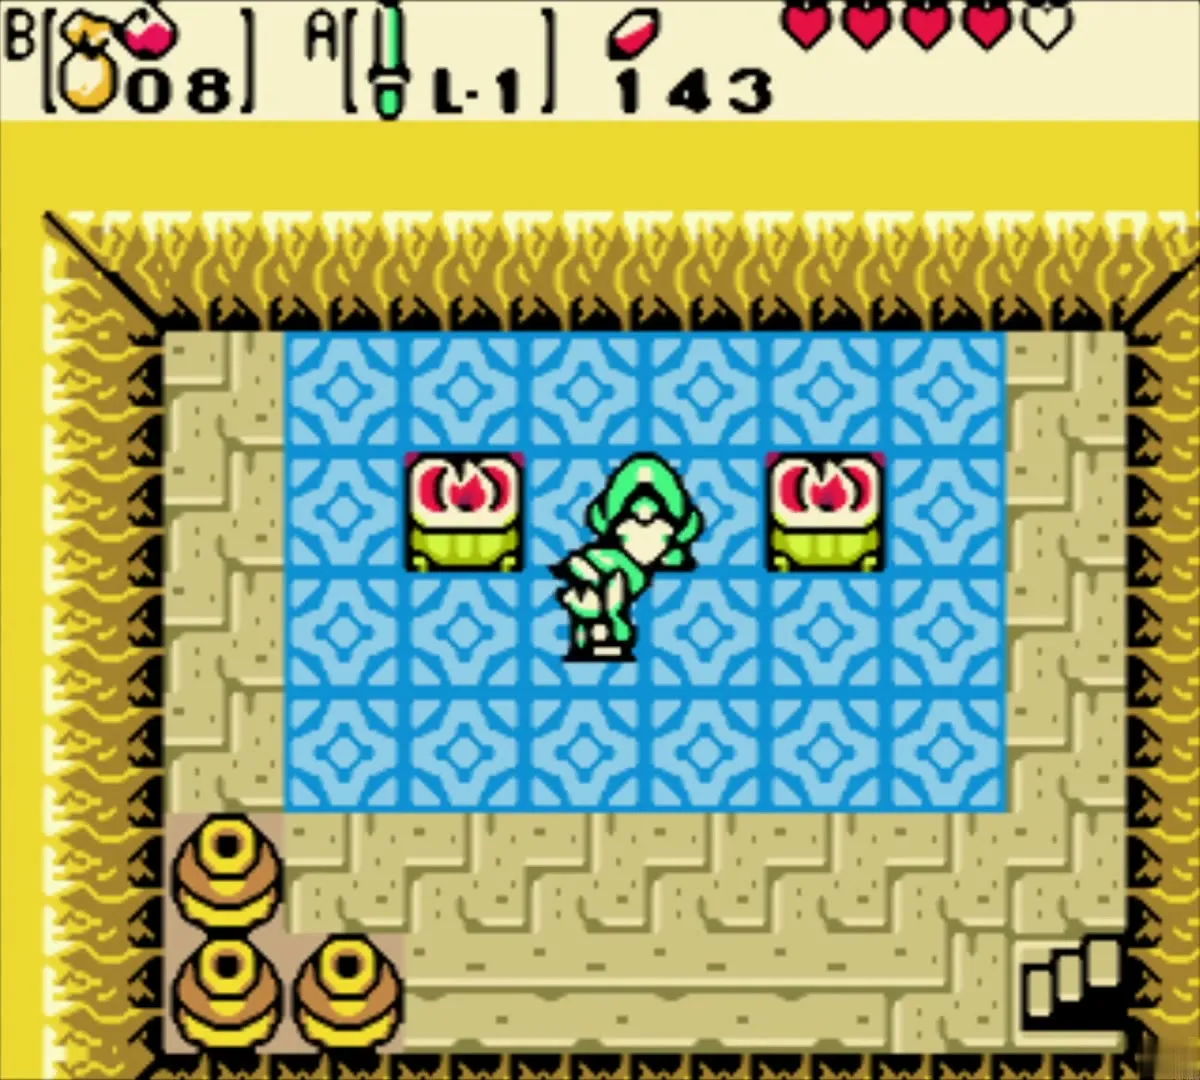
On the snowy bank right beside the bridge, a few bushes grow next to a row of rocks. Burn the leftmost bush with an Ember Seed to open a cave. Step inside and talk to the man there. He asks you to keep the place secret and hands you 100 Rupees. Leave and follow the lake bank east.
Harvest the Gasha tree by the lake
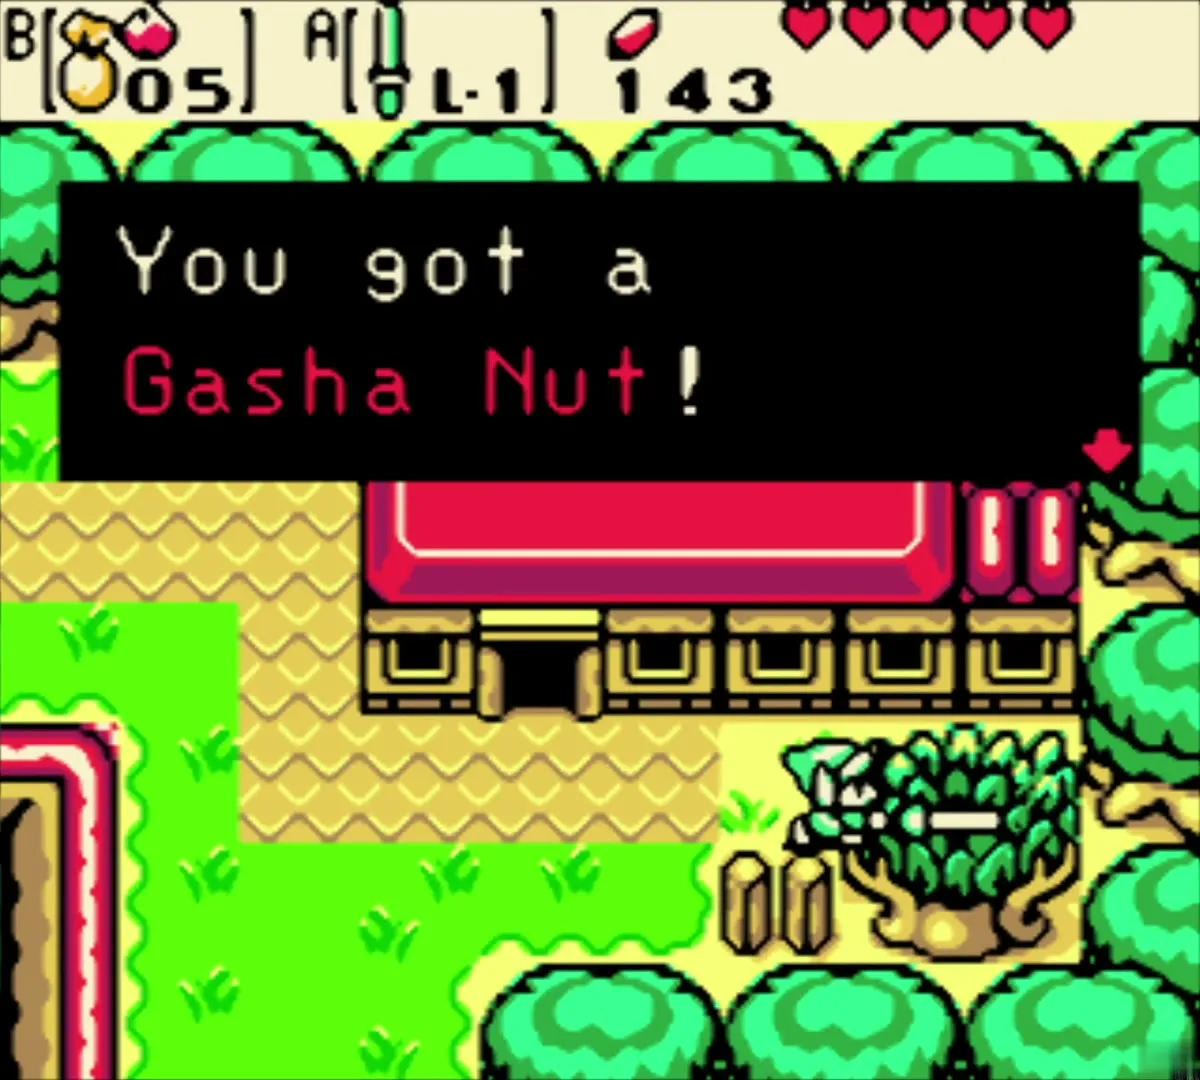
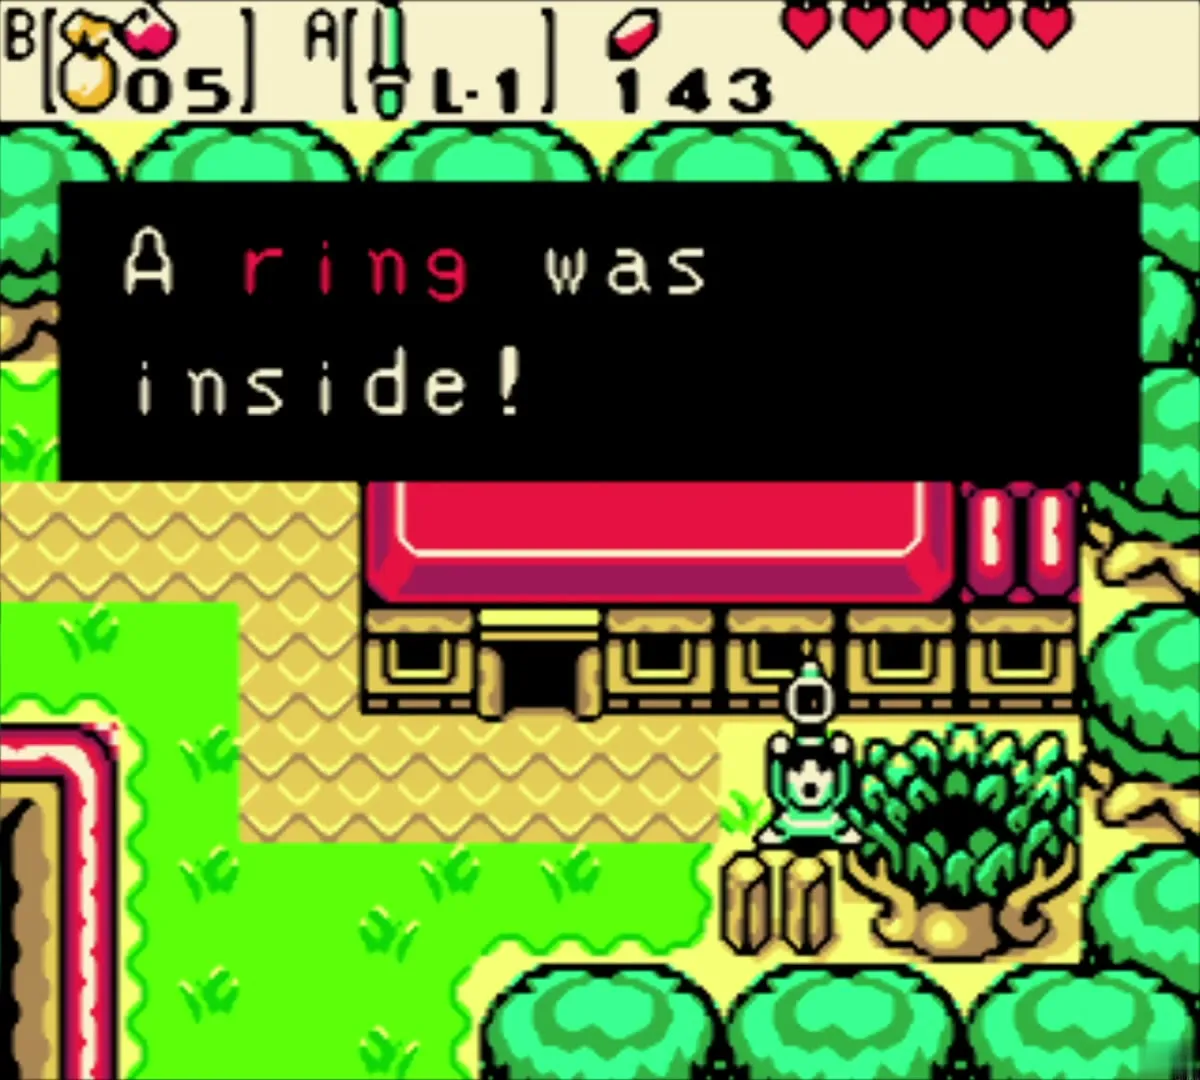
The Gasha Seed you planted in the soft soil on the lake bank has grown into a tree. Cut it down with your sword and you receive a Gasha Nut. Open it and a ring falls out. It stays unappraised until Vasu in Horon Village identifies it for 20 Rupees. See Gasha Seed locations and magic rings.
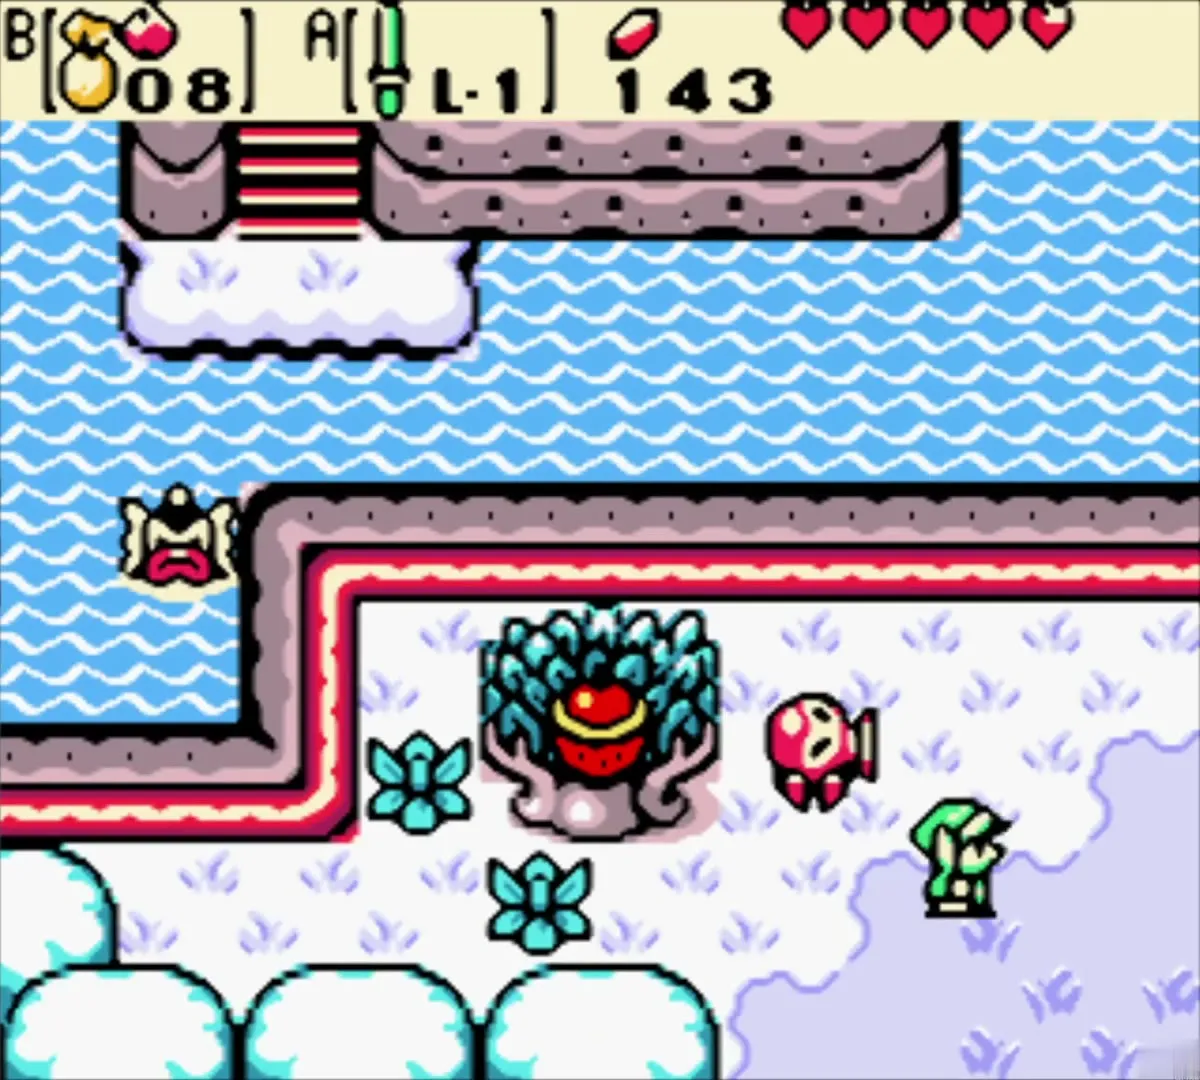
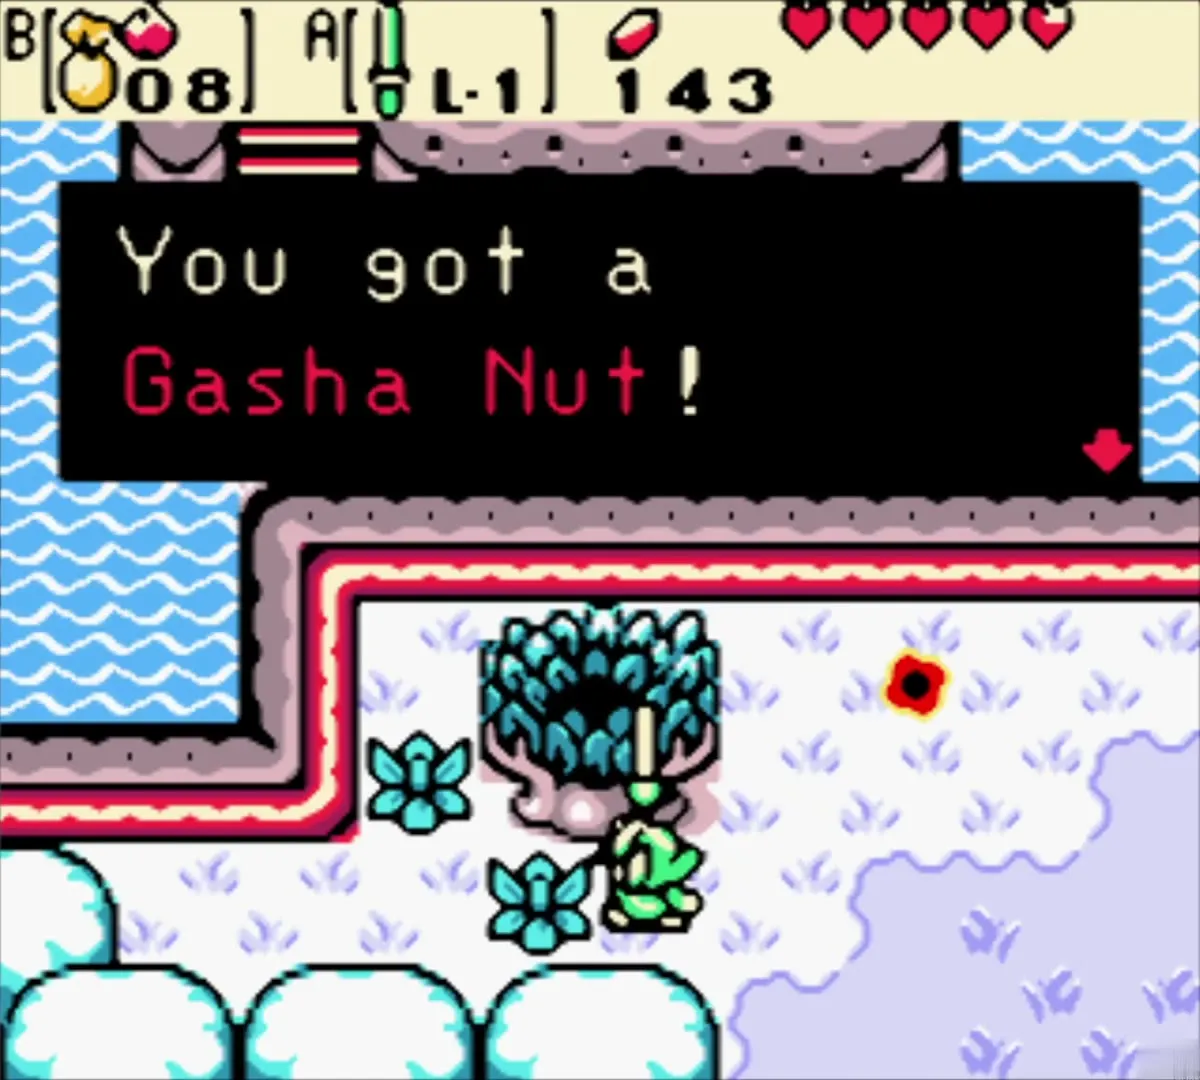
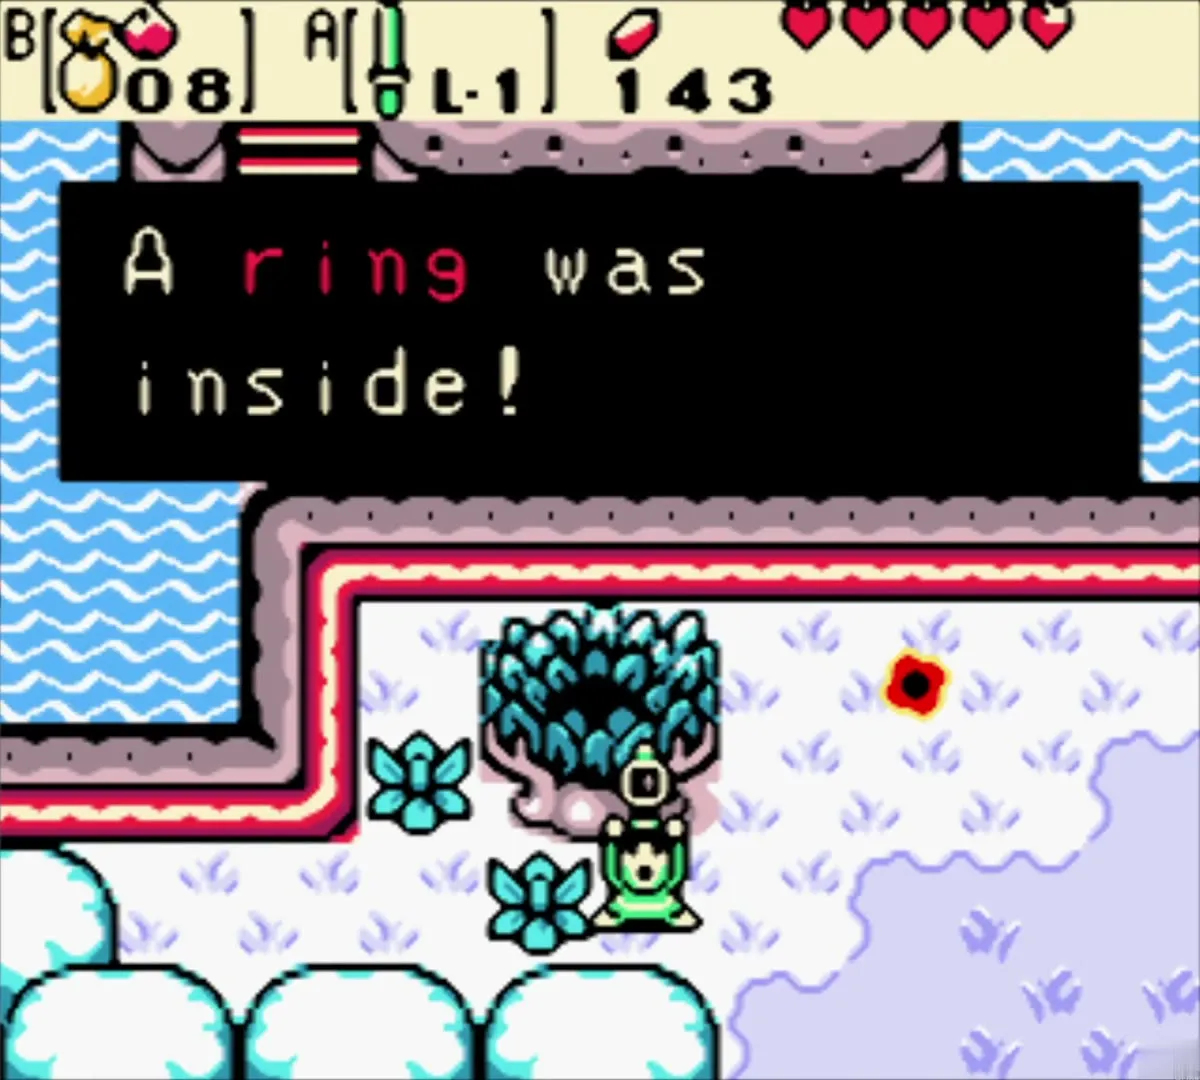
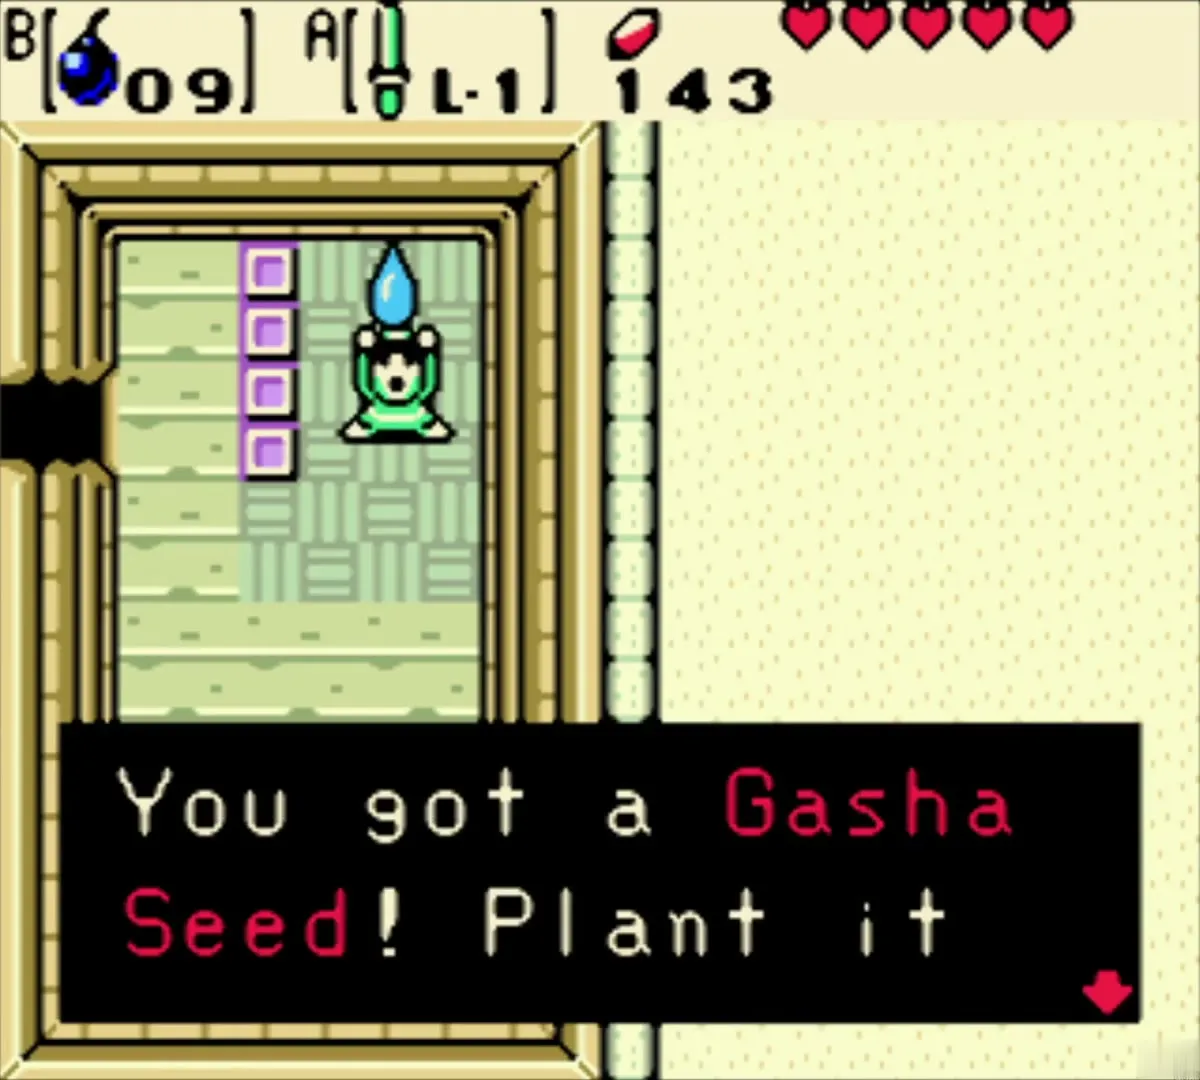
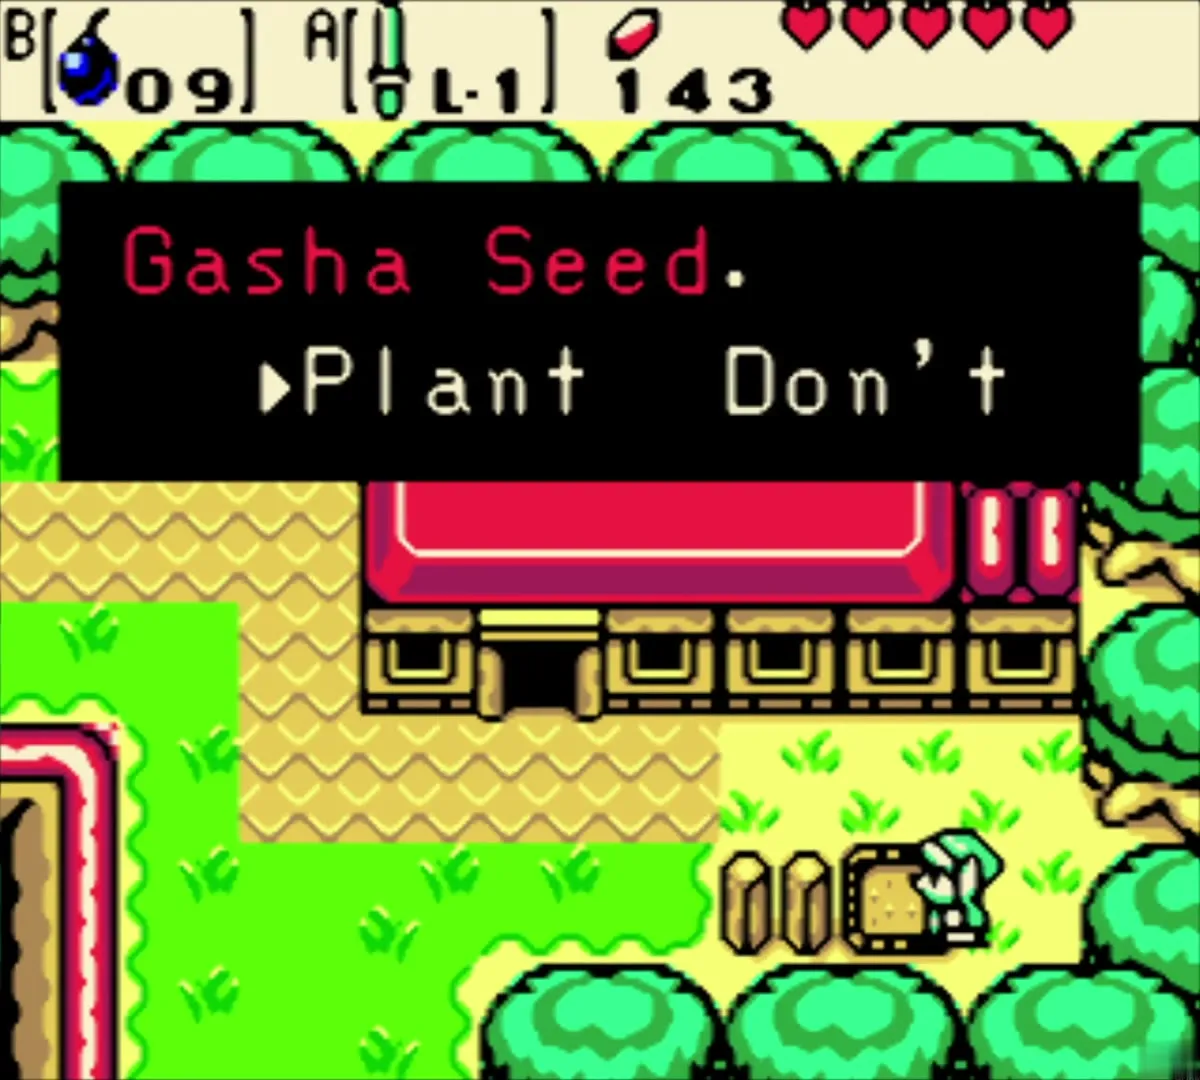
Horon Village: Gasha Nut, Gasha Seed, Heart Piece and Cuccodex

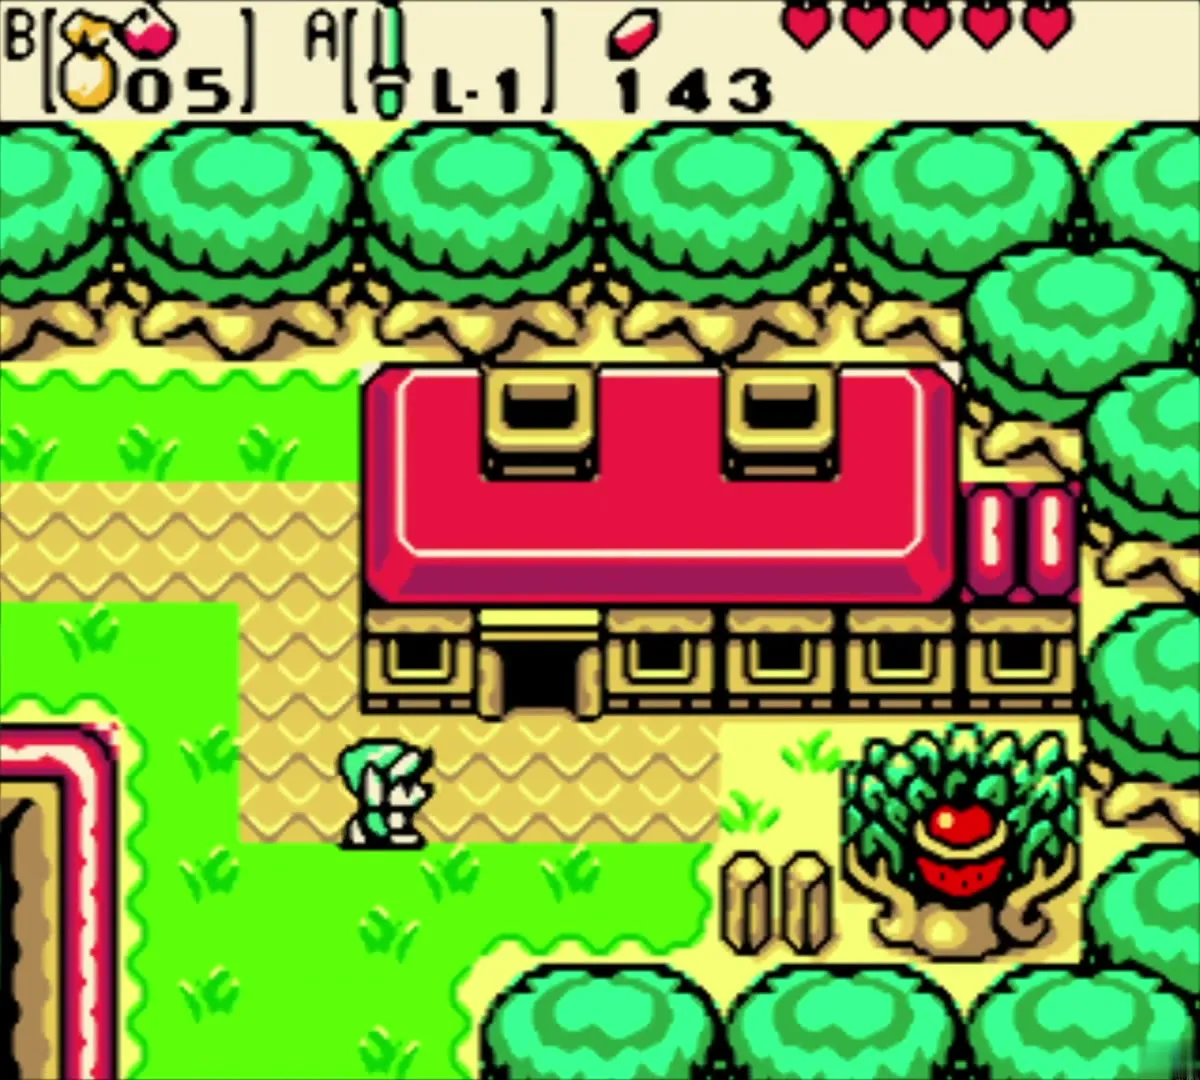

Piece of Heart on the village ledge
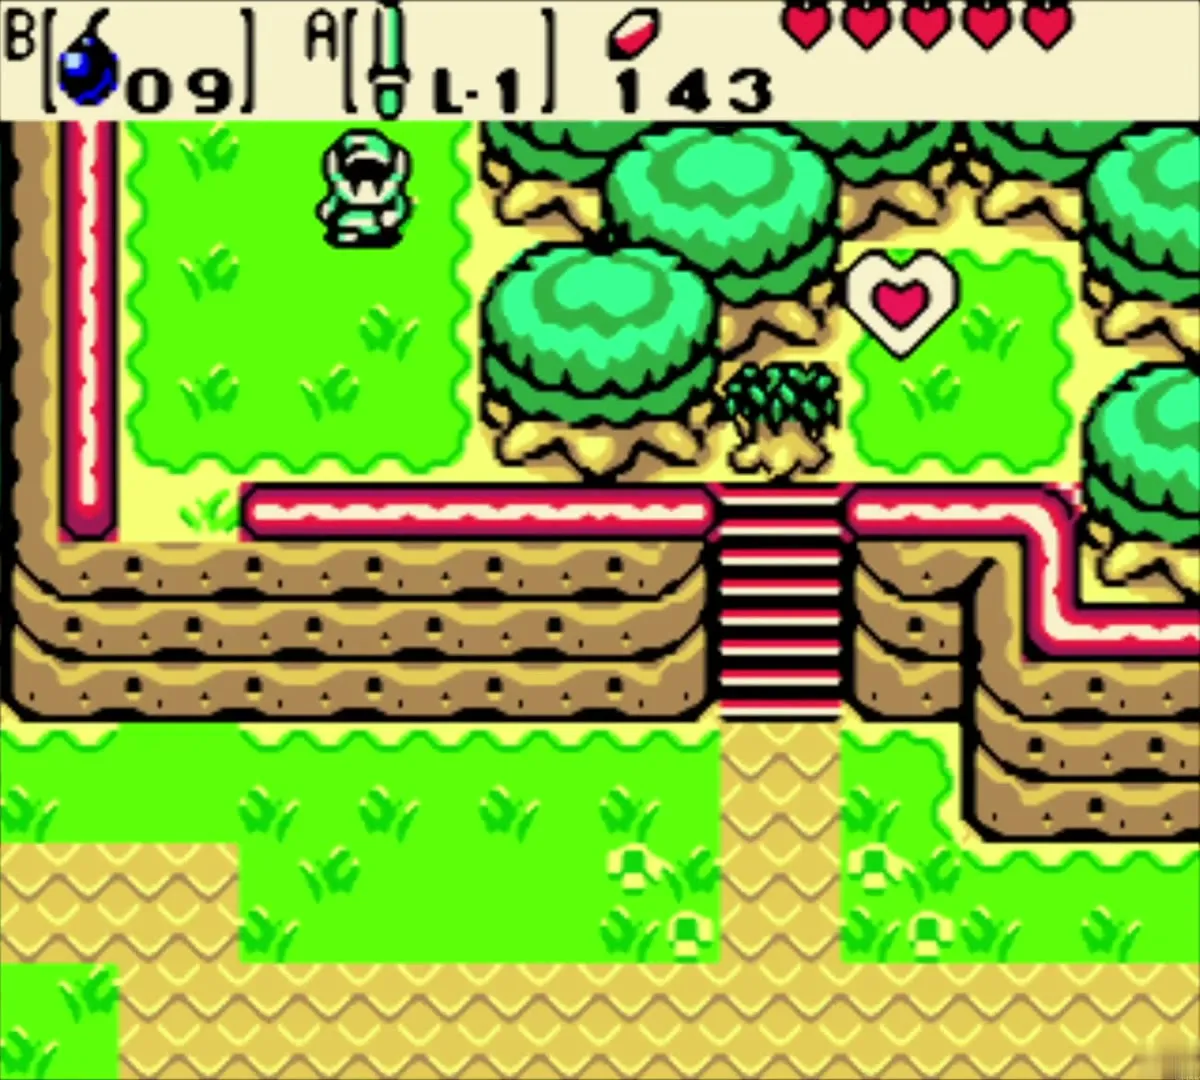
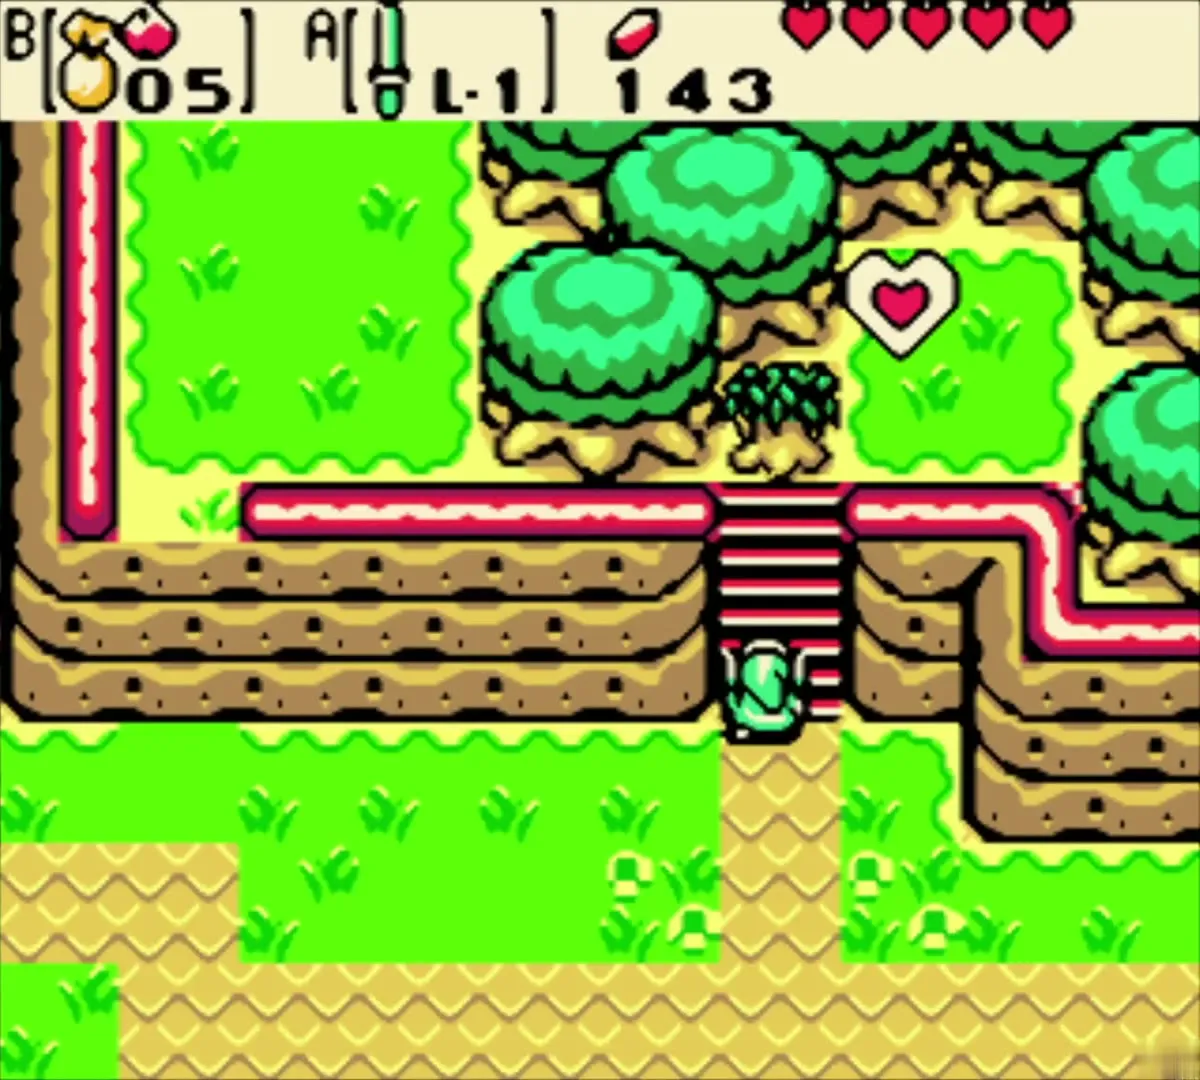
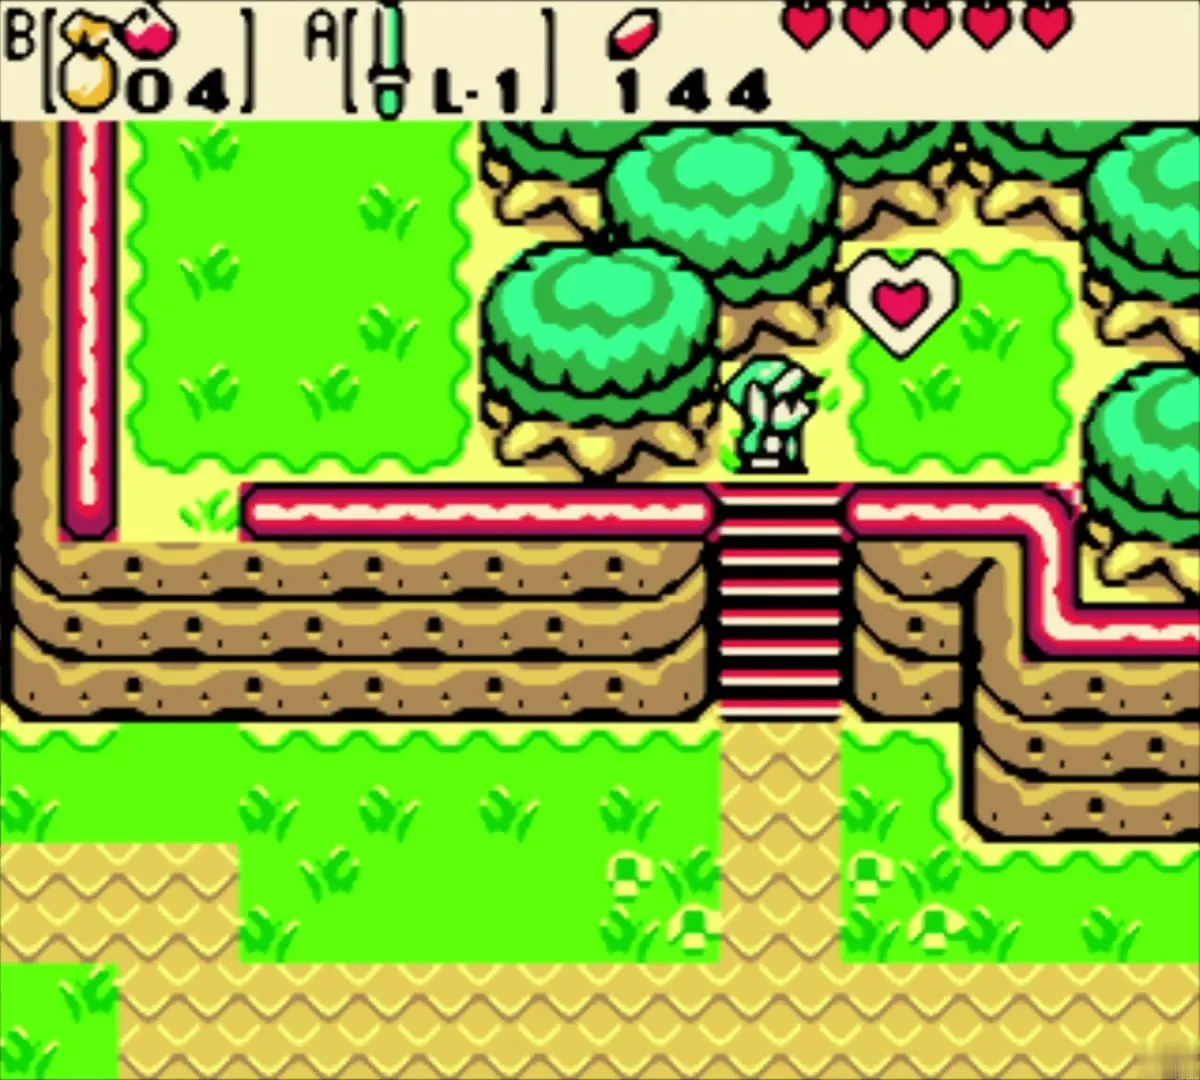
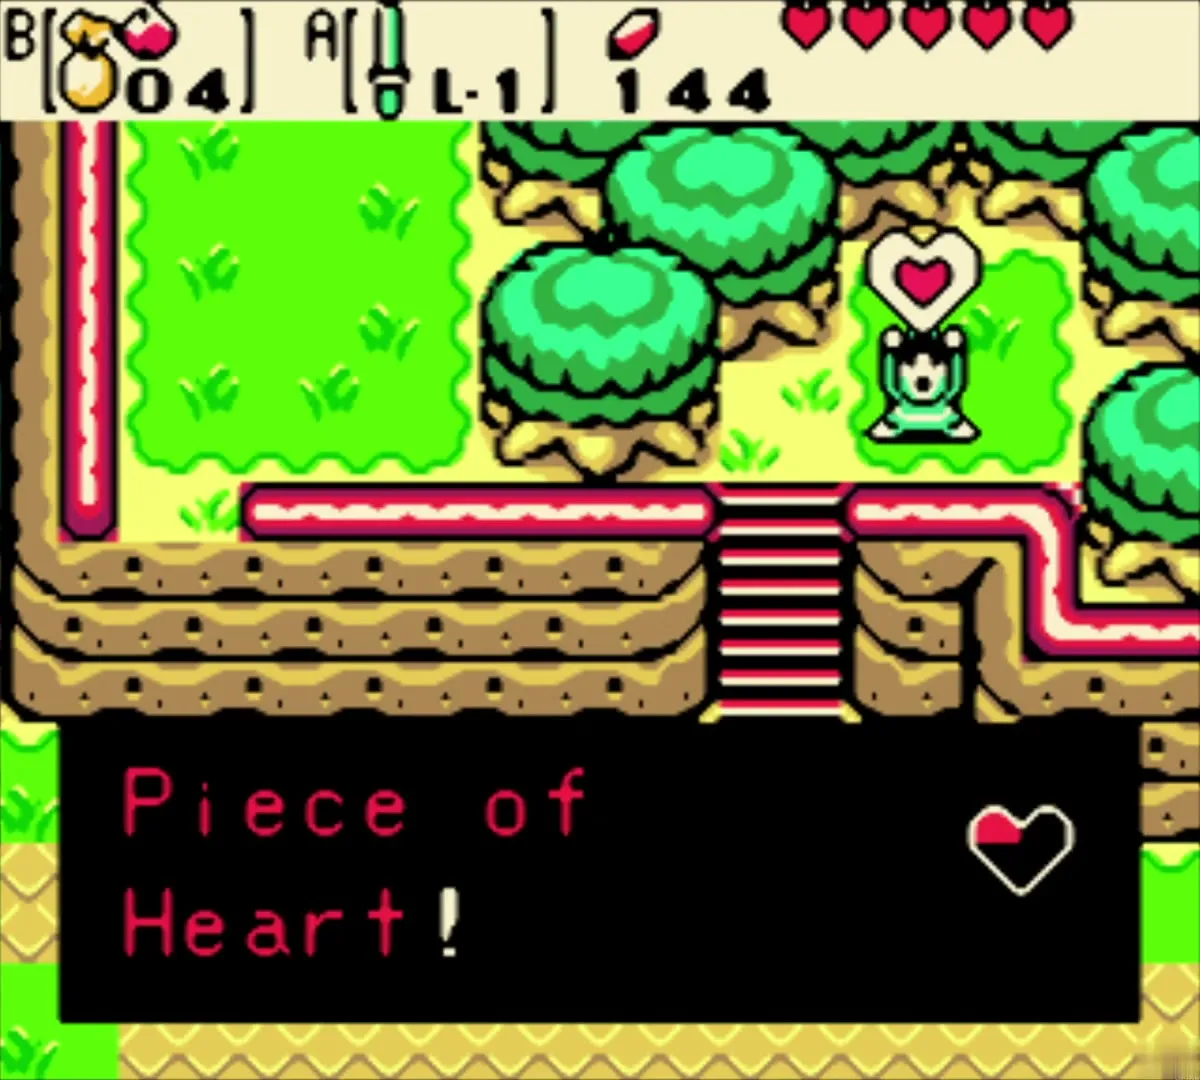
On the village’s raised ledge, a heart floats above a short cliff stair, and a bush grows beside the stair. Burn the bush with an Ember Seed, climb up and take the Piece of Heart. It is Piece of Heart 1 of 12; the Heart Piece locations page lists them all.
Second secret cave: 100 Rupees
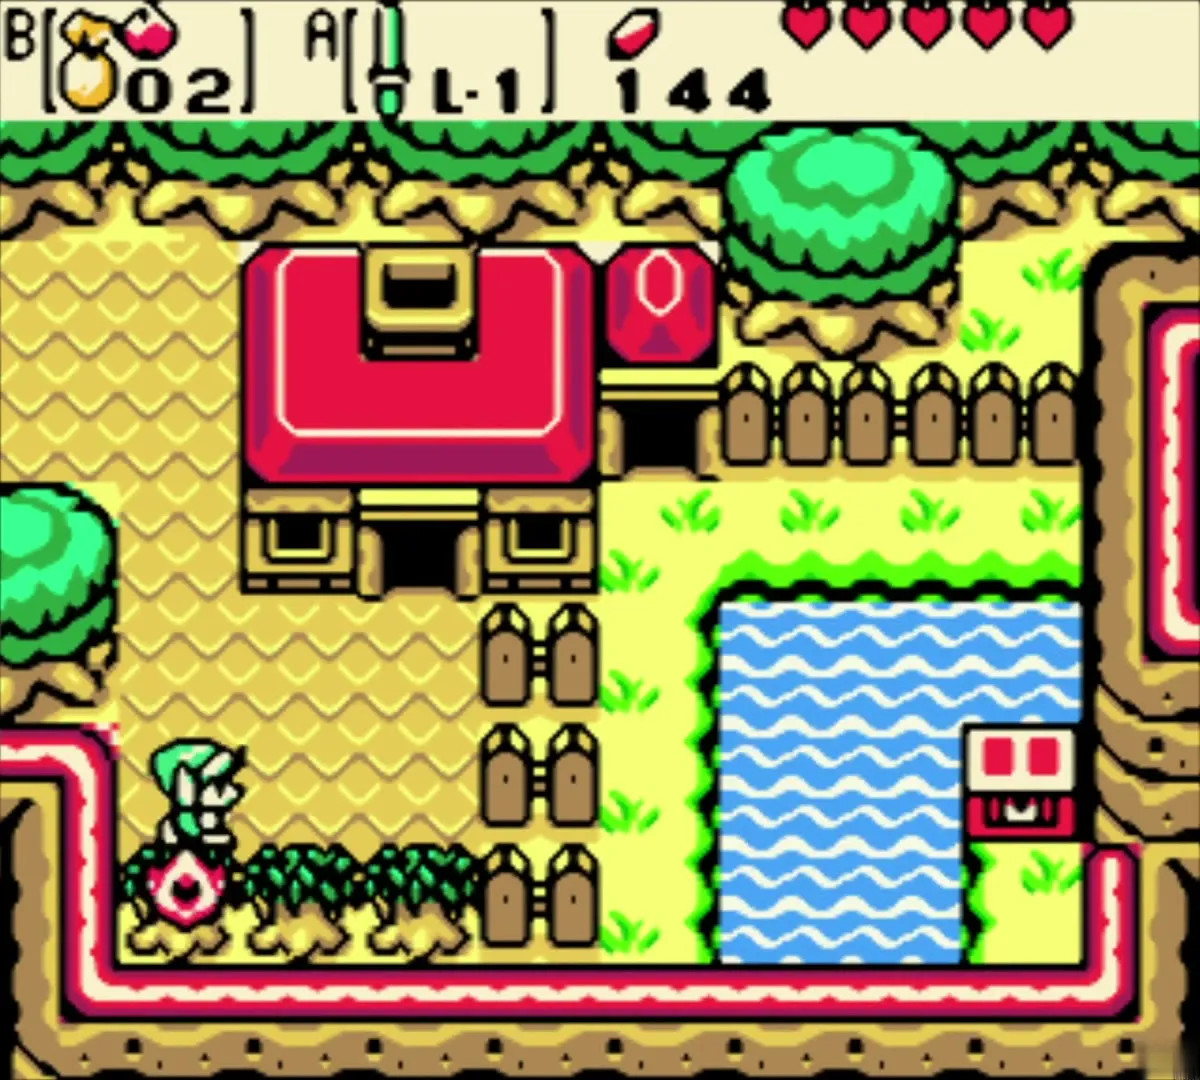
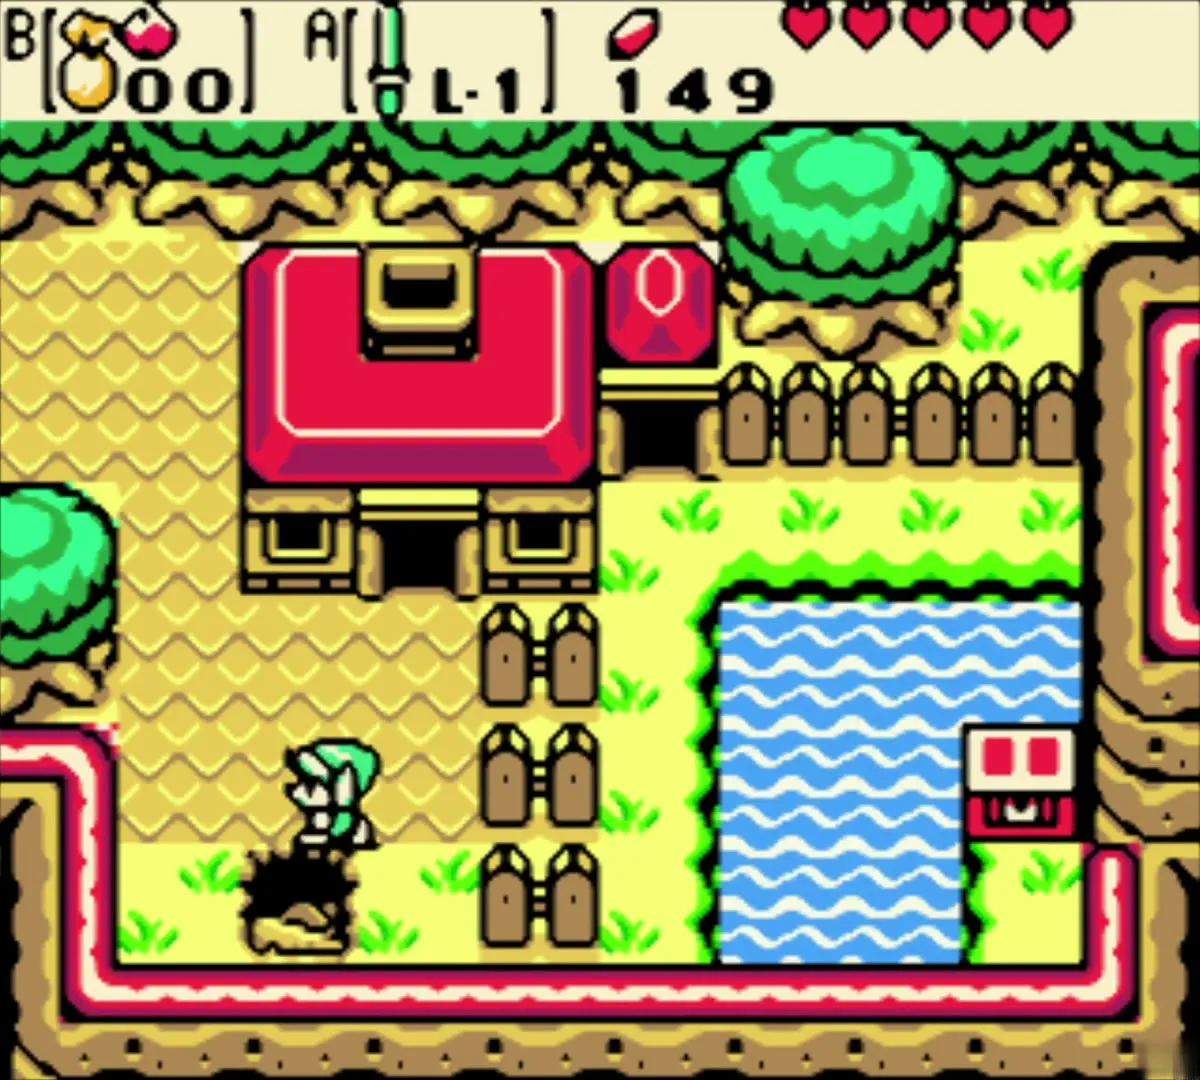
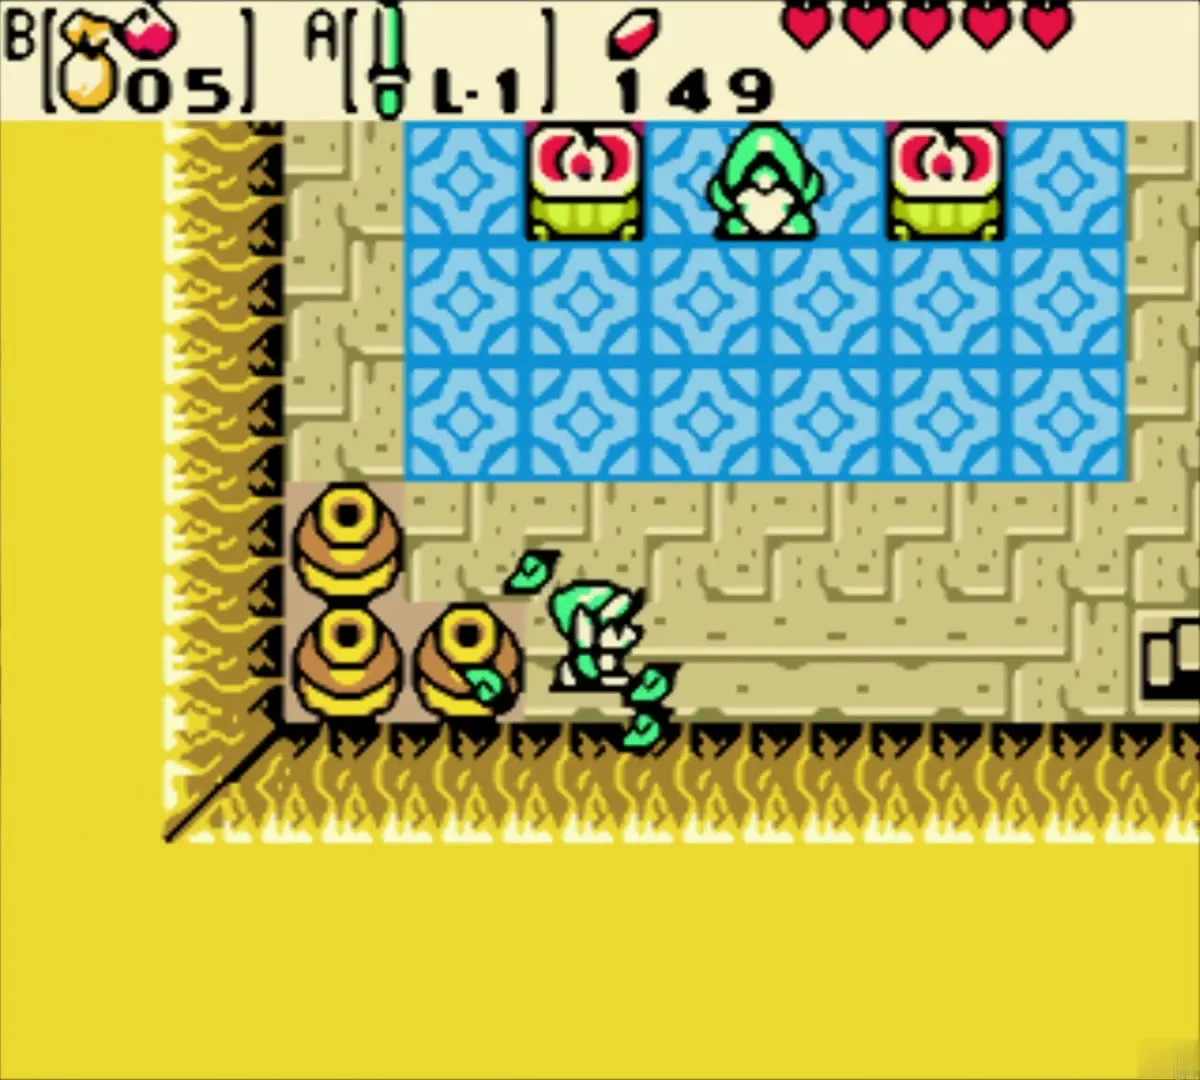
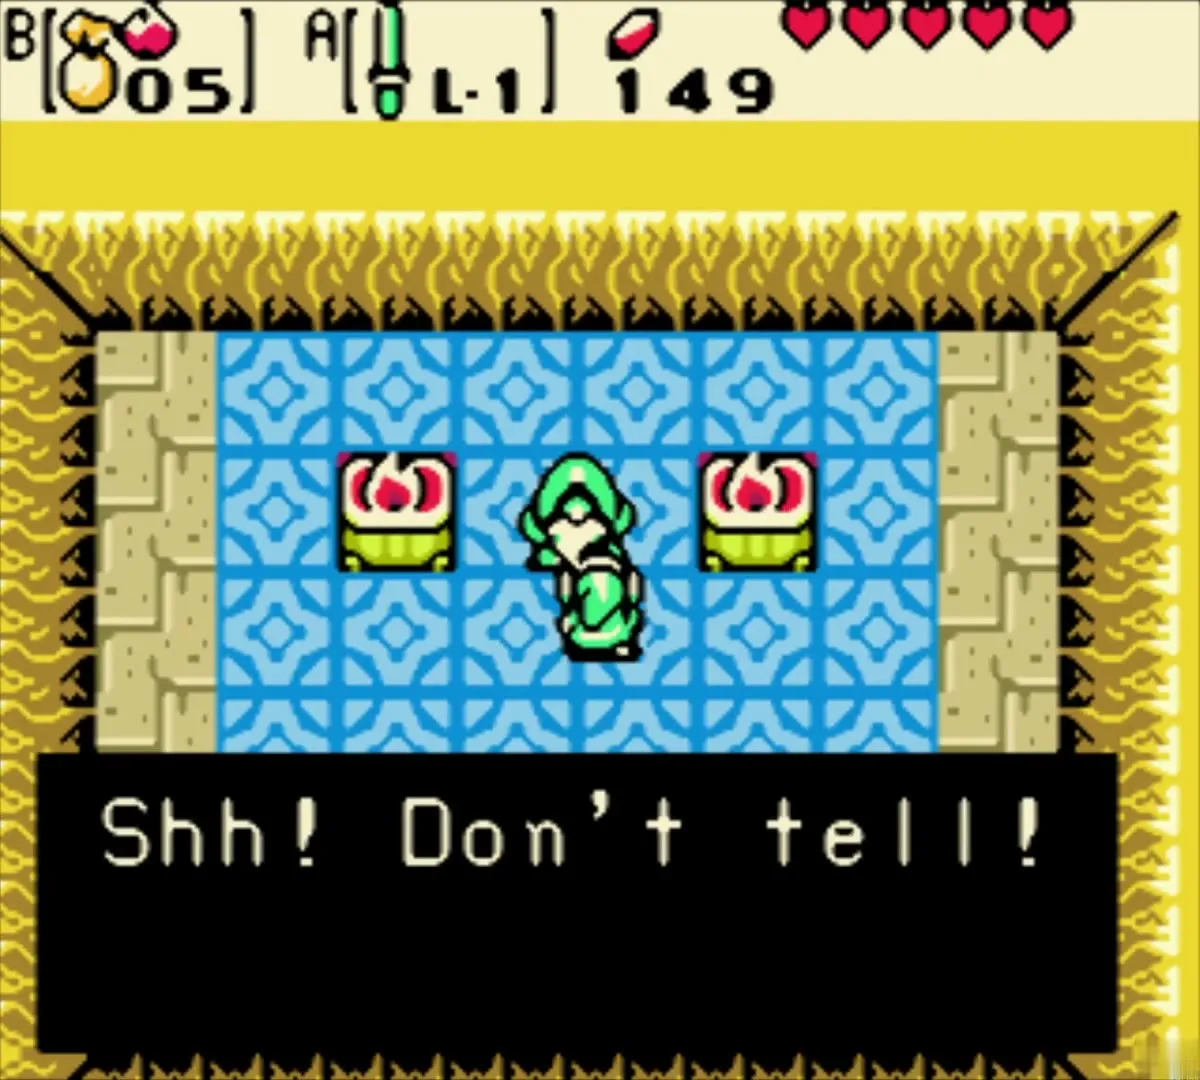
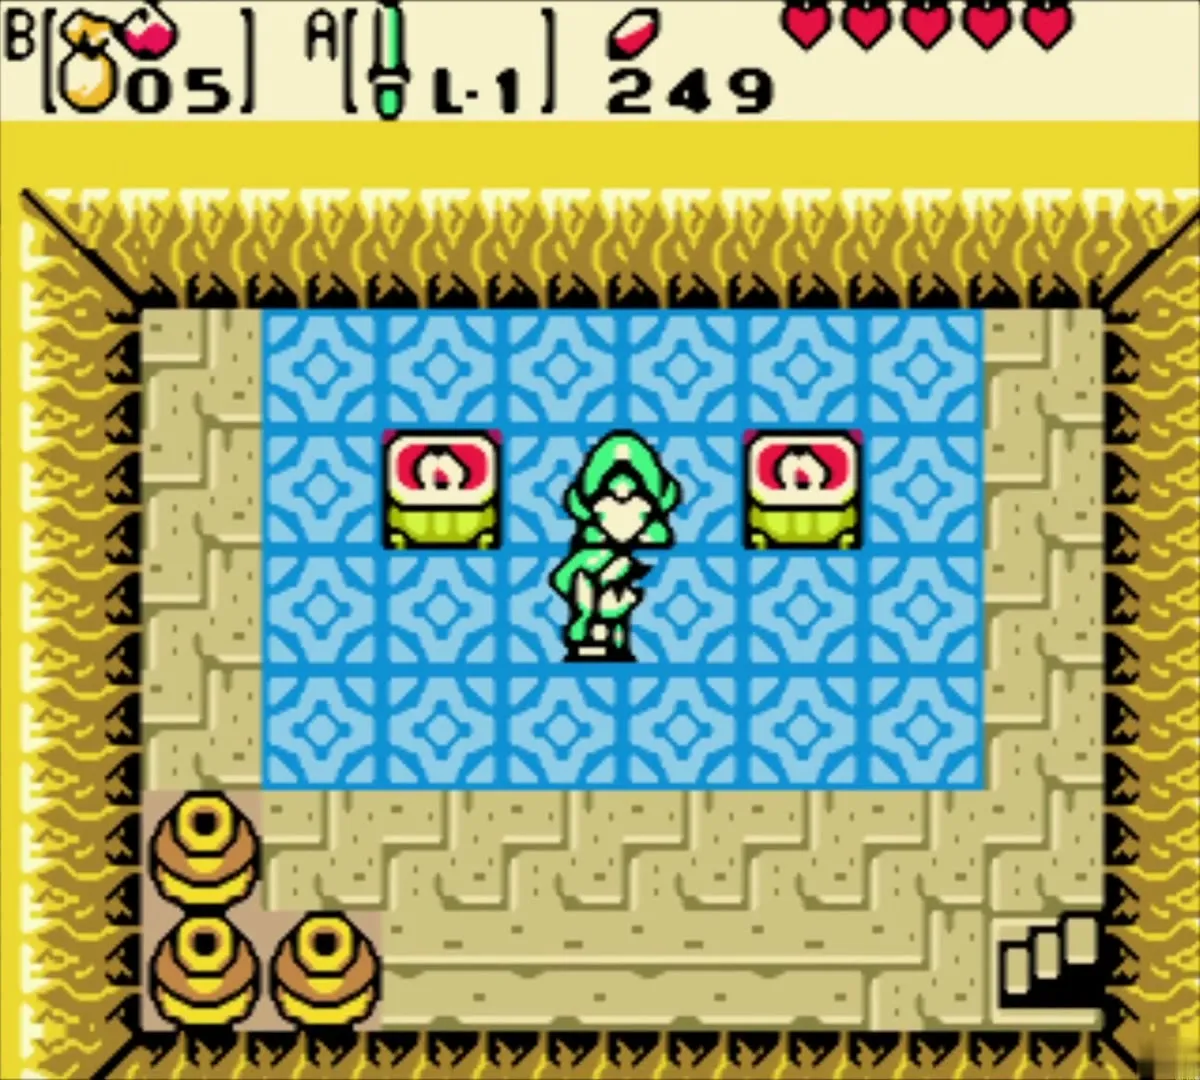
In the southeast of the village, three small bushes stand in a row in front of the house with a pond. Burn the middle one with an Ember Seed and walk into the cave. The man inside pays another 100 Rupees for your silence. Walk out again when he says he has nothing more for you.

Dr. Left and the Cuccodex
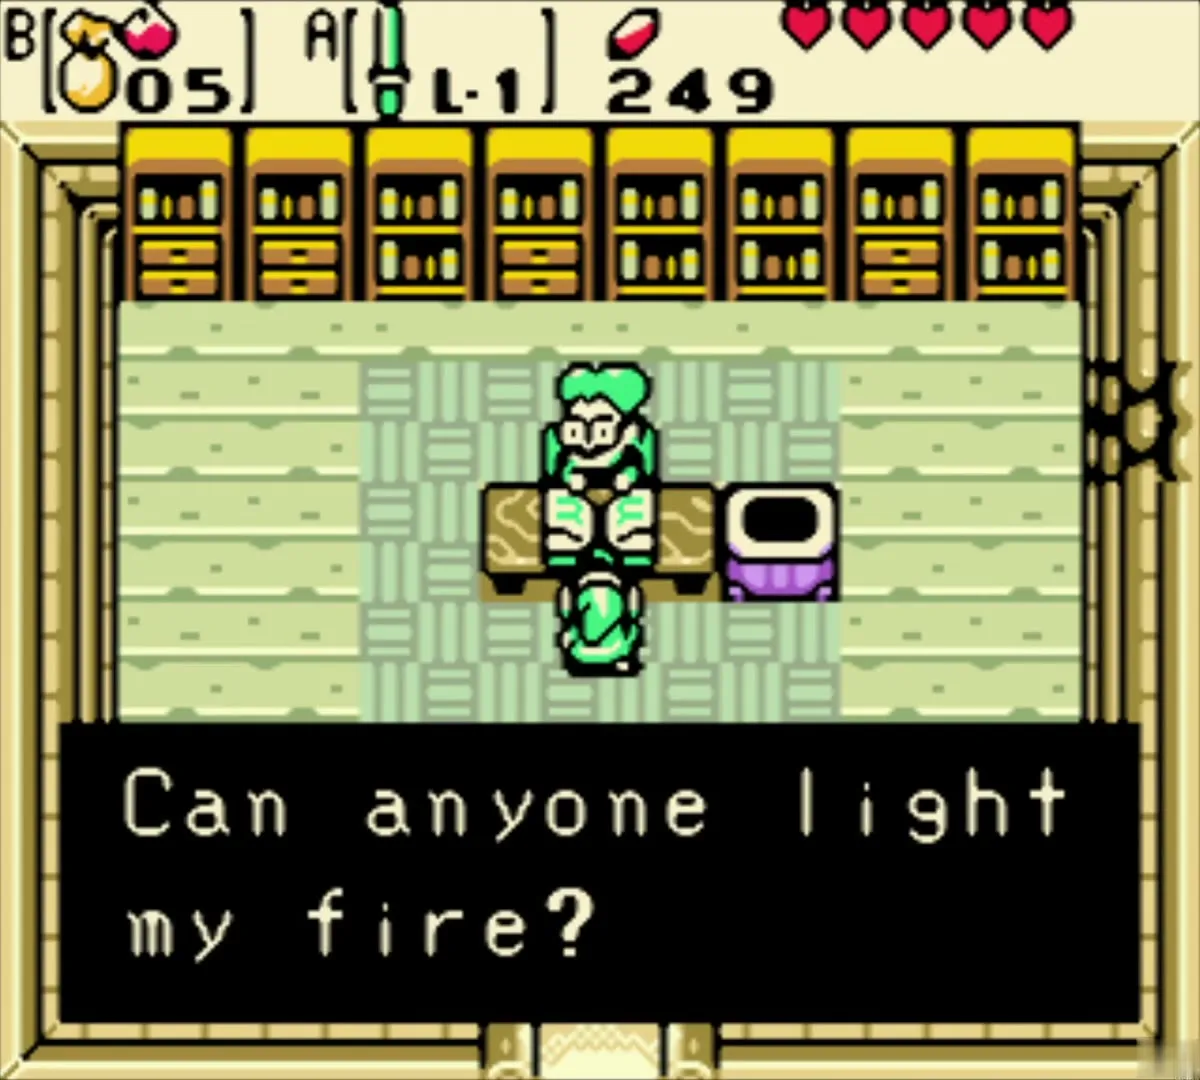
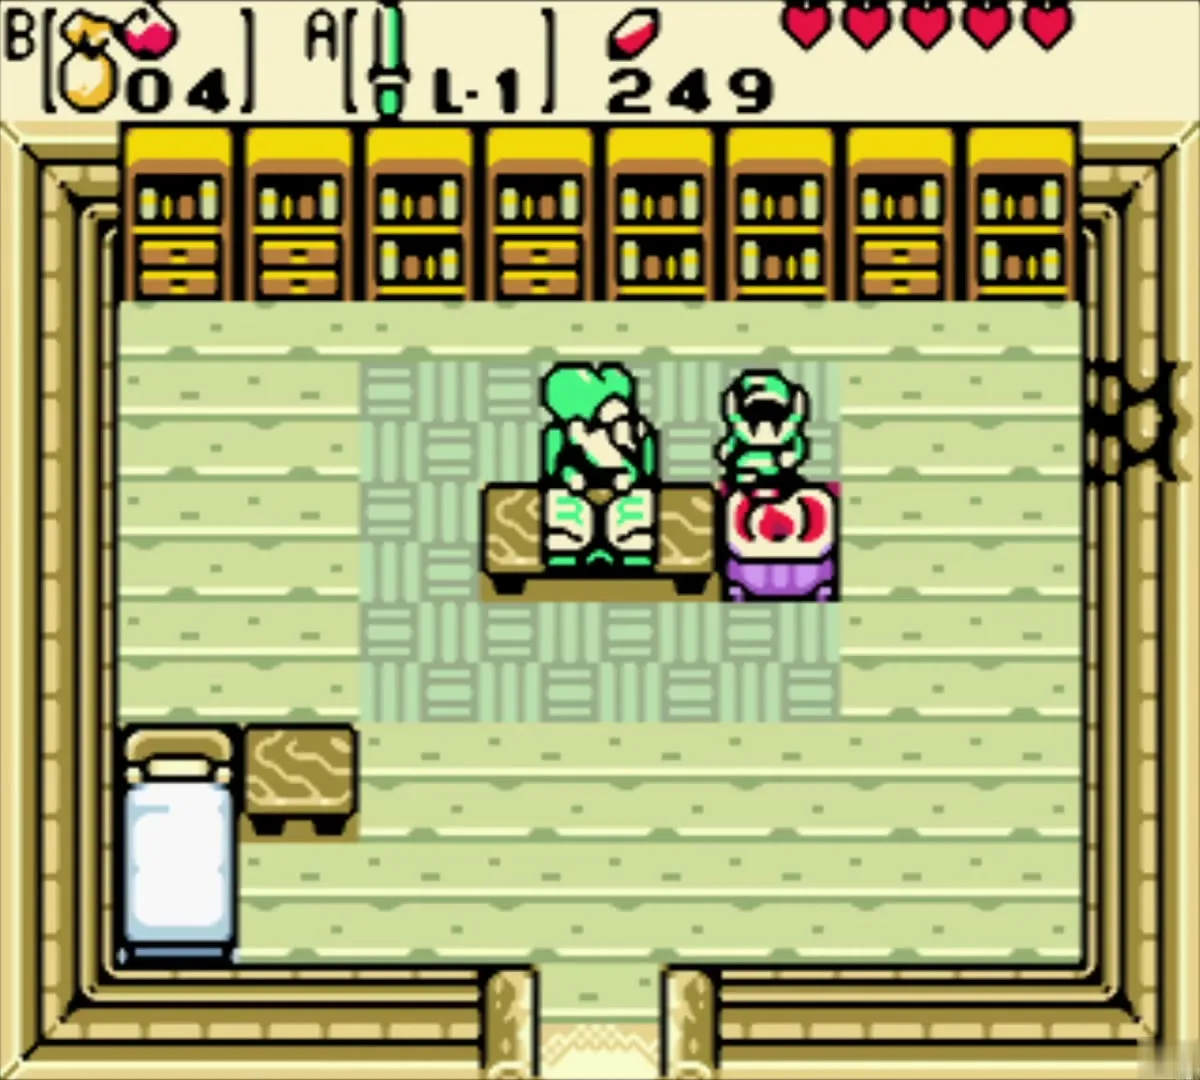
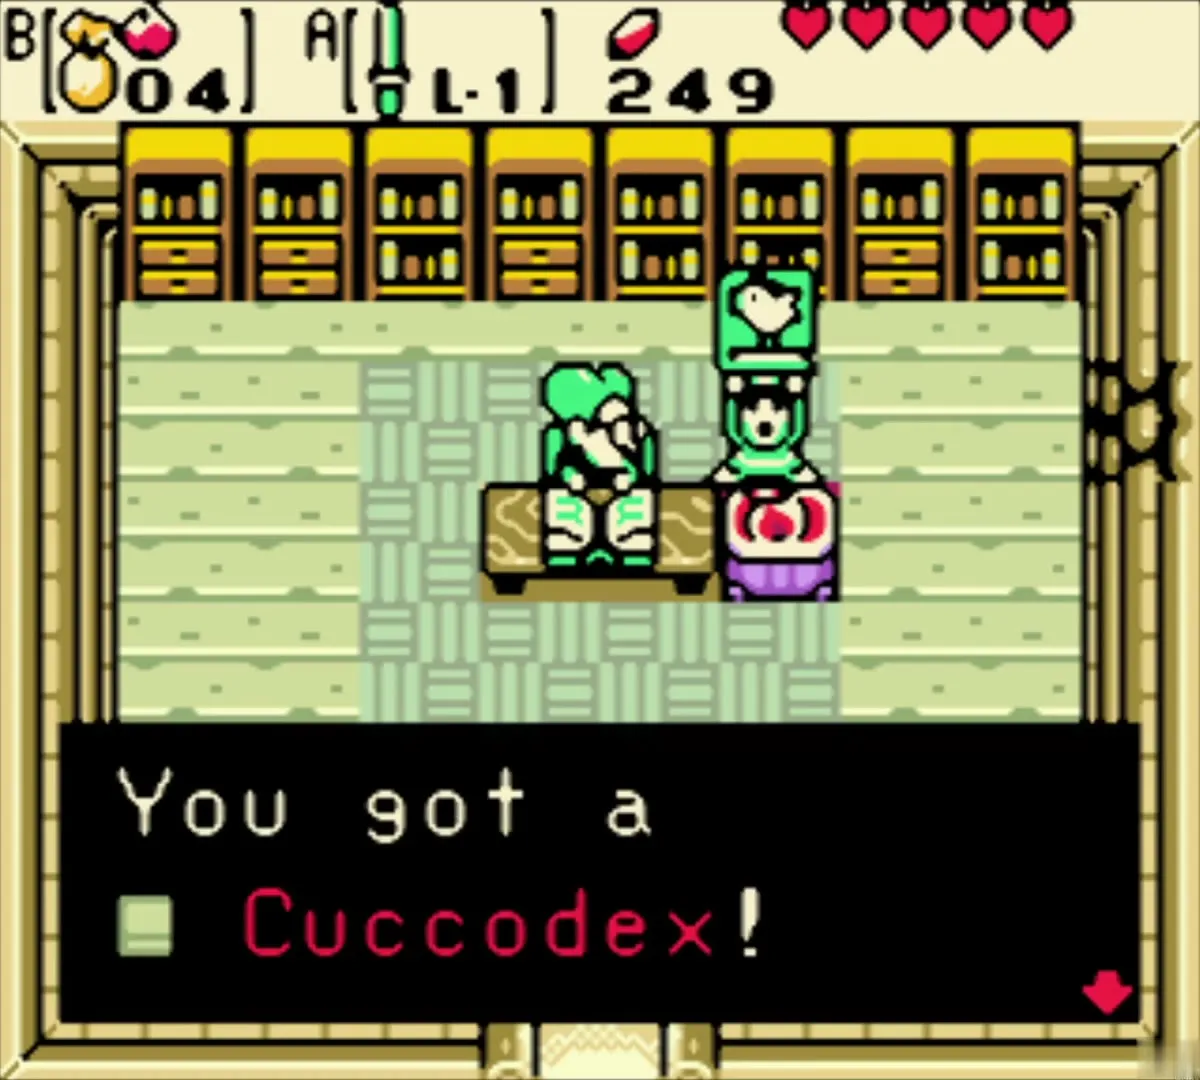
Enter the house next to the pond. The scholar at his desk (Dr. Left) says it is too dark to read. Shoot an Ember Seed at the unlit torch, and he thanks you with the Cuccodex, the first item of the trading sequence. If your satchel is low, strike the Ember Seed tree in the village with your sword to refill it.
Lon Lon Egg and the Wooden Shield

Trade the Cuccodex for a Lon Lon Egg
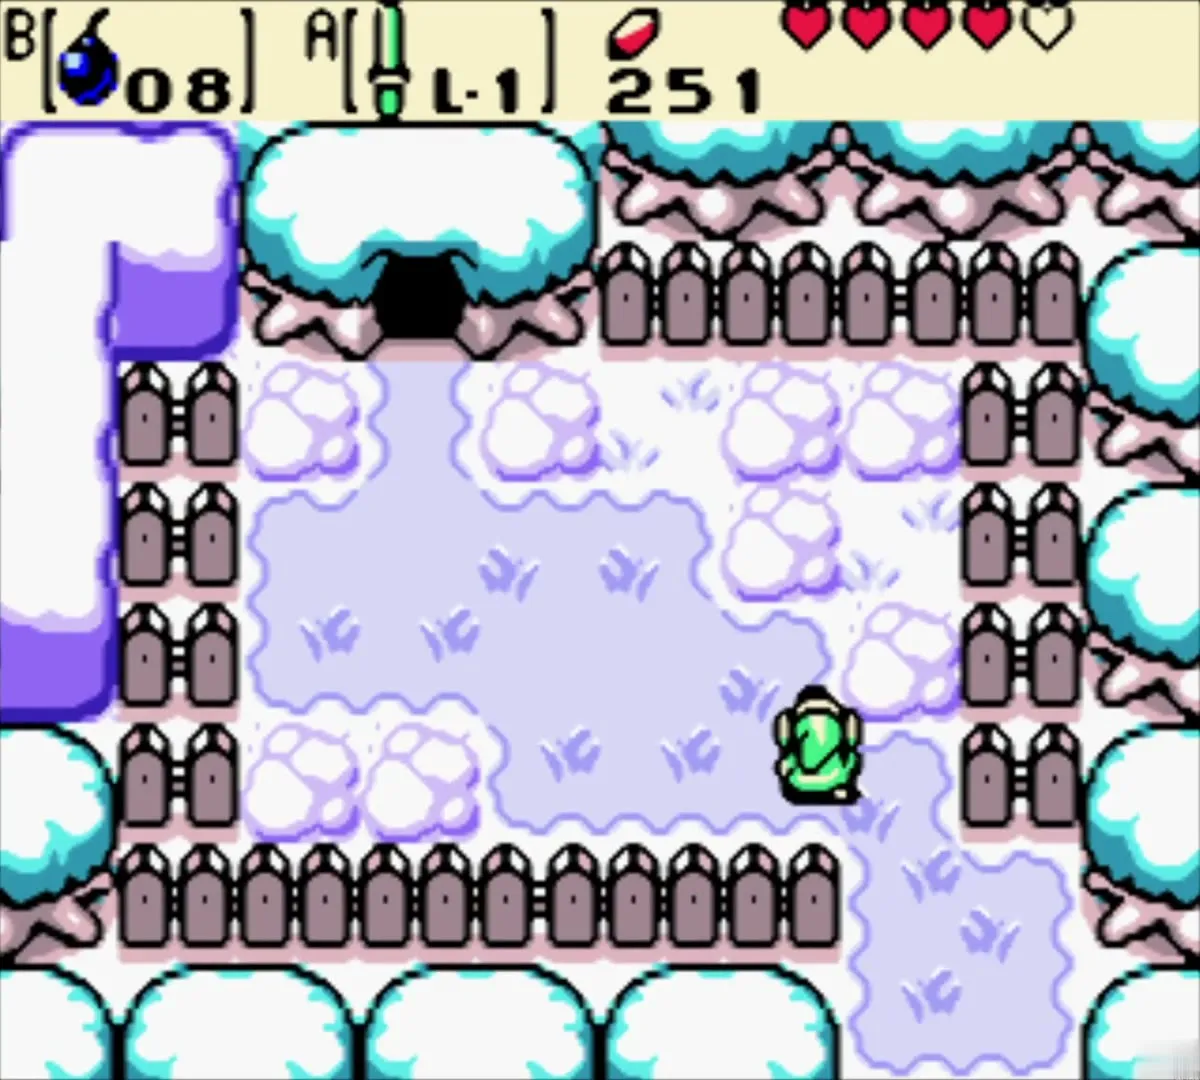
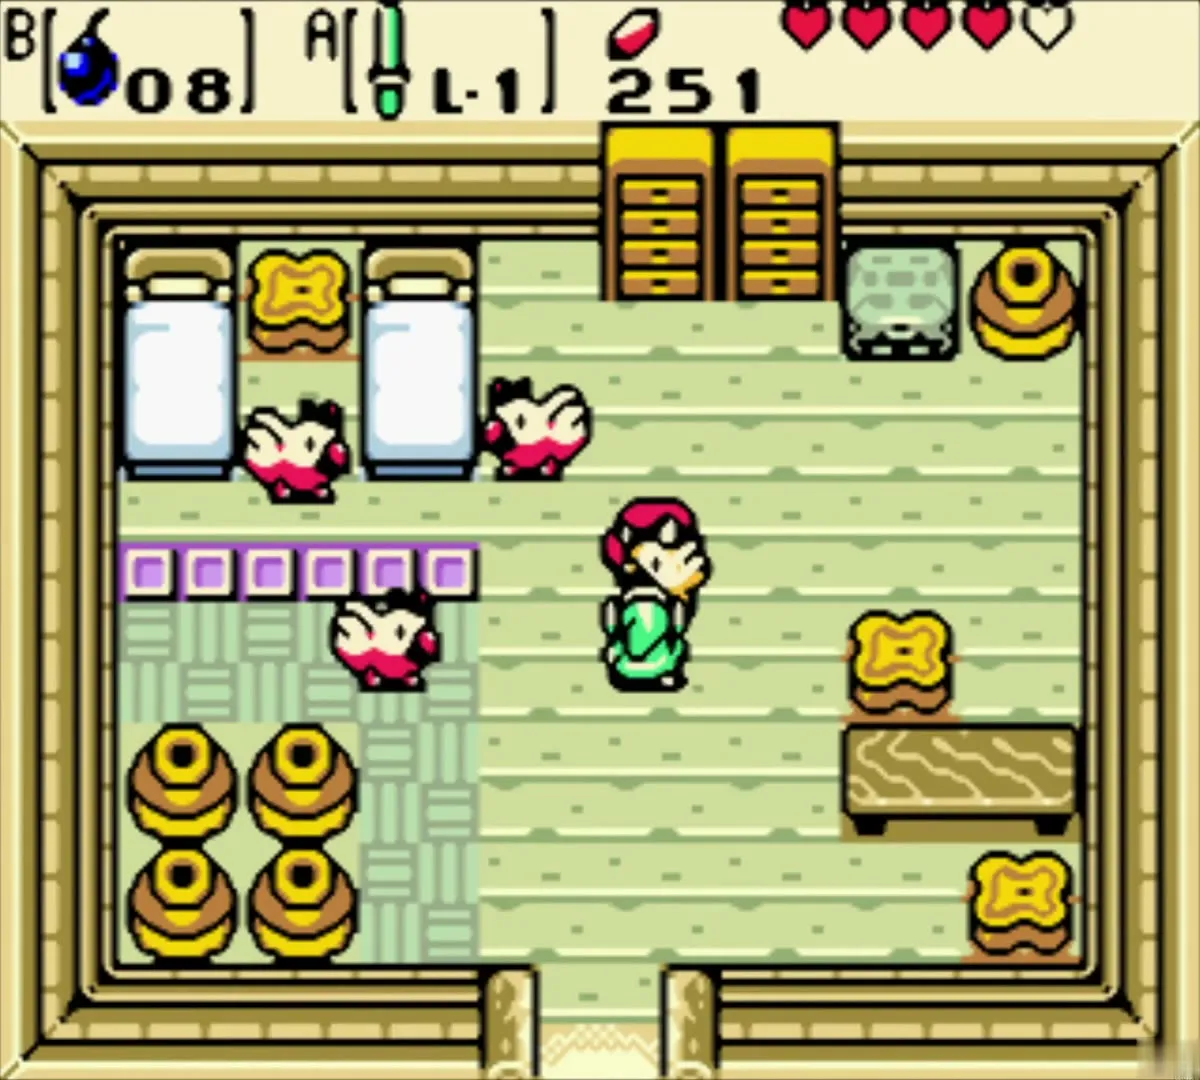
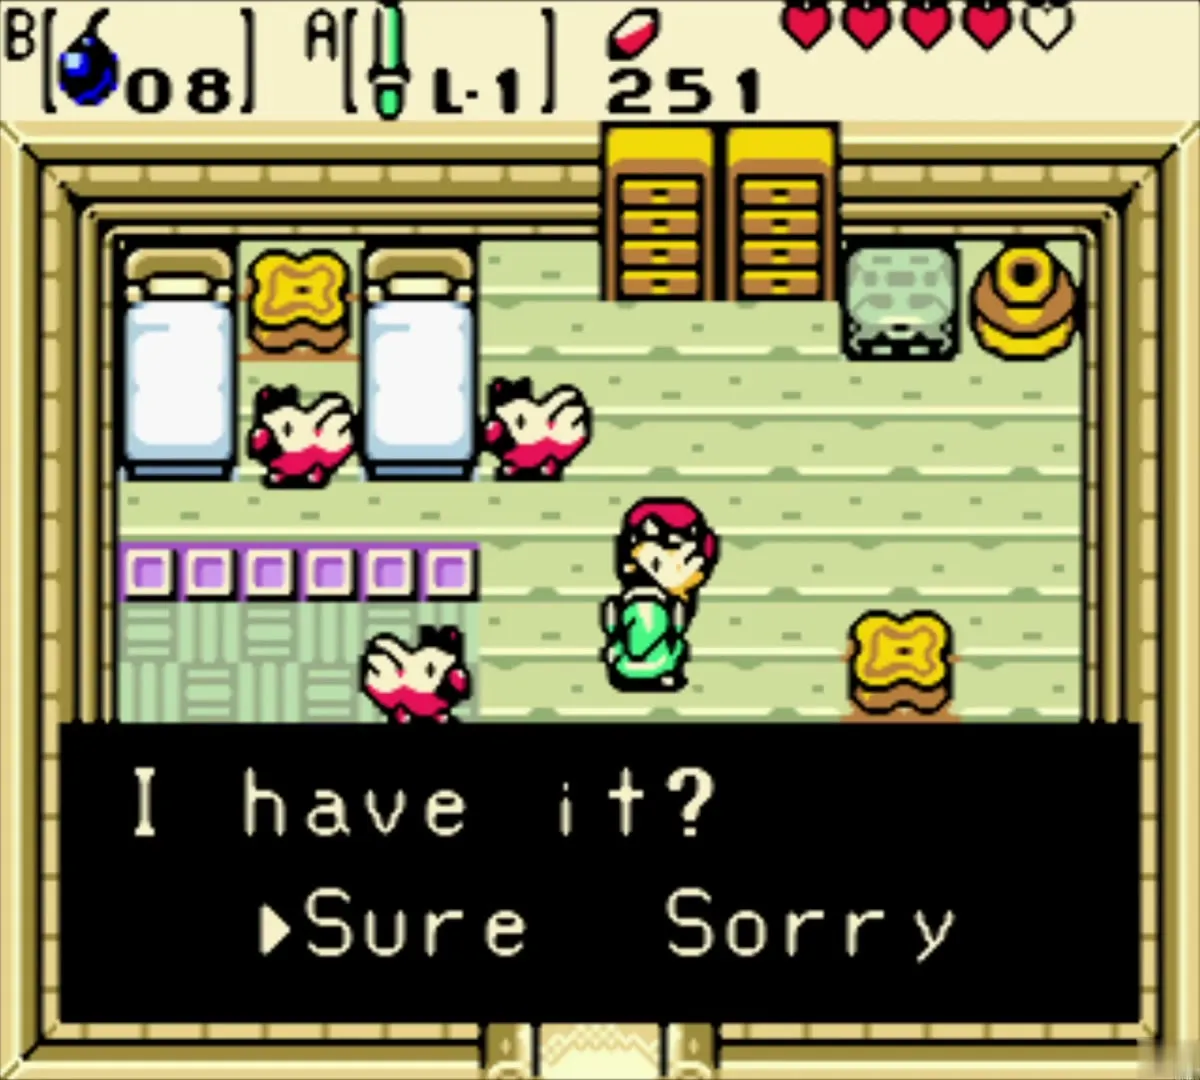
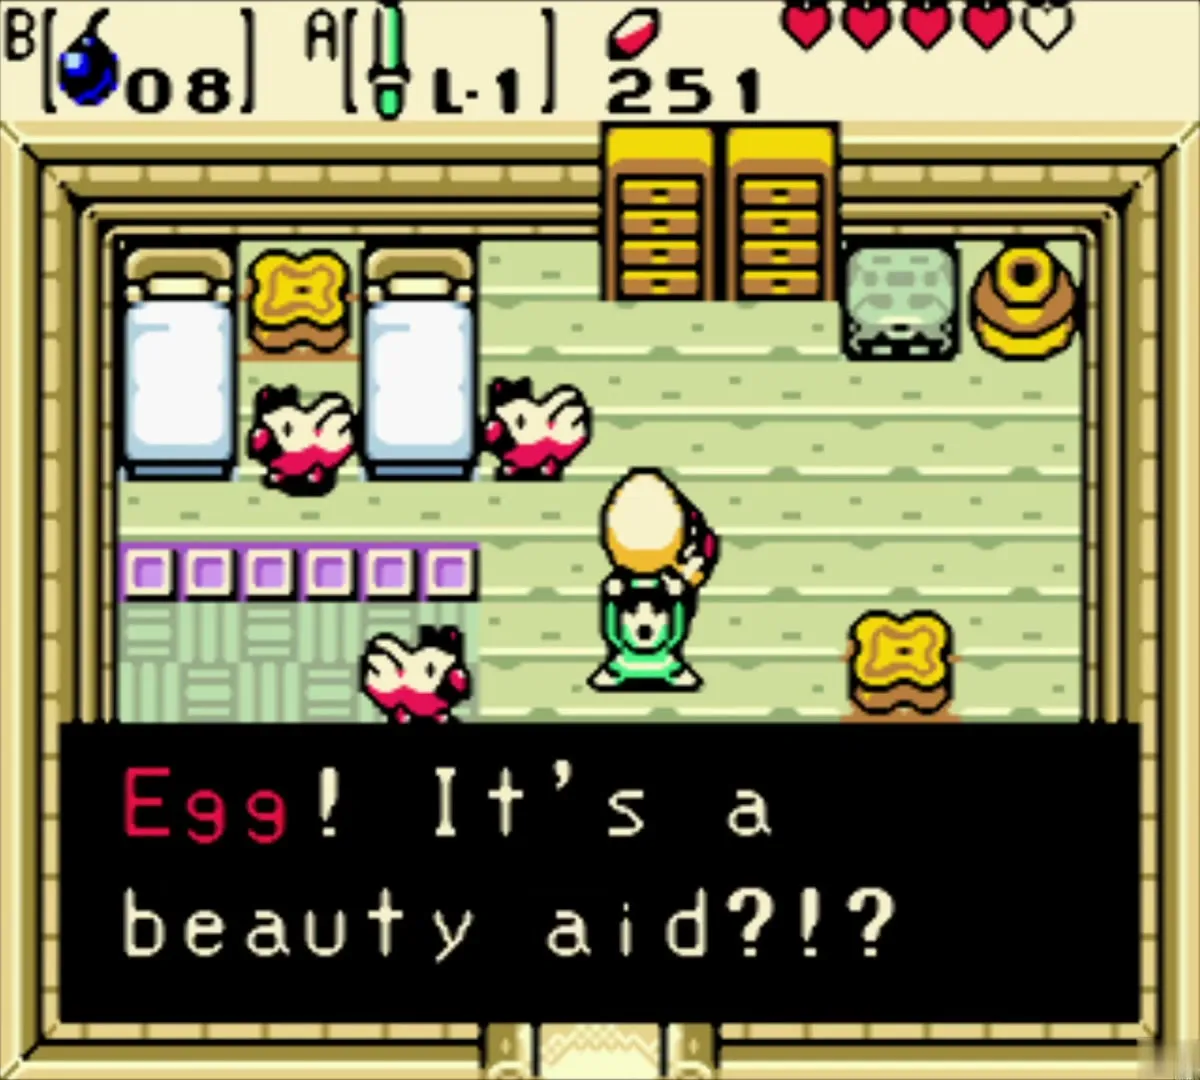
Go north into the snowy fields and enter the small house full of hens. Malon is minding the hens because her father Talon has gone to climb Mt. Cucco. Hand over the Cuccodex and answer yes, and she gives you a Lon Lon Egg, the second trade item.

Buy the Wooden Shield
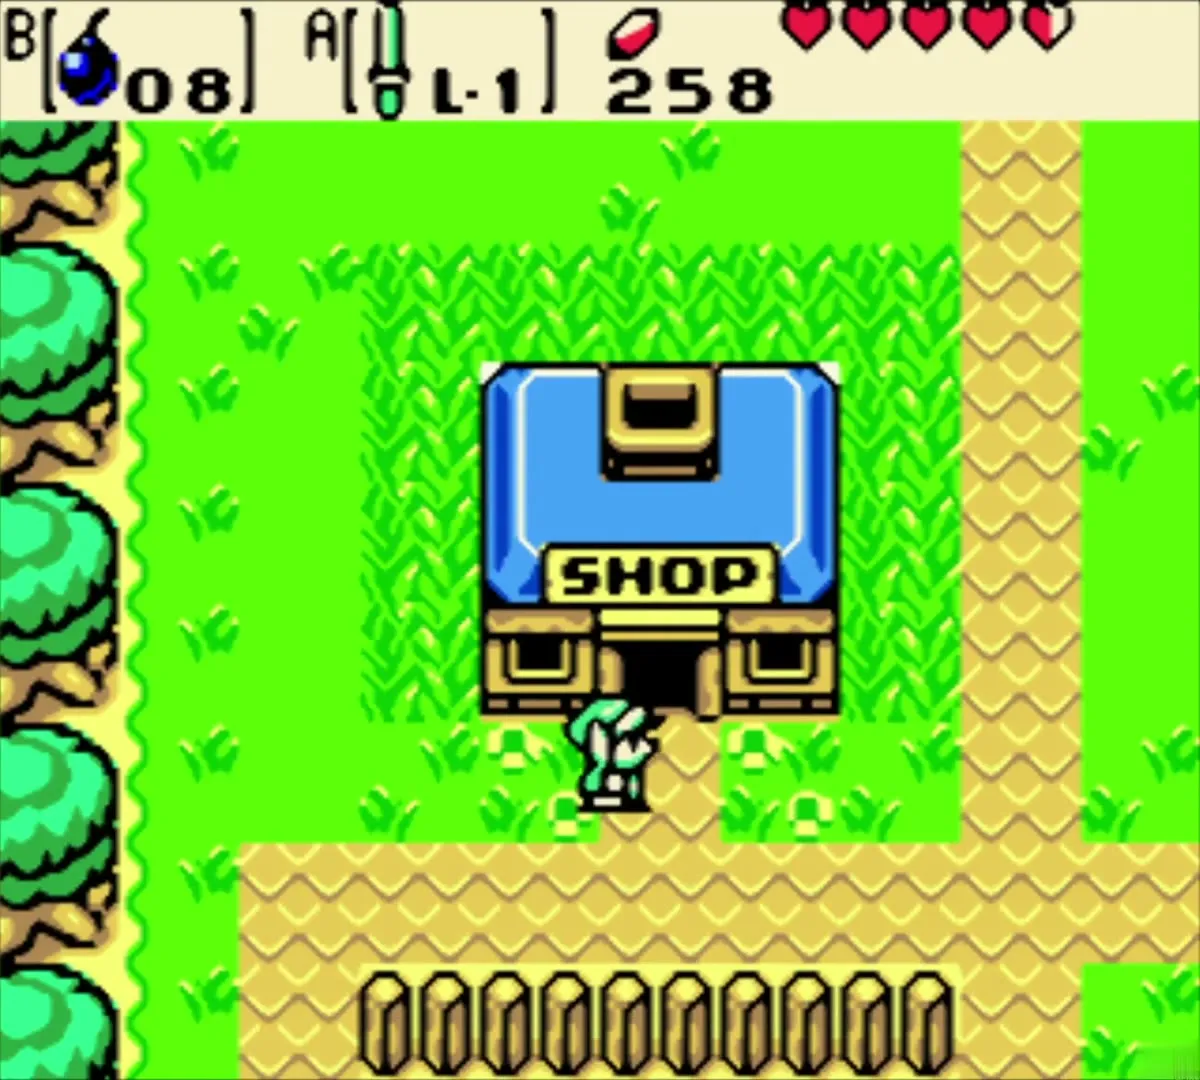
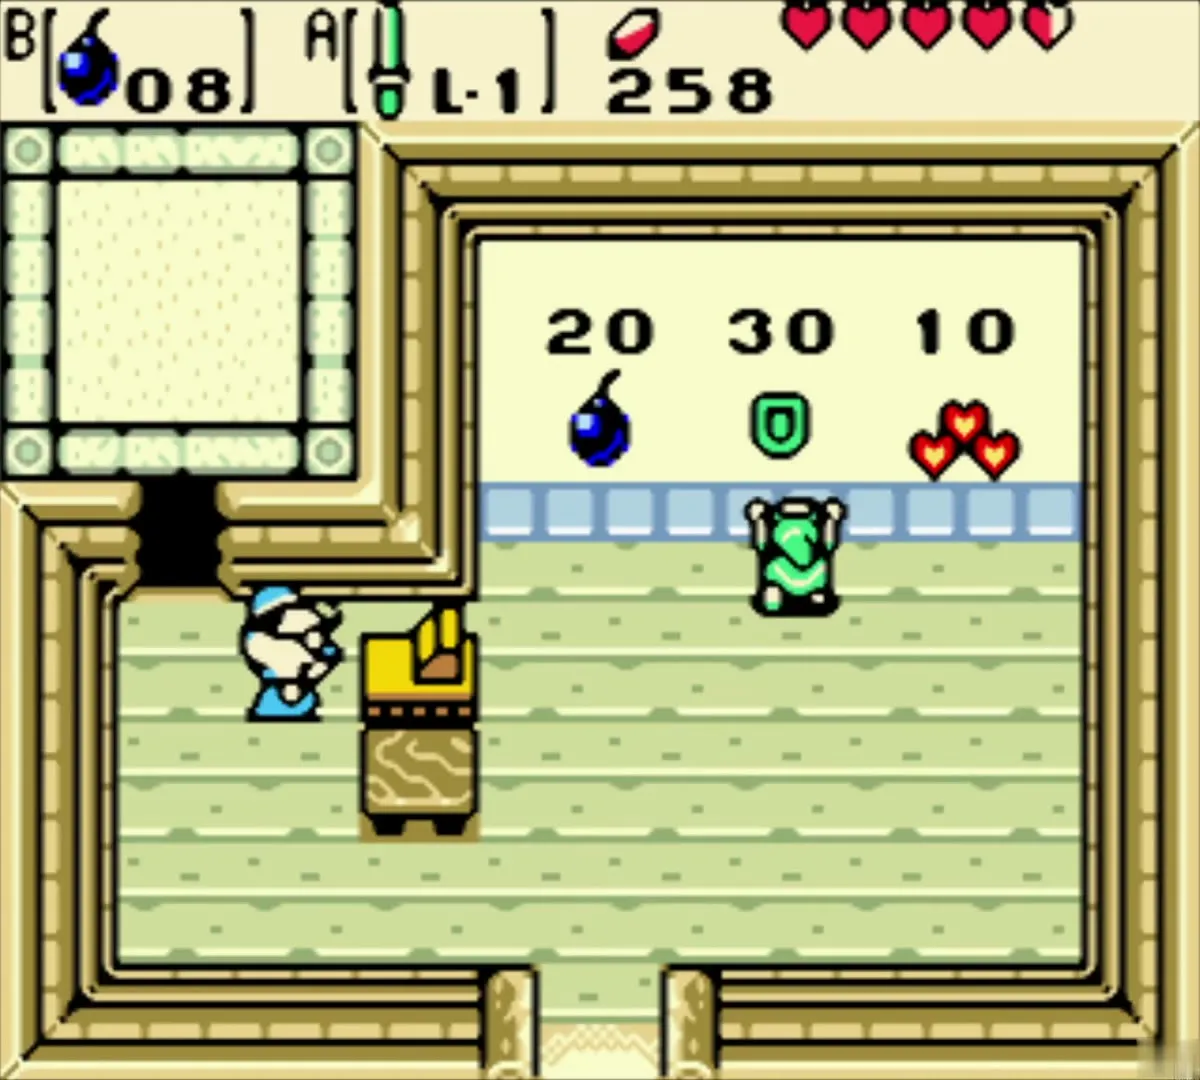
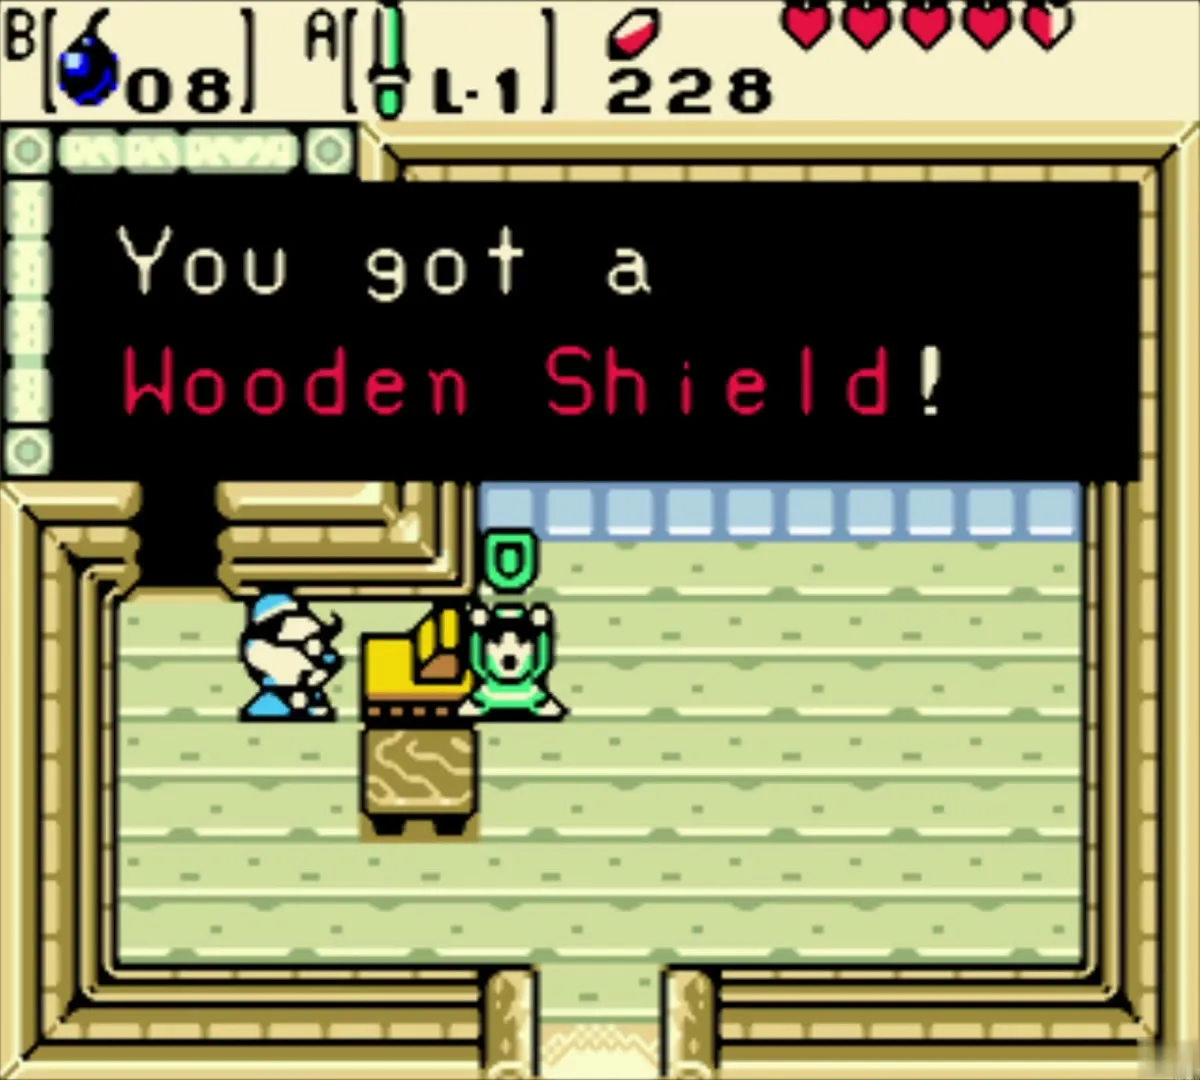
Return to the blue-roofed shop in Horon Village. The 30-Rupee slot that held the Gasha Seed now offers the Wooden Shield. Buy it and equip it. You will need it against Like Likes, which can swallow a shield.
Out of Horon: Sokra, the shore and Rosa
Sokra’s hint and the burnable bush
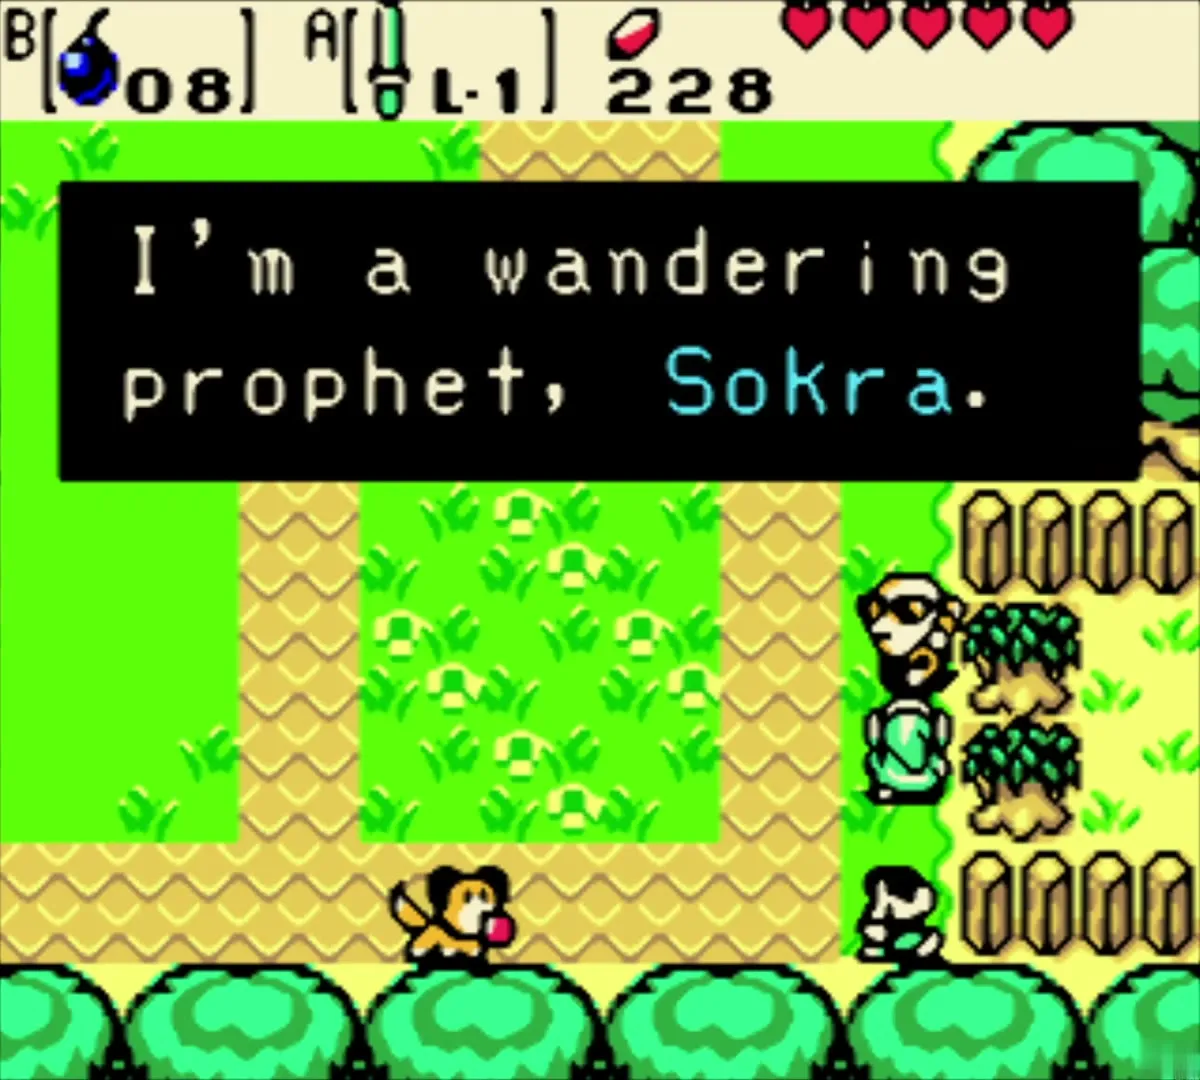
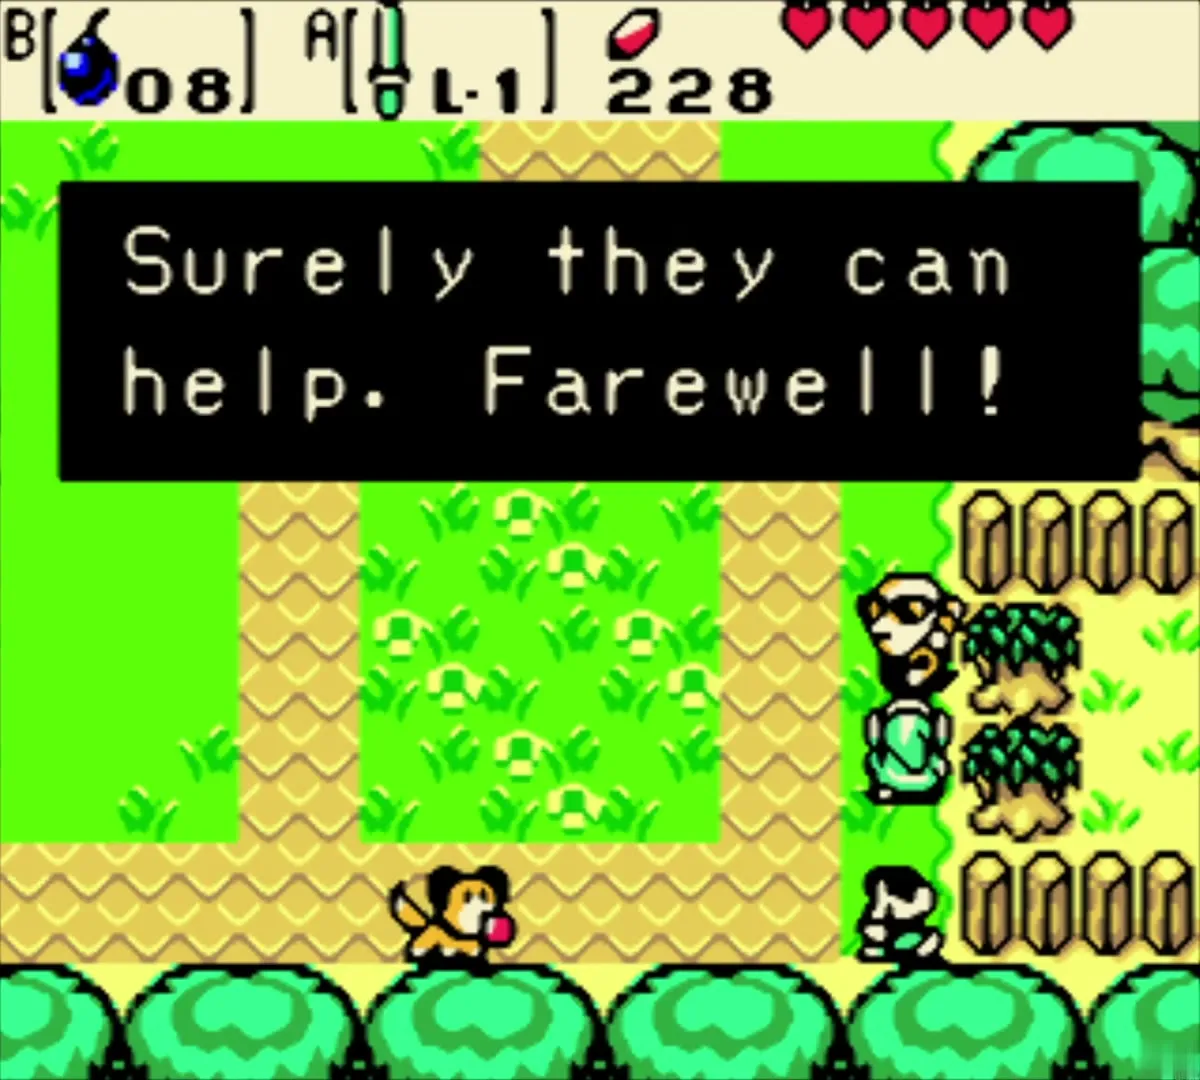
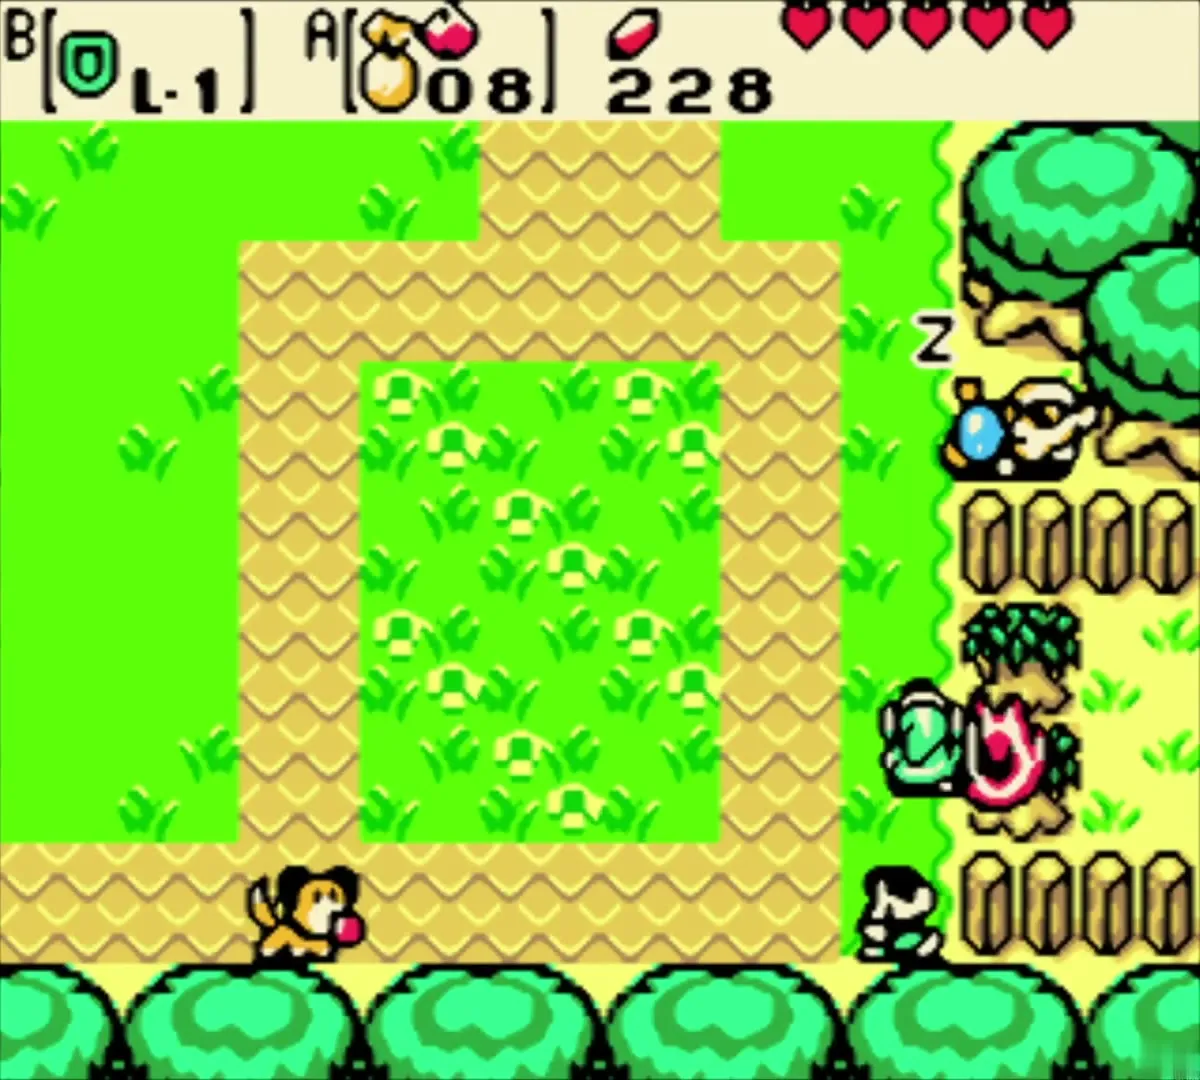
At the east edge of the village the prophet Sokra tells you that the temple of the four Season Spirits is hidden and that the Spirits can help. Burn the bush blocking the road east with an Ember Seed and continue into the autumn fields past the windmill.
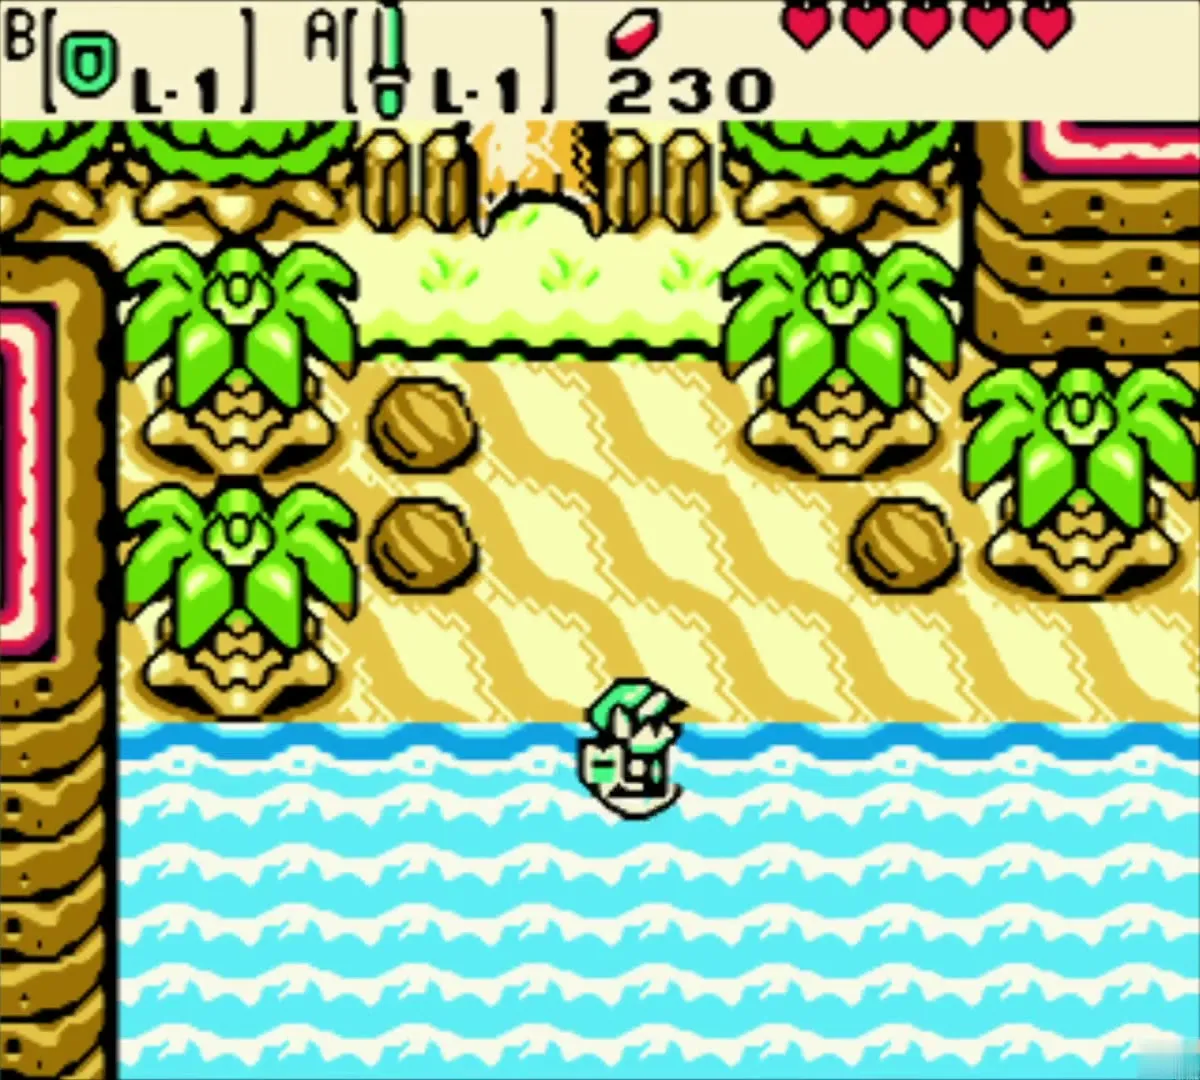
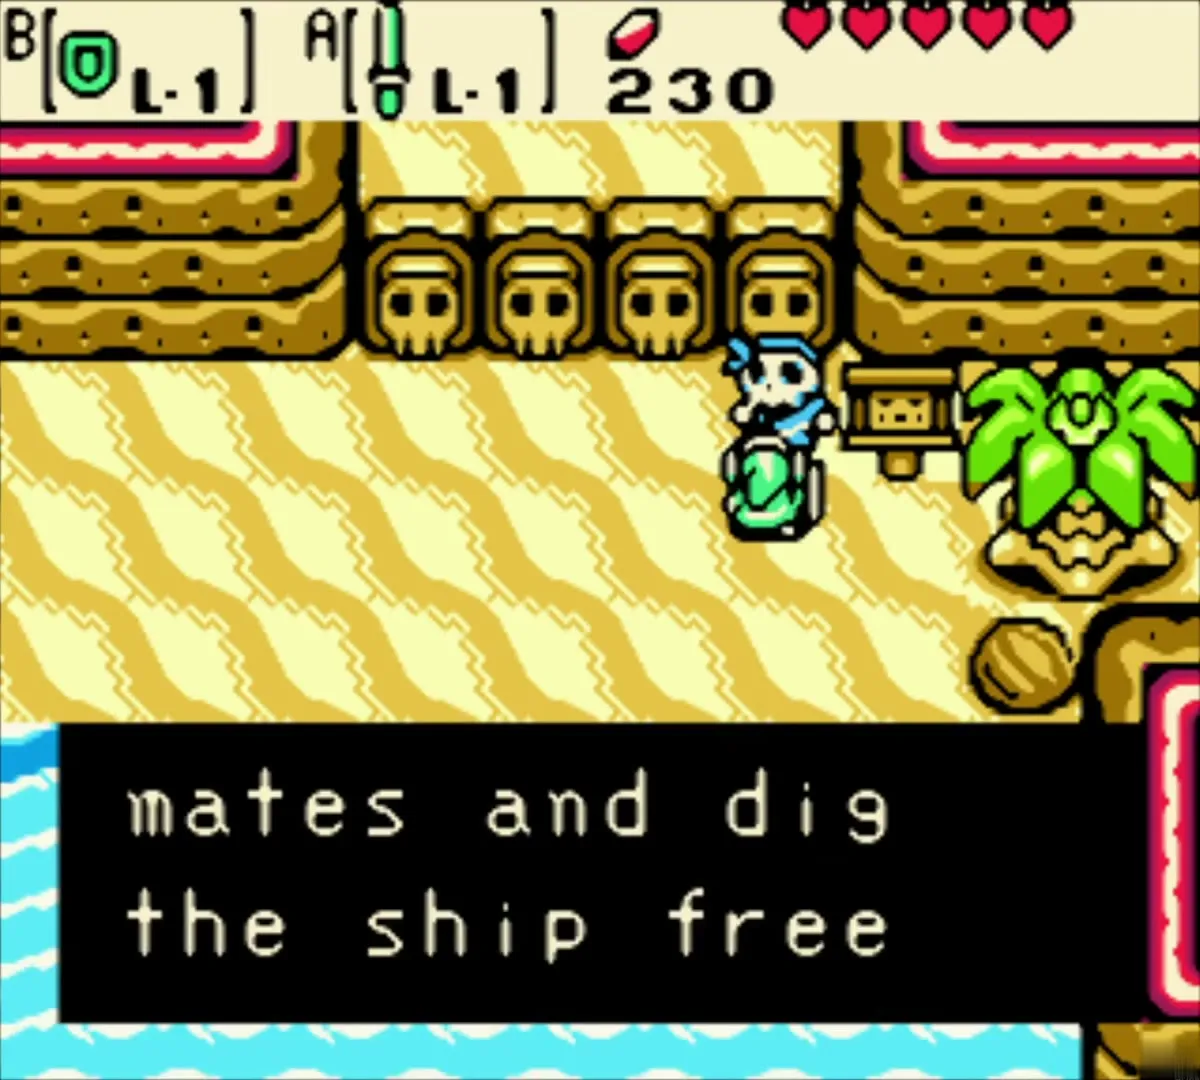
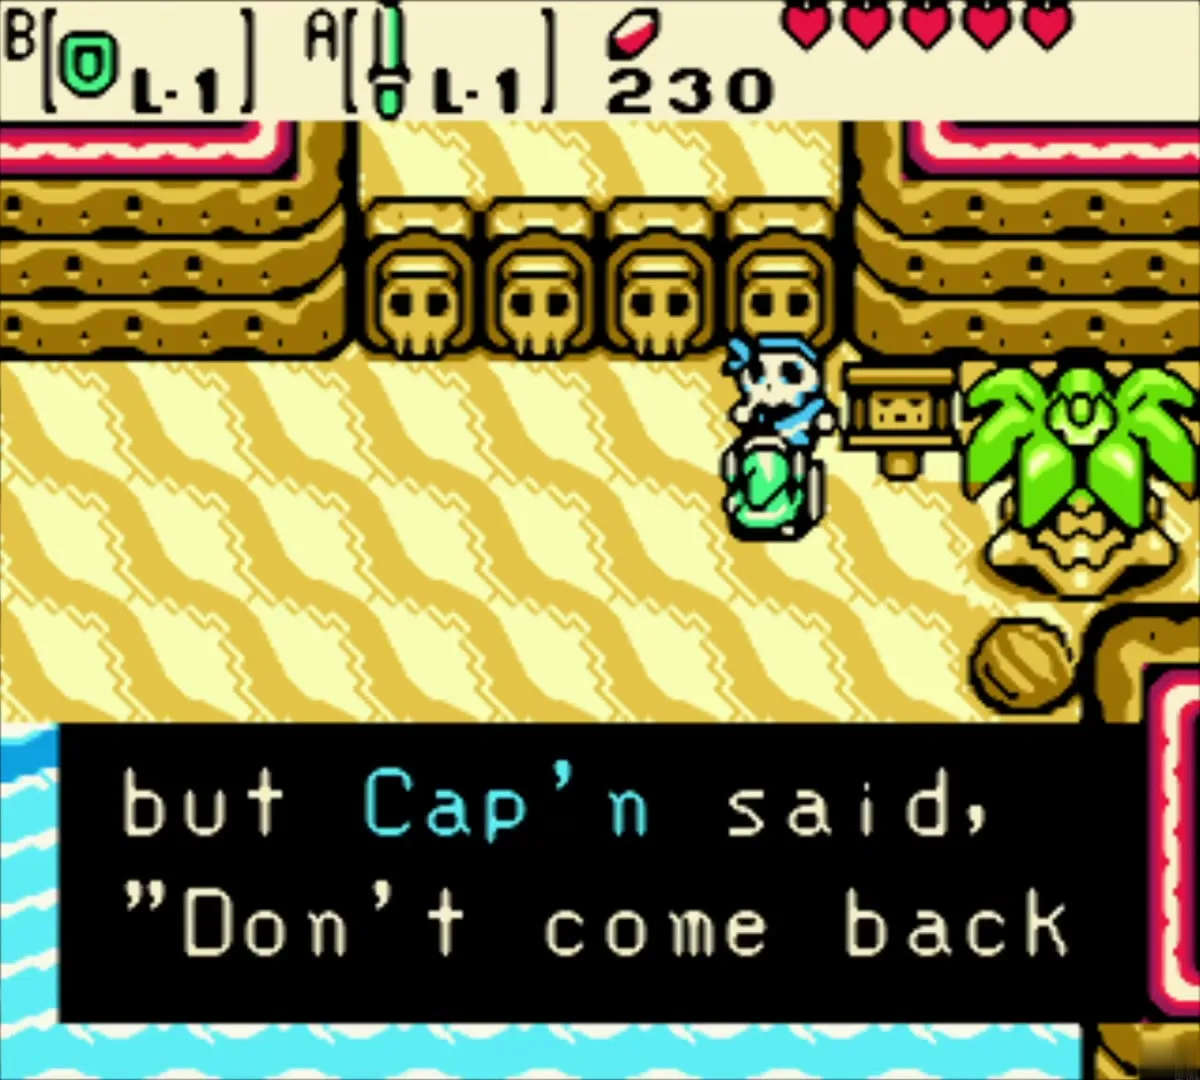
The sandy shore to the east belongs to the Samasa Desert. A pirate stands on the beach and says that he cannot return to his crew until someone finds his captain’s bell. You cannot help yet, so simply turn back toward the fields.
Follow Rosa without being seen
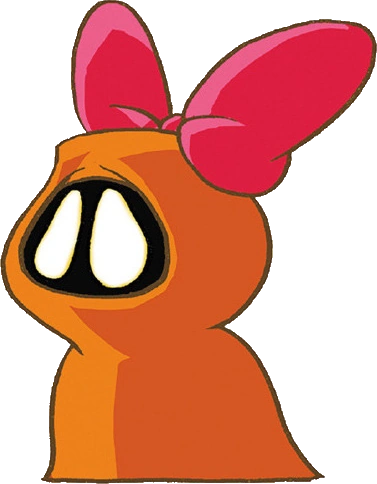
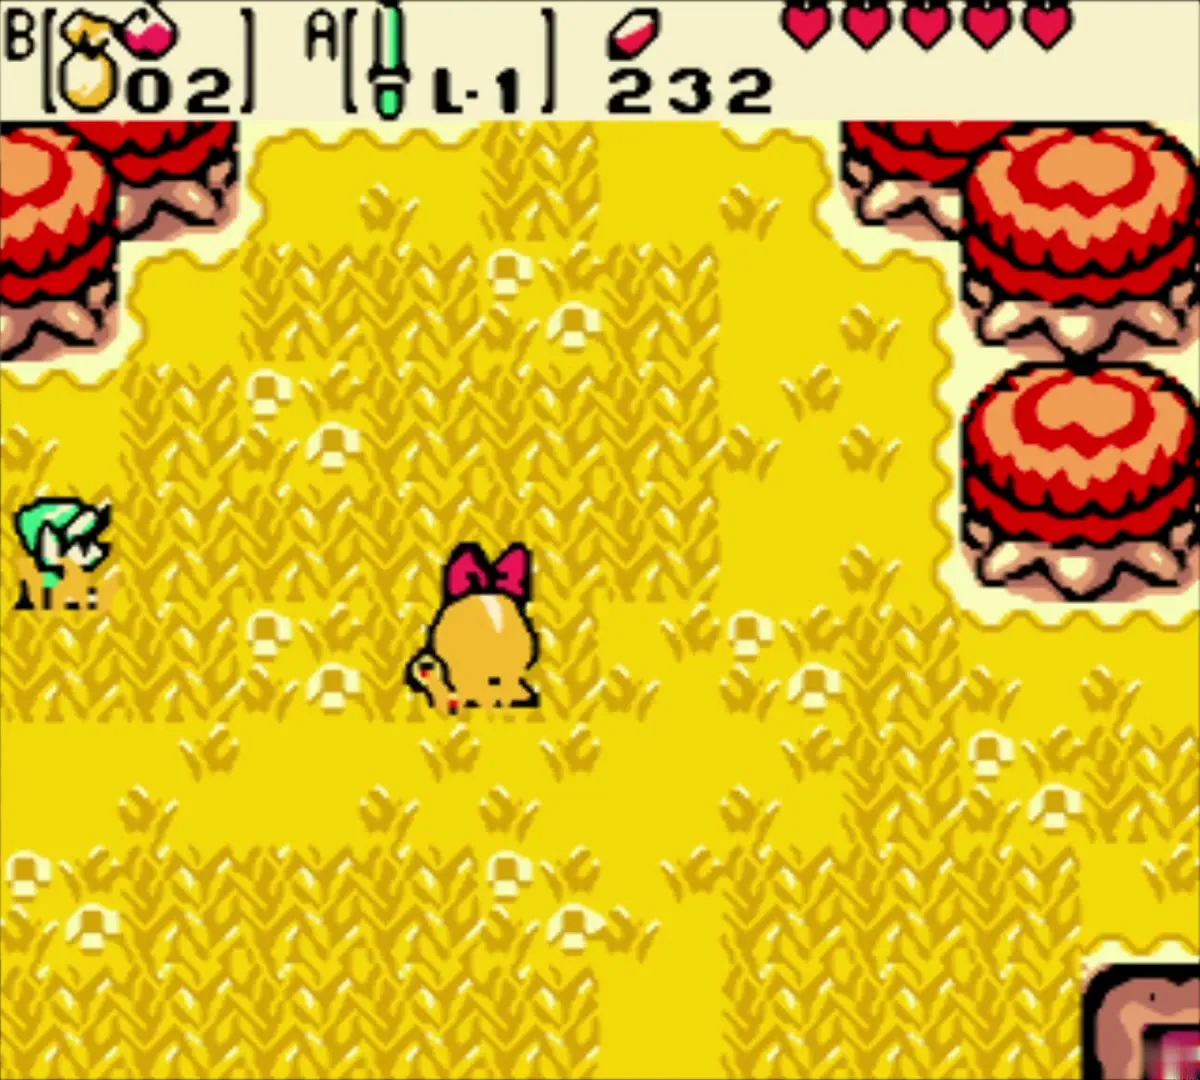
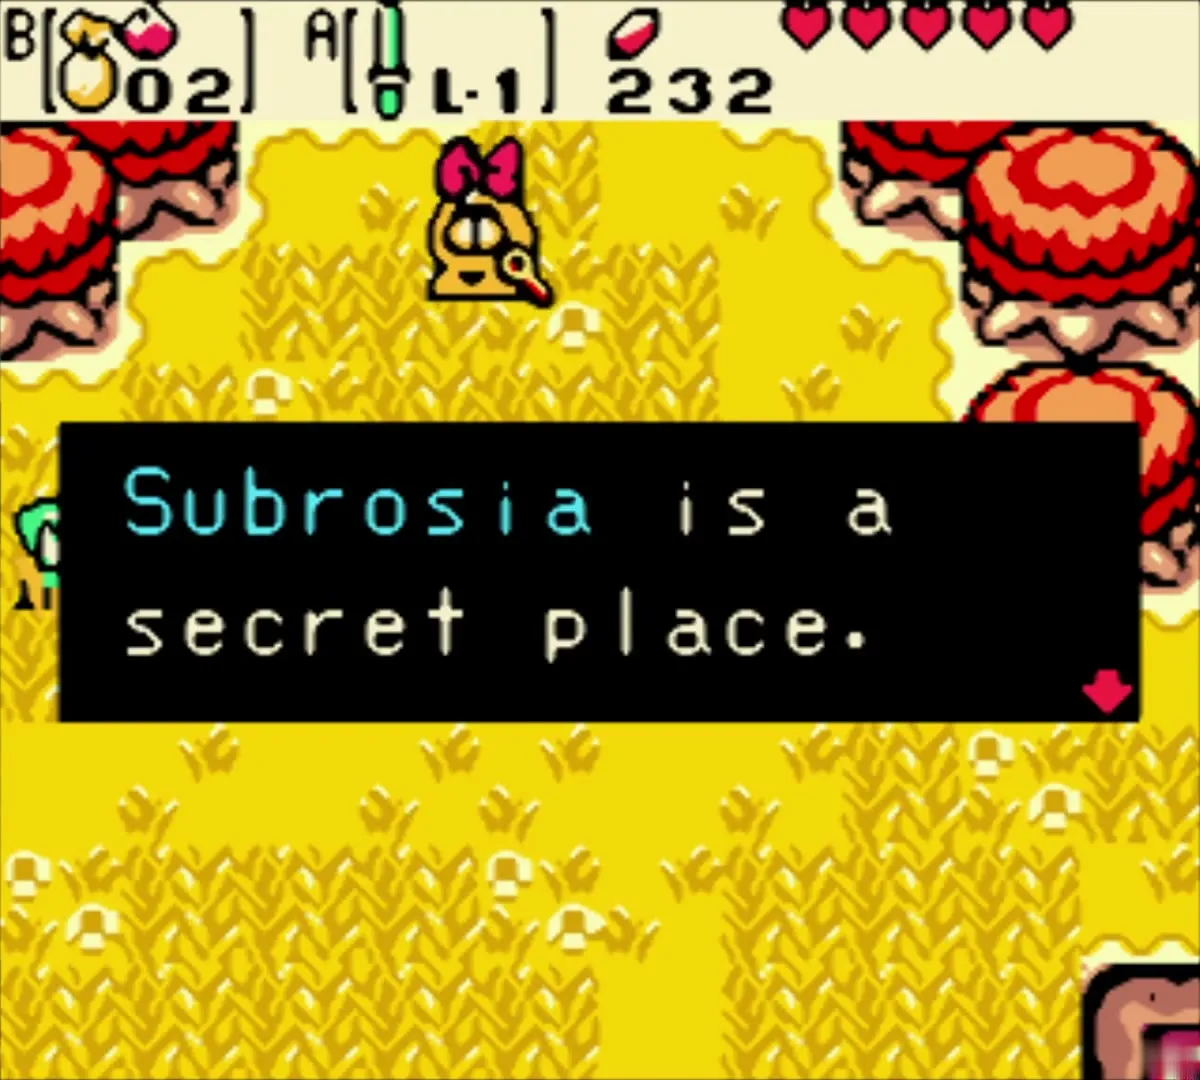
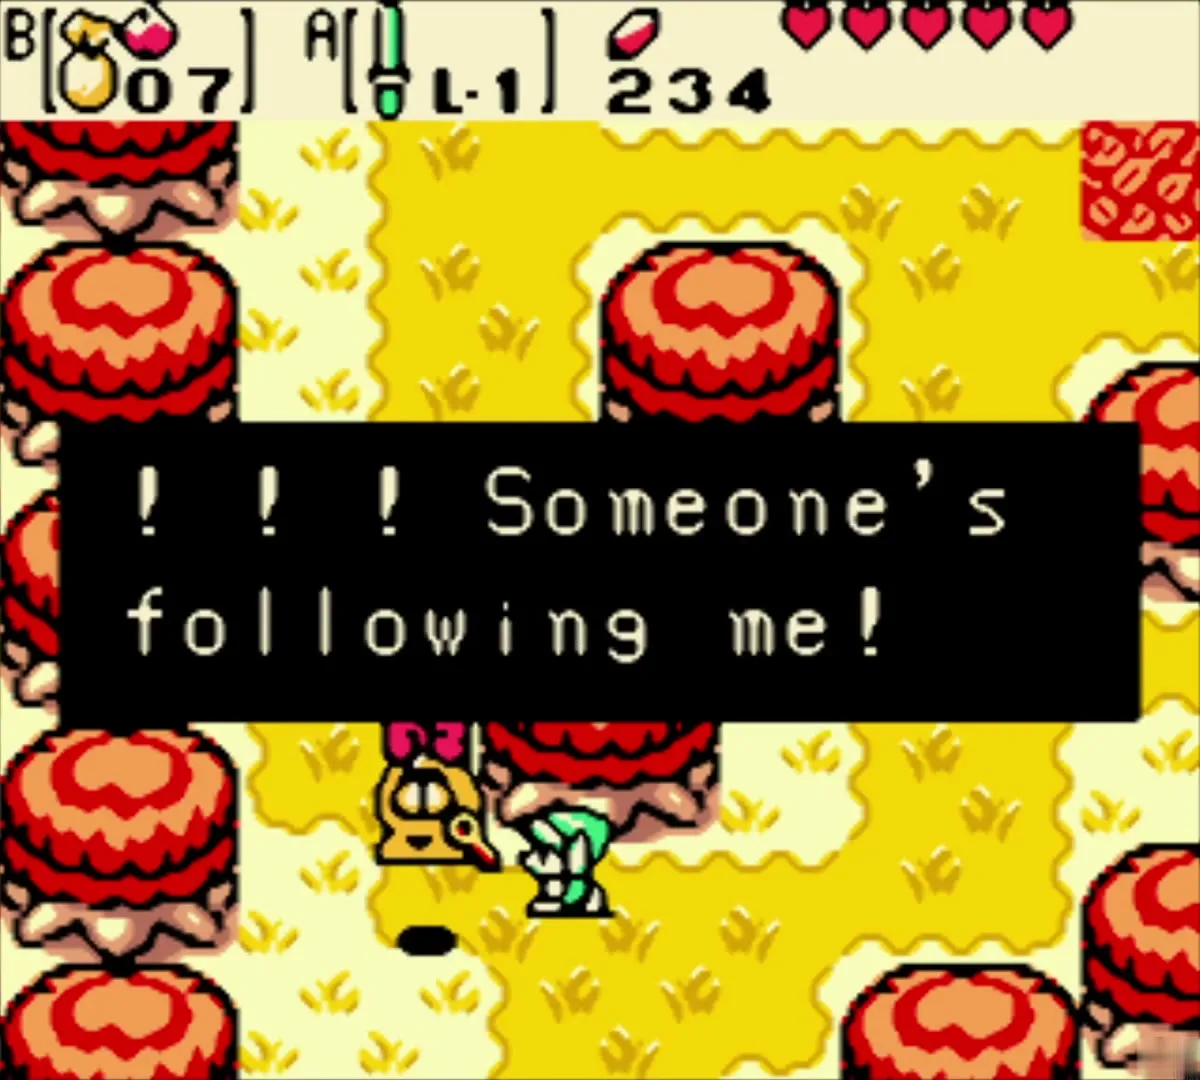
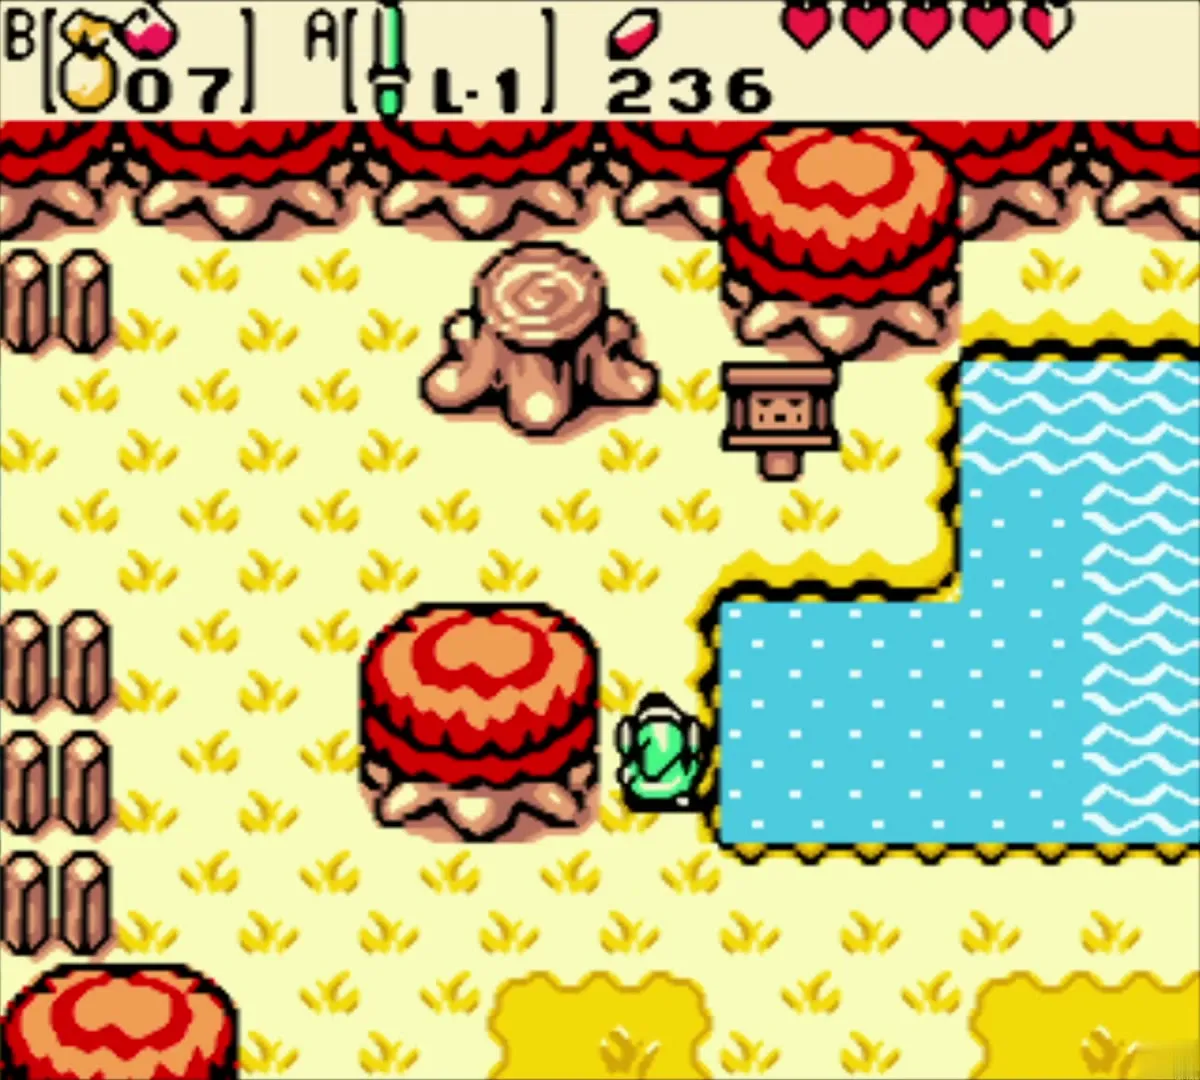
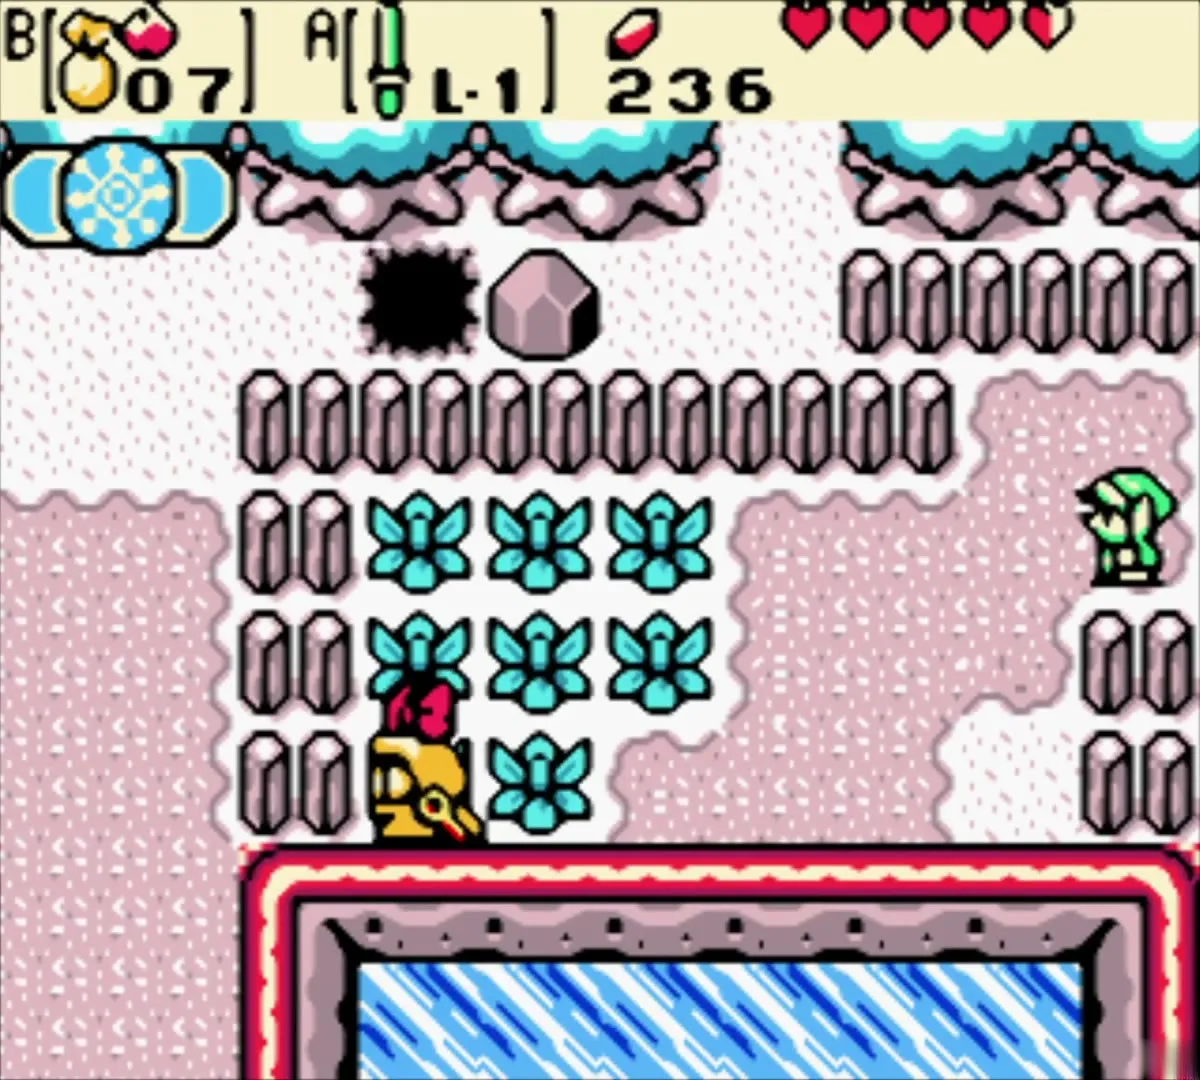
In the fields you meet Rosa, a Subrosian with a red bow, who mutters that she wants to return to the underground in secret. Keep your distance and stay behind trees and rocks. If she spots you she shouts that someone is following her, so wait and then follow her toward the stump with the pond.
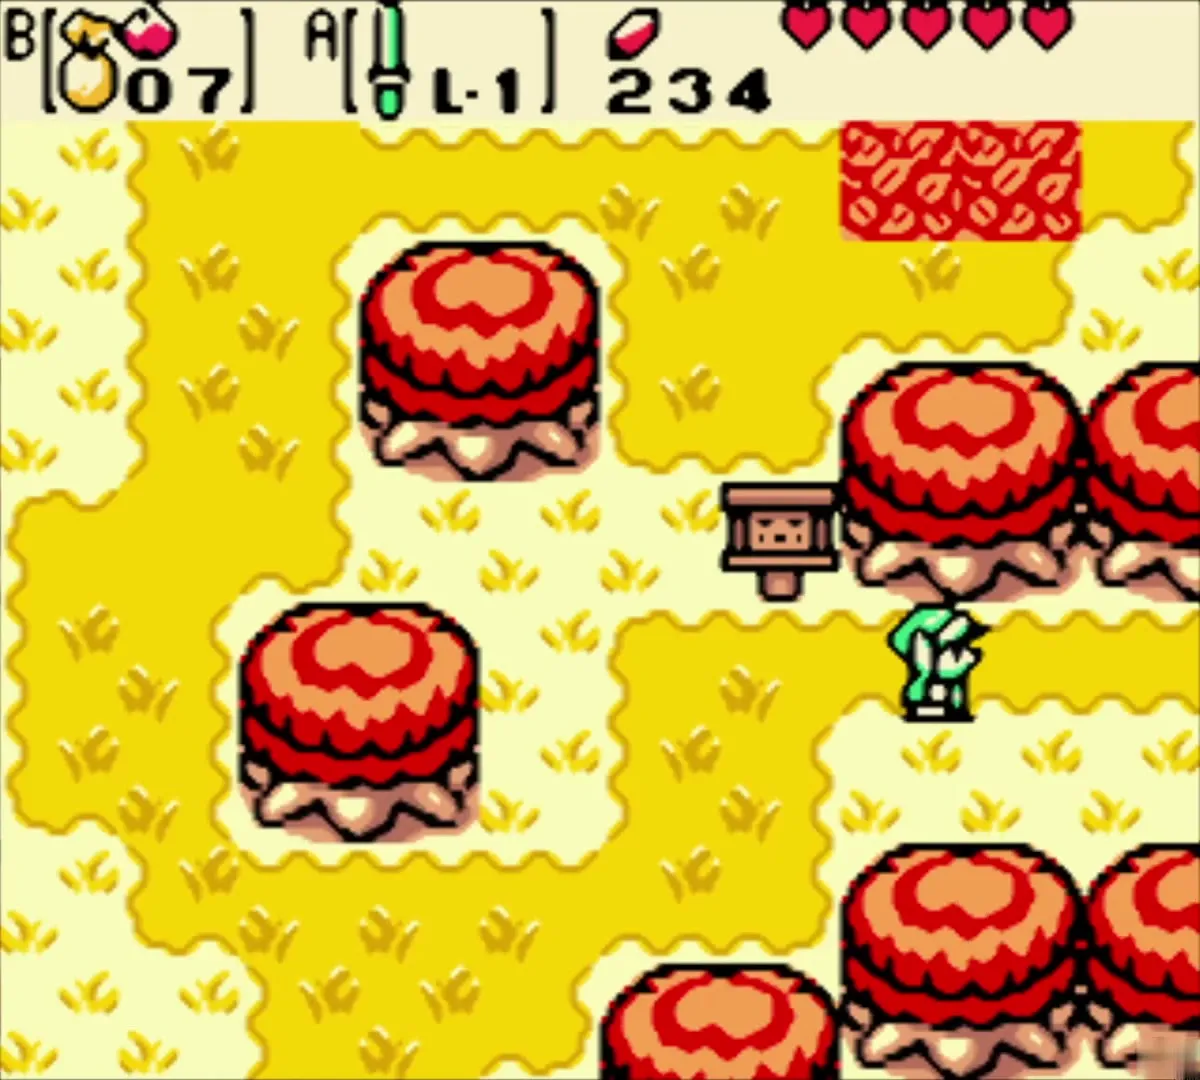
Plant a Gasha Seed in the Woods of Winter
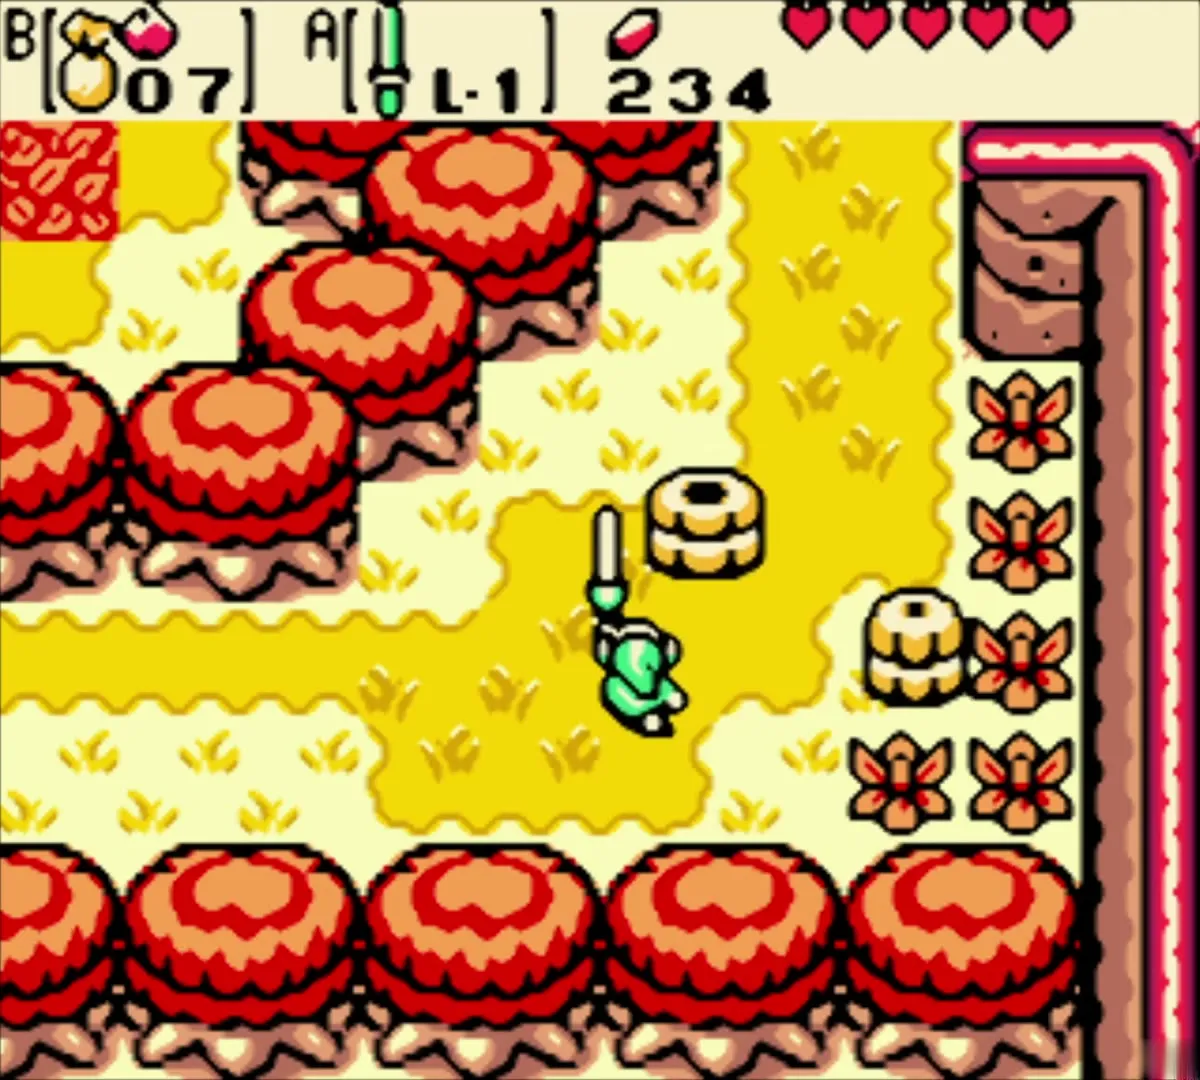
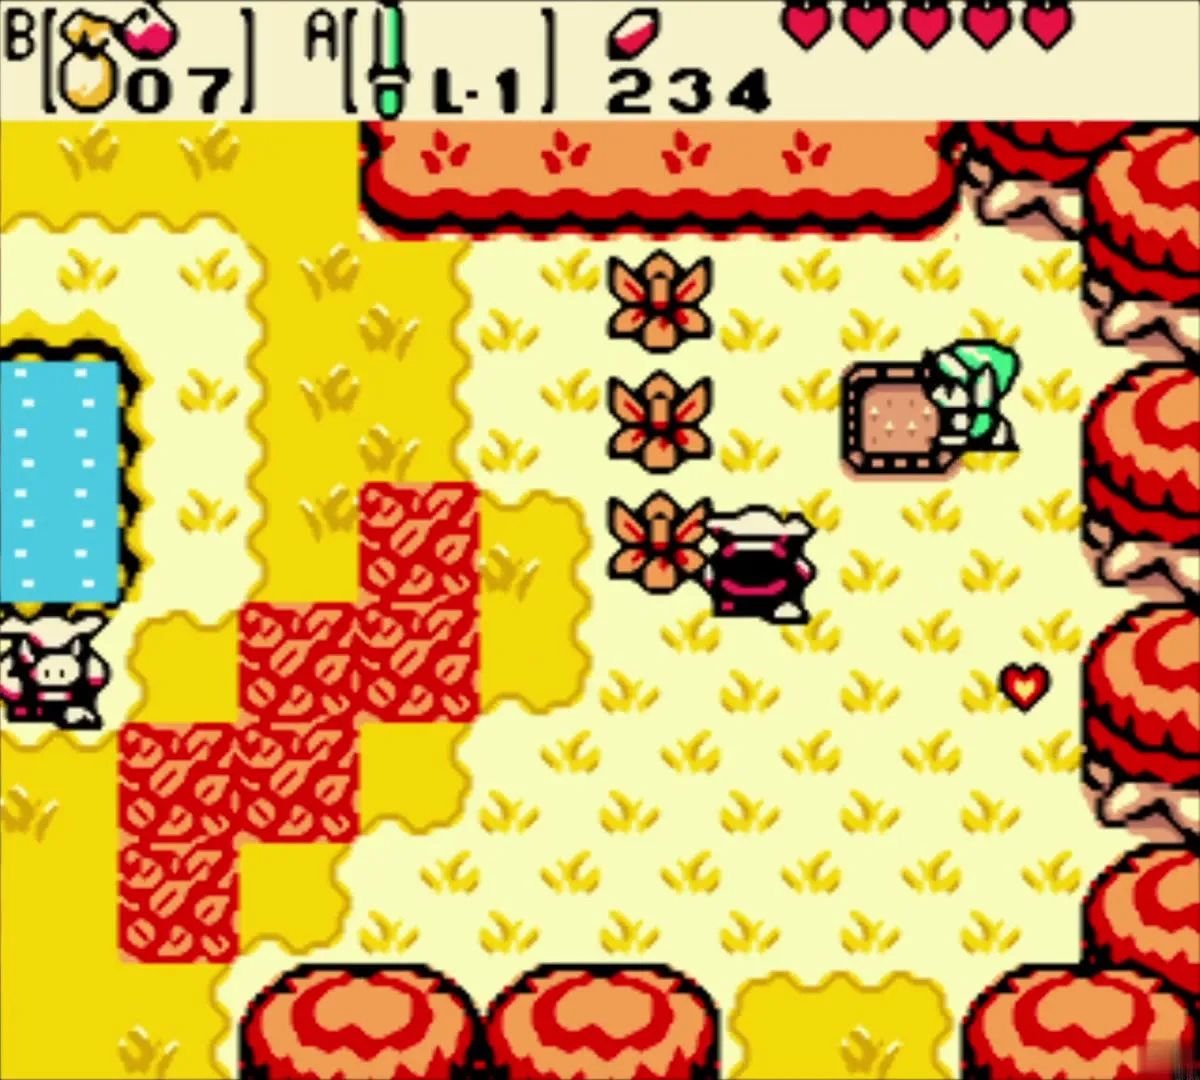
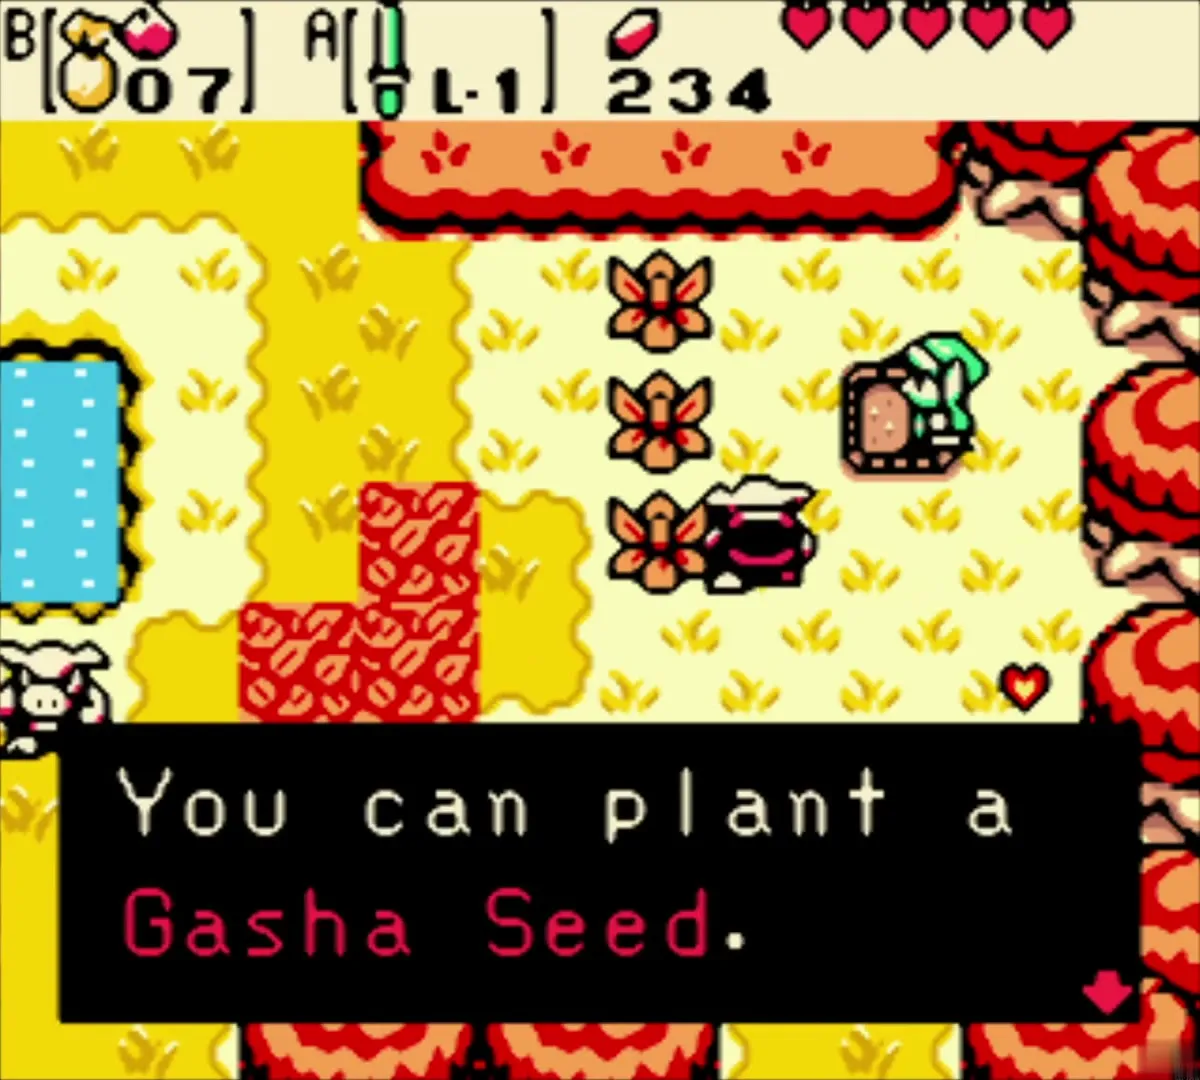
On the way a signpost warns about Like Likes. Cut the small bushes at the right edge of the screen and you uncover soft soil. Plant one of your Gasha Seeds there. A tree grows after enough kills; see Gasha Seed locations. Fight the Like Likes with the shield equipped.

Enter the portal at Eyeglass Lake
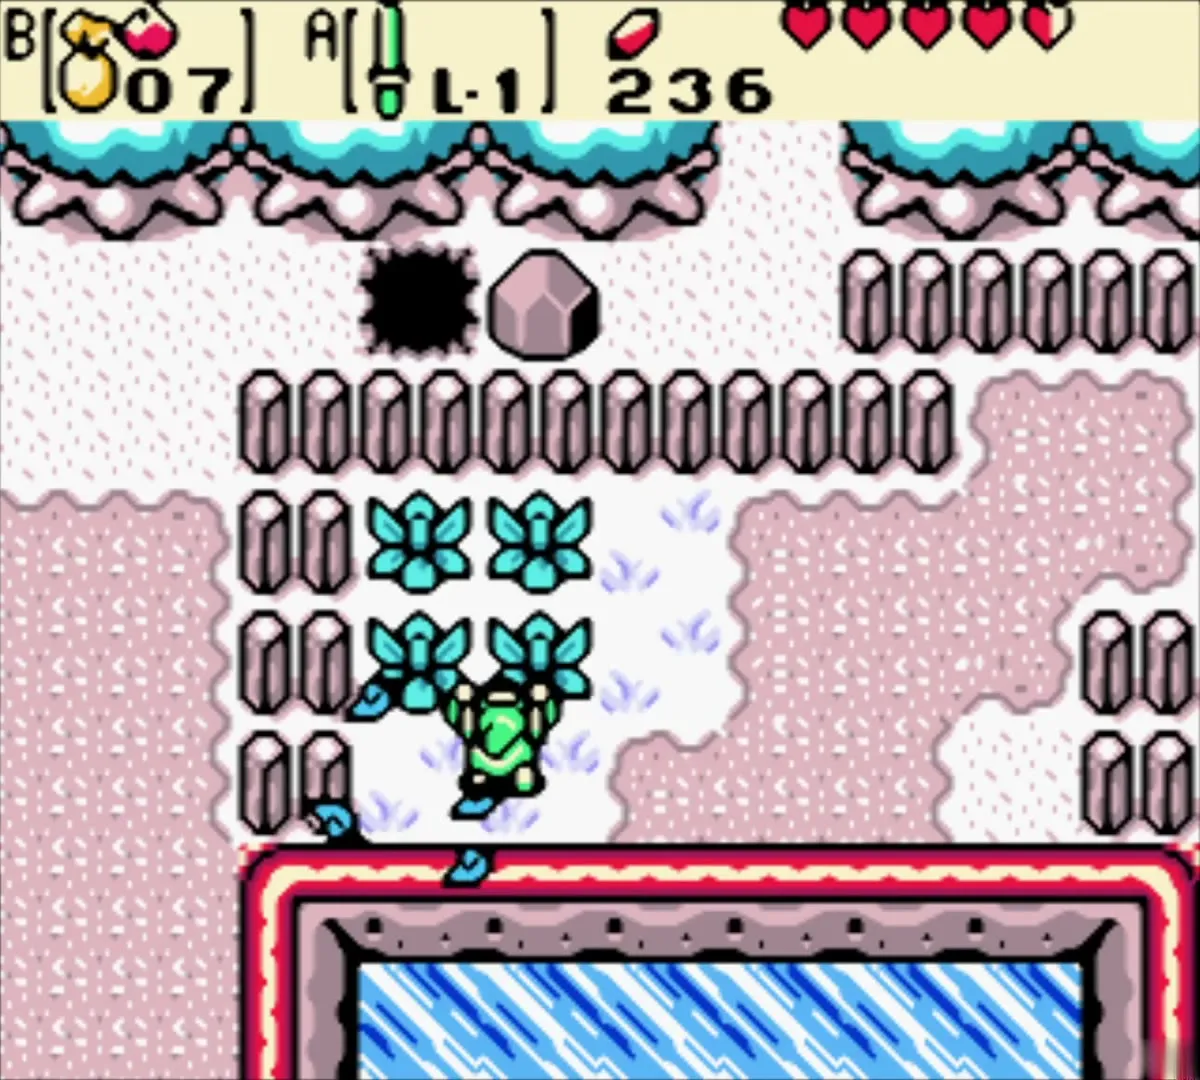
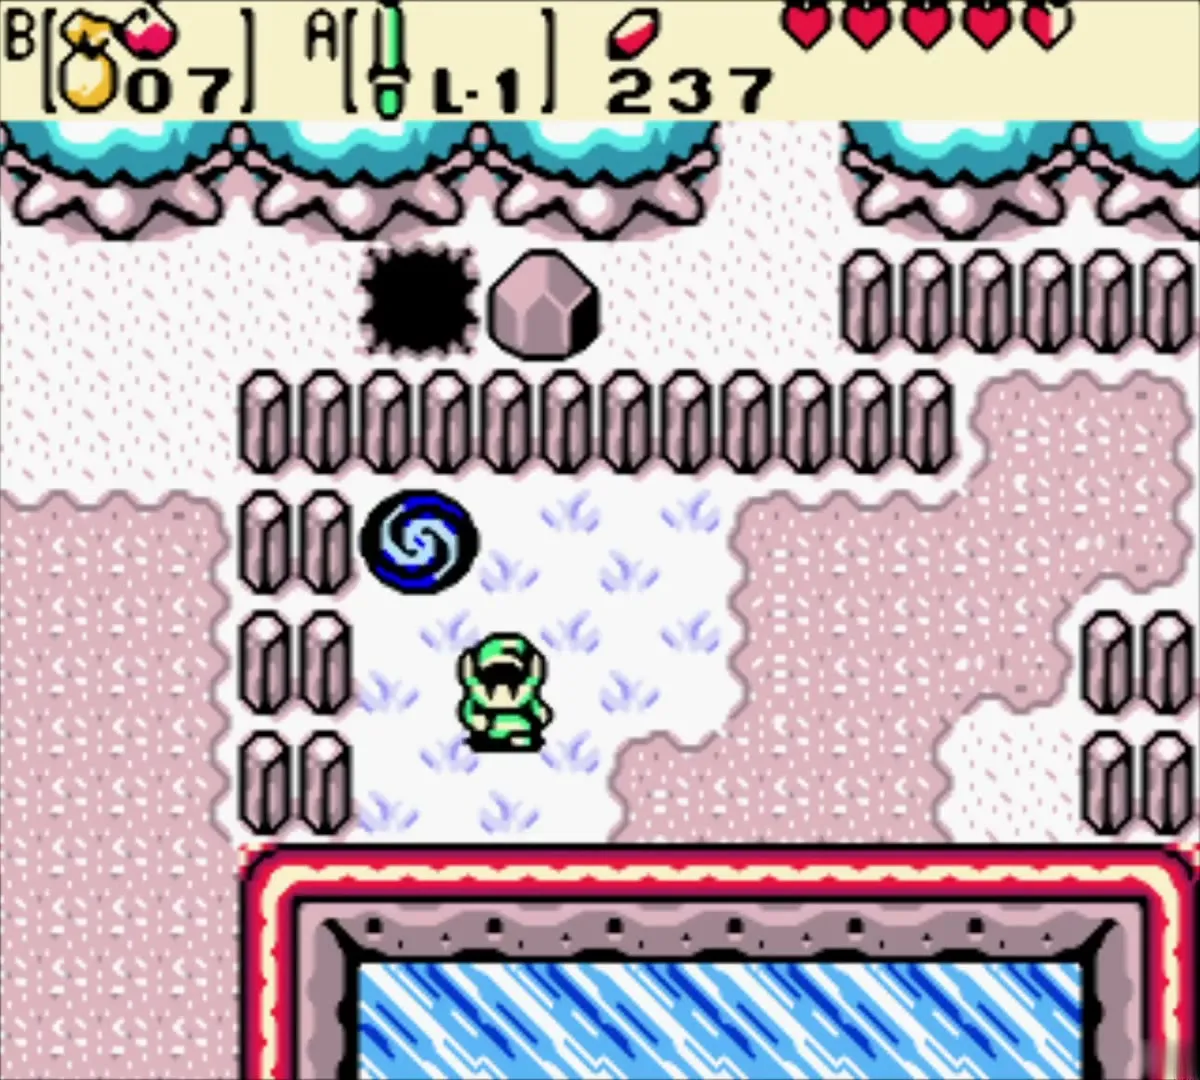
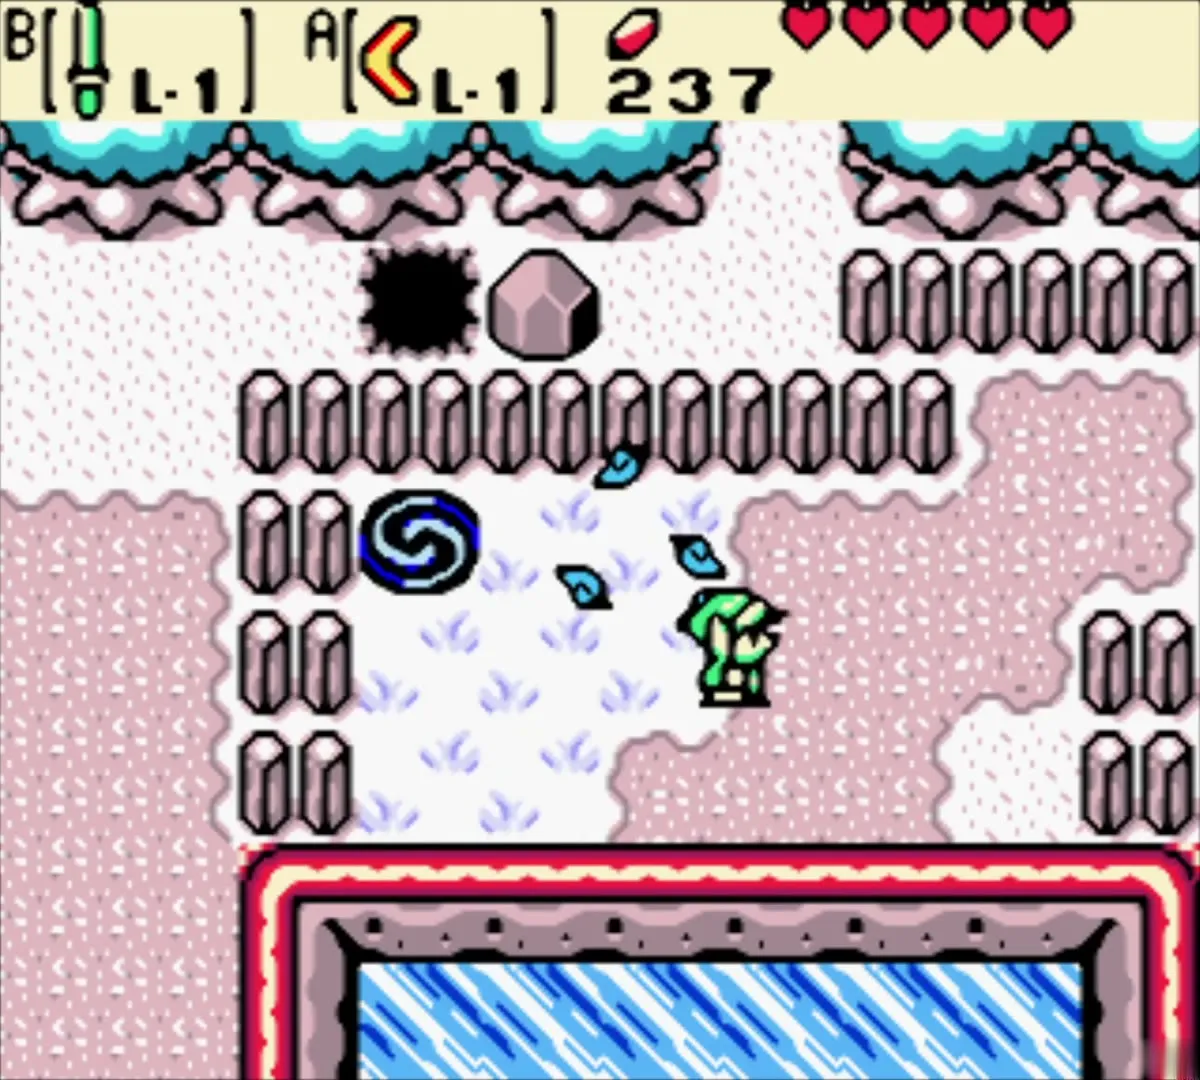
Rosa goes west to Eyeglass Lake. The season flips by itself as you walk, so wait for winter, when the lake is frozen. Cross the ice, cut the snow grass and step onto the swirling portal on the far bank. It drops you into Subrosia, where Rupees are useless and Ore Chunks are the currency. The portal at the Horon end is the way home later.
Subrosia and the Dance Hall
Walk to the Dance Hall
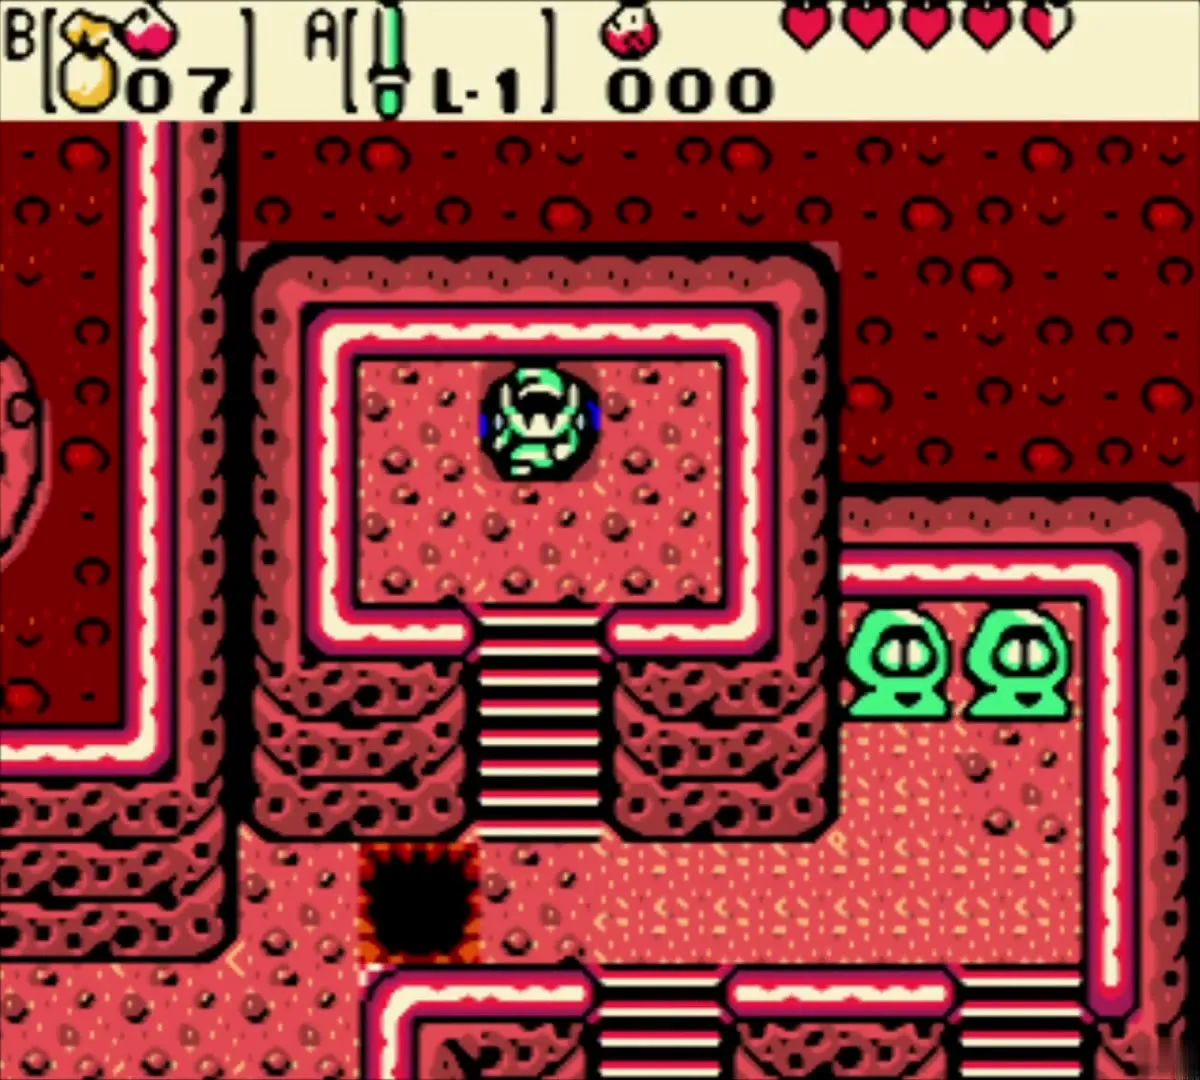
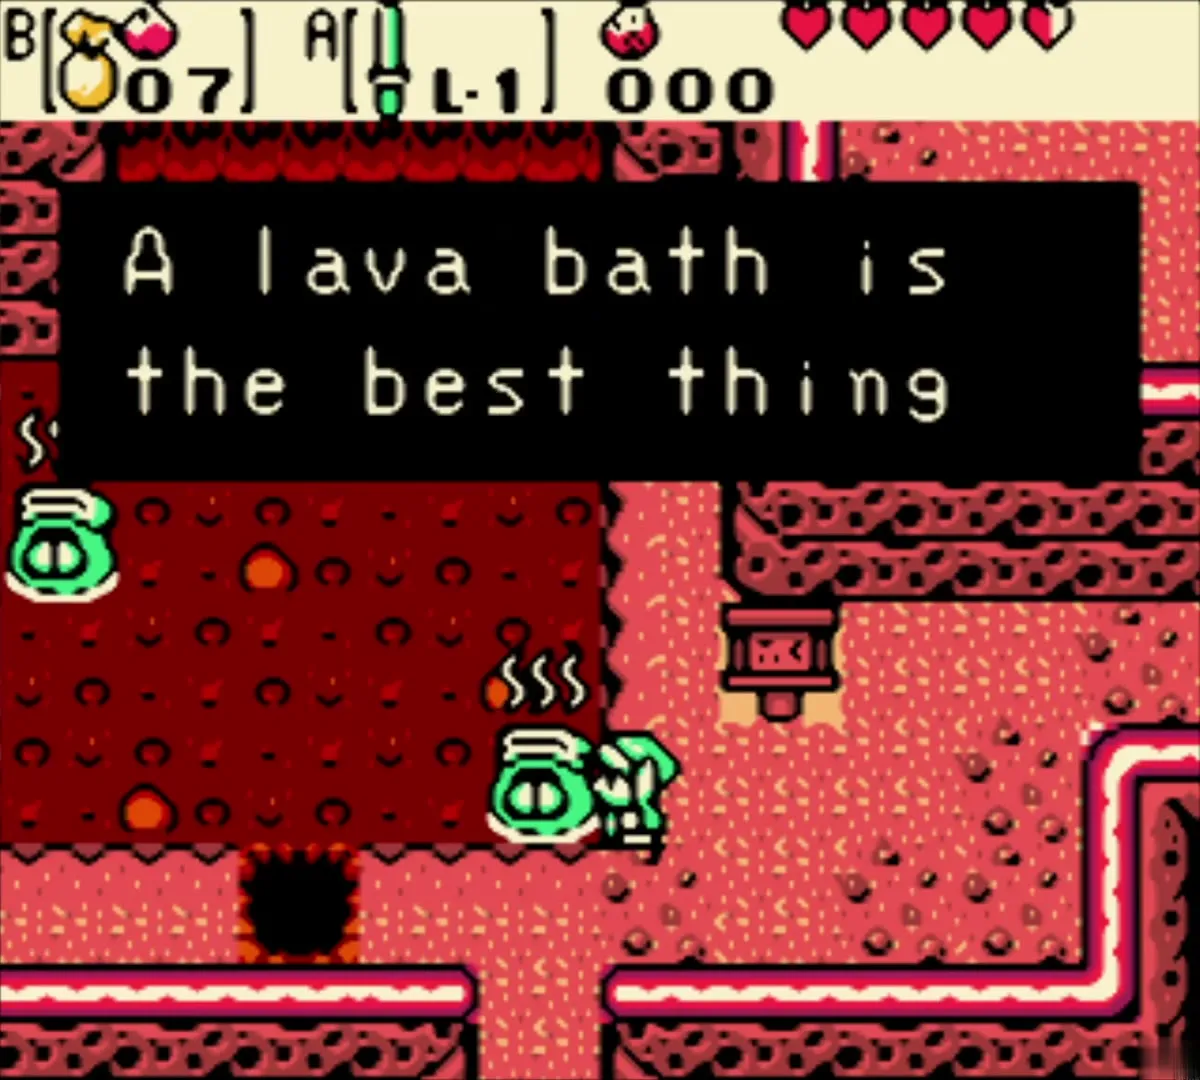
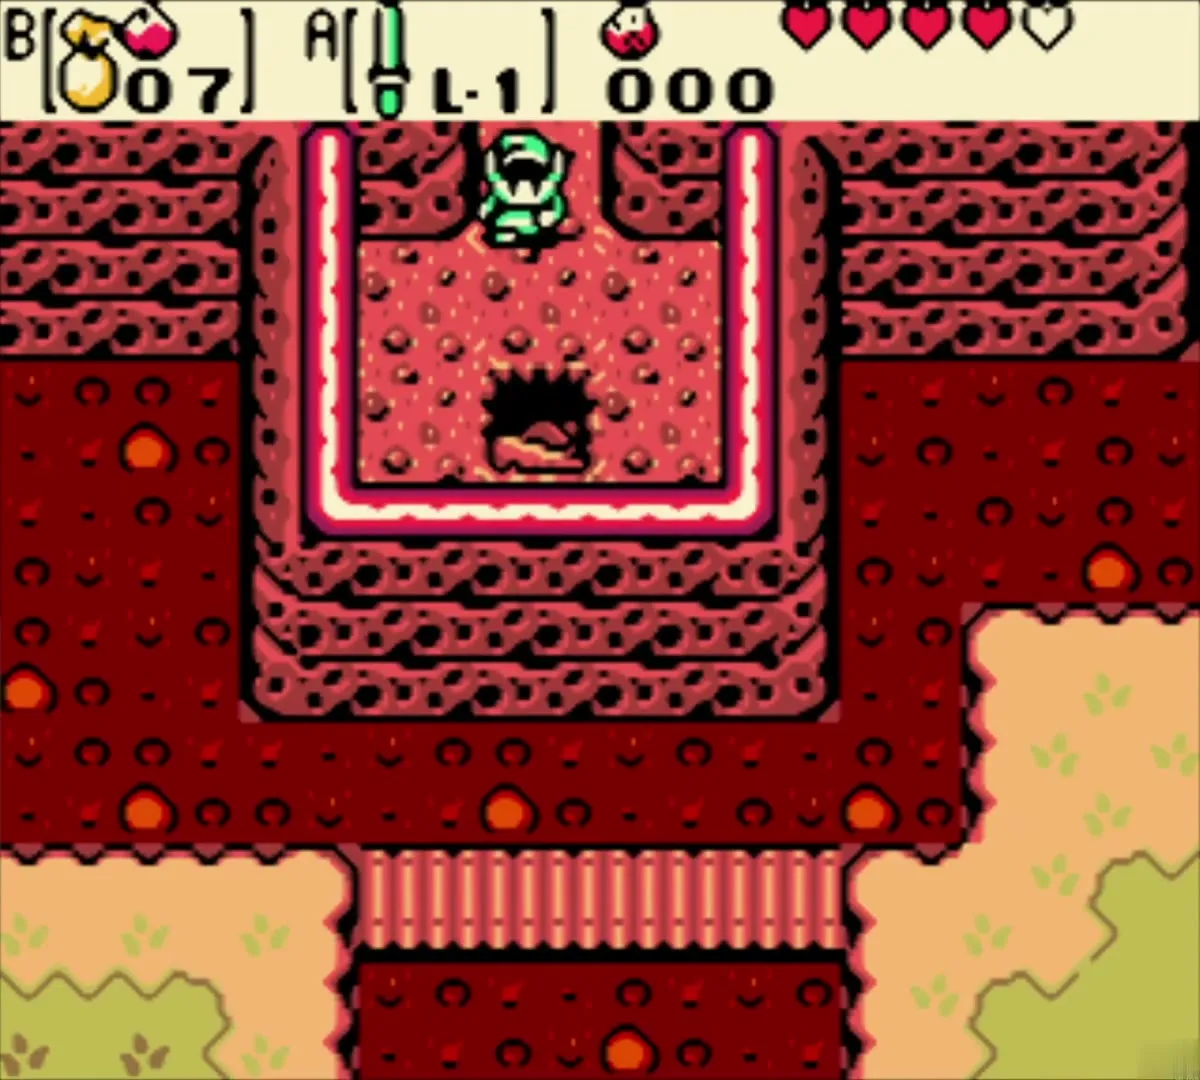
You arrive in the East Plaza, where the Subrosians gossip that a temple has fallen into their land and that the volcanoes are acting up. Take the west stairs down to stay high on the mountainside, pass the Subrosian Hot Springs sign and the Subrosians in the lava, then go south to the cave of the Subrosian Dance Hall.

Win the dance for the Boomerang
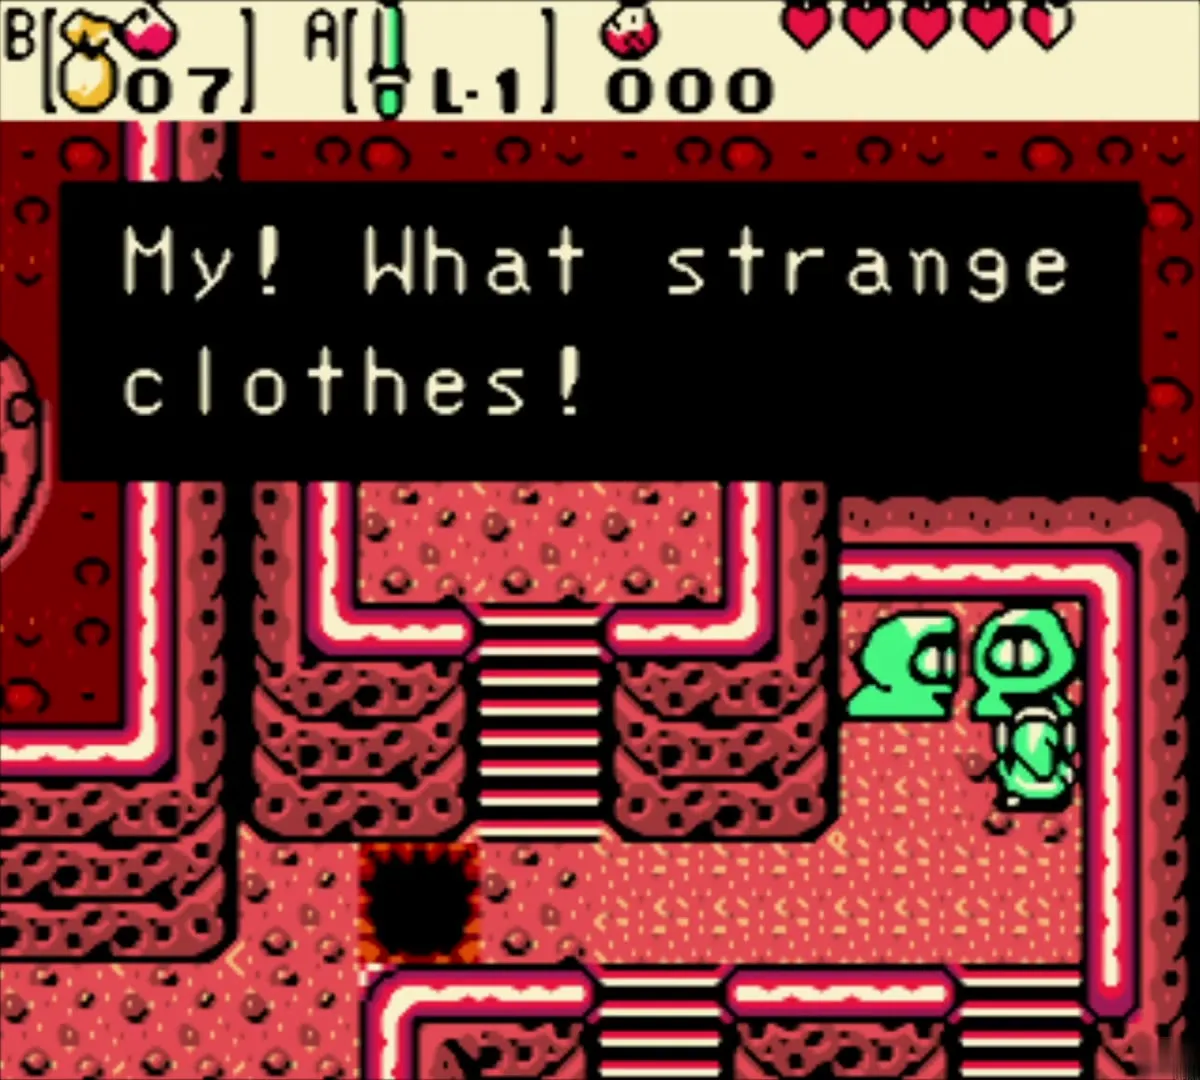
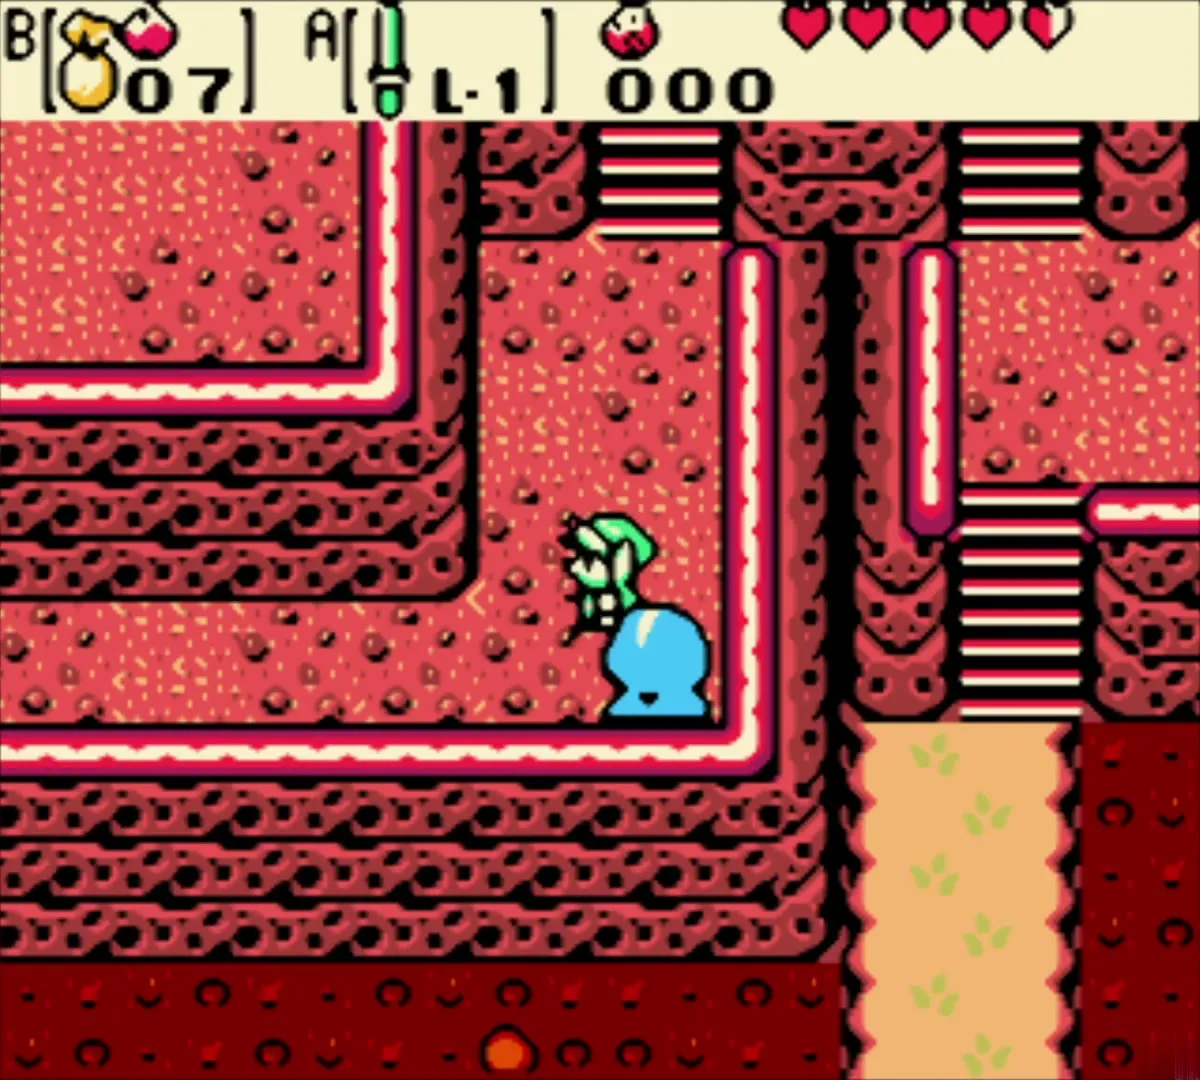
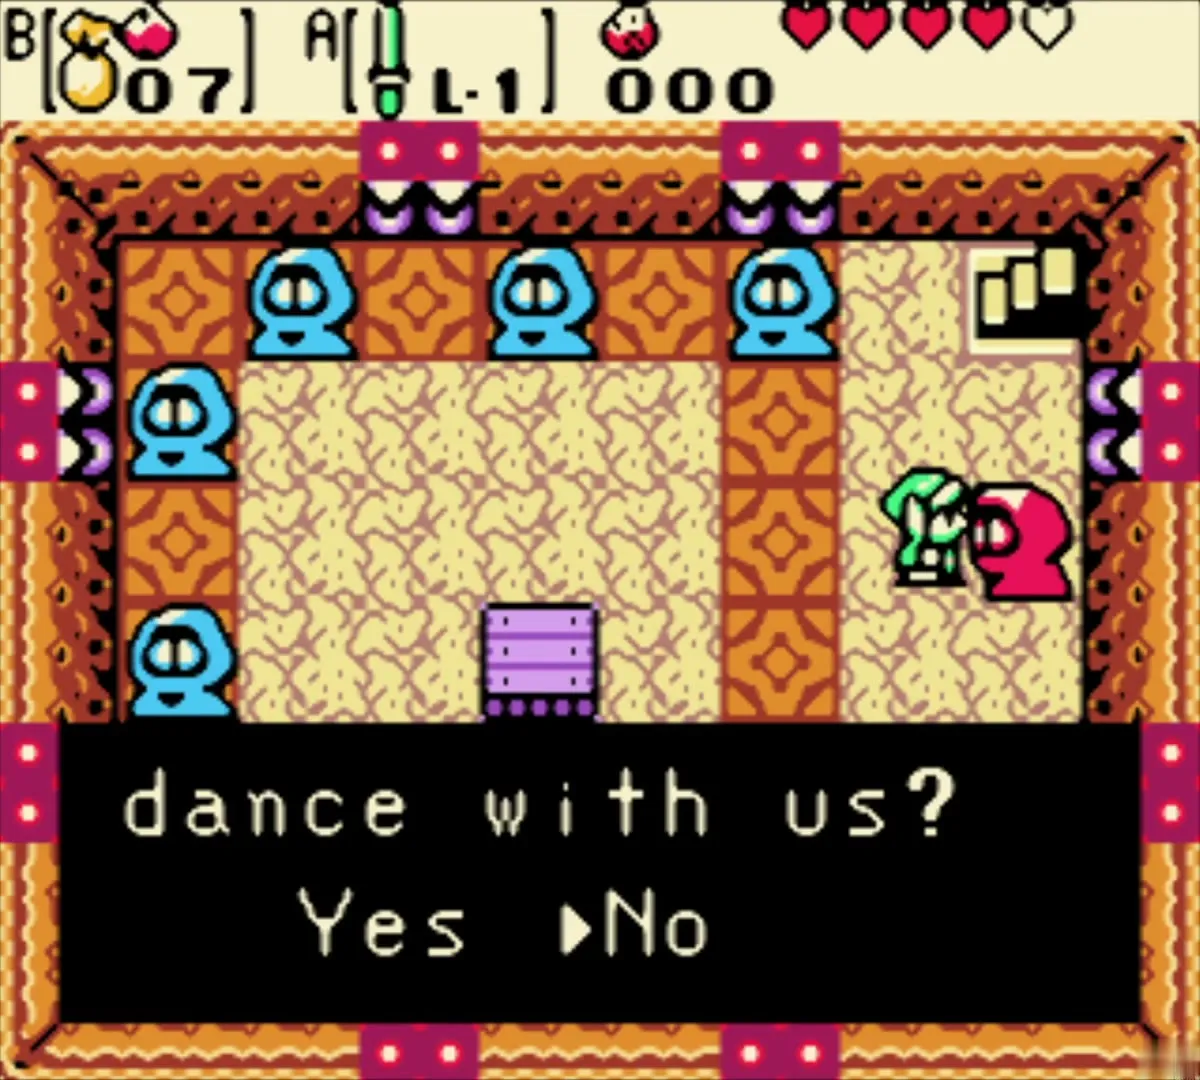
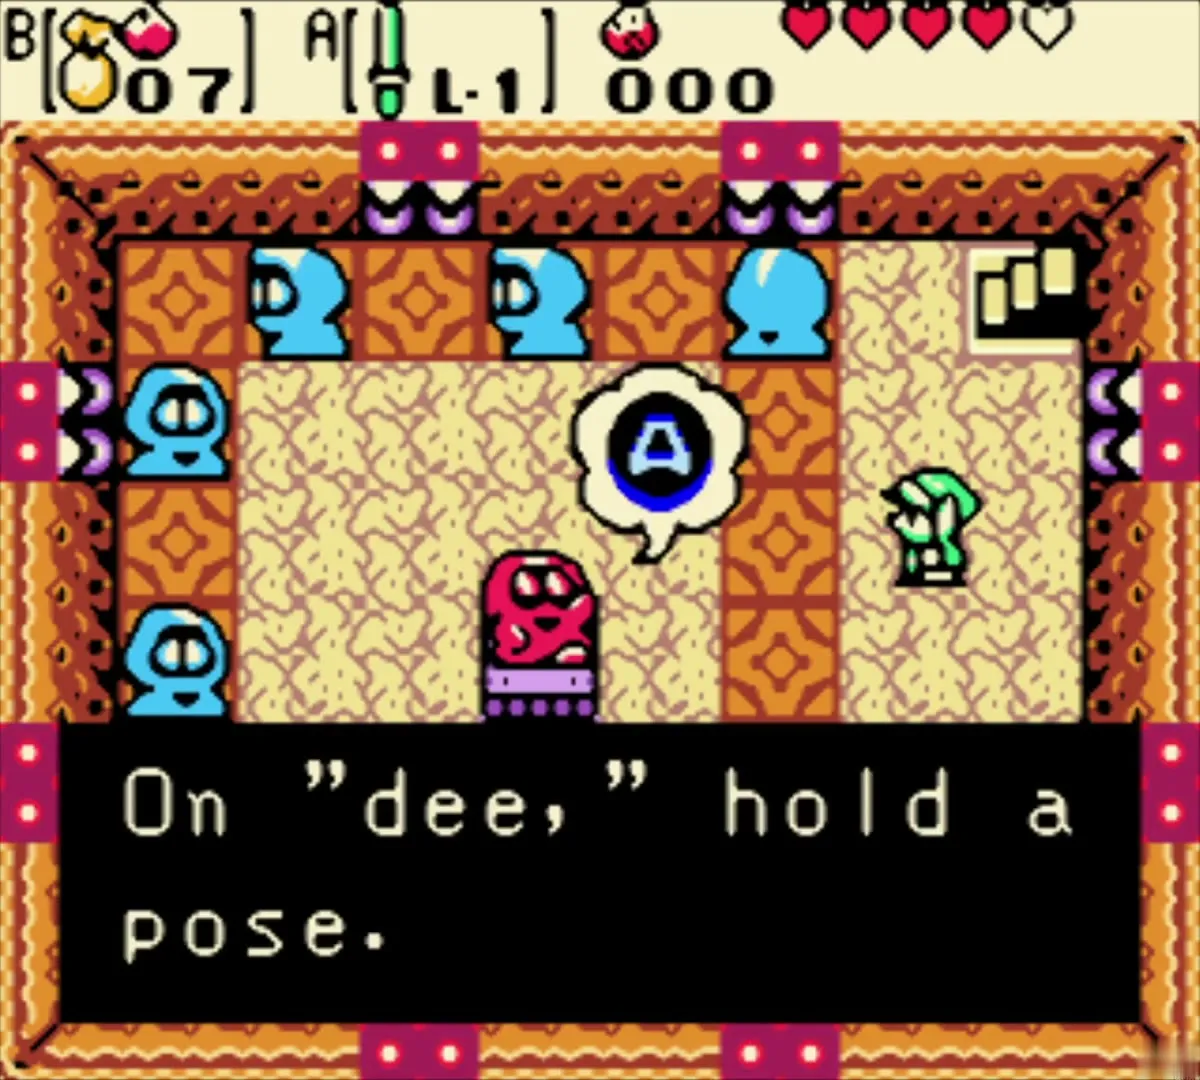
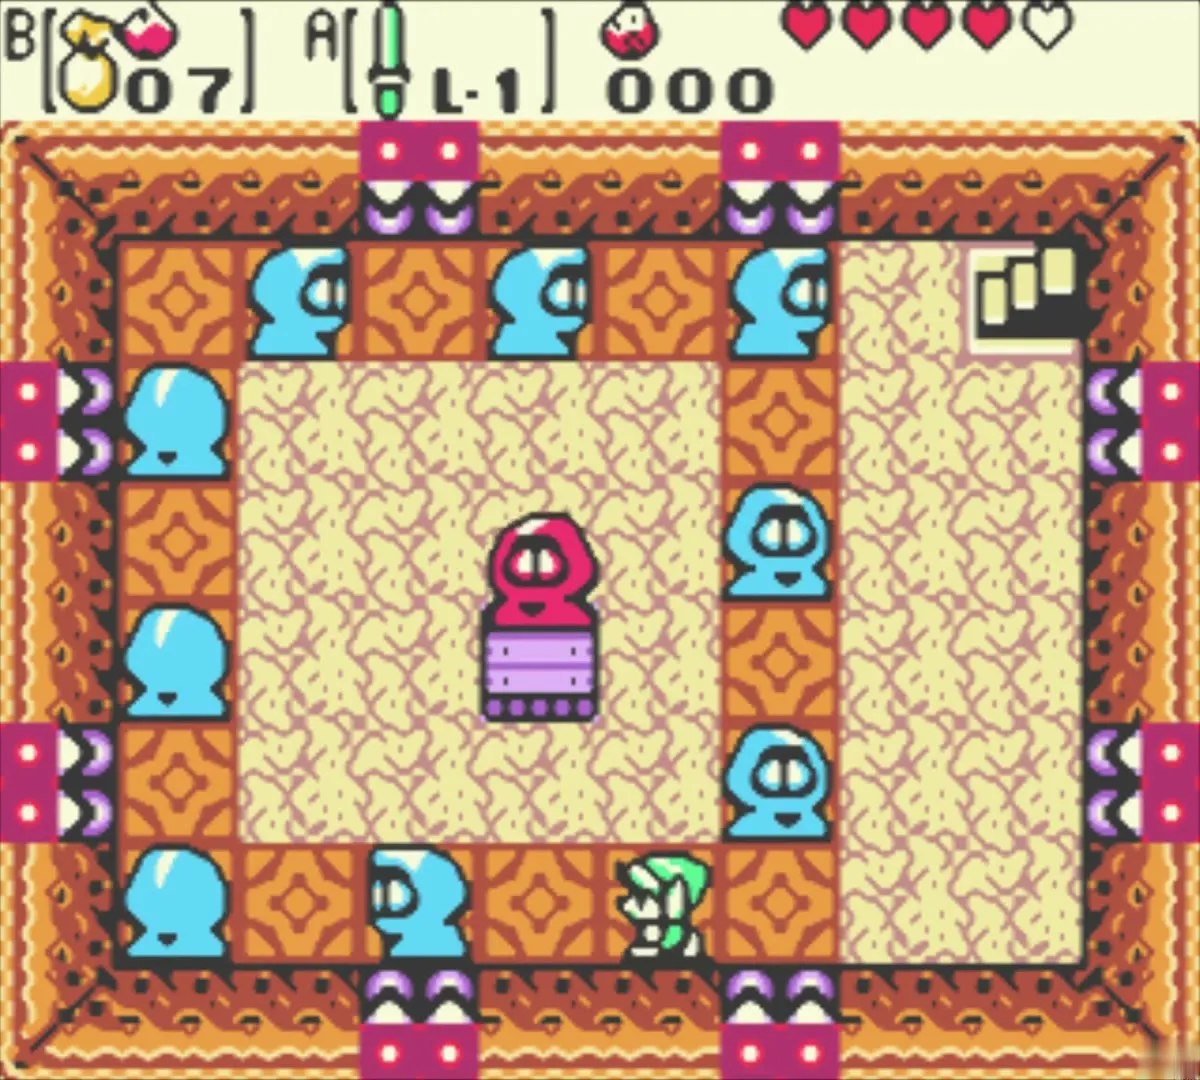
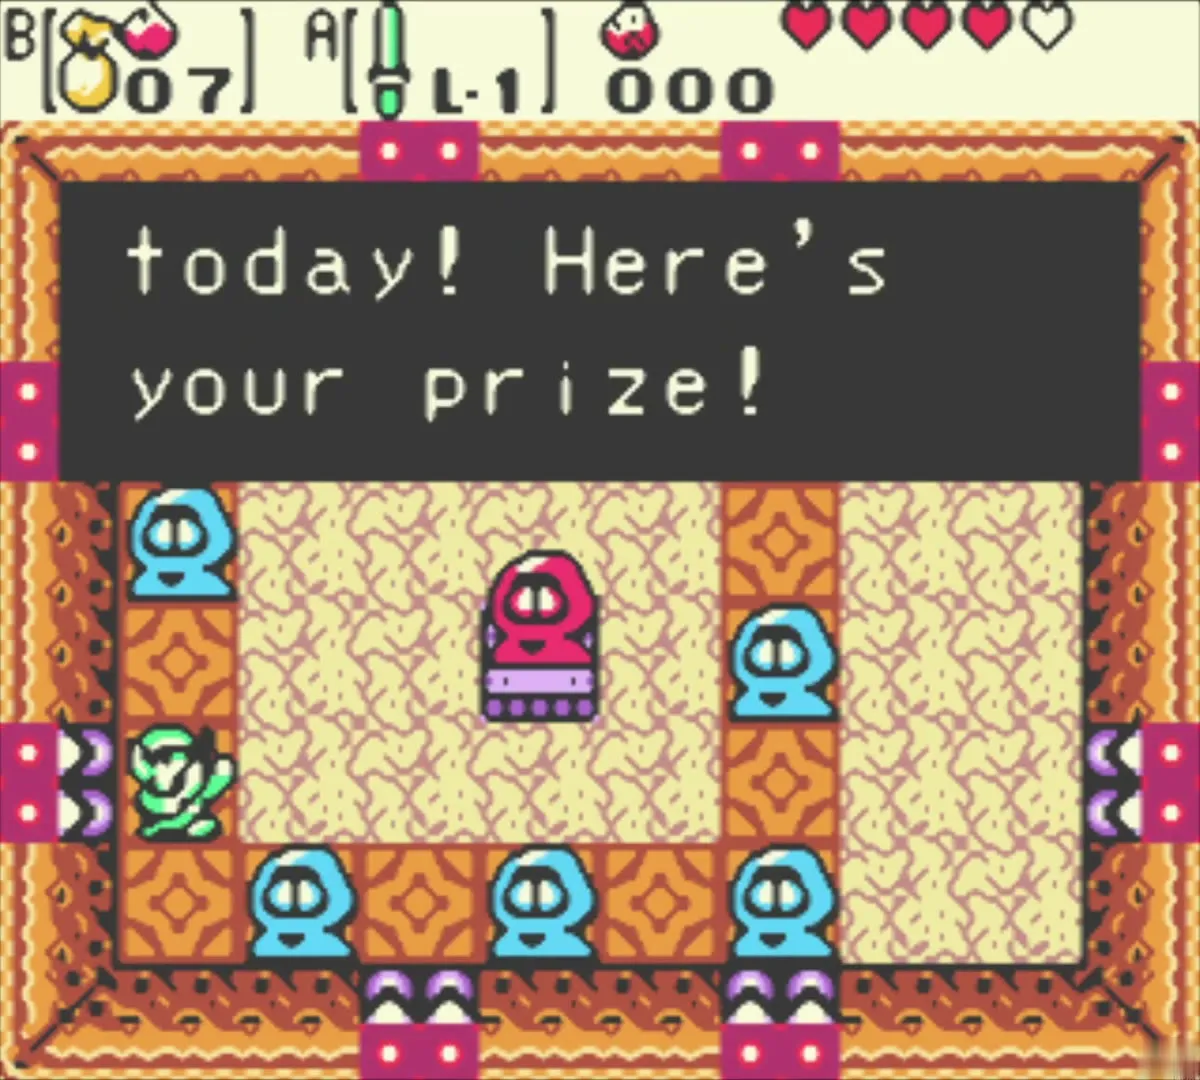
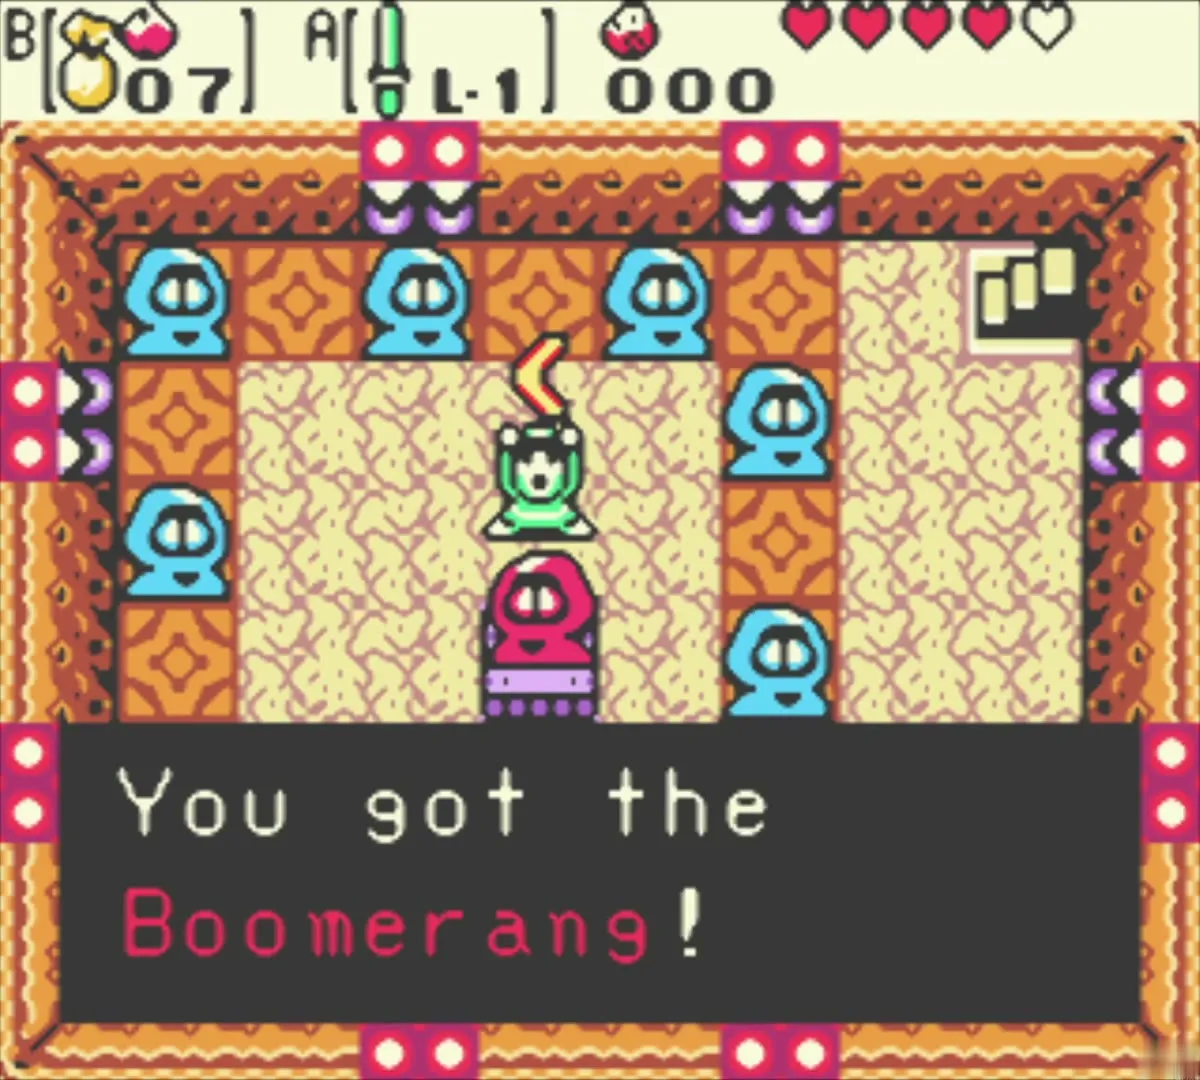
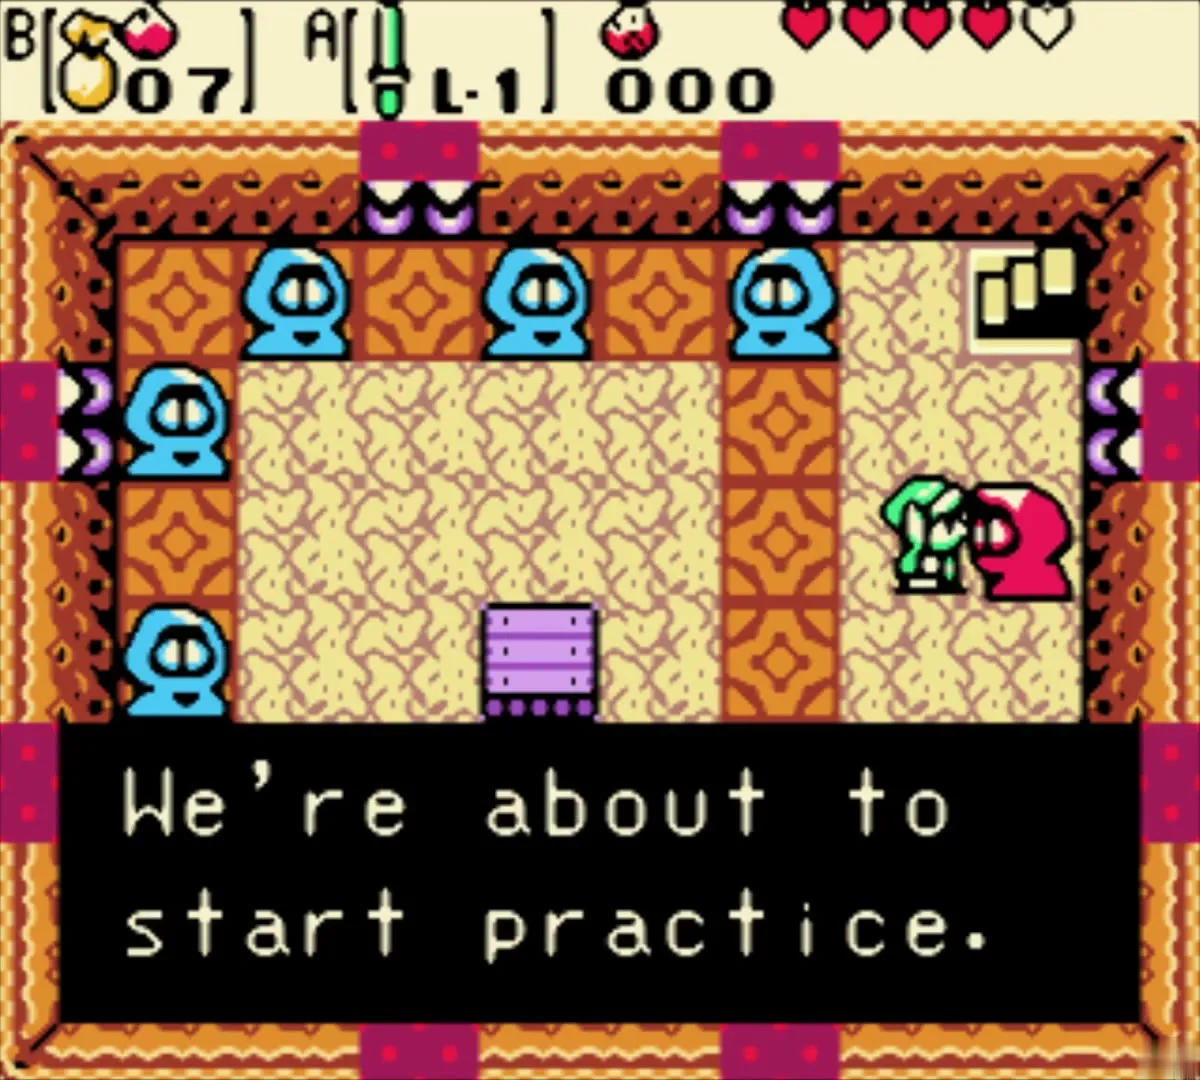
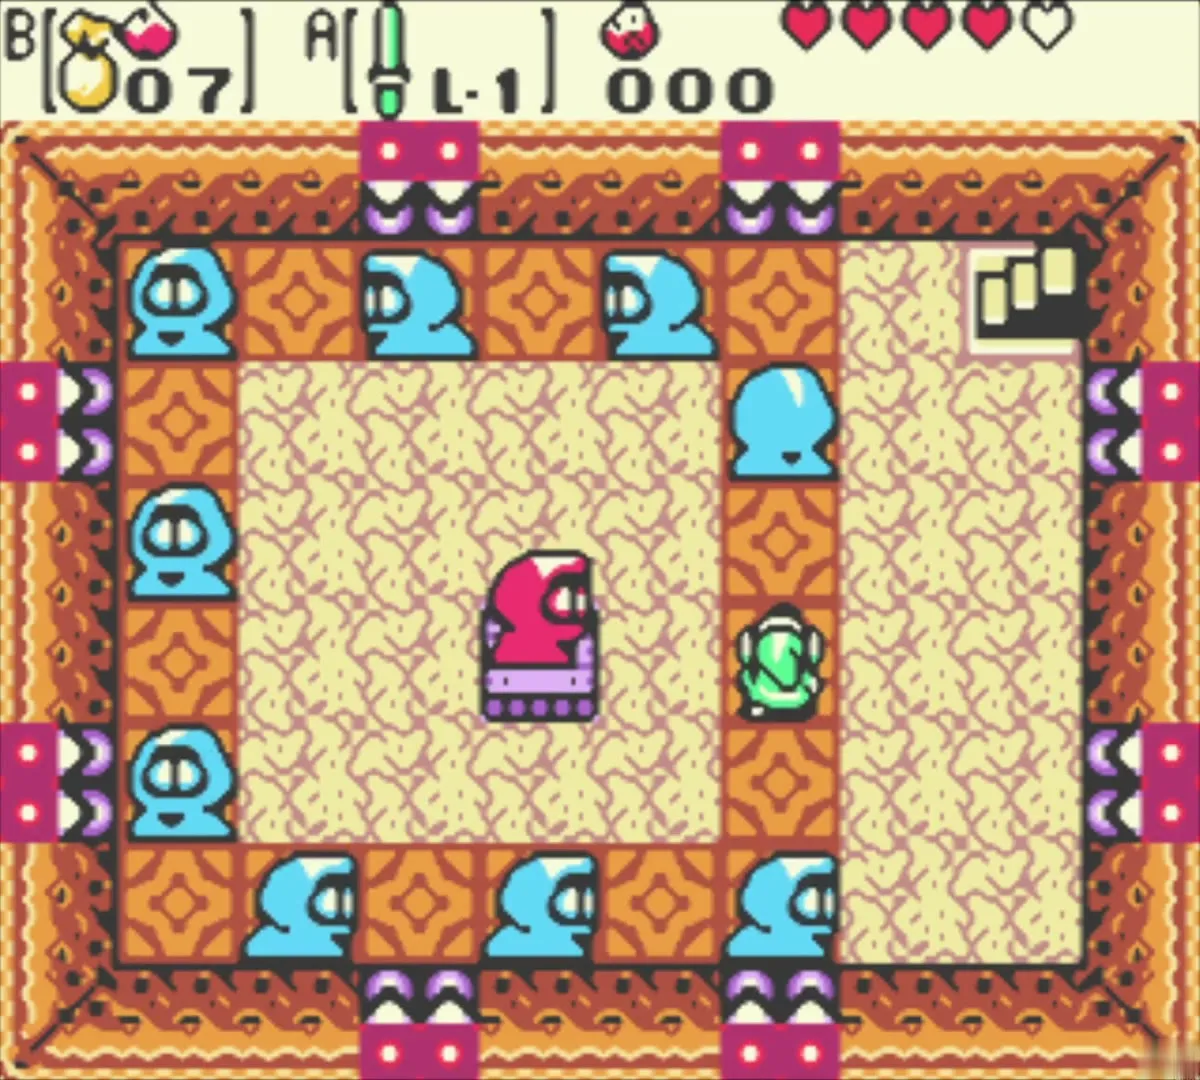
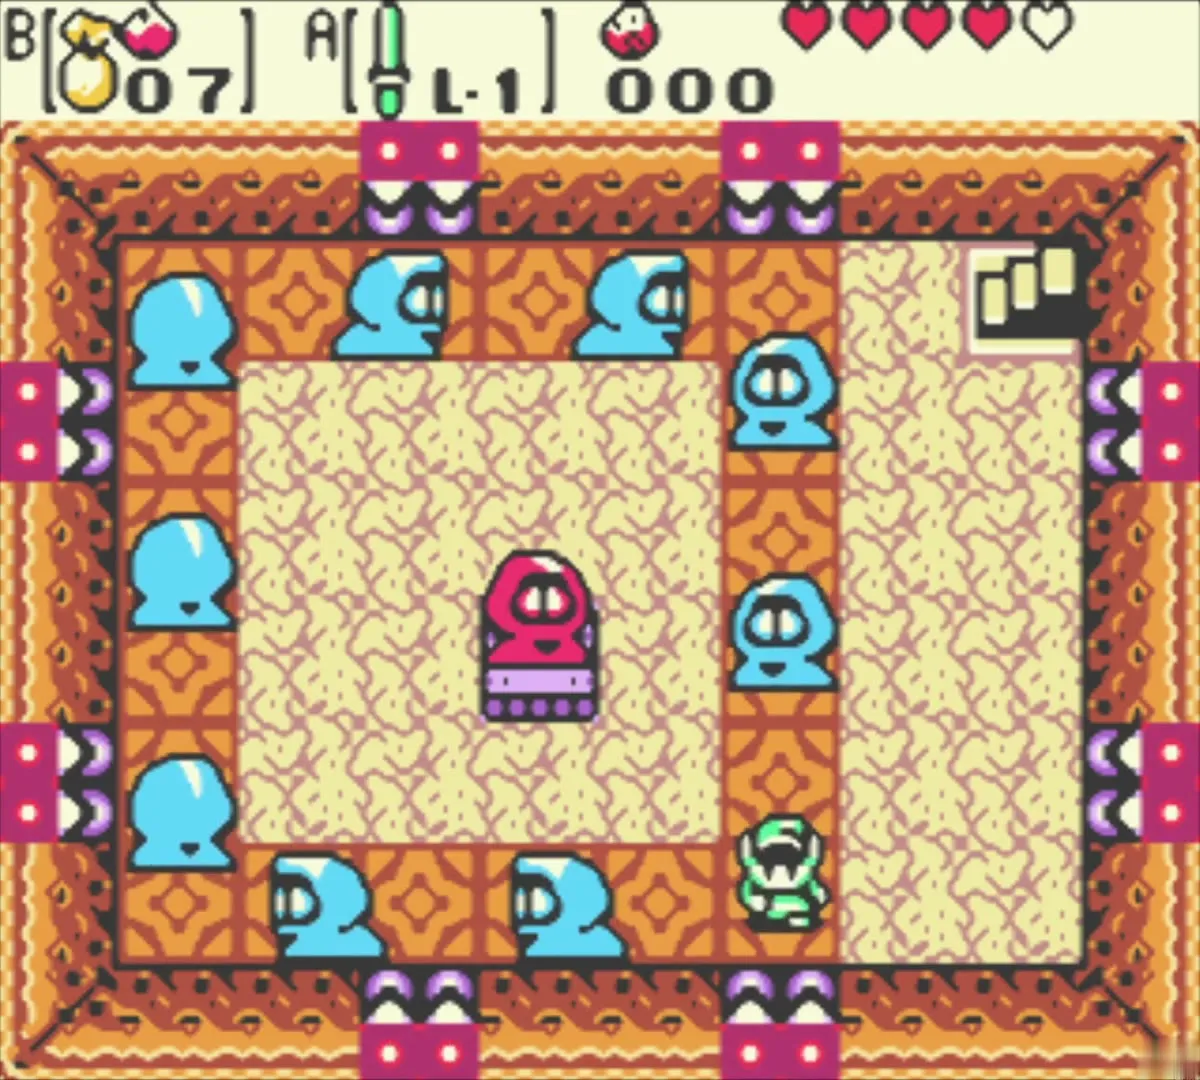
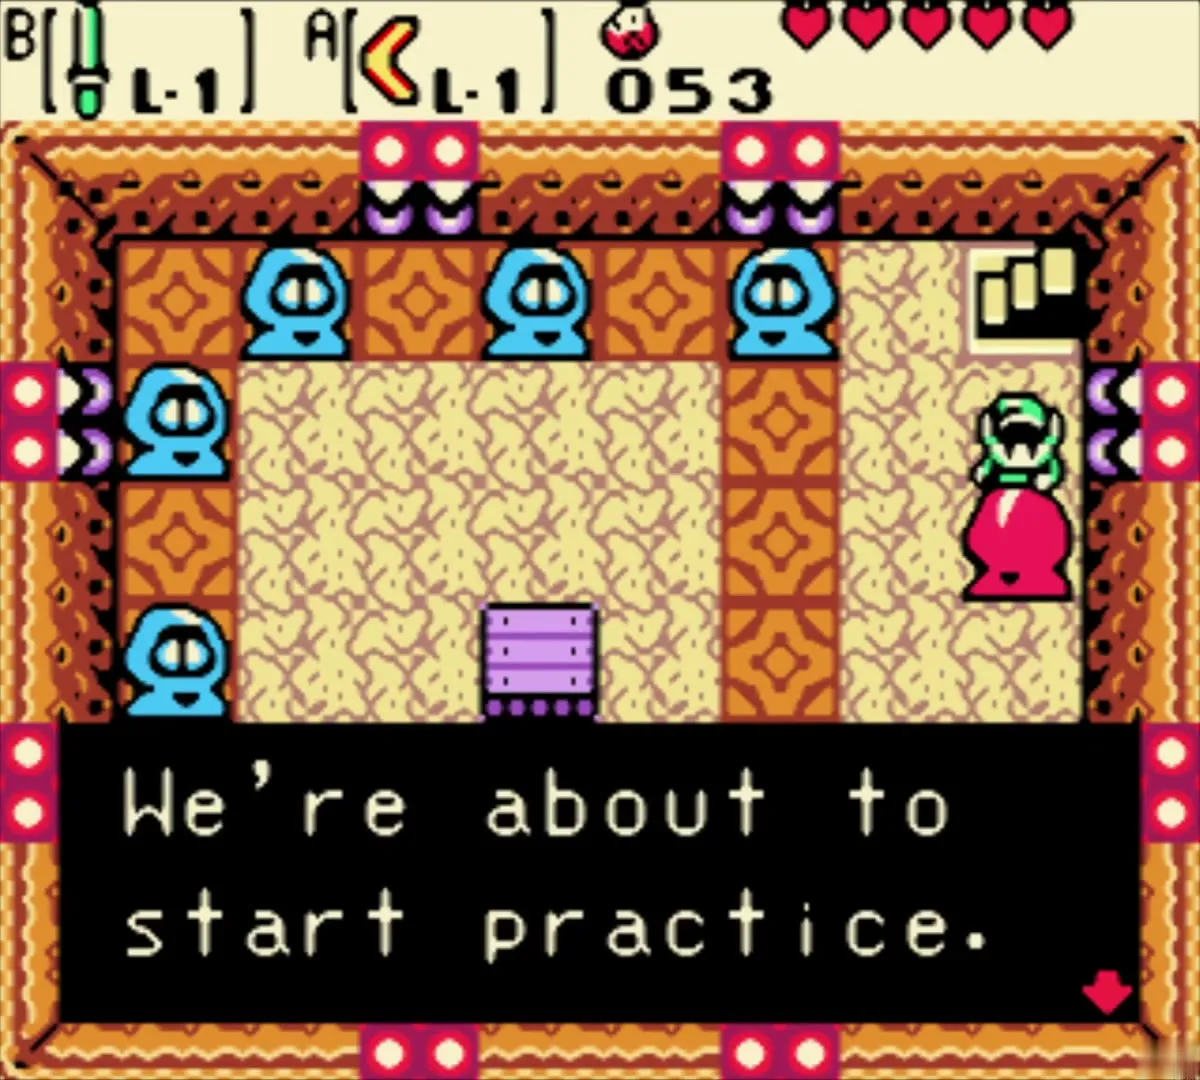
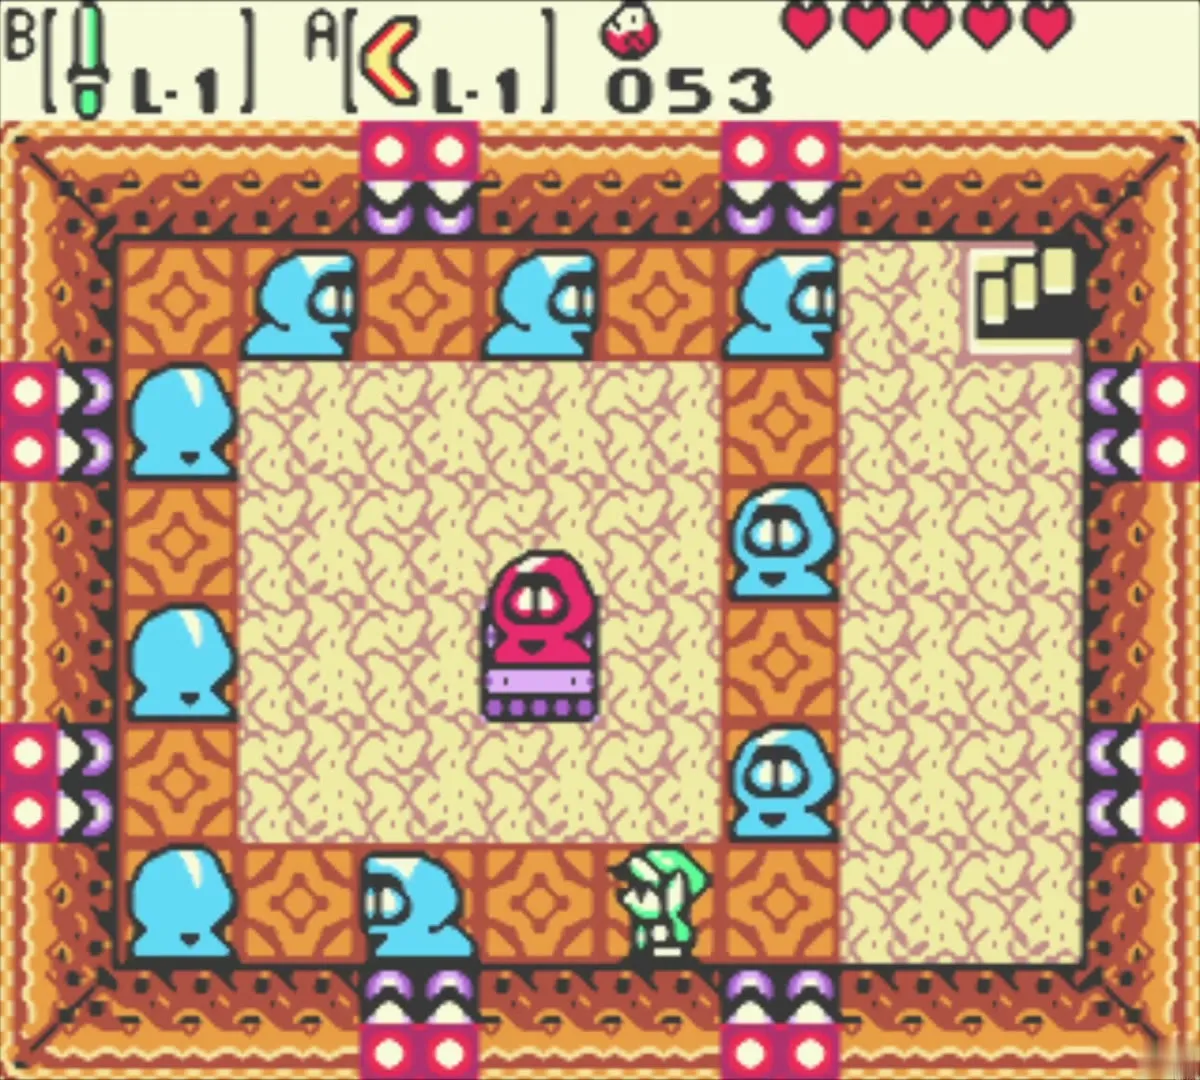
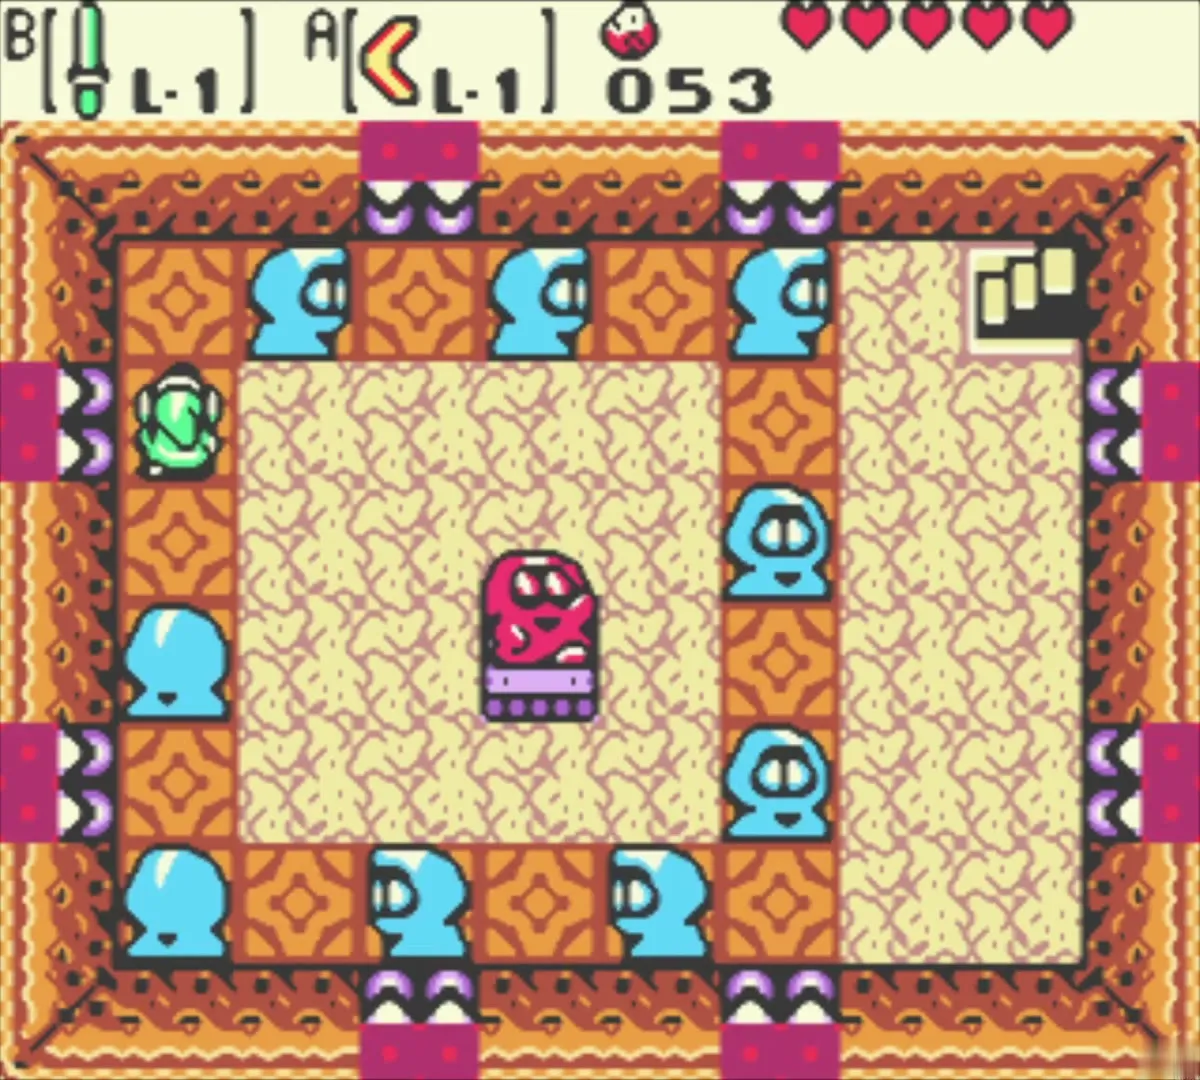
Speak to the host and agree to dance. Watch his moves and copy them: face left or right when he does, and press the button on his pose. Do not bump into the other dancers. The tempo rises as you go. When you finish as the best dancer of the day you win the Boomerang (Level 1). It stuns enemies and hits switches out of reach, and you need it for a switch in the Tower of Winter. See Subrosian Dance Hall and minigames.
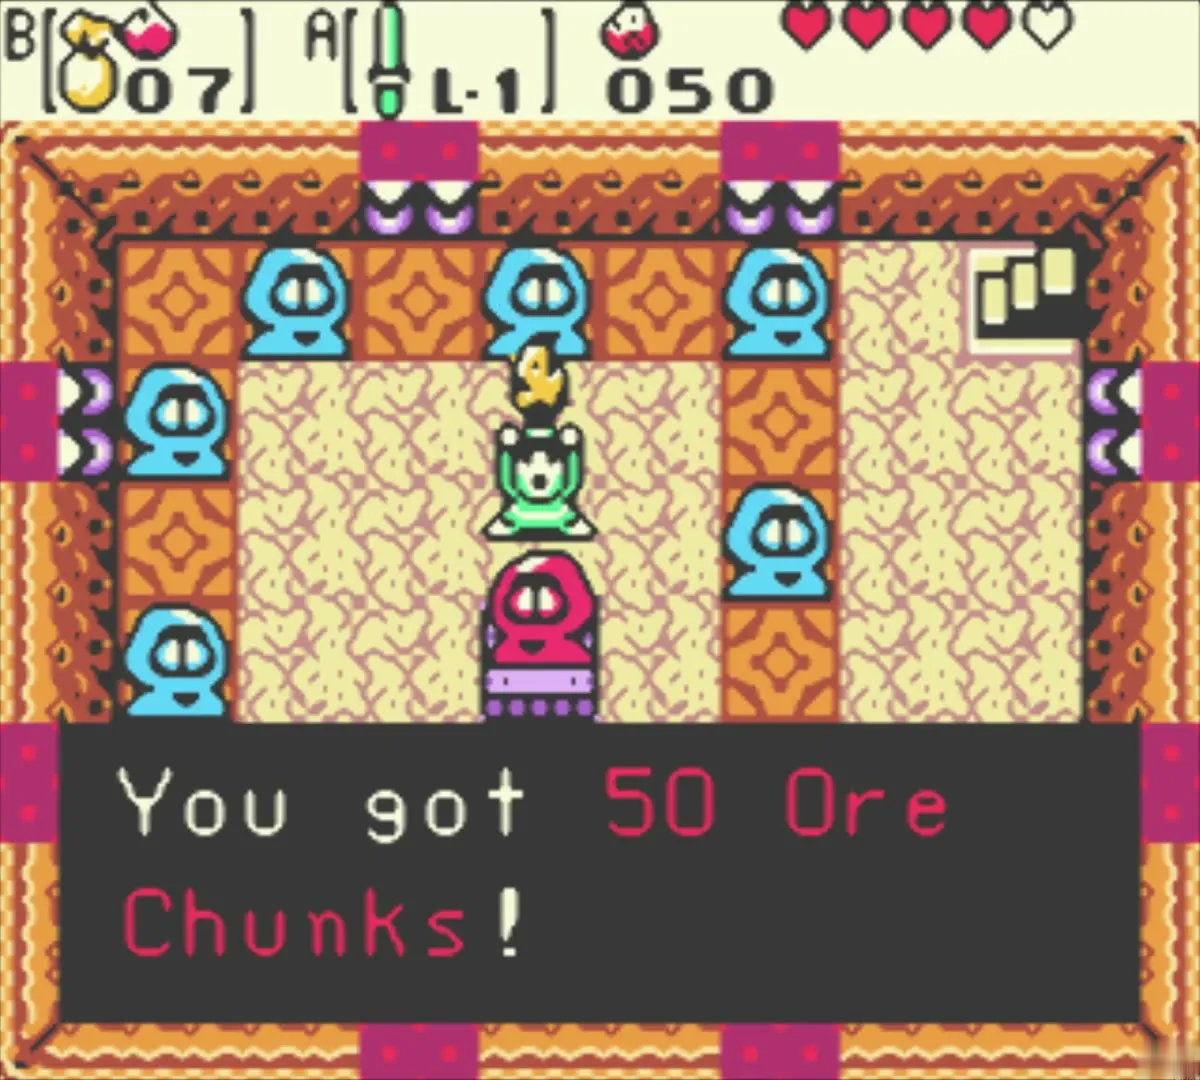
Dance again for 50 Ore Chunks
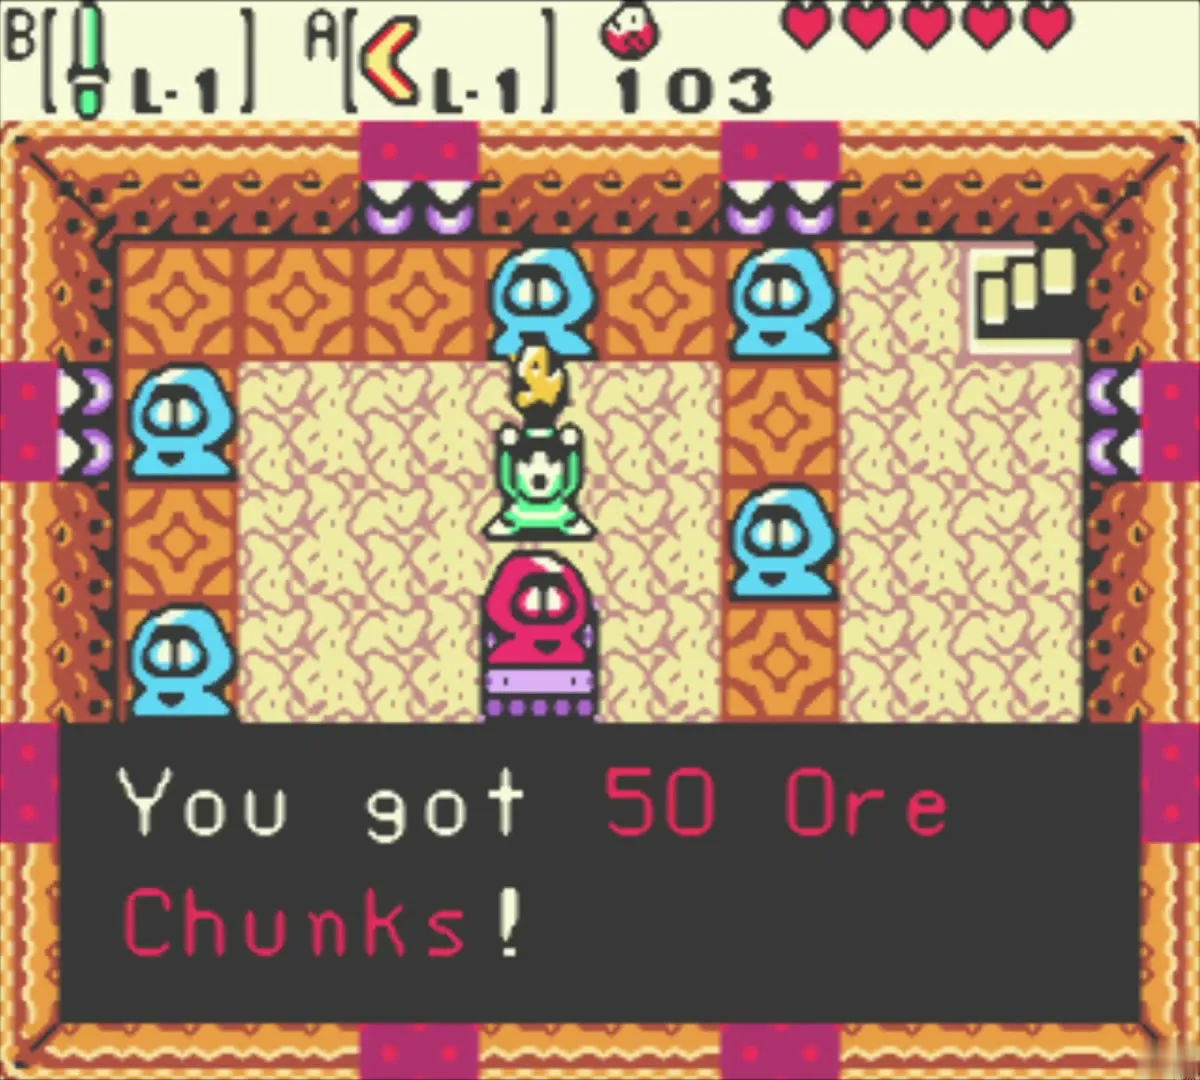
Dance a second time and win to receive 50 Ore Chunks. Later wins also pay Ore Chunks, so the hall is a handy place to earn them. You have nothing to spend them on yet; the Subrosian Market and the Smithy come later.
Temple of Seasons and the Rod of Seasons
Walk to the temple
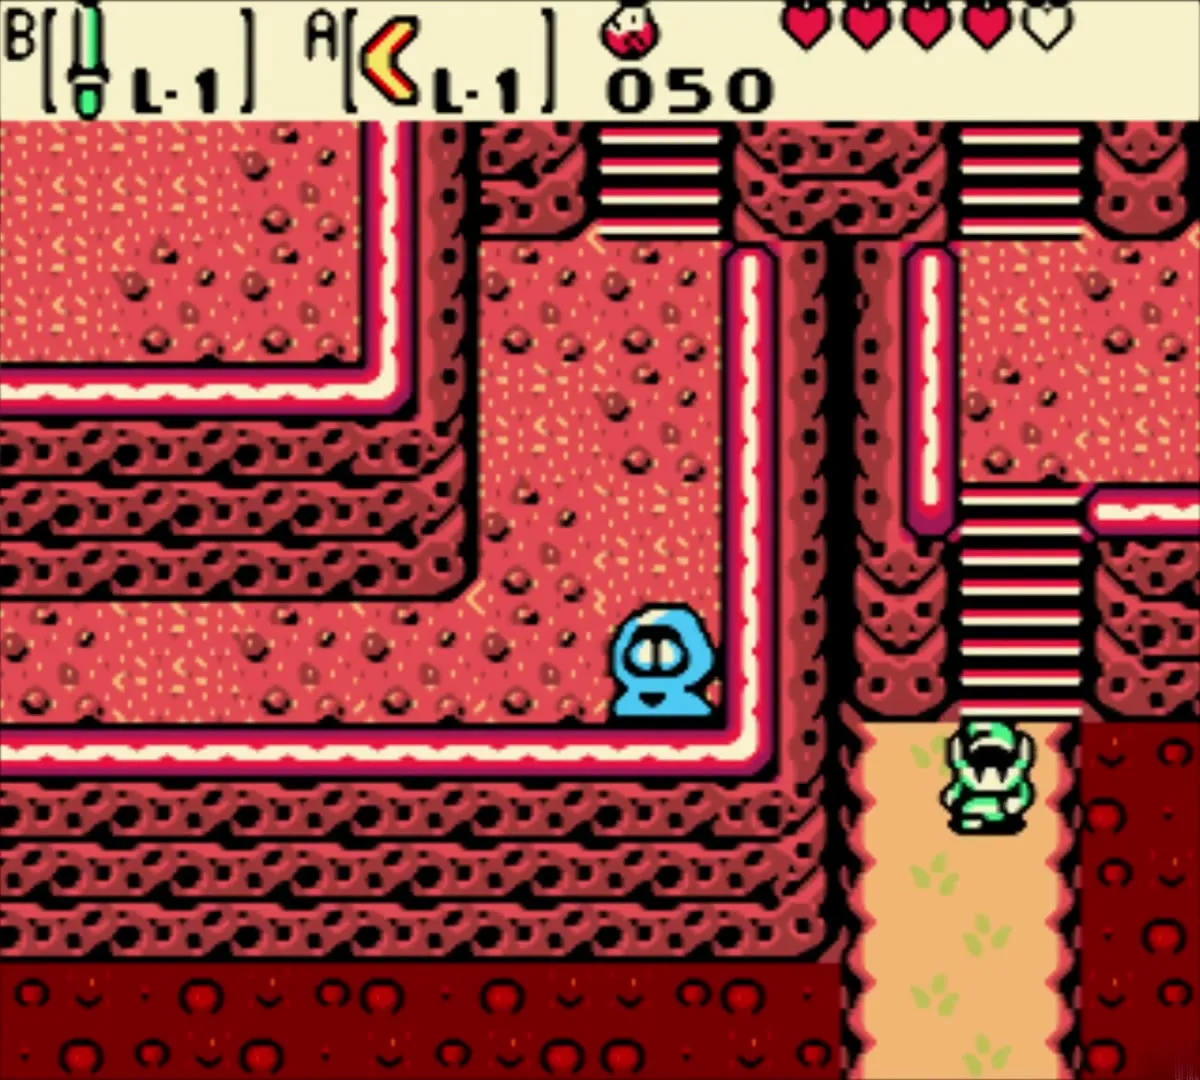
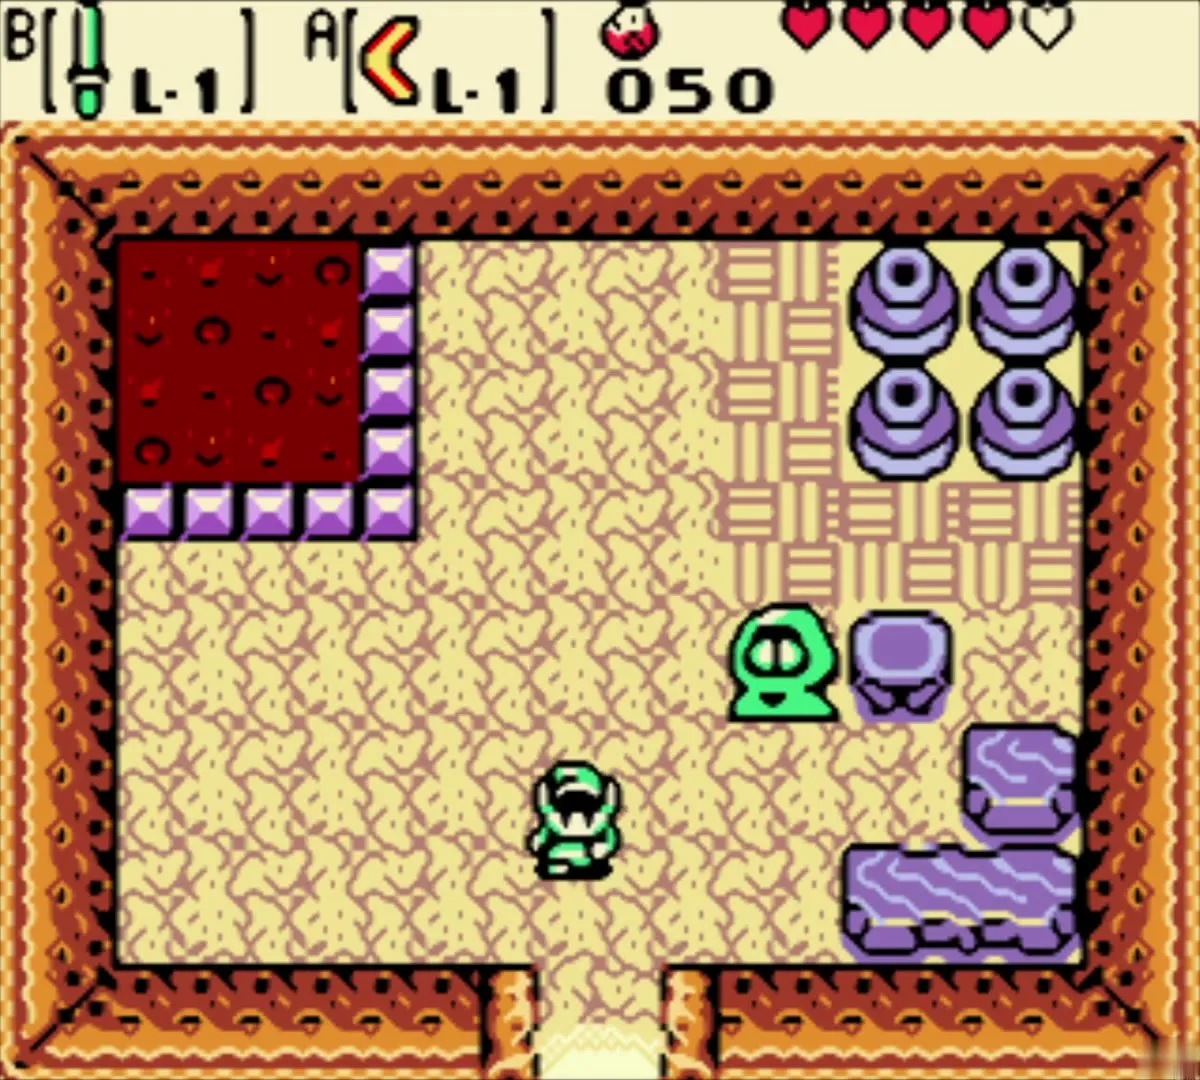
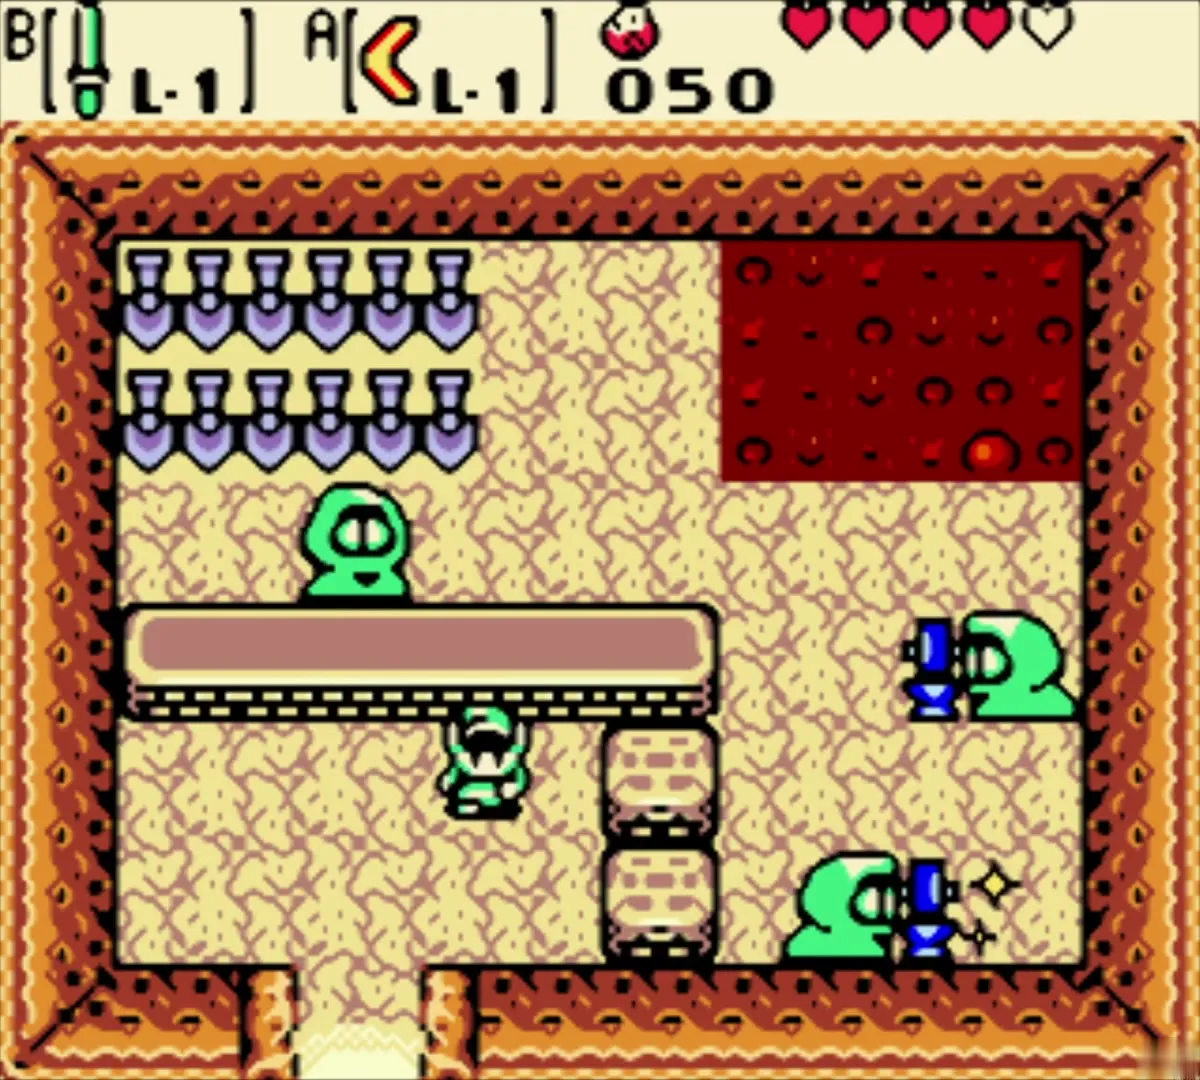
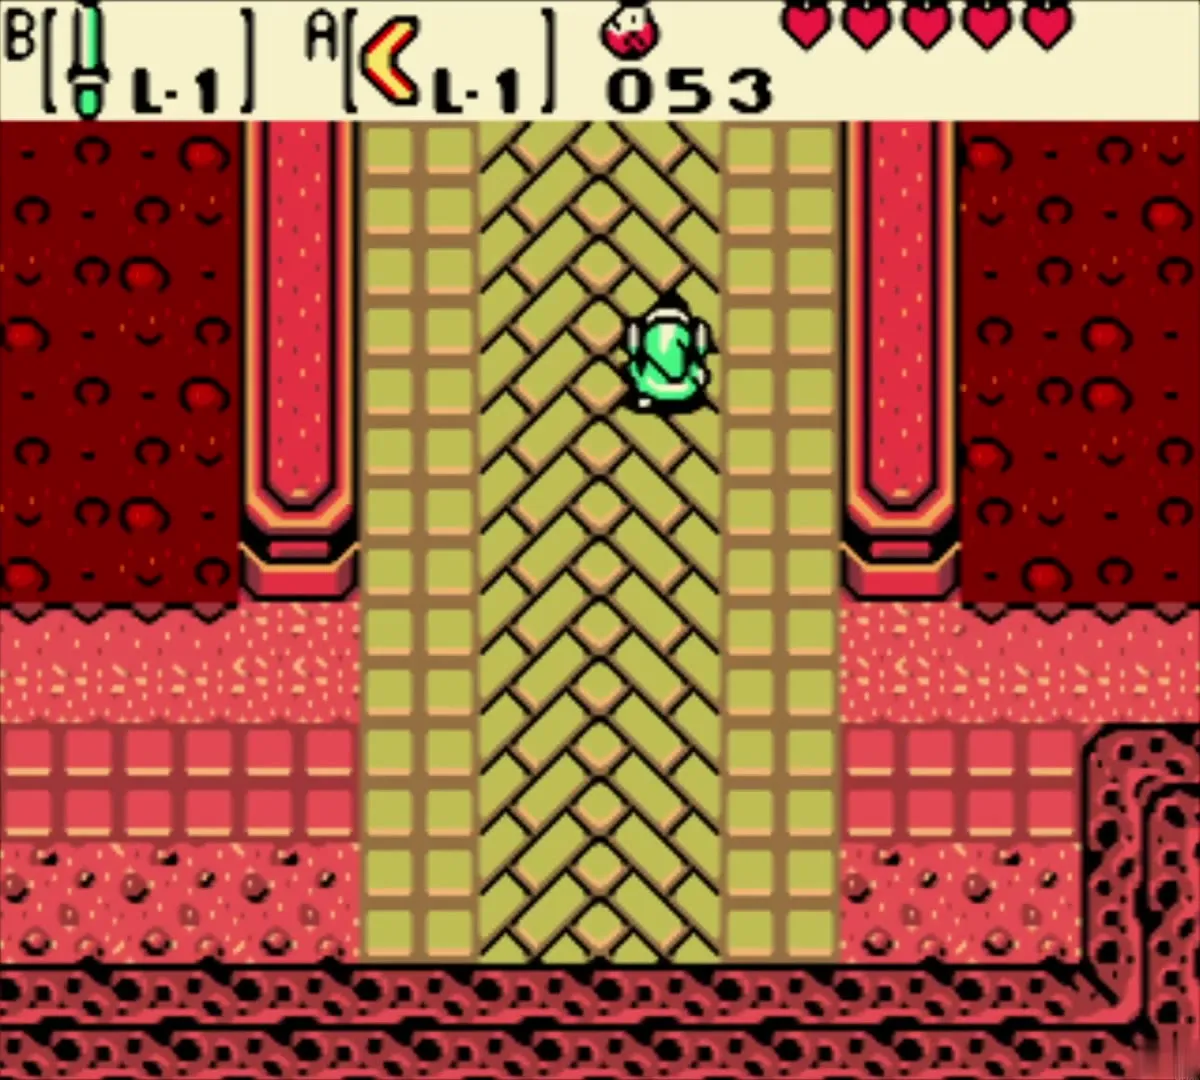
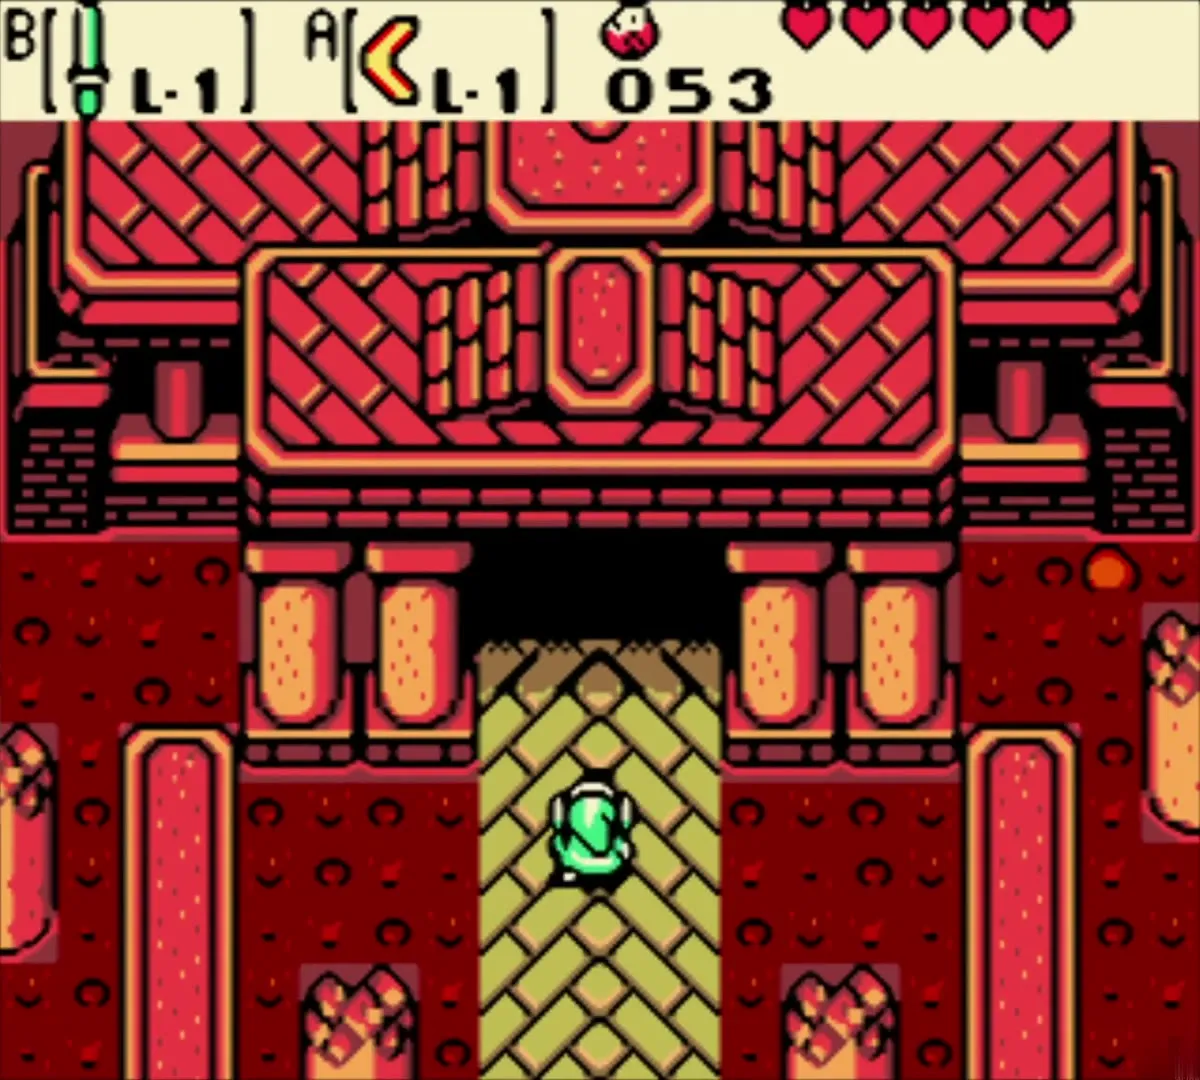
Go back to the portal screen and take the easternmost stairs down to the lowlands. A Subrosian here tosses a boomerang and tells you to dance for one. Continue south one screen, east a few screens, and then follow the green carpet path north to the large temple. On the way you pass a Subrosian house and the Subrosian Smithy, which needs materials you do not have yet.

Take the Rod of Seasons
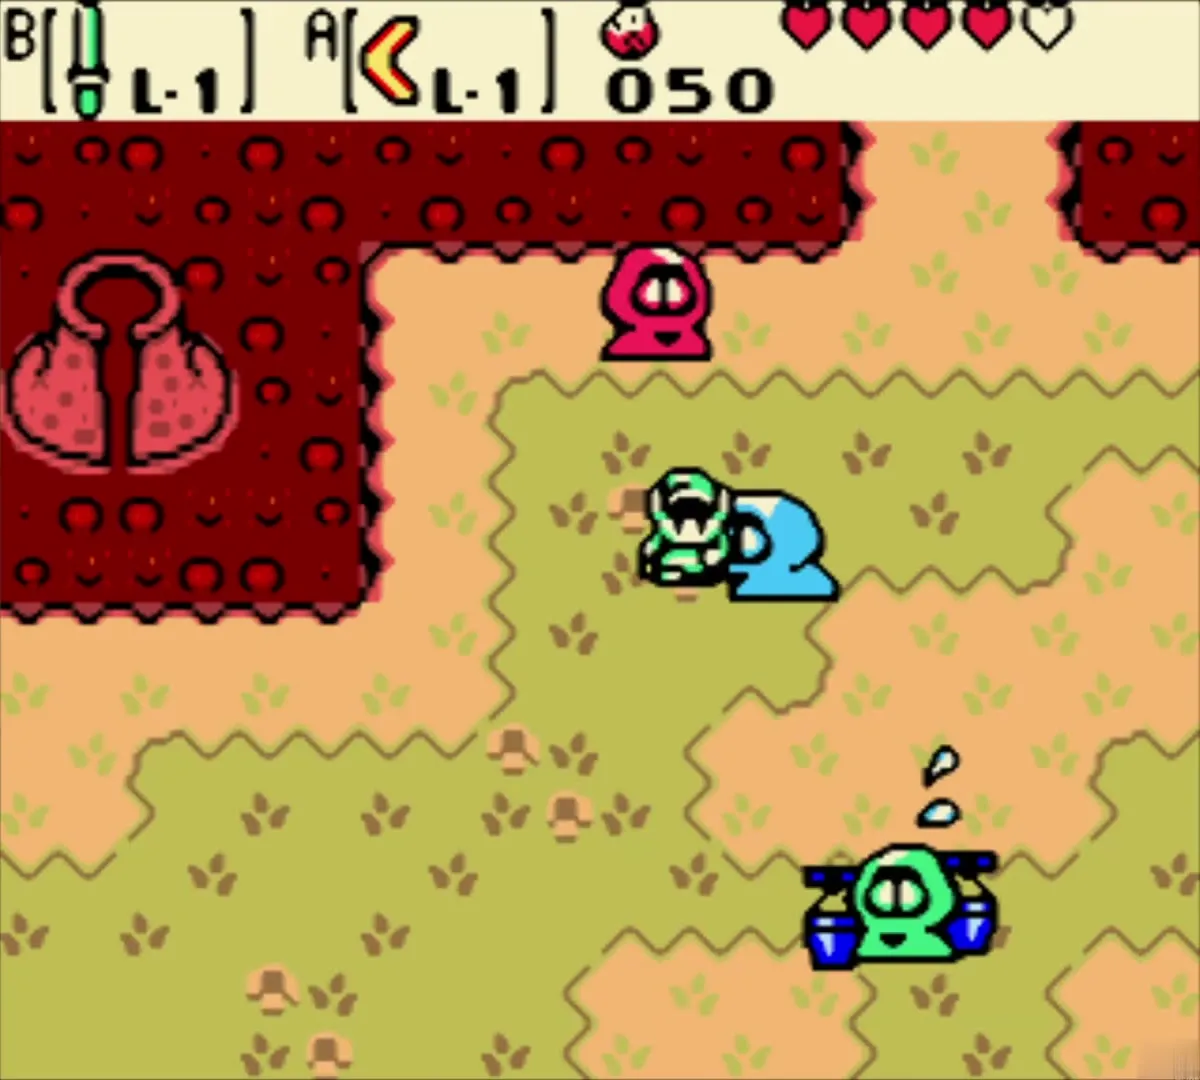
Inside the Temple of Seasons, walk to the central altar and stand on the pedestal. You receive the Rod of Seasons. The four Season Spirits ask you to bring it to them in their four towers. The Rod works only from a tree stump and has no season power yet. See Rod of Seasons.
Tower of Winter: the power of winter
Hit the crystal switch with the Boomerang
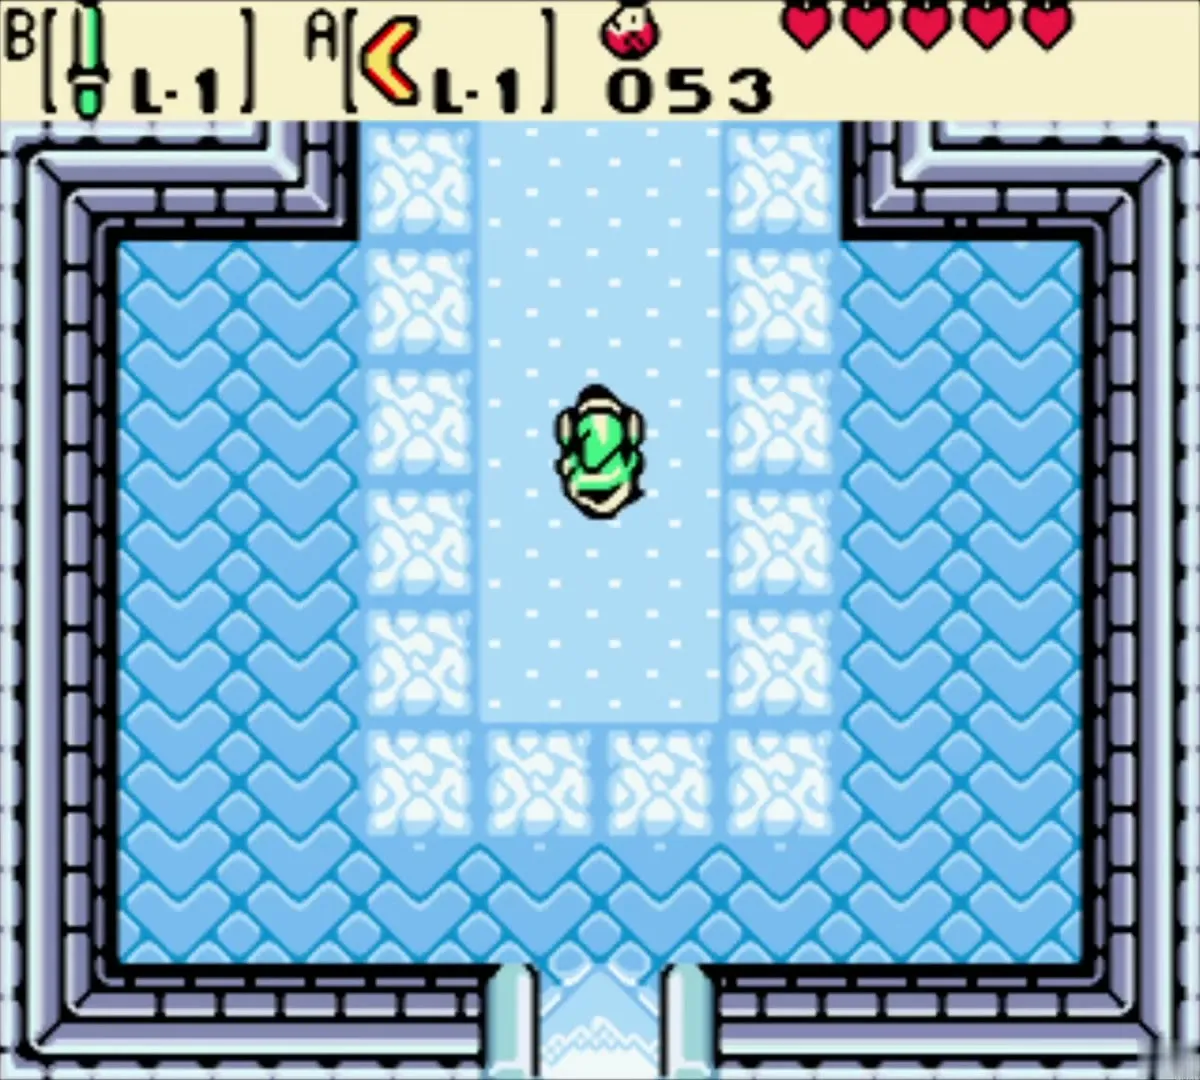
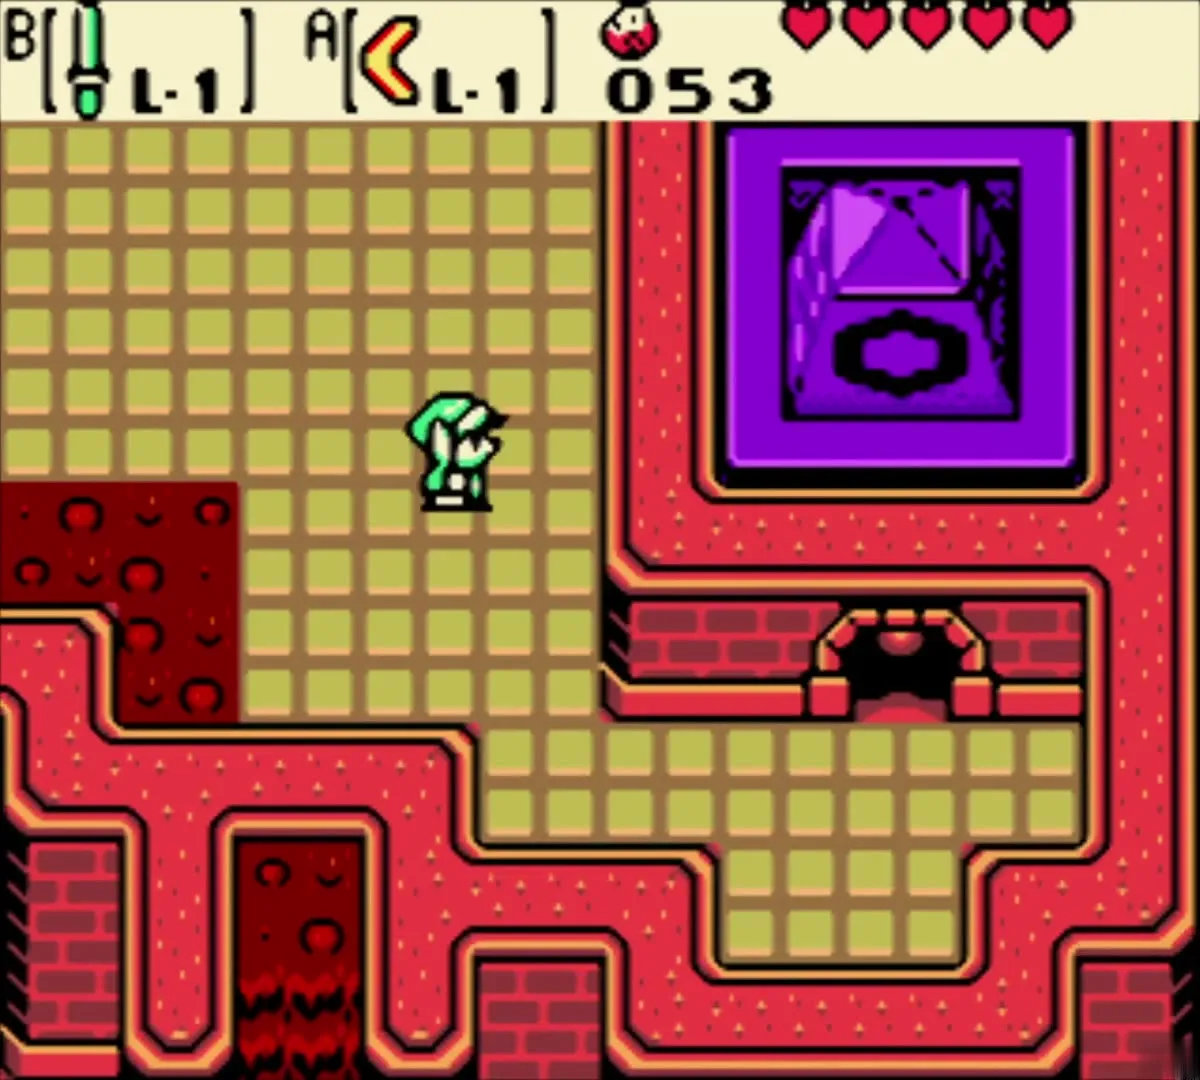
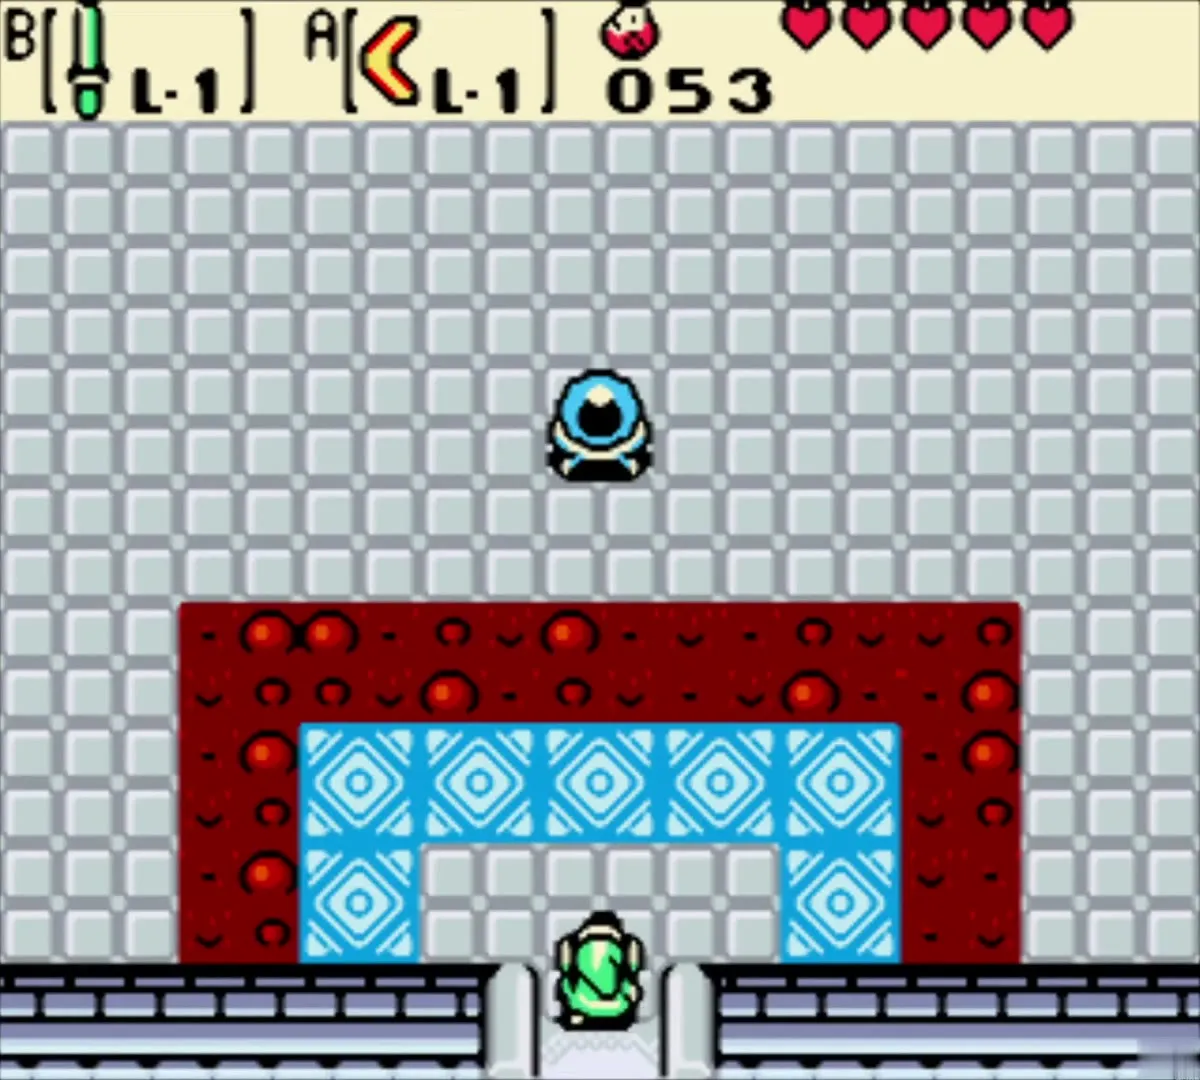
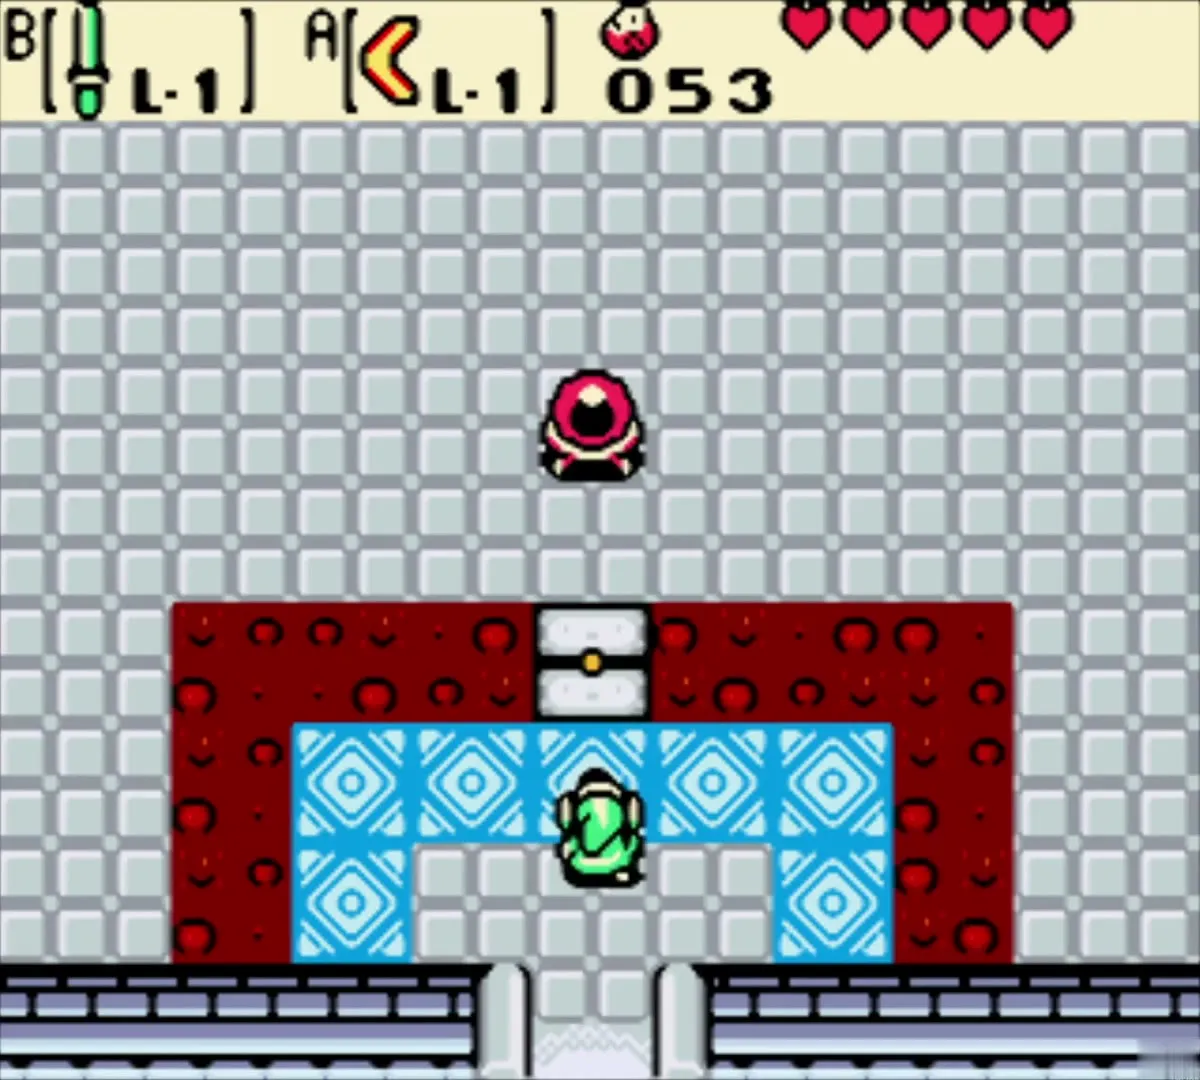
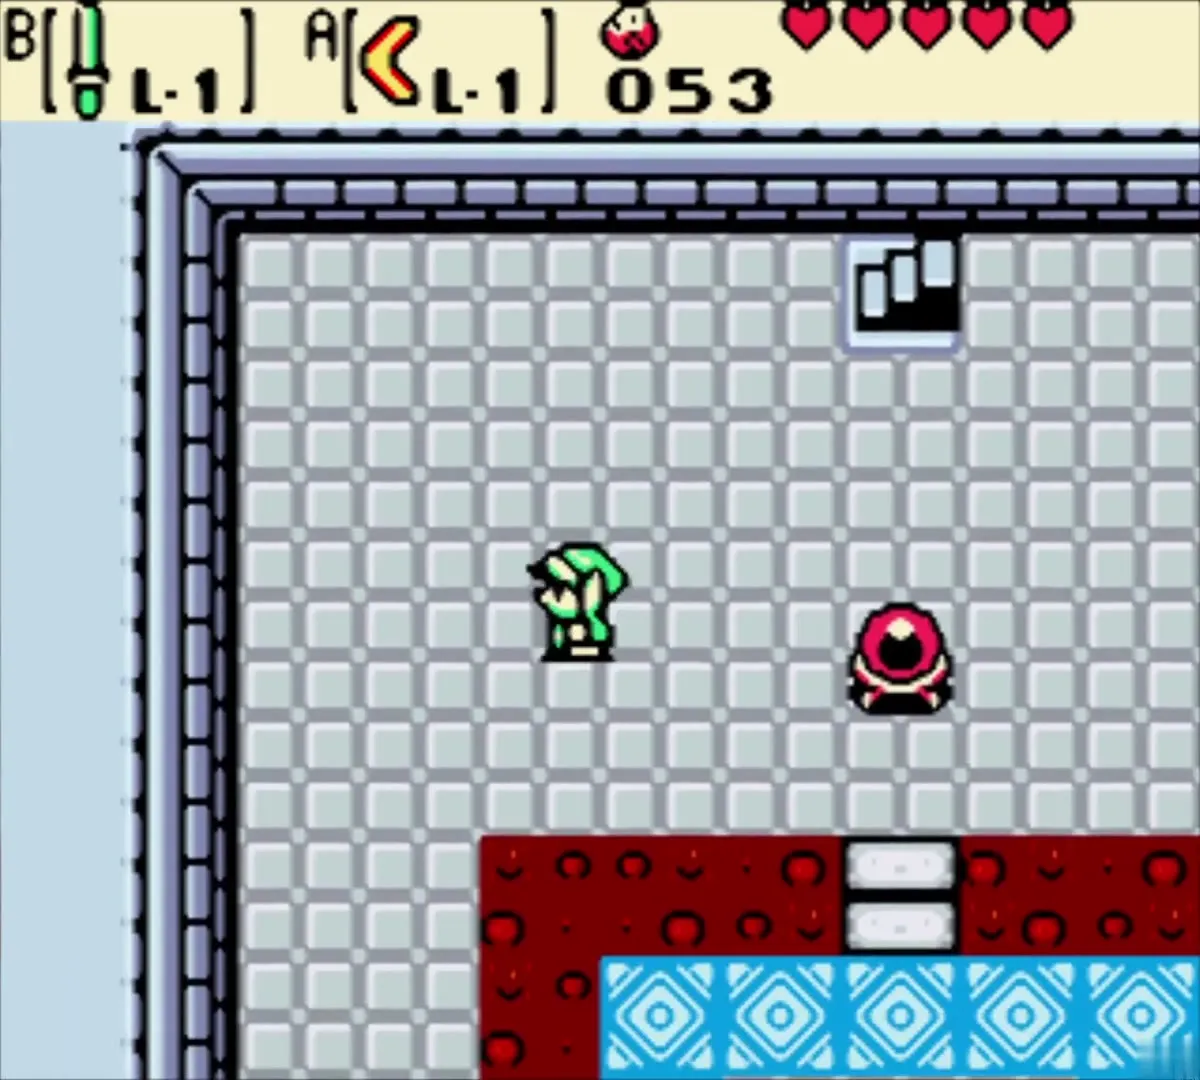
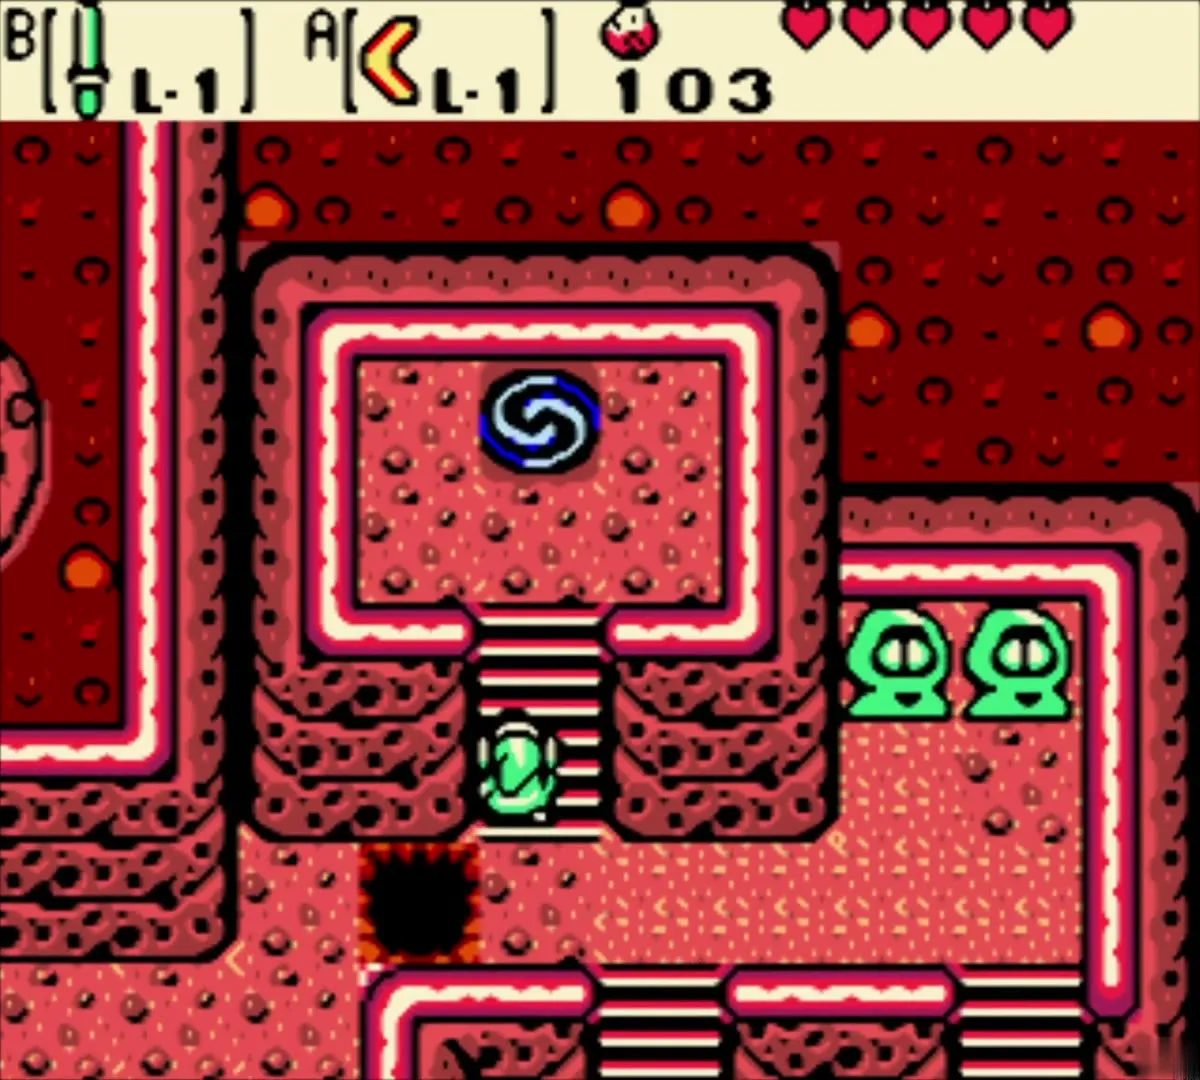
Leave the sanctum, go south two screens and east one, and enter the tower with the purple dome. A crystal switch sits across a small lava river. Throw the Boomerang at it and a bridge of blue tiles appears. Cross it, climb the stairs, and take the second staircase just south of them to the top room.
Speak with the Spirit of Winter
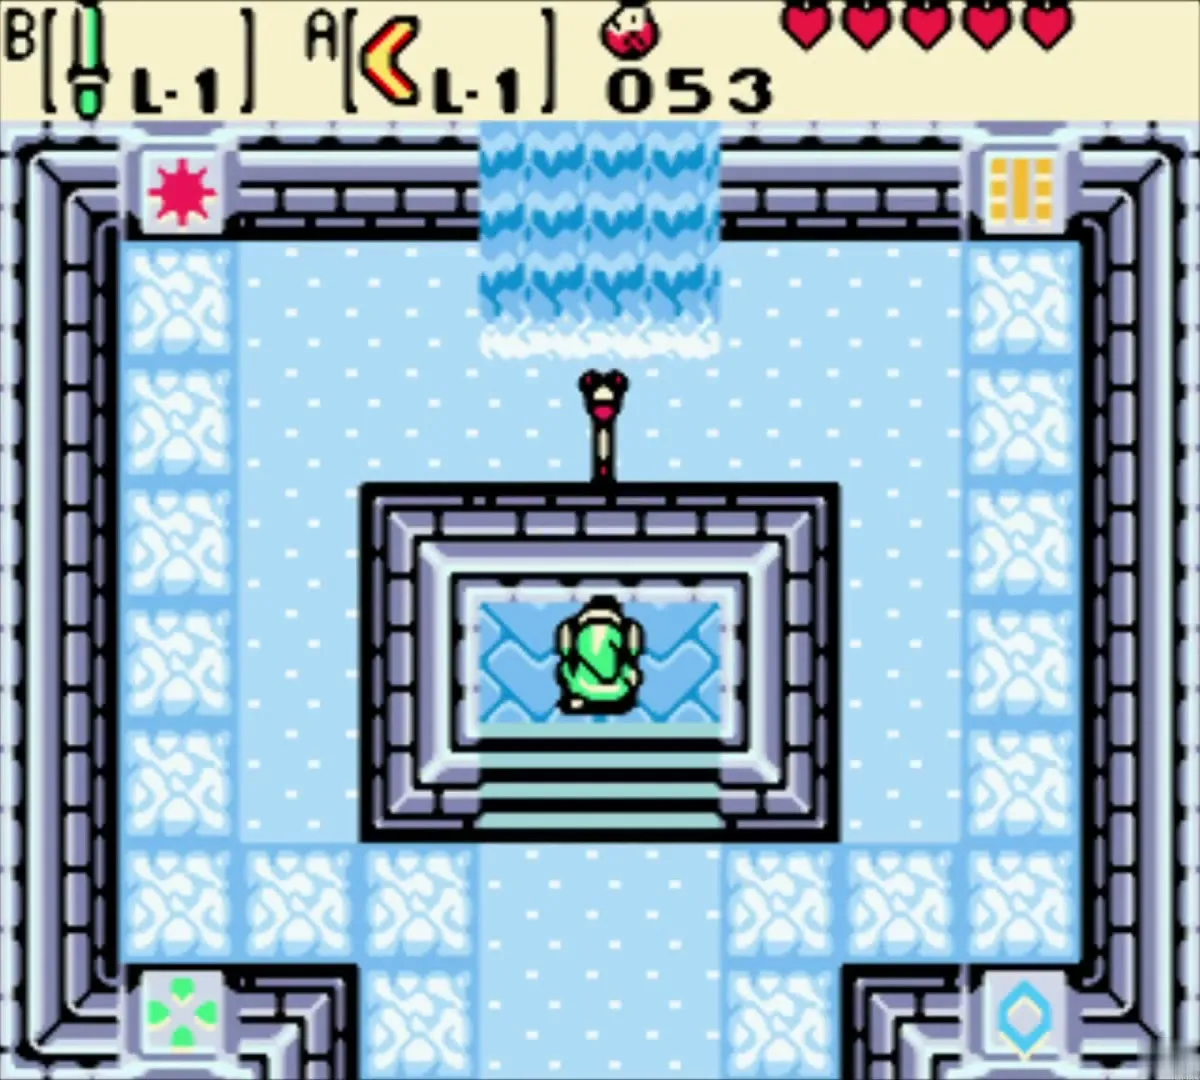
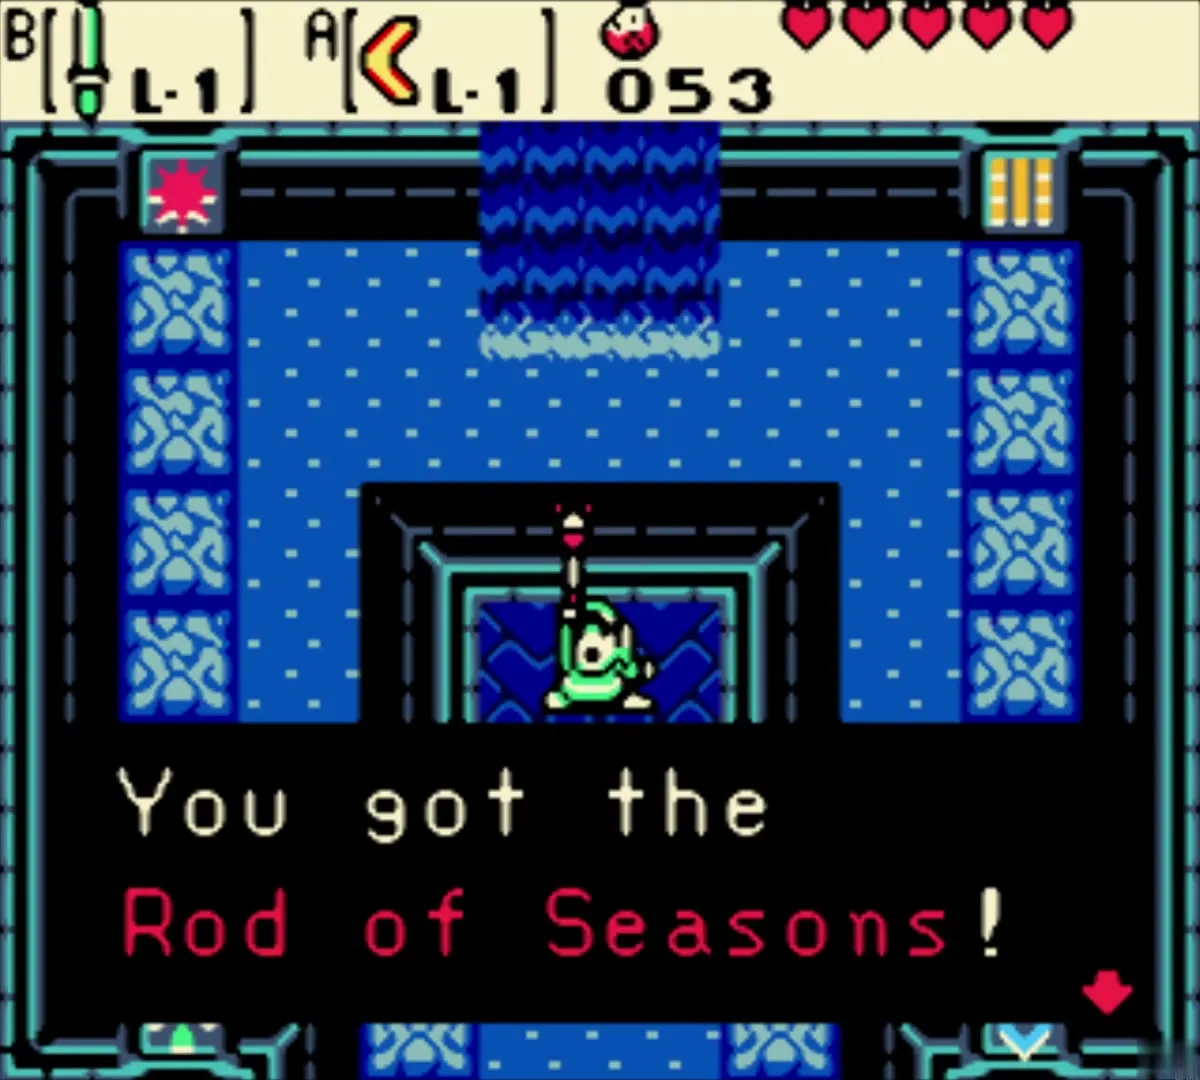
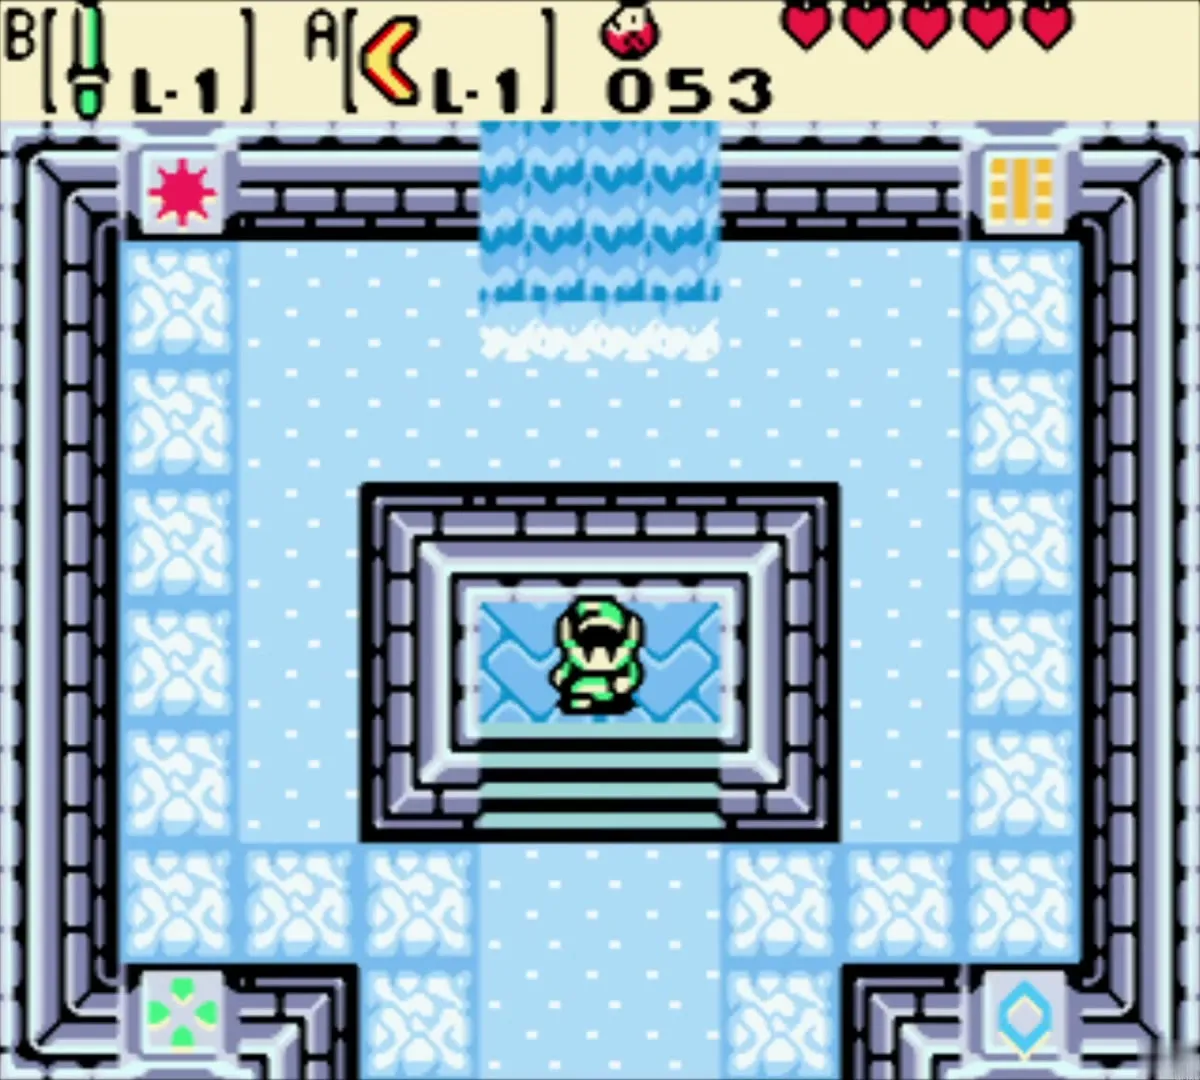
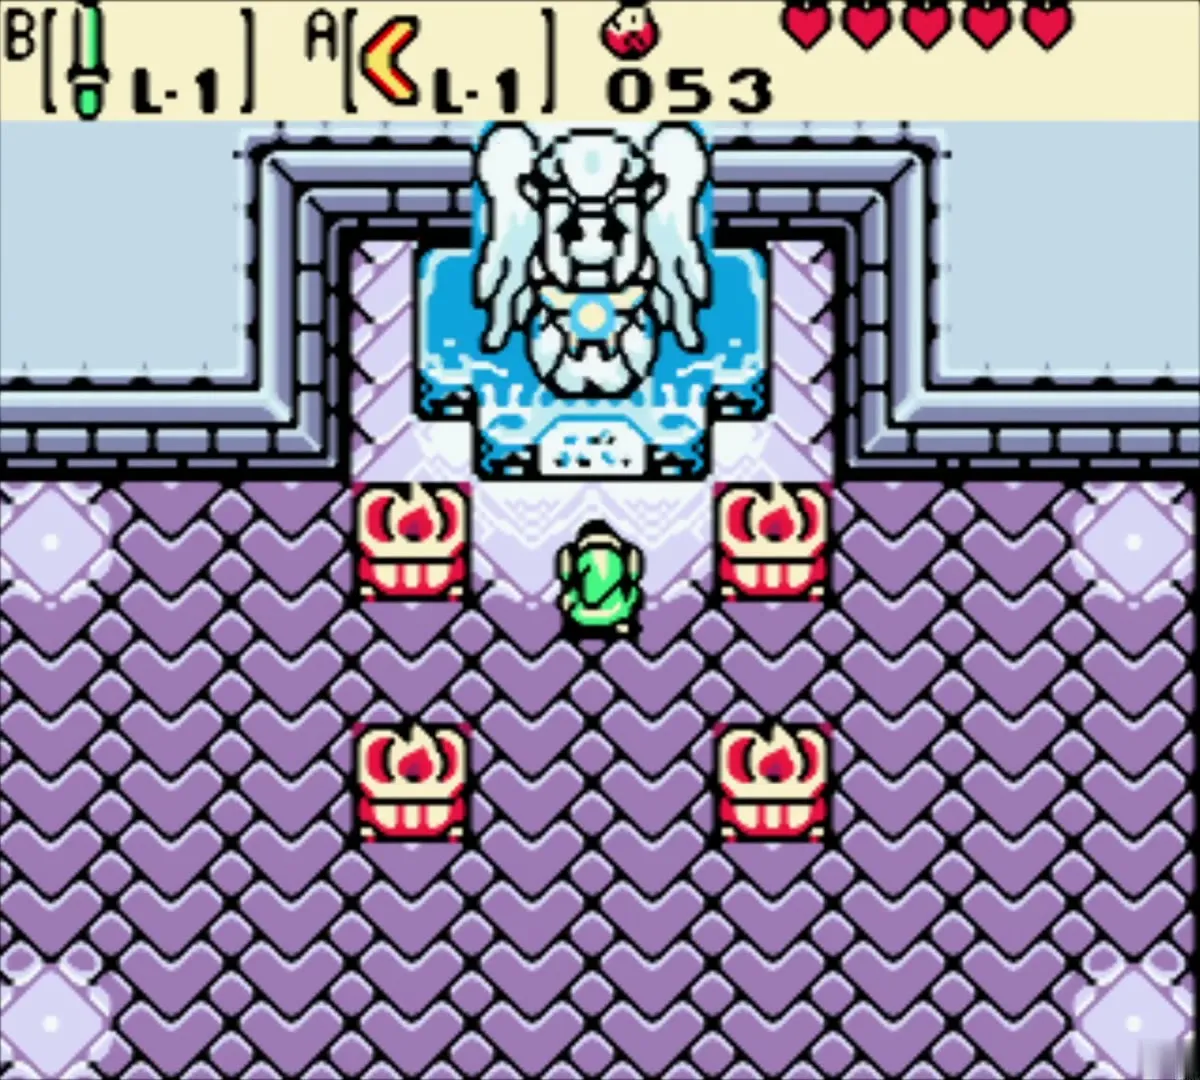
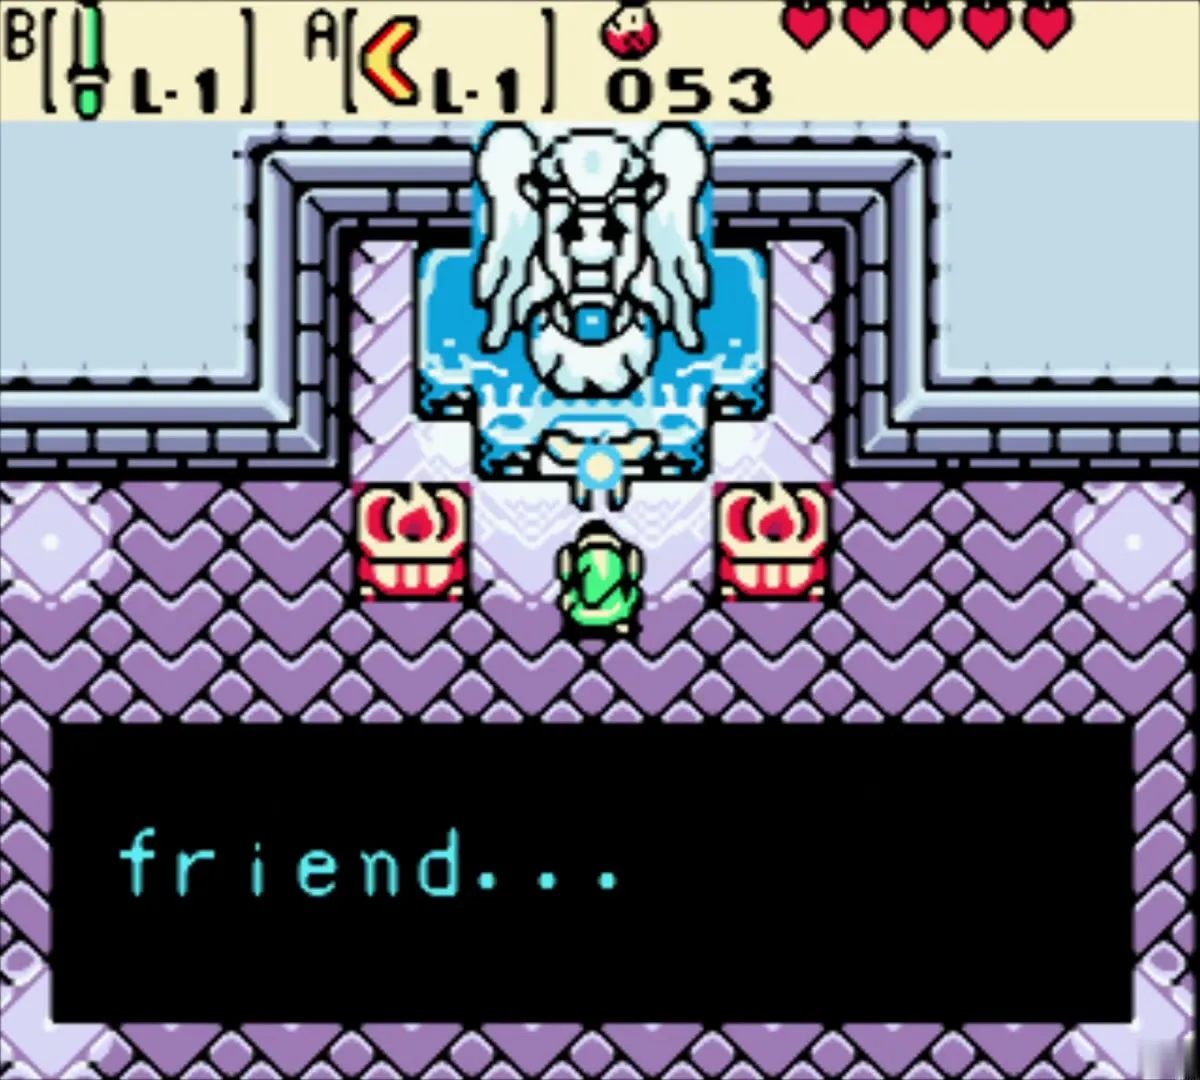
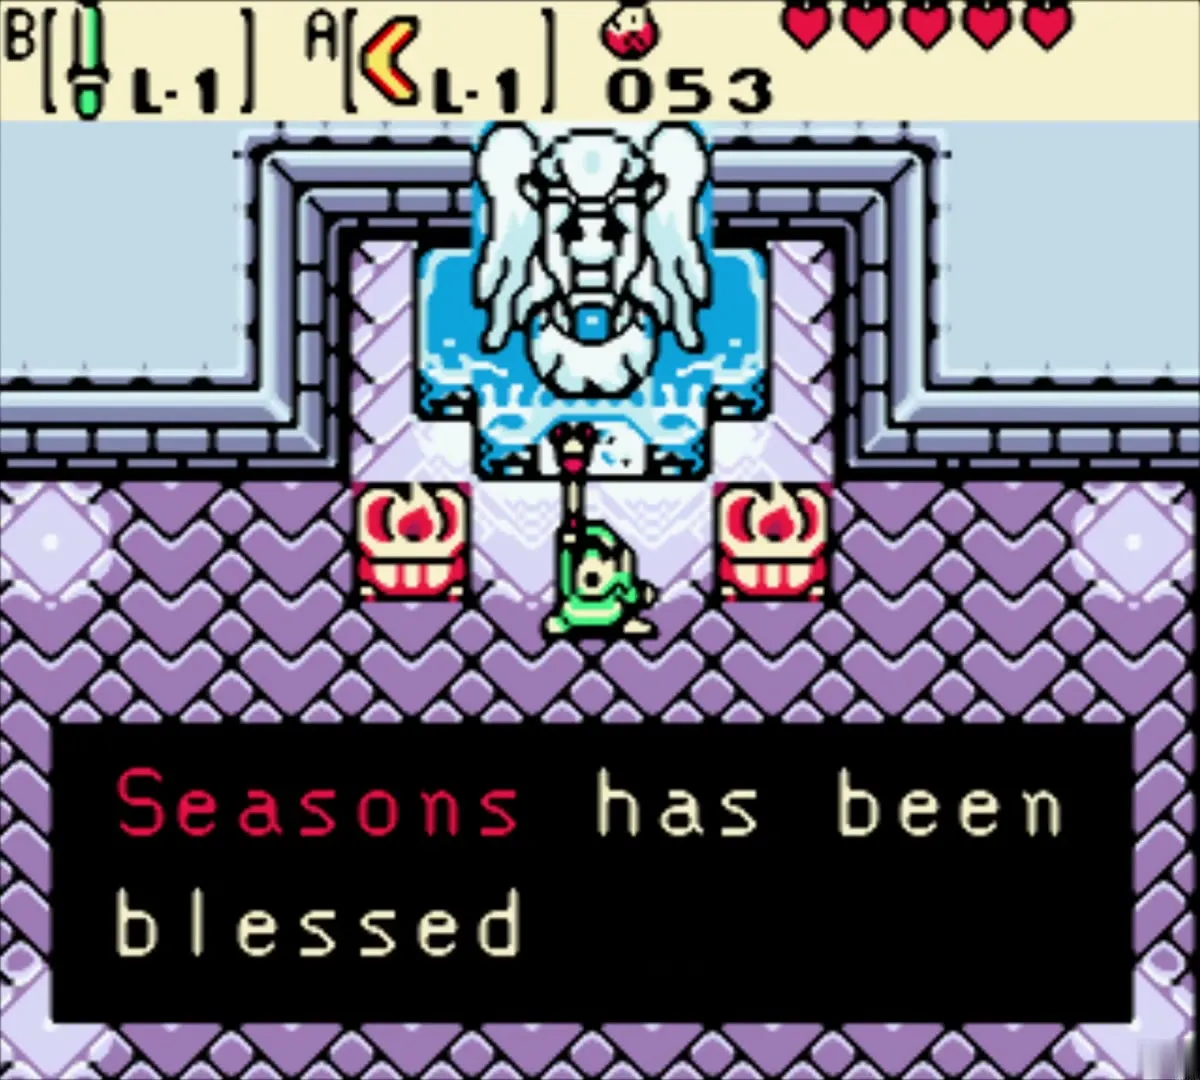
At the top, the Spirit of Winter speaks from a statue and bestows her power on the Rod, which flashes white. She explains that swinging the Rod while standing on a stump brings winter. Afterwards the Maku Tree appears in a vision and says he dreamed of woods in the east where an essence may lie. These are the Woods of Winter, your next destination.
A third dance for 50 more Ore Chunks
On your way out, stop at the Dance Hall again and win a third time for 50 more Ore Chunks. Together with the second win and the few Ore Chunks you picked up on the way, that brings your total to 103. You can skip this, but the Ore is useful later.
Back above ground: your first season change

Return through the portal and speak to Sokra
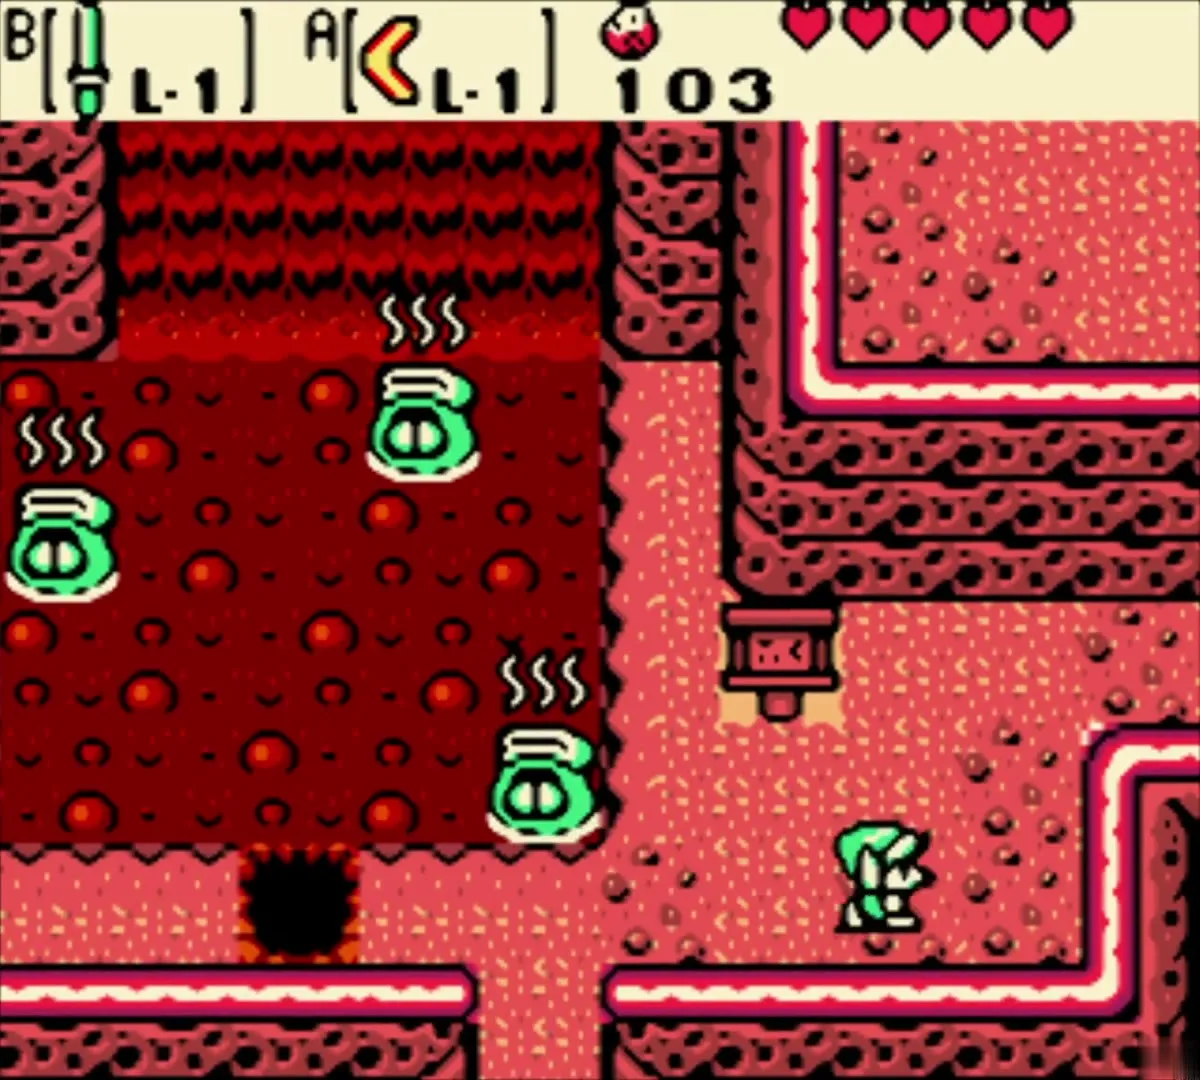
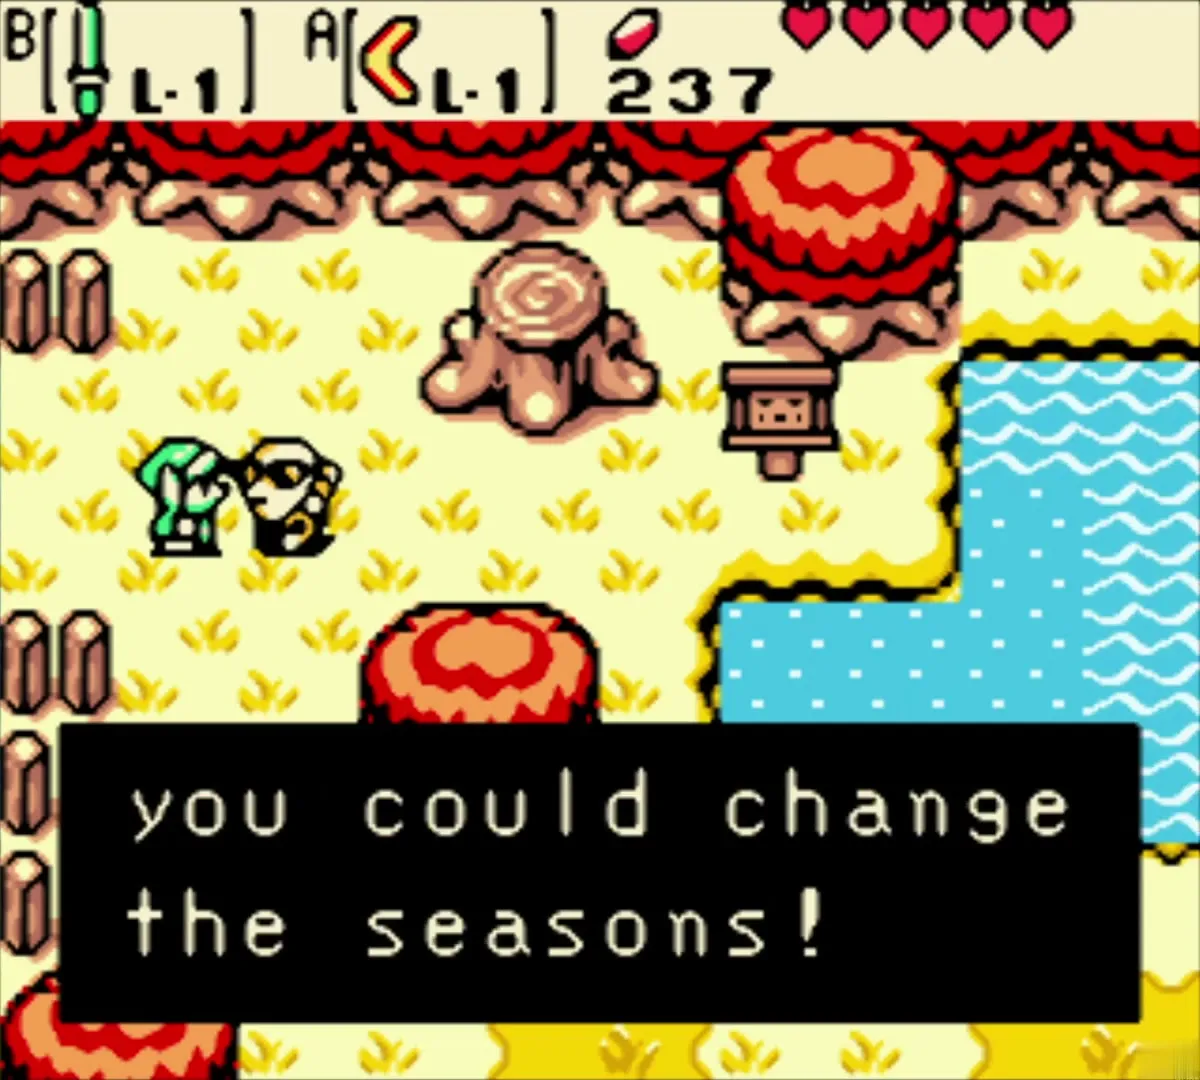
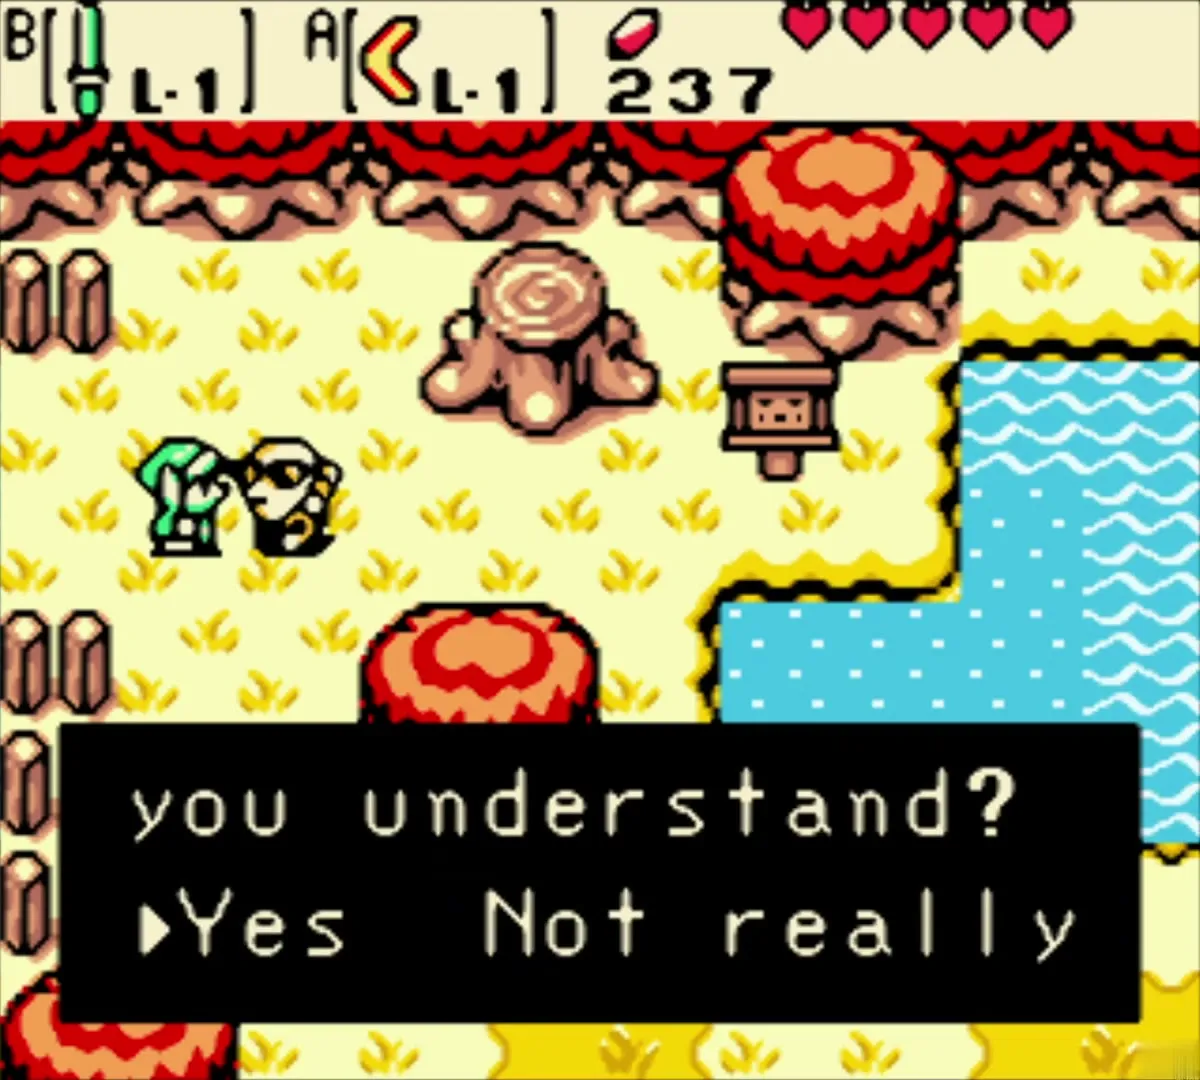
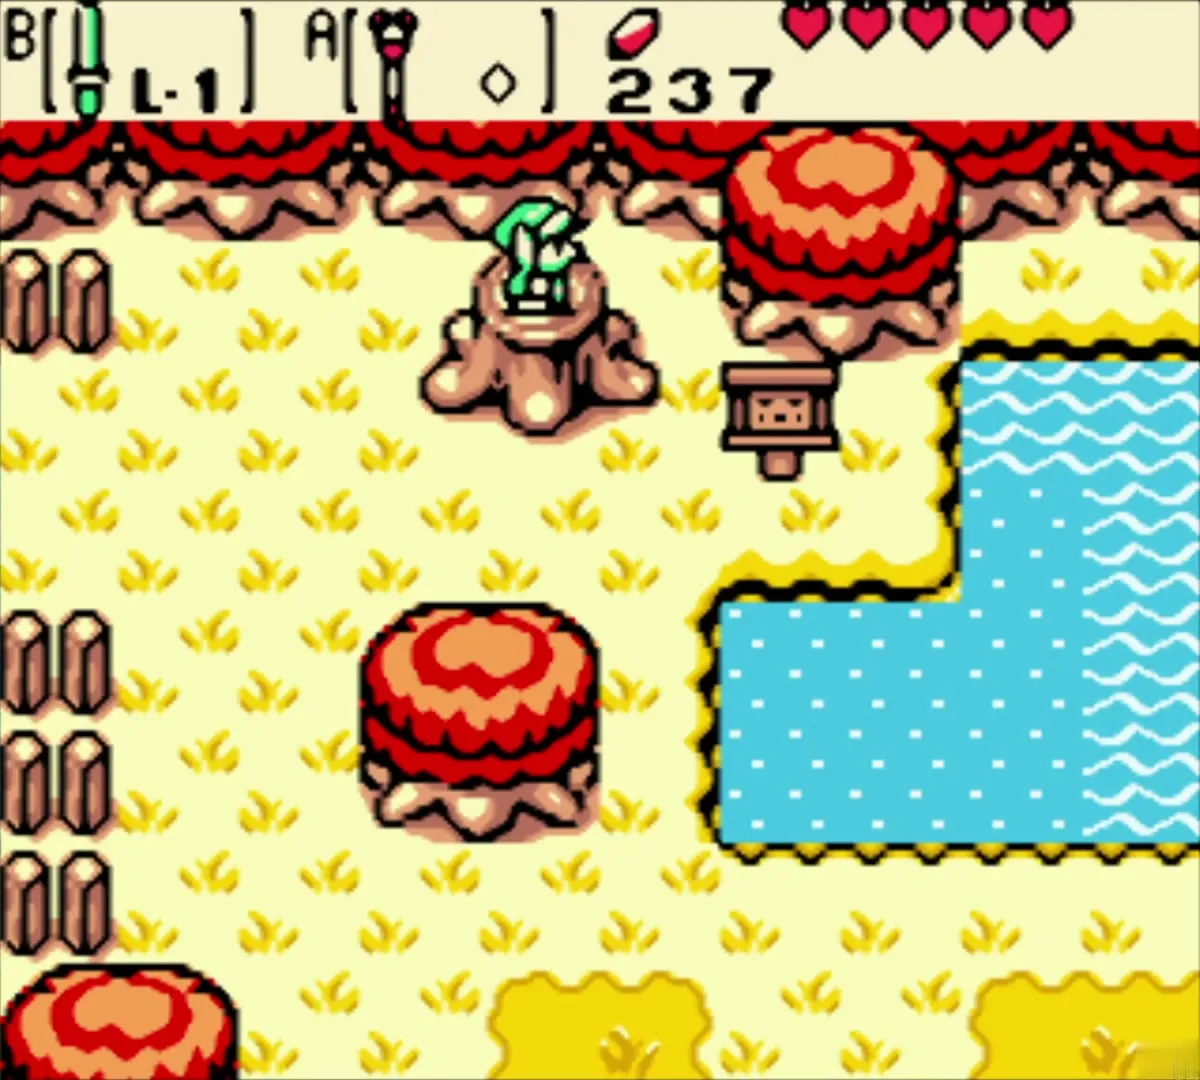
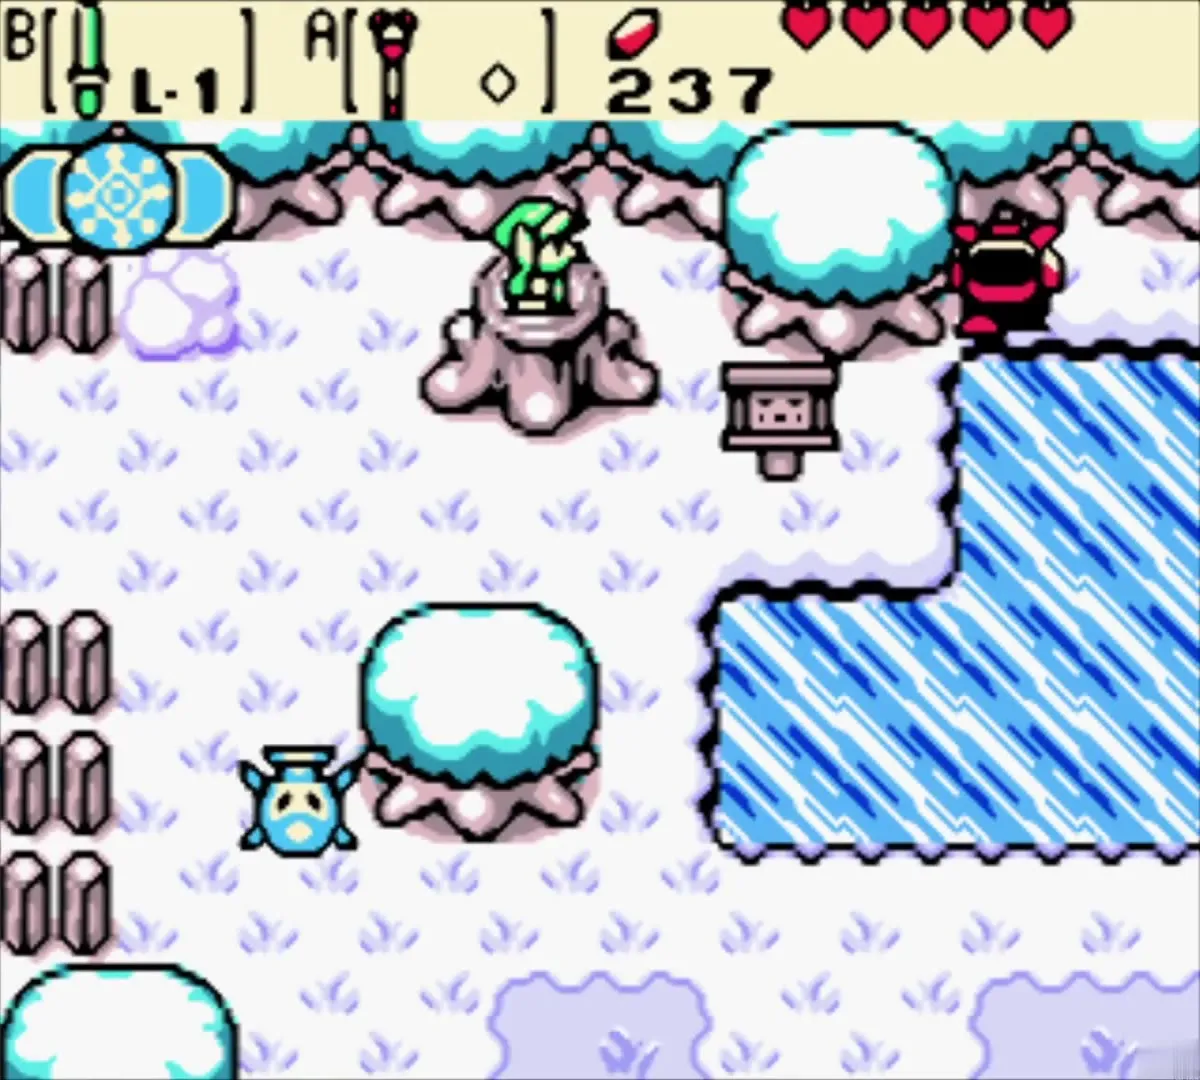
Walk back to the East Plaza and step into the portal. You come out beside Eyeglass Lake in the snow. Walk one screen east to the stump by the pond. Sokra is waiting there. He notices that the Rod carries only the power of winter and tells you to swing it from the top of the stump. Answer yes when he asks if you understand.
Swing the Rod from the stump
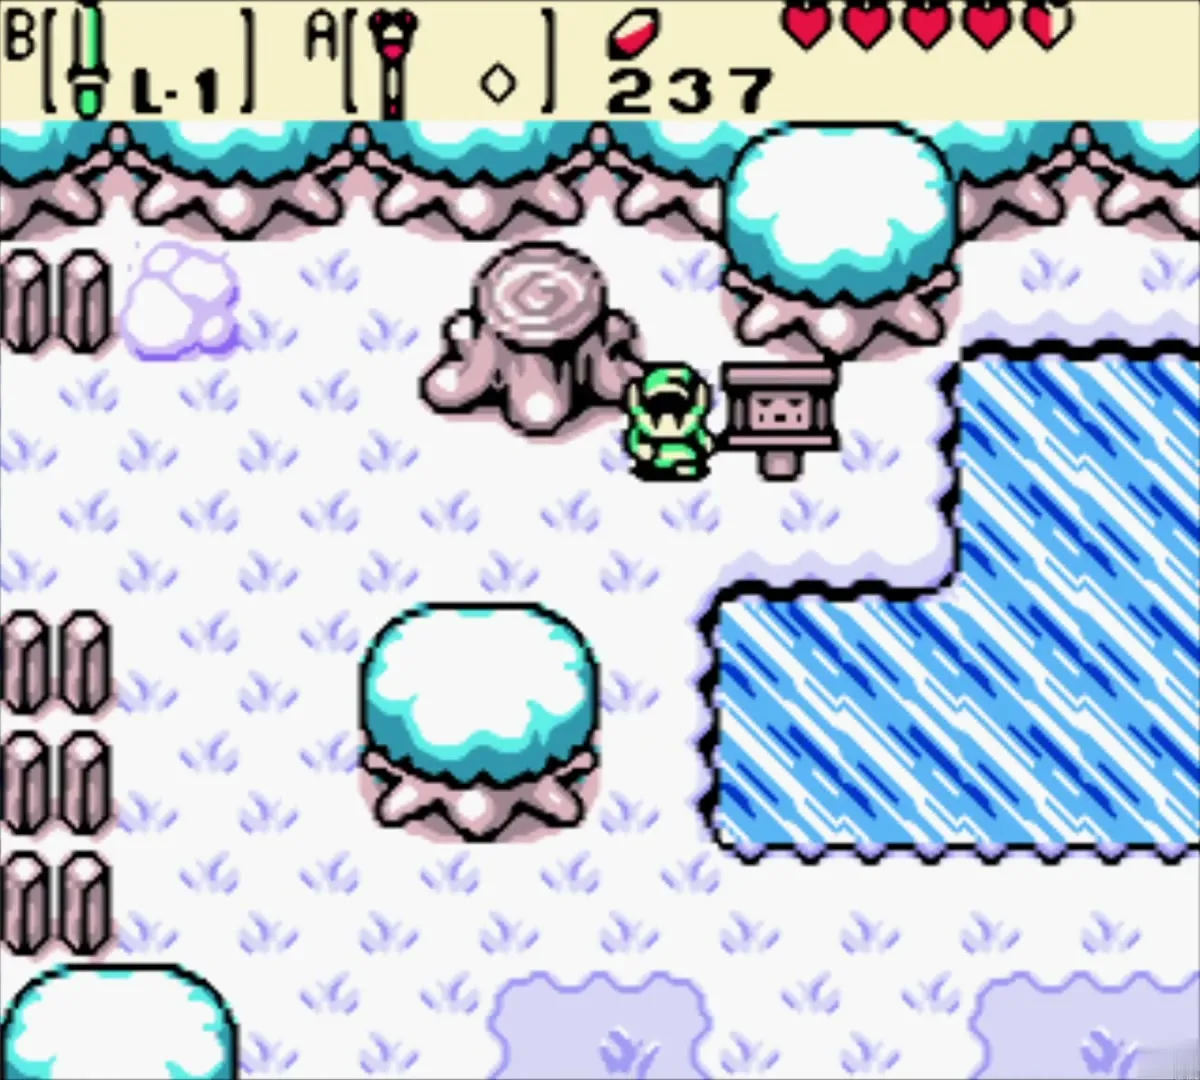
Climb onto the stump and swing the Rod. The screen flashes and winter arrives, with snow on the ground and the pond frozen so that you can walk across. This is how you change seasons for the rest of the game, and only on stumps. Use the ice to cross the pond and explore the snowy fields.

Trade the Lon Lon Egg to Maple
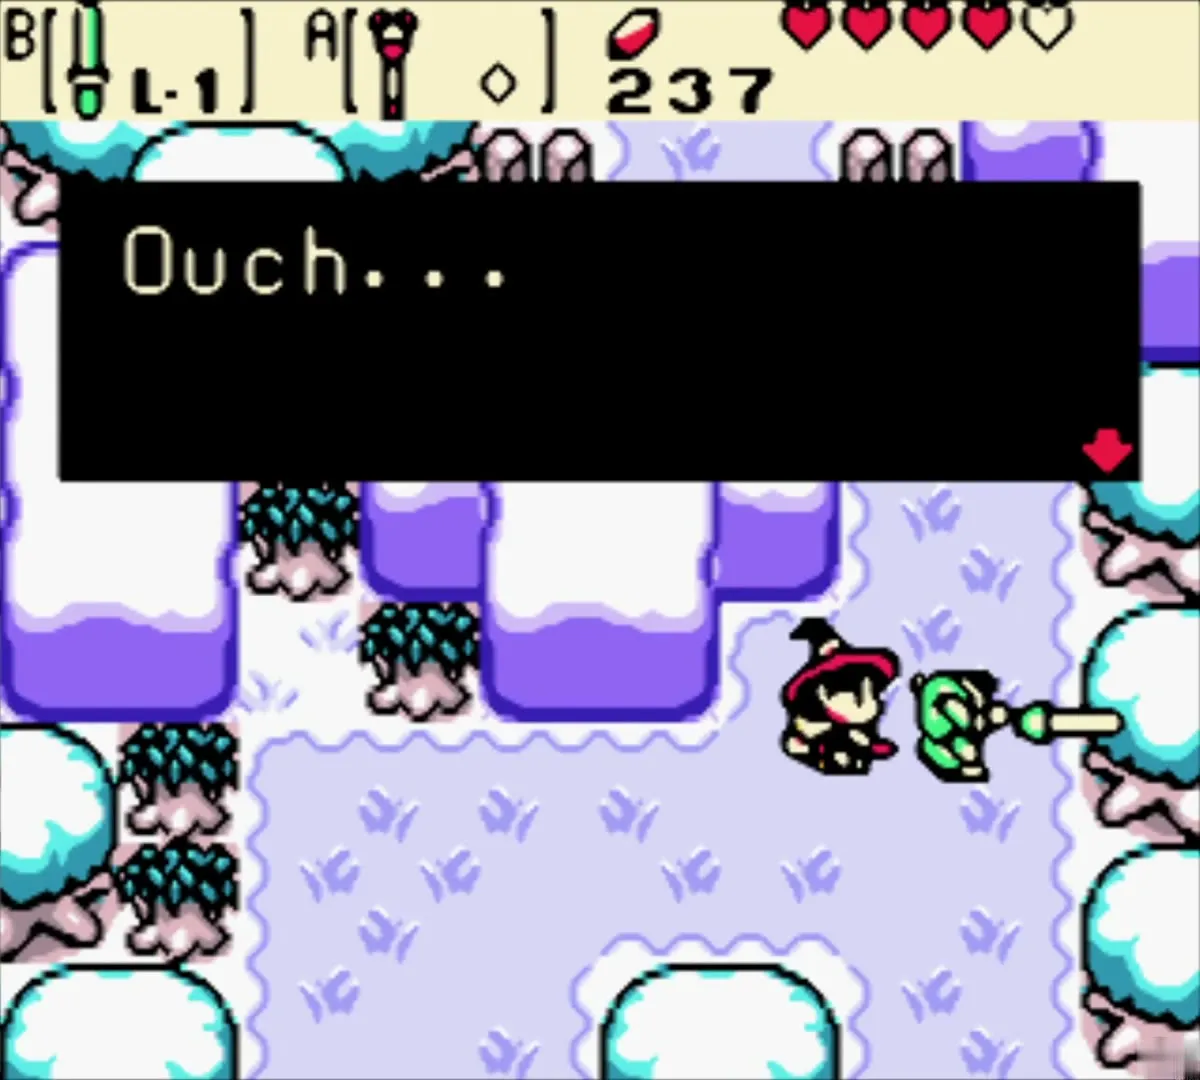
Walk through the winter fields. Maple bumps into you again and this time says she is hunting for Lon Lon Eggs, so give her yours. She hands over the Ghastly Doll, the third trade item. If she does not show up, keep defeating enemies until she does. Your next stop is the Woods of Winter.
Chapter checklist
| Type | Name | Where |
|---|---|---|
| Rupees | 100 Rupees | Secret cave behind the leftmost bush by the North Horon bridge (Ember Seed) |
| Gasha Nut / ring | Unappraised ring | Gasha tree on the North Horon lake bank |
| Gasha Nut / ring | Unappraised ring | Gasha tree outside Mayor Ruul’s house |
 Gasha Seed | 1 Gasha Seed | Hidden room behind the cracked wall in the Mayor’s house (Bomb) |
| Piece of Heart | Piece of Heart 1 of 12 | Horon Village ledge, burn the bush by the stair |
| Rupees | 100 Rupees | Secret cave behind the middle of three bushes near Dr. Left’s house |
| Trade item |  Cuccodex | Dr. Left, light his torch with an Ember Seed |
| Trade item | Lon Lon Egg | Malon, North Horon hen house |
| Shield | Wooden Shield (30 Rupees) | Horon Village shop |
| Gasha Seed | 1 seed planted | Soft soil near the Like Like signpost, behind small bushes |
| Item | Boomerang (Level 1) | Subrosian Dance Hall, first win |
| Ore Chunks | 50 + 50 | Subrosian Dance Hall, second and third wins |
| Key item | Rod of Seasons | Pedestal in the Temple of Seasons, Subrosia |
| Season power |  Winter | Spirit of Winter, Tower of Winter |
| Trade item |  Ghastly Doll | Maple, in exchange for the Lon Lon Egg |
