
























Oracle of Seasons 100% Completion Walkthrough26 chapters
- Getting Started in Holodrum and the Hero’s CaveImpa’s request, Mayor Ruul’s Gasha Seed, Vasu’s Ring Box, the Hero’s Cave ledge chest, shop Bombs and the Gnarled Key.
- Gnarled Root Dungeon (Dungeon 1)Keys, map, compass, Seed Satchel, Boss Key, Aquamentus and the Essence of Fertile Soil.
- Subrosia, the Tower of Winter and the Rod of SeasonsGasha Nuts, Boomerang, Ore Chunks, the Rod and the Ghastly Doll.
- Woods of Winter and the ShovelPay the old man, bomb the 30 Rupee cave, get the Shovel from Holly, find the Mystery Seed tree.
- Snake’s Remains (Dungeon 2)Compass, rupee room, Power Bracelet, Dungeon Map, bomb merchant, Facade, Dodongo boss, Heart Container and Gift of Time.
- Farore’s Secrets and Princess Zelda’s RescueThree Pieces of Heart, a Gasha Nut, Vasu’s rings, the L-3 Ring Box, Zelda and the Blue Joy Ring.
- Spool Swamp and the Floodgate KeyRicky’s Gloves, the Iron Pot trade, Pegasus Seeds, the Floodgate Key and freeing Dimitri for his flute.
- The Tower of Summer and Rosa’s RibbonStar-Shaped Ore, Rosa’s Ribbon, Subrosian Market buys (Heart Piece, Bomb Bag), the Spirit of Summer.
- Poison Moth’s Lair (Dungeon 3)Both Small Keys, Roc’s Feather, Compass, Map, Gasha Seed, Omuai, Boss Key, Mothula and the Bright Sun Essence.
- Natzu, Sunken City and Zora’s FlippersDimitri’s swim, Gale Seeds, Master’s Plaque, Master Diver and the Pyramid Jewel in Oracle of Seasons.
- The Hall of Secrets and the Noble SwordFarore’s secrets, Bombchu, the Noble Sword, Advance Shop rings, Vasu’s appraisals and a first Hero’s Cave visit.
- Great Moblin’s Keep and Goron MountainBomb-catching boss fight, Heart Piece, Tokay secret, bigger Ring Box, 300 Rupees and a Gasha Seed spot.
- The Strange Brothers, the Tower of Spring and Mt. CuccoWin back Roc’s Feather from the Strange Brothers, Spring power, Moosh, Heart Piece, Dragon Key and Dungeon 4.
- Dancing Dragon Dungeon (Dungeon 4)All five Small Keys, Map, Compass, Agunima, Slingshot, Boss Key, Gohma and the Essence of Soothing Rain.
- The Tower of Autumn and Eyeglass LakeGasha Seeds, ring appraisals, Seed Satchel, Treasure Map, Bomb Flower and Power of Autumn.
- Unicorn’s Cave (Dungeon 5)Compass, five Small Keys, Magnetic Gloves, Syger and Digdogger, Heart Container and Nurturing Warmth Essence.
- The Four Jewels, Tarm Ruins and the Lost WoodsRed Ore, Iron Shield, Round Jewel, Vasu’s rings, the Lost Woods seasons and the Master Sword.
- Ancient Ruins (Dungeon 6)Dungeon Map, Compass, three Small Keys, Magical Boomerang, Vire, Manhandla, Heart Container and Blowing Wind.
- Samasa Desert and the Pirate’s BellThe desert ring chest, the polished Rusty Bell and the way to Explorer’s Crypt.
- Explorer’s Crypt (Dungeon 7)Beat the Poe Sisters, get Roc’s Cape and the Boss Key, defeat Gleeok and claim the Seed of Life essence.
- Temple Remains and the Volcano EruptionMaku Tree secrets, Vasu ring appraisals, the Subrosian volcano eruption and the last Piece of Heart in the temple.
- Sword & Shield Maze (Dungeon 8)Compass, Dungeon Map, Hyper Slingshot, Frypolar, Medusa Head and the Changing Seasons essence.
- The Huge Maku Seed, the Last Trades and the Hero’s CaveThe Goron Vase to Phonograph trade chain, Gasha Seed planting, and the linked Hero’s Cave chest trial.
- Side Quests and Collectibles Before Onox’s CastleGasha Nuts, Vasu’s rings, the Mirror Shield, the chest game, Maple and Biggoron’s Sword.
- Onox’s Castle and the Final BattleClear the castle rooms, beat Facade, buy the Mirror Shield, then defeat General Onox and free Din.
- The Linked Game FinaleBeat Twinrova and Ganon in the Room of Rites, then finish at the Maku Tree and find the Hero’s Secret.
| Covers | Holodrum (the Maku Tree’s secret chamber, Horon Village, the winter overworld and its stumps), Subrosia and the Temple Remains. Needs the Rod of Seasons for winter, summer and autumn, Roc’s Cape, Magnetic Gloves and a Gale Seed. |
|---|---|
| Dungeon | Sword & Shield Maze (Dungeon 8): this chapter ends at its volcano entrance. No mini-boss, dungeon item or boss is taken here. |
| Rewards | Bomb Bag upgrade to 50 bombs (linked), Mirror Shield (linked), Spin Ring (linked), Power Ring L-1 (appraised by Vasu), one unappraised ring from a cracked-wall cave, a Piece of Heart in the flooded temple |
This chapter takes you from the Maku Tree’s hint about the next essence, through its secret chamber and Vasu’s ring appraisals, to the Subrosian volcano and the flooded Temple Remains. You finish at the volcano that leads into the Sword & Shield Maze. The route needs the Rod of Seasons at several stumps, Roc’s Cape to cross the lava, Magnetic Gloves for the magnets, and a Gale Seed to warp to Horon Village. The secret chamber rewards come from linked-game secrets, so they are marked as linked below.
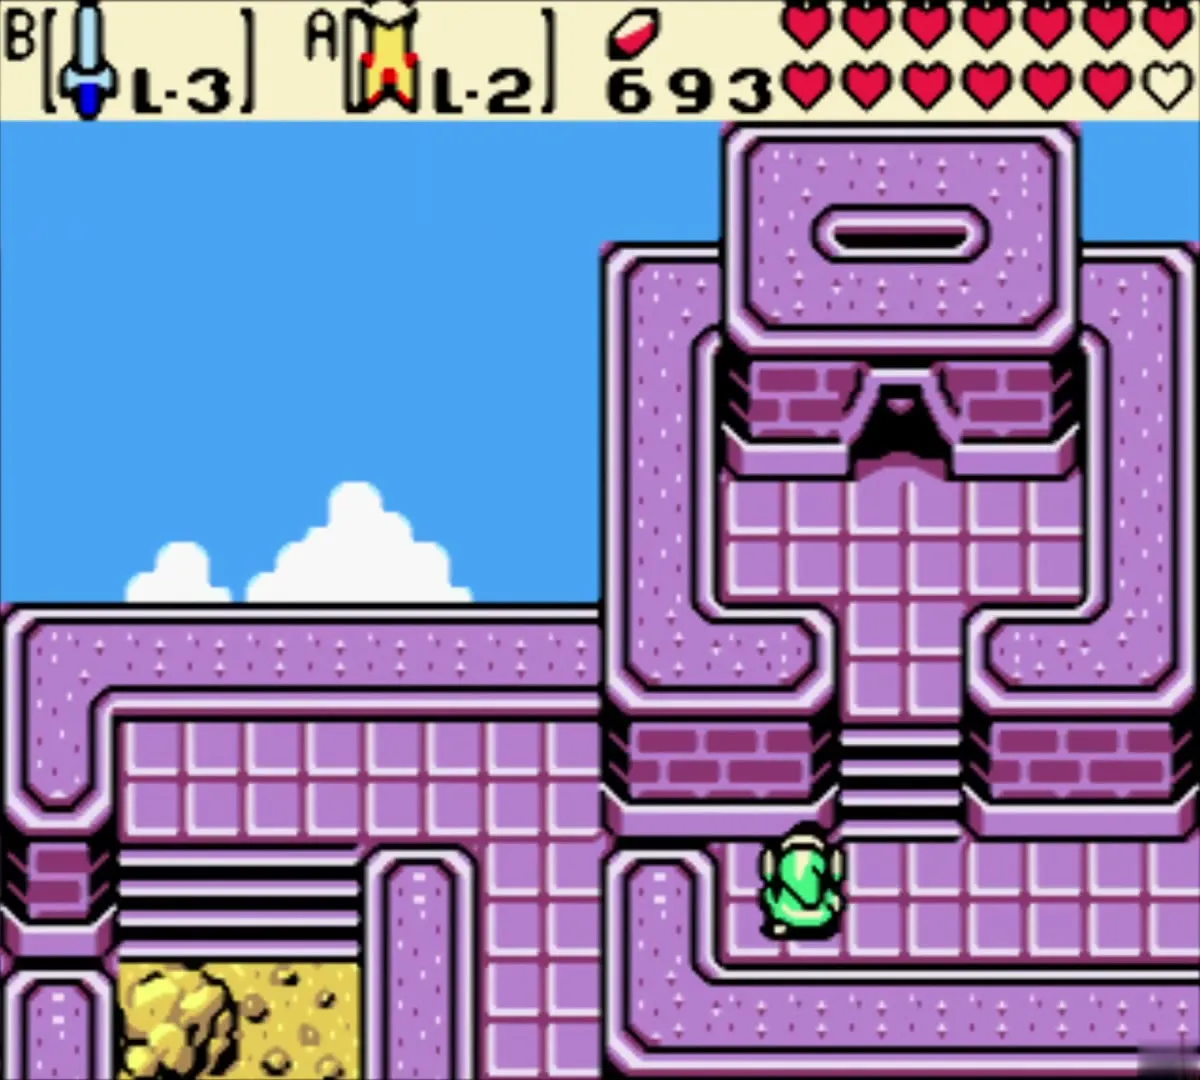
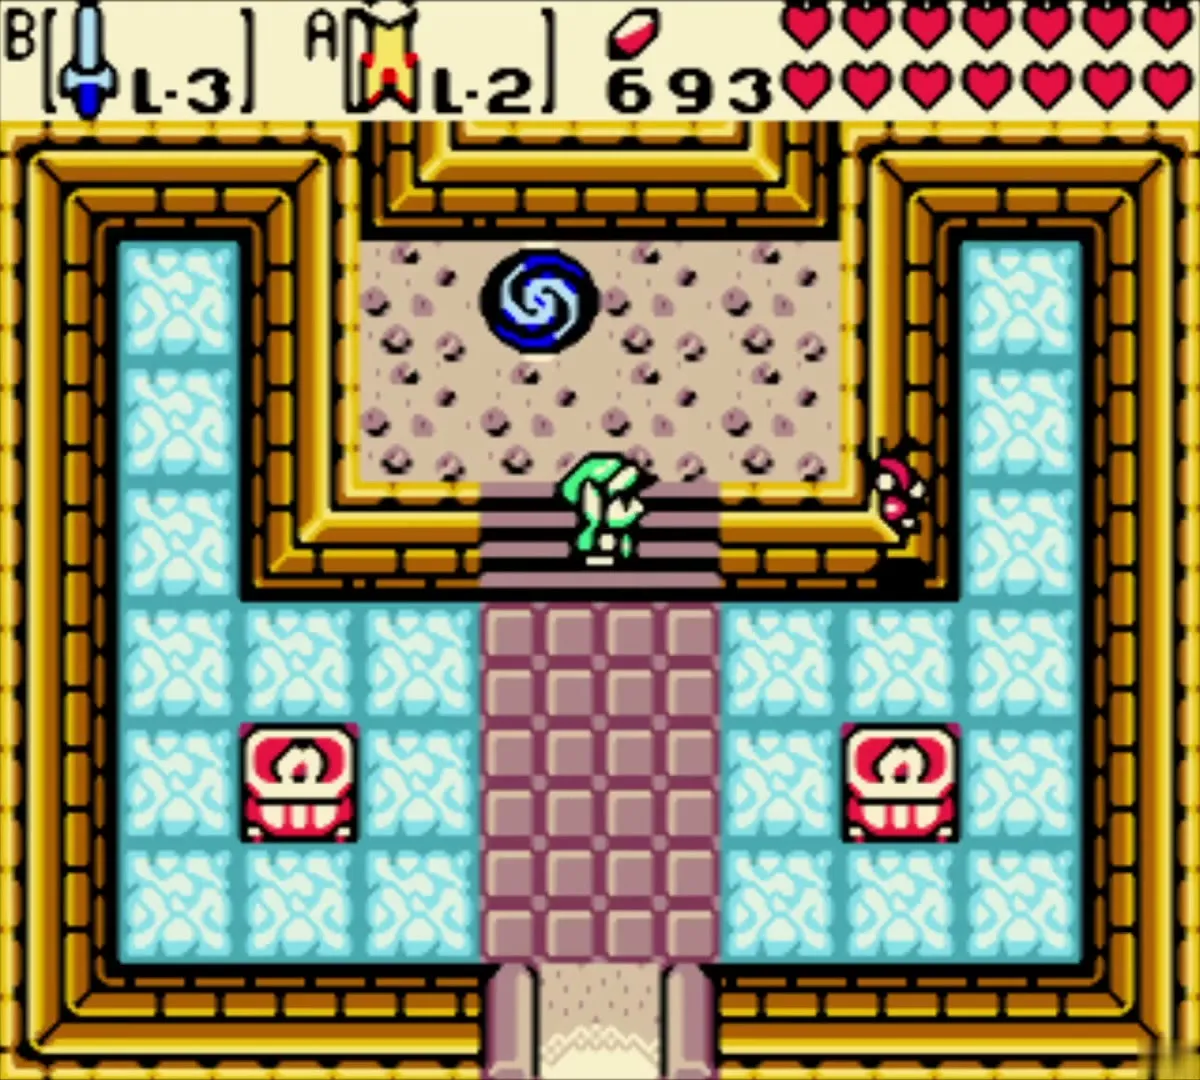
Table of Contents
Next essence hint from the Maku Tree
Hear where the next essence is
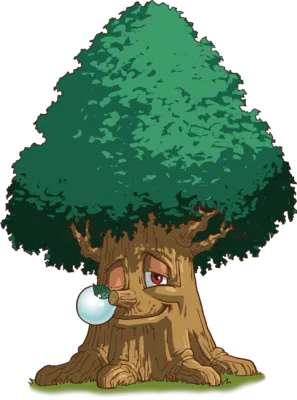
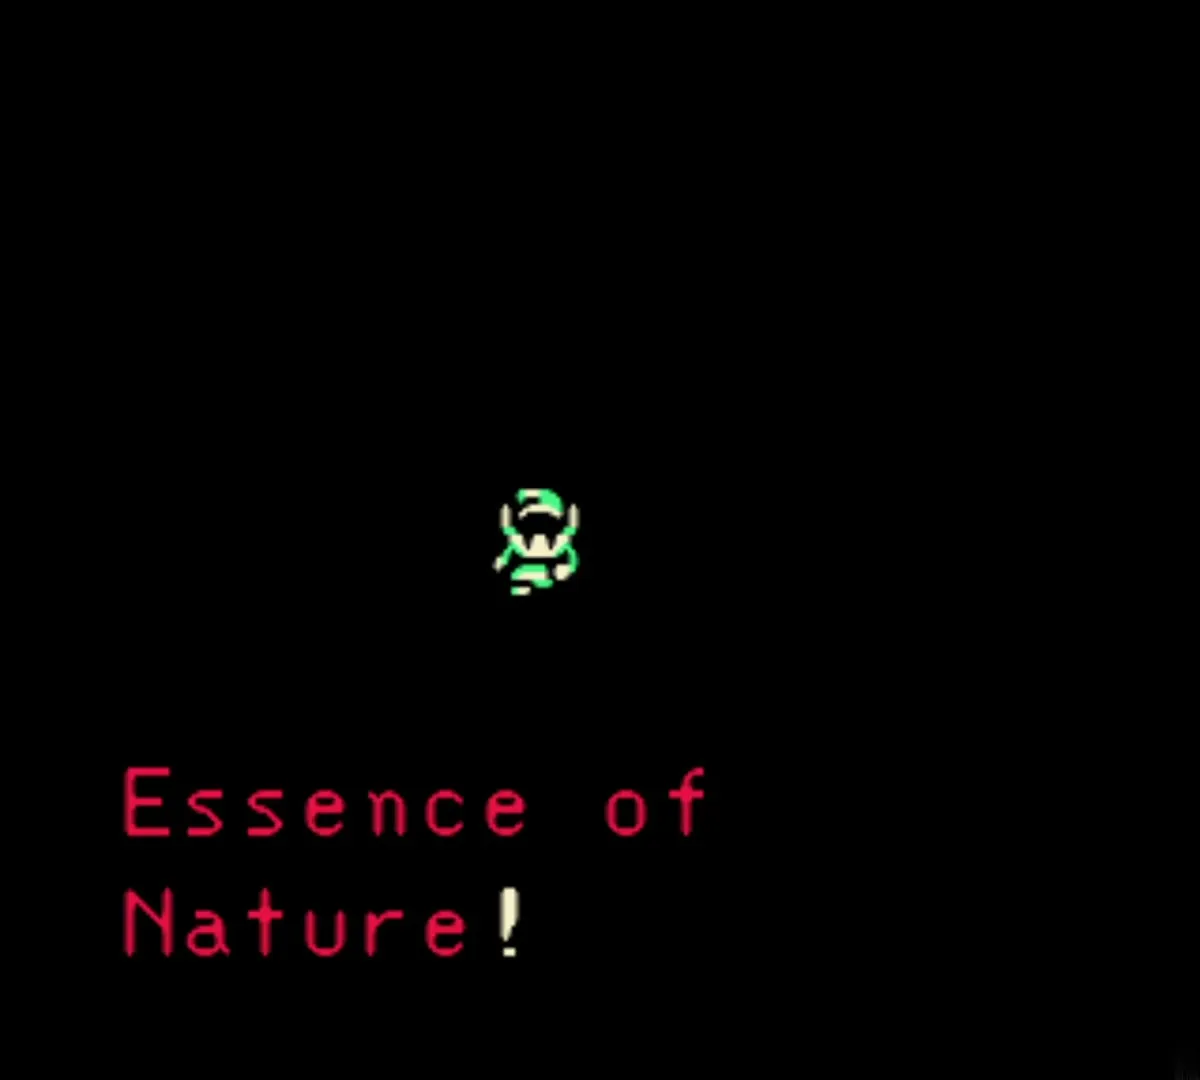
Once you have the Seed of Life, the Maku Tree tells you that the next Essence of Nature is somewhere in Holodrum. That essence is the Essence of Changing Seasons, which is found in the Sword & Shield Maze. From here, head for Horon Village.
Horon Village: Gale Seed warp and Maple
Warp to Horon Village with a Gale Seed
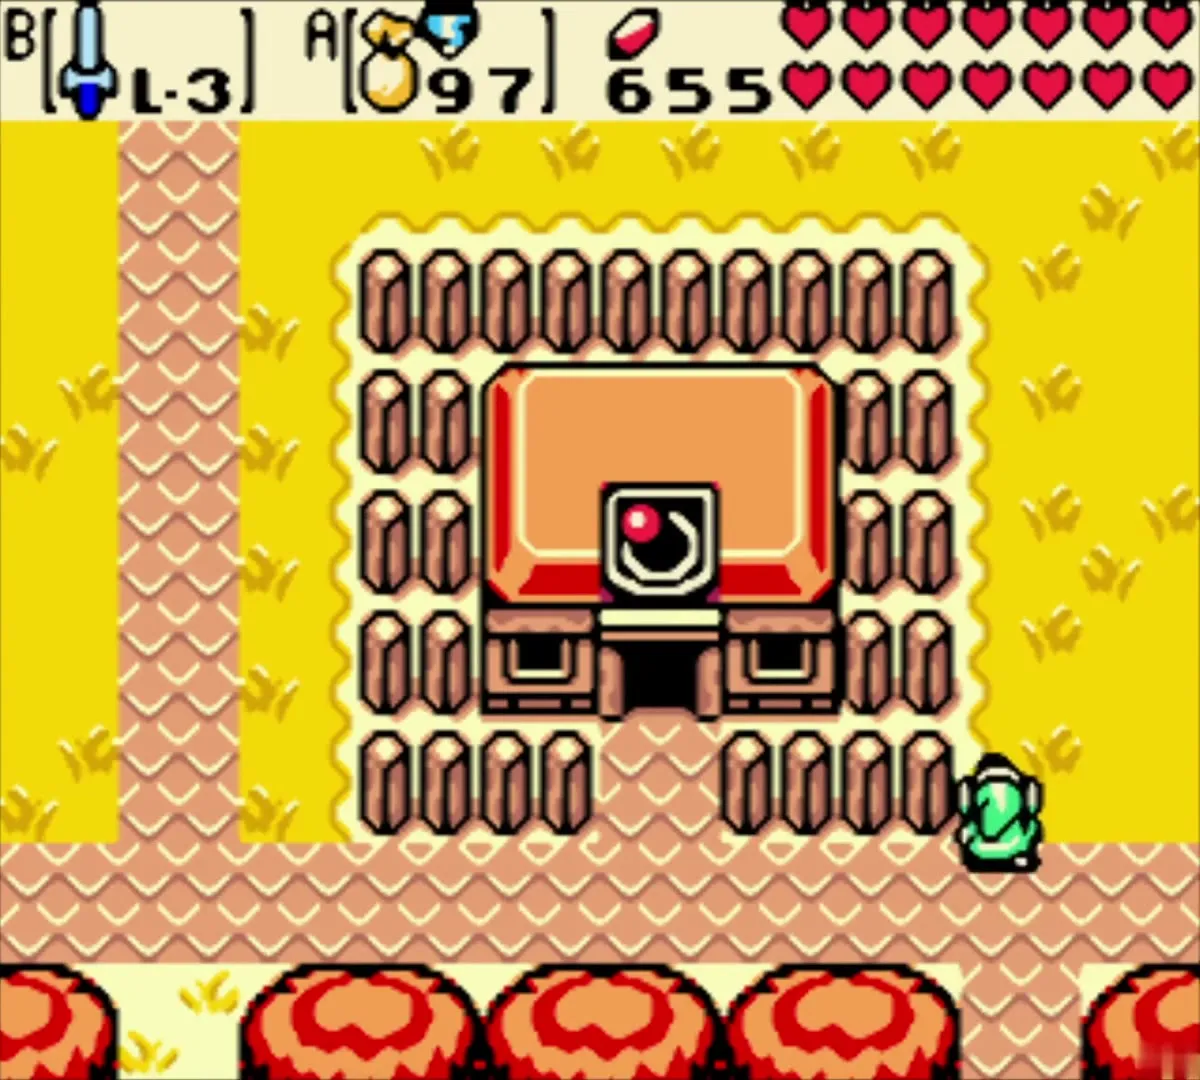
Open the item menu and select a Gale Seed, then use it on the map to warp to Horon Village. The seed sends you straight into the village, which saves walking back from the crypt. Keep a few Gale Seeds in your satchel for the rest of this route.
Race Maple for the dropped rupees
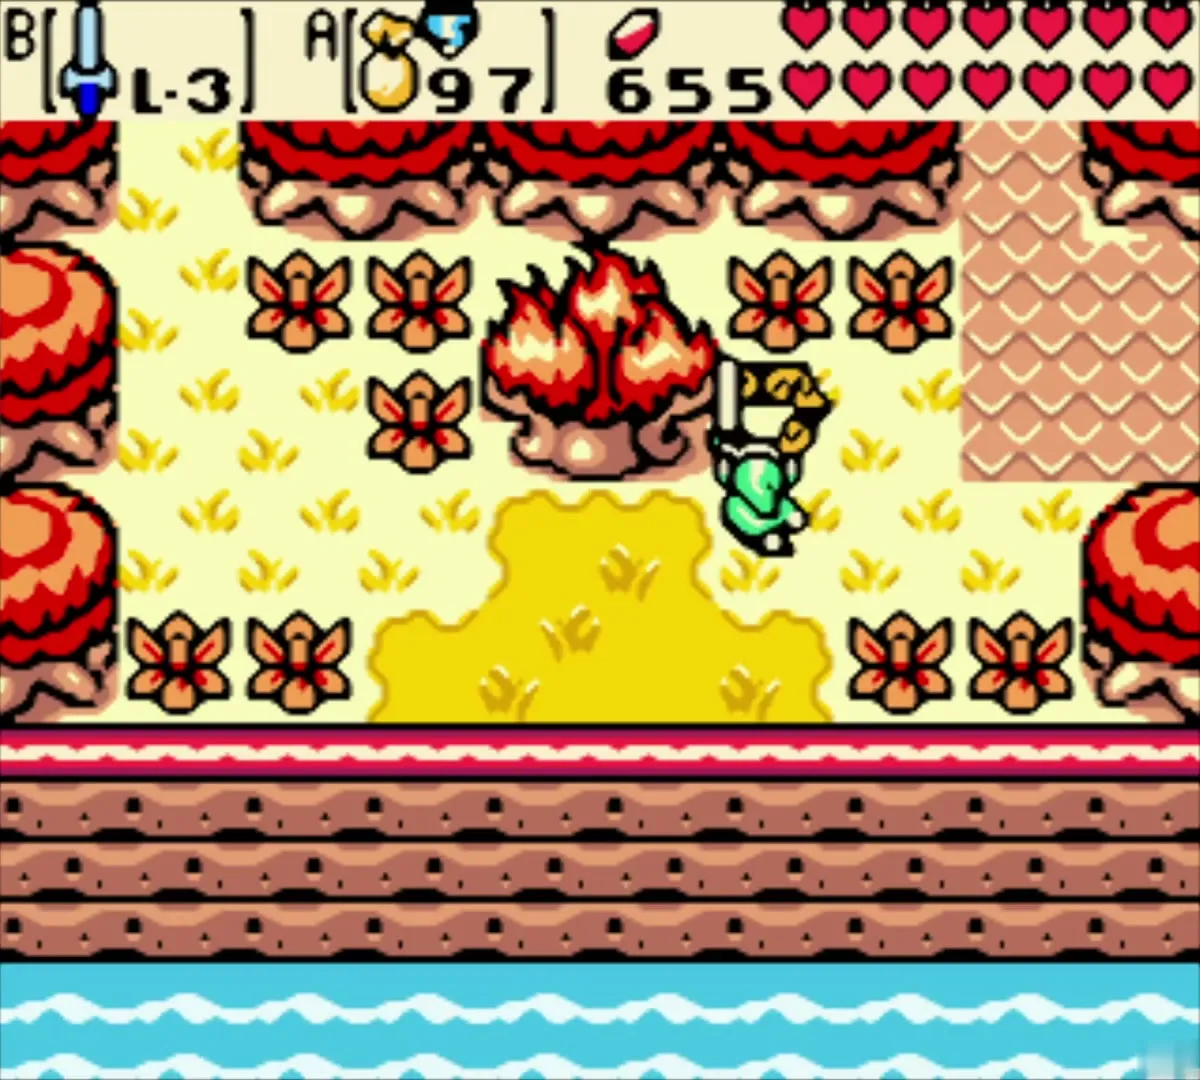
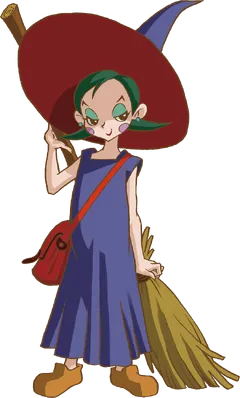
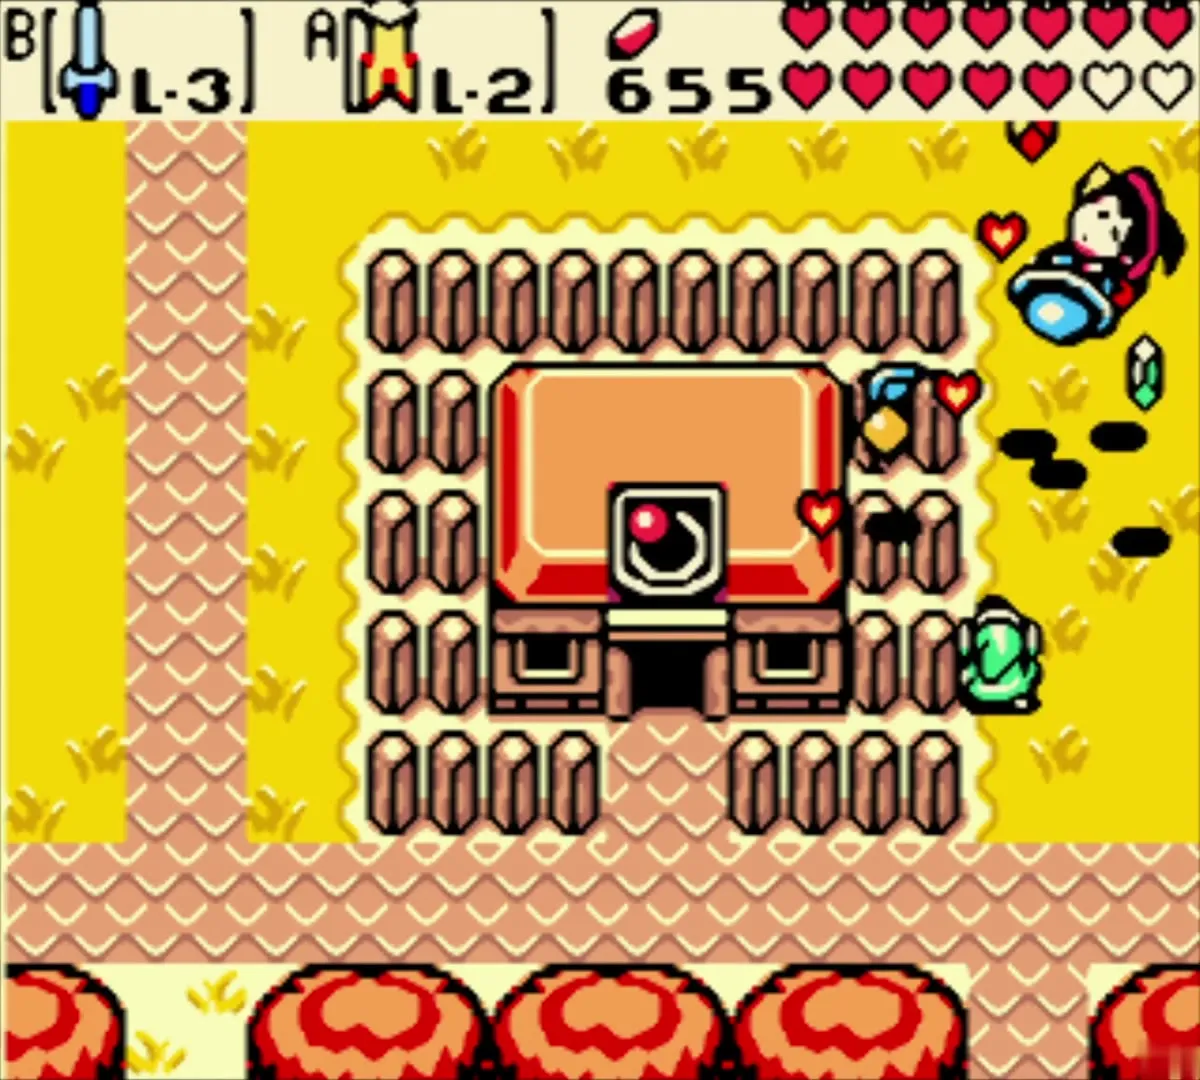
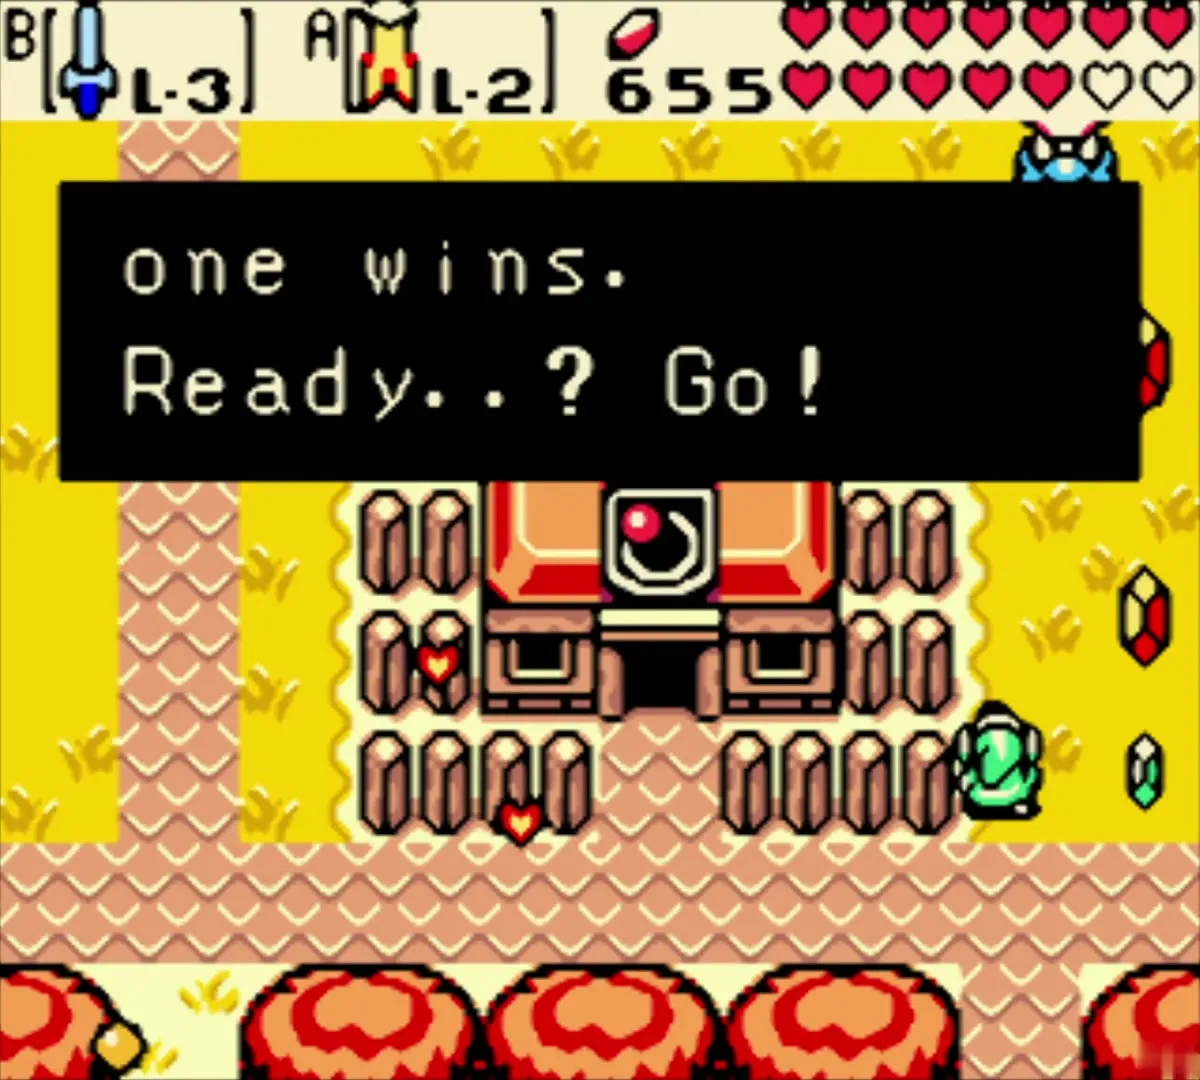
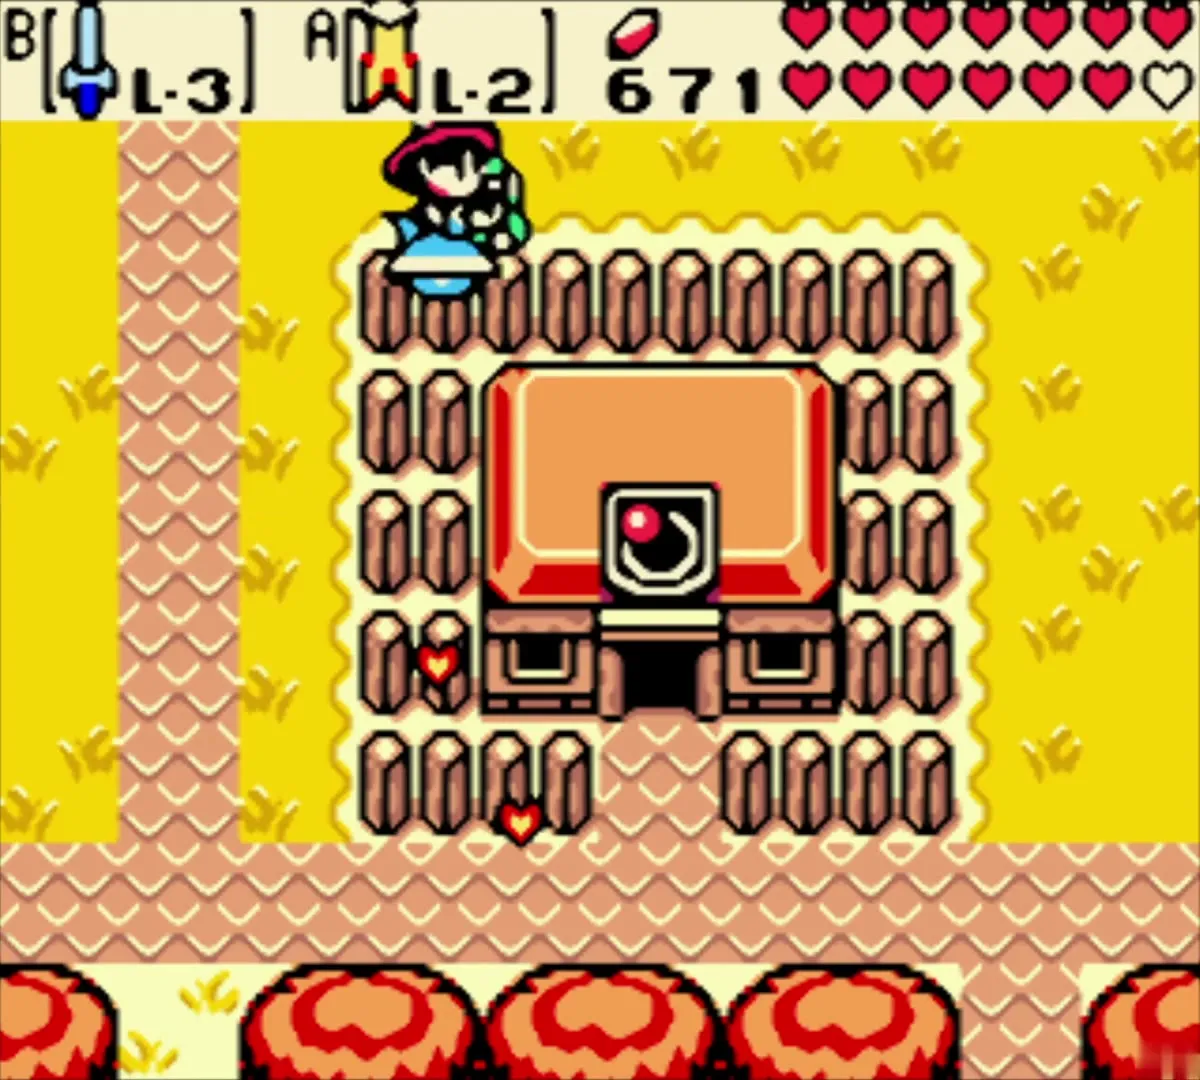
Maple arrives on her broom and challenges you to a race. The rupees on the ground are the prize, so move quickly and grab as many as you can before she does. Maple’s rupee race is a luck-and-patience encounter, and you can end it with more rupees than you started with.
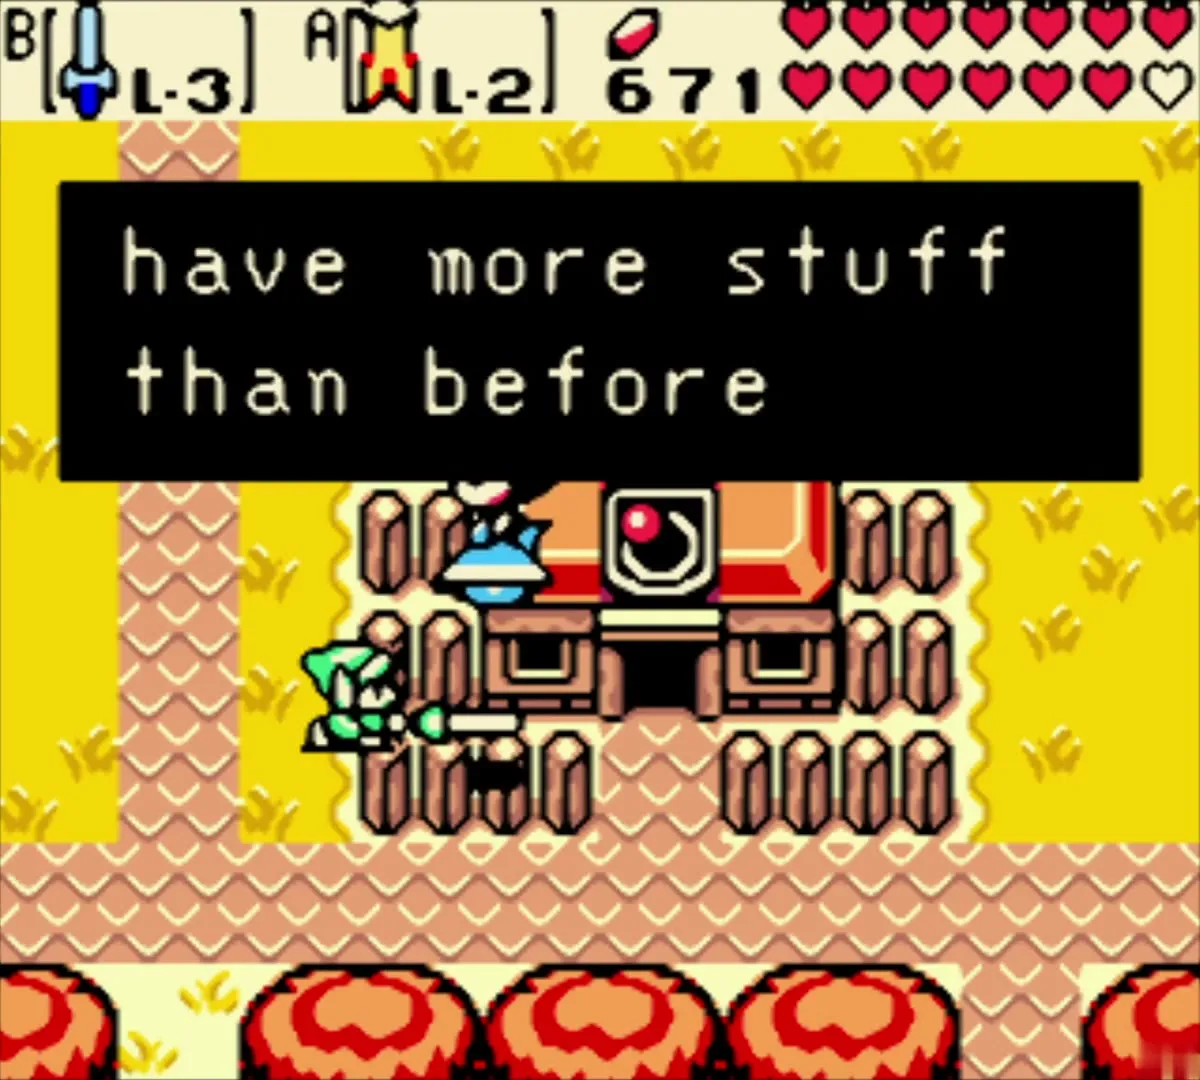
Maku Tree secret chamber

Enter the secret room with Farore
Go into the Maku Tree in Horon Village and find Farore, the Oracle of Secrets. Each password is typed on the secret screen one character at a time, and each accepted entry unlocks its reward. The rewards in this chamber come from linked-game secrets, so this step needs a linked game.
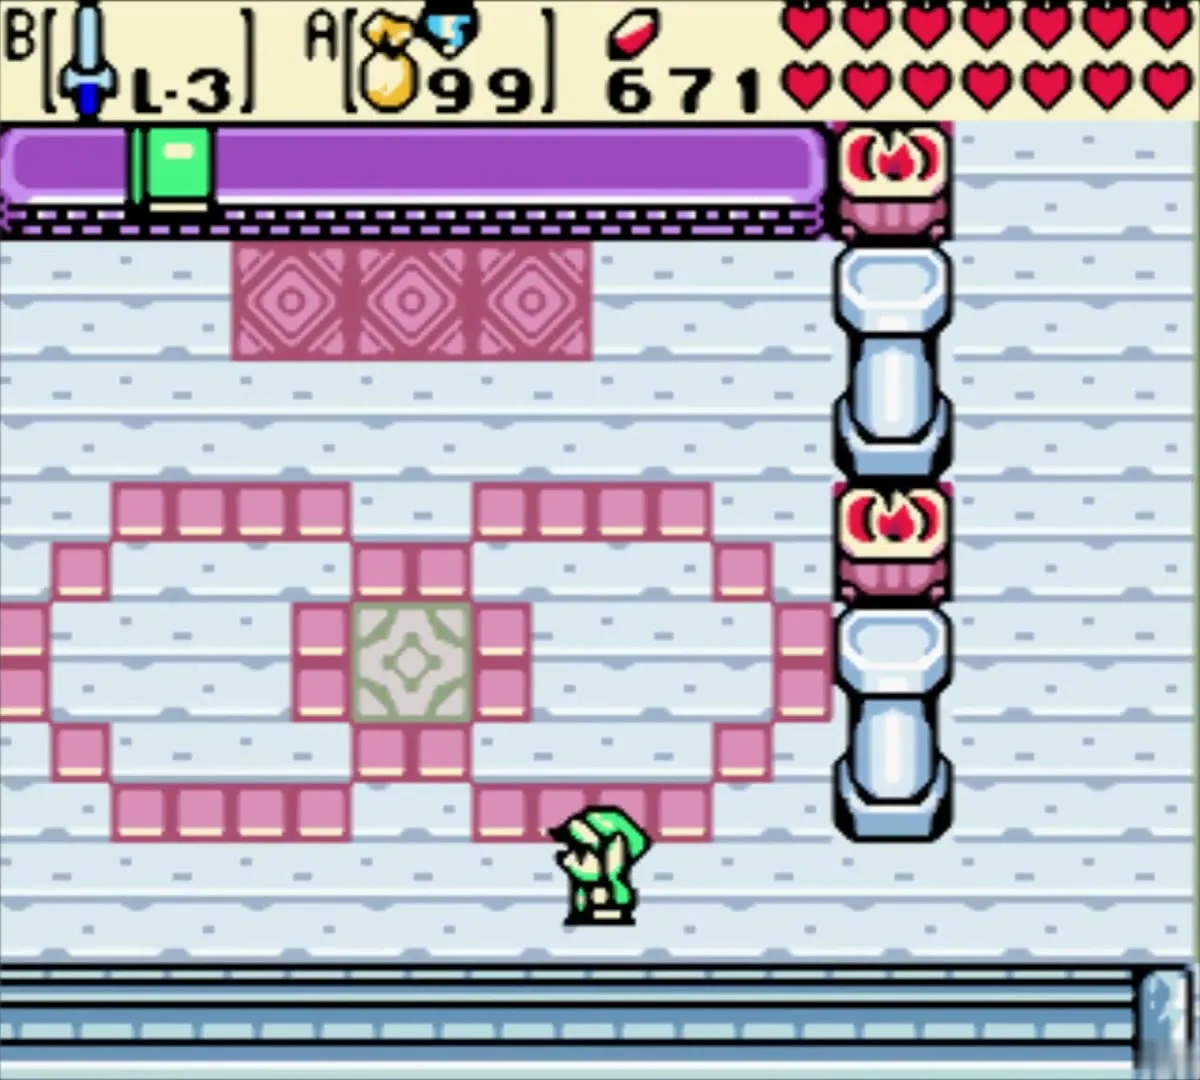
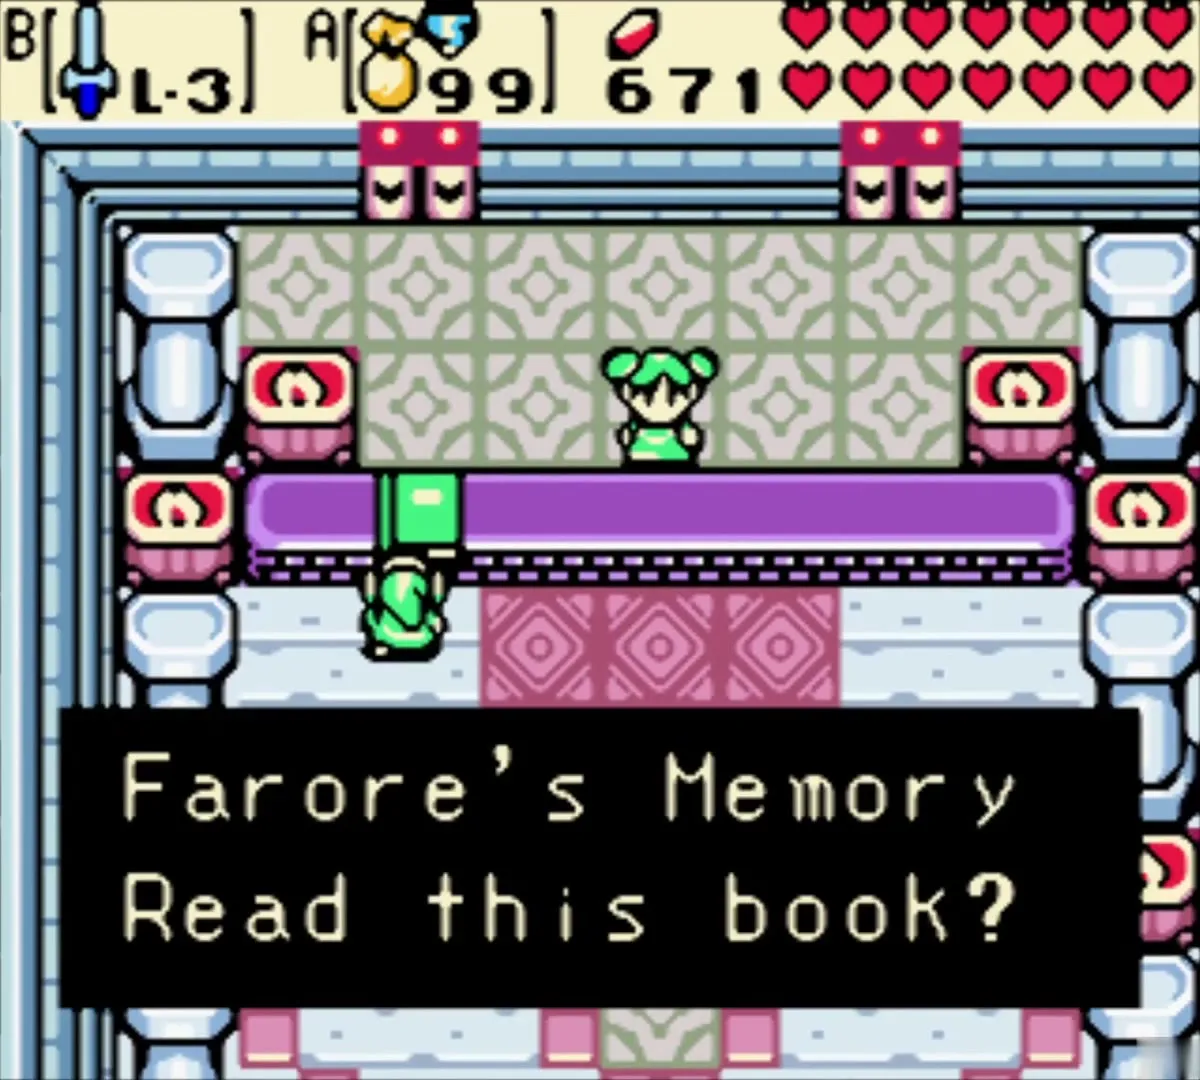
Bomb Bag upgrade to 50
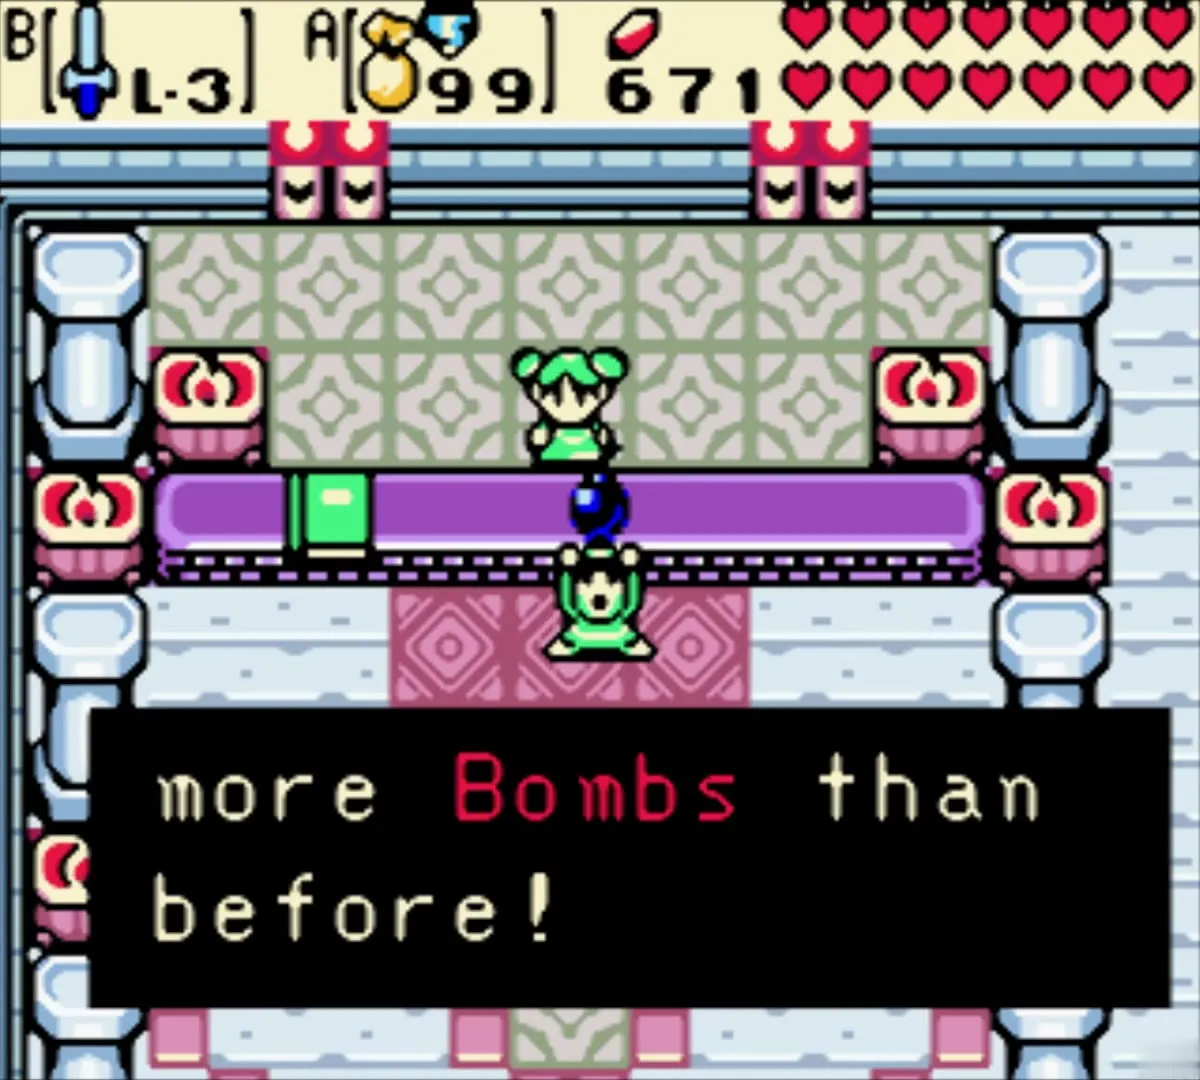
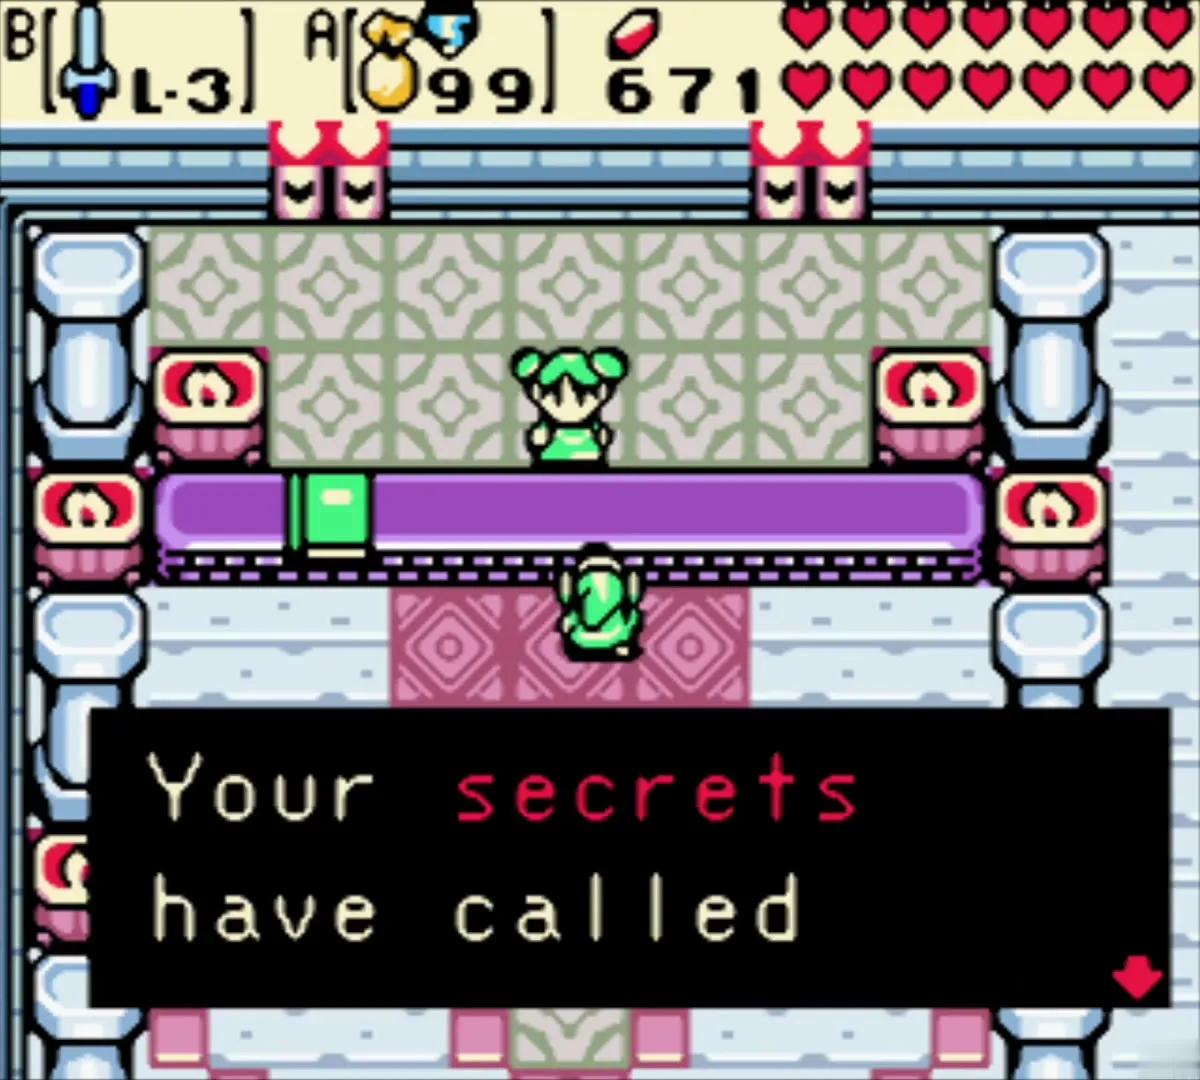
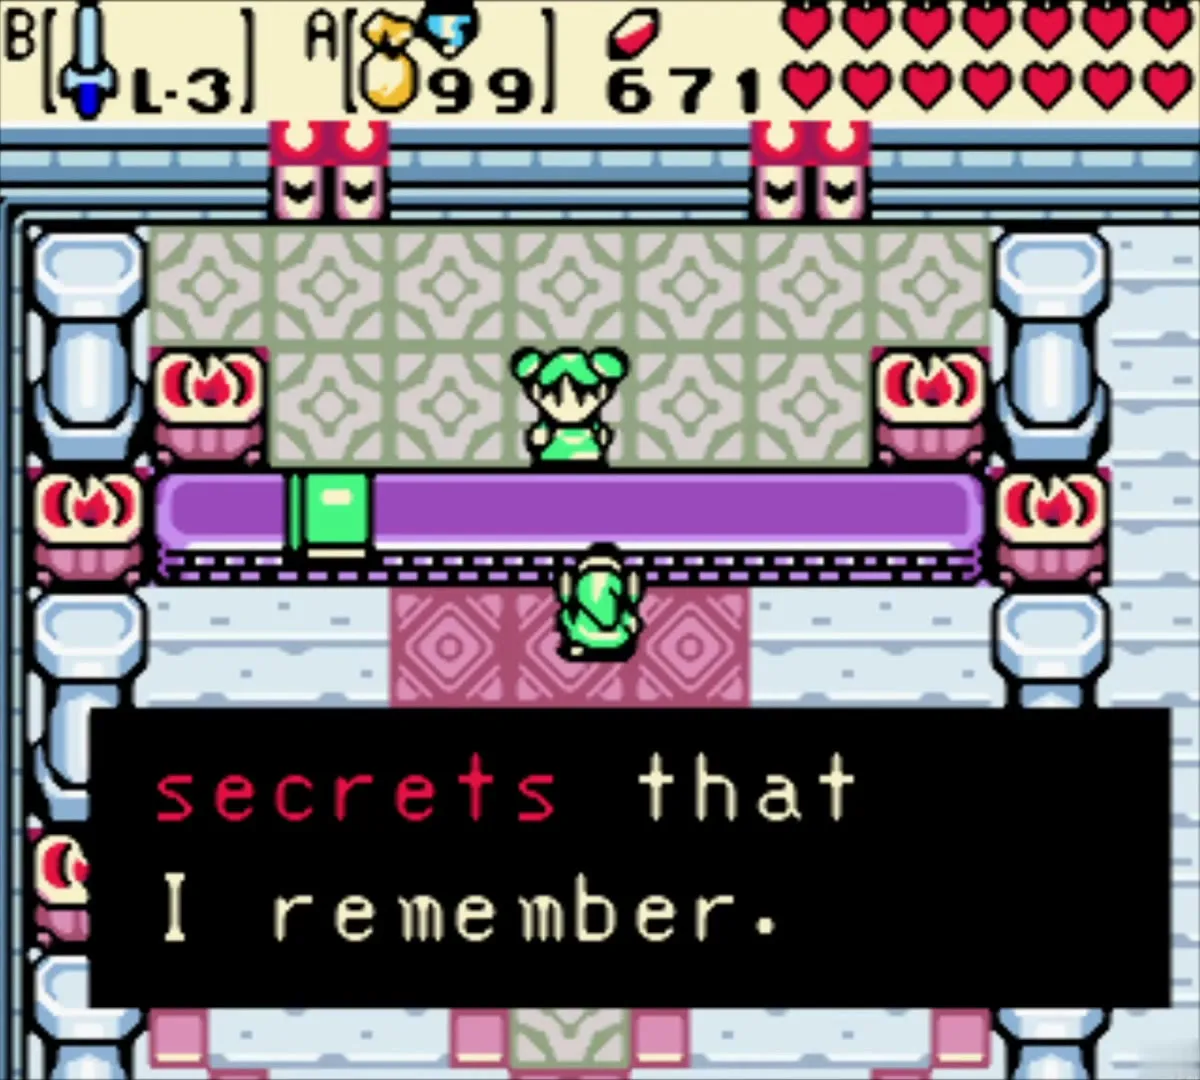
Enter the first password on the secret screen and confirm it. Farore then tells you that you now have more bombs than before. The Bomb Bag holds 50 bombs instead of 30. This is the second Bomb Bag upgrade. The first one, to 30 bombs, is bought in the Subrosian Market.
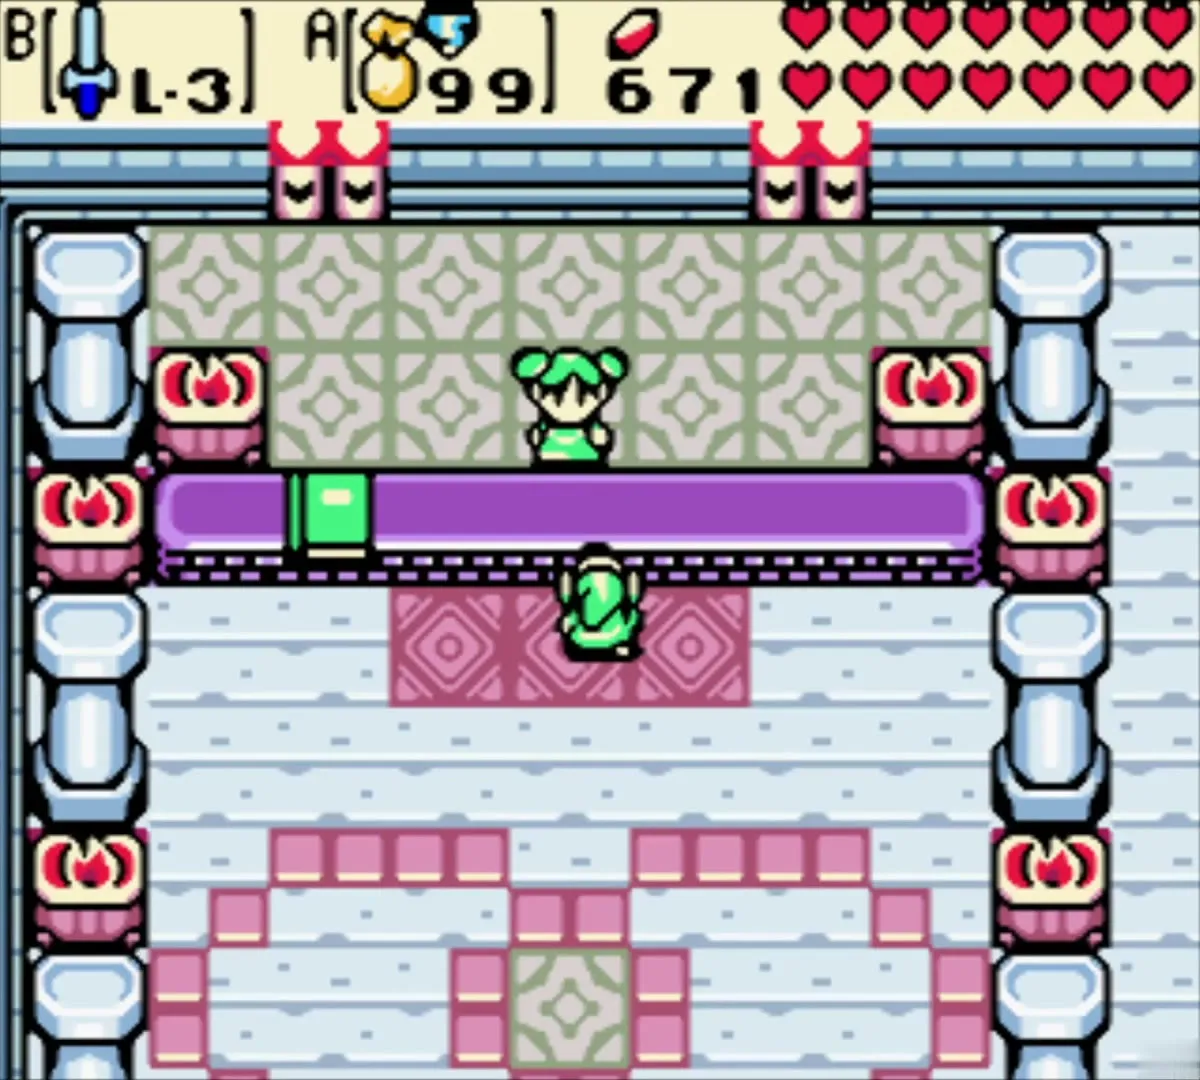

Mirror Shield
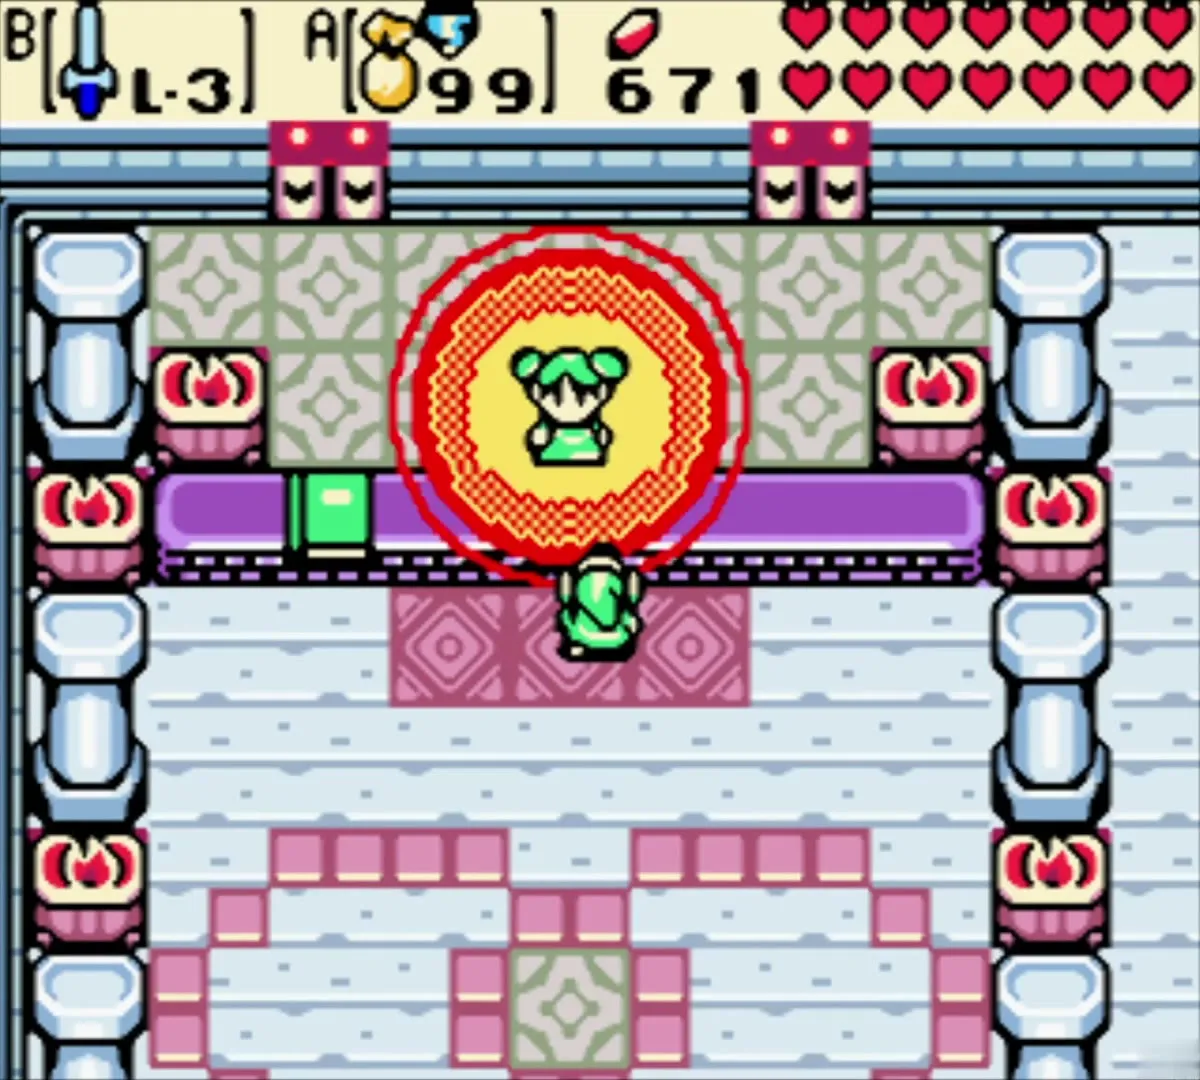
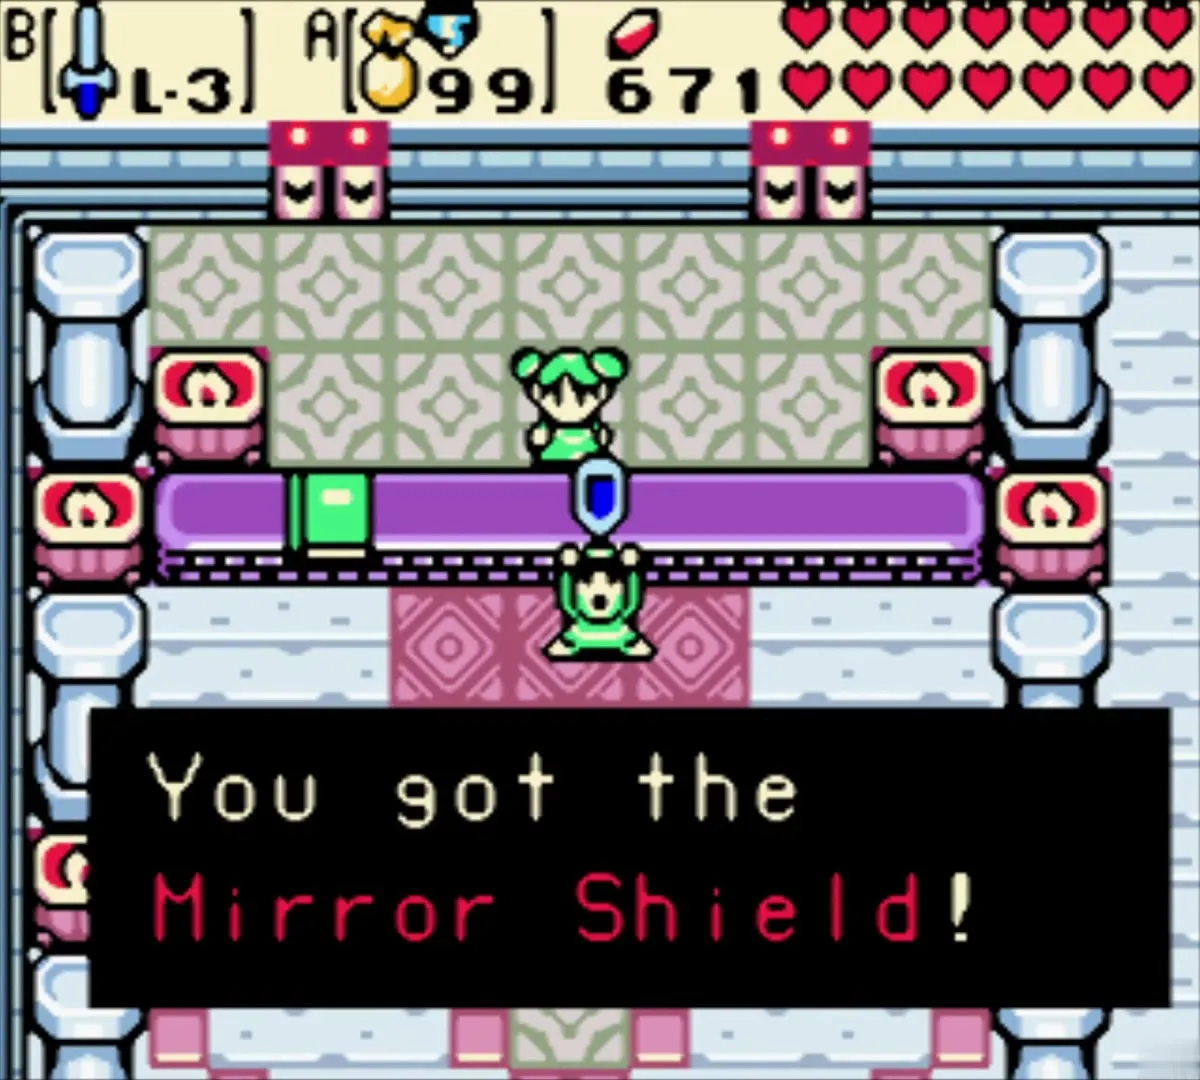
The next password opens a glowing pedestal, and Farore gives you the Mirror Shield. It is the top shield upgrade, and it comes from the linked-game shield secret. That chain starts with a password from a lone cottage on the western coast, goes through a librarian in the past, and ends with Farore. A linked save can also buy one from the Horon Village shop for 80 Rupees once you own the Iron Shield.
Spin Ring from the last password
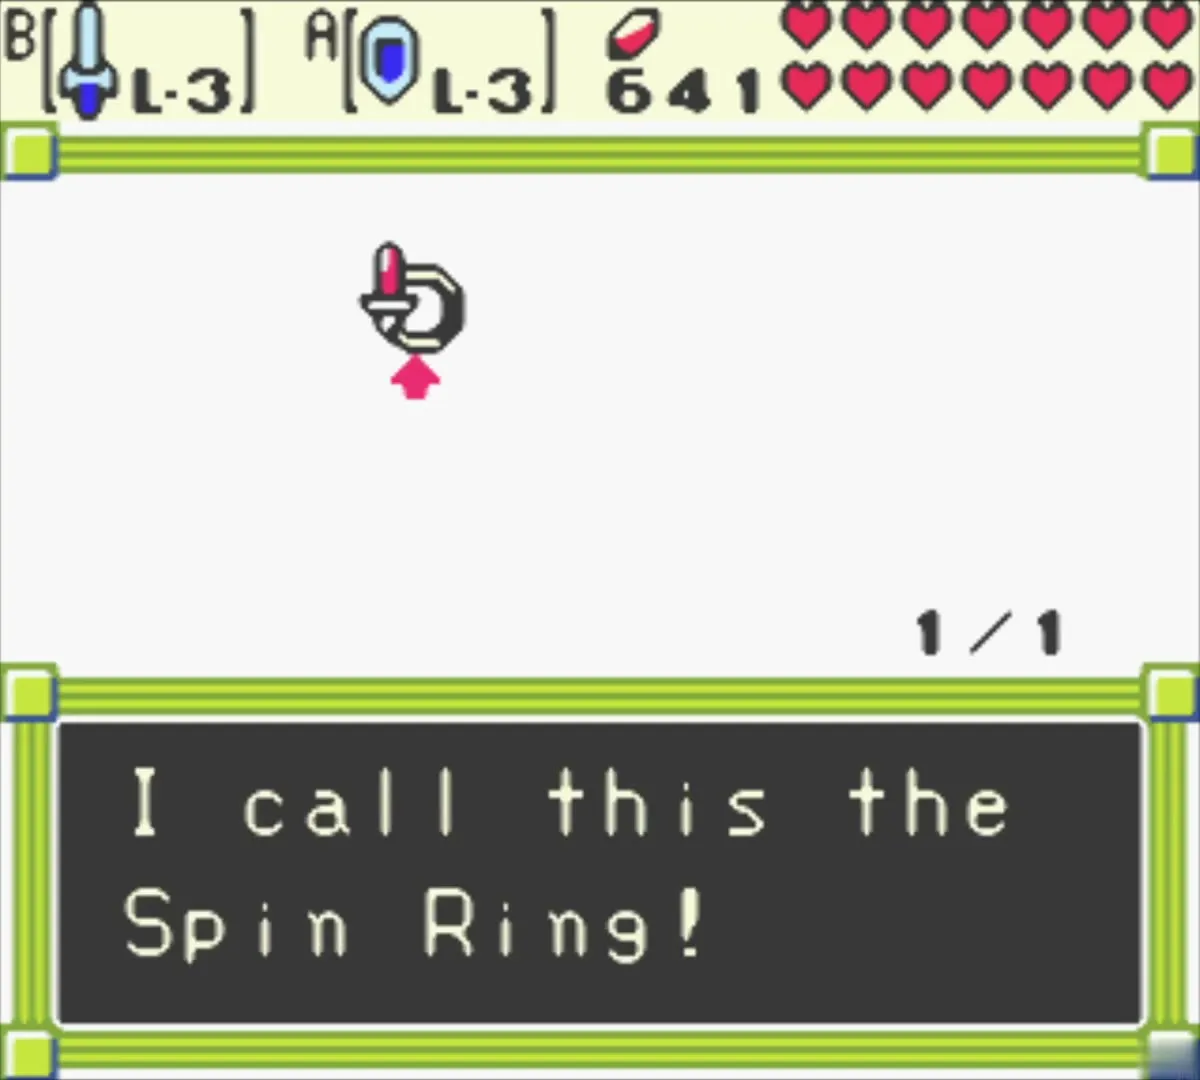
The last password gives you a ring that is not named until Vasu appraises it. Keep it in your inventory and take it to Vasu Jewelers in Horon Village. It is the Spin Ring, which is the linked-game reward for the Plen secret.
Vasu’s ring appraisals
Appraise the rings at Vasu Jewelers
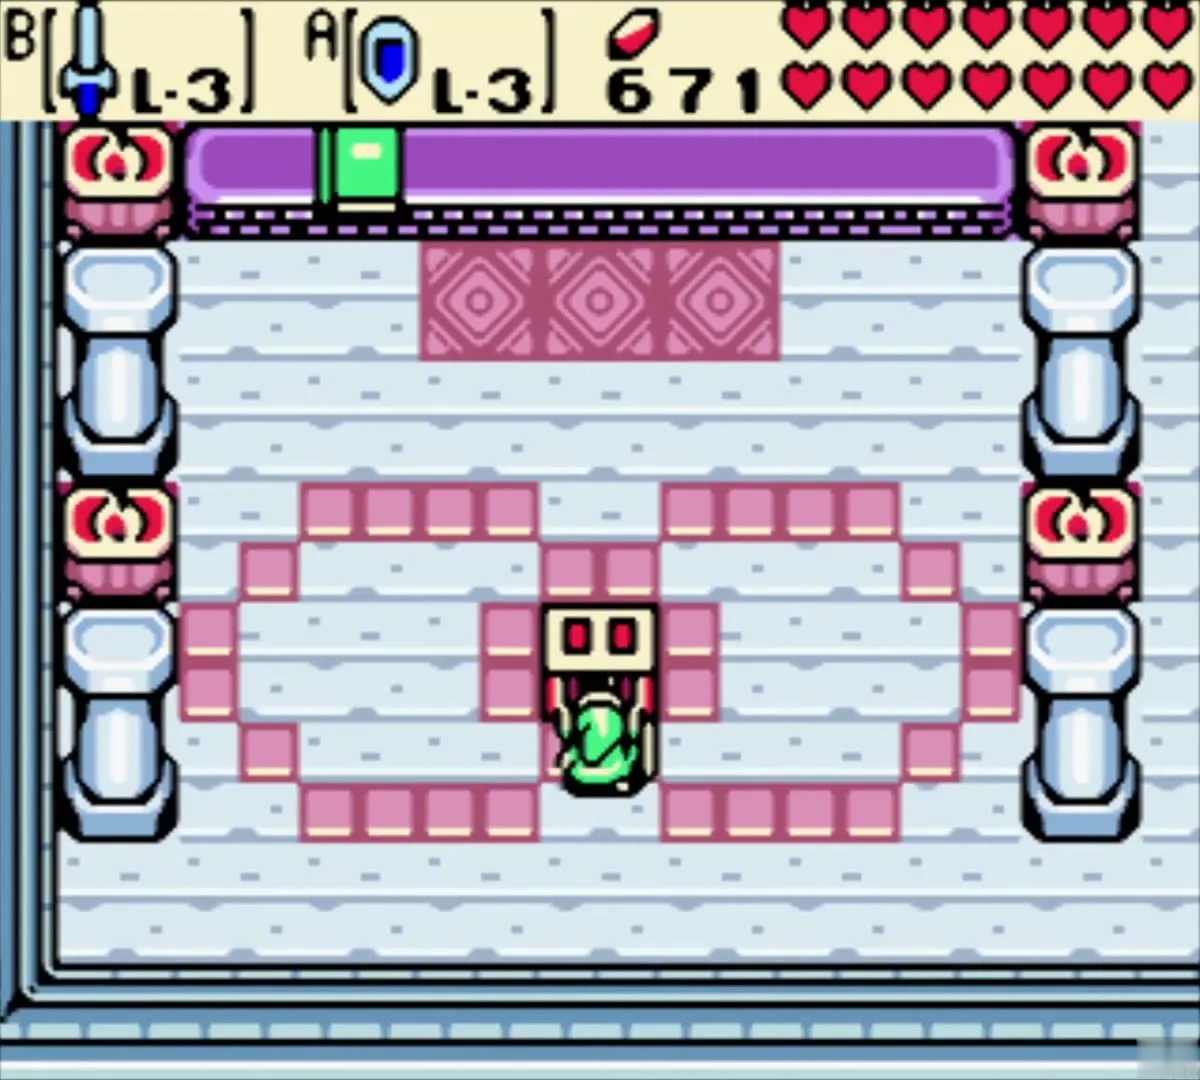
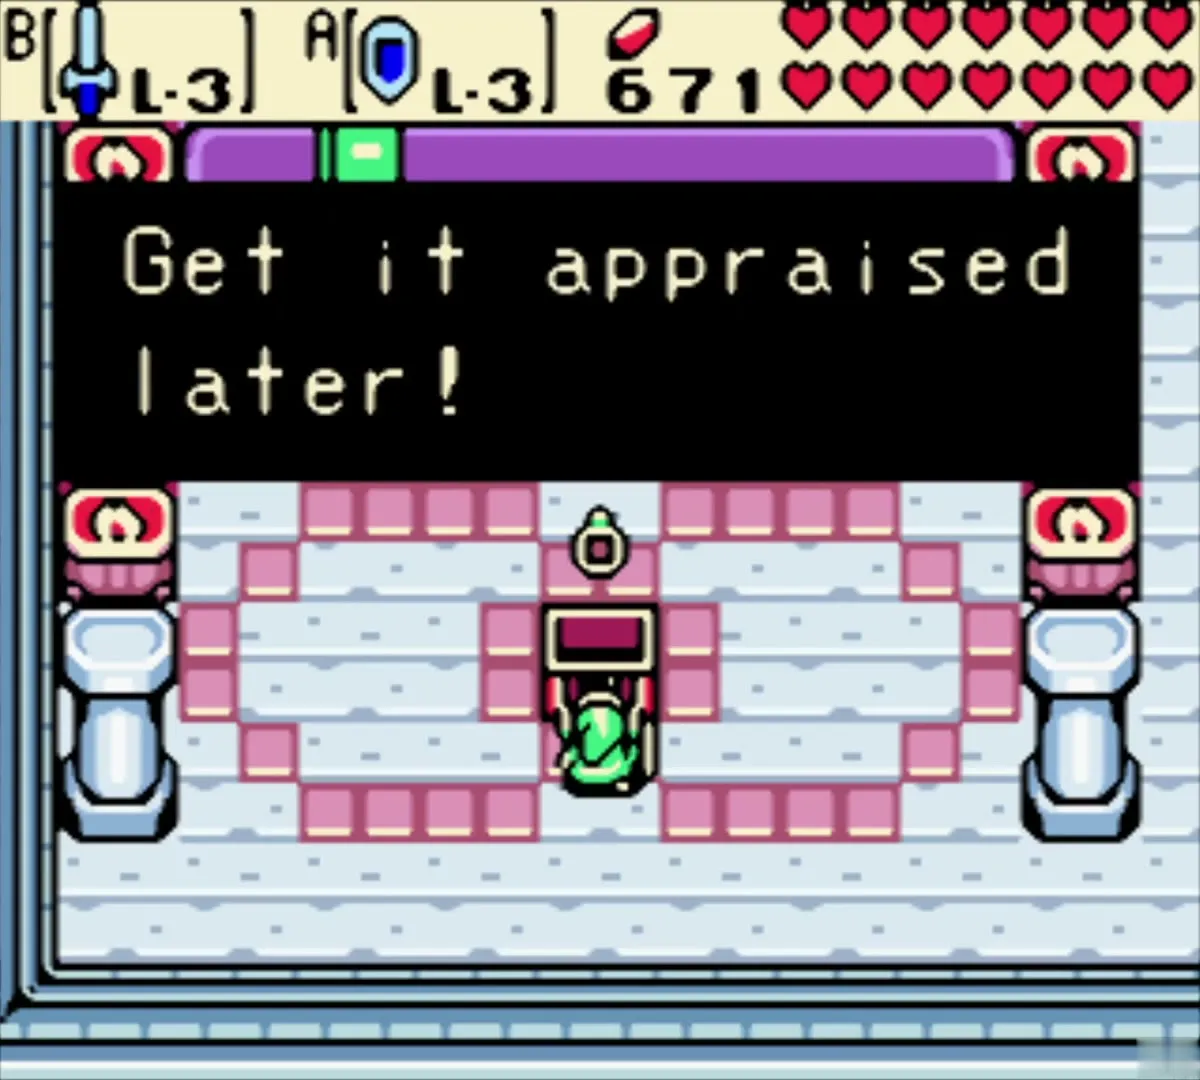
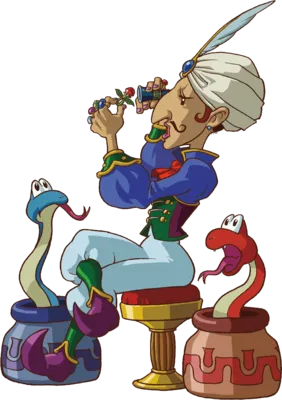
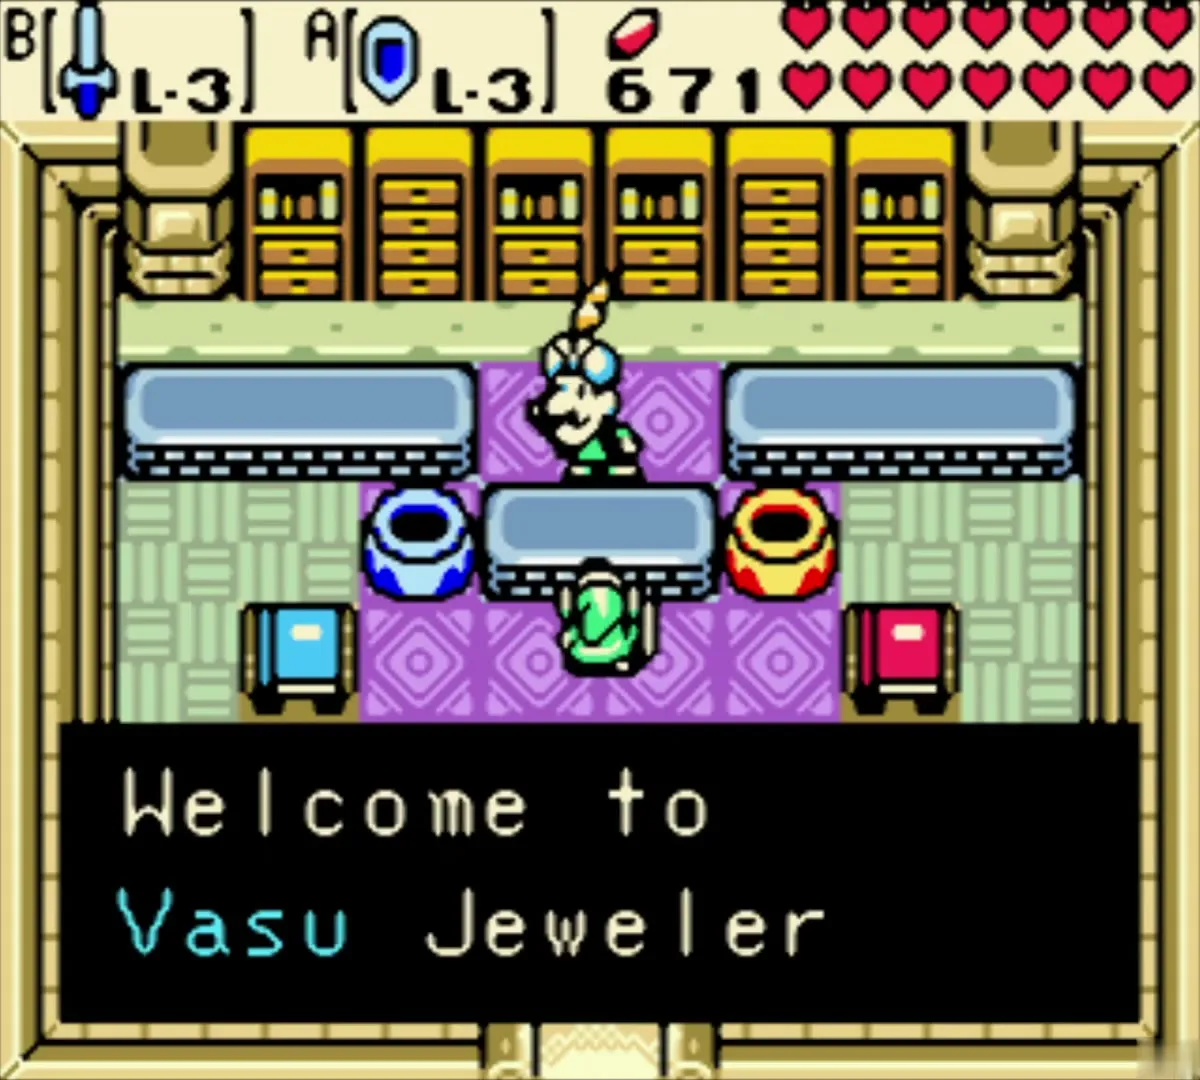
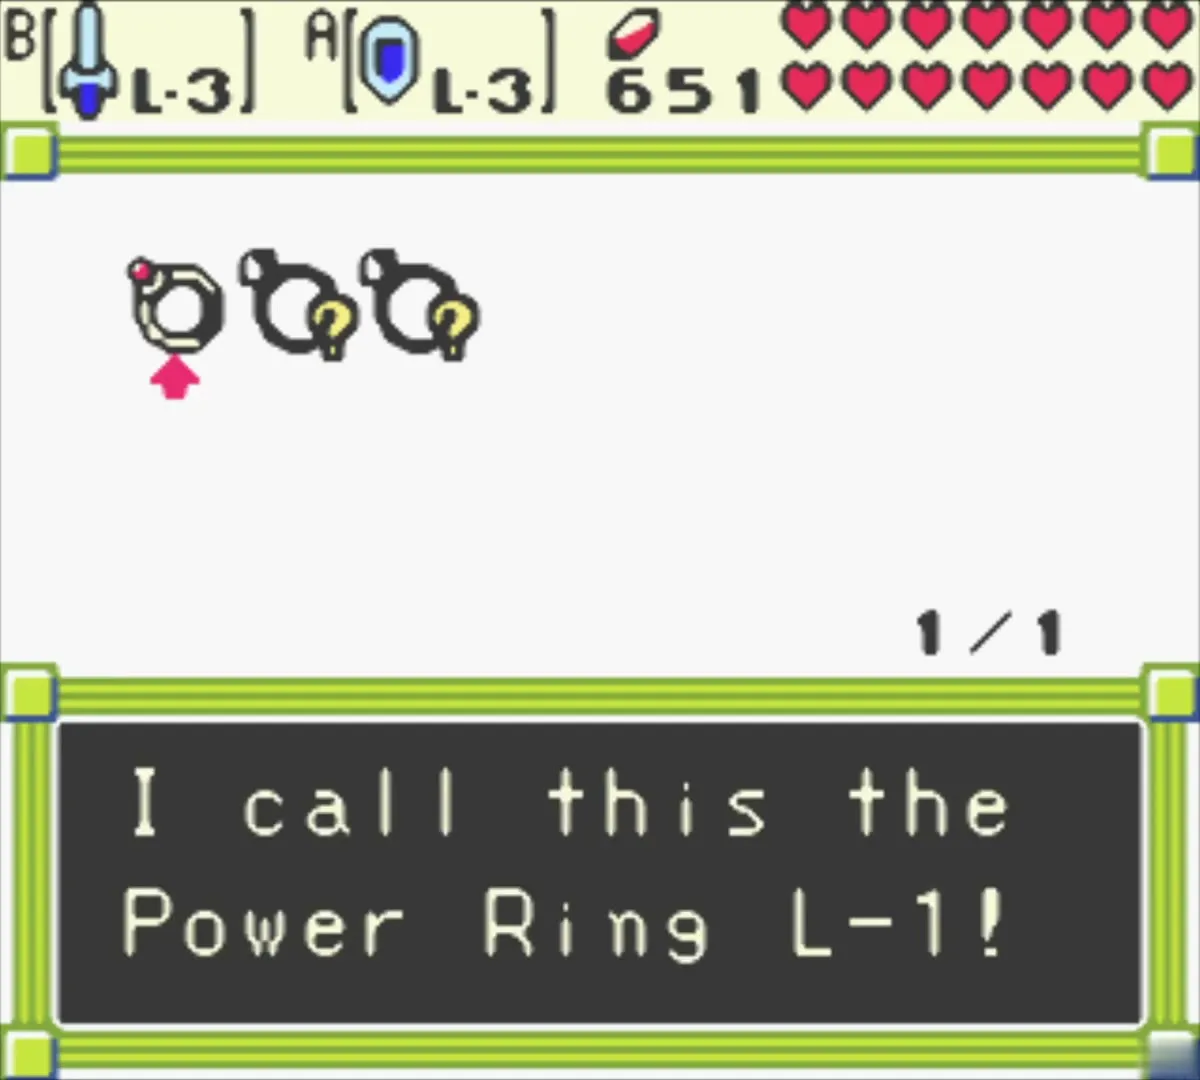
Vasu sits in Vasu Jewelers in Horon Village. Choose Appraise and pay 20 Rupees for each ring. The first ring you bring is the Power Ring L-1, and the second is the Spin Ring from the secret chamber. If a ring is one you already own, Vasu offers to buy it back for 30 Rupees instead of naming it.
Cracked-wall cave on the winter overworld
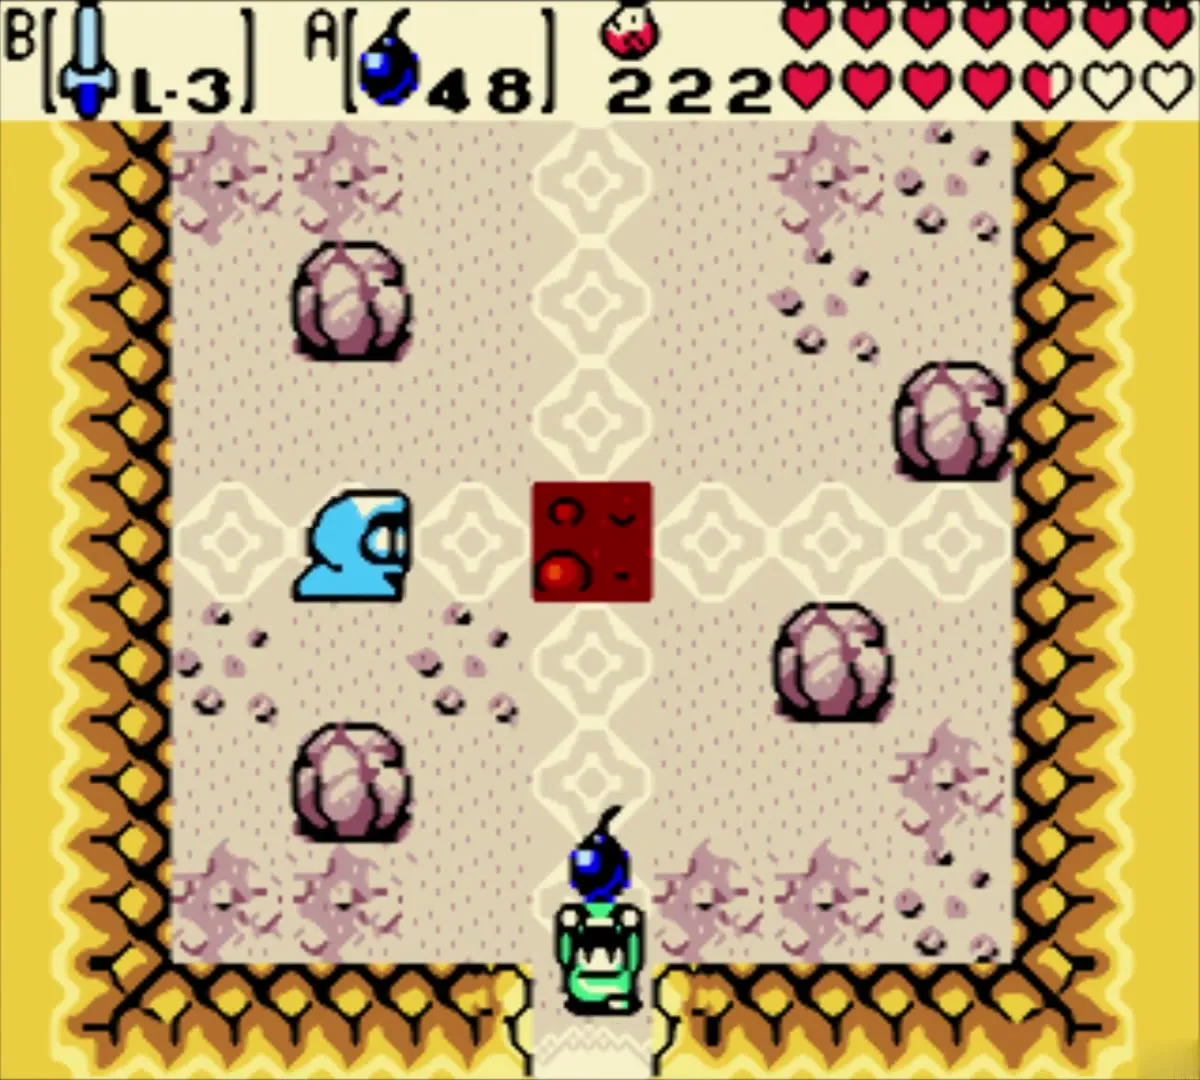
Bomb the cracked wall for a ring
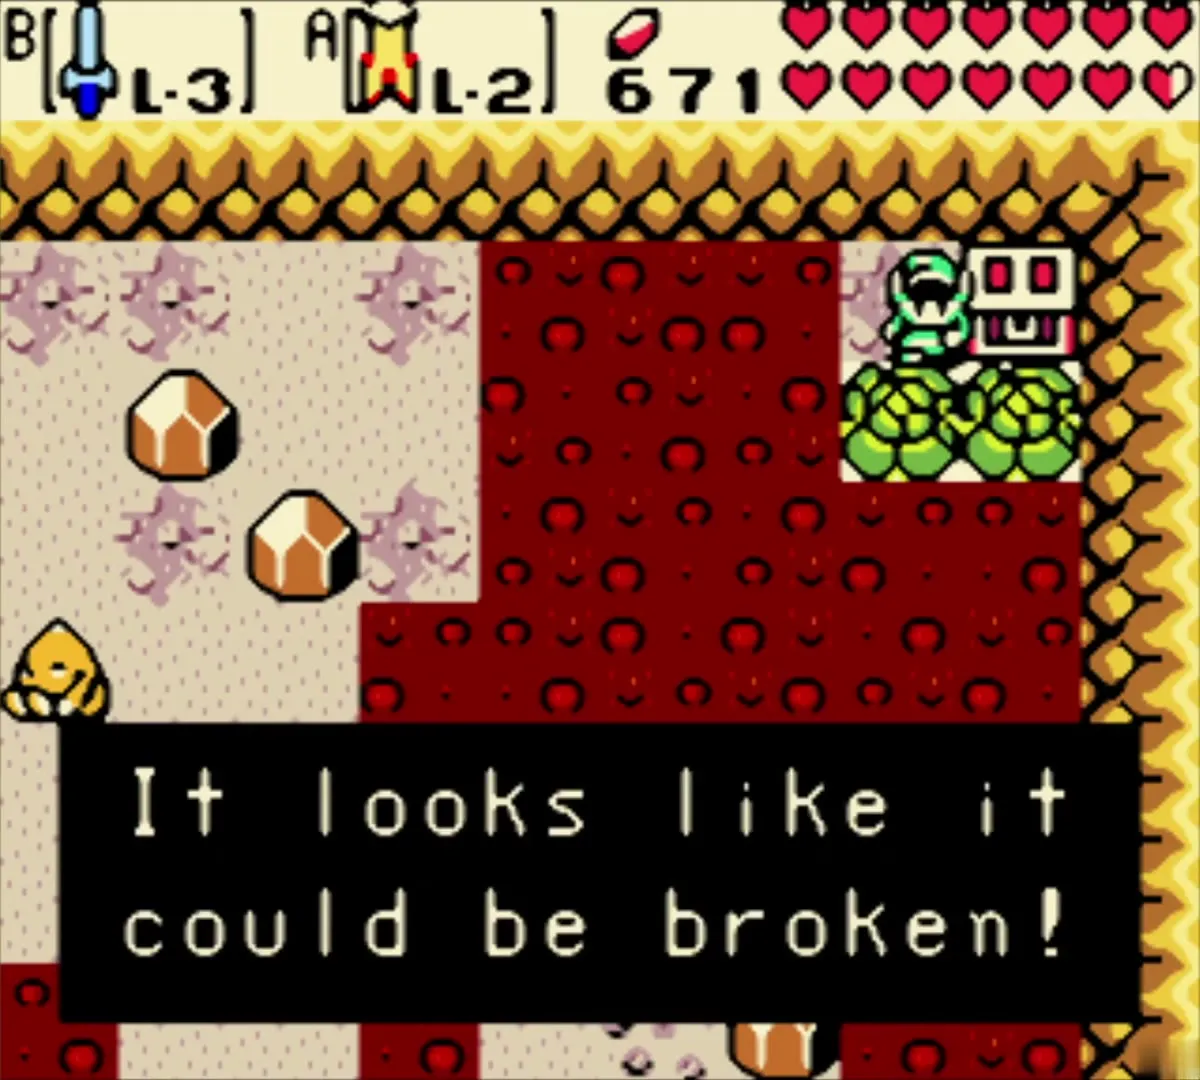
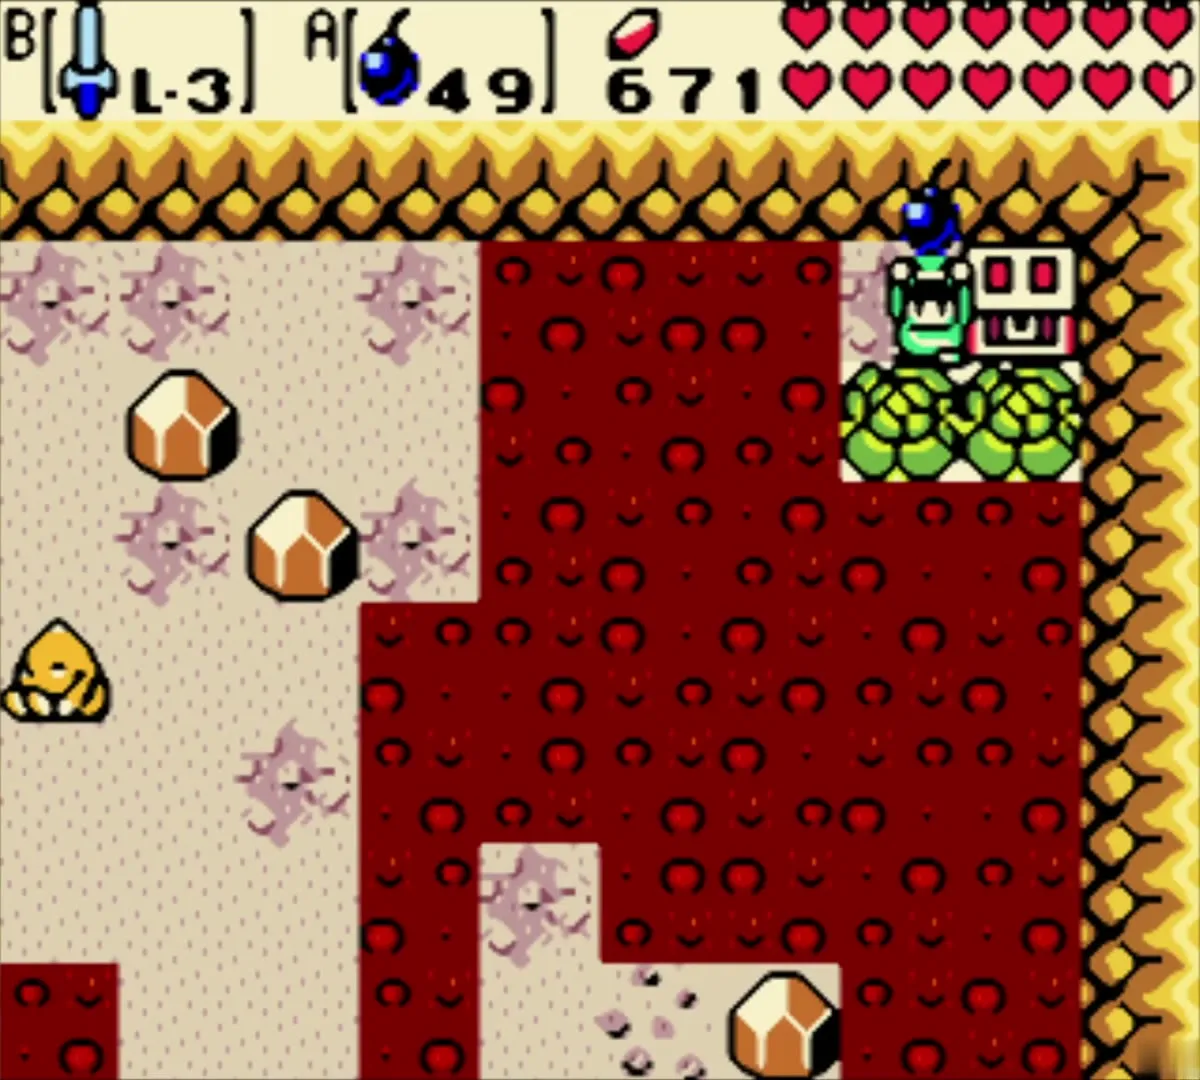
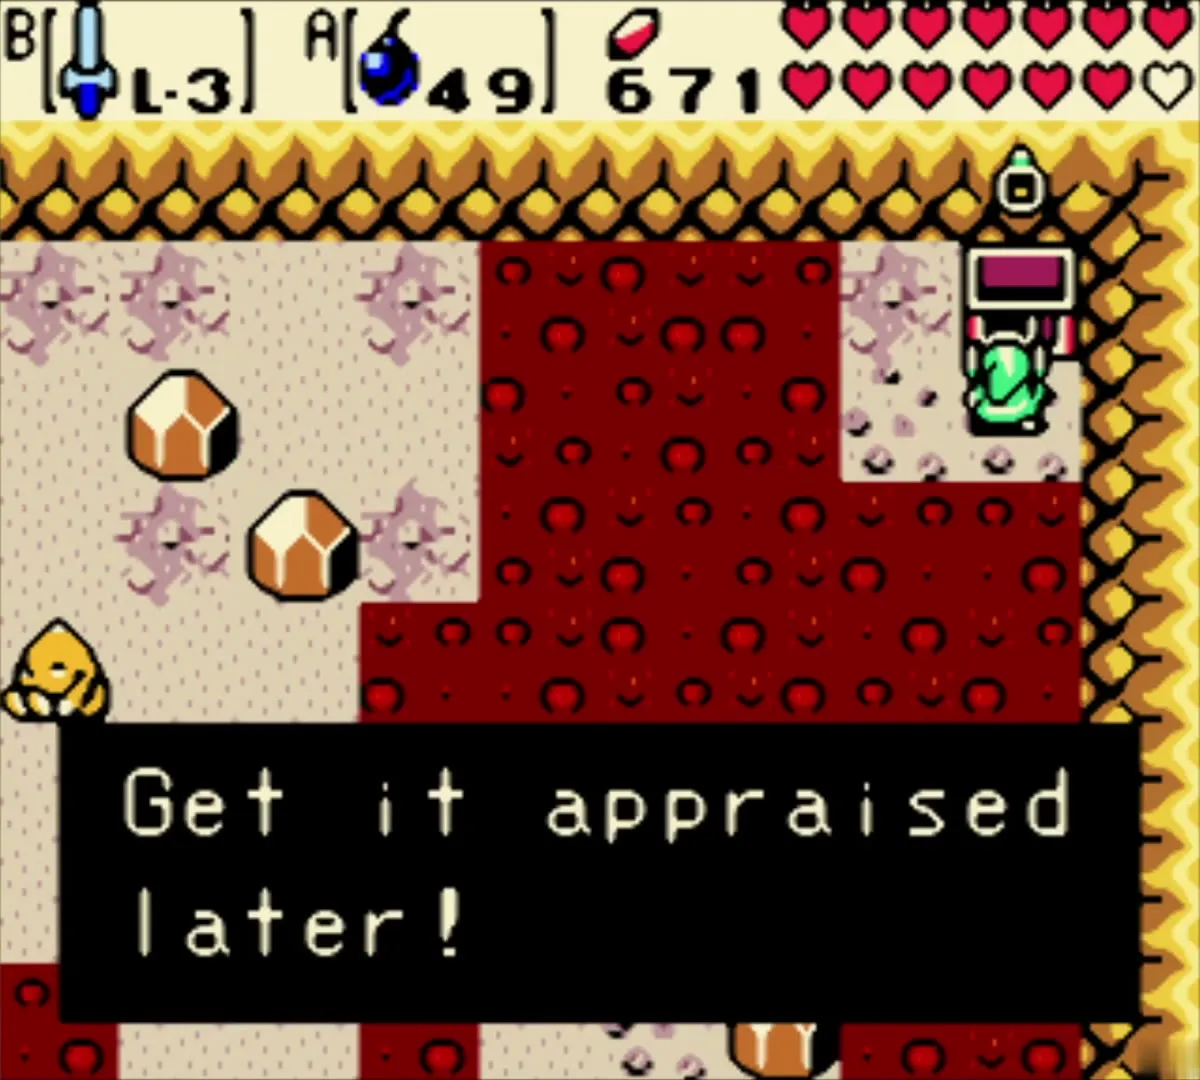
On the winter overworld, find the cave with the red floor and a block marked with cracks. The block says it has cracks in it, so bomb it. The bomb costs one bomb, and the wall breaks open into a small room. The chest there holds a ring, which is unappraised until you bring it to Vasu.
Rod of Seasons stump and the Subrosian portal

Change the stump to autumn
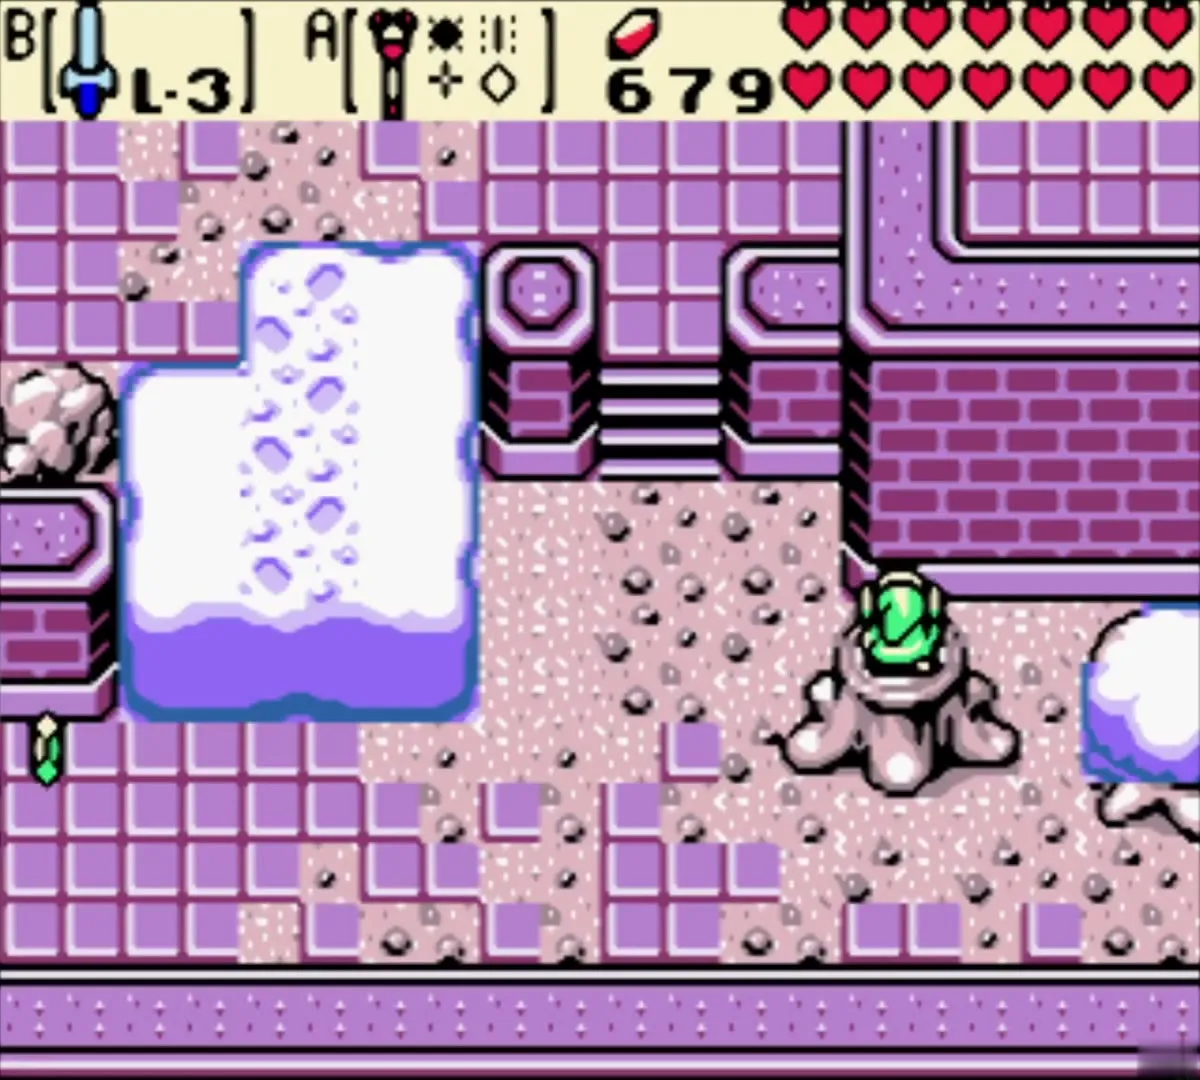
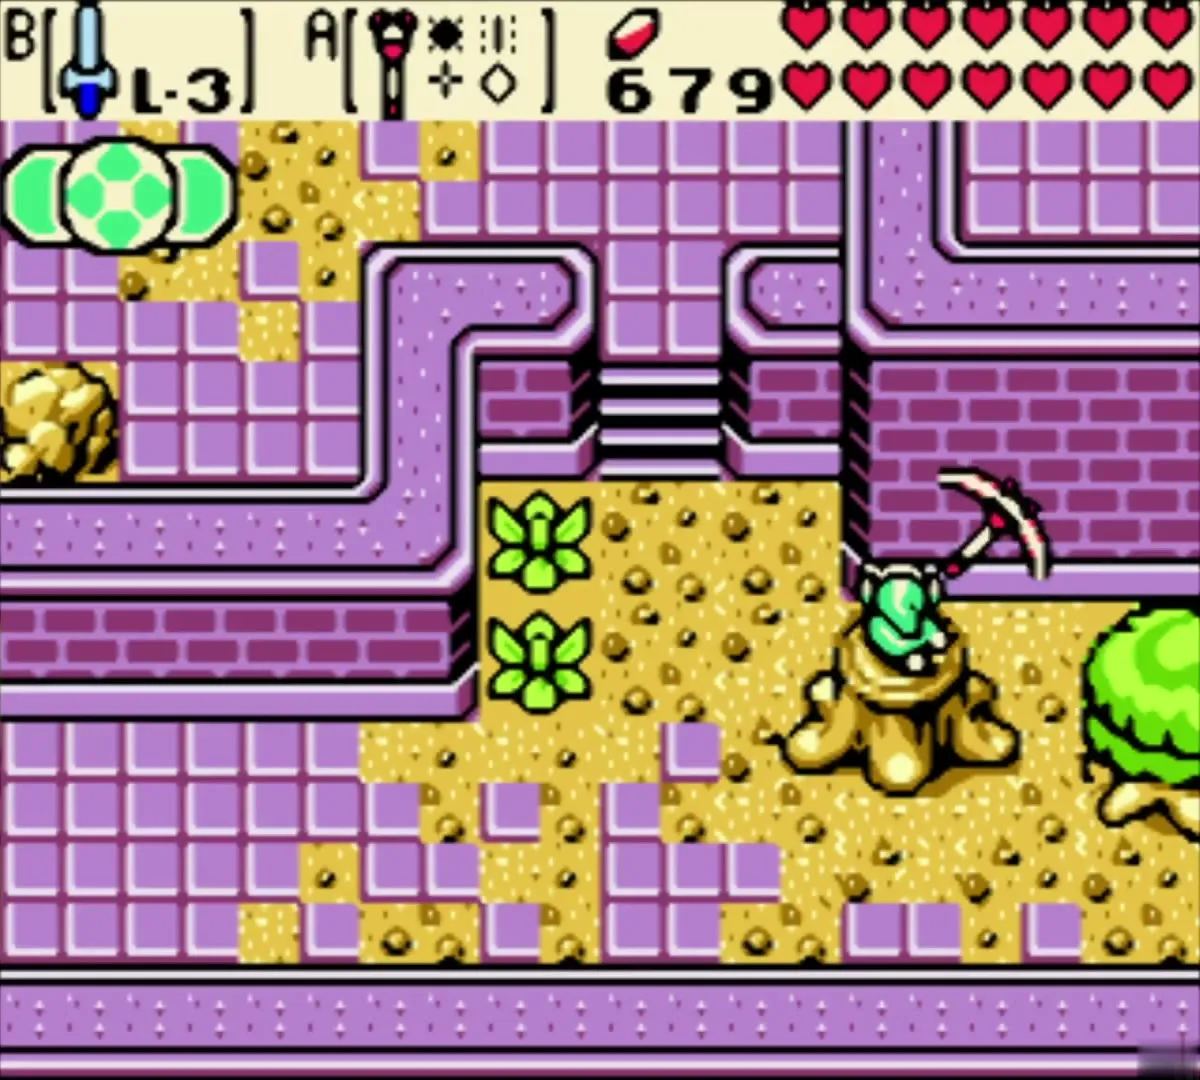
Stand at the tree stump on the winter overworld north of Horon Village and use the Rod of Seasons on it. Each use advances the season, so winter becomes summer and then autumn. Walk the autumn lane to the first stump, then head for the brick stairs by the gap that leads to the winter portal.
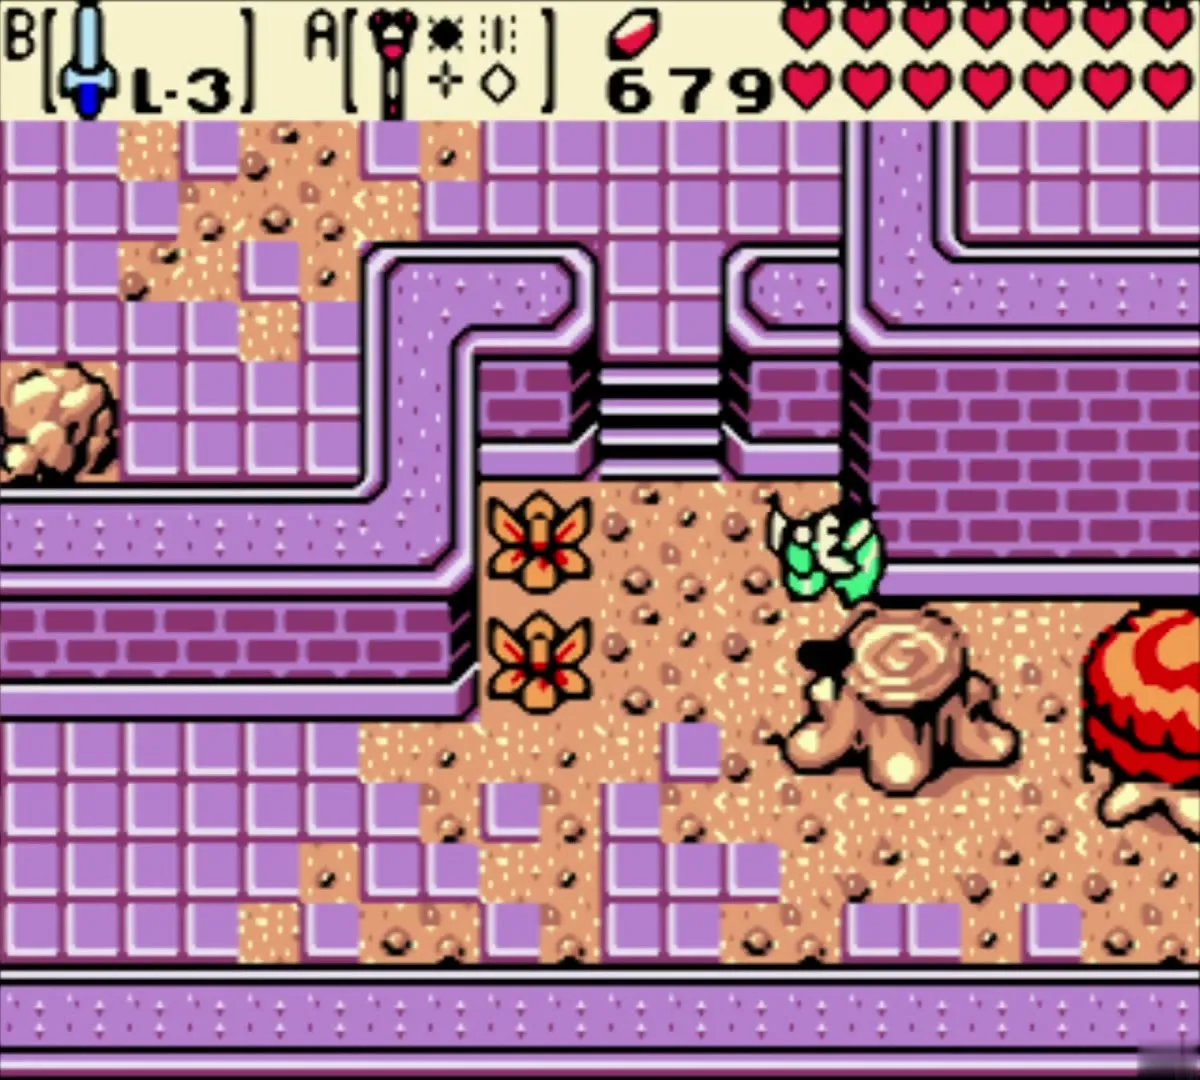
Use the winter portal to enter Subrosia
The portal stands among the purple bricks on the winter overworld, past the dark holes. Step onto it and you arrive in Subrosia, where the Subrosian rock platforms and the Ore Chunk counter appear on the HUD. The eruption is the next step once you arrive.
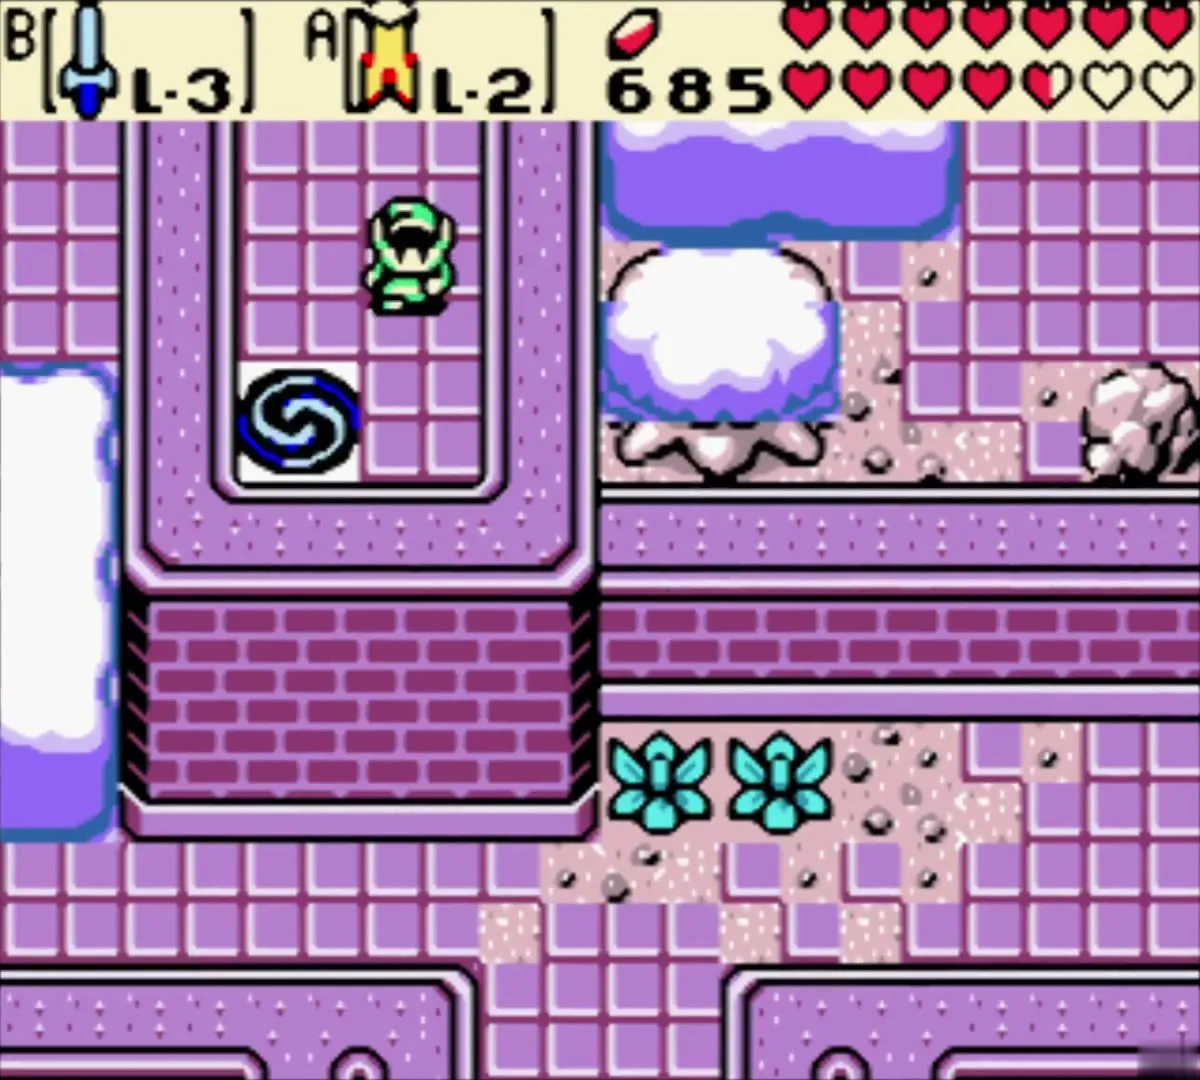
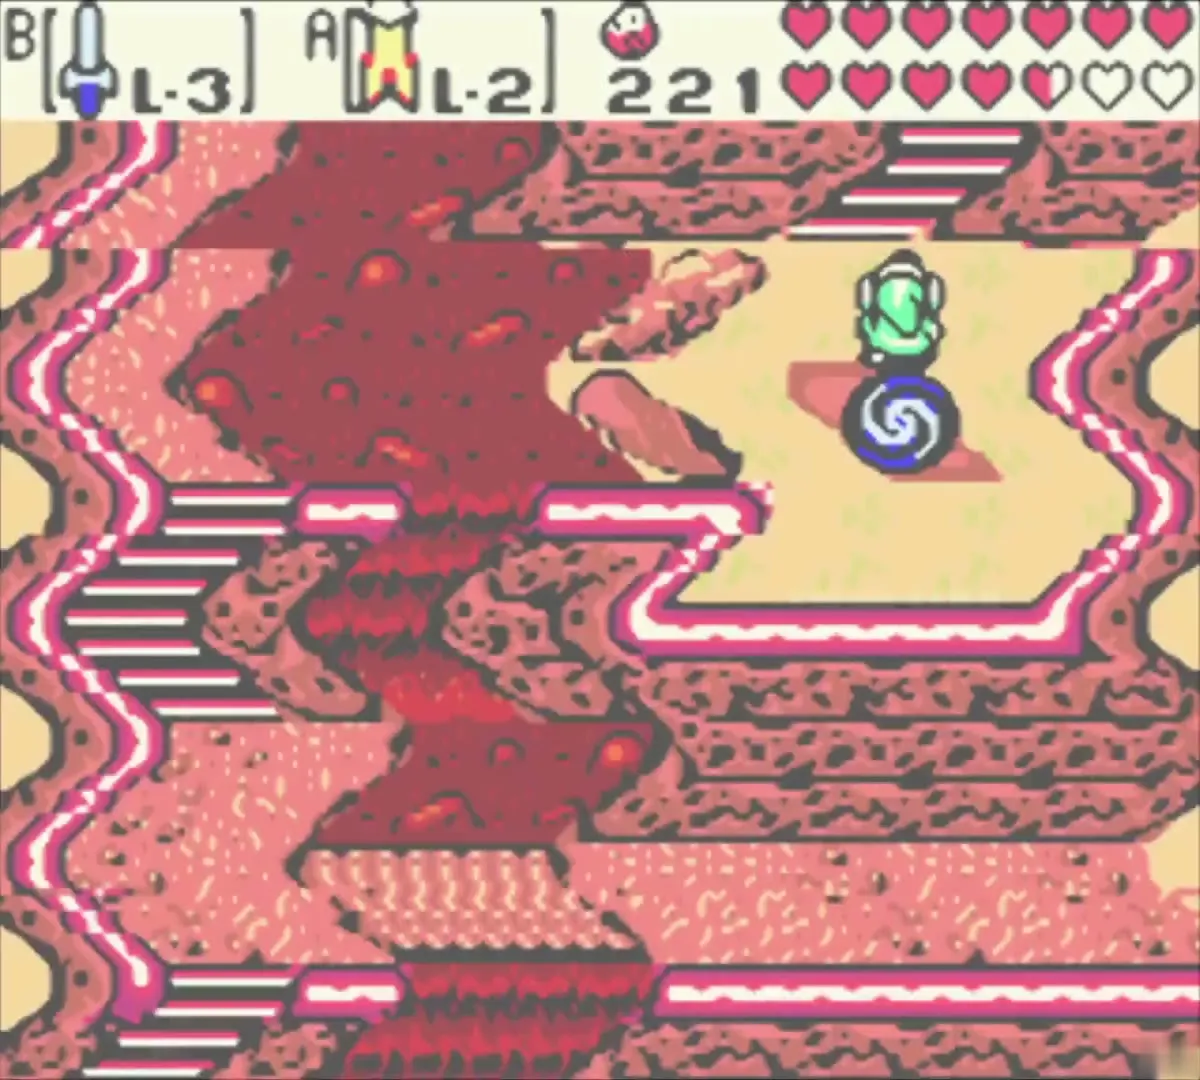
Subrosian volcano eruption

Bomb the lava pit to erupt the volcanoes
In the cave under the volcanoes, a Subrosian stands by a lava pit and tosses valuable items into the lava. Stand near the hole and throw a live Bomb into it. The chain reaction sends three volcanoes erupting, which floods the Temple Remains with lava and clears the grove that blocks the route. The eruption gives you no item, but the temple is closed until it happens, so do it before you go on.
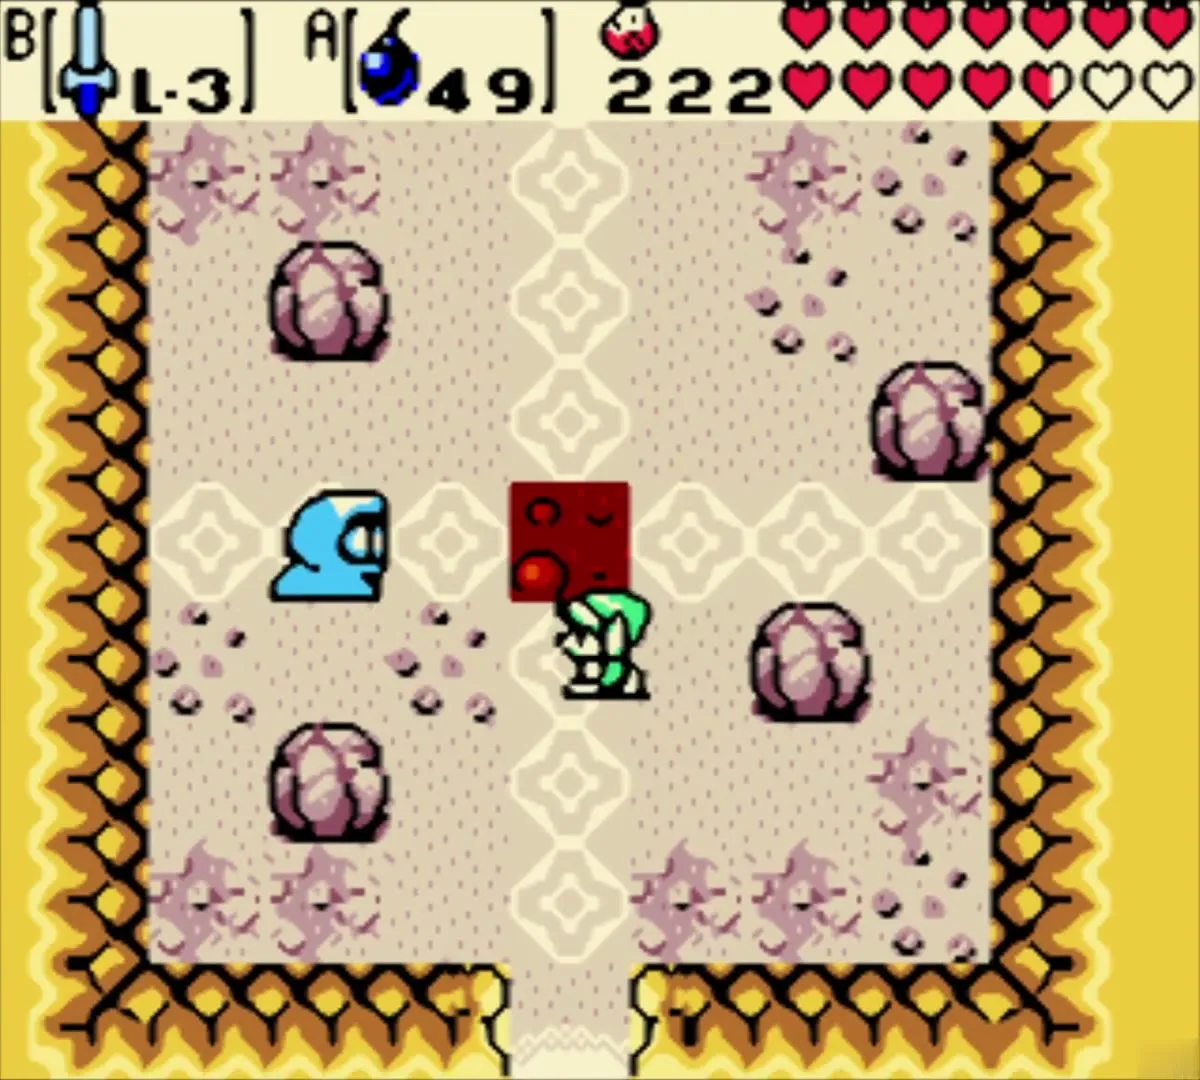
Temple Remains
Reach the temple by way of two stumps
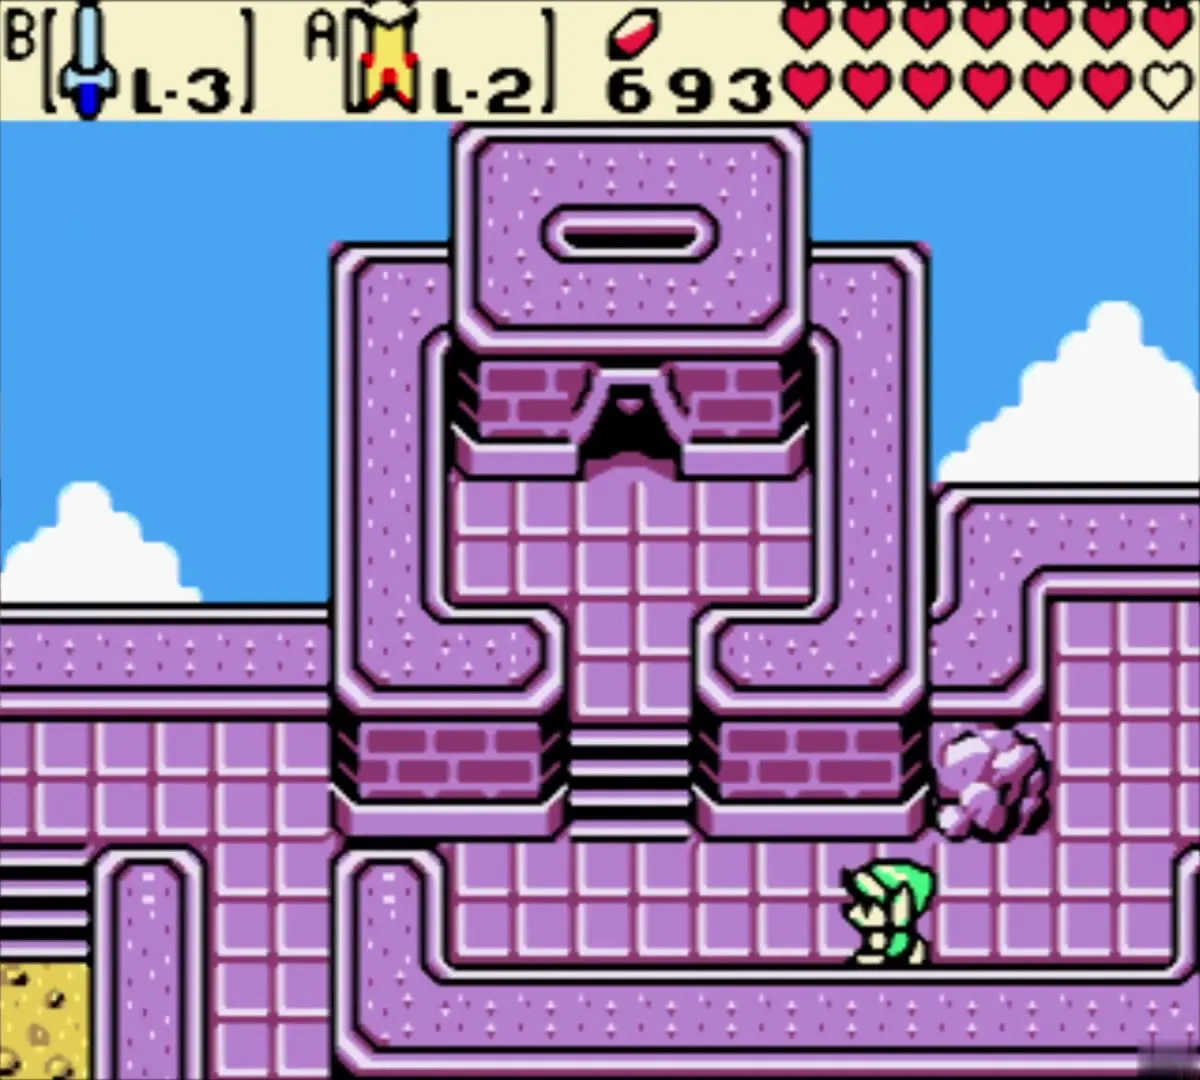
Once you are back in Holodrum, go to the Temple Remains. At the stump just inside the temple walls, change the season to autumn, which lets you cross the fallen leaves. Then go to the second stump, change it to winter, and walk the snowy footpath to the Subrosian portal on the south side of the snowbank. The Roc’s Cape lets you jump the holes on the way.

Clear the flooded temple for the last Piece of Heart
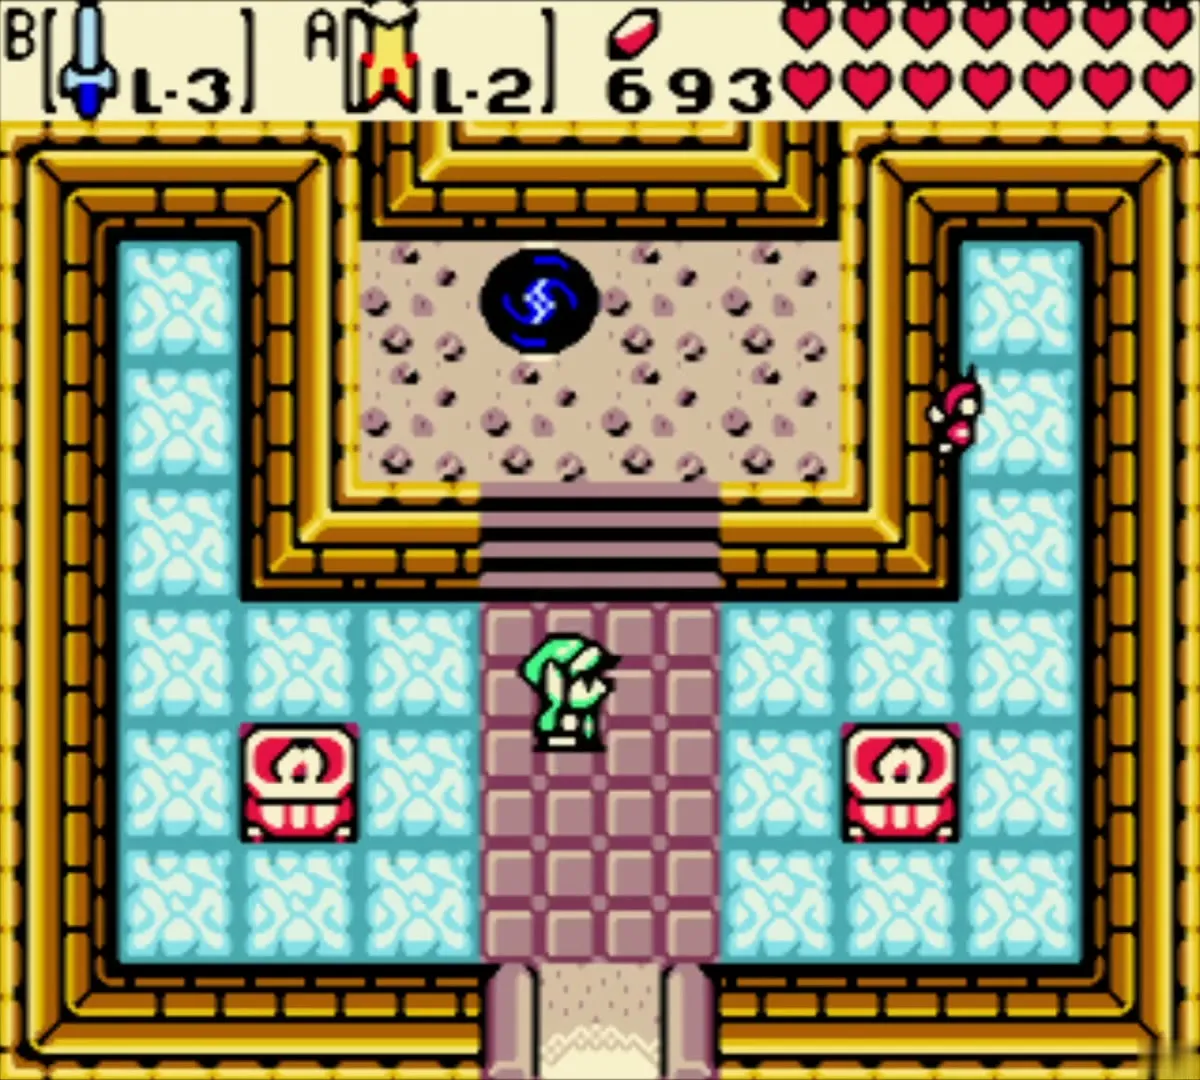
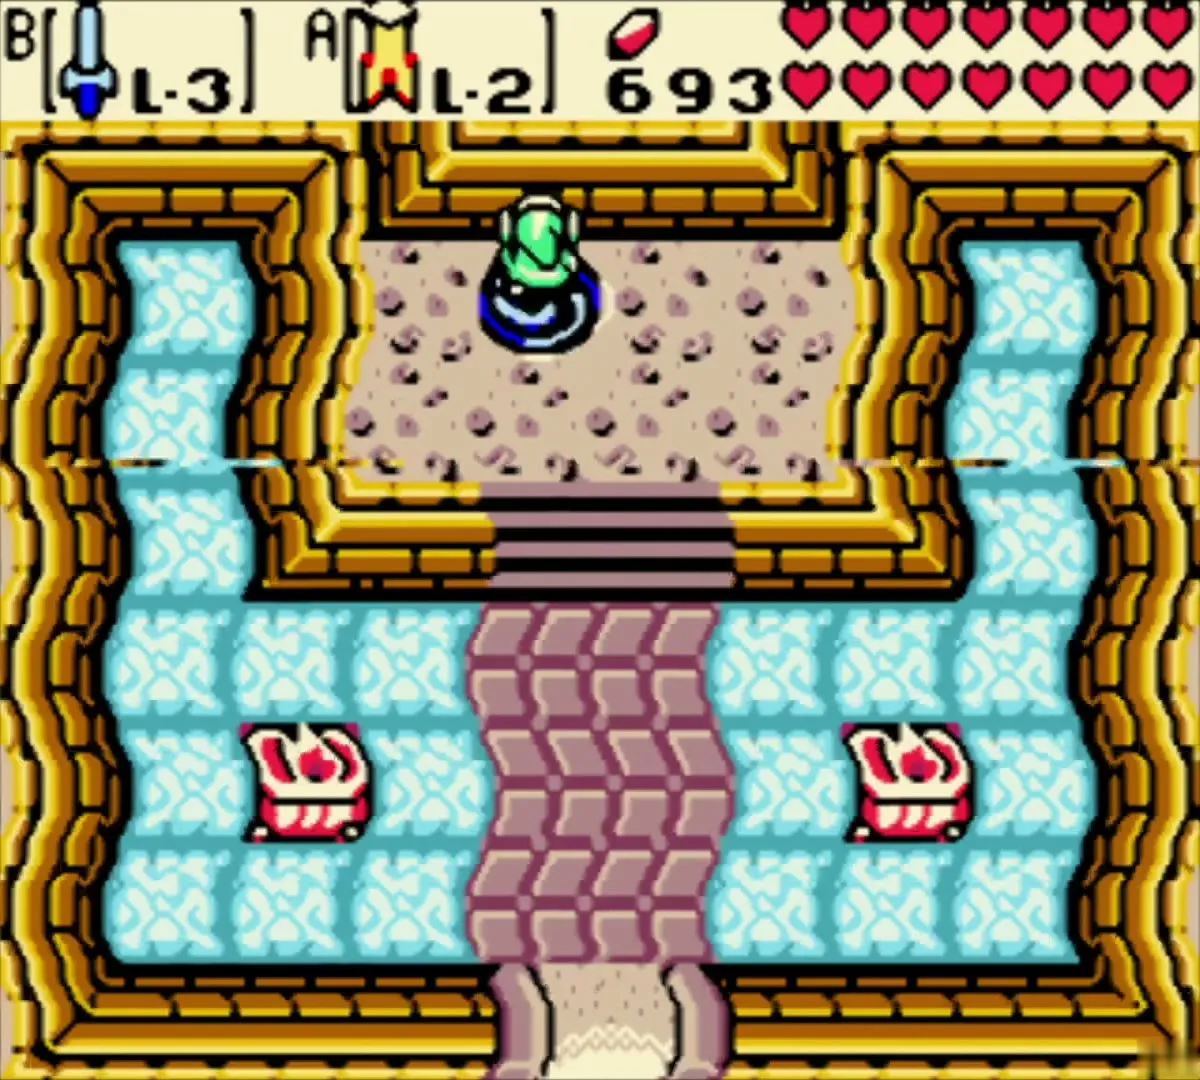
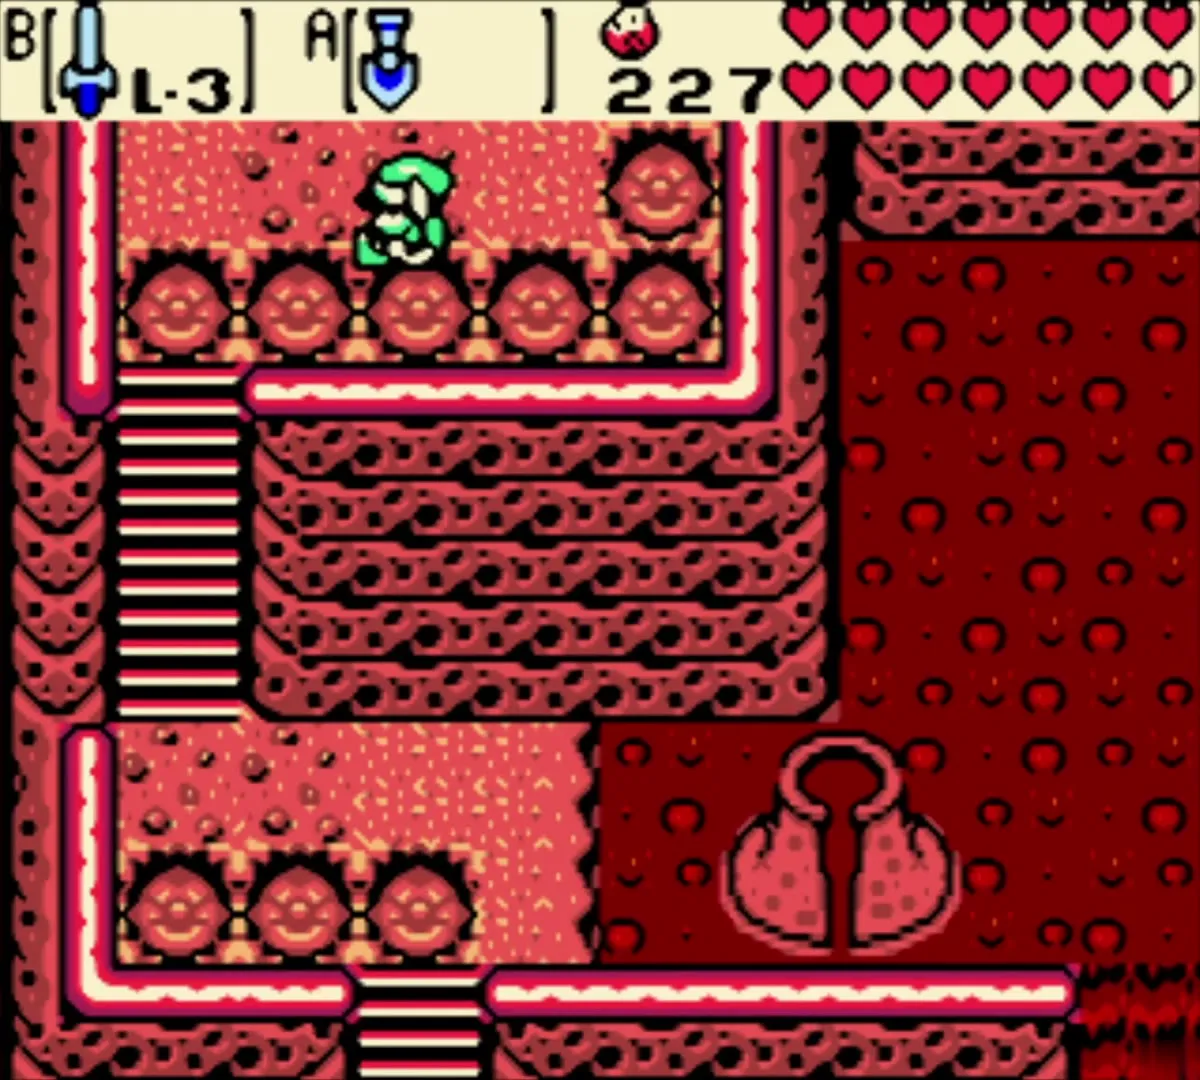
After the eruption, return through the portal to the temple. Head north and use Roc’s Cape to jump across the lava to the cracked wall at the top of the room. Bomb the wall and enter the lava-filled room. Roc’s Cape carries you around it clockwise to the Piece of Heart. It is the Piece of Heart for this room.
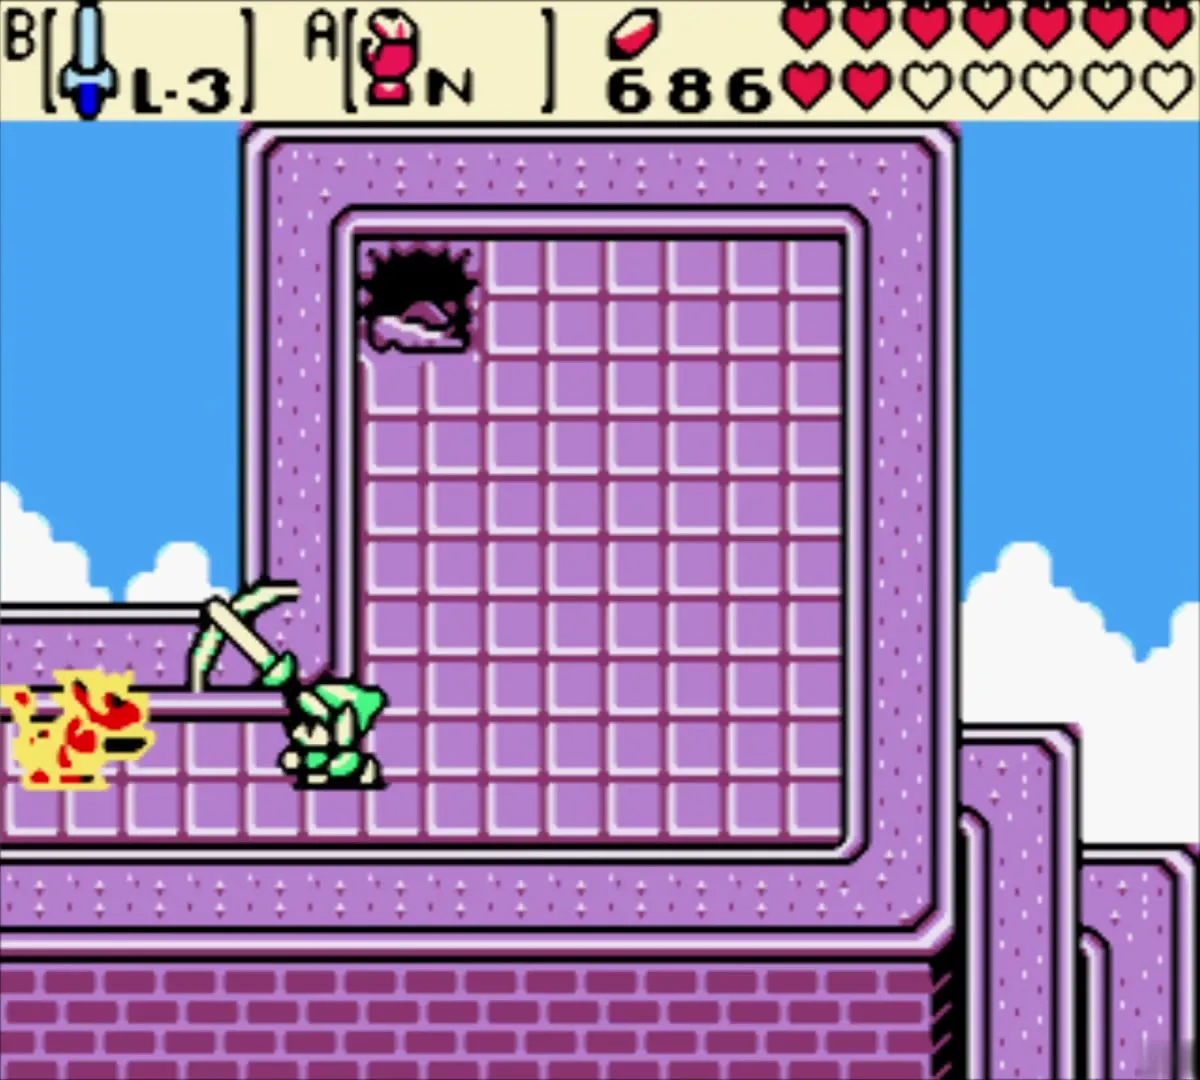
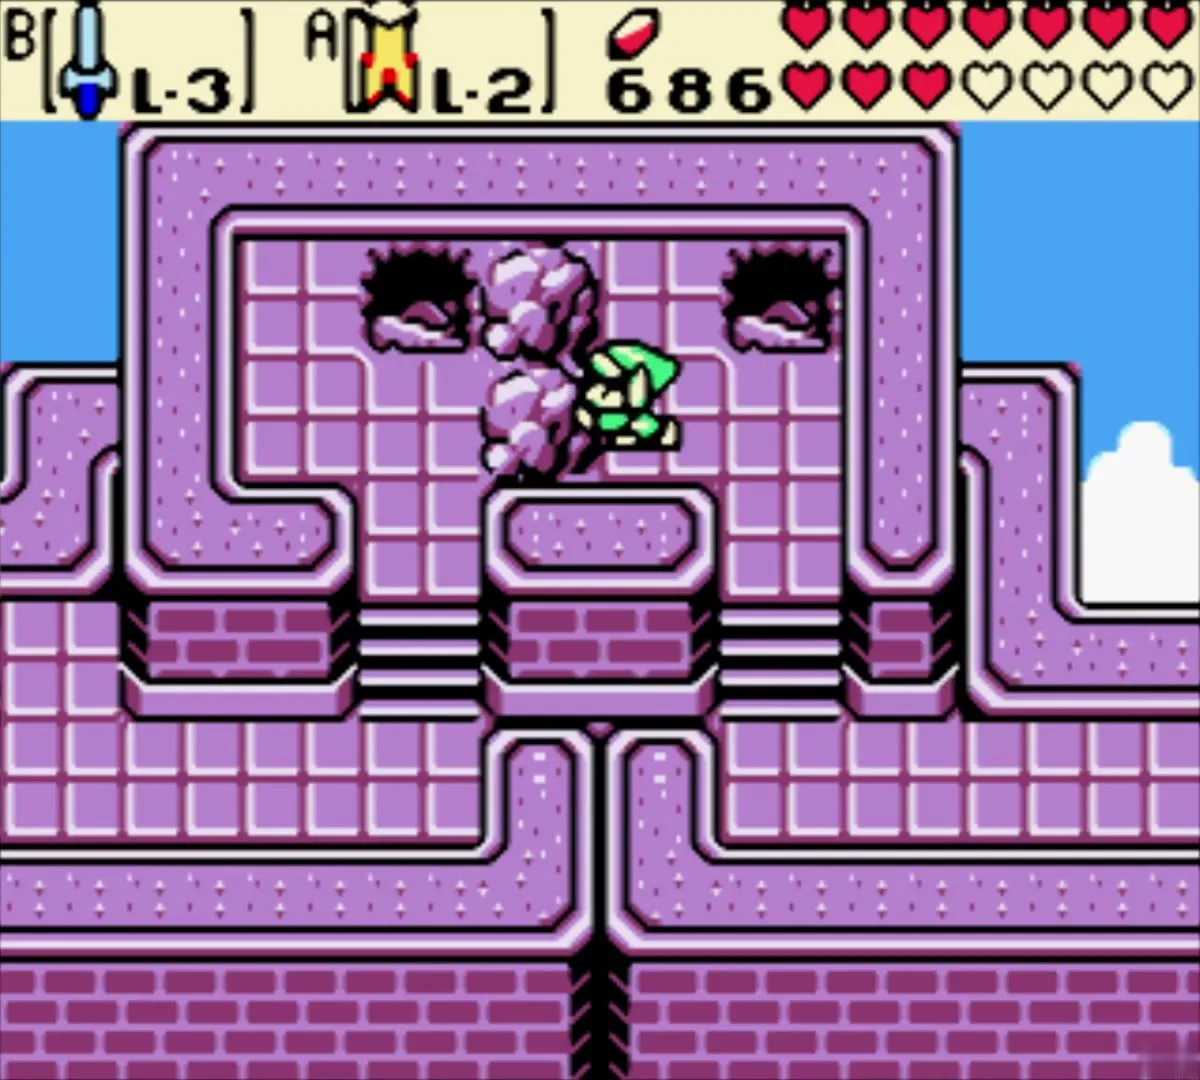
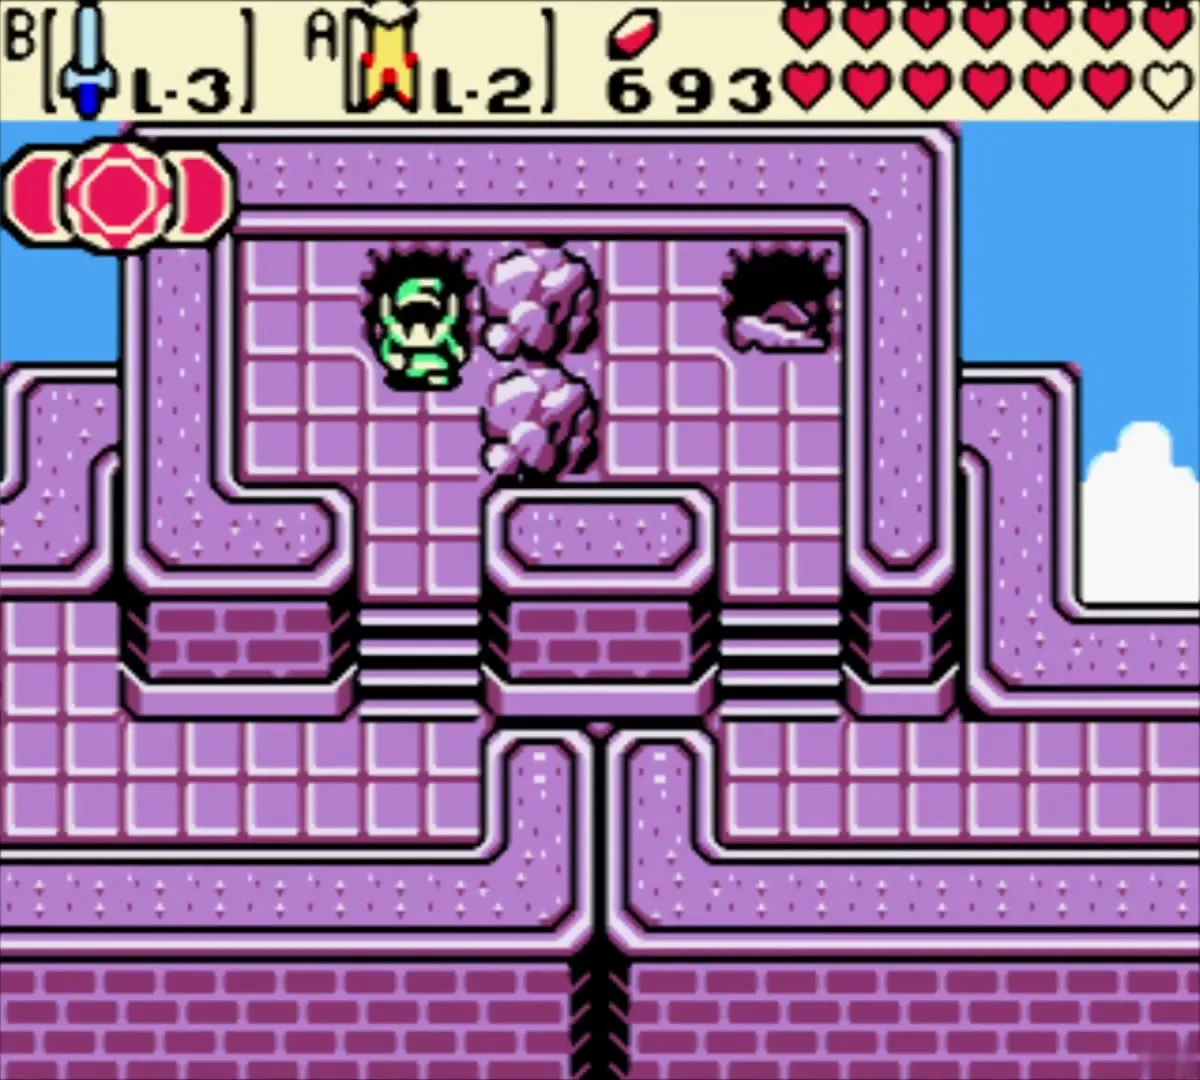
Climb the vines and use the magnets in summer
Go east and then south. If the season is not summer yet, use the stump to change it. In summer, climb the vines on the east side of the ruins, jump to the left edge and exit west through the door. Cut the bush beside the top-left south magnet, then use Magnetic Gloves to pull yourself onto it. Cross to the south magnet at the bottom right with the gloves, and climb the stairs.
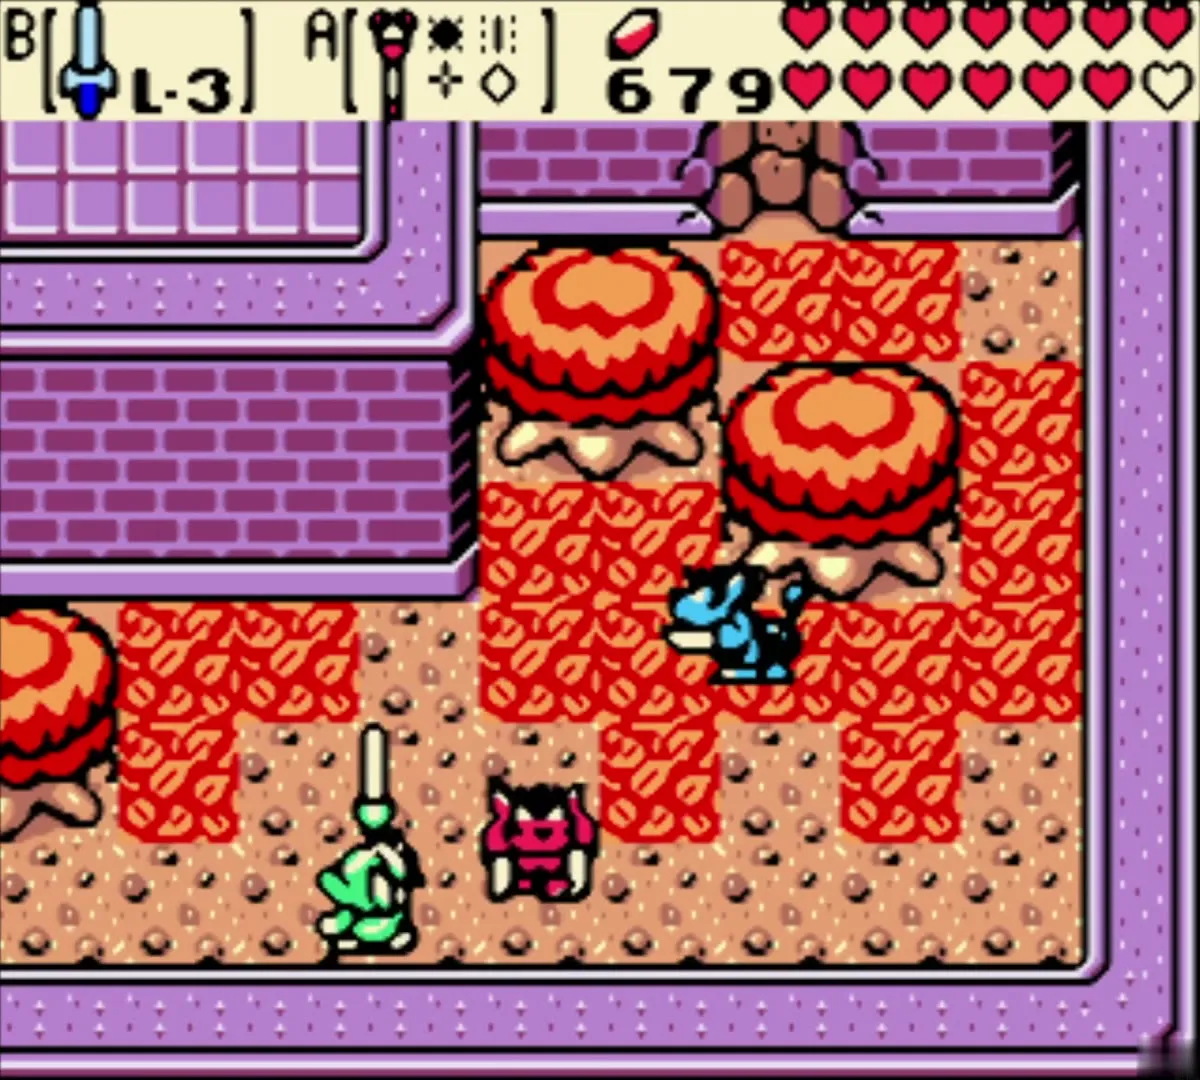
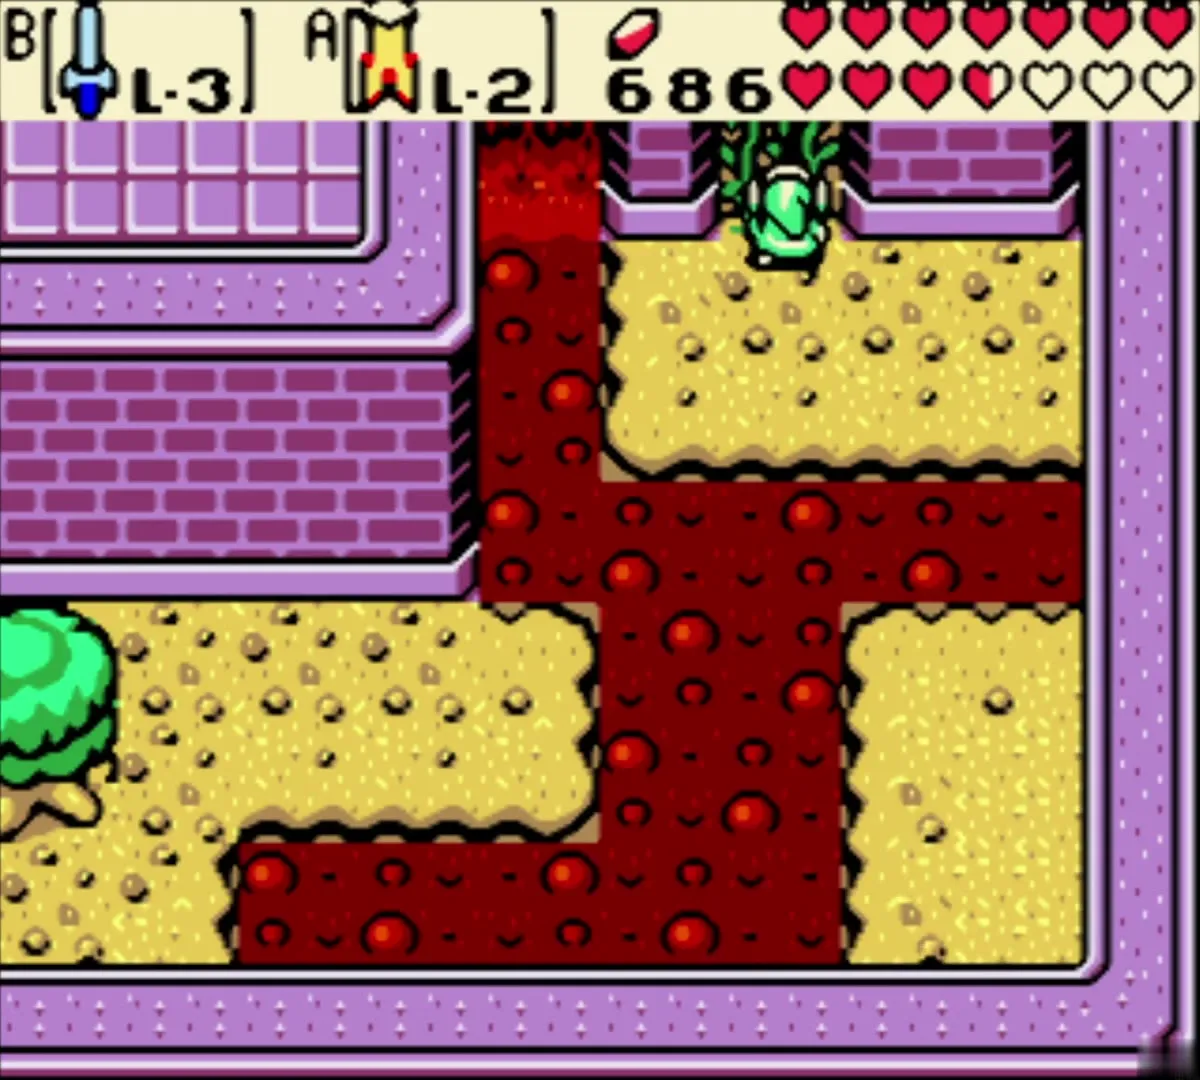
Solve the block puzzle and reach the Subrosian portal
Solve the block puzzle at the top of the stairs: push the rightmost block down, the left-middle block left, and the block below you down. Then push the bottom block up and the top block right. Go up the stairs, then west and down. Jump the gap, avoiding the spiny beetle hidden in a bush, and take the northwest exit. Go up the top-left stairs and exit west to reach the door with a Subrosian portal.
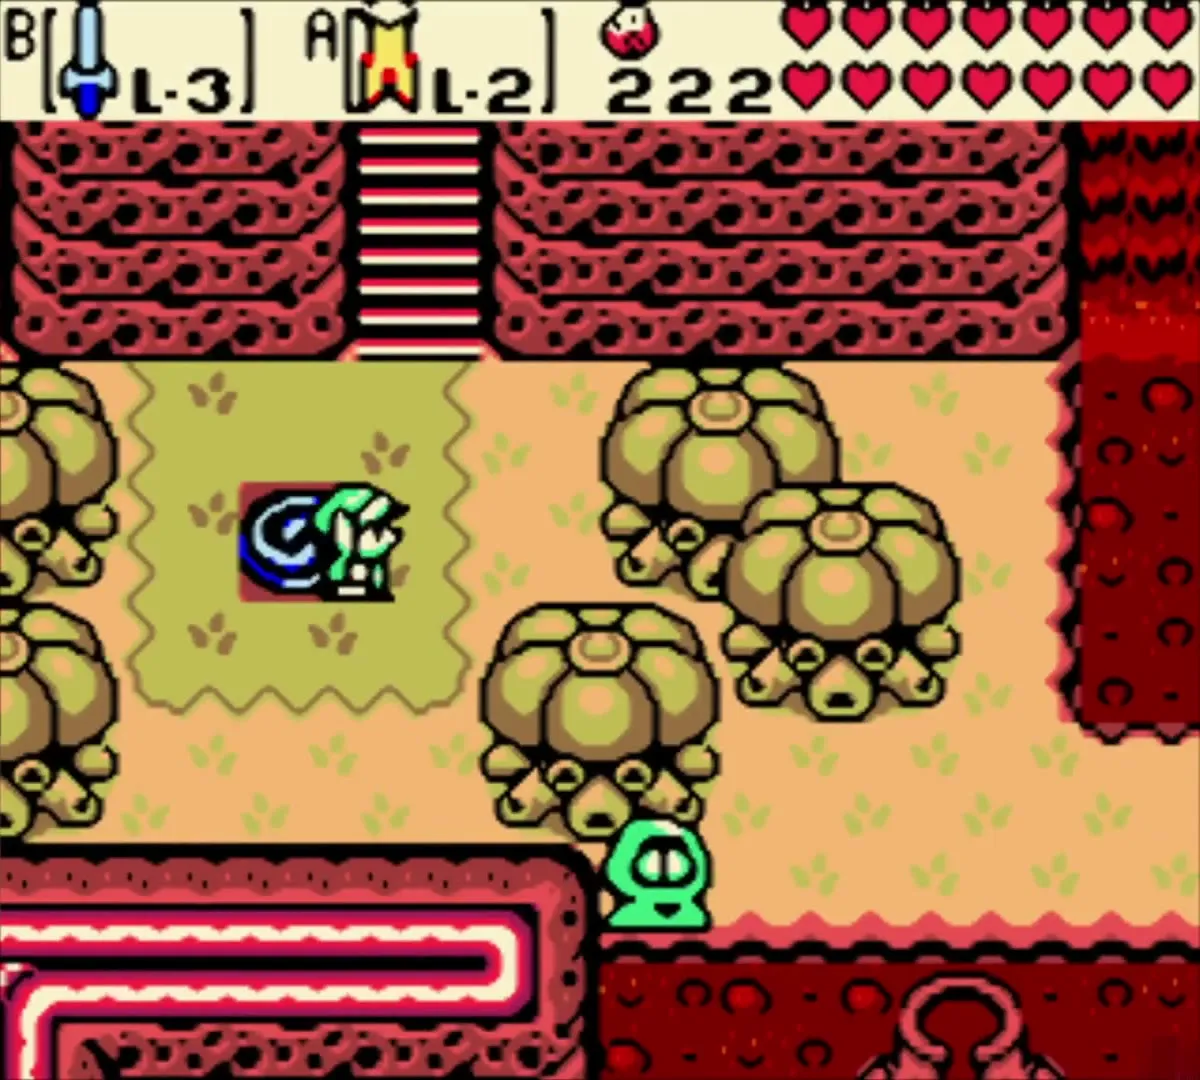
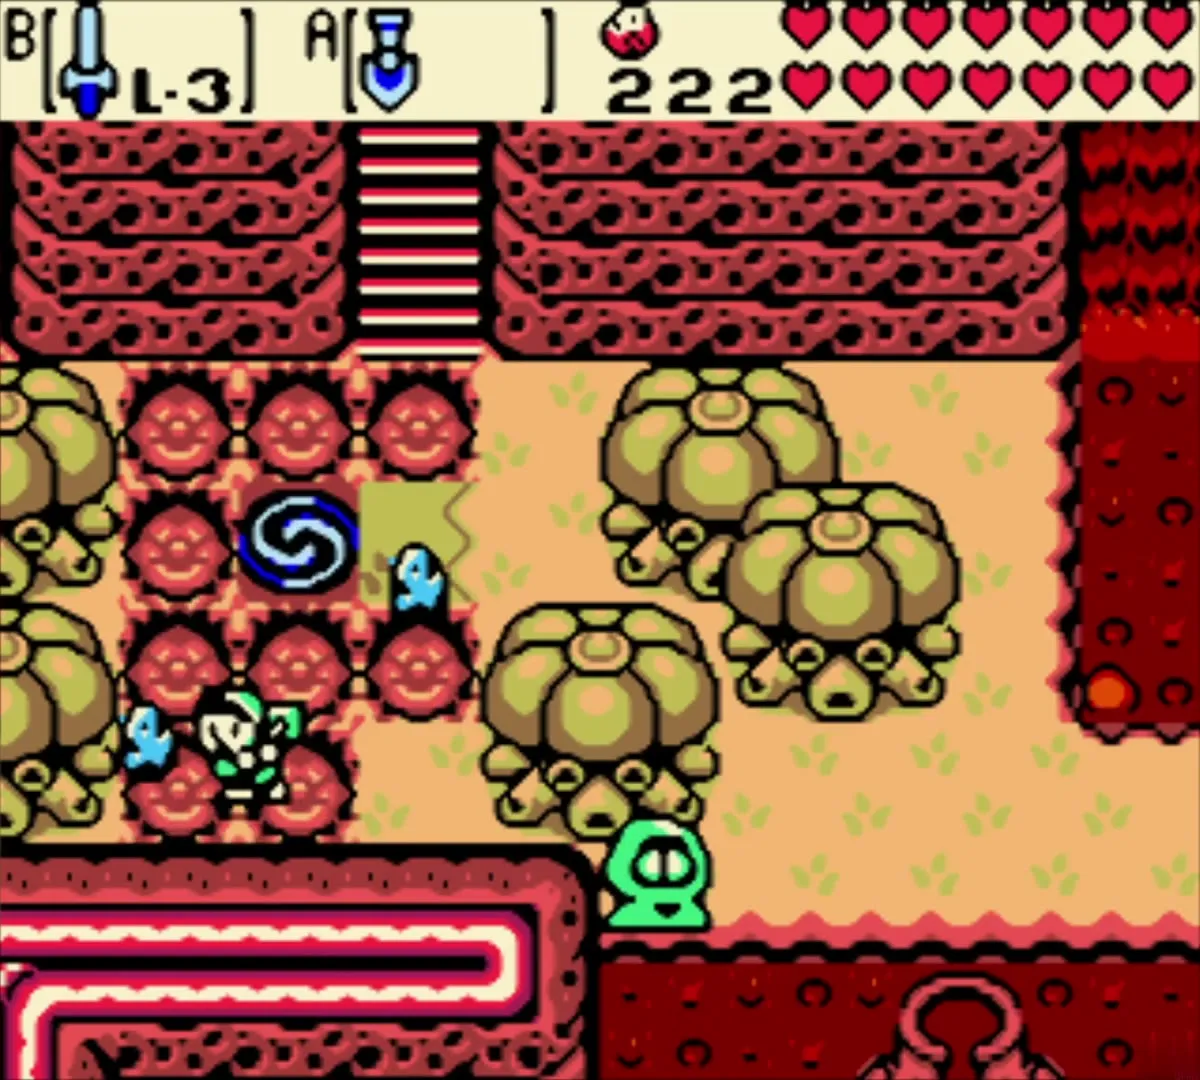
Sword & Shield Maze entrance
Enter the volcano past the Subrosian portal
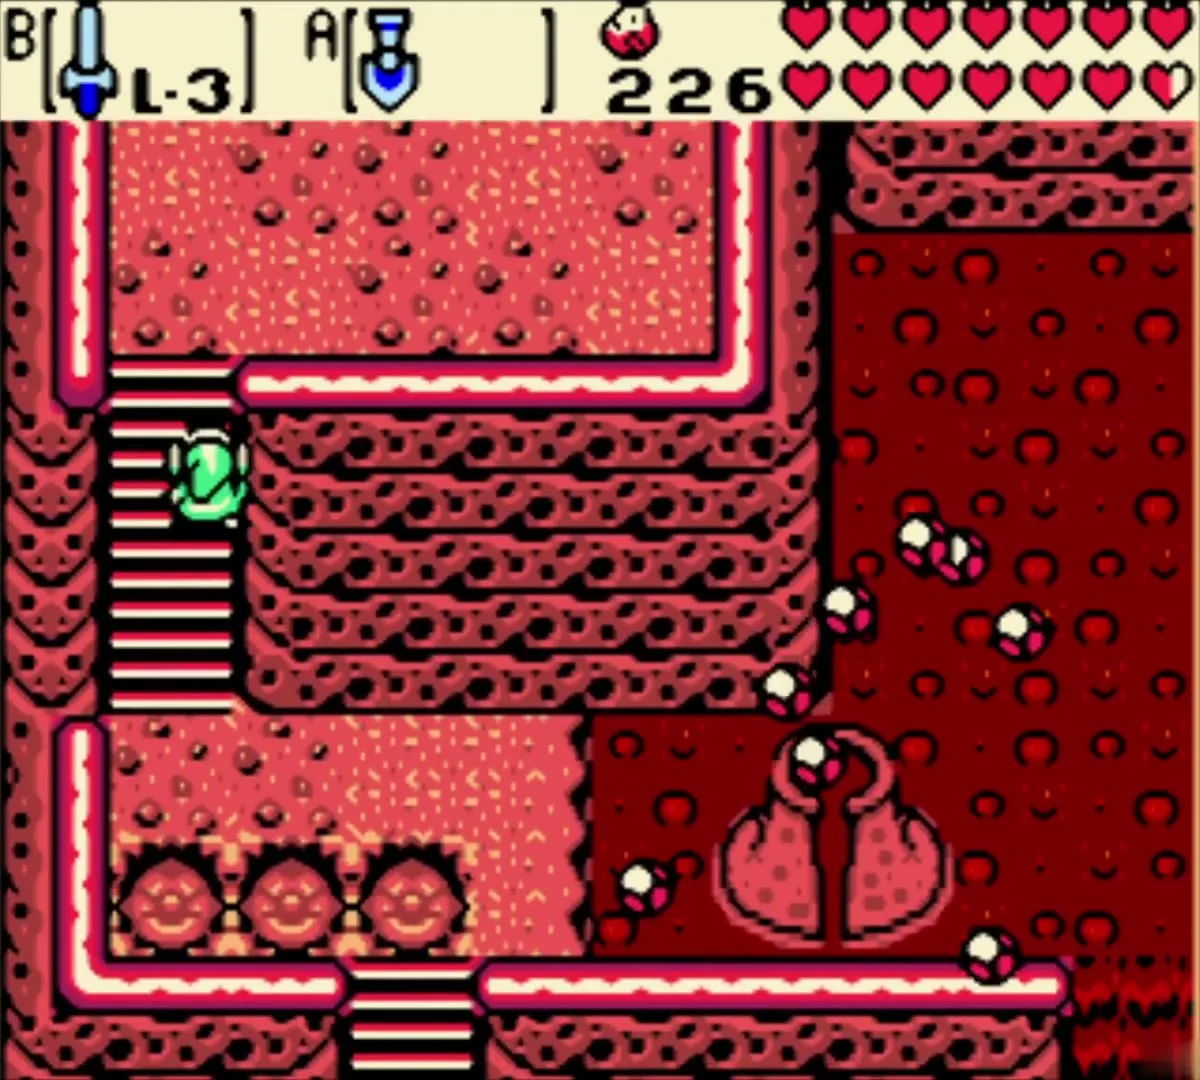
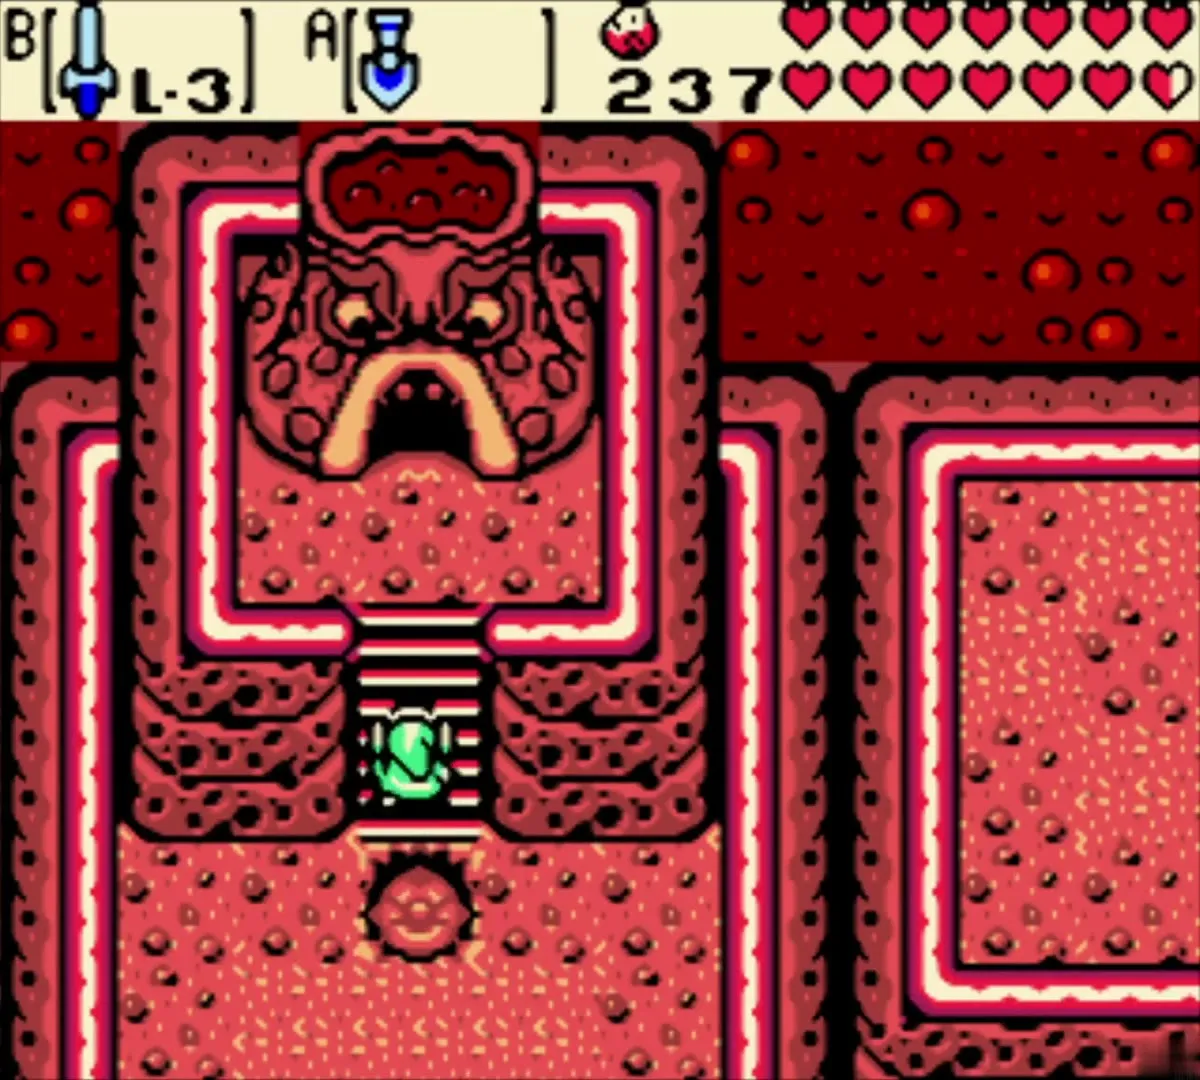
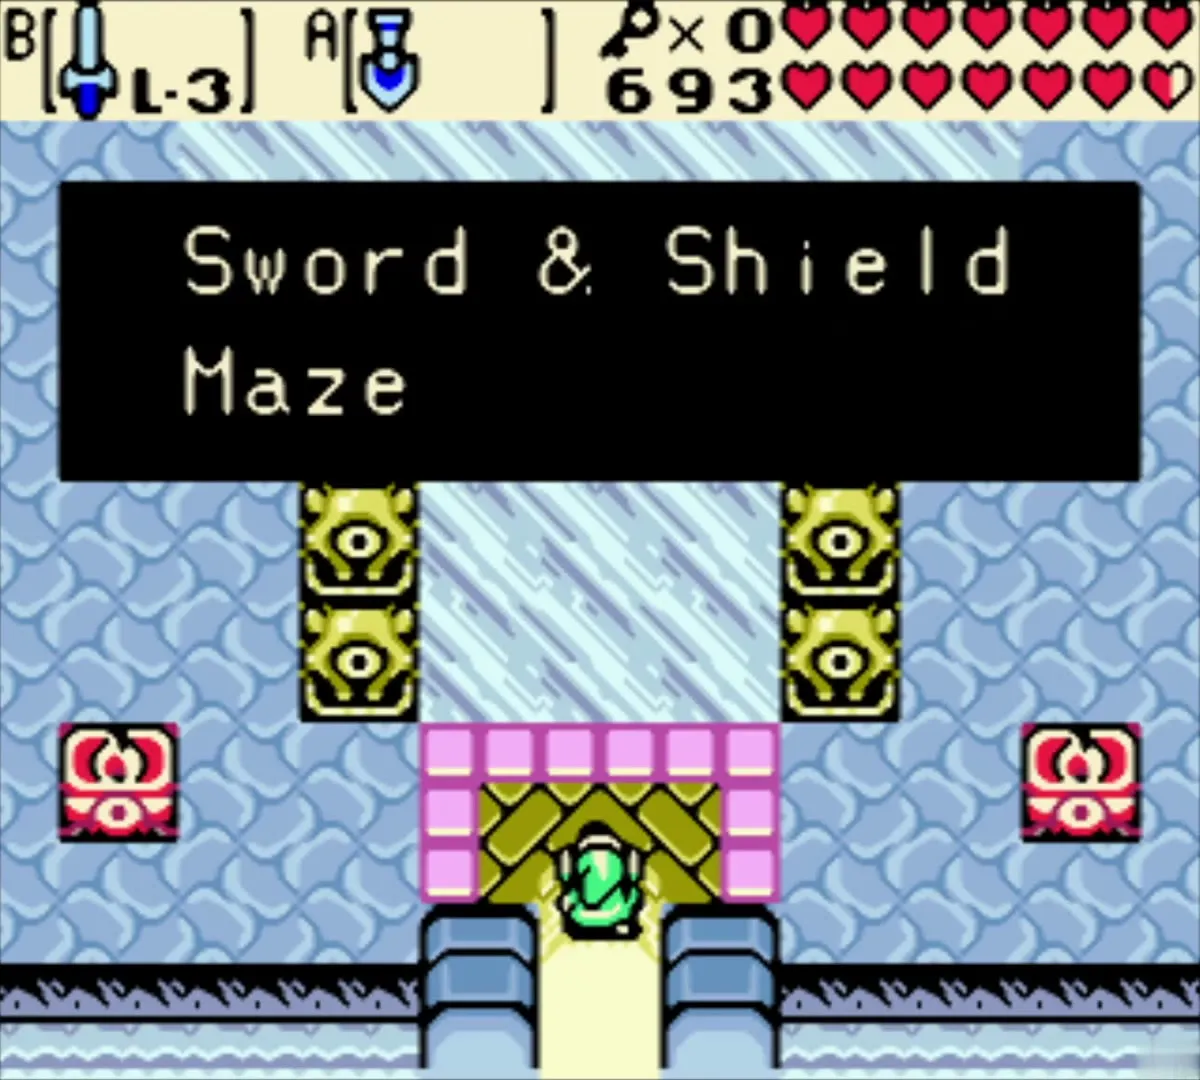
Use the portal into Subrosia. Climb the steps, go north twice and enter the volcano. That leads into the Sword & Shield Maze, the eighth dungeon. The dungeon that follows holds the Essence of Changing Seasons.
Chapter checklist
| Type | Name | Where |
|---|---|---|
| Hint | Next essence in Holodrum | Maku Tree, after the Seed of Life |
| Travel | Gale Seed warp | Map, to Horon Village |
| Encounter | Maple rupee race | Horon Village |
| Upgrade | Bomb Bag to 50 bombs (linked) | Farore, Maku Tree secret chamber |
| Item | Mirror Shield (linked) | Farore, Maku Tree secret chamber |
| Ring |  Spin Ring (linked) | Secret chamber reward, appraised by Vasu |
| Ring |  Power Ring L-1 | Appraised at Vasu Jewelers |
| Ring | Unappraised ring | Chest behind the cracked wall, winter overworld cave |
| Piece of Heart | Piece of Heart | Lava-filled room in the Temple Remains |
| Event | Subrosian volcano eruption | Cave under the volcanoes in Subrosia |
| Dungeon entrance | Sword & Shield Maze | Volcano past the Subrosian portal |
