
























The Minish Cap 100% Completion Walkthrough19 chapters
- The Picori Festival and the Minish WoodsGet the Small Shield and Smith’s Sword, meet Ezlo, shrink and reach Minish Village.
- Deepwood Shrine (Dungeon 1)All four small keys, Dungeon Map, Compass, Madderpillar, Gust Jar, Big Key, Heart Pieces and Big Green Chuchu.
- Ascent to Mount CrenelBomb Bag, Kinstone Bag, Big Wallet, bottle, Grip Ring, Great Fairy, Heart Pieces and Melari’s Mines.
- Cave of Flames (Dungeon 2)Every key, chest and mine cart, the Cane of Pacci, the Big Key, Gleerok boss tactics and the Fire Element.
- Infusing the Picori BladeMelari’s White Sword, the Elemental Sanctuary, a Heart Piece and a Kinstone piece on the way.
- Getting the Pegasus BootsSyrup’s Wake-Up Mushroom, Lon Lon Ranch, eight Kinstone fusions, three Heart Pieces and Swiftblade.
- Castor Wilds and the Wind RuinsThree Gold Kinstones, the Bow, the Mysterious Statue fusions and the road to the Fortress of Winds.
- Fortress of Winds (Dungeon 3)Every key, Compass, Map, Mole Mitts, Big Key, Mazaal boss tactics, Heart Container and Ocarina of Wind.
- The Library Books and the FlippersReturn the three overdue books in Hyrule Town, win the Power Bracelets and get the Flippers.
- Hyrule Town Side Quests and Kinstone FusionsAnju’s Cucco Roundup, Simon’s Simulation, Kinstone fusions, heart pieces and the Magical Boomerang.
- Collectibles Sweep Before the Temple of DropletsKinstone fusions, 10 Pieces of Heart, Roll Attack and Peril Beam dojos and the Large Quiver.
- Temple of Droplets (Dungeon 4)Every key, Map, Compass, Big Key, Flame Lantern, Big Blue Chuchu, Big Octorok and the Water Element.
- Royal Valley and the Royal CryptWater Element, Sword Beam, Remote Bombs, Graveyard Key, Great Fairy and King Gustaf’s Gold Kinstone
- Veil Falls and the Cloud TopsHeart Pieces, Splitblade’s dojo, Source of the Flow and five Mysterious Cloud fusions.
- Palace of Winds (Dungeon 5)Roc’s Cape, four Small Keys, Big Key, Compass, Map, Heart Piece, Gyorg Pair boss and Wind Element.
- Collecting the Upgrades Before the Four SwordDown Thrust, Great Spin Attack, seven Kinstone fusions, seven Heart Pieces and the Goron Cave bottle.
- Dark Hyrule Castle (Final Dungeon)King’s cell, Map, Compass, six Small Keys, Big Key, Darknut rooms and the Darknut trio before Vaati.
- Vaati Final Boss and EndingBeat Vaati Reborn, Transfigured and Wrath, free Zelda, escape the castle, then save after the credits.
- Postgame Collectibles and 100% CompletionLast Kinstone fusions, Biggoron’s Mirror Shield, Heart Pieces, Heart Container, Tingle Trophy and all 136 figurines.
| Covers | Castor Wilds swamp, the Wind Ruins, the road to the Fortress of Winds entrance |
|---|---|
| Dungeon | None in this chapter; it ends at the stairs up to the Fortress of Winds (Dungeon 3) |
| Rewards |  Bow (with 30 arrows), 3 Gold Kinstone pieces fused with the 3 Mysterious Statues, 1 red Kinstone piece, Castor Wilds Wind Crest, 1 Piece of Heart (your third), 100 Rupees, 50 Mysterious Shells; no bottles, figurines or Tiger Scrolls on this route |
This chapter takes you across the Castor Wilds swamp with the Pegasus Boots, wins the Bow, collects the three Gold Kinstone pieces and fuses them with the three Mysterious Statues to open the way south into the Wind Ruins. Inside the ruins you shrink twice, switch off two Armos statues, pick up a Piece of Heart, two chests and a Kinstone piece, then climb to the Fortress of Winds.
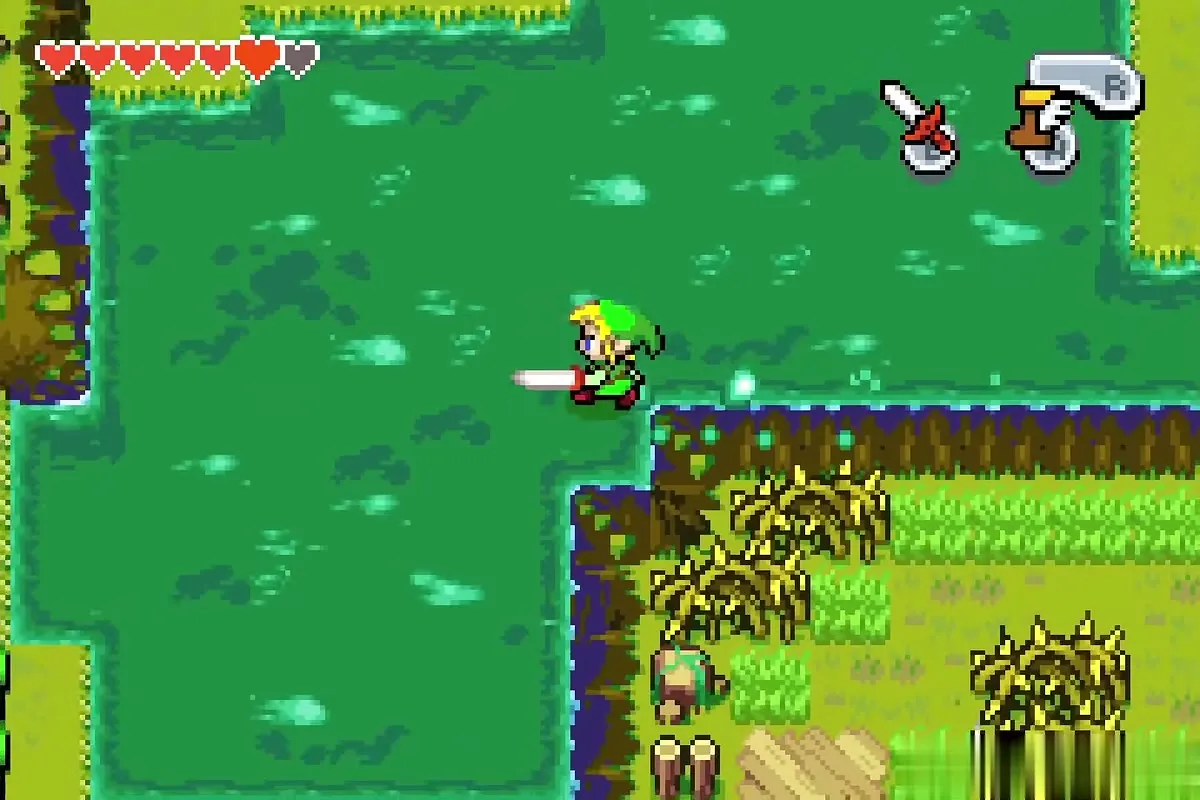
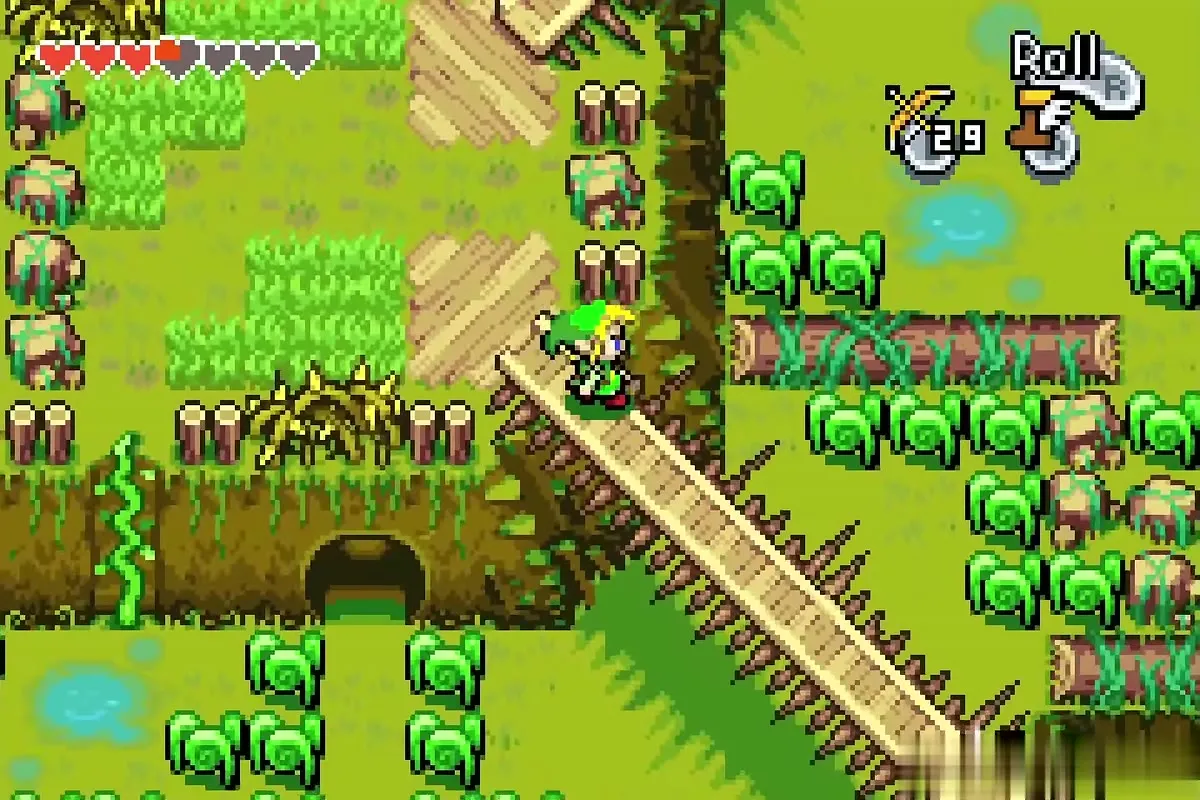
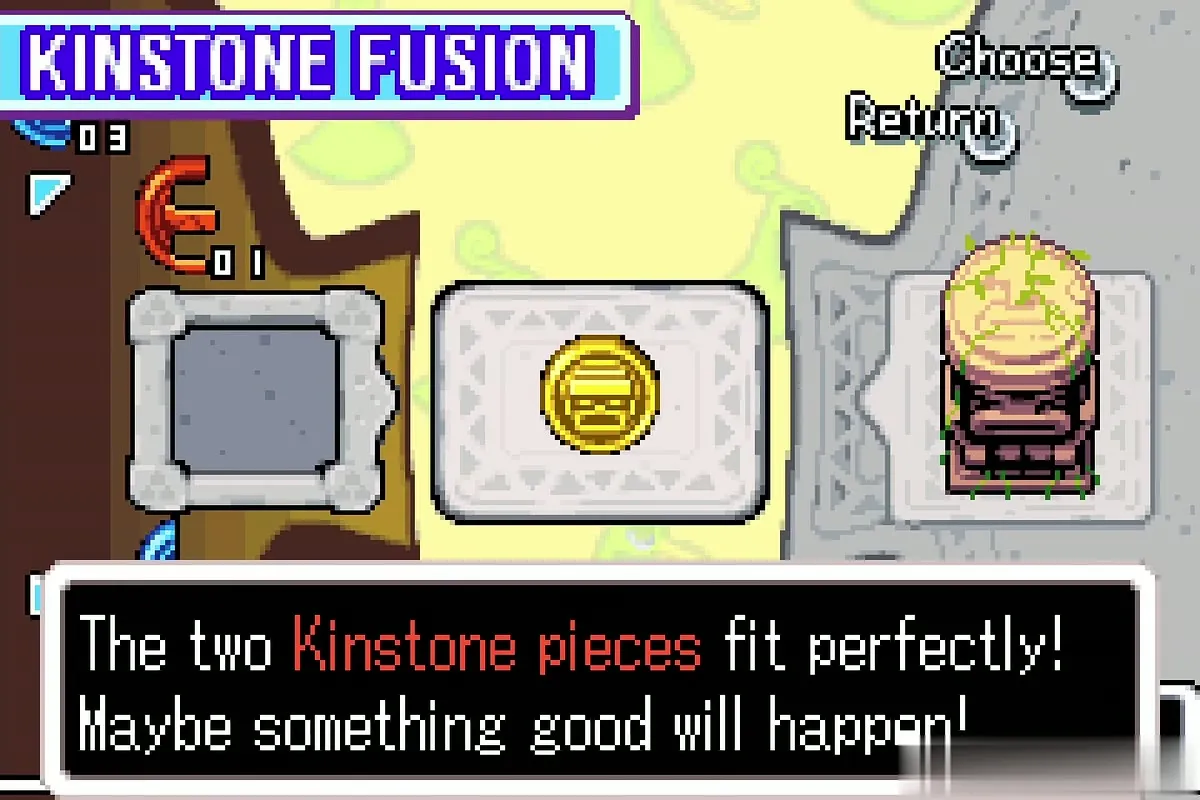
Table of Contents
Castor Wilds: first Gold Kinstone and the Darknut

Dash across the swamp
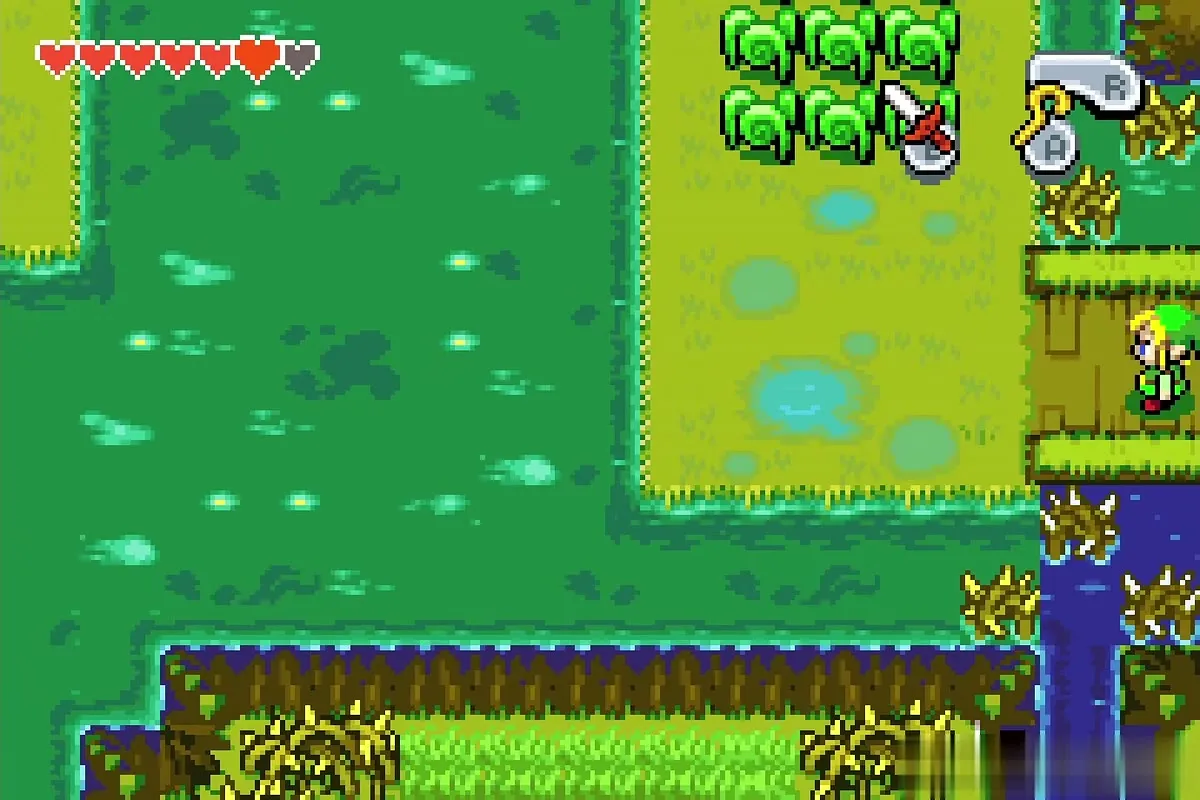
Arrive in Castor Wilds and equip the Pegasus Boots. The deep swamp water is no place for a swim, but a dash carries Link over the marsh, so run west across it from the entrance to the dry ground on the other side.
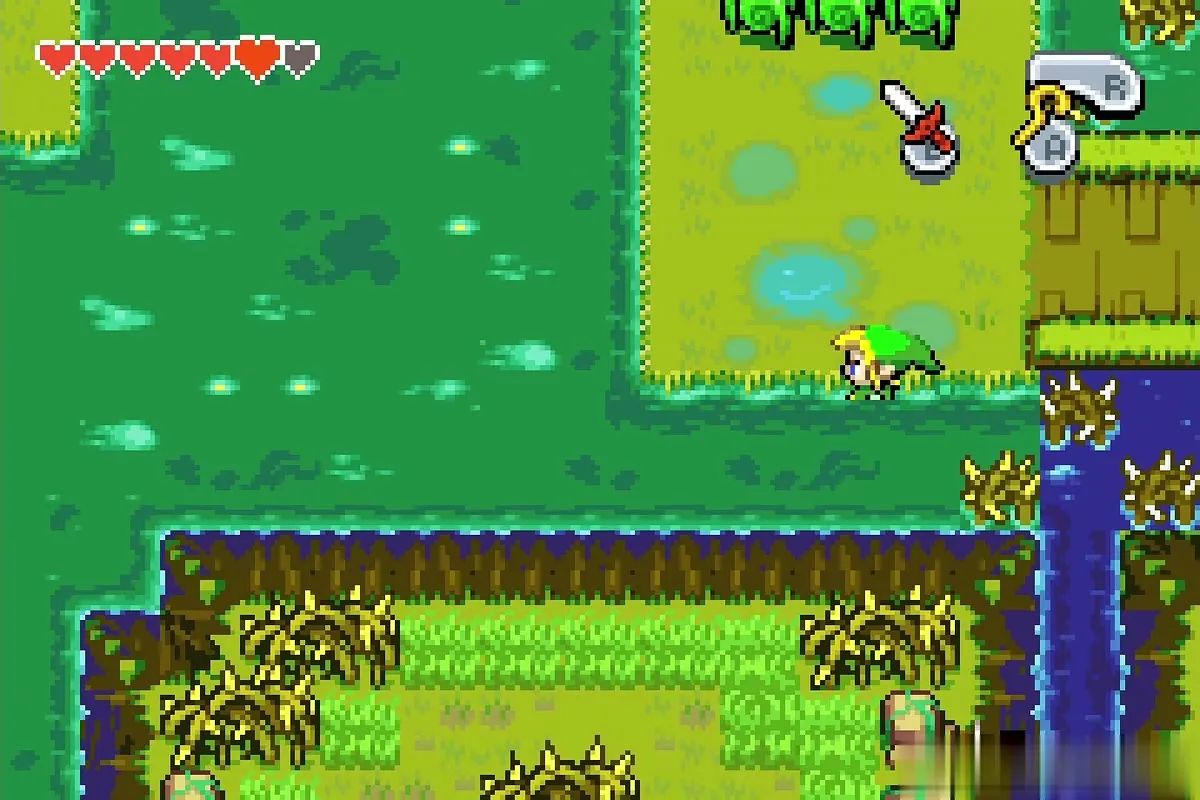
Cave with the Darknut chest
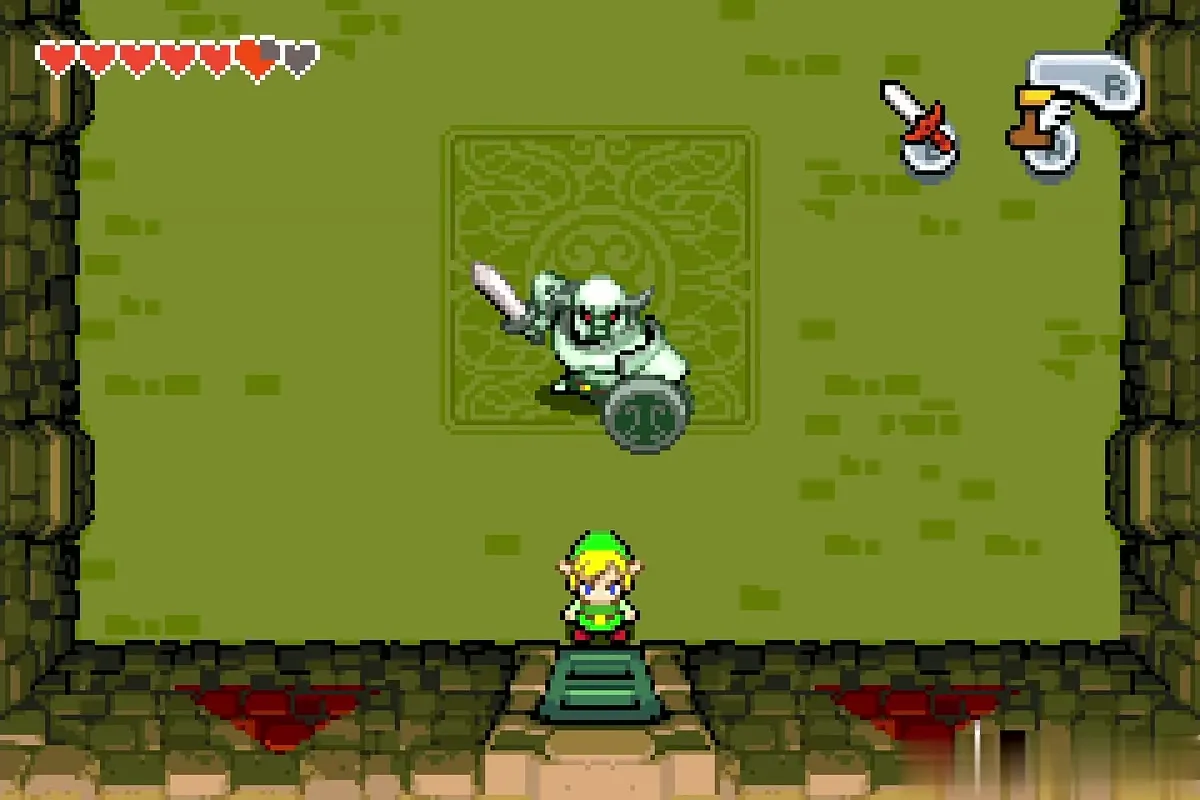
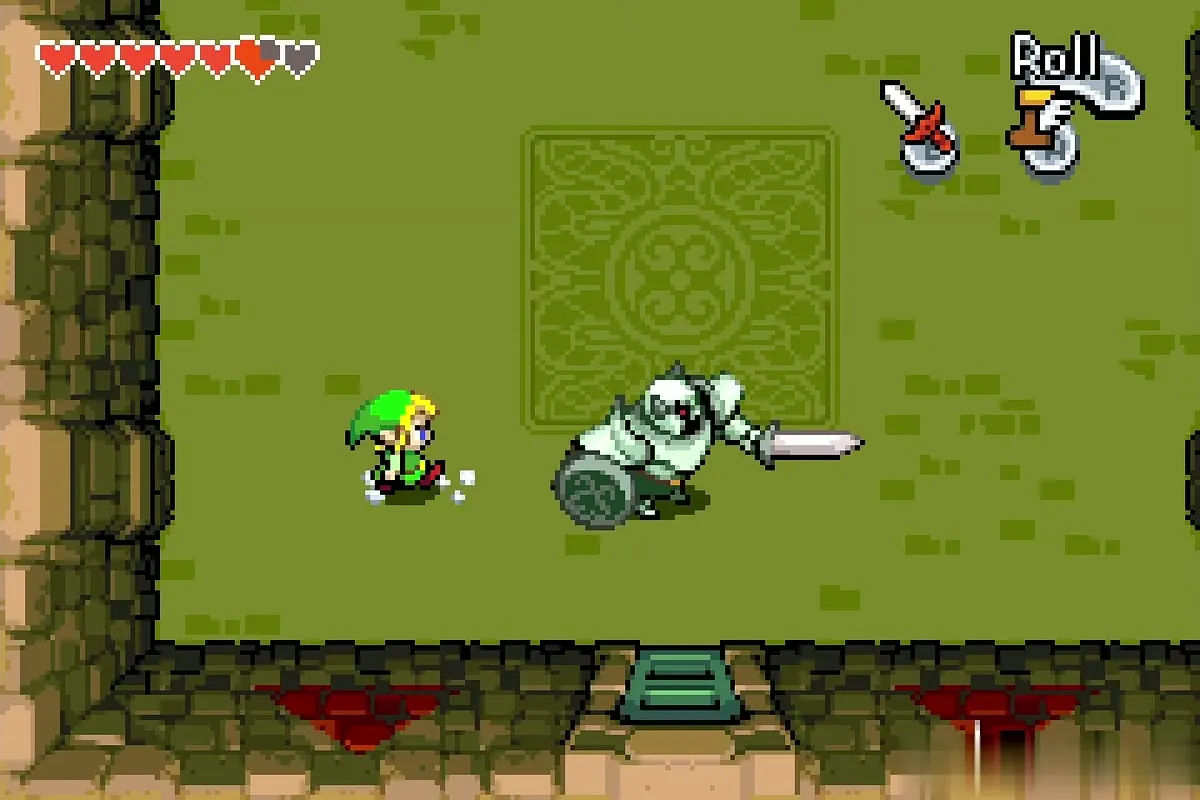
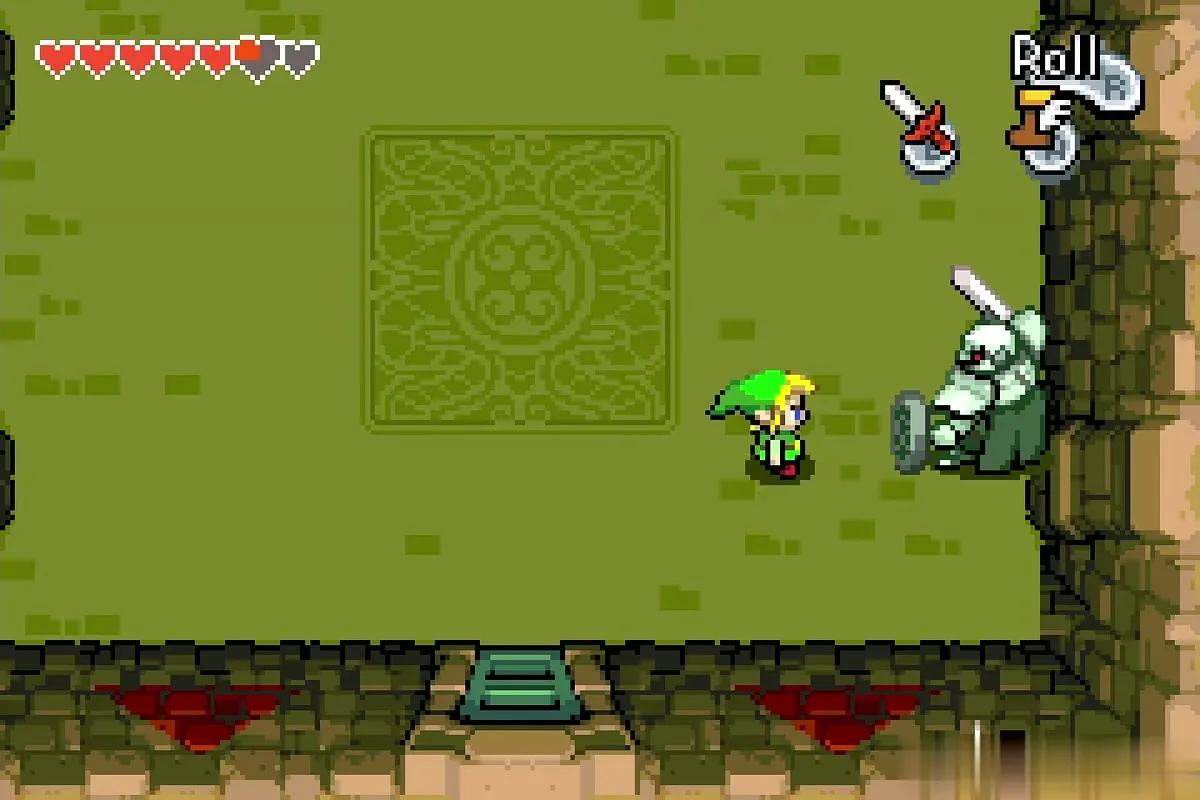
Climb the vine up the cliff, cross the wooden bridge to the north-west and climb down the next vine to a cave entrance. Cut through the first room, take the stairs down and keep going to the room with a single chest. Walk toward it and the door seals behind you: the chest vanishes and a Darknut appears.
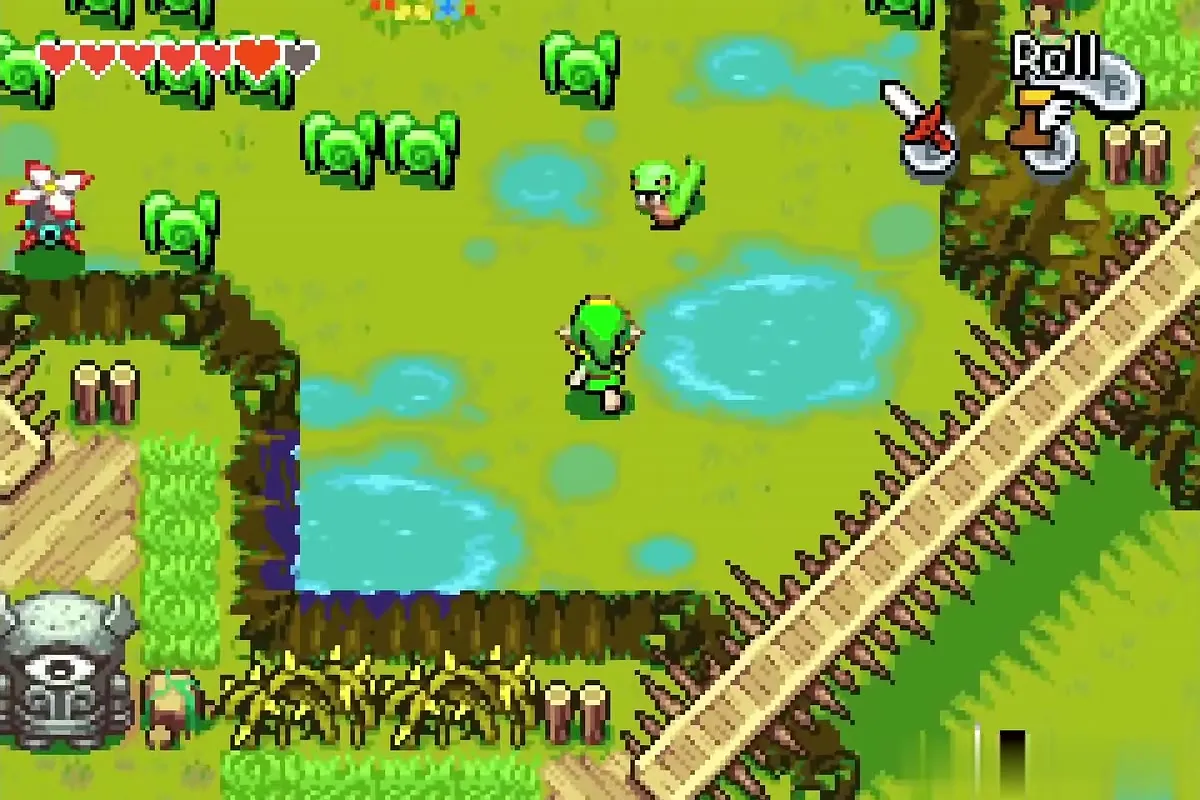
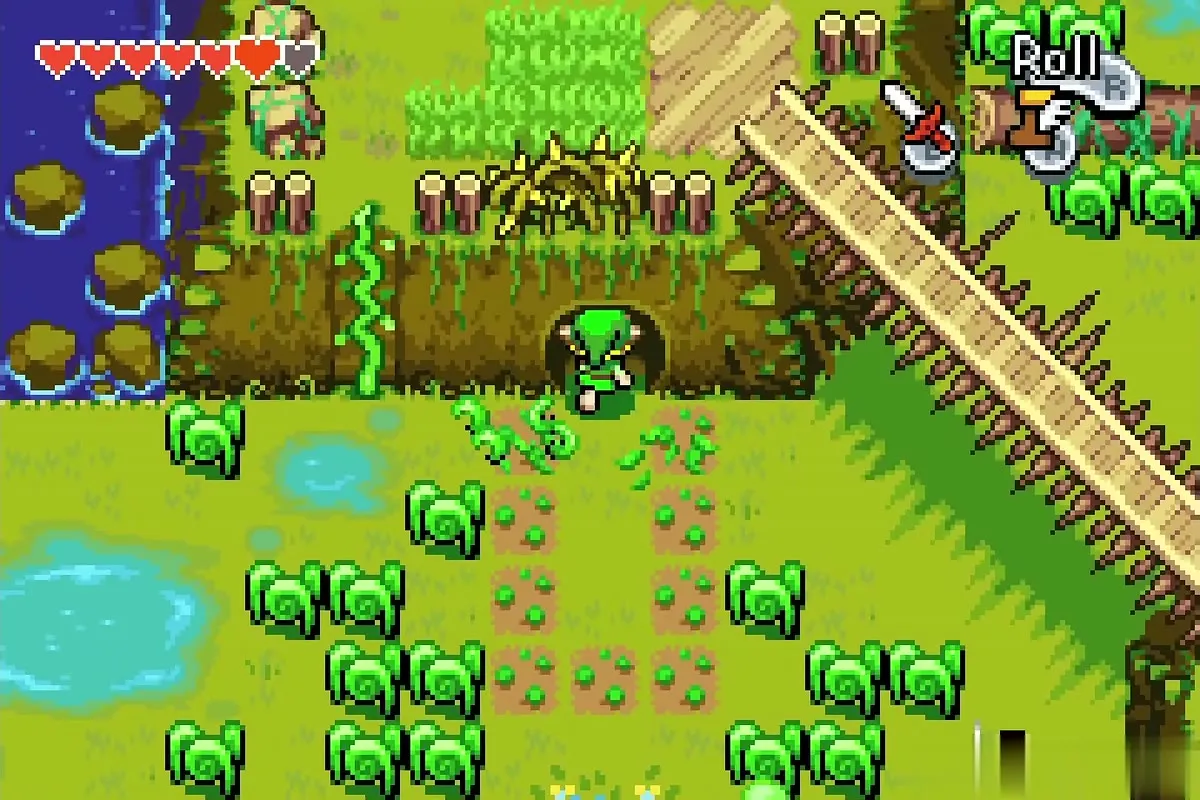
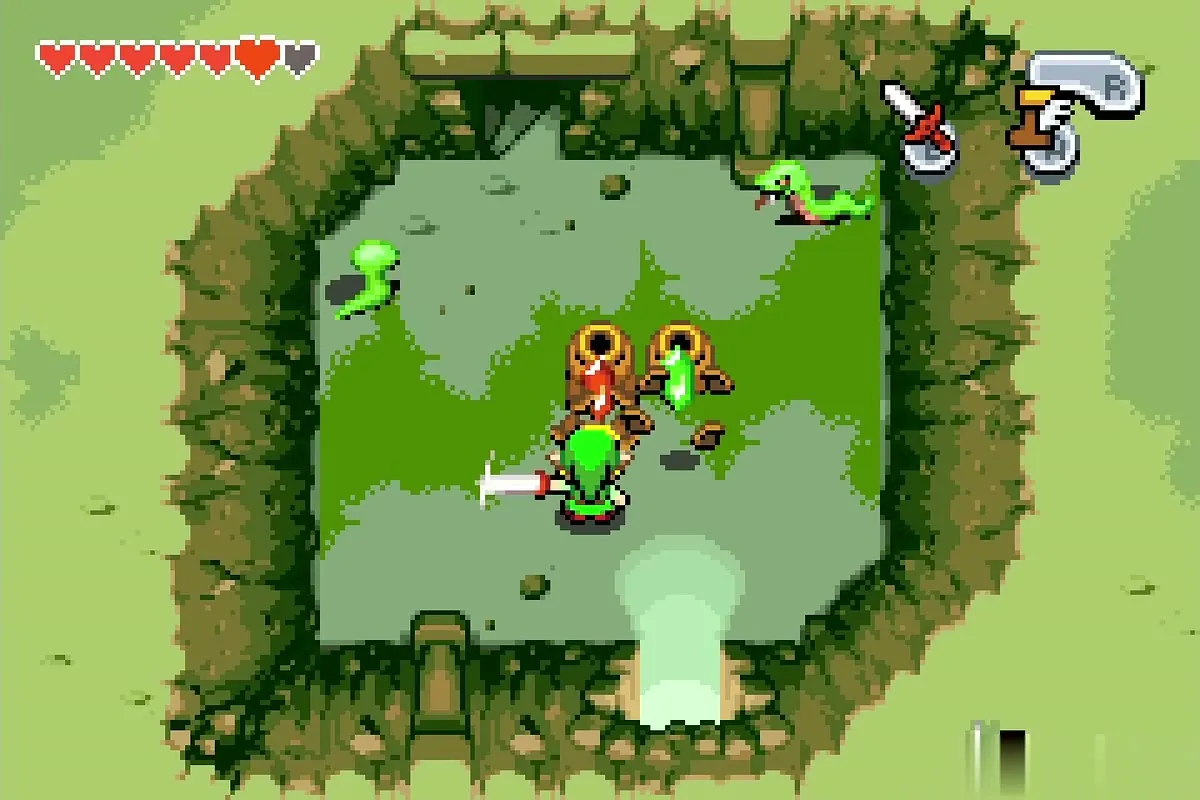
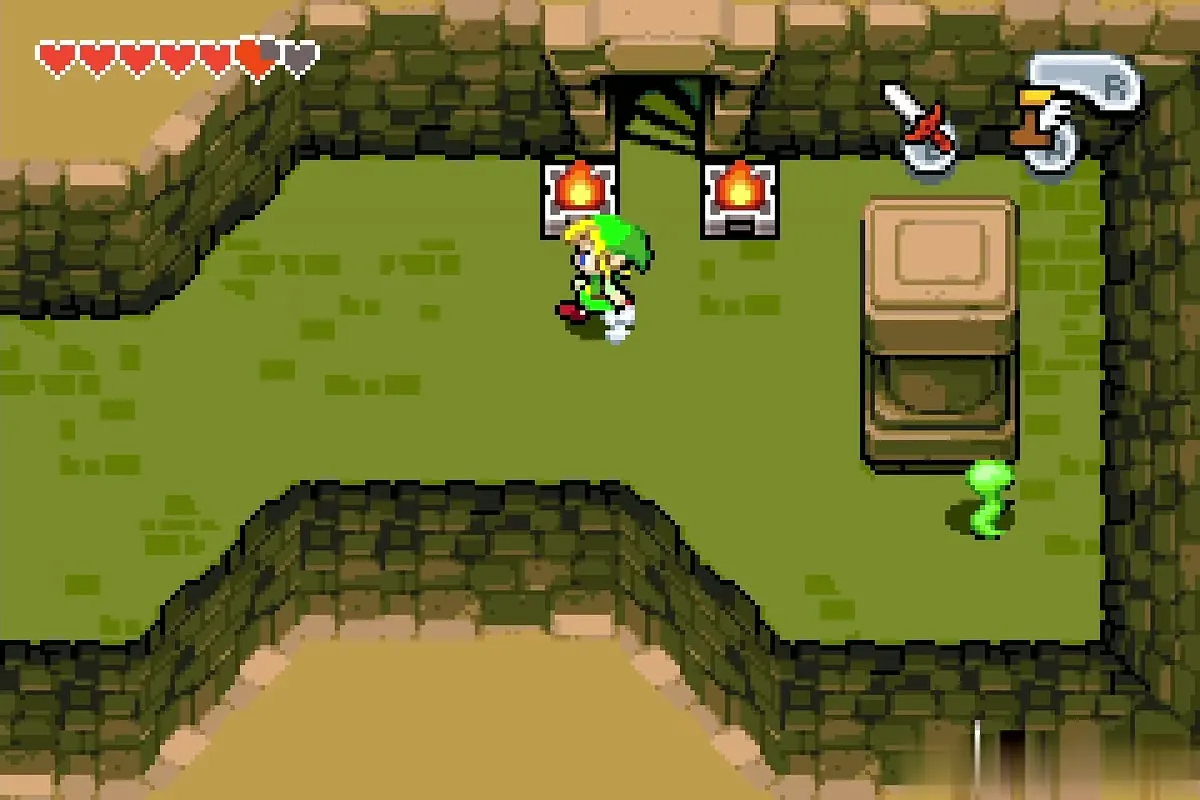
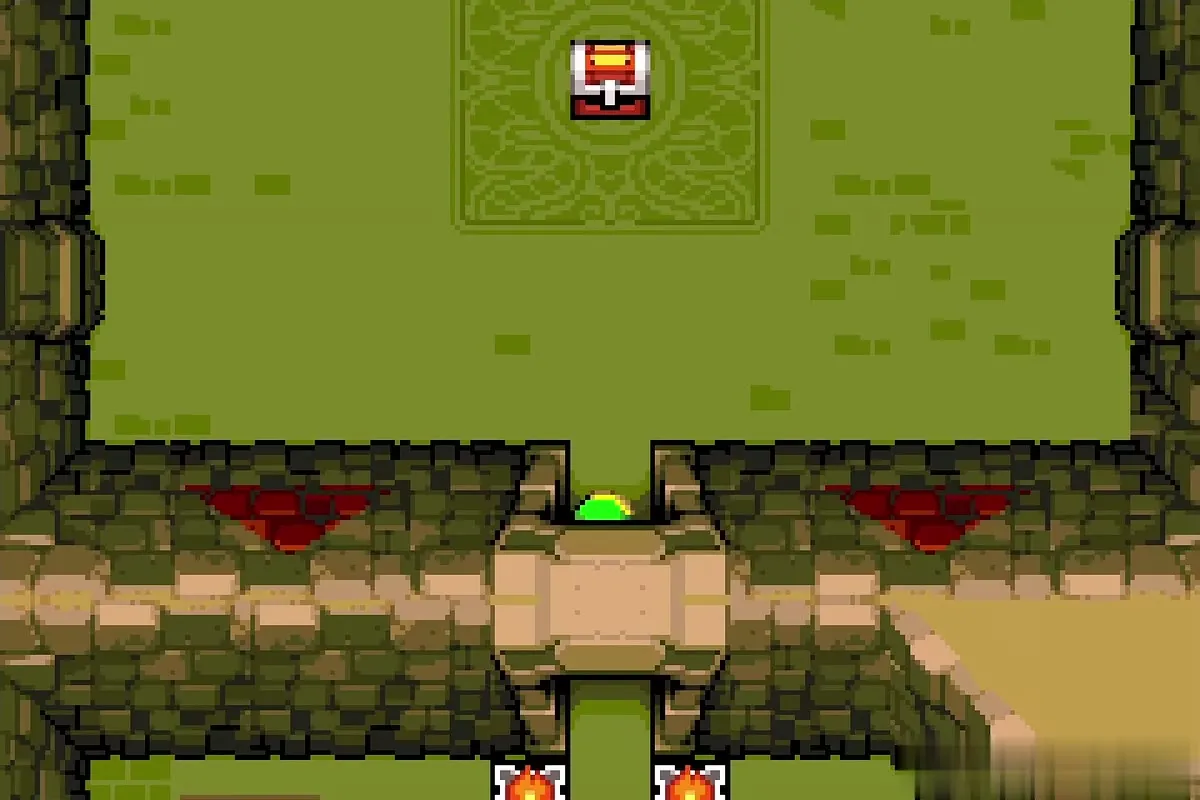
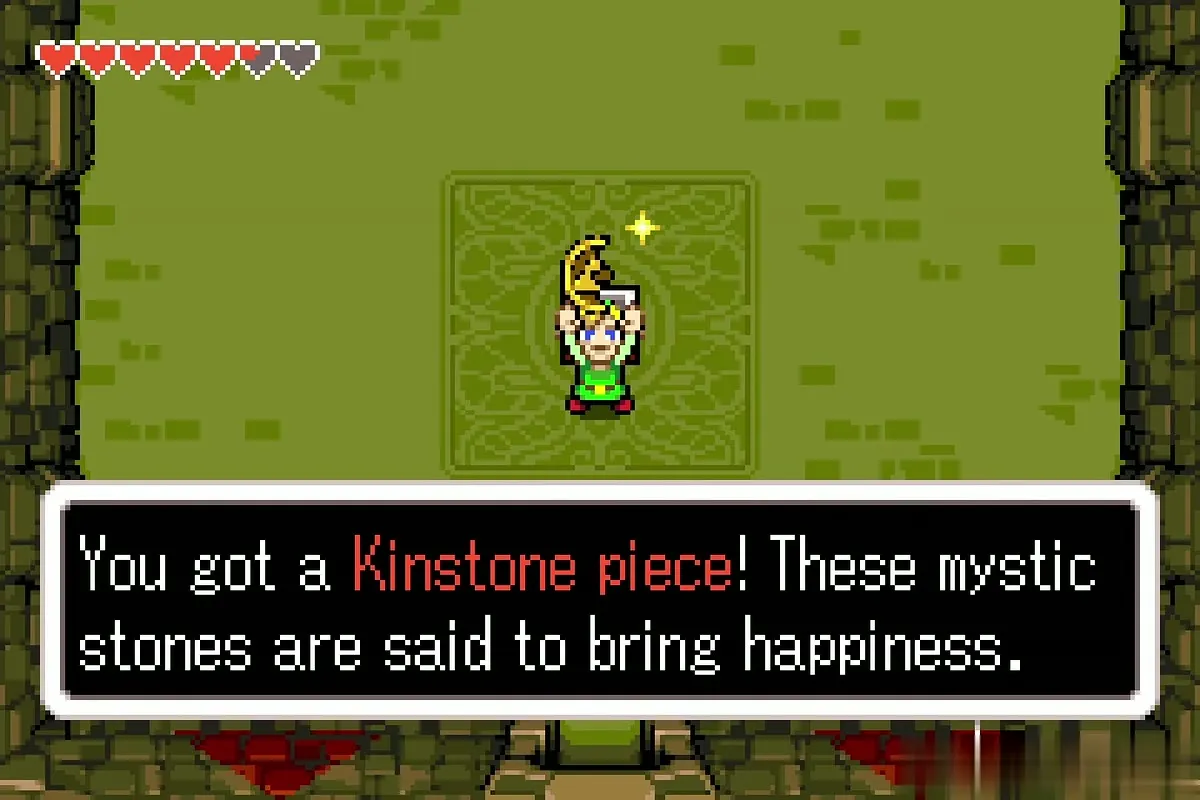
Stay out of its sword arc, let the Darknut swing and miss, then slash it in the back right after the swing. Four hits finish it. The chest returns and holds the first Gold Kinstone piece; leave by the stairs and the same vine. You need all three pieces for the statues later (see Gold Kinstones).
Castor Wilds: the Bow
Shrink on the stump
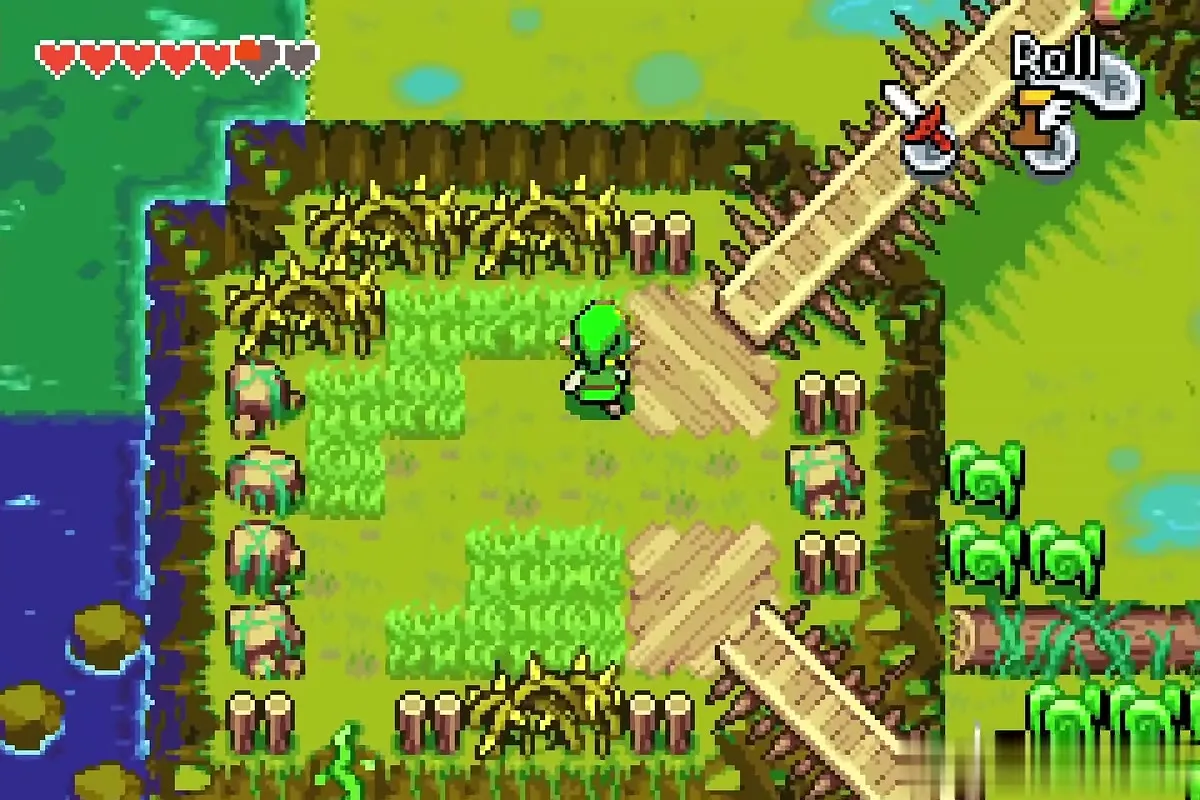
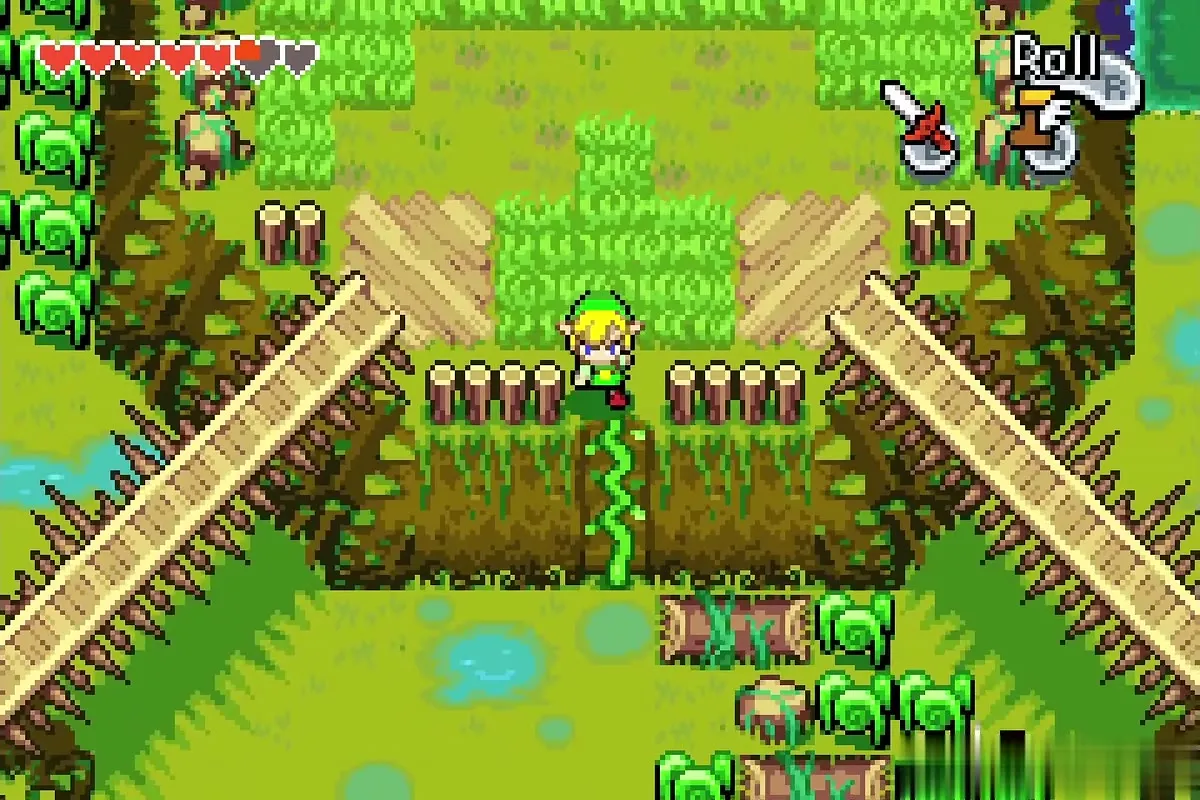
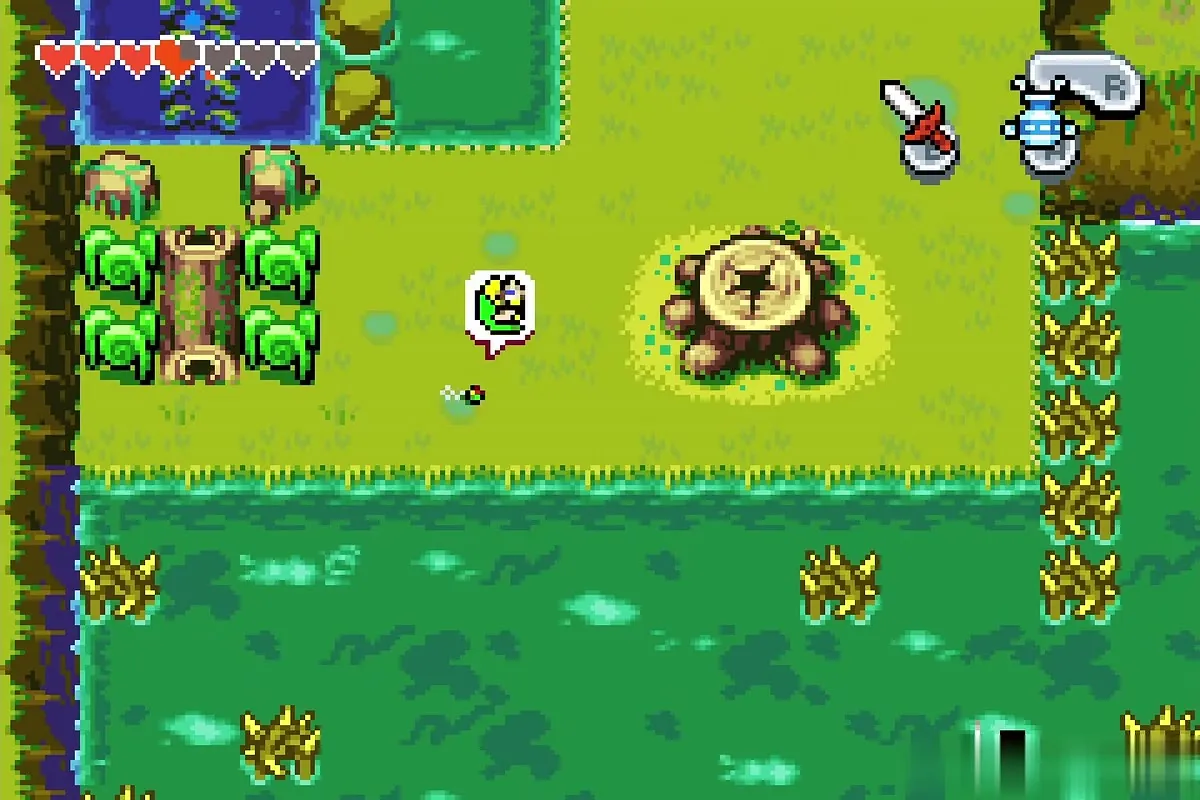
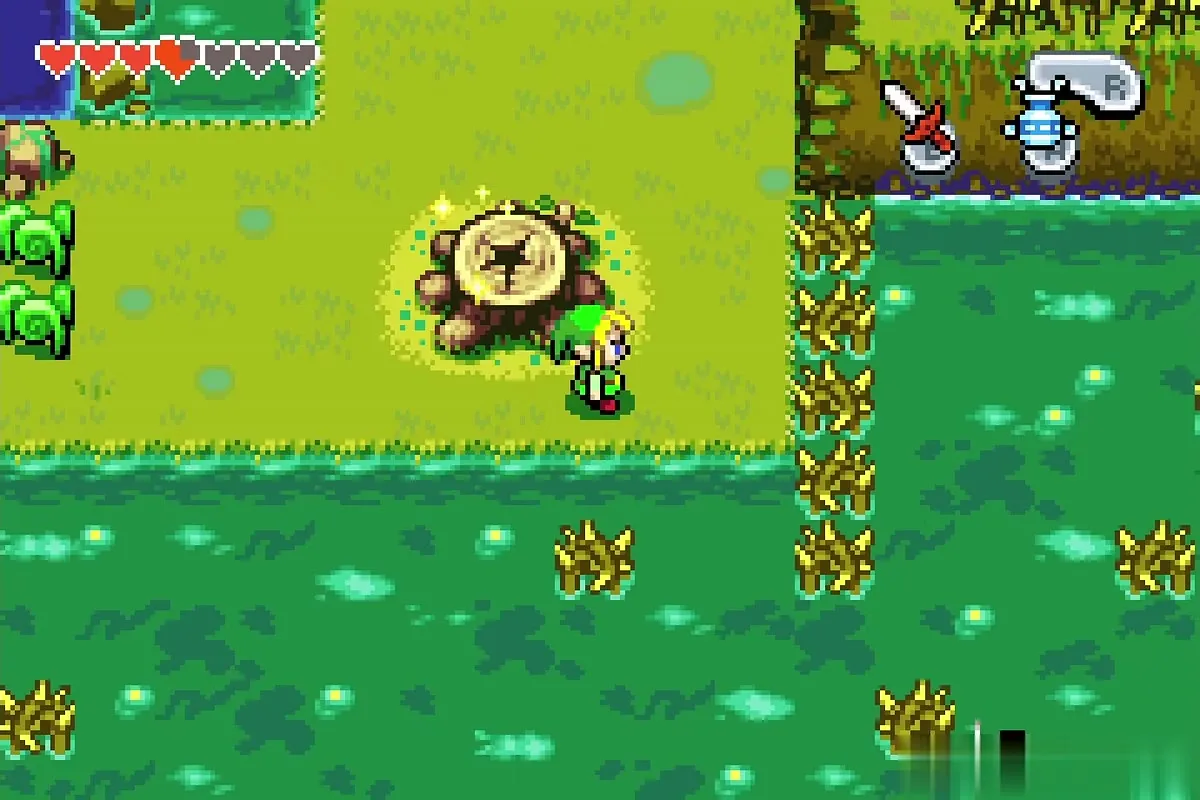
Walk back out across the swamp and follow the bridges to the tree stump on the north-west ledge. Stand on the stump to shrink at the Minish Portal; you must be Minish size for everything on the lily pads.
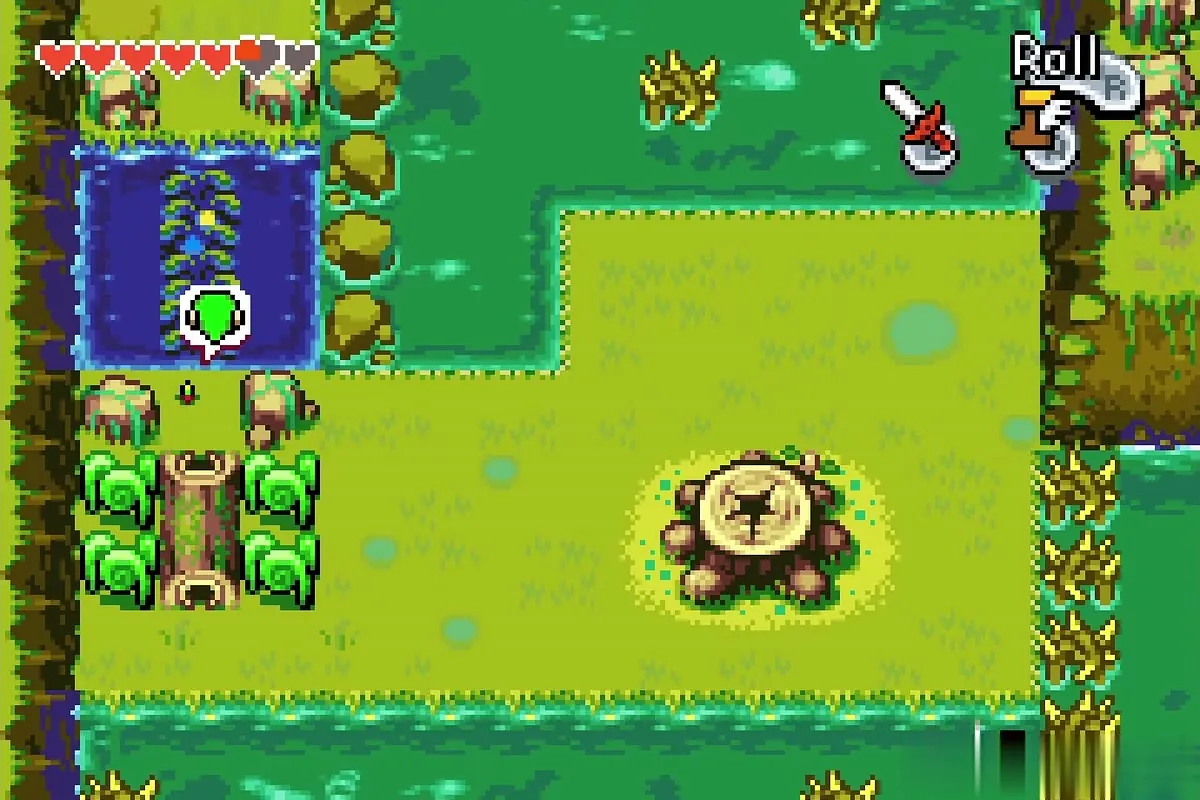
Lily pads to the Bow chest
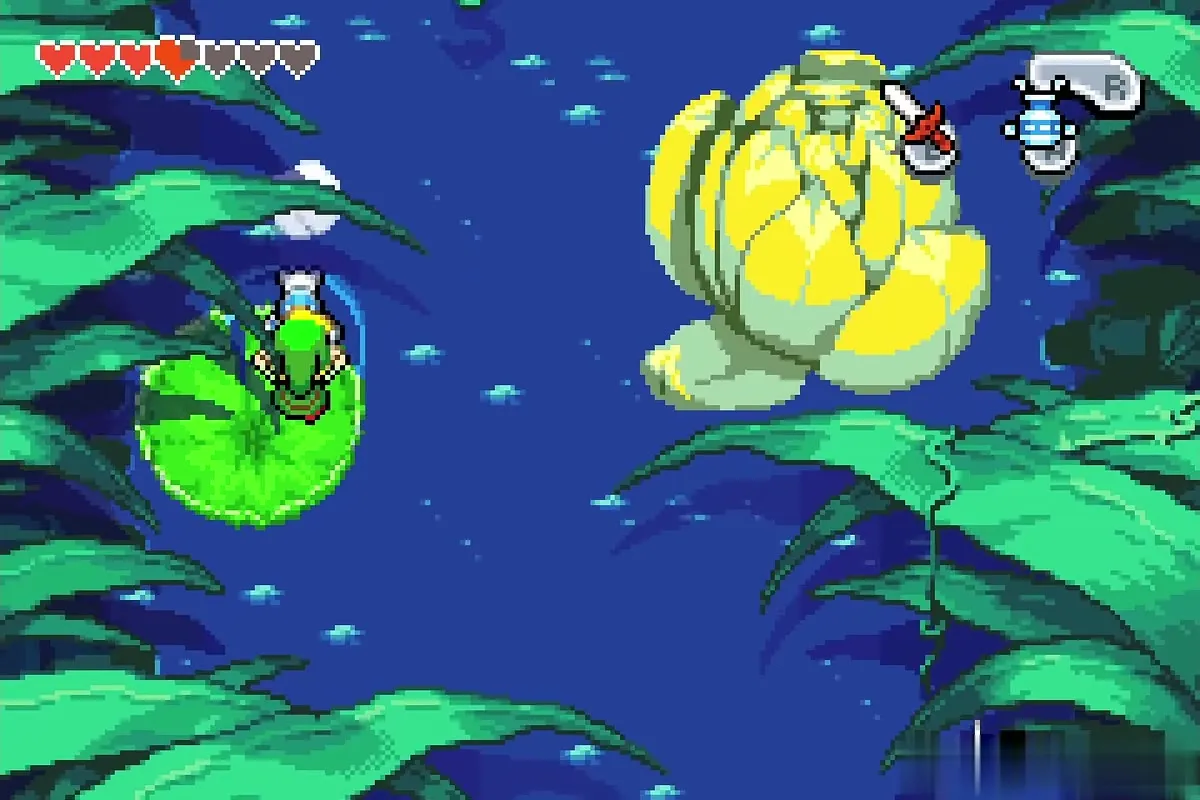
Equip the Gust Jar and hop onto the first giant lily pad. Use the Gust Jar to move across the pond from pad to pad and past the flowers, then drop into the hole at the far side.
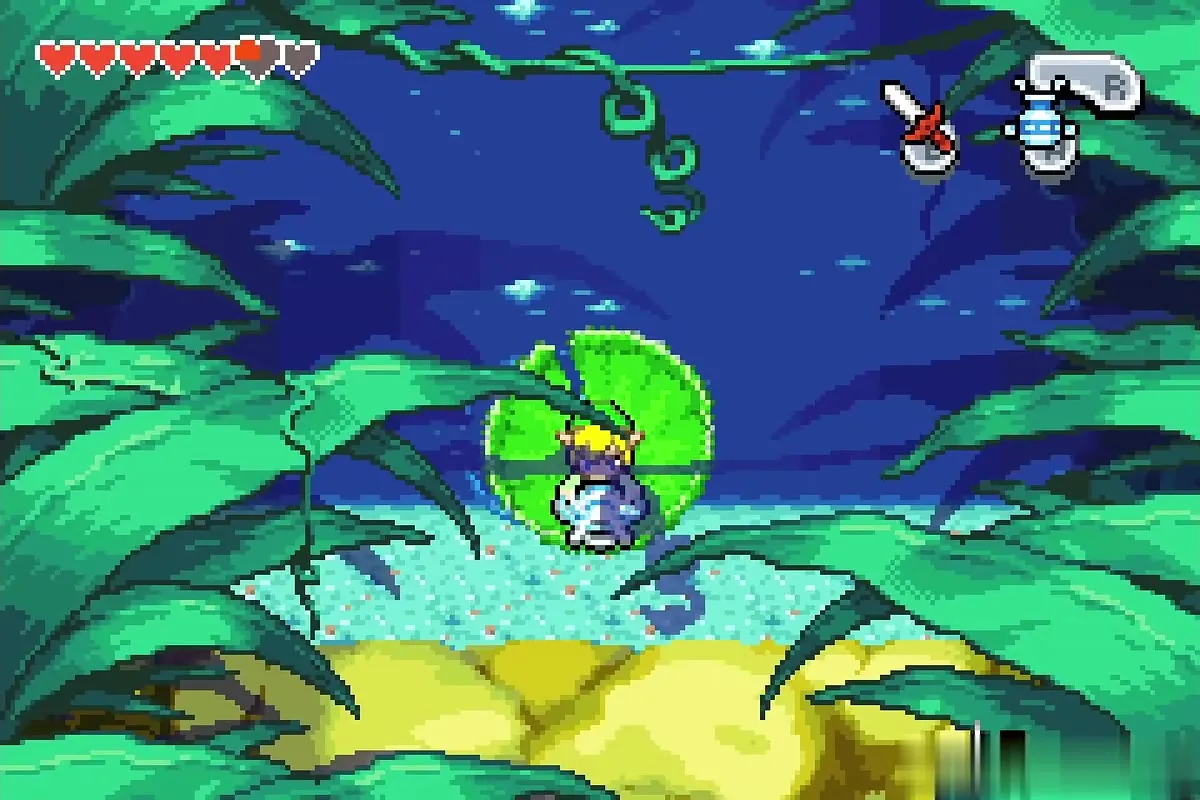
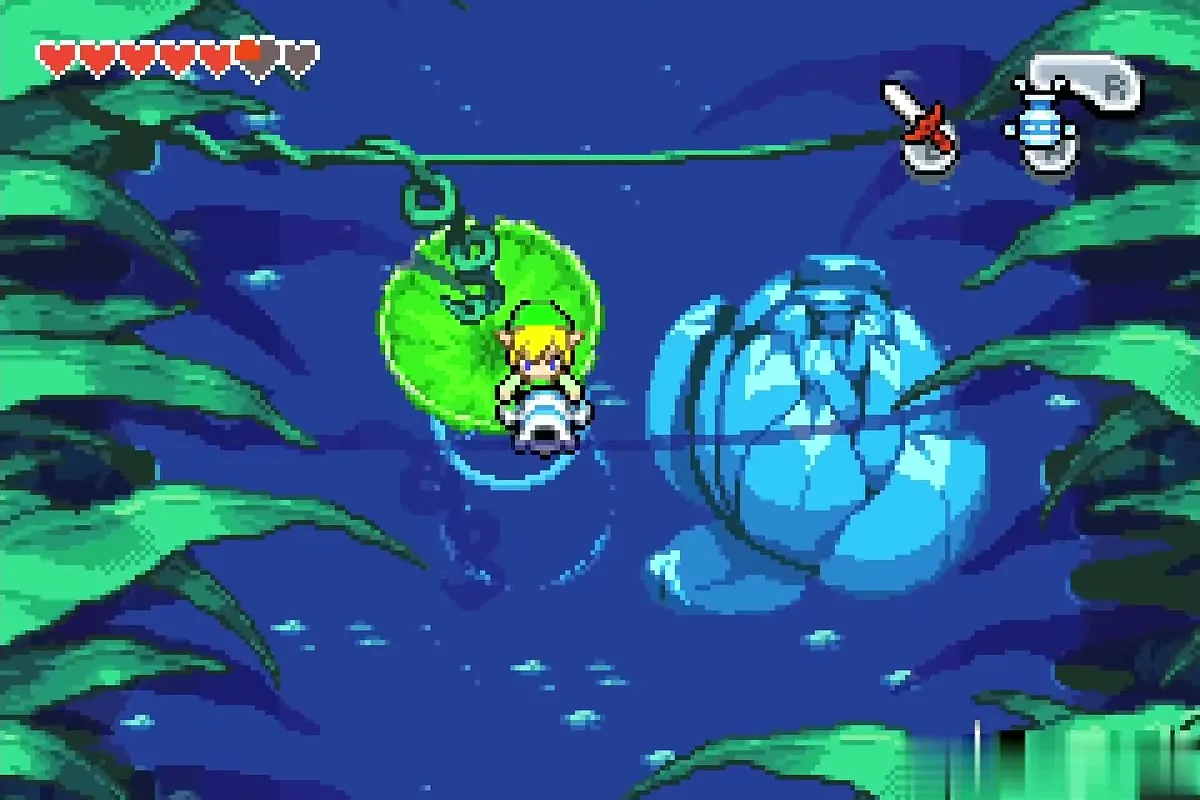
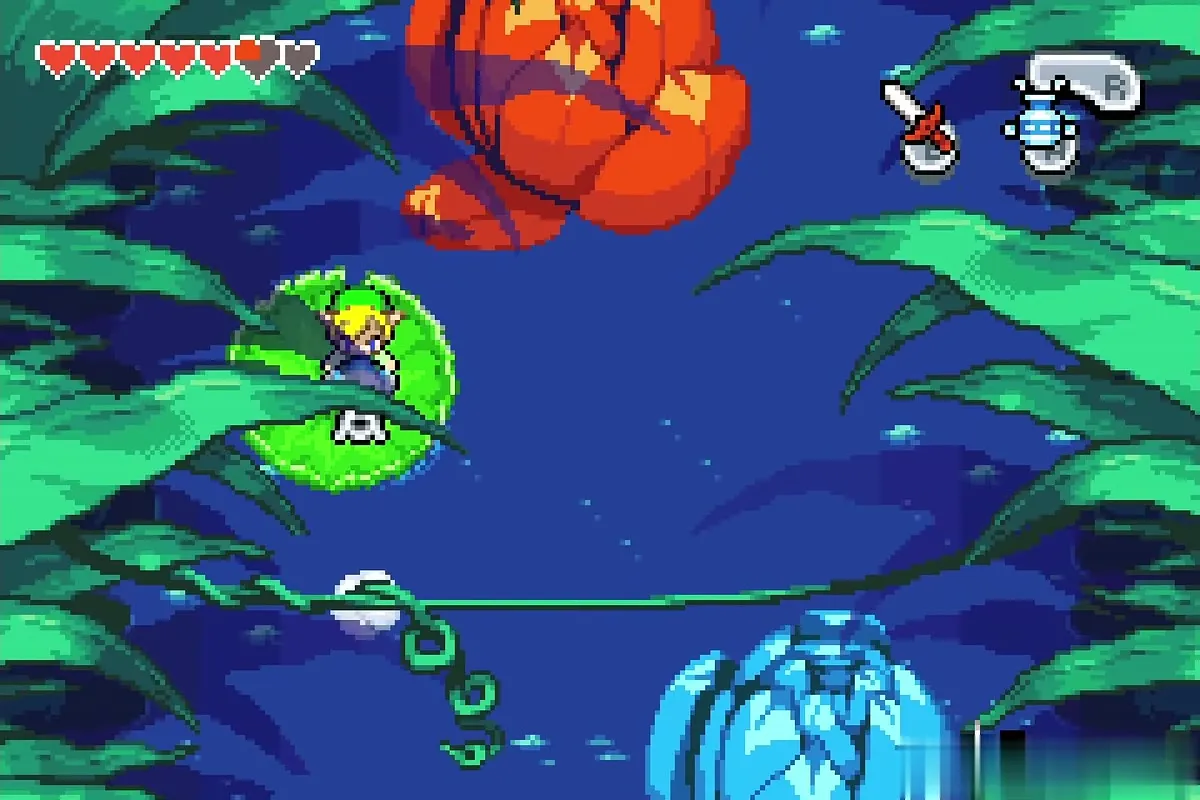
Inside the small cavern, defeat the blue blobs that appear. A big chest rises in the middle. Open it for the Bow and 30 arrows; the Bow is your ranged weapon for the statue eyes you are about to meet (see items and equipment).
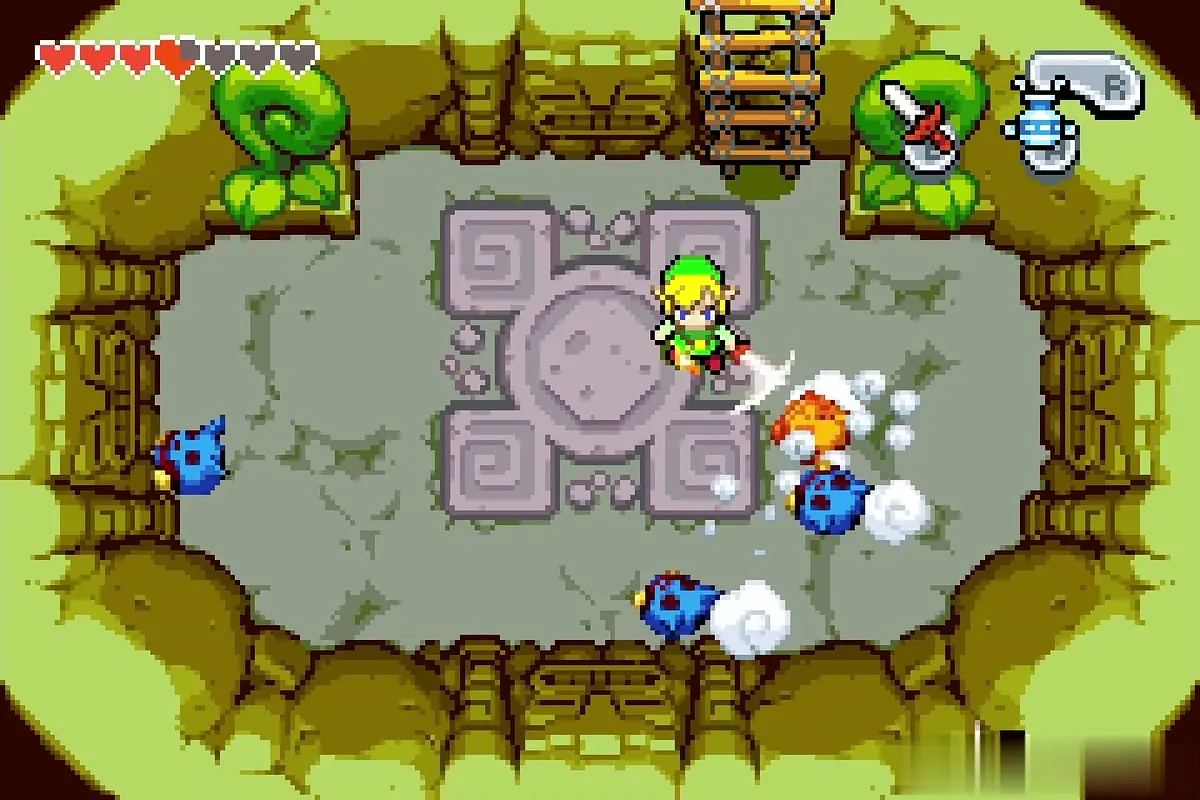
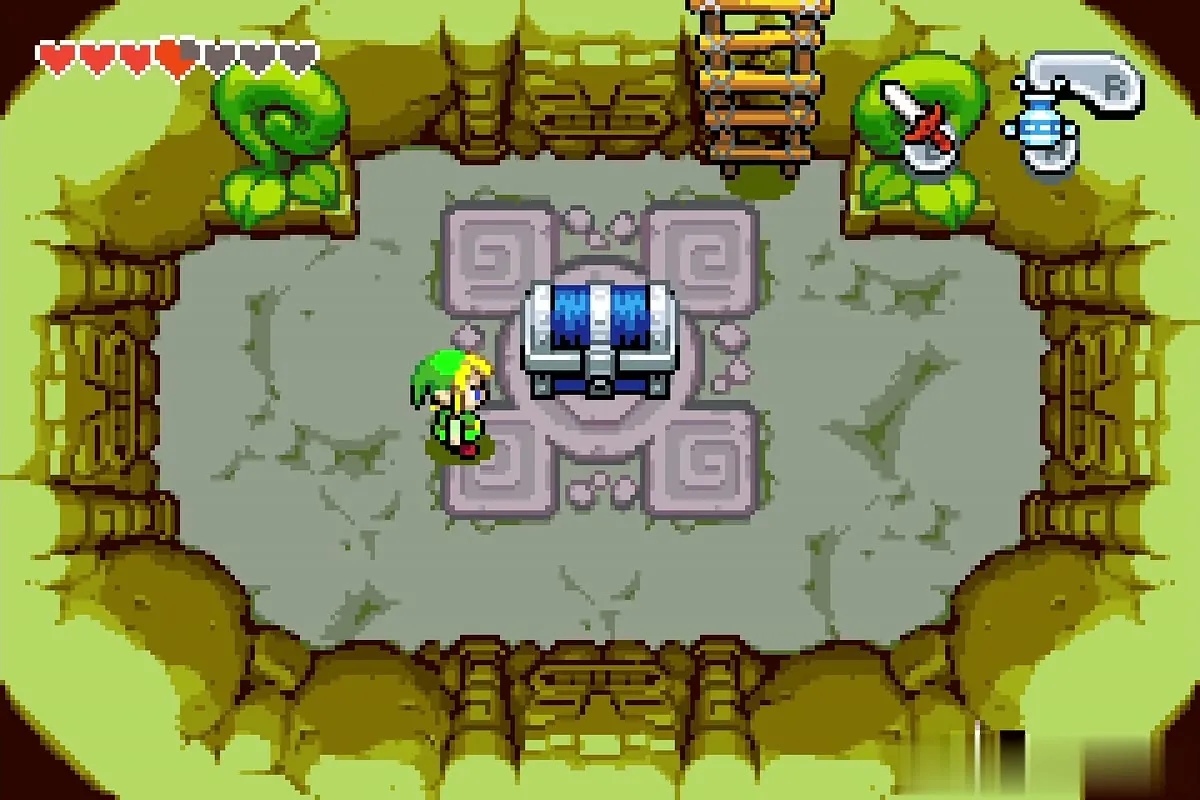
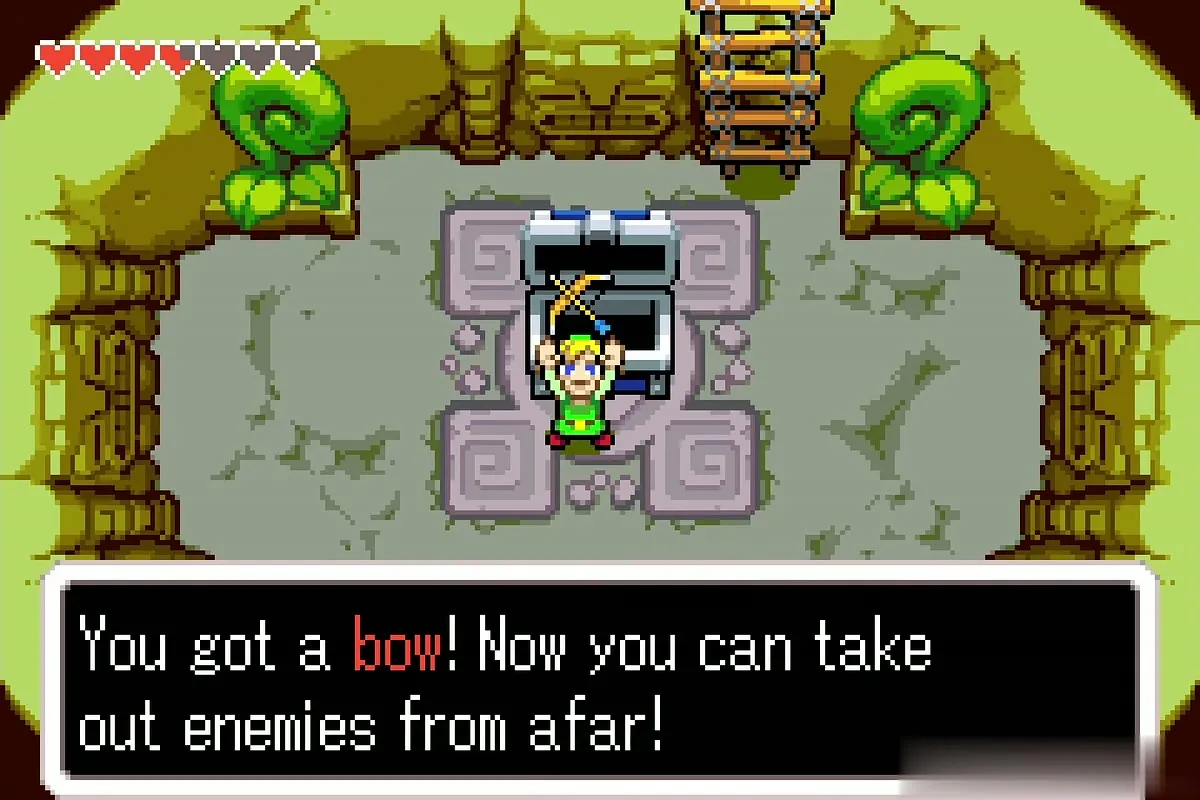
Cross back over the lily pads, step on the stump and grow to normal size. Open the items screen and put the Bow on a button.
Business Scrub and the first statue

Arrow scrub cave
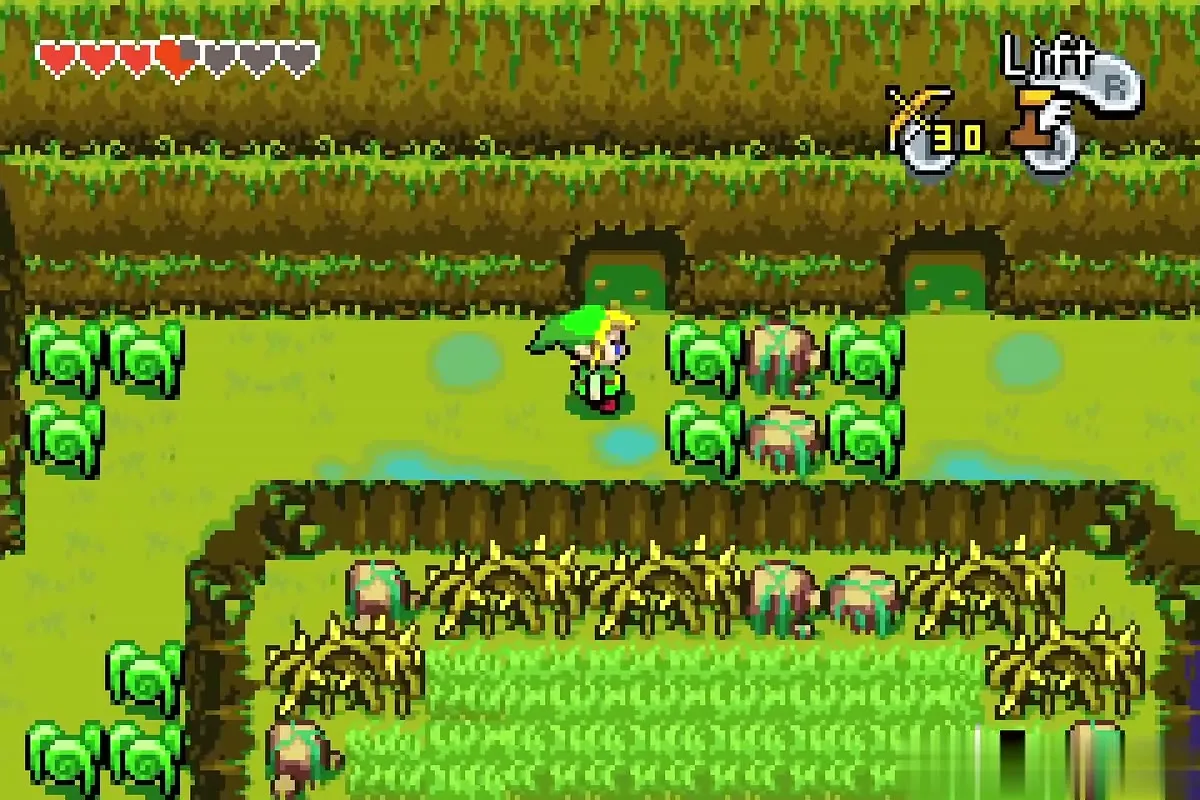
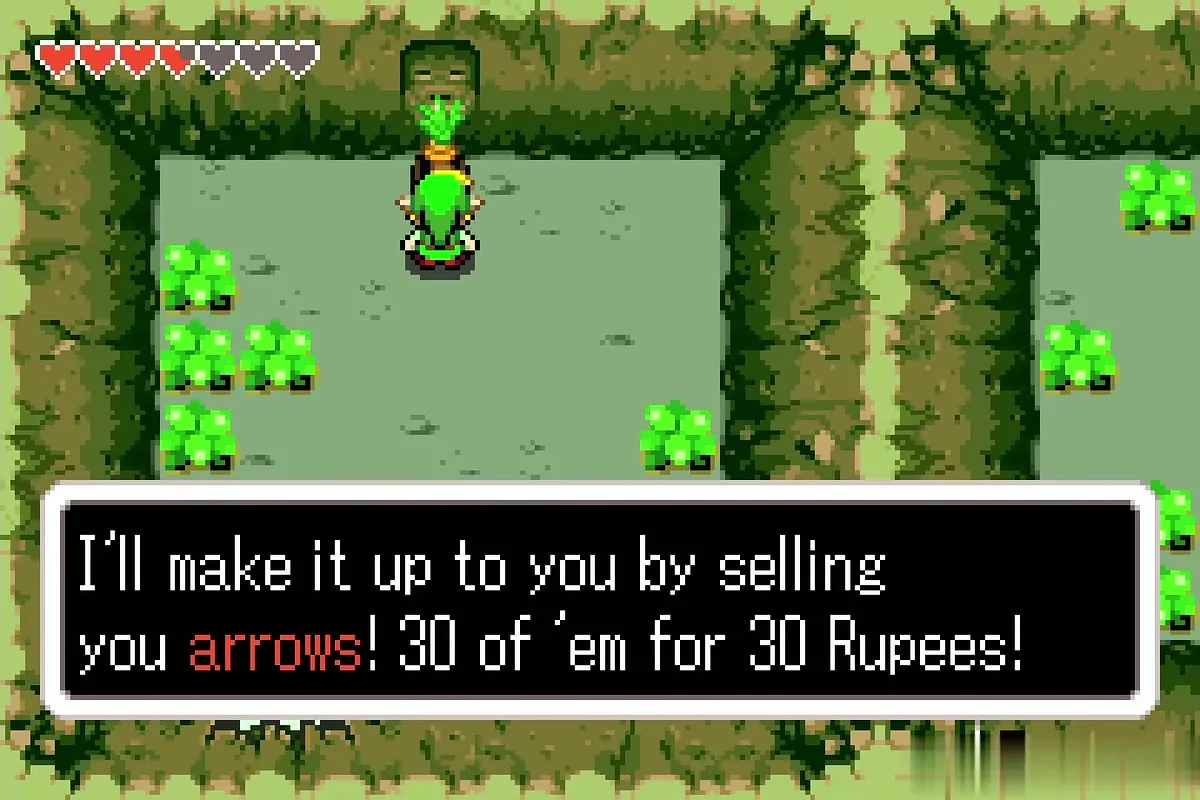
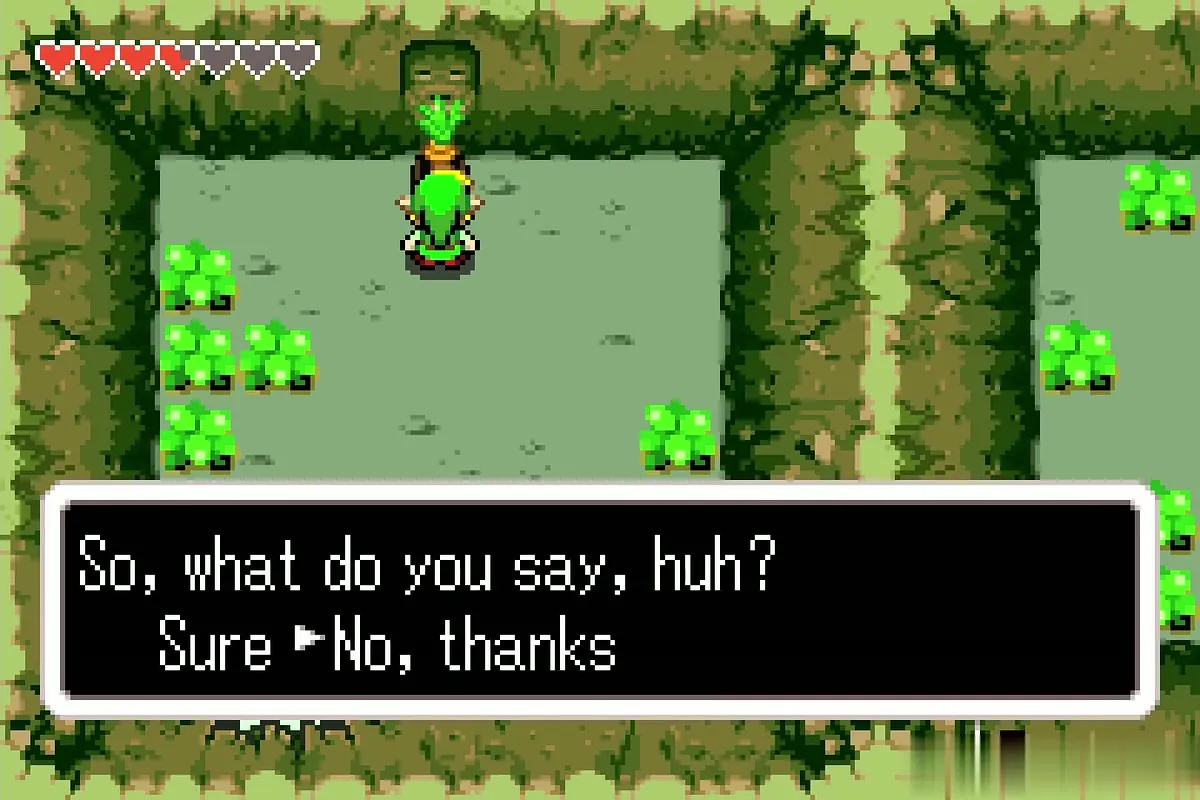
Find the small cave on the north side of the swamp bank and walk up to the Business Scrub inside; keep the Small Shield equipped, since it is what the scrub expects you to hold up. He offers to sell you arrows and asks if you want them. Your quiver already holds 30, so answer No, thanks and keep your rupees.
Shoot the one-eyed statue
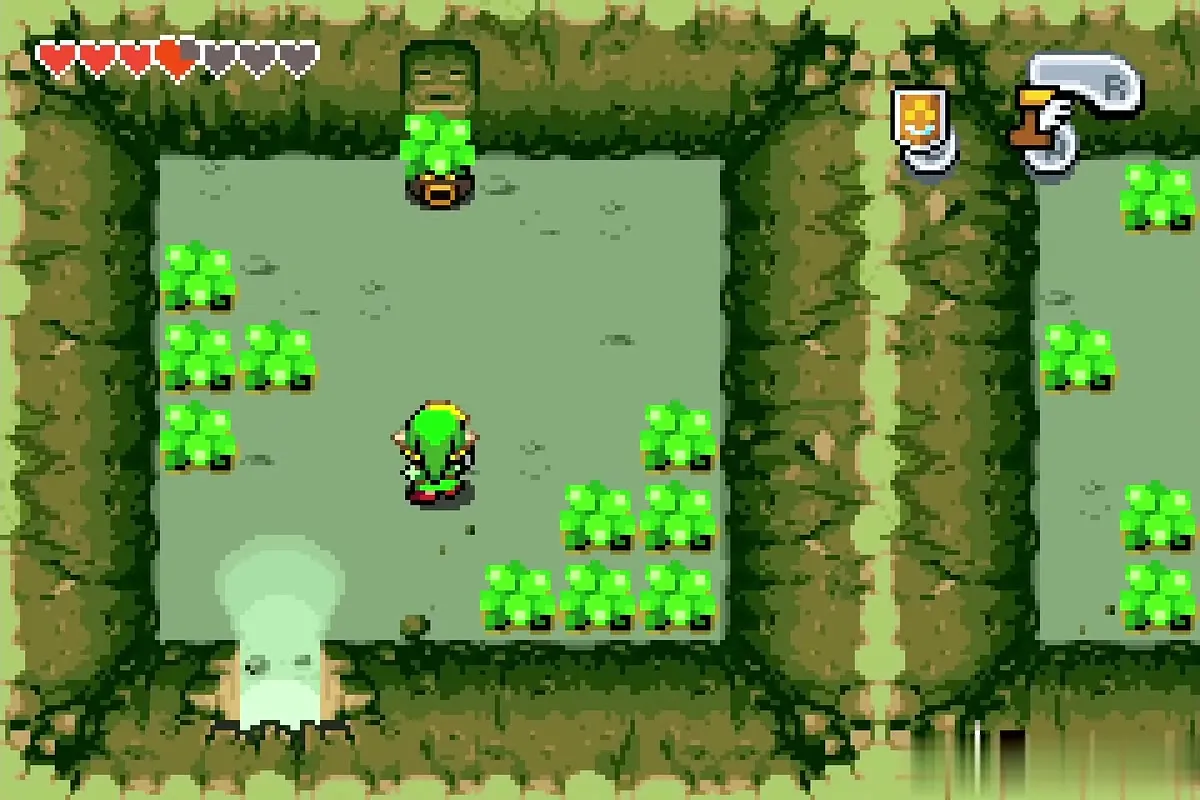
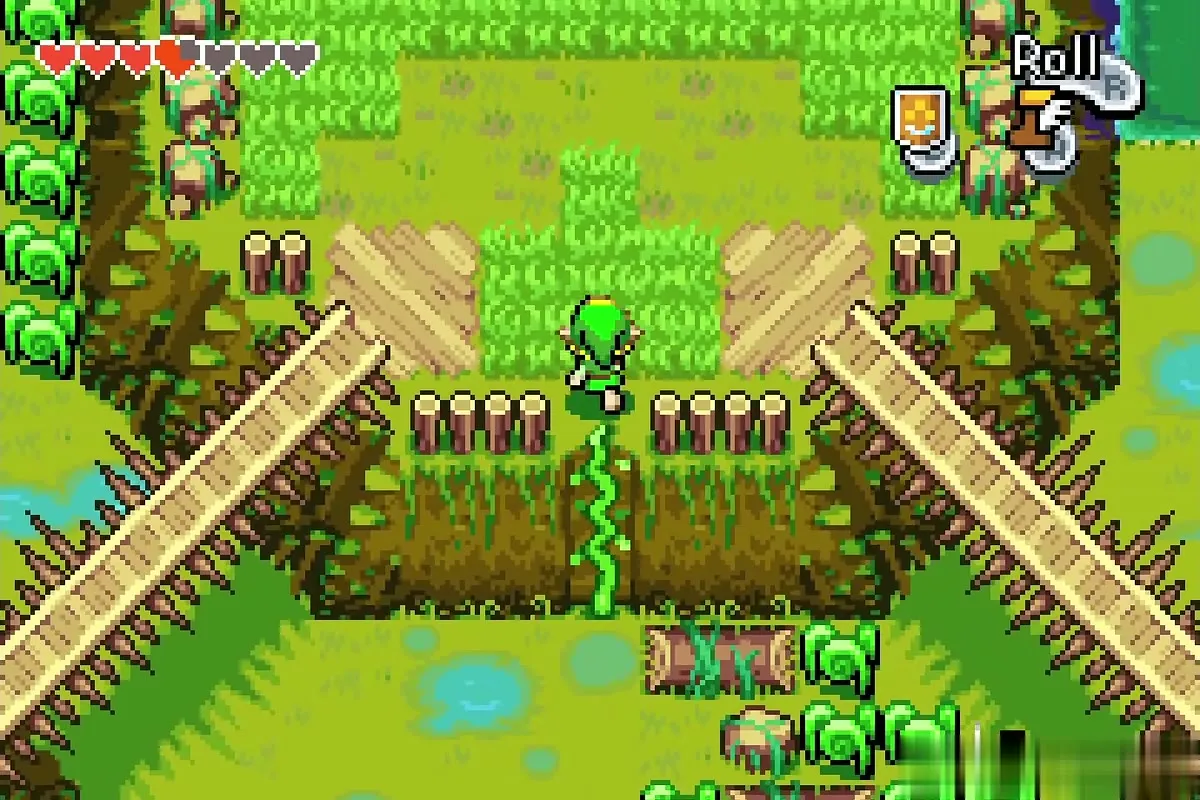
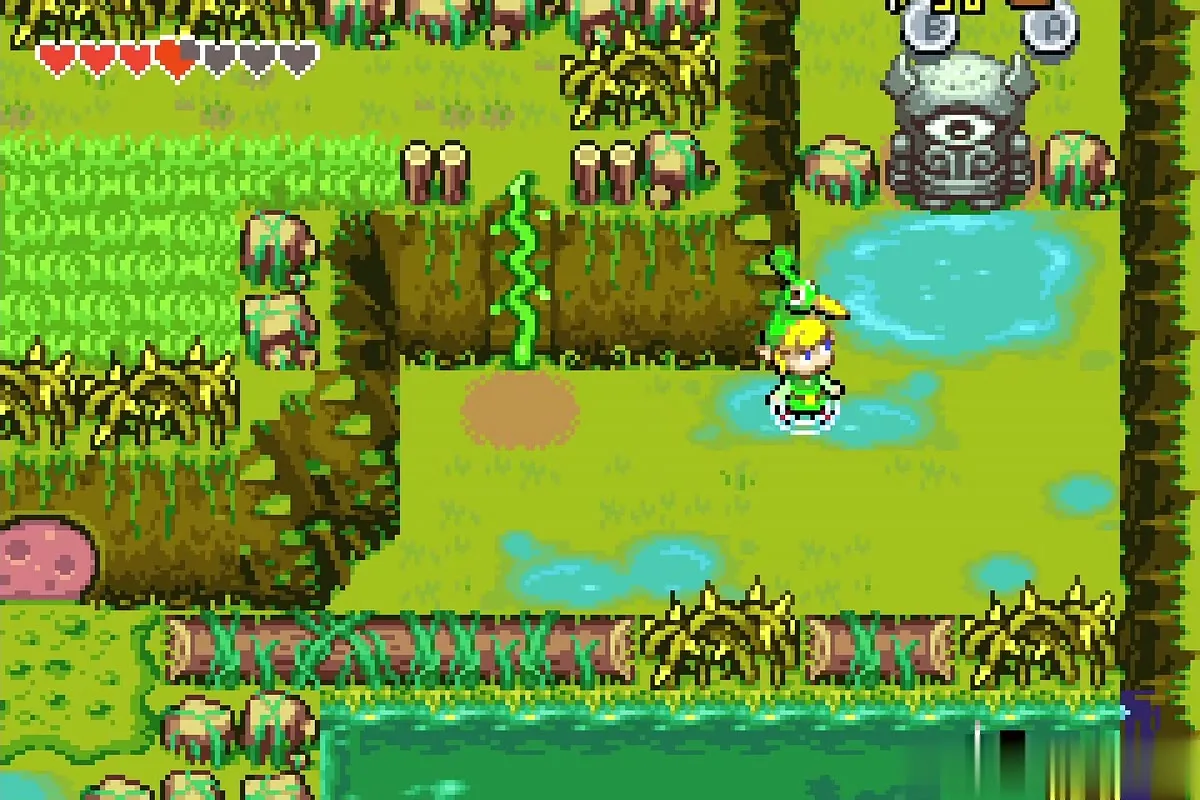
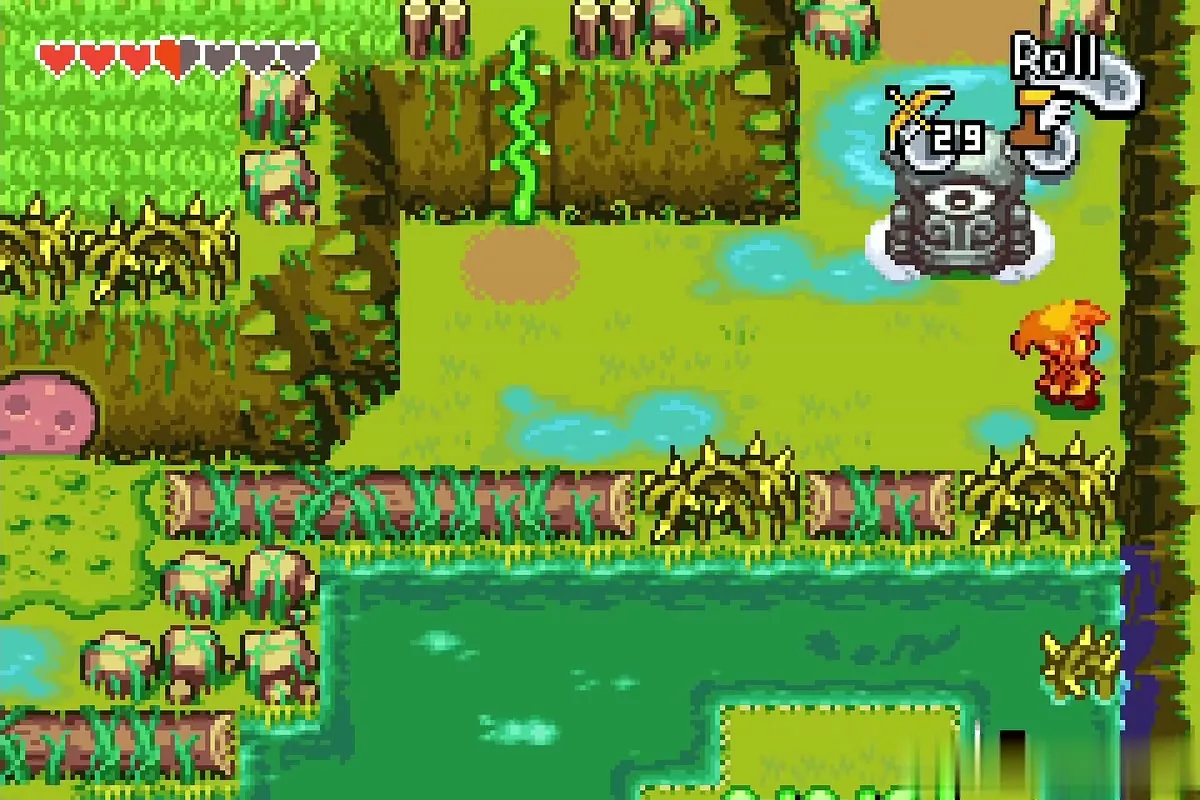
Back outside, follow the bridges south to the first stone statue with one eye. It is invulnerable until you hit the eye: stand back and shoot it with the Bow until the statue breaks. That clears the vine behind it, which you climb to reach the next stretch of swamp.
Second Gold Kinstone
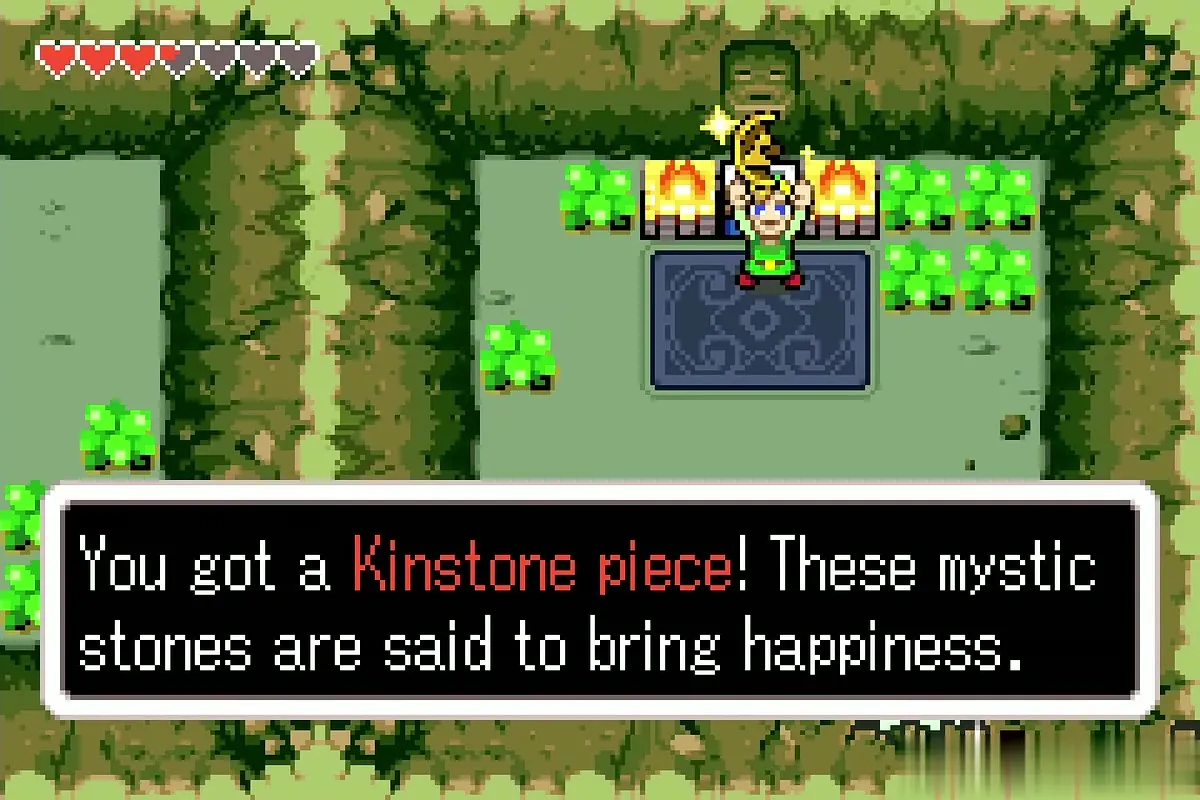
Dash east across the swamp from the broken statue to the cave on the far bank. Walk in and open the chest in the torch-lit room for the second Gold Kinstone piece.
Castor Wilds Wind Crest
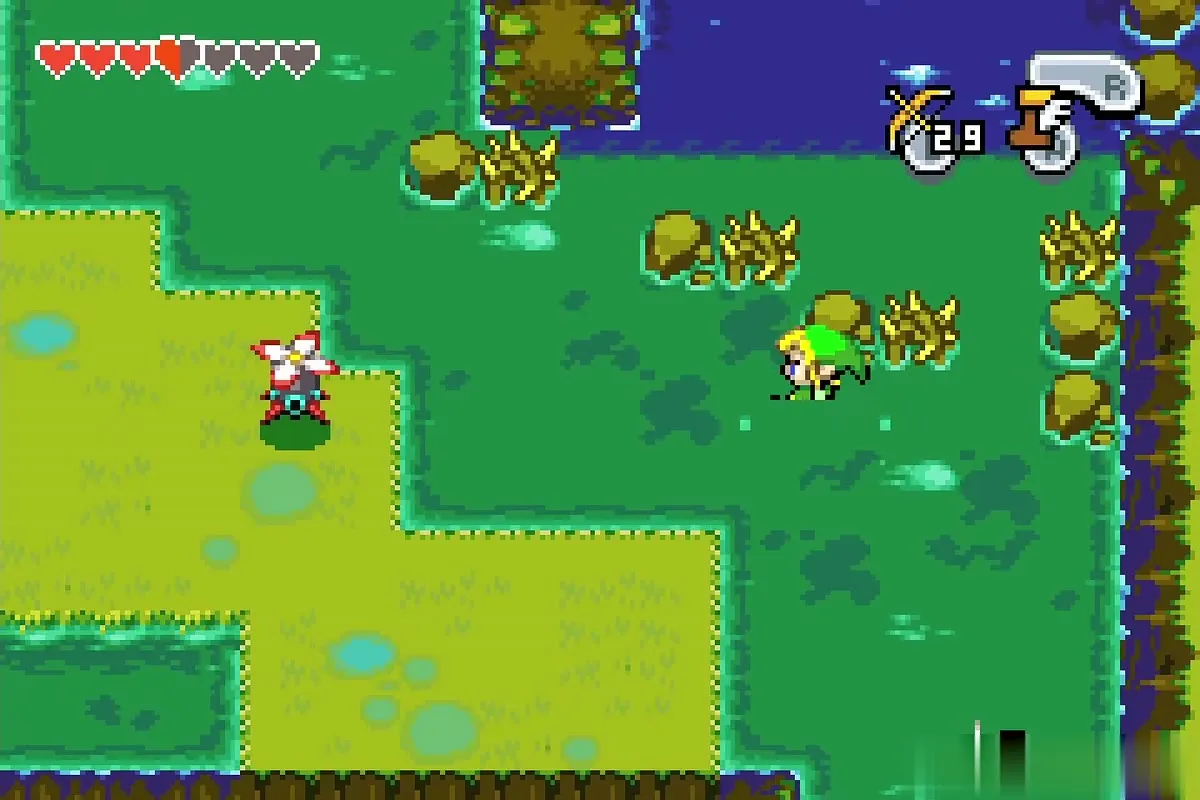
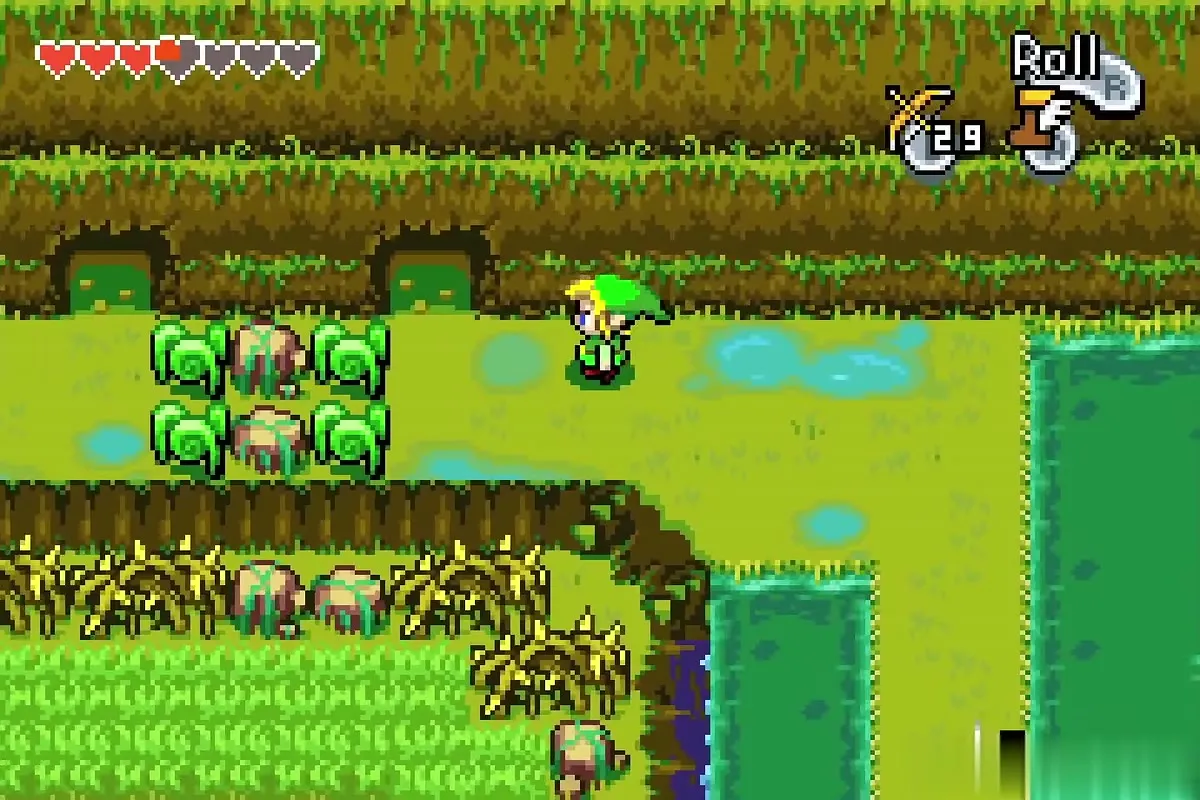
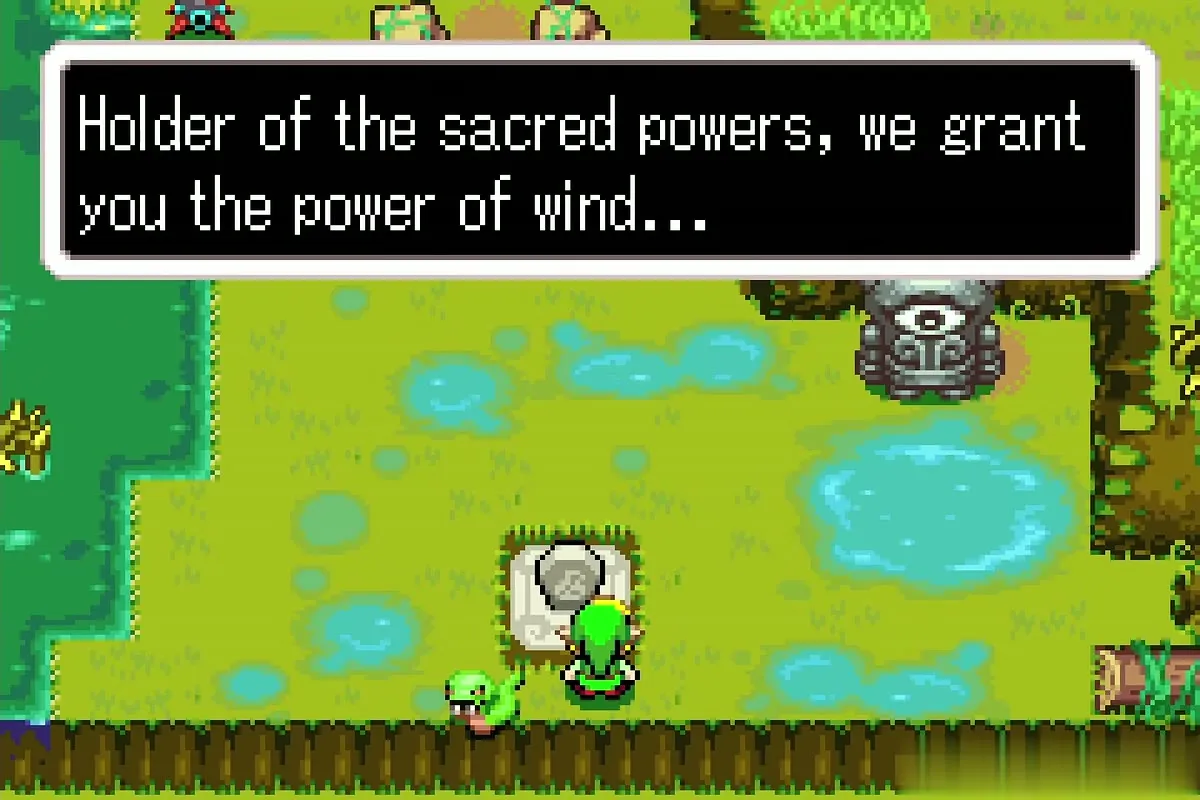
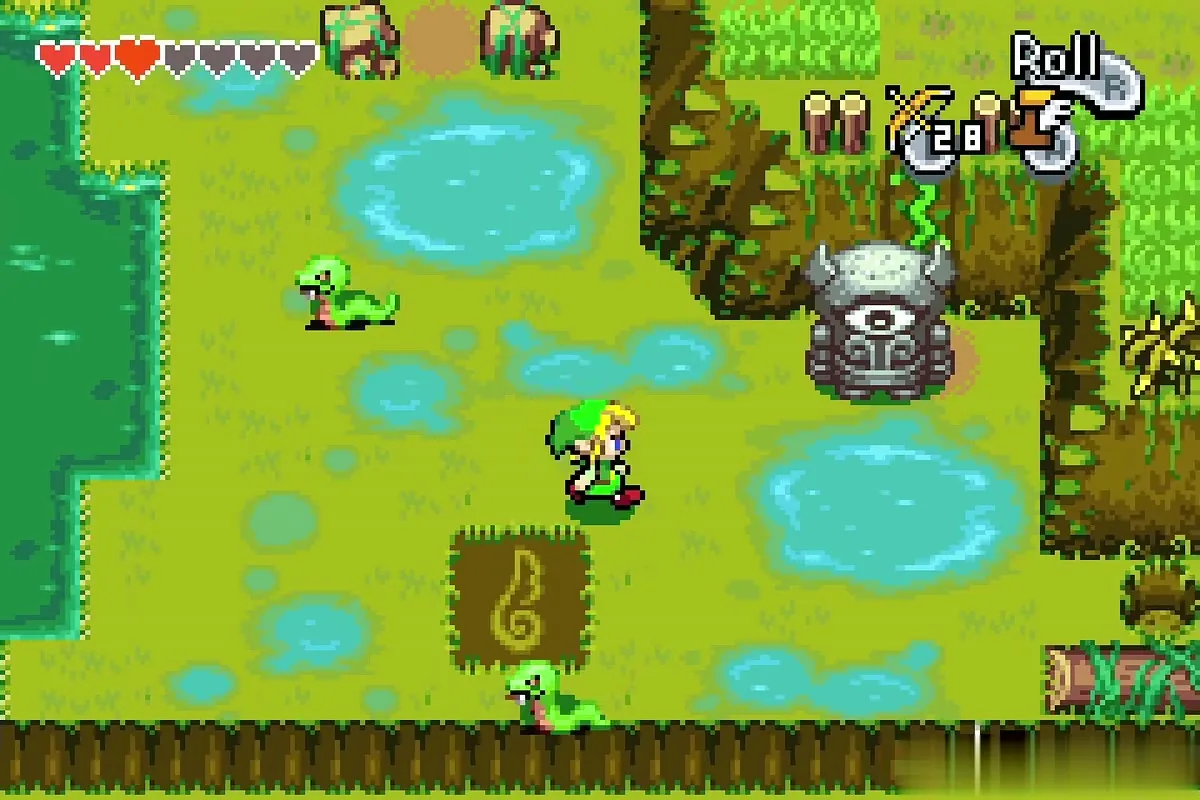
Head back through the marsh to the grass bank on the west side. A small stone obelisk stands there; touch it and it speaks, then crumbles, which reveals a Wind Crest tile with a music note. Step on it to register the Castor Wilds Wind Crest, which you can warp to later once you own the Ocarina of Wind.
Third Gold Kinstone
Second statue and the whirlwind
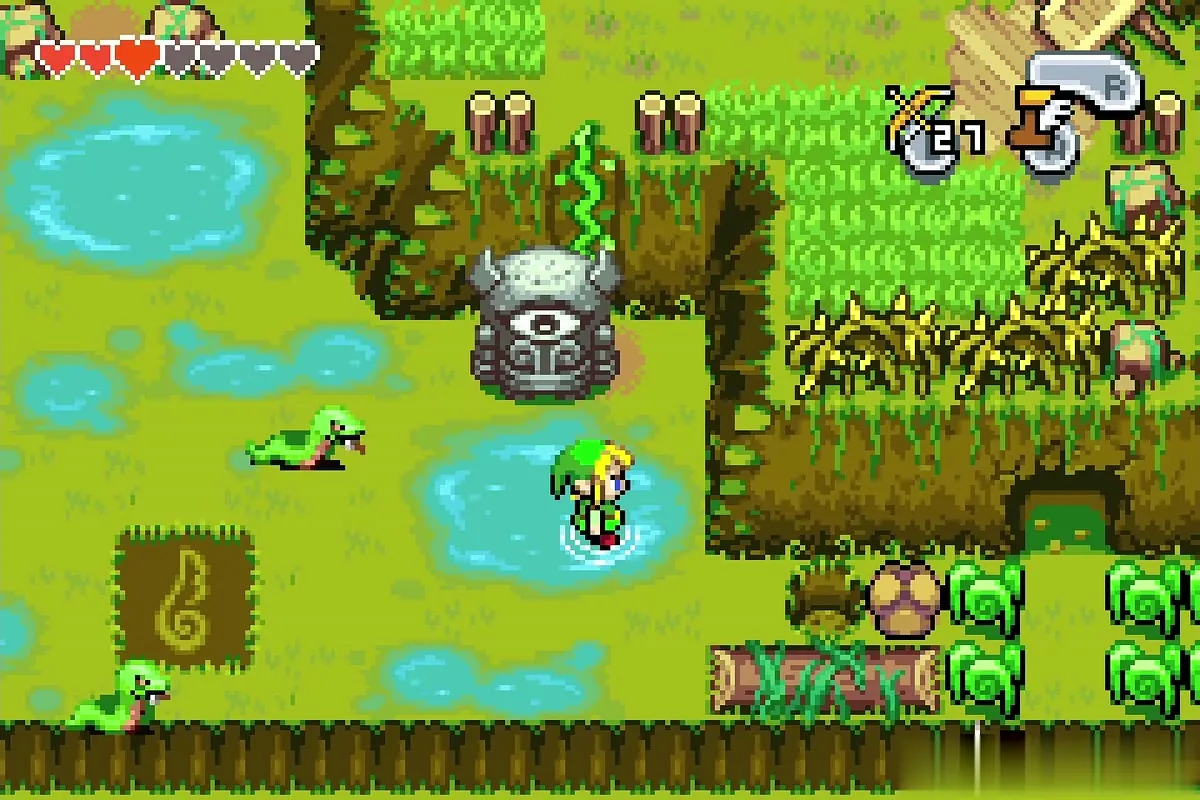
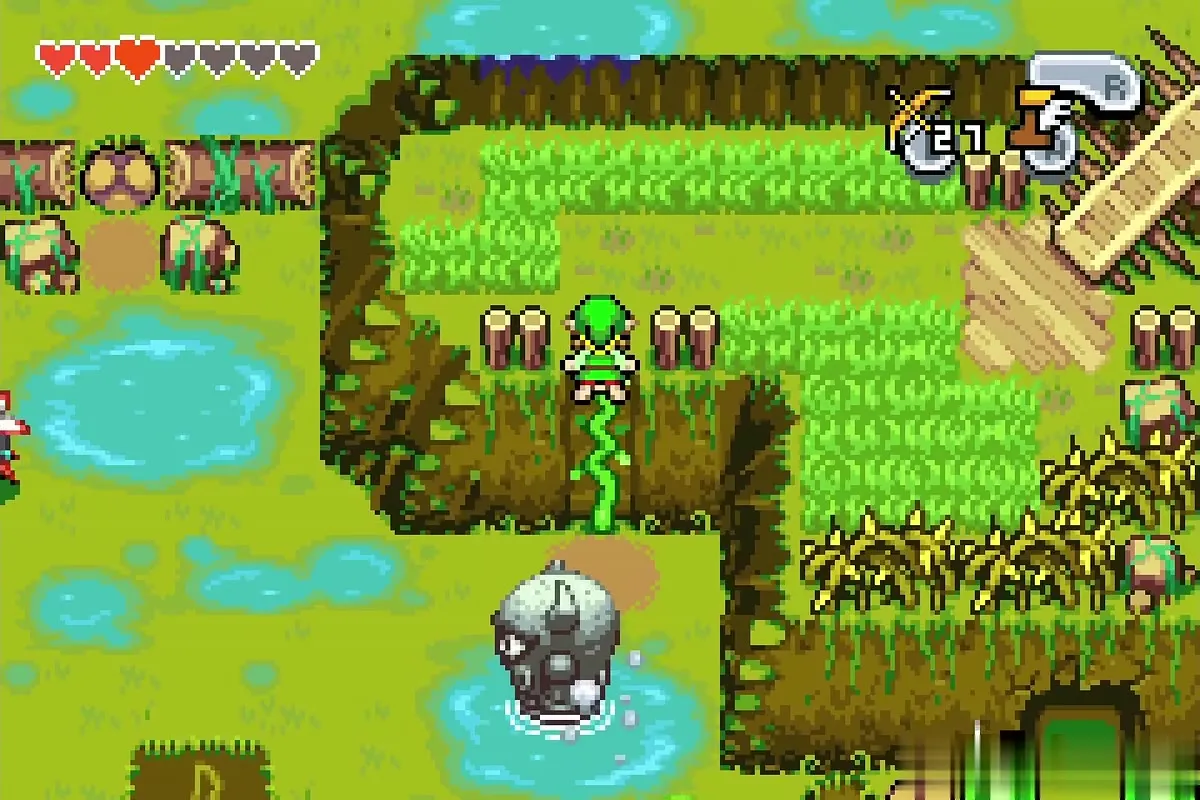
From the crest, go to the second one-eyed statue that guards the next ledge. Shoot its eye to destroy it, climb the vine behind it and cross the bridge to the east. At the end a whirlwind waits: jump into it, hold the button and let the air carry Link south-west over the lake.
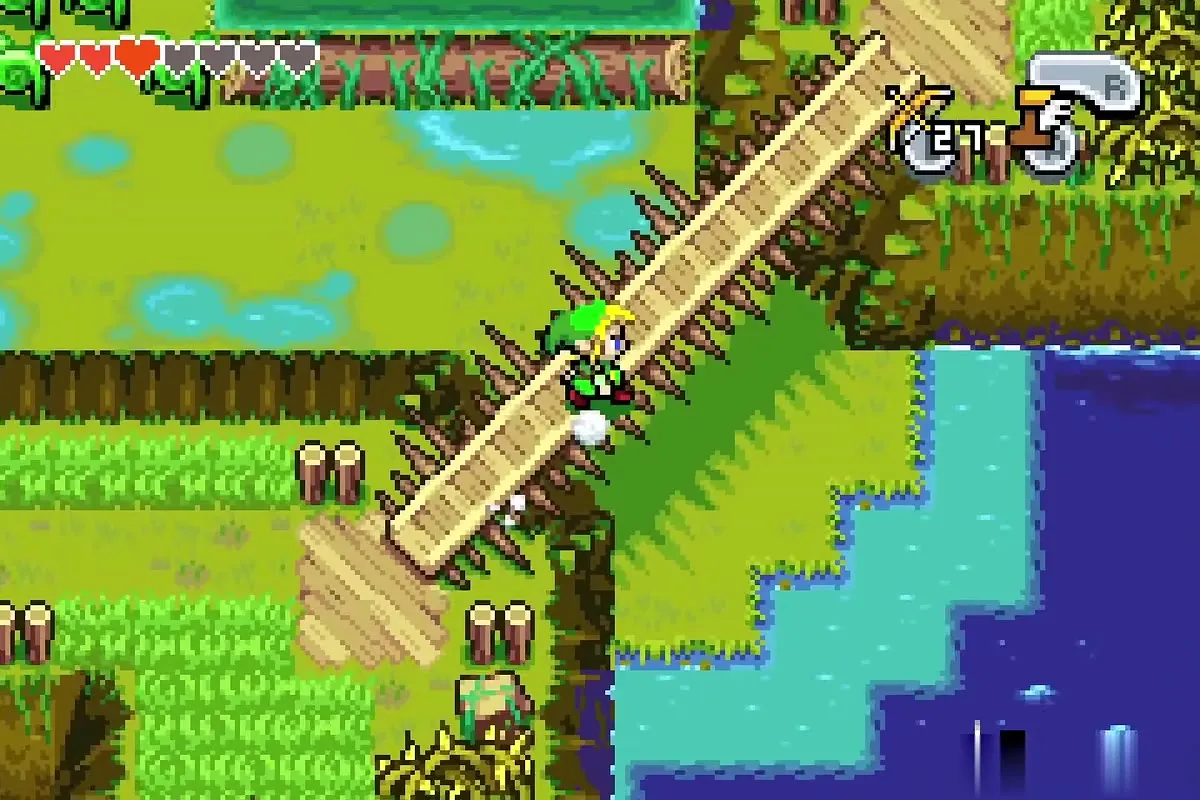
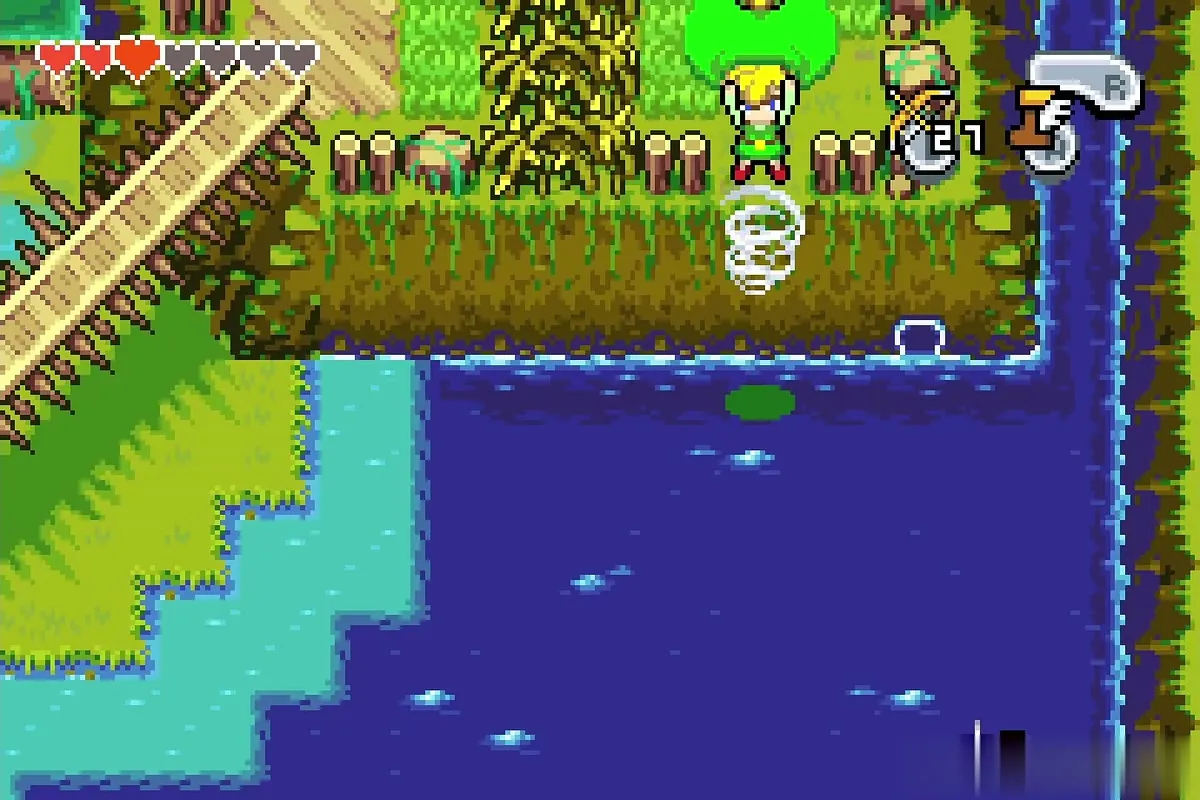
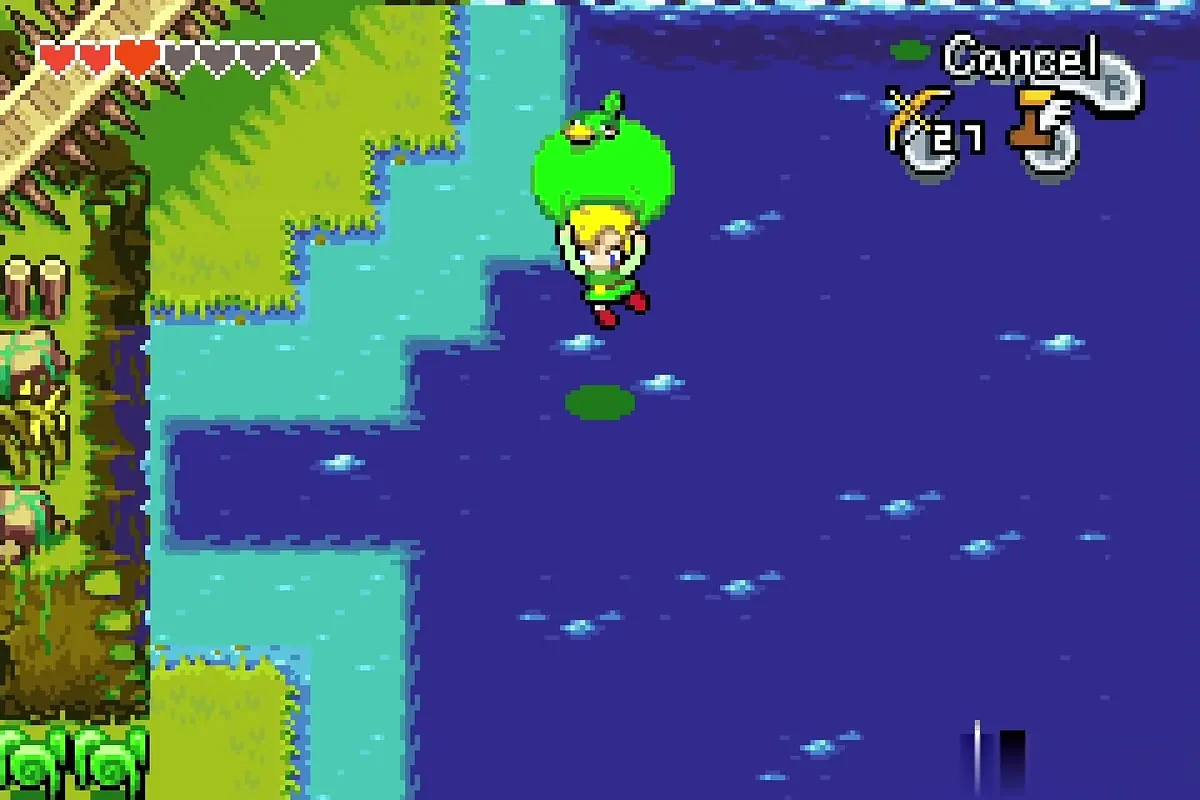

Small cave
Land on the little ledge, then enter the cave beside it. Open the chest between the torches for the third Gold Kinstone piece. You now carry all three.
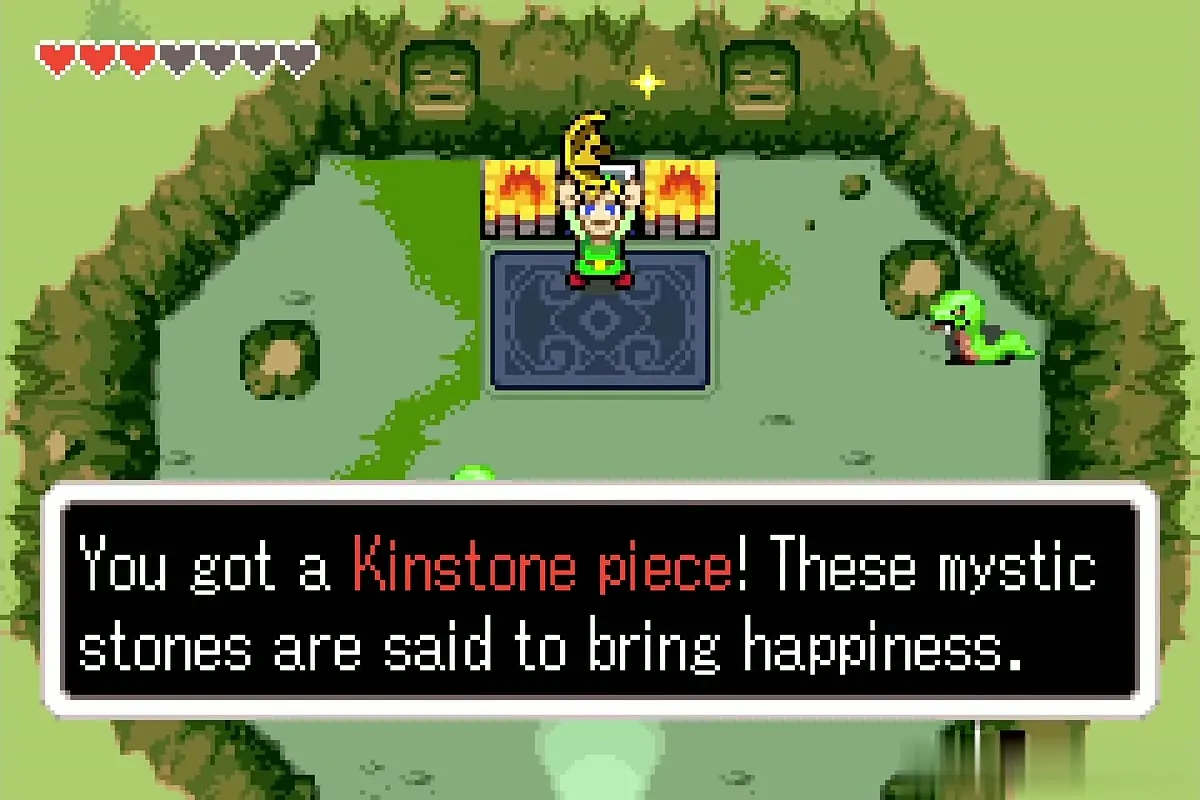
Mysterious Statue Kinstone fusions
Fuse all three statues
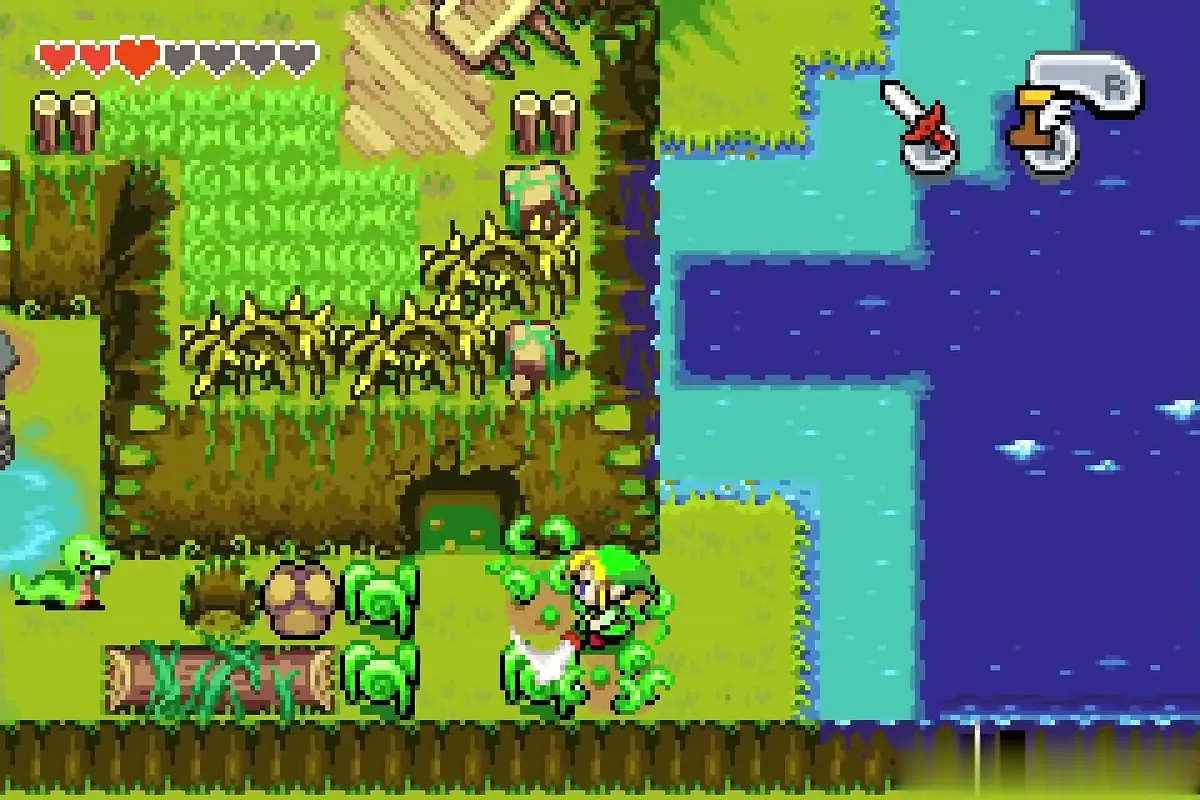
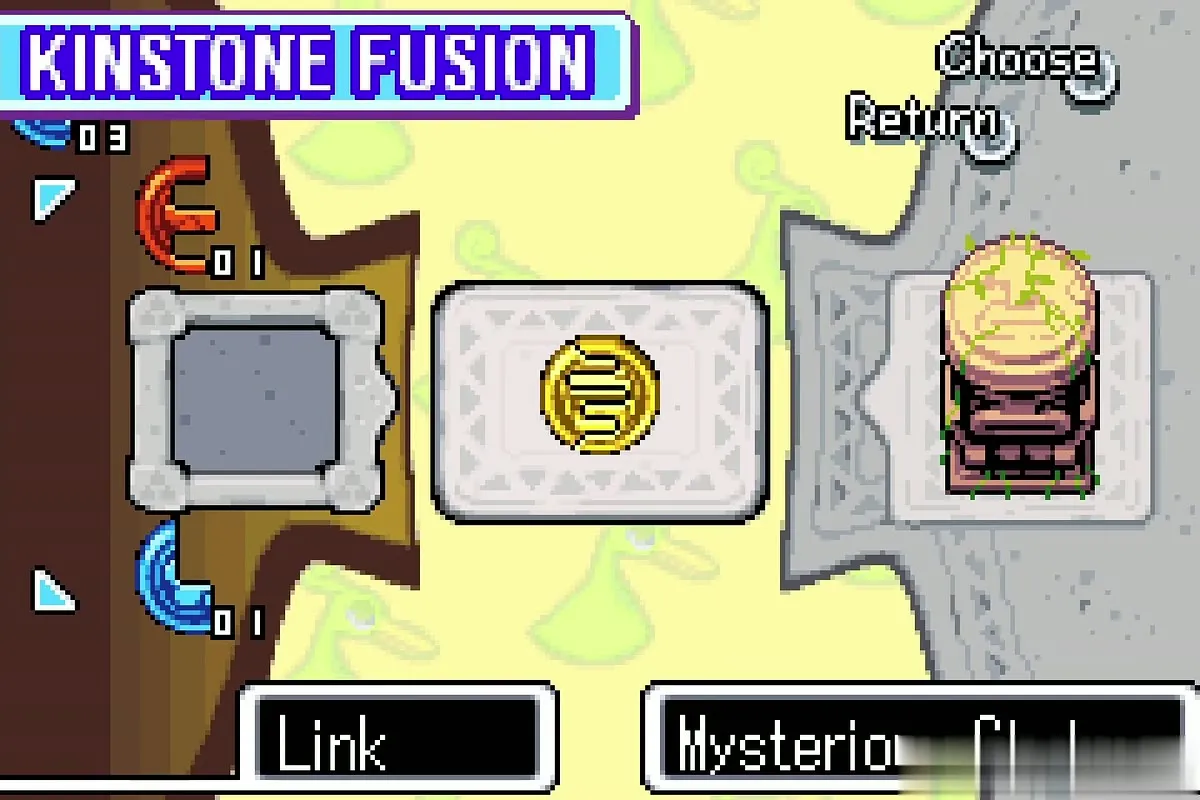
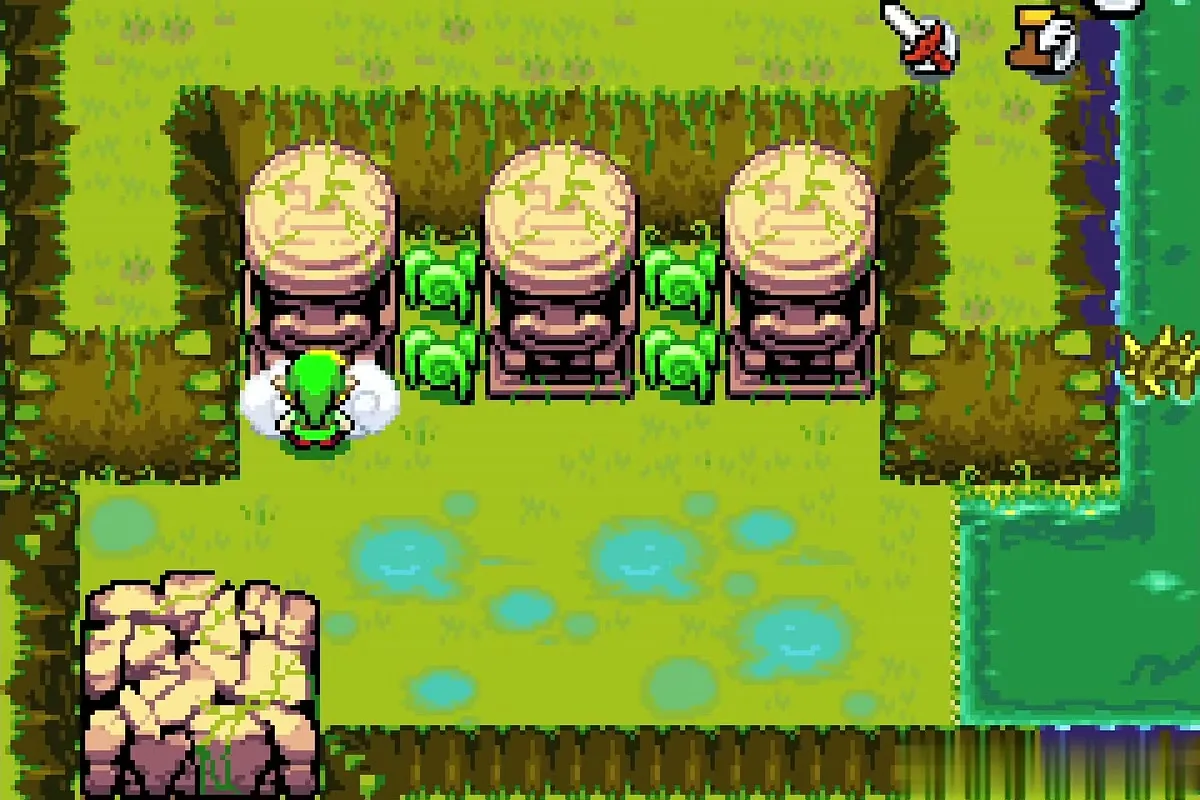
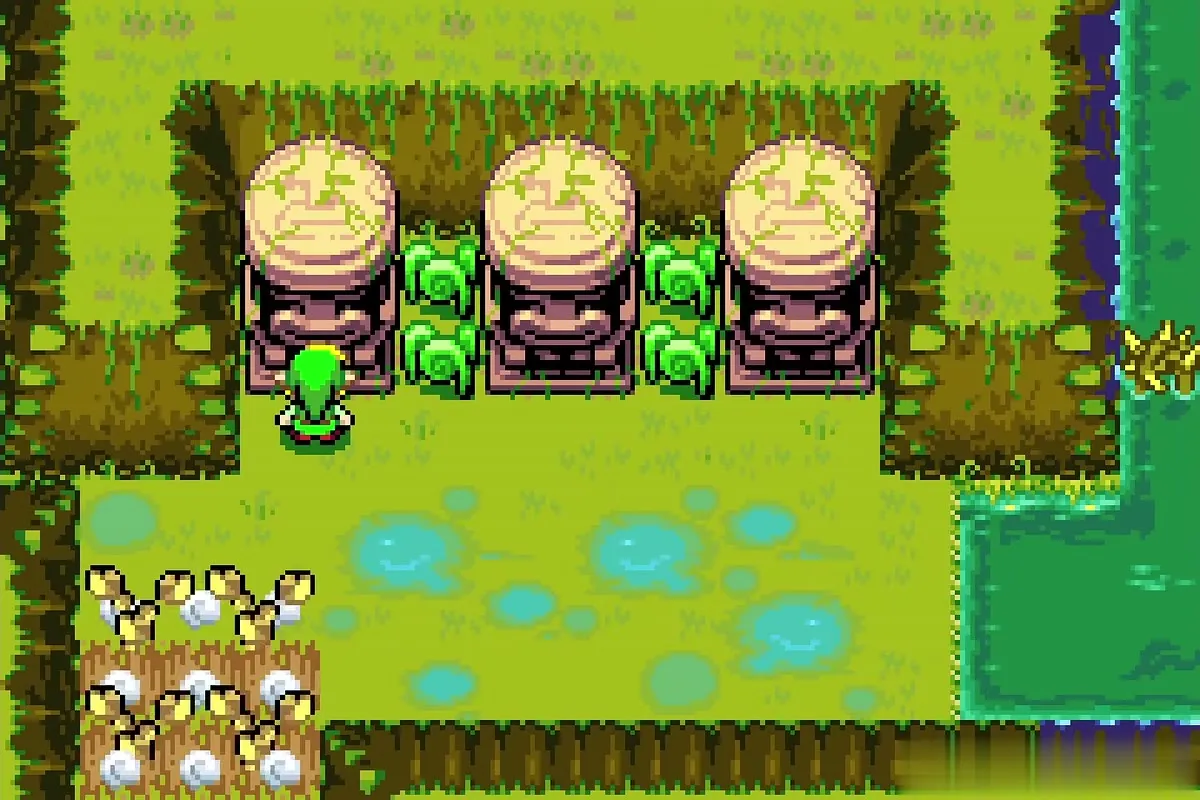
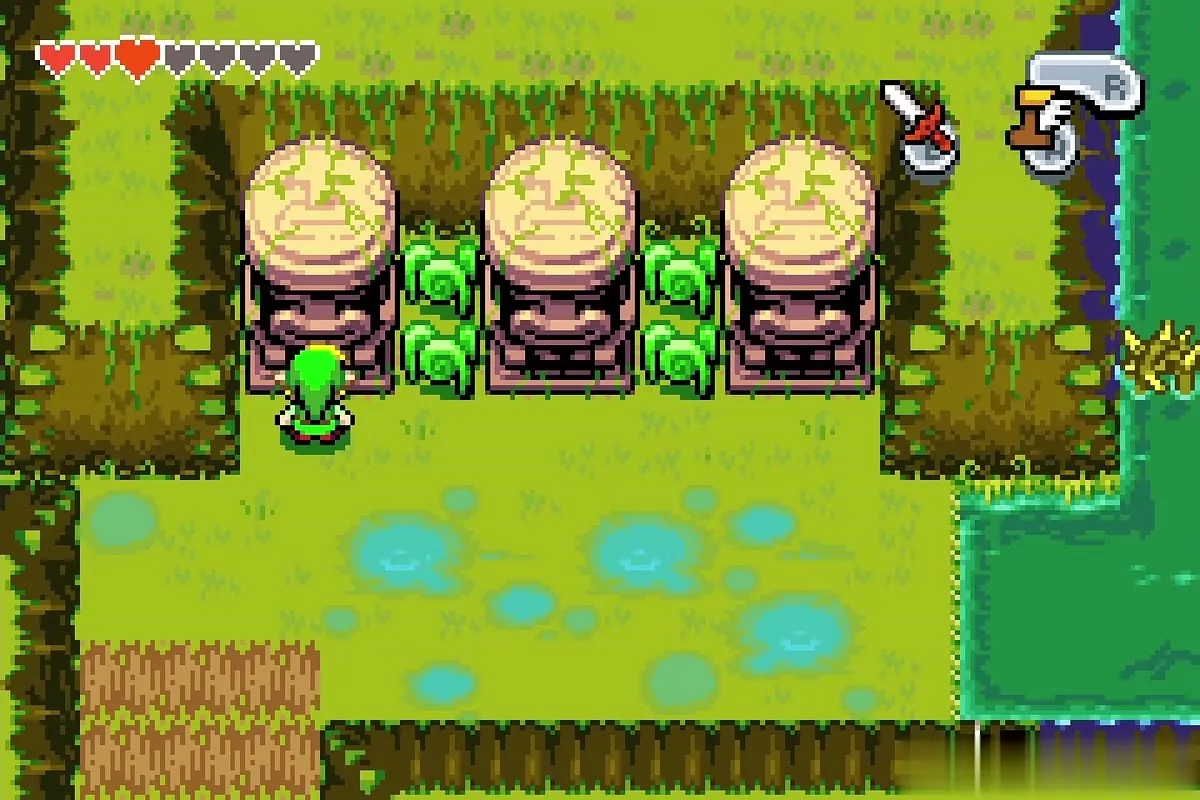
Return to the south-west corner of the swamp, where three Mysterious Statues stand in a row. Walk up to each one in turn and fuse a Gold Kinstone piece with it; every time the two halves fit perfectly. The full rules are in Kinstone fusions.
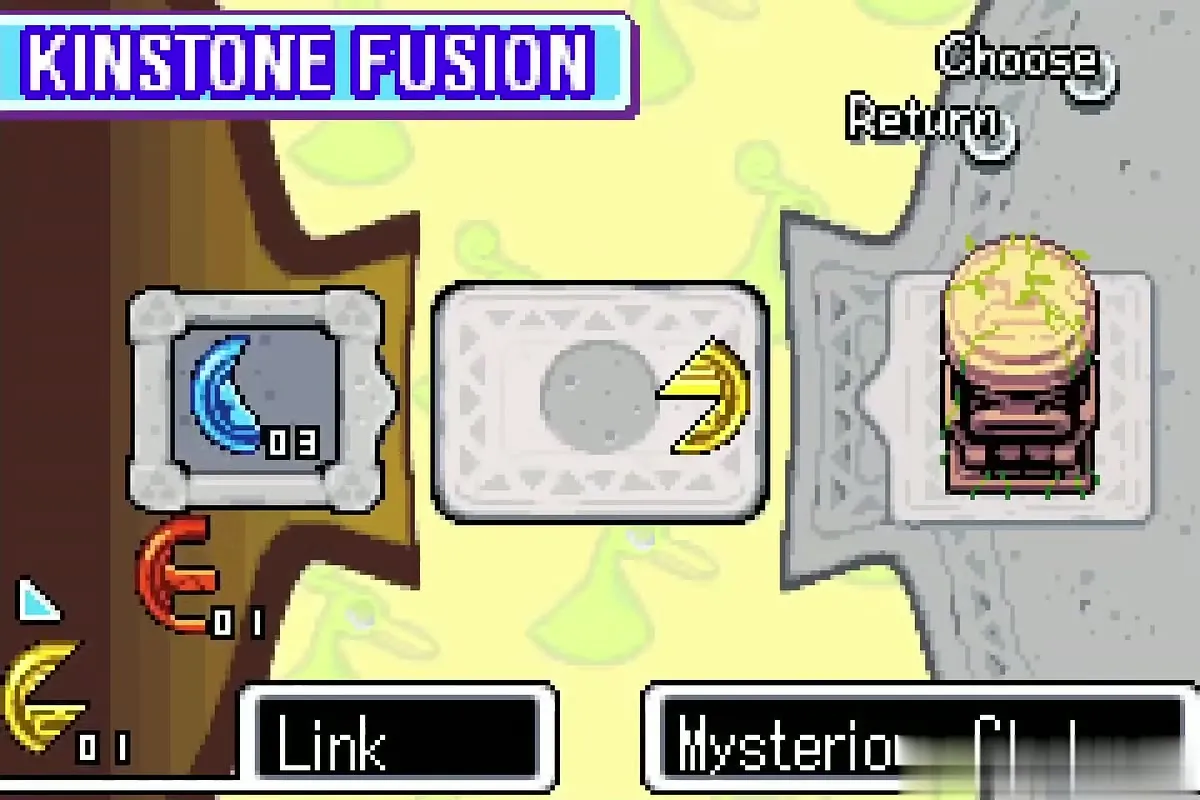
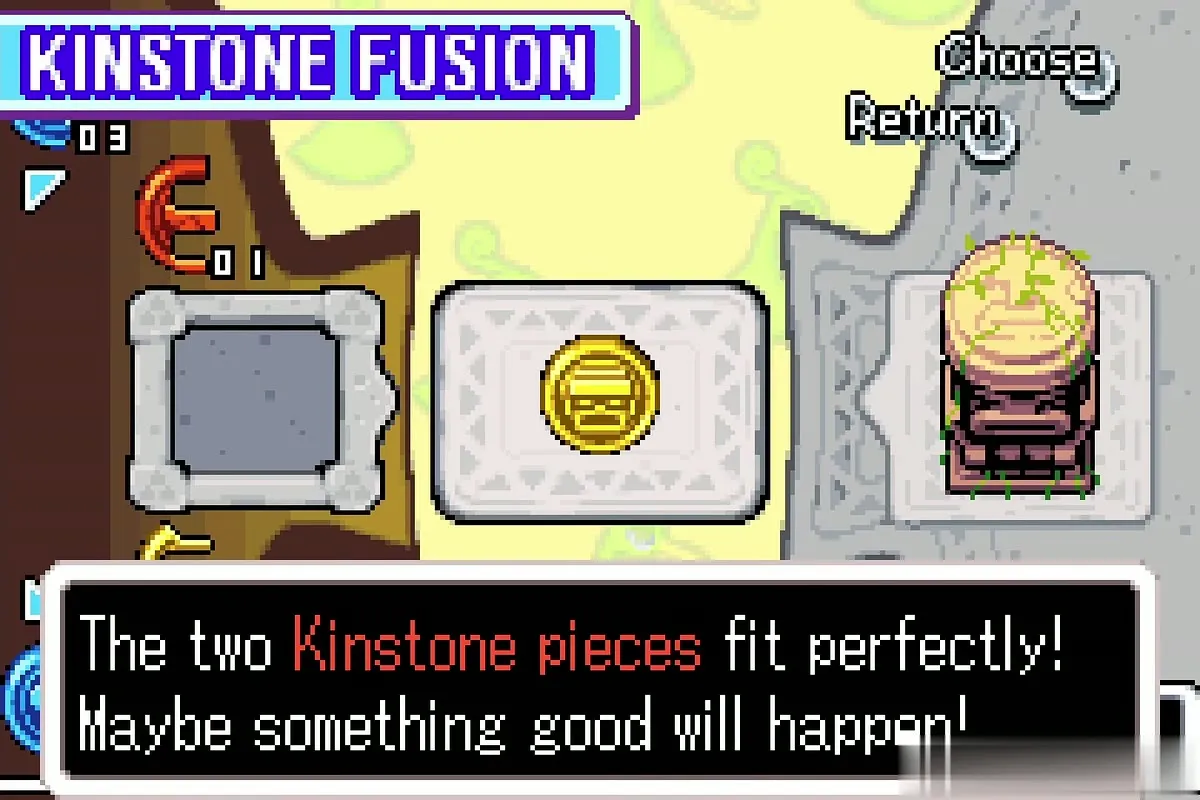
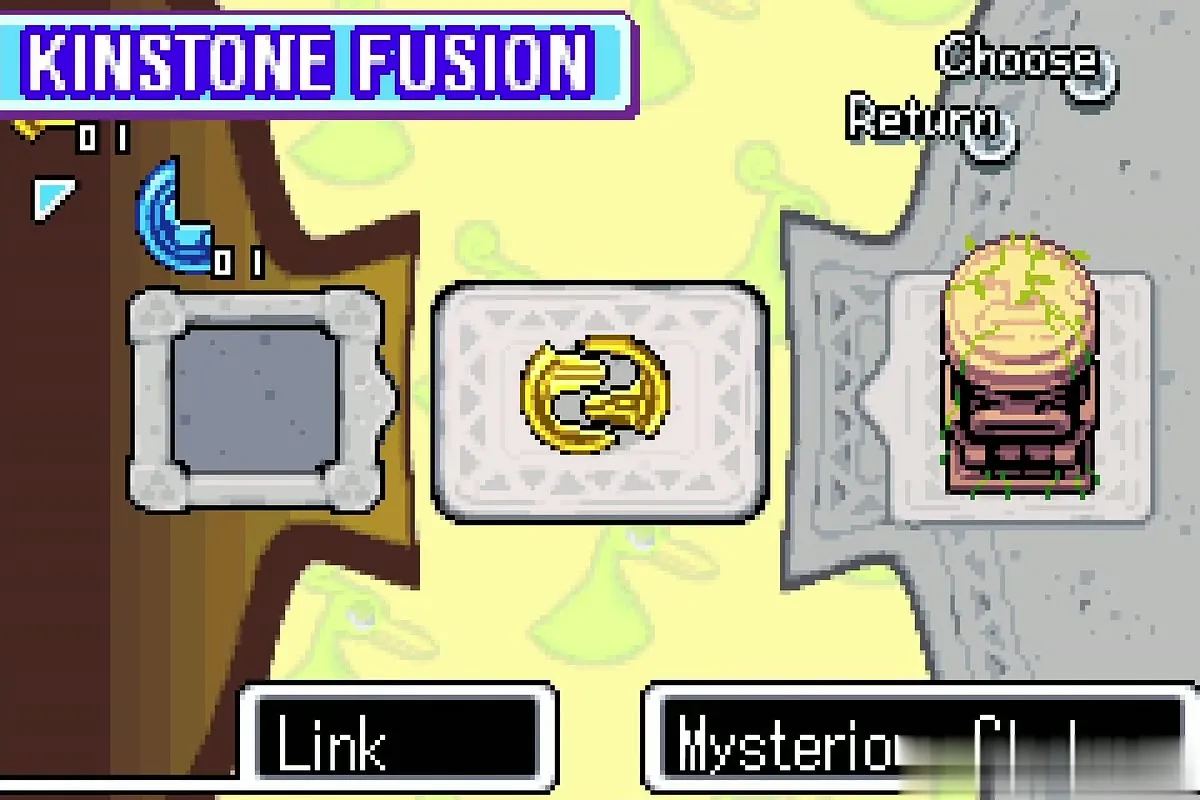
After the third fusion the large rock that blocked the south edge of the swamp is gone. Follow the opening south and leave Castor Wilds; the next area is the Wind Ruins.
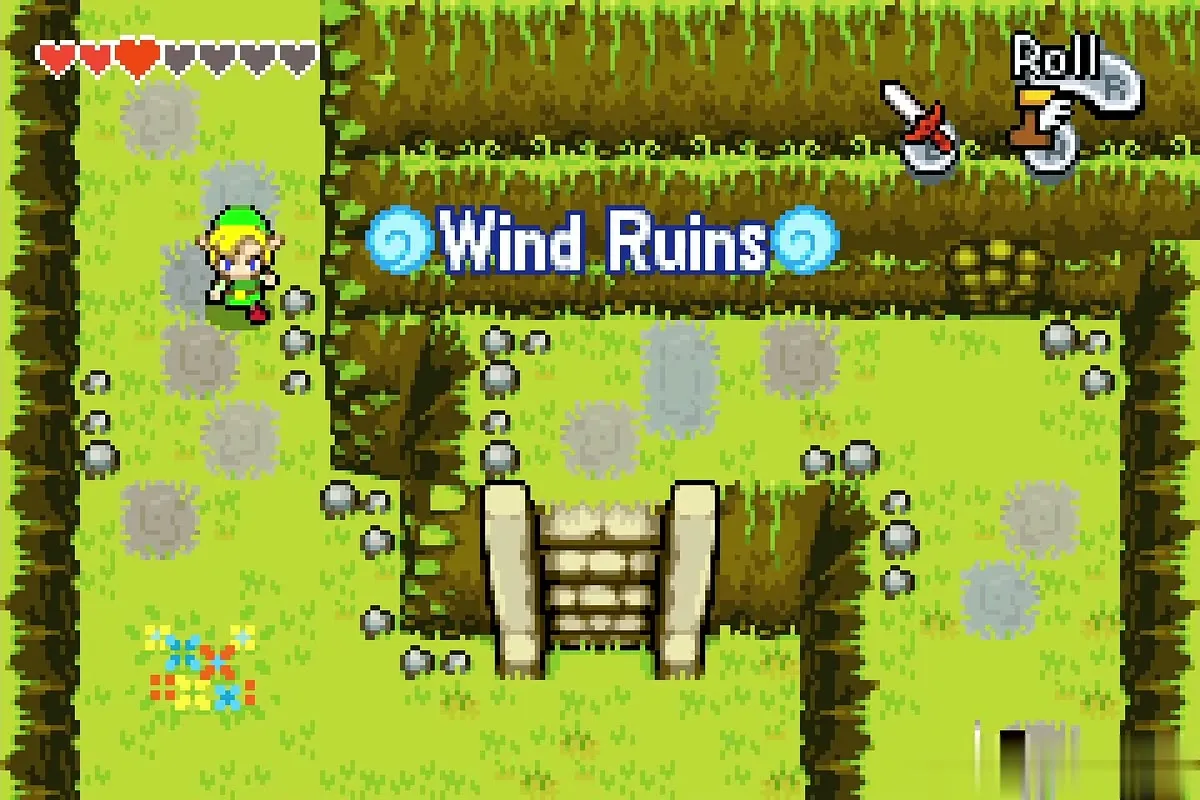
Wind Ruins
Stairs, stump and the iron automata house
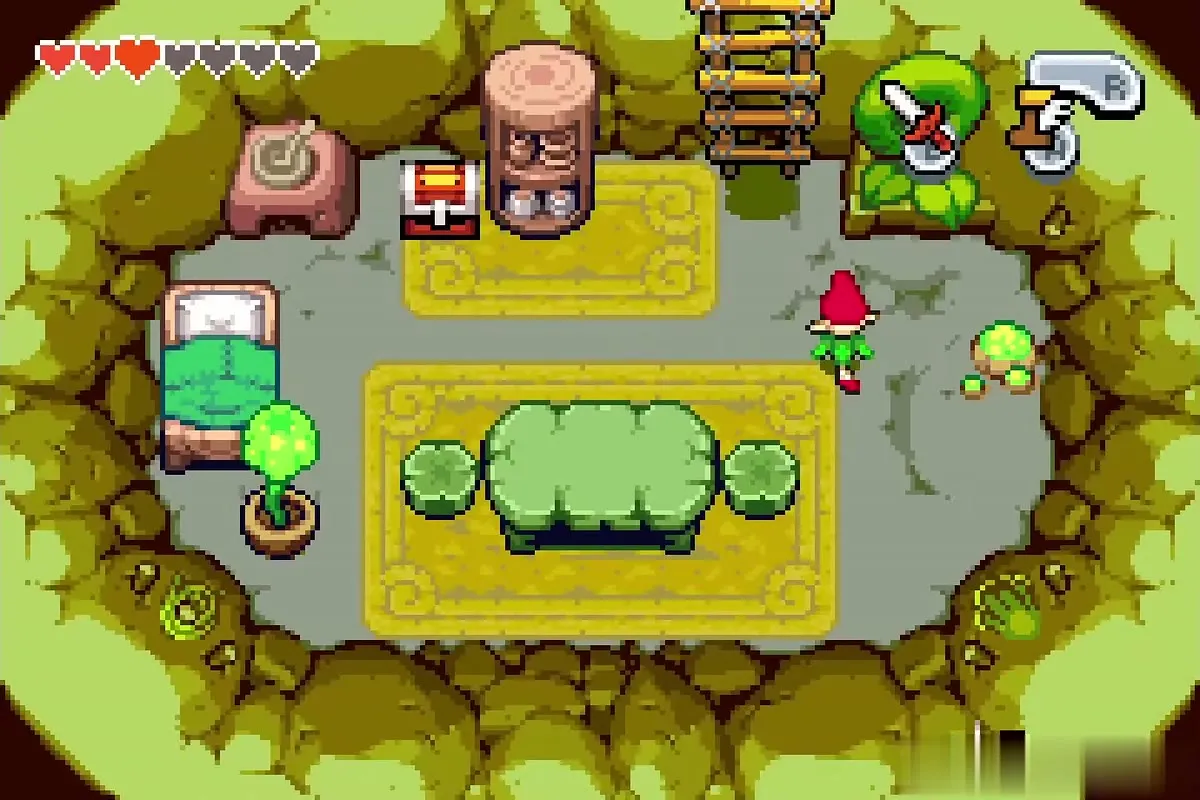
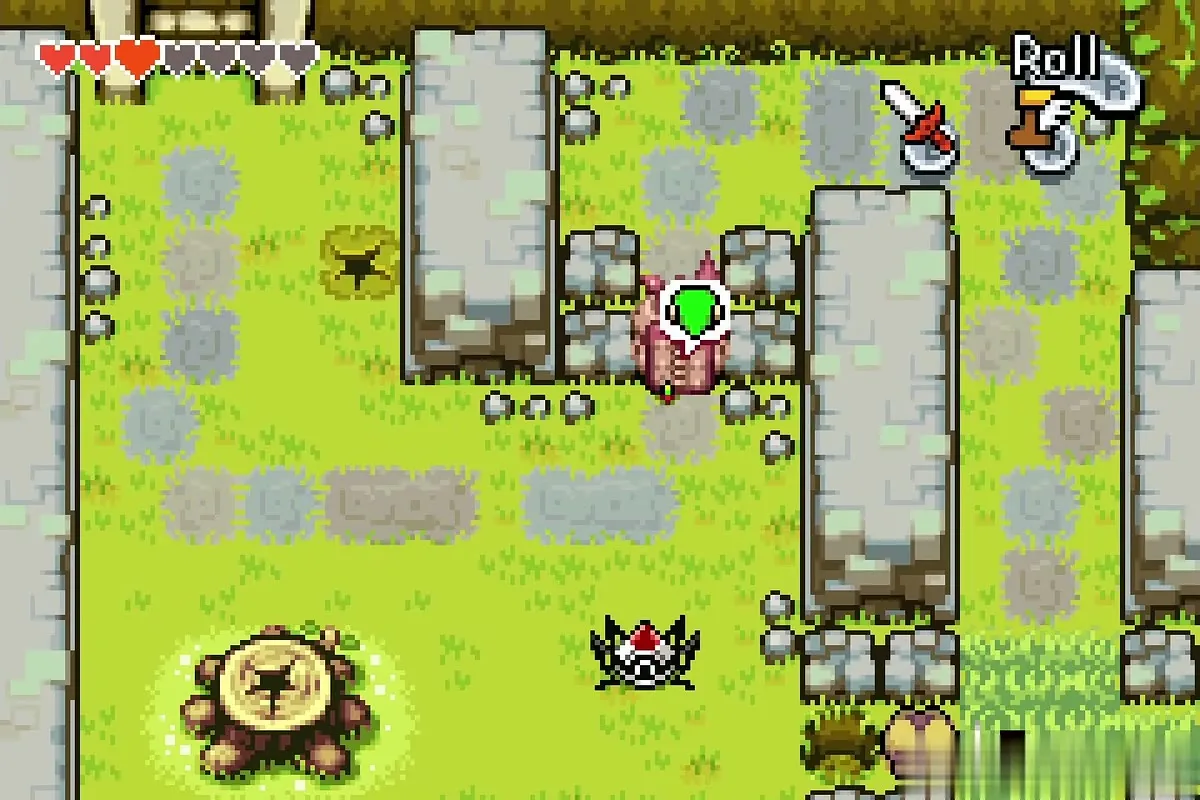
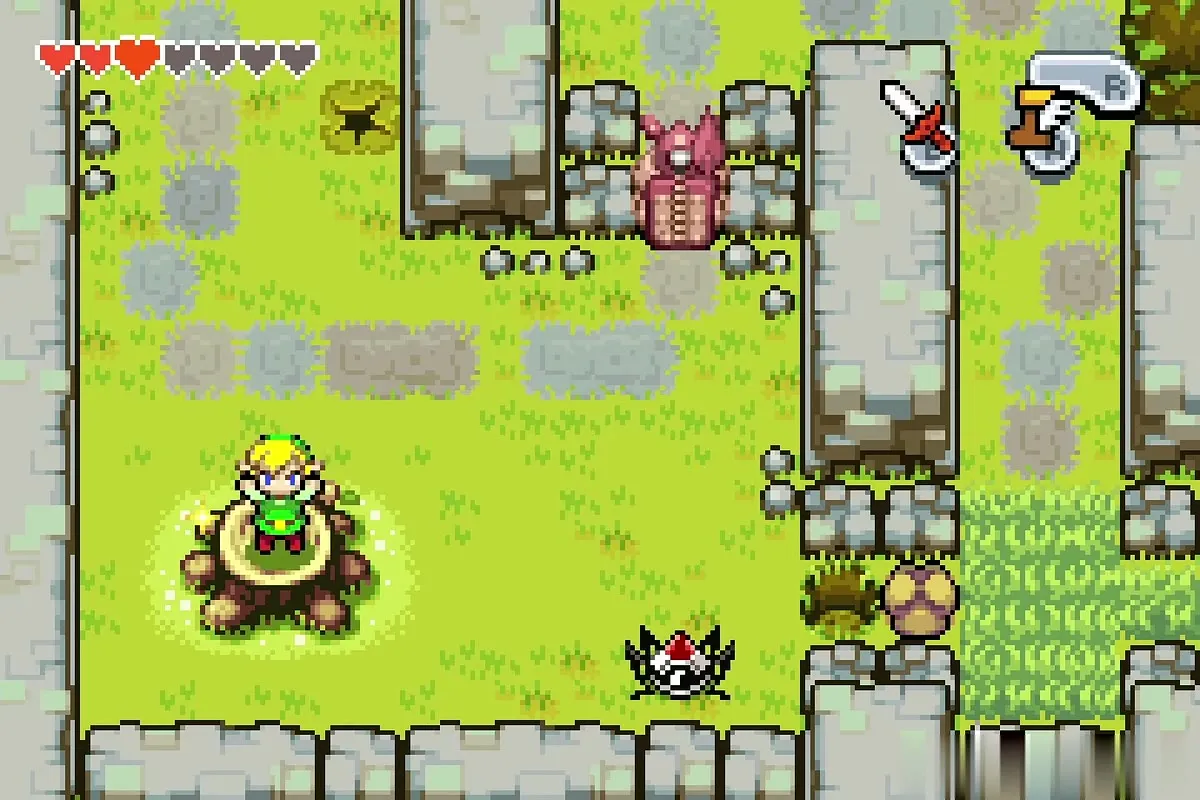
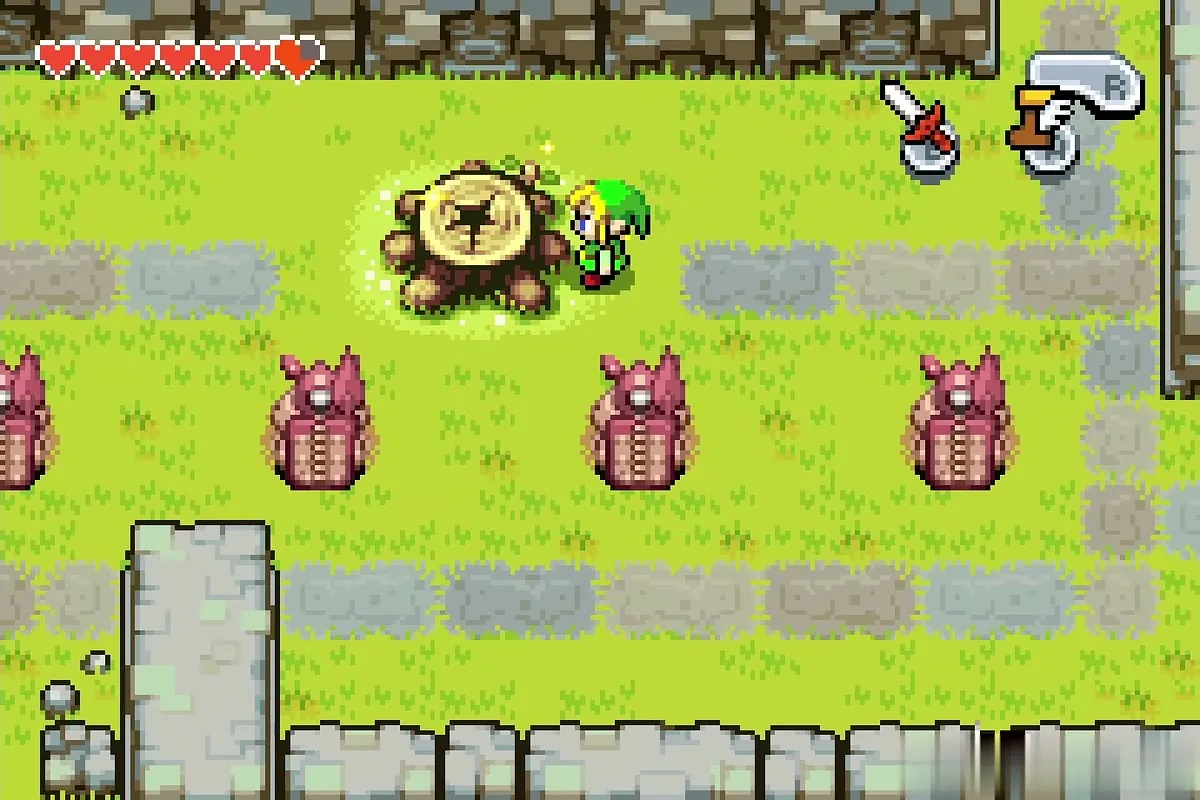
Climb the stairs into the Wind Ruins, a yard of stone walls patrolled by Spiny Beetles. Walk to the first stump and shrink there, then enter the small Minish house beside it.
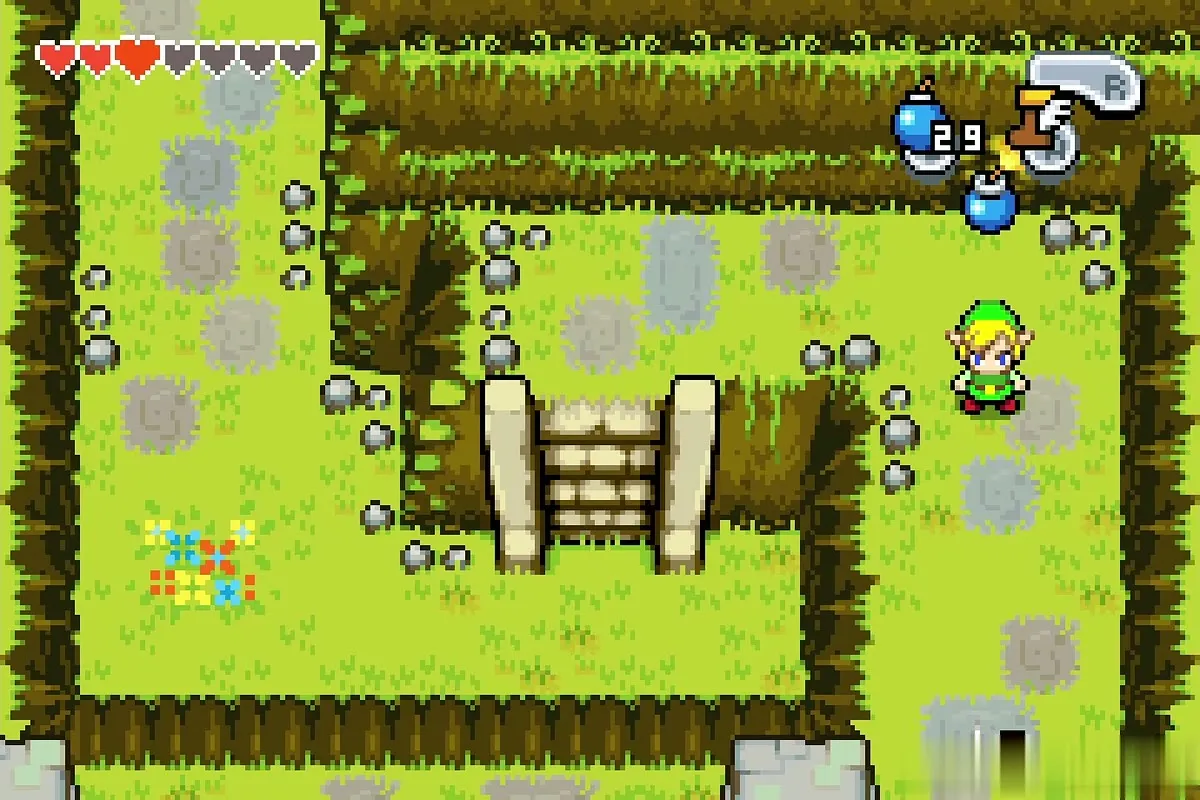
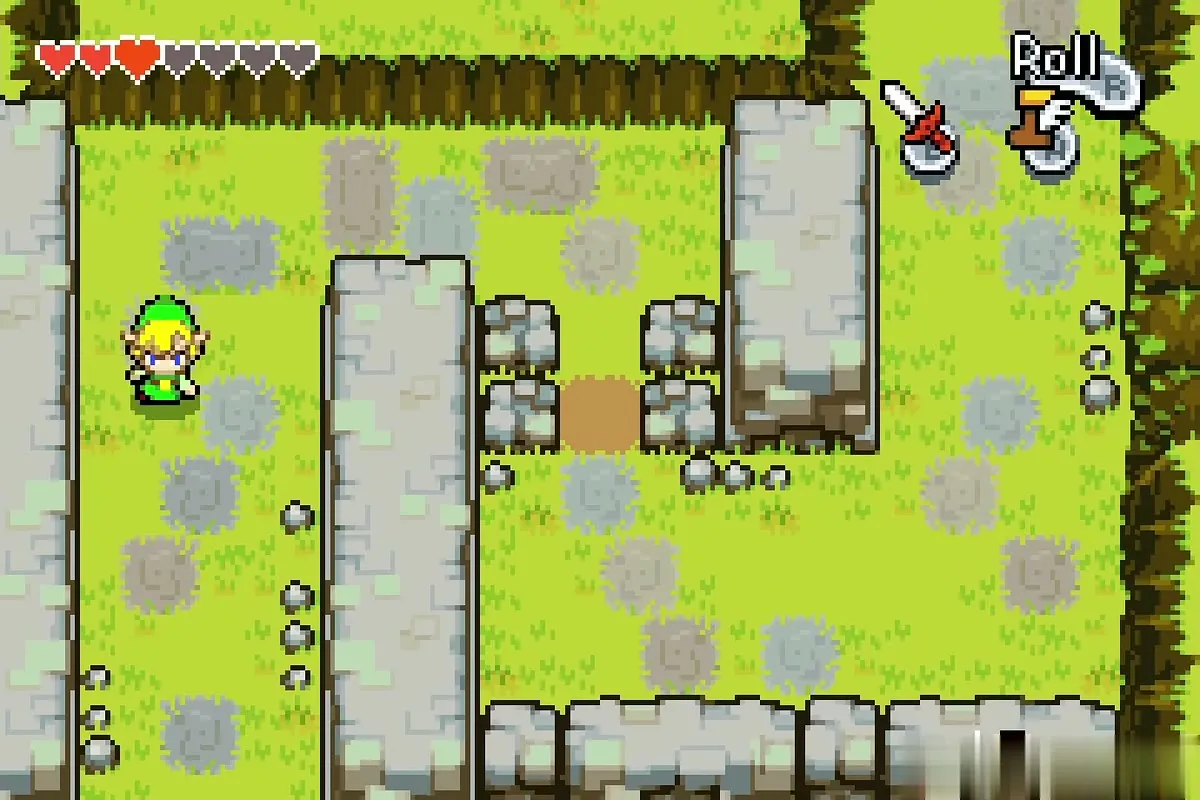
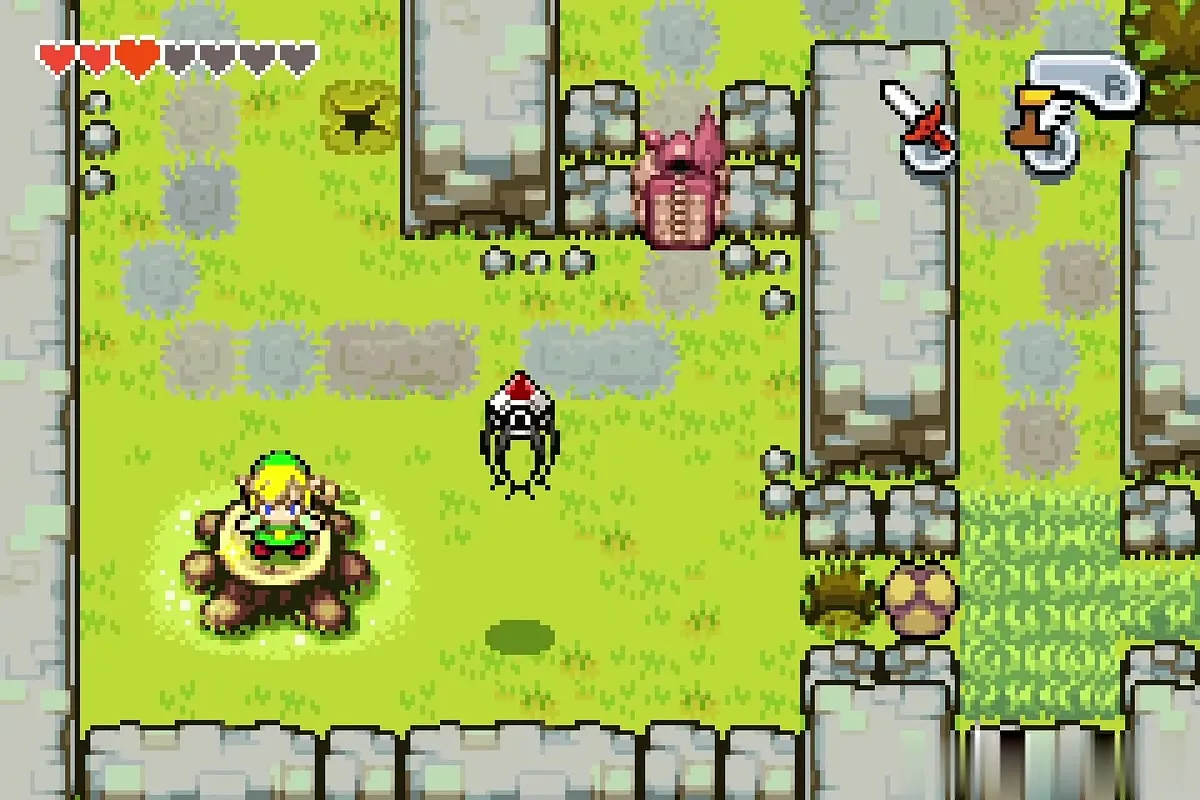
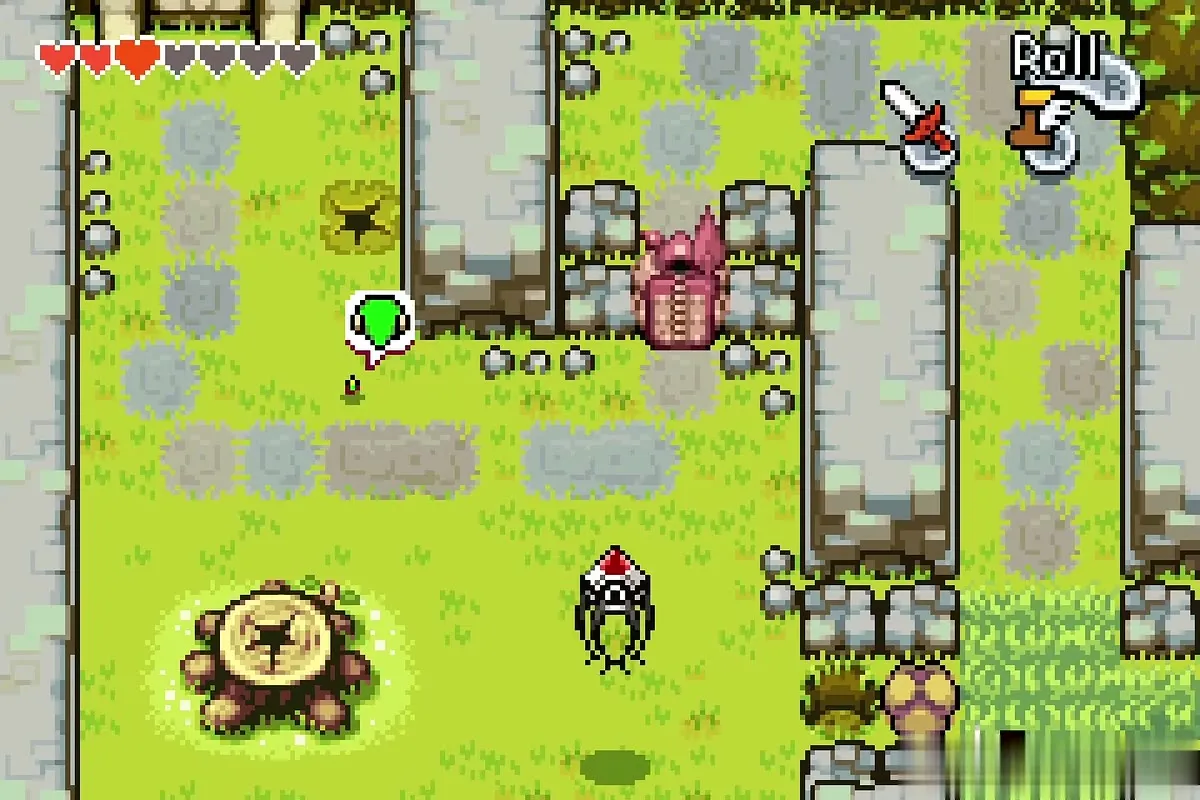
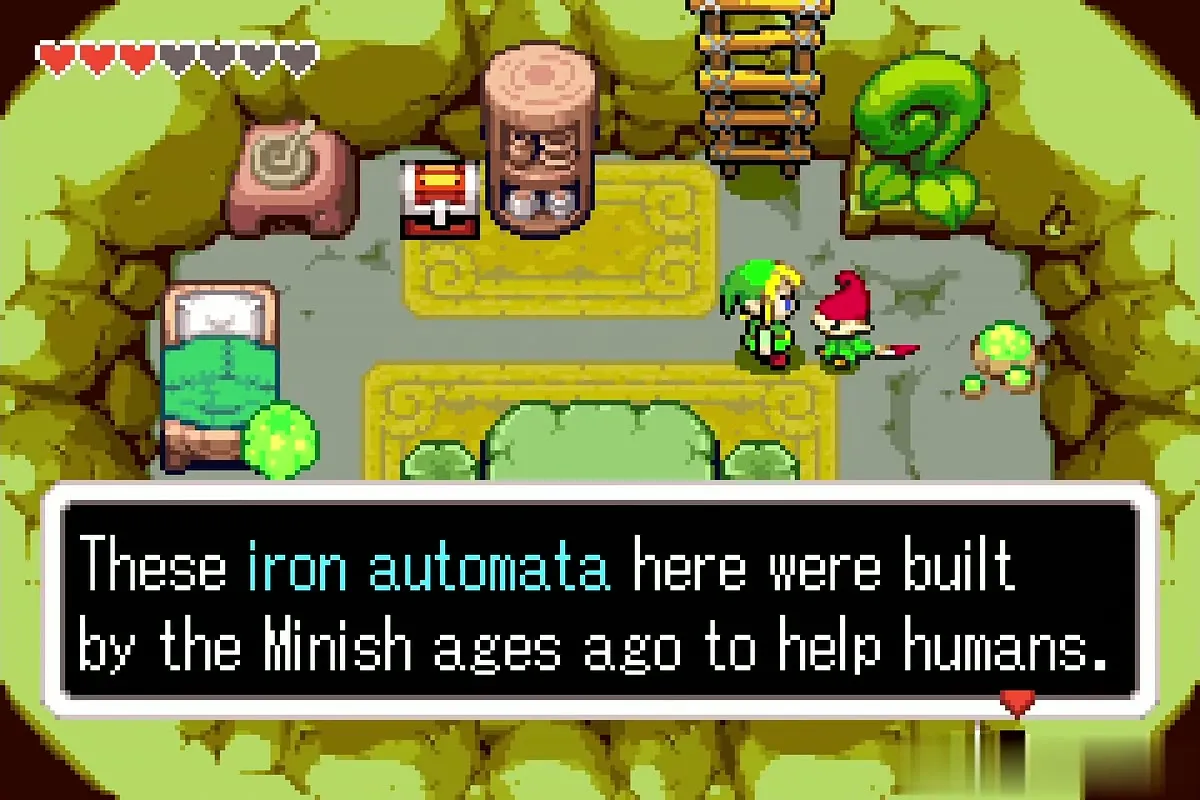
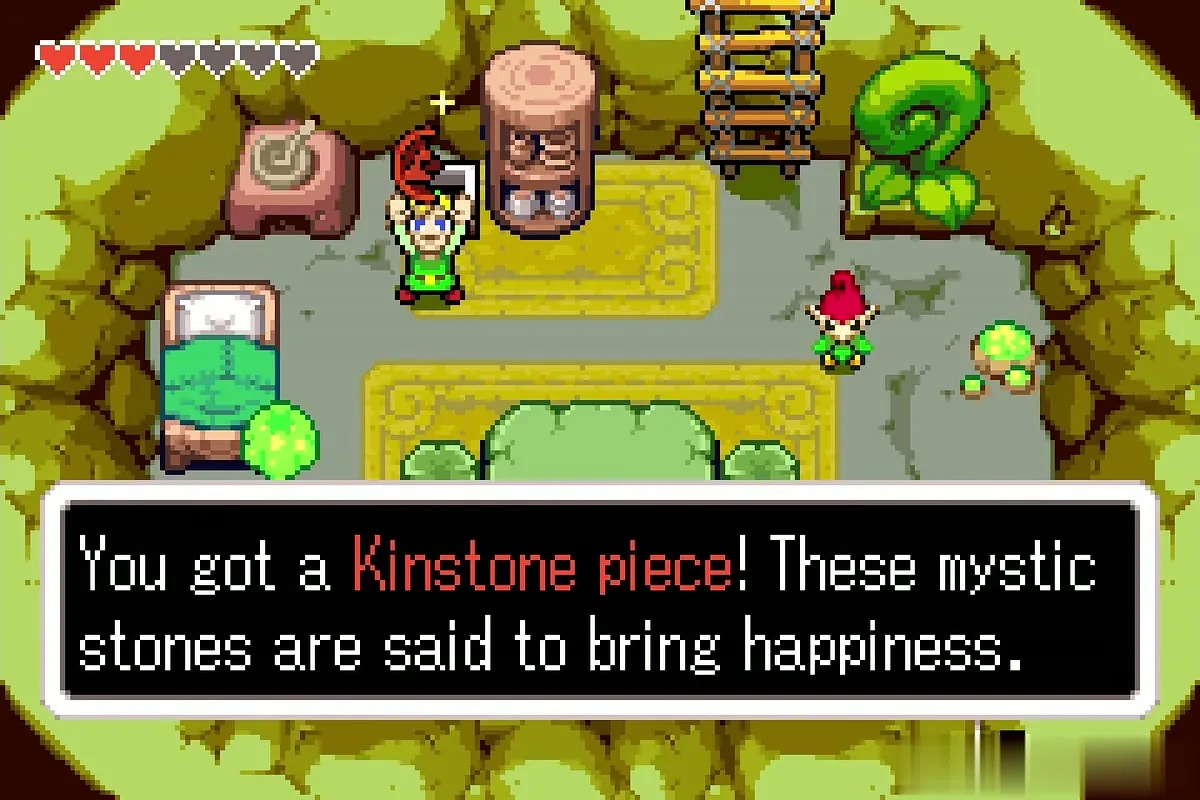
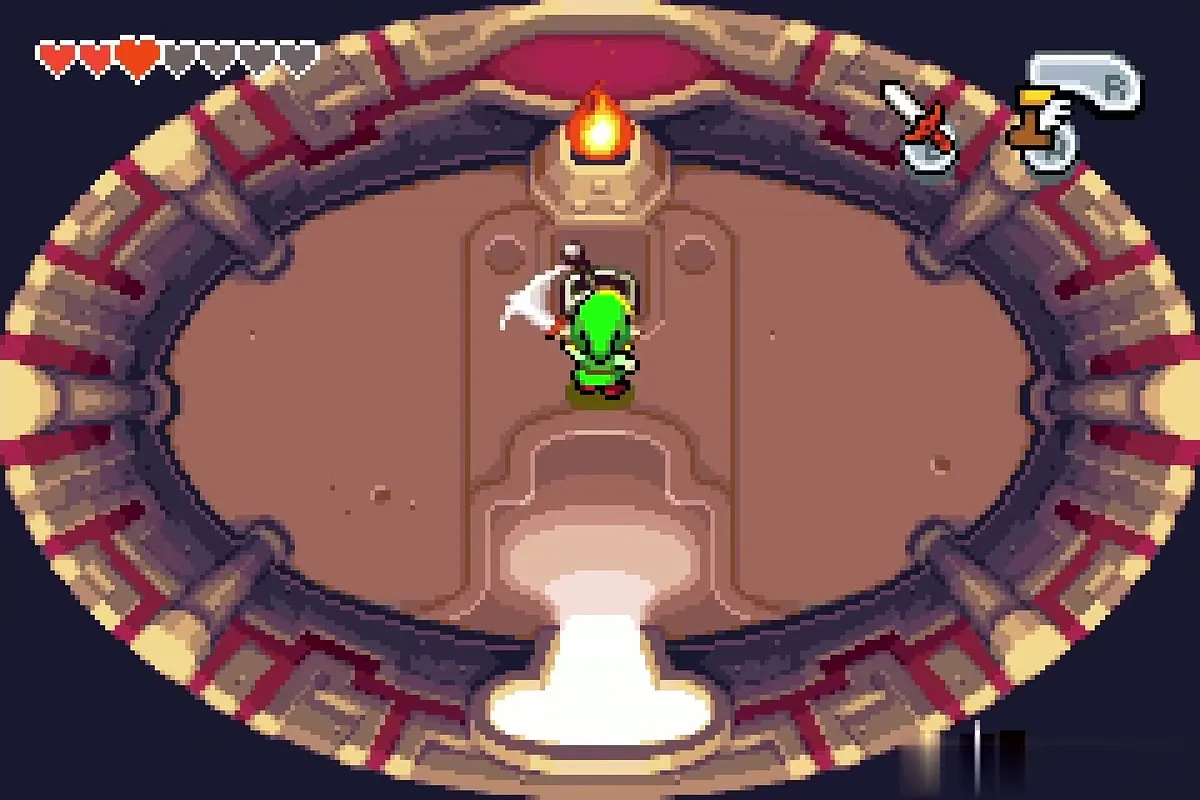
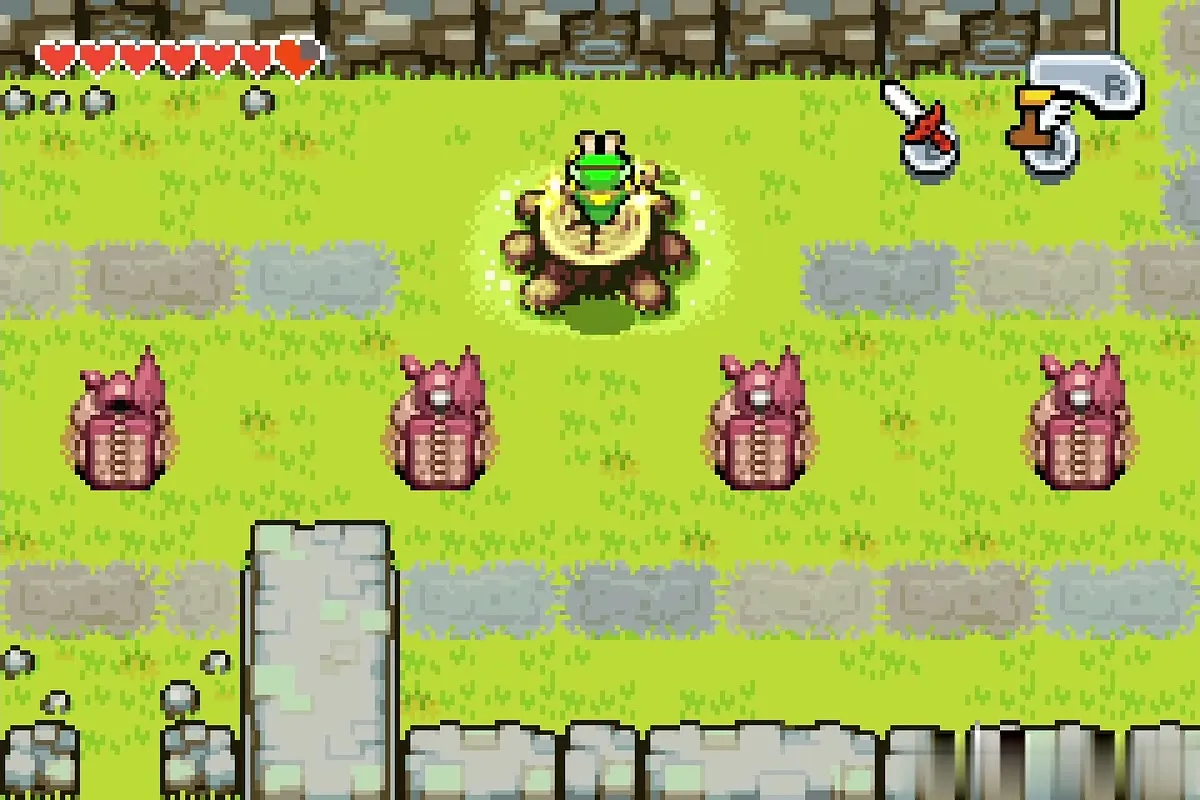
Talk to the red-capped Minish inside. He explains that the pink statues are iron automata, called Armos, and that each one has an on and off switch inside it. Open the chest in the house for a red Kinstone piece.

Switch off the first Armos
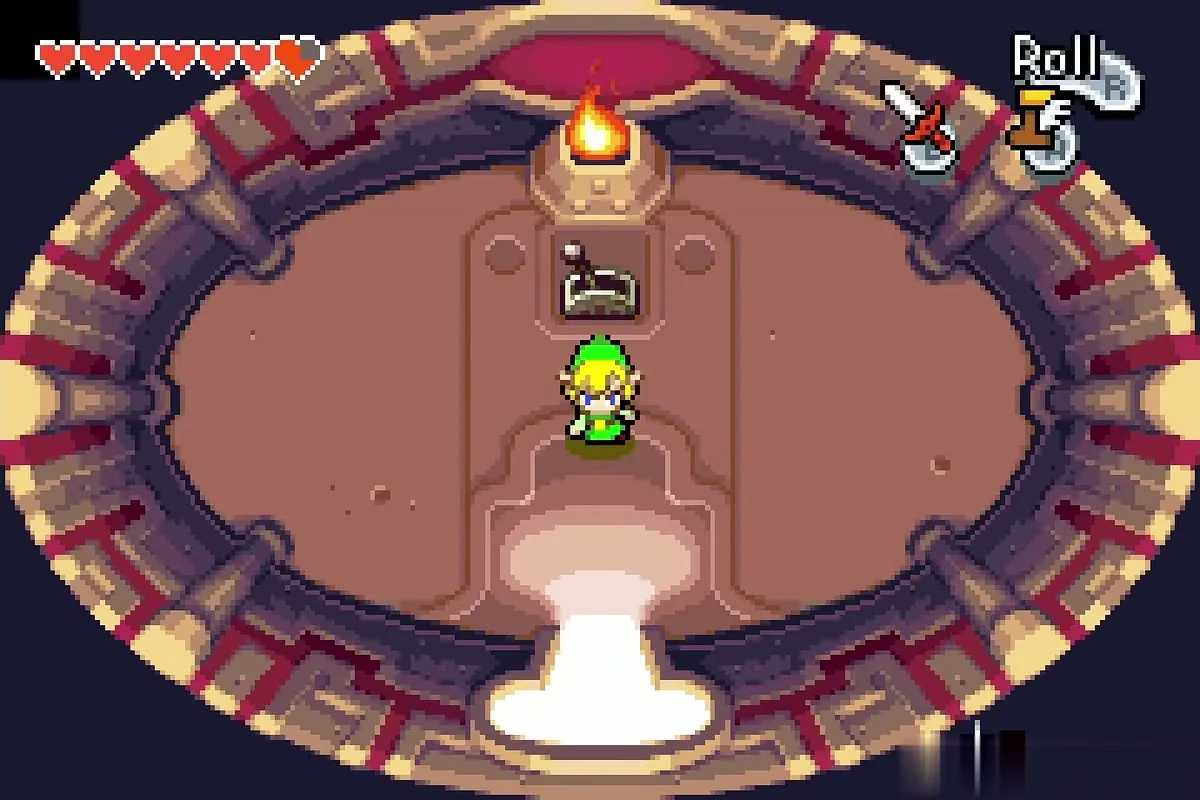
Still Minish, enter the nearest Armos. Inside the oval chamber hit the switch with your sword to deactivate it, then leave and grow back to normal size at the stump.
Through the yard to the second stump
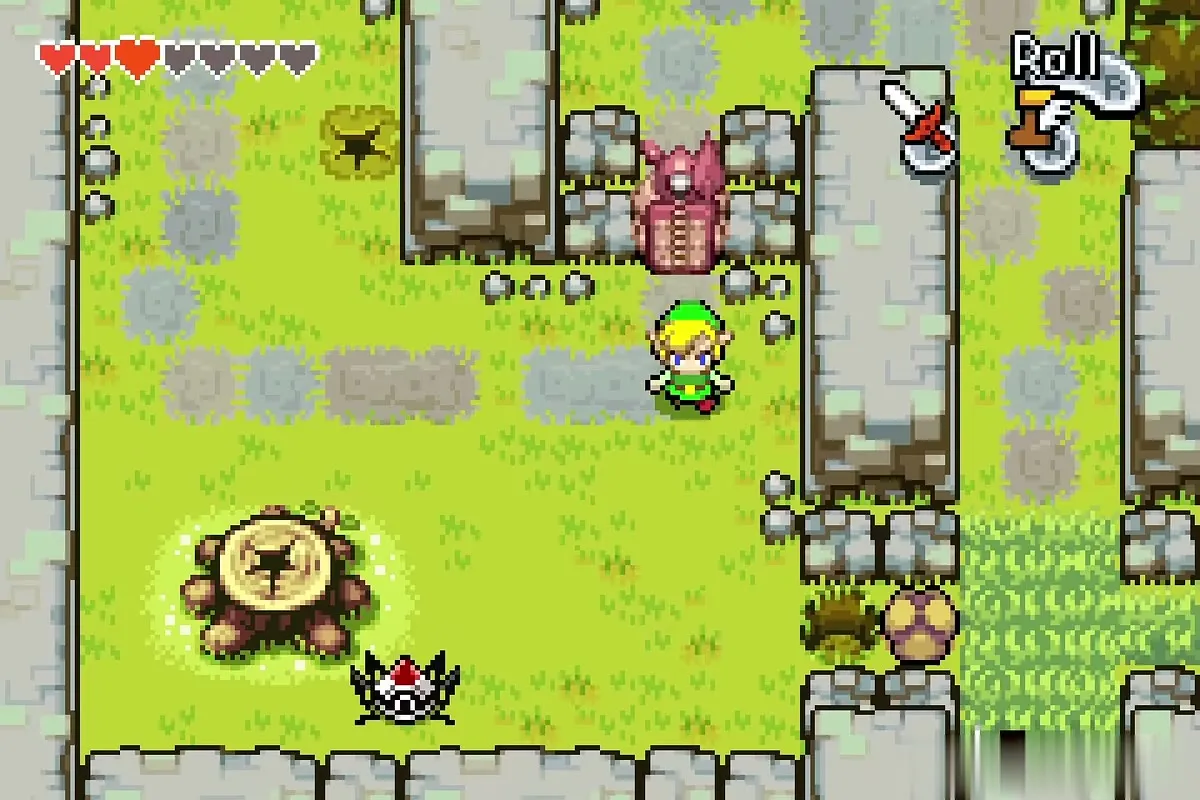
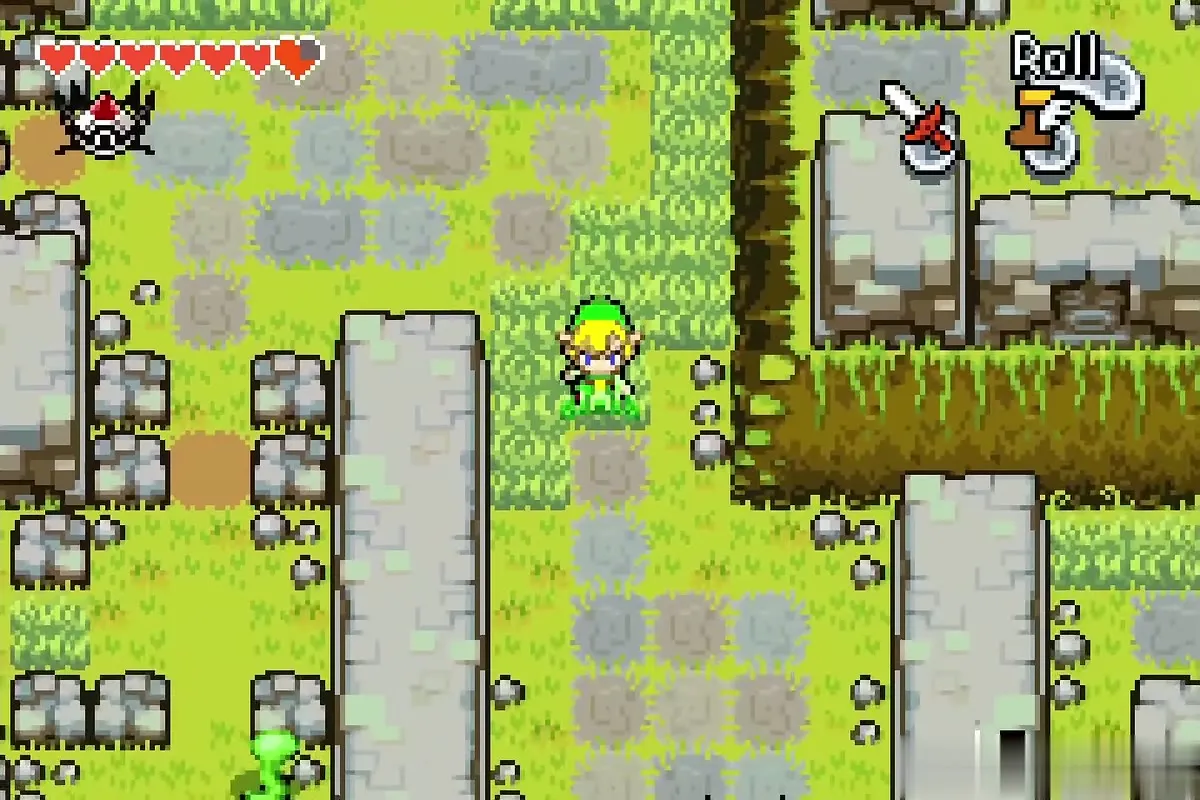
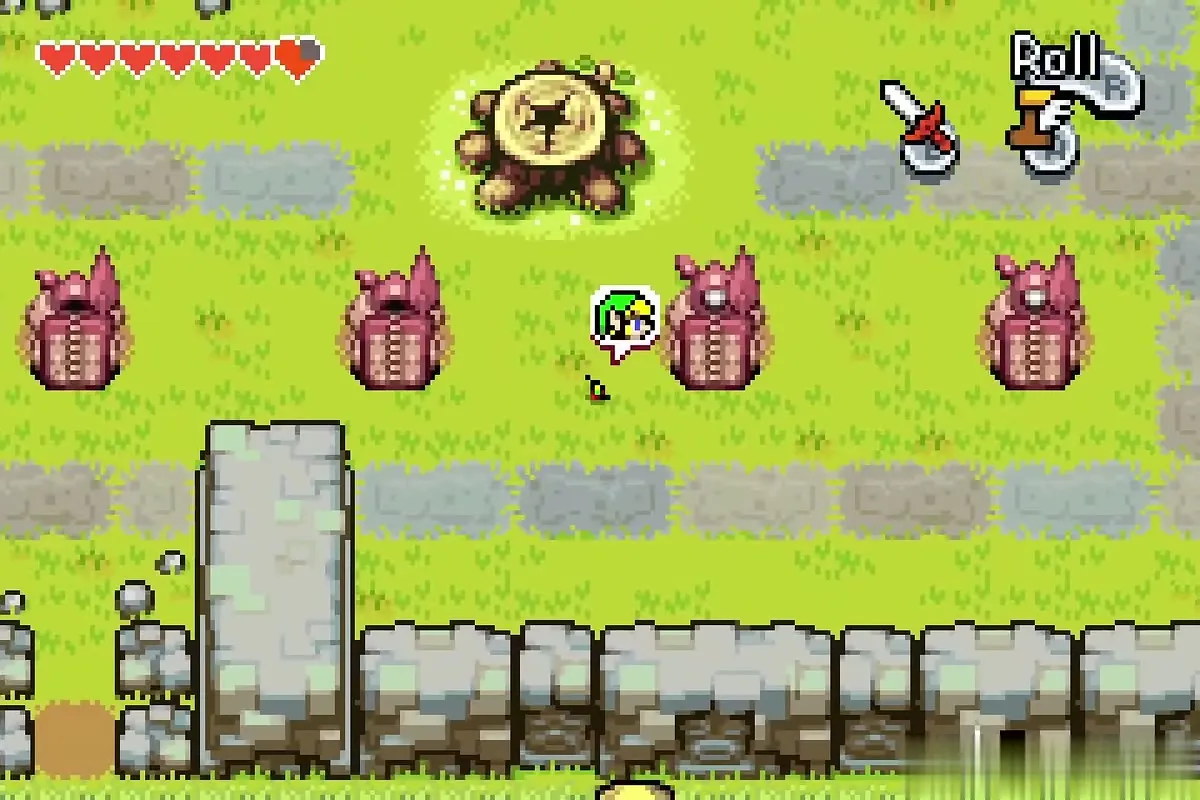
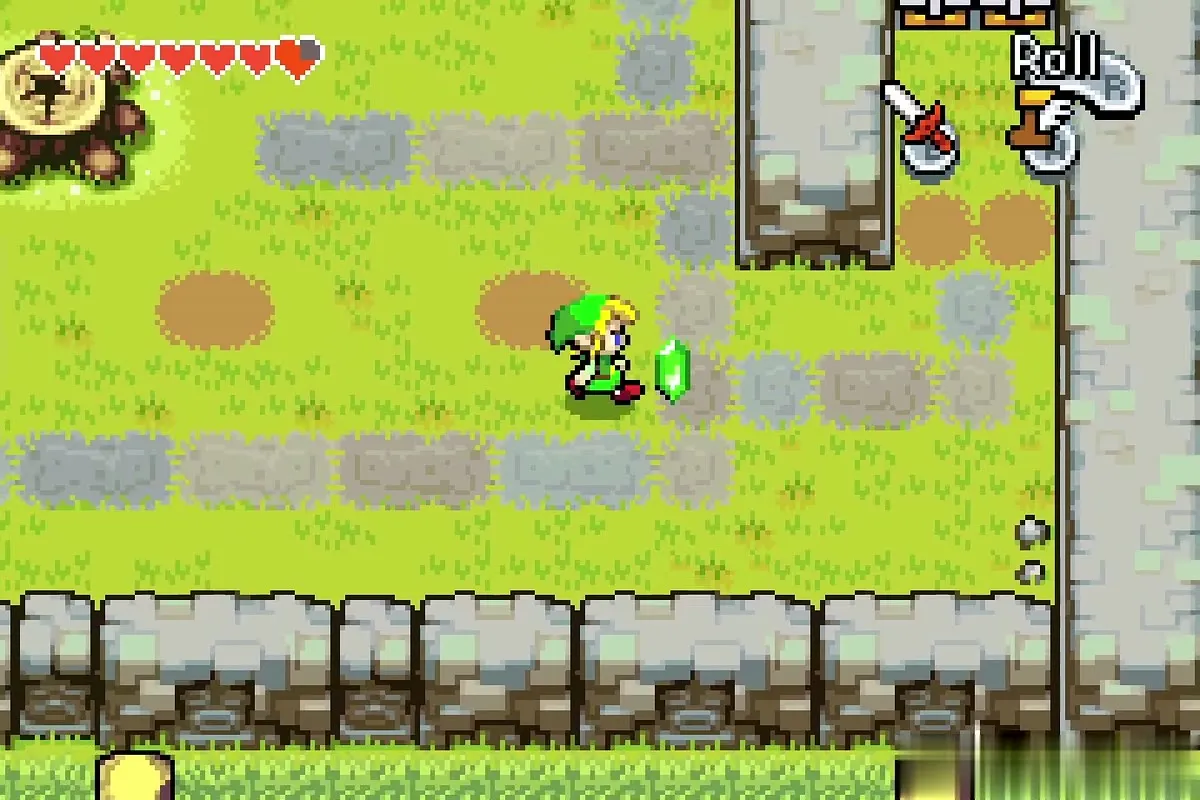
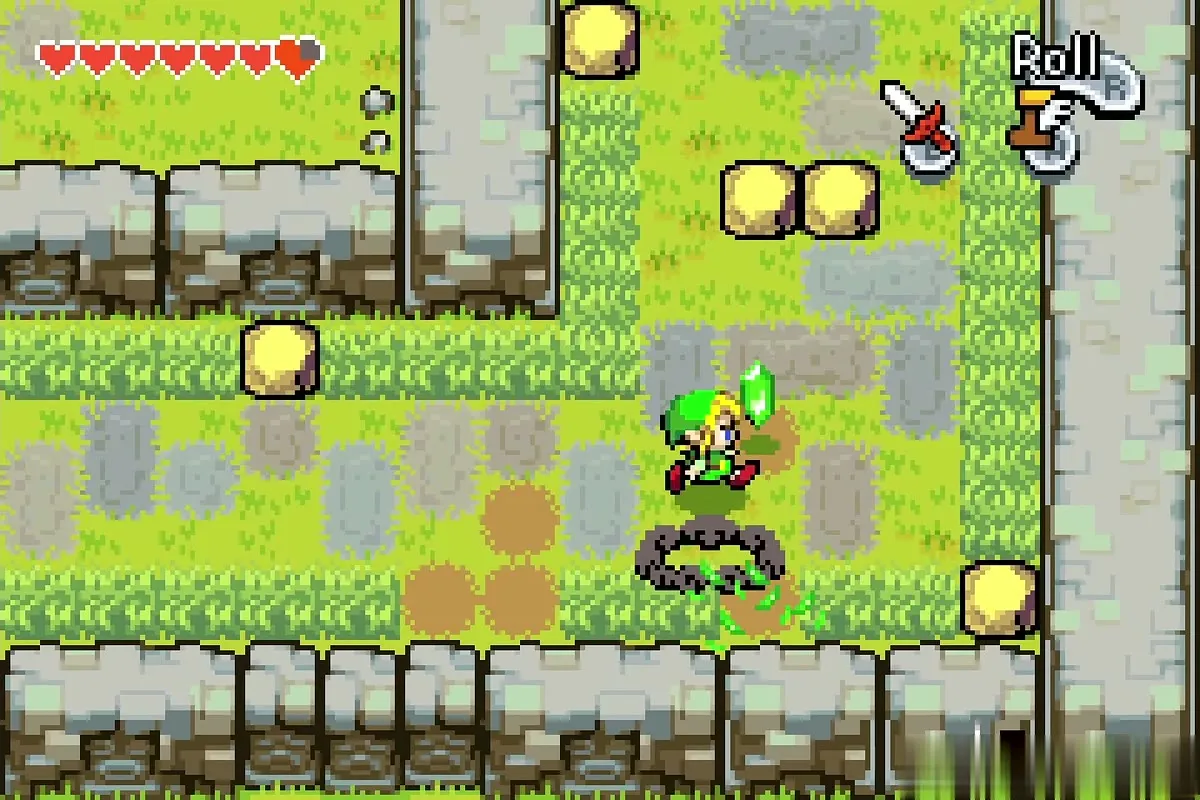
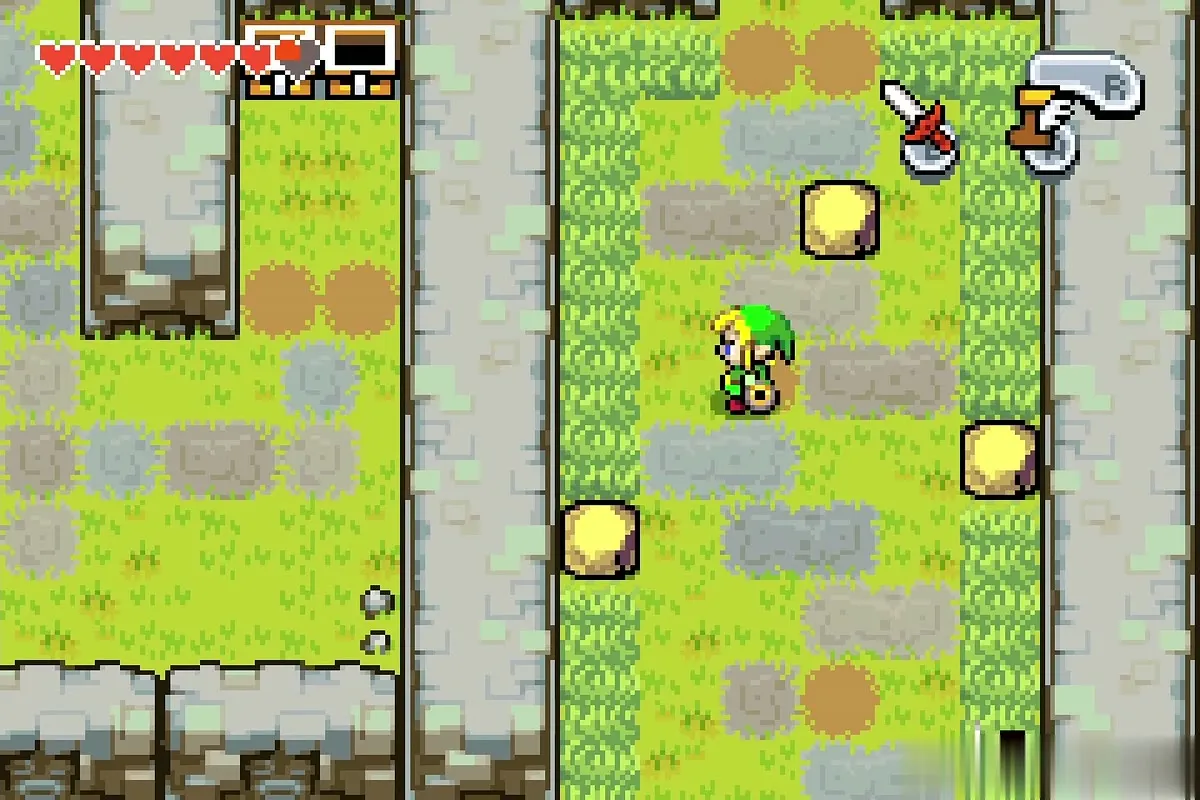
Cross the yard south and east. Armos wake when you touch them, so slip past or defeat them, and kill the Spiny Beetles with the sword. Climb the stairs and turn south to the second stump.
Wind Ruins Piece of Heart
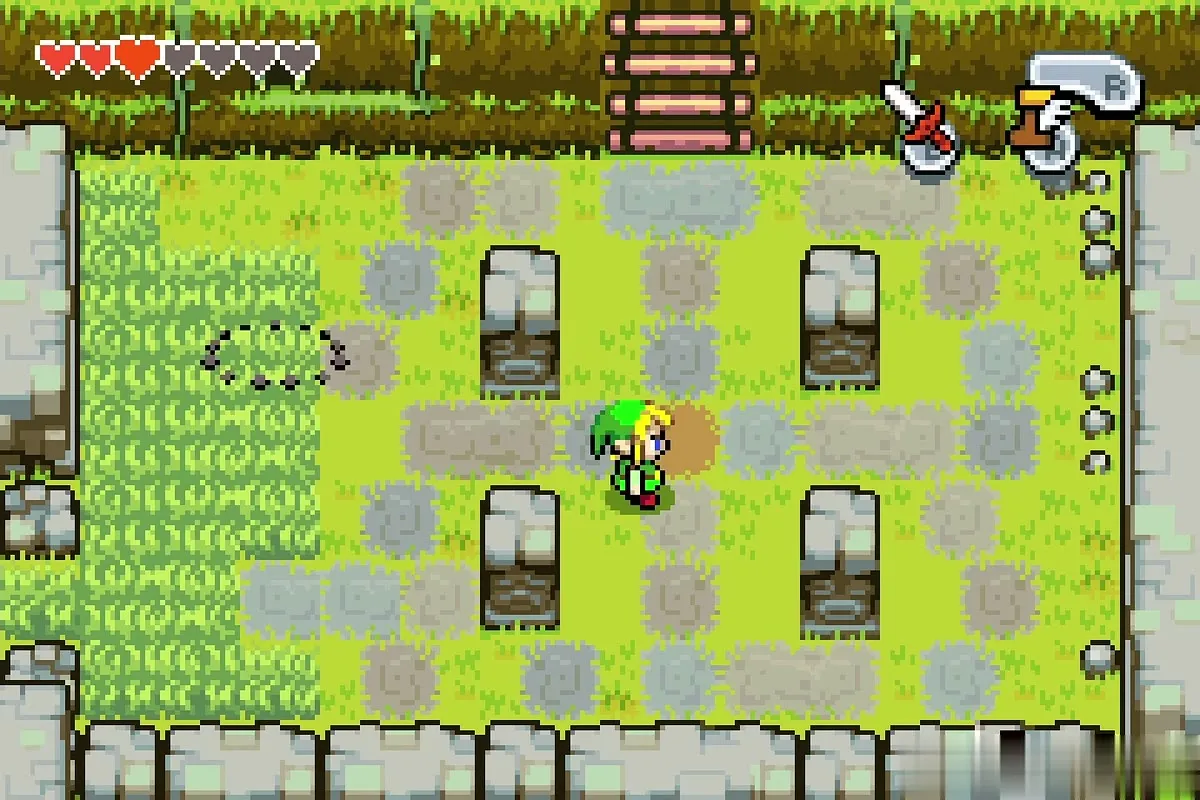
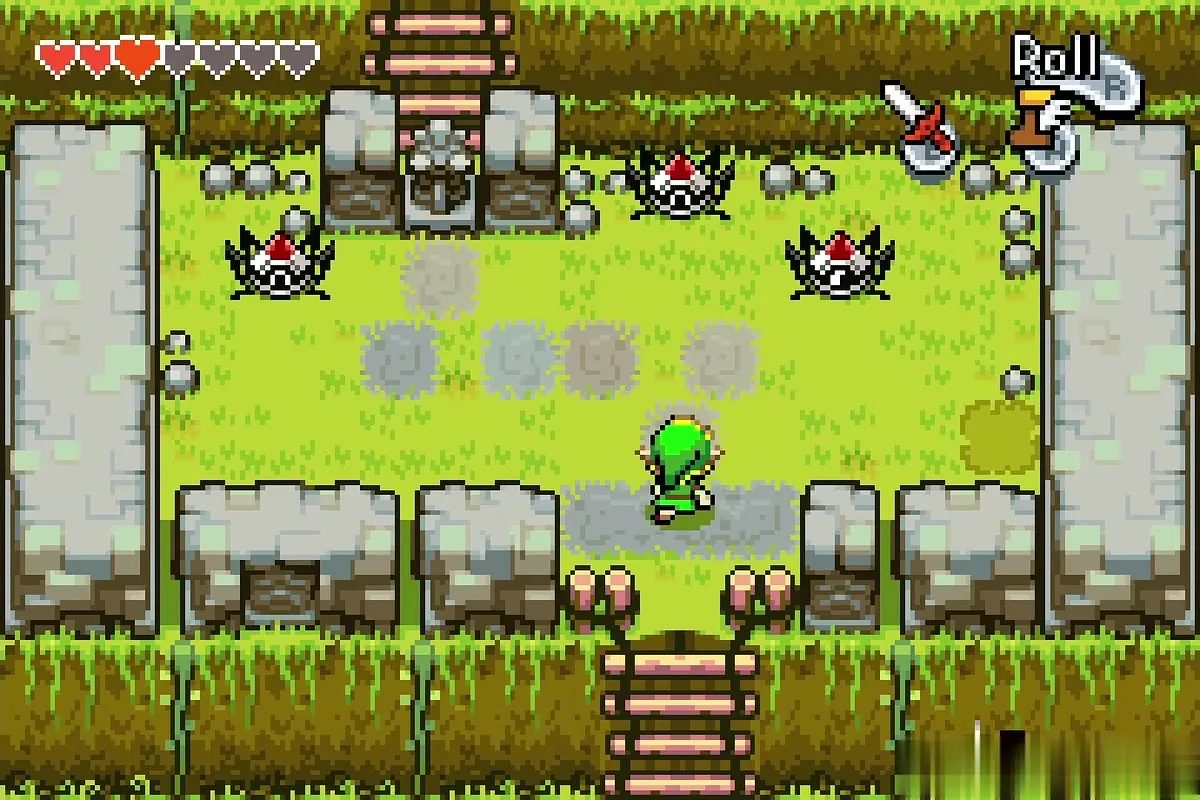
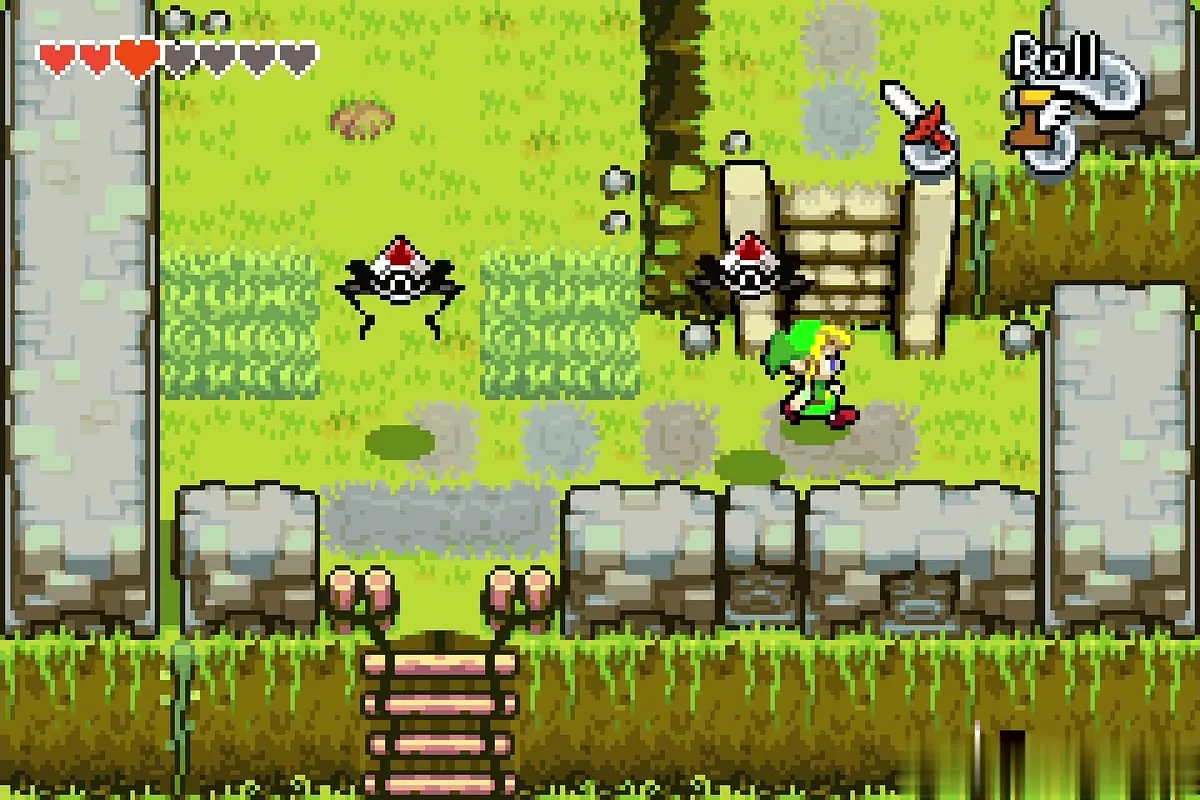
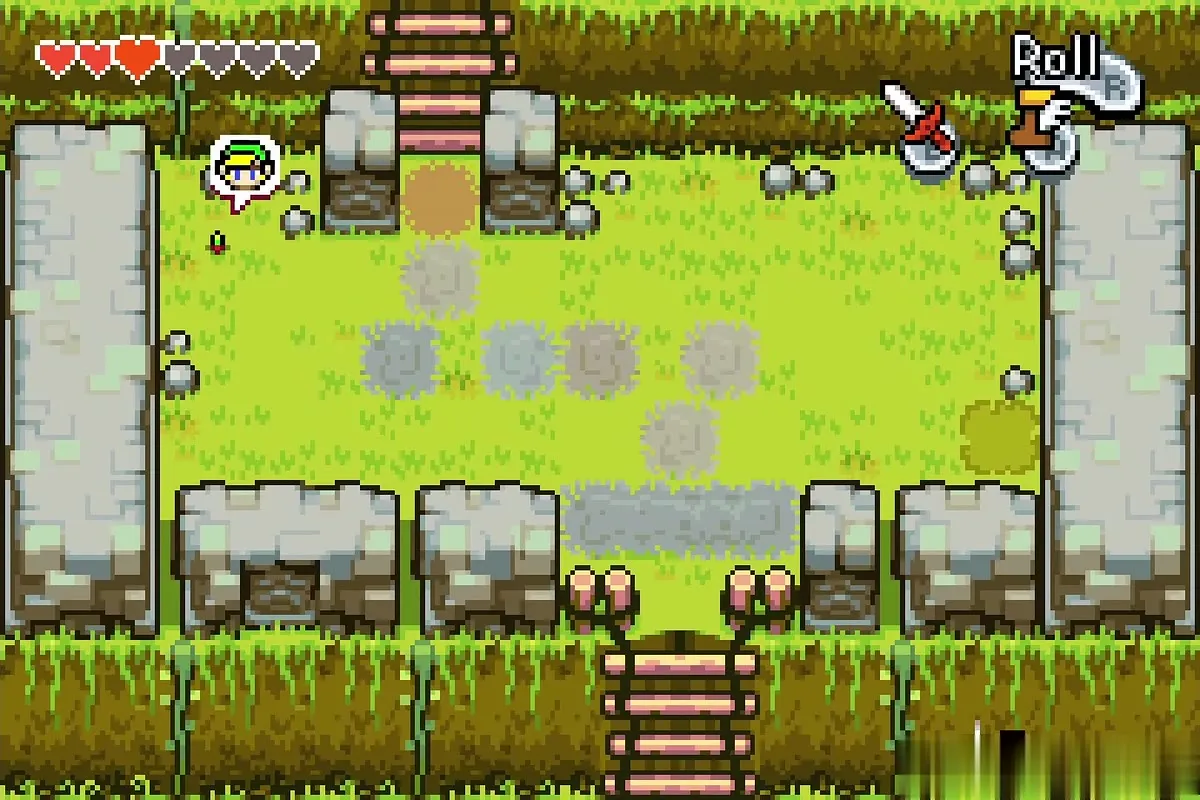
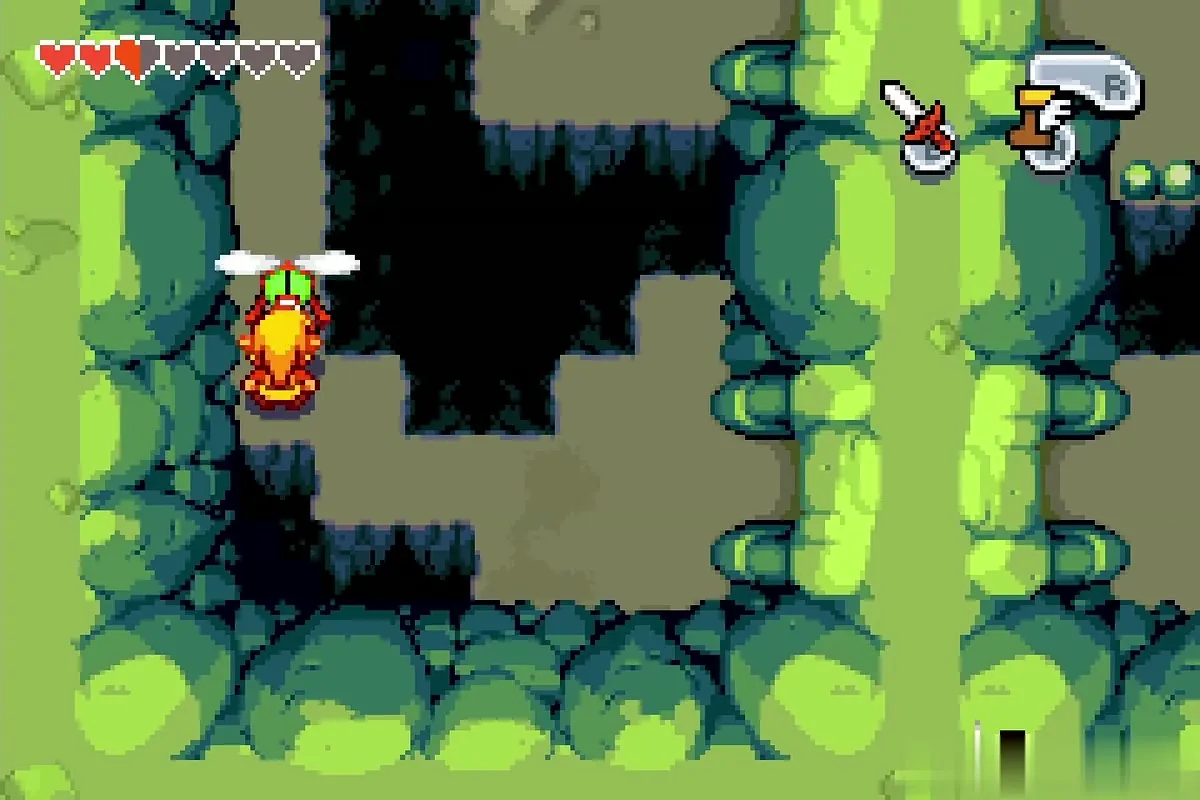
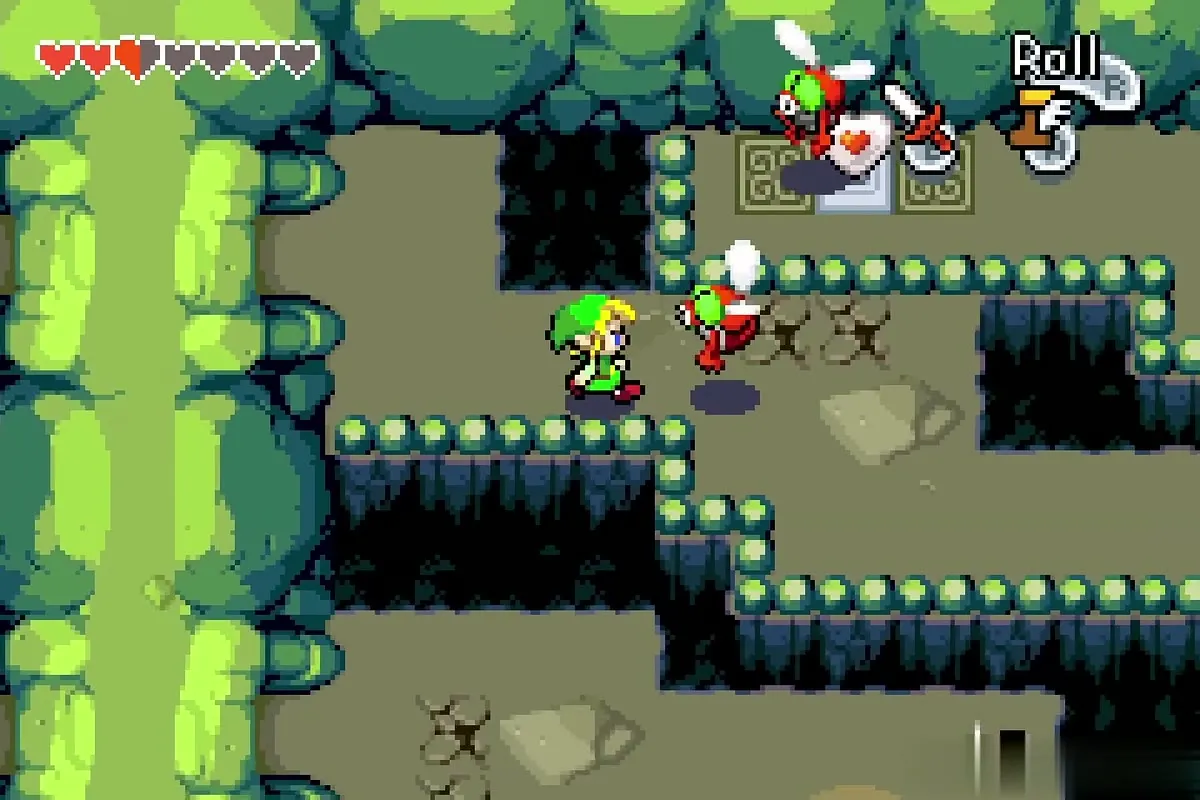
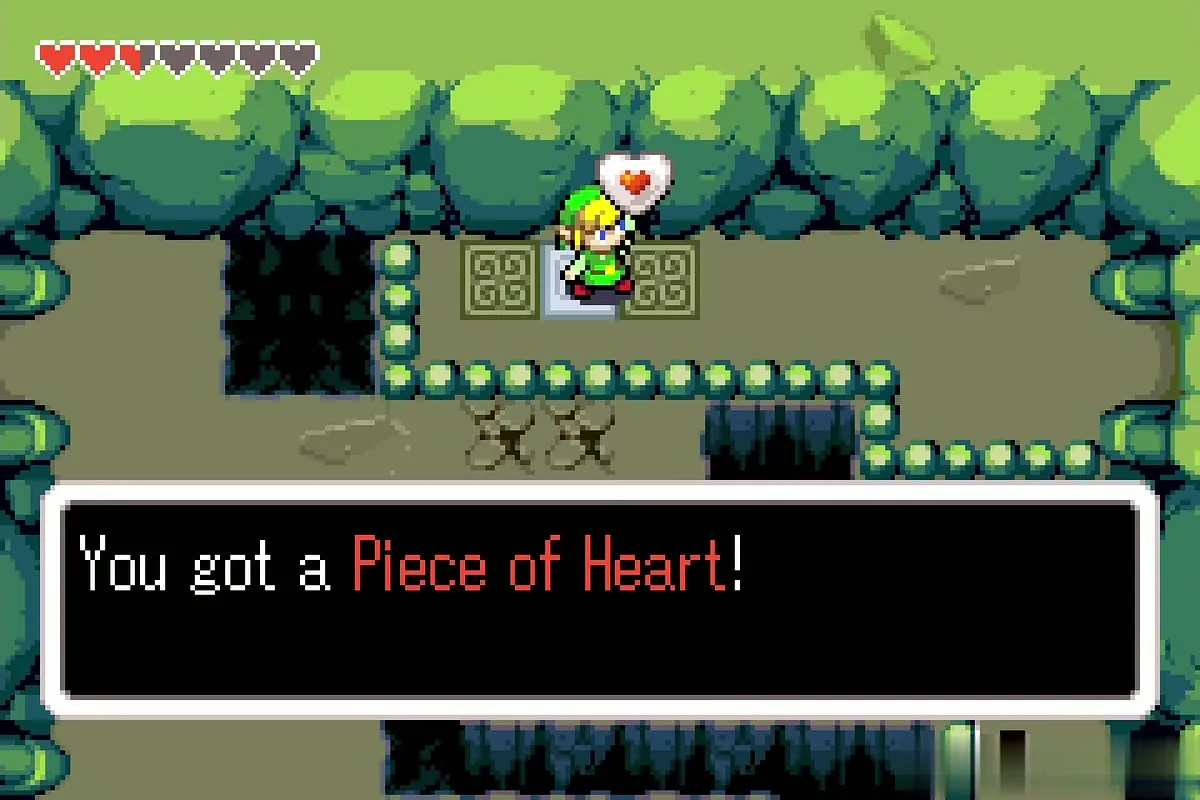
Shrink on the second stump, then walk south to the cliff and climb down by the stairs into a small leafy Minish cave with pits. Work around the pits, deal with the red winged enemies and take the Piece of Heart from the pedestal. Four pieces make a full heart, so check how many you hold now (see Heart Piece locations). Leave by the glowing doorway.
Wind Ruins chests and the second Armos
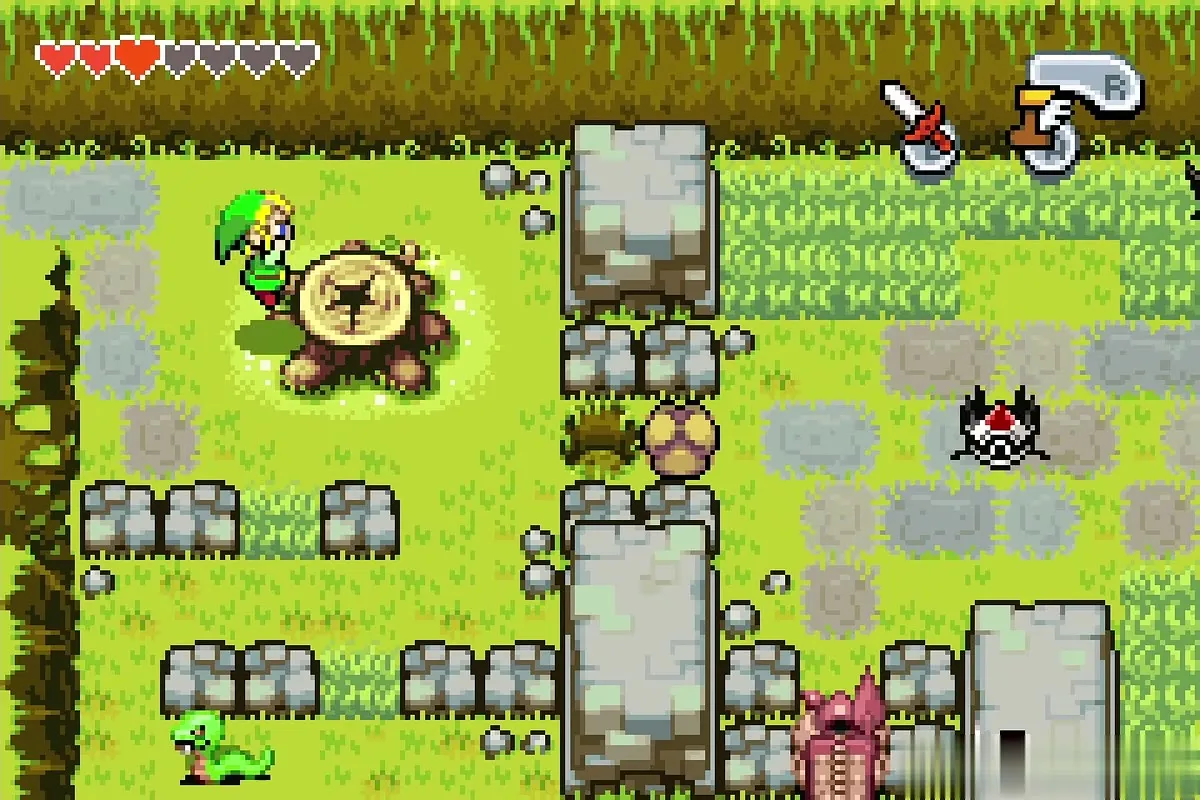
Back in the yard, work through the Armos and snakes to a group of three Armos near a stump. Shrink, enter one as before and flip the switch inside to turn it off.
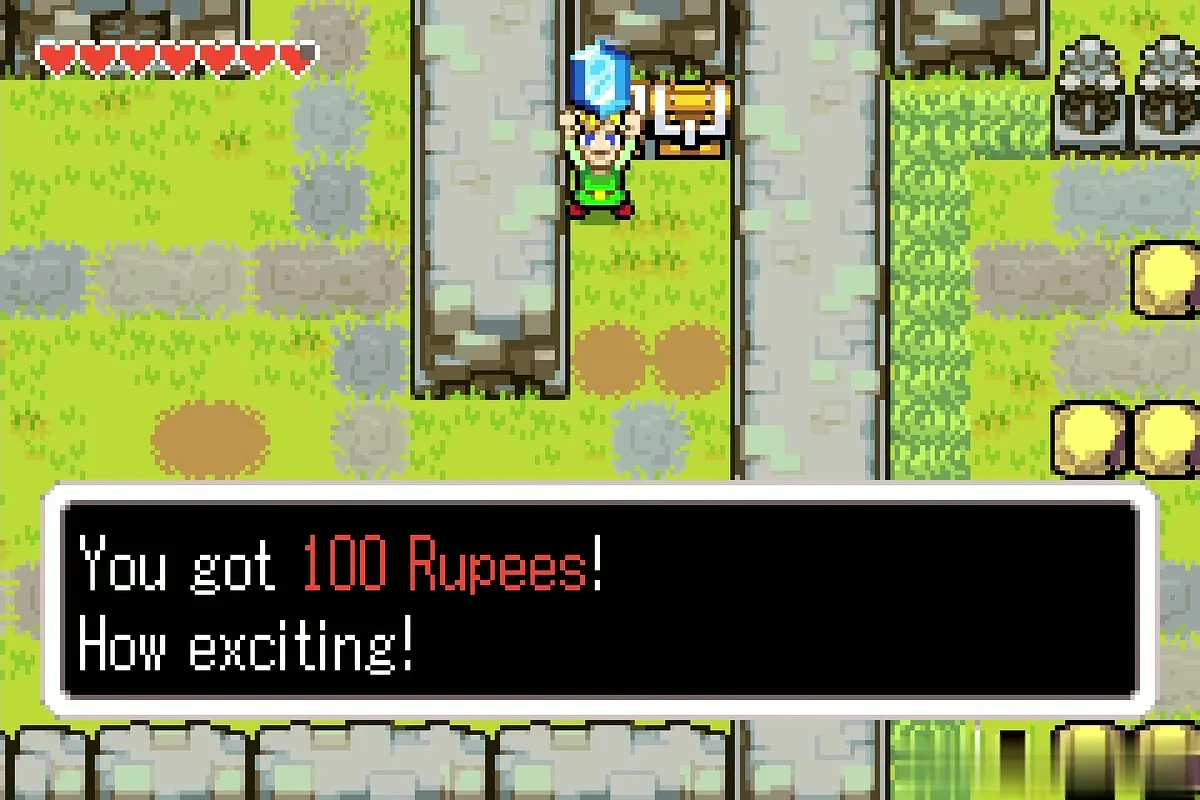
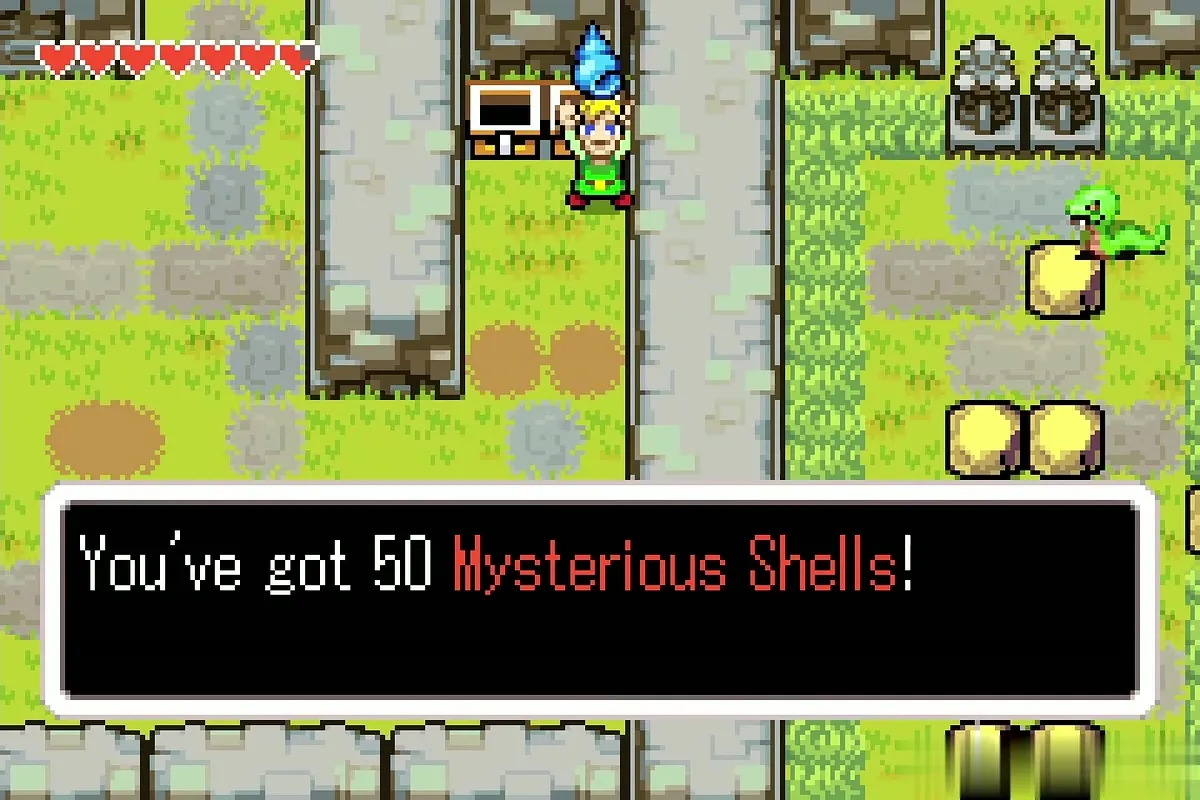
Grow back to normal size and go up to the two chests at the north-west edge of the yard. One holds 100 Rupees, the other 50 Mysterious Shells (see Mysterious Shells).
To the Fortress of Winds
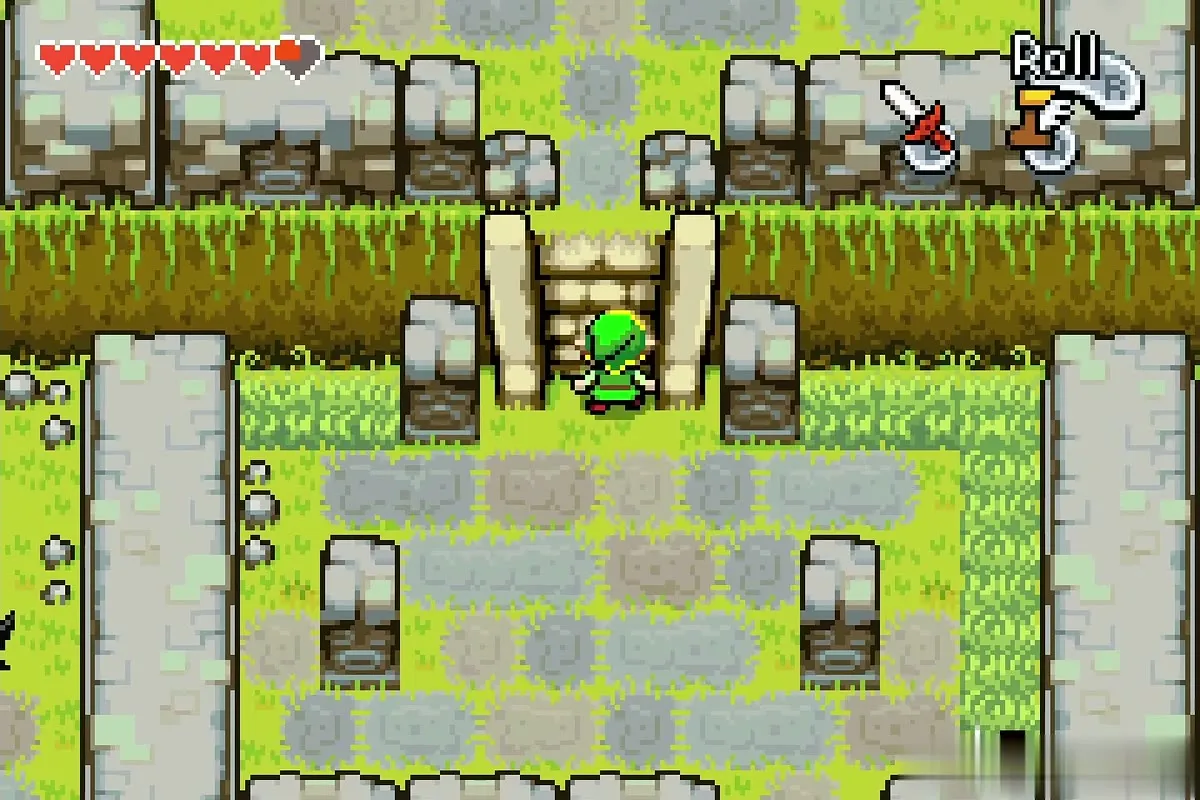
Cross the rest of the yard past the last snakes, then climb the final stairs to the north. The Fortress of Winds lies beyond them.
Chapter checklist
| Type | Name | Where |
|---|---|---|
| Key item | Bow (30 arrows) | Castor Wilds, lily pad cavern (Minish size, stump portal) |
| Gold Kinstone | Piece 1 | Castor Wilds, Darknut cave |
| Gold Kinstone | Piece 2 | Castor Wilds, cave across the swamp after the first statue |
| Gold Kinstone | Piece 3 | Castor Wilds, cave reached by the whirlwind |
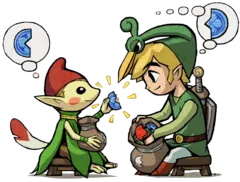 Kinstone fusion | 3 Mysterious Statue fusions | South-west corner of Castor Wilds; opens the way to the Wind Ruins |
 Wind Crest | Castor Wilds crest | Beneath the stone obelisk on the west bank |
 Kinstone piece | Red piece | Wind Ruins, chest in the Minish house |
 Piece of Heart | Piece of Heart, four make a full heart | Wind Ruins, Minish cave (second stump) |
| Chest | 100 Rupees | Wind Ruins, north-west chests |
| Chest | 50 Mysterious Shells | Wind Ruins, north-west chests |
