Age of Imprisonment 100% Completion Walkthrough28 chapters
- To the Great Plateau Walkthrough (Chapter 1, Battle 1)A short tutorial walk with Zelda, Rauru and Sonia. Controls, rewards and what opens next.
- The Art of the Blade Walkthrough (Chapter 1, Battle 2)Beat Typhan, Quino, Rauru, Pastos, Braton and Agraston, find the Korok Seed, chests and rewards.
- Where Ancient Wisdom Sleeps Walkthrough (Chapter 1, Battle 3)Flame Emitter, Time Bomb, Frox, Stone Talus and Flux Construct I, plus all five chests.
- Raging Sands Walkthrough (Chapter 2, Battle 4)Take the outposts, beat four Gerudo Captains, the Molduga and Ardi, and find all 3 Korok Seeds and 5 chests.
- The Hands of Evil Walkthrough (Chapter 2, Battle 5)Capture the outpost as the Mysterious Construct, get the Rocket and rescue Ardi from two Gerudo Captains.
- Growing Suspicion Walkthrough (Chapter 2, Battle 6)All three Korok Seeds, four chests, the Gerudo Assassin, Stone Talus and the final corrupted construct.
- Striking North Walkthrough (Chapter 2, Battle 7)Rescue three Hylian Captains, beat the Hinox and Lynel, and find both Korok Seeds and all seven chests.
- Beneath the Blood Moon Walkthrough (Chapter 2, Battle 8)Flight controls, both Korok Seed ring runs and how to beat the Frost Gleeok.
- The Howling Tempests Walkthrough (Chapter 2, Battle 9)Unlock Fuse attacks, Calamo and Typhan, find all 3 Korok Seeds and 4 chests, and beat Grimgera.
- Shadows in the Snow Walkthrough (Chapter 3, Battle 10)Unlock Raphica, rescue Pinnec, beat the ice enemies, and find all 3 Korok Seeds and 4 chests.
- Lanayru Defiled Walkthrough (Chapter 3, Battle 11)Clear sludge enemies, recruit Qia, get the Hydrant, beat Grimtorok, and find 3 Korok Seeds and 4 chests.
- The Behemoth in the Crater Walkthrough (Chapter 3, Battle 12)How to beat the Moragia flight battle with Zonai attack devices and get the Korok Seed.
- Crisis on Death Mountain Walkthrough (Chapter 3, Battle 13)Rescue the Gorons, unlock Agraston, beat the Fire Lynels and find all 5 Korok Seeds and 5 chests.
- Under Cover of Mist Walkthrough (Chapter 3, Battle 14)Capture outposts through hidden passages, beat the Aerocudas and Grimgera, and find all 7 Korok Seeds.
- Terror of the Sands Walkthrough (Chapter 4, Battle 15)Play as Ardi, clear Gibdo hives, defend the main outpost, and find all 4 Korok Seeds and 7 chests.
- The Crimson Omen Walkthrough (Chapter 4, Battle 16)Beat the corrupted Forbidden Construct as Calamo and the Knight Construct, with tips for its attacks.
- A Time for Action Walkthrough (Chapter 4, Battle 17)Four-sage outpost siege, all 4 Korok Seeds, 4 chests and the five elites.
- The Counterstrike Walkthrough (Chapter 4, Battle 18)Outposts, Zelda joining, the Grimgohma boss fight, 4 Korok Seeds and 4 chests.
- Ambush in the Depths Walkthrough (Chapter 4, Battle 19)Flight battle devices, Rock Octoroks, the breakable wall and the Black Hinox finale.
- Purging the Shadows Walkthrough (Chapter 4, Battle 20)Flux Construct outposts, Gloom Spawns, Phantom Ganon boss fight and all 5 chests.
- Fire and Sand Walkthrough (Chapter 4, Battle 21)Outposts, Silver Moblins, Grimgibdo boss tips, eight chests and first-clear rewards.
- Into the Fray Walkthrough (Chapter 5, Battle 22)Zonai devices for the flight battle, the Korok ring seed and how to beat King Gleeok.
- The Archfiend’s Return Walkthrough (Chapter 5, Battle 23)How to beat Grimgera in his third fight, best warriors and first-clear rewards.
- The Battle of Hyrule Castle Walkthrough (Chapter 5, Battle 24)Outposts, Grimtorok and Grimgohma, 5 Korok Seeds and 6 chests.
- The Demon King, Ensnared Walkthrough (Chapter 5, Battle 25)Outposts, Silver Lynel, Captain Construct III, three Phantom Ganons, 3 Korok Seeds and 4 chests.
- The Battle of Hyrule Field Walkthrough (Chapter 5, Battle 26)Empty the enemy army gauge, then defeat the Archfiend Grimgibdo.
- The Final Confrontation Walkthrough (Chapter 5, Battle 27)The Phantom Ganon wave, the L-button blast and Demon King Ganondorf strategy with Zelda and Rauru.
- A Clash of Constructs Walkthrough (Chapter 6, Battle 28)The three-phase Forbidden Construct fight, flight tips, the ending and what opens in the post-game.
| Chapter | Chapter 5, Battle 25 |
|---|---|
| Region | Central Hyrule Field |
| Recommended level | Lv 54 |
| Warriors | None forced; you choose from the whole roster, from Zelda and Rauru to Pastos |
| Boss | Three Phantom Ganons (no single boss) |
| Korok Seeds | 3 |
| Unlocks | The next story battle, The Battle of Hyrule Field; first-clear materials; a camp at the first outpost |
This is the fourth battle of Chapter 5, and it is a march across Hyrule Field toward a targeted position, with the objective “Head for the targeted position while defeating the enemy forces”. Along the way you take outposts, defeat a string of named enemies (Black Moblin, Silver Lynel, Captain Construct III, Silver Moblin, a gloomed Stone Talus, Fire Boss Bokoblin, Fire Moblin and Silver Boss Bokoblin), and finish by killing three Phantom Ganons. It holds three Korok Seeds and four treasure chests, so collect them before the final fight.
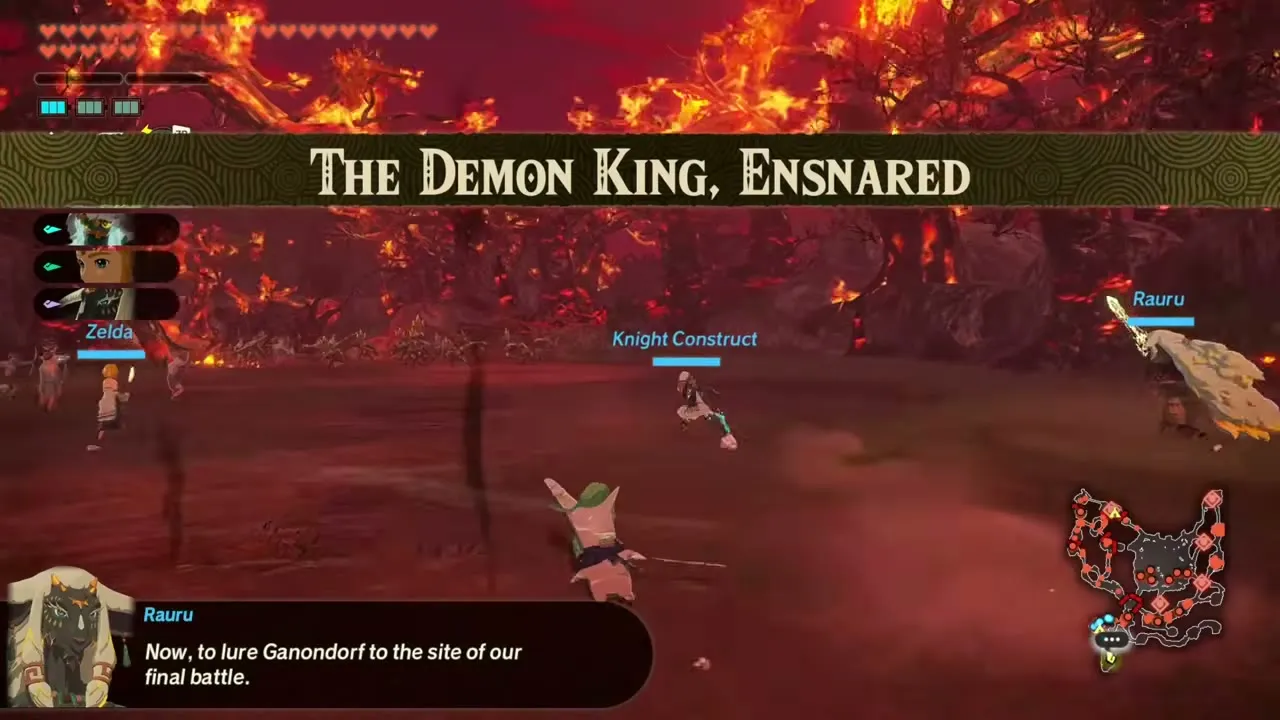
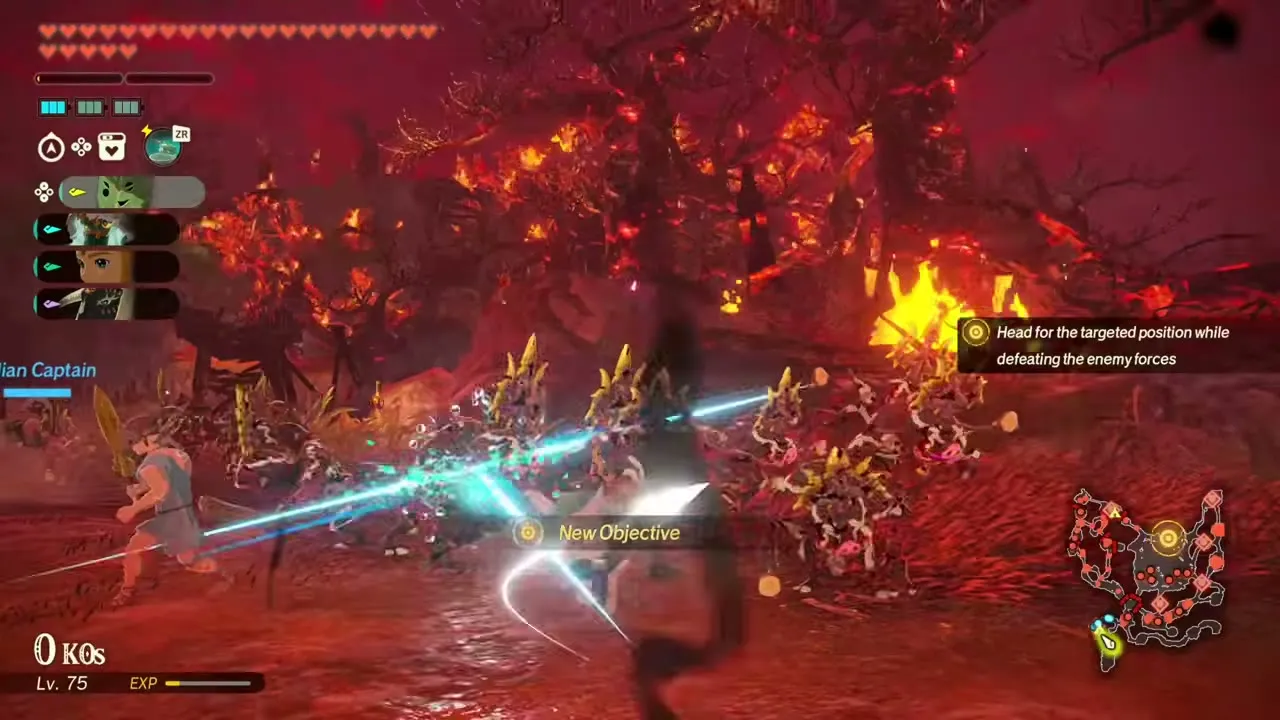
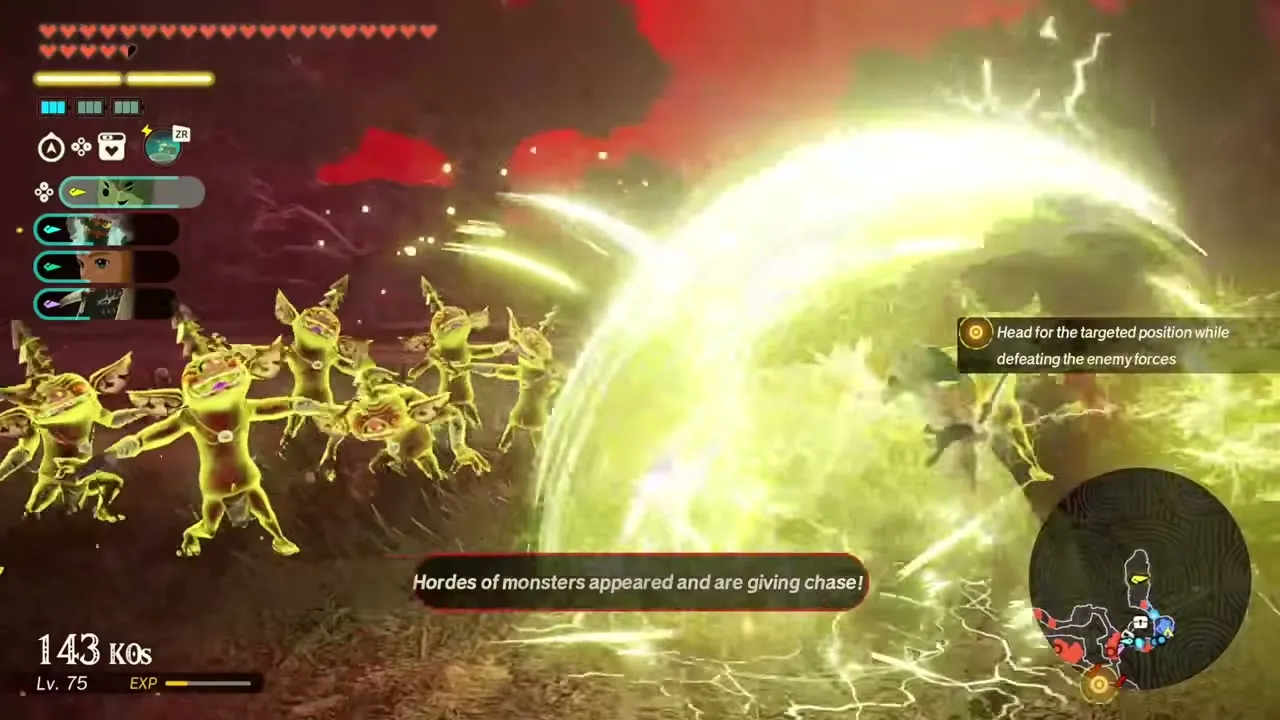
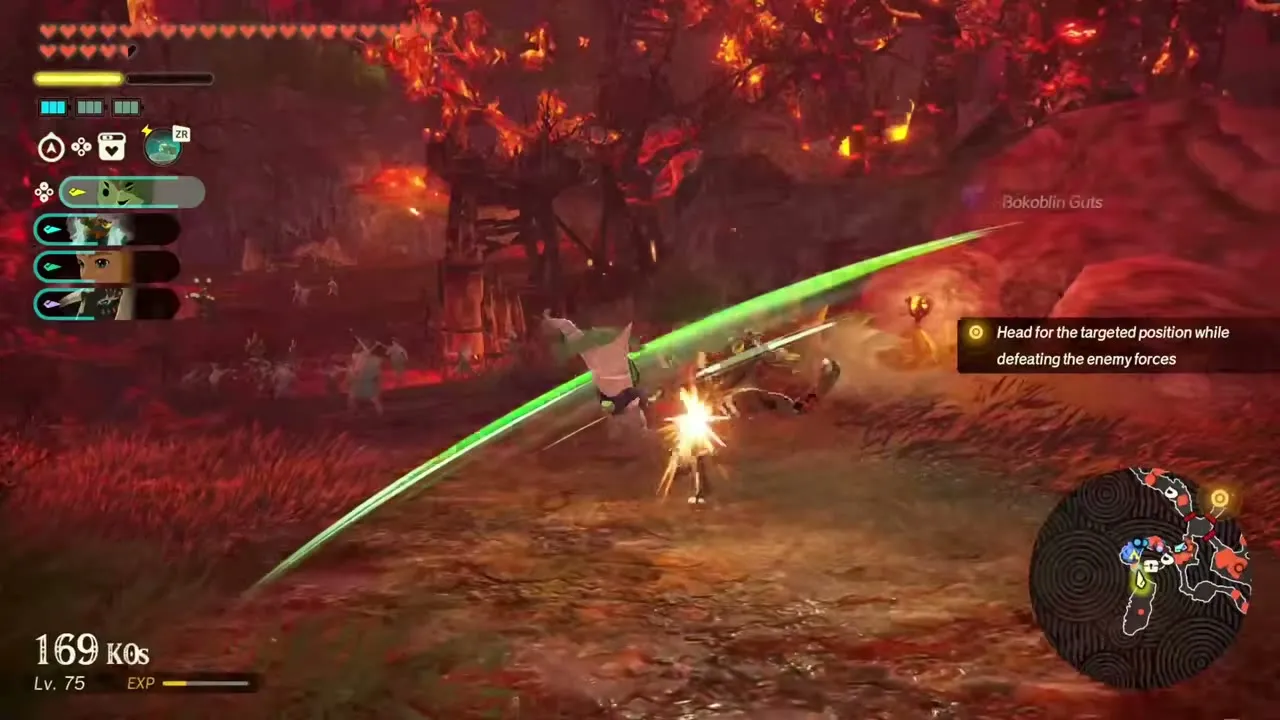
Table of Contents
Before you start
Bring a party around Lv 54. Nothing is forced, so build the squad for the finale: Zelda and Rauru are the only warriors who can exploit the Phantom Ganons’ weakness to light, so take both. If you plan to use the Knight Construct or Mineru, buy the Bonus Exchange effect that lowers Zonai device energy use, because it also covers the devices behind their strong attacks. You can find it in the camps and shops section. Carry a few healing rations for the last fight.
Northern outposts and the Silver Lynel
Capture the first outpost
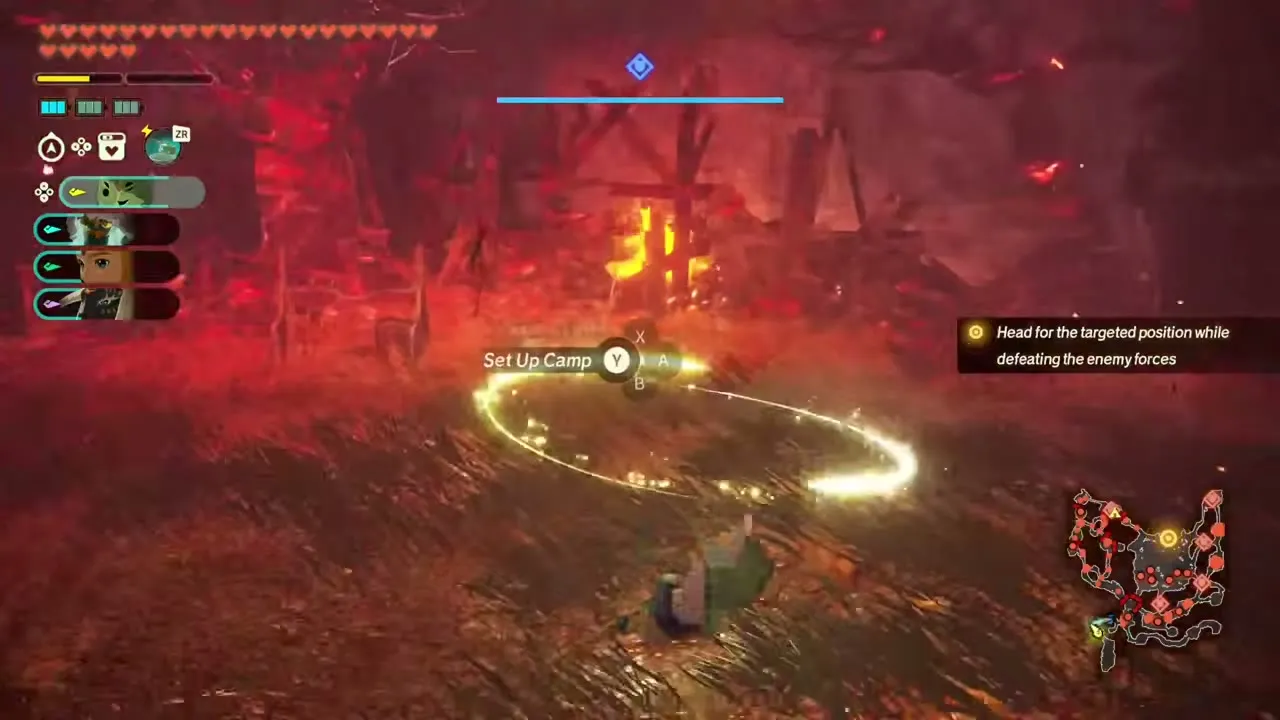
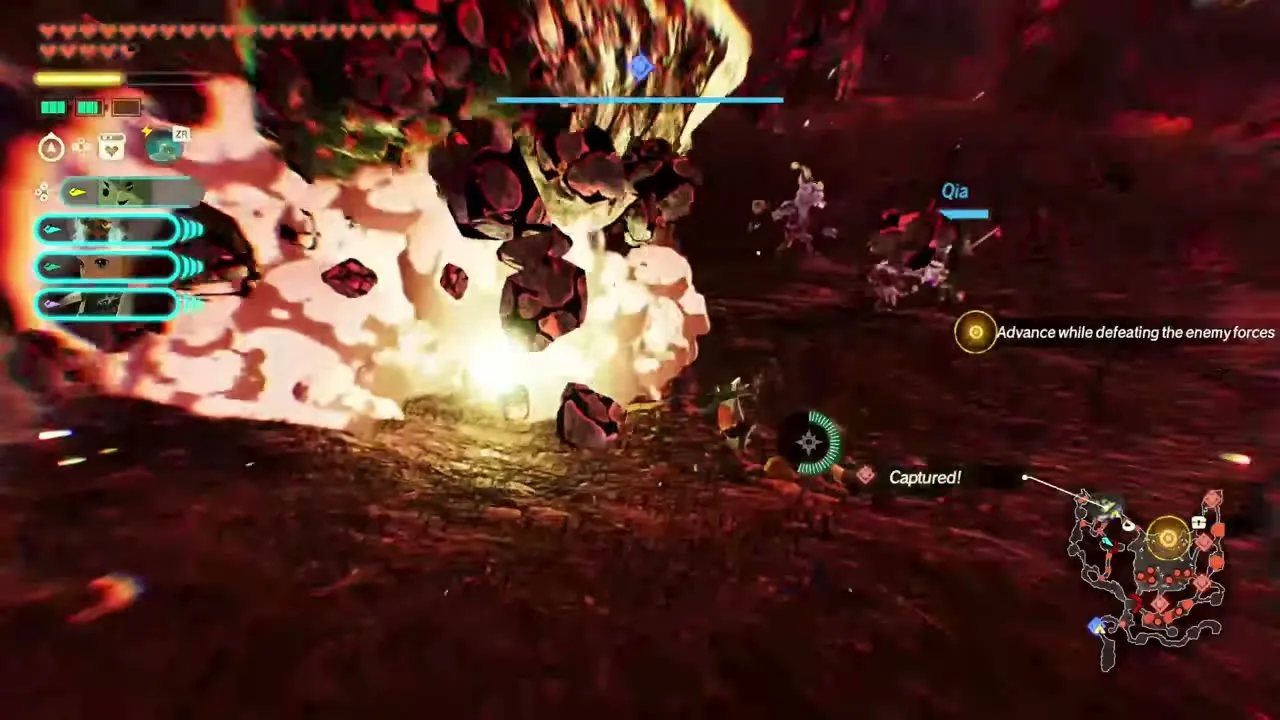
Head north from the start and capture the first outpost, then set up a camp there. Use the camp to swap your party, spend Bonus Exchange effects and recover before pushing on. You can set up further camps at outposts you capture later in the battle.
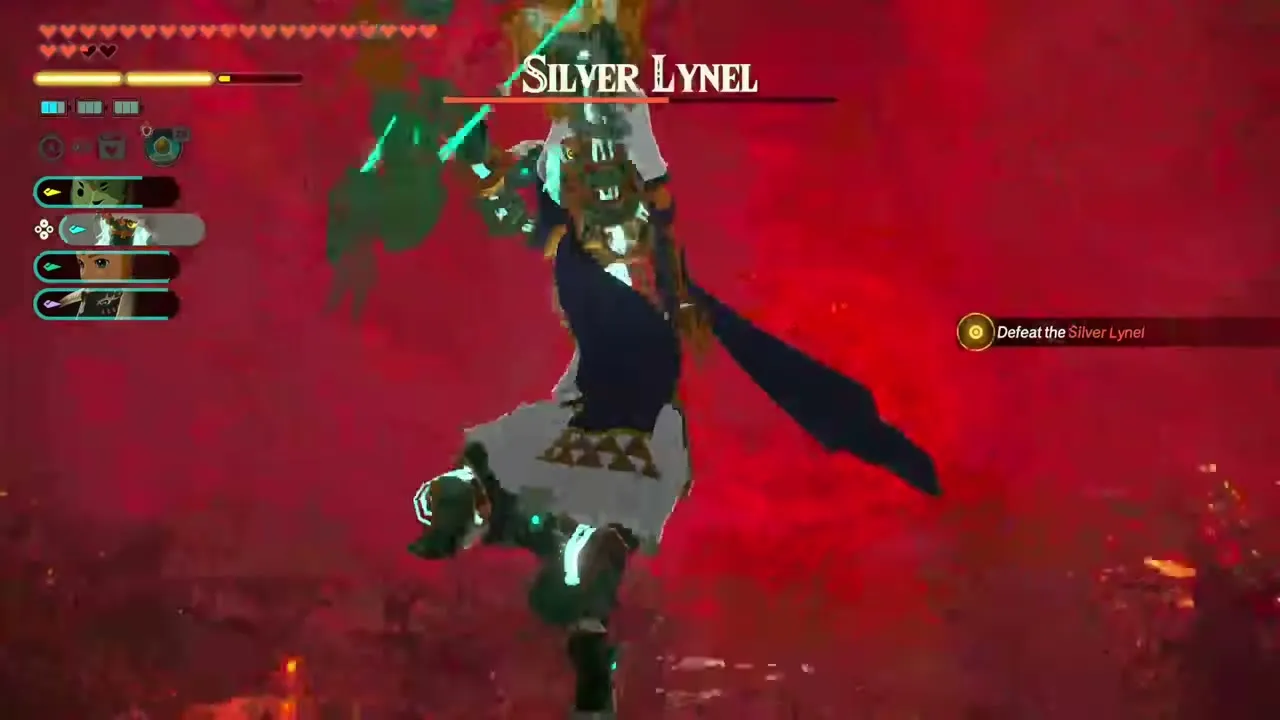
Beat the armored Silver Lynel
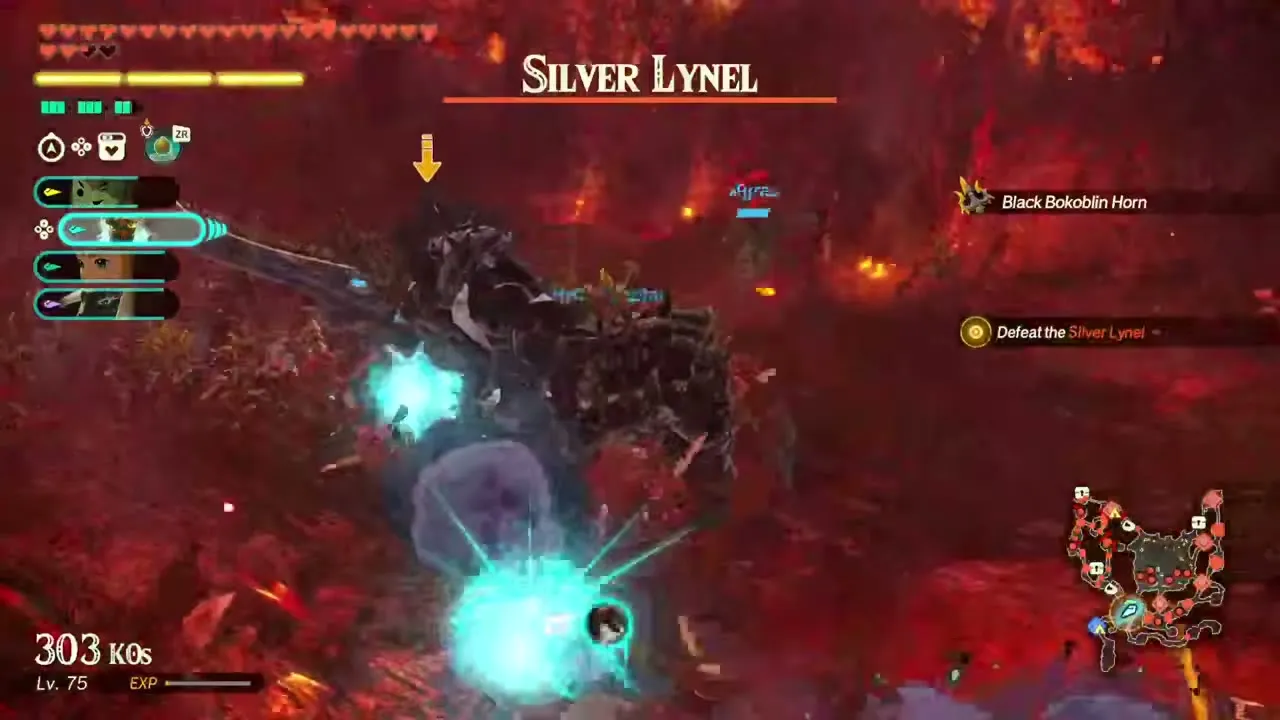
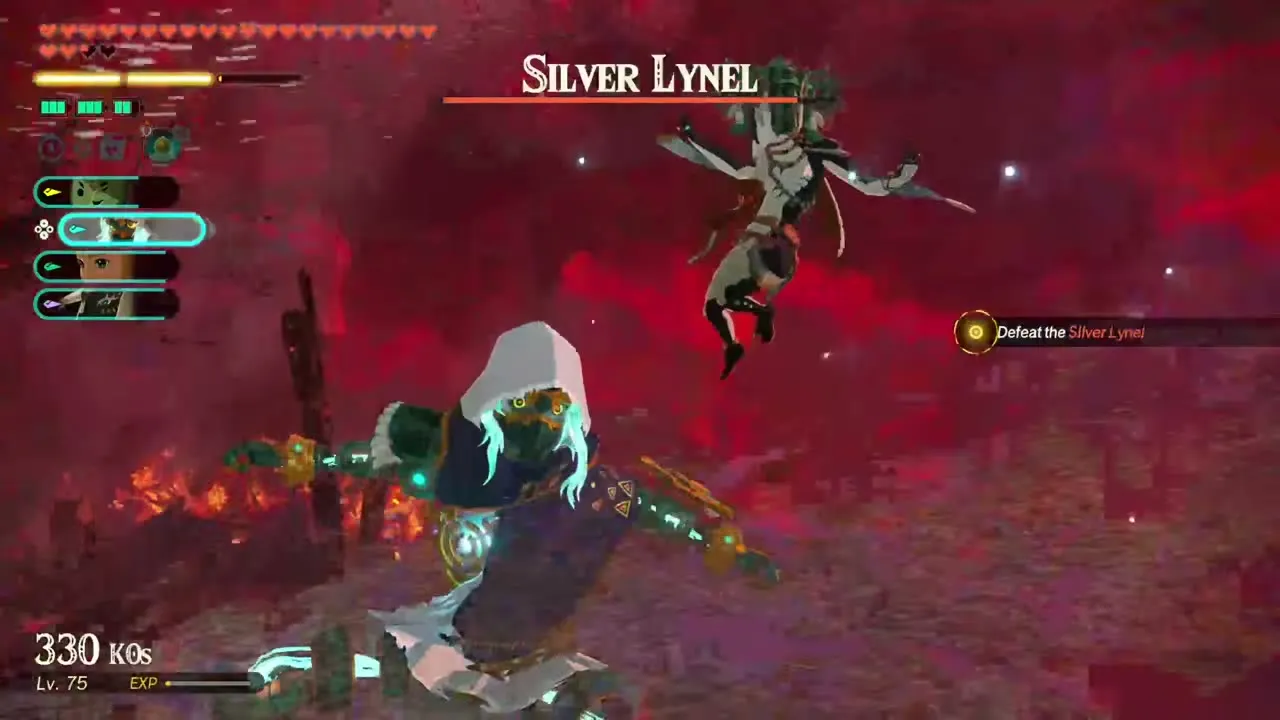
Continue north into the enclosed area where the armored Silver Lynel waits. Defeat it to open the gate to the west path. A Black Moblin also blocks the way on the march, and when the Silver Lynel appears the objective changes to “Defeat the Silver Lynel”, so deal with it before you move on. Allies such as Rauru, Agraston, Raphica and Mineru fight beside you, and more monsters keep pouring in from behind, so keep an eye on the minimap.
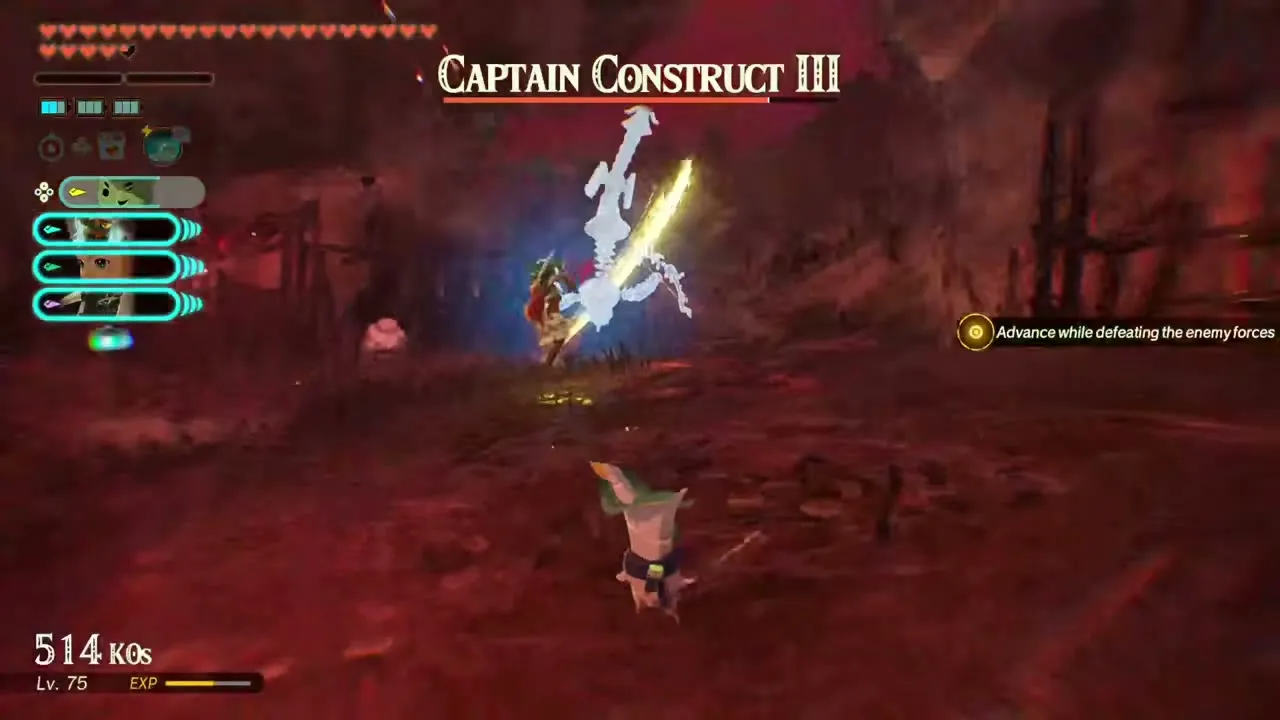
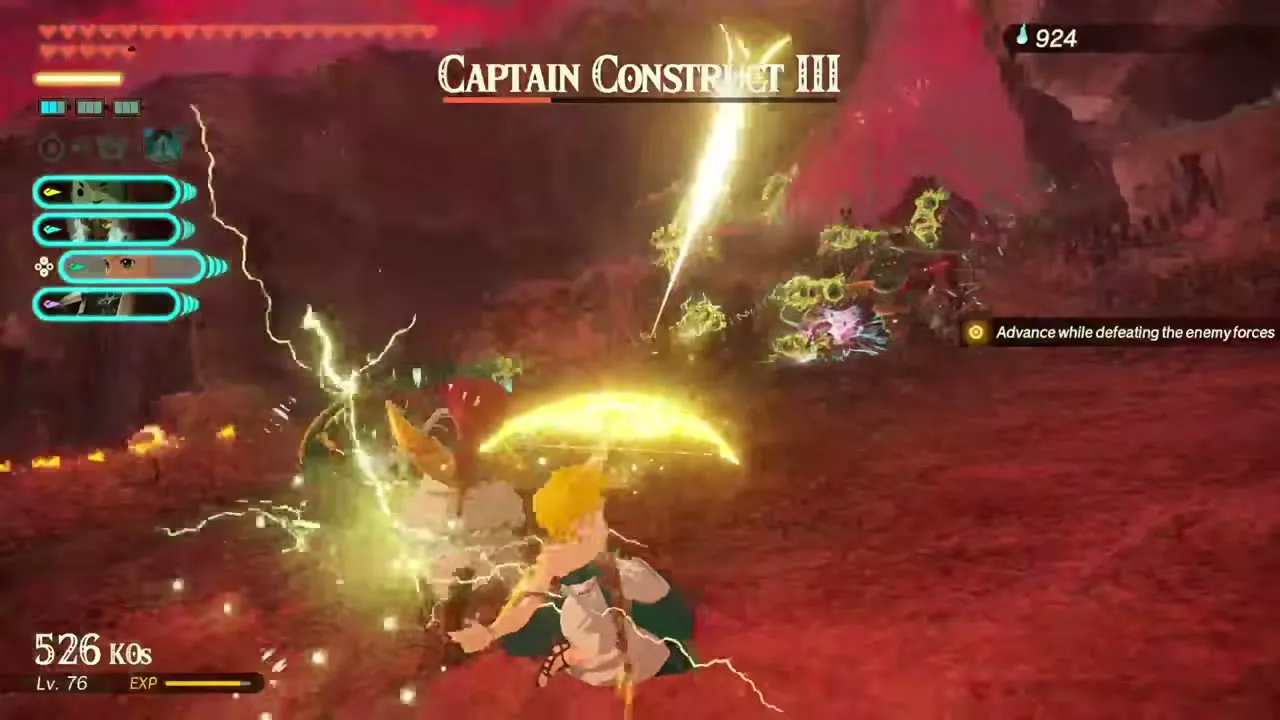
Defeat Captain Construct III
Take the west path to the northwest corner and defeat the marked Captain Construct III. Zelda’s arrows work well against it. When it falls, regroup to the north, where a Silver Moblin comes next.
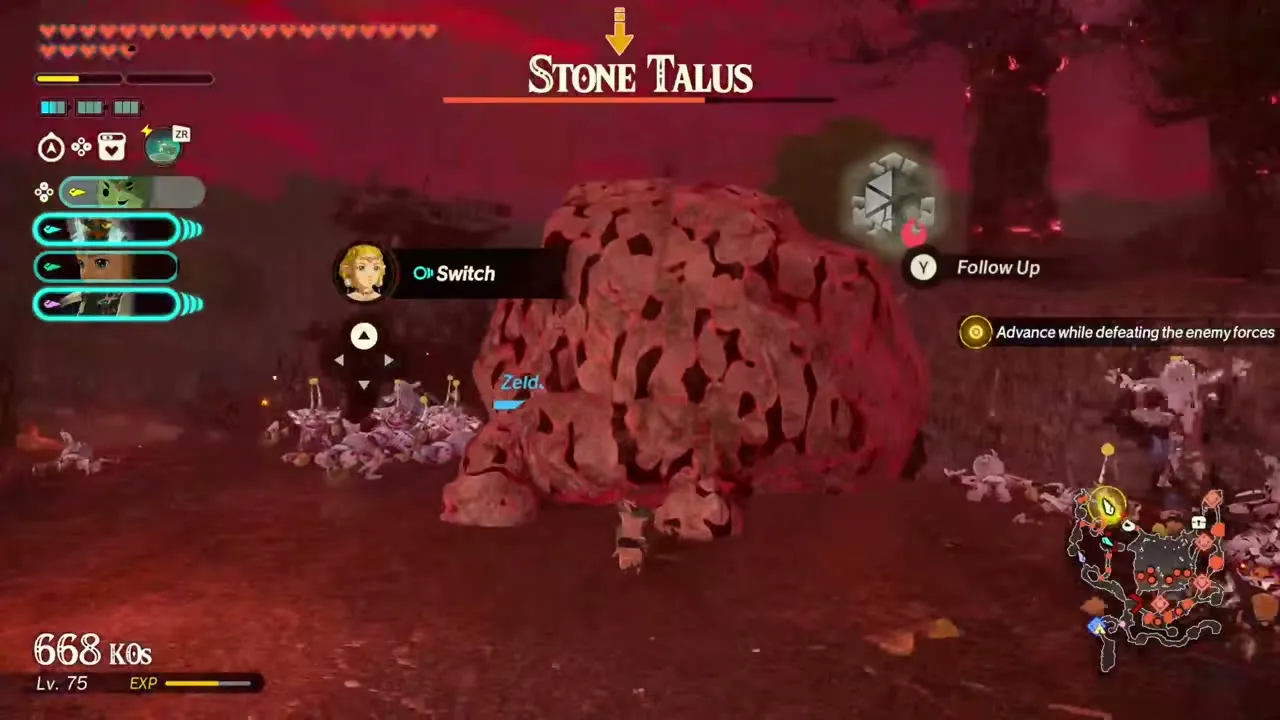
Gloomed Stone Talus
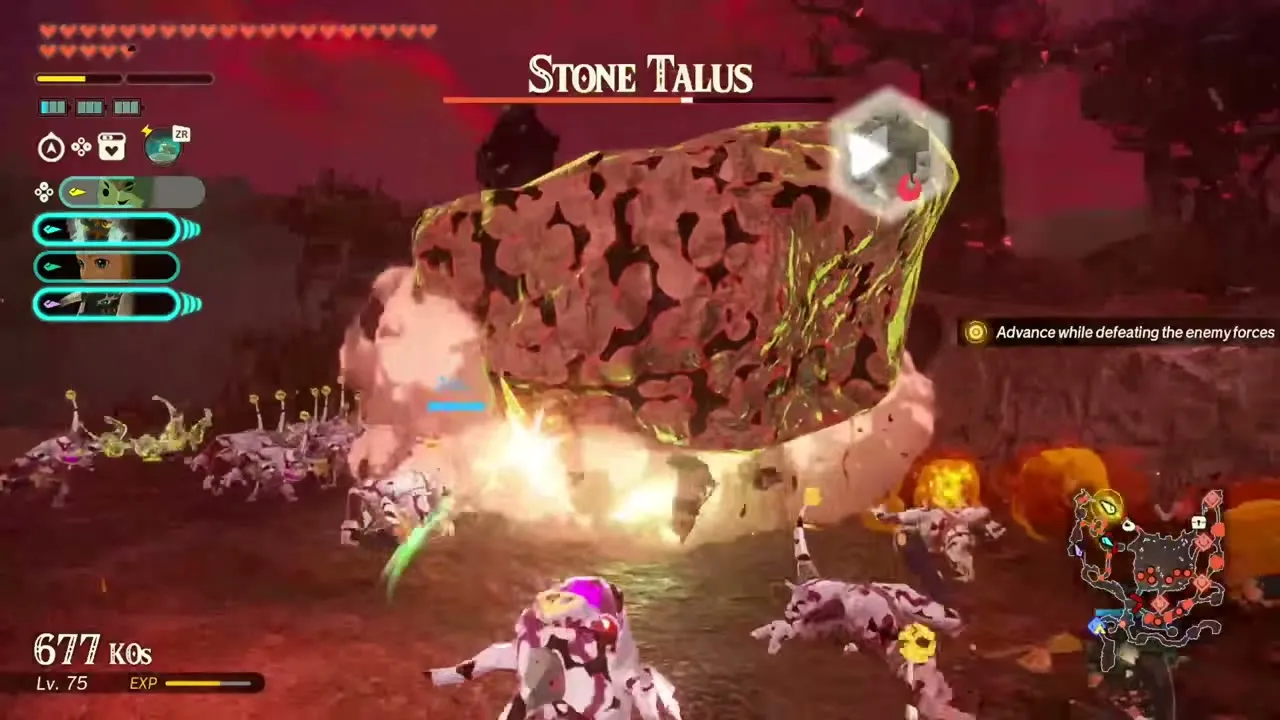
From the north, follow the path east to the gloomed Stone Talus. Light attacks work well against gloomed enemies, so lead with Zelda or Rauru and take it down before moving on to the open area beyond. You can set up another camp at an outpost near here.
Phantom Ganons strategy
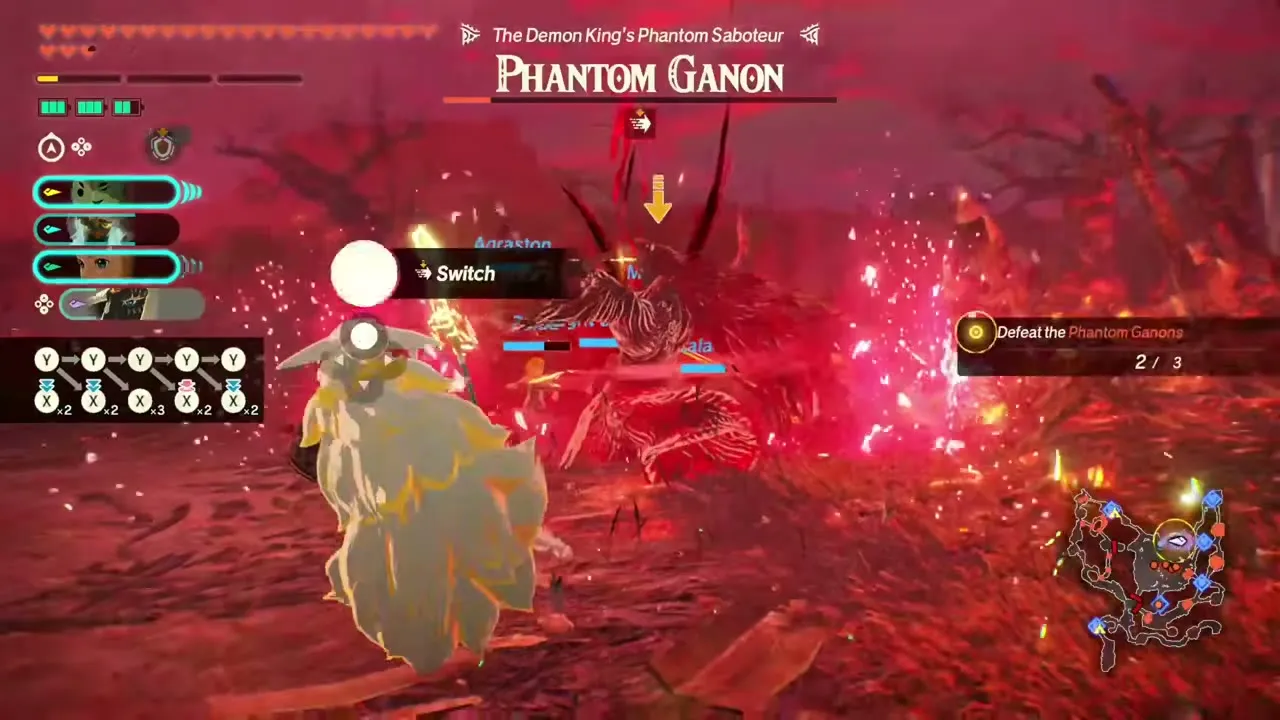
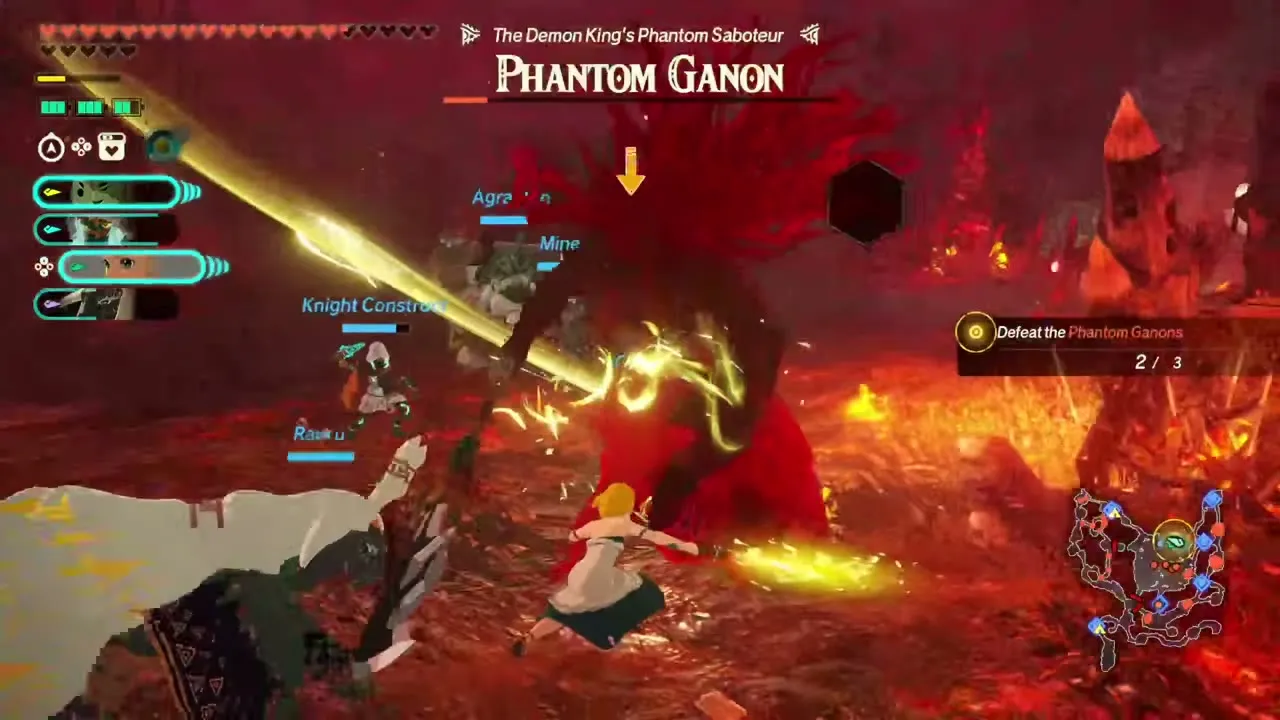
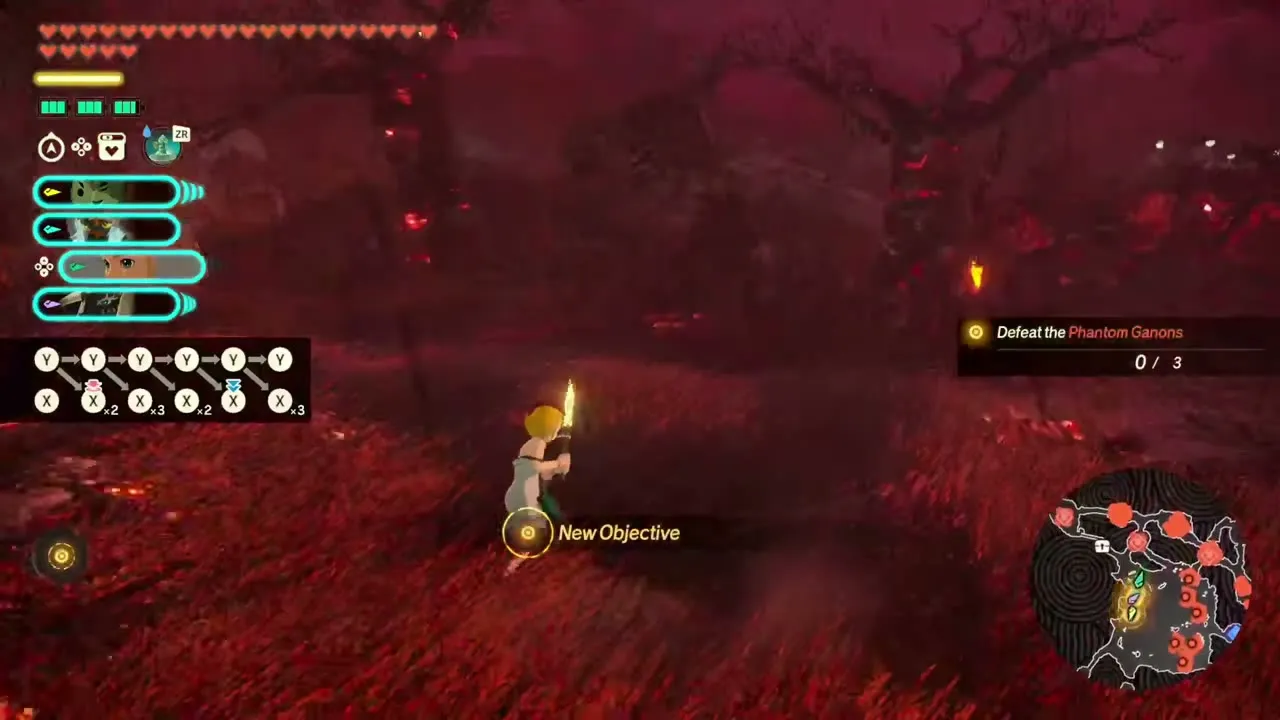
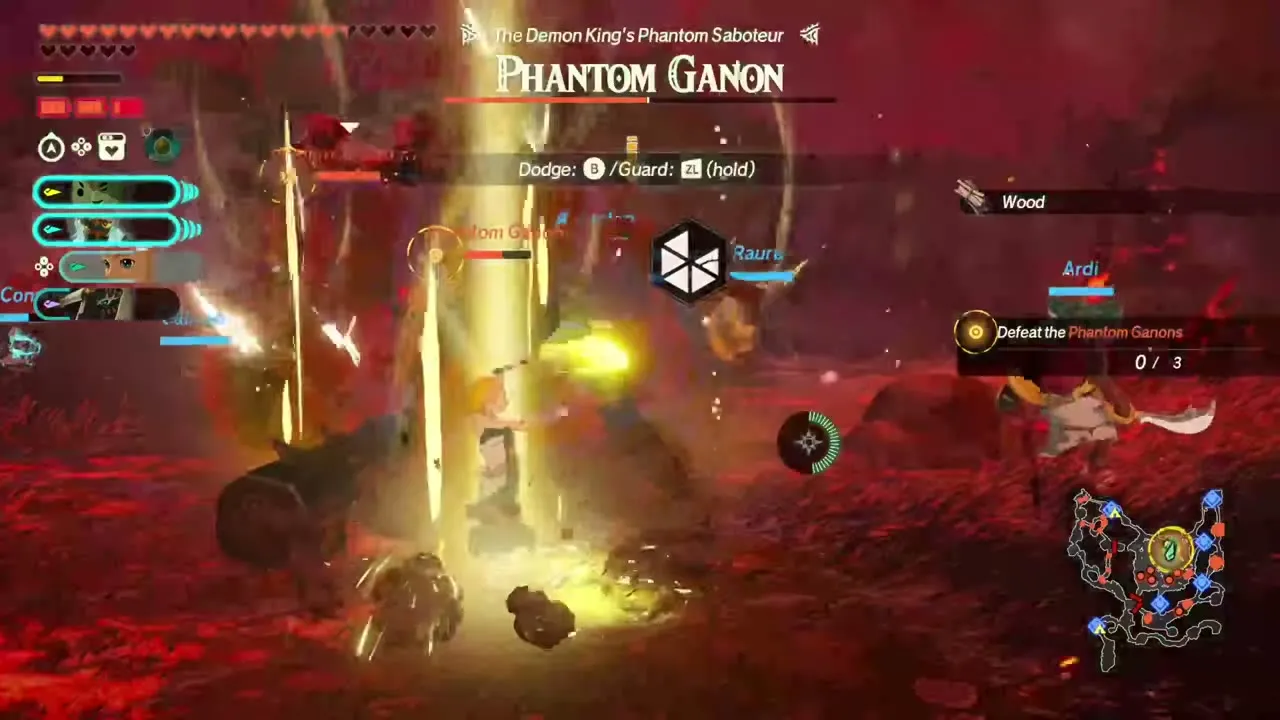
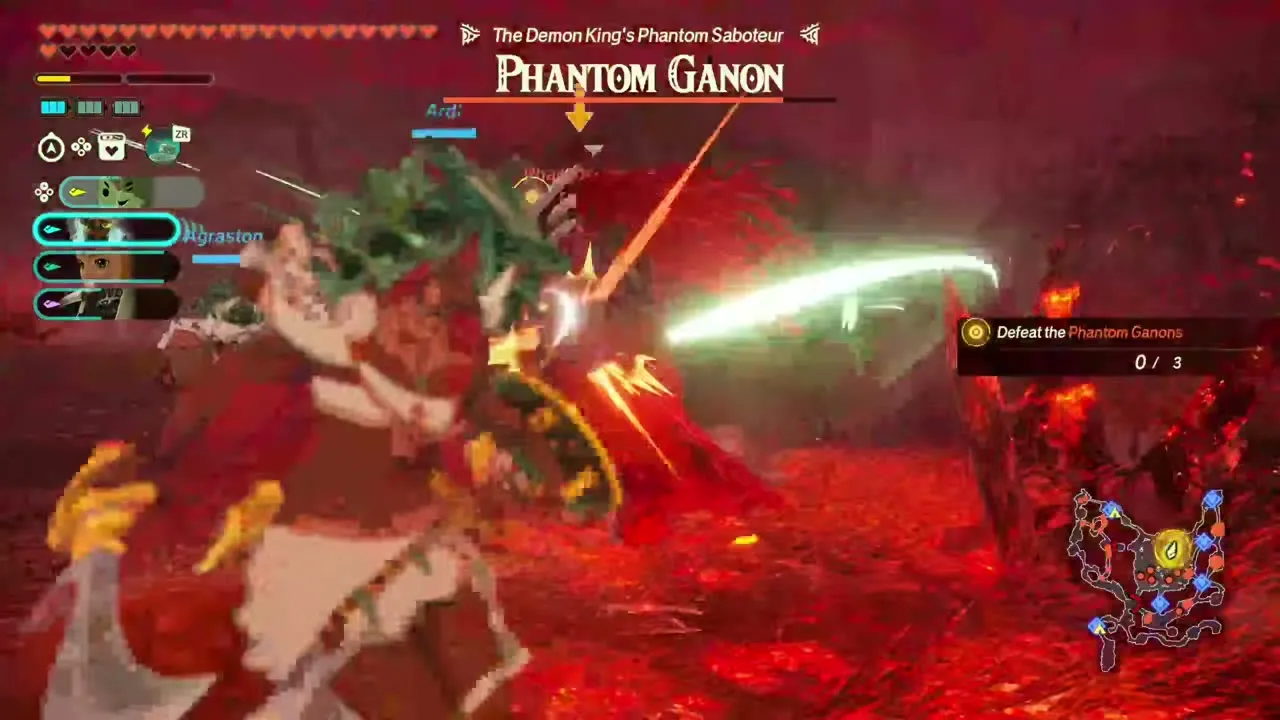
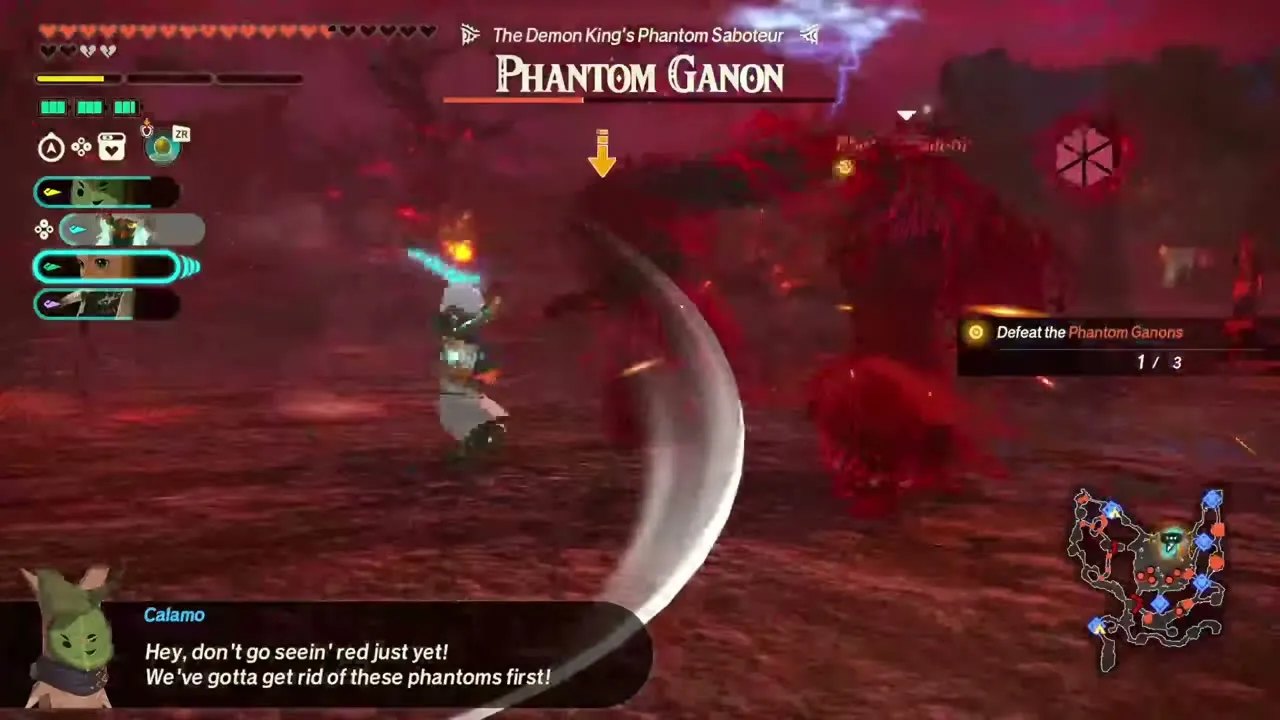
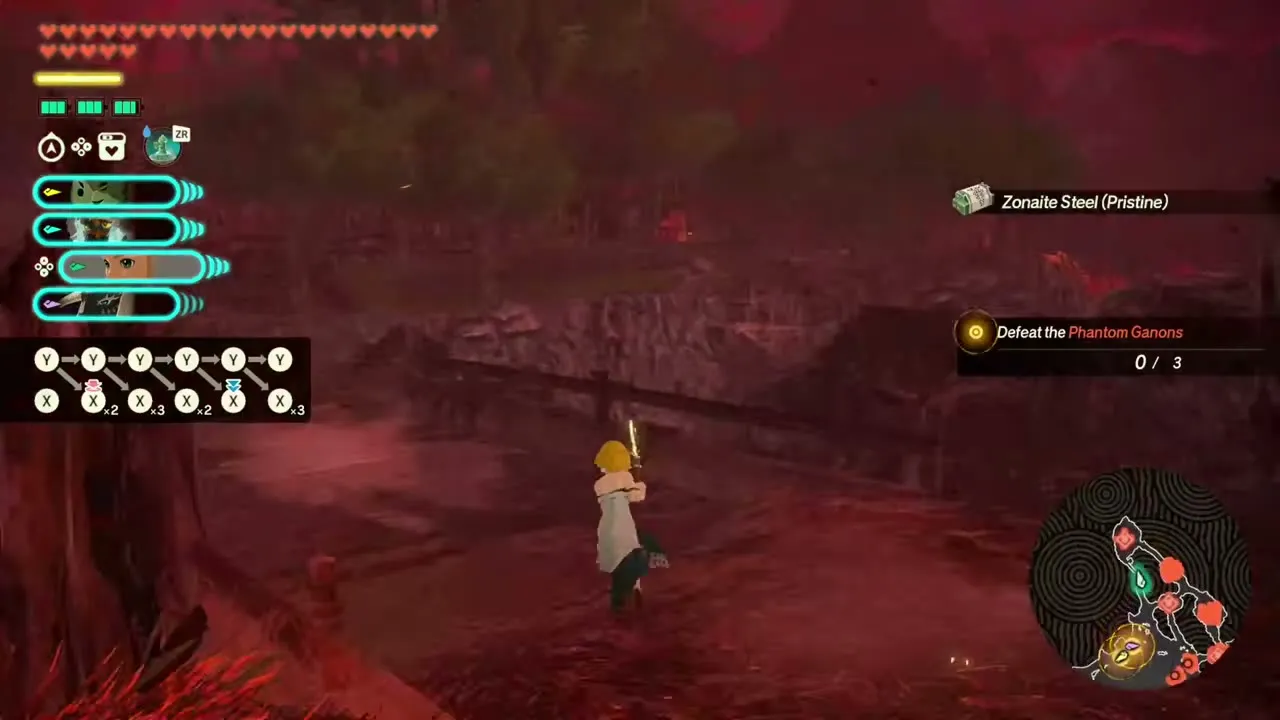
Past the Stone Talus you cut through a Fire Boss Bokoblin, a Fire Moblin and a Silver Boss Bokoblin on the way to the open middle-east area, where the Phantom Ganons appear and the objective changes to “Defeat the Phantom Ganons” (0/3). They are weak to light, so put Zelda and Rauru at the front of your party and use Zelda’s Bow of Light, Piercing Light and Temporal Toss. They do not wait for you in one spot: each one arrives with its own name bar while regular monsters keep coming, so spend your Special Attacks on the Phantom Ganons themselves. When the last Phantom Ganon falls, the battle ends.
Korok Seeds

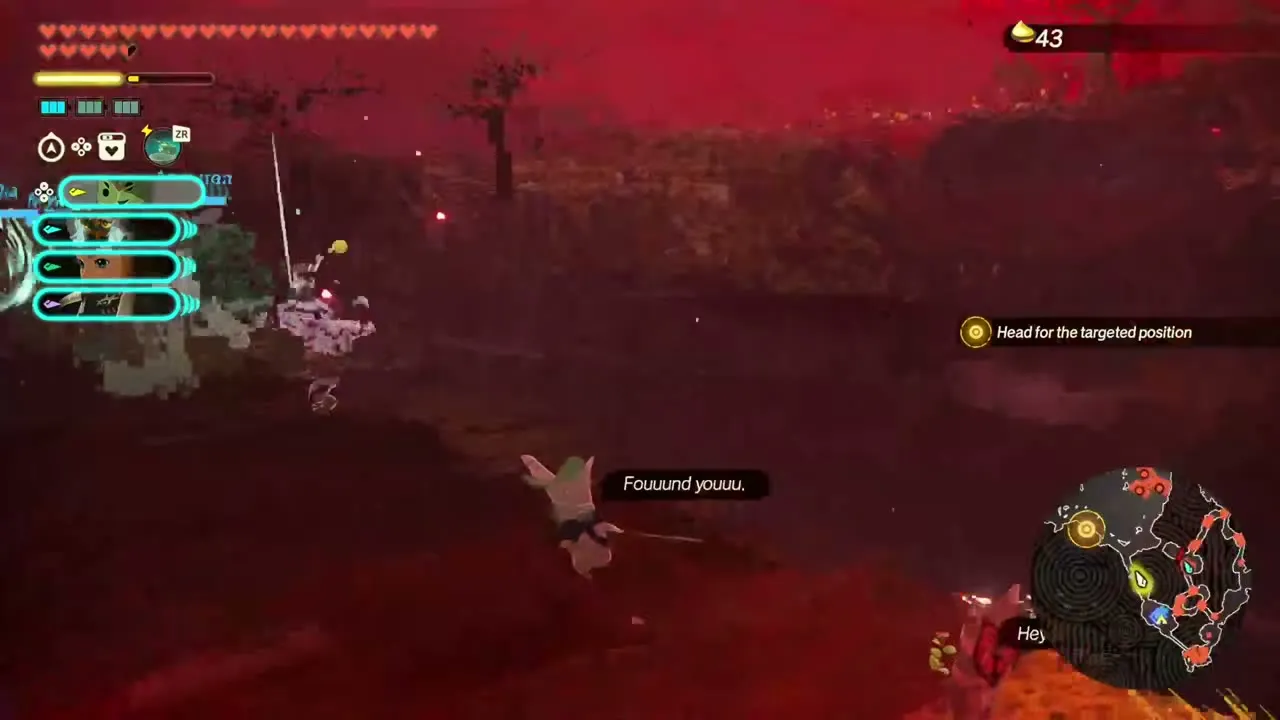
Seed 1: glowing spot at the north gate
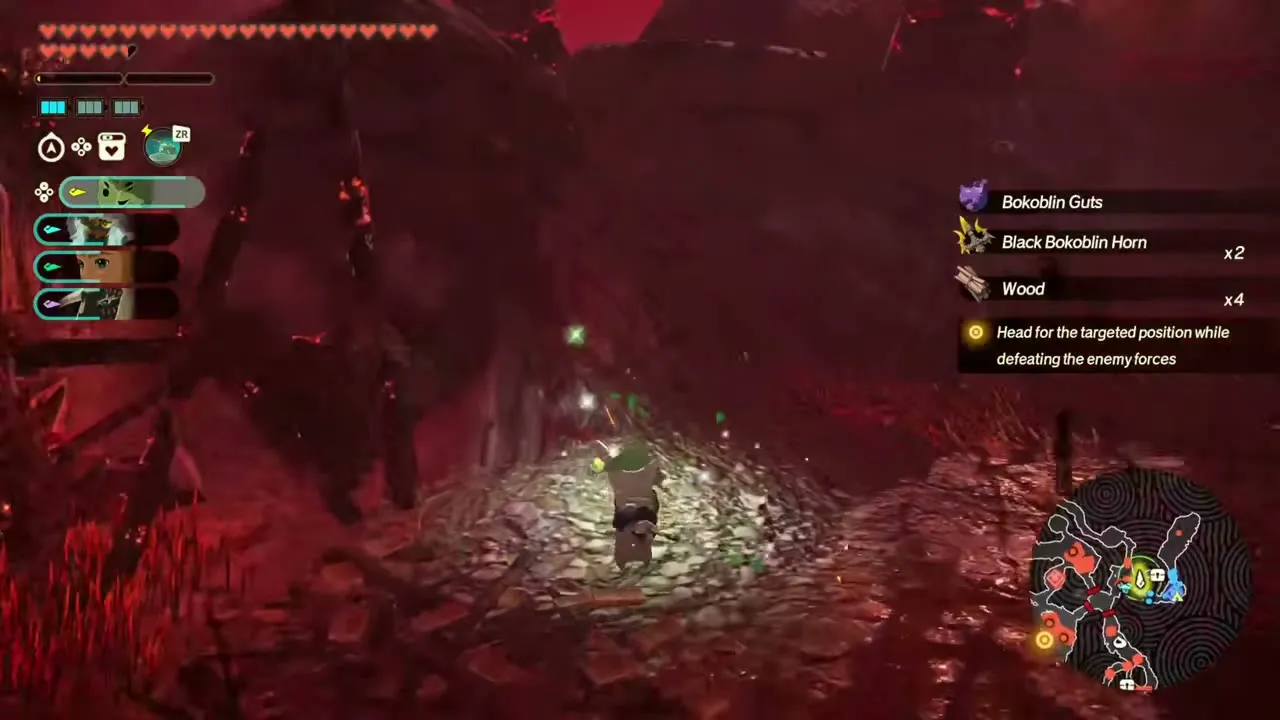
From the first camp outpost, go north along the path to the gate. Interact with the glowing spot beside it to reveal the Korok.
Seed 2: stump in the open field
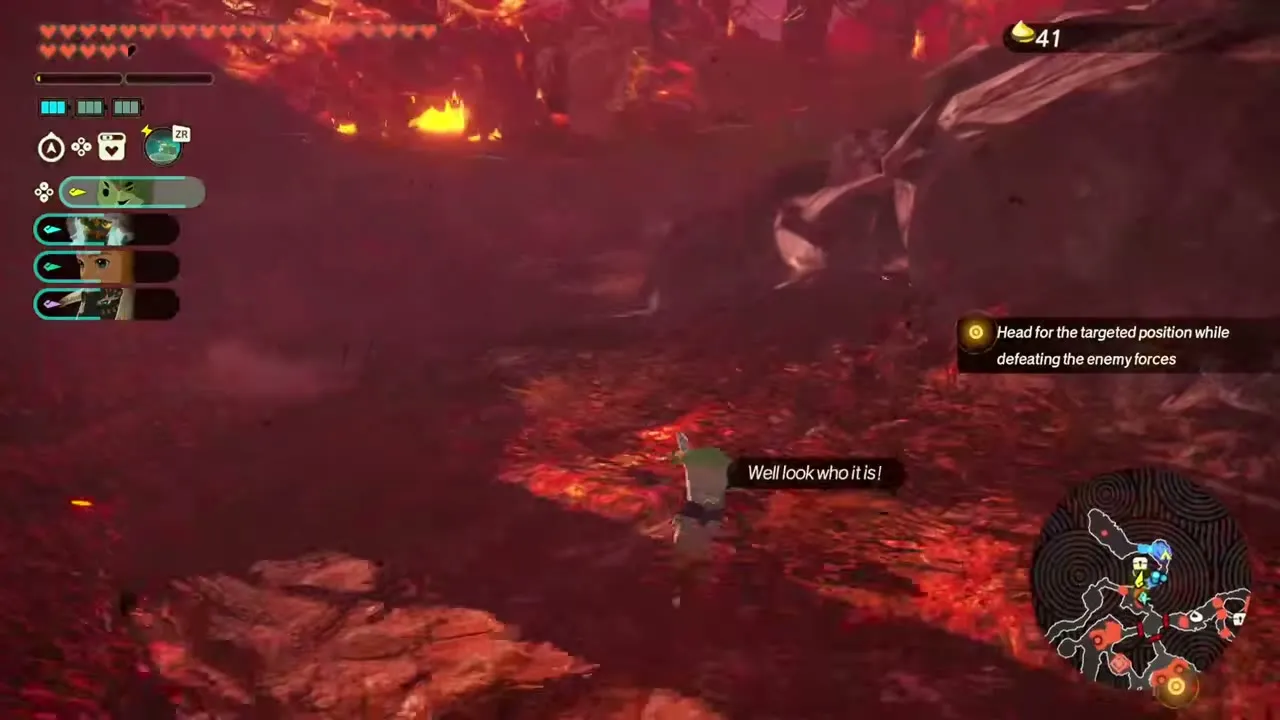
Out in the open field, a Korok stump stands among the burning grass. Interact with it and the Korok pops out with a cheerful “Let’s play”.
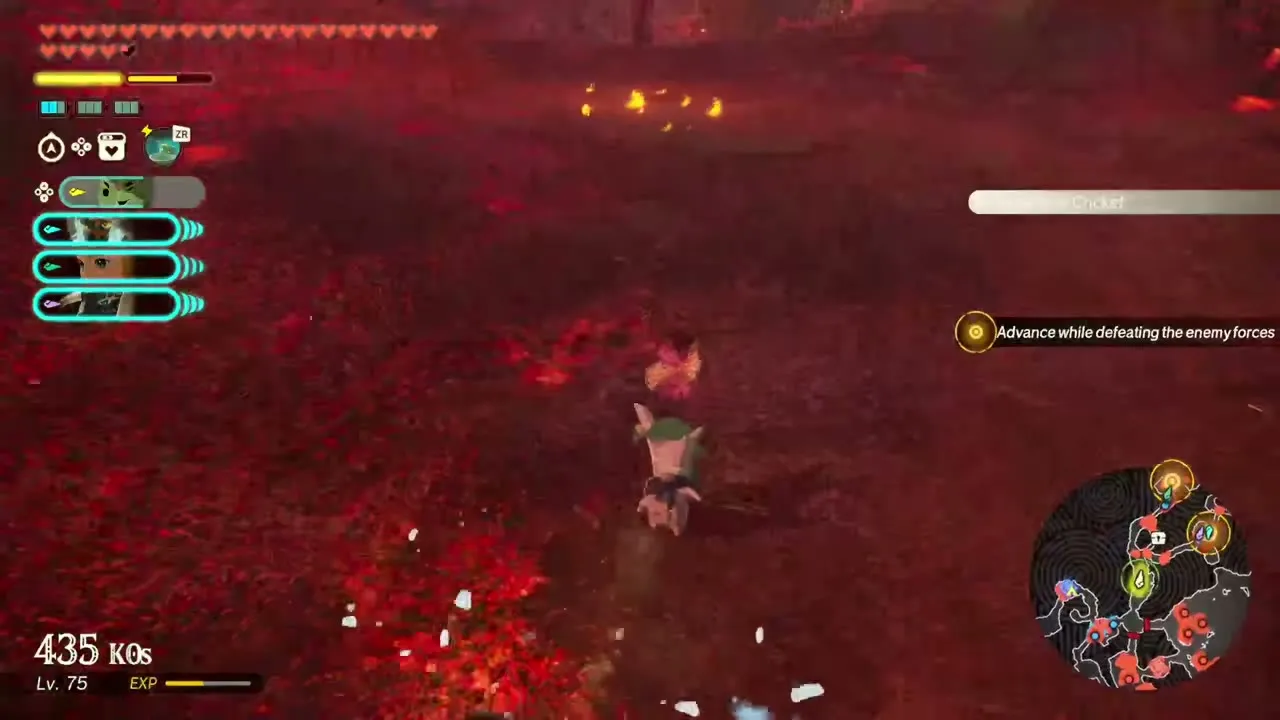
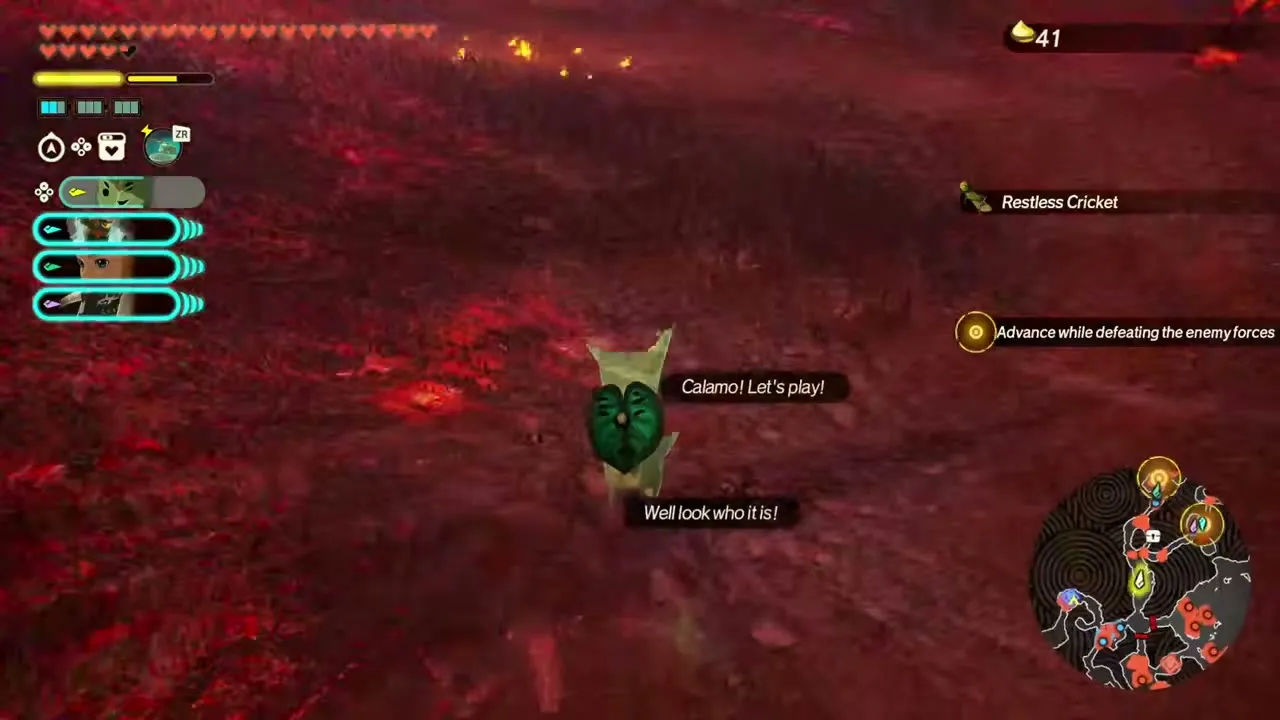
Seed 3: ledge by a torch
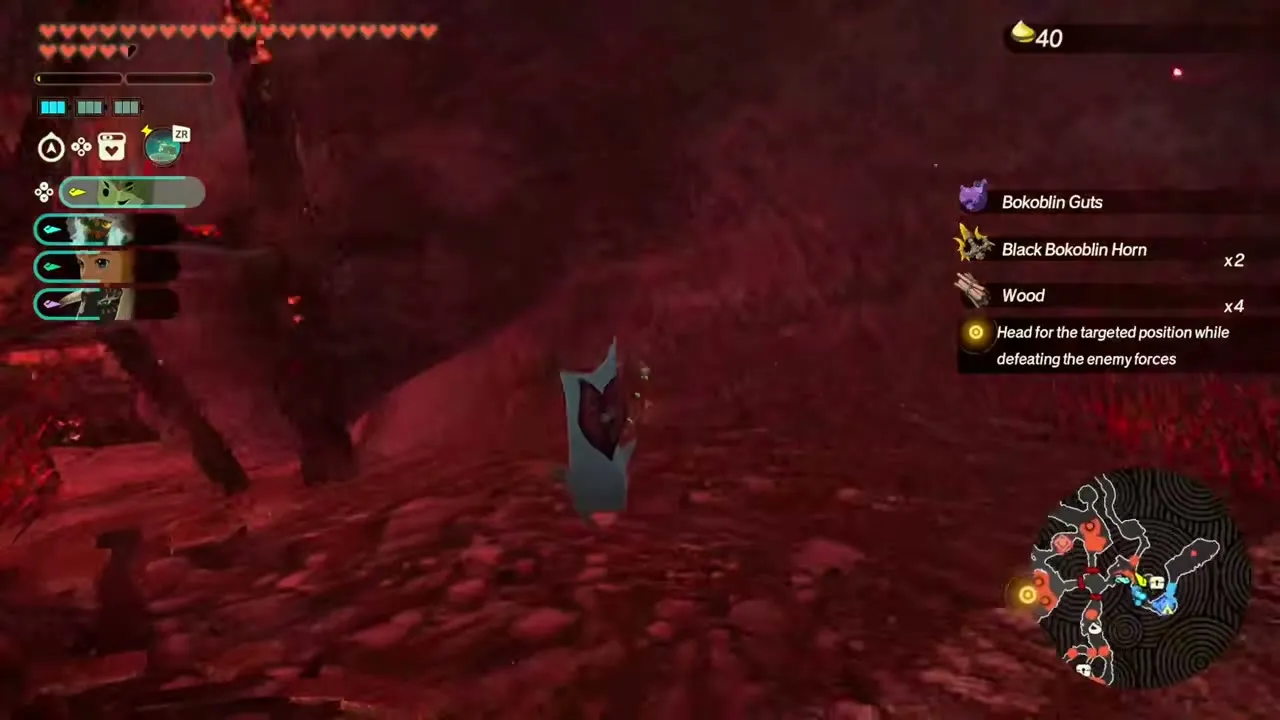
Climb the rocky ledge beside a lit torch, where a Korok with a red heart-shaped face stands. Interact with it.
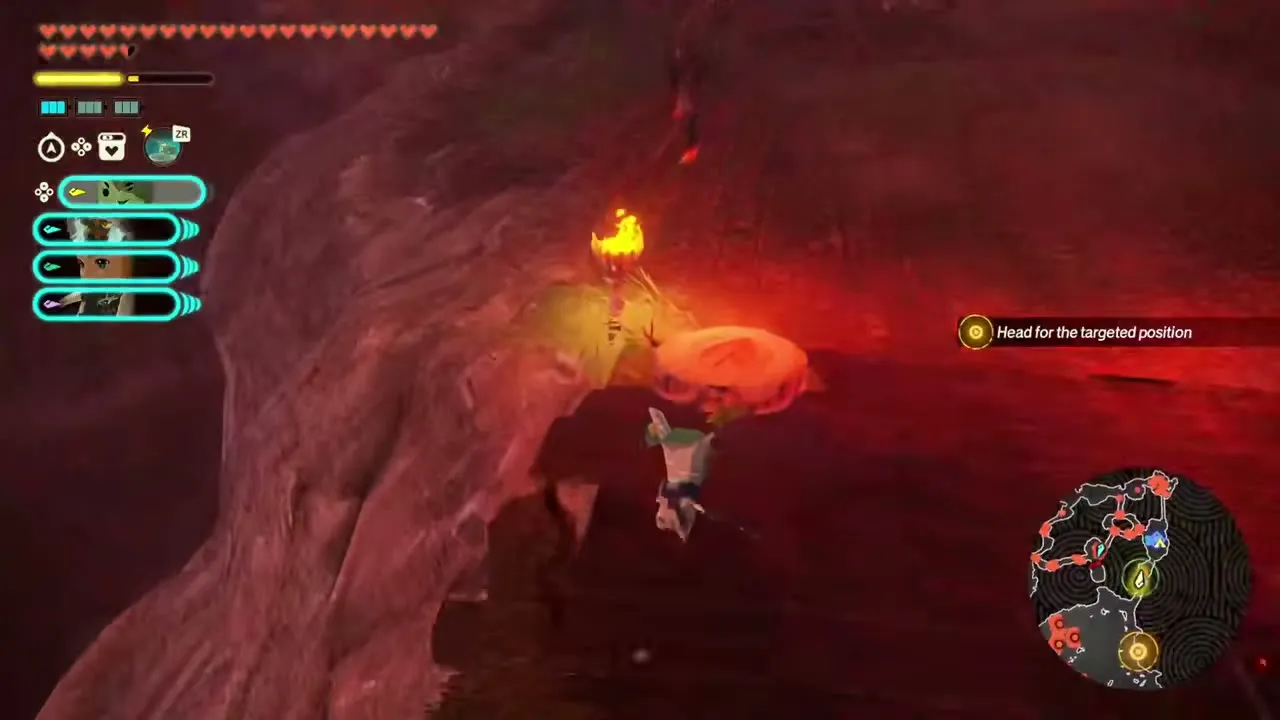
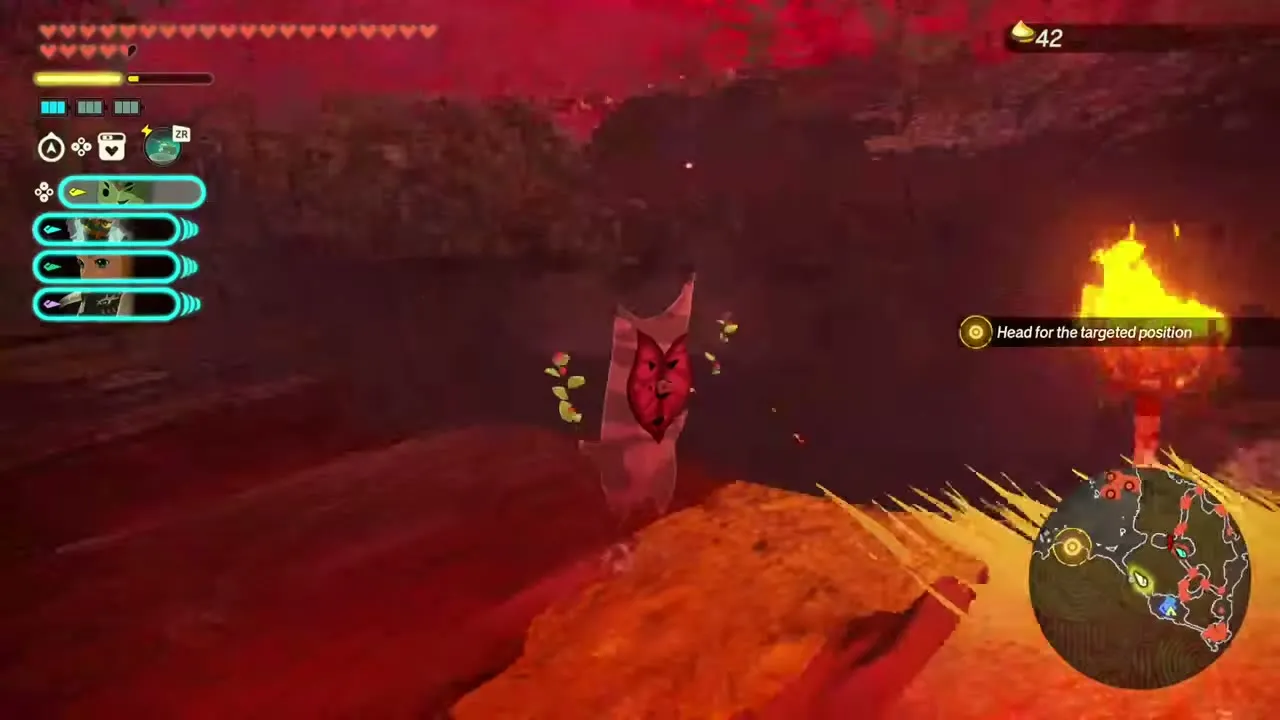
Treasure chests
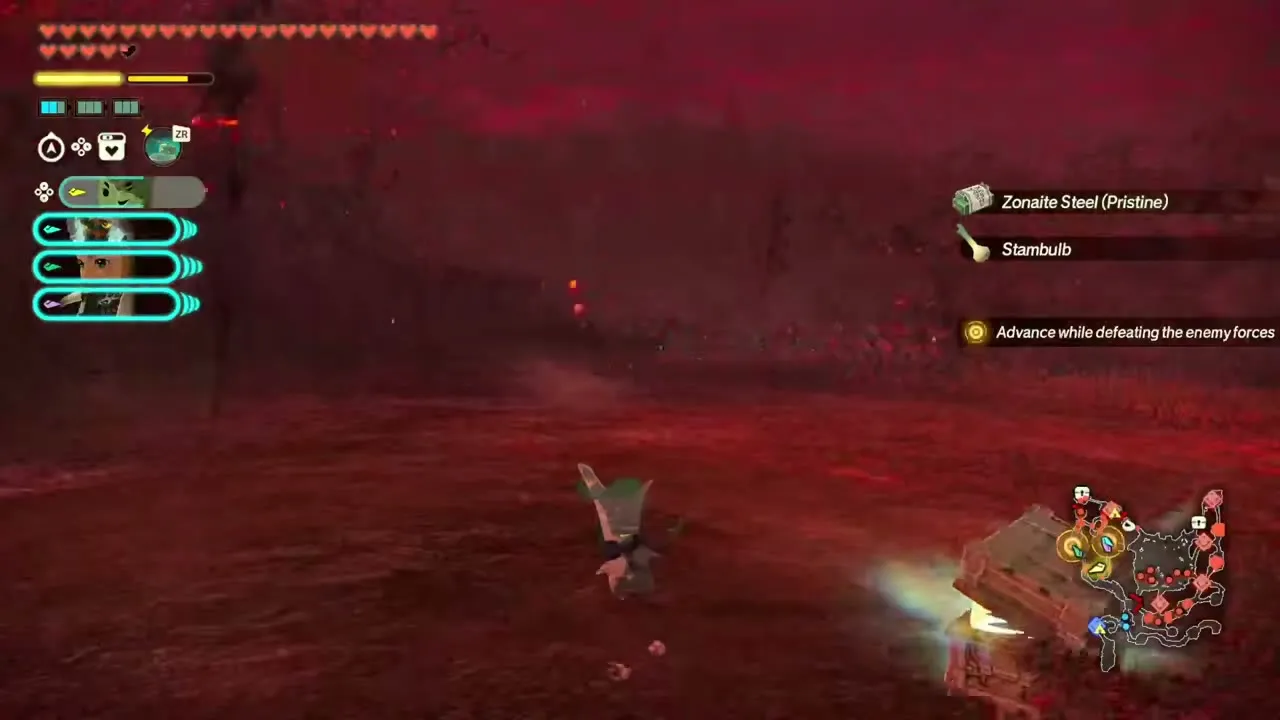
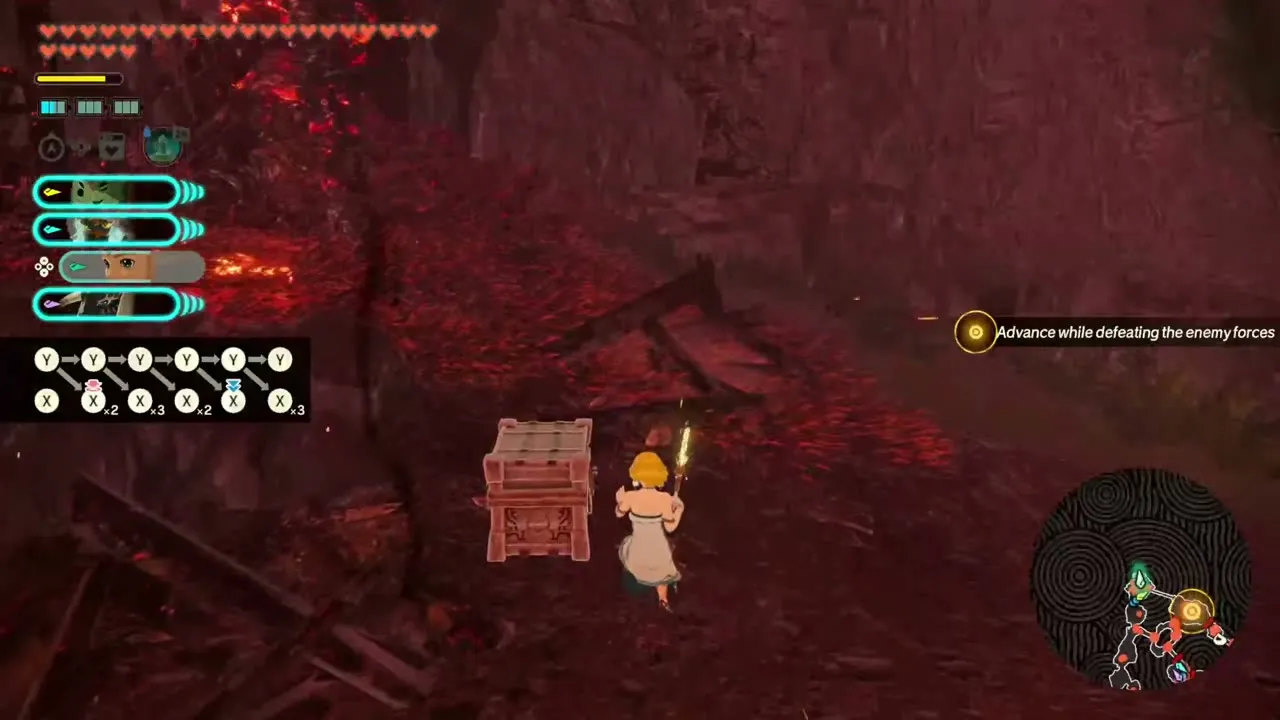
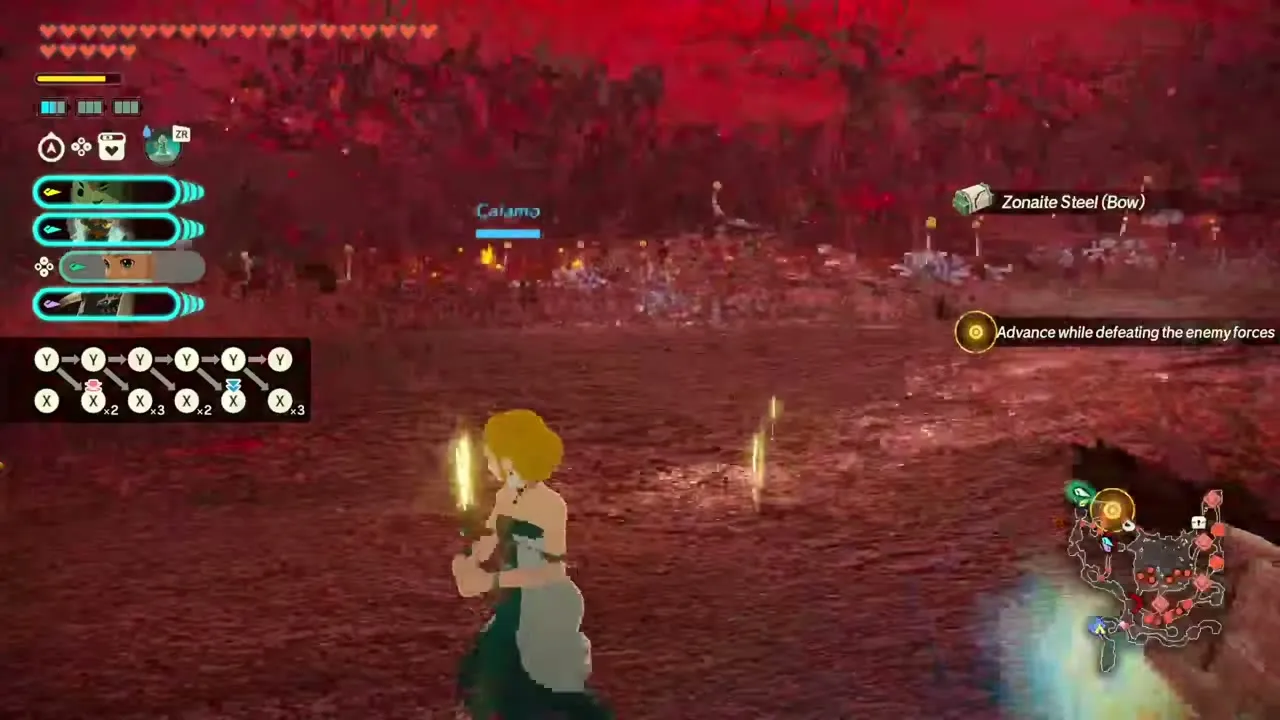
One chest holds three Diamonds. Go through the glowing Korok spot at the north gate and follow the short curved path beyond it to its end. A Zonaite Steel (Pristine) chest sits on the middle road where the Black Bokoblin path after the first Silver Lynel forks into three. A Zonaite Steel (Bow) chest rests at the base of a large burnt tree in the upper right of the map, with Silver Bokoblins nearby. After the Phantom Ganons appear, head east and follow the northeastern path to a second Zonaite Steel (Pristine) chest.
Rewards and what unlocks next
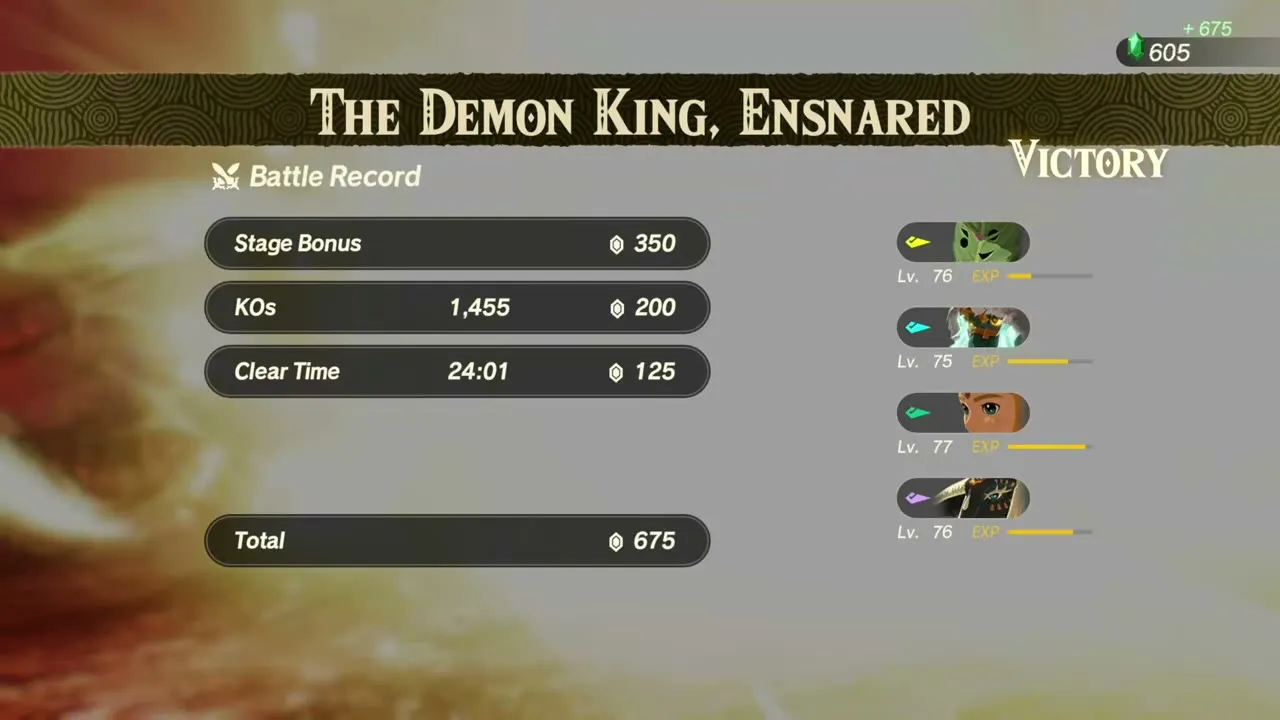
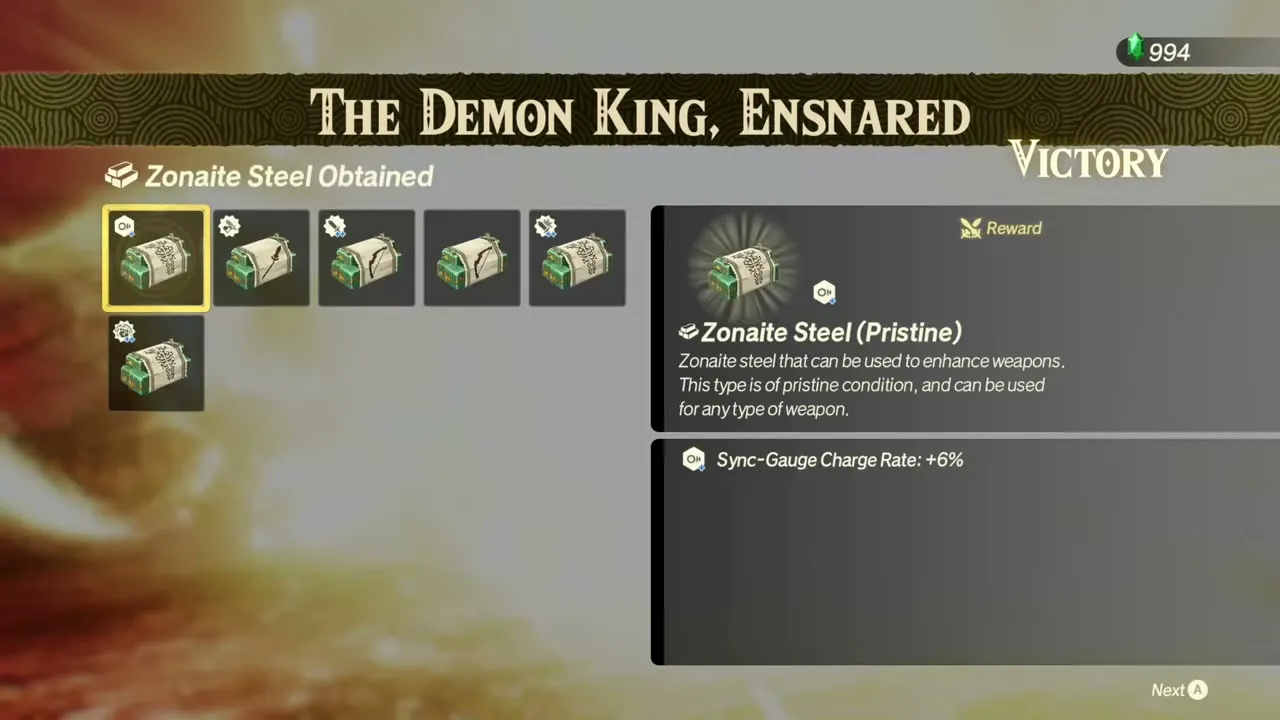
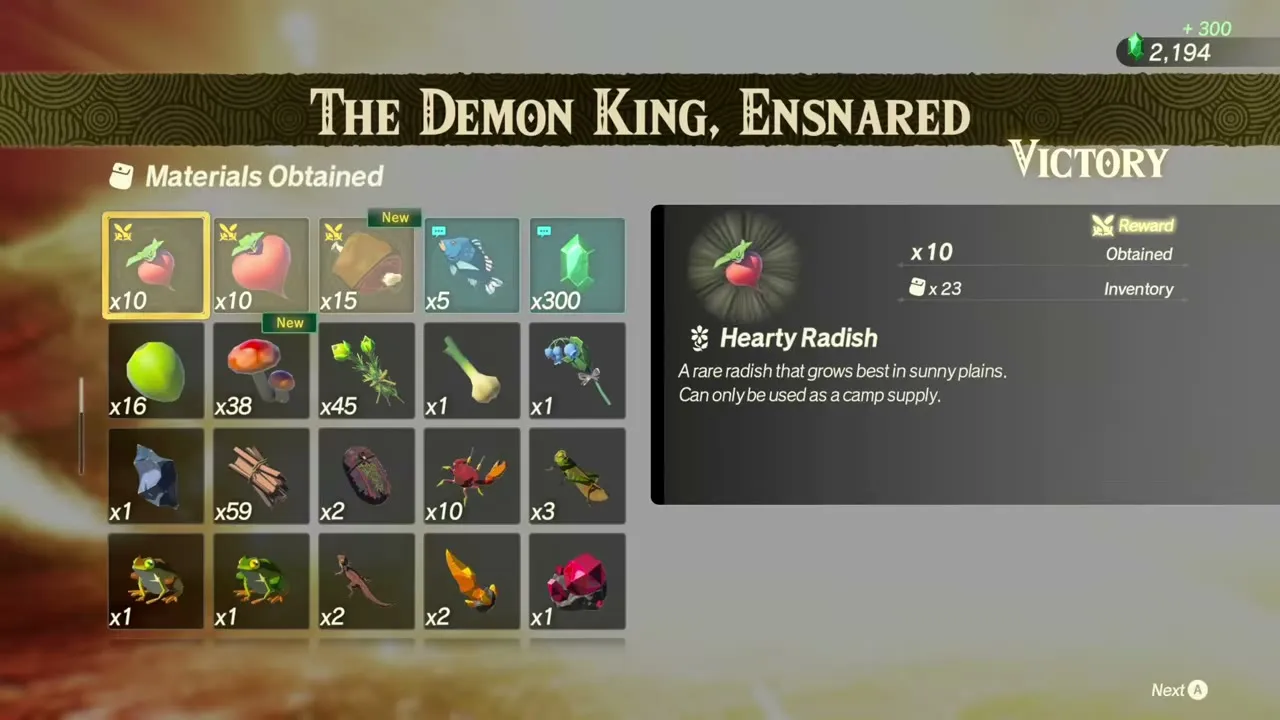
The victory screen lists six pieces of Zonaite Steel (four Pristine, plus a Spear and a Bow), which covers the first-clear reward and the chests, and battlefield materials: Hearty Radish x10, Big Hearty Radish x10 and Raw Gourmet Meat x15. Collect the seeds and chests listed below before the Phantom Ganons fall, because the battle ends as soon as the last one is defeated.
| Collectible | Type | Where |
|---|---|---|
| Korok Seed 1 | Korok Seed | Glowing spot by the gate north of the first camp outpost |
| Korok Seed 2 | Korok Seed | Stump in the open field |
| Korok Seed 3 | Korok Seed | Rocky ledge by a lit torch, red-faced Korok |
| Diamond x3 | Chest | End of the curved path past the north gate Korok spot |
 Zonaite Steel (Pristine) | Chest | Middle road of the three-way fork |
| Zonaite Steel (Bow) | Chest | Base of a burnt tree in the upper right, Silver Bokoblins |
| Zonaite Steel (Pristine) | Chest | Northeast path after the Phantom Ganons appear |
| Zonaite Steel (Pristine), Big Hearty Radish, Hearty Radish, Raw Gourmet Meat, Hyrule Herb, Hylian Shroom, Sunset Firefly, Palm Fruit, Ironshell Crab | First-clear materials | Battle reward |
Next comes The Battle of Hyrule Field, where you break the Demon King’s army.