Age of Imprisonment 100% Completion Walkthrough28 chapters
- To the Great Plateau Walkthrough (Chapter 1, Battle 1)A short tutorial walk with Zelda, Rauru and Sonia. Controls, rewards and what opens next.
- The Art of the Blade Walkthrough (Chapter 1, Battle 2)Beat Typhan, Quino, Rauru, Pastos, Braton and Agraston, find the Korok Seed, chests and rewards.
- Where Ancient Wisdom Sleeps Walkthrough (Chapter 1, Battle 3)Flame Emitter, Time Bomb, Frox, Stone Talus and Flux Construct I, plus all five chests.
- Raging Sands Walkthrough (Chapter 2, Battle 4)Take the outposts, beat four Gerudo Captains, the Molduga and Ardi, and find all 3 Korok Seeds and 5 chests.
- The Hands of Evil Walkthrough (Chapter 2, Battle 5)Capture the outpost as the Mysterious Construct, get the Rocket and rescue Ardi from two Gerudo Captains.
- Growing Suspicion Walkthrough (Chapter 2, Battle 6)All three Korok Seeds, four chests, the Gerudo Assassin, Stone Talus and the final corrupted construct.
- Striking North Walkthrough (Chapter 2, Battle 7)Rescue three Hylian Captains, beat the Hinox and Lynel, and find both Korok Seeds and all seven chests.
- Beneath the Blood Moon Walkthrough (Chapter 2, Battle 8)Flight controls, both Korok Seed ring runs and how to beat the Frost Gleeok.
- The Howling Tempests Walkthrough (Chapter 2, Battle 9)Unlock Fuse attacks, Calamo and Typhan, find all 3 Korok Seeds and 4 chests, and beat Grimgera.
- Shadows in the Snow Walkthrough (Chapter 3, Battle 10)Unlock Raphica, rescue Pinnec, beat the ice enemies, and find all 3 Korok Seeds and 4 chests.
- Lanayru Defiled Walkthrough (Chapter 3, Battle 11)Clear sludge enemies, recruit Qia, get the Hydrant, beat Grimtorok, and find 3 Korok Seeds and 4 chests.
- The Behemoth in the Crater Walkthrough (Chapter 3, Battle 12)How to beat the Moragia flight battle with Zonai attack devices and get the Korok Seed.
- Crisis on Death Mountain Walkthrough (Chapter 3, Battle 13)Rescue the Gorons, unlock Agraston, beat the Fire Lynels and find all 5 Korok Seeds and 5 chests.
- Under Cover of Mist Walkthrough (Chapter 3, Battle 14)Capture outposts through hidden passages, beat the Aerocudas and Grimgera, and find all 7 Korok Seeds.
- Terror of the Sands Walkthrough (Chapter 4, Battle 15)Play as Ardi, clear Gibdo hives, defend the main outpost, and find all 4 Korok Seeds and 7 chests.
- The Crimson Omen Walkthrough (Chapter 4, Battle 16)Beat the corrupted Forbidden Construct as Calamo and the Knight Construct, with tips for its attacks.
- A Time for Action Walkthrough (Chapter 4, Battle 17)Four-sage outpost siege, all 4 Korok Seeds, 4 chests and the five elites.
- The Counterstrike Walkthrough (Chapter 4, Battle 18)Outposts, Zelda joining, the Grimgohma boss fight, 4 Korok Seeds and 4 chests.
- Ambush in the Depths Walkthrough (Chapter 4, Battle 19)Flight battle devices, Rock Octoroks, the breakable wall and the Black Hinox finale.
- Purging the Shadows Walkthrough (Chapter 4, Battle 20)Flux Construct outposts, Gloom Spawns, Phantom Ganon boss fight and all 5 chests.
- Fire and Sand Walkthrough (Chapter 4, Battle 21)Outposts, Silver Moblins, Grimgibdo boss tips, eight chests and first-clear rewards.
- Into the Fray Walkthrough (Chapter 5, Battle 22)Zonai devices for the flight battle, the Korok ring seed and how to beat King Gleeok.
- The Archfiend’s Return Walkthrough (Chapter 5, Battle 23)How to beat Grimgera in his third fight, best warriors and first-clear rewards.
- The Battle of Hyrule Castle Walkthrough (Chapter 5, Battle 24)Outposts, Grimtorok and Grimgohma, 5 Korok Seeds and 6 chests.
- The Demon King, Ensnared Walkthrough (Chapter 5, Battle 25)Outposts, Silver Lynel, Captain Construct III, three Phantom Ganons, 3 Korok Seeds and 4 chests.
- The Battle of Hyrule Field Walkthrough (Chapter 5, Battle 26)Empty the enemy army gauge, then defeat the Archfiend Grimgibdo.
- The Final Confrontation Walkthrough (Chapter 5, Battle 27)The Phantom Ganon wave, the L-button blast and Demon King Ganondorf strategy with Zelda and Rauru.
- A Clash of Constructs Walkthrough (Chapter 6, Battle 28)The three-phase Forbidden Construct fight, flight tips, the ending and what opens in the post-game.
| Chapter | Chapter 5, Battle 26 |
|---|---|
| Region | Hyrule Field |
| Recommended level | Lv 54 |
| Warriors | Calamo, Knight Construct, Quino and Lago |
| Boss |  Grimgibdo (Archfiend) |
| Korok Seeds | 0 |
| Unlocks | The Final Confrontation; first-clear materials |
This battle is one large brawl instead of an outpost run. You win by emptying the Demon King’s army gauge, the red bar on the right side of the screen, which draws out the last Archfiend, Grimgibdo, for the final fight. The reward is a weapon and first-clear materials, so the whole battle comes down to the fight itself.
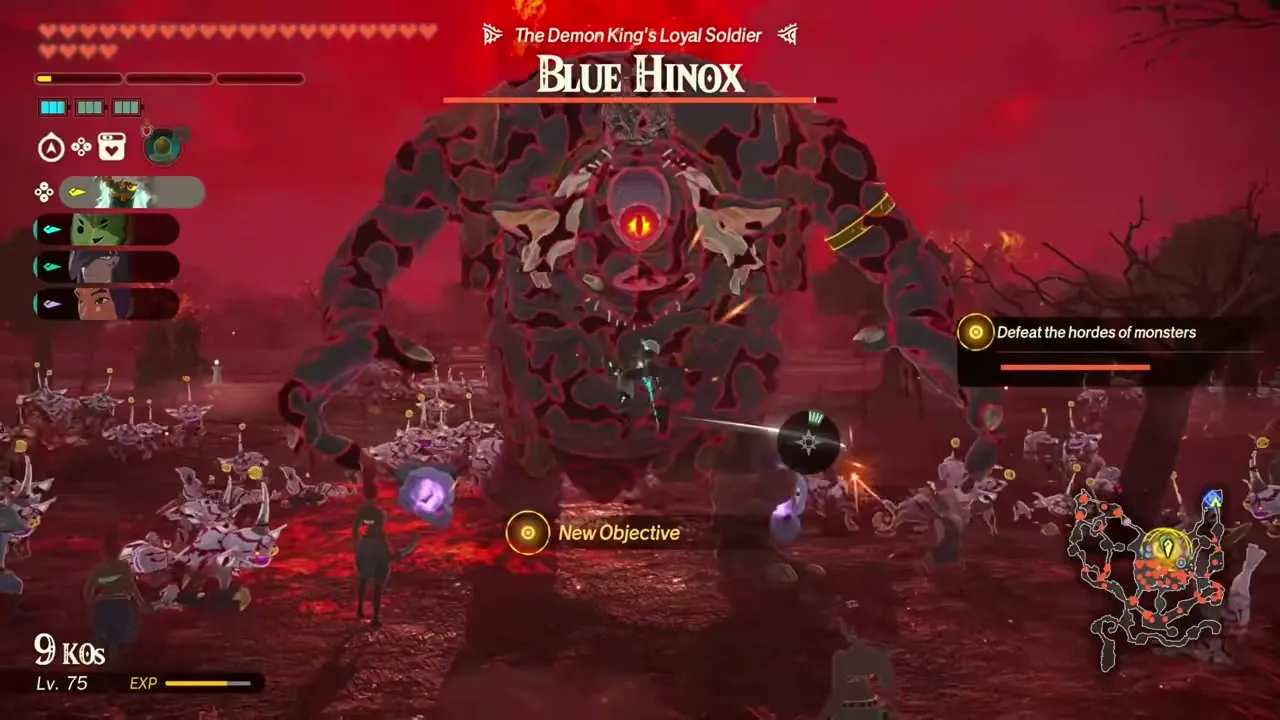
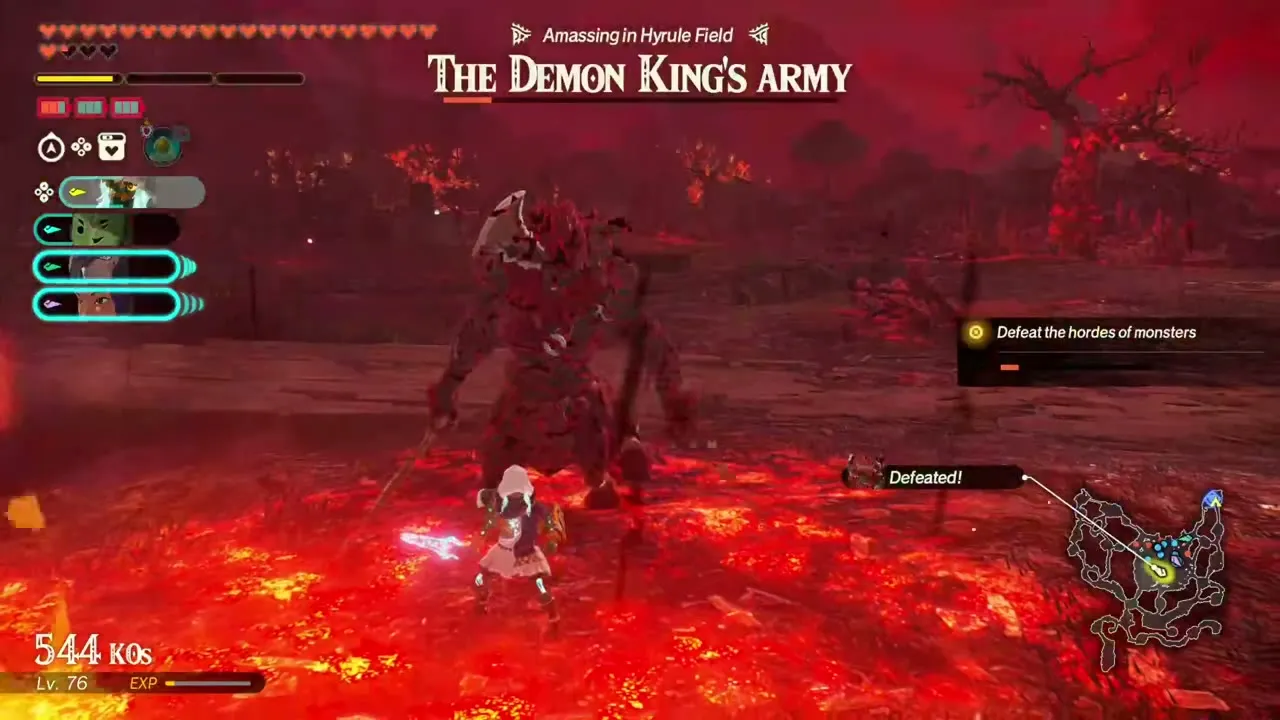
Table of Contents
Before you start
Aim for Lv 54. Your party is set for you as Calamo, the Knight Construct, Quino and Lago, so spend your preparation on rations and on Zonai devices. Bombs help against Grimgibdo, and elemental attacks matter in the second half. See Zonai devices if you need a refresher.
Enemy army gauge
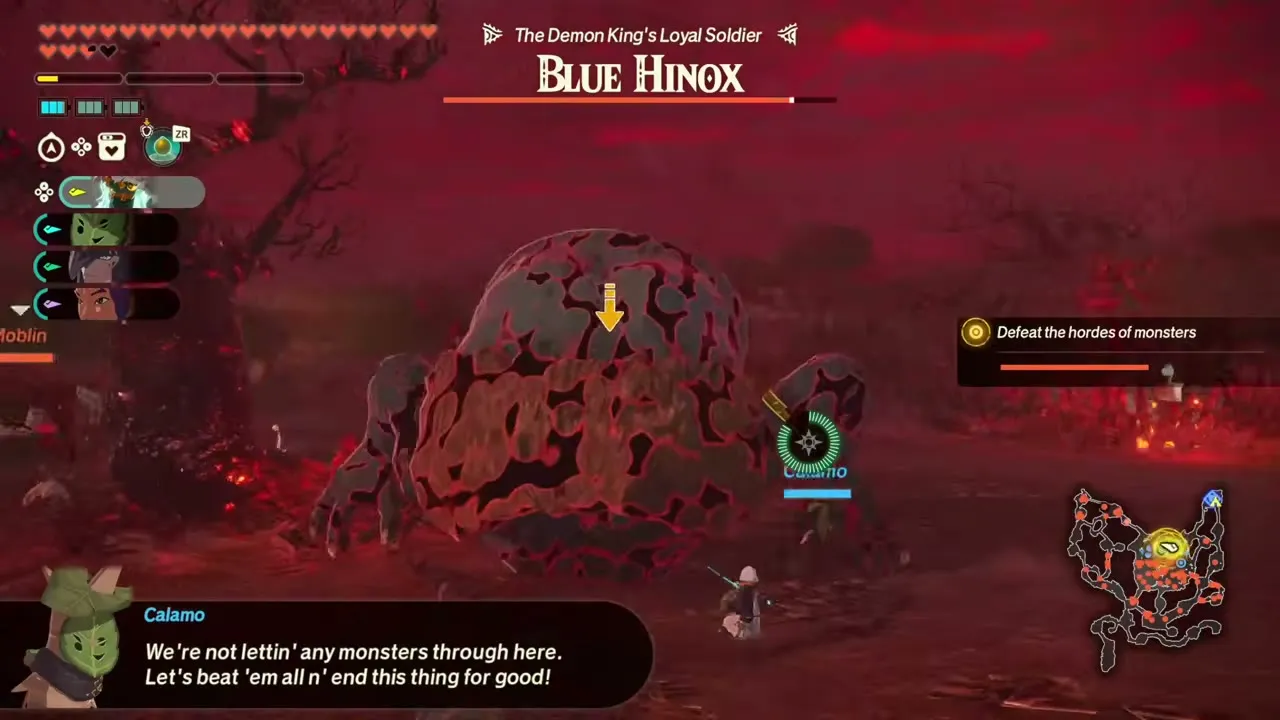
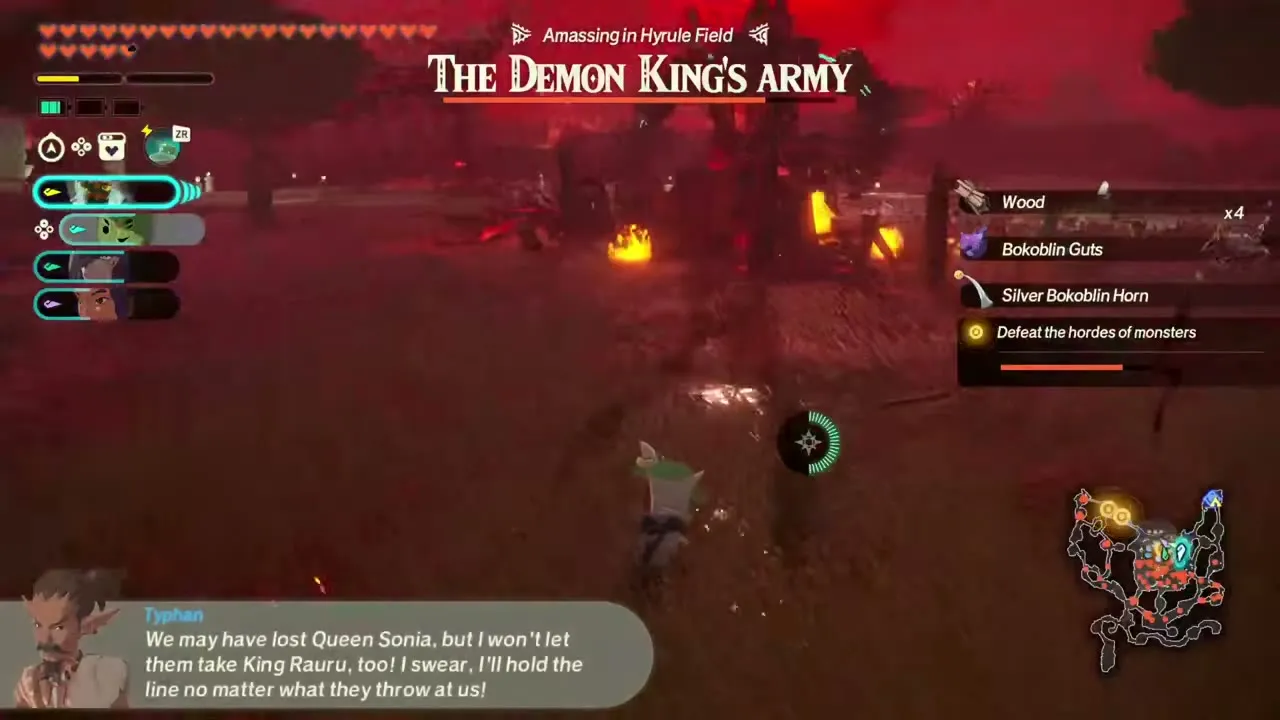
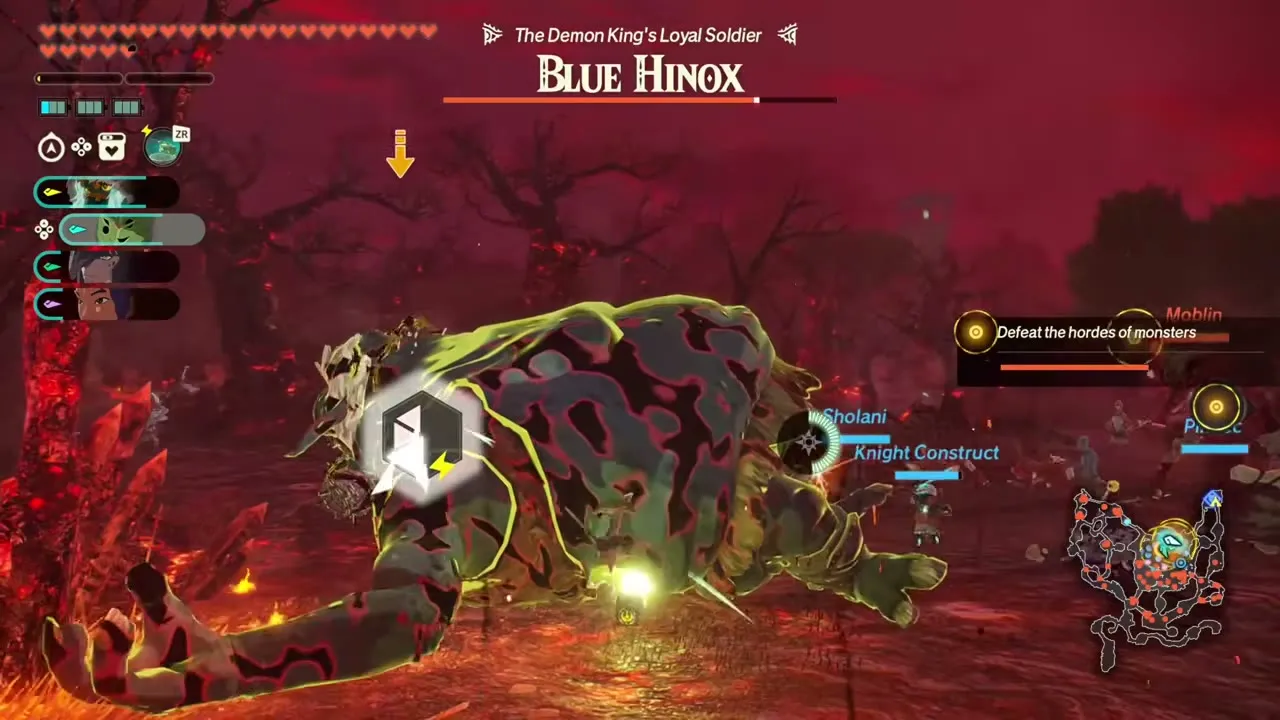
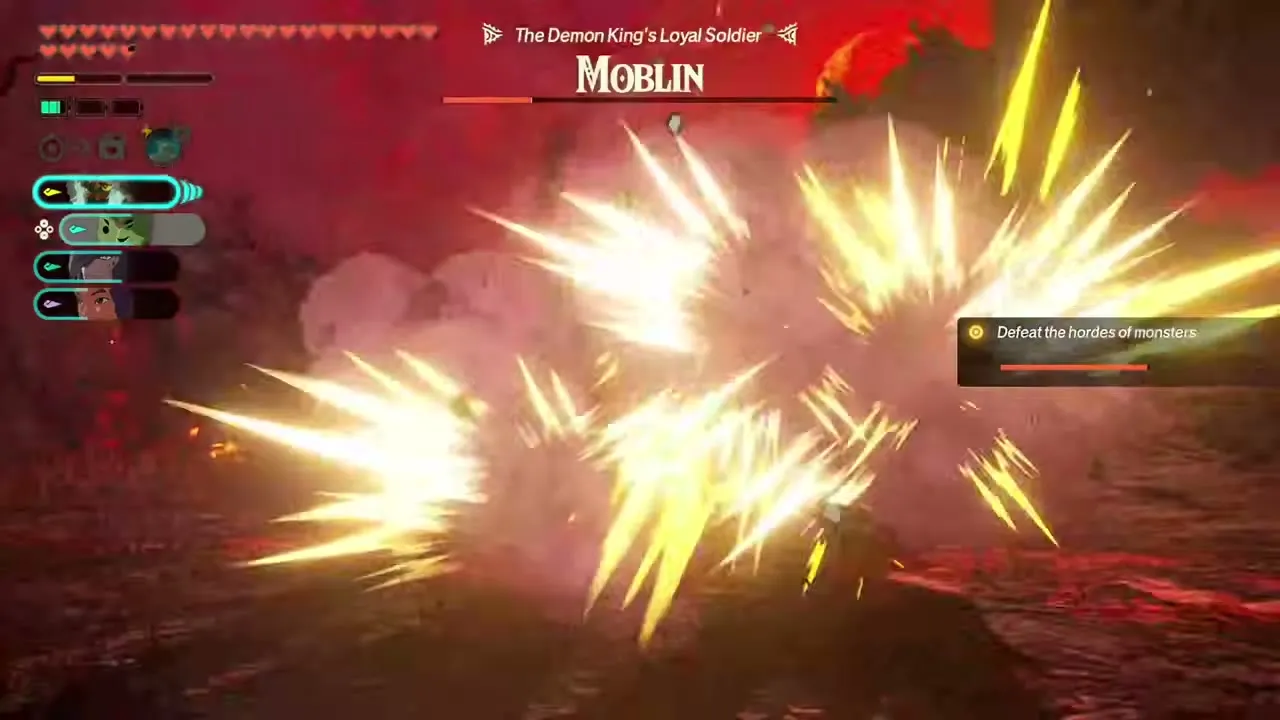
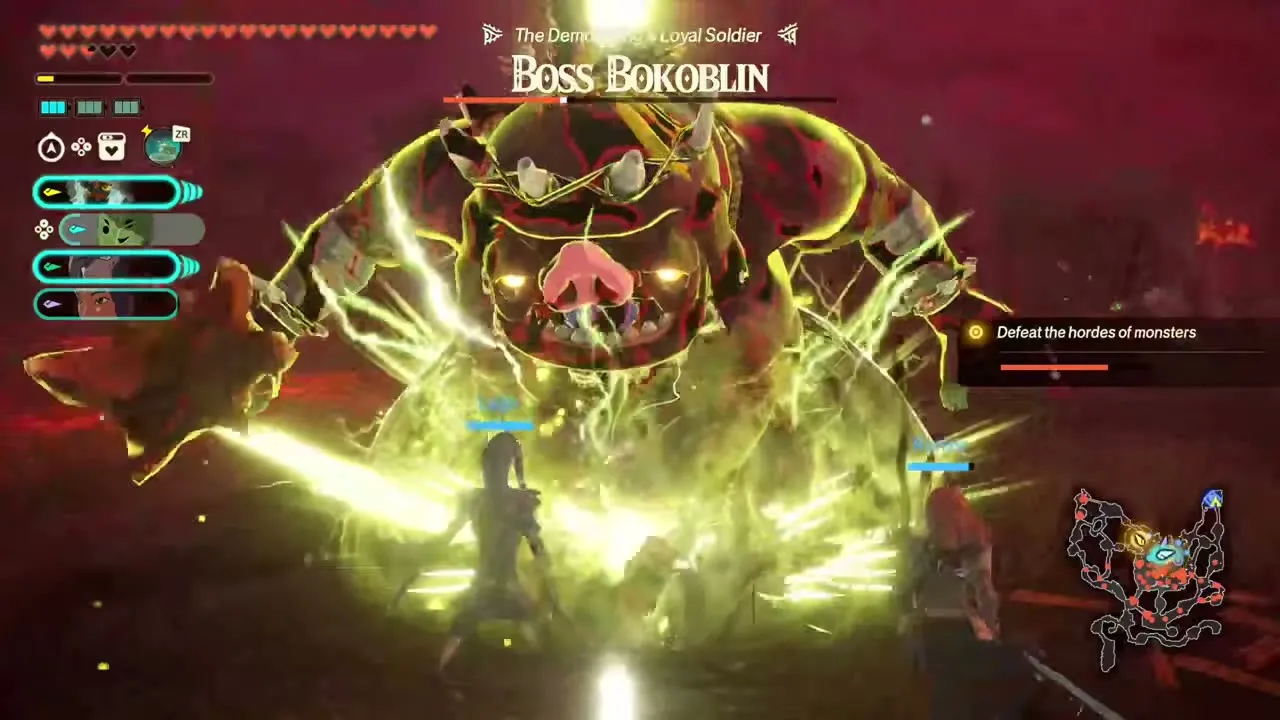
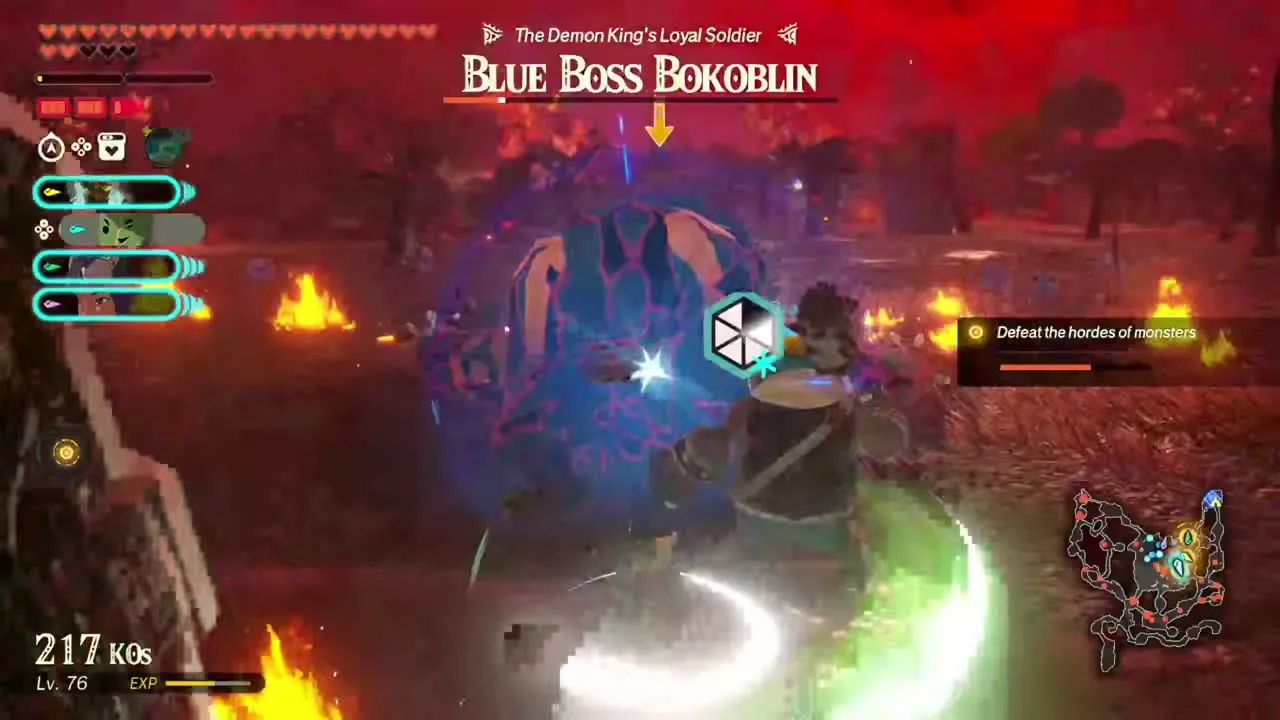
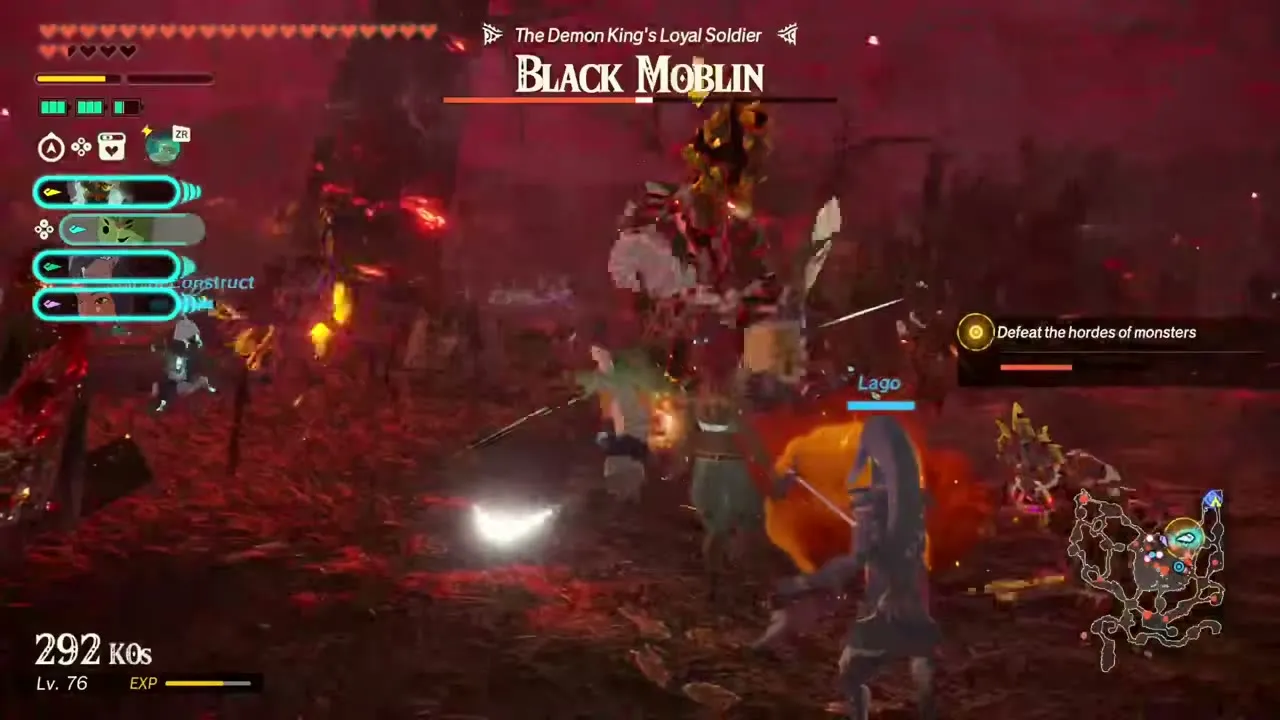
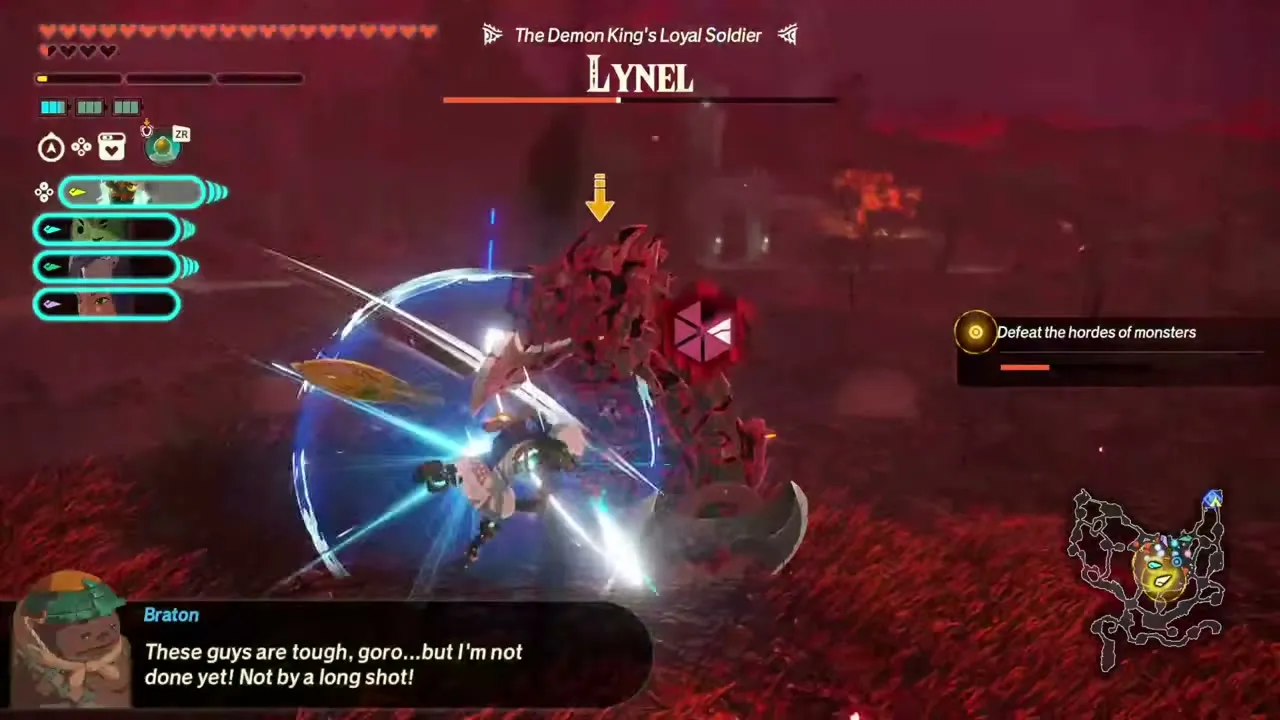
Fight through the field and defeat enemies until the red bar is empty; the objective reads “Defeat the hordes of monsters”. Waves of the Demon King’s army roll in one after another, and your allies on the field, such as Calamo, the Knight Construct, Quino and Lago, fight alongside Hylian soldiers. Ignore the small fry where you can. Powerful enemies appear as named bars and markers on the minimap, and each one you take down removes a large chunk of the army’s health, so go after those first. They come in this order: a Blue Hinox, a Moblin, a Boss Bokoblin, a Blue Boss Bokoblin, a Black Moblin and finally a Lynel.
Grimgibdo boss fight
Break the first weak-point gauge
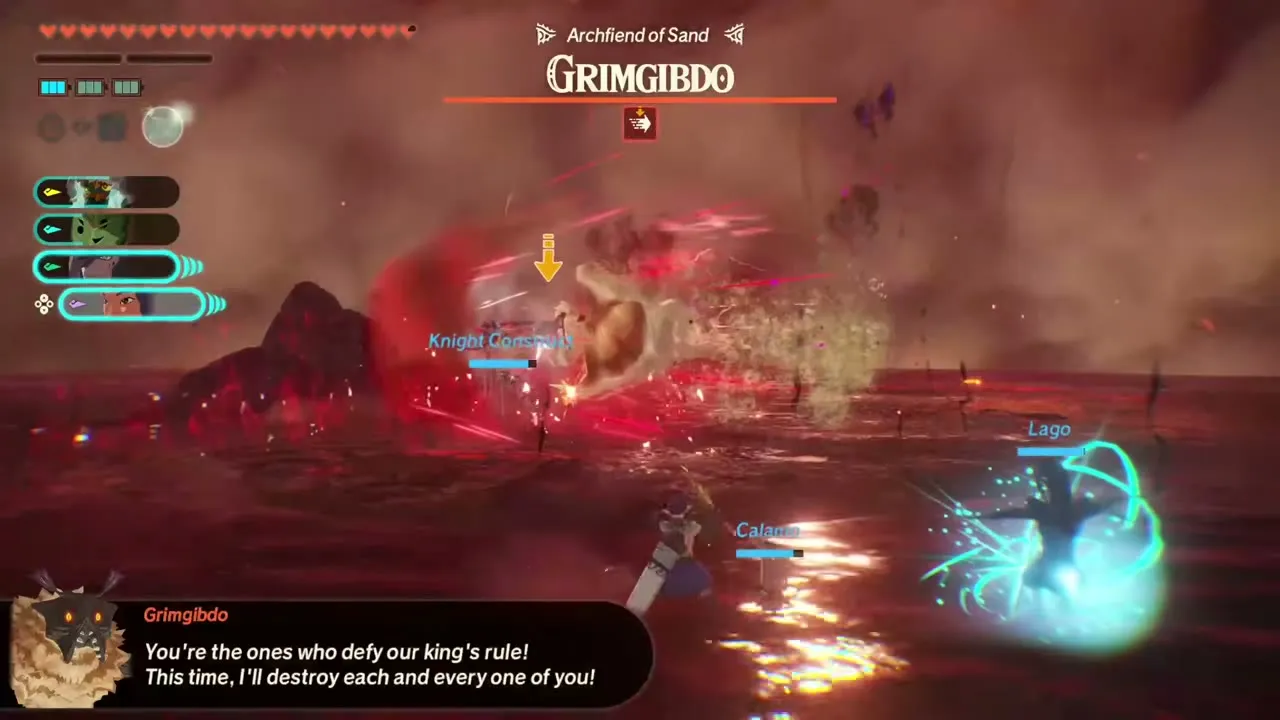
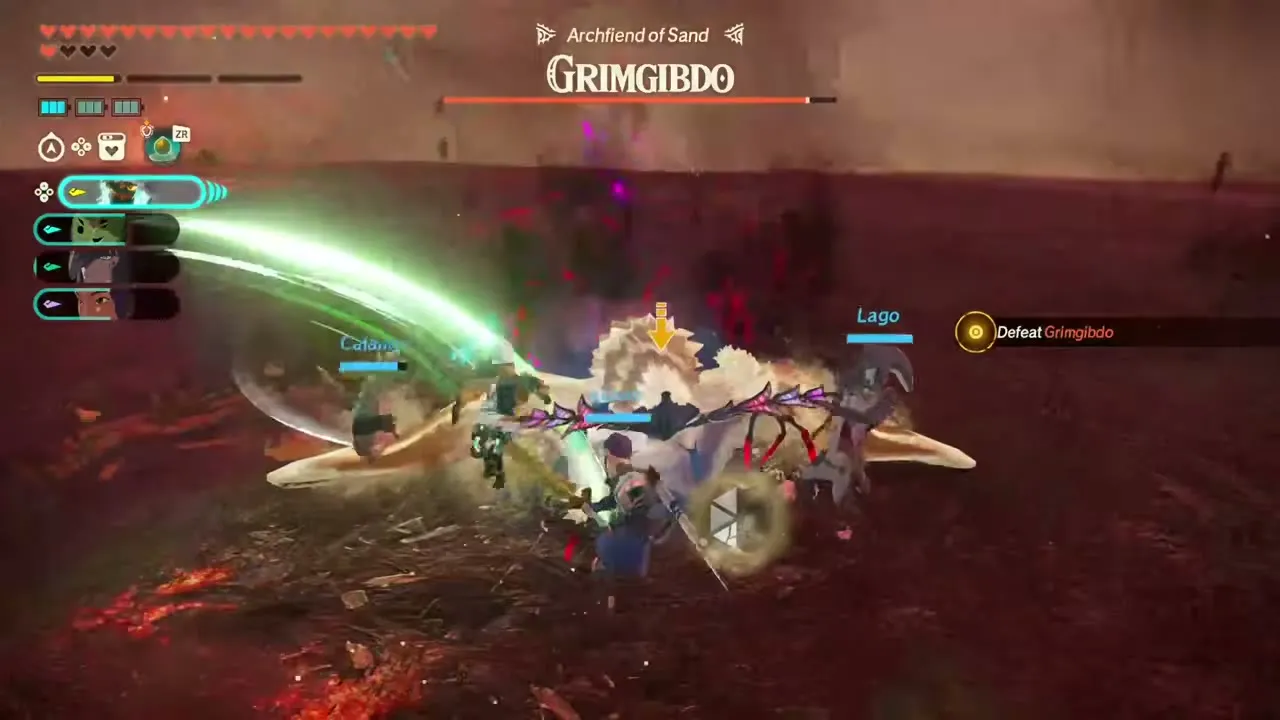
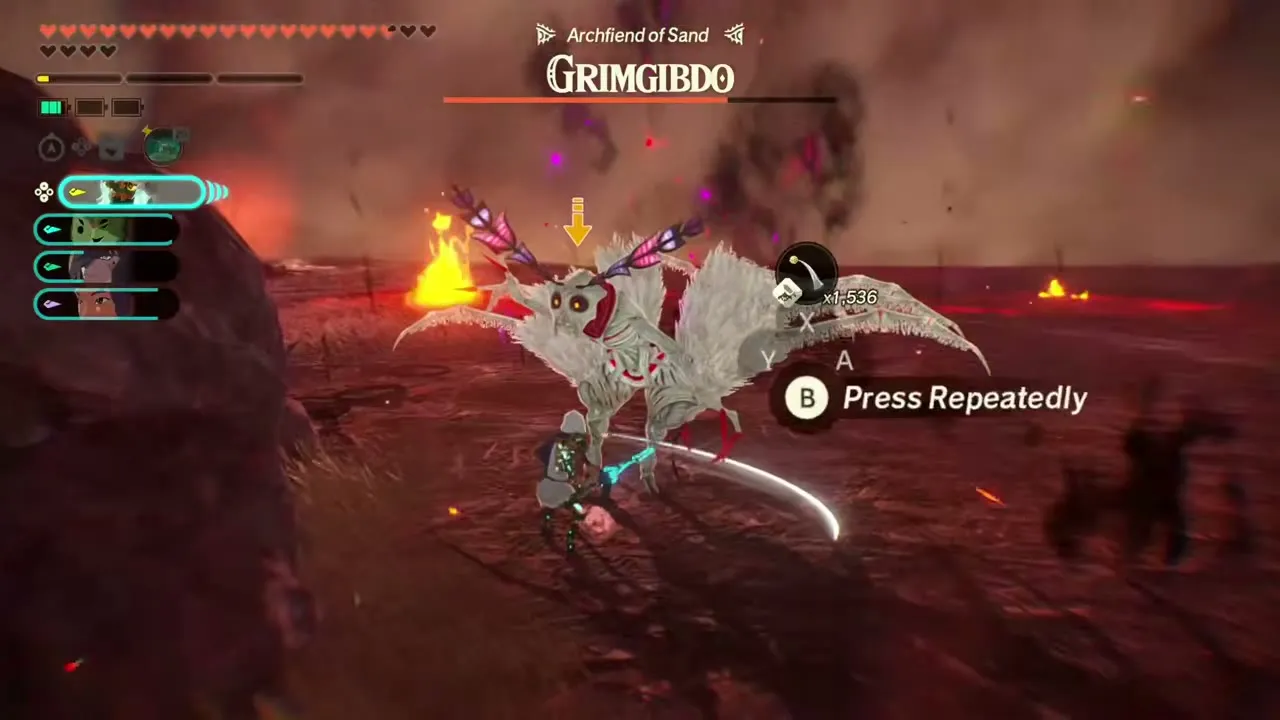
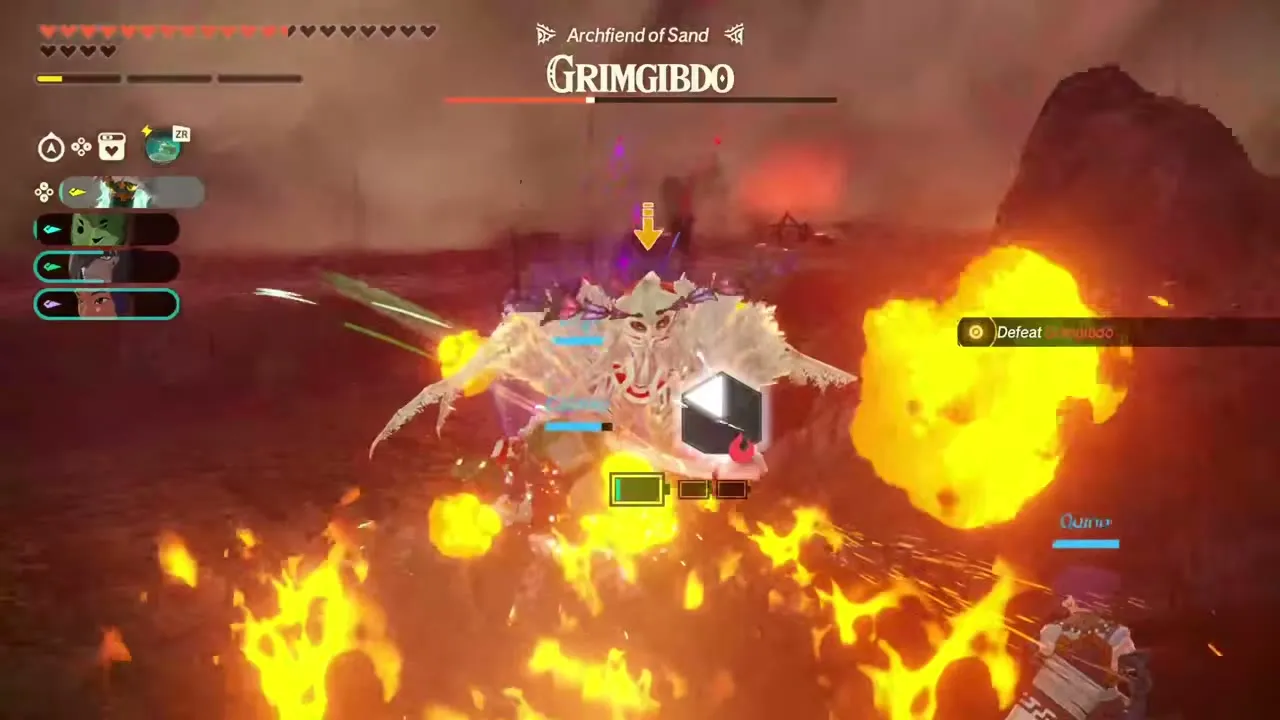
When the army bar falls to about 10%, Grimgibdo appears. Before you attack freely, deplete its first weak-point gauge, either with Bombs or by staggering it with counters.
Skeletal form
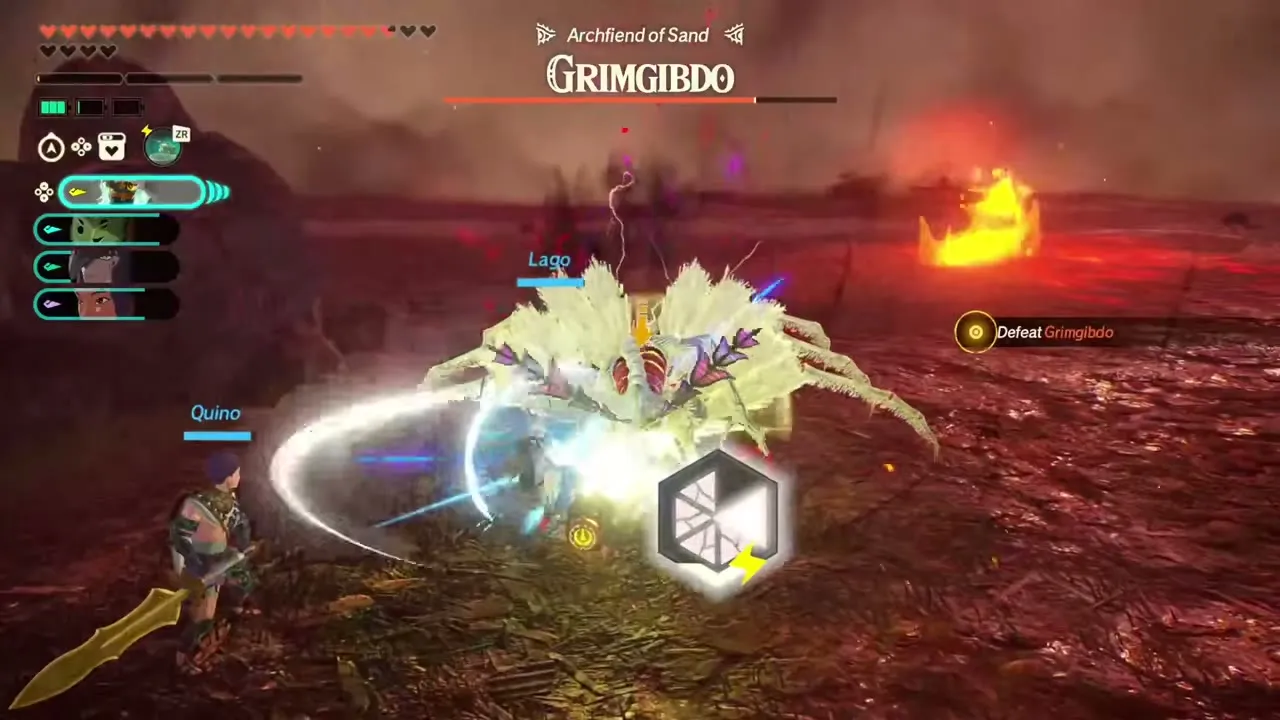
Once its sand coating is destroyed, Grimgibdo turns skeletal and is weak to every element, so switch to elemental attacks. It is also more agile once it is grounded and can chain dangerous attacks back to back, so be careful when it lands. Defeating it ends the battle.
Rewards and what unlocks next
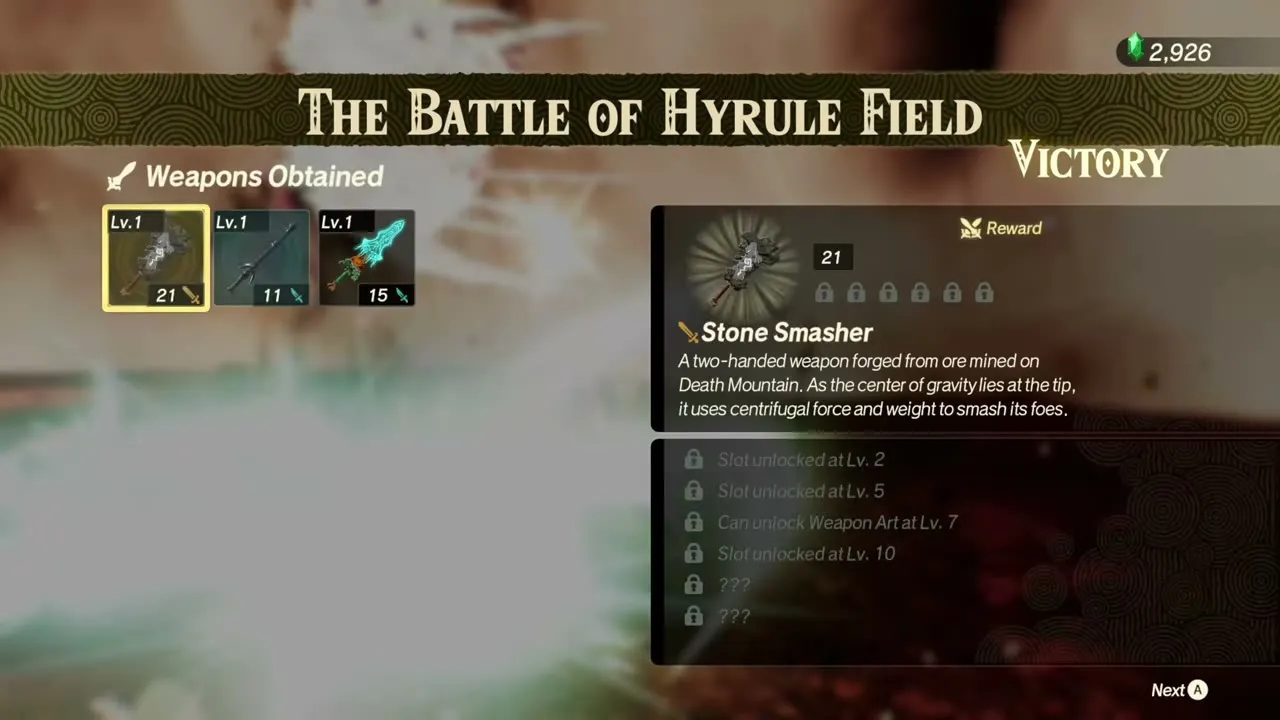
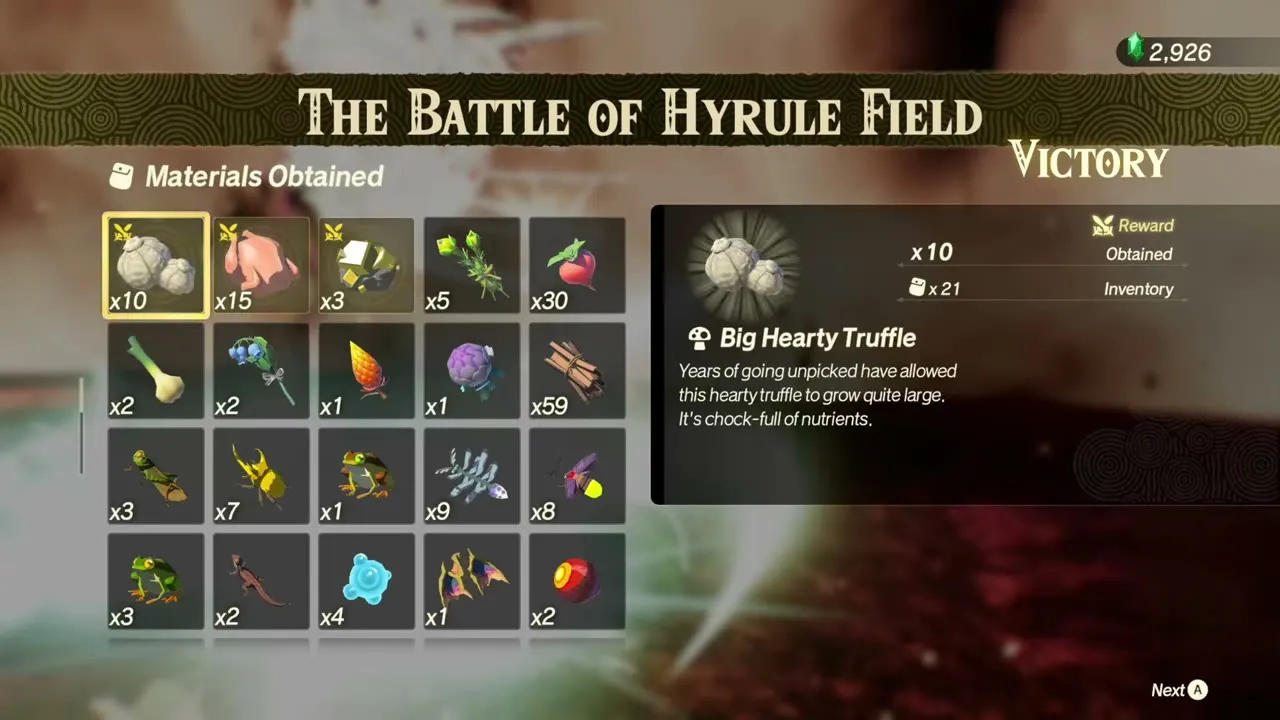
The first clear pays the weapon Stone Smasher (a two-handed weapon), a piece of Zonaite Steel (One-Handed) and battlefield materials.
| Collectible | Type | Where |
|---|---|---|
 Stone Smasher (two-handed weapon) | Weapon | Battle reward |
 Zonaite Steel (One-Handed) | Zonaite Steel | Battle reward |
| Topaz, Big Hearty Truffle, Raw Whole Bird | First-clear materials | Battle reward |
Continue to The Final Confrontation.