
























Age of Imprisonment 100% Completion Walkthrough28 chapters
- To the Great Plateau Walkthrough (Chapter 1, Battle 1)A short tutorial walk with Zelda, Rauru and Sonia. Controls, rewards and what opens next.
- The Art of the Blade Walkthrough (Chapter 1, Battle 2)Beat Typhan, Quino, Rauru, Pastos, Braton and Agraston, find the Korok Seed, chests and rewards.
- Where Ancient Wisdom Sleeps Walkthrough (Chapter 1, Battle 3)Flame Emitter, Time Bomb, Frox, Stone Talus and Flux Construct I, plus all five chests.
- Raging Sands Walkthrough (Chapter 2, Battle 4)Take the outposts, beat four Gerudo Captains, the Molduga and Ardi, and find all 3 Korok Seeds and 5 chests.
- The Hands of Evil Walkthrough (Chapter 2, Battle 5)Capture the outpost as the Mysterious Construct, get the Rocket and rescue Ardi from two Gerudo Captains.
- Growing Suspicion Walkthrough (Chapter 2, Battle 6)All three Korok Seeds, four chests, the Gerudo Assassin, Stone Talus and the final corrupted construct.
- Striking North Walkthrough (Chapter 2, Battle 7)Rescue three Hylian Captains, beat the Hinox and Lynel, and find both Korok Seeds and all seven chests.
- Beneath the Blood Moon Walkthrough (Chapter 2, Battle 8)Flight controls, both Korok Seed ring runs and how to beat the Frost Gleeok.
- The Howling Tempests Walkthrough (Chapter 2, Battle 9)Unlock Fuse attacks, Calamo and Typhan, find all 3 Korok Seeds and 4 chests, and beat Grimgera.
- Shadows in the Snow Walkthrough (Chapter 3, Battle 10)Unlock Raphica, rescue Pinnec, beat the ice enemies, and find all 3 Korok Seeds and 4 chests.
- Lanayru Defiled Walkthrough (Chapter 3, Battle 11)Clear sludge enemies, recruit Qia, get the Hydrant, beat Grimtorok, and find 3 Korok Seeds and 4 chests.
- The Behemoth in the Crater Walkthrough (Chapter 3, Battle 12)How to beat the Moragia flight battle with Zonai attack devices and get the Korok Seed.
- Crisis on Death Mountain Walkthrough (Chapter 3, Battle 13)Rescue the Gorons, unlock Agraston, beat the Fire Lynels and find all 5 Korok Seeds and 5 chests.
- Under Cover of Mist Walkthrough (Chapter 3, Battle 14)Capture outposts through hidden passages, beat the Aerocudas and Grimgera, and find all 7 Korok Seeds.
- Terror of the Sands Walkthrough (Chapter 4, Battle 15)Play as Ardi, clear Gibdo hives, defend the main outpost, and find all 4 Korok Seeds and 7 chests.
- The Crimson Omen Walkthrough (Chapter 4, Battle 16)Beat the corrupted Forbidden Construct as Calamo and the Knight Construct, with tips for its attacks.
- A Time for Action Walkthrough (Chapter 4, Battle 17)Four-sage outpost siege, all 4 Korok Seeds, 4 chests and the five elites.
- The Counterstrike Walkthrough (Chapter 4, Battle 18)Outposts, Zelda joining, the Grimgohma boss fight, 4 Korok Seeds and 4 chests.
- Ambush in the Depths Walkthrough (Chapter 4, Battle 19)Flight battle devices, Rock Octoroks, the breakable wall and the Black Hinox finale.
- Purging the Shadows Walkthrough (Chapter 4, Battle 20)Flux Construct outposts, Gloom Spawns, Phantom Ganon boss fight and all 5 chests.
- Fire and Sand Walkthrough (Chapter 4, Battle 21)Outposts, Silver Moblins, Grimgibdo boss tips, eight chests and first-clear rewards.
- Into the Fray Walkthrough (Chapter 5, Battle 22)Zonai devices for the flight battle, the Korok ring seed and how to beat King Gleeok.
- The Archfiend’s Return Walkthrough (Chapter 5, Battle 23)How to beat Grimgera in his third fight, best warriors and first-clear rewards.
- The Battle of Hyrule Castle Walkthrough (Chapter 5, Battle 24)Outposts, Grimtorok and Grimgohma, 5 Korok Seeds and 6 chests.
- The Demon King, Ensnared Walkthrough (Chapter 5, Battle 25)Outposts, Silver Lynel, Captain Construct III, three Phantom Ganons, 3 Korok Seeds and 4 chests.
- The Battle of Hyrule Field Walkthrough (Chapter 5, Battle 26)Empty the enemy army gauge, then defeat the Archfiend Grimgibdo.
- The Final Confrontation Walkthrough (Chapter 5, Battle 27)The Phantom Ganon wave, the L-button blast and Demon King Ganondorf strategy with Zelda and Rauru.
- A Clash of Constructs Walkthrough (Chapter 6, Battle 28)The three-phase Forbidden Construct fight, flight tips, the ending and what opens in the post-game.
| Chapter | Chapter 6, Battle 28 (the only battle of the chapter) |
|---|---|
| Region | Central Hyrule Field |
| Recommended level | Lv 57 |
| Warriors | Calamo and the Knight Construct |
| Boss | 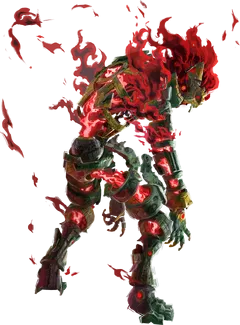 Forbidden Construct |
| Korok Seeds | 0 |
| Unlocks | The ending and credits; the post-game, including Vicious Battles and Lenalia’s Sketches |
The final story battle is a rematch with the Forbidden Construct, the corrupted machine known as the Vessel of Darkness, that you first faced in The Crimson Omen. It has three phases: a ground duel, an aerial flight section, and a second ground duel that you end by wearing it down to about a quarter of its health. Winning triggers the ending, and the post-game opens afterwards.
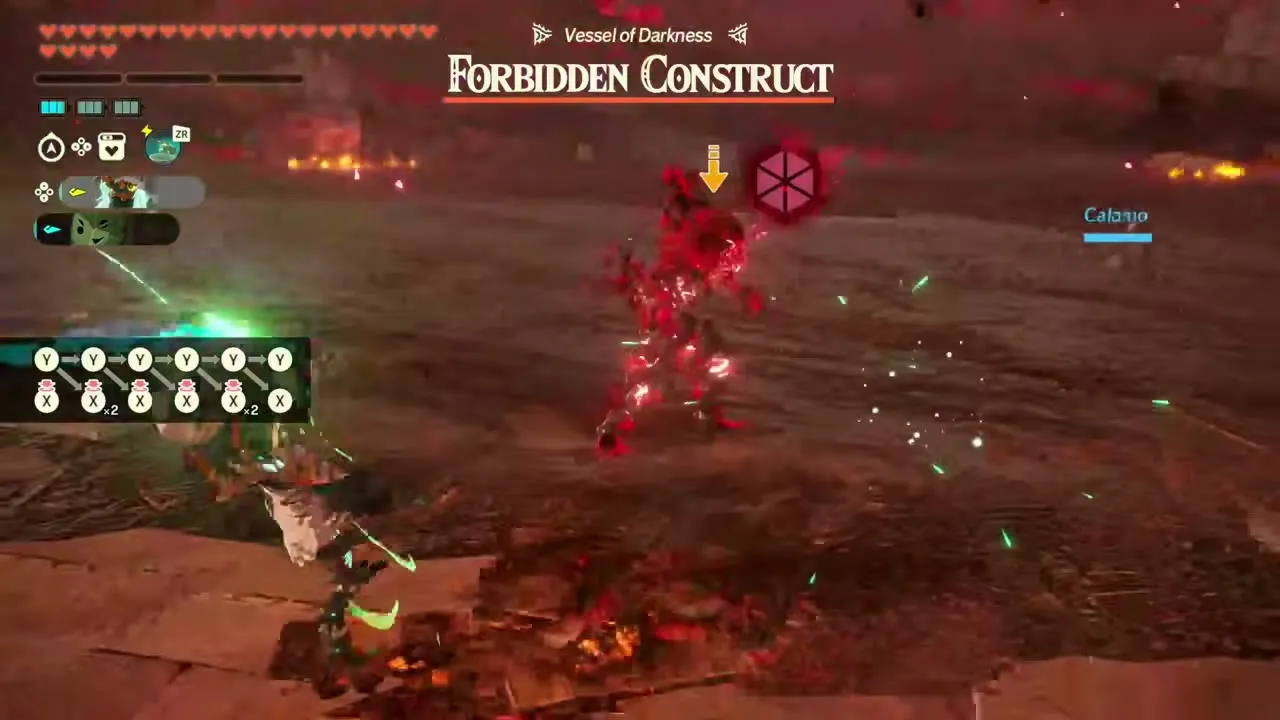
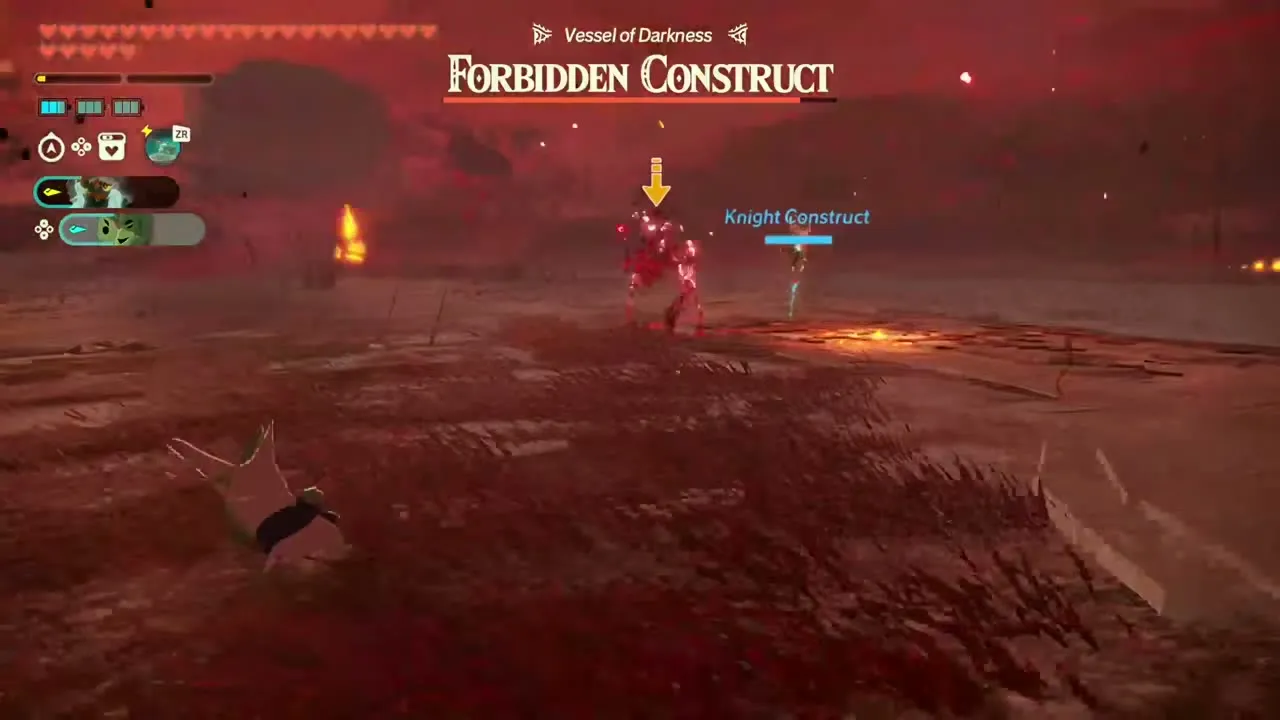
Table of Contents
Before you start
Bring Lv 57 or higher. You control Calamo and the Knight Construct, so there is no party to build. Review your Zonai devices and flight controls, and bring recovery rations. Finish any earlier clean-up you care about first.
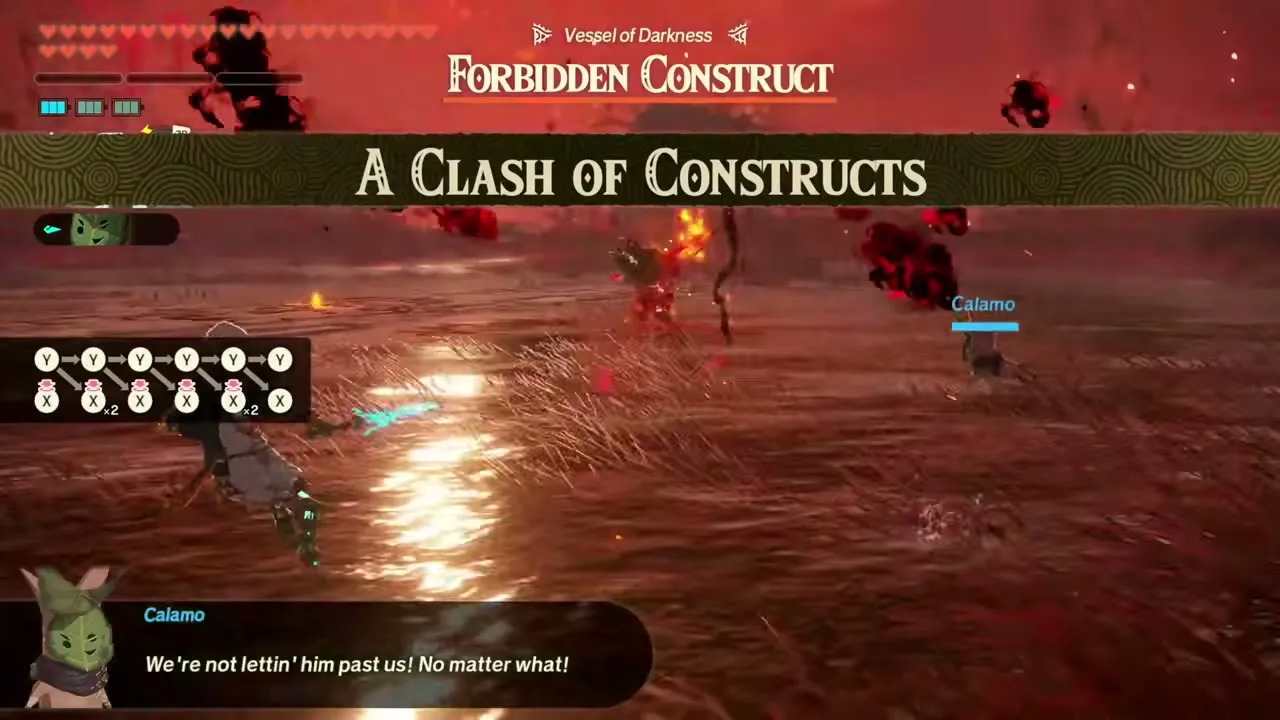
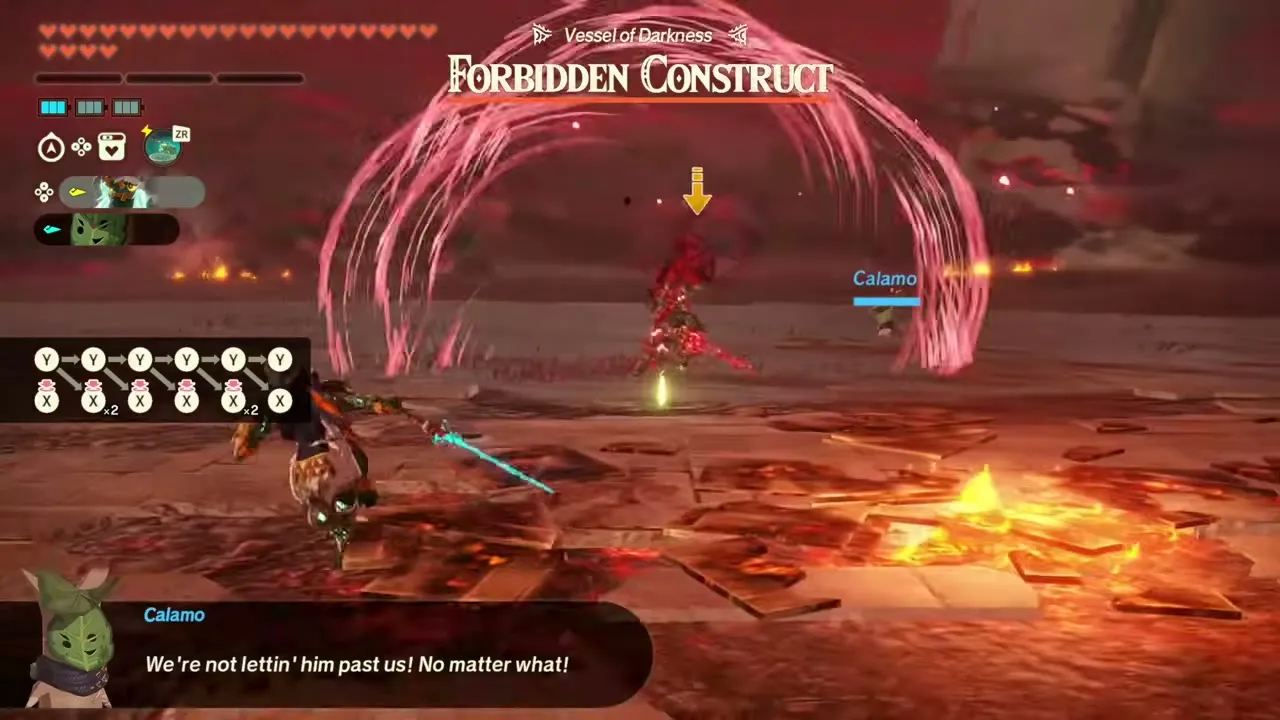
Forbidden Construct boss fight
Phase 1: ground duel
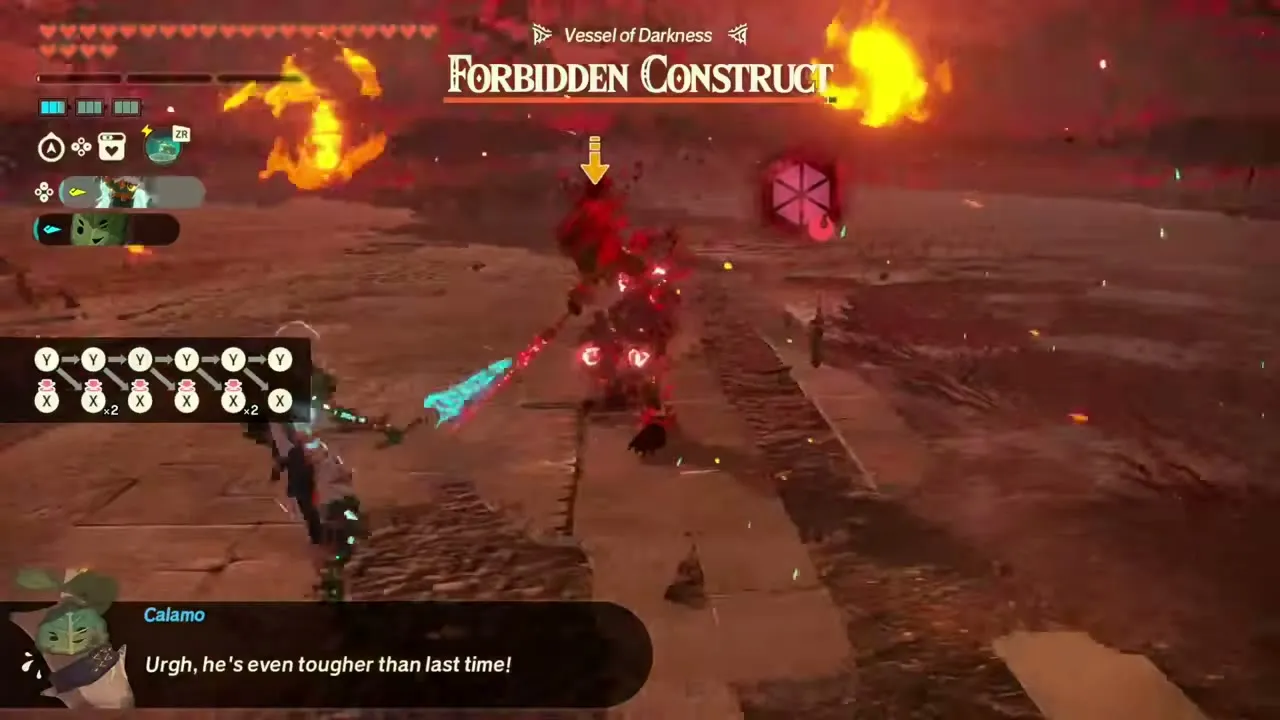
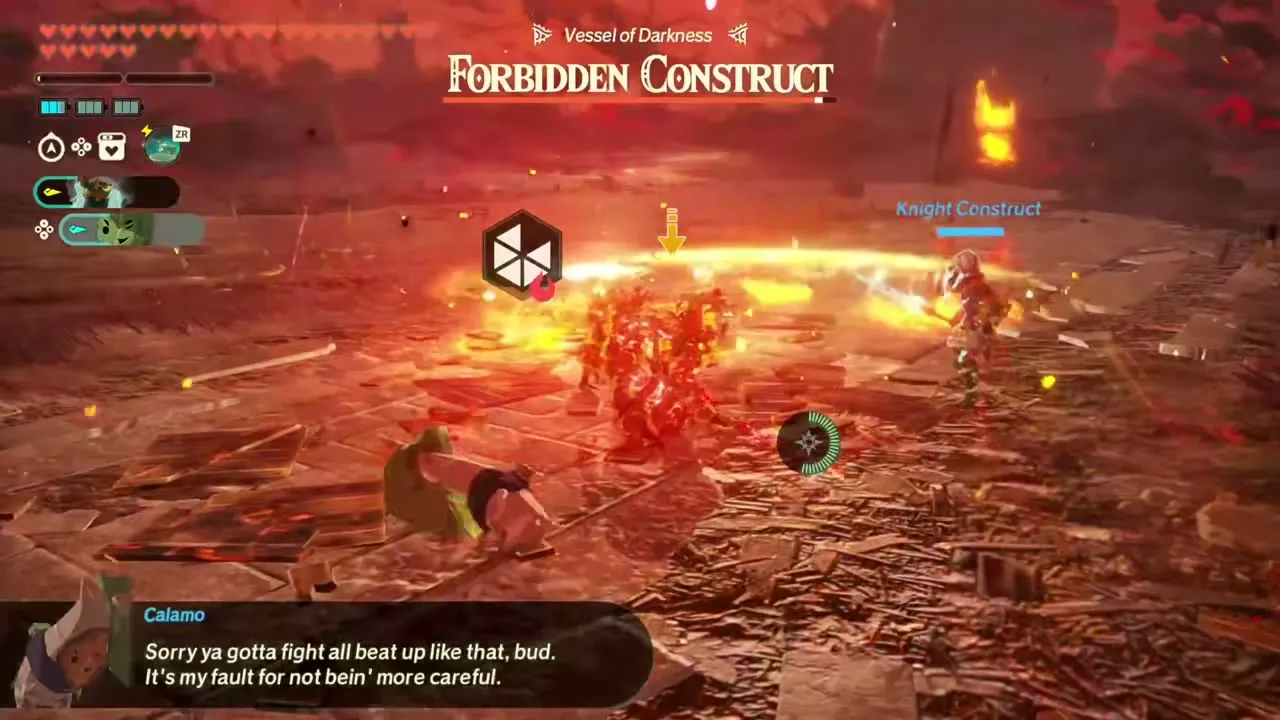
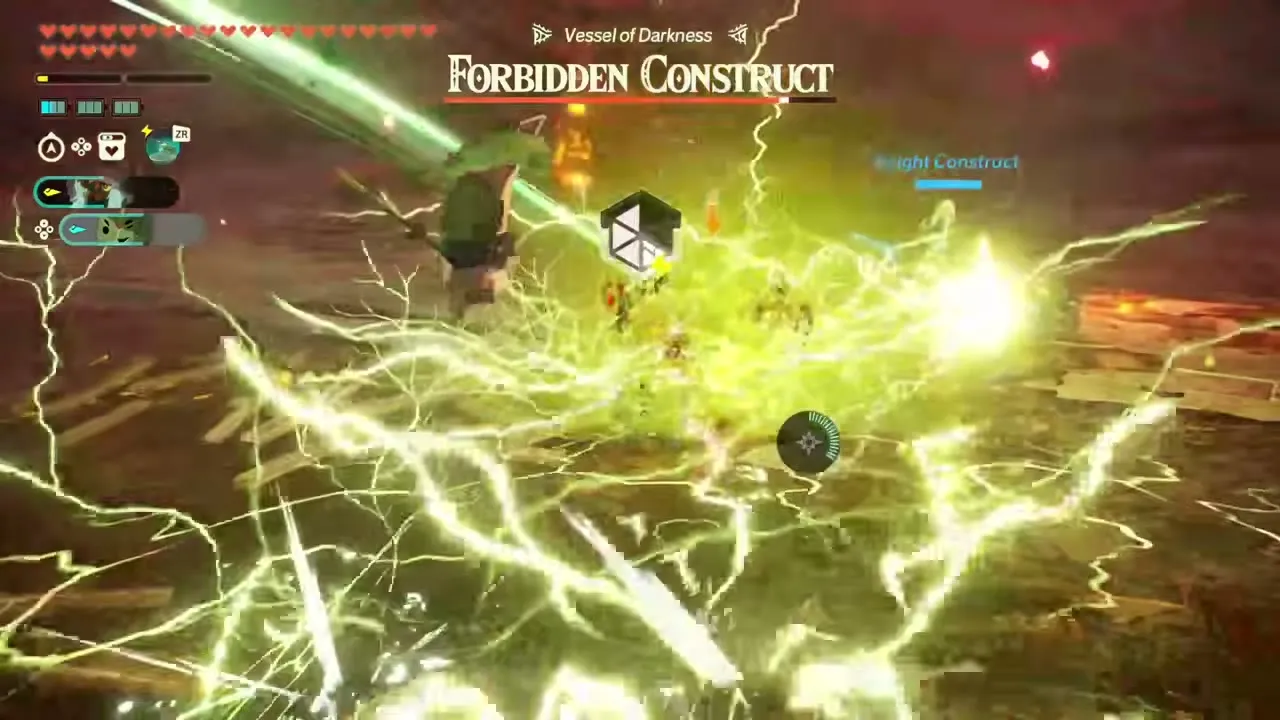
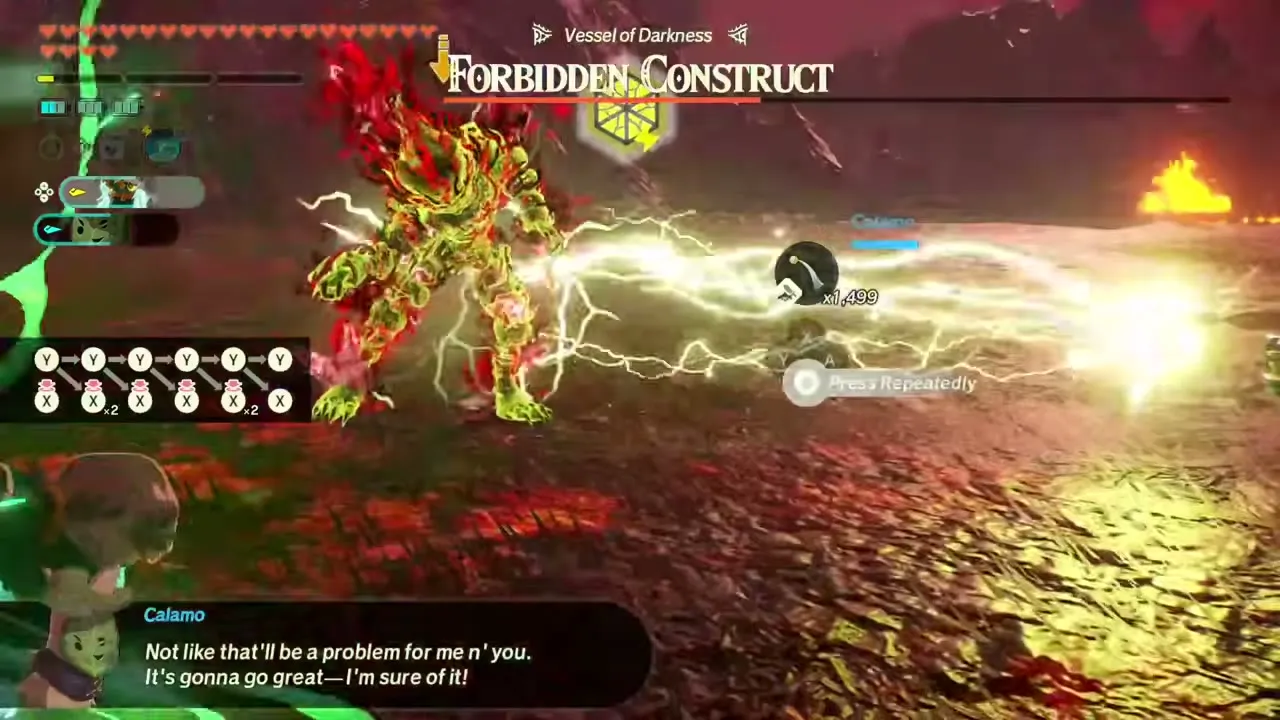
Its attacks match The Crimson Omen fight, so use the same timing, including holding off on your dodge for its slow, delayed strikes. Water lies on both sides of the arena, so ice and electric attacks can take advantage of it. Keep fighting until its health drops below 70%, which triggers a cutscene.
Phase 2: aerial flight
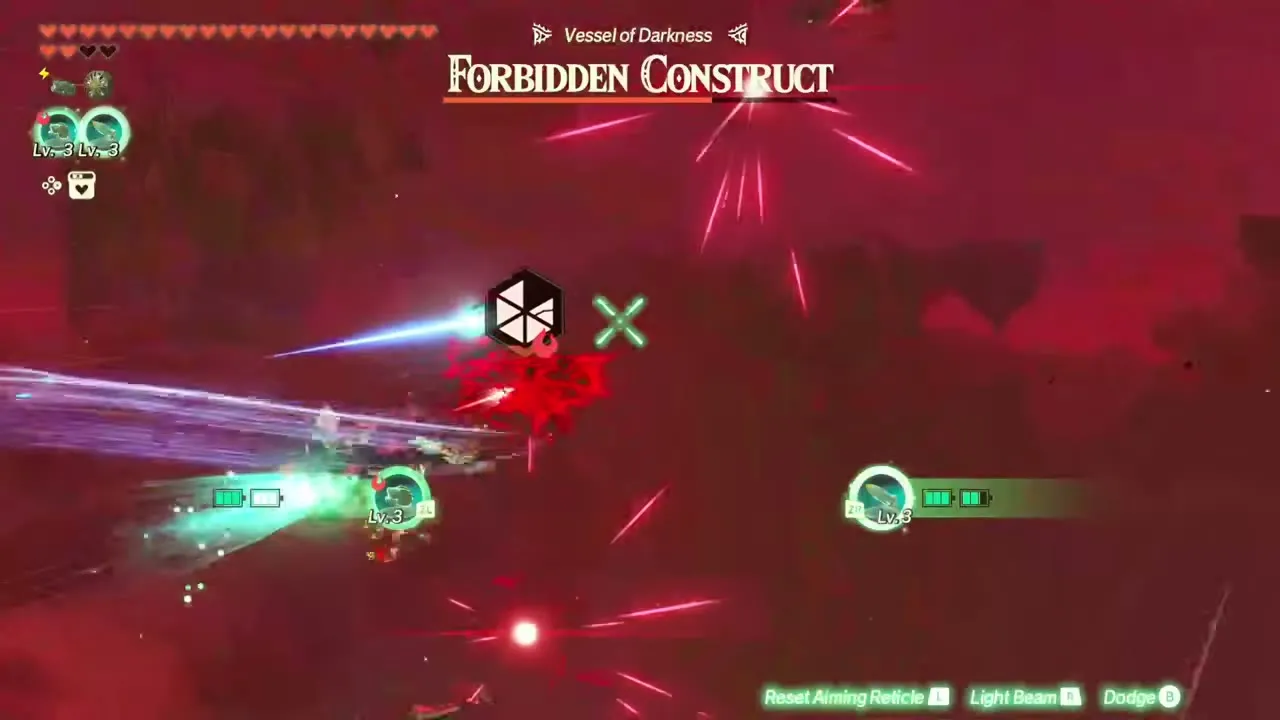
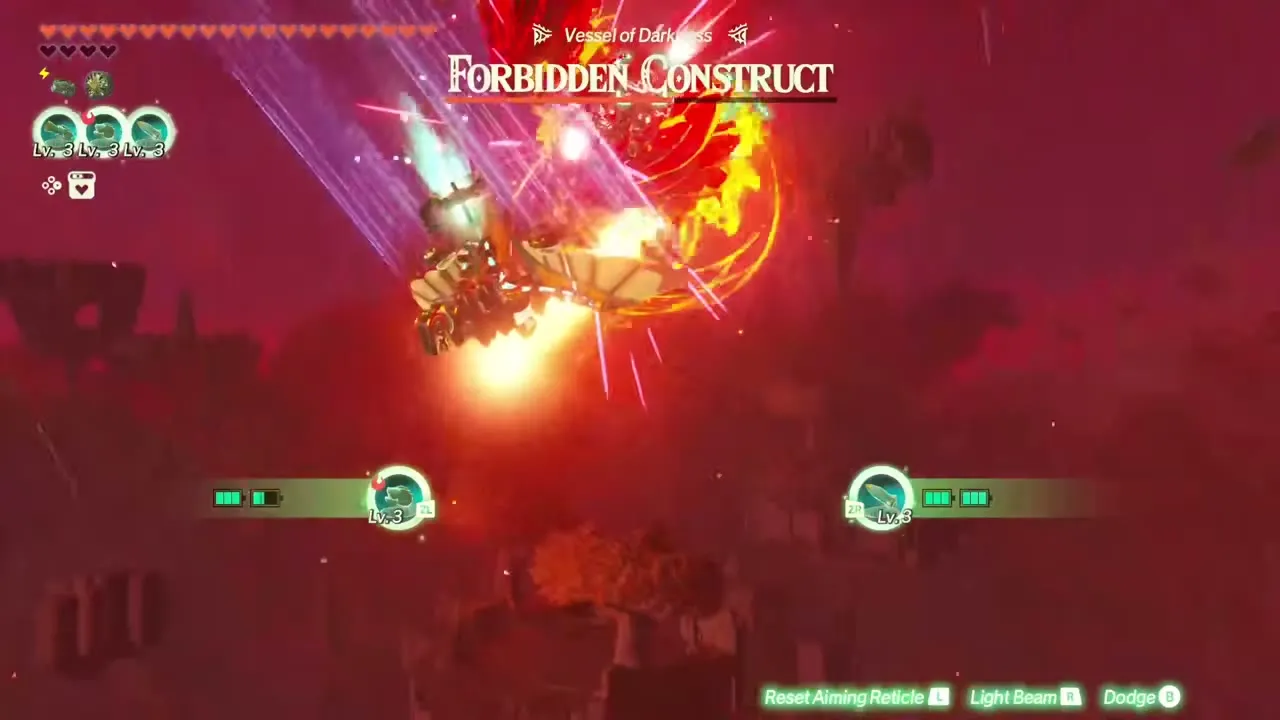
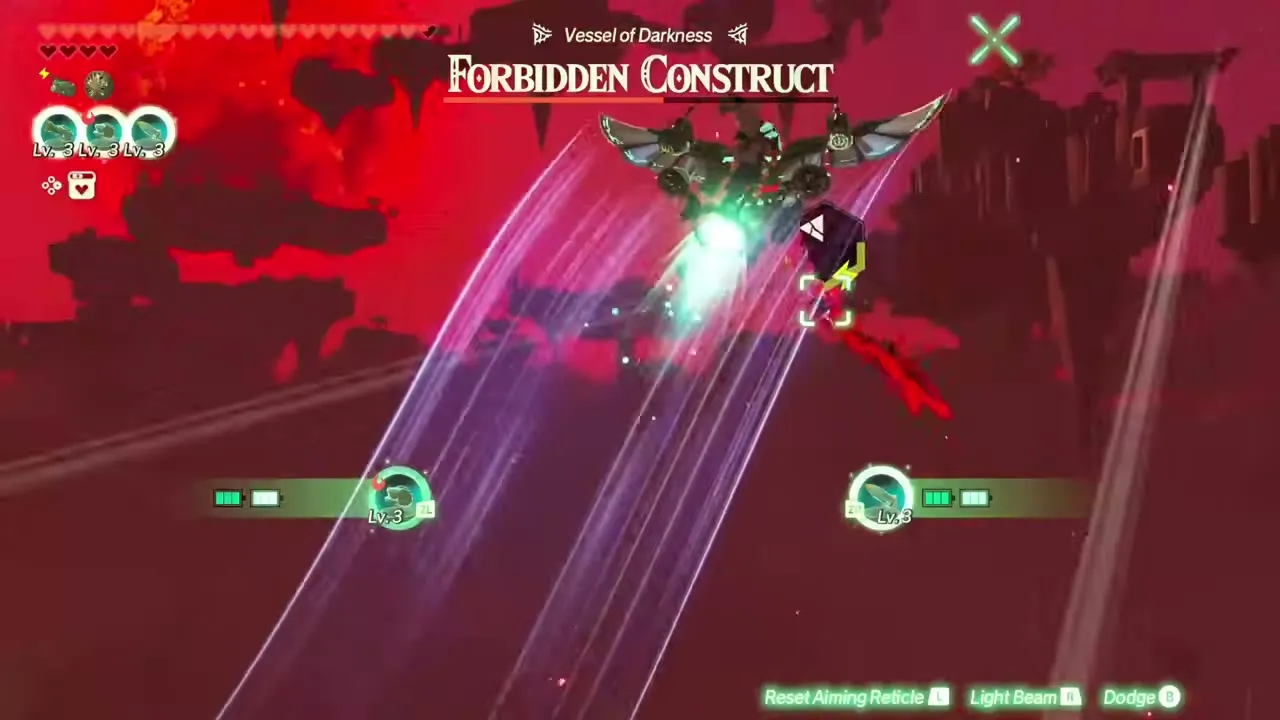
The fight moves into the air. Calamo equips you with a Lv.3 Rocket and a Lv.3 Flame Emitter as your main attacks, plus a Fan and a Shock Emitter to improve your dodges. The boss dives across the screen and uses Fan devices of its own, so keep watching the whole screen as you fire. Shoot it until it falls out of the sky.
Phase 3: ground duel with Gloom
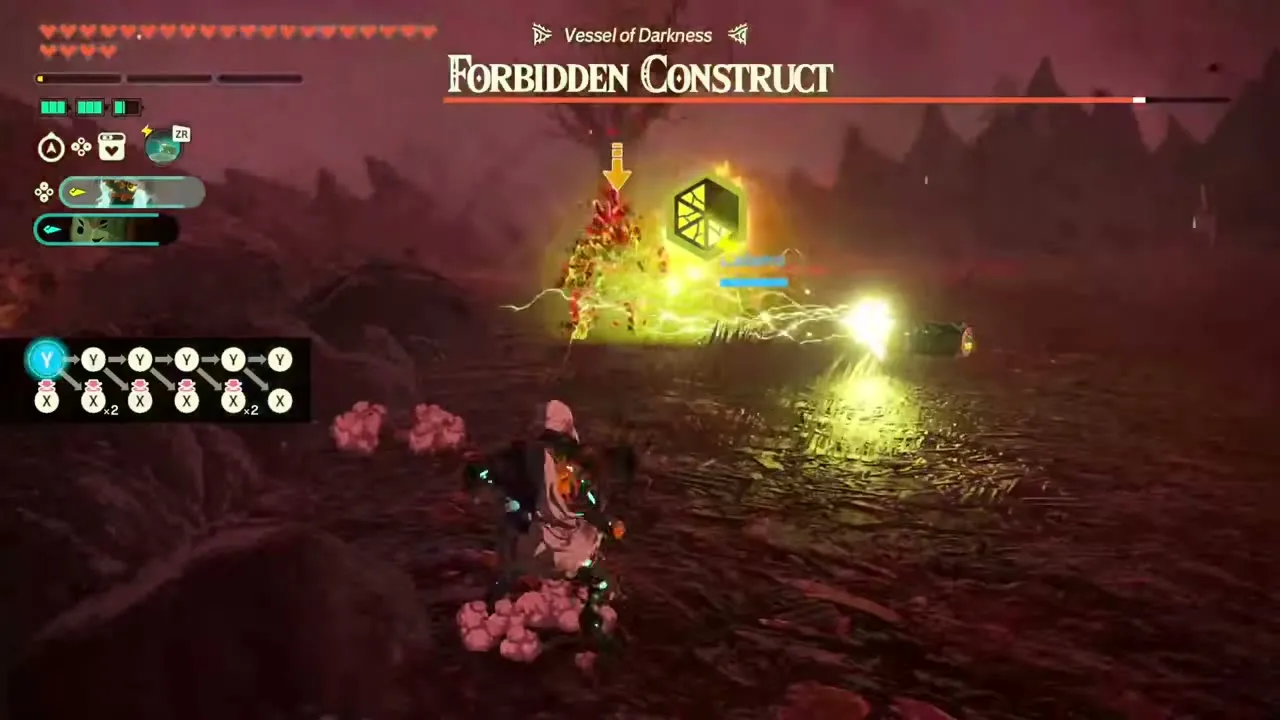
Back on the ground, it fights the Knight Construct again, with more Gloom attacks and a longer health bar. You do not need to empty the bar. Bring it down to about 25%, just after the word Forbidden on the bar, and the fight ends and the final cutscenes begin.
The ending
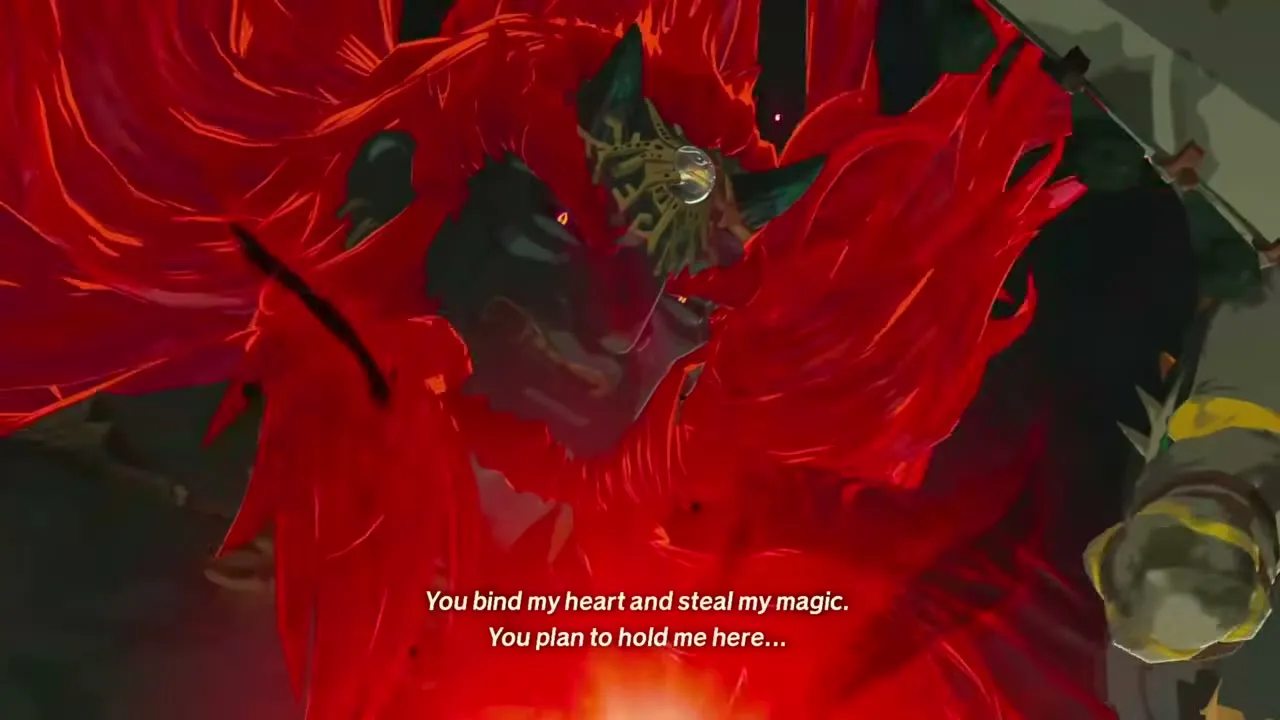
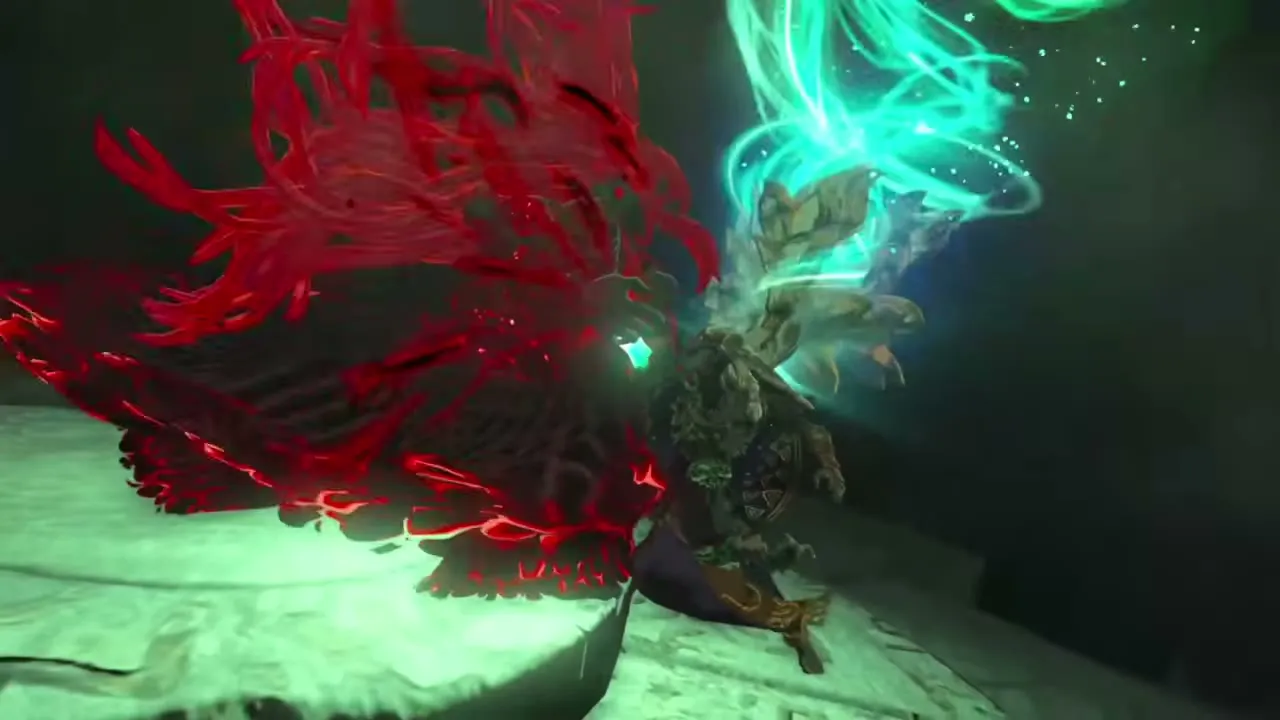
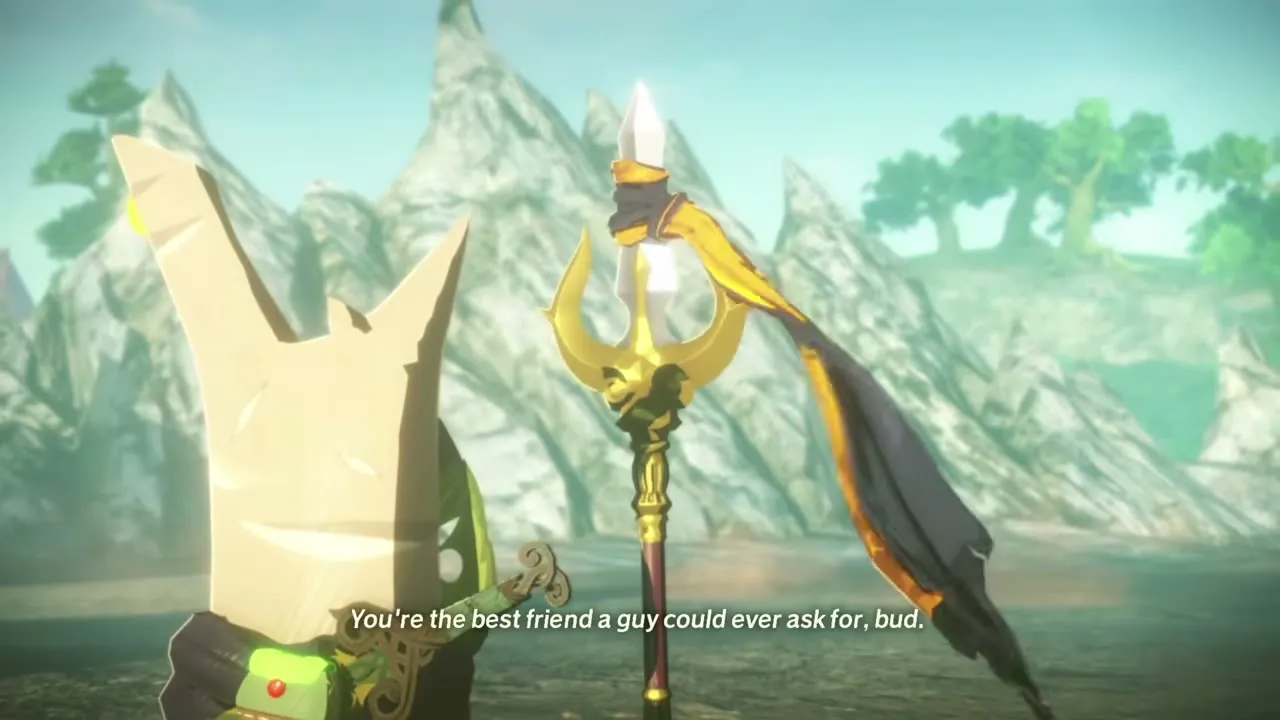
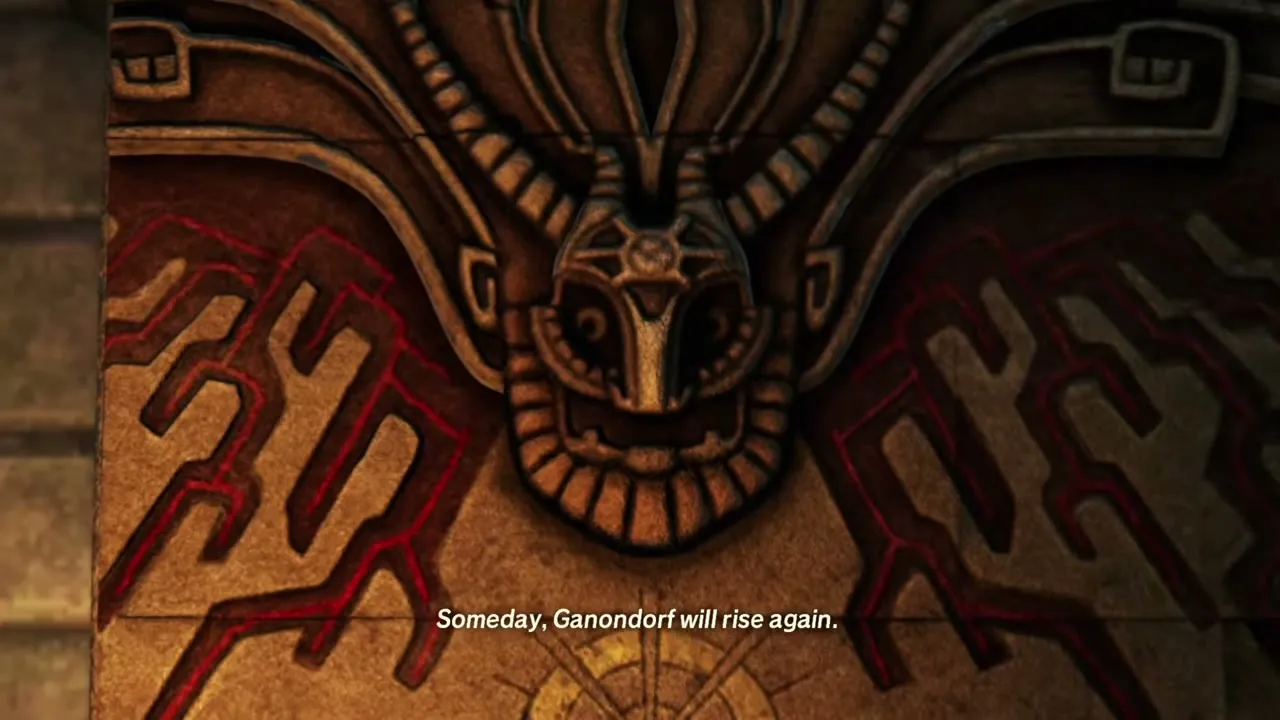
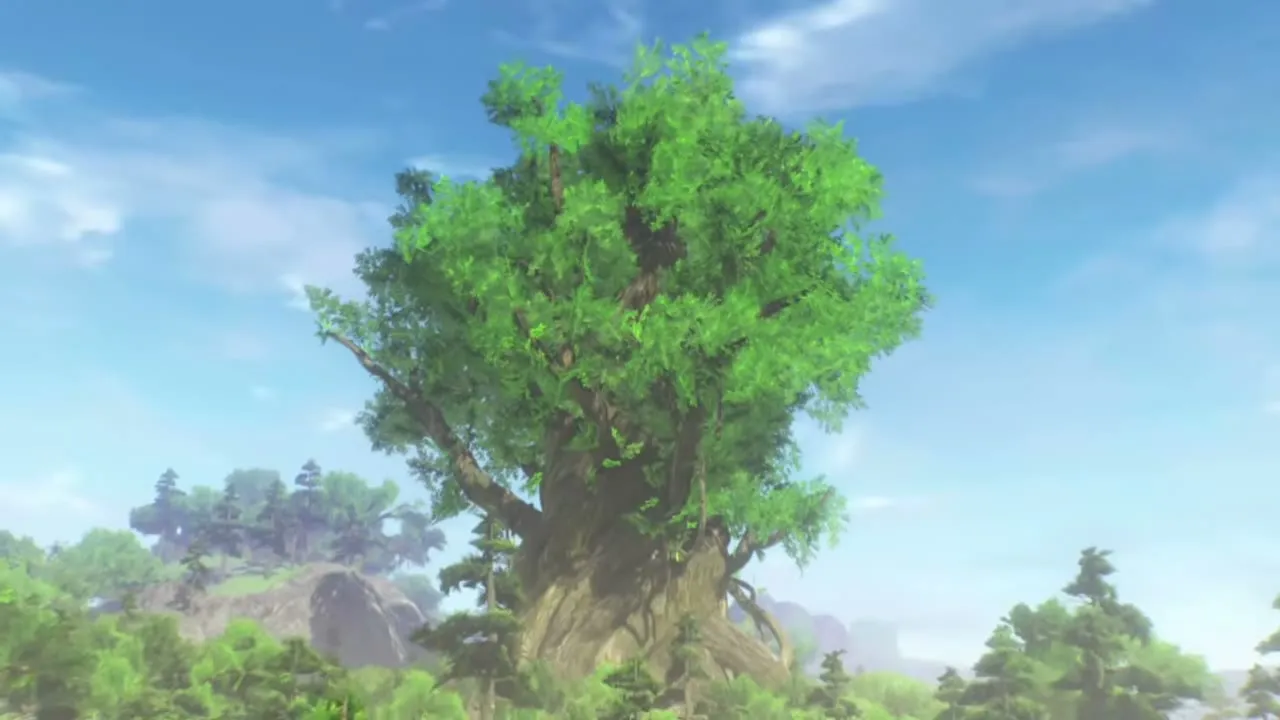
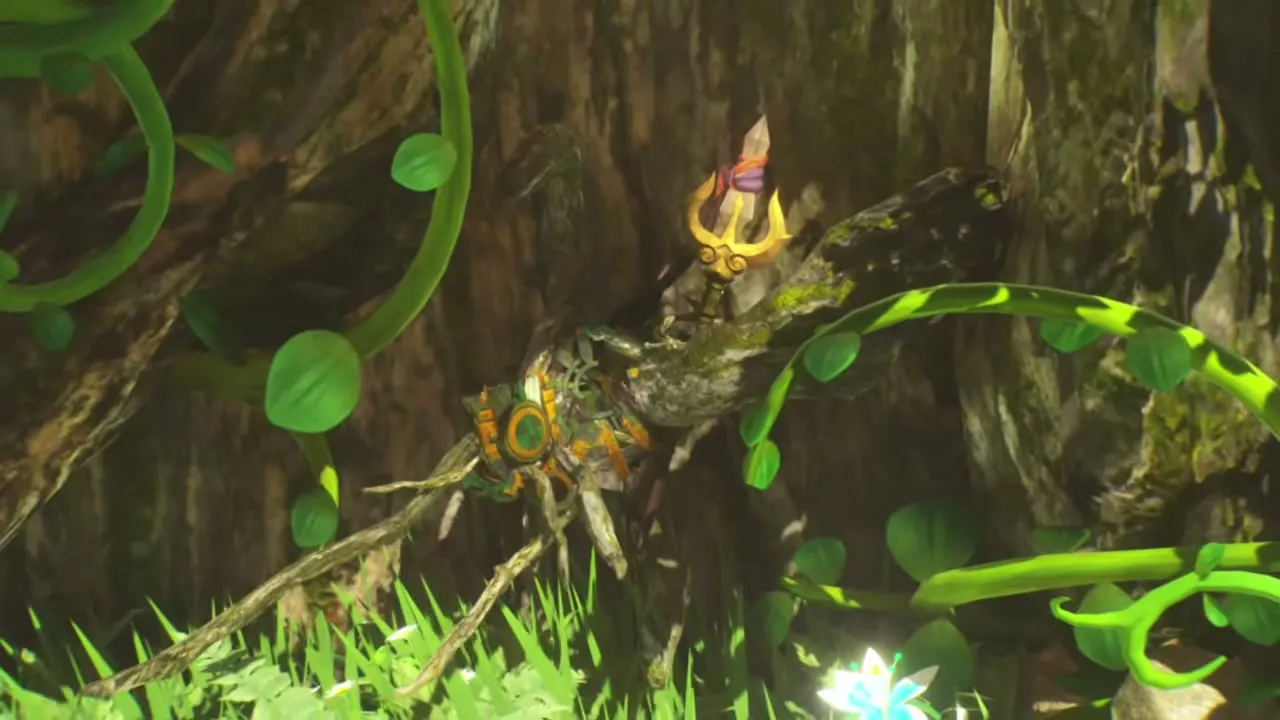
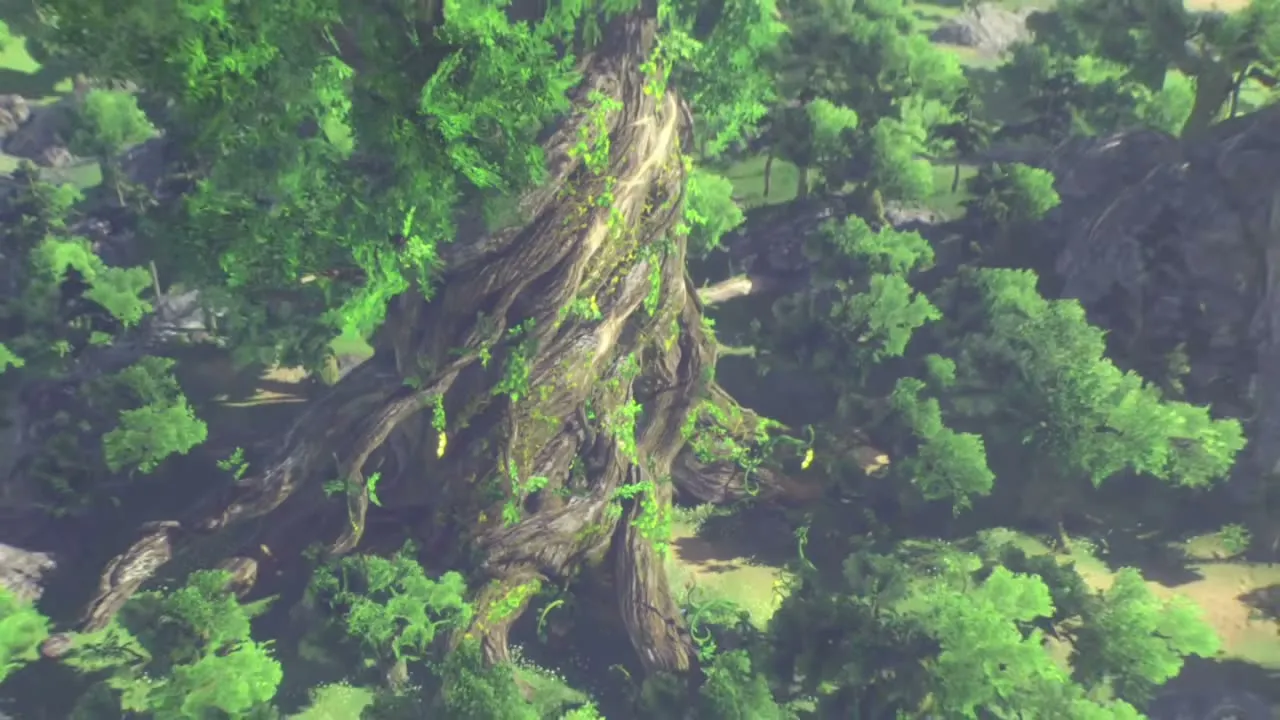
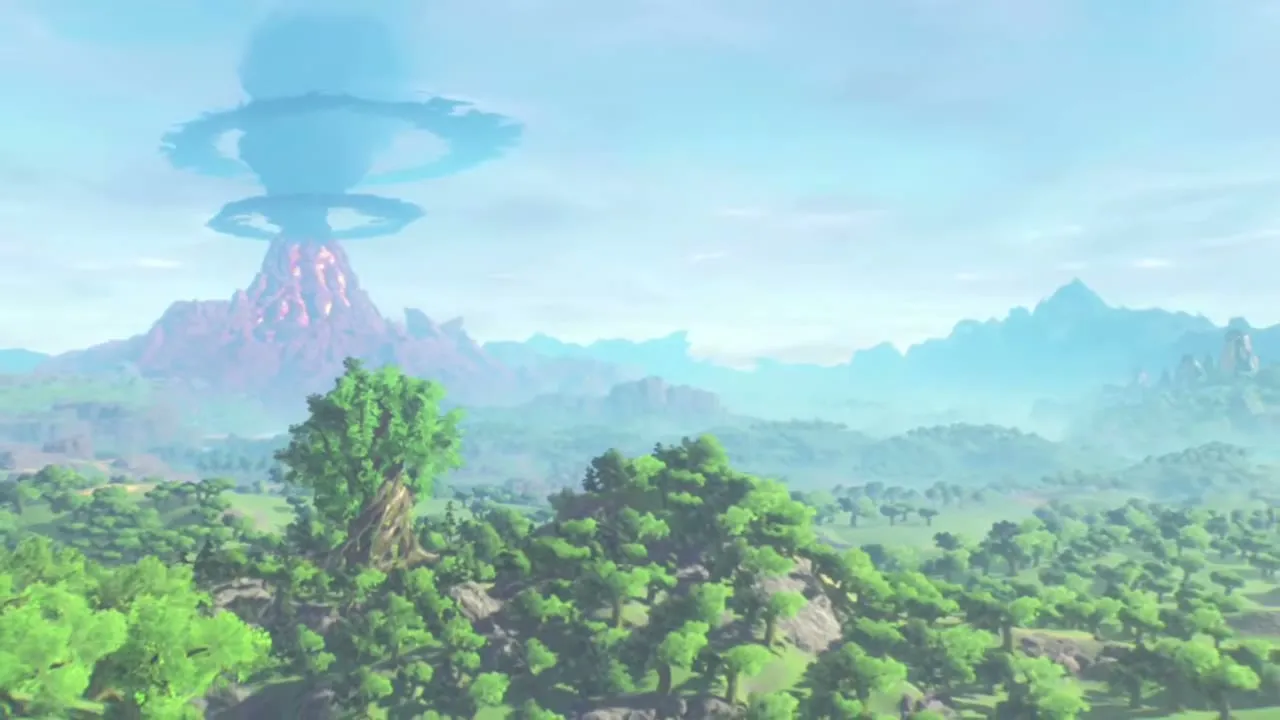
Rauru and the six Sages lure Ganondorf into the depths beneath Hyrule Field. Rauru binds the Demon King’s heart and seals his power, and both fall into stasis for thousands of years. Calamo appears as a huge tree on the battleground, holding his Gerudo Spear and the Knight Construct’s remains. After the credits, Lenalia burns the last records of Calamo and the Knight Construct, a Light Dragon flies over Hyrule, and Zelda later visits the Temple of Time to receive the Decayed Master Sword.
What opens in the post-game
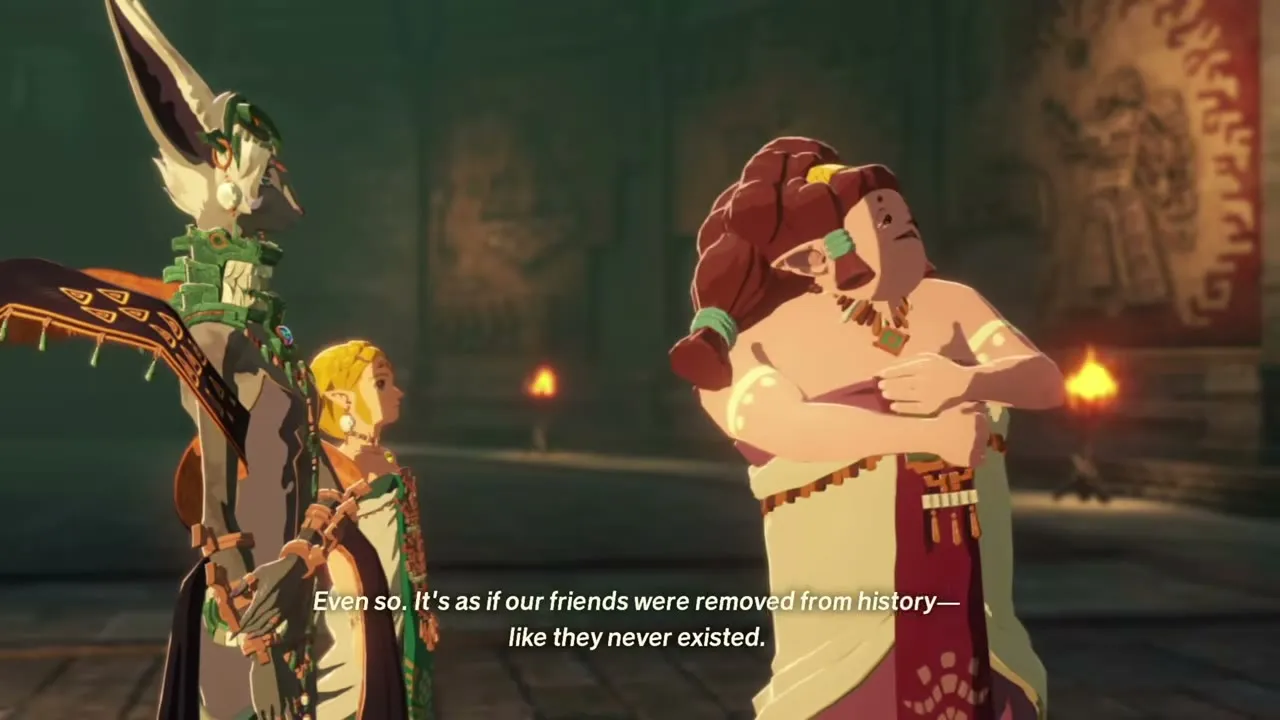
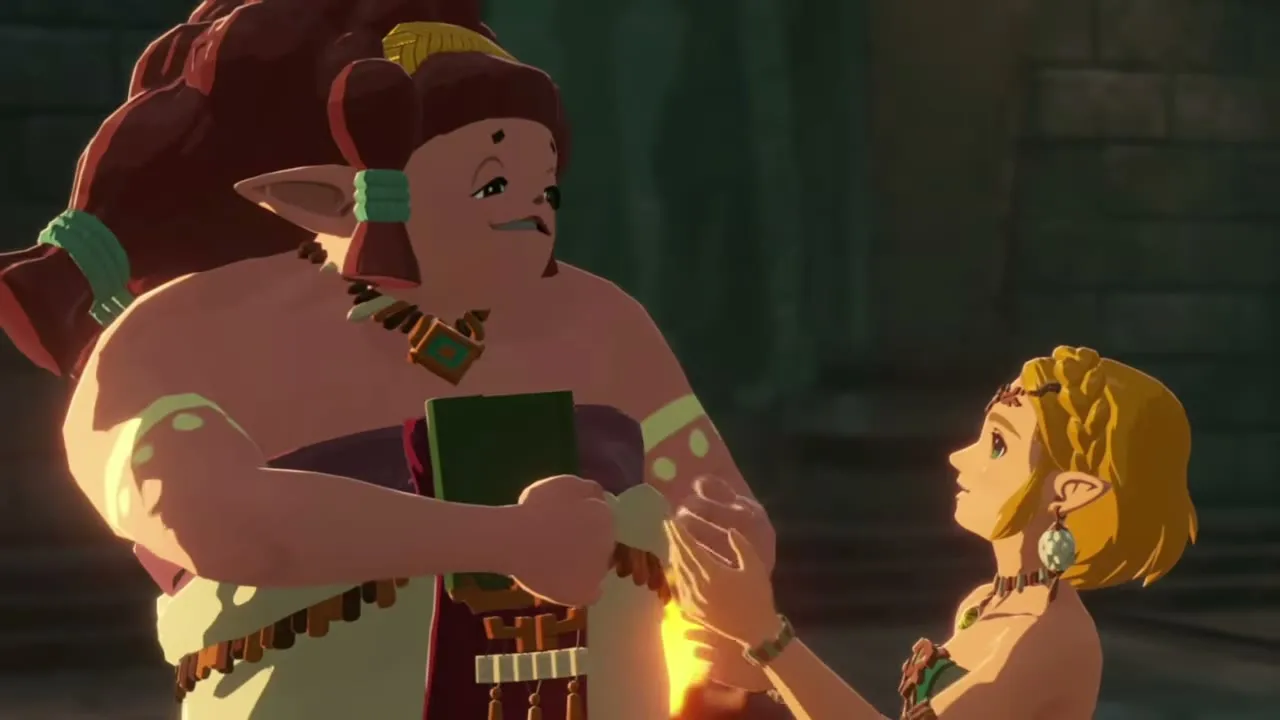
After the story you can take on Vicious Battles, a new challenge type against a strong, aggressive enemy, and characters of at least Lv 70 are advised. Lenalia’s Sketches also open as a new quest type: a region’s sketch needs 100% of that region, every quest and challenge, and your progress shows when you hover over the region on the Hyrule map. Finishing this battle also unlocks the Central Hyrule sketch, the quest A Sketch of Central Hyrule, which needs 100% region completion. A Vicious Enemies tutorial also explains that vicious enemies now appear across the land and give extra rewards when defeated. Some characters can change outfits too, such as the Sages without their masks and Zelda in her Zonai or modern clothes. If you complete every sketch, an alternate credits sequence can be viewed from the map.
For everything that remains, use the 100% completion checklist, and plan your return trips with the challenges and Korok Seed locations pages.
Rewards
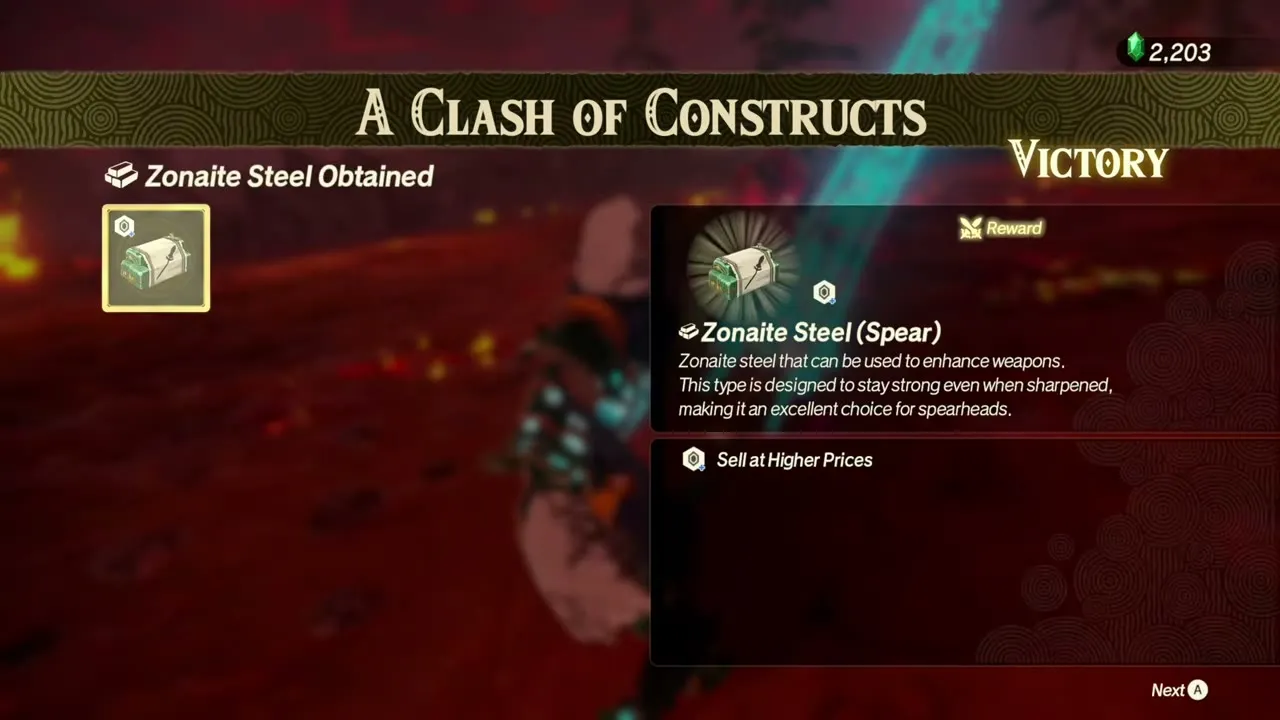
The first clear gives a Zonaite Steel (Spear) and battlefield materials. No further story battle follows it, so these are the reward.
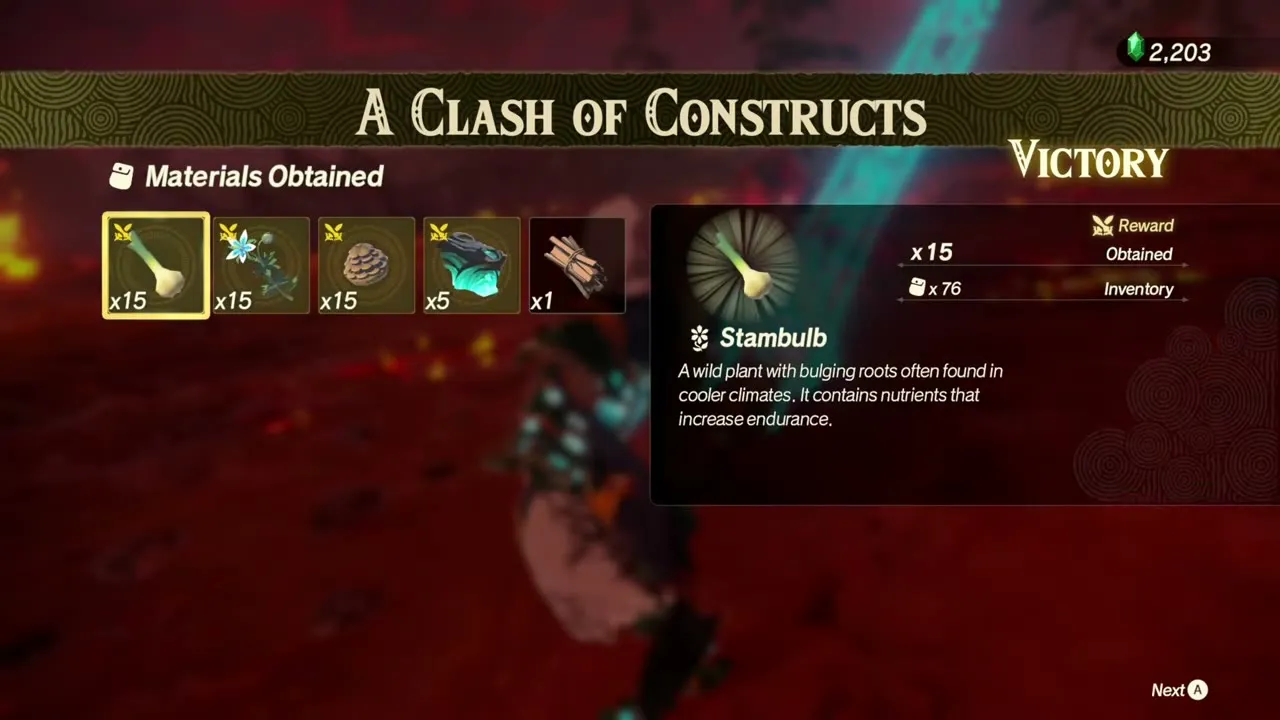
| Collectible | Type | Where |
|---|---|---|
 Zonaite Steel (Spear) | Zonaite Steel | Battle reward |
| Stambulb, Silent Princess, Hylian Pine Cone, Large Zonaite | First-clear materials | Battle reward |
