A Link Between Worlds 100% Completion Walkthrough18 chapters
- Opening and SanctuaryWake in Link’s House, deliver the captain’s sword, cross the Graveyard passage with the Lamp and meet Yuga.
- Hyrule Castle and Kakariko VillageRavio’s Bracelet, Zelda’s Pendant of Courage, Kakariko shops, Sahasrahla and the free Bow rental.
- Eastern PalaceEvery key, chest and rupee, the Compass, Big Key, Yuga boss fight and your first Heart Container.
- Pegasus Boots and Zora’s FlippersGet the Pouch, Irene’s Bell, Power Glove, Pegasus Boots, Zora’s Flippers, Ravio’s rentals and Hyrule Heart Pieces.
- House of GalesRent the Tornado Rod, swim to Lake Hylia’s island, beat Margomill and take the Pendant of Wisdom.
- Death MountainClimb the boulder caves, find two Heart Pieces and a Bottle, and reach the Tower of Hera.
- Tower of HeraEvery floor, both Small Keys, Compass, Big Key, Moldorm boss fight, Heart Container and Pendant of Power.
- Master Sword and Lost WoodsWalkthrough for pulling the Master Sword in the Lost Woods, breaking the Hyrule Castle barrier.
- Lorule and Dungeon OrderHilda, the Blacksmith, fissures, Ravio’s Shop, Thieves’ Town side content and the dungeon order.
- Dark PalaceThe guard maze, every key, the Compass, Big Key, Master Ore, Gemesaur King, Heart Container and Sage Gulley.
- Skull WoodsKeys, Compass, Big Key, Master Ore, Knucklemaster boss fight, Sage Seres and the Master Sword upgrade.
- Ice RuinsThe Hookshot route to Lorule’s Death Mountain, every floor, keys, the Stamina Scroll and Dharkstare.
- Thieves’ HideoutThe password song, the Thief Girl escort, Master Ore, Stalblind, Sage Osfala and the Sand Rod.
- Swamp PalaceBig Bomb Flower, Hookshot, water levels, keys, Compass, Blue Mail, Big Key, Arrghus and Sage Oren.
- Turtle RockRescue the baby turtles, use the Ice Rod, find every key, beat Grinexx and free Sage Impa.
- Desert PalaceReach it with the Sand Rod, find the Titan’s Mitt, beat Zaganaga and rescue Sage Irene.
- Lorule CastleThe Triforce of Courage, all four mini-bosses, the Compass, Red Mail and the way to the Throne Room.
- Final BossBeat Yuga Ganon with the Bow of Light, see Hilda’s choice, make the Triforce wish and unlock Hero Mode.
| Covers | The summit of Death Mountain and the Tower of Hera, floors 1F to 13F, ending at Moldorm |
|---|---|
| You need | Rented Hammer, Power Glove, the Net and a Bottle for the fairy (optional), and the Death Mountain climb from the previous chapter |
| Rewards |  Compass,  Big Key,  2 Small Keys,  1 Heart Container,  Pendant of Power,  Heart Piece #13 near the entrance, Purple,  Blue and  Silver Rupee chests |
The Tower of Hera is one of the three Pendant of Virtue dungeons in Hyrule, a tall tower where nearly every puzzle is solved with the Hammer and by merging into walls. You climb thirteen floors, take a Small Key on 3F and another on 6F, pick up the Compass on 1F and the Big Key on 11F, then beat Moldorm for a Heart Container and the Pendant of Power.
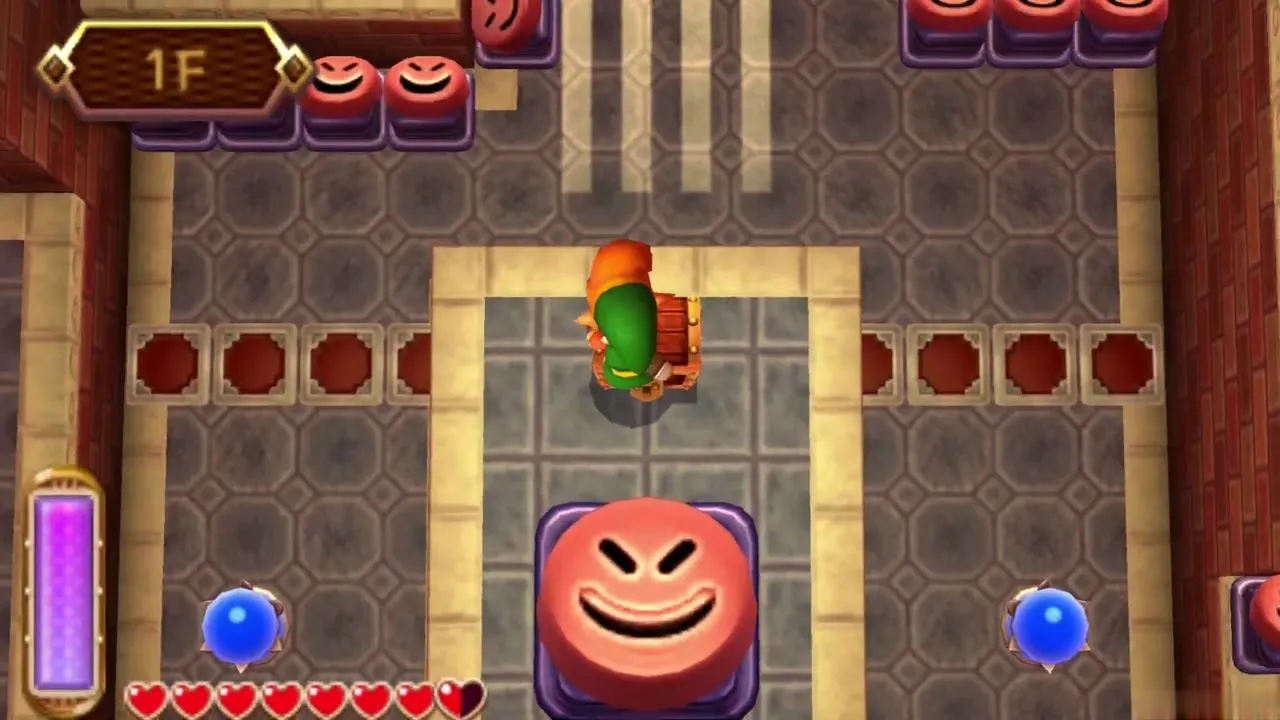
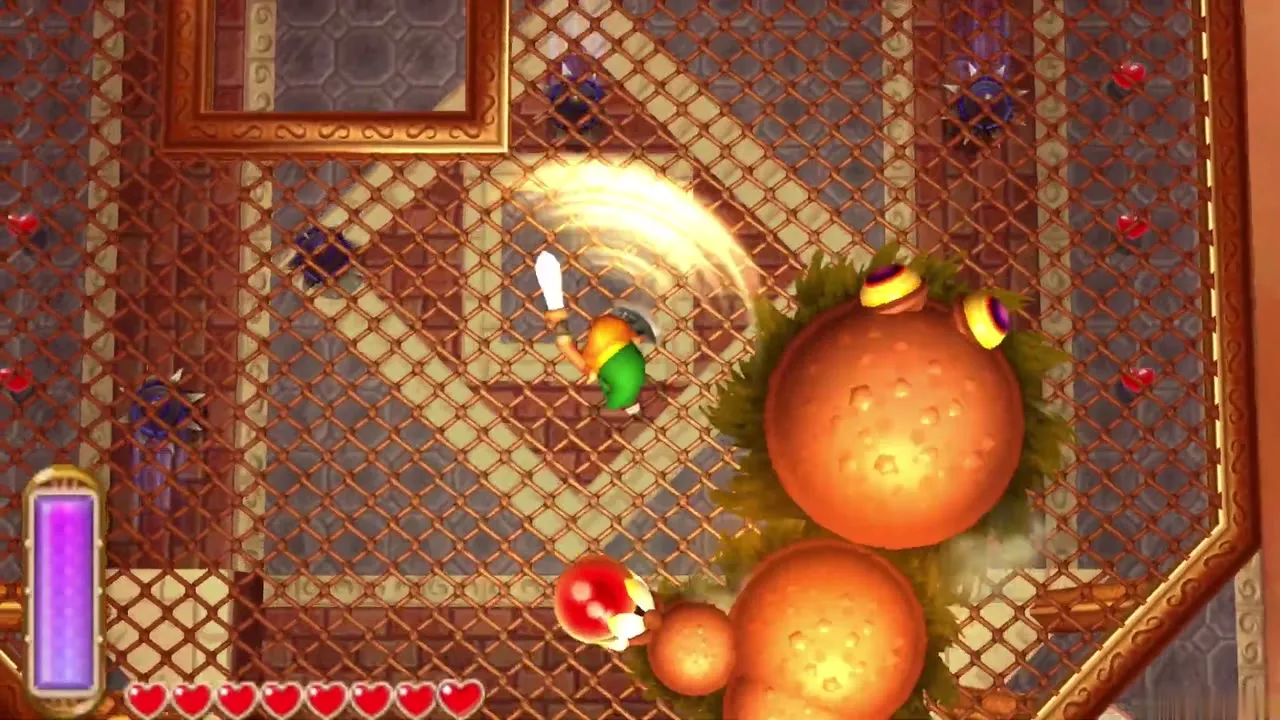
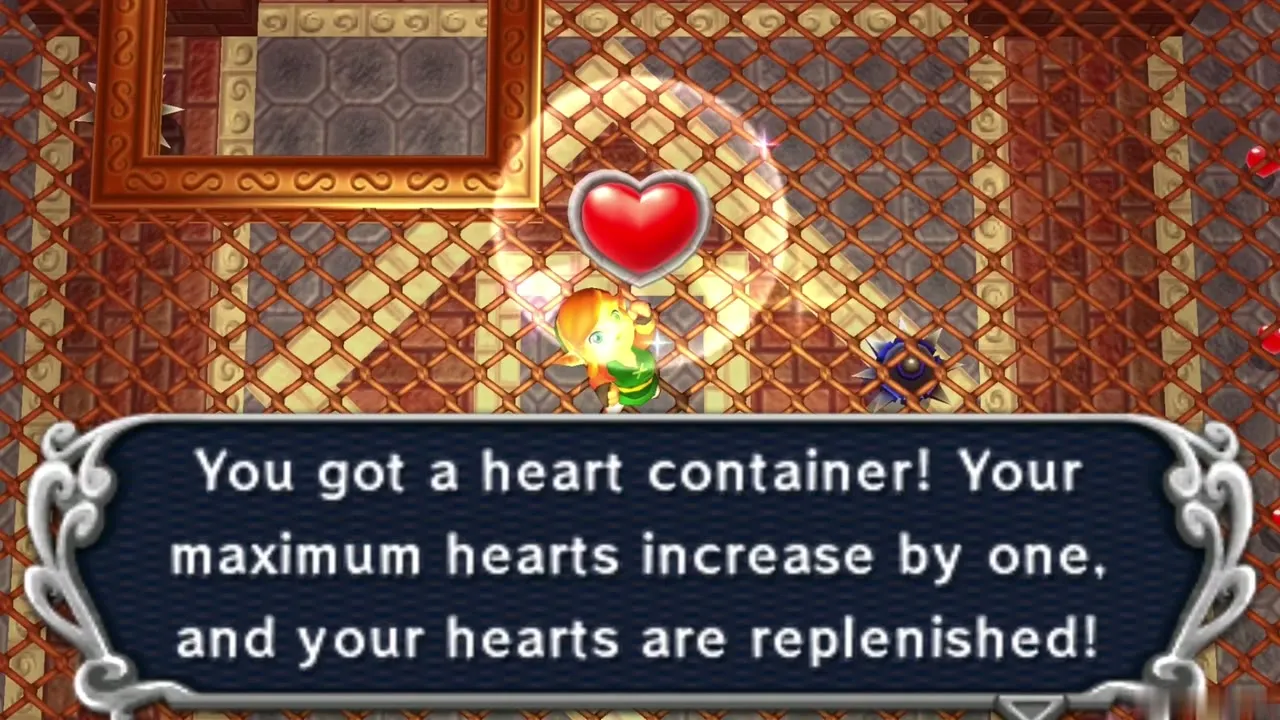
Table of Contents
Death Mountain summit and Tower of Hera entrance

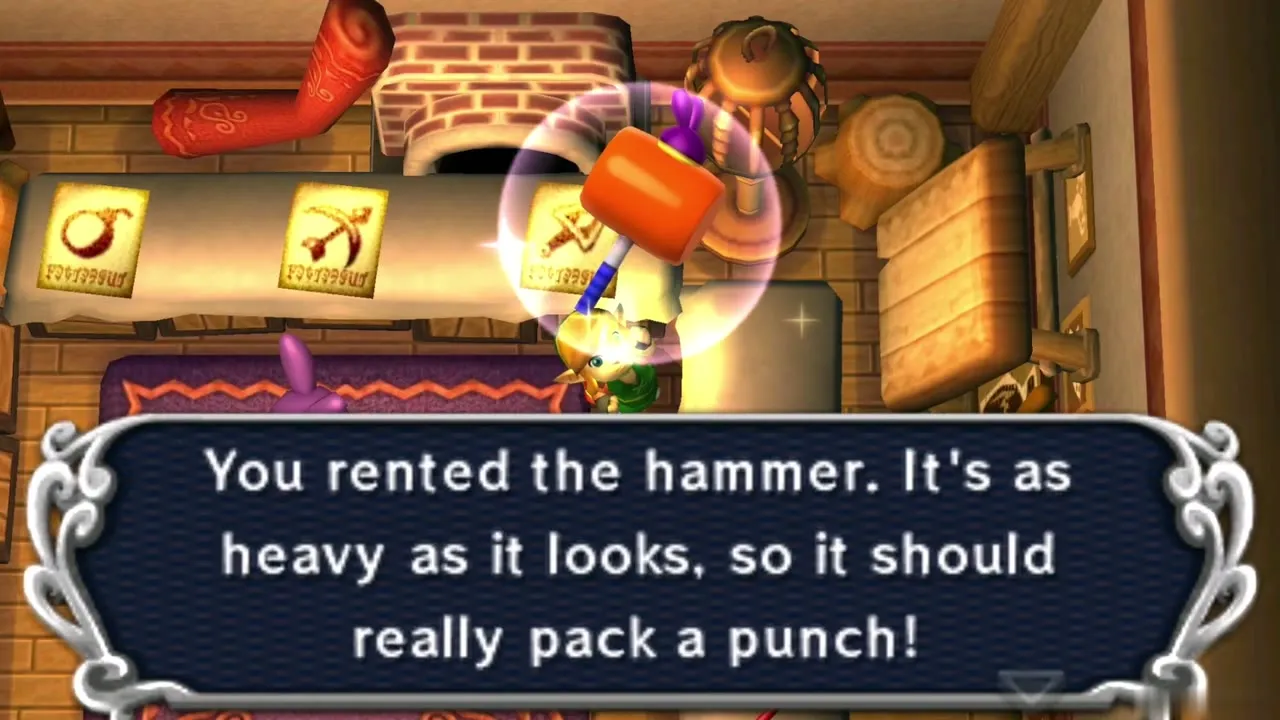
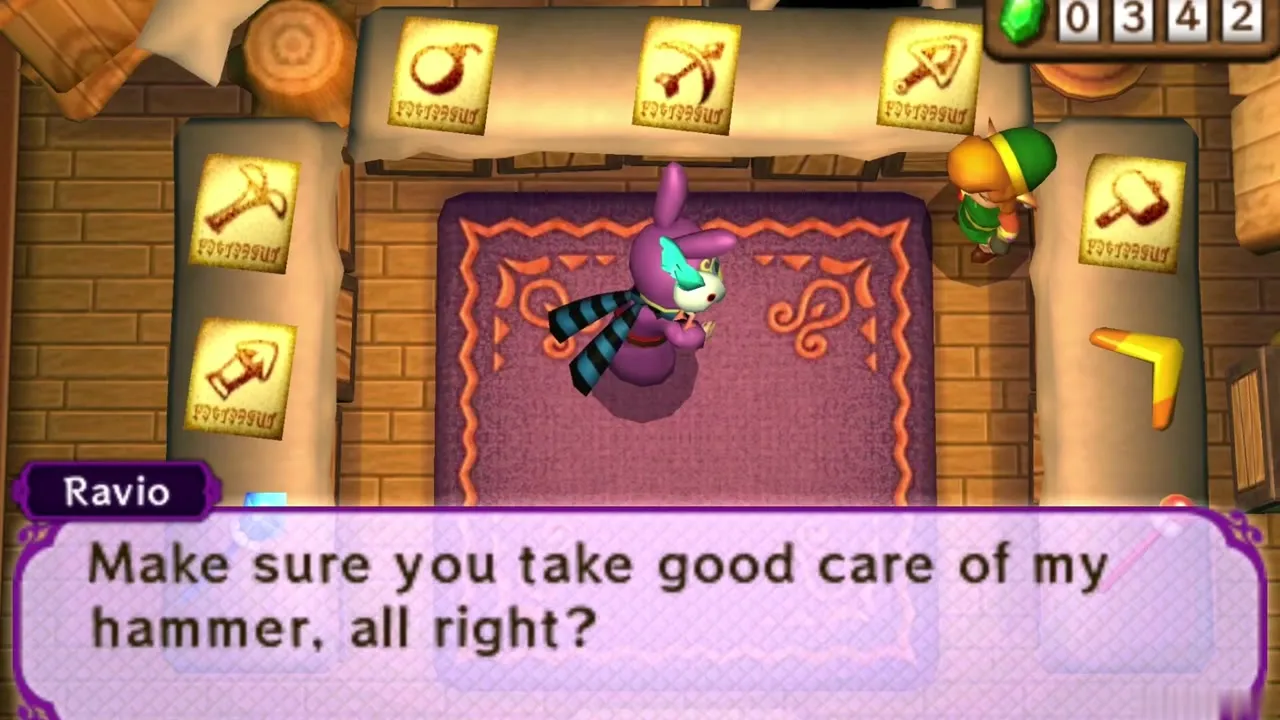
How to rent the Hammer
Nothing in the tower can be solved without the Hammer, so rent it from Ravio at Link’s House before you climb. Rentals are lost when you run out of hearts: Ravio’s bird Sheerow carries them back to the shop, and you must pay to rent them again. Check Ravio’s Shop for the current prices, and activate the Weather Vane at the foot of the mountain so any return trip stays short.
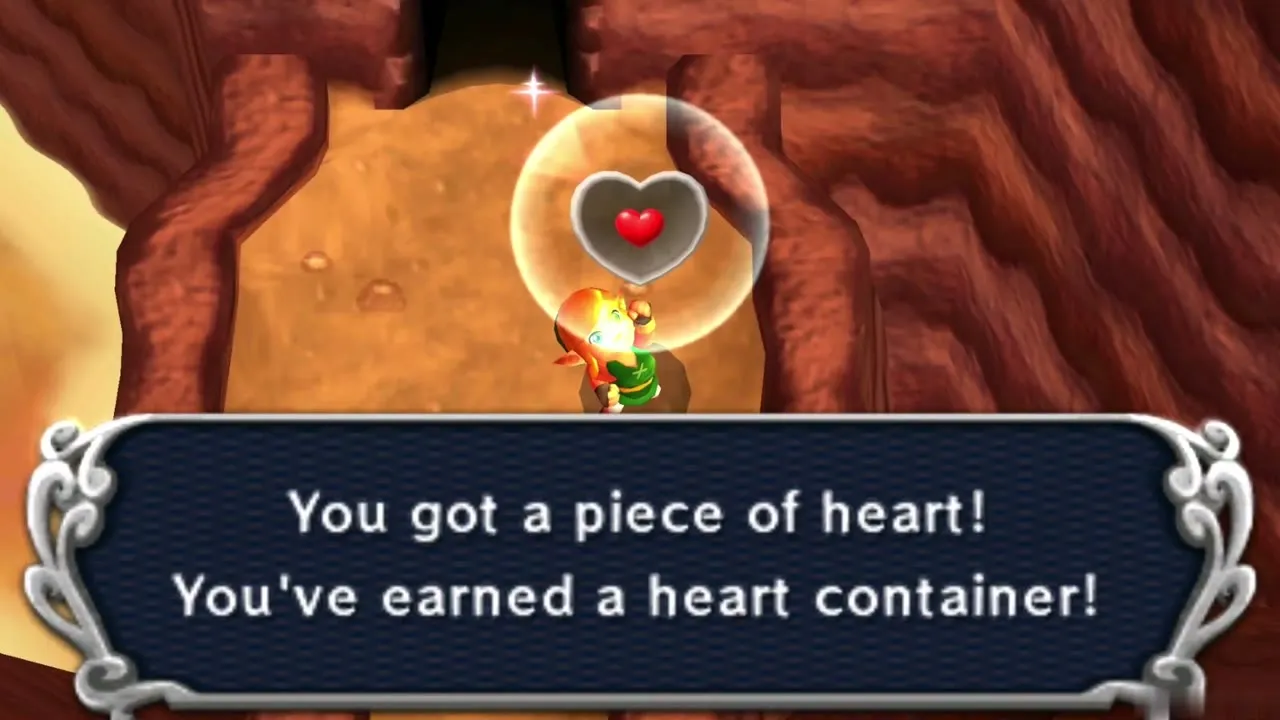
Heart Piece #13 near the tower
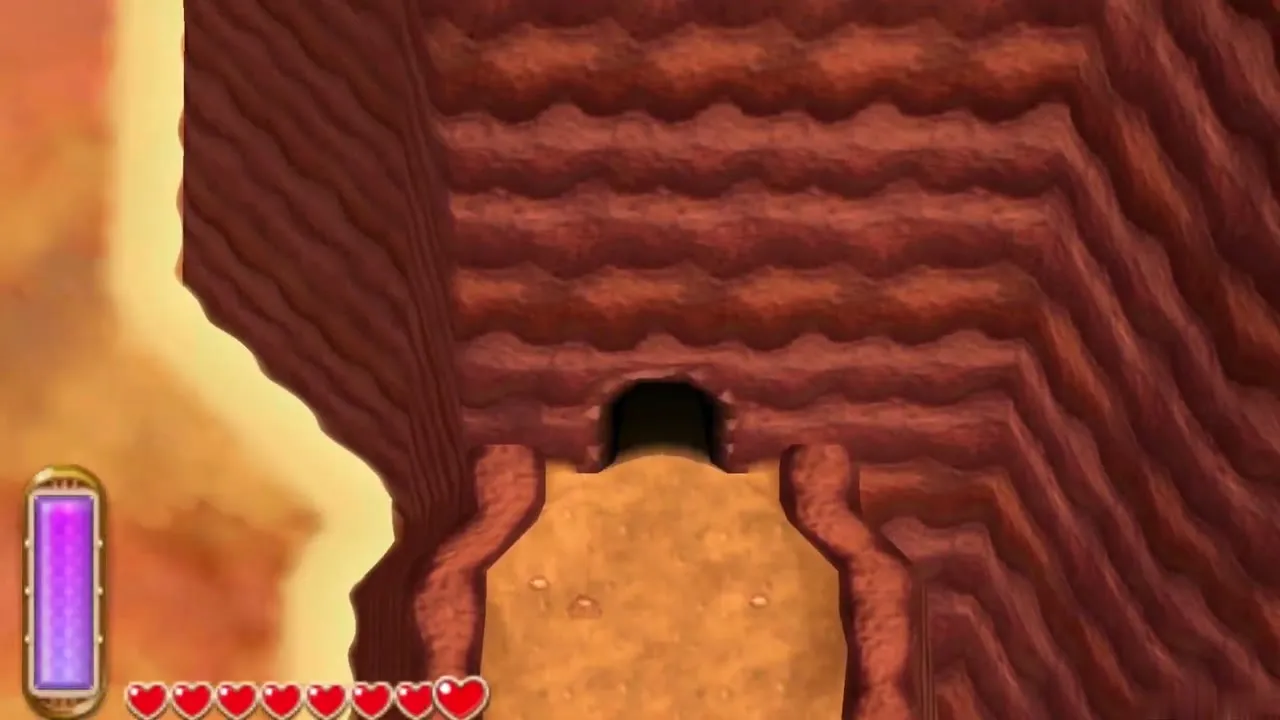
A hidden cave west of the tower holds Heart Piece #13, reached by wall merging because its entrance cannot be walked to. The full route, along with the lava cave Heart Piece and the Bouldering Guy’s Bottle, is in the Death Mountain walkthrough.
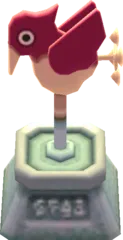
Tower of Hera Weather Vane
Beyond the cave, the path ends at a Weather Vane in front of the tower. Strike it to unlock fast travel, and save. If you fall in the dungeon and lose your rentals, you can warp straight back here, rent the Hammer again and walk in. The Weather Vane list shows every vane on the map.

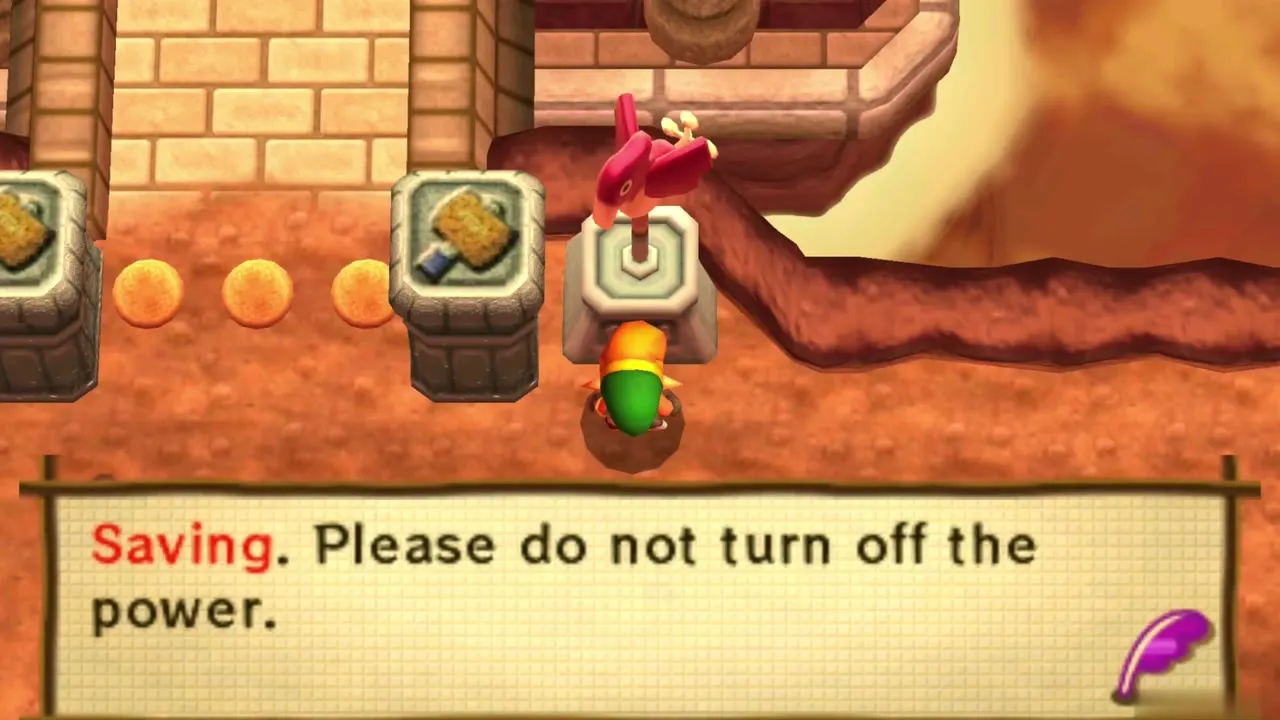
Open the entrance with the Hammer
Walk up to the carved front of the tower, equip the Hammer and pound the posts in front of the doorway until they sink flat. Step through to reach 1F. From here the tower climbs with springs, moving platforms and crystal switches, so keep the Hammer on one item button and the Net or another item on the other.
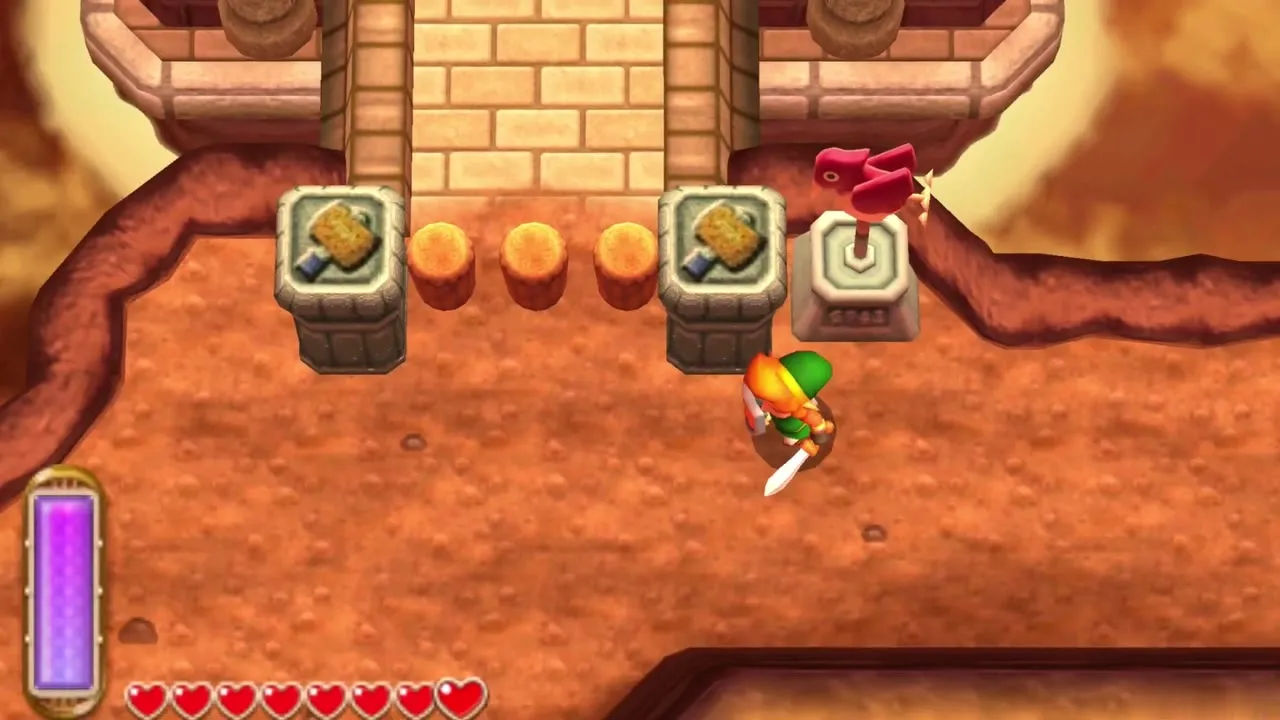
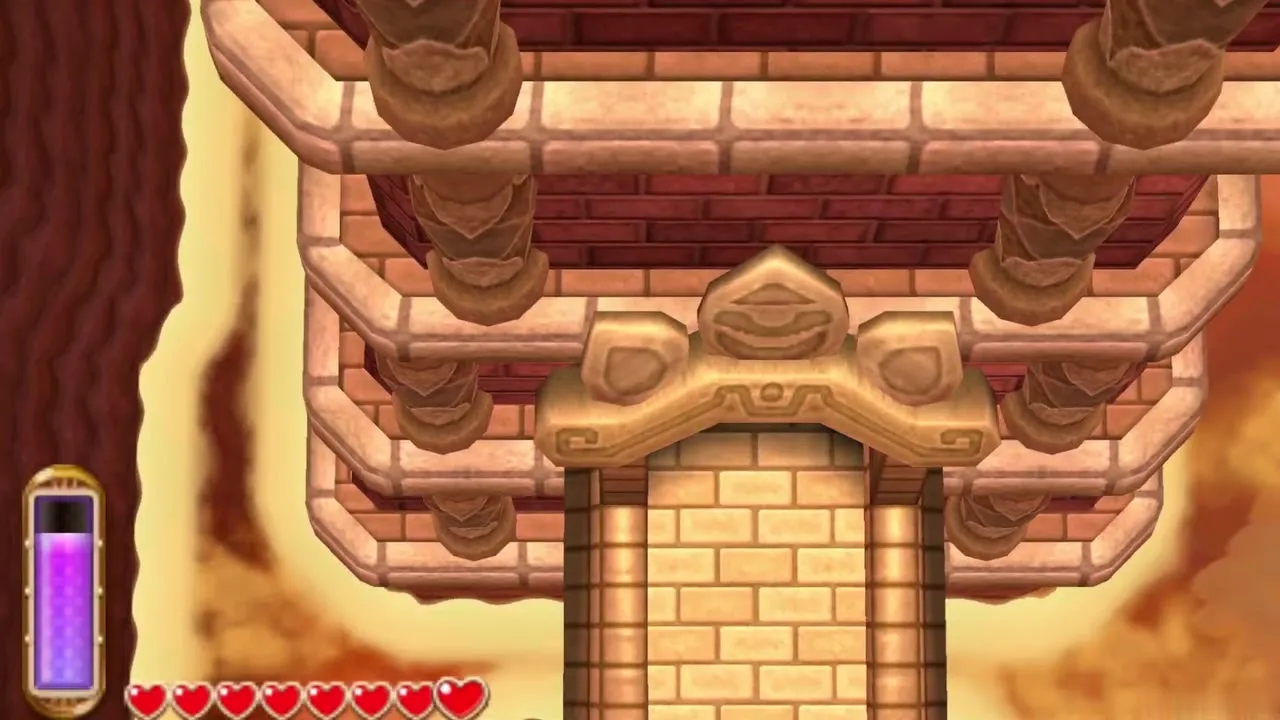
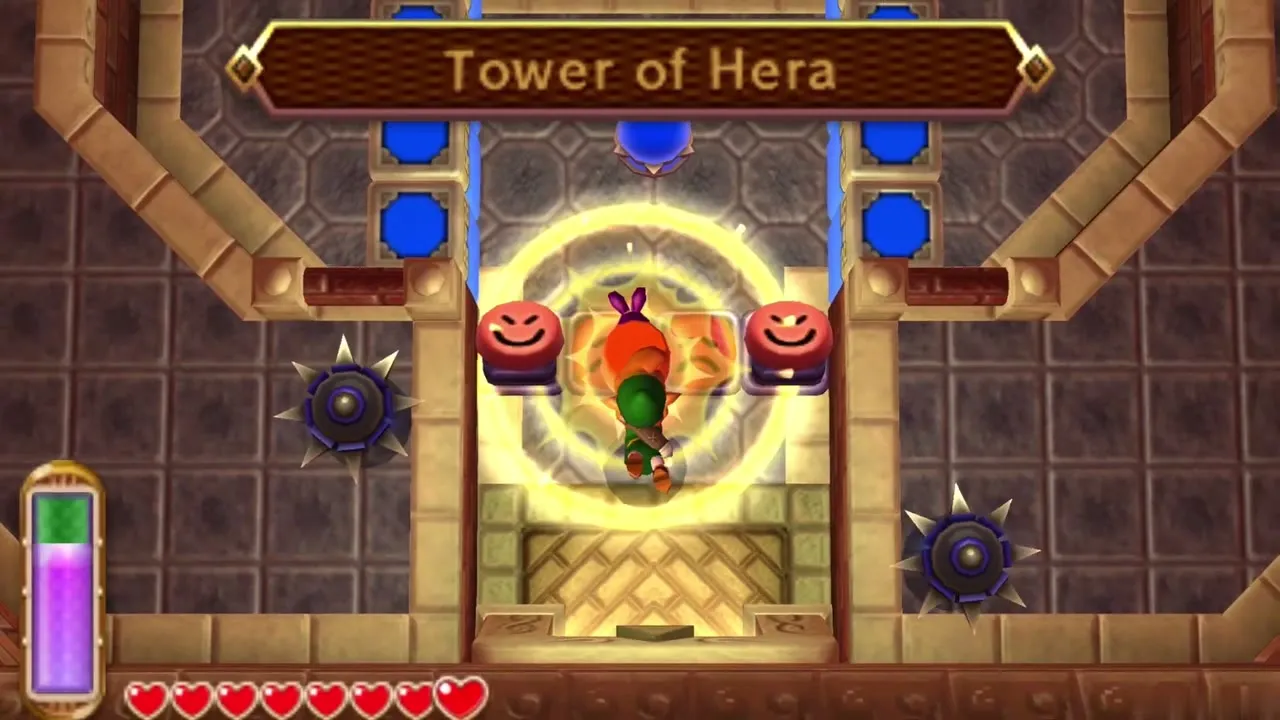
Tower of Hera 1F to 3F
1F: springs and crystal switches
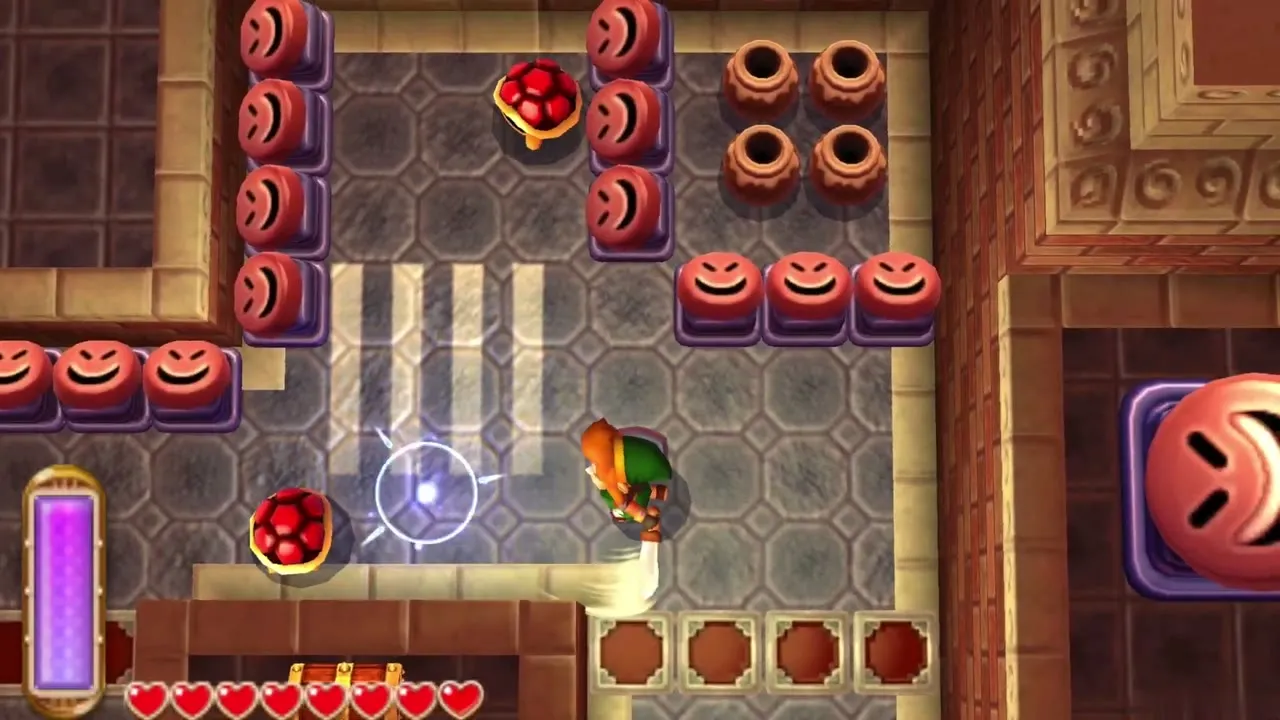
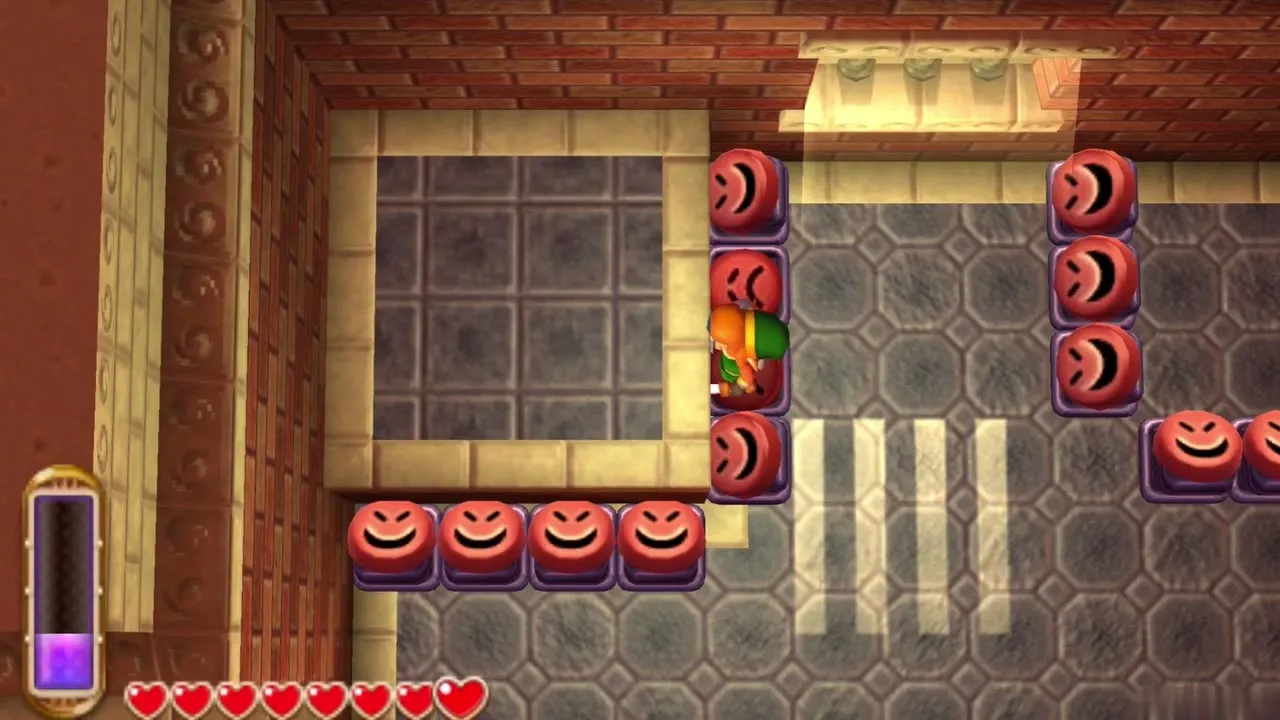
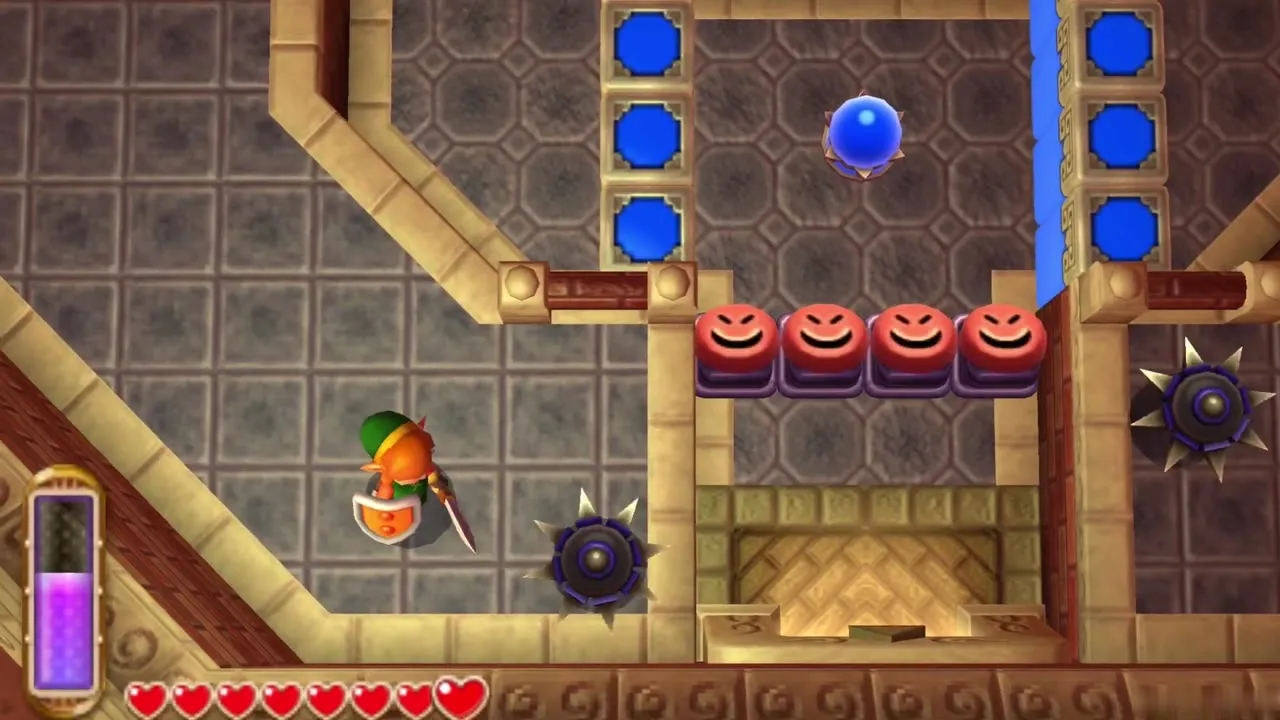
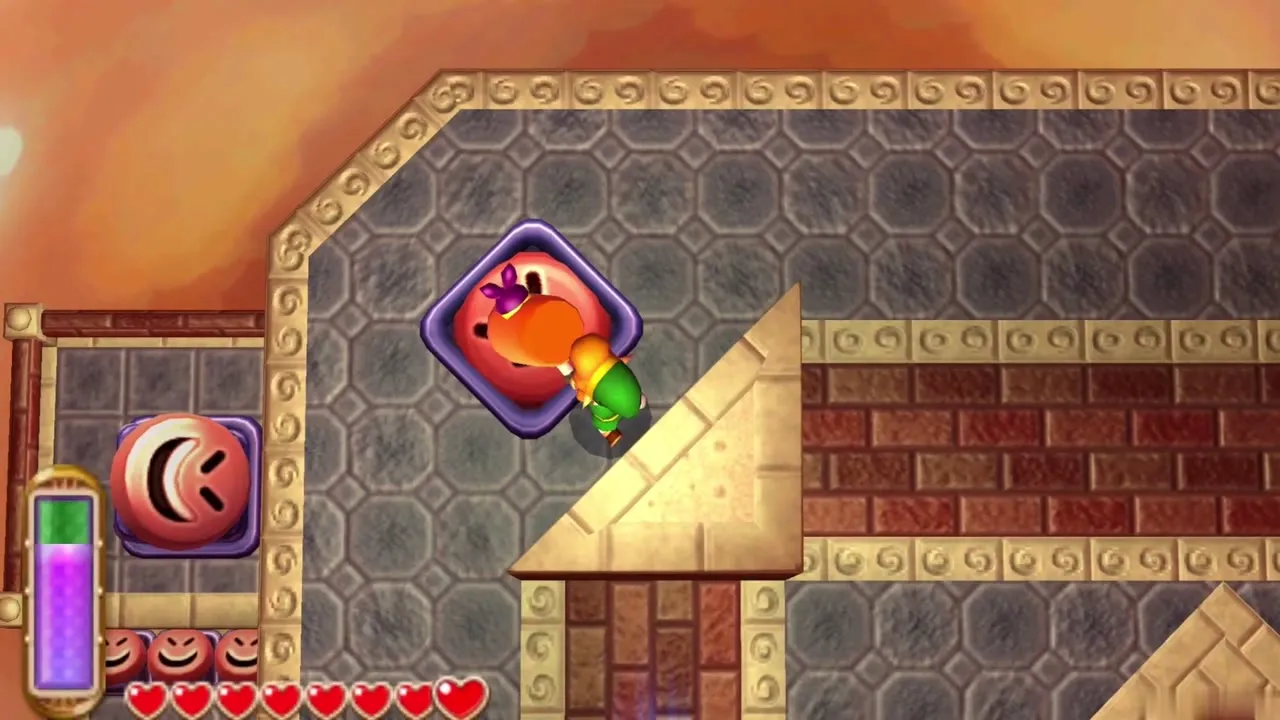
The grinning face blocks on 1F are called Moles. Stand on one and strike it with the Hammer to be launched upward onto higher platforms. Crystal switches raise one color of barrier while lowering the other, so strike them to open a path across the room. Break pots for hearts, and keep an eye out for Blade Traps along the ledges.
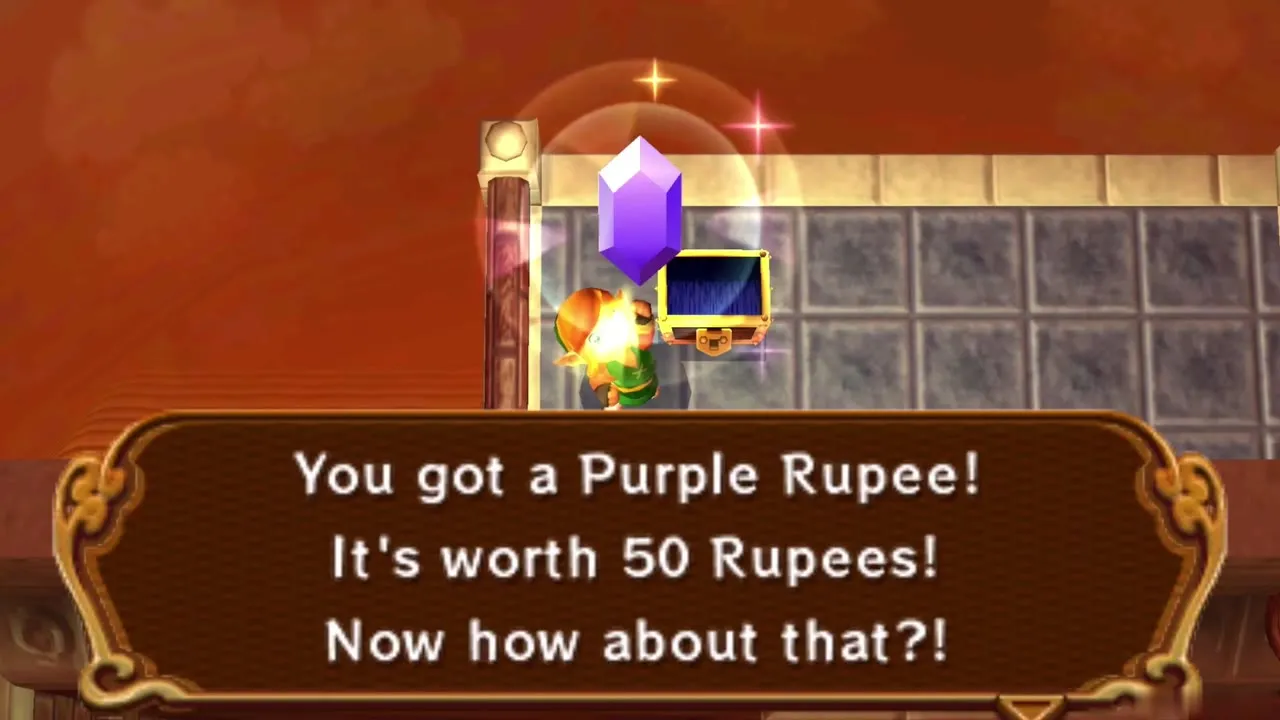
1F Purple Rupee chest
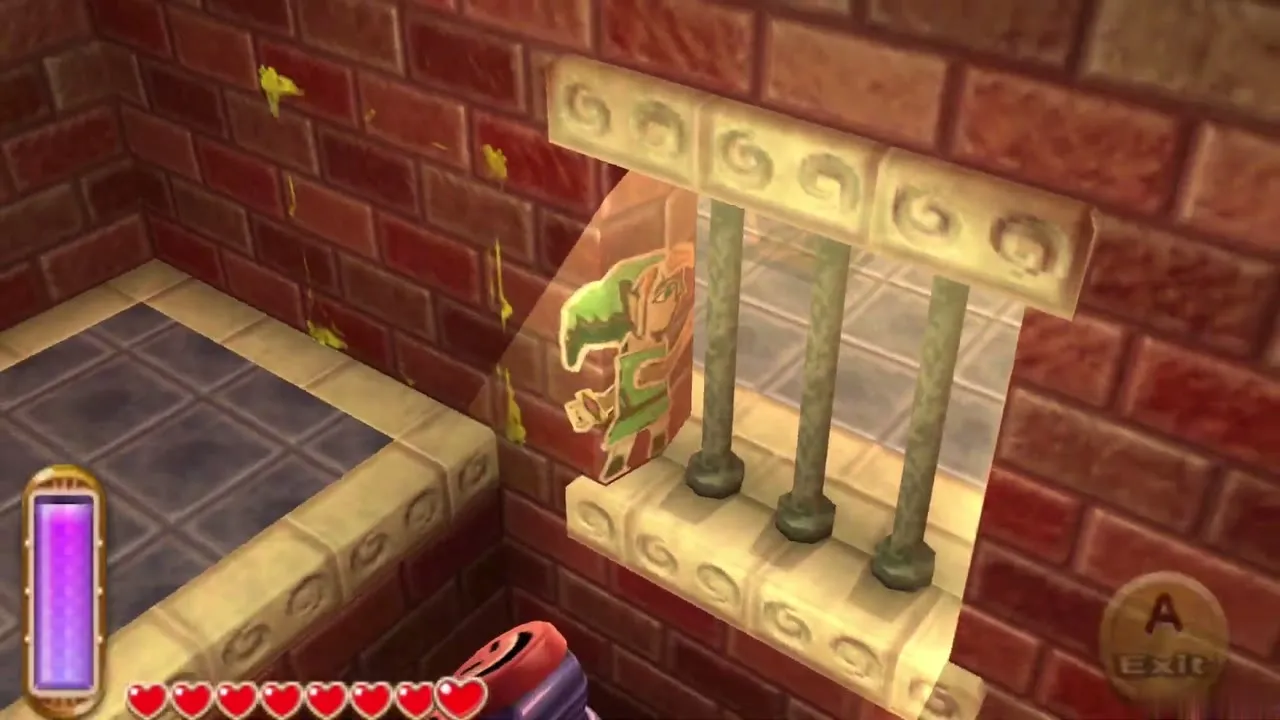
One chest sits in a nook you cannot walk to. Merge into the brick wall beside the barred window, slide along it, and step out next to the chest. It holds a Purple Rupee, worth 50. The chest is optional, but it lies right beside the route, so take it before you head up.
2F: the drop to the Compass
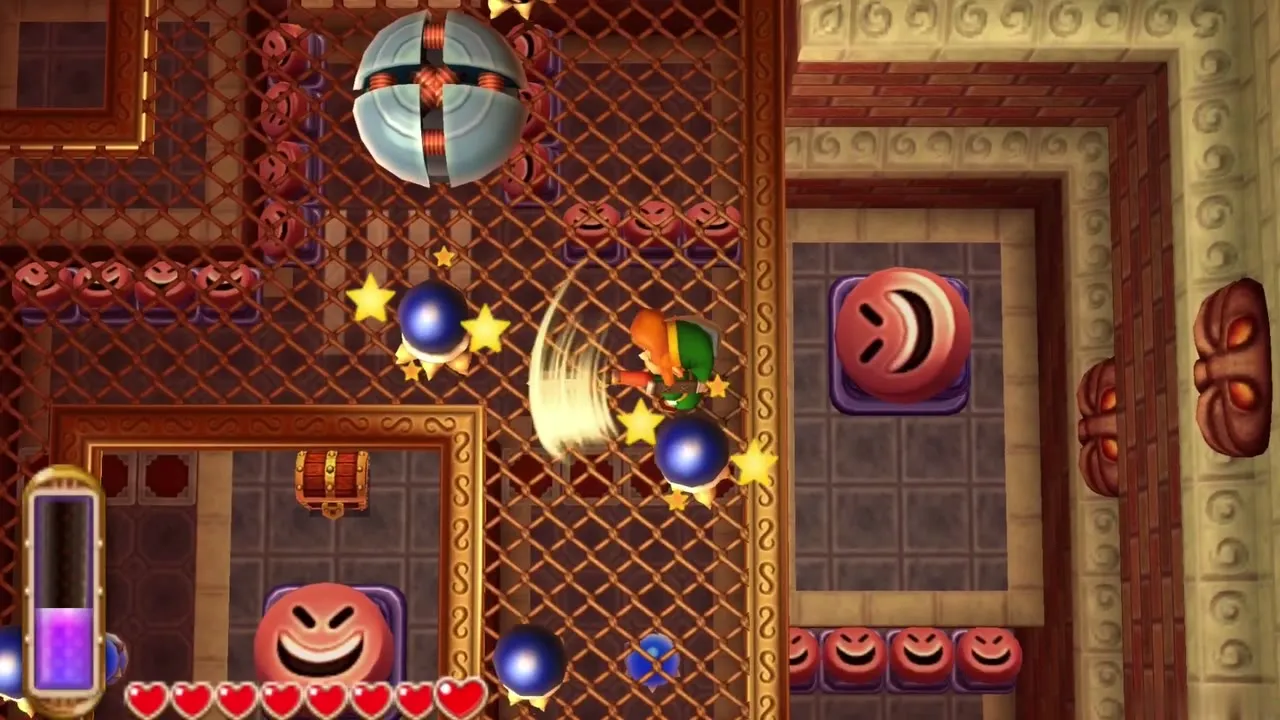
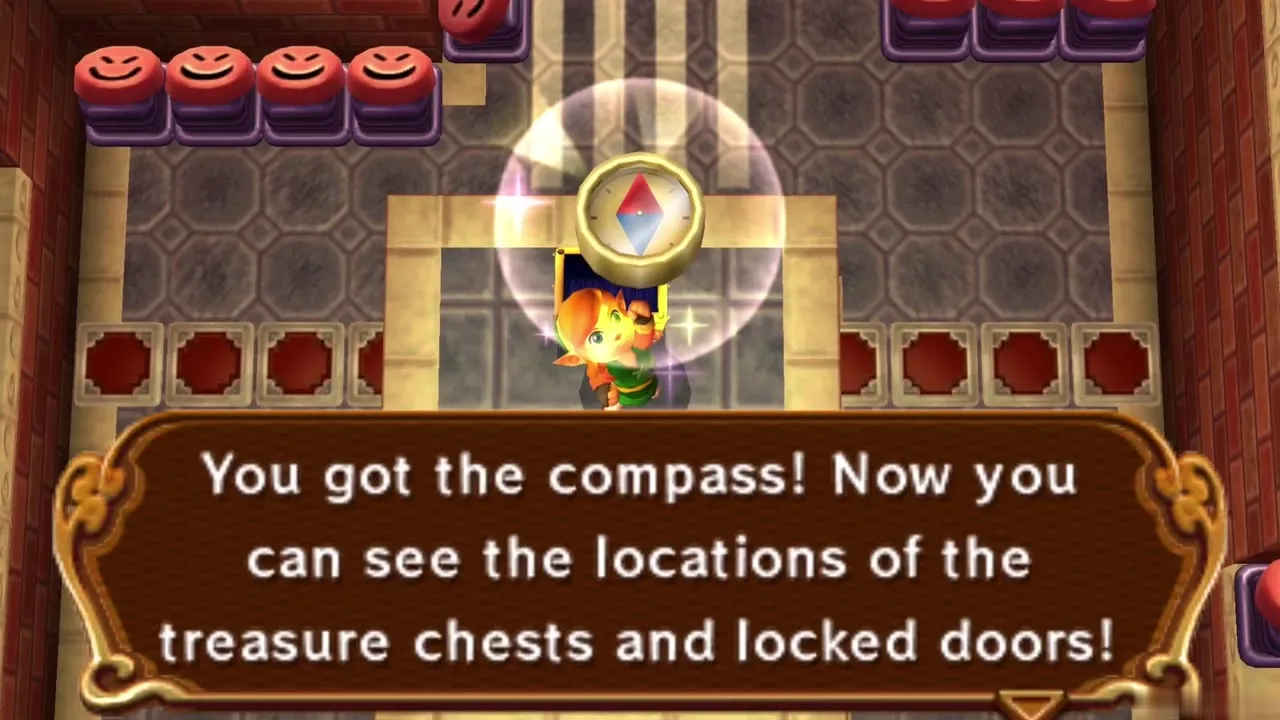
Use a Mole to reach 2F, where Hardhat Beetles and Bumpers shove you around. Find the opening in the middle of the floor and drop through it. You land on a raised platform in the center of 1F, which holds a chest with the Compass. Open it, then hammer the Mole on the platform to bounce back up to 2F.
3F: the first Small Key
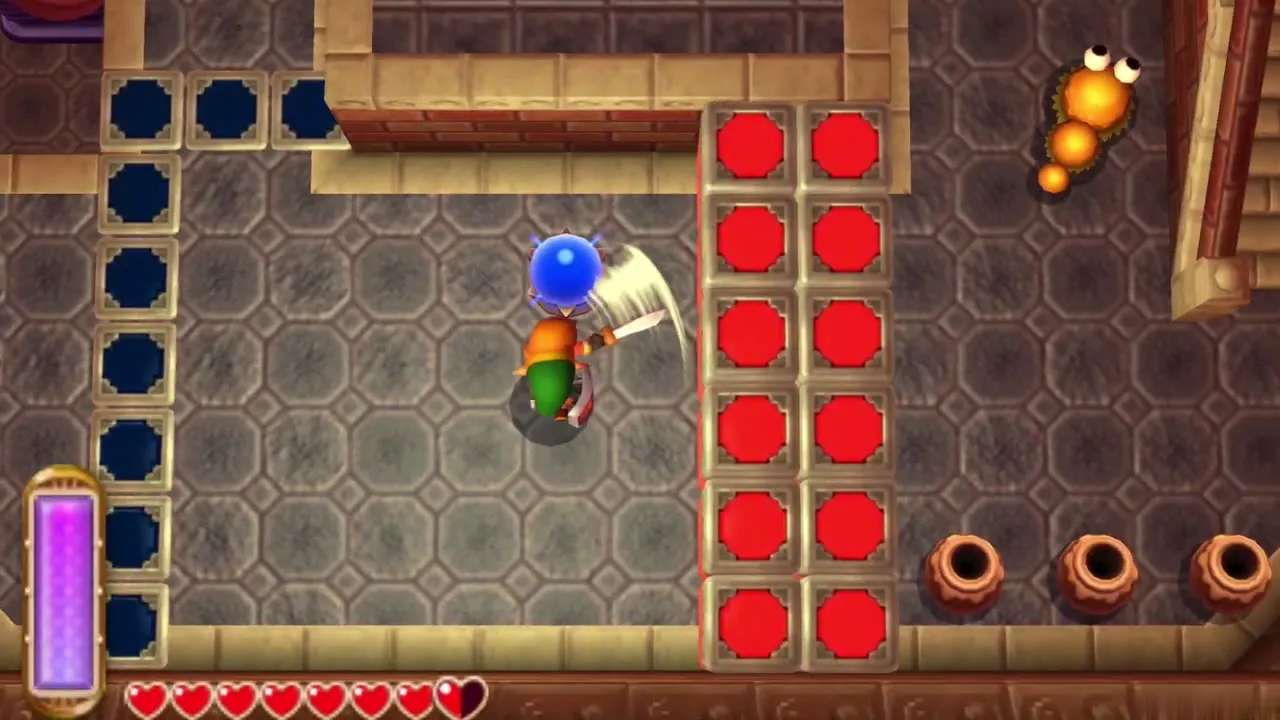
Use the large Mole on the left side of 2F to reach 3F. A Small Key rests on a platform in the middle of the room, out of reach. Merge into the north wall, slide to the crystal switch and strike it. Step onto the lowered red tiles, then hit the switch again so they rise and lift you up to the key. Take it.
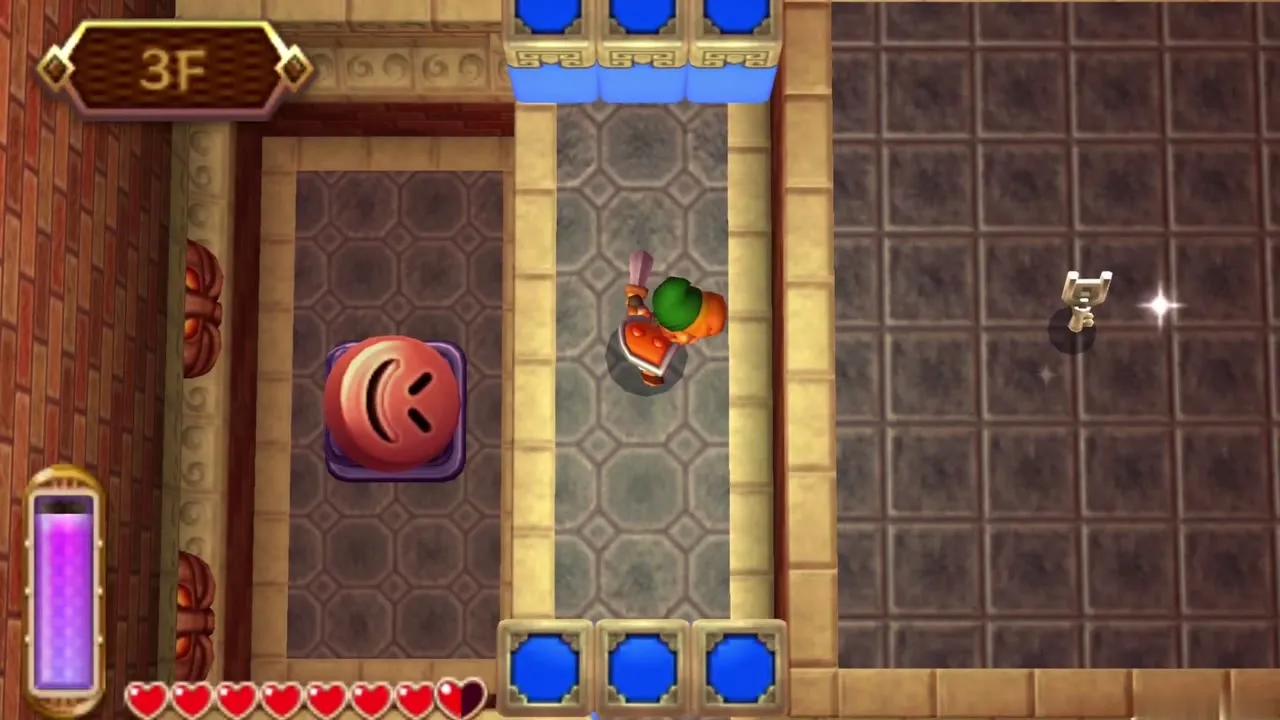
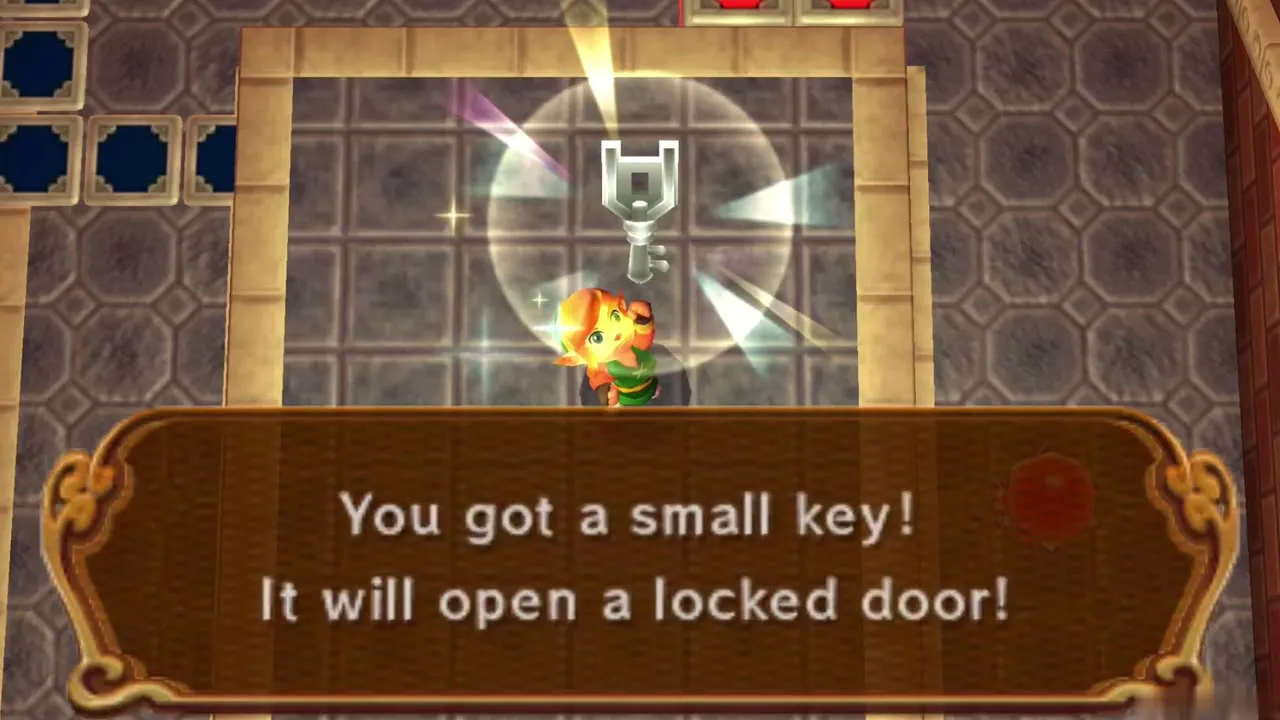
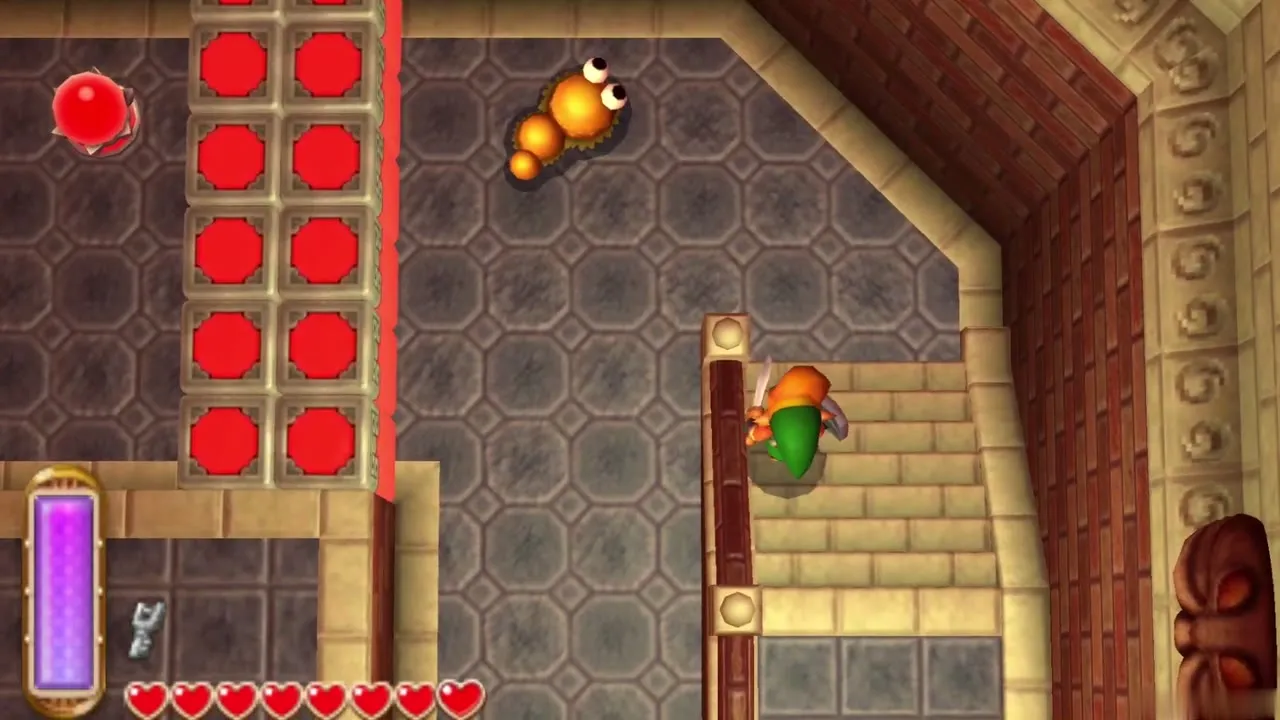
Climb the steps on the right of the room and unlock the locked door on the east side with the Small Key. It leads outside, onto a narrow ledge on the mountain face.
Outside the tower and floors 4F to 7F
First ride along the outside
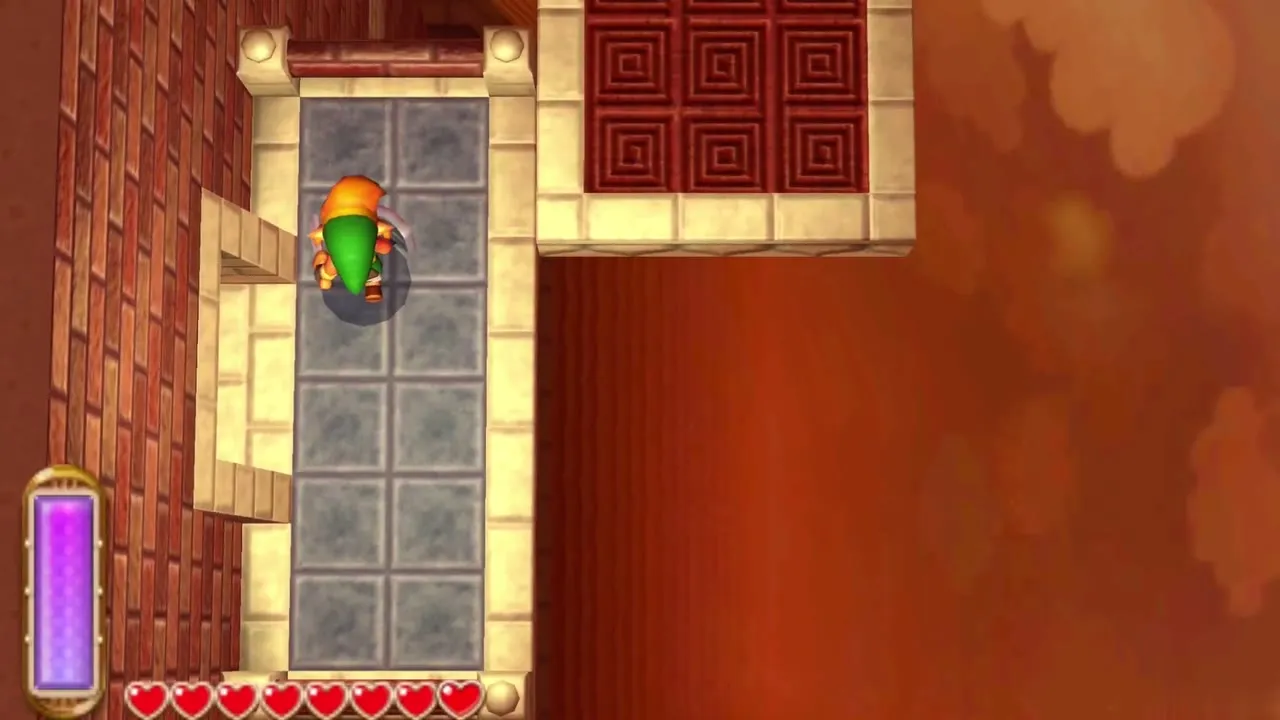
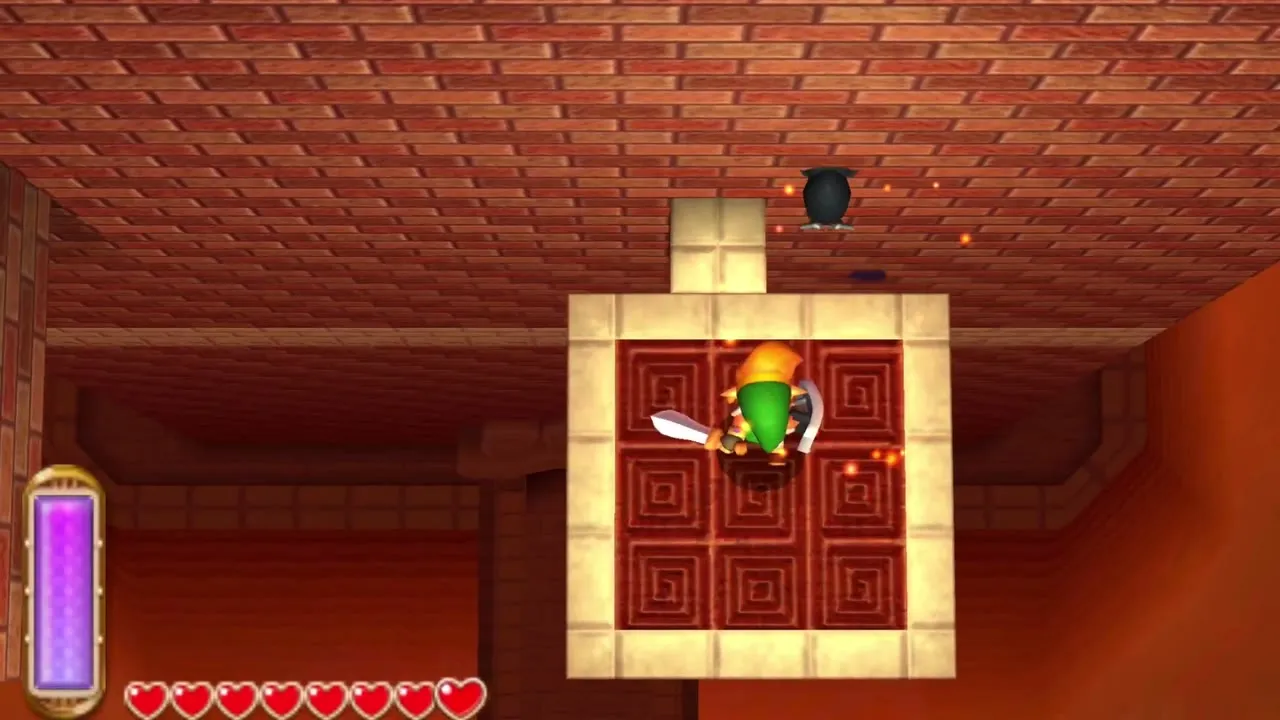
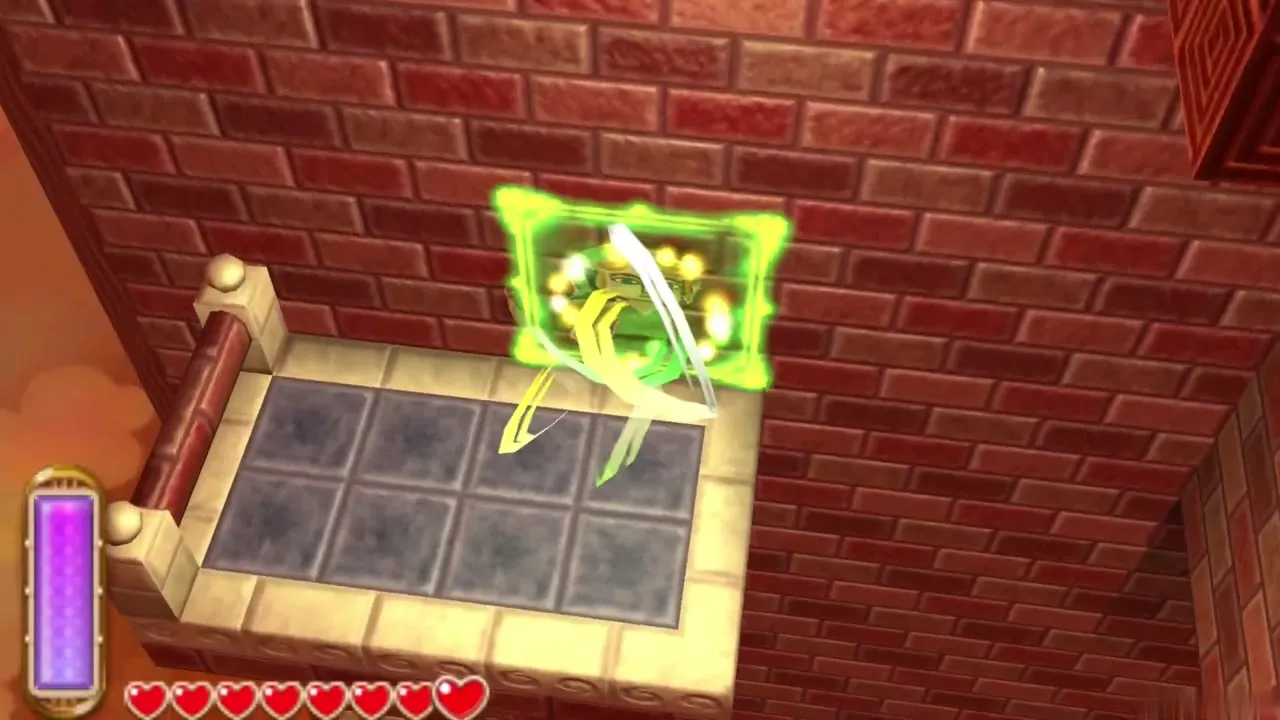
A moving platform carries you around the tower. Crows swoop in as you ride, so slash them as they come. When the platform stops against a wall, merge into the brick, slide around the corner, and step out onto the platform again. Hearts are tucked along the route. Ride to the next doorway and enter 4F.
4F
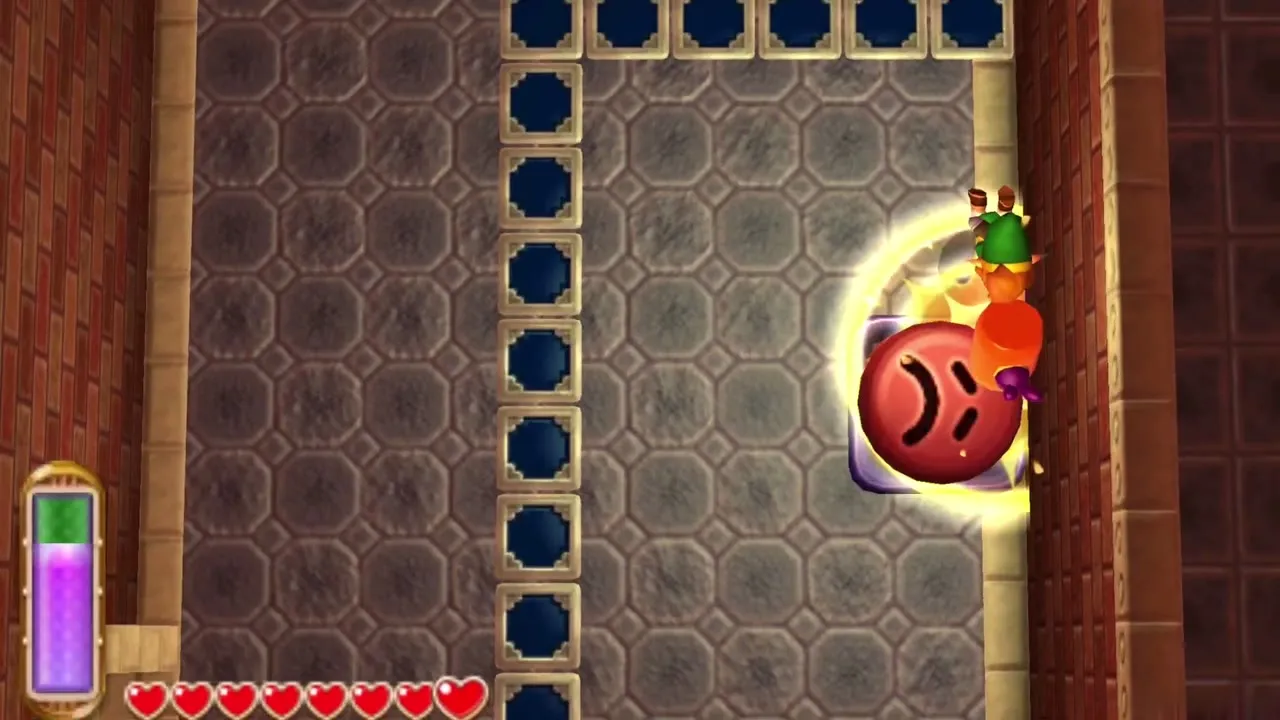
On 4F, strike the crystal switch to lower the barrier blocking the way, then stand on the large Mole and hammer it to be fired up to 5F.
5F: Blue Rupee chest and the window
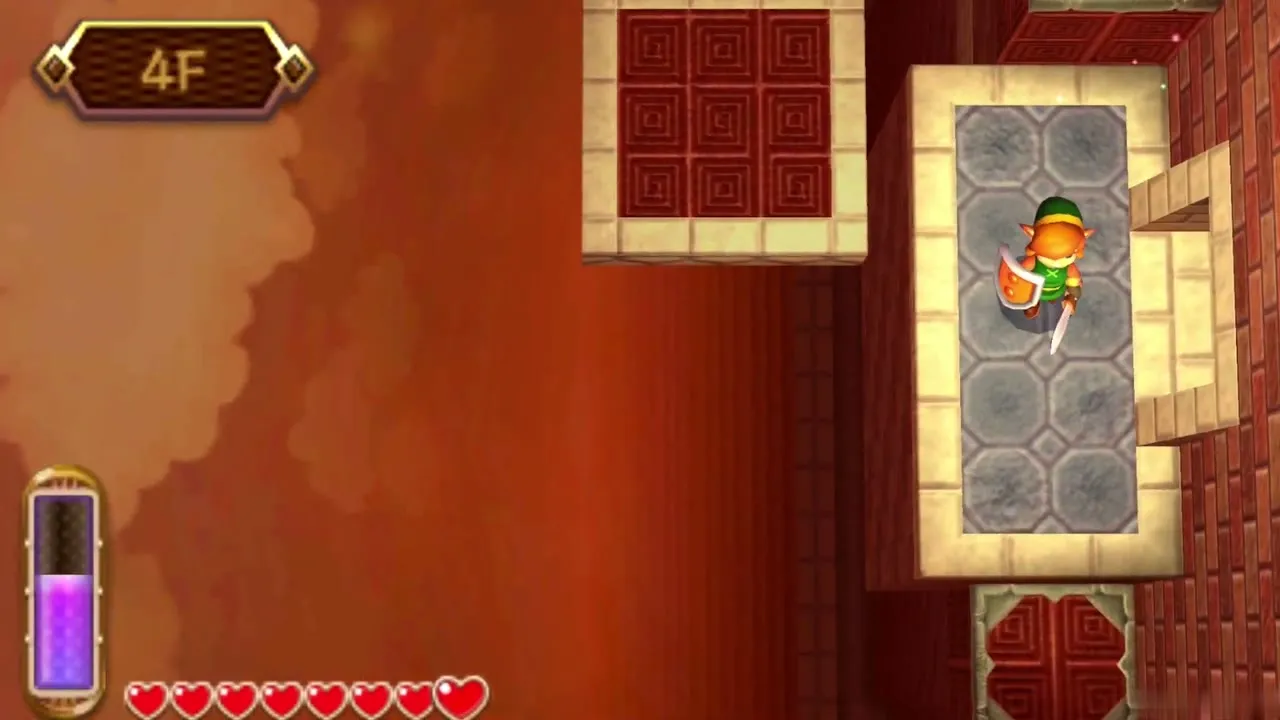
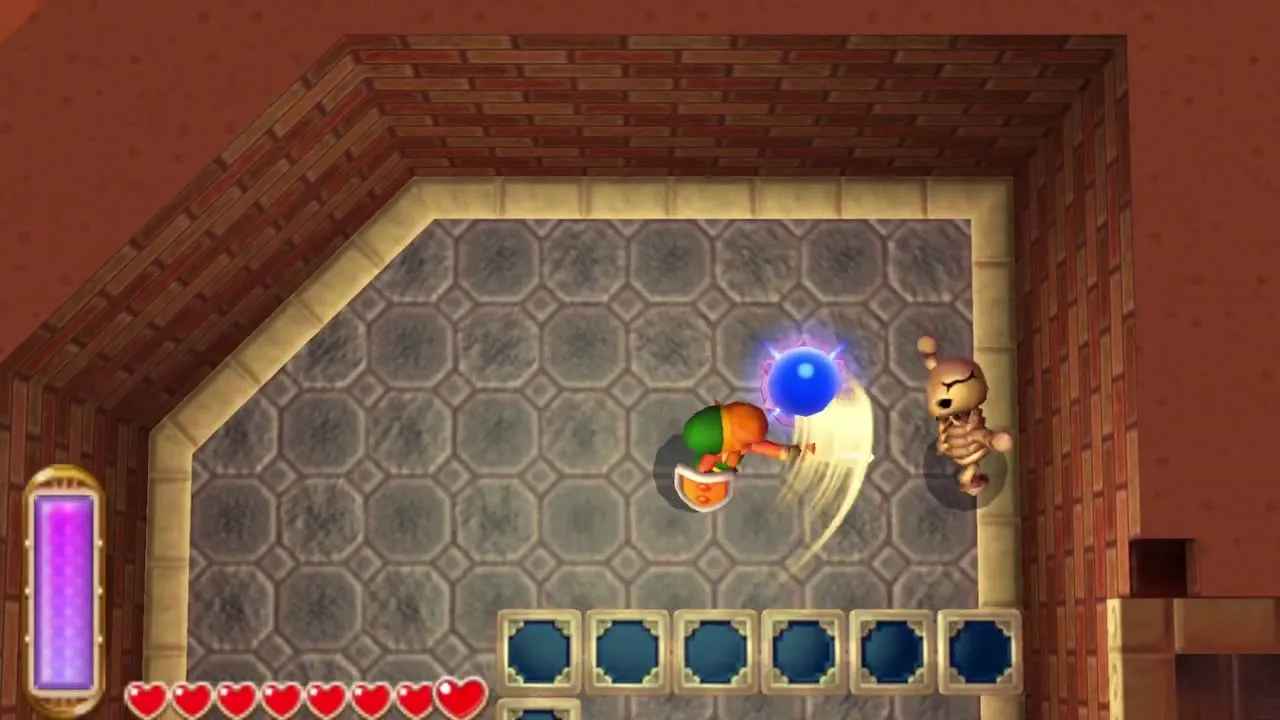
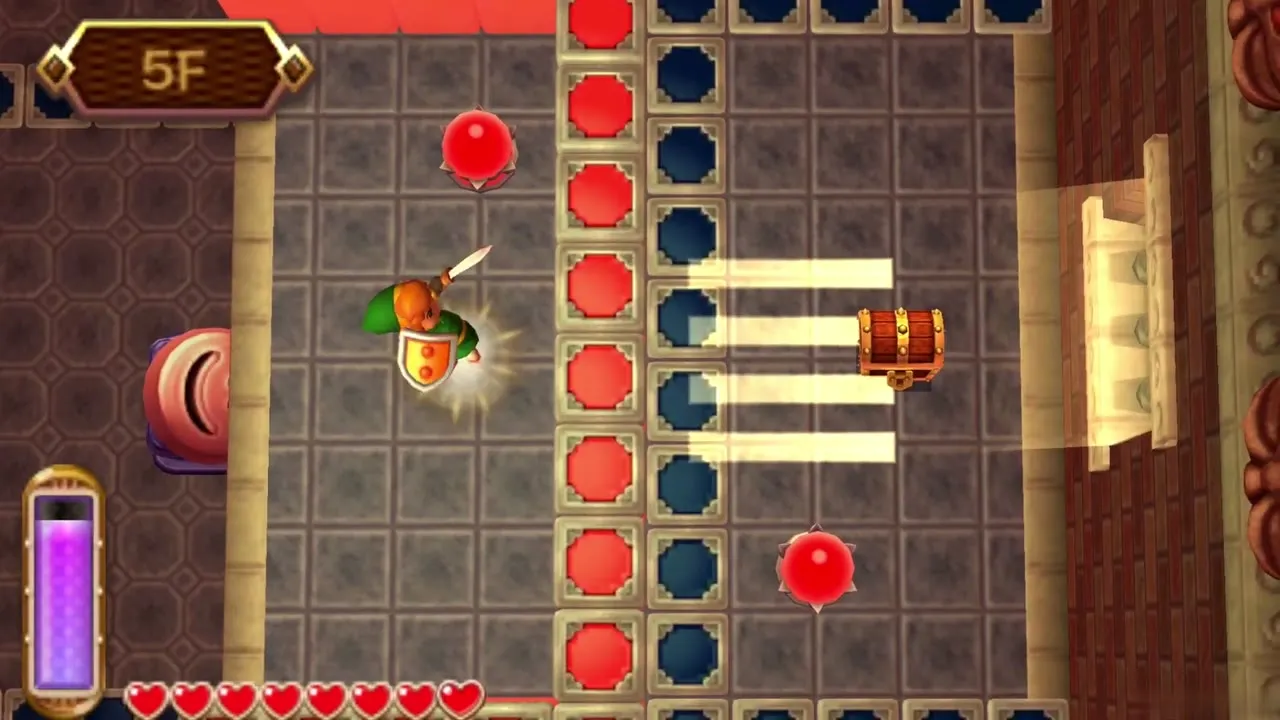
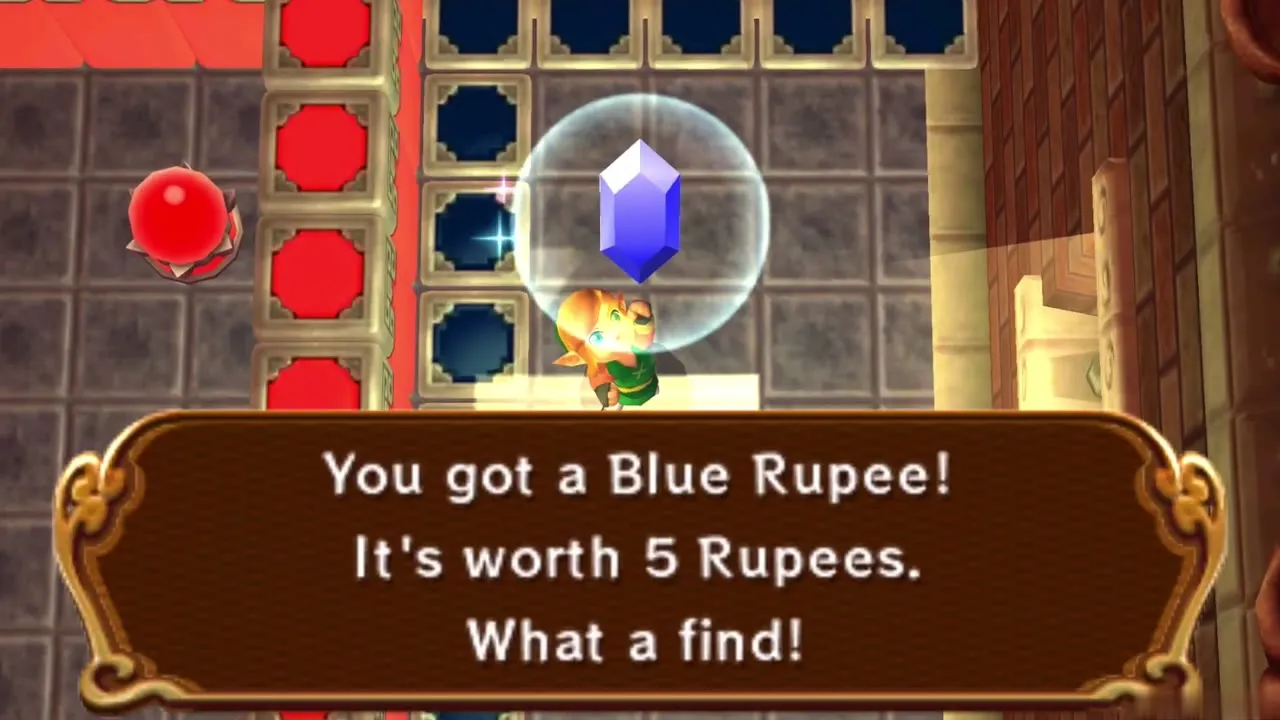
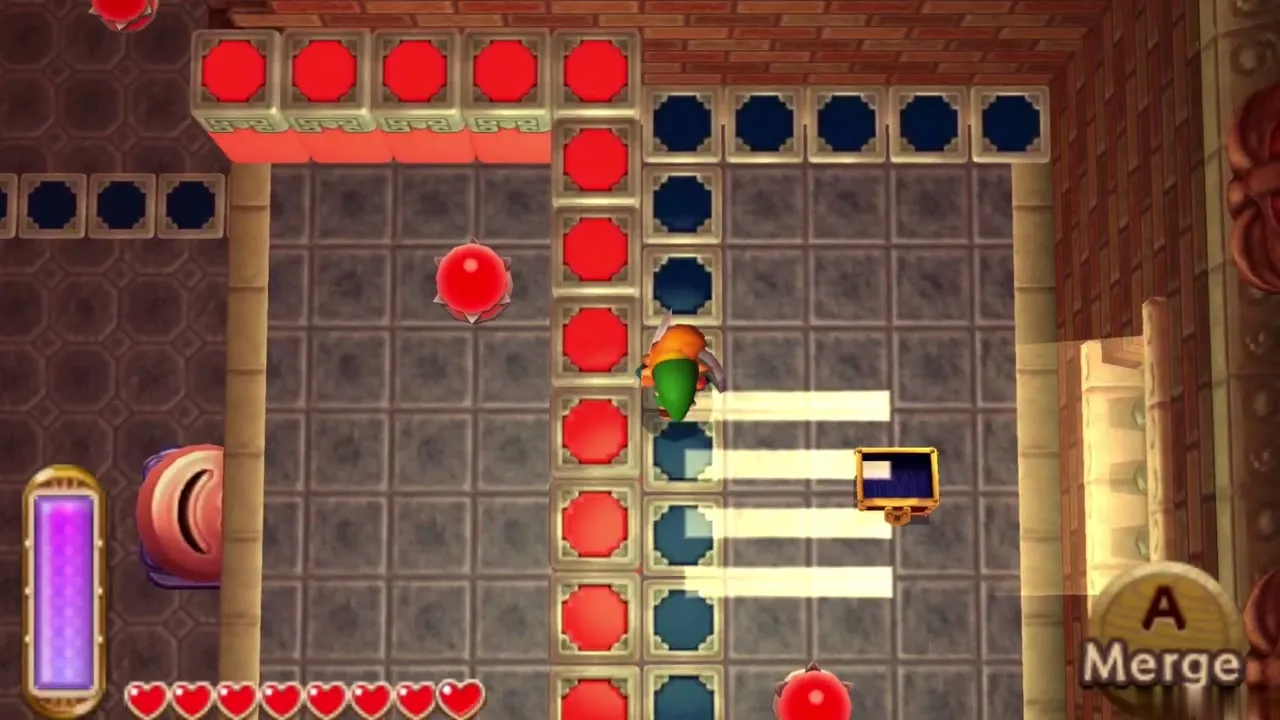
Work the crystal switches to cross the barriers, and drop off to one side to open a chest holding a Blue Rupee, worth 5. For the way on, lower the blue barriers, stand on them, and strike the switch so they rise with you on top. From that height, merge into the wall and slip out through the barred window onto the outside platform.
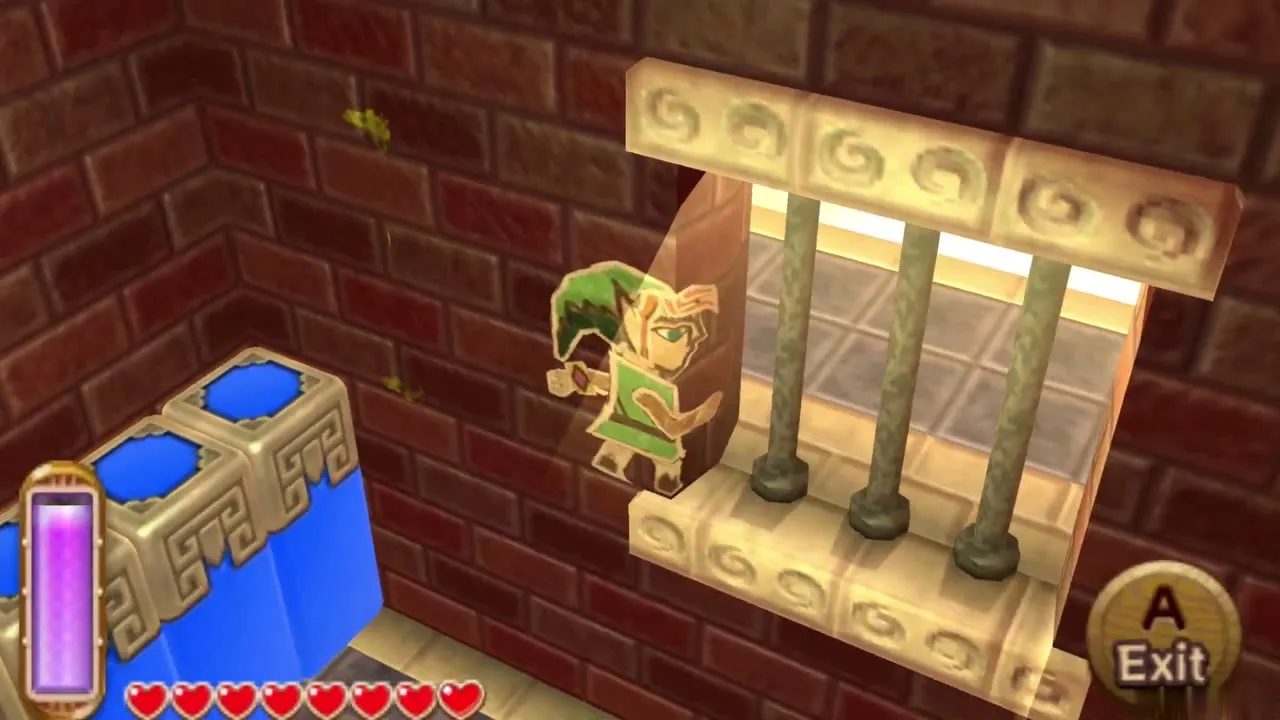
Second ride along the outside
Merge around the wall when the platform halts, and collect the hearts and green rupees on the way. Ride the platform up to a higher ledge, then walk through the doorway into 6F.
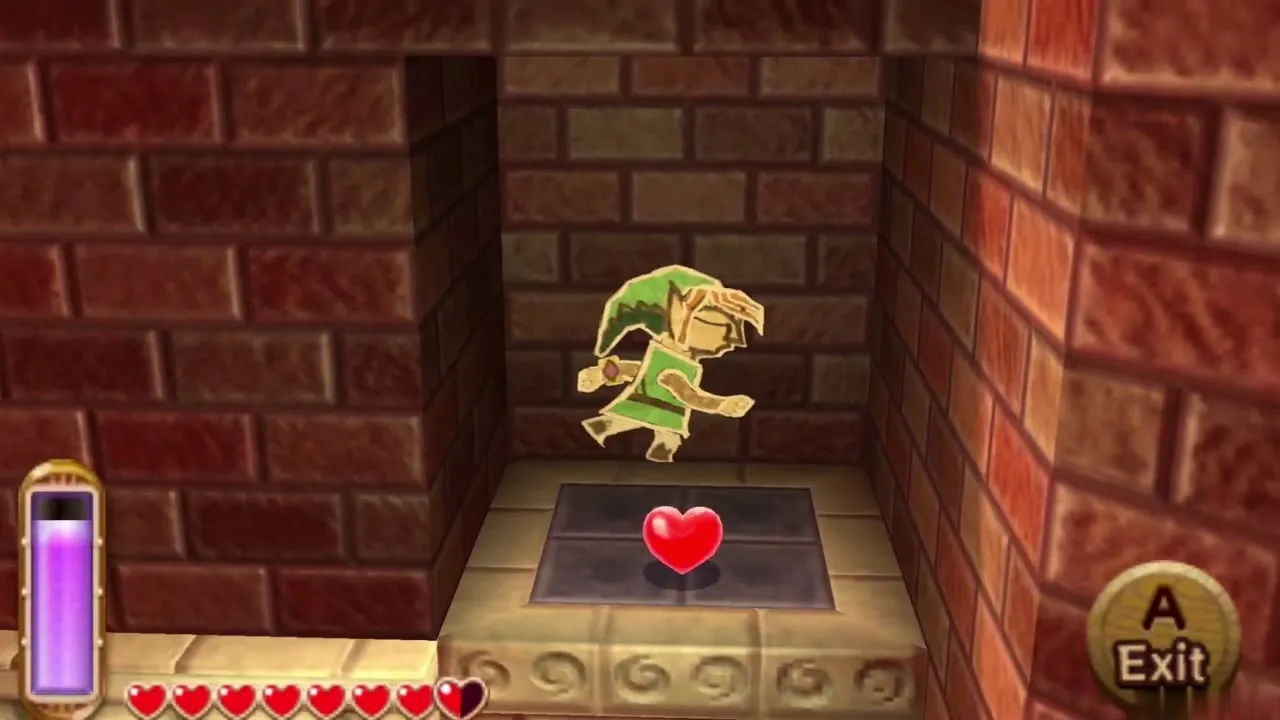
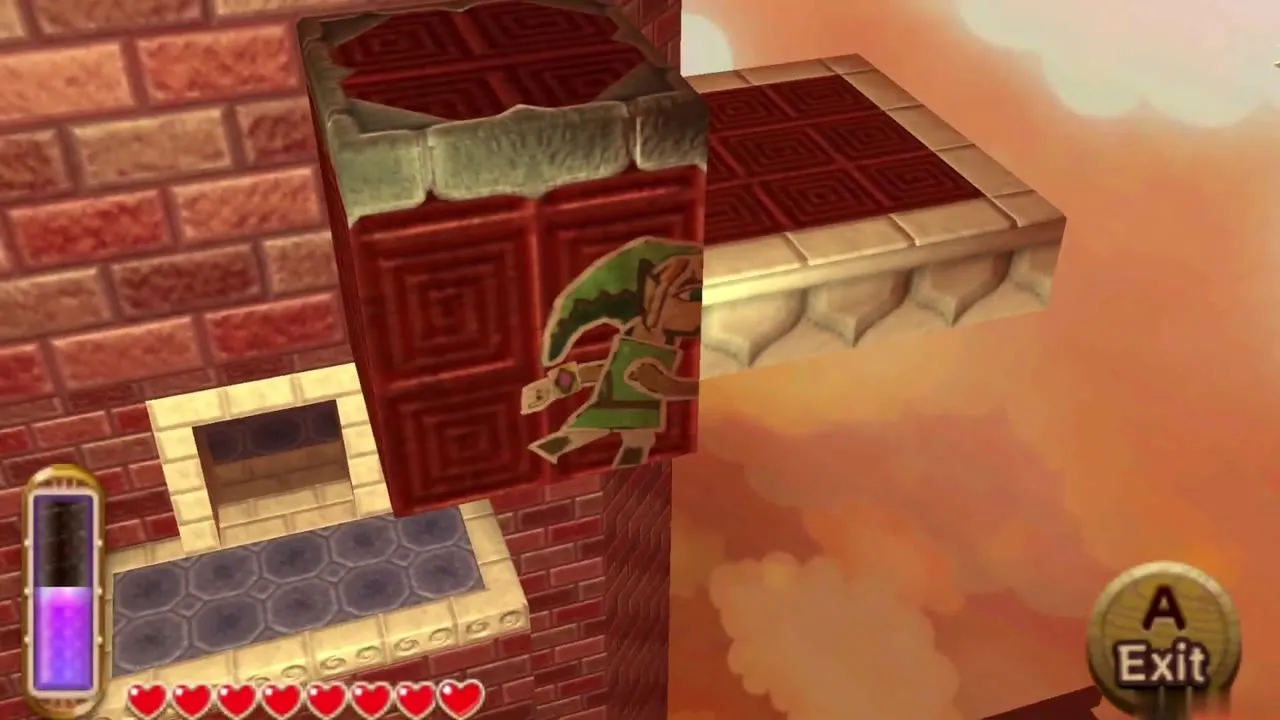
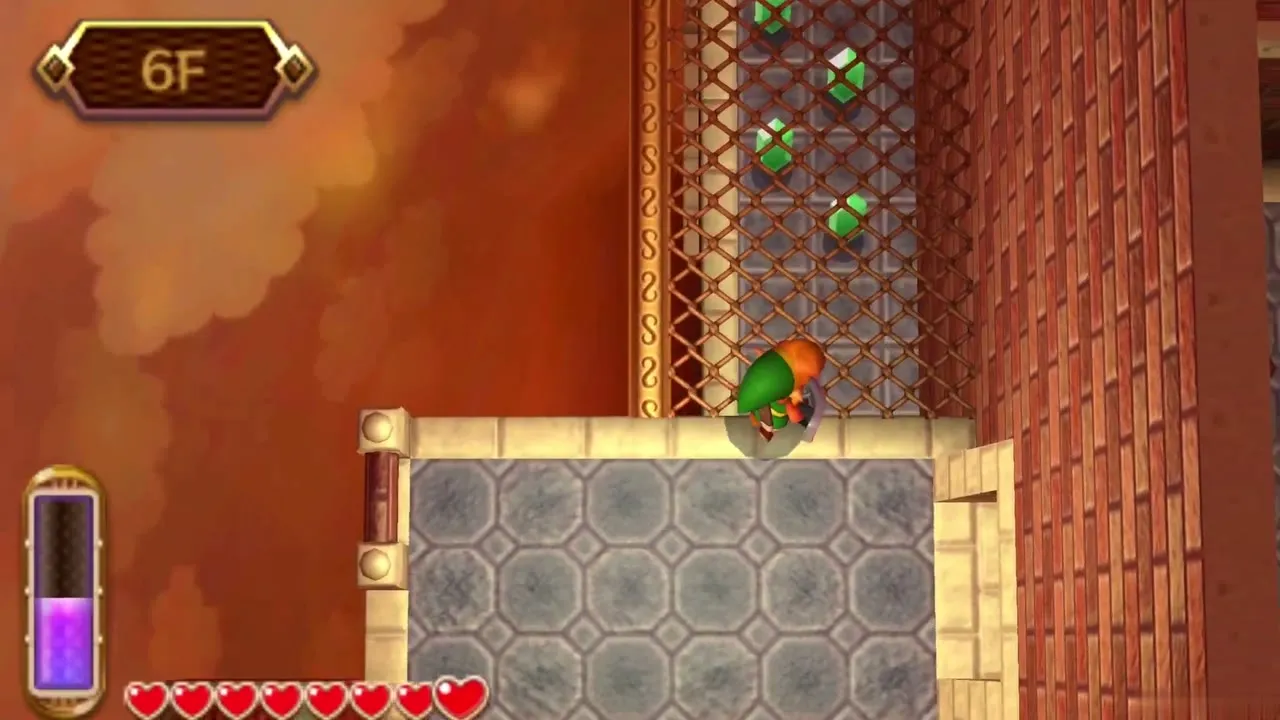
6F: Stalfos room and warp
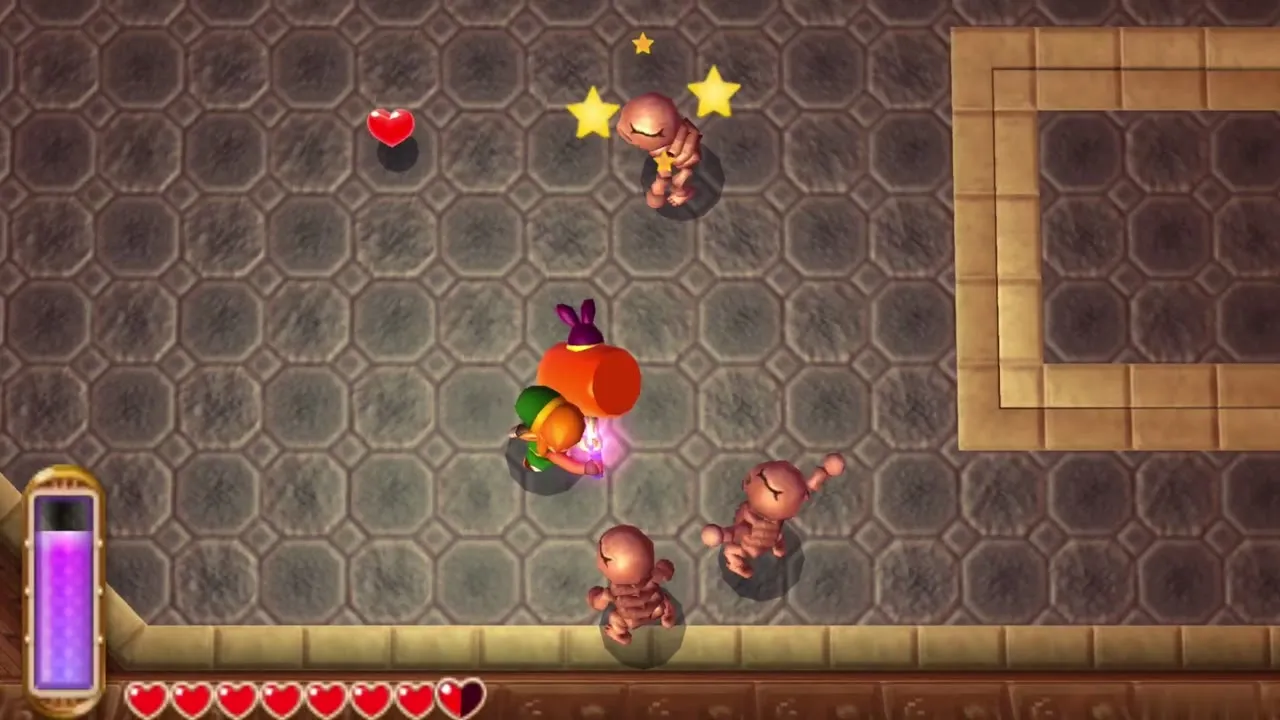
Defeat every Stalfos in the room with your sword. When the last one falls, a warp portal appears and a platform lift rises. The portal is your shortcut back to this floor after leaving the dungeon, so you will not repeat the climb. Ride the lift up to 7F.
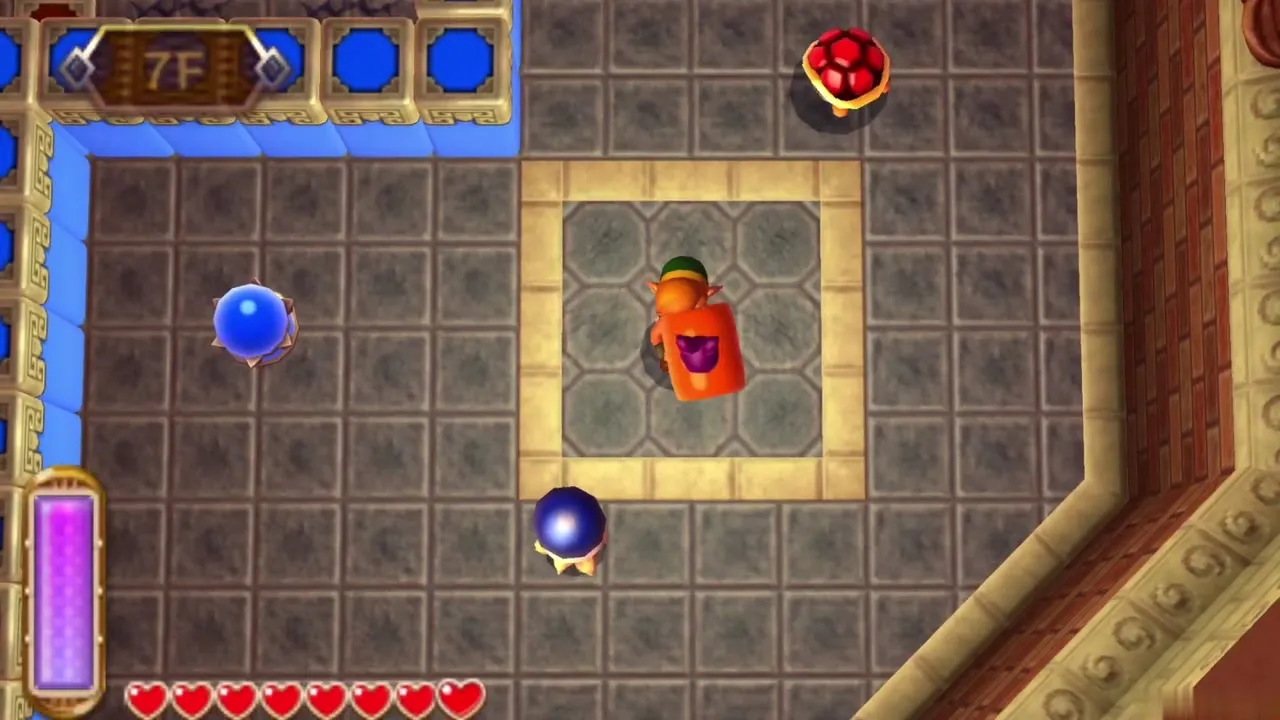
7F: cracked floors and the second Small Key
Beat the enemies on 7F and use the crystal switches to work your way toward the cracked floor in the upper-left part of the room. Pound it with the Hammer and drop to 6F, where the second Small Key waits, then bounce back up on the Mole there. A chest nearby holds monster guts, a potion ingredient, if you want it.
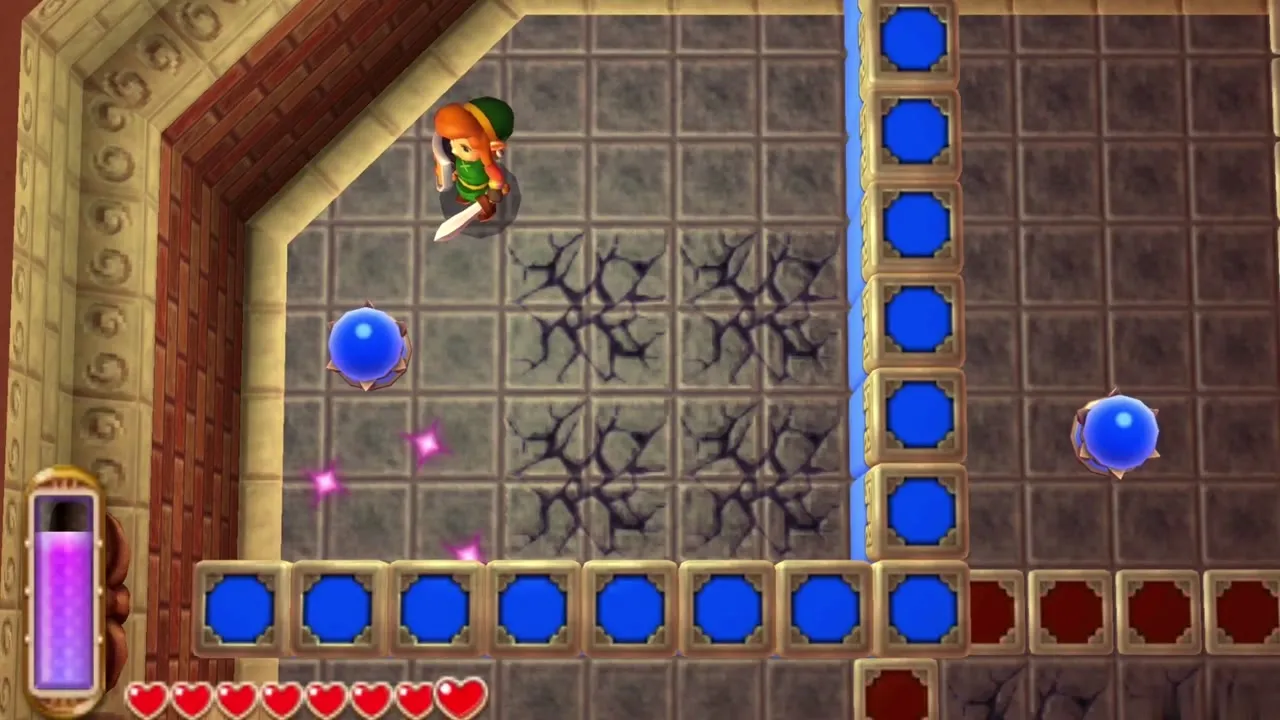
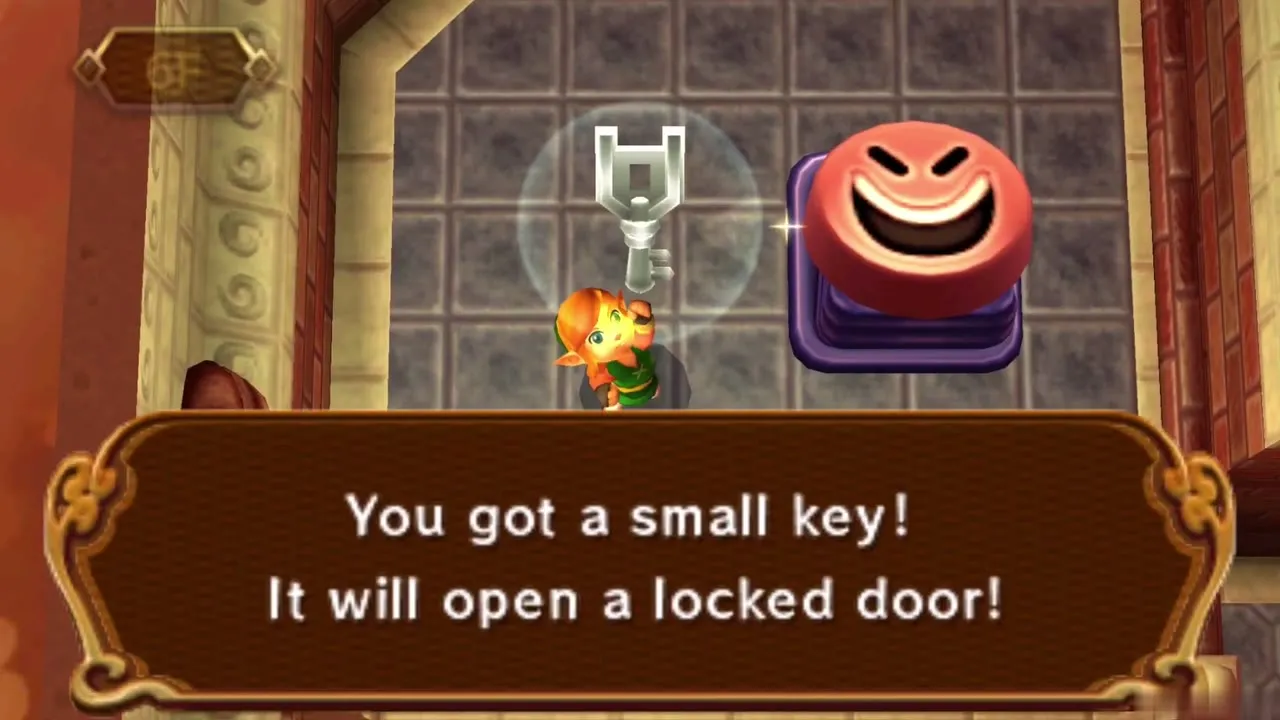
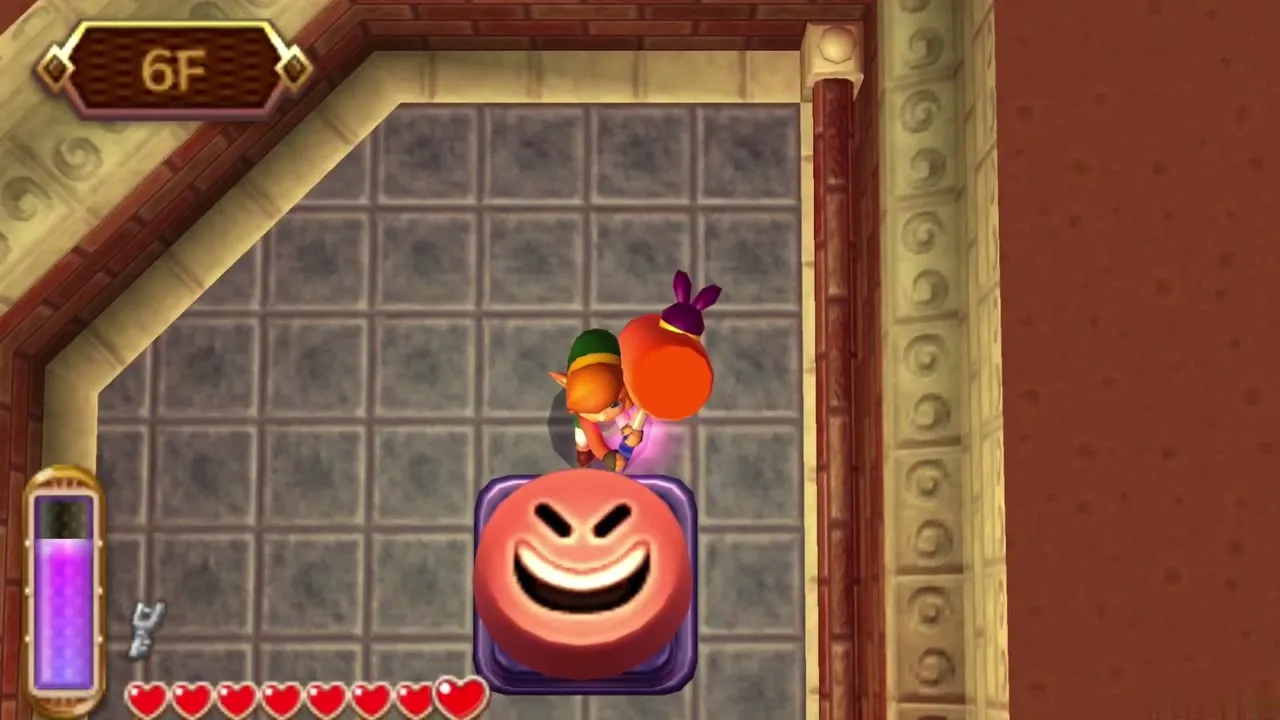
Unlock the locked door on 7F with the second Small Key. It opens to the outside of the tower once more.
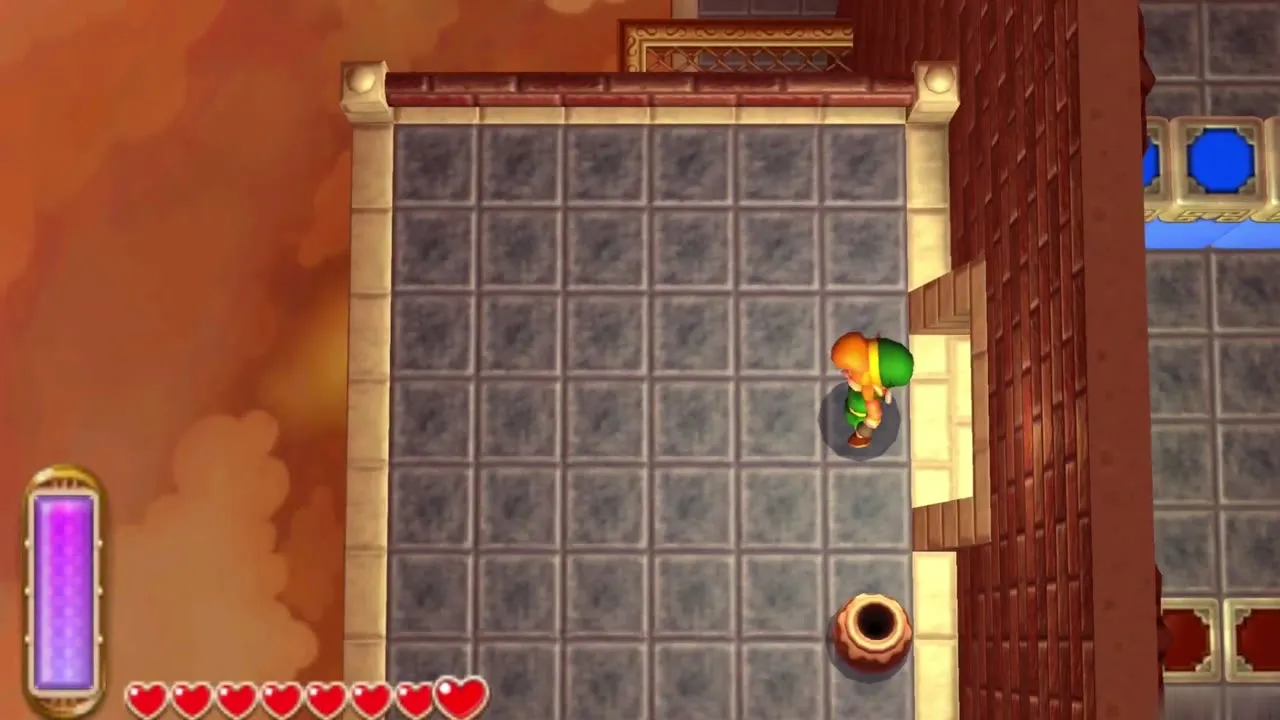
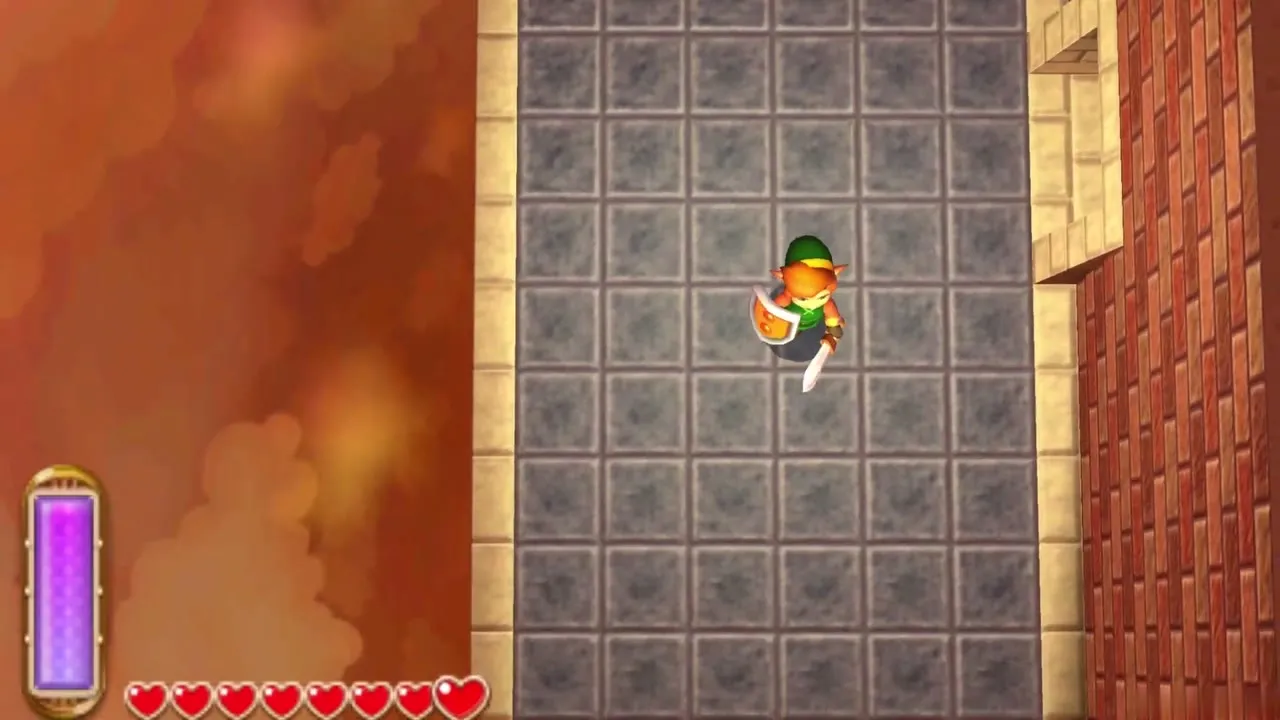
Big Key and upper floors
Outside on the south side and the Silver Rupee
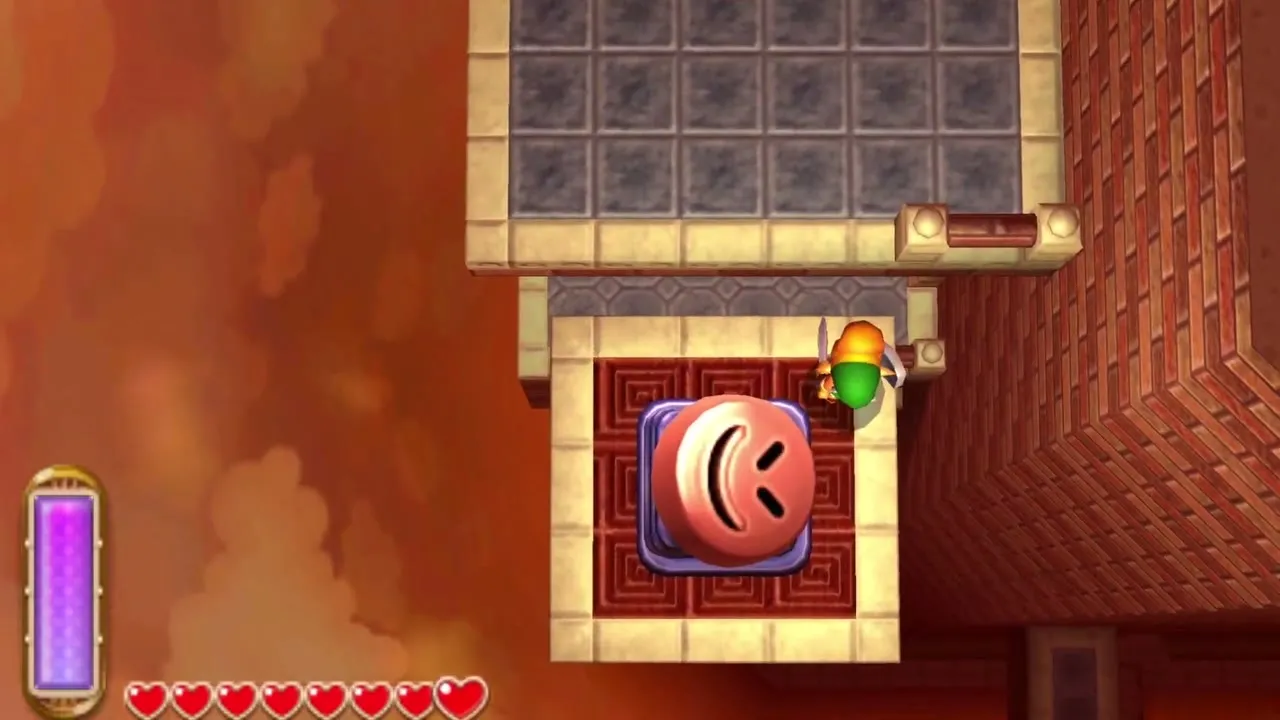
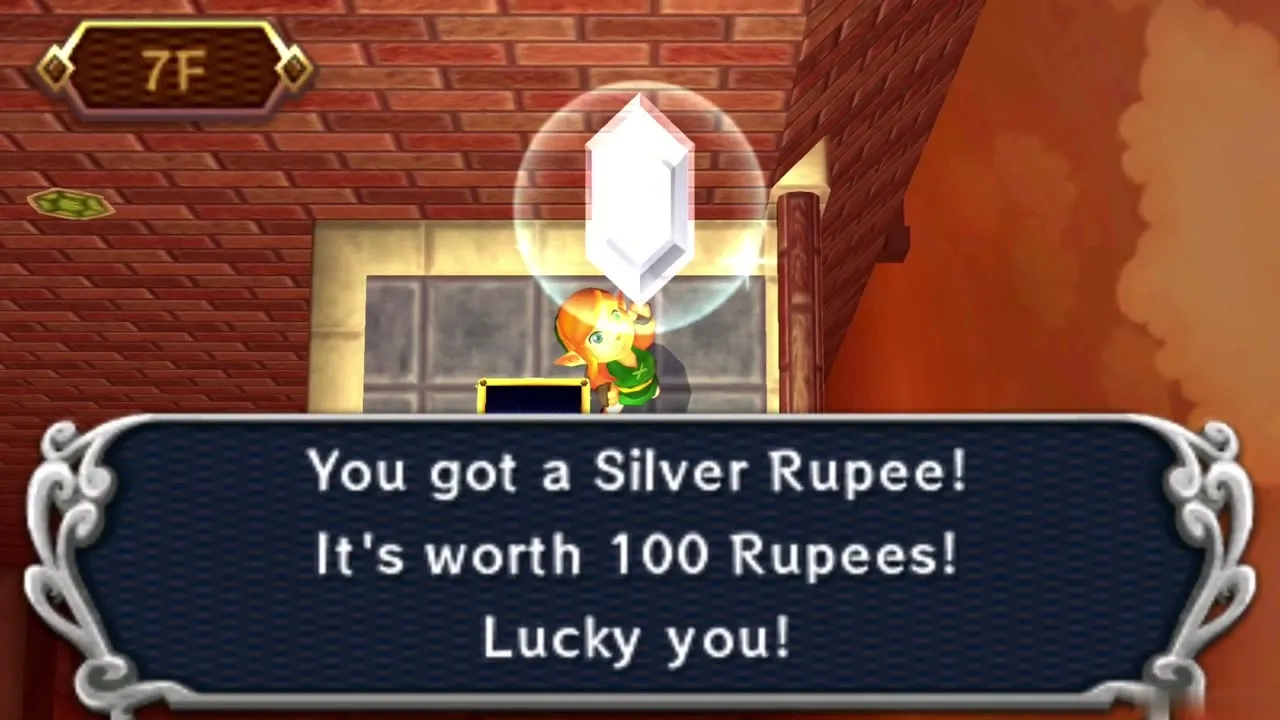
Ride the southern platform, and when it turns, hammer the face block on it to launch yourself up toward 9F. On the next platform, ride east and drop to a small ledge with a chest. It holds a Silver Rupee worth 100, and a pot beside it can hold an Energy Potion. Merge into the wall to slide back west, and take the platform to the entrance of 9F.

9F: the pool room fairy
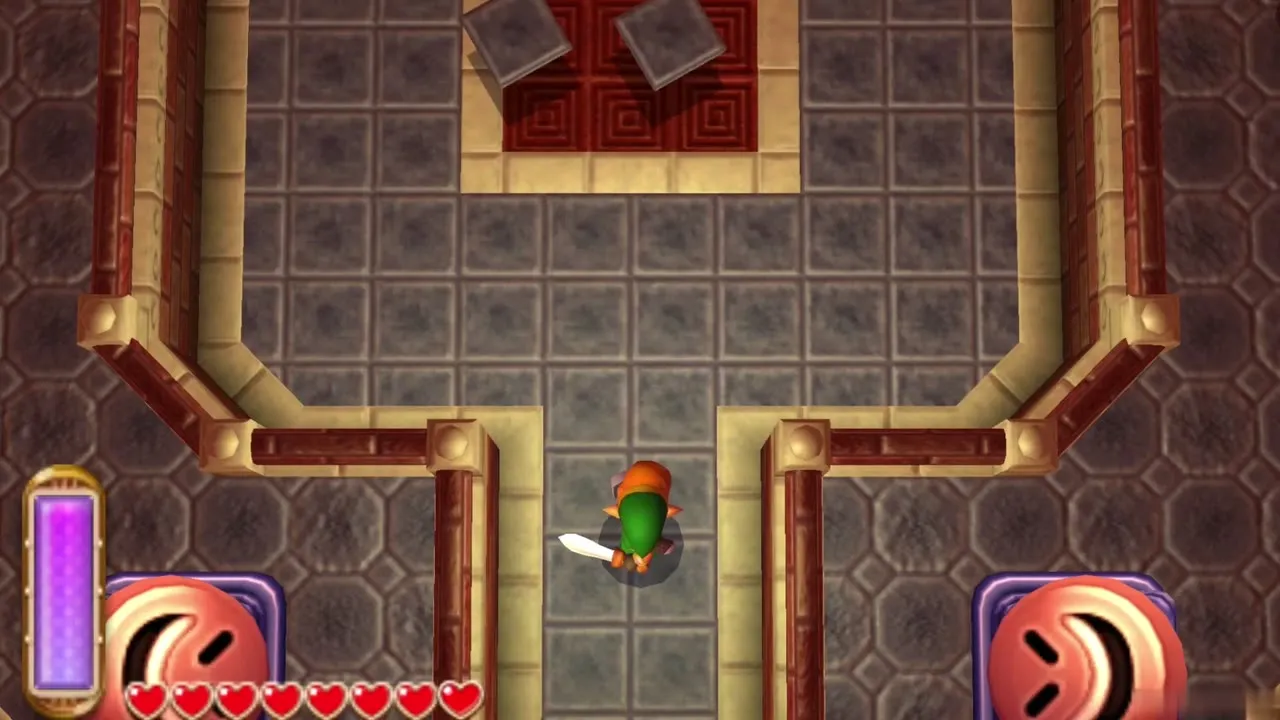
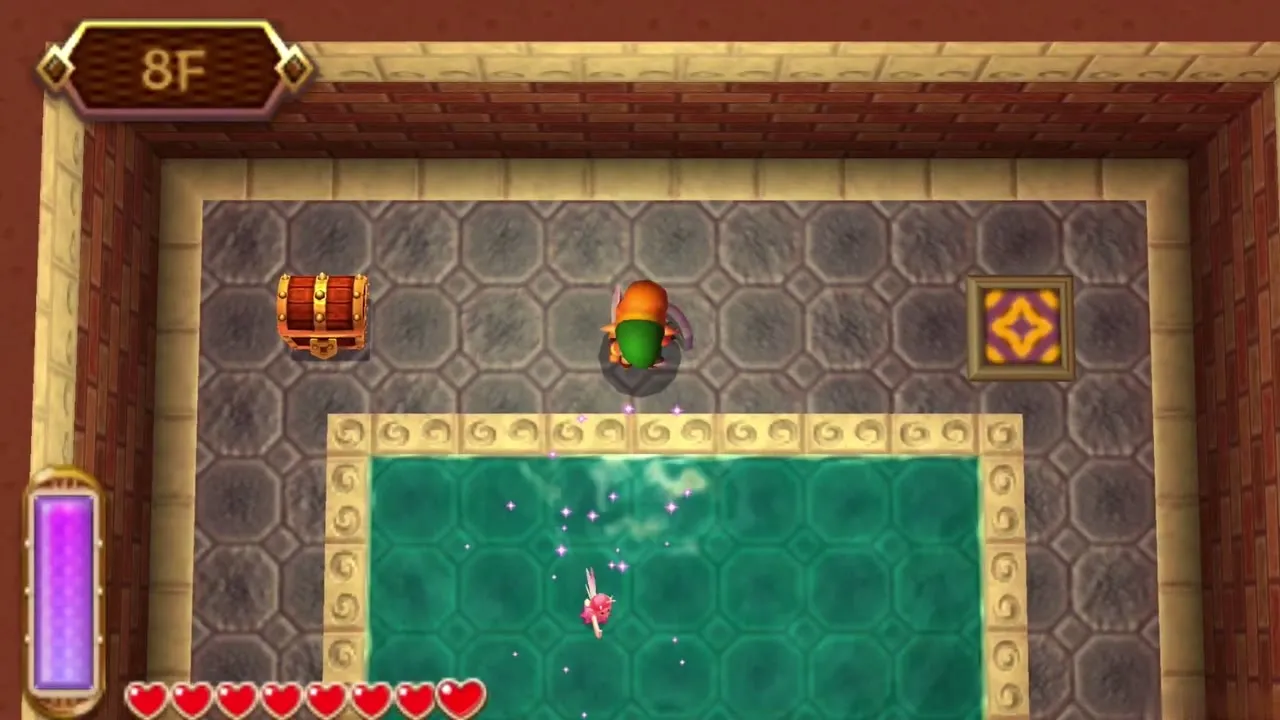
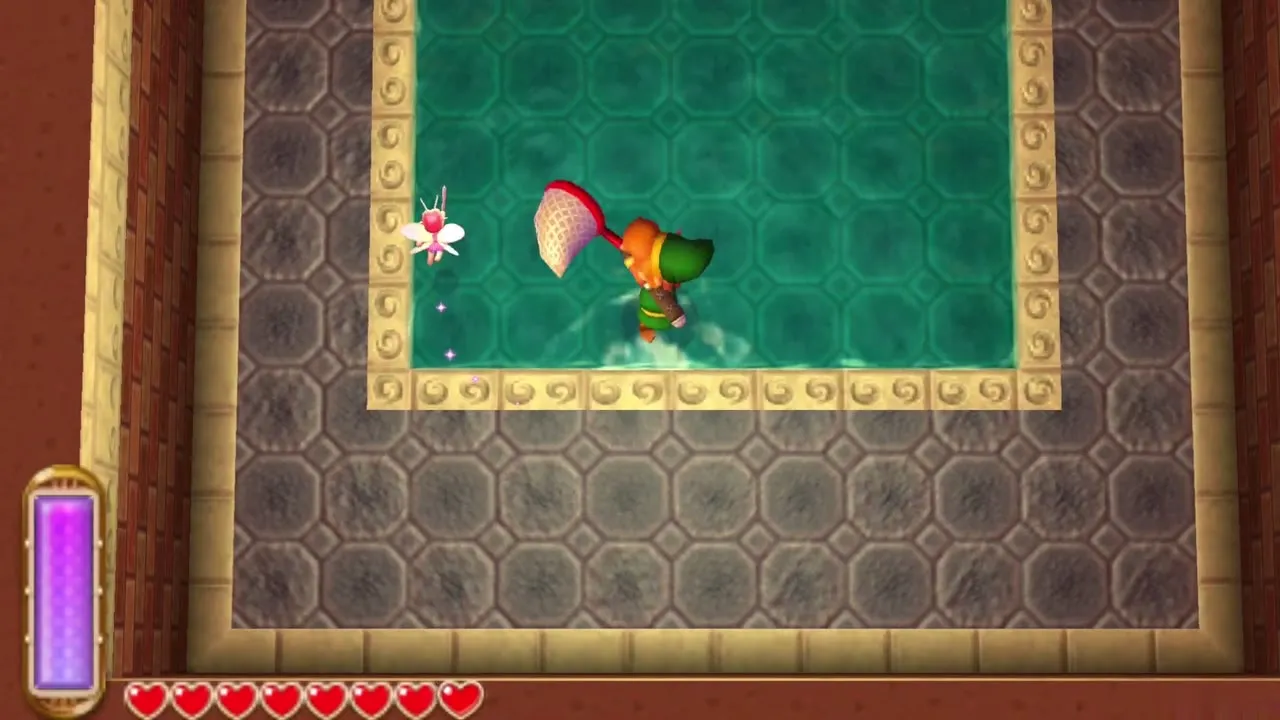
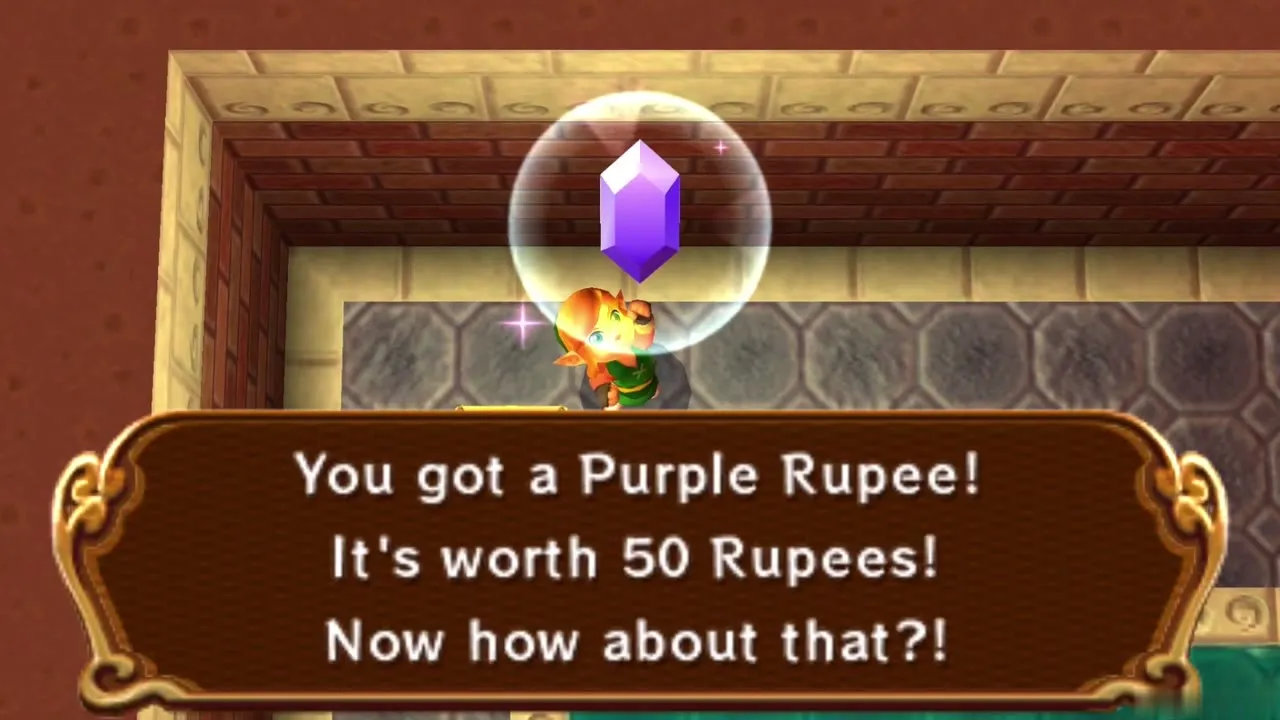
Hammer the face block on 9F to bounce up, then follow the inner path. Flying Tiles fall from the ceiling here, so raise your shield and let them bounce off. A hole under the platform lift drops you into a pool room below. Catch a fairy with the Net and keep it in a Bottle, and open the chest for a Purple Rupee. Step on the warp tile in the northeast corner to return upstairs.
10F: four crystal switches
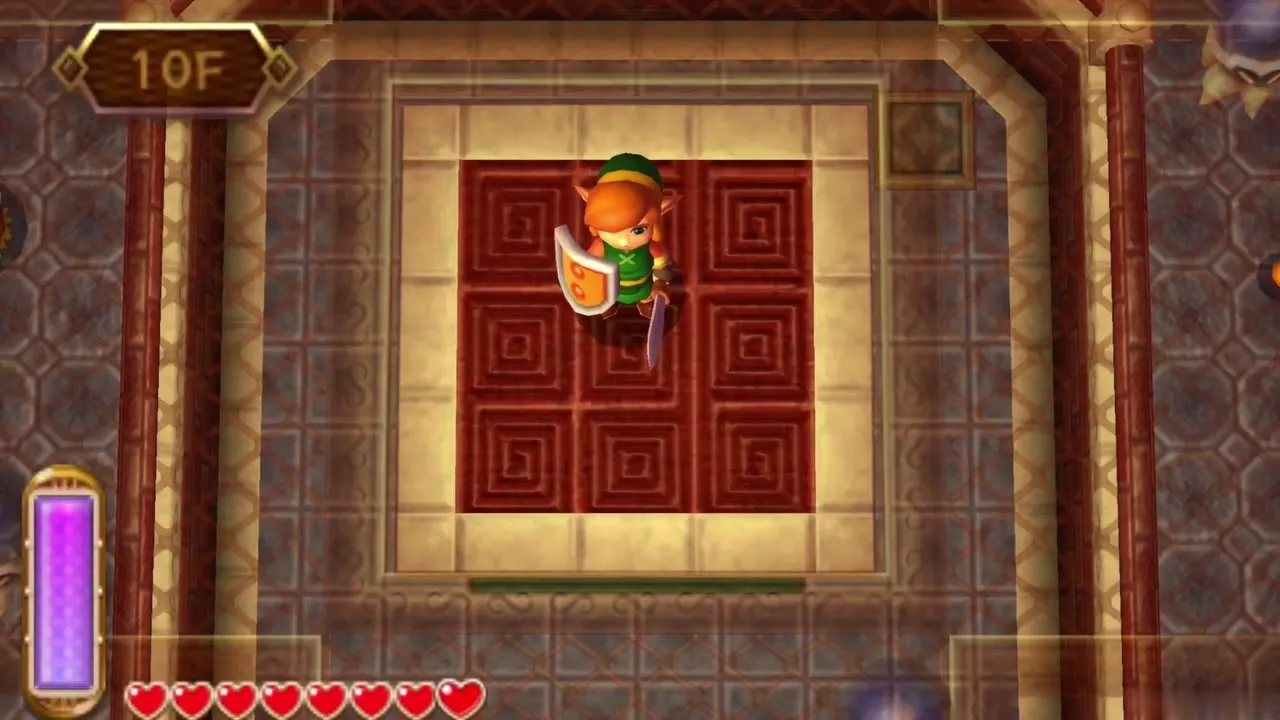
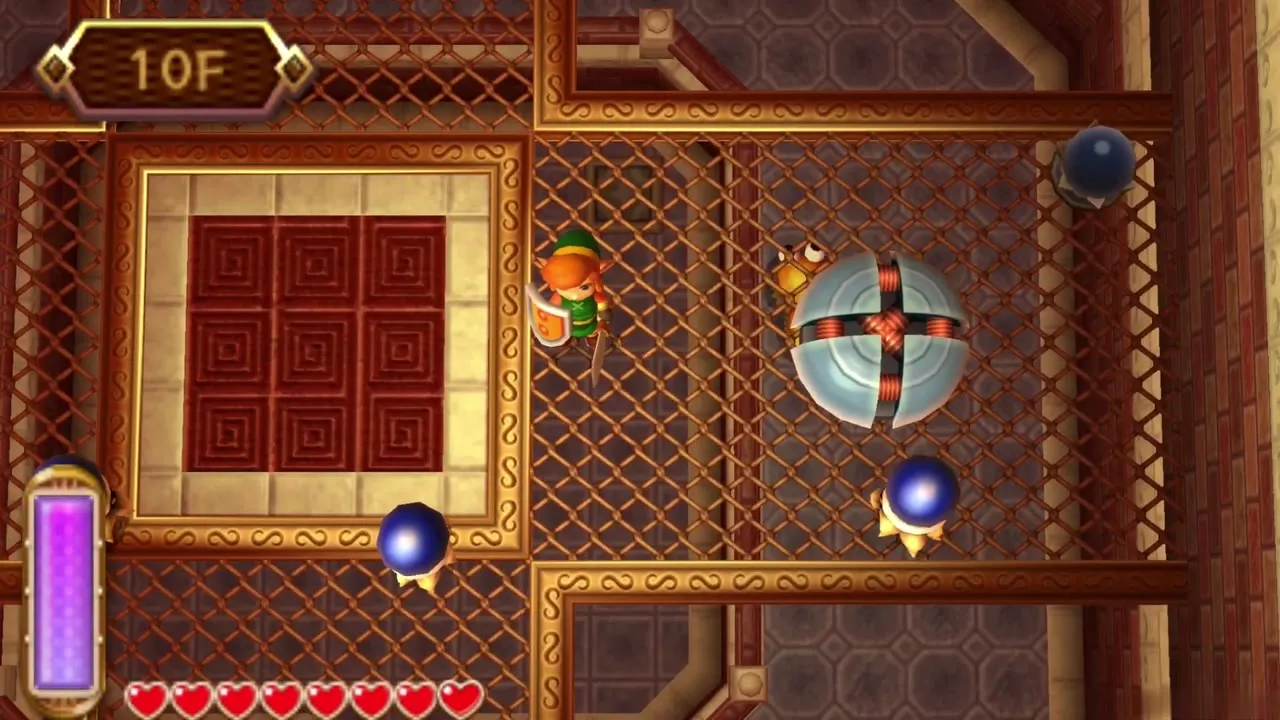
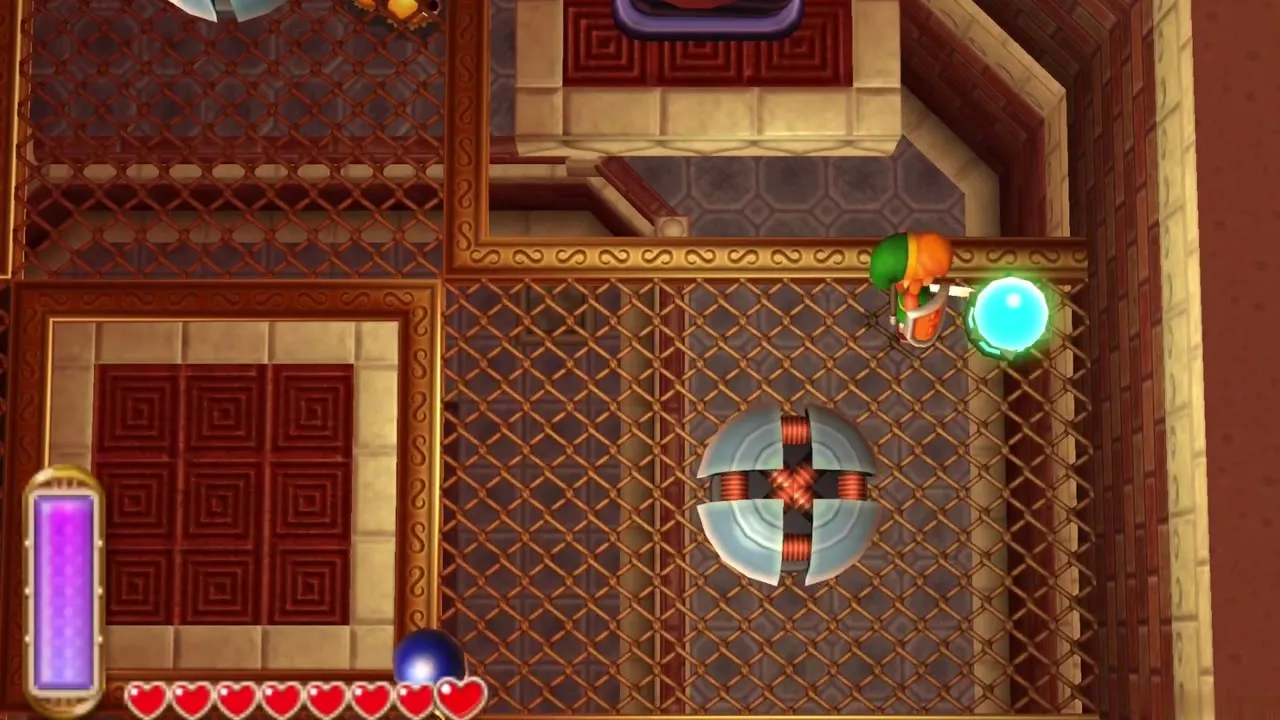
Ride the platform to 10F. Bumpers and Hardhat Beetles can knock you down a floor, which costs only time. Strike all four crystal switches, one in each direction around the room, to bring down a platform. Hammer the face block on it to shoot up to 11F.
Tower of Hera Big Key (11F)
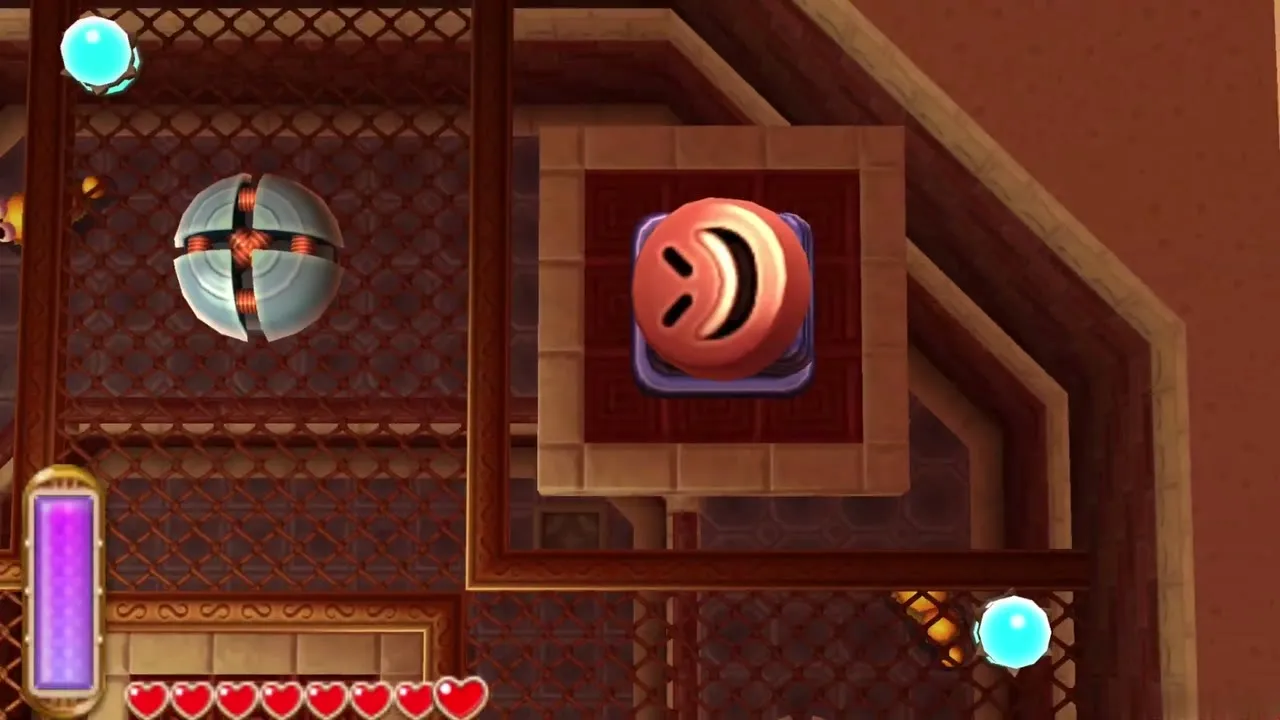
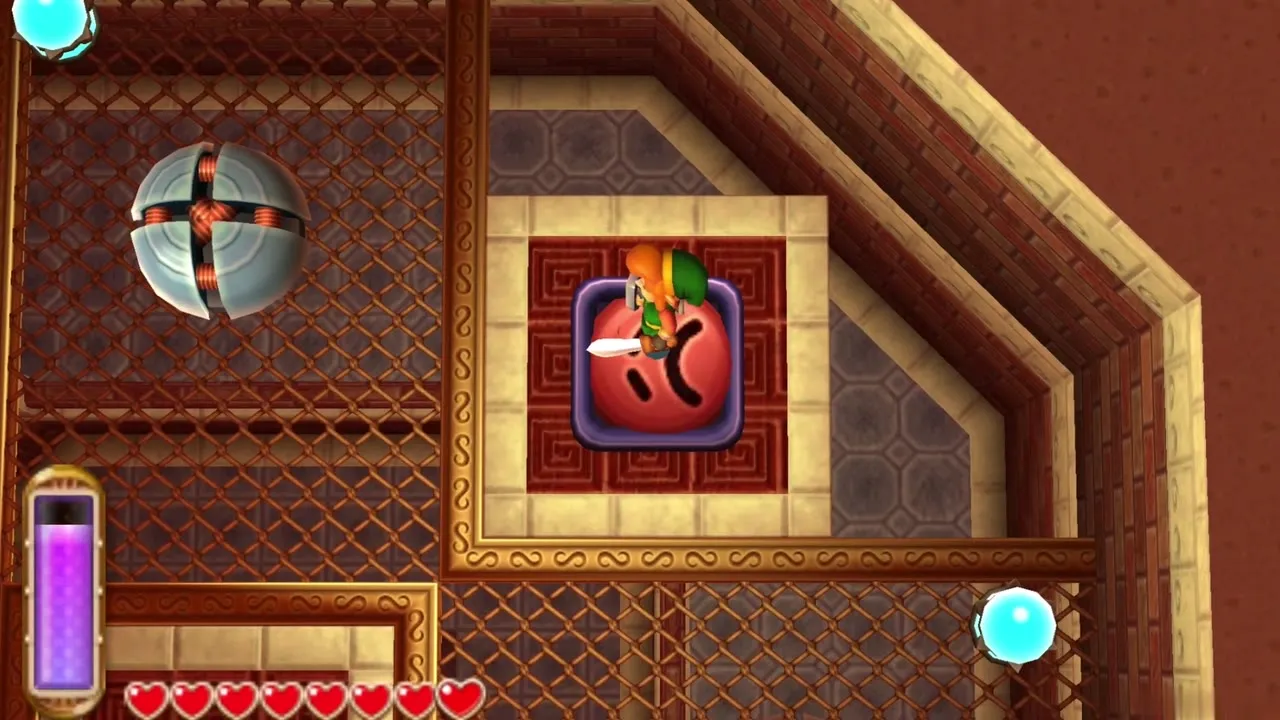
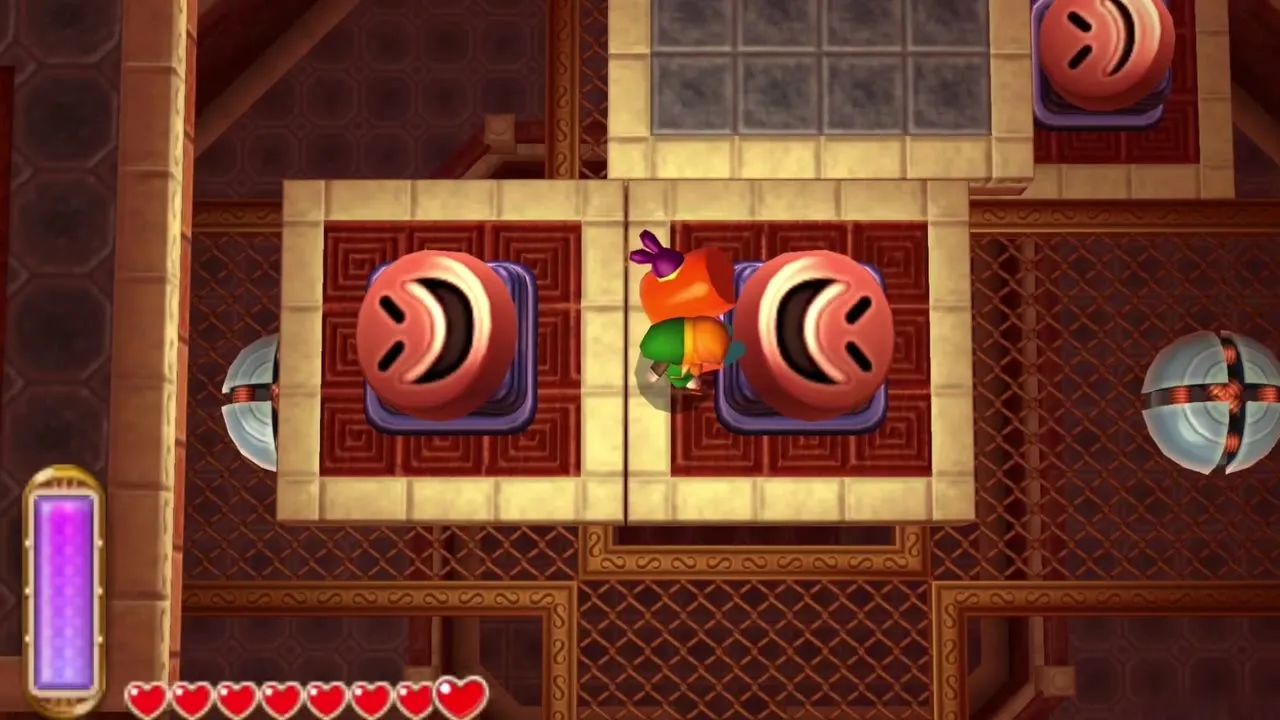
On 11F, two Moles ride on moving platforms. Take the right platform and, when it moves right, hammer the Mole to launch yourself onto the ledge with the big treasure chest. Open it for the Big Key. Drop back to the platform, ride to the left and hammer the left Mole to land beside the boss door.
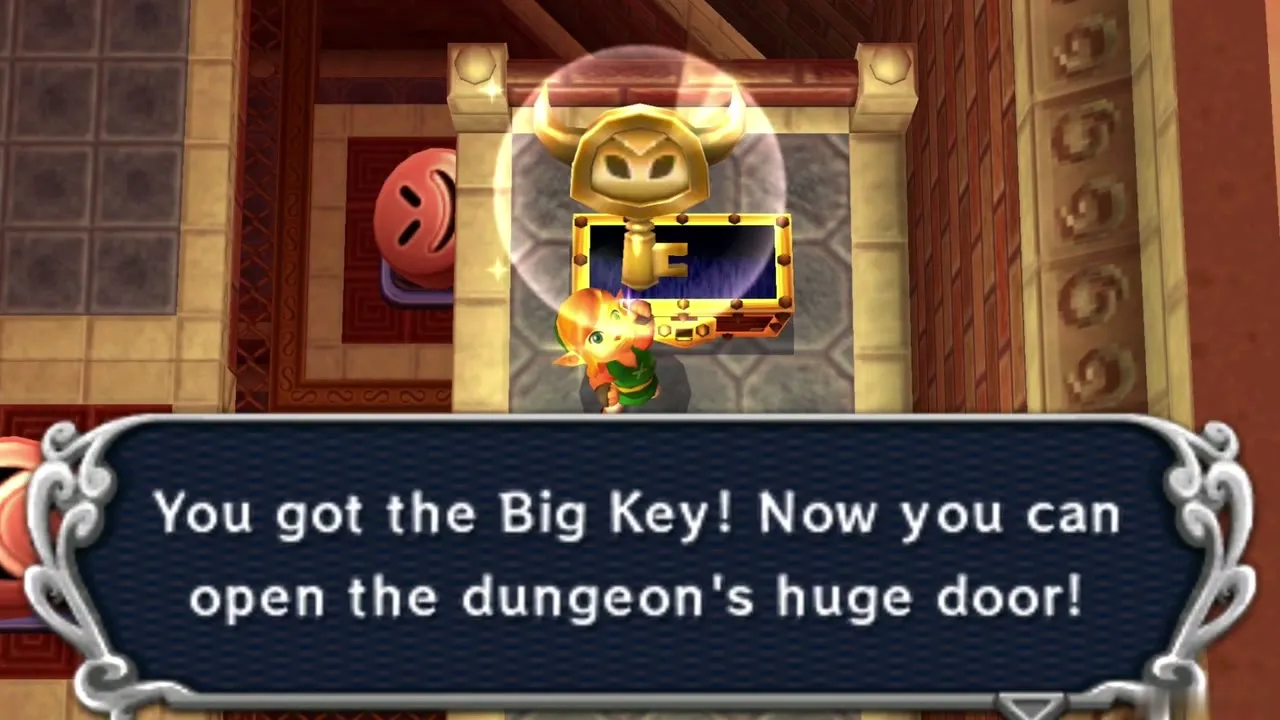
Unlock the boss door
Use the Big Key on the huge door, then go back outside. Hammer the small Mole and then the large one to bounce up to 12F. Restore your hearts here, then step on one of the big buttons to be fired up to the roof, where Moldorm waits.
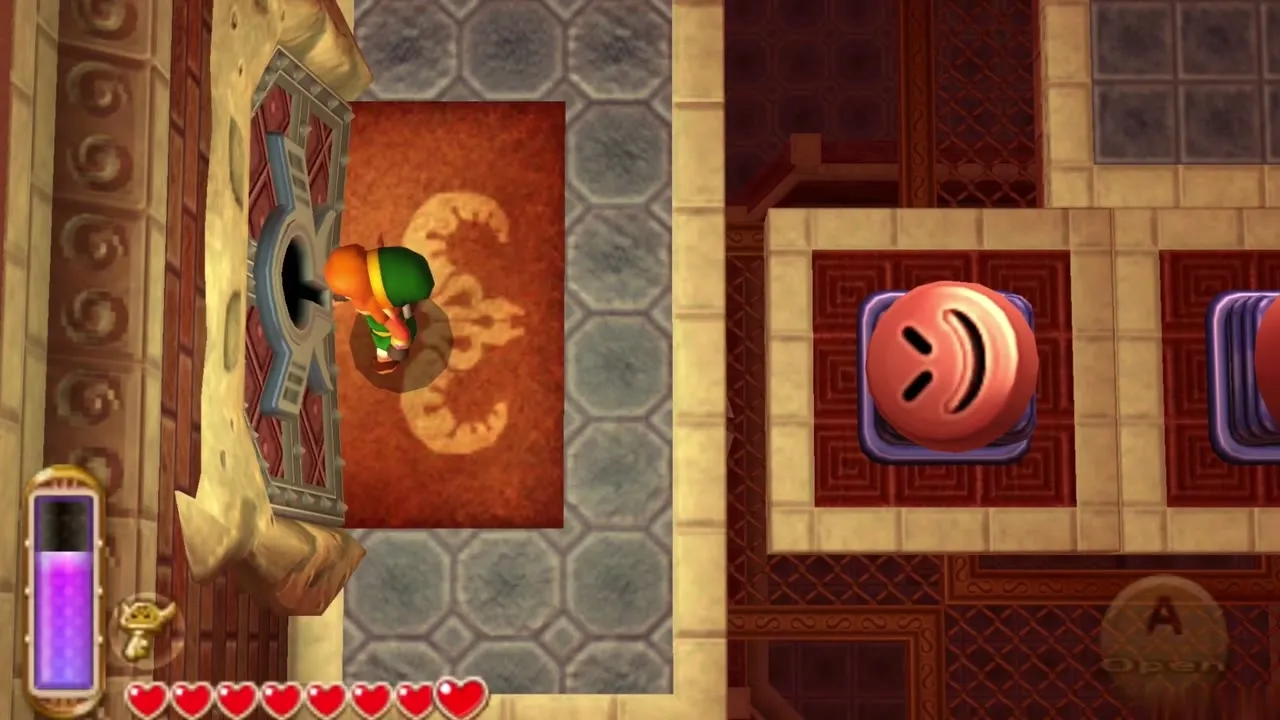
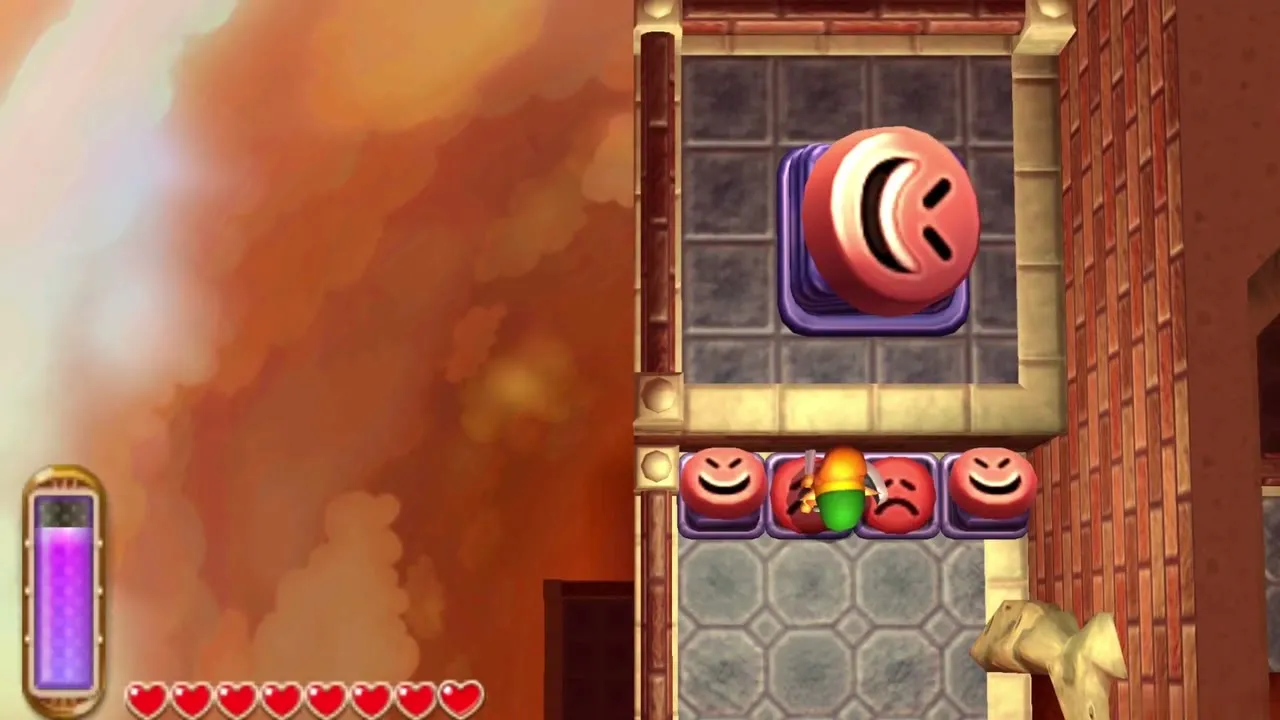
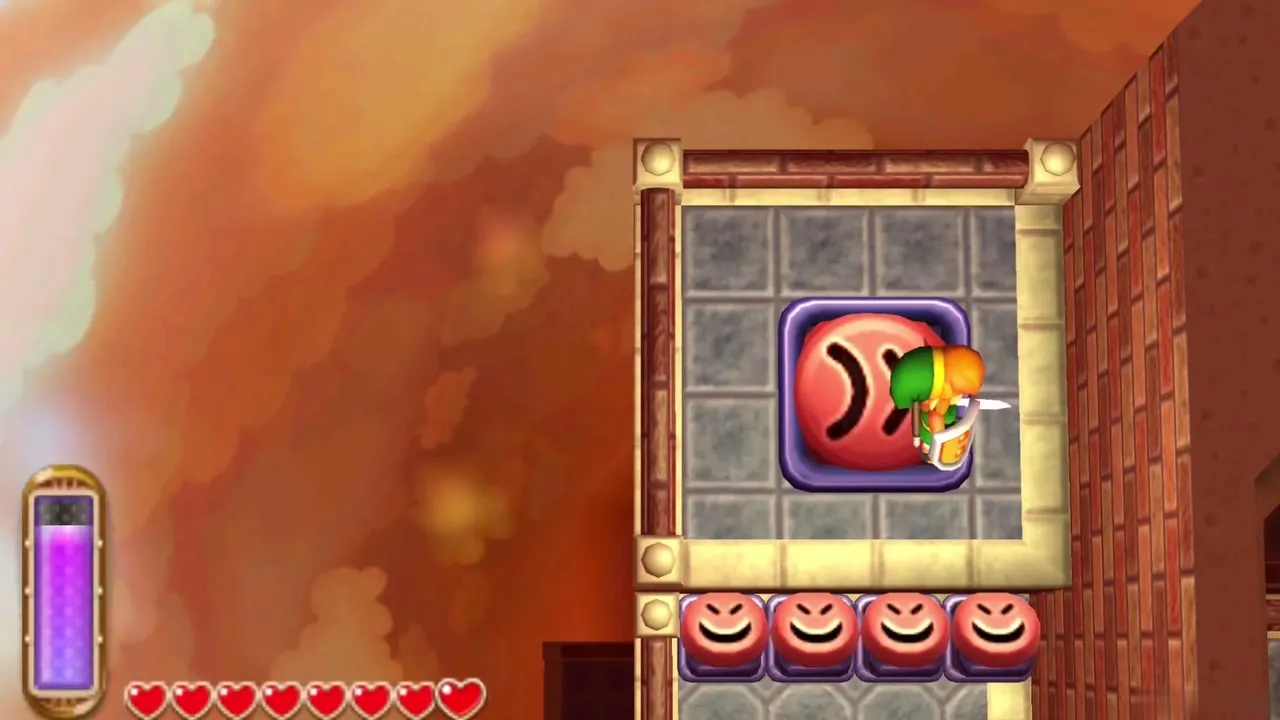
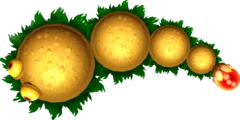
Moldorm boss fight
The arena
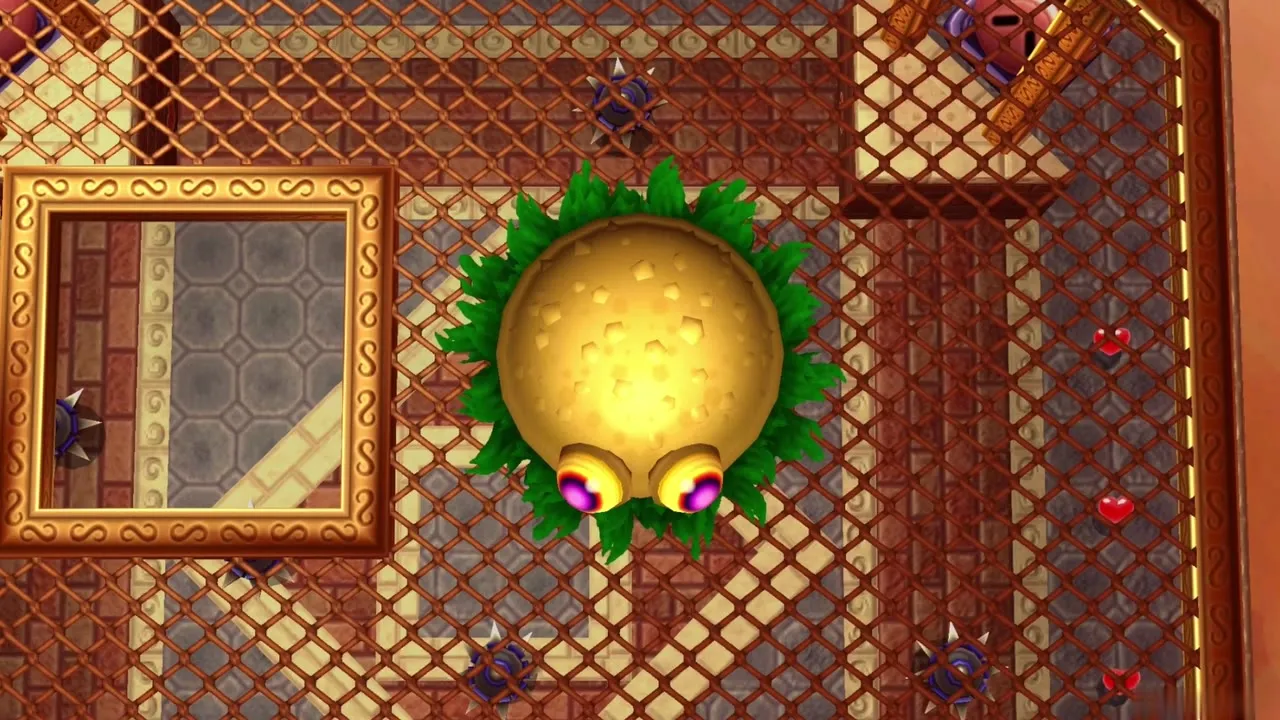
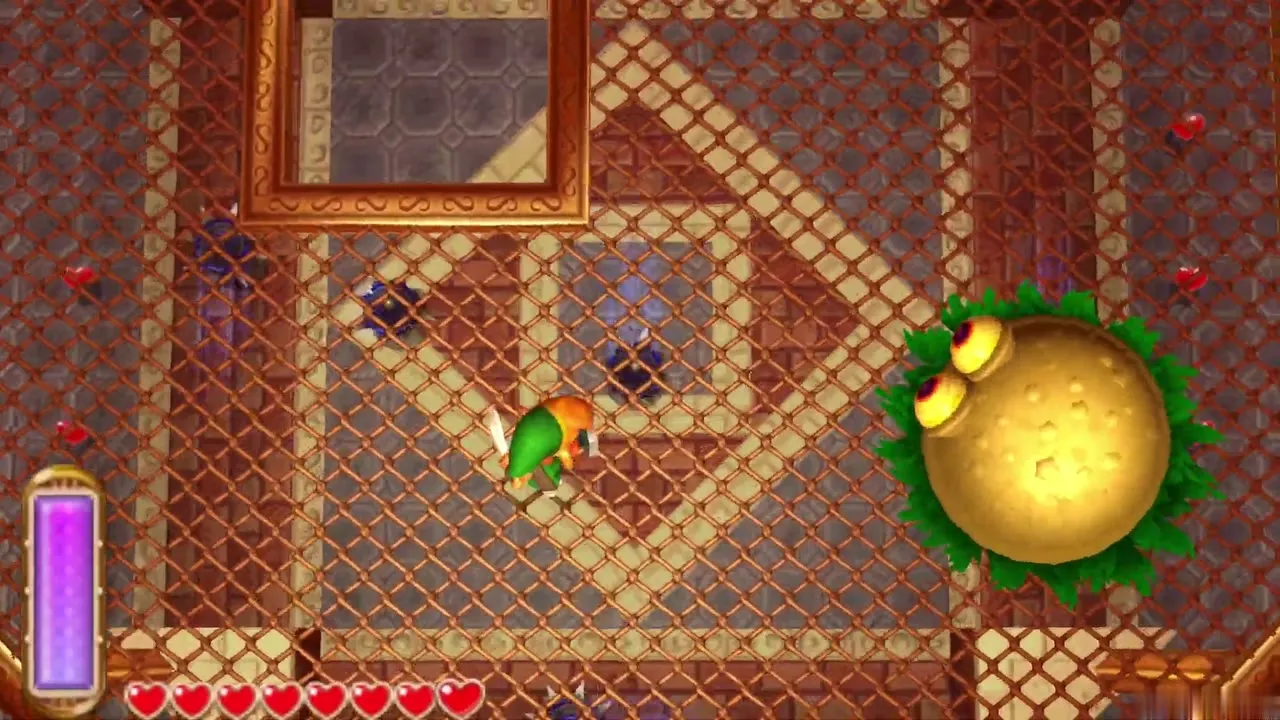
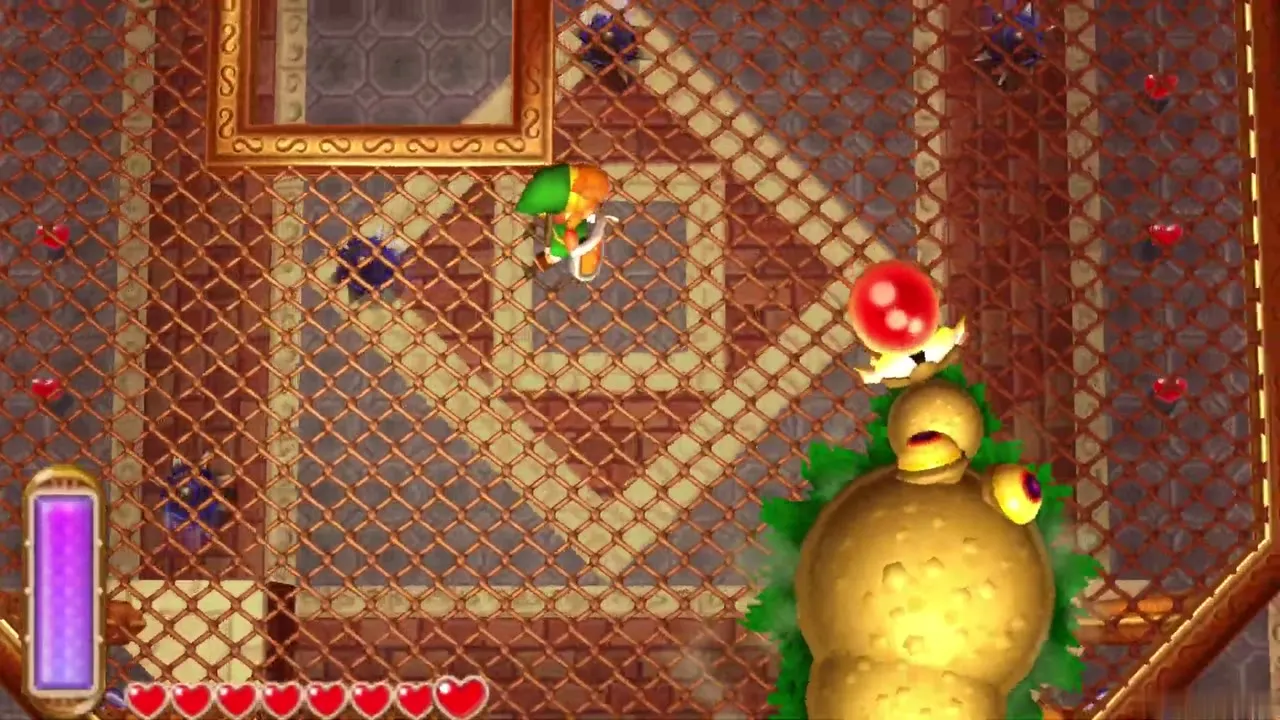
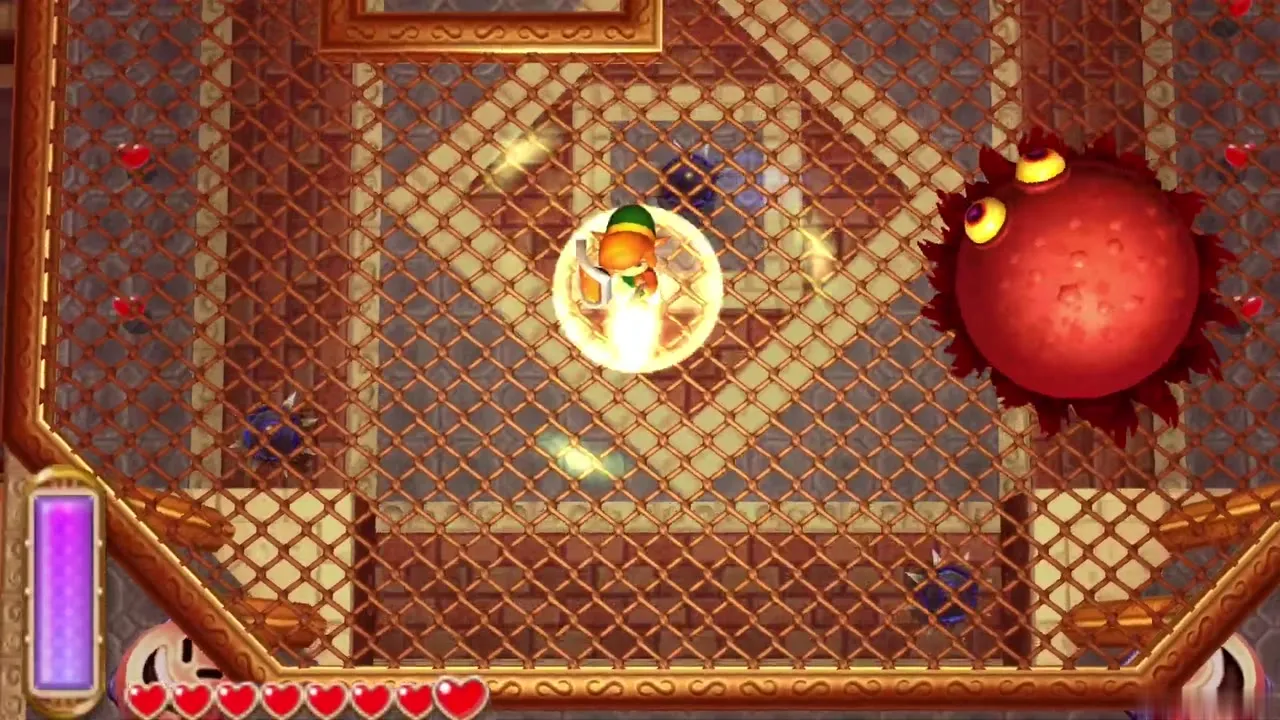
Moldorm crawls around a platform of iron grating with open drops past the edges. Its only attack is to ram you, and a hit can knock you off. If you fall, you land on the floor below, where Blade Traps guard some hearts. Falling does not reset the fight, and Moldorm keeps the damage you dealt.
Hitting the tail
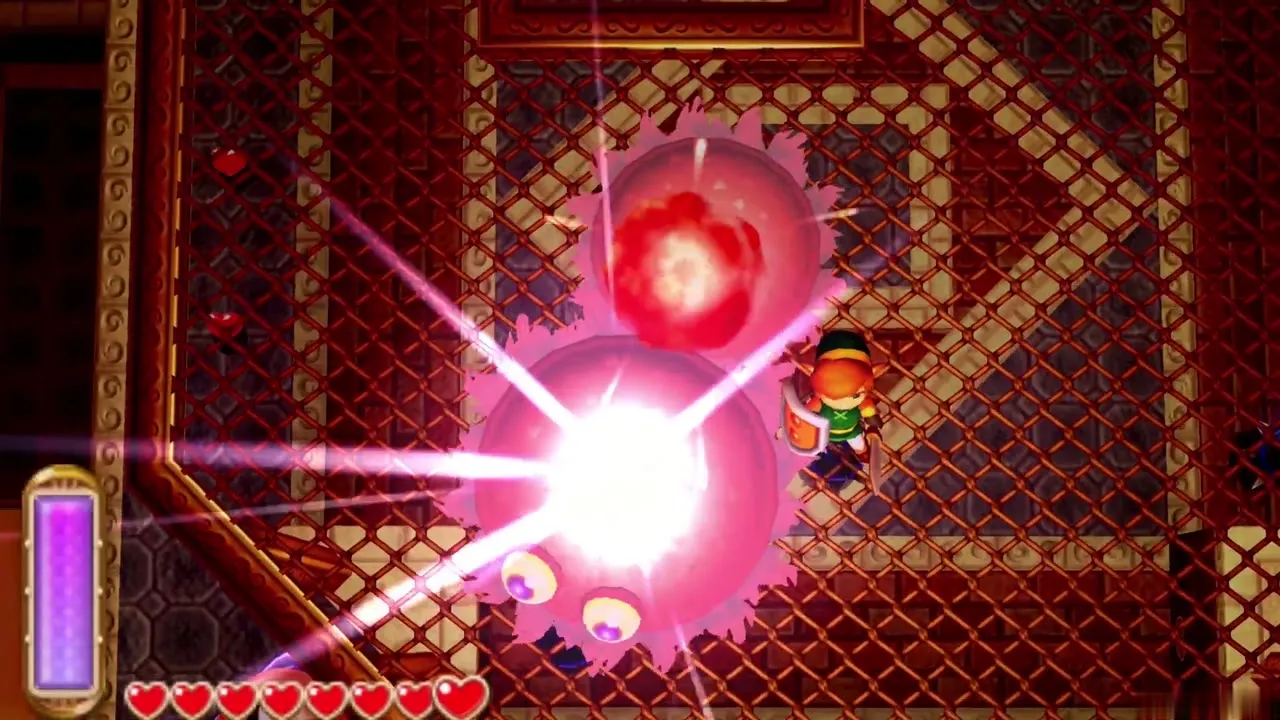
Stay clear of its body and strike the red orb on the tip of its tail with your sword. After several hits it turns red and speeds up, so use short, careful slashes and keep away from the edge instead of chasing it. A few more hits finish it. Other fights are covered on the boss strategies page.
Tower of Hera Heart Container
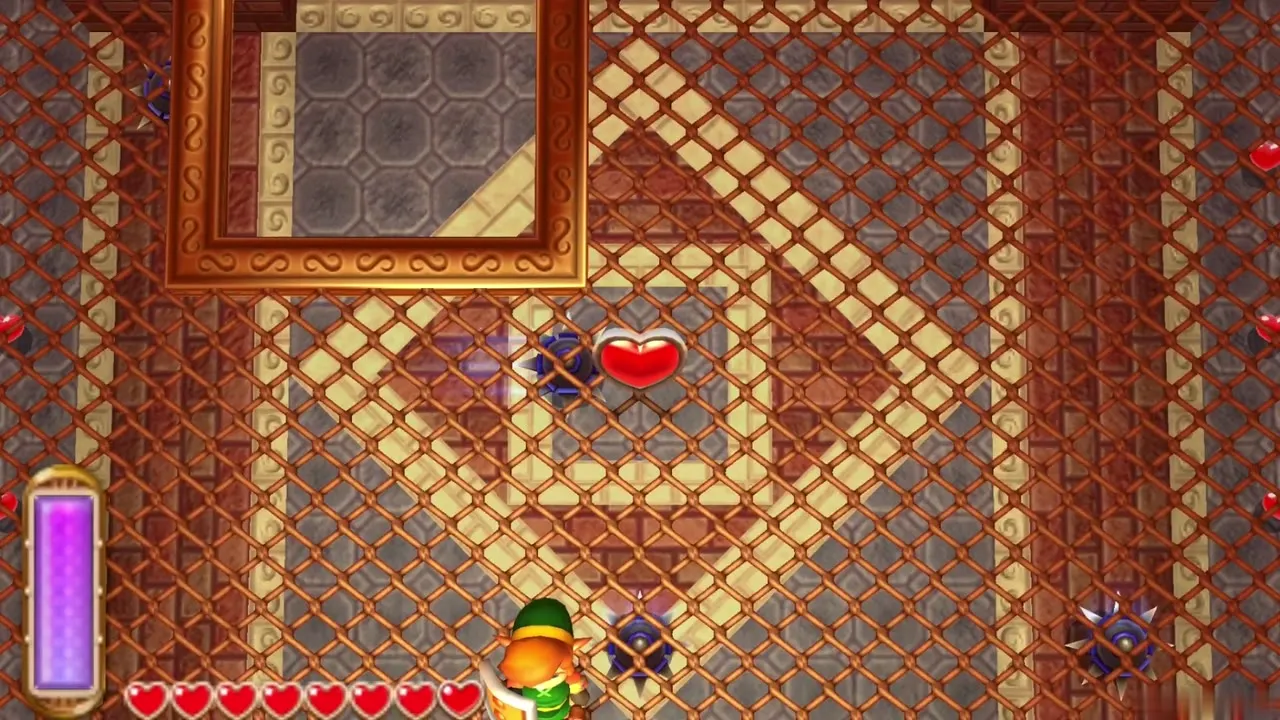
When Moldorm falls, a Heart Container floats up out of the arena. Grab it to raise your maximum hearts by one and refill your health.
Pendant of Power
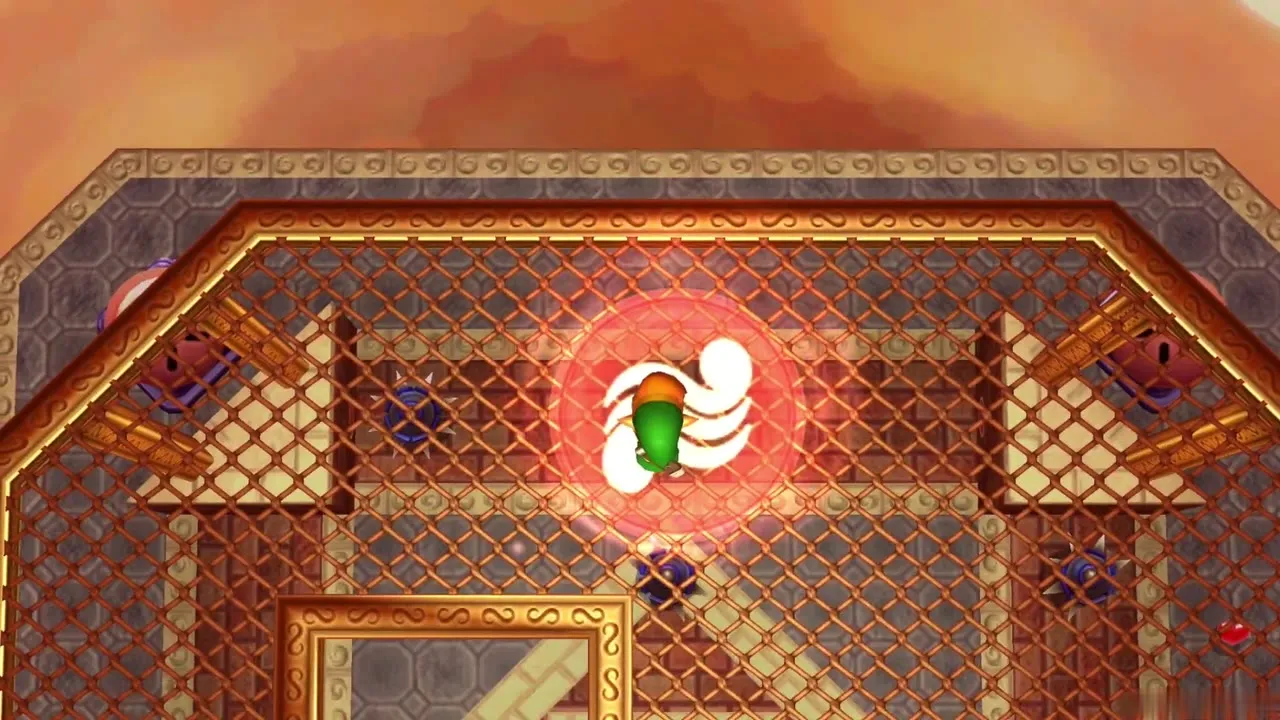
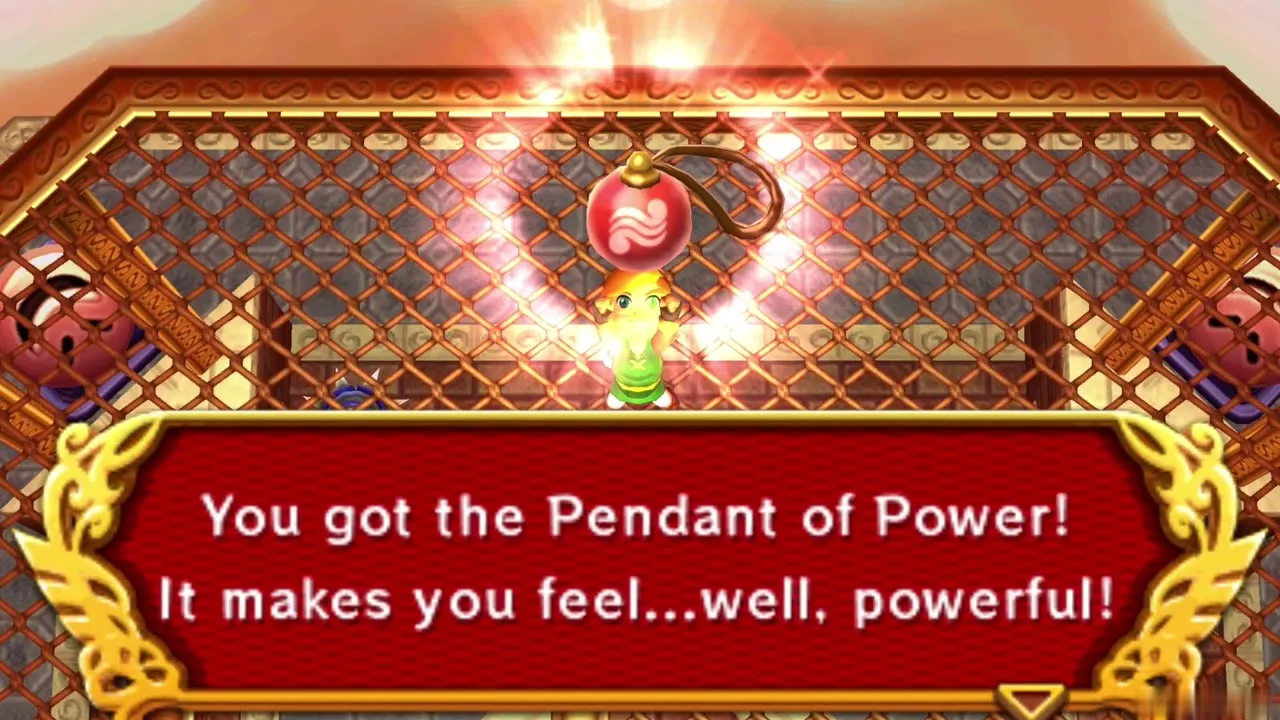
Walk to the pedestal at the north end of the room and take the Pendant of Power. Leave through the exit to return to the mountain.
After the Tower of Hera
Sahasrahla and the Lost Woods
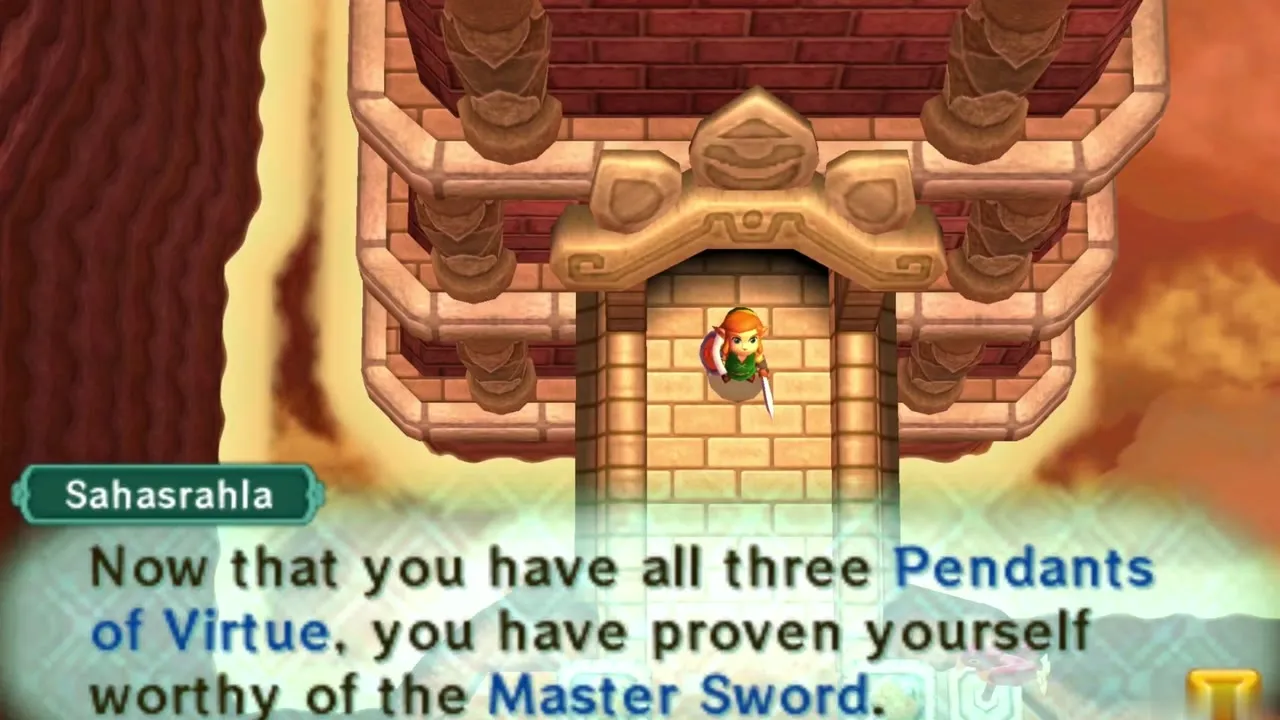
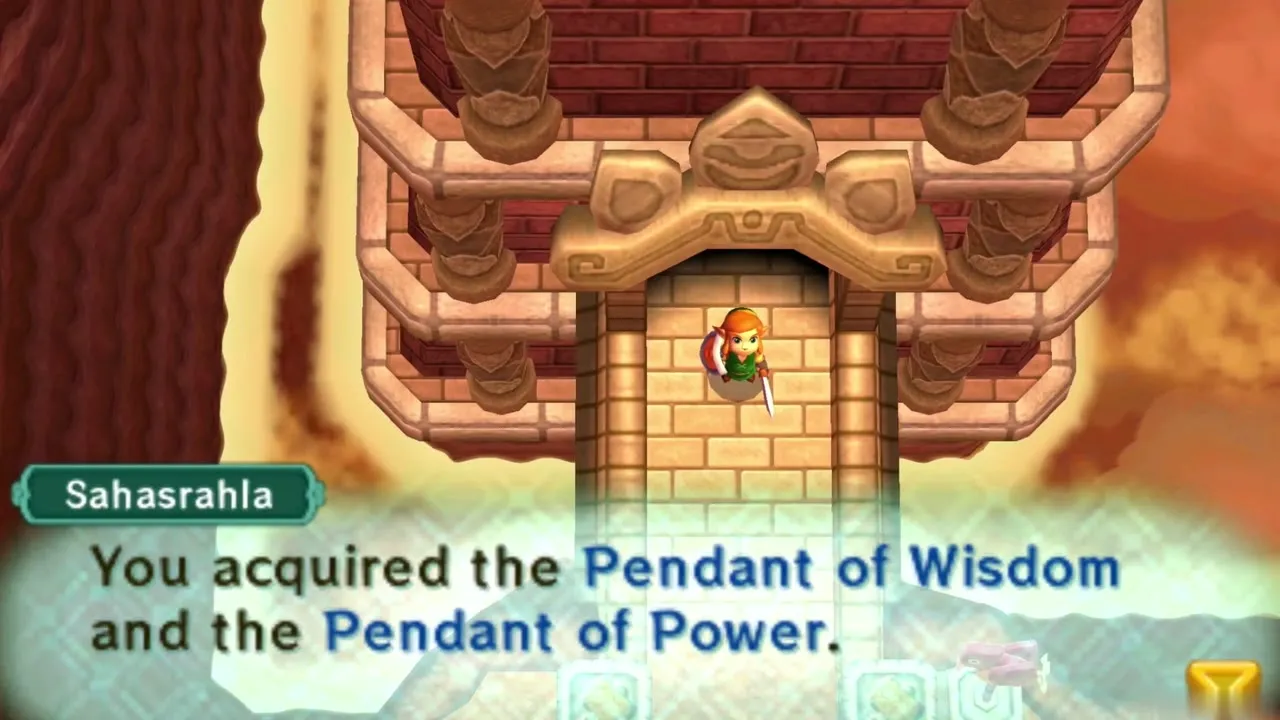
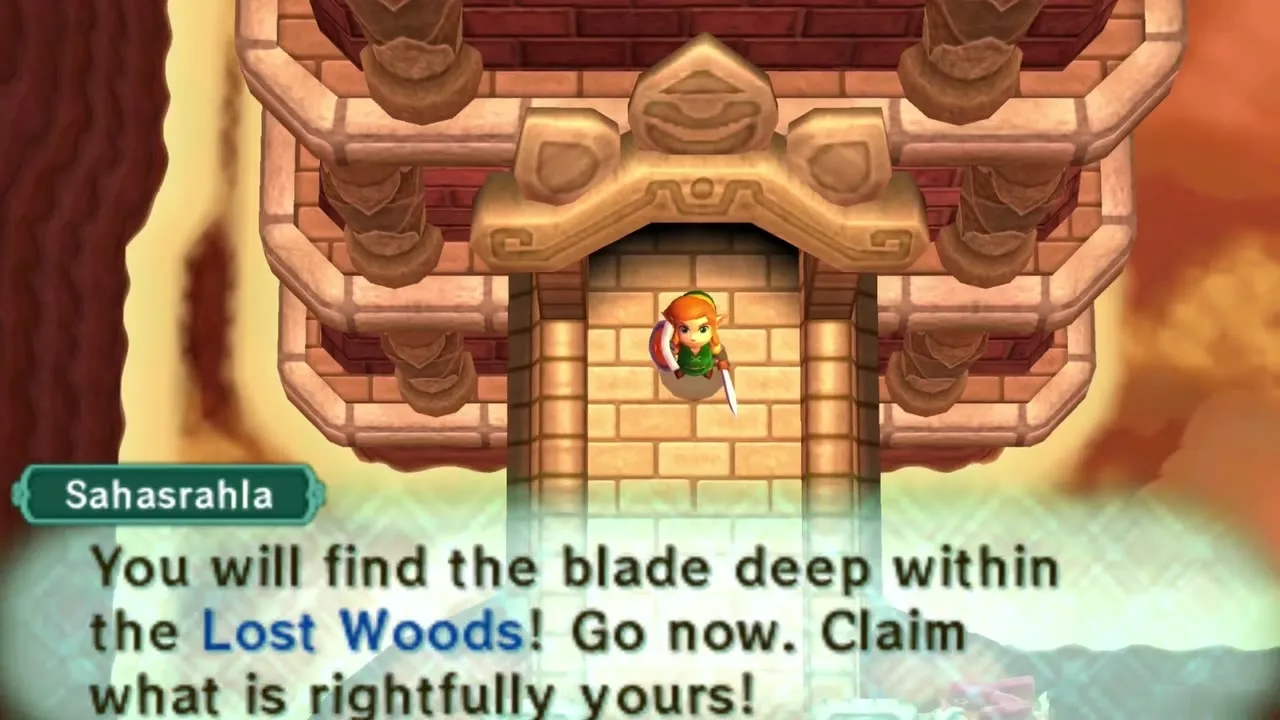
Warp to the Sanctuary. Once you hold the Pendants of Courage, Wisdom and Power, Sahasrahla tells you that the blade you need lies deep in the Lost Woods. Items on Death Mountain that need the Hookshot or the Titan’s Mitt are left for later chapters, so skip them now unless you already carry the tools.
Chapter checklist
| Collectible | Type | Where |
|---|---|---|
| Heart Piece #13 | Heart Piece | Hidden cave west of the tower, reached by wall merging |
 Purple Rupee (50) | Rupee chest | 1F, nook beside the barred window |
| Compass | Dungeon item | Center platform of 1F, reached by dropping through the hole on 2F |
| Small Key | Key | 3F, center platform |
| Blue Rupee (5) | Rupee chest | 5F, below the barrier room |
 Monster guts | Material chest | Near the cracked floors of 7F and 6F |
| Small Key | Key | 6F, under the cracked floor on 7F |
| Silver Rupee (100) | Rupee chest | Outside ledge near 9F |
| Purple Rupee (50) and fairy | Rupee chest, fairy | Pool room below 9F |
| Big Key | Dungeon item | 11F, east ledge |
| Heart Container | Heart Container | Moldorm, top of the tower |
| Pendant of Power | Pendant | 13F pedestal |
With all three pendants in hand, continue to the Master Sword and Lost Woods walkthrough to claim the blade in the Lost Woods.