A Link Between Worlds 100% Completion Walkthrough18 chapters
- Opening and SanctuaryWake in Link’s House, deliver the captain’s sword, cross the Graveyard passage with the Lamp and meet Yuga.
- Hyrule Castle and Kakariko VillageRavio’s Bracelet, Zelda’s Pendant of Courage, Kakariko shops, Sahasrahla and the free Bow rental.
- Eastern PalaceEvery key, chest and rupee, the Compass, Big Key, Yuga boss fight and your first Heart Container.
- Pegasus Boots and Zora’s FlippersGet the Pouch, Irene’s Bell, Power Glove, Pegasus Boots, Zora’s Flippers, Ravio’s rentals and Hyrule Heart Pieces.
- House of GalesRent the Tornado Rod, swim to Lake Hylia’s island, beat Margomill and take the Pendant of Wisdom.
- Death MountainClimb the boulder caves, find two Heart Pieces and a Bottle, and reach the Tower of Hera.
- Tower of HeraEvery floor, both Small Keys, Compass, Big Key, Moldorm boss fight, Heart Container and Pendant of Power.
- Master Sword and Lost WoodsWalkthrough for pulling the Master Sword in the Lost Woods, breaking the Hyrule Castle barrier.
- Lorule and Dungeon OrderHilda, the Blacksmith, fissures, Ravio’s Shop, Thieves’ Town side content and the dungeon order.
- Dark PalaceThe guard maze, every key, the Compass, Big Key, Master Ore, Gemesaur King, Heart Container and Sage Gulley.
- Skull WoodsKeys, Compass, Big Key, Master Ore, Knucklemaster boss fight, Sage Seres and the Master Sword upgrade.
- Ice RuinsThe Hookshot route to Lorule’s Death Mountain, every floor, keys, the Stamina Scroll and Dharkstare.
- Thieves’ HideoutThe password song, the Thief Girl escort, Master Ore, Stalblind, Sage Osfala and the Sand Rod.
- Swamp PalaceBig Bomb Flower, Hookshot, water levels, keys, Compass, Blue Mail, Big Key, Arrghus and Sage Oren.
- Turtle RockRescue the baby turtles, use the Ice Rod, find every key, beat Grinexx and free Sage Impa.
- Desert PalaceReach it with the Sand Rod, find the Titan’s Mitt, beat Zaganaga and rescue Sage Irene.
- Lorule CastleThe Triforce of Courage, all four mini-bosses, the Compass, Red Mail and the way to the Throne Room.
- Final BossBeat Yuga Ganon with the Bow of Light, see Hilda’s choice, make the Triforce wish and unlock Hero Mode.
| Covers | Southern Lorule, the Big Bomb Flower from Thieves’ Town, and the Swamp Palace (1F, B1) up to the Arrghus fight and Sage Oren |
|---|---|
| You need | Ravio’s Hookshot (rented or bought), 200 Rupees for the Big Bomb Flower, and ideally the Tornado Rod for the flames around the Big Key chest |
| Rewards |  Gold Rupee (300),  Compass, four  Small Keys,  Blue Mail,  Big Key,  Heart Container,  Sage Oren;  Great Rupee Fairy Bottle and  Heart Piece #22 nearby |
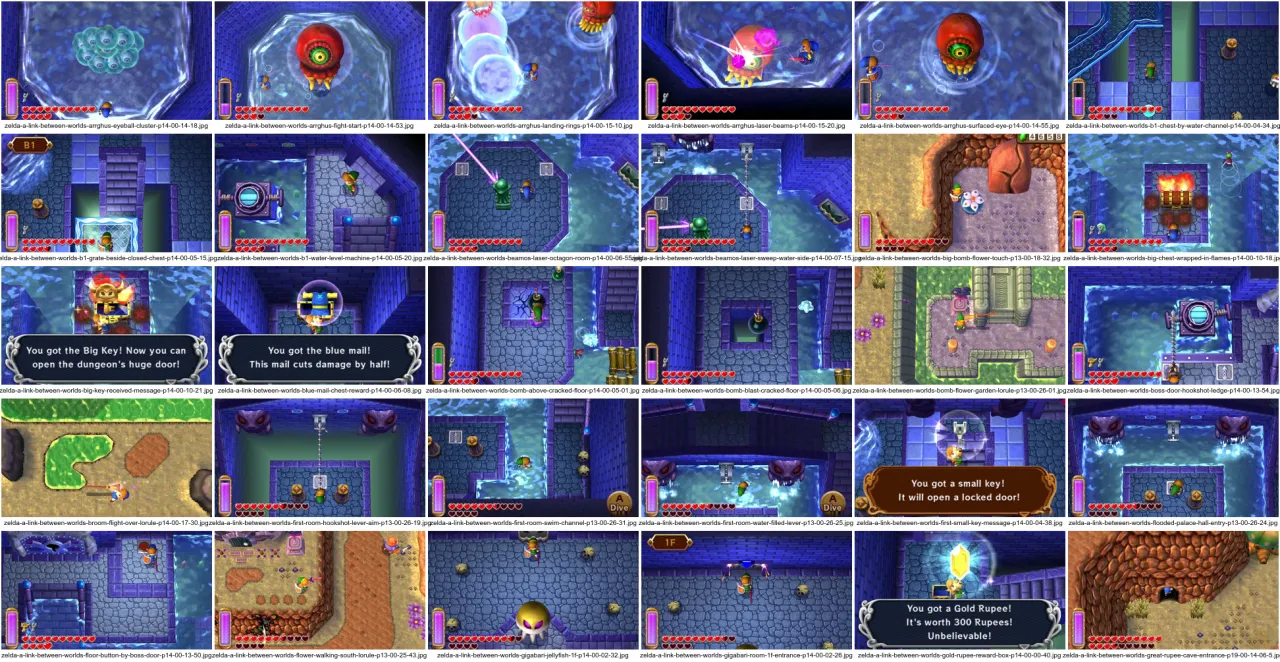
The Swamp Palace is a flooded Lorule dungeon built around the Hookshot. You pay for a Big Bomb Flower in Thieves’ Town, lead it south to the boulder that dams the moat, then pull levers all through the palace to raise and lower the water. Along the way you take the Compass, the Blue Mail and the Big Key, beat the Gigabari, and finish the Arrghus fight to free Oren.
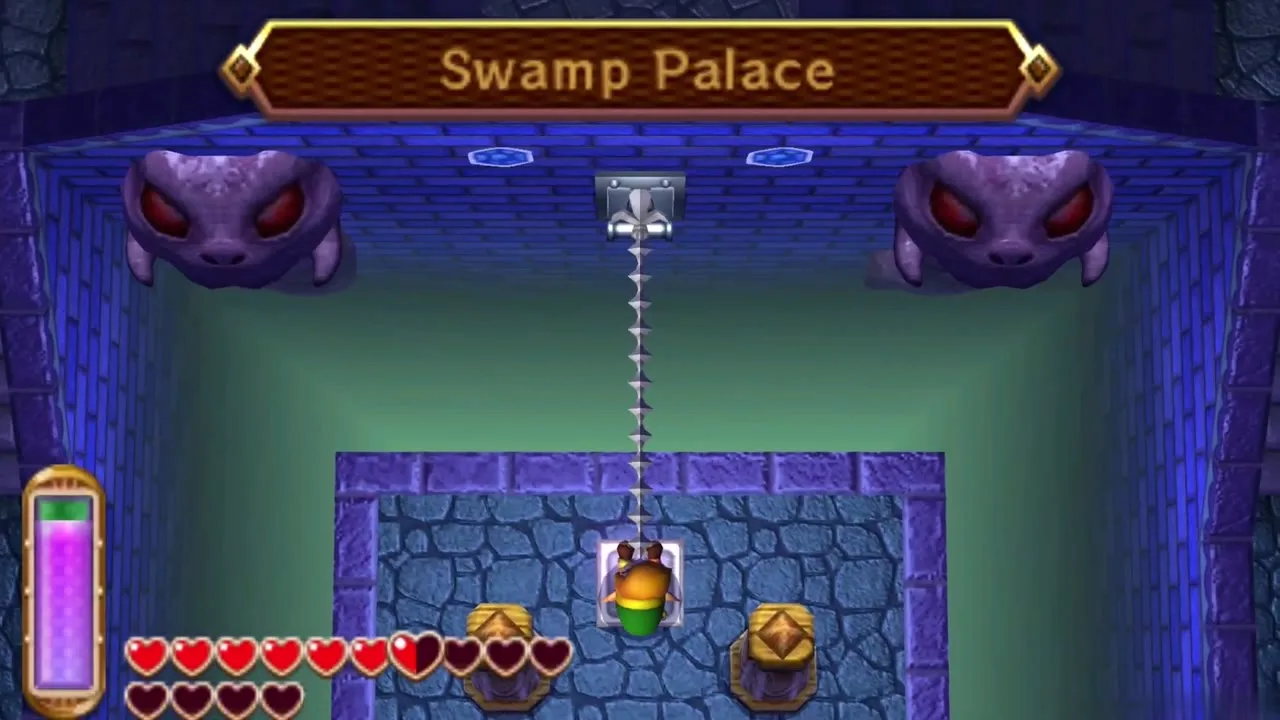
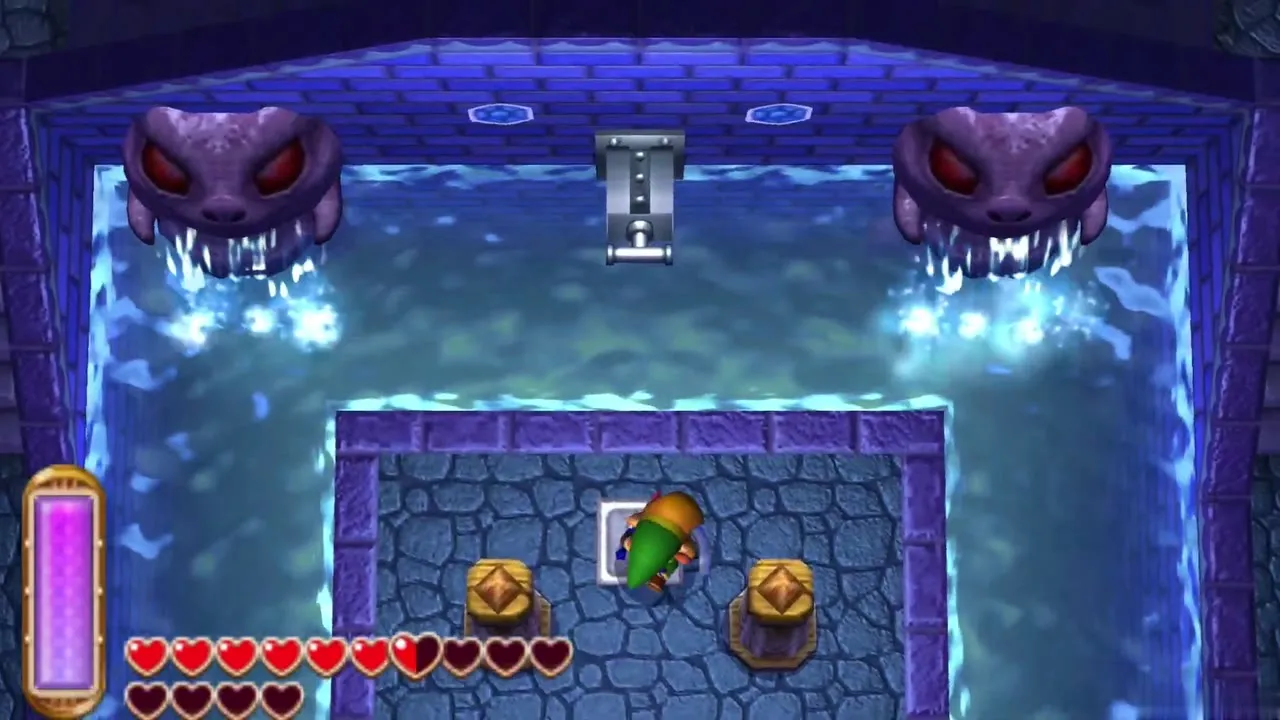
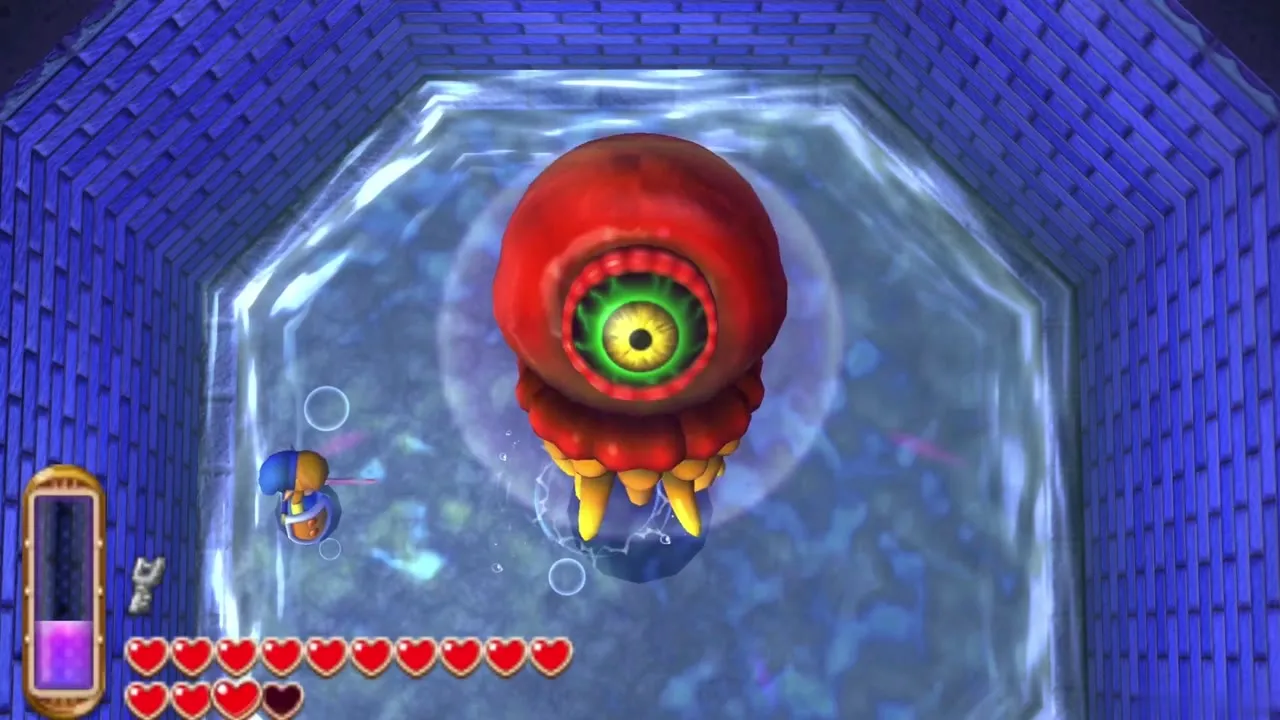
Table of Contents
How to get to the Swamp Palace
Big Bomb Flower (200 Rupees)
Go to the Bomb Shop, just south of Thieves’ Town, and speak to the Bomb-Shop Man. Pay him 200 Rupees, a one-time fee, and he lets you into the garden behind his shop, where a Big Bomb Flower grows. Touch it and it follows you. Take Ravio’s Hookshot before you set off, because the entrance of the palace cannot be crossed without it. Rent it for 50 Rupees or buy it.
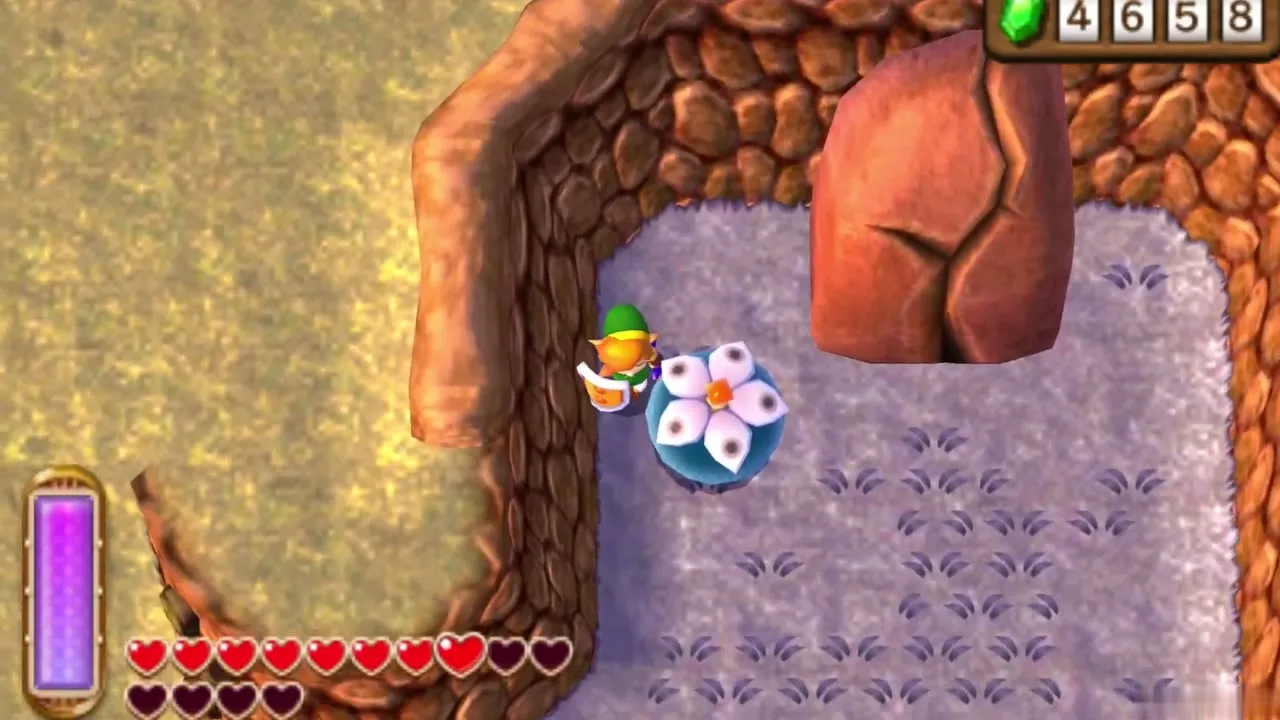
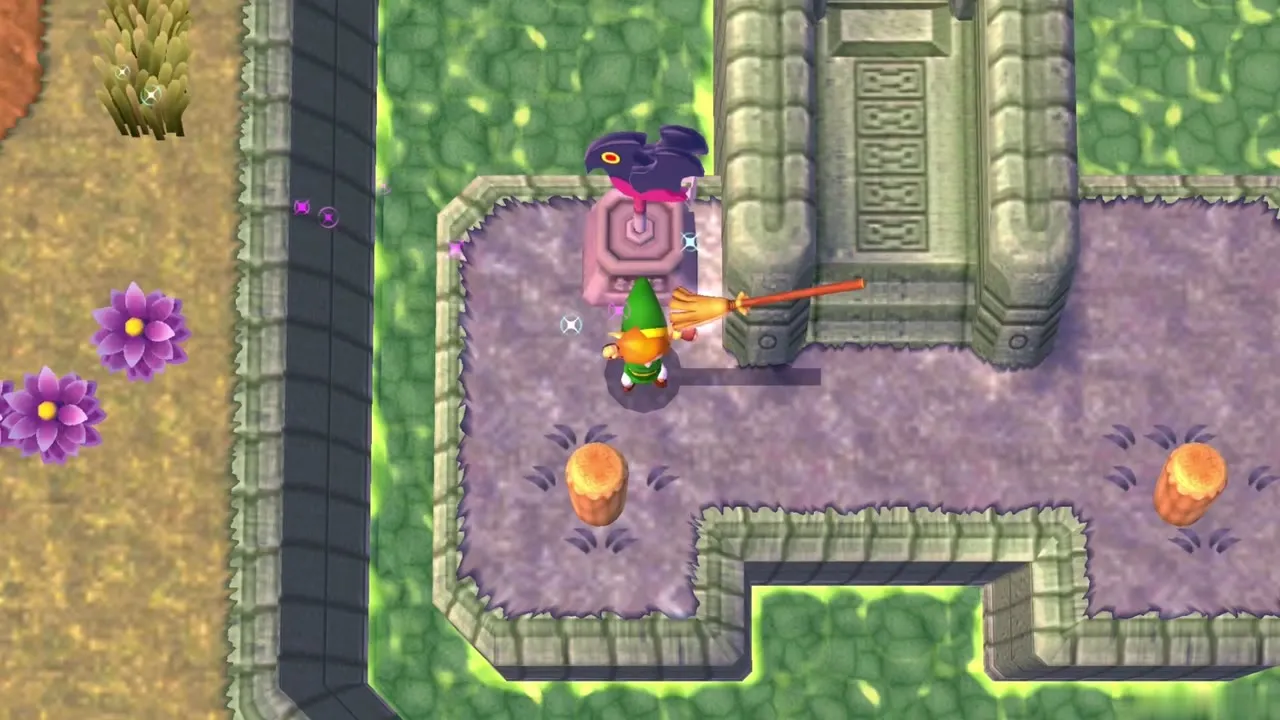
Walk the flower slowly south. Any enemy contact, sword hit or thrown object sets it off, and a blast that catches you hurts badly. Stop and kill foes before they get close, or merge into a wall to hold the flower still. If it explodes, return to the garden for a fresh one at no charge. The ring of grass around the garden hides a Maiamai (Thieves’ Town and Lorule Castle region, #5): slash the northernmost clump.
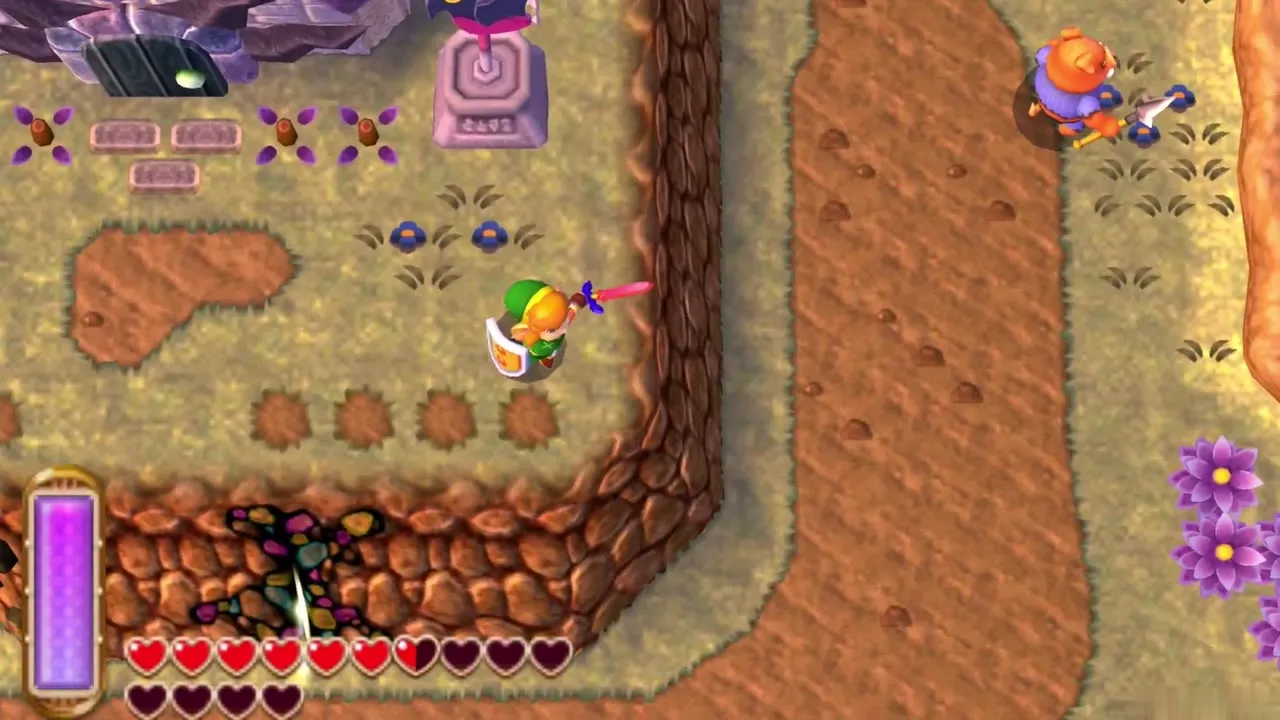
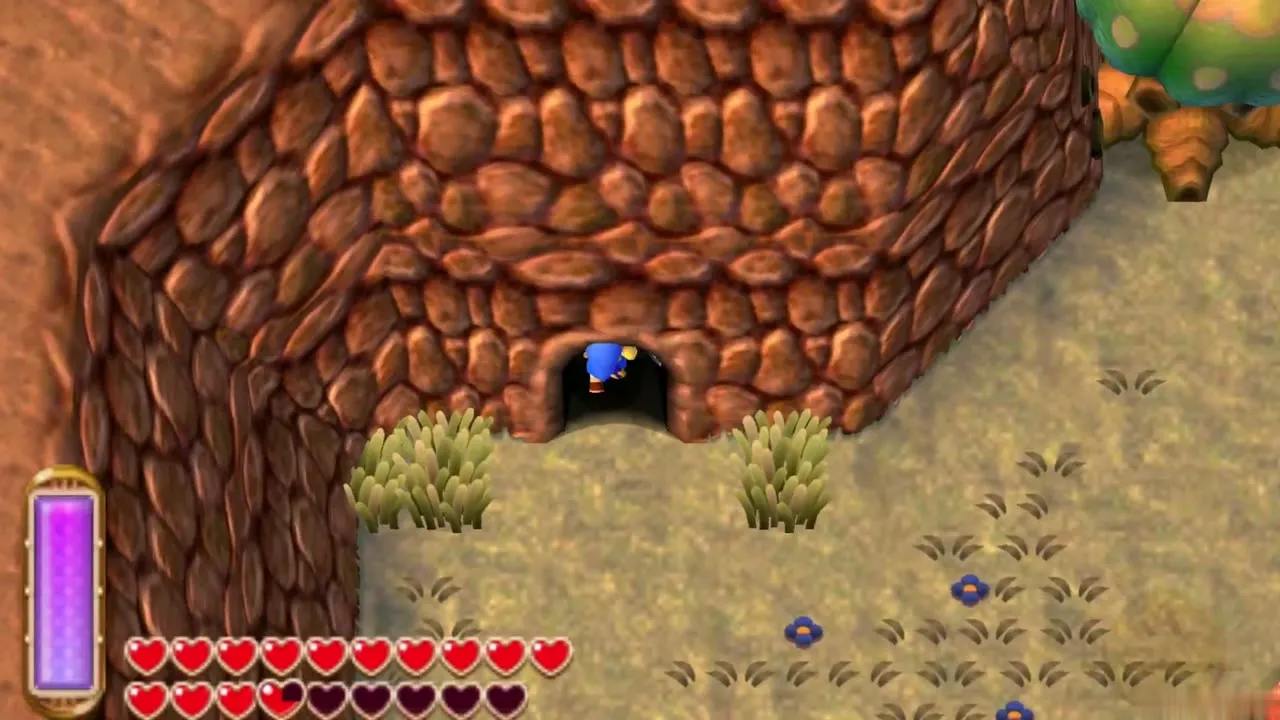
The flower is also needed by two optional boulders nearby: one near the shop hides the Great Rupee Fairy’s cave, where donating 3,000 Rupees in total earns a Bottle, and another guards the cave of Heart Piece #22. You can do either now or return later, since the flower is free to fetch again. Neither is required to enter the palace.
Drain the moat with the boulder
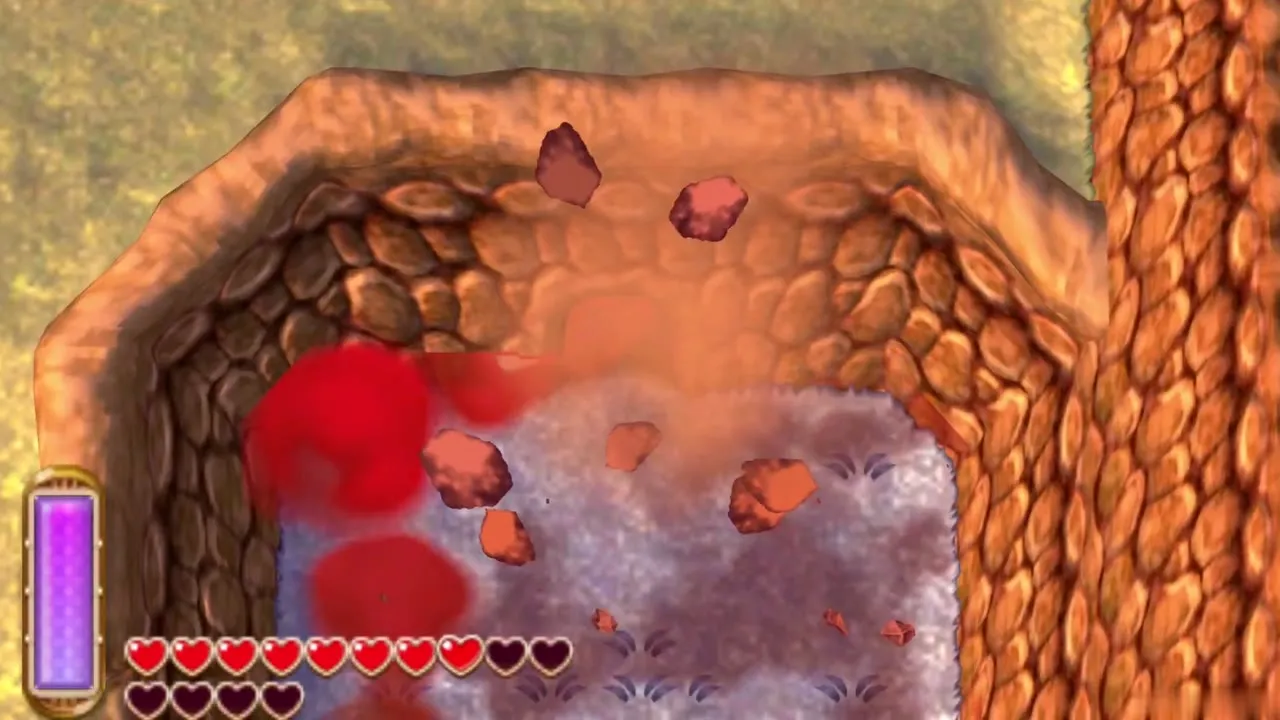
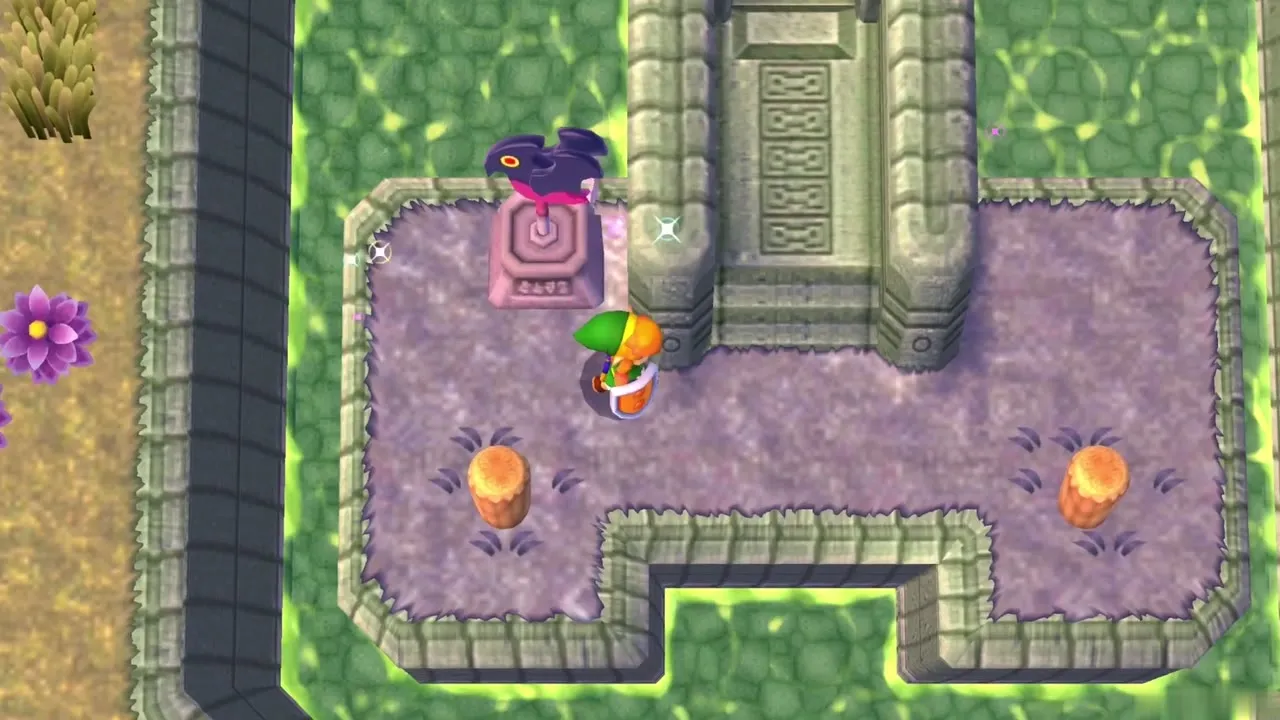
Lead the flower to the large boulder at the front of the Swamp Palace and let it blow, either with a sword swing from a safe distance or by stepping away and pressing A to set it off. The boulder crumbles and the water around the entrance drains away. Cross the gap with the Hookshot by aiming at the wooden posts and pulling yourself over, then climb the stairs inside.
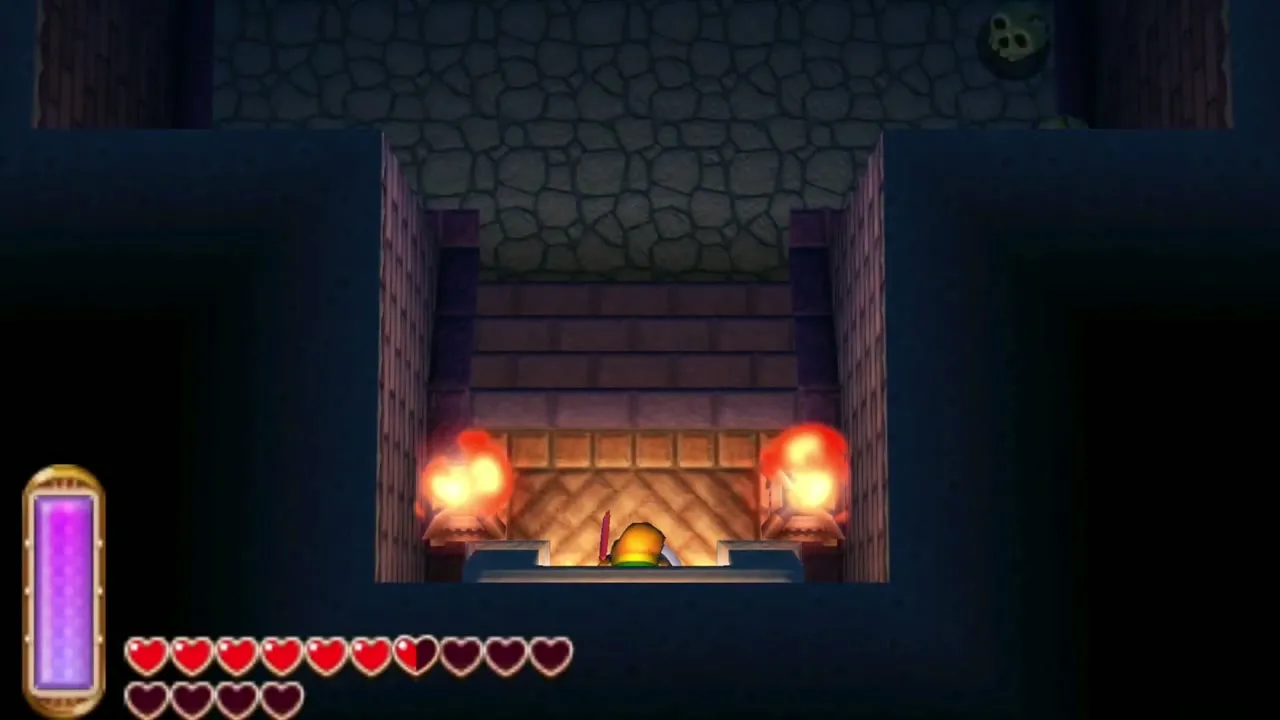
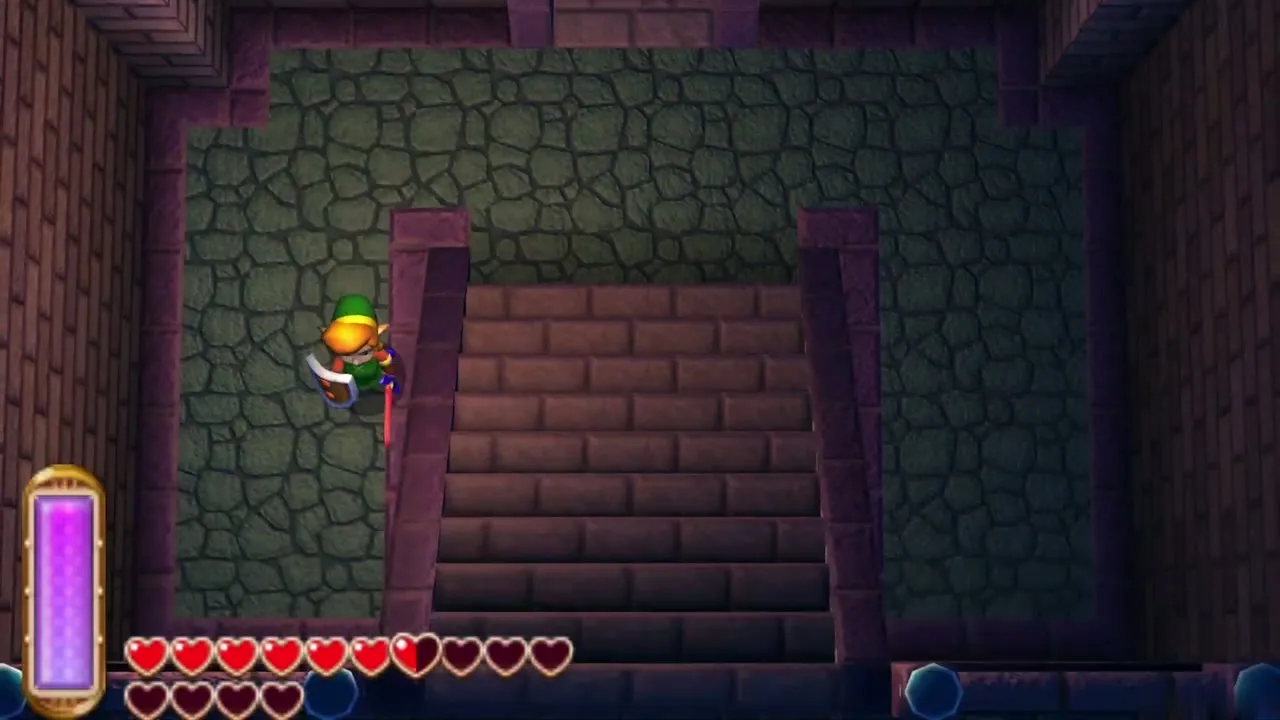
Swamp Palace 1F: water levers and the central hall
First room water lever
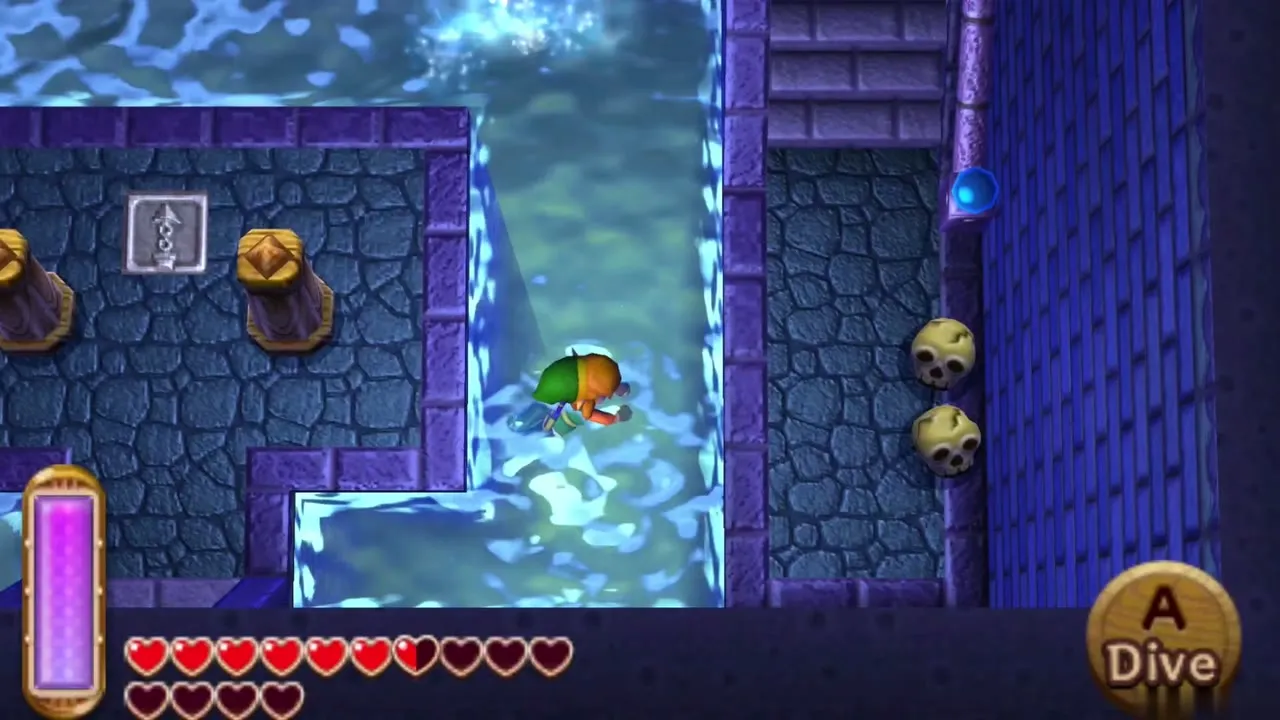
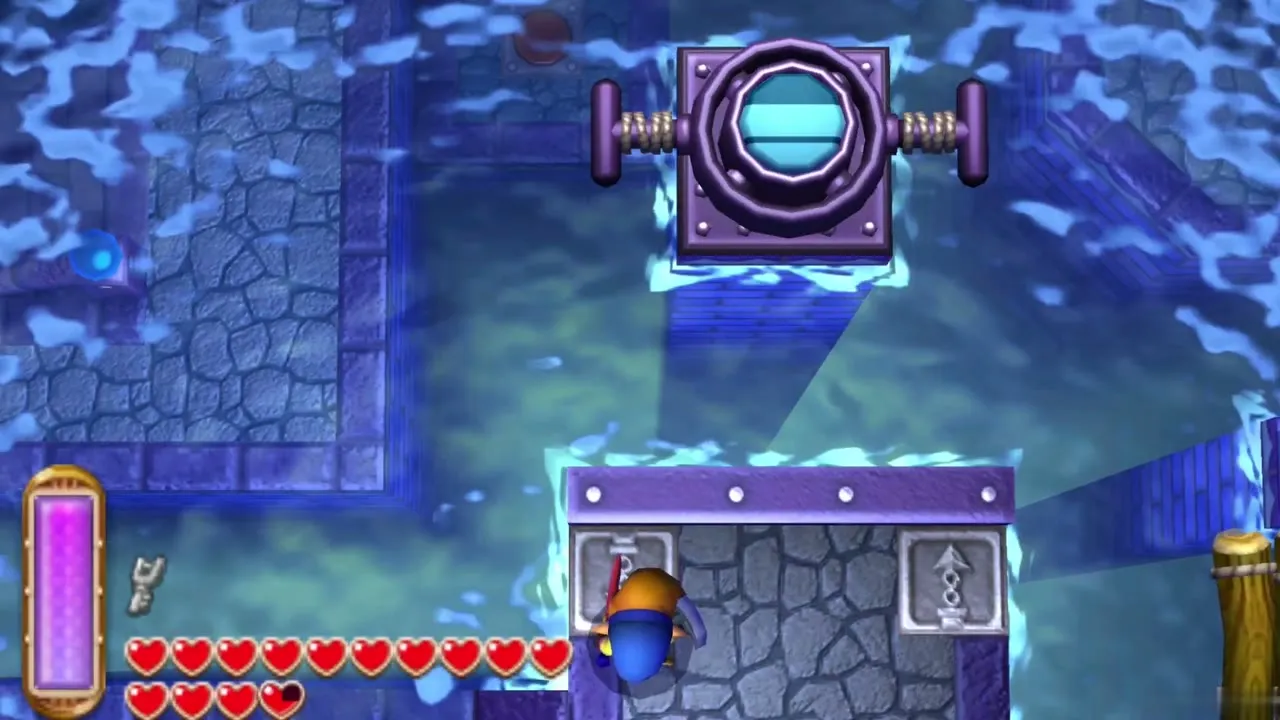
The first room is a flooded pit with a stone platform in the middle. Stand on the platform, aim the Hookshot at the lever on the far wall and pull it. Water pours in and fills the room, letting you swim across. This is the dungeon’s main trick: each lever with a Hookshot target raises or lowers the water for the rooms around it, and many doors only open at the right level.
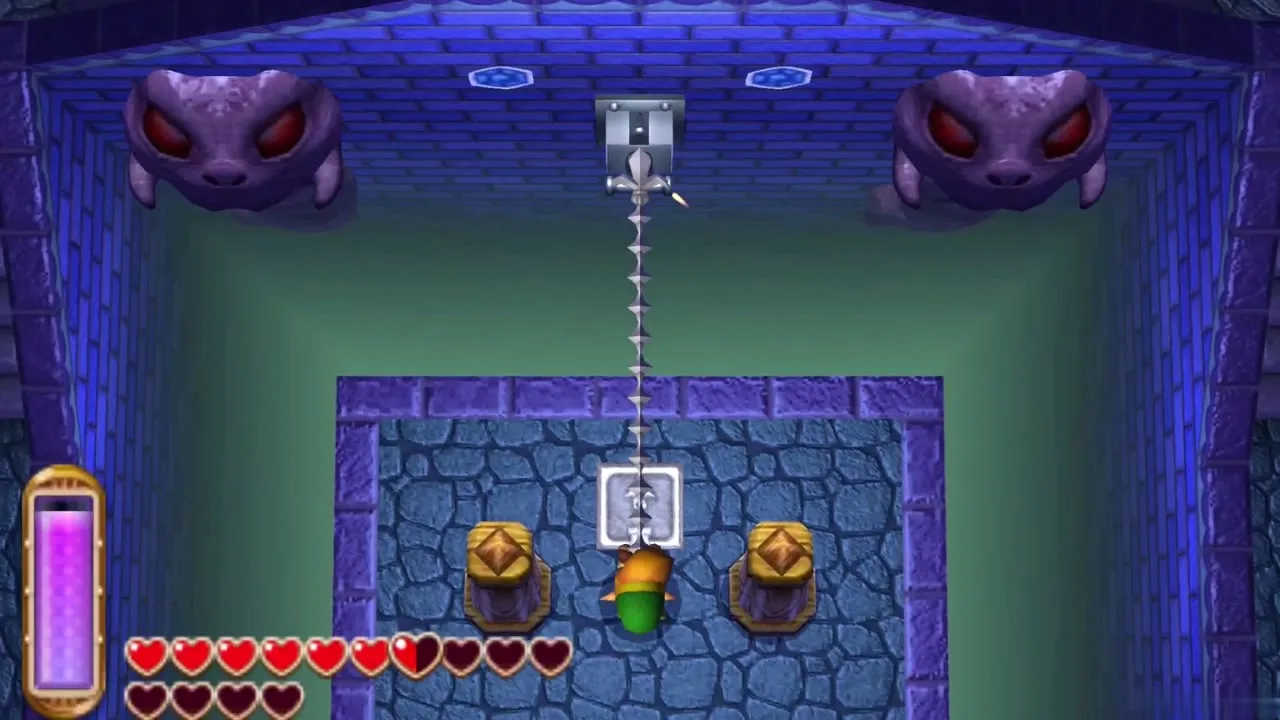
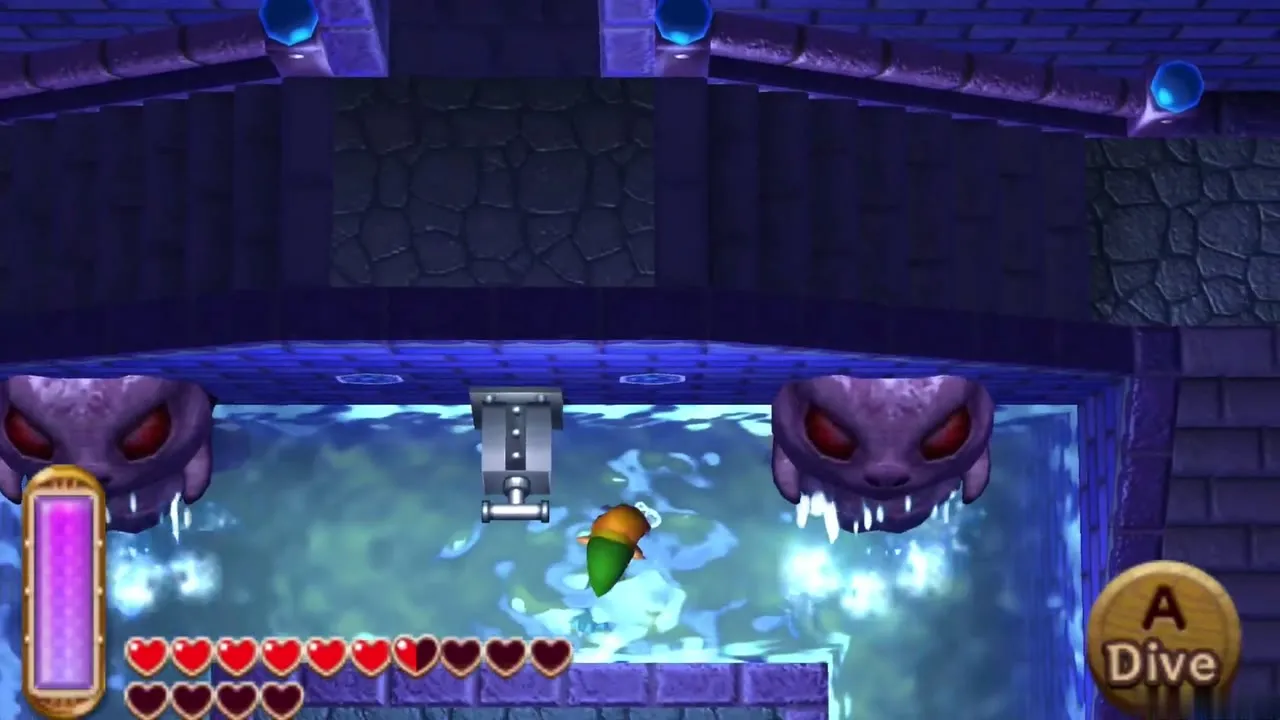
Central hall
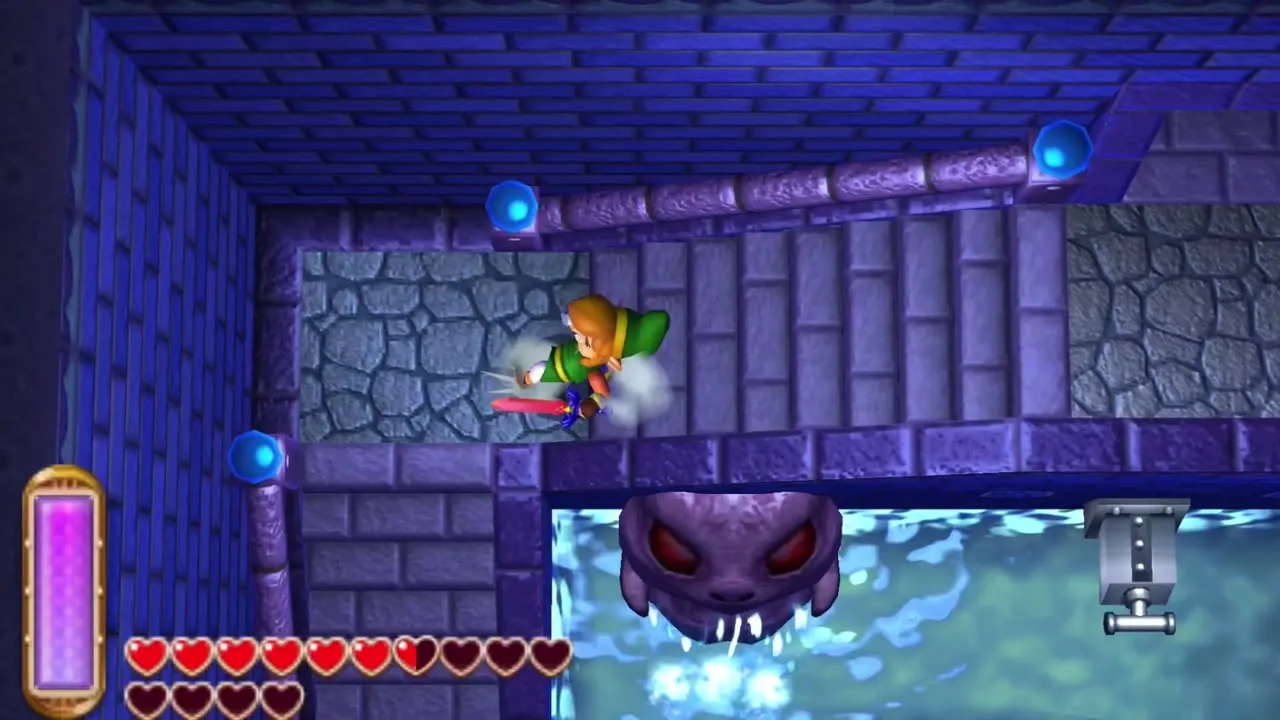
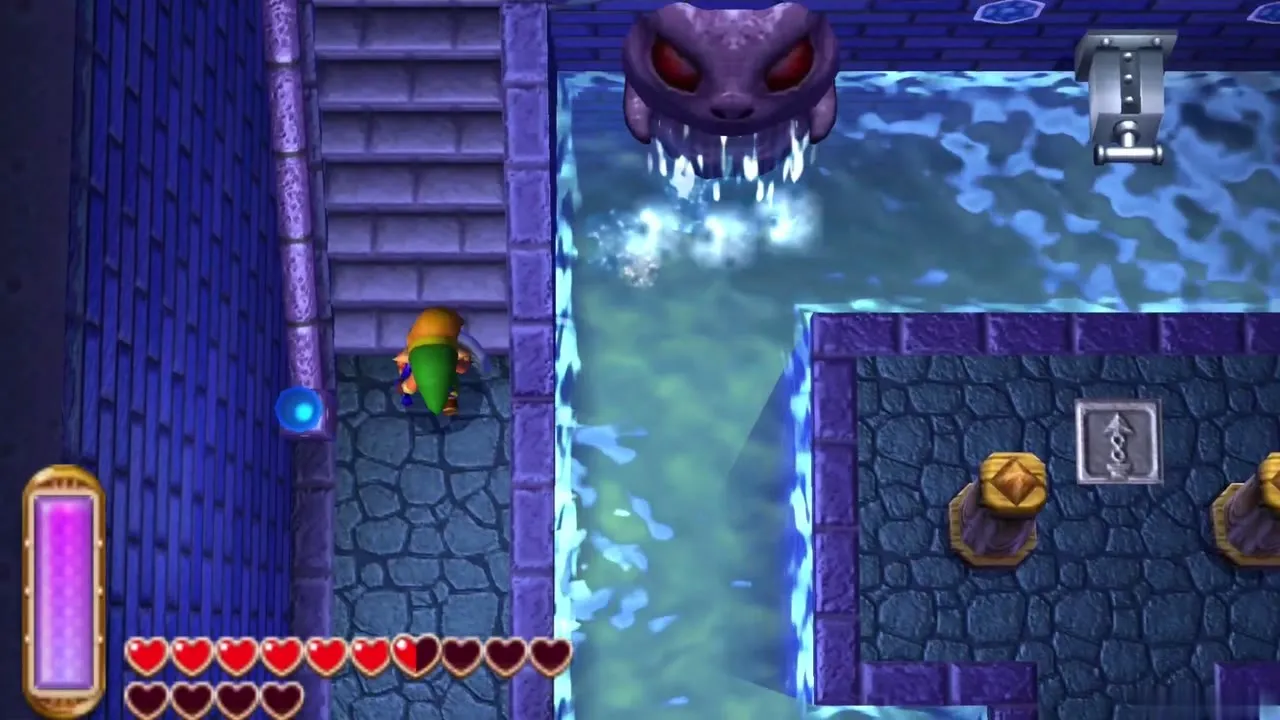
Beyond the first room lies a tall hall with several levels. The Boss Door is up on a ledge, and the Big Key chest sits on a platform ringed by flames, both too high or too far to reach at the current water level. Doors on the left and right lead down to the basement. Come back here whenever the water has changed, since each level opens a different set of side rooms.
Swamp Palace B1: keys, Compass and the Blue Mail
Gold Rupee chest
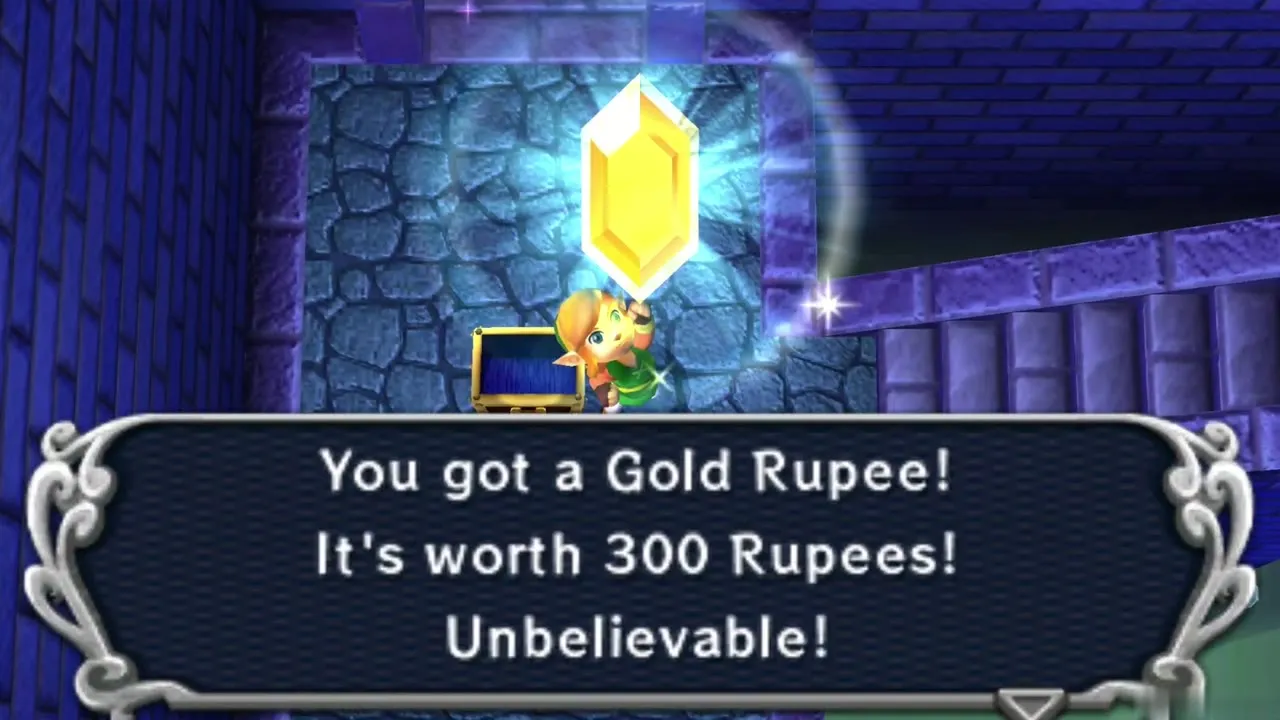
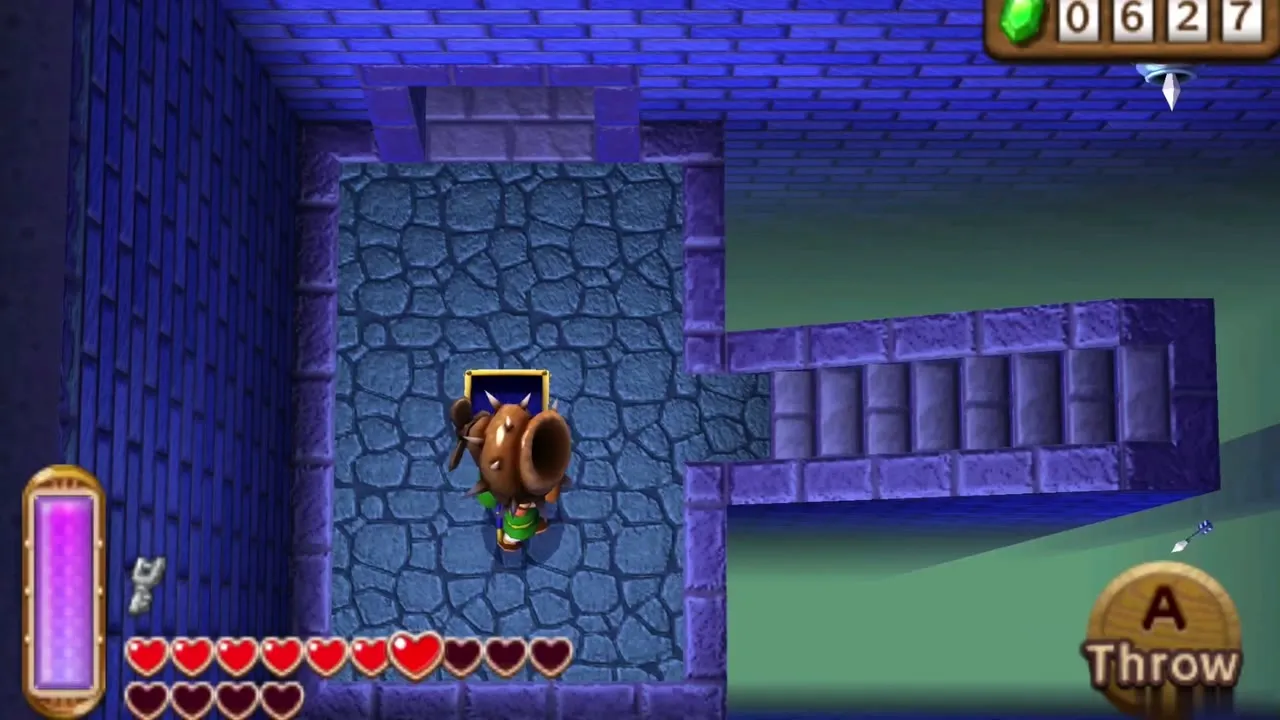
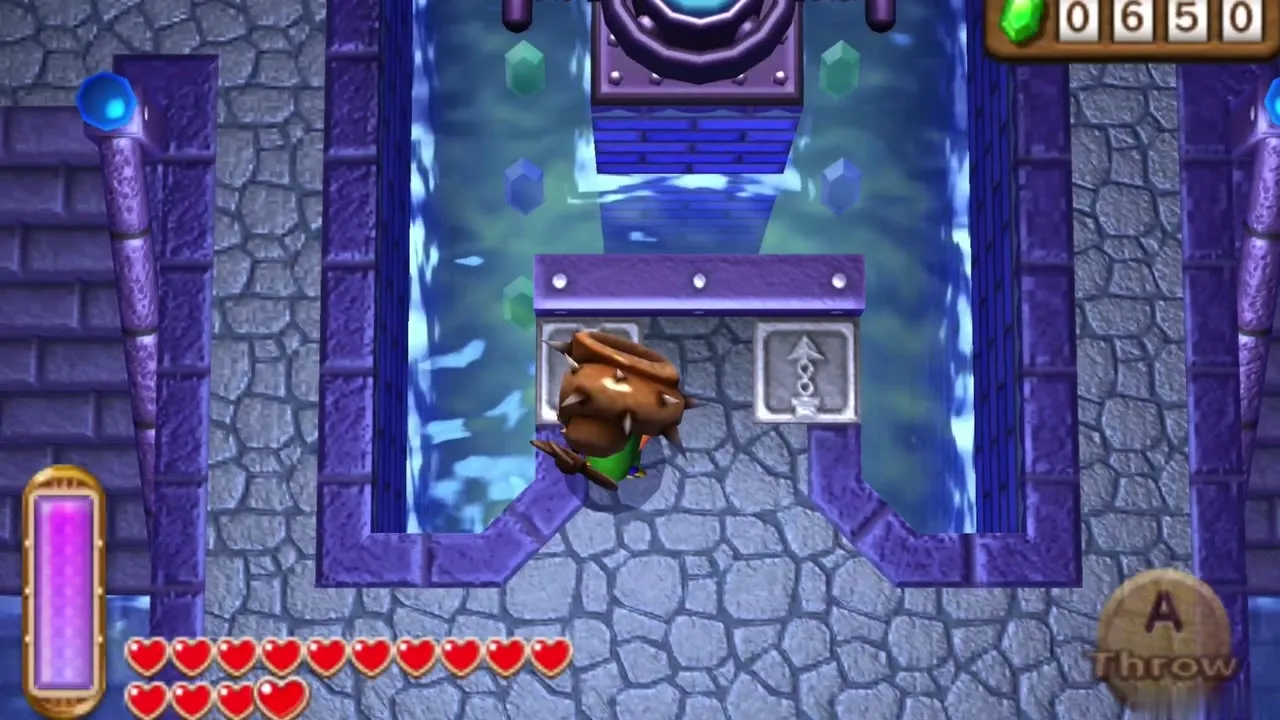
In a B1 room with a chest hanging out of reach, pull a shell off one of the armoured creatures with the Hookshot, kill it, then pick up the shell and throw it onto the crystal switch above the stairs. The chest drops down and holds a Gold Rupee worth 300 Rupees. If you miss the switch, leave and re-enter the room to reset it. The Boomerang can also hit the switch from the foot of the stairs.
Swamp Palace Compass
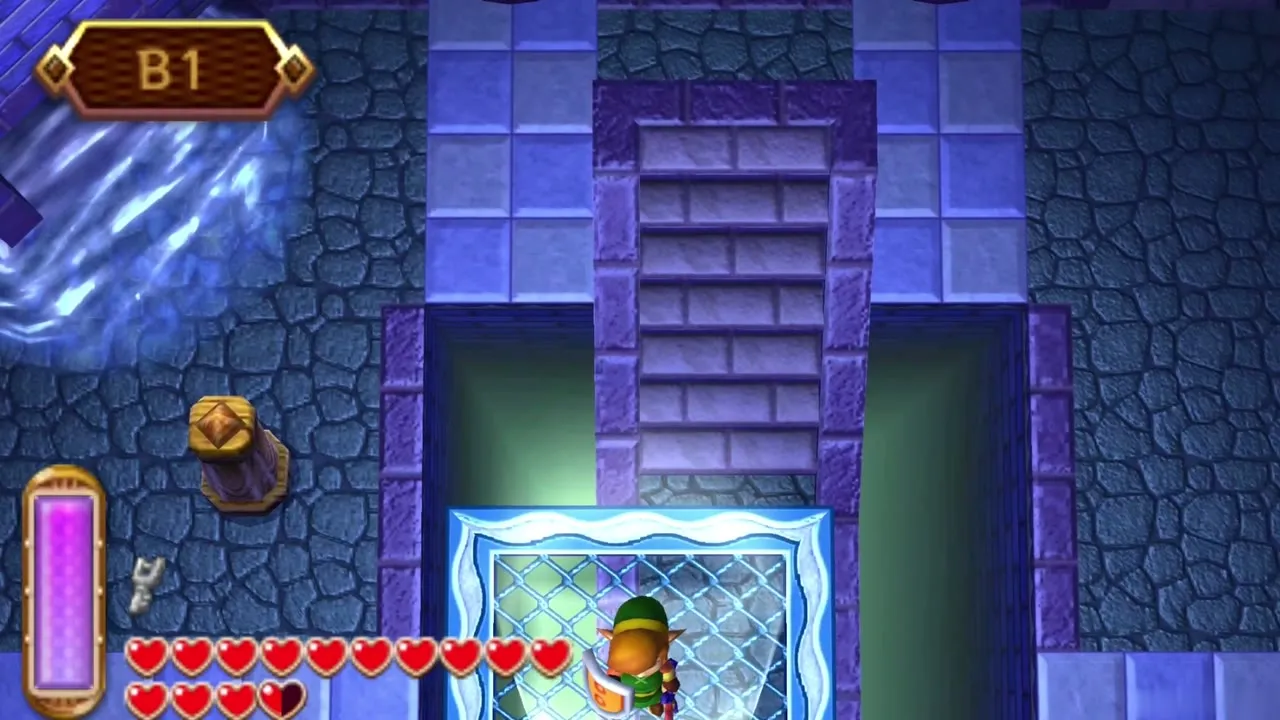
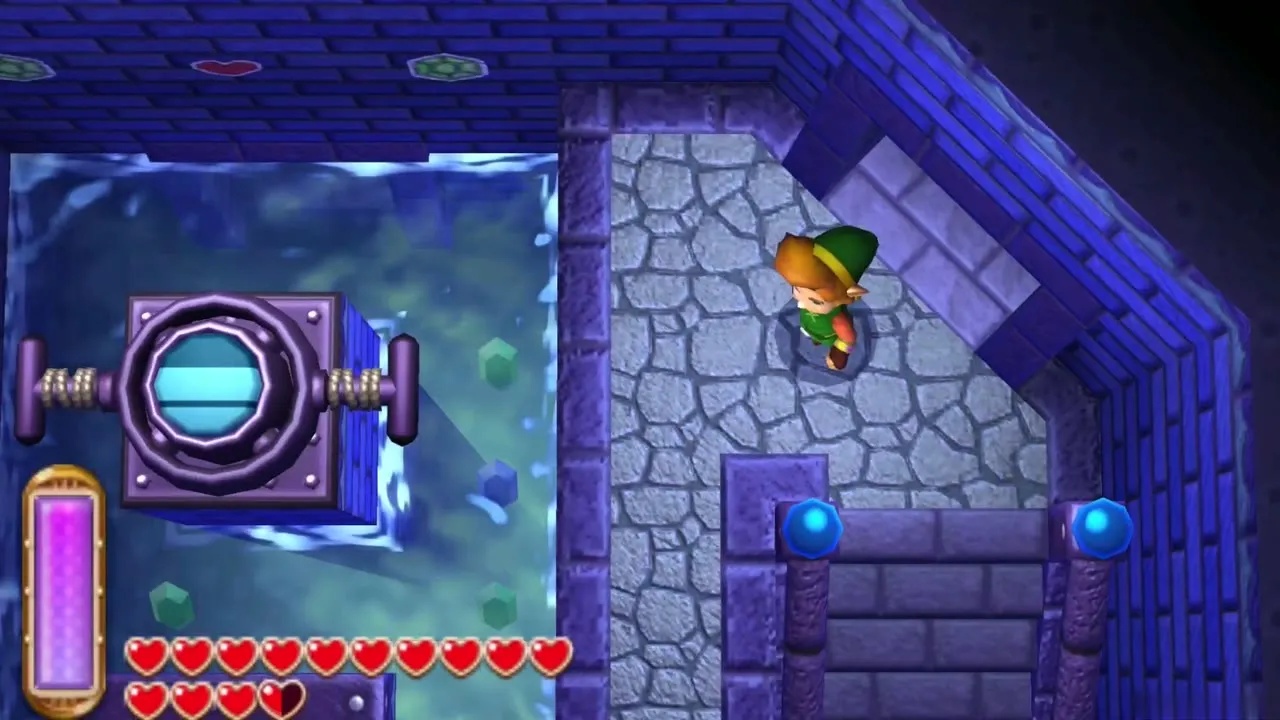
Take the northeast path from that room and open the chest in the north-central part of B1 to get the Compass. Continue east, hook the post to the south to cross the gap, and hook the right-hand switch to lower the water. This room also holds more chests that only come into reach as you shift the water up and down, so keep the lever positions in mind as you backtrack.
Small Keys
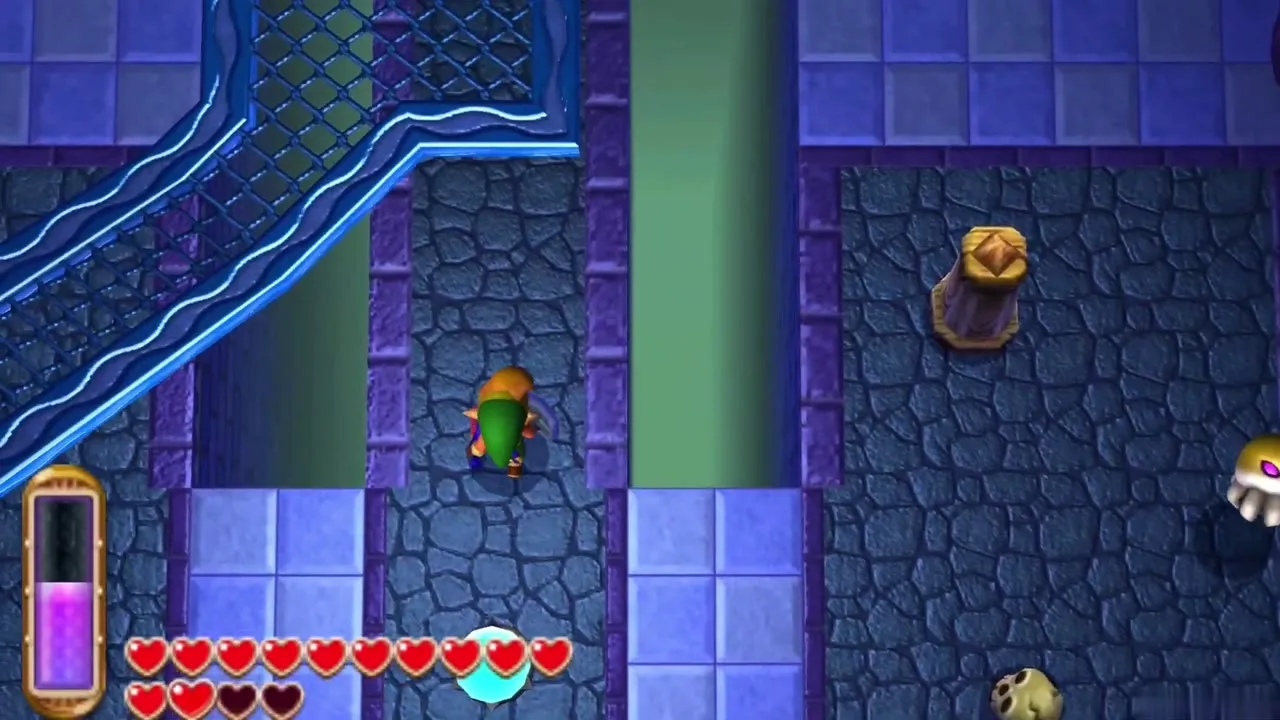
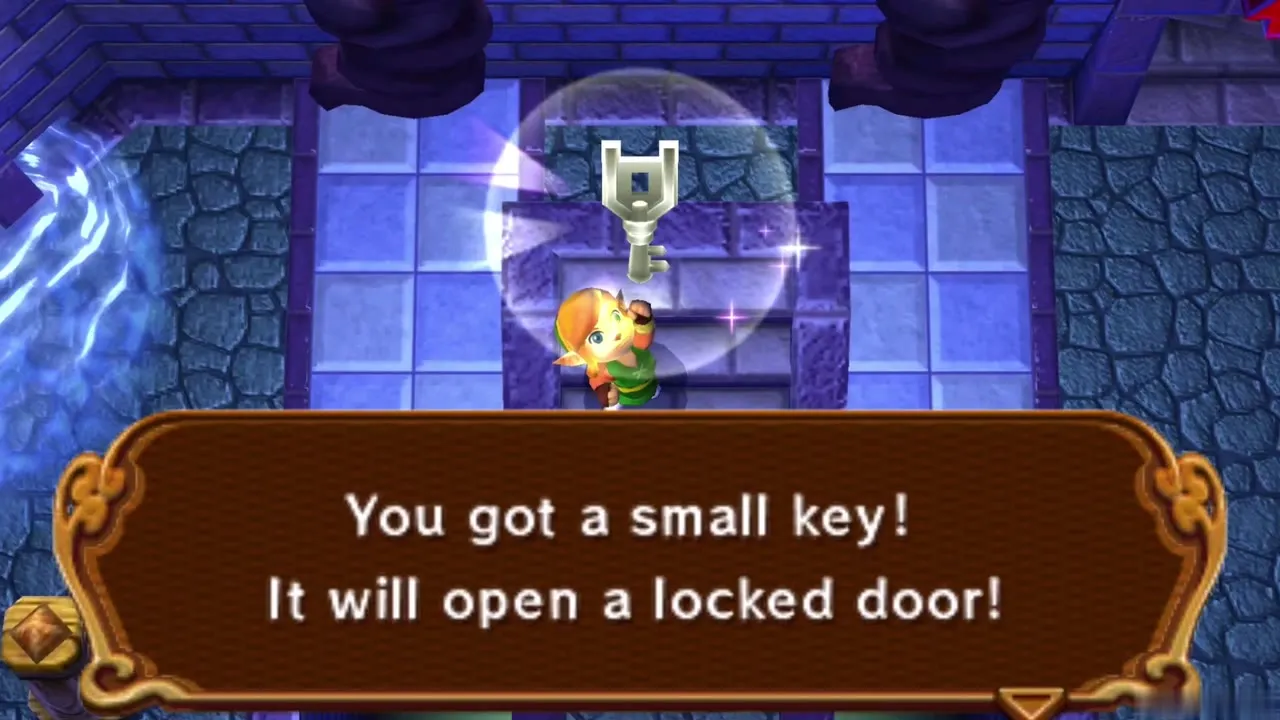
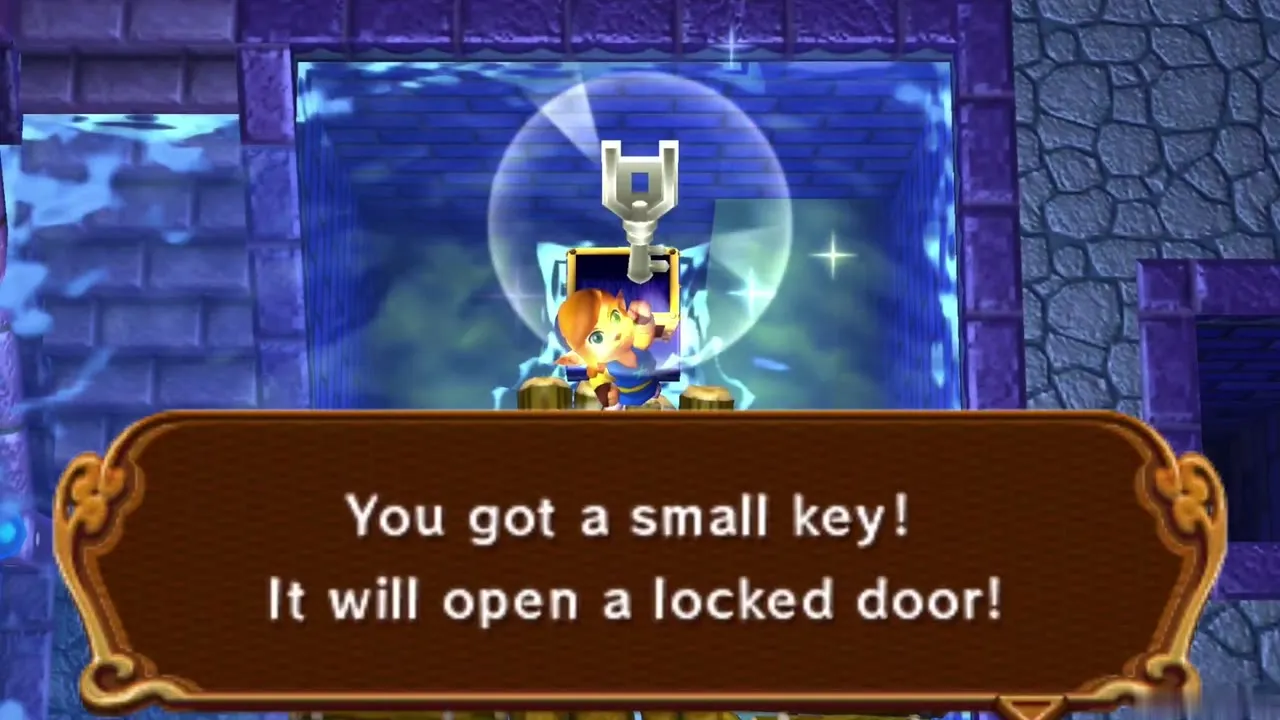
The palace has four Small Keys and each is guarded by a water puzzle. The first is in a B1 chest at the top of a flight of stairs reached by swimming south-east and hooking across; the second is a short way along the east side. Use the keys on the locked doors in the basement, and when a key chest is out of reach, hook the nearest lever to change the water before trying again.
Gigabari mini-boss
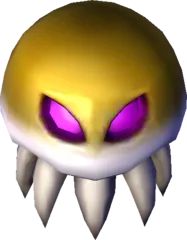
One door on 1F opens onto a large room with a Gigabari, a giant jellyfish. While it glows with electricity, stay back, because touching it hurts. Slash it when the glow fades. After enough hits it splits into several Yellow Biri, which you also kill only when they are not electrified. When the last one is dead, two sealed doors open and a warp point appears for a quick way out.
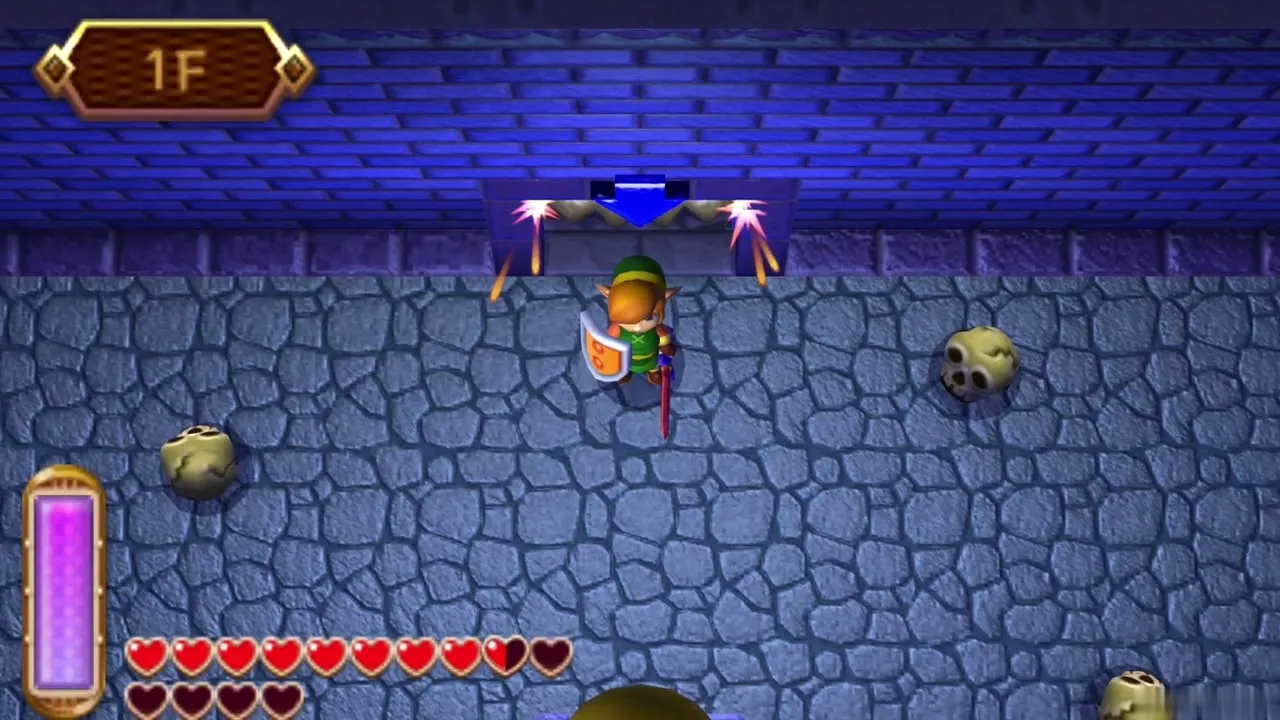
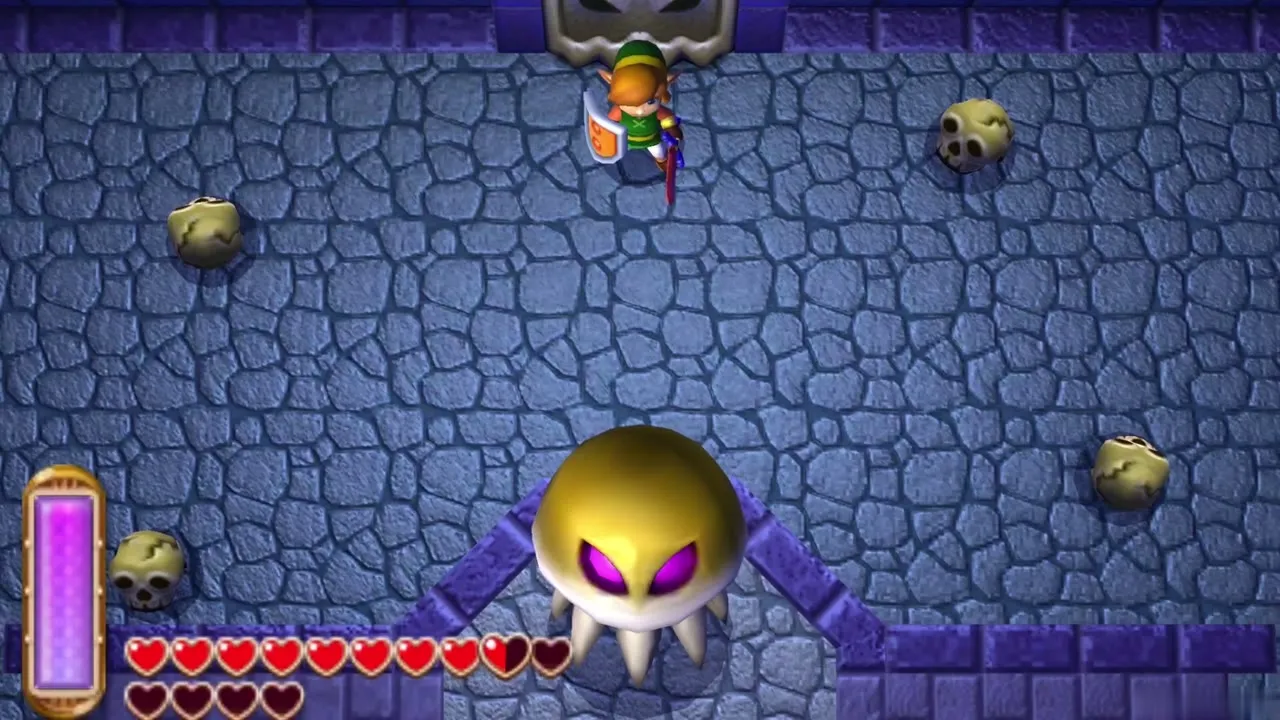
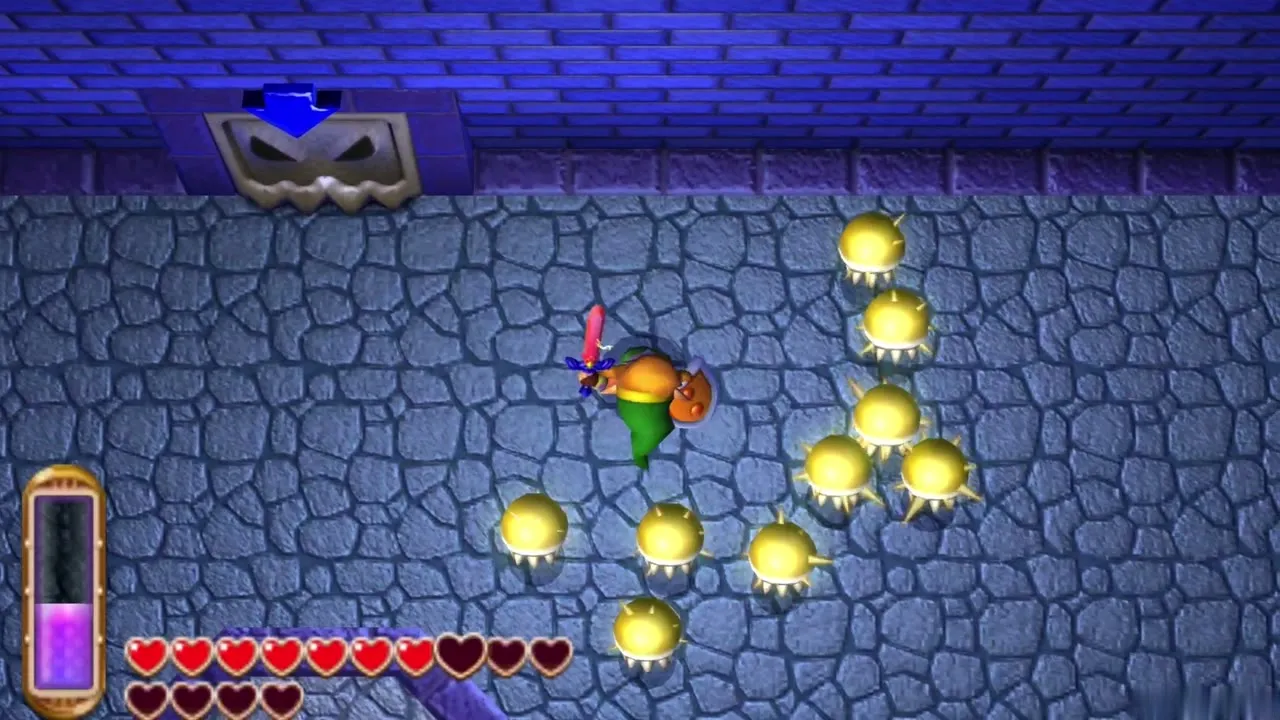
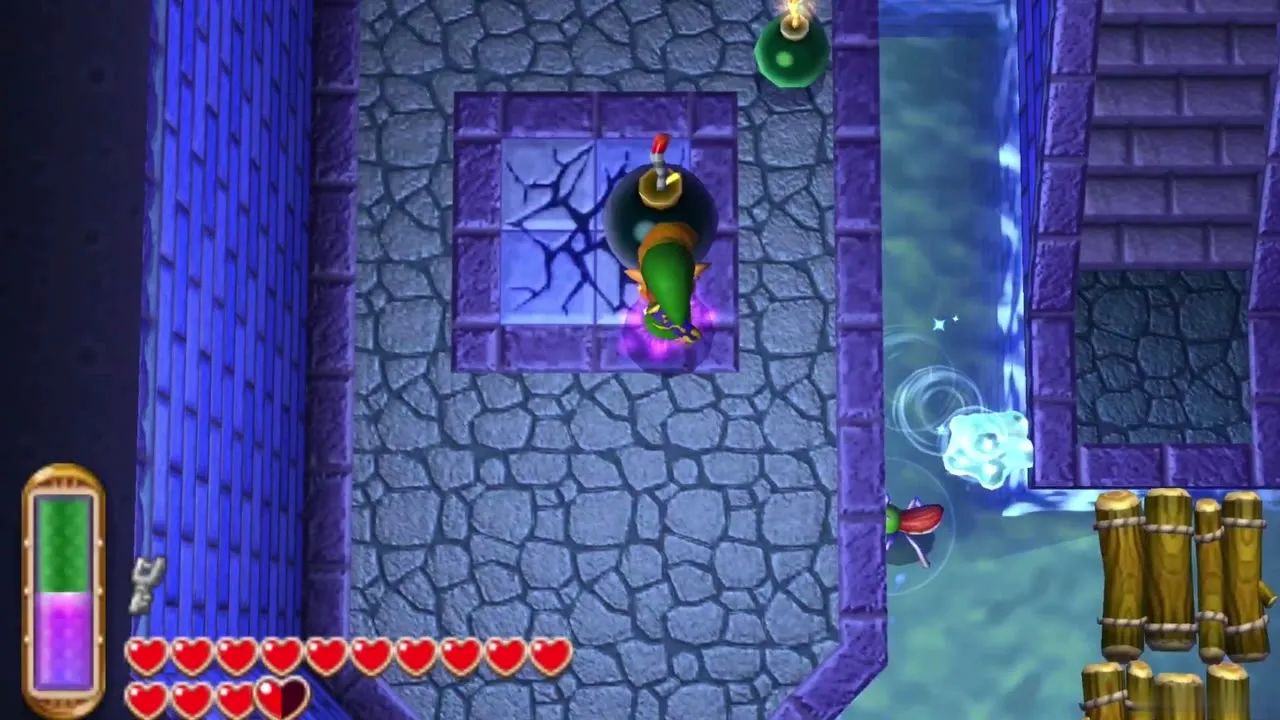
With the Gigabari gone, explore the doors it was blocking. One path leads to a floor switch that makes a walkway between two platforms. The cracked floor in the same room can be blown open with a Bomb, or by luring one of the Bomb-carrying enemies near it, which drops you back to B1 beside the machine that controls the next water level.
Blue Mail
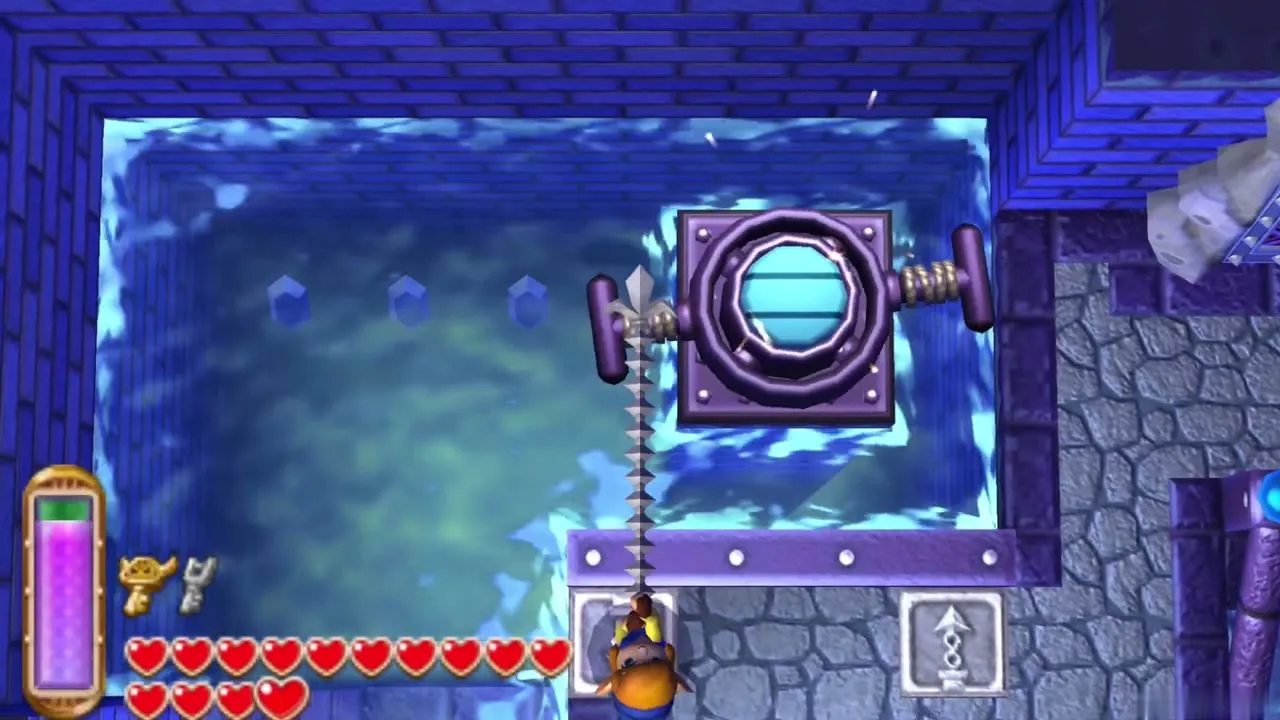
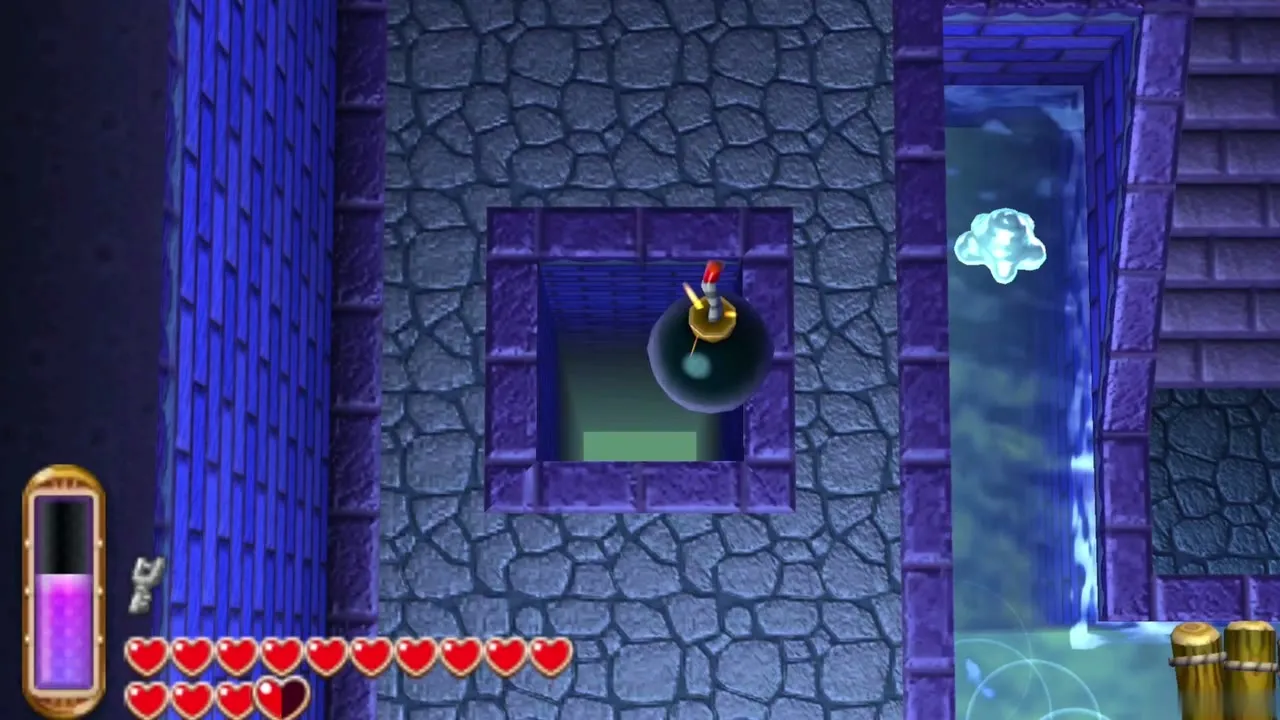
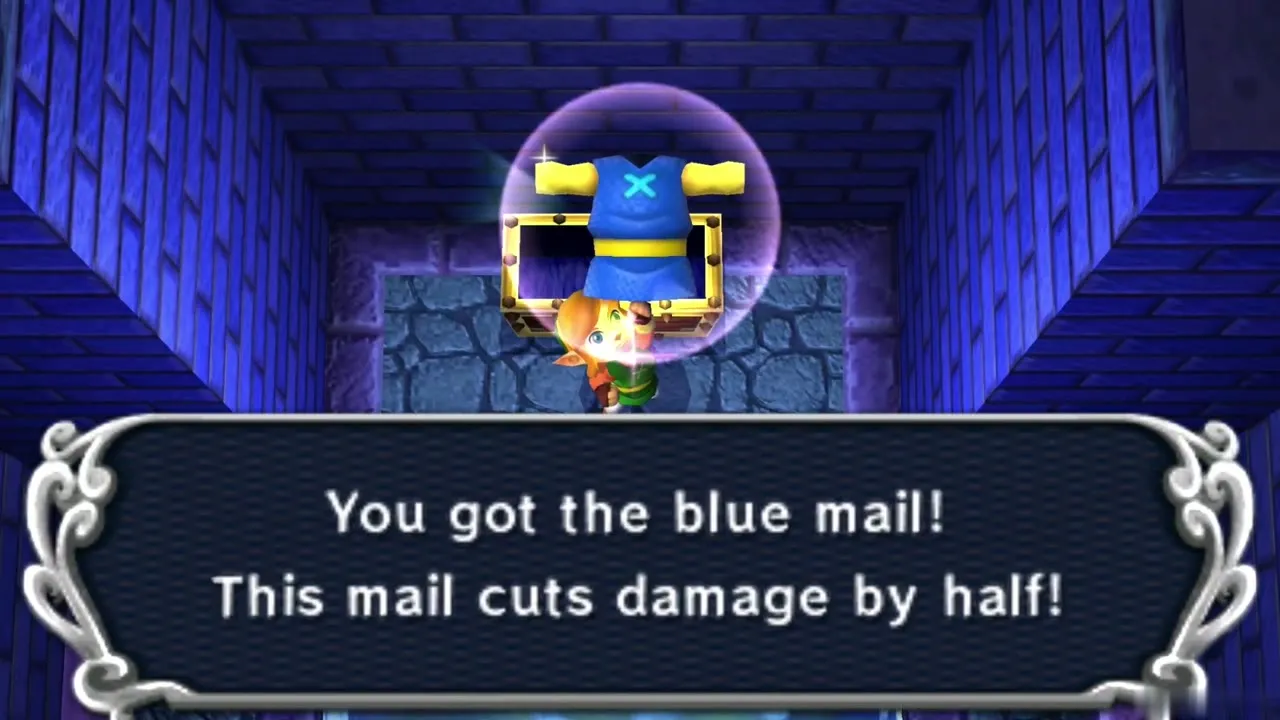
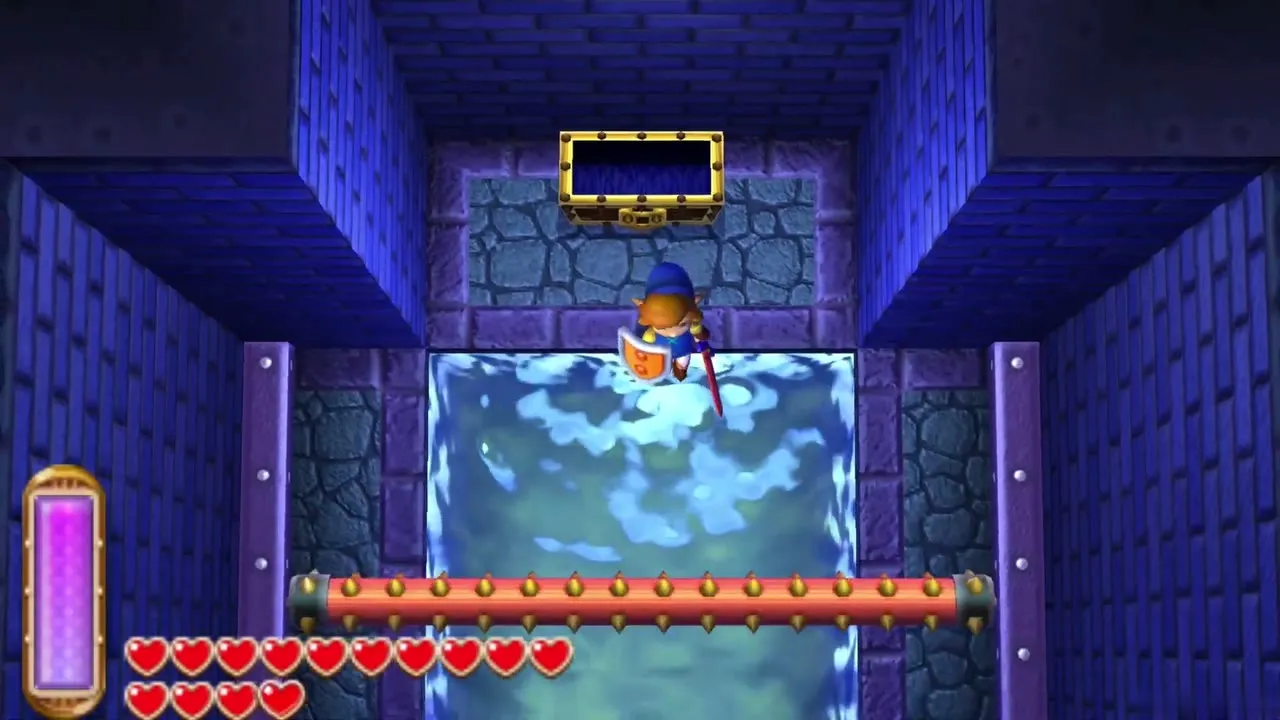
On B1 use the Hookshot on the left handle of the water machine, standing on the left tile, to lower the water, then swim north and dive under the spiked bar that sweeps the corridor. Beyond it a chest holds the Blue Mail, which cuts all damage you take in half. Taking it here matters later: if you grab the Blue Mail in Lorule Castle first, the chest here holds the Red Mail instead.
Beamos room
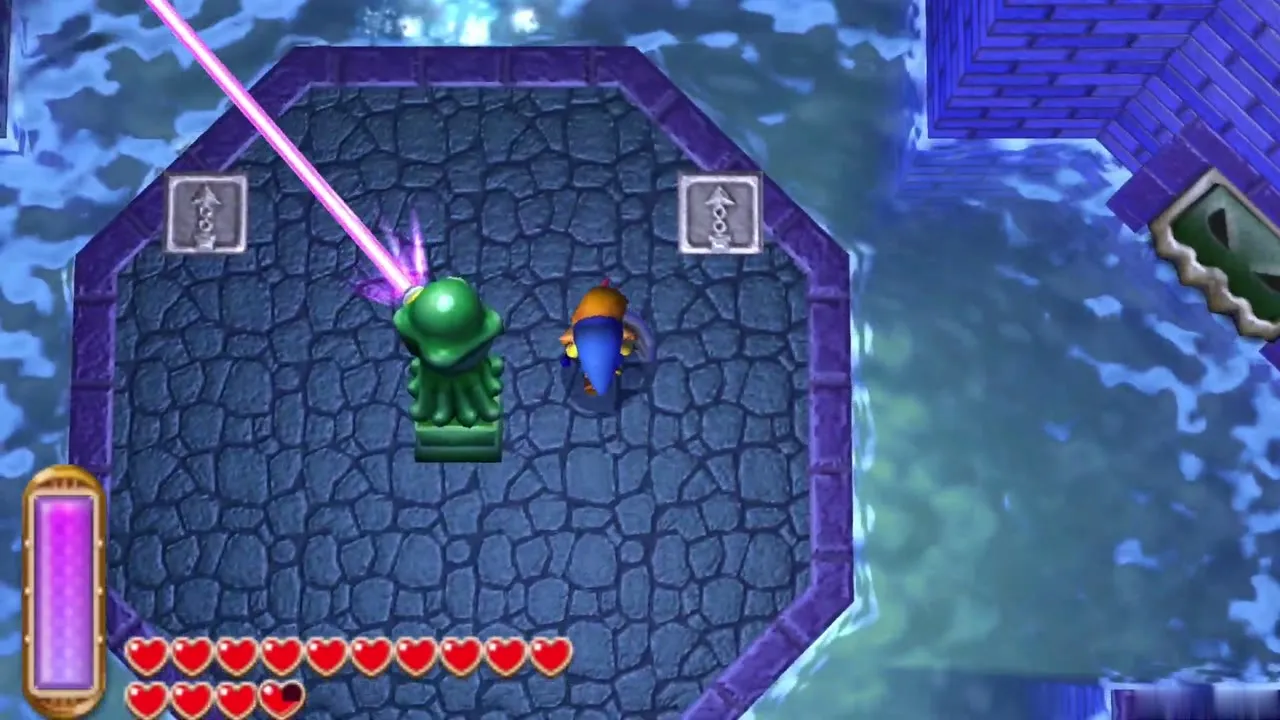
South of the Blue Mail corridor a room holds a Beamos and a few Skullrope enemies. Do not stand in the centre of the room, which triggers the Beamos’ laser. Kill the Skullropes, then lead the beam away from your path, stand on the left tile and pull the lever with the Hookshot. That unseals the next door and sends you back up to 1F.

Raft room and Monster Guts
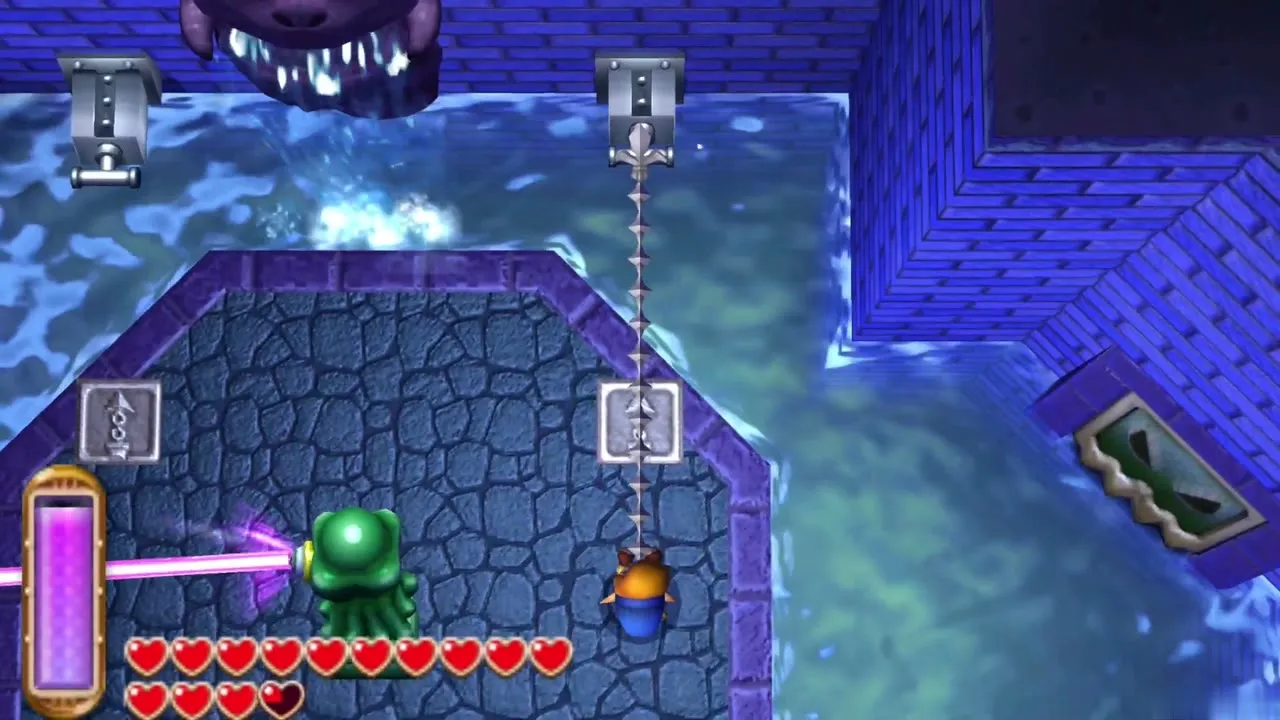
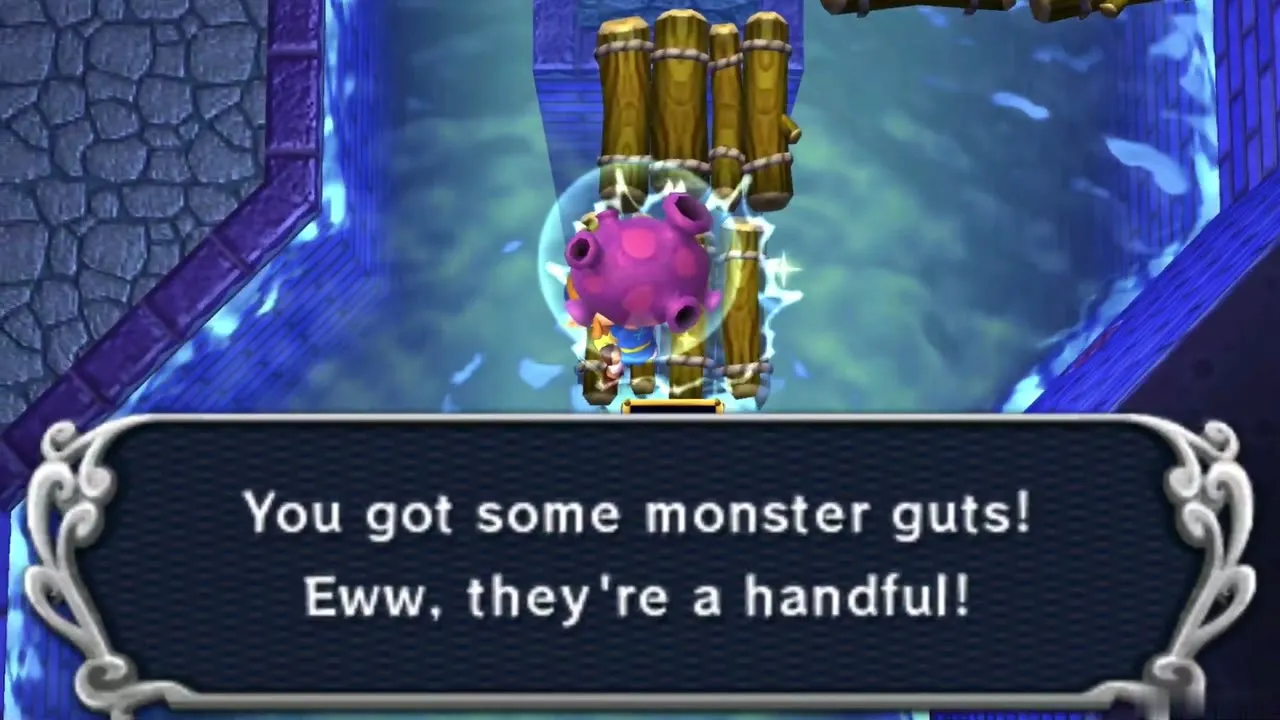
Back up from the basement, hit the floor switch on the right side to open a door, then use a metal target to merge into the wall and travel across the gap. Raise the water twice on the right tile and ride the raft to a chest with another Small Key. On the way east, board the rafts and merge into the wall again to reach a second chest, which holds Monster Guts.
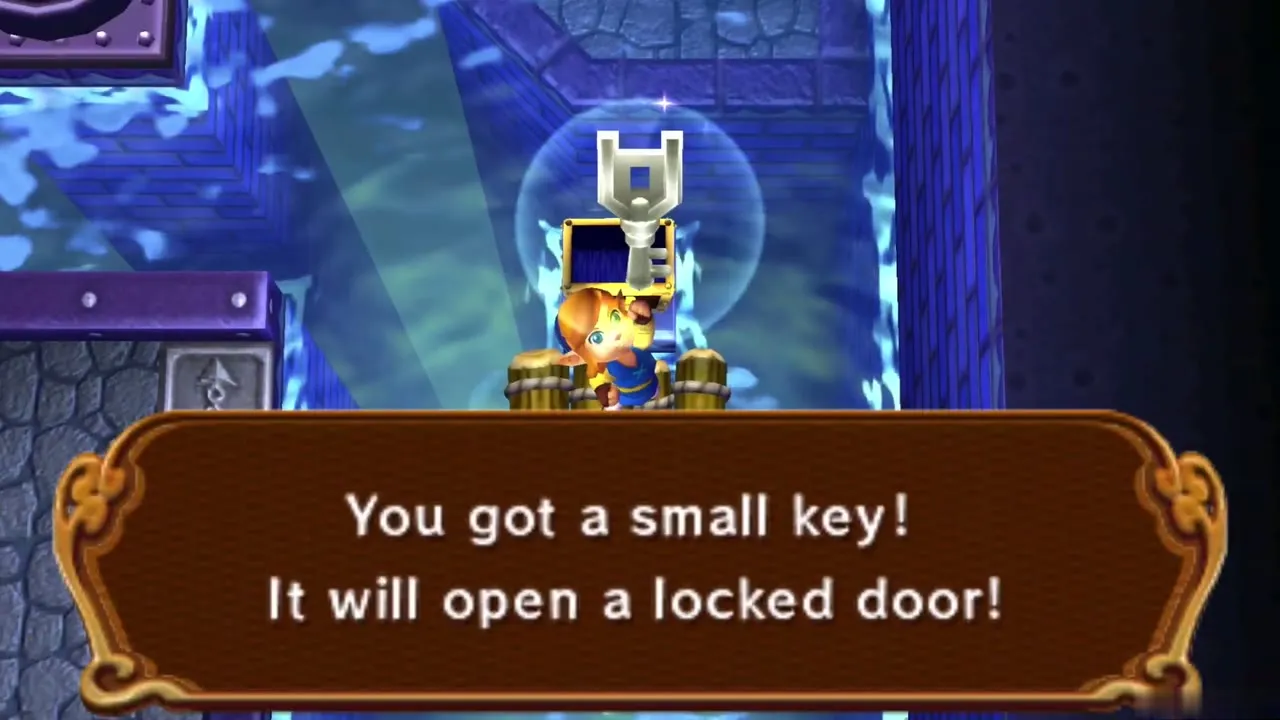
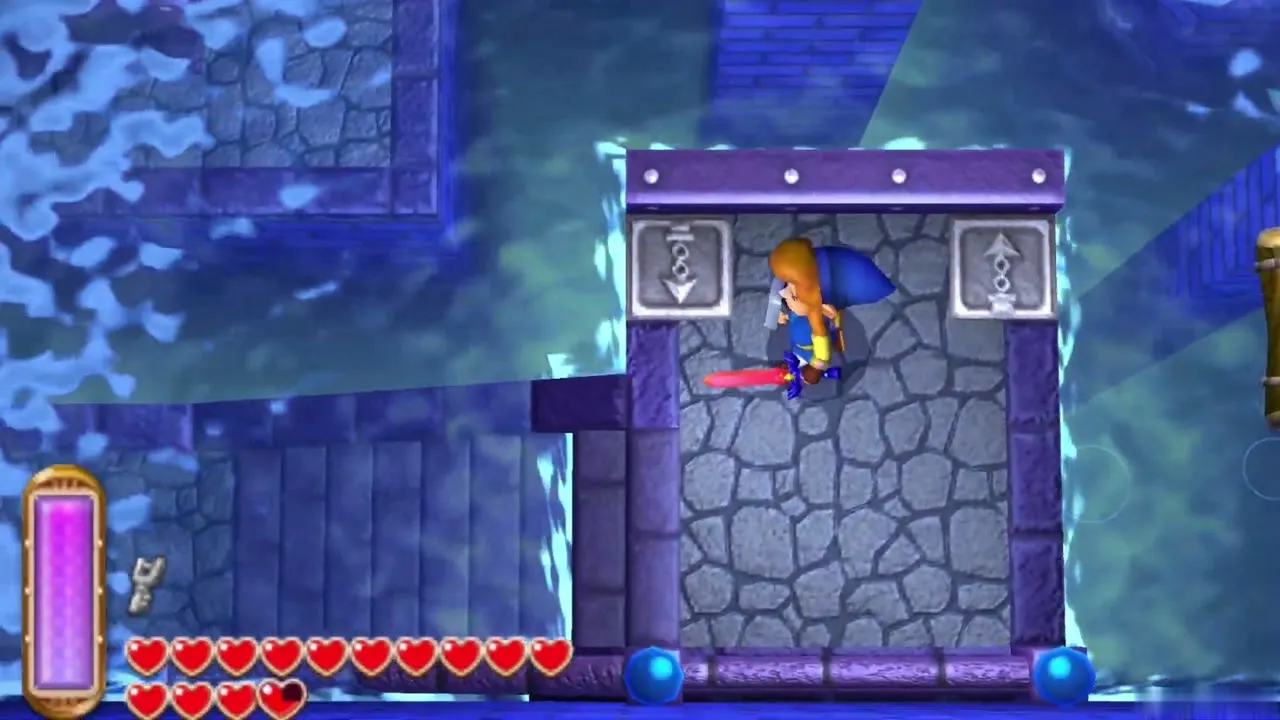
Drop through the cracked floor on the left to return to B1 and open the south-west door with a key. Raise the water twice at the right tile, take the north-west path upstairs and swim to the last Small Key chest that the water level put within reach, then drop through the hole on the right to B1 once more.
Shell enemies and the fairy room
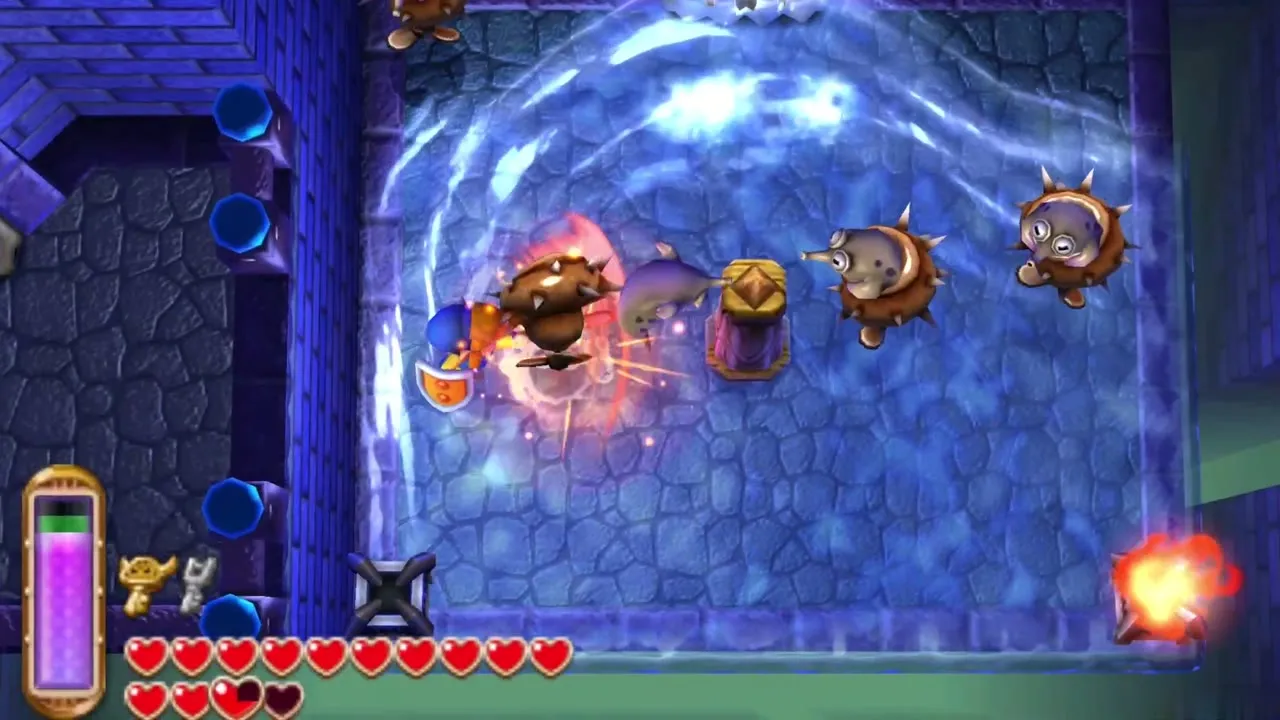
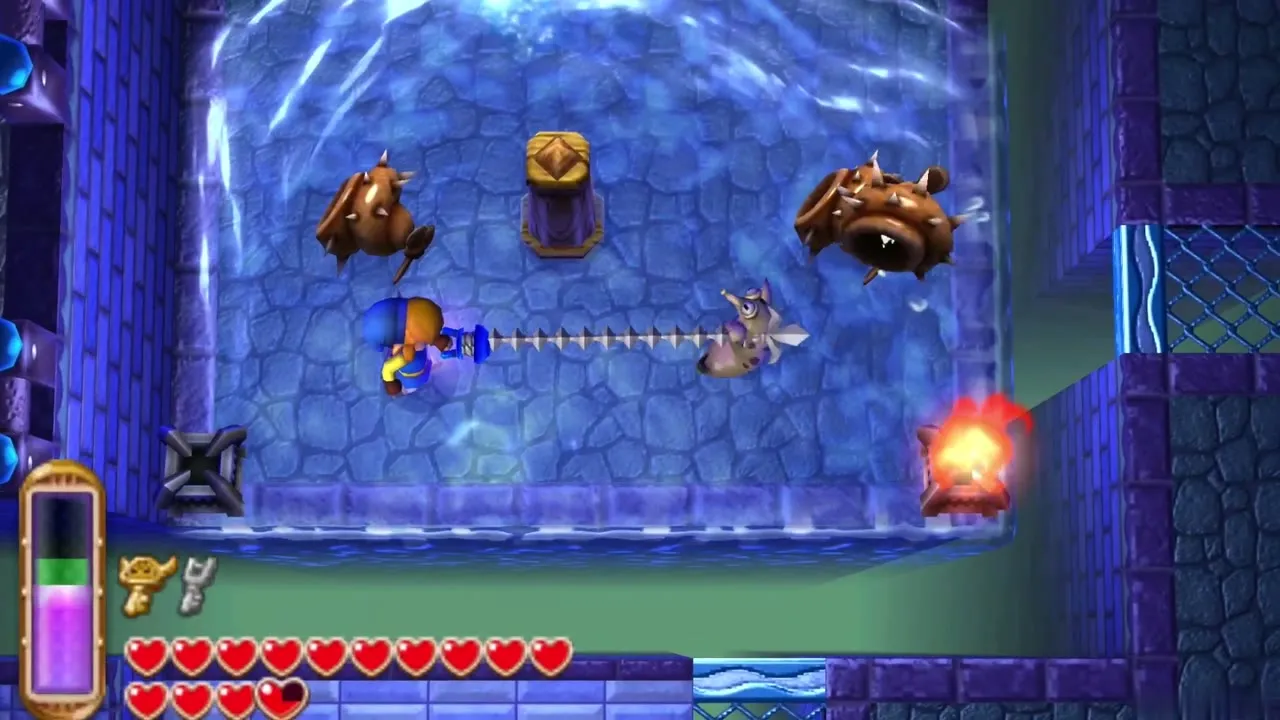
Go through the south-east door on B1 into a room with four shelled enemies. Pull each shell off with the Hookshot and hit the creature underneath. When the last falls, the doors unseal and a stream starts running south. Go through the north door afterwards to a small fairy room with three fairies, which is a good spot to catch one in a Bottle before the boss.
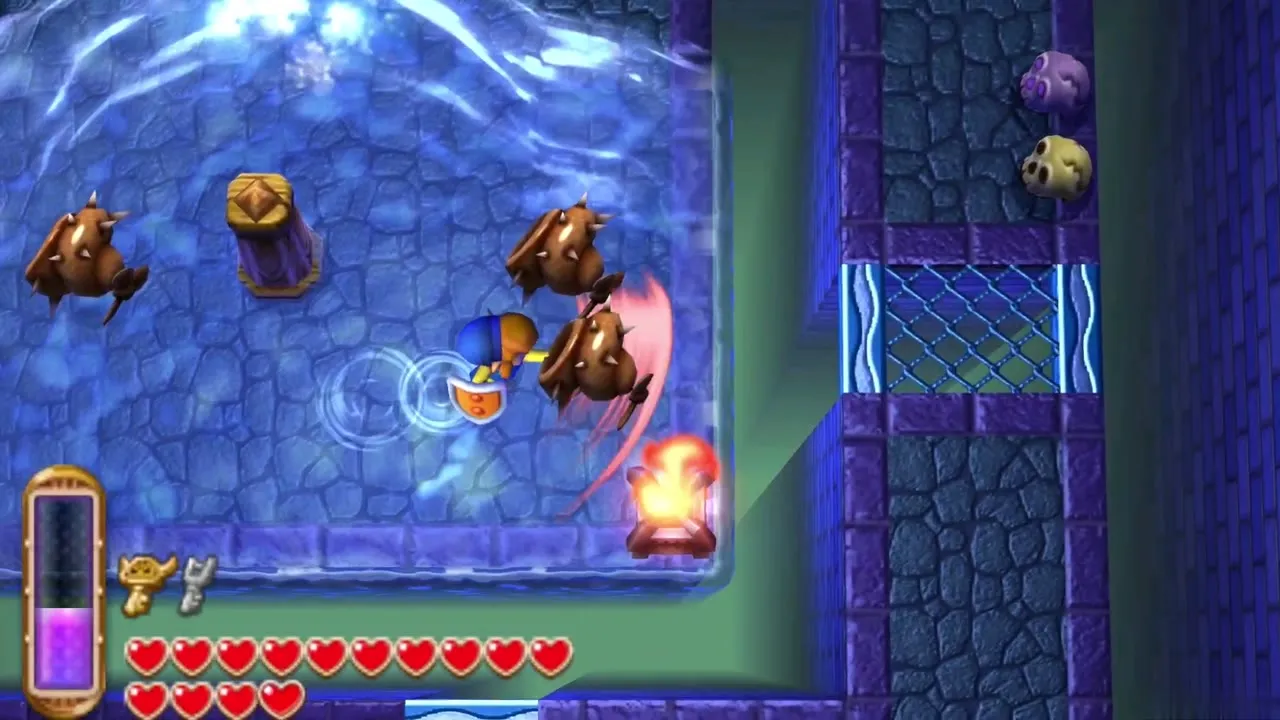
Swamp Palace Big Key
Raise the floor and open the Big Key chest
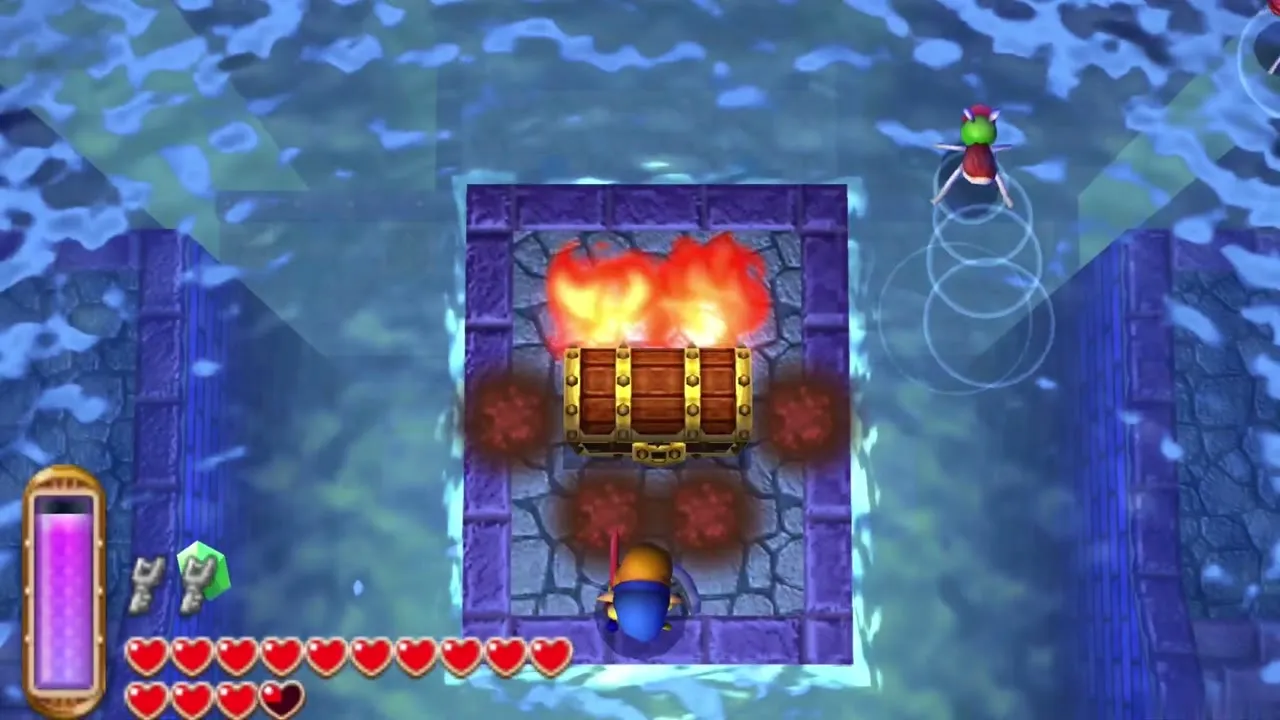
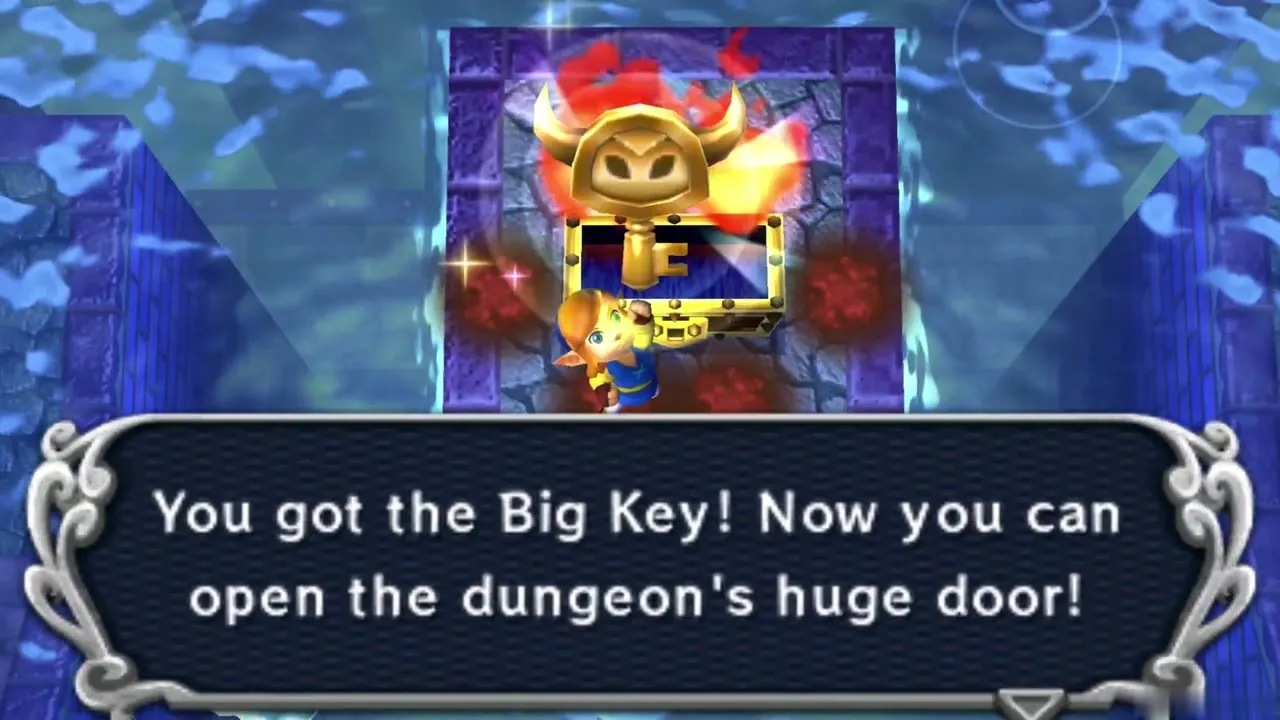
Return to the central hall. Smash the skulls on the platform near the Boss Door to reveal a floor button, and step on it to raise the floor. Then set the water to its medium level by working the levers in the nearby rooms, so that the big chest is no longer submerged. The chest is surrounded by flames, so bring the Tornado Rod.
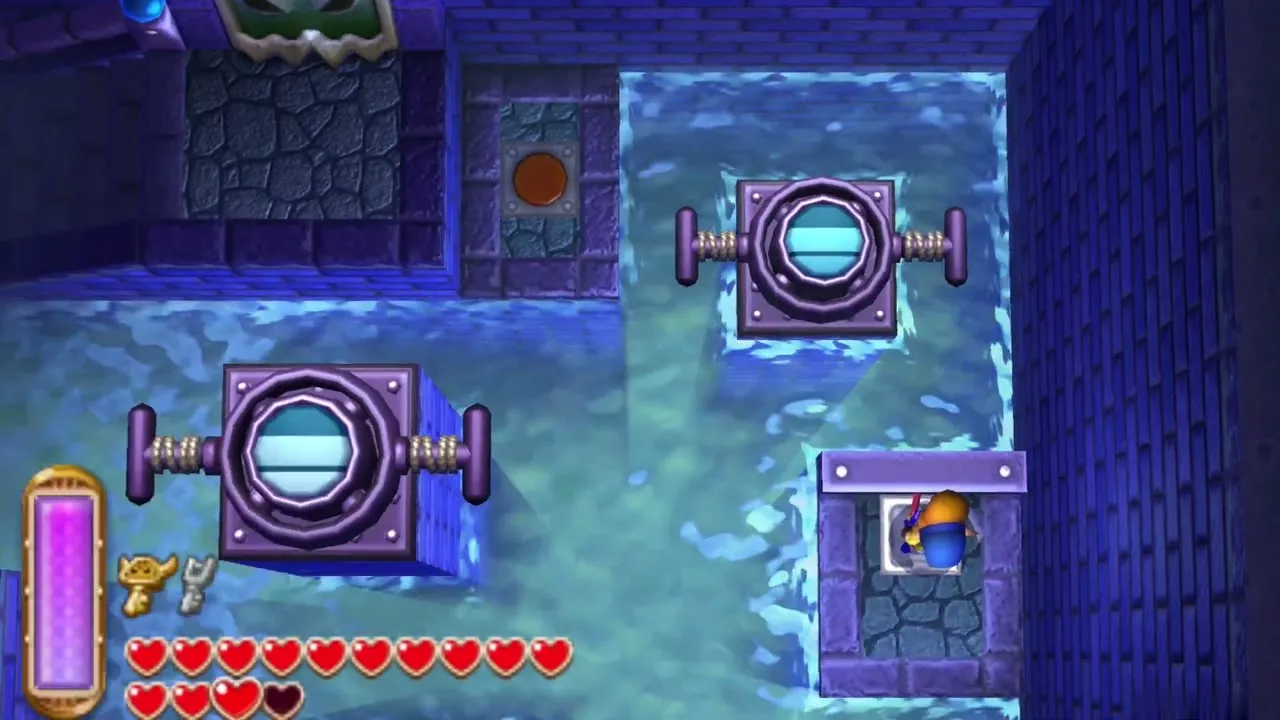
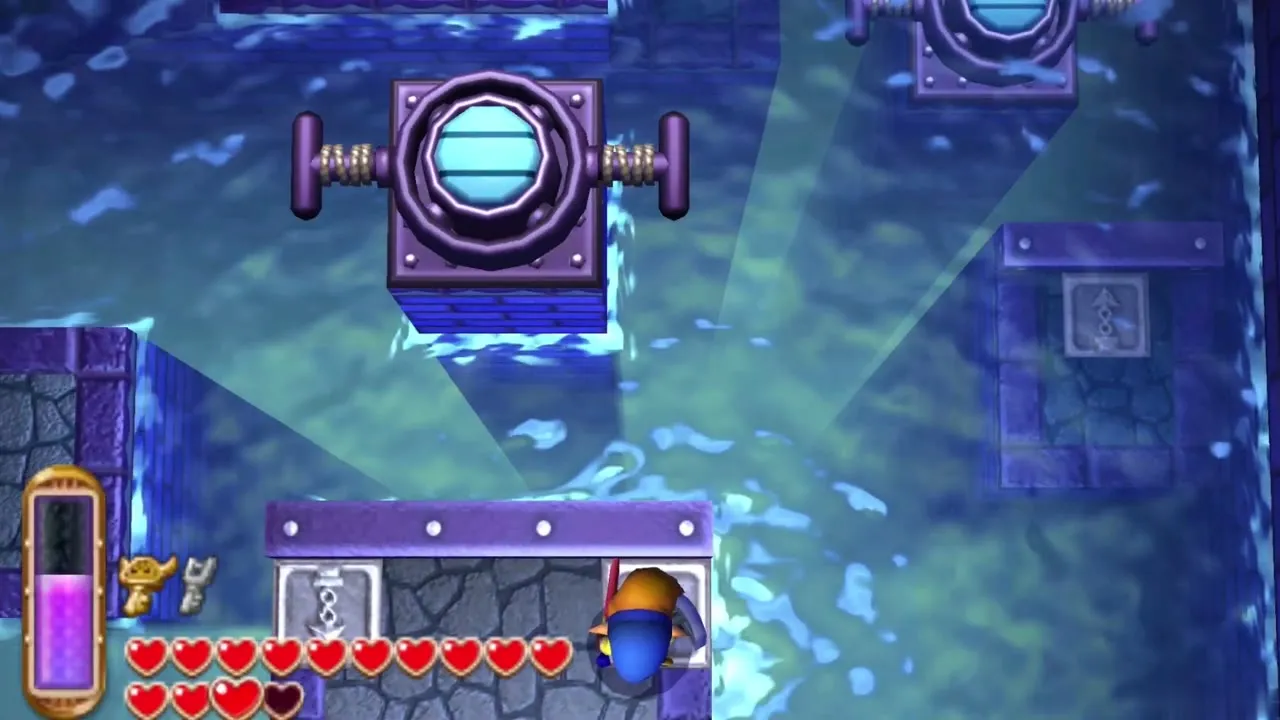
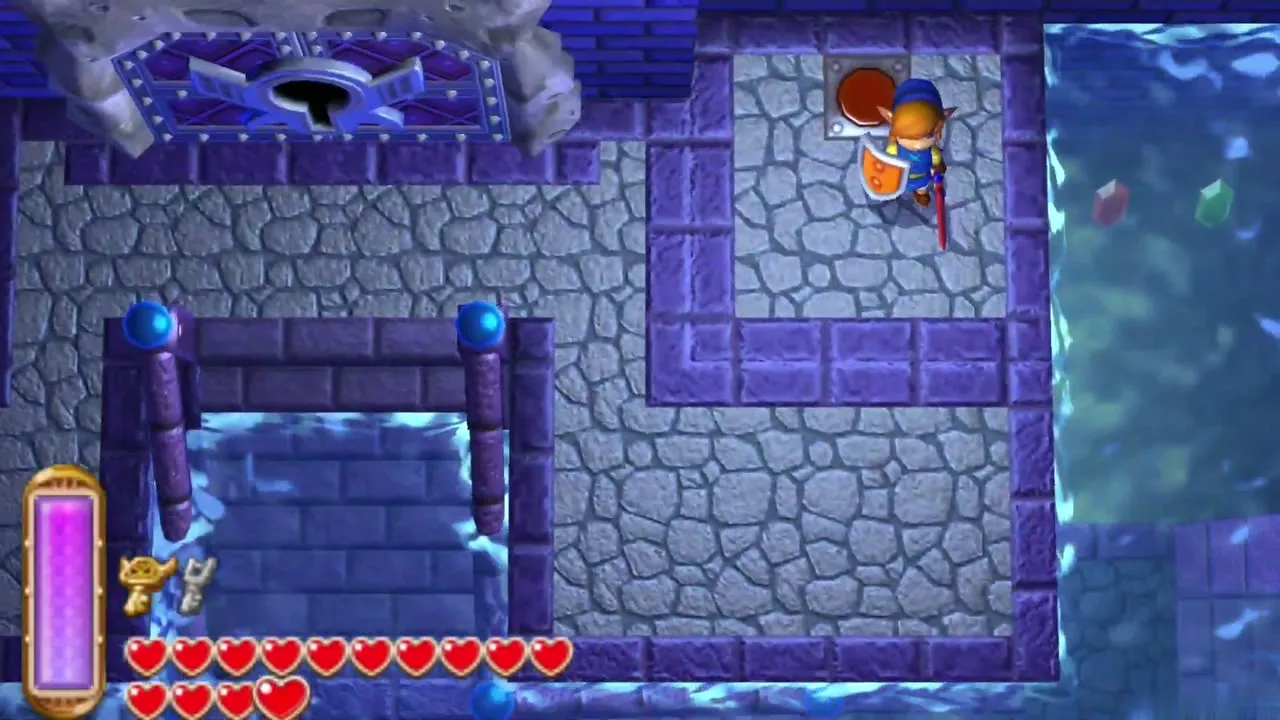
Use the Tornado Rod to blow the flames away, open the chest and take the Big Key. The Tornado Rod costs 50 Rupees to rent, so pick it up from Ravio’s shop before you come if you have not already. With the Big Key in hand, climb the steps to the Boss Door and open it.
Arrghus boss fight
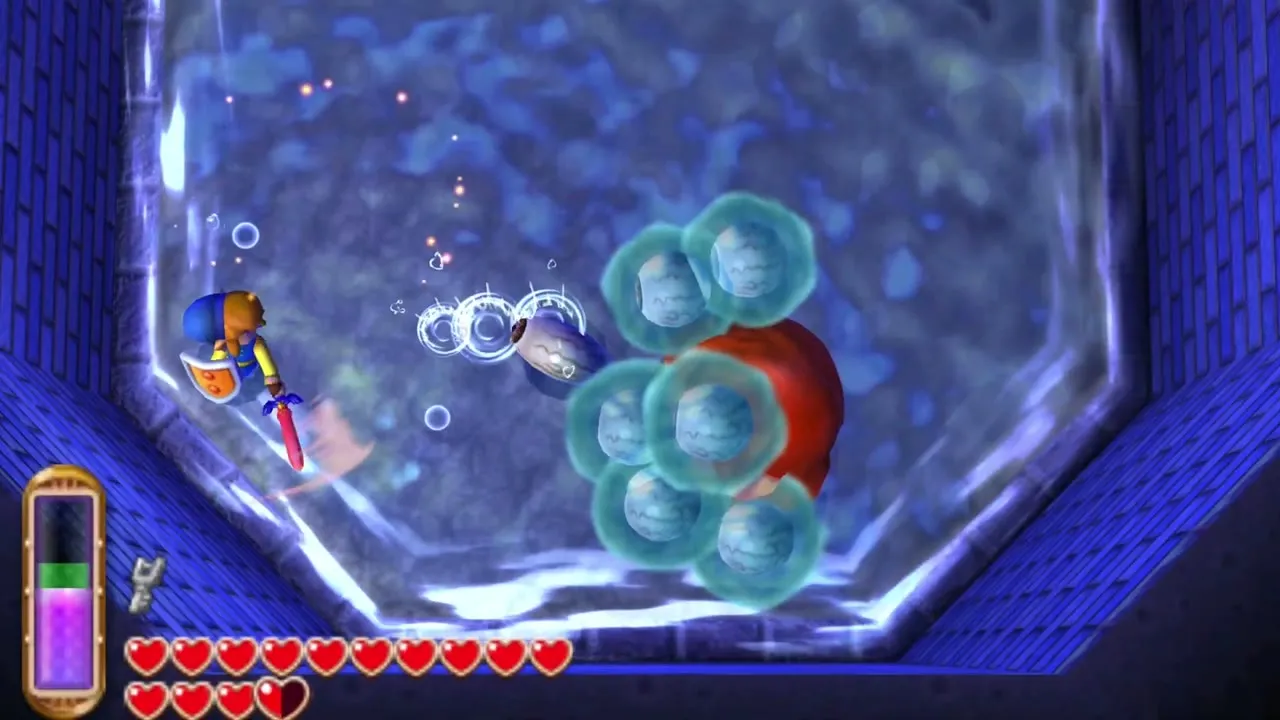
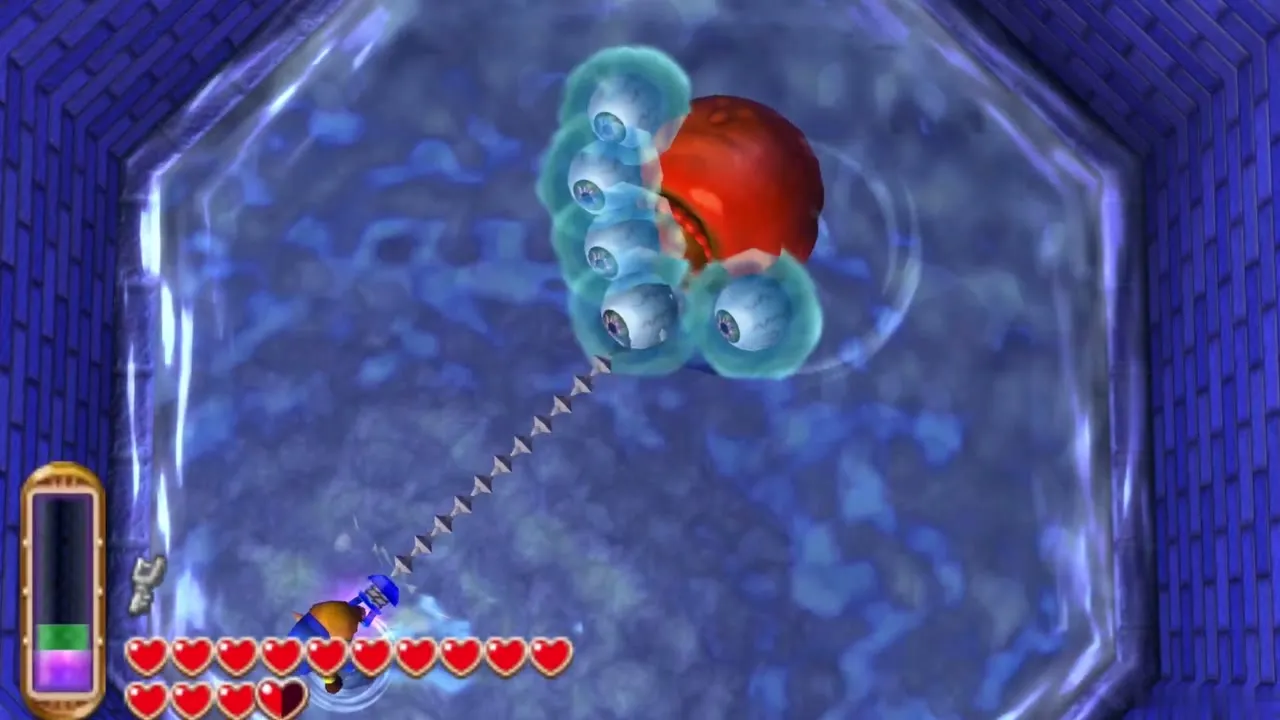
Arrghus phase one: pull off the eyeballs
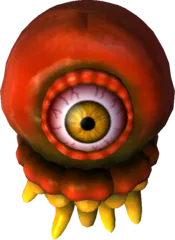
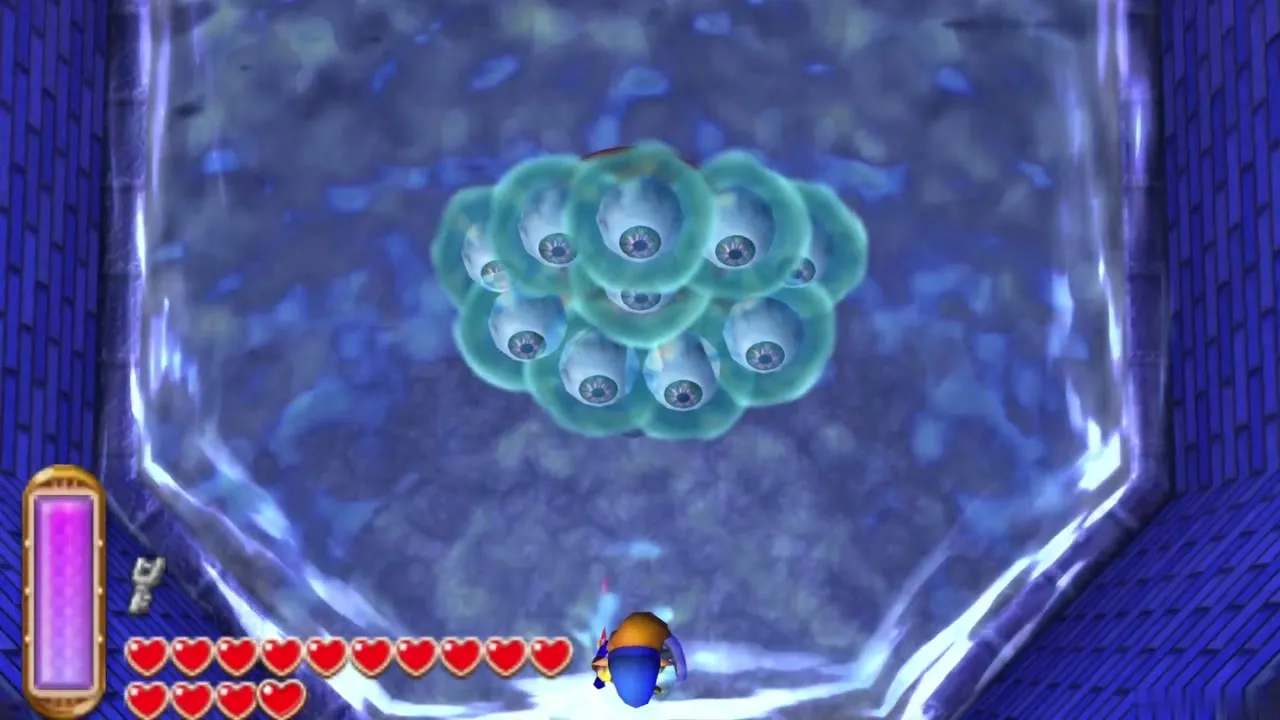
Arrghus floats in a round pool, wrapped in a cloud of small eyeballs that shield its body. Aim the Hookshot at an eyeball and pull it out of the cluster, then slash it as it lands. Each eyeball takes a few sword hits. Keep removing them one at a time, and watch for an eyeball that flashes yellow, because it is about to fly straight ahead until it hits a wall.
Arrghus phase two: dodge and strike
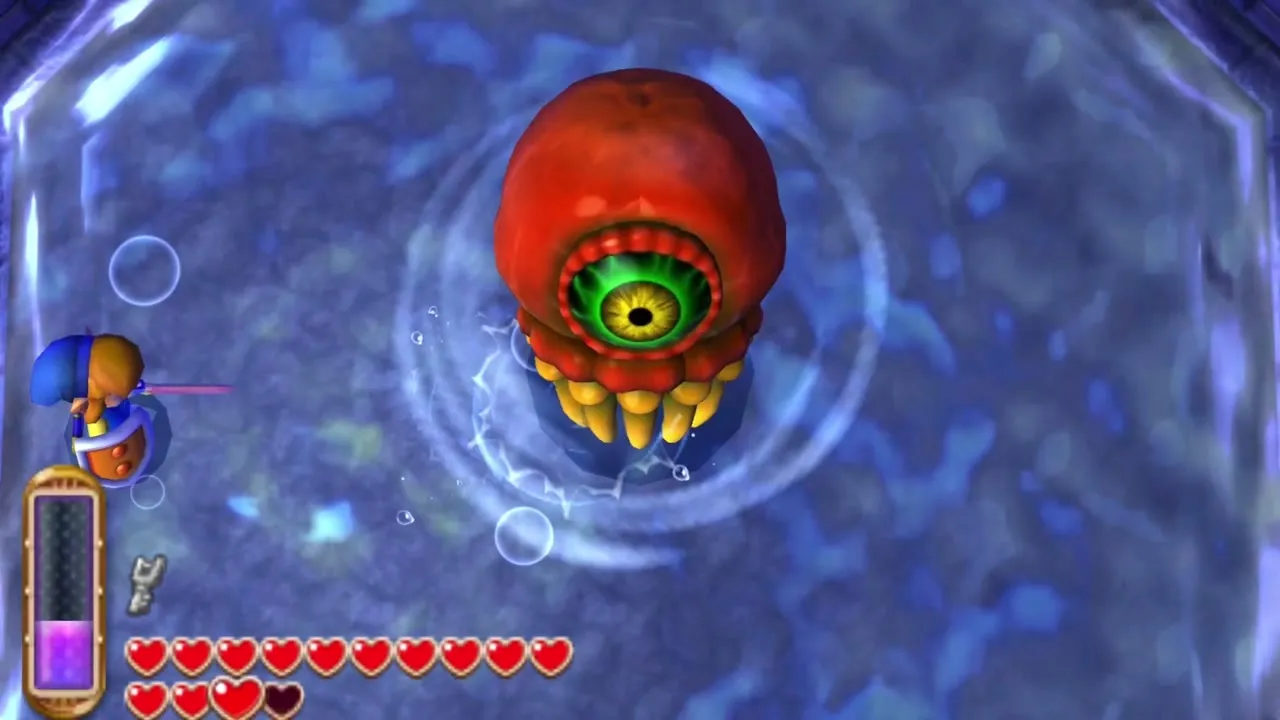
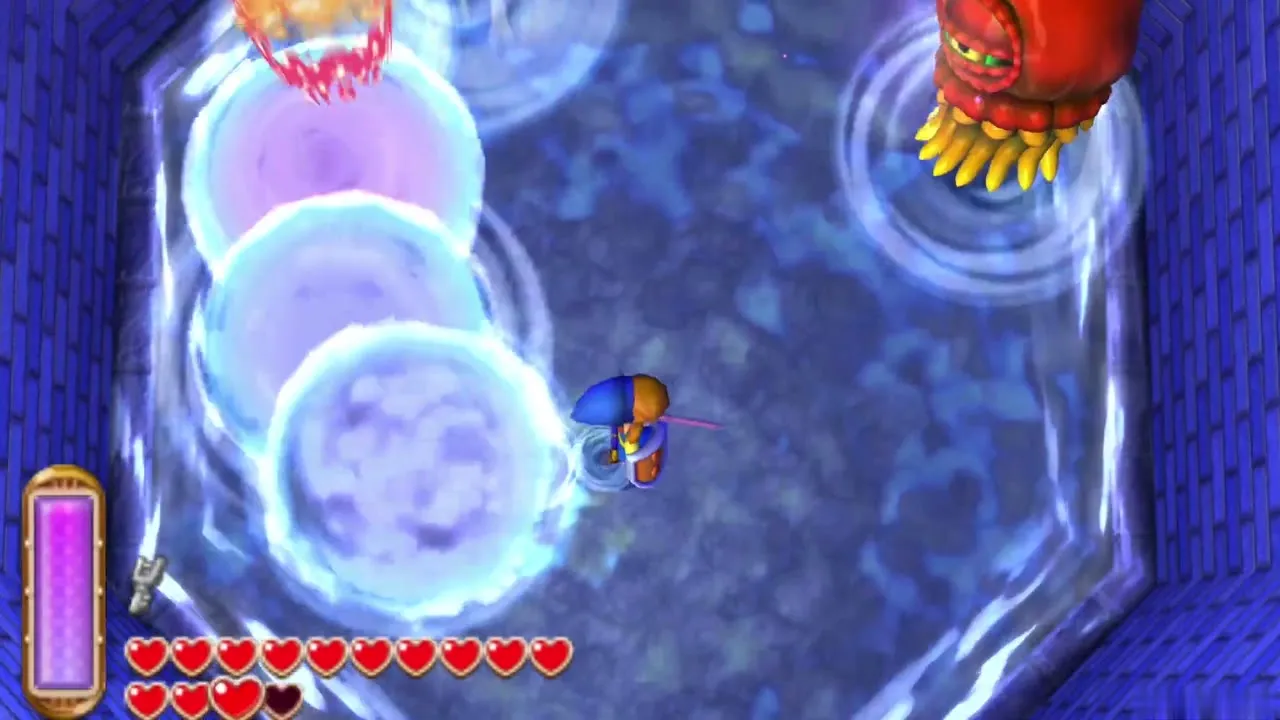
Once the last eyeball is gone, Arrghus leaps up and tries to land on you three times in a row. Stay clear of its landing spot, then slash it whenever it settles. After the jumps it fires laser beams that explode a few seconds after hitting the water, so keep moving until the blasts fade. Repeat the pattern of dodging and slashing until it collapses.
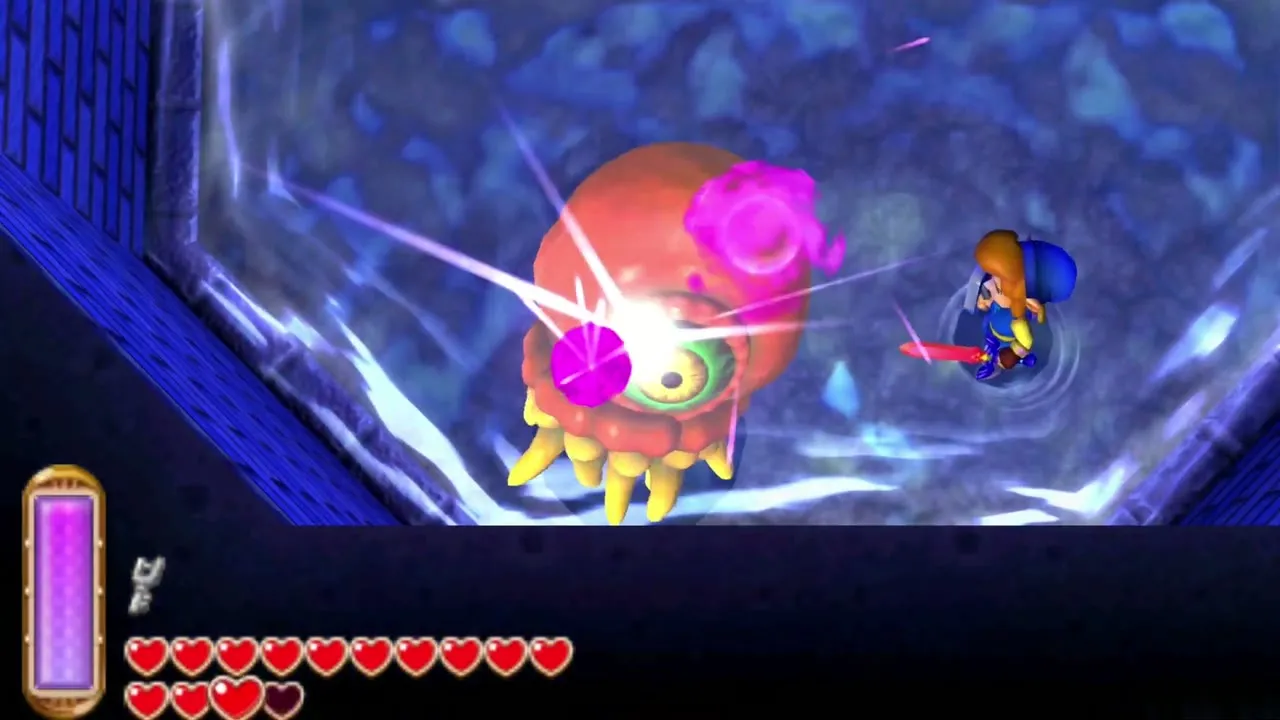
After the boss: Heart Container and Sage Oren
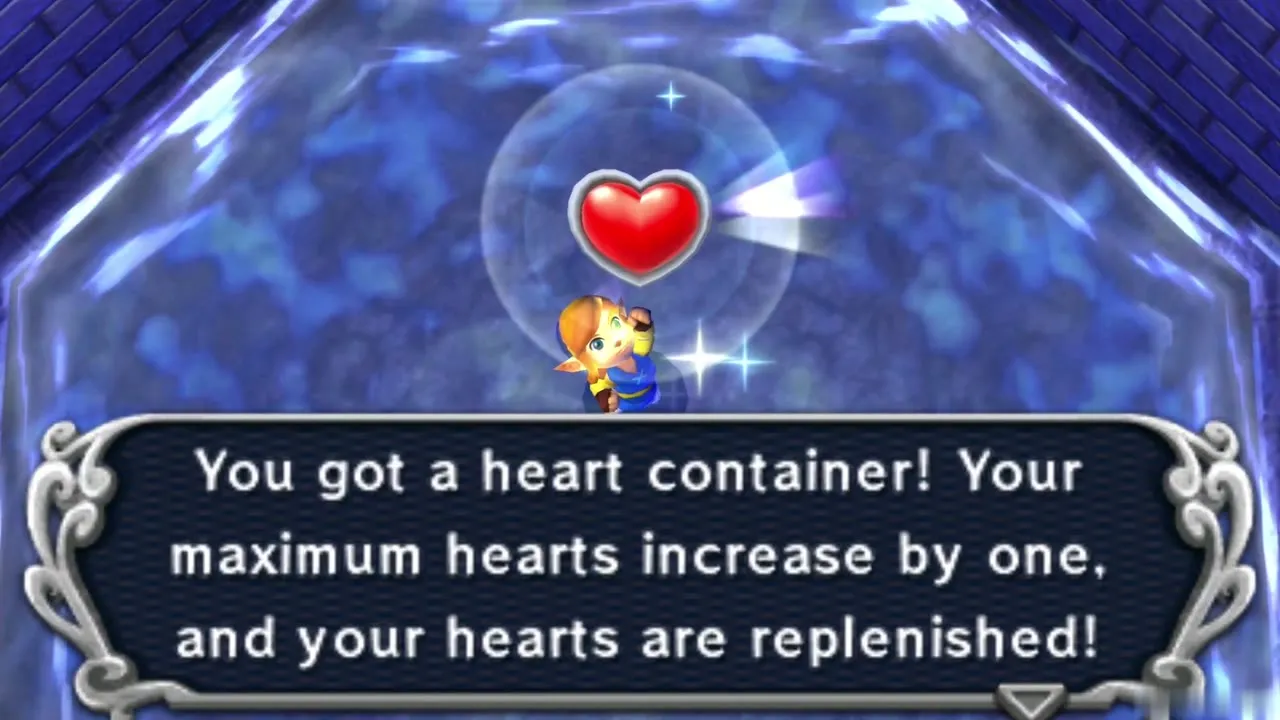
Swamp Palace Heart Container
Arrghus leaves a Heart Container behind, along with the painting that holds Oren. Take the Heart Container to raise your maximum health by one heart and refill your hearts.
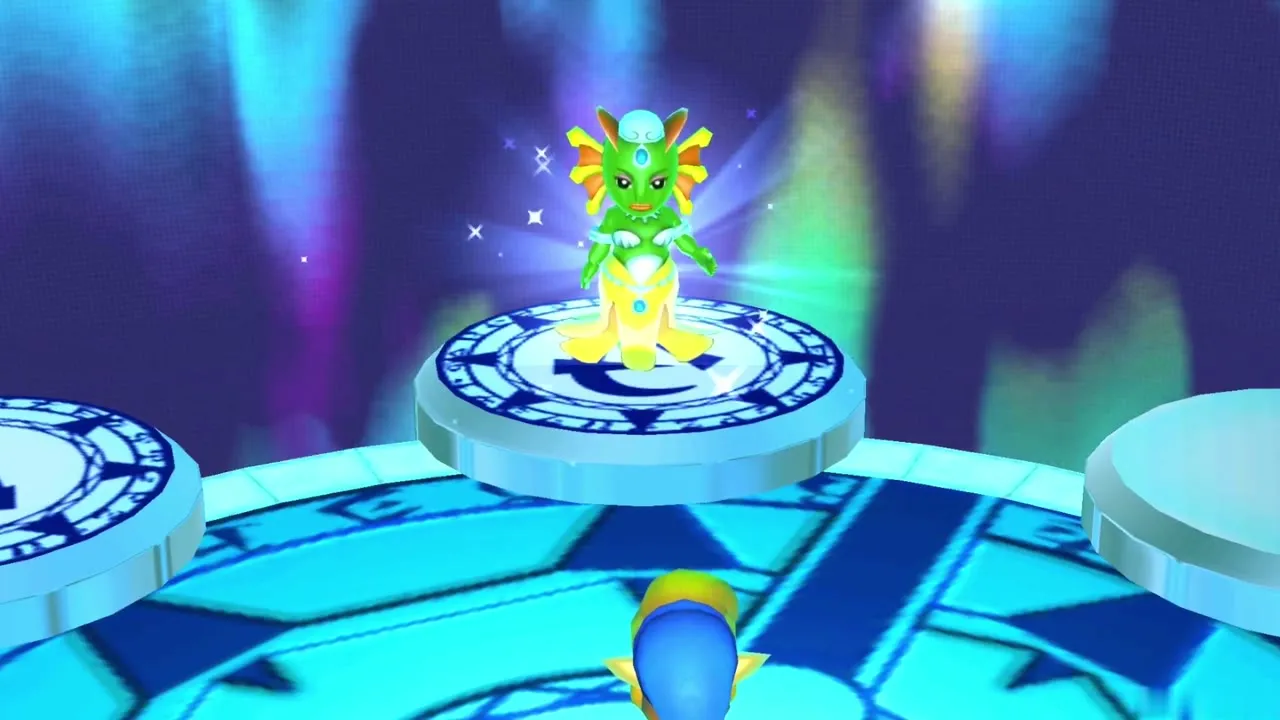
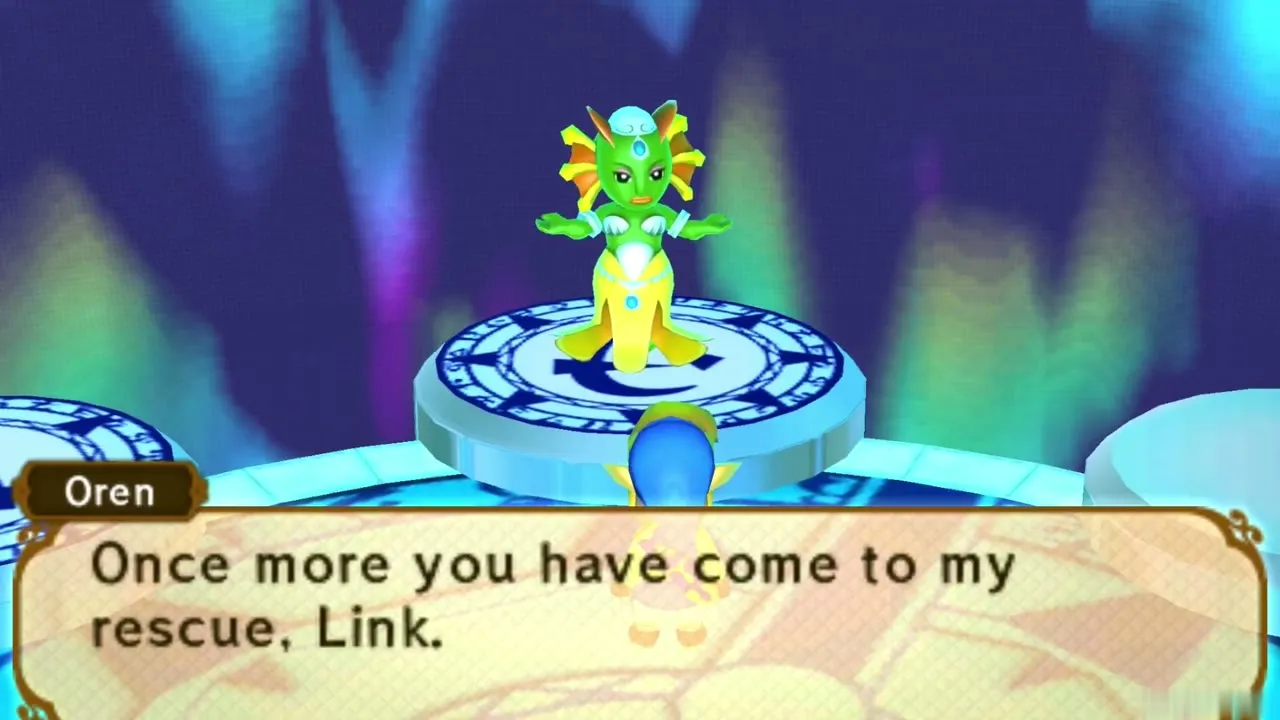
Sage Oren
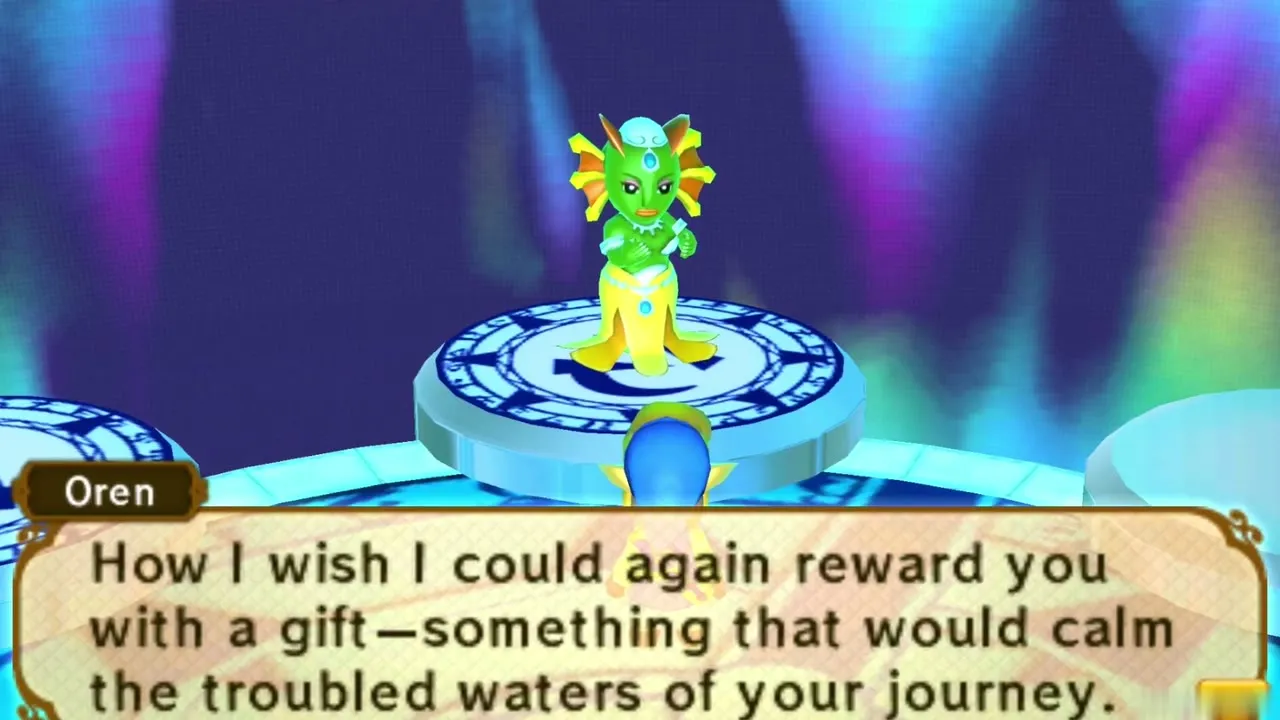
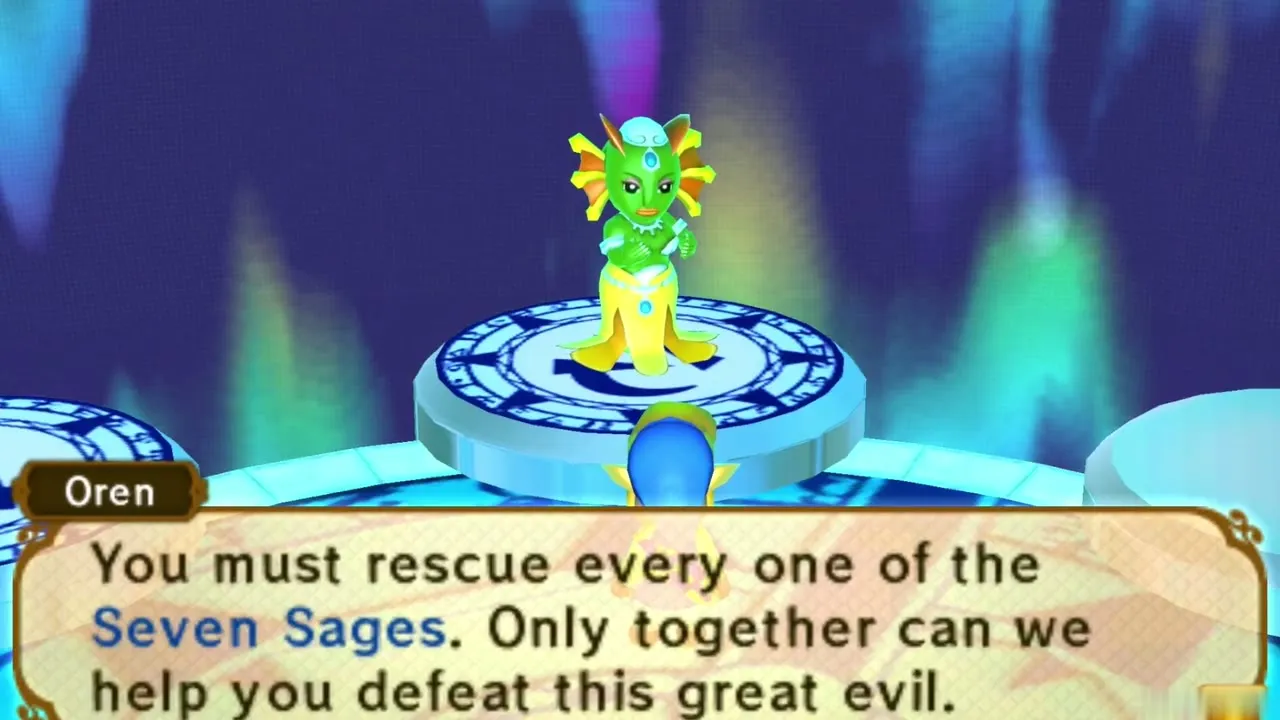
Step up to the painting and you enter the Chamber of Sages, where Oren, the Queen of the Zoras, is freed from her painting. She thanks you for rescuing her again and says she wishes she could repay you with a gift for your travels. She asks you to rescue the other Sages as well. Afterwards you return to the entrance of the palace.
Chapter checklist
| Collectible | Type | Where |
|---|---|---|
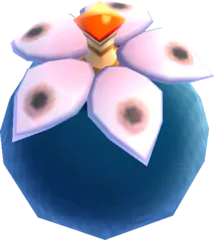 Big Bomb Flower | Required item (200 Rupees) | Bomb Shop, south of Thieves’ Town |
 Maiamai (Thieves’ Town and Lorule Castle region #5) | Maiamai | Slash the northernmost grass in the ring around the Big Bomb Flower |
 Great Rupee Fairy cave | Bottle | Boulder next to the Bomb Shop, 3,000 Rupees donated in total |
| Heart Piece #22 | Heart Piece | Cave behind a boulder between Thieves’ Town and the palace, opened with the Big Bomb Flower |
| Gold Rupee (300) | Rupees | B1 chest, dropped by the crystal switch |
| Compass | Dungeon item | B1, north-central chest |
| Small Keys (4) | Keys | B1 and 1F water-puzzle chests |
| Blue Mail | Armor | B1 chest behind the spiked bar |
 Monster Guts | Item | Chest across the rafts |
 Fairies (3) | Fairies | B1 fairy room, north of the shell enemies |
| Big Key | Dungeon item | 1F central hall, big chest ringed by flames |
| Heart Container | Heart Container | Dropped by Arrghus |
| Sage Oren | Sage | Painting left behind by Arrghus |
With Oren freed, the Ice Rod and Zora’s Flippers carry you to Turtle Rock in the Turtle Rock walkthrough.