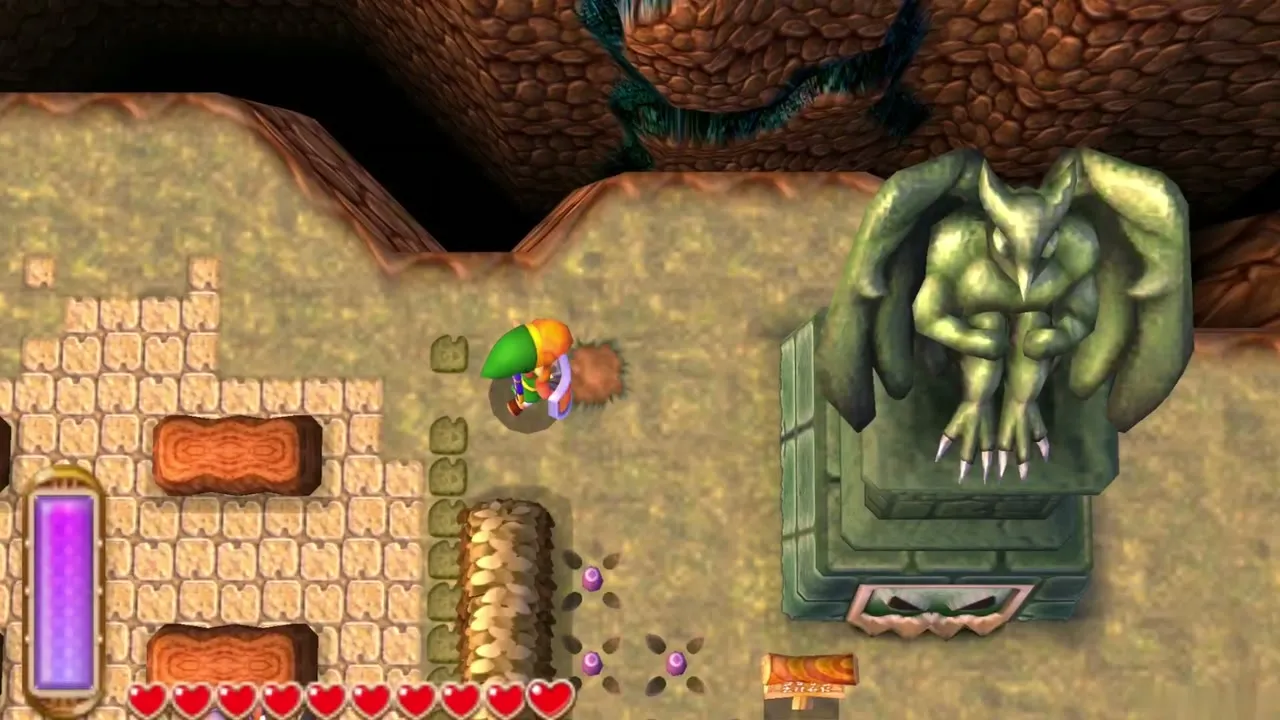
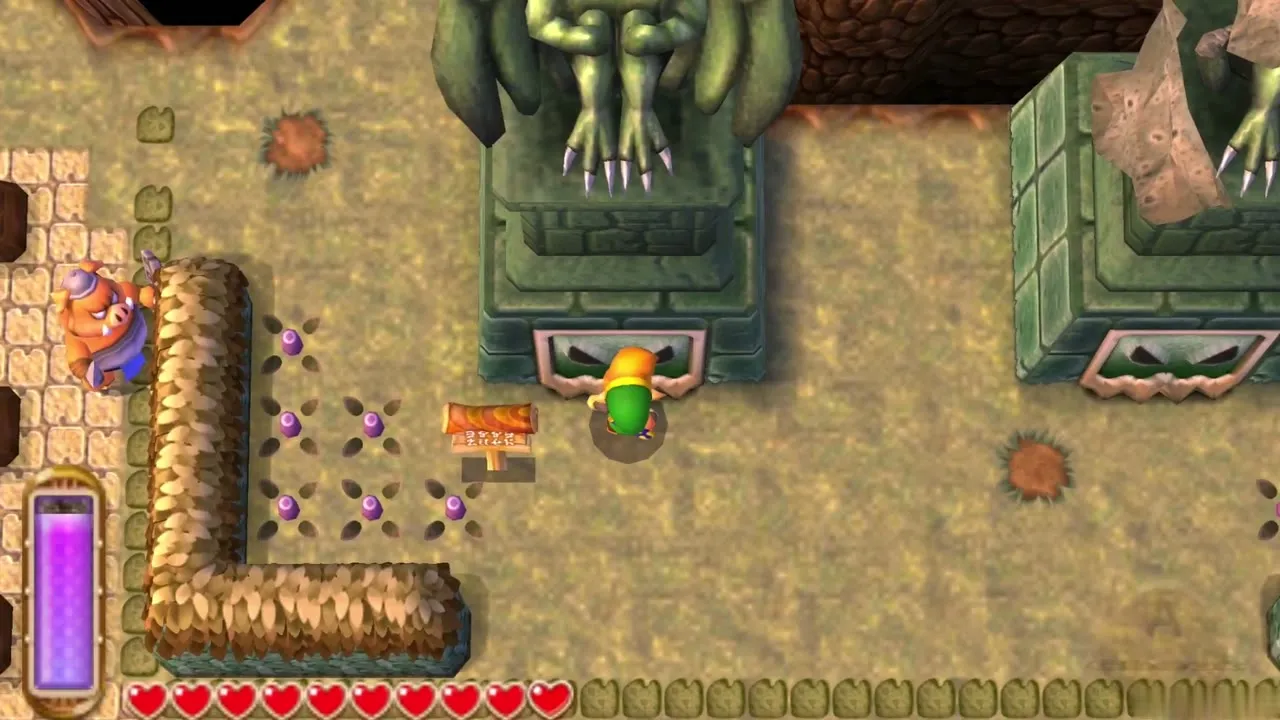
A Link Between Worlds 100% Completion Walkthrough18 chapters
- Opening and SanctuaryWake in Link’s House, deliver the captain’s sword, cross the Graveyard passage with the Lamp and meet Yuga.
- Hyrule Castle and Kakariko VillageRavio’s Bracelet, Zelda’s Pendant of Courage, Kakariko shops, Sahasrahla and the free Bow rental.
- Eastern PalaceEvery key, chest and rupee, the Compass, Big Key, Yuga boss fight and your first Heart Container.
- Pegasus Boots and Zora’s FlippersGet the Pouch, Irene’s Bell, Power Glove, Pegasus Boots, Zora’s Flippers, Ravio’s rentals and Hyrule Heart Pieces.
- House of GalesRent the Tornado Rod, swim to Lake Hylia’s island, beat Margomill and take the Pendant of Wisdom.
- Death MountainClimb the boulder caves, find two Heart Pieces and a Bottle, and reach the Tower of Hera.
- Tower of HeraEvery floor, both Small Keys, Compass, Big Key, Moldorm boss fight, Heart Container and Pendant of Power.
- Master Sword and Lost WoodsWalkthrough for pulling the Master Sword in the Lost Woods, breaking the Hyrule Castle barrier.
- Lorule and Dungeon OrderHilda, the Blacksmith, fissures, Ravio’s Shop, Thieves’ Town side content and the dungeon order.
- Dark PalaceThe guard maze, every key, the Compass, Big Key, Master Ore, Gemesaur King, Heart Container and Sage Gulley.
- Skull WoodsKeys, Compass, Big Key, Master Ore, Knucklemaster boss fight, Sage Seres and the Master Sword upgrade.
- Ice RuinsThe Hookshot route to Lorule’s Death Mountain, every floor, keys, the Stamina Scroll and Dharkstare.
- Thieves’ HideoutThe password song, the Thief Girl escort, Master Ore, Stalblind, Sage Osfala and the Sand Rod.
- Swamp PalaceBig Bomb Flower, Hookshot, water levels, keys, Compass, Blue Mail, Big Key, Arrghus and Sage Oren.
- Turtle RockRescue the baby turtles, use the Ice Rod, find every key, beat Grinexx and free Sage Impa.
- Desert PalaceReach it with the Sand Rod, find the Titan’s Mitt, beat Zaganaga and rescue Sage Irene.
- Lorule CastleThe Triforce of Courage, all four mini-bosses, the Compass, Red Mail and the way to the Throne Room.
- Final BossBeat Yuga Ganon with the Bow of Light, see Hilda’s choice, make the Triforce wish and unlock Hero Mode.
| Covers | Hyrule’s Death Mountain east of the Tower of Hera, Rosso’s Ore Mine fissure, Lorule’s Death Mountain and the Ice Ruins dungeon (floors 1F to B5) |
|---|---|
| You need | Hookshot and Fire Rod (both rented from Ravio, or owned); the Lamp from the Sanctuary; Ravio’s Bracelet for wall merging |
| Rewards |  Stamina Scroll,  Big Key,  Compass,  Heart Container,  Sage Rosso, Lorule Death Mountain weather vane,  Gold Rupee and  Silver Rupee chests, four reachable Maiamai on the mountain |
The Ice Ruins are a frozen dungeon at the top of Lorule’s Death Mountain, and the Sage Rosso is trapped in a painting at the bottom. To get there, Hookshot across the broken bridge east of the Tower of Hera, cross the lava cave to Rosso’s Ore Mine and take the fissure outside. In Lorule, climb through a snowy cavern, melt the statue sealing the entrance and ride the central elevator through the dungeon. Defeat Dharkstare to finish.
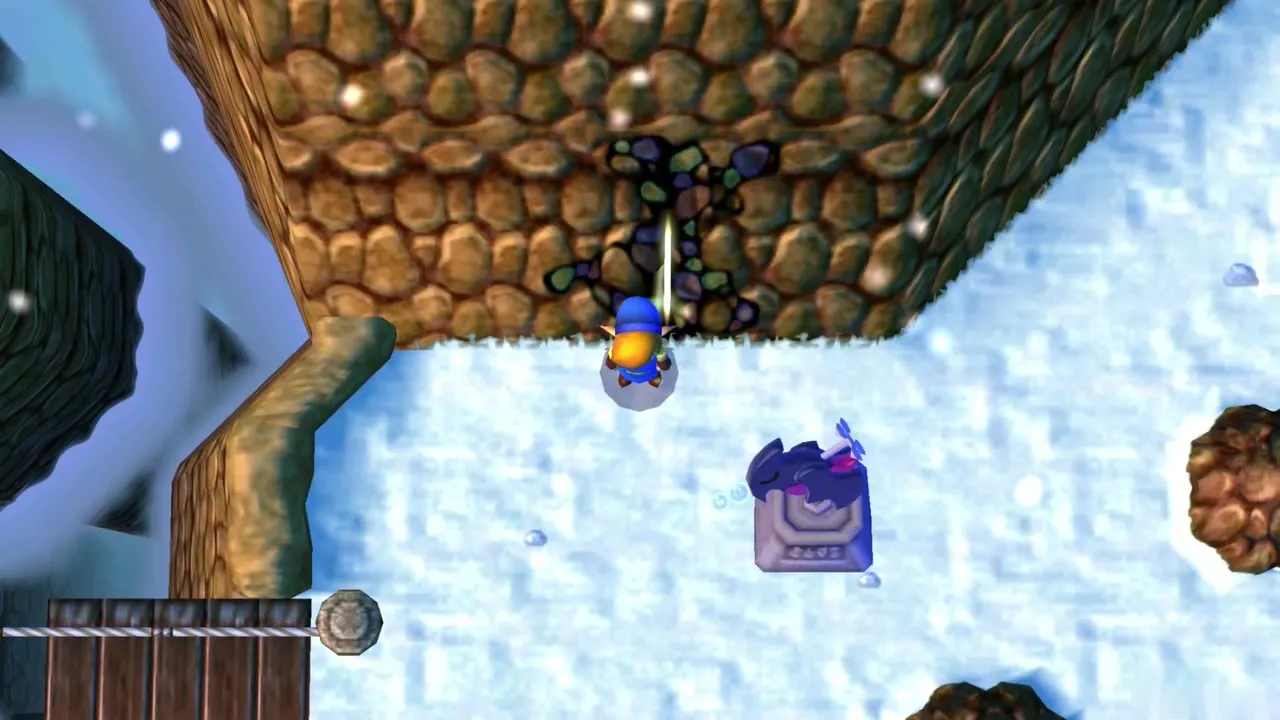
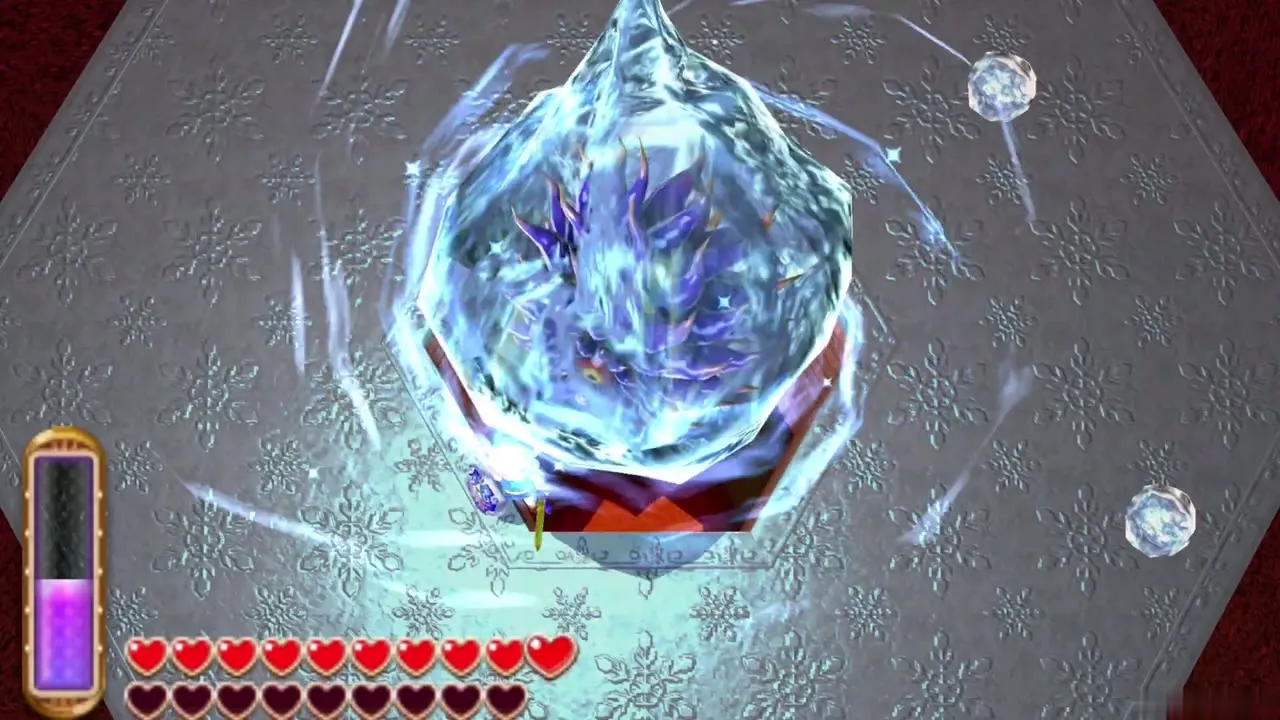
Table of Contents
Getting to the Ice Ruins from Hyrule
Hookshot across the broken bridge
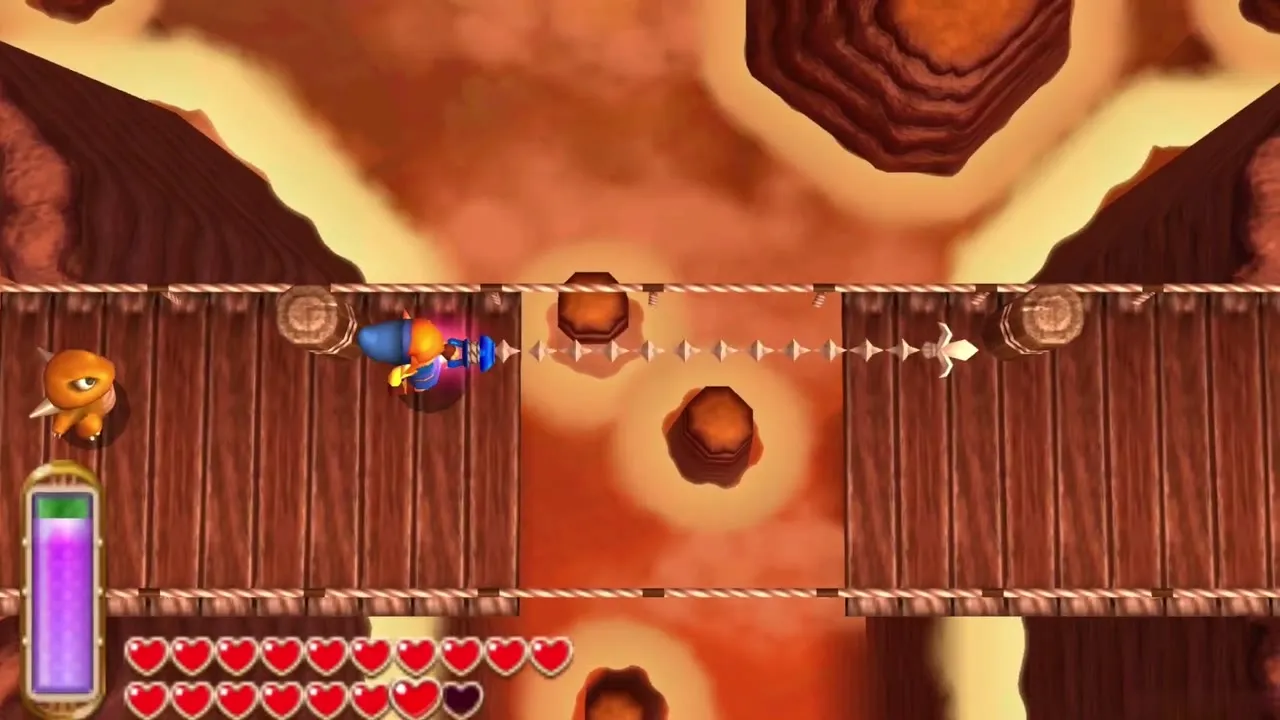
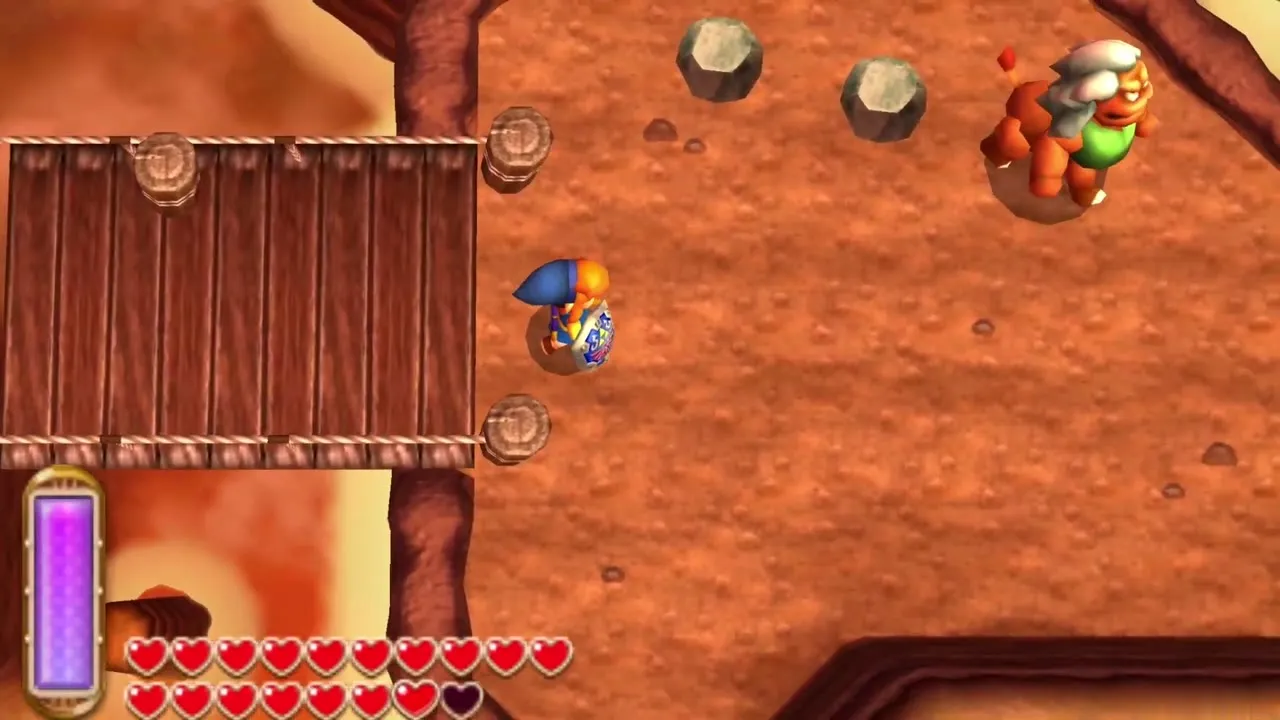
Warp to the Tower of Hera weather vane on Hyrule’s Death Mountain and head east along the cliff. A rope bridge has collapsed here, leaving a gap too wide to cross. Equip the Hookshot, aim at the post on the far side and fire. Link is pulled across. If you did not rent it earlier, borrow it from Ravio’s Shop before leaving. Also rent the Fire Rod now, because the Ice Ruins cannot be entered without it.
Rosso’s Ore Mine and the fissure
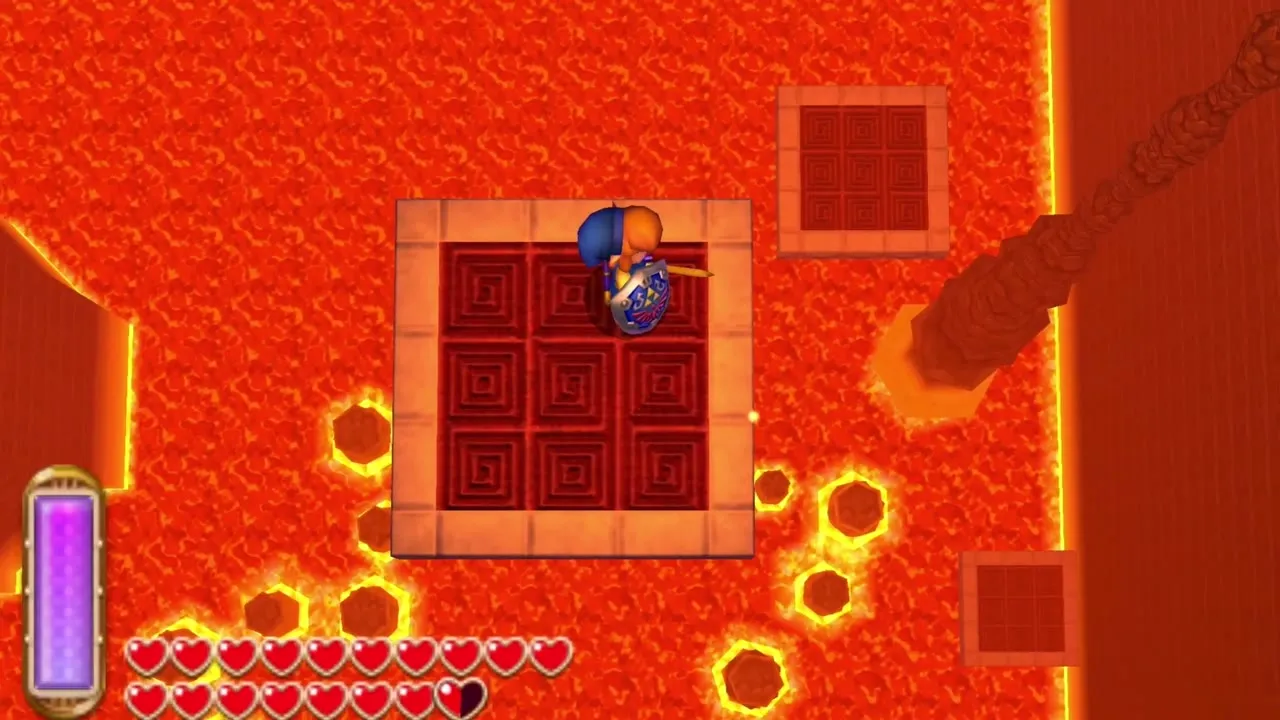
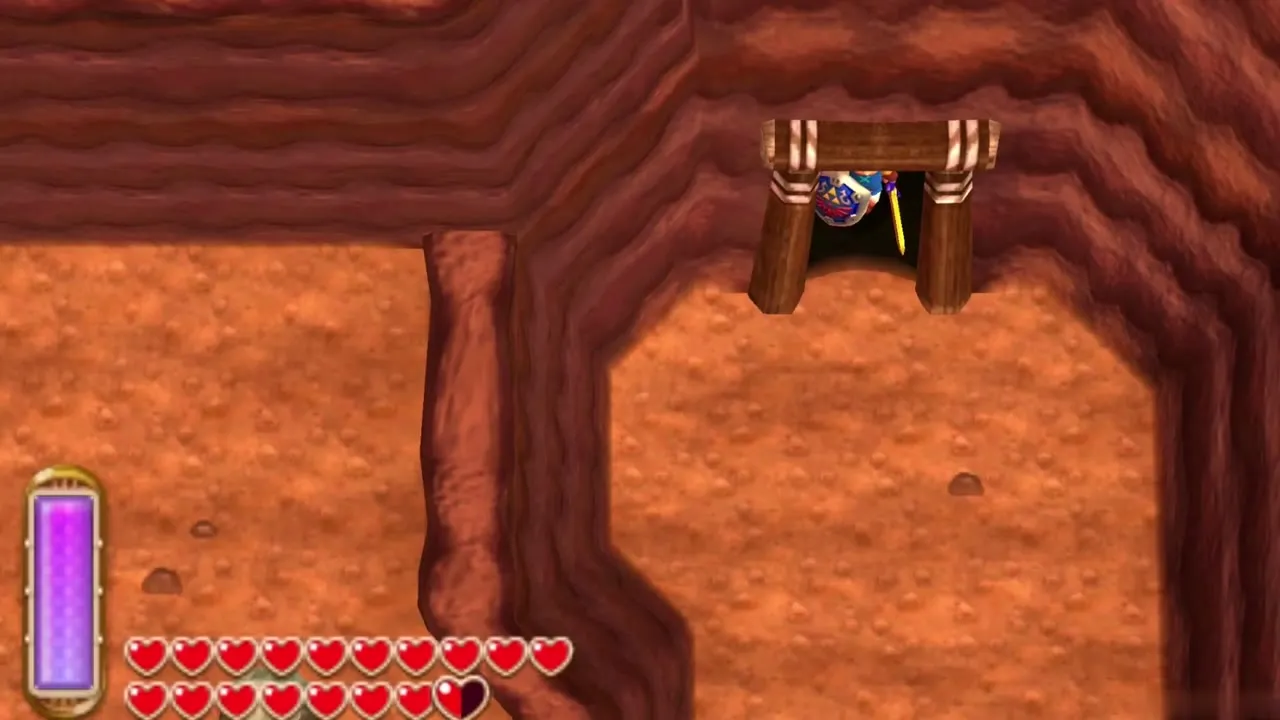
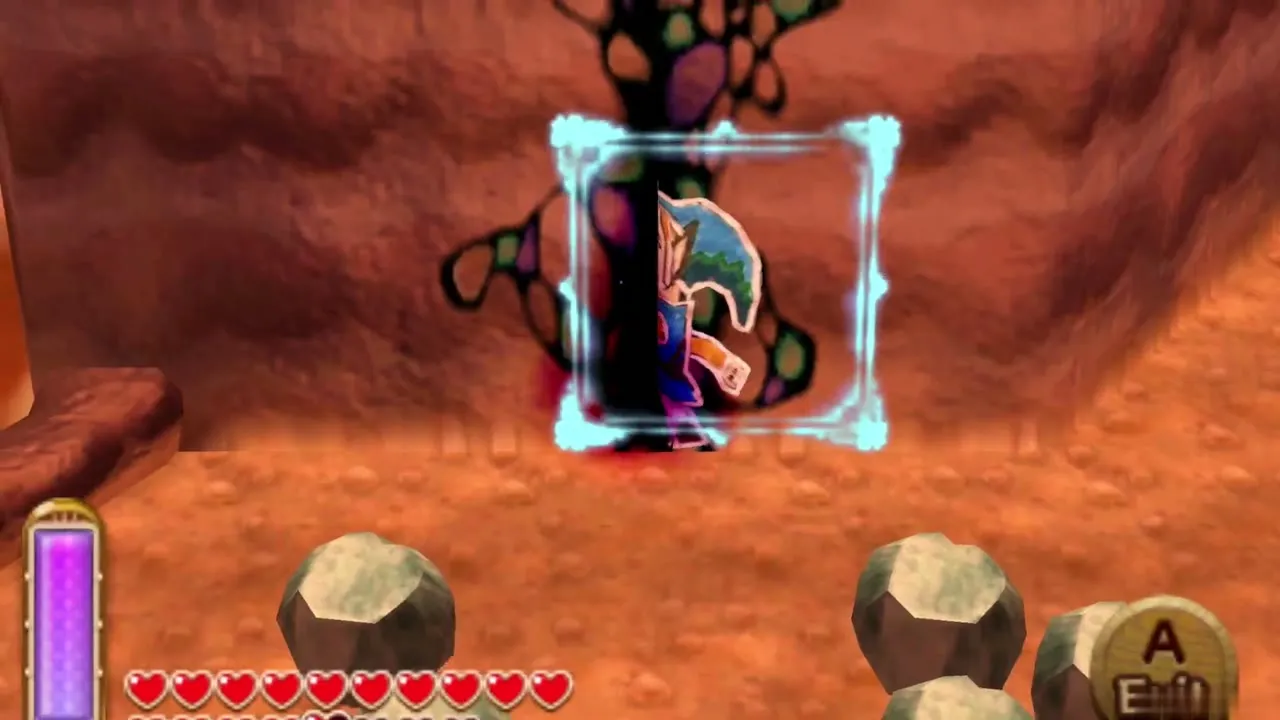
The path past the bridge leads into a lava cave. Ride the floating platforms across the molten pools, dodging the fire rings that circle the platforms, until you come out at Rosso’s Ore Mine. The crack you want is in a rock wall in the open air outside the mine. Step up to it, press A to merge into the wall and slide into the fissure. It takes you to Lorule’s Death Mountain.
Lorule’s Death Mountain
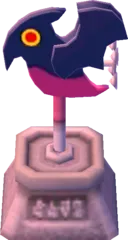
Lorule Death Mountain weather vane
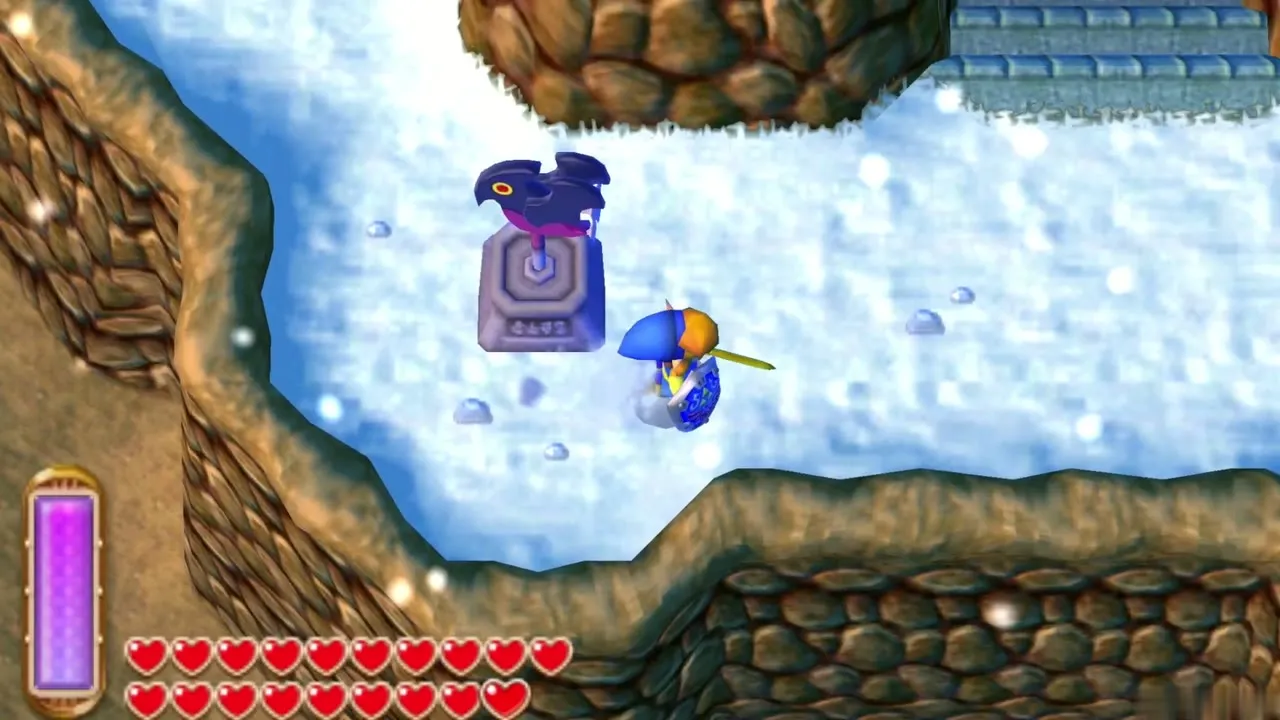
You arrive on a snowy ledge, where Princess Hilda warns you that Death Mountain is always in winter and that a ruined hall lies buried under the ice. Walk a few steps to the weather vane and step up to it to activate it. This is the vane for Lorule’s Death Mountain, and it saves you from repeating the Hyrule climb: from now on you can ring Irene’s Bell, pick it from the list and land right here.

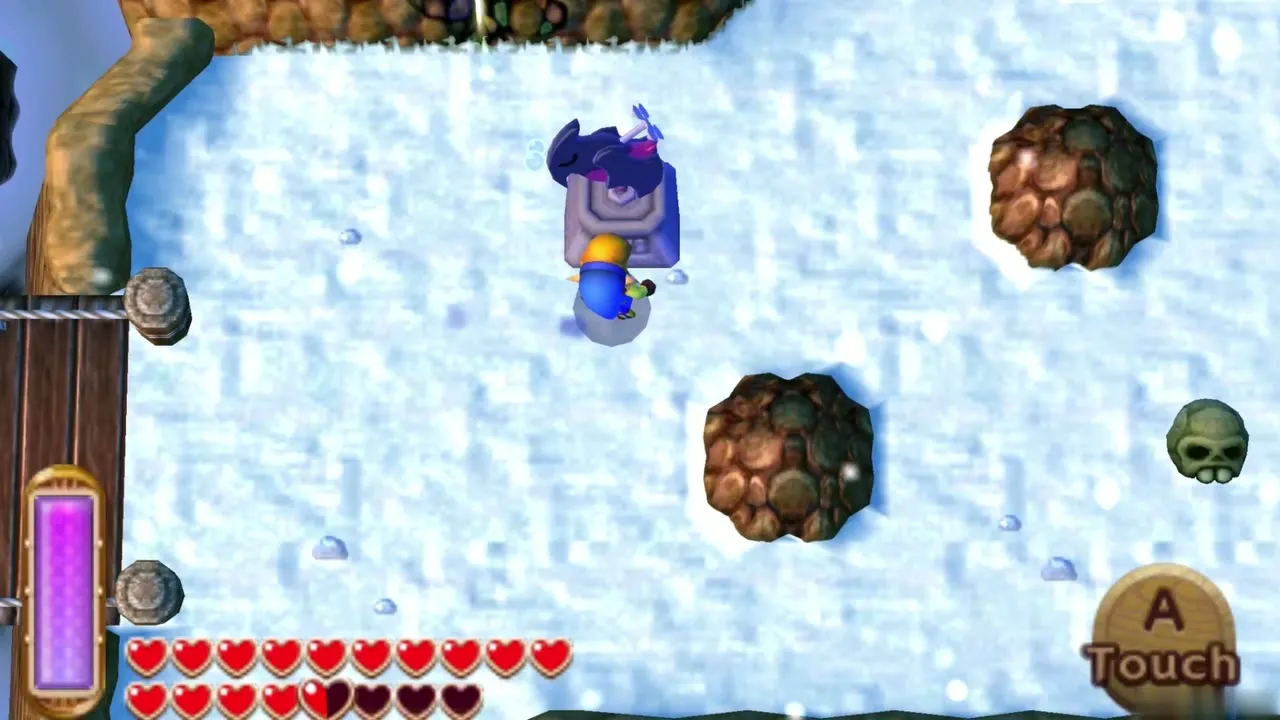
Lorule Death Mountain Maiamai
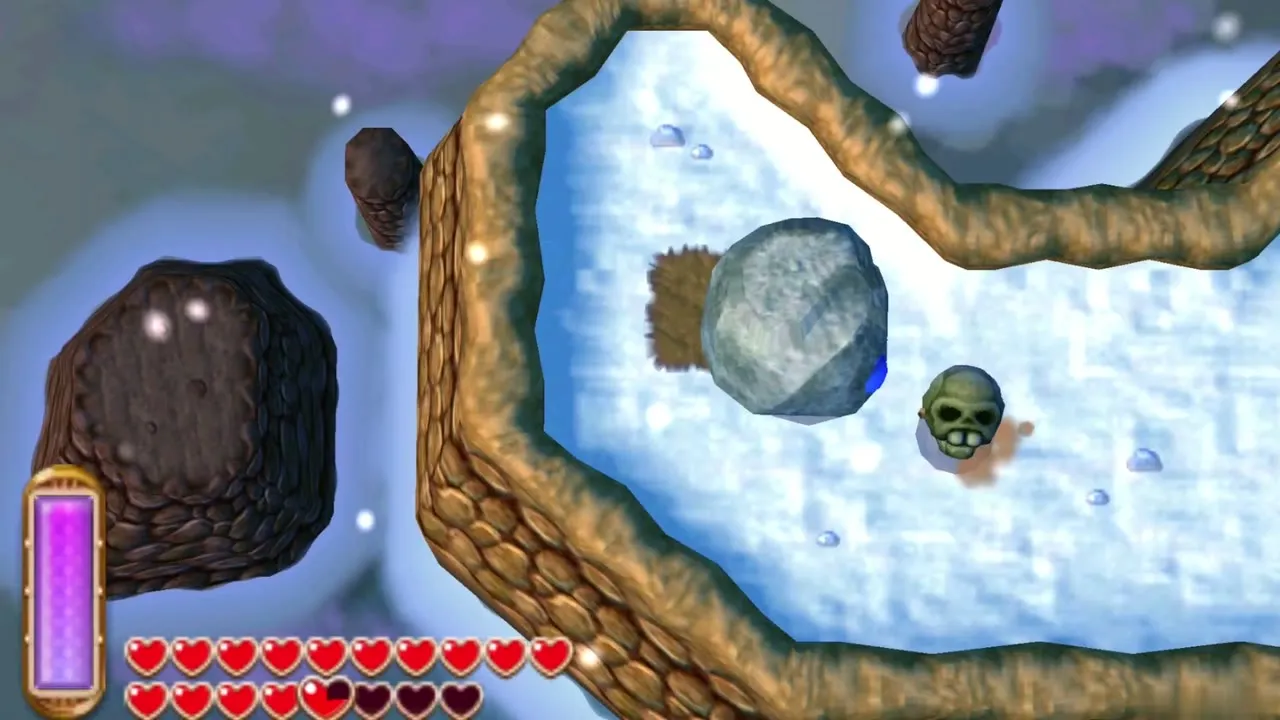
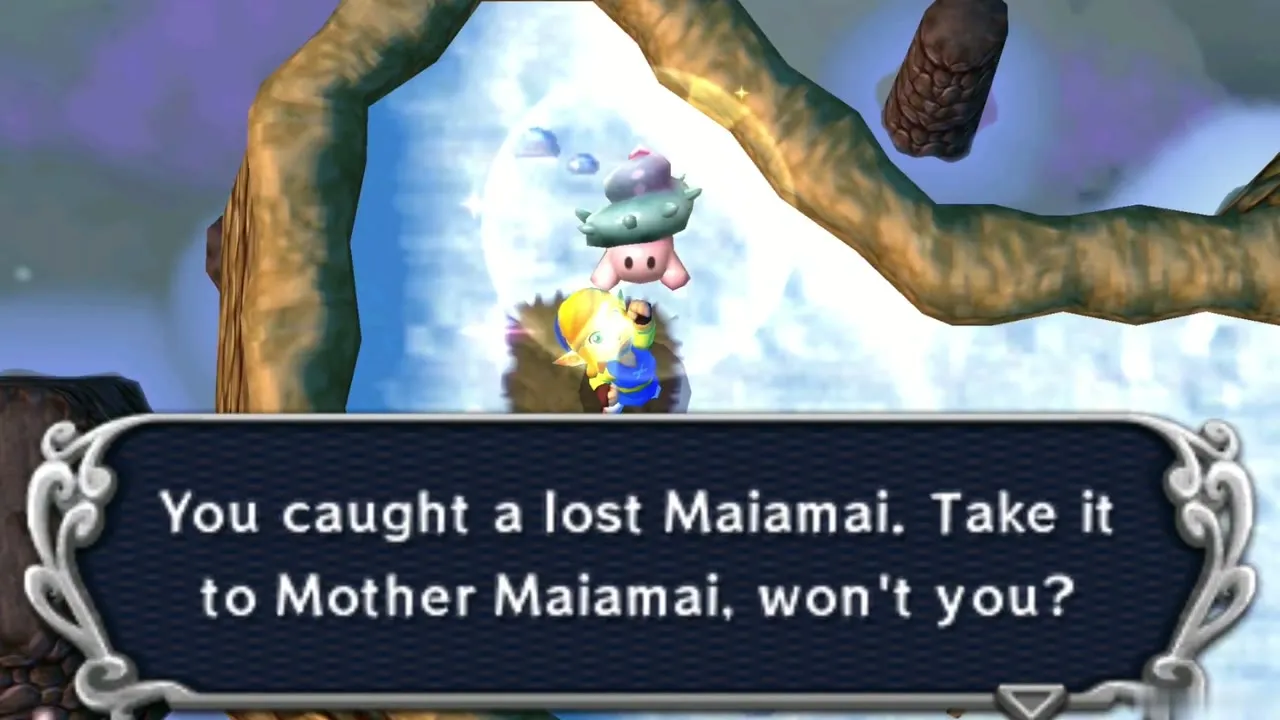
Six lost Maiamai live on this mountain, and four need nothing you do not already own. Smash the skull on the small ledge beside the fissure, merge along the east wall by the cave sign, cross the cave with floating platforms and smash the skull just outside it, and merge into the north wall at the Ice Ruins entrance. The last two need the Titan’s Mitt, plus the Hammer for one of them, so leave those for the Desert Palace walkthrough. Drop each Maiamai off with Mother Maiamai.

Icy cavern and the Fire Rod
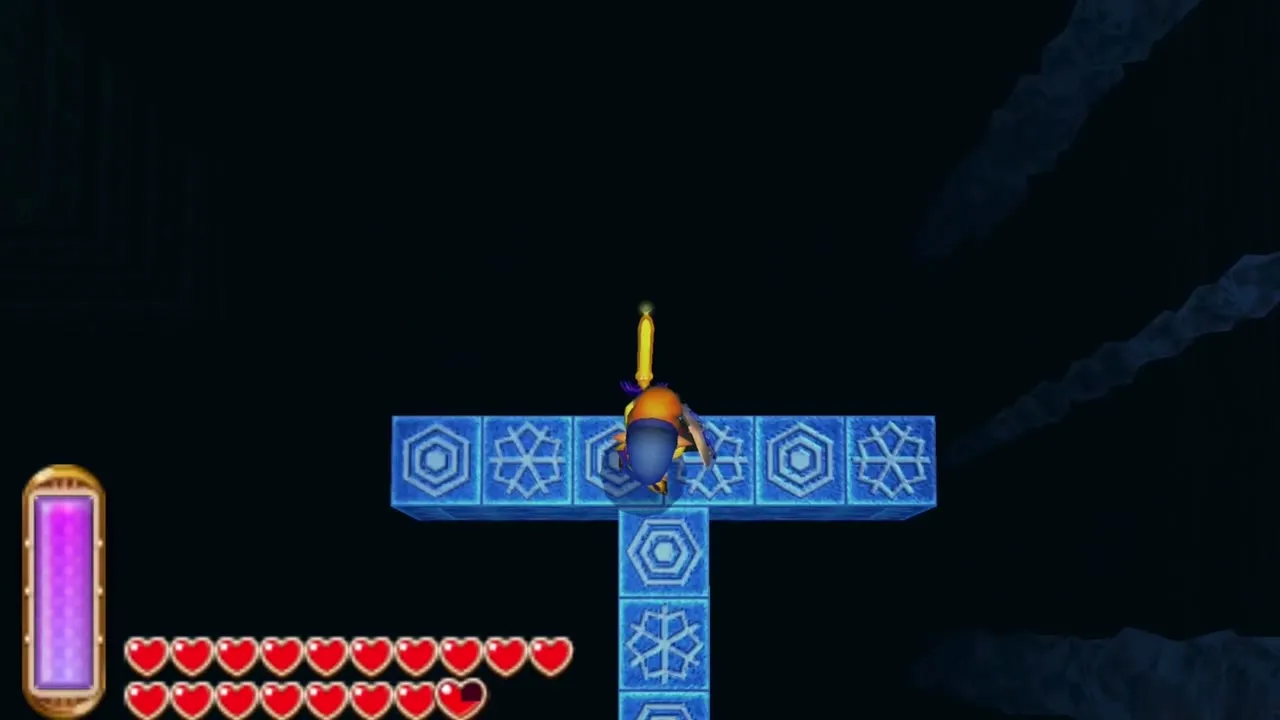
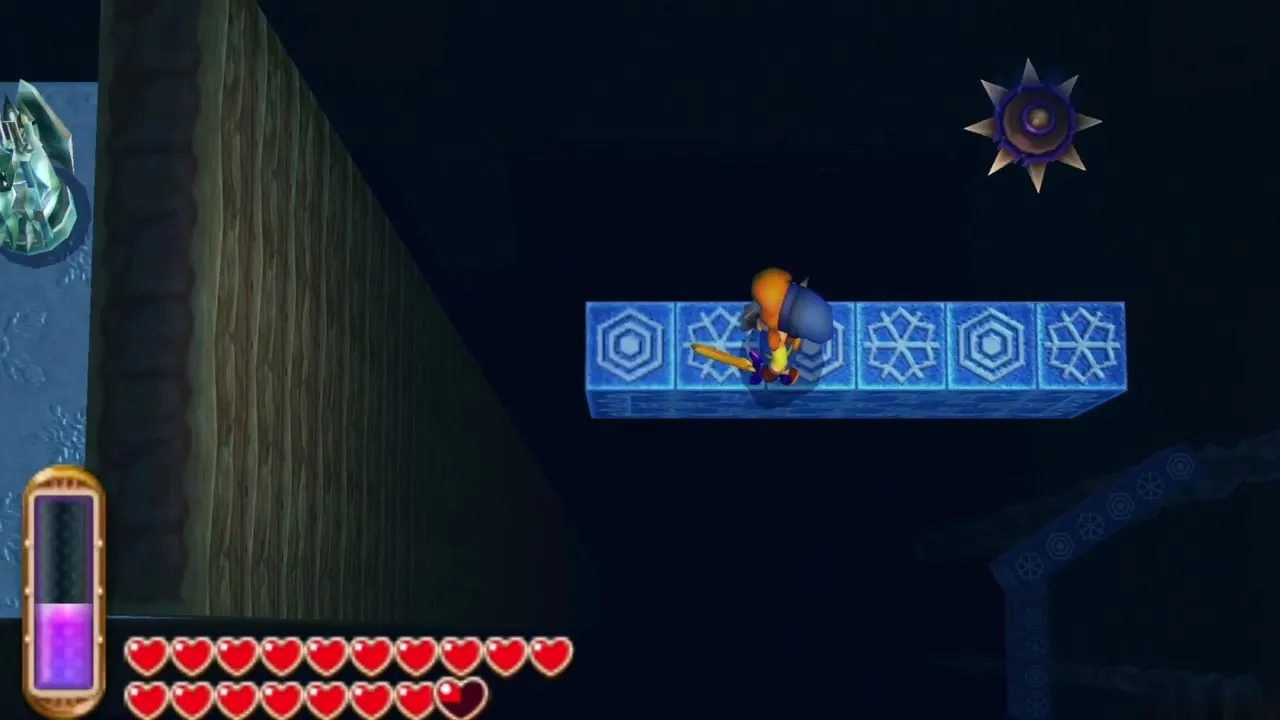
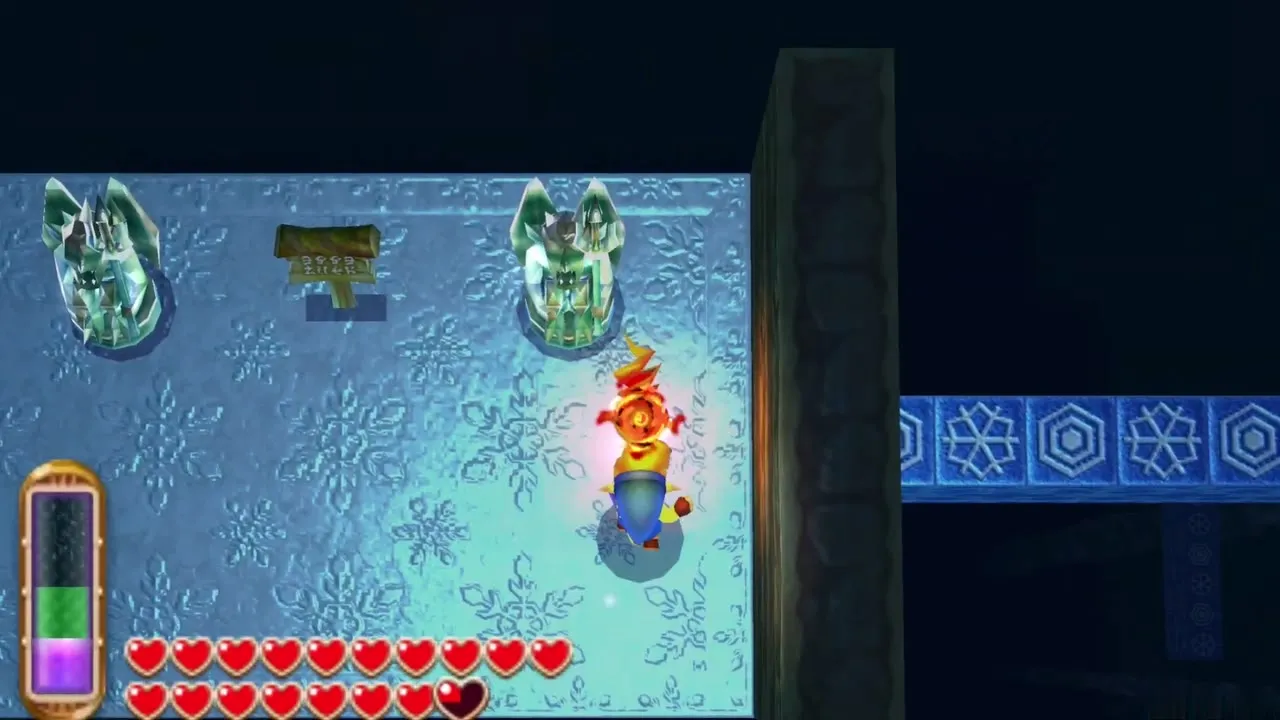
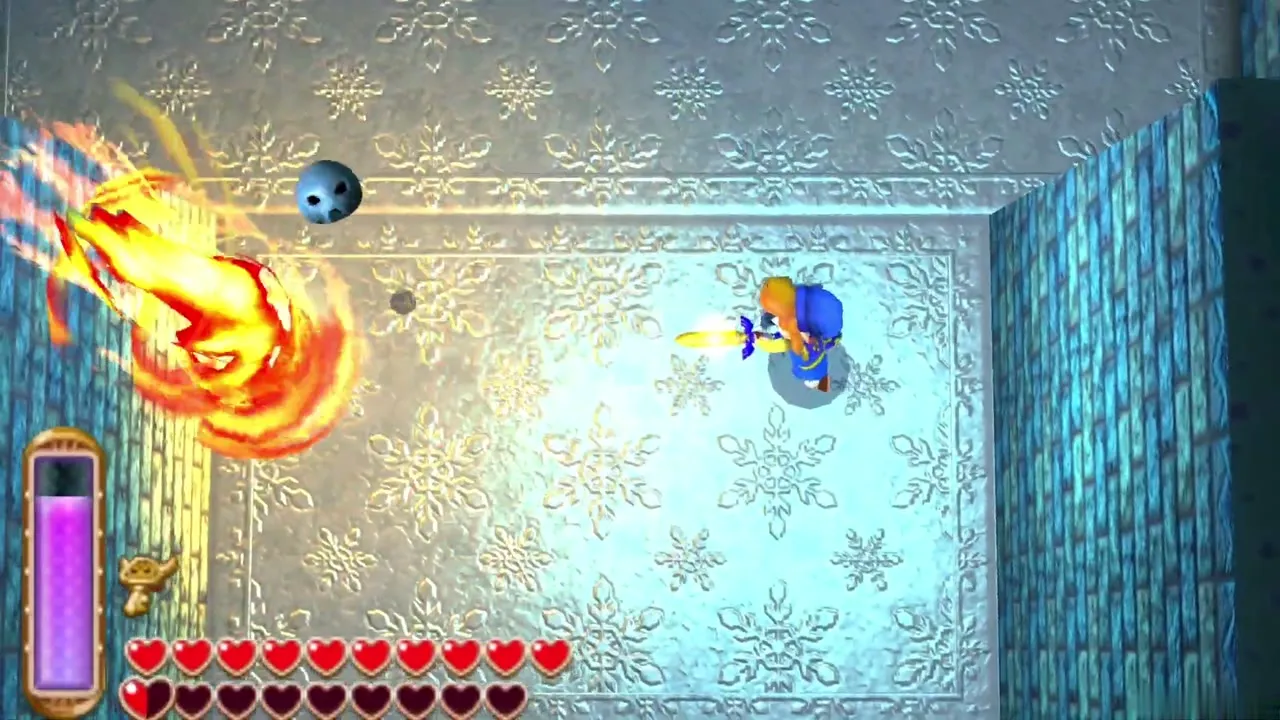
Follow the snowy path to the cave mouth flanked by two torches and go in. The cavern is a dark pit of blue ice tiles that raise, lower and slide as you step on them, so ride them from one ledge to the next. Ice statues guard the way. Equip the Fire Rod and melt each one with a blast of flame, since the sword does nothing against them. Dodge the fireballs and spiked balls that drift between the tiles.
Gold Rupee chest
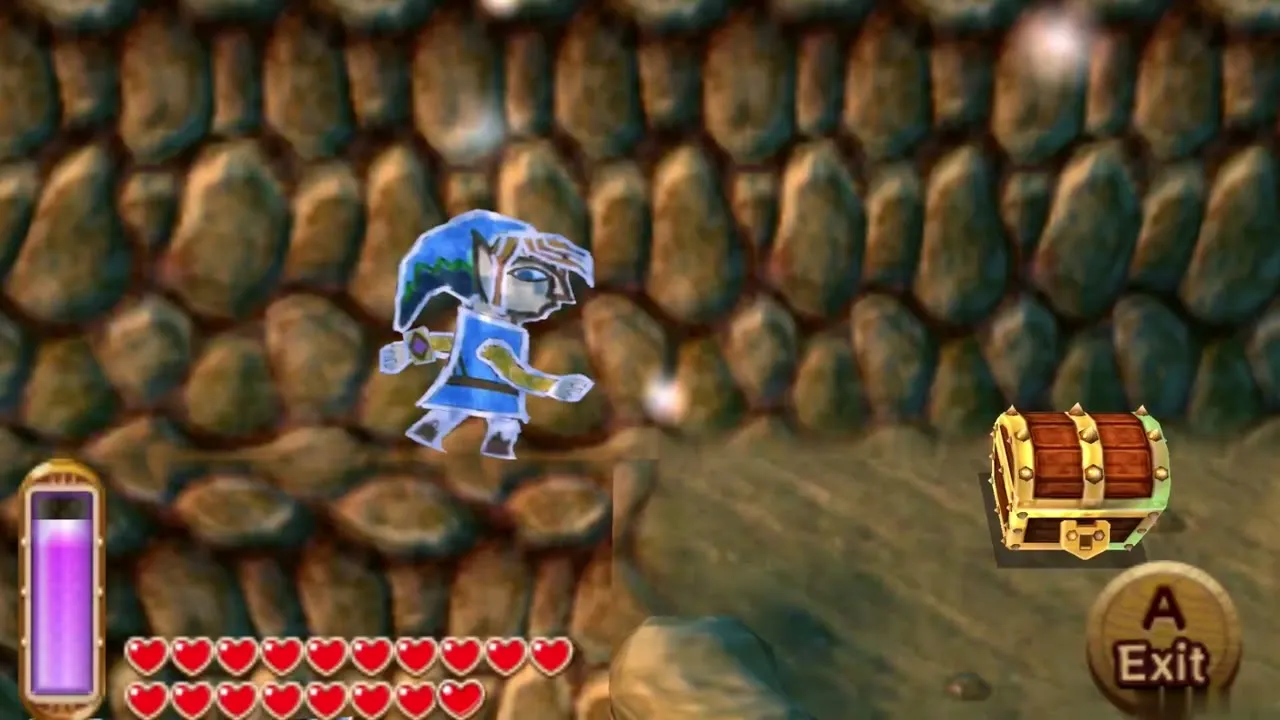
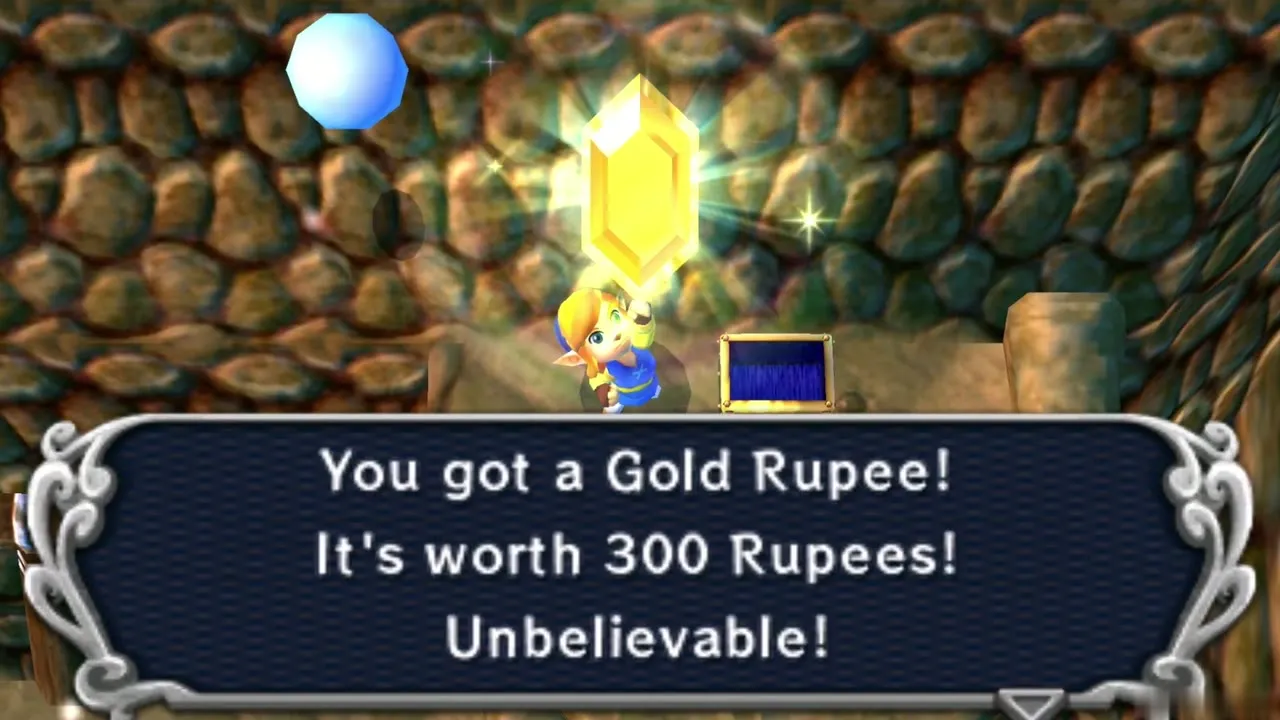
One exit from the cavern leads out to a snowy rock ledge with a chest set into the cliff, out of reach on foot. Step up to the cliff face, merge into it and slide sideways along the rock until you can step out beside the chest. Open it to collect a Gold Rupee worth 300 Rupees. Then go back through the same exit and carry on across the ice tiles toward the far side of the cavern.
Silver Rupee chest outside the cavern
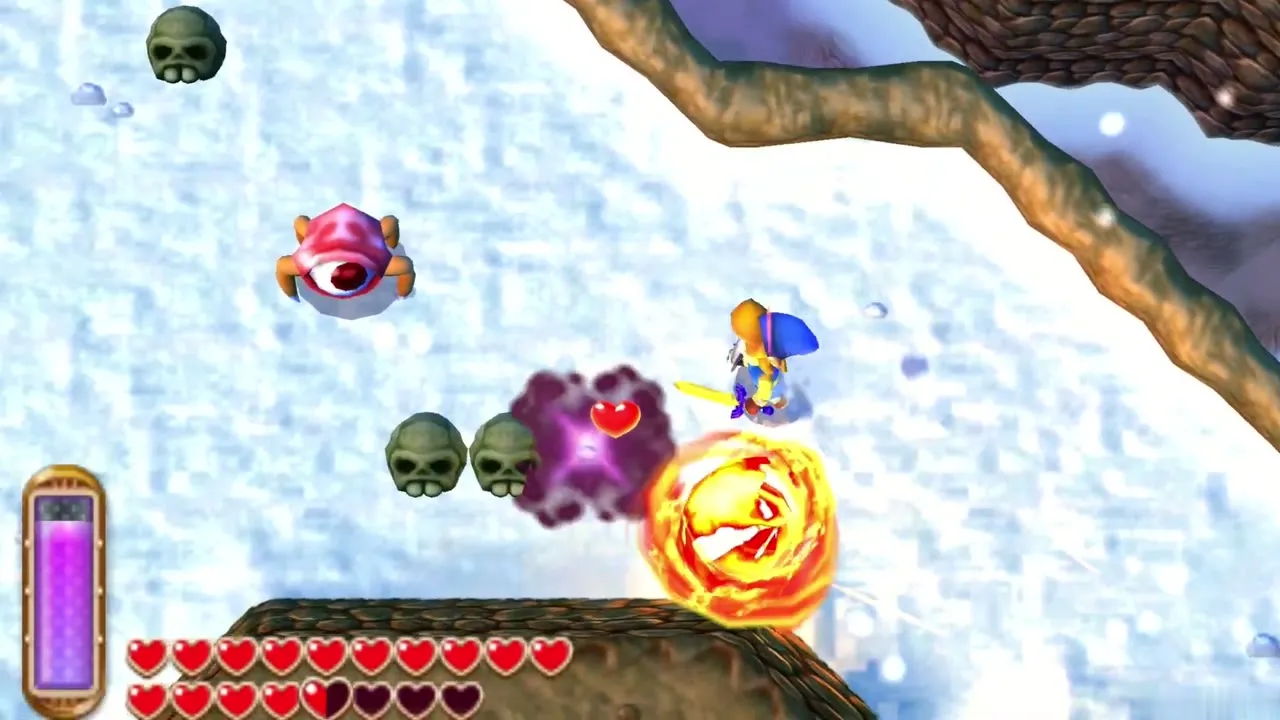
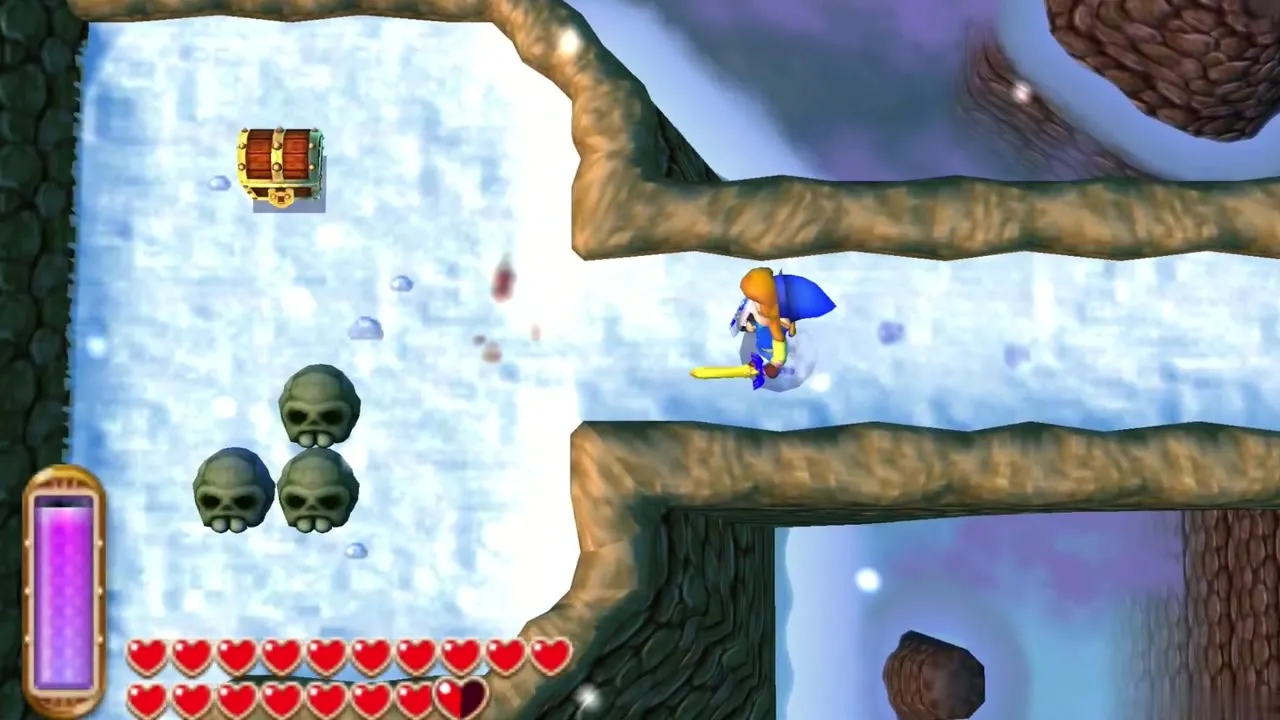
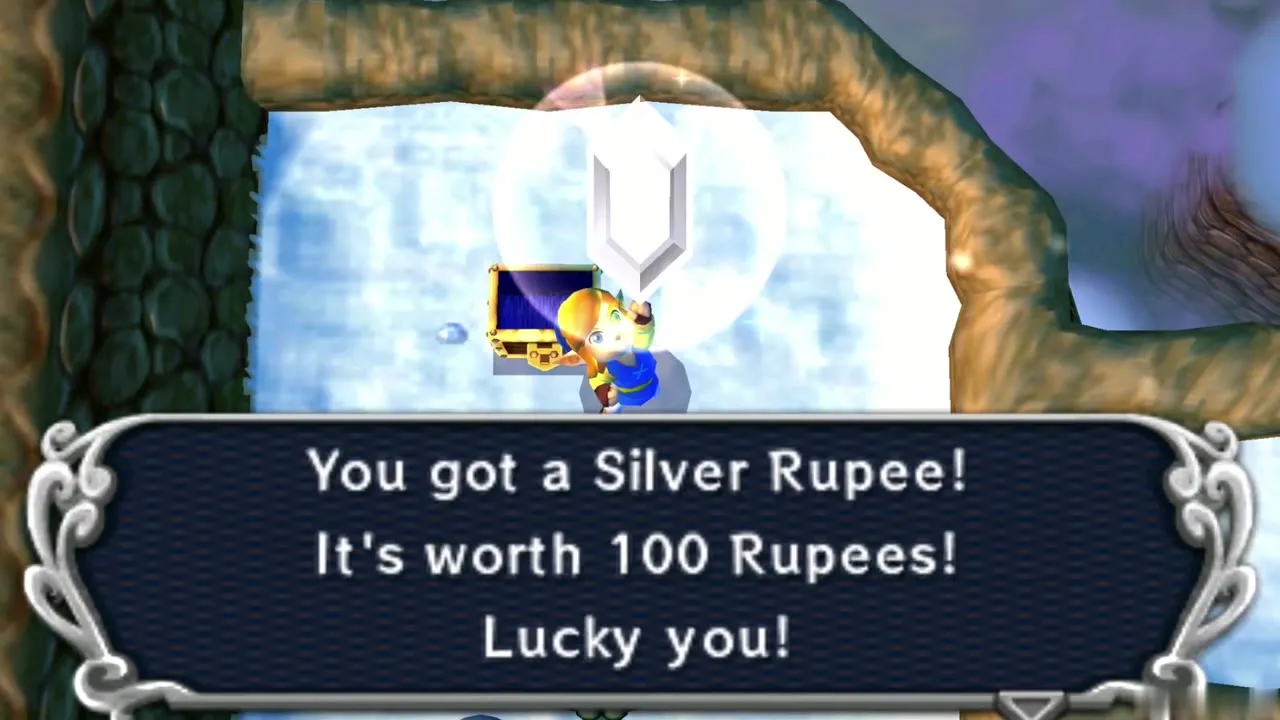
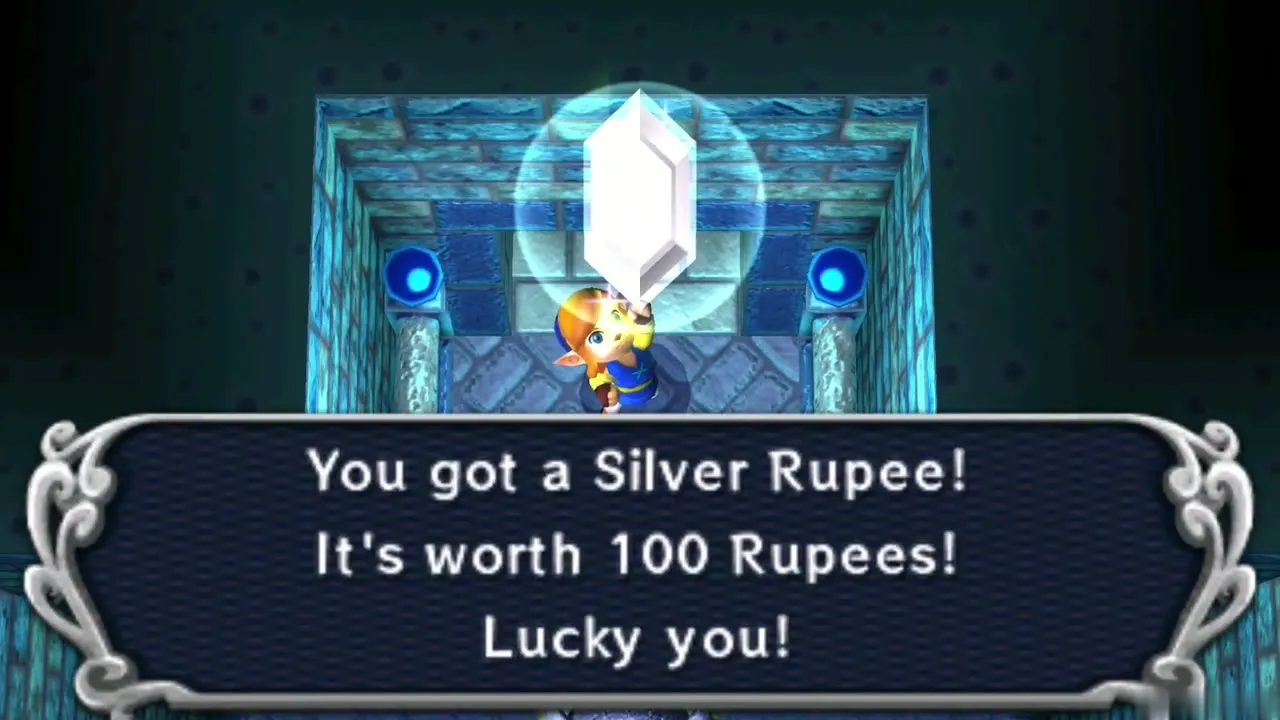
Leave the cavern into the open snow. A chest sits on a ledge ringed by skulls, with a flaming monster patrolling nearby. Beat the monster back with the Fire Rod or sword, smash the skulls and open the chest for a Silver Rupee, worth 100 Rupees. Use the snow path around the cliffs to reach the weather vane close to the dungeon.
Ice Ruins entrance
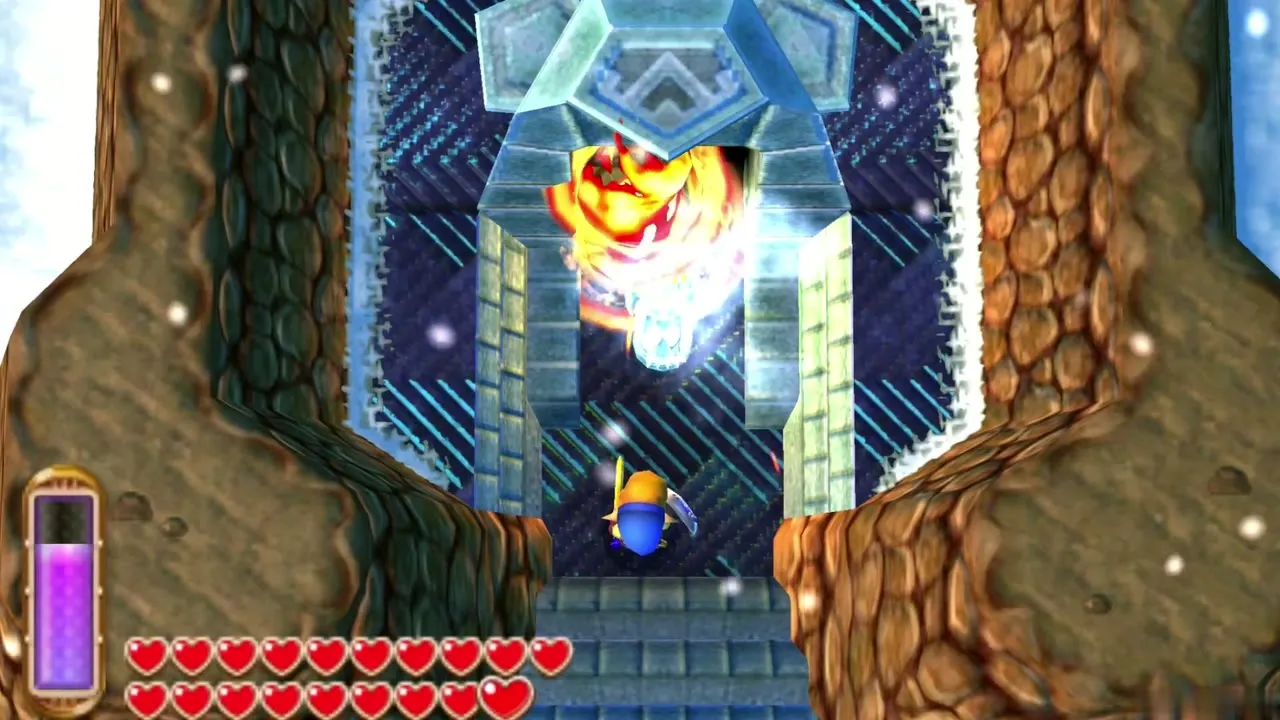
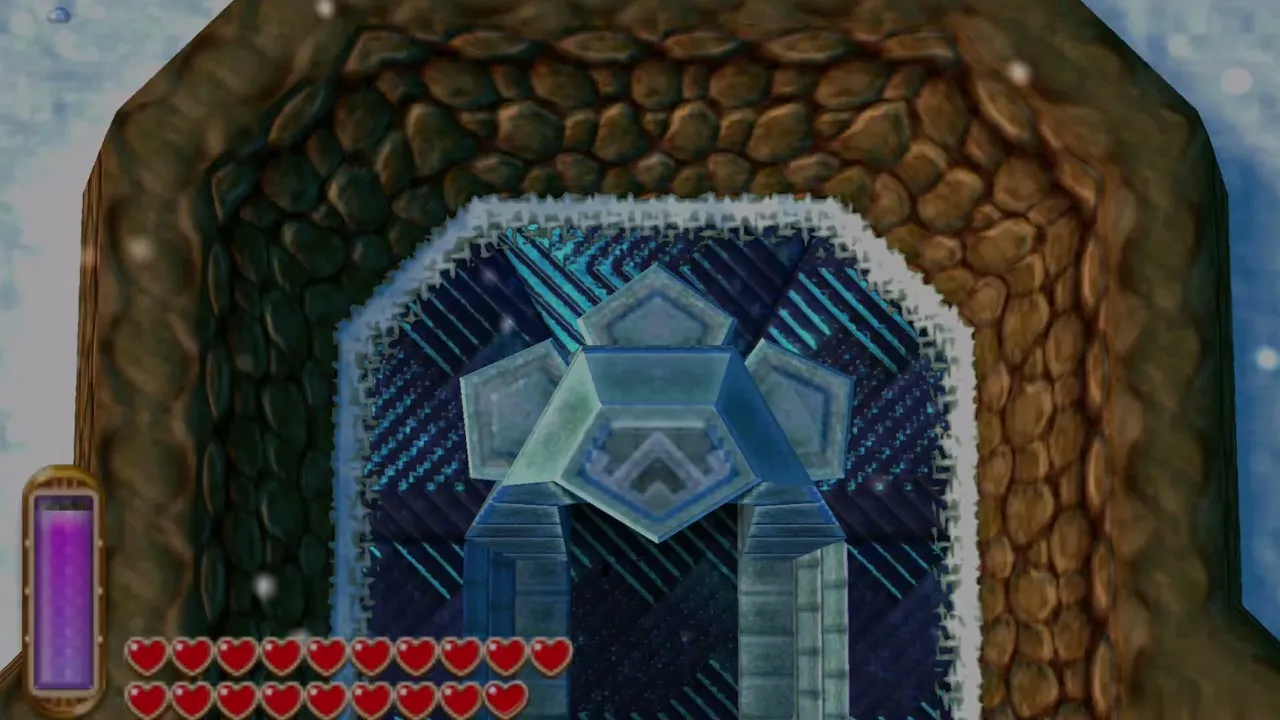
A second weather vane stands in front of the ruins. Activate it, and save if you like. Walk up the short staircase to the doorway, which is sealed behind a statue made of ice. Aim the Fire Rod at the statue and hold the flame on it until it melts away, then step through into the Ice Ruins.
Ice Ruins dungeon
Ice Ruins 1F and the central elevator
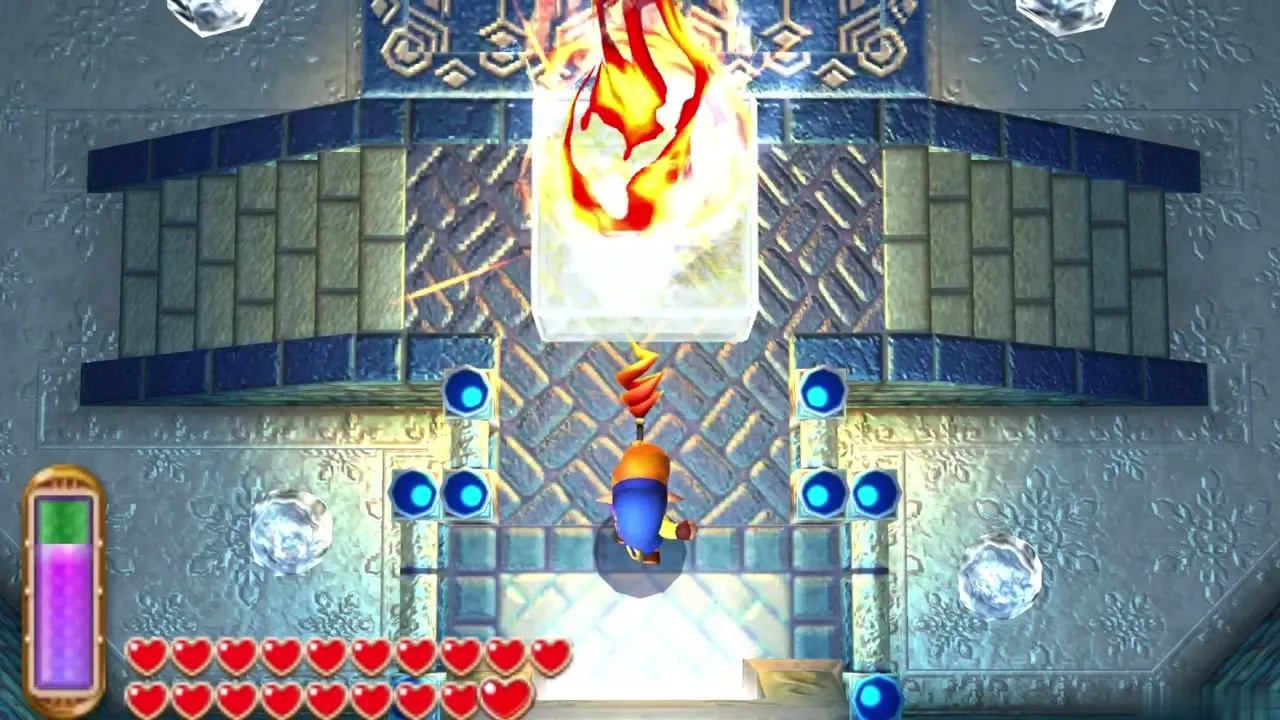
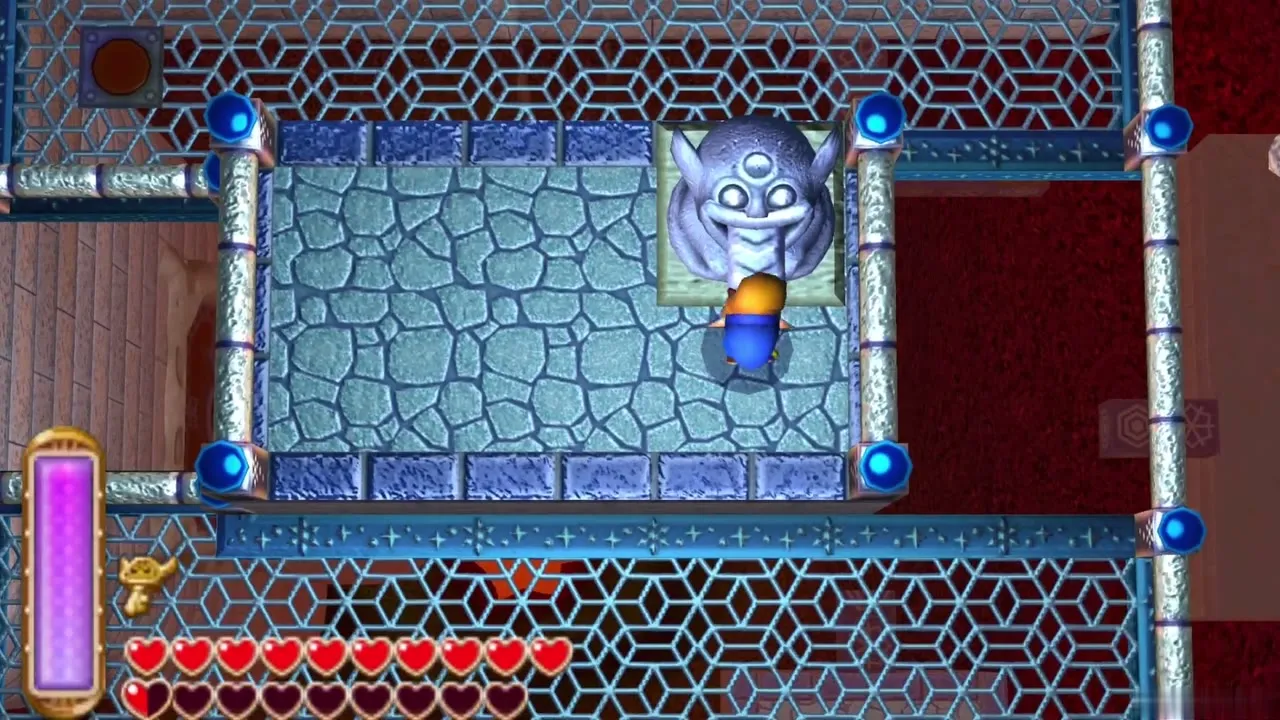
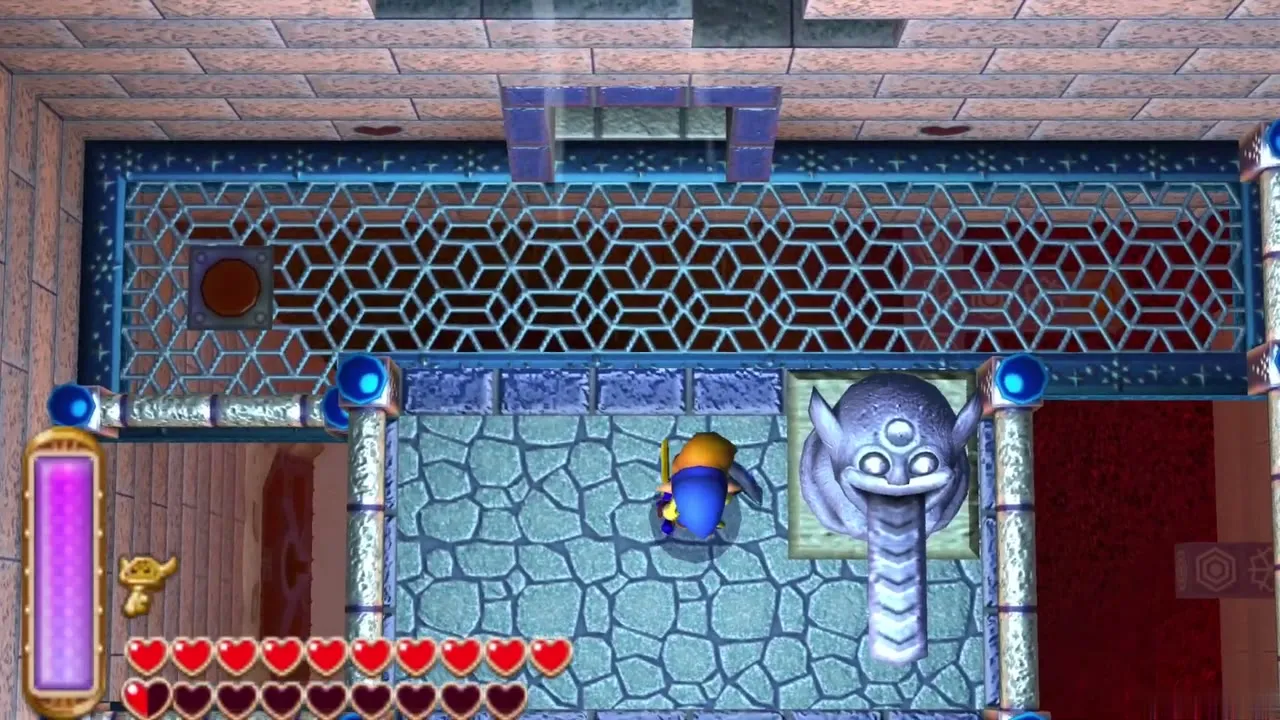
The ruins run from 1F at the top down to B5, with a column of floating ice blocks in the middle acting as an elevator. In the entrance room, melt the large ice block in front of you with the Fire Rod, then walk up to the statue and pull its tongue by holding A and backing away. The ice blocks around the central pit start to rotate and line up into a lift you can ride from floor to floor.
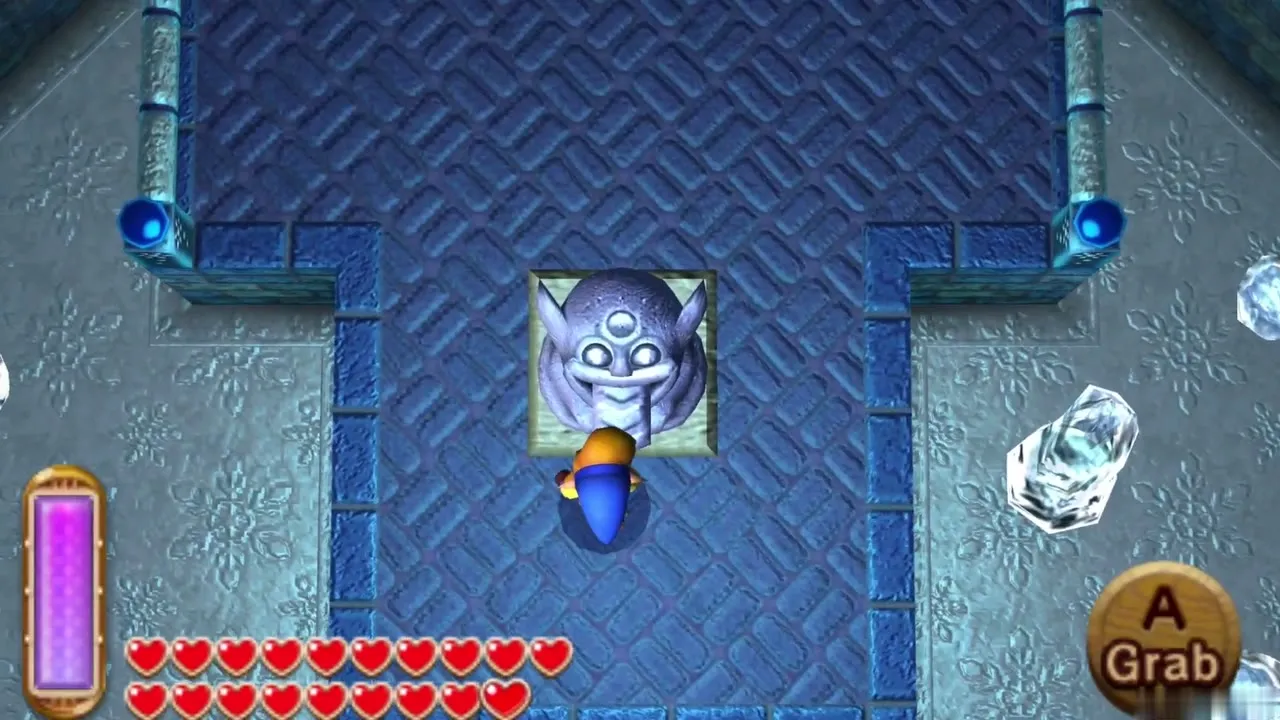
Hidden 300 Rupee chest
Before riding the elevator down, step onto one of the platforms that starts moving upward and then walk south into the recess hidden beneath the entrance platform. A chest waits in that alcove with 300 Rupees inside. Come back to the elevator afterwards and take it all the way down.
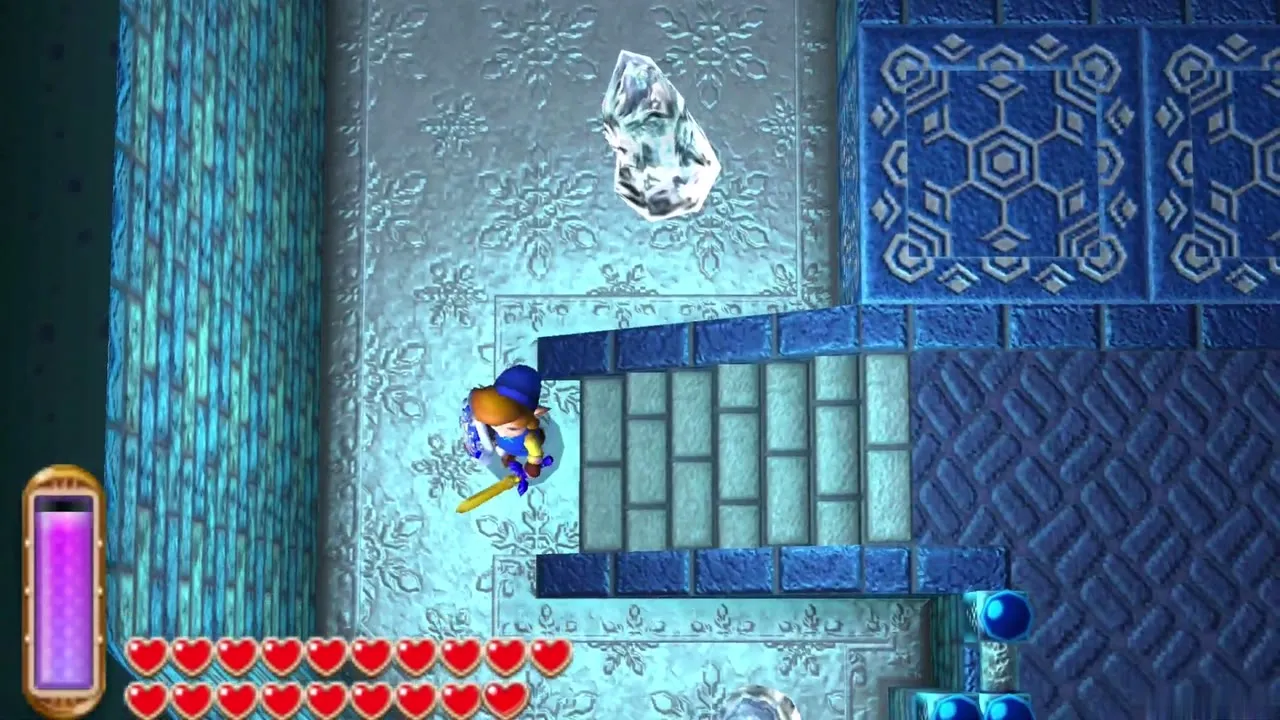
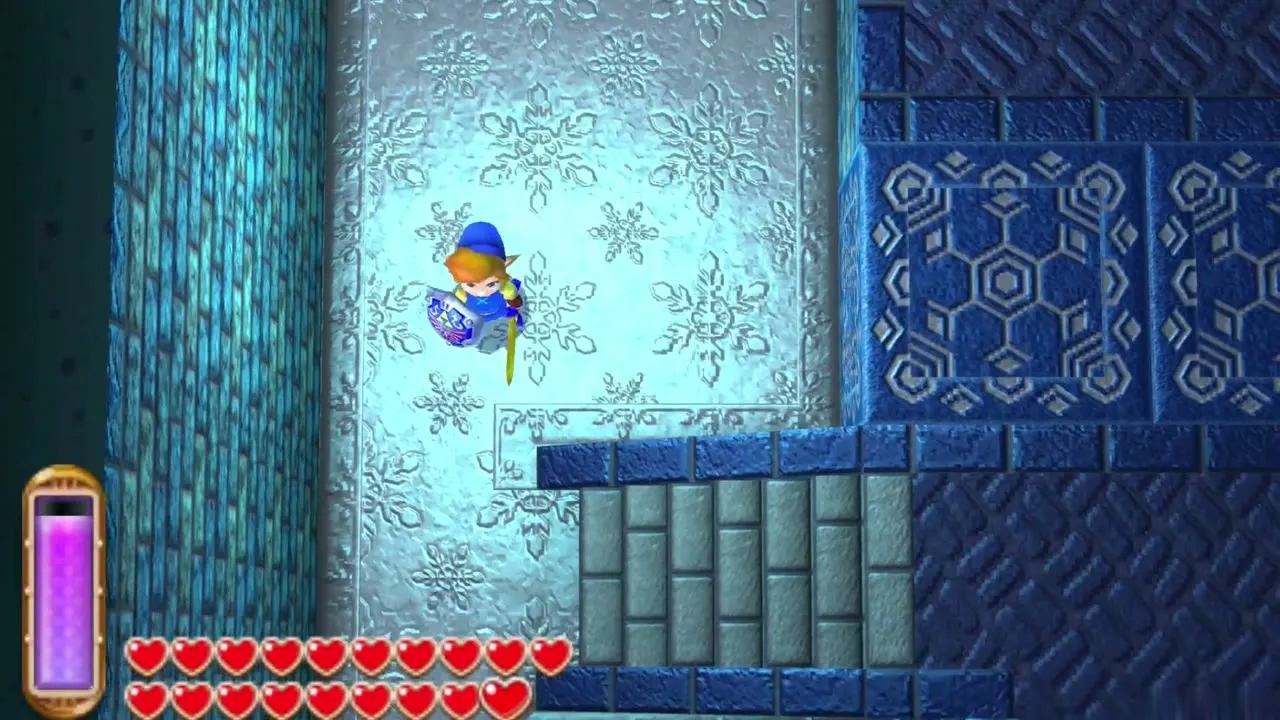
Ice Ruins Big Key
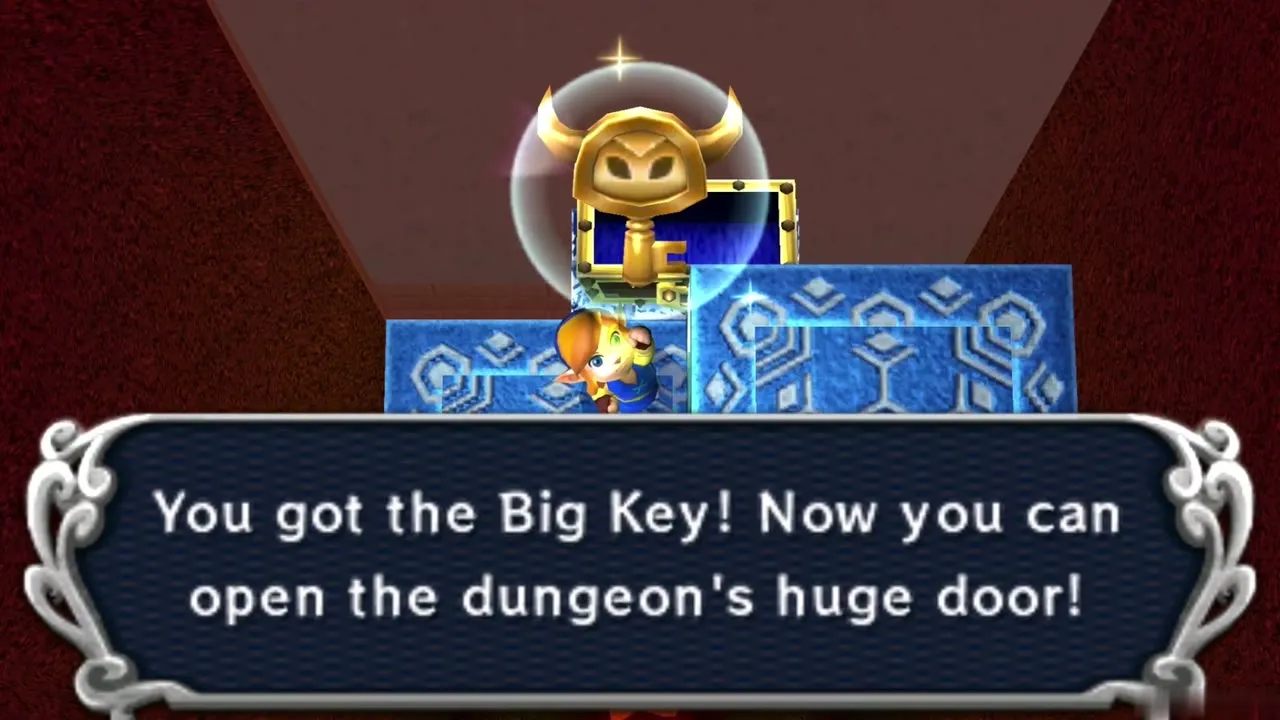
Ride the lift to B5, the lowest floor. It holds nothing but one large chest, and the chest holds the Big Key. Open it now. You will not need it until the boss door, but fetching it first saves a long trip back later. Then ride the elevator back up as far as B2.
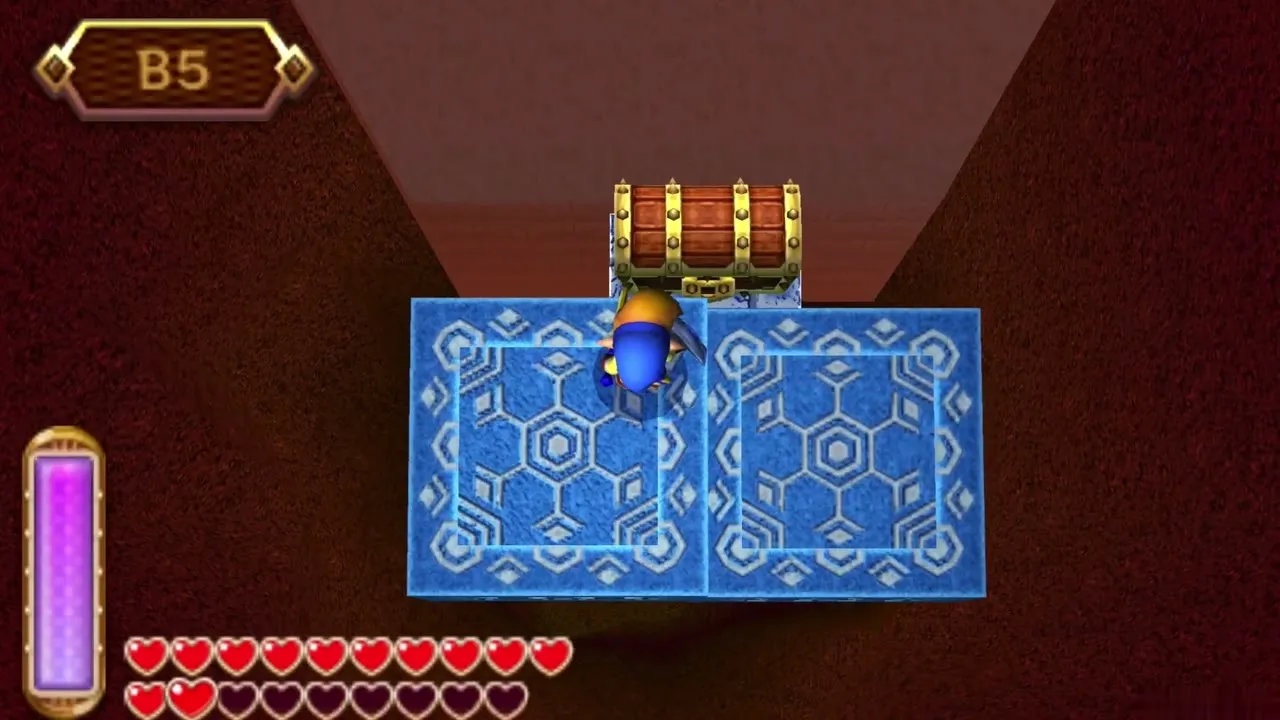
B2 Small Key
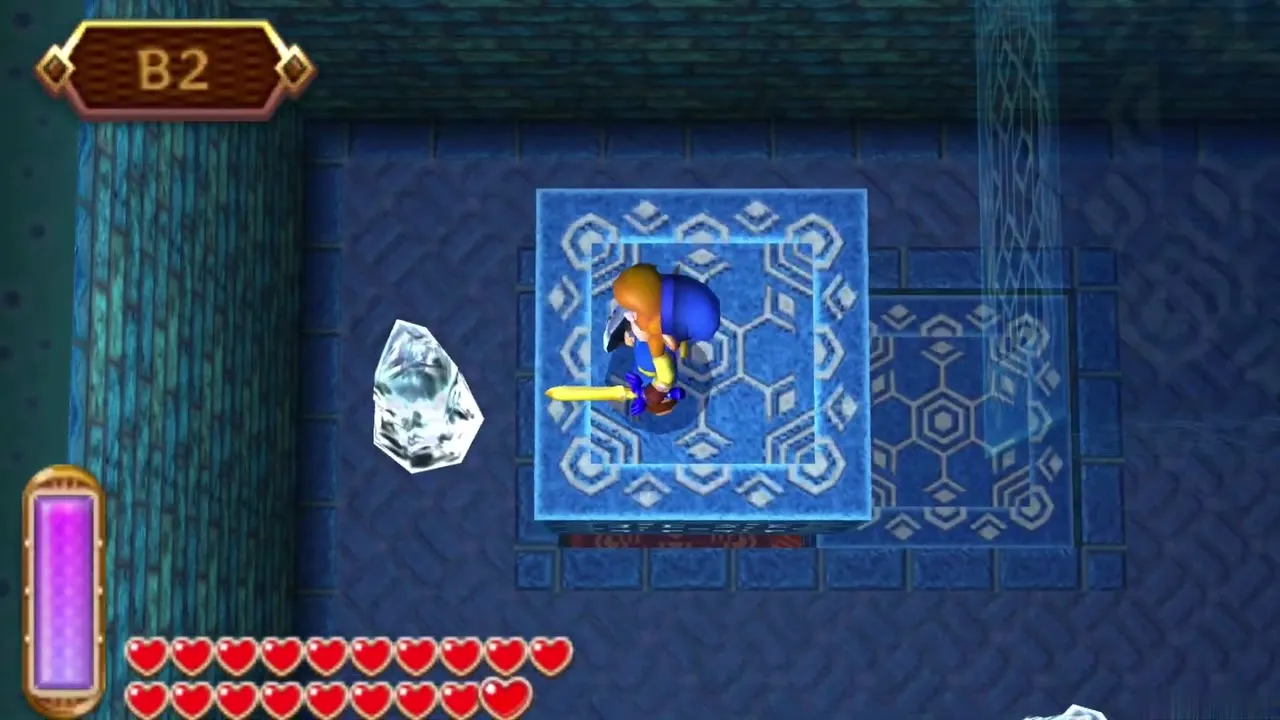
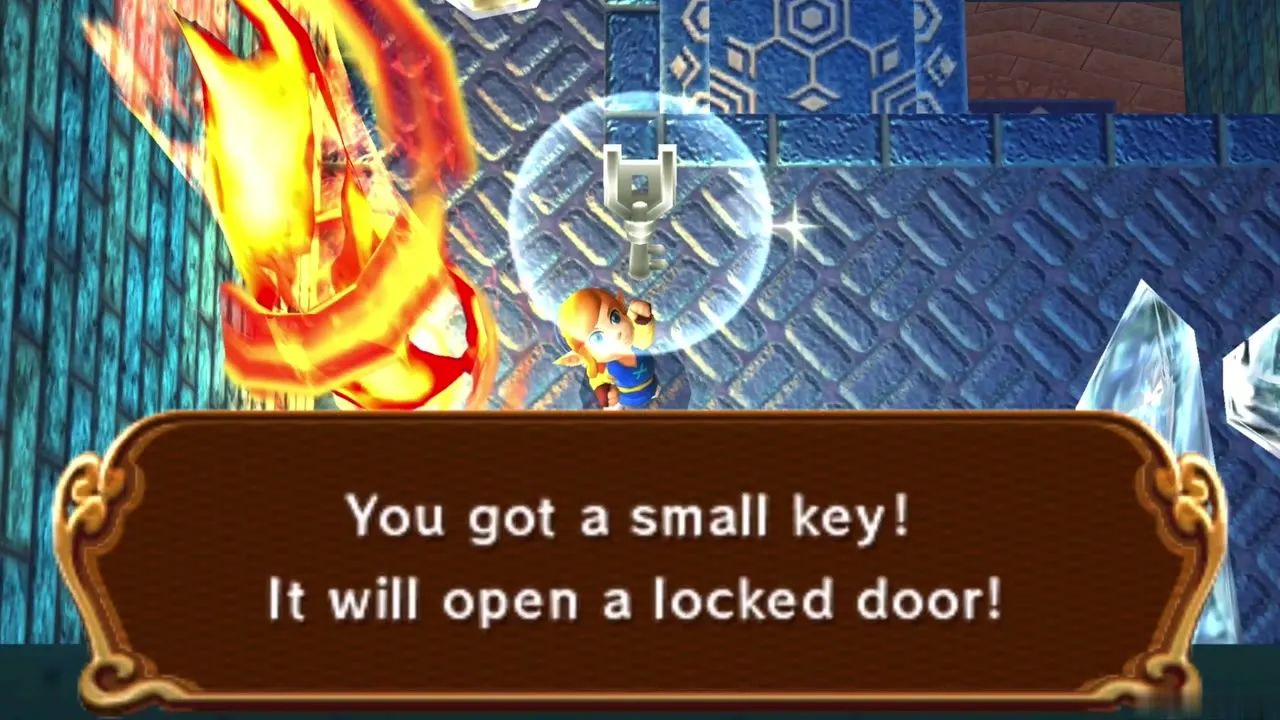
In the first room on B2, a Small Key is frozen inside an icicle. Stand in front of it, aim the Fire Rod and melt the ice, and the key drops to the floor. Pick it up, ride the elevator one floor up to B1 and use the key on the locked door at the top of the room.

B1 statues and Pengators
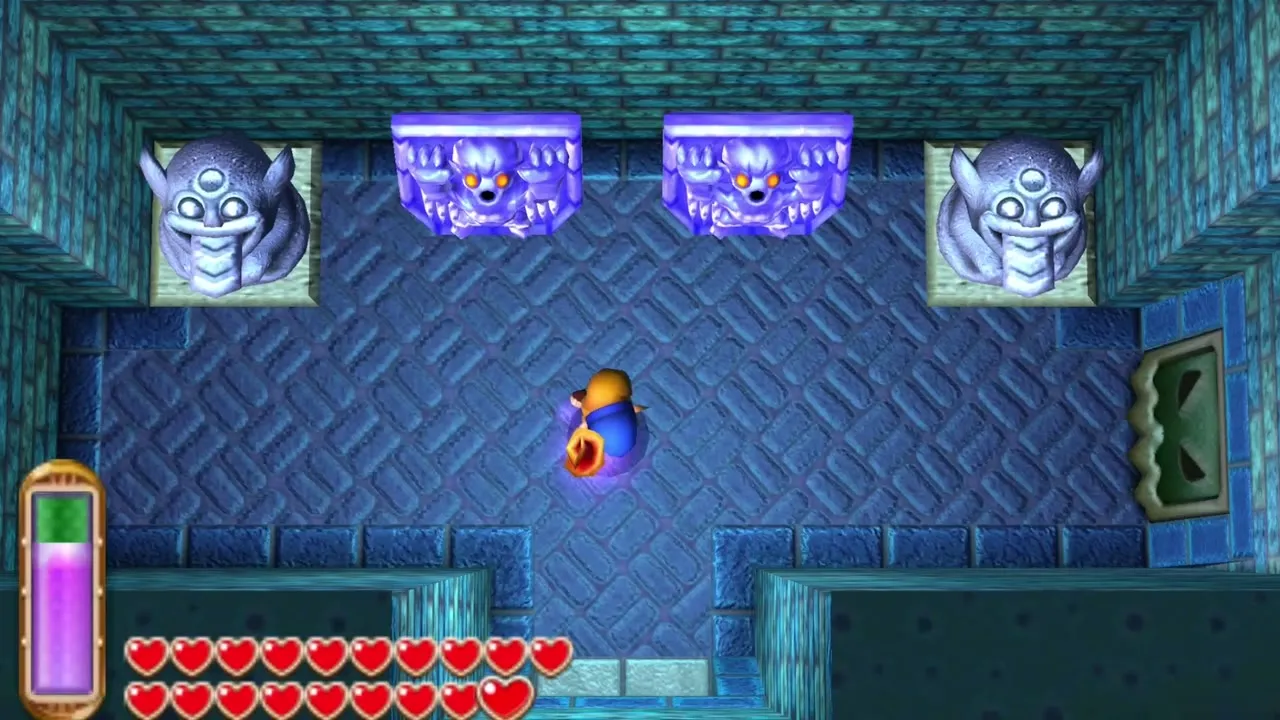
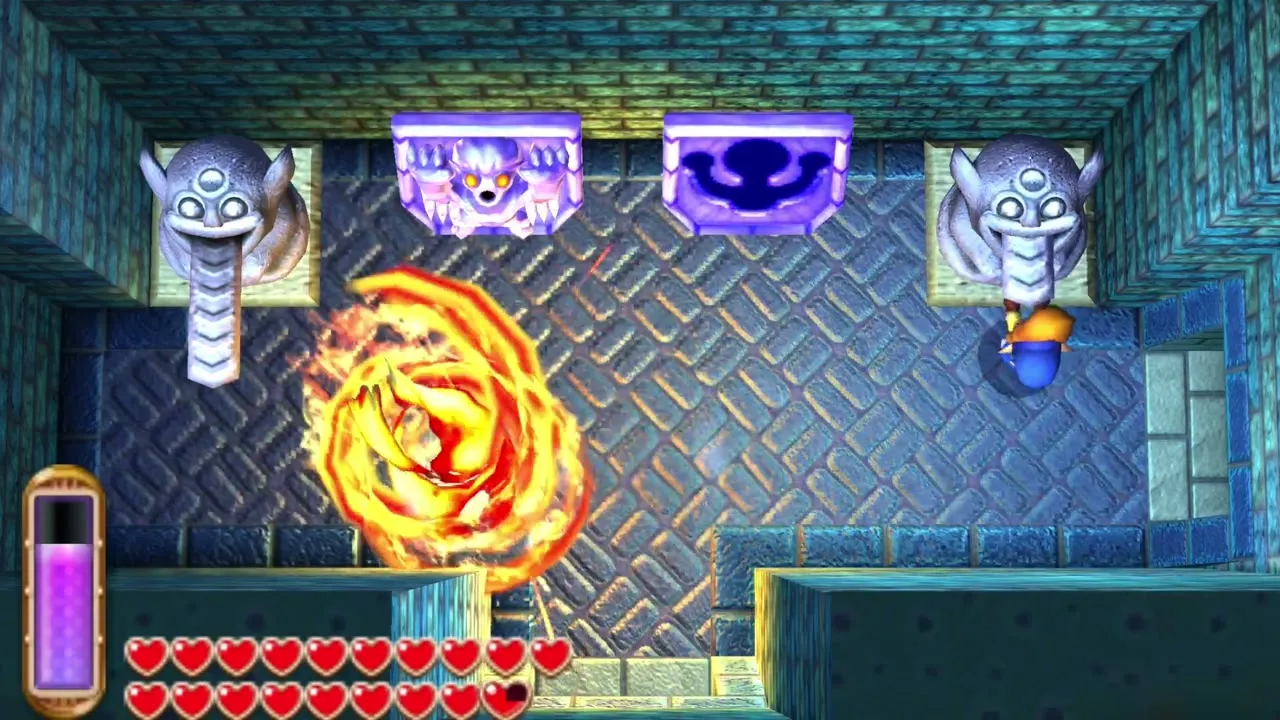
The next room has several stone statues with long tongues. Pull the tongue on the left statue to open the eastern door, which also lets out a Freezor, an ice creature that is easily melted. Burn it with the Fire Rod. Go through the east door and fight the Pengators in the room beyond. A few sword strikes finish each one.
B1 torches and the ledge key
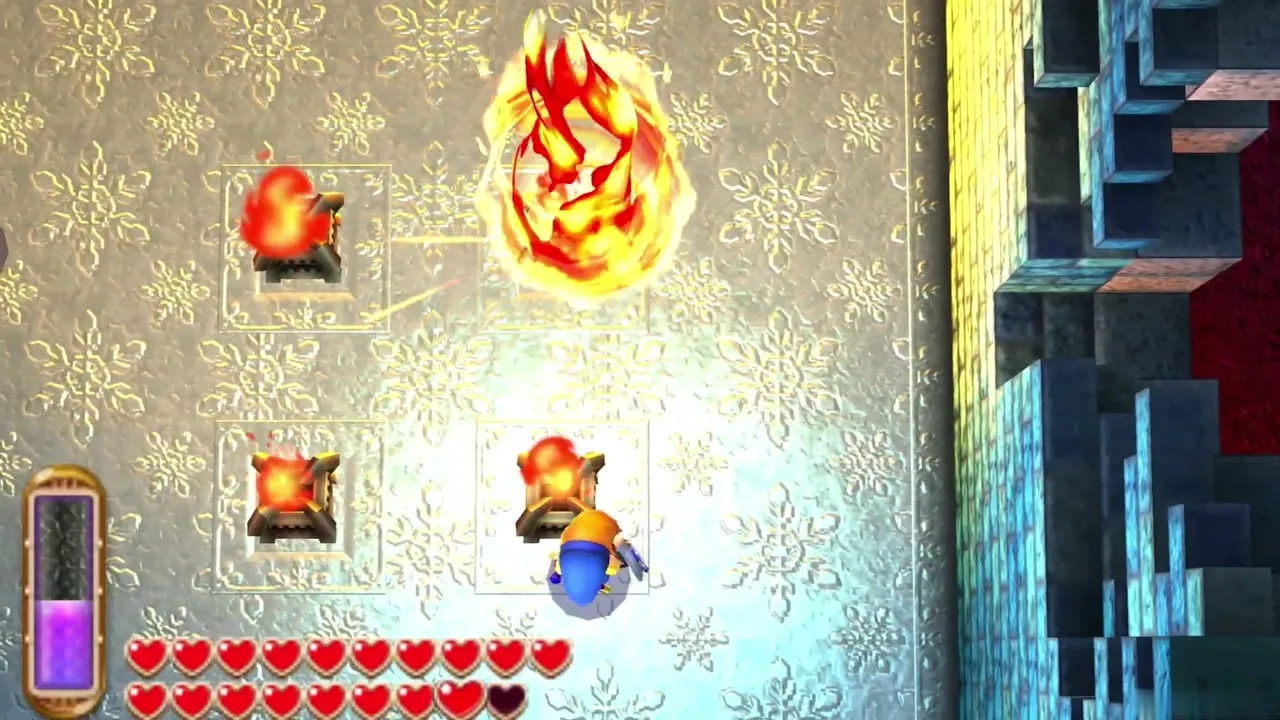
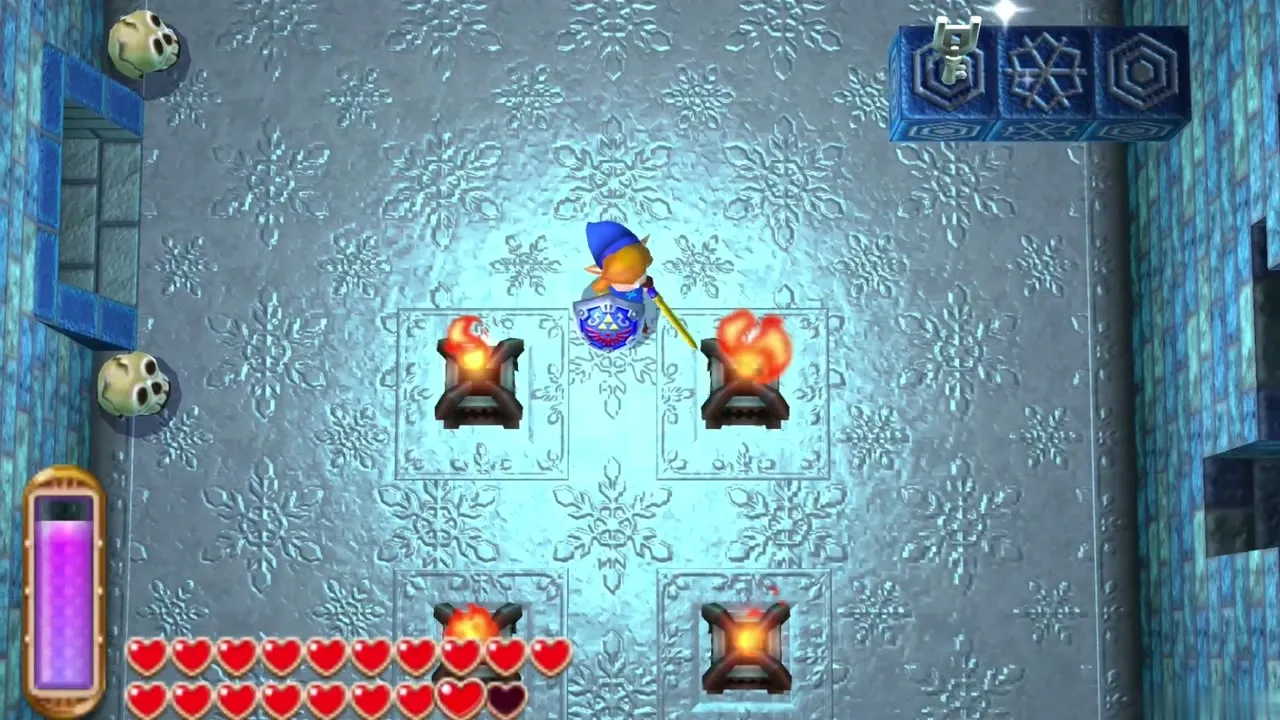
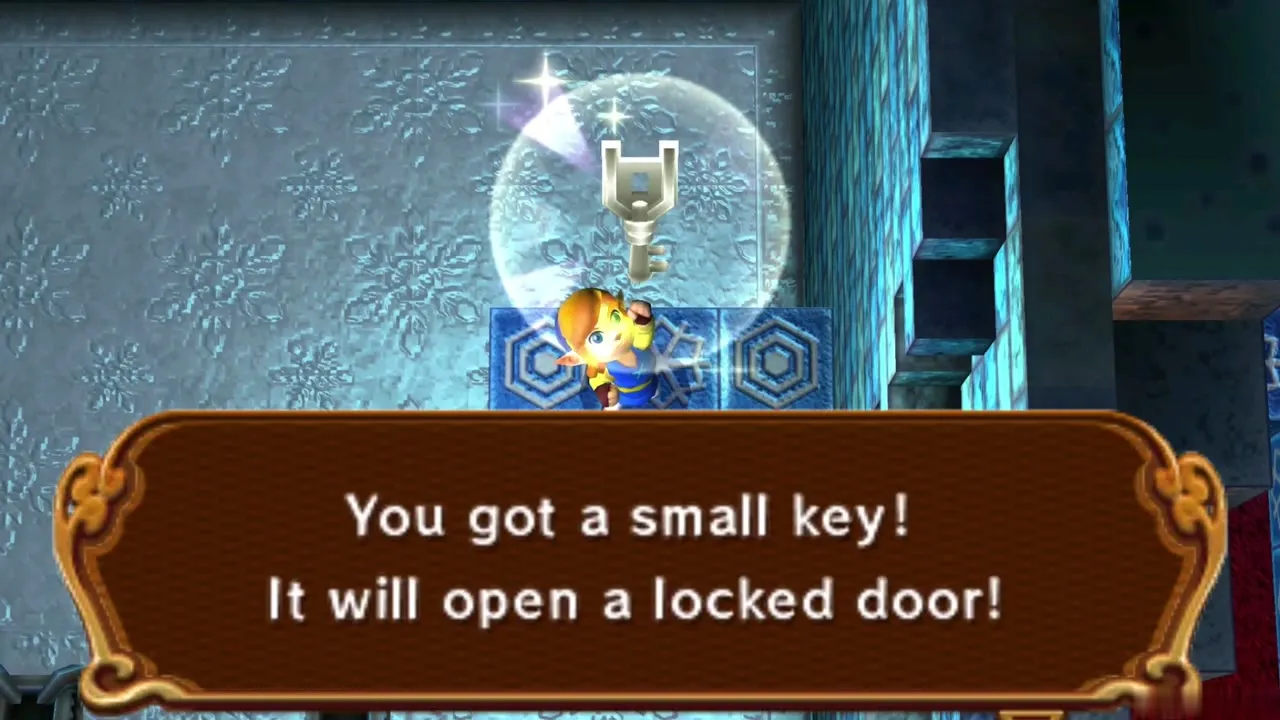
In the Pengator room, four unlit torches stand in a square. Light all four using the Lamp or the Fire Rod. A Small Key then appears on a block ledge too high to reach from here. Leave it for the moment and keep going; you will come at it from behind shortly.
Ice Ruins Compass
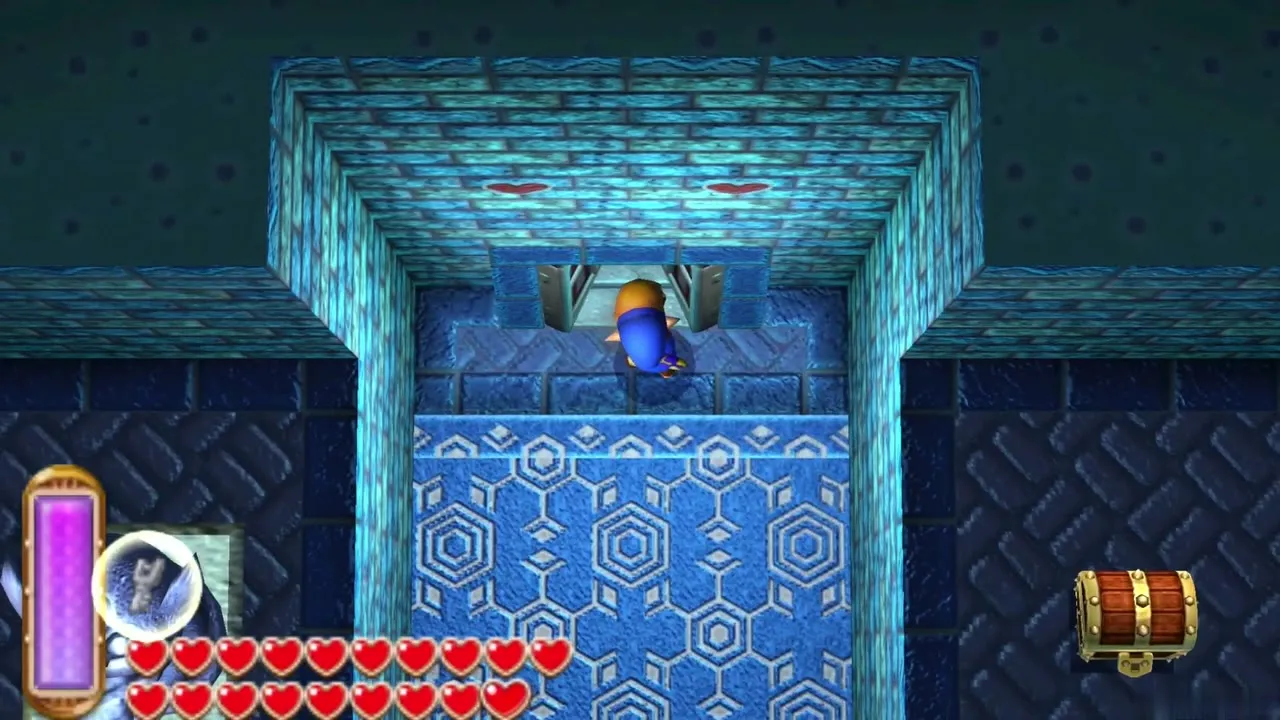
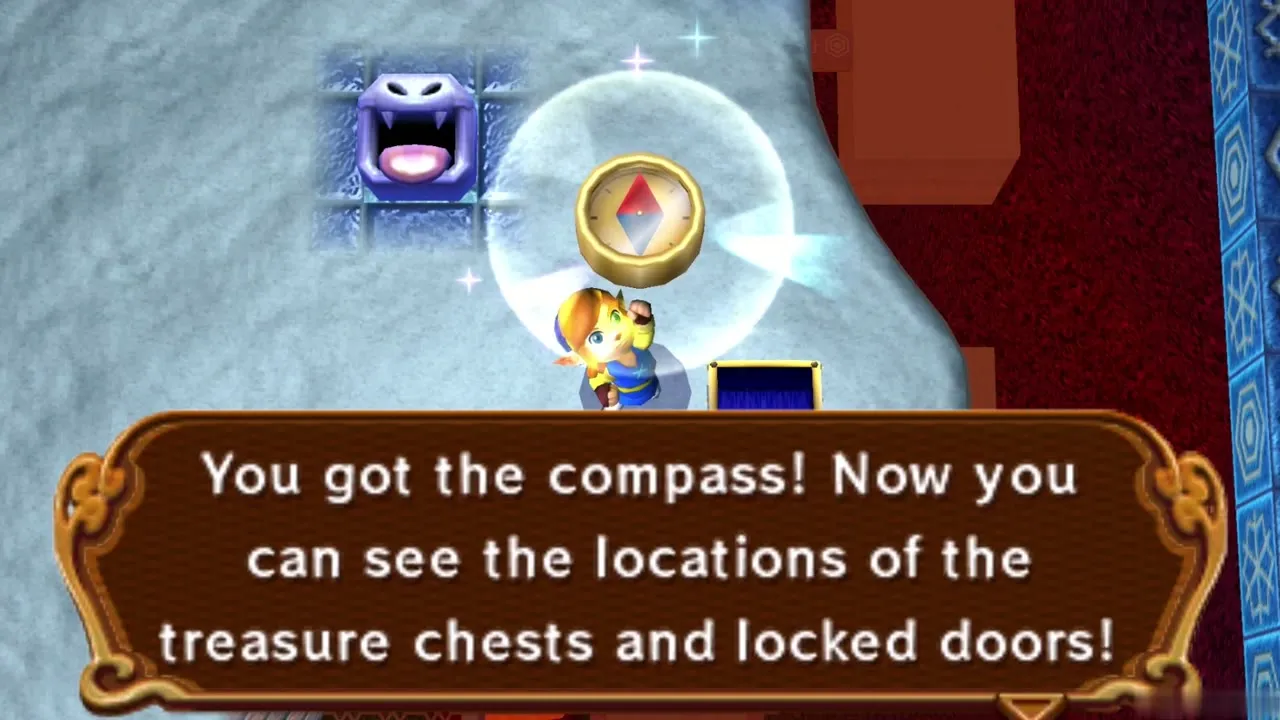
Take the door at the south end of the room. The statues in this corridor shoot freezing beams, so keep your shield raised as you walk. The chest at the southeast corner of B1 holds the Compass, which marks every chest and locked door on the map. Take it before you continue.
B1 wall path and the southwest door
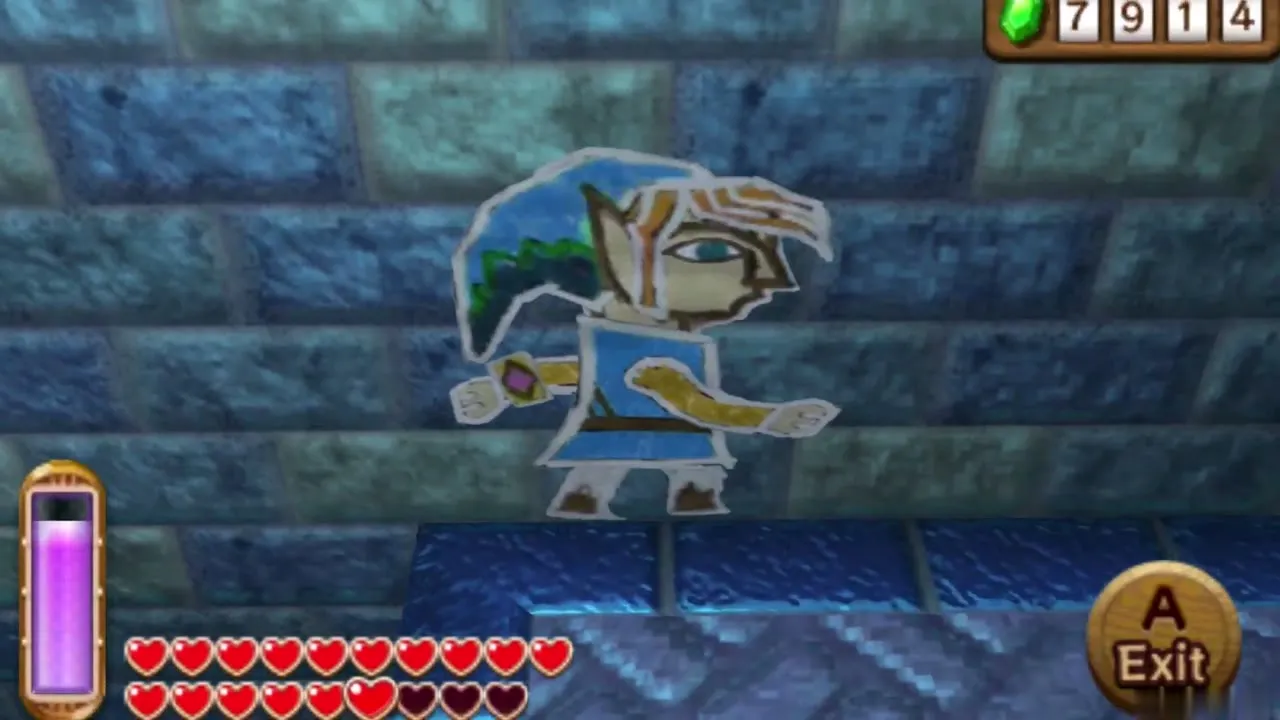
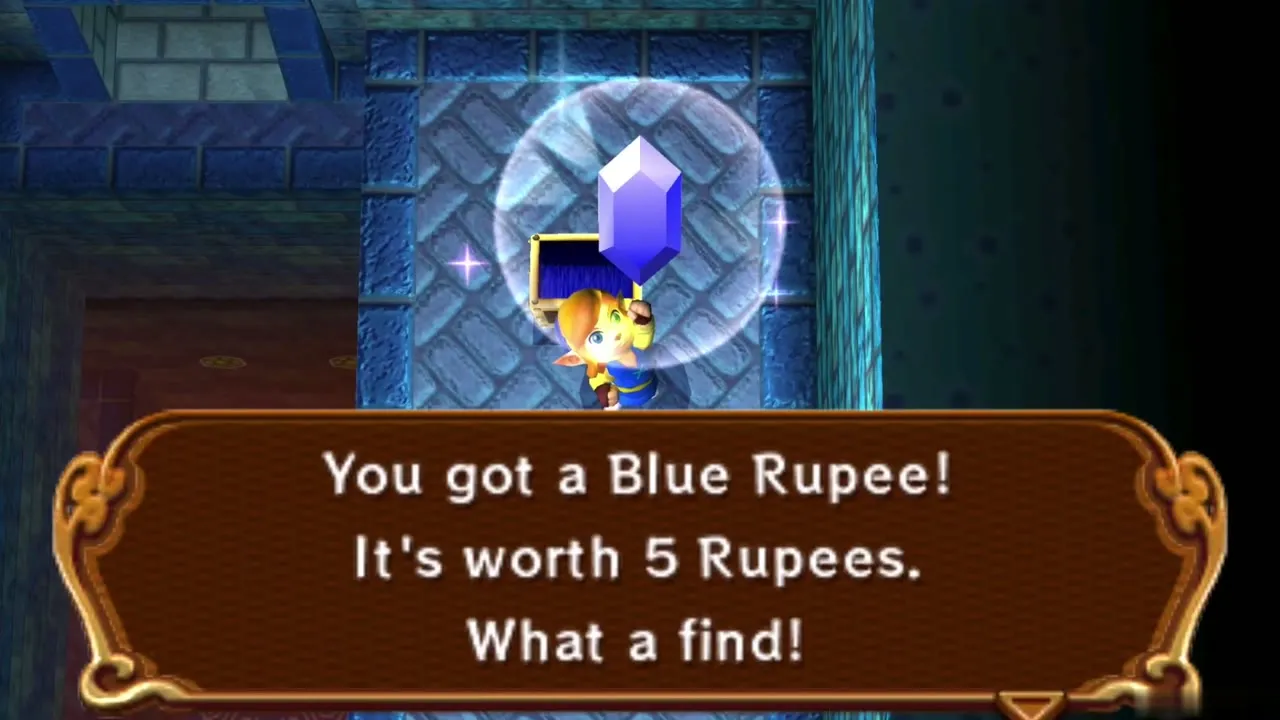
From the Compass room, follow the narrow frozen walkway north and merge into the wall at its end. Slide through the wall to reach the Small Key that appeared on the ledge, then go back along the walkway to the far south and unlock the southwest door. Merge into the painting to the left of it, step out on the other side and open the chest for a Blue Rupee worth 5 Rupees.

Icicles, switches and the drop to B4
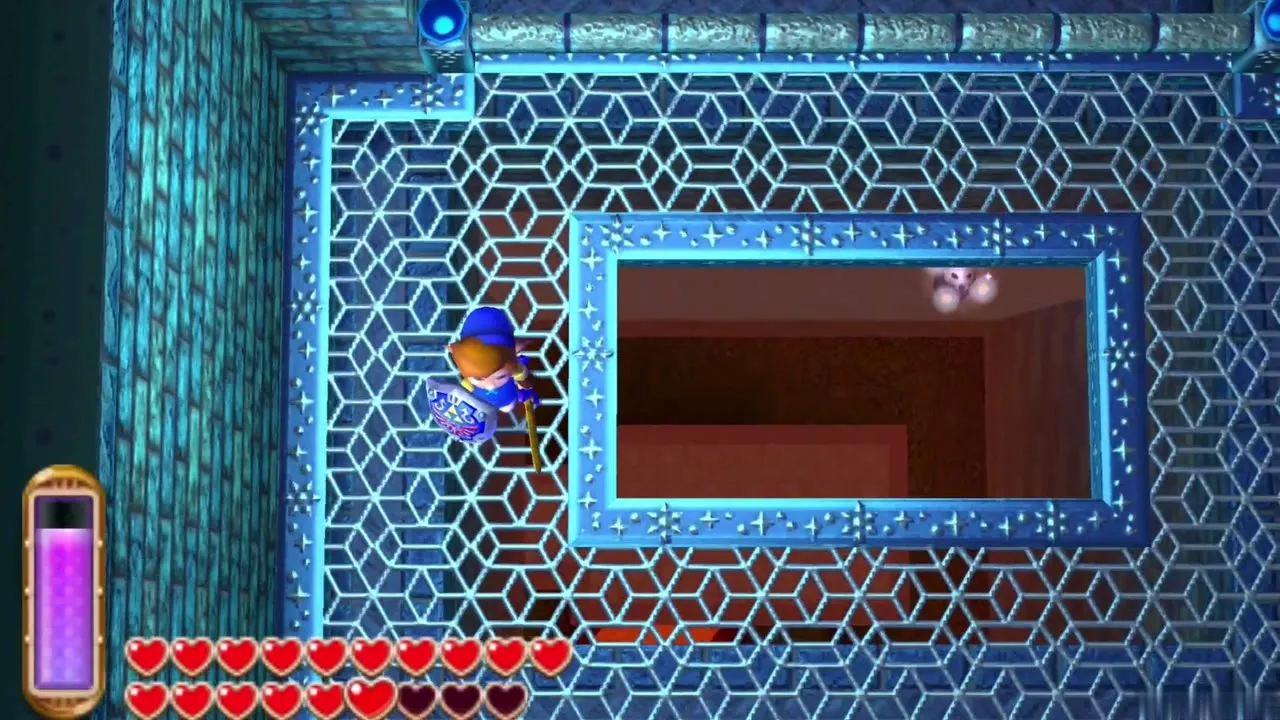
Back on B2, melt the icicles blocking the right-hand path with the Fire Rod and press the hidden floor switch to open the door in the northwest. Climb the stairs behind it and take the northwest path. The route ends at a large hole in the floor. Jump in and you land on B4, the floor above the lava.
B4 Silver Rupee chest
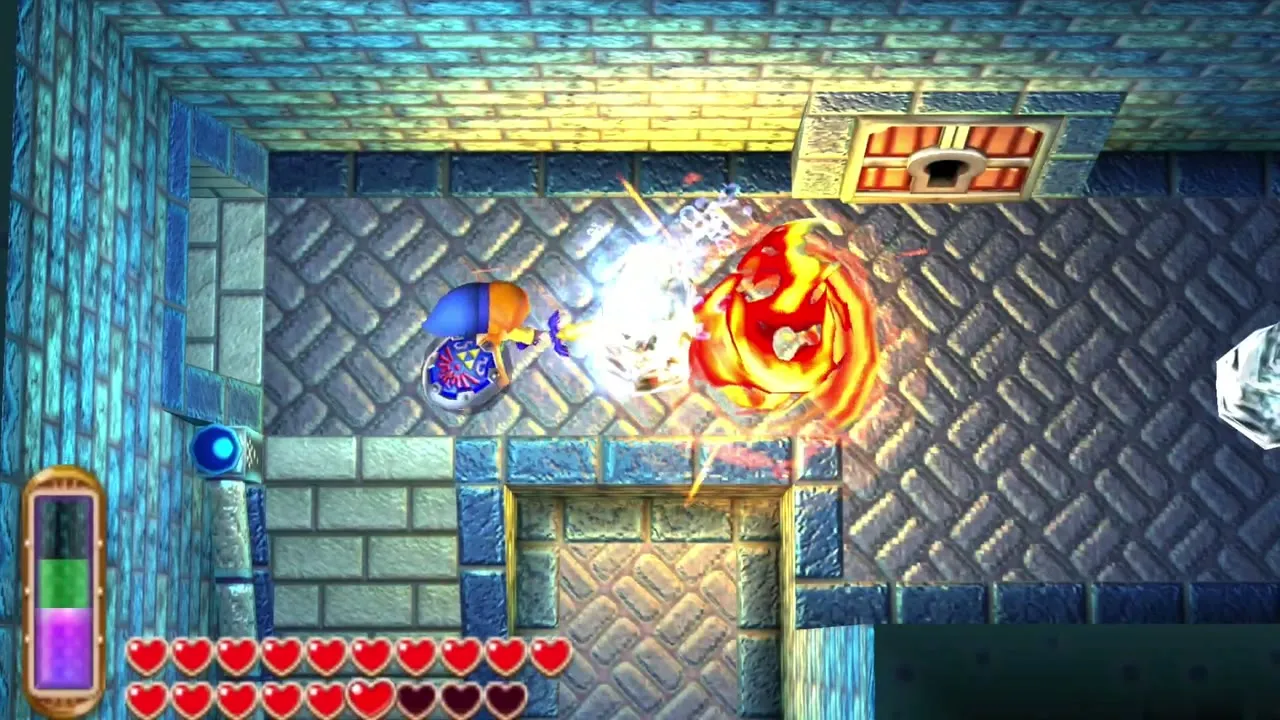
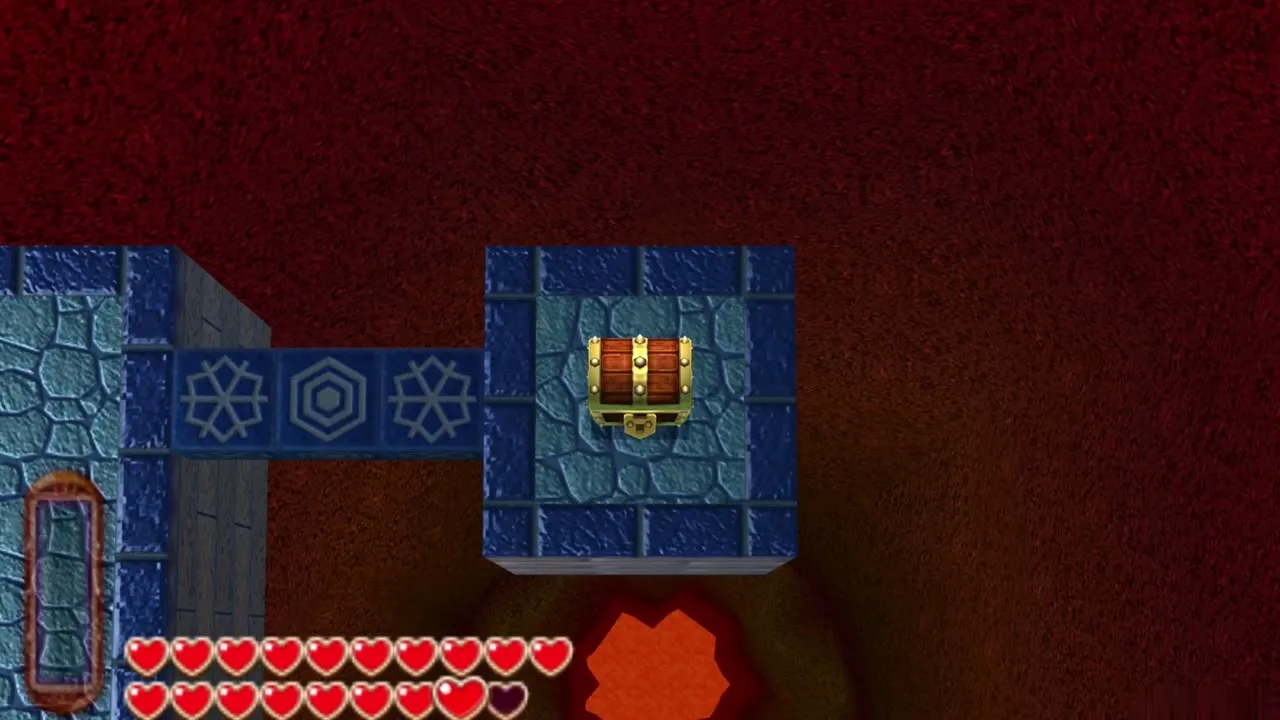
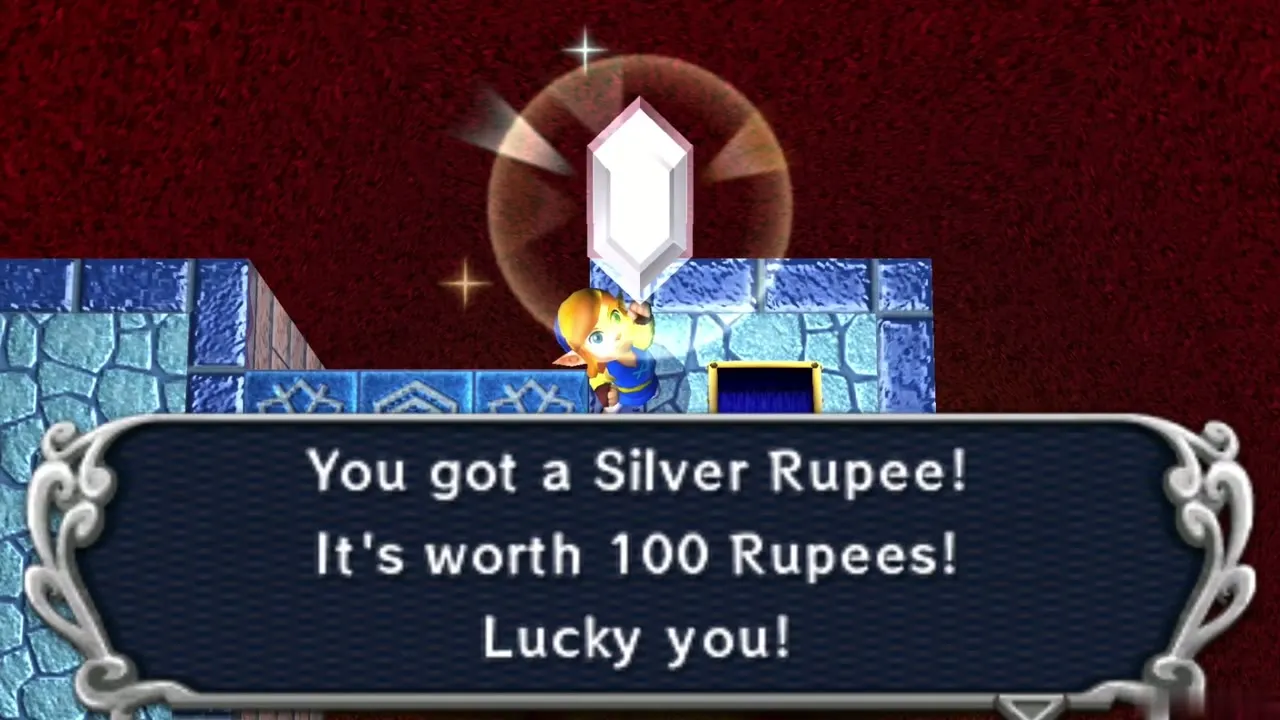
Step on the moving platform and use a bomb dropped by one of the flying enemies, or throw one yourself, to hit the crystal switch on the northern platform. A chest rises from the lava. Open it for a Silver Rupee worth 100 Rupees. Stay on the narrow paths here: the floor is surrounded by lava, and a stray bomb can blow a path apart.
B4 brazier lift and B3 chest
Follow the narrow walkway to the round ice block, defeat the bats, and hop to a small platform southeast of it. Light the brazier in the center with the Lamp or Fire Rod and a lift appears. It carries you down to B3. Follow the path south, drop left onto B4, and open the chest for a Purple Rupee worth 50 Rupees before riding back up.
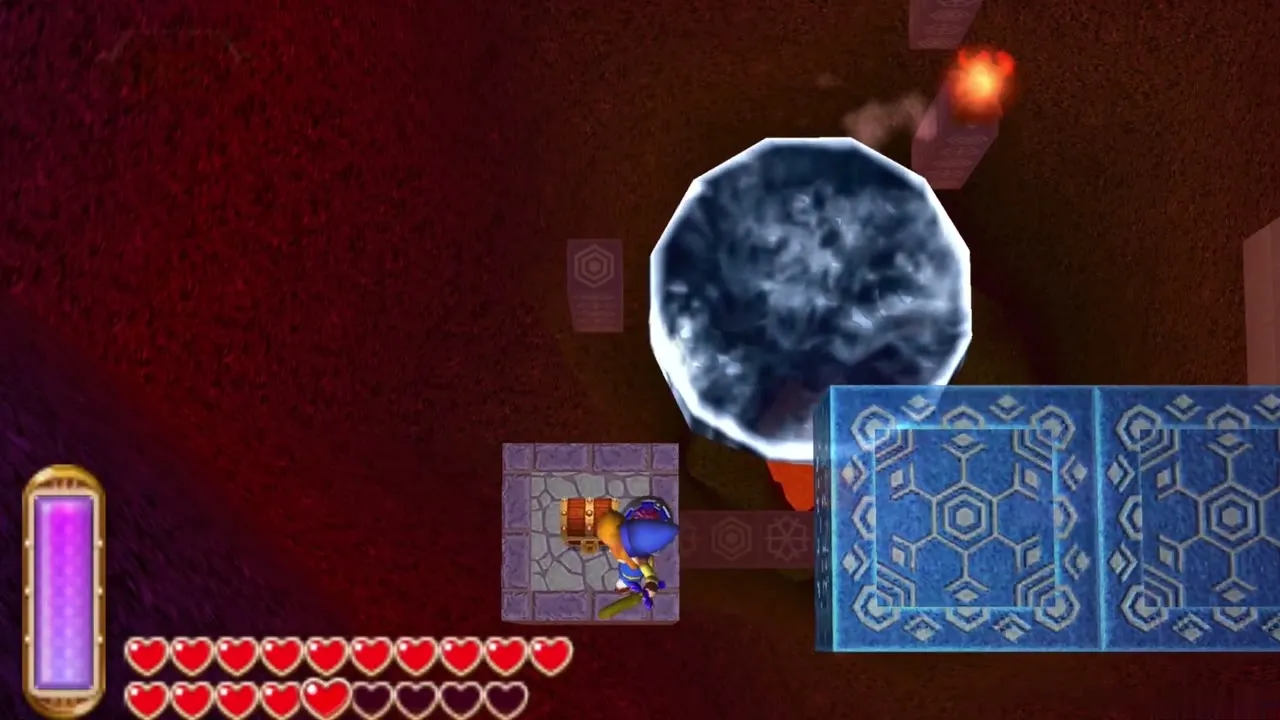
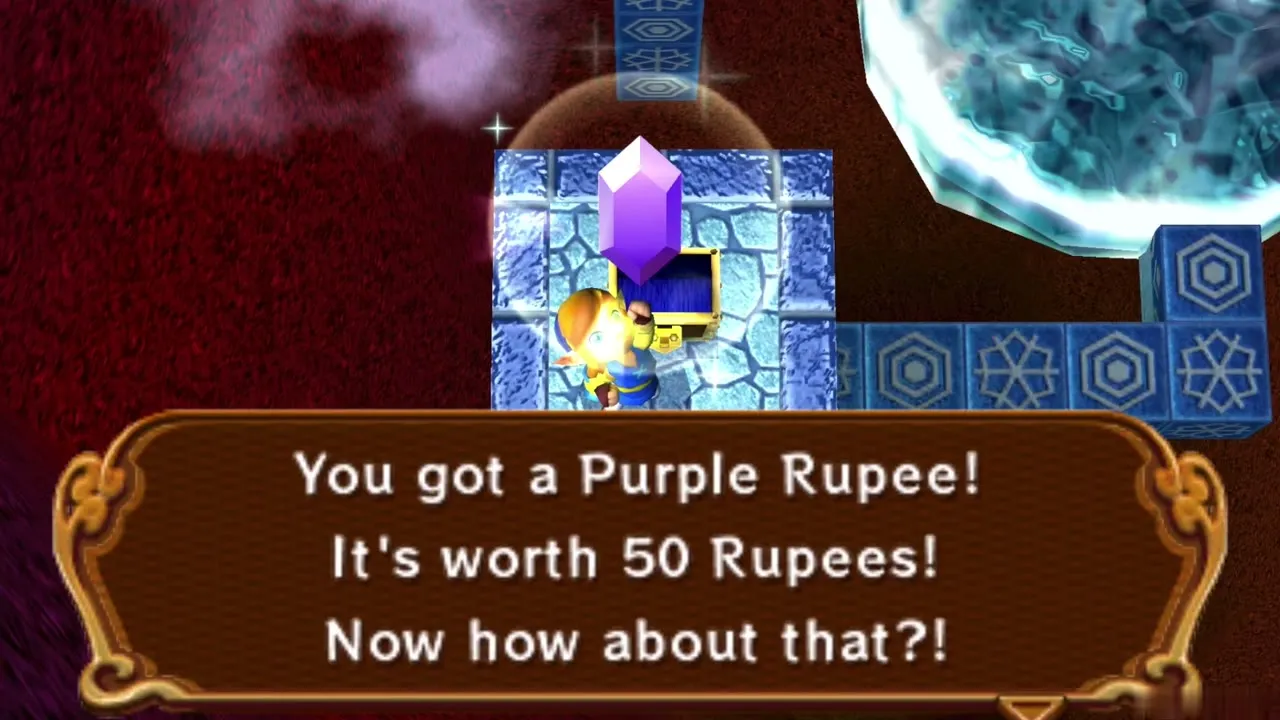
B3 ice blocks and the switch
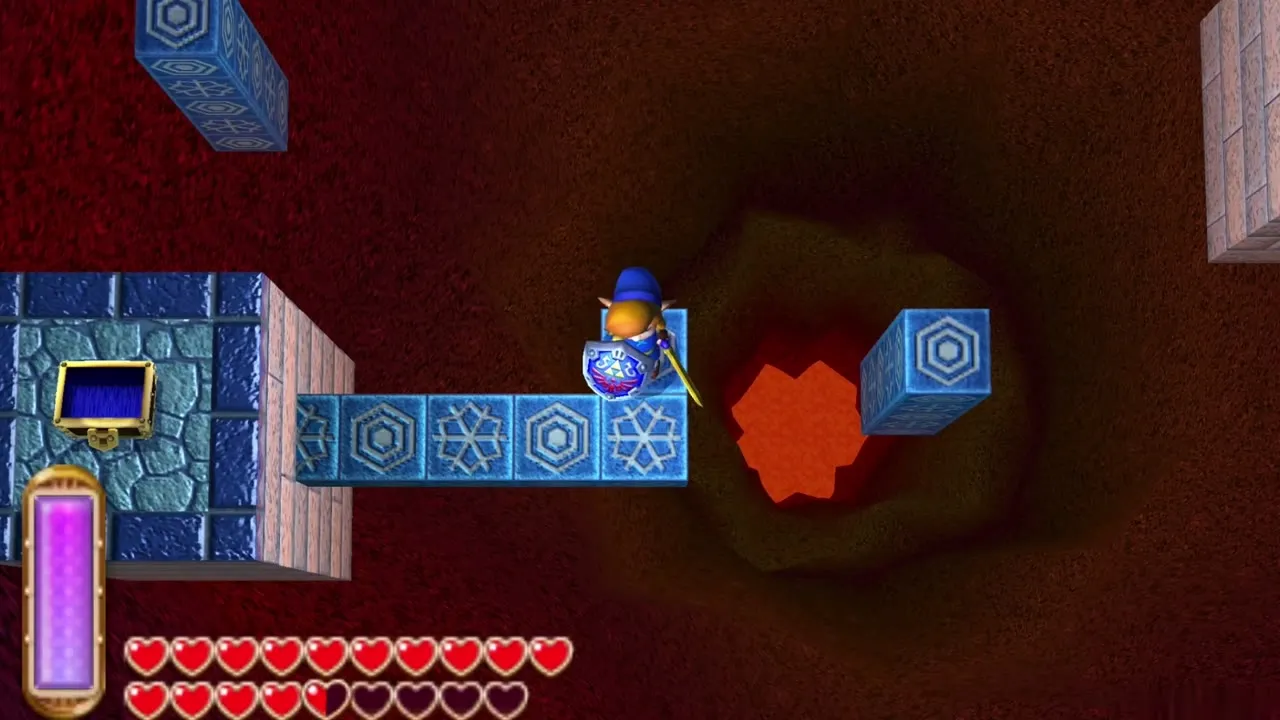
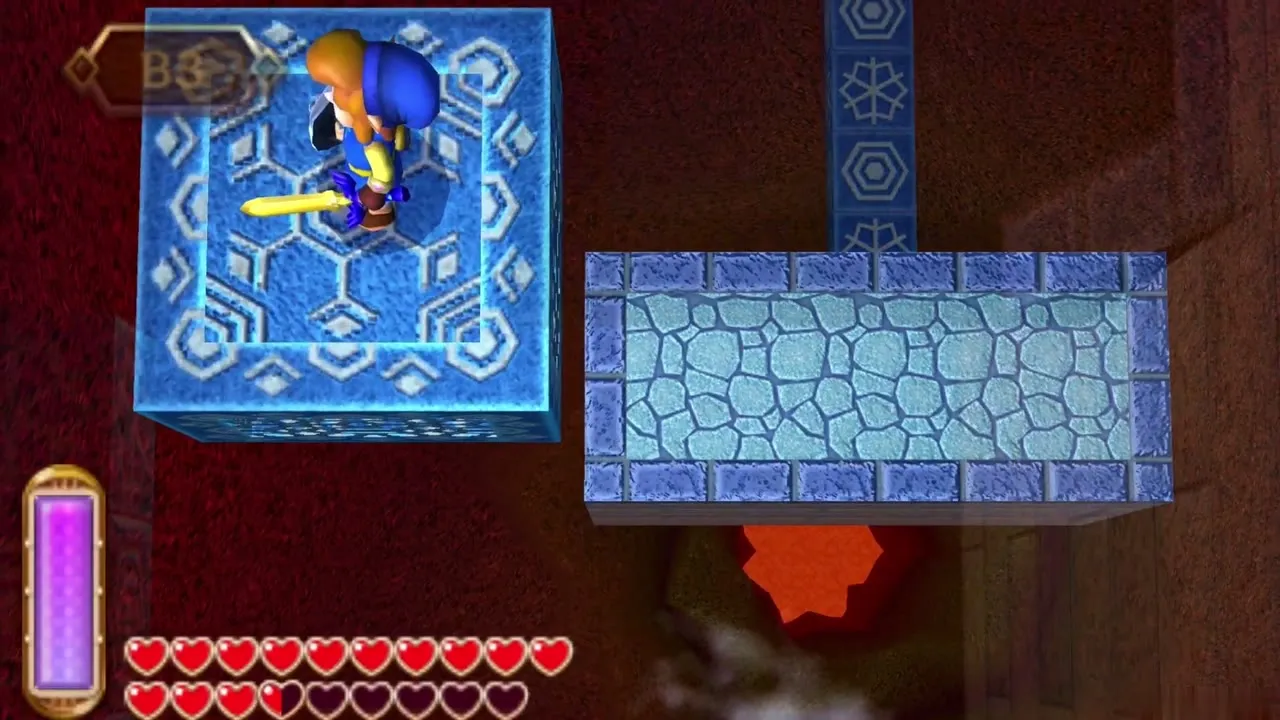
On B3, cross the moving platforms and the grid platform to the north, then melt the four nearest ice blocks with the Fire Rod to uncover a floor switch. Return across the room and strike the switch across the pit from a distance; an arrow from the Bow will do it. Another lift rises. Pass through the upper wall, ride it up and return to B2.
Ice Ruins Stamina Scroll
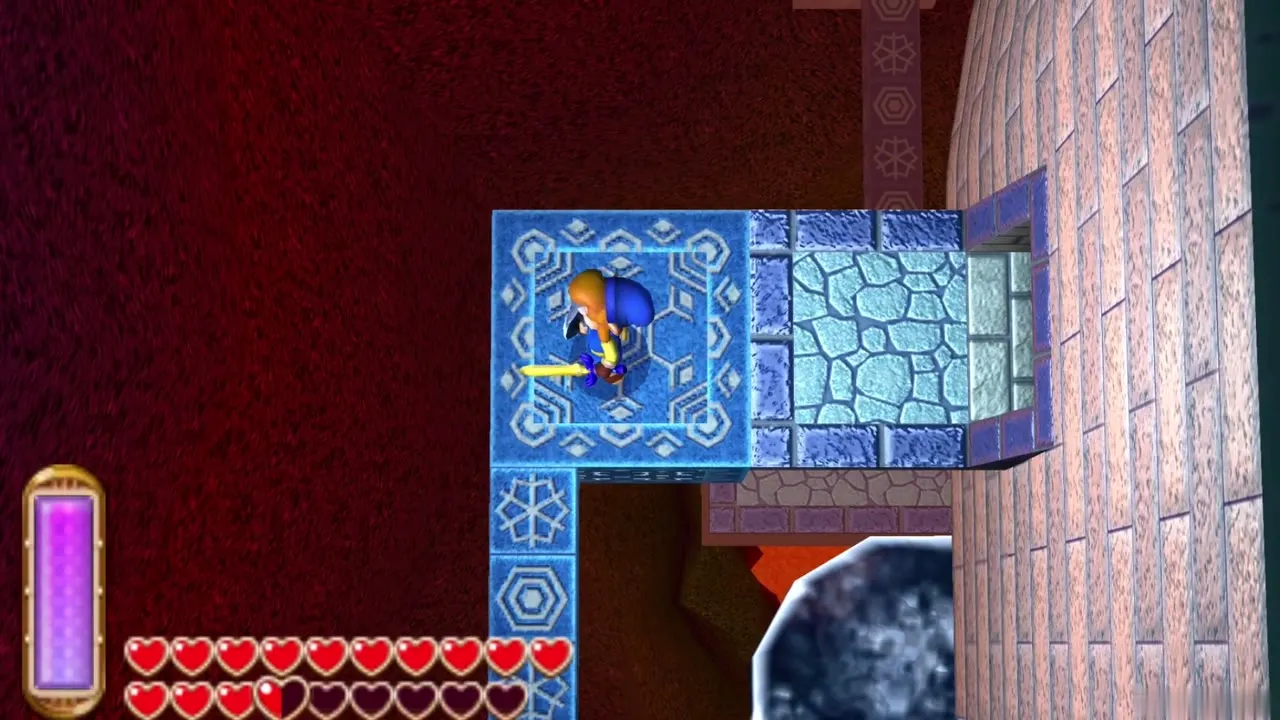
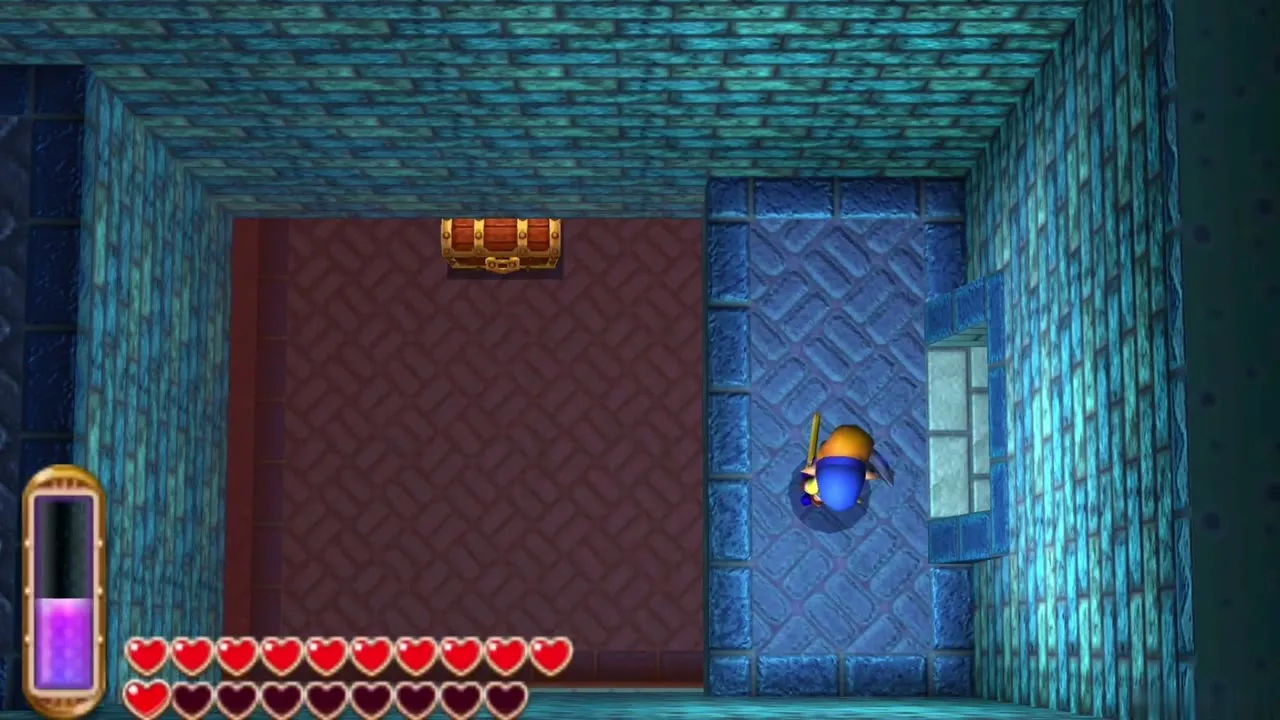
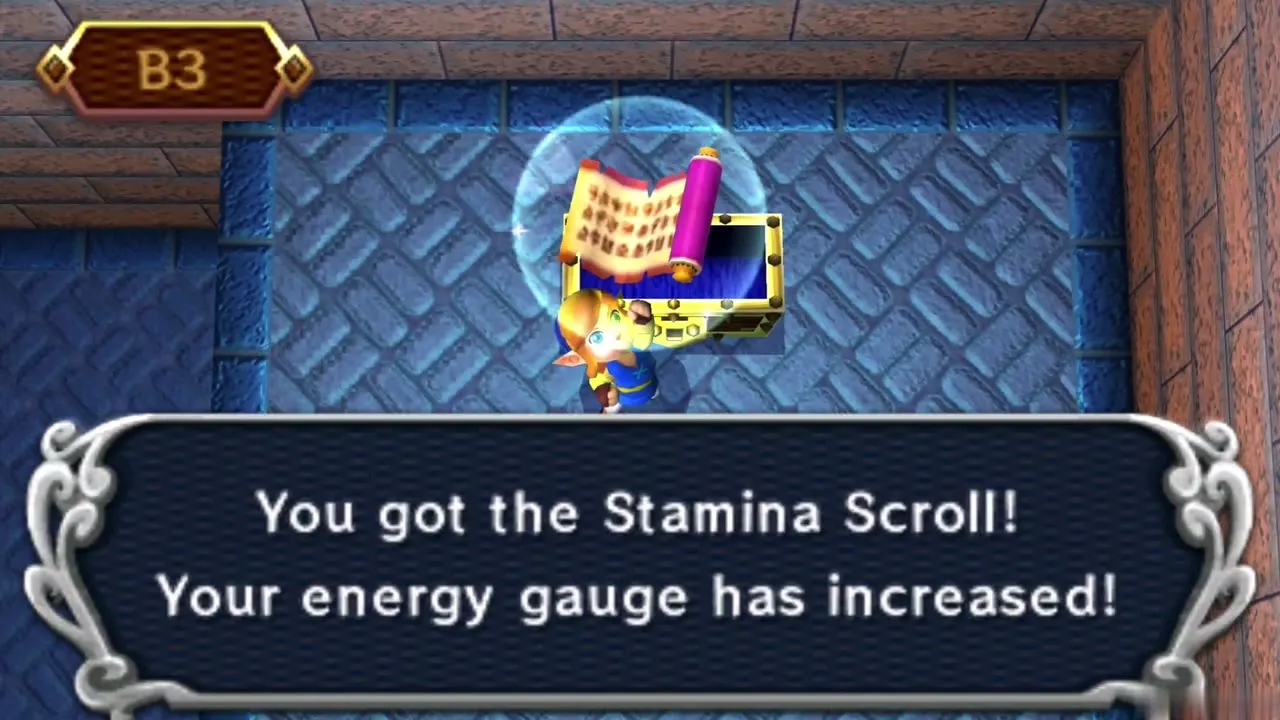
In the east rooms of B2, beat the three one-eyed creatures, smash the skulls and step on the floor switch to open the next door. Go east and pull the statue’s tongue. Part of the floor slides away, so drop down to B3 and open the large chest. It holds the Stamina Scroll, which lengthens your energy gauge by half, so you can use more items and stay merged to walls for longer.
B3 Silver Rupee with the longer gauge
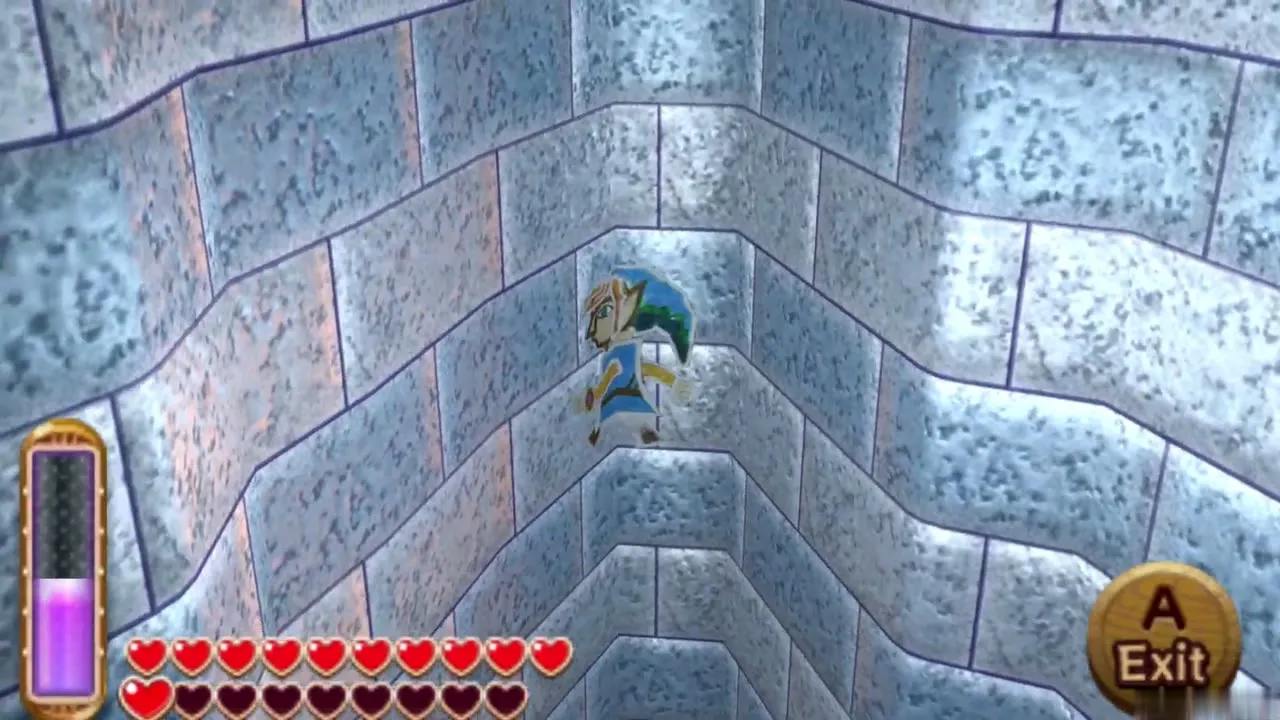
The new gauge lets you reach a chest that was impossible before. From the Stamina Scroll room, merge into the stone wall and slide along it for as long as the gauge lasts, until you reach a small side room. Step out and open the chest for a Silver Rupee worth 100 Rupees. It is the only treasure in the dungeon that needs the longer gauge.
Big Pengator mini-boss
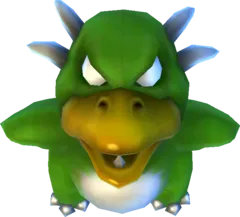
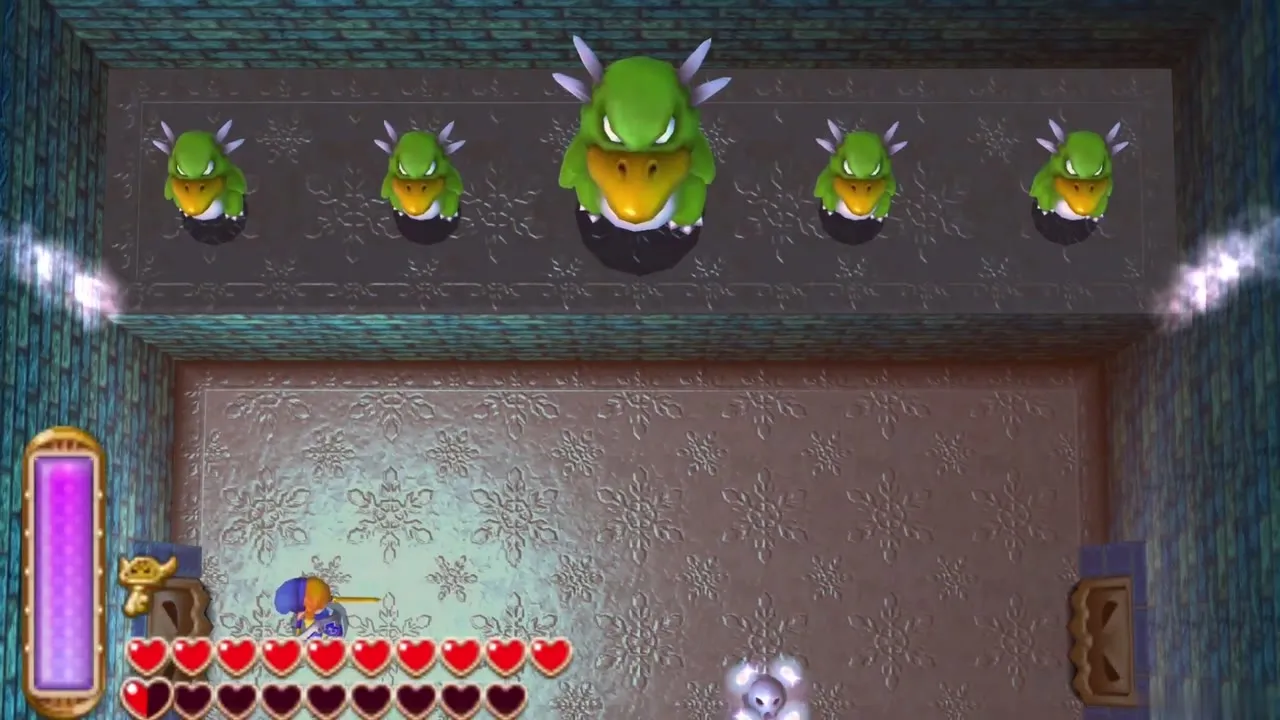
On B3, a snowflake-patterned room has doors that lock when you enter. A huge Pengator charges you, backed by four normal-sized ones. Keep moving, strike the small ones as they slide at you and wear down the big one with the sword and Fire Rod. When they fall, the doors reopen, and a warp portal appears in the middle of the floor. Step on it to travel between this room and the dungeon entrance.
B4 Small Key chest
Go west across the frozen path and pull the statue’s tongue to shift part of the floor. Return to the room before and head east, then south, killing everything on the way and lighting the brazier above with the Fire Rod to open the southern door. Defeat two ghosts, press the switch to open the door south, and drop through the hole to B4. A chest there holds a Small Key.
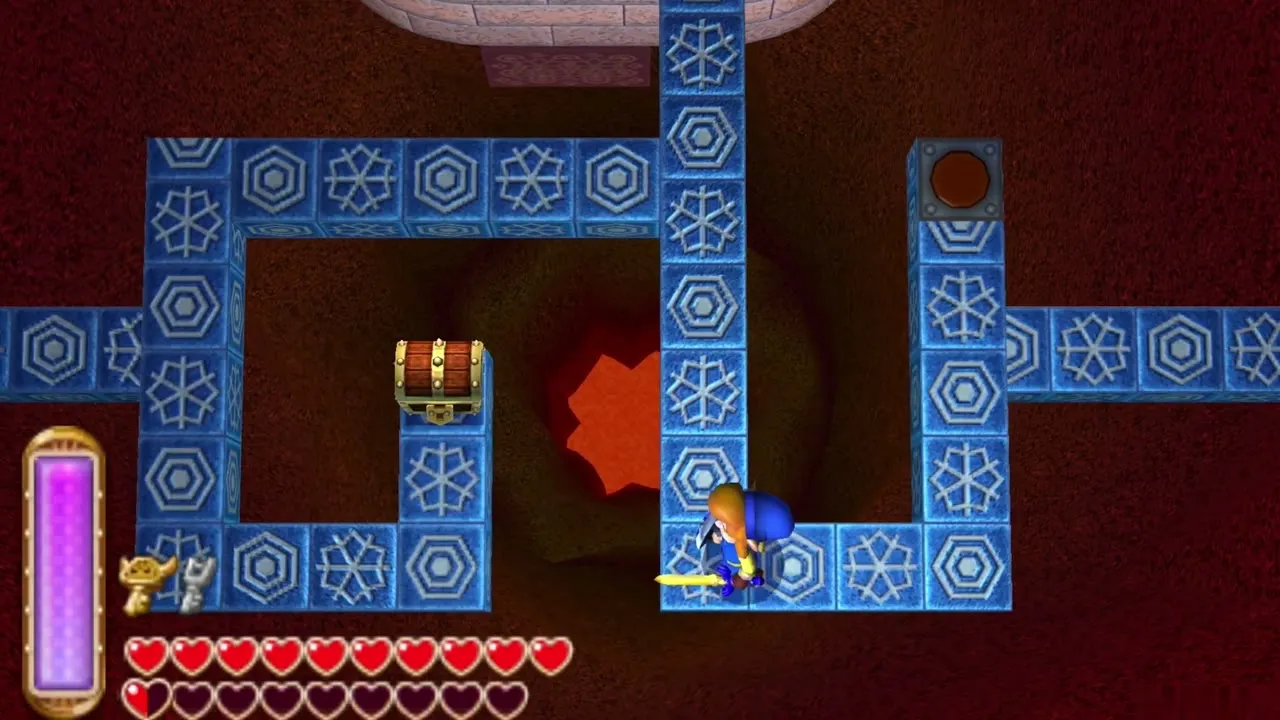

B2 north rooms
Ride the lift to B2, go east and use the left room’s hole to drop to B3, then take the lift back up. Pass through the wall to the left of the door and walk to the northernmost point of the dungeon to open a chest with 100 Rupees. Collect the green rupees on the way back, unlock the door on the right with your Small Key and drop onto the ice block below.
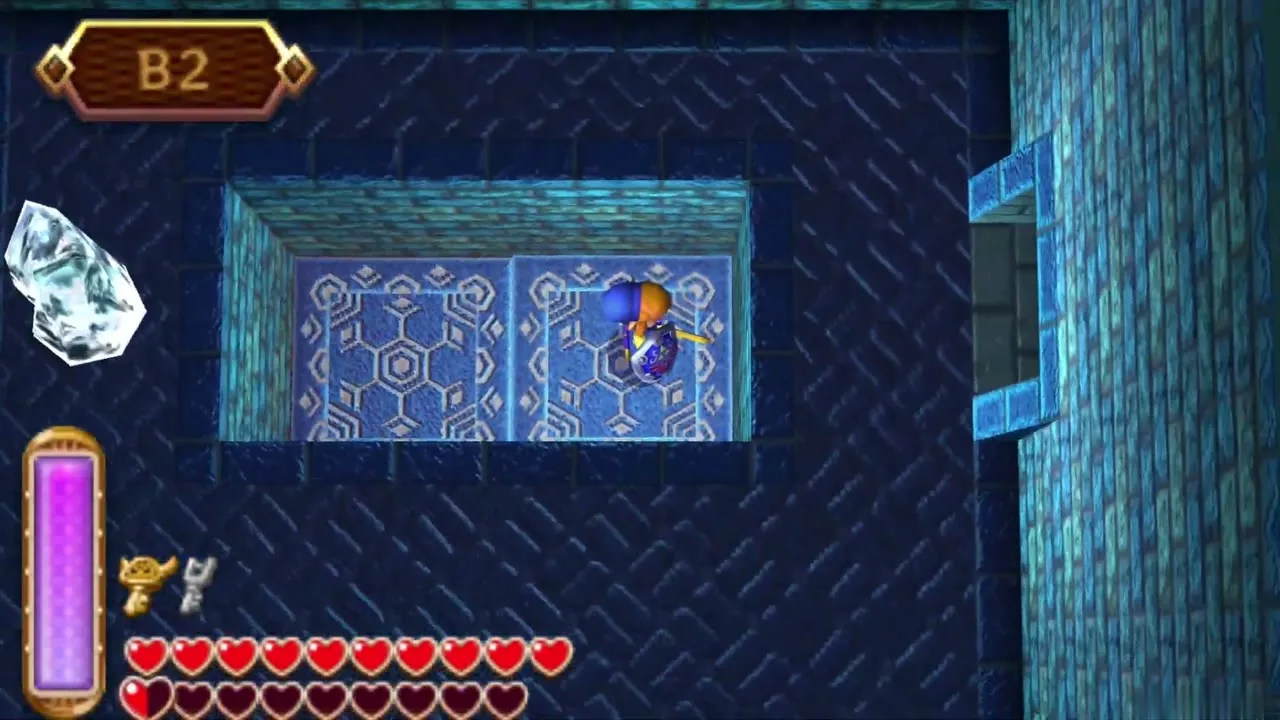
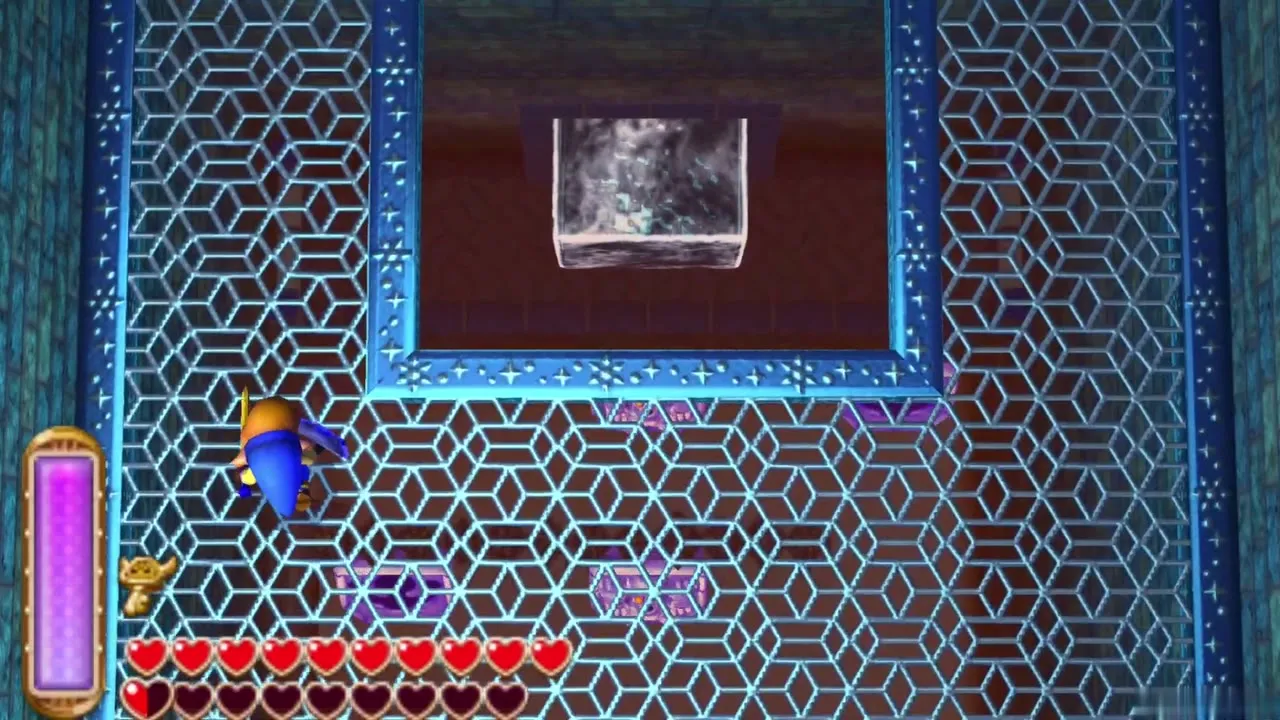
Wind and the final lift
Melt the ice block under you with the Fire Rod. A stream of air appears, which carries you up to a platform with a statue. Pull its tongue to lower another section of floor, go north and drop through the new hole to B4. Melt the icicles, cross the frozen paths south and light the right-hand brazier to join two paths. Enemies on the ice drop bombs, so move quickly.
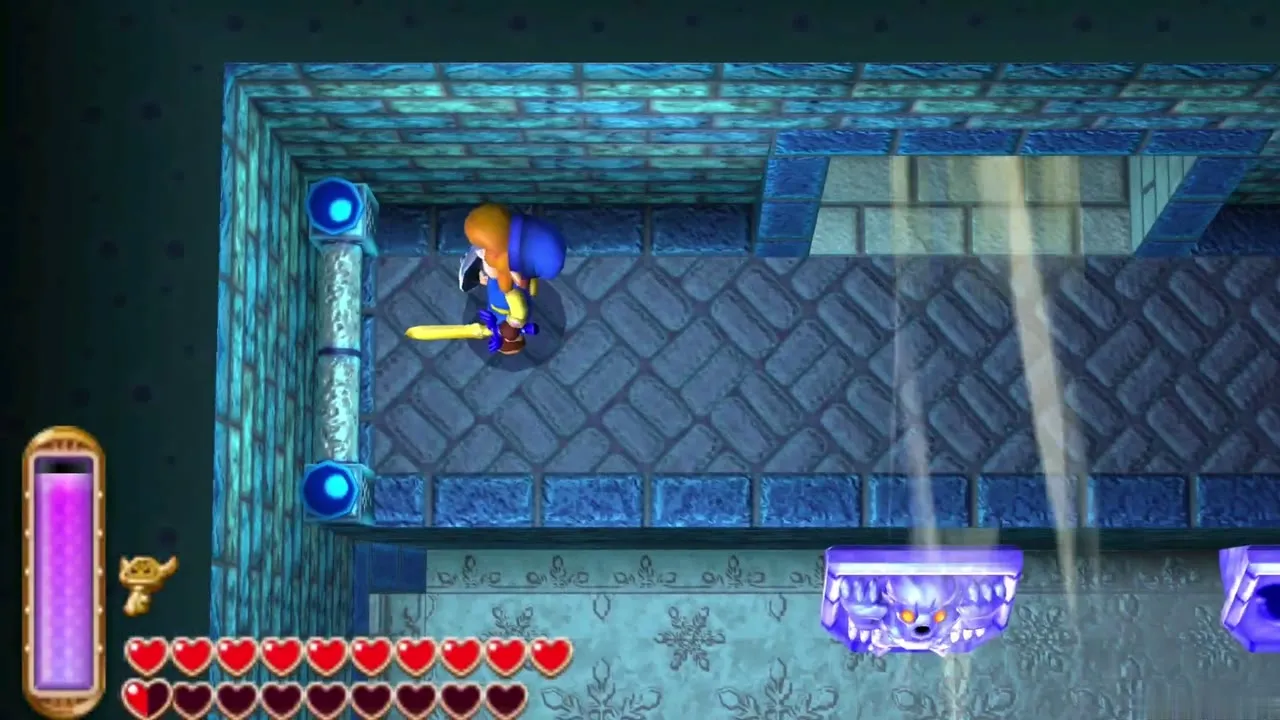
Ice Ruins boss door
Walk south, go left and take the narrow path north. Pull the last statue’s tongue to shift the floor and continue north. Step on the floor switch to open a shortcut, double back, turn left and stand at the boss door. Unlock it with the Big Key. Beyond it a few skulls hide hearts, so smash them to top up, then drop through the hole in the floor.
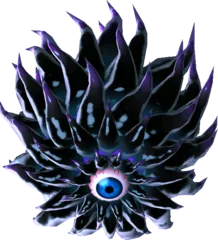
Dharkstare boss fight
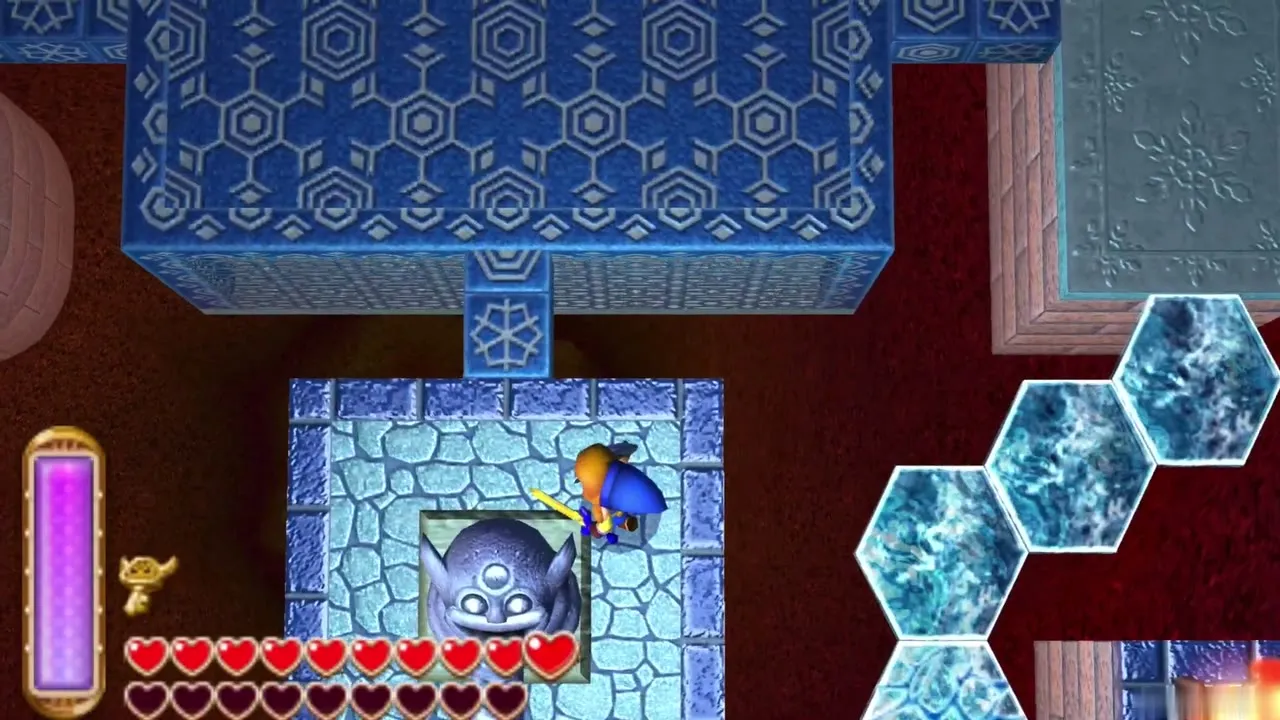
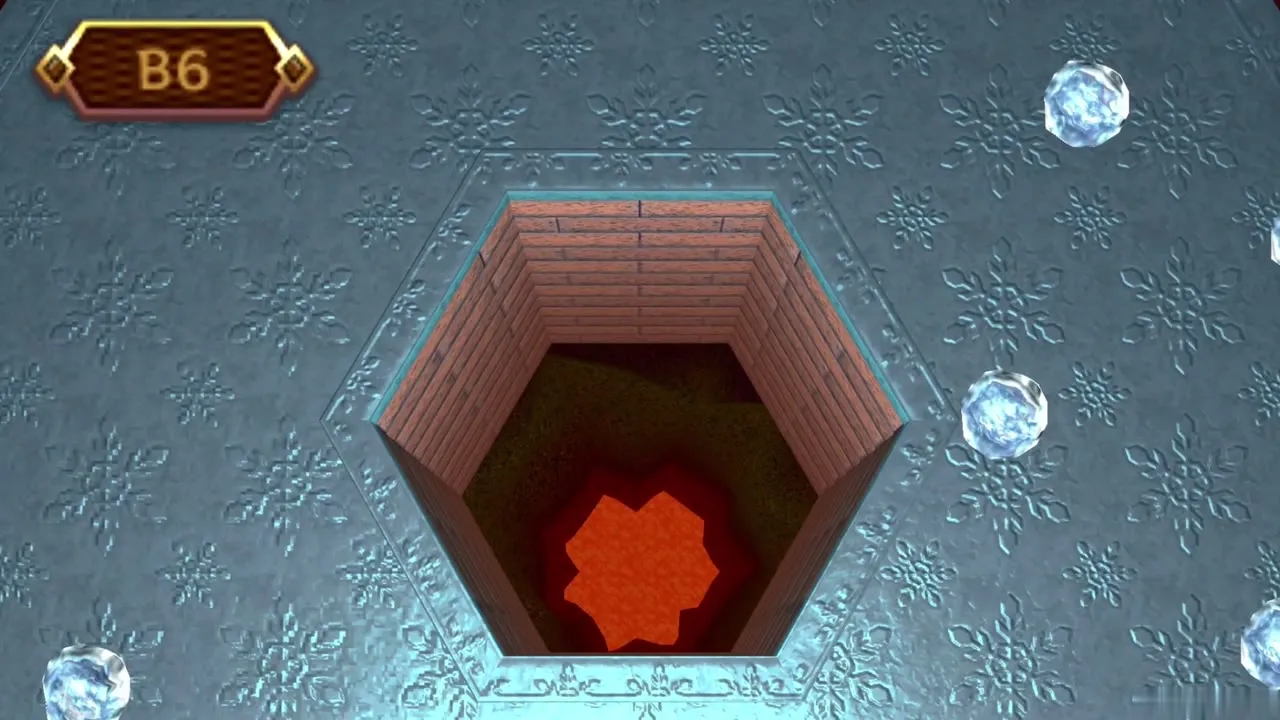
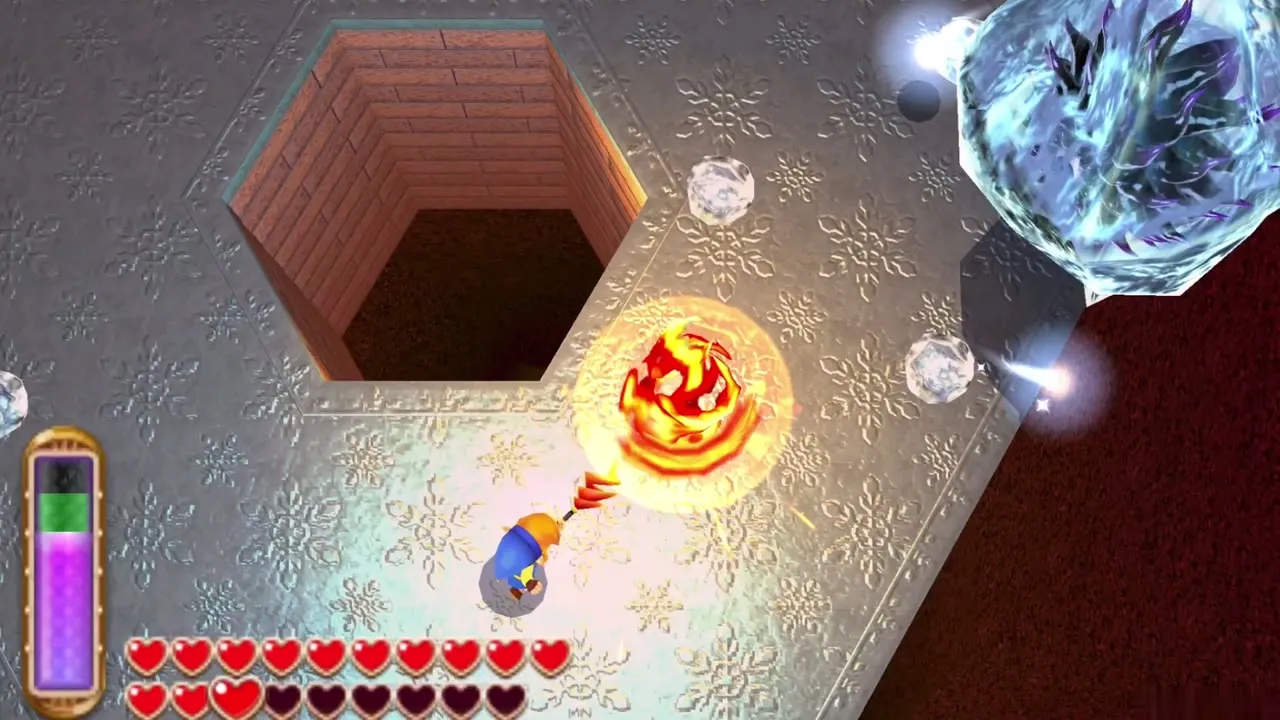
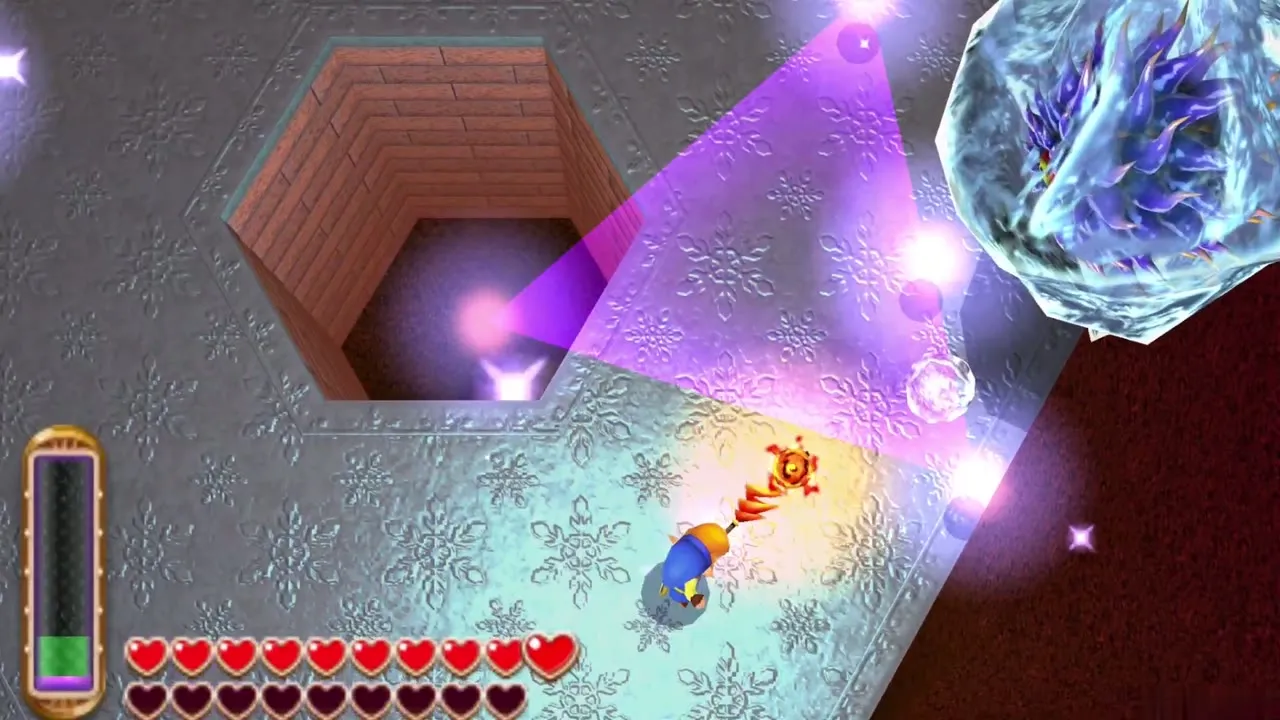
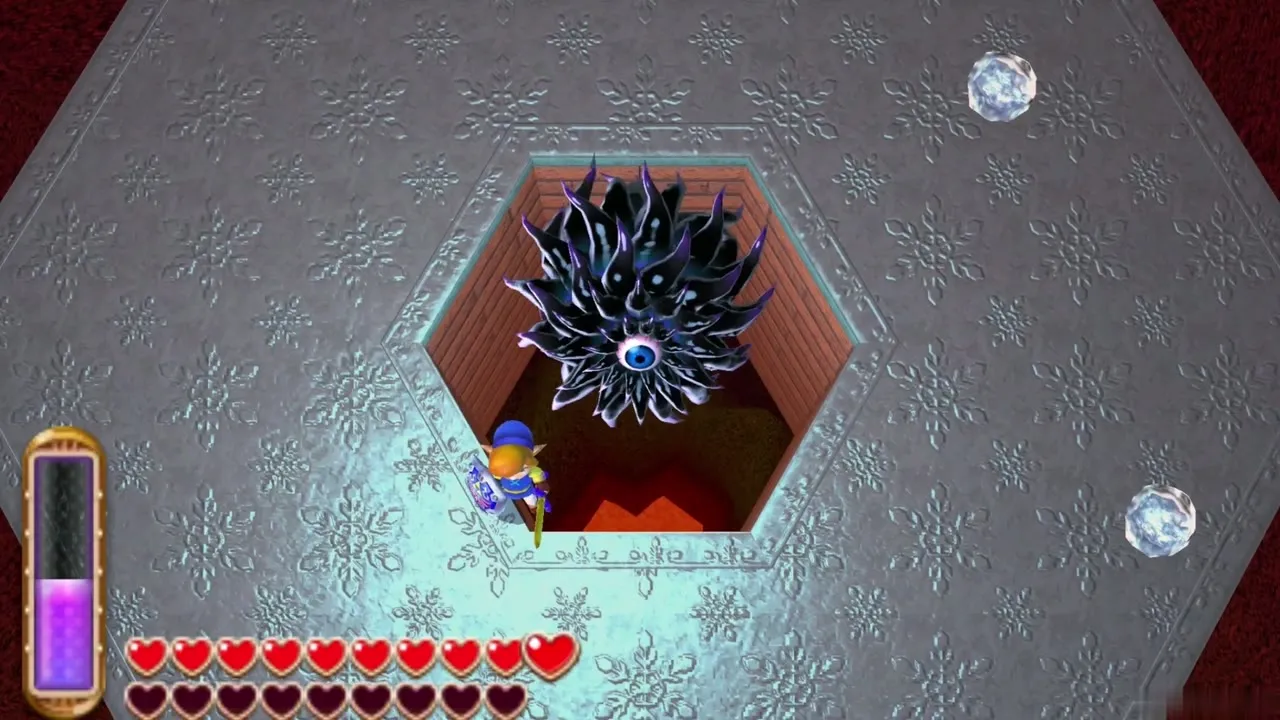
You land on a hexagonal ice platform with a deep hole in the middle. Dharkstare rises from it, wrapped in a thick shell of ice, with a dark eye at its core. Equip the Fire Rod before your first step, and never stop moving, because the floor is slick and a long slide can take you off the edge.
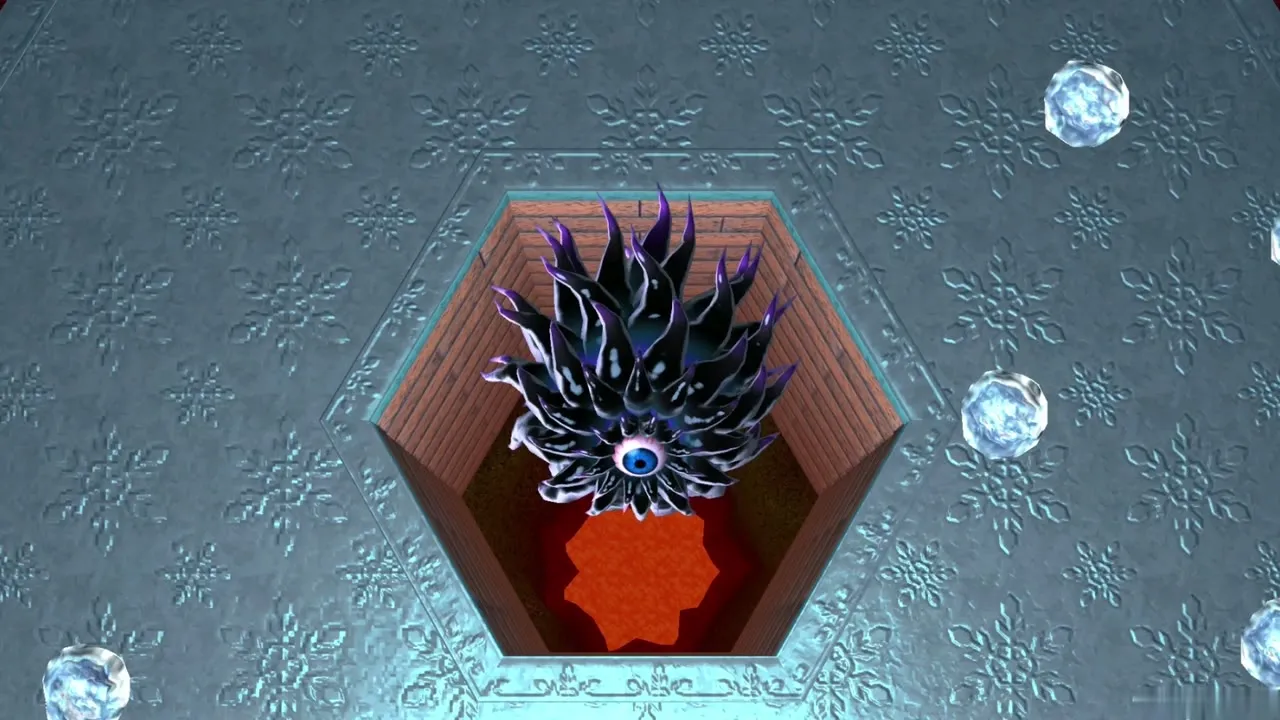
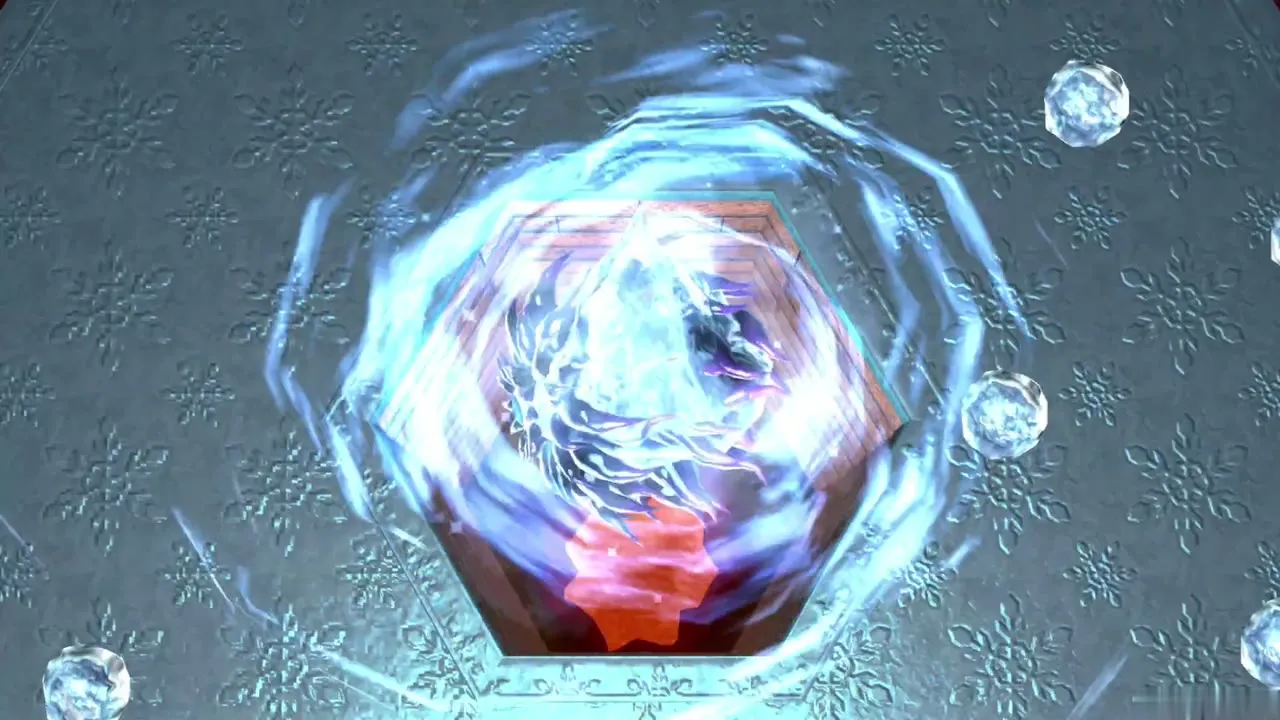
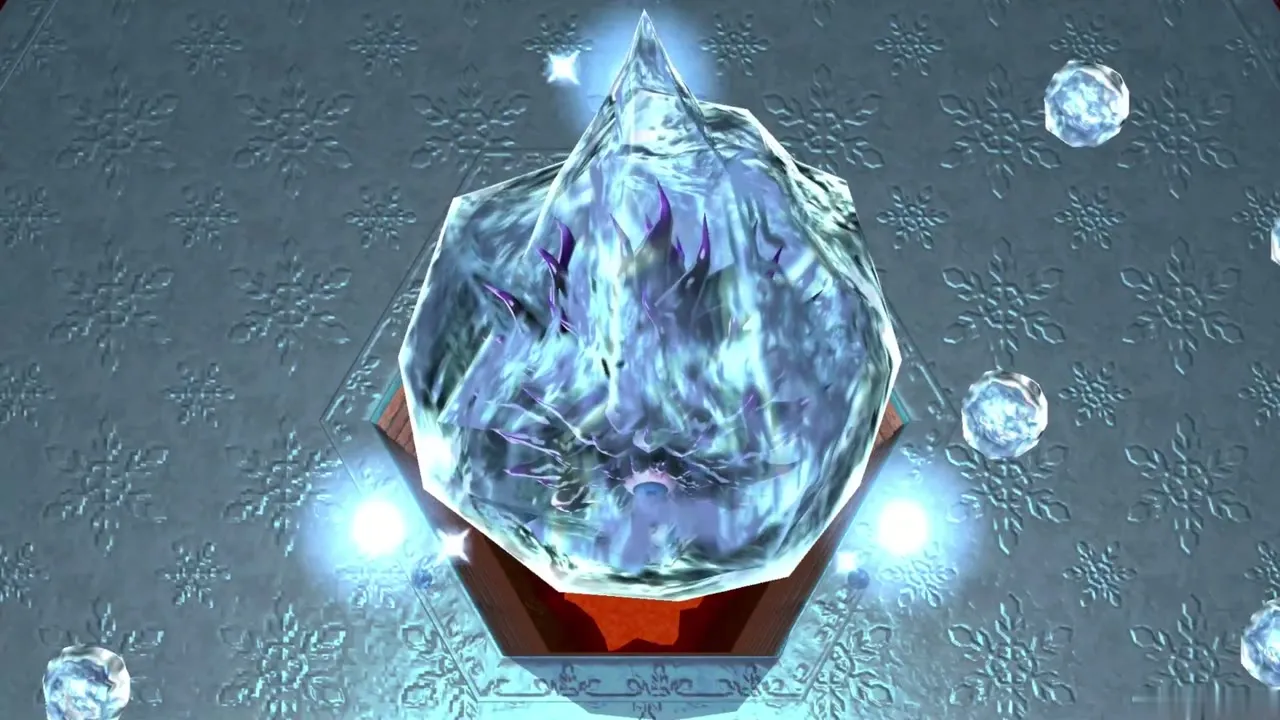
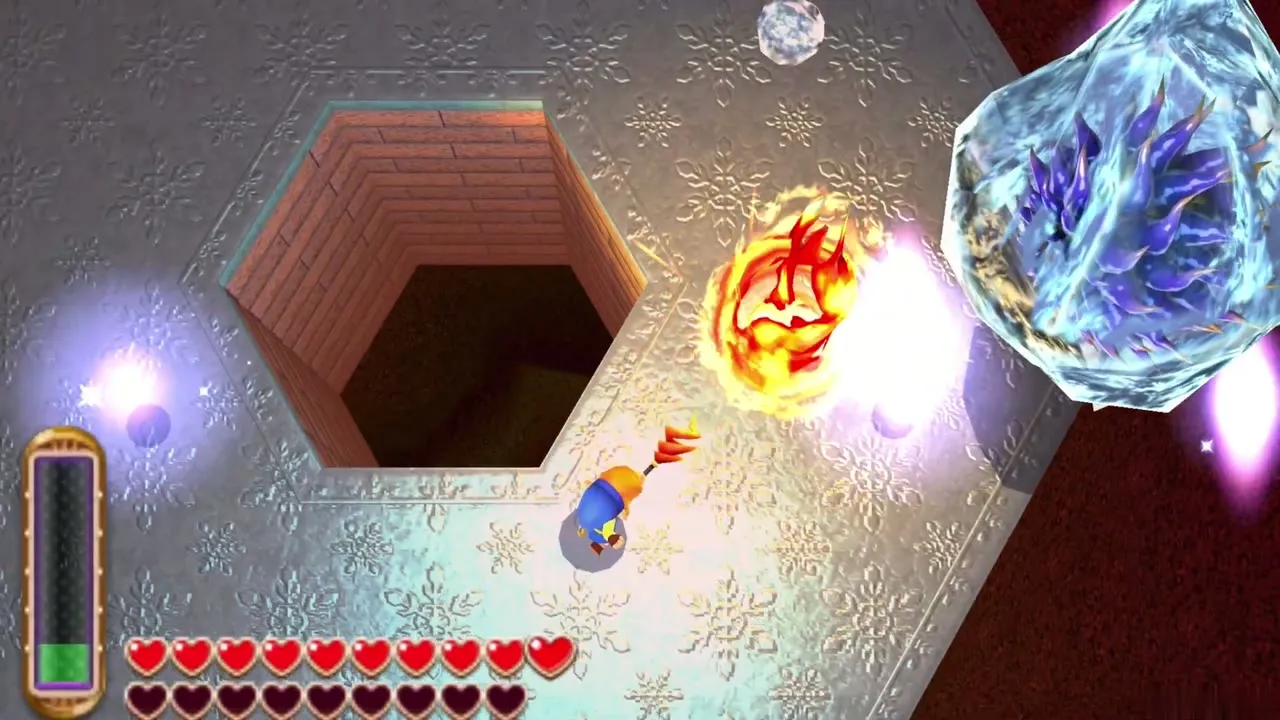
Phase 1: melt the ice armor
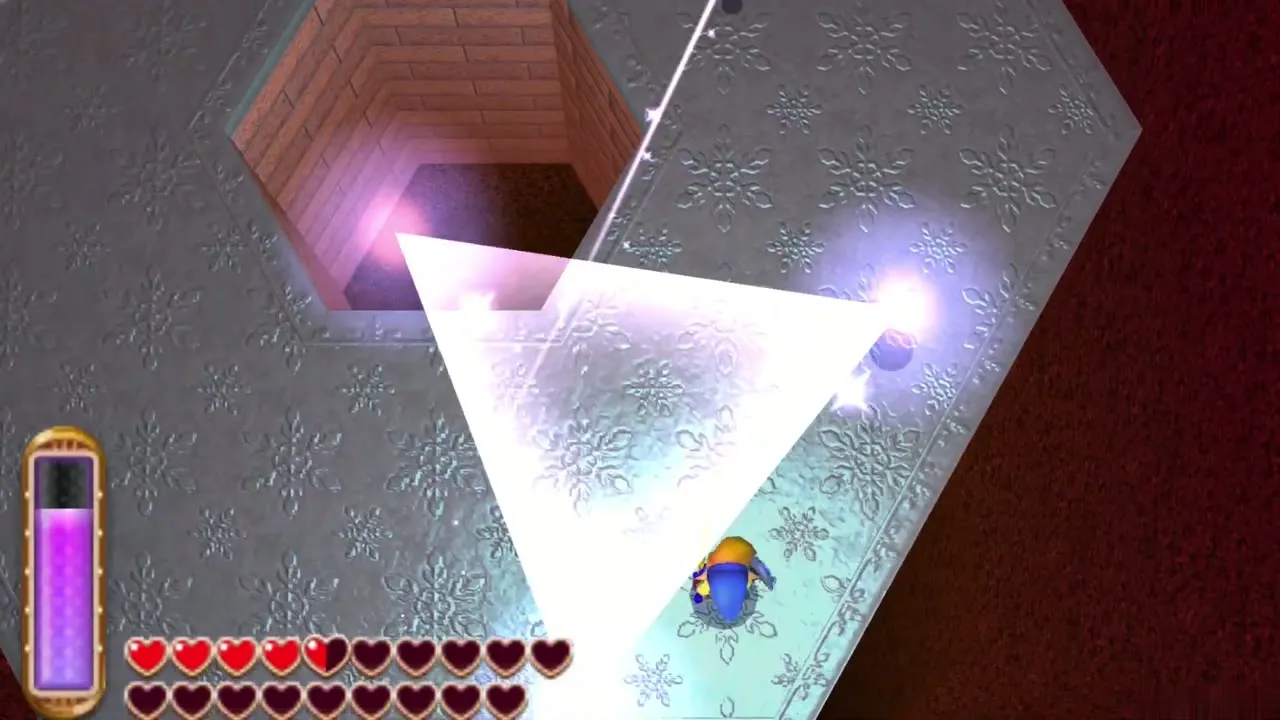
While it is frozen, Dharkstare rams you and fires three orbs of ice that settle into a triangle around you. After a few seconds anything standing inside the triangle is frozen and takes damage, so slip out through a gap. The sword cannot harm it. Burn the armor with the Fire Rod; about three hits melt it, and the boss drops to the floor.
Phase 2: strike while it is exposed
Once the armor is gone, Dharkstare flails about trying to get away. Rush in with the sword or the Fire Rod and strike it as many times as you can before it vanishes into the shadows and returns to the center to freeze itself again. Repeat the loop, melting first and attacking second, keeping away from the edge as you chase it.
Phase 3: the enraged form
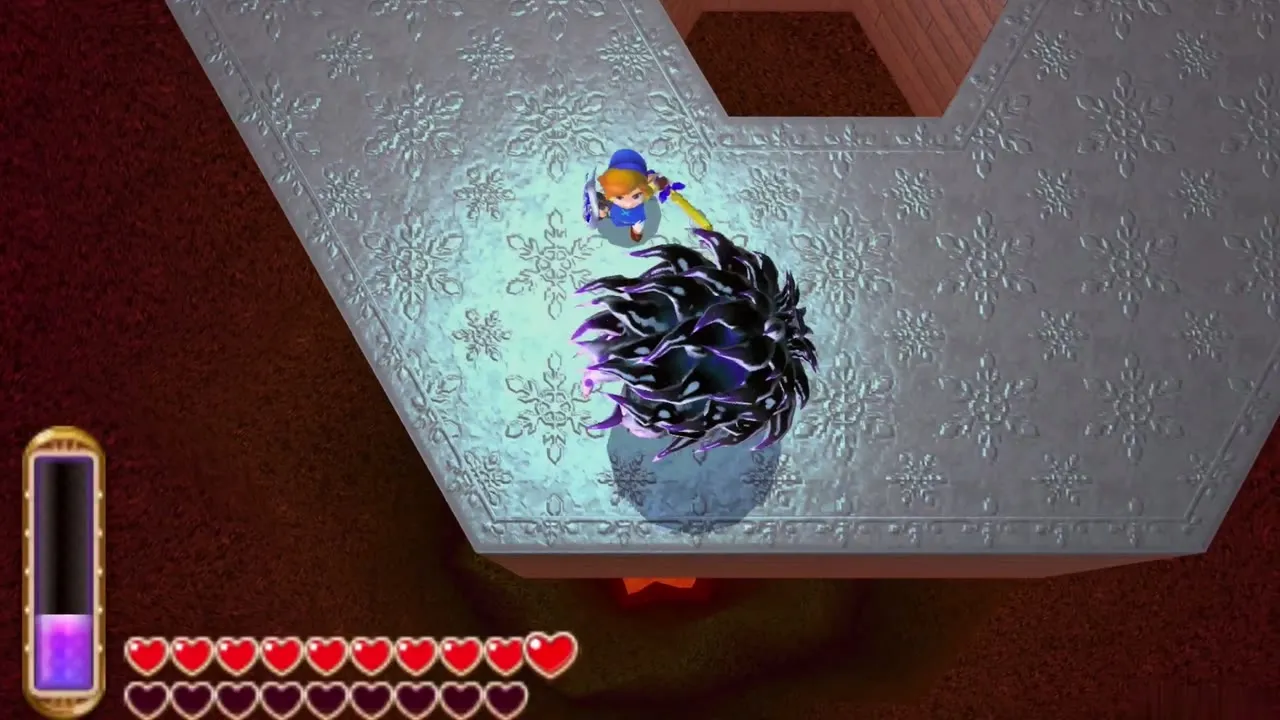
After enough damage, its eye turns red and its tentacles purple. It moves faster and now launches two sets of ice orbs, which make two triangles at once. The tactics are the same: melt the armor, then hit it hard. Watch where each orb lands and exit the shapes before they close, even if that means running to the platform’s rim.
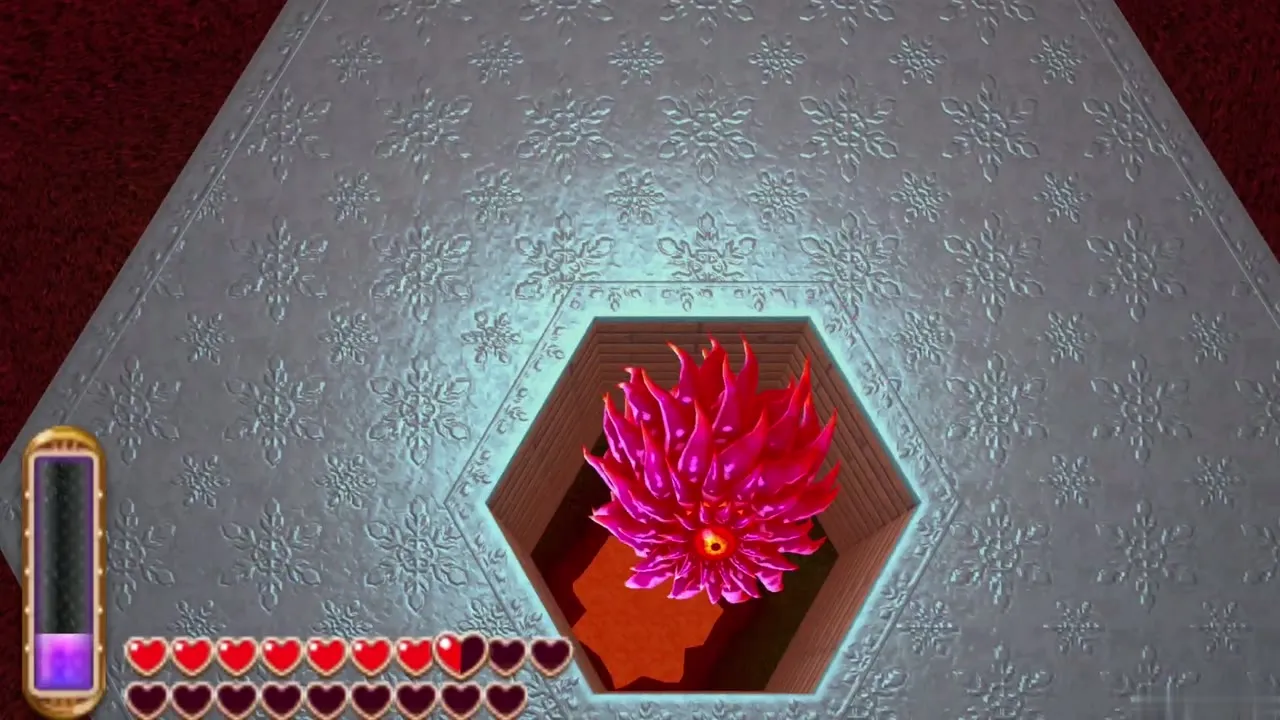
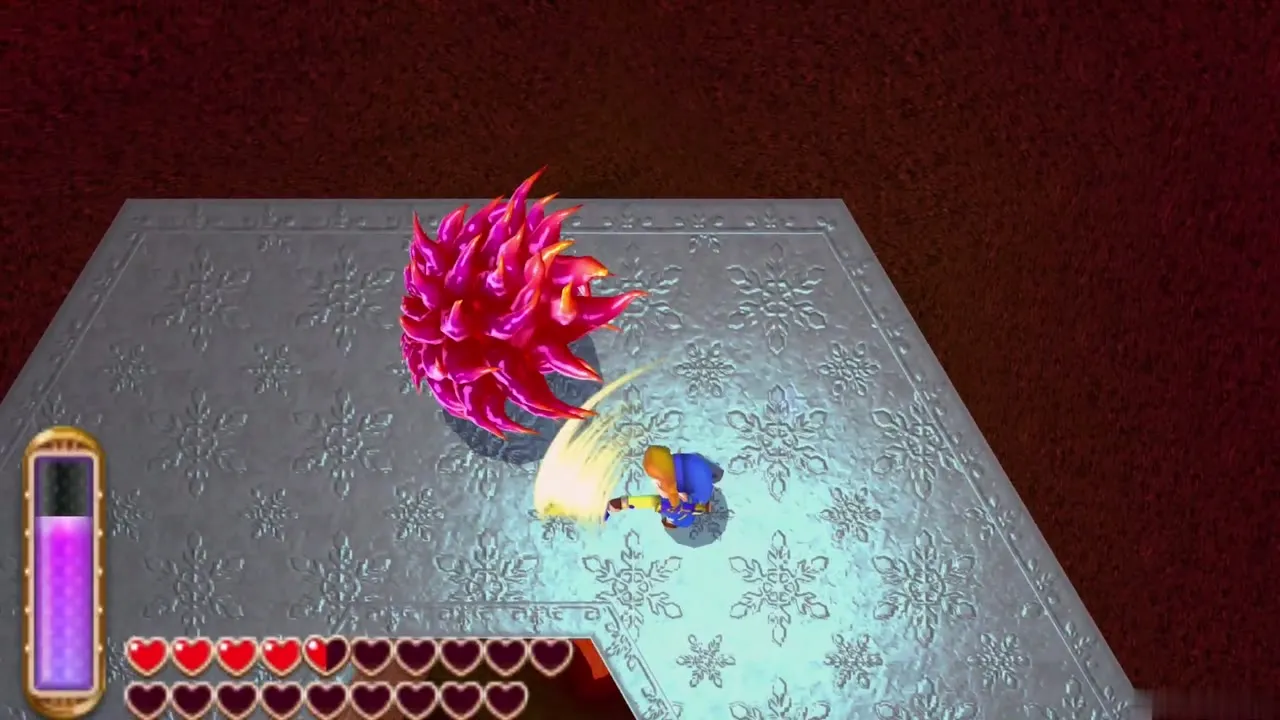
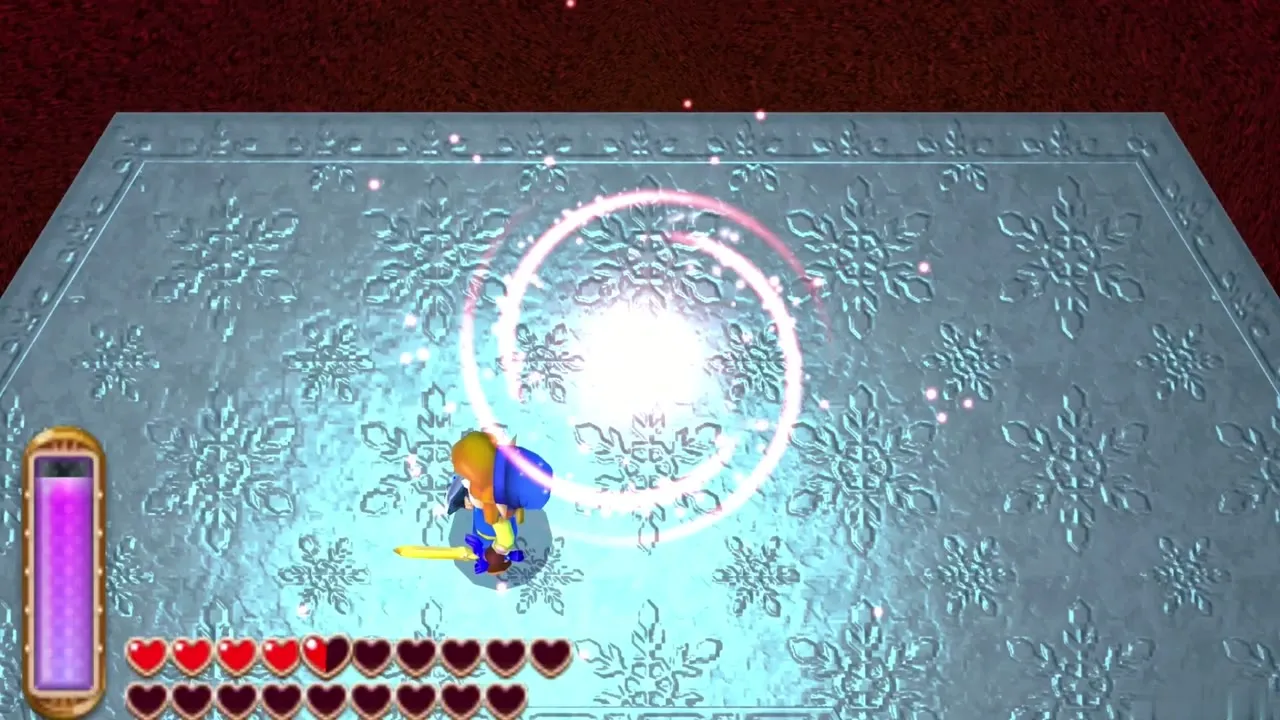
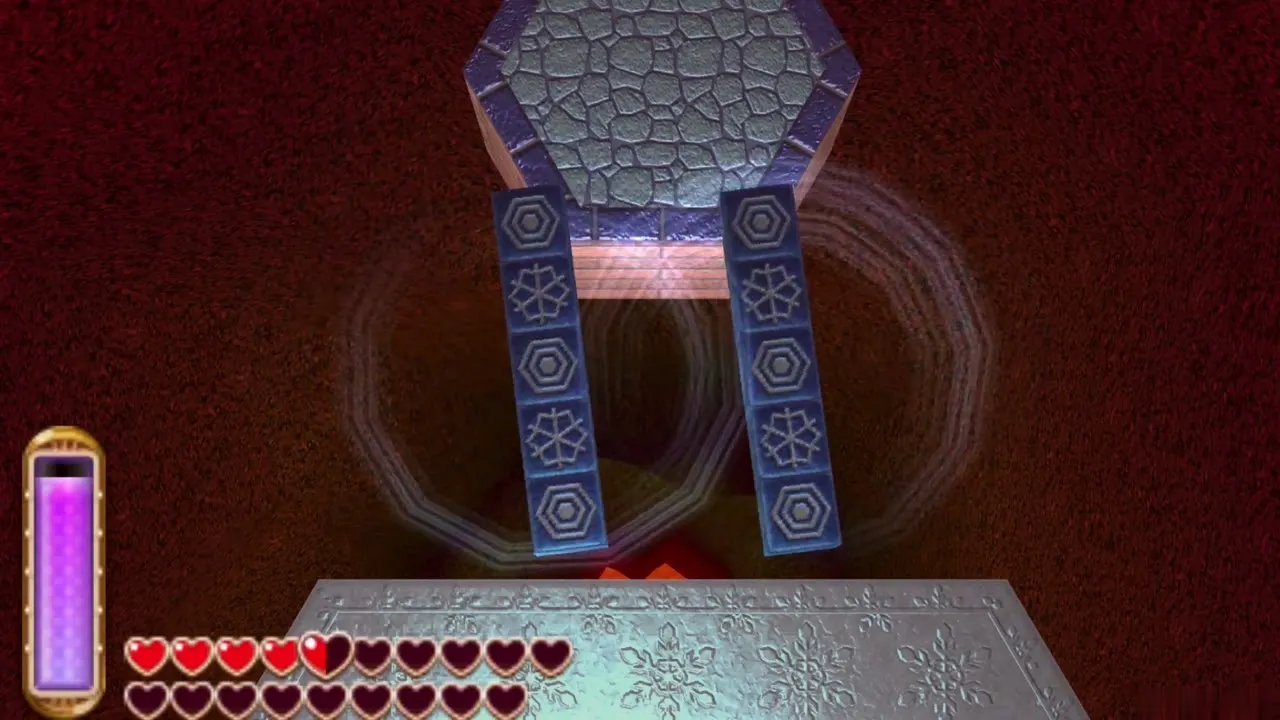
Keep the pressure on until the last blow lands. Dharkstare thrashes, then vanishes in a burst of white light. A beam of light descends from above and reveals a path across the ice to a platform in the north.
Ice Ruins Heart Container
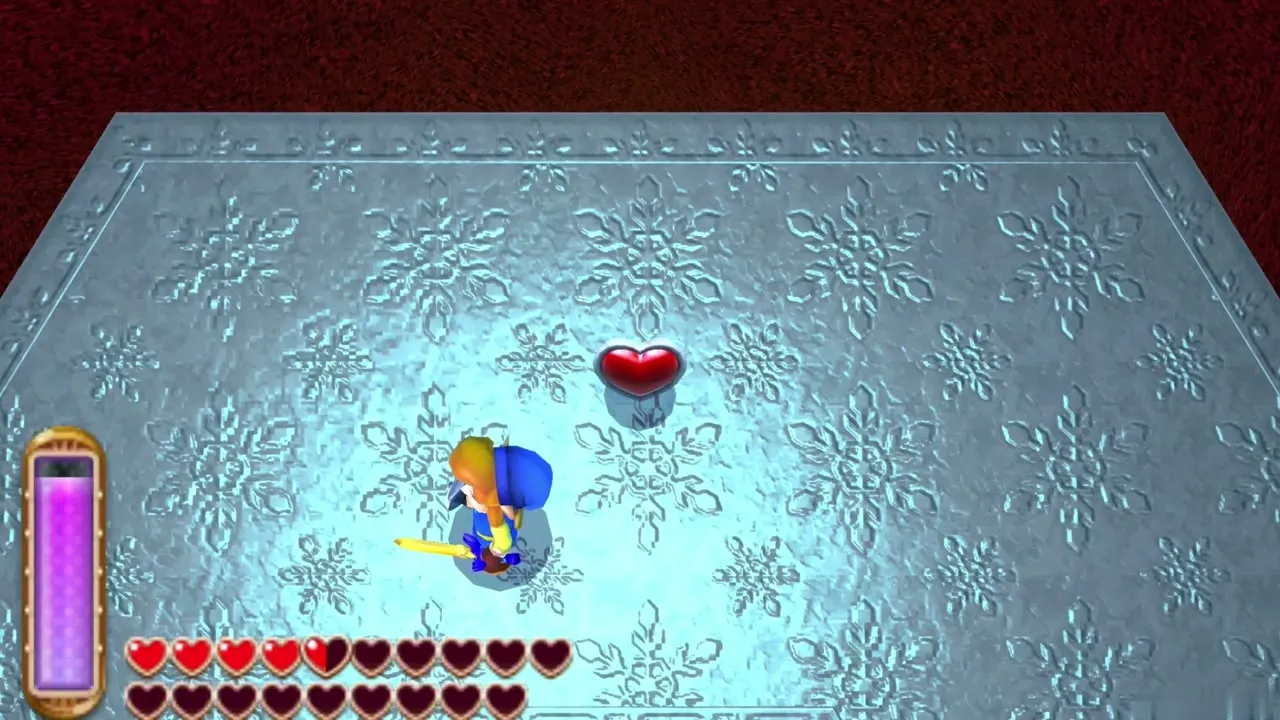
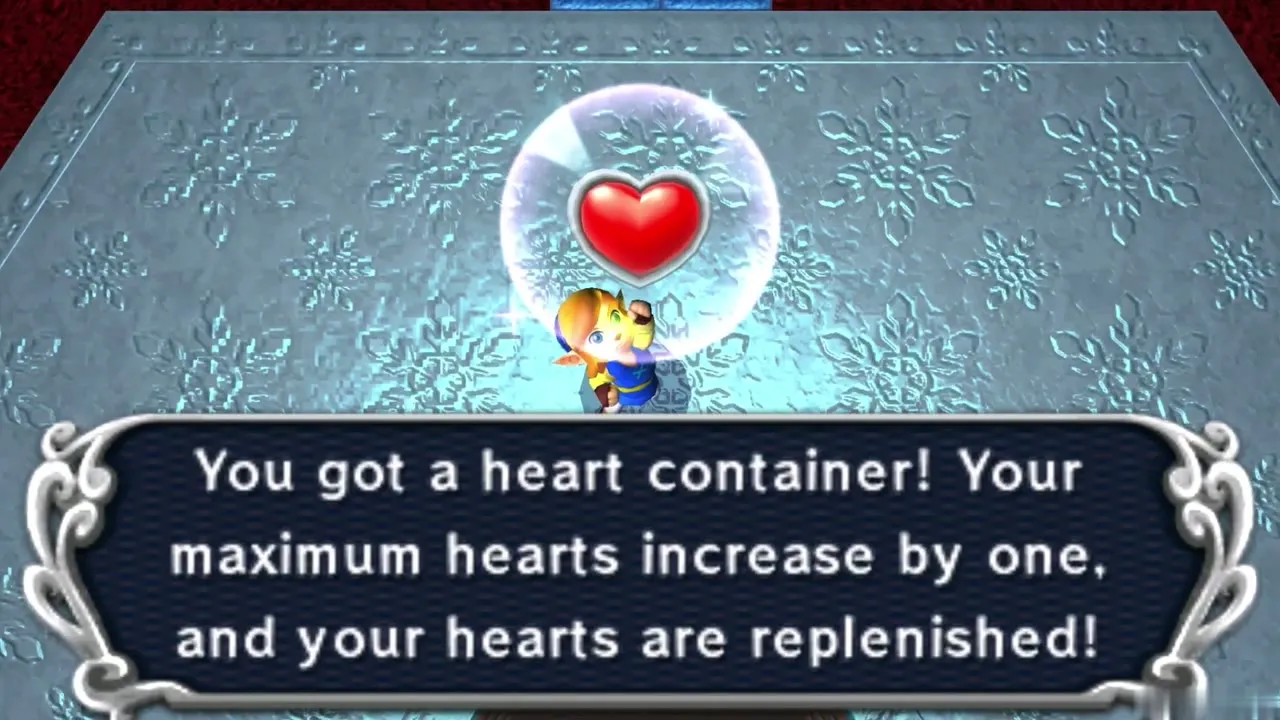
A Heart Container appears where Dharkstare fell. Pick it up to raise your maximum health by one heart and refill all your hearts.
Sage Rosso
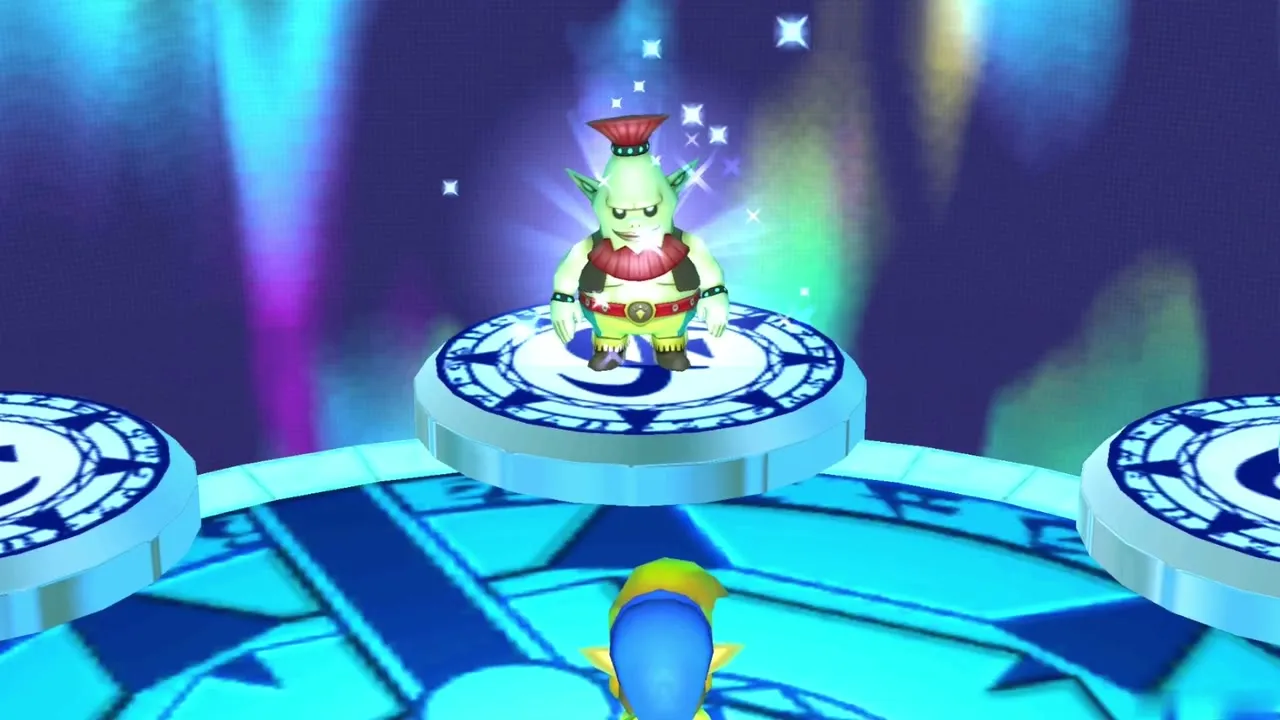
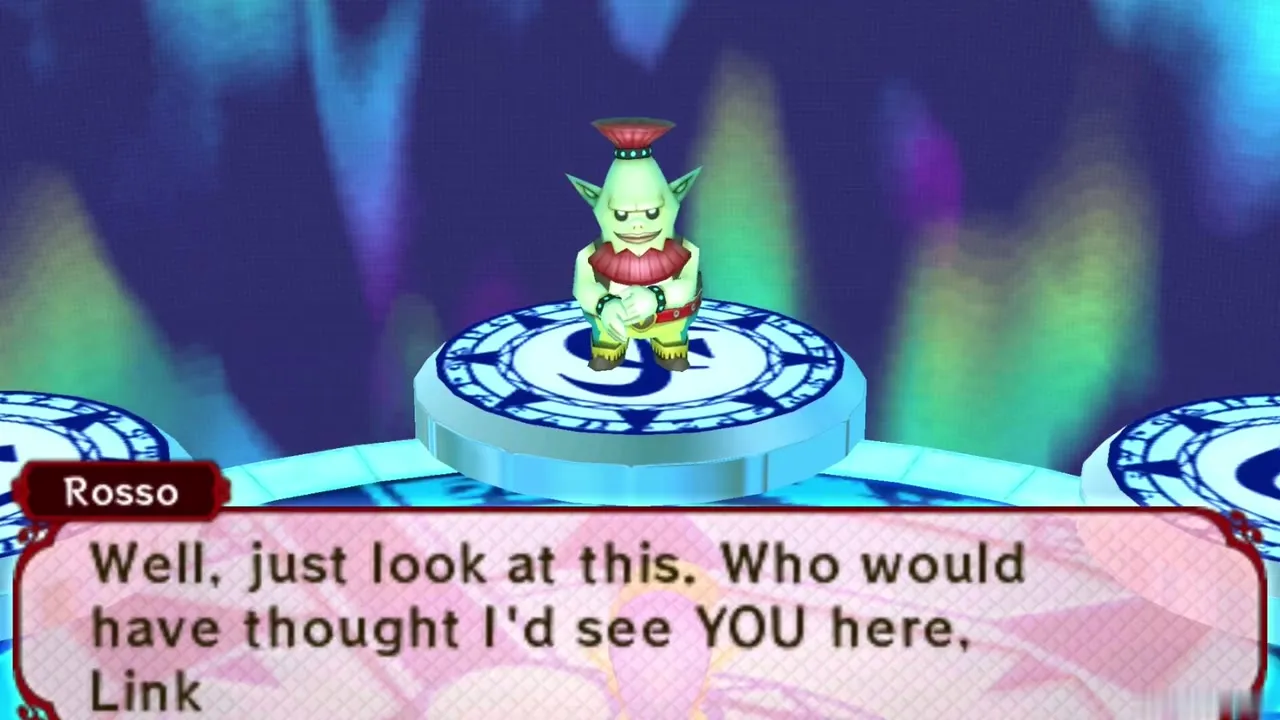
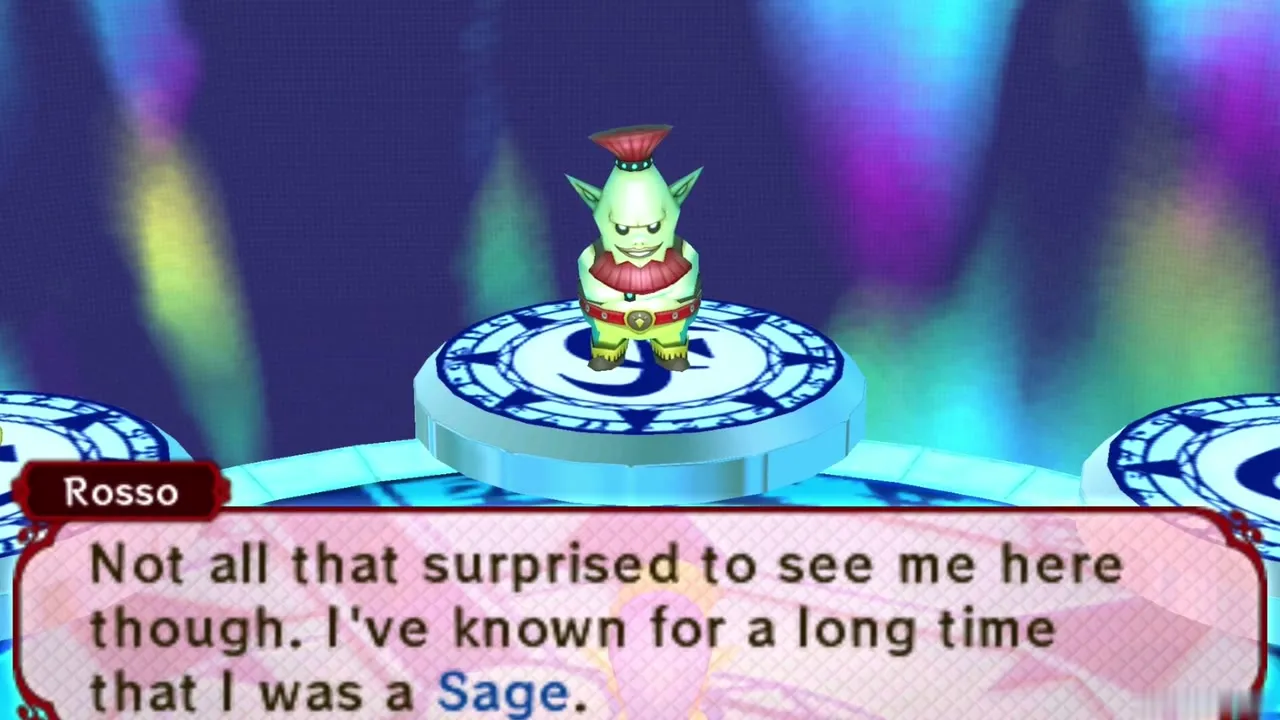
Cross the new path and merge into the painting on the north platform. This frees Rosso, the miner who gave you the Power Glove, and he turns out to be one of the Seven Sages. He admits he always knew and never told anyone, then asks you to find the rest. Afterwards you are returned to the entrance of the Ice Ruins.
Chapter checklist
| Collectible | Type | Where |
|---|---|---|
| Lorule Death Mountain weather vane | Weather vane | Snowy ledge north of the fissure from Rosso’s Ore Mine |
 Four reachable Maiamai | Maiamai | Lorule Death Mountain (skull by the fissure, east wall by the sign, skull in the floating-platform cave, north wall at the Ice Ruins entrance) |
| Two Maiamai needing the Titan’s Mitt | Maiamai | Lorule Death Mountain; return after the Desert Palace |
| Gold Rupee (300) | Chest | Rock ledge outside the icy cavern, reached by wall merge |
| Silver Rupee (100) | Chest | Snow ledge ringed by skulls, outside the cavern |
| Ice Ruins weather vane | Weather vane | In front of the dungeon doorway |
| 300 Rupee chest | Chest | Hidden recess south of the 1F elevator |
| Big Key | Key | B5 large chest |
 Small Key | Key | B2, melt the icicle in the first room |
| Small Key | Key | B1, appears on a ledge after lighting the four torches; reached by merging along the wall path |
| Compass | Chest | B1 southeast |
 Blue Rupee (5) | Chest | B1, behind the painting beside the southwest door |
| Silver Rupee (100) | Chest | B4 northern platform, lit by a bomb on the crystal switch |
 Purple Rupee (50) | Chest | B4, left of the B3 lift |
| Stamina Scroll | Dungeon item | B3 large chest, after pulling the B2 east statue’s tongue |
| Silver Rupee (100) | Chest | B3, reached by a long wall merge with the Stamina Scroll |
| Small Key | Key | B4 chest below the Pengator room |
| 100 Rupee chest | Chest | B2, northernmost room |
| Heart Container | Heart Container | Dharkstare |
| Sage Rosso | Sage | Painting on the platform north of Dharkstare’s arena |
Rosso is free, so head back to Lorule and cross Thieves’ Town to the gargoyle, where the next Sage is waiting, in the Thieves’ Hideout walkthrough.