A Link Between Worlds 100% Completion Walkthrough18 chapters
- Opening and SanctuaryWake in Link’s House, deliver the captain’s sword, cross the Graveyard passage with the Lamp and meet Yuga.
- Hyrule Castle and Kakariko VillageRavio’s Bracelet, Zelda’s Pendant of Courage, Kakariko shops, Sahasrahla and the free Bow rental.
- Eastern PalaceEvery key, chest and rupee, the Compass, Big Key, Yuga boss fight and your first Heart Container.
- Pegasus Boots and Zora’s FlippersGet the Pouch, Irene’s Bell, Power Glove, Pegasus Boots, Zora’s Flippers, Ravio’s rentals and Hyrule Heart Pieces.
- House of GalesRent the Tornado Rod, swim to Lake Hylia’s island, beat Margomill and take the Pendant of Wisdom.
- Death MountainClimb the boulder caves, find two Heart Pieces and a Bottle, and reach the Tower of Hera.
- Tower of HeraEvery floor, both Small Keys, Compass, Big Key, Moldorm boss fight, Heart Container and Pendant of Power.
- Master Sword and Lost WoodsWalkthrough for pulling the Master Sword in the Lost Woods, breaking the Hyrule Castle barrier.
- Lorule and Dungeon OrderHilda, the Blacksmith, fissures, Ravio’s Shop, Thieves’ Town side content and the dungeon order.
- Dark PalaceThe guard maze, every key, the Compass, Big Key, Master Ore, Gemesaur King, Heart Container and Sage Gulley.
- Skull WoodsKeys, Compass, Big Key, Master Ore, Knucklemaster boss fight, Sage Seres and the Master Sword upgrade.
- Ice RuinsThe Hookshot route to Lorule’s Death Mountain, every floor, keys, the Stamina Scroll and Dharkstare.
- Thieves’ HideoutThe password song, the Thief Girl escort, Master Ore, Stalblind, Sage Osfala and the Sand Rod.
- Swamp PalaceBig Bomb Flower, Hookshot, water levels, keys, Compass, Blue Mail, Big Key, Arrghus and Sage Oren.
- Turtle RockRescue the baby turtles, use the Ice Rod, find every key, beat Grinexx and free Sage Impa.
- Desert PalaceReach it with the Sand Rod, find the Titan’s Mitt, beat Zaganaga and rescue Sage Irene.
- Lorule CastleThe Triforce of Courage, all four mini-bosses, the Compass, Red Mail and the way to the Throne Room.
- Final BossBeat Yuga Ganon with the Bow of Light, see Hilda’s choice, make the Triforce wish and unlock Hero Mode.
| Covers | Lorule’s Dark Ruins guard maze and the Dark Palace (1F, B1, 2F), up to Sage Gulley |
|---|---|
| You need | Bombs (rented or bought from Ravio), the Lamp, and Ravio’s Bracelet for wall merging |
| Rewards |  Heart Container,  Master Ore (1 of 4),  Compass,  Big Key,  4 Small Keys,  Sage Gulley, Lorule Weather Vane; after the dungeon:  Heart Piece #23 and 2 Lost Maiamai |
The Dark Palace is the Lorule counterpart of the Eastern Palace, and Bombs are the key to all of it. You cross a fissure south of the Eastern Ruins, sneak past Lorule Soldiers by merging into walls, then bomb your way through a dark, light-and-shadow dungeon. Its prizes are the Compass, the Big Key, a piece of Master Ore and a Heart Container from the Gemesaur King, who guards the painting of Sage Gulley.
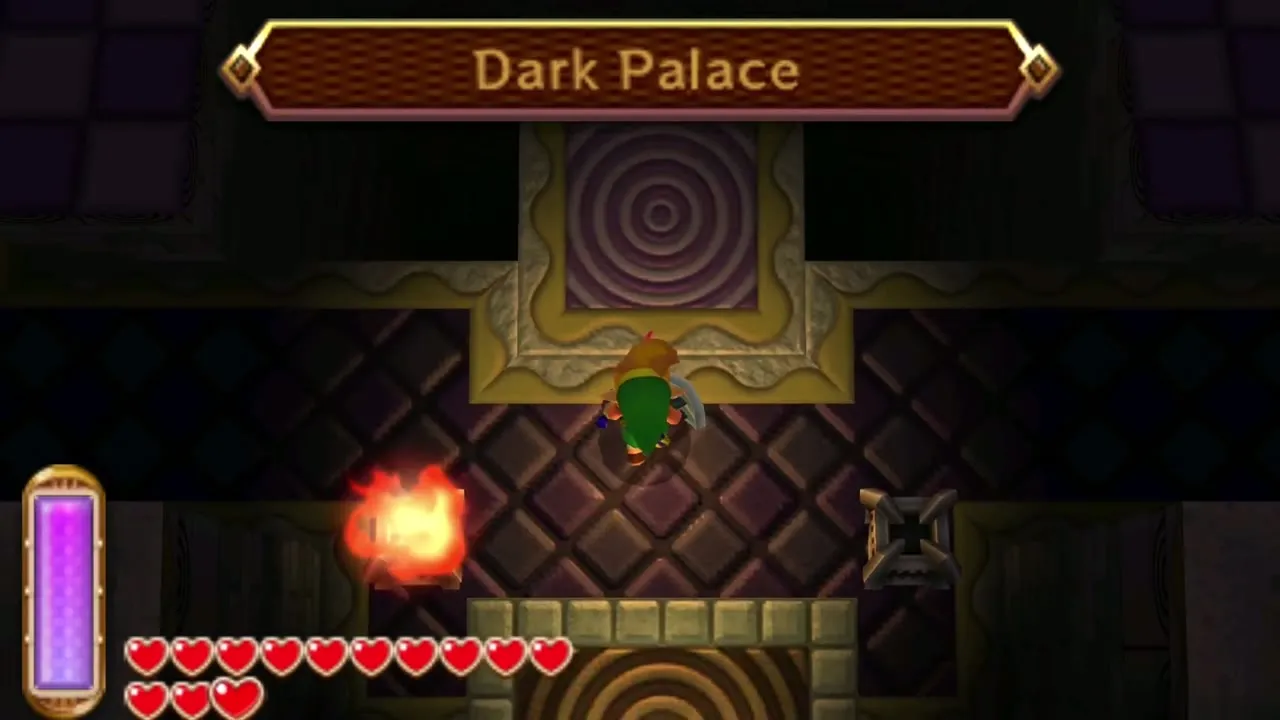
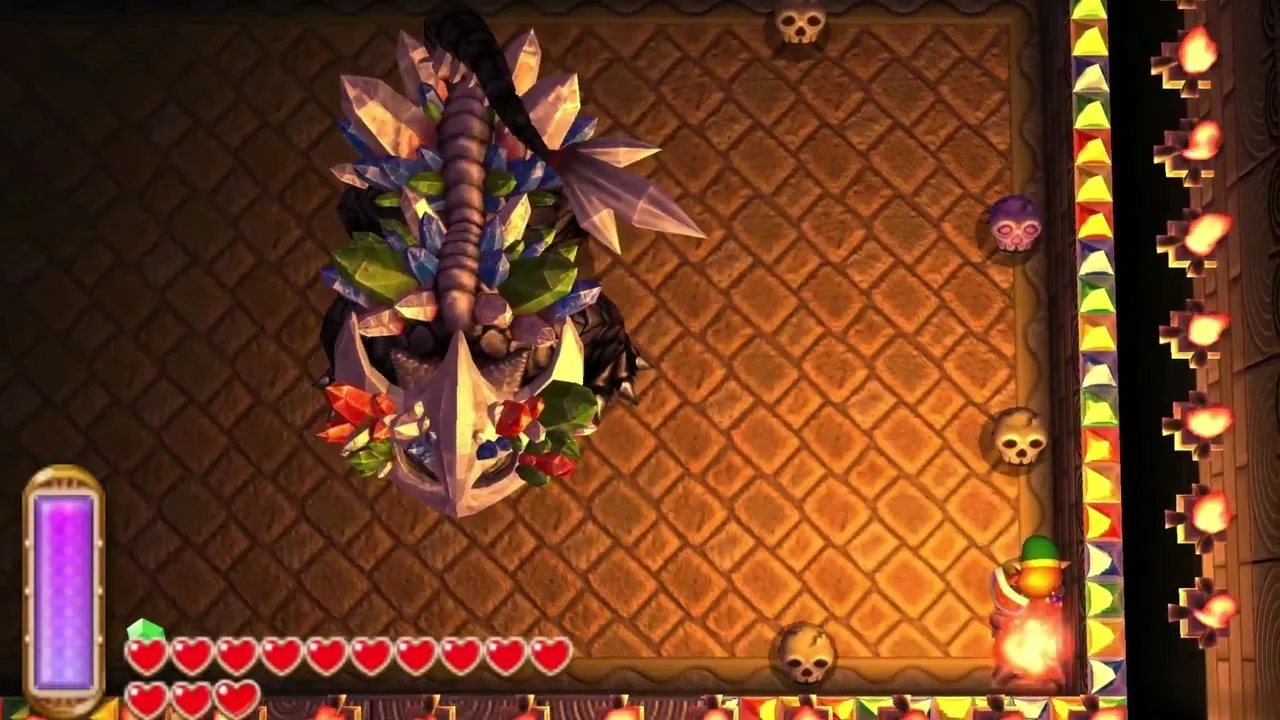
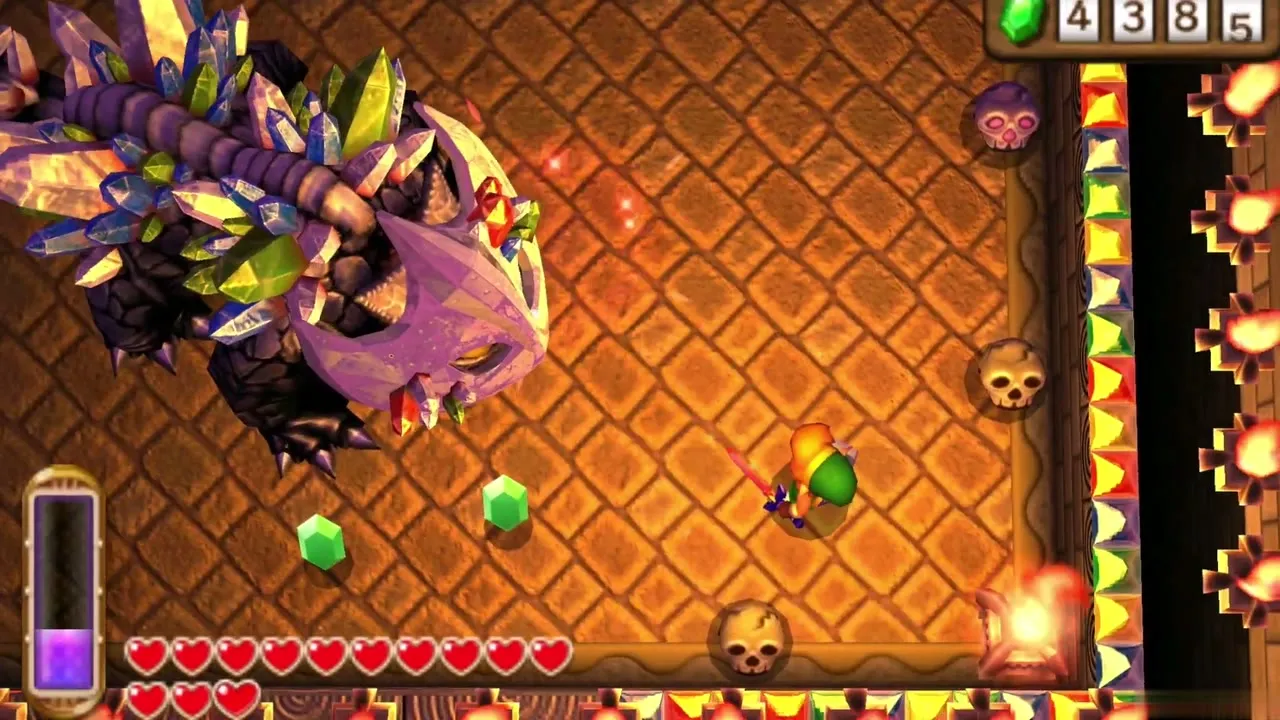
Table of Contents
How to reach the Dark Palace
Items to bring to the Dark Palace
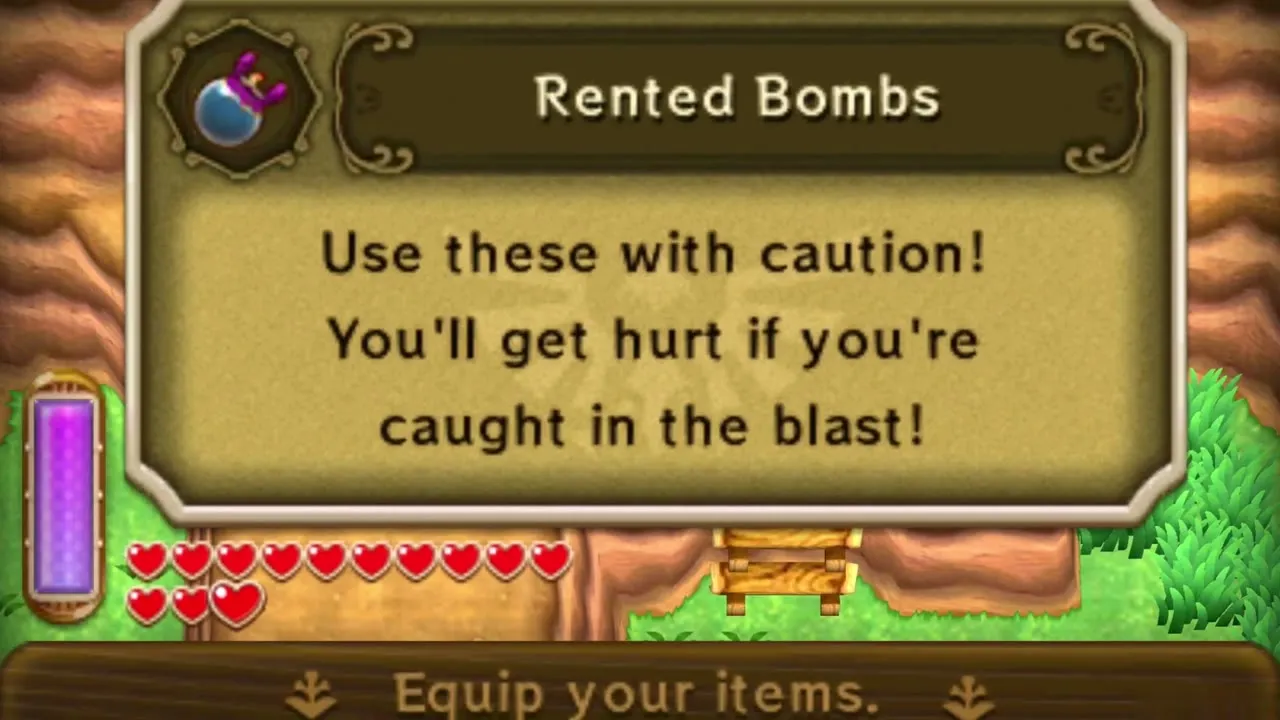
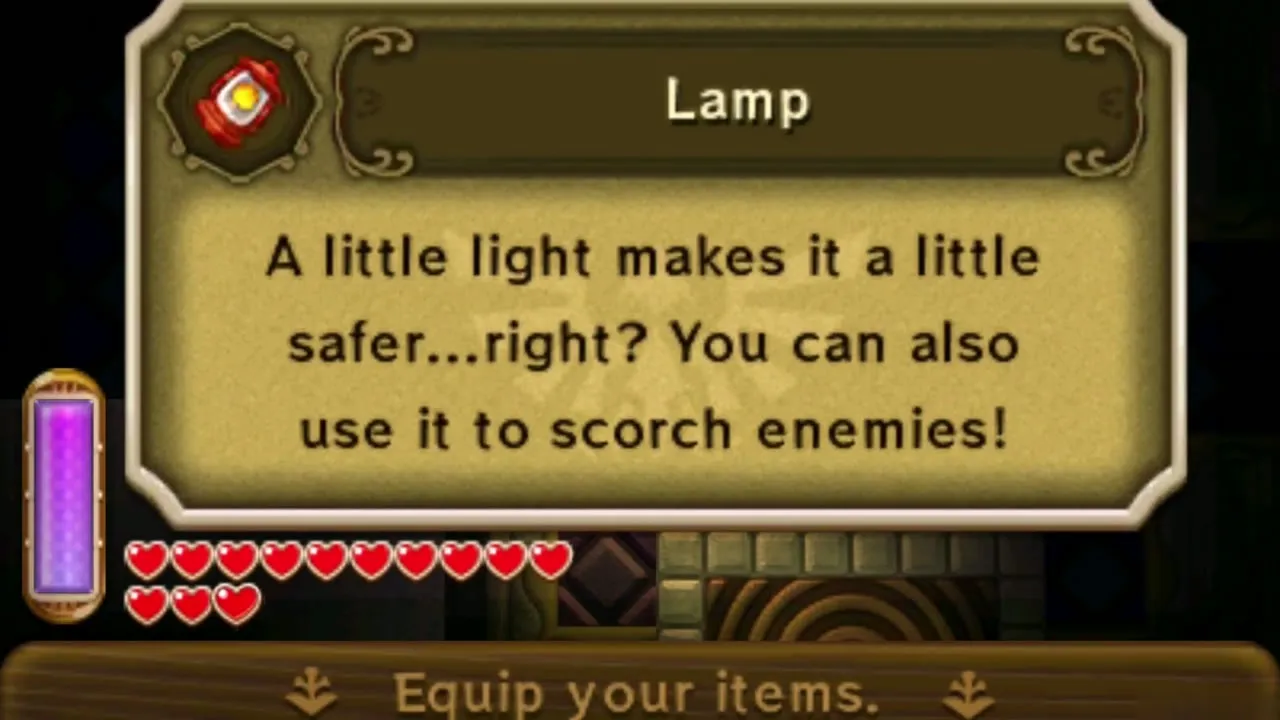
Check your gear before you cross over. Get Bombs from Ravio’s Shop, either rented or bought, because you need them to open the palace door and for almost every puzzle inside. Equip the Lamp as well, since many rooms are pitch black. Rented items go back to Ravio if you lose all your hearts, so if you are knocked out inside the palace you will have to rent the Bombs again.
Fissure to the Dark Ruins
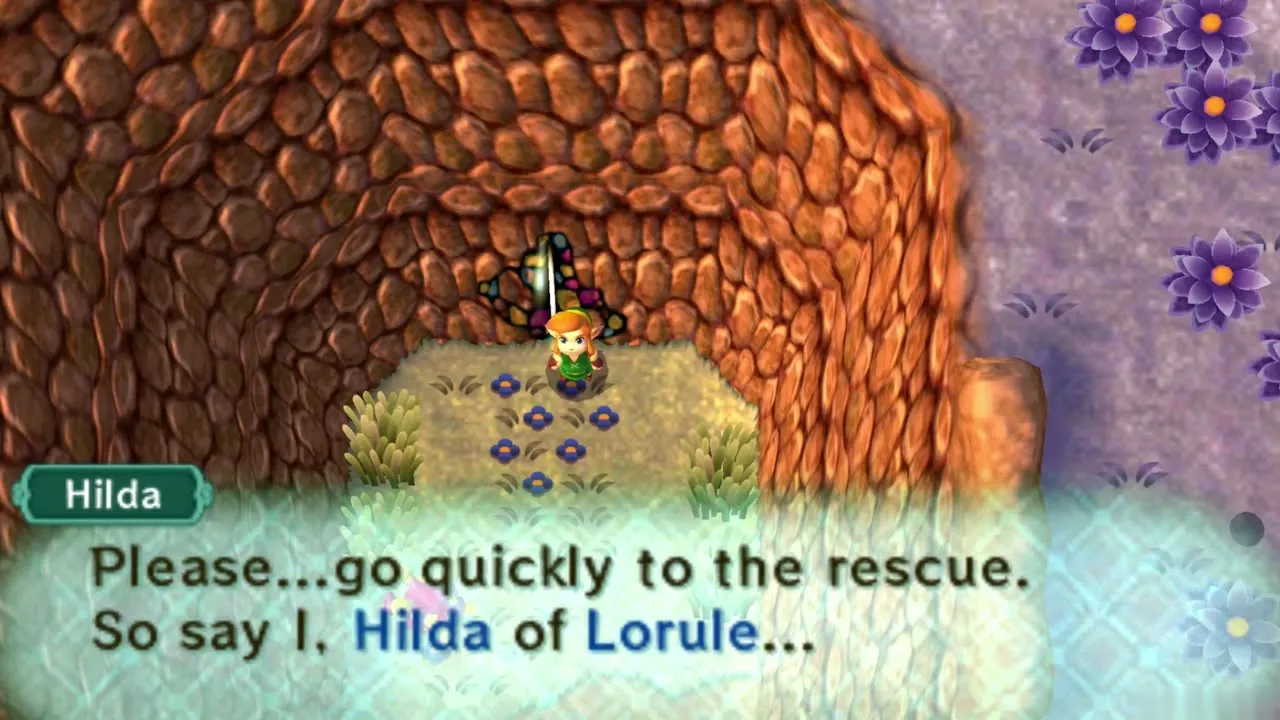
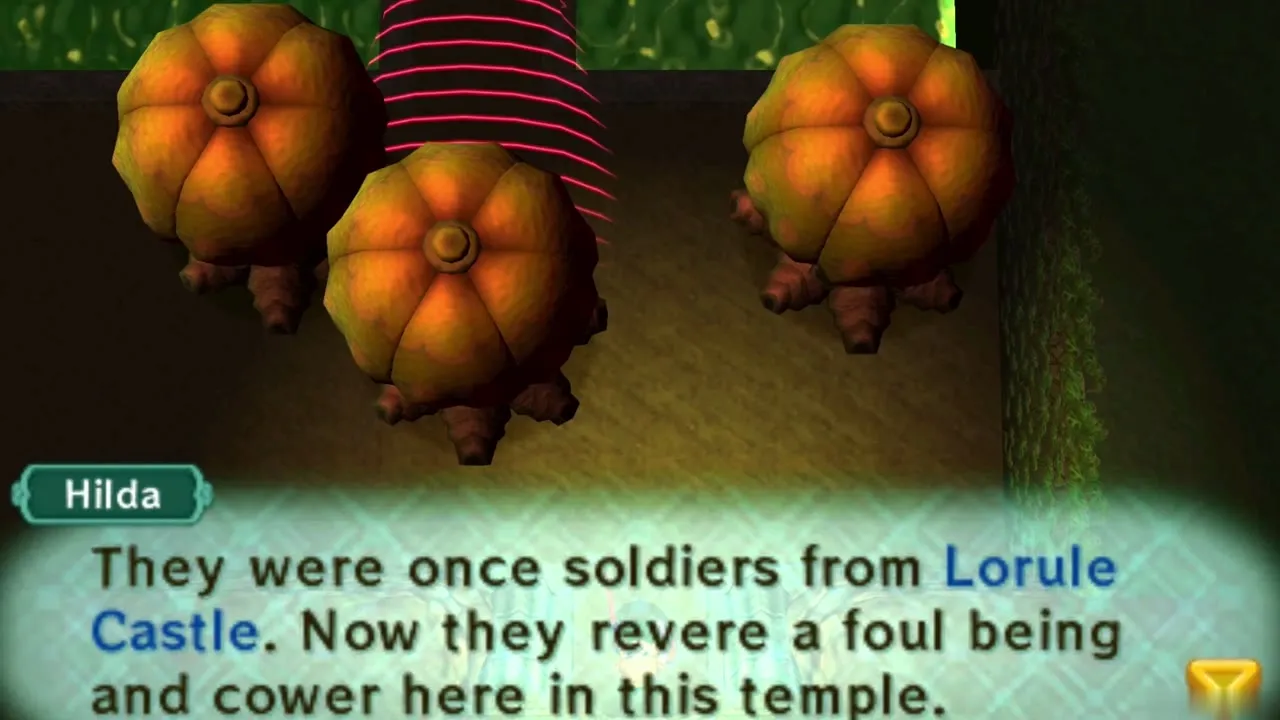
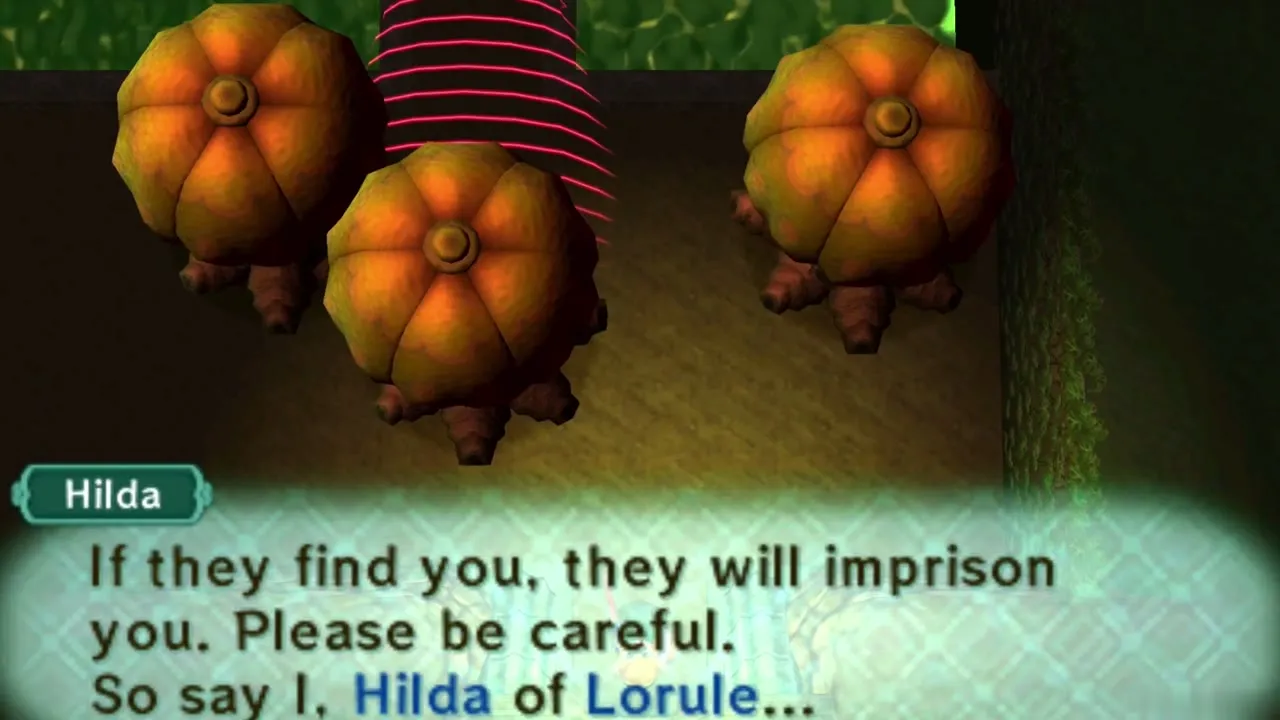
Use the fissure south of the Eastern Palace in Hyrule and merge into it to cross into Lorule, where you come out in the Dark Ruins near the palace. Princess Hilda speaks to you as you arrive and warns that the soldiers here guard the palace and will lock you up if they see you.
Dark Ruins guard maze
Sneaking past the Lorule Soldiers
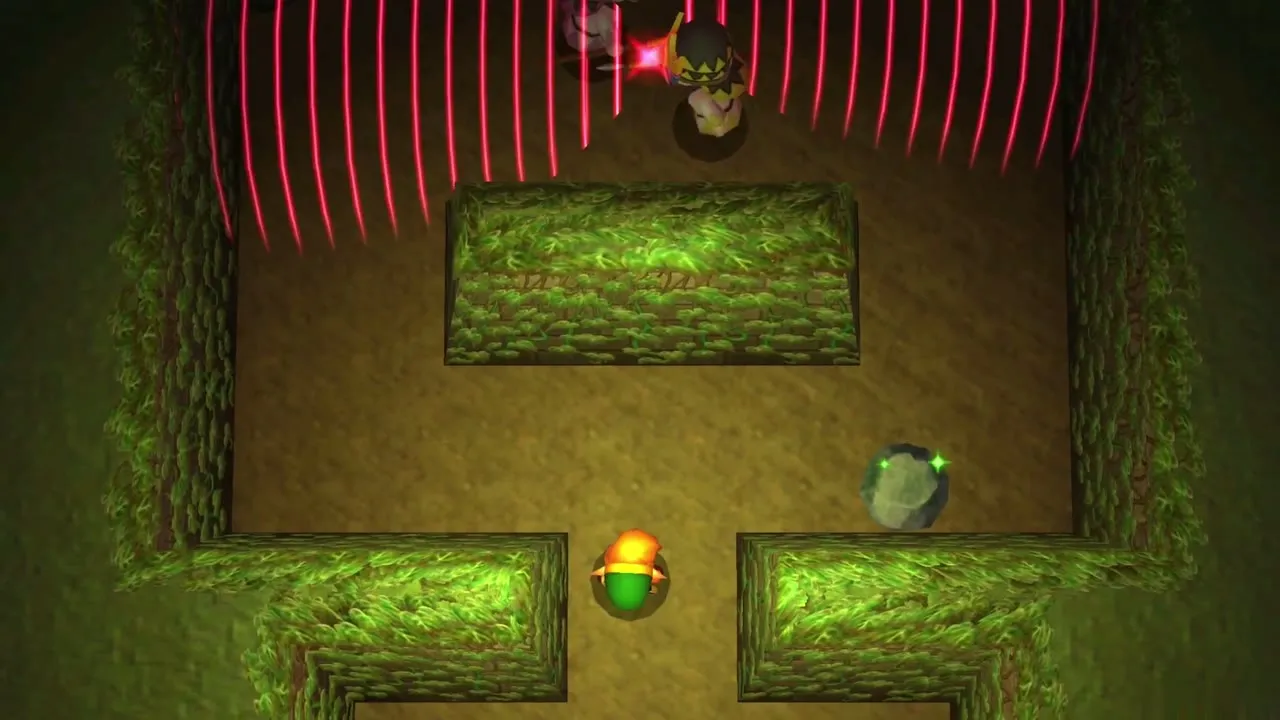
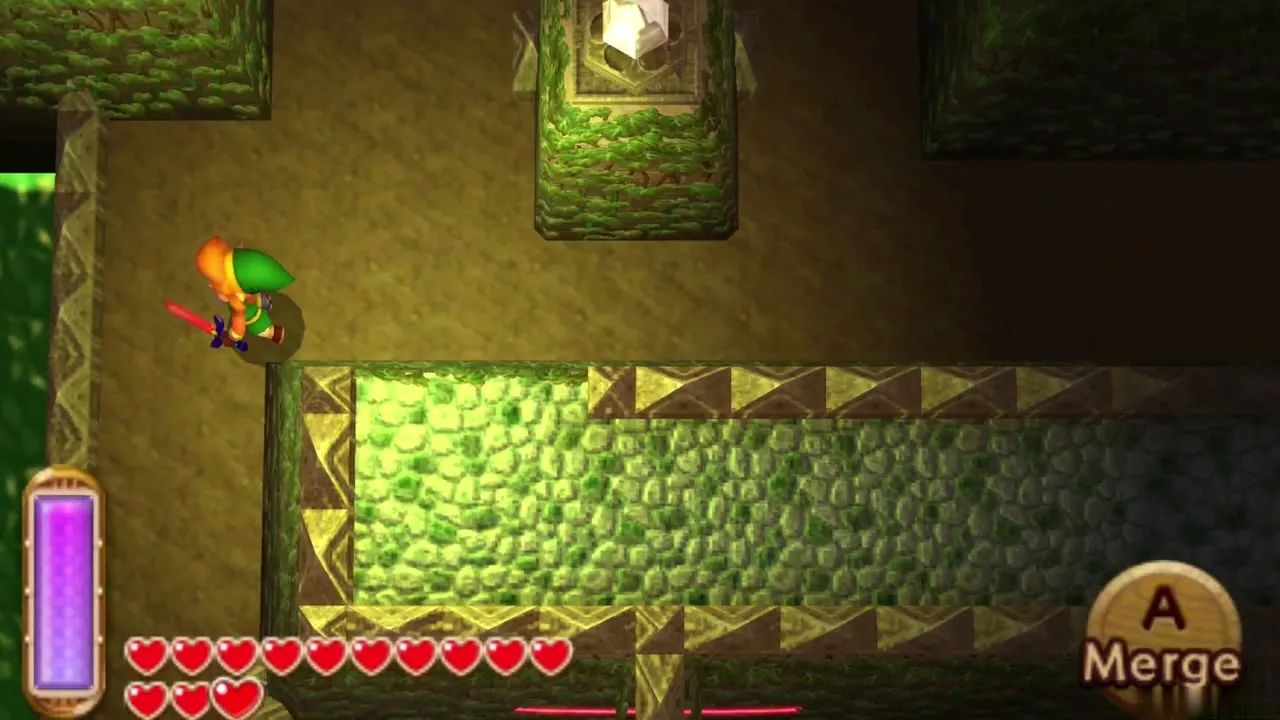
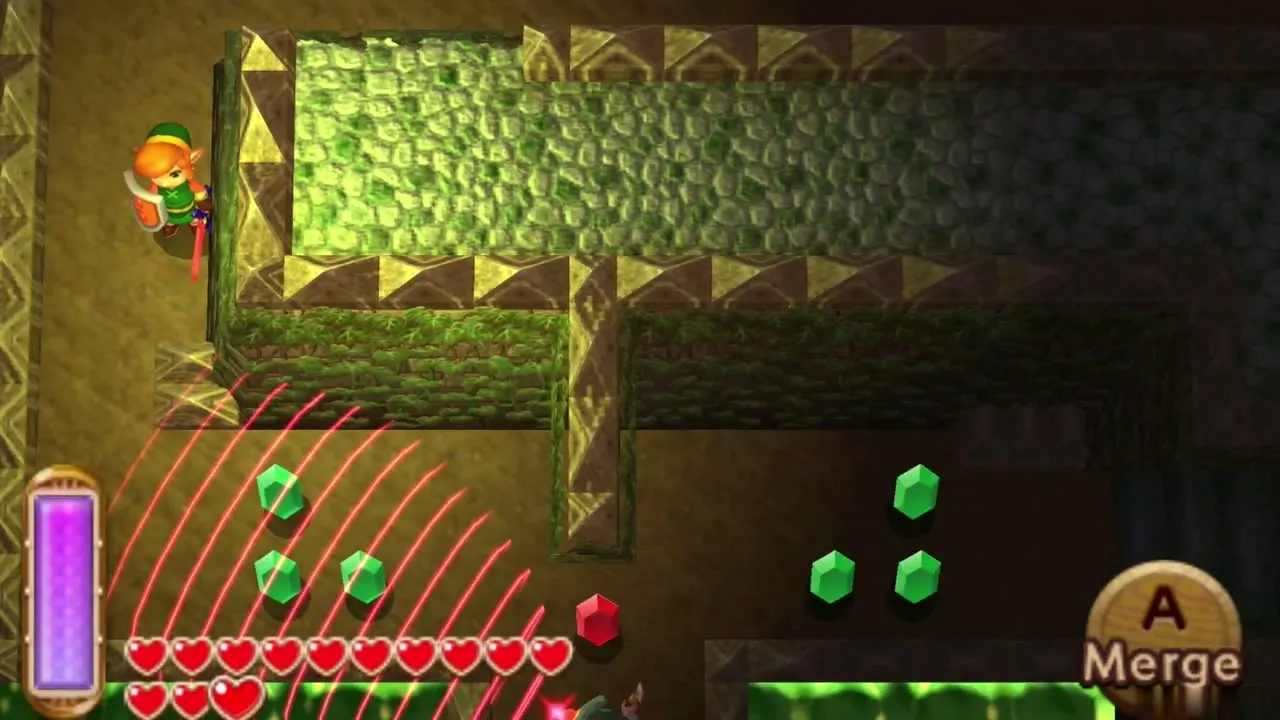
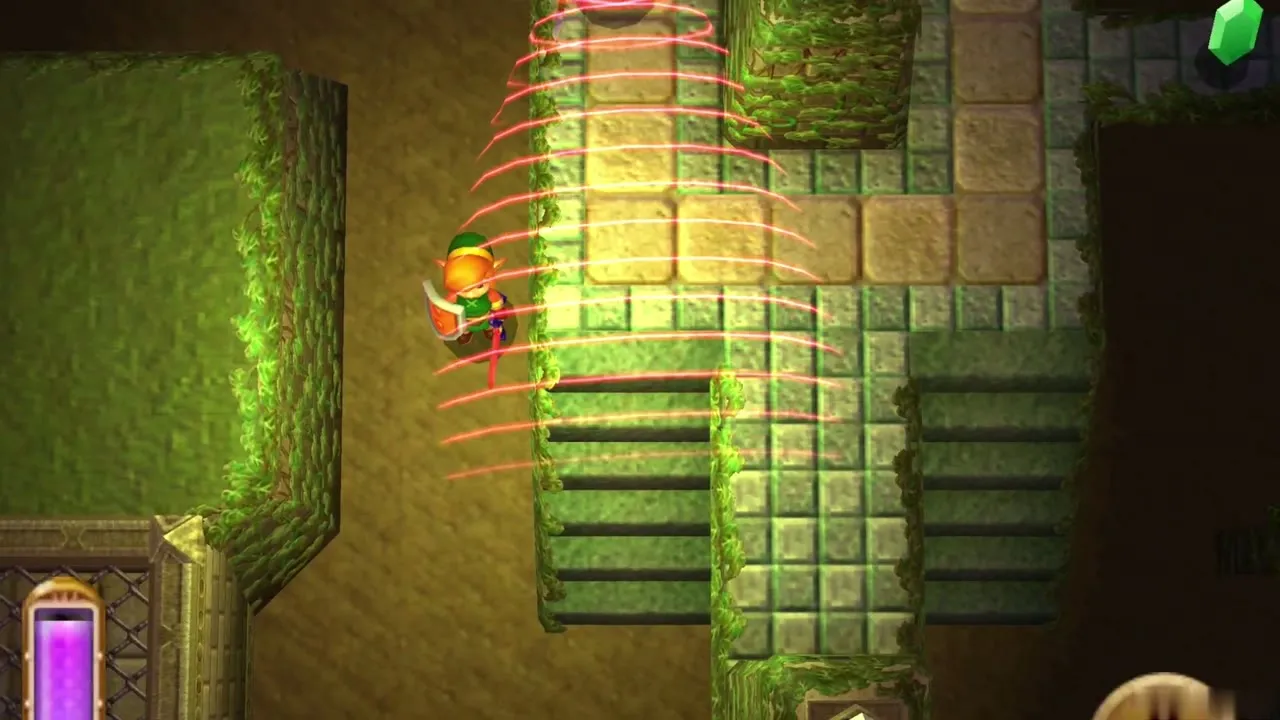
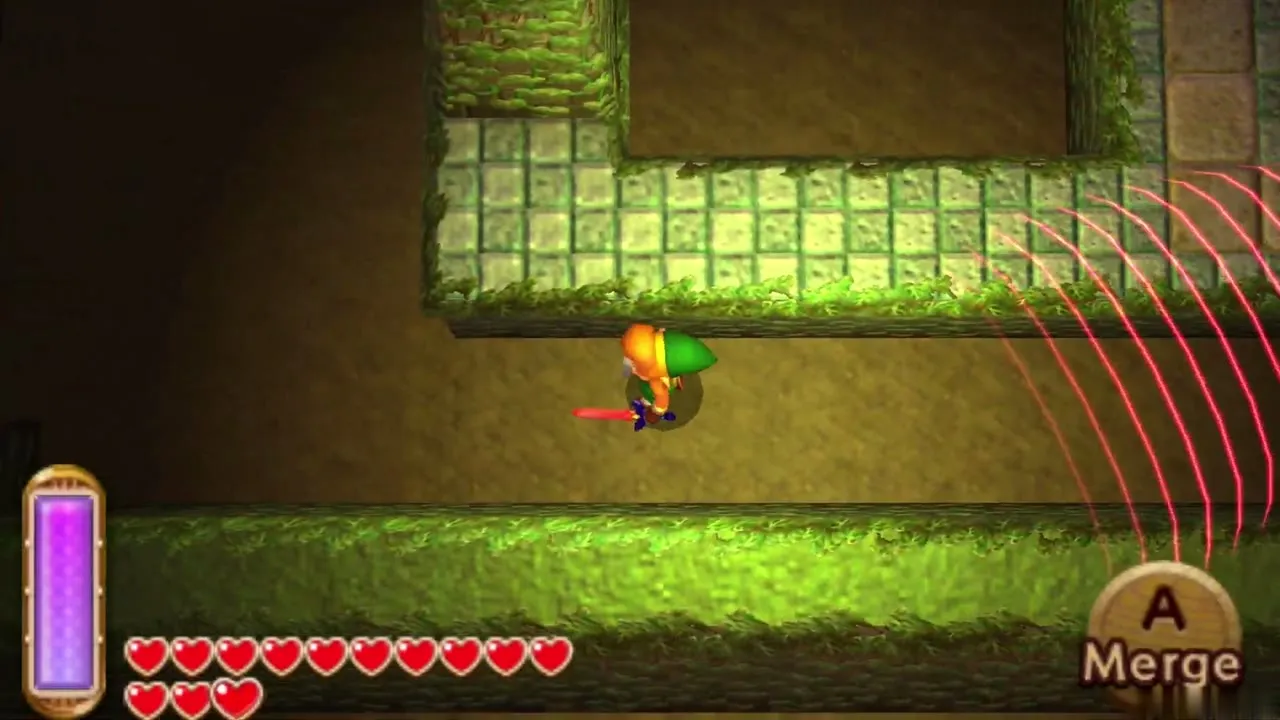
The Dark Ruins are a maze of hedge walls patrolled by Lorule Soldiers, each sweeping a red cone of sight. If a cone touches you, the soldiers throw you in a holding cell, but you can escape by merging into the cell wall and sliding out between the bars. Nothing is lost by being caught, so treat every guard as a timing puzzle rather than a danger.
Route through the maze
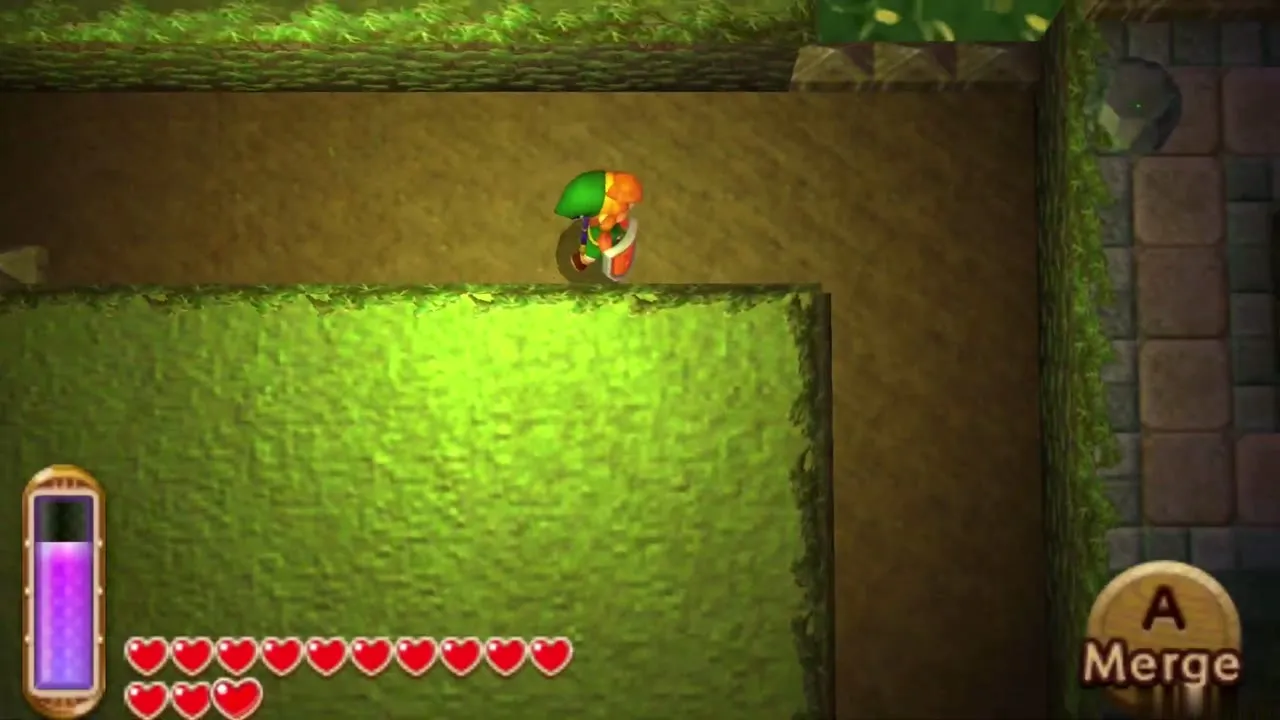
Work your way through the maze toward the palace at its far end. At each guard, merge into the nearest wall as he turns away and slide past on the wall instead of the path. Where two guards face each other, wait on the wall until both look elsewhere. Step out only when the next stretch of path is clear.
Dark Palace Weather Vane
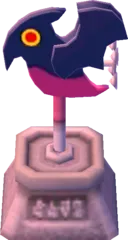
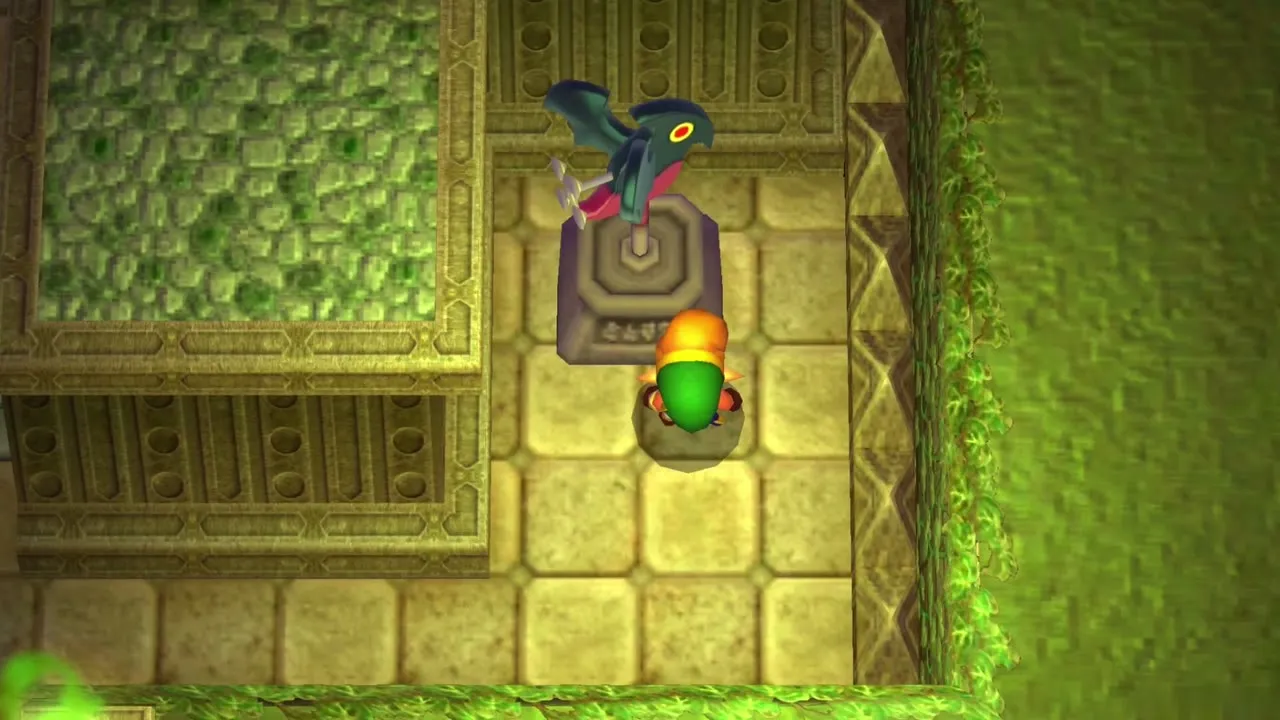
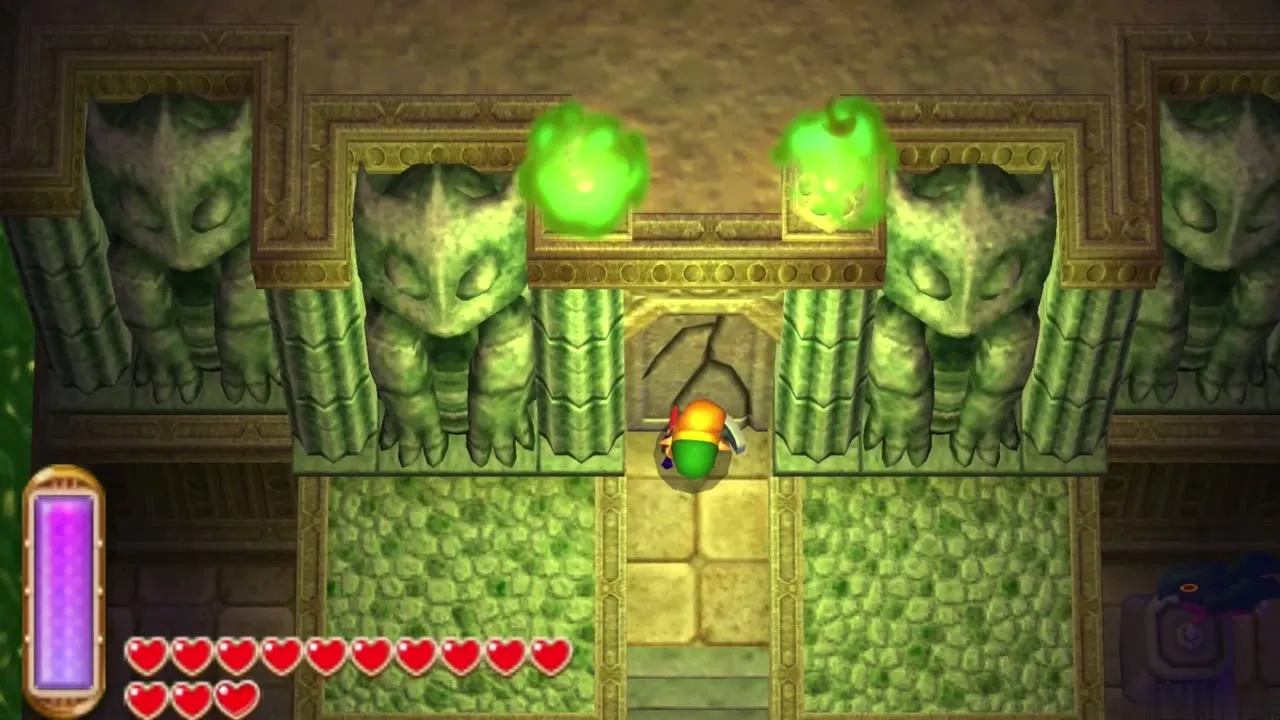
At the end of the maze you reach the palace stairs and a Weather Vane. Touch the vane to save and to unlock it as a warp point; it is the Lorule vane for this region. Climb the stairs to the sealed, cracked door of the Dark Palace. Place a Bomb in front of it and step back, and the blast opens the way into the dungeon.
Dark Palace 1F
Entrance room and Blue Rupee chest
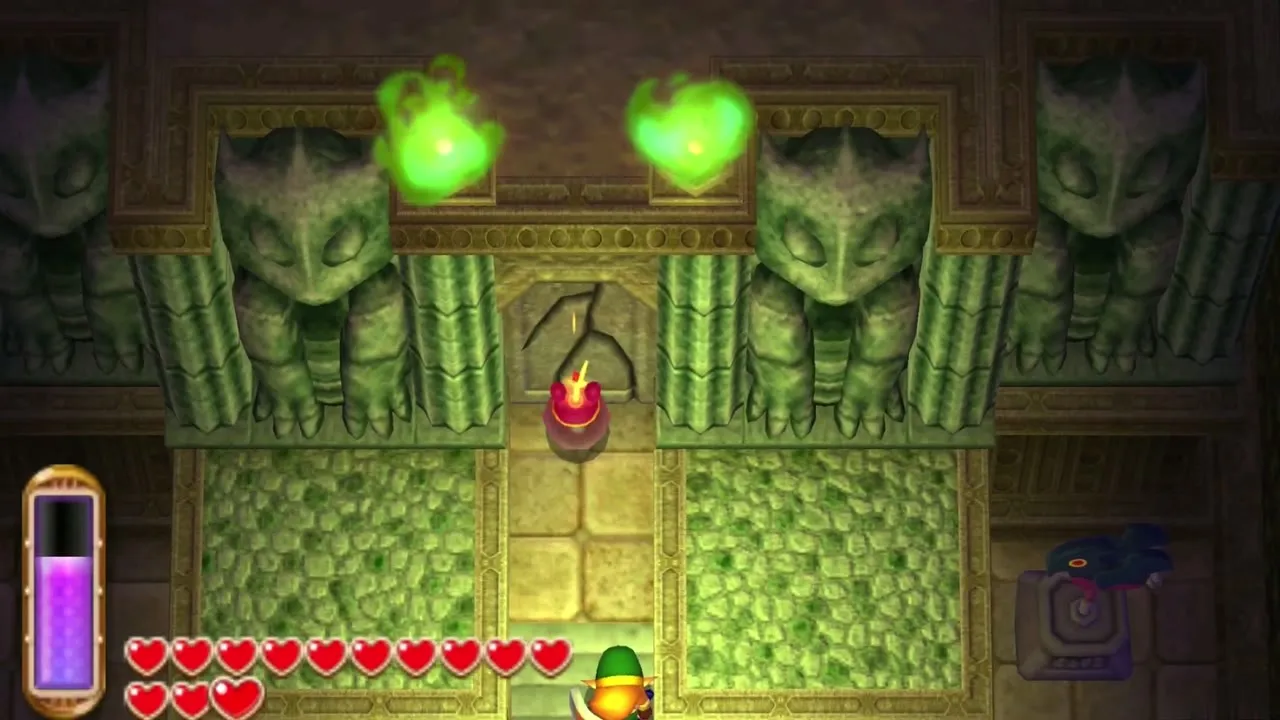
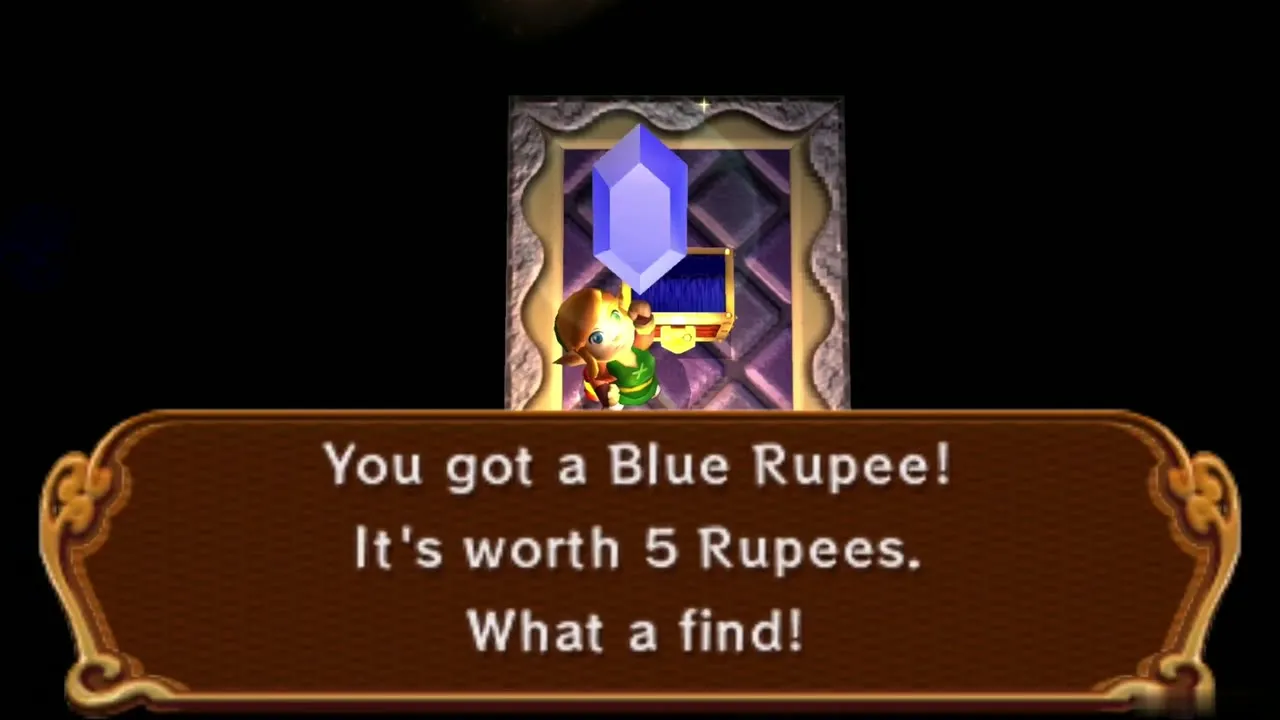
The first room is dark, so keep the Lamp lit. Bomb the cracked wall in the north-east corner to open a small side room with a chest holding a Blue Rupee (5 Rupees). Then look for the crystal switch on the left side of the room; the palace is full of switches that Bombs can hit from a distance, and this one is your first.
Pit room and window bomb
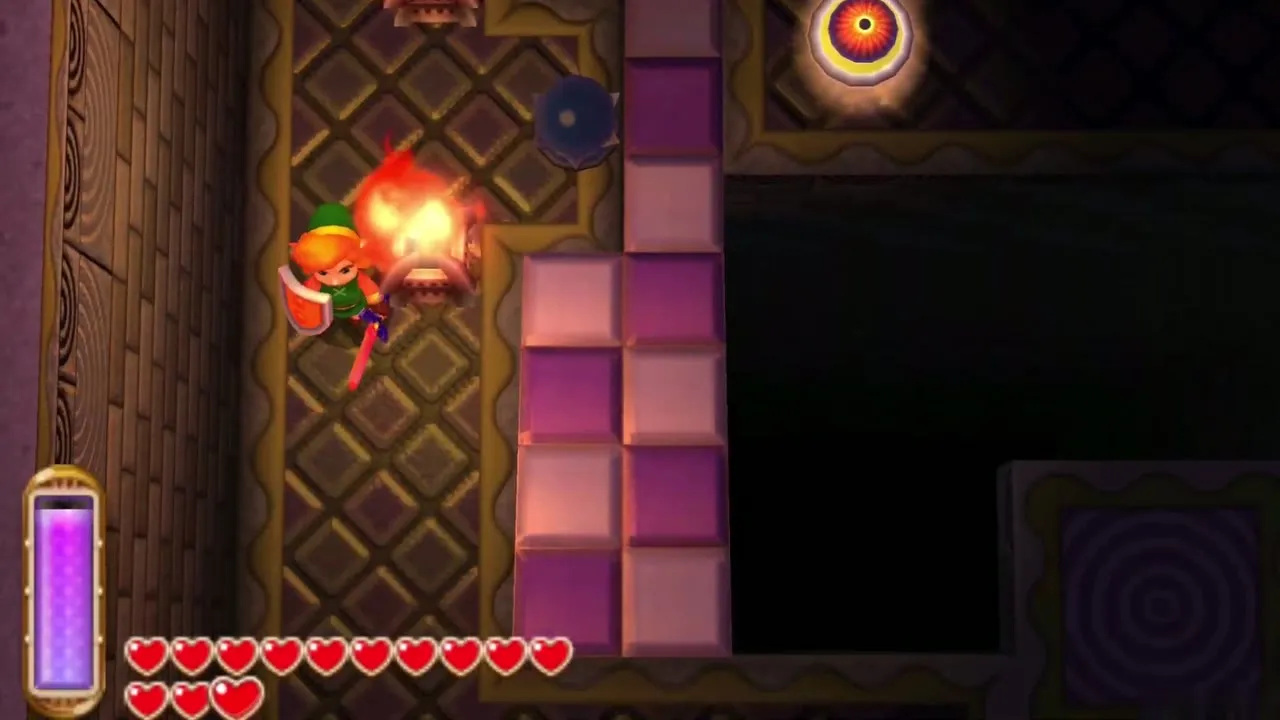
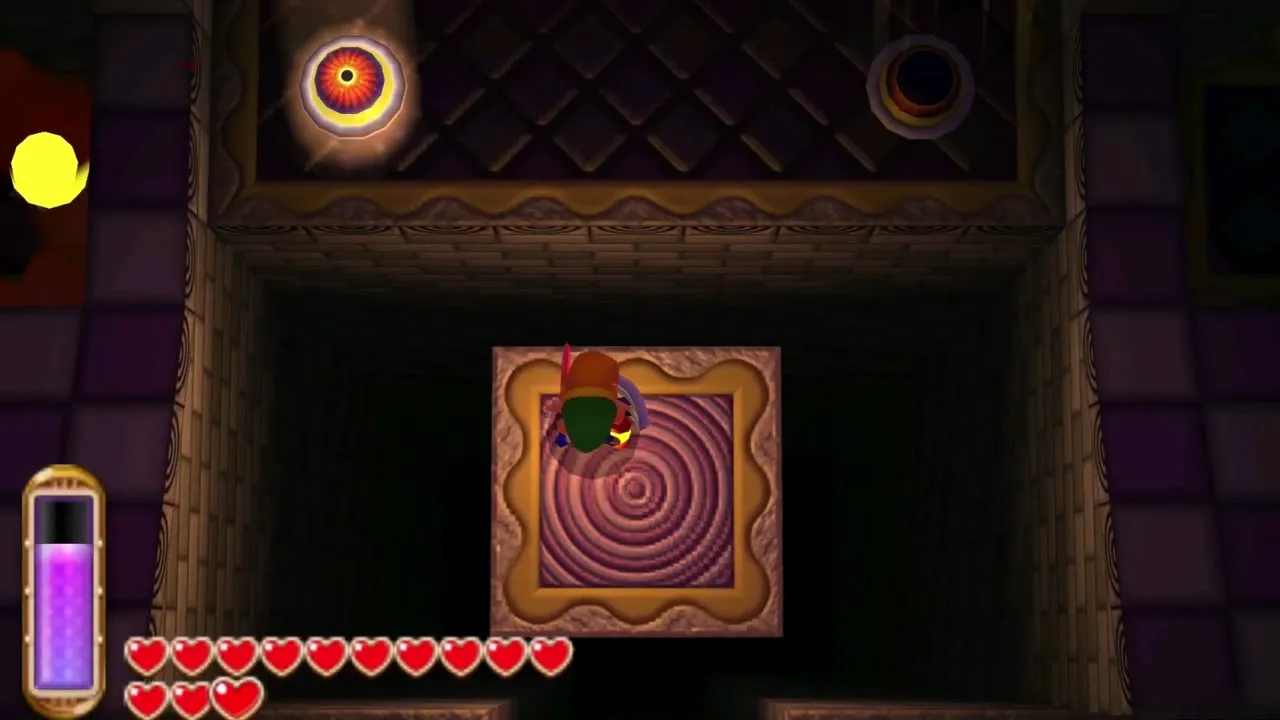
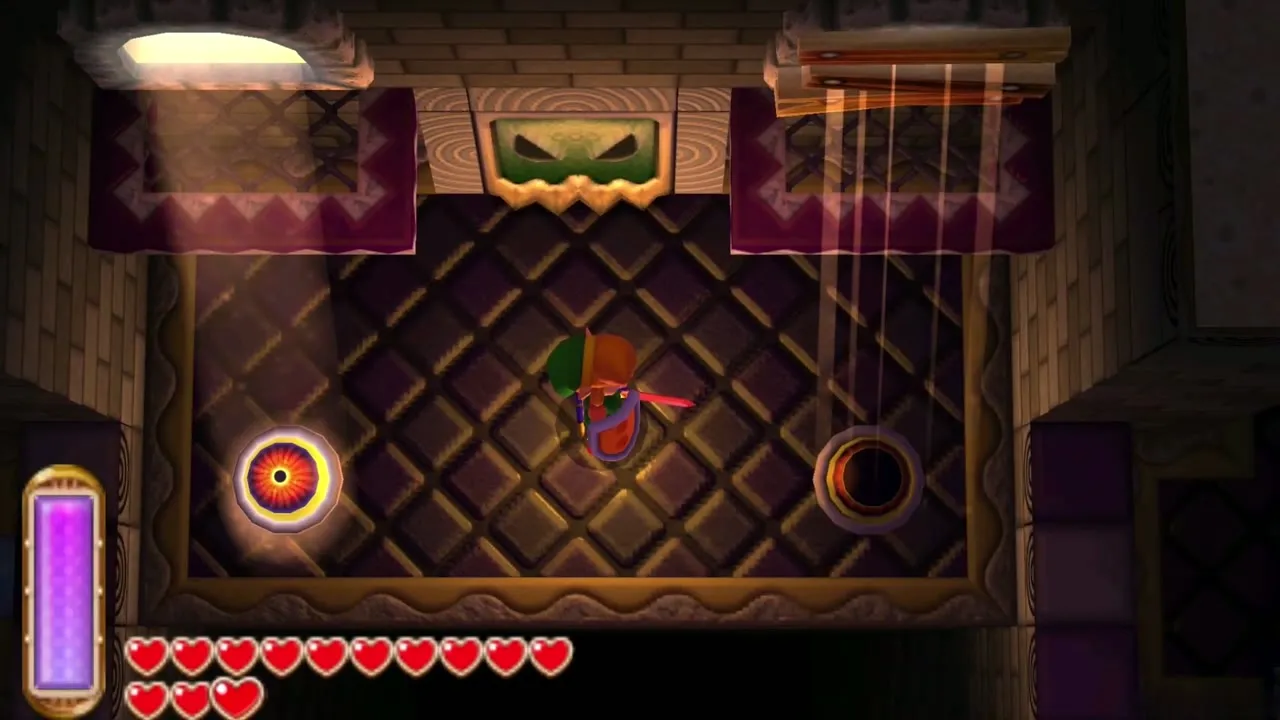
In the room with the pit, drop a Bomb beside the crystal switch on the left, then hurry to the platform in the south and stand on it so it carries you across the gap. Throw a second Bomb up at the boarded window on the right. When the wood blows away, a beam of light falls on the eye switch below and unseals the door to the north.
Small Key on the invisible platform
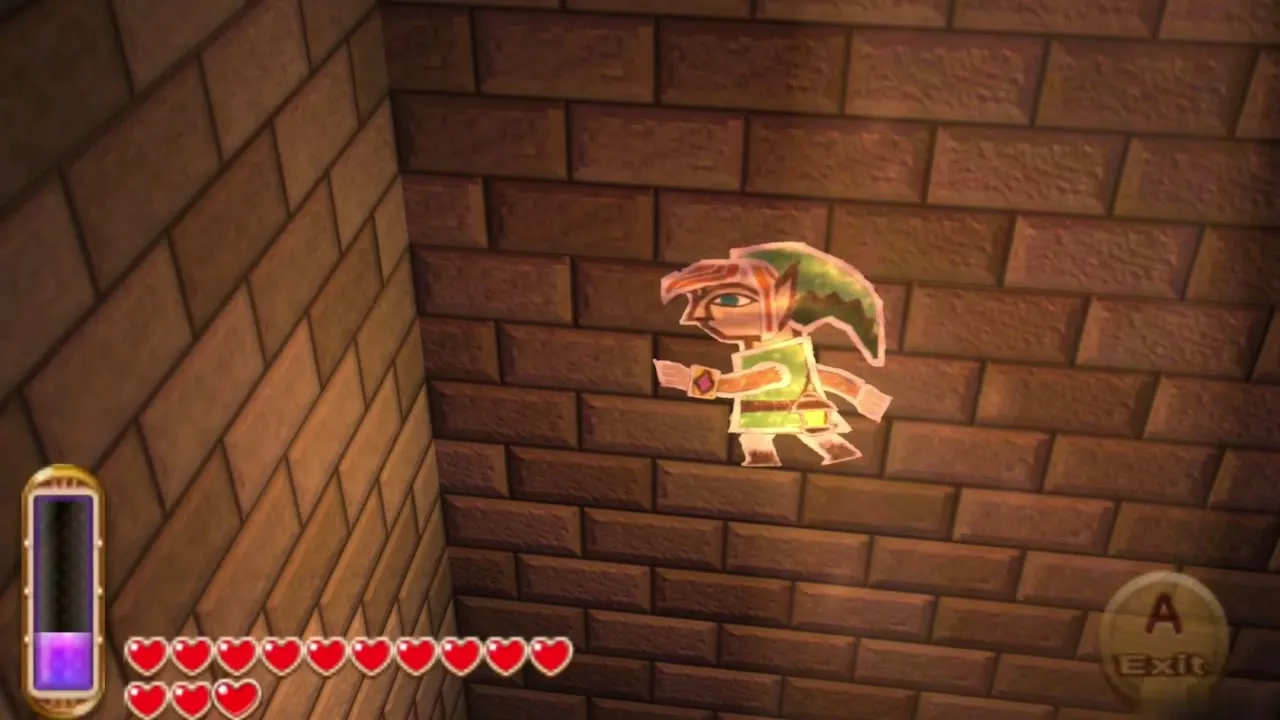
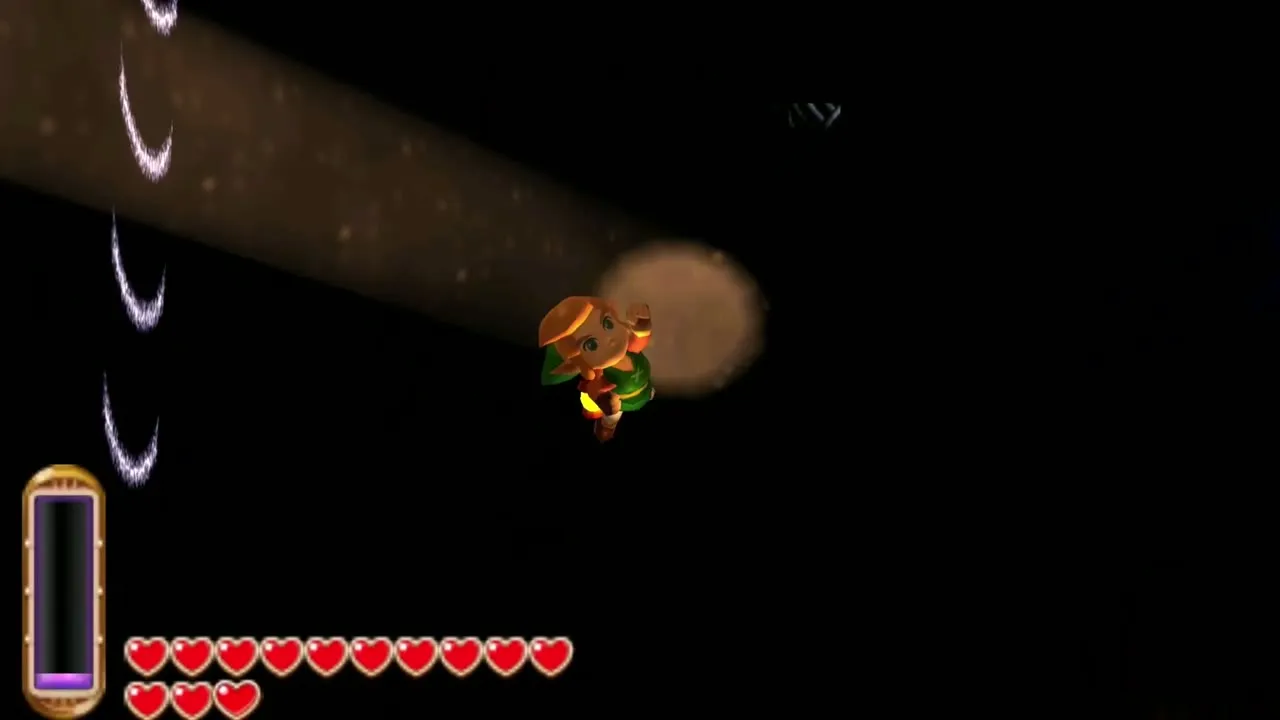
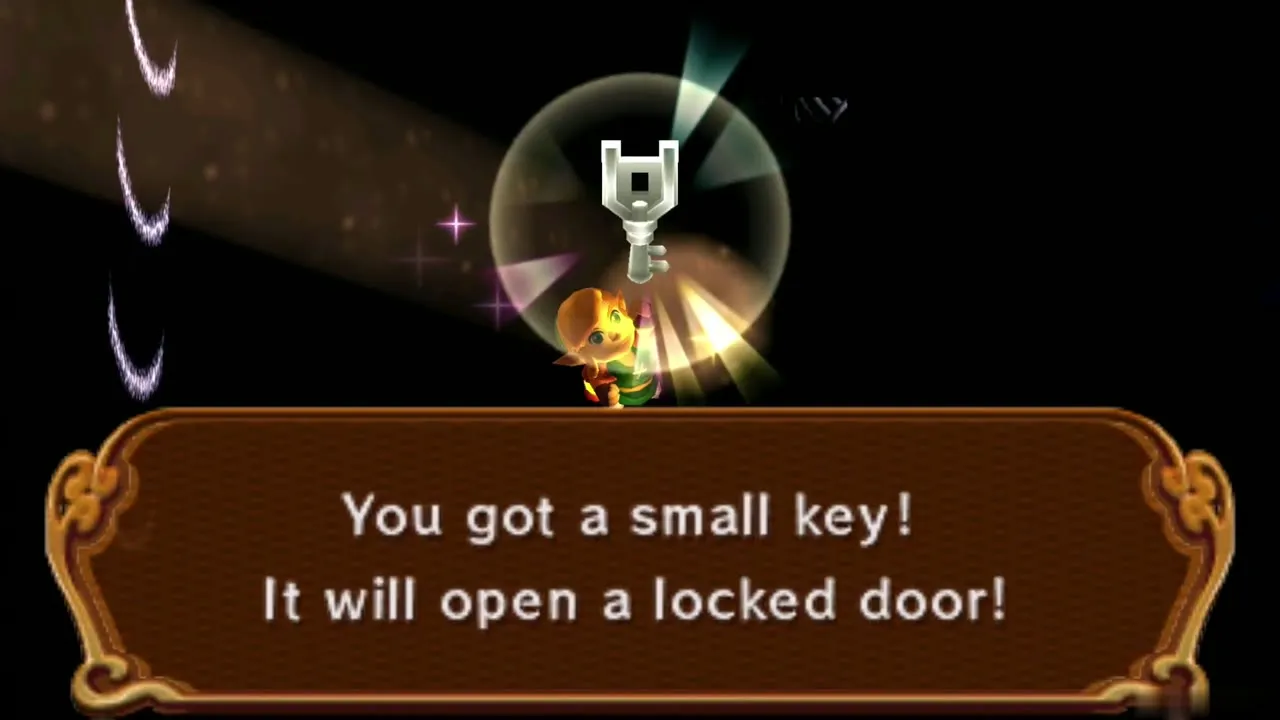
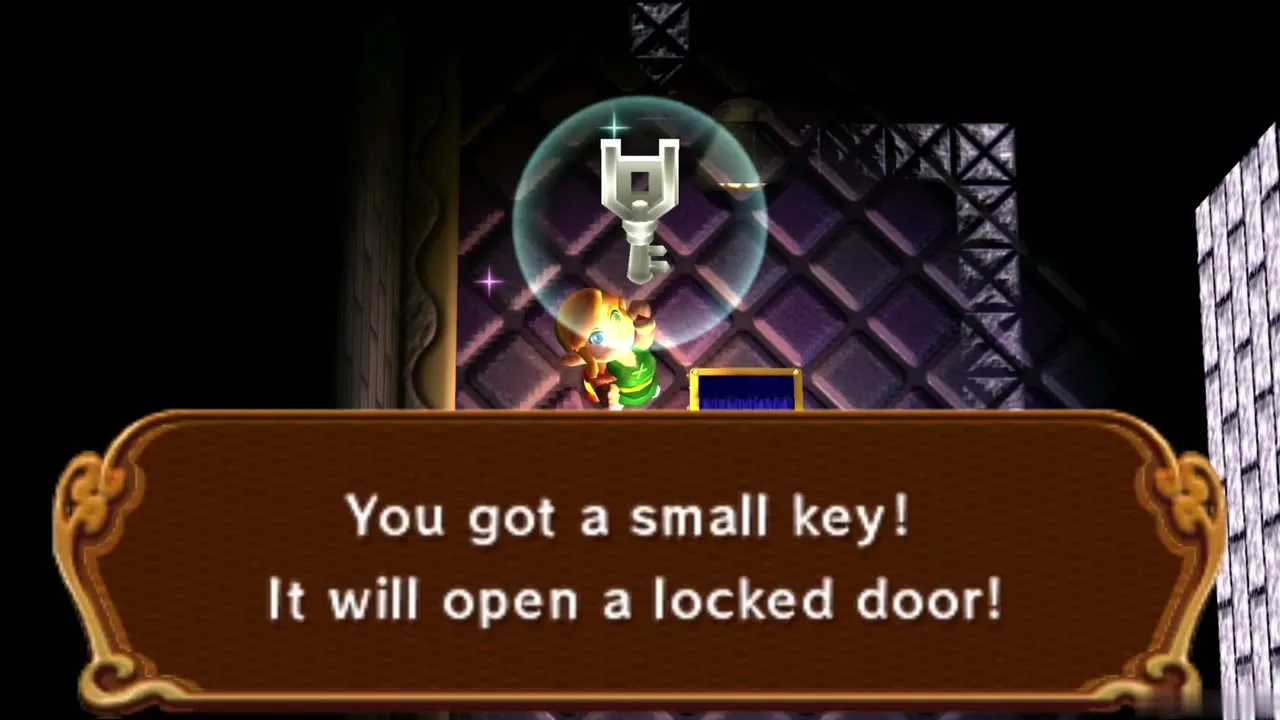
Beyond the sealed door, a Helmasaur patrols the room. Knock it off the ledge or bomb it, then step on the floor switch in the north-west corner. A Small Key drops onto a platform you can only see in the dark, so merge into the wall and slide along it to reach the key without falling. Take the Small Key and unlock the north door.
Dark Palace Compass
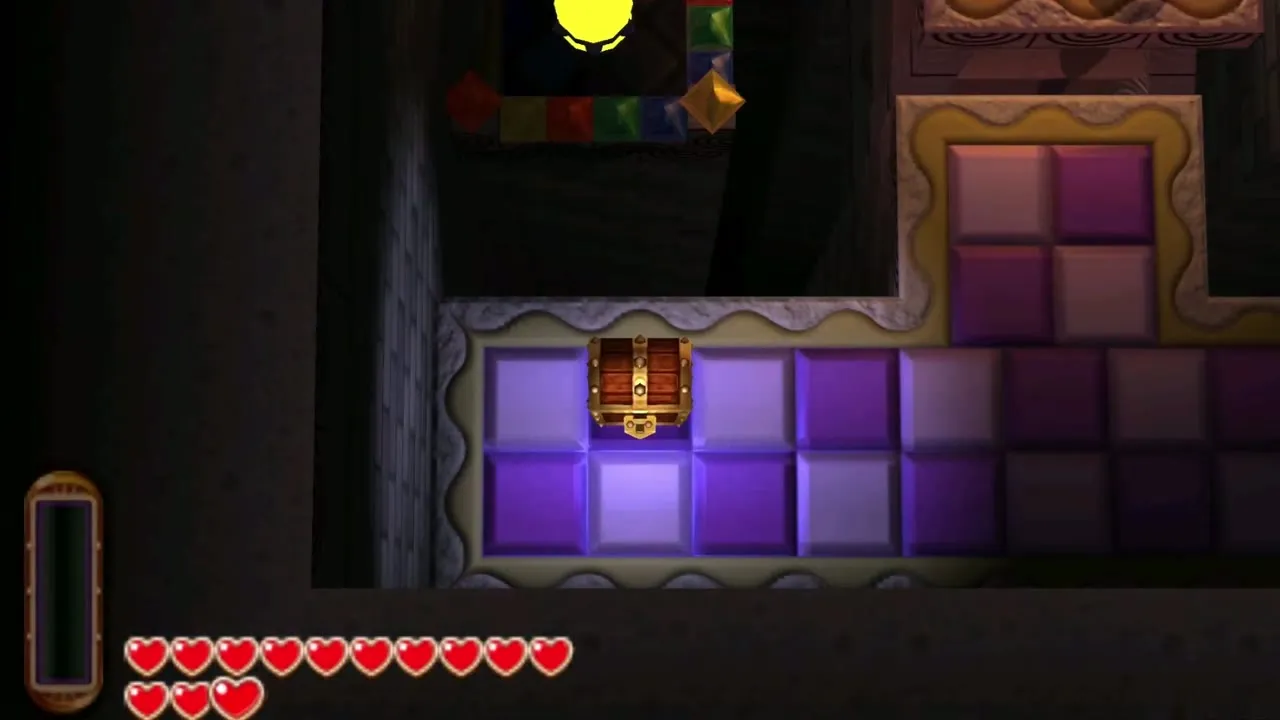
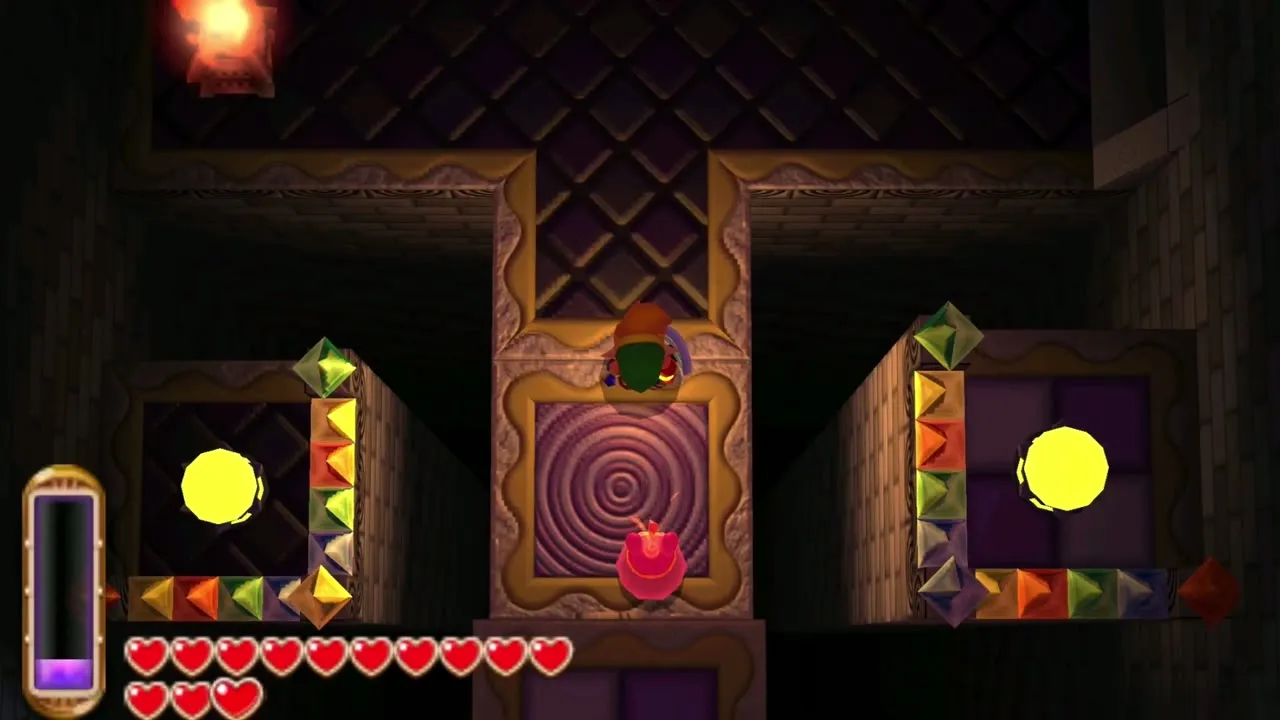
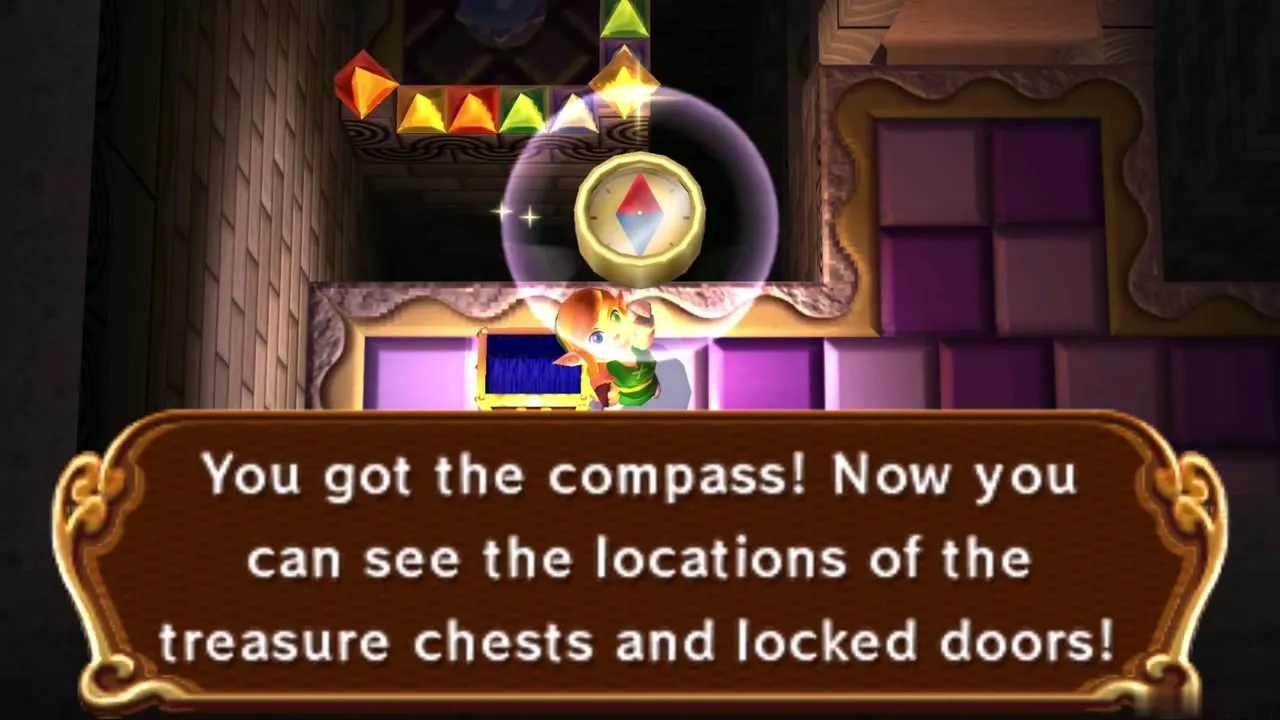
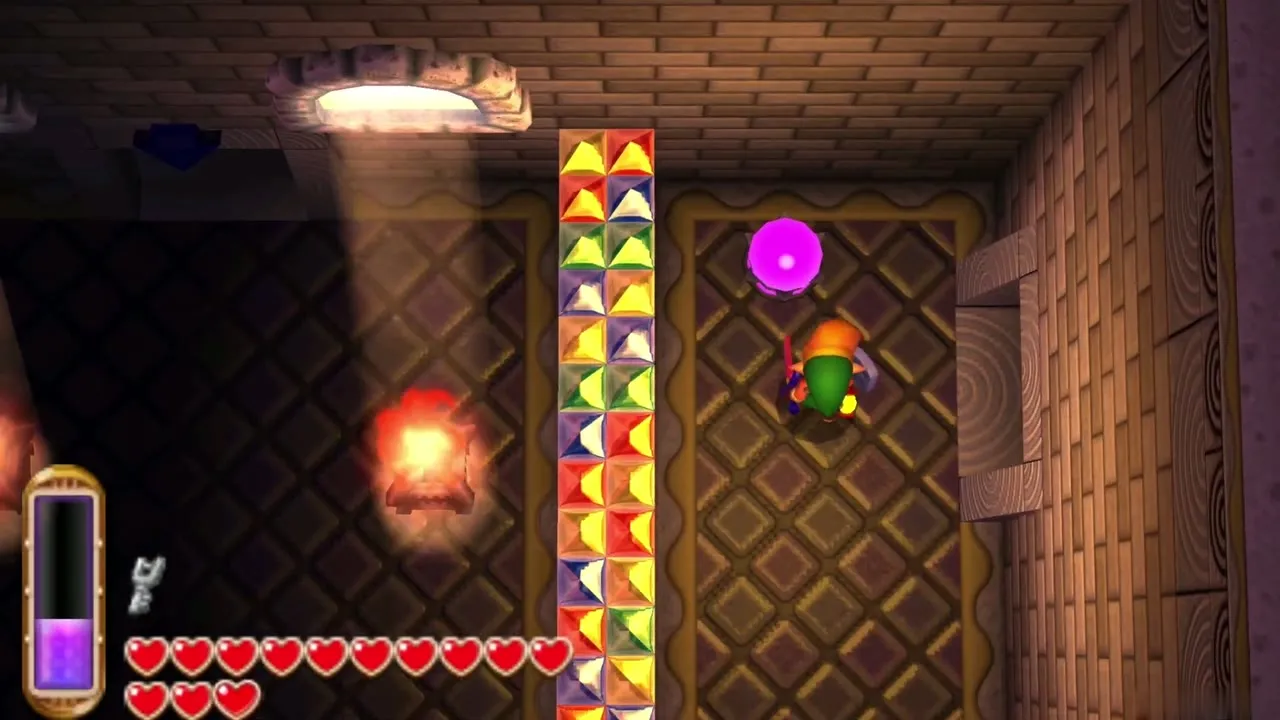
The Compass chest sits in the north-west of 1F, in a room where a platform crosses a pit between two crystal switches. Each switch has a wall of gems that blocks it, so toss Bombs over the barriers and hit both switches within a few seconds of each other. The chest appears, and the Compass shows chests and locked doors on the map.
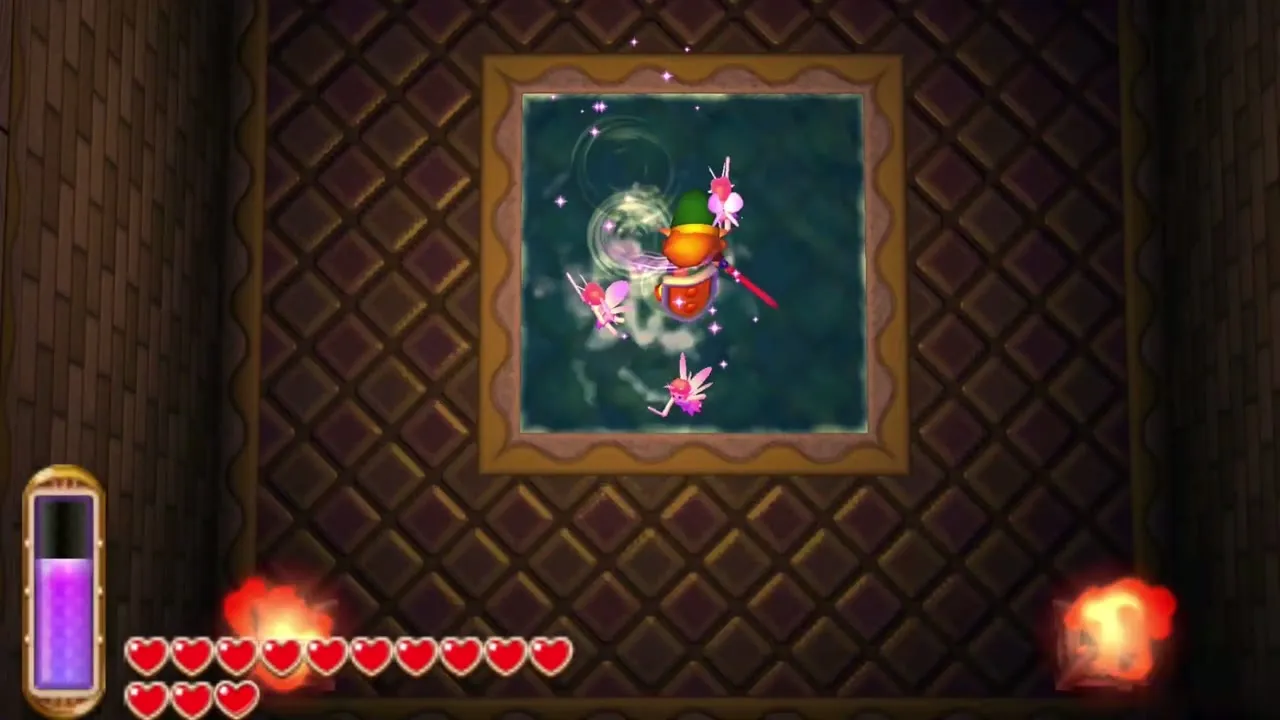
Fairies are worth catching in an empty Bottle if you spot any in the dungeon, because a fairy revives you once if your hearts run out.
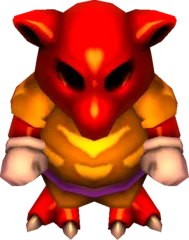
Goriya mini-boss room
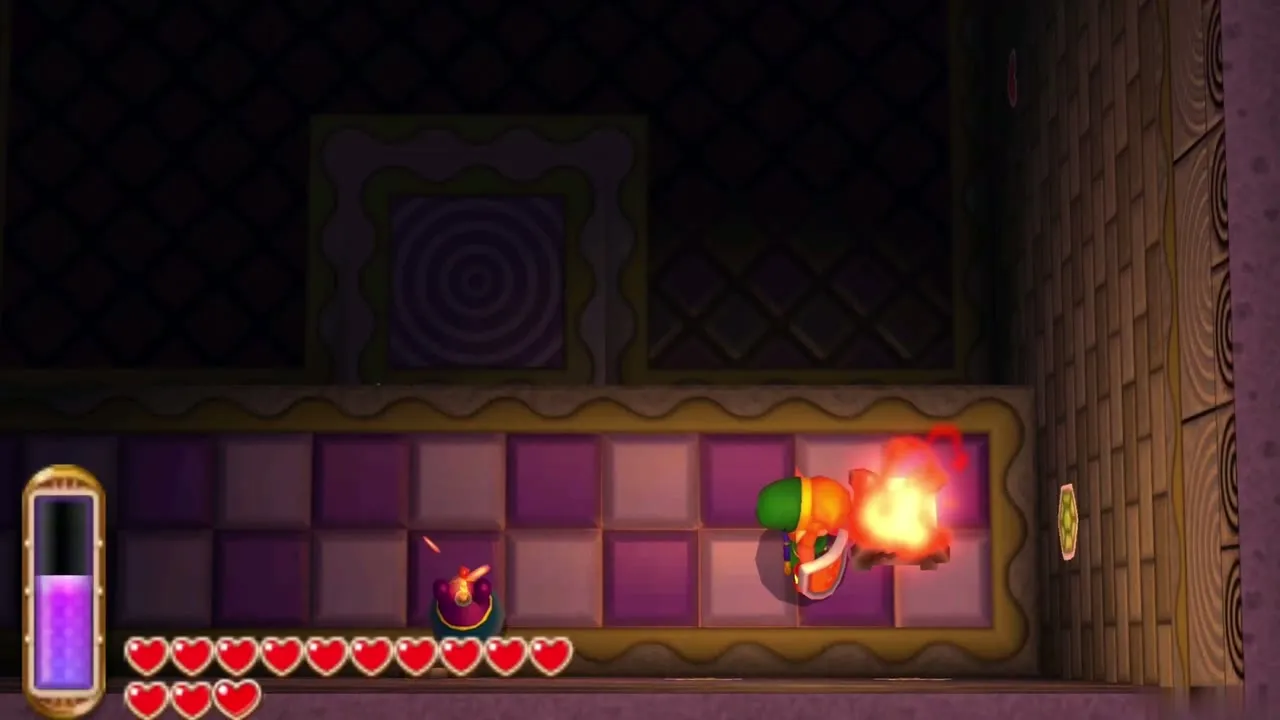
In the room east of the rolling boulders you meet the Dark Palace mini-boss: two Green Goriyas and a Red Goriya. They copy your movements in mirror image, so you can walk them into walls and pits. Strike the green ones with your sword, then lure the red one onto a Bomb. When all three are down, a moving platform wakes up and carries you onward.
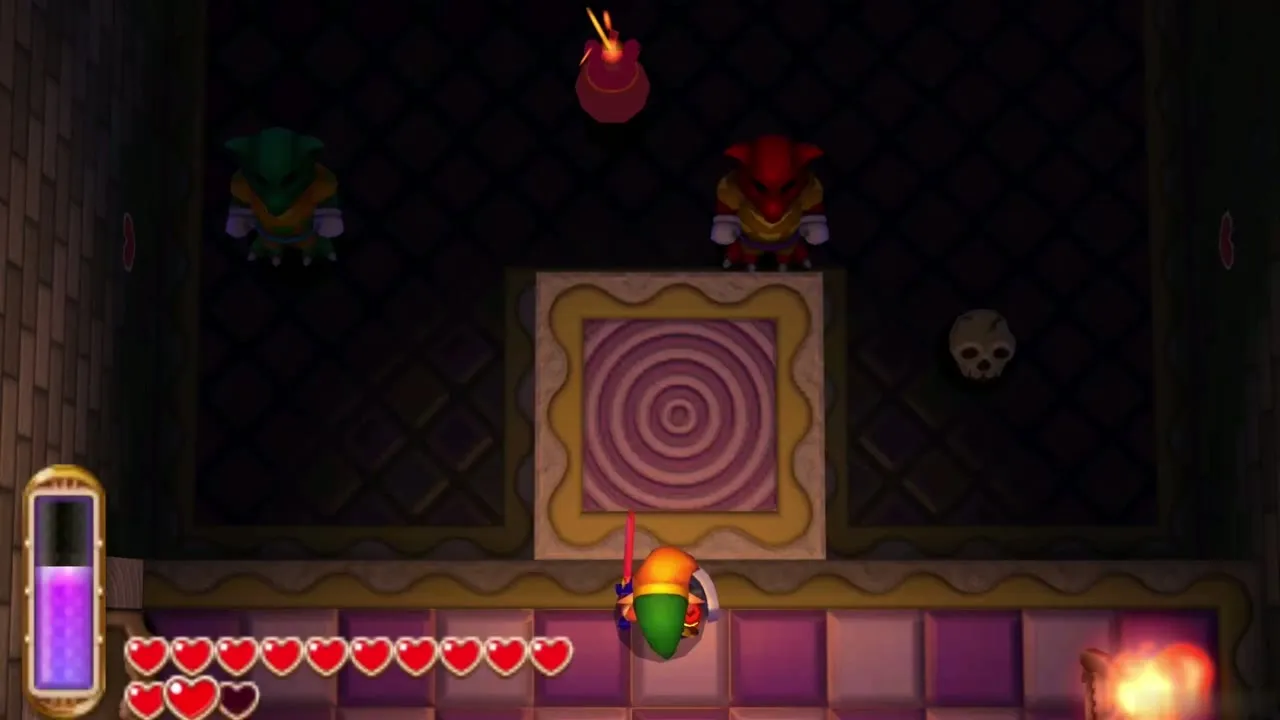
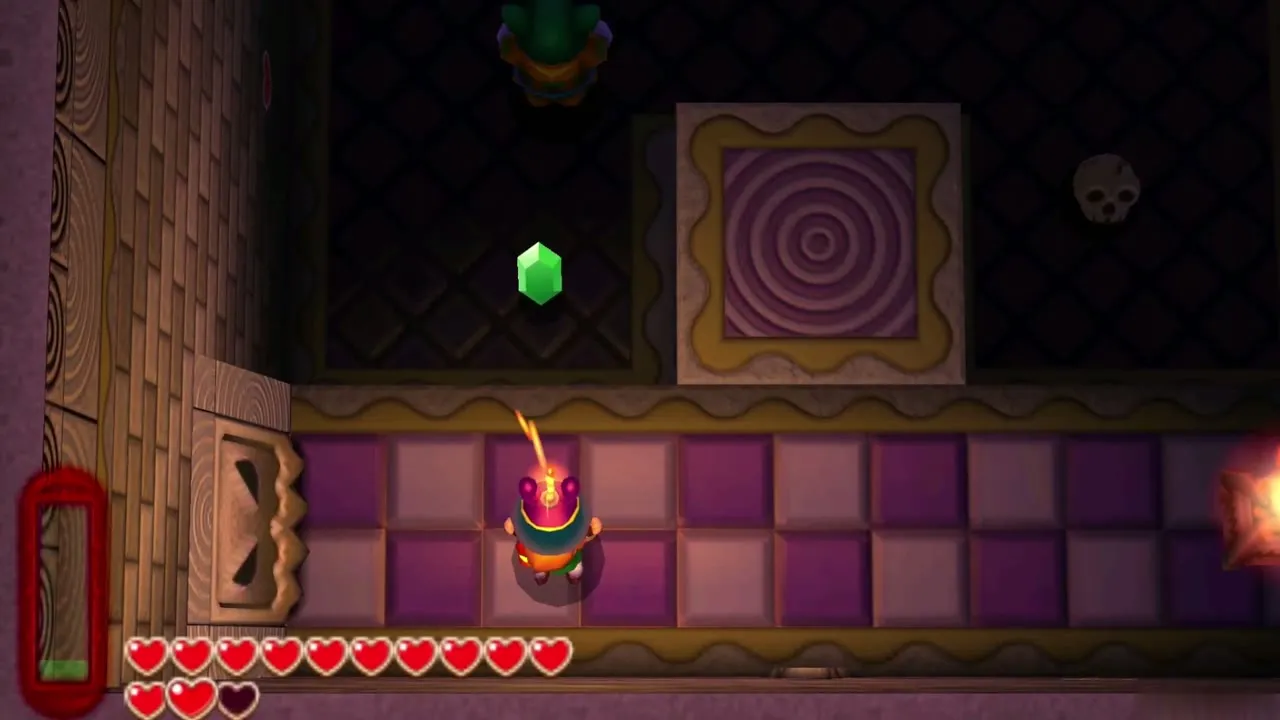
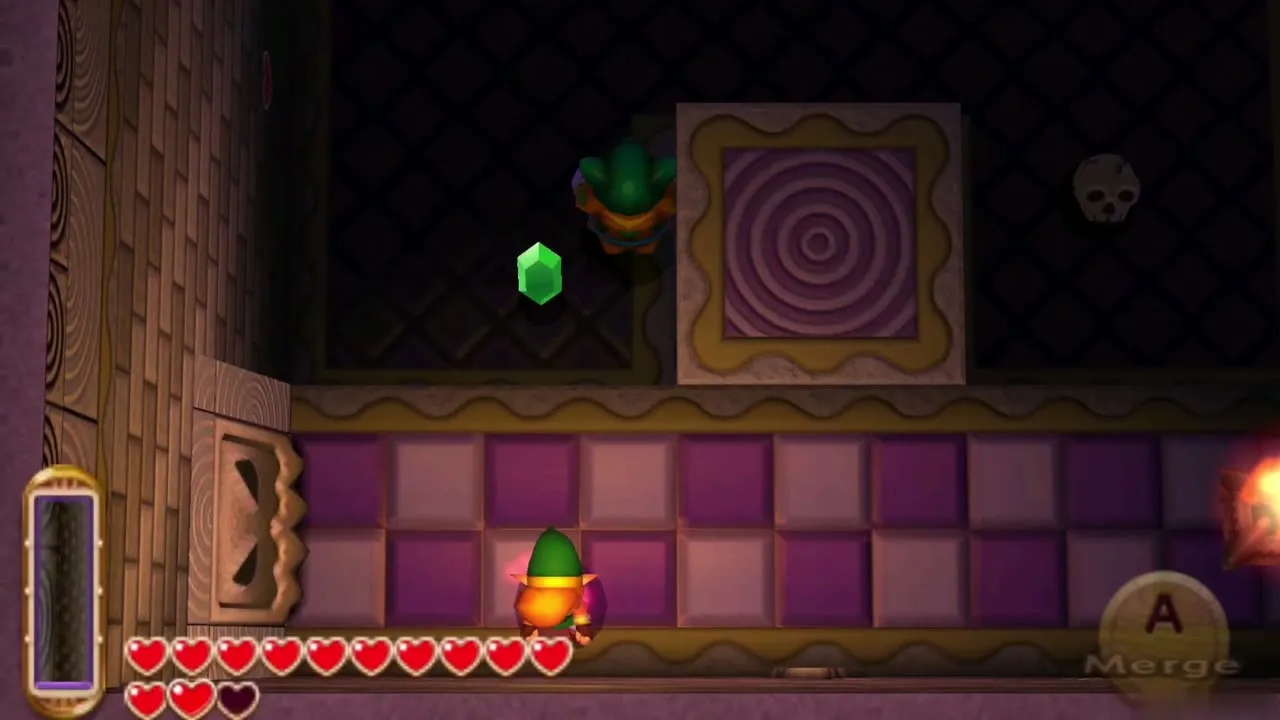

50 Rupees and the Monster Tail
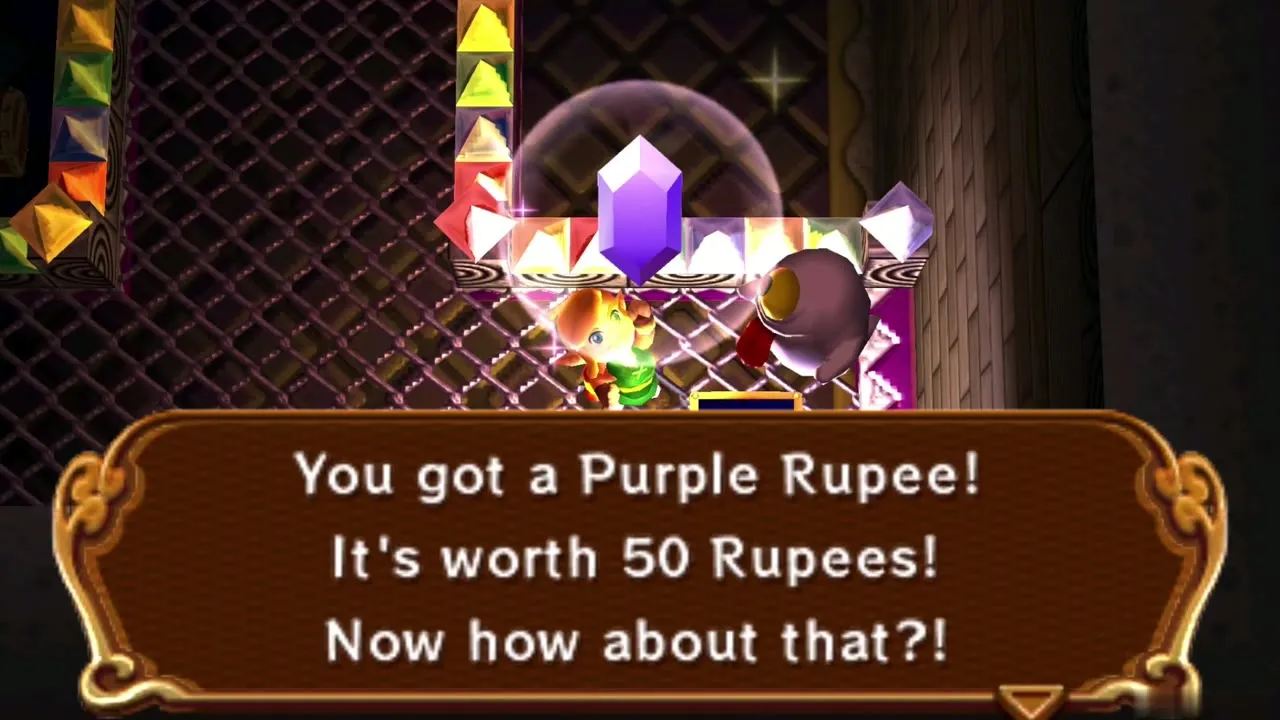
Ride the platform up and bomb the south wall. This opens a room with ghosts and a chest holding a Purple Rupee (50 Rupees), so take it.
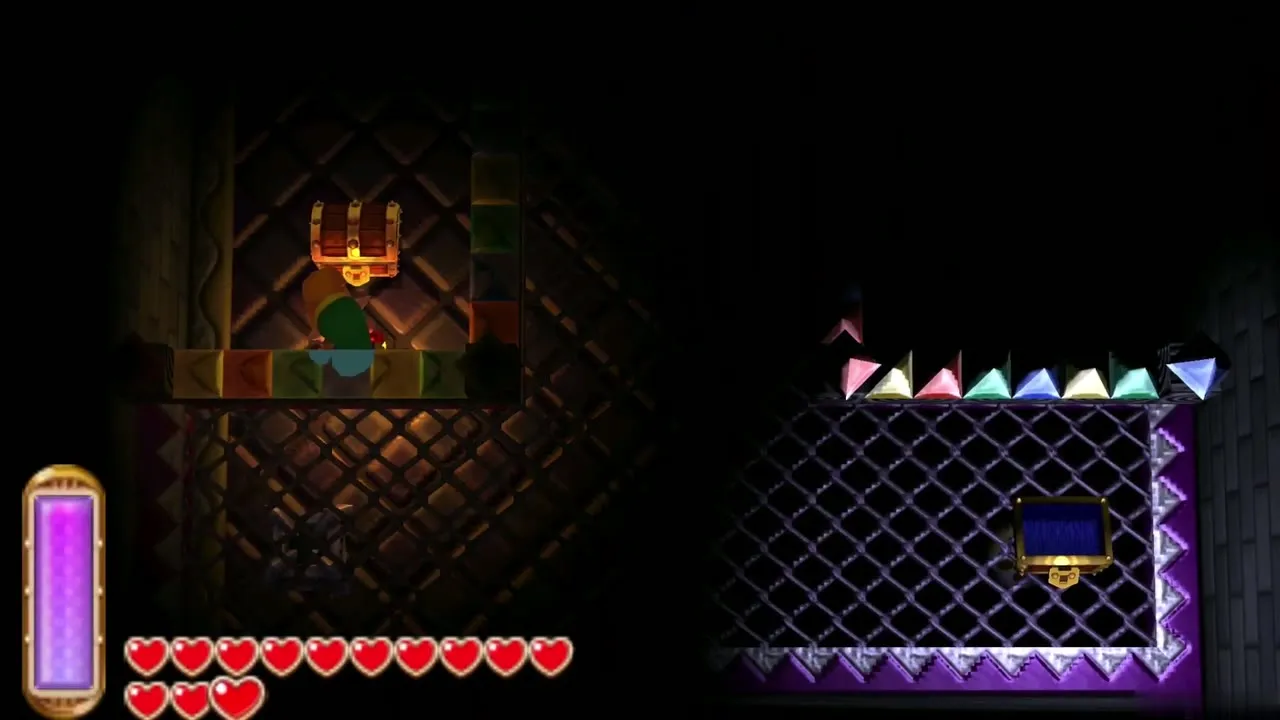
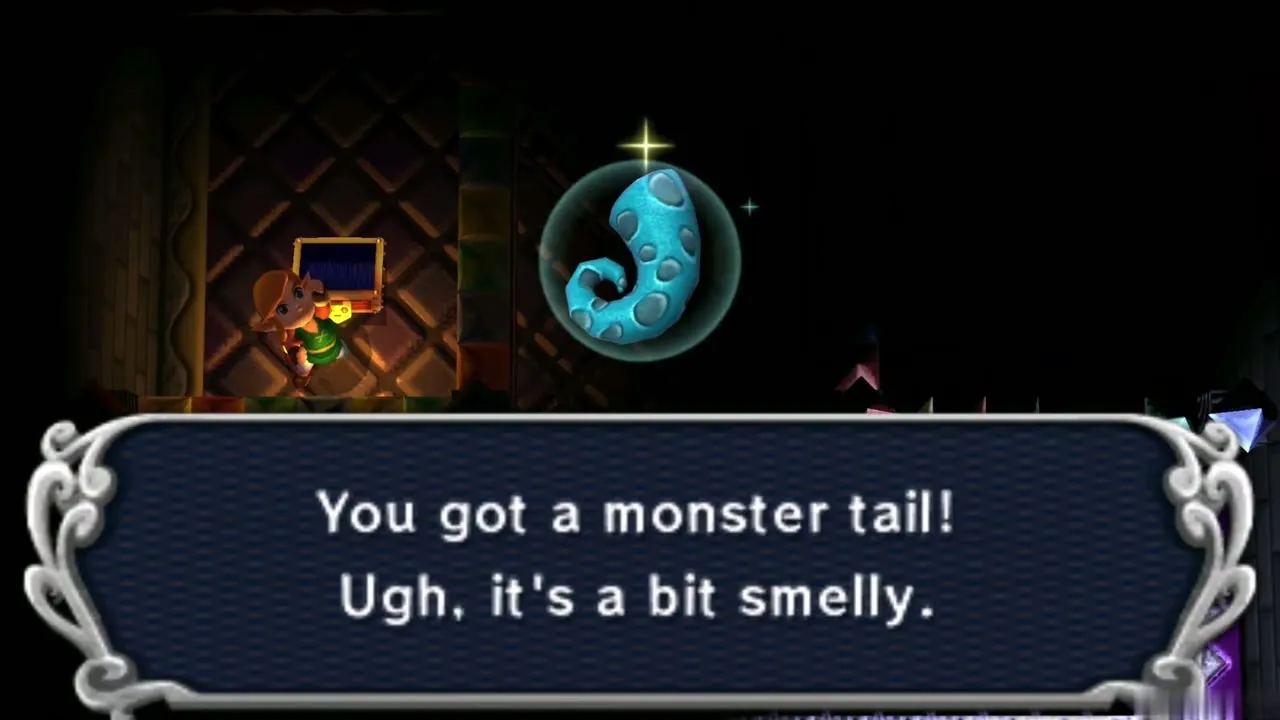
In the lower half of the same area, open the chest in the south-west to get a Monster Tail. Monster parts like this are ingredients: the Witch near Zora’s Domain trades 10 Monster Tails and 200 Rupees for a Blue Potion, so keep it.
Monster Horn and second Small Key
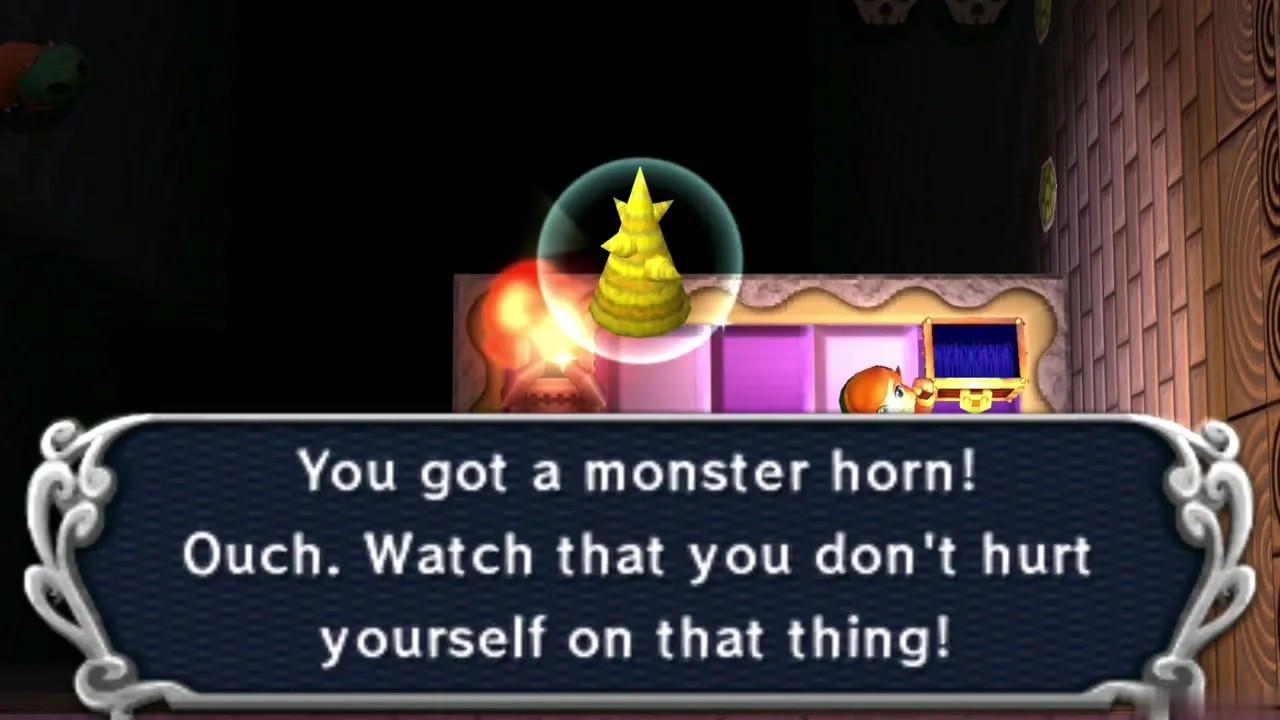
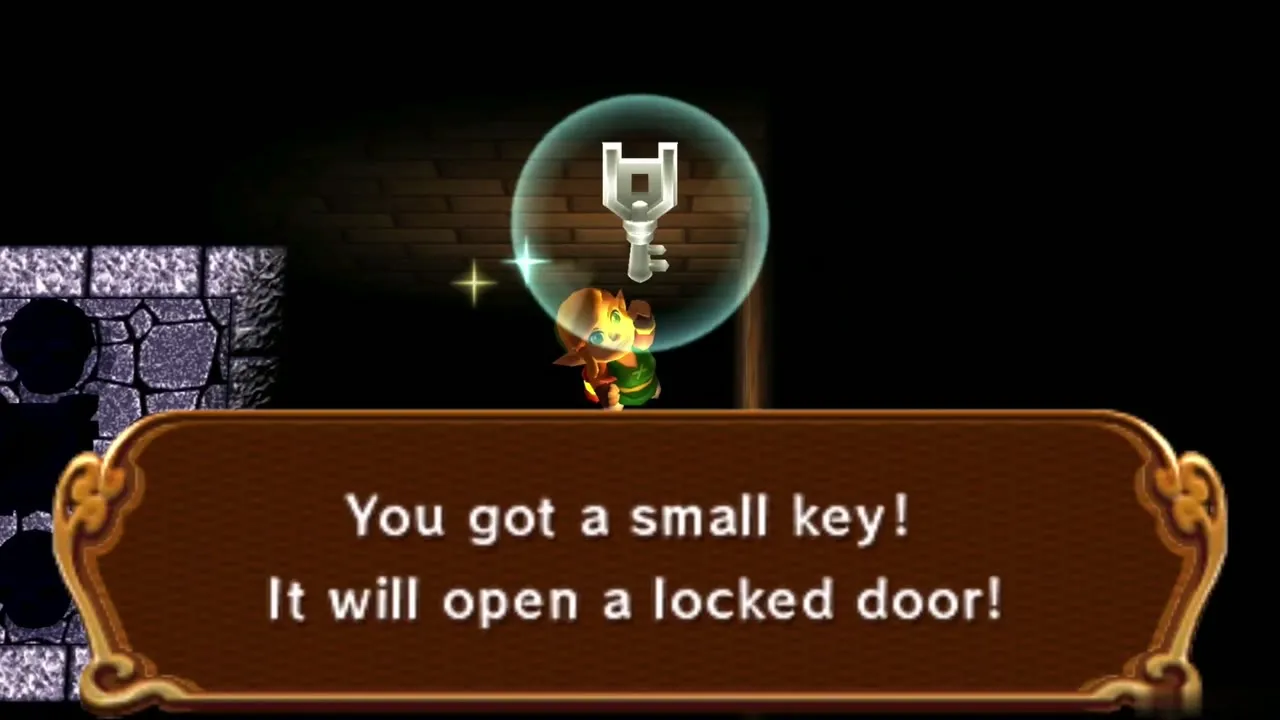
Bomb the cracked floor in the north-east of that area and drop through to B1. Open the chest there for a Monster Horn. Merge into the painting wall in the corner, slide to the next corner, step out and pick up the second Small Key. Then climb the stairs in the north-west back up to 1F and use the key on the locked door that leads up to 2F.
Dark Palace 2F and the Master Ore
Rotating walls and collapsing floors
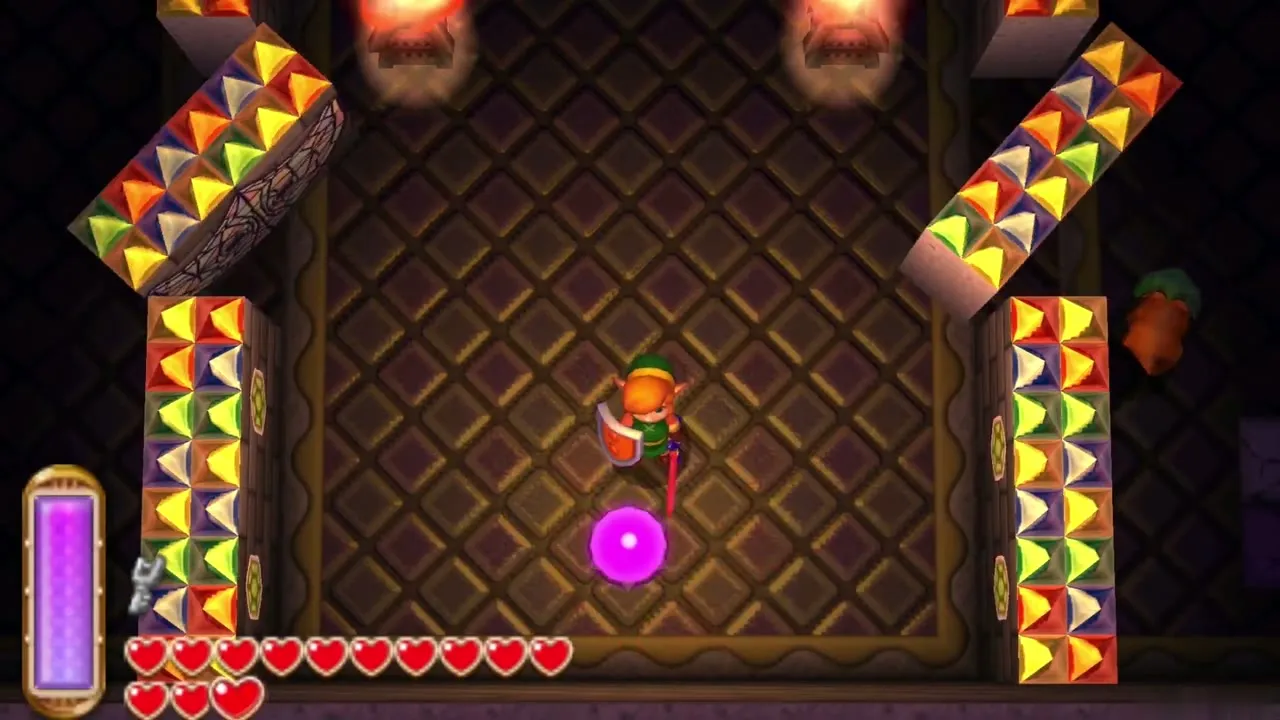
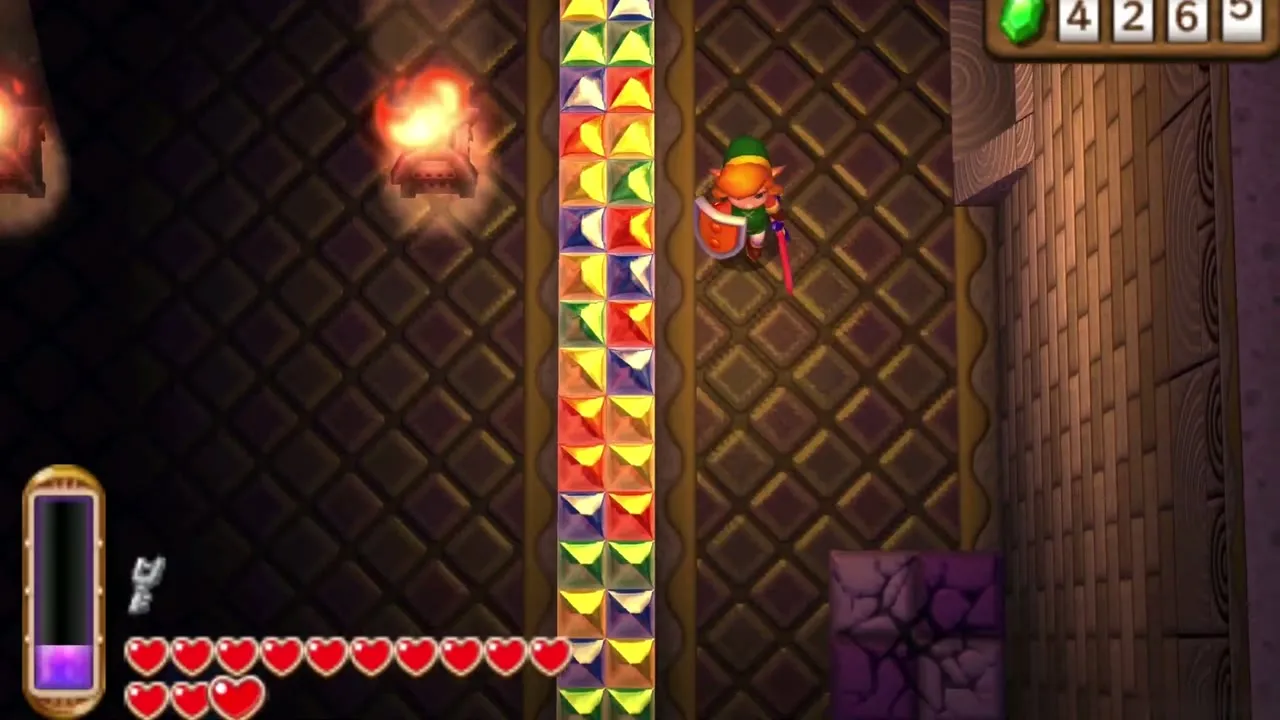
On 2F, a crystal switch spins sections of wall, so hit it with a Bomb and slip through while it turns. Several rooms have floors that crumble once you step in. Bomb the switch quickly, then run for the door before the floor falls. Cracked floors in the corners drop you back to 1F, where hidden chests hold 50 Rupees, so jump down for them and walk back up.
Lighting the eye switches
The main puzzle of 2F is light. Several windows are boarded up, and each one you bomb lets a beam of daylight fall through to a floor below. Bomb the boarded window on the platform route, then throw a Bomb up at the window in the north-west. These beams will later light the four eye switches that open the boss door, so open every window you can find.

Monster Guts
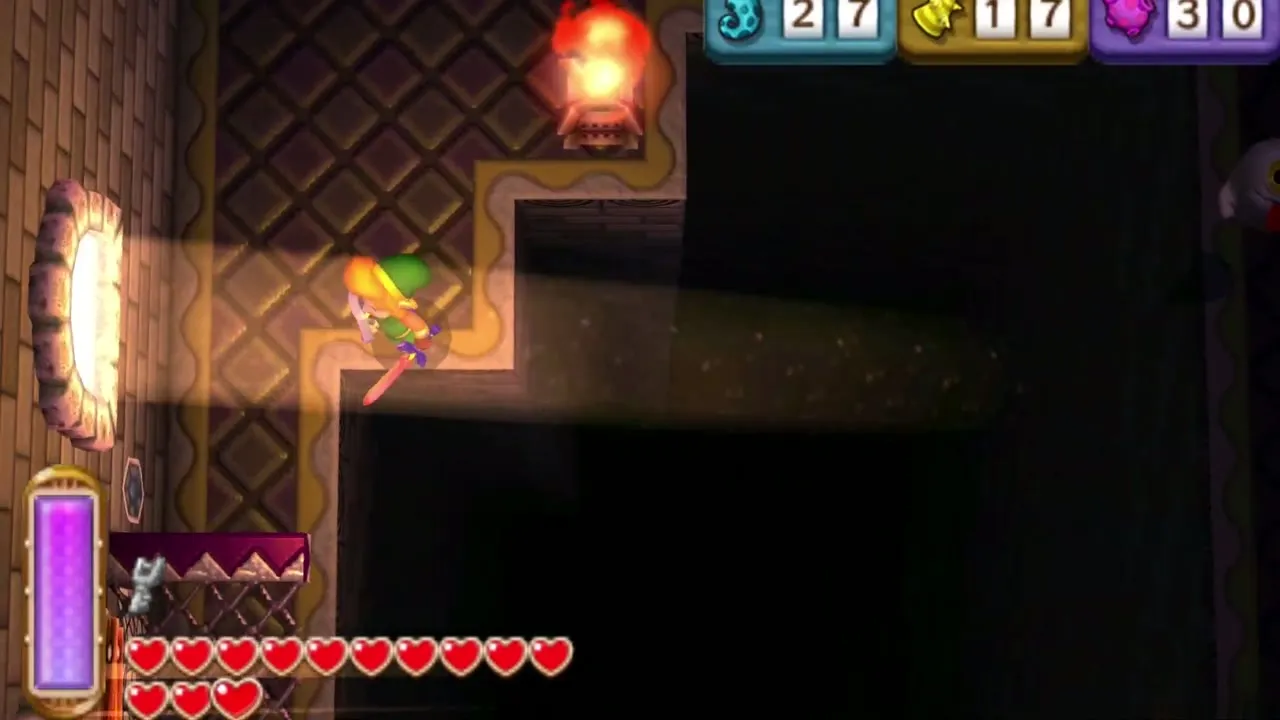
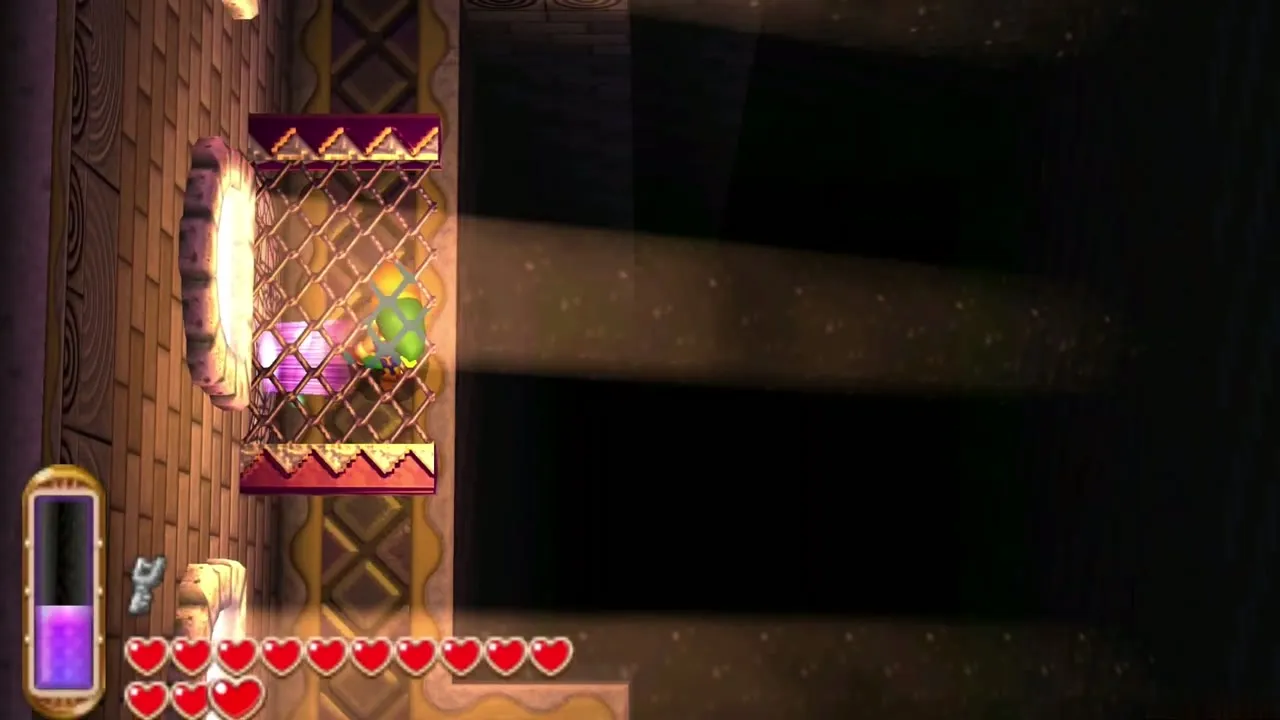
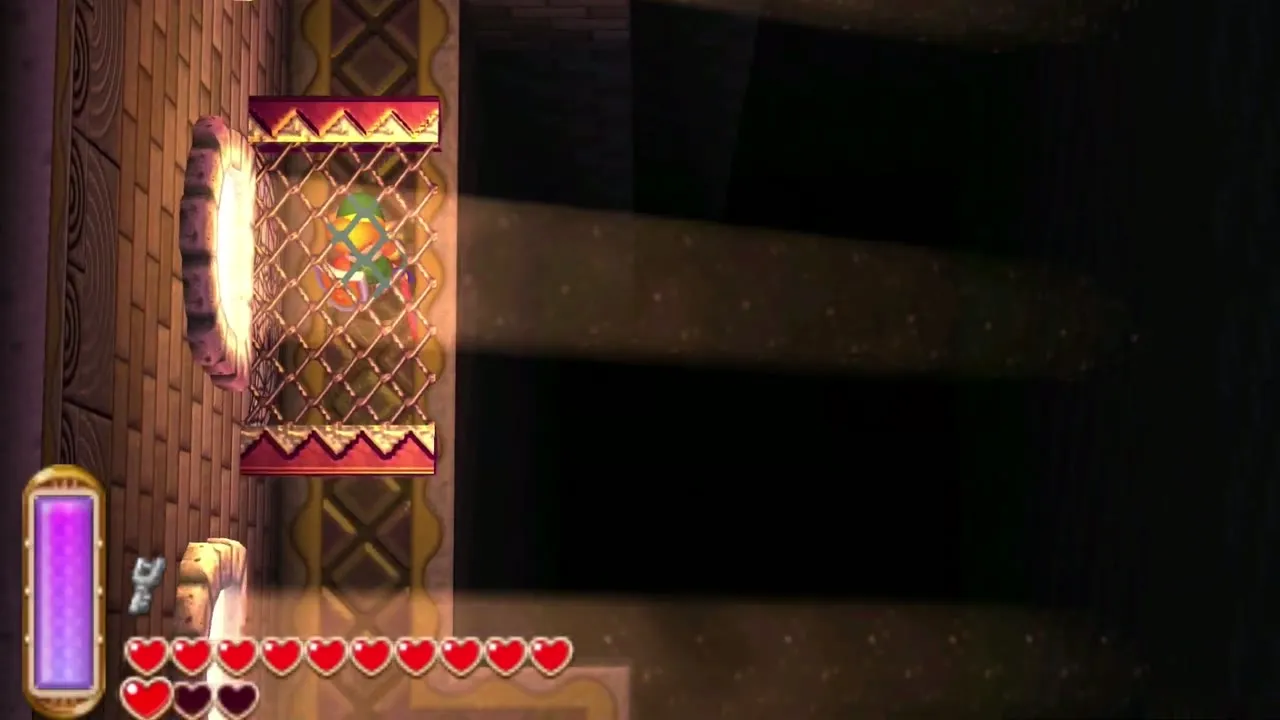
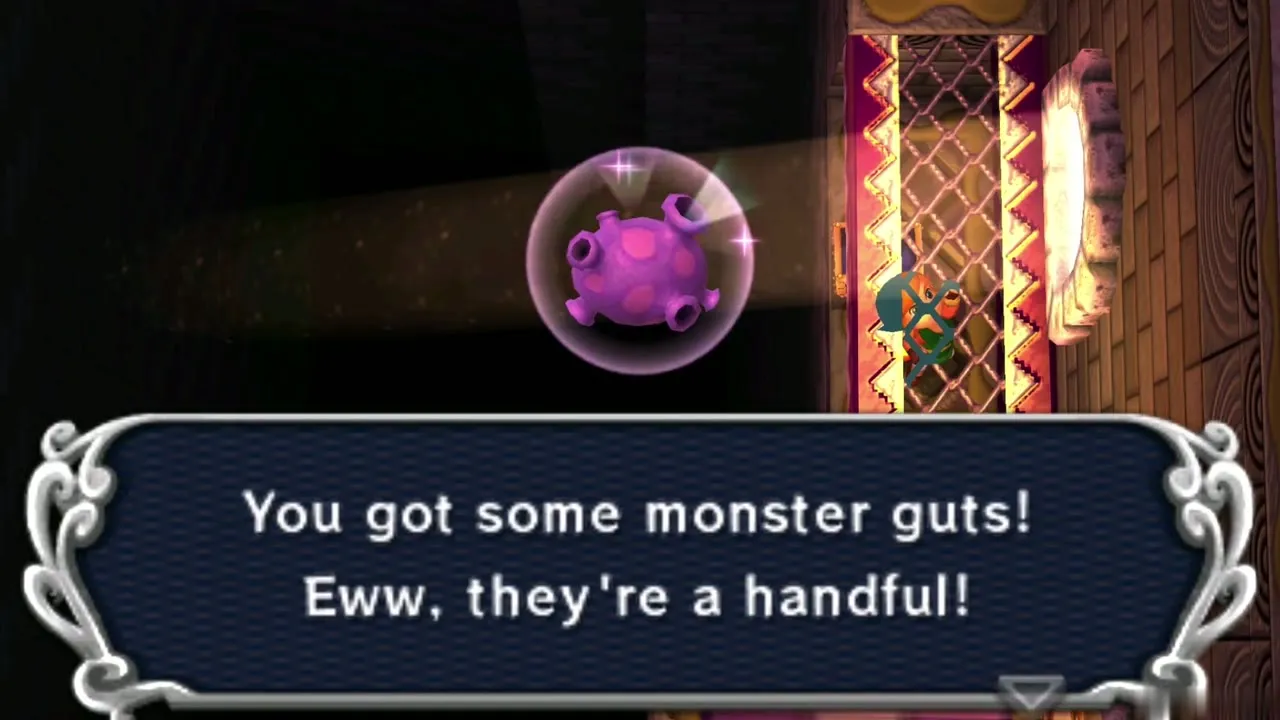
In the large room in the south, hit crystal switches with Bombs so the purple platforms rise. Ride them along the walls and merge between them to reach a chest on the east side. Open it for the Monster Guts, the third monster part. The Witch pays 60 Rupees and 10 Guts for a Purple Potion, which damages nearby enemies.
Master Ore
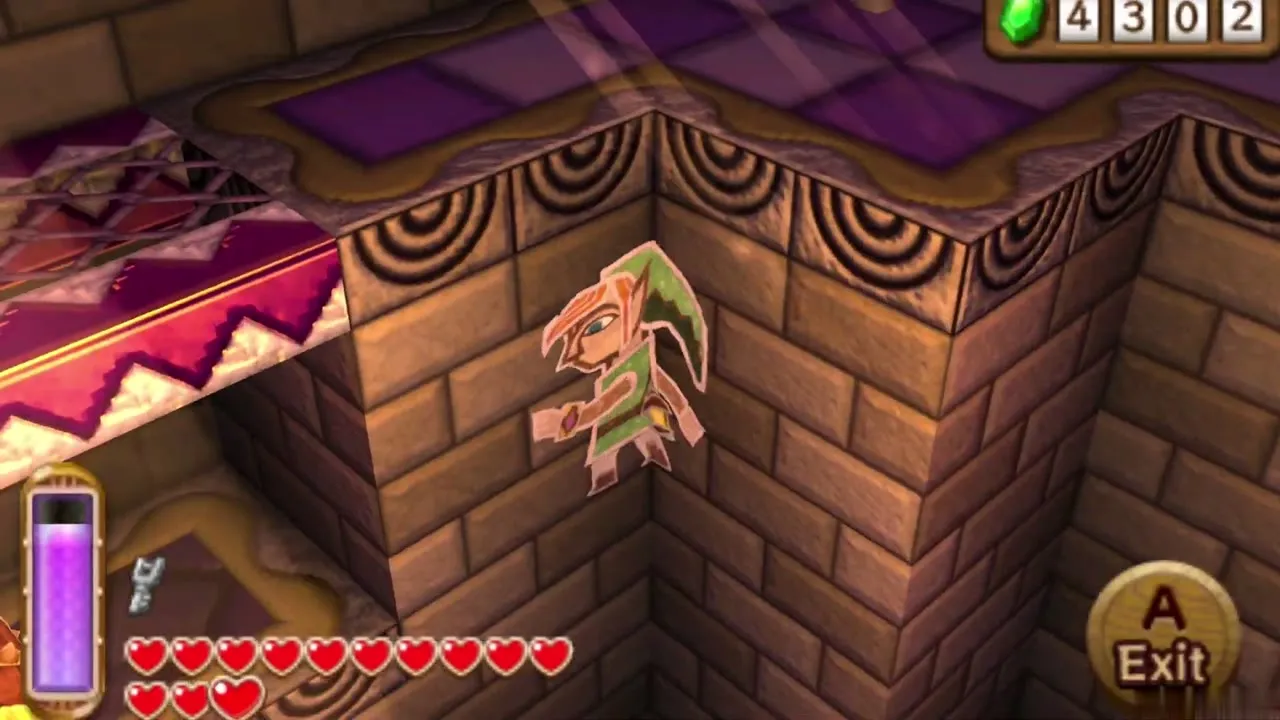
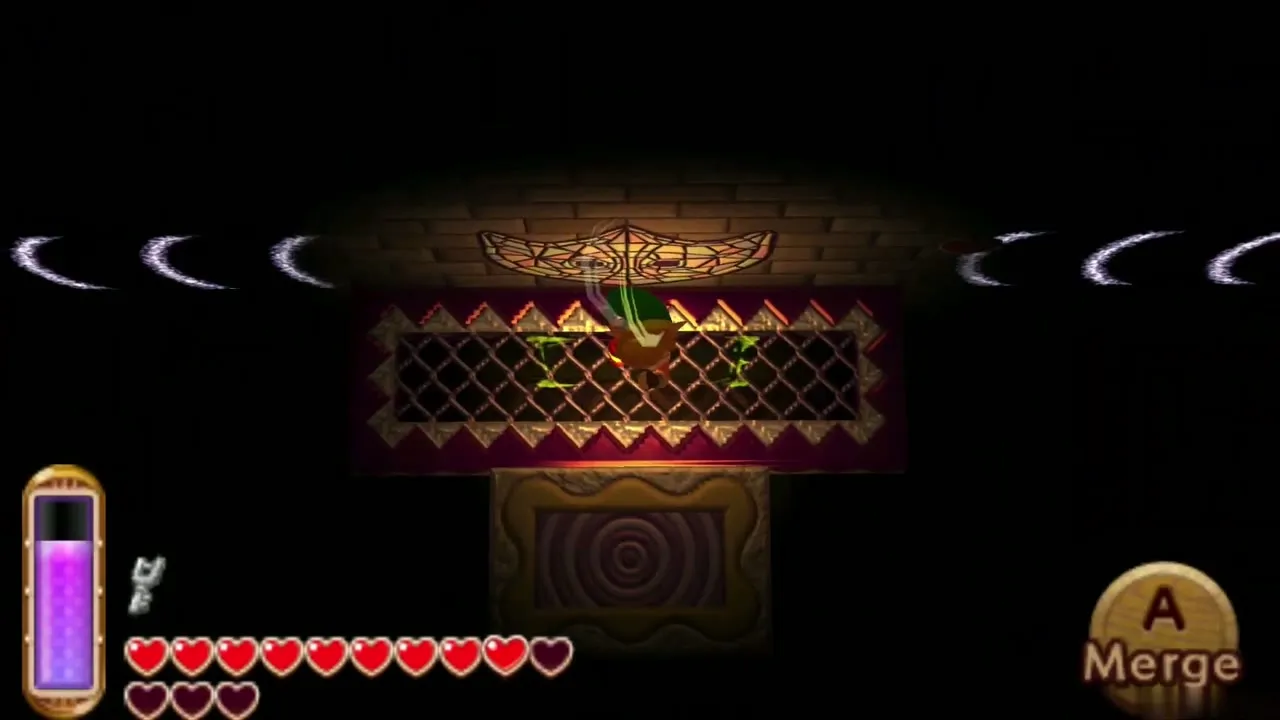
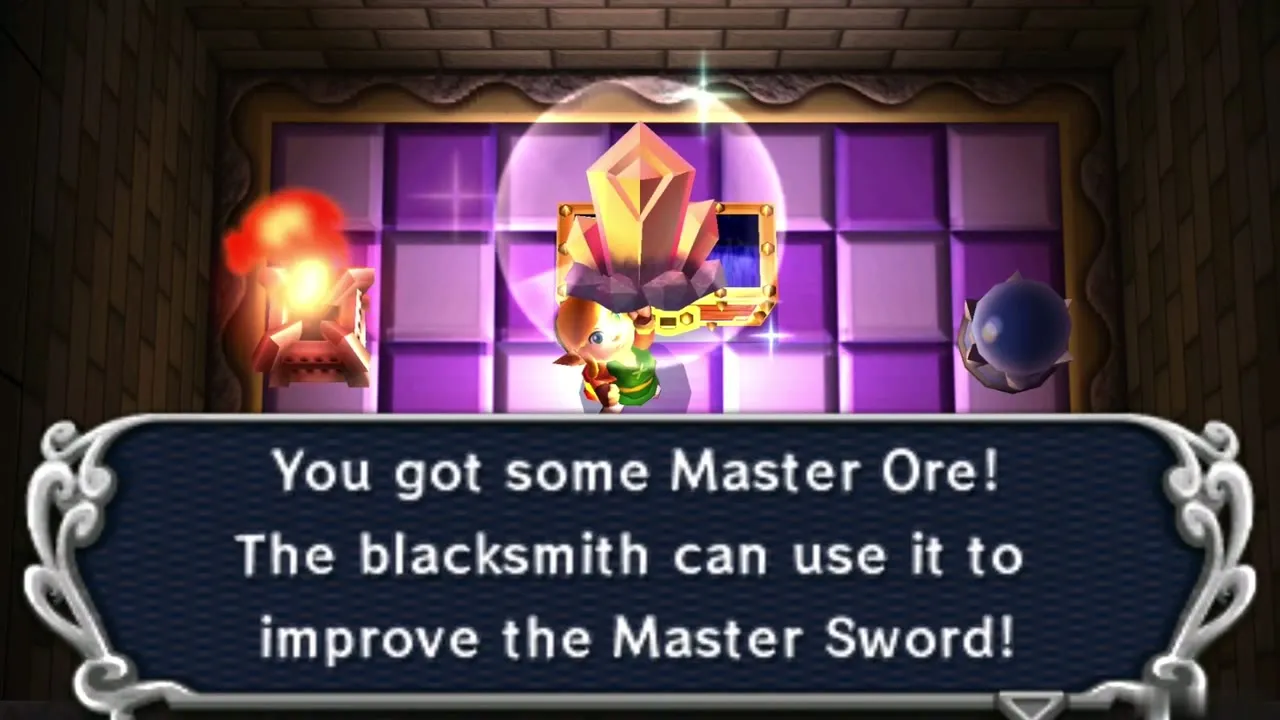
The big chest is in a small room north of the room with six windows. Lower the platforms with the crystal switches, then set a Bomb next to the lower switch and hurry up to strike the upper one. Merge into the rotating wall so that it carries you around to the hidden ledge as the Bomb goes off, where the big chest holds Master Ore. Two pieces go to the Blacksmith to improve the Master Sword, and this is one of four.
Dark Palace B1 and the Big Key
Third Small Key
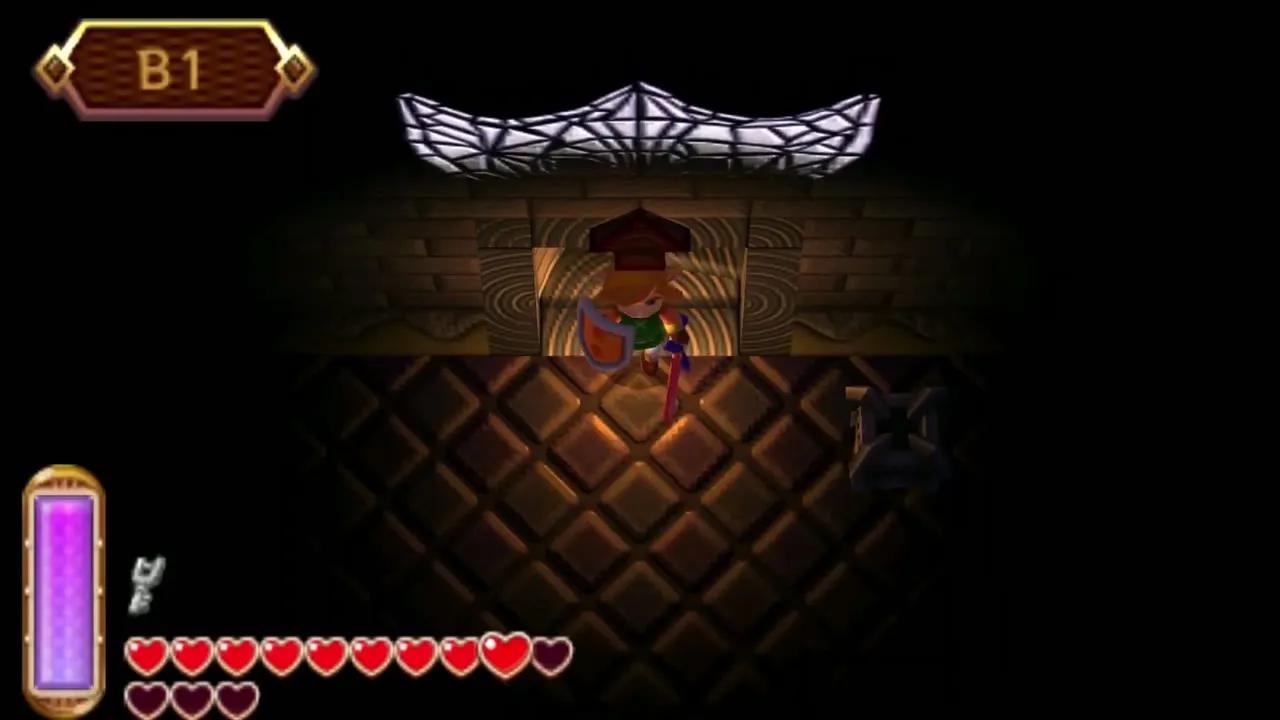
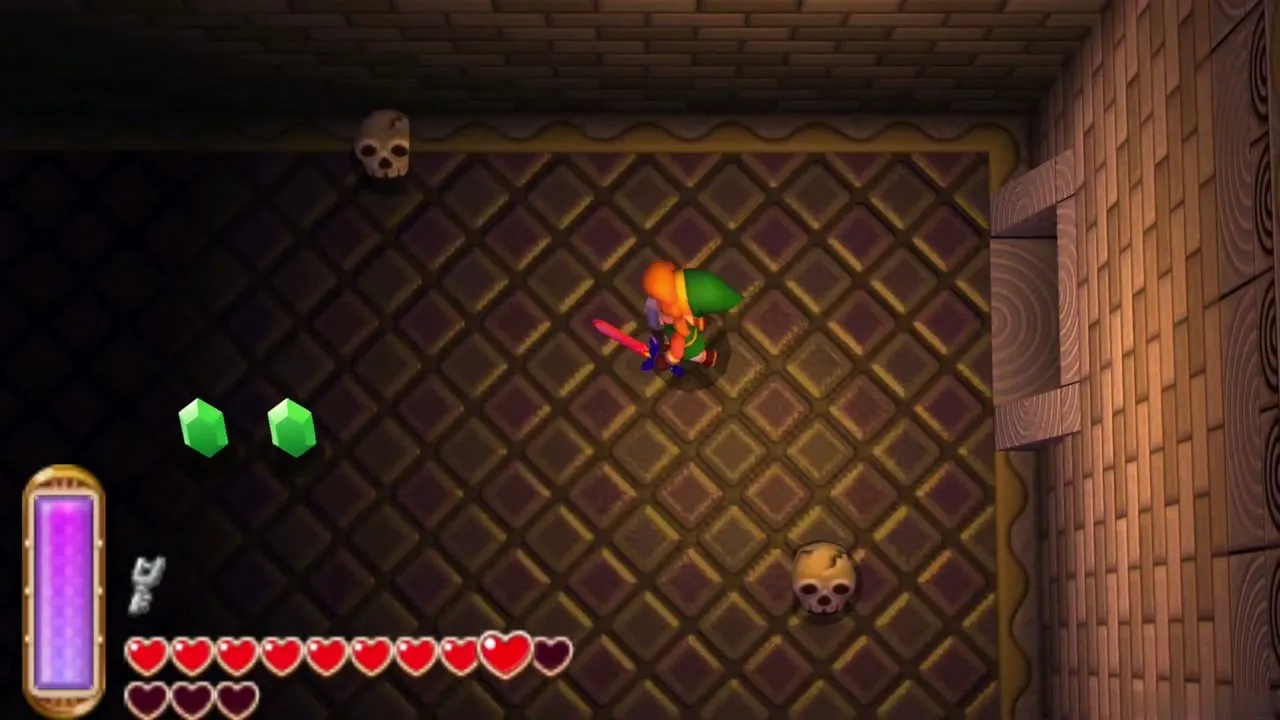
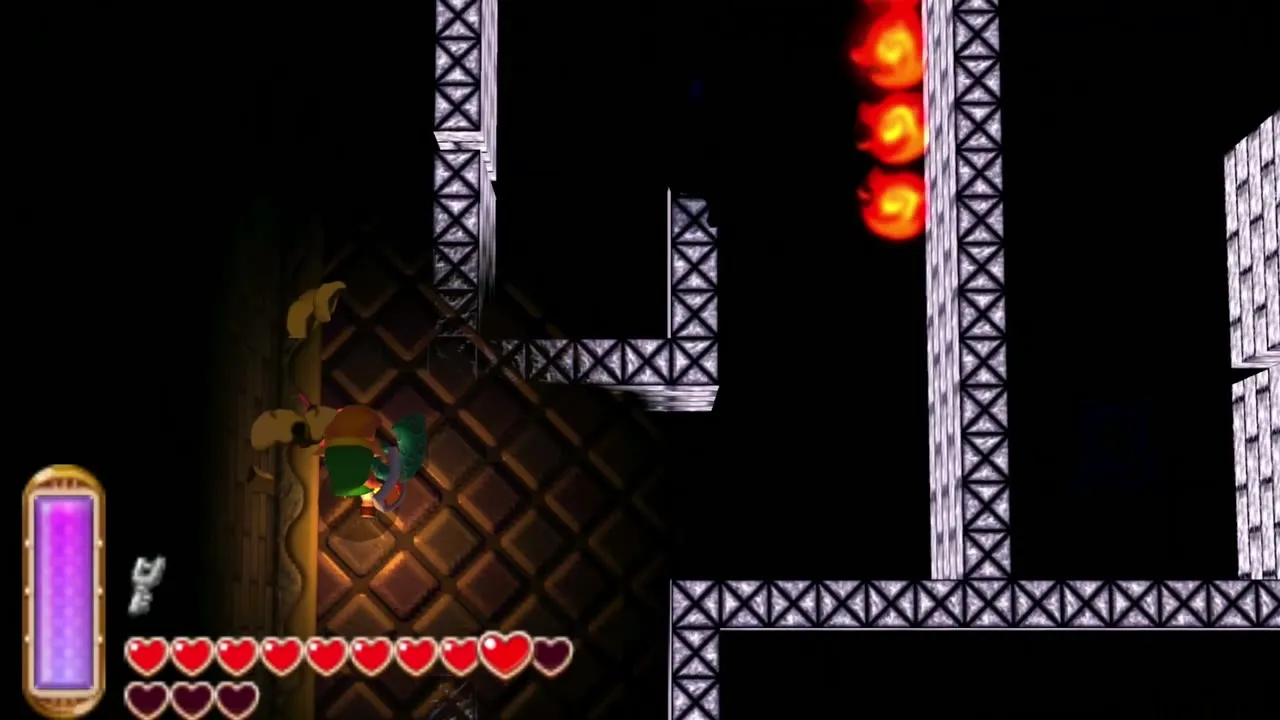
Drop to the lower part of B1 through the cracked floors on 2F. In the east room a torch lights the whole area. Put it out with your sword, switch off your Lamp, and a hidden path of floor appears; follow it to the north-east corner for the third Small Key. A cache of Rupees is also hidden behind a cracked wall nearby, so bomb the corners if you want more.
Fourth Small Key
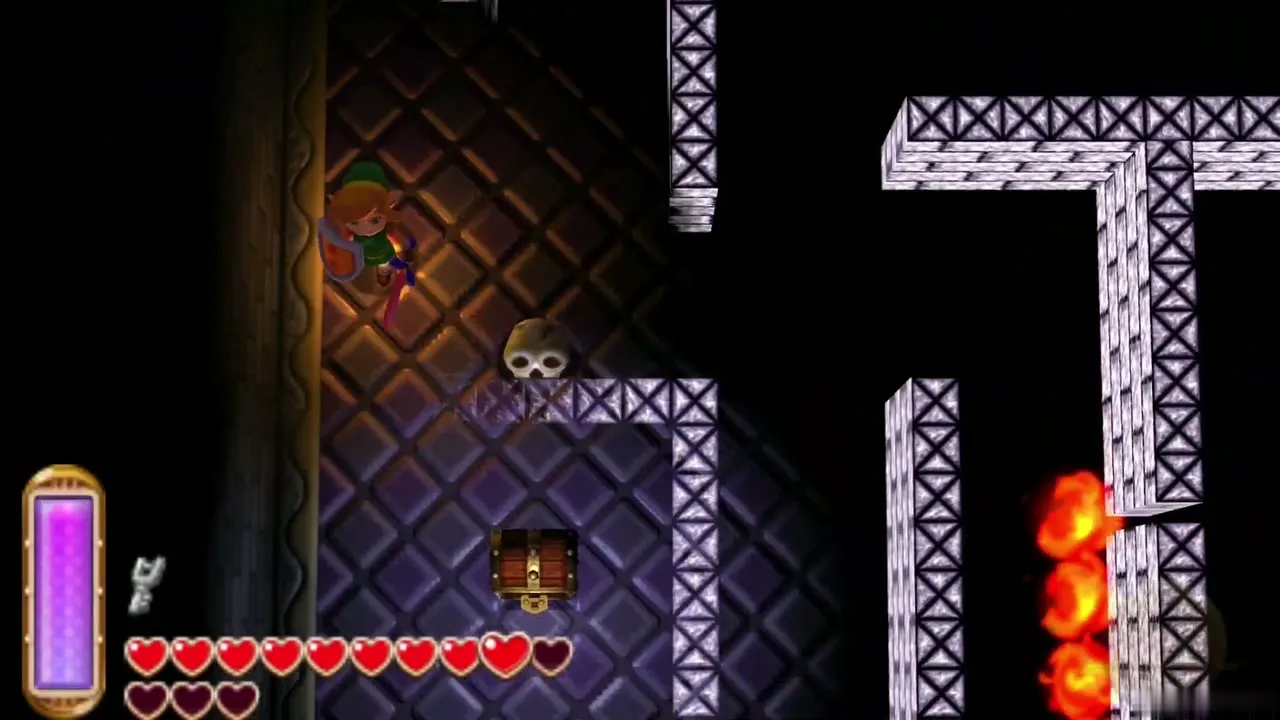
In the north-west room, invisible walls block the way until you snuff the torch. Follow the maze that appears, then press the floor switch beneath the skull in the north-west corner. A chest rises containing the fourth Small Key. Spend the keys on the locked doors on B1; the mirror-moving enemies in the room beyond are beaten the same way as the Goriyas.
Dark Palace Big Key
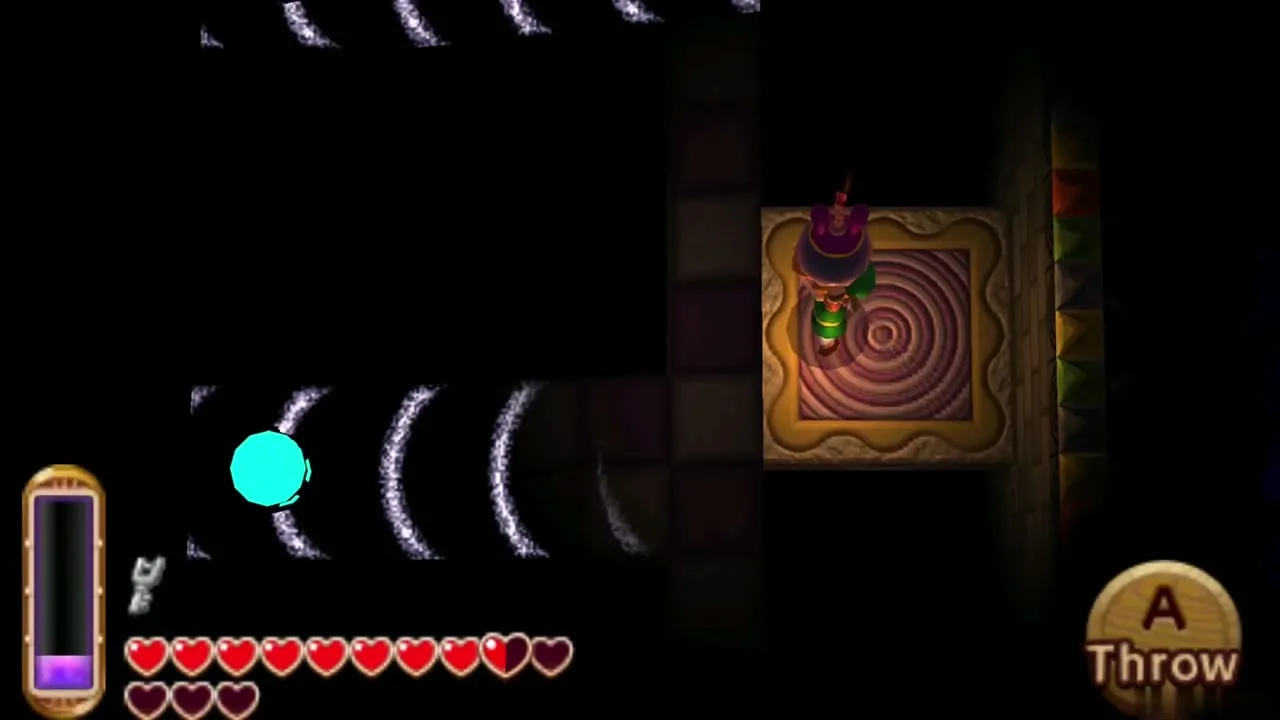
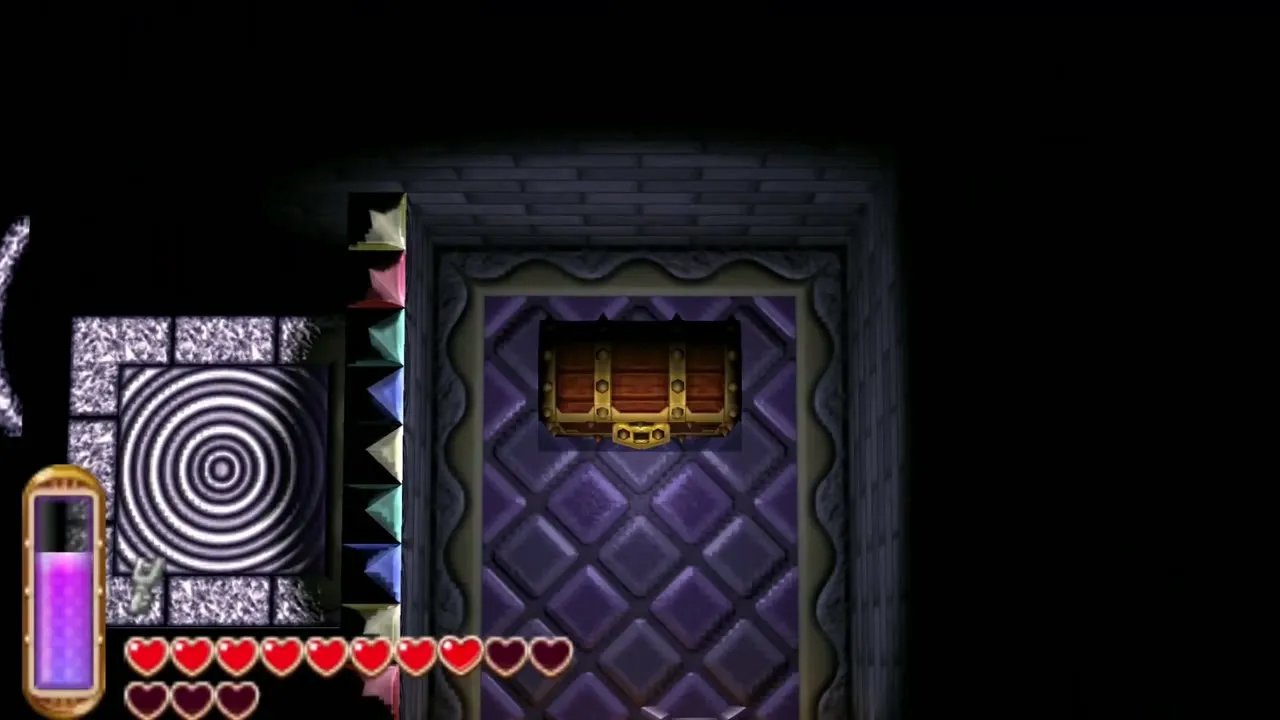
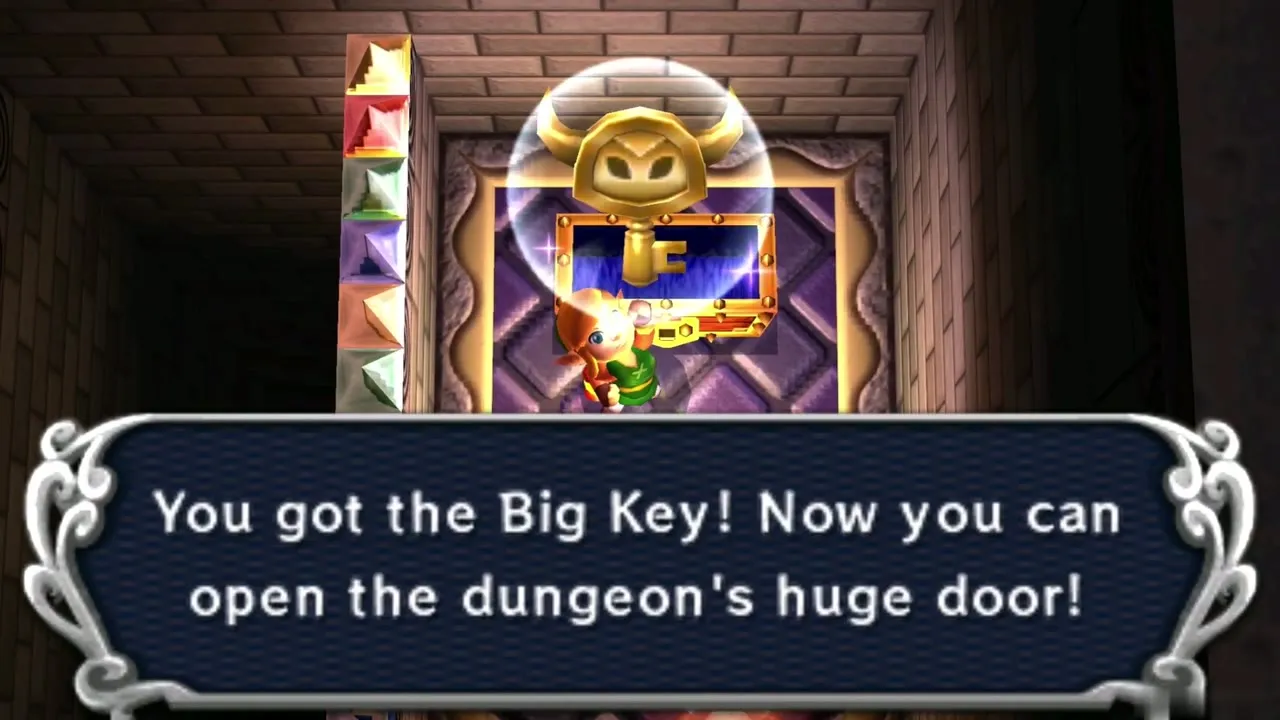
The Big Key room lies in the south-west of B1. Light the brazier in the north, then ride the moving platform along three ramps. From the platform, throw a Bomb down each ramp so that it rolls down and hits a crystal switch: first the one on the left slope, then the middle, and last the northern slope. When the third switch is struck, the Big Key chest appears. Open it to take the key.
Boss door
Four eye switches guard the way to the boss. Each one opens when the daylight from a window you bombed on 2F falls on it. If any eye is still shut, climb back and bomb the windows you missed. Once all four are lit, the gate to the boss door opens. Use the Big Key on the door and step inside.
Gemesaur King boss fight
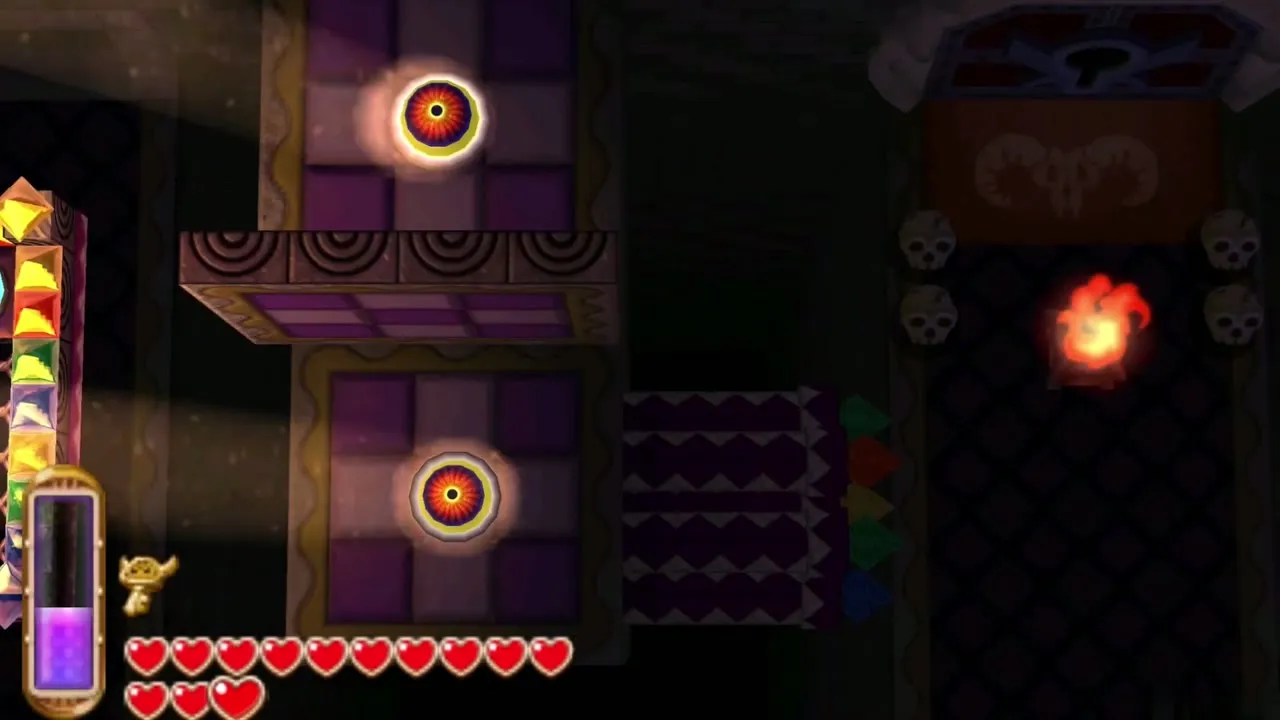
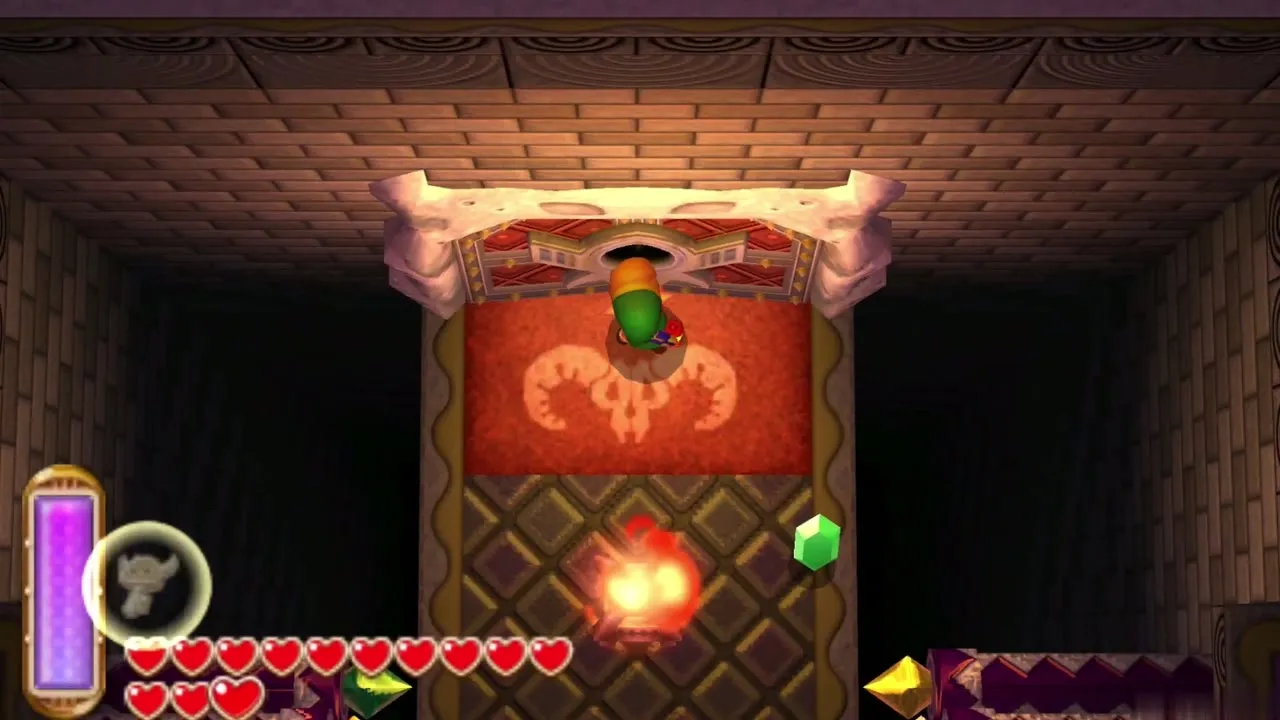
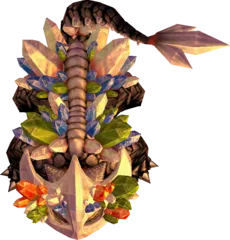
The boss room is a narrow rectangle with an unlit brazier in the north-west corner and another in the south-east. Light both with the Lamp, or the Fire Rod, and candles around the walls flare up. The Gemesaur King drops from the ceiling, wearing a mask and armor covered in colored gems. Swords do not hurt it, so rely on Bombs.
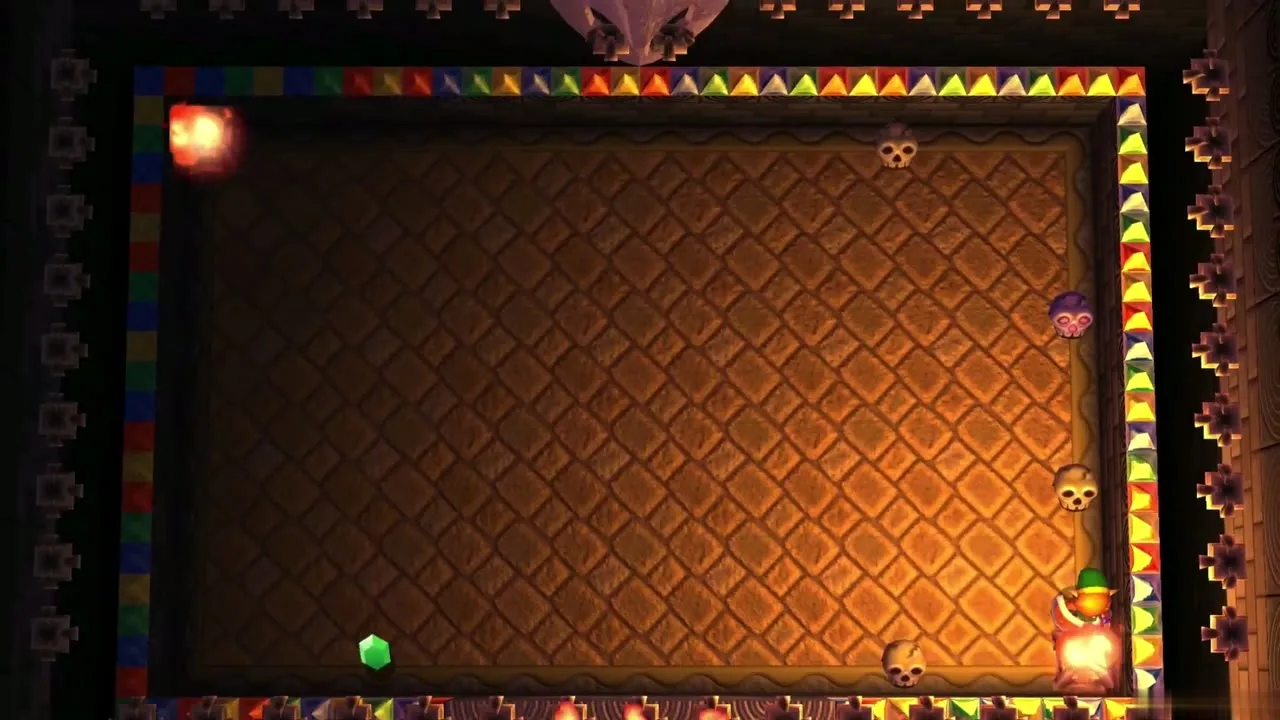
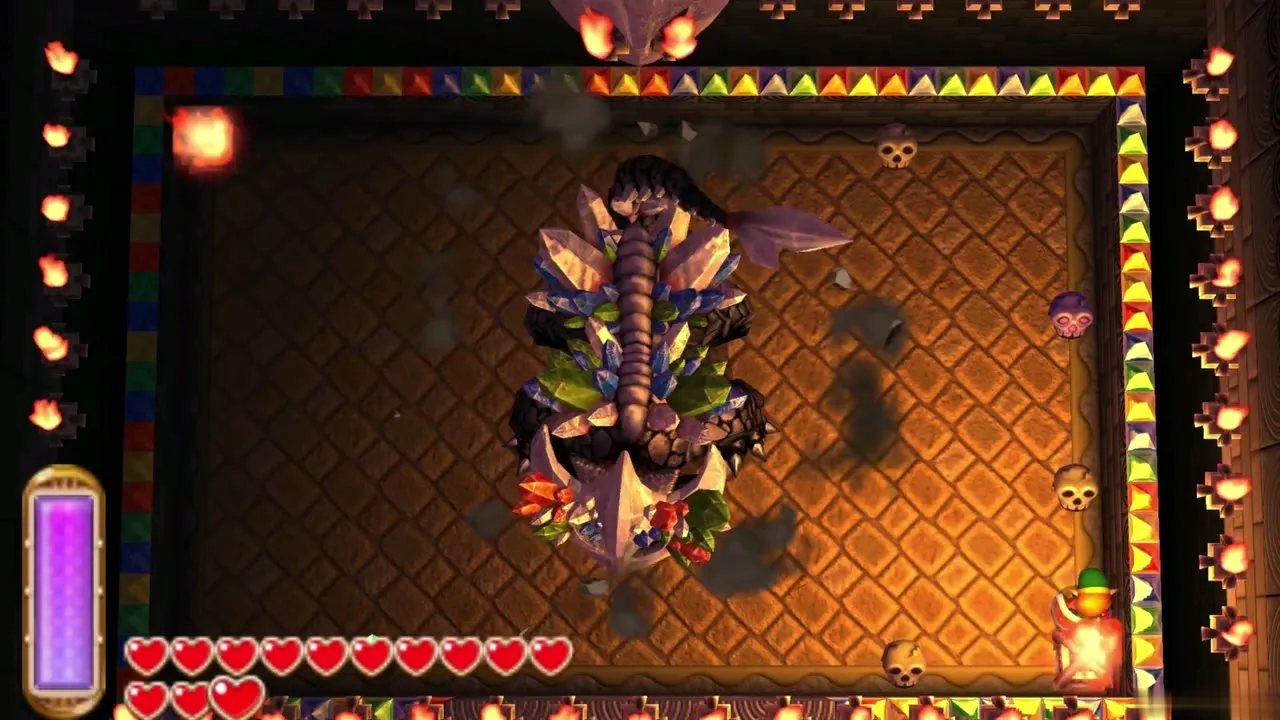
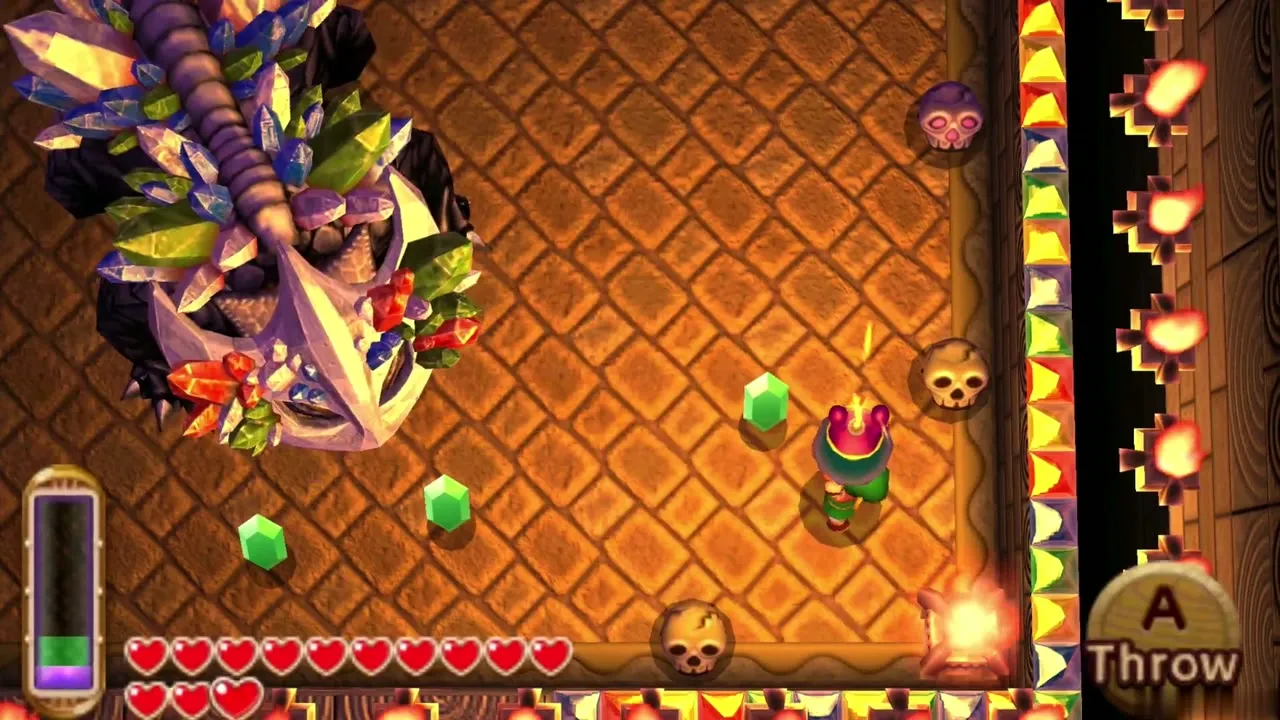
Phase one: the Gemesaur King stalks you around the room and fires crystals at you. Lead it across the floor, set a Bomb in its path and step away so the blast hits its mask. Gems on its body break off as Rupees. You can also throw the skulls lying around the room, but they do far less damage. Keep moving, and a few Bomb hits crack the mask off.
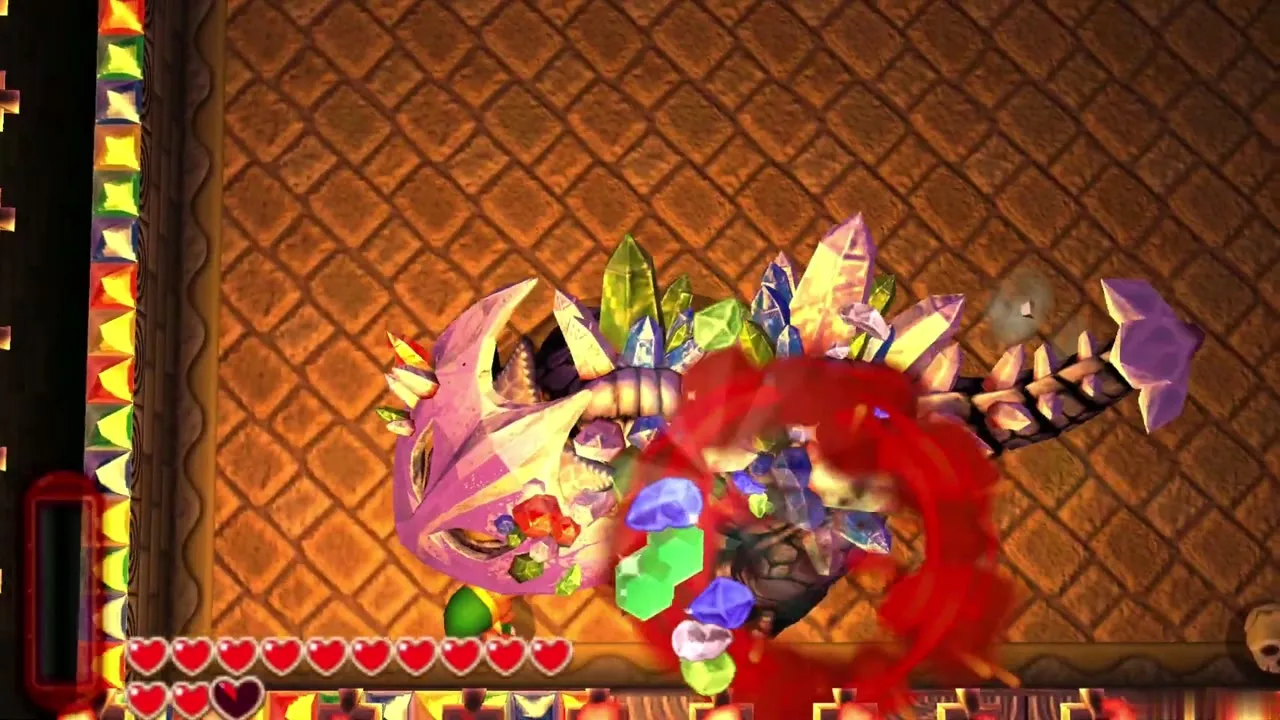
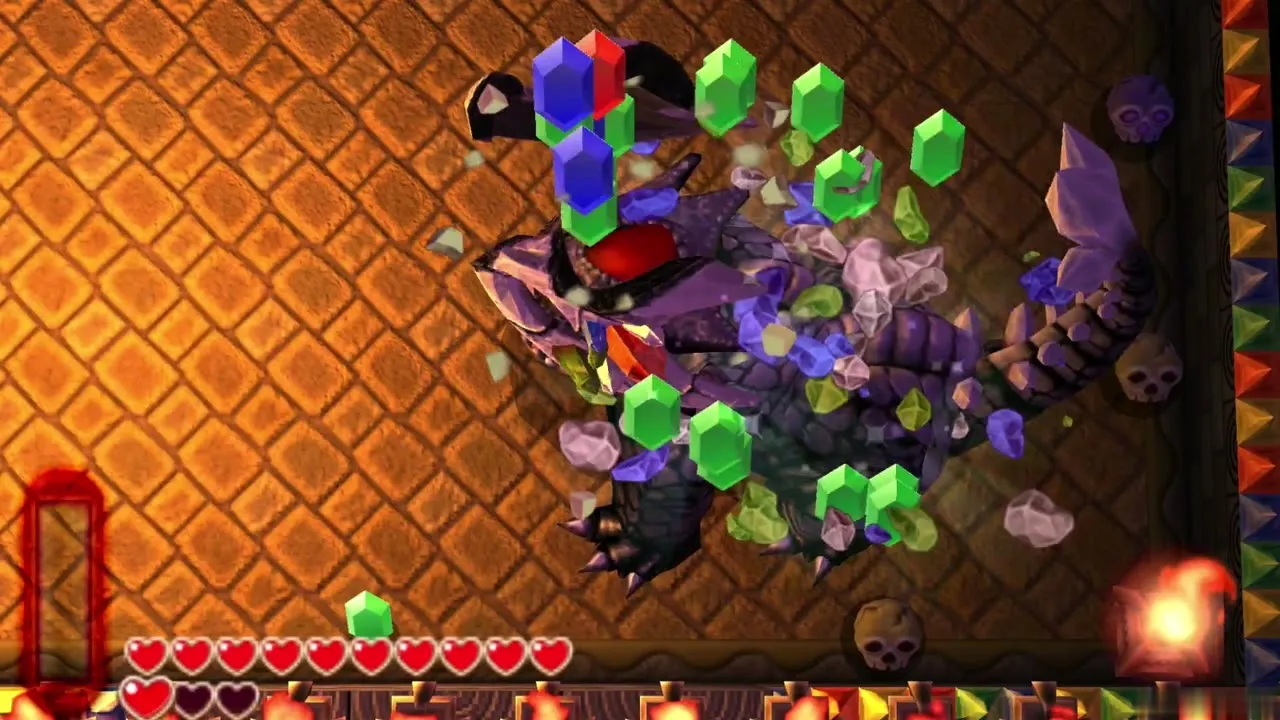
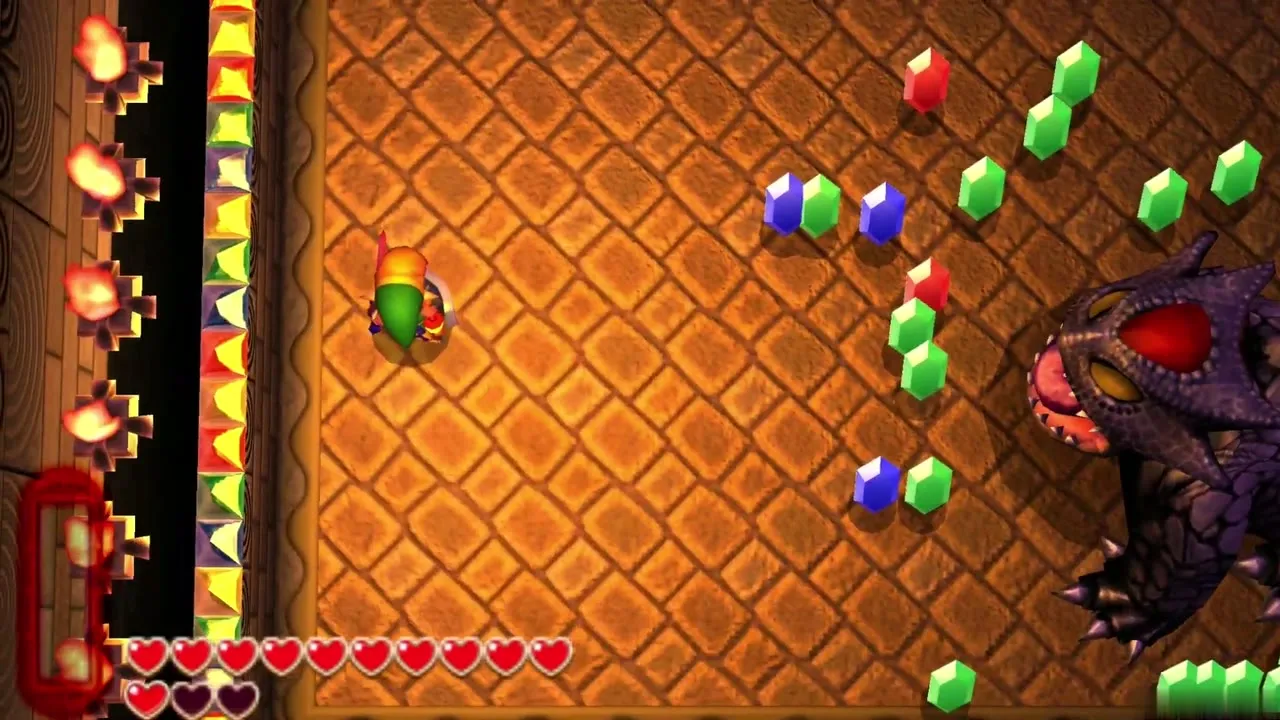
Phase two: the beast now moves faster and fires more crystals at a time, and it bites if you stand near its head. Its exposed forehead is now its weak point. Run in from the side to slash it with your sword, then back out before it swings around.
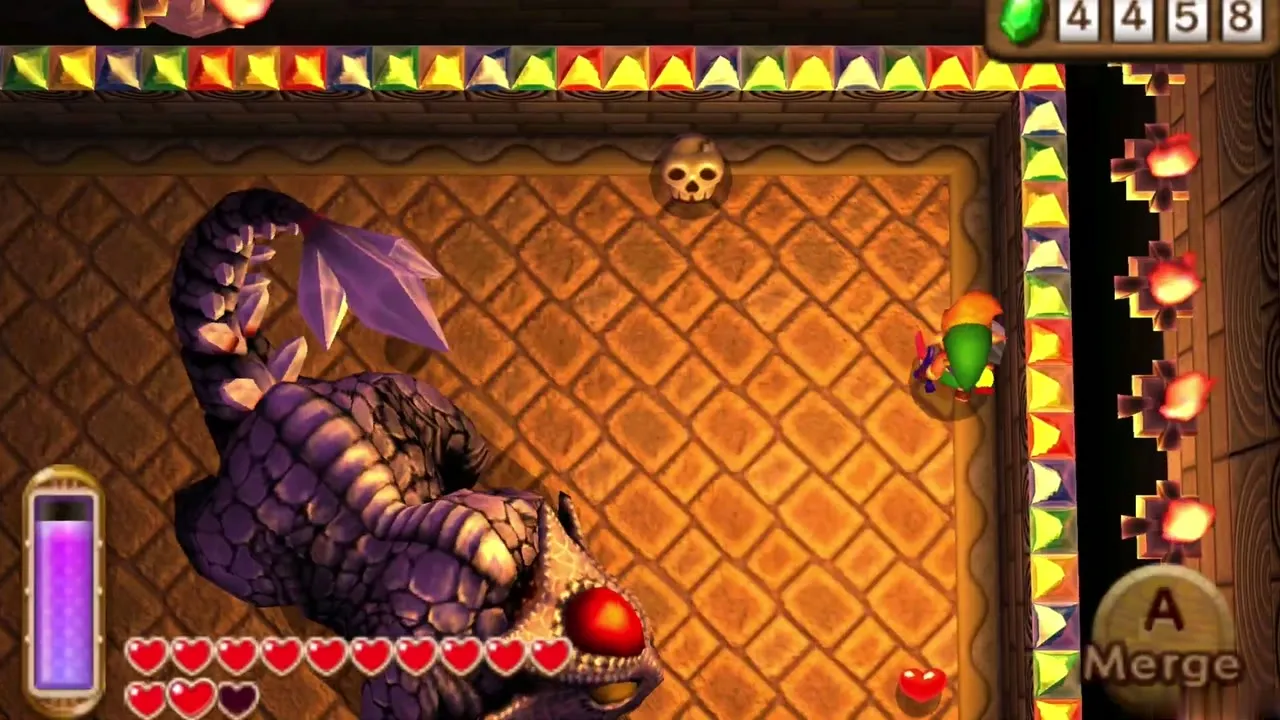
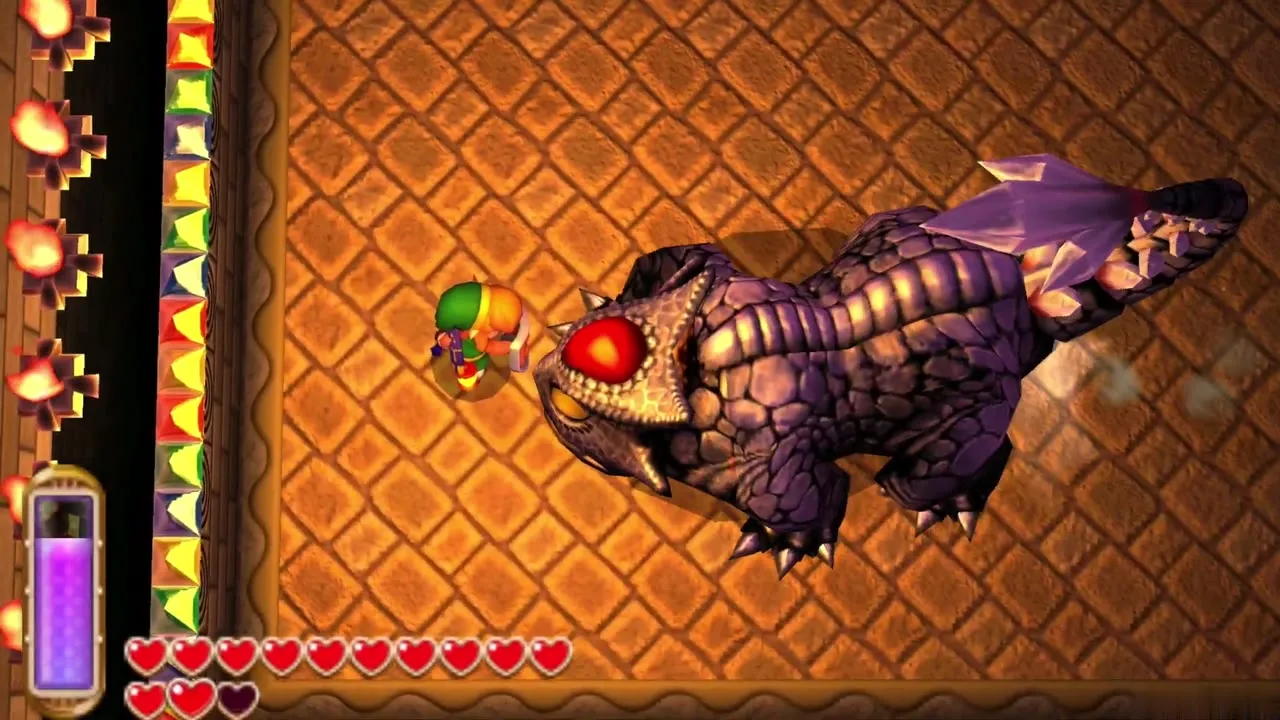
Phase three: after enough hits, the Gemesaur King roars, shakes the room and blows out every candle and both braziers. It turns ghostly and charges around the edge of the room in the dark. Light both braziers again with the Lamp while you dodge. When the light returns it appears and stays vulnerable for a few seconds, so strike its forehead. It extinguishes the lights again after a short time, so repeat until it falls.
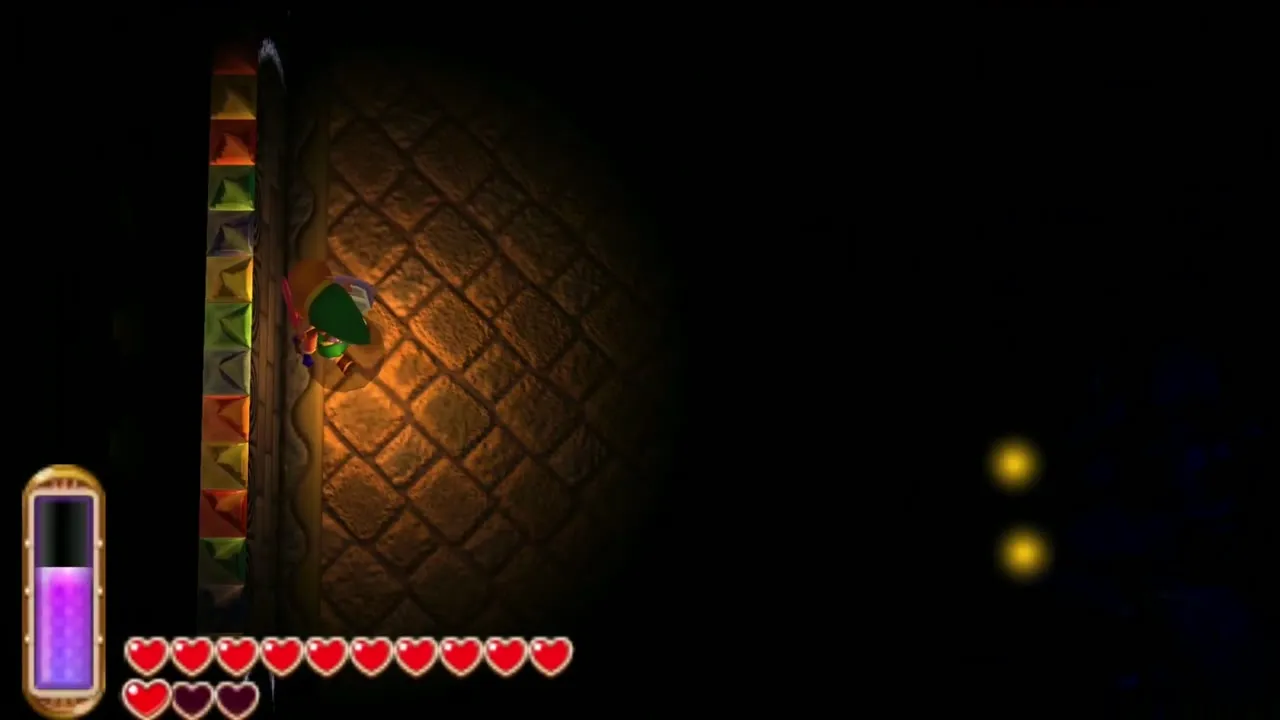
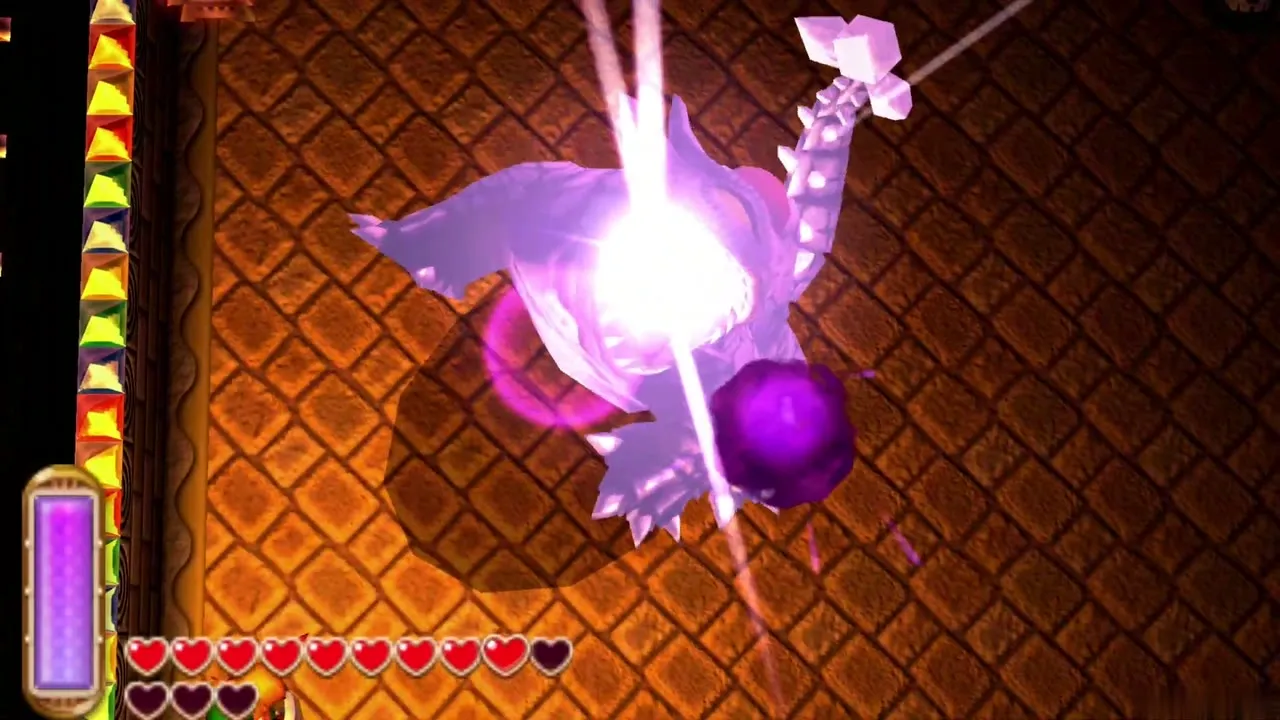
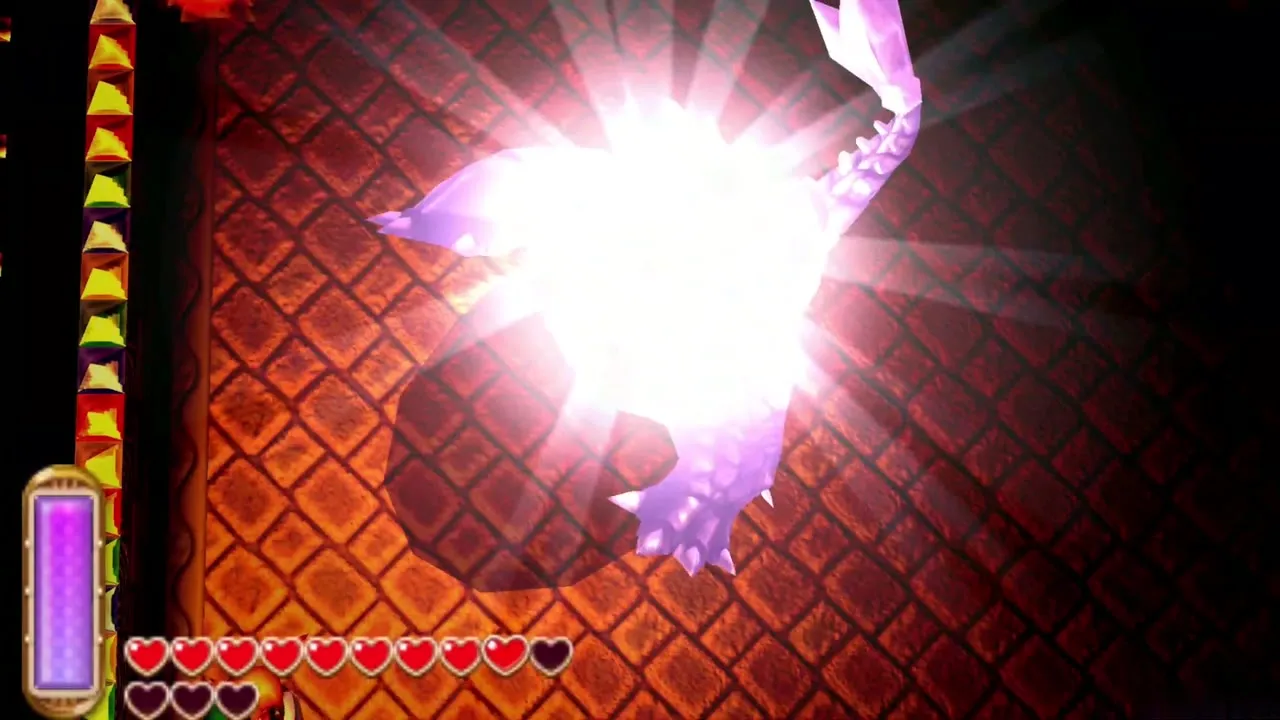
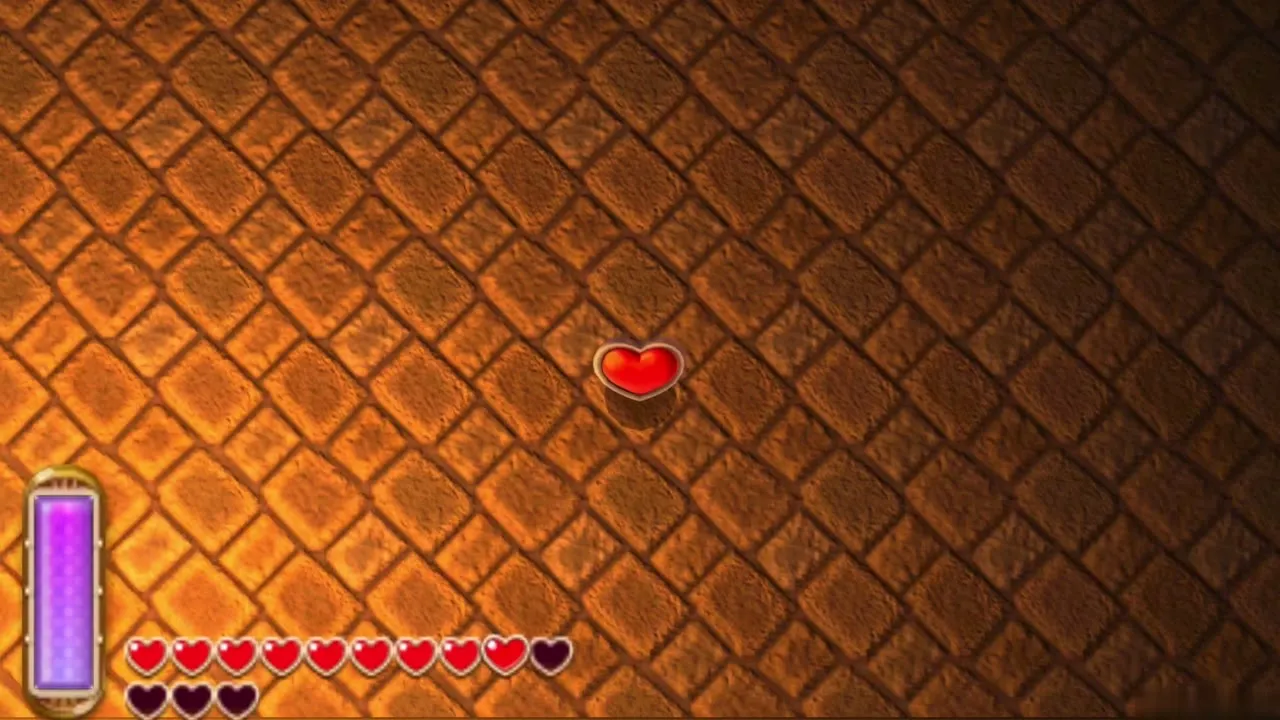
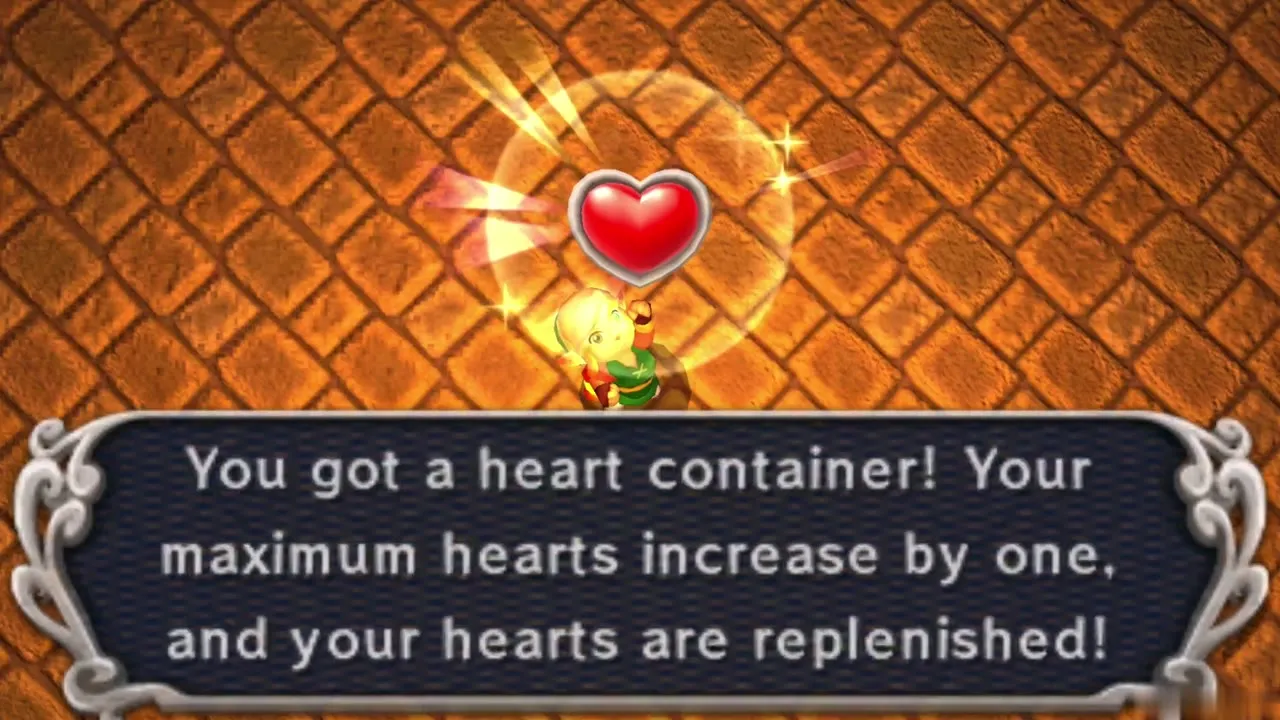
Heart Container
Defeating the Gemesaur King drops a Heart Container. Pick it up to raise your maximum health by one heart and refill your hearts. Collect it before you touch the painting.
Sage Gulley
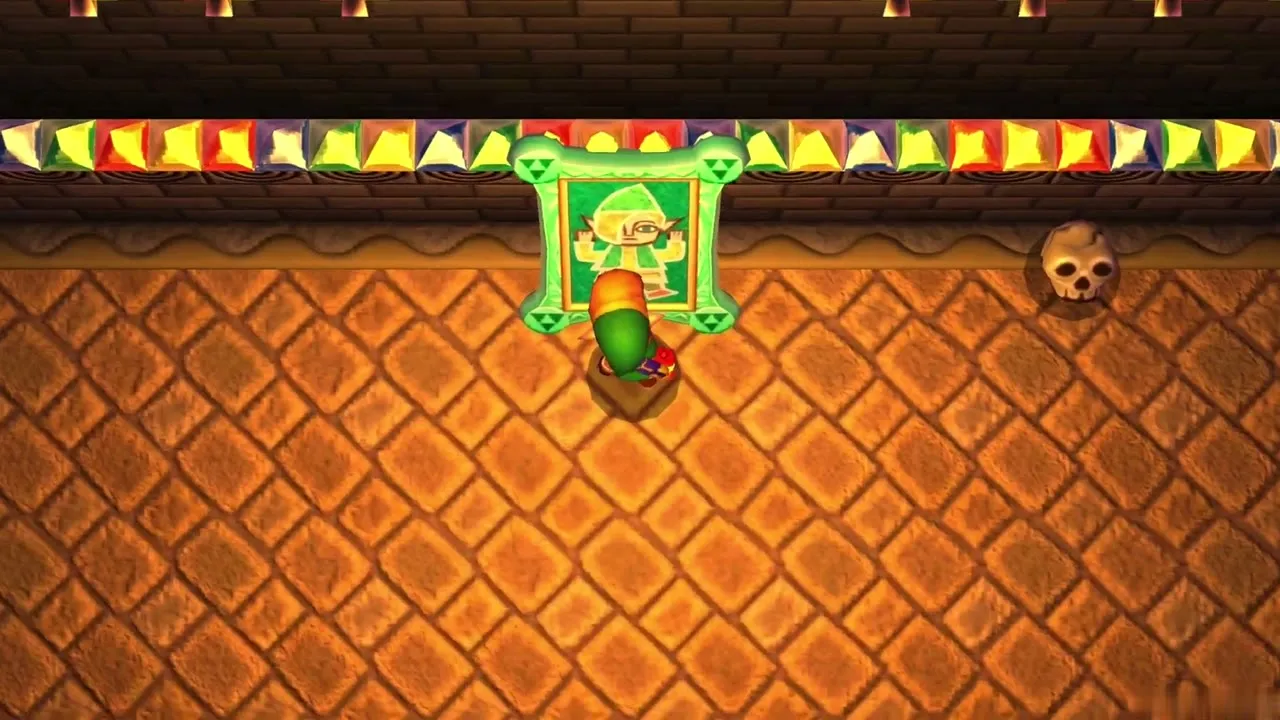
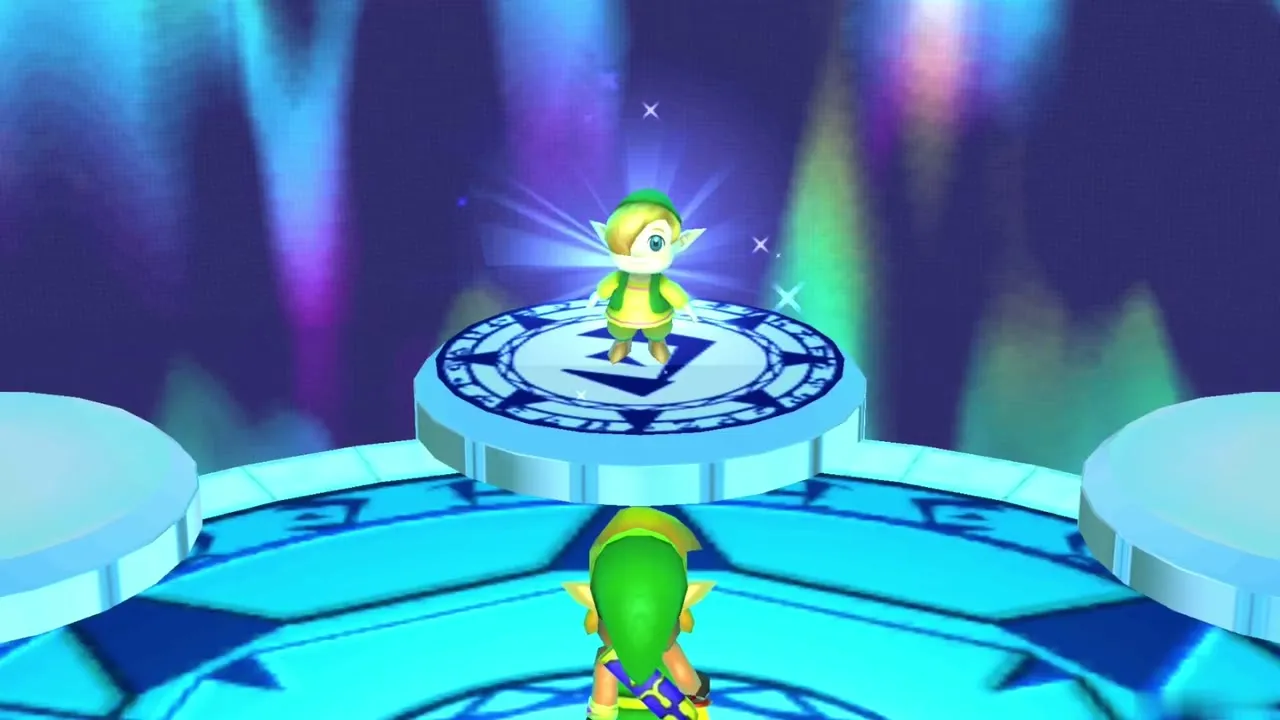
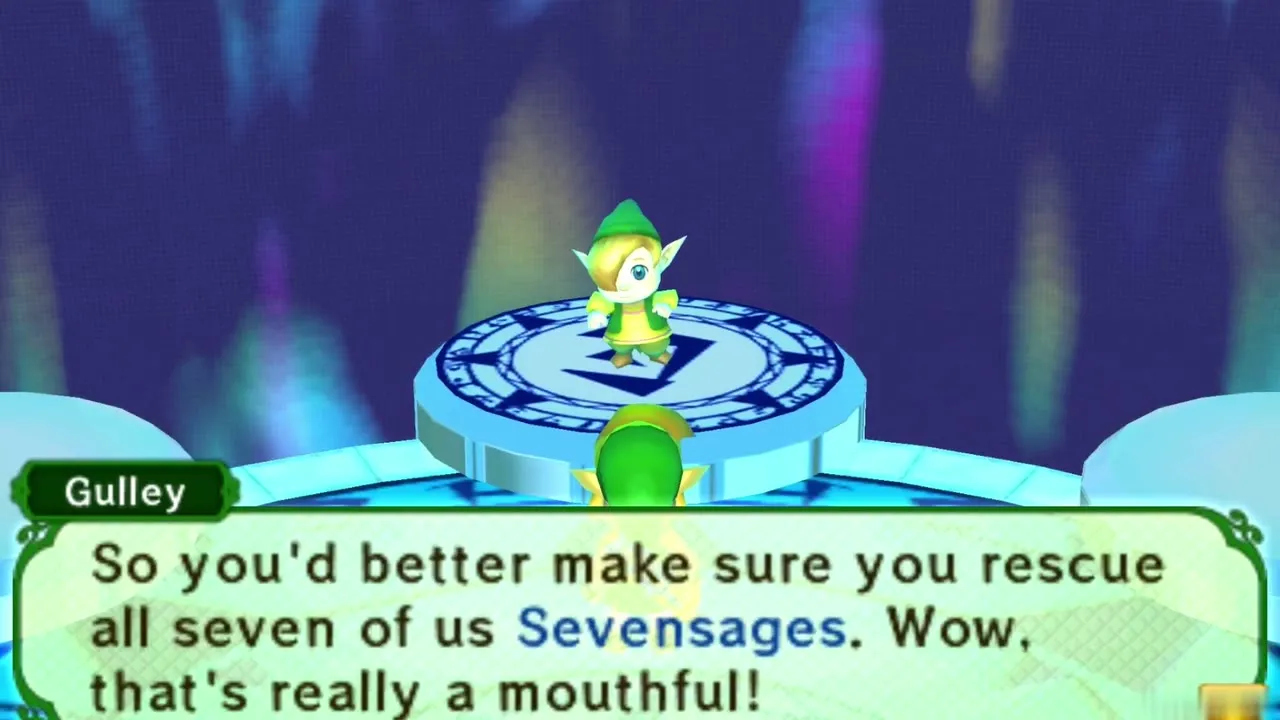
A replica of the mask on the north wall shatters and reveals the painting of Gulley, the Blacksmith’s son. Step up to it and Gulley is freed, appearing in the Sages’ chamber with the other sages’ pedestals. He jokes before telling you to rescue all seven Sages, and the Dark Palace is done. You return to the grounds outside, near the Weather Vane.
After the Dark Palace: Heart Piece and Maiamai
Heart Piece #23, Dark Ruins beam
With Gulley rescued, the Lorule Soldiers vanish, so the Dark Ruins can be explored freely. In the guarded northern area, merge into the wall and slide up onto a raised beam to find Heart Piece #23.
Dark Ruins Maiamai
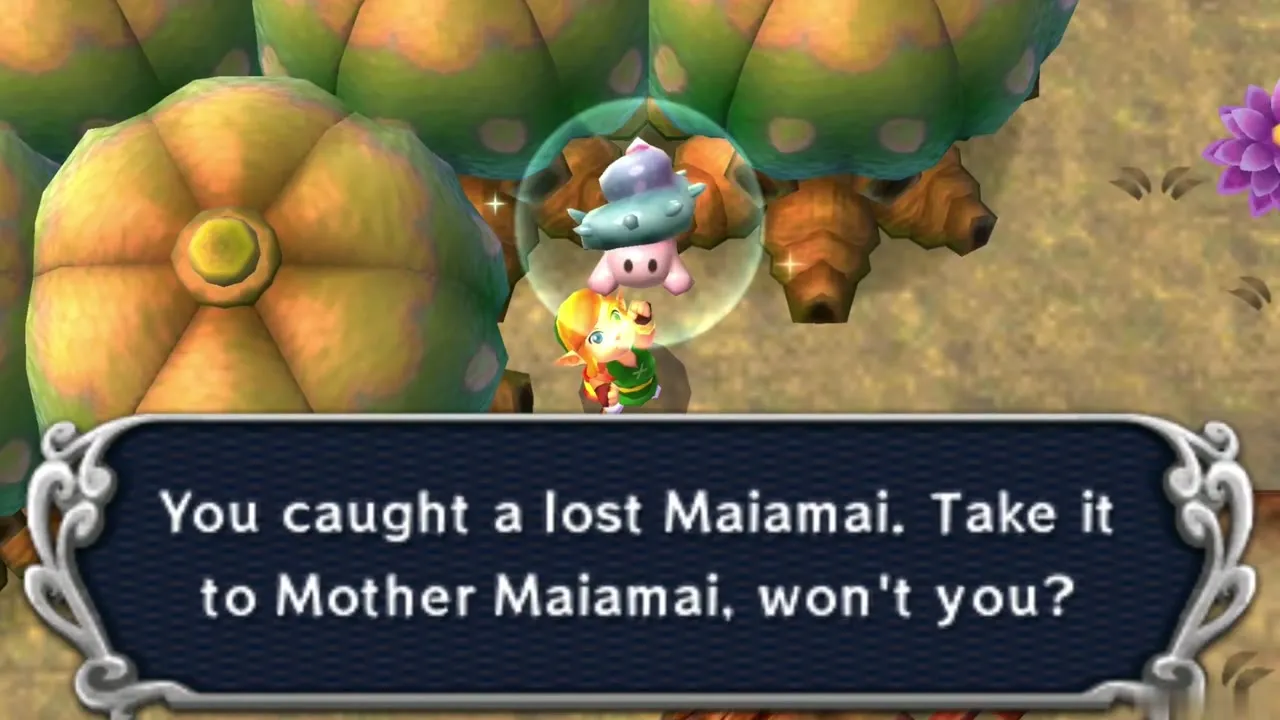
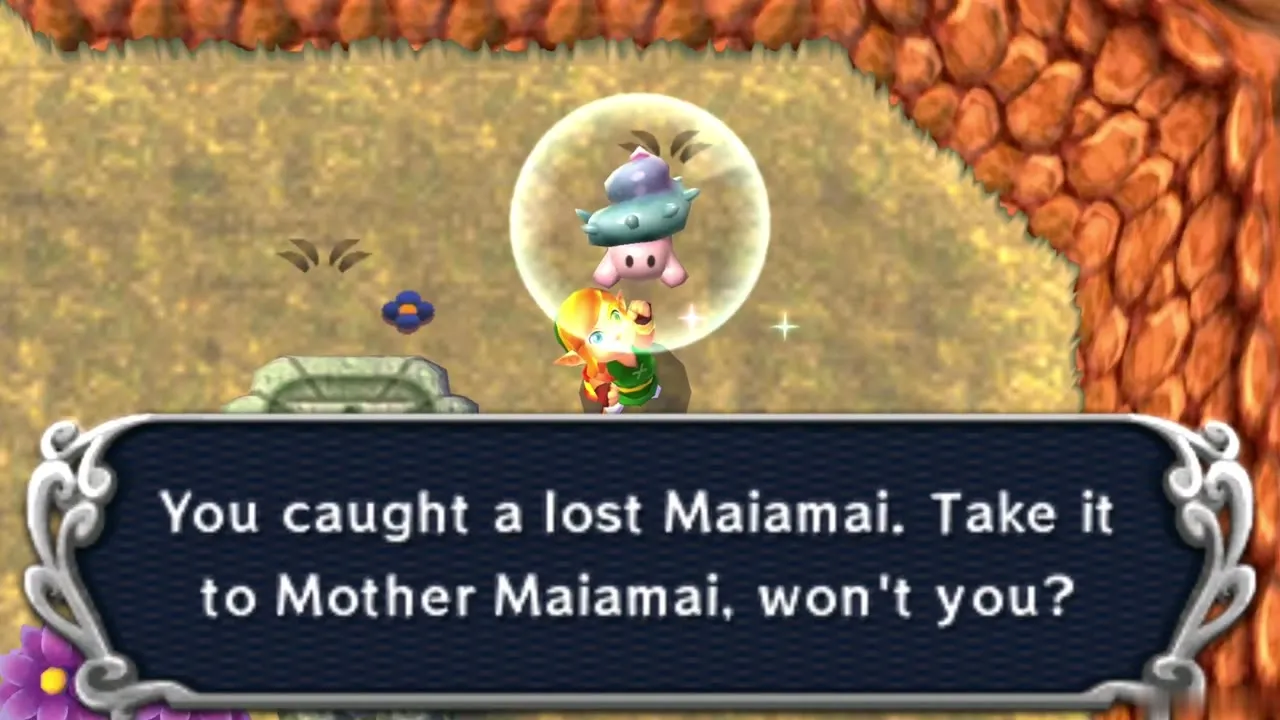
Two of the Dark Ruins’ ten Lost Maiamai are stuck to walls here: one on the wall straight ahead of the maze entrance, and the other on the wall north of the green flames. Slide into the wall and step out behind each one to knock it down. Return the Maiamai to Mother Maiamai later; the Maiamai guide lists every one.
Chapter checklist
| Collectible | Type | Where |
|---|---|---|
 Blue Rupee (5) | Chest | 1F, cracked wall in the entrance room |
| Small Key 1 | Key | 1F, floor switch in the north room |
| Compass | Dungeon item | 1F, north-west room, two crystal switches |
 Purple Rupee (50) | Chest | 1F, behind the south wall of the platform room |
| Monster Tail | Material | 1F, south-west chest |
 Monster Horn | Material | B1, chest below the cracked floor |
| Small Key 2 | Key | B1, corner reached by merging |
| Monster Guts | Material | 2F, large south room |
| Master Ore | Big chest | 2F, room behind the rotating wall |
| Small Key 3 | Key | B1, east room, north-east corner |
| Small Key 4 | Key | B1, north-west room, skull floor switch |
| Big Key | Big chest | B1, south-west room, three bomb switches |
| Heart Container | Boss reward | Gemesaur King |
| Sage Gulley | Sage | Painting in the boss room |
| Heart Piece #23 | Heart Piece | Dark Ruins, raised beam in the north |
 2 Lost Maiamai | Maiamai | Dark Ruins walls, ahead of the entrance and north of the green flames |
Gulley is freed, and the next stop is Skull Woods, where you need the Lamp and a fissure entrance to reach a second piece of Master Ore.