A Link Between Worlds 100% Completion Walkthrough18 chapters
- Opening and SanctuaryWake in Link’s House, deliver the captain’s sword, cross the Graveyard passage with the Lamp and meet Yuga.
- Hyrule Castle and Kakariko VillageRavio’s Bracelet, Zelda’s Pendant of Courage, Kakariko shops, Sahasrahla and the free Bow rental.
- Eastern PalaceEvery key, chest and rupee, the Compass, Big Key, Yuga boss fight and your first Heart Container.
- Pegasus Boots and Zora’s FlippersGet the Pouch, Irene’s Bell, Power Glove, Pegasus Boots, Zora’s Flippers, Ravio’s rentals and Hyrule Heart Pieces.
- House of GalesRent the Tornado Rod, swim to Lake Hylia’s island, beat Margomill and take the Pendant of Wisdom.
- Death MountainClimb the boulder caves, find two Heart Pieces and a Bottle, and reach the Tower of Hera.
- Tower of HeraEvery floor, both Small Keys, Compass, Big Key, Moldorm boss fight, Heart Container and Pendant of Power.
- Master Sword and Lost WoodsWalkthrough for pulling the Master Sword in the Lost Woods, breaking the Hyrule Castle barrier.
- Lorule and Dungeon OrderHilda, the Blacksmith, fissures, Ravio’s Shop, Thieves’ Town side content and the dungeon order.
- Dark PalaceThe guard maze, every key, the Compass, Big Key, Master Ore, Gemesaur King, Heart Container and Sage Gulley.
- Skull WoodsKeys, Compass, Big Key, Master Ore, Knucklemaster boss fight, Sage Seres and the Master Sword upgrade.
- Ice RuinsThe Hookshot route to Lorule’s Death Mountain, every floor, keys, the Stamina Scroll and Dharkstare.
- Thieves’ HideoutThe password song, the Thief Girl escort, Master Ore, Stalblind, Sage Osfala and the Sand Rod.
- Swamp PalaceBig Bomb Flower, Hookshot, water levels, keys, Compass, Blue Mail, Big Key, Arrghus and Sage Oren.
- Turtle RockRescue the baby turtles, use the Ice Rod, find every key, beat Grinexx and free Sage Impa.
- Desert PalaceReach it with the Sand Rod, find the Titan’s Mitt, beat Zaganaga and rescue Sage Irene.
- Lorule CastleThe Triforce of Courage, all four mini-bosses, the Compass, Red Mail and the way to the Throne Room.
- Final BossBeat Yuga Ganon with the Bow of Light, see Hilda’s choice, make the Triforce wish and unlock Hero Mode.
| Covers | Link’s House, Hyrule Castle, Kakariko Village, the Fortune-Teller’s tent, Sahasrahla’s house and the road to the Eastern Palace in Hyrule |
|---|---|
| You need | Nothing beyond what you already carry. About 150 Rupees pays for the Bottle (100) and the Shield (50), both optional at this point |
| Rewards |  Ravio’s Bracelet,  Pendant of Courage (given as a charm),  Bottle (1 of 5),  Net,  Shield,  Hint Glasses,  Bow (free rental), one Red Rupee. No Heart Piece, Heart Container, Maiamai or Master Ore is within reach yet |
You wake in your own bed with a new roommate, report the Sanctuary disaster to Princess Zelda, and take her message to Sahasrahla in Kakariko. Along the way you pick up a Bottle, a Net, a Shield and the Hint Glasses, then borrow the Bow from Ravio and use it on two switches to open the road east. The chapter ends at the steps of the Eastern Palace, where you save before going in.
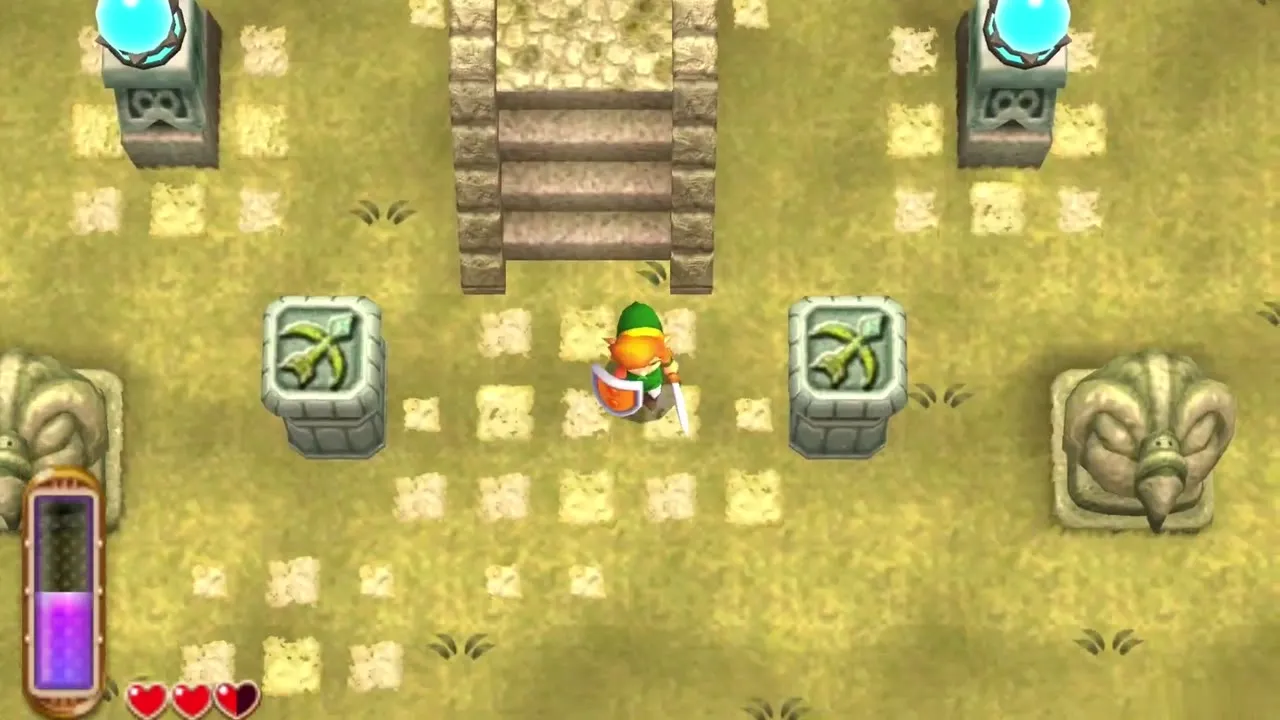
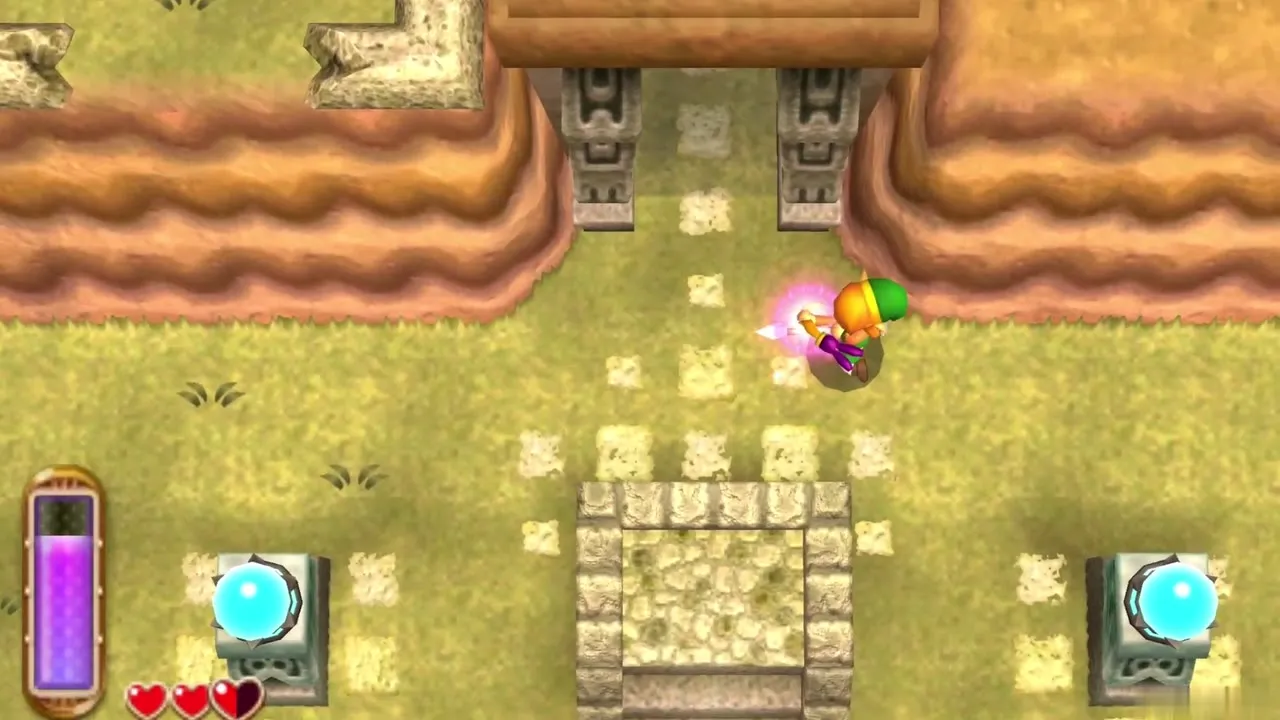
Table of Contents
Link’s House and Ravio’s Bracelet
Meet Ravio
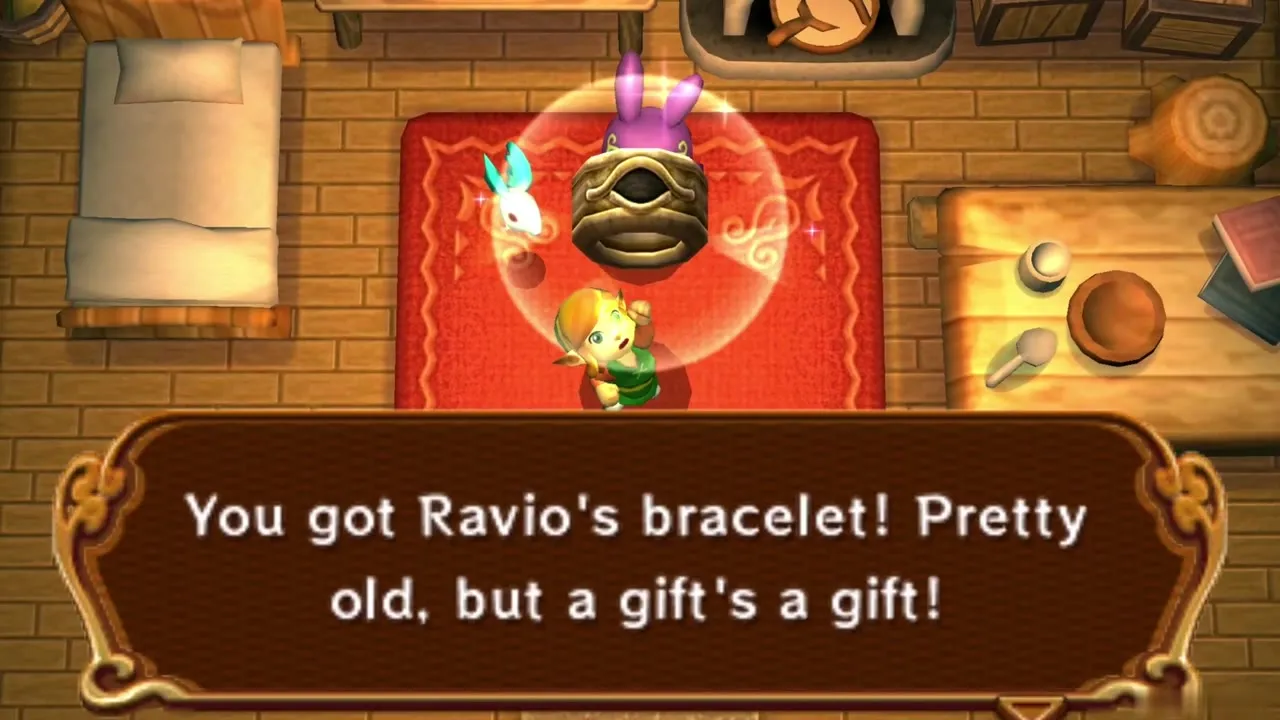
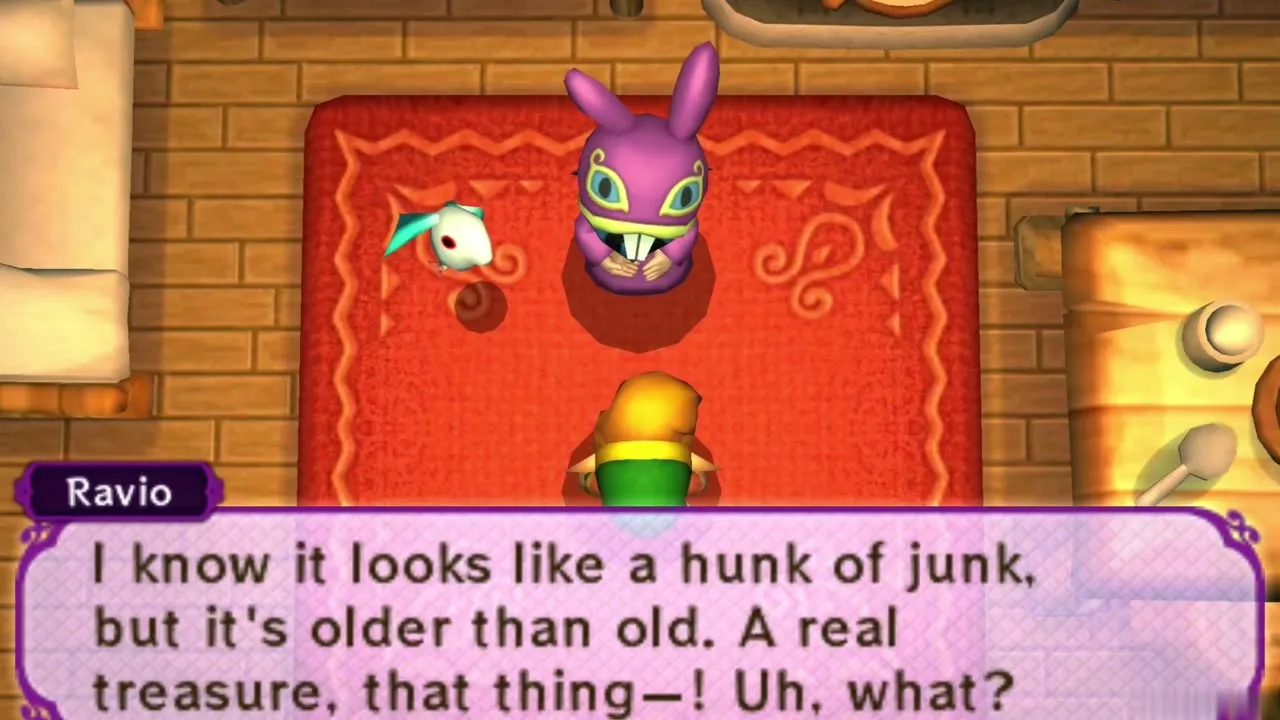
After the Sanctuary you wake up in bed at Link’s House. A rabbit-hooded stranger named Ravio carried you home, assumed the place was empty and now wants to stay. Hear him out and let him. He leaves you a gift, and the message box confirms it is Ravio’s Bracelet. It looks like junk, but it is the item that lets you merge into walls once you learn how, which happens in the Eastern Palace. There is nothing more to do here yet, so head for the castle.
Hyrule Castle and Princess Zelda
Get through the castle gate
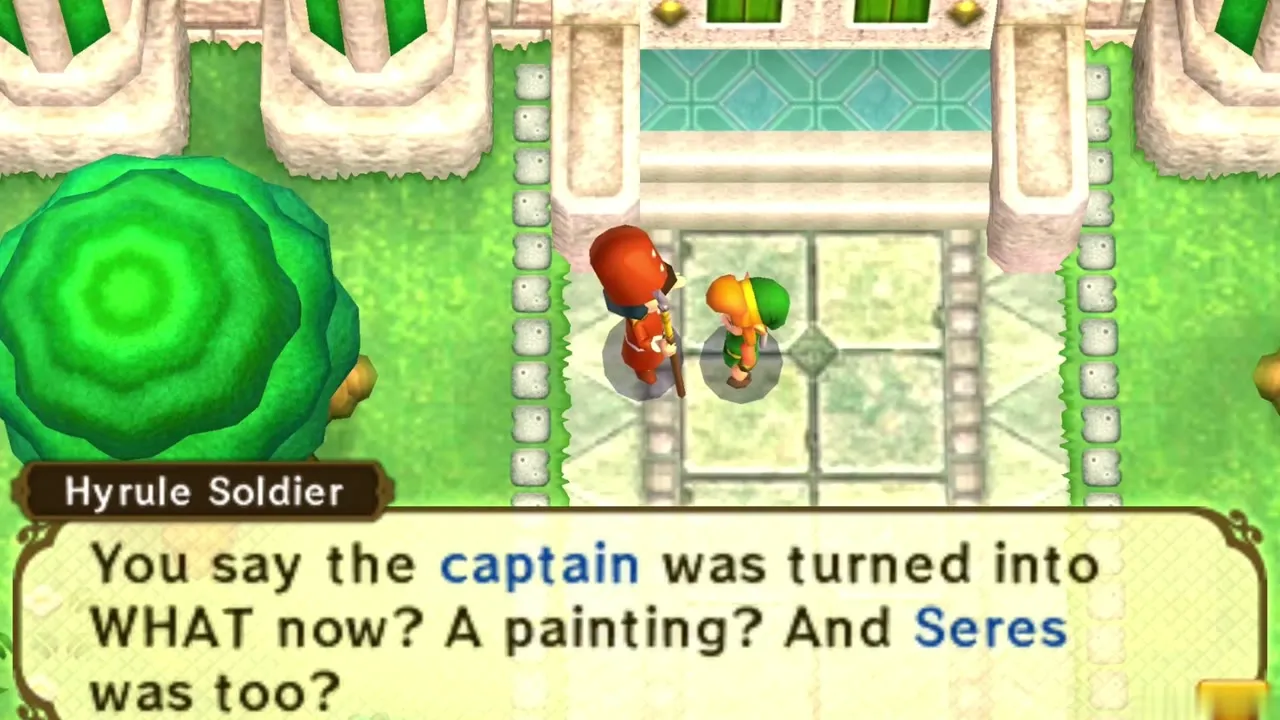
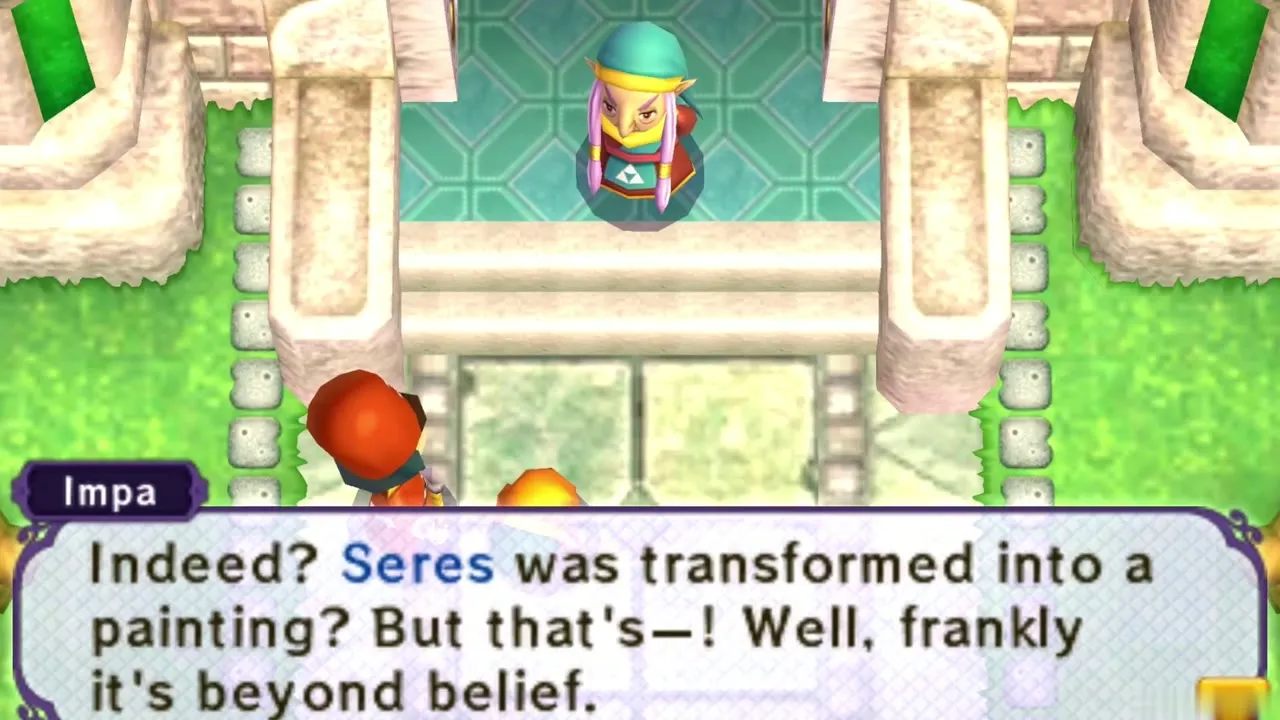
Follow the road north to the castle gate. The soldier on duty will not let a stranger in until you explain yourself. Tell him the Captain and Seres have been turned into paintings, and Impa, who is standing at the gate, takes charge. She leads you into the courtyard, where another soldier offers a spin attack tip as you pass: hold the sword button to charge, then release.
Look at the paintings
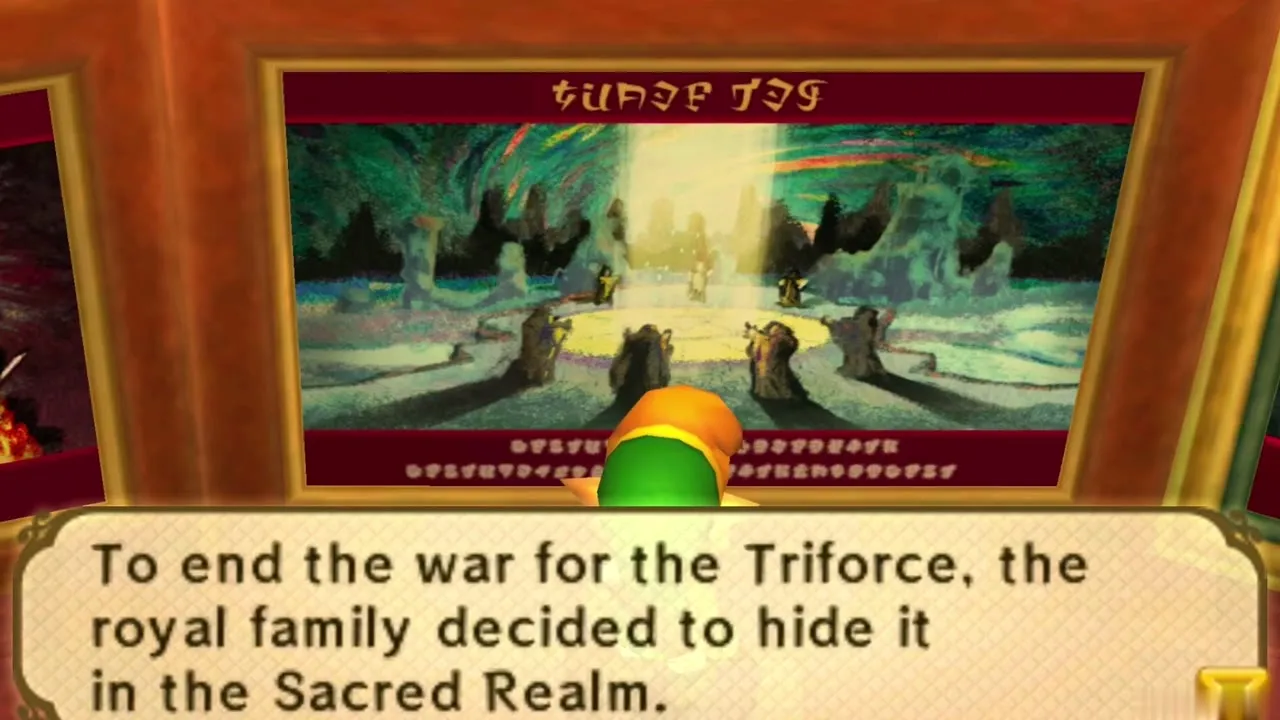
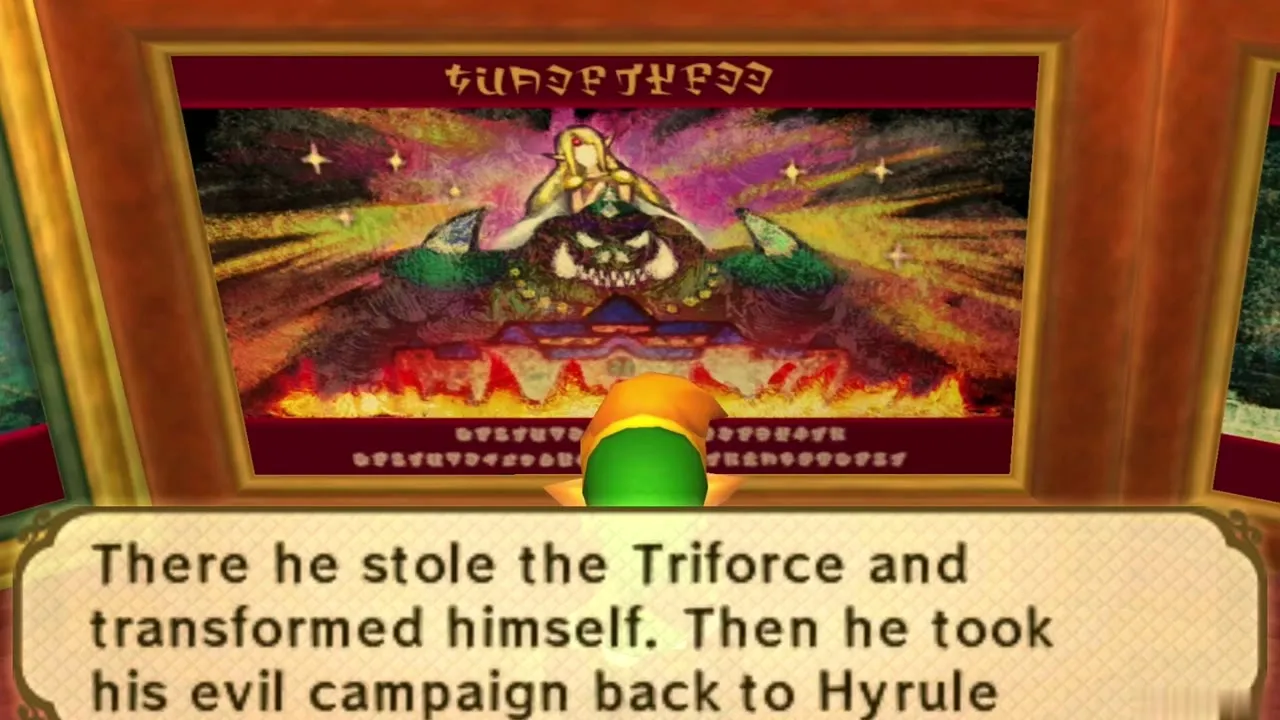
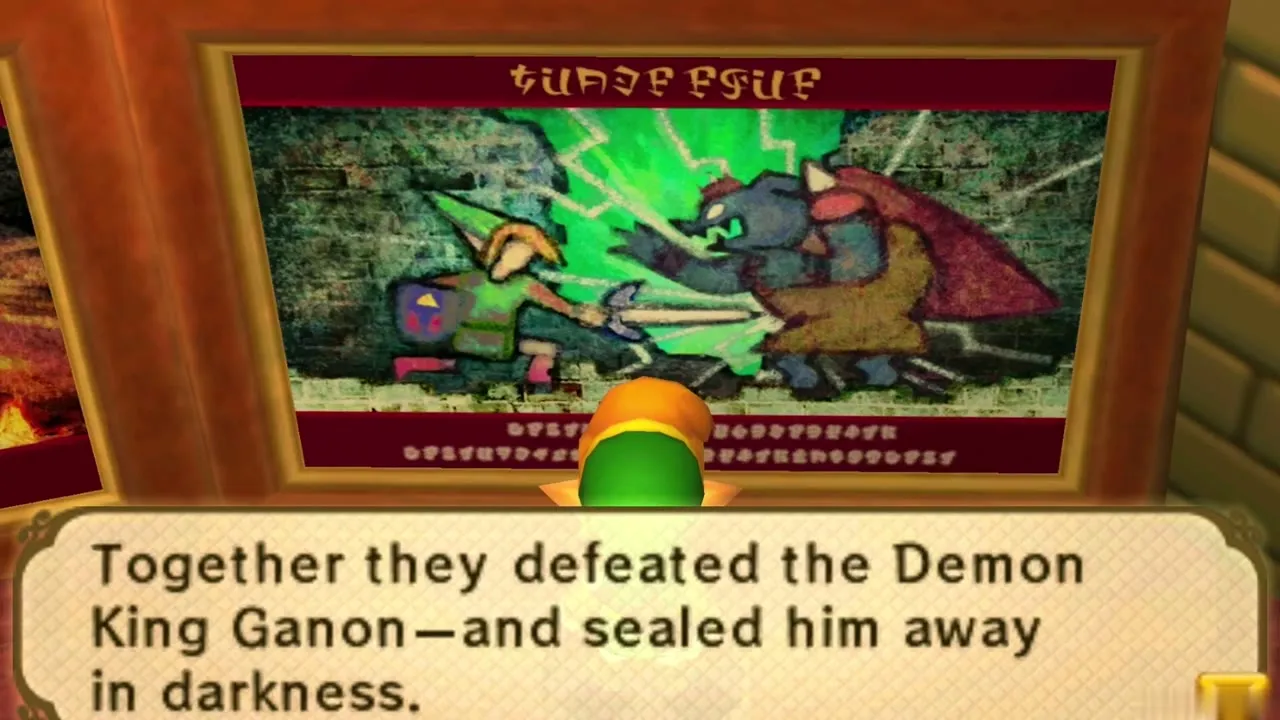
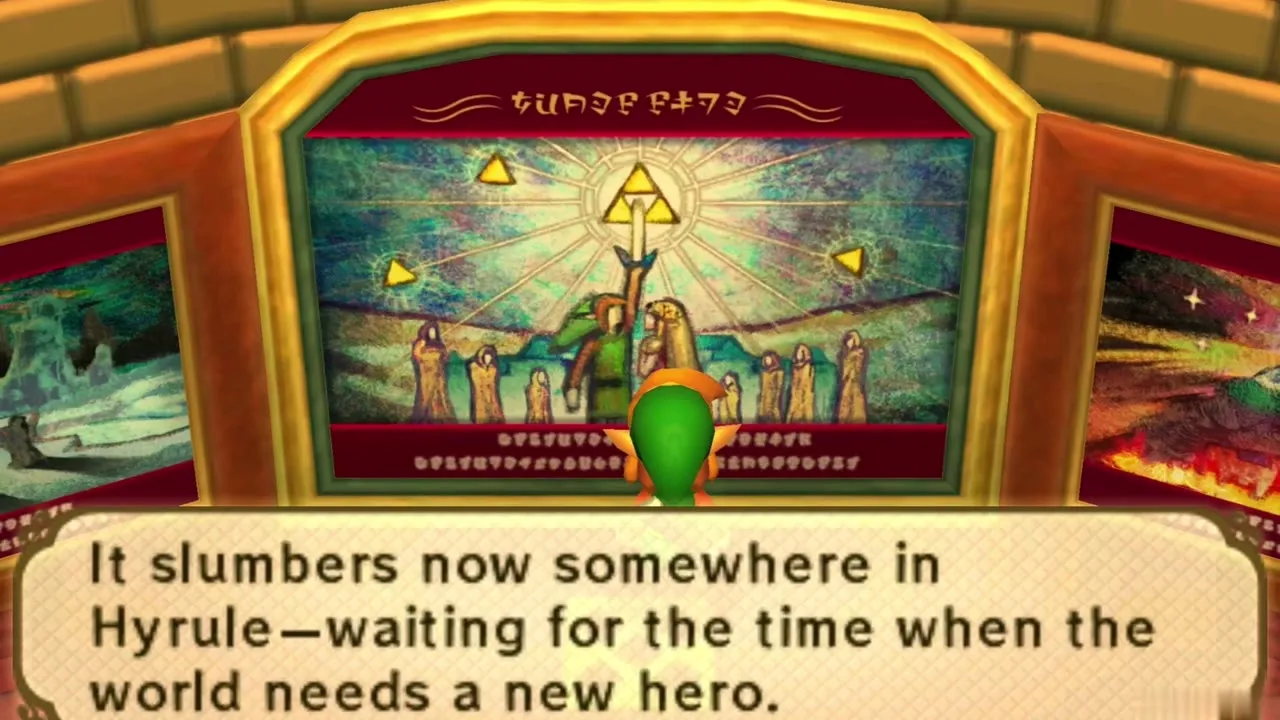
Inside, Impa asks you to wait while she announces you. Use the time to walk the hall and read the paintings that line it. They tell the legend of the Triforce, the war over it, Ganon’s theft of it and the hero who sealed him away with the Master Sword. The last one says the third piece of the Triforce still sleeps somewhere in Hyrule. Nothing is awarded for reading them, but the history explains the rest of the game.
Pendant of Courage
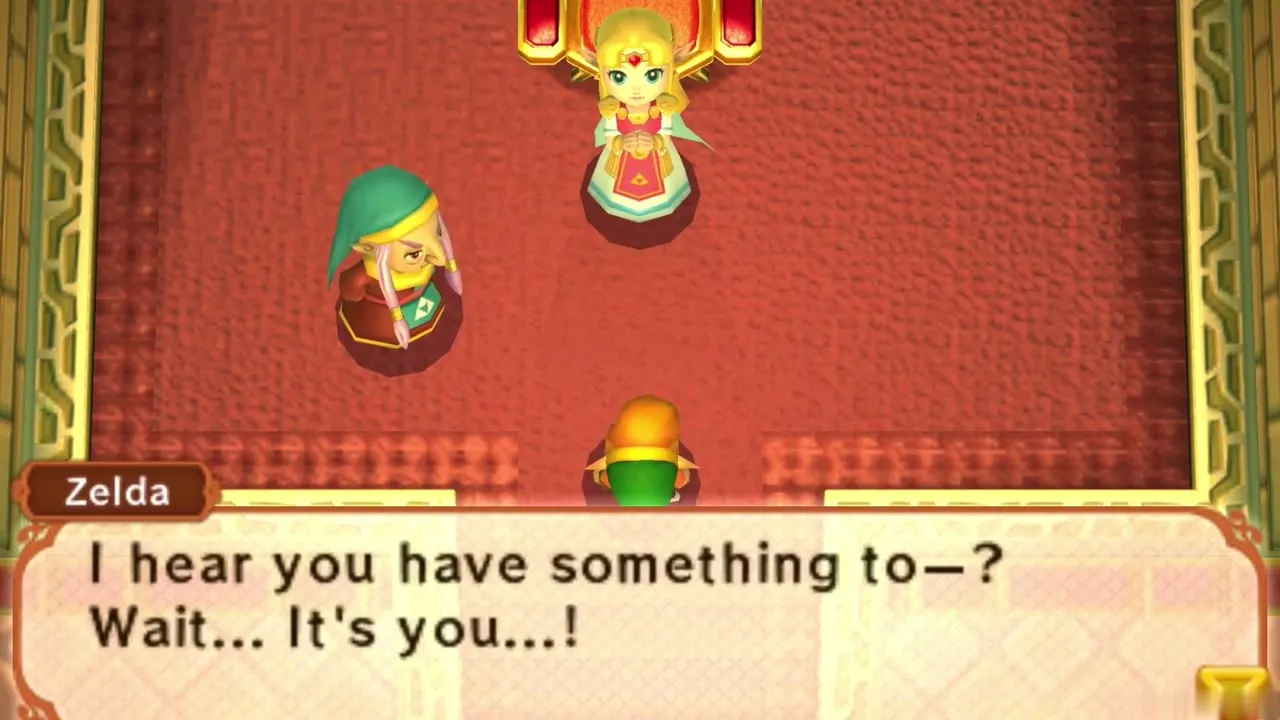
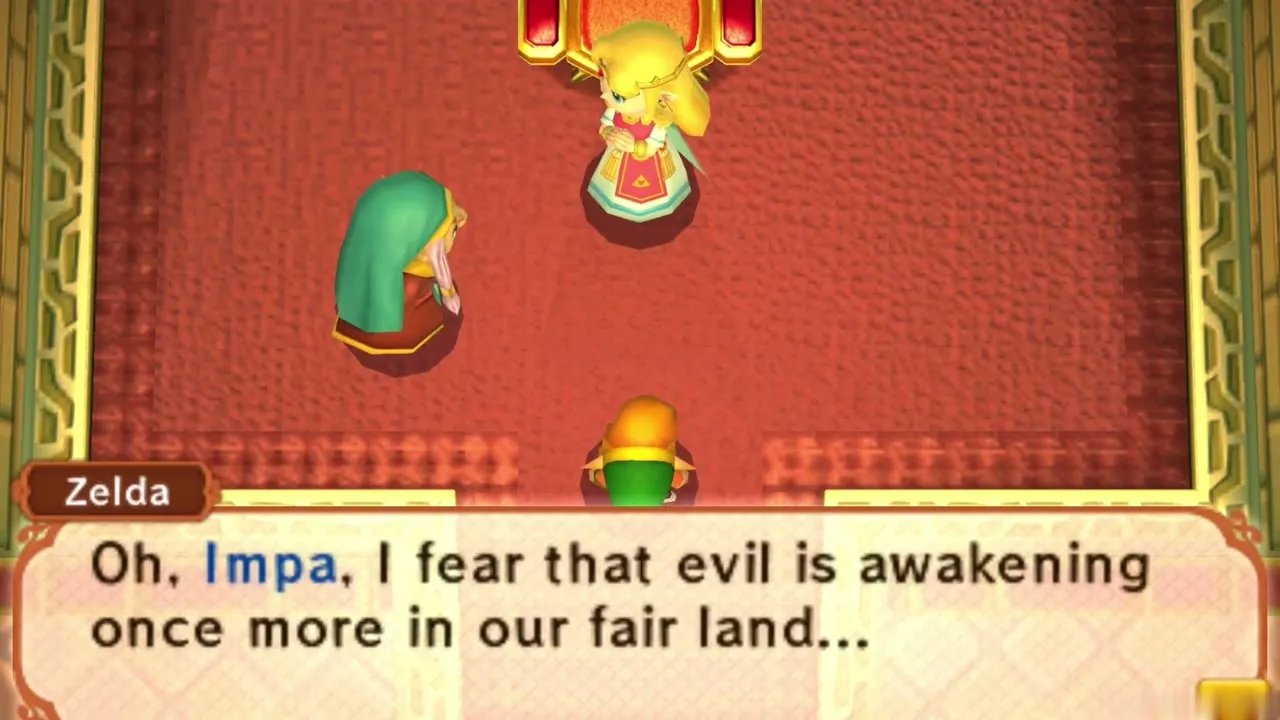
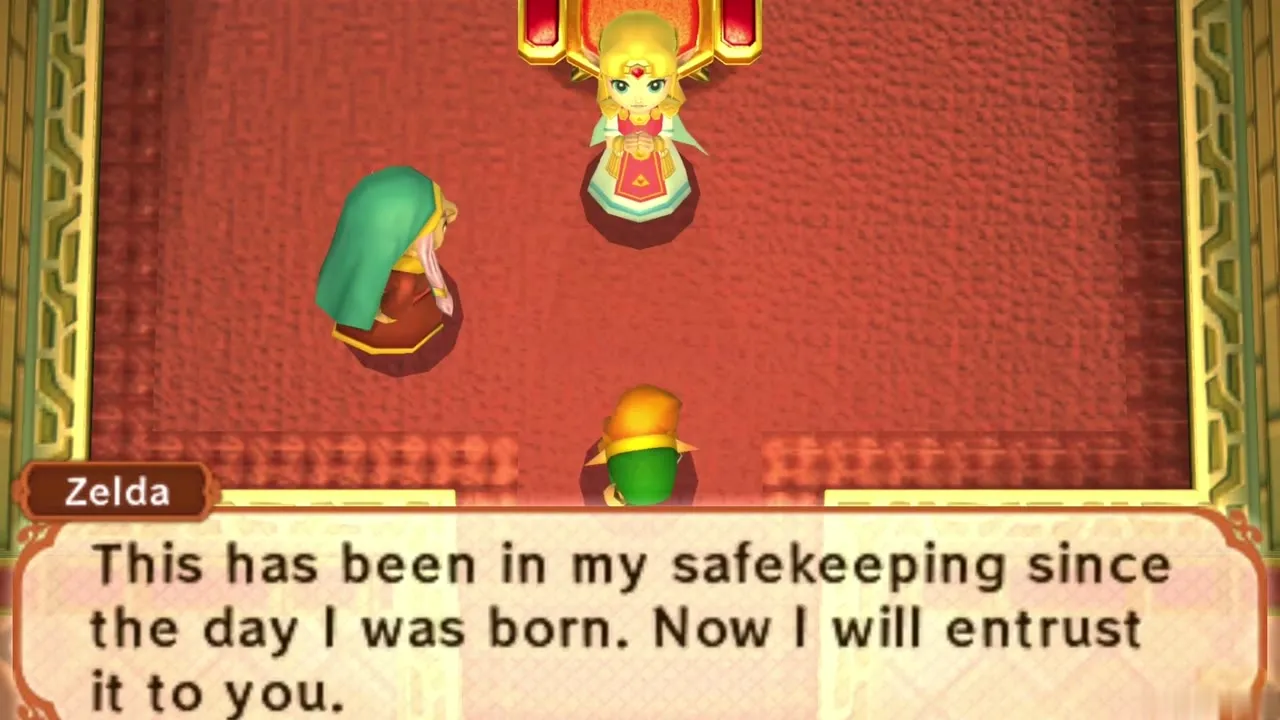
Climb the red carpet to the throne room. Zelda greets you, admits she has dreamed of a hero like you, and asks what you saw at the Sanctuary. Tell her everything. She senses the same darkness you do and decides that the elder in Kakariko Village should hear it. Her instruction is simple: find Sahasrahla at his home and give him the whole story.
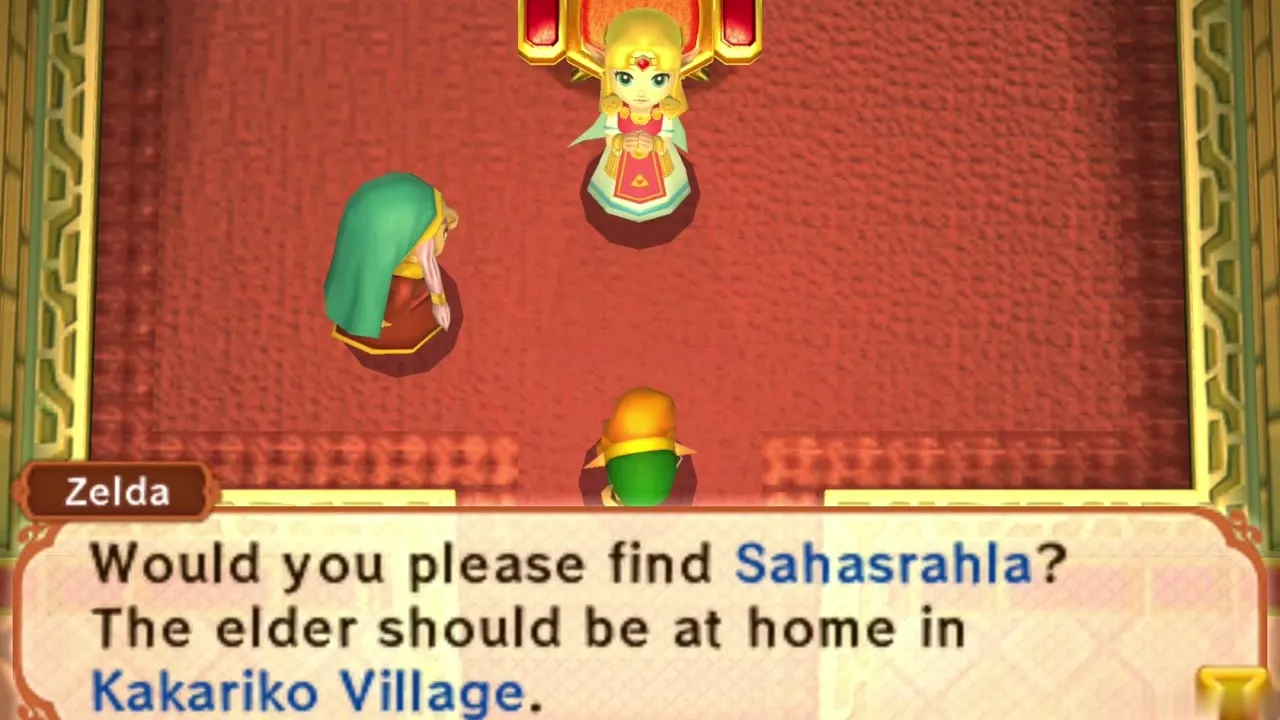
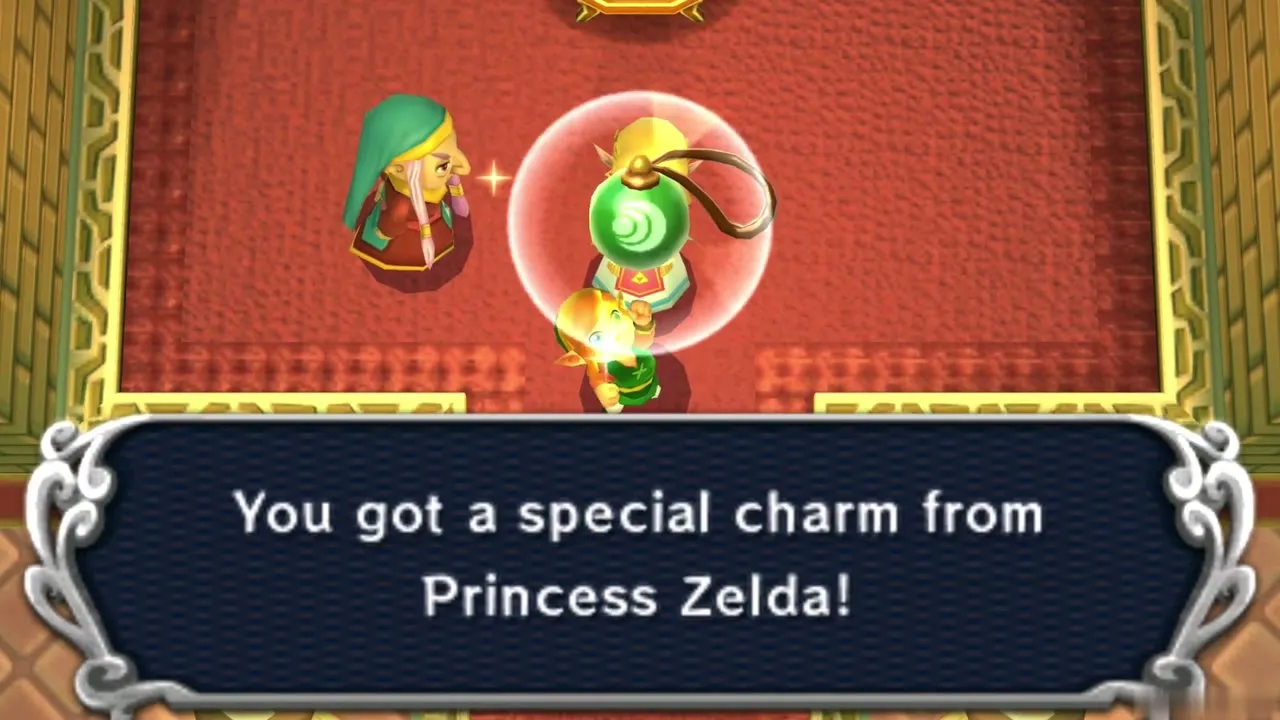
Before you go, Zelda entrusts you with a keepsake she has kept since the day she was born and asks you to take care of it. The game calls it only a charm, and a message box confirms you have it. Sahasrahla will later tell you what it really is: the Pendant of Courage, the first of the three Pendants of Virtue. Walk back out through the hall and the courtyard.
Kakariko Village shops and Sahasrahla
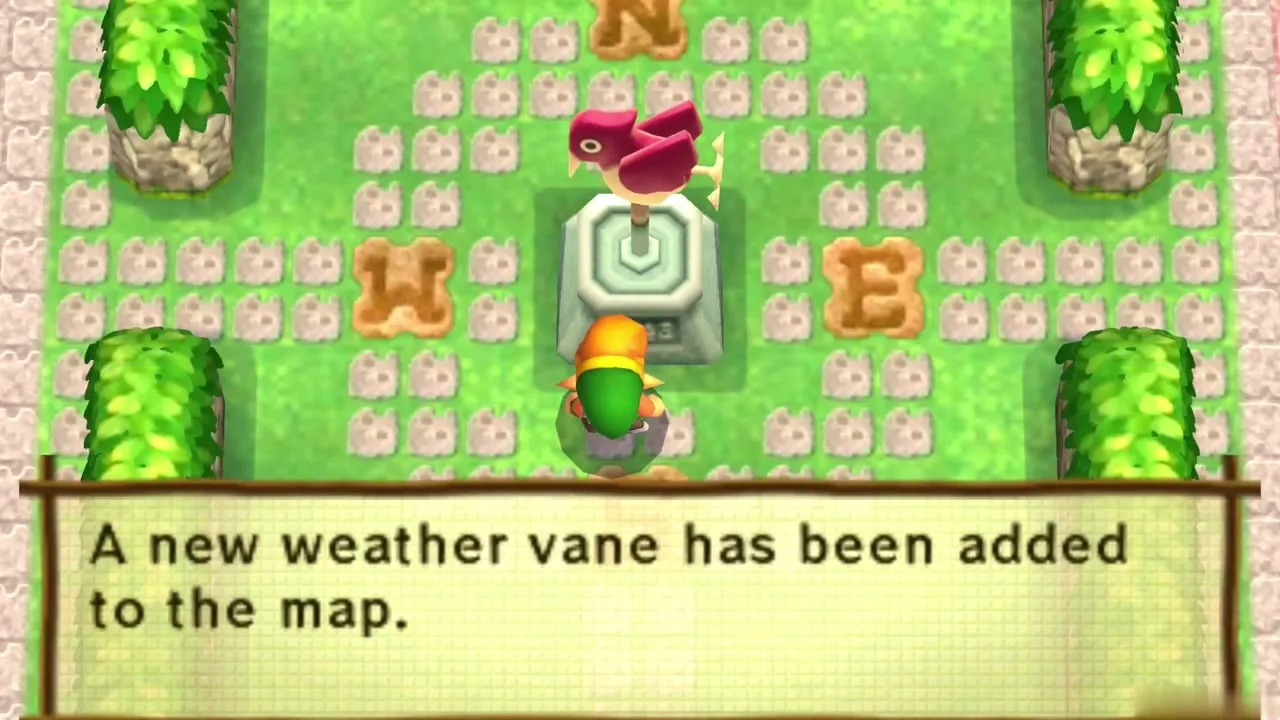
Kakariko Weather Vane
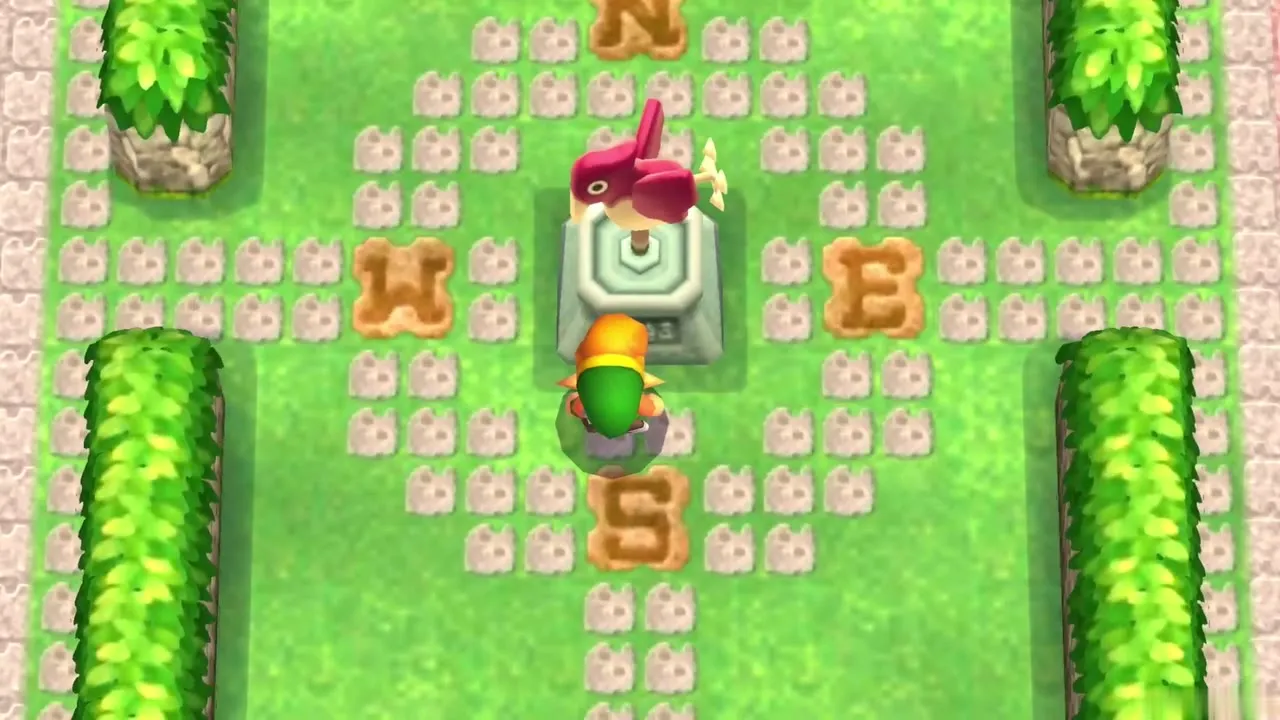
Leave the castle grounds and follow the fields to Kakariko Village, the pink-tiled town in the middle of the map. A bird statue, the village Weather Vane, stands in the paved plaza. Talk to it and choose Save. Weather Vanes are your save points, and once you own Irene’s Bell in a later chapter you can ring it to fly to any vane you have already touched.
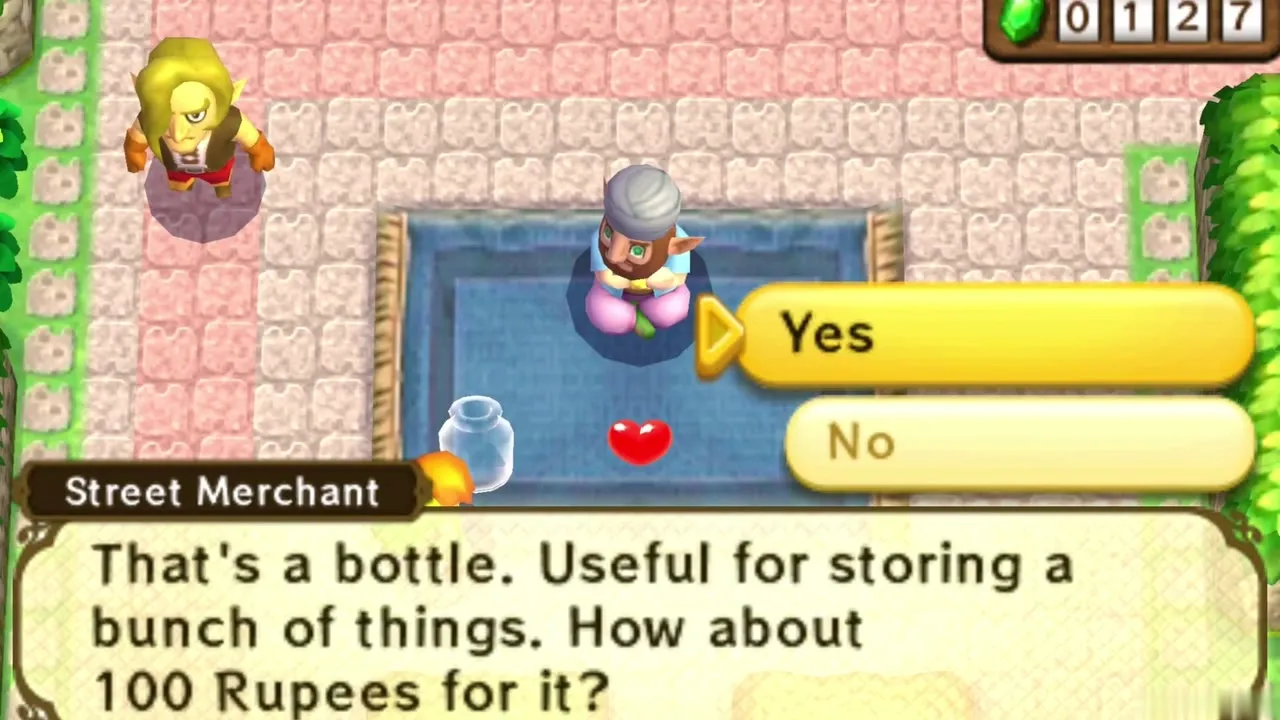
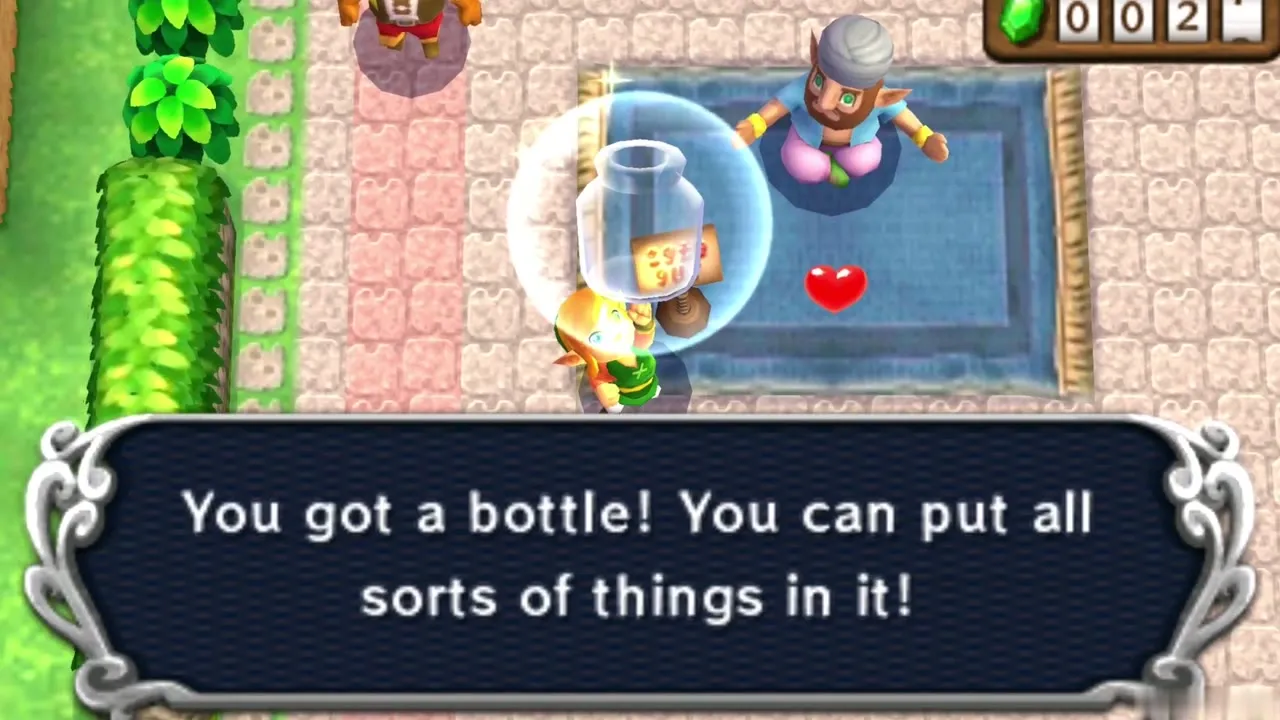
Buy a Bottle from the Street Merchant
A Street Merchant has set up shop near the Weather Vane in the middle of the village. He sells an empty Bottle for 100 Rupees; pay it and you own Bottle number 1 of the five in the game. A Bottle carries potions, milk, fairies and bees, so it is worth buying early. If you are short of Rupees, smash pots on the way and come back. The same merchant sells the Smooth Gem in chapter 4. Every Bottle is listed on the Bottle locations page.
Bee Guy’s Net
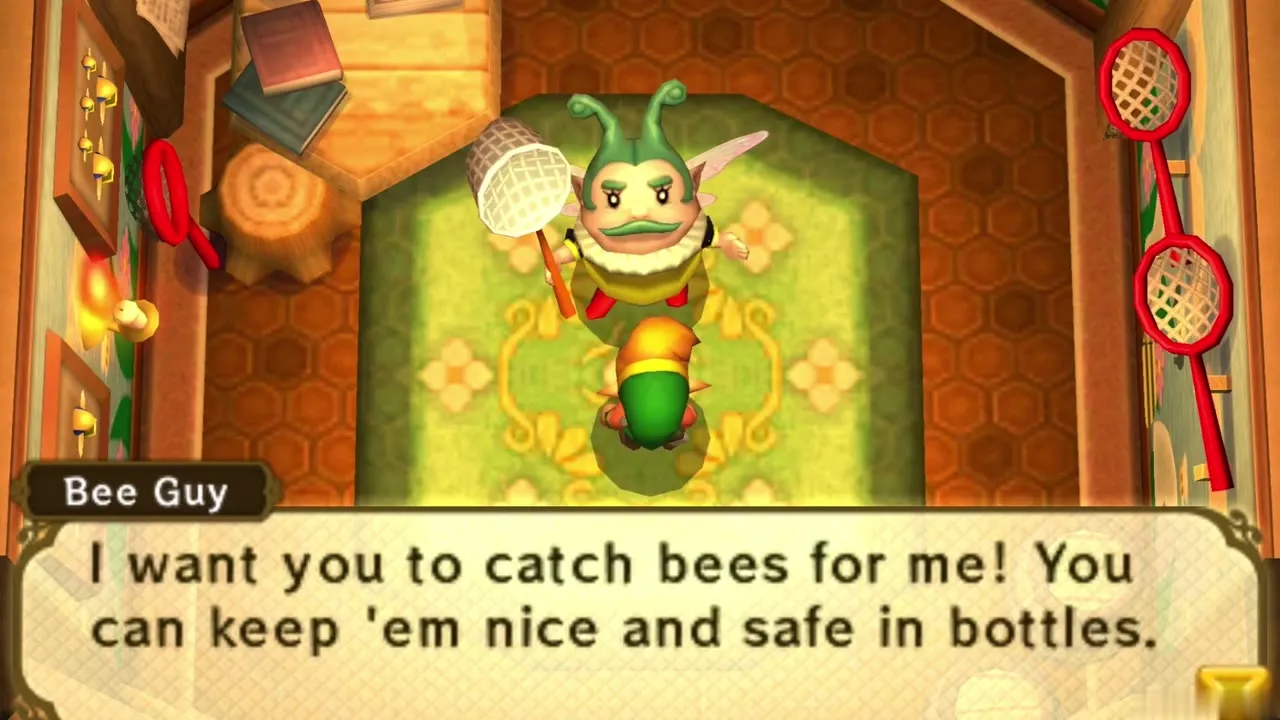
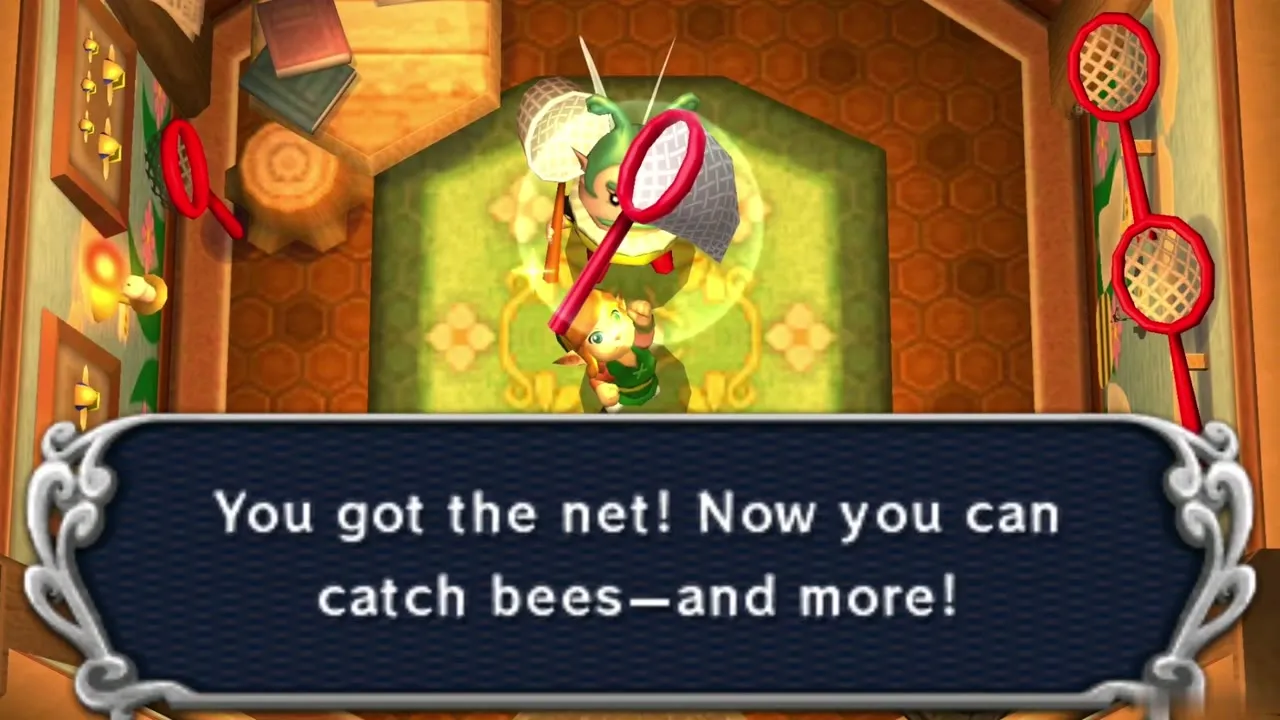
Once you own a Bottle, visit the Bee Guy’s house in the south of the village. He wants you to catch bees for him, and gives you a Net. A message box confirms the Net. Hold on to it: you can catch bees, fairies and other small things with it, and he pays well for Golden Bees later in the game.
Buy the Shield
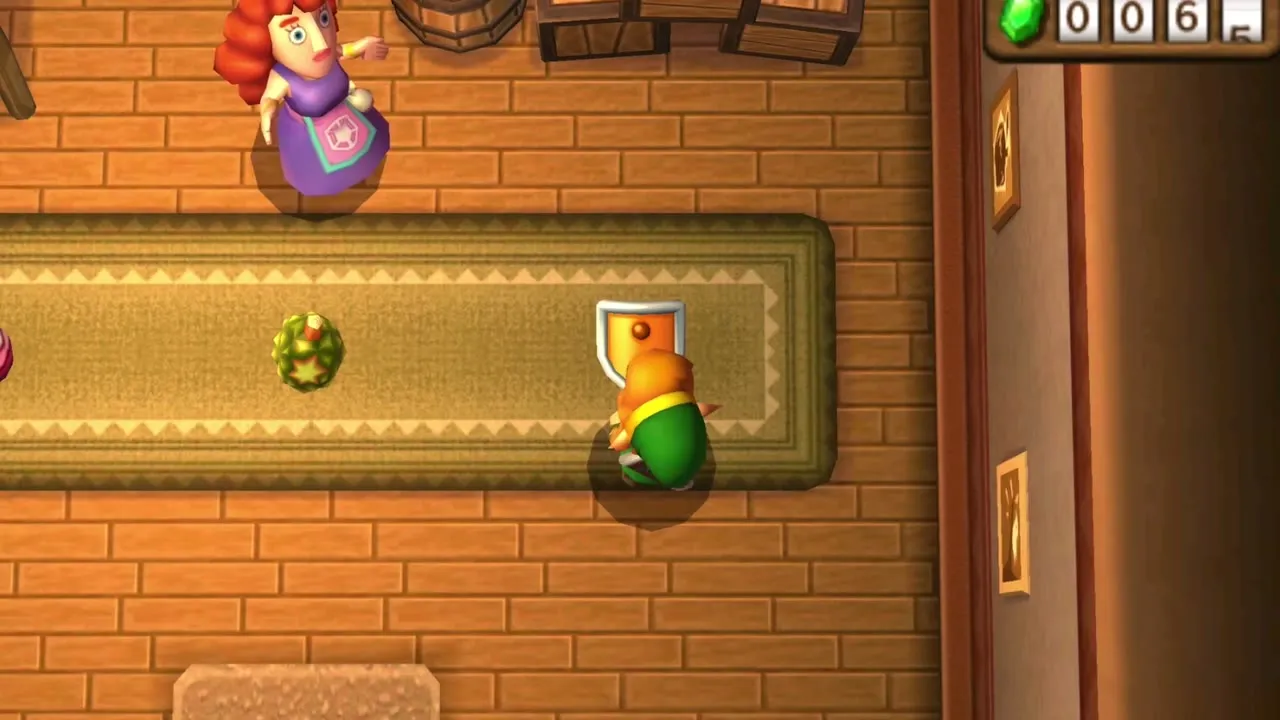
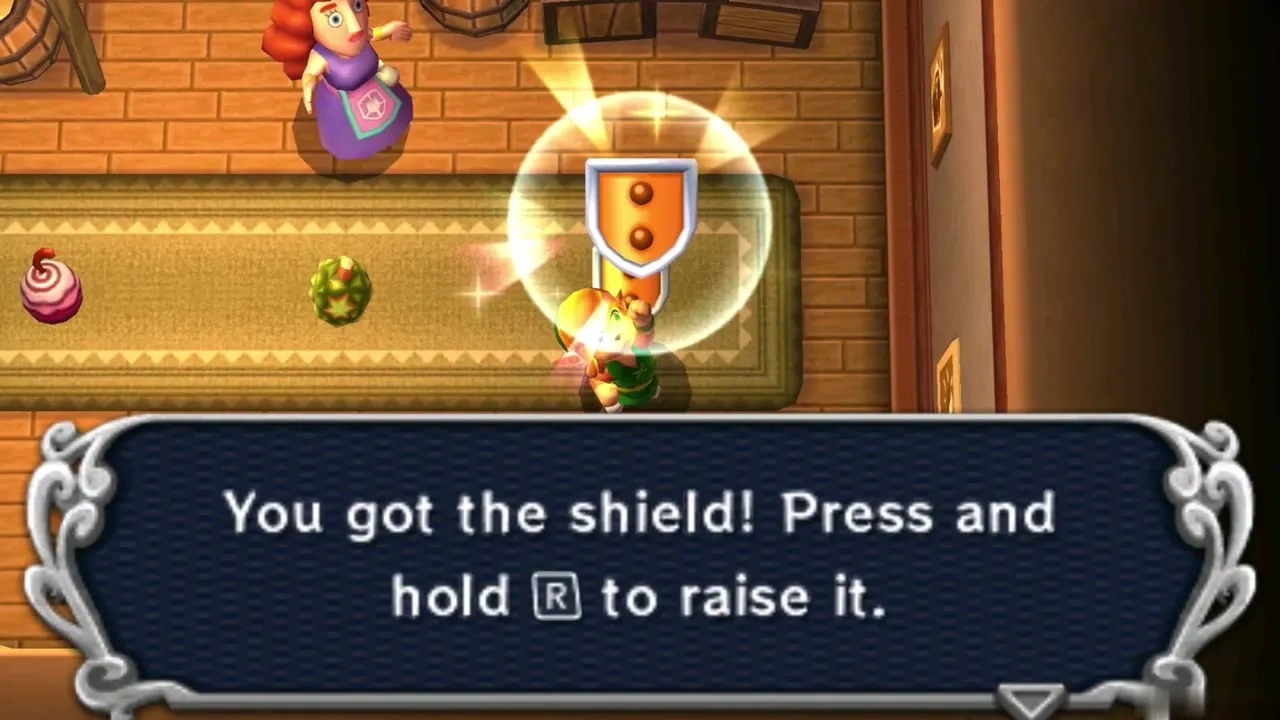
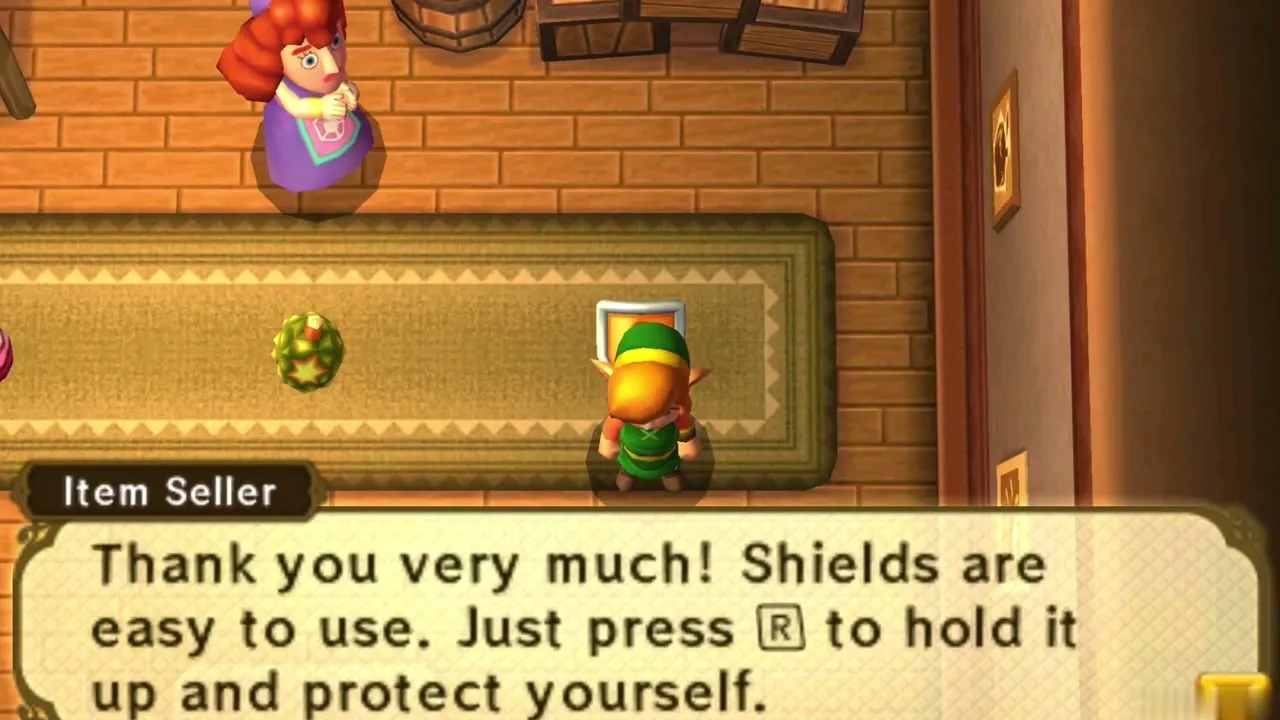
Enter the Item Shop in the village and talk to the Item Seller. She sells a Shield for 50 Rupees. Buy it, and once the box confirms the purchase, hold R to raise it. The Shield blocks projectiles such as Octorok rocks and arrows from the front, so it makes the Eastern Palace easier. It is optional, but you will use it for the rest of the game.
Hint Glasses from the Fortune-Teller
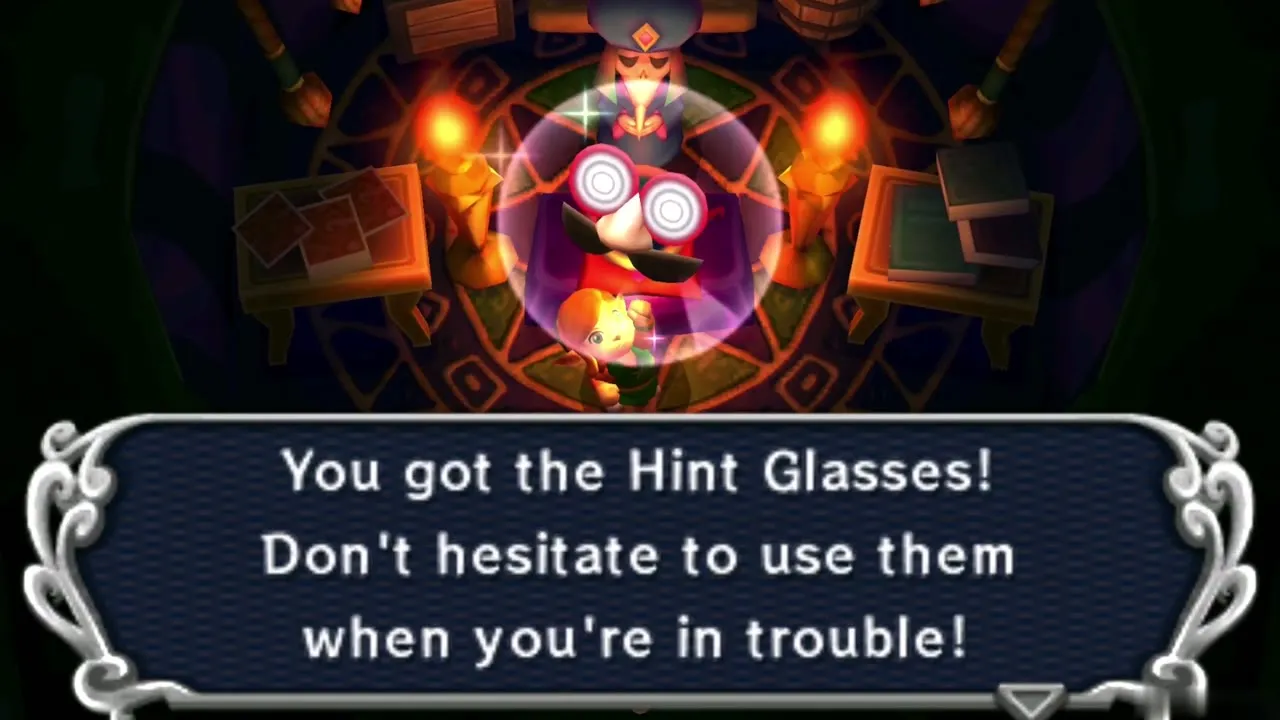
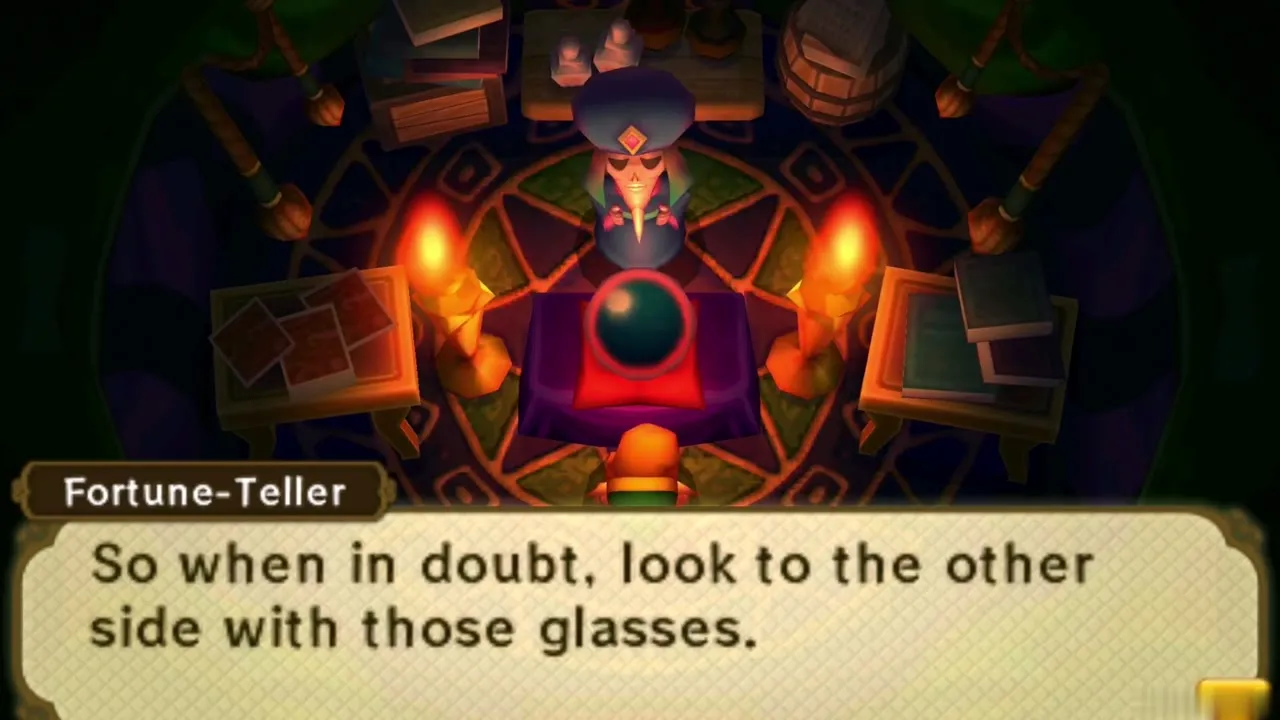
Leave Kakariko by the east entrance and head north to find the Fortune-Teller’s tent. The Fortune-Teller hands you the Hint Glasses. Equip them to see Hint Ghosts, which trade a hint for one Play Coin.
Talk to Sahasrahla
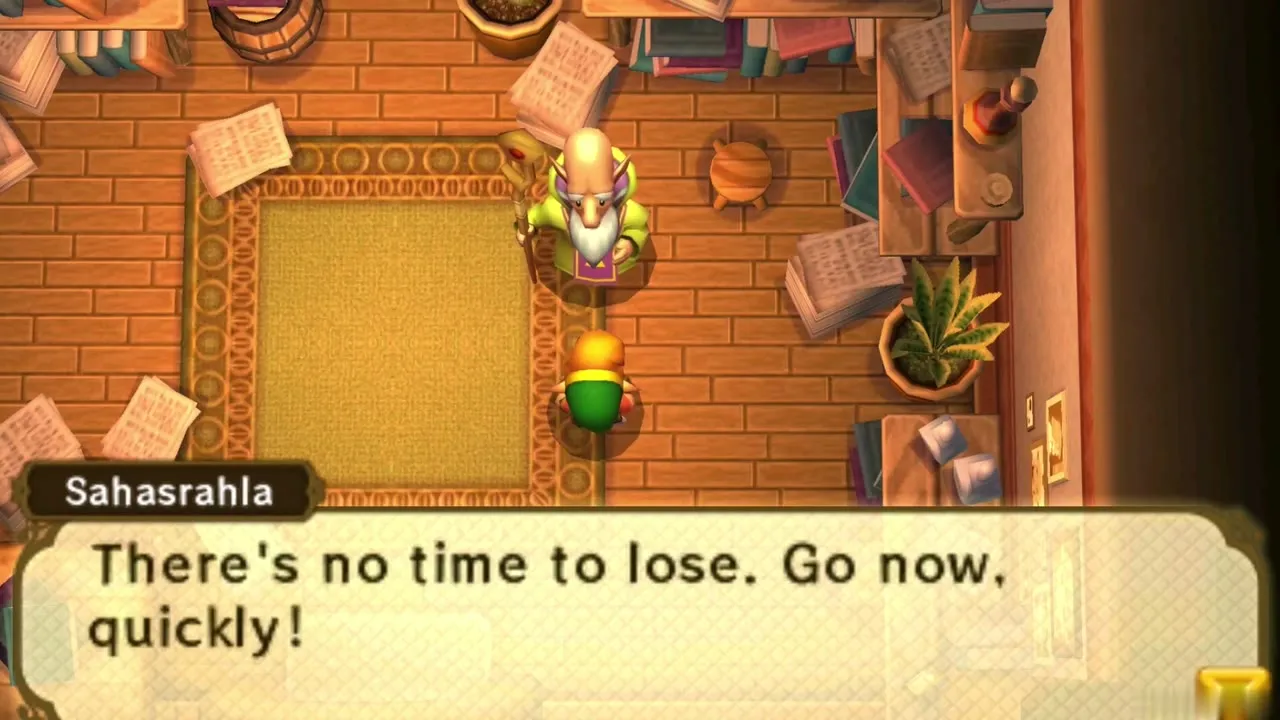
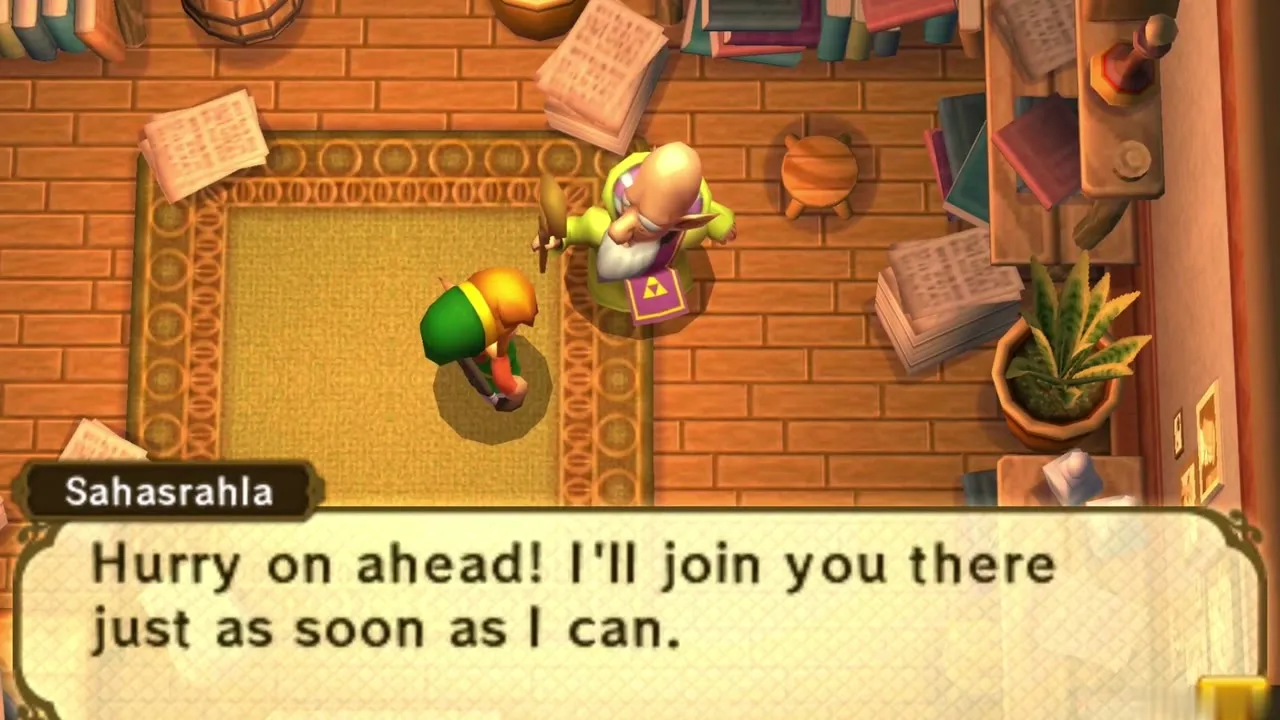
Head to the elder’s house in the north of the village and go inside. Sahasrahla is dozing at his desk, so talk to him and tell him about Seres, Yuga and the paintings. He explains that Yuga must be hunting the descendants of the Seven Sages, and that he sent his pupil Osfala to look into a strange man lurking near the Eastern Palace. He asks you to hurry to Osfala at once. That is your next goal.
Ravio’s Bow rental
Find Ravio’s sign
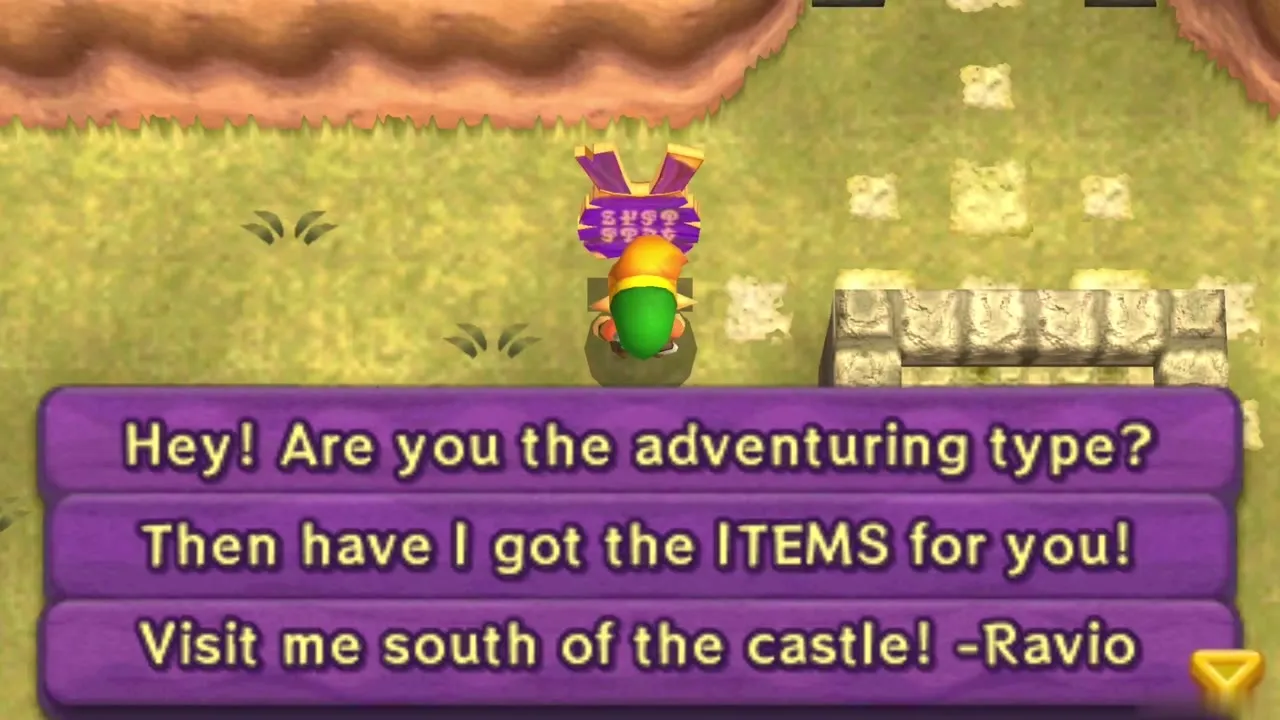
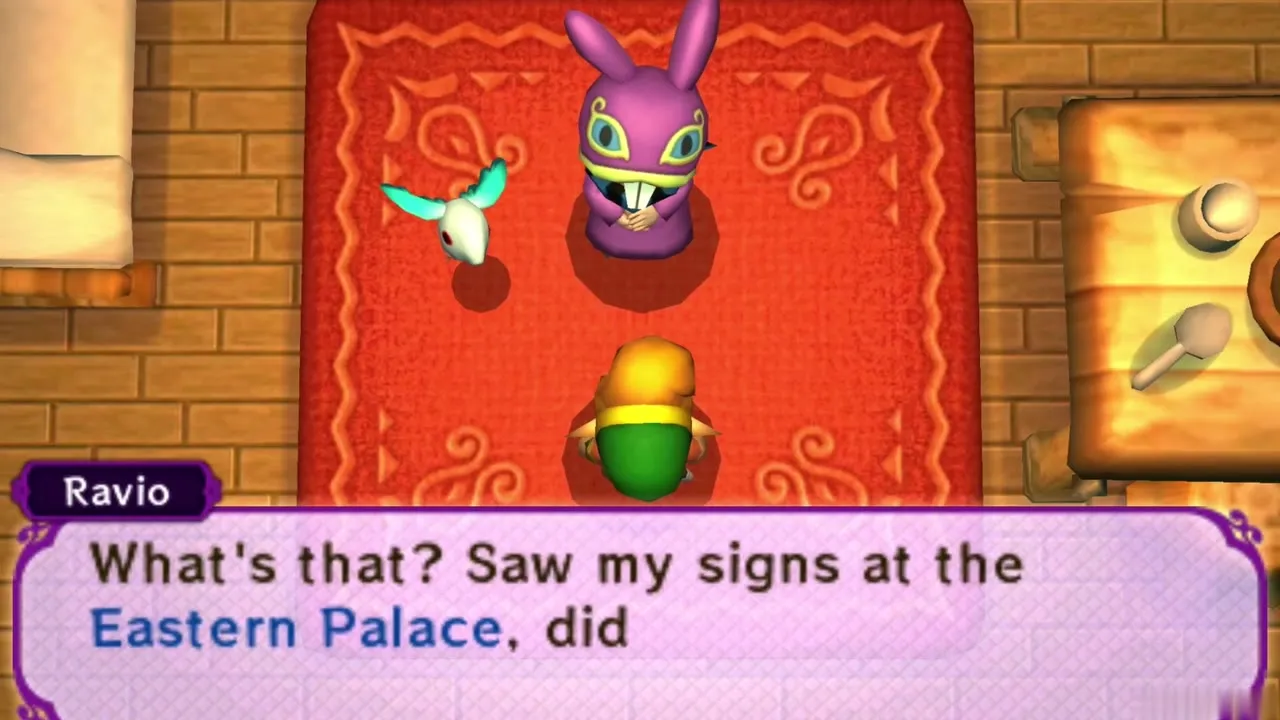
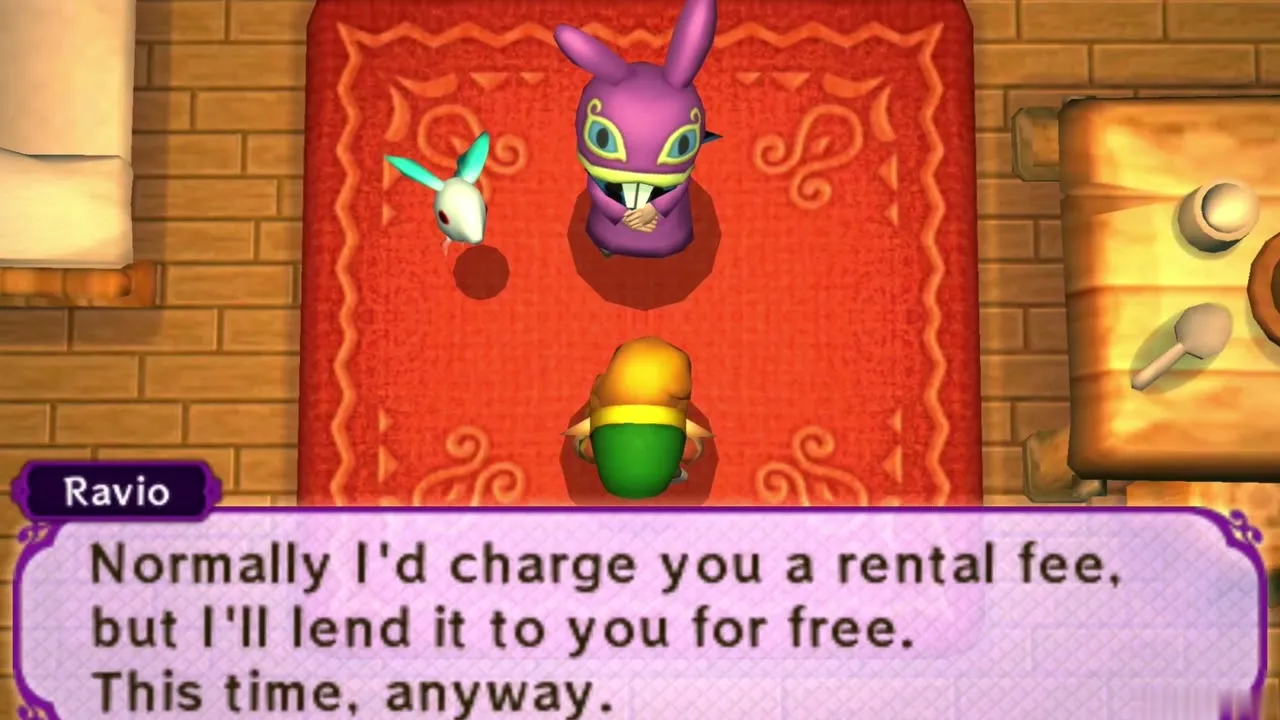
Head back across the fields toward the castle. On the way you pass a sign from Ravio inviting adventurers to visit him south of the castle, which is Link’s House. Go in and talk to Ravio. He mentions stone pedestals with a symbol on them near his signs by the Eastern Palace, and rents you the Bow free of charge this first time. He takes it back if you lose all your hearts.
The energy gauge
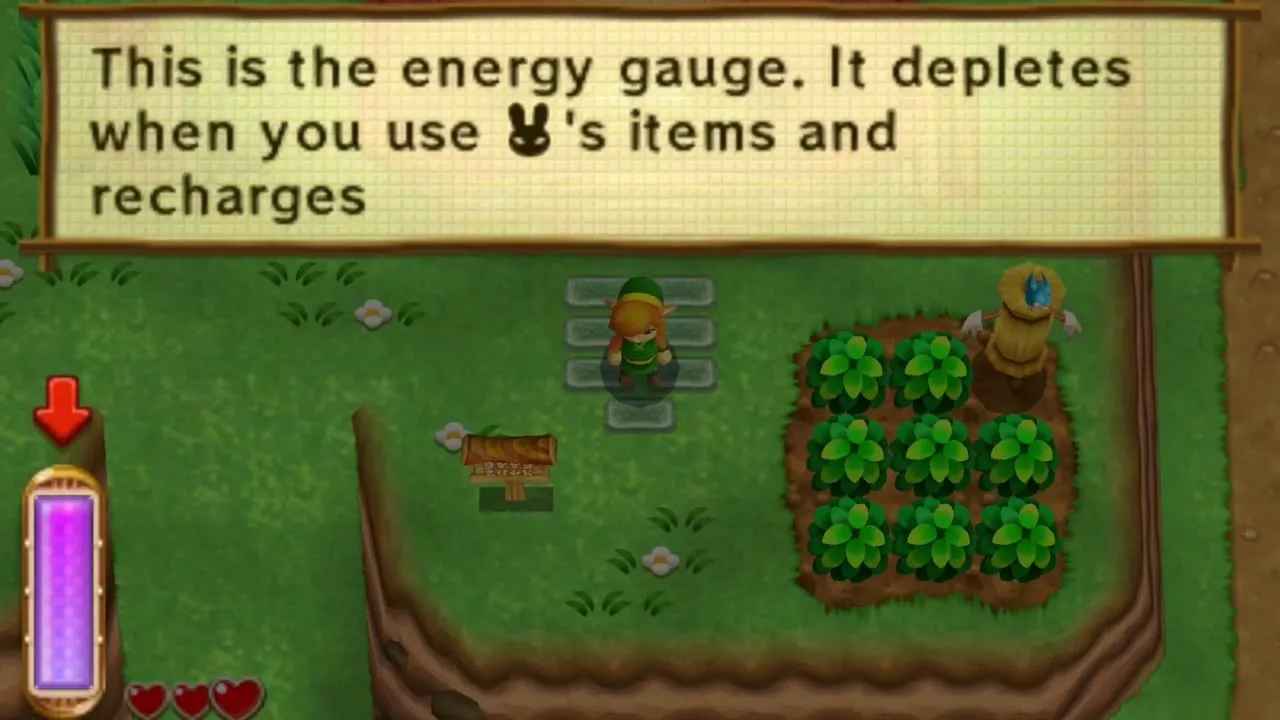
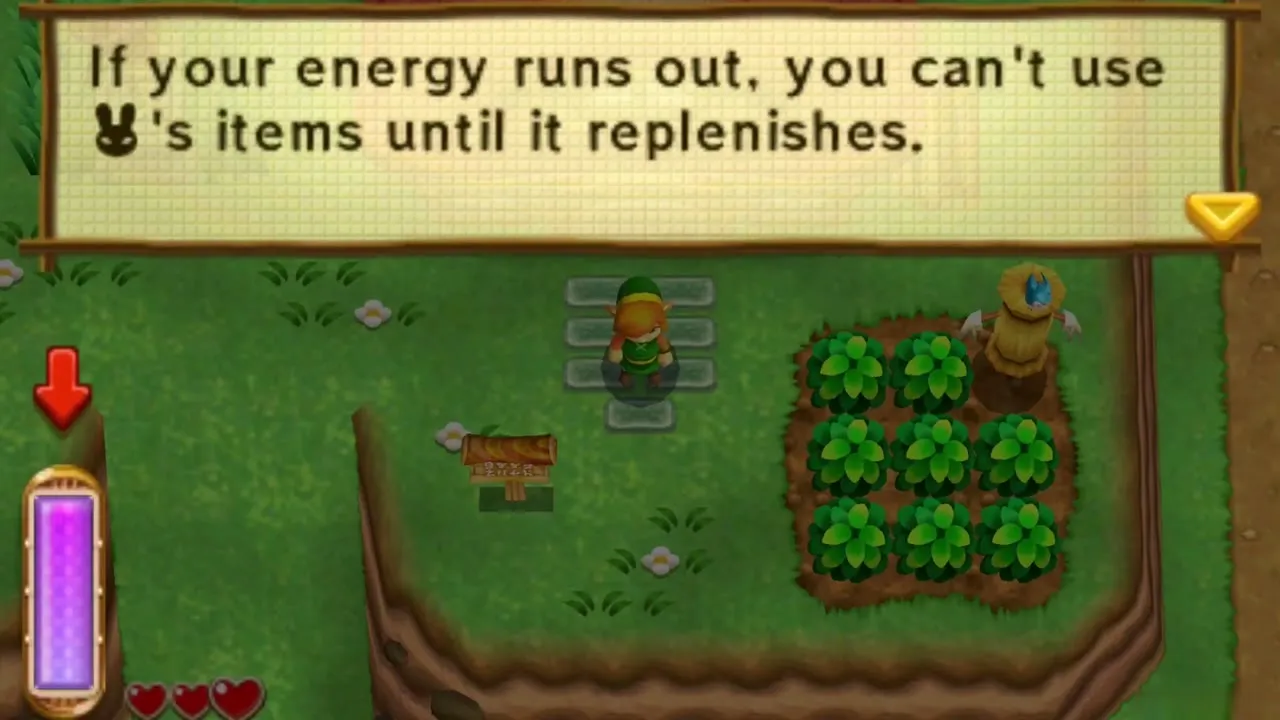
The Bow introduces the purple energy gauge on the left of the screen. In this game rented and bought items use no ammunition. Every shot drains the gauge, which refills on its own over time. Equip the Bow on Y or X, hold the button to aim, and try a few shots outside the house. You can keep moving while you aim.
The road to the Eastern Palace
Shoot the two switches
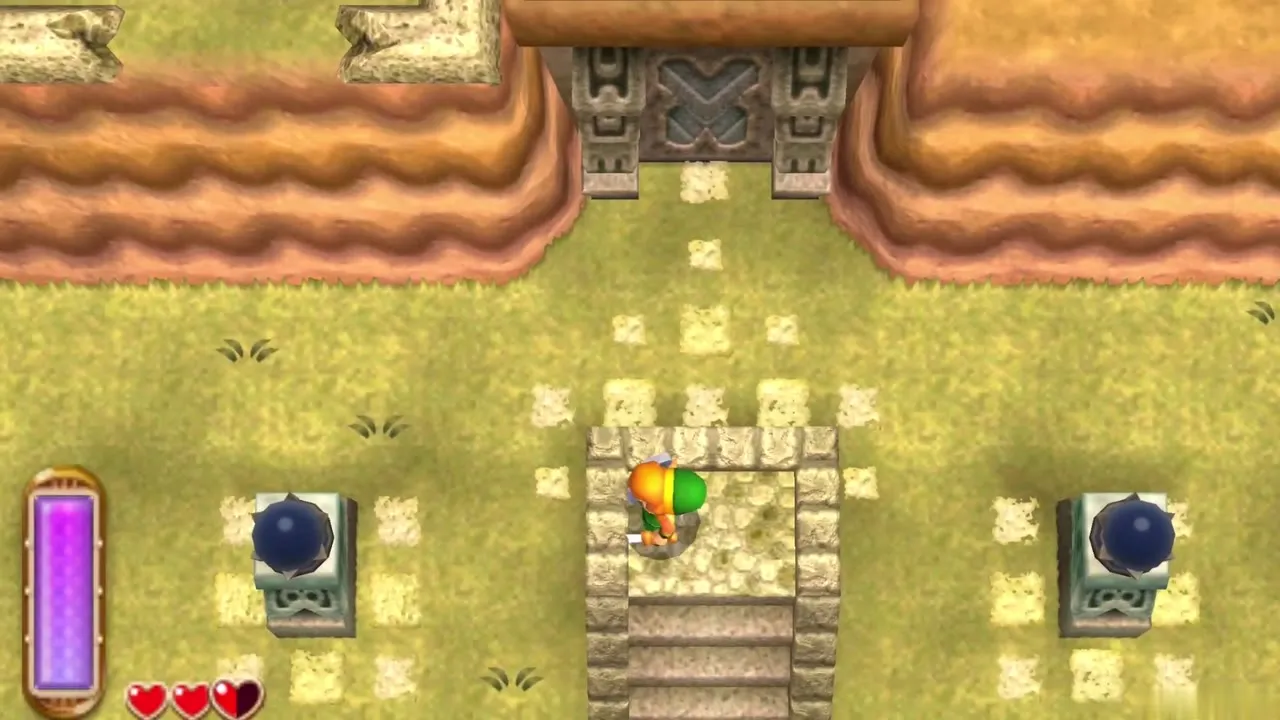
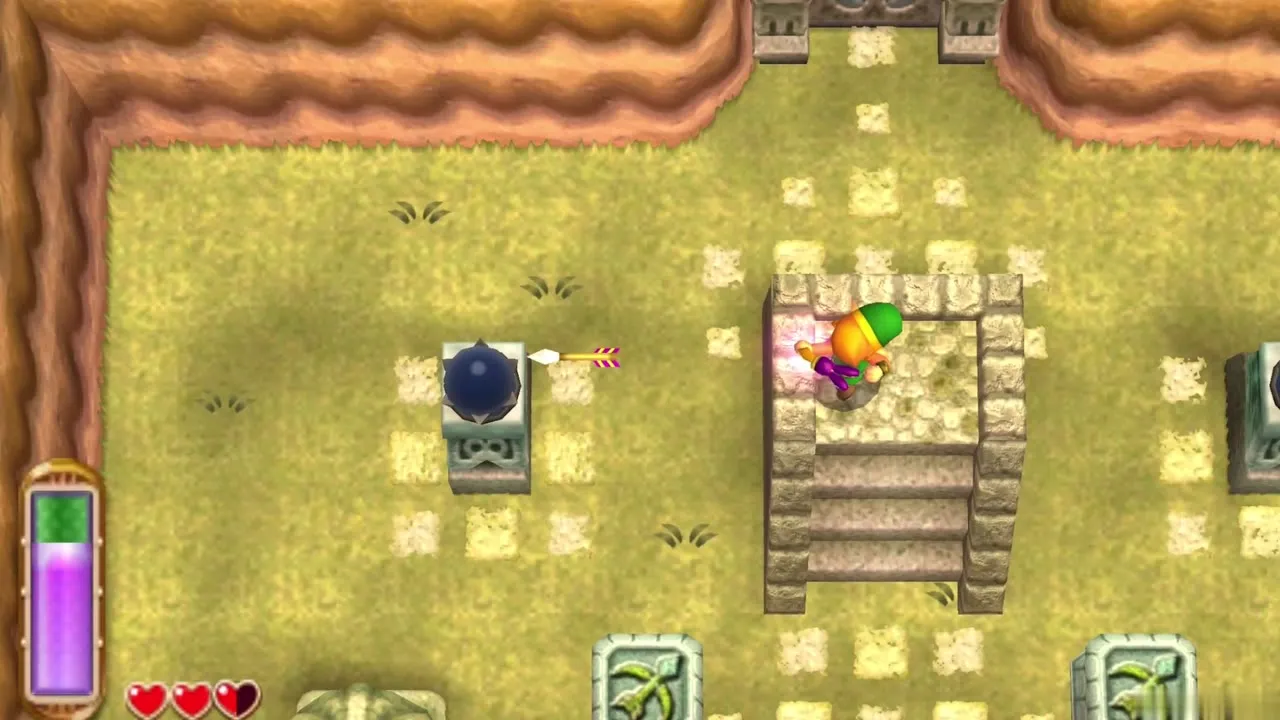
Follow the road east to the stone pedestals carved with a bow and arrow. Climb the steps and stand between two glowing blue switches, one on each side. Aim the Bow at one and fire, then shoot the other. The gate ahead opens and the way east continues. If the gauge runs low, wait a moment for it to refill rather than rushing the shots.
Past the Armos and the Red Rupee
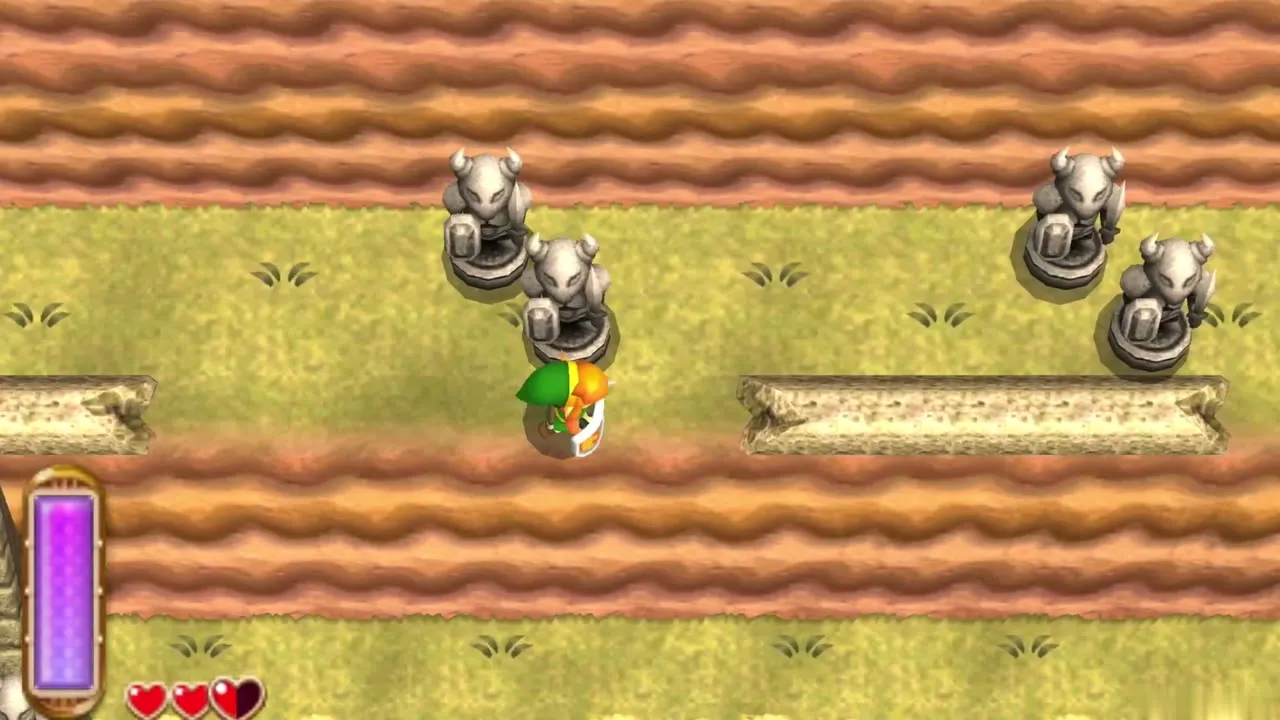
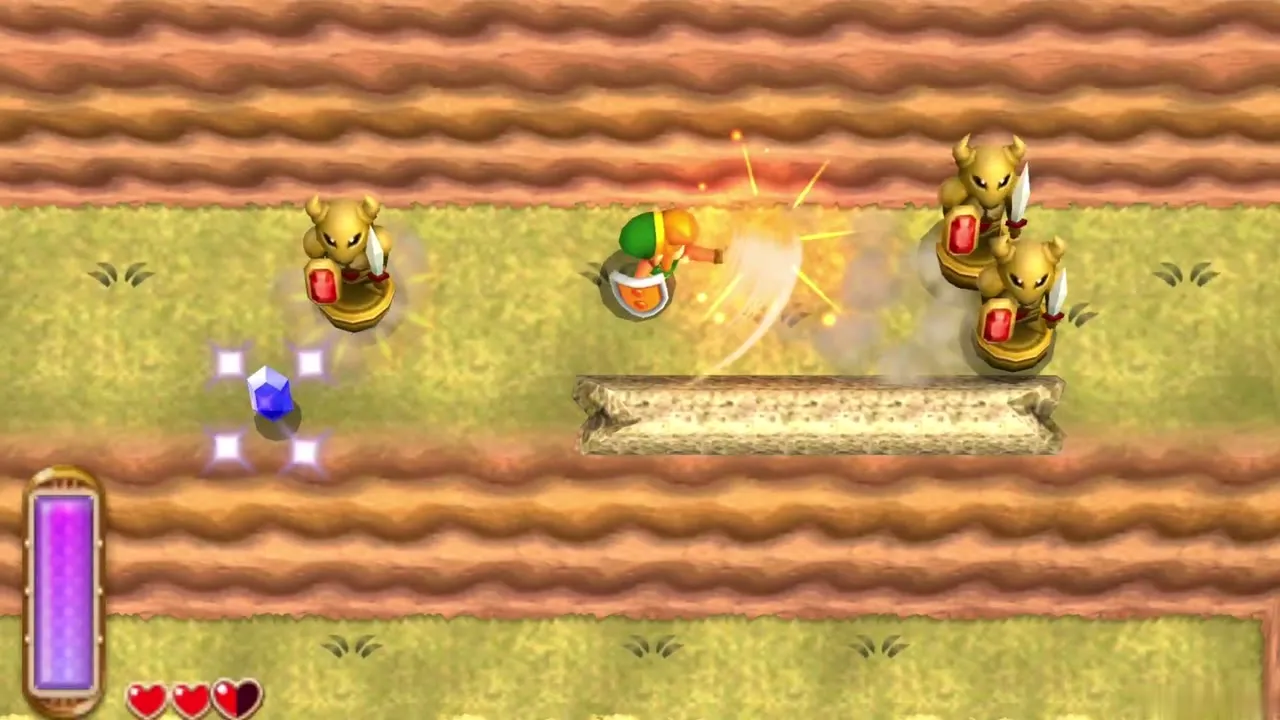
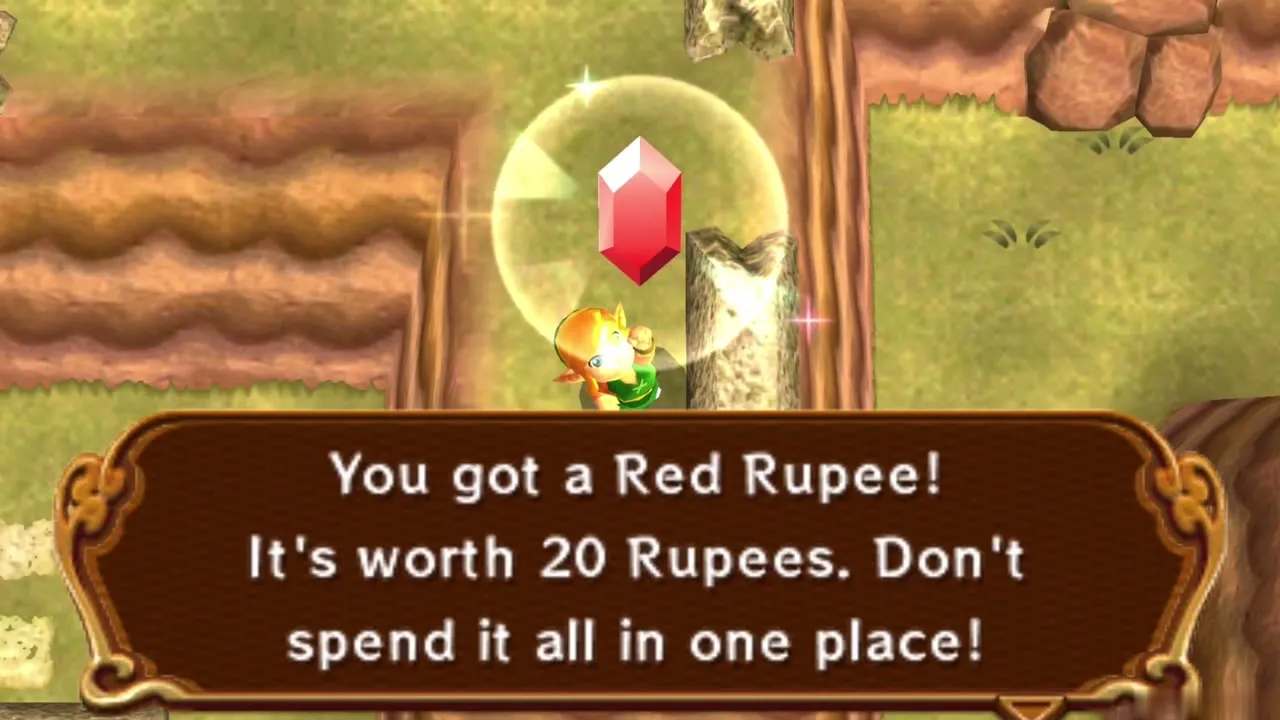
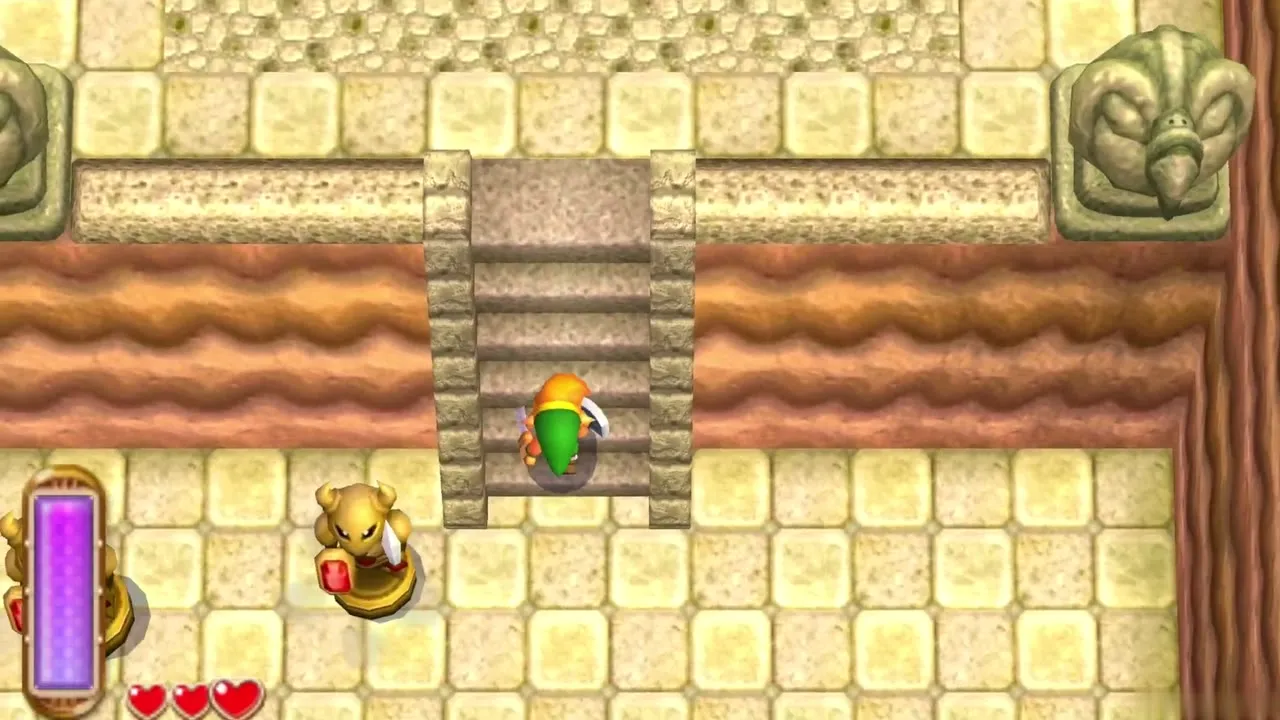
Beyond the gate the path winds past Armos statues that come to life as you approach. Fight them with your sword and Shield or slip around them. A Red Rupee worth 20 Rupees lies beside the path, so pick it up before climbing higher. Continue until a flight of stone steps leads up toward the entrance of the palace.
Osfala at the palace steps
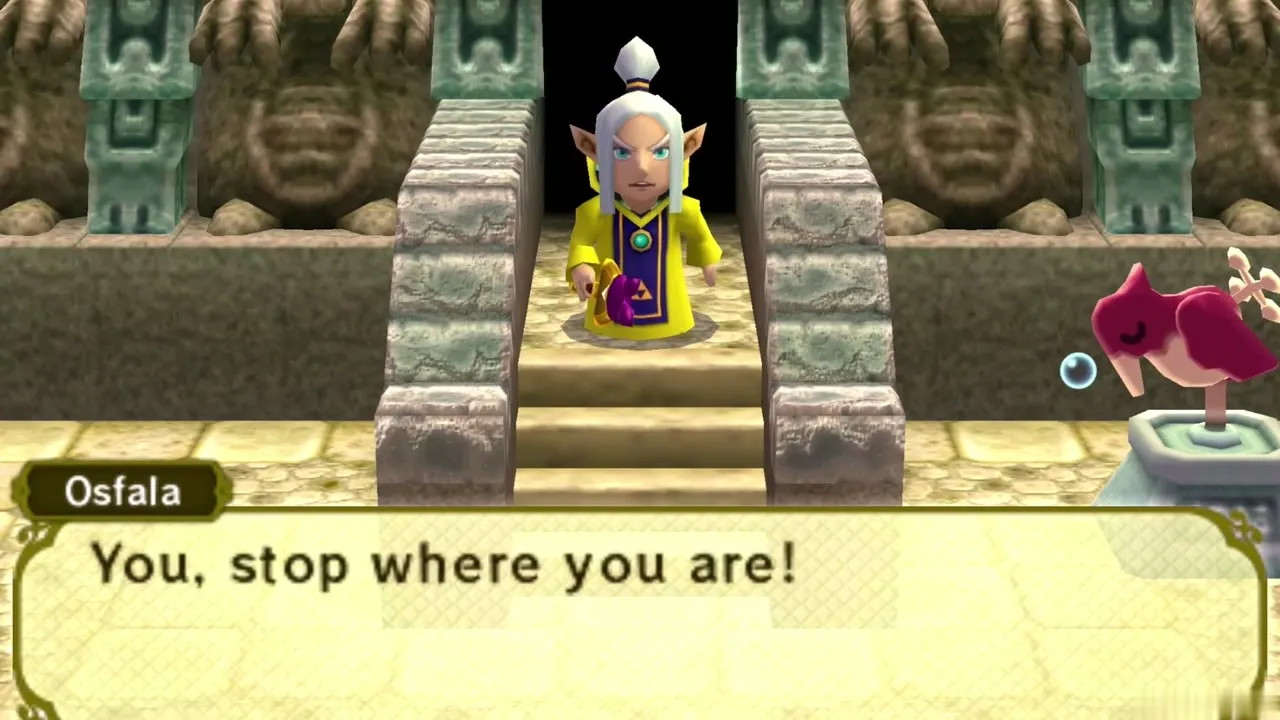
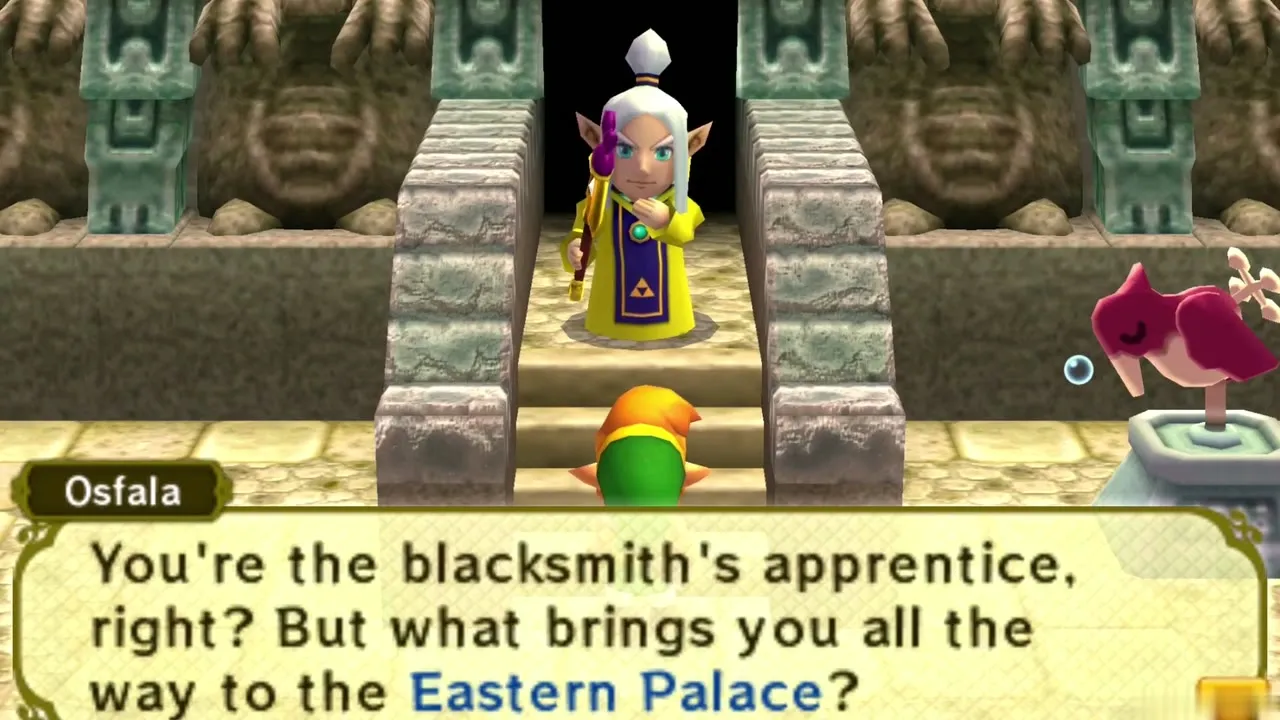
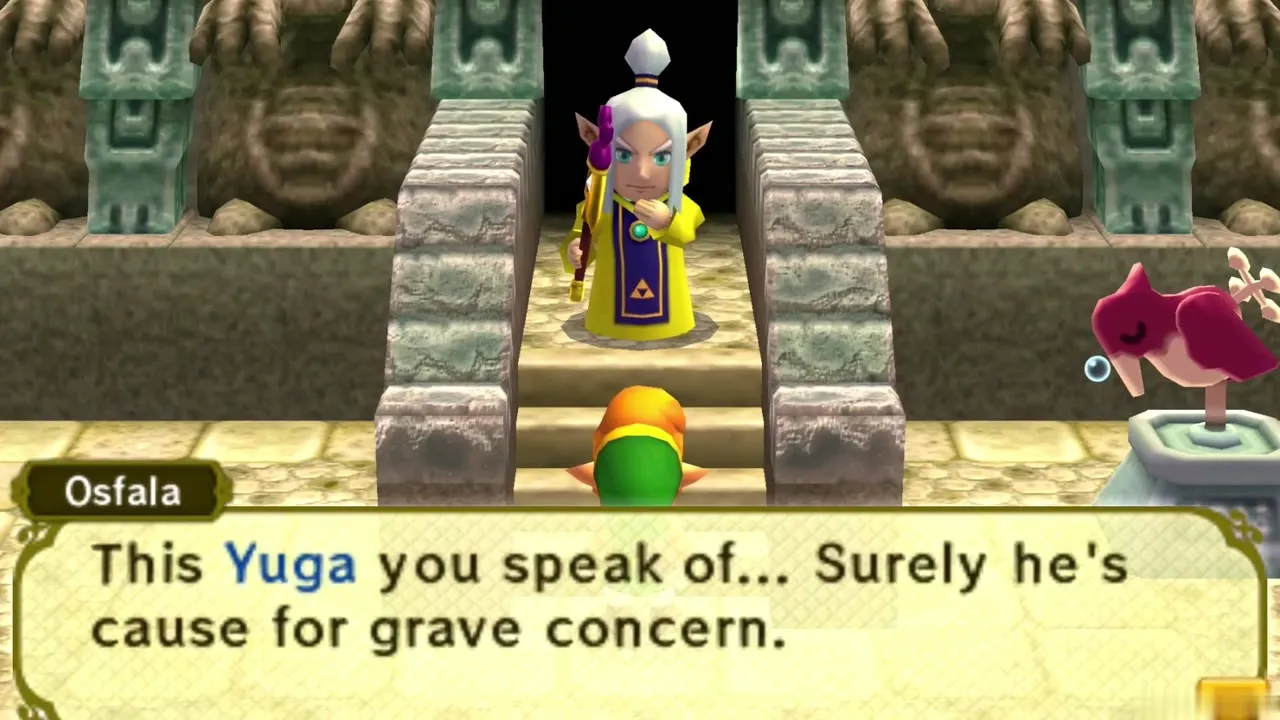
At the top of the stairs a man in a yellow robe stops you. This is Osfala, Sahasrahla’s pupil. He takes you for someone else at first, and laughs off the warning about Yuga. Listen, then say your piece. He is in more danger than he thinks, and you will meet him again in a very different way.

Save at the Eastern Palace Weather Vane
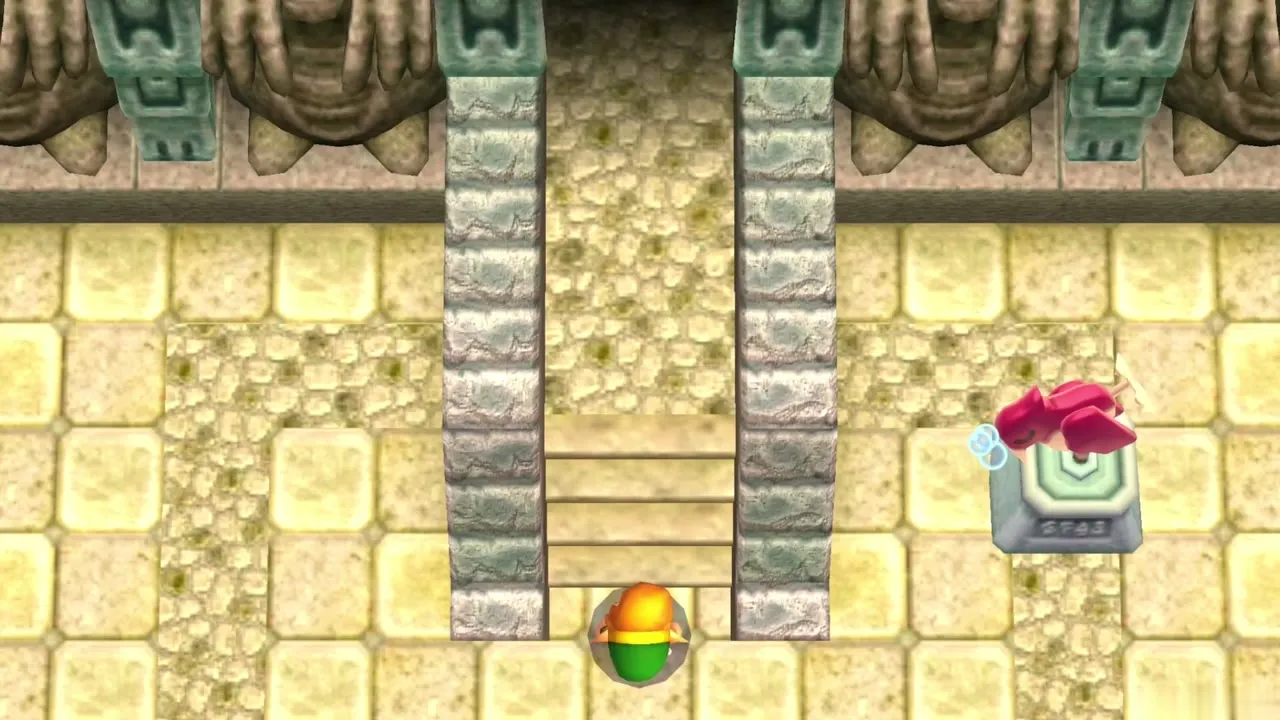
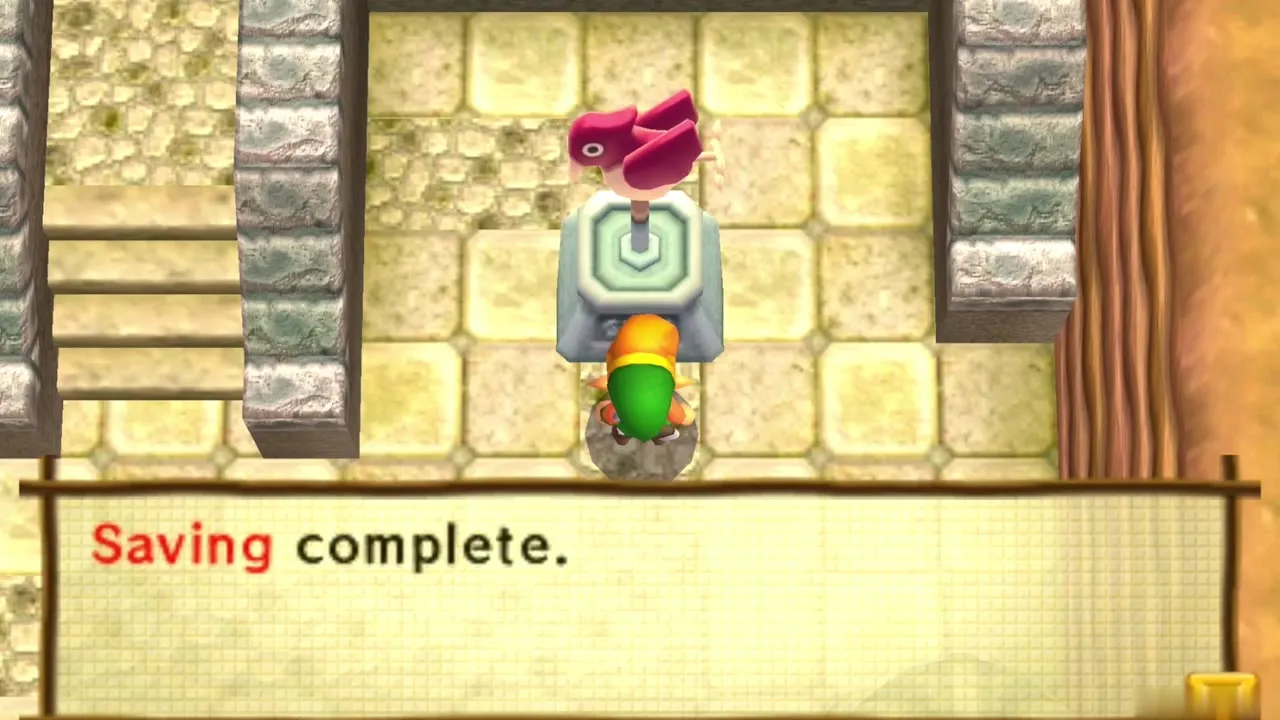
A Weather Vane stands beside the stairs just outside the entrance. Talk to it and choose Save before you go inside, so that you can pick up here after any break. The game also reminds you that you can end the session from the pause menu, opened with START. When you are ready, walk up the steps and through the entrance.
Chapter checklist
| Collectible | Type | Where |
|---|---|---|
| Ravio’s Bracelet | Item | Gift from Ravio at Link’s House |
| Pendant of Courage (the charm) | Story item | Princess Zelda, Hyrule Castle throne room |
| Bottle (1 of 5) | Bottle | Street Merchant, Kakariko plaza, 100 Rupees |
| Net | Item | Bee Guy, Kakariko Village |
| Shield | Item | Item Shop, Kakariko Village, 50 Rupees |
| Hint Glasses | Item | Fortune-Teller’s tent, north of Kakariko |
| Bow | Rental | Ravio at Link’s House, free the first time |
 Red Rupee (20) | Rupees | Beside the path past the two switches |
| Heart Pieces, Maiamai, Master Ore | Later | None reachable yet; the nearby ones need wall merging, the Power Glove or other items from the next chapters |
With your game saved and the Bow in hand, step inside and carry on with the Eastern Palace walkthrough.