





















A Link Between Worlds 100% Completion Walkthrough18 chapters
- Opening and SanctuaryWake in Link’s House, deliver the captain’s sword, cross the Graveyard passage with the Lamp and meet Yuga.
- Hyrule Castle and Kakariko VillageRavio’s Bracelet, Zelda’s Pendant of Courage, Kakariko shops, Sahasrahla and the free Bow rental.
- Eastern PalaceEvery key, chest and rupee, the Compass, Big Key, Yuga boss fight and your first Heart Container.
- Pegasus Boots and Zora’s FlippersGet the Pouch, Irene’s Bell, Power Glove, Pegasus Boots, Zora’s Flippers, Ravio’s rentals and Hyrule Heart Pieces.
- House of GalesRent the Tornado Rod, swim to Lake Hylia’s island, beat Margomill and take the Pendant of Wisdom.
- Death MountainClimb the boulder caves, find two Heart Pieces and a Bottle, and reach the Tower of Hera.
- Tower of HeraEvery floor, both Small Keys, Compass, Big Key, Moldorm boss fight, Heart Container and Pendant of Power.
- Master Sword and Lost WoodsWalkthrough for pulling the Master Sword in the Lost Woods, breaking the Hyrule Castle barrier.
- Lorule and Dungeon OrderHilda, the Blacksmith, fissures, Ravio’s Shop, Thieves’ Town side content and the dungeon order.
- Dark PalaceThe guard maze, every key, the Compass, Big Key, Master Ore, Gemesaur King, Heart Container and Sage Gulley.
- Skull WoodsKeys, Compass, Big Key, Master Ore, Knucklemaster boss fight, Sage Seres and the Master Sword upgrade.
- Ice RuinsThe Hookshot route to Lorule’s Death Mountain, every floor, keys, the Stamina Scroll and Dharkstare.
- Thieves’ HideoutThe password song, the Thief Girl escort, Master Ore, Stalblind, Sage Osfala and the Sand Rod.
- Swamp PalaceBig Bomb Flower, Hookshot, water levels, keys, Compass, Blue Mail, Big Key, Arrghus and Sage Oren.
- Turtle RockRescue the baby turtles, use the Ice Rod, find every key, beat Grinexx and free Sage Impa.
- Desert PalaceReach it with the Sand Rod, find the Titan’s Mitt, beat Zaganaga and rescue Sage Irene.
- Lorule CastleThe Triforce of Courage, all four mini-bosses, the Compass, Red Mail and the way to the Throne Room.
- Final BossBeat Yuga Ganon with the Bow of Light, see Hilda’s choice, make the Triforce wish and unlock Hero Mode.
| Covers | The Lorule Castle throne room, the Yuga Ganon boss fight, Hilda and Ravio, the Triforce wish, the credits and Hero Mode |
|---|---|
| You need | The Triforce of Courage, the four Lorule Castle doors opened (chapter 17) and as many hearts as you can carry; the Master Sword and wall merging do the rest |
| Rewards |  Bow of Light (1) and Hero Mode for new files; no Heart Pieces, Heart Containers, Maiamai, Master Ore, Bottles, pendants or sages are found here |
This is the last stretch of the game. Link follows Princess Hilda’s trail to the top of Lorule Castle, fights Yuga Ganon in two long phases, takes the Bow of Light from Zelda to finish him, and then helps both princesses mend their kingdoms with one wish. Nothing here can be collected, so finish every Heart Piece, Maiamai and bottle on your list beforehand and arrive with full hearts.
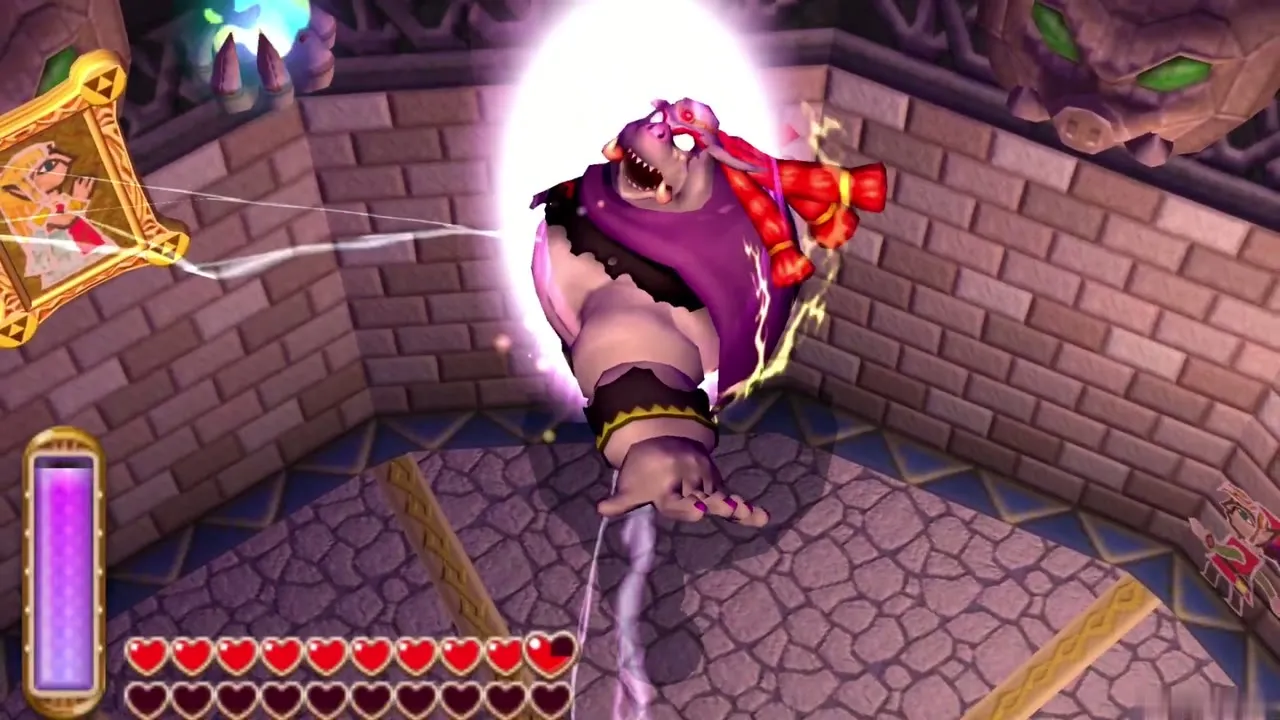
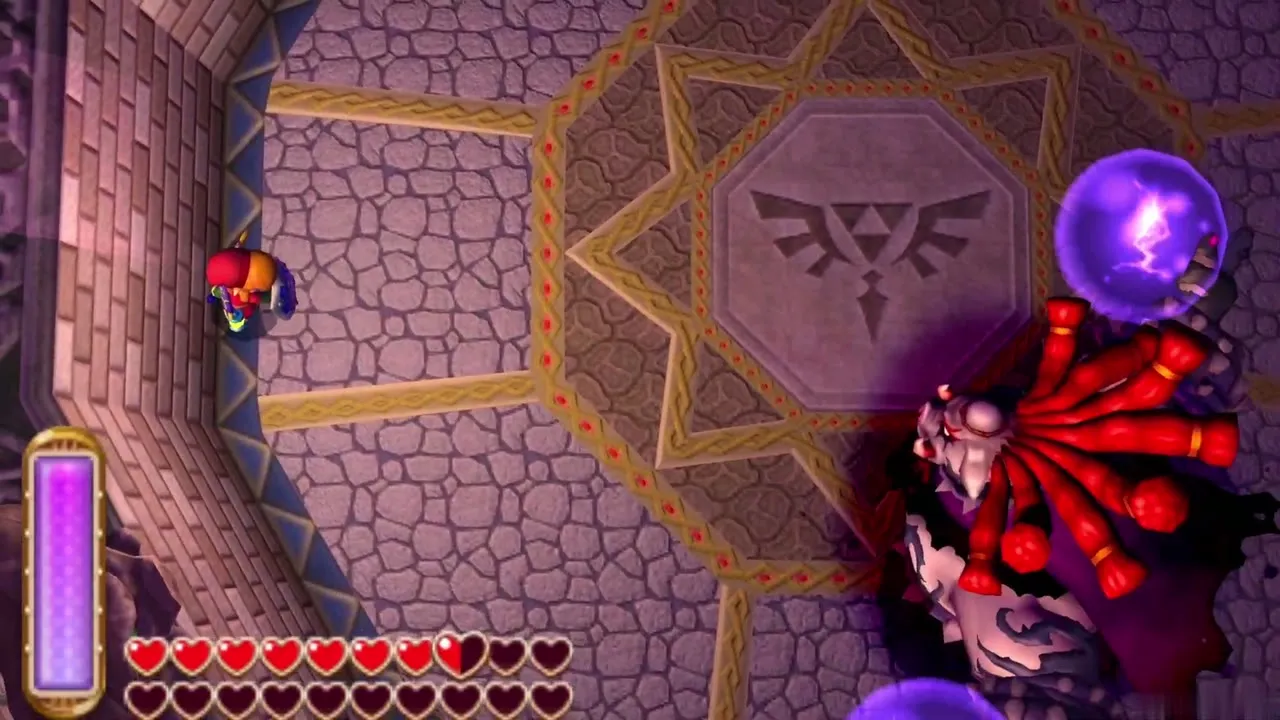
Table of Contents
Reaching the Lorule Castle throne room
Hilda’s portrait
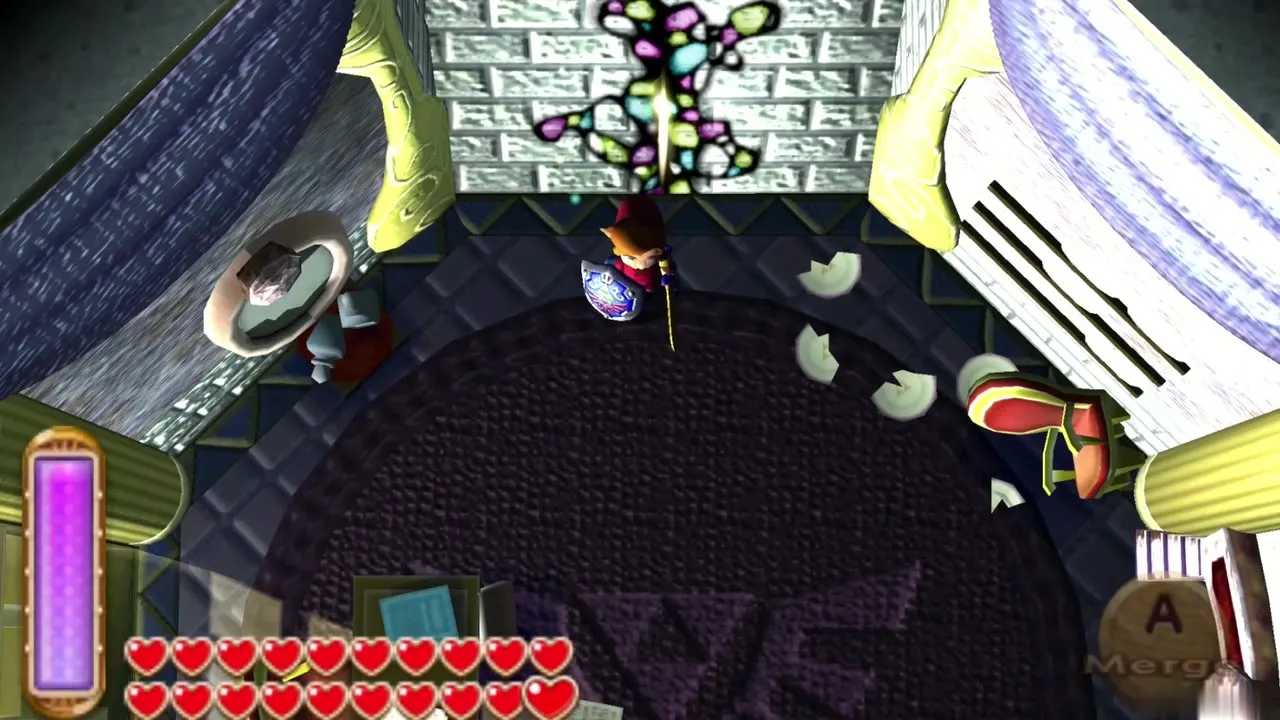
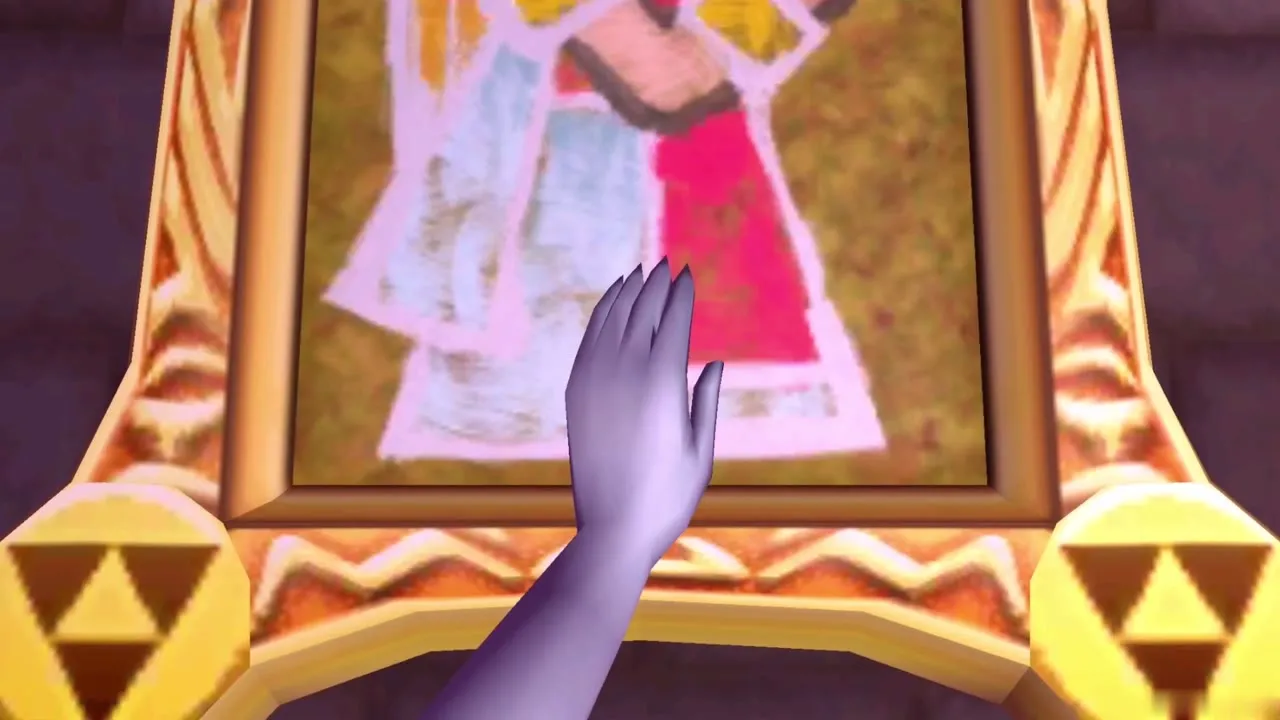
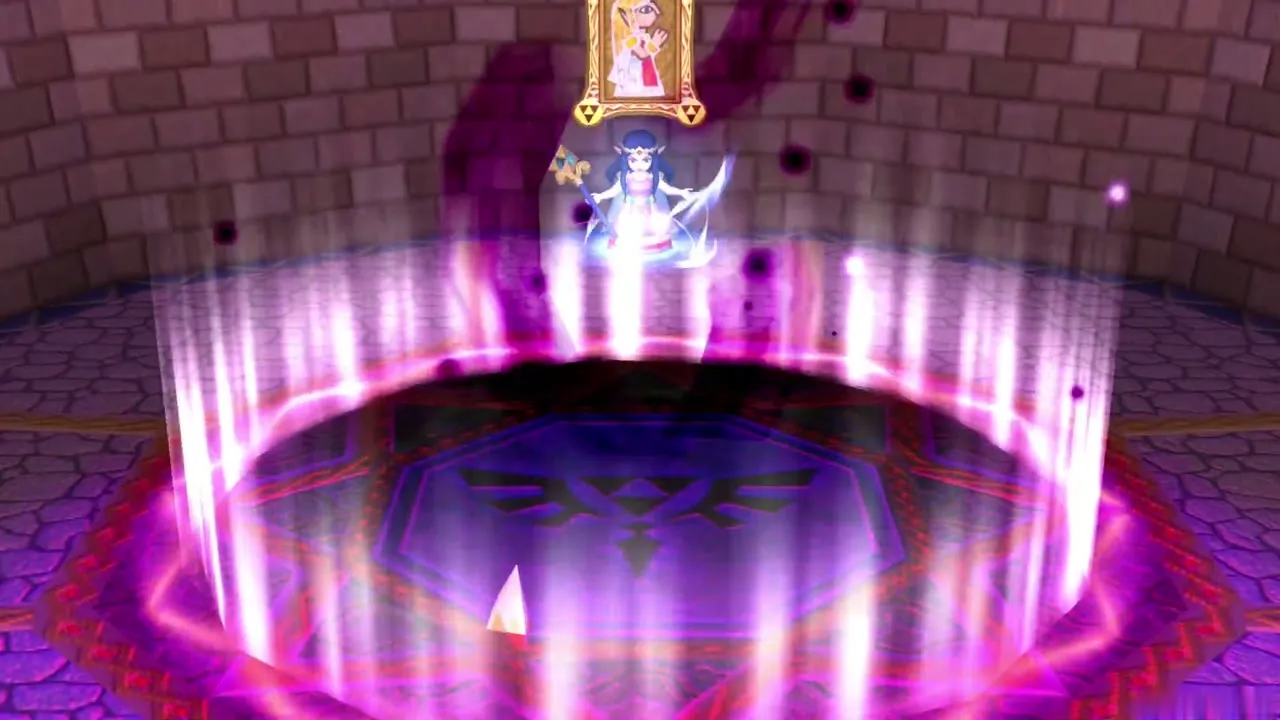
Once the four sub-boss doors of Lorule Castle are open, you reach the round Triforce chamber at the top. Hilda is not in the room, but her portrait hangs on the wall. Walk up to the frame, touch it and merge into the painting. Link slips through to the other side, where Hilda stands with her back to you and greets the hero who now holds the Triforce of Courage.
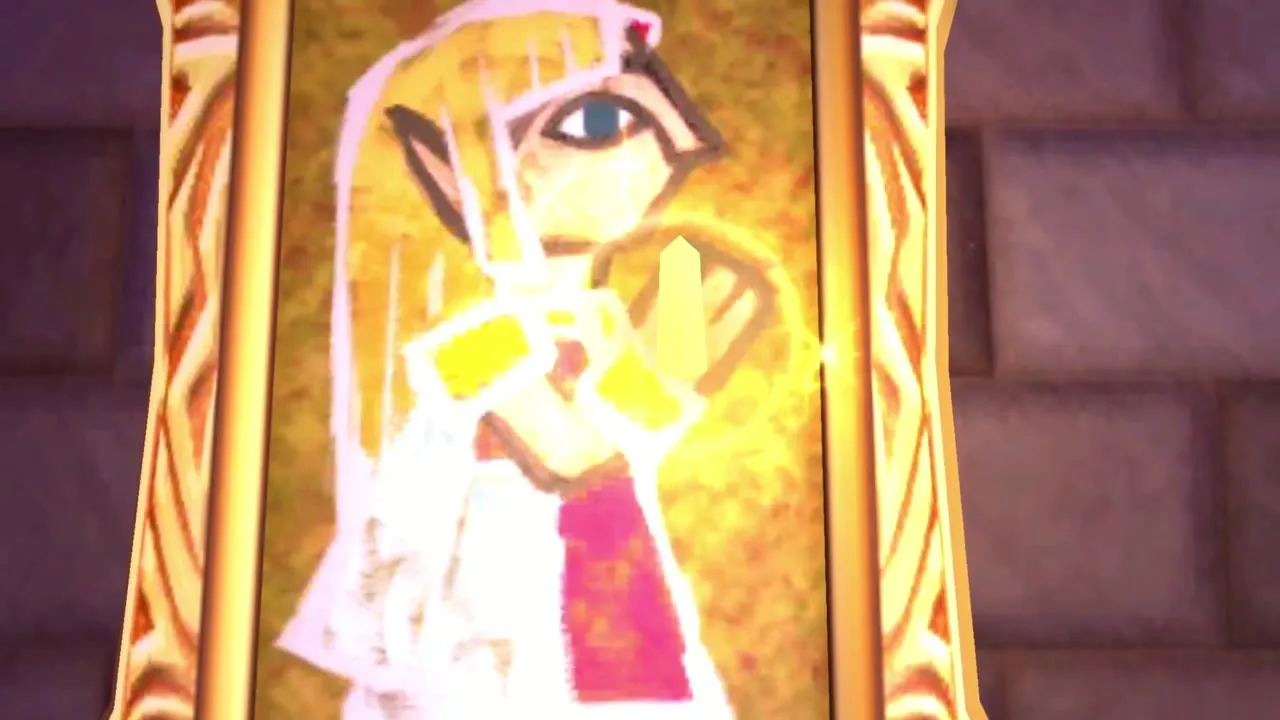
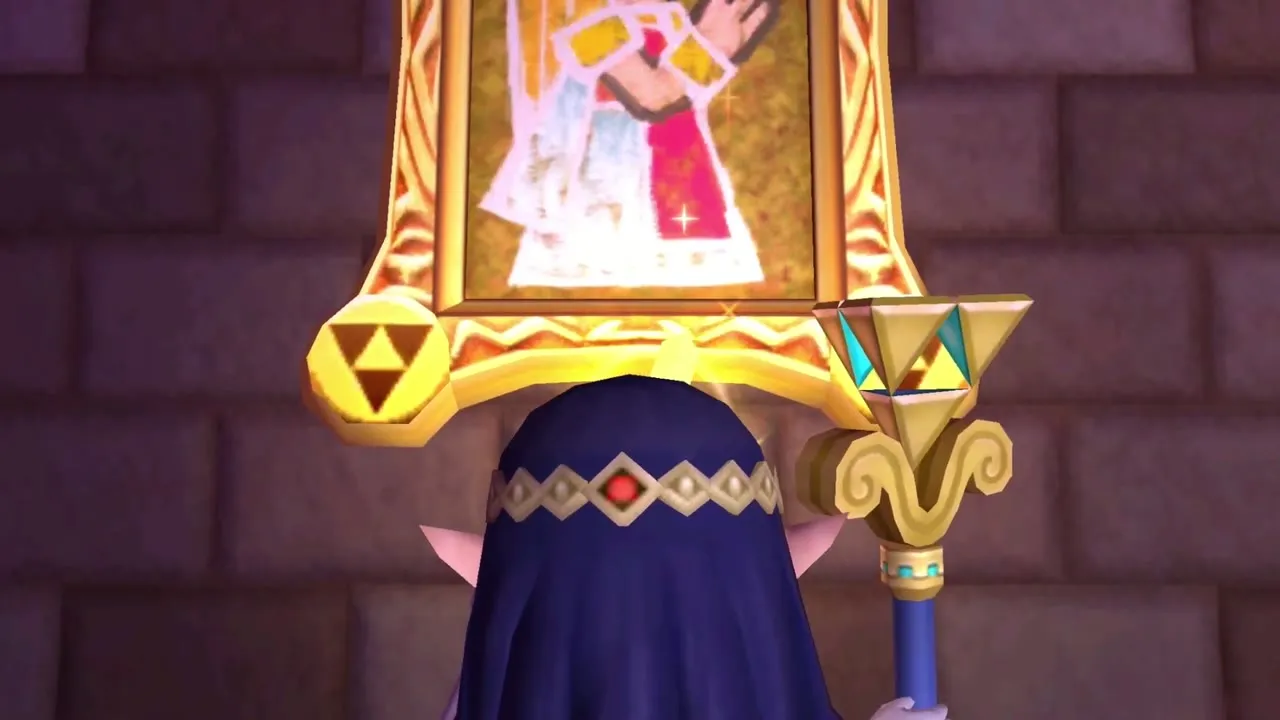
Hilda’s story and betrayal
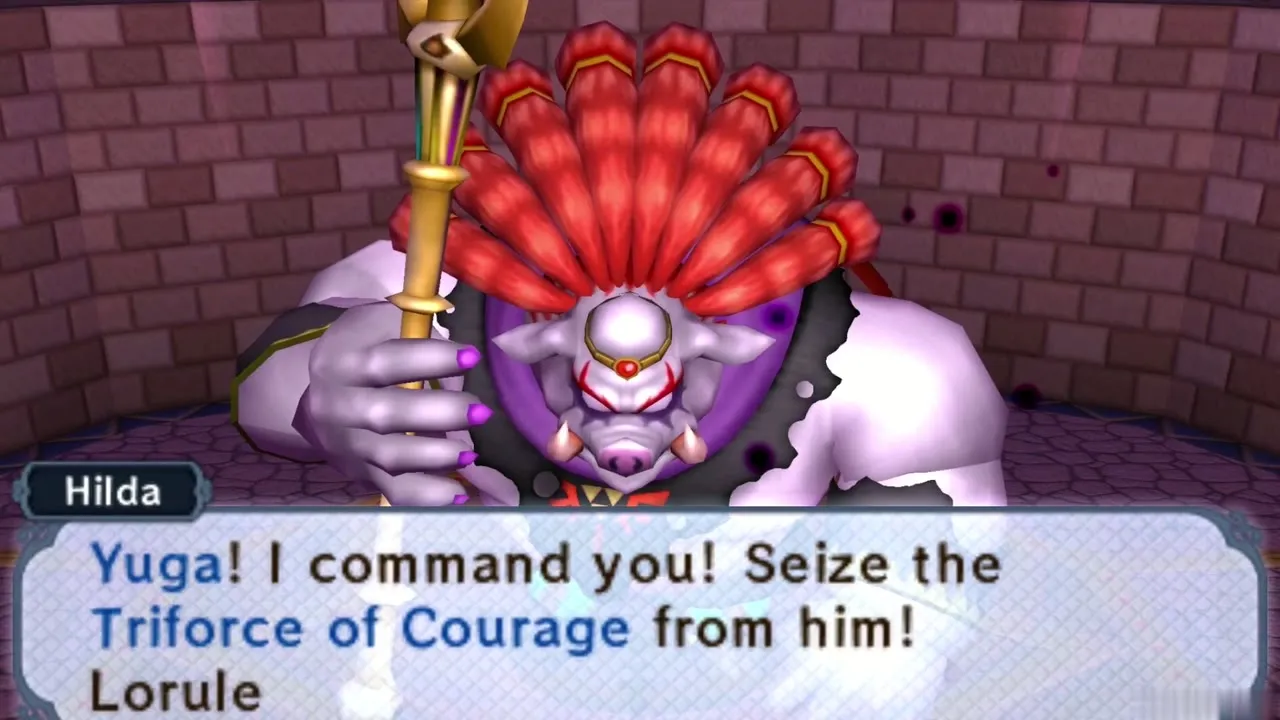
Let Hilda speak. She explains that Lorule once owned a Triforce of its own, that her ancestors destroyed it to end a war, and that the kingdom has decayed ever since. Lorule needs a Triforce, she says, so she has steered Link’s destiny all along to collect his. She takes the Triforce of Wisdom from Zelda, then orders Yuga to seize the Triforce of Courage. You cannot act during the scene, so just let it play.
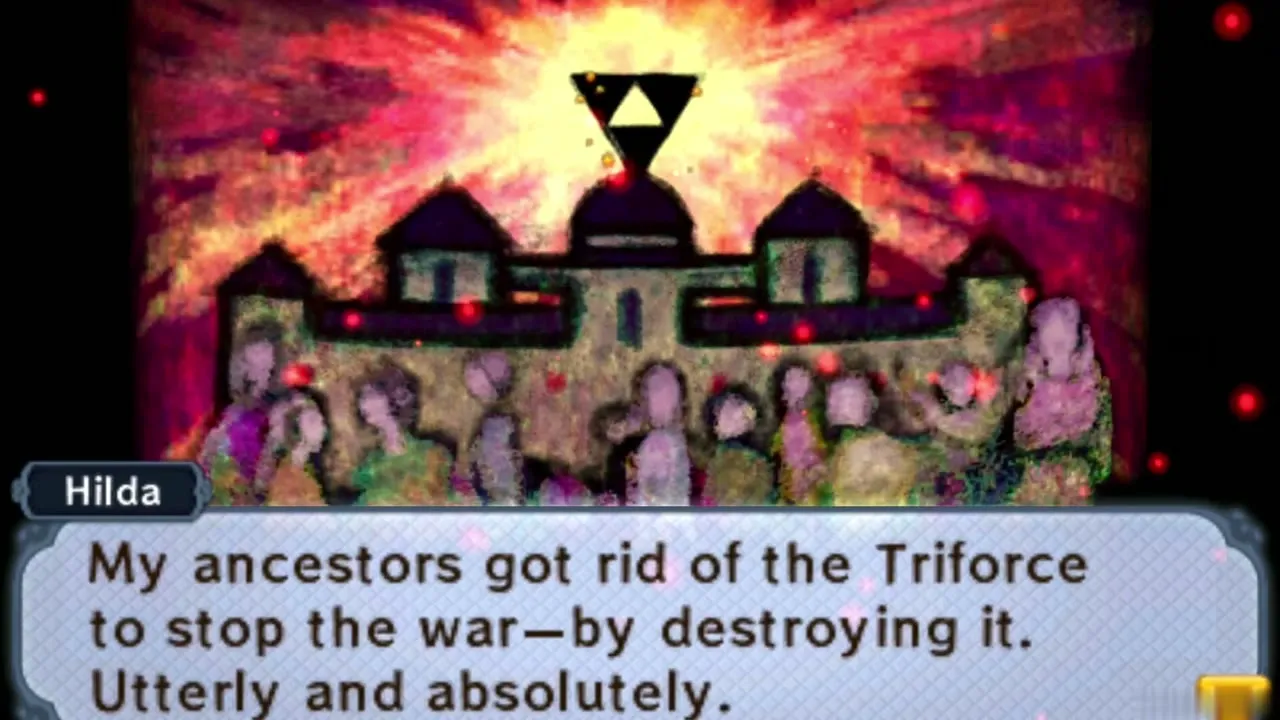
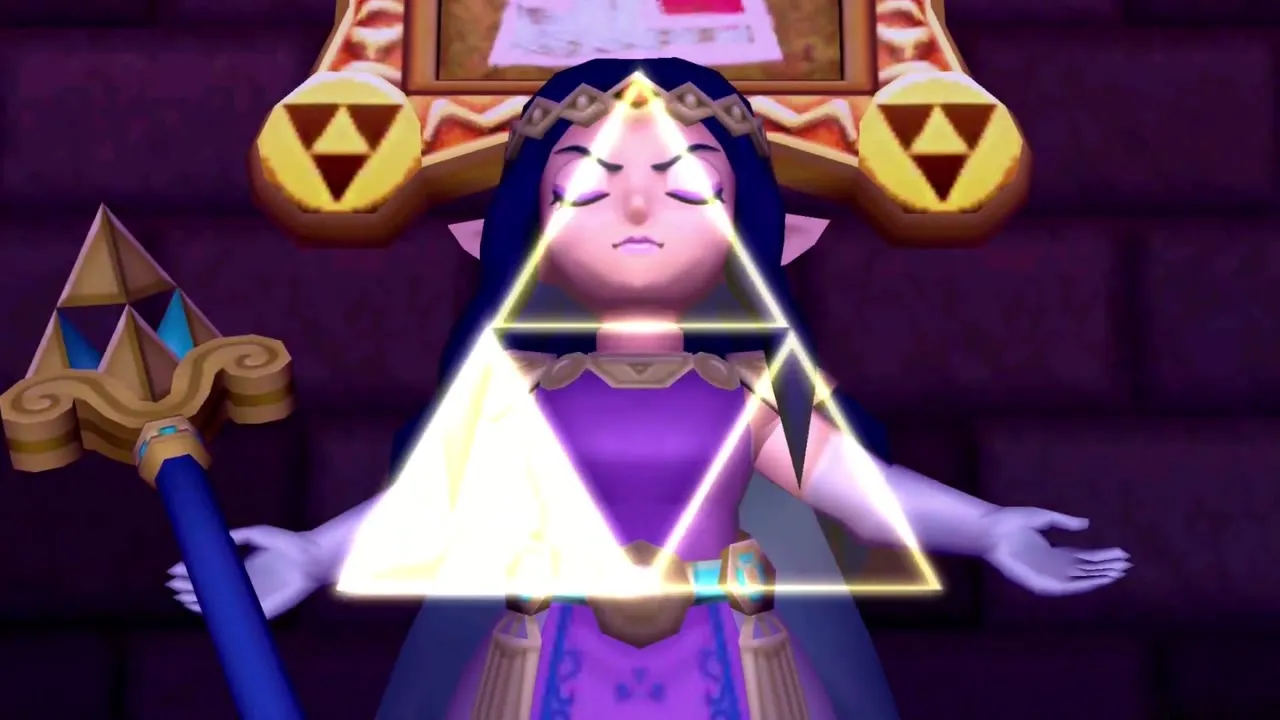
Yuga Ganon boss fight
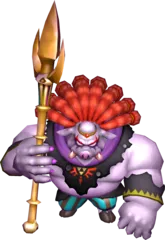
Yuga Ganon boss fight: first phase
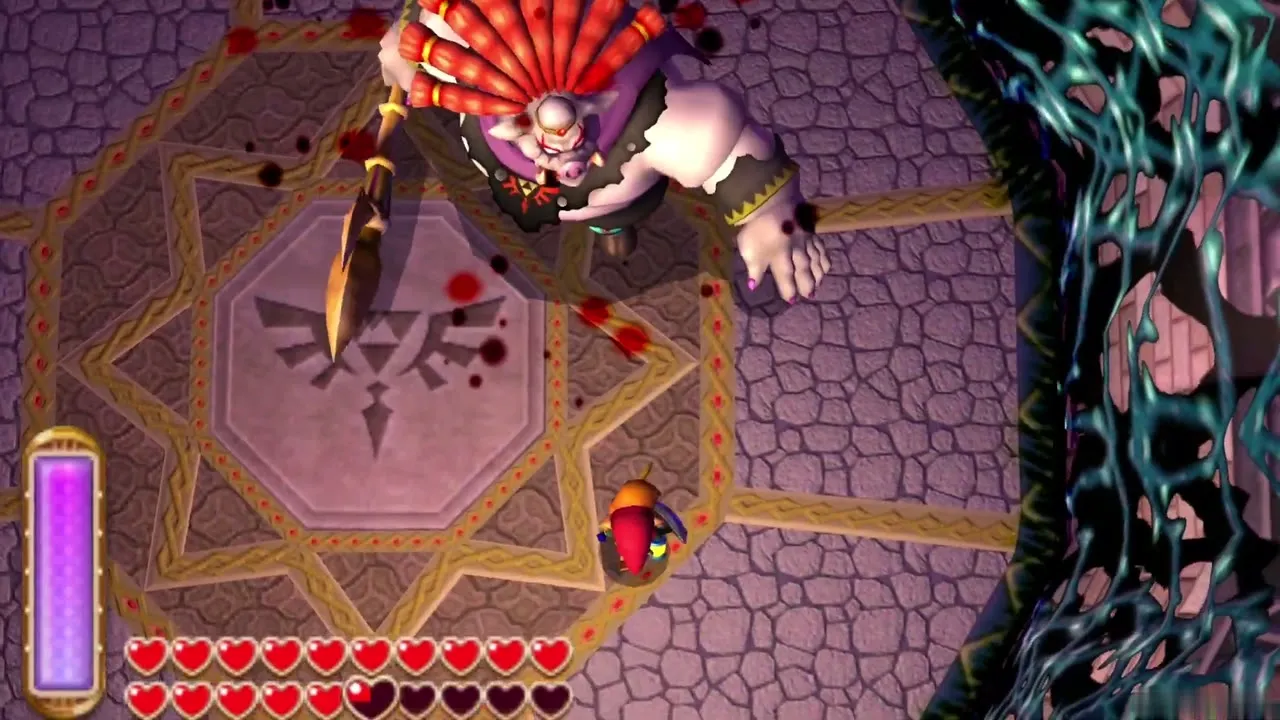
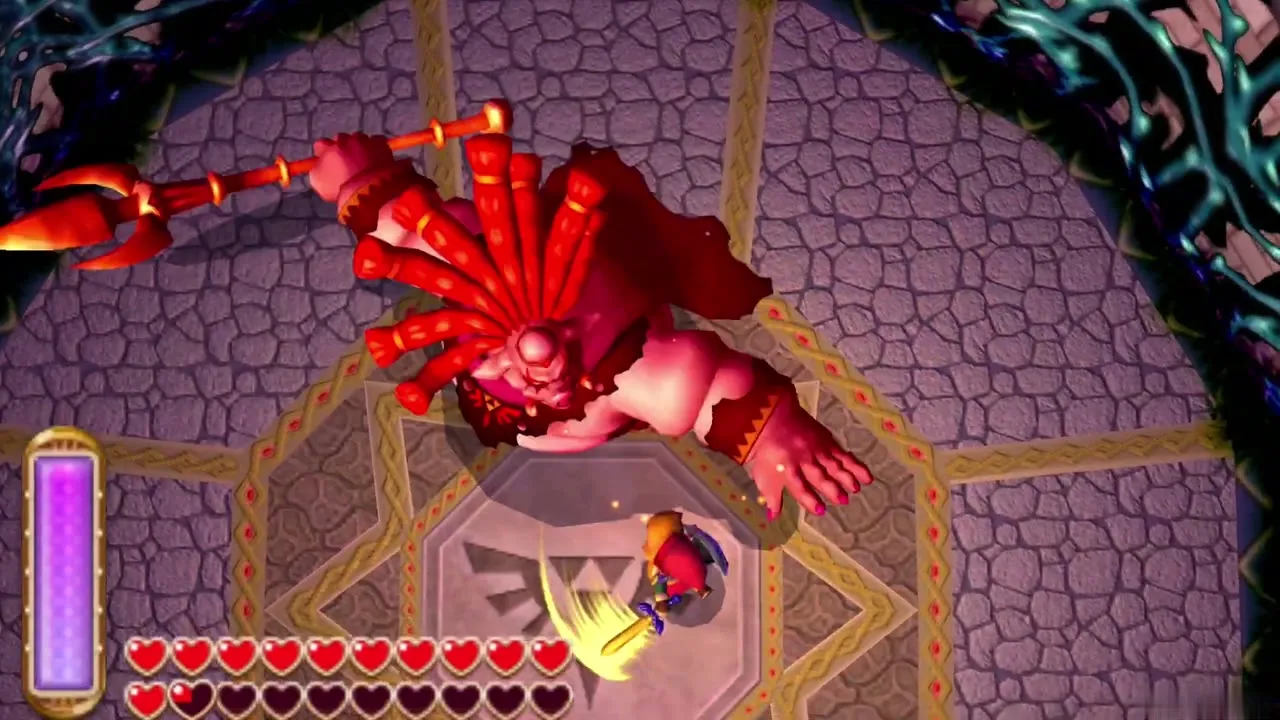
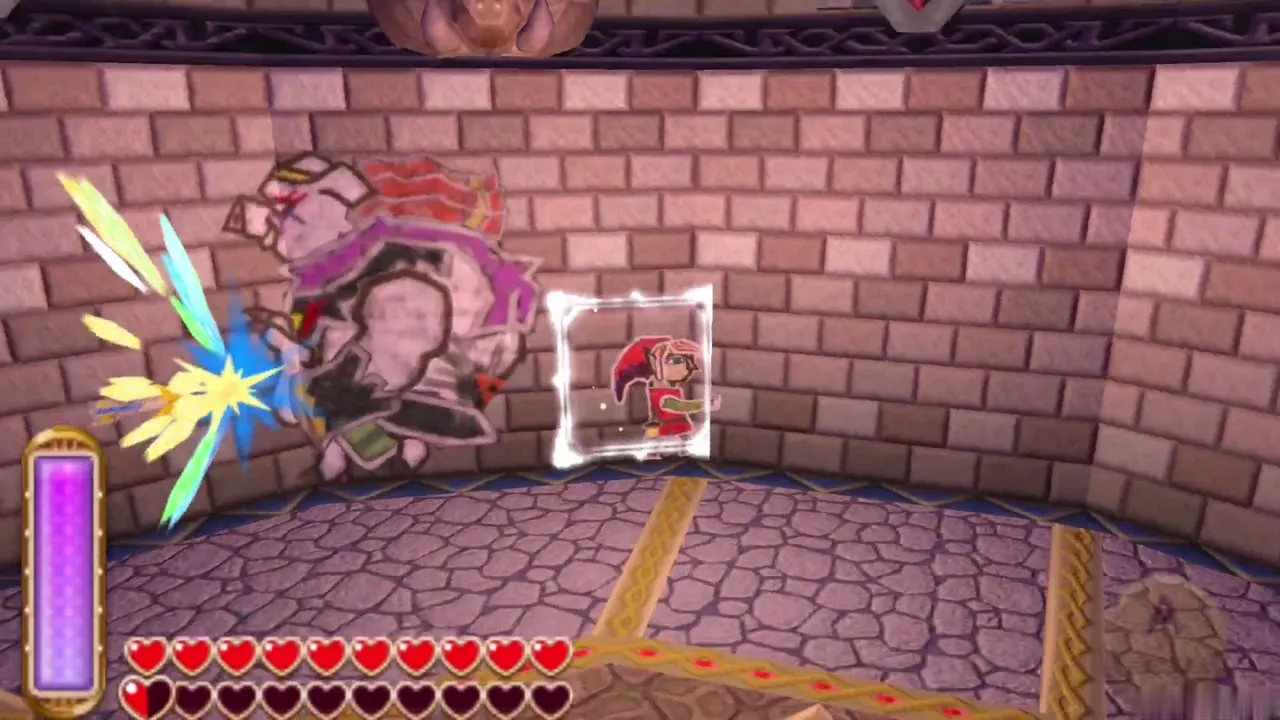
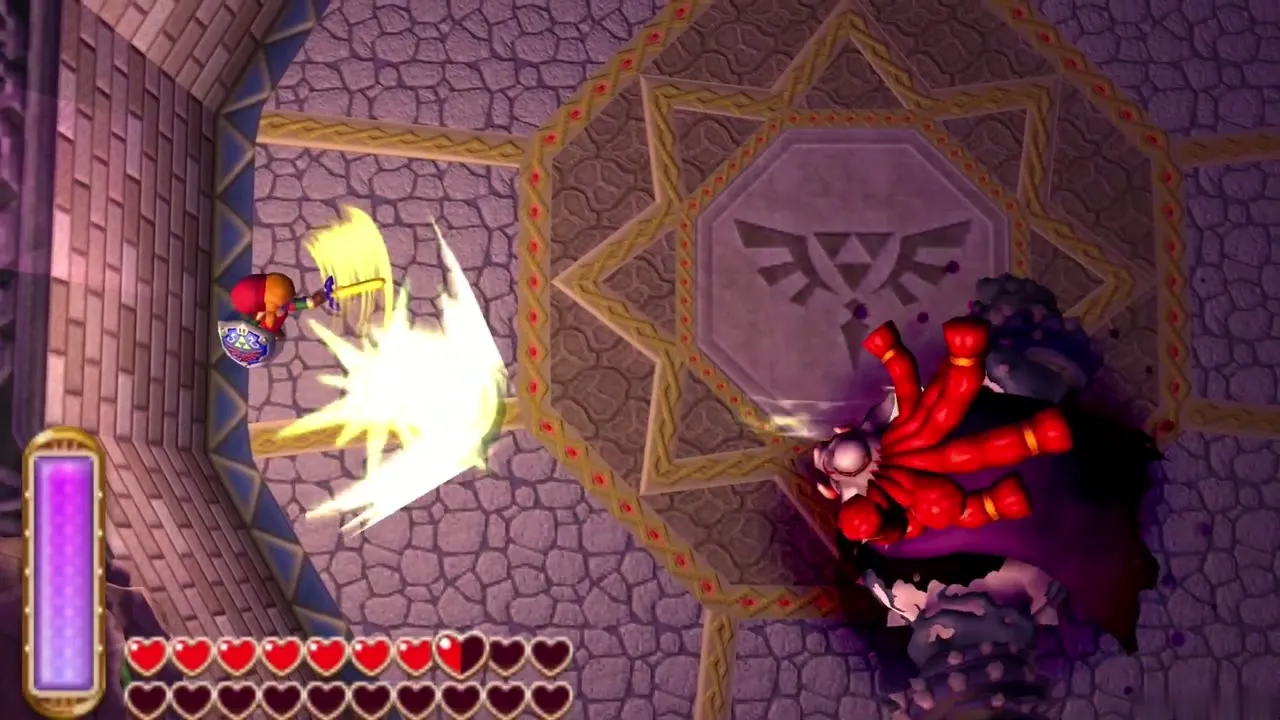
Yuga appears as a huge red-maned demon with a golden trident, in an octagonal room with a Triforce crest on the floor. A ring of dark magic stops you from merging, so this phase is fought with the sword and shield alone. He thrusts the trident, sweeps it across the floor and later hurls it at you before it flies back to his hand. Keep moving and stay out of its path.
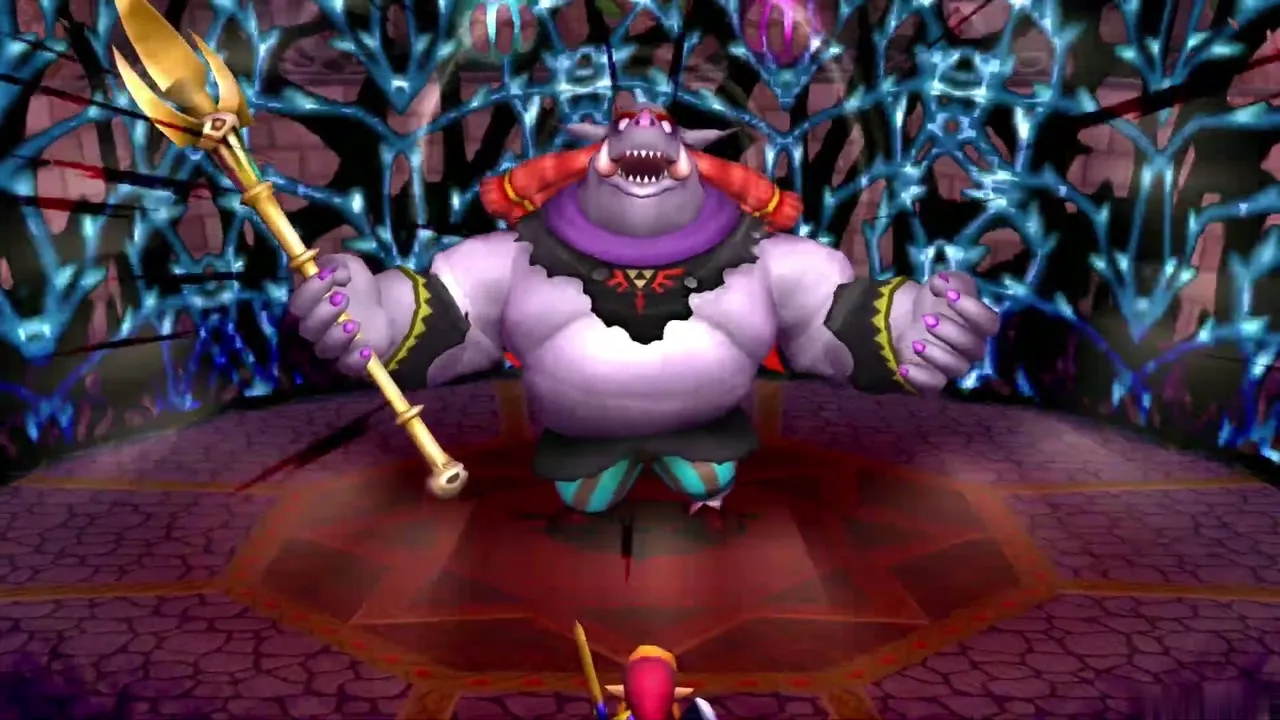
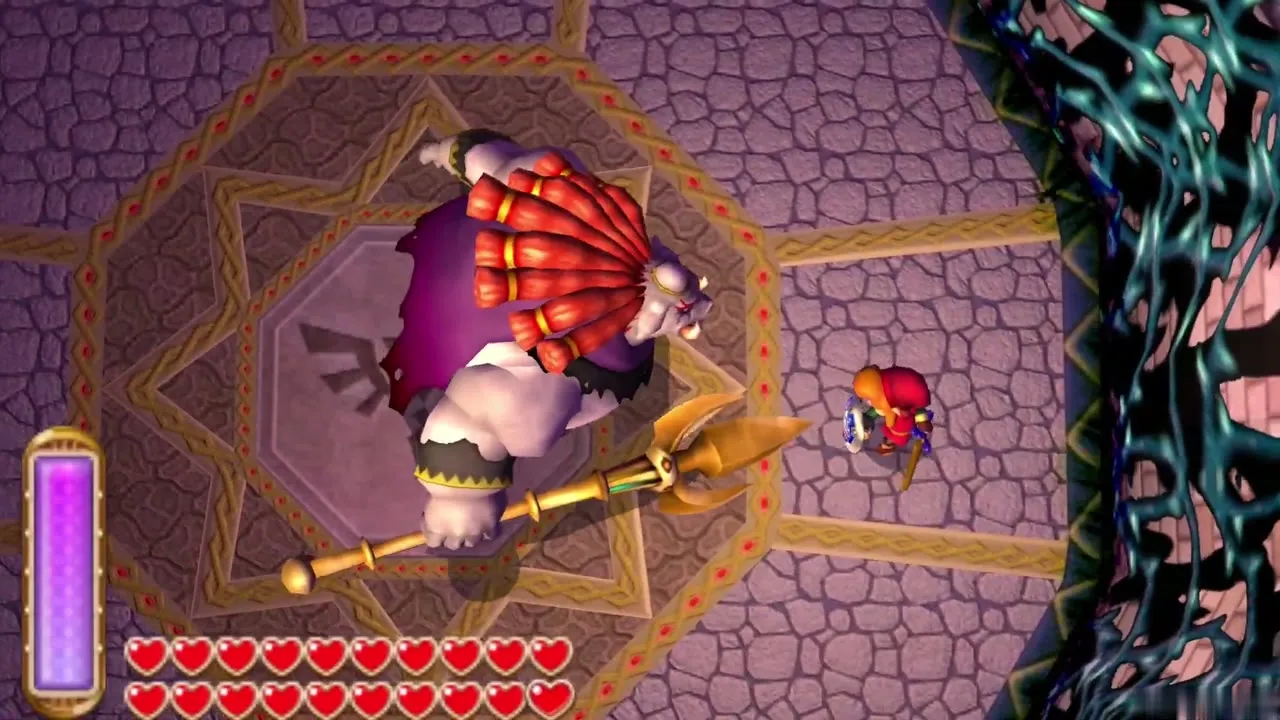
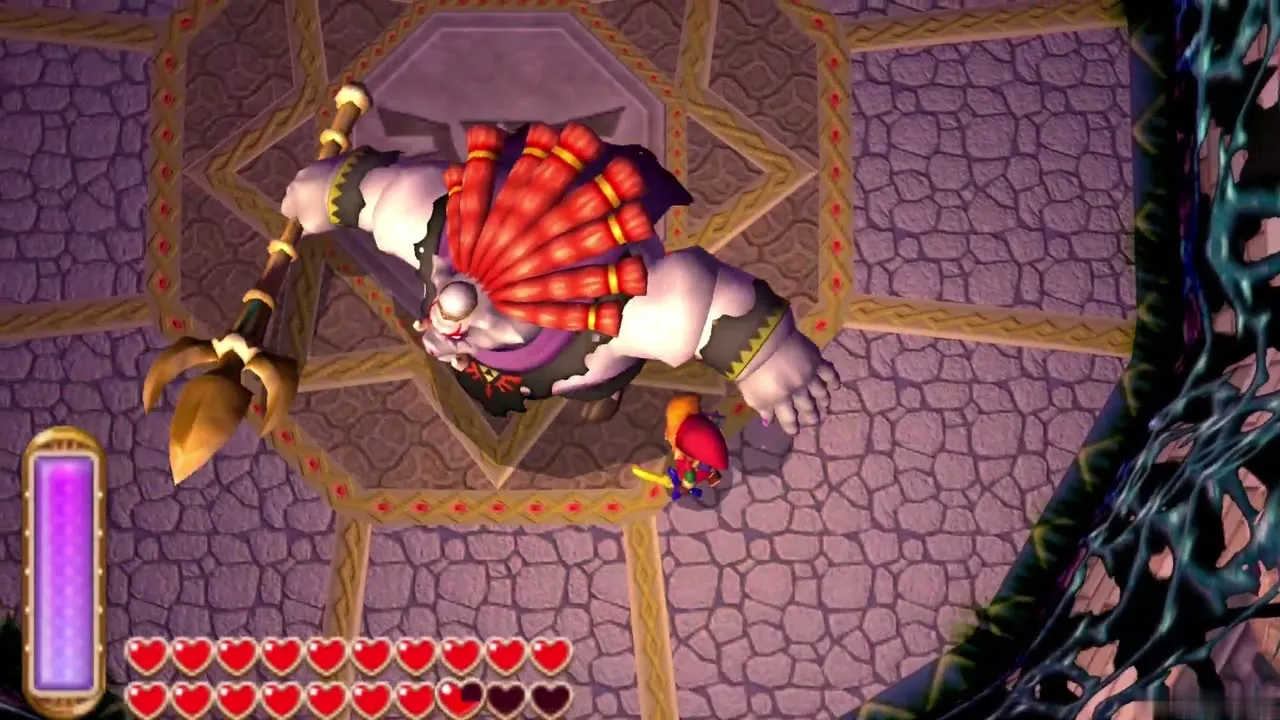
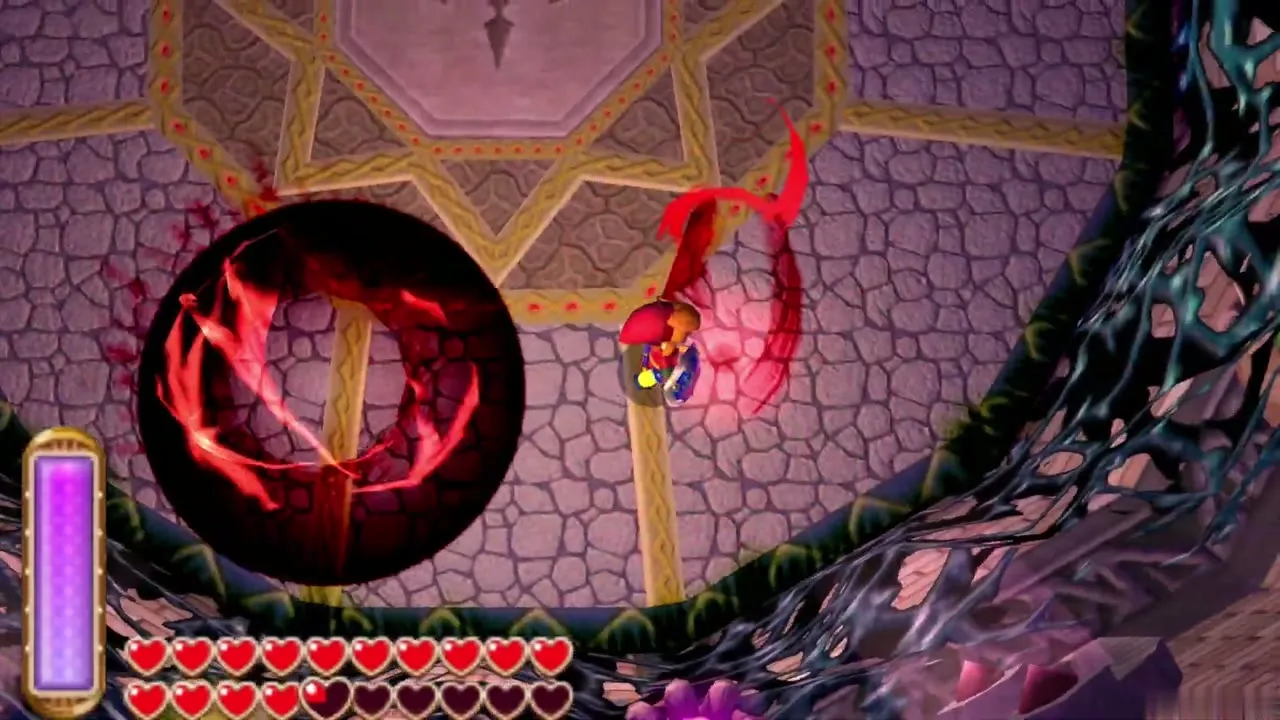
Dodge a thrust or sweep, run in behind him and slash. Attacking from the front leaves you open to his next swing, so strike his back and back away. The more damage he takes, the more often he warps around the room. Now and then he vanishes and rains energy balls down on your position from above. Keep running until they stop, then return to hitting him once he reappears.
Yuga turns on Hilda
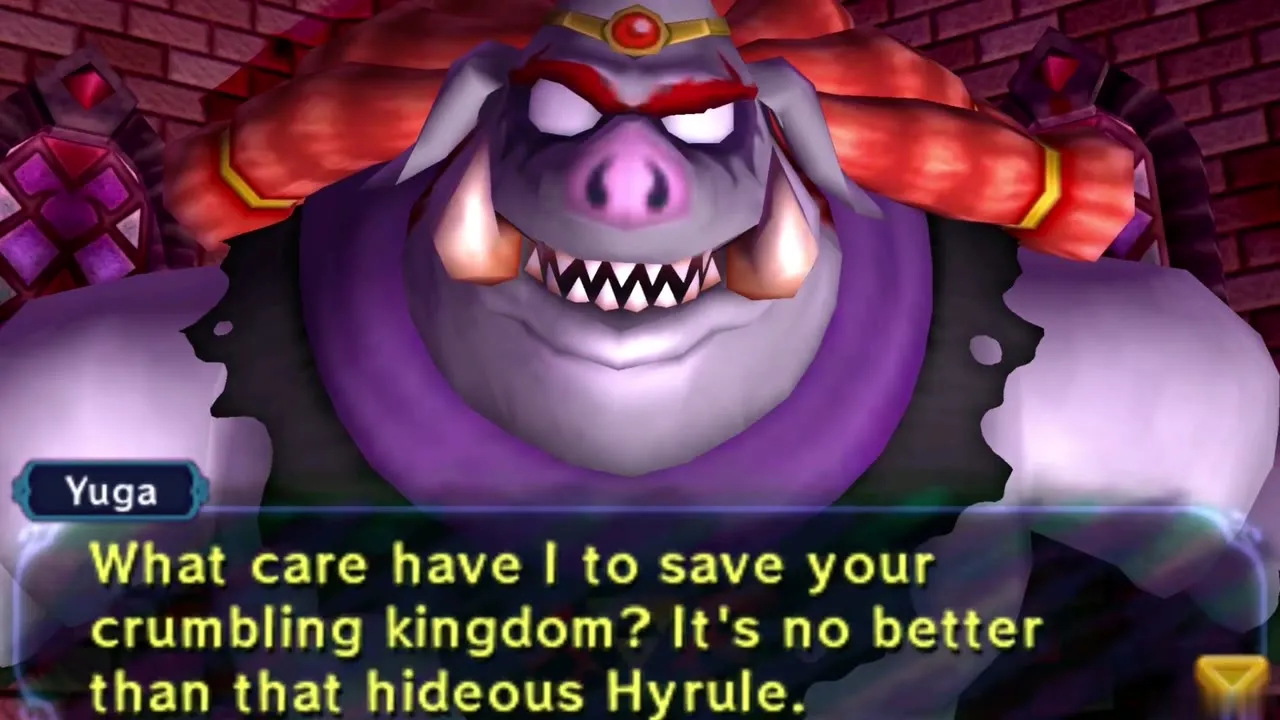
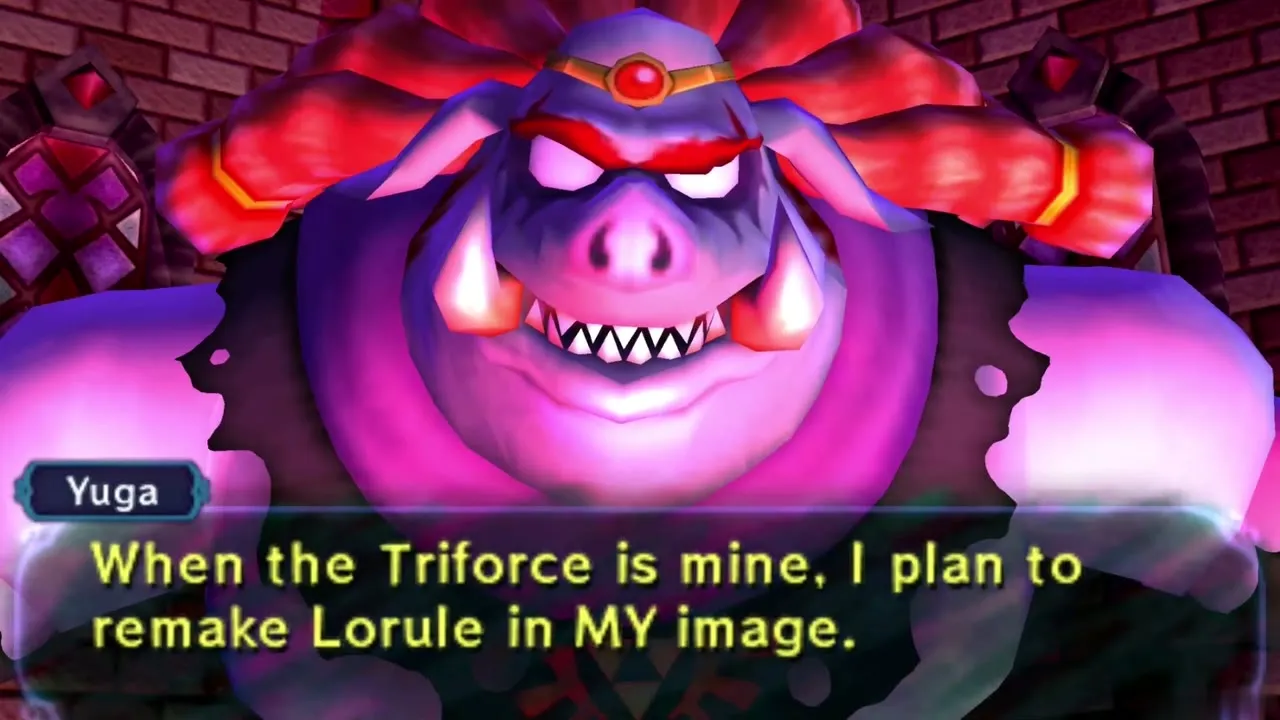
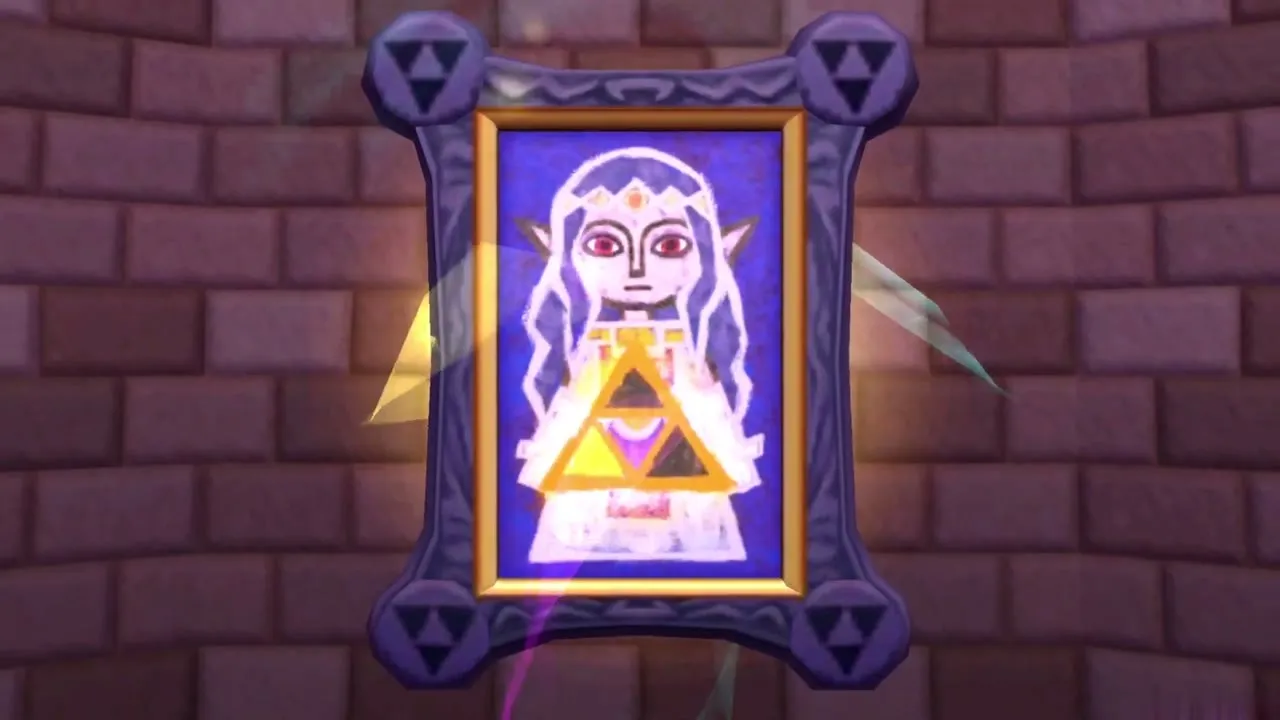
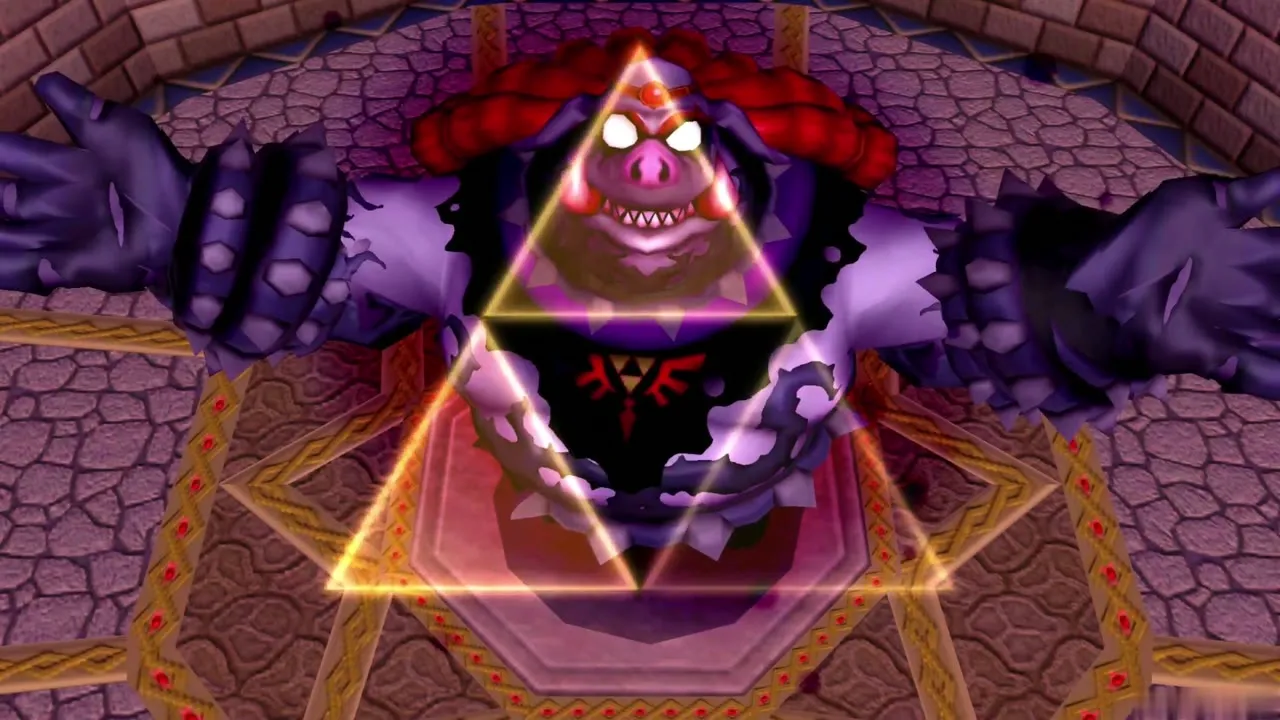
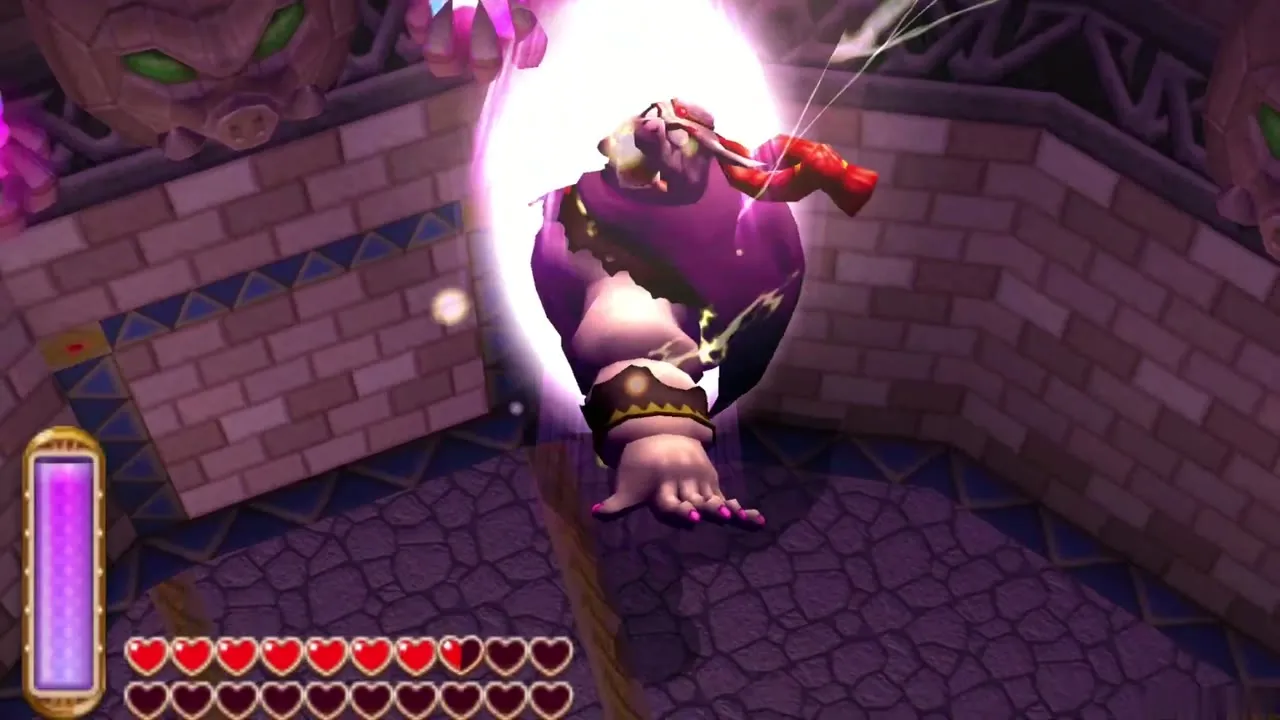
Once enough damage is done, Hilda demands that Yuga hand his Triforce of Power over to her. He laughs instead, says he does not care about saving her crumbling kingdom and means to remake Lorule in his own image. He turns her into a painting and absorbs her with the Triforce of Wisdom, swelling into a darker, bigger beast that holds two pieces of the Triforce. The second phase begins.
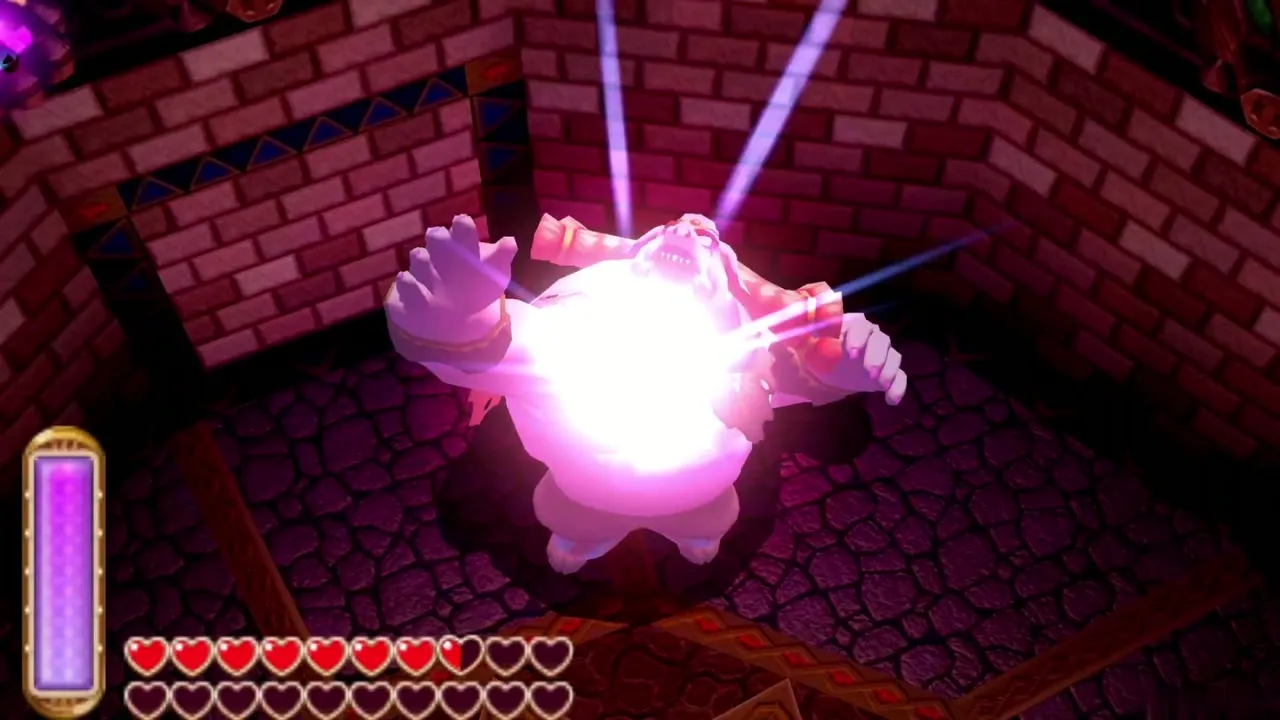
Dead Man’s Volley
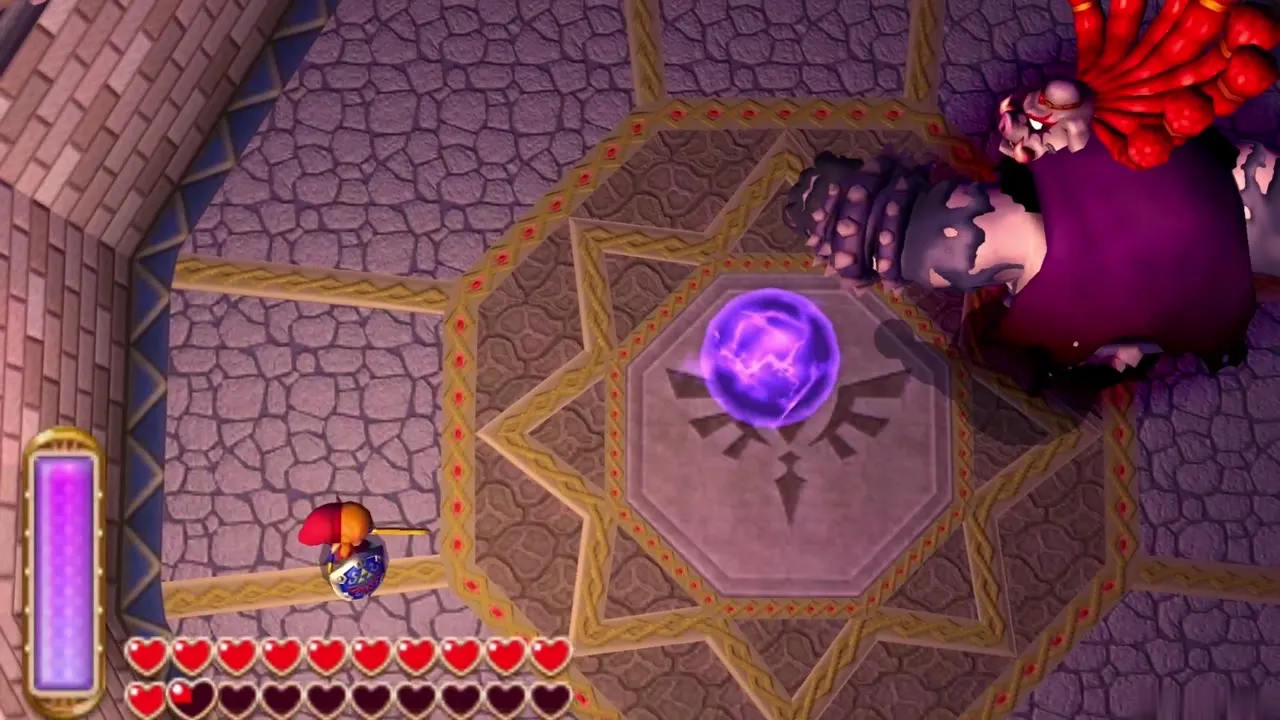
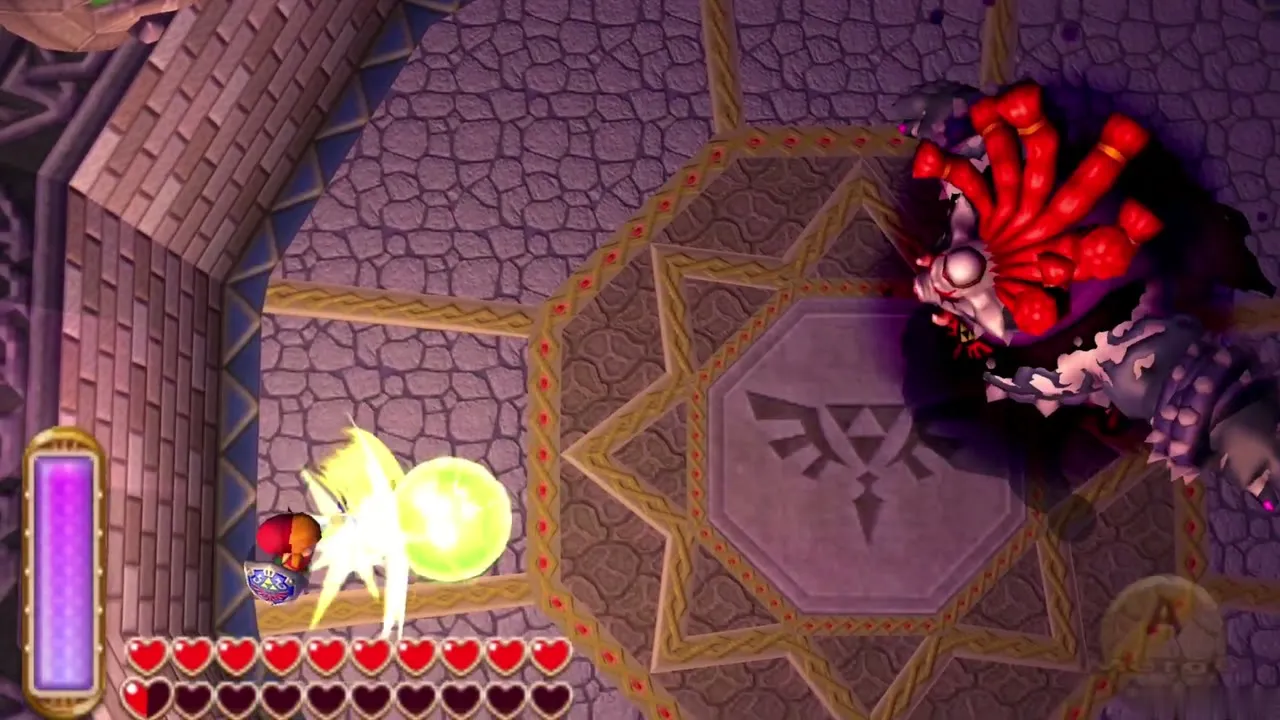
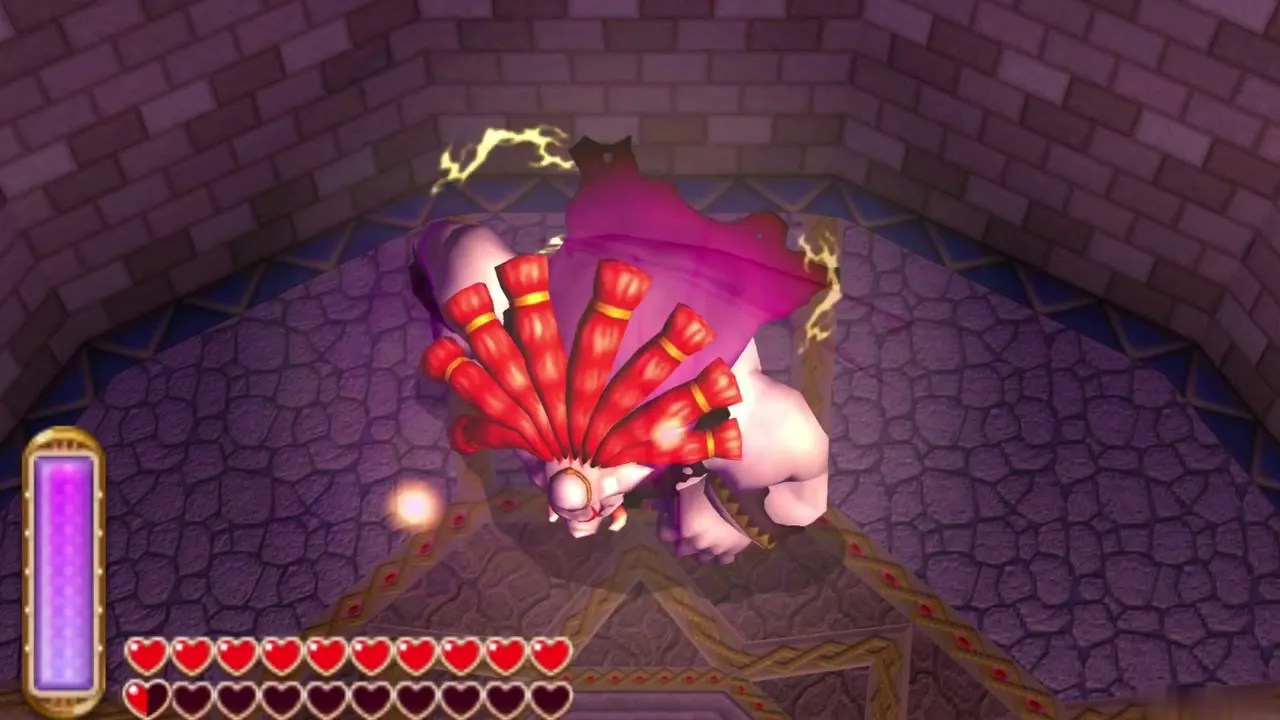
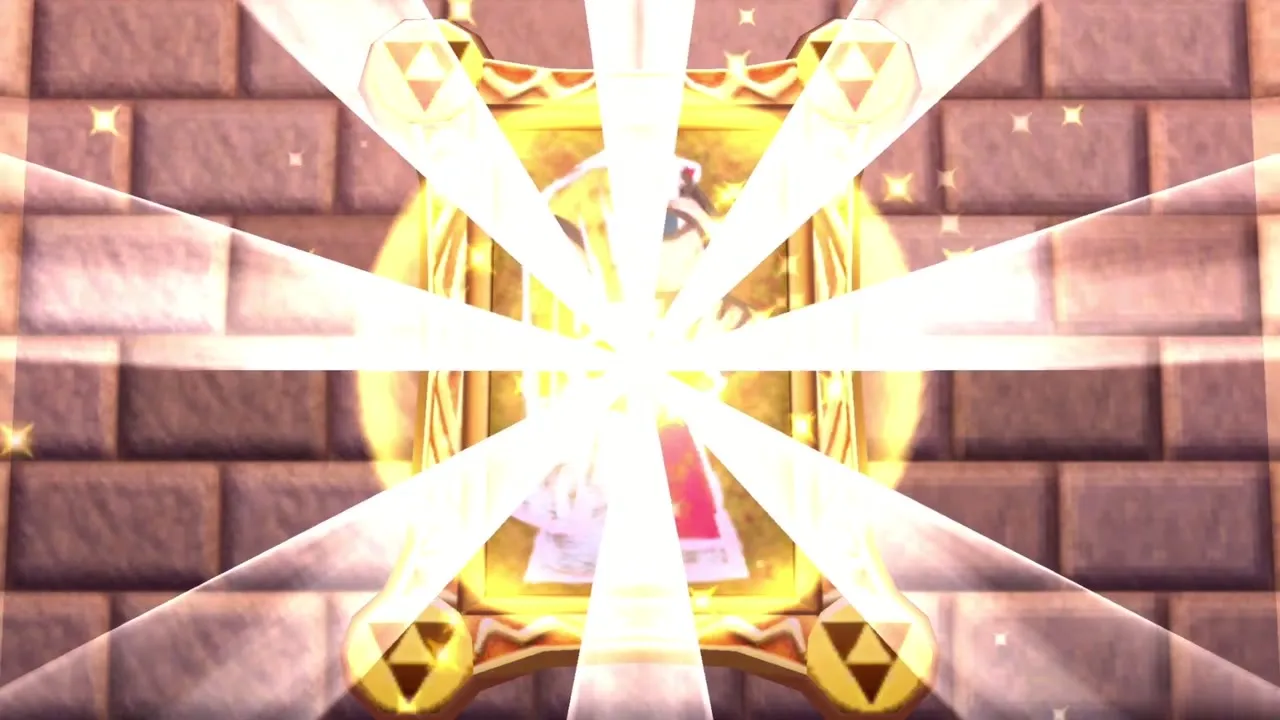
The beast opens by throwing a ball of energy at Link. Swing the sword just as it arrives and knock it straight back at him. He returns it, and you trade it back and forth until it catches him. Stunned by his own magic, Yuga sinks into the wall as a painting. A flash of light follows, and Zelda speaks to you from her framed portrait on the wall.
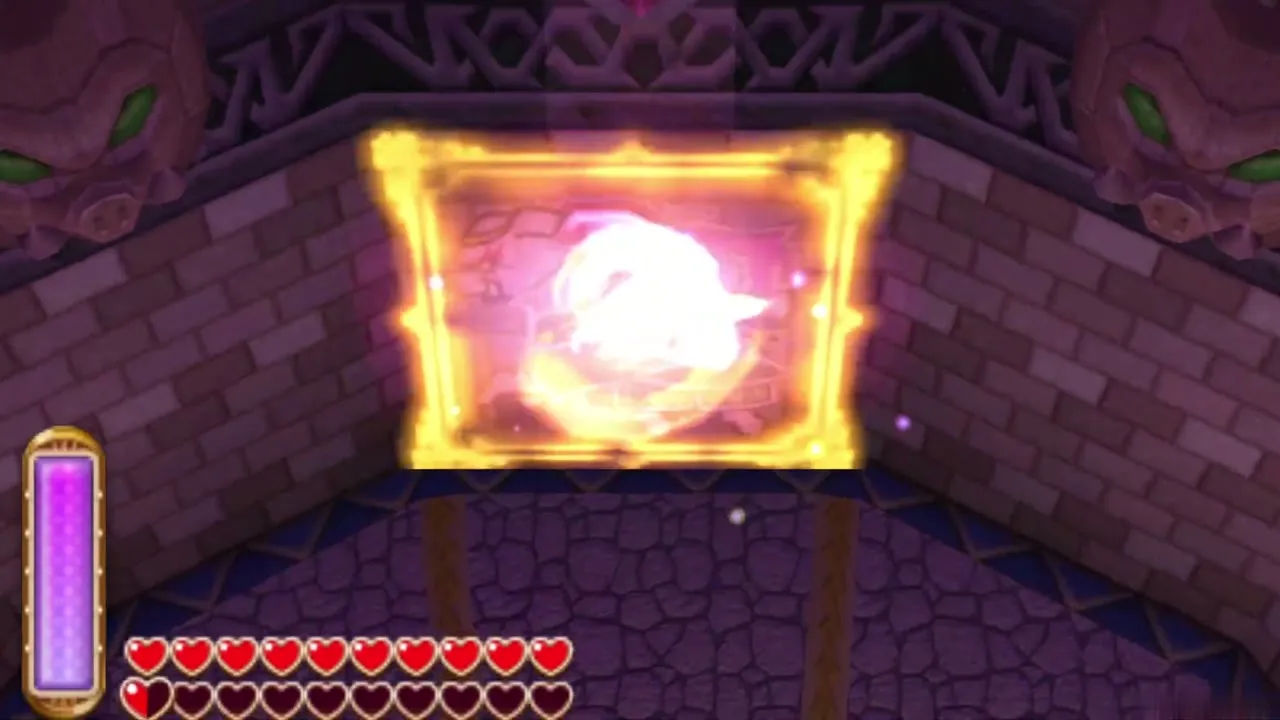
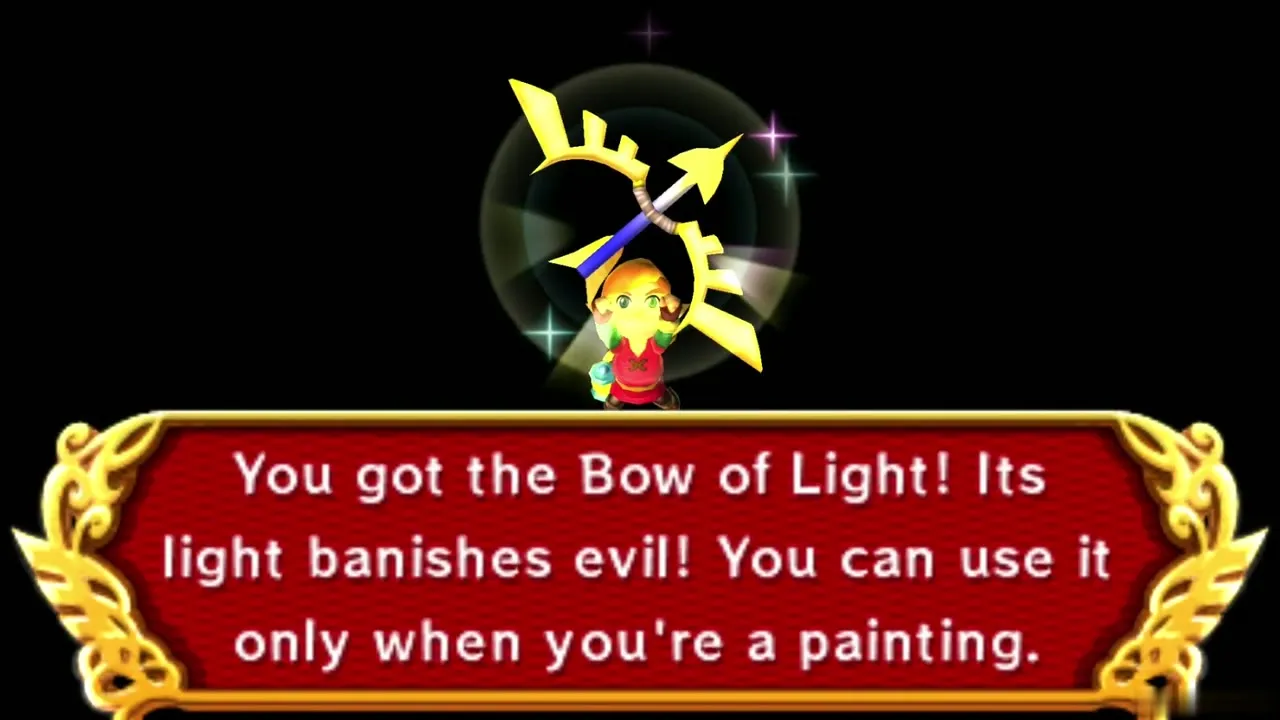
Bow of Light
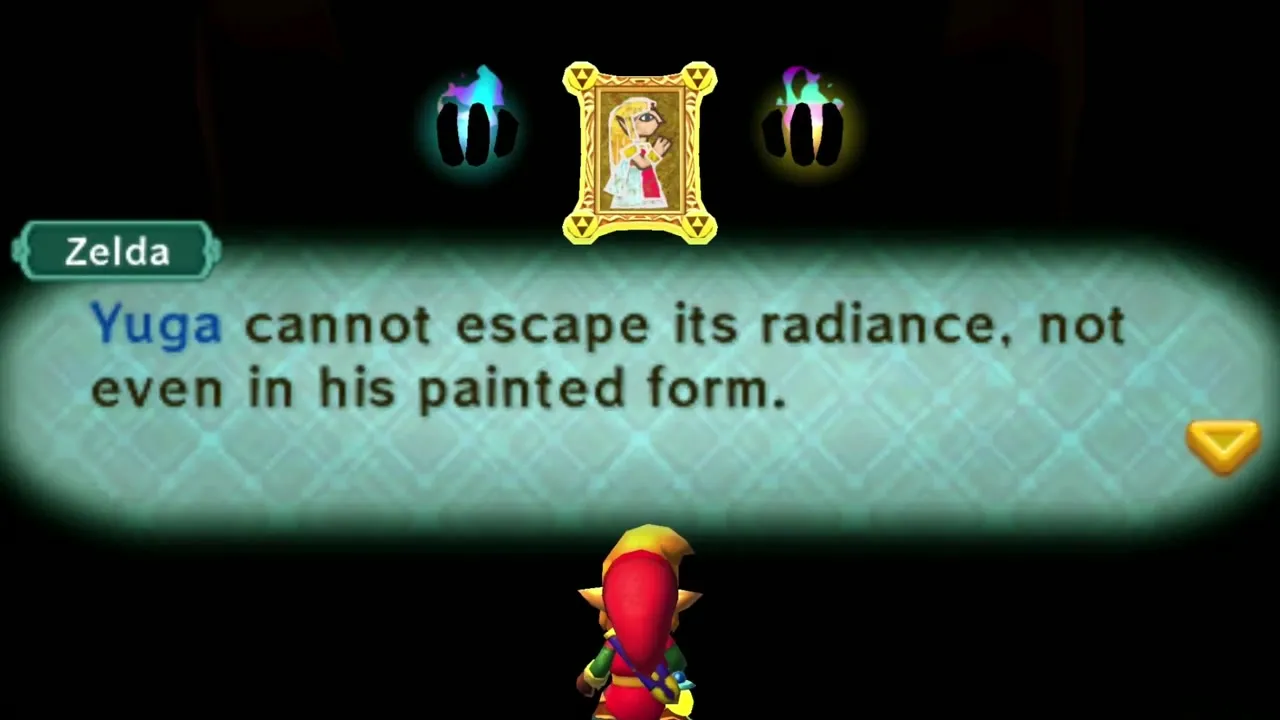
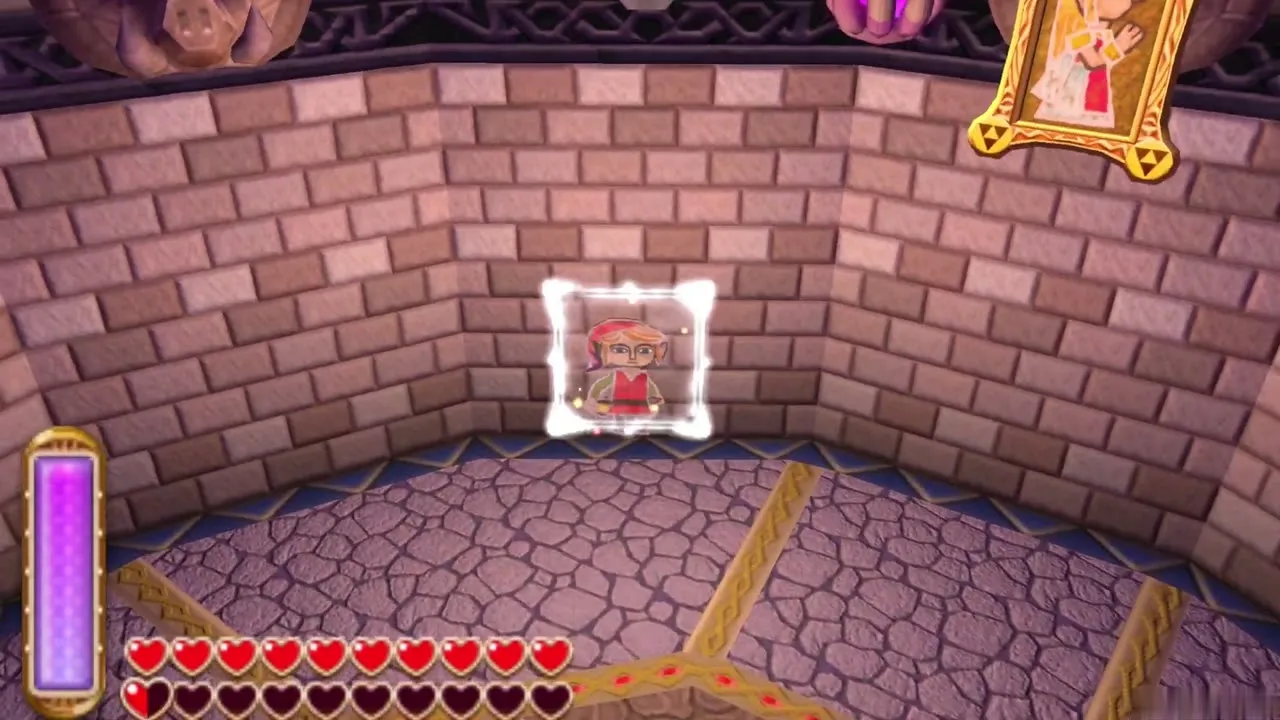
Zelda gives you the Bow of Light. It holds the power of the Triforce and can be fired only while Link is merged into a wall; Yuga cannot escape its radiance even in painted form. It is added to your items right away, so step back into the wall, aim and fire.
Yuga Ganon boss fight: second phase
Yuga now travels along the walls as a painting. Merge into the wall and fire a Light Arrow at him. He catches the arrow, which leaves his back open. Leave the wall, circle behind him, merge again and shoot a second arrow into his back. That throws him out of the wall onto the floor, where you can run up and cut him with the sword before he recovers.
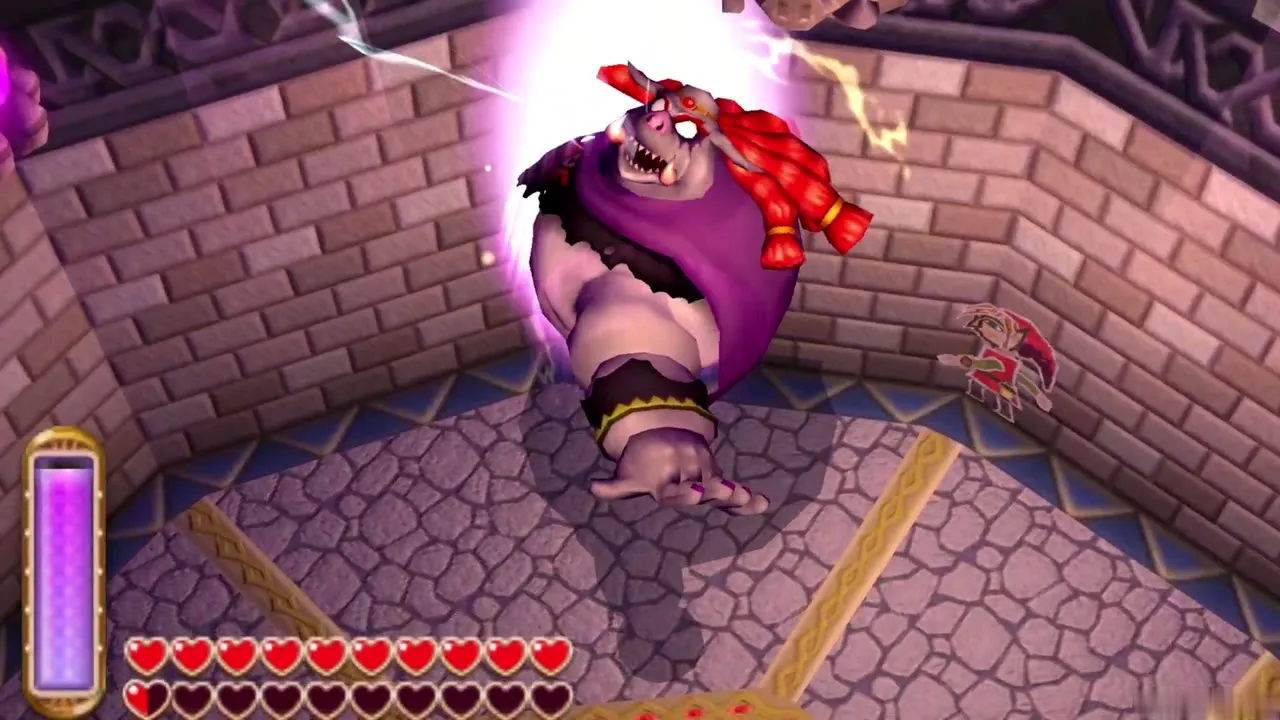
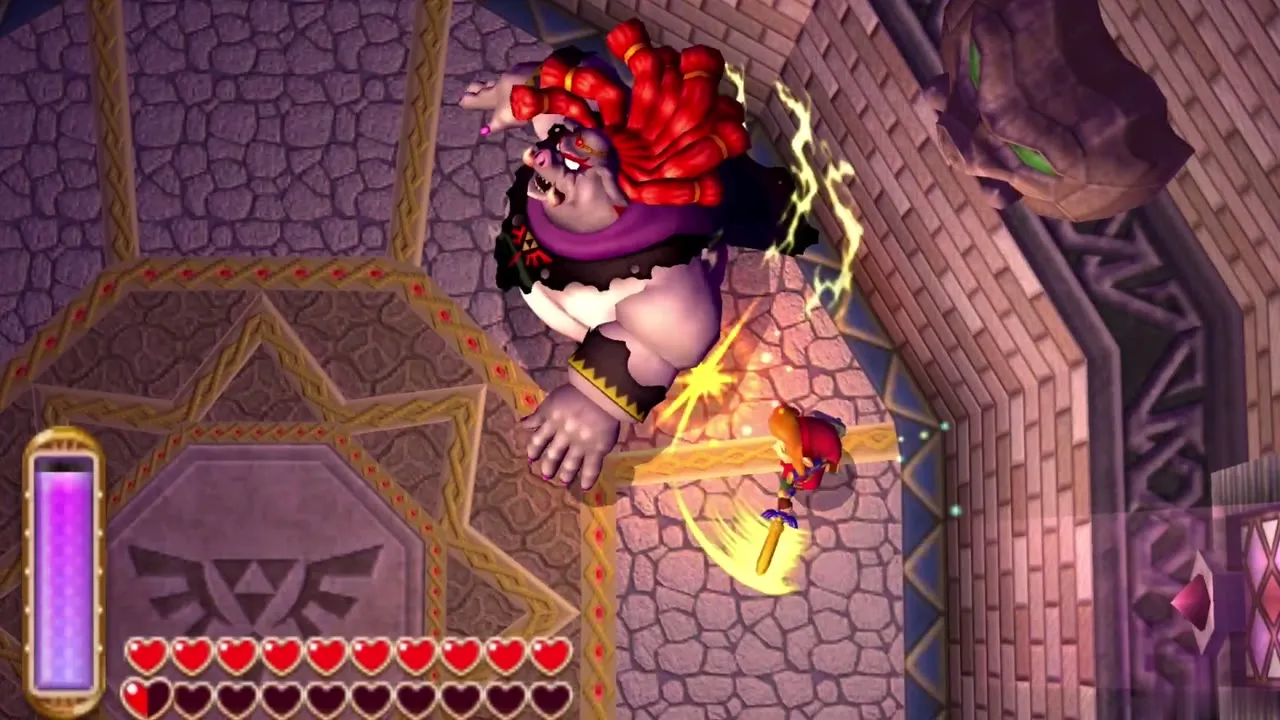
You repeat this three times in all, each with a twist. After the first hit he warps away and fireballs burst from the walls, so keep moving until they are gone. The second time, Yuga charges at you after the first arrow, so step out of the wall and merge back in at once to shoot him in the back. Be quick, because the charge does not wait for you.
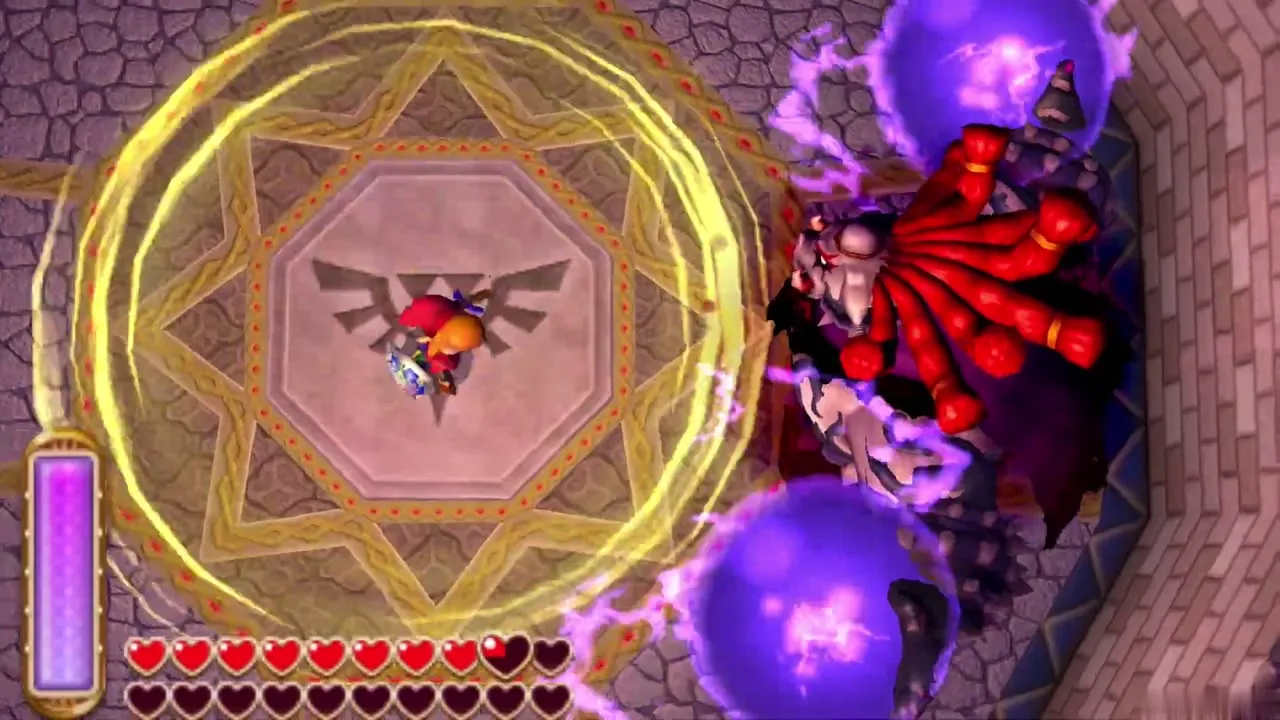
The third time he blocks every arrow and turns too fast for the back shot. Stand in the wall and shoot the Light Arrow away from him instead. It travels along the wall and hits him from behind, forcing him out for good. Hit him with the sword until he is finished, and Yuga ends up trapped in a painting once more. The fight does not give a Heart Container.
Hilda and Ravio
Hilda’s last stand
Zelda steps out of the light and faces Hilda. She says nobody understands a princess’s duty to her people better than she does, but Hilda answers that Zelda understands nothing and that this is not over. Then Ravio steps in. He admits that he once served Hilda, but that he was clever enough to flee to Hyrule, and he asks Zelda whether he may intervene.
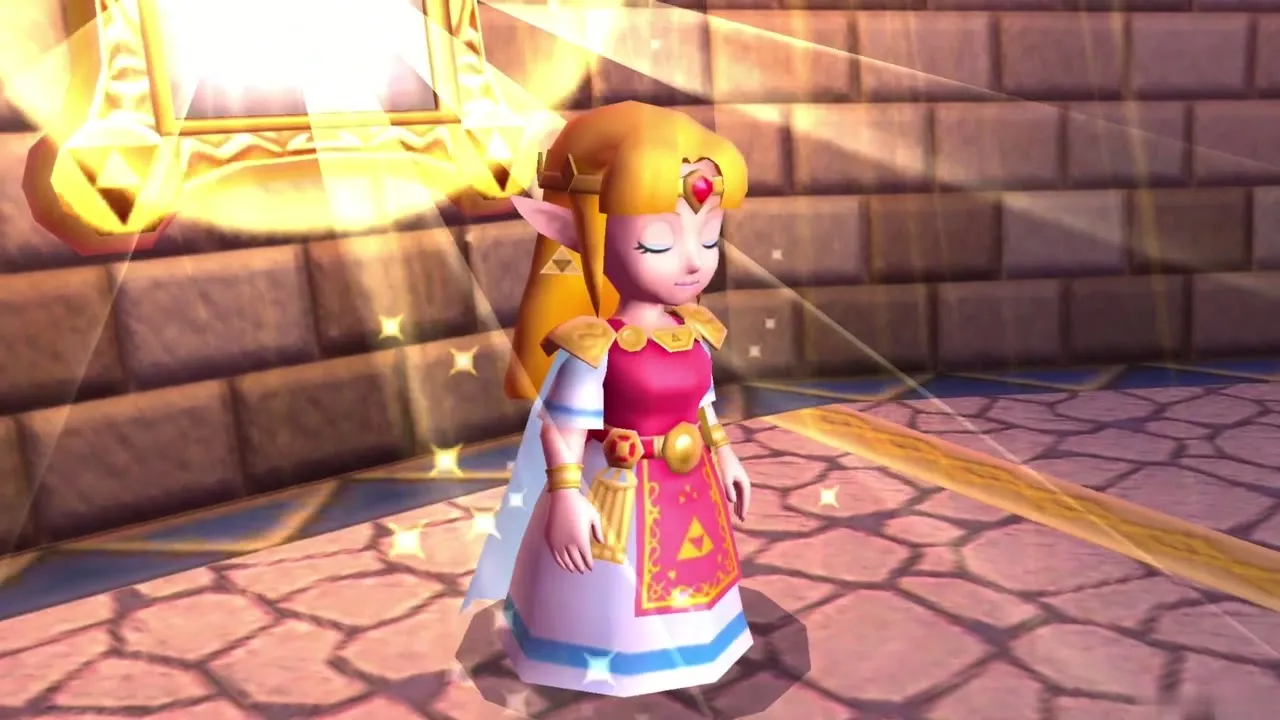
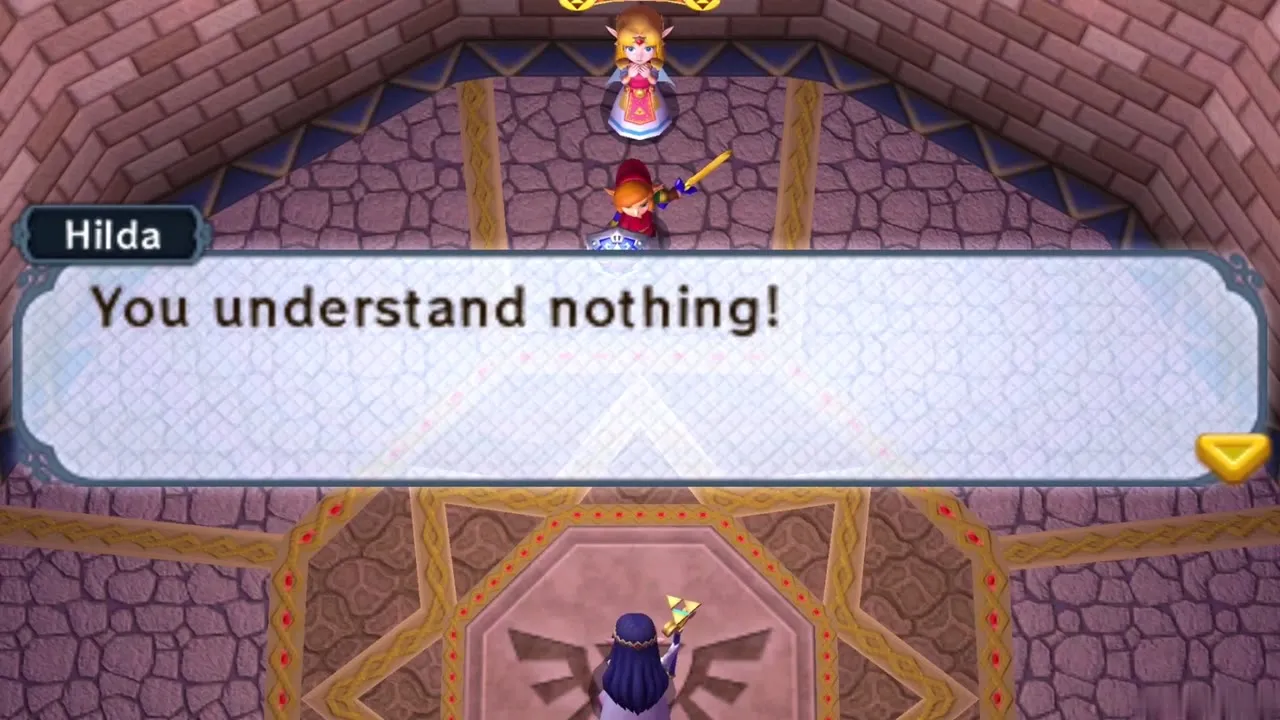
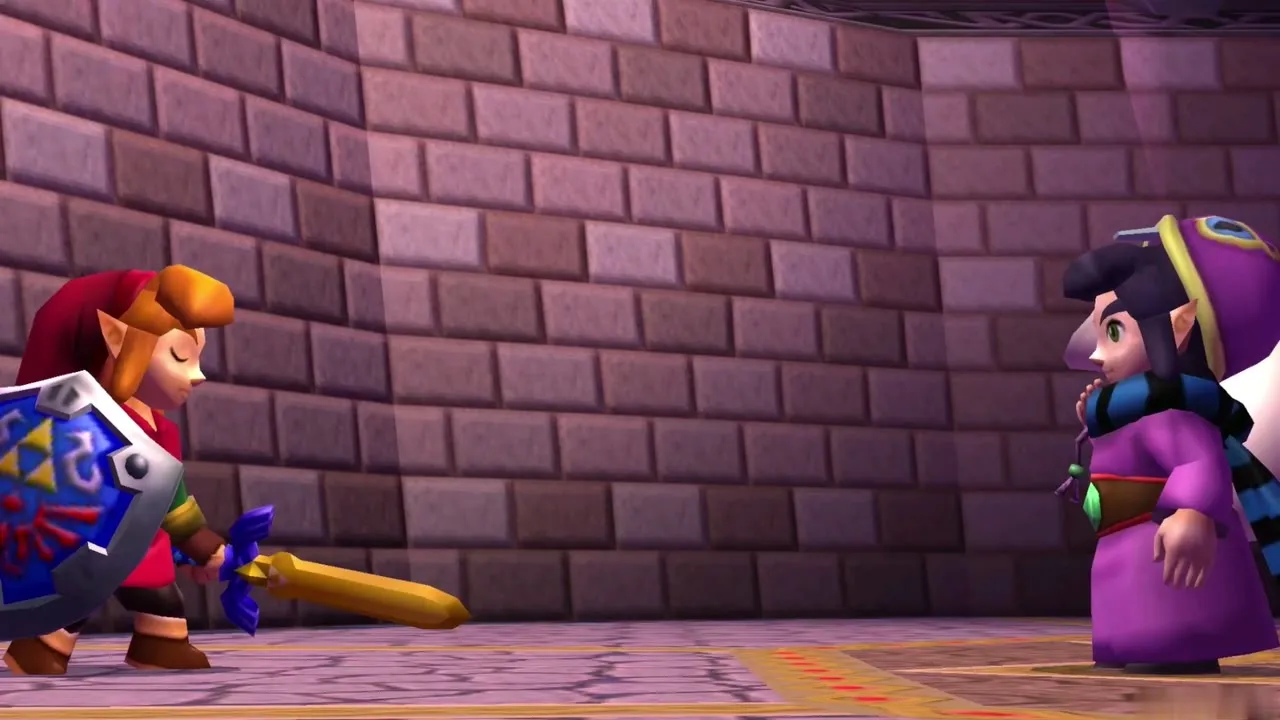
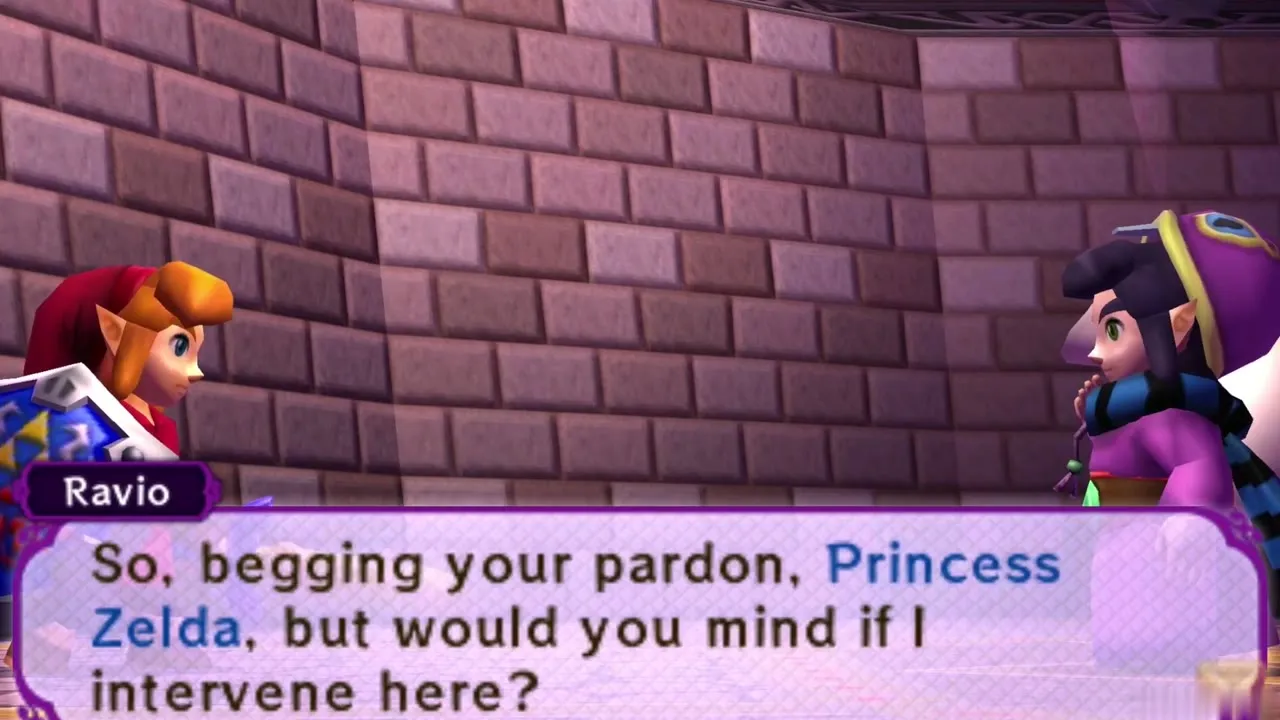
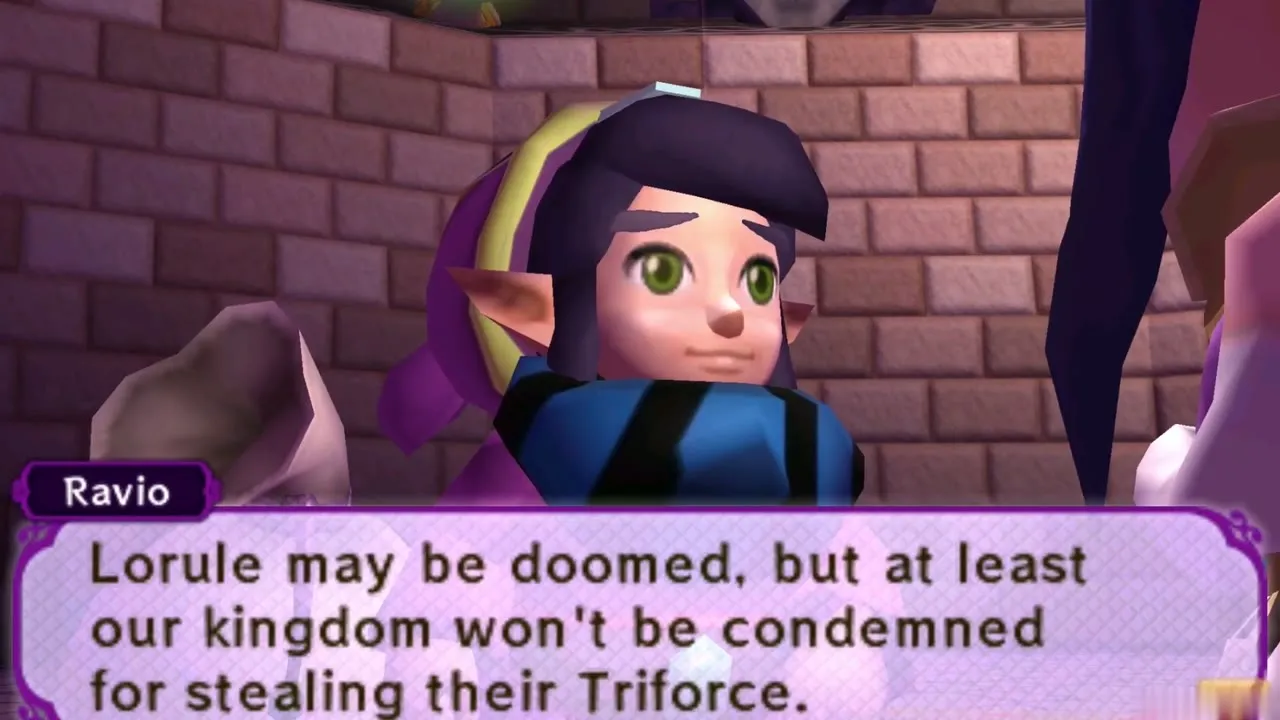
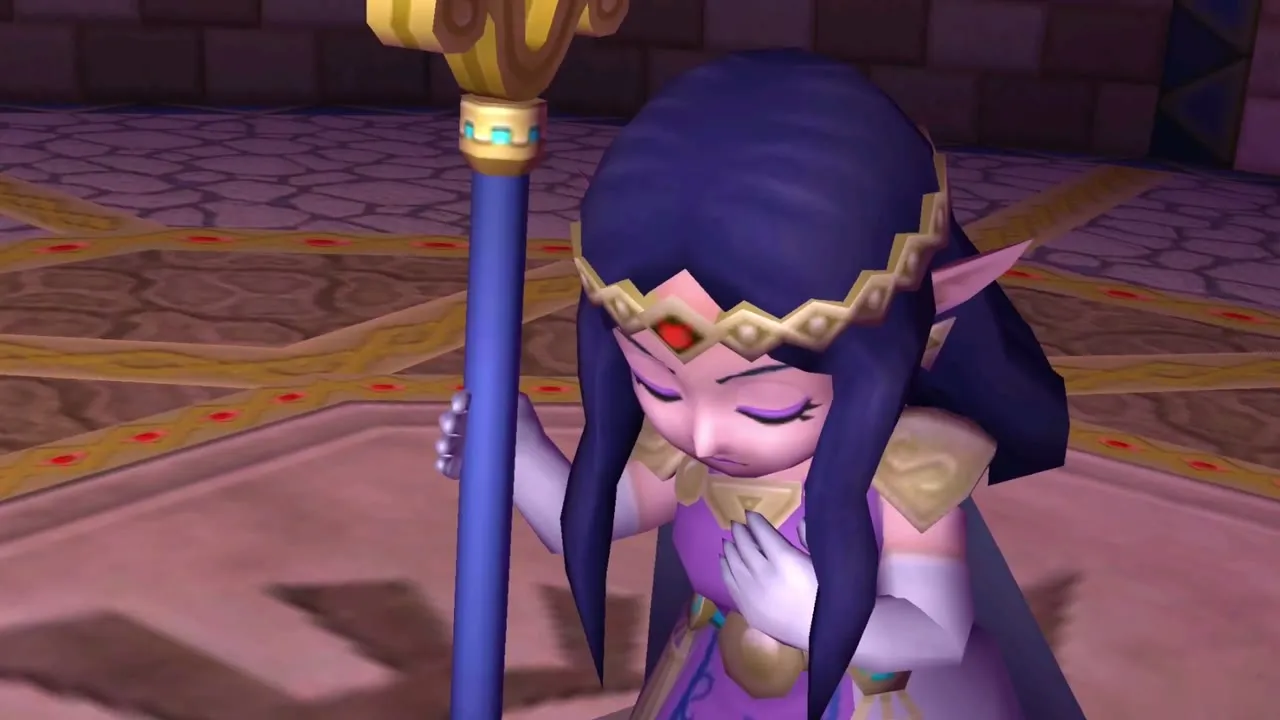
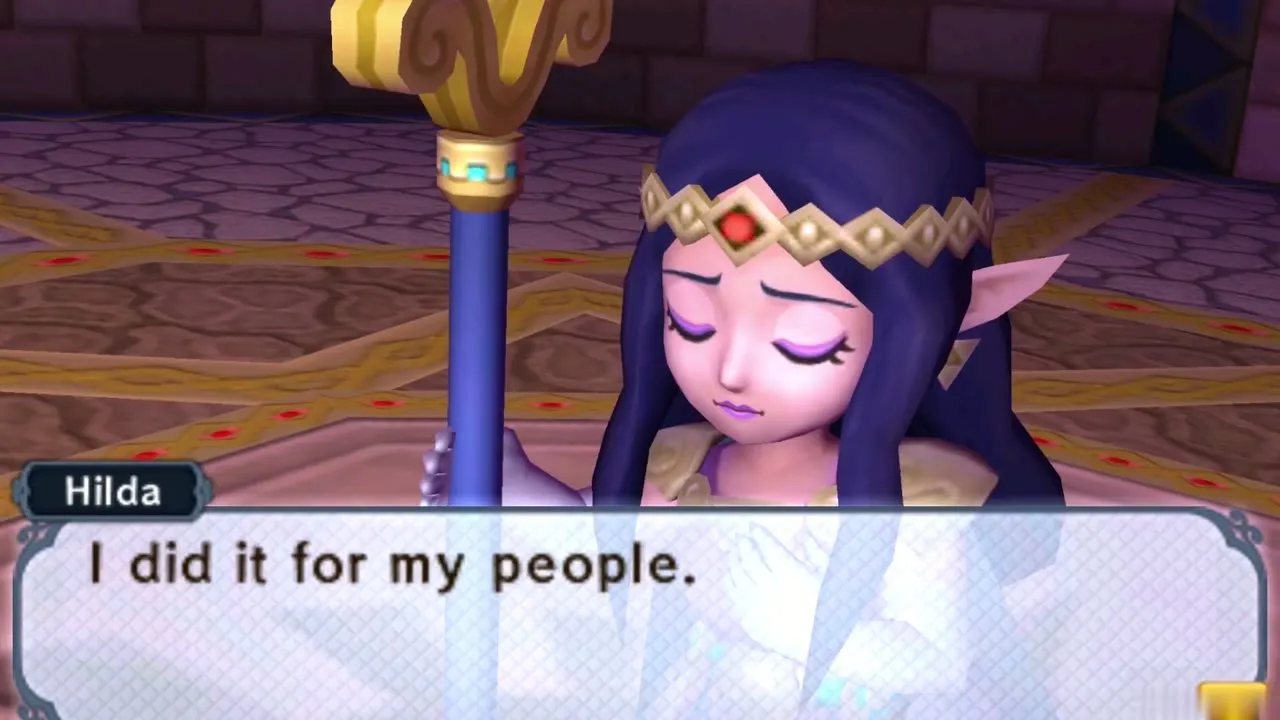
Ravio pleads with his princess. He only wanted to spare her all this, he says, and even if Lorule is doomed, at least it will not be condemned for stealing another kingdom’s Triforce. Hilda admits that she was led astray by the power of Zelda’s Triforce, and says she did it for her people. She asks Link and Zelda to follow her, because she knows a way to send them home.
The Triforce wish
The Tower of Triforce
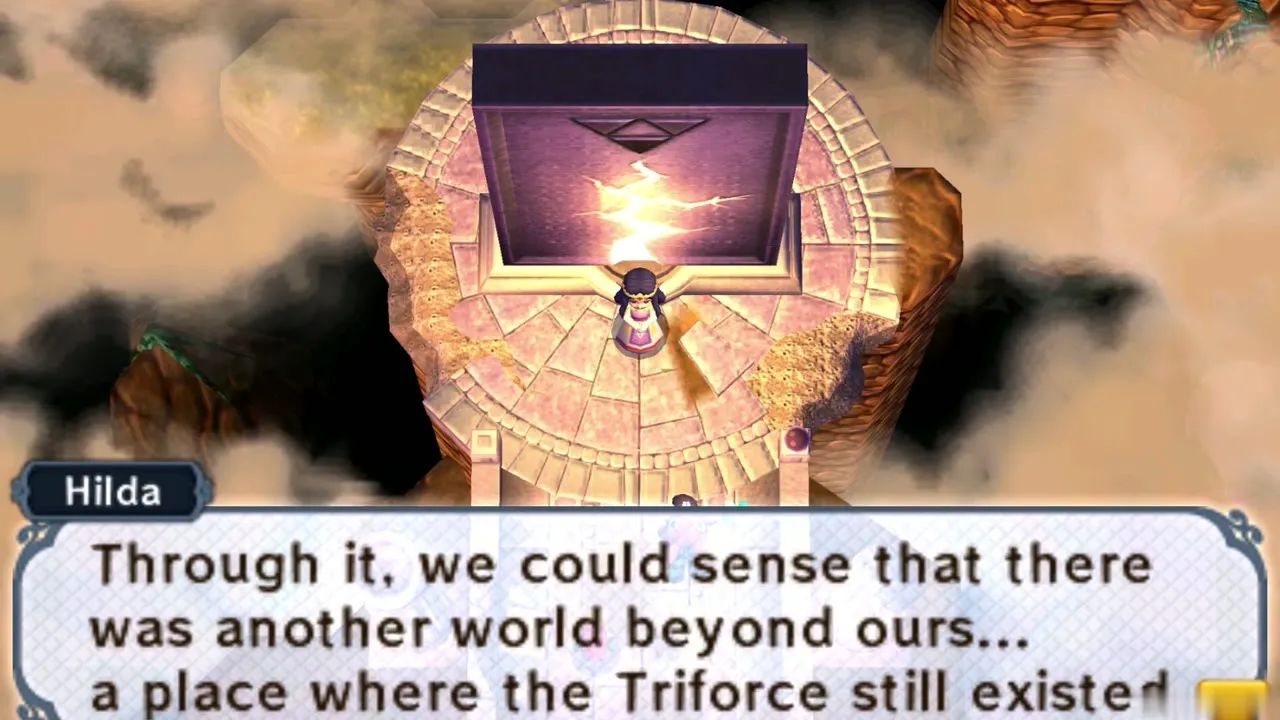
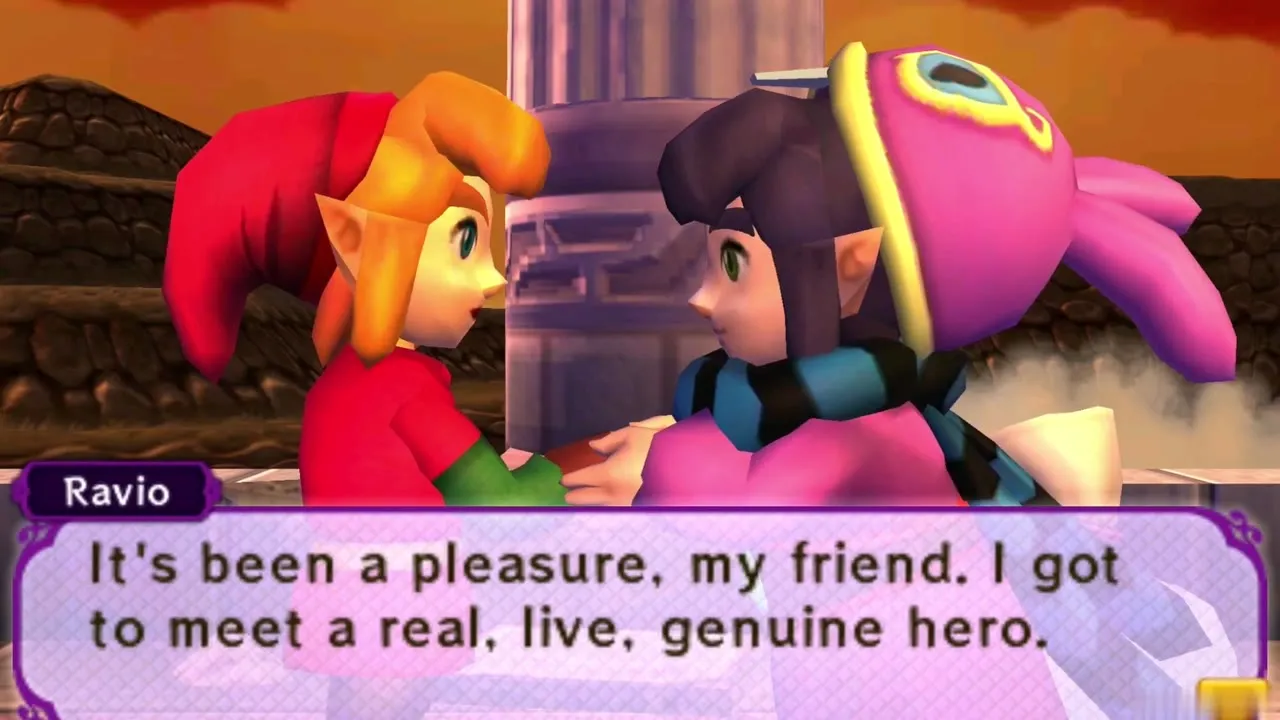
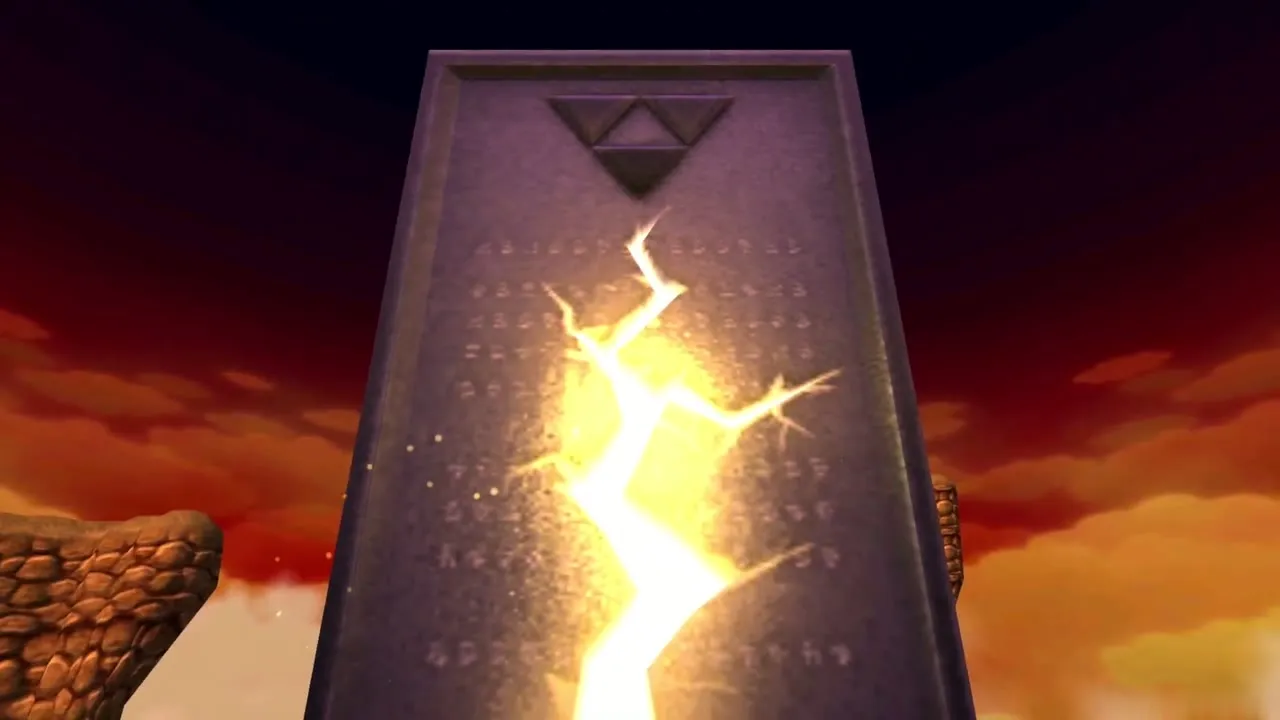
At the Tower of Triforce, Hilda explains that she and Yuga sensed another world with a Triforce through a strange disc, and that together they made the plan that put Hyrule in danger. She says she alone will set it right. Lightning strikes the tower and the golden door opens. Say goodbye to Ravio, who tells you it was a pleasure to meet a real hero, then walk through with Zelda.
The wish
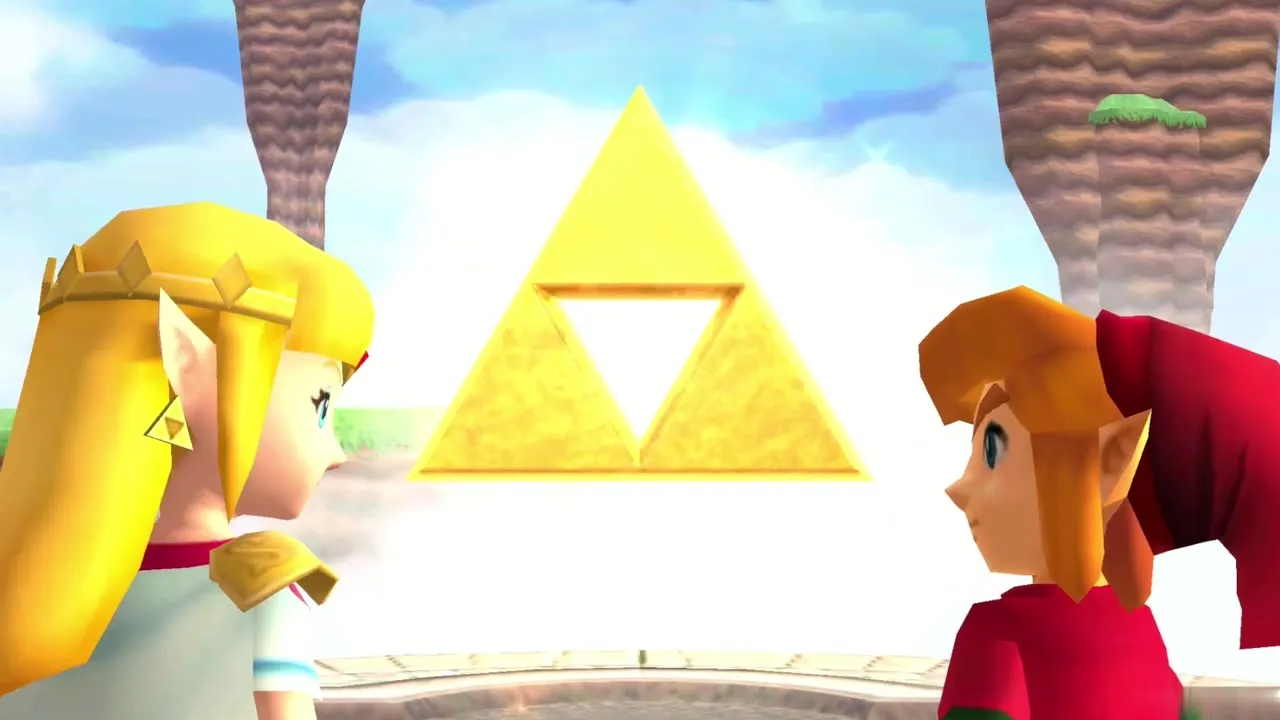
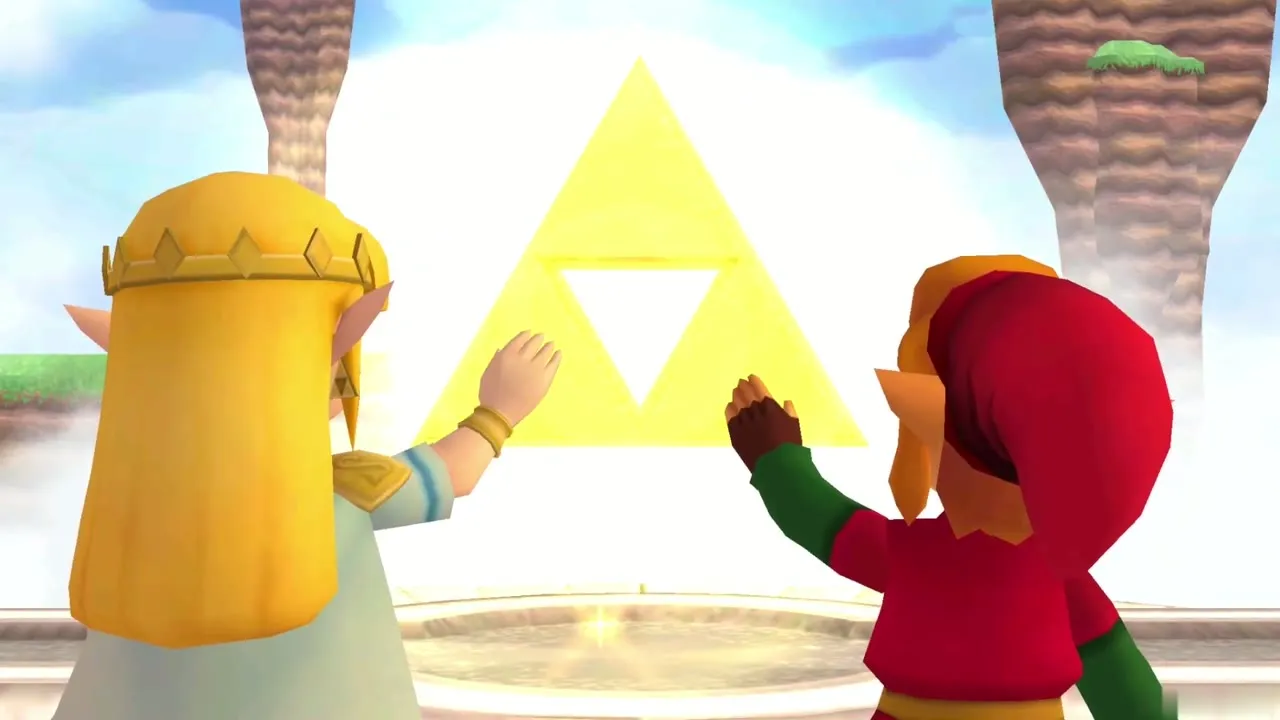
You and Zelda come out in Hyrule, in front of the Triforce emblem. Zelda says Hilda and she were not so different after all, and that Hyrule and its Triforce are whole again thanks to you. Both of you share the same wish. Walk onto the emblem and touch it with the action button, and Link and Zelda wish together.
Lorule restored
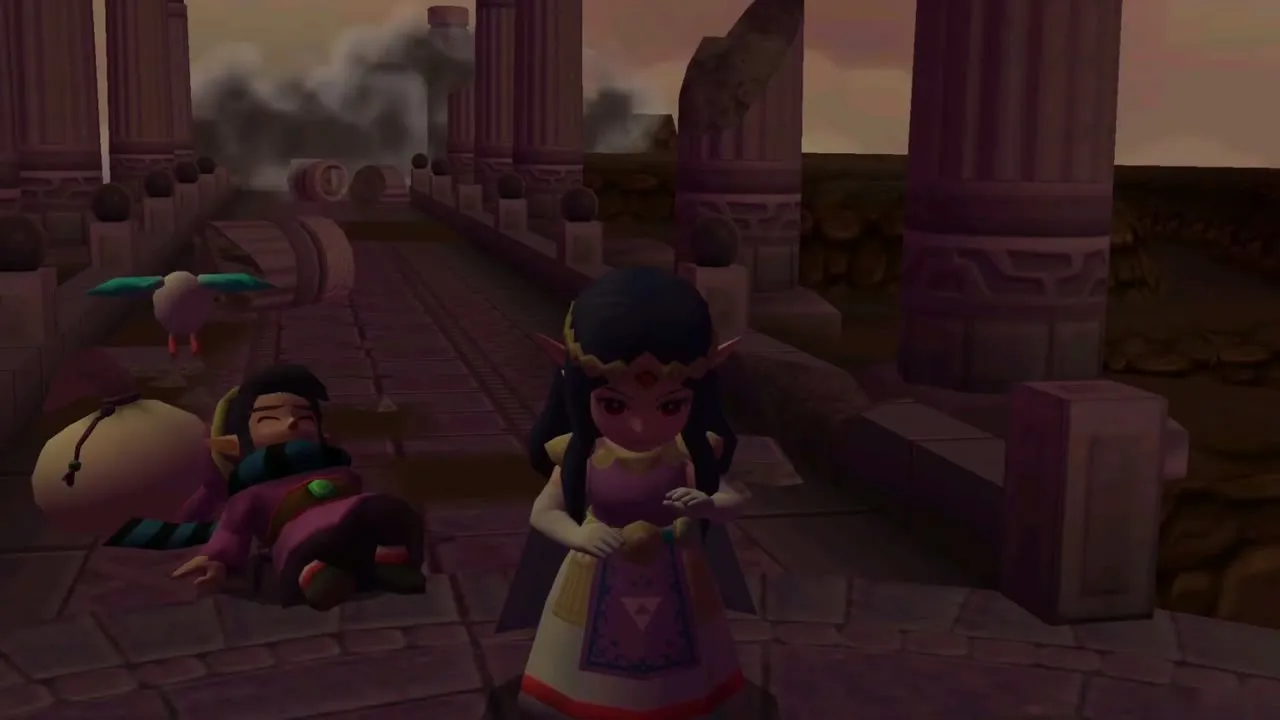
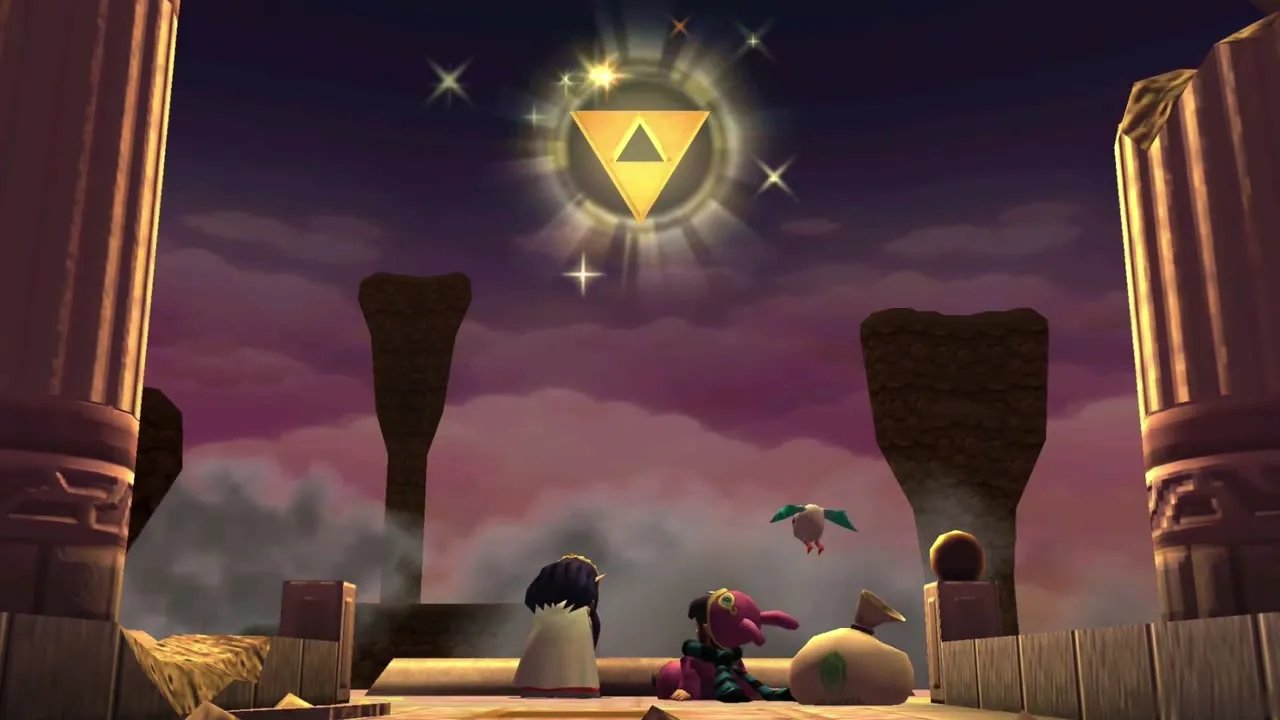
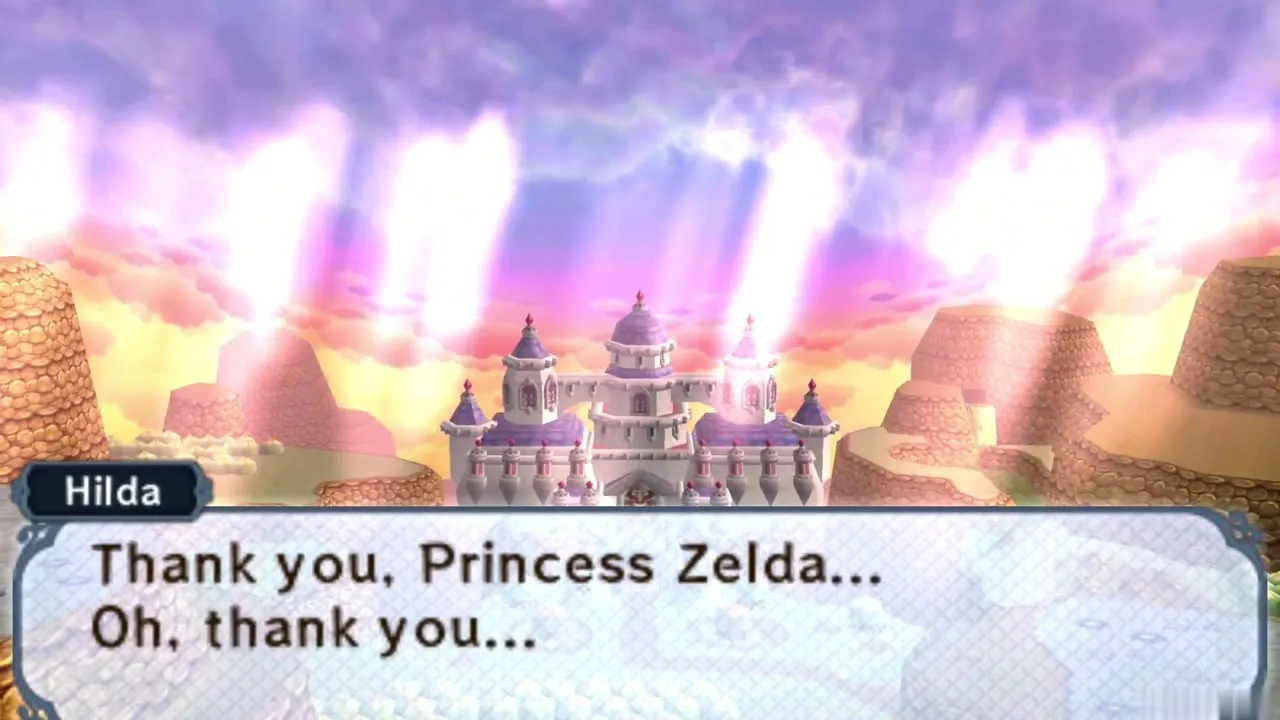
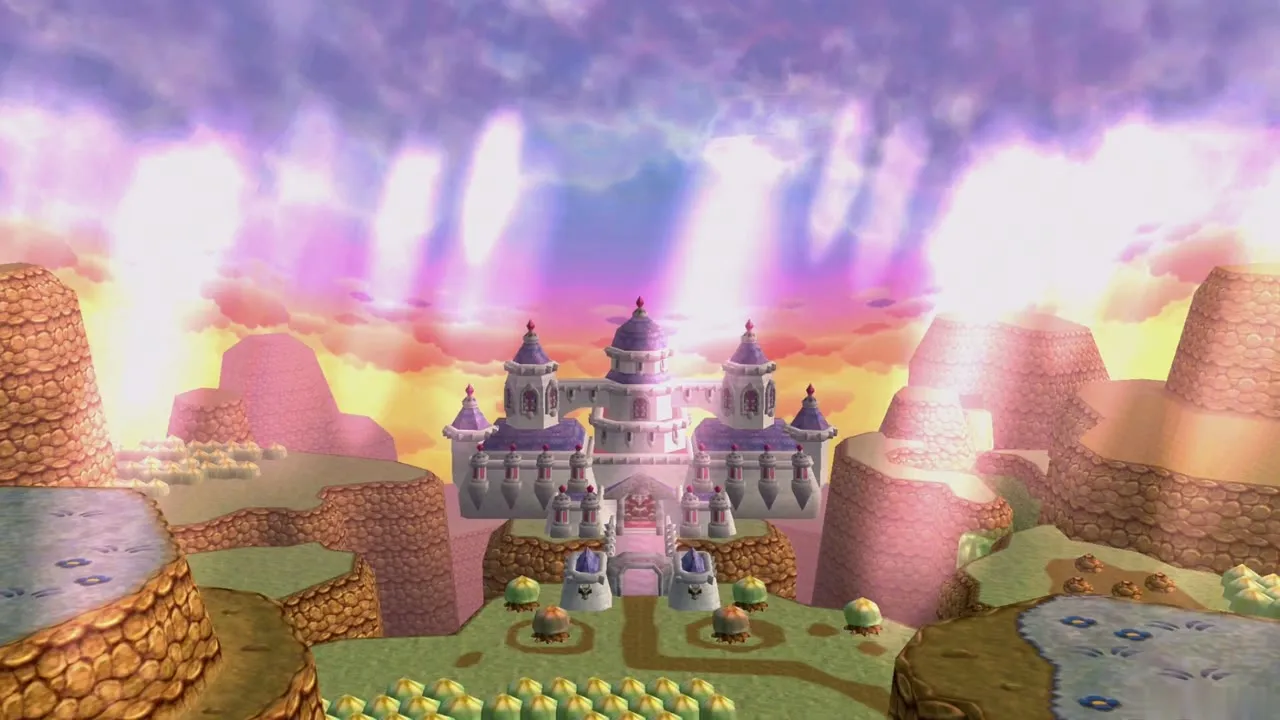
The wish reaches Lorule. In the dark, ruined castle Hilda and Ravio lie on the ground, and then a golden Triforce forms above the pillars. Hilda thanks you, and the sky over Lorule turns bright. Both kingdoms are saved.
Ending, credits and Hero Mode
Credits
The game’s title appears and the staff credits roll over a series of illustrations. Sit through them to reach the final scene.
Master Sword pedestal
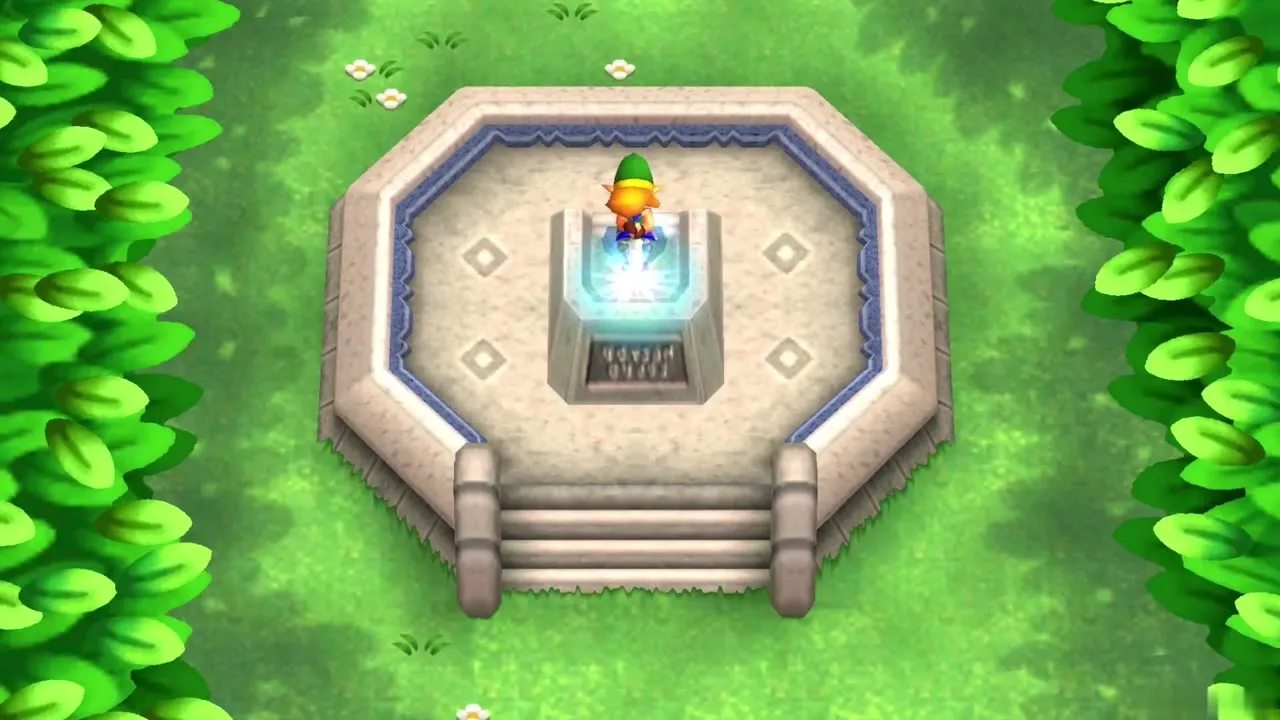
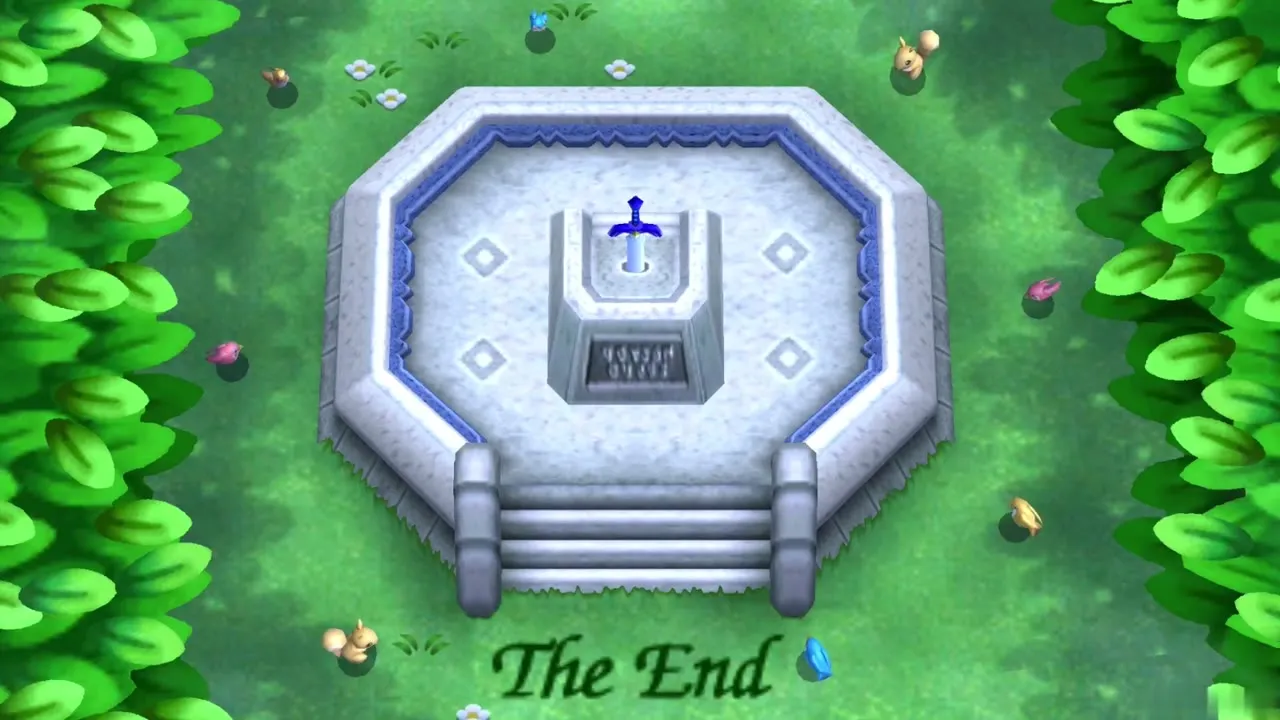
Link walks back through the Lost Woods to the pedestal, climbs the steps and returns the Master Sword to its place. The blade glows blue and the words “The End” appear.
Hero Mode
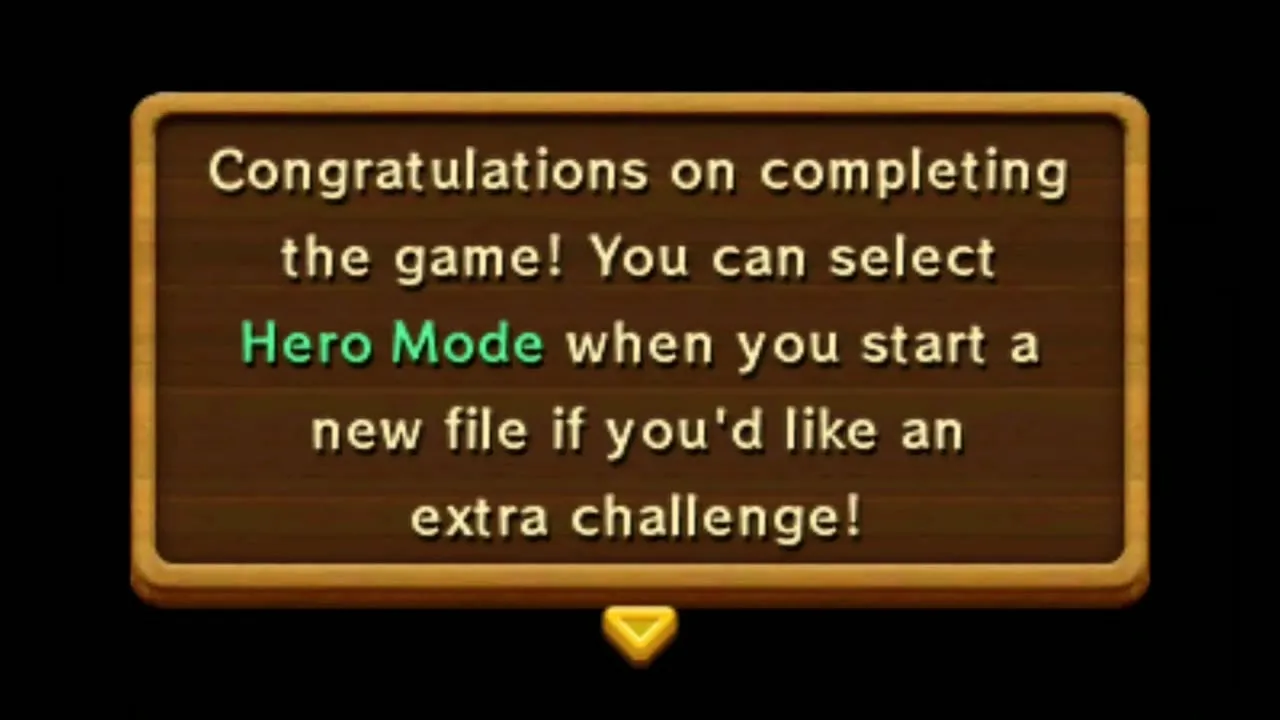
A statistics screen shows your total Rupees found and how many times you were defeated. A message then confirms that the game is complete and that you can pick Hero Mode when you start a new file. In Hero Mode enemies deal four times as much damage and hearts still drop as normal. Ravio’s Diary appears in the Vacant House, the Milk Bar musicians play extra songs, and the ending has an extra scene.
Chapter checklist
| Collectible | Type | Where |
|---|---|---|
| Bow of Light | Item | Given by Zelda during the Yuga Ganon fight |
| Hero Mode | Unlock | Select it on a new file after the credits |
| Heart Pieces, Maiamai, Master Ore, Bottles | None | None can be found in this chapter |
That completes the story. To check what is still missing from your file, go through the 100% completion checklist, and start a new file for Hero Mode when you want a harder run.
