A Link Between Worlds 100% Completion Walkthrough18 chapters
- Opening and SanctuaryWake in Link’s House, deliver the captain’s sword, cross the Graveyard passage with the Lamp and meet Yuga.
- Hyrule Castle and Kakariko VillageRavio’s Bracelet, Zelda’s Pendant of Courage, Kakariko shops, Sahasrahla and the free Bow rental.
- Eastern PalaceEvery key, chest and rupee, the Compass, Big Key, Yuga boss fight and your first Heart Container.
- Pegasus Boots and Zora’s FlippersGet the Pouch, Irene’s Bell, Power Glove, Pegasus Boots, Zora’s Flippers, Ravio’s rentals and Hyrule Heart Pieces.
- House of GalesRent the Tornado Rod, swim to Lake Hylia’s island, beat Margomill and take the Pendant of Wisdom.
- Death MountainClimb the boulder caves, find two Heart Pieces and a Bottle, and reach the Tower of Hera.
- Tower of HeraEvery floor, both Small Keys, Compass, Big Key, Moldorm boss fight, Heart Container and Pendant of Power.
- Master Sword and Lost WoodsWalkthrough for pulling the Master Sword in the Lost Woods, breaking the Hyrule Castle barrier.
- Lorule and Dungeon OrderHilda, the Blacksmith, fissures, Ravio’s Shop, Thieves’ Town side content and the dungeon order.
- Dark PalaceThe guard maze, every key, the Compass, Big Key, Master Ore, Gemesaur King, Heart Container and Sage Gulley.
- Skull WoodsKeys, Compass, Big Key, Master Ore, Knucklemaster boss fight, Sage Seres and the Master Sword upgrade.
- Ice RuinsThe Hookshot route to Lorule’s Death Mountain, every floor, keys, the Stamina Scroll and Dharkstare.
- Thieves’ HideoutThe password song, the Thief Girl escort, Master Ore, Stalblind, Sage Osfala and the Sand Rod.
- Swamp PalaceBig Bomb Flower, Hookshot, water levels, keys, Compass, Blue Mail, Big Key, Arrghus and Sage Oren.
- Turtle RockRescue the baby turtles, use the Ice Rod, find every key, beat Grinexx and free Sage Impa.
- Desert PalaceReach it with the Sand Rod, find the Titan’s Mitt, beat Zaganaga and rescue Sage Irene.
- Lorule CastleThe Triforce of Courage, all four mini-bosses, the Compass, Red Mail and the way to the Throne Room.
- Final BossBeat Yuga Ganon with the Bow of Light, see Hilda’s choice, make the Triforce wish and unlock Hero Mode.
| Covers | Lorule’s Skull Woods region and the Skull Woods dungeon (B1 and B2), the Knucklemaster boss, Sage Seres and the Master Sword upgrade at Lorule’s Blacksmith’s Forge |
|---|---|
| You need | The Lamp (found in the Sanctuary passage) and the Master Sword. No item from Ravio’s shop is required; the Fire Rod, Ice Rod or Bombs only make a few rooms easier. |
| Rewards |  3 Small Keys, the 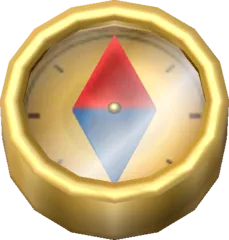 Compass, the  Big Key,  1 Master Ore, a 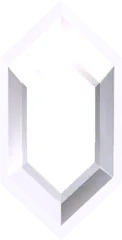 Silver Rupee and a Purple Rupee,  1 Heart Container,  Sage Seres. Region extras:  2 Pieces of Heart (#24 and #25), 8 Maiamai and a Golden Bee offer. |
Skull Woods is one of the six Lorule dungeons you can tackle in any order, and it asks for nothing from Ravio’s shop. Cross from Hyrule through a fissure, enter the forest by its southeast entrance, and work through a catacomb whose rooms are linked by holes, exits and hidden drops in the woods above. You collect three Small Keys, the Compass, a Master Ore and the Big Key, beat Knucklemaster, free Seres, and then have the Blacksmith strengthen your sword.
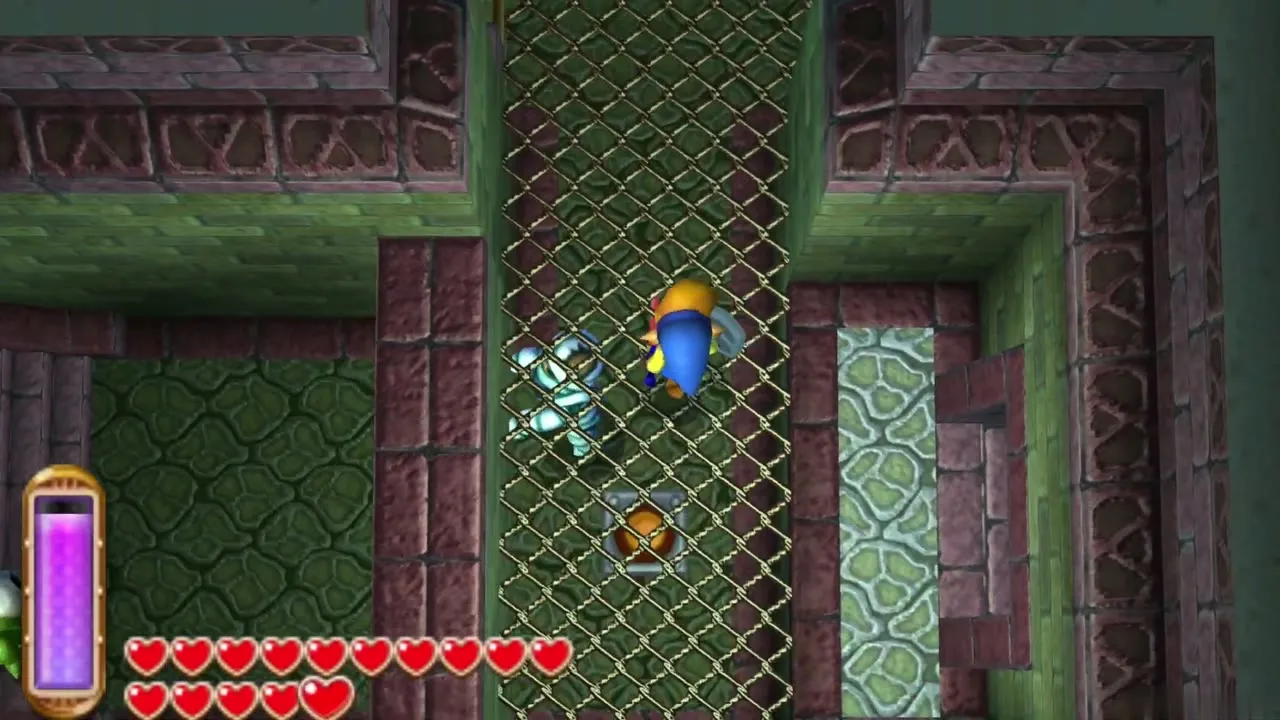
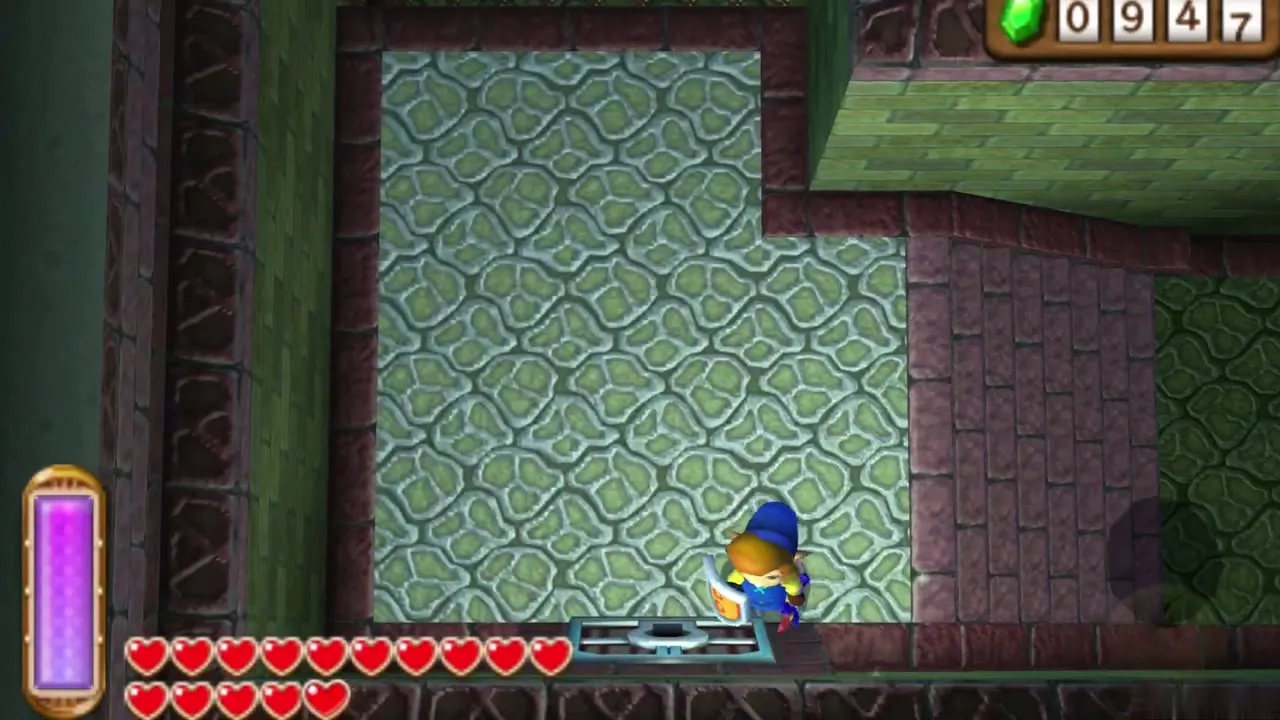
Table of Contents
How to get to Skull Woods
Fissure route to Lorule
The forest cannot be reached on foot from Lorule’s other dungeons, so go back to Hyrule and use a fissure that lands you near it. Three work: the wall behind Sahasrahla’s house in Kakariko Village, a spot inside Rosso’s house, or the tall stone pillar in the Lost Woods. Merge into the fissure and you come out in the Skull Woods region, with the forest ahead to the north.
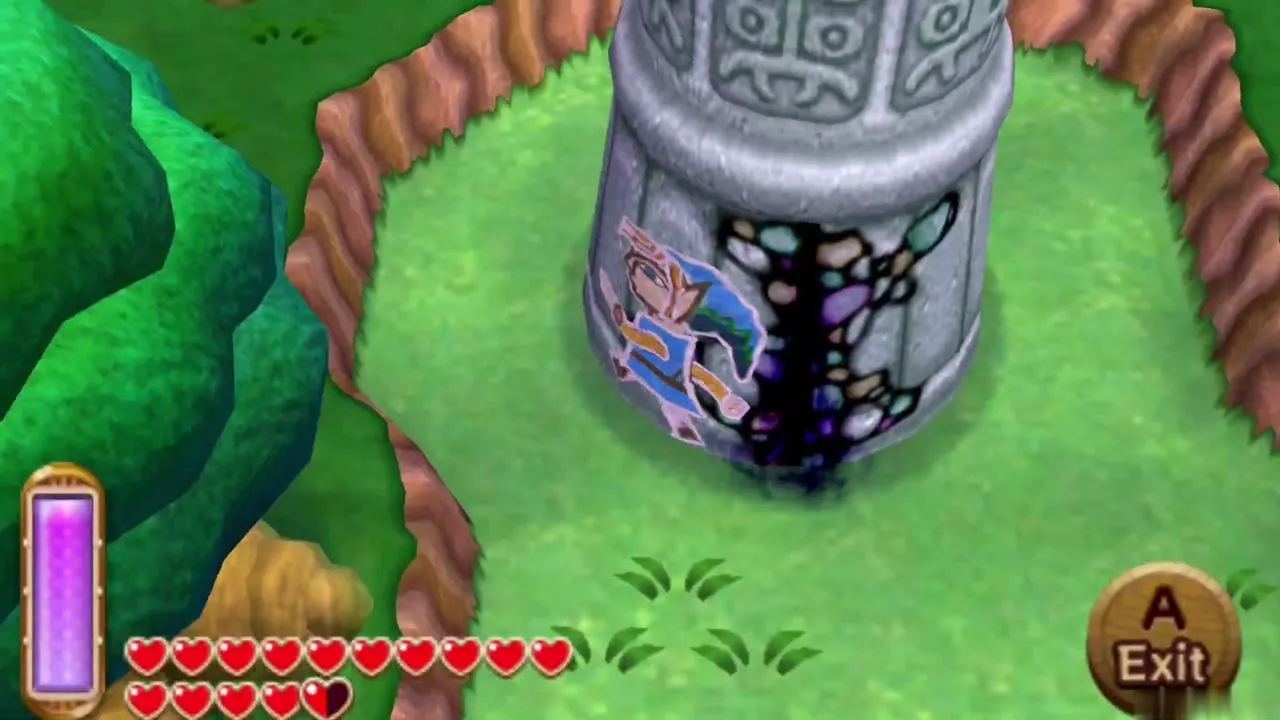
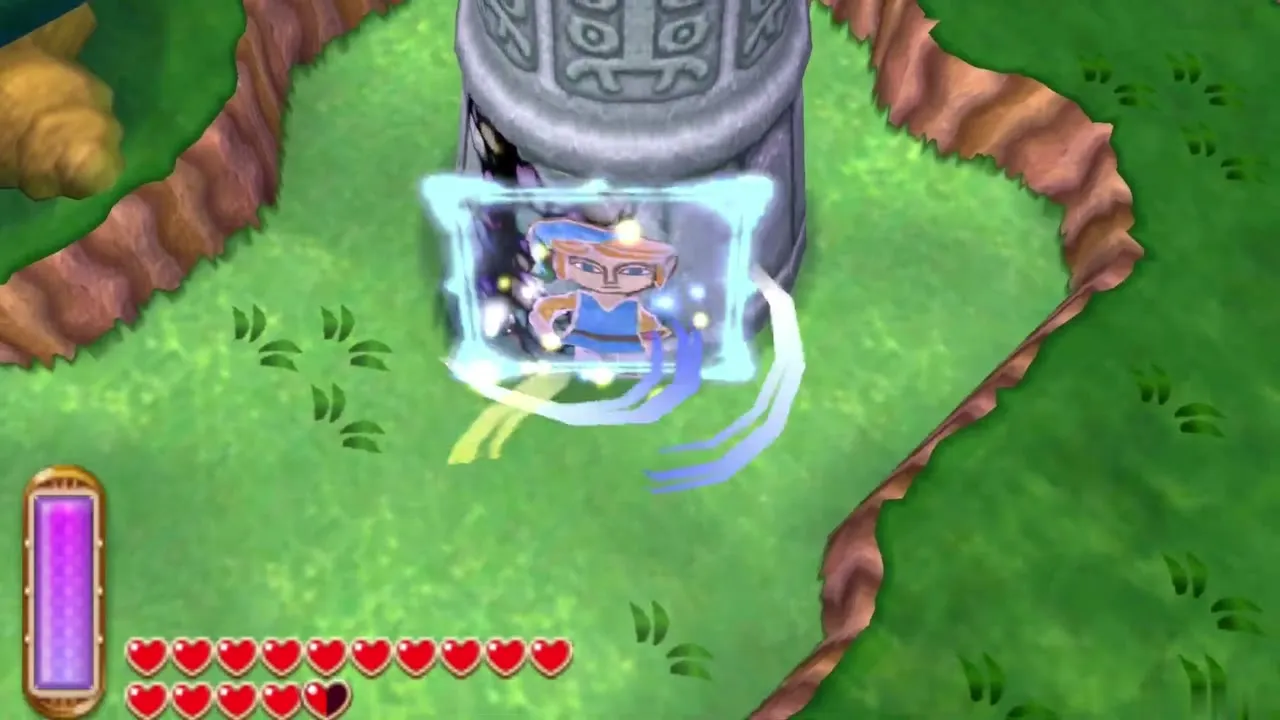
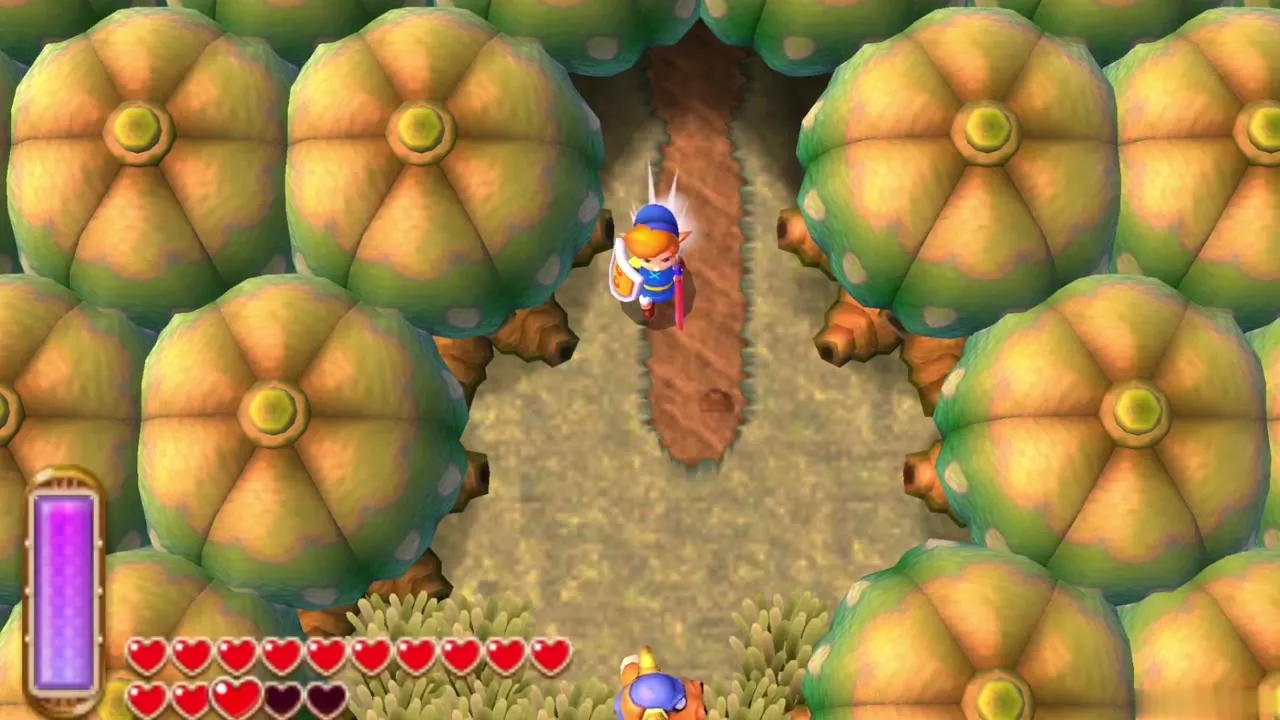
Skull Woods entrance and Weather Vane
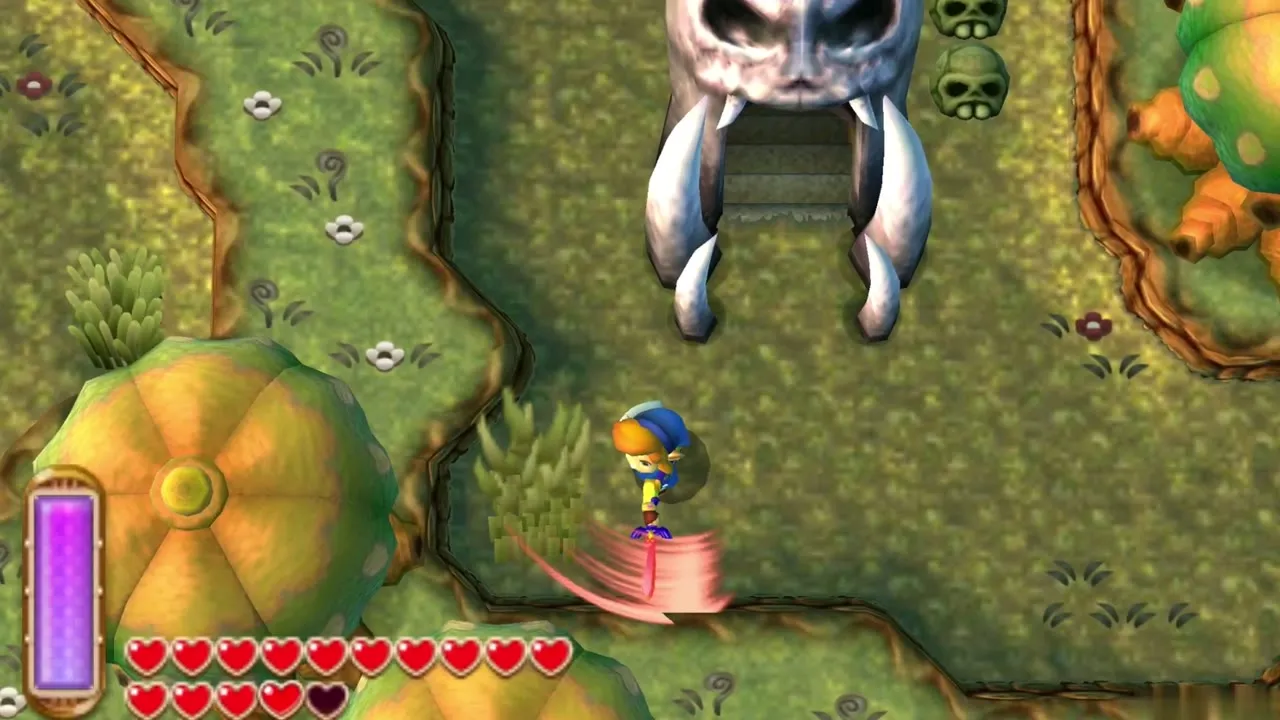
Make for the southeast entrance of the forest, the one watched by a few Hinox. Just outside the dungeon door stands a Weather Vane, so activate it to get a warp point you can return to later. Light the Lamp before you go in, because several rooms are dark. Enter through the skull-mouth door to start the dungeon on floor B1.
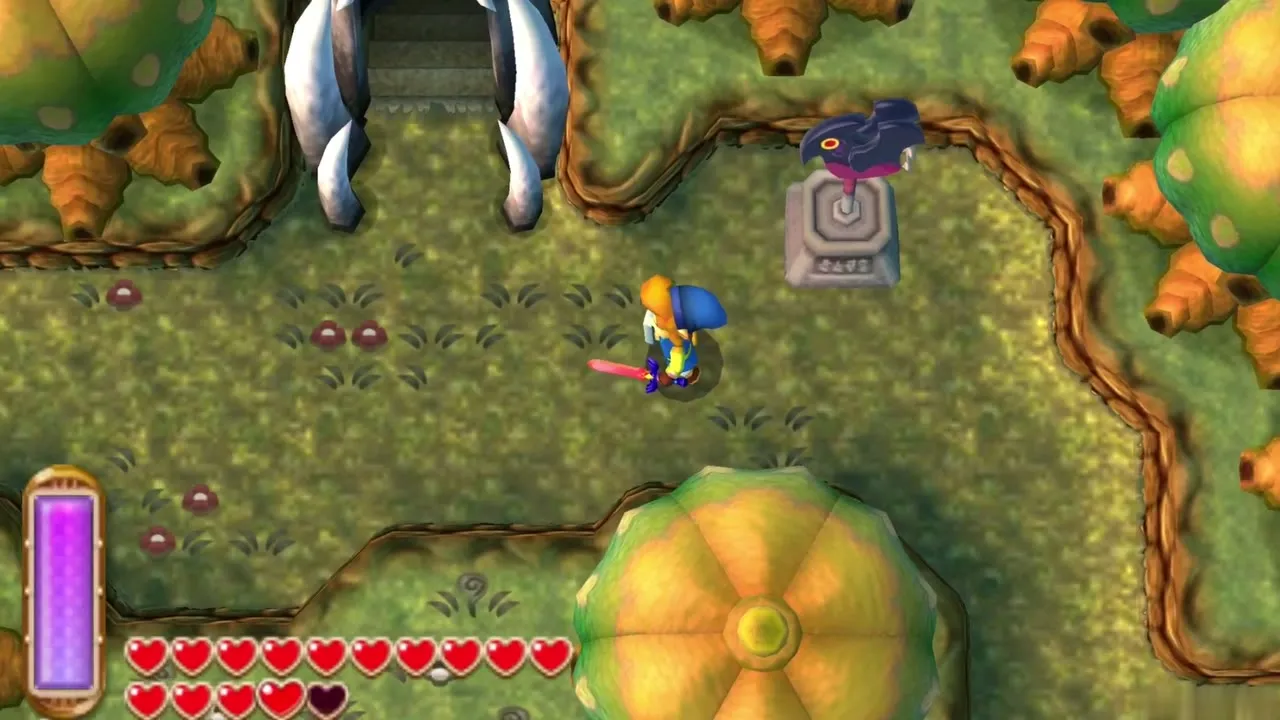
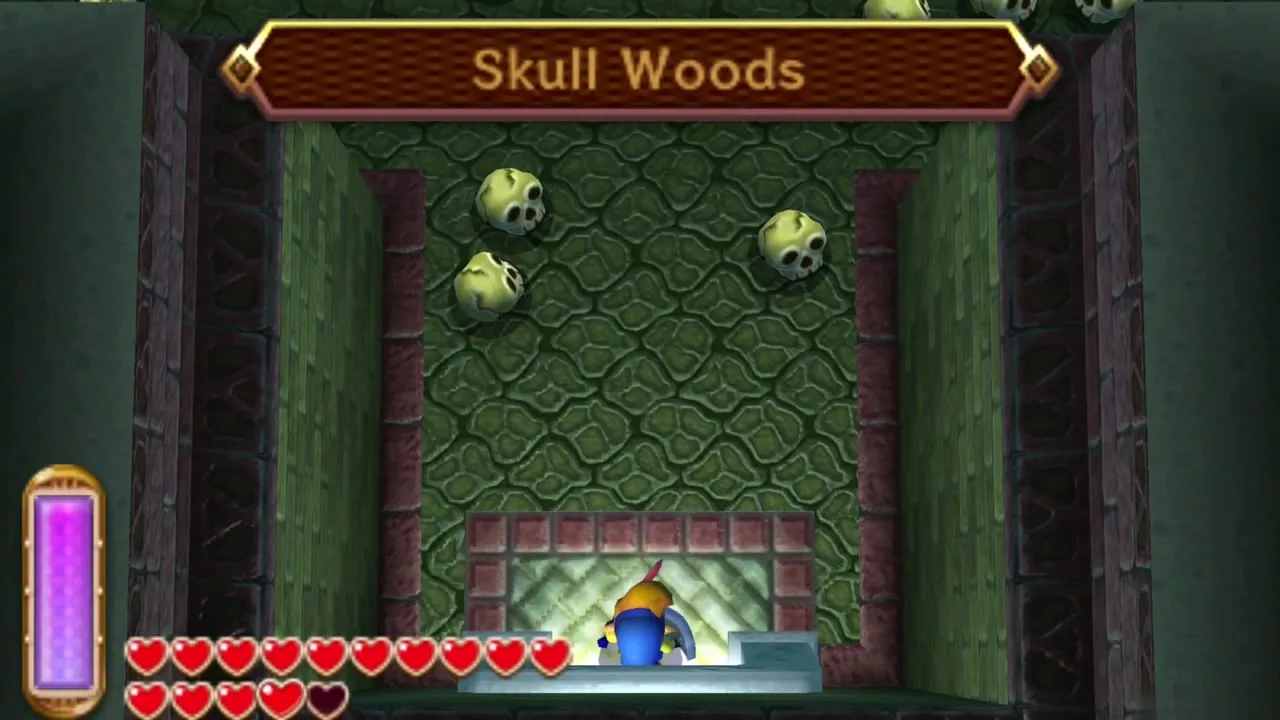
Skull Woods dungeon, B1 and B2
How Wallmasters work here
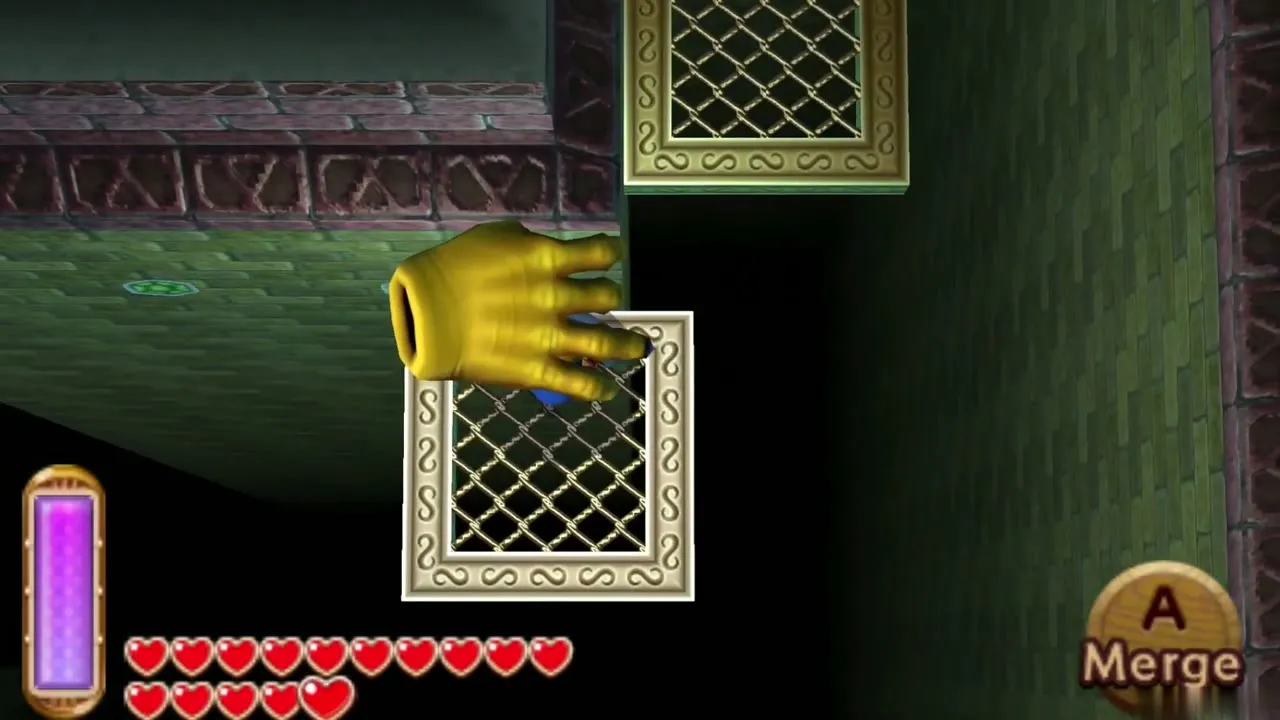
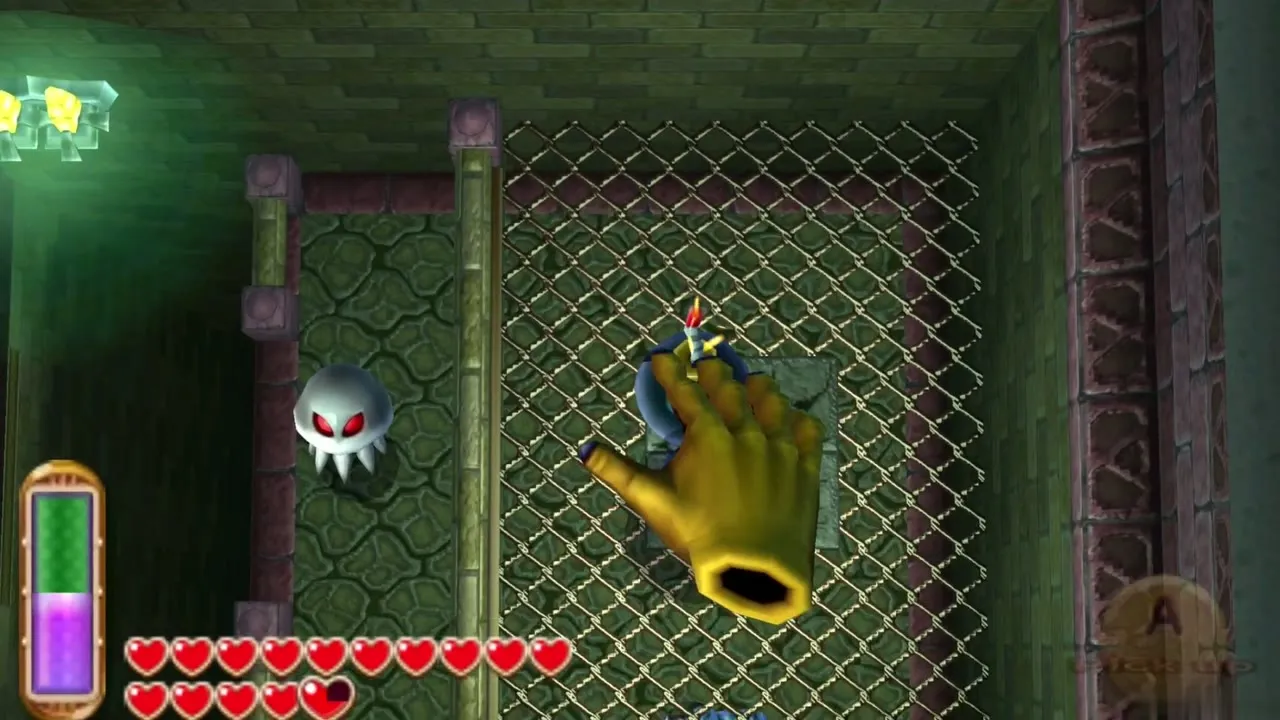
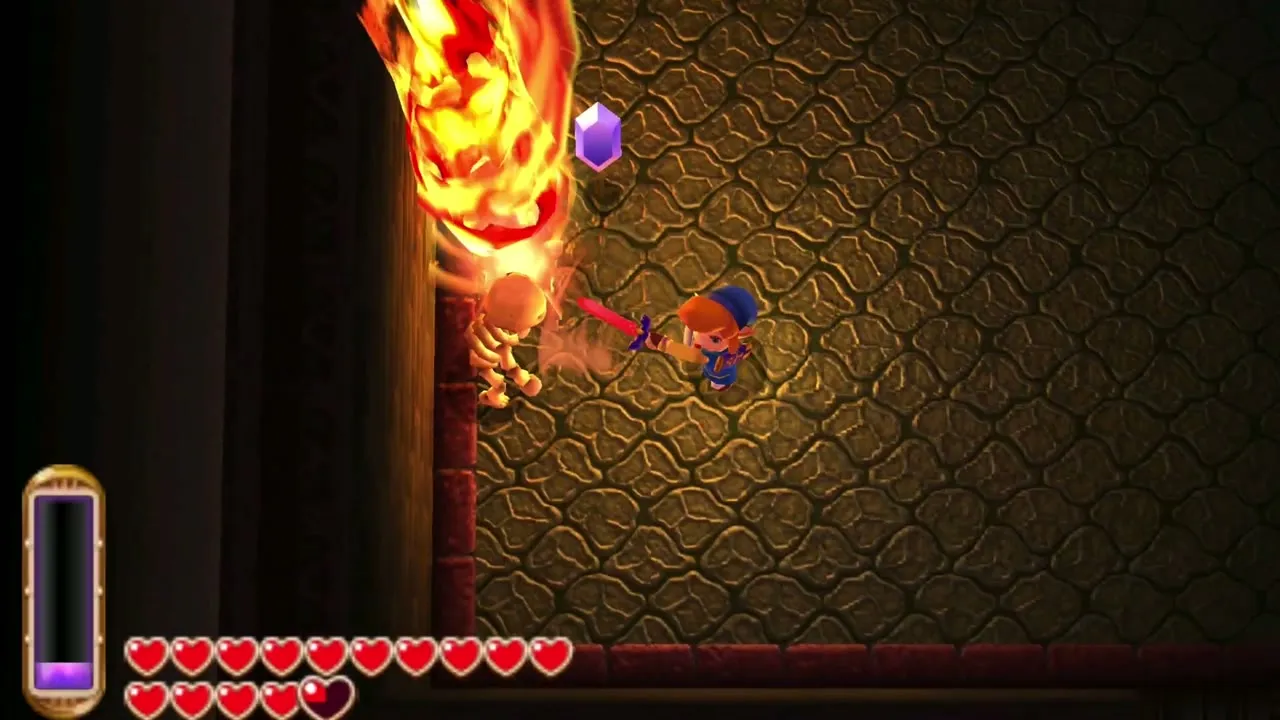
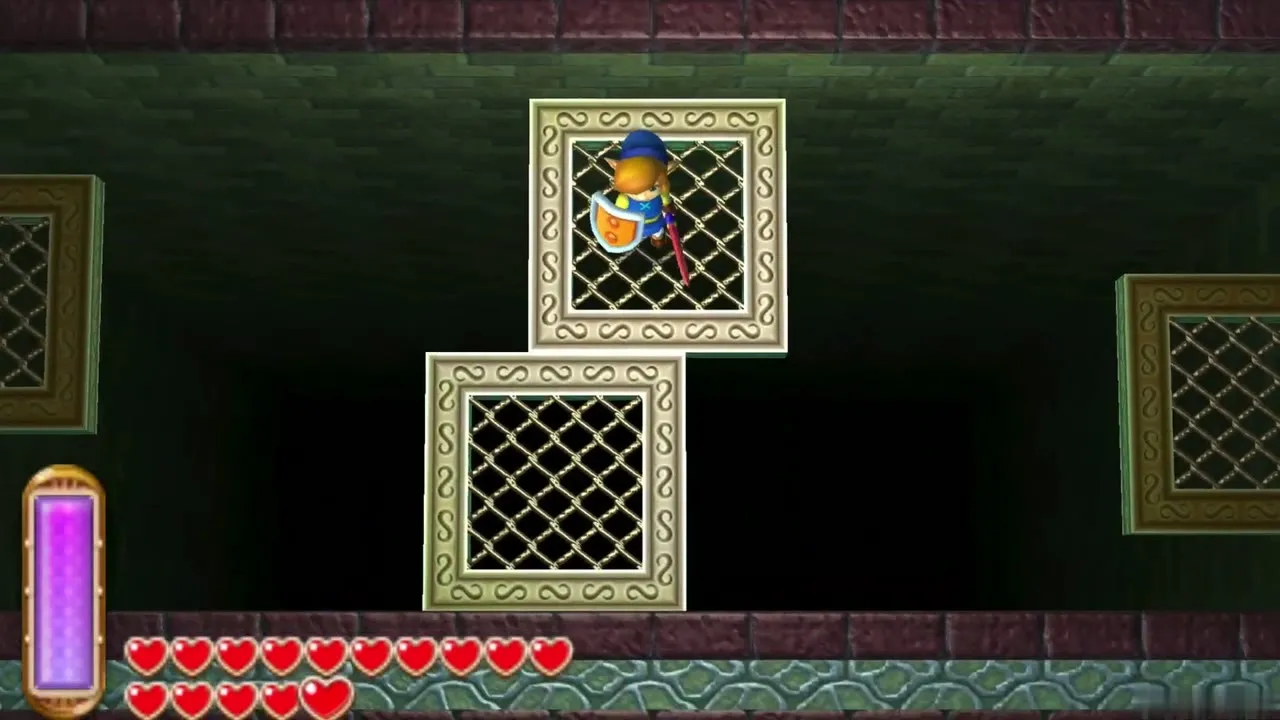
Giant golden hands drop from the ceiling all over this dungeon, and a Wallmaster that grabs you carries you back to the entrance. Kill one and another arrives after a short pause, so use that gap to move. Better still, use them: a Wallmaster slams the spot where you stood, which smashes cracked floors and presses floor switches for you. Standing inside a wall with Merge also keeps you safe on moving platforms.
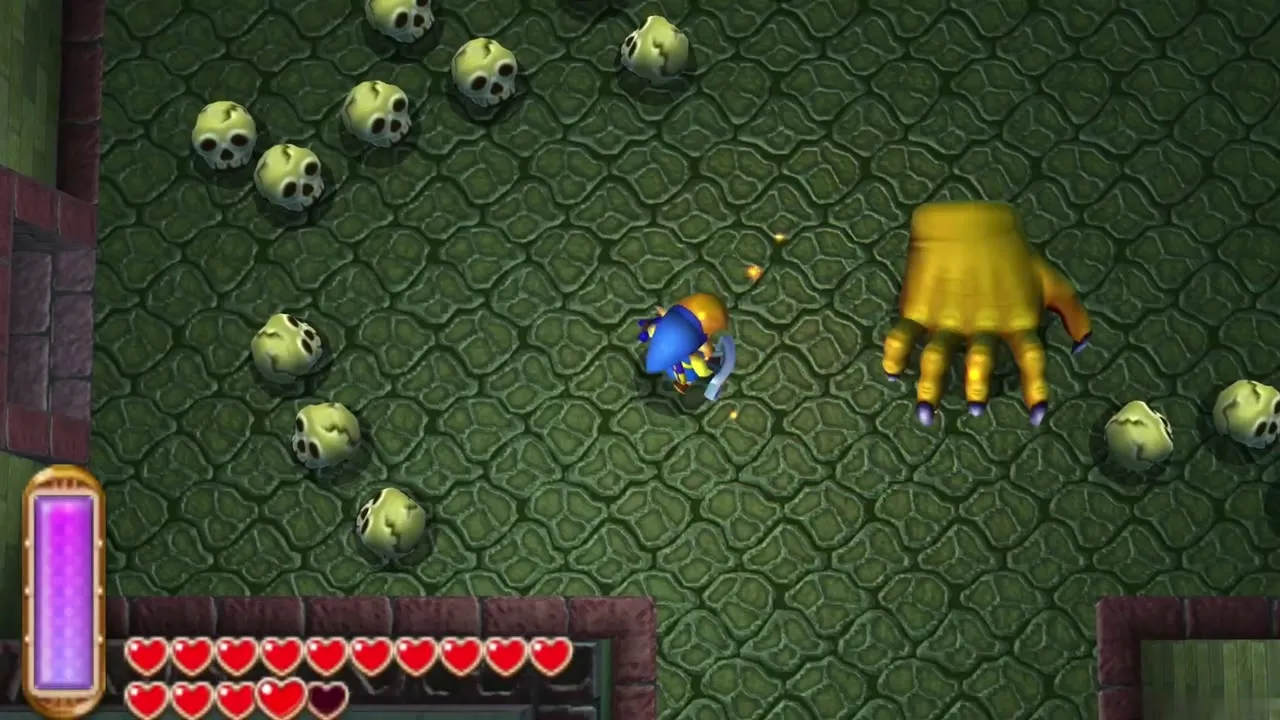
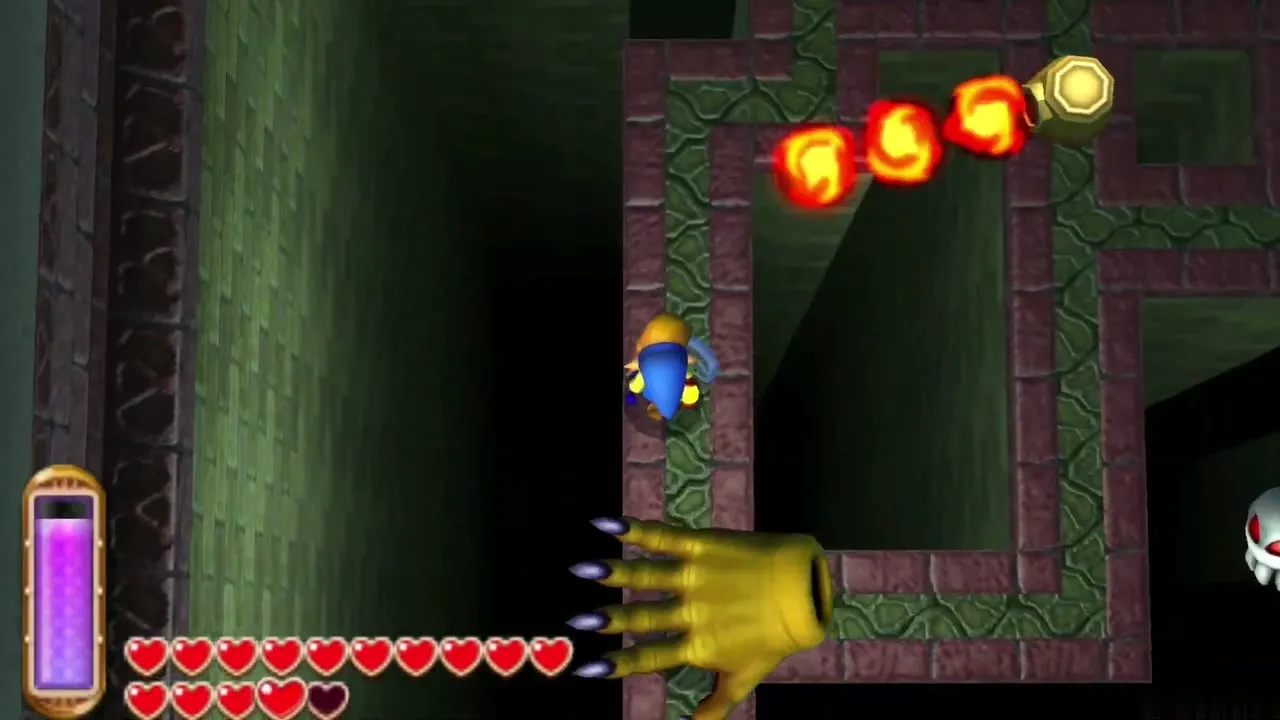
Small Key 1: first corridor to the platform chest
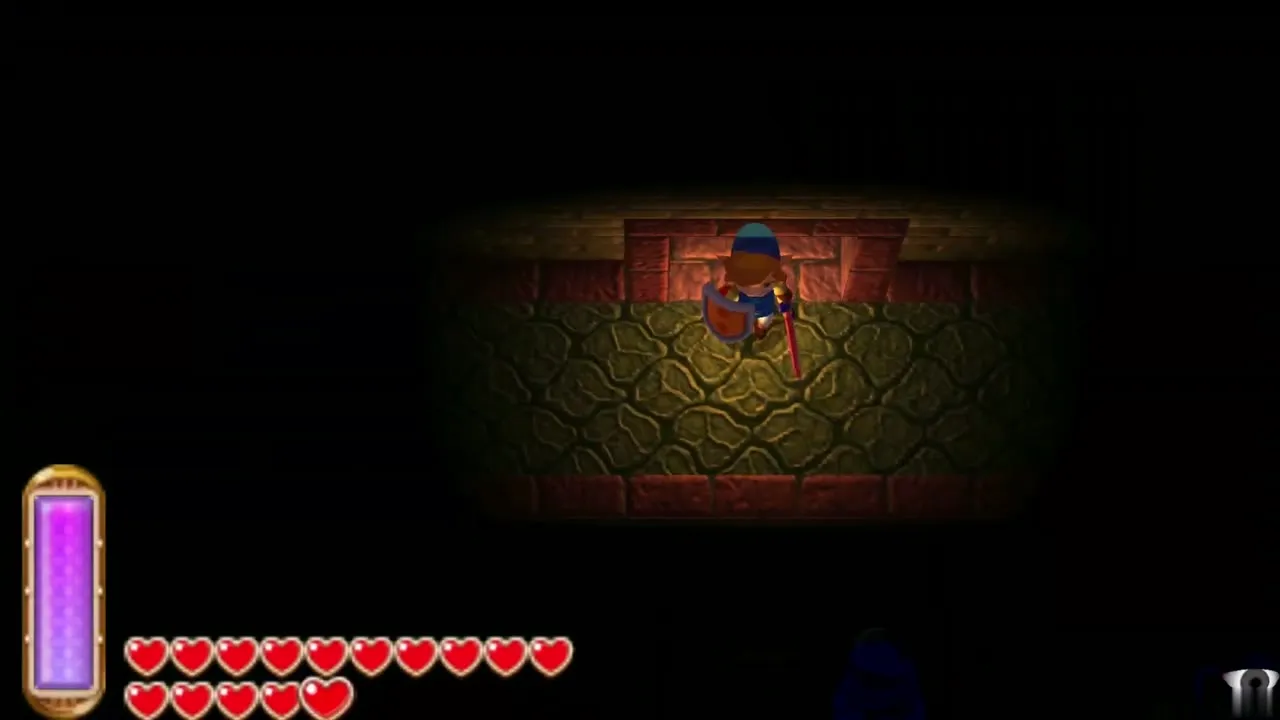
In the first room a Wallmaster drops straight away, so keep moving and take the door on the left into a long, dark corridor. Light the Lamp to reveal a Gibdo and a Skullrope. Burning a Gibdo with the Lamp or the Fire Rod turns it into a weaker Stalfos. Step on the floor switch at the far end of the corridor to unlock the next door.
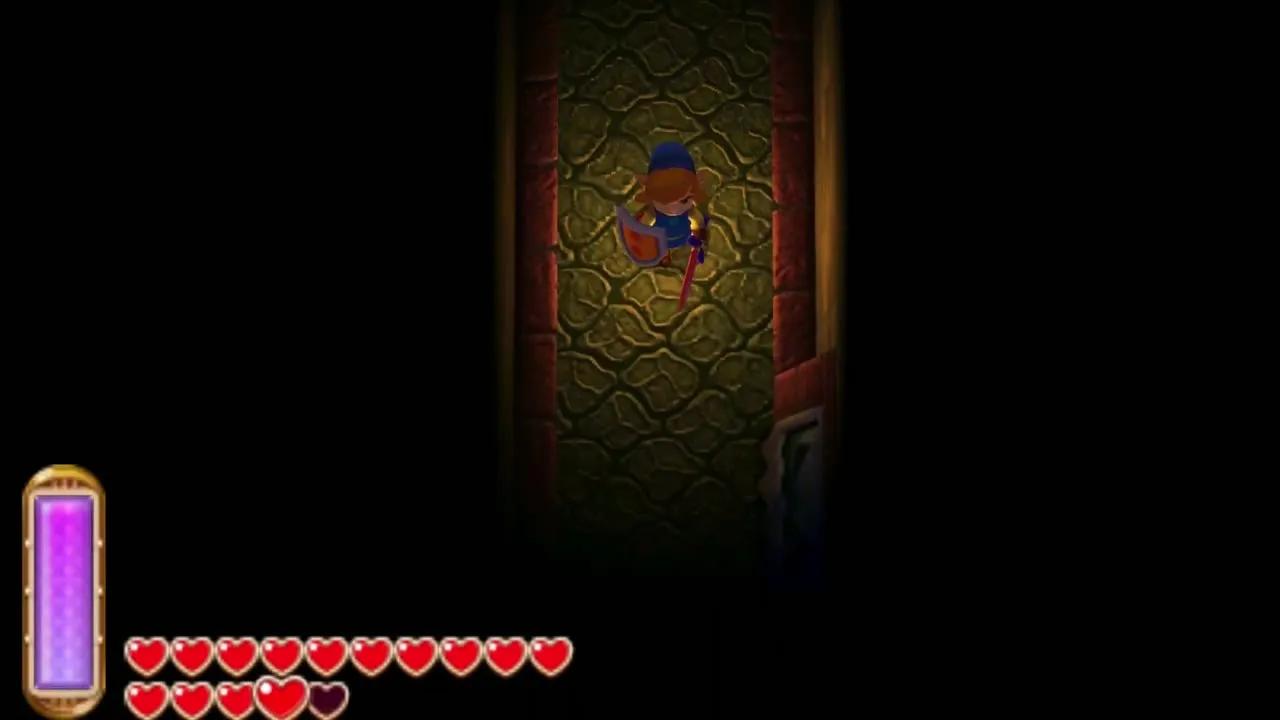
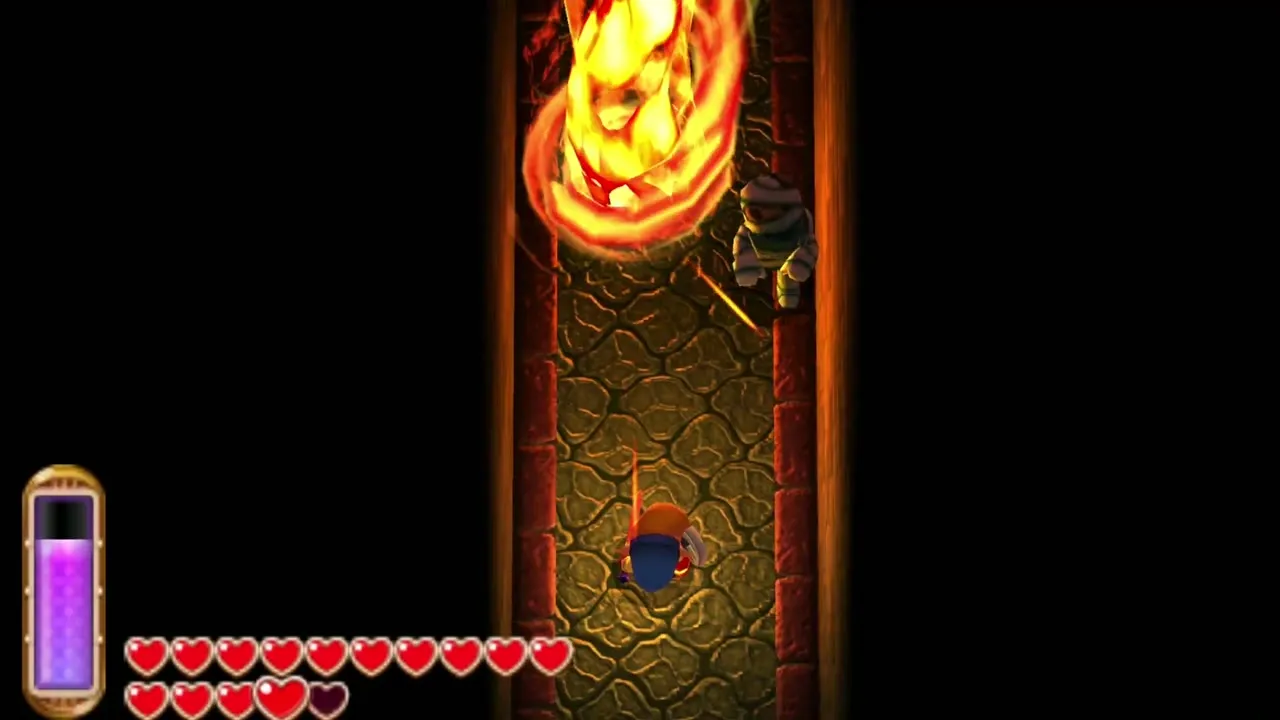
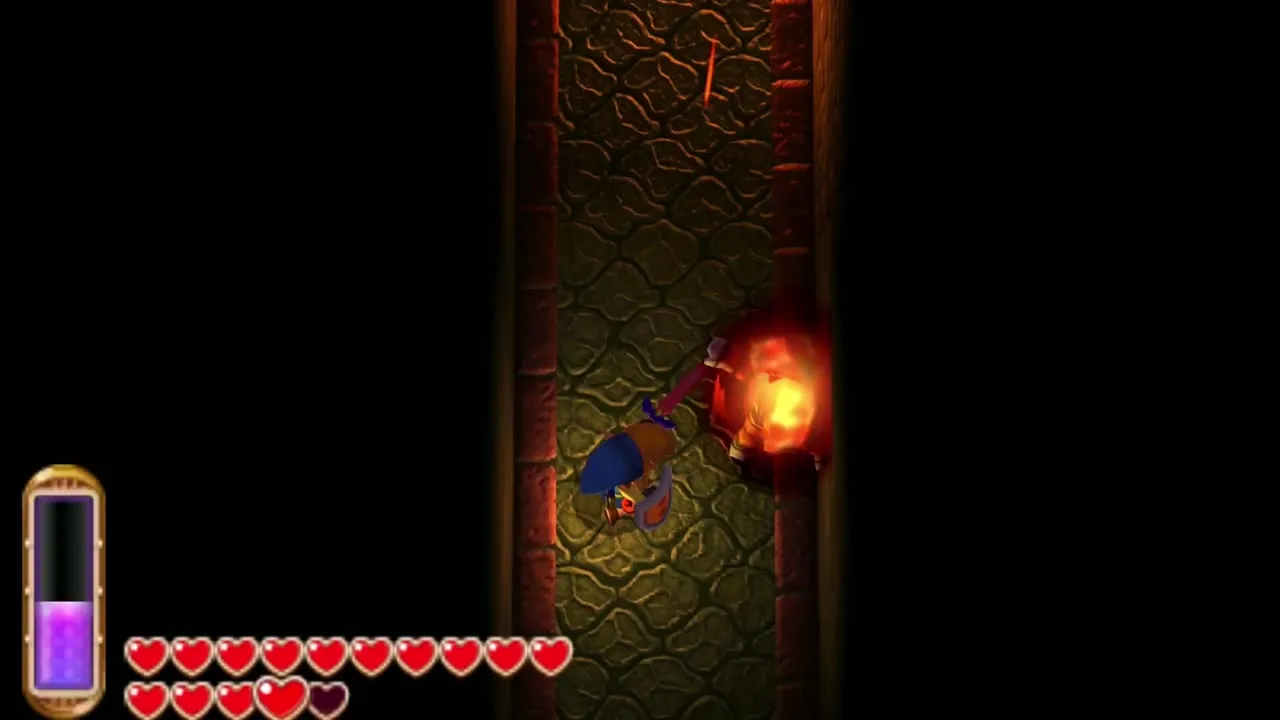
Beyond it runs a narrow walkway crowded with Gibdos, Baris, spinning fire bars and another Wallmaster. Take your time, merge into the wall when you need to dodge, and leave by the door at the bottom, which lets you out into the forest. Outside, head right, follow the path north to a dead end and drop into the small hole there to land on a higher ledge in the room you just left.
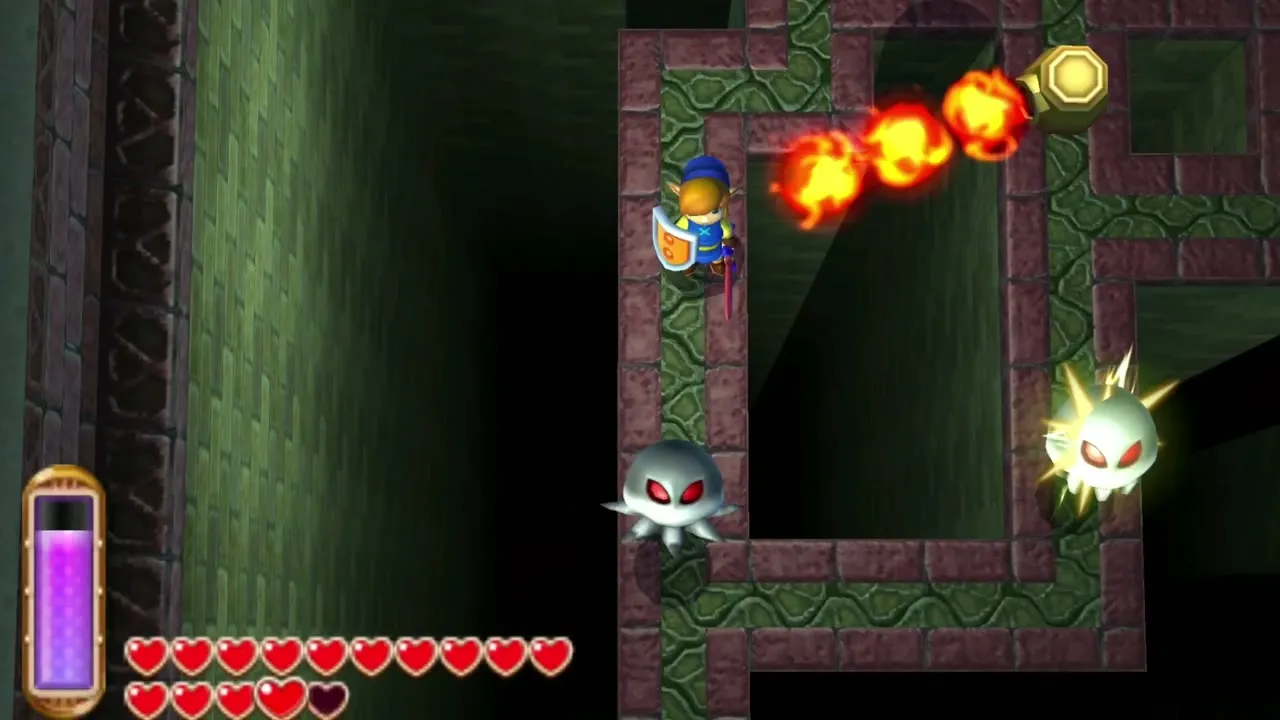
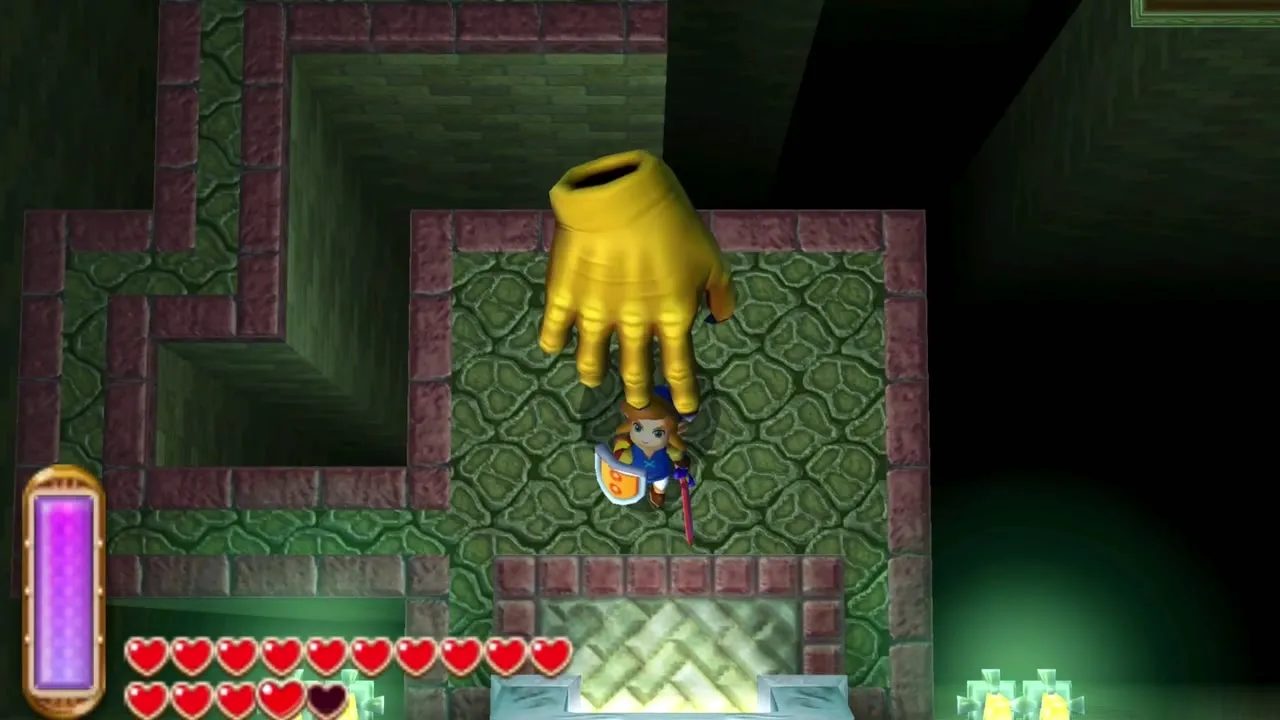
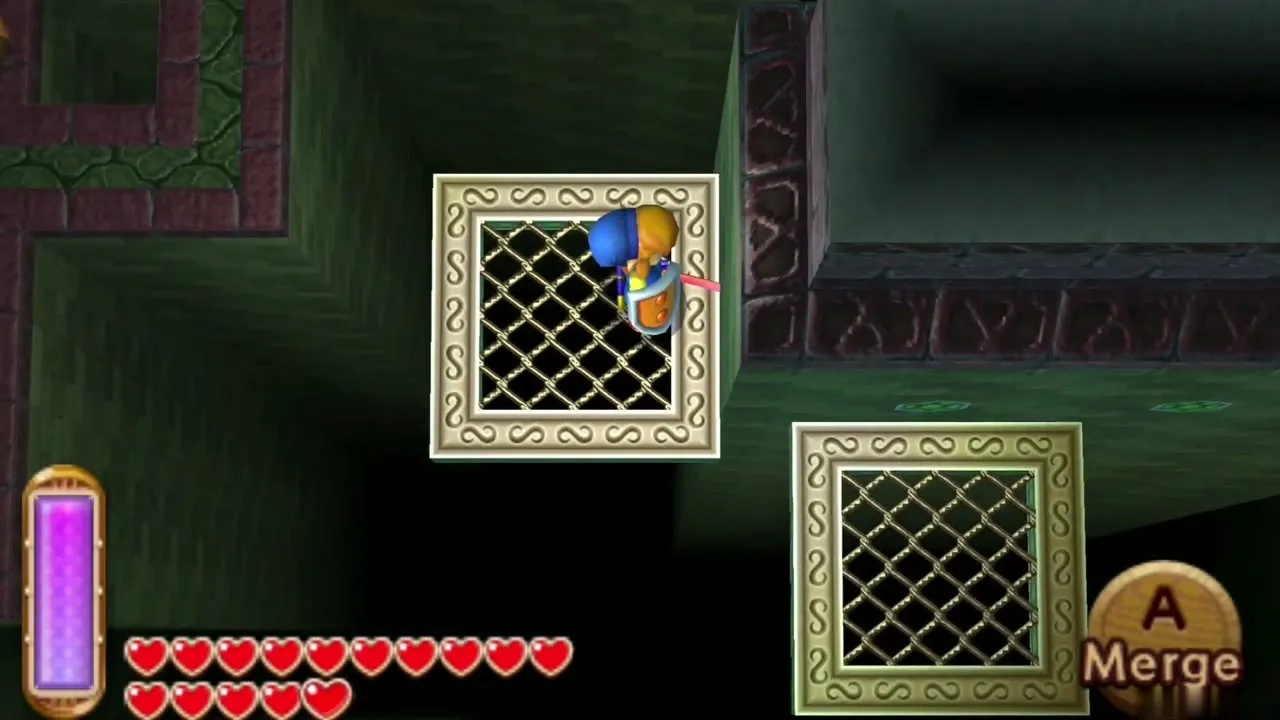
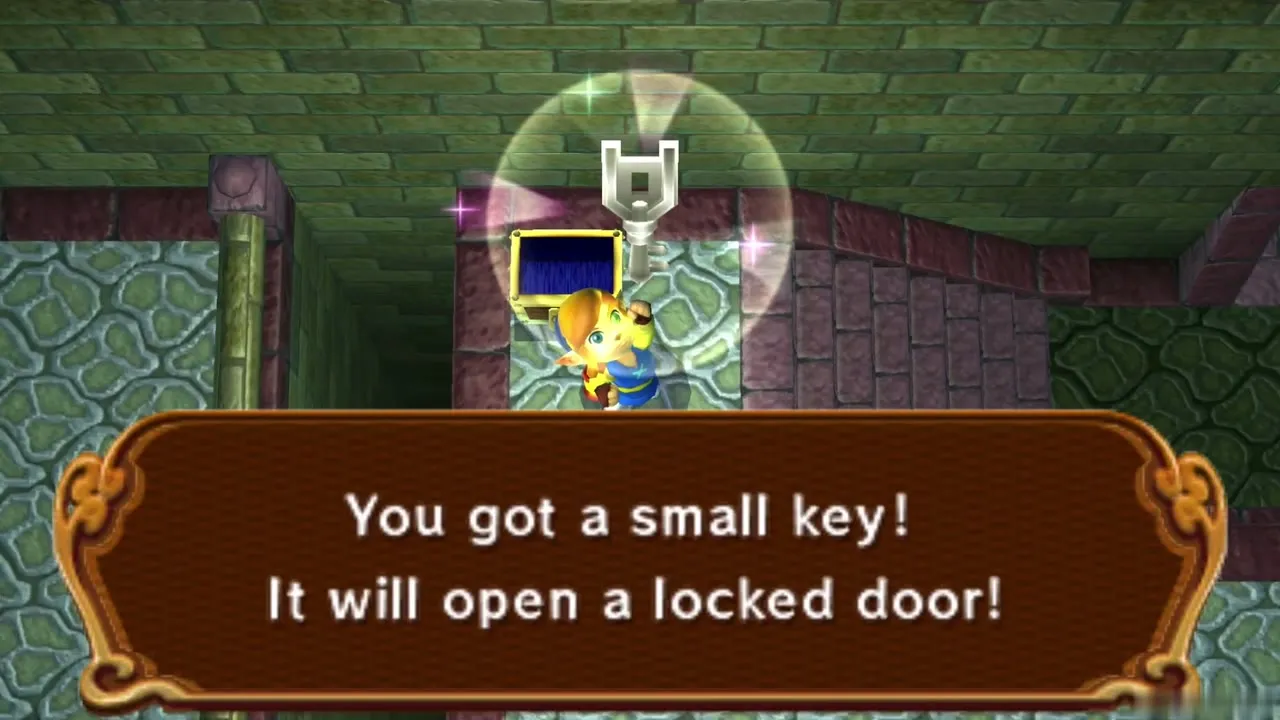
Defeat the Wallmaster, then ride the moving platforms along the room. If a hand appears while you are on one, merge into the nearest wall until it is gone. Step off beside the treasure chest and open it to take the first Small Key. Leave through the upper door on the right.
Skull Woods Compass
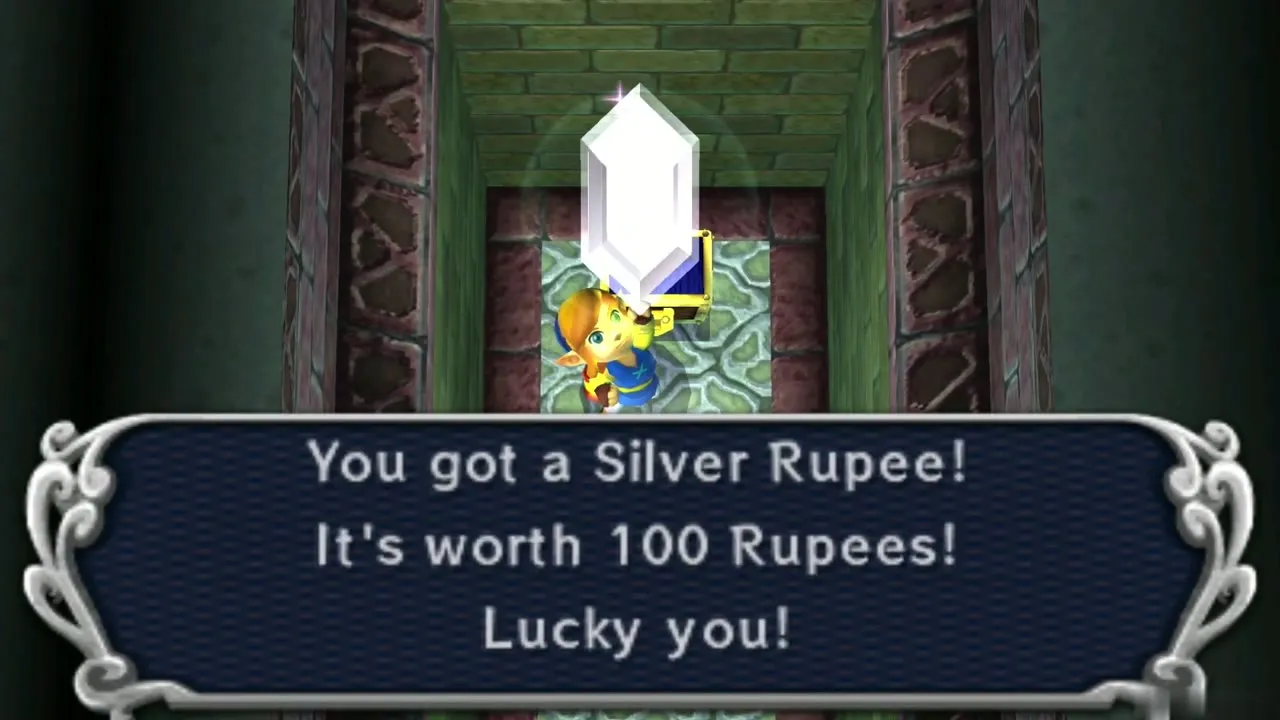
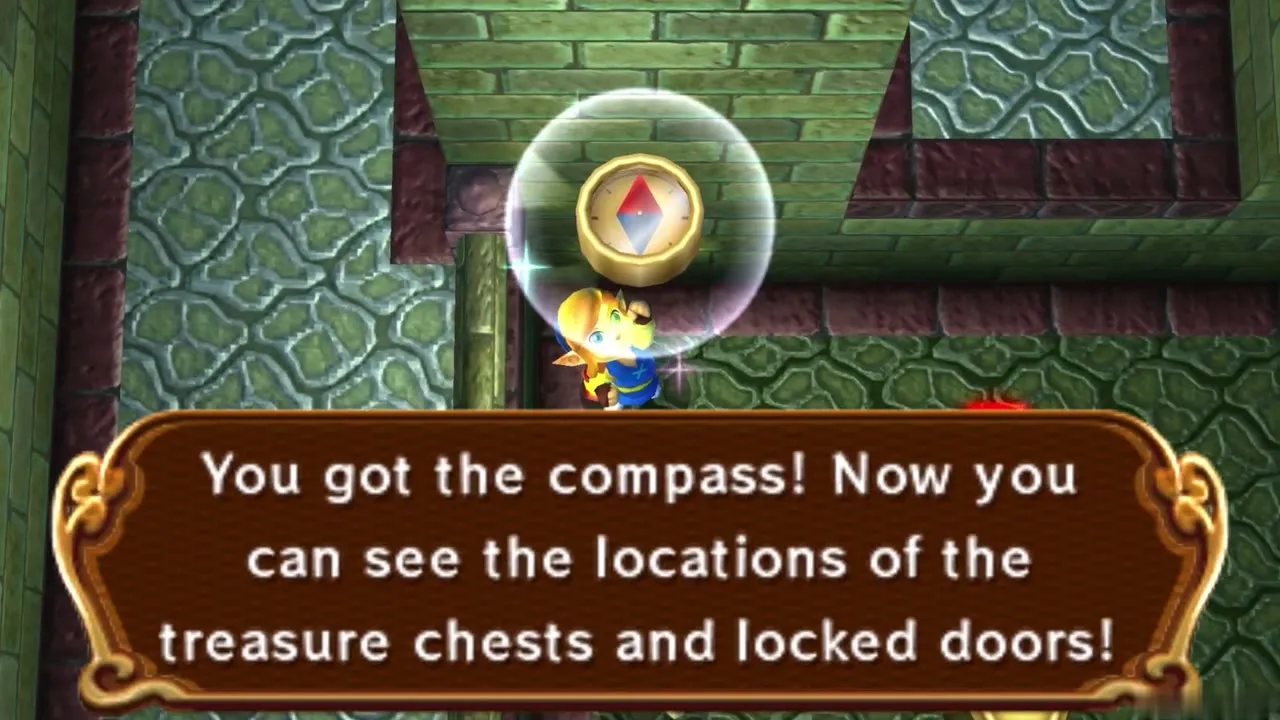
The next room is dark and its door closes behind you. Light the Lamp, follow the walkway to the locked door on the right and use your Small Key. Outside again, drop through the first hole you find. The chest below holds a Silver Rupee worth 100 Rupees, and the chest in the next room holds the Compass, which shows the dungeon’s chests and locked doors on your map.
Small Key 2: cracked floors
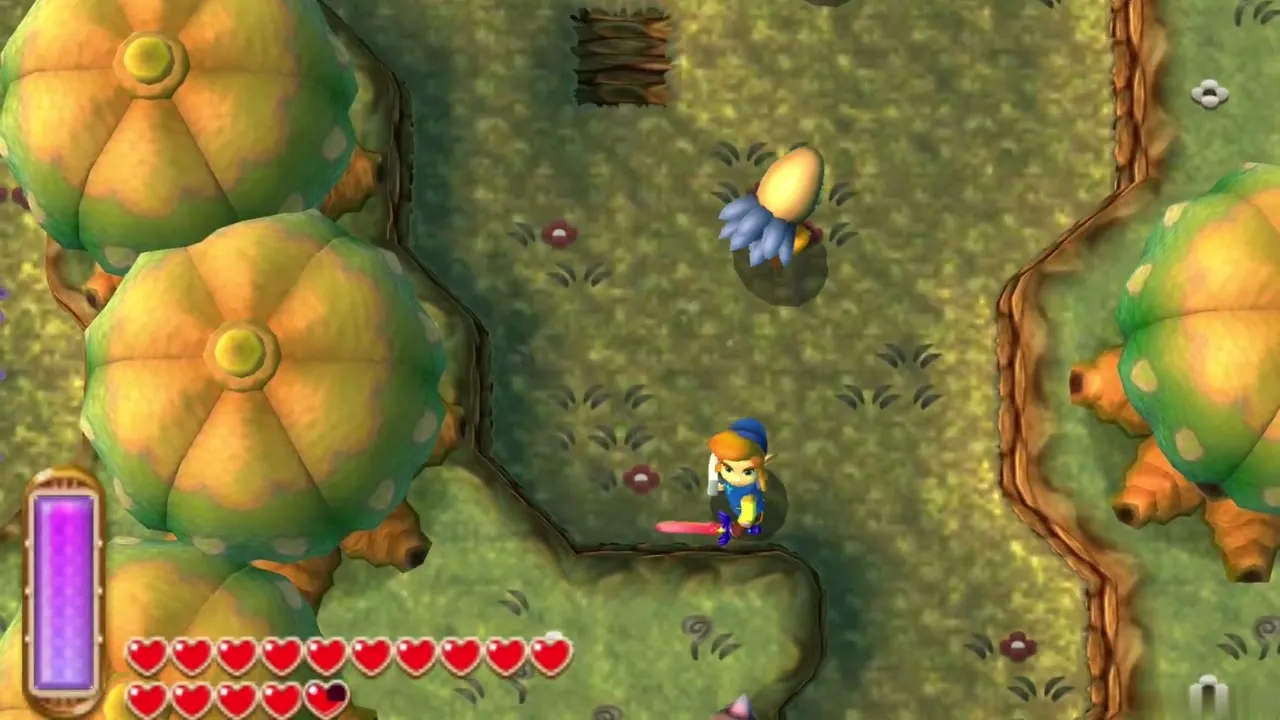
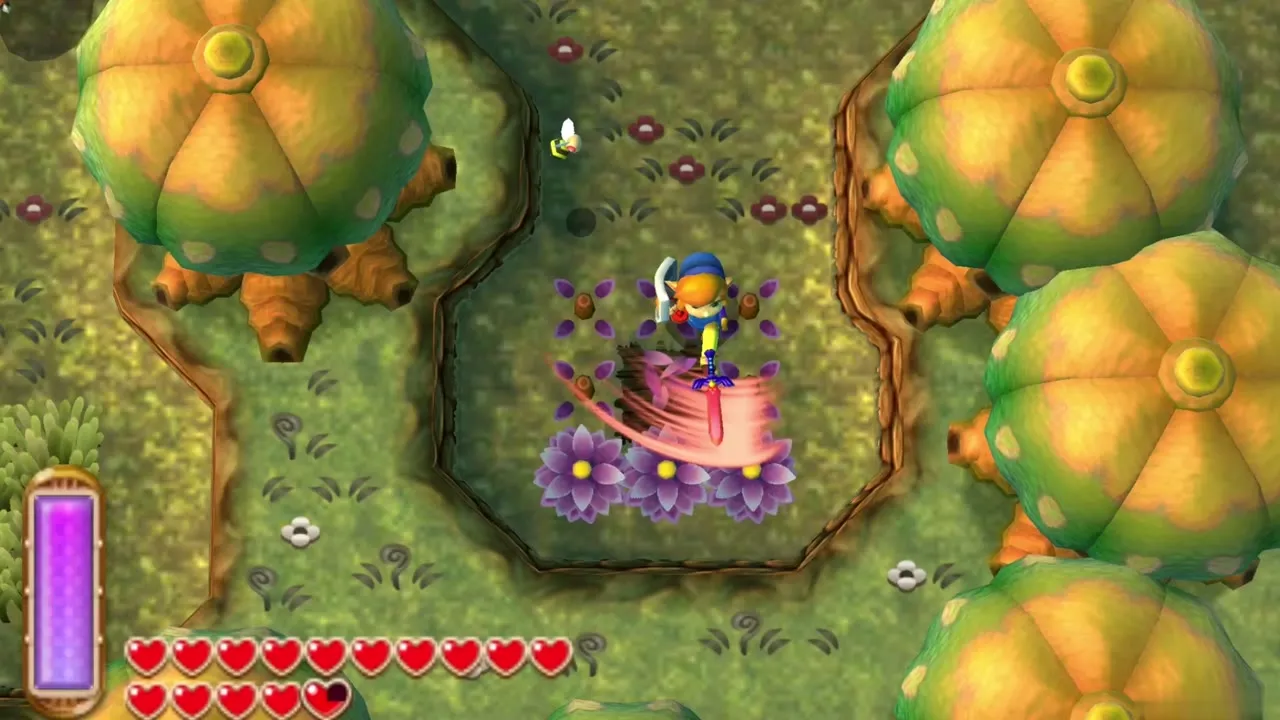
Leave the dungeon again and find the big patch of tall grass in the forest. Cut it to uncover a hole and drop in. In the room below, a cracked patch of floor blocks the way. Smash it with Bombs, or stand so a Wallmaster comes down on it, and fall through to the level beneath. Press the floor switch there to lower the wall on the left and climb the steps beyond.
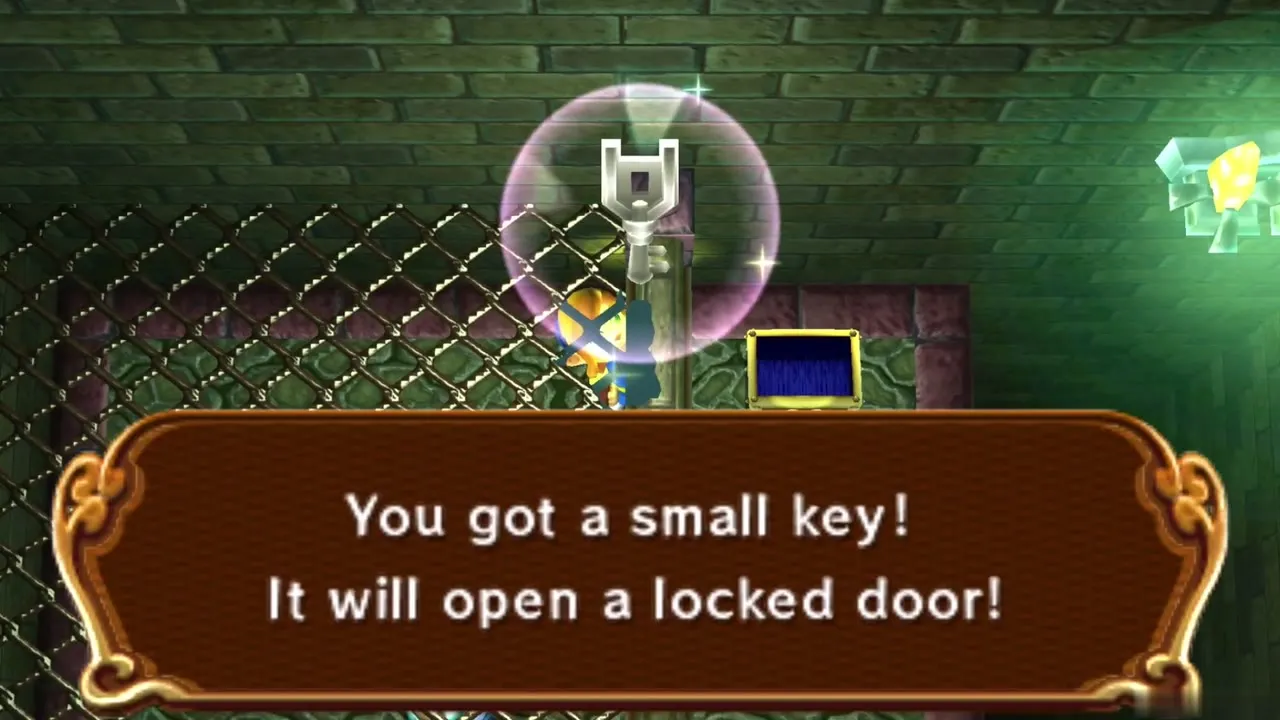
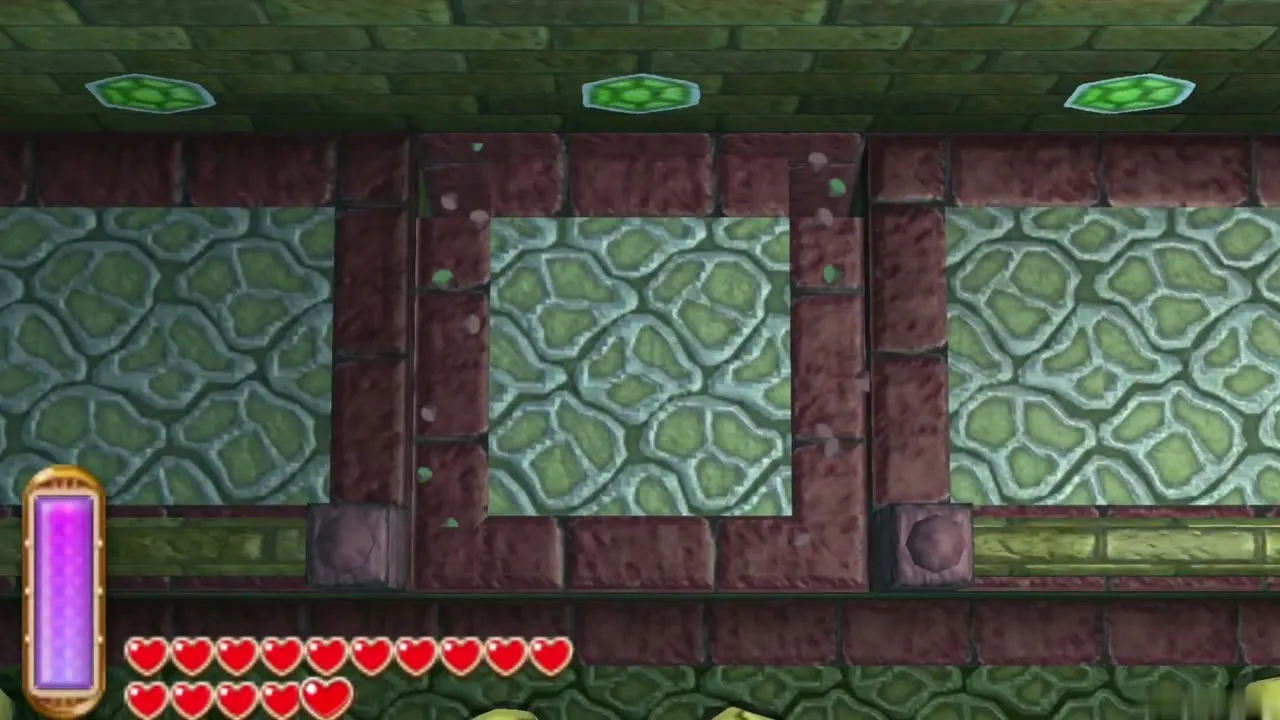
At the top, a second cracked tile waits by the railing. Break it the same way and drop into the gap to find a chest with the second Small Key. Press the nearby floor switch to extend a bridge across the pit, cross it, and unlock the door that lets you out onto the ledge in the first room. Pull the lever there to reveal a hidden door and take the stairs down to B2.
B2: statues, platforms and Small Key 3
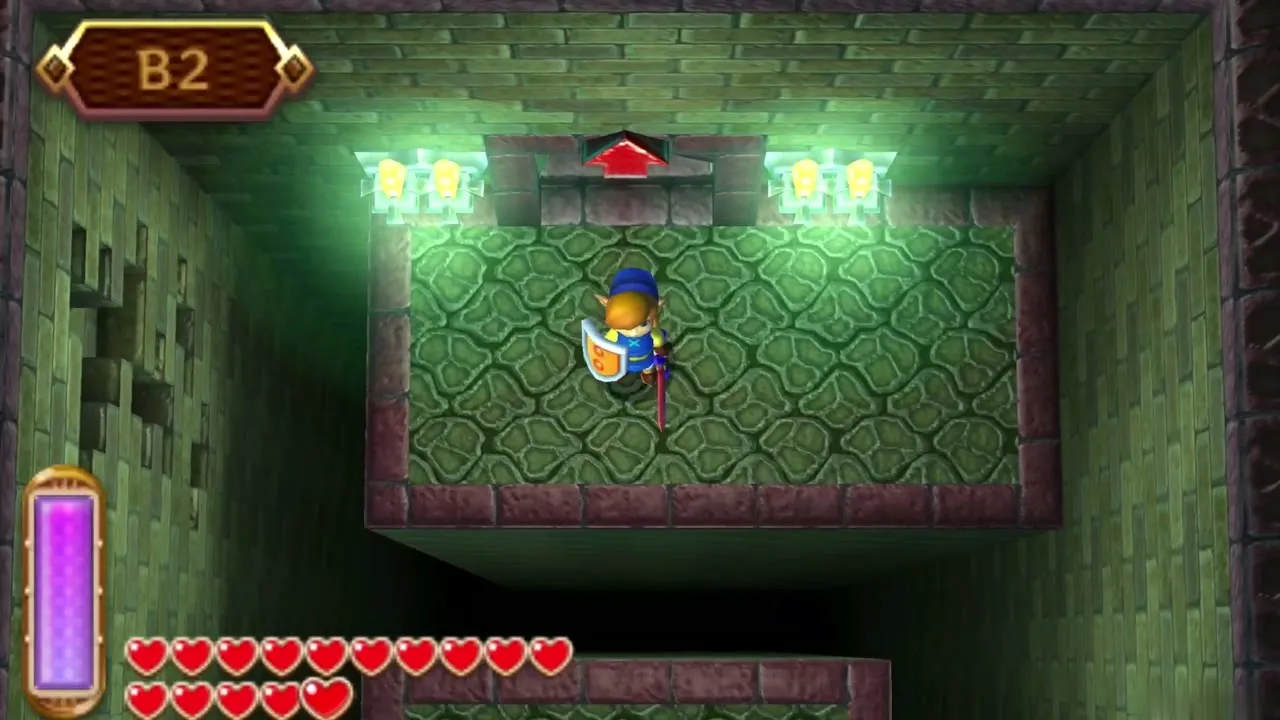
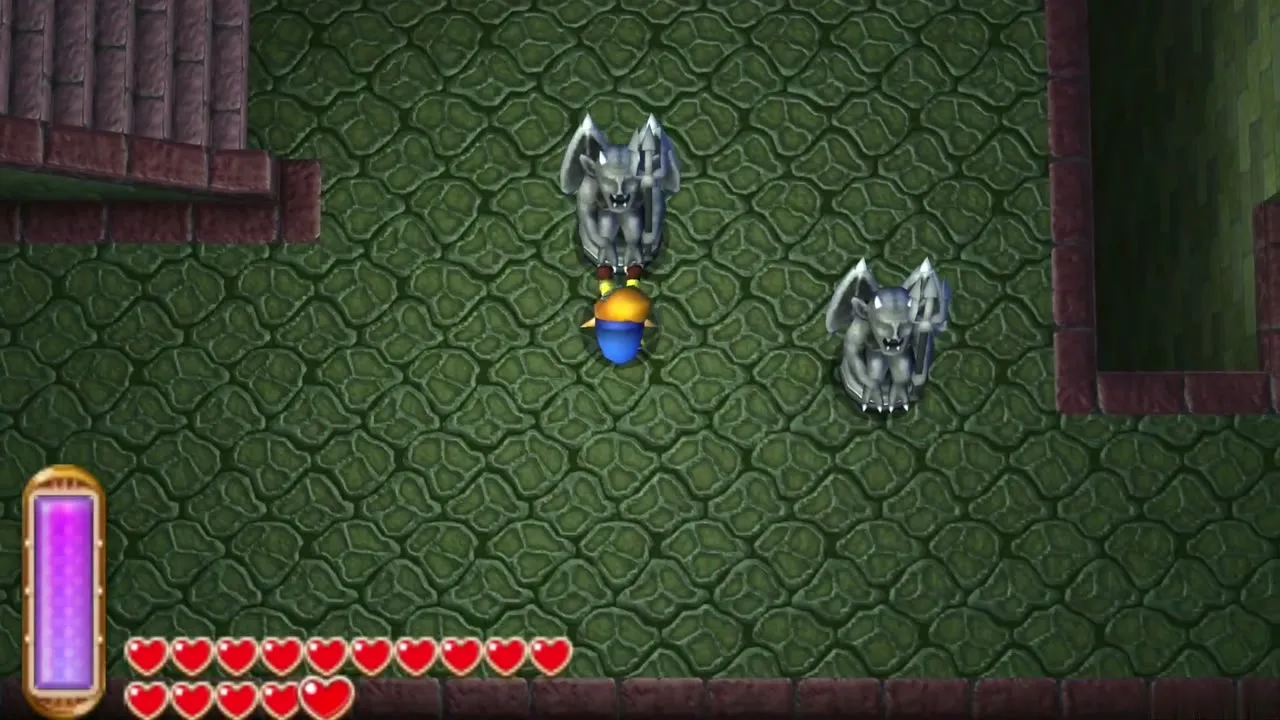
On B2, merge into the right wall to cross the pit, deal with the Wallmaster, then solve the statue room. Four pressure pads sit near the pit. Push one gargoyle statue onto the far-left pad to slide a wall section over the gap, and push the second onto the pad beside it to join the two walls into one path. Climb the steps on the left, merge into the wall and walk right to the exit. Pull the lever by the door to open a shortcut back.
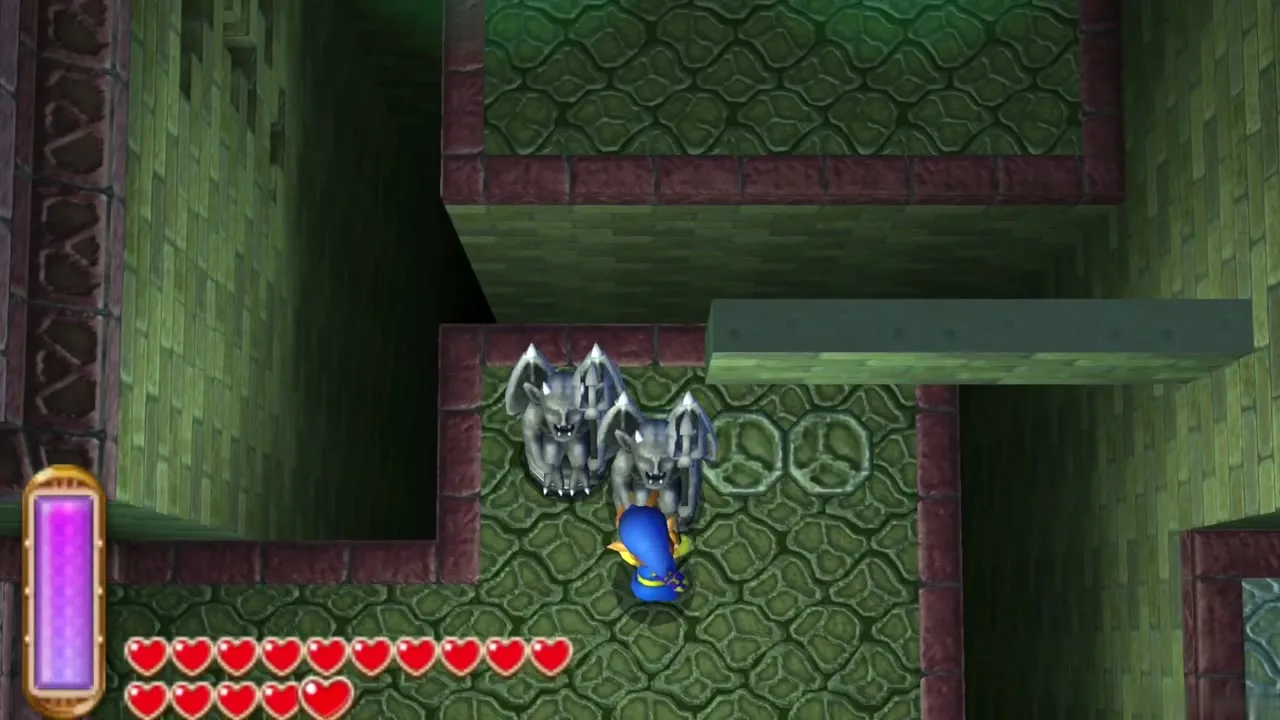
The next rooms are timing puzzles with moving blocks. Press the first button to start a block, merge into it and ride it over the pit. In the following room, stand under the second button so the Wallmaster slams it for you, then ride the right-hand block across. A final button creates a shortcut. After that, press the central button in the Moldorm and Gibdo room to release them, defeat them all, and the doors open and a warp point appears.
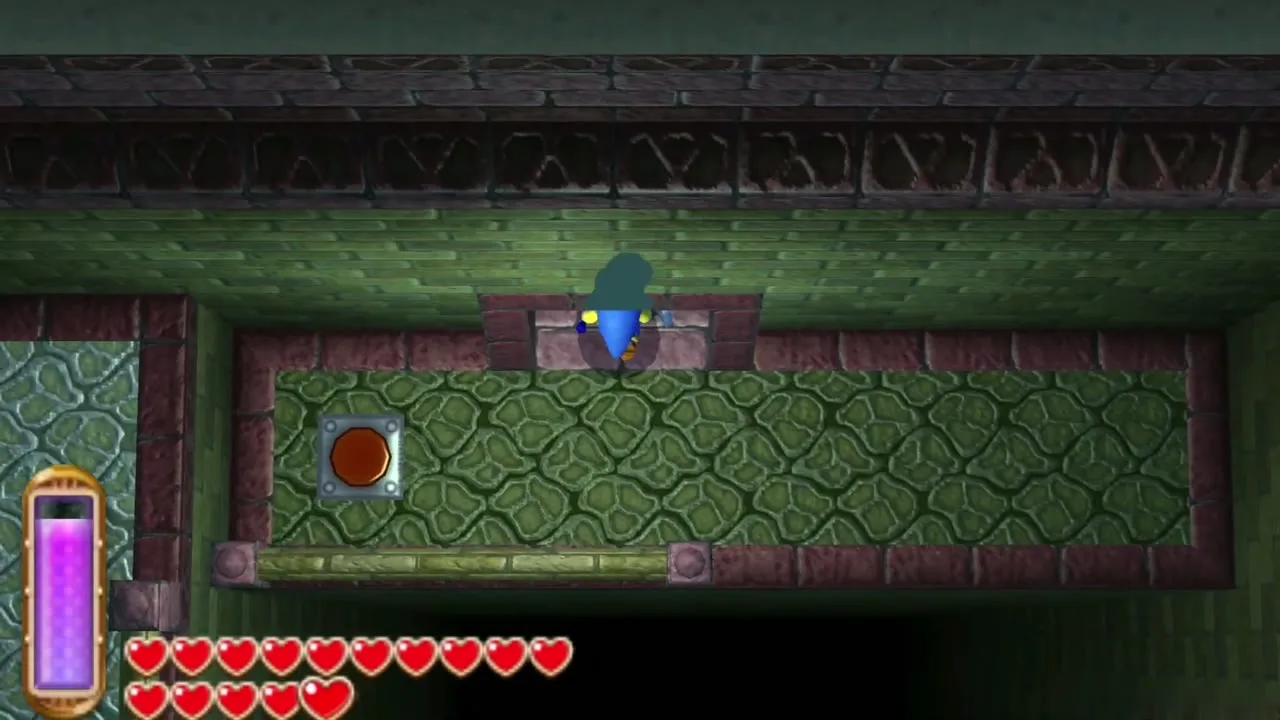
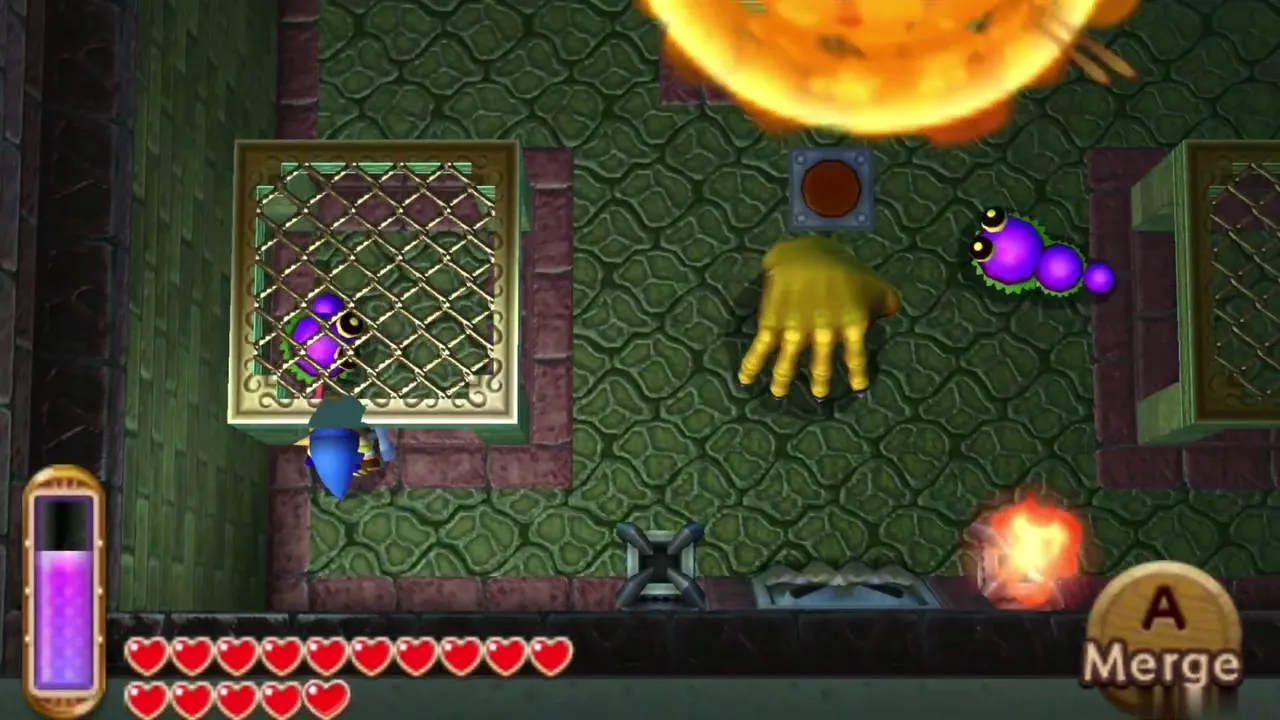
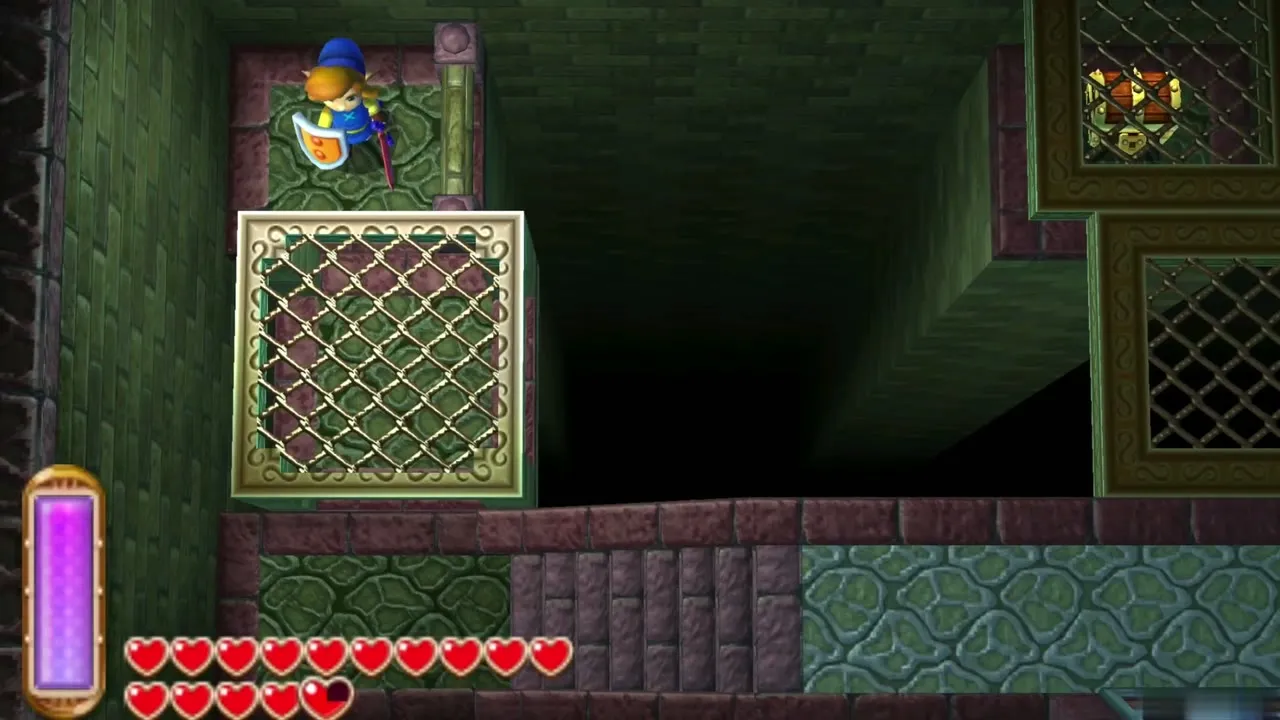
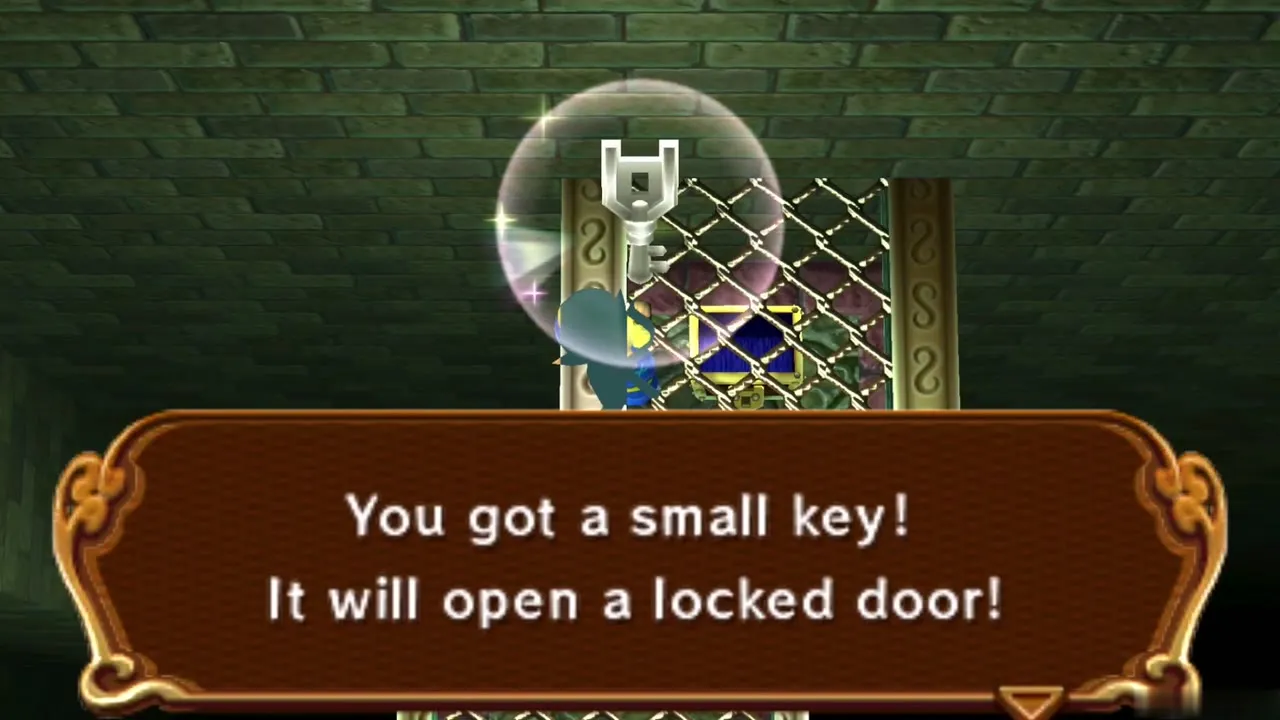
Ride the platform to the left until it stops; you can usually cross before a Wallmaster shows up. Take the locked door, go down the steps and ride the second platform right to a chest holding Small Key 3. Return to the first side and use the key on the locked door to reach the huge dark room.
Boss door and the dark room
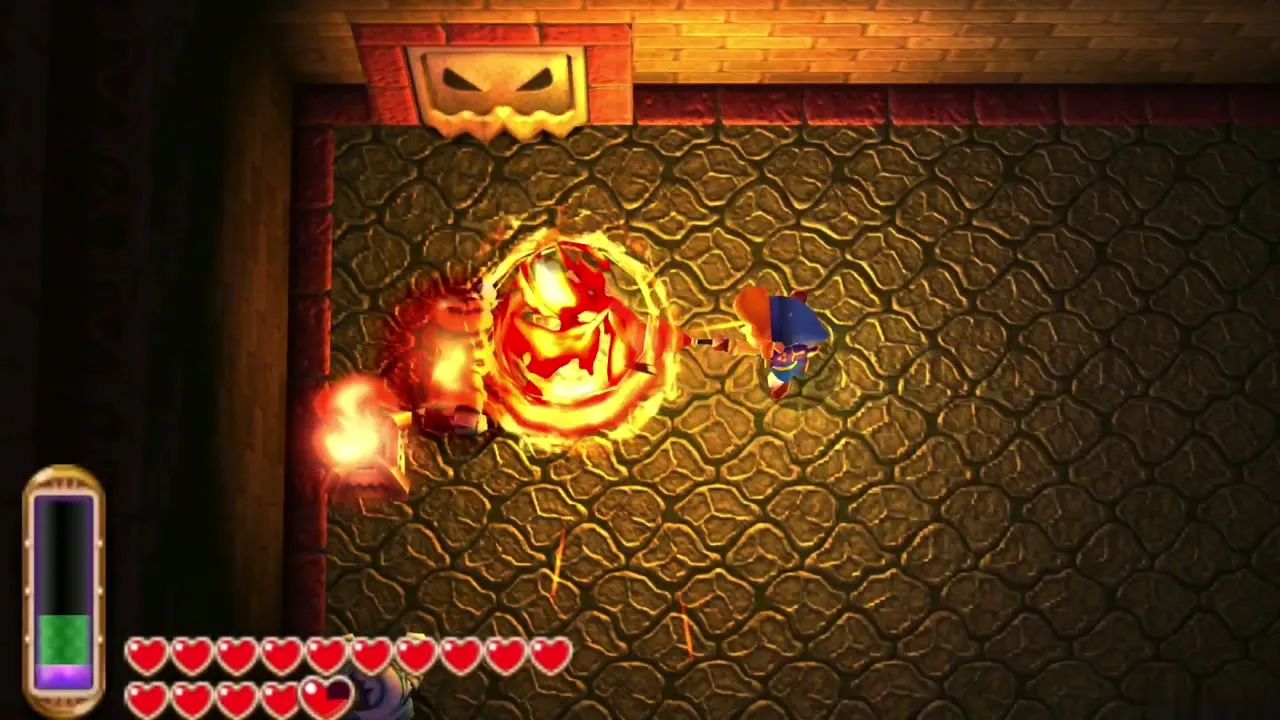
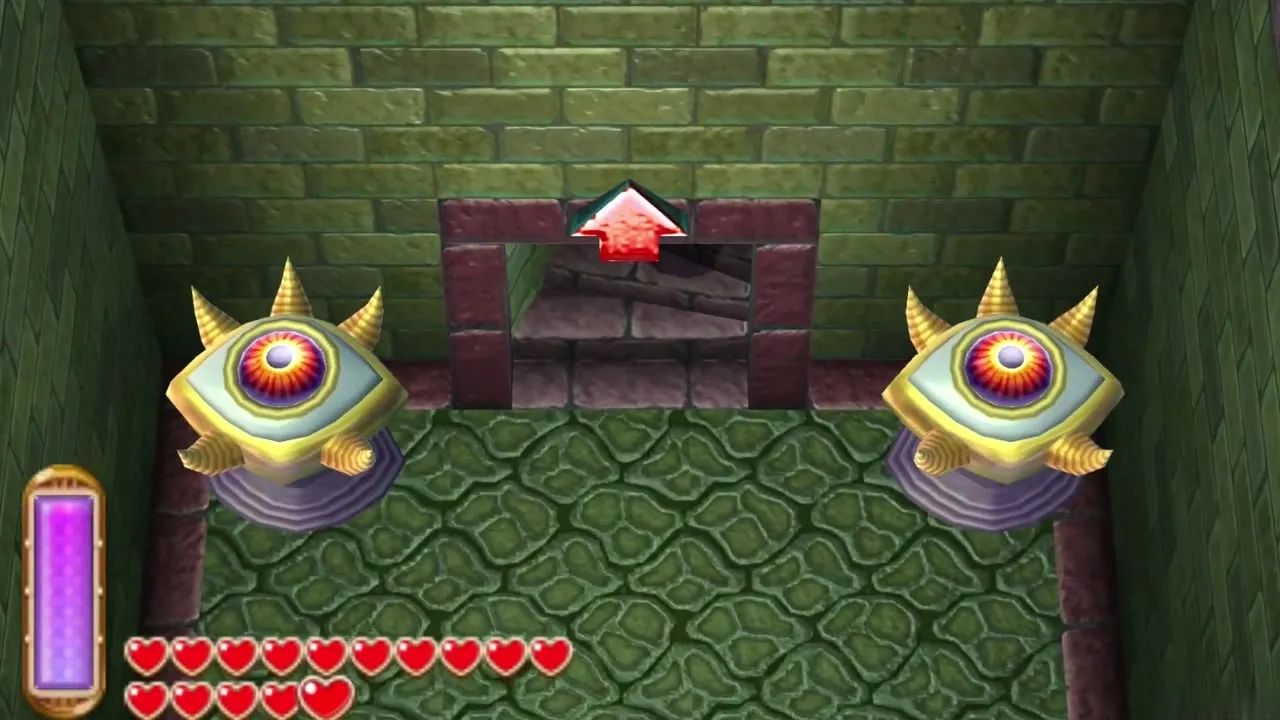
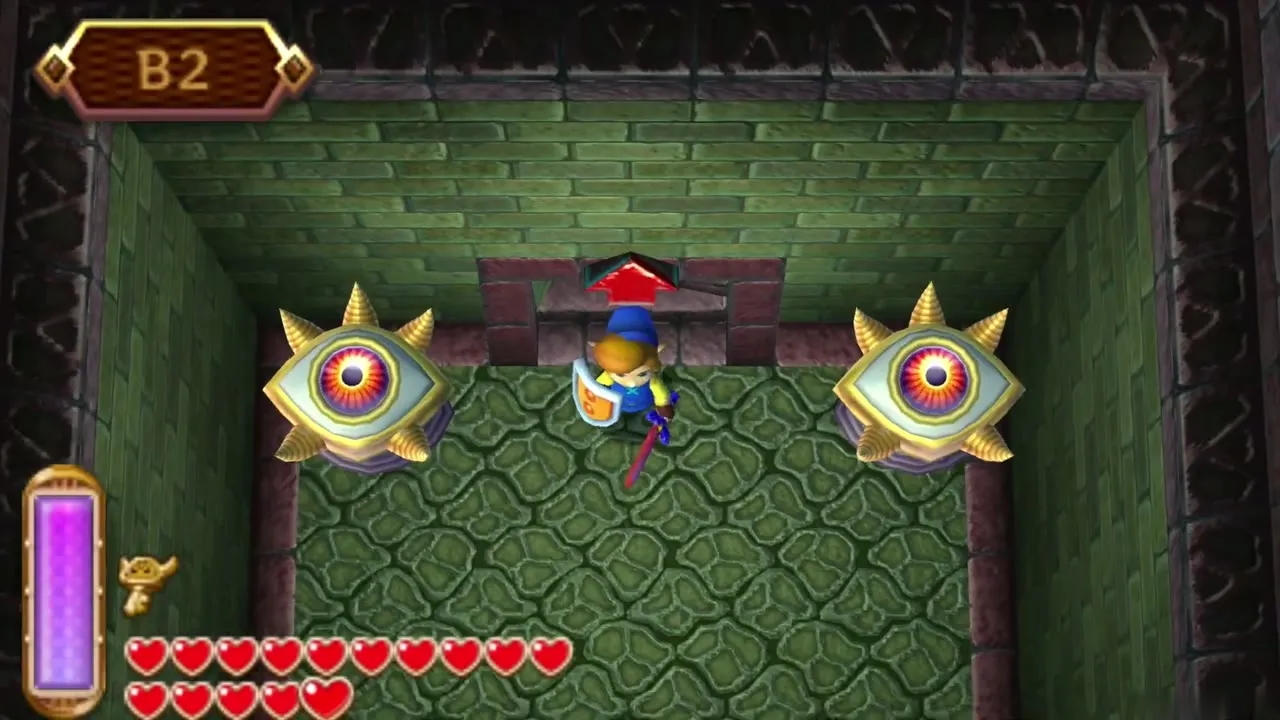
In the large dark room you pass the boss door, which you cannot open yet. Walk left to the far torch and light it with the Lamp, which shows two Gibdos. Burn them into Stalfos and beat them to open a nearby door. The next room has only two eye-shaped statues and a staircase, and the stairs take you up to B1 for the eyeball puzzles.
Eyeball puzzles, Master Ore and the Big Key
First eyeball and the bridge
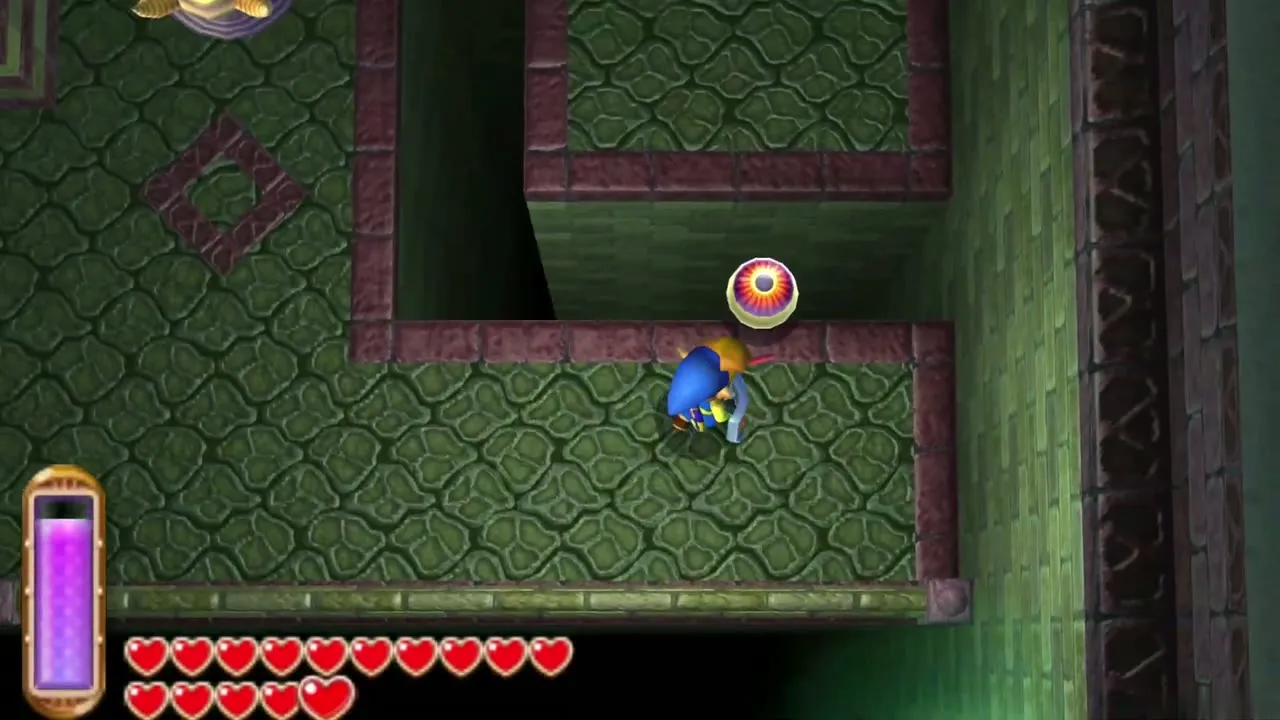
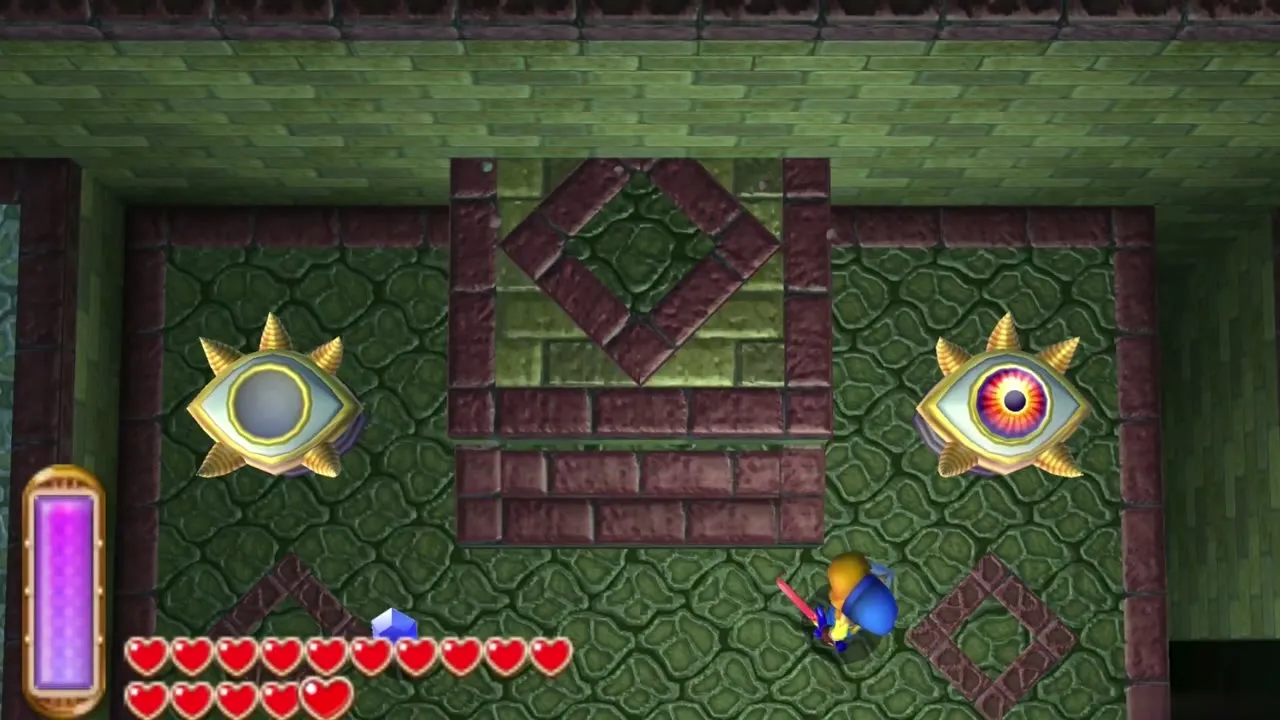
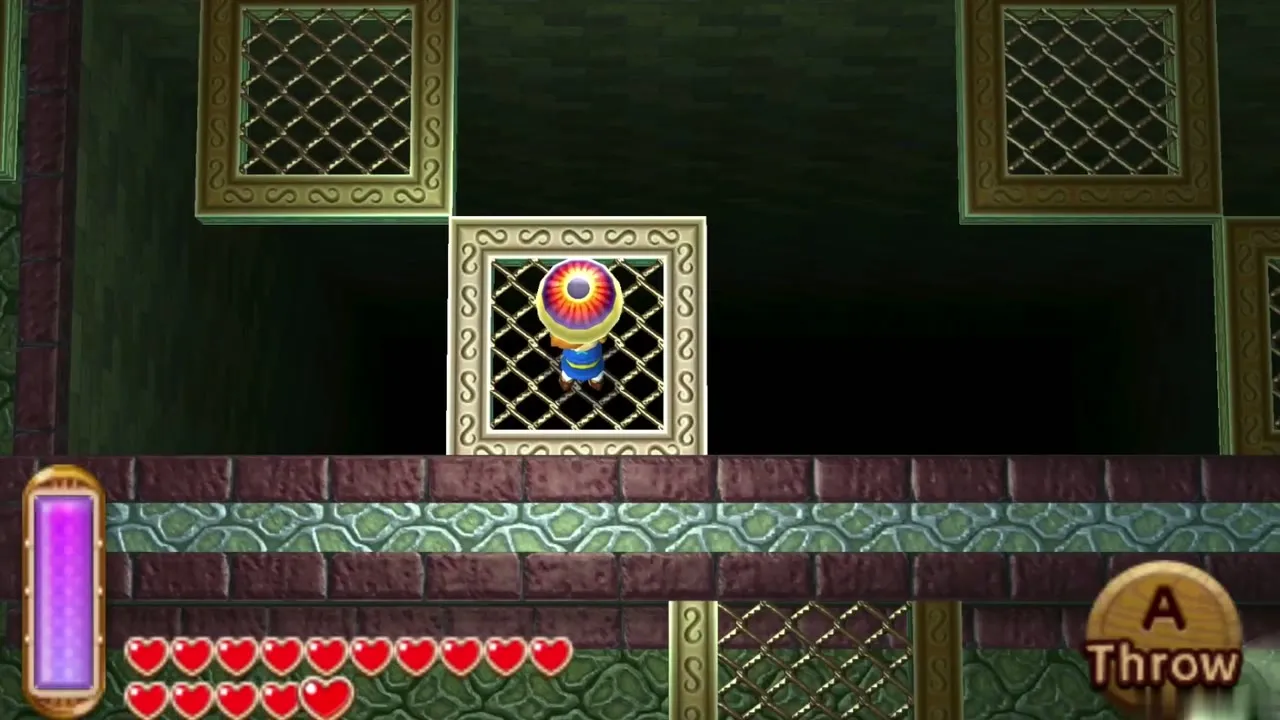
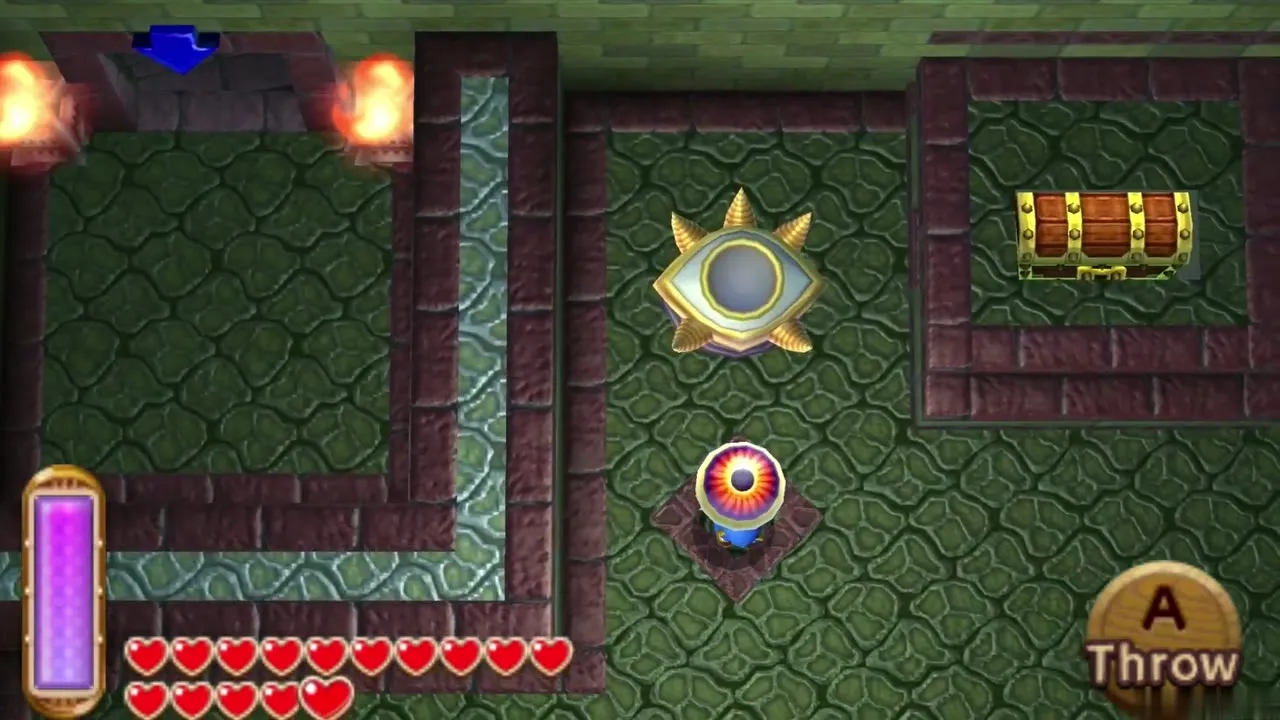
The statues on this part of B1 are missing their eyes. Merge through the narrow gaps in the wall, defeat the Wallmaster, and find the first eyeball in the top-right corner. Merge around the pit, pick it up and throw it across, then walk over and pick it up again. Stand on the purple marking and throw it into one of the eye sockets. A bridge appears and a wall slides away to show a big chest you cannot yet reach.
Skull Woods Master Ore
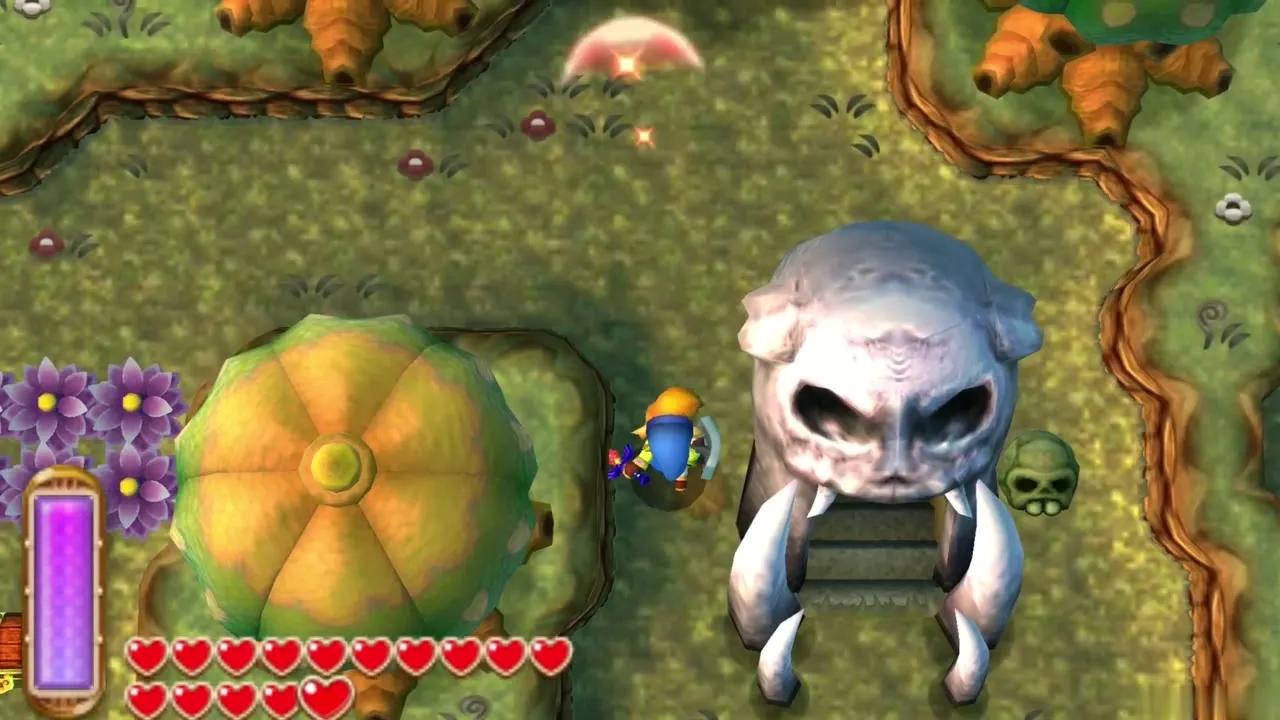
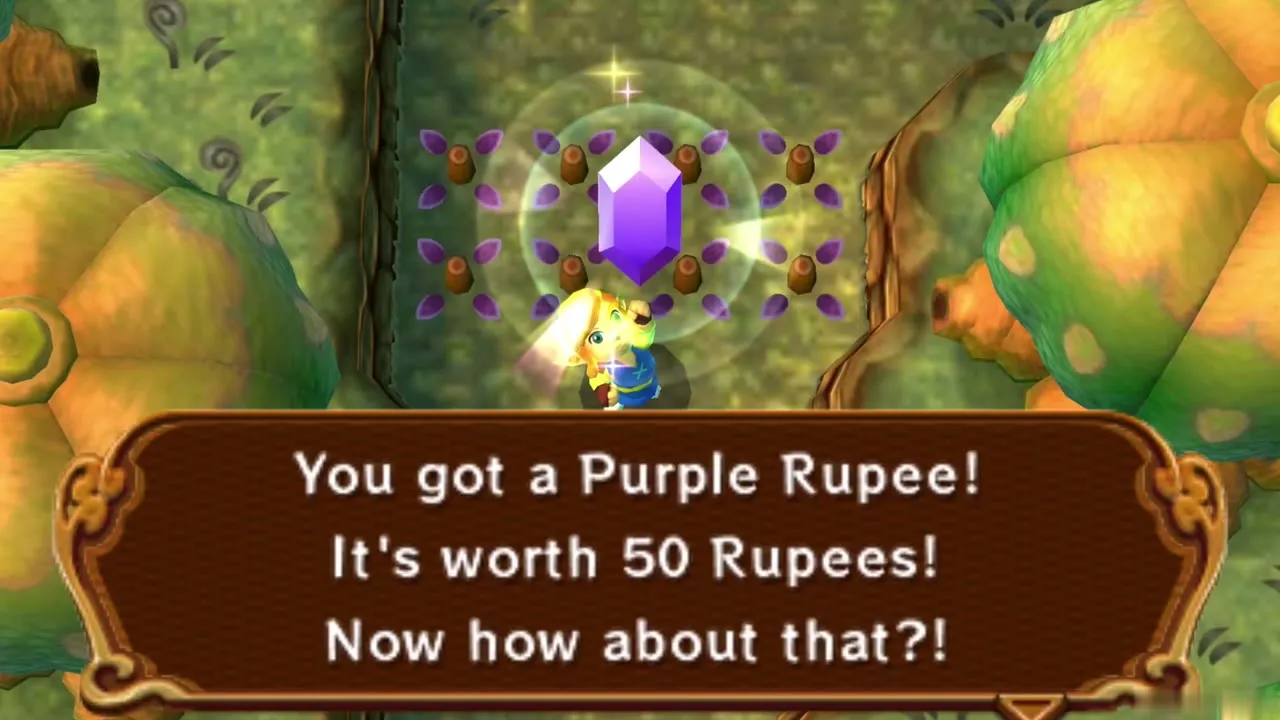
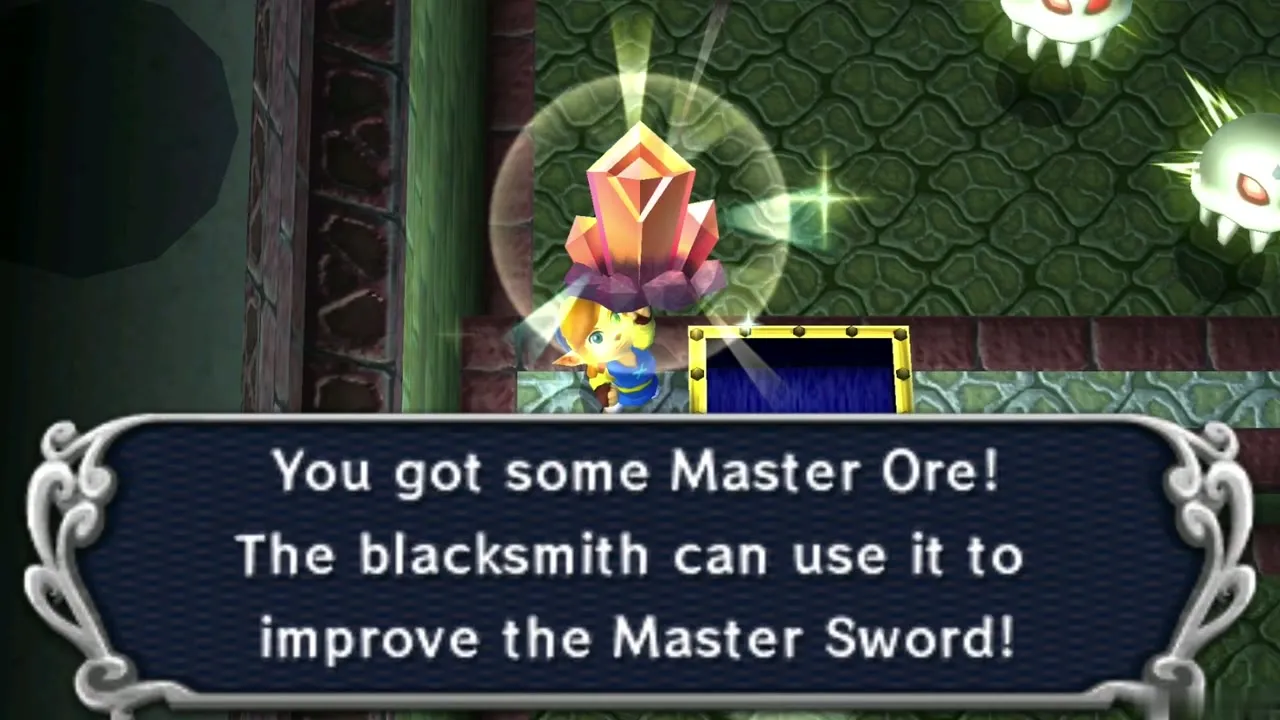
Cross the room, squeeze through the gaps and leave the dungeon into the forest. The chest on the left holds a Purple Rupee worth 50 Rupees. Go up and to the right, cut the bushes to reveal another hole, and drop in: you land on a lower ledge beside the room’s big chest. Merge into the wall and edge across to it. Inside lies the Master Ore, which the Blacksmith needs to strengthen your sword.
Skull Woods Big Key
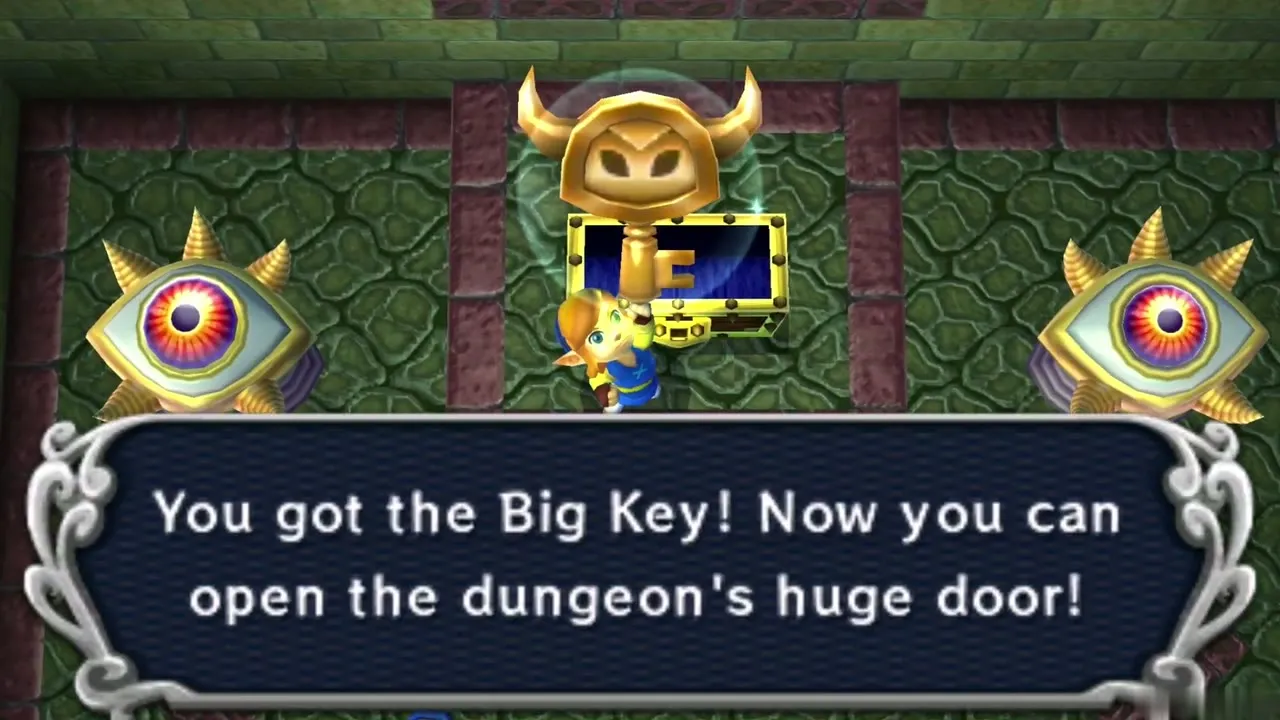
Close to the Master Ore chest sits a second eyeball. Carrying it slows you, so put it down and back off if a Wallmaster comes. Throw it across the first pit, merge over and pick it up again. For the next pit, either kill the Wallmaster and ride a moving platform, or leave the eyeball on a platform and let it carry it over. Throw it into the empty socket and the Big Key chest opens.
Back to the boss door
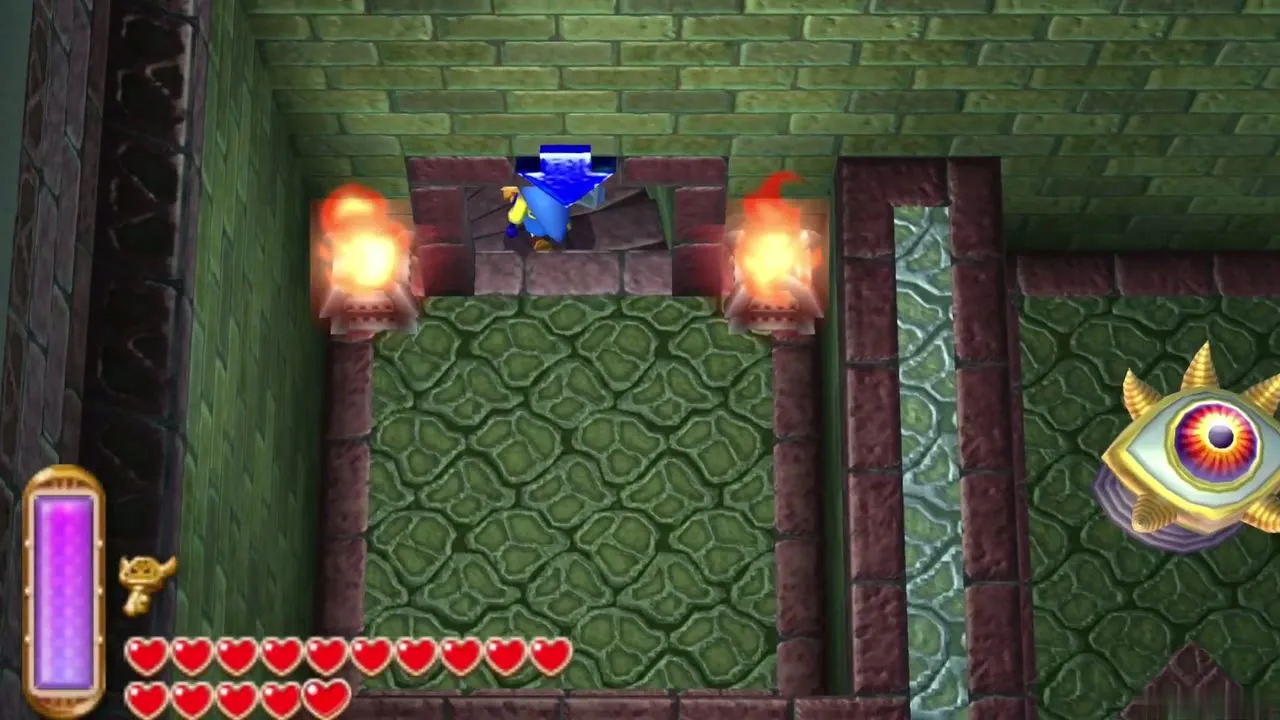
With the Big Key in hand, go back down to B2, cross the dark room to the boss door and unlock it. The door leads to a large arena with a cracked floor and torches at both ends. Make sure your hearts are full, as the floor gives way during the fight.
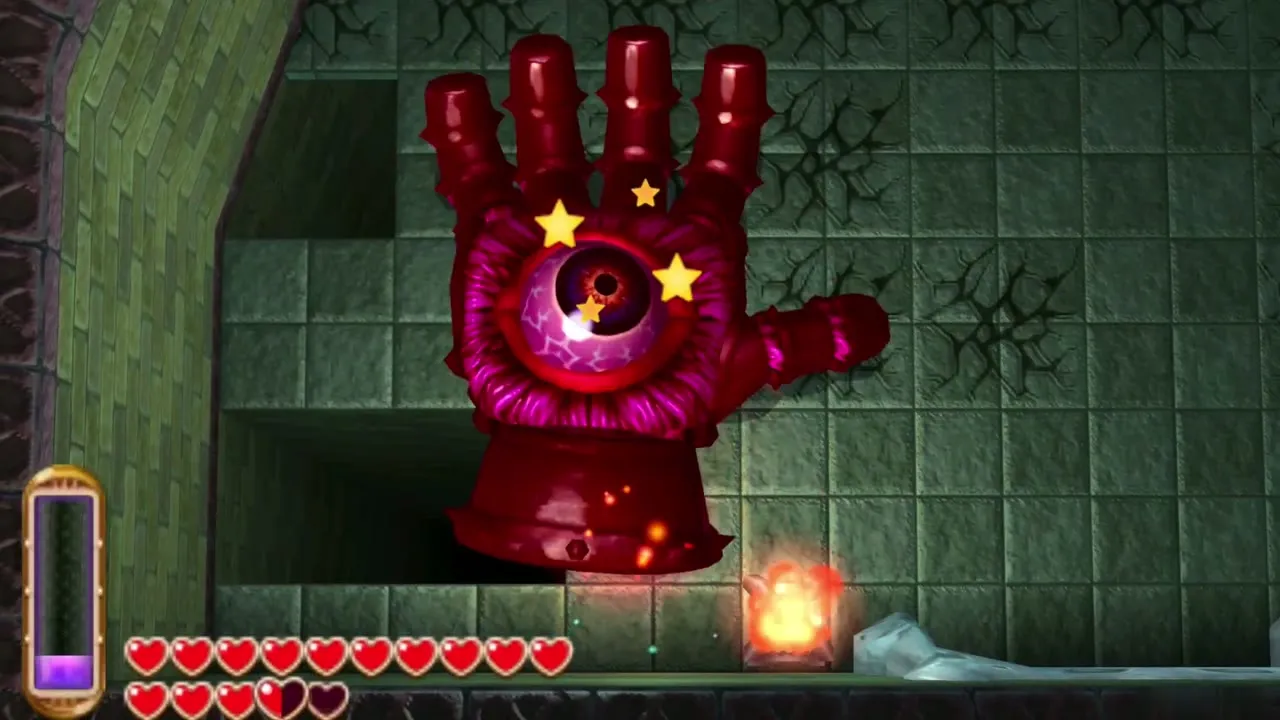
Knucklemaster boss fight
Phase 1: wall-merge charge
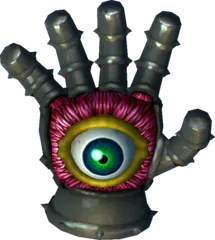
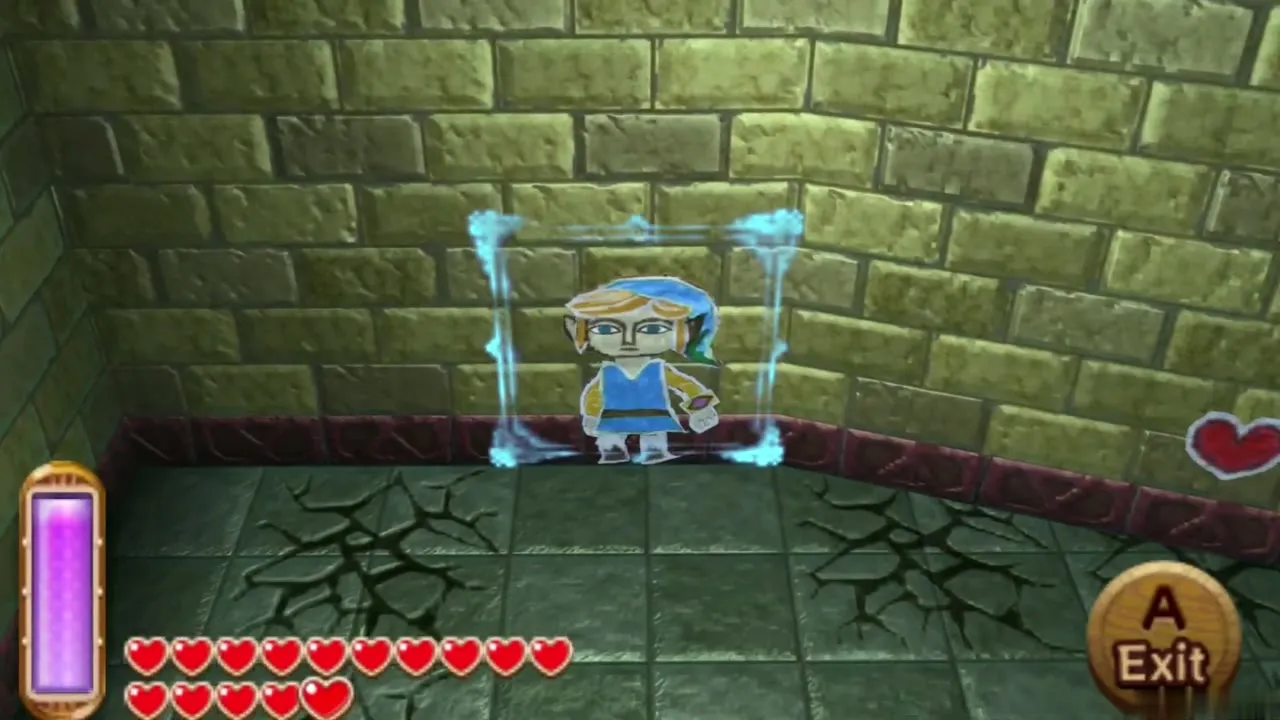
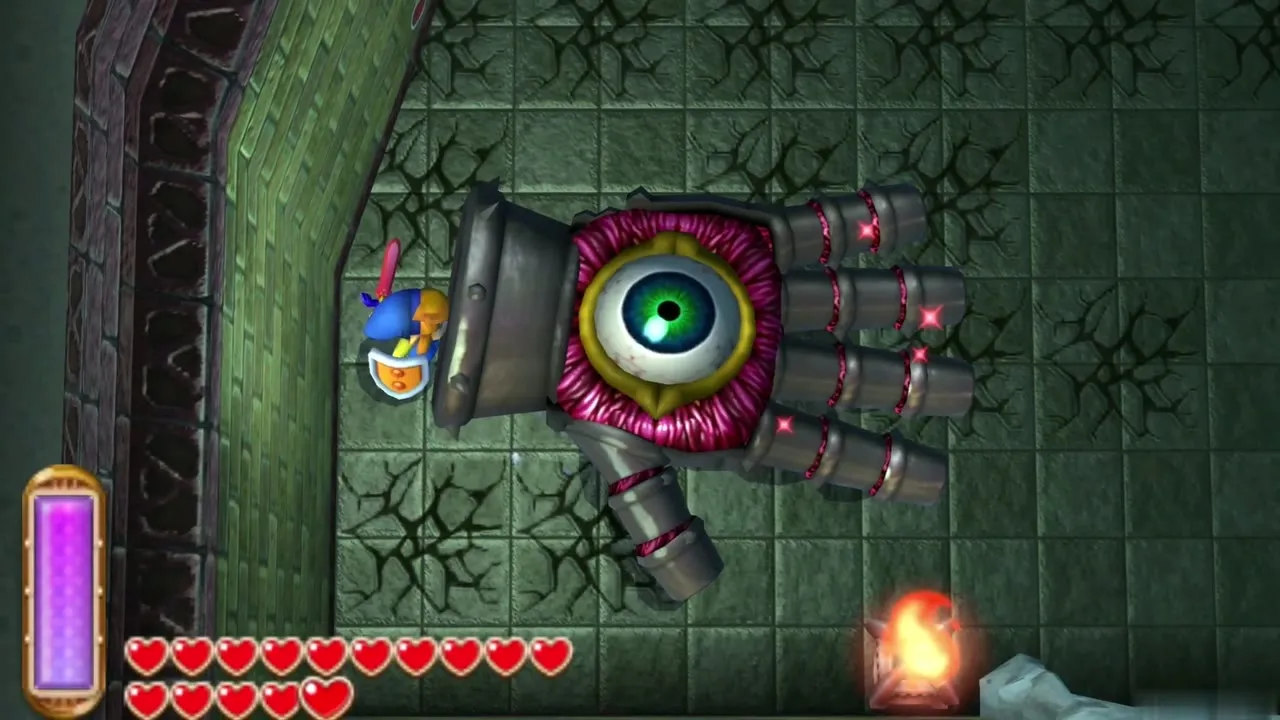
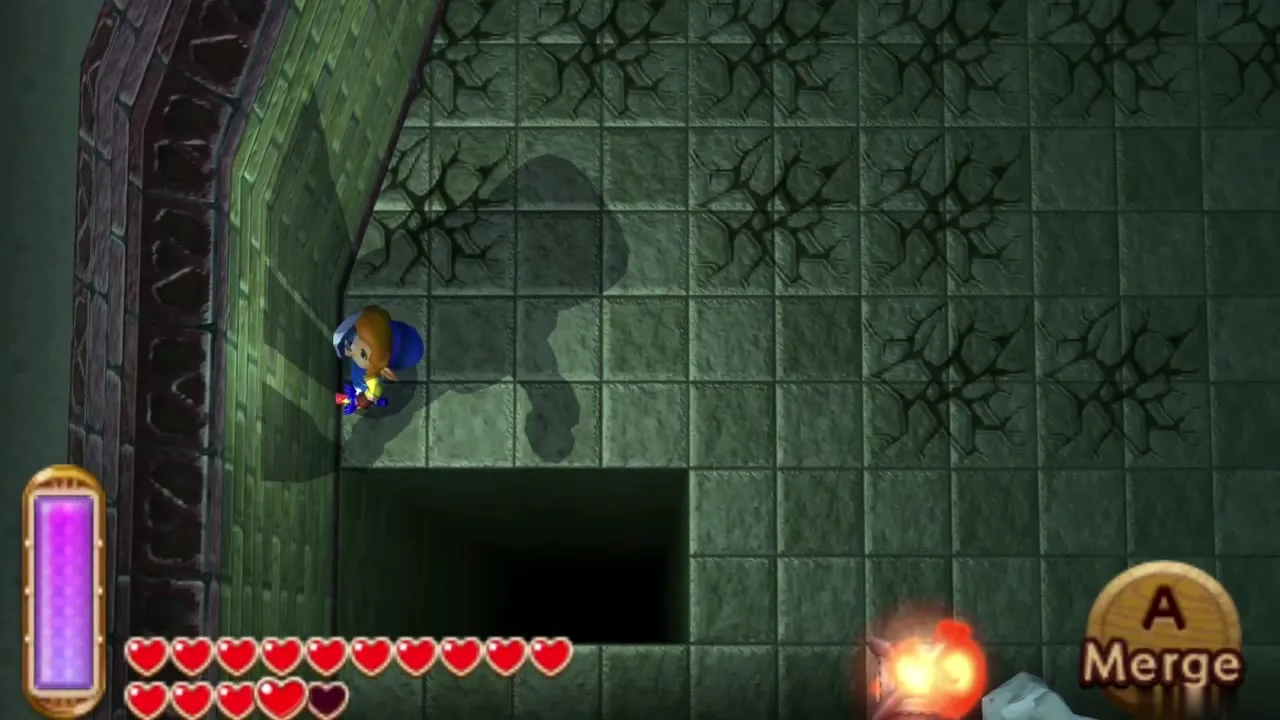
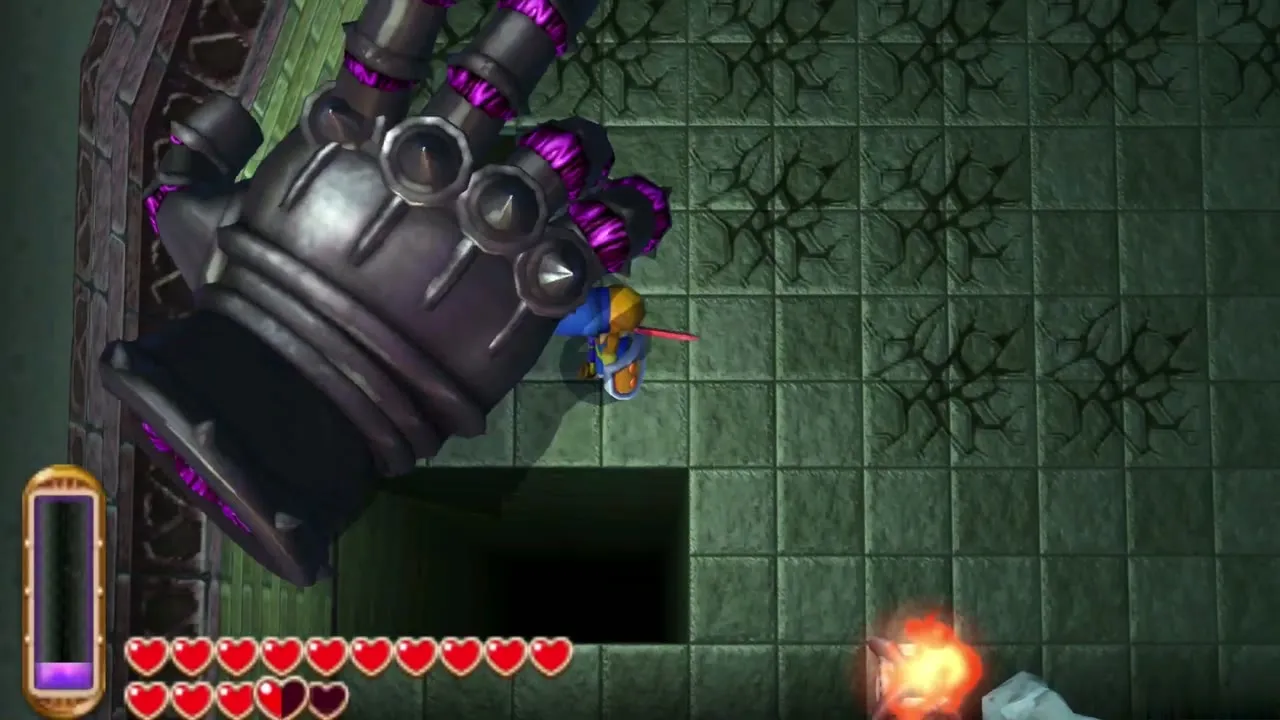
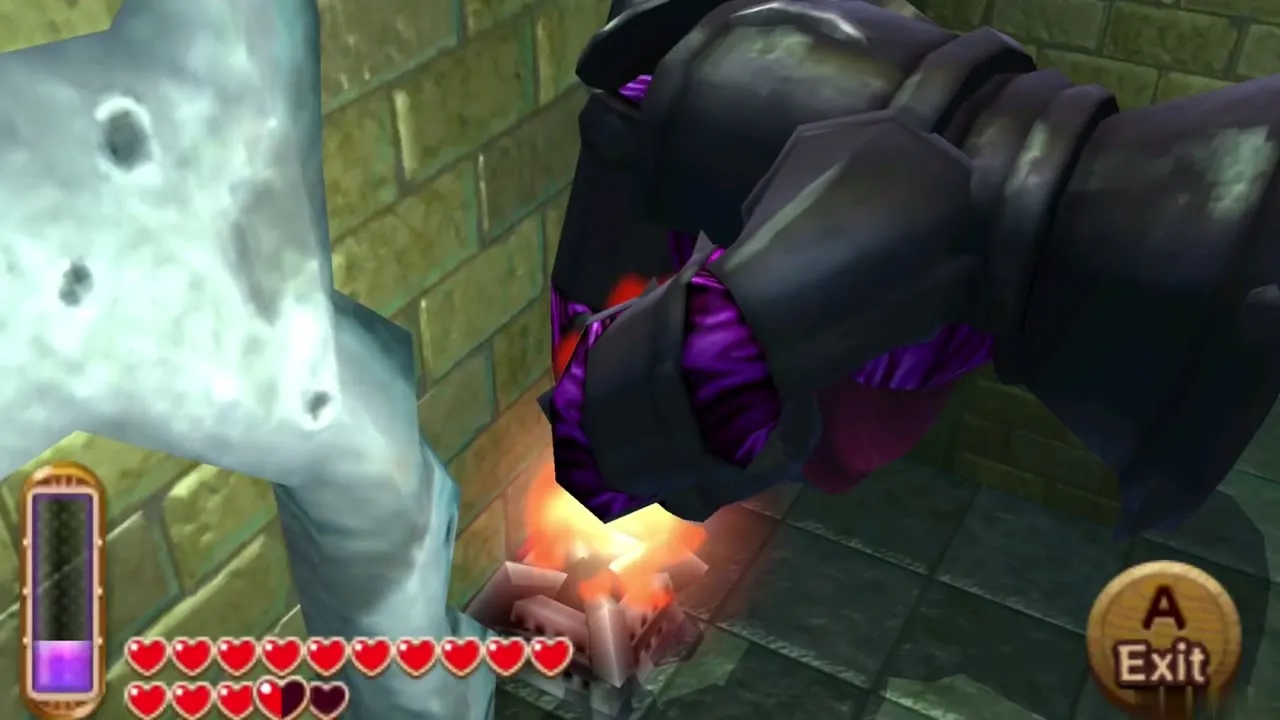
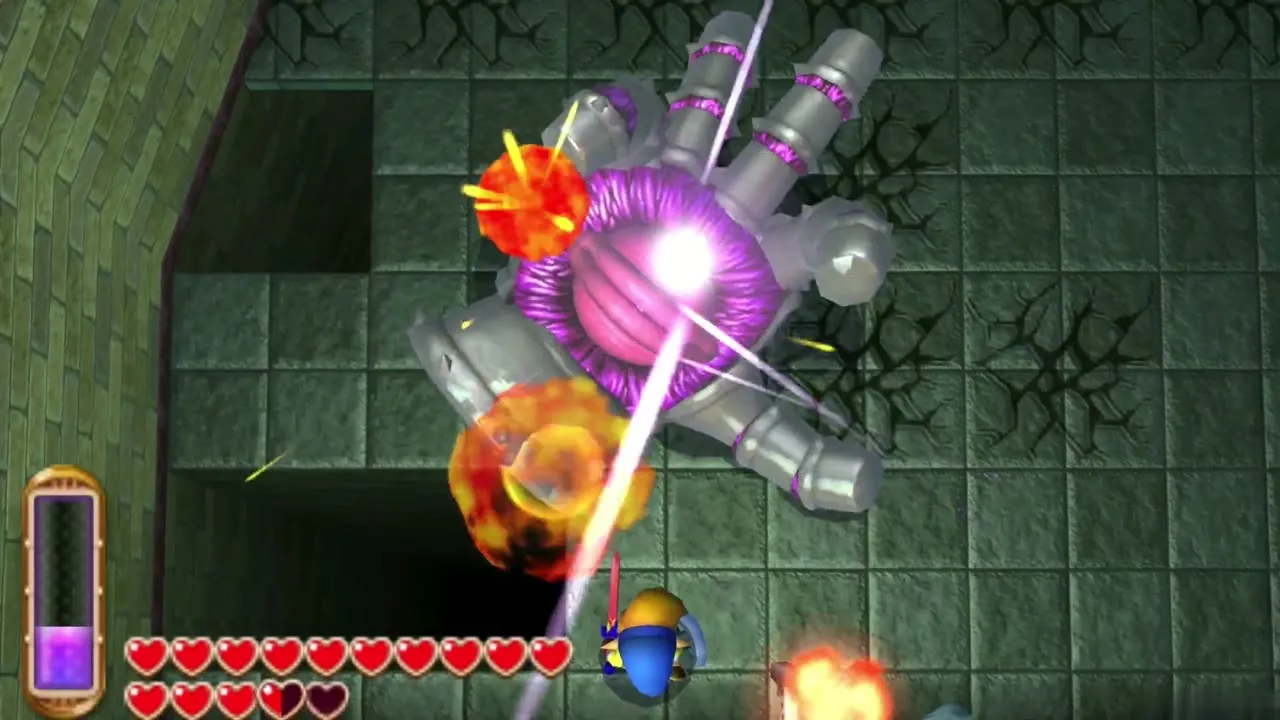
Knucklemaster is a giant metal glove with an eye in its palm. Stand in front of the wall on the north side, where the floor has no cracks. When the hand clenches into a fist and starts to glow, merge into the wall at once. It crashes into the wall and stuns itself, exposing the eye. Step out and slash the eye as often as you can. Stay on the move between charges, because Wallmasters also drop in during the fight.
Phase 2: floor smashing
After recovering, the hand rises and slams down repeatedly, breaking the weak floor and leaving pits. Run toward the gap between its thumb and finger to avoid the blow. Falling into a pit costs you hearts and sets you back, so keep to solid floor. After a few slams it winds up another charge: merge into the nearest wall again, wait for the crash, and strike the eye.
Phase 3: faster attacks
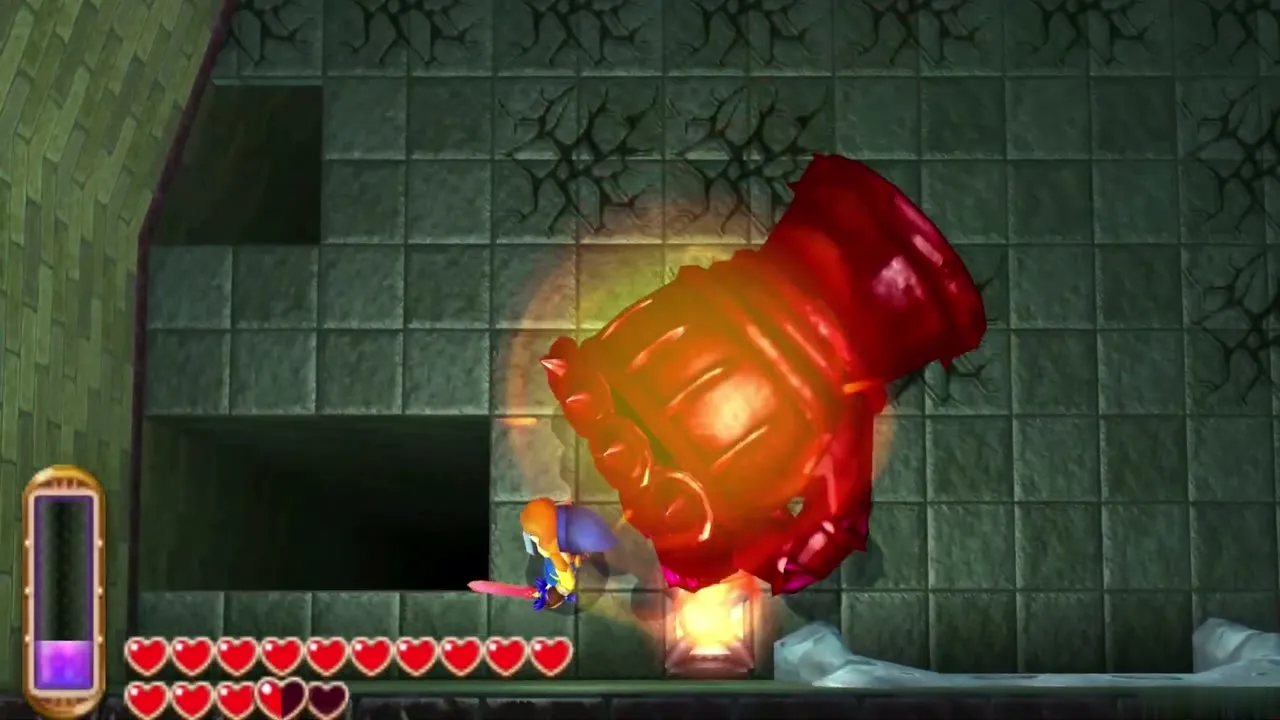
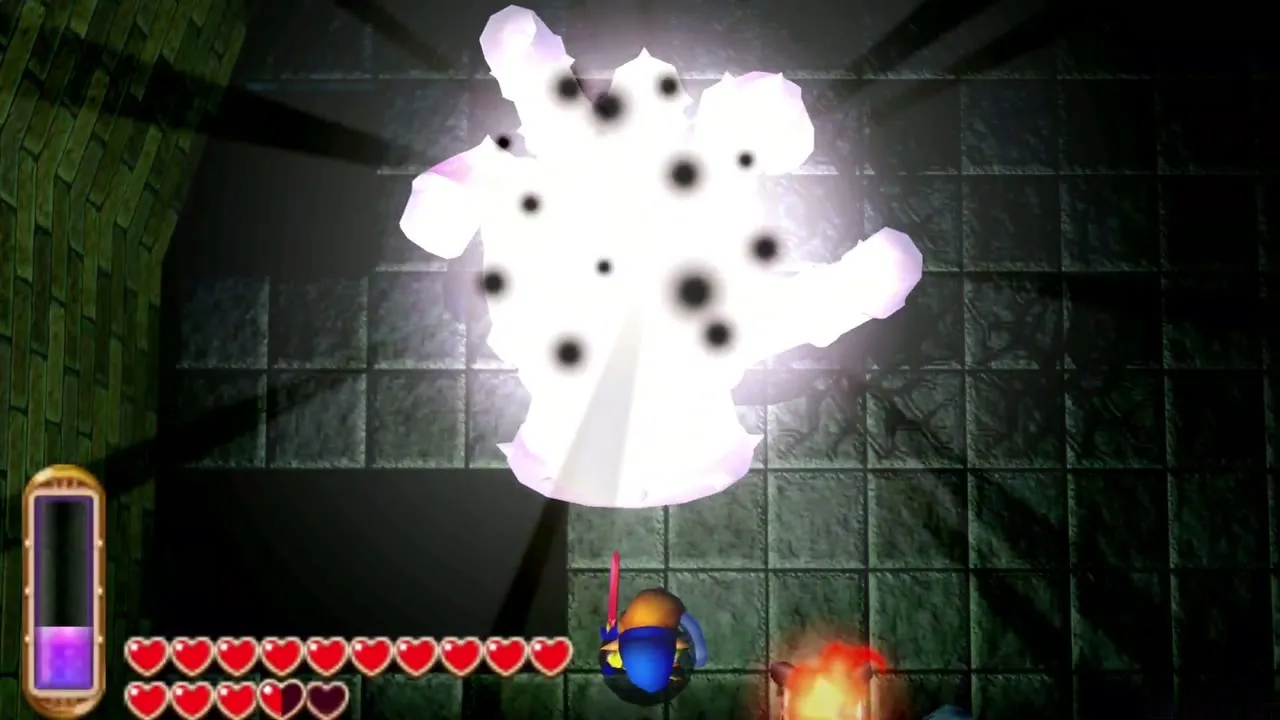
When the glove changes colour it moves faster, slams more often and leaves less floor. The tactic is the same: bait the charge, merge, hit the eye. If you have the hearts to spare, take a hit rather than risk falling into a pit. A few more sword strikes finish it off.
After the boss: Heart Container and Sage Seres
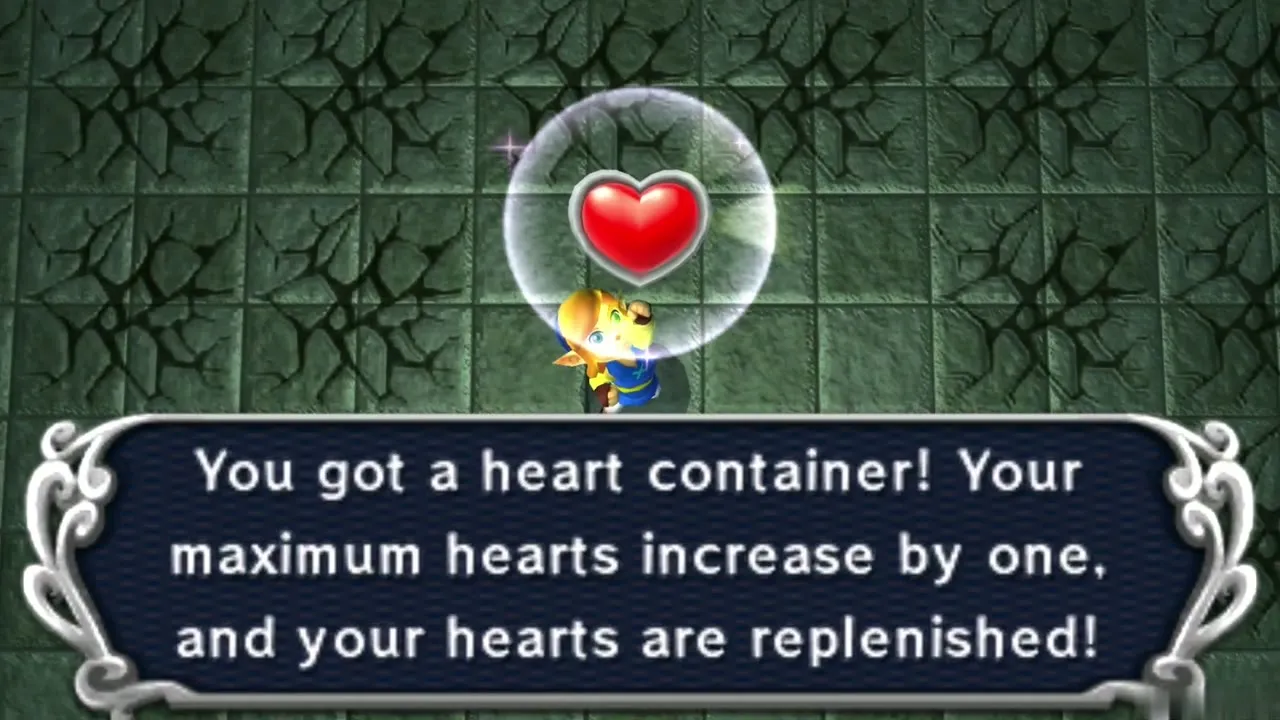
Skull Woods Heart Container
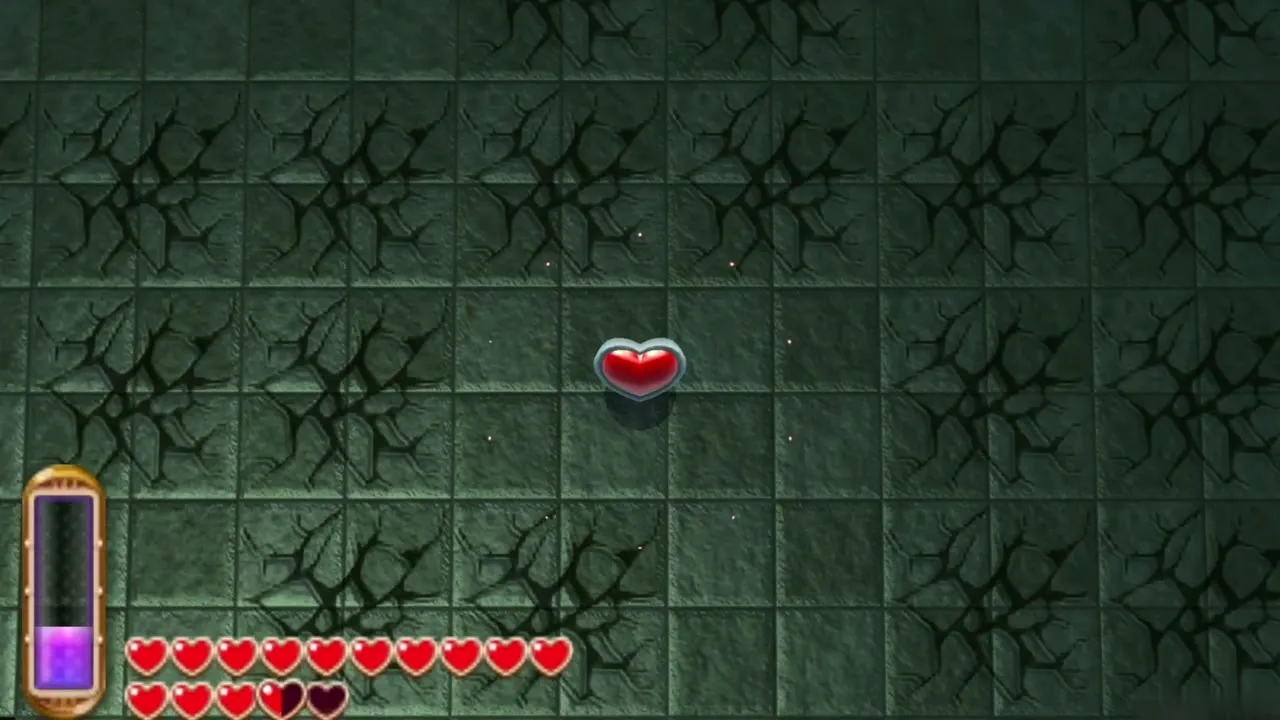
Knucklemaster leaves a Heart Container behind. Pick it up to raise your maximum hearts by one and refill them. Then leave through the exit at the top of the arena, which leads to a hidden painting in a part of the woods that can only be reached from here.
Sage Seres
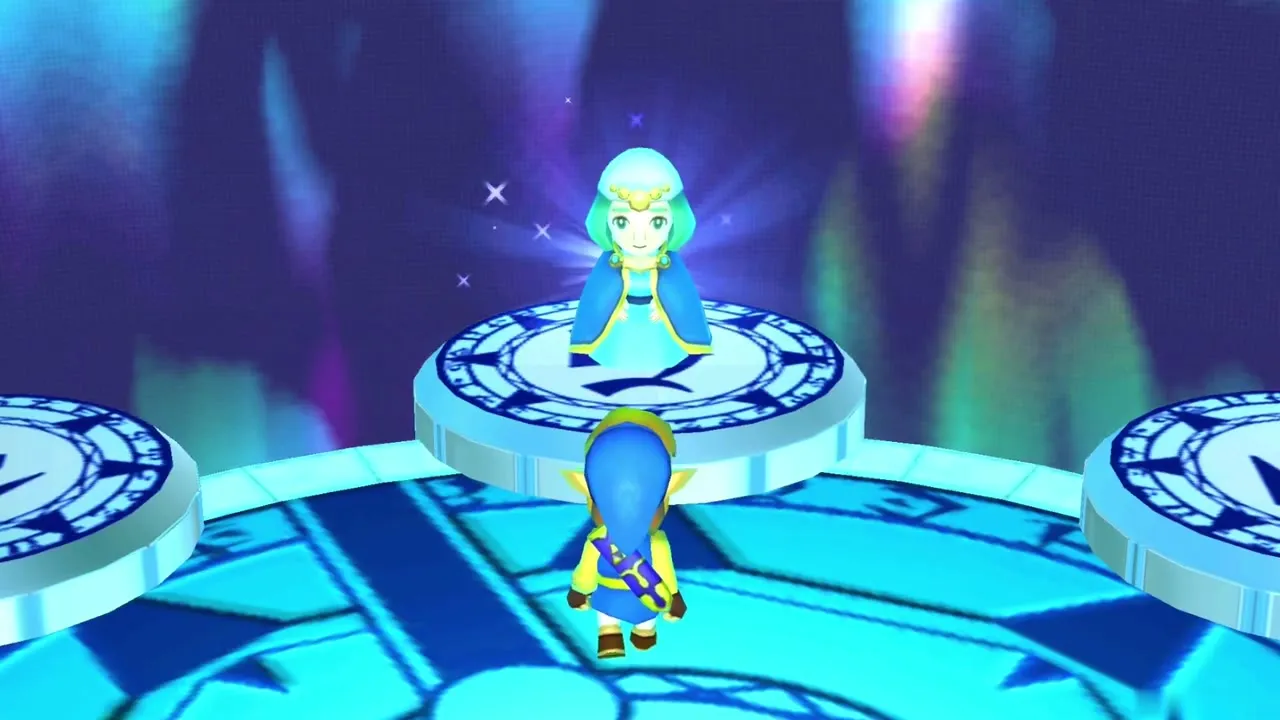
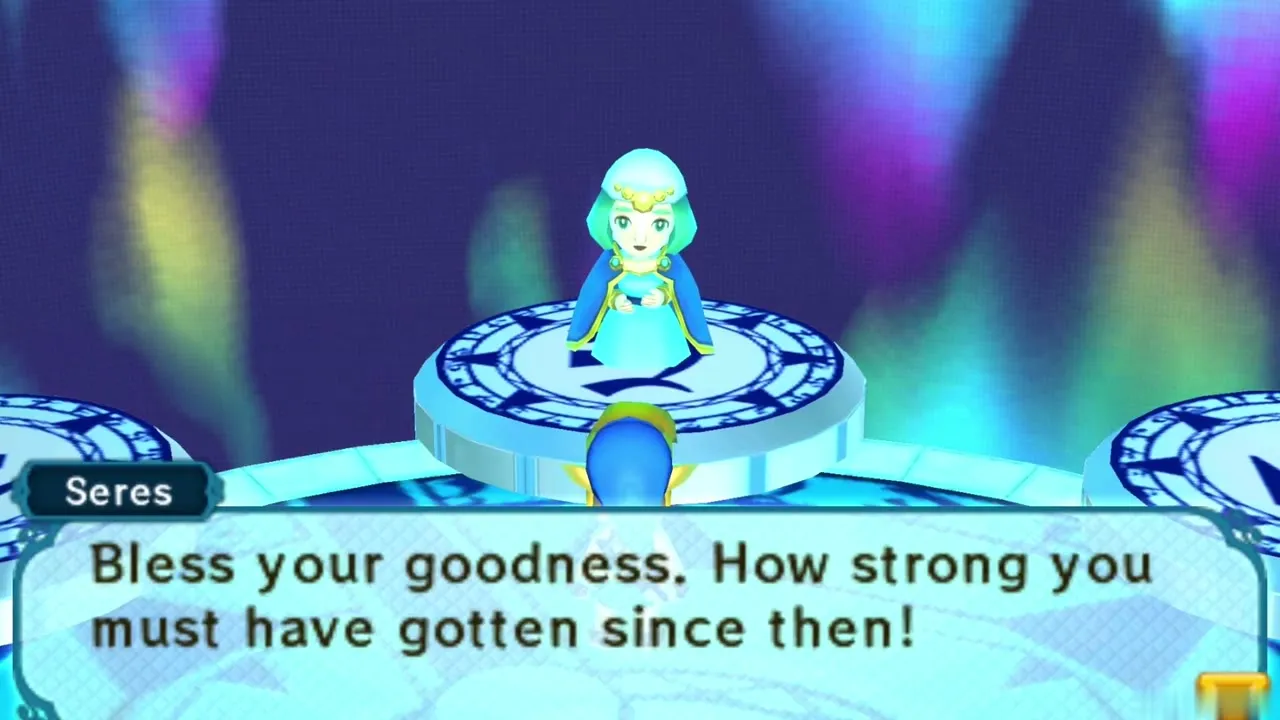
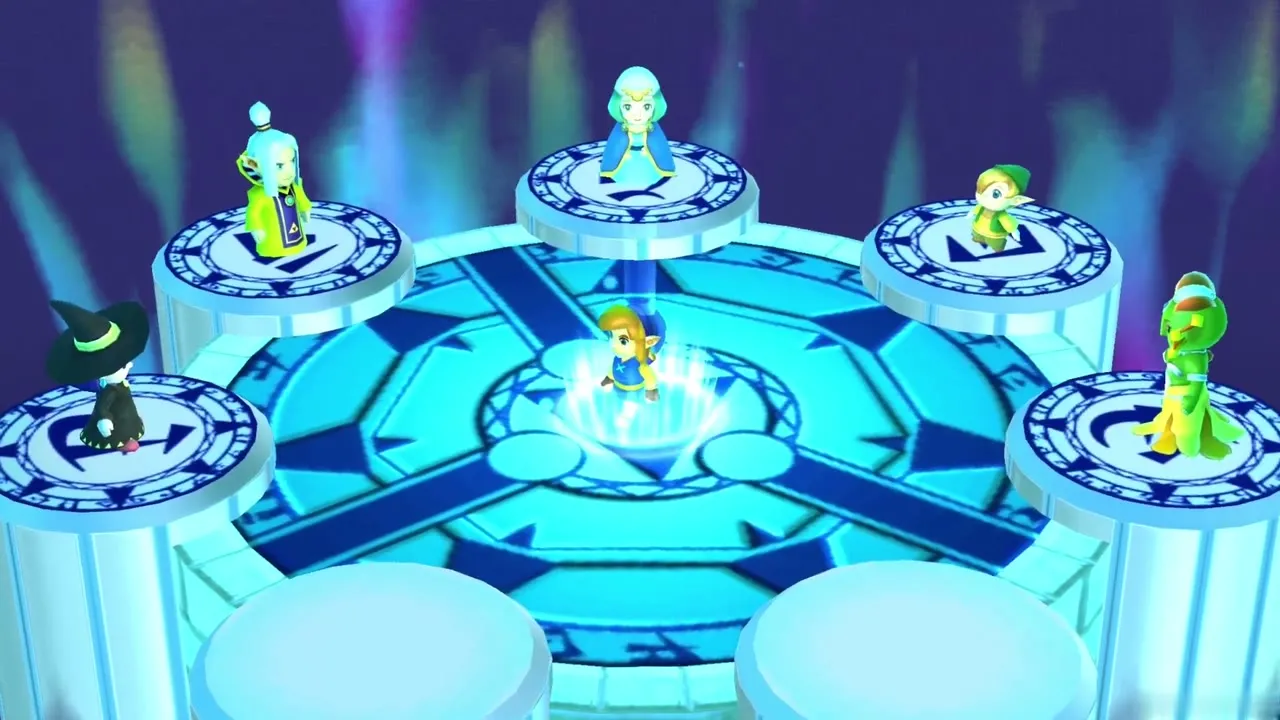
Step into the painting to release Seres, the Priest’s daughter from the Sanctuary. She is now a Sage, and she thanks you for the rescue before you head back out.
Master Sword upgrade at the Blacksmith
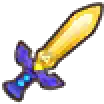
Master Sword Level 3
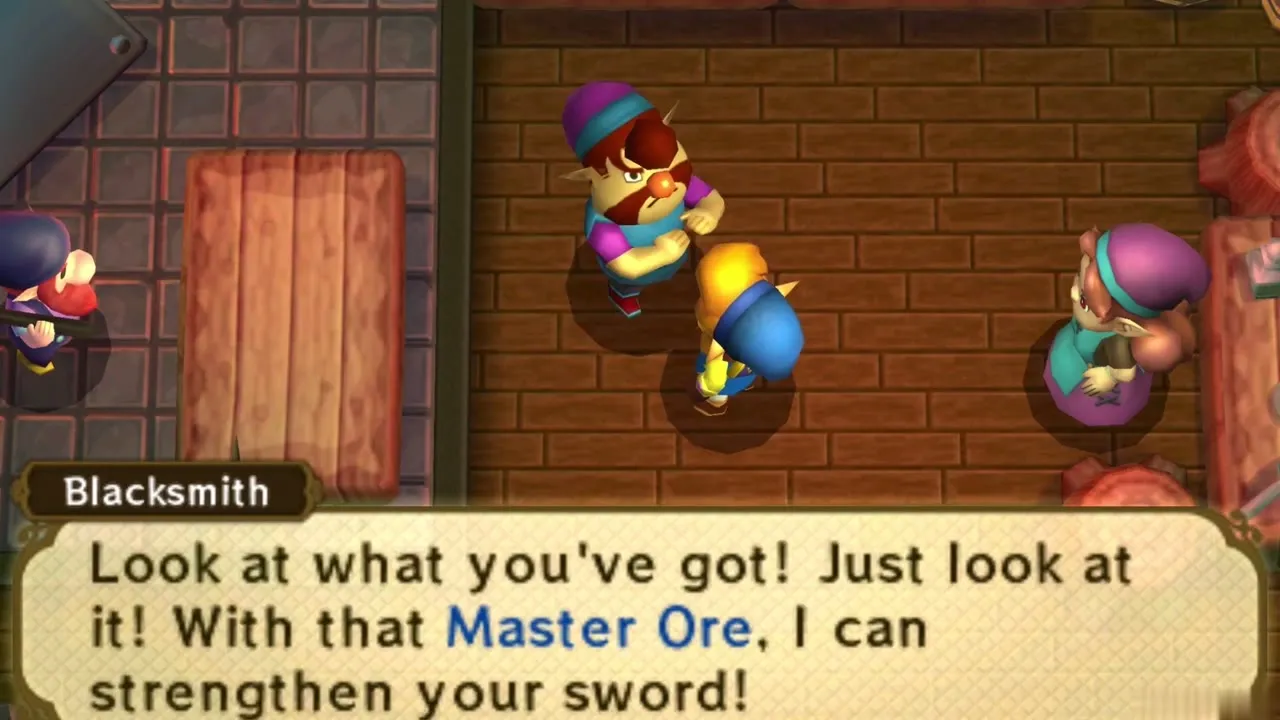
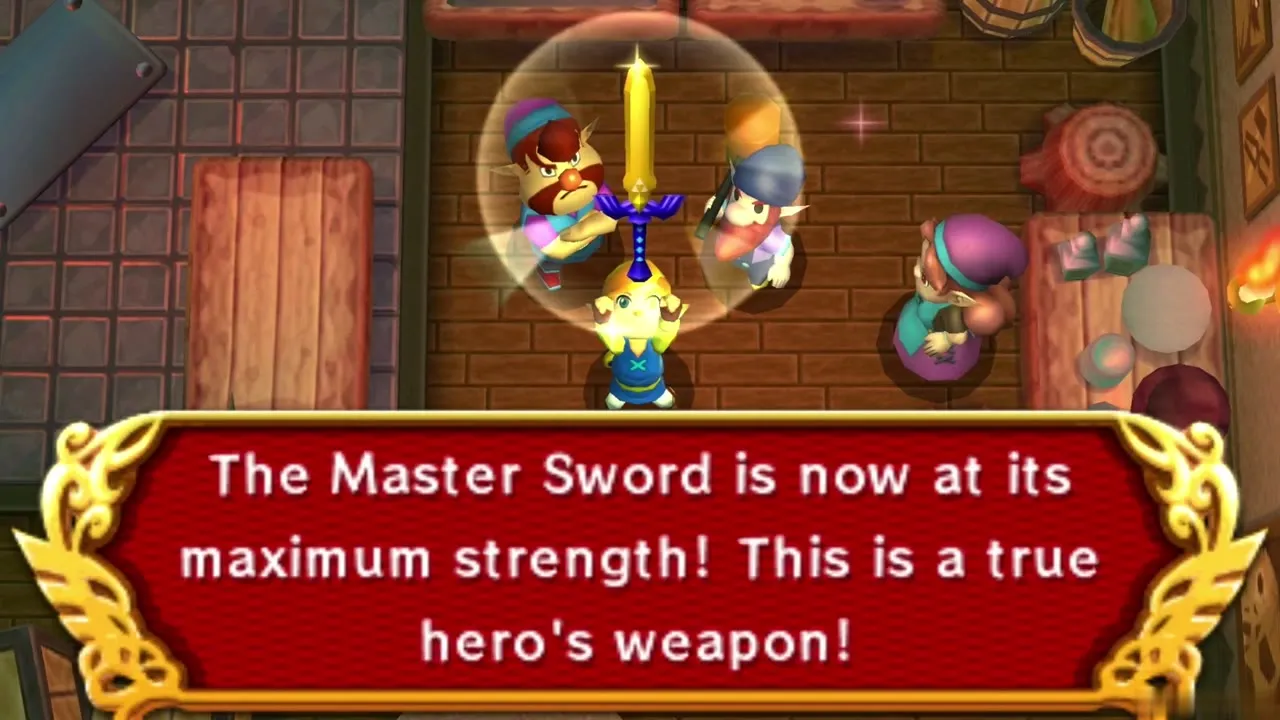
Master Ore comes in four pieces, and each upgrade costs two. The Blacksmith in Hyrule makes the first upgrade, and his counterpart at the Lorule forge, the Blacksmith’s Forge where you first woke, makes the second. If you already took two pieces to the Hyrule Blacksmith and now hold two more, warp to Lorule’s Blacksmith’s Forge and talk to him: he takes the ore, tempers the blade, and the Master Sword reaches maximum strength. If you hold fewer pieces, come back after the next ore. The Master Ore locations page lists the others.
Skull Woods region extras
Heart Pieces near Skull Woods
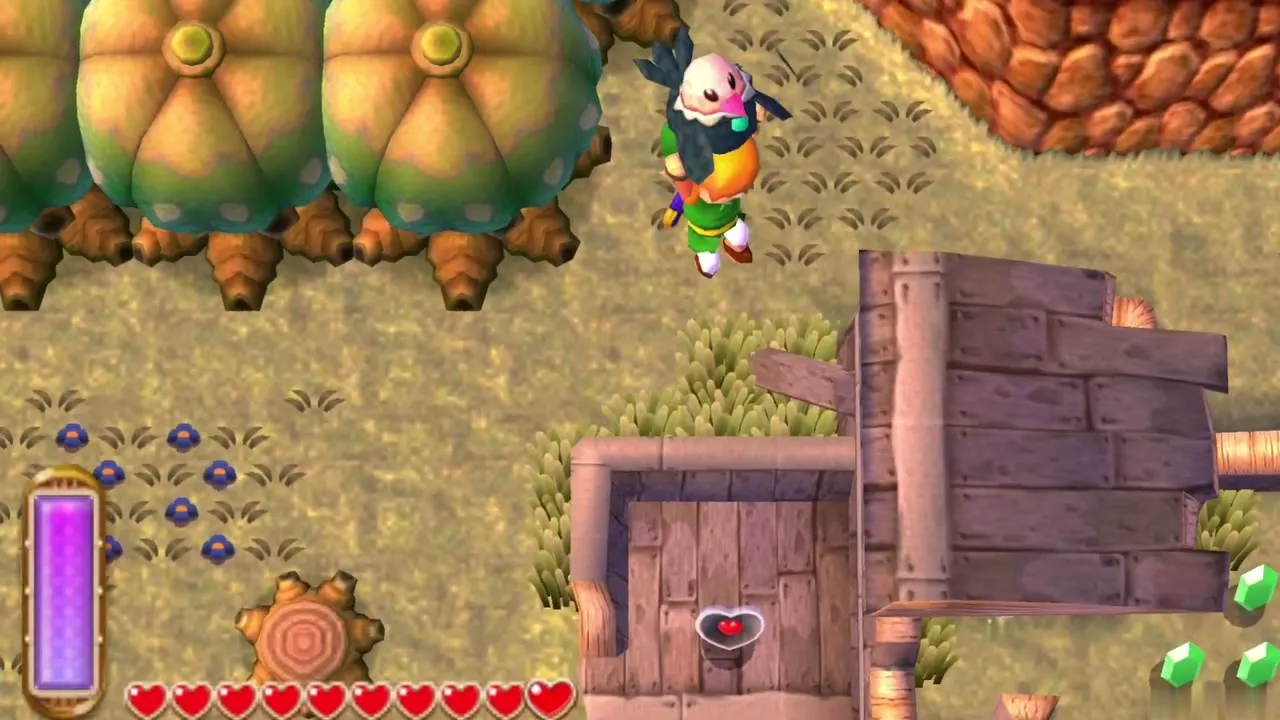
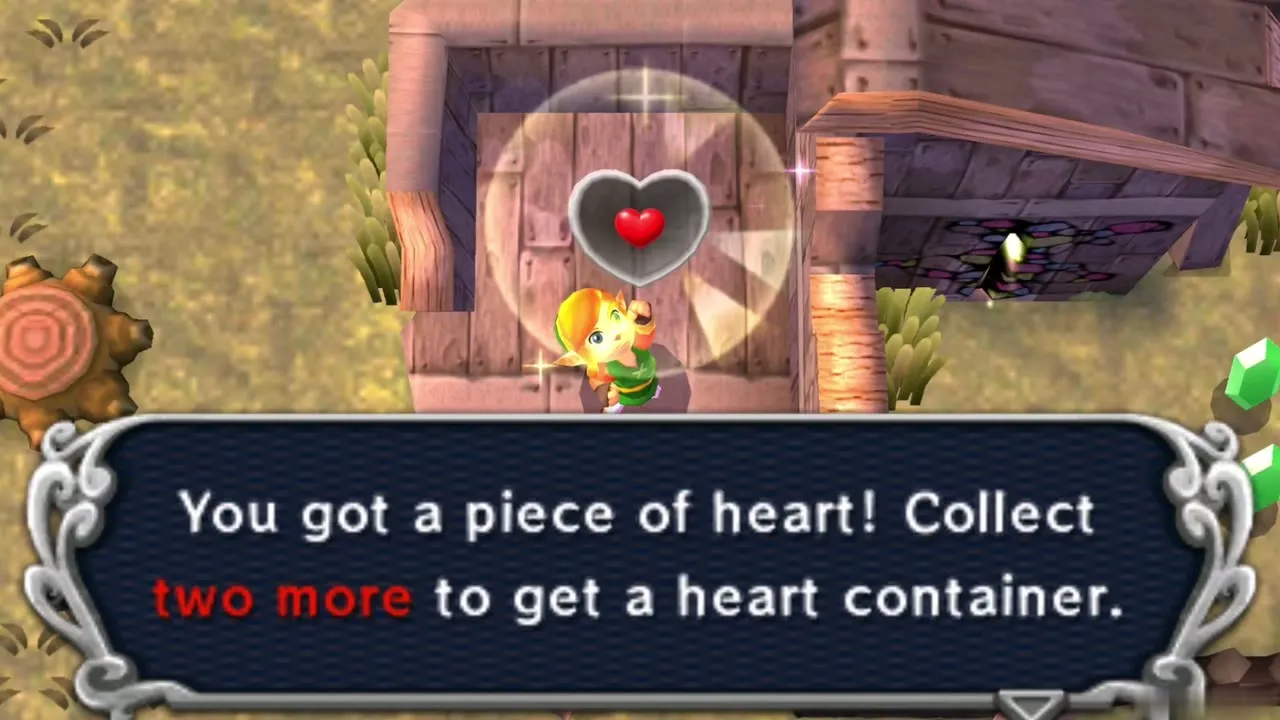
Heart Piece #24 is at the house directly south of the woods, the Lorule counterpart of Sahasrahla’s house. Merge around the outside of the house to the ledge and take the piece. Heart Piece #25 sits on the roof of the abandoned shack in the Lorule field: carry a Cucco from the nearby ledge and glide onto the roof. See Heart Piece locations.
Maiamai in the Skull Woods region
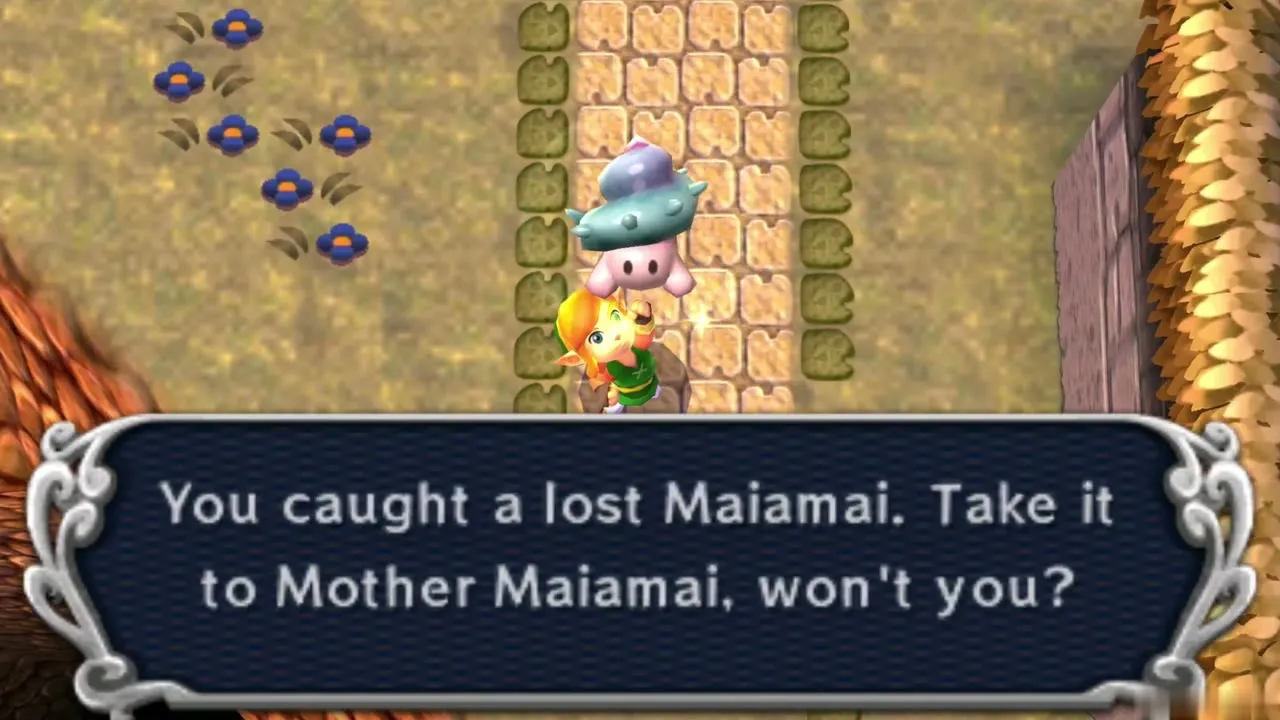
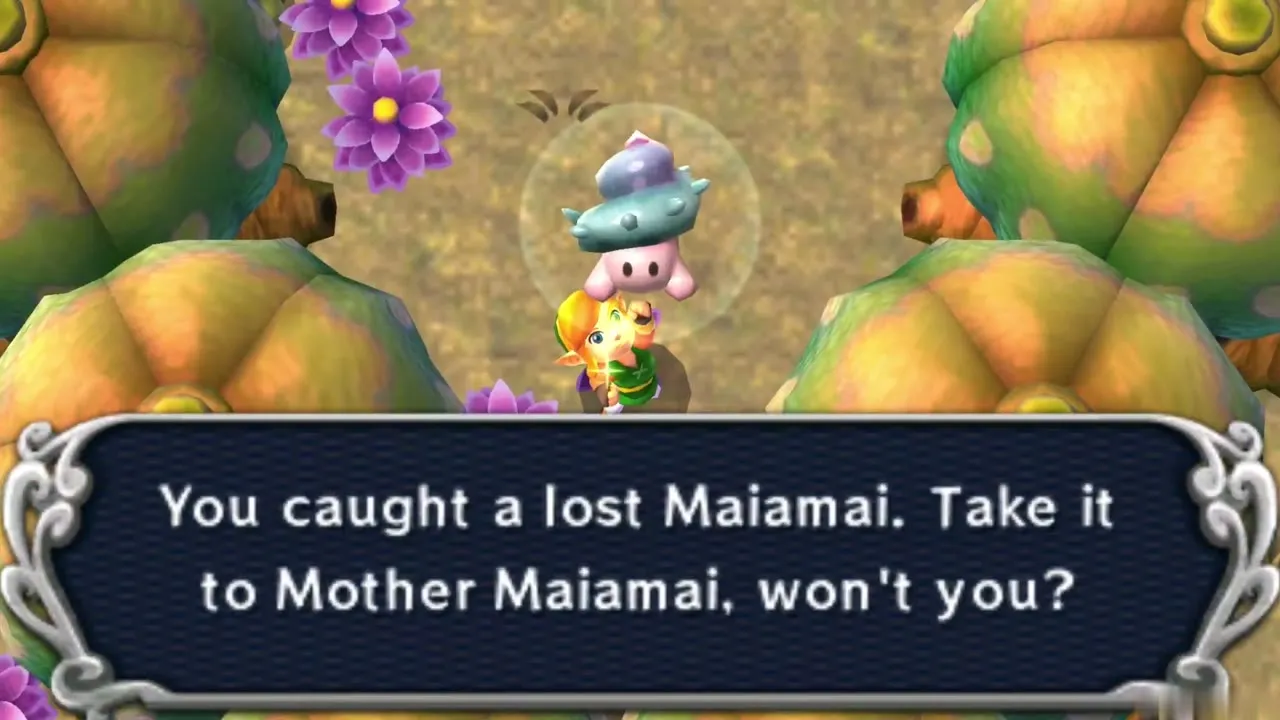
The region holds eight lost Maiamai. Merge into the west wall of the long house, lift the large rock in the eastern clearing south of the forest (this needs the Titan’s Mitt from the Desert Palace), cut the grass east of the pillar with the fissure, and break the skull in the ring of grass in the forest’s northwest corner. Dash into the tree south of the shack with the Pegasus Boots, slash the grass in the middle of the V of trees, merge into the east wall of the small pit, and merge just west of the Thieves’ Town arch. All the details are on the Maiamai locations page.
Mysterious Man and the Golden Bee
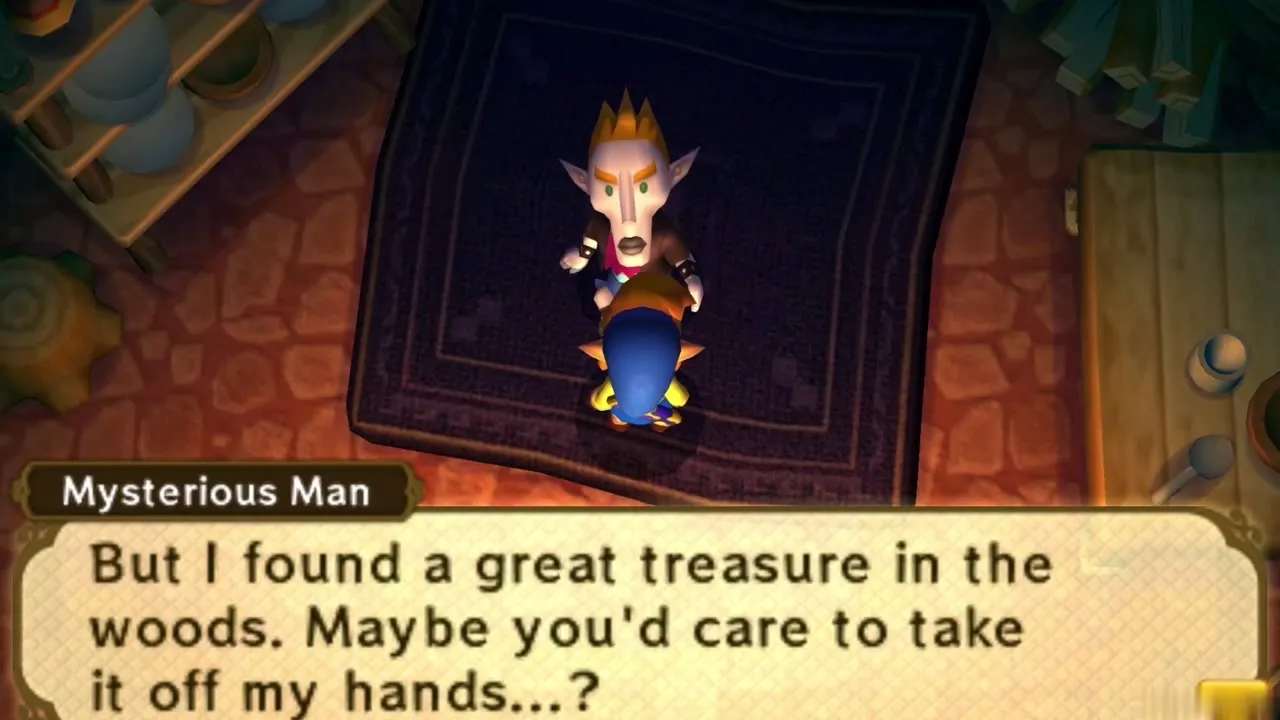
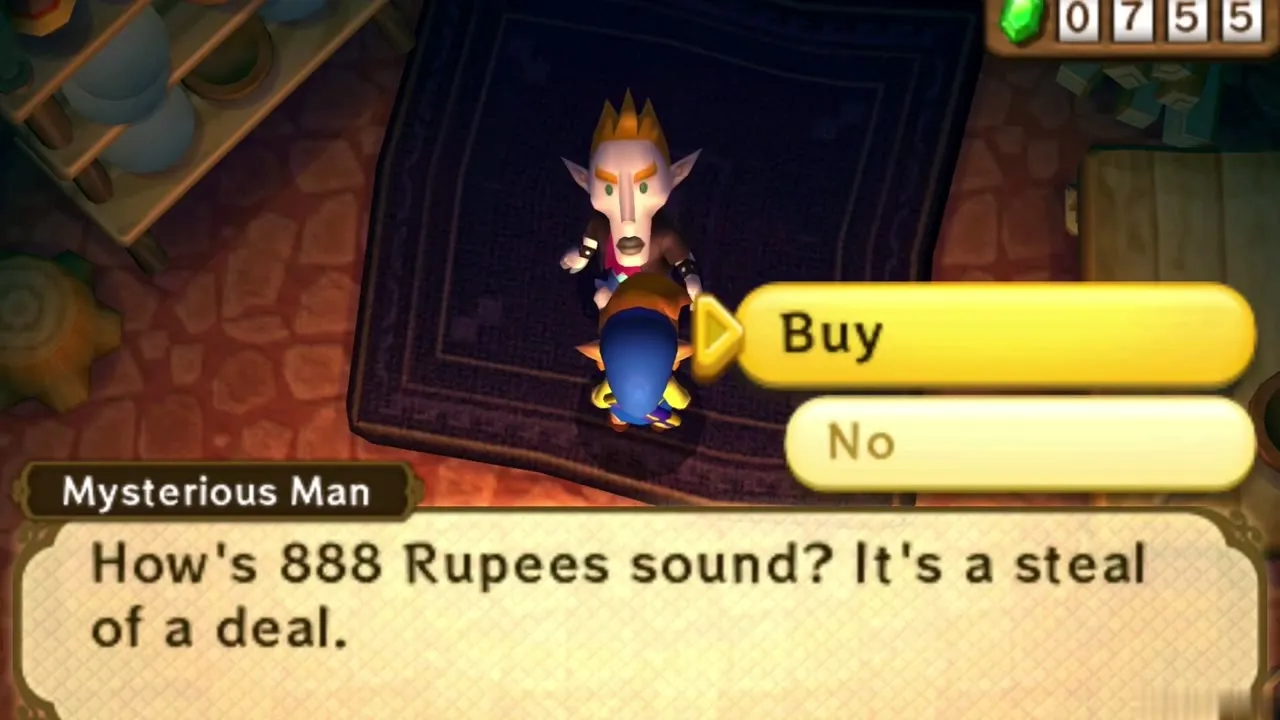
A Mysterious Man in a small cave in the north of the woods offers a Golden Bee for 888 Rupees, a steep price this early. Buy it if you can spare the Rupees, then take it to the Bee Guy in Kakariko Village, who gives you the Bee Badge for your first one.
Chapter checklist
| Collectible | Type | Where |
|---|---|---|
| Small Key 1 | Key | Chest beside the moving platforms, west of the first locked door |
| Silver Rupee | Rupees (100) | Chest below the first hole outside the locked door |
| Compass | Dungeon item | Chest in the room after the Silver Rupee |
| Small Key 2 | Key | Chest past the second cracked tile |
| Small Key 3 | Key | Chest on the moving-platform route, B2 |
 Purple Rupee | Rupees (50) | Chest outside, left of the first eyeball room |
| Master Ore | Master Ore | Big chest on the lower ledge reached through the bush hole |
| Big Key | Dungeon item | Chest opened by the second eyeball, B1 |
| Heart Container | Heart Container | Dropped by Knucklemaster |
| Seres | Sage | Painting beyond the boss arena |
| Piece of Heart #24 | Heart Piece | House south of the woods, Lorule’s Sahasrahla house |
| Piece of Heart #25 | Heart Piece | Roof of the abandoned shack in the field, reached with a Cucco |
 8 lost Maiamai | Maiamai | Skull Woods region (one needs the Titan’s Mitt, one the Pegasus Boots) |
 Golden Bee | Purchase | Mysterious Man’s cave in the north, 888 Rupees |
With Seres free and the sword upgraded, the next stop is Lorule’s Death Mountain, so head on to the Ice Ruins walkthrough.