A Link Between Worlds 100% Completion Walkthrough18 chapters
- Opening and SanctuaryWake in Link’s House, deliver the captain’s sword, cross the Graveyard passage with the Lamp and meet Yuga.
- Hyrule Castle and Kakariko VillageRavio’s Bracelet, Zelda’s Pendant of Courage, Kakariko shops, Sahasrahla and the free Bow rental.
- Eastern PalaceEvery key, chest and rupee, the Compass, Big Key, Yuga boss fight and your first Heart Container.
- Pegasus Boots and Zora’s FlippersGet the Pouch, Irene’s Bell, Power Glove, Pegasus Boots, Zora’s Flippers, Ravio’s rentals and Hyrule Heart Pieces.
- House of GalesRent the Tornado Rod, swim to Lake Hylia’s island, beat Margomill and take the Pendant of Wisdom.
- Death MountainClimb the boulder caves, find two Heart Pieces and a Bottle, and reach the Tower of Hera.
- Tower of HeraEvery floor, both Small Keys, Compass, Big Key, Moldorm boss fight, Heart Container and Pendant of Power.
- Master Sword and Lost WoodsWalkthrough for pulling the Master Sword in the Lost Woods, breaking the Hyrule Castle barrier.
- Lorule and Dungeon OrderHilda, the Blacksmith, fissures, Ravio’s Shop, Thieves’ Town side content and the dungeon order.
- Dark PalaceThe guard maze, every key, the Compass, Big Key, Master Ore, Gemesaur King, Heart Container and Sage Gulley.
- Skull WoodsKeys, Compass, Big Key, Master Ore, Knucklemaster boss fight, Sage Seres and the Master Sword upgrade.
- Ice RuinsThe Hookshot route to Lorule’s Death Mountain, every floor, keys, the Stamina Scroll and Dharkstare.
- Thieves’ HideoutThe password song, the Thief Girl escort, Master Ore, Stalblind, Sage Osfala and the Sand Rod.
- Swamp PalaceBig Bomb Flower, Hookshot, water levels, keys, Compass, Blue Mail, Big Key, Arrghus and Sage Oren.
- Turtle RockRescue the baby turtles, use the Ice Rod, find every key, beat Grinexx and free Sage Impa.
- Desert PalaceReach it with the Sand Rod, find the Titan’s Mitt, beat Zaganaga and rescue Sage Irene.
- Lorule CastleThe Triforce of Courage, all four mini-bosses, the Compass, Red Mail and the way to the Throne Room.
- Final BossBeat Yuga Ganon with the Bow of Light, see Hilda’s choice, make the Triforce wish and unlock Hero Mode.
| Covers | Ravio’s Shop and Mother Maiamai (Sand Rod), the fissure chain through Misery Mire, the Desert Palace (1F, 2F, 3F) and Zaganaga’s arena |
|---|---|
| You need | The Sand Rod, rented for 50 Rupees or bought for 800, which Ravio only stocks after you have cleared the Thieves’ Hideout; Bombs help on the way |
| Rewards |  Titan’s Mitt,  Compass,  Big Key, 5  Small Keys,  Heart Container,  Sage Irene,  Heart Piece #26, 3 Maiamai (1 in Misery Mire, 2 in the Hyrule desert) |
The Desert Palace stands in Hyrule even though the other six sage dungeons are in Lorule, and it only opens once the Thieves’ Hideout is behind you. Rent or buy the Sand Rod, hop through a chain of fissures that loops through Misery Mire, cross the dunes on sand pillars, and clear three floors for the Titan’s Mitt and the Big Key. Zaganaga waits in a quicksand pit, and beating it frees Sage Irene.
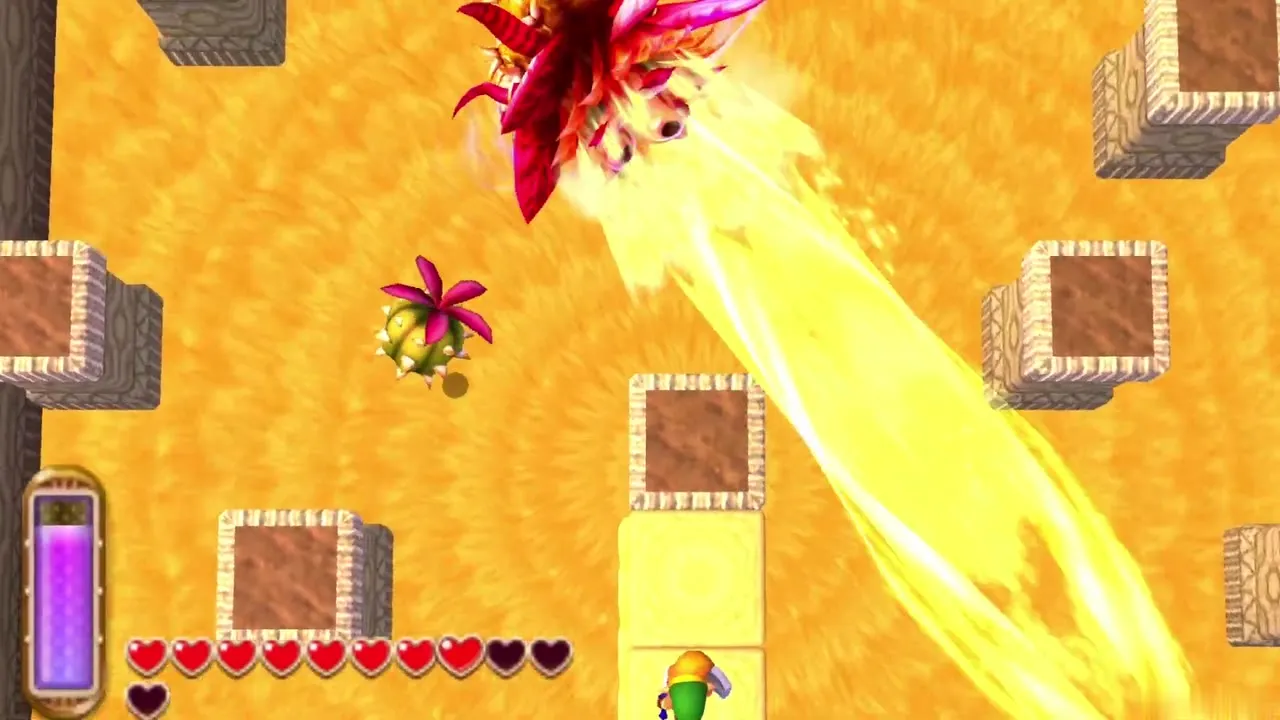
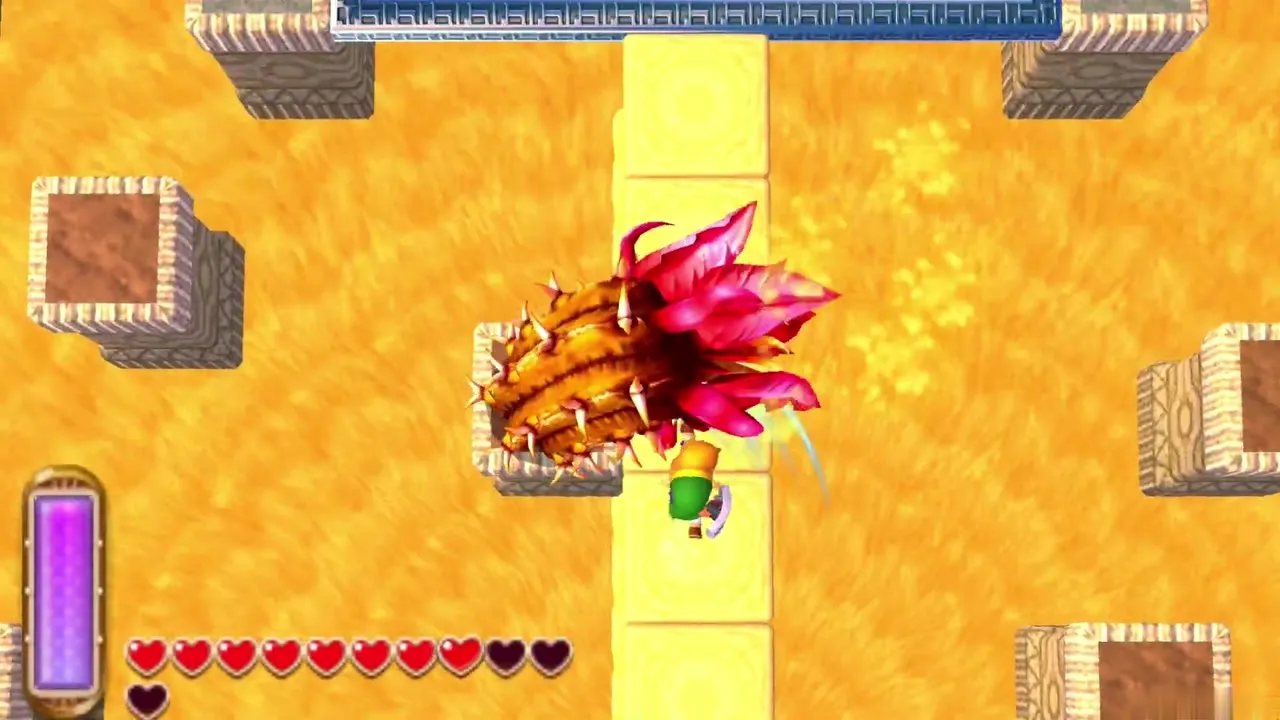
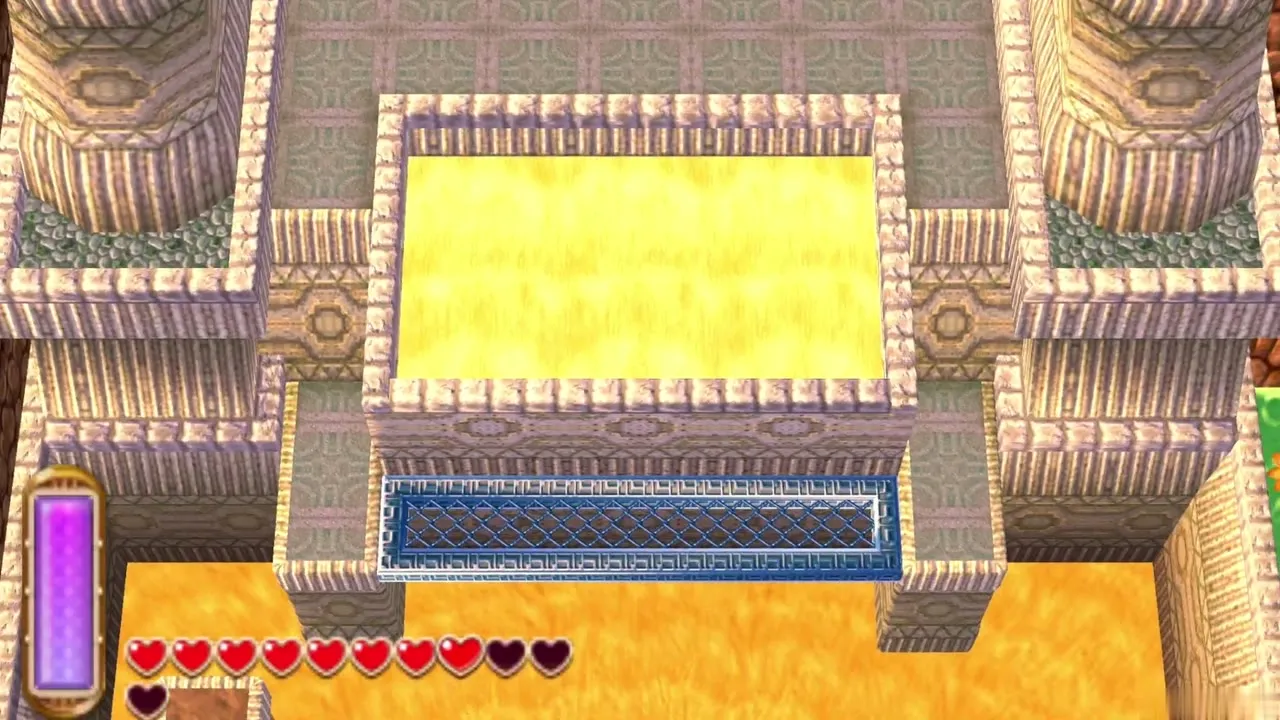
Table of Contents
Getting the Sand Rod

Sand Rod from Ravio’s Shop
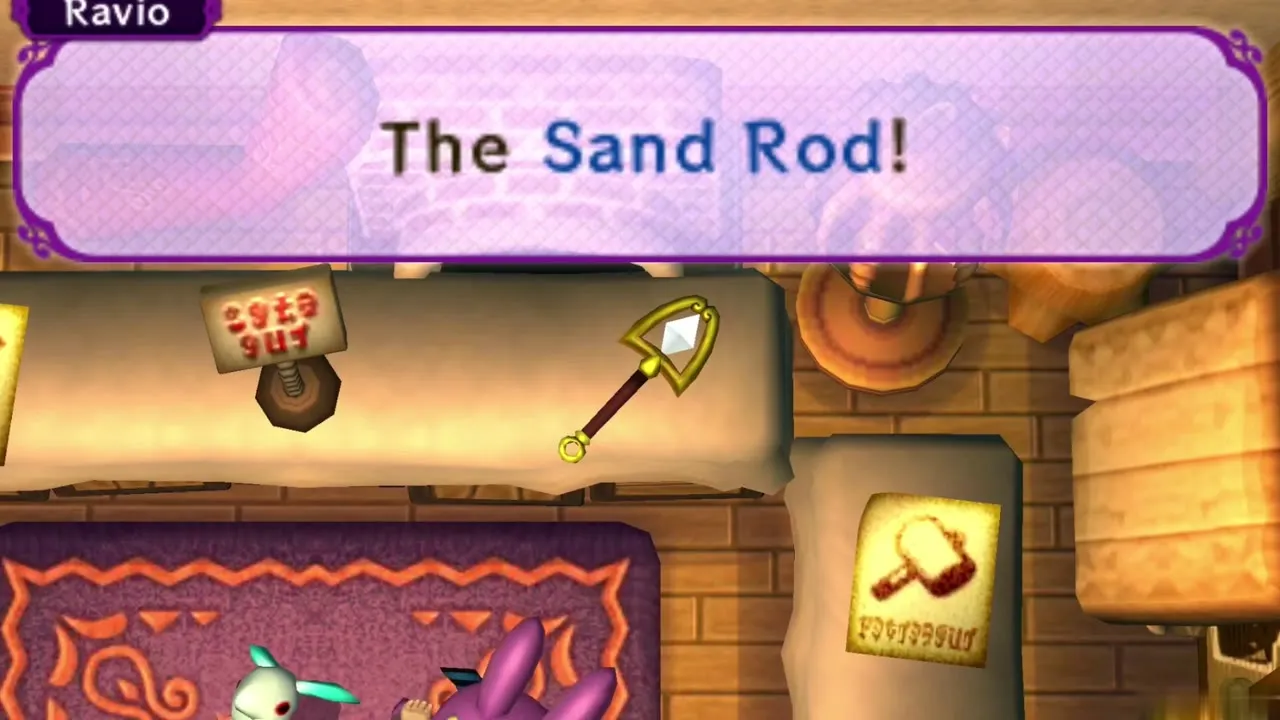
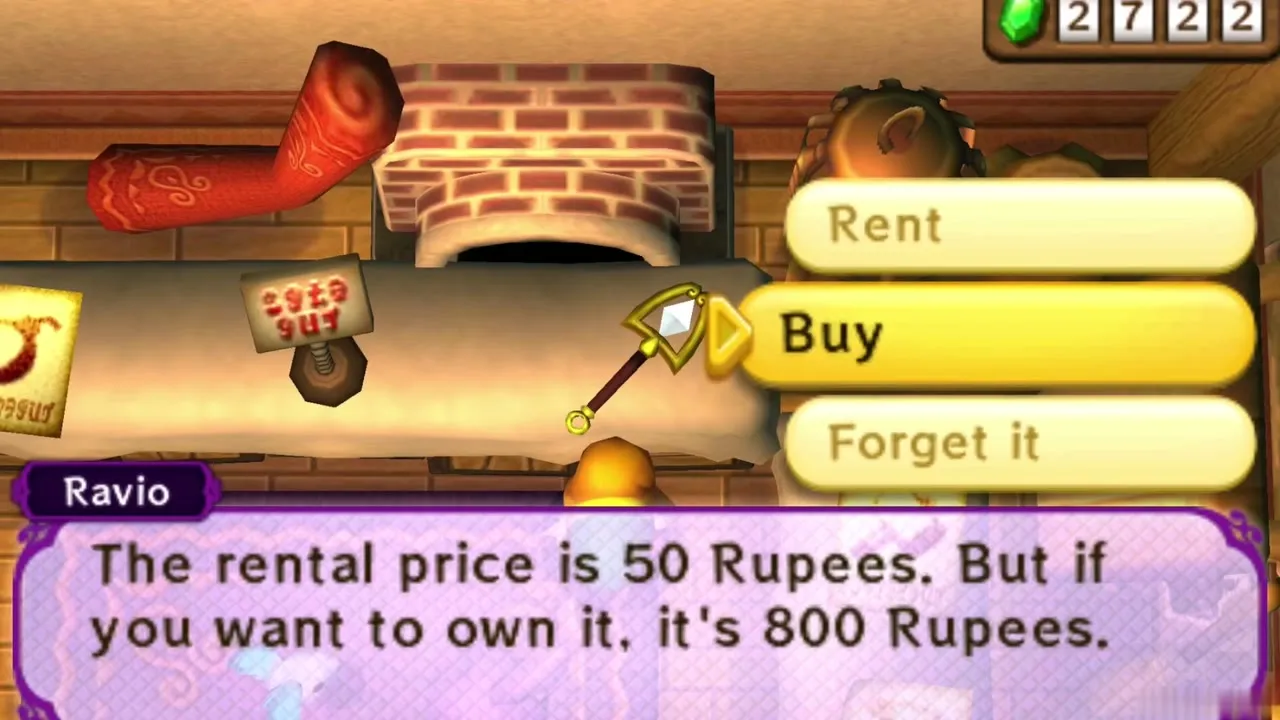
Freeing Osfala in the Thieves’ Hideout returns the Sand Rod that he had rented from Ravio, and it then appears on the counter. Go to Ravio’s Shop and choose between renting it for 50 Rupees or buying it for 800. A rental goes back to Ravio if Link is defeated, so buying is the safer choice for a dungeon built around one tool. See Ravio’s Shop for every price.
Nice Sand Rod from Mother Maiamai
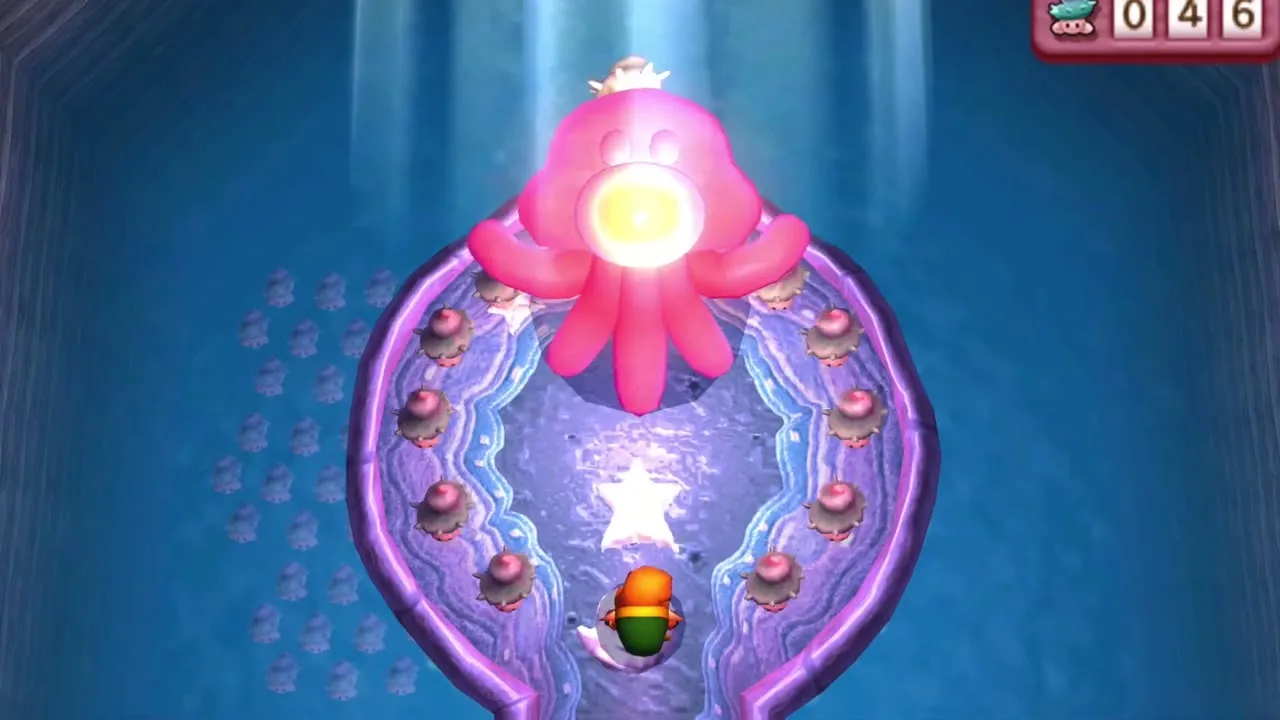
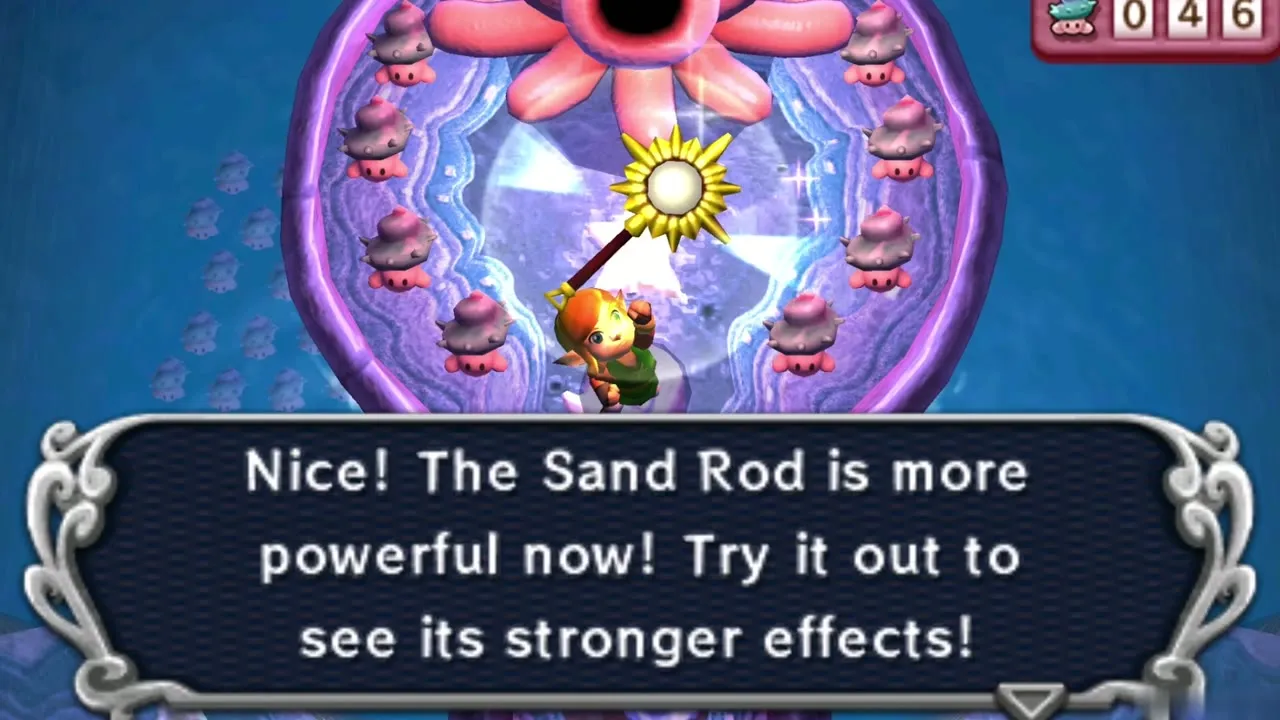
If you have lost Maiamai in hand, take them to Mother Maiamai in her cave by Lake Hylia and upgrade the rod. The Nice Sand Rod leaves the pillars you raise standing until you use the rod again, so long crossings become far less hectic. She only works on items you own, so a rented rod cannot be improved. The full list of upgrades is on the Maiamai Locations page.
How to reach the Desert Palace
Southern Ruins fissure to Misery Mire
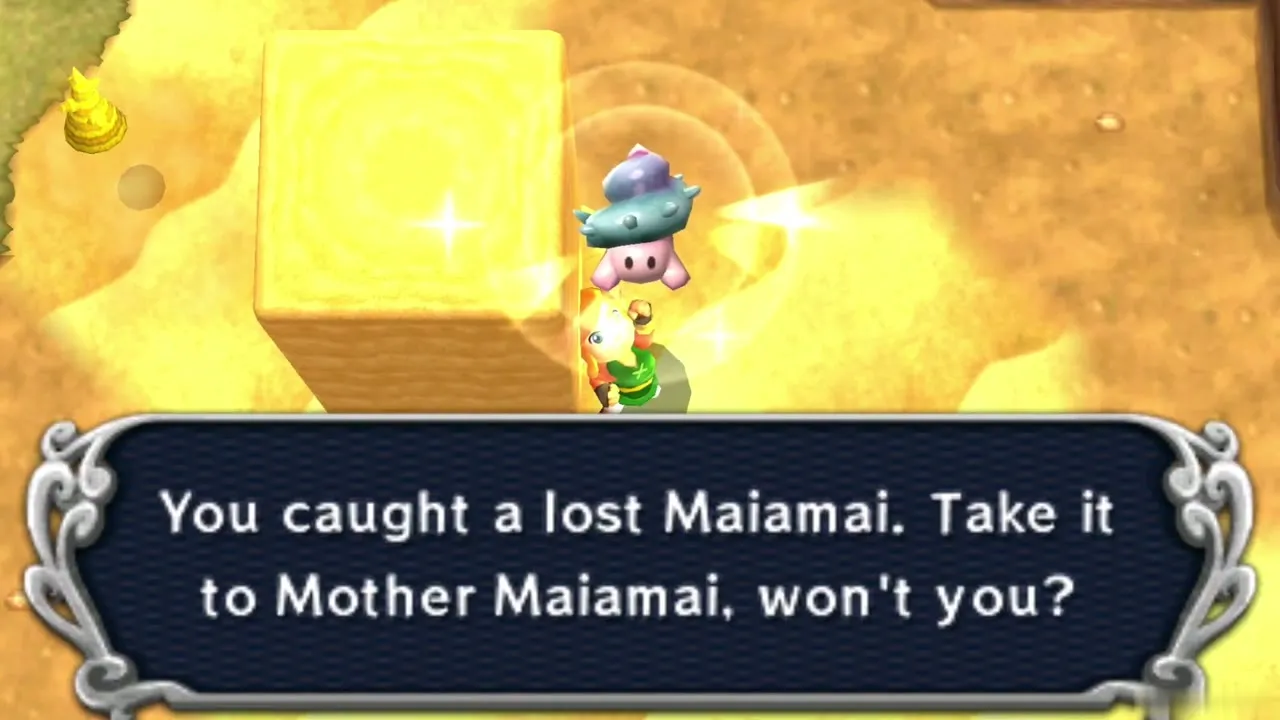
The way in starts at the small cave between the Southern Ruins and the Desert of Mystery in Hyrule. Slip into the fissure there and you come out in Misery Mire, the swampy desert of Lorule. Cross the water to the south and climb the ladder to the north to reach the Weather Vane, and touch it so you can warp back later. Merge into the wall directly behind the vane to pick up a lost Maiamai.
Hopping the desert fissures
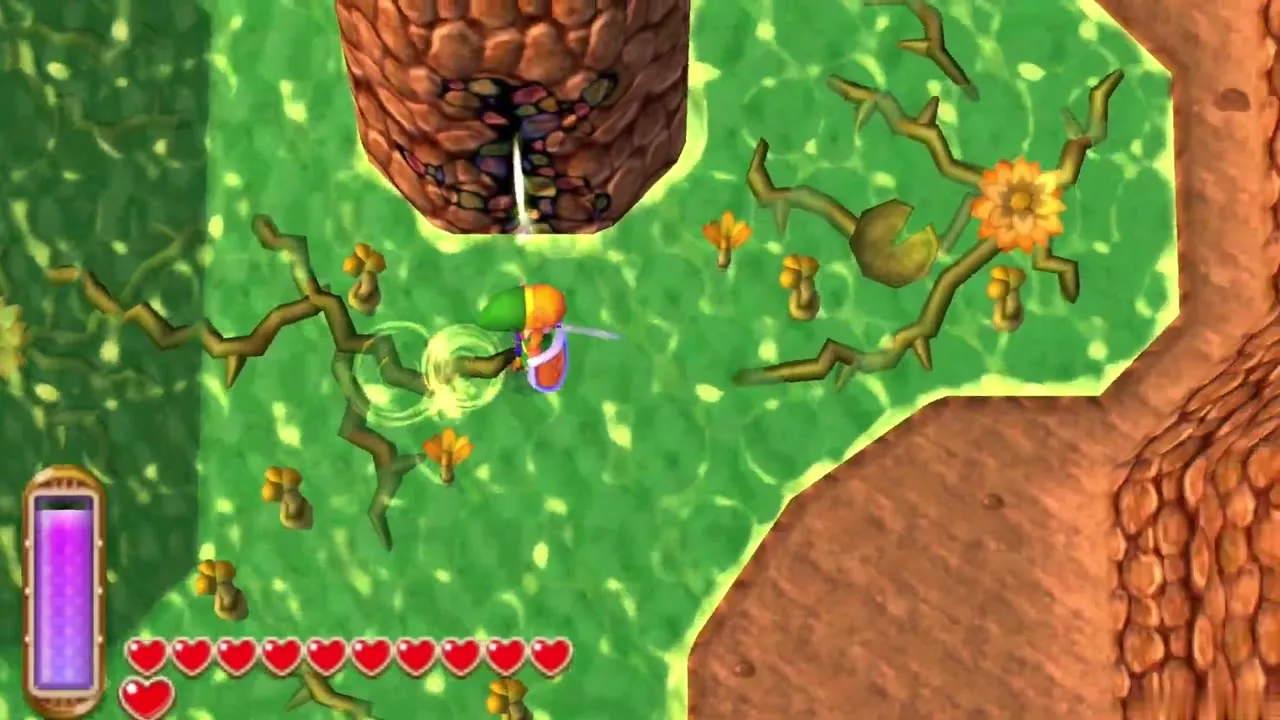
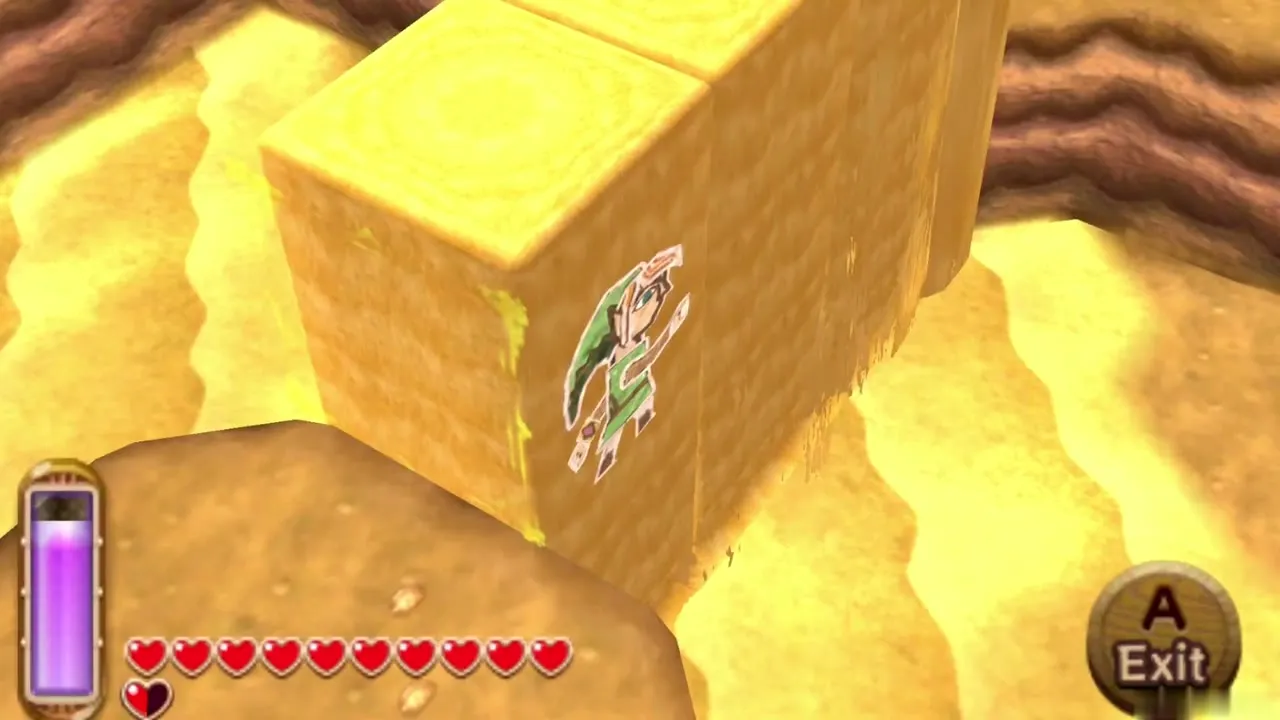
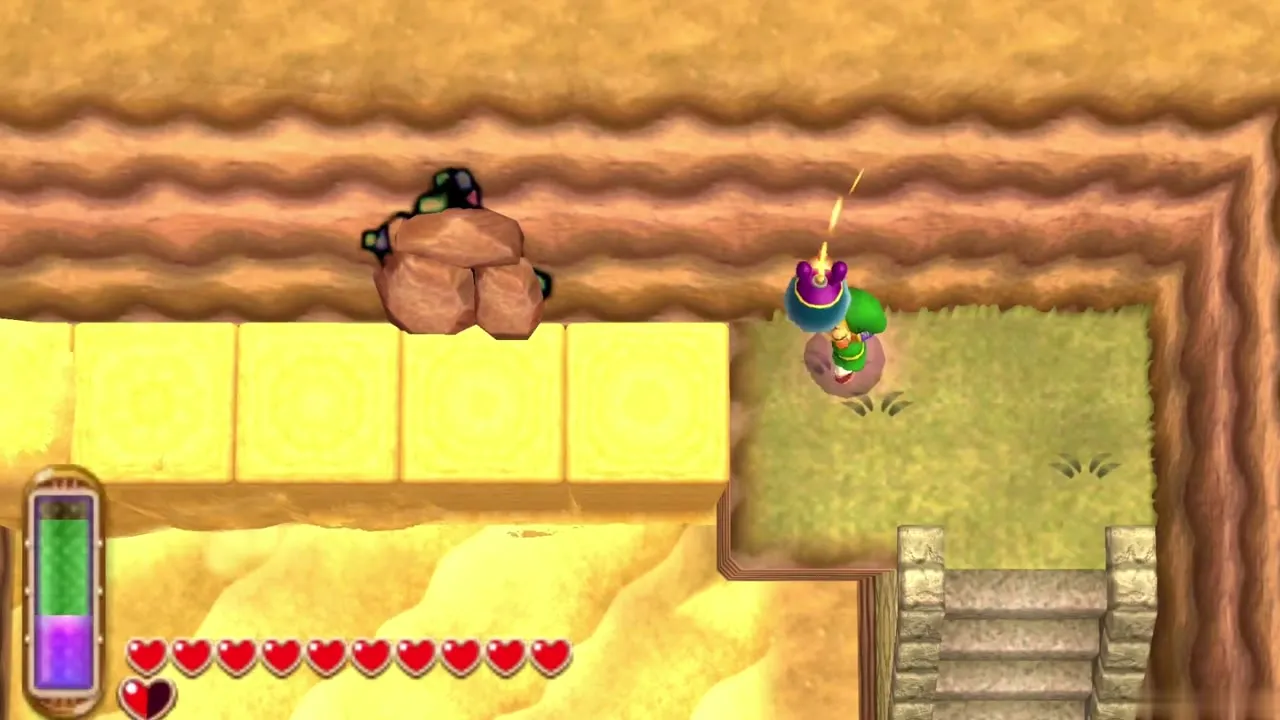
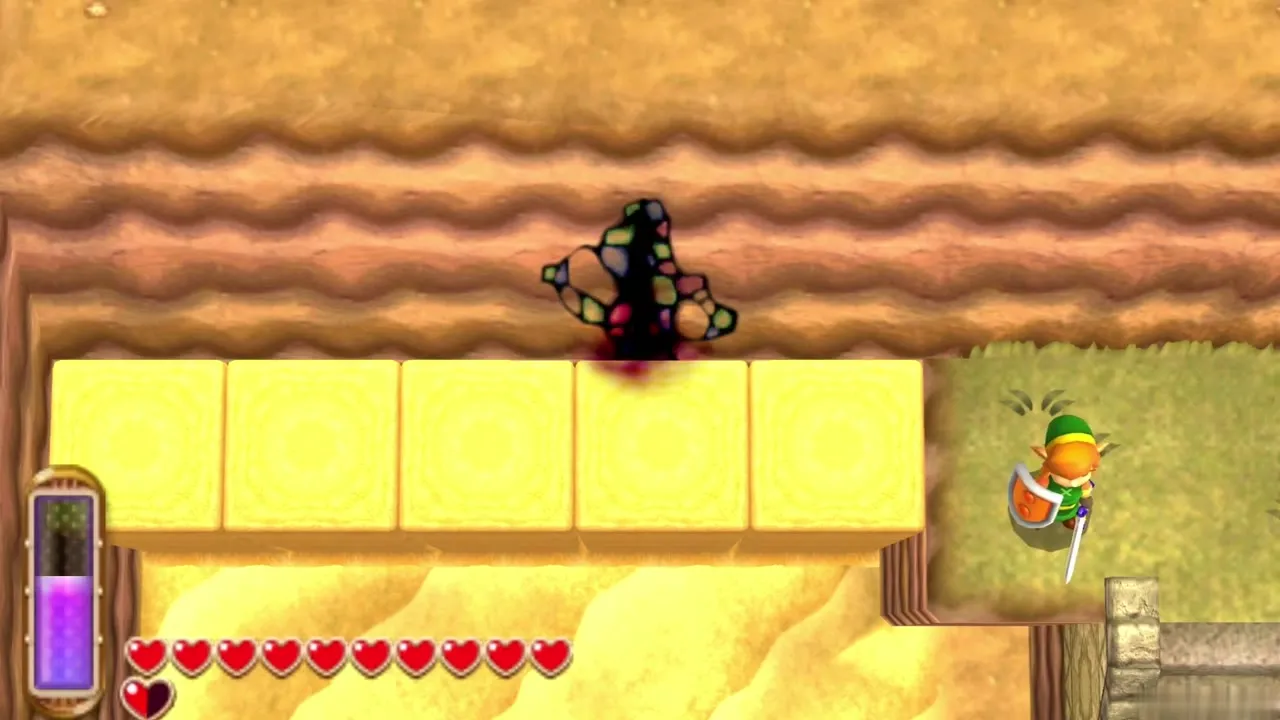
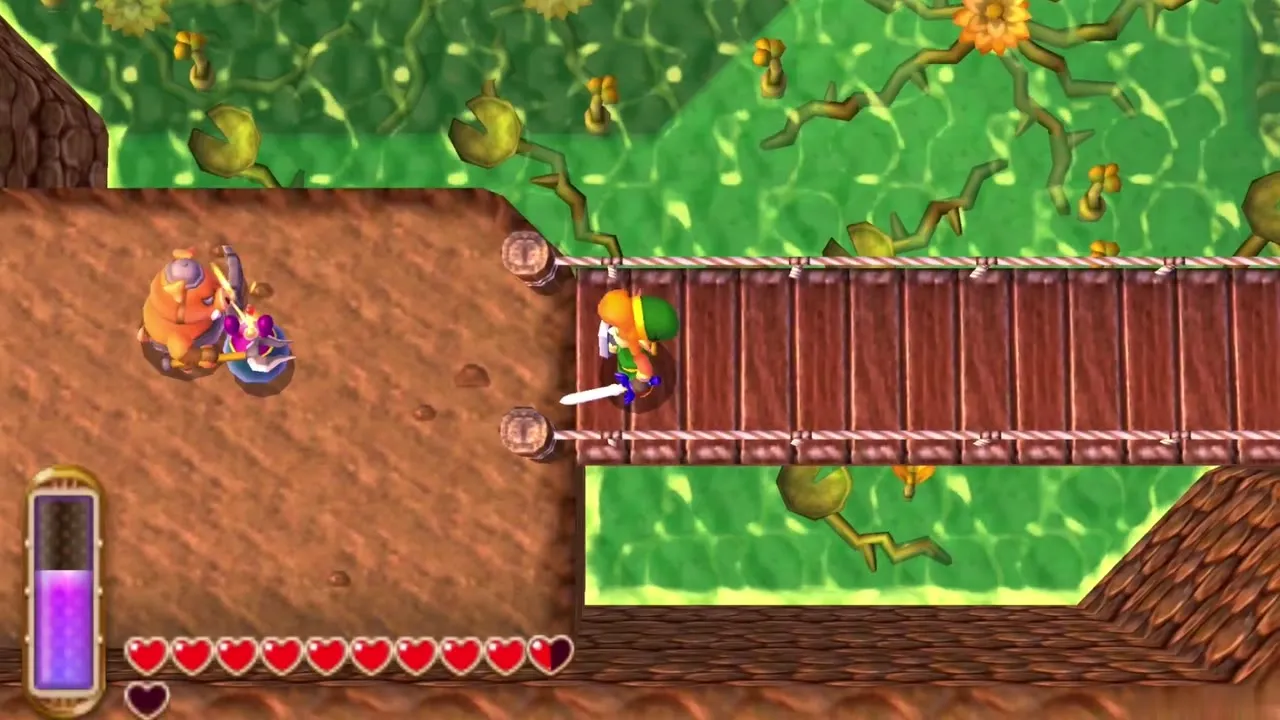
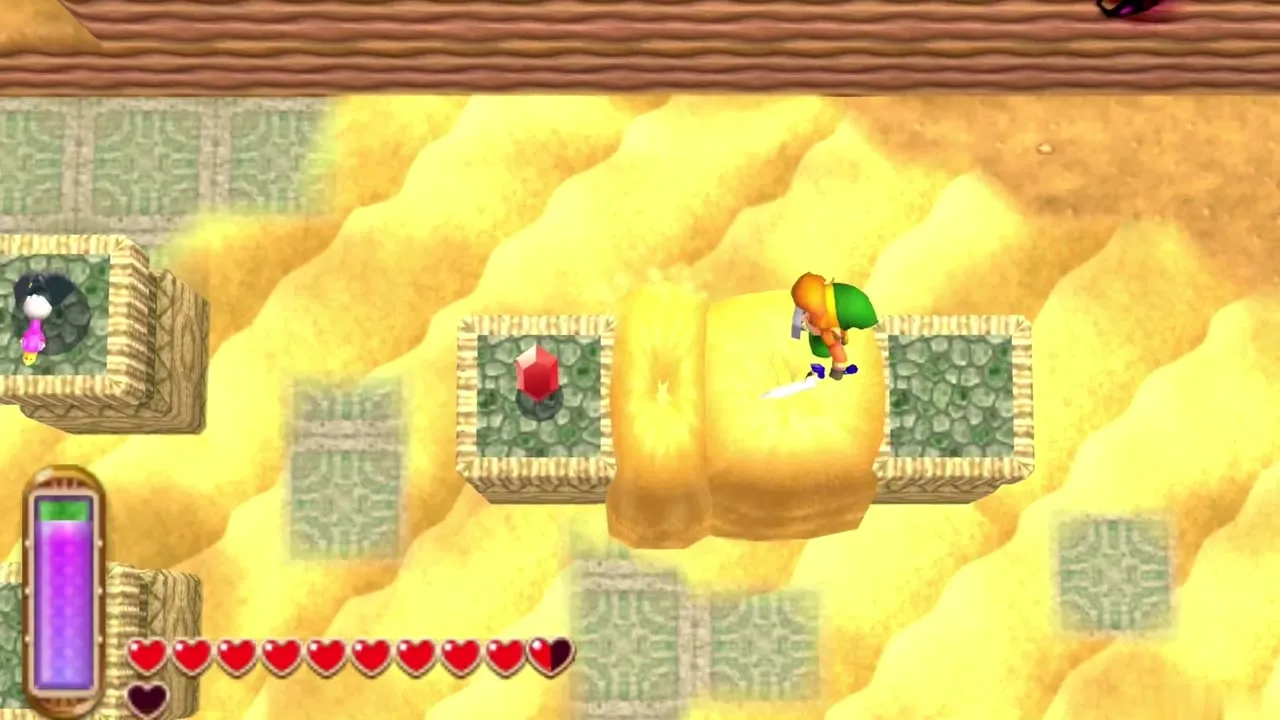
Take the fissure at the northwest edge of the swamp to return to Hyrule, now up on the desert cliffs. Use the Sand Rod to raise pillars of sand across each gap, then merge into the pillar and walk along it to the far side. A rock hides the next fissure; throw a Bomb at it, climb the stairs beyond and merge along the cliff wall to the next crack. Each fissure drops you back into Lorule.
Heart Piece #26 in Misery Mire
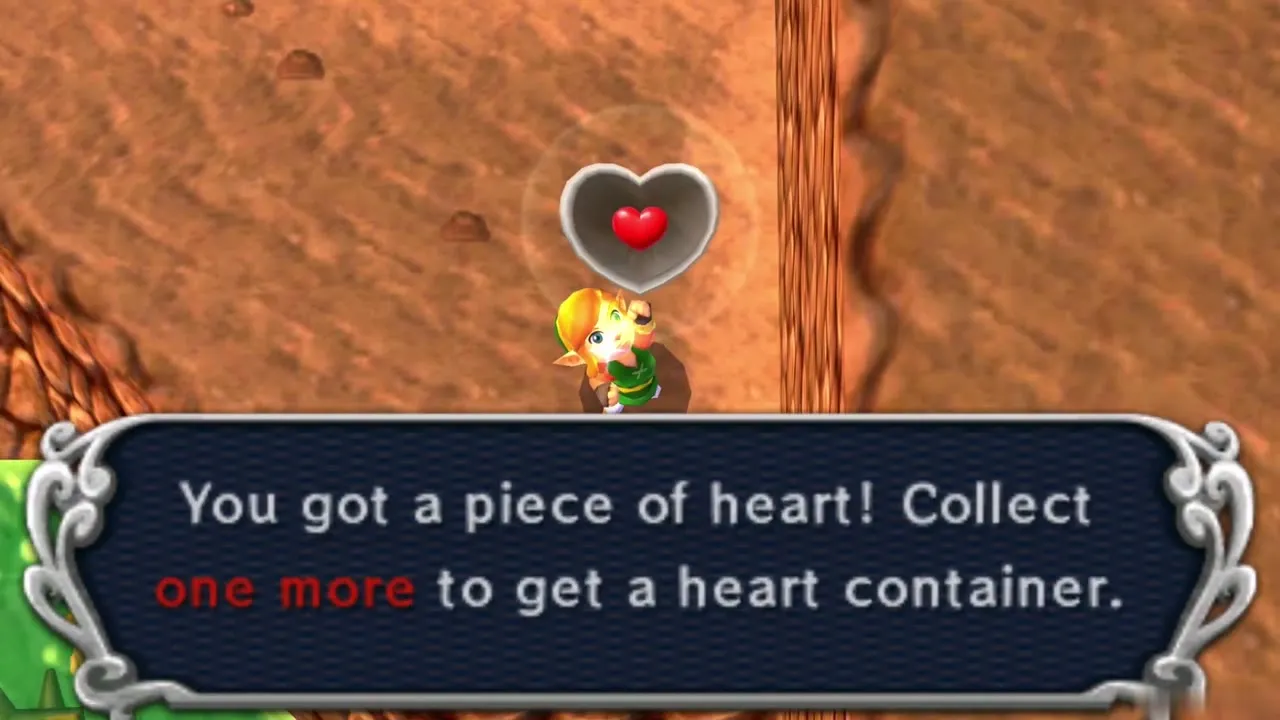
On the second trip through Lorule, drop off the ledge you land on and pick up the Piece of Heart lying to the right. It is Heart Piece #26. Then jump across to the fissure to the southeast and return to Hyrule.
Final fissures to the palace entrance
Back in Hyrule, climb the stairs on the right, wave the Sand Rod to the left and race along the new pillar to the next platform, then merge into the wall and head left to the following fissure. Cross two narrow walkways in Lorule and step into the last fissure. You come out on a sand platform; use the rod twice to the right to reach a second one, then chain pillars north, west and north again, merge left and continue to the Weather Vane.
Palace entrance
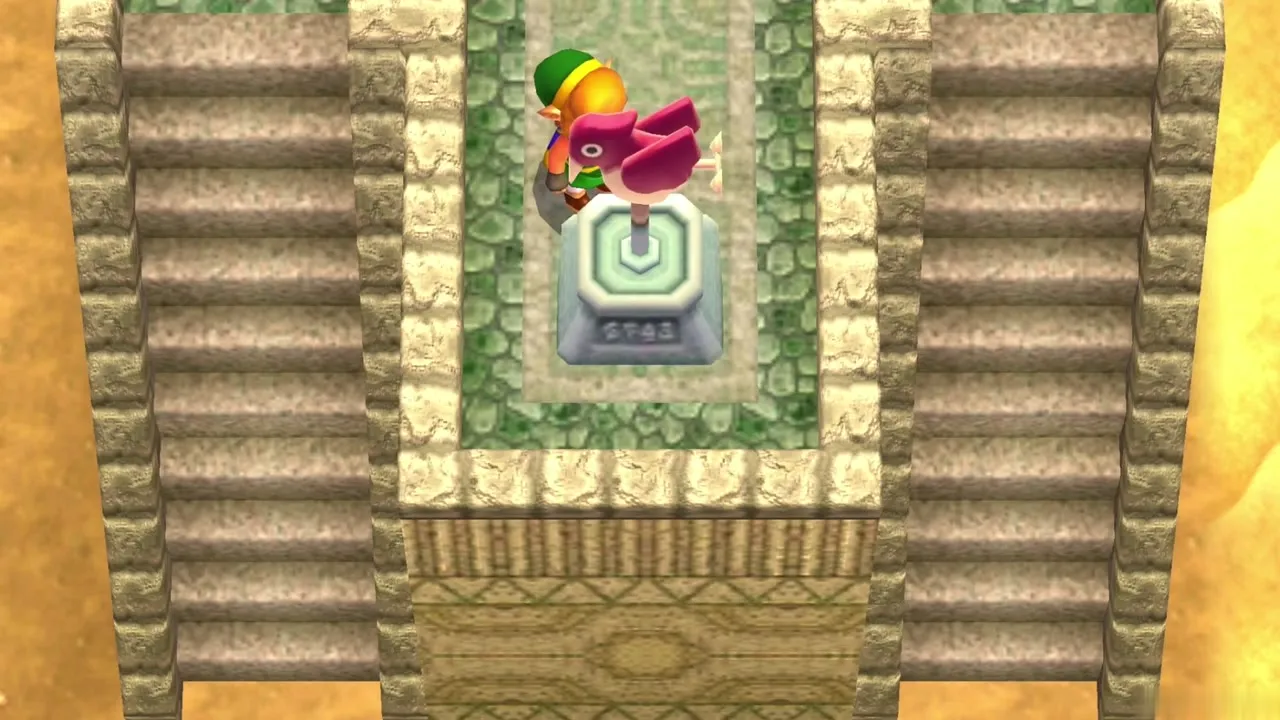
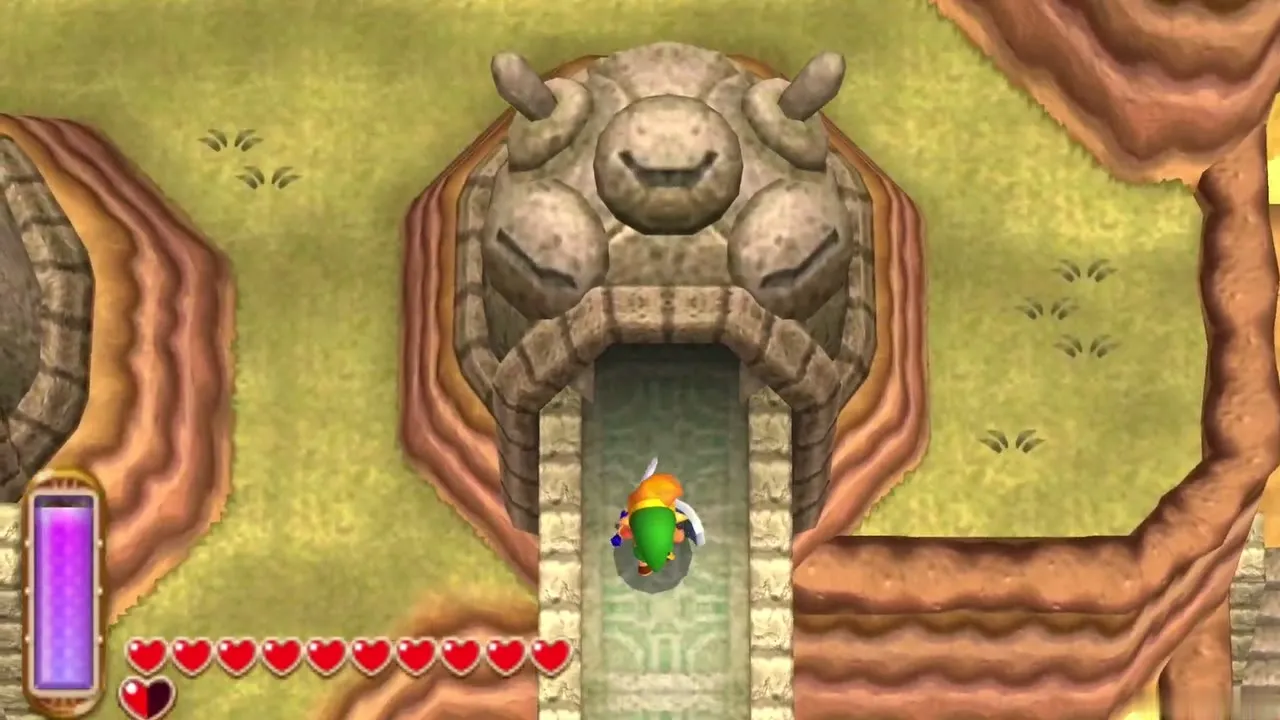
Touch the Weather Vane, then raise a pillar of sand to the north to reach the carved face that forms the palace entrance, and save the game. Two more Maiamai sit in this desert and are worth collecting with the rod you already have: one northwest of the two pillars that hold fissures, and one just south of this Weather Vane. A third needs the Titan’s Mitt and is left for the end of the chapter.
Desert Palace 1F
Entrance hall and the Gibdo corridor
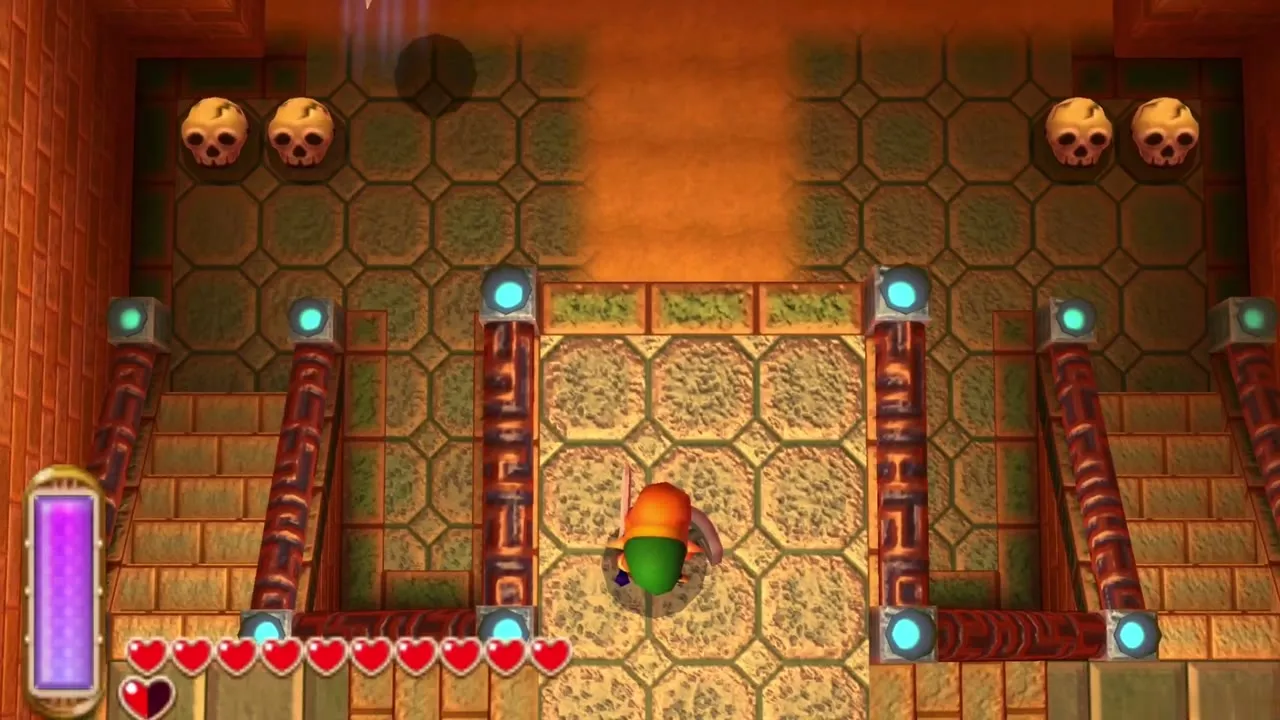
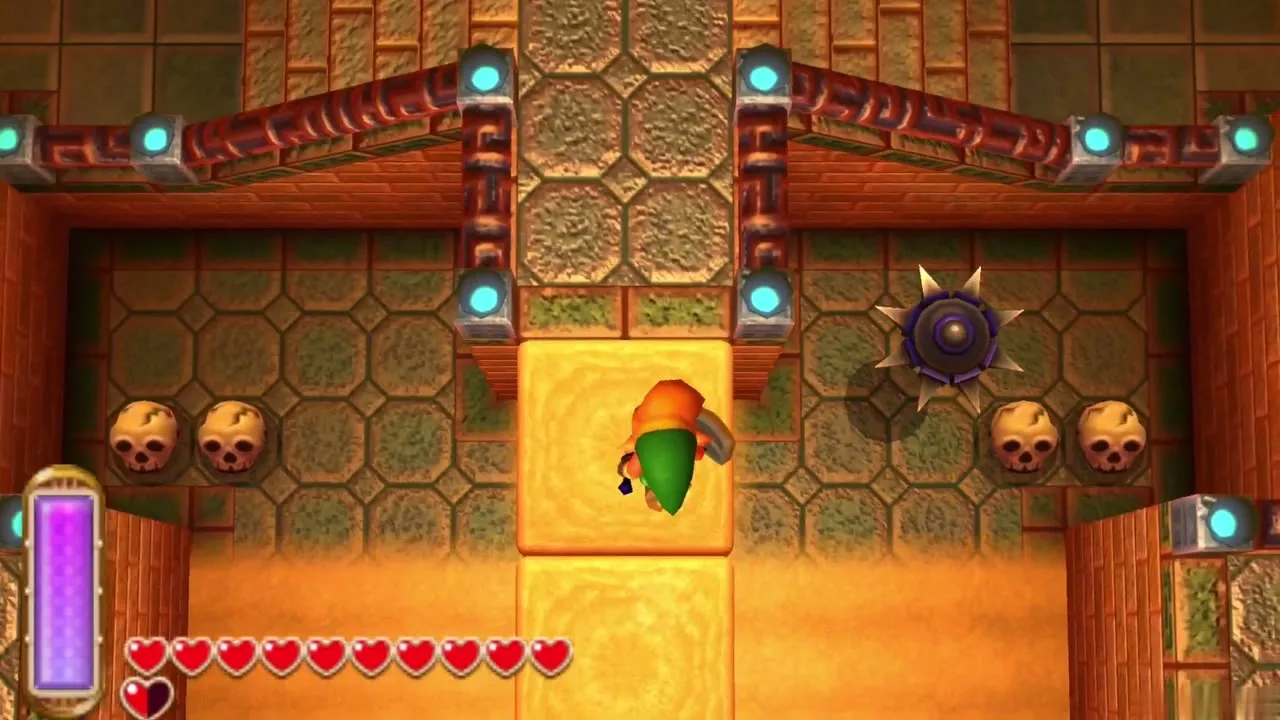
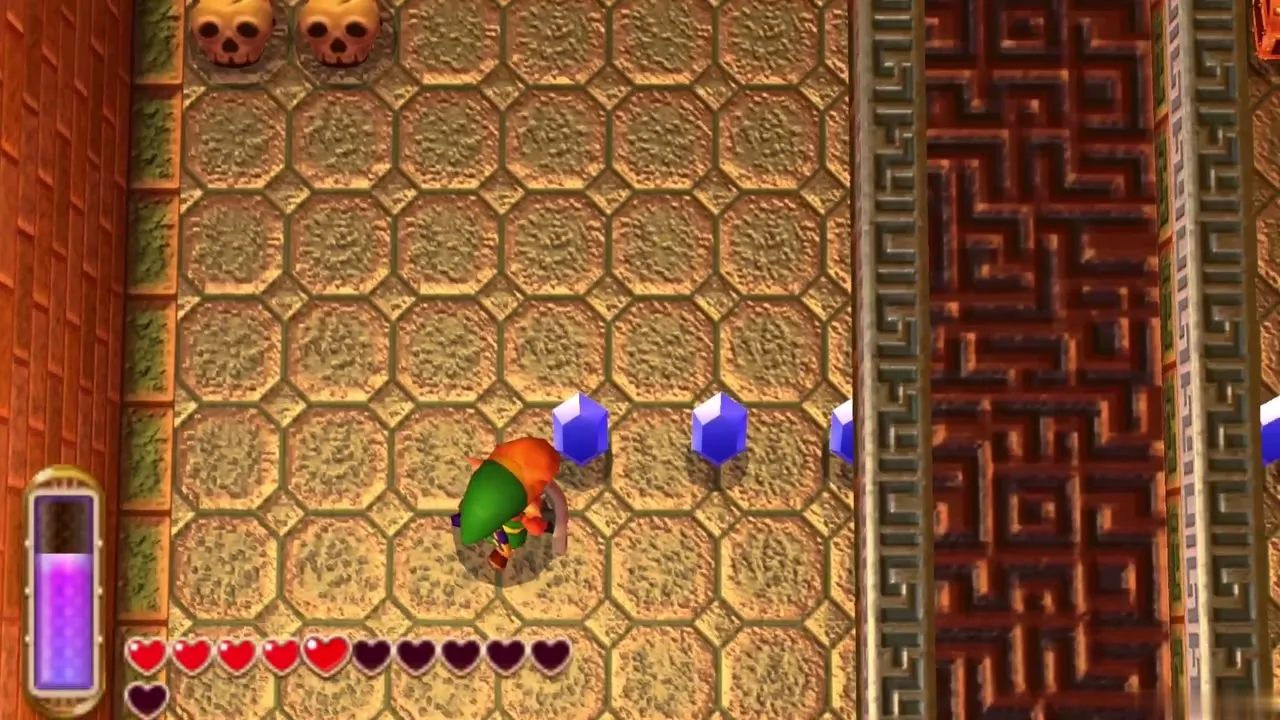
Raise a sand bridge across the opening gap and walk left to reach the north wall. Raising a sand wall lets you merge along it to a chest holding a Blue Rupee. Fight the Gibdo you meet, then climb the stairs on the right. When two Beamos guard the next hall, merge into the wall to slip past their sight lines.
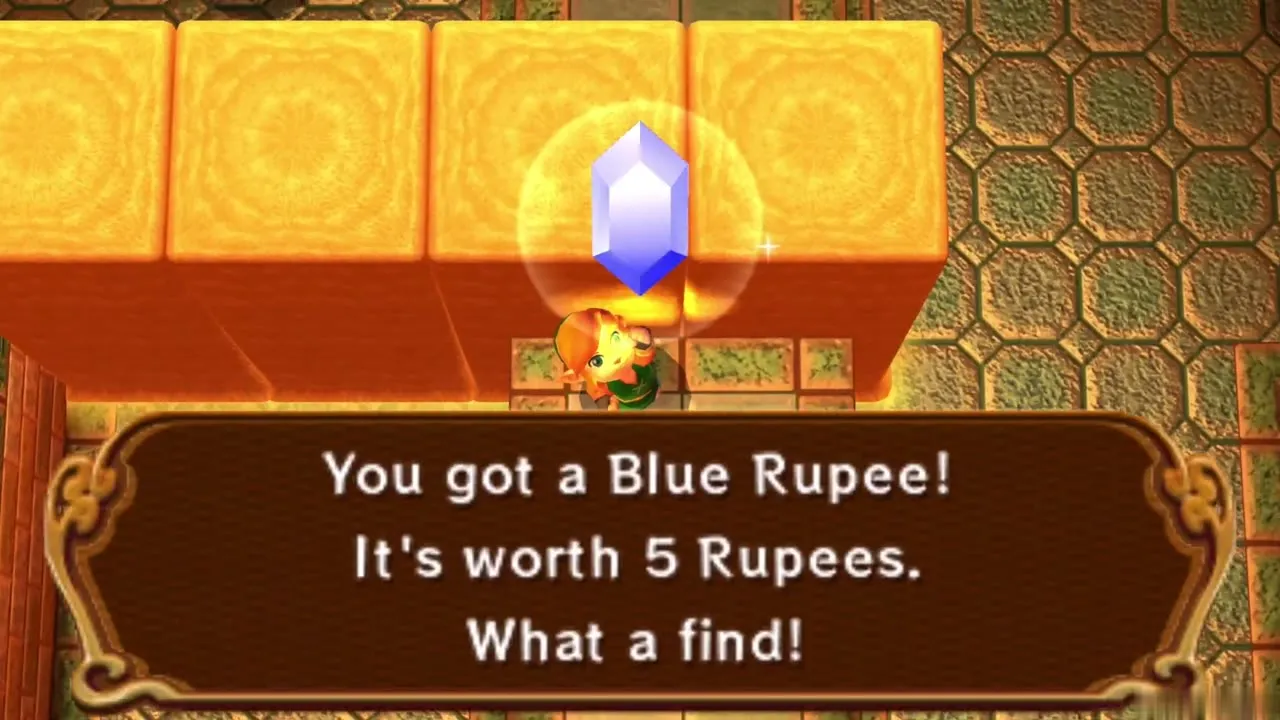
Gargoyle statue puzzle
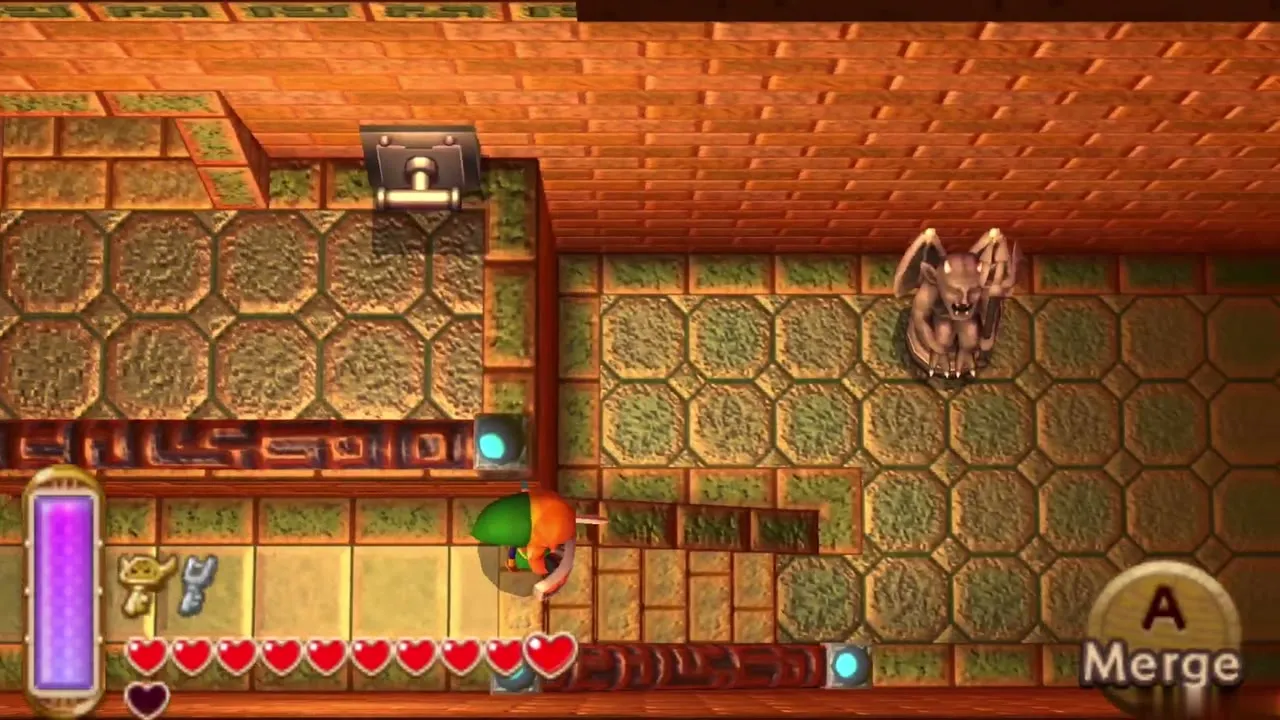
Stand between the two crystal switches in the next room and hit both at the same moment to slide a wall out of your way. In the room beyond, three gargoyle statues must stand on the three dark floor tiles. Pull the first onto a tile, use the Sand Rod to reach the other two, and drag each onto an empty square. When the last statue settles, the door on the left side of the room unlocks.
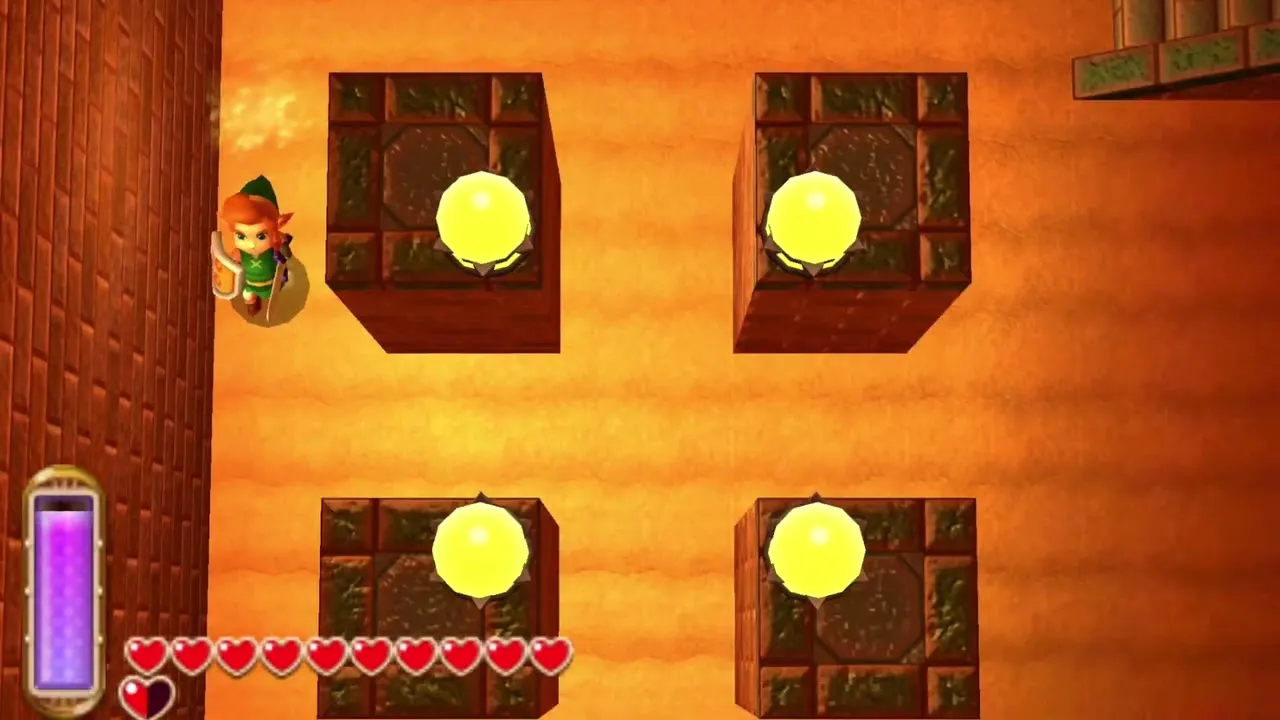
Hokkubokku room
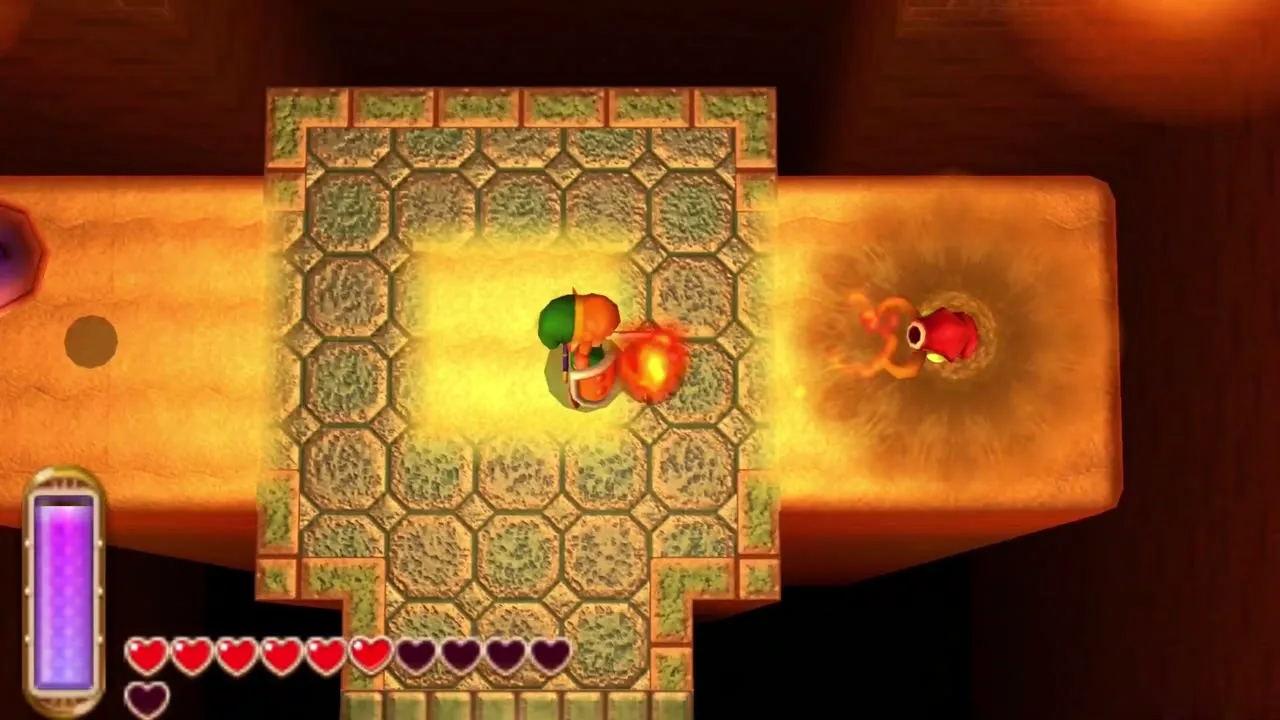
Step on the floor switch to open a shortcut, then cross the sand with the rod. Walking on loose sand stirs up a Hokkubokku; raise a pillar beneath it to flip it out of the sand, then slash every piece. Its defeat unseals the doors and drops a chest. A side chest in the next room holds a Monster Tail, and the room to the north holds the Compass.
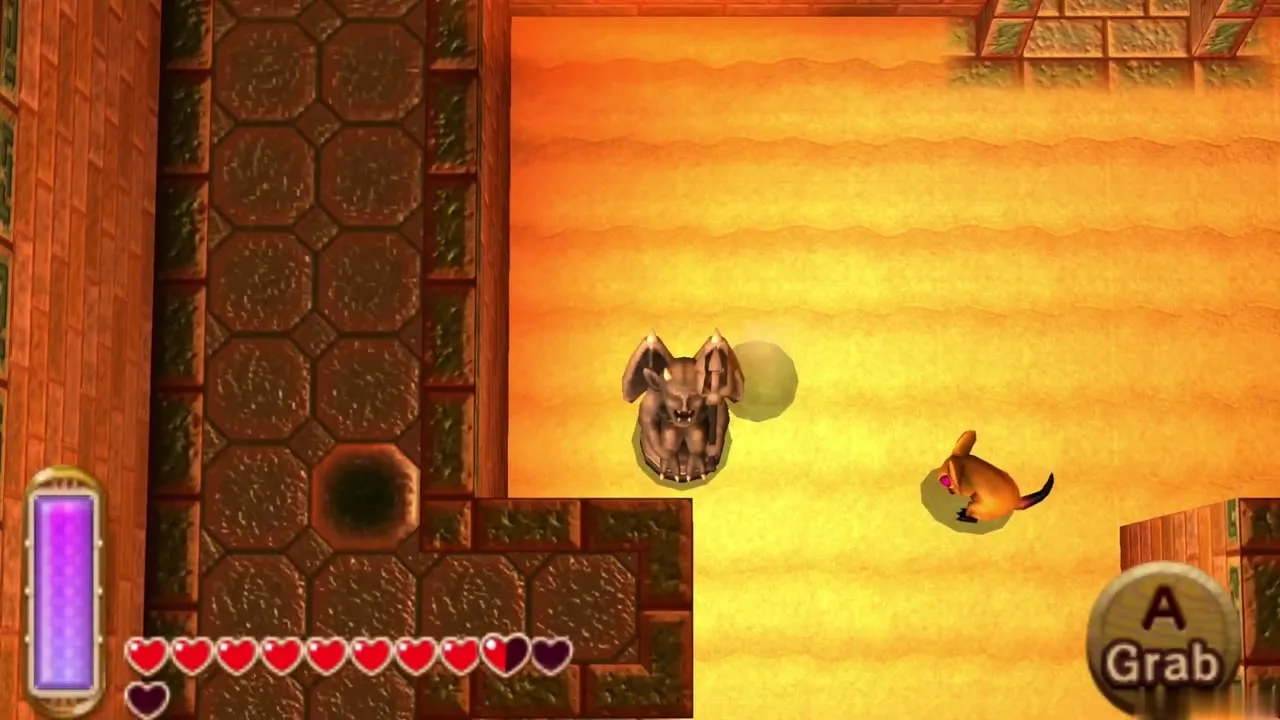
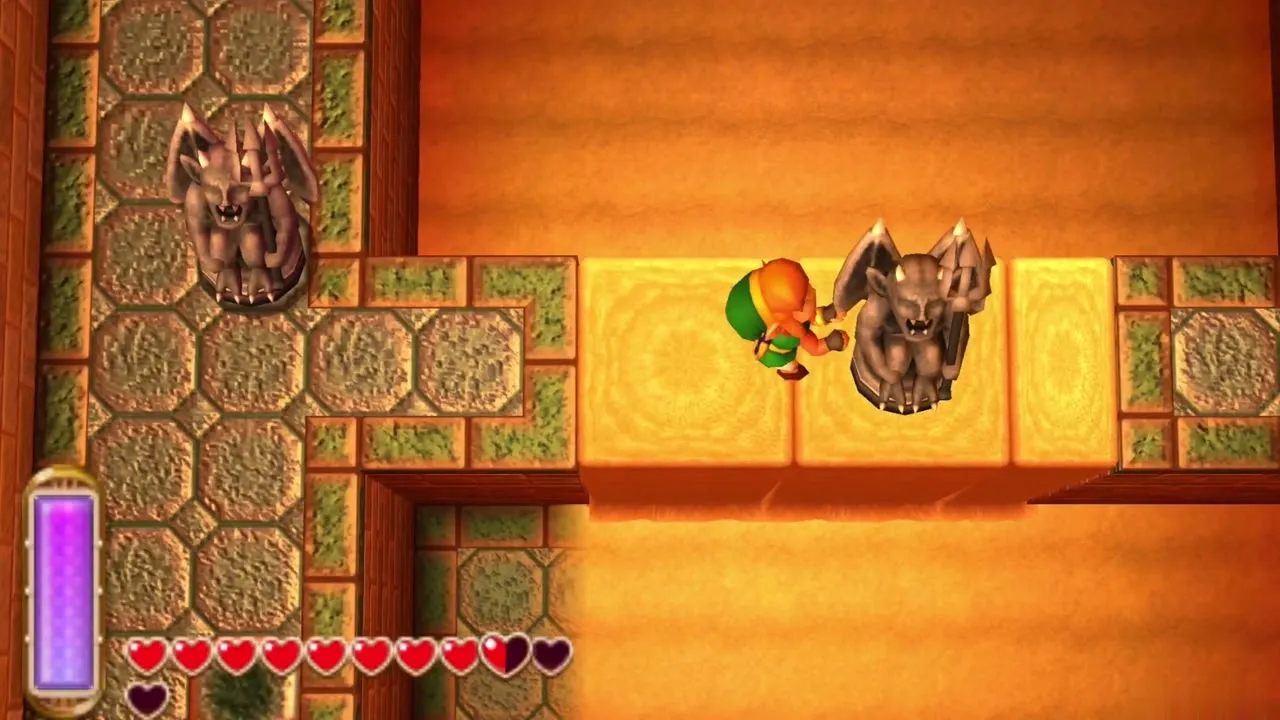
Desert Palace Compass
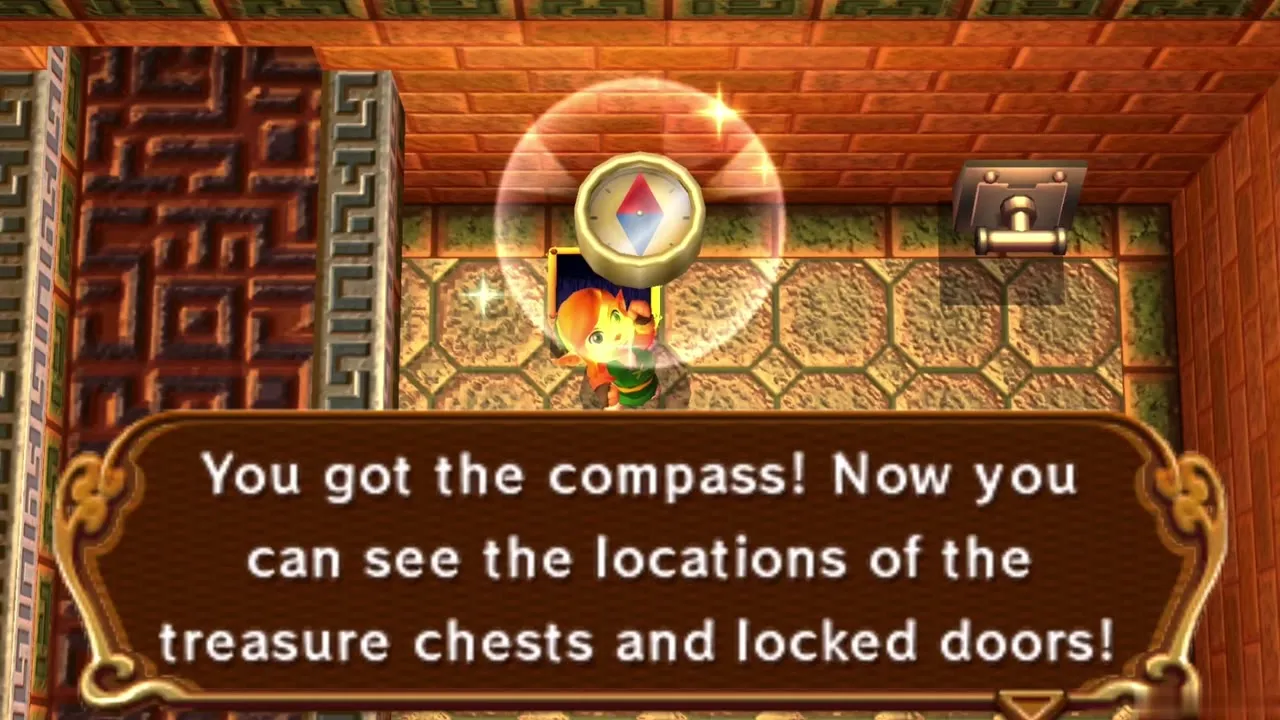
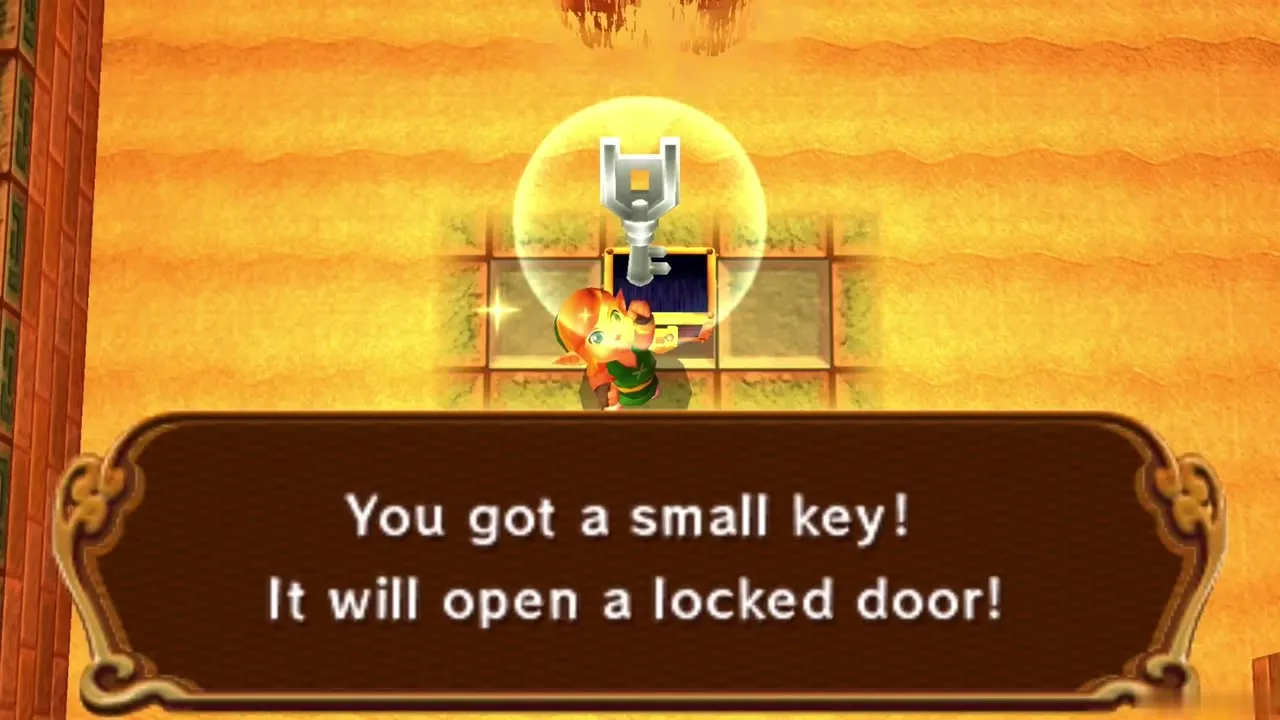
In the northwest 1F room, gather the Blue Rupees and open the chest on the right to take the Compass. Then pull the lever beside it, which sends sand pouring into the room you just left. Go back, drop onto the sand covering the floor, and open the north chest for the first Small Key. Climb the stairs on the right and unlock the door, which leads to the north-central hall.
Titan’s Mitt
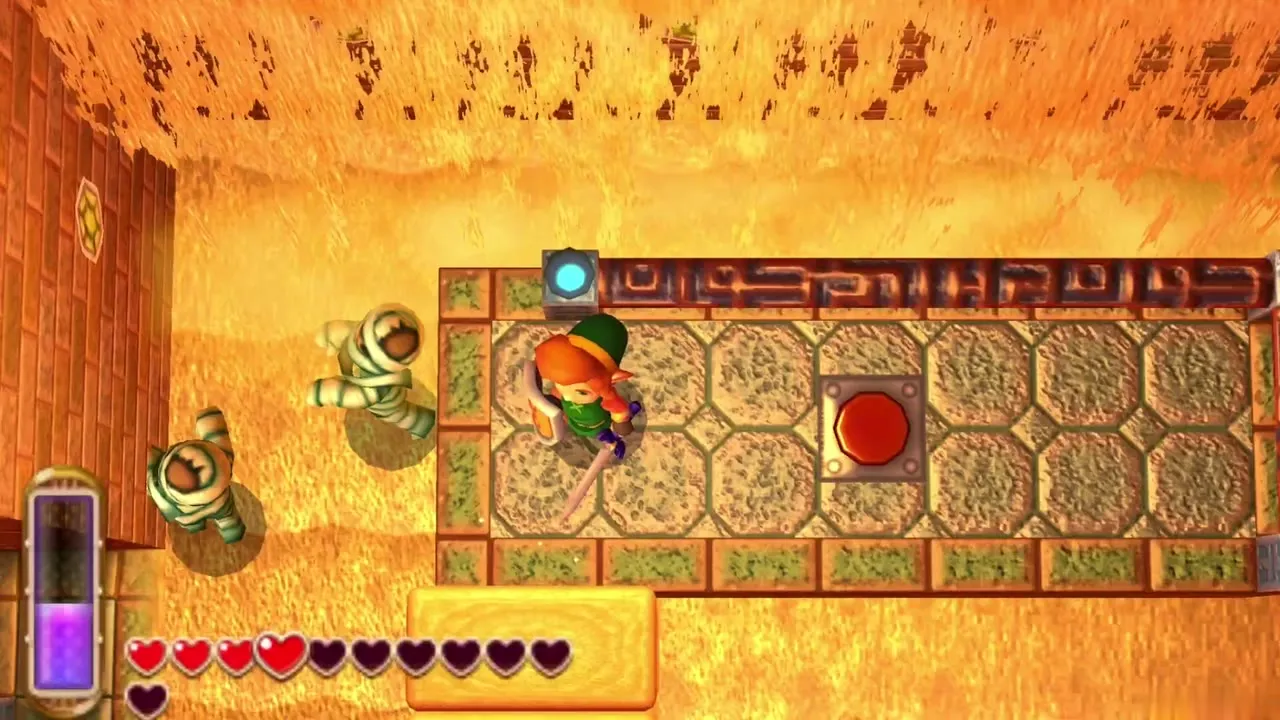
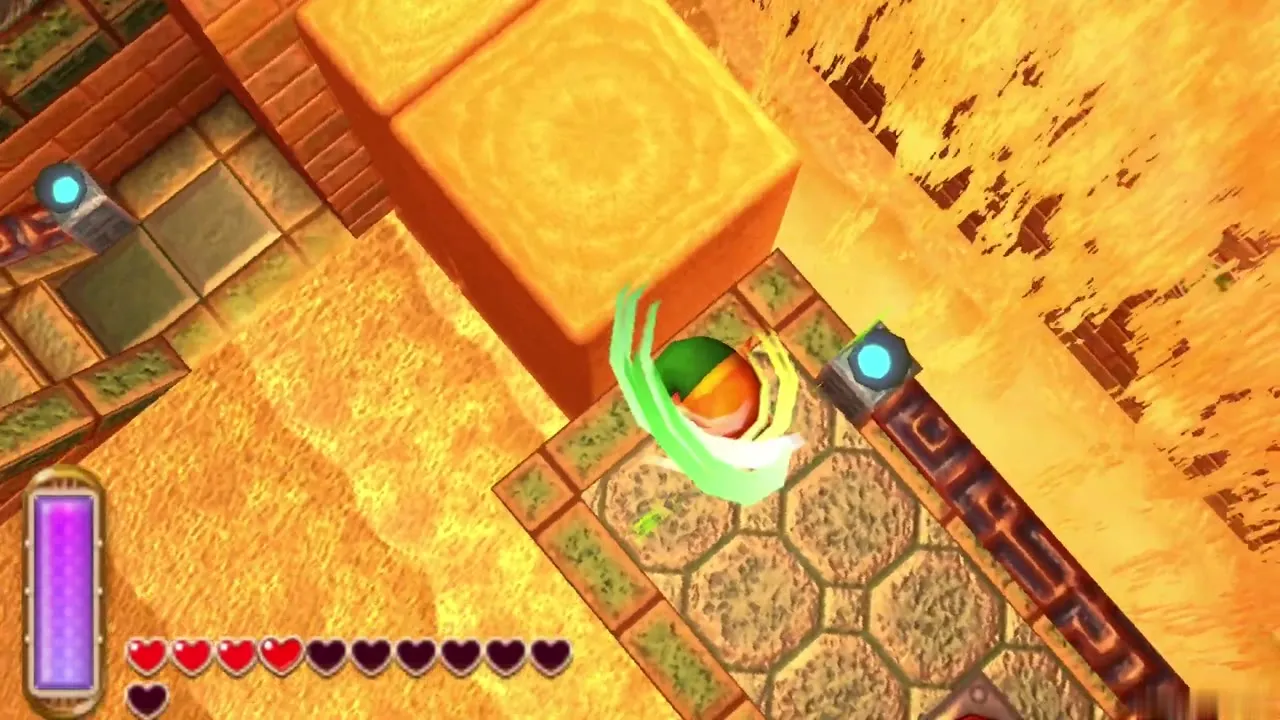
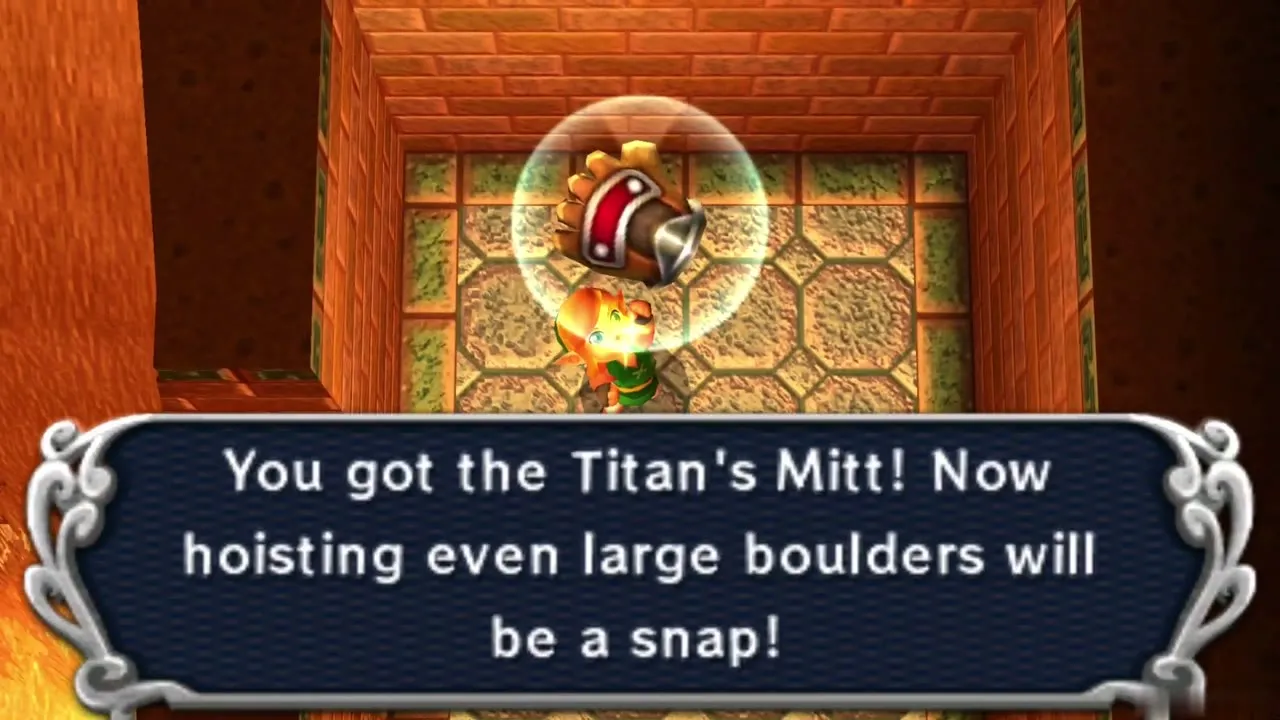
Pull the lever on the left wall of the north-central room so sand fills it, then climb the stairs and raise pillars left and north to reach the switch platform. Stepping on that switch slides a wall away. Wave the rod left, merge into the sand and then into the brick wall to get behind the torrent of sand. The big chest in the northeast corner holds the Titan’s Mitt, which lets you lift large boulders.
Small Key under the boulders
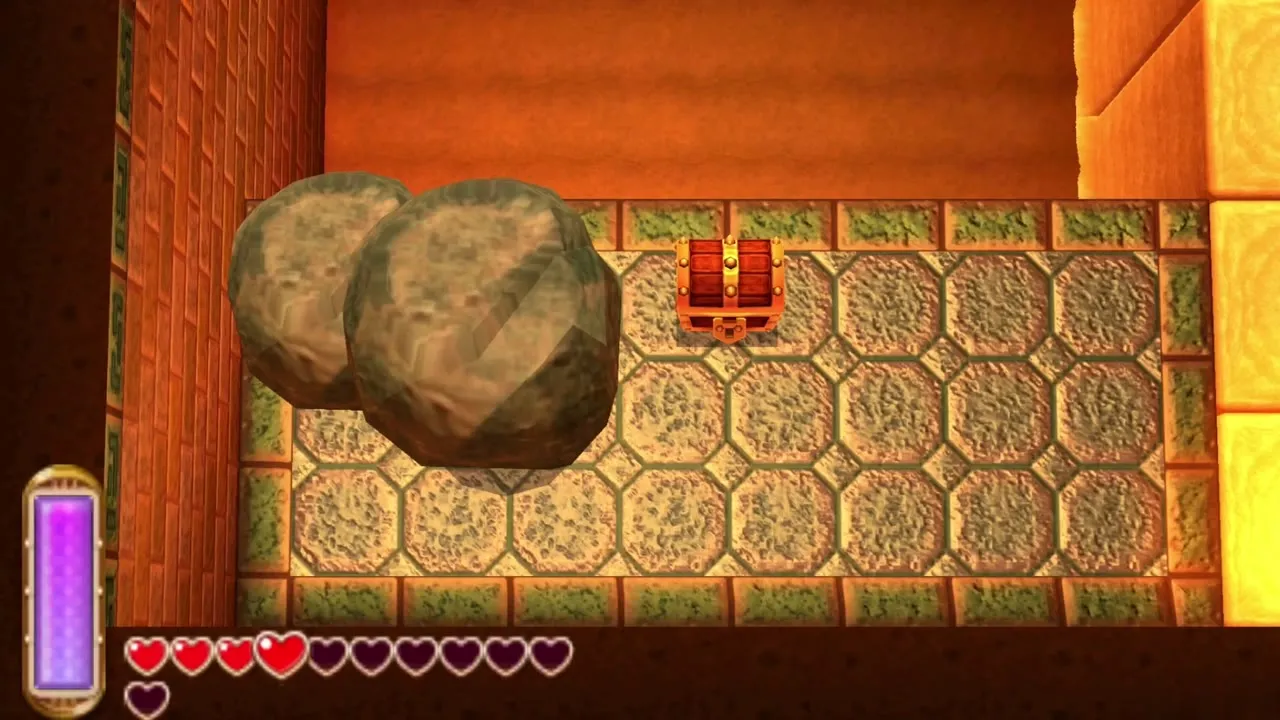
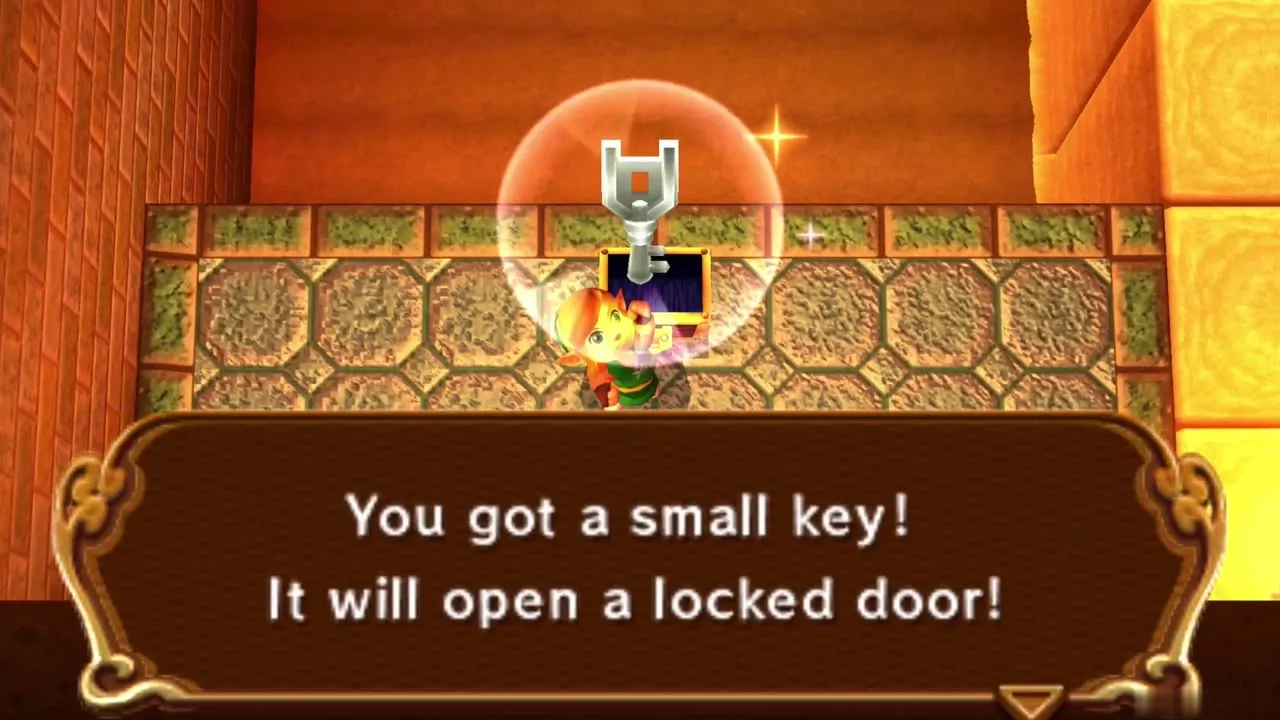
Return through the west room to the south room, where heavy rocks blocked you earlier. Raise a pillar south, walk across it, and lift the first big rock with the Mitt. The chest behind it holds a Small Key. Lift the rock in front of the locked door, open it and smash the skulls beyond for hearts. Leave through the south, then enter the cave to the north outside to reach the second floor.
Desert Palace 2F
Flying Tiles and Devalant mini-boss
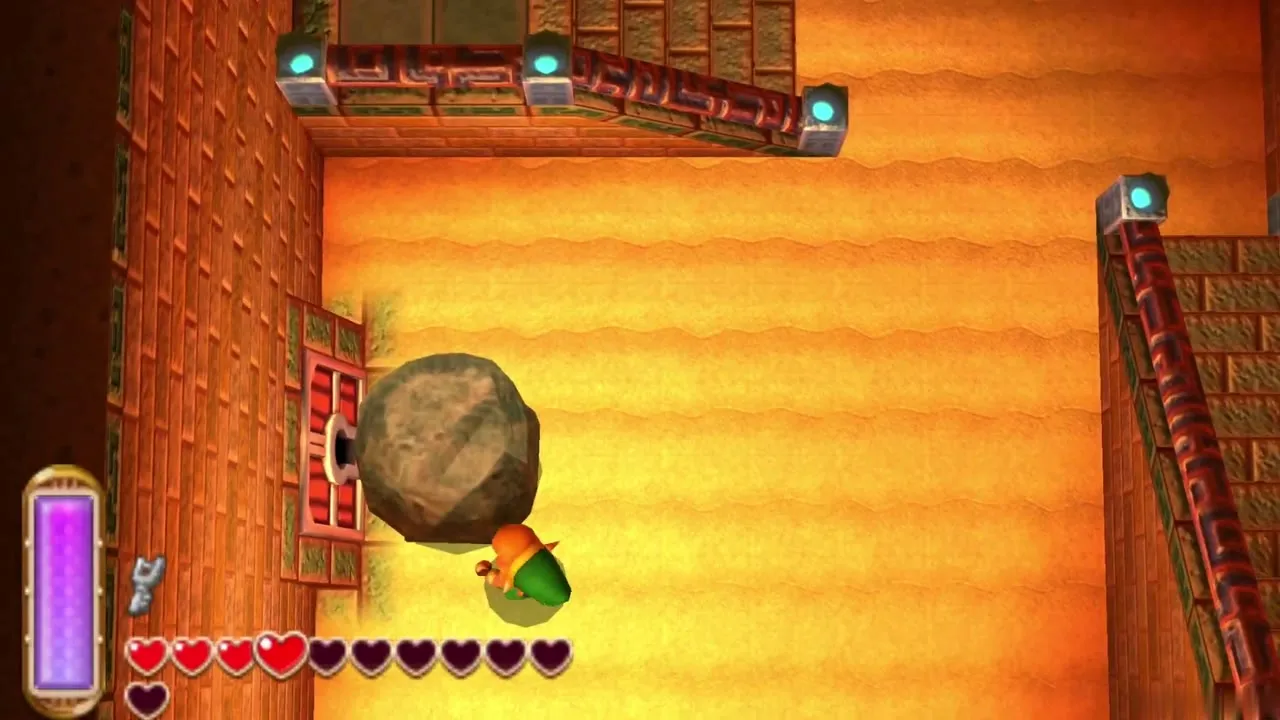
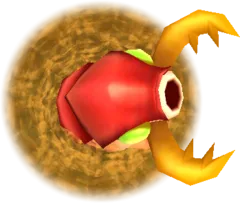
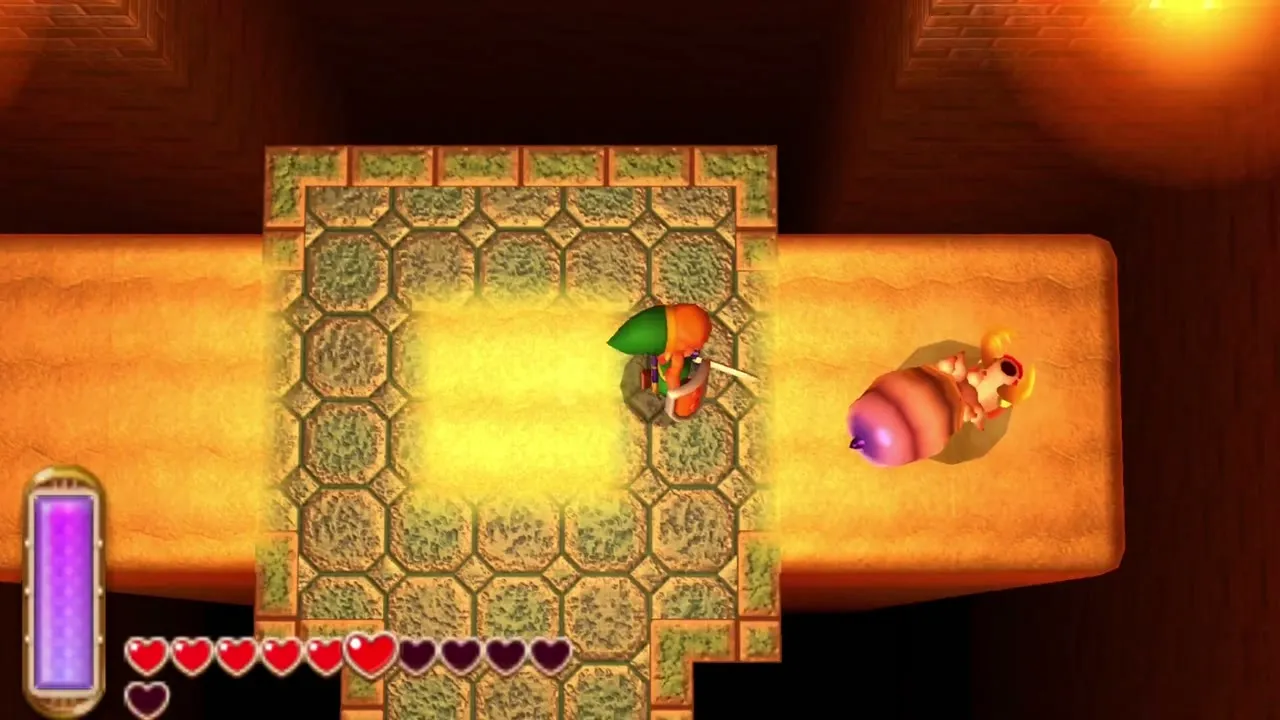
The cave outside opens on a pair of fights. First, floor tiles lift off the ground and fly at you; hold up the shield to knock them aside. Then two Devalants appear. Use the rod to pull each one out of the sand, hit it, and keep moving. When both are down, a bridge and a warp portal appear that lead into the rest of the floor.
Buried chests and the Beamos hall
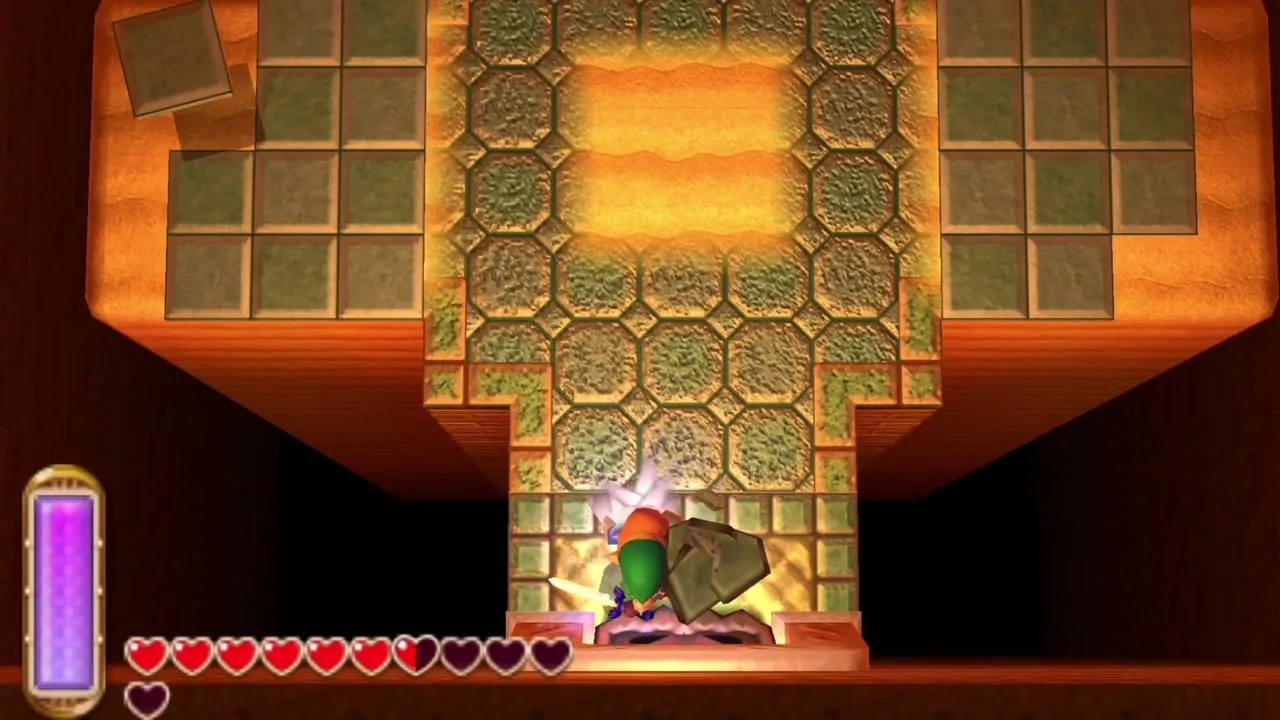
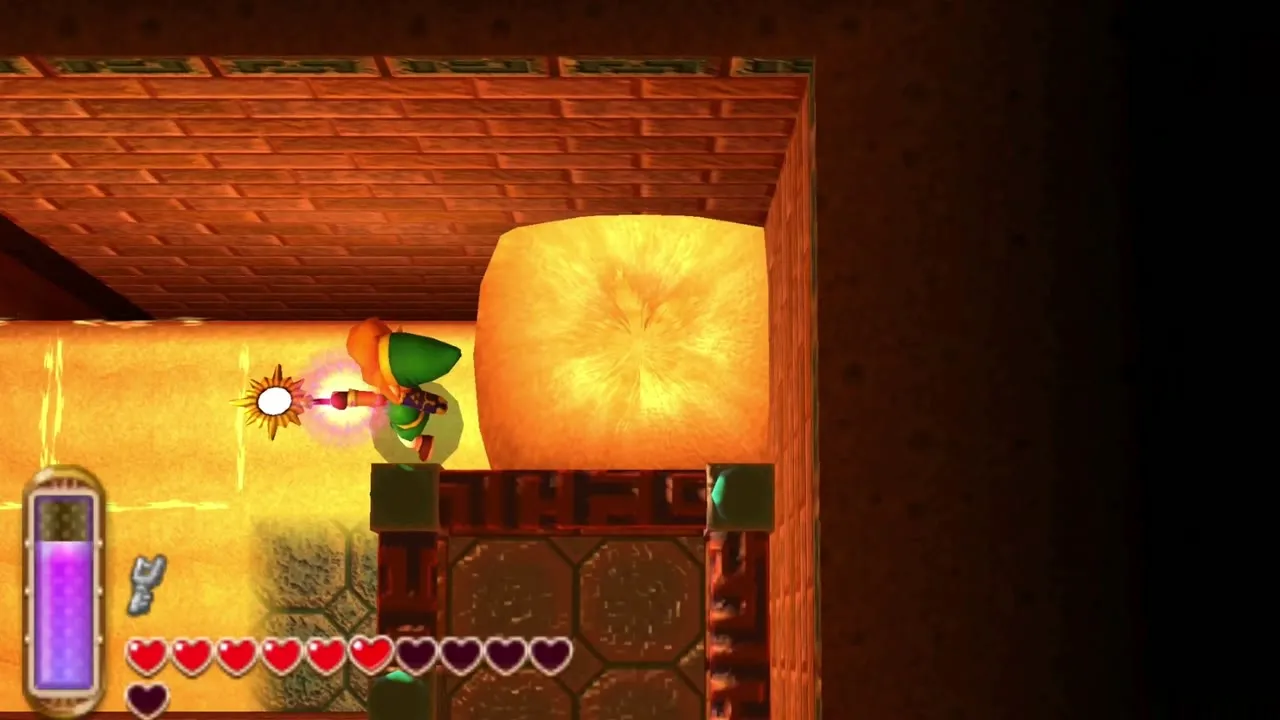
Lift the boulder in the next room and raise the buried chest with the Sand Rod to find 100 Rupees. Further on, climb the stairs behind the Beamos and open the chest for another 100 Rupees. Keep to the walls so the Beamos never lines up with you, then carry on east to the red and blue block room.
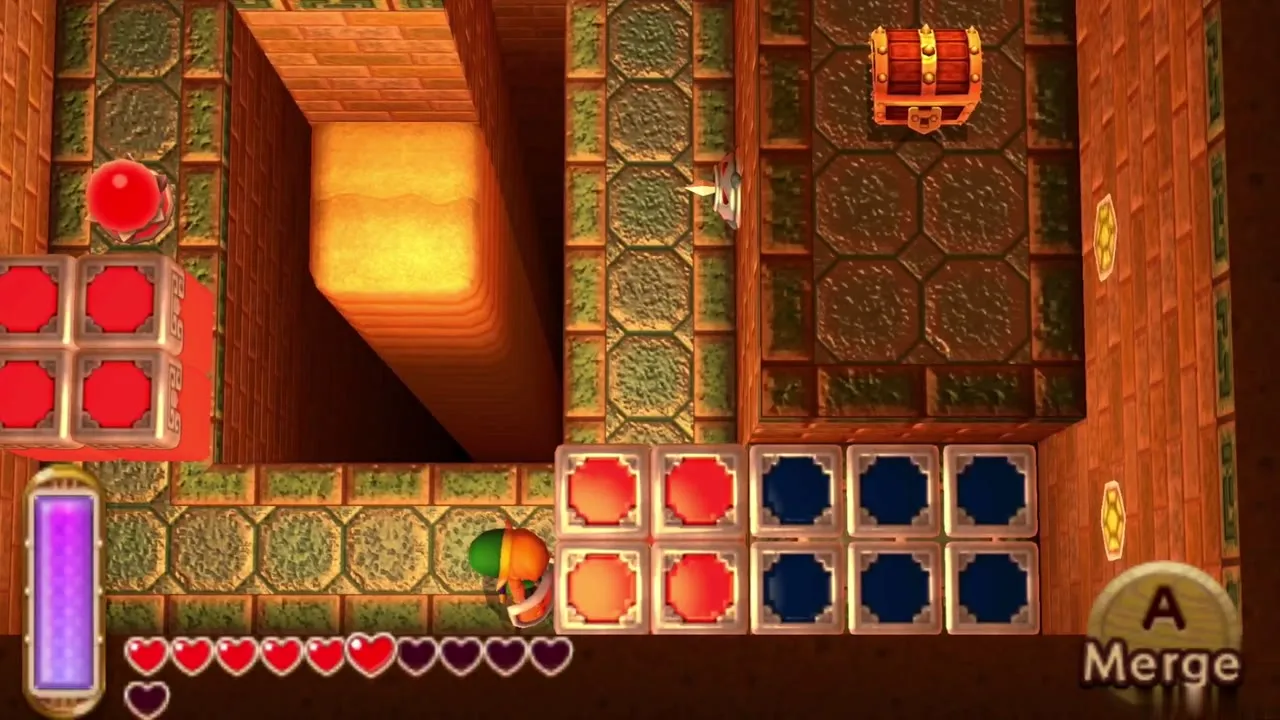
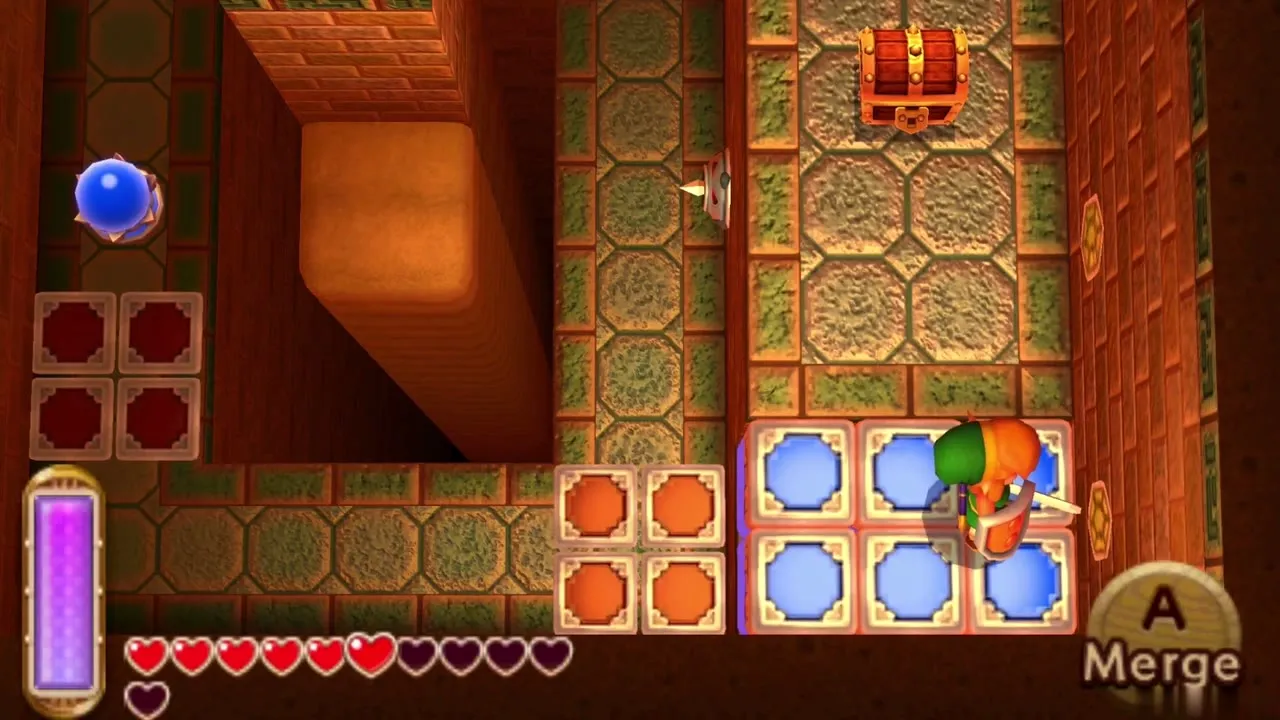
Red and blue block room
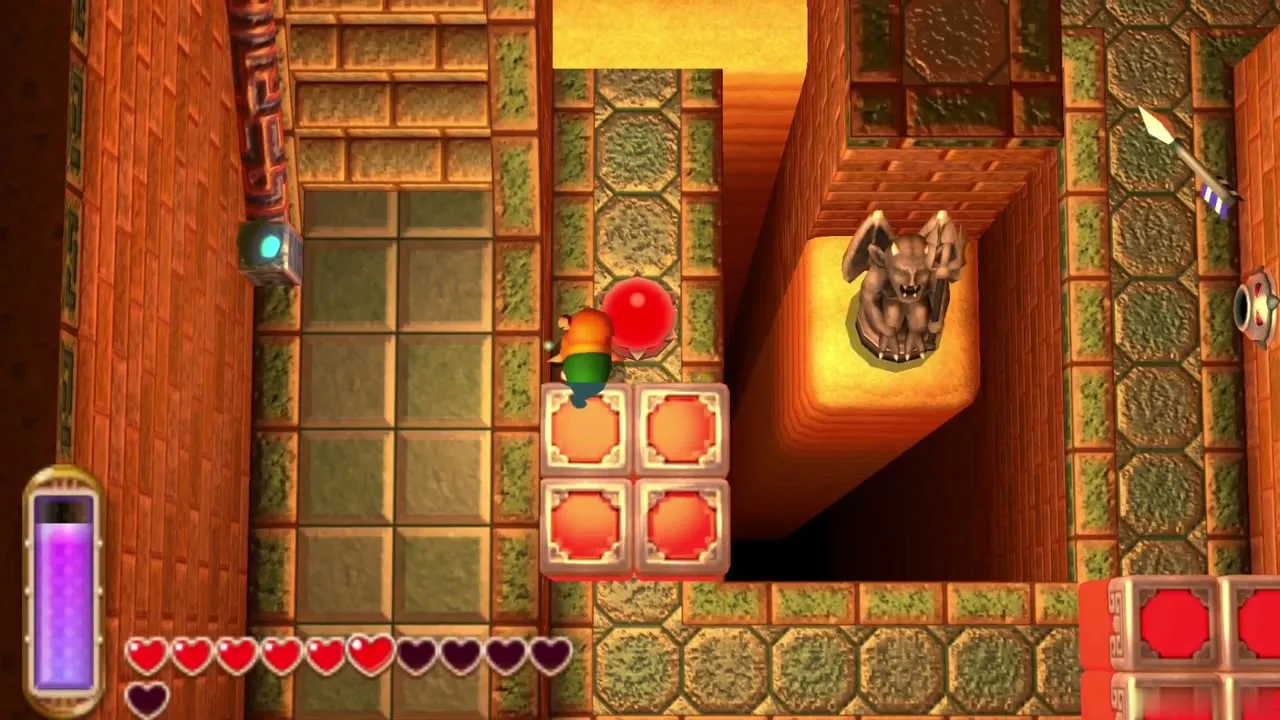
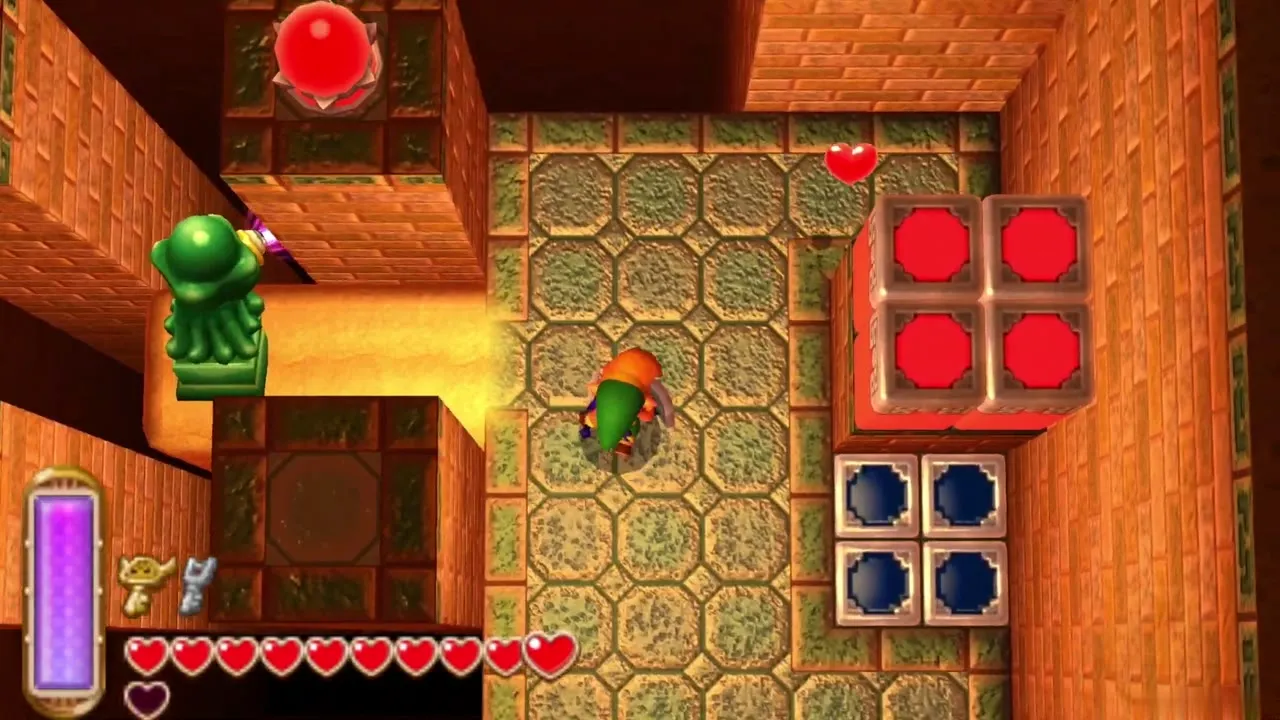
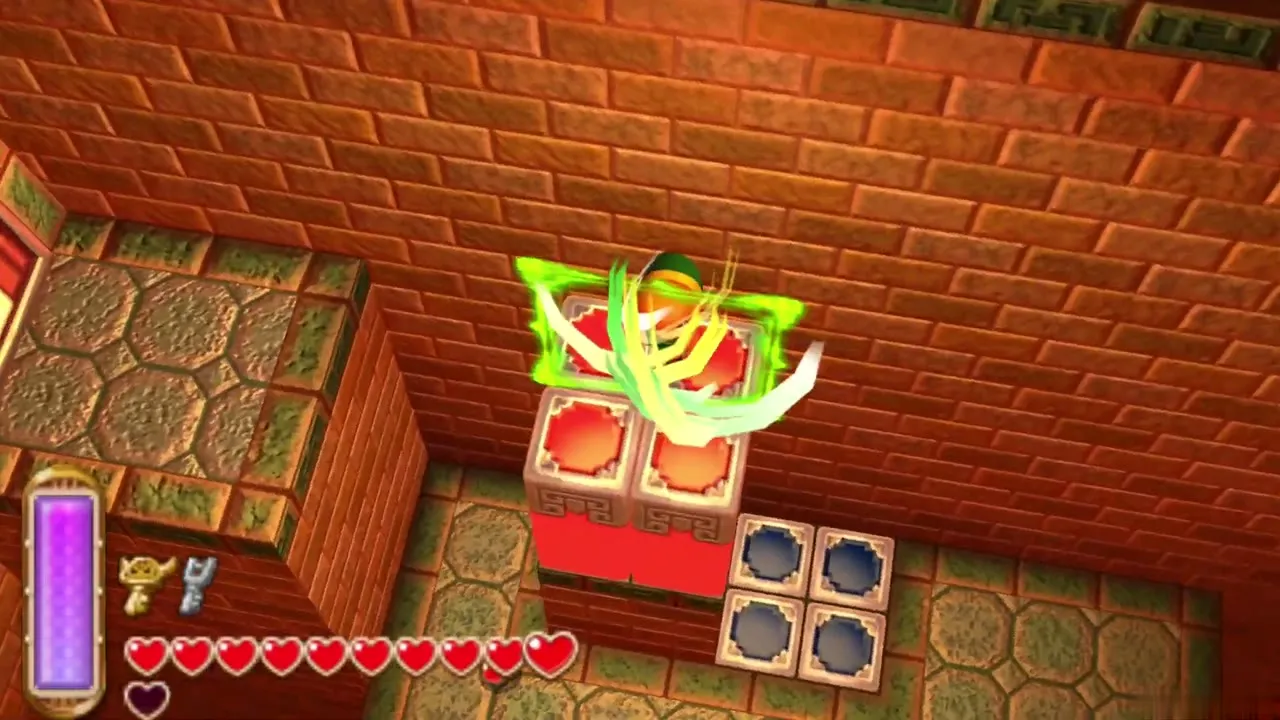
Hit the crystal switch from the southwest corner to raise the red blocks, then climb the left stairs and cross to the central platform. Use the Sand Rod to push the gargoyle statue south into the pit, which clears a line for projectiles to hit the far switch. Walk the lowered red blocks north, cross the blue ones and leave through the northeast exit.
Rolling ball room
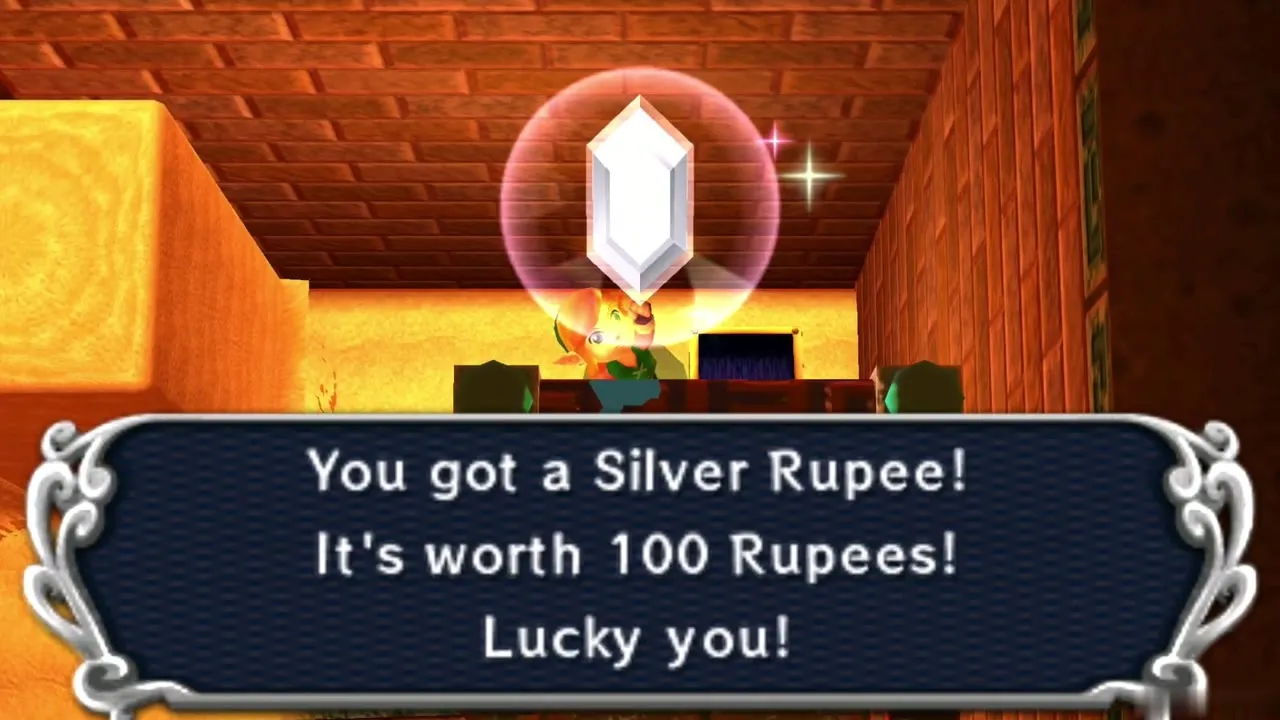
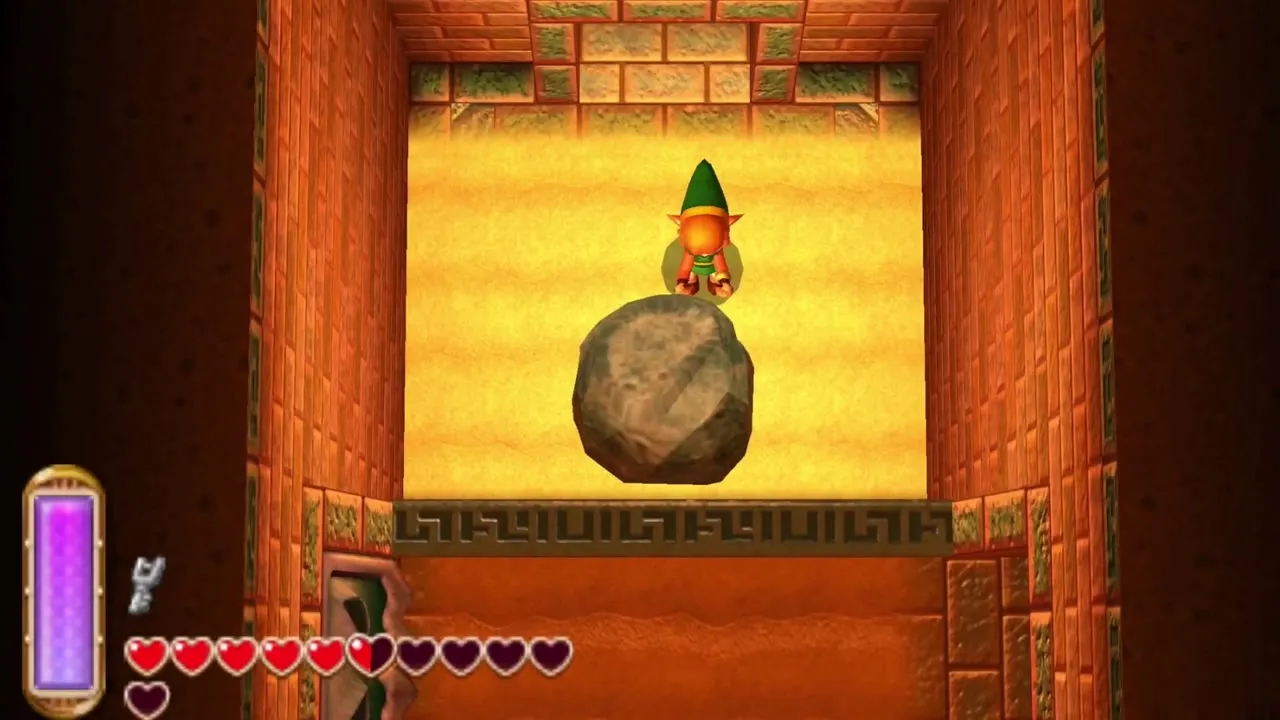
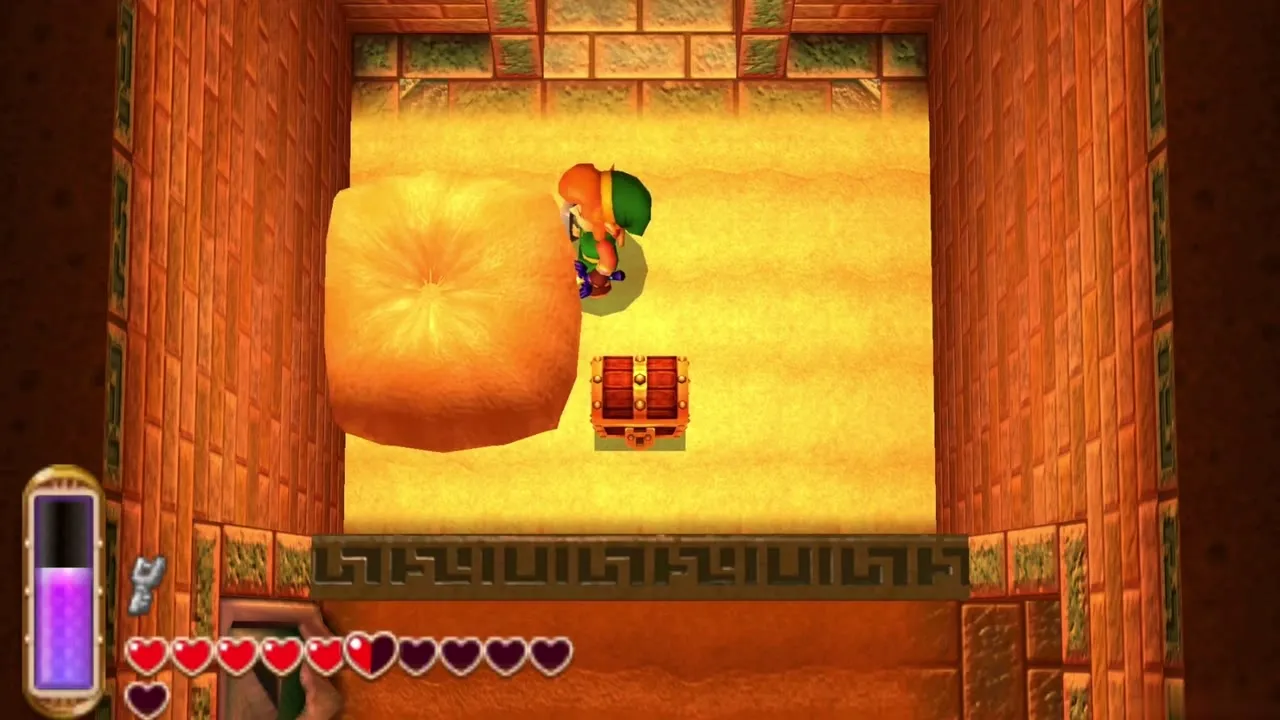
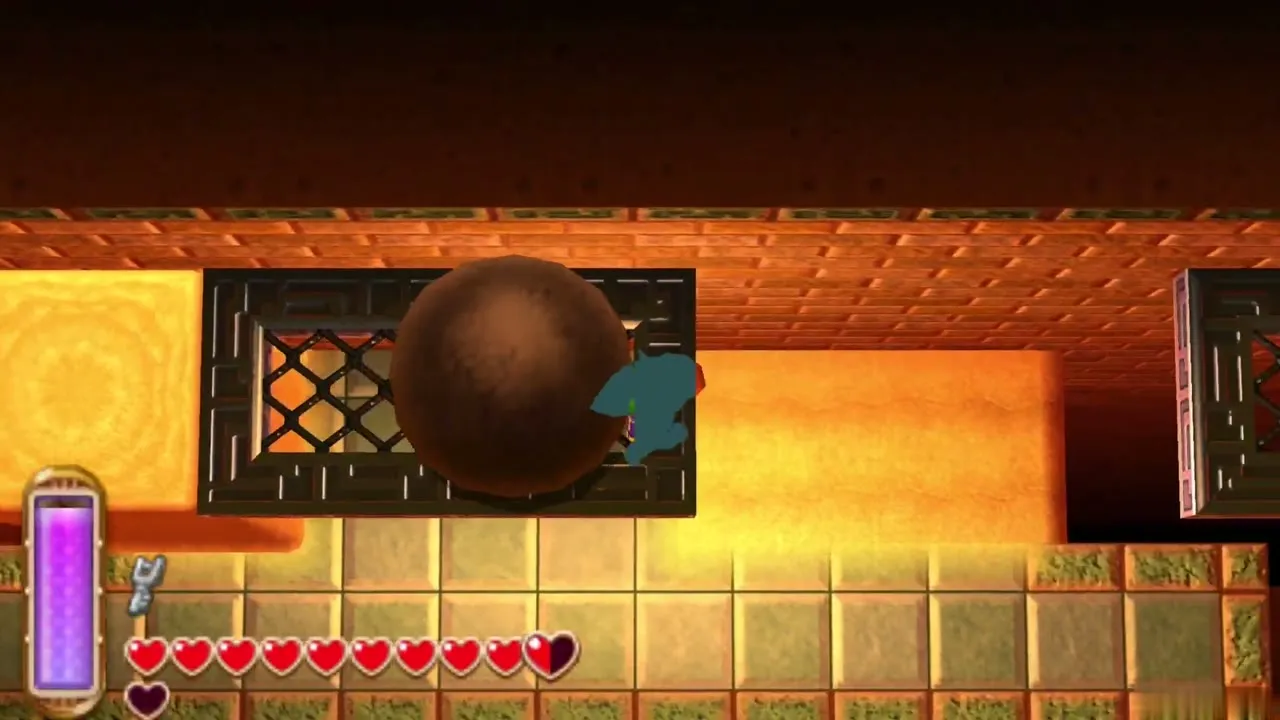
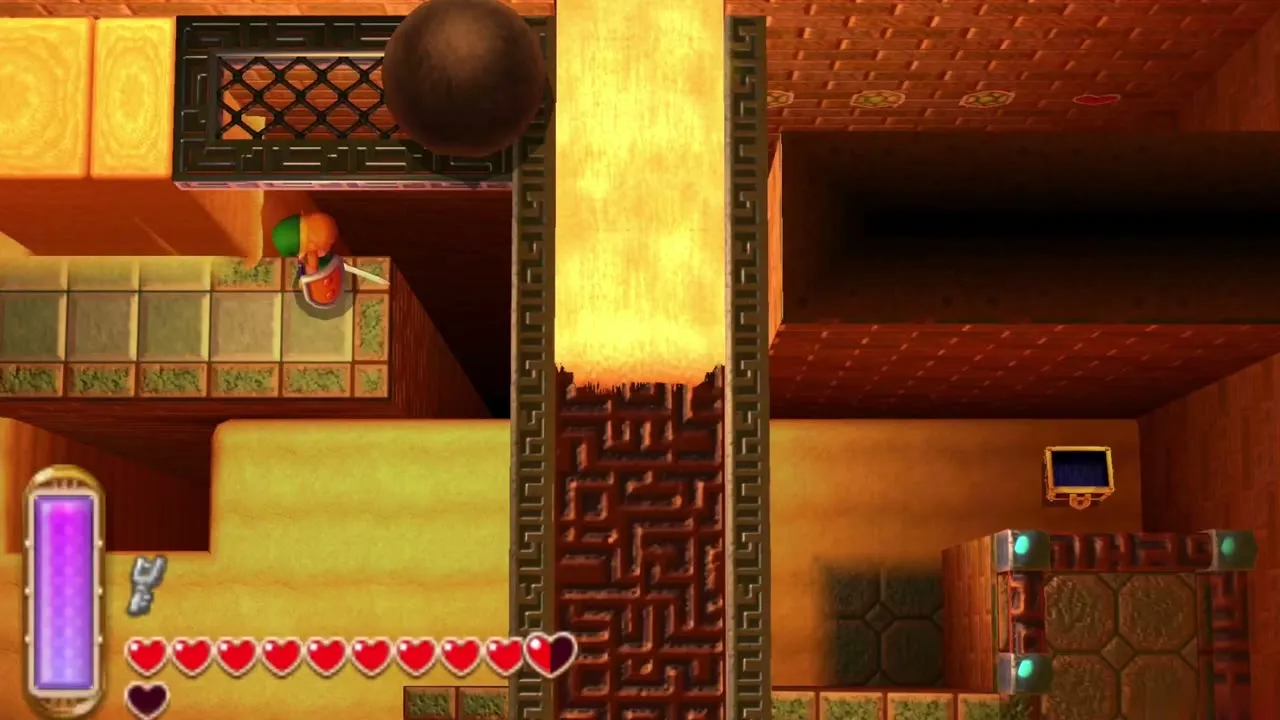
Lift the right-hand boulder to uncover a chest holding a Silver Rupee, worth 100. A Brutal Ball rolls around here, and only sand redirects it. Bomb the cracked block, then raise sand in the ball’s path so it rolls into the block and smashes it. Sand then flows into the southern room. Raise the chest there with the rod for another 100 Rupees, then take the southeast exit.
Desert Palace Big Key
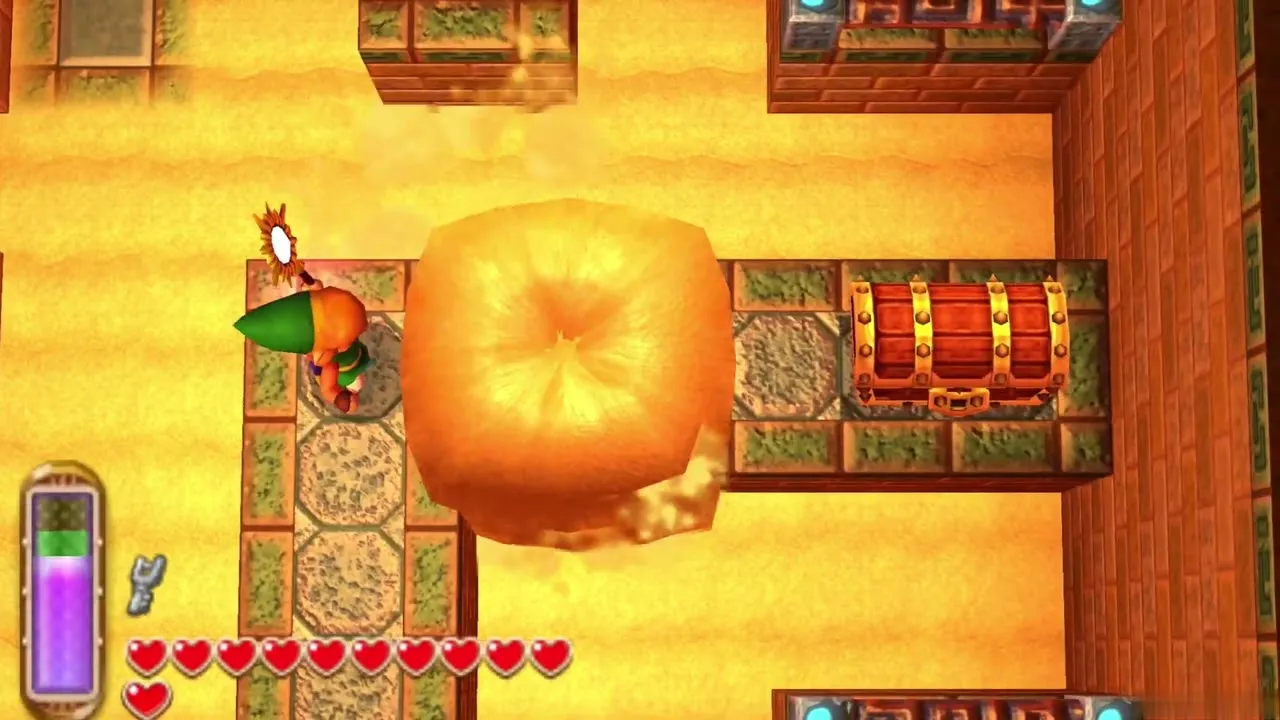
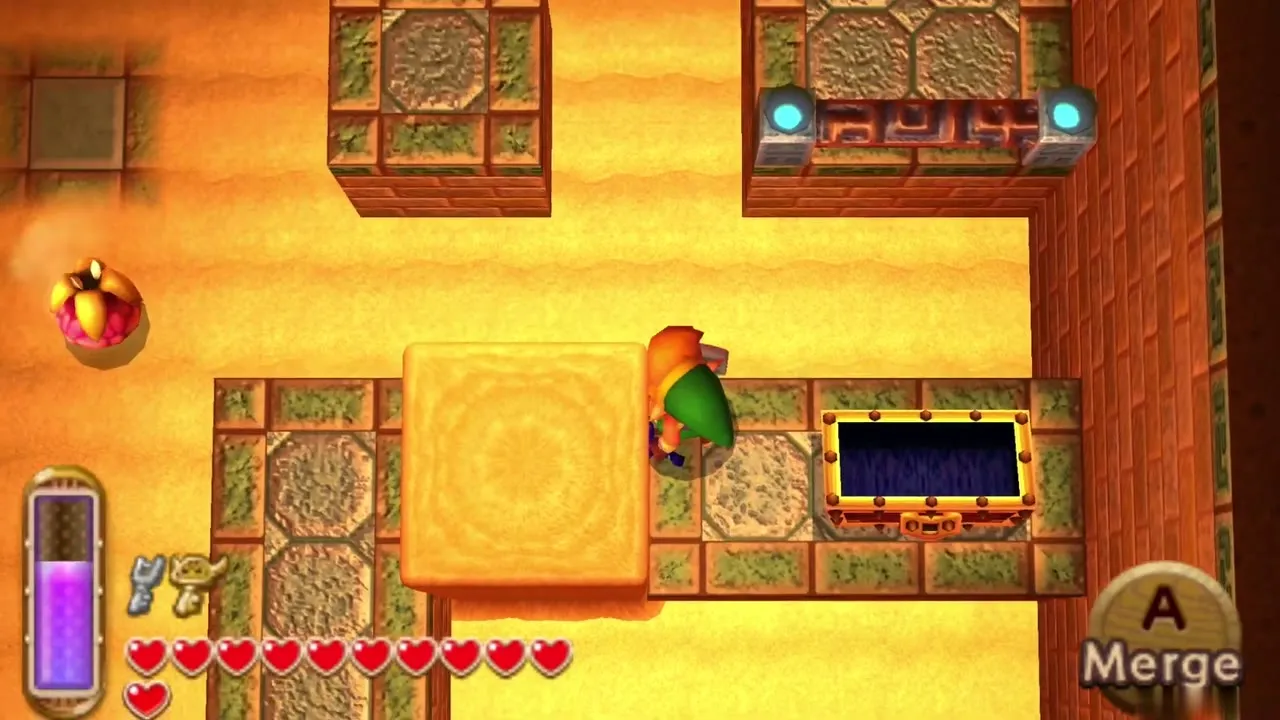
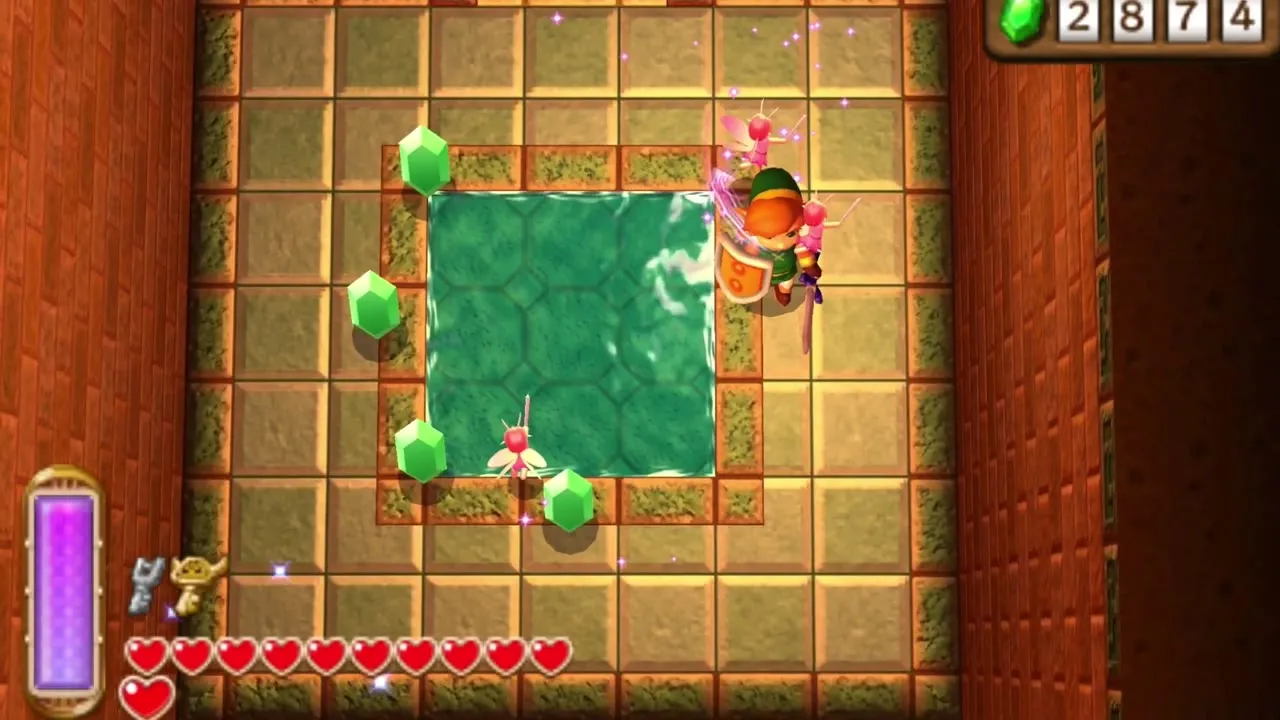
Cross the blue blocks, raise a pillar south and merge into the sand wall to the right to reach the big chest, which holds the Big Key. A second chest on a raised platform holds a Small Key, reached with another pillar. Drop down and go south to find a hidden room with three small fairies; remember it, since it is a handy place to refill hearts before the boss.
Beamos switch room
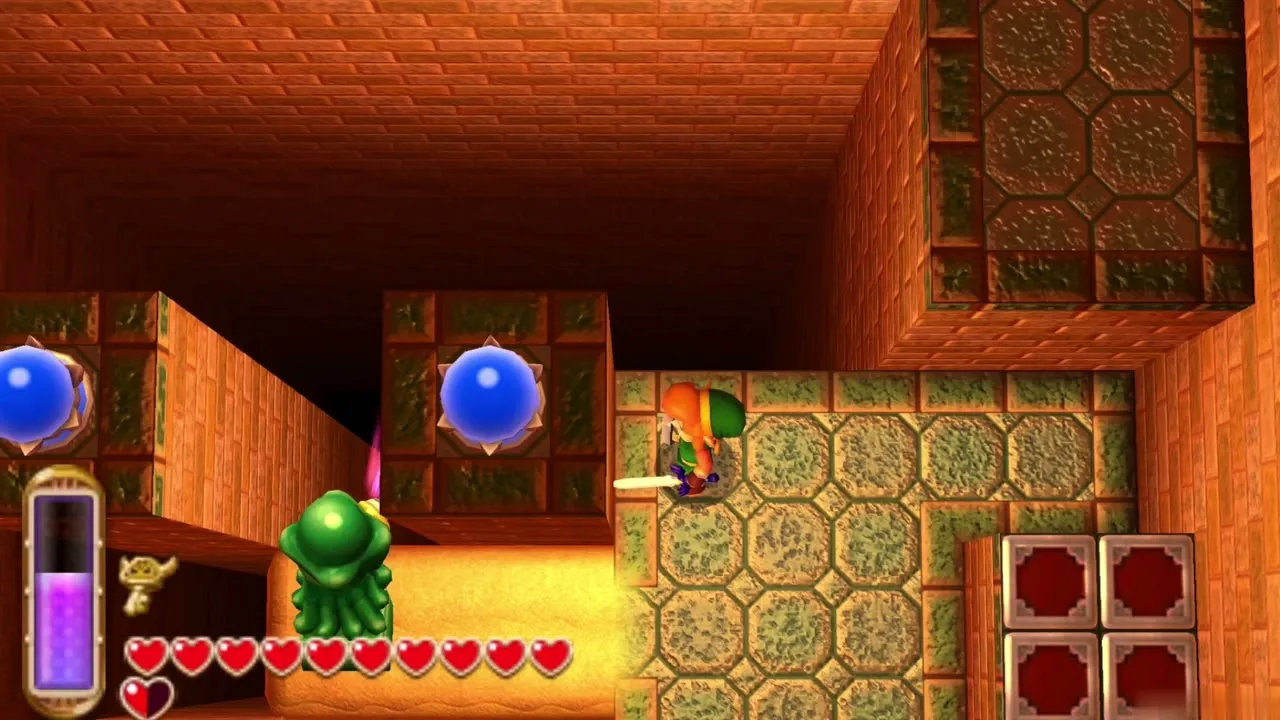
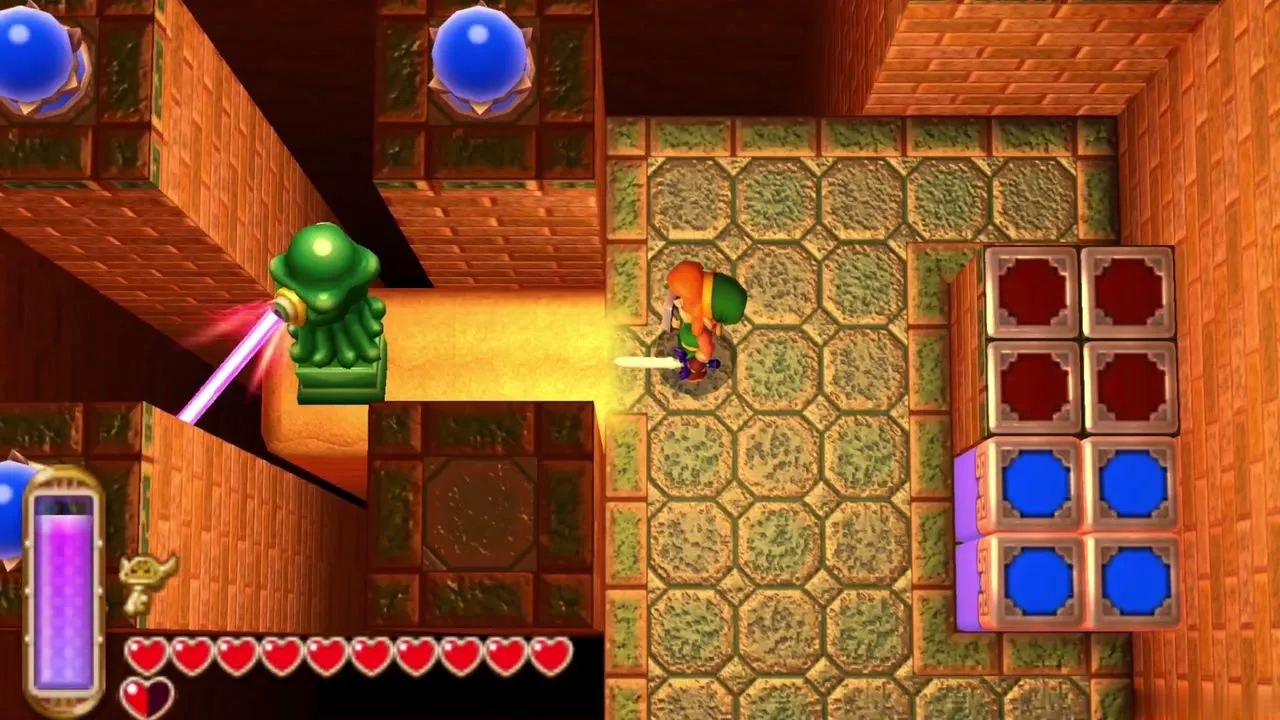
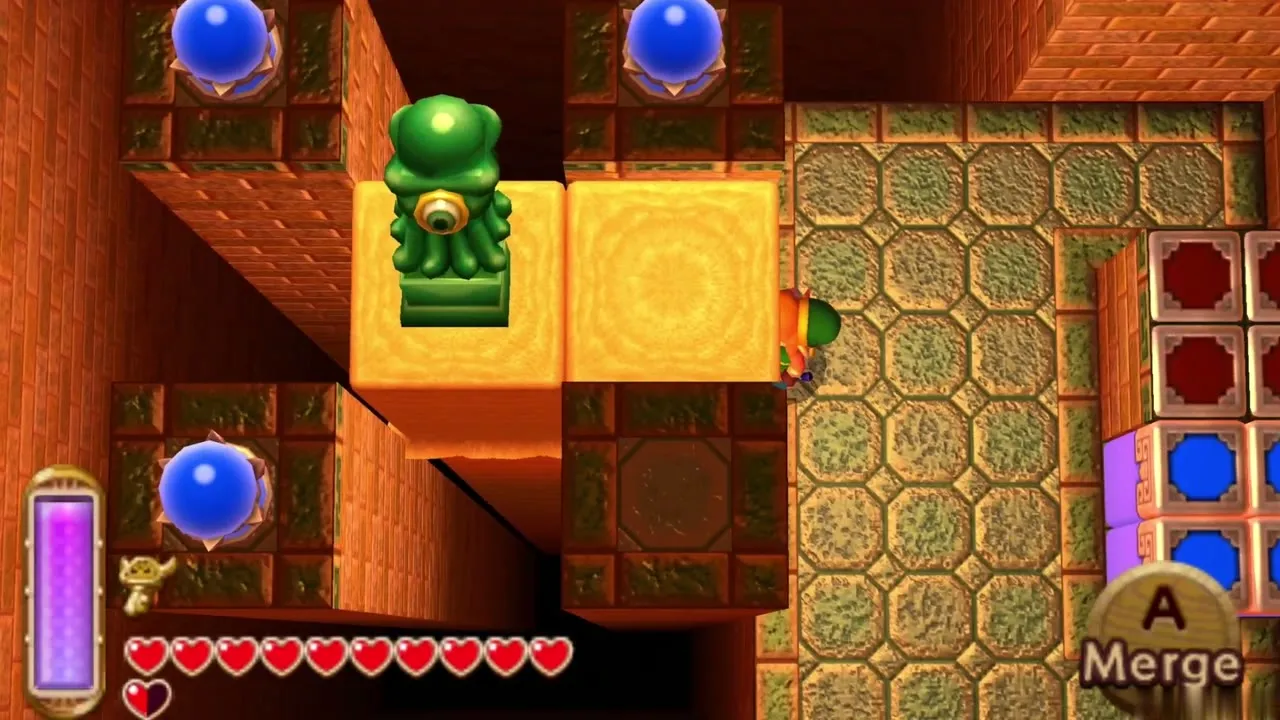
Go to the far north of the previous room, climb the stairs on the left and head west to unlock a door. In the next room, stand beside the Beamos and raise a pillar so its laser hits all three switches. The south door opens. Defeat the four enemies and the two worms, then open the chest that appears for another Small Key.
Second Beamos and the stairs up
Go north and east to the second Beamos and stand to its right. When it fires, wave the rod, race onto the blue blocks and then the red ones. As the red blocks rise, merge into the wall and walk left to a locked door. Use a Small Key, then climb the stairs to 3F.
Desert Palace 3F
Sand room with the gargoyles
Slip west under the sand to find a chest with 100 Rupees, then return east and go south twice. In the sand room, raise a pillar to the right and cross it quickly while three gargoyles wake; defeat them, then open the chest for the last Small Key of the dungeon. If you run out of time, climb out, leave and re-enter to reset the room. Then unlock the door on the right.
Bomb enemies and the switch
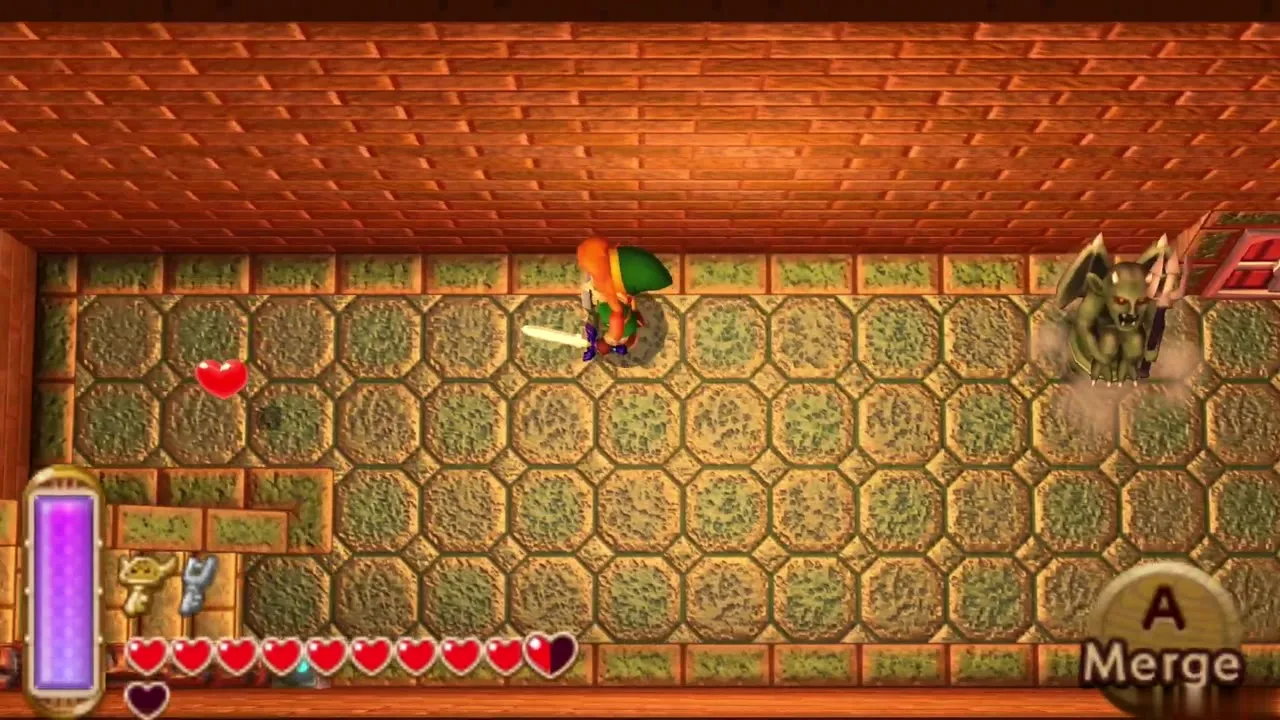
Hit a bomb-carrying enemy while it stands next to a cracked block so the blast breaks the wall. Collect the Rupees that spill out, then work around the room so the bombs knock out the three cracked blocks above. This opens a line for projectiles to reach the switch. Cross the blue, then red blocks, and take the south exit.
Lever, boss door and the fissure
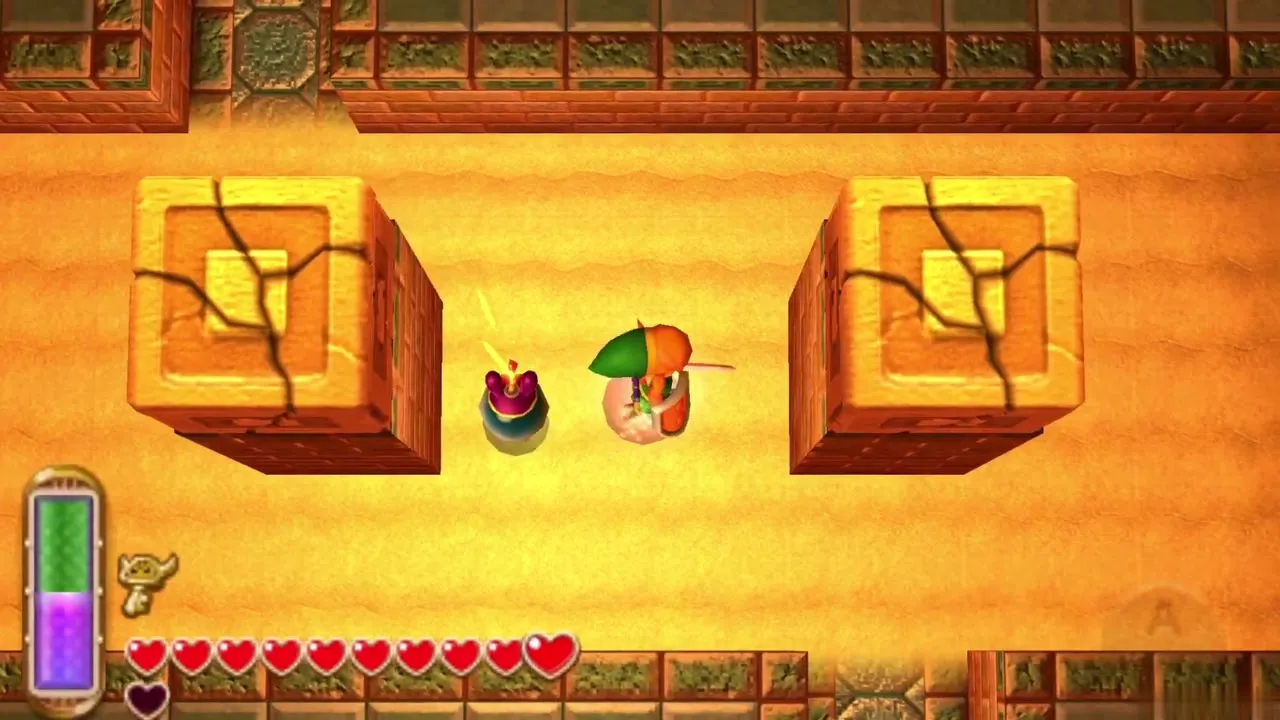
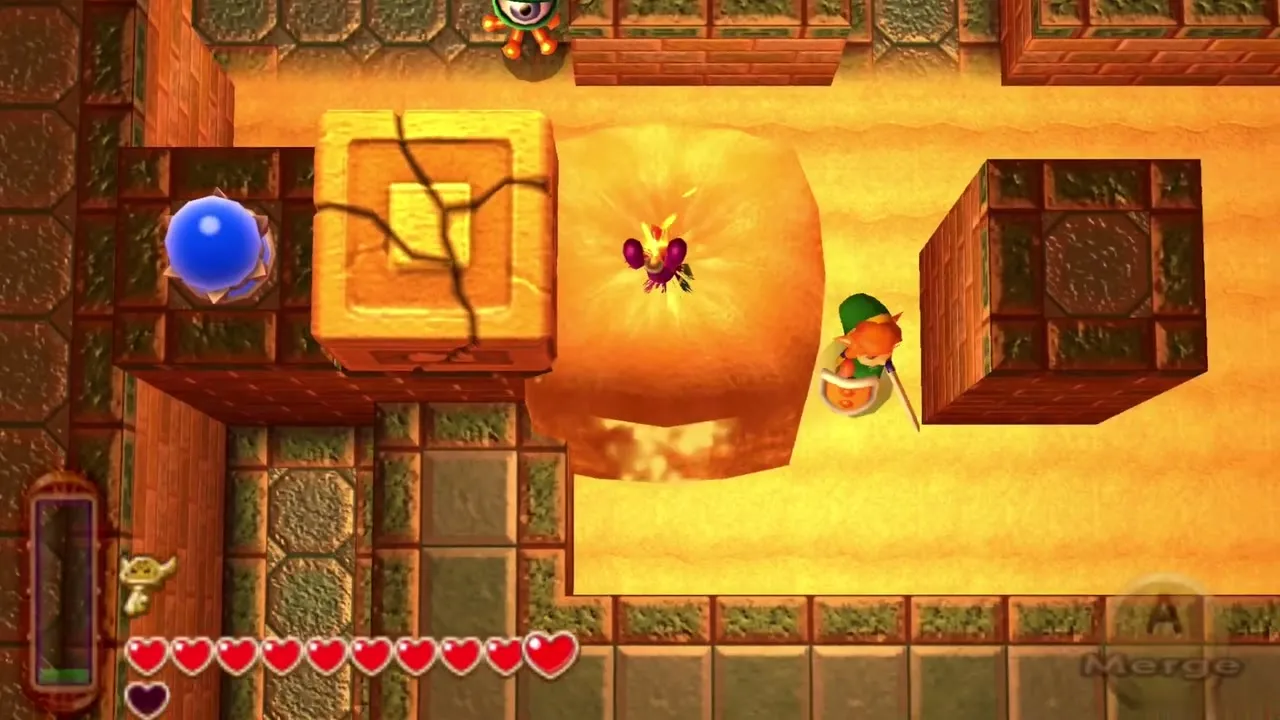
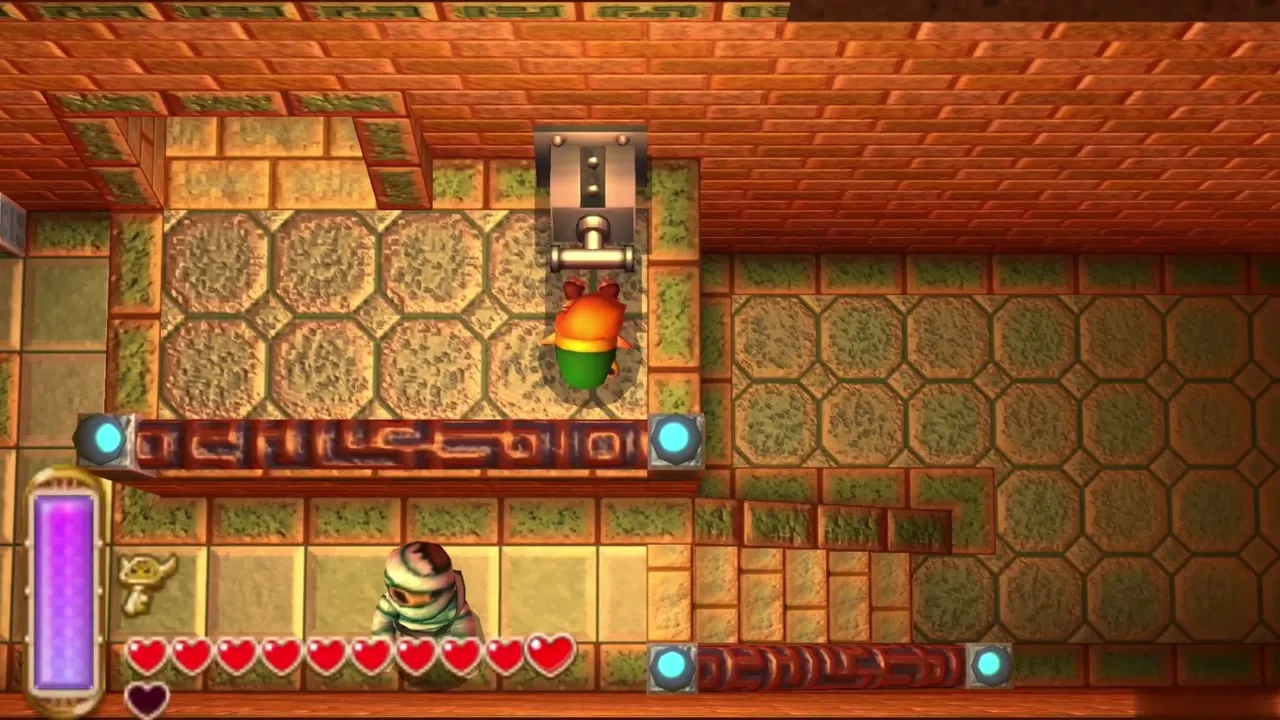
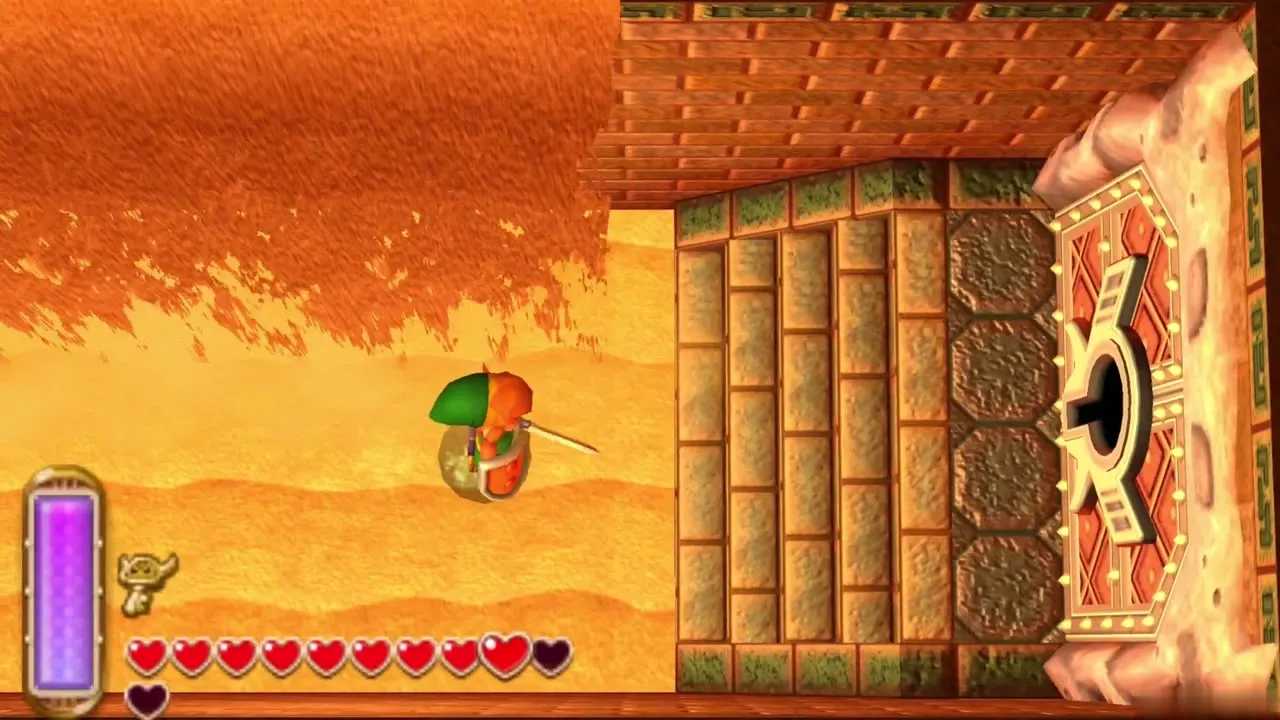
Pull the lever to flood the room with sand, drop down and open the boss door on the right. Stand in the middle, raise sand to the south and walk along it to lift the large rock with the Titan’s Mitt, then continue south. Break the pots for hearts and enter the fissure outside the final room. It leads to the quicksand pit in Misery Mire where Zaganaga waits.
Zaganaga boss fight
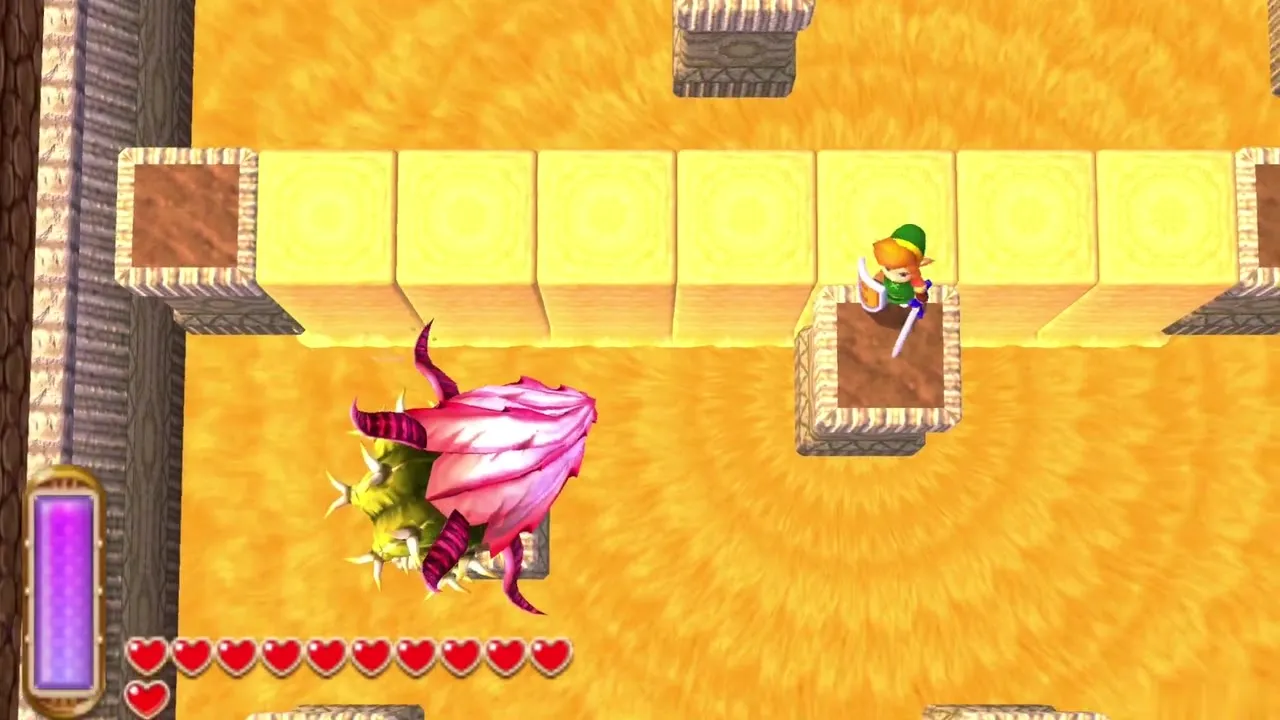
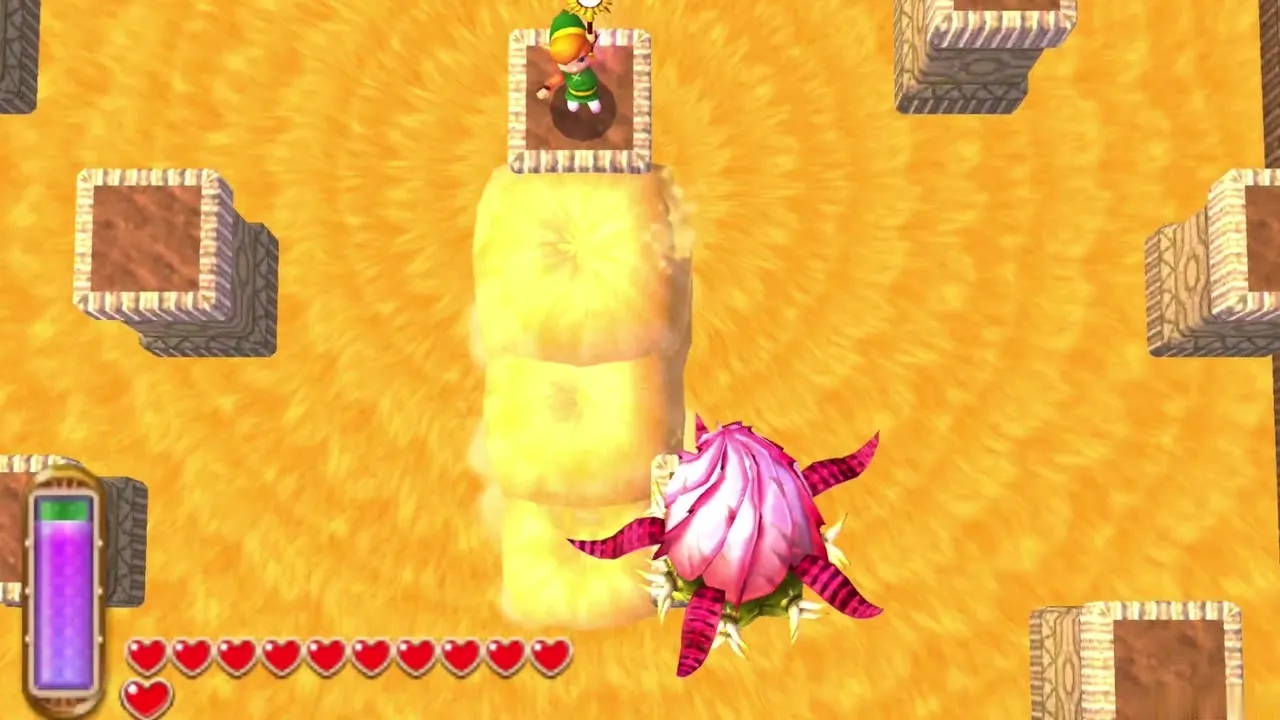
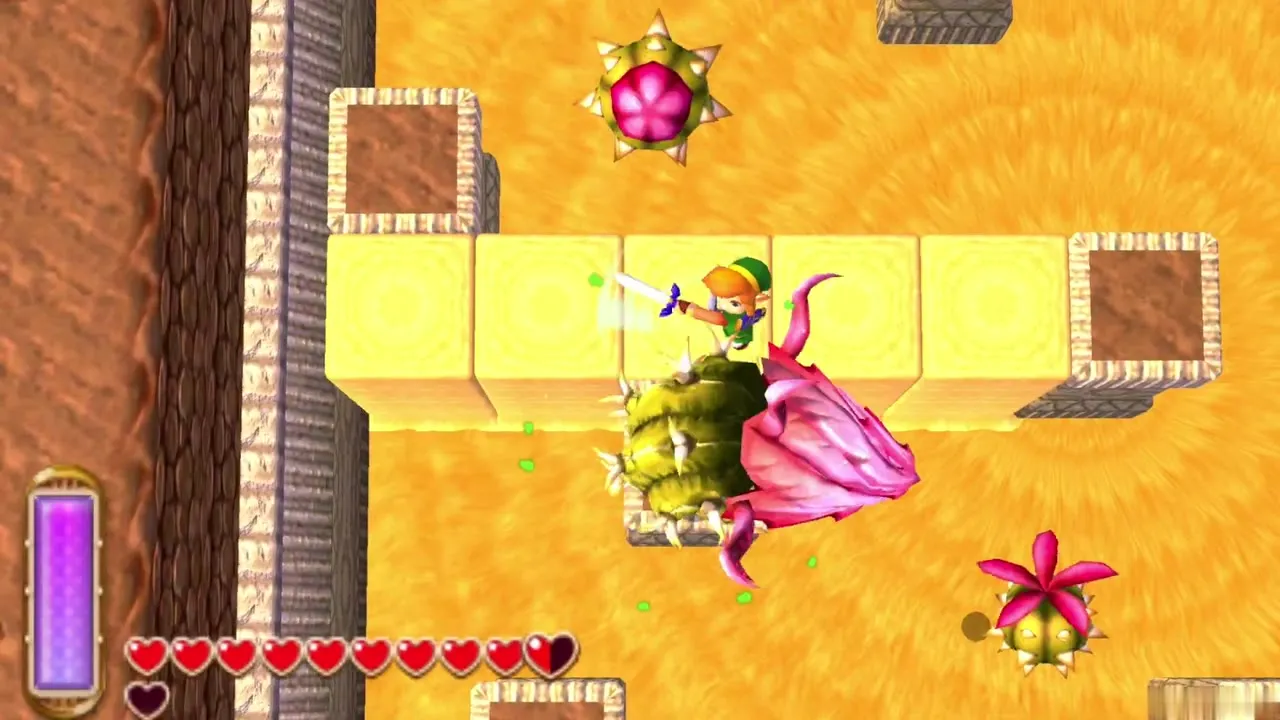
Zaganaga phase 1: the closed flower
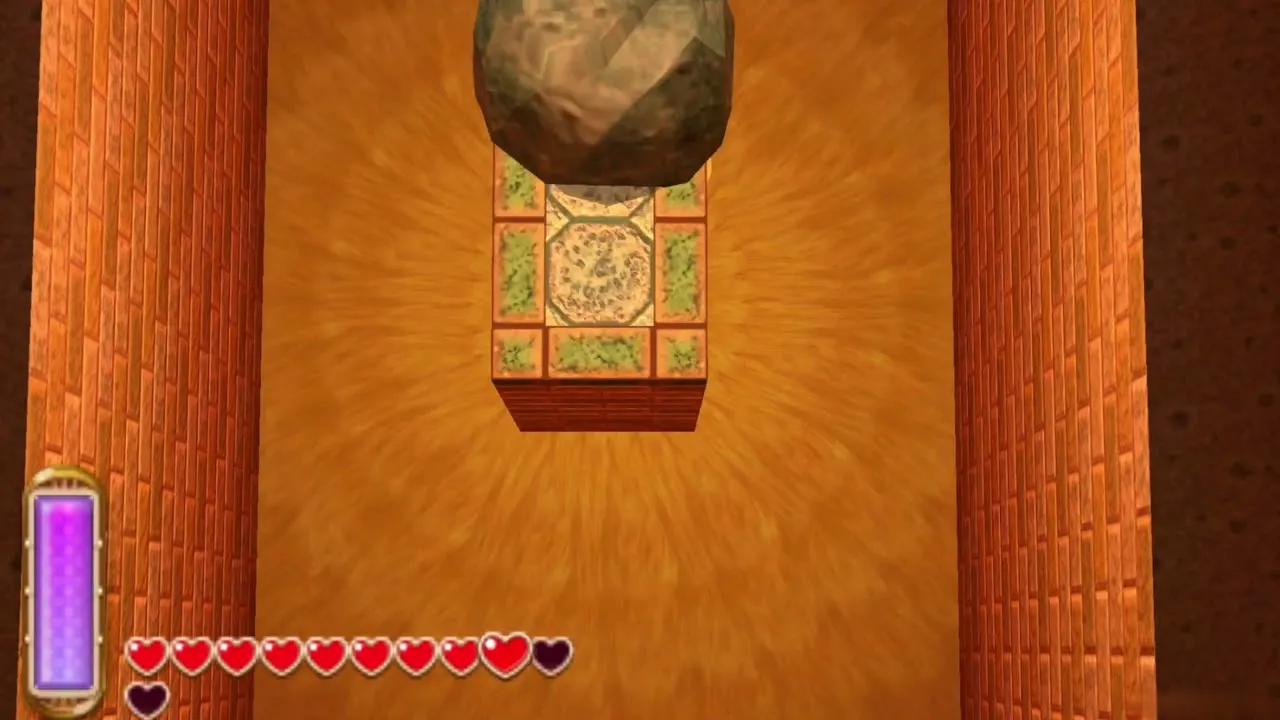
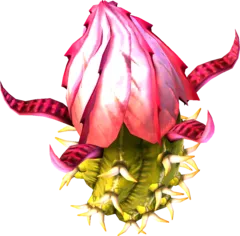
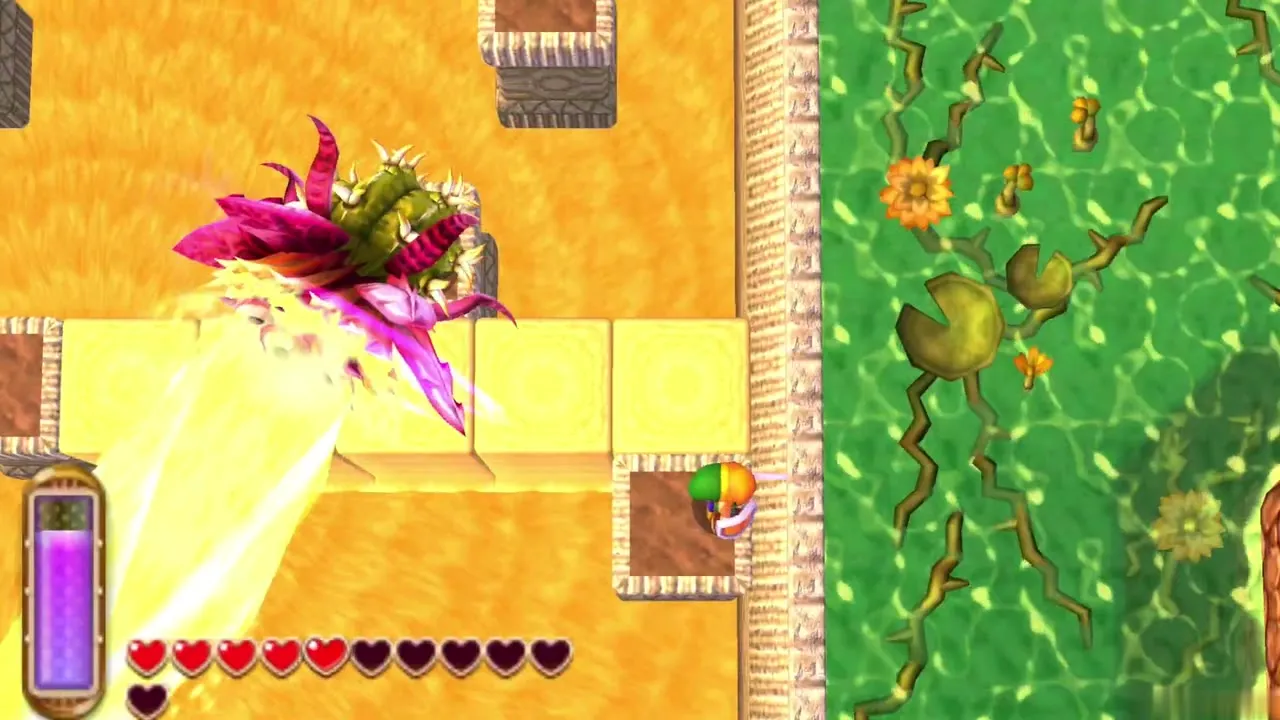
Eleven columns rise from the quicksand. Zaganaga burrows and surfaces on one of them at random. Raise a sand bridge toward it and cut it with the sword as soon as you arrive. It spits out Peahats that try to knock you into the sand; one sword hit removes each. After a few blows it burrows again and heads for another column, so keep building bridges and striking.
Zaganaga phase 2: the open eyes
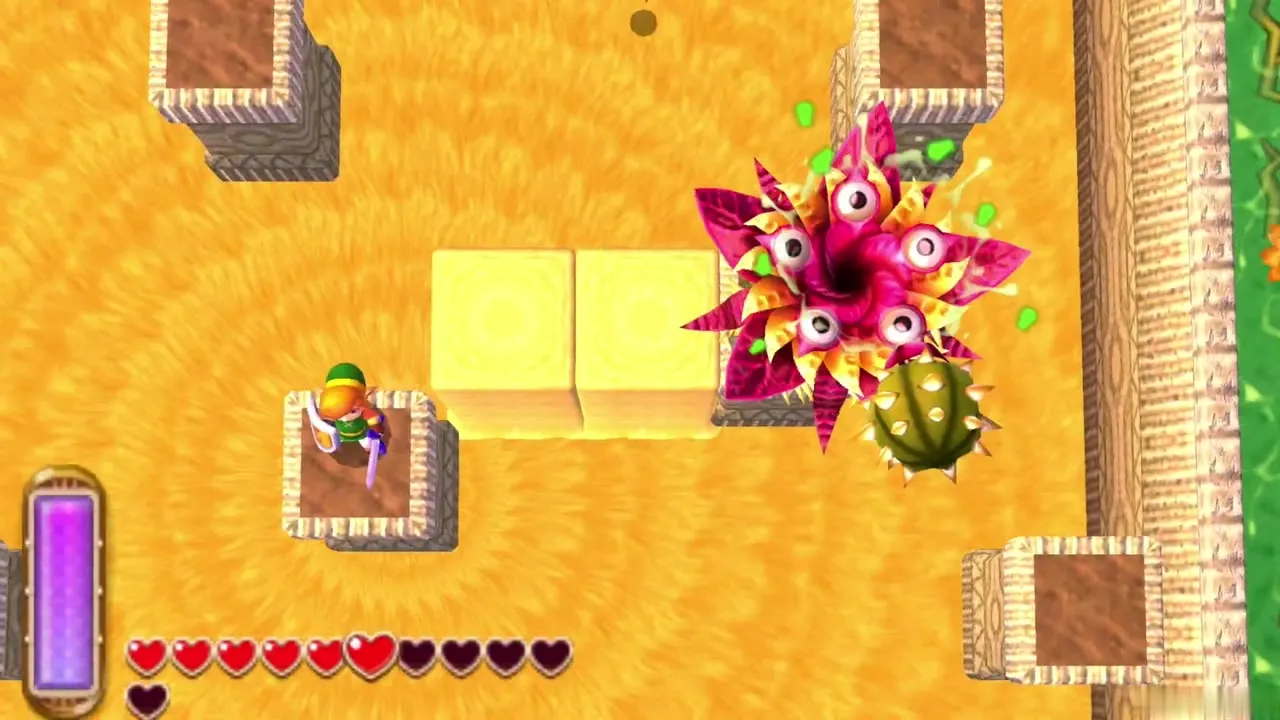
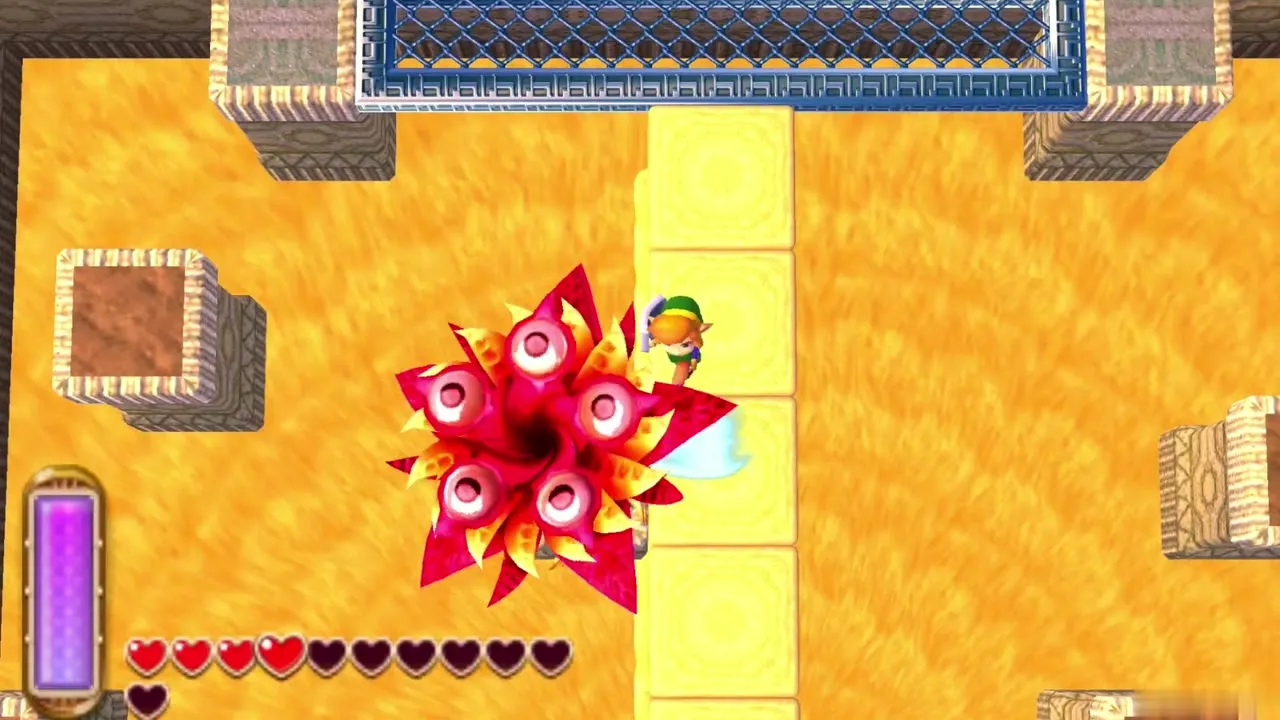
After enough hits, Zaganaga opens its flower to show a ring of eyes. It now moves faster, summons more Peahats and fires a steady stream of sand at you. The beam turns slowly, so keep moving and use the Sand Rod to run around it. Get behind the boss and slash it, and a few more cuts finish it, which turns the quicksand back to ordinary sand.
Heart Container
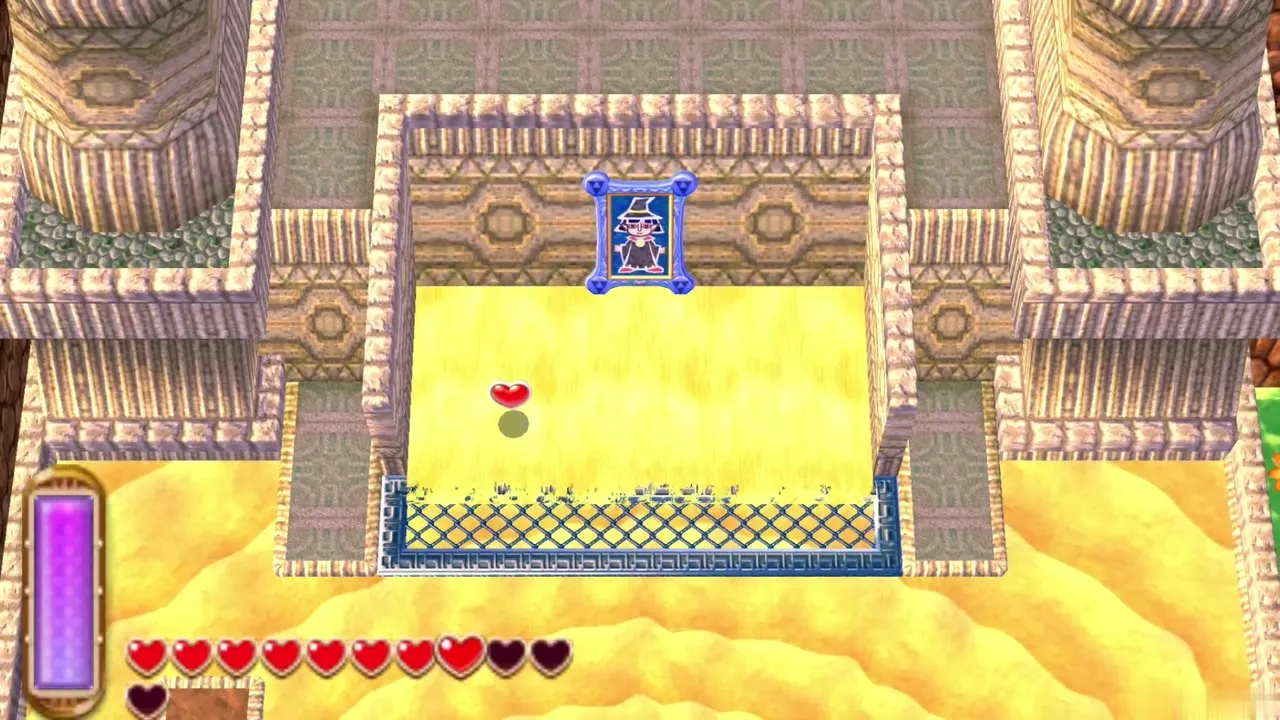
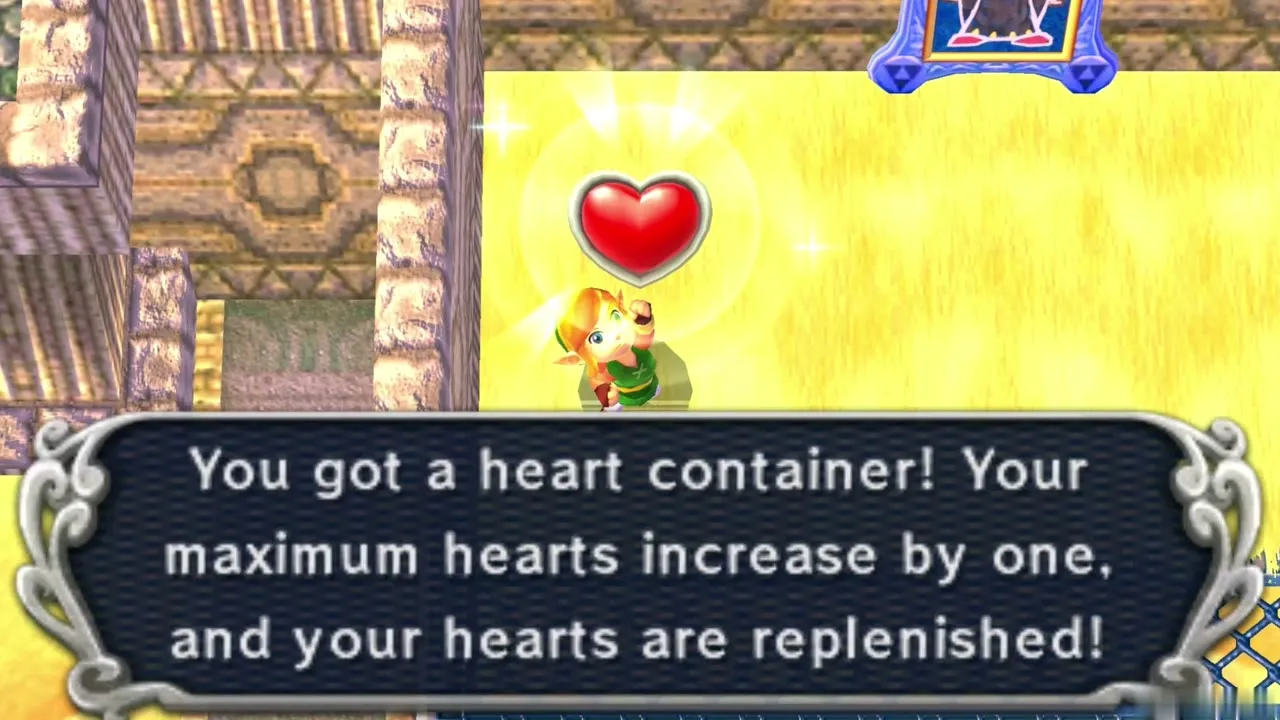
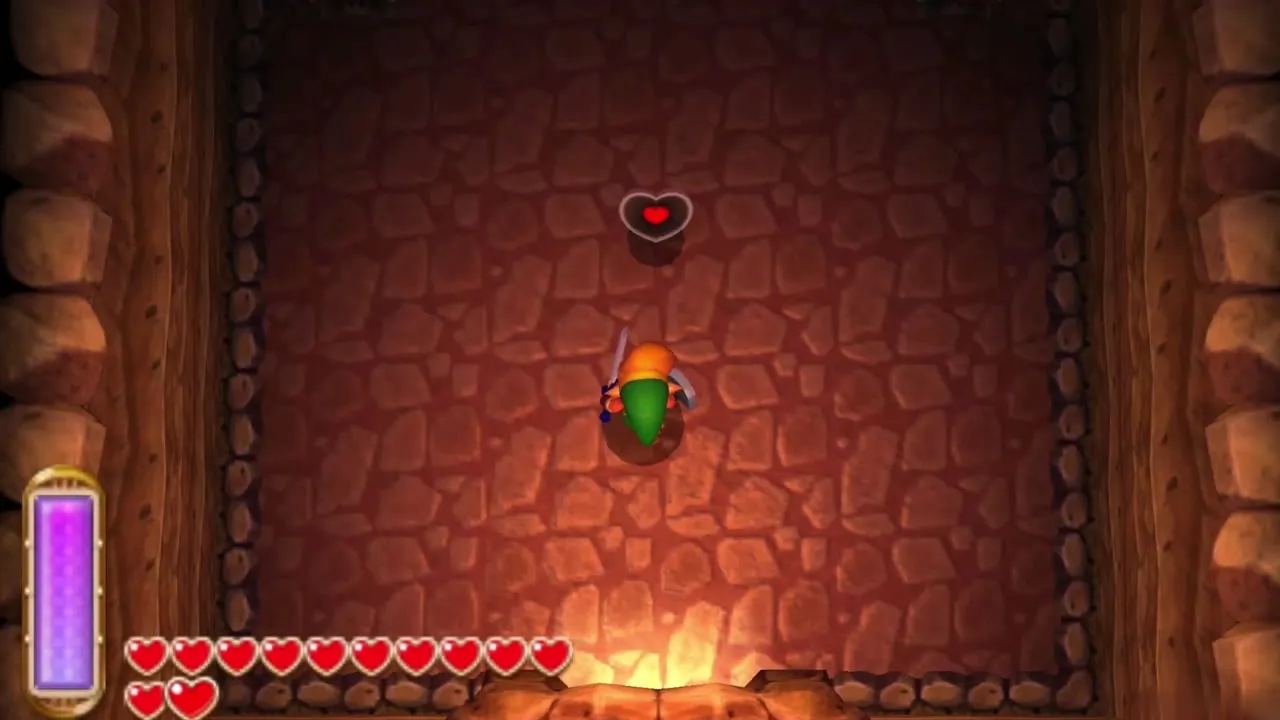
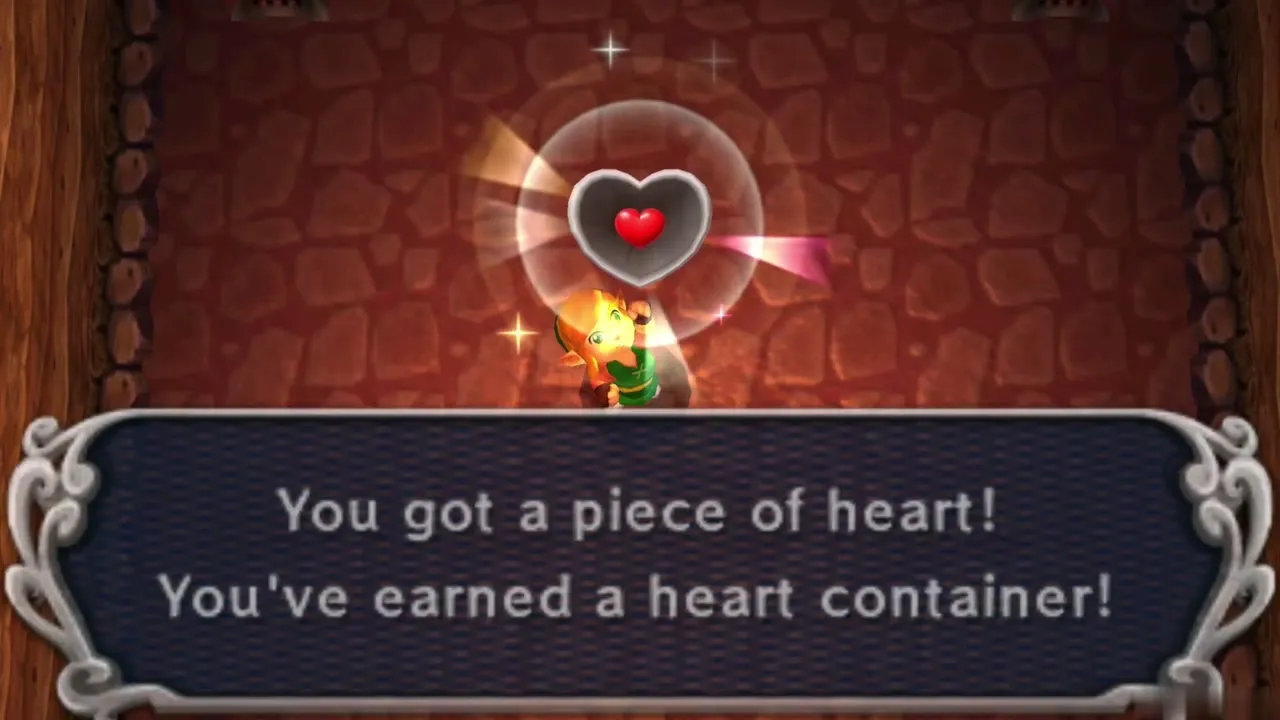
With Zaganaga gone, the sand-filled alcove at the north edge of the arena opens and drains into the pit. Walk to it and pick up the Heart Container, which raises your maximum health by one heart.
Sage Irene
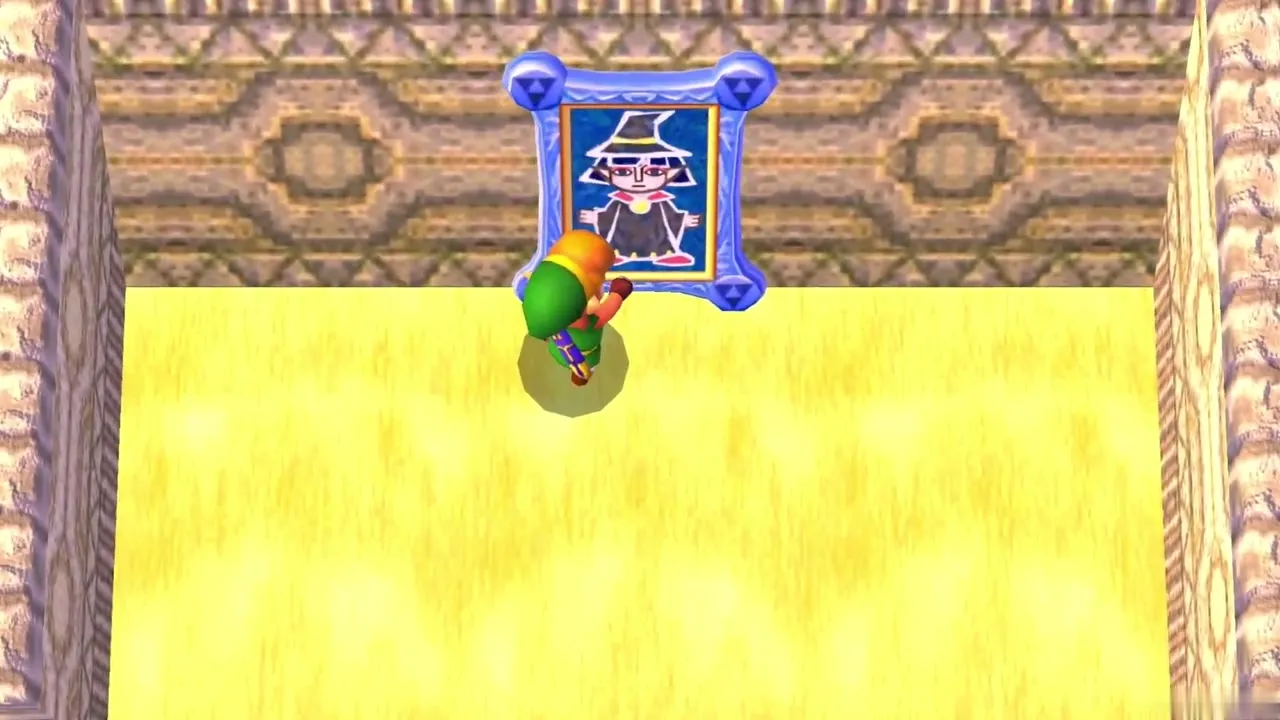
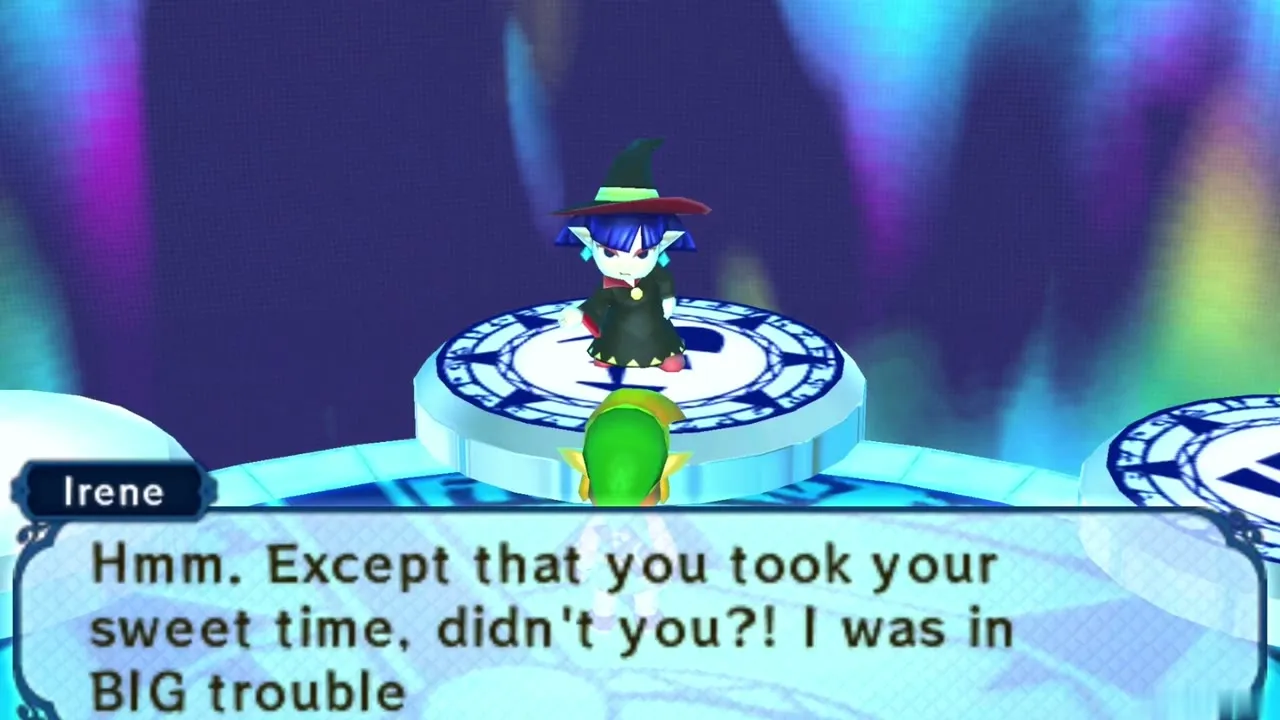
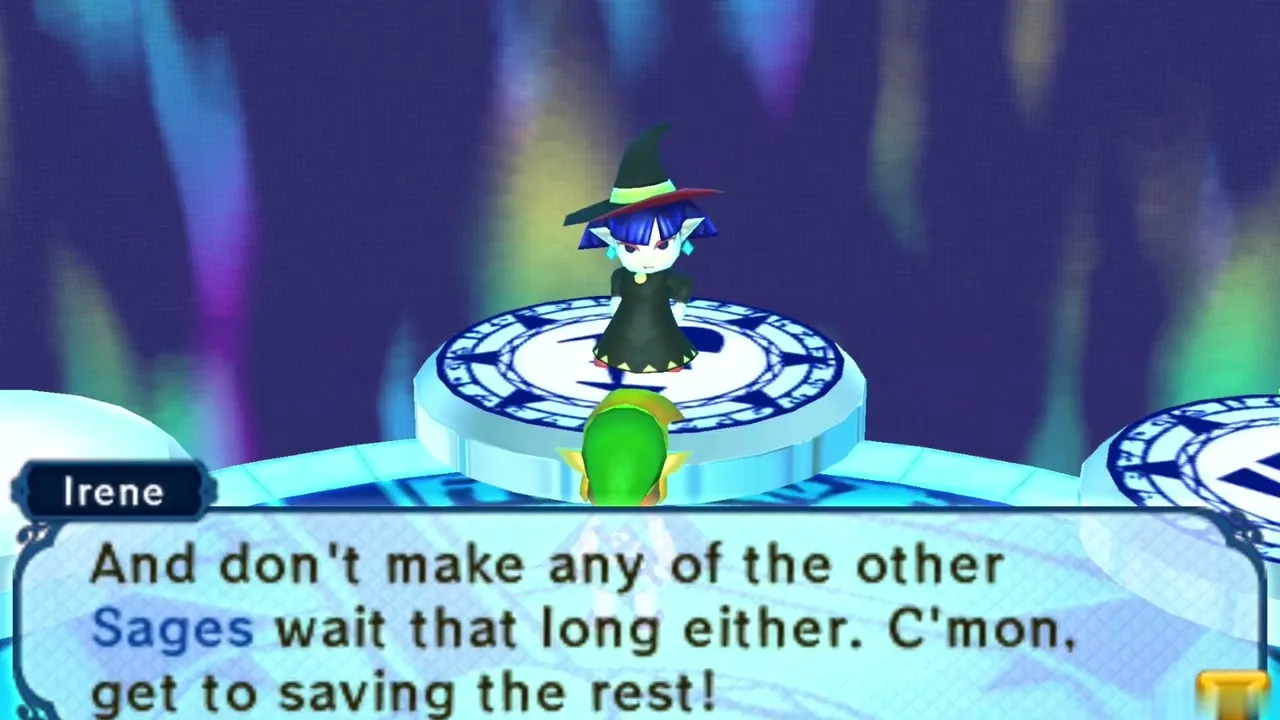
The alcove also holds the painting of Irene, the Witch’s apprentice and granddaughter, who gave you the Bell. Touch it and Link enters the Sages’ chamber, where she complains that you took your time and asks you to save the other sages quickly. A portal then returns you to Lorule, close to the swamp’s Weather Vane.
After the Desert Palace
Titan’s Mitt detours
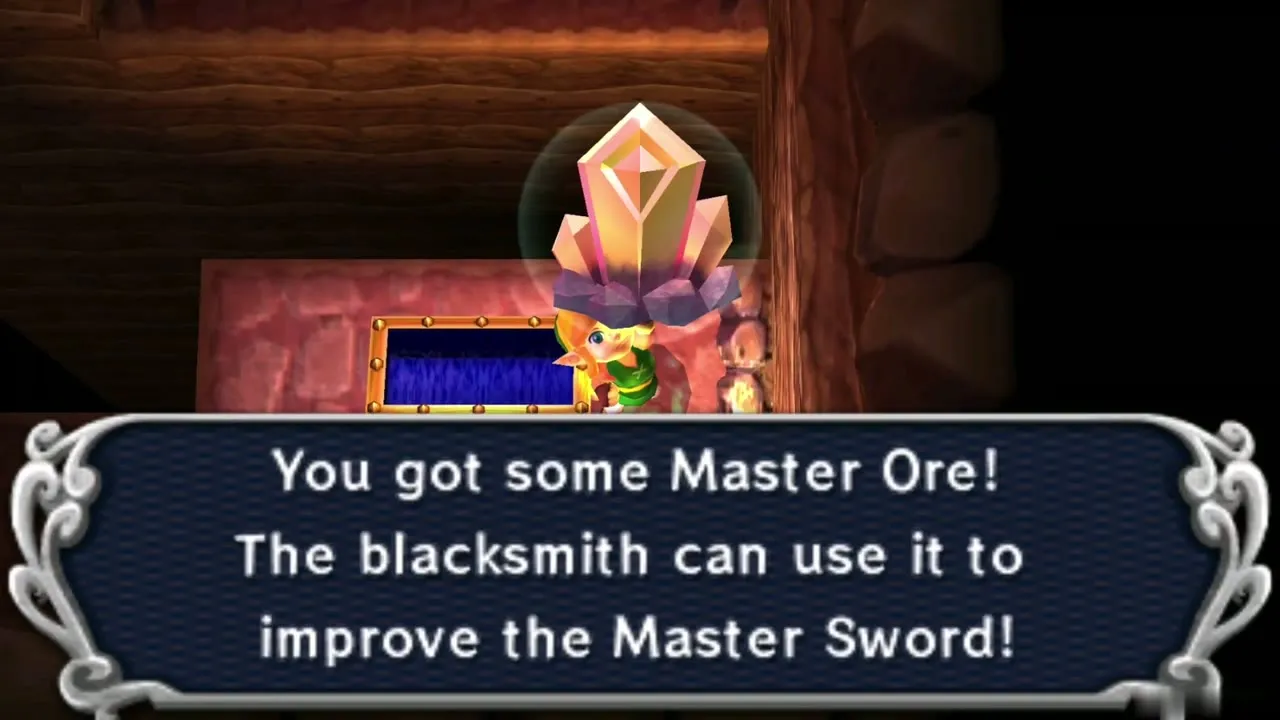
The Mitt opens several side trips. In Hyrule, a cave beside the Blacksmith’s House hides Heart Piece #17 under a large rock, and a large boulder in the Hyrule desert, south of the fissure in the Southern Ruins cave, covers a Maiamai. In Lorule, a boulder in the graveyard hides stairs down to a cave where a Master Ore waits; see the Master Ore Locations page for the puzzle.
Chapter checklist
| Collectible | Type | Where |
|---|---|---|
| Sand Rod | Item (rent or buy) | Ravio’s Shop, after the Thieves’ Hideout |
 Nice Sand Rod | Upgrade | Mother Maiamai, owned rod only |
| Heart Piece #26 | Heart Piece | Misery Mire, on the second fissure trip |
 Lost Maiamai | Maiamai | Misery Mire, in the wall behind the Weather Vane |
| Two lost Maiamai | Maiamai | Hyrule desert, found with the Sand Rod near the pillars and south of the Weather Vane |
| Compass | Dungeon item | 1F, northwest room |
| Small Key (1) | Key | 1F, chest in the sand-filled room |
| Titan’s Mitt | Item | 1F, northeast corner of the north-central room |
| Small Key (2) | Key | 1F, south room, behind a large rock |
 Silver Rupee and 100-Rupee chests | Rupees | 2F and 3F, buried chests |
| Big Key | Dungeon item | 2F, big chest in the east room |
| Small Key (3) | Key | 2F, raised platform near the Big Key |
| Small Key (4) | Key | 2F, chest after the Beamos switch room |
| Small Key (5) | Key | 3F, gargoyle sand room |
| Heart Container | Heart Container | Zaganaga’s arena, Misery Mire |
| Sage Irene | Sage | Zaganaga’s arena, painting |
Heart Piece #17, a Maiamai and a  Master Ore | Later pickups | Need the Titan’s Mitt; see the detours above |
Once the remaining dungeons are done and all seven sages are free, continue to the Lorule Castle walkthrough.