A Link Between Worlds 100% Completion Walkthrough18 chapters
- Opening and SanctuaryWake in Link’s House, deliver the captain’s sword, cross the Graveyard passage with the Lamp and meet Yuga.
- Hyrule Castle and Kakariko VillageRavio’s Bracelet, Zelda’s Pendant of Courage, Kakariko shops, Sahasrahla and the free Bow rental.
- Eastern PalaceEvery key, chest and rupee, the Compass, Big Key, Yuga boss fight and your first Heart Container.
- Pegasus Boots and Zora’s FlippersGet the Pouch, Irene’s Bell, Power Glove, Pegasus Boots, Zora’s Flippers, Ravio’s rentals and Hyrule Heart Pieces.
- House of GalesRent the Tornado Rod, swim to Lake Hylia’s island, beat Margomill and take the Pendant of Wisdom.
- Death MountainClimb the boulder caves, find two Heart Pieces and a Bottle, and reach the Tower of Hera.
- Tower of HeraEvery floor, both Small Keys, Compass, Big Key, Moldorm boss fight, Heart Container and Pendant of Power.
- Master Sword and Lost WoodsWalkthrough for pulling the Master Sword in the Lost Woods, breaking the Hyrule Castle barrier.
- Lorule and Dungeon OrderHilda, the Blacksmith, fissures, Ravio’s Shop, Thieves’ Town side content and the dungeon order.
- Dark PalaceThe guard maze, every key, the Compass, Big Key, Master Ore, Gemesaur King, Heart Container and Sage Gulley.
- Skull WoodsKeys, Compass, Big Key, Master Ore, Knucklemaster boss fight, Sage Seres and the Master Sword upgrade.
- Ice RuinsThe Hookshot route to Lorule’s Death Mountain, every floor, keys, the Stamina Scroll and Dharkstare.
- Thieves’ HideoutThe password song, the Thief Girl escort, Master Ore, Stalblind, Sage Osfala and the Sand Rod.
- Swamp PalaceBig Bomb Flower, Hookshot, water levels, keys, Compass, Blue Mail, Big Key, Arrghus and Sage Oren.
- Turtle RockRescue the baby turtles, use the Ice Rod, find every key, beat Grinexx and free Sage Impa.
- Desert PalaceReach it with the Sand Rod, find the Titan’s Mitt, beat Zaganaga and rescue Sage Irene.
- Lorule CastleThe Triforce of Courage, all four mini-bosses, the Compass, Red Mail and the way to the Throne Room.
- Final BossBeat Yuga Ganon with the Bow of Light, see Hilda’s choice, make the Triforce wish and unlock Hero Mode.
| Covers | Lost Woods, the Master Sword pedestal, Ravio’s purchases and Mother Maiamai after the pendants, the Hyrule Castle barrier, the castle floors and the Yuga boss fight |
|---|---|
| You need | All three pendants (Courage, Wisdom and Power); the Hint Glasses if you want ghost hints; Power Glove, Pegasus Boots and Ravio’s Bracelet for the optional collectibles |
| Rewards | 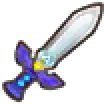 Master Sword; optional  Heart Pieces #3, #5 and #6; Maiamai in the Lost Woods and Hyrule Castle regions; the right to buy Ravio’s items. There is no Heart Container here. |
With the three pendants in hand, walk into the Lost Woods, follow the right Poes to the Master Sword, then go to Hyrule Castle and strike the barrier. Climb the castle, beat Yuga in the top room and follow him through the crack behind the curtain in Zelda’s office, which drops you into Lorule.
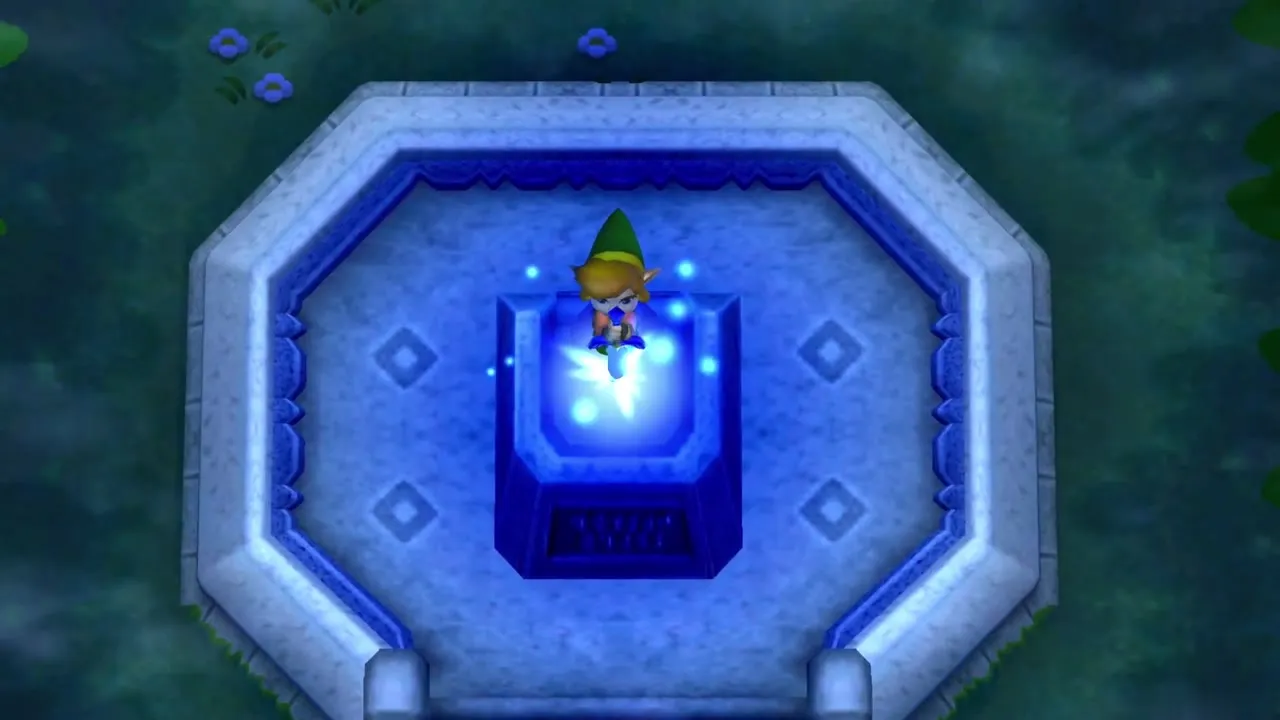
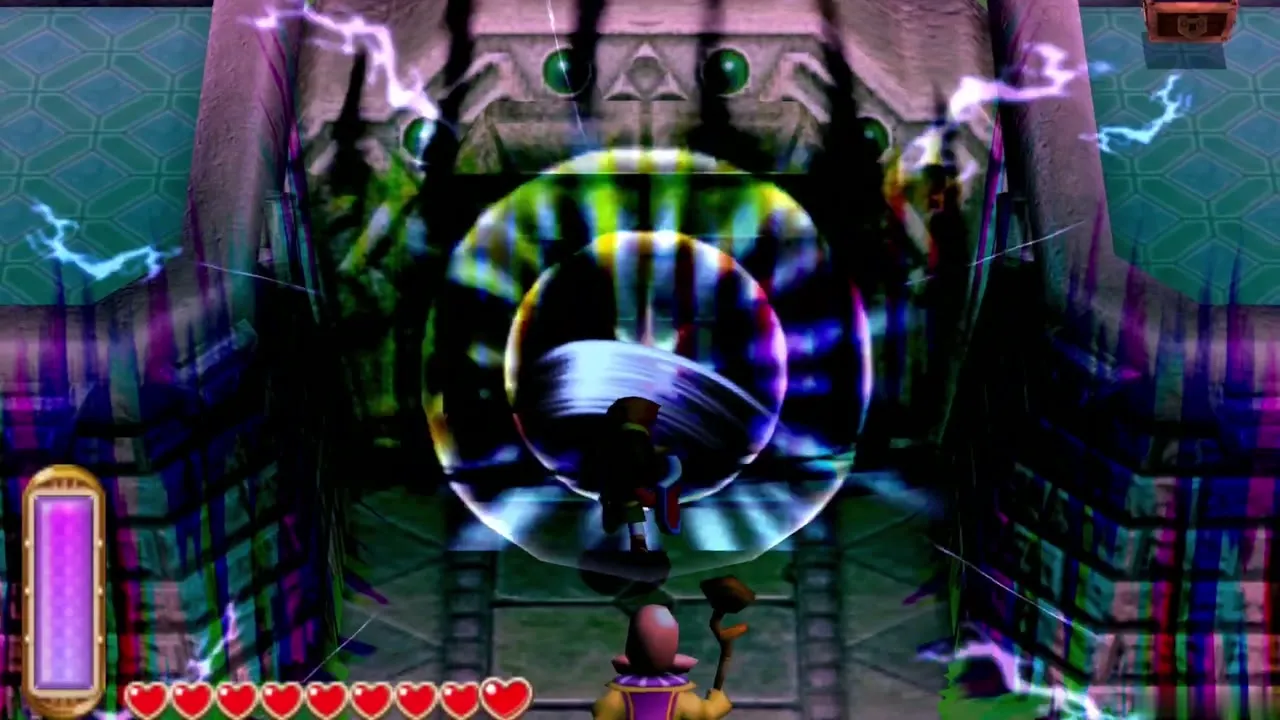
Table of Contents
Lost Woods and the Master Sword
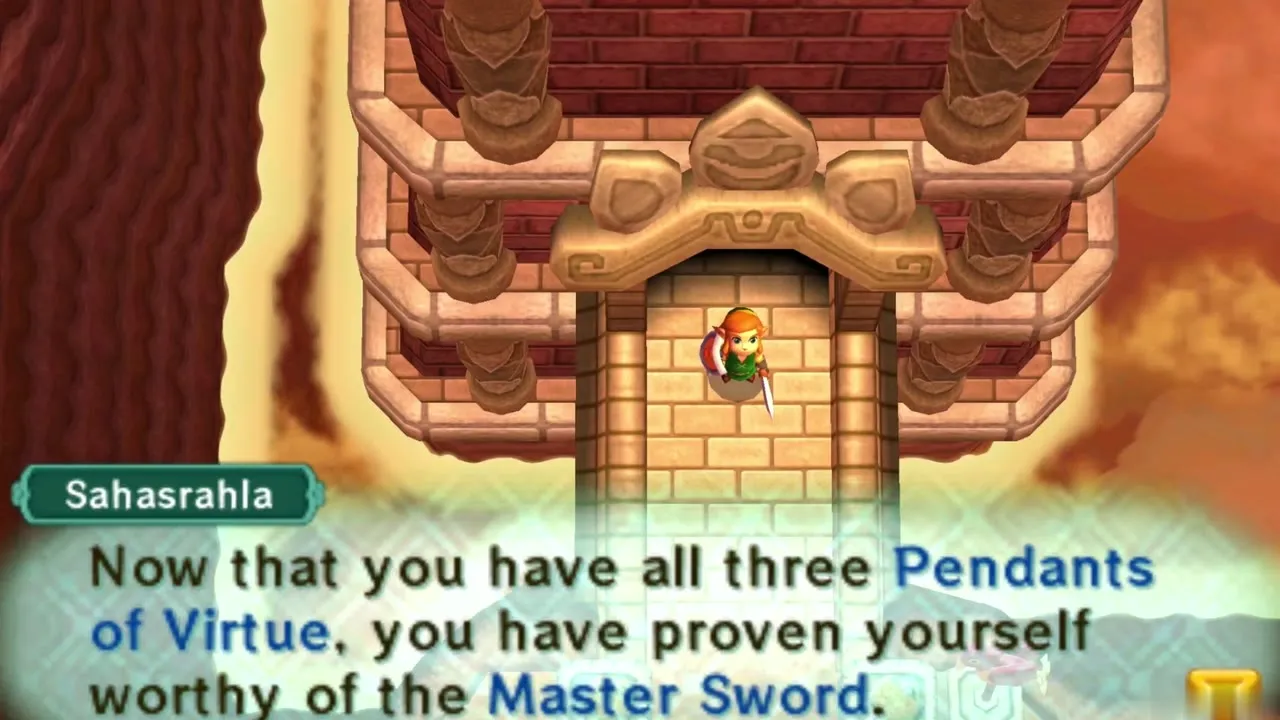
Bring the three pendants to Sahasrahla
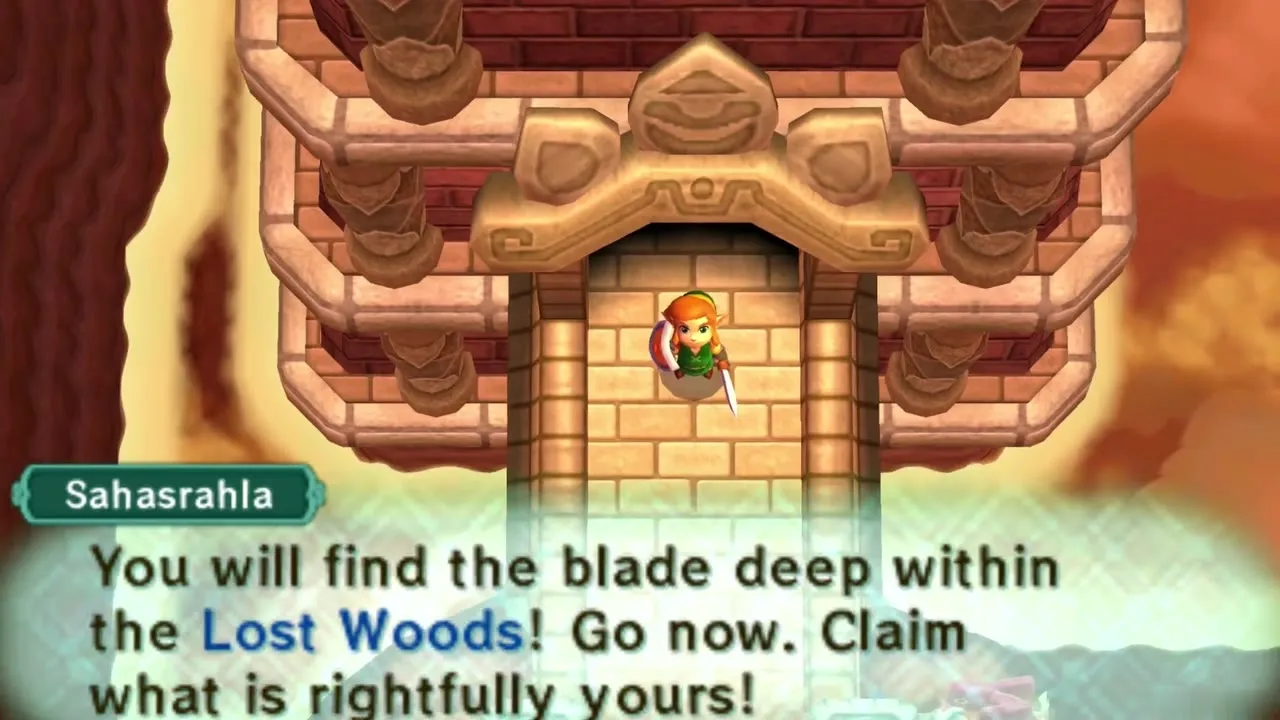
Take the Pendant of Courage, the Pendant of Wisdom from the House of Gales and the Pendant of Power from the Tower of Hera to Sahasrahla in Kakariko Village. Once you hold all three, the blade you need lies deep in the Lost Woods. From this point Ravio also lets you buy his items.
How to get to the Lost Woods
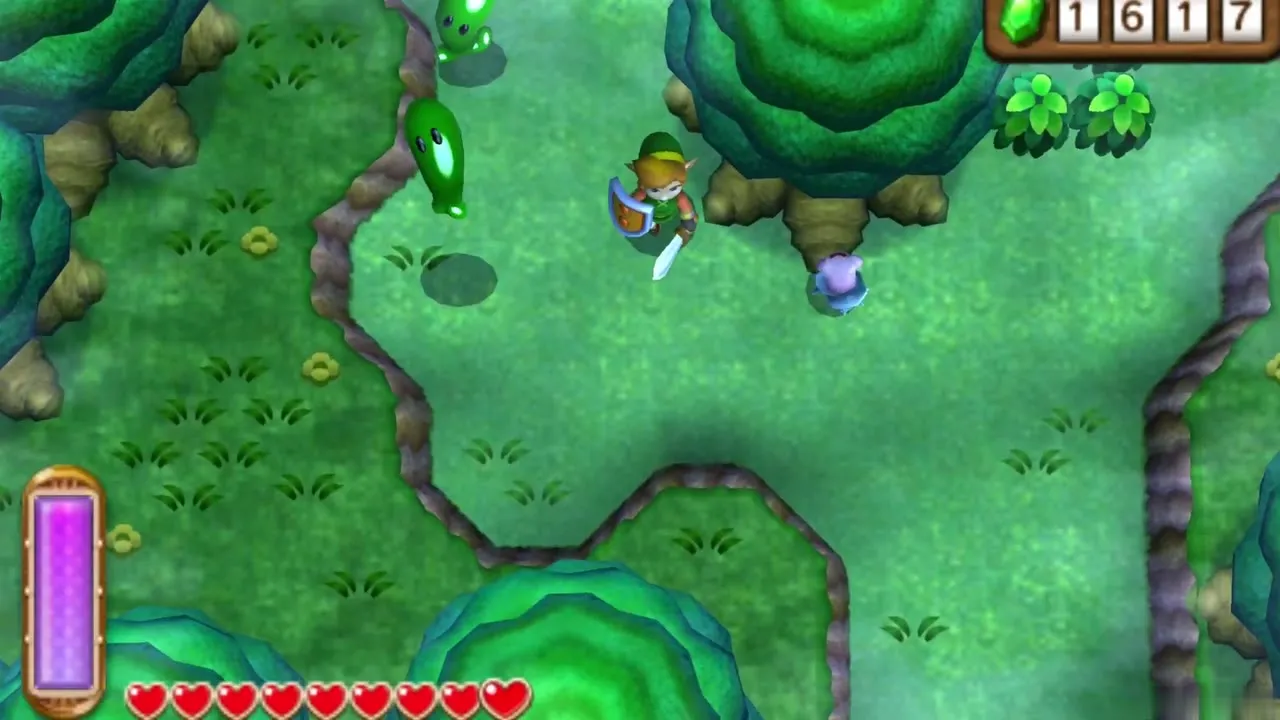
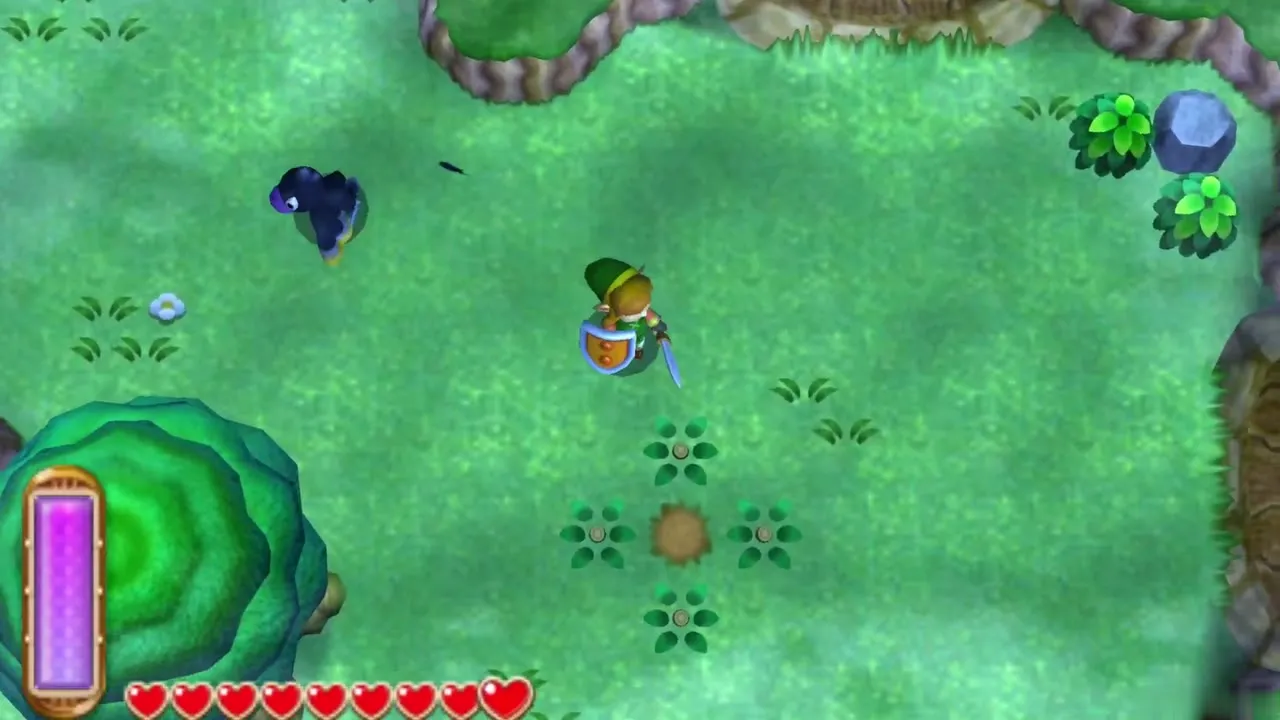
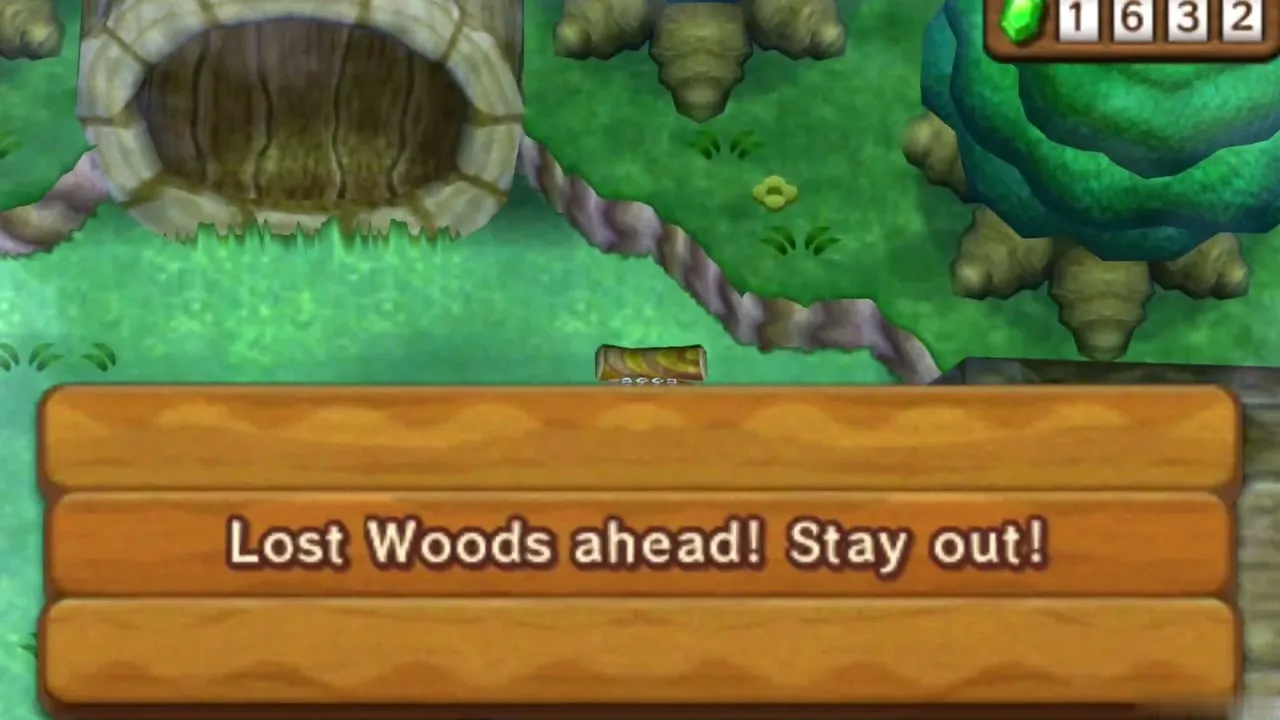
The forest fills the north-west of Hyrule, beyond Kakariko Village. Head north-west from the village and enter the trees, past the sign that warns of the Lost Woods ahead. The first clearings are ordinary grass with bushes and a few enemies. Keep heading on until you reach the maze, where the Poes wait.
Lost Woods Heart Piece and Maiamai
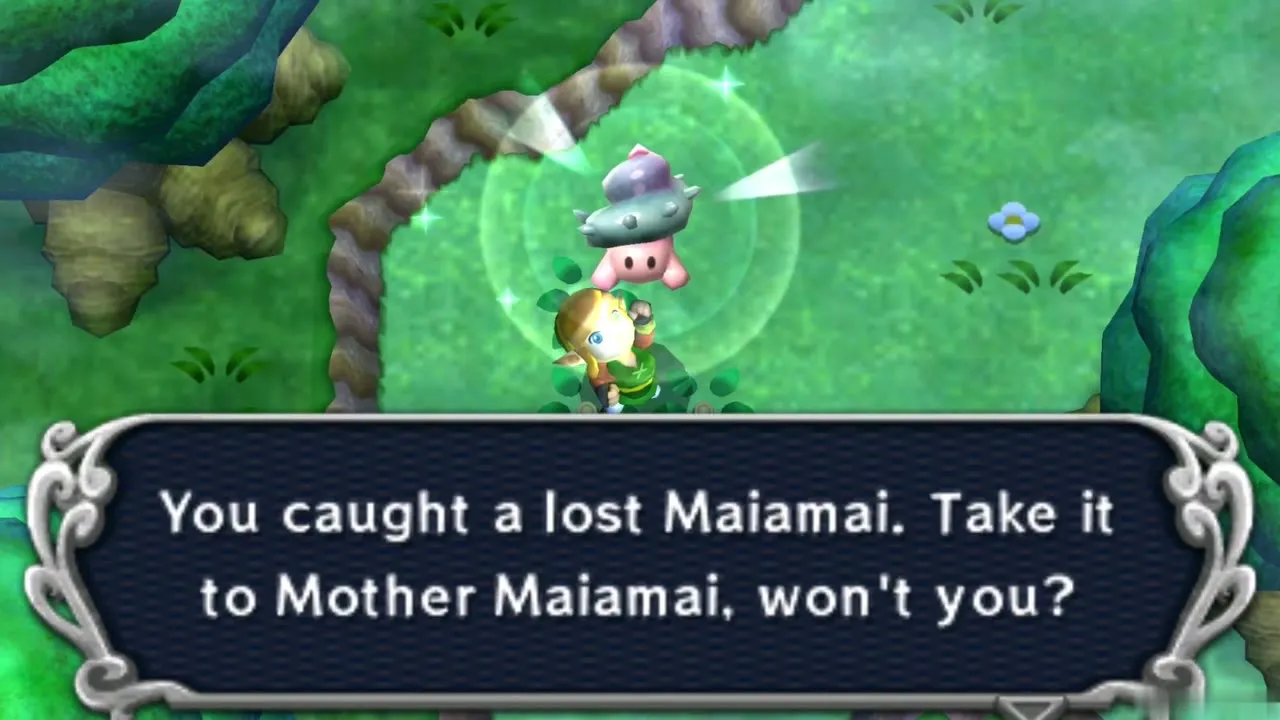
Collect the forest’s Maiamai before the maze. Seven can be had now: lift the pair of small rocks south of the north-east entrance with the Power Glove, dash into the tree by the south-east entrance, cut the western bushes outside the entrance, merge into the wall south of the Miner’s House, dive into the west side of the small pond, merge onto the Fortune Teller’s tent, and lift the small rock between the fences in the eastern clearing. The eighth, in the Death Mountain Path, needs the Titan’s Mitt from the Desert Palace.
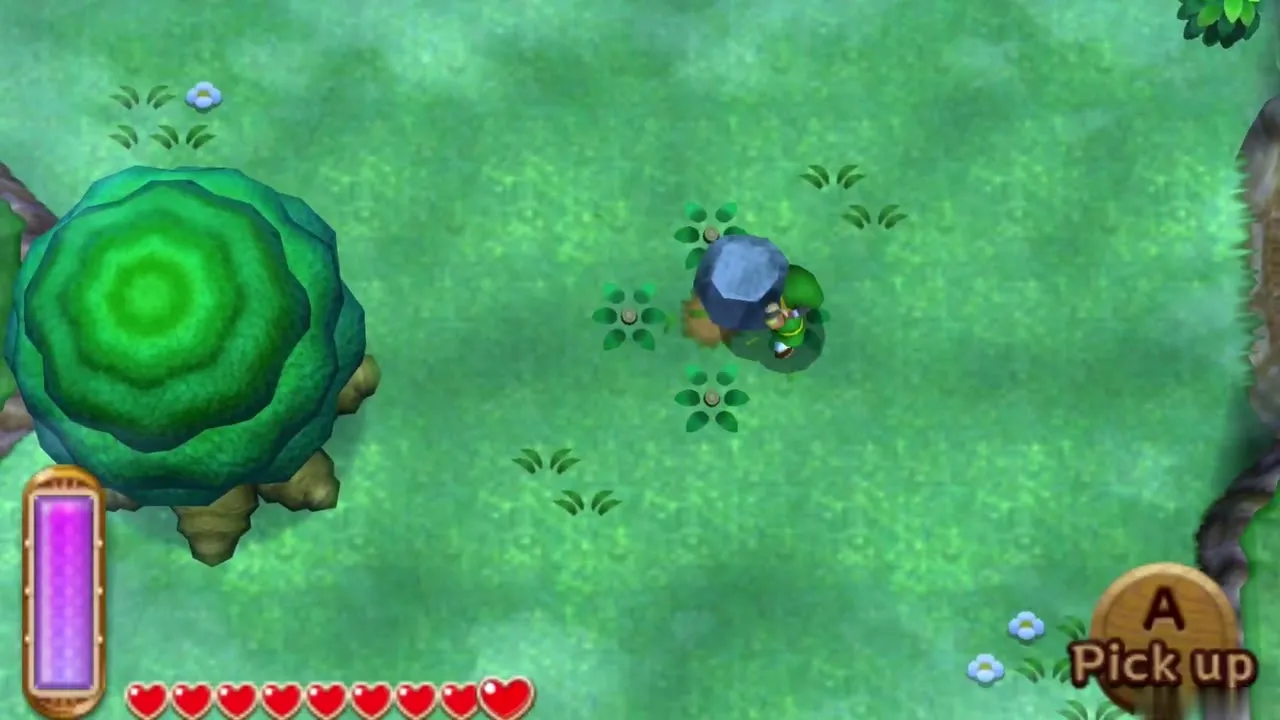
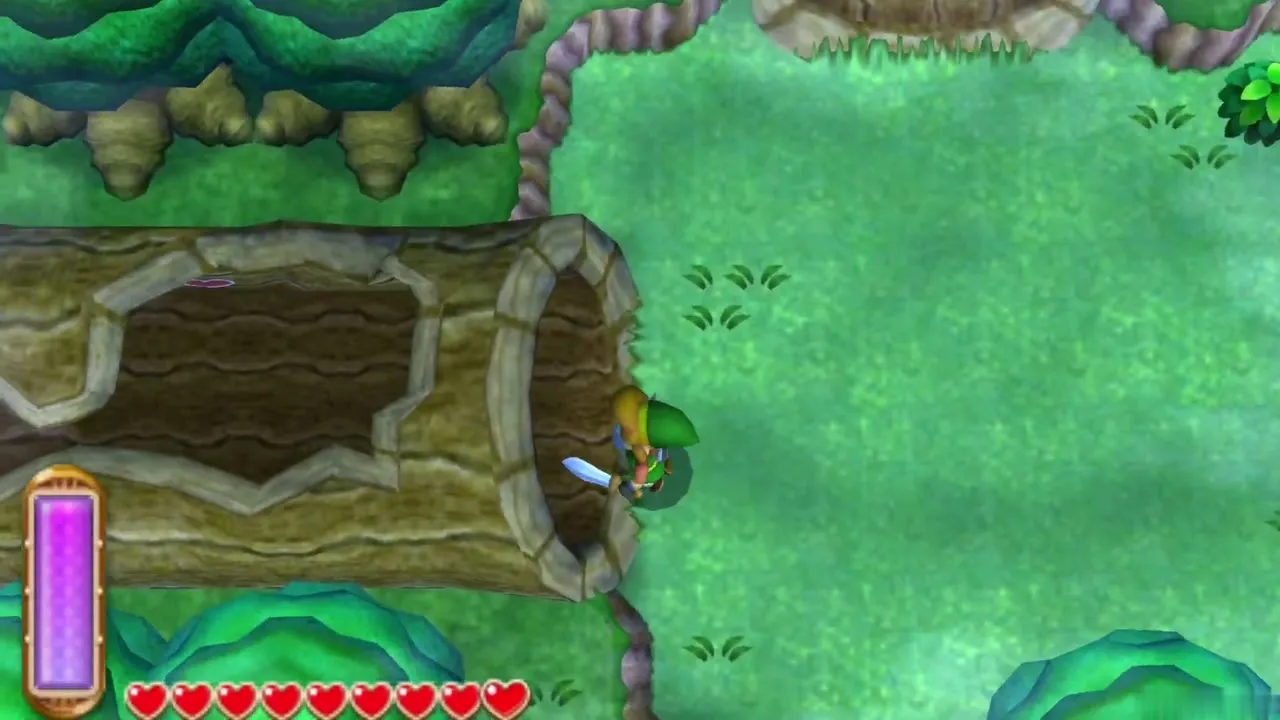
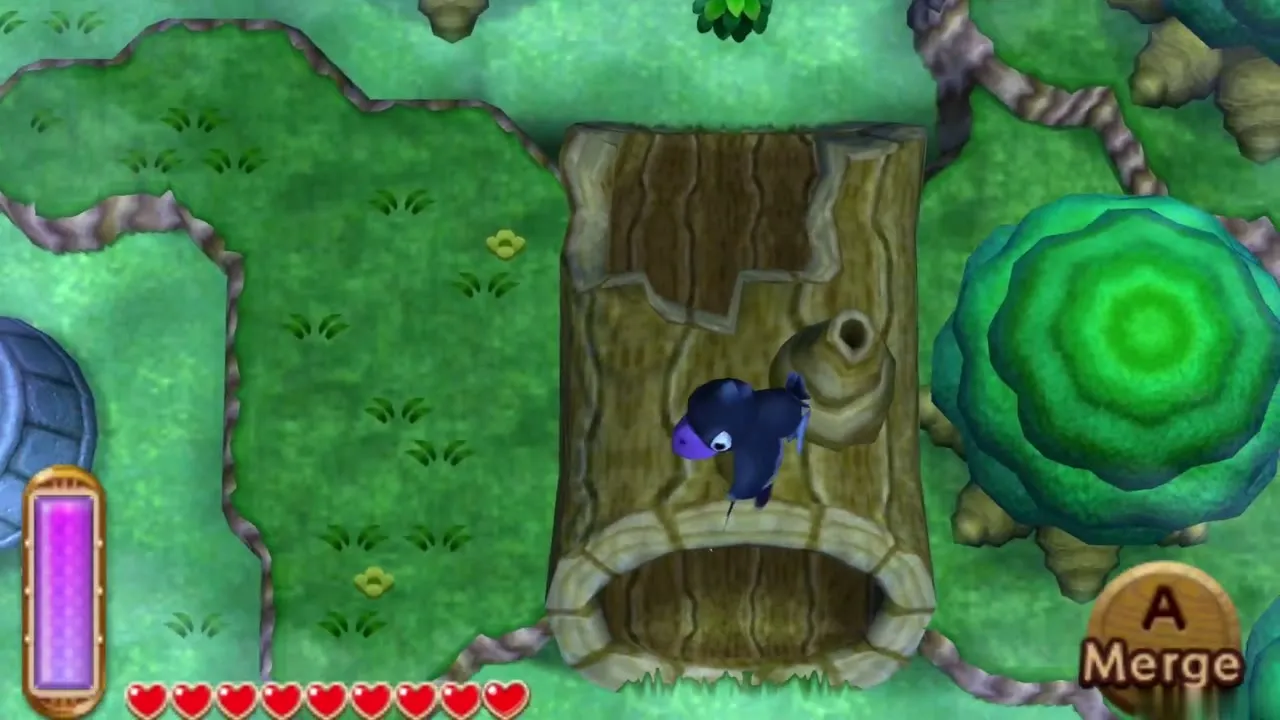
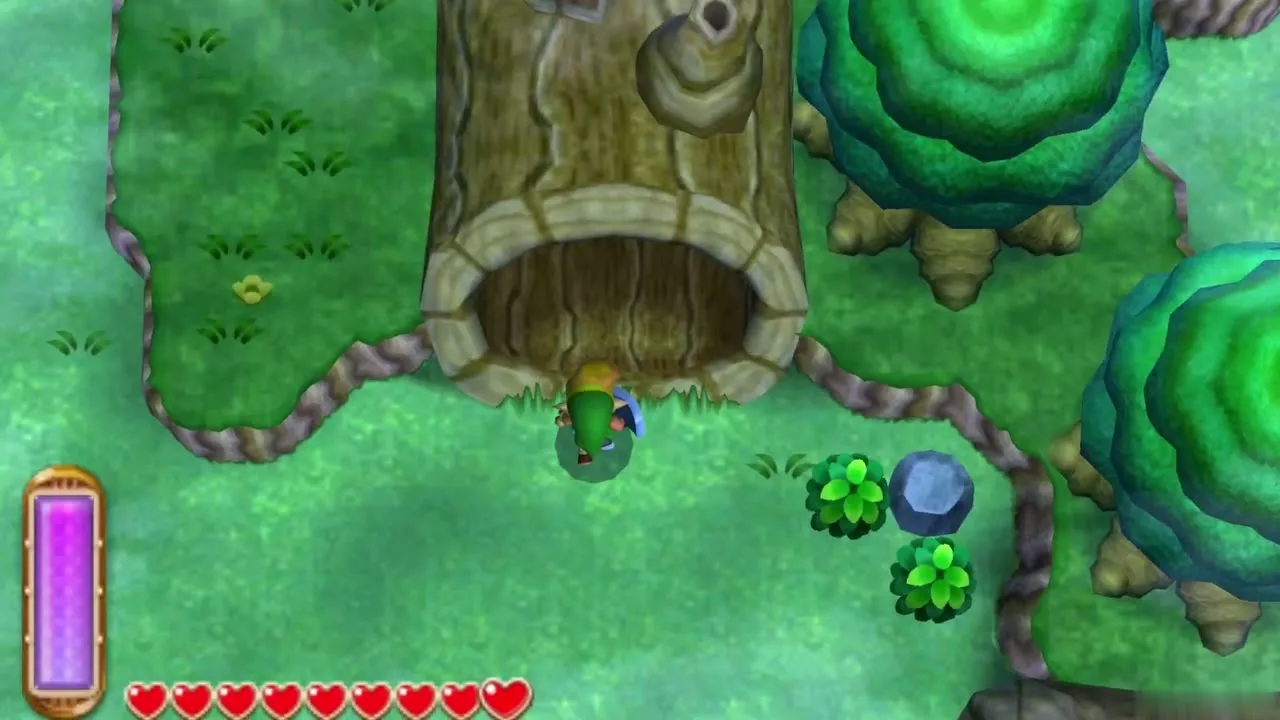
Heart Piece #5 is in the north-centre of the forest. Merge into the wall and slide through the narrow gap beside the broken log to reach it.
Lost Woods Poe maze
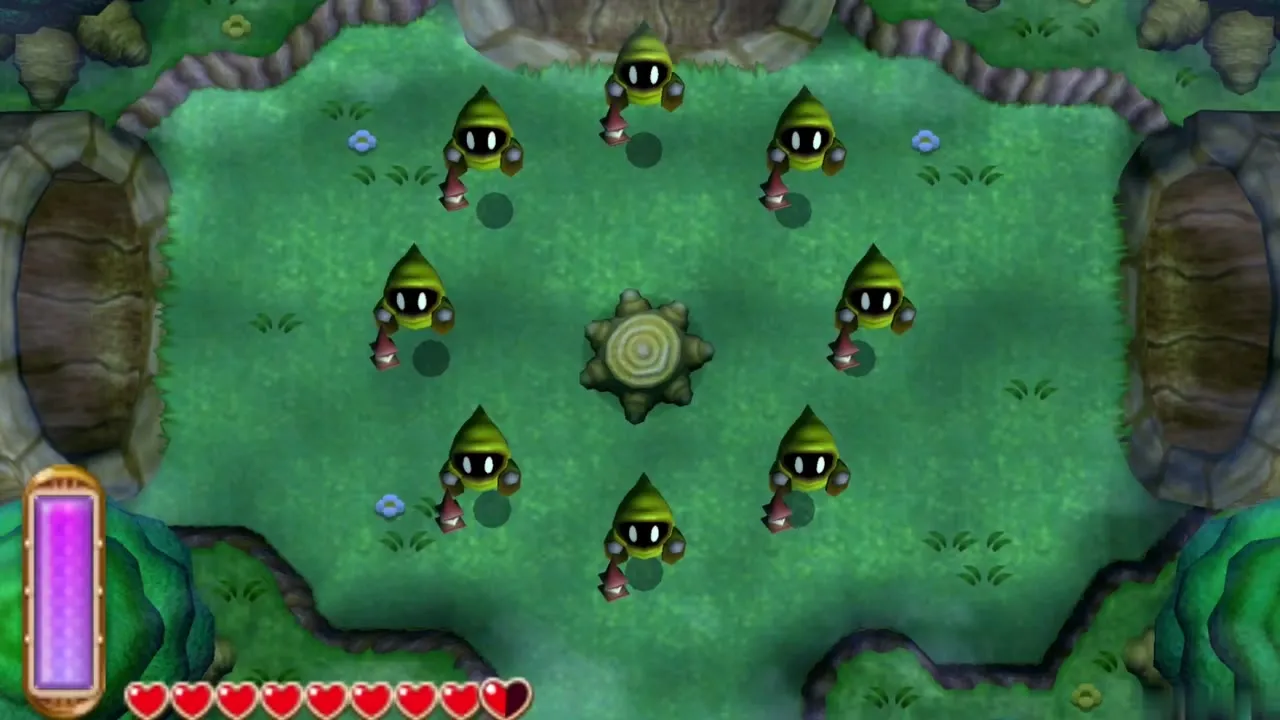
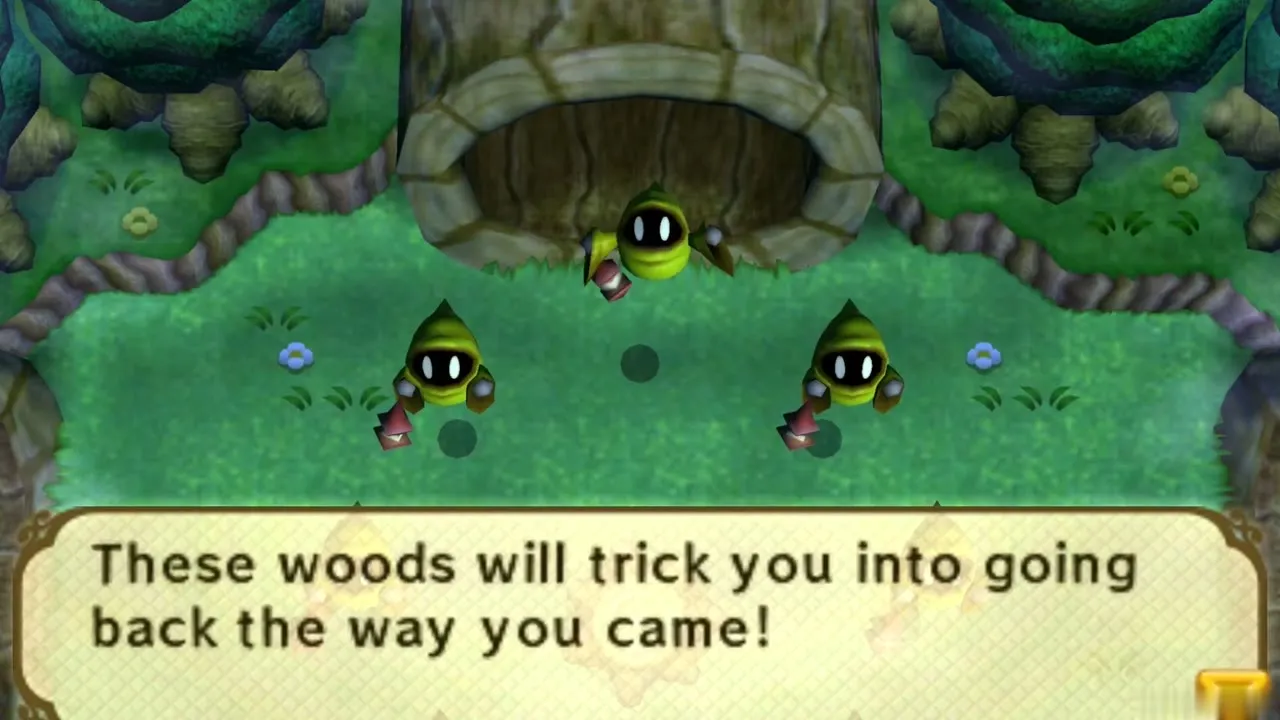
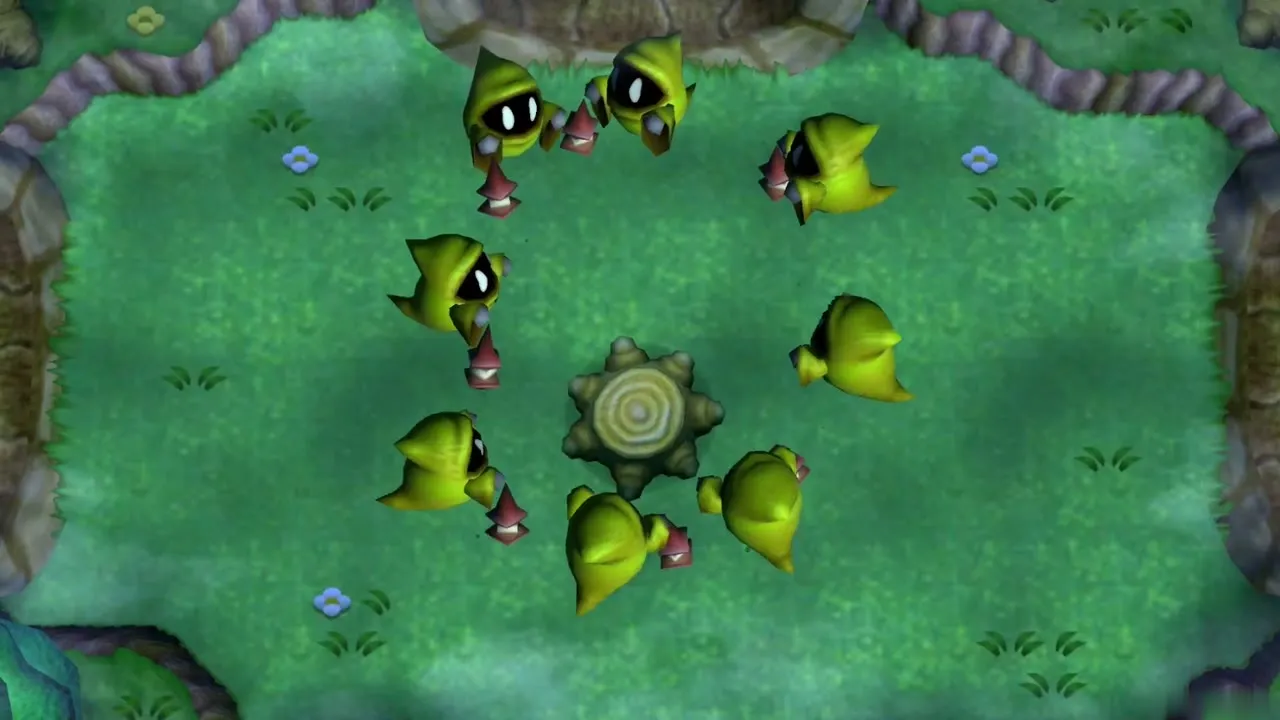
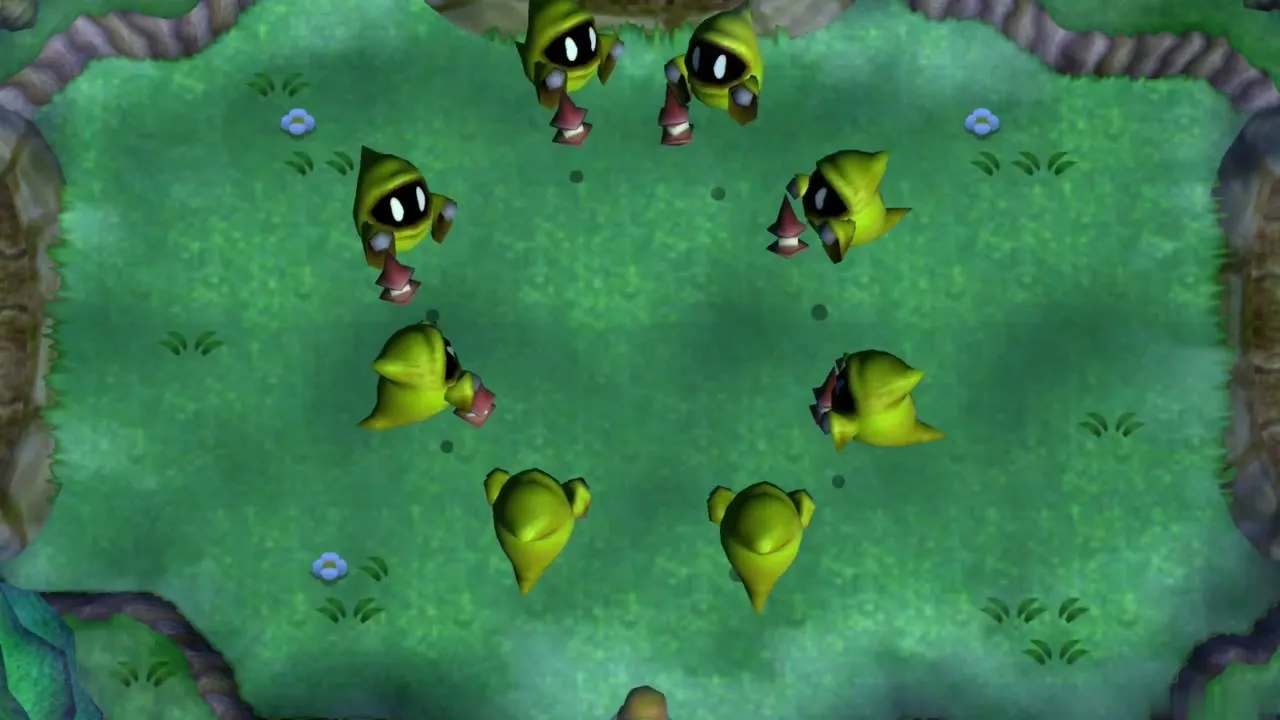
In the first maze clearing eight Poes hover around the exits. One tells you the woods will send you back the way you came, then they all scatter and bounce off in different directions. Watch the one that spoke, and leave by the exit it took.
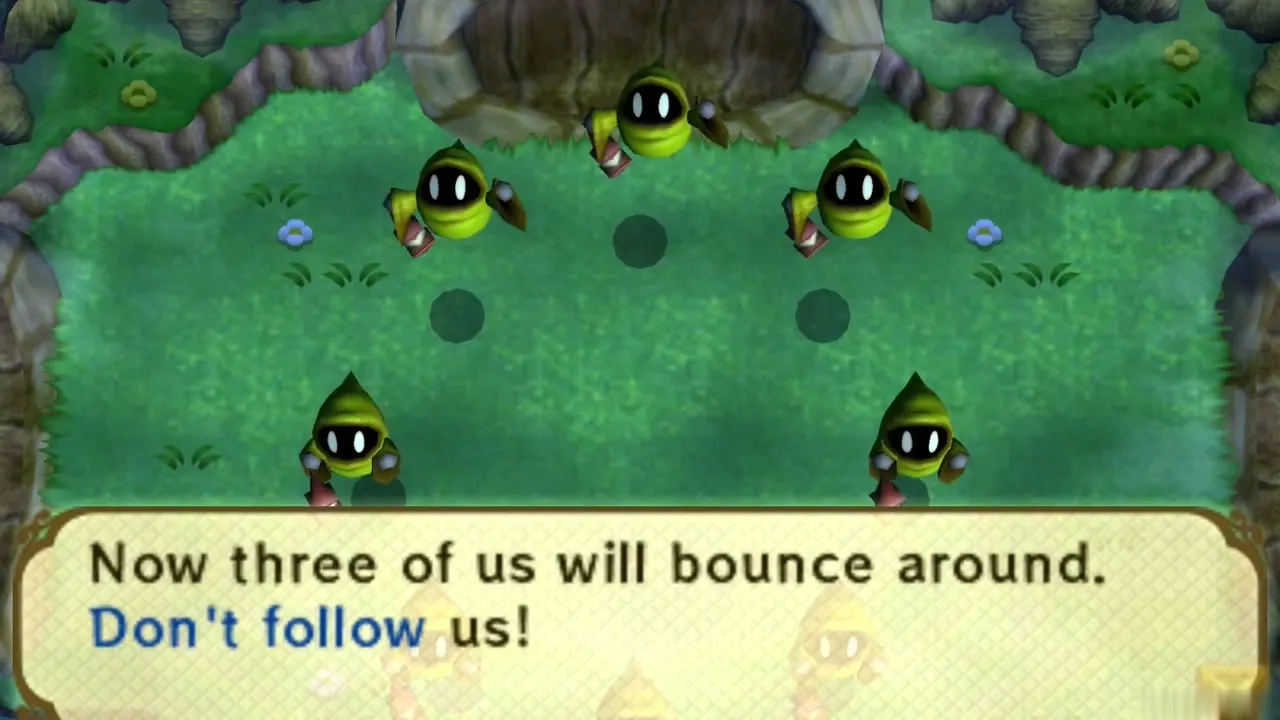
The next two clearings reverse the rule. First two Poes bounce about, then three, and these are the ones trying to mislead you: do not follow them, leave by another exit. A wrong exit sends you back to the first clearing, and one fewer Poe tries to fool you each time.
Hint Ghost help in the Lost Woods
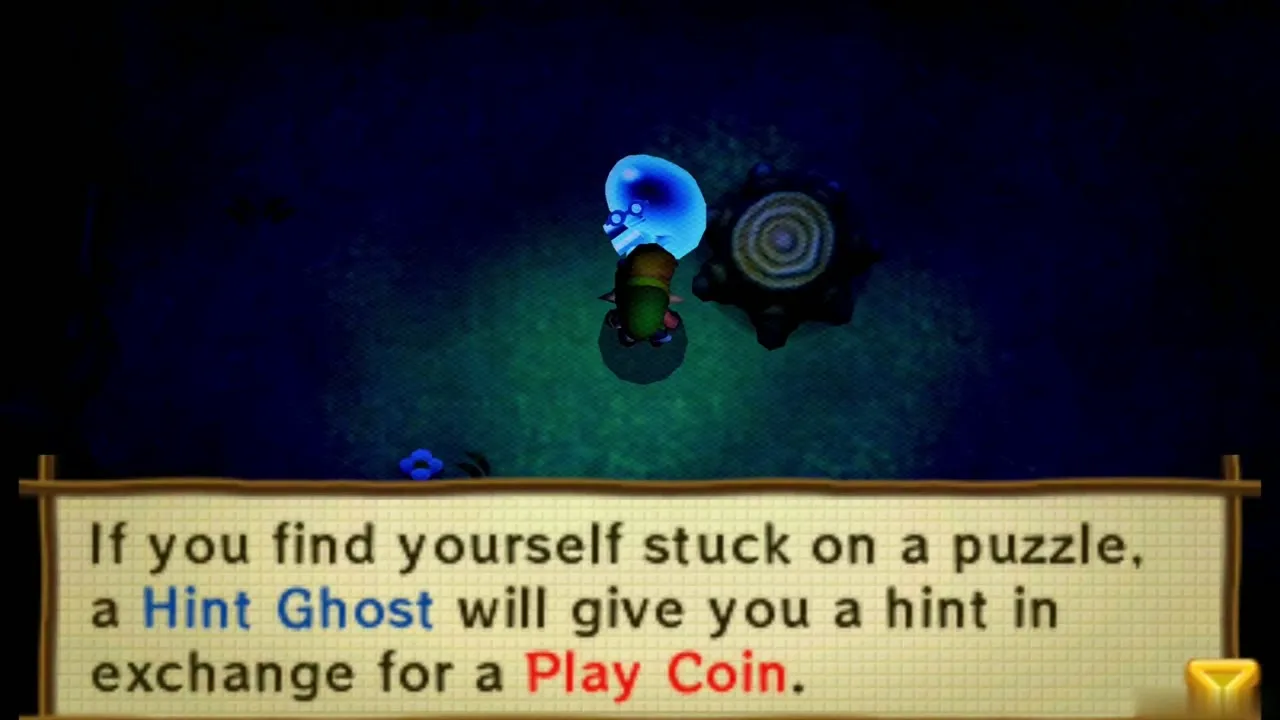
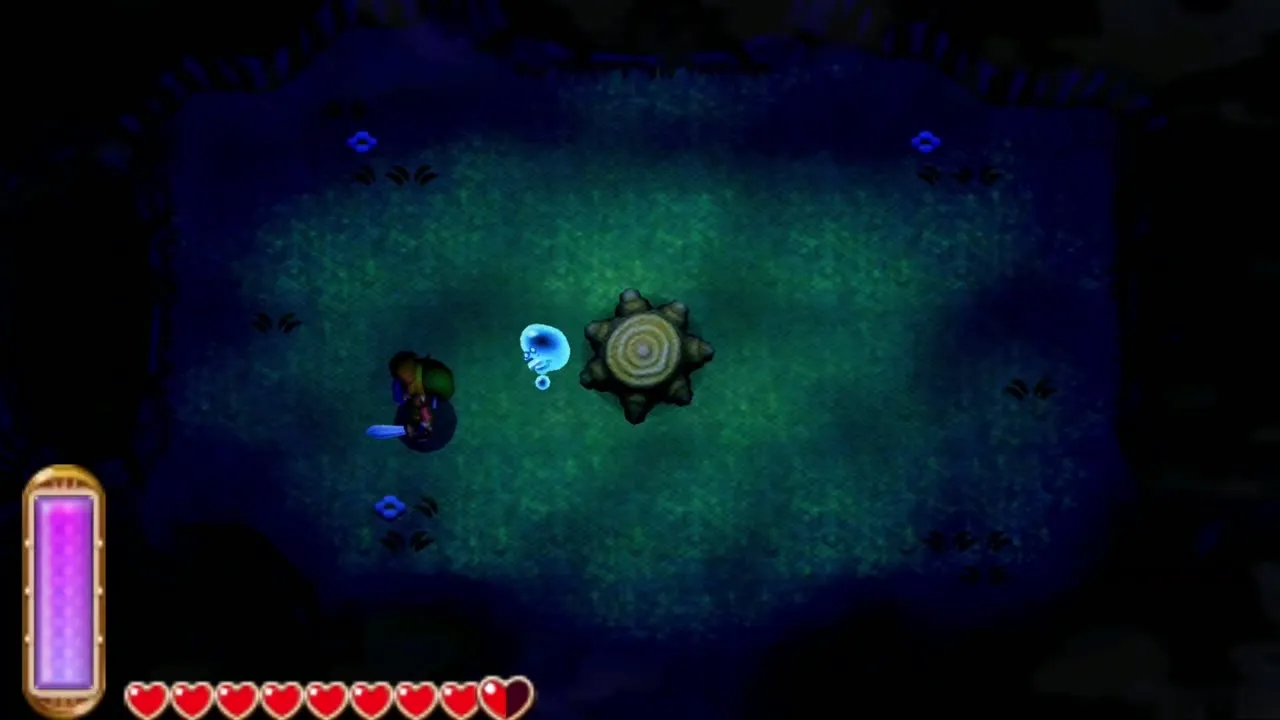
If you own the Hint Glasses (from the Fortune Teller north of Kakariko), a Hint Ghost is visible in each clearing. Talk to it and offer one Play Coin to hear a hint such as which compass direction to take. The hints are optional; the Poes’ rules are enough to find your way.
Master Sword
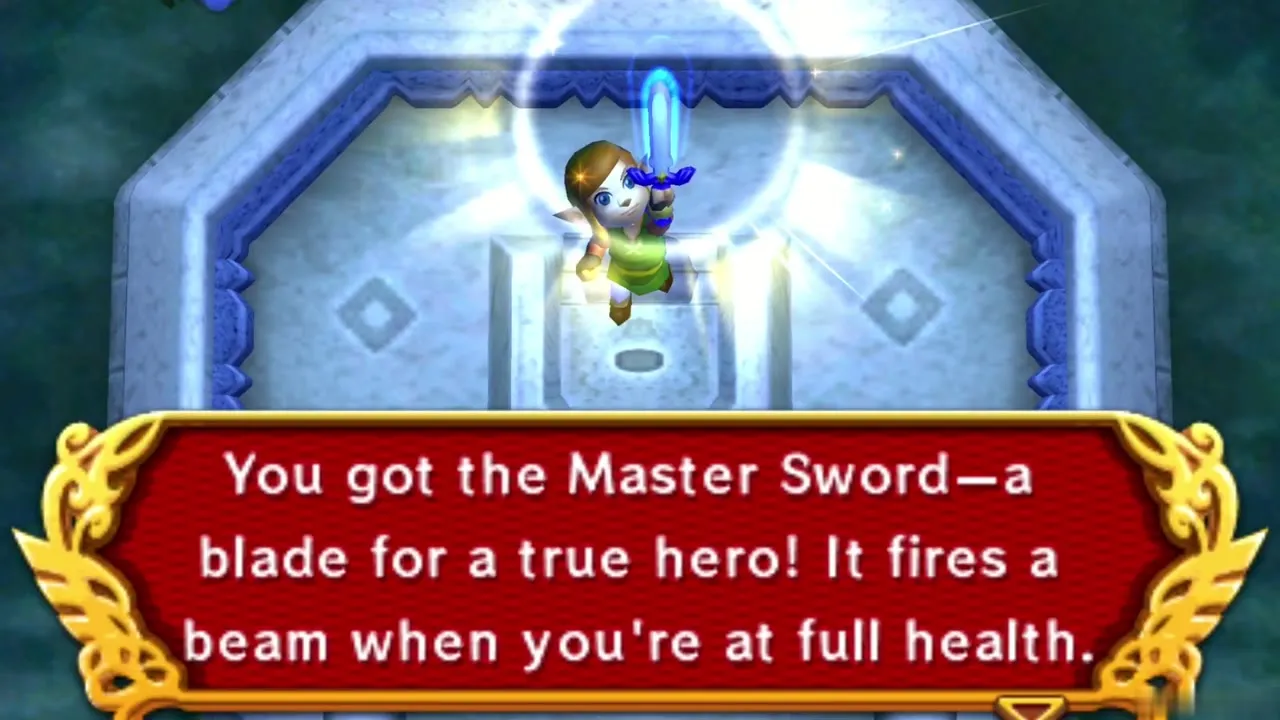
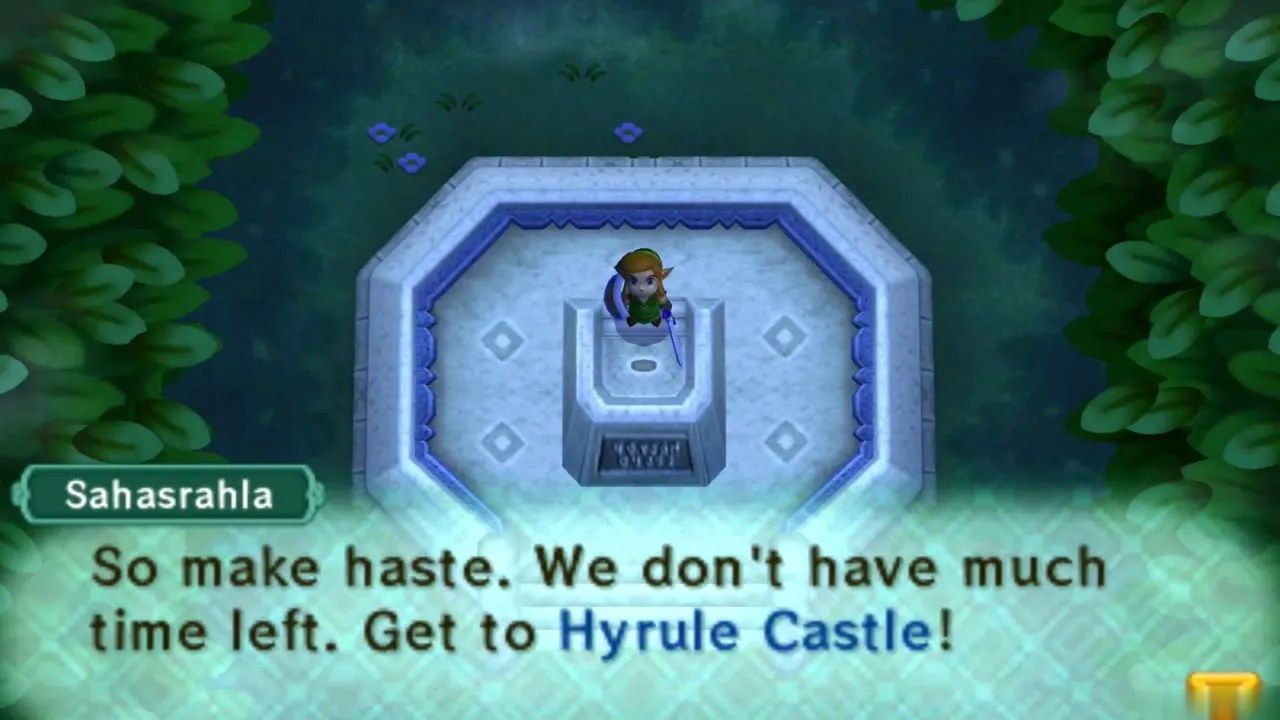
After the last clearing, a path leads to a hidden grove with a pedestal on stone steps. Walk up and pull out the Master Sword; it fires a sword beam whenever your hearts are full. Sahasrahla then tells you it can break the barrier over Hyrule Castle, so go there at once.
Ravio’s Shop and Mother Maiamai
Ravio’s Shop: buying items
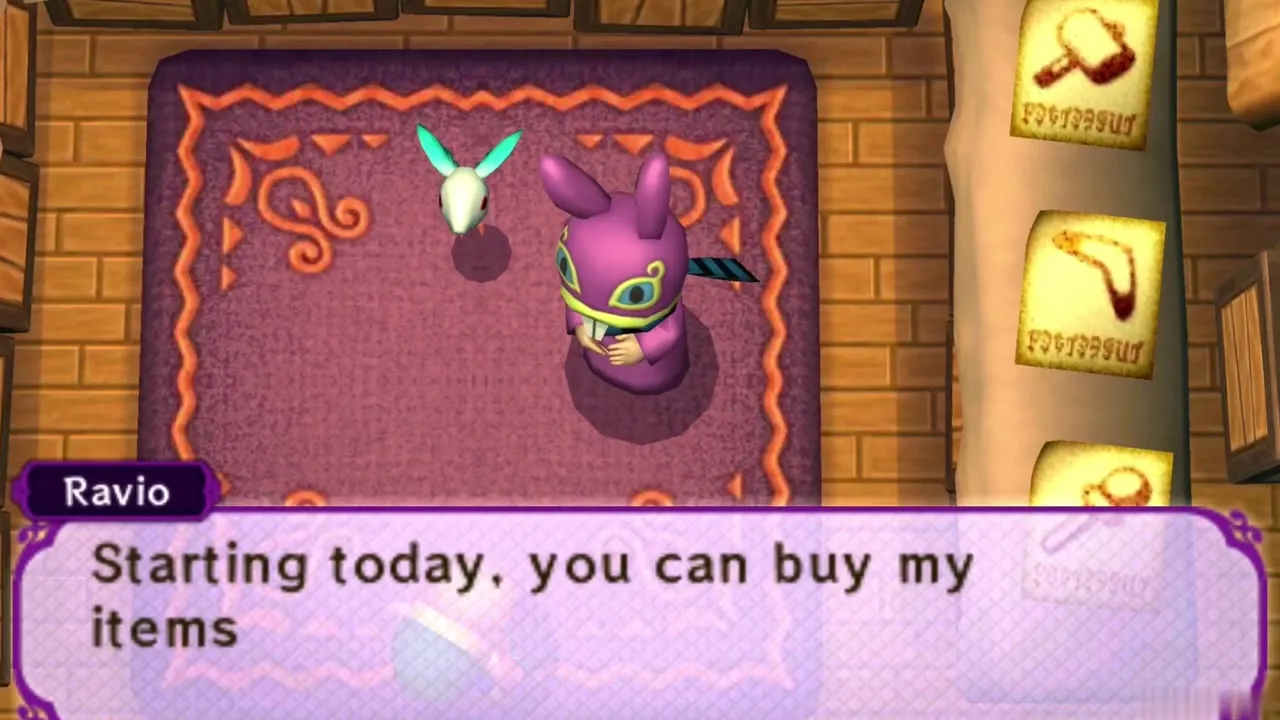
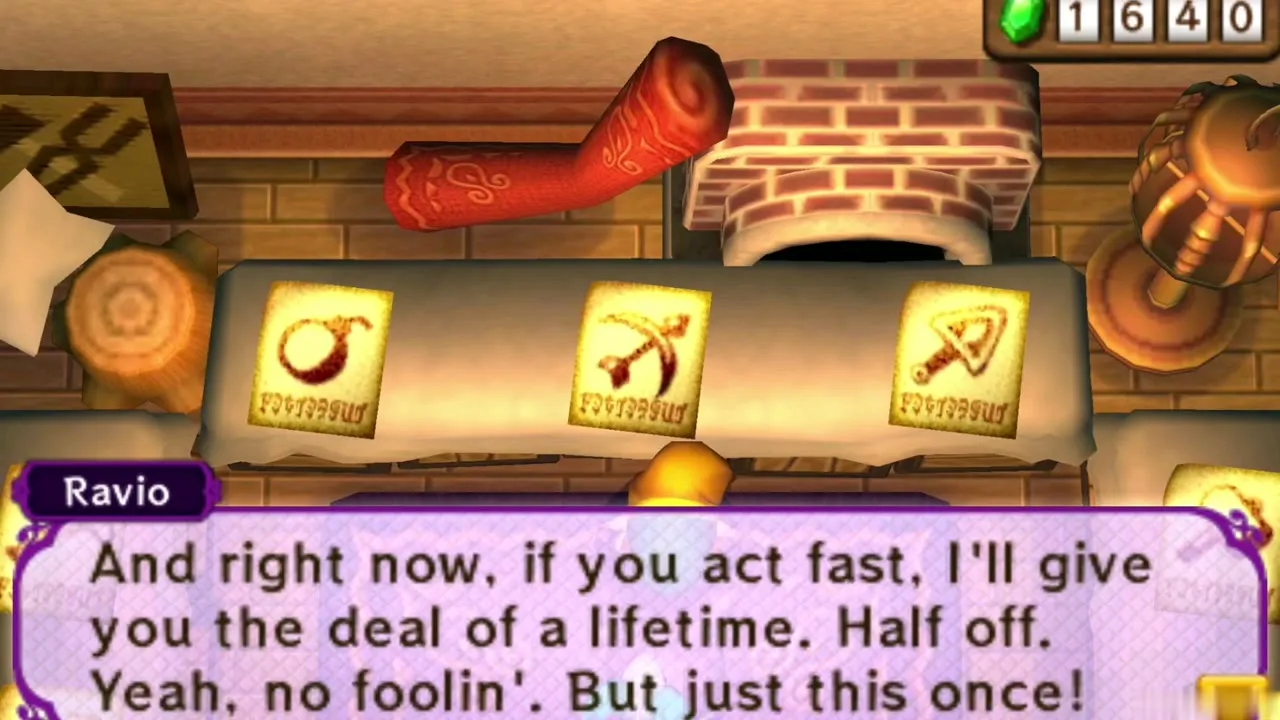
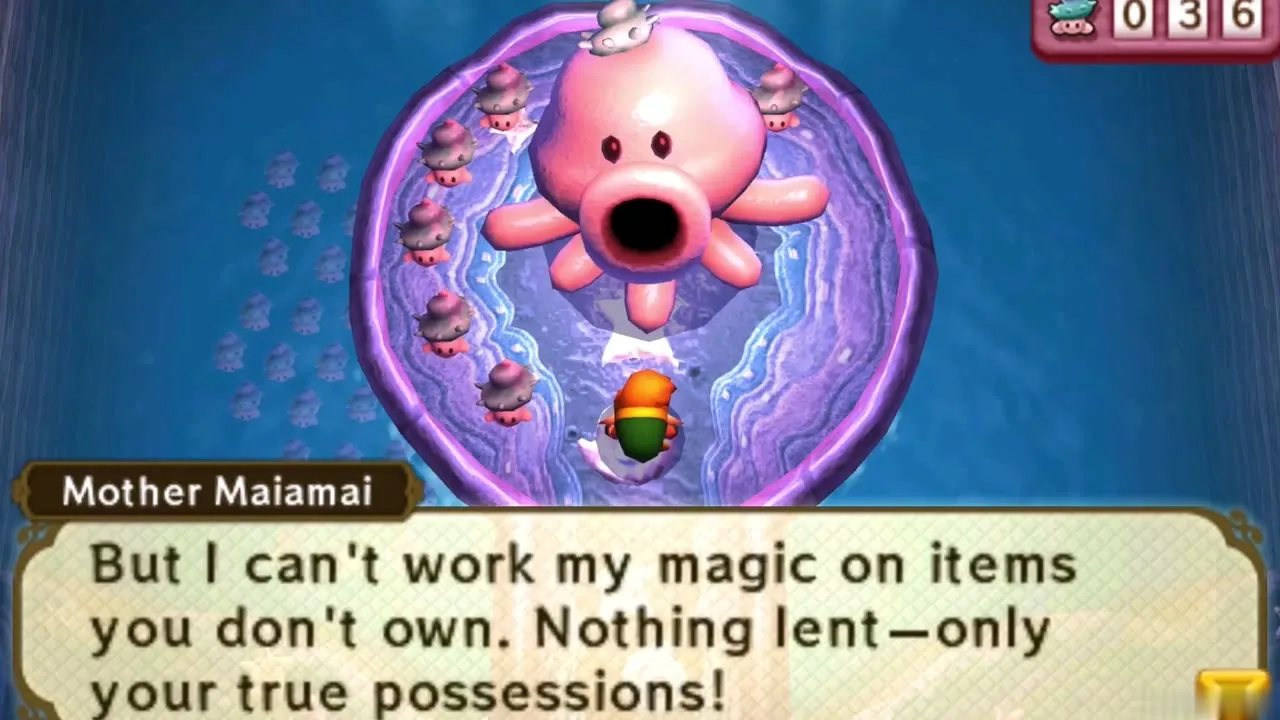
Back at Link’s House, Ravio now sells his items as well as renting them (800 Rupees each, 1,200 for the Fire Rod and Ice Rod). Your first purchase costs half price: the Bow, for example, is 400 Rupees. Bought items stay yours when you lose all your hearts, while rented ones fly back to the shop. Mother Maiamai only upgrades items you own, so buy before you visit her.
Mother Maiamai’s cave
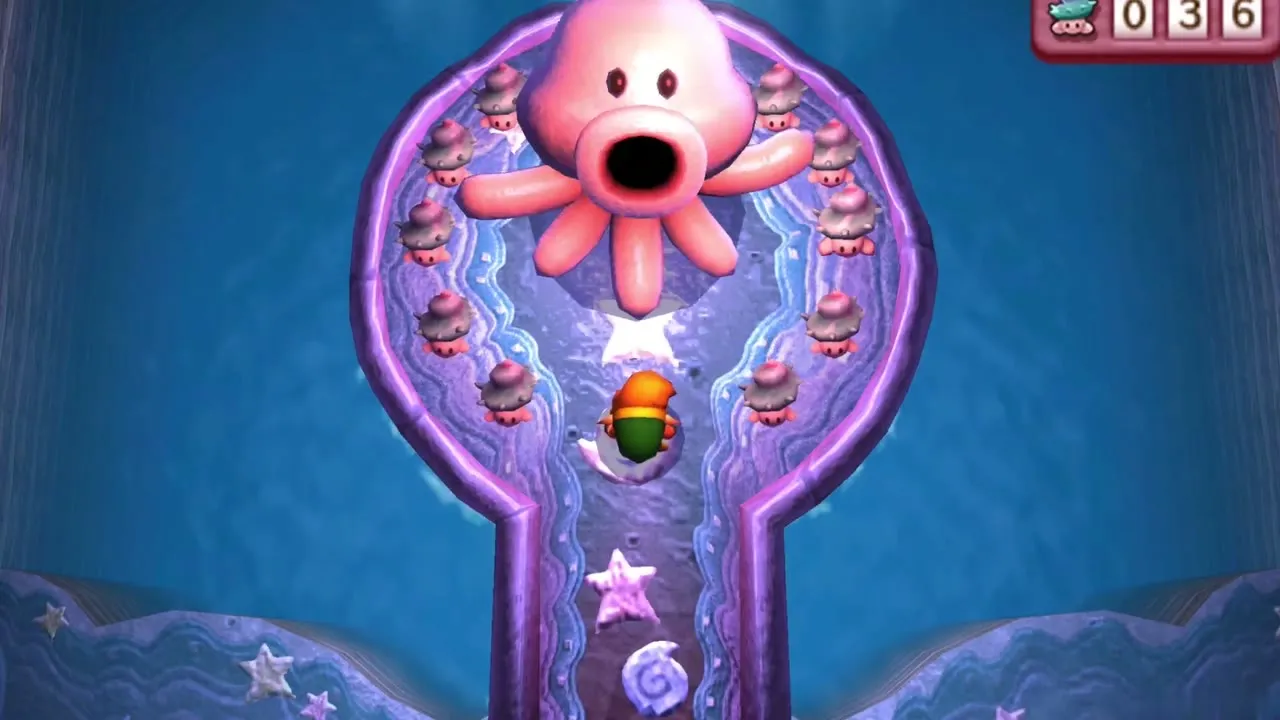
Mother Maiamai lives in a cave beside Lake Hylia, south-east of Link’s House. Bomb the cracked wall to enter and give her the Maiamai you have caught; she upgrades one purchased item for every ten. Merge into the wall next to her entrance to find one more Maiamai outside. Rented items cannot be upgraded.
Hyrule Castle
Break the Hyrule Castle barrier
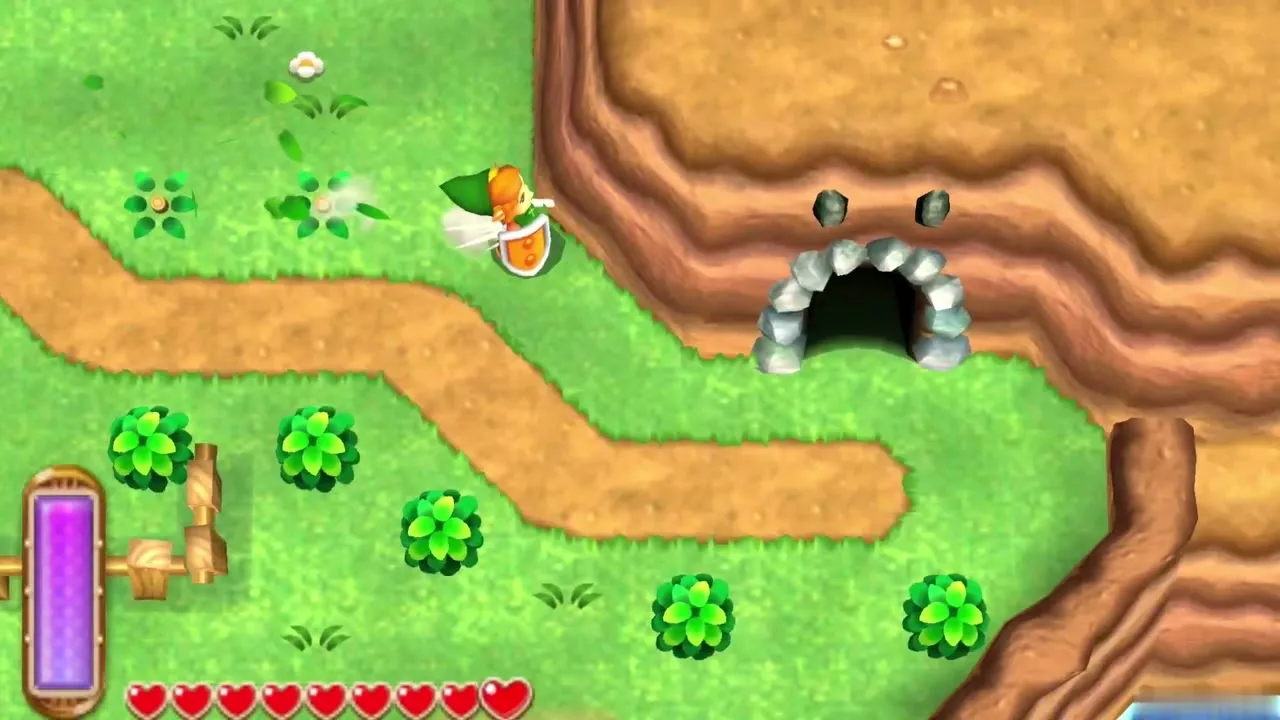
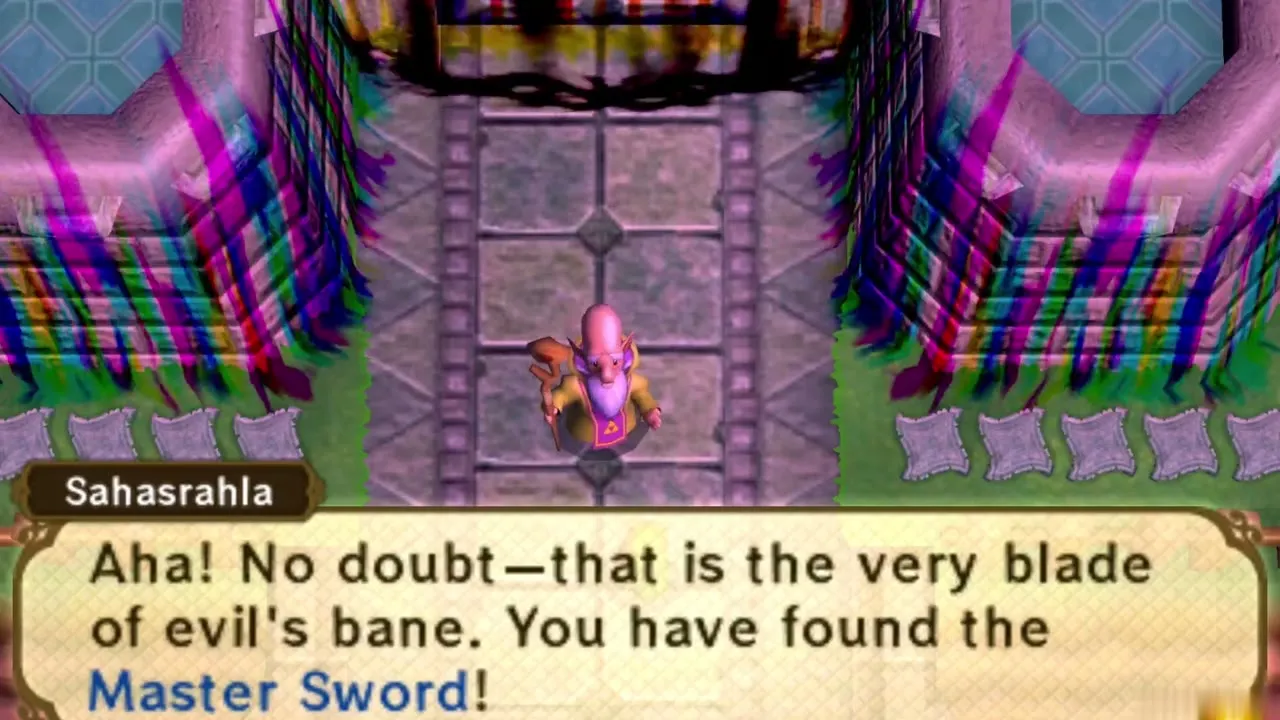
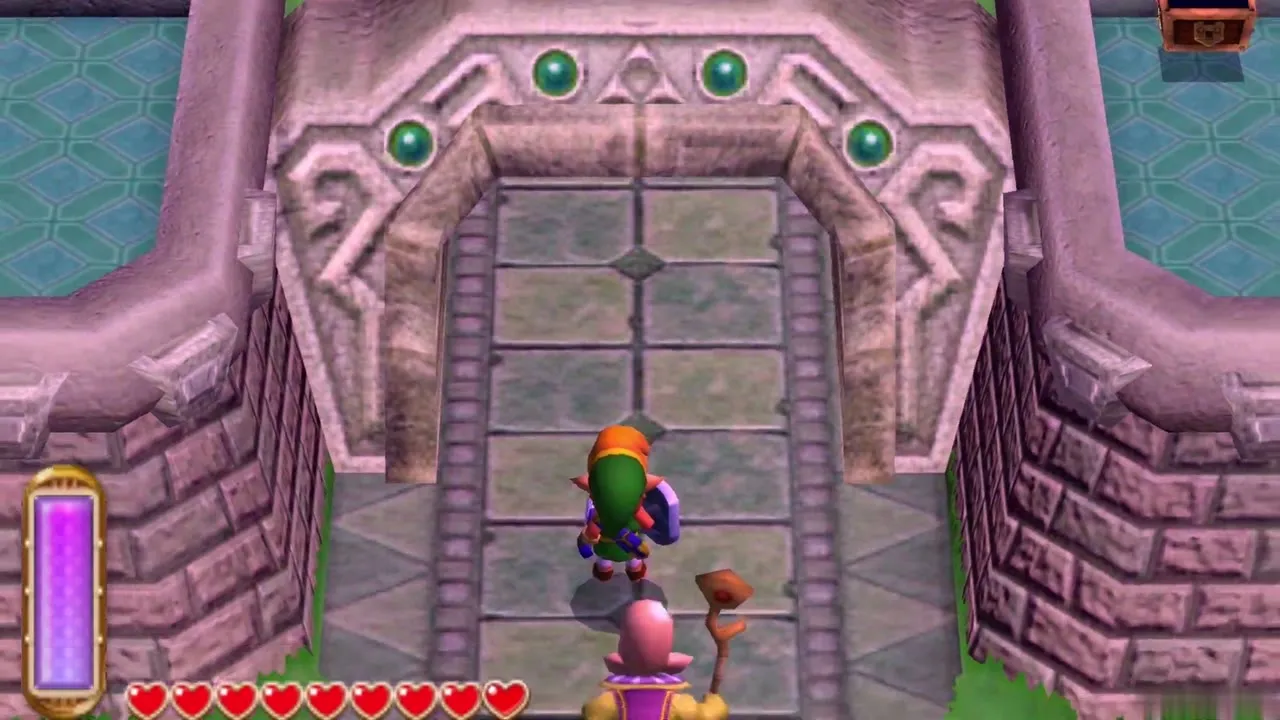
Walk to the castle gate, where Sahasrahla waits beside the purple barrier. Strike it with the Master Sword and the barrier breaks, opening the way in. A save point in the entrance lets you stop before climbing.
Hyrule Castle ground floor
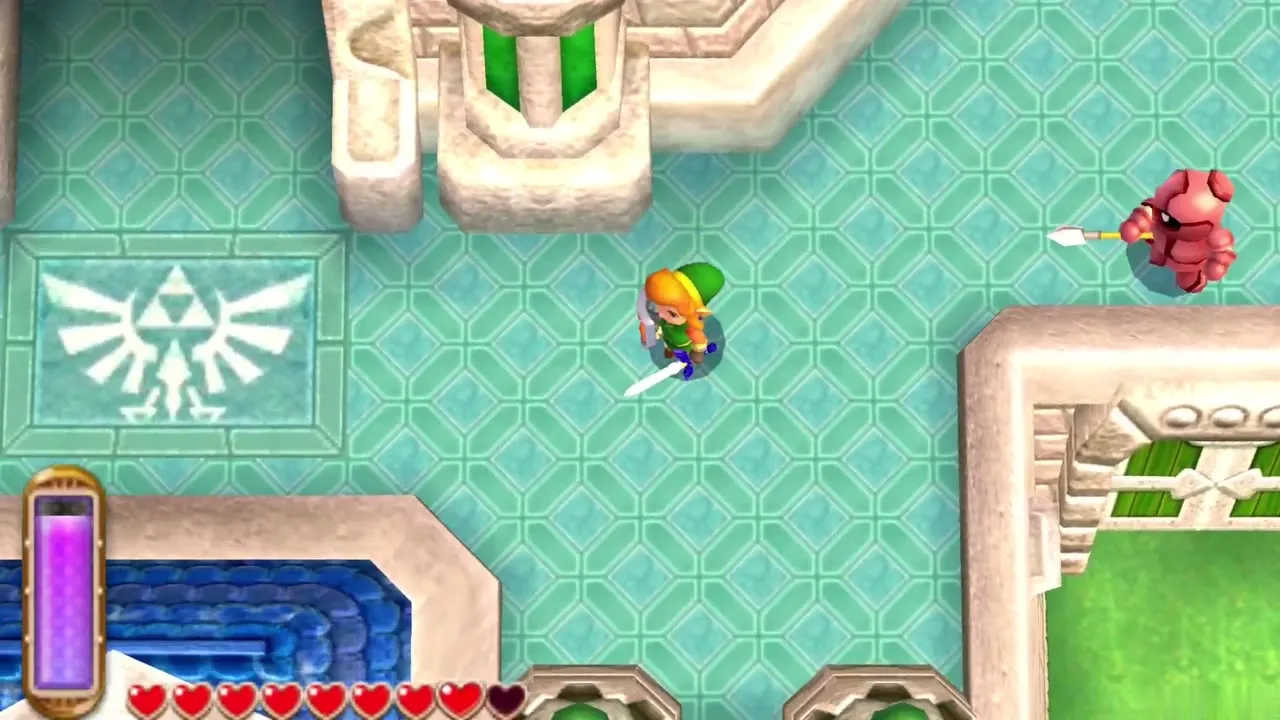
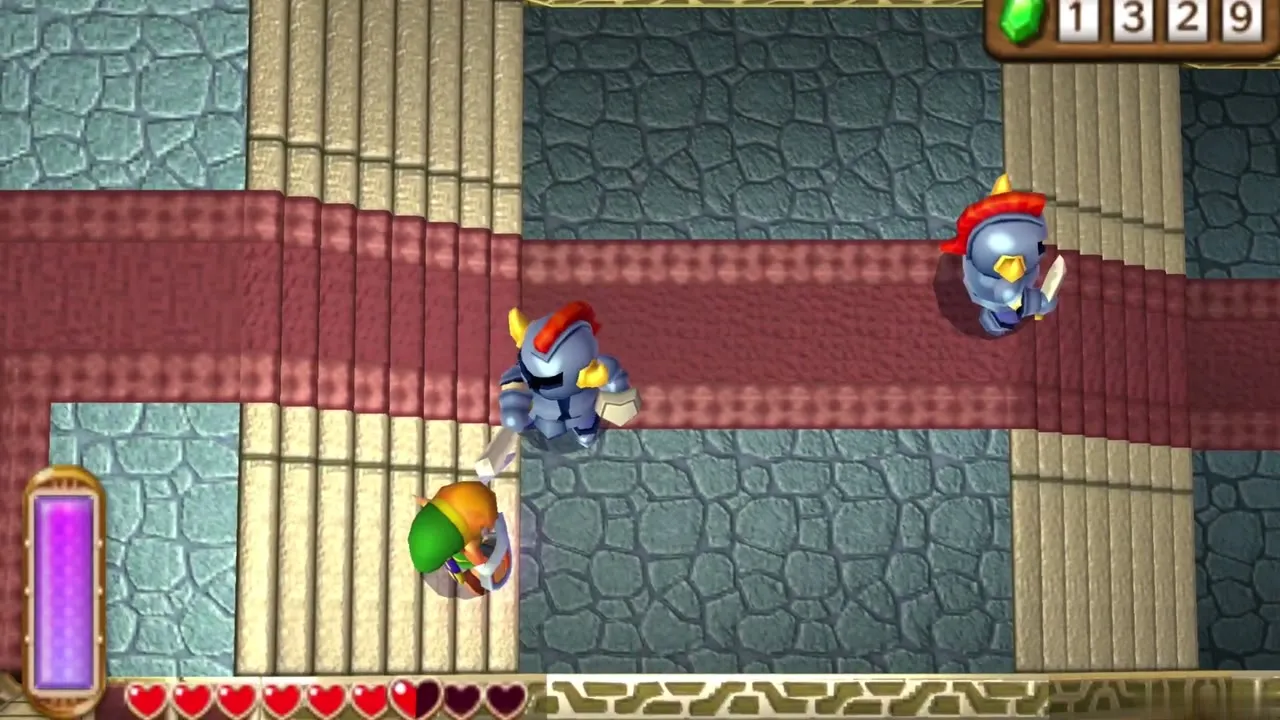
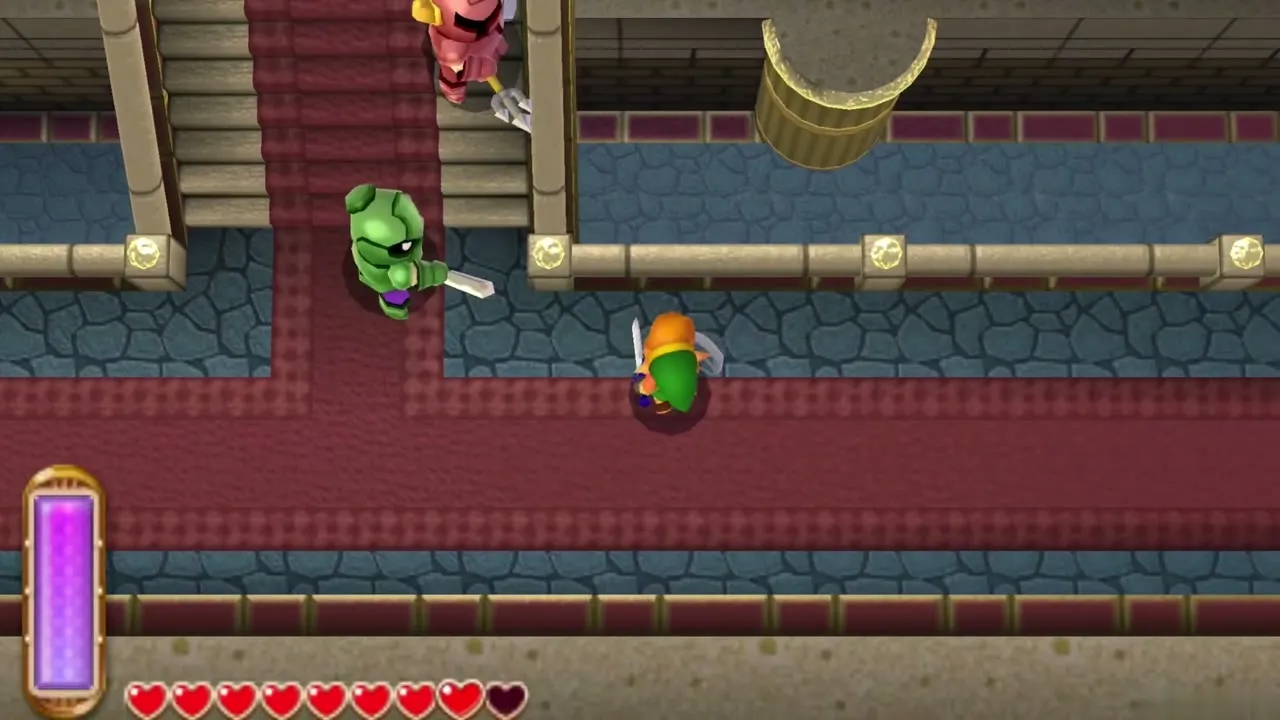
Walk the long hall past the golden pillars, fight the soldiers and climb the stairs to the battlements. Cross outdoors and go back in through the middle door. Around the castle grounds, Heart Piece #6 lies east of the castle under rocks you lift with the Power Glove, and Heart Piece #3 is behind the Blacksmith’s house: merge along its wall, step out at the back and walk north.
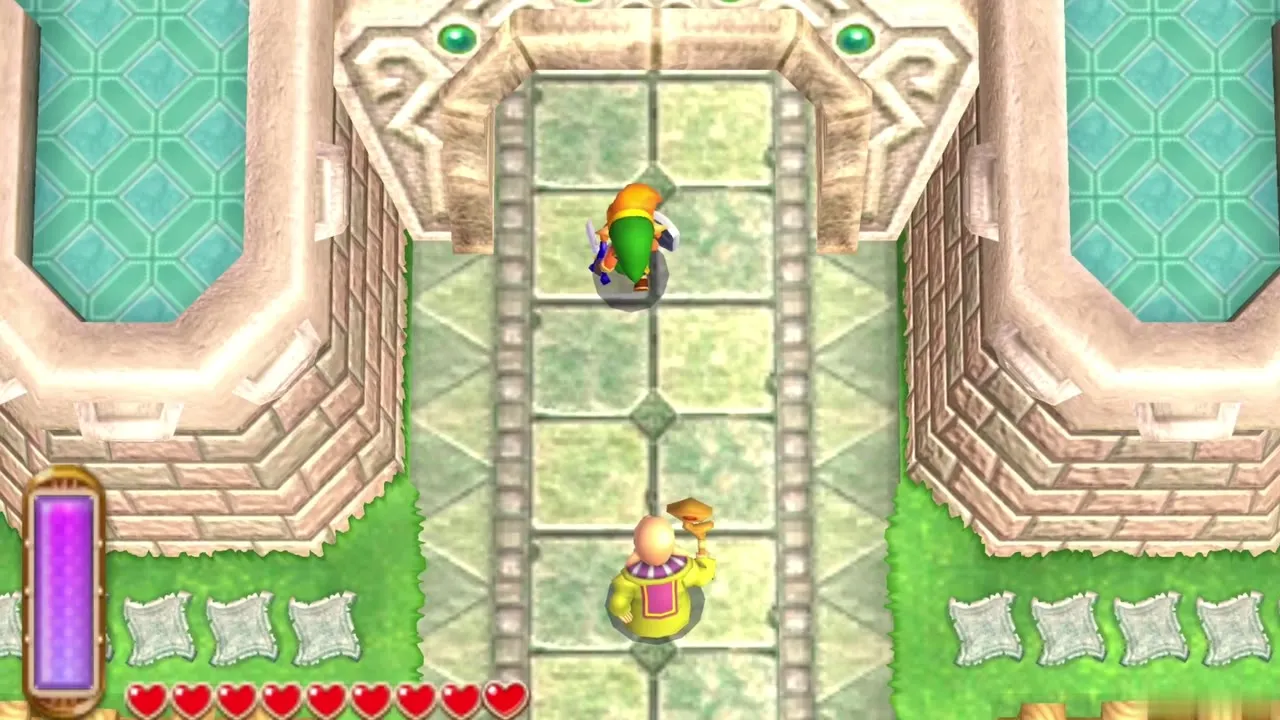

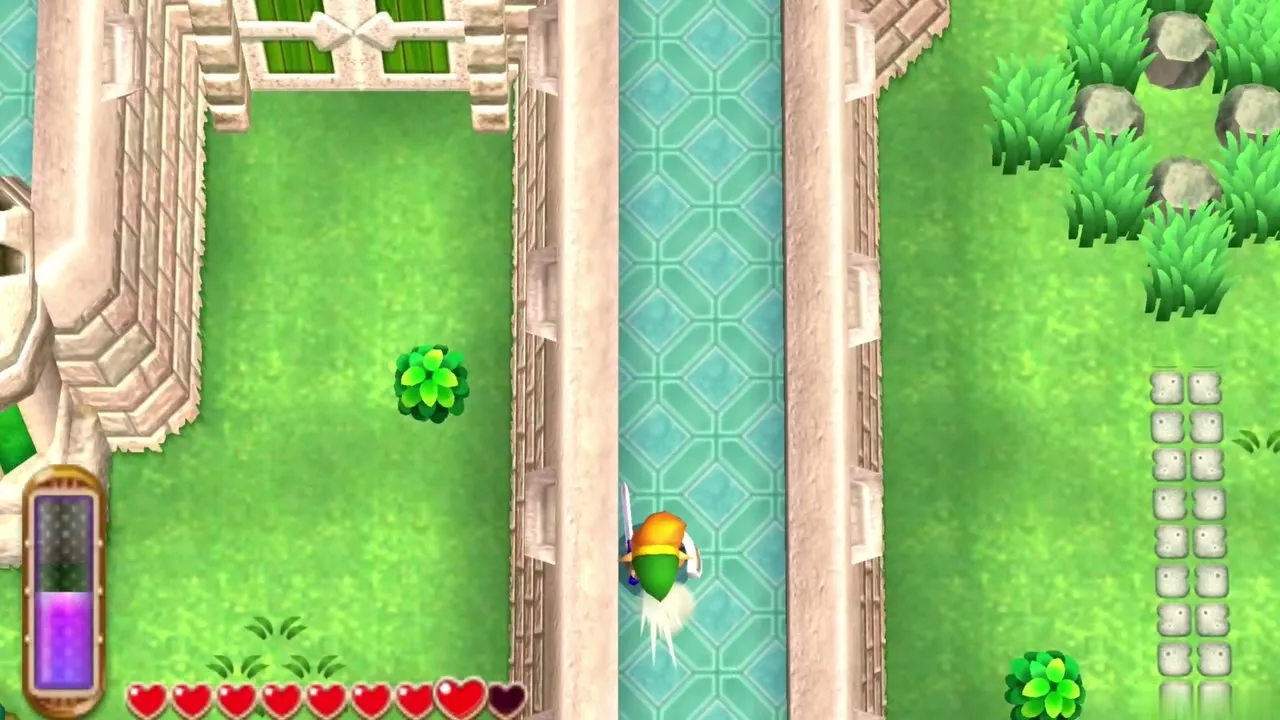
The Hyrule Castle region holds eight Maiamai: dash into the trees at the north-west, near the centre and the lone tree; use the Tornado Rod on the panels beside the Blacksmith’s Forge and on the ground; merge on the rear wall of Link’s House; and dash into the northernmost tree in the Haunted Grove. The eighth needs the Titan’s Mitt and a trip through Lorule, so it waits for a later chapter.
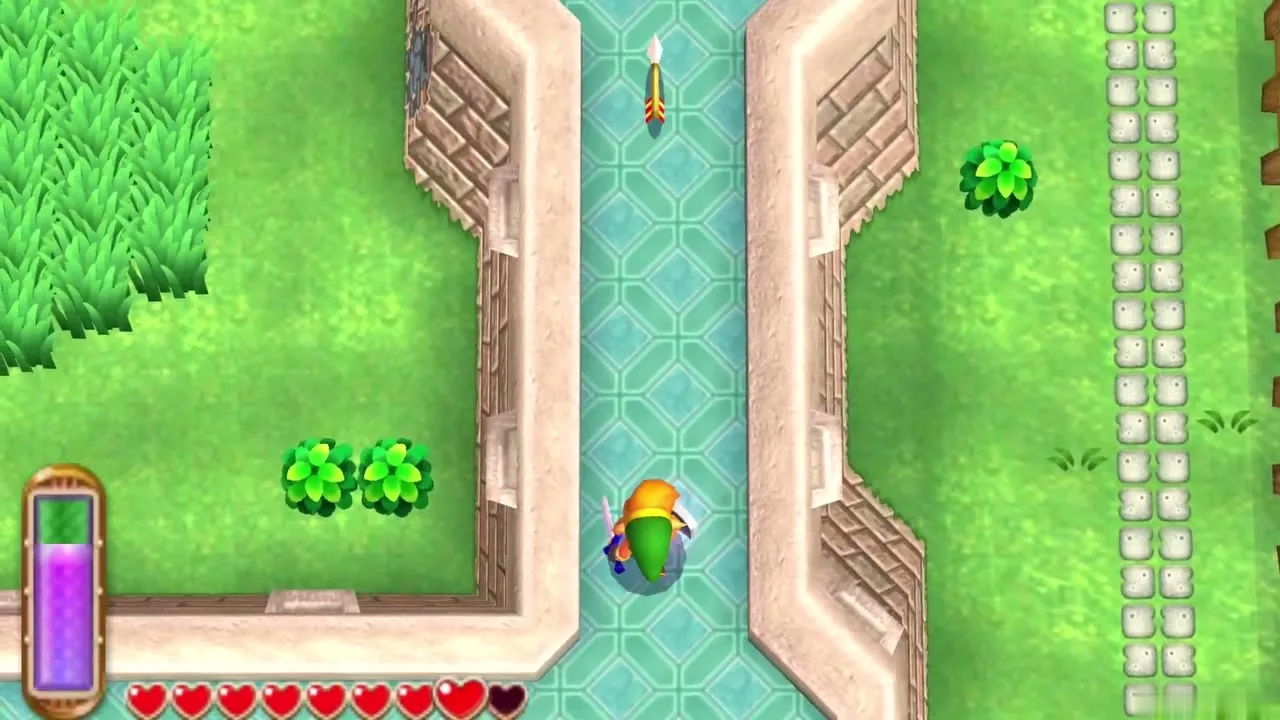
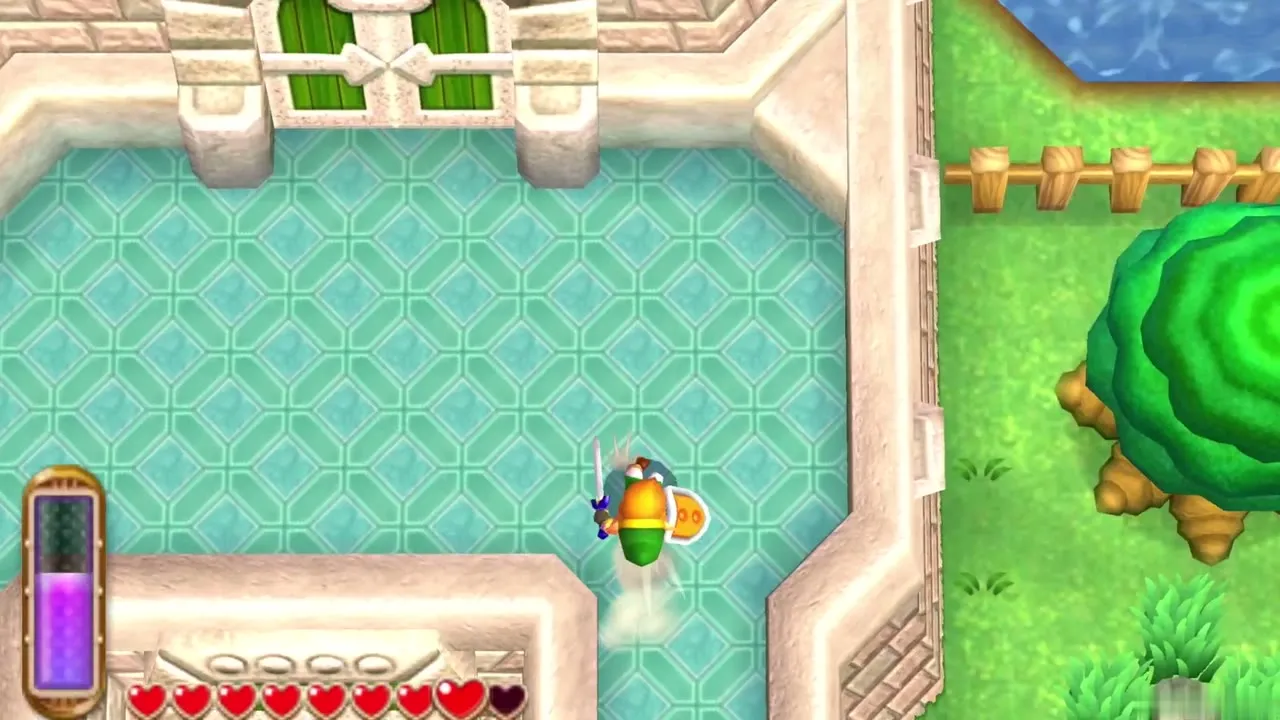
2F Ball and Chain Soldier
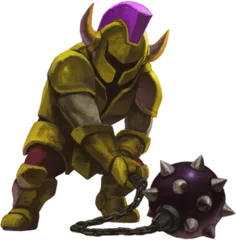
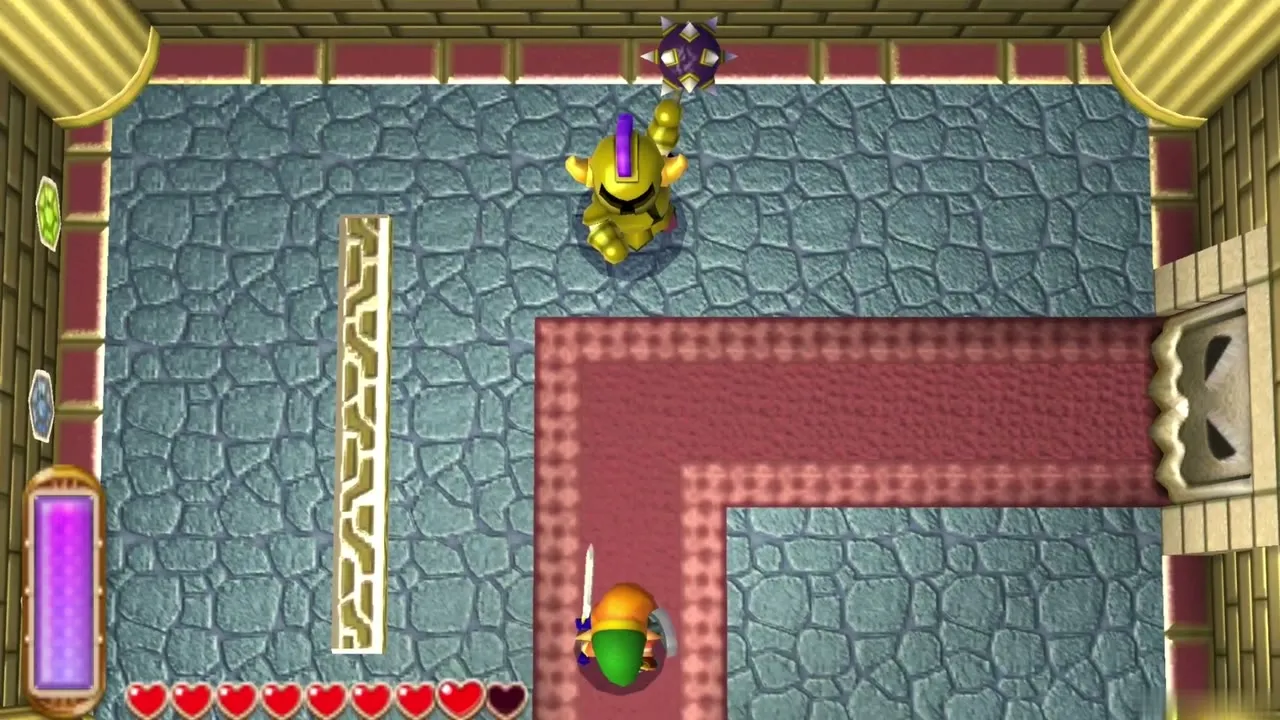
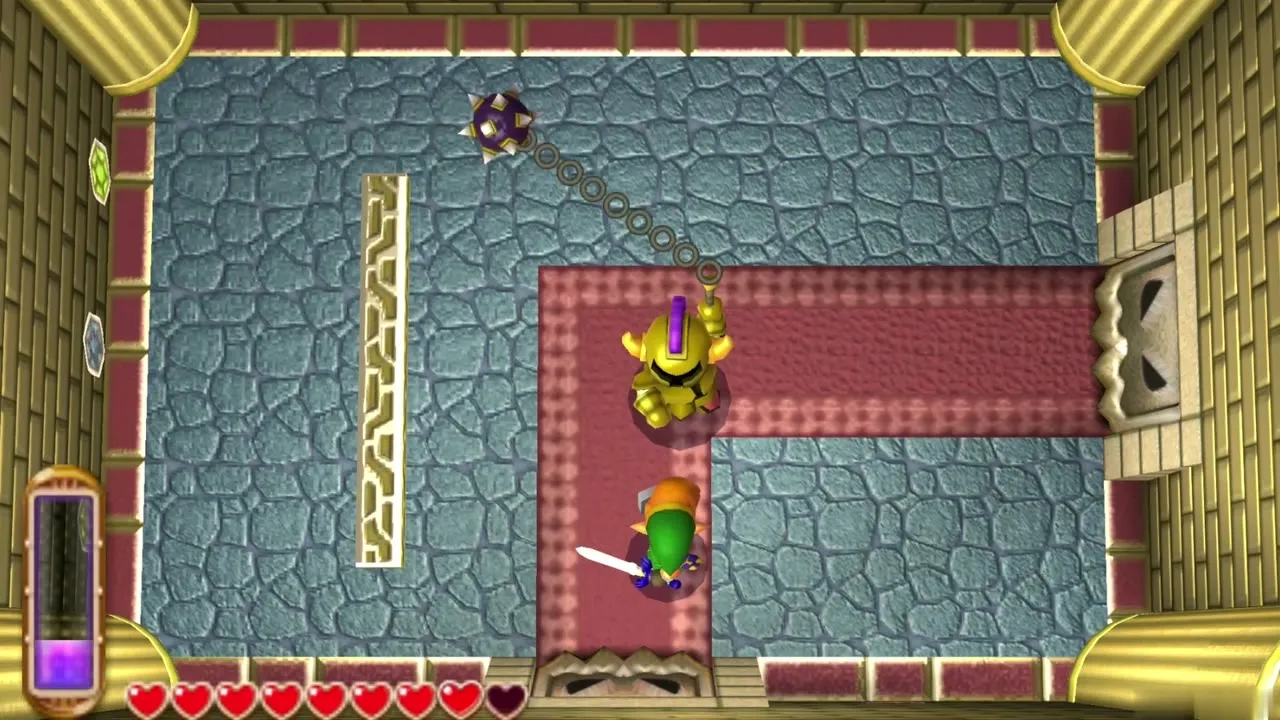
The room on 2F is a long red carpet with a gold Ball and Chain Soldier. Dodge sideways when he hurls the ball, then run in and slash him before he reels it back. Leave by the door at the end of the carpet.
3F soldiers and statues
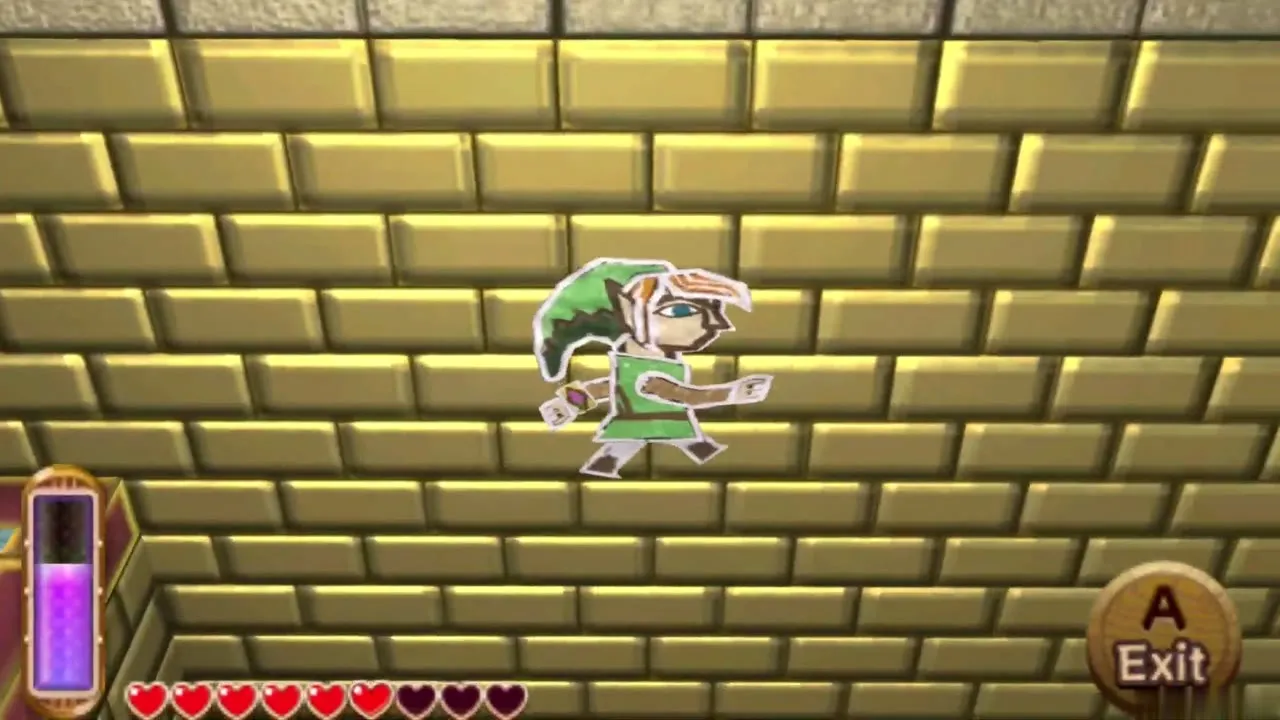
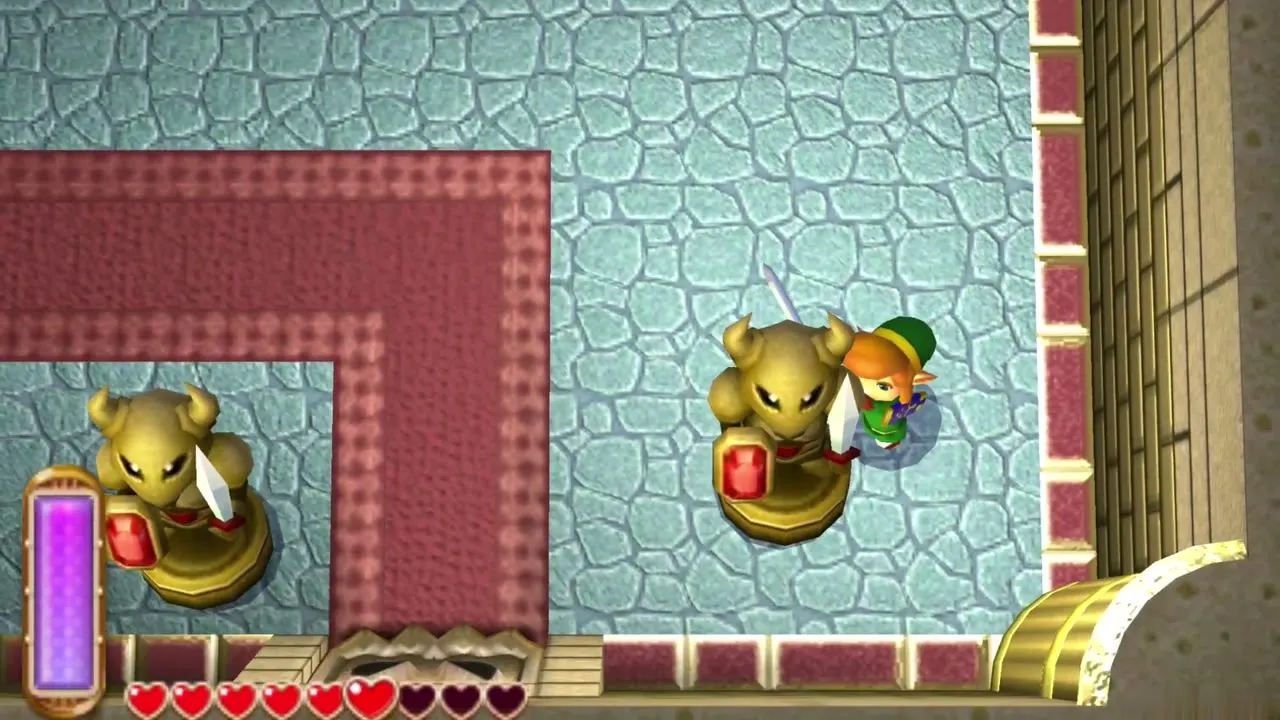
On 3F, soldiers and golden statues come to life. Defeat every enemy in a room to open its door. Where a ledge is out of reach, merge into the golden wall and slide across it; Rupees painted on the wall can be collected the same way. Go out on the south balcony, then take the stairs on the left.
4F Zelda painting
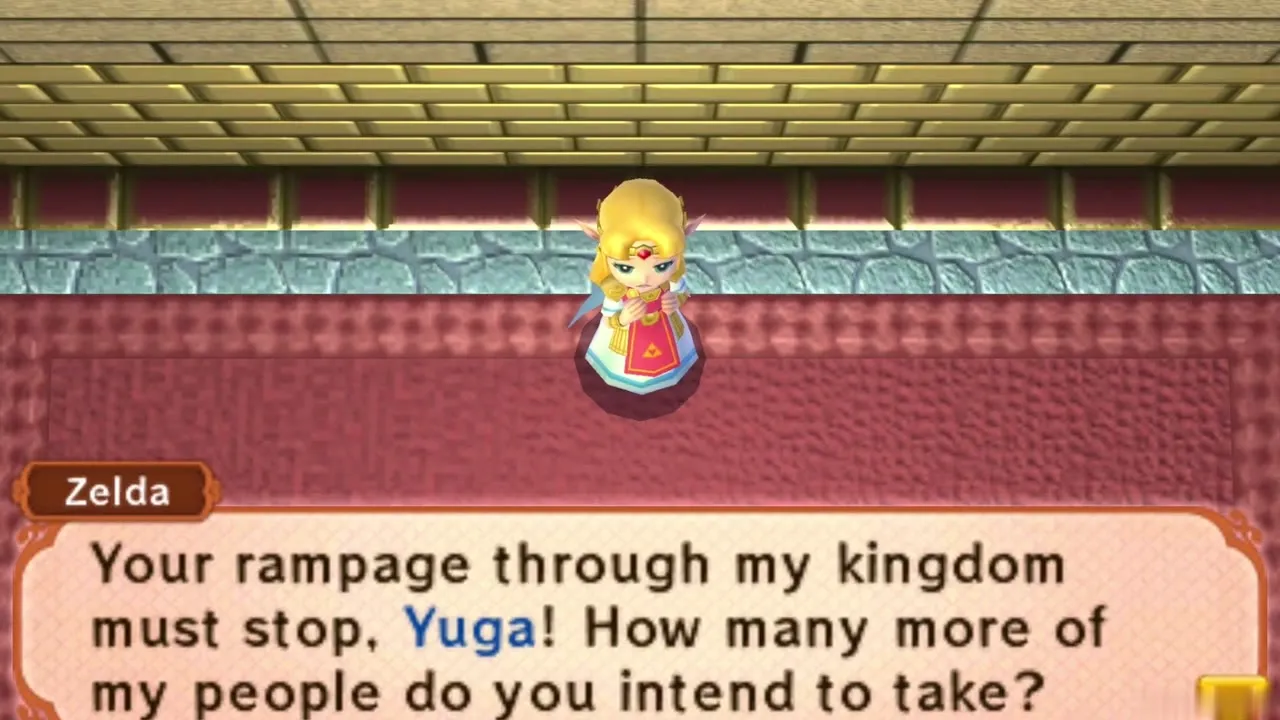
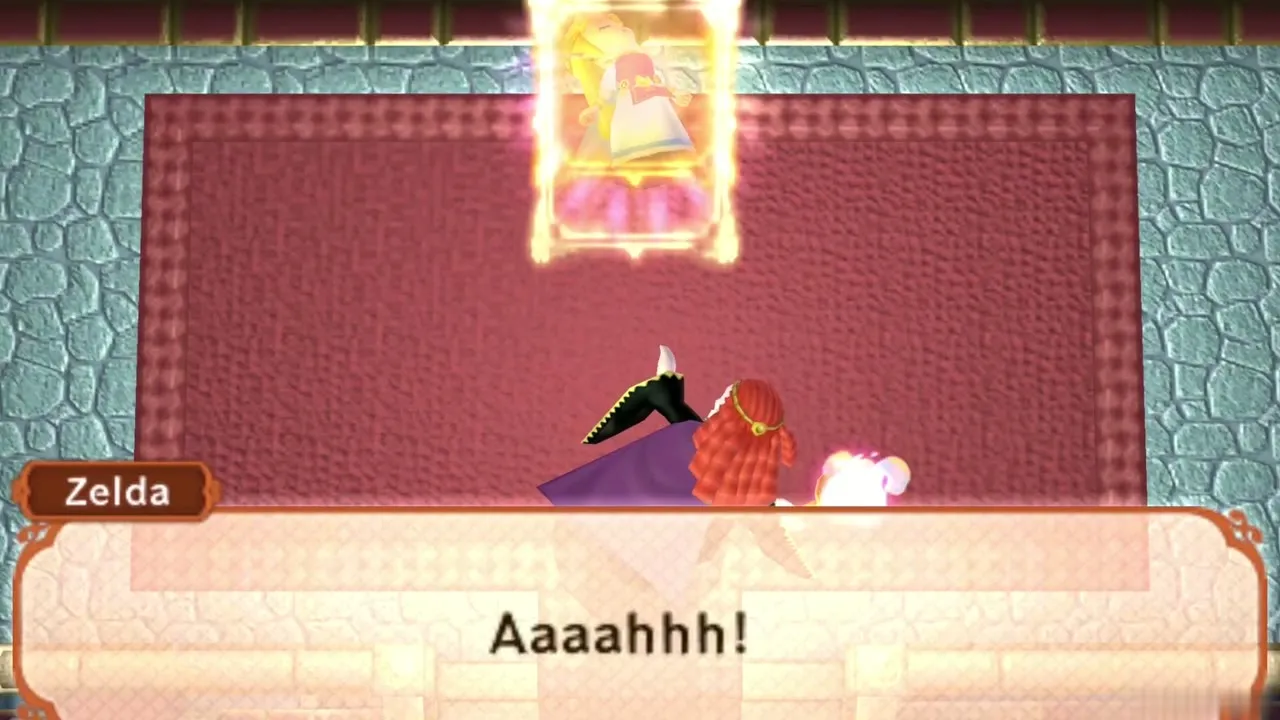
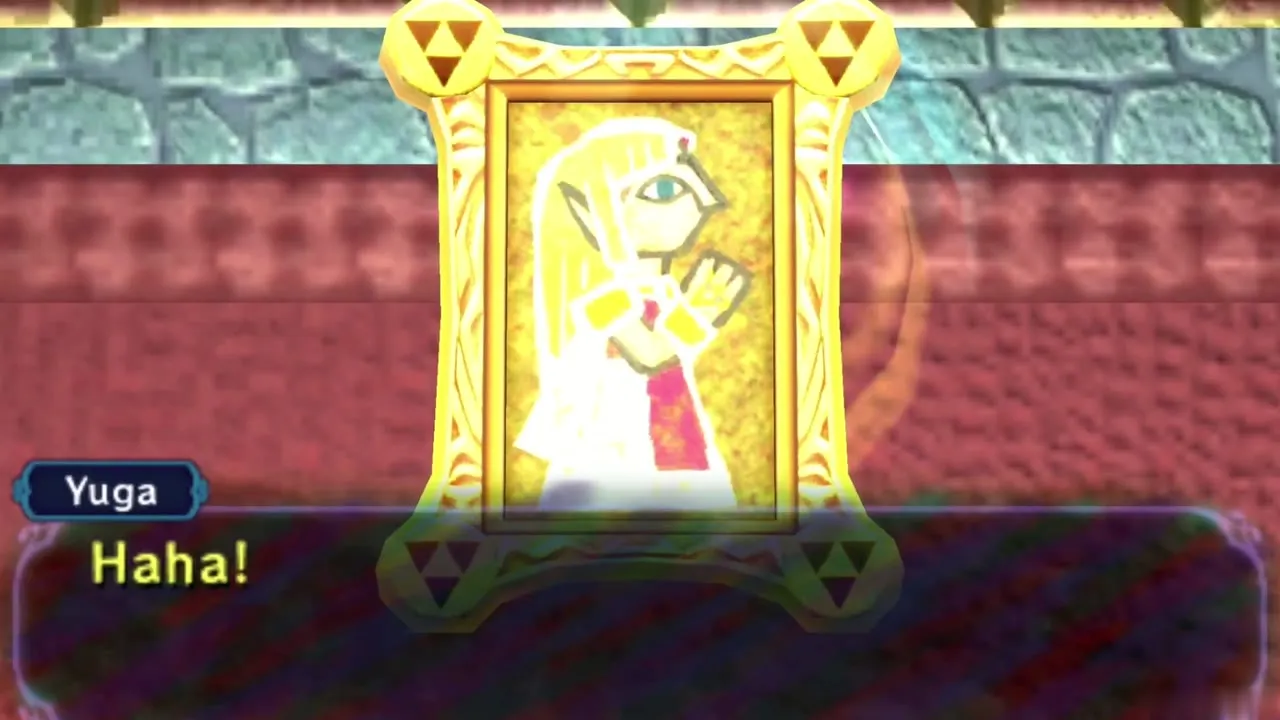
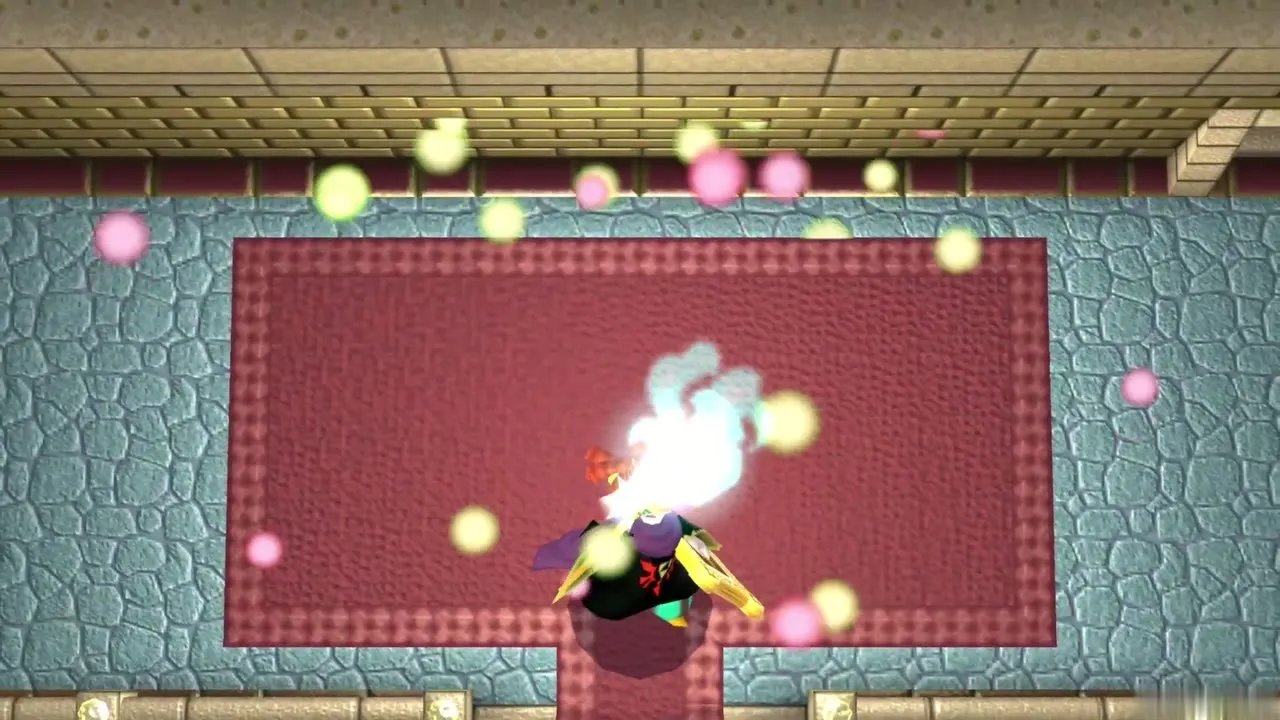
On 4F you walk into the throne room as Zelda confronts Yuga. He turns her into a painting and vanishes, leaving painted soldiers behind. Beat them to open the stairs. On the floors above, step outside through the south or east doors, come back in and take the stairs, fighting soldiers along the way until you reach the top room.
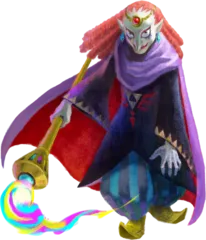
Yuga boss fight
Yuga boss fight: clones
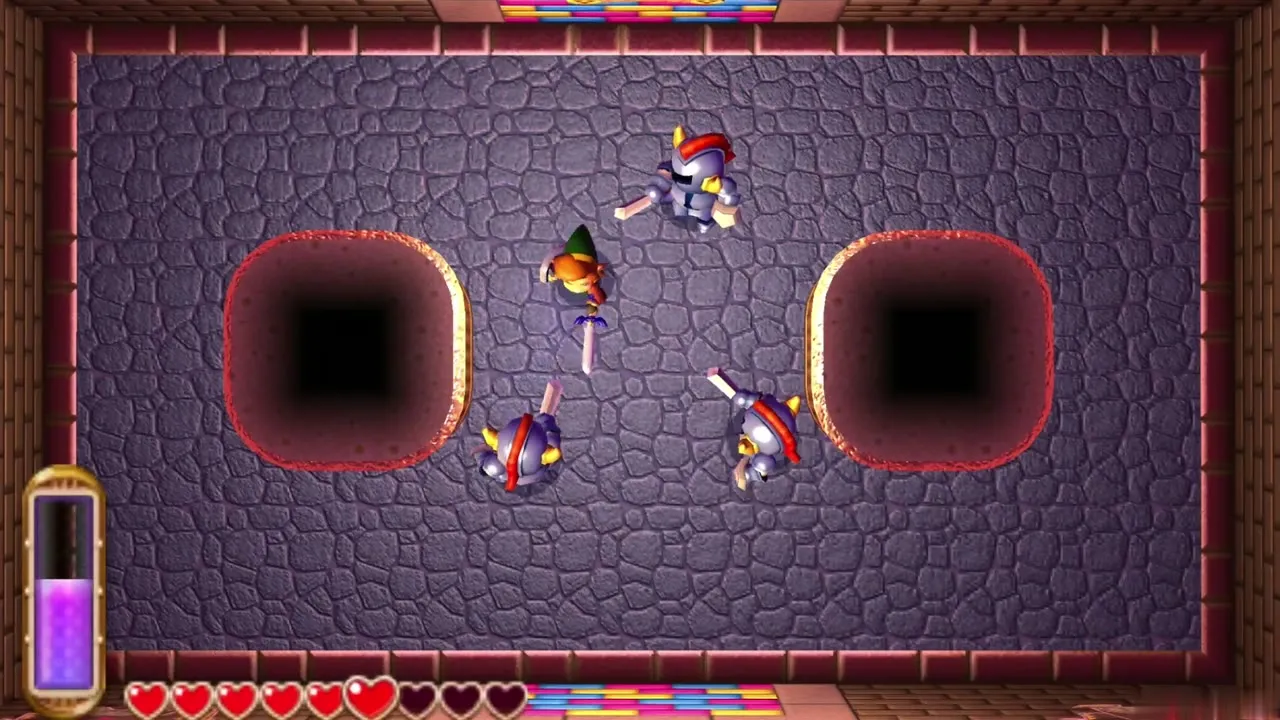
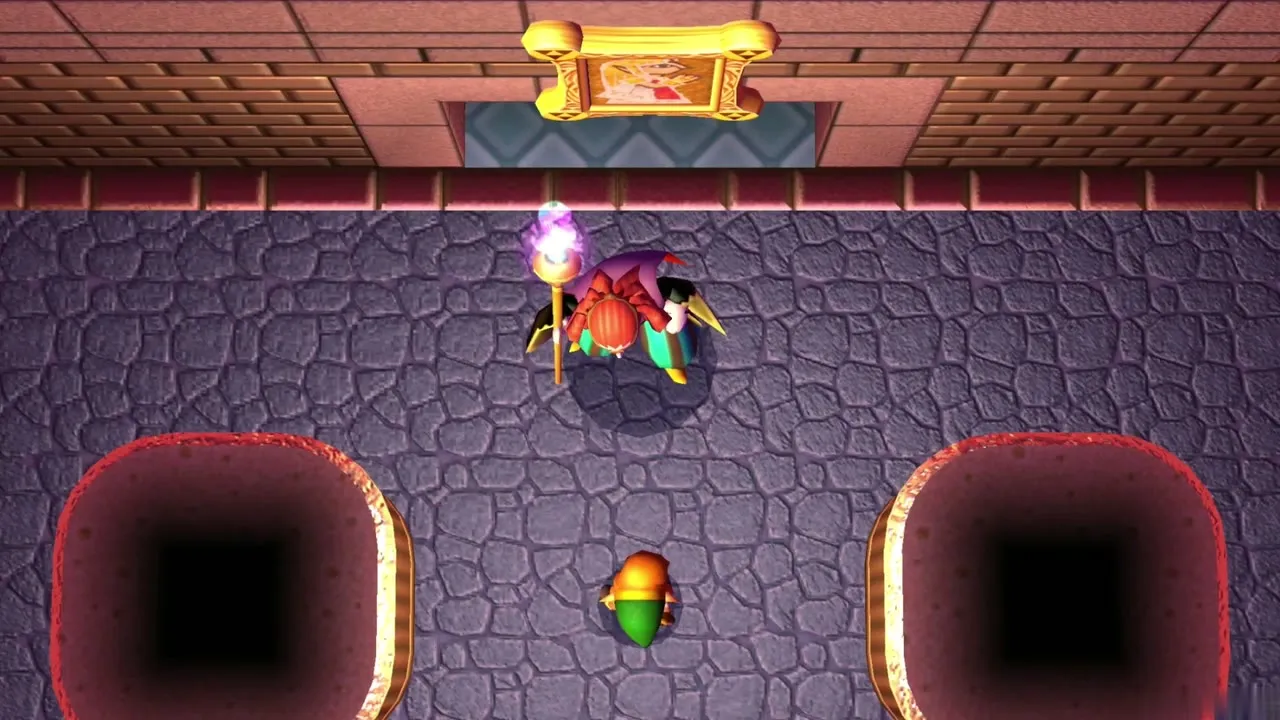
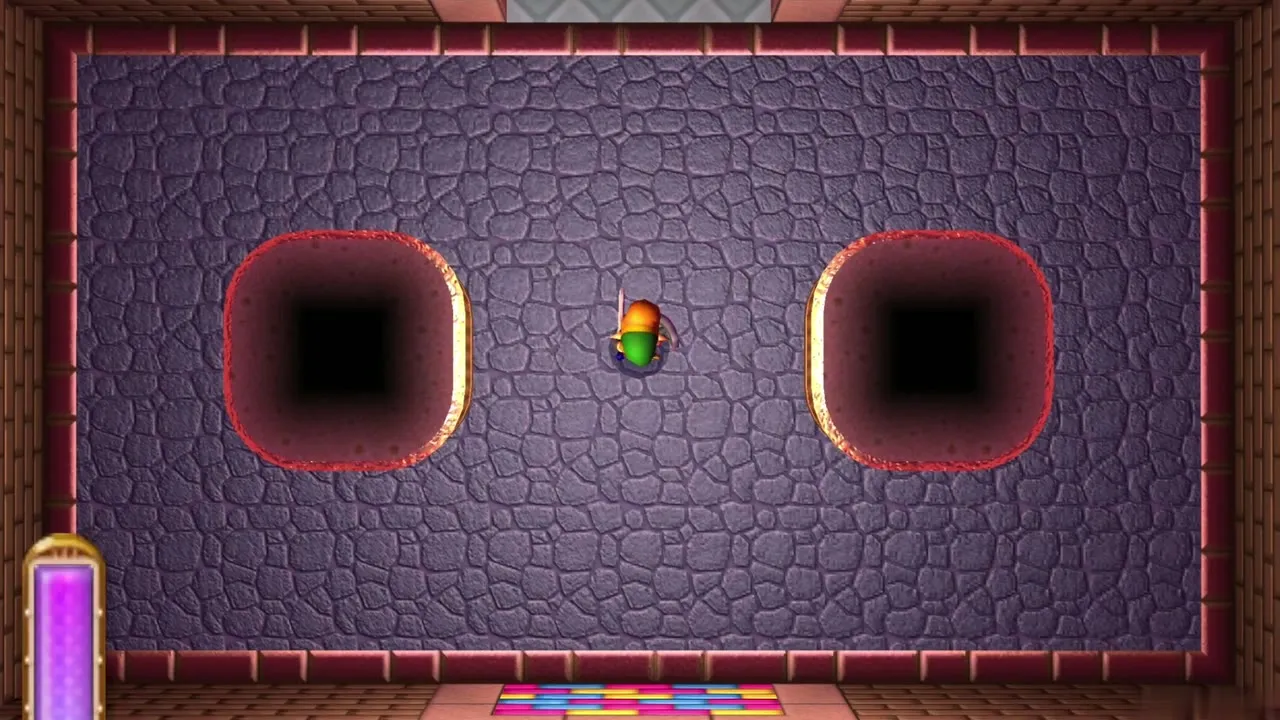
In the arena with two pits, Yuga splits into three and moves through the walls, casting spells. Watch which one steps out of the wall and hit that one with the sword; if you slash the wrong one, it turns into a soldier. Stay between the pillars and out of the way of the spells.
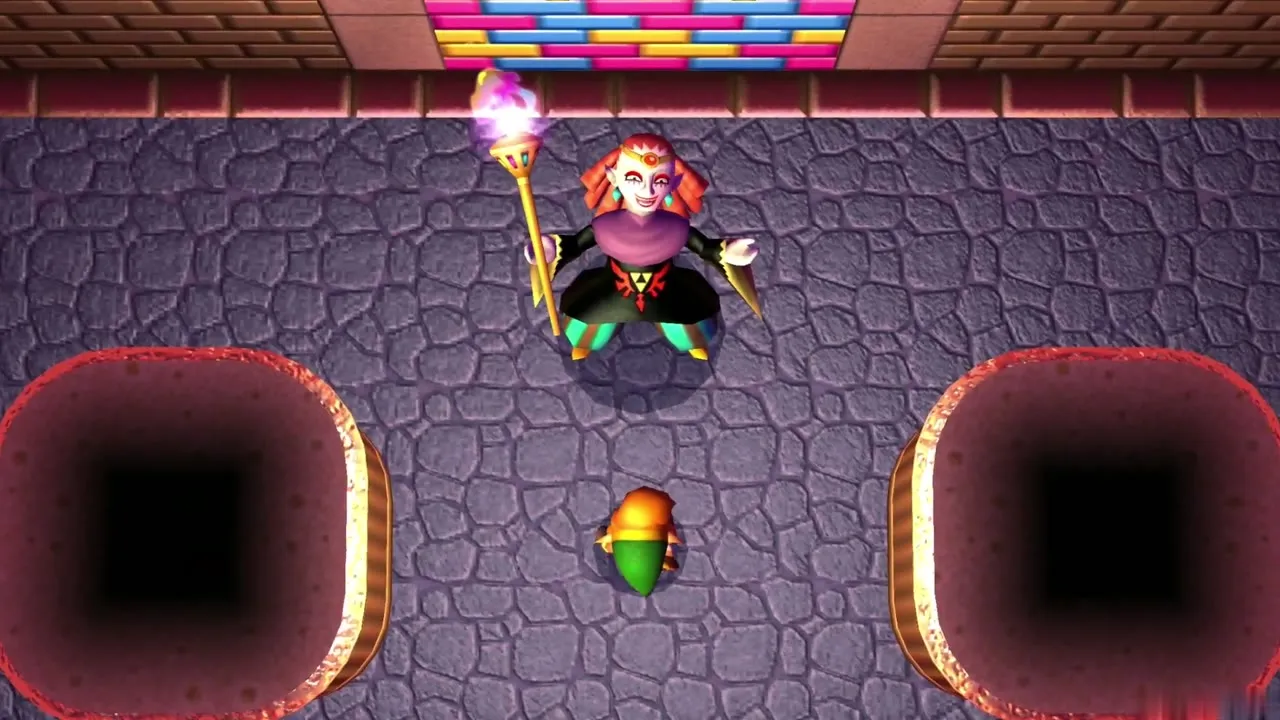
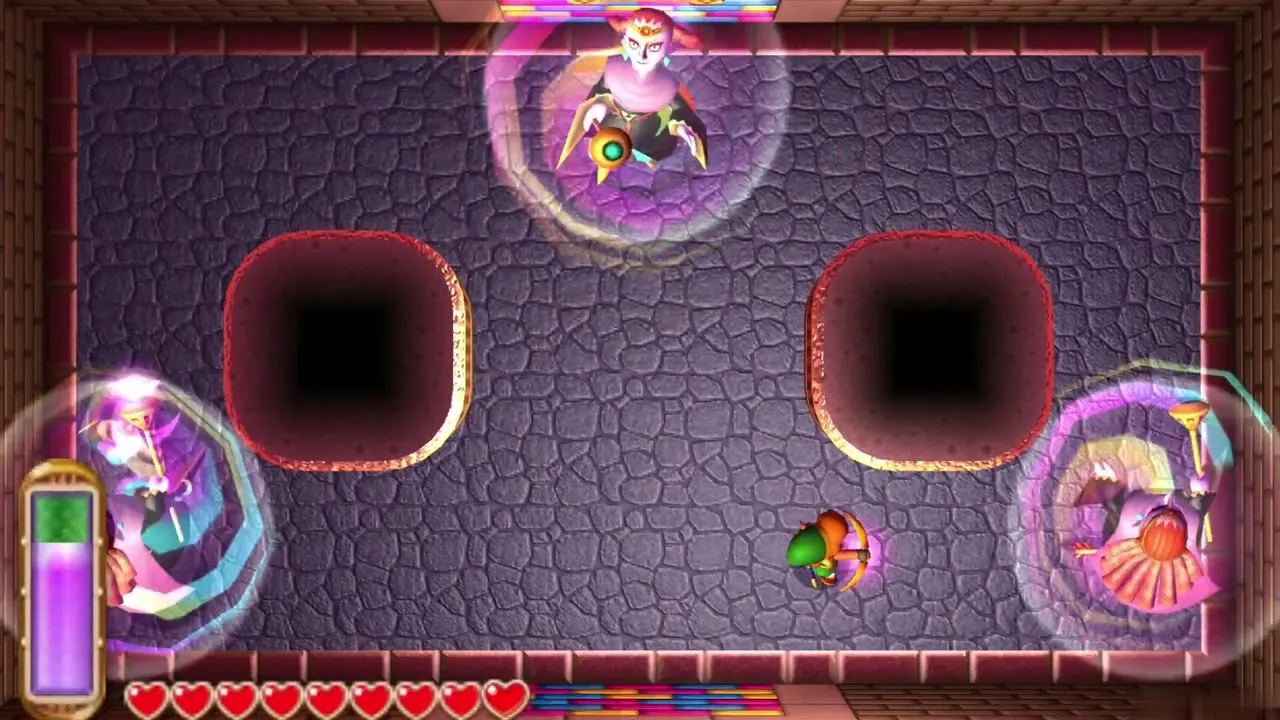
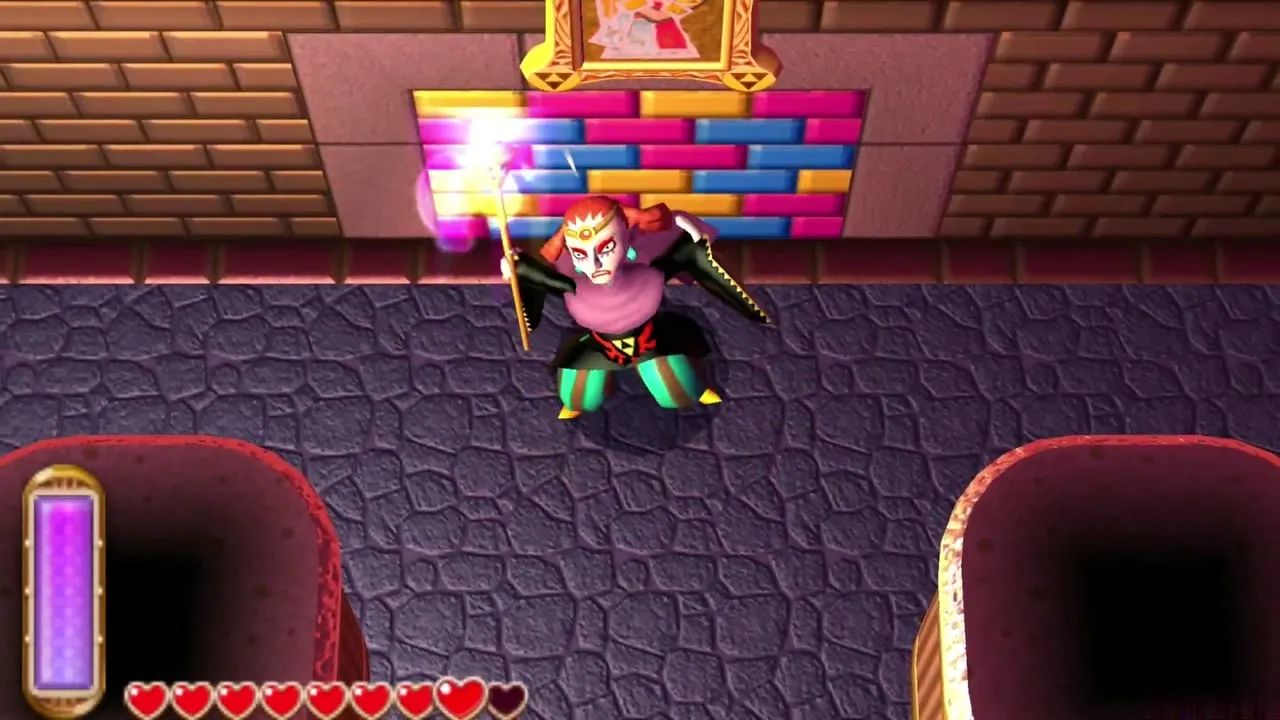
Yuga boss fight: soldiers and speed
As he weakens, Yuga becomes faster and sends soldiers into the room. Clear them as they arrive and keep hitting the real Yuga. When he has had enough, he snatches Zelda’s painting from the wall and escapes.
Hyrule Castle fissure to Lorule
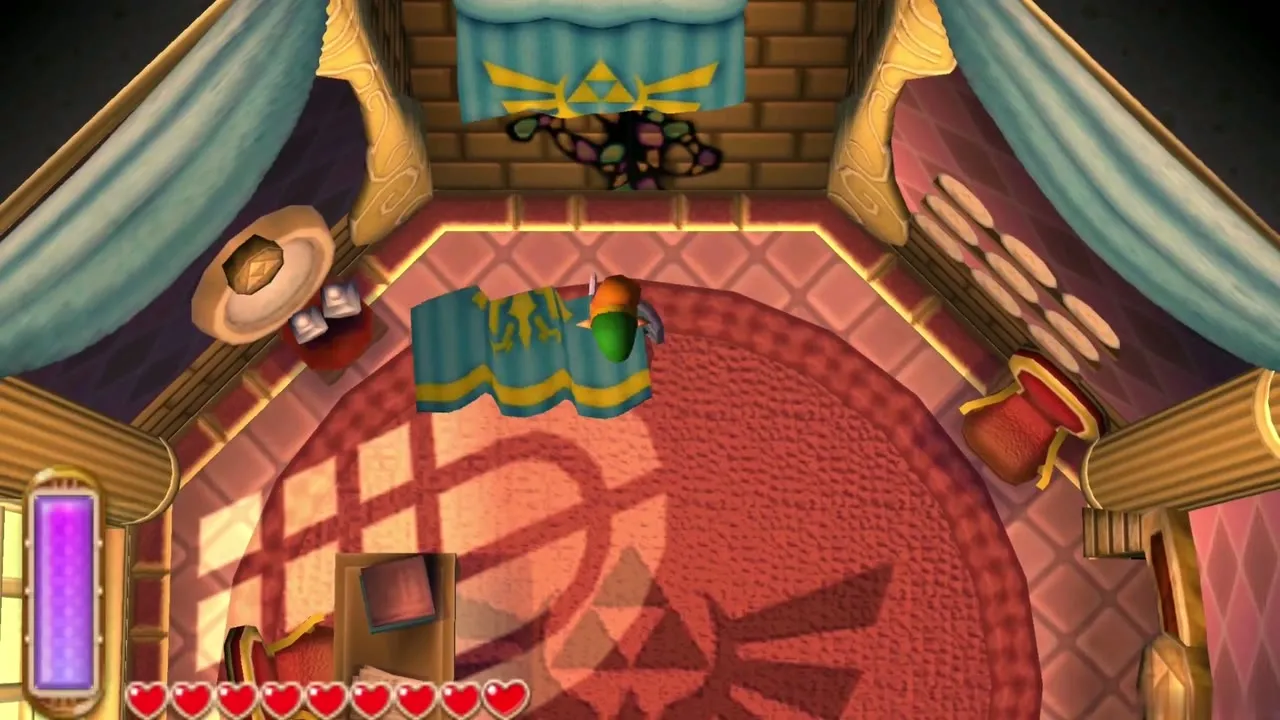
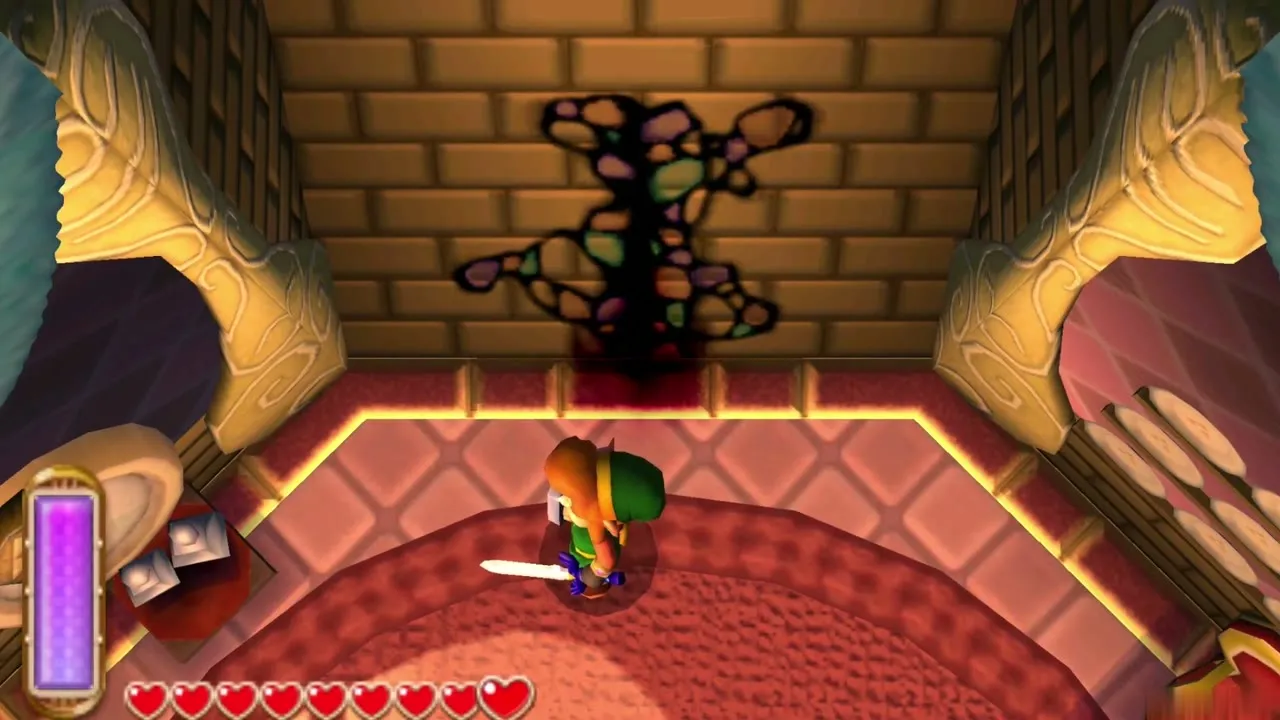
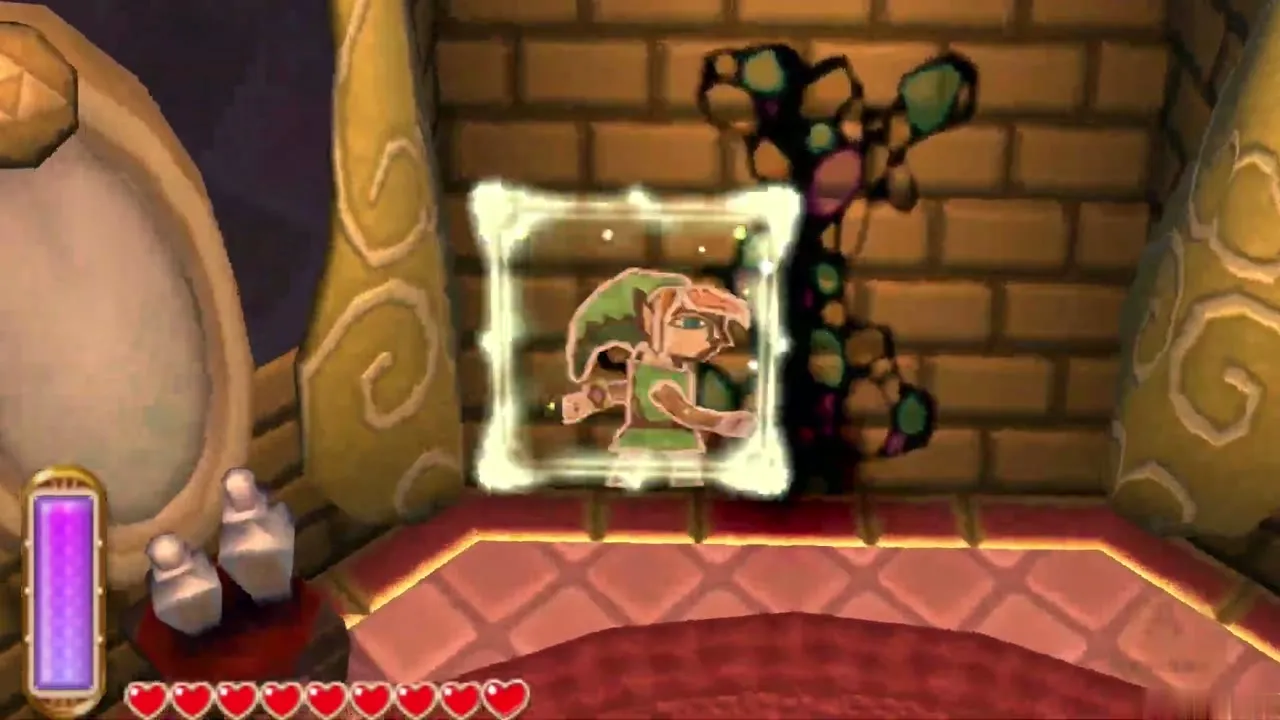
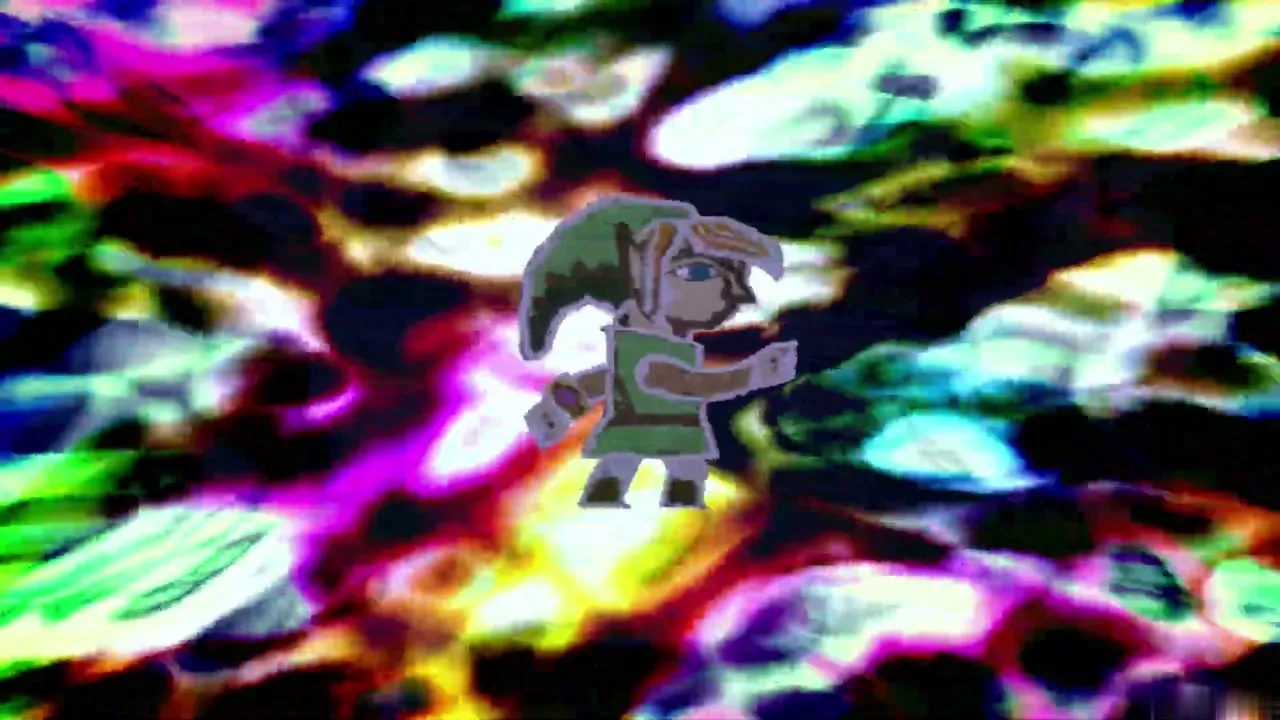
Go out onto the north balcony, turn left and enter the large office with the Hylian crest on the rug. Cut the curtain on the north wall with your sword to uncover a crack, then press A to merge into it and slide through. A strange space carries you to Lorule, the dark twin of Hyrule.
Chapter checklist
| Collectible | Type | Where |
|---|---|---|
| Master Sword | Main item | Pedestal at the end of the Lost Woods maze |
| Heart Piece #5 | Heart Piece | Lost Woods, north-centre, narrow wall gap by the broken log |
| Heart Piece #6 | Heart Piece | East side of Hyrule Castle, under rocks (Power Glove) |
| Heart Piece #3 | Heart Piece | Behind the Blacksmith’s house, merge along the wall |
 Lost Woods Maiamai | Maiamai | Seven now; the eighth needs the Titan’s Mitt |
| Hyrule Castle Maiamai | Maiamai | Seven now; the eighth needs the Titan’s Mitt and Lorule |
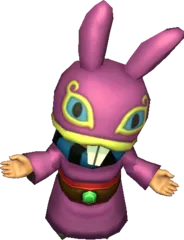 Ravio’s items | Shop | Link’s House, first purchase half price |
Next comes the Lorule and Dungeon Order walkthrough, where you wake in the Lorule Blacksmith’s house and meet Princess Hilda.