A Link Between Worlds 100% Completion Walkthrough18 chapters
- Opening and SanctuaryWake in Link’s House, deliver the captain’s sword, cross the Graveyard passage with the Lamp and meet Yuga.
- Hyrule Castle and Kakariko VillageRavio’s Bracelet, Zelda’s Pendant of Courage, Kakariko shops, Sahasrahla and the free Bow rental.
- Eastern PalaceEvery key, chest and rupee, the Compass, Big Key, Yuga boss fight and your first Heart Container.
- Pegasus Boots and Zora’s FlippersGet the Pouch, Irene’s Bell, Power Glove, Pegasus Boots, Zora’s Flippers, Ravio’s rentals and Hyrule Heart Pieces.
- House of GalesRent the Tornado Rod, swim to Lake Hylia’s island, beat Margomill and take the Pendant of Wisdom.
- Death MountainClimb the boulder caves, find two Heart Pieces and a Bottle, and reach the Tower of Hera.
- Tower of HeraEvery floor, both Small Keys, Compass, Big Key, Moldorm boss fight, Heart Container and Pendant of Power.
- Master Sword and Lost WoodsWalkthrough for pulling the Master Sword in the Lost Woods, breaking the Hyrule Castle barrier.
- Lorule and Dungeon OrderHilda, the Blacksmith, fissures, Ravio’s Shop, Thieves’ Town side content and the dungeon order.
- Dark PalaceThe guard maze, every key, the Compass, Big Key, Master Ore, Gemesaur King, Heart Container and Sage Gulley.
- Skull WoodsKeys, Compass, Big Key, Master Ore, Knucklemaster boss fight, Sage Seres and the Master Sword upgrade.
- Ice RuinsThe Hookshot route to Lorule’s Death Mountain, every floor, keys, the Stamina Scroll and Dharkstare.
- Thieves’ HideoutThe password song, the Thief Girl escort, Master Ore, Stalblind, Sage Osfala and the Sand Rod.
- Swamp PalaceBig Bomb Flower, Hookshot, water levels, keys, Compass, Blue Mail, Big Key, Arrghus and Sage Oren.
- Turtle RockRescue the baby turtles, use the Ice Rod, find every key, beat Grinexx and free Sage Impa.
- Desert PalaceReach it with the Sand Rod, find the Titan’s Mitt, beat Zaganaga and rescue Sage Irene.
- Lorule CastleThe Triforce of Courage, all four mini-bosses, the Compass, Red Mail and the way to the Throne Room.
- Final BossBeat Yuga Ganon with the Bow of Light, see Hilda’s choice, make the Triforce wish and unlock Hero Mode.
| Covers | Haunted Grove, Kakariko Village, Rosso’s house, the Lost Woods, the Graveyard passage, Zora’s Domain, Ravio’s shop, Mother Maiamai’s cave and the ruins east and south of Link’s House |
|---|---|
| You need | Ravio’s Bracelet from the Eastern Palace and the Net with an empty Bottle; the Bombs, Hammer and Tornado Rod are rented from Ravio during this chapter |
| Rewards | 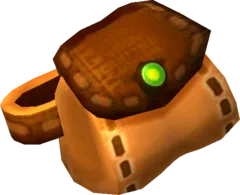 Pouch,  Bell,  Power Glove,  Pegasus Boots,  Zora’s Flippers, Maiamai Map,  Bottle #2,  Heart Pieces #1 to #12,  Silver and Purple Rupees, and up to 36 Maiamai; no Master Ore and no Heart Container |
With Yuga gone and the Bracelet on your arm, Hyrule opens up. This chapter gathers the five tools that unlock the rest of the map: the Pouch from the Haunted Grove, the Bell from Irene, the Power Glove from Rosso, the Pegasus Boots from the Shady Guy and Zora’s Flippers from Queen Oren. It also opens Ravio’s rental shop, and with a few rented items it collects twelve Heart Pieces, two Silver Rupees and the first Lost Maiamai.
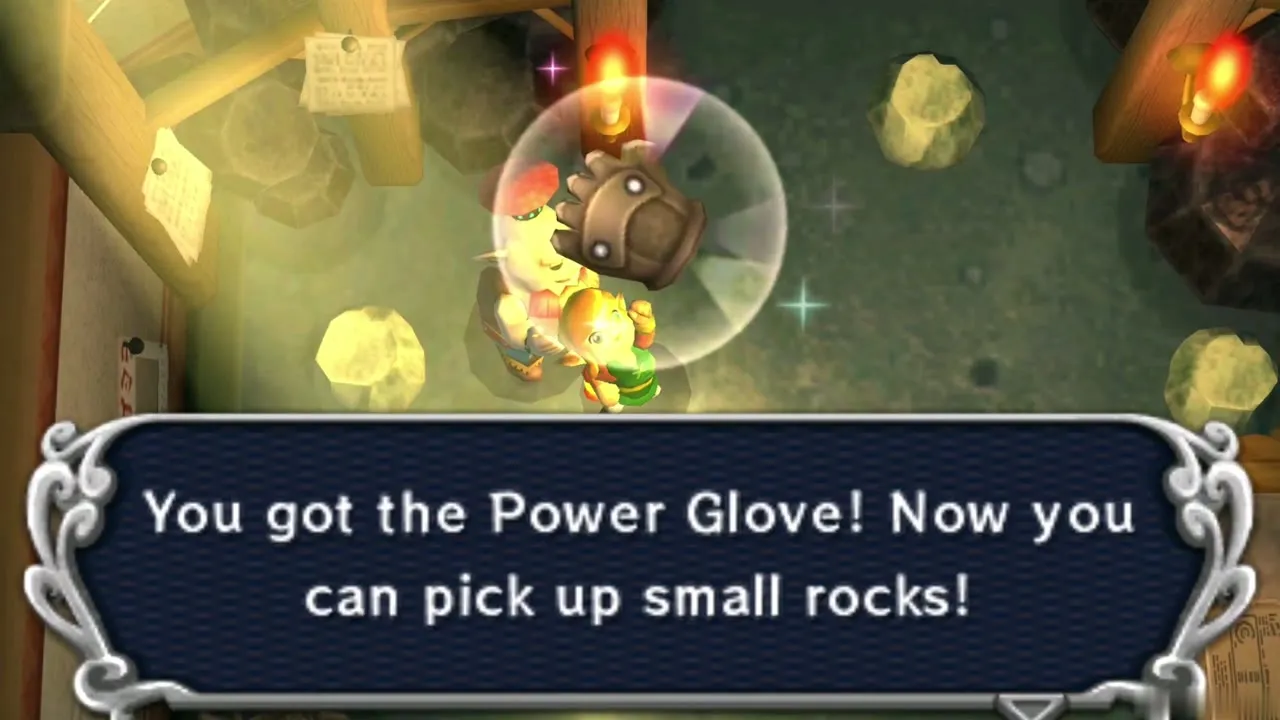
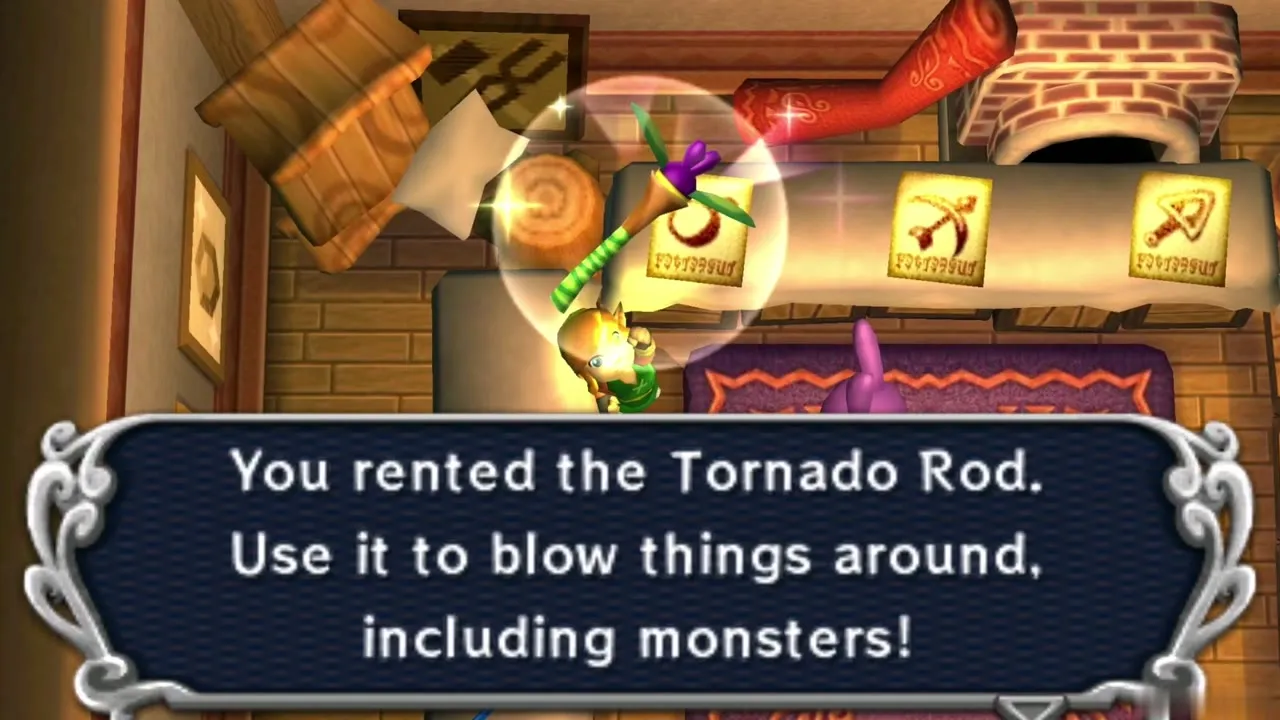
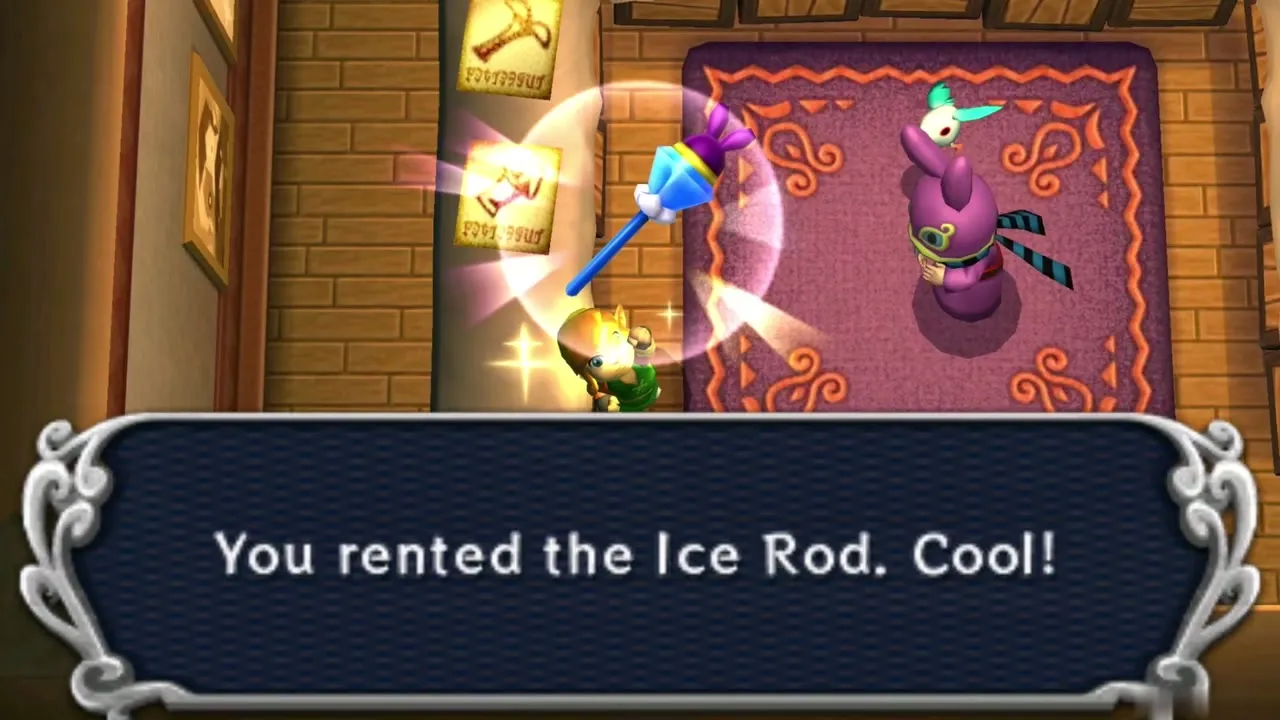
Table of Contents
Haunted Grove Pouch
How to get the Pouch
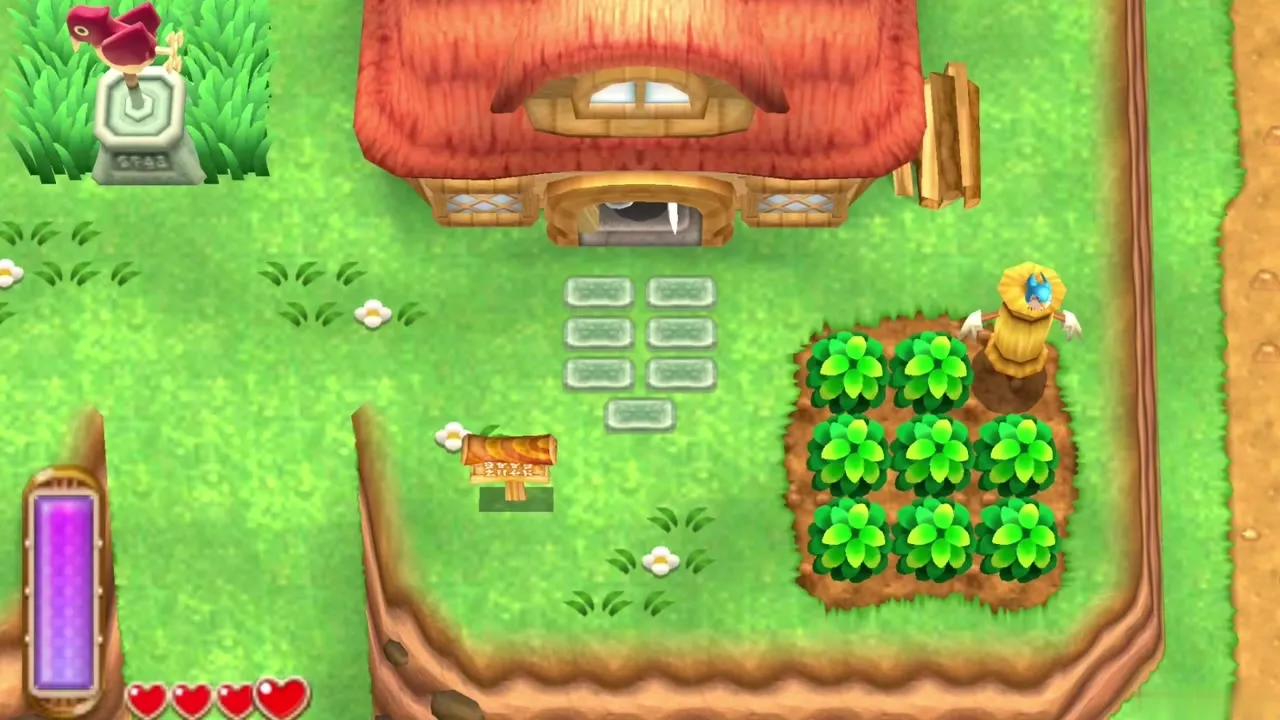
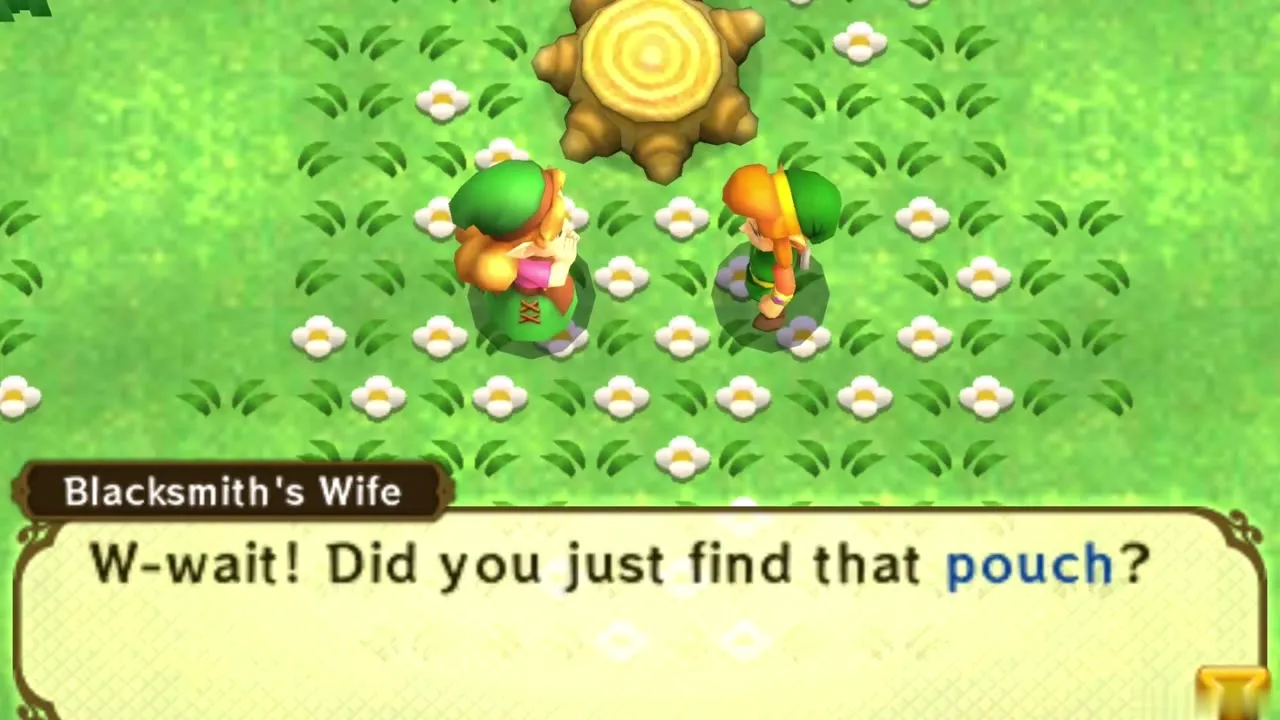
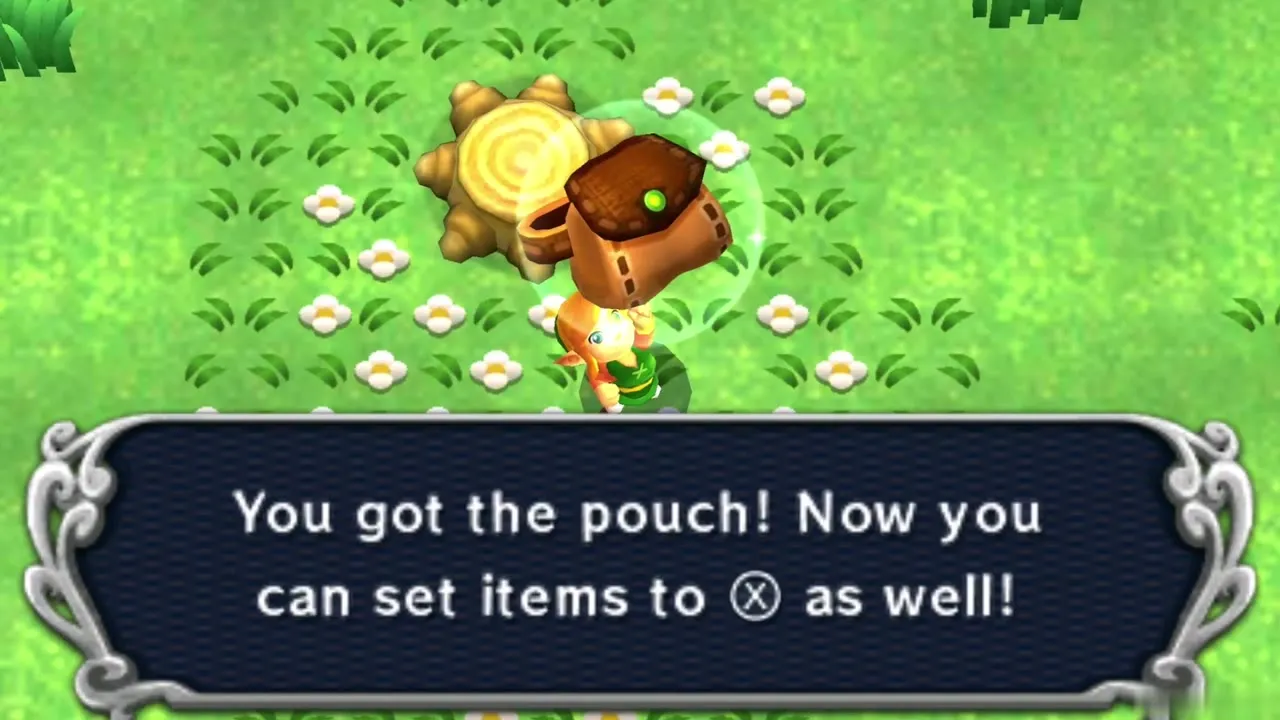
Make your way to the Blacksmith’s house. The Blacksmith’s Wife is calling for Gulley and fears he is lost in the woods nearby. Go through the bushes to the flowery clearing of the Haunted Grove, where a tree stump holds a bag. The bag is the Pouch. It adds a second item slot on the X button, so you can carry two tools at once.
Blacksmith’s Heart Piece #3
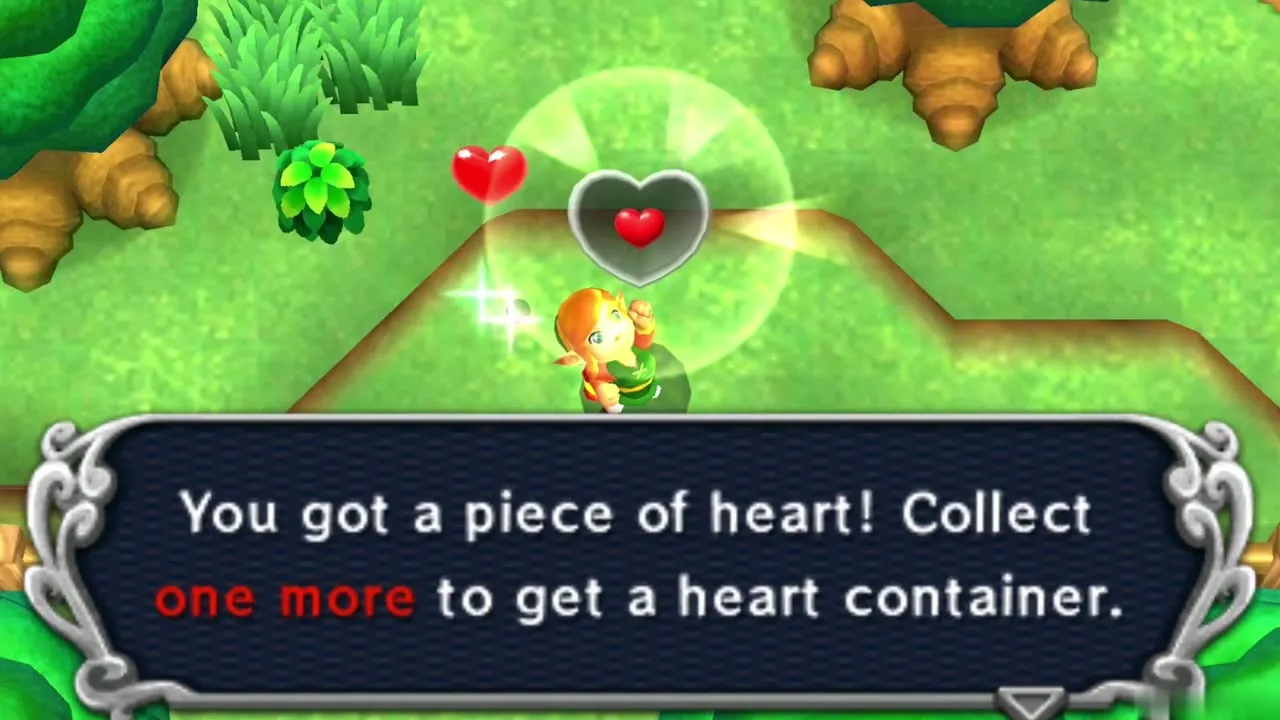
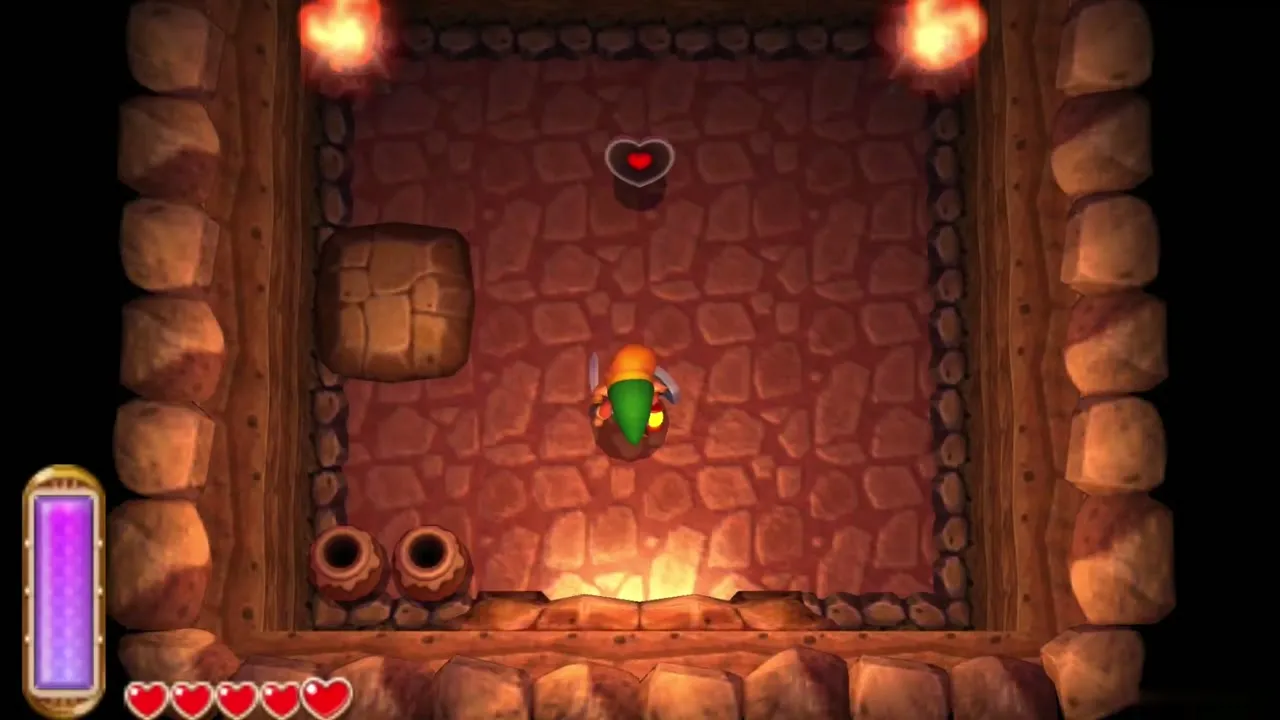
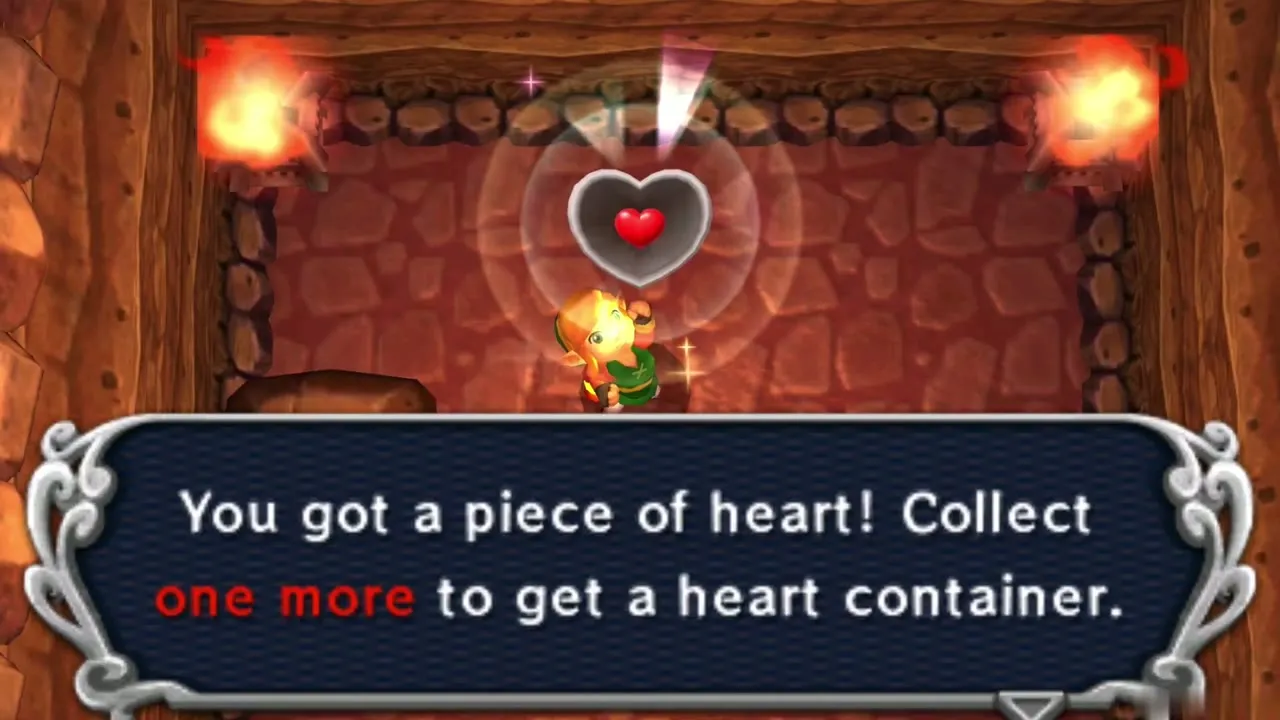
While you are near the Blacksmith’s house, merge into its west wall, slide to the back and step out facing north. Heart Piece #3 sits on the small ledge past the trees there. Only the Bracelet is needed.
Selling bees to the Bee Guy
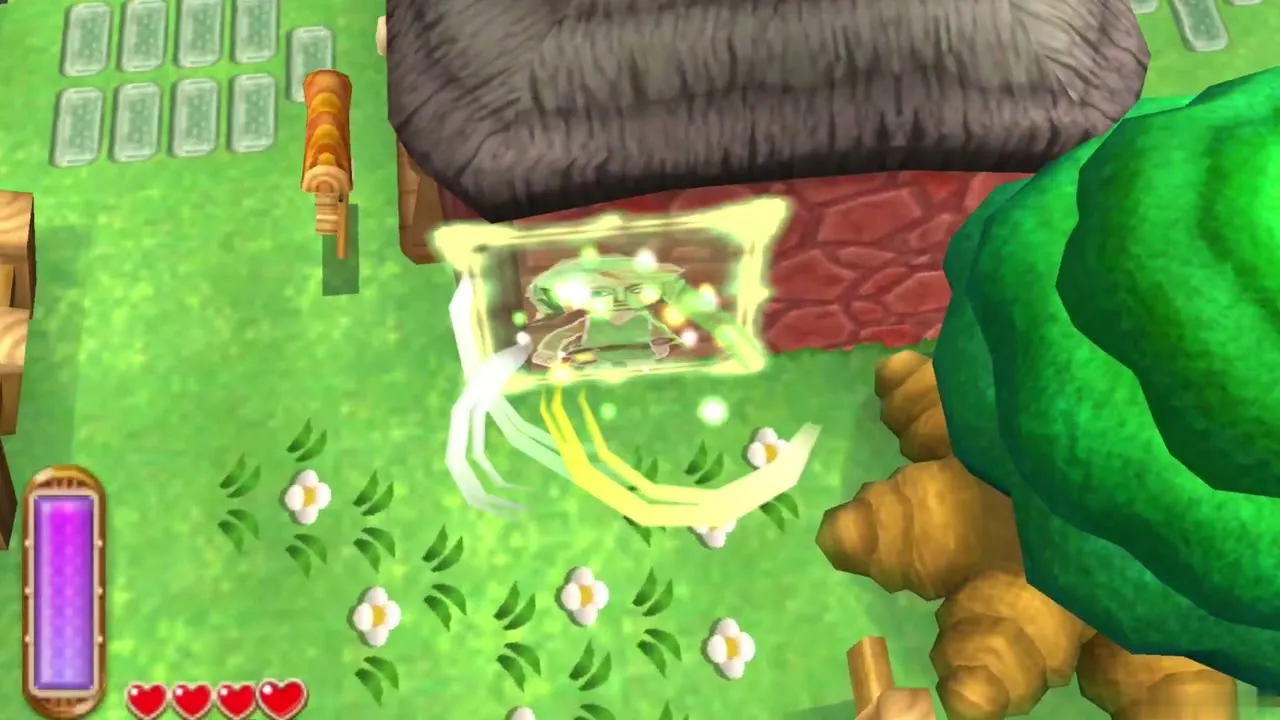
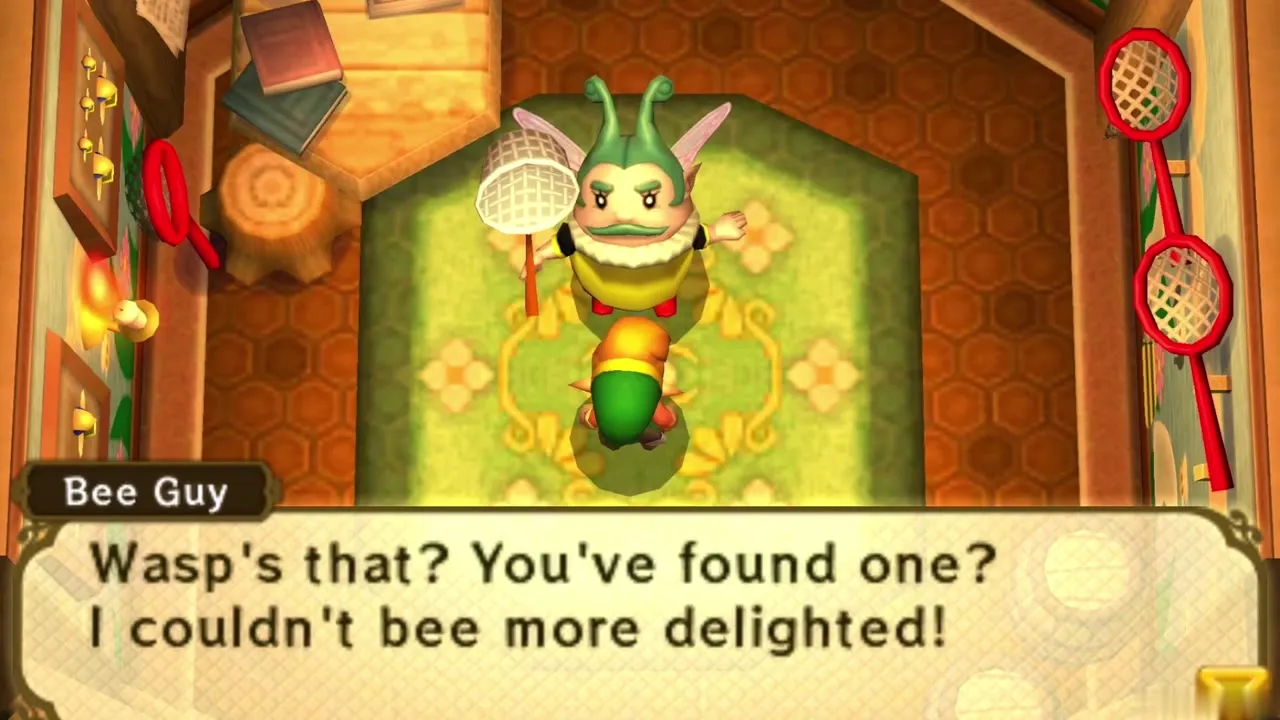
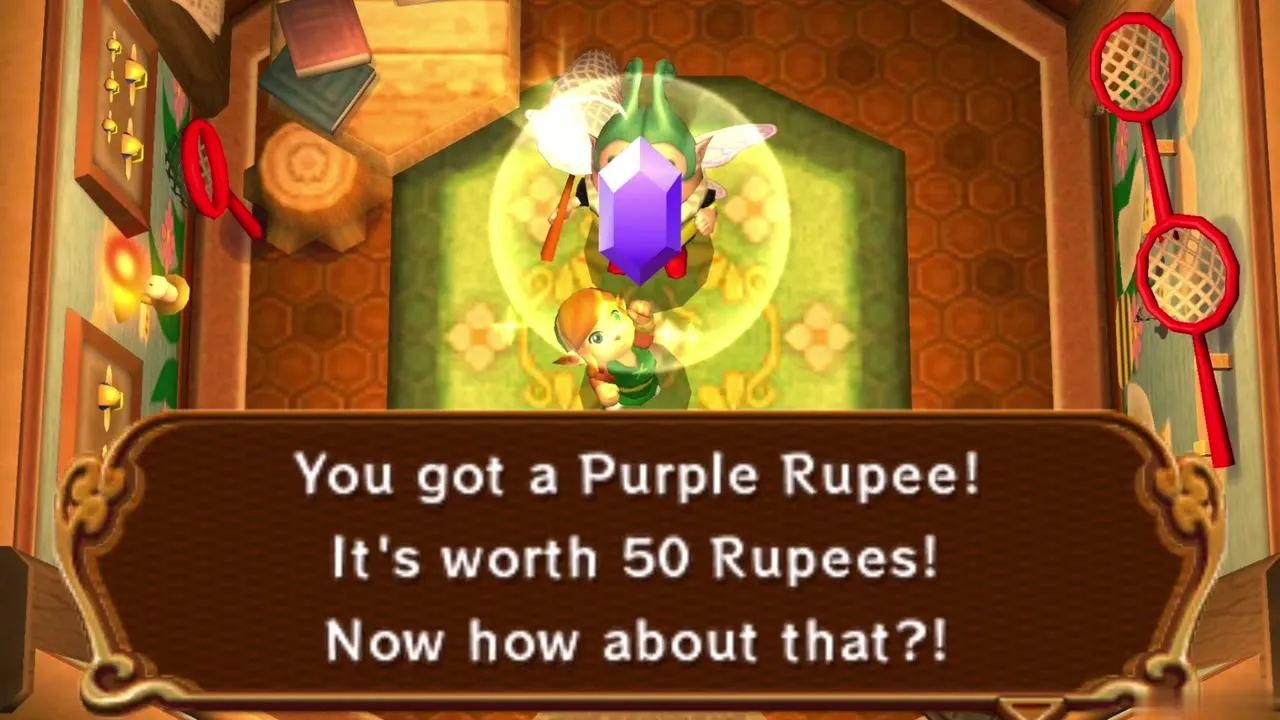
With the Net equipped and an empty Bottle, sweep the flowers in the clearing and the meadows around it until a bee flutters up. Swing the Net, then choose to put the bee in the Bottle. Carry it to the Bee Guy in Kakariko Village and hand it over; he pays a Purple Rupee, worth 50 Rupees, each time. It is a quick way to fund the 200 Rupees you need later for the Smooth Gem.
Kakariko Village errands
Sahasrahla’s storeroom Silver Rupee
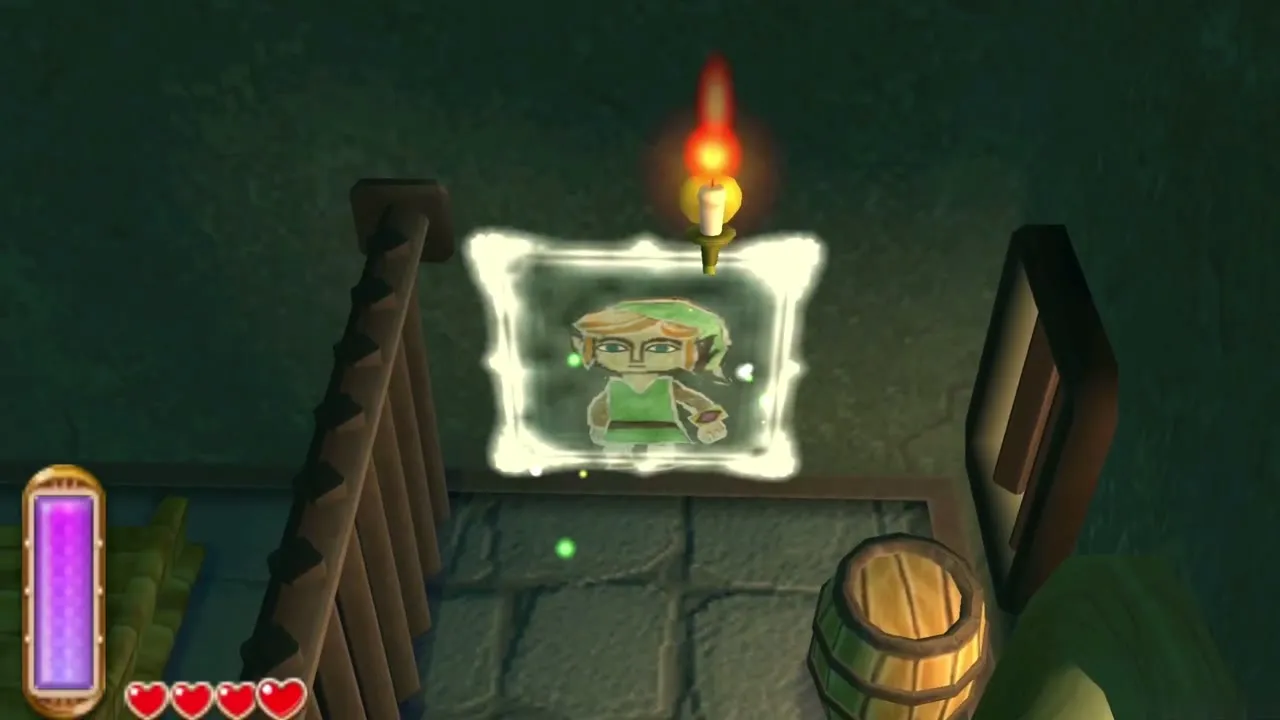
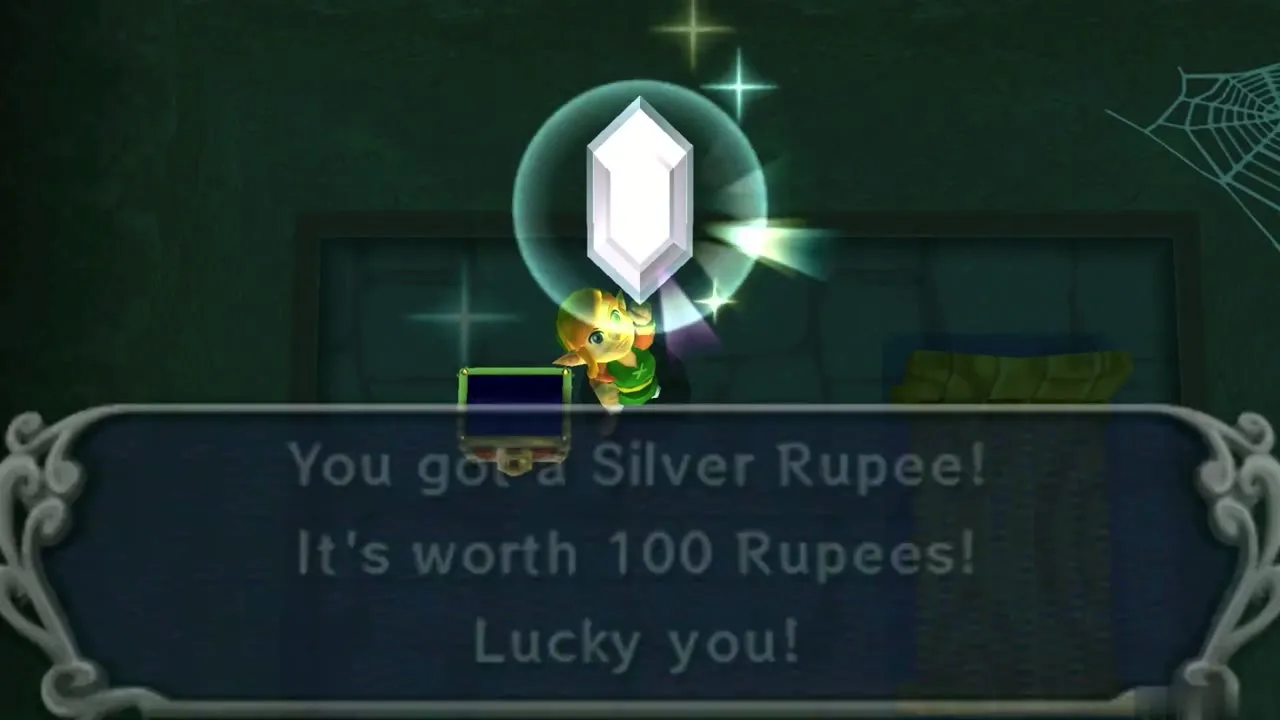
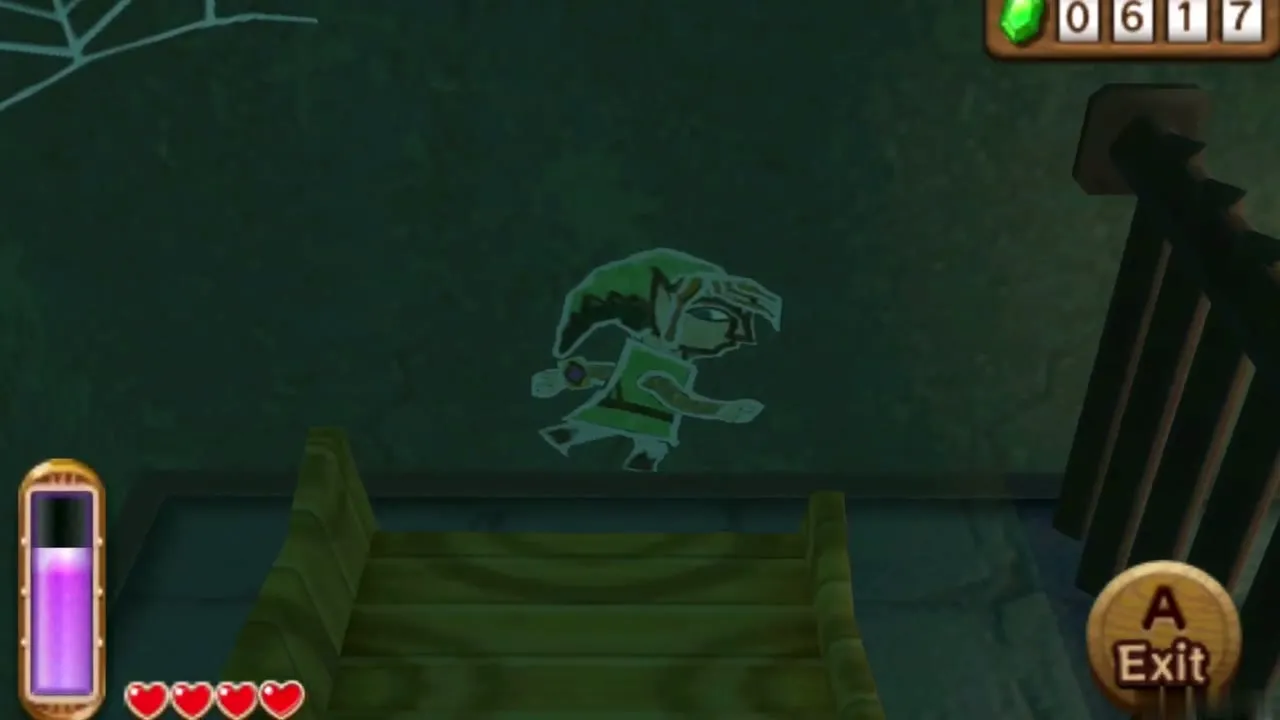
Find the storeroom on the left side of Sahasrahla’s house and merge into the grate in its wall. Slide along the wall past the iron bars to reach the room behind them. Step out and open the chest for a Silver Rupee, worth 100 Rupees. No item is required beyond the Bracelet.
Kakariko well Heart Piece #1
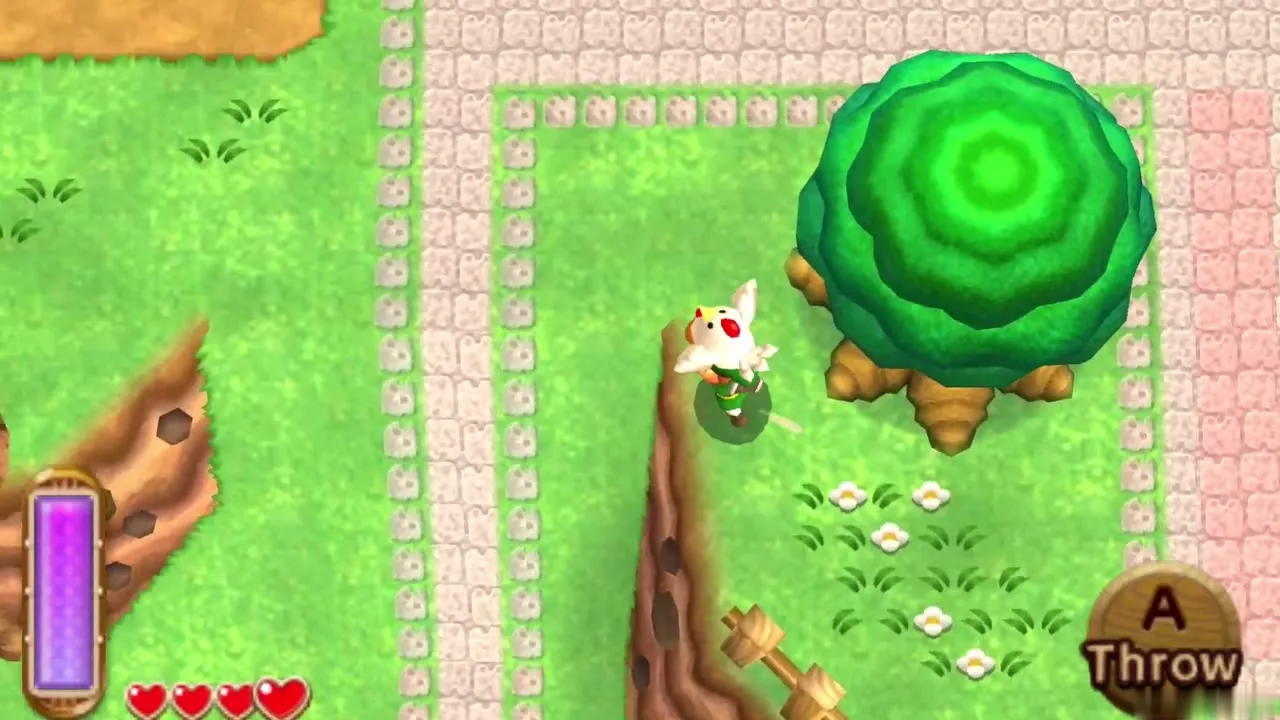
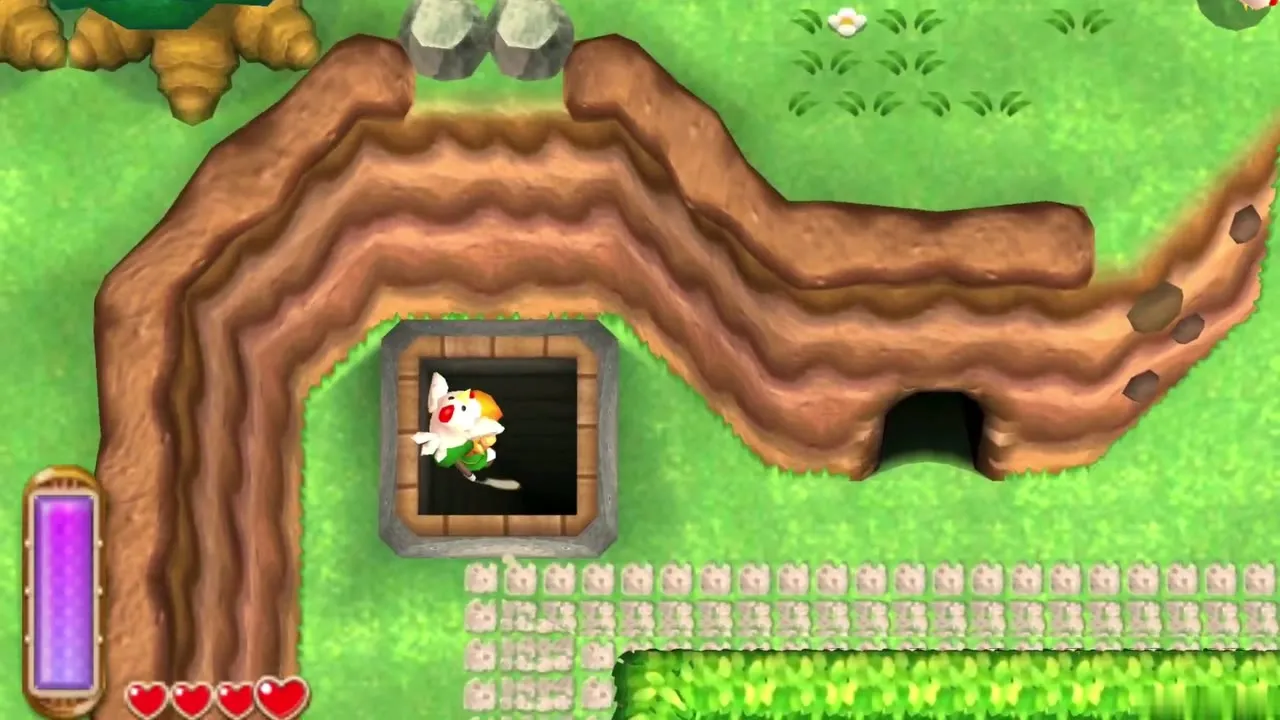
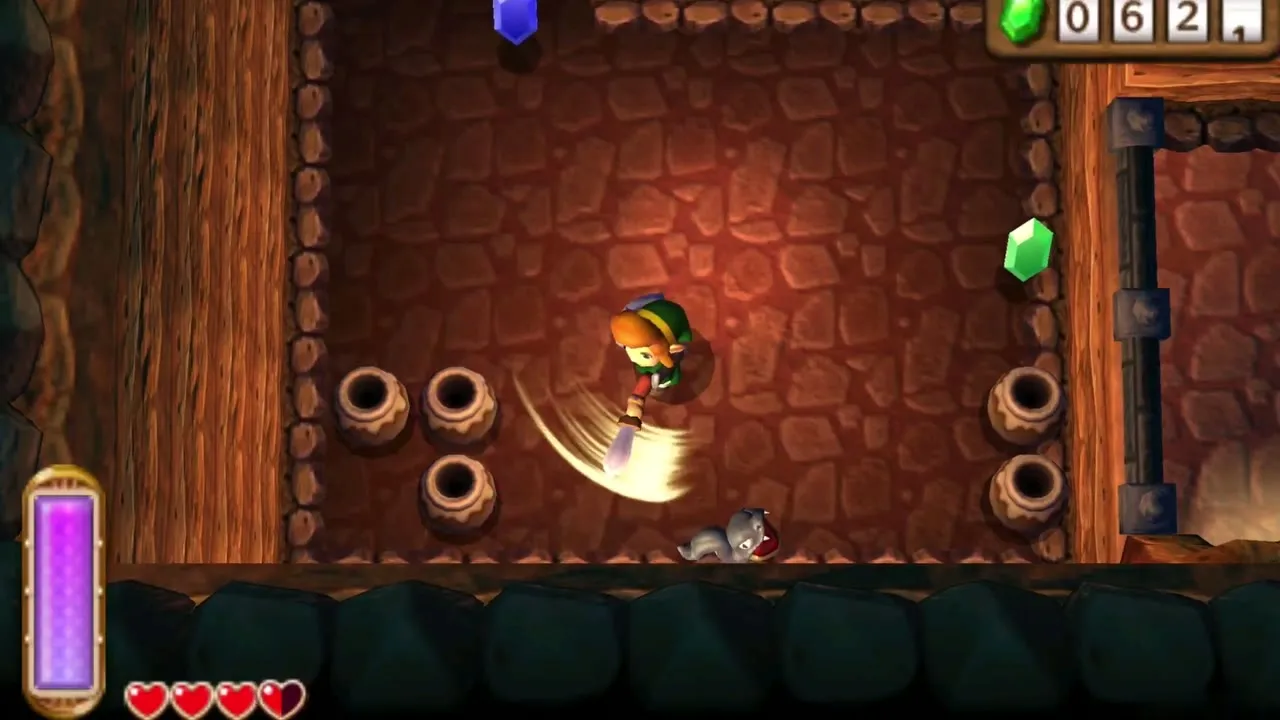
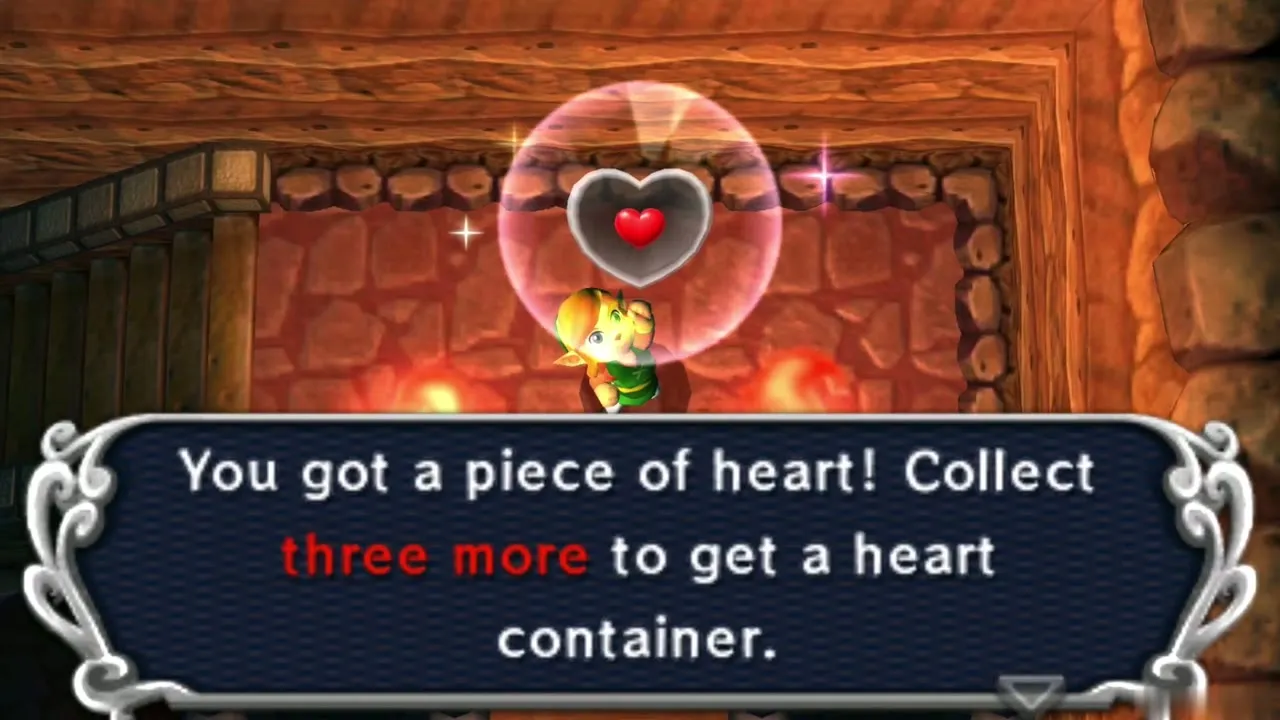
Heart Piece #1 lies in the cave under the well at the north-west corner of Kakariko. Pick up a Cucco, carry it to the ledge beside the well and jump so it glides you into the hole. Once you own the Power Glove you can lift the small rocks above the well and drop down instead. Defeat the enemies in the cave and take the Heart Piece.
Cucco Ranch Heart Piece #2
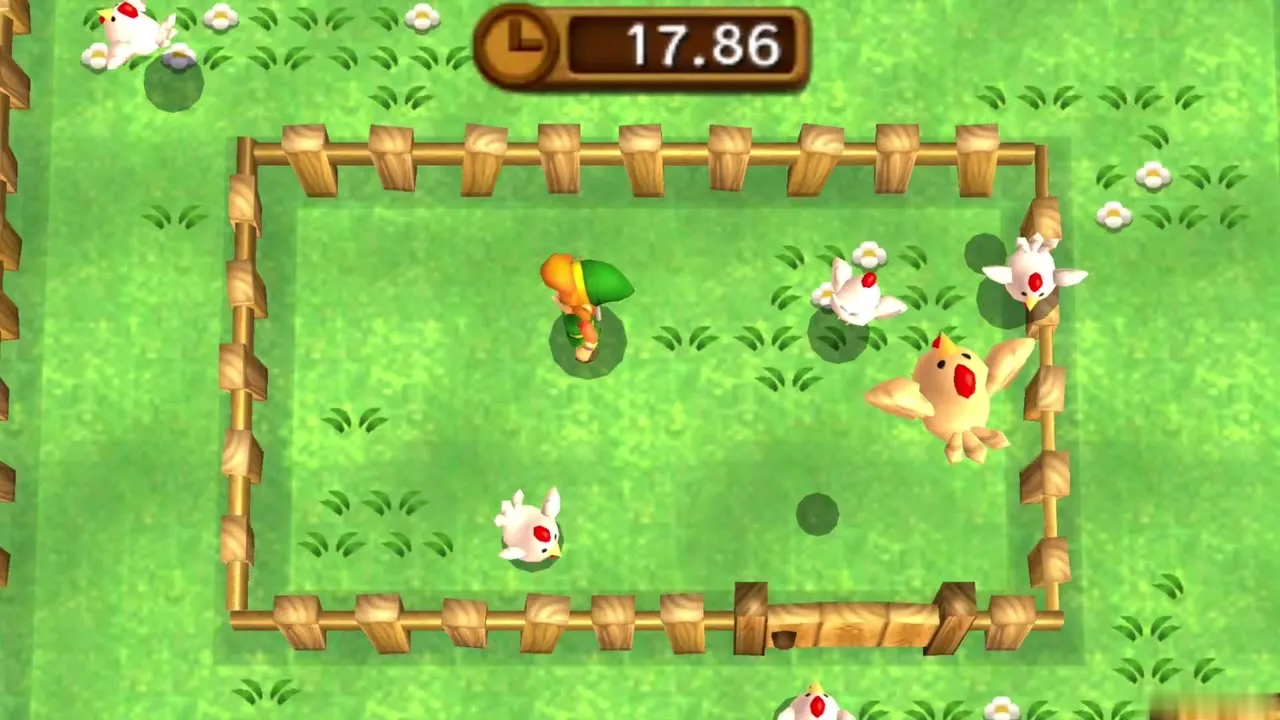
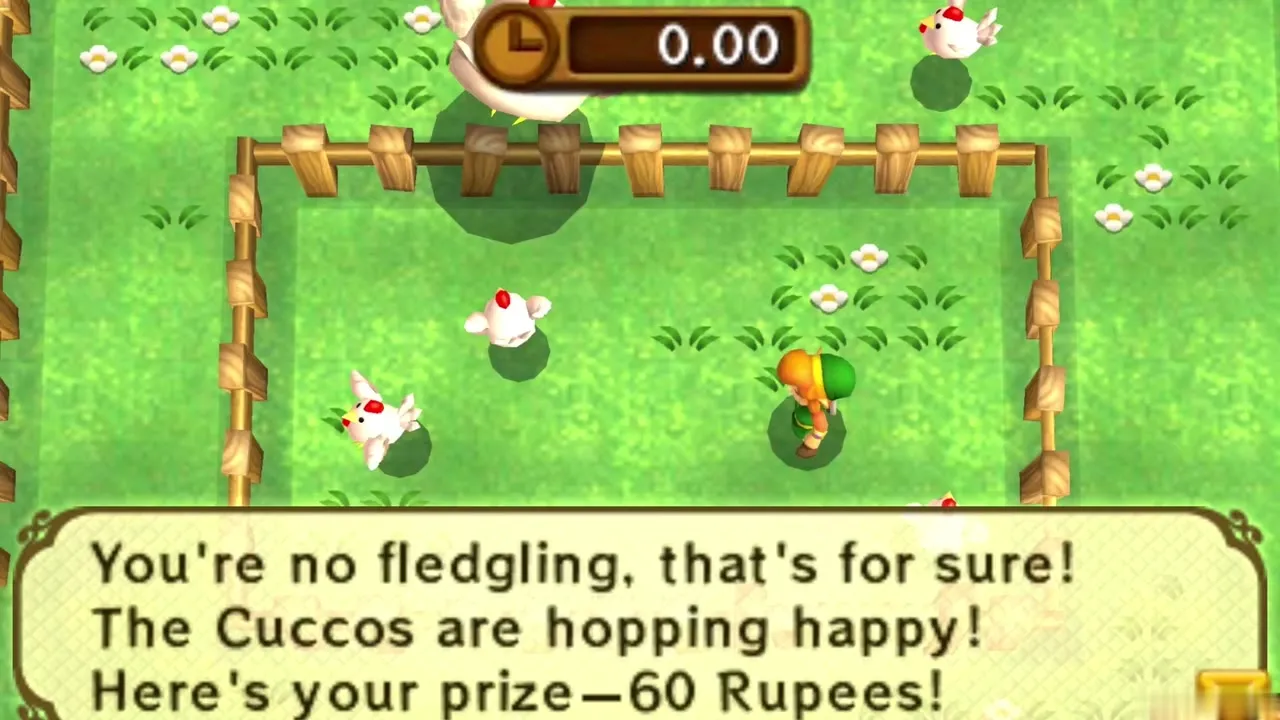
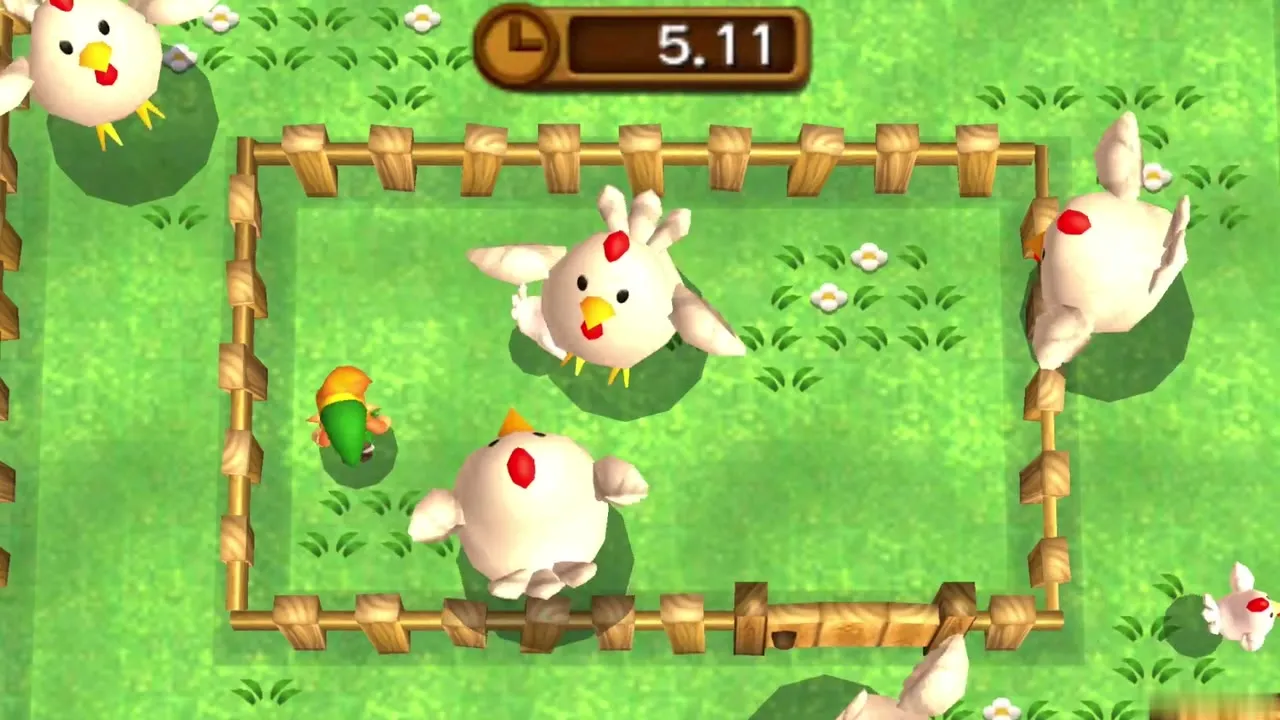
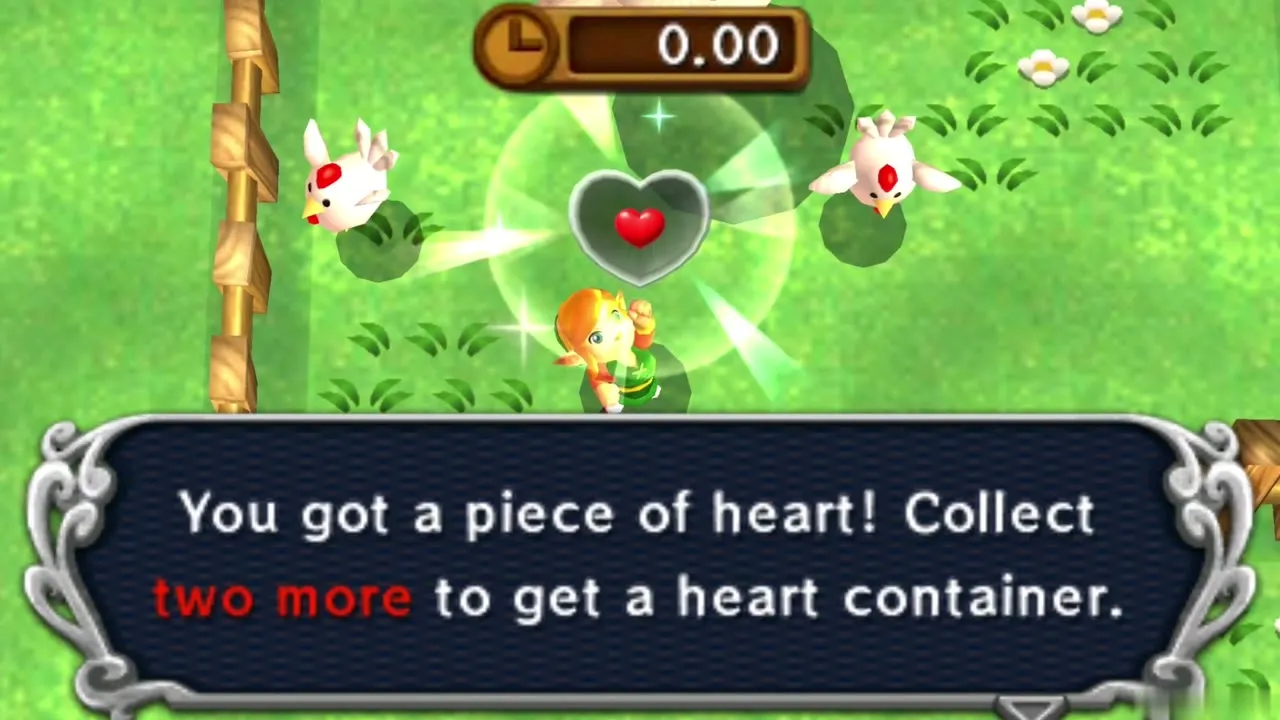
Heart Piece #2 is the reward for the Cucco Ranch, south of Kakariko. Pay the Cucco Girl and herd the loose Cuccos into the pen before the timer runs out. The Egg level costs 20 Rupees, the Chick level costs 30 Rupees and pays 60 Rupees, and the Rooster level costs 50 Rupees. Finish the Rooster level and she adds a Heart Piece to the 150 Rupee prize. You can return later for the endless level.
Kakariko shops and the Street Merchant
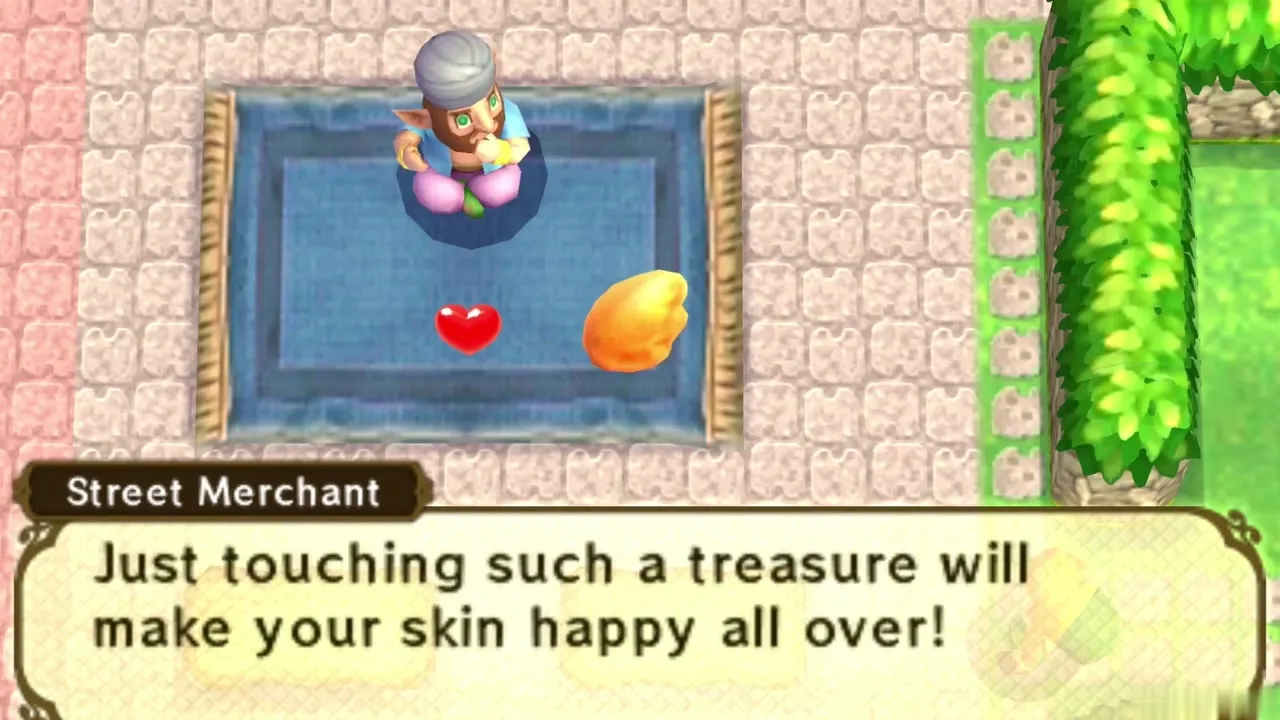
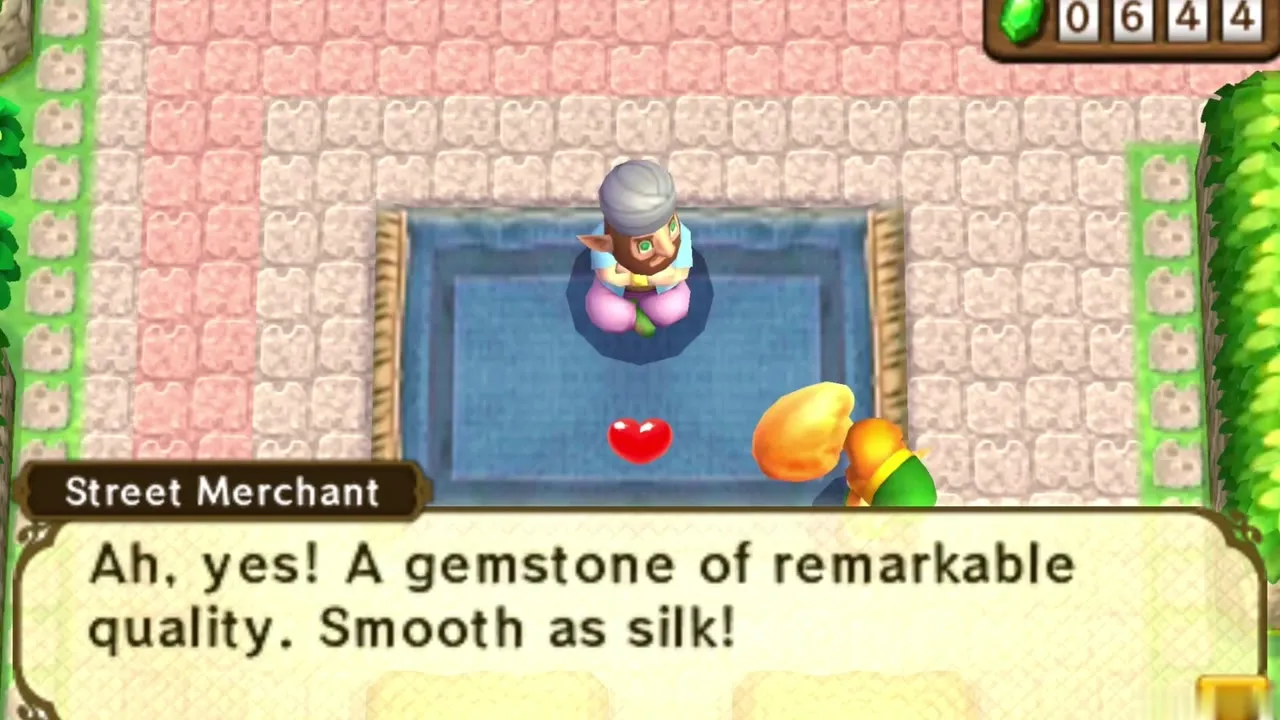
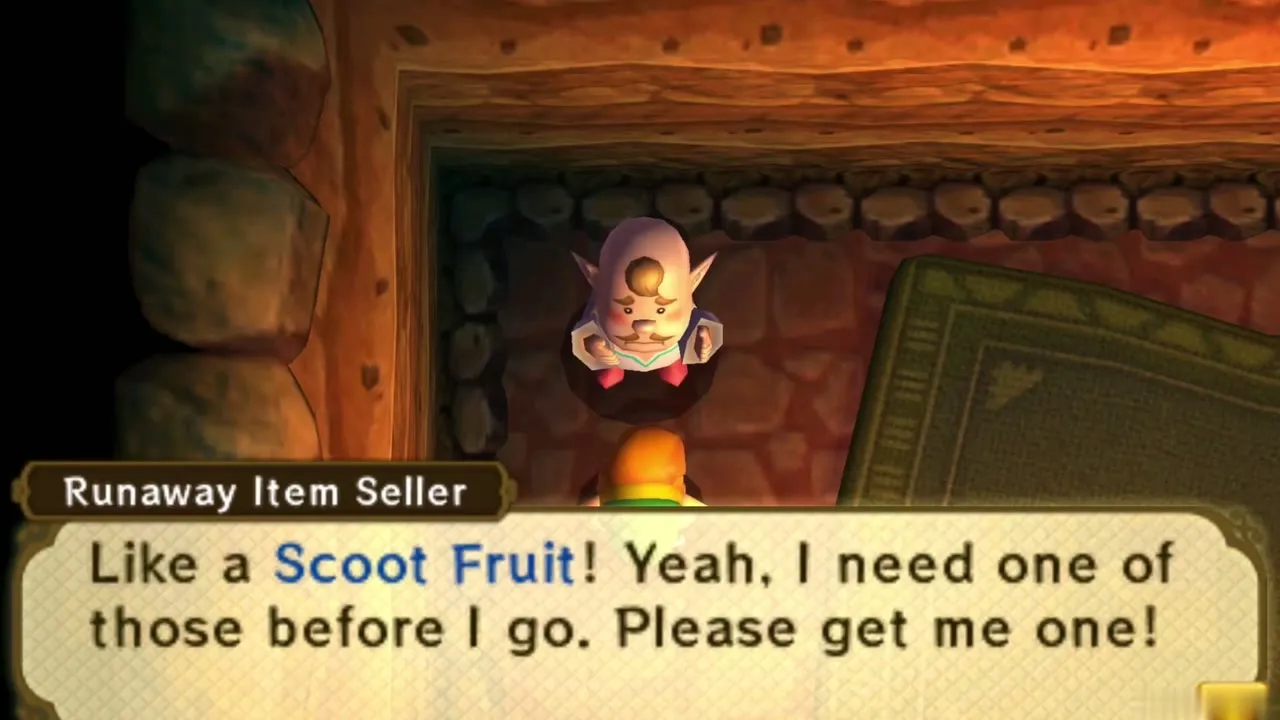
Buy one Scoot Fruit for 50 Rupees at the Item Shop for the Runaway Item Seller later in this chapter; Foul Fruit is 30 Rupees. The Street Merchant on his blue carpet in the village square sells small items such as Apples and Hearts, and he is also the man holding Oren’s Smooth Gem. You do not need to buy anything from him until the Pegasus Boots are in your pocket.
Irene and the Bell
Irene’s Bell
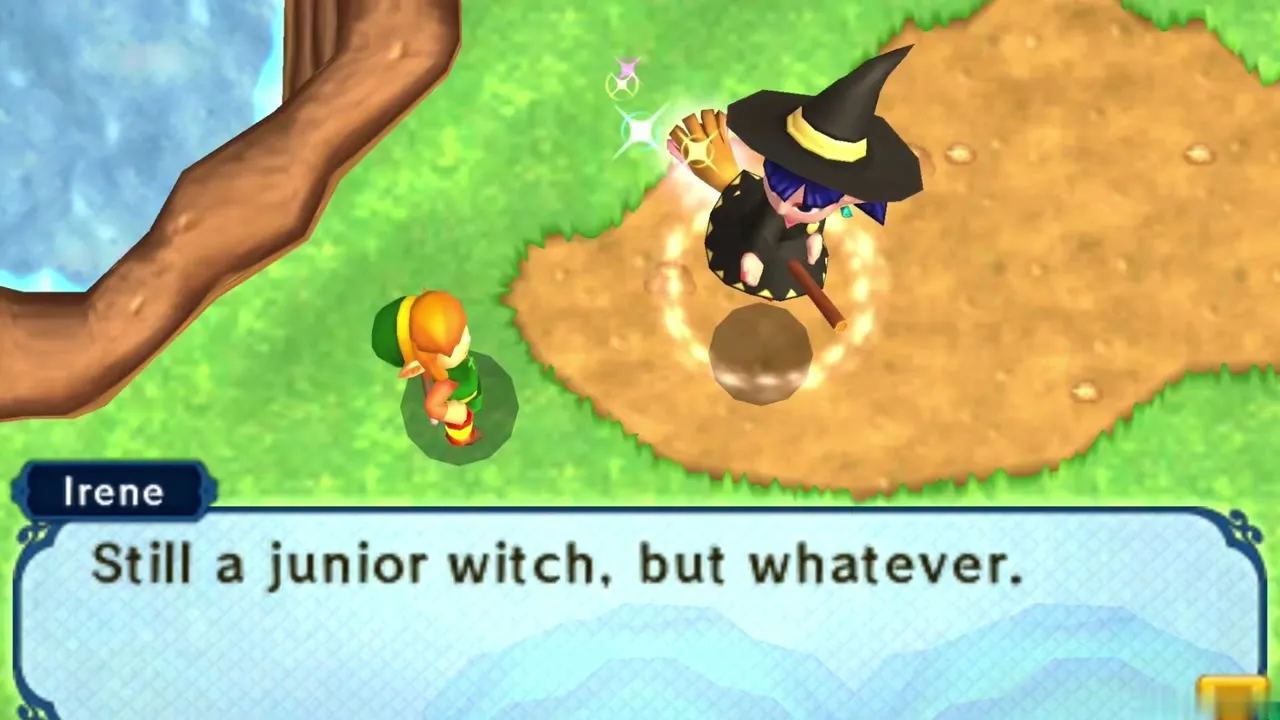
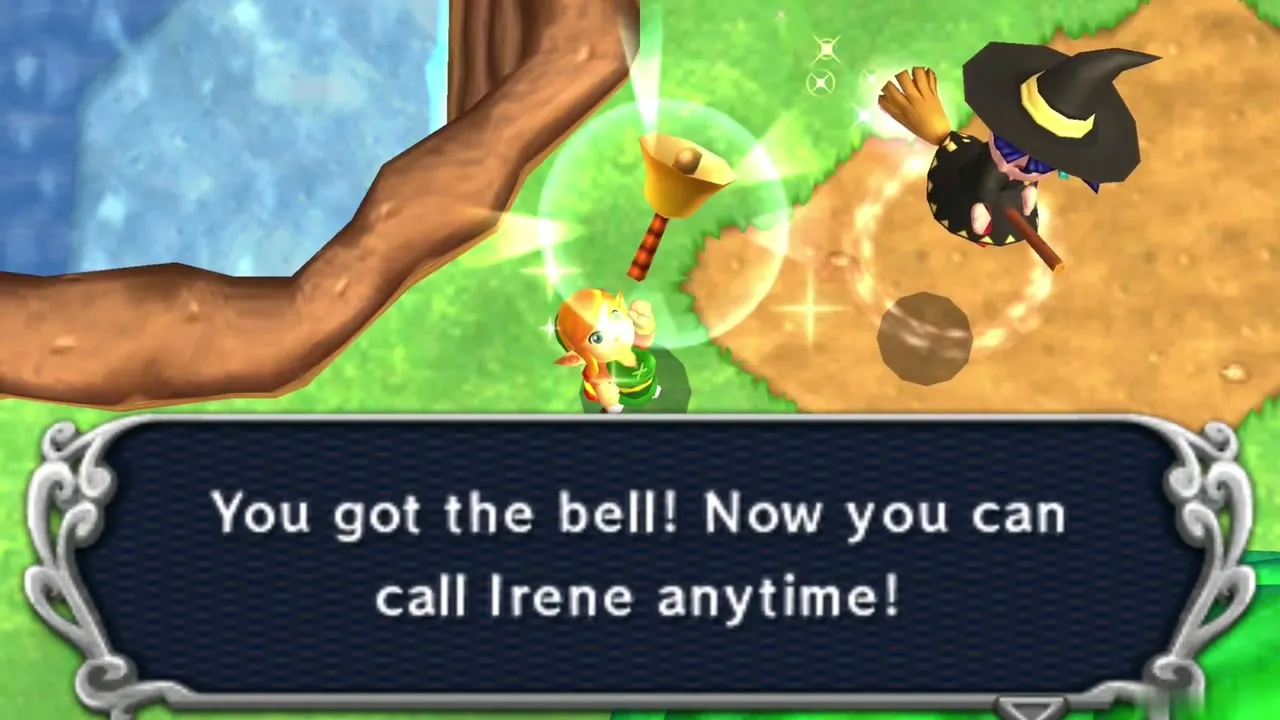
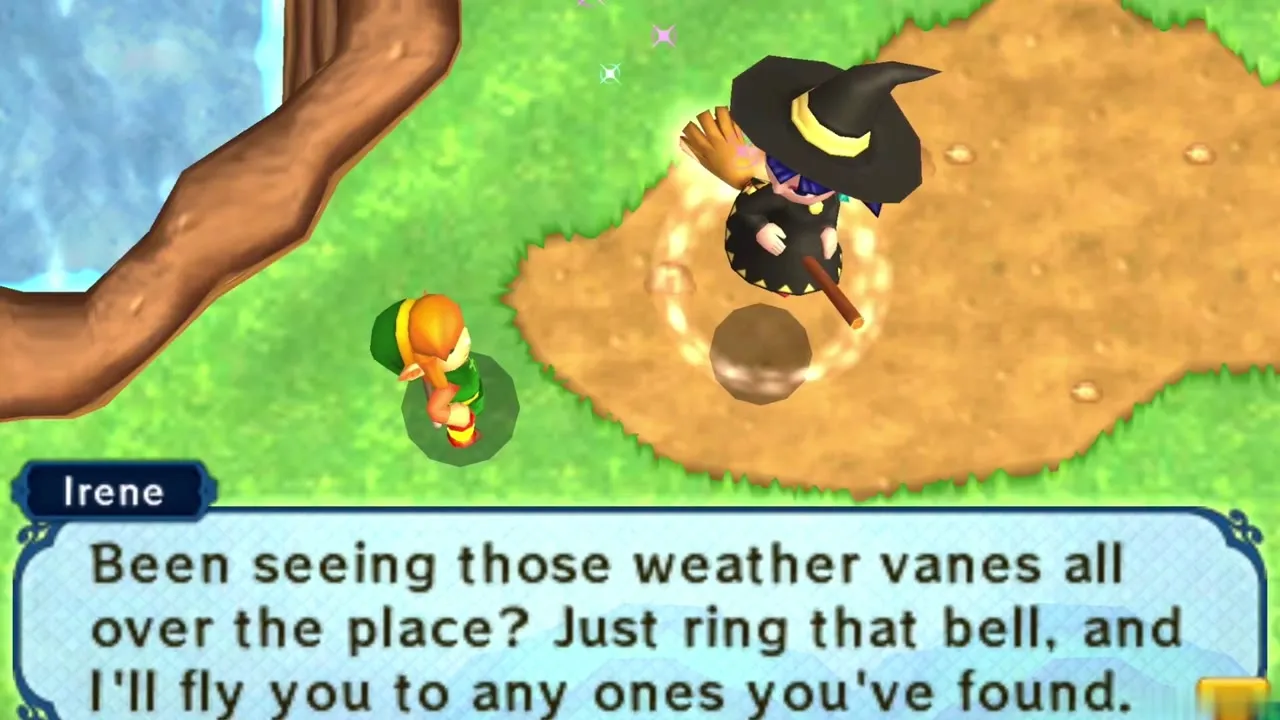
As you travel around Hyrule after the Eastern Palace, a junior witch named Irene swoops down on her broom. She explains that her fortune told her to look after the green one, and she gives you the Bell. Outside dungeons, ring it and Irene flies you to any Weather Vane you have already activated. Save at each Weather Vane you pass so it is available.
Rosso’s house and the Power Glove
Power Glove
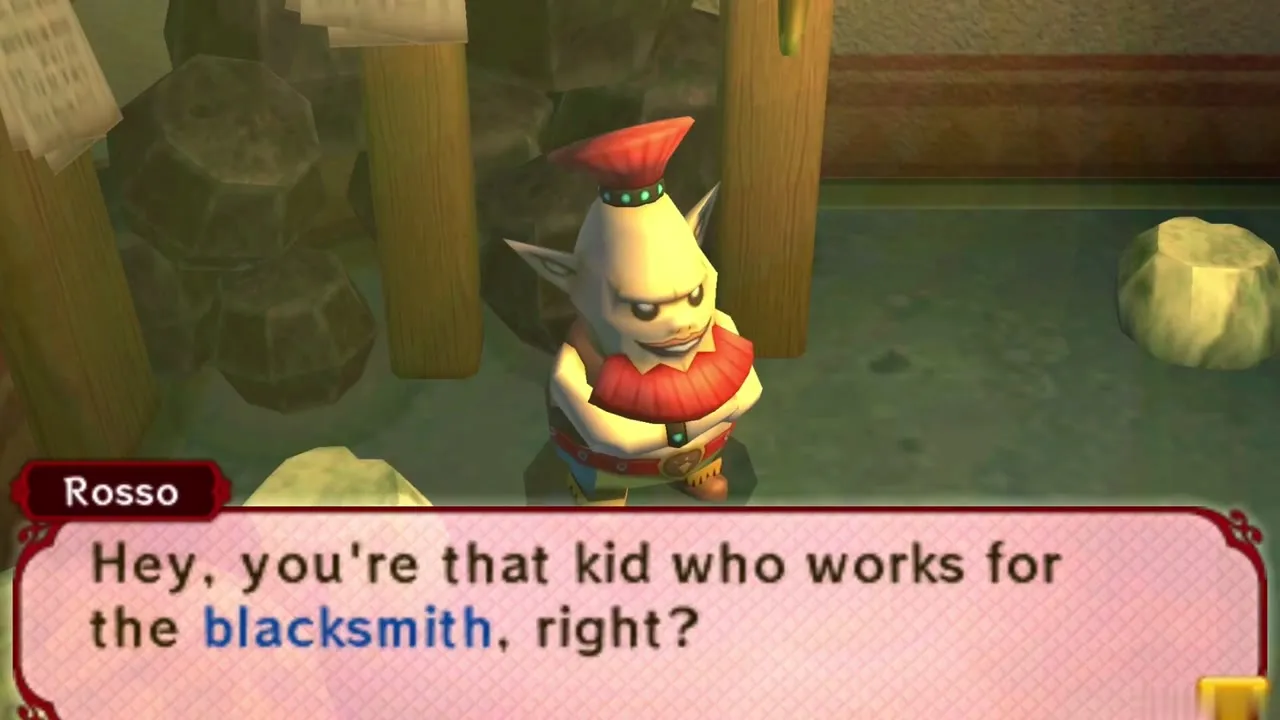
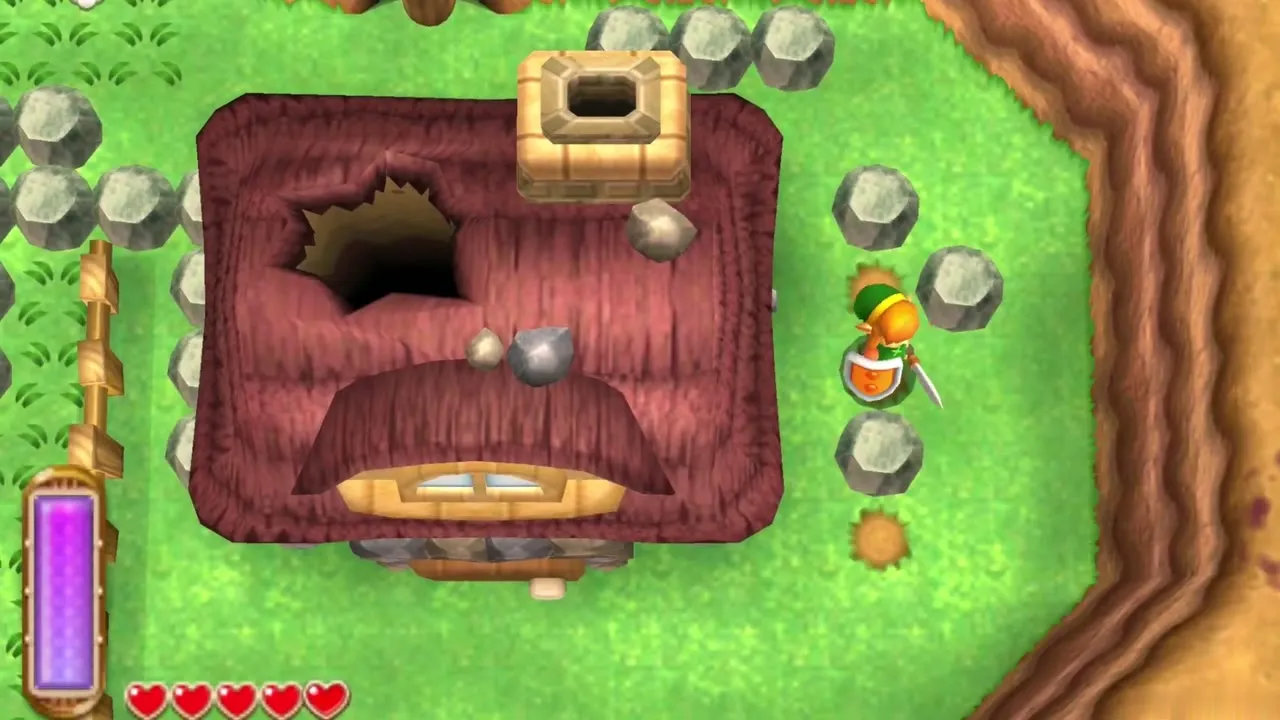
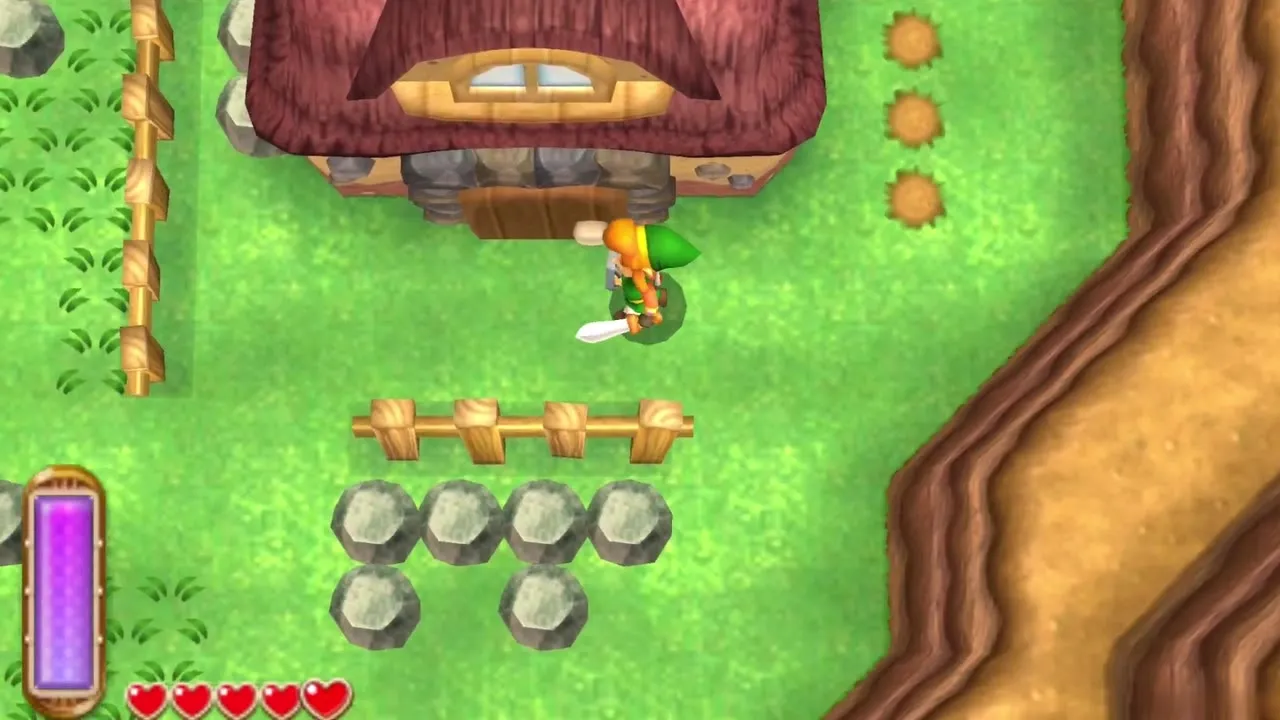
Rosso, a miner, lives in the Miner’s House west of Death Mountain, with rocks scattered all around it. After the Eastern Palace, talk to him and he gives you the Power Glove. It lifts small rocks and throws them. Lift the rocks around his house to uncover a chest holding a Purple Rupee worth 50 Rupees. Large boulders still need the Titan’s Mitt, which you find much later.
Lost Woods Heart Piece #5
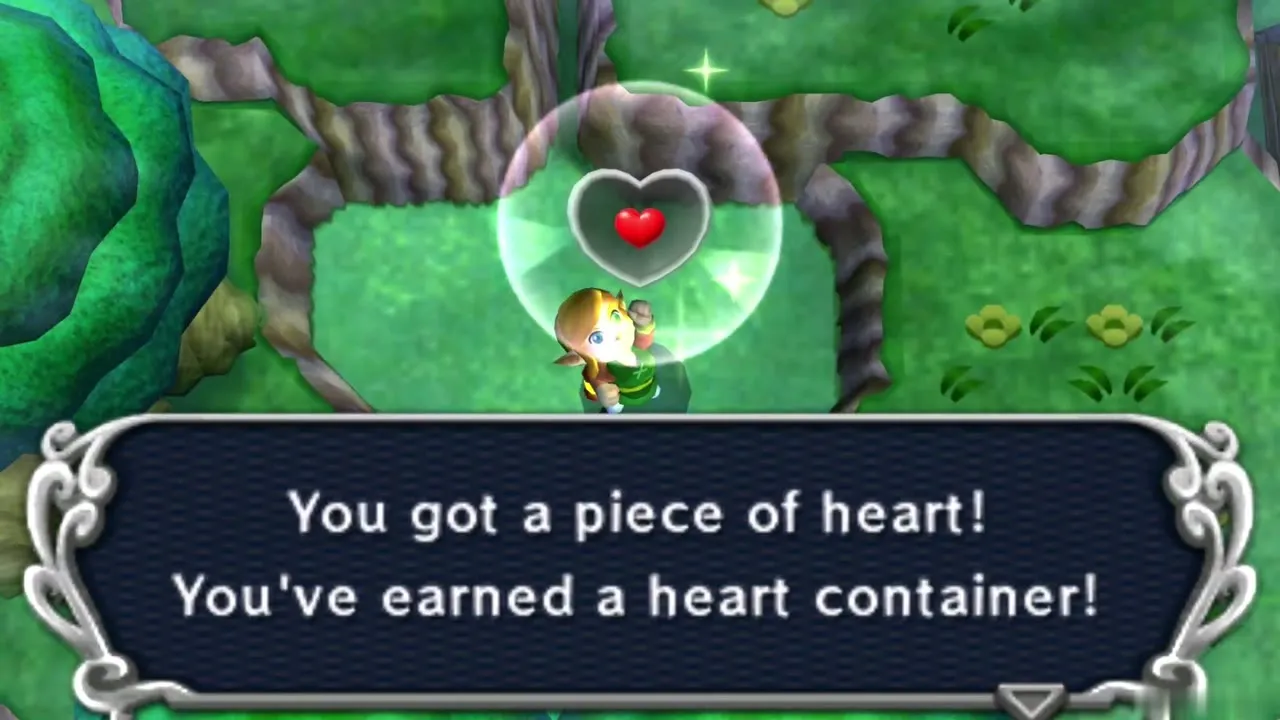
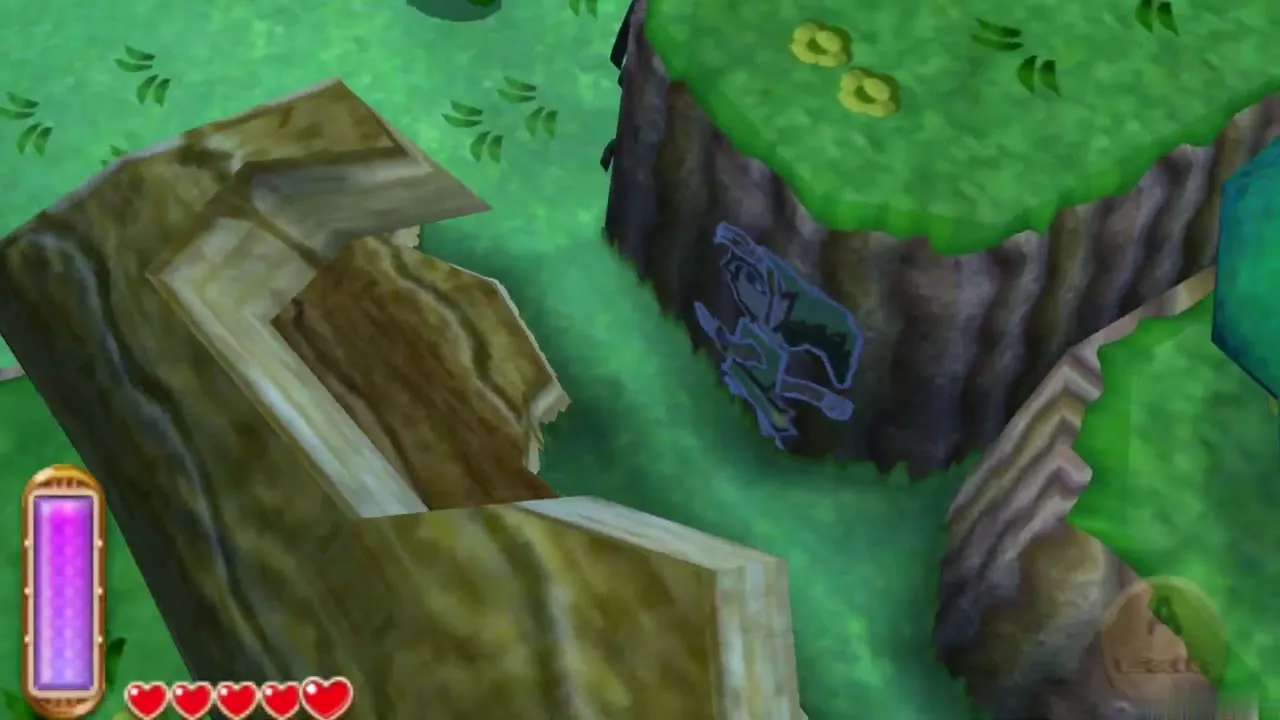
The Lost Woods lie just north of Kakariko and next to Rosso’s house. Walk to the broken log that lies across the clearing. Merge into the wall below the log and slide through the narrow gap. Heart Piece #5 sits just beyond it. Come back with the Power Glove and Pegasus Boots for the Maiamai hidden in the woods.
Graveyard and Hyrule Castle Heart Pieces
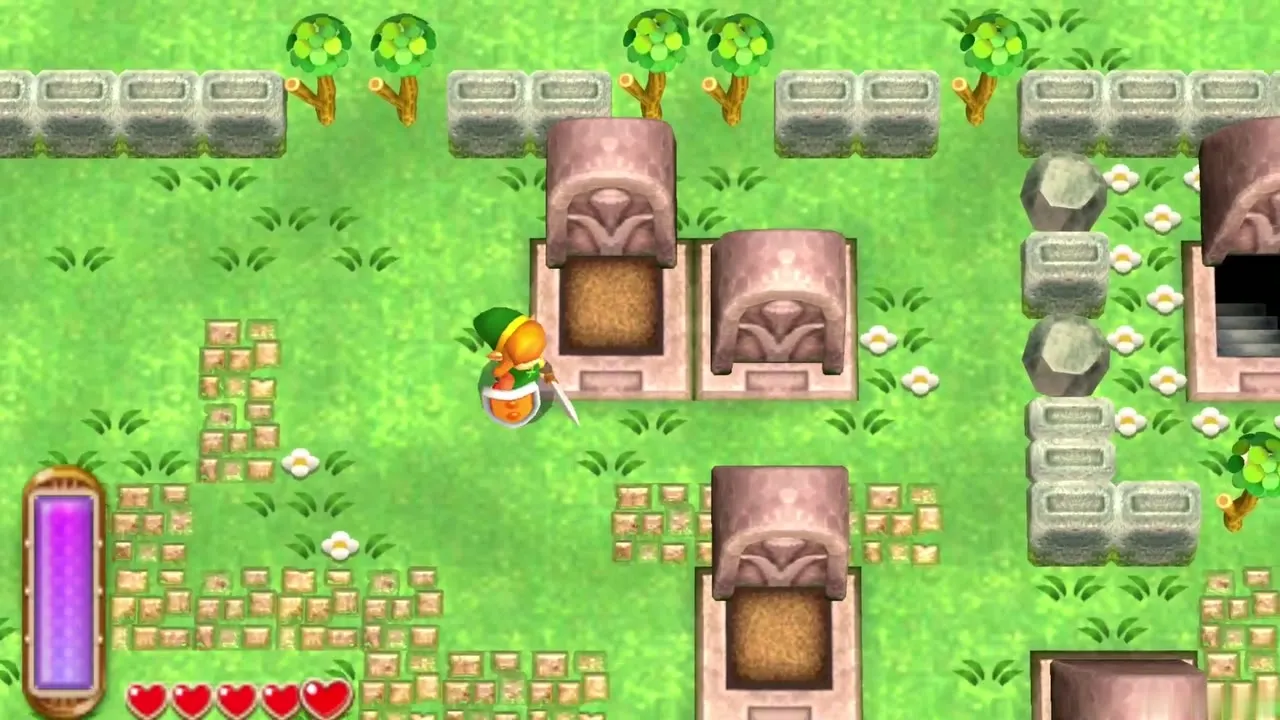
Sanctuary passage Heart Piece #4
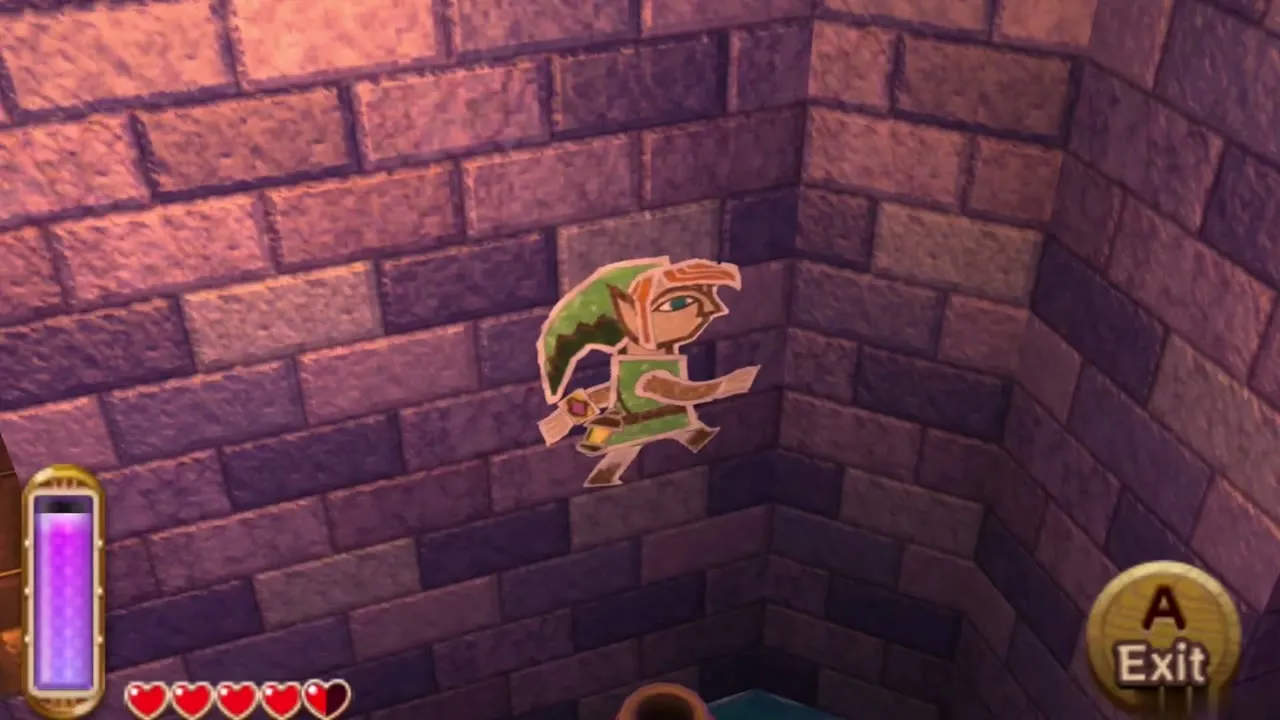
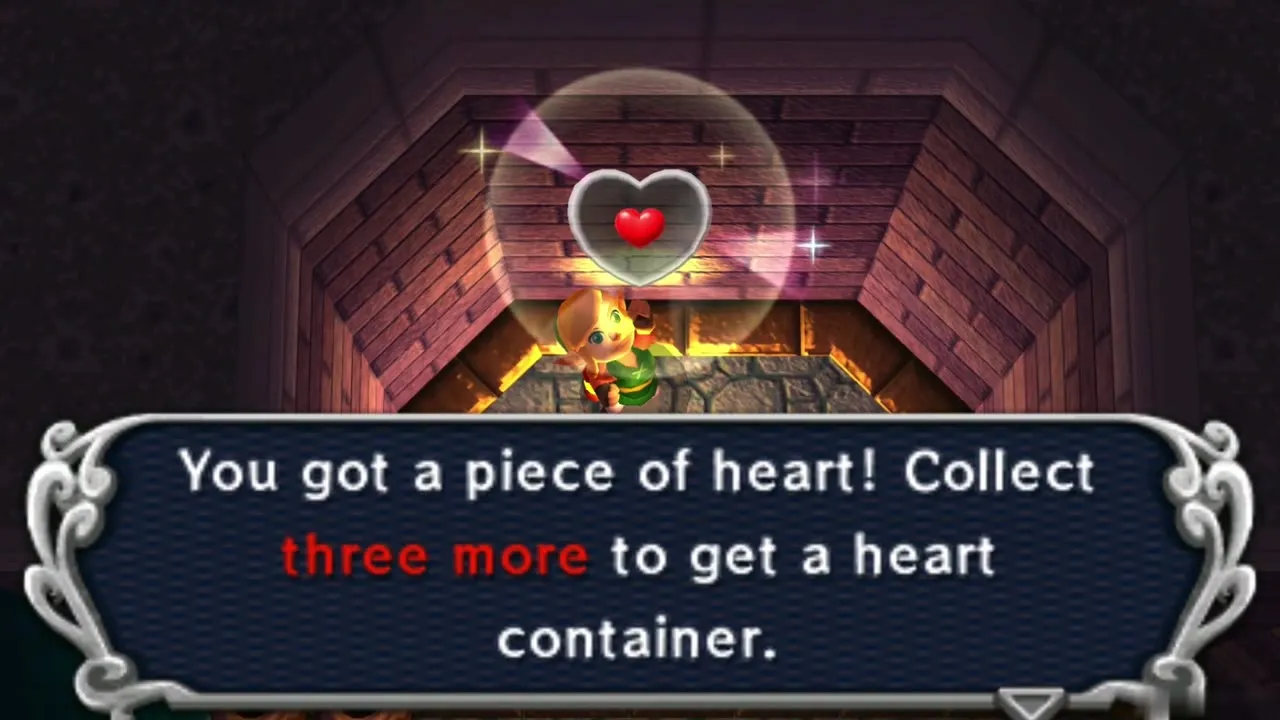
Return to the Graveyard and take the secret passage under the Sanctuary again. In the second room, where rats scurry about, climb to the high ledge in the north-east corner, merging into the wall to get around. Heart Piece #4 waits there. The passage stays open, so you can walk in whenever you like.
East of Hyrule Castle Heart Piece #6
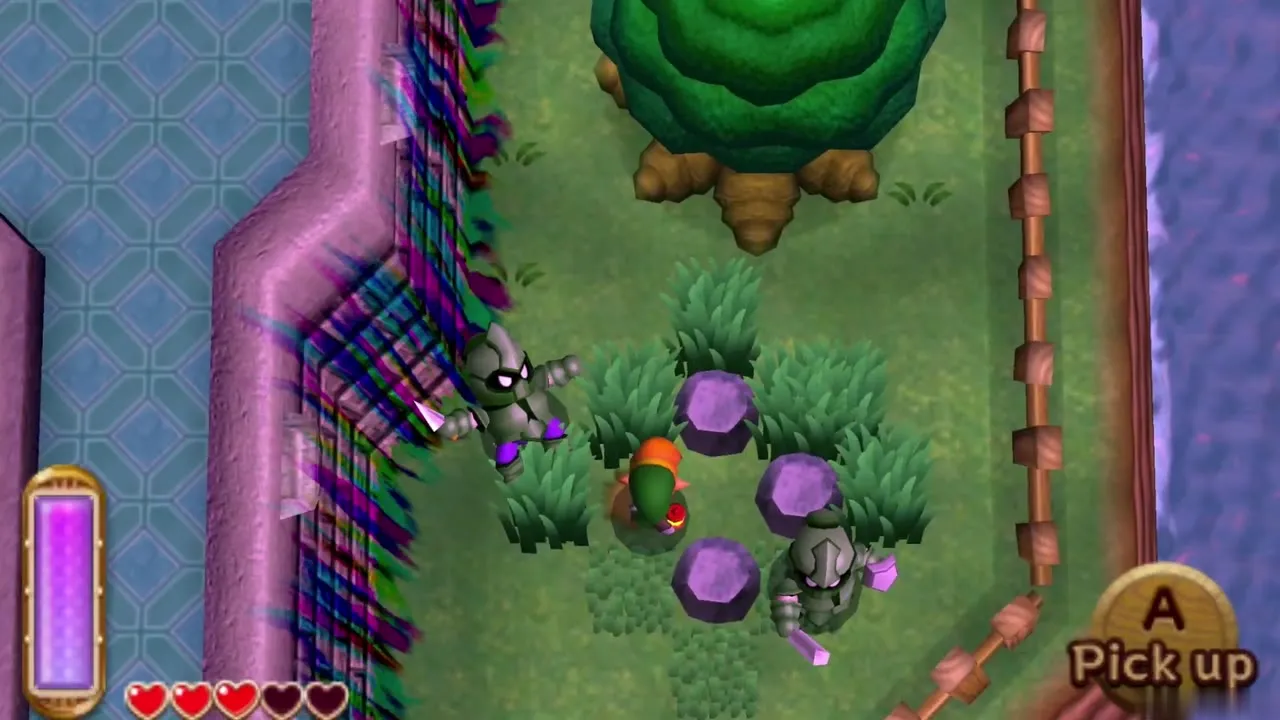
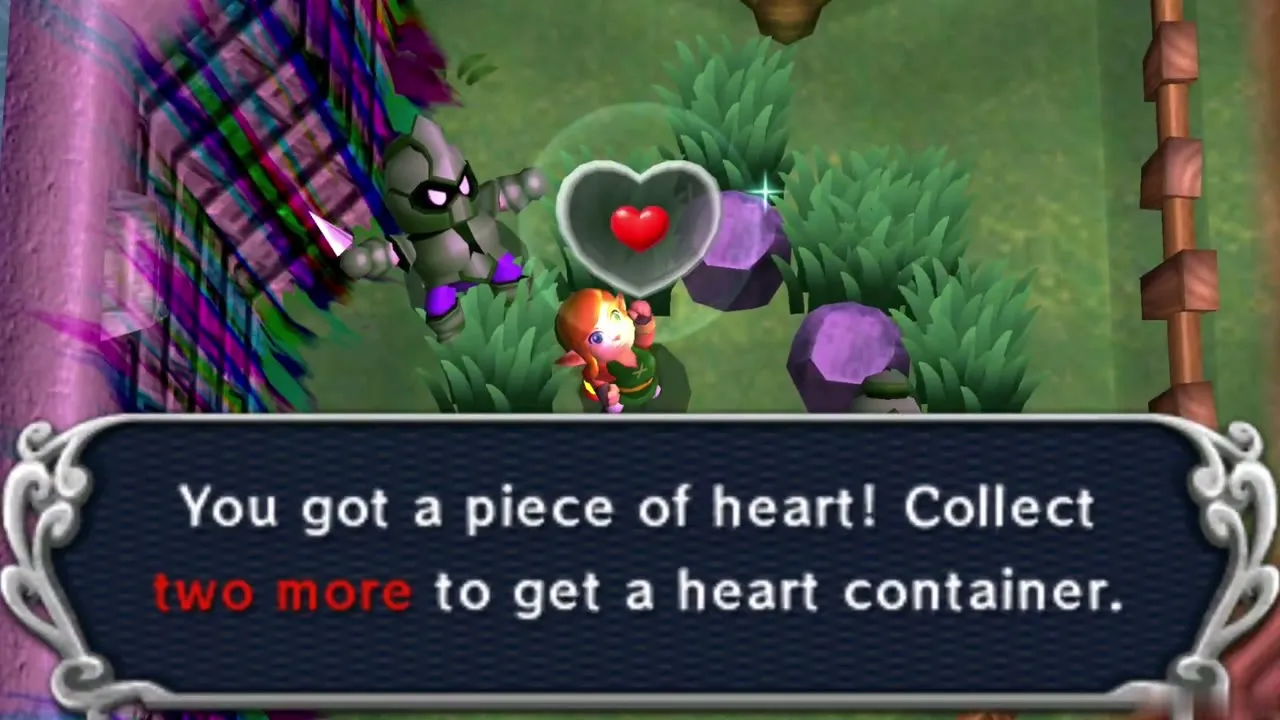
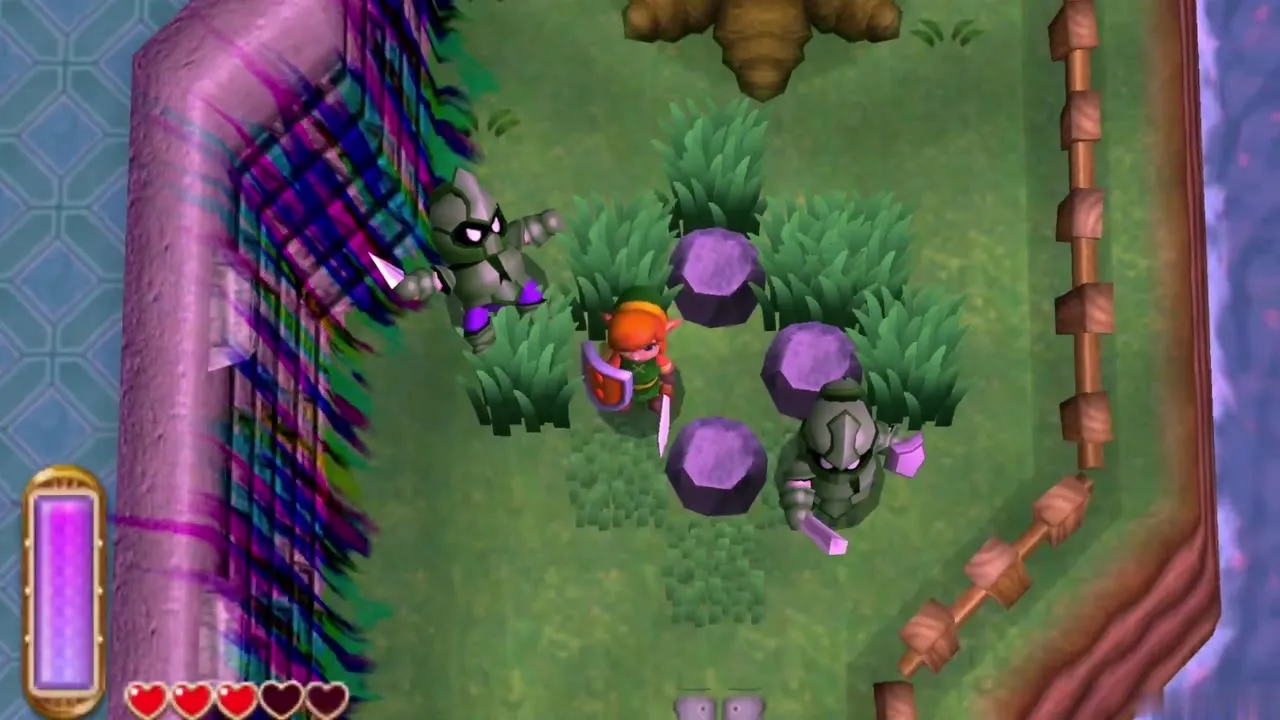
Follow the road along the east side of Hyrule Castle. Heart Piece #6 is surrounded by small rocks. Pick up each rock with the Power Glove and take the piece. Soldiers patrol the area, so deal with them first.
Zora’s Domain, Pegasus Boots and Zora’s Flippers
Witch’s House Weather Vane and the Witch
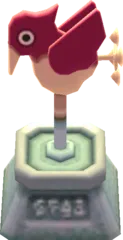
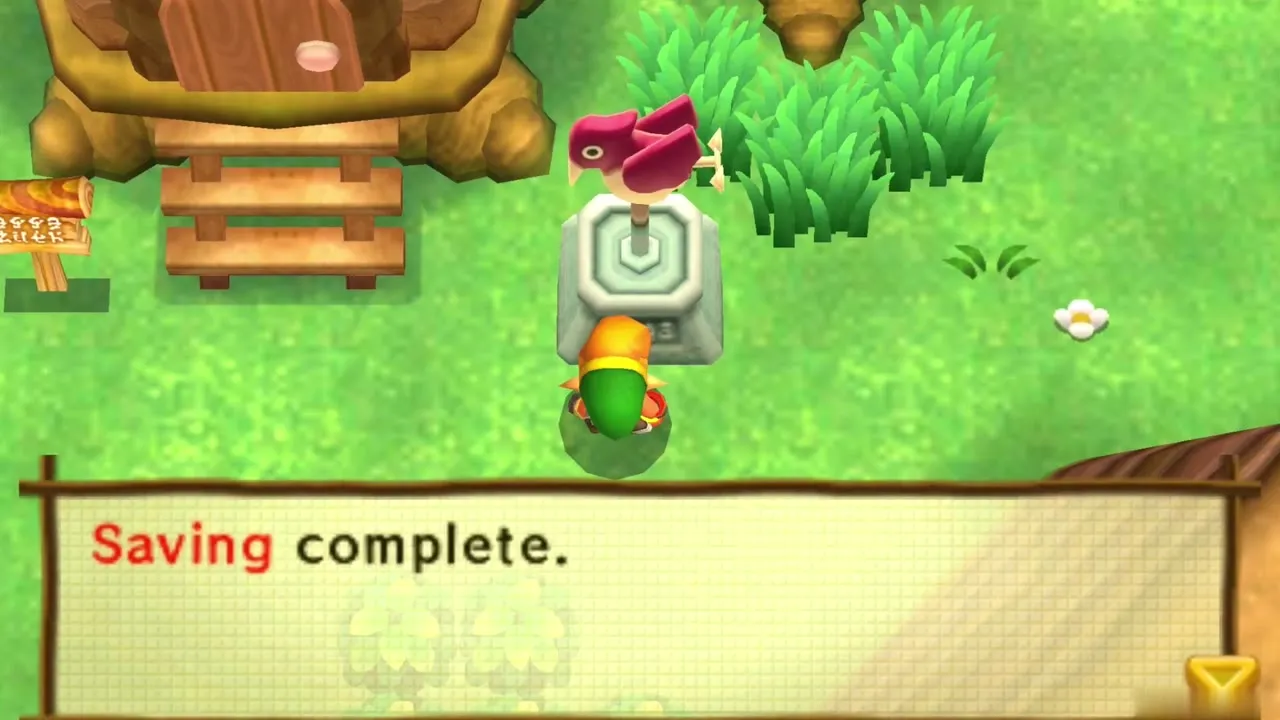
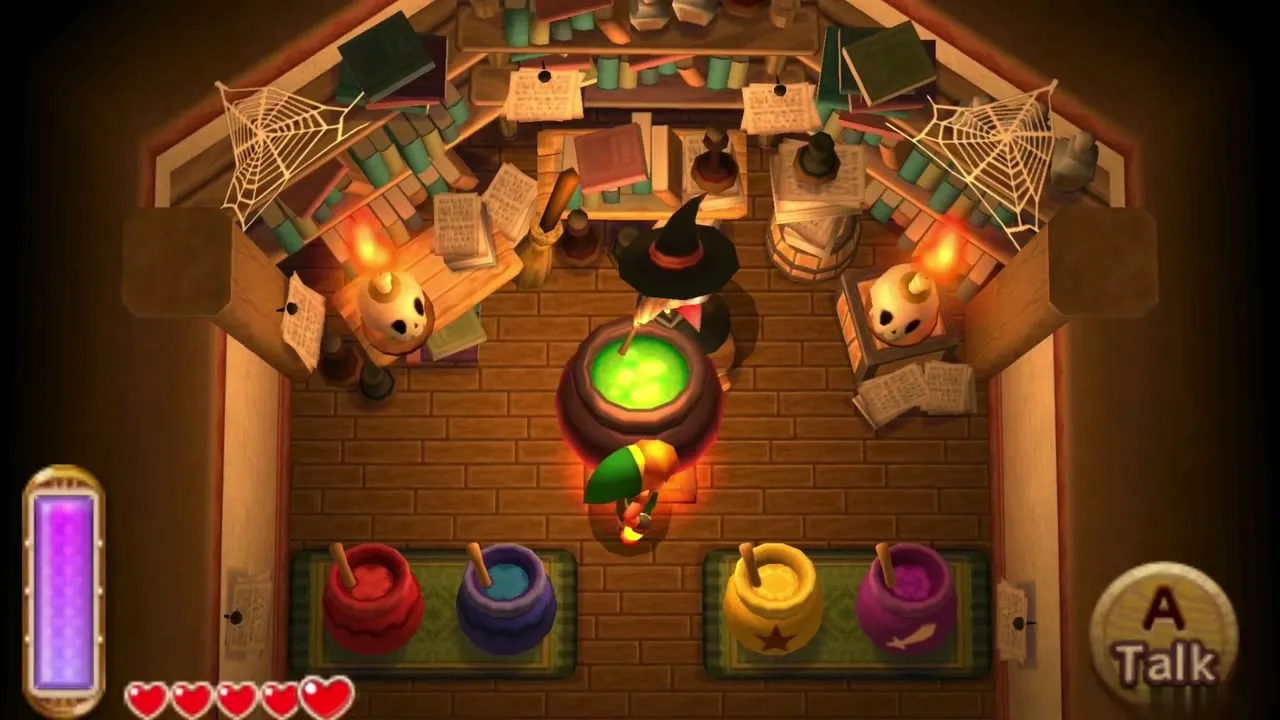
The Witch’s House stands near the way to Zora’s Domain. Save at the Weather Vane beside it to add the Witch’s House stop to the Bell destinations. Inside, the Witch sells a Red Potion for 50 Rupees if you carry an empty Bottle, and she buys monster parts you collect.
Reaching Zora’s Domain
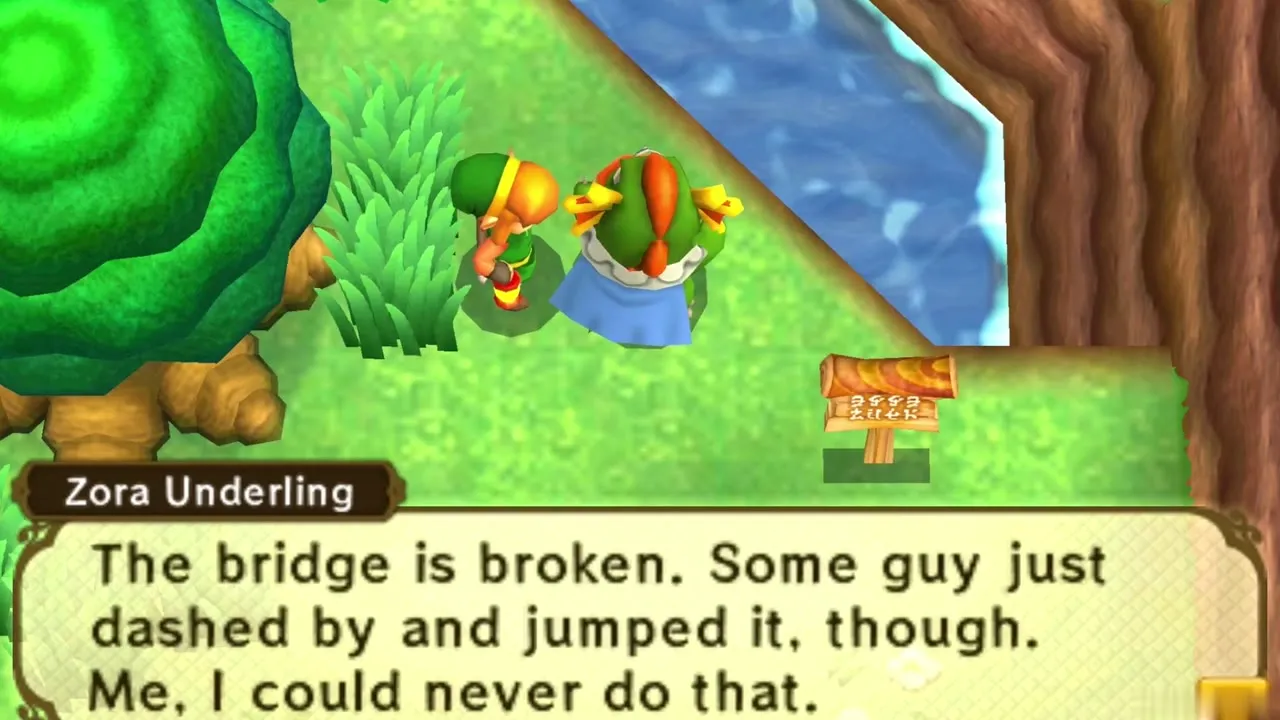
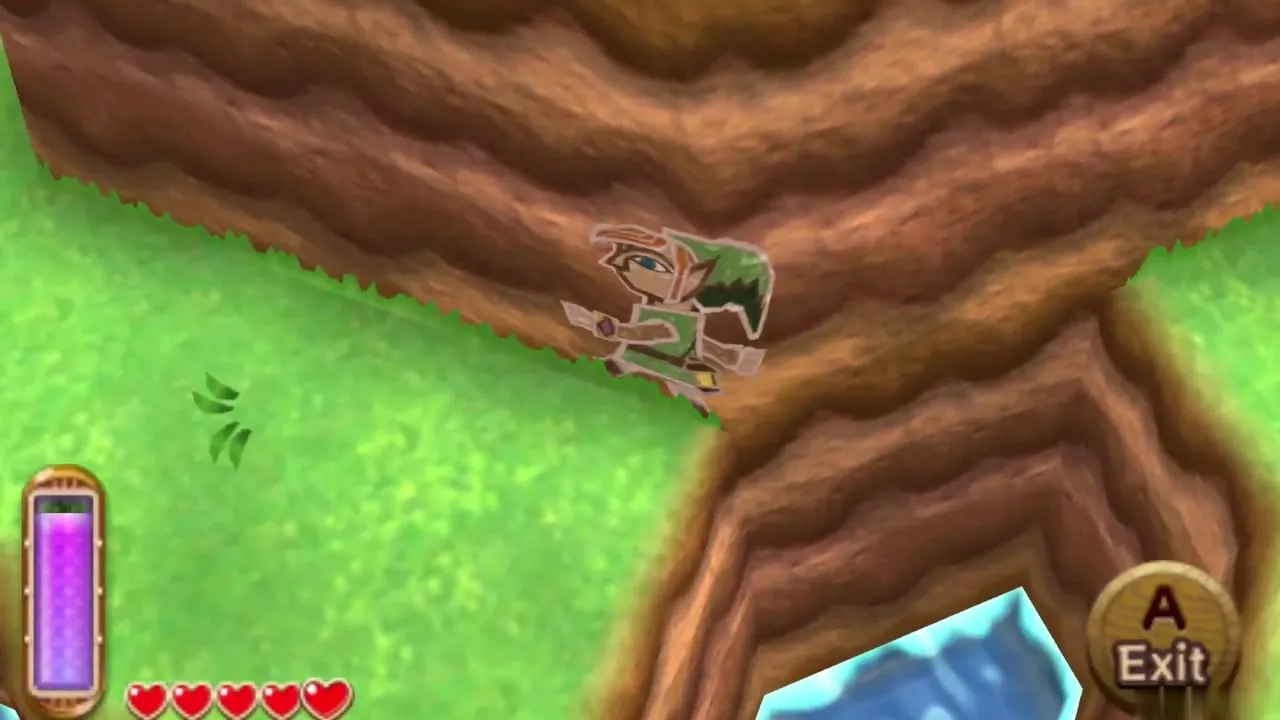
The way into Zora’s Domain follows the river, using wall merging where the path is broken. Inside you find Queen Oren stuck in her pool, bloated, because a thief took her Smooth Gem. The Zoras point to the Shady Guy. Leave and return to Kakariko Village.
Pegasus Boots
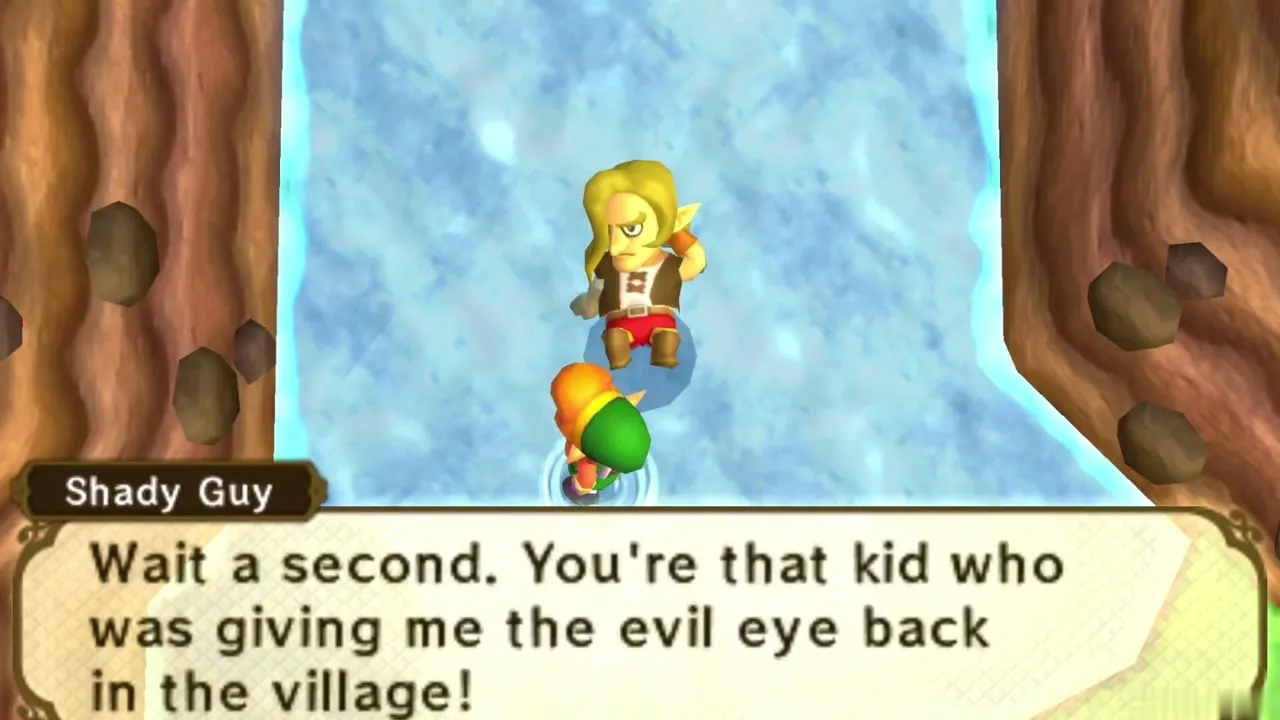
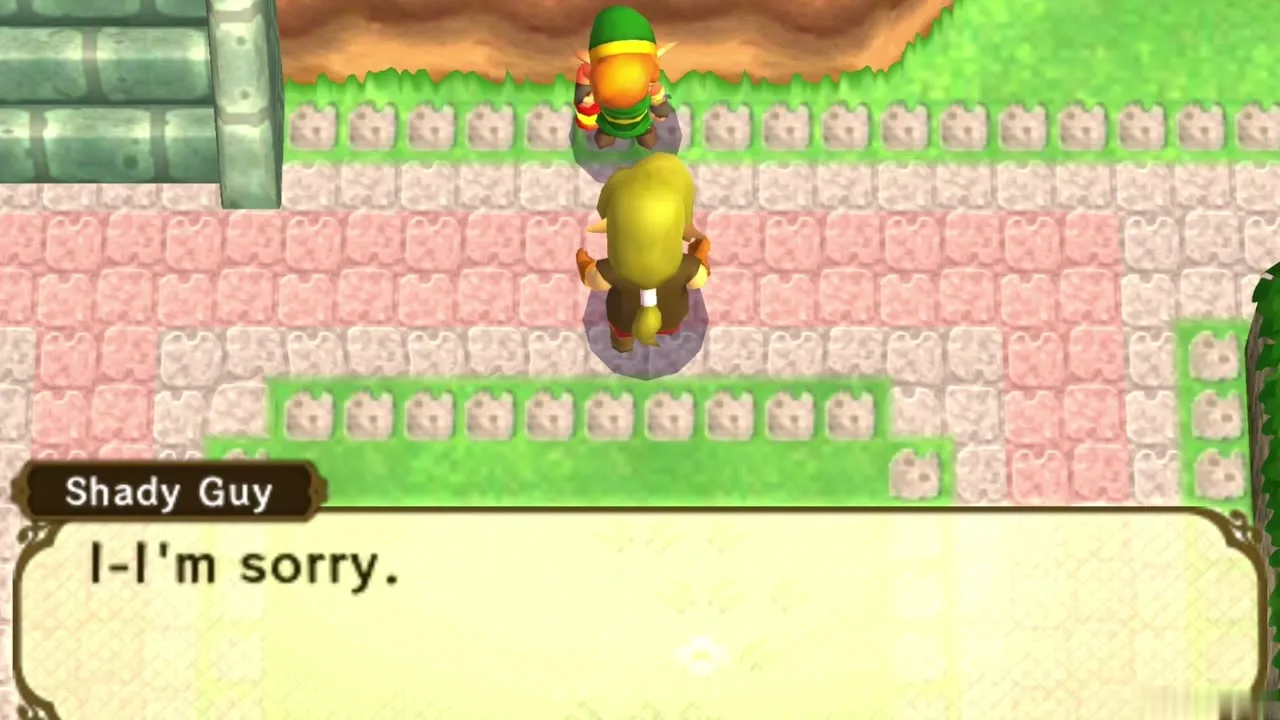
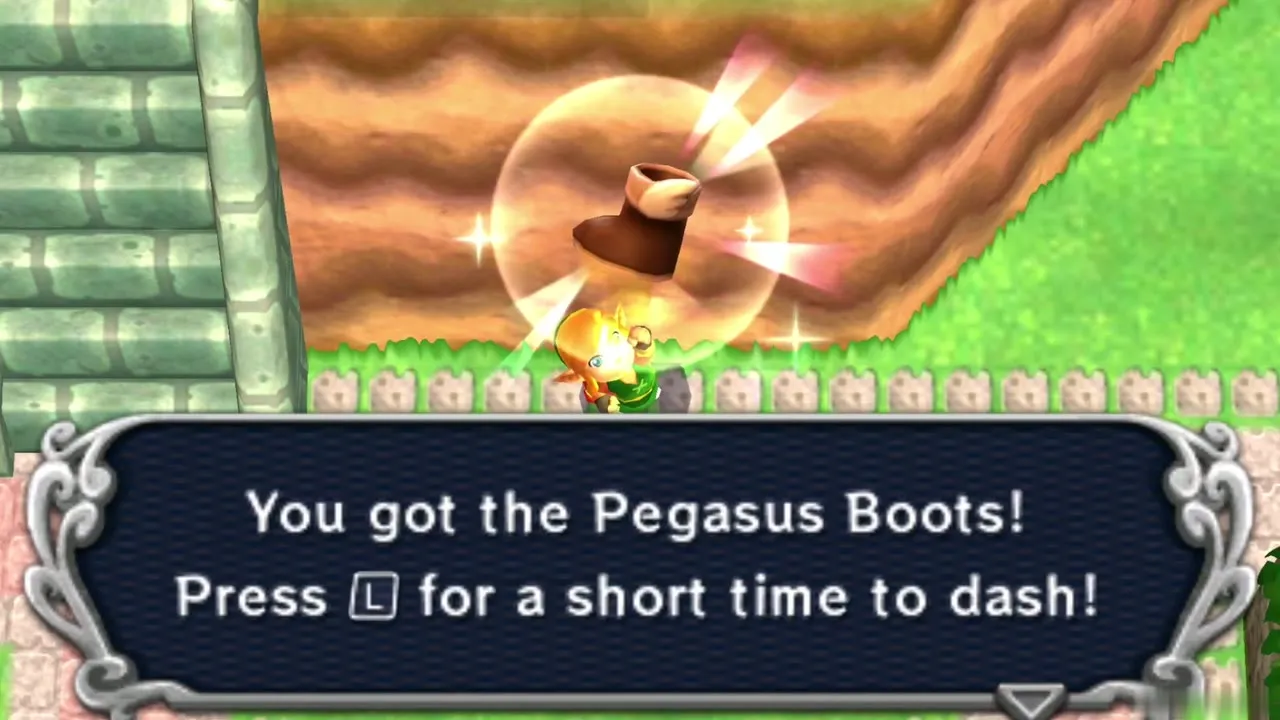
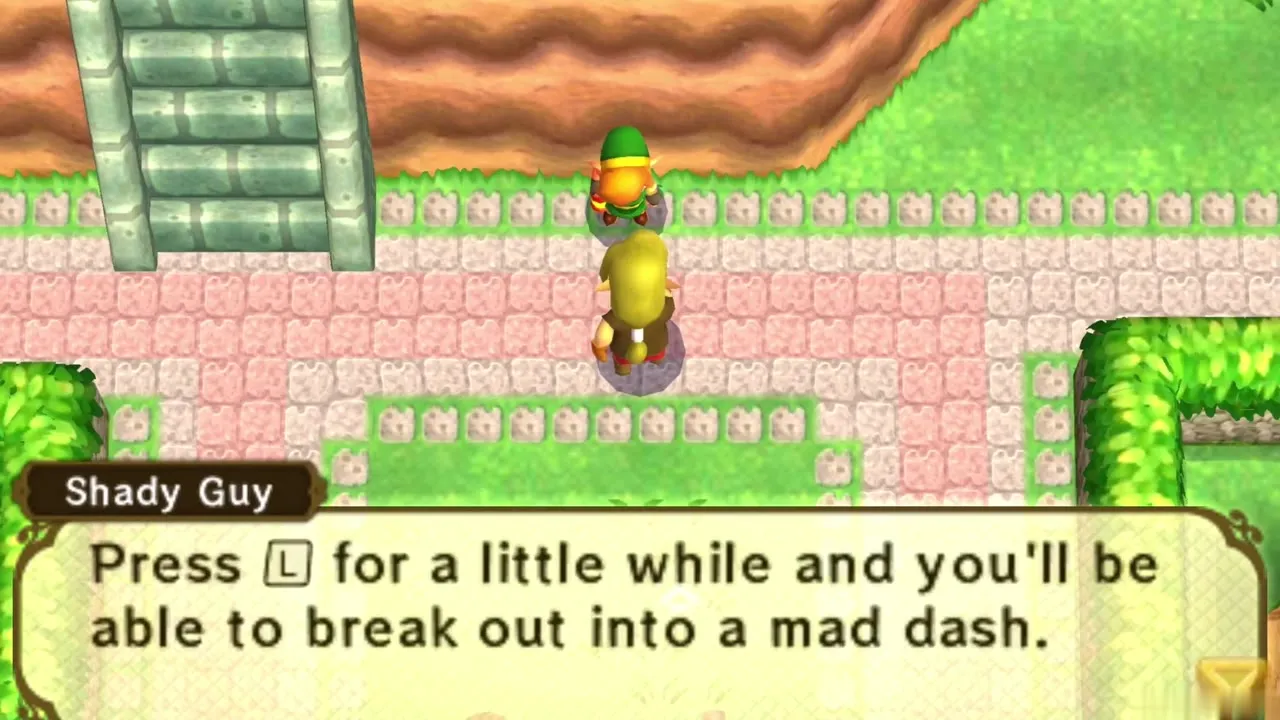
The Shady Guy is loitering in Kakariko Village. Merge into the wall beside him, slide behind his back and step out. Startled, he apologizes for taking the stone and hands over the Pegasus Boots. Hold L to dash. Dash into trees to shake things loose and into rocks to break them.

Smooth Gem from the Street Merchant
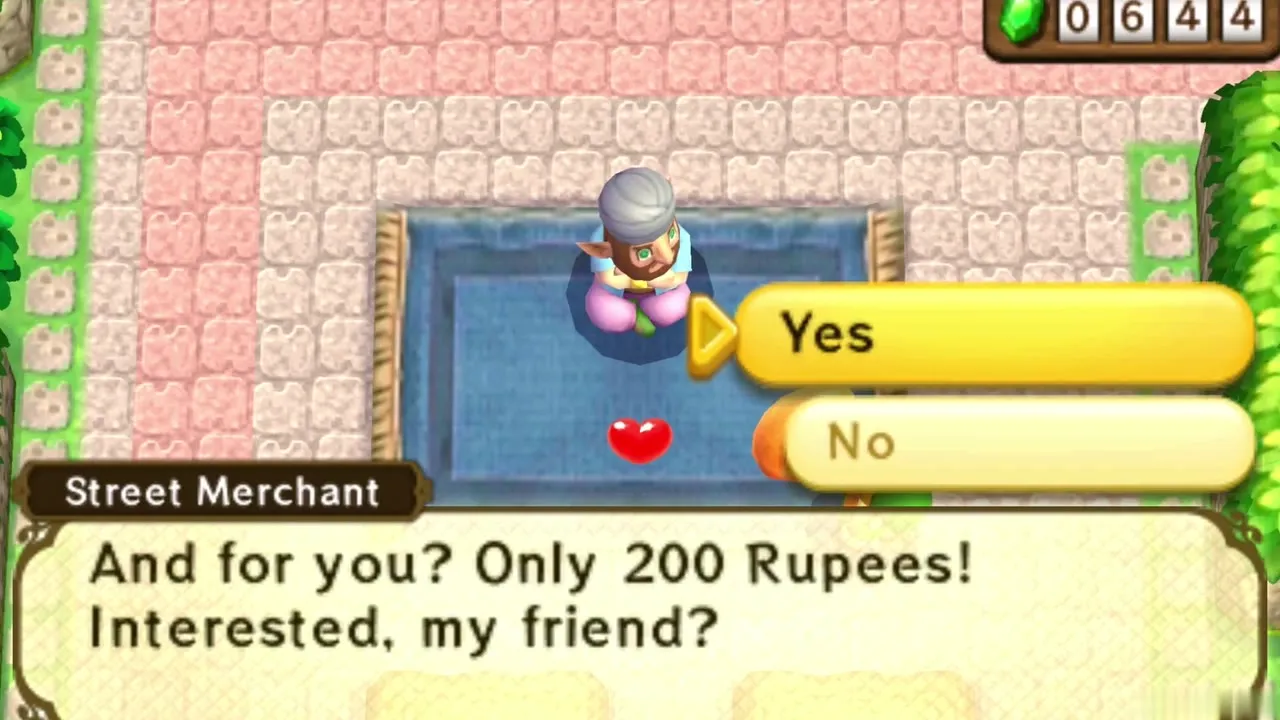
Speak to the Street Merchant. He is offering the Smooth Gem; buy it for 200 Rupees. If you are short, sell bees to the Bee Guy or replay the Cucco Ranch until you have the money.
Zora’s Flippers
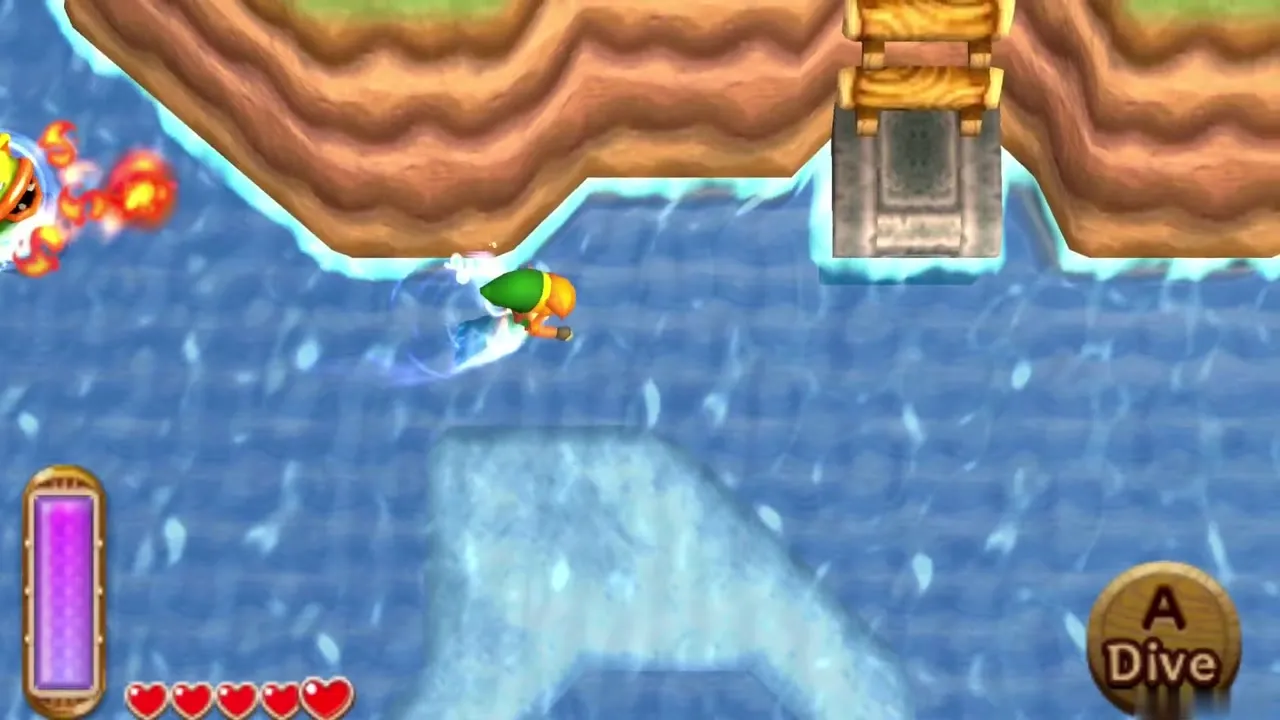
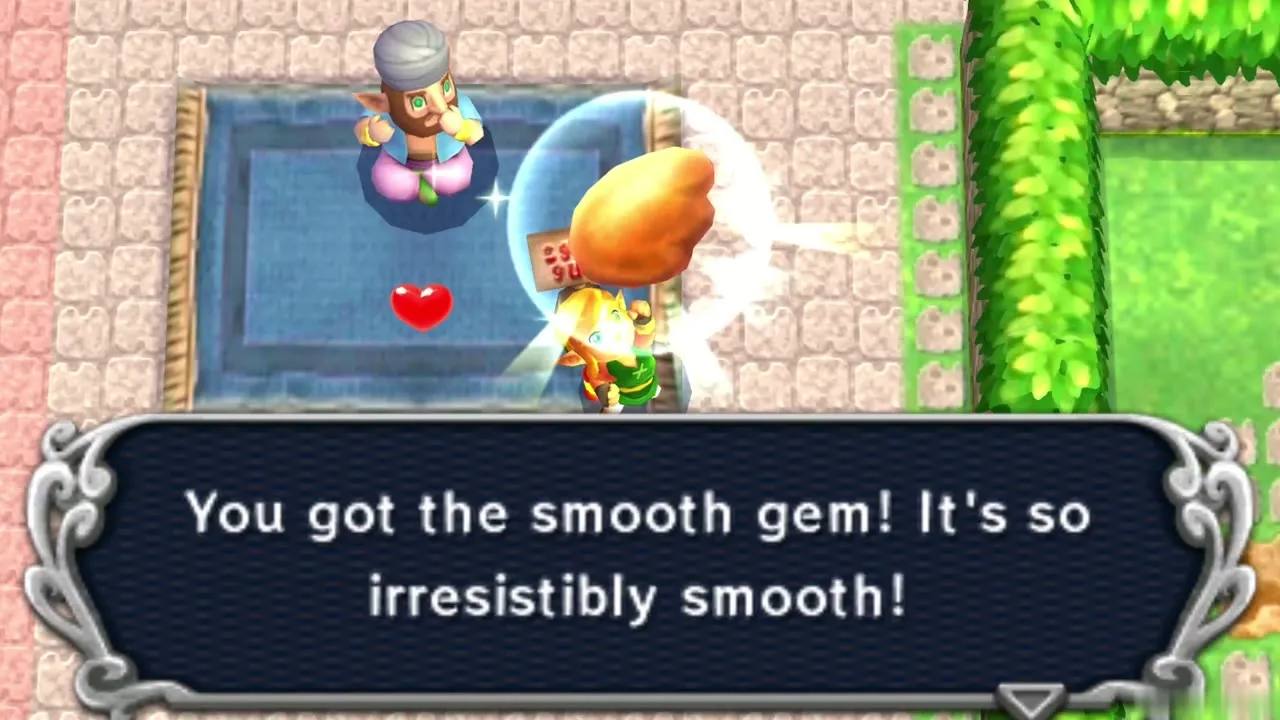
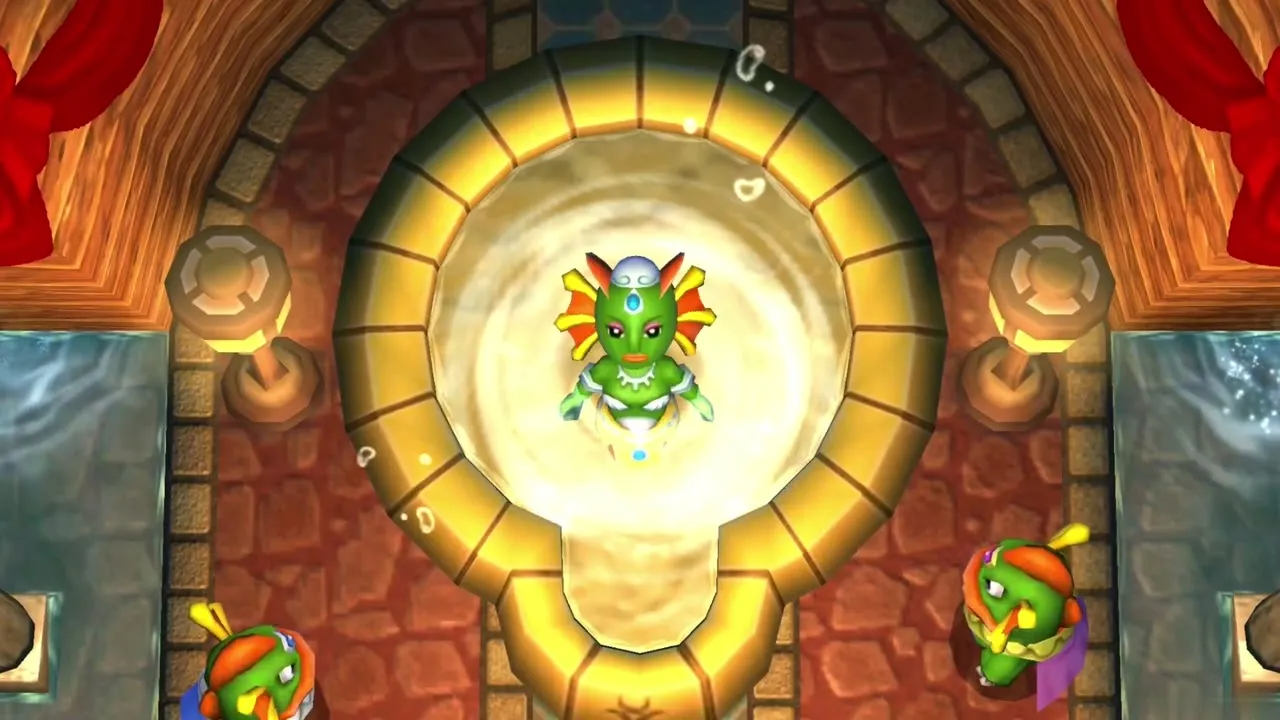
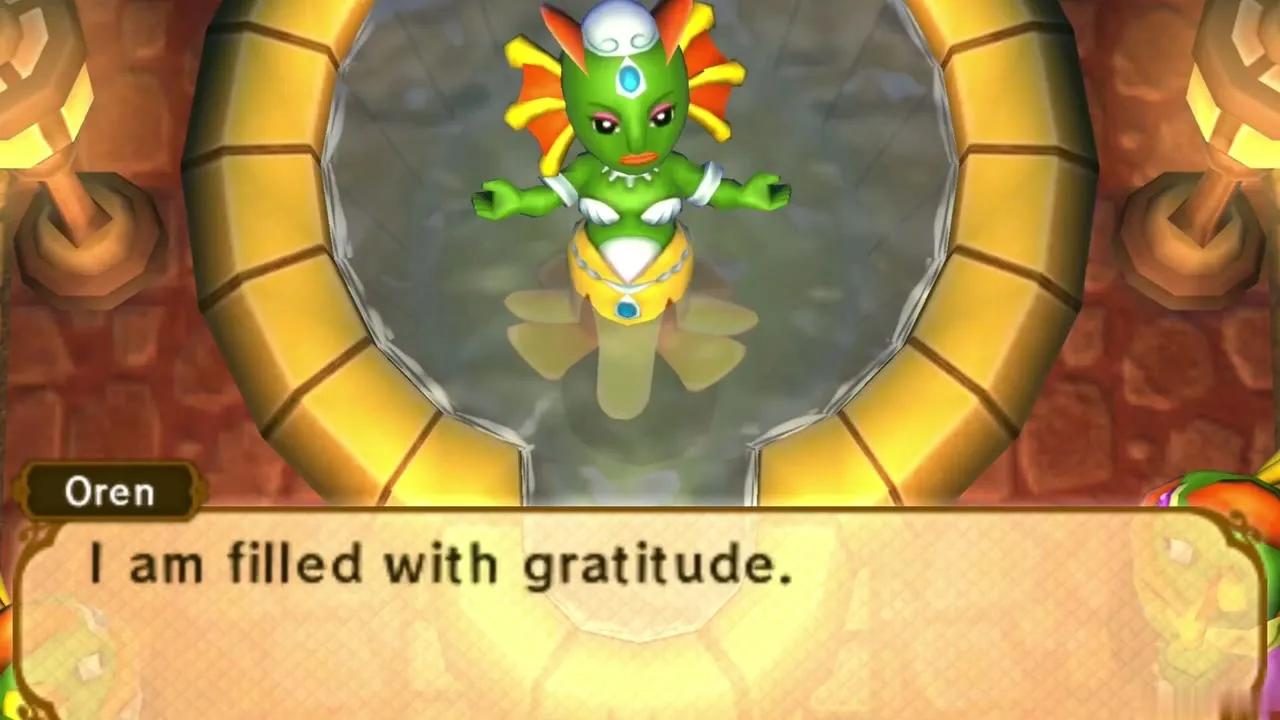
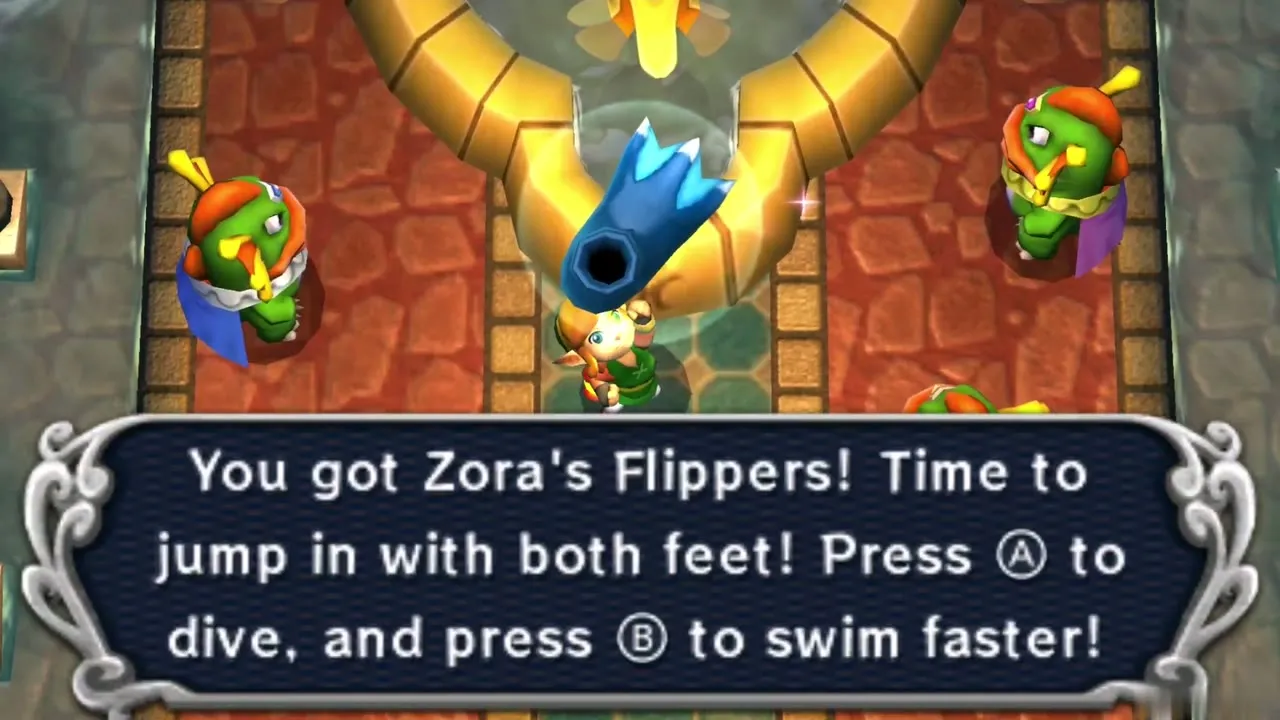
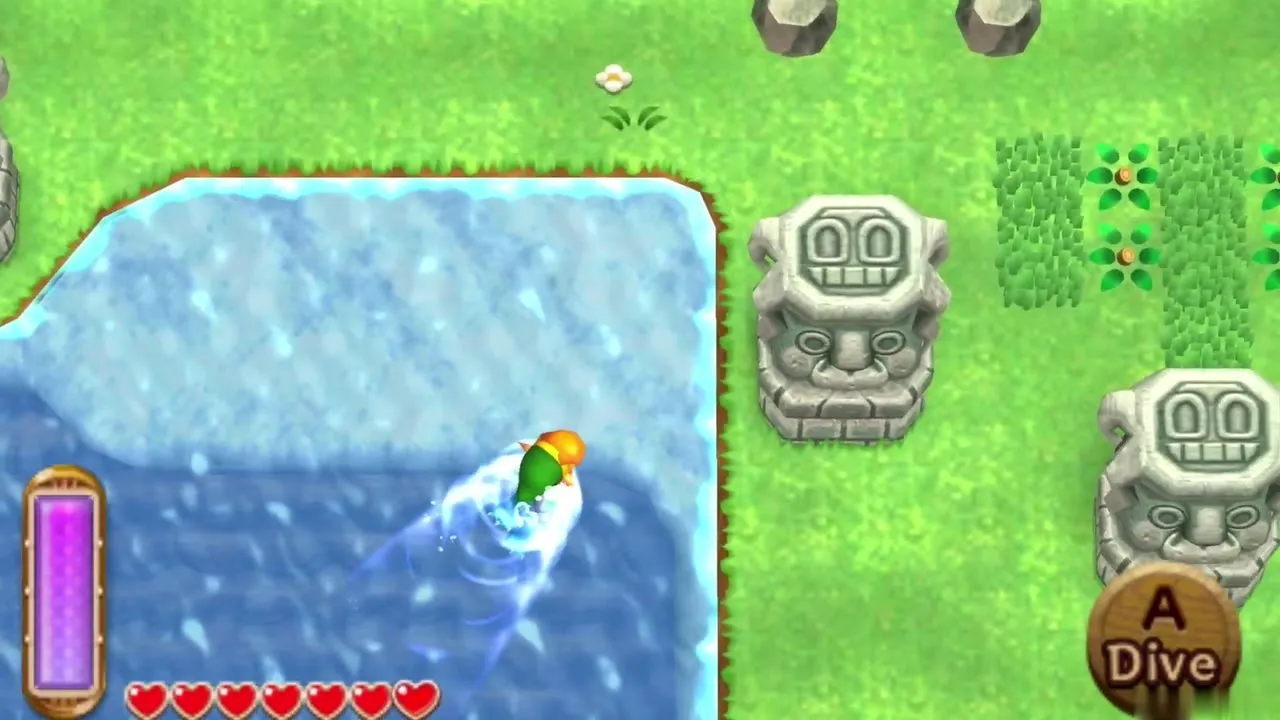
Take the gem back to Zora’s Domain and throw it into Oren’s pool. The queen returns to normal, thanks you and gives you Zora’s Flippers. Press A to dive and B to swim faster. You can now swim across the rivers and lakes of Hyrule, though the Zoras living there are territorial.
Waterfall cave Heart Piece #7
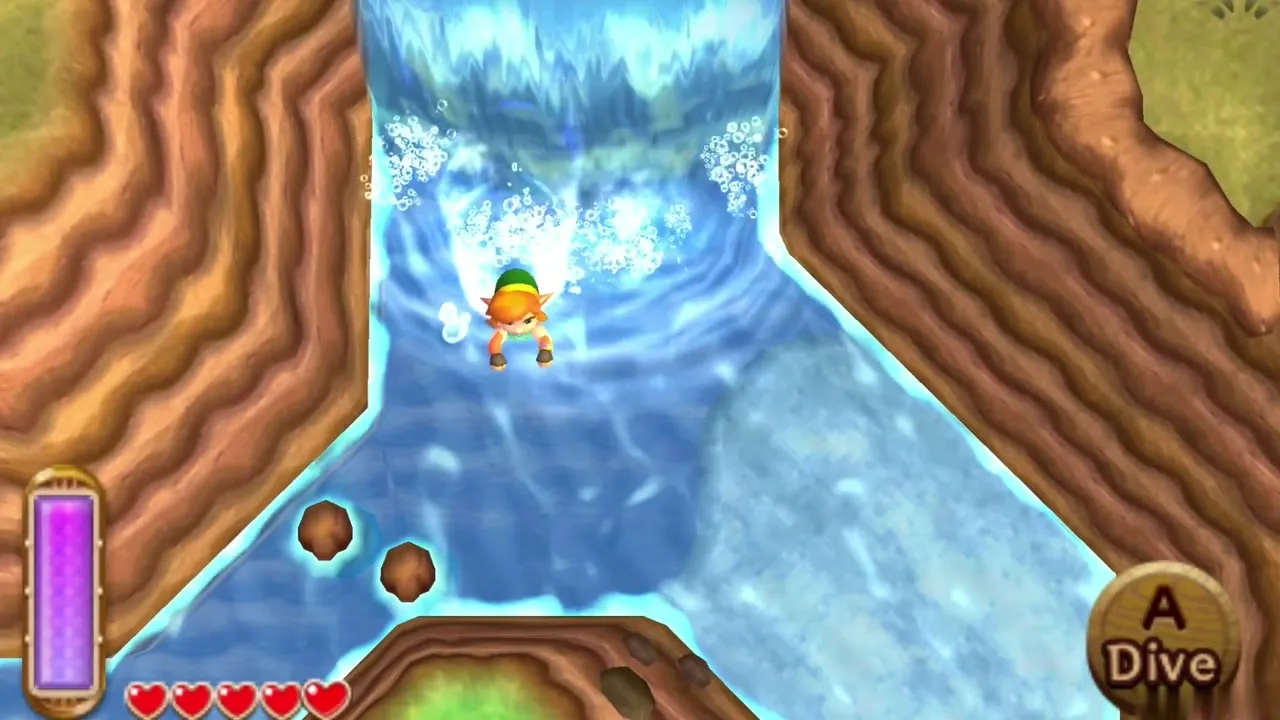
Follow the river north-east of the Witch’s House to a waterfall and enter the cave behind it. Heart Piece #7 waits inside.
Bird Lover’s Bottle #2
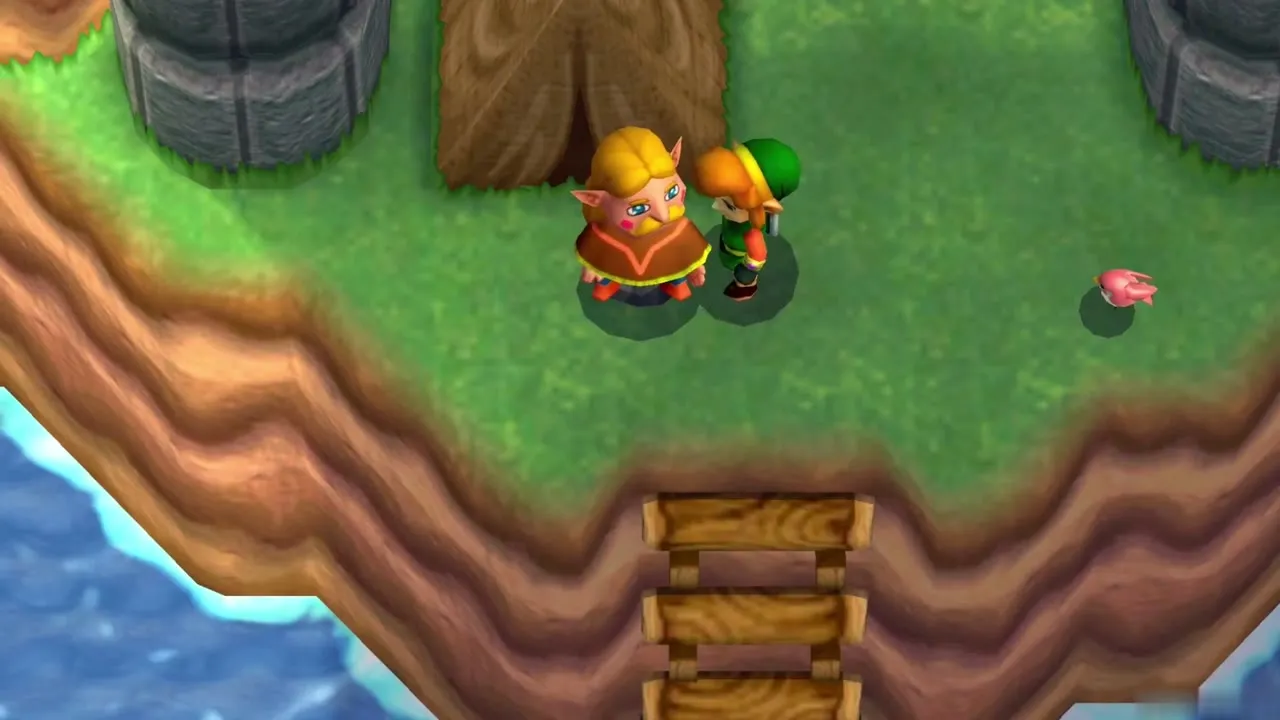
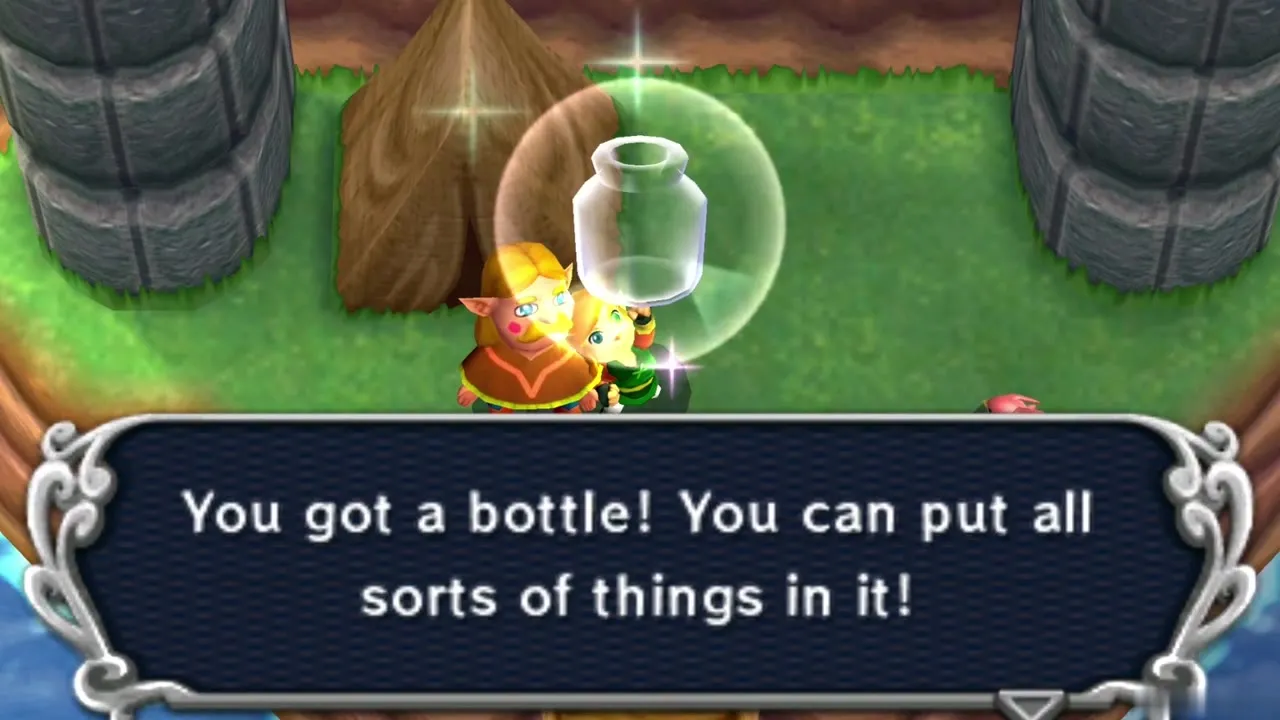
The Bird Lover lives in a tent under the bridge just east of Link’s House, and you need Zora’s Flippers to reach him. Talk with him and he gives you a free empty Bottle. This is Bottle #2; fill it with a bee, a fairy or milk later.
Ravio’s shop rentals
How Ravio’s rentals work
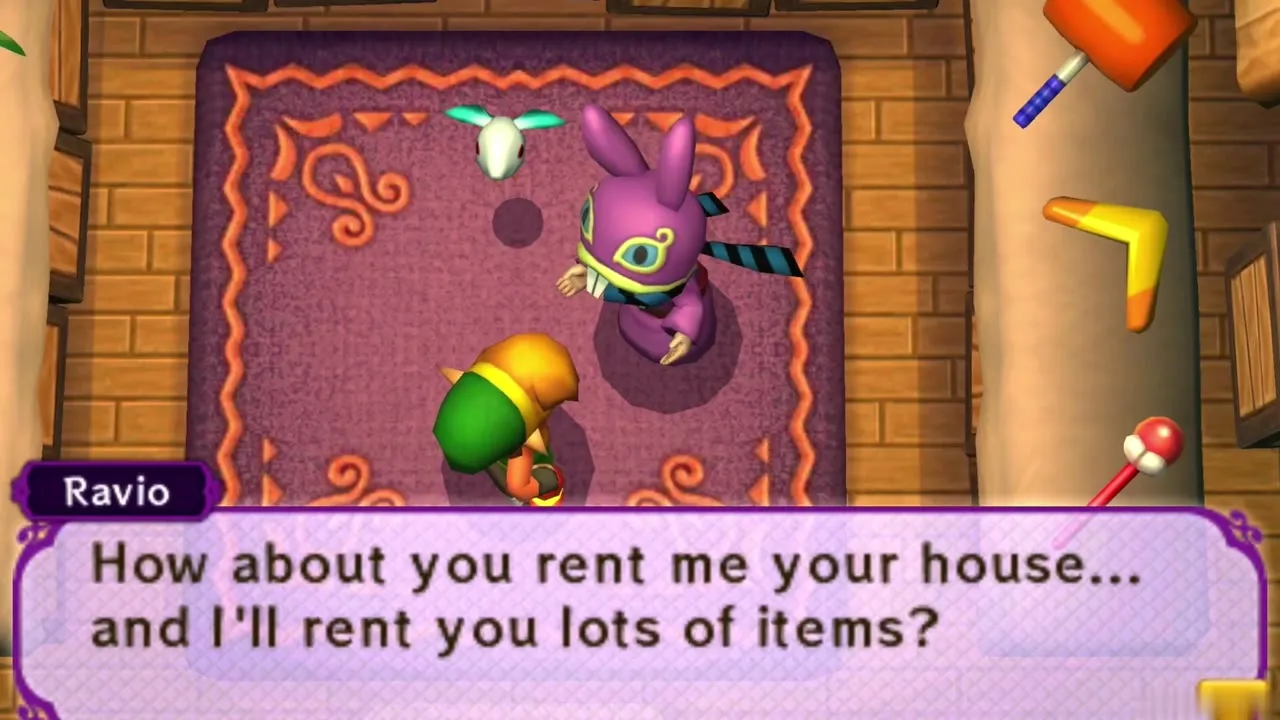
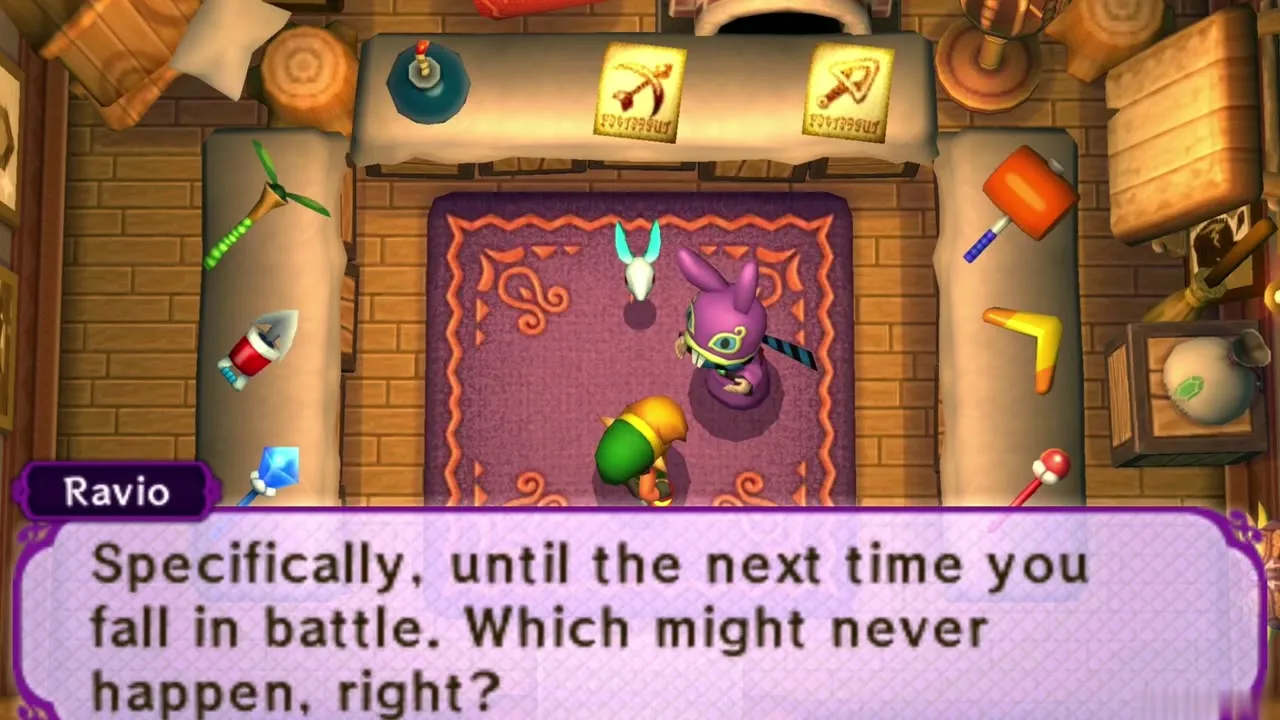
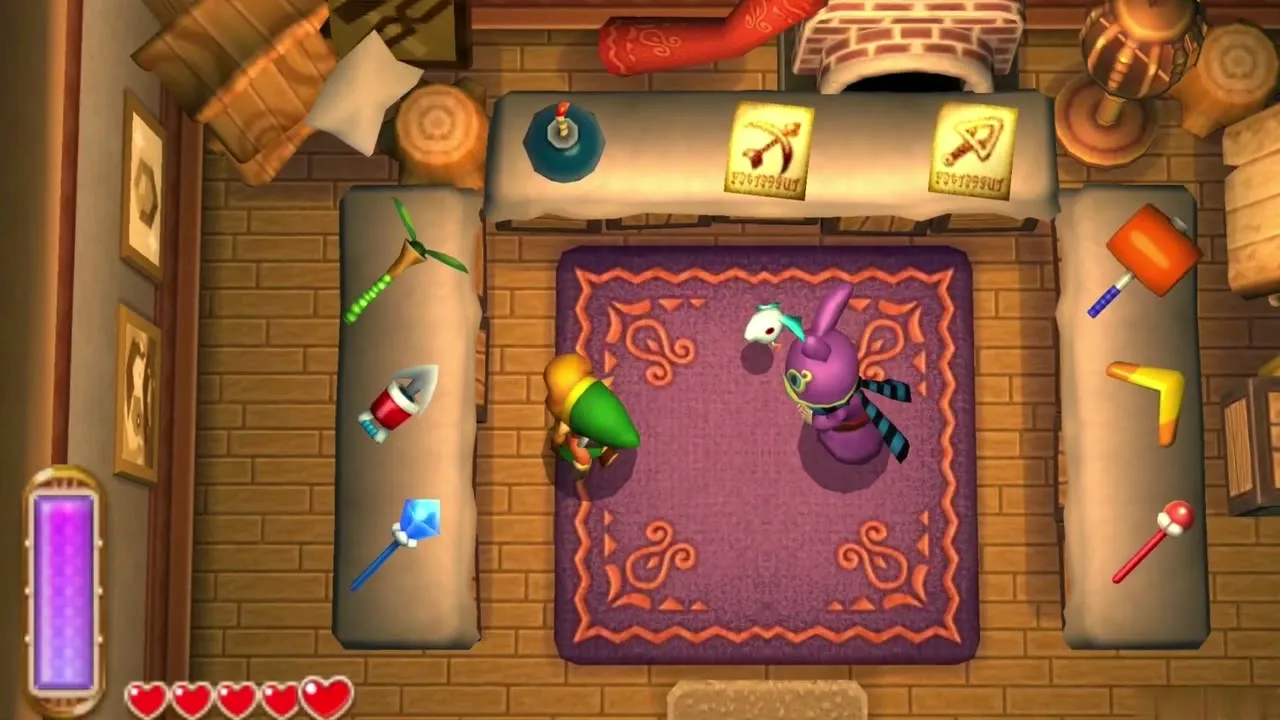
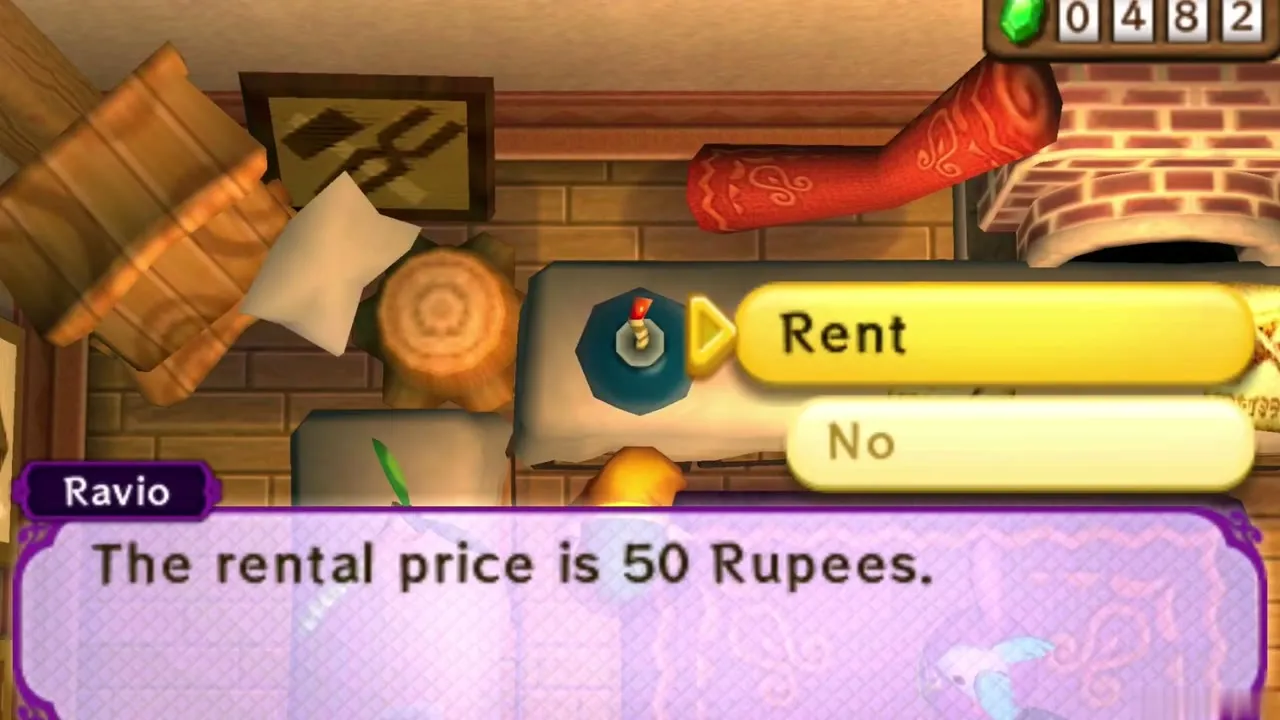
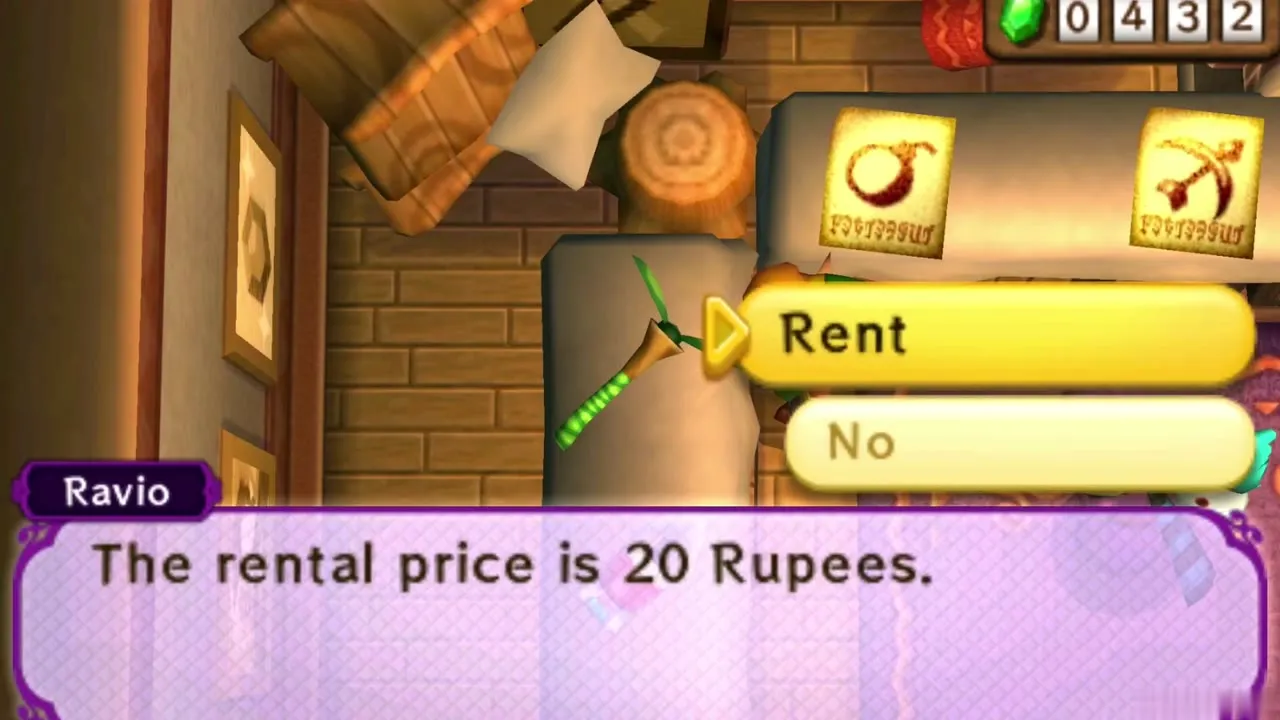
Return to Link’s House, now Ravio’s shop. Ravio rents you any item until you fall in battle; then his bird Sheerow carries every rental back and you must pay again. Bombs, Hookshot, Hammer and Boomerang cost 50 Rupees each, the Fire Rod and Ice Rod 100 Rupees. Using his items drains the energy gauge instead of an ammo count. Buying outright opens only after the three Pendants, so rent for now. The Ravio’s Shop page lists every price.
Which items to rent now
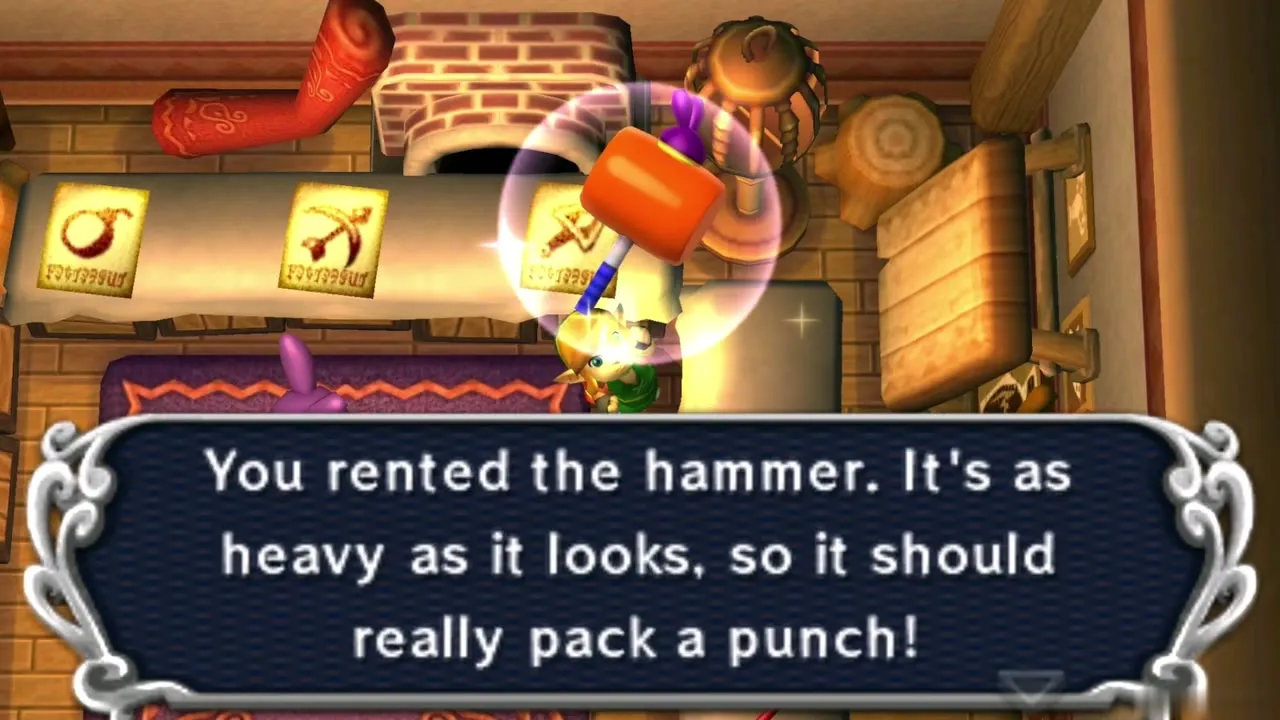
Rent the Bombs and the Hammer for the Heart Pieces and Maiamai in this chapter, and the Tornado Rod for the next dungeon. The shop sometimes offers a rental at a discount, so read the price before you confirm. The Hookshot, Boomerang and rods can wait until the chapters that need them; renting them now only costs Rupees you may lose if you fall.
Mother Maiamai’s cave
Mother Maiamai and the Maiamai Map
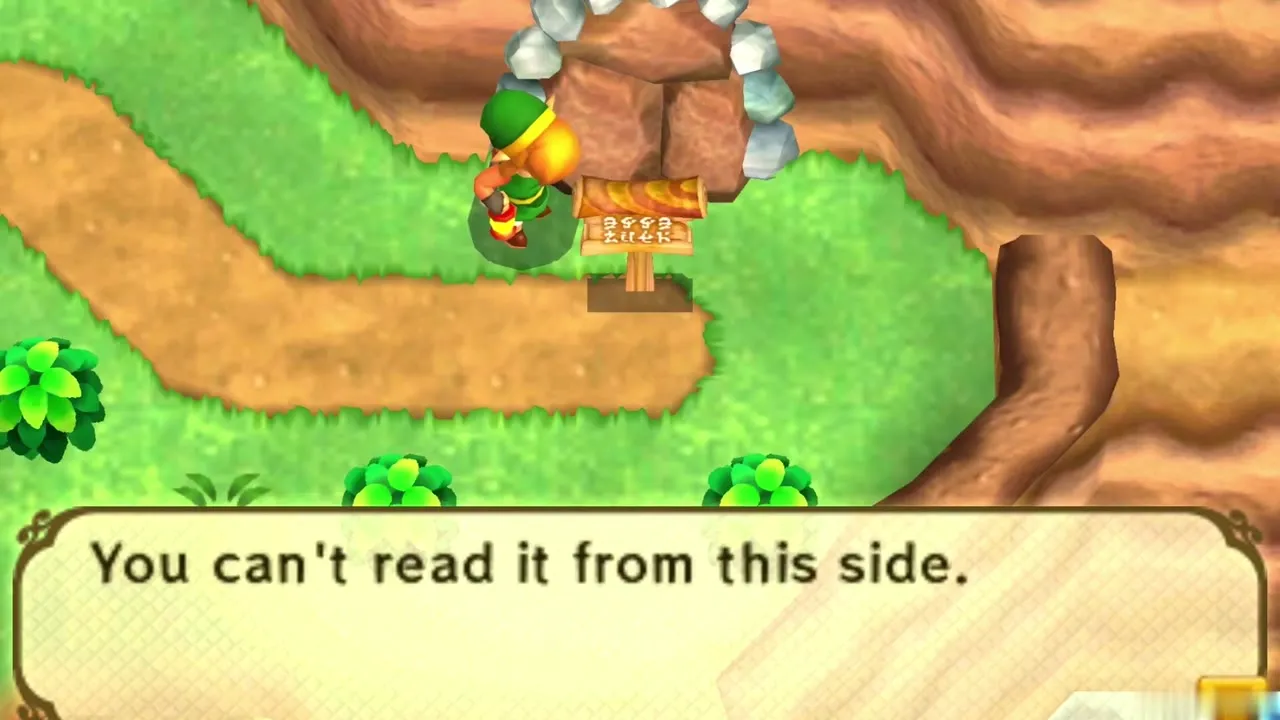
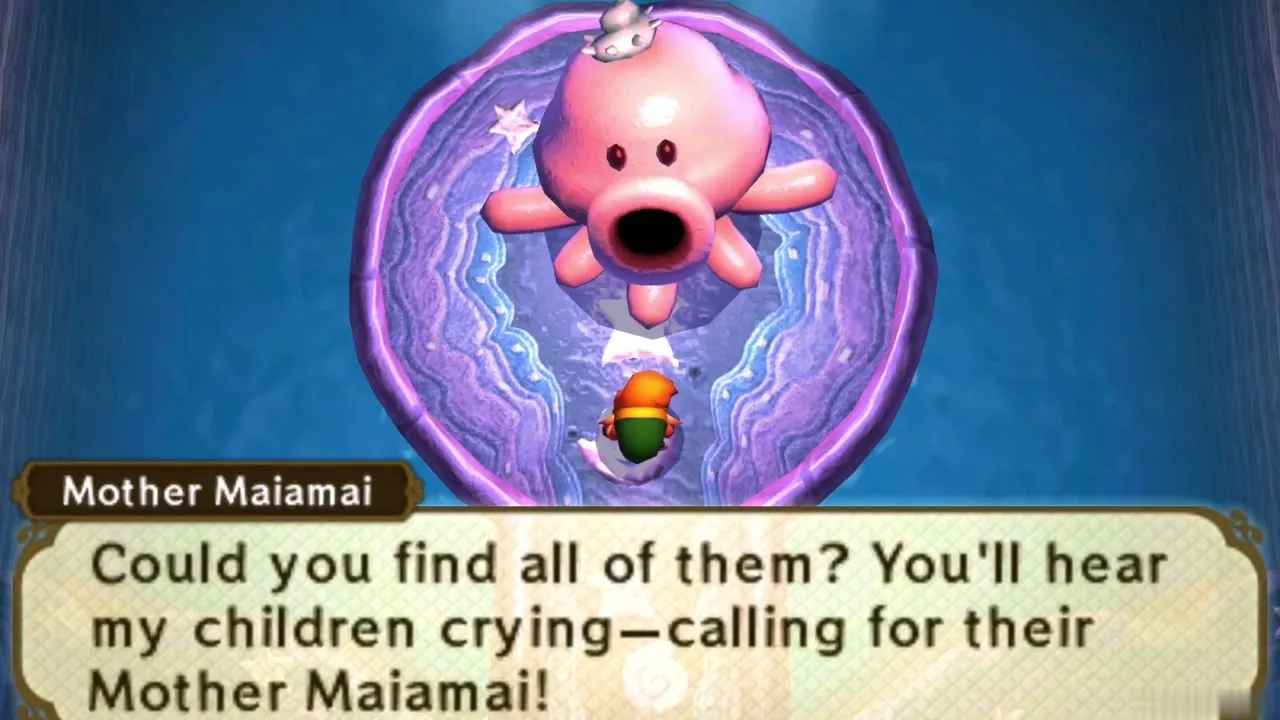
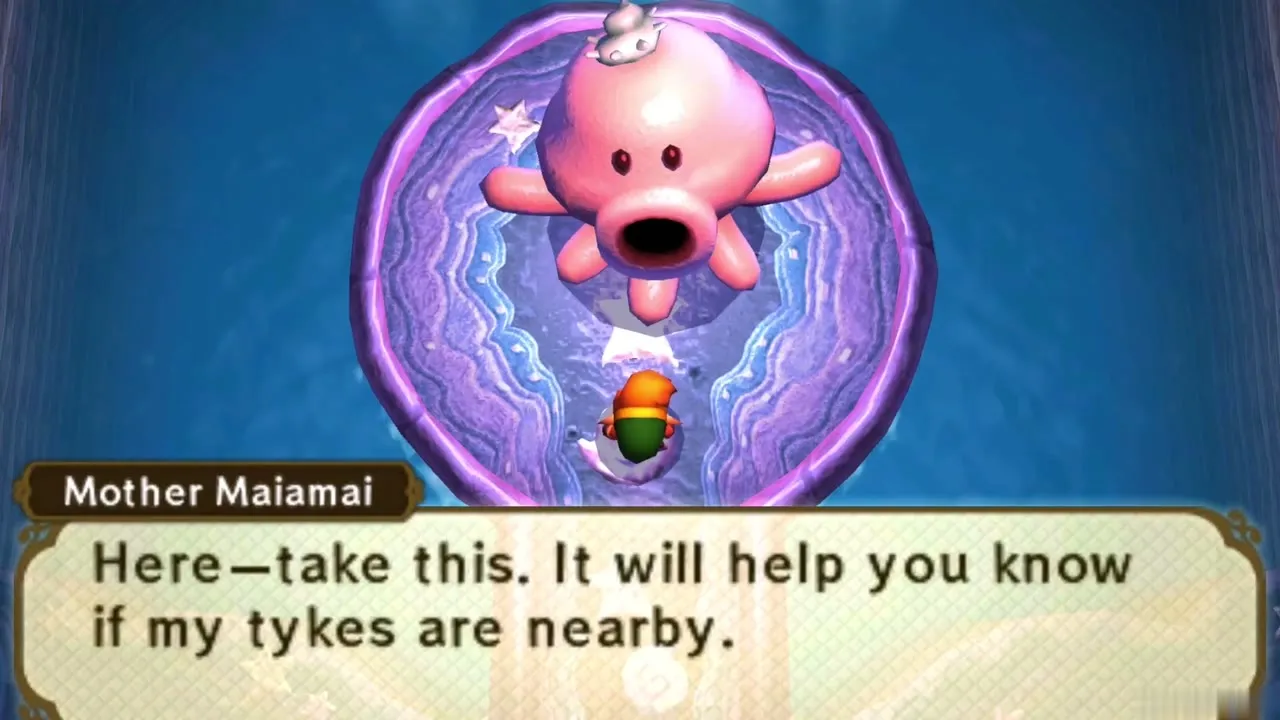
Mother Maiamai lives in a cave at Lake Hylia that is blocked off by a wall with a sign reading “Do Not Blow Up Wall”. Bomb the wall with a rented Bomb. Mother Maiamai asks you to find her 100 lost children and gives you the Maiamai Map. Every ten you return, she upgrades an item you own, not rent, so buy something from Ravio after the three Pendants.
Milk Bar, Rupee Rush and the ruins
Milk Bar premium milk
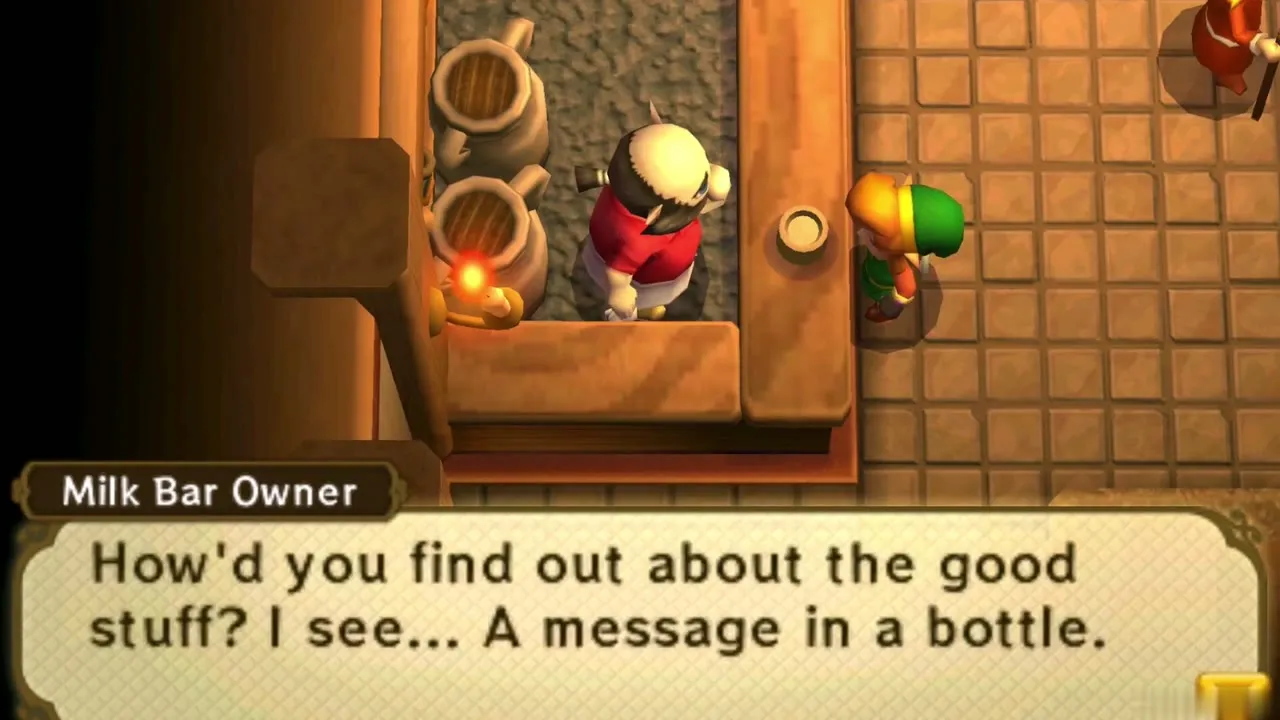
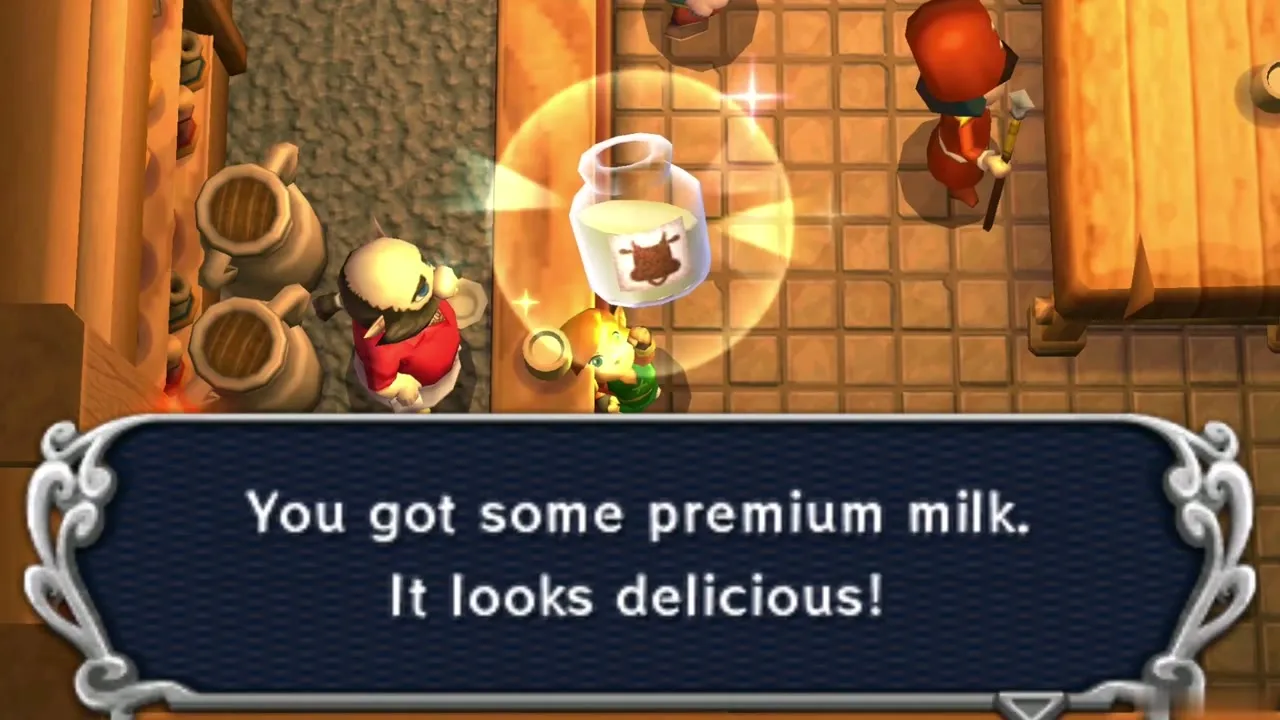
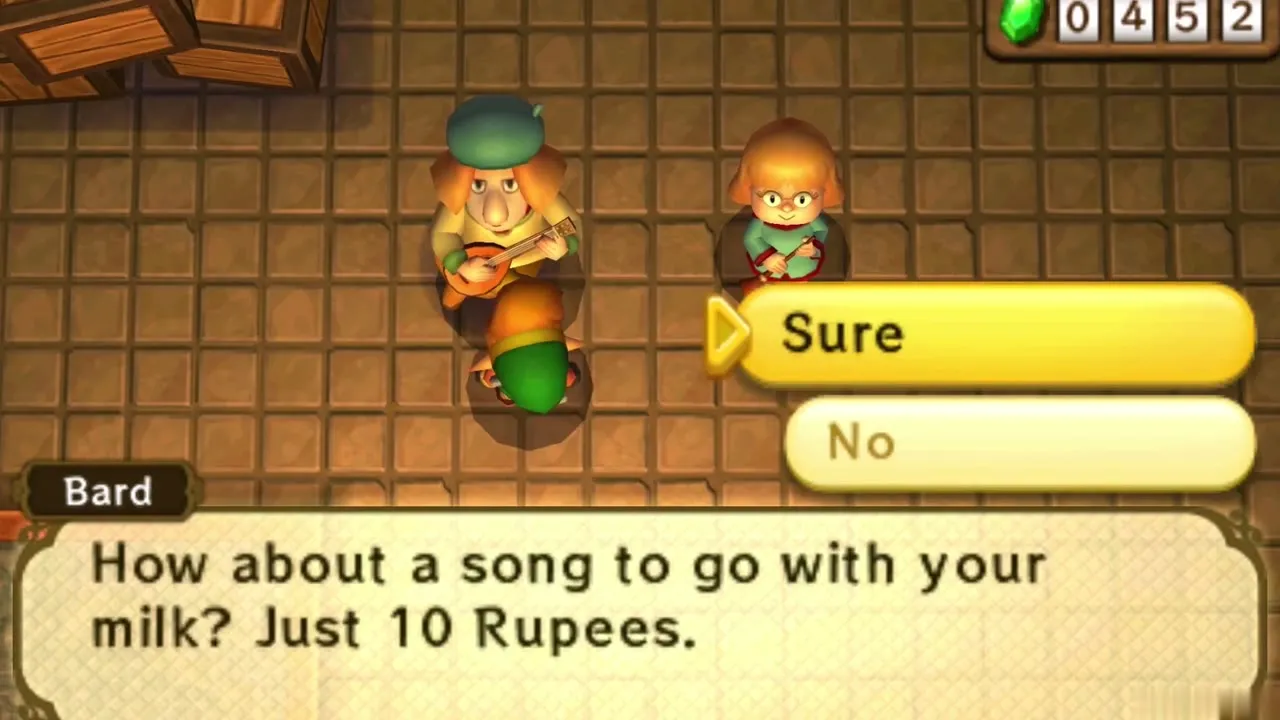
Visit the Milk Bar in Kakariko. Regular Milk costs 20 Rupees and heals five hearts, and the Bard plays a tune for 10 Rupees. Premium Milk is a separate quest: it begins with a Message in a Bottle, which you can find later, and you cannot drink the Premium Milk.
Rupee Rush Heart Piece #8
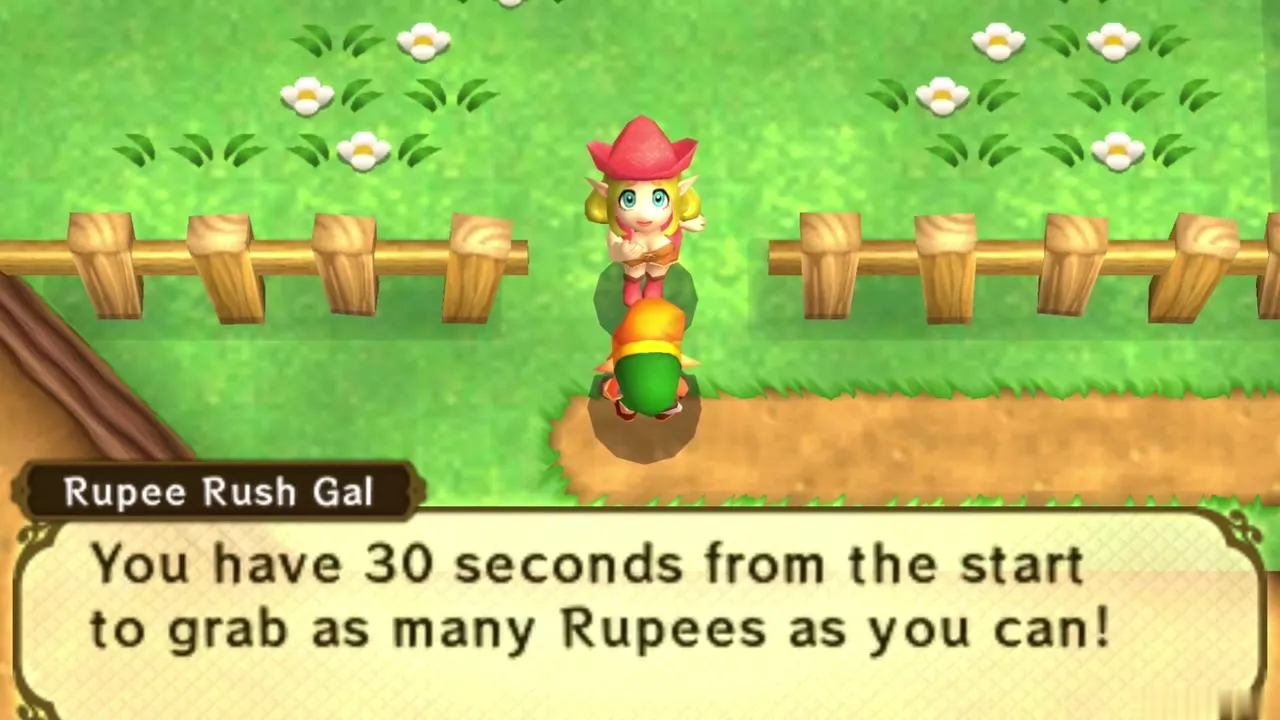
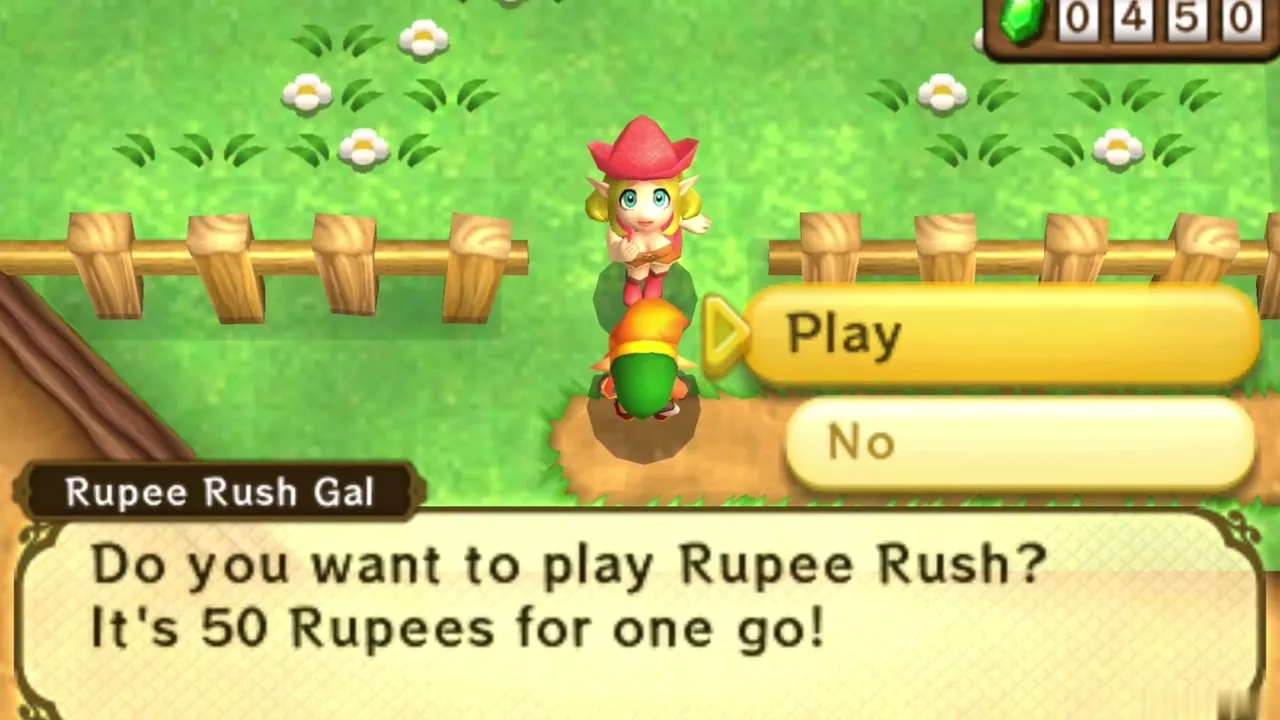
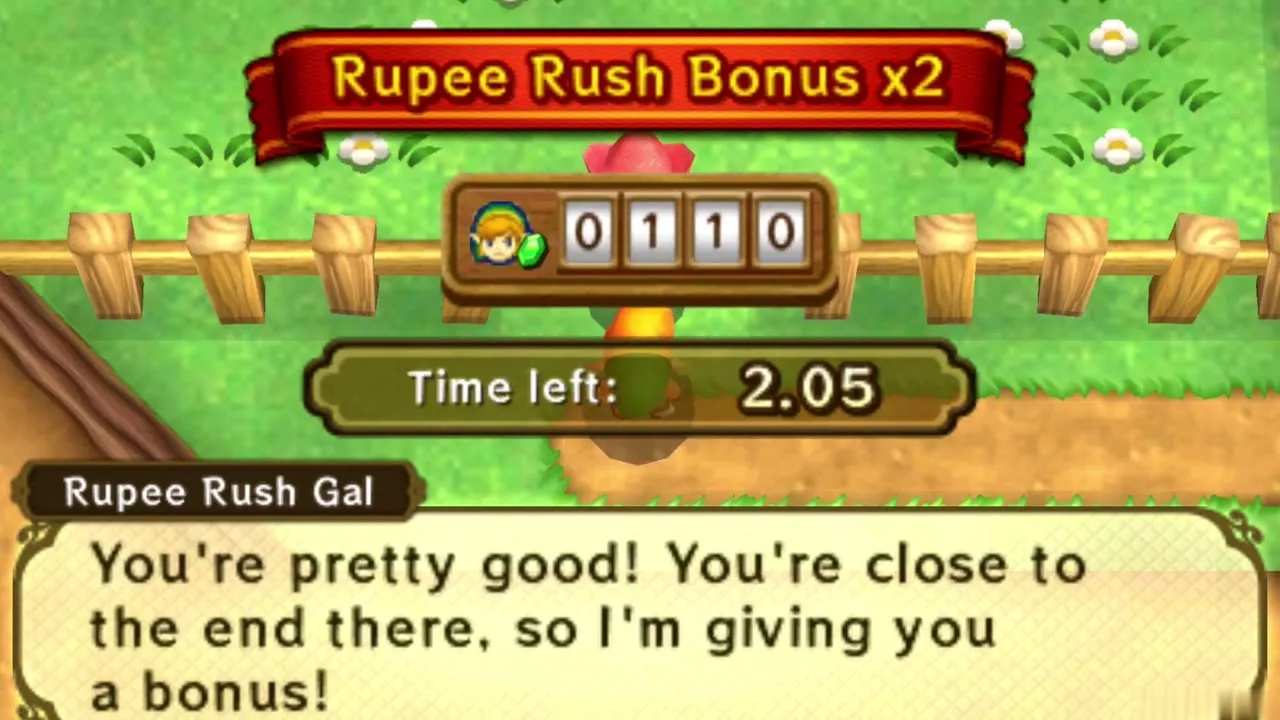
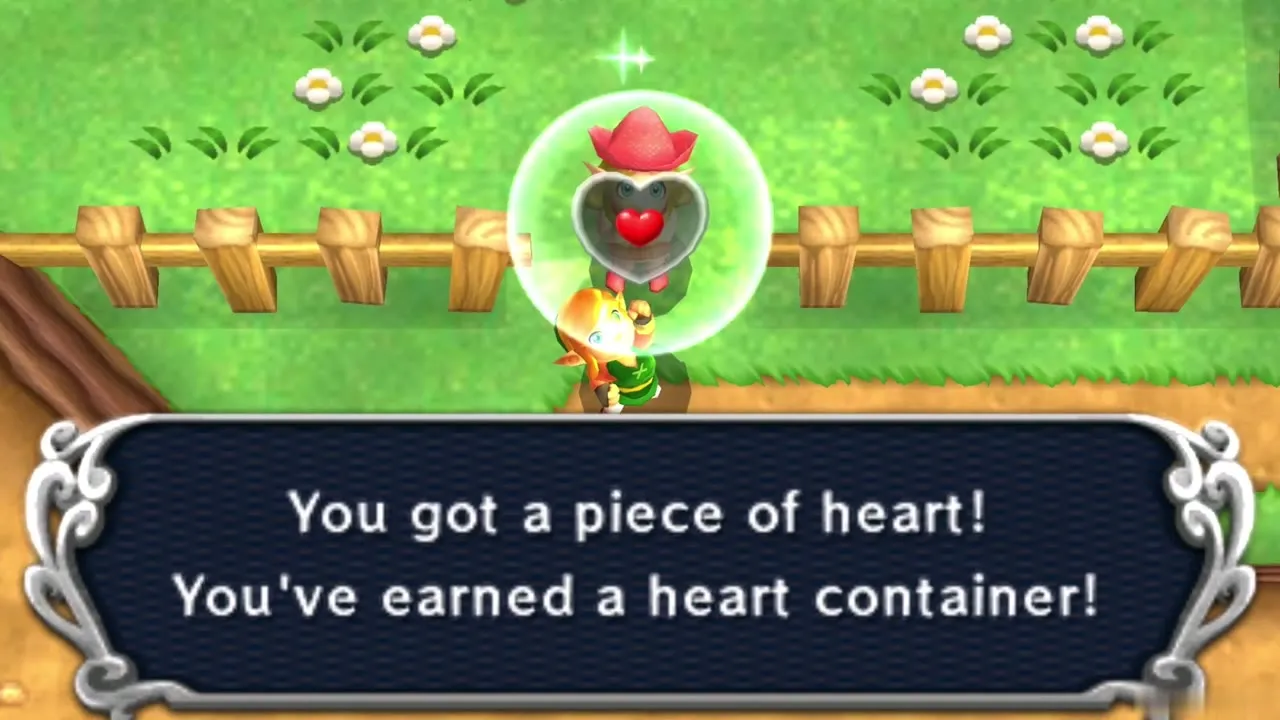
Rupee Rush is on the field south of Kakariko. Pay the Gal 50 Rupees, collect as many Rupees as you can in 30 seconds and talk to her again before time runs out, or you score nothing. Collect at least 100 Rupees for Heart Piece #8.
Hyrule Hotfoot Heart Piece #9
Talk to the Racing Bro north-east of Lake Hylia and pay 20 Rupees to race to the second Racing Bro behind Rosso’s house with the Pegasus Boots. Finish the first race in 75 seconds for 100 Rupees, then the second in 65 seconds for Heart Piece #9. Ringing the Bell to skip ahead disqualifies you.
Fairy Fountain
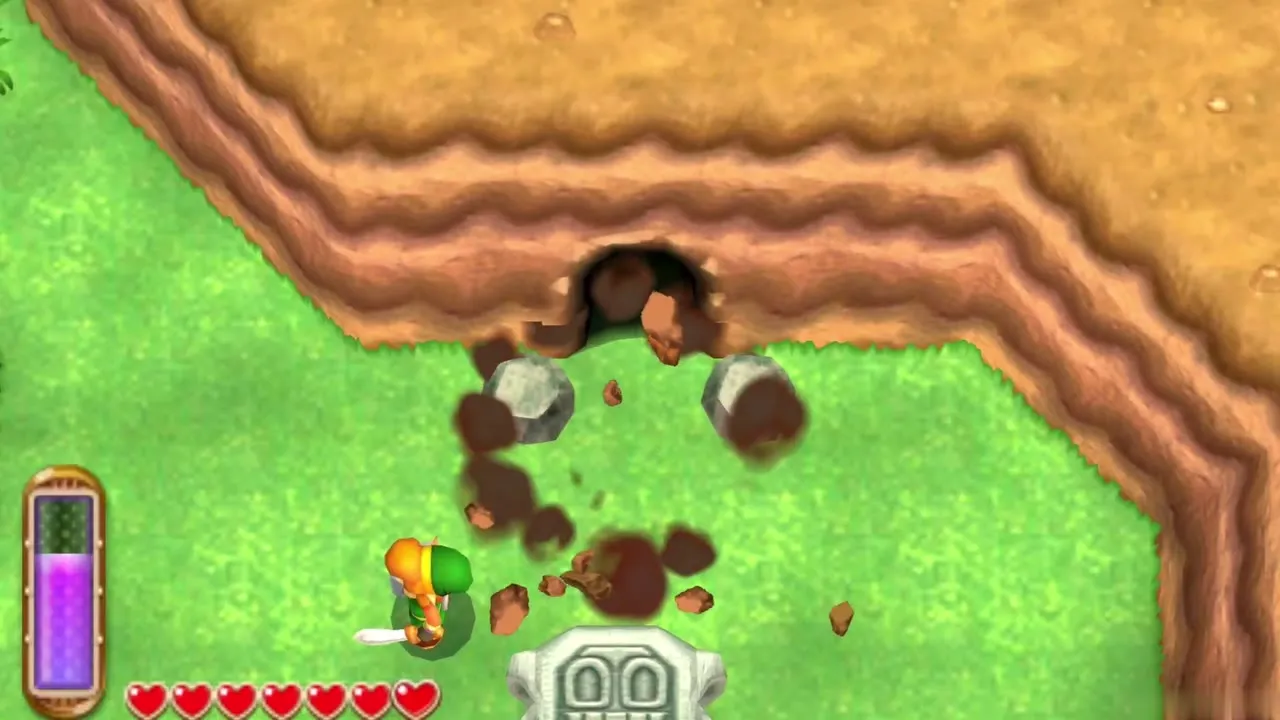
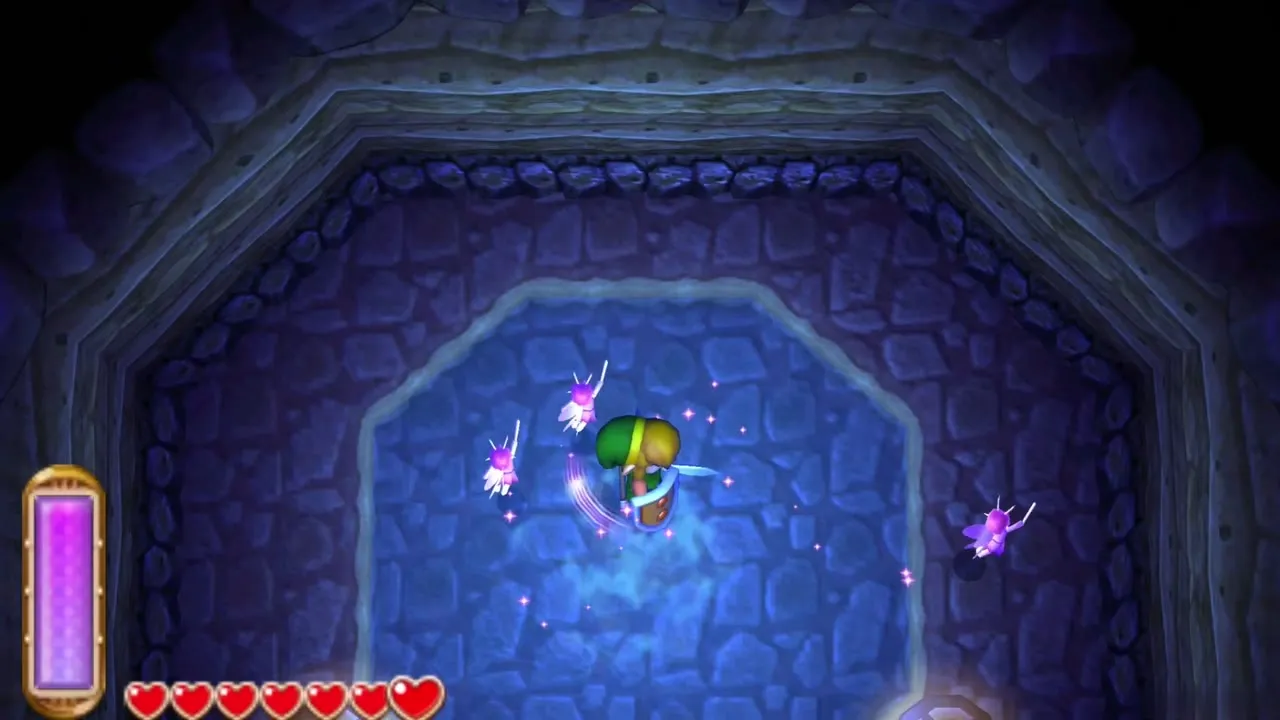
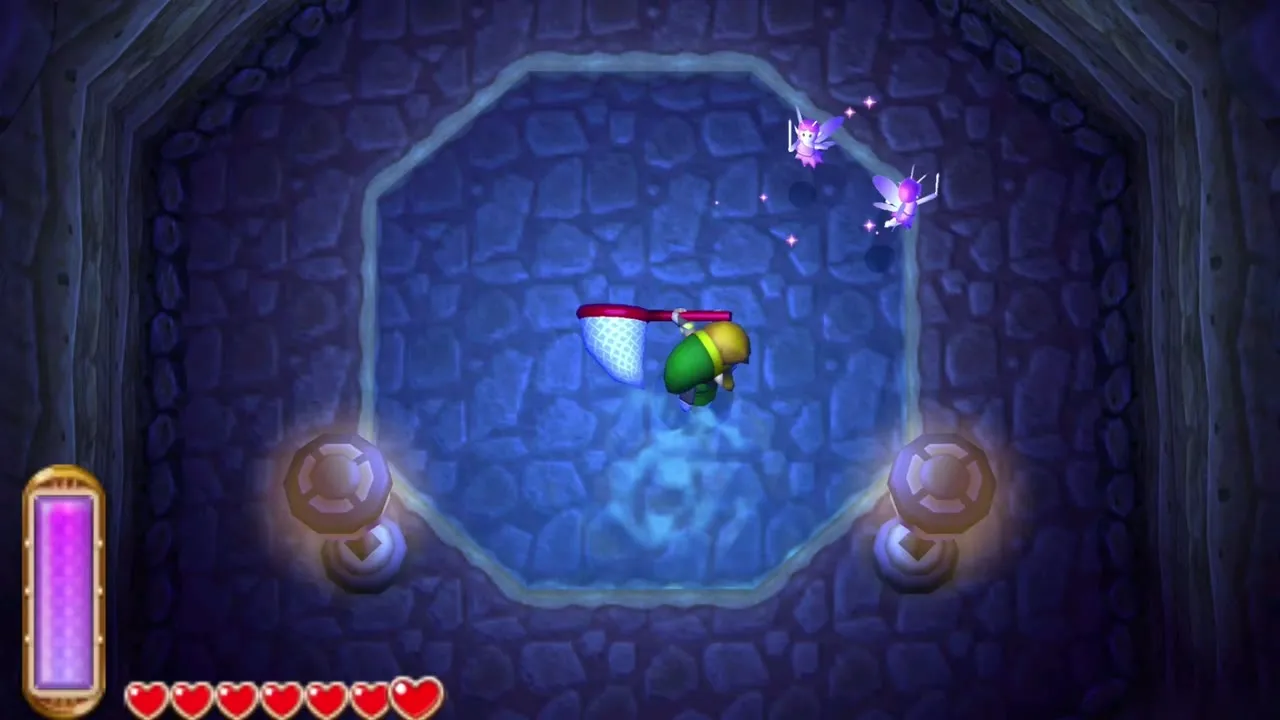
Fairy Fountains hide in caves behind bombable walls around Hyrule. Catch a fairy with the Net and put it in an empty Bottle; it revives you automatically if you fall.
Runaway Item Seller
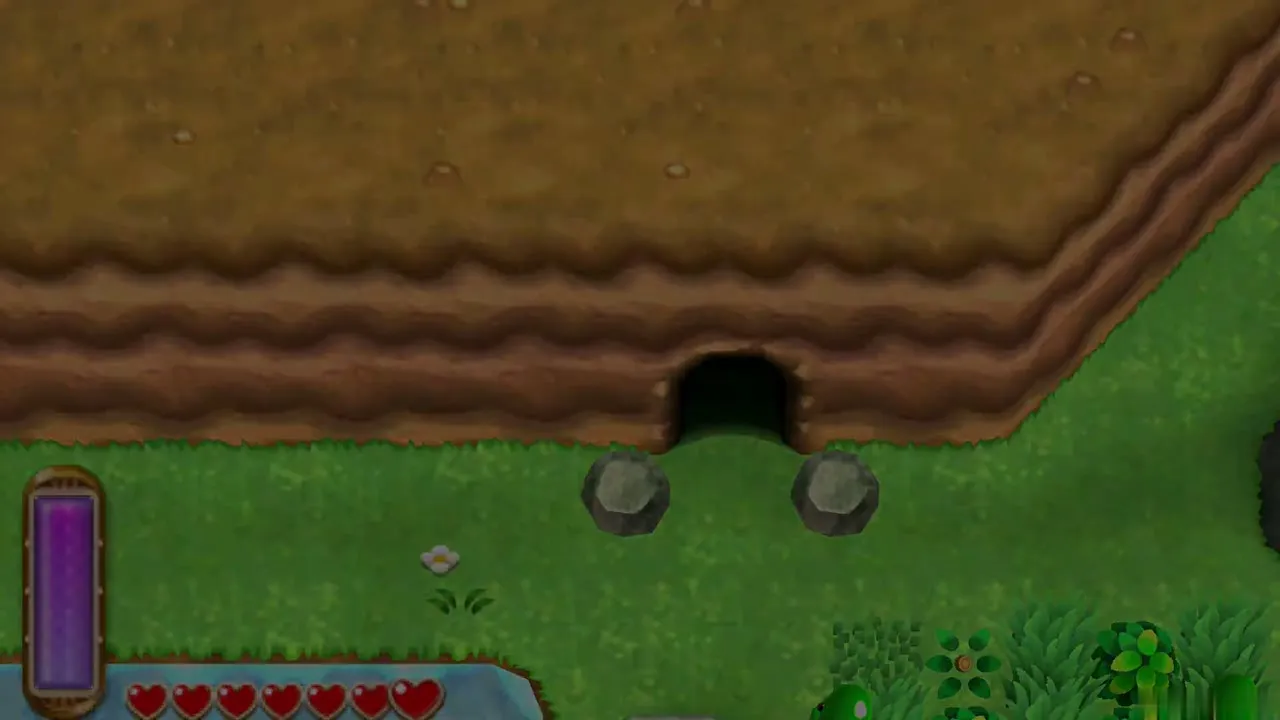
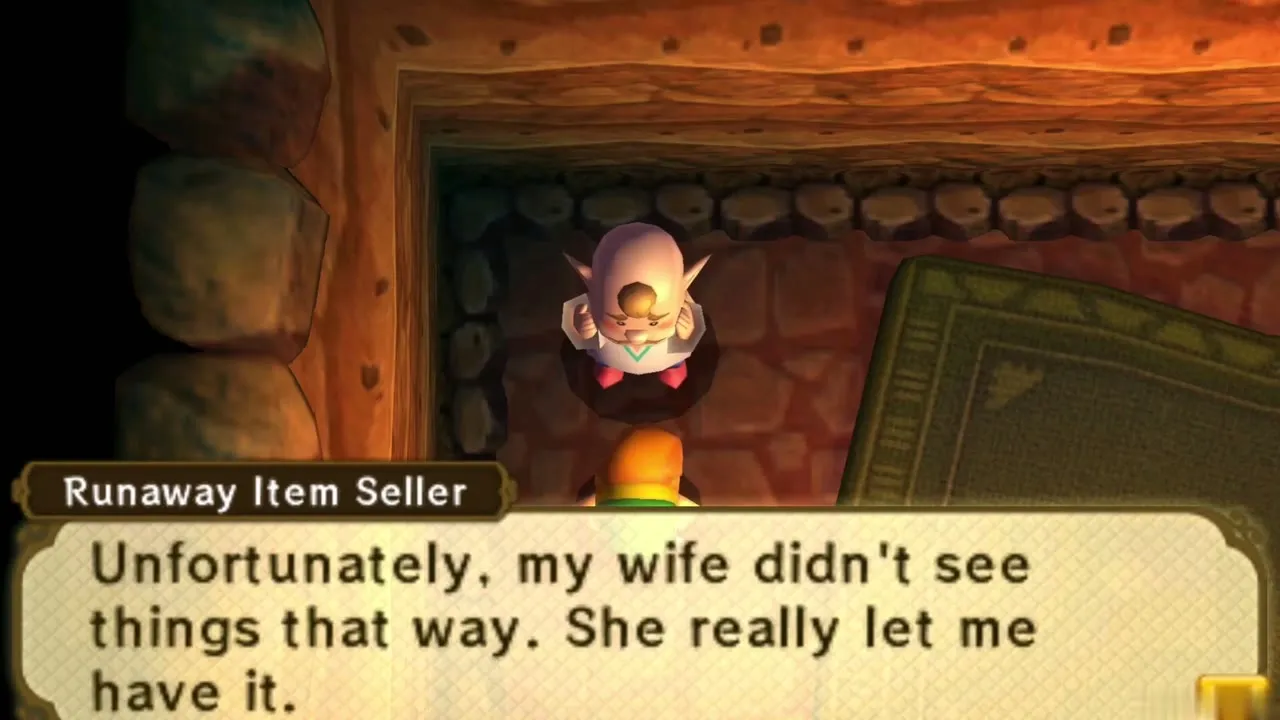
In the Southern Ruins, bomb the wall to the left of the northern entrance to find a concealed cave where the Kakariko Item Shop owner is hiding from his wife. He asks for a Scoot Fruit. Bring him one for a Silver Rupee, worth 100 Rupees.
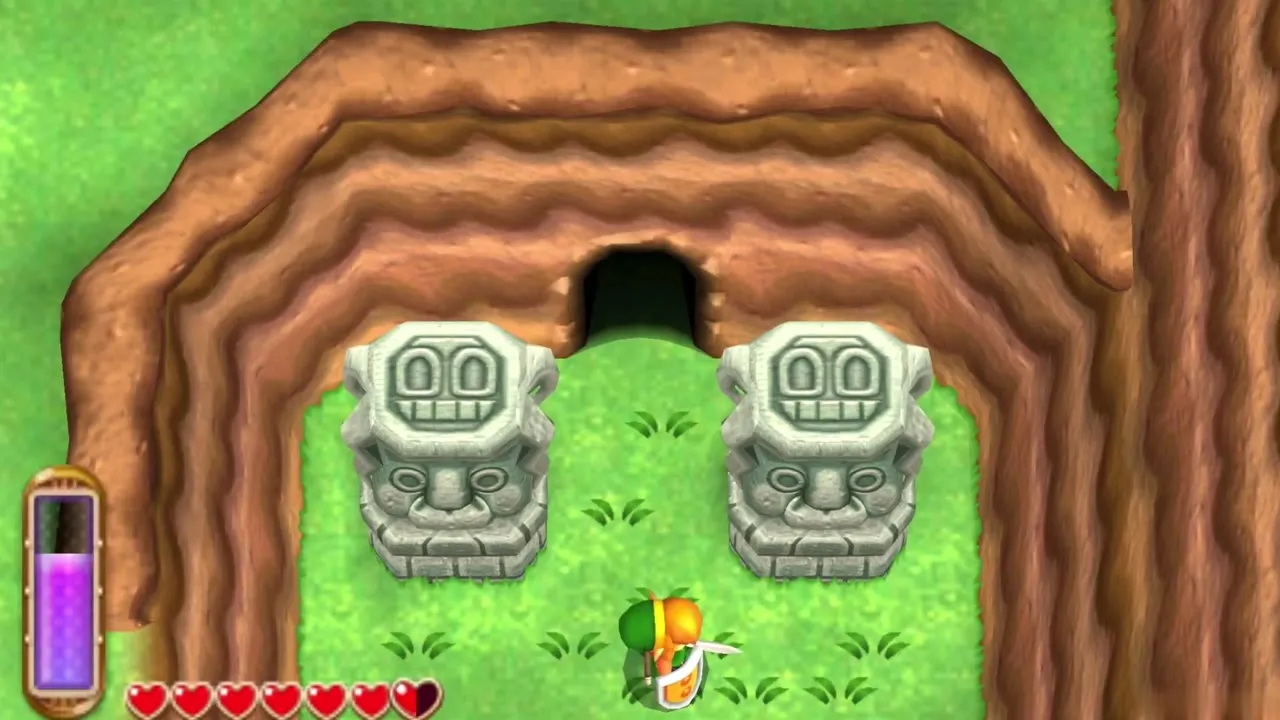
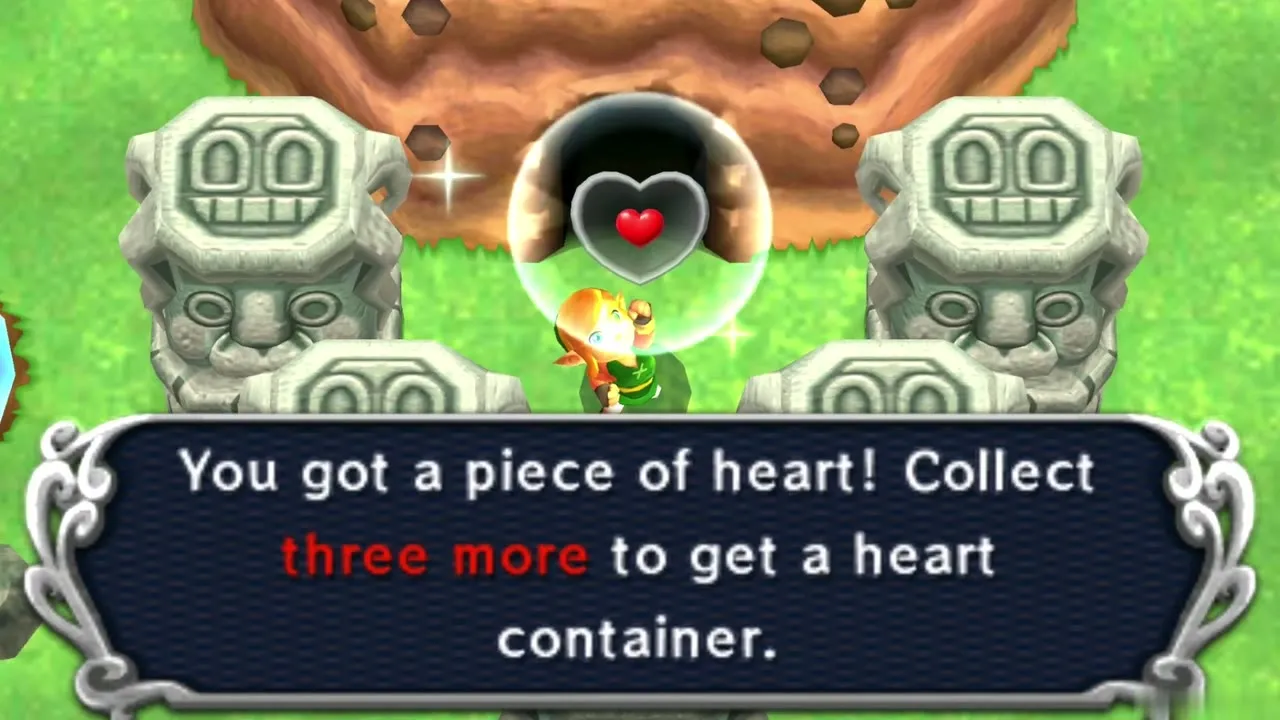
Southern Ruins Heart Piece #12
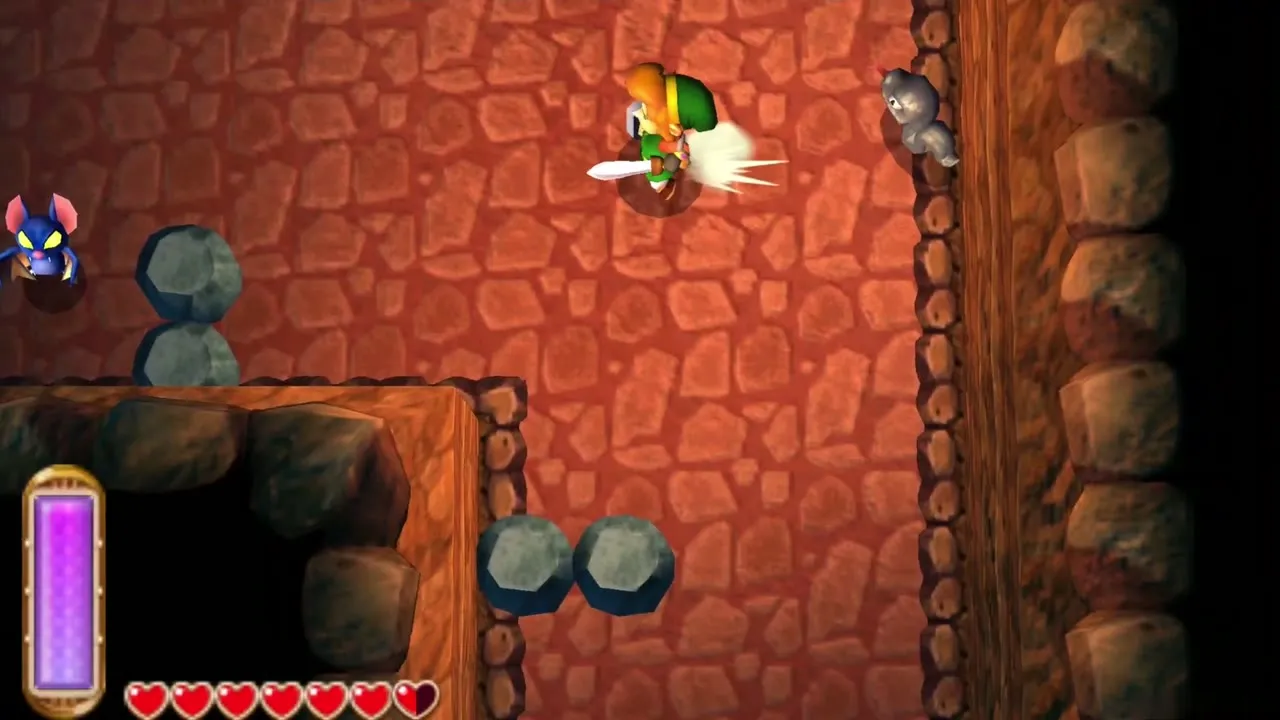
Rent Bombs, then bomb the wall between the two big statues near the cliff south of Link’s House and follow the cave to Heart Piece #12. A pool in the cave’s north-east corner hides a Maiamai.
Eastern Ruins Heart Pieces #10 and #11
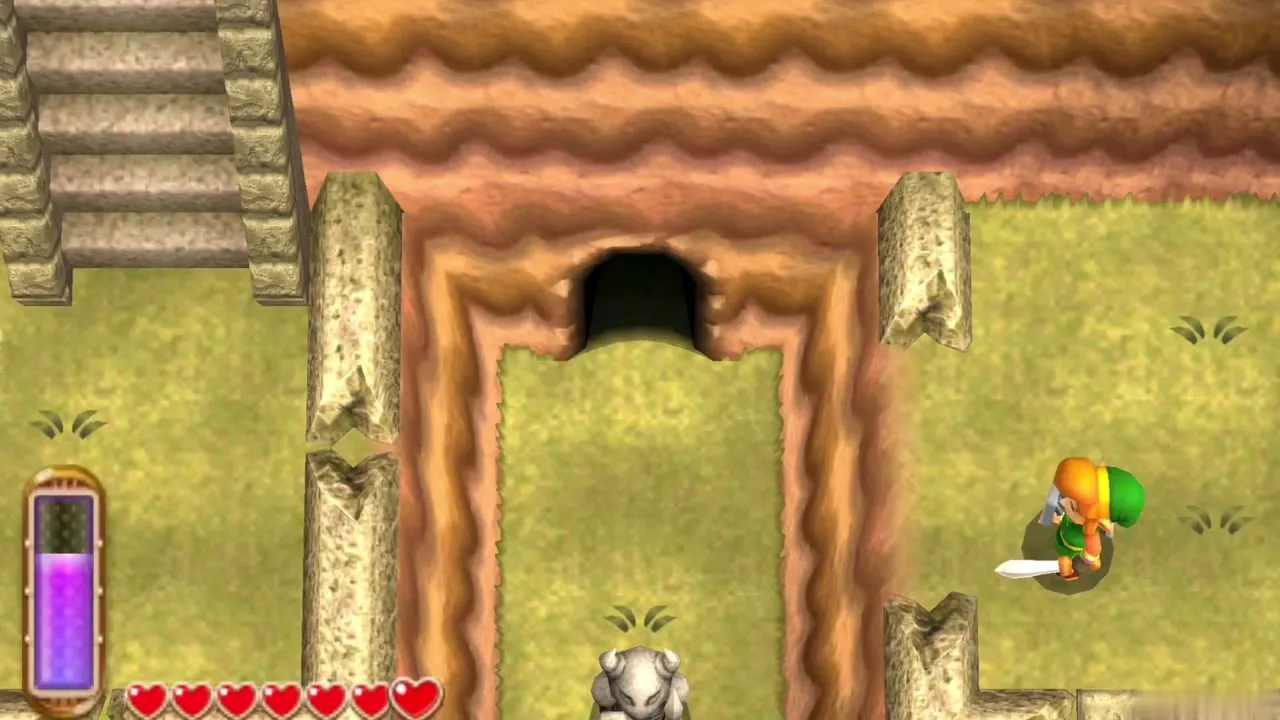
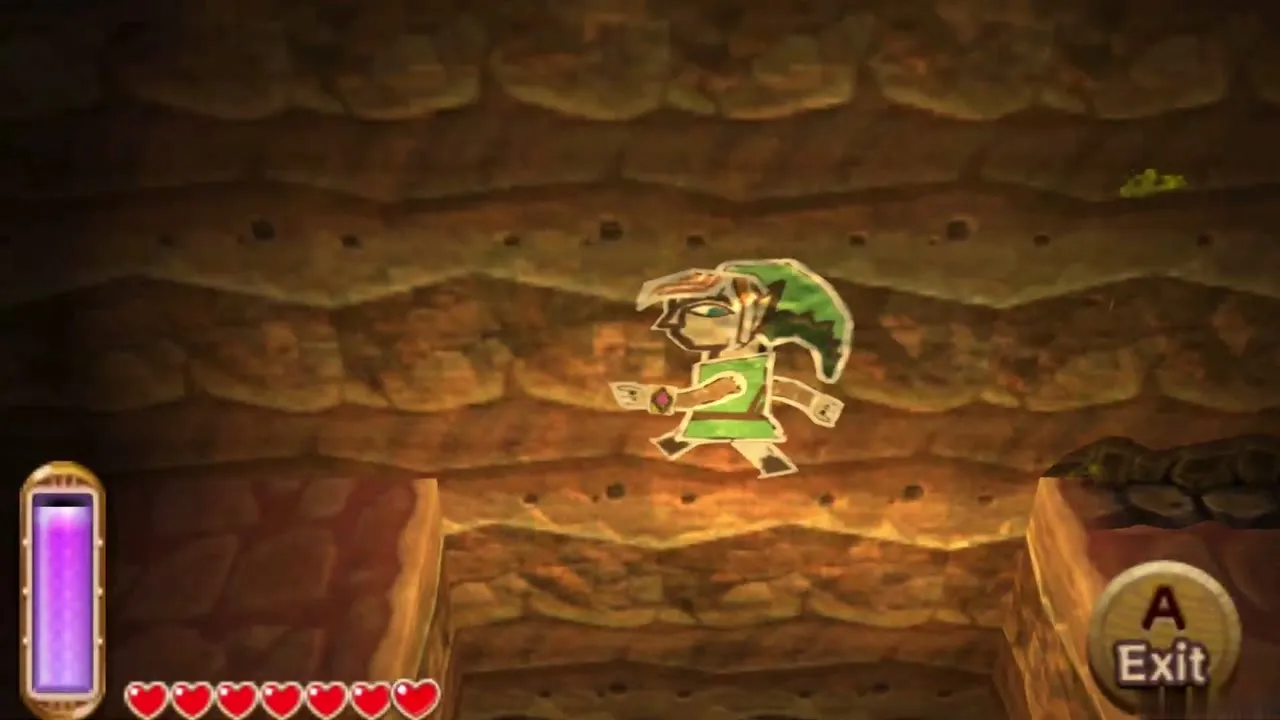
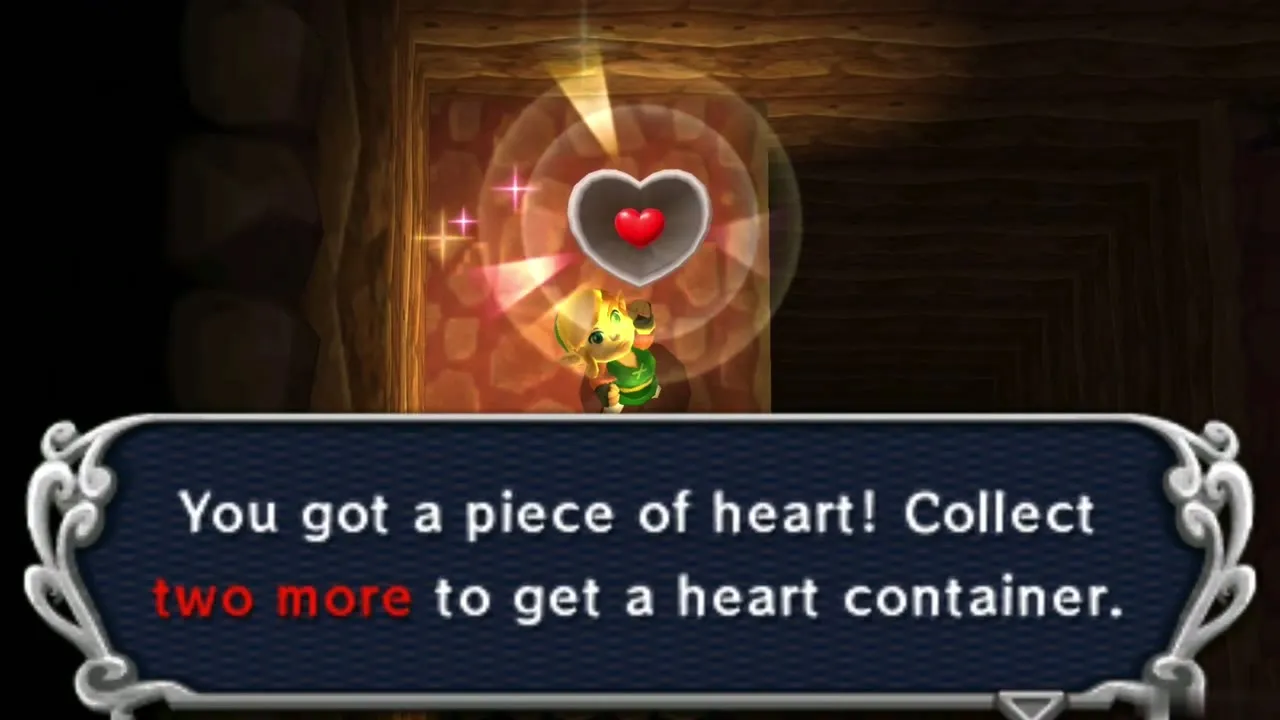
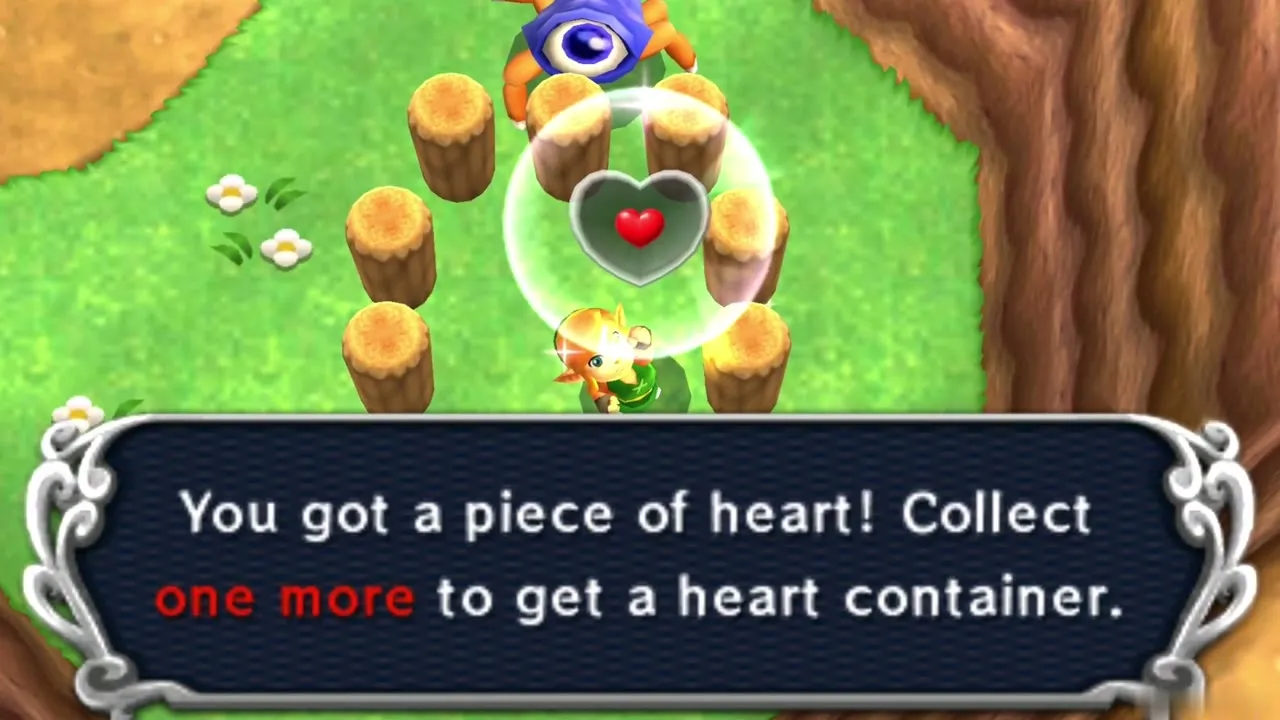
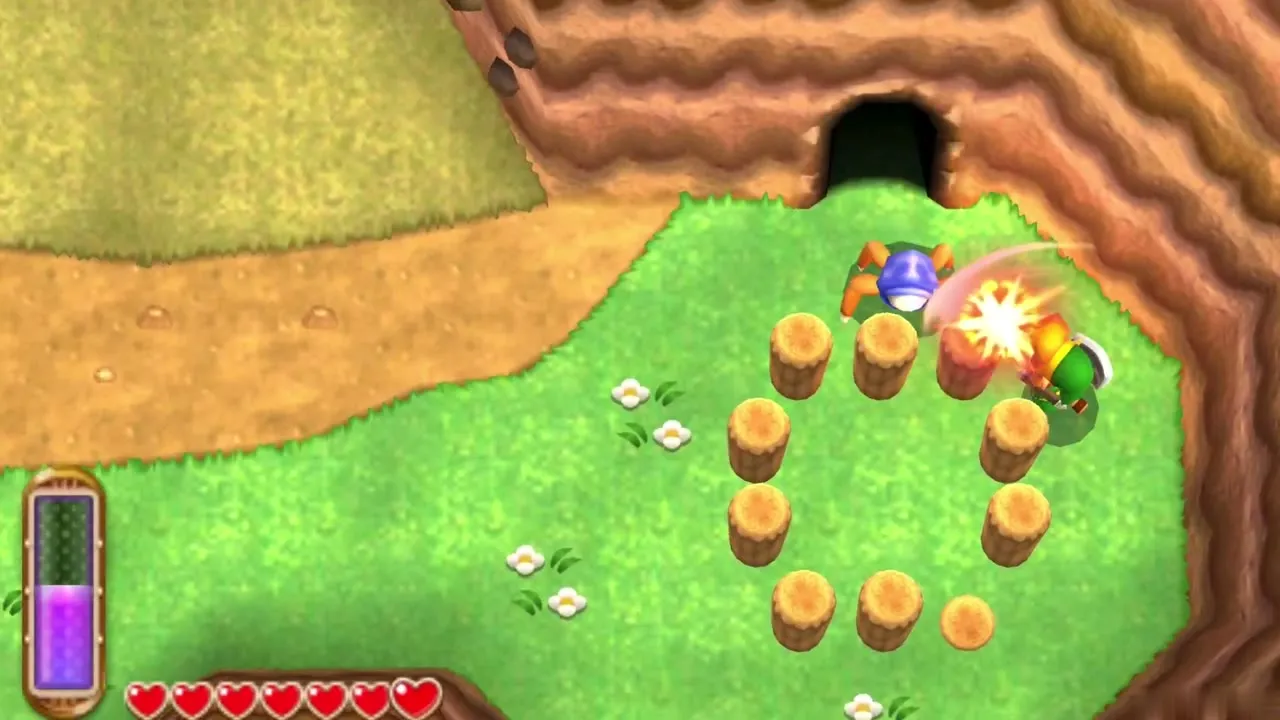
South of the Eastern Palace, bomb the cracked wall, enter the cave, merge and slide to Heart Piece #10. Then walk to the grassy field in the south-east corner and pound the stakes around Heart Piece #11 with the rented Hammer.
Lost Maiamai reachable now
Kakariko and Hyrule Castle Maiamai
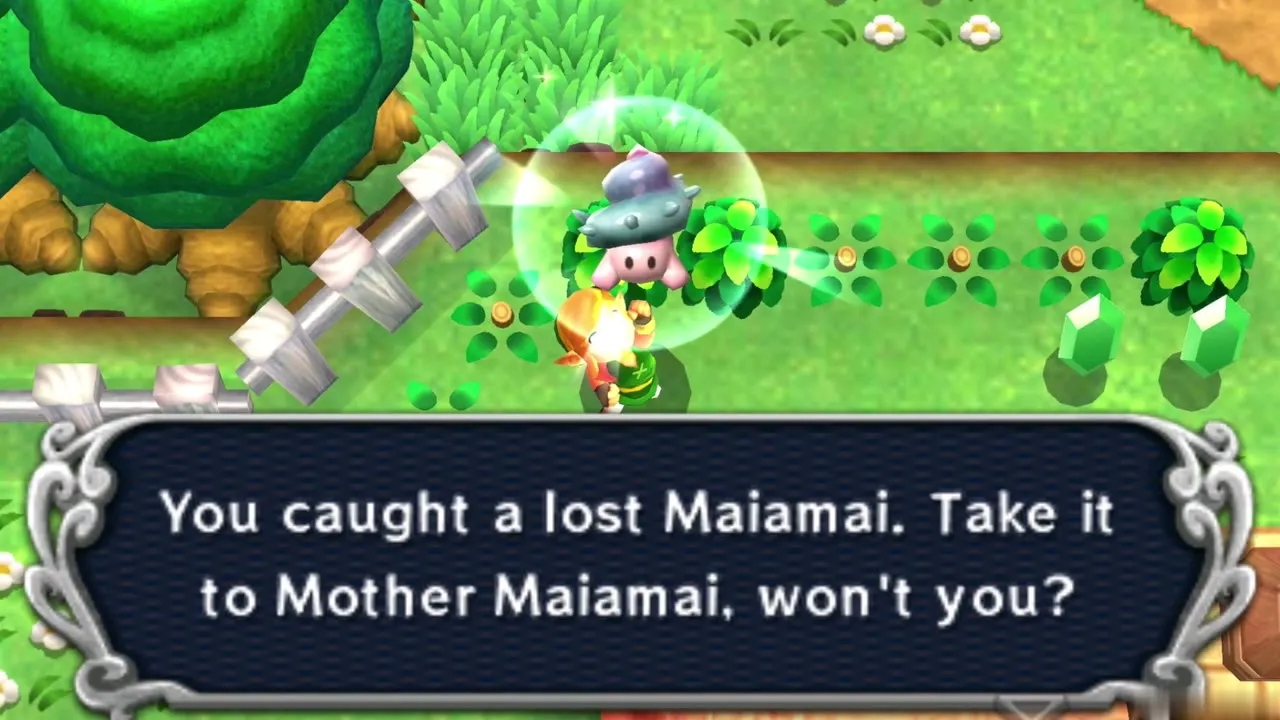
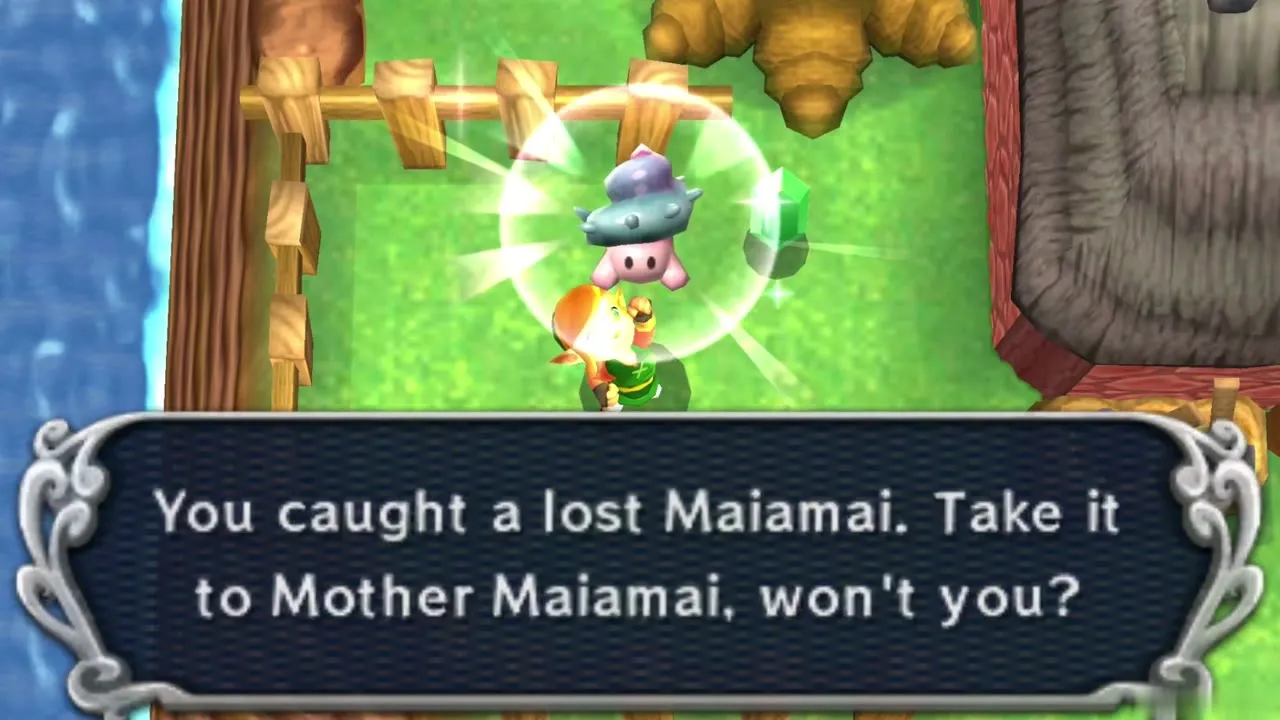
In Kakariko slash the bushes inside the small fence, glide with a Cucco to the roof beside Sahasrahla’s house and lift the rock, dash into the tree by the Cucco Ranch and, after Rupee Rush, merge into the south wall. In the castle area dash into three separate trees, merge on the rear wall of Link’s House, dash into the northernmost tree of the Haunted Grove and use the Tornado Rod on two sets of panels.
Lake Hylia and Eastern Ruins Maiamai
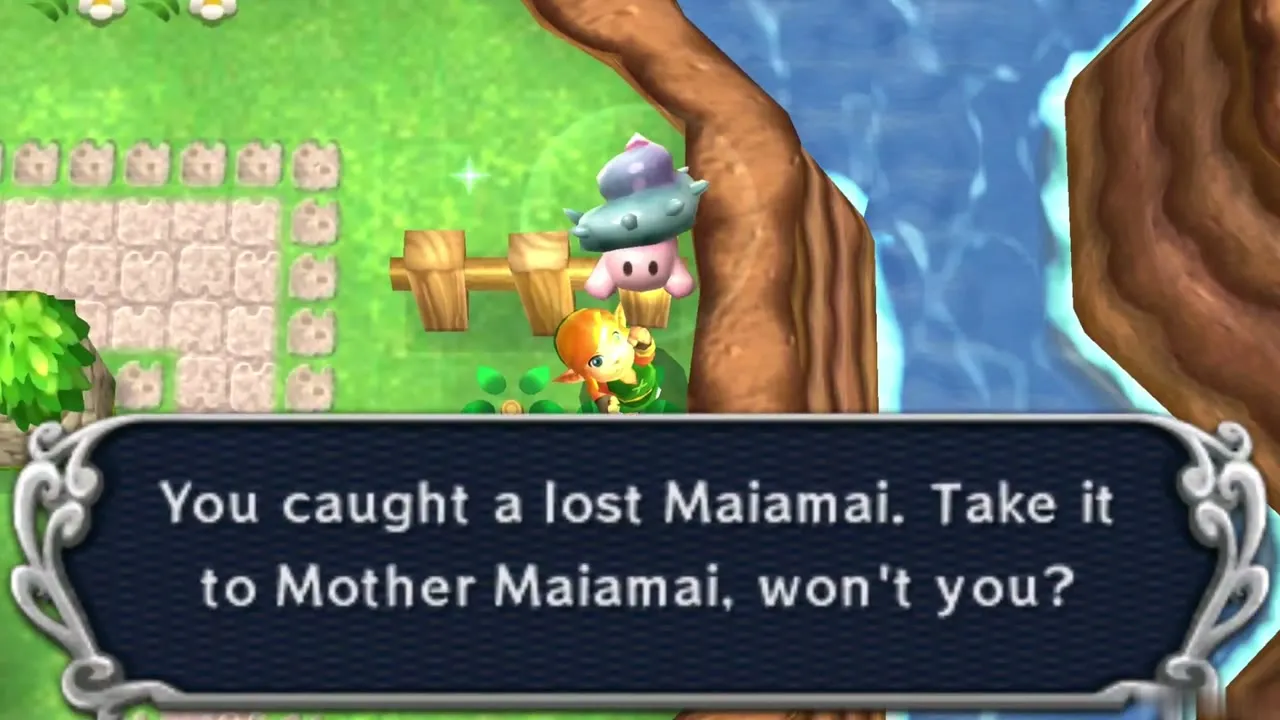
At Lake Hylia merge beside Mother Maiamai’s cave, dive in the shallows south of the House of Gales and west of the ladder, and blow the single panel behind the House of Gales with the Tornado Rod. In the Eastern Ruins, dash into the easternmost rock, the fifth tree and the lone yellow tree, dive east of the bridge and merge from the crystal switches.
Lost Woods, Sanctuary, Zora’s Domain and Southern Ruins Maiamai
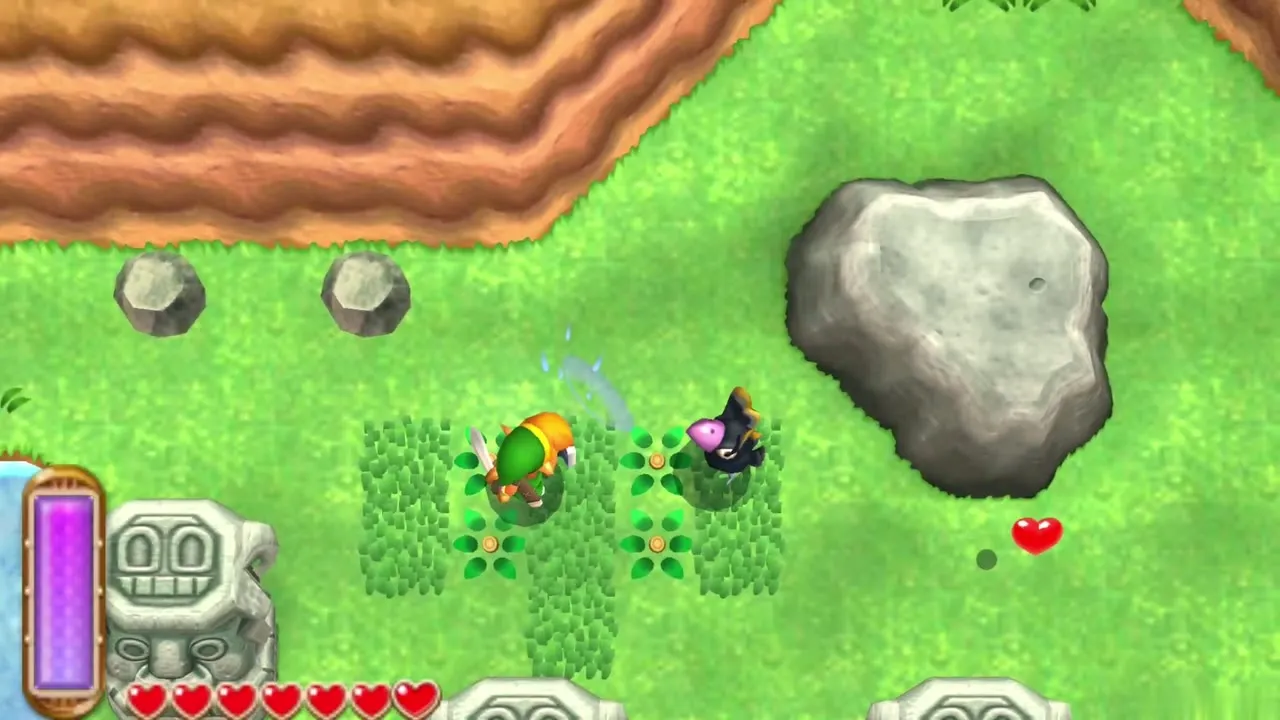
In the Lost Woods lift the pair of small rocks, dash into the south-east tree, cut the bushes outside the entrance, merge by Rosso’s house and onto the Fortune Teller’s tent, lift the small rock between the fences east of Kakariko and dive in the pond. Around the Sanctuary and Zora’s Domain merge on the cliff, in the river and in the Witch’s House, and dive at the domain entrance. In the Southern Ruins dash into the statue in shallow water and dive in the cave pool and east of the Treasure Hunter Cave.
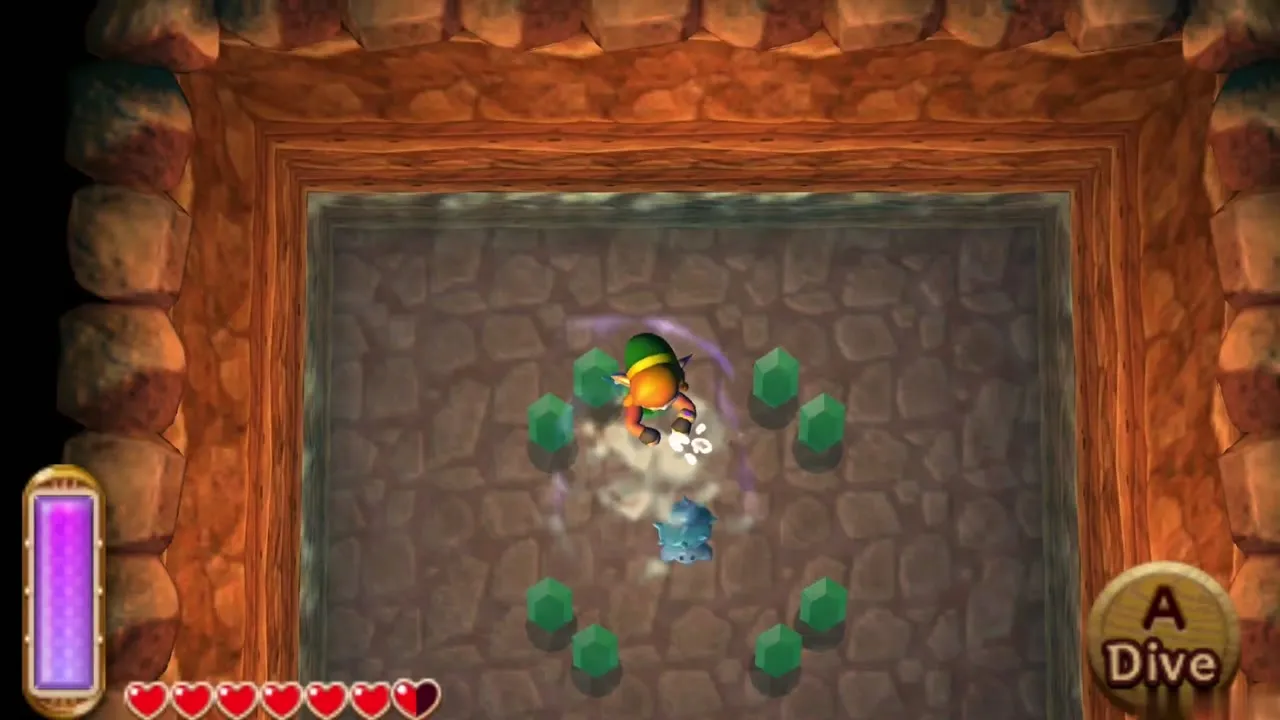
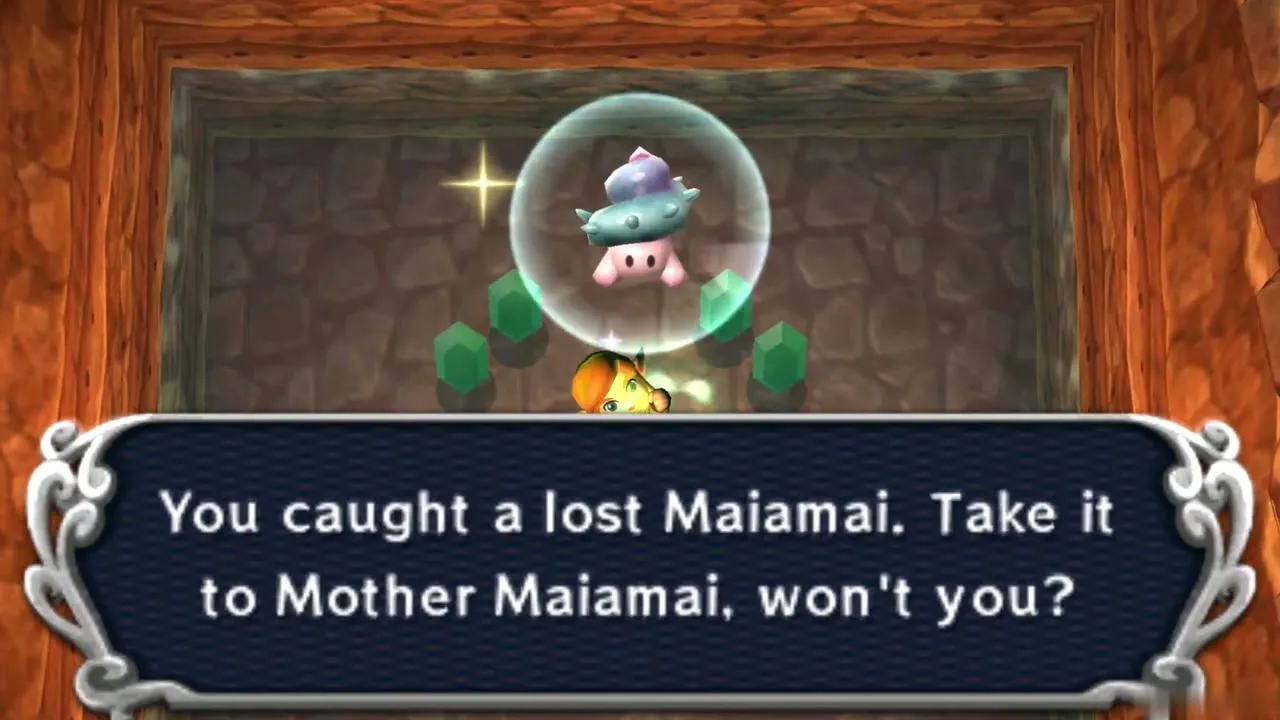
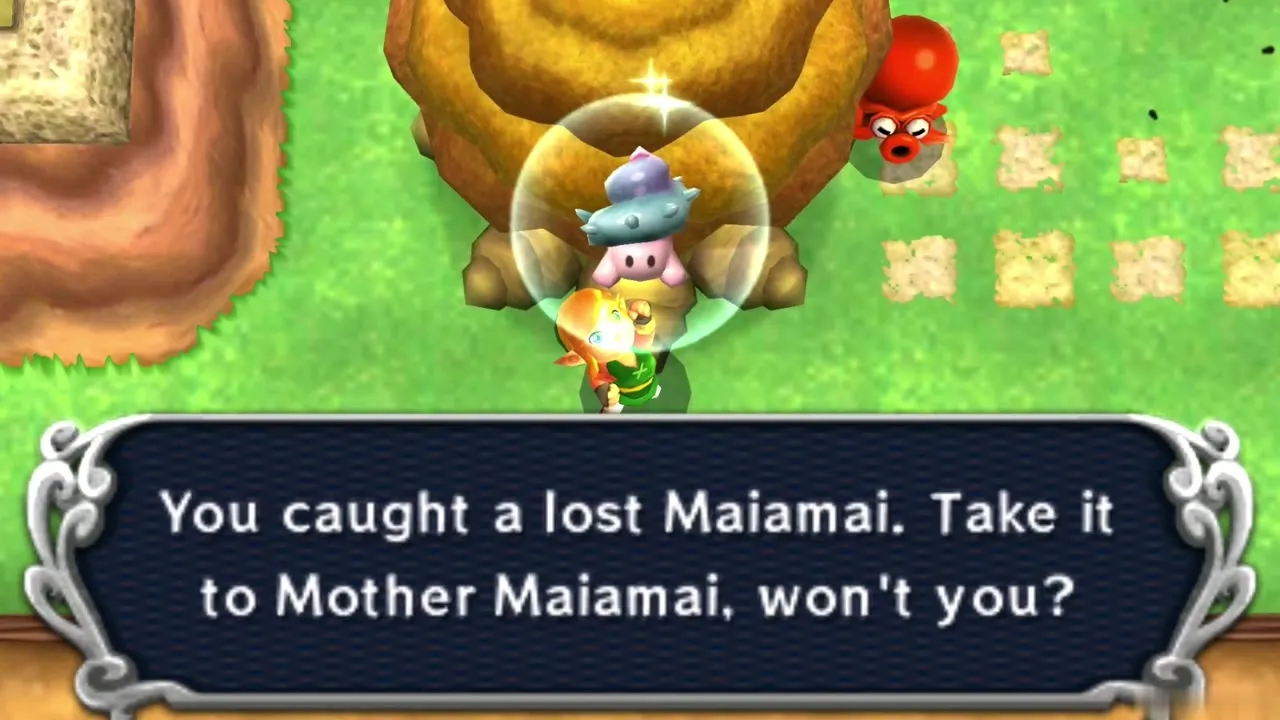
Large rocks, the Sand Rod and the Lorule fissures hold the remaining Maiamai, so leave them for later chapters. The Death Mountain ones are in the next chapters. See the Maiamai Locations page for the full list.
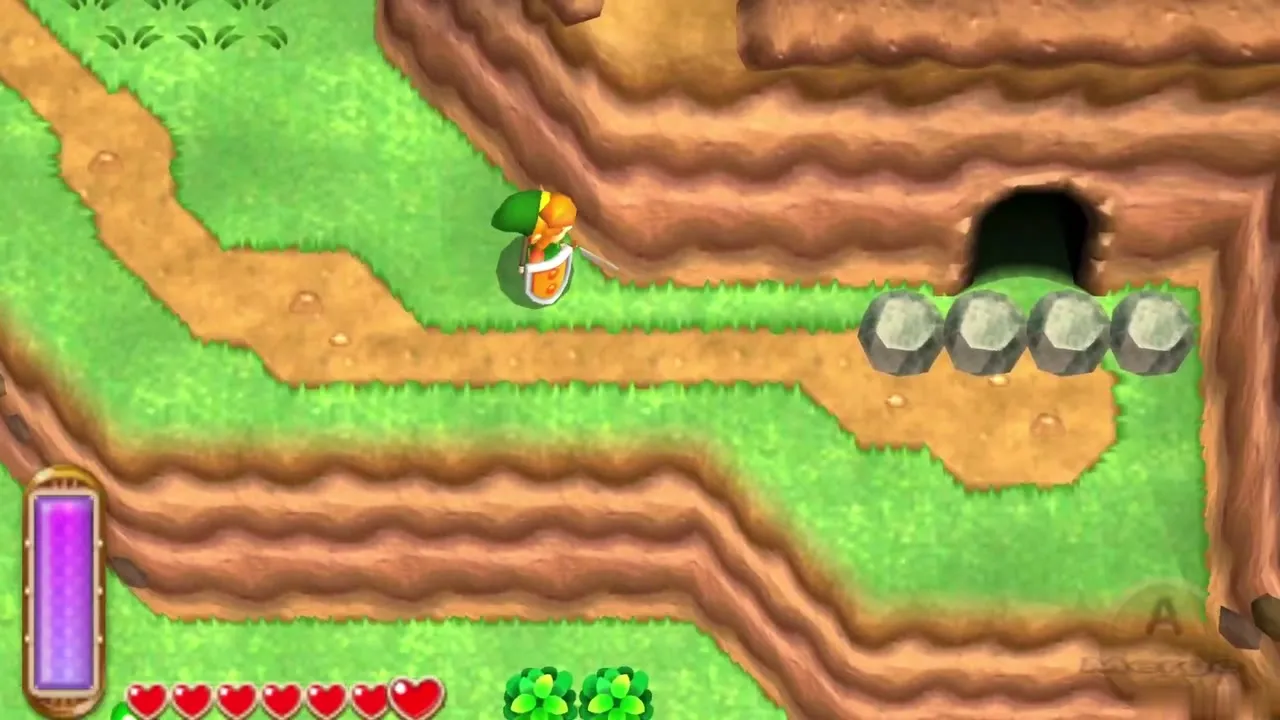
Chapter checklist
| Collectible | Type | Where |
|---|---|---|
| Pouch | Item | Tree stump in the Haunted Grove |
| Bell | Item | Irene, met while travelling Hyrule |
| Power Glove | Item | Rosso’s house |
| Pegasus Boots | Item | Shady Guy, Kakariko Village |
| Zora’s Flippers | Item | Queen Oren, Zora’s Domain |
| Maiamai Map | Item | Mother Maiamai |
| Heart Pieces #1 to #12 | Heart Pieces | Hyrule field, cave and ruins locations above |
| Bottle #2 | Bottle | Bird Lover |
| Silver Rupee x2 | Rupees | Sahasrahla’s storeroom and the Runaway Item Seller |
 Purple Rupee | Rupees | Bee Guy and Rosso’s chest |
Rent the Tornado Rod, swim to the island in Lake Hylia and open the next dungeon, the House of Gales.