A Link Between Worlds 100% Completion Walkthrough18 chapters
- Opening and SanctuaryWake in Link’s House, deliver the captain’s sword, cross the Graveyard passage with the Lamp and meet Yuga.
- Hyrule Castle and Kakariko VillageRavio’s Bracelet, Zelda’s Pendant of Courage, Kakariko shops, Sahasrahla and the free Bow rental.
- Eastern PalaceEvery key, chest and rupee, the Compass, Big Key, Yuga boss fight and your first Heart Container.
- Pegasus Boots and Zora’s FlippersGet the Pouch, Irene’s Bell, Power Glove, Pegasus Boots, Zora’s Flippers, Ravio’s rentals and Hyrule Heart Pieces.
- House of GalesRent the Tornado Rod, swim to Lake Hylia’s island, beat Margomill and take the Pendant of Wisdom.
- Death MountainClimb the boulder caves, find two Heart Pieces and a Bottle, and reach the Tower of Hera.
- Tower of HeraEvery floor, both Small Keys, Compass, Big Key, Moldorm boss fight, Heart Container and Pendant of Power.
- Master Sword and Lost WoodsWalkthrough for pulling the Master Sword in the Lost Woods, breaking the Hyrule Castle barrier.
- Lorule and Dungeon OrderHilda, the Blacksmith, fissures, Ravio’s Shop, Thieves’ Town side content and the dungeon order.
- Dark PalaceThe guard maze, every key, the Compass, Big Key, Master Ore, Gemesaur King, Heart Container and Sage Gulley.
- Skull WoodsKeys, Compass, Big Key, Master Ore, Knucklemaster boss fight, Sage Seres and the Master Sword upgrade.
- Ice RuinsThe Hookshot route to Lorule’s Death Mountain, every floor, keys, the Stamina Scroll and Dharkstare.
- Thieves’ HideoutThe password song, the Thief Girl escort, Master Ore, Stalblind, Sage Osfala and the Sand Rod.
- Swamp PalaceBig Bomb Flower, Hookshot, water levels, keys, Compass, Blue Mail, Big Key, Arrghus and Sage Oren.
- Turtle RockRescue the baby turtles, use the Ice Rod, find every key, beat Grinexx and free Sage Impa.
- Desert PalaceReach it with the Sand Rod, find the Titan’s Mitt, beat Zaganaga and rescue Sage Irene.
- Lorule CastleThe Triforce of Courage, all four mini-bosses, the Compass, Red Mail and the way to the Throne Room.
- Final BossBeat Yuga Ganon with the Bow of Light, see Hilda’s choice, make the Triforce wish and unlock Hero Mode.
| Covers | Hyrule’s Death Mountain: the cave south of Rosso’s house, three boulder caves, the Tower of Hera approach, the Treasure Hunter Cave and Rosso’s Ore Mine |
|---|---|
| You need | Power Glove (from Rosso), Ravio’s Bracelet, a rented Hammer, a rented Hookshot, Premium Milk for the Bottle, and Irene’s Bell for the return flight |
| Rewards | 2  Heart Pieces (#13 and #14),  Bottle #3, 4 rupee chests (Blue, Purple, Red, Silver), 5 Lost Maiamai, 2 Weather Vanes, a  Great Fairy healing |
Death Mountain is the long climb that ends at the door of the Tower of Hera. You enter through the cave south of Rosso’s house, activate the first Weather Vane, and work upward through three caves of rolling boulders. Past the last cave you reach the second Weather Vane and the Tower. East of that vane, a Hookshot bridge leads to a Treasure Hunter Cave, Rosso’s Ore Mine, a Heart Piece and a Bottle.
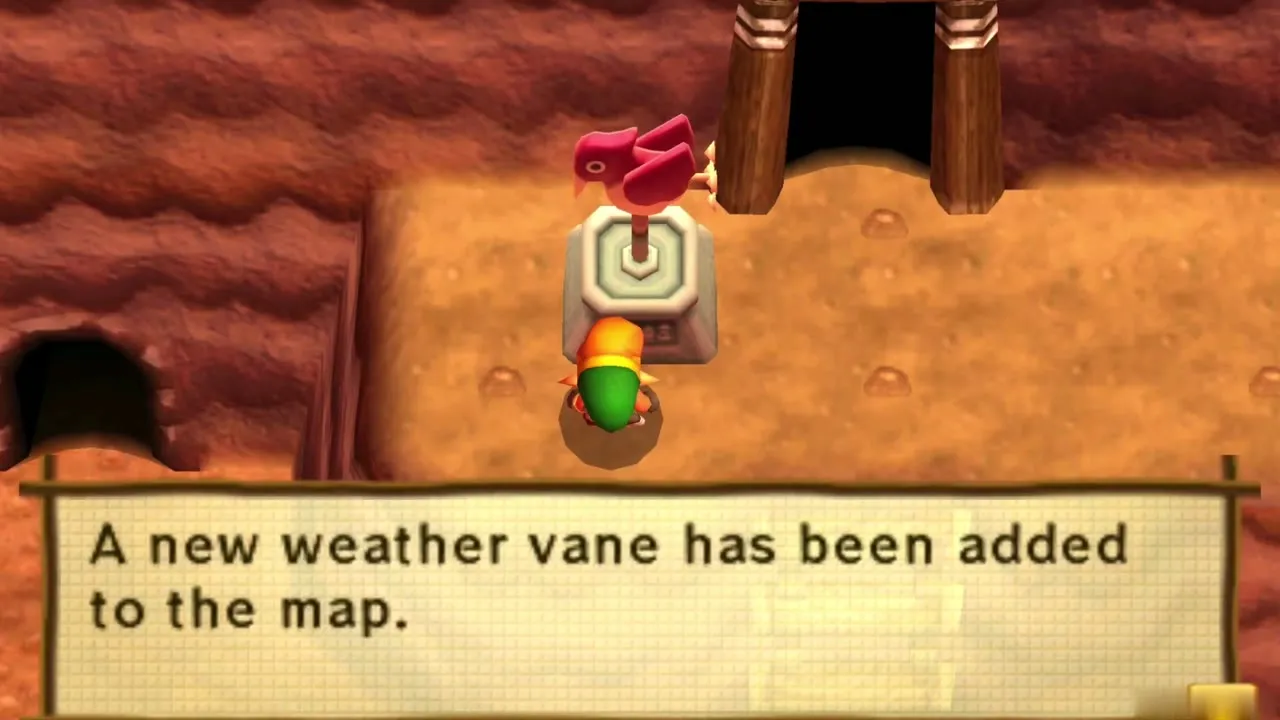
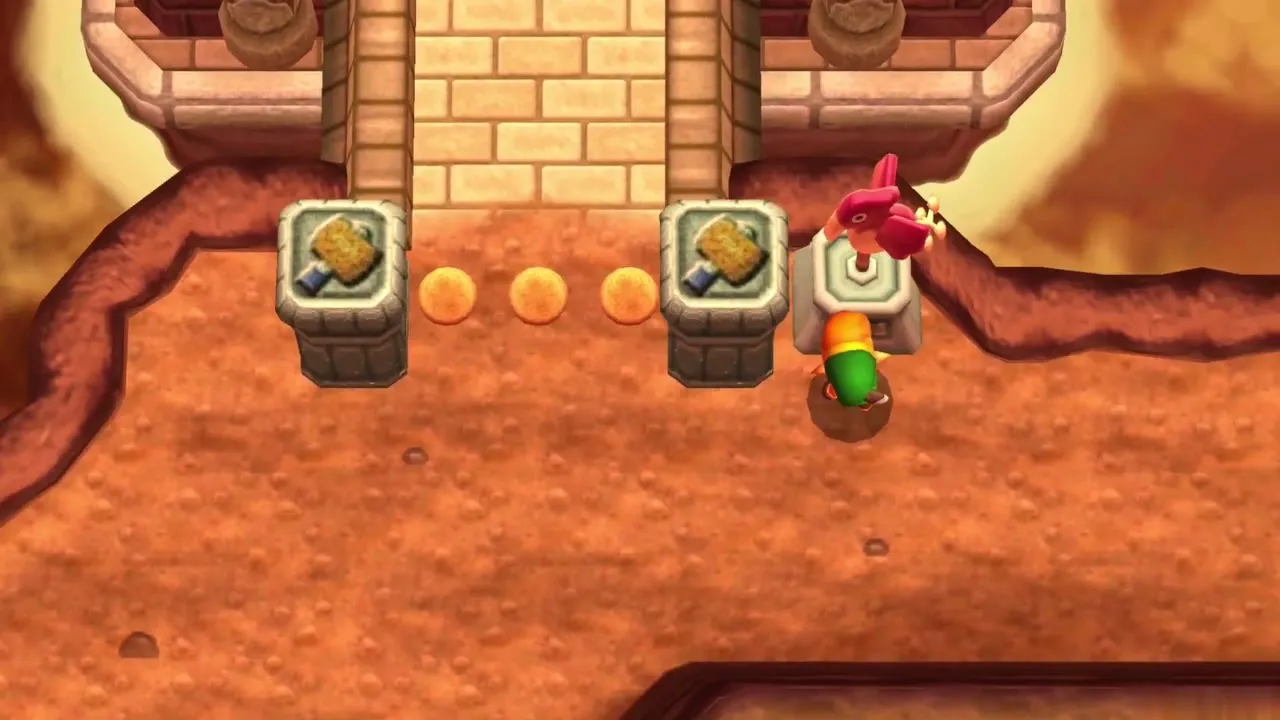
Table of Contents
Before you climb Death Mountain
What to bring up the mountain
Carry the Power Glove from the Pegasus Boots and Zora’s Flippers walkthrough, and rent the Hammer and the Hookshot at Ravio’s shop first; the Hammer is what opens the Tower. If you lose all your hearts on the mountain, Sheerow takes every rental back and you must rent them again. For the Bottle on the far side, bring the Premium Milk from the Kakariko Milk Bar. Prices are on the Ravio’s Shop page.
Cave south of Rosso’s house and the first Weather Vane
How to get into Death Mountain
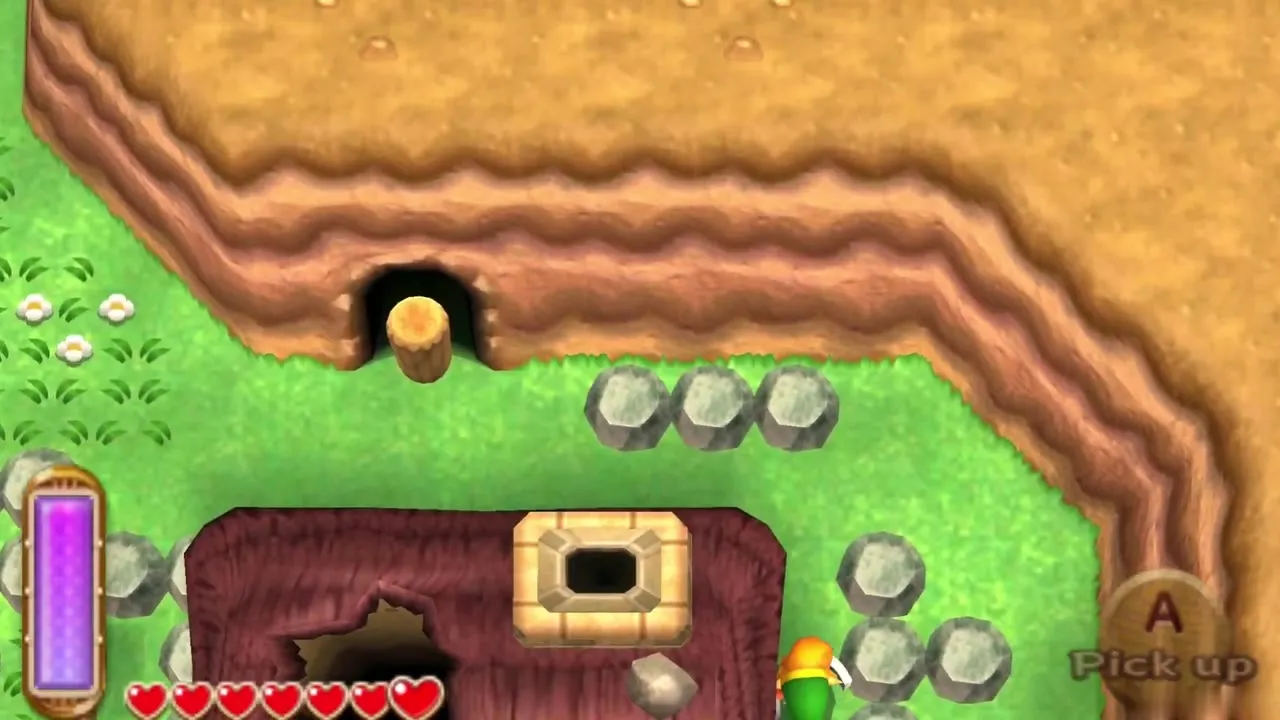
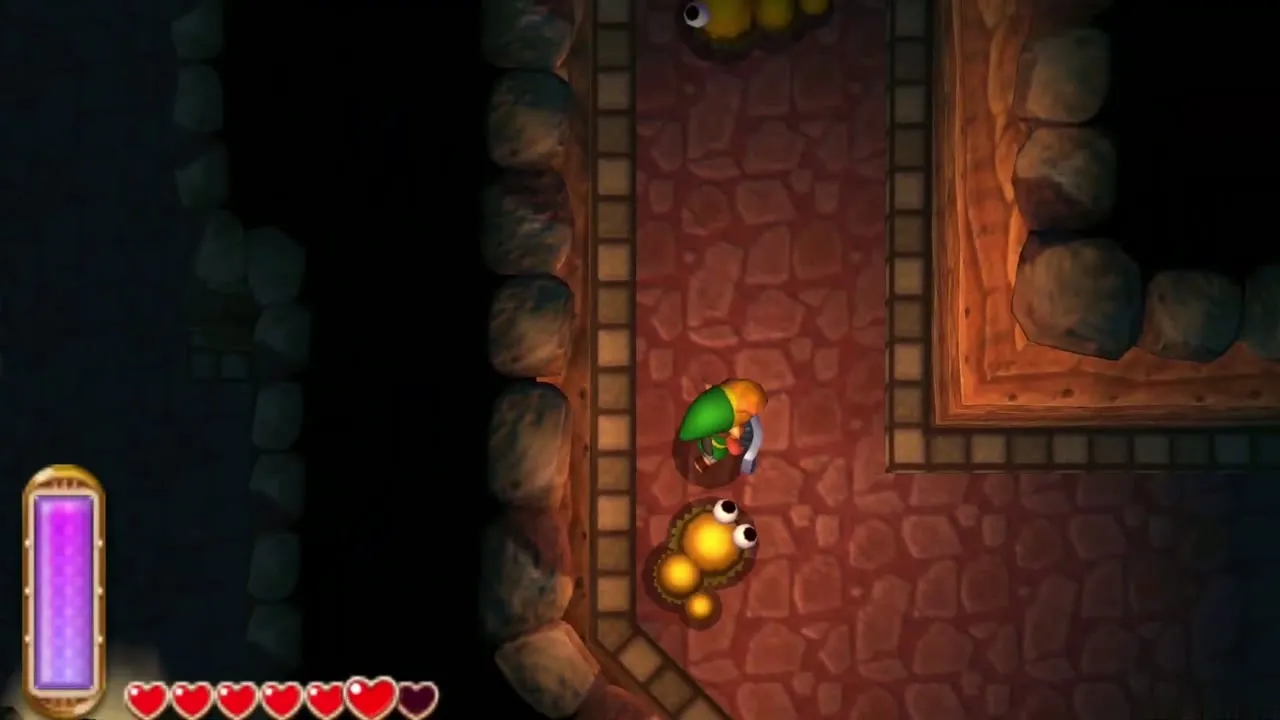
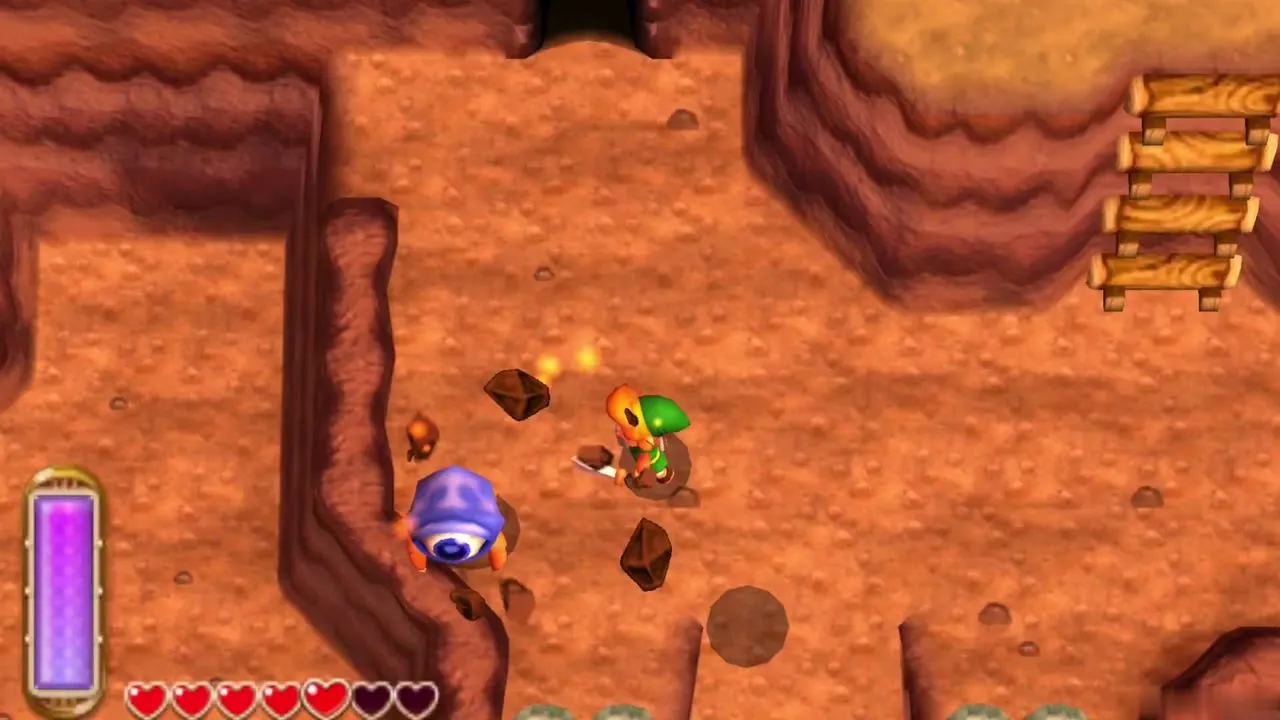
Leave Rosso’s house and walk south along the eastern cliff. A cave mouth is plugged by small rocks, so lift and throw them with the Power Glove. Inside is a winding tunnel with Mini-Moldorms; time your sword swings against their darting movement and follow the passage straight through. It lets you out at the foot of Death Mountain, where burning rocks tumble from above.
Death Mountain Weather Vane
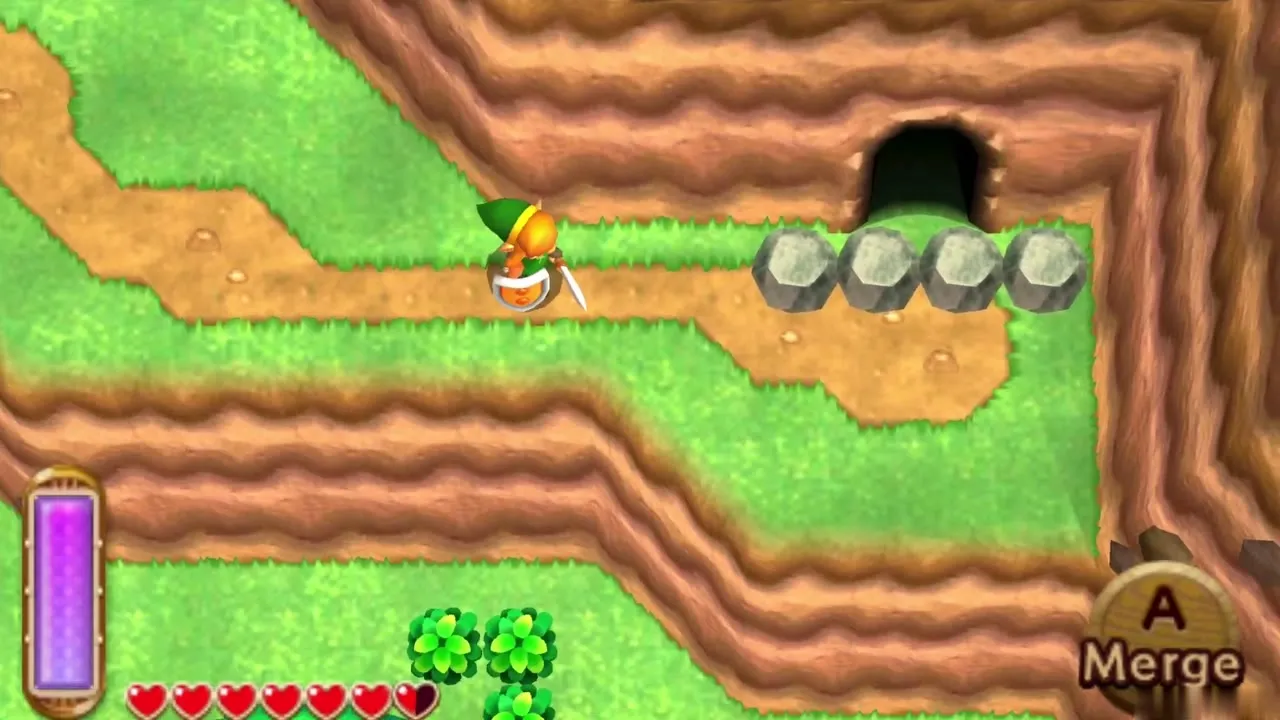
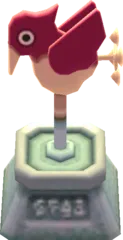
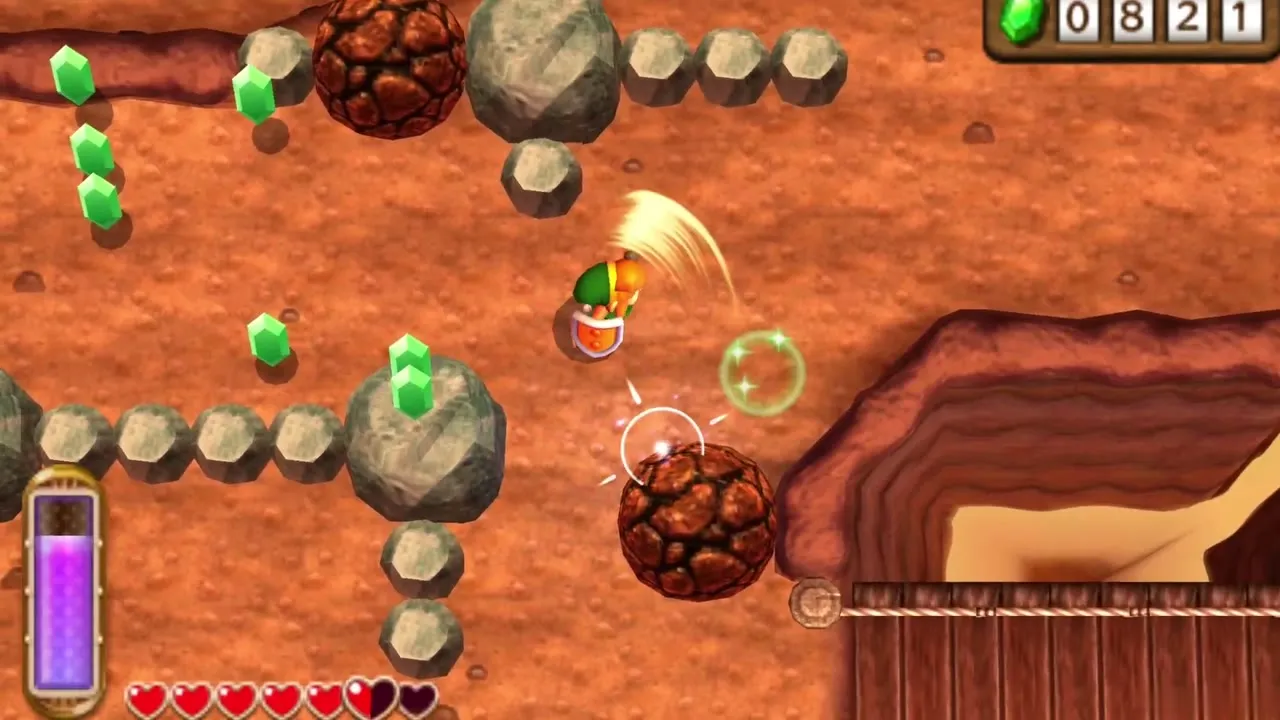
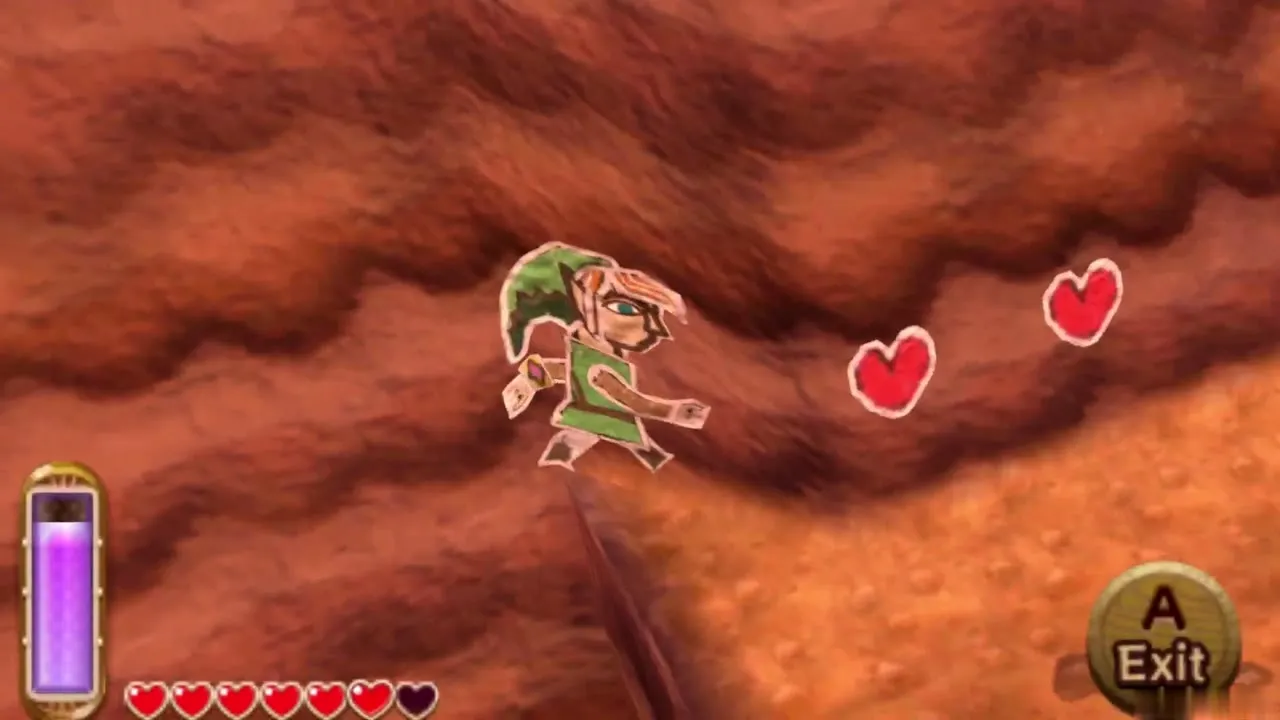
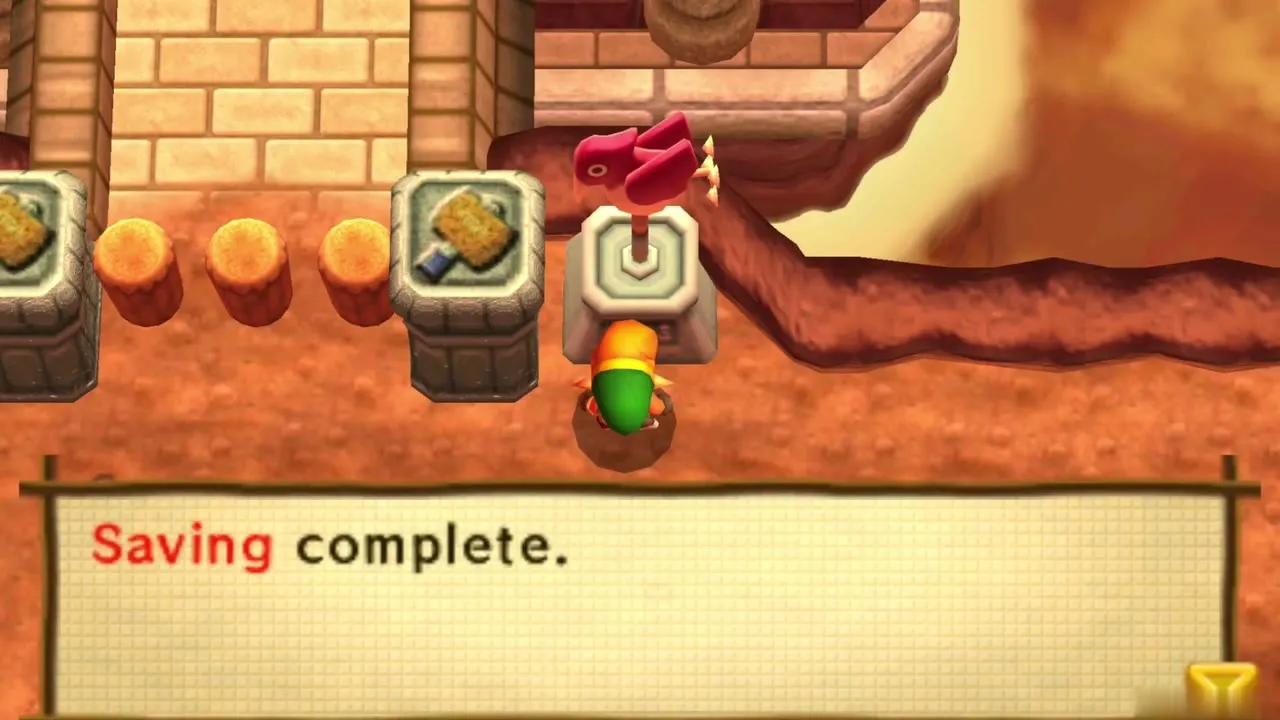
From the cave exit, work your way down and across the bridge, then climb toward the cliff. Falling boulders and stones litter this stretch, so keep moving. A red Weather Vane stands on the ledge in front of the first boulder cave: step up to it to add Death Mountain to your map, then save. The climb ahead is the likeliest place to die and lose your rentals.
Boulder caves up Death Mountain
First boulder cave
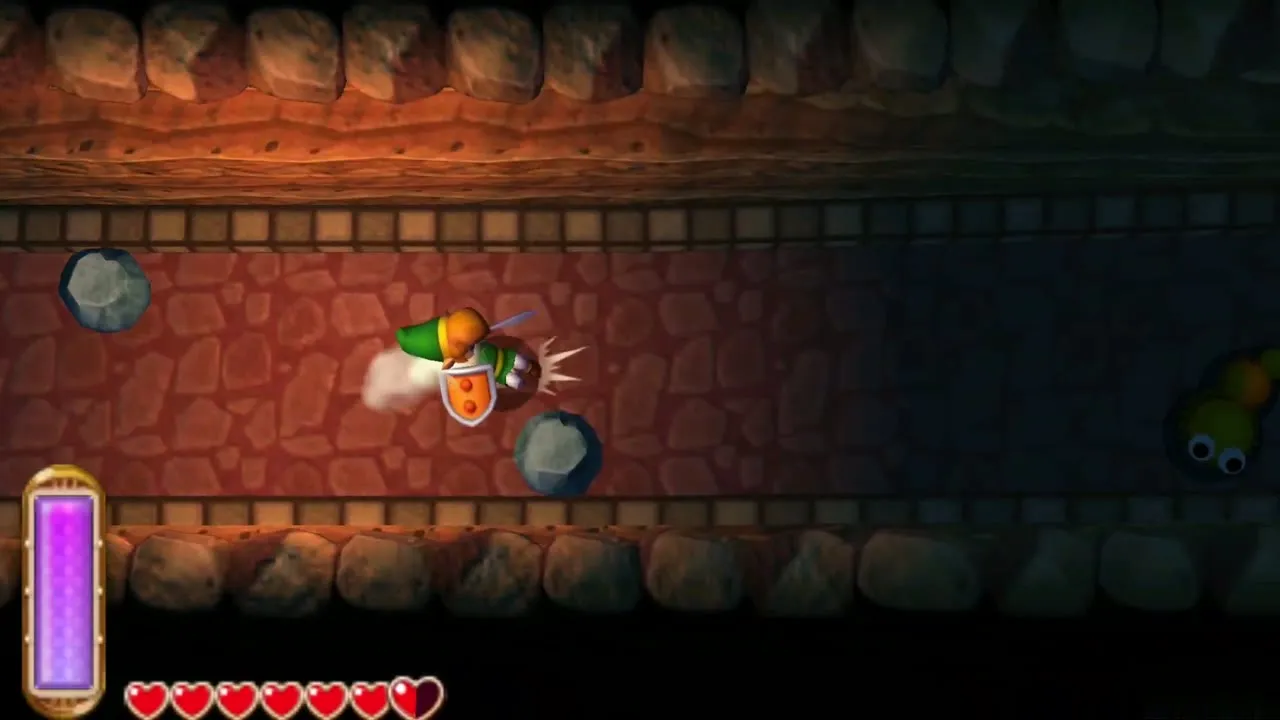
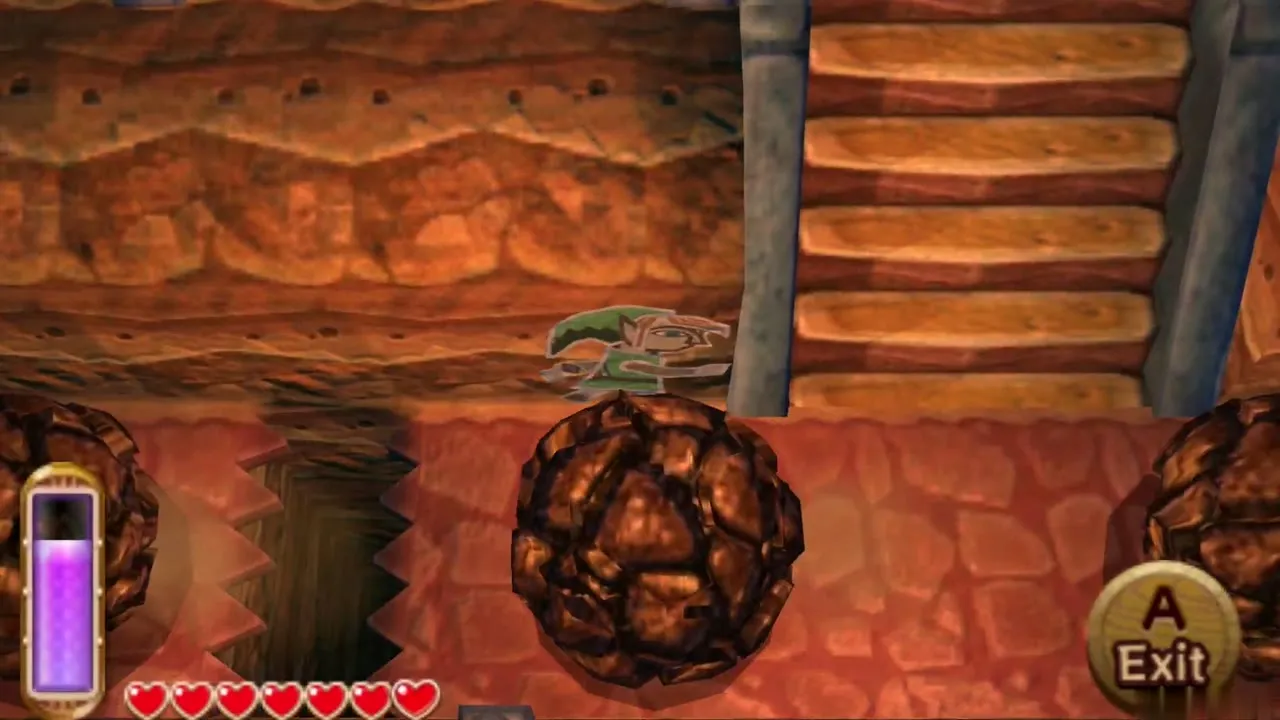
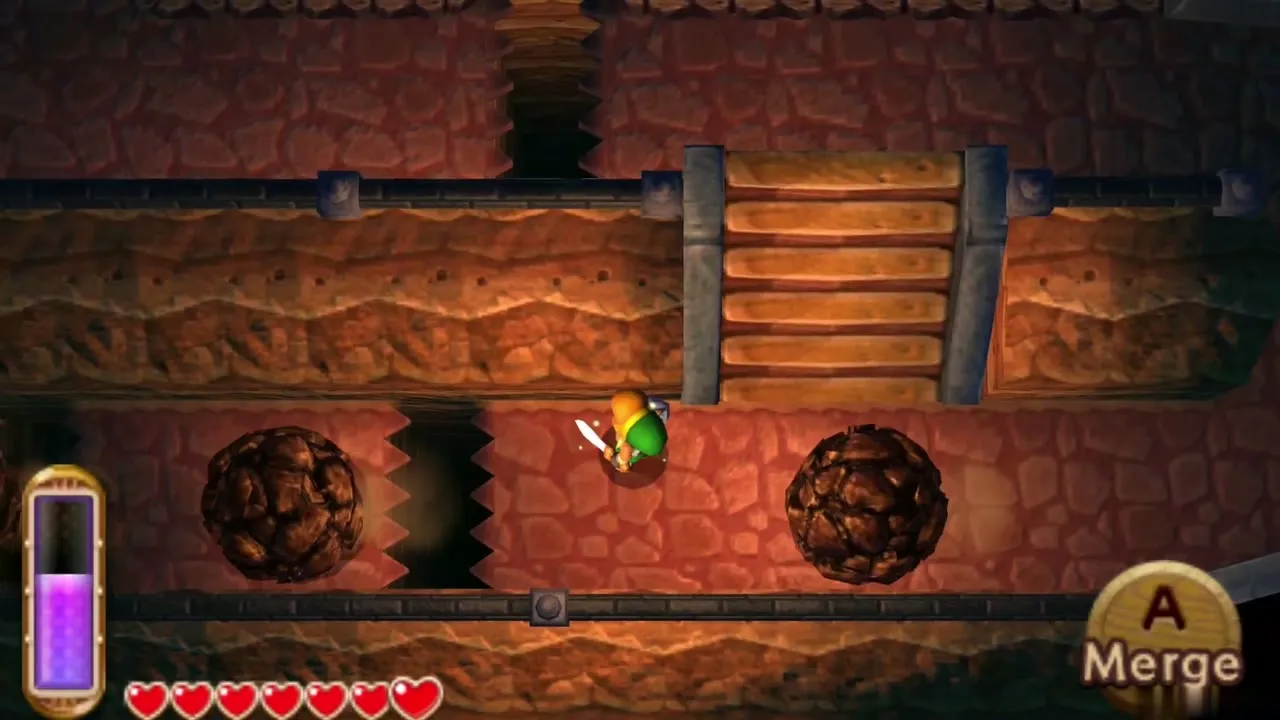
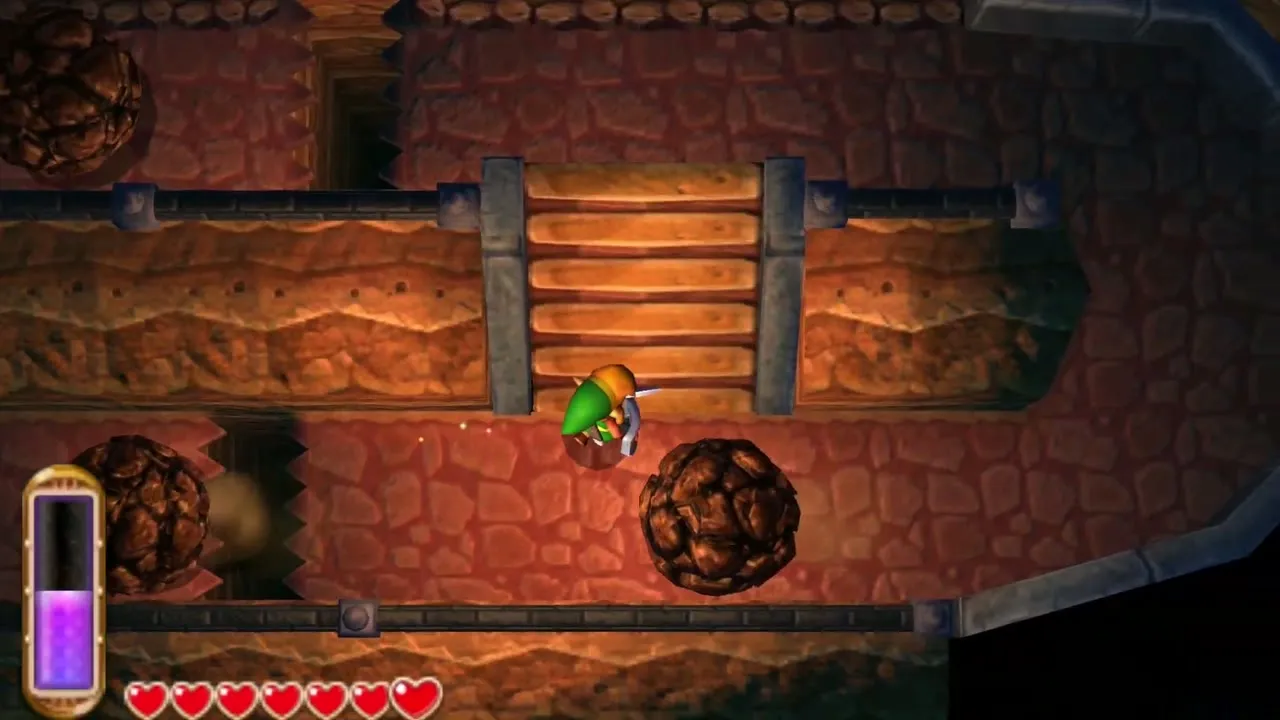
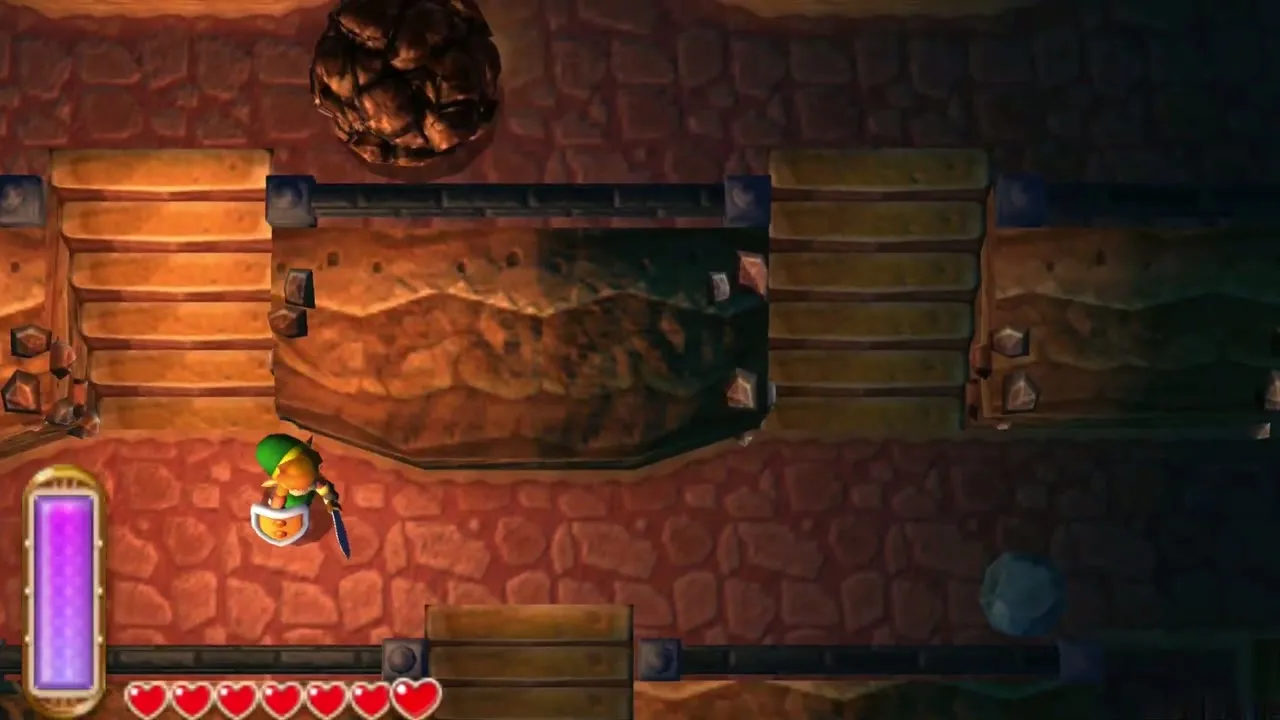
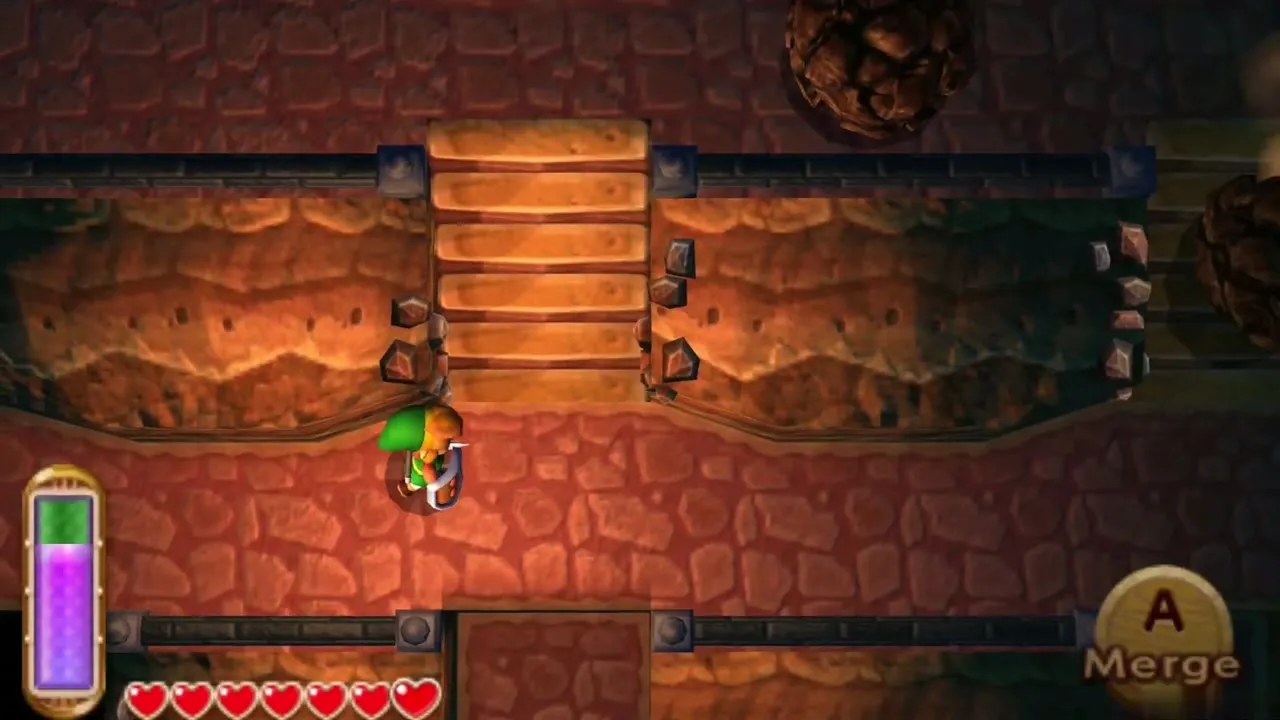
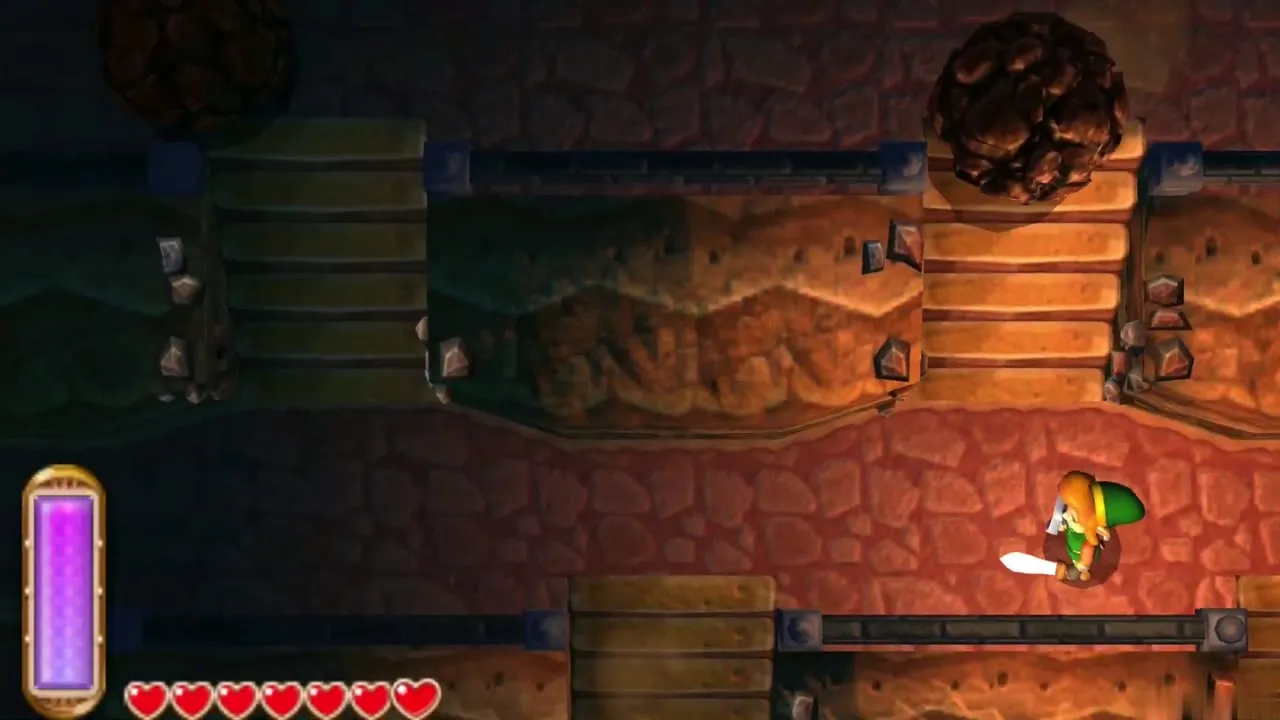
Enter the timber doorway behind the vane and climb the stairs. Boulders roll down the steps; stand on a landing that is out of the lane, or press A to merge into the wall and let them pass. At the gaps in the stairs, merge into the wall to slide across. Check the top of each flight for the next boulder before you climb, and leave over the bridge at the end.
Blue Rupee and Purple Rupee chests
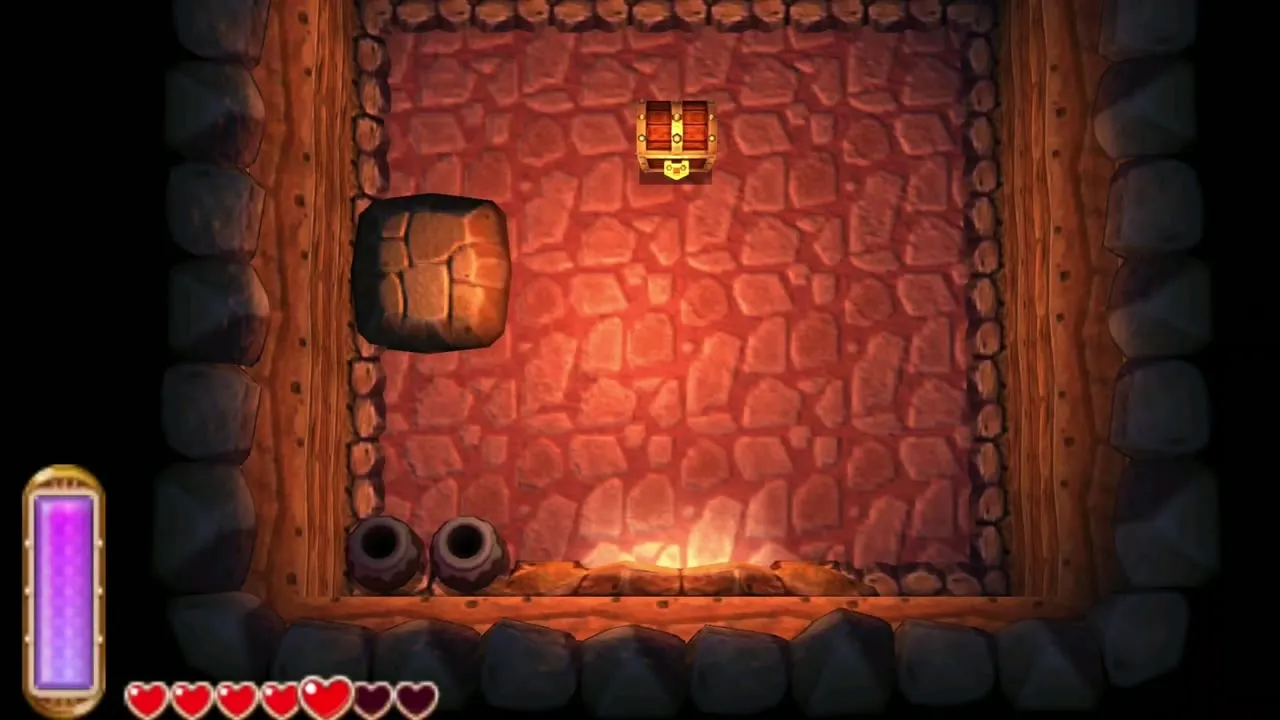
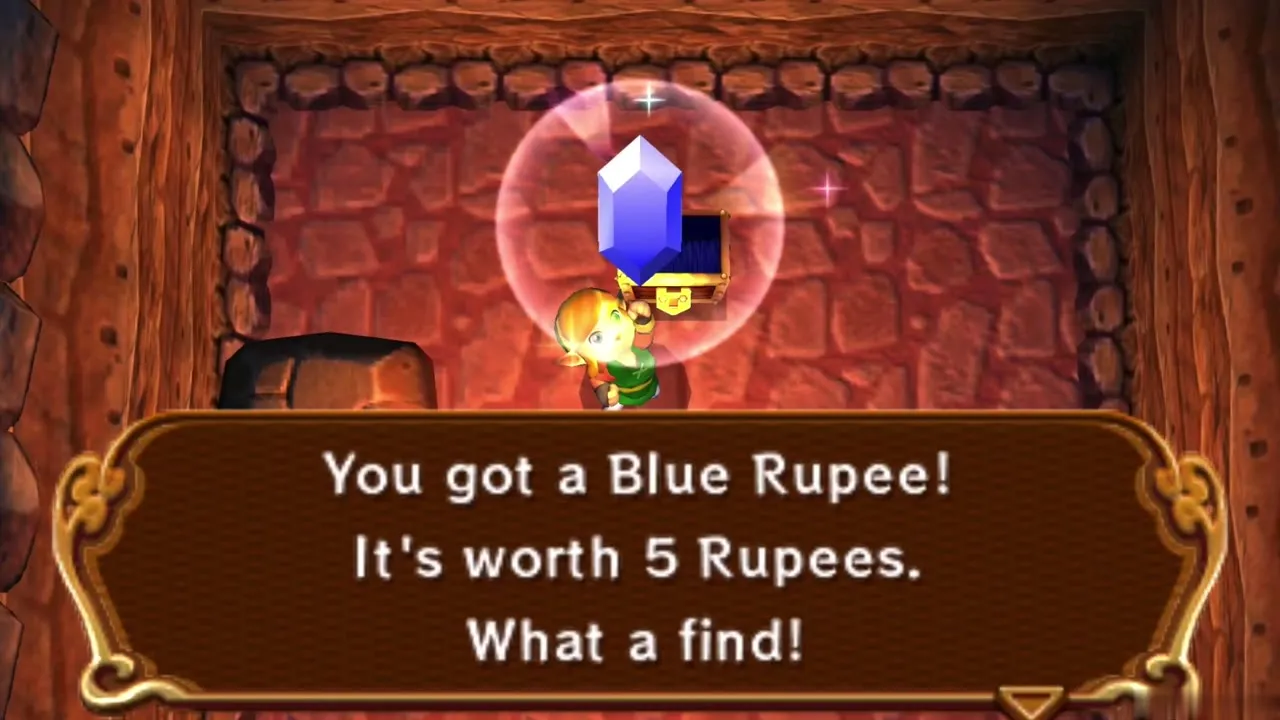
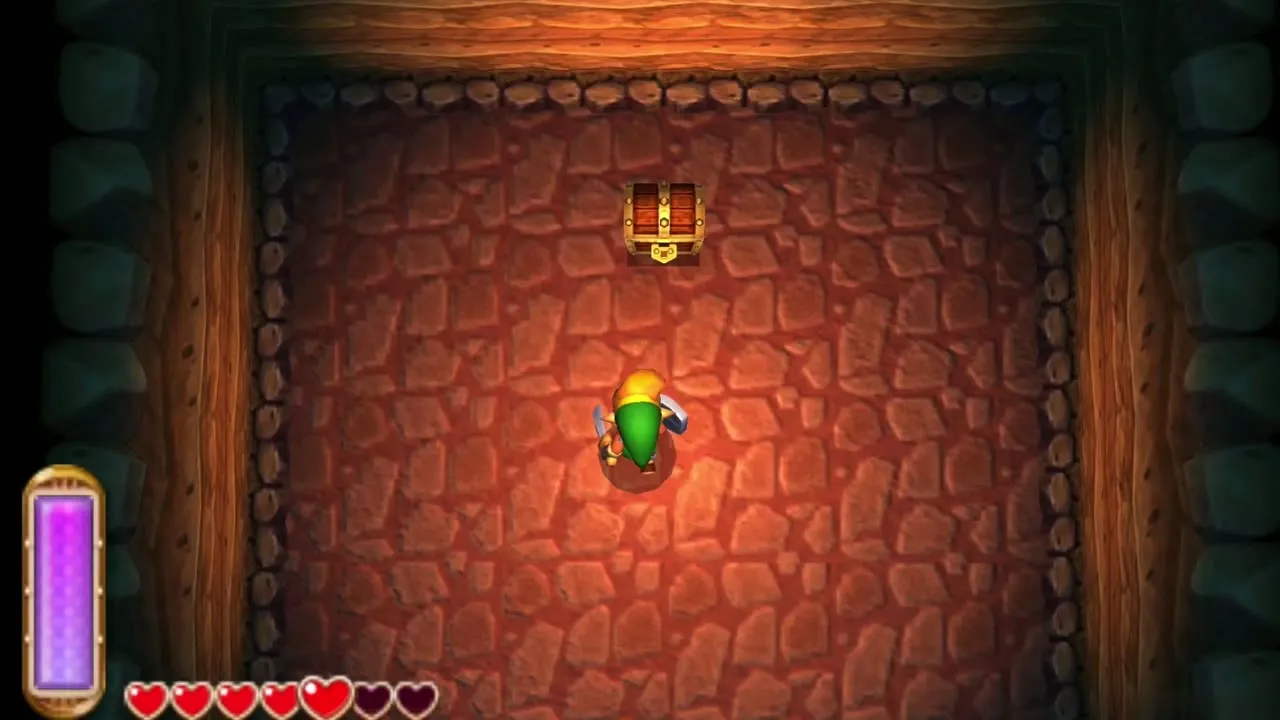
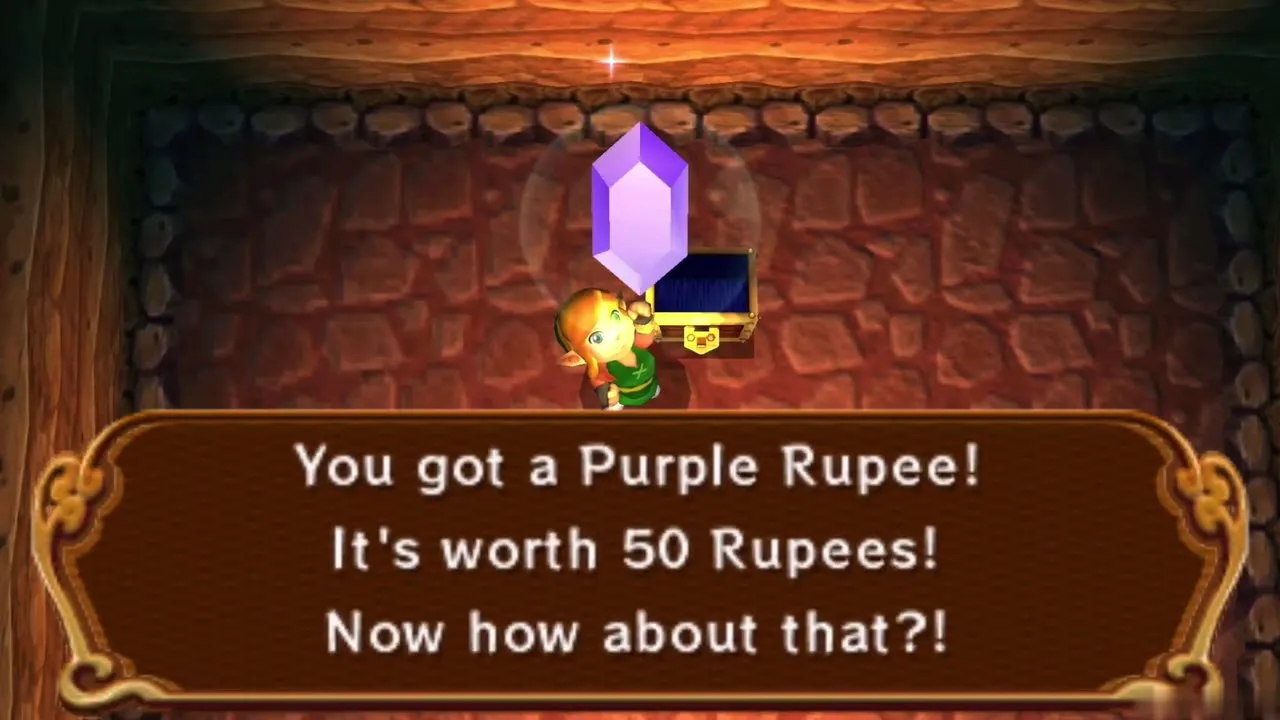
Two small side caves on the way up each hold a single chest in a red-rock room. The first gives a Blue Rupee worth 5 and the second a Purple Rupee worth 50. Both are short detours: walk in, open the chest and leave by the same entrance.
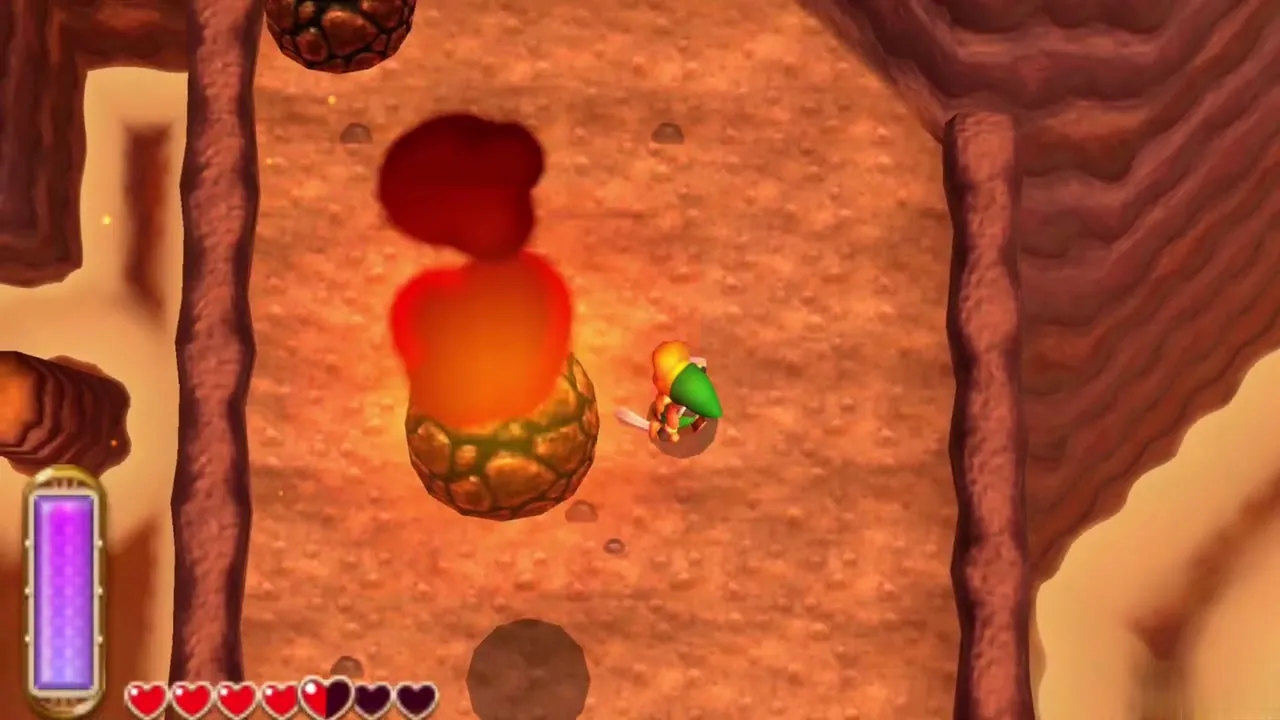
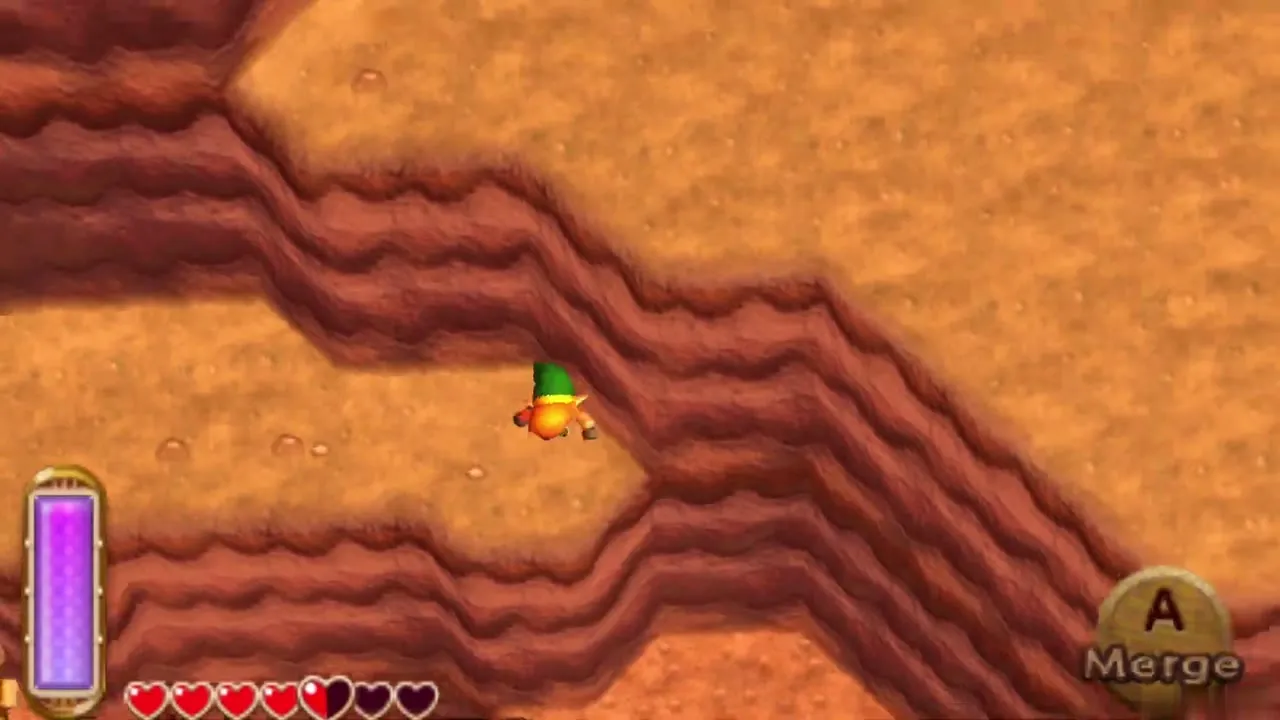
Falling boulders and the cliff wall
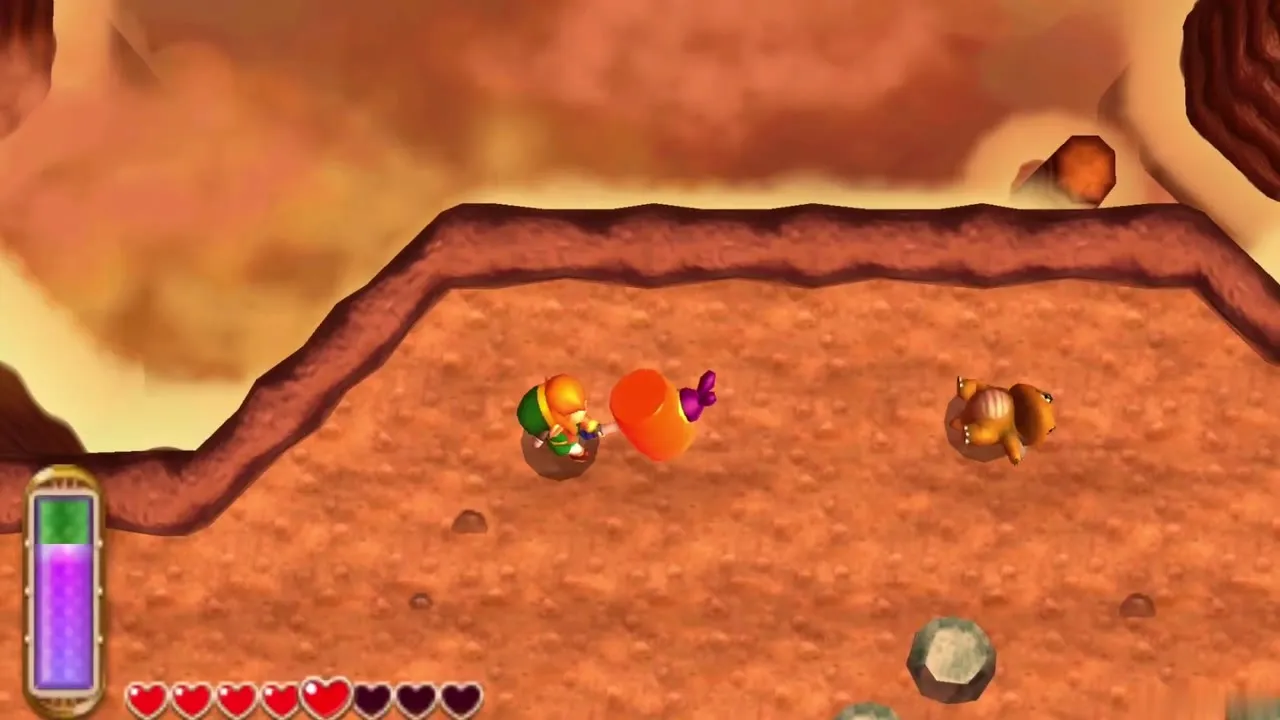
On the open stretch where flaming boulders drop from above, keep moving and stay out of their path. Beyond this ledge, merge into the cliff wall and slide along it to reach the next cave entrance.
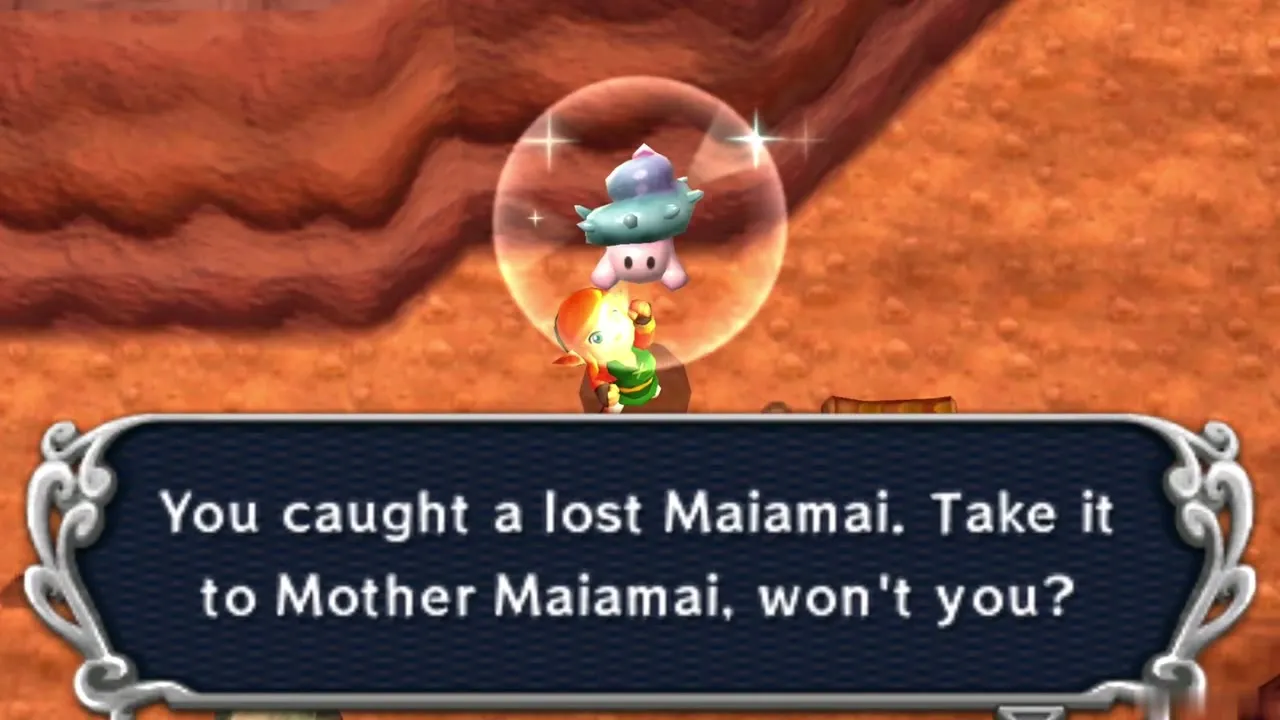
Red Rupee chest and a Maiamai
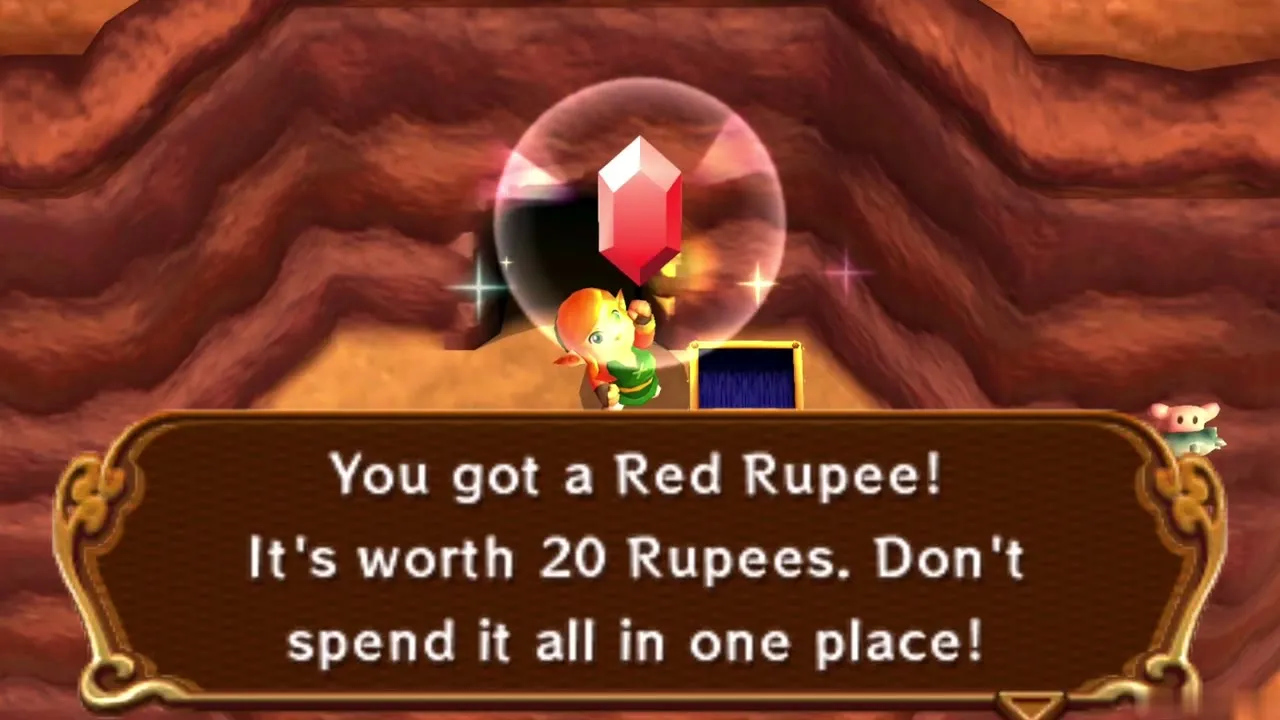
Further up, a ledge beside a cave mouth holds a chest you cannot walk to. Merge into the wall next to it and slide along the cliff to the side ledge. The chest holds a Red Rupee worth 20, and a lost Maiamai is nearby along the wall. Collect both, then slide back to the ledge with the cave.
Second and third boulder caves
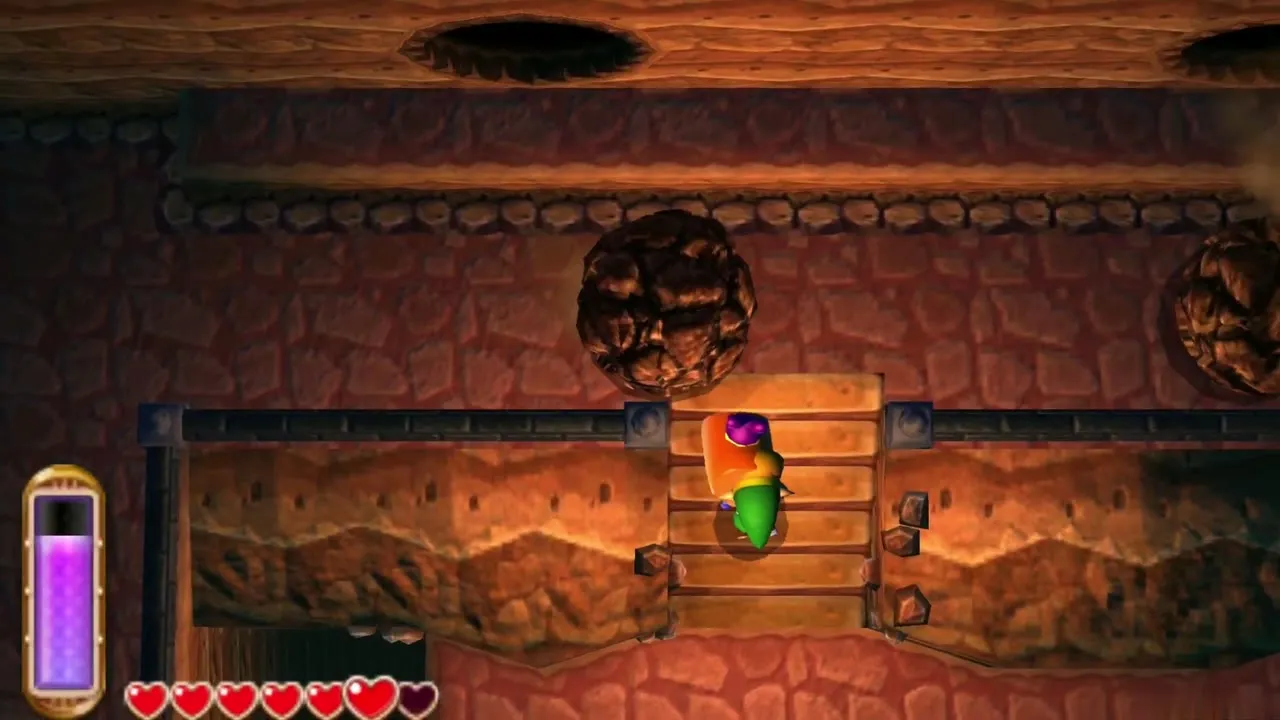
The second cave works like the first, except that boulders can also roll down the stairs, so no step is safe; go from one landing to the next and merge when something comes. The third cave is a short way left across a bridge. Climb its stairs, wait for a boulder to pass, then keep moving up and across to the top level, where the boulders are easier to dodge, and leave through the exit on the left.
Heart Piece and the Tower of Hera Weather Vane
Heart Piece #13, west of the Tower of Hera
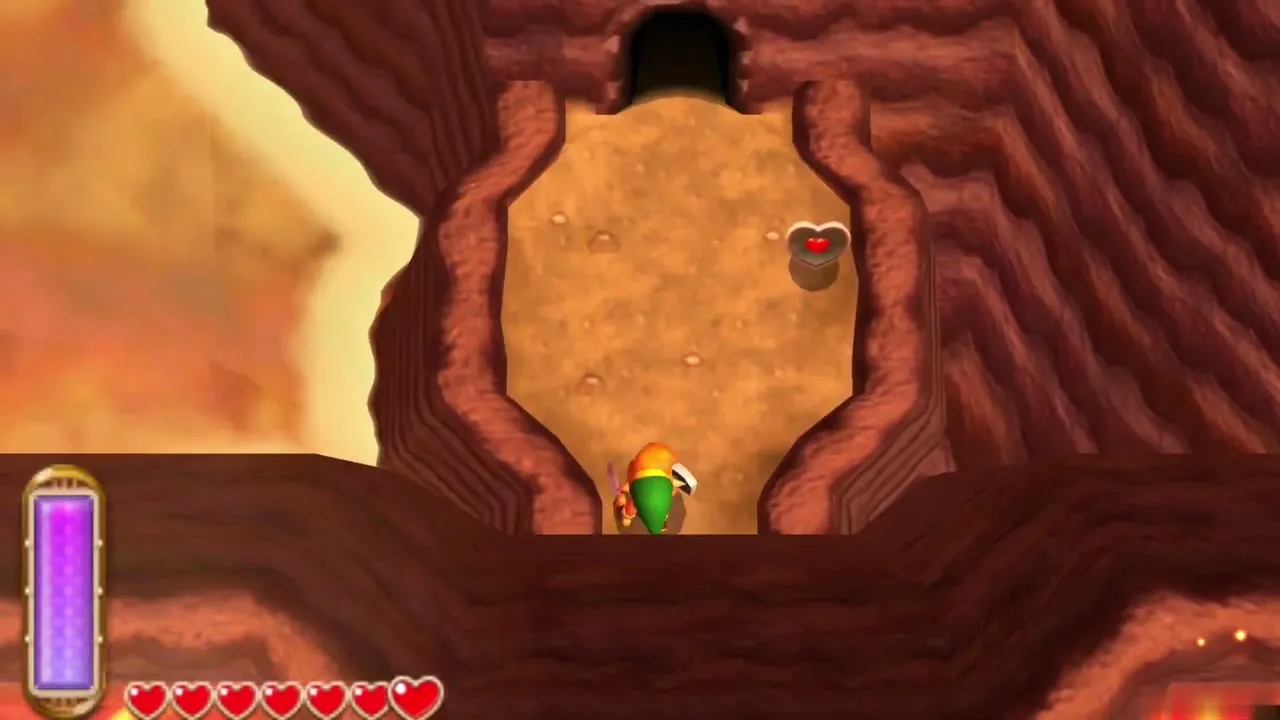
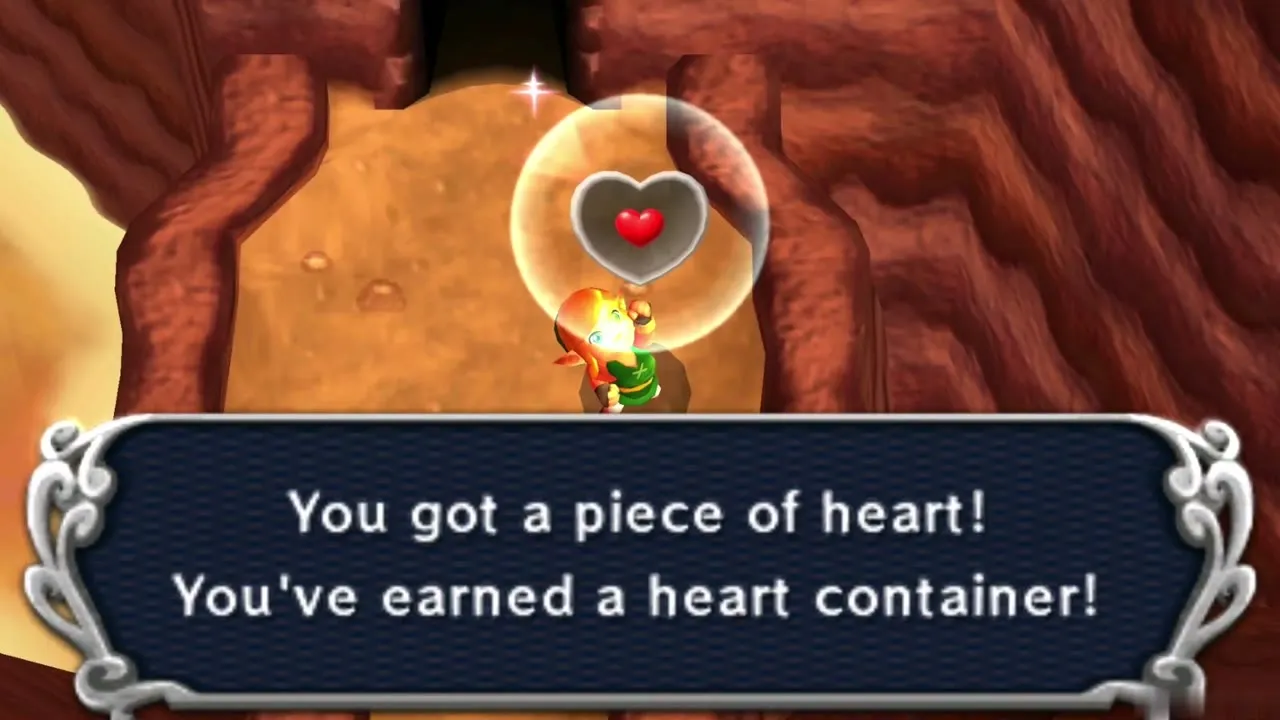
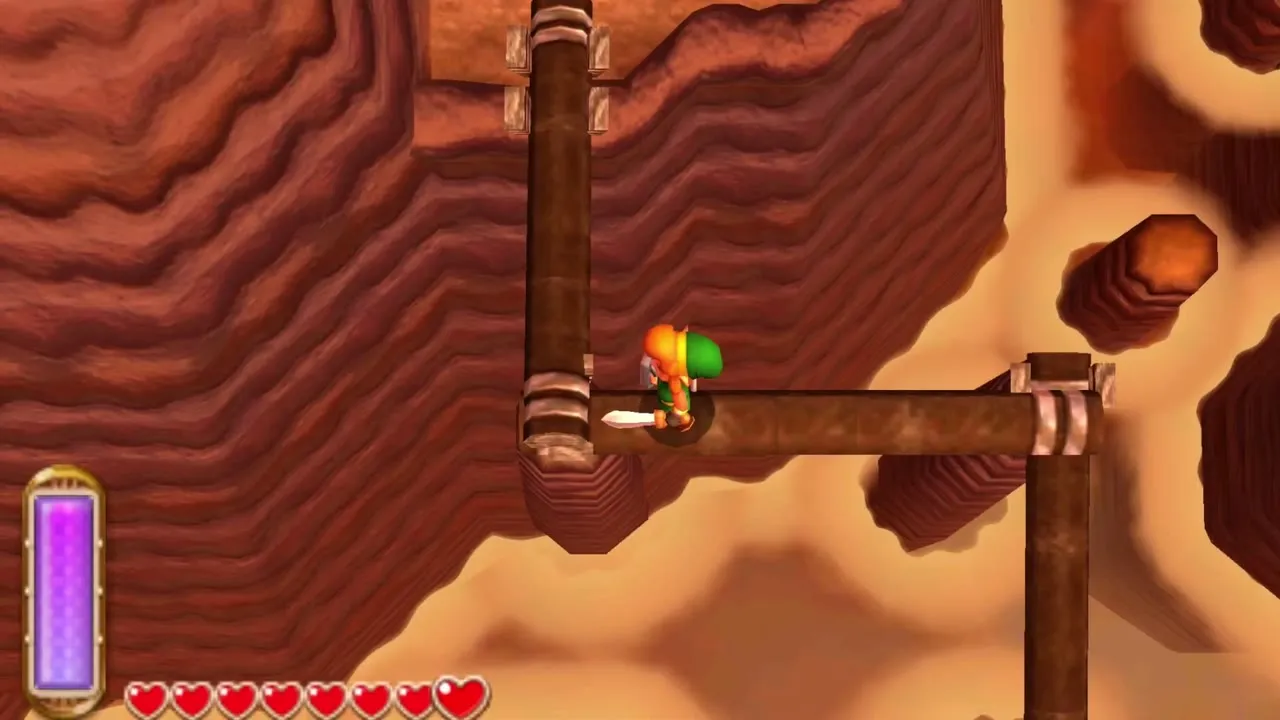
From the second Weather Vane, head west along the summit past the Tower of Hera to the end of the cliff. A cave mouth is visible on the ledge below, but there is no path down to it. Merge into the wall, shuffle along it until you are directly above the opening, step out and drop in, then walk north through the cave to the Heart Piece. This is Heart Piece #13, the first of the chapter.
Tower of Hera Weather Vane
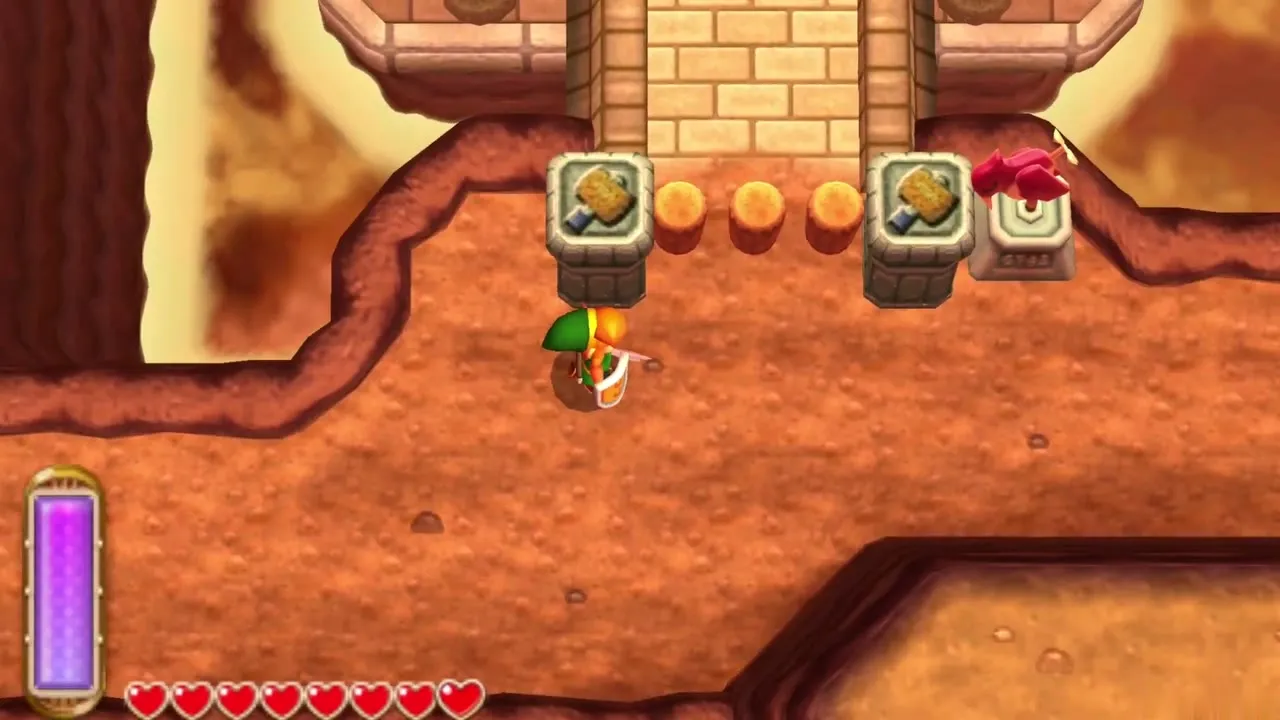
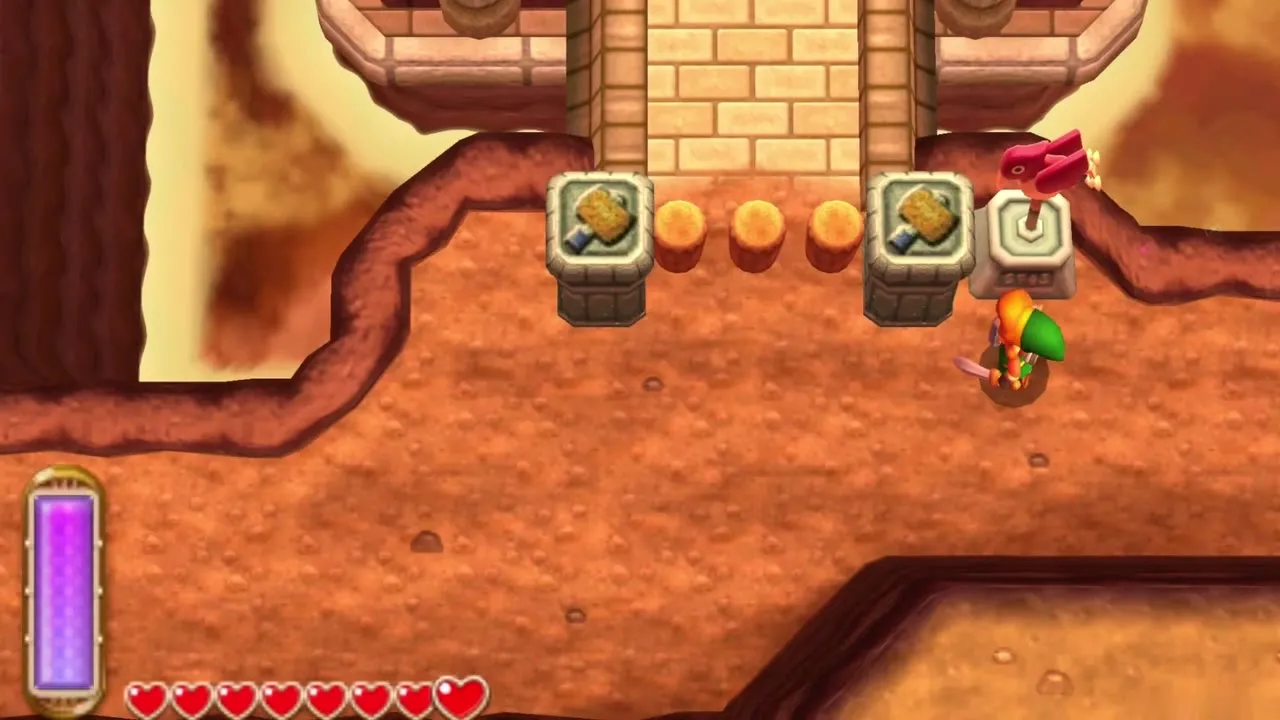
Keep sliding along the cliff to the ledge on the far side, then walk right. In front of the Tower stands a second red Weather Vane, flanked by two posts marked with a Hammer. Activate it and save. This is also where Irene’s Bell brings you back to the Tower later, so you never have to climb the caves again.
East of the Tower: bridge, Treasure Hunter Cave and Maiamai
Lost Maiamai near the Tower vane
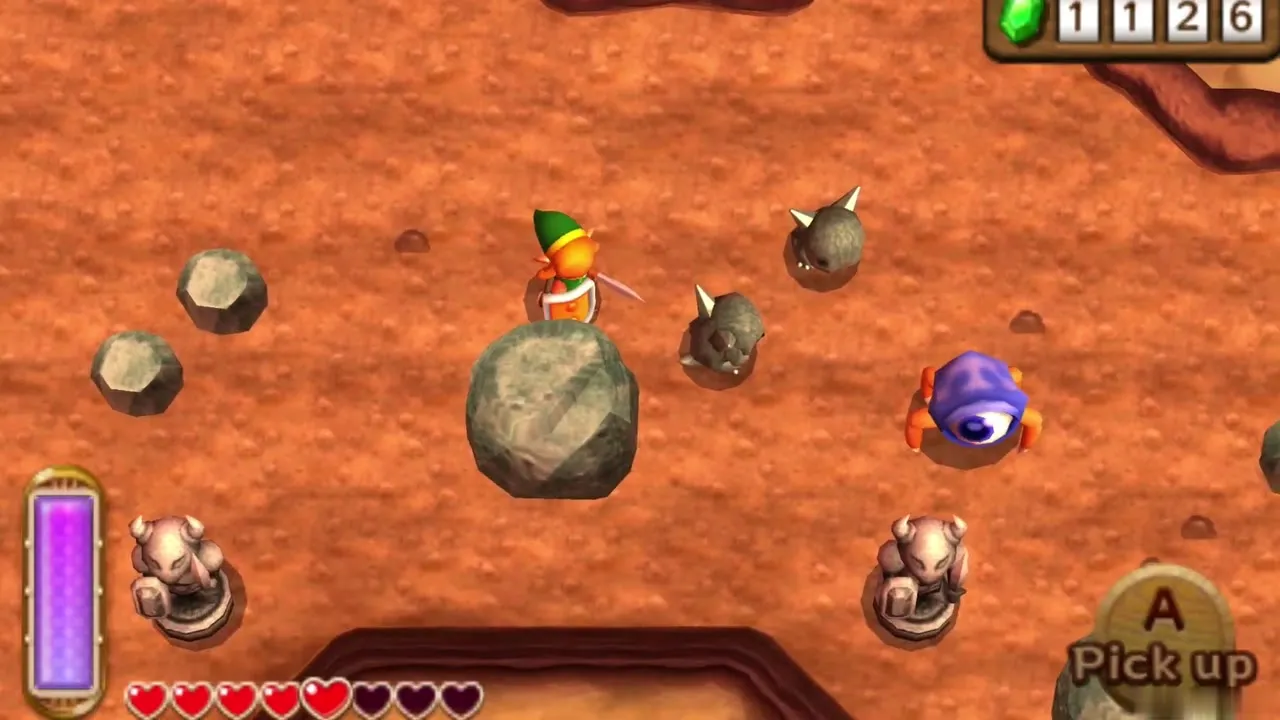
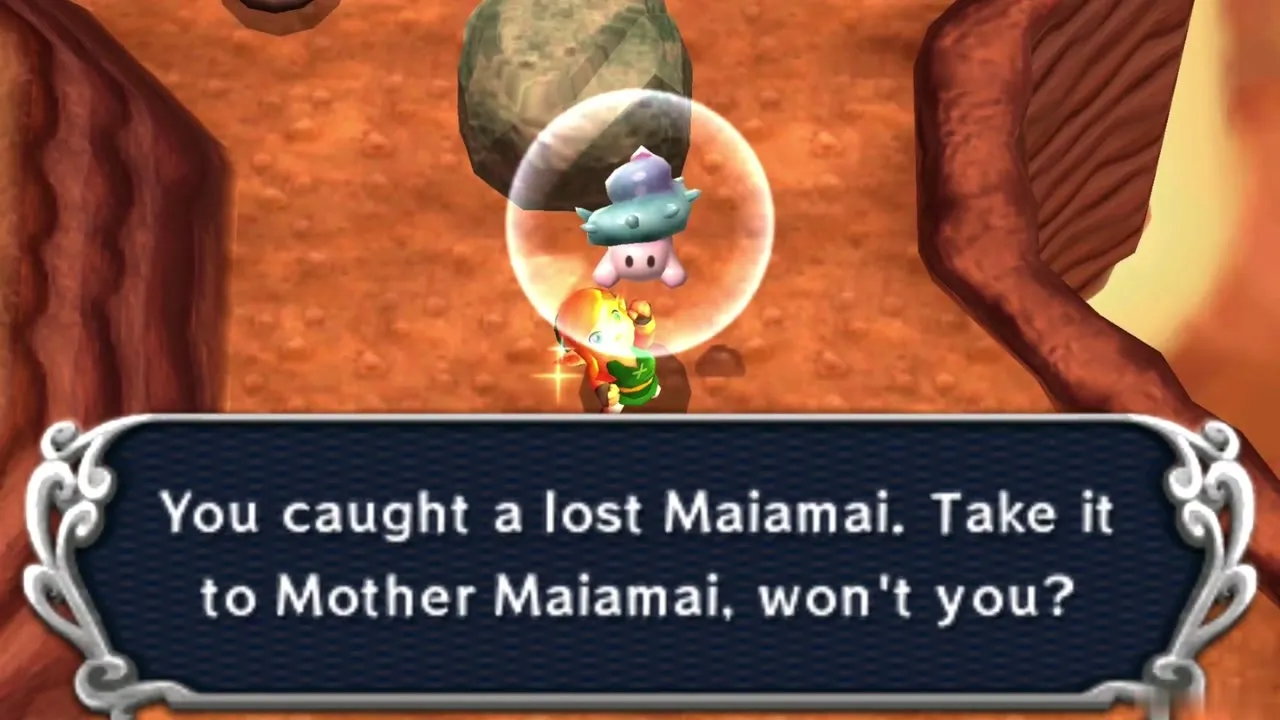
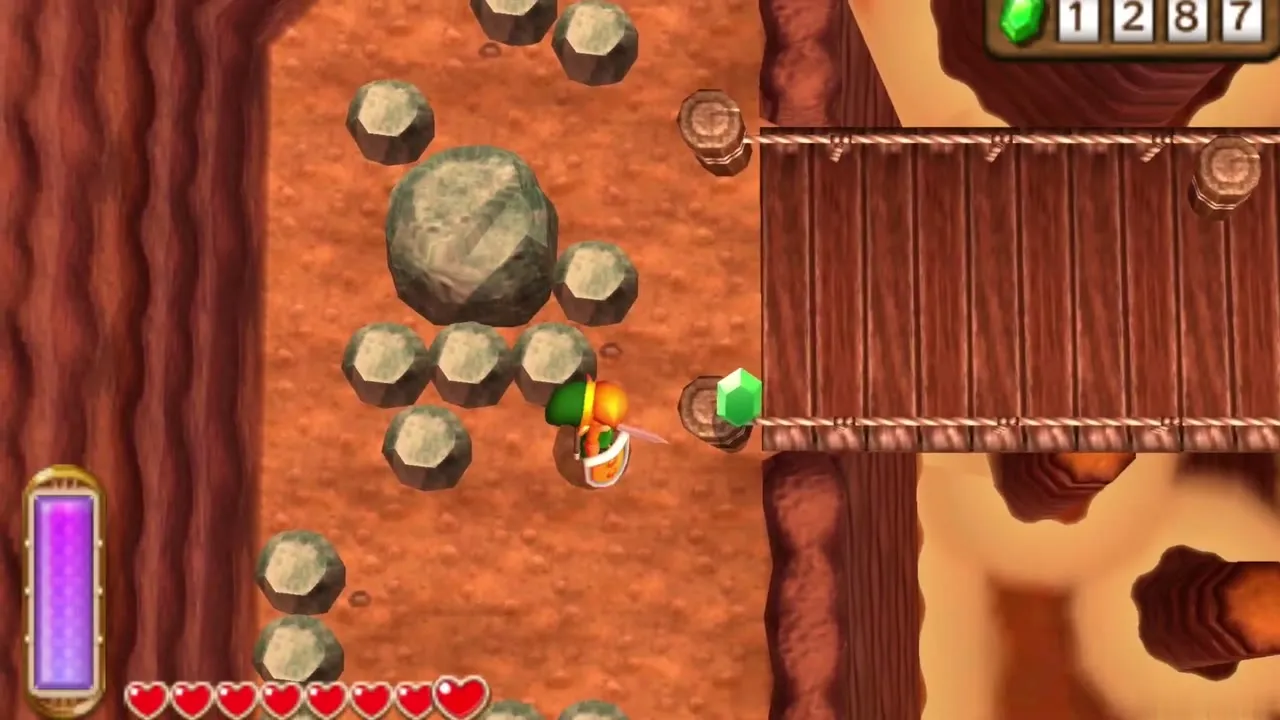
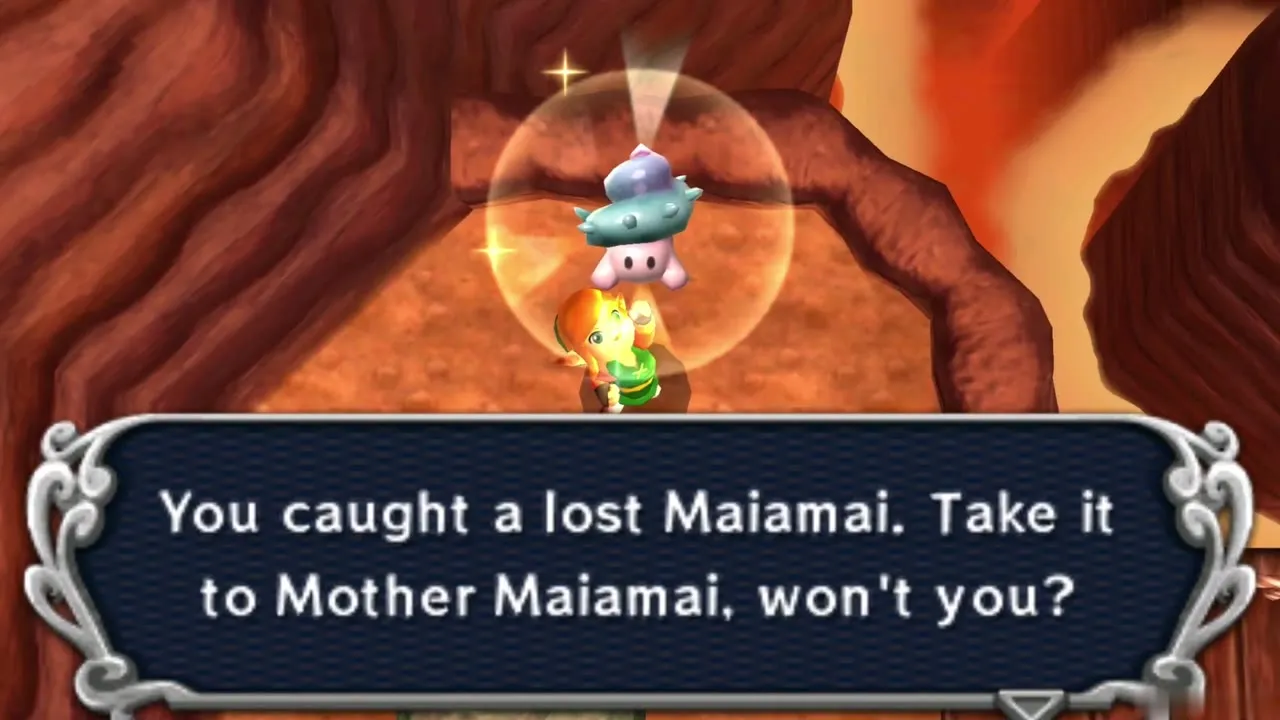
Head east from the vane across the plank bridge into the dirt field beyond. Lift the lone small rock to uncover a lost Maiamai, and cut down the Tektites and Keese in the area first. Another Maiamai hides to the right of the Treasure Hunter Cave entrance: merge into the wall there and slide along it.
Hookshot bridge
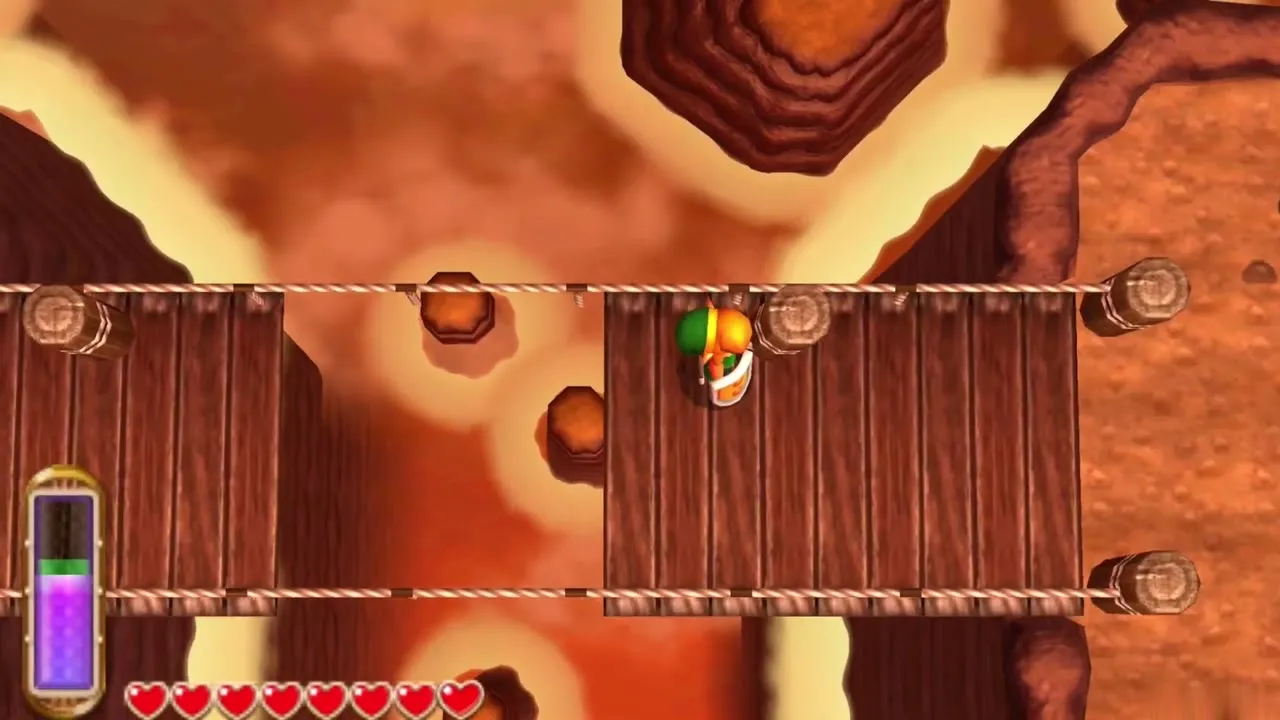
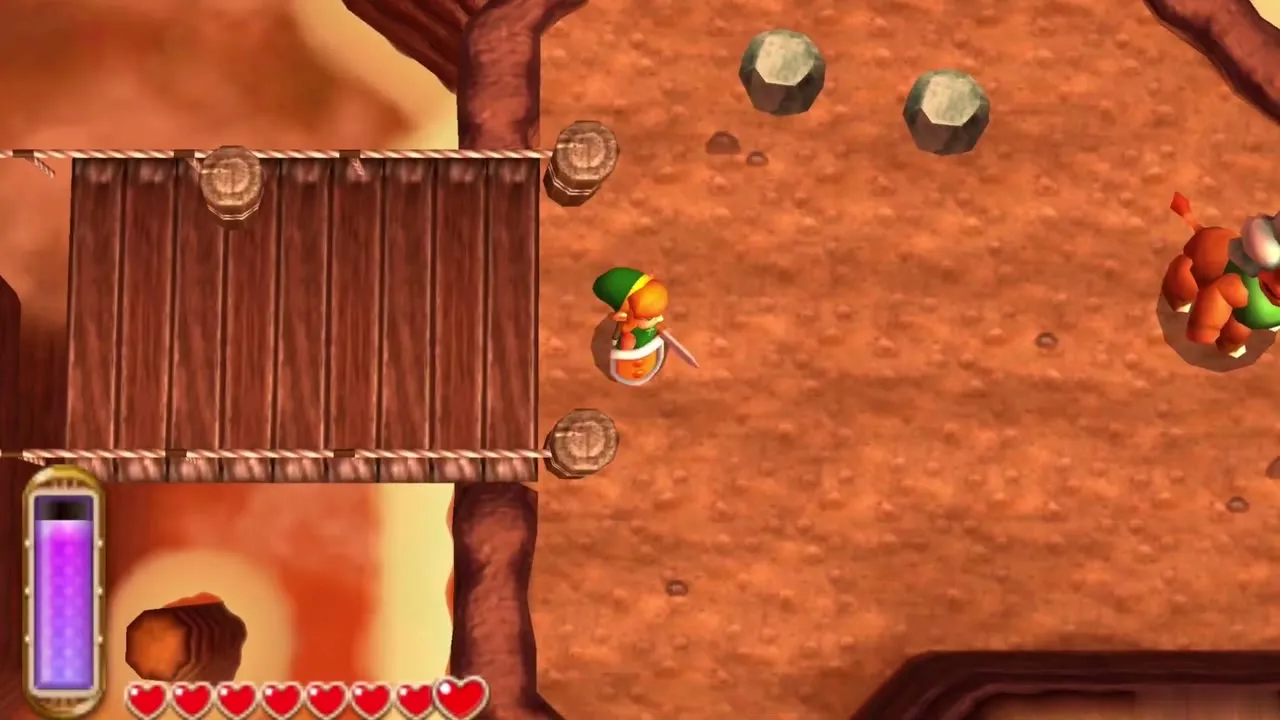
Further east, a broken bridge cuts the path. Equip the rented Hookshot and fire it across the gap at the wooden post on the far side to pull yourself over. Beyond it, a ledge patrolled by Lynels leads toward the central peak.
Treasure Hunter Cave
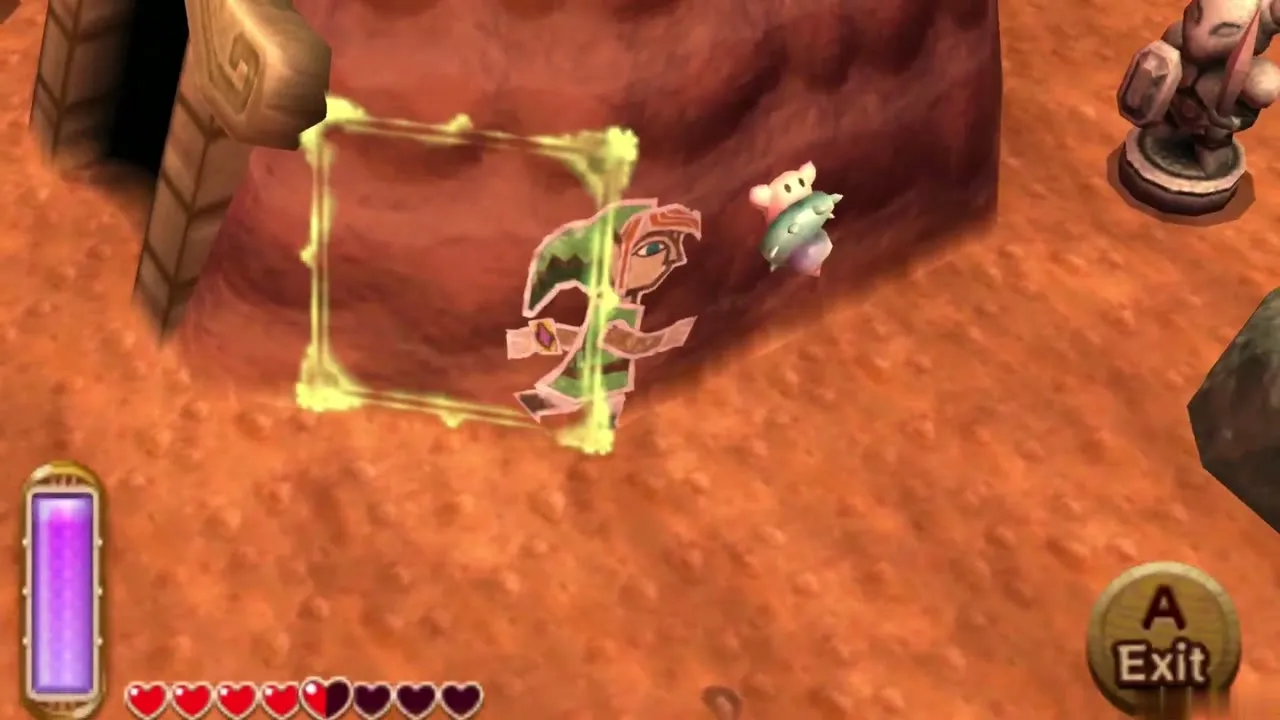
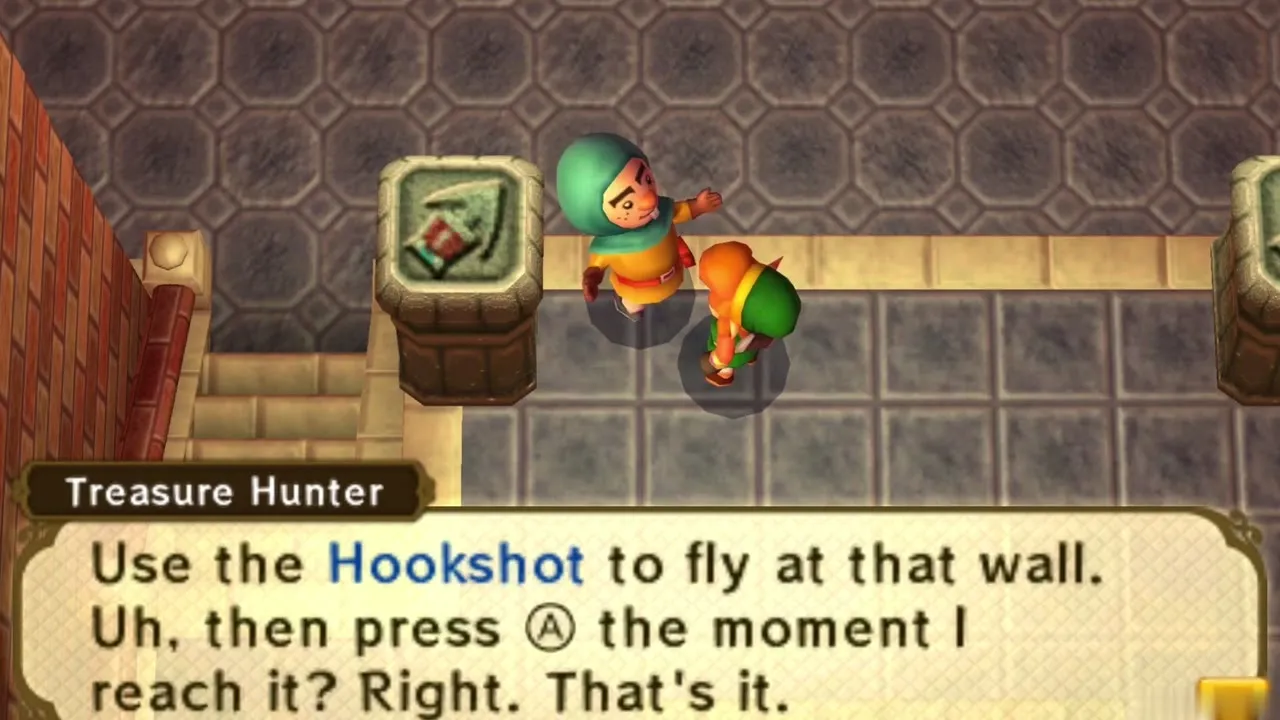
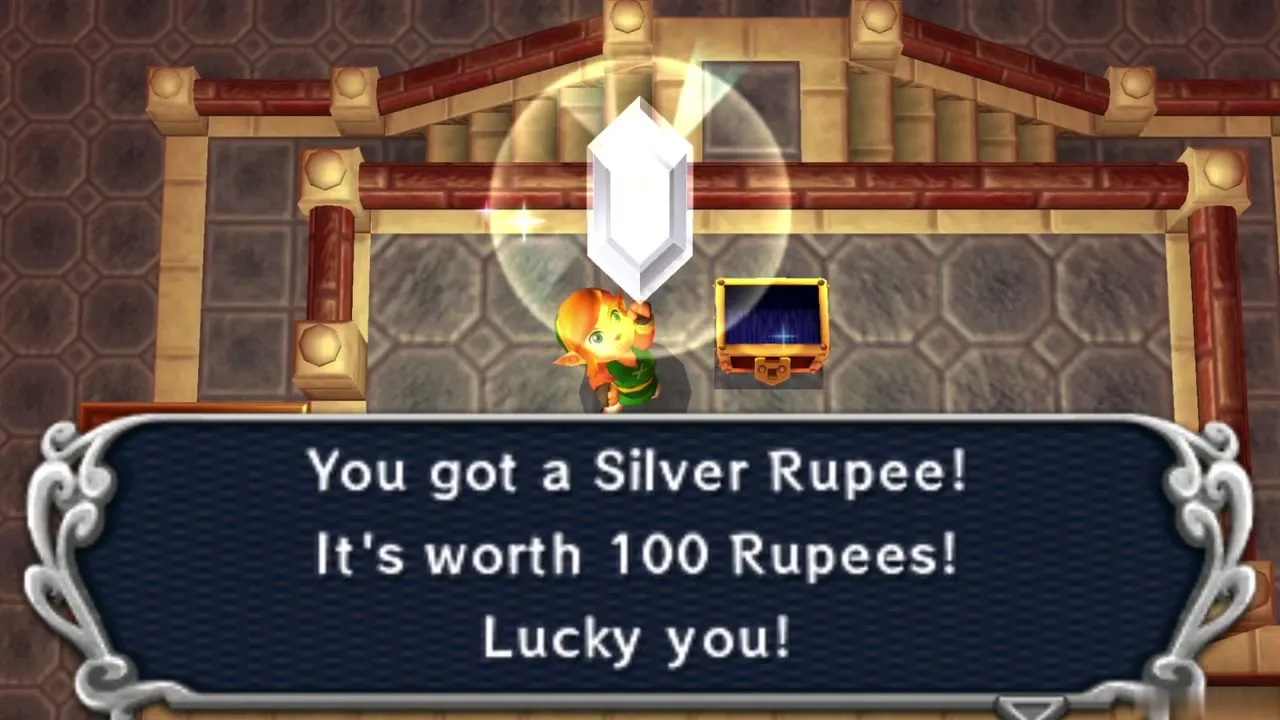
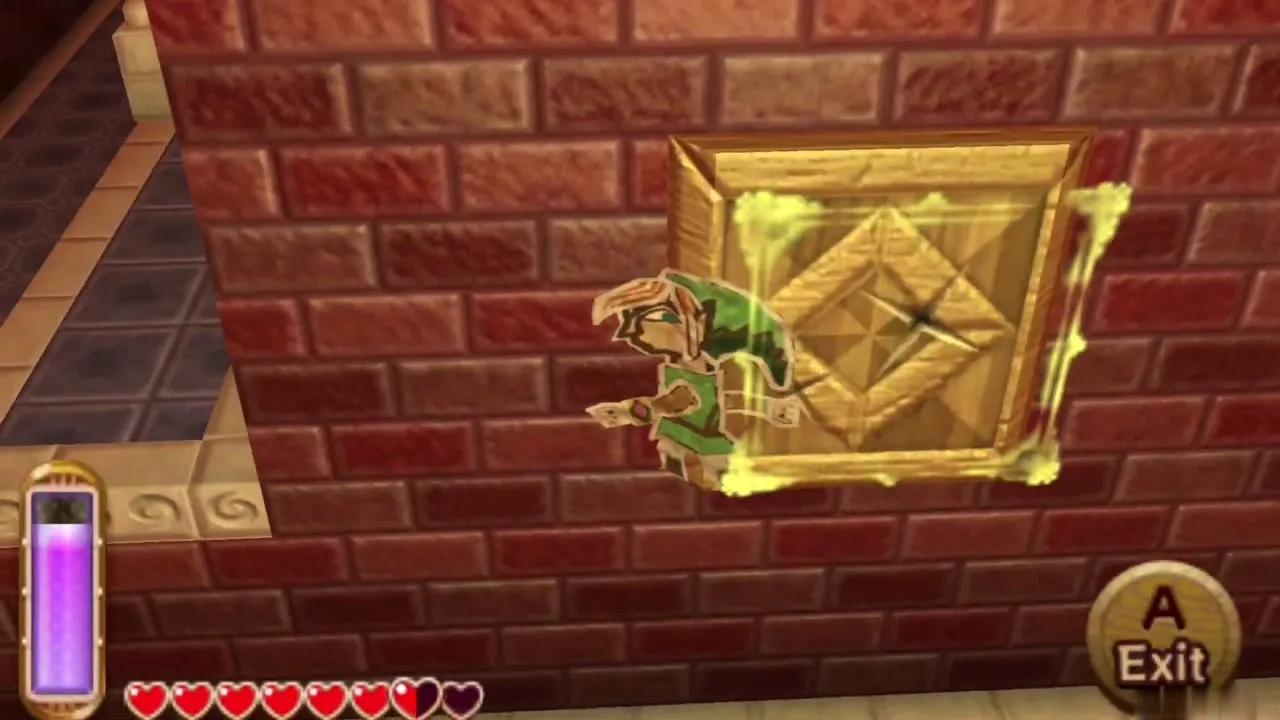
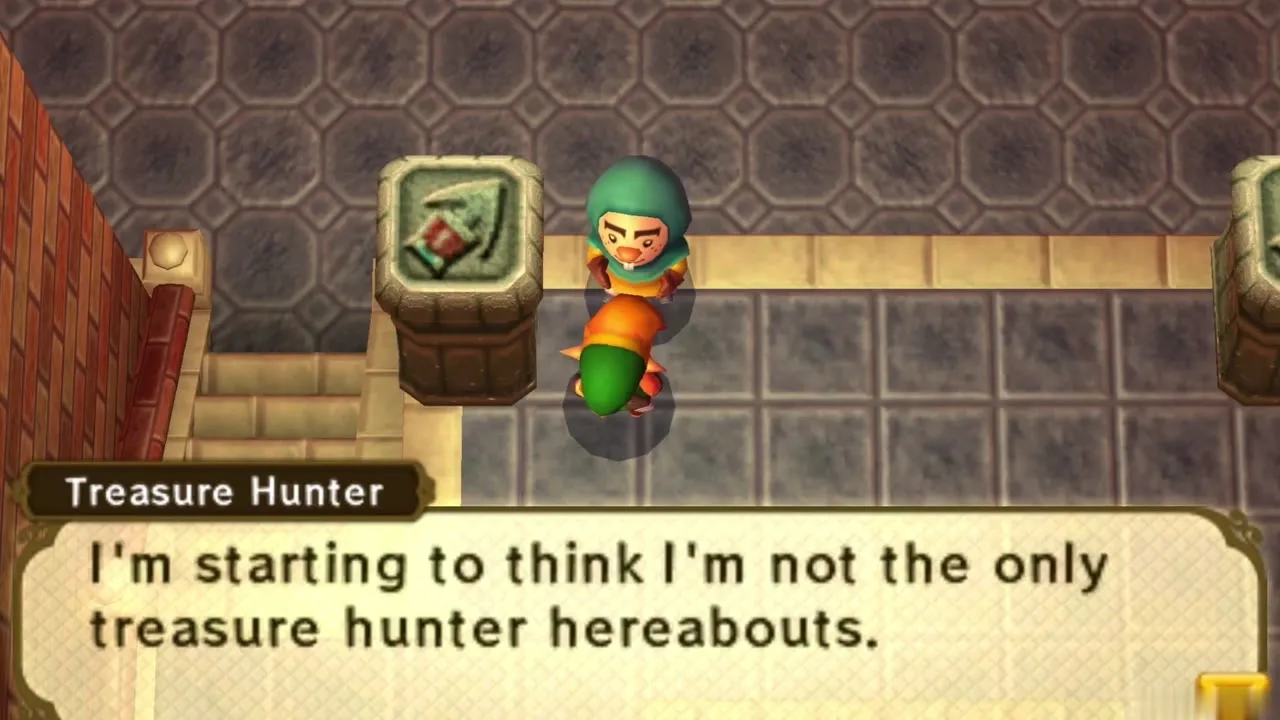
Enter the cave at the foot of the central peak. The Treasure Hunter inside advises you to Hookshot at a wall and press A the moment you arrive. Fire the Hookshot at the wooden frames on the walls, merge into the brick, and slide along until there is floor to step out onto. Work through the switches to open the way to the chest, which holds a Silver Rupee worth 100.
Rosso’s Ore Mine
Rosso’s Ore Mine entrance
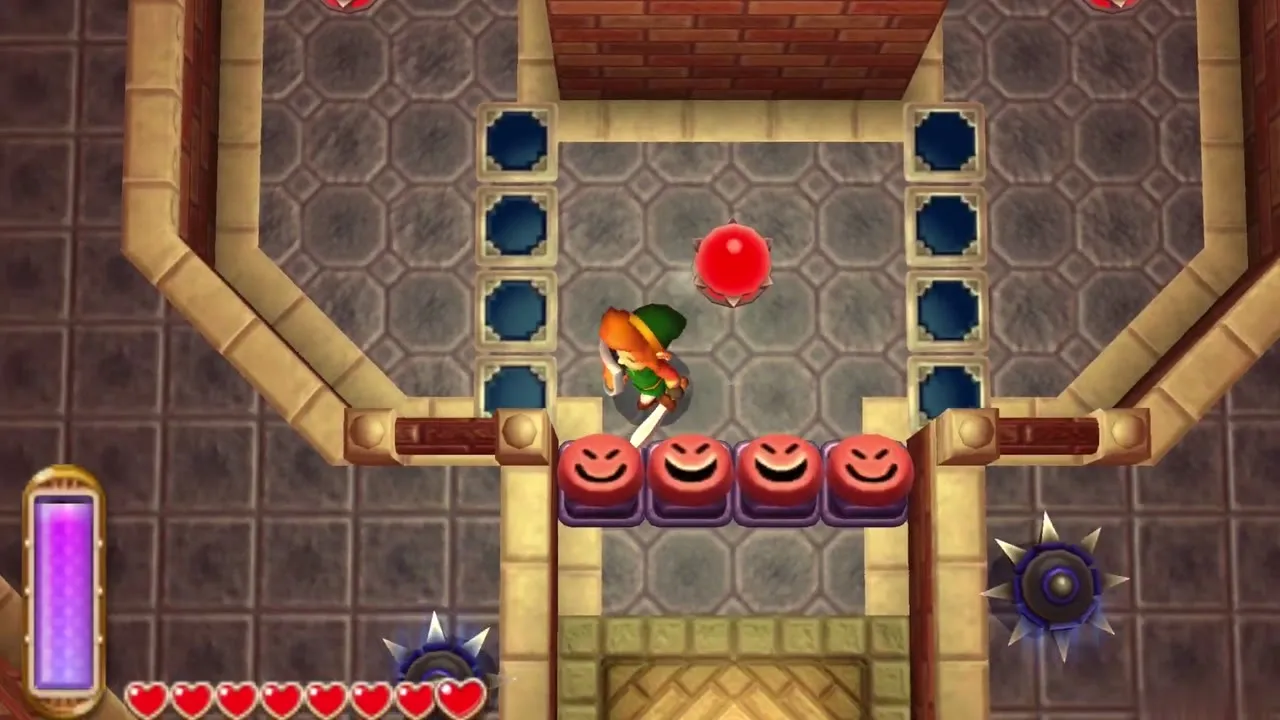
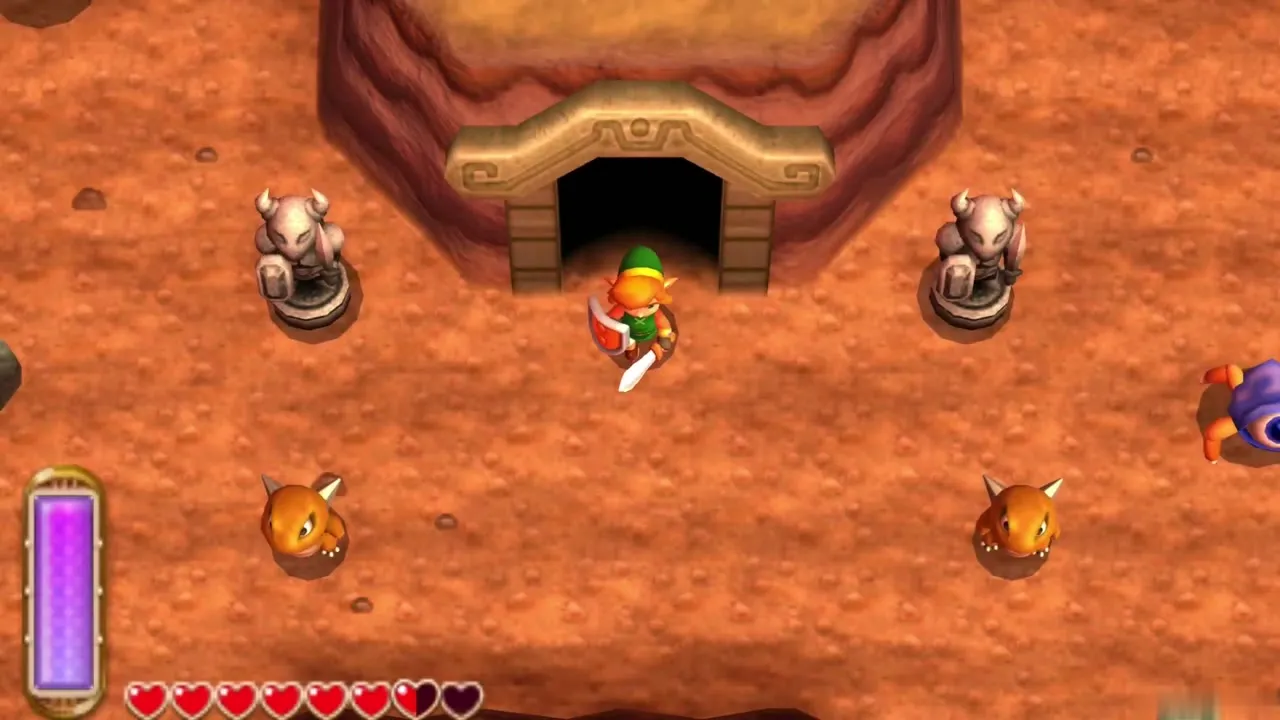
Go back to the Lynel screen and take the cave in its lower right corner. It leads into Rosso’s Ore Mine, a lava cavern where you ride moving stone platforms from pad to pad. Smiling face blocks float on the lava, and Keese and fire-breathing Lynels guard the route, so keep your hearts up.
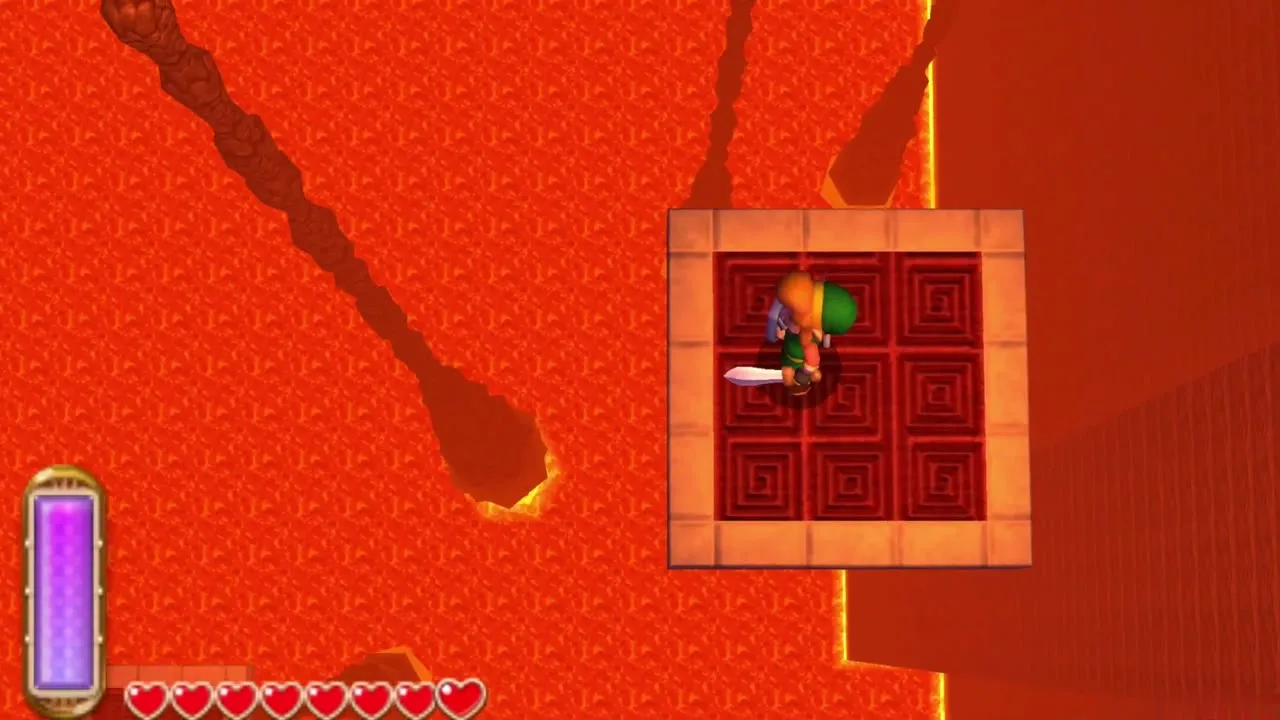
Heart Piece #14 in Rosso’s Ore Mine
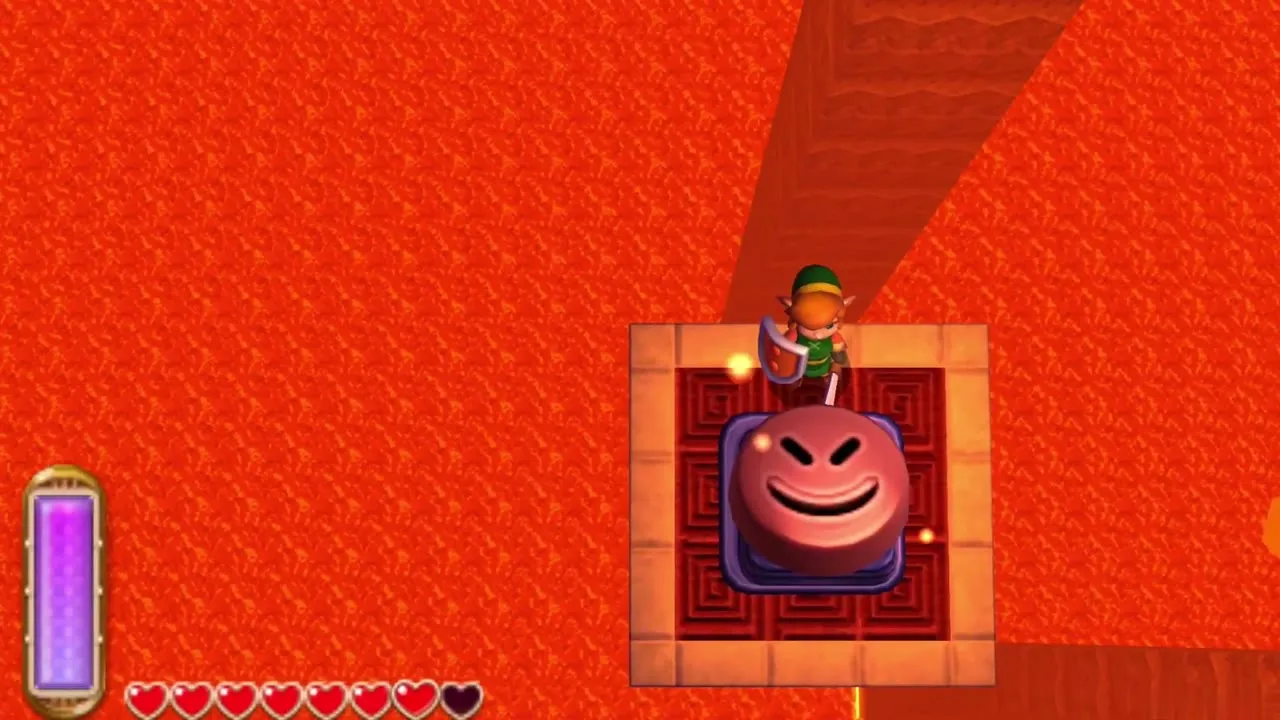
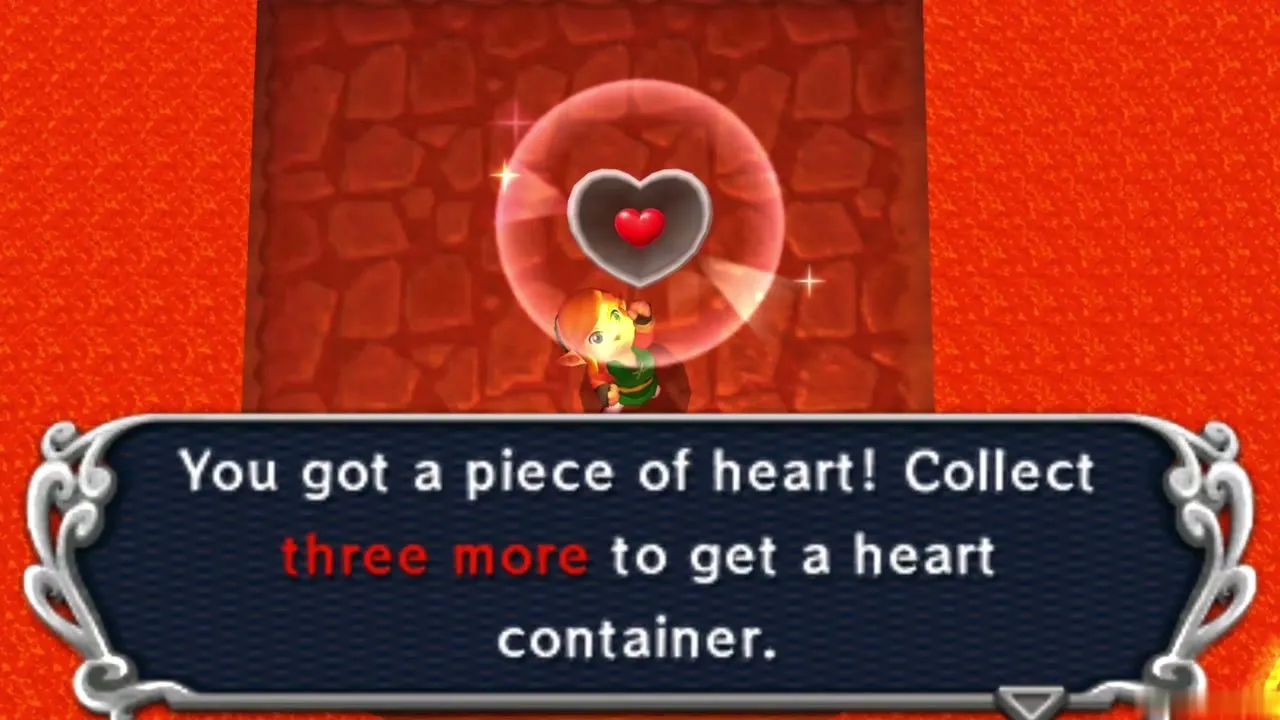
From the central pillar, take the left path to the hammer trial. Ride the platforms, strike the smiling face blocks with the rented Hammer to launch yourself to the next pad, and time your drops between them. A Heart Piece waits at the end. This is Heart Piece #14, and it takes the Power Glove, Hookshot, Hammer and wall merging. Drop back down the platforms afterward.
Bottle #3 from the Bouldering Guy
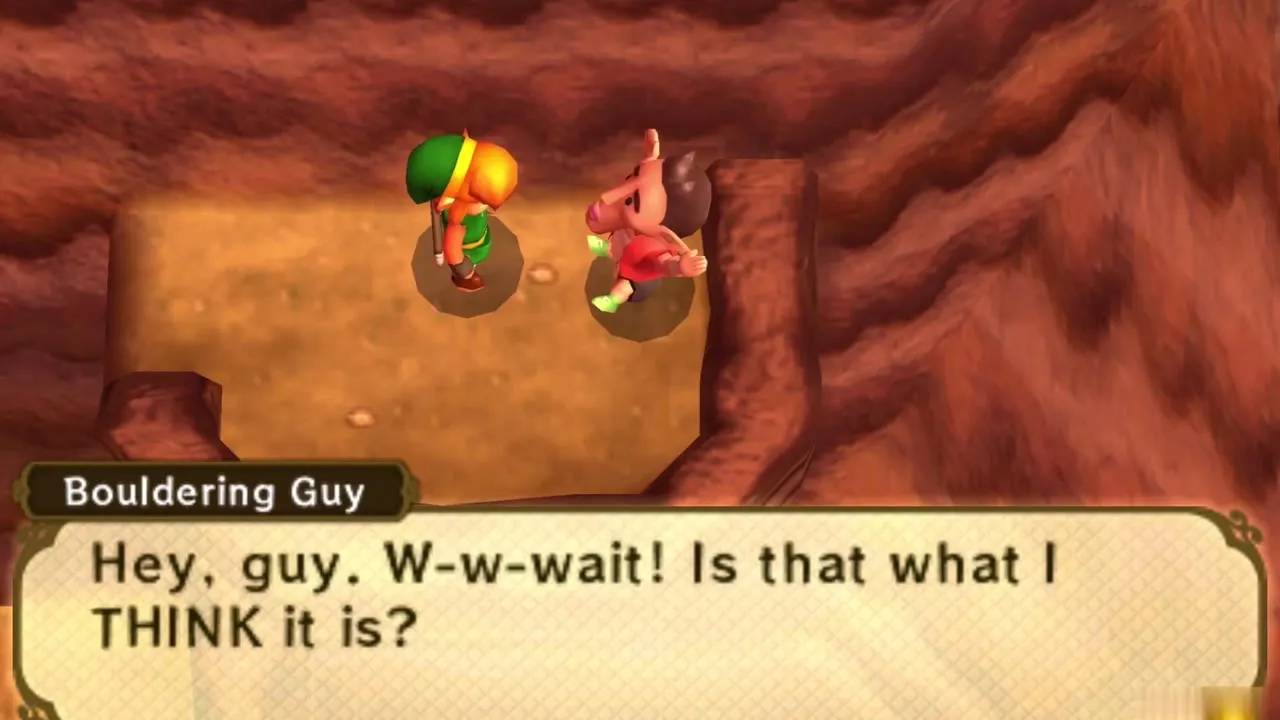
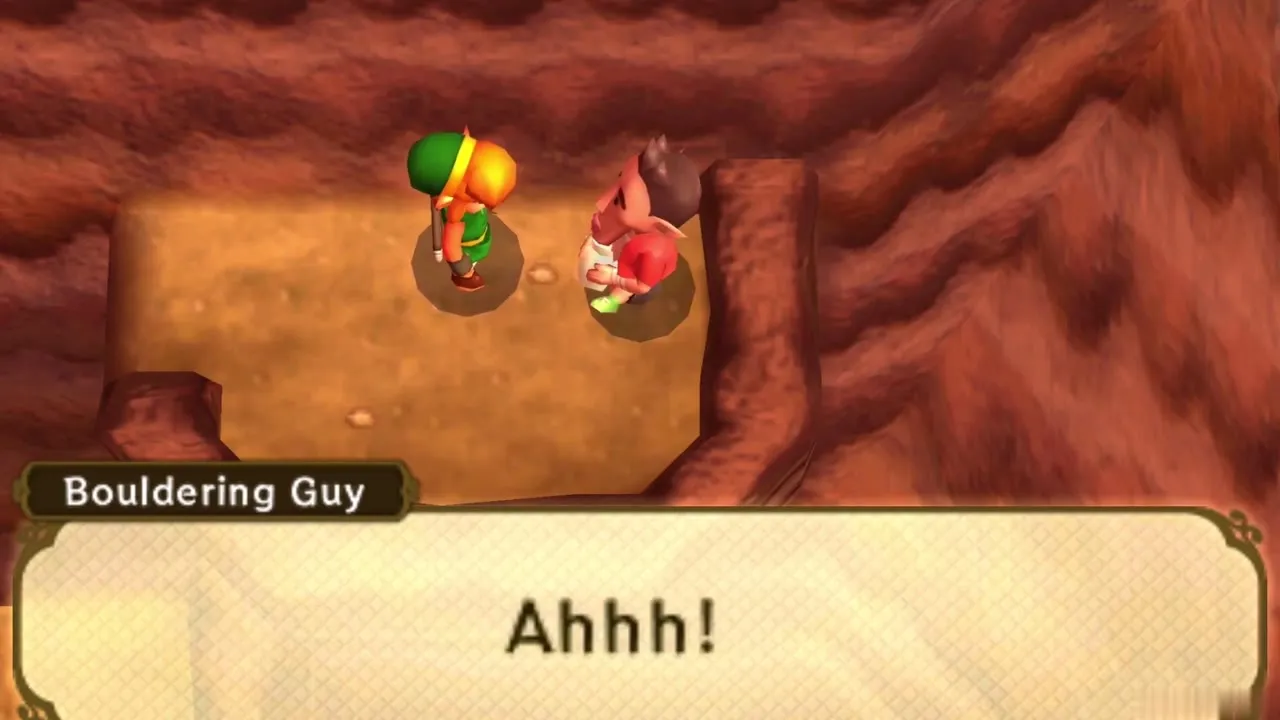
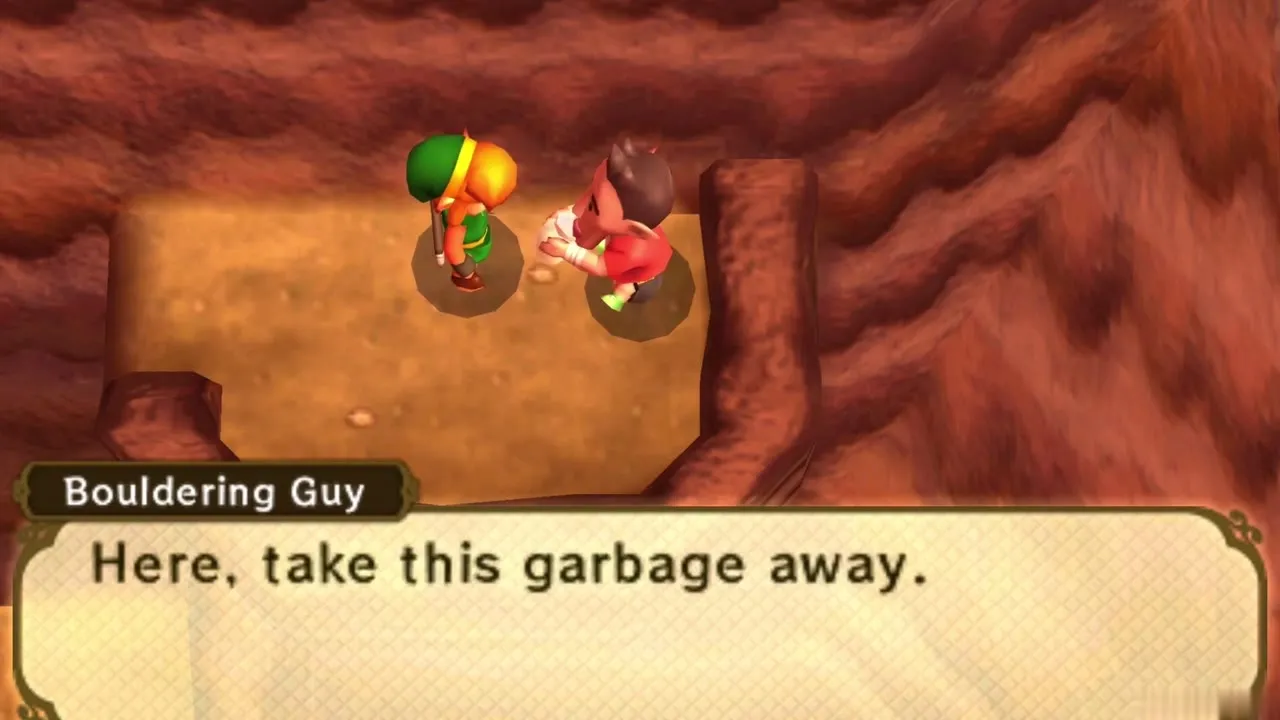
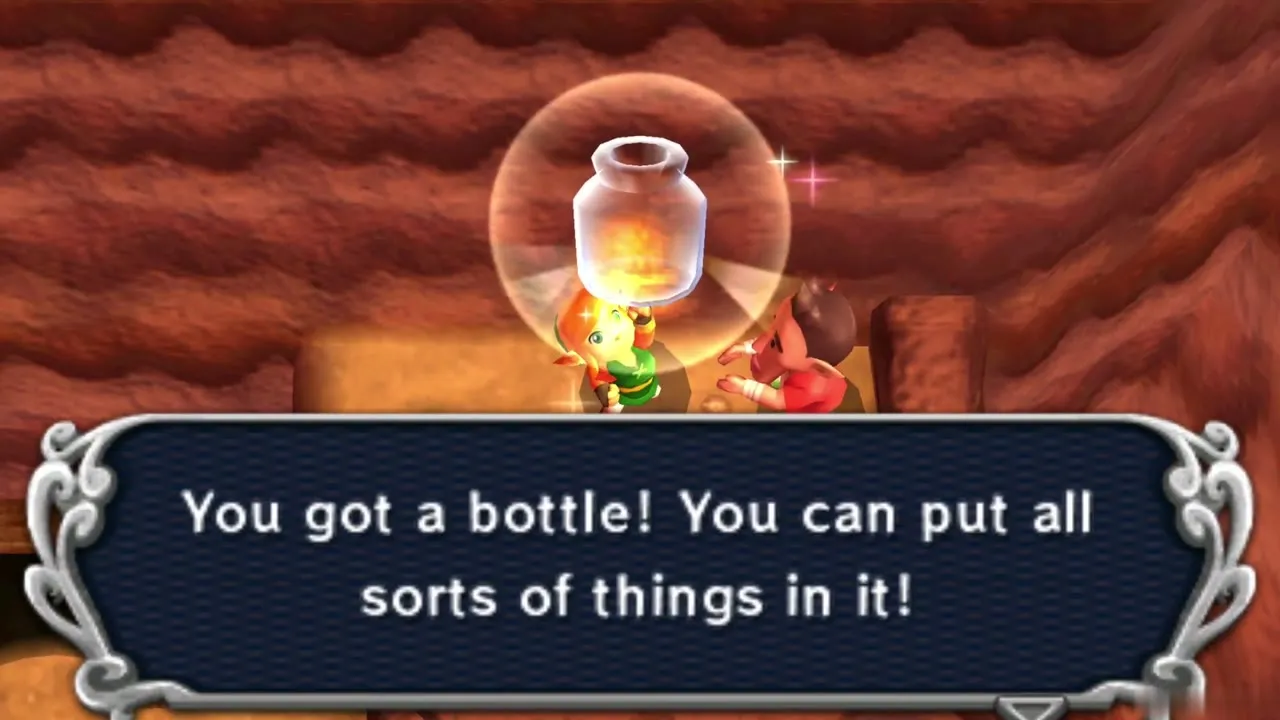
Leave the mine by the south exit onto a lonely ledge and cross the gap to the right, where the Bouldering Guy sits with a twisted ankle. Hand him the Premium Milk. He drinks every drop, then gives you his empty bottle to take away. This is Bottle #3 of the five in the game, and you keep it for potions and fairies.
Great Fairy
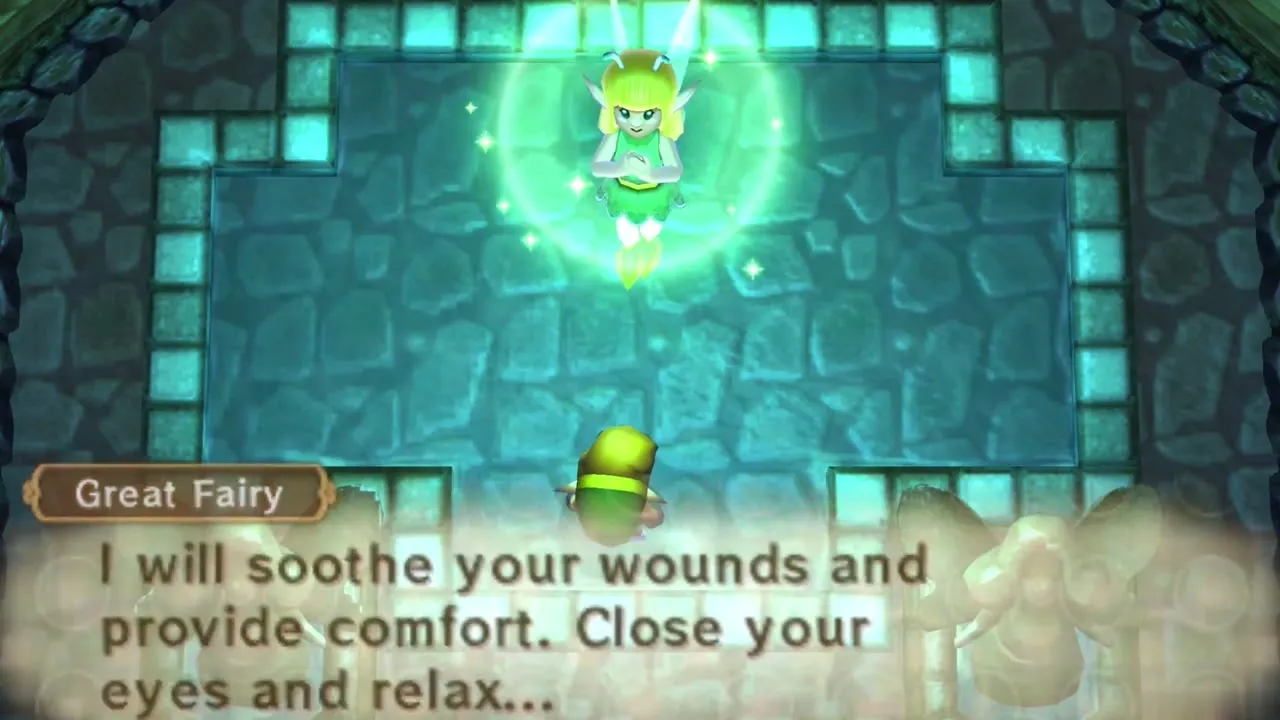
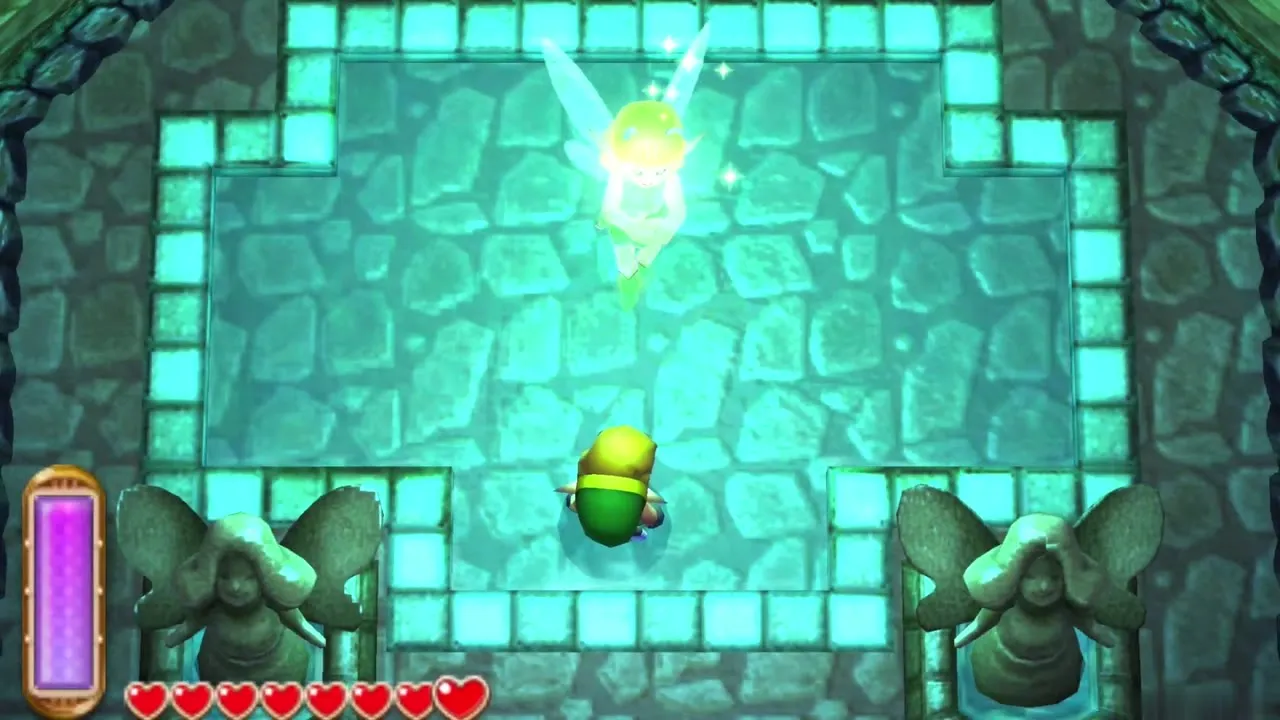
On the lower mountain below the mine, take the cave in the bottom right corner. It holds a Great Fairy fountain: step onto the glowing tiles and she restores your hearts. It is a good place to refill before the Tower.
Lost Maiamai past the fairy
From the Great Fairy cave, go left onto the narrow plank path and follow it to the rocky ledge at its end. Lift the small rocks there, starting with the top ones, to find a lost Maiamai. Then go right to the broken bridge and Hookshot across it. One more Maiamai hides under the small rock on the ledge below the Bouldering Guy.
Tower of Hera entrance
Hammer the pegs at the Tower door
Ring Irene’s Bell and choose the Tower of Hera vane to skip the walk back. Equip the rented Hammer and pound the row of orange pegs between the two Hammer posts. They flatten and open the path to the front door of the Tower. Save at the vane first, since it is your last save before the dungeon.
Chapter checklist
| Collectible | Type | Where |
|---|---|---|
| Heart Piece #13 | Heart Piece | Cave west of the Tower of Hera, reached by wall merging |
| Heart Piece #14 | Heart Piece | Hammer trial in Rosso’s Ore Mine |
| Bottle #3 | Bottle | Bouldering Guy, south of Rosso’s Ore Mine (needs Premium Milk) |
 Blue Rupee (5) | Chest | Side cave on the way up the mountain |
 Purple Rupee (50) | Chest | Second side cave on the way up |
 Red Rupee (20) | Chest | Side ledge beside a cave mouth, reached by wall merging |
 Silver Rupee (100) | Chest | Treasure Hunter Cave, east of the Tower of Hera |
 Lost Maiamai (5) | Maiamai | Beside the Red Rupee chest, east of the Tower vane, right of the Treasure Hunter Cave entrance, past the Great Fairy, and on the ledge below the Bouldering Guy |
| Death Mountain Weather Vane | Weather Vane | Ledge in front of the first boulder cave |
| Tower of Hera Weather Vane | Weather Vane | Outside the Tower of Hera entrance |
| Great Fairy | Healing | Fountain cave on the lower mountain below Rosso’s Ore Mine |
The Hammer pegs are down and the door of the Tower of Hera is open, so continue to the Tower of Hera walkthrough for the dungeon, the Moldorm boss fight and the Pendant of Power.