





















Oracle of Ages 100% Completion Walkthrough24 chapters
- Arrival in Labrynna and the Black TowerStart Oracle of Ages in a linked game: Forest of Time, Vasu’s Ring Box, the Maku Tree, the time portal, the Black.
- Maku Path and Spirit’s Grave (Level 1)Maku Path and Spirit’s Grave walkthrough for Oracle of Ages: Seed Satchel, Graveyard Key, Power Bracelet, Pumpkin Head.
- The Harp of Ages and Fairies’ WoodsHarp of Ages and Fairies’ Woods walkthrough for Oracle of Ages: Poe Clock, Heart Piece, Vasu’s rings, hide-and-seek.
- Deku Forest and the Mystery SeedsDeku Forest walkthrough for Oracle of Ages: Mystery Seeds, Queen Ambi’s Bombs, a Heart Piece, the Deku Secret and the.
- Wing Dungeon (Level 2)Wing Dungeon walkthrough for Oracle of Ages: all five Small Keys, Dungeon Map, Compass, Swoop, Roc’s Feather, Boss.
- Farore’s Secrets and Cheval’s GraveFarore’s secrets and Cheval’s Grave walkthrough for Oracle of Ages: West Lynna Heart Piece, Hall of Secrets codes, Red.
- Tingle’s Chart and Crescent IslandTingle’s Chart and Crescent Island walkthrough for Oracle of Ages: Ricky’s Gloves, Island Chart, Rafton’s raft, the.
- Moonlit Grotto (Level 3)Moonlit Grotto walkthrough for Oracle of Ages: all Small Keys, Compass, Seed Shooter, Gasha Seeds, Subterror, Boss.
- Nuun Highlands and the Strange FlutesOracle of Ages Nuun Highlands walkthrough: Dimitri’s Flute, Tingle’s 99-seed Satchel, the Black Tower rescue, the.
- Symmetry City and Talus PeaksOracle of Ages Symmetry City and Talus Peaks walkthrough: Cracked Tuni Nut, Patch’s ceremony, Tune of Currents, Heart.
- Skull Dungeon (Level 4)Skull Dungeon walkthrough for Oracle of Ages: Compass, Dungeon Map, 5 Small Keys, Armos Warrior, Switch Hook, Boss.
- Lynna Trades and the Noble SwordOracle of Ages trading sequence walkthrough, Funny Joke to Noble Sword: Touching Book, Maple’s Magic Oar, Sea Ukulele.
- West Rolling Ridge and the Great MoblinWest Rolling Ridge walkthrough for Oracle of Ages: Lynna secret shop, Pegasus Seeds, Moblin’s Keep, Great Moblin, Bomb.
- Crown Dungeon (Level 5)Crown Dungeon (Level 5) walkthrough for Oracle of Ages: Small Keys, Cane of Somaria, Smasher, Compass, Boss Key, Smog.
- East Rolling Ridge and the Mermaid KeysEast Rolling Ridge walkthrough for Oracle of Ages: Goron Dance, Brother Emblem, Target Carts, Rock Brisket, Goron Vase.
- Mermaid’s Cave (Level 6) Walkthrough for Oracle of AgesMermaid’s Cave walkthrough for Oracle of Ages: get the Old Mermaid Key, clear both halves, collect the Mermaid Suit.
- Ambi’s Palace and the Tune of AgesAmbi’s Palace walkthrough for Oracle of Ages: sneak in, beat Possessed Nayru, learn the Tune of Ages, claim Hall of.
- Zora Seas and the Fairy PowderOracle of Ages Zora Seas walkthrough: the Gasha Seed chest, King Zora’s Library Key, Book of Seals, Fairy Powder and.
- Jabu-Jabu’s Belly (Level 7)Jabu-Jabu’s Belly walkthrough for Oracle of Ages: Like Like Ring, Compass, Small Keys, Long Hook, Boss Key, Plasmarine.
- Sea of Storms and the Pirate ShipSea of Storms walkthrough for Oracle of Ages: Zora Scale, pirate ship and Tokay Eyeball, clam grotto ring, Tokay.
- Ancient Tomb (Level 8)Ancient Tomb (Level 8) walkthrough for Oracle of Ages: three Slates, the Boss Key, two Gasha Seeds, Ramrock boss.
- Final Collection and the Hero’s CaveOracle of Ages final collection walkthrough: Maple Piece of Heart, Gasha Nut rings and fairies, Hero’s Cave Armor Ring.
- The Black Tower and VeranFinal ring appraisals, the Huge Maku Seed, the Black Tower climb and the three-phase Veran boss fight in Oracle of.
- Room of Rites, Twinrova and GanonOracle of Ages Room of Rites walkthrough: the eye-statue hallway, Twinrova’s fire and ice phases, the Ganon boss.
| Covers | Mermaid’s Cave in the past (Ambi’s age) and the present (Zelda’s age), the Big Bang game and the Goron Dance for the two keys, and the clam grotto outside the cave |
|---|---|
| Dungeon | Mermaid’s Cave (Level 6): Dungeon Map and Compass in each half, Vire (mini-boss, present), Boss Key (present), Octogon (boss, past), Essence of Time (Bereft Peak) |
| Rewards | Old Mermaid Key, Mermaid Key, Mermaid Suit, Boss Key, Heart Container, Essence of Time, 2 Dungeon Maps, 2 Compasses, several Small Keys, a ring from the clam grotto, 30 Rupees from a chest |
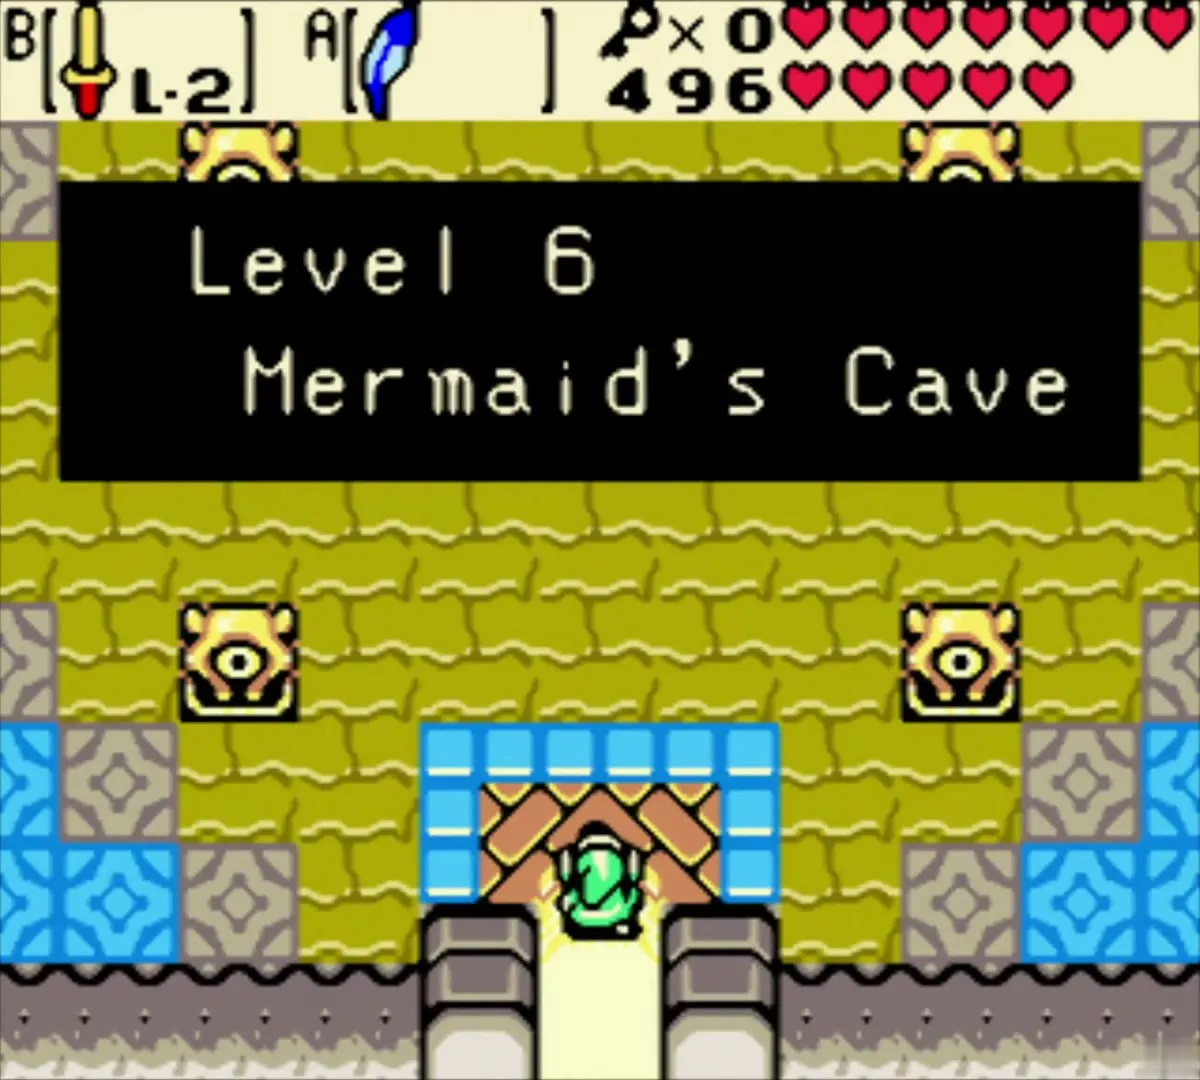
Mermaid’s Cave is the sixth dungeon of Oracle of Ages, and it exists in both ages. The present entrance is built into the cliff where a waterfall has dried up, and the past entrance sits behind a waterfall at Rolling Ridge Base. You need the Old Mermaid Key for the present door and the Mermaid Key for the past door. The shortest route is to clear the past half, collect the Mermaid Suit and the Boss Key in the present half, then return to the past to swim the flooded rooms and defeat Octogon.


Mermaid’s Cave keys: Old Mermaid Key and Mermaid Key
Win the Big Bang game for the Old Mermaid Key
In the present, take the Goronade to the tired Goron, then play the Big Bang game in the grey Goron building on the blue ridge of East Rolling Ridge. The Moving Sand Ring and a few Pegasus Seeds make the game easy to win. Your first win gives you the Old Mermaid Key, and later wins only pay 30 Rupees. Take the key to the present entrance before you do anything else in the dungeon.
Win the Goron Dance for the Mermaid Key
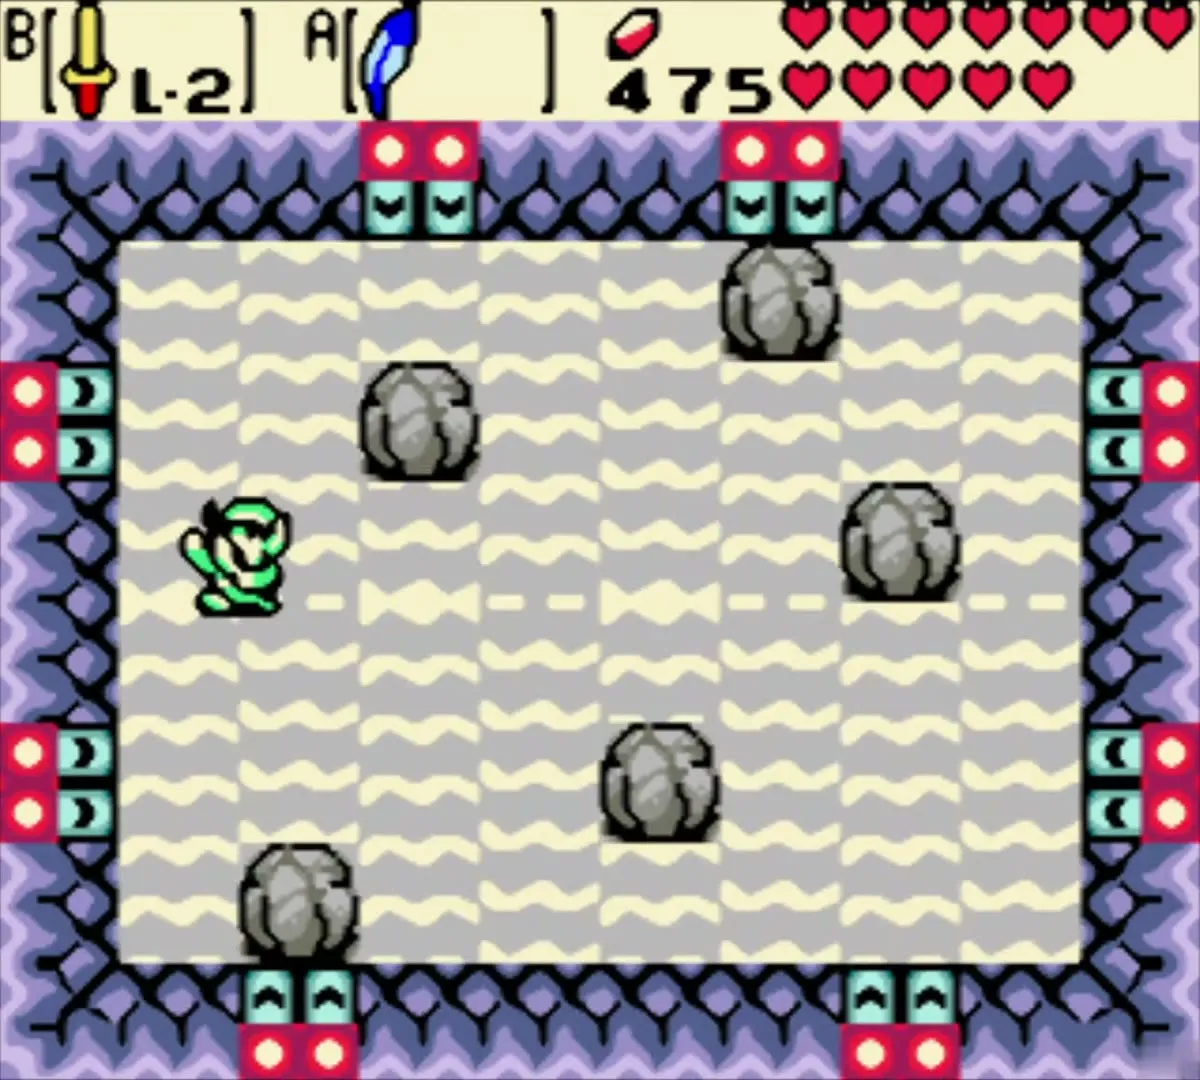
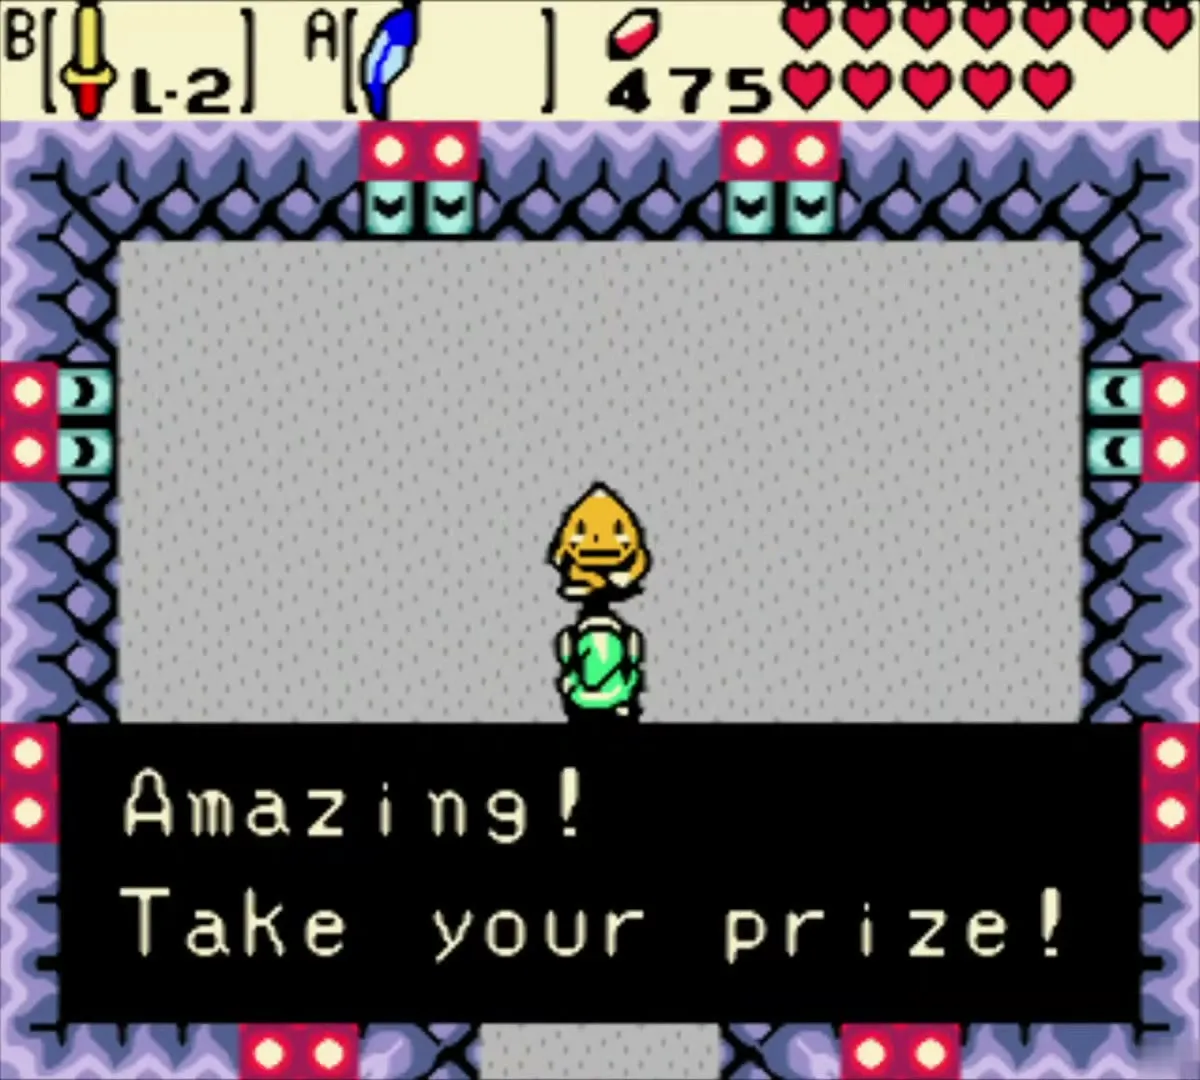
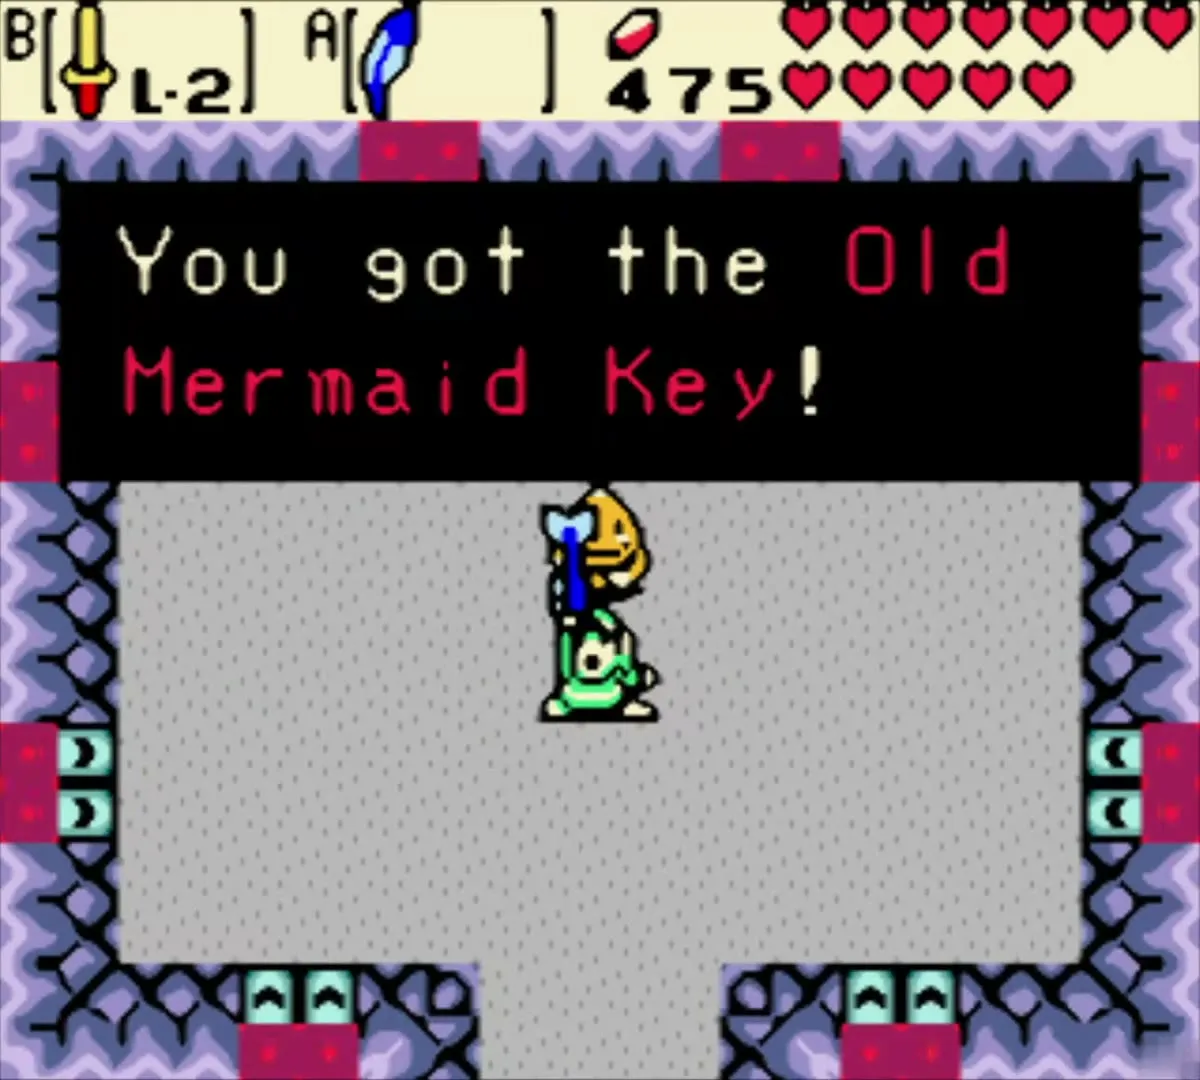
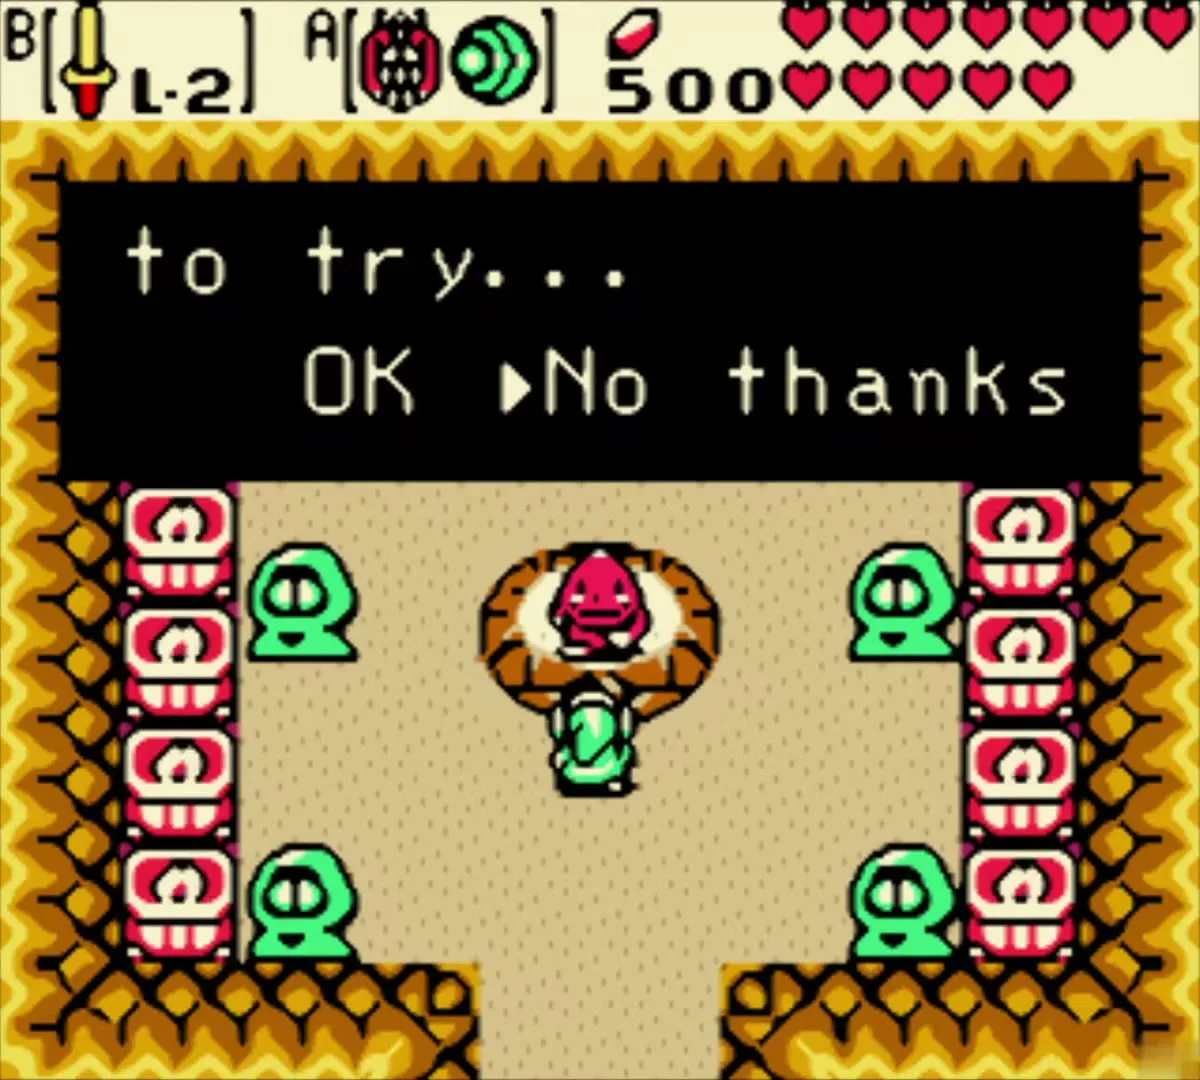
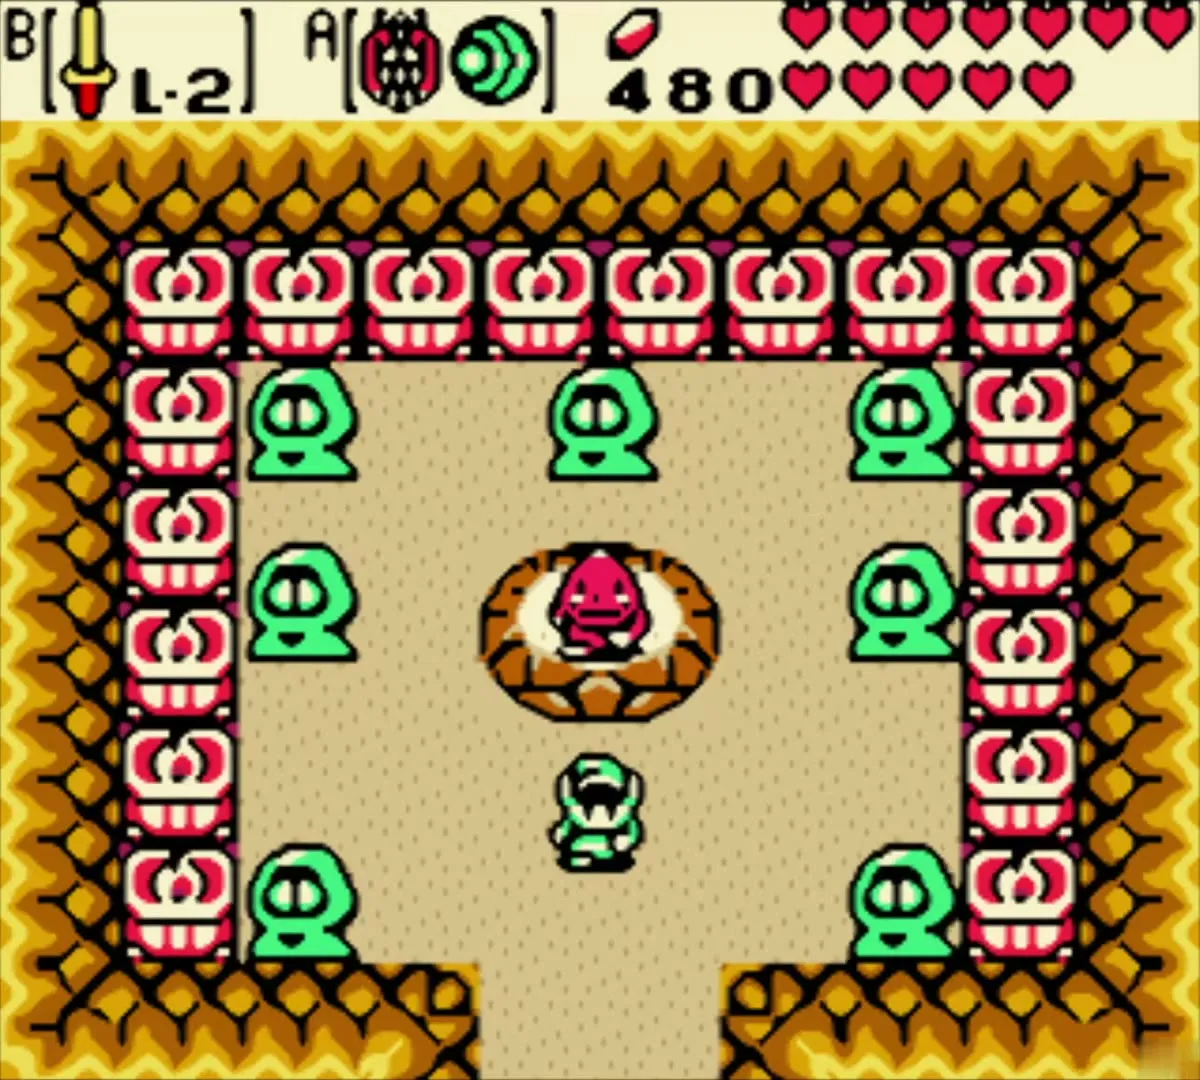
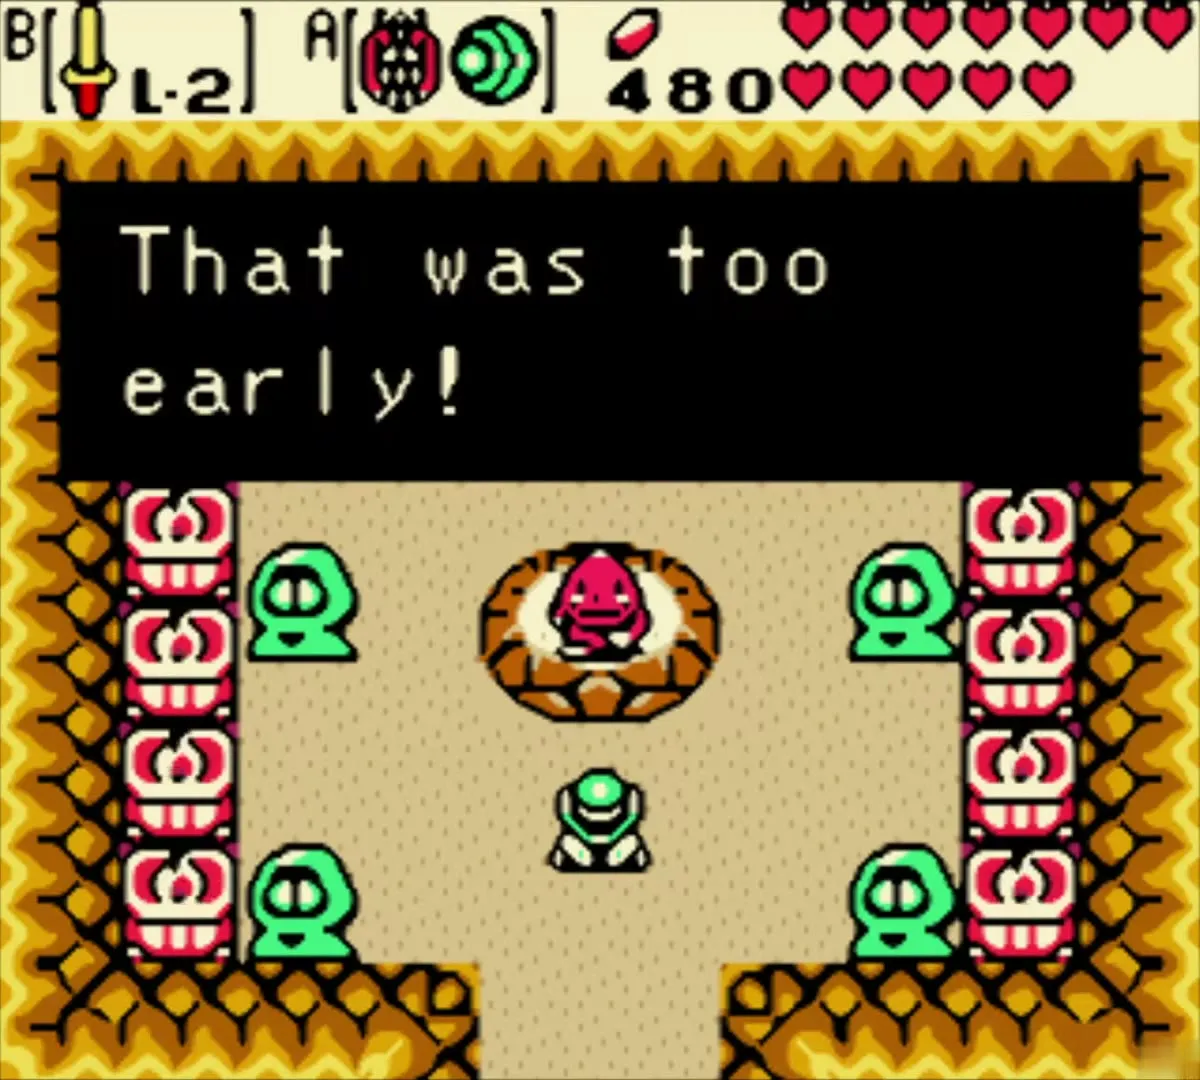
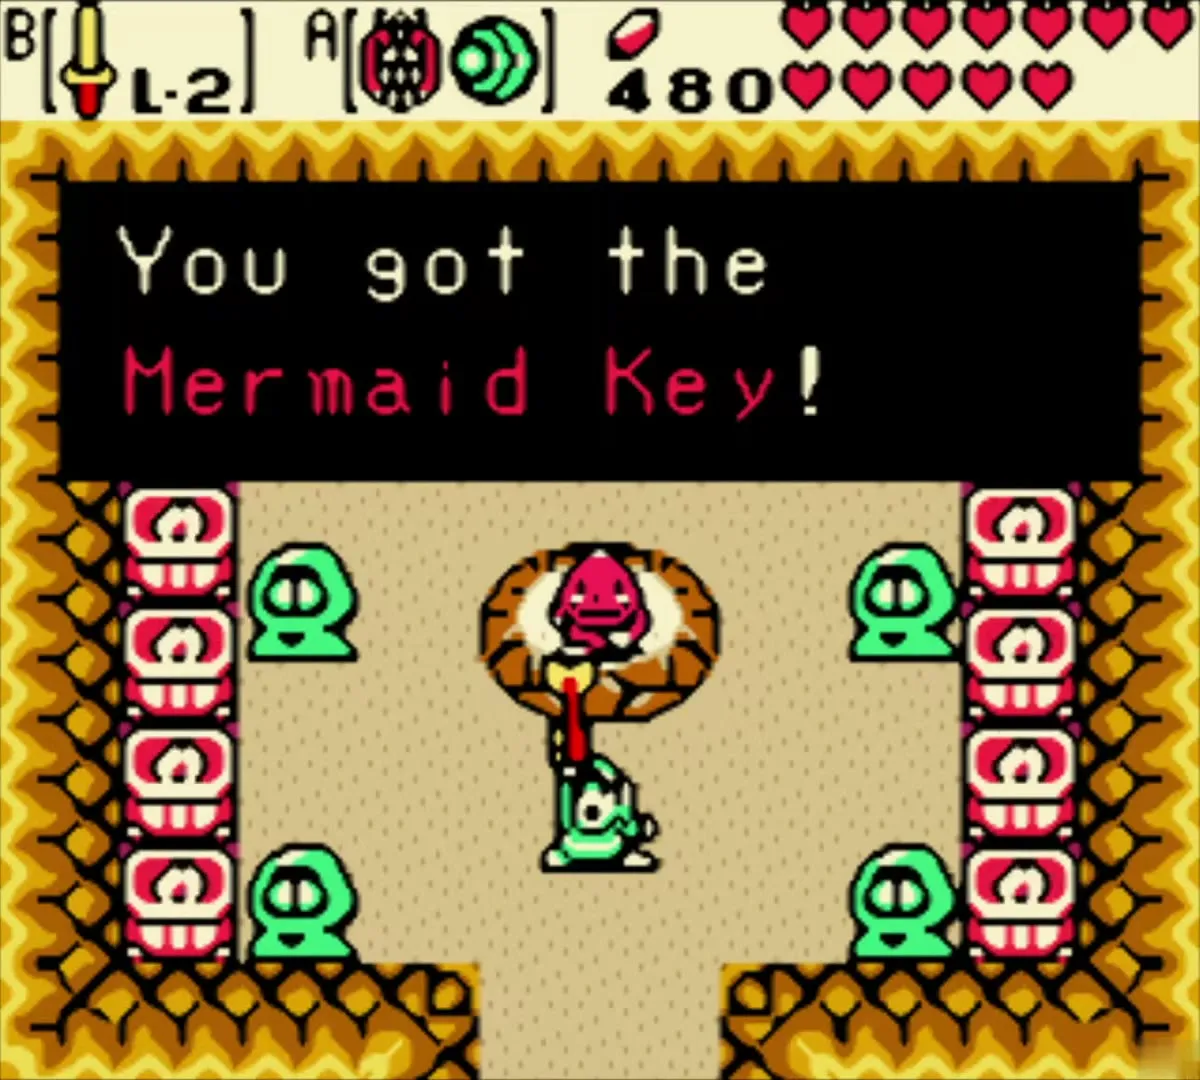
The Mermaid Key comes from the Goron Dance in the Goron Dance hall, after you have the Letter of Introduction. Pay the 20 Rupees entry fee and match the Gorons’ steps as they call them out. Keep your timing steady, because a few missed beats end the round. The Mermaid Key unlocks the past door, so you cannot enter the past half without it.

Two entrances: present and past
The present entrance is a cave door in the cliff at Dry Falls, and it takes the Old Mermaid Key. The past entrance sits in the cave beside the waterfall at Rolling Ridge Base, and it takes the Mermaid Key. Each door opens into the same dungeon layout, but the rooms differ: the past half is flooded and has the Octogon boss, while the present half has Vire, the Mermaid Suit and the Boss Key.

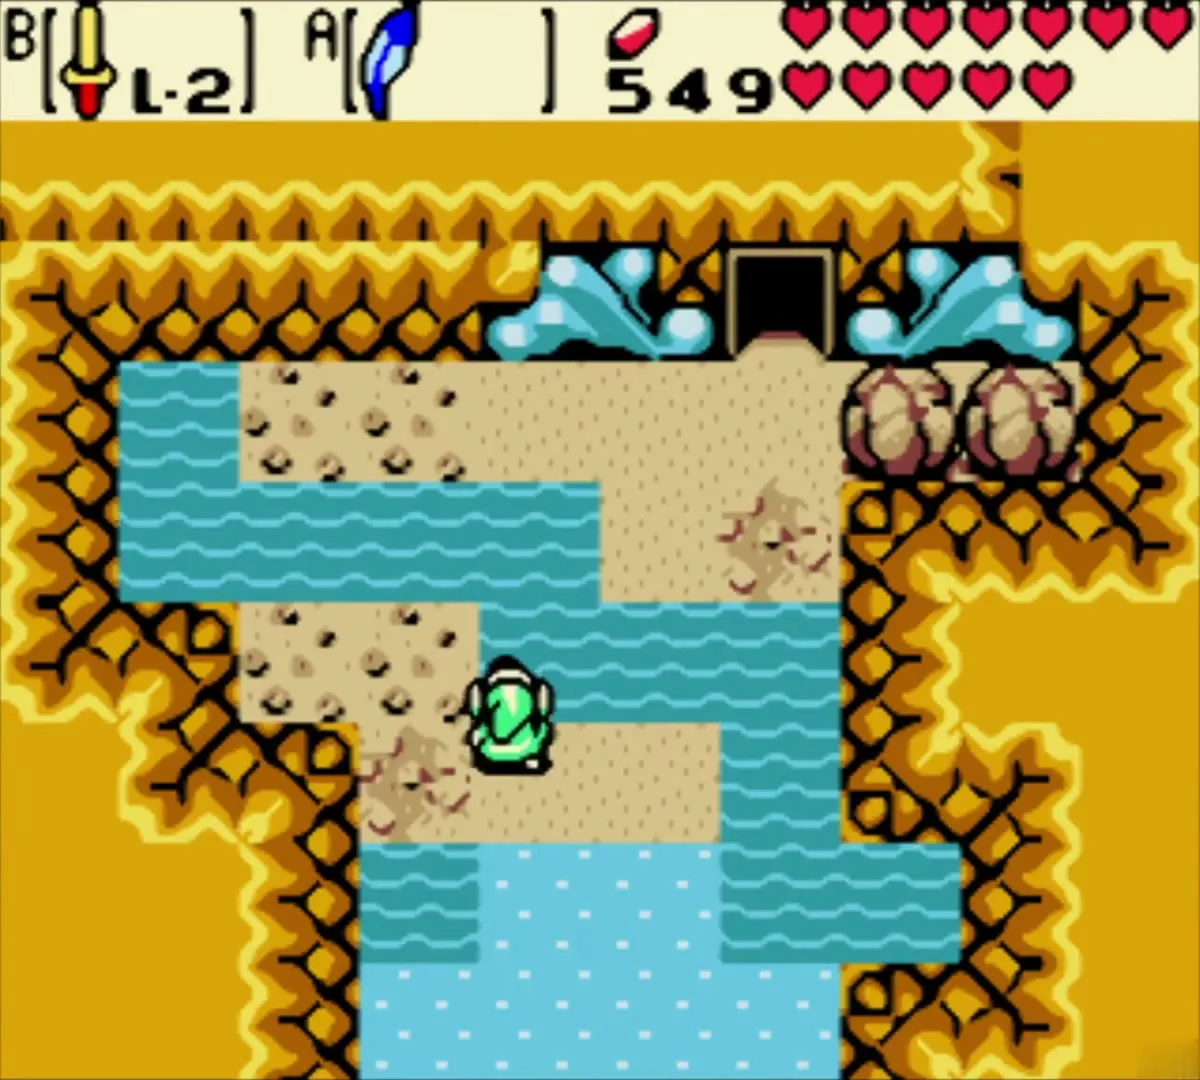
Dungeon: Mermaid’s Cave (Level 6), past half first
Past half: Dungeon Map in the water room
In the past half, cross the room with skull rafts by riding the Roc’s Feather over the skull platforms. A red chest sits on a small island in the middle, and it holds the Dungeon Map. The map marks the rooms you have not visited in darkness, so press Select whenever you want to plan the rest of the dungeon.

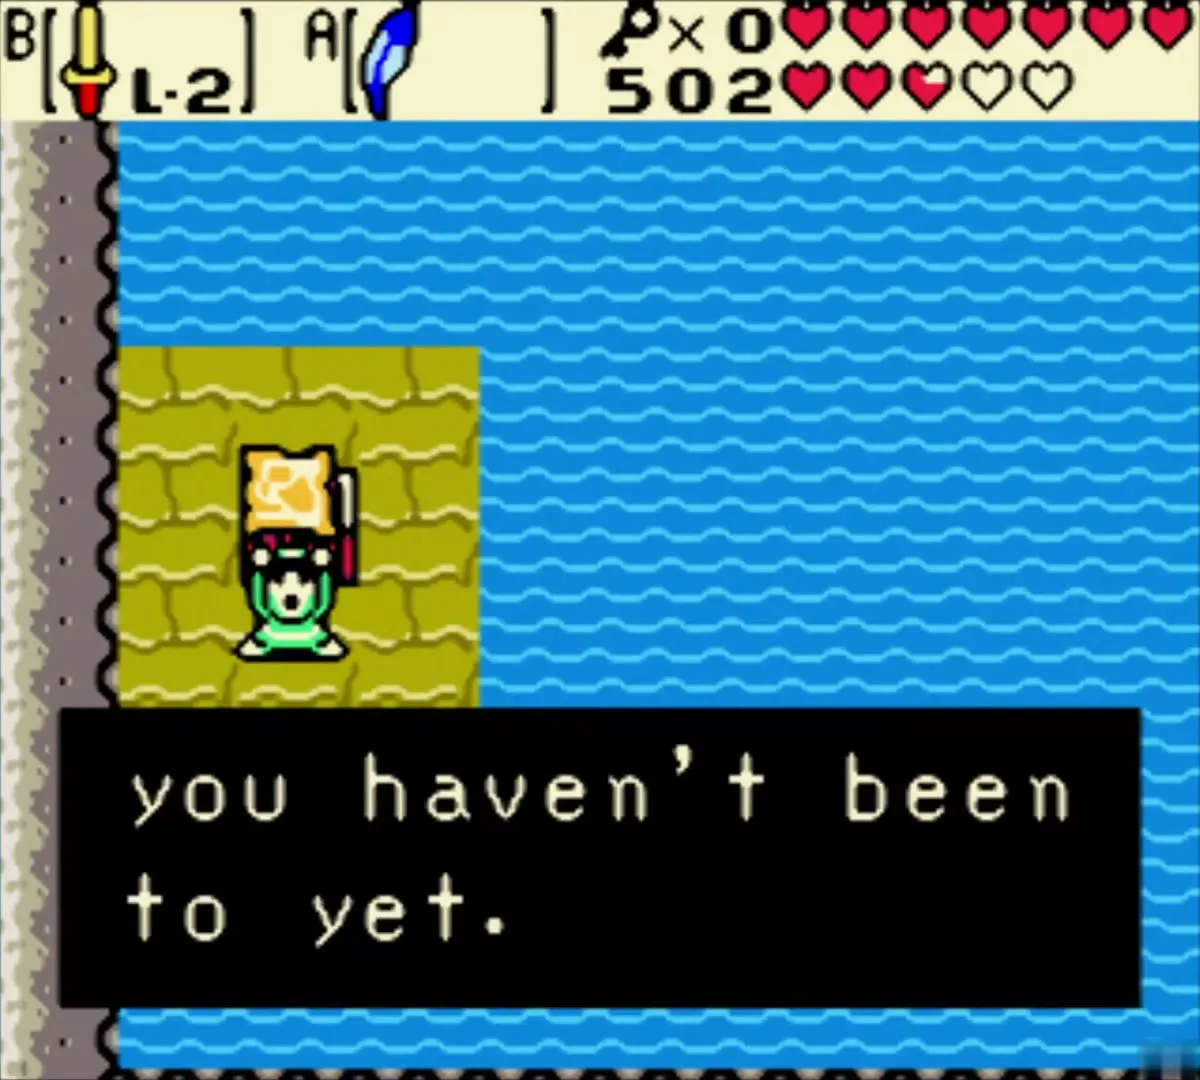
Past half: Compass in the yellow brick room
In the yellow brick room further north, open the chest to get the Compass. The Compass shows the locations of chests and the boss door. You can reach this room from the two-chest rooms near the dungeon entrance, so take the Compass before you move to the lower floors.
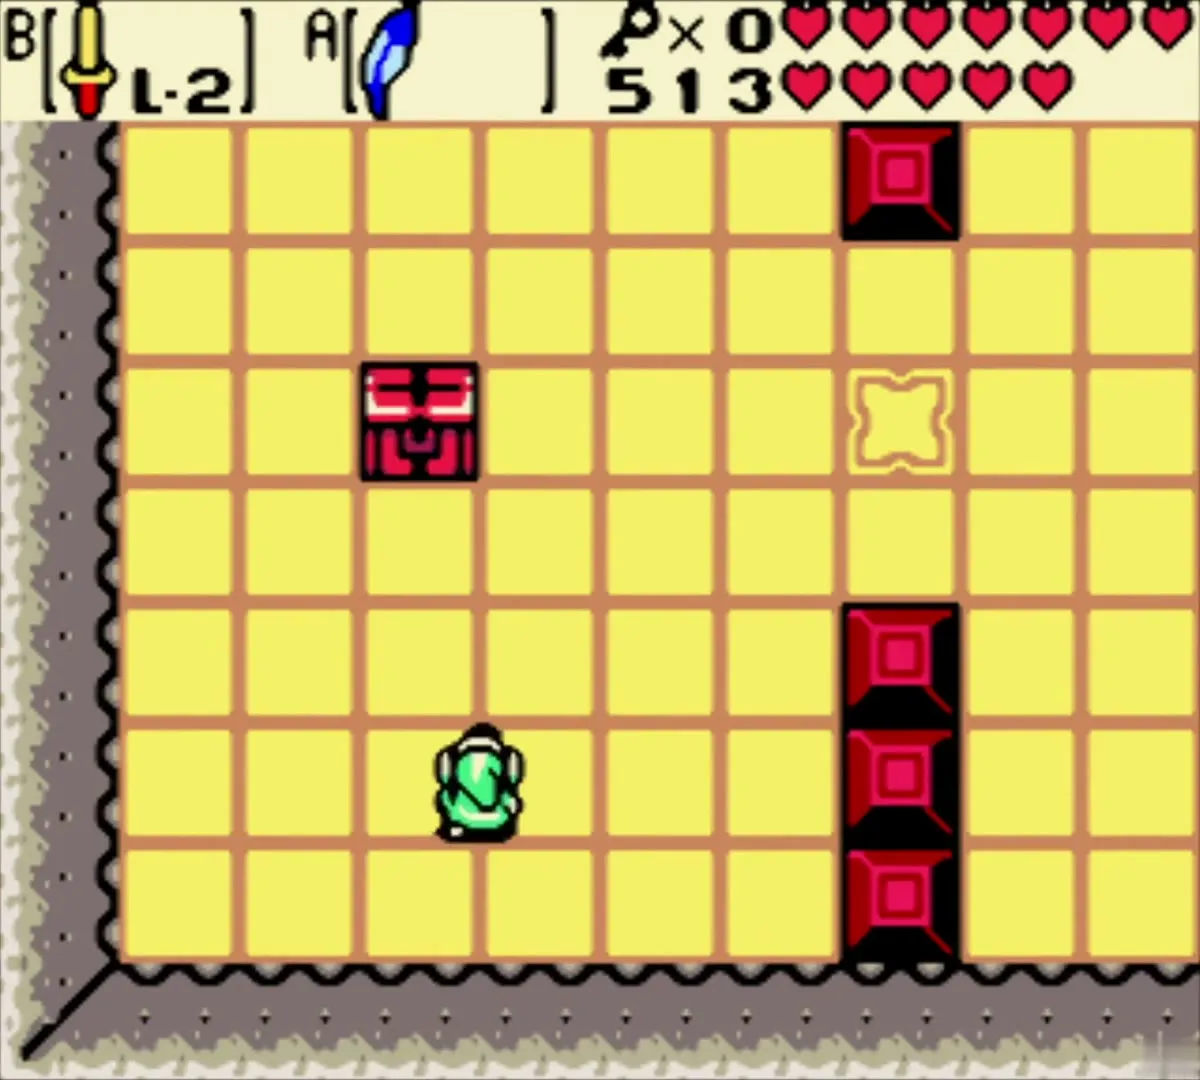

Past half: Small Keys in the dark-pit rooms
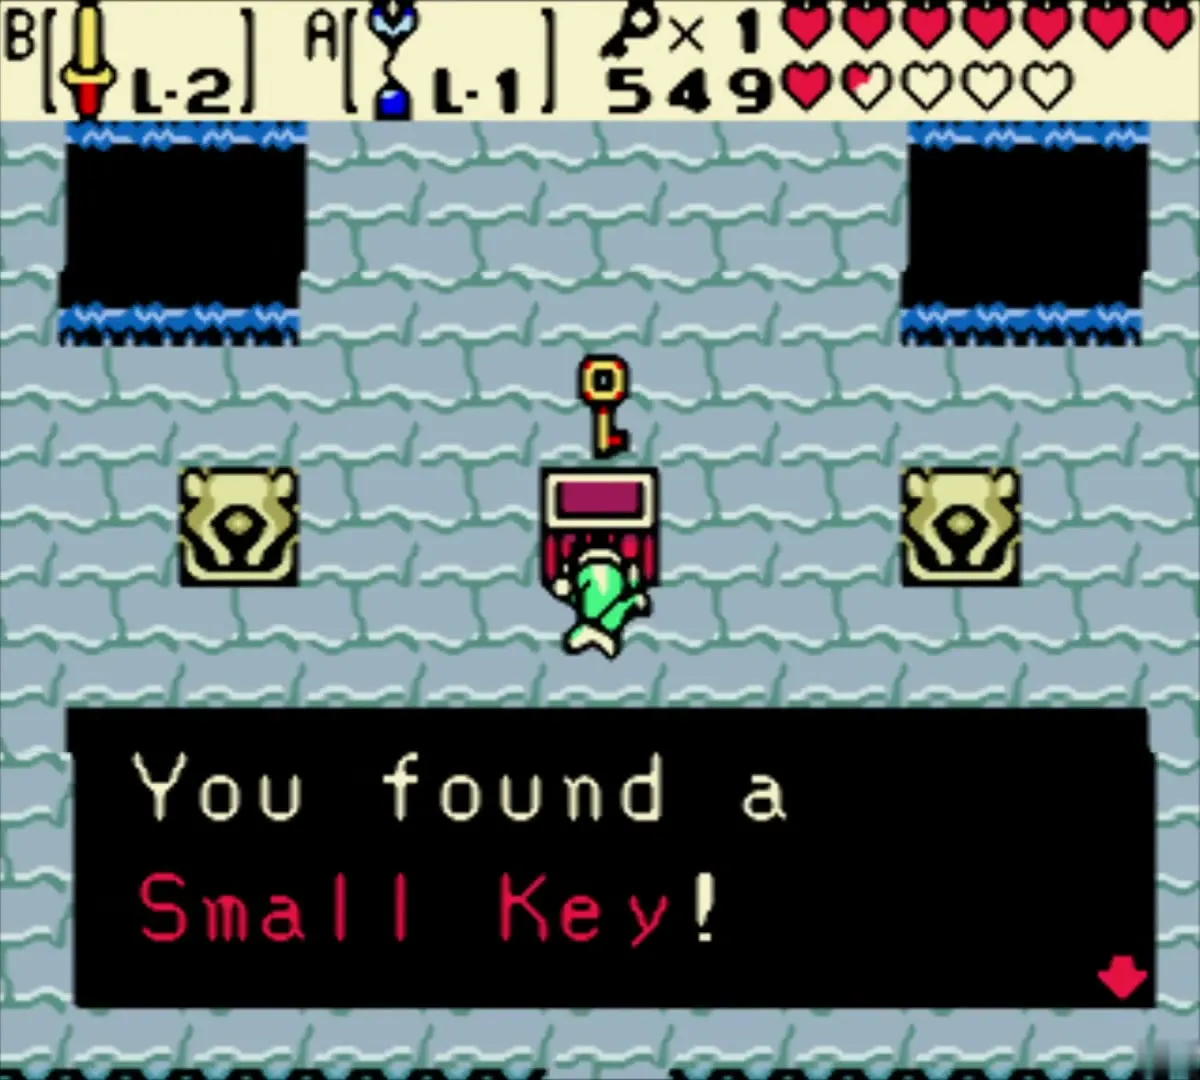
Work through the dark-pit rooms with the Seed Satchel and your sword. A chest in a pit room holds a Small Key. Two more Small Keys come from chests further in, after you clear the statue-tile room. Use the keys on the locked doors and key blocks of this half, and keep at least one for the present half.
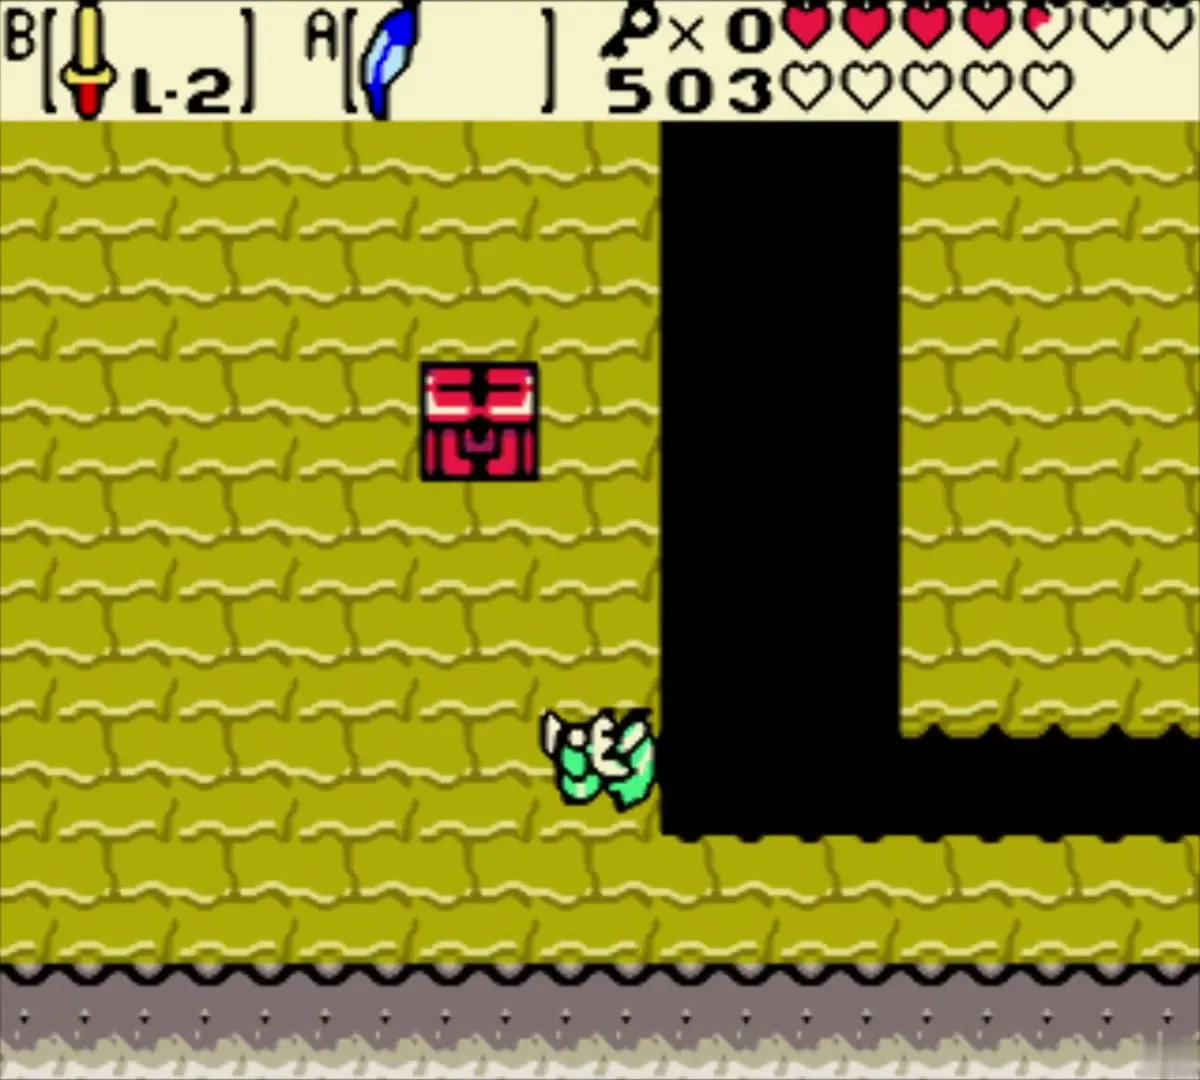

Dungeon: Mermaid’s Cave (Level 6), present half
Present half: Dungeon Map in the chest corner
In the present half, find the red-block room with the diamond statues and walk to the gold-tiled corner. The chest there holds the second Dungeon Map. Its darkened rooms are the ones you have not visited yet, so use it to plan the push-block room that follows.


Present half: Small Keys from the gold alcove and the push-block room
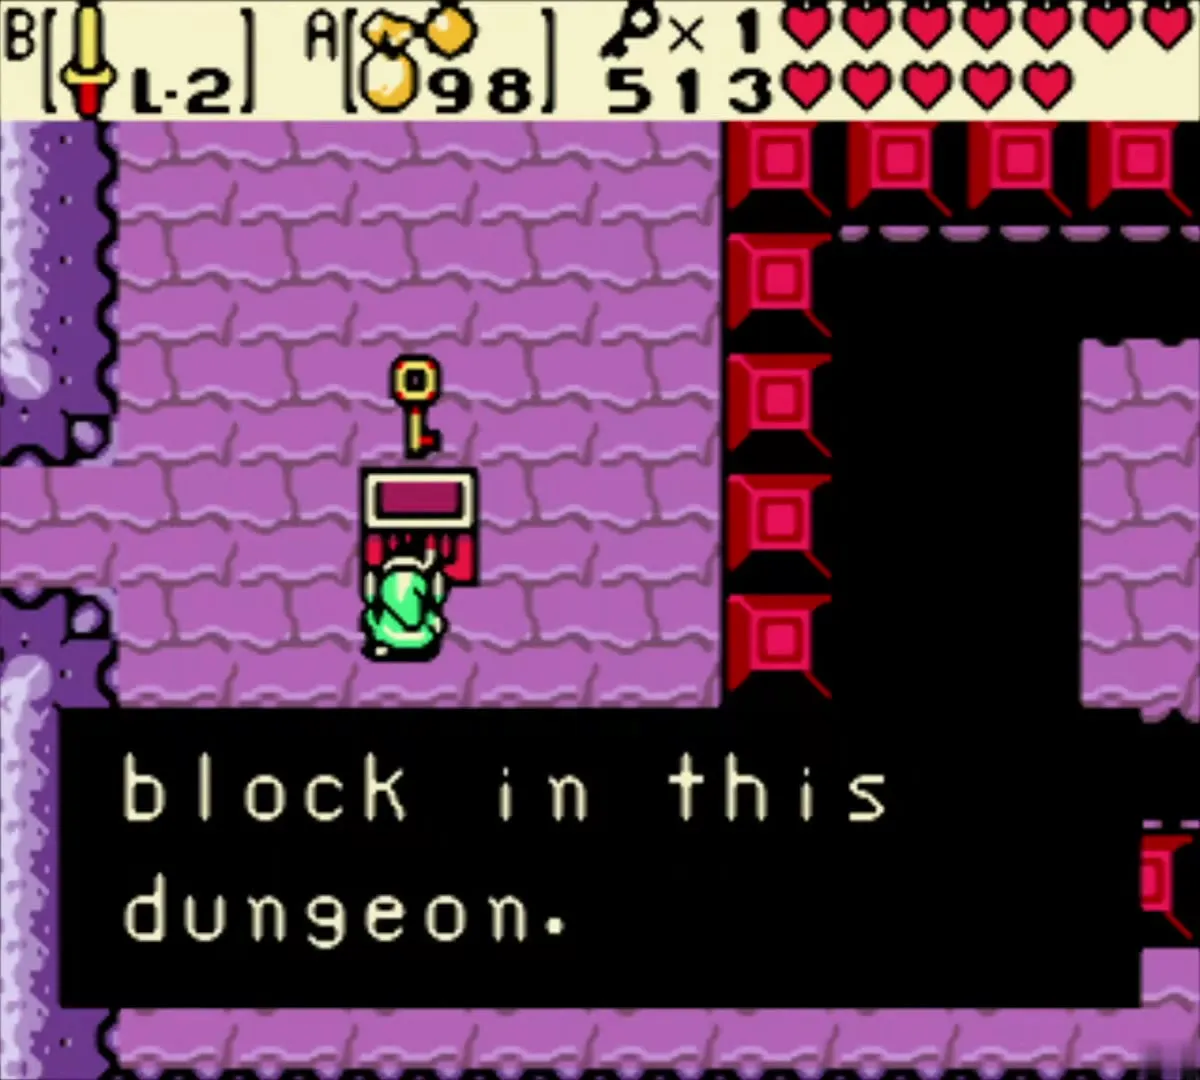
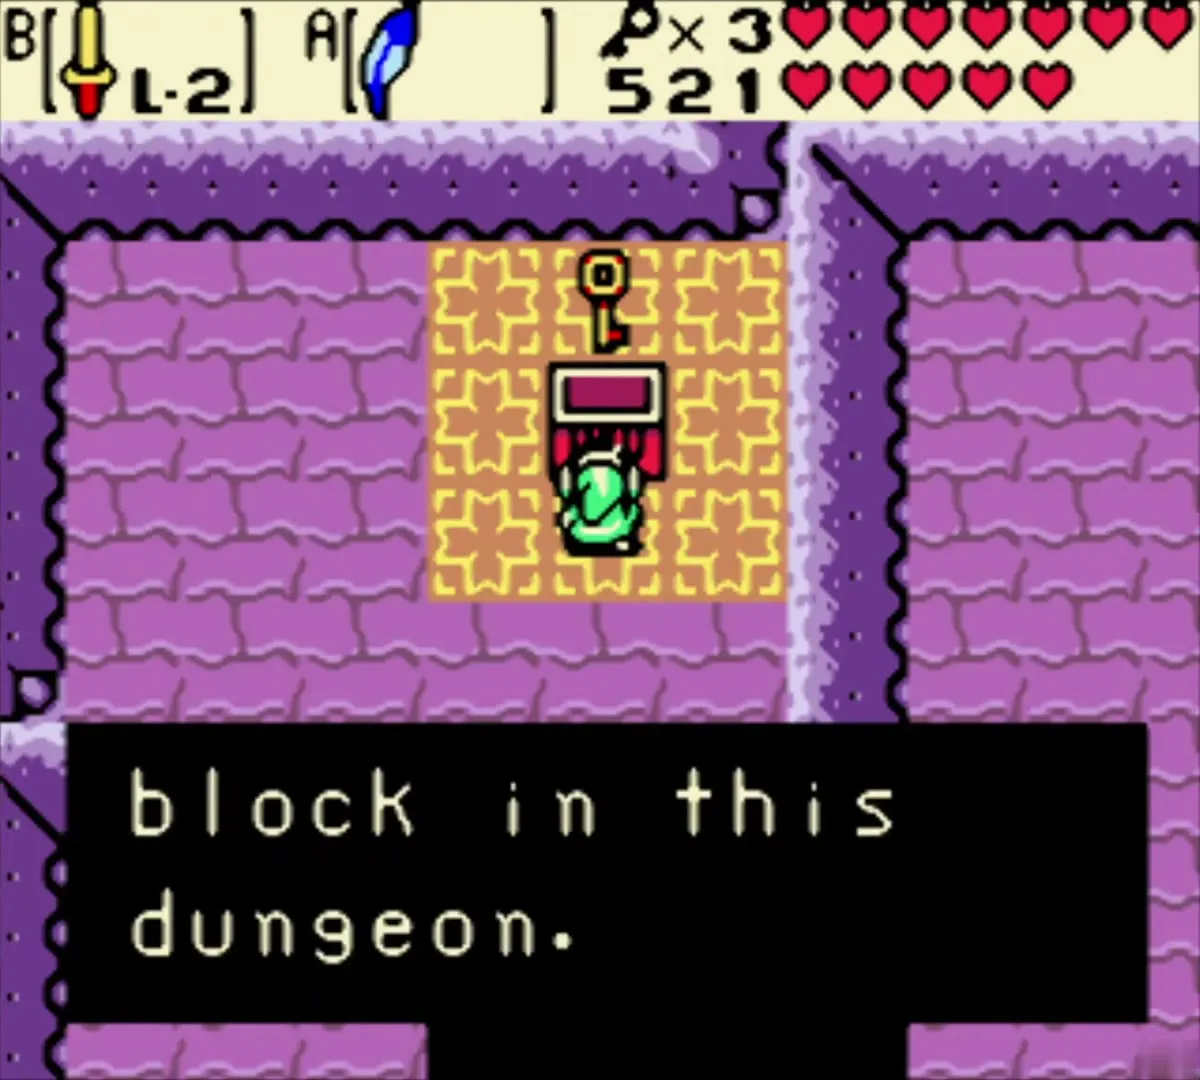
Climb the stairs in the purple room with the gold-tile alcove and open the chest for a Small Key. In a room with a chest beside red blocks, a second Small Key waits. The push-block room, with blue and red blocks around a ring of pits, takes several attempts. Solve it by moving the blocks until the chest opens, and take the third Small Key from it.



Vire, the mini-boss of the present half
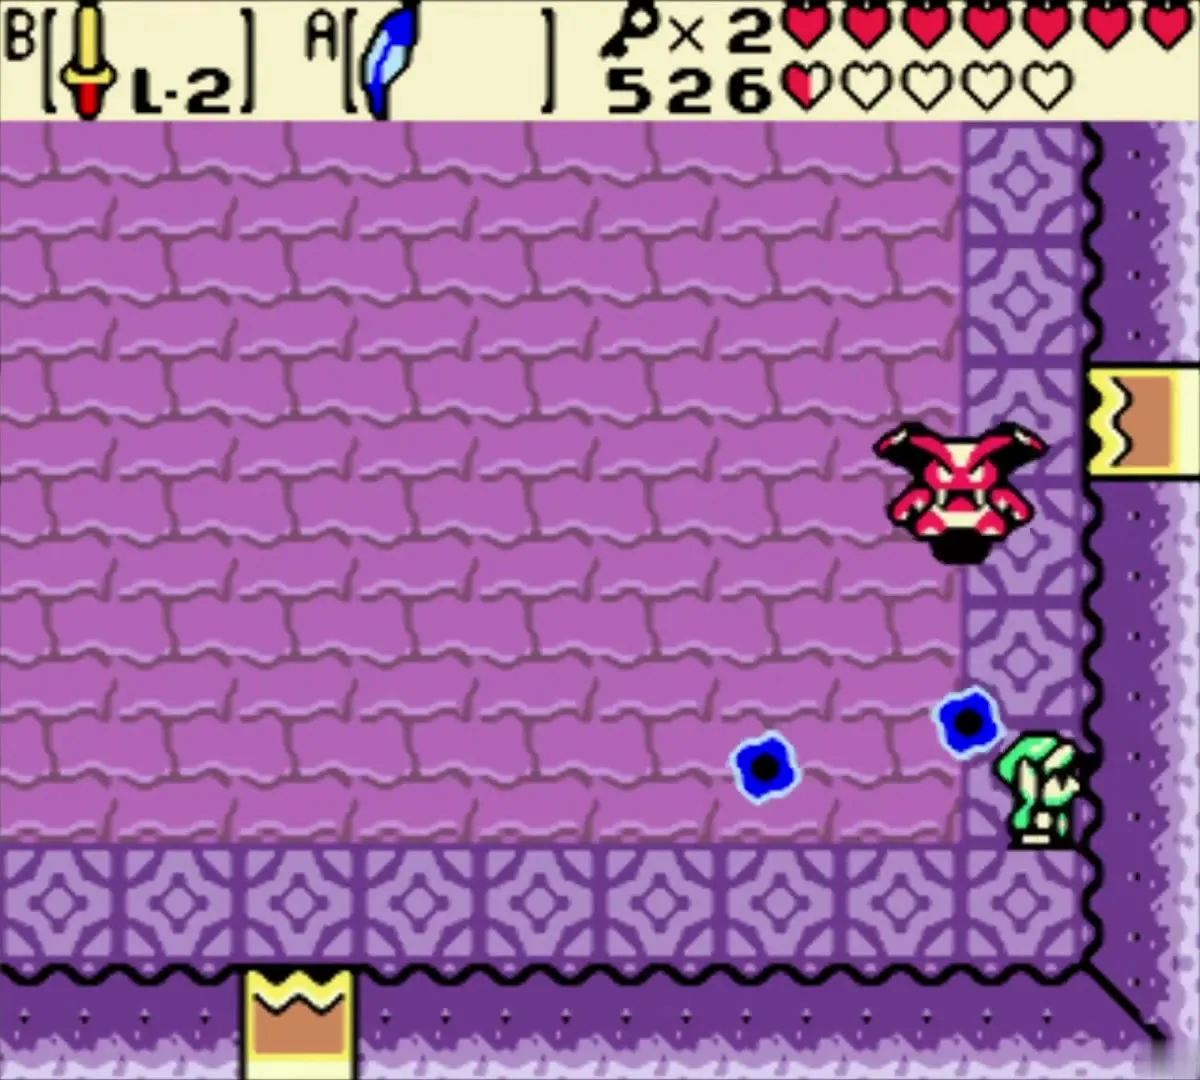
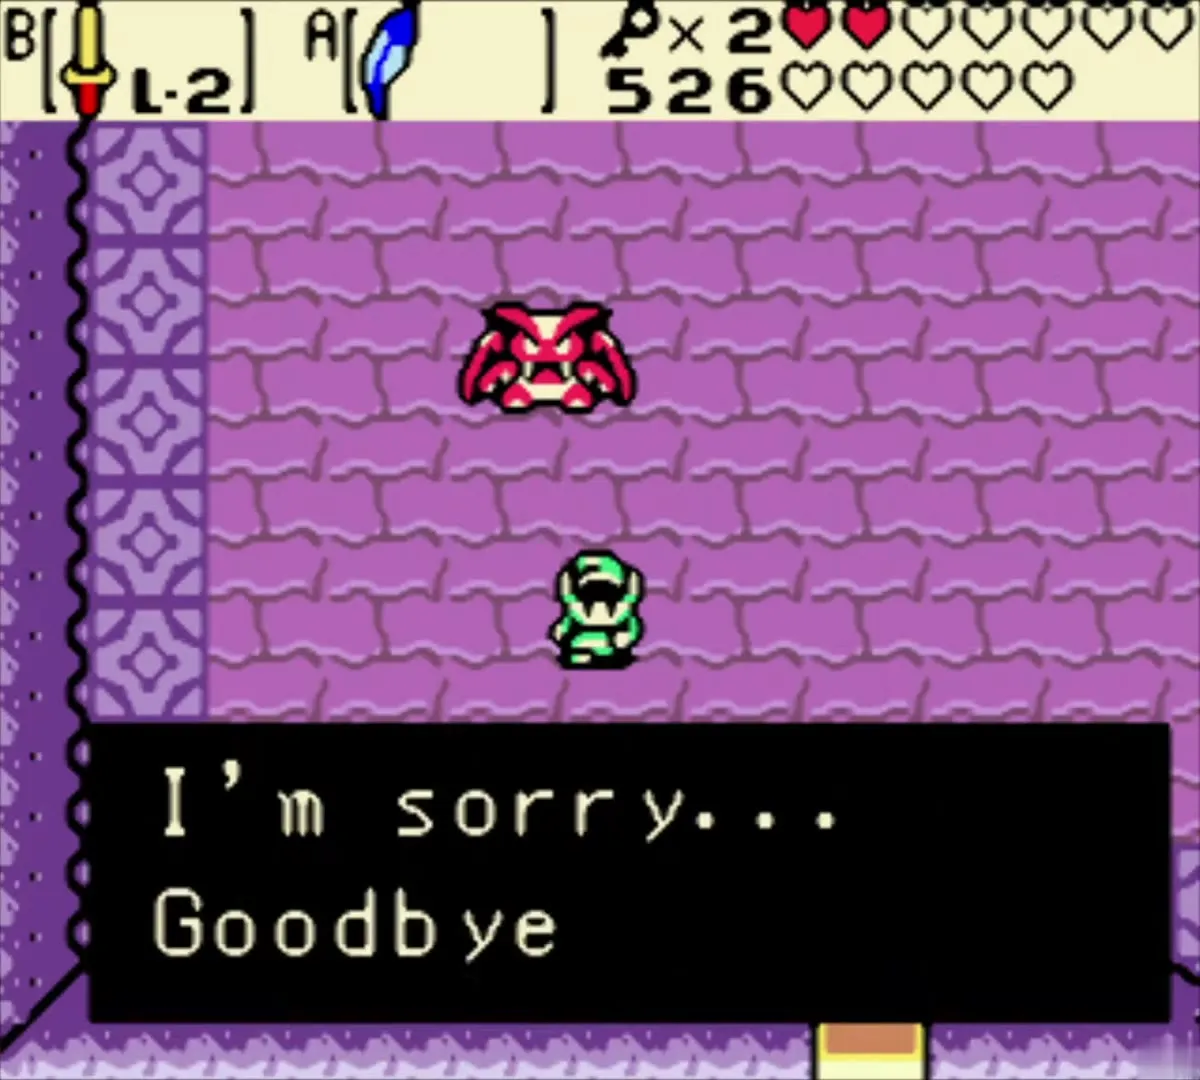
Vire is an underling of Veran, and he waits in the purple room with the stone border. He fires blue fireballs first, so block them with your shield or cut them down with your sword. Hit him three times while he comes close, then wait for him to circle and attack again. After three more hits he splits into two large bats, and you finish them when they fly low. Once he flees, Vire leaves the way open to the next room.



Mermaid Suit from the pedestal chest
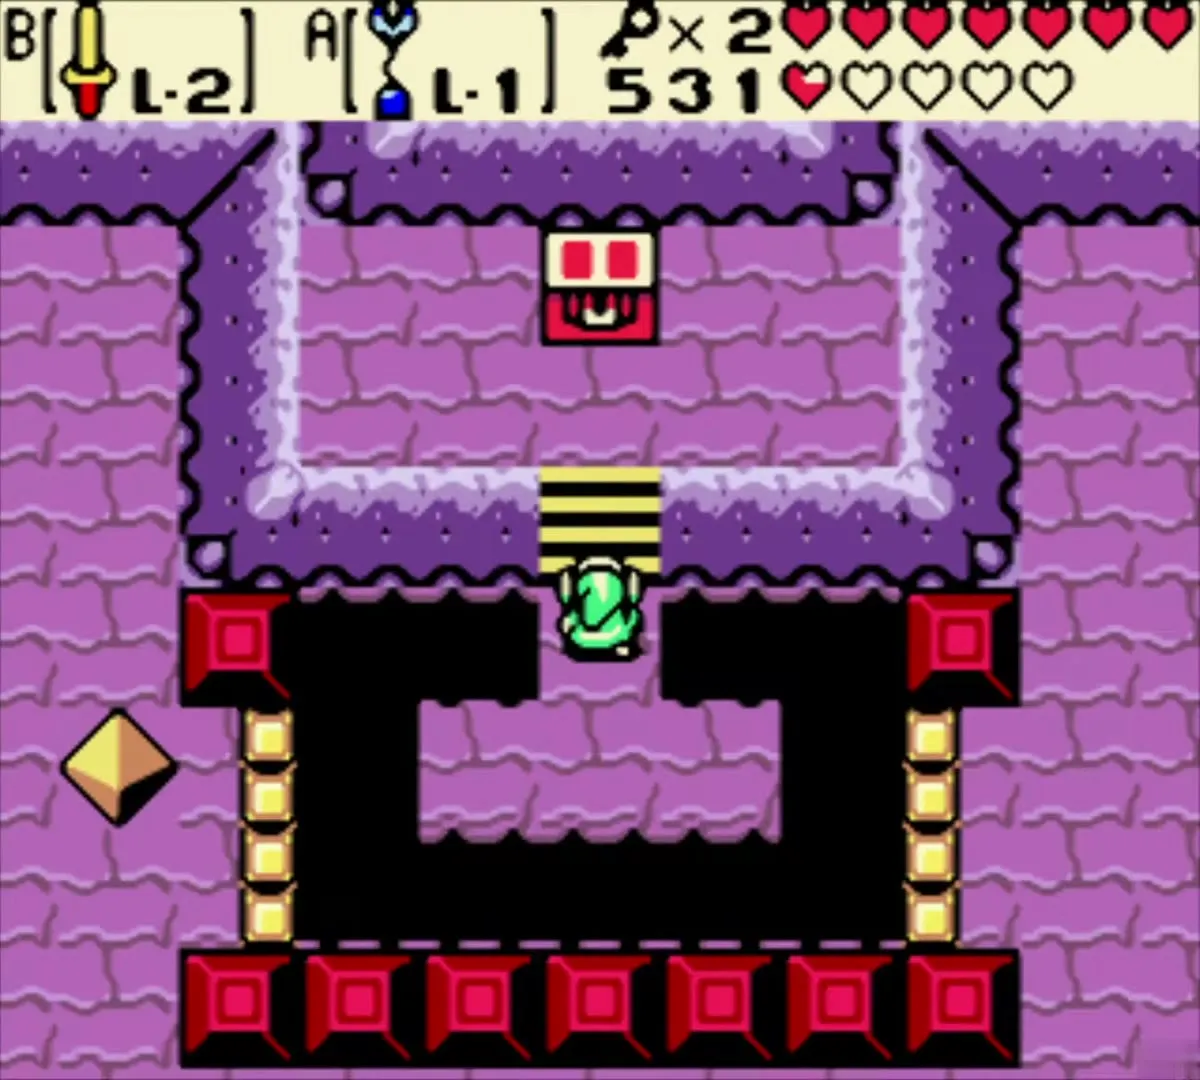
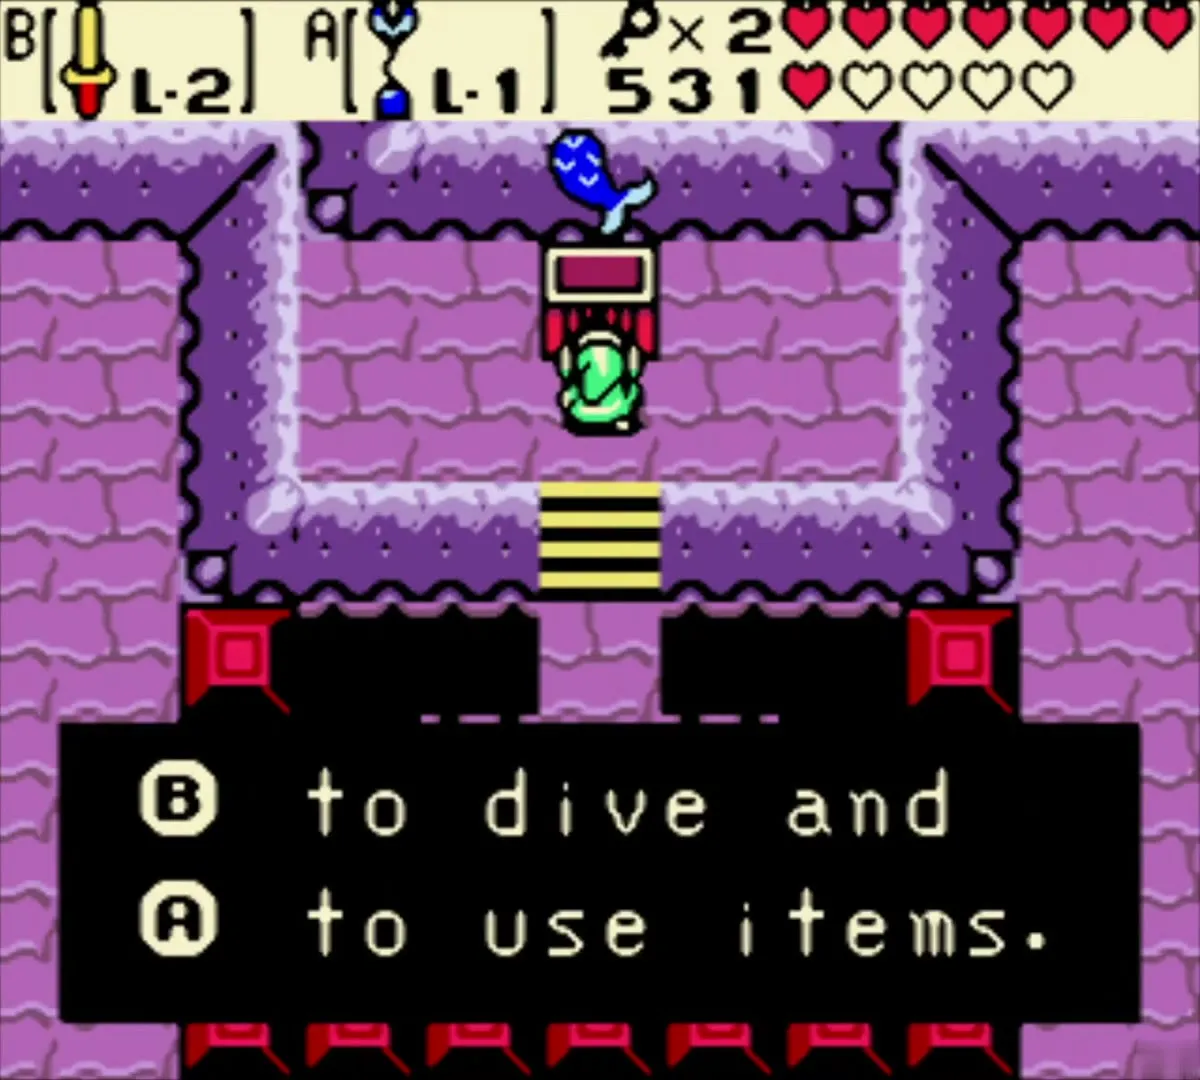
Past the Vire fight, climb the stairs to the pedestal in the purple room with the red block ring. The cracked block near the pedestal breaks with a bomb placed at the right moment. Cross with the Switch Hook to the chest on the far side, which holds the Mermaid Suit. With the suit you can swim in deep water, dive with B, and use items underwater, which you need for the past half’s flooded rooms.
Second Compass on the ledge
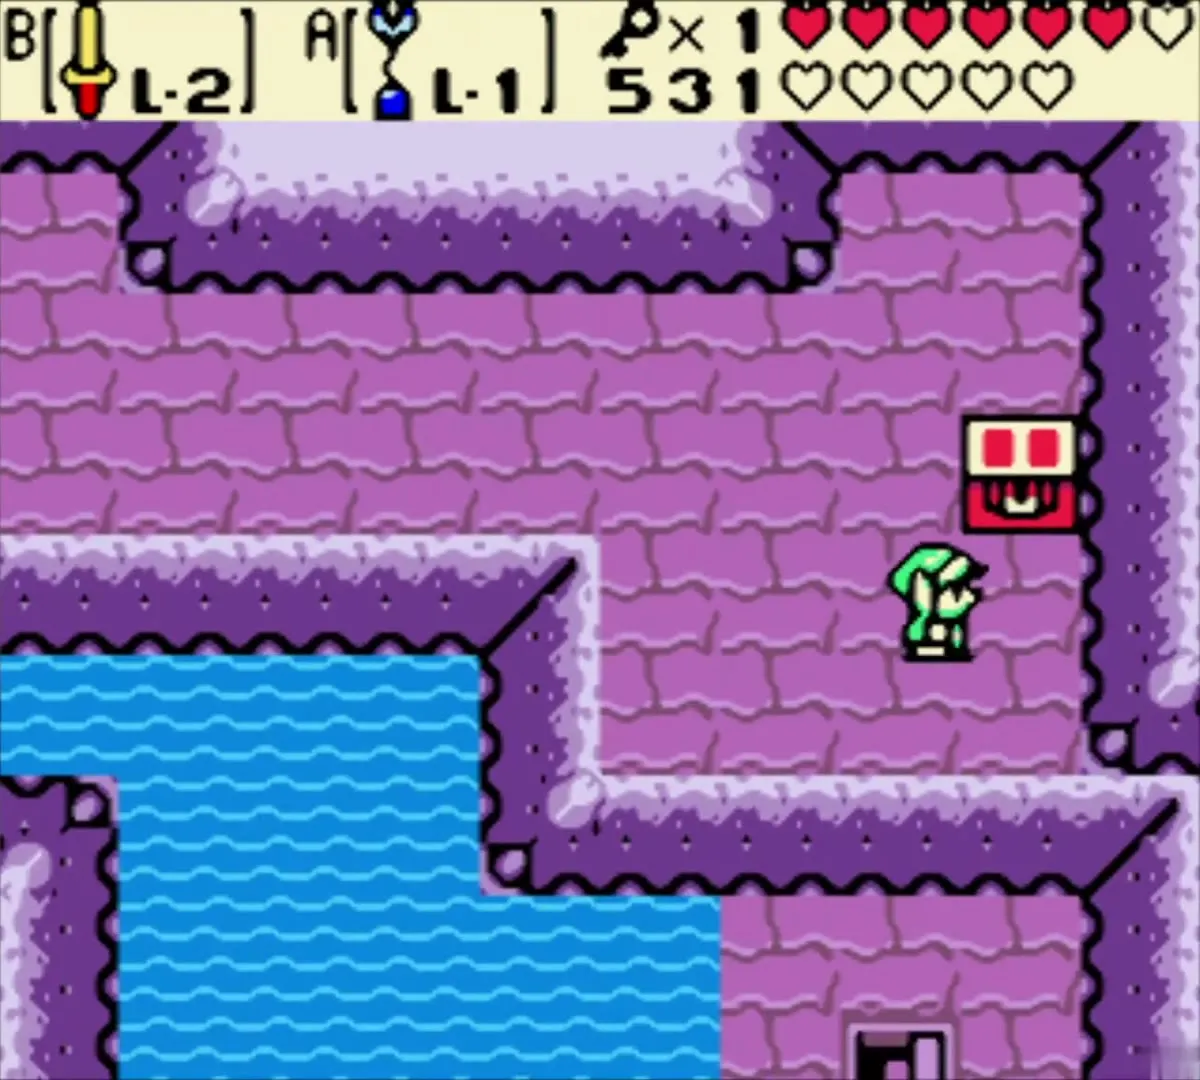
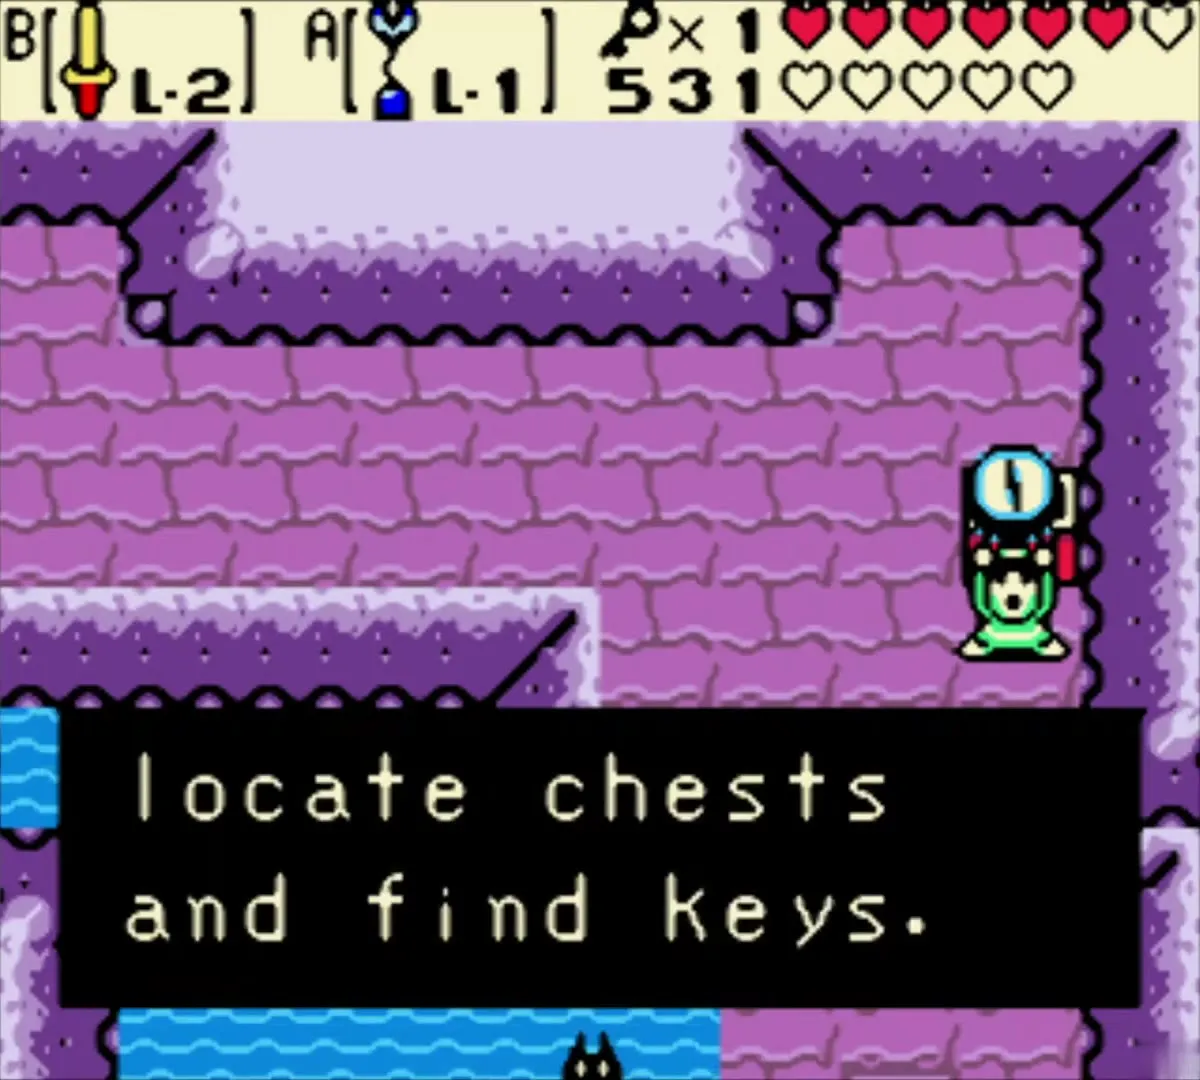
In the purple water room with skull pots, walk along the wall to a ledge where a chest sits. Open it for the second Compass. Each half has its own Dungeon Map and Compass, so you collect both sets.
Present half: Boss Key
The Boss Key comes from a chest in the present half. Its location is random: pull the levers in the room with the chest-and-lever puzzle until a chest appears in place of the rope, then open it. Take the Boss Key back to the entrance with your remaining Small Keys before you go underground.
Between the halves: the clam grotto ring
Clam grotto near Mermaid’s Cave
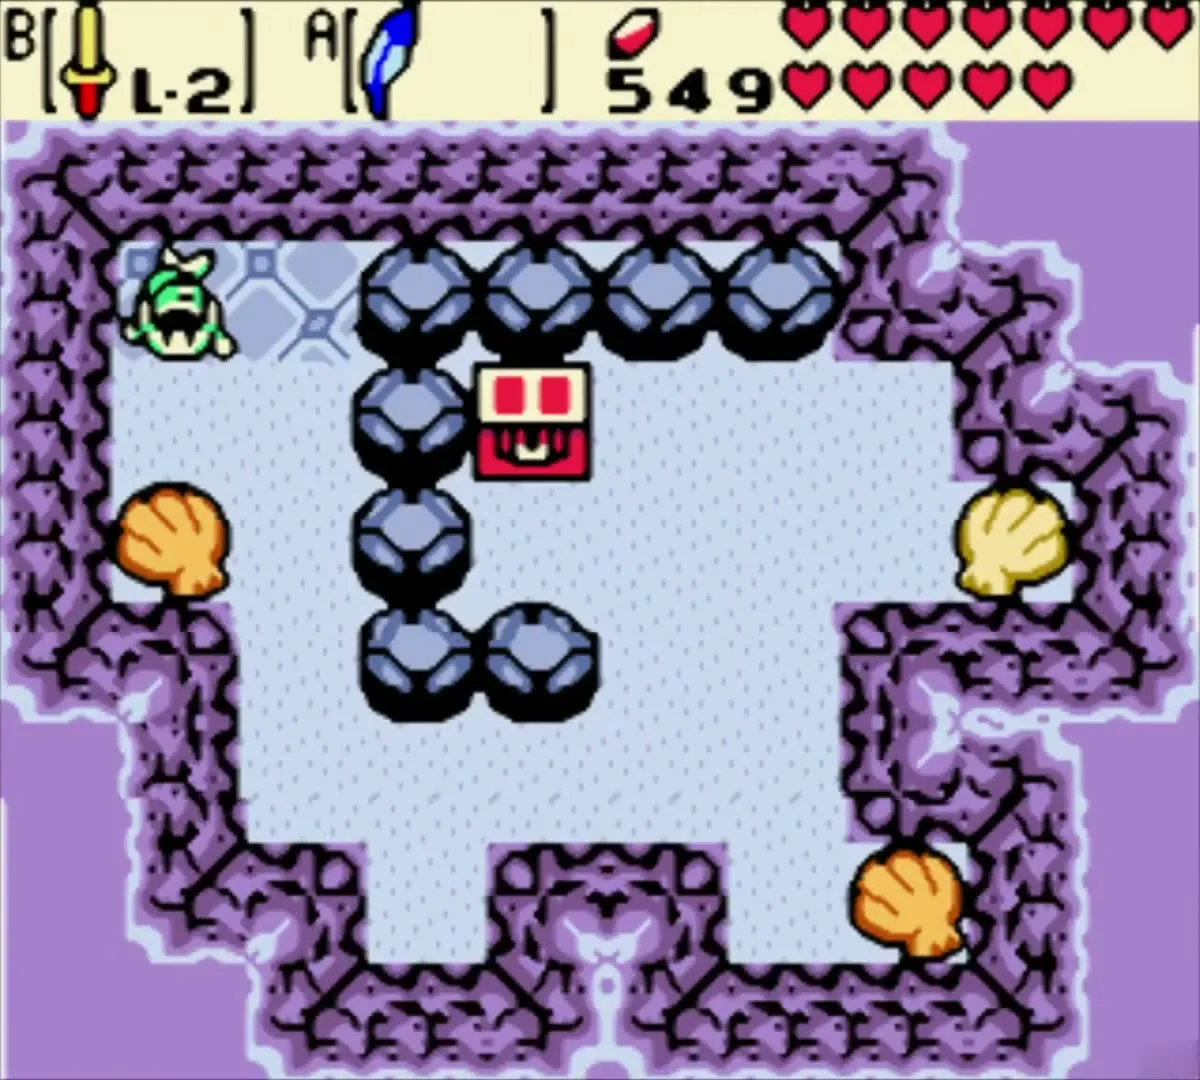
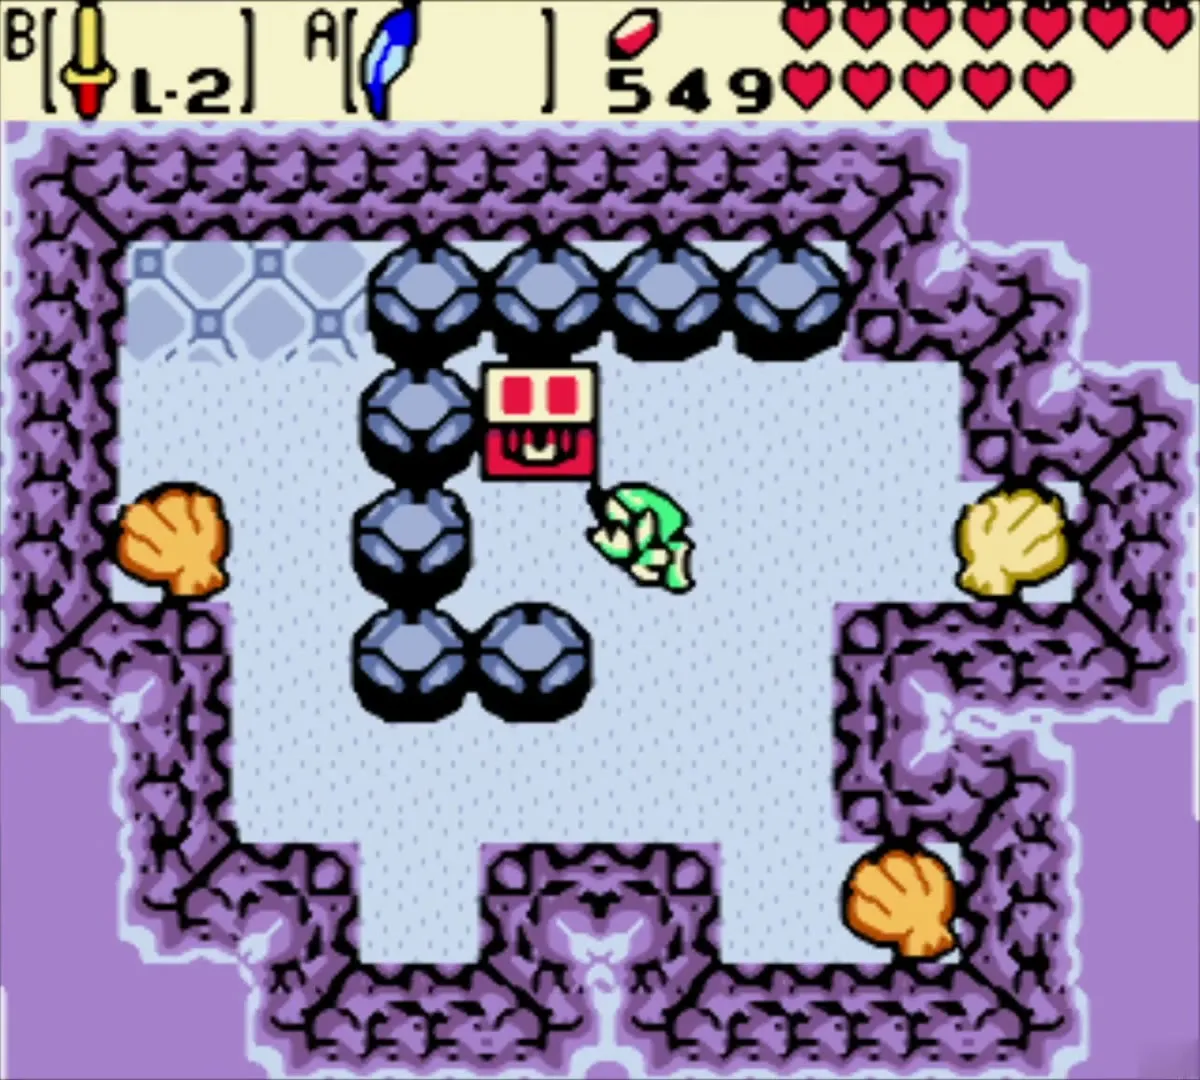
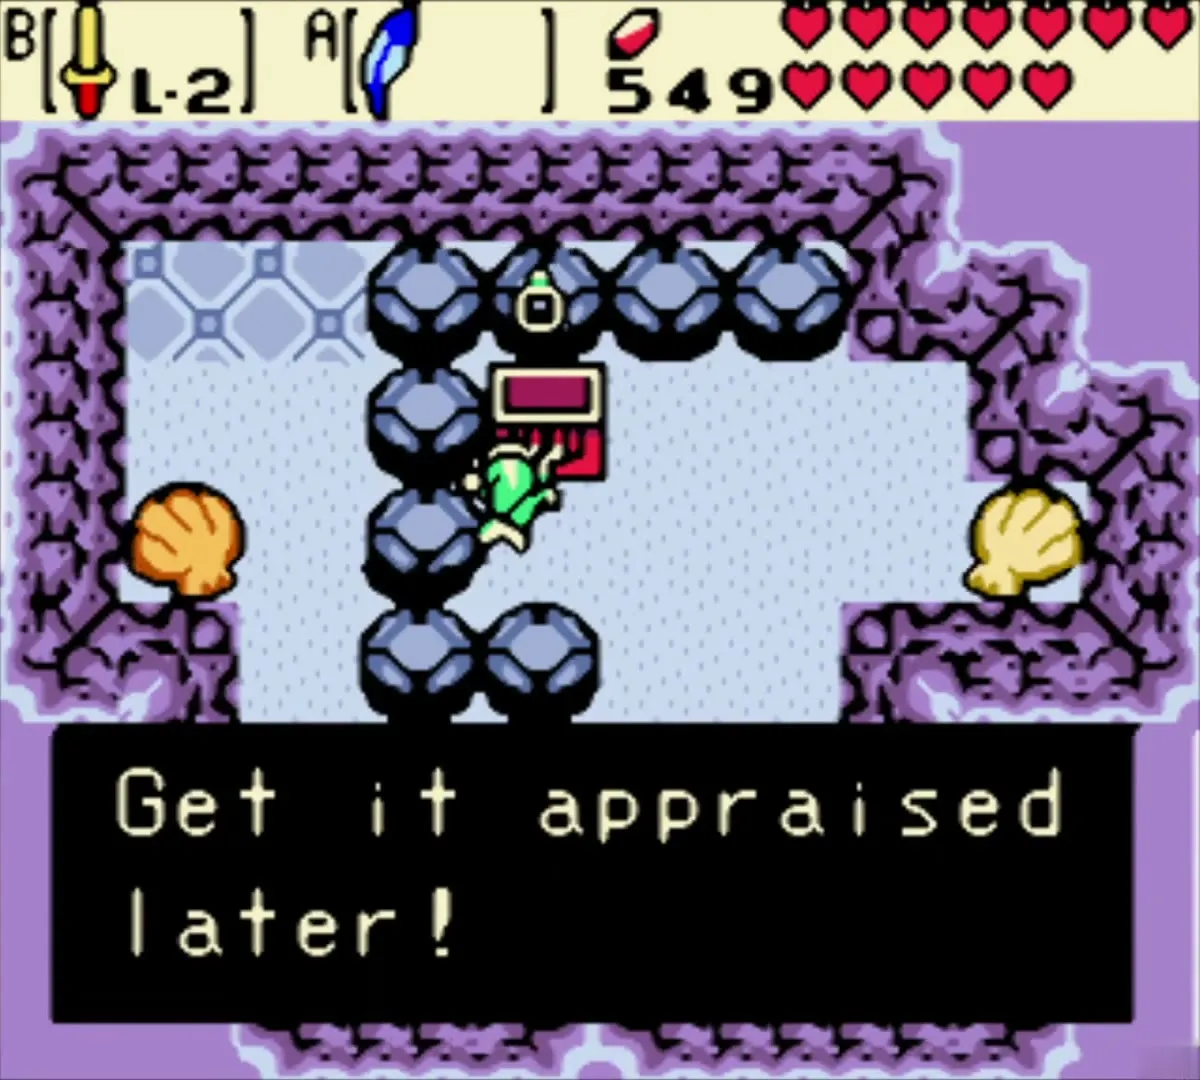
Leave the cave into the overworld and walk to the grotto with four orange clams and a red chest in the middle. Open the chest for a ring. Take the ring to Vasu to have it appraised. Return to the cave door afterwards.
Dungeon: Mermaid’s Cave (Level 6), past half again
Small Keys and the 30 Rupees chest
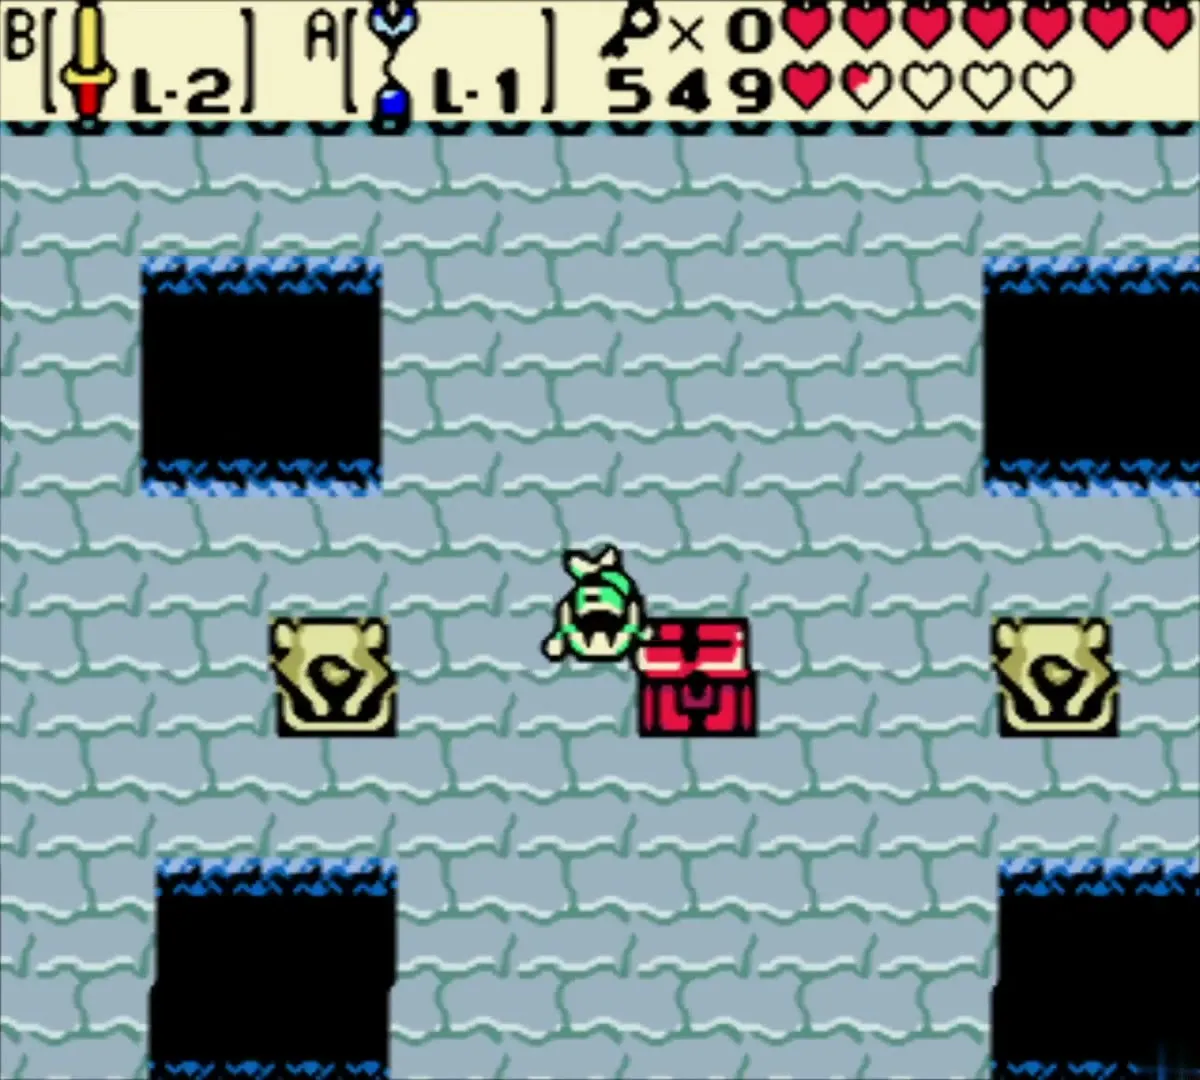
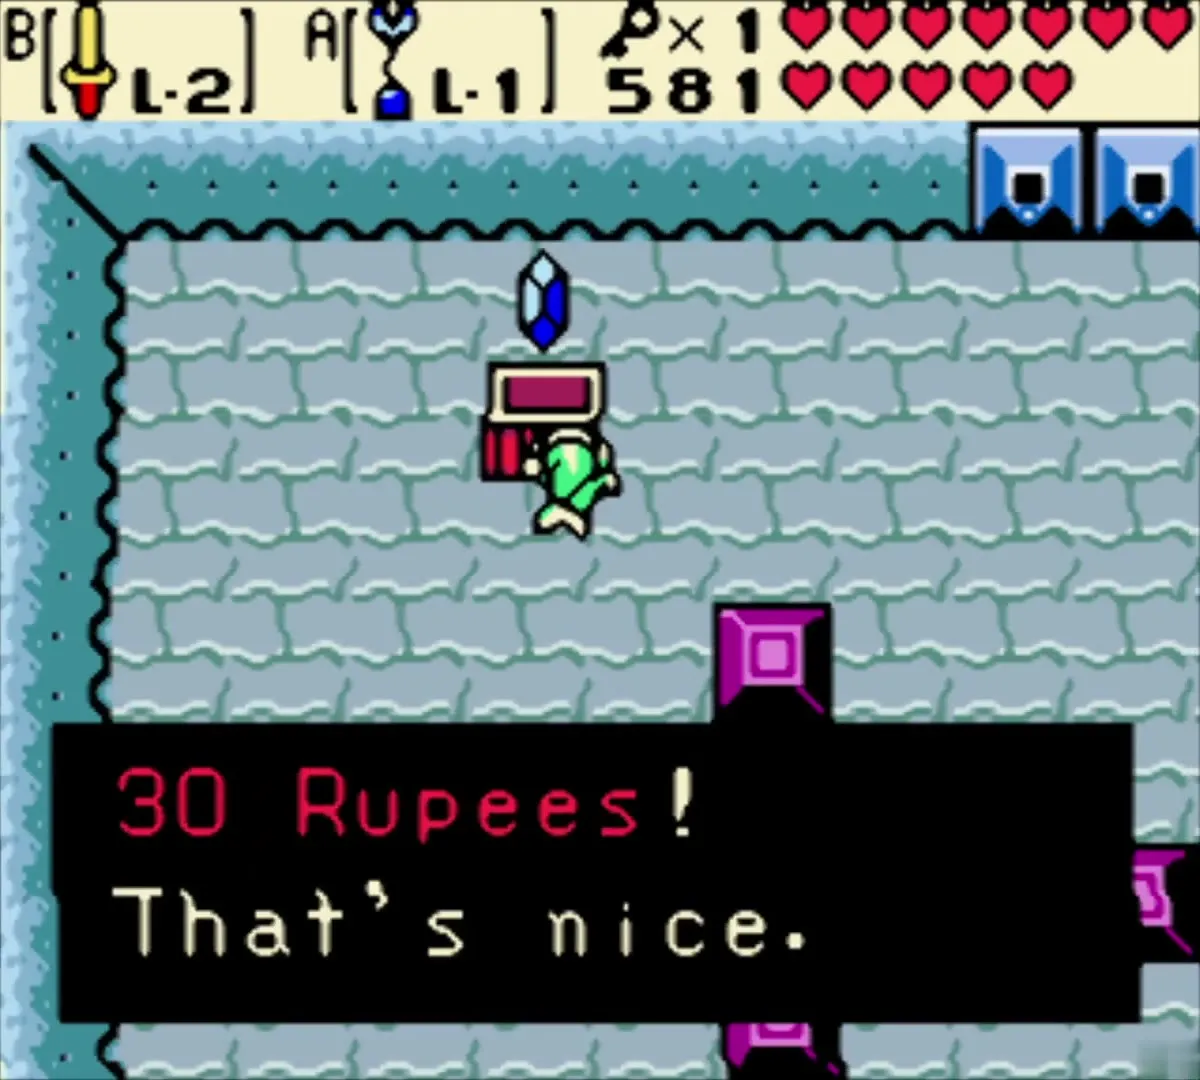
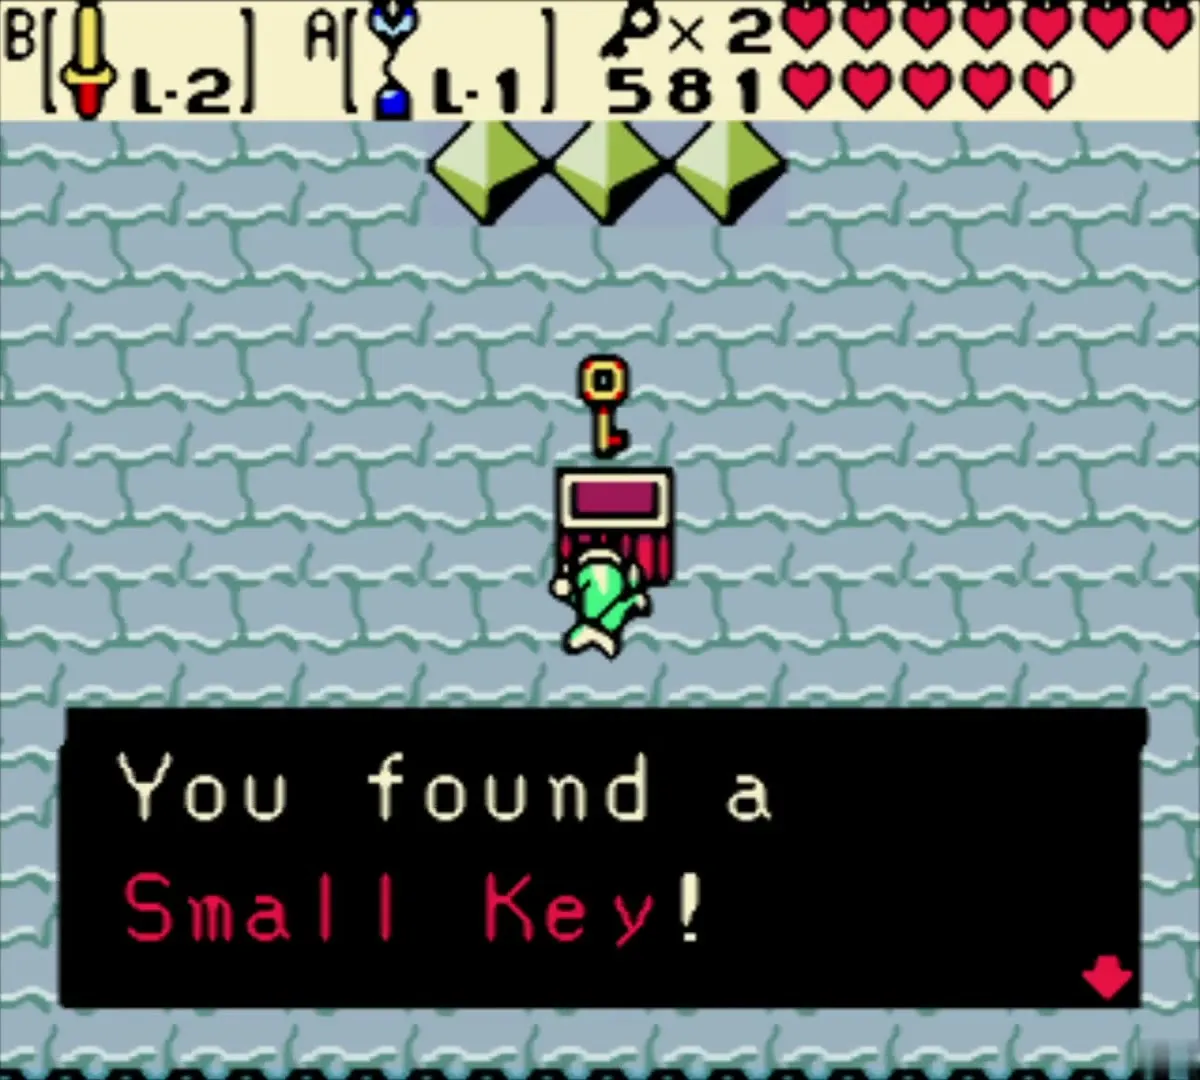
Return through the past door and go through the olive rooms with red blocks. A chest between four statue tiles holds a Small Key. Past the water rooms, a chest in a blue-grey room holds 30 Rupees, and a later chest in a green-diamond room holds another Small Key. Dive in the deep water for the 30 Rupees and carry the Small Keys back to the locked doors on the boss route.
Octogon, the boss of Mermaid’s Cave
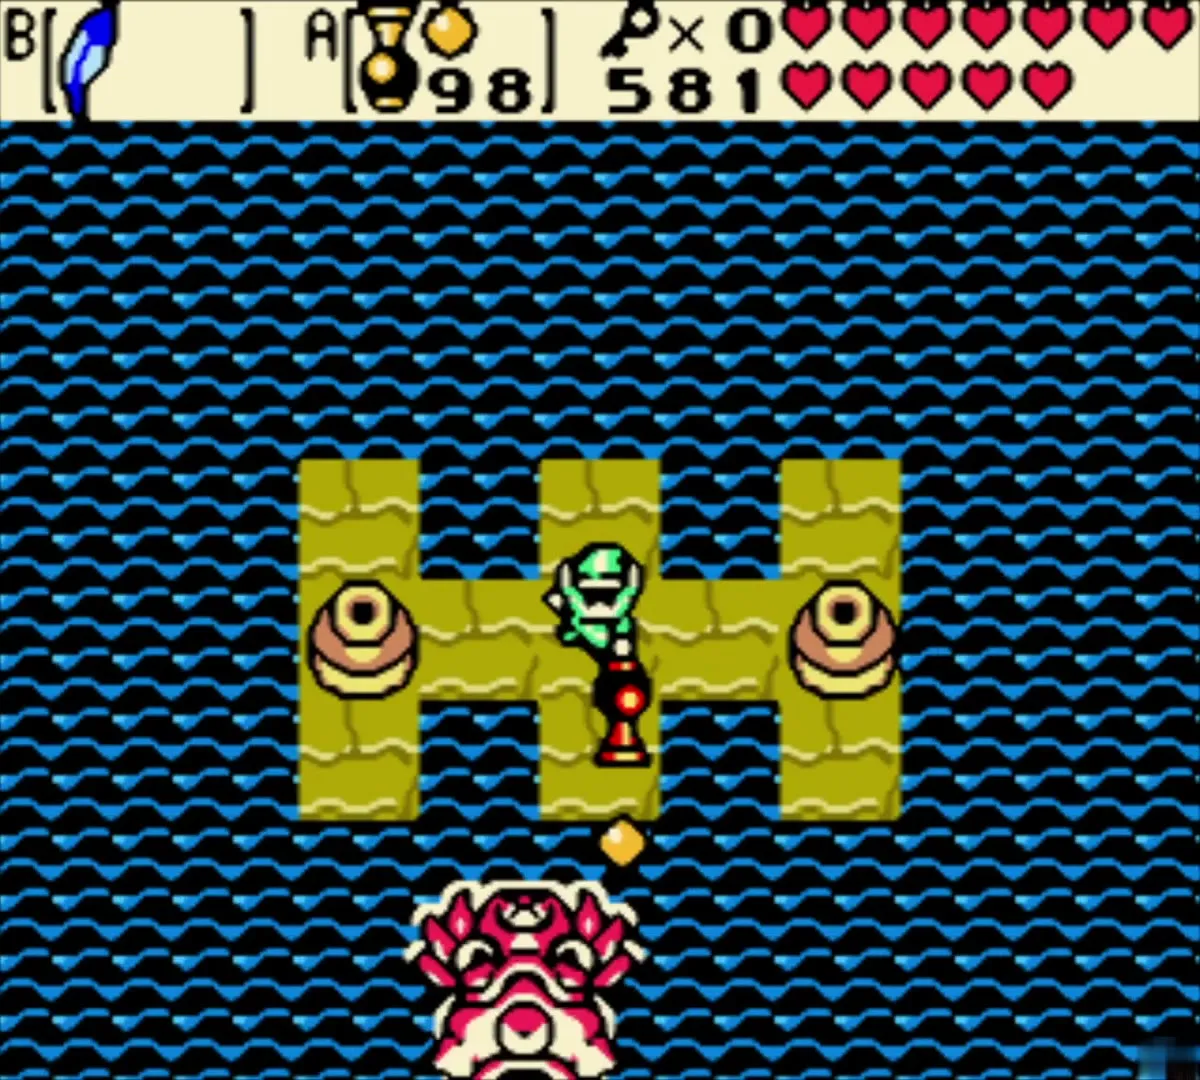
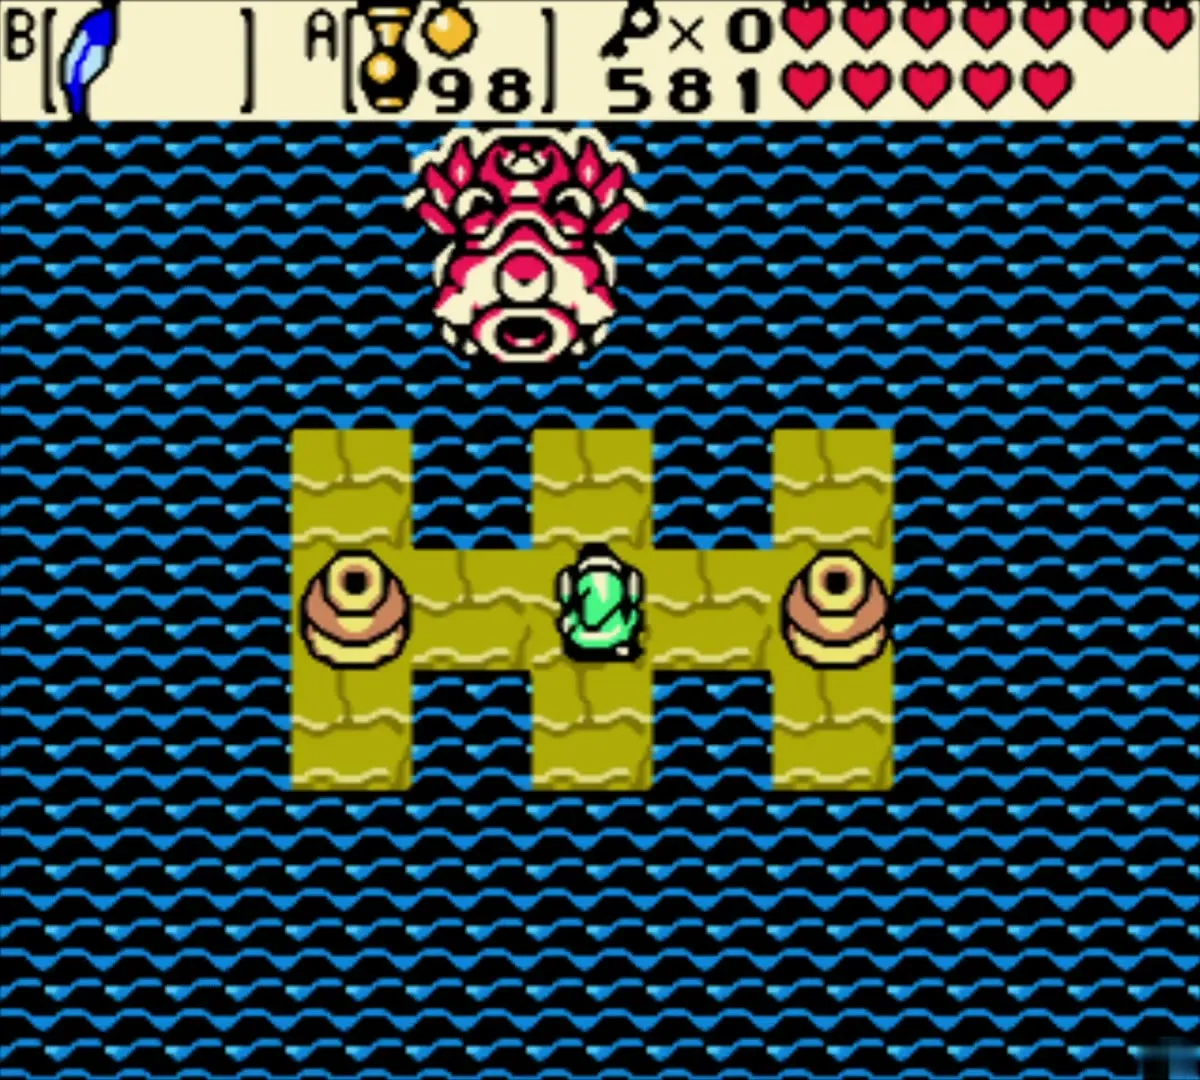
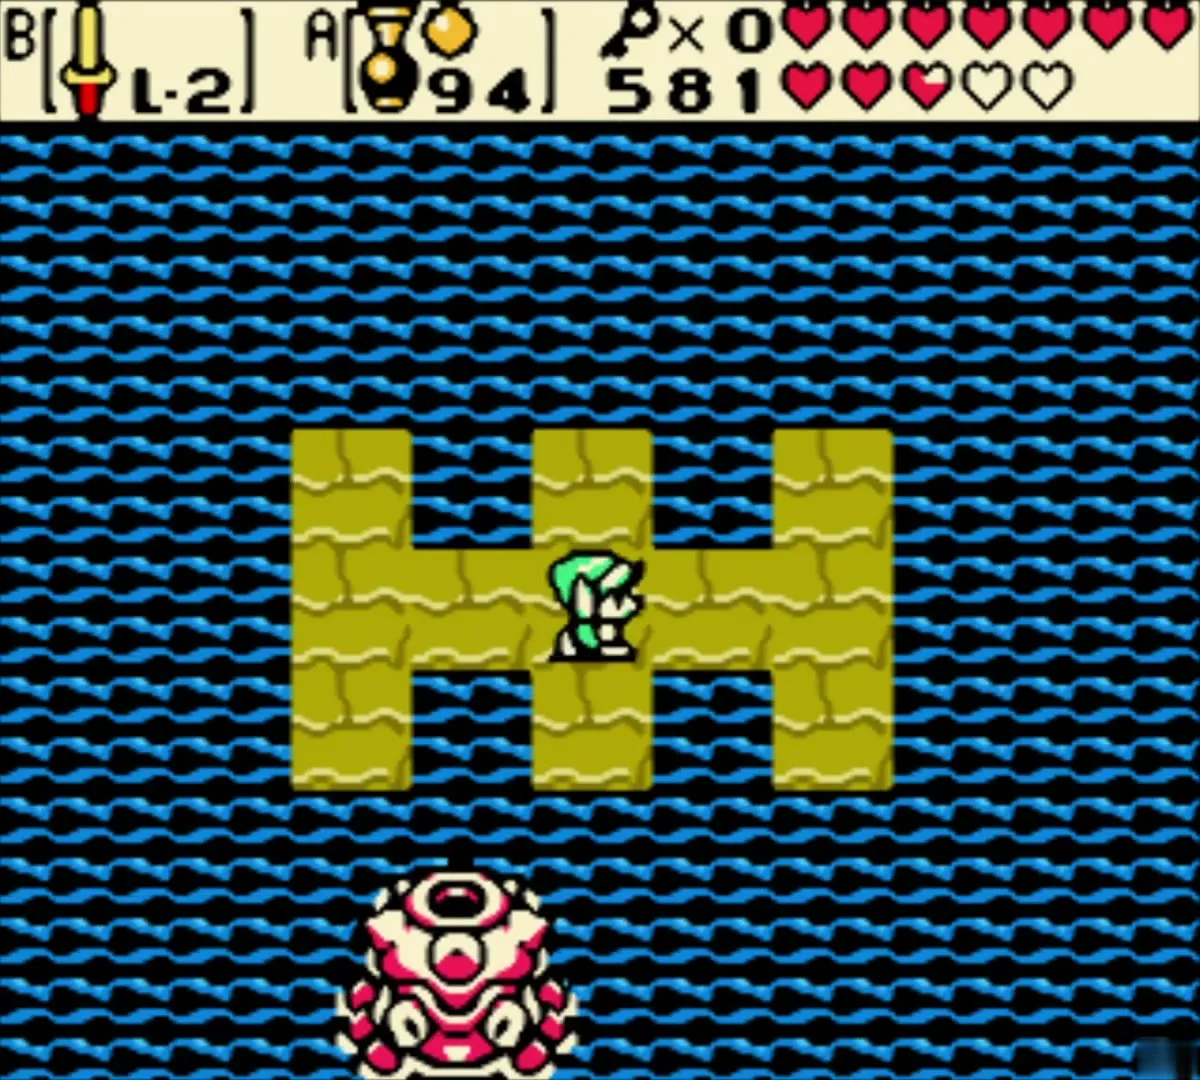
Octogon lives in a dark-blue water room with olive platforms. Stand on the central platform and keep your sword and Seed Shooter ready. It rams across the surface and spits rocks, and its only weak spot is its face. When it dives, put on the Mermaid Suit and follow it down, because underwater it always faces you and only fires bubbles. Keep attacking its face with the sword and use the Seed Shooter when it stays under.

Heart Container after Octogon
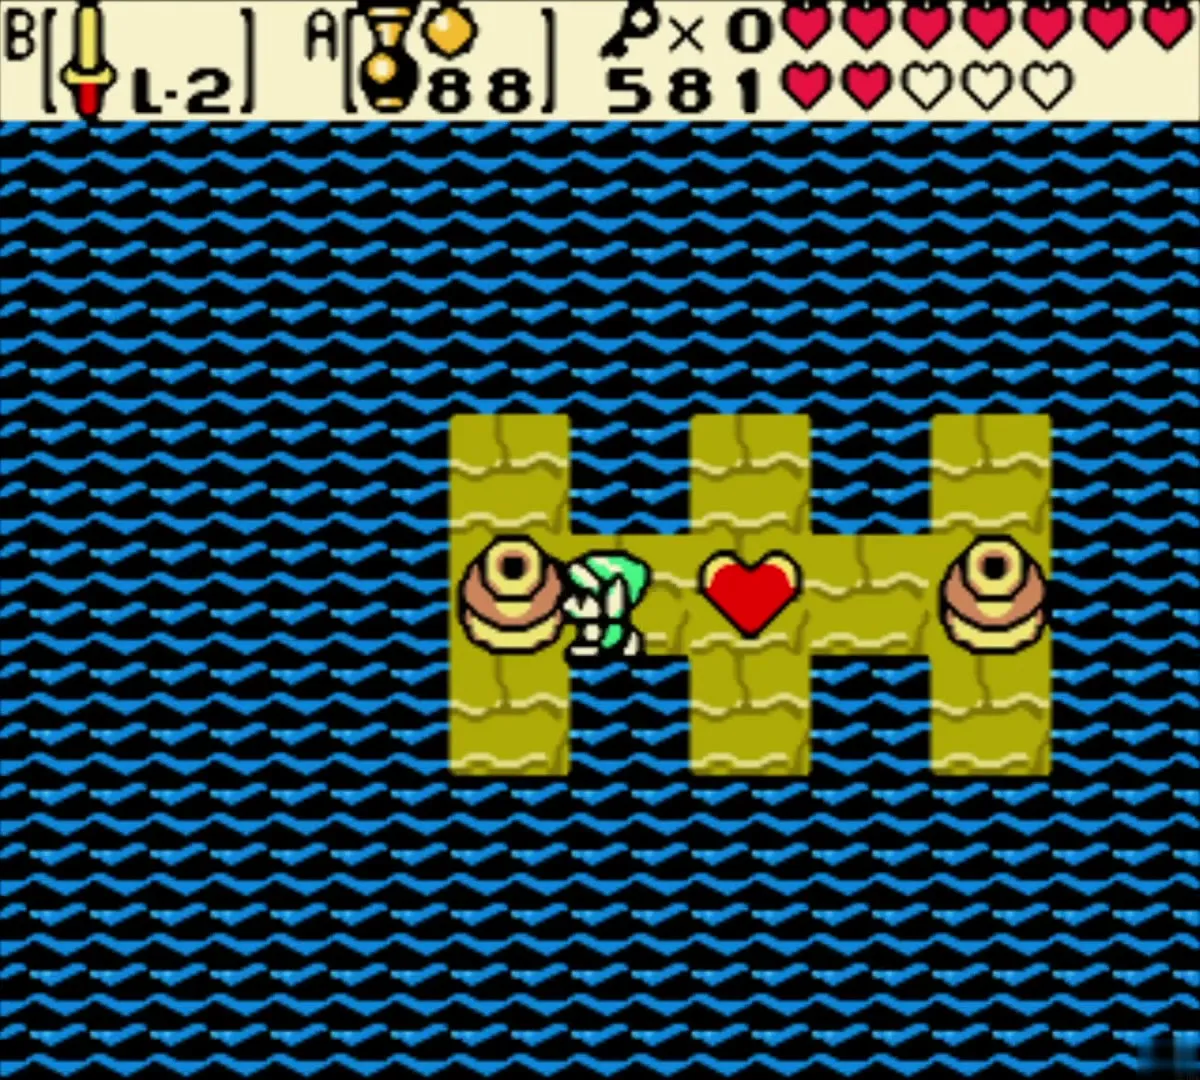
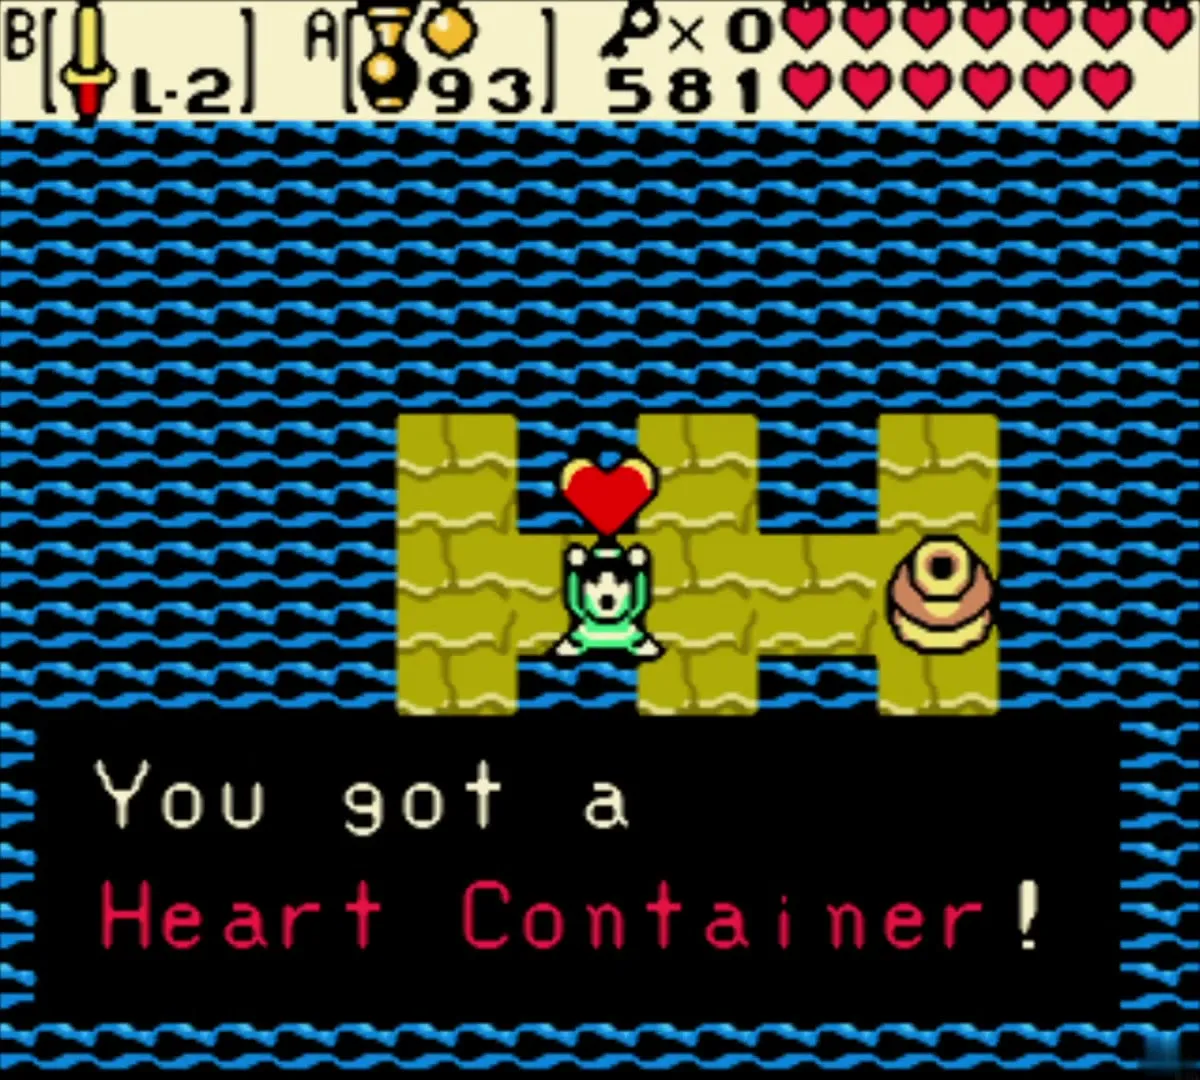
When Octogon falls, a Heart Container appears in the boss room. Collect it to raise your maximum health. Your heart total for the whole route is then one step closer to completion, so take it before you leave the room.
Bereft Peak, the Essence of Time
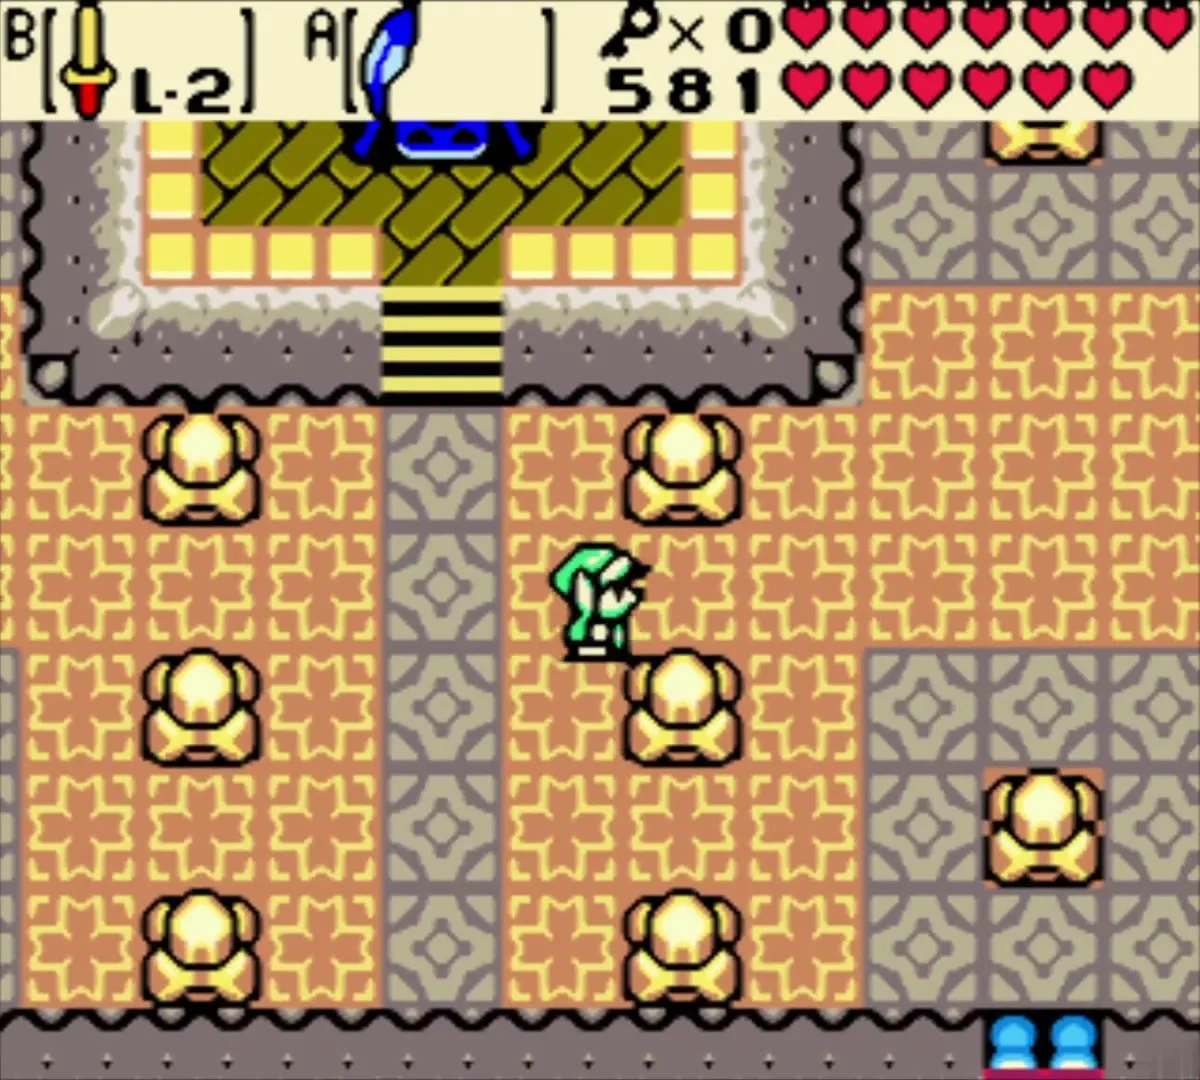
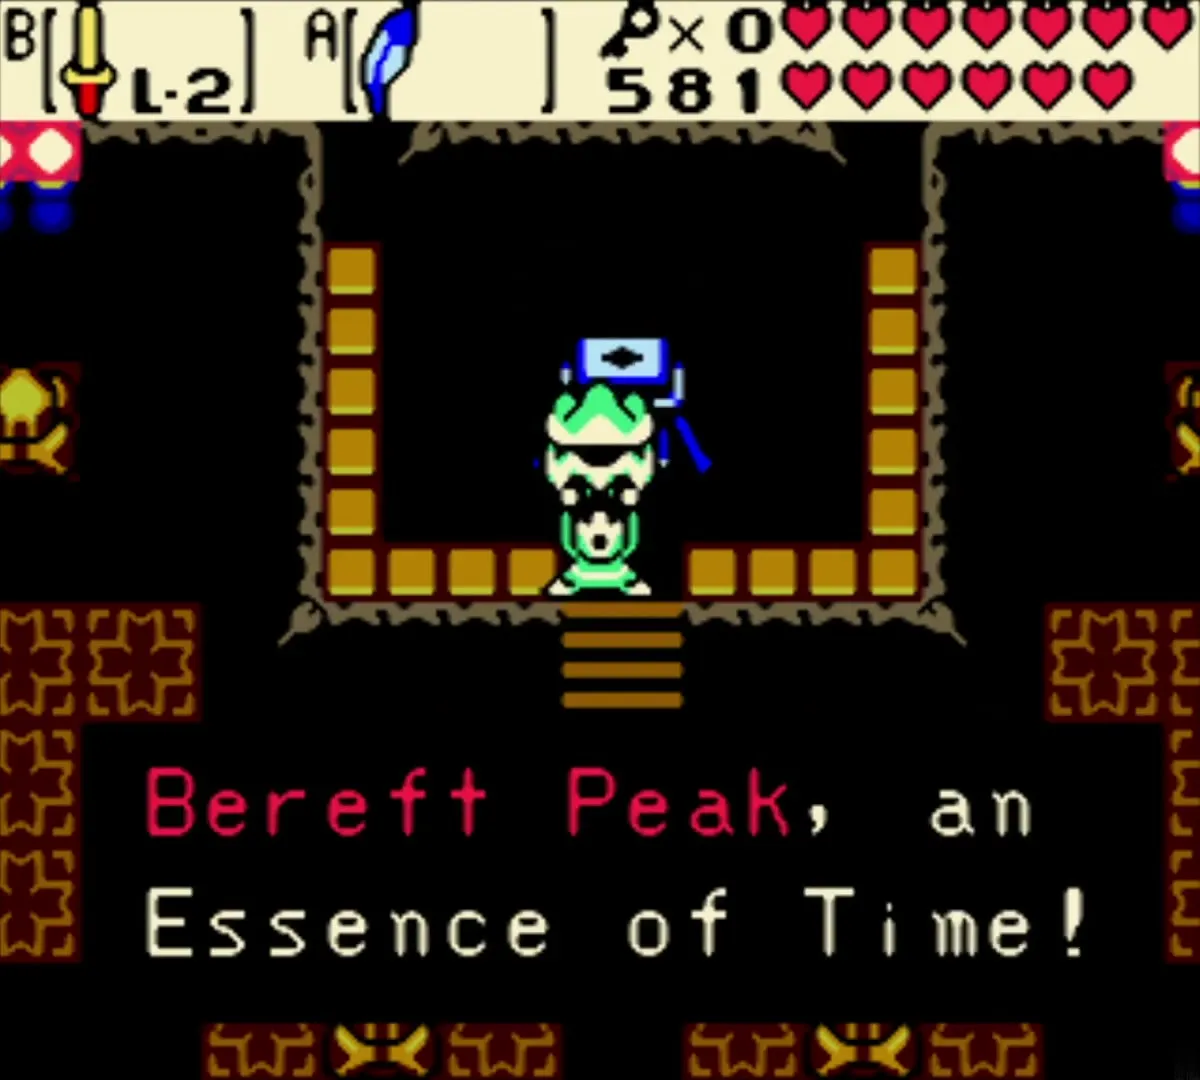
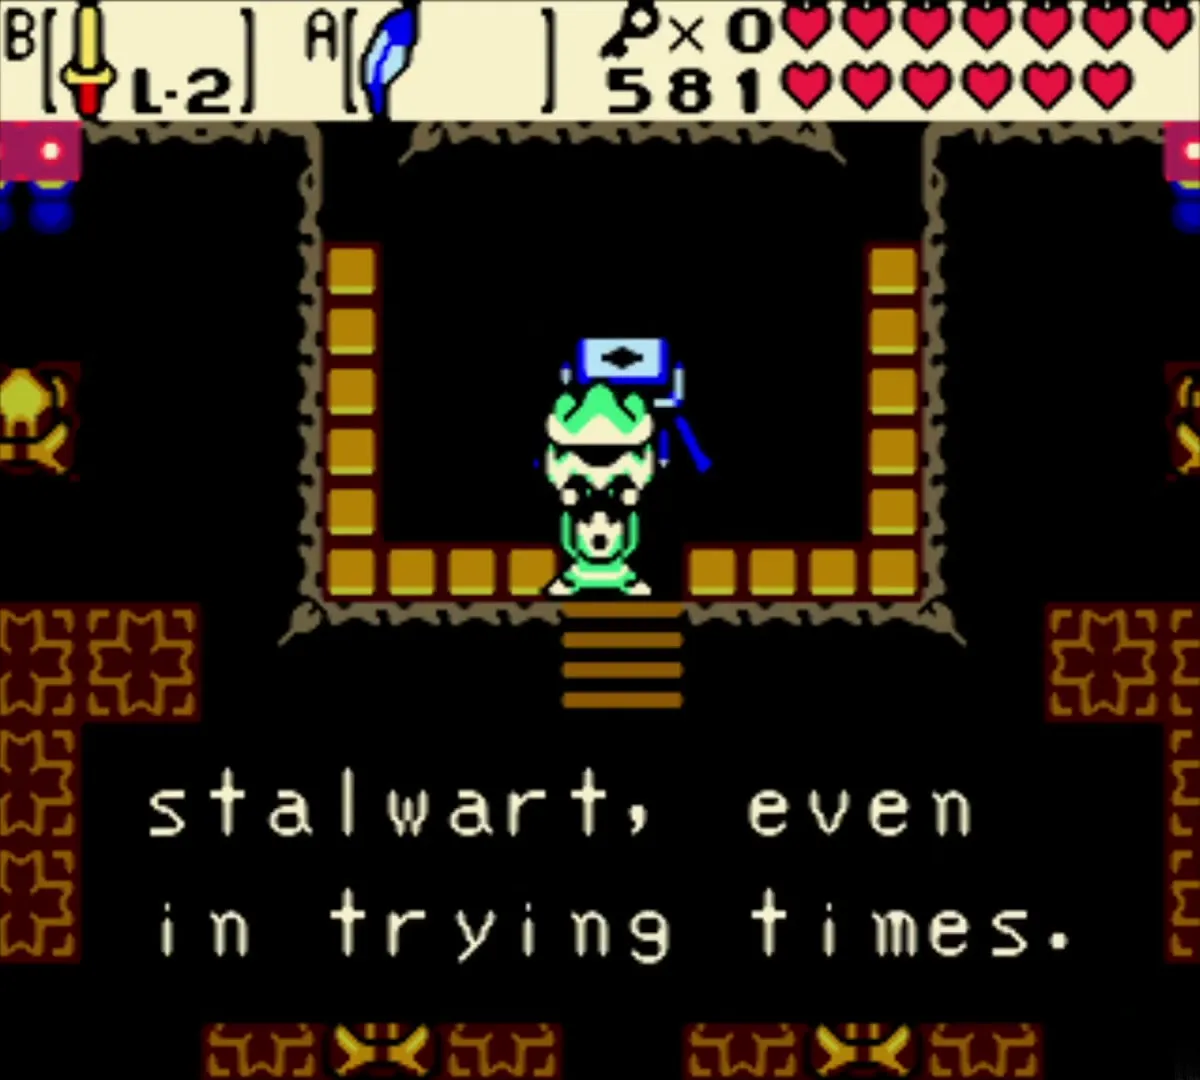
Go to the dark brick chamber with skull tiles at the top of the boss room. The Essence of Time sits on the dais, and you receive it as the Bereft Peak. A spirit speaks to you about it, and the Essence joins the others you collect for the Maku Seed. Leave through the chamber stairs to finish the dungeon.

Chapter checklist
| Type | Name | Where (era) |
|---|---|---|
| Key item | Old Mermaid Key | Big Bang game (bomb-dodge arena), present, East Rolling Ridge blue ridge |
| Key item | Mermaid Key | Goron Dance, after the Letter of Introduction (Goron Dance hall) |
| Dungeon item | Dungeon Map | Past half, water room with skull rafts |
| Dungeon item | Compass | Past half, yellow brick room |
| Dungeon item | Dungeon Map | Present half, gold-tiled corner |
| Dungeon item | Compass | Ledge chest in the water room (second Compass) |
| Dungeon item | Mermaid Suit | Present half, pedestal chest after Vire |
| Dungeon item | Boss Key | Present half, chest opened after the lever puzzle |
| Small Key | Three in the present half | Gold-tile alcove, chest beside red blocks, push-block room |
| Small Key | Three in the past half | Dark-pit chest, statue-tile chest, green-diamond room |
| Ring | Unappraised ring | Clam grotto outside the cave (appraise at Vasu’s) |
| Rupees | 30 Rupees | Past half, blue-grey room chest |
| Heart Container | Heart Container | Octogon’s room, past half |
| Essence of Time | Bereft Peak | Octogon’s chamber, past half |
