





















Oracle of Ages 100% Completion Walkthrough24 chapters
- Arrival in Labrynna and the Black TowerStart Oracle of Ages in a linked game: Forest of Time, Vasu’s Ring Box, the Maku Tree, the time portal, the Black.
- Maku Path and Spirit’s Grave (Level 1)Maku Path and Spirit’s Grave walkthrough for Oracle of Ages: Seed Satchel, Graveyard Key, Power Bracelet, Pumpkin Head.
- The Harp of Ages and Fairies’ WoodsHarp of Ages and Fairies’ Woods walkthrough for Oracle of Ages: Poe Clock, Heart Piece, Vasu’s rings, hide-and-seek.
- Deku Forest and the Mystery SeedsDeku Forest walkthrough for Oracle of Ages: Mystery Seeds, Queen Ambi’s Bombs, a Heart Piece, the Deku Secret and the.
- Wing Dungeon (Level 2)Wing Dungeon walkthrough for Oracle of Ages: all five Small Keys, Dungeon Map, Compass, Swoop, Roc’s Feather, Boss.
- Farore’s Secrets and Cheval’s GraveFarore’s secrets and Cheval’s Grave walkthrough for Oracle of Ages: West Lynna Heart Piece, Hall of Secrets codes, Red.
- Tingle’s Chart and Crescent IslandTingle’s Chart and Crescent Island walkthrough for Oracle of Ages: Ricky’s Gloves, Island Chart, Rafton’s raft, the.
- Moonlit Grotto (Level 3)Moonlit Grotto walkthrough for Oracle of Ages: all Small Keys, Compass, Seed Shooter, Gasha Seeds, Subterror, Boss.
- Nuun Highlands and the Strange FlutesOracle of Ages Nuun Highlands walkthrough: Dimitri’s Flute, Tingle’s 99-seed Satchel, the Black Tower rescue, the.
- Symmetry City and Talus PeaksOracle of Ages Symmetry City and Talus Peaks walkthrough: Cracked Tuni Nut, Patch’s ceremony, Tune of Currents, Heart.
- Skull Dungeon (Level 4)Skull Dungeon walkthrough for Oracle of Ages: Compass, Dungeon Map, 5 Small Keys, Armos Warrior, Switch Hook, Boss.
- Lynna Trades and the Noble SwordOracle of Ages trading sequence walkthrough, Funny Joke to Noble Sword: Touching Book, Maple’s Magic Oar, Sea Ukulele.
- West Rolling Ridge and the Great MoblinWest Rolling Ridge walkthrough for Oracle of Ages: Lynna secret shop, Pegasus Seeds, Moblin’s Keep, Great Moblin, Bomb.
- Crown Dungeon (Level 5)Crown Dungeon (Level 5) walkthrough for Oracle of Ages: Small Keys, Cane of Somaria, Smasher, Compass, Boss Key, Smog.
- East Rolling Ridge and the Mermaid KeysEast Rolling Ridge walkthrough for Oracle of Ages: Goron Dance, Brother Emblem, Target Carts, Rock Brisket, Goron Vase.
- Mermaid’s Cave (Level 6) Walkthrough for Oracle of AgesMermaid’s Cave walkthrough for Oracle of Ages: get the Old Mermaid Key, clear both halves, collect the Mermaid Suit.
- Ambi’s Palace and the Tune of AgesAmbi’s Palace walkthrough for Oracle of Ages: sneak in, beat Possessed Nayru, learn the Tune of Ages, claim Hall of.
- Zora Seas and the Fairy PowderOracle of Ages Zora Seas walkthrough: the Gasha Seed chest, King Zora’s Library Key, Book of Seals, Fairy Powder and.
- Jabu-Jabu’s Belly (Level 7)Jabu-Jabu’s Belly walkthrough for Oracle of Ages: Like Like Ring, Compass, Small Keys, Long Hook, Boss Key, Plasmarine.
- Sea of Storms and the Pirate ShipSea of Storms walkthrough for Oracle of Ages: Zora Scale, pirate ship and Tokay Eyeball, clam grotto ring, Tokay.
- Ancient Tomb (Level 8)Ancient Tomb (Level 8) walkthrough for Oracle of Ages: three Slates, the Boss Key, two Gasha Seeds, Ramrock boss.
- Final Collection and the Hero’s CaveOracle of Ages final collection walkthrough: Maple Piece of Heart, Gasha Nut rings and fairies, Hero’s Cave Armor Ring.
- The Black Tower and VeranFinal ring appraisals, the Huge Maku Seed, the Black Tower climb and the three-phase Veran boss fight in Oracle of.
- Room of Rites, Twinrova and GanonOracle of Ages Room of Rites walkthrough: the eye-statue hallway, Twinrova’s fire and ice phases, the Ganon boss.
| Covers | Room of Rites (present, Linked Game only): the eye-statue hallway, the altar room, the Twinrova fight, the Ganon fight, Zelda’s rescue, the Maku Tree grove, the ending and the credits |
|---|---|
| Dungeon | Room of Rites (Linked Game only, no level): no keys, no map, no Compass, no mini-boss, no dungeon item. Bosses: Twinrova, then Ganon. No Essence of Time. |
| Rewards | Victory Ring (for beating the final boss); Hero’s Secret (the password at the end of the Linked Game); no Pieces of Heart, Heart Containers, Gasha Seeds, trade items or upgrades; no linked secrets are told here |
This chapter is the finale of a Linked Game. You walk the Room of Rites, fight Koume and Kotake as they merge into Twinrova, defeat Ganon, and then see the ending. There are no chests or keys in this place, so the work is entirely the two boss fights. The route in order: the swirling pedestal, the eye-statue hallway, the altar room, Twinrova’s fire and ice phases, Ganon, Zelda, the Maku Tree grove, the credits and the Hero’s Secret.

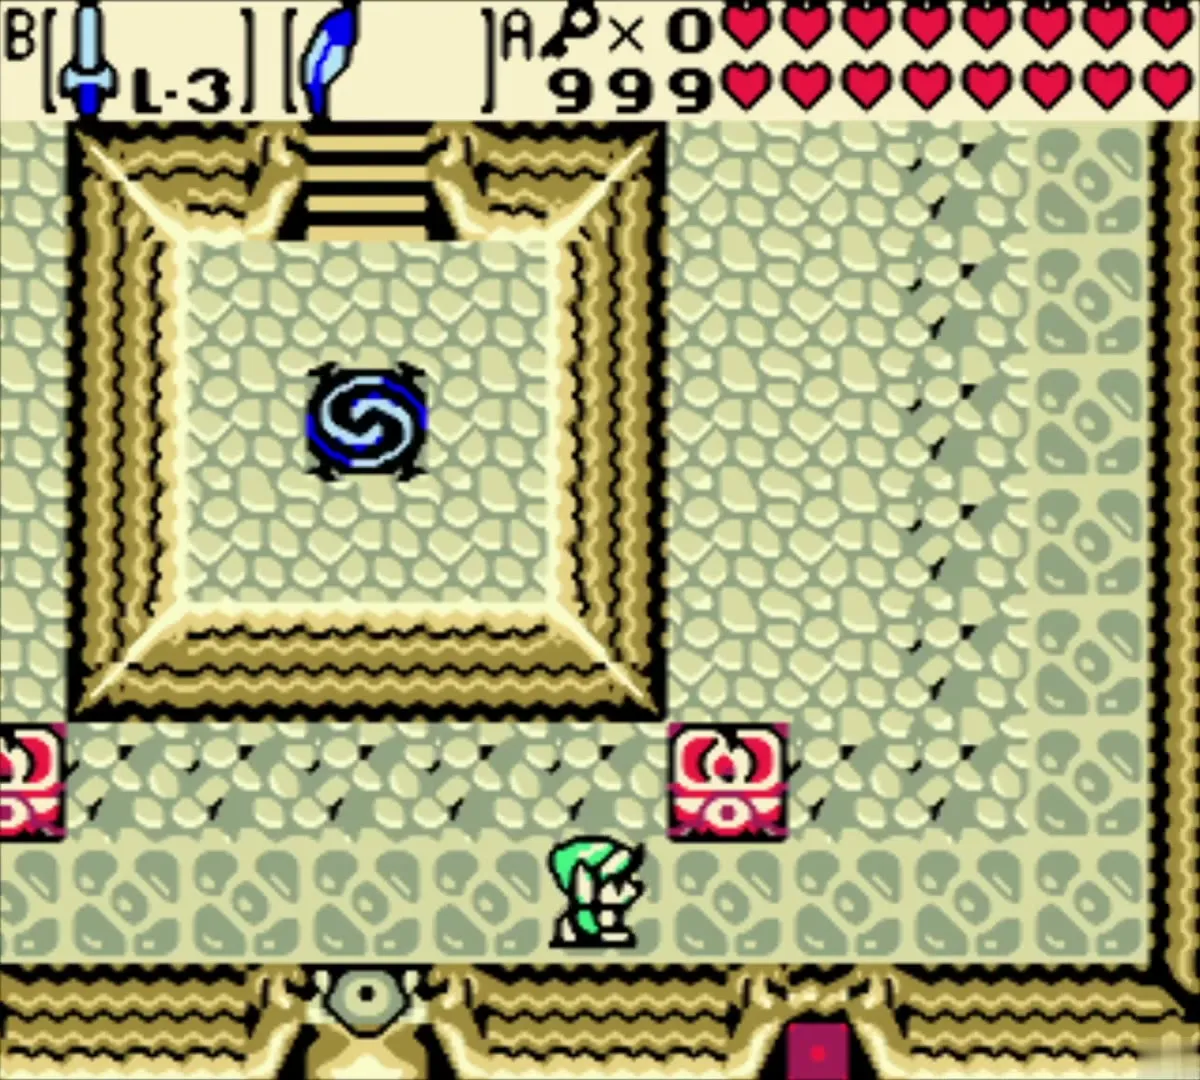
Enter the Room of Rites
Reach the swirling pedestal
Din and Nayru send you toward the Room of Rites once the Oracles are free. Find the stone room with a pedestal that shows a blue swirl at its centre, and step onto it. This is the entrance to the Room of Rites, and nothing else is needed before you go in.
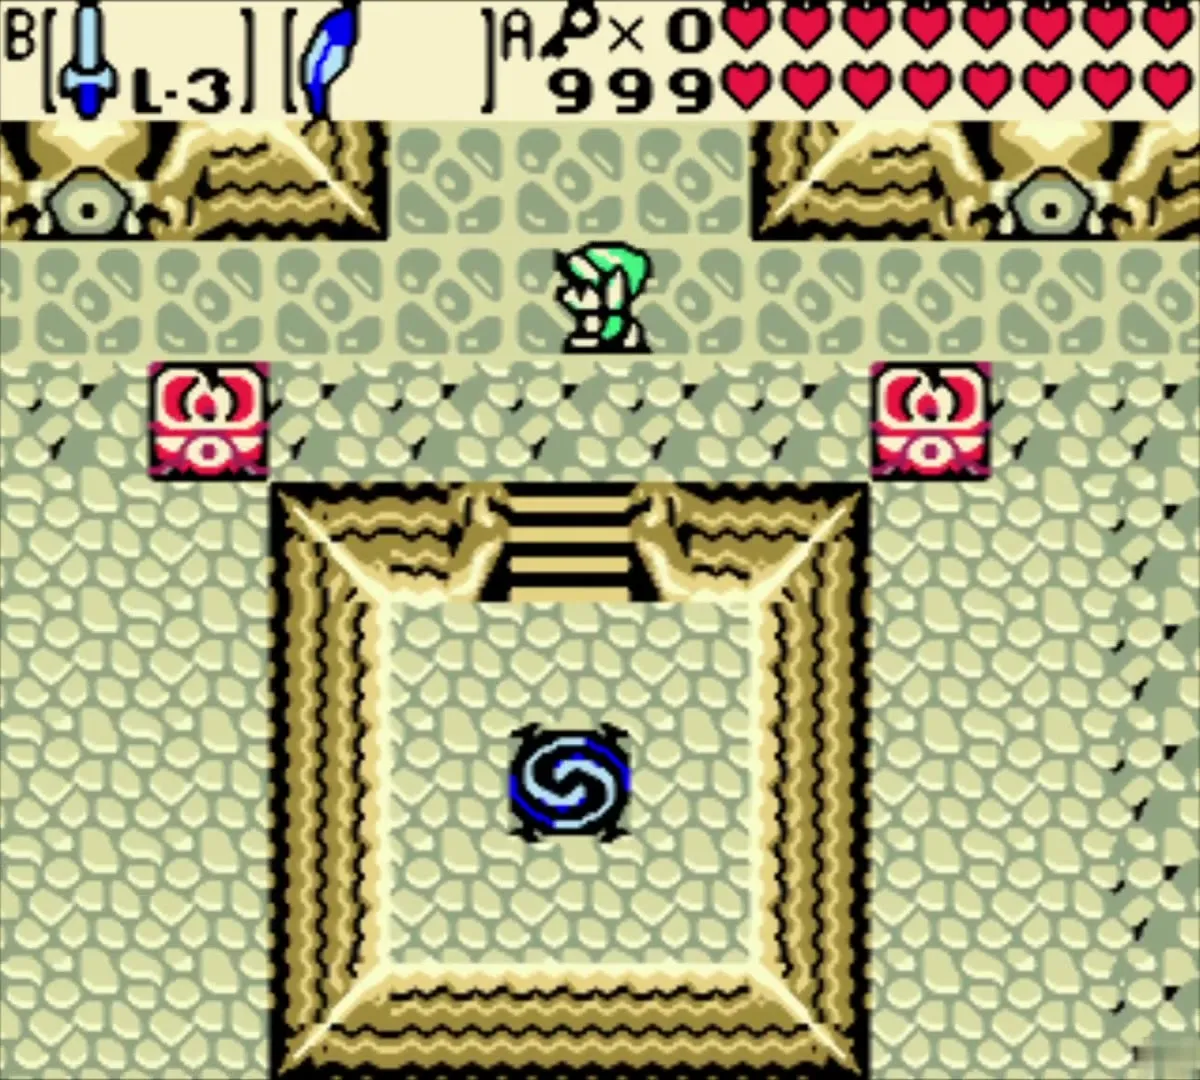

Follow the open direction through the eye statues
The hallway is lined with pink statues whose eyes swing around. Each statue looks in a direction, and they keep moving until they settle. Work out which direction none of them face, then walk that way. Repeat this in each room, which takes about seven rooms in all. The Maku Tree tells you the Eye of Deceit cannot affect you here, so trust your own path through the hallway.
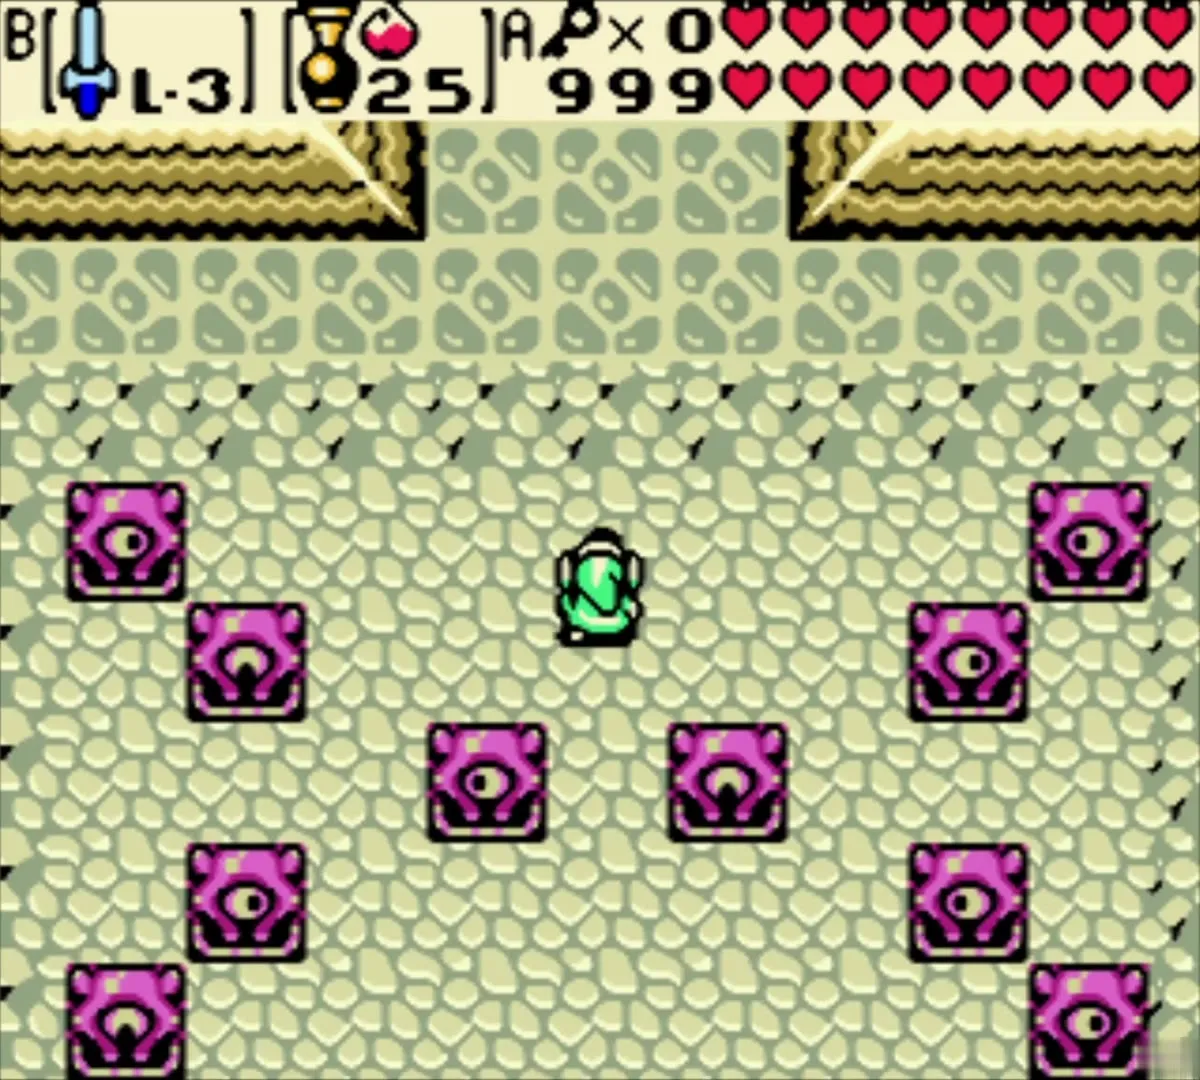

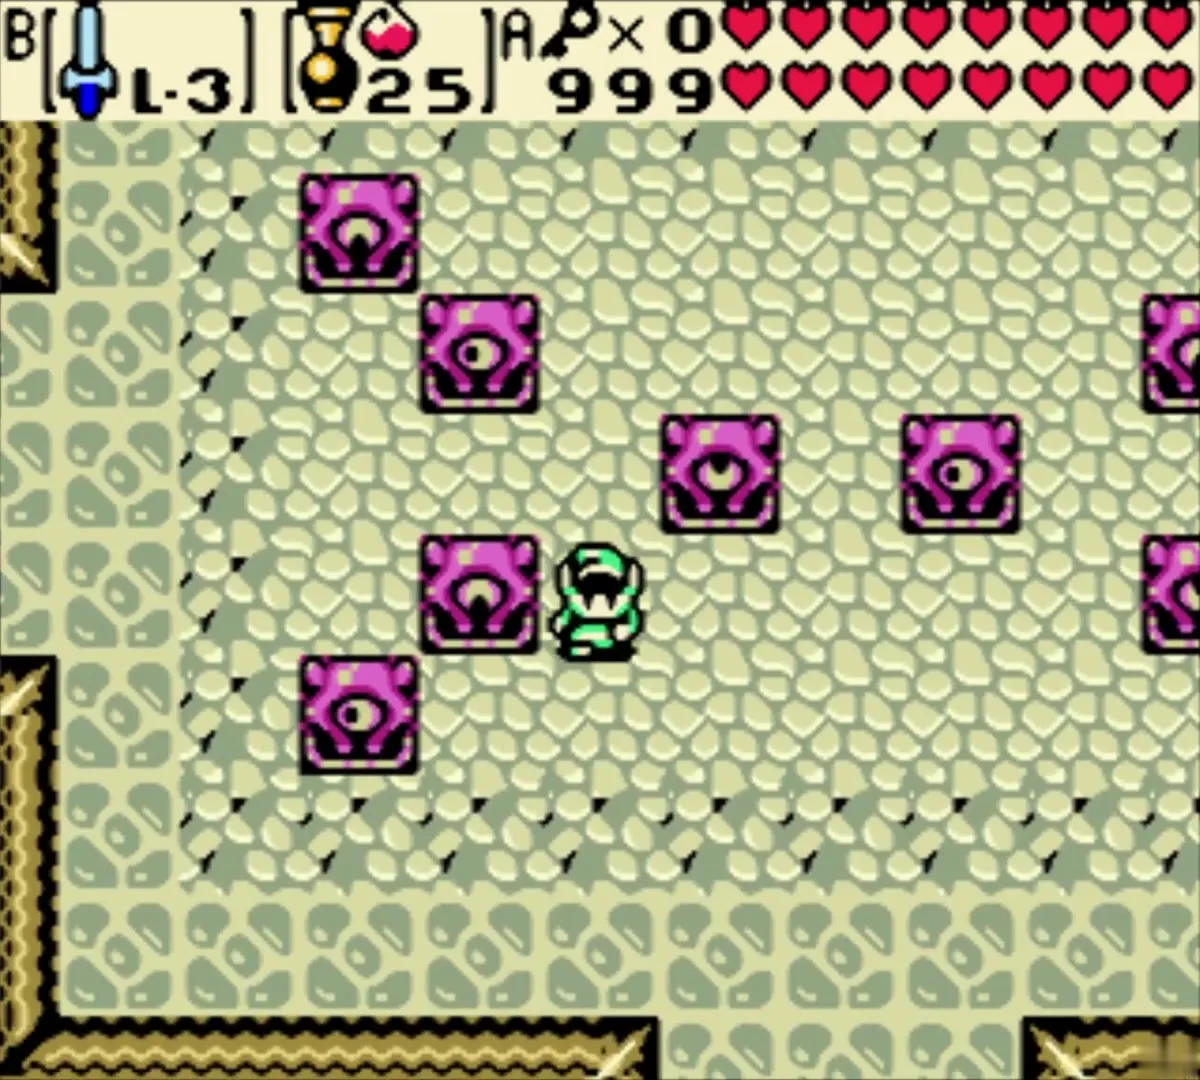
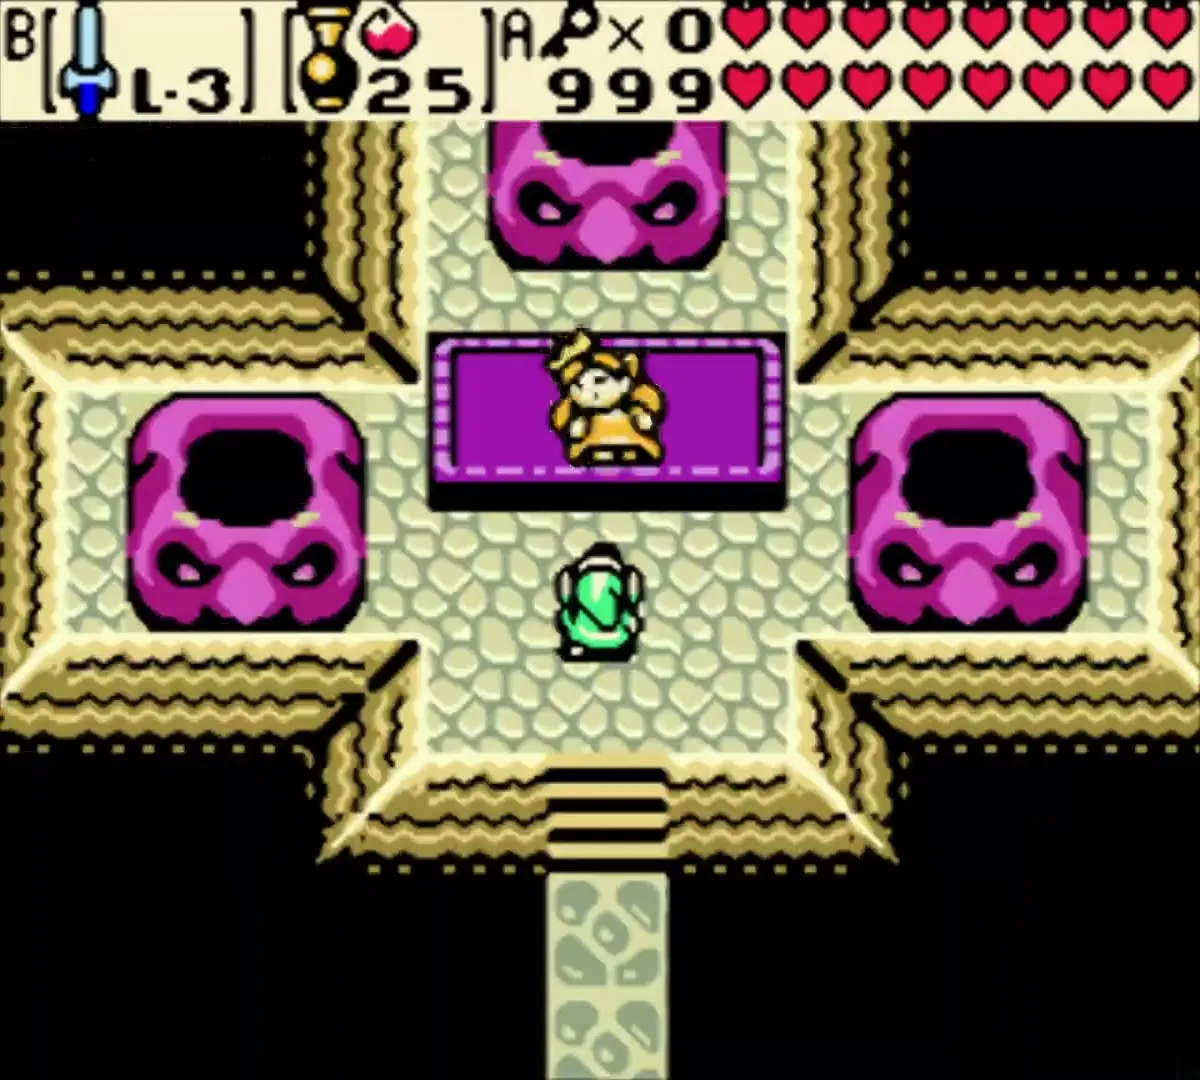
When the hallway ends, you reach a sand-coloured altar room with a purple dais in the middle. Zelda is held on the altar here. Walk toward her, and the room changes. Koume and Kotake are waiting for you.

Twinrova: the sisters and the fight
Koume and Kotake
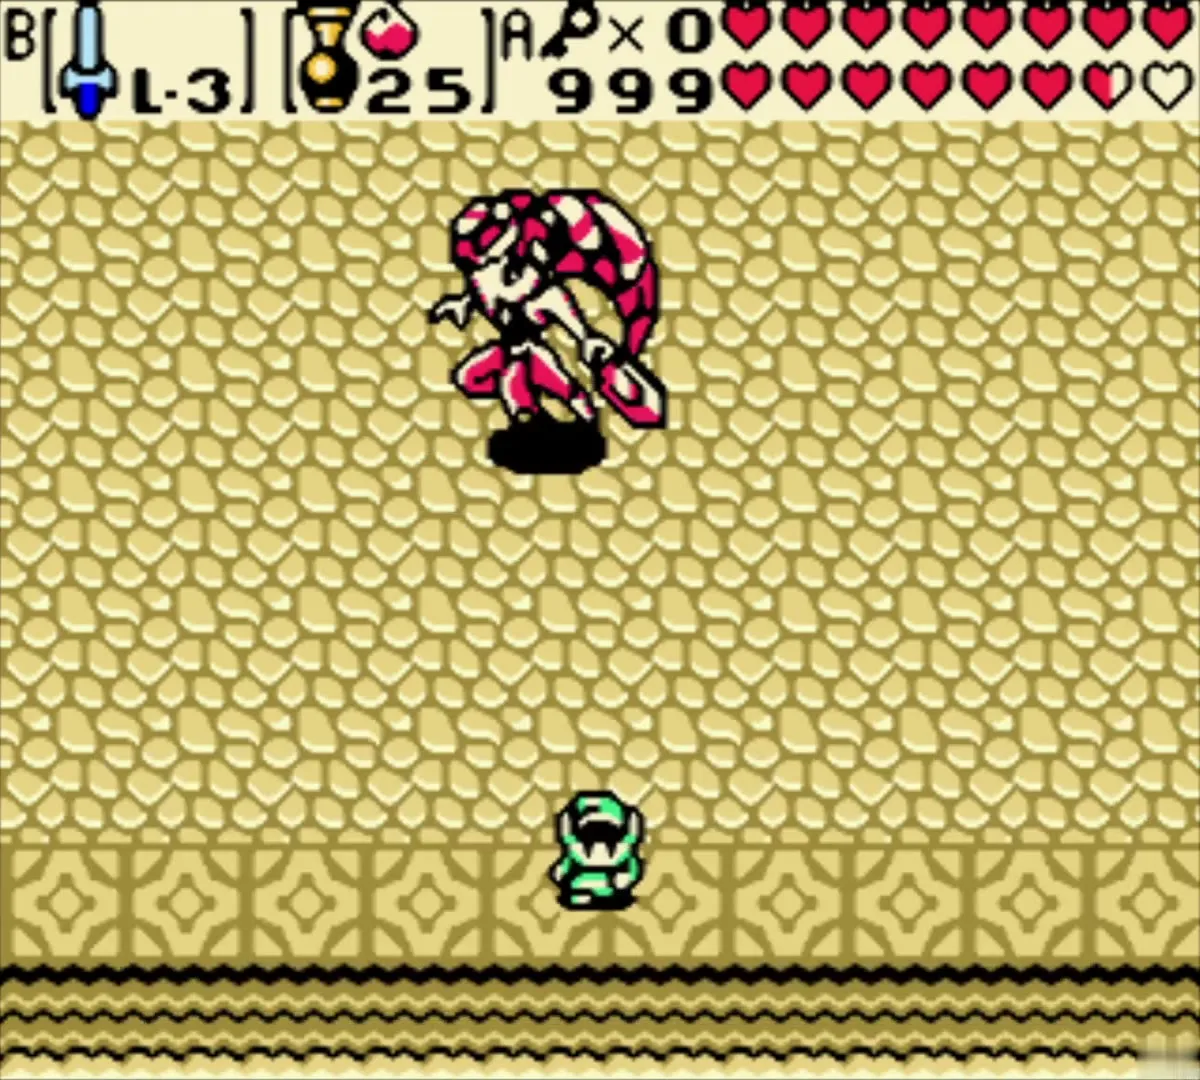
Koume is the red witch and fires fire, while Kotake is the blue witch and fires ice. Both fly around the room. Stay near a wall or corner and wait for them to pass, then strike their shots back with your sword. A shot that hits the witch who fired it does her no harm. A shot that hits the other witch does damage, so aim your deflections across the room.

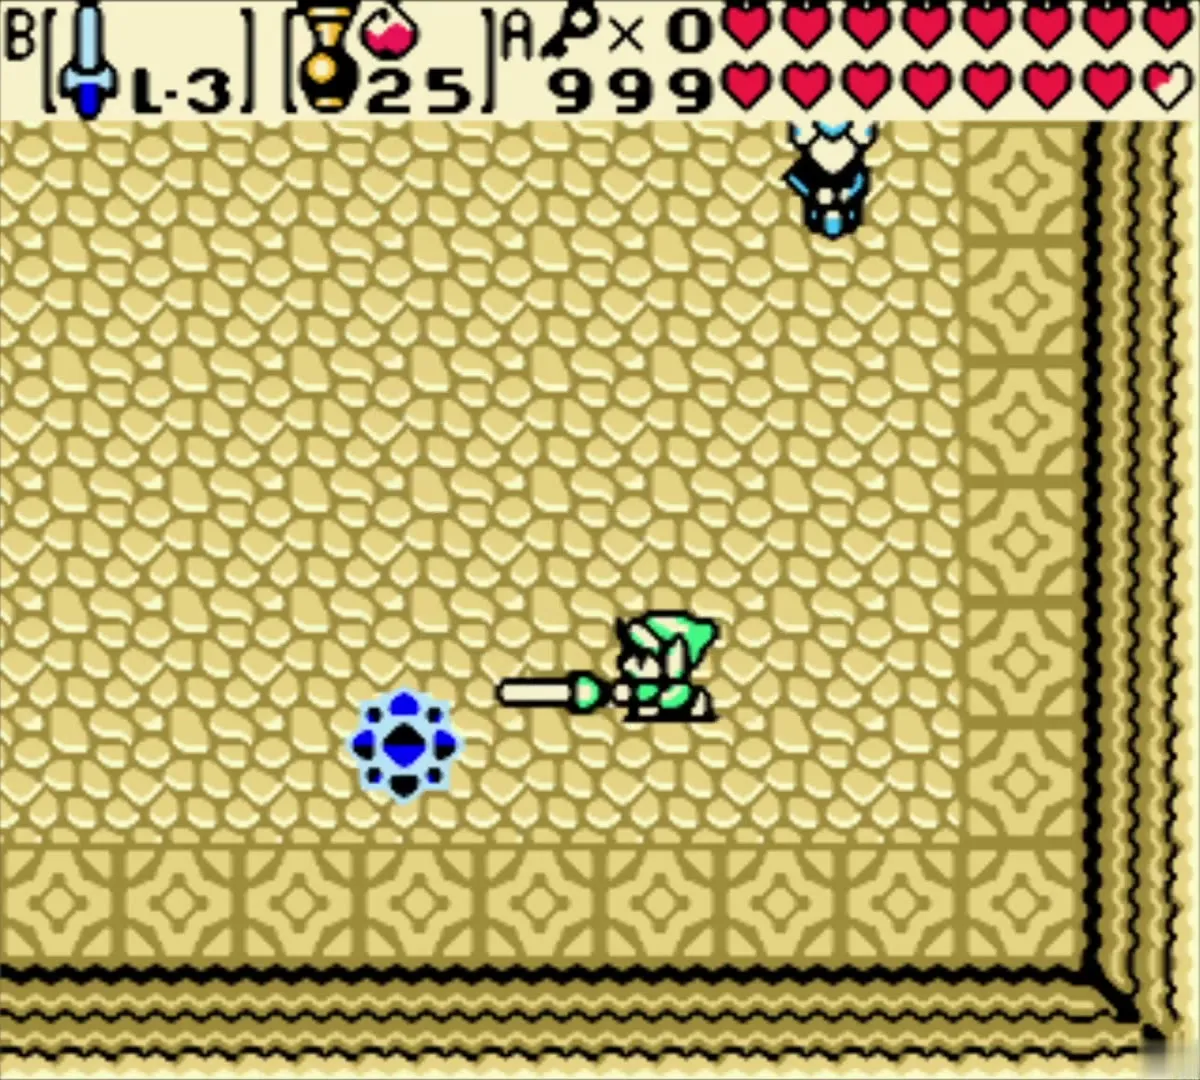
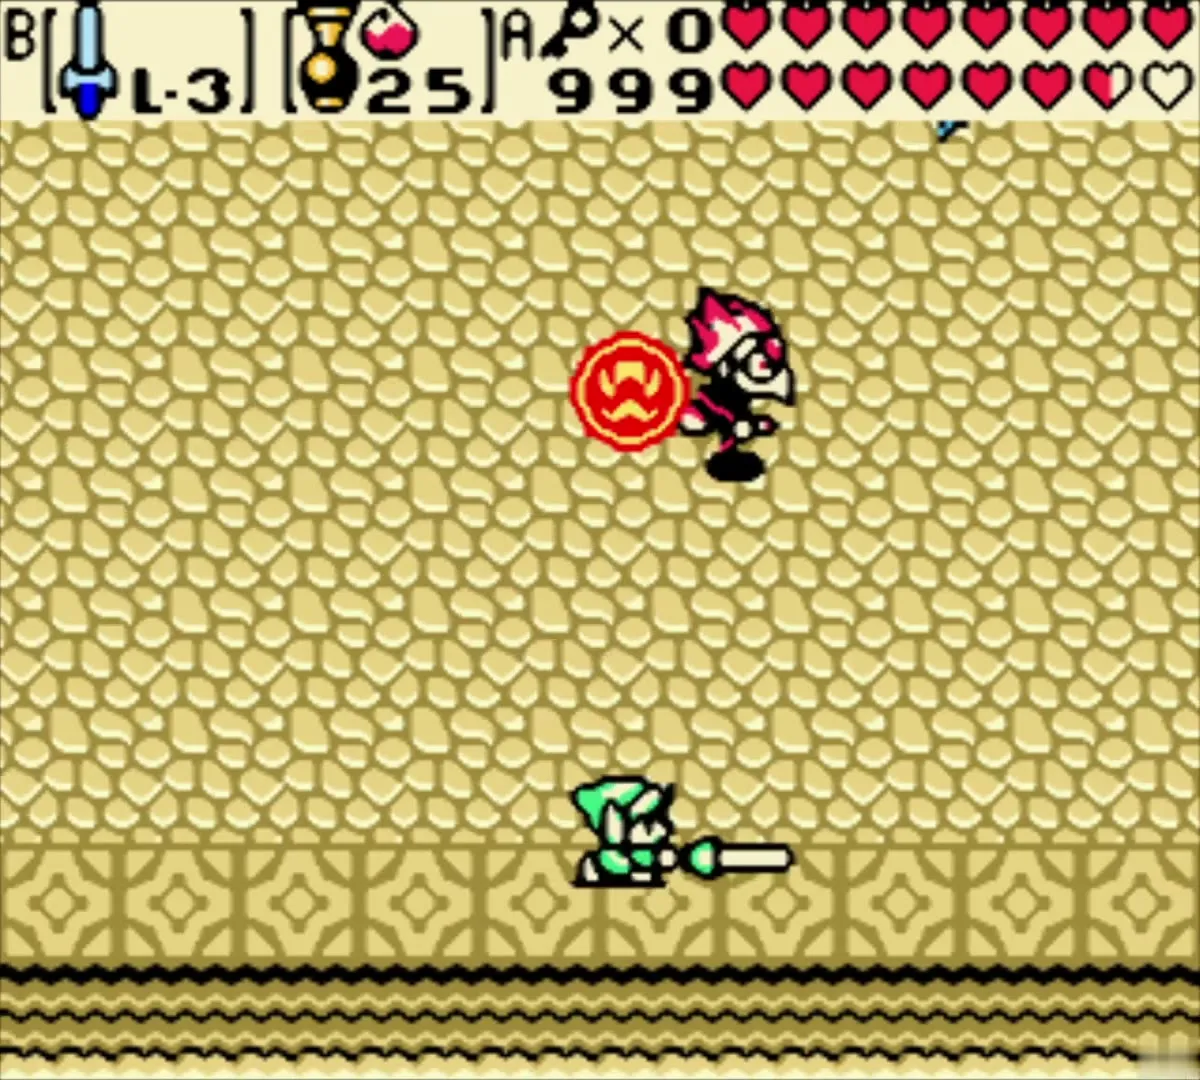
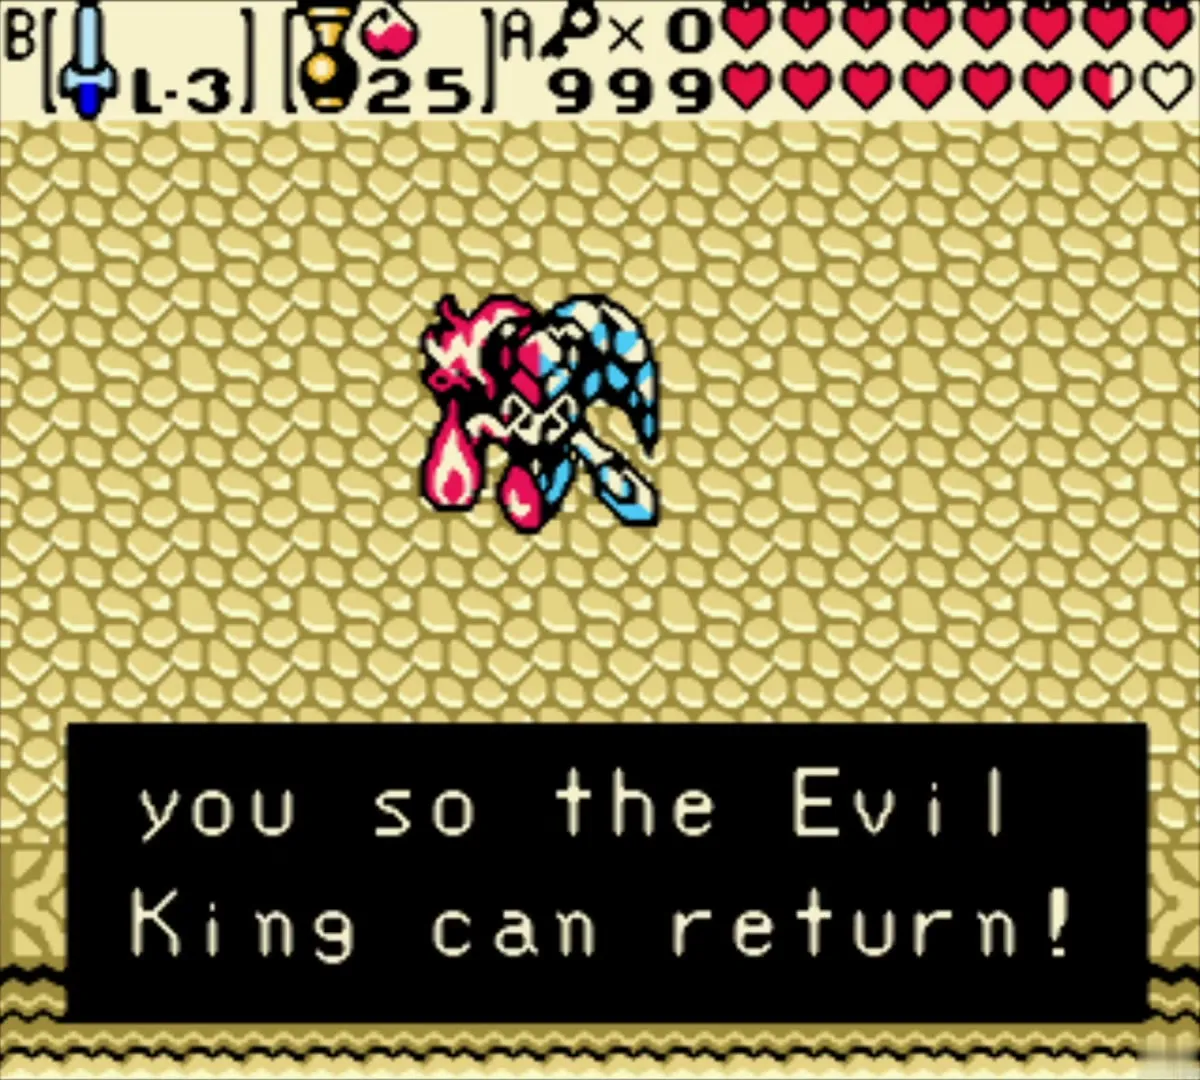
After enough hits, the sisters merge into Twinrova. It does not matter which of them you wounded, because the damage carries over to the combined boss. Keep to the edges of the room while she circles, since her attacks are hardest to avoid in the middle.
Fire phase
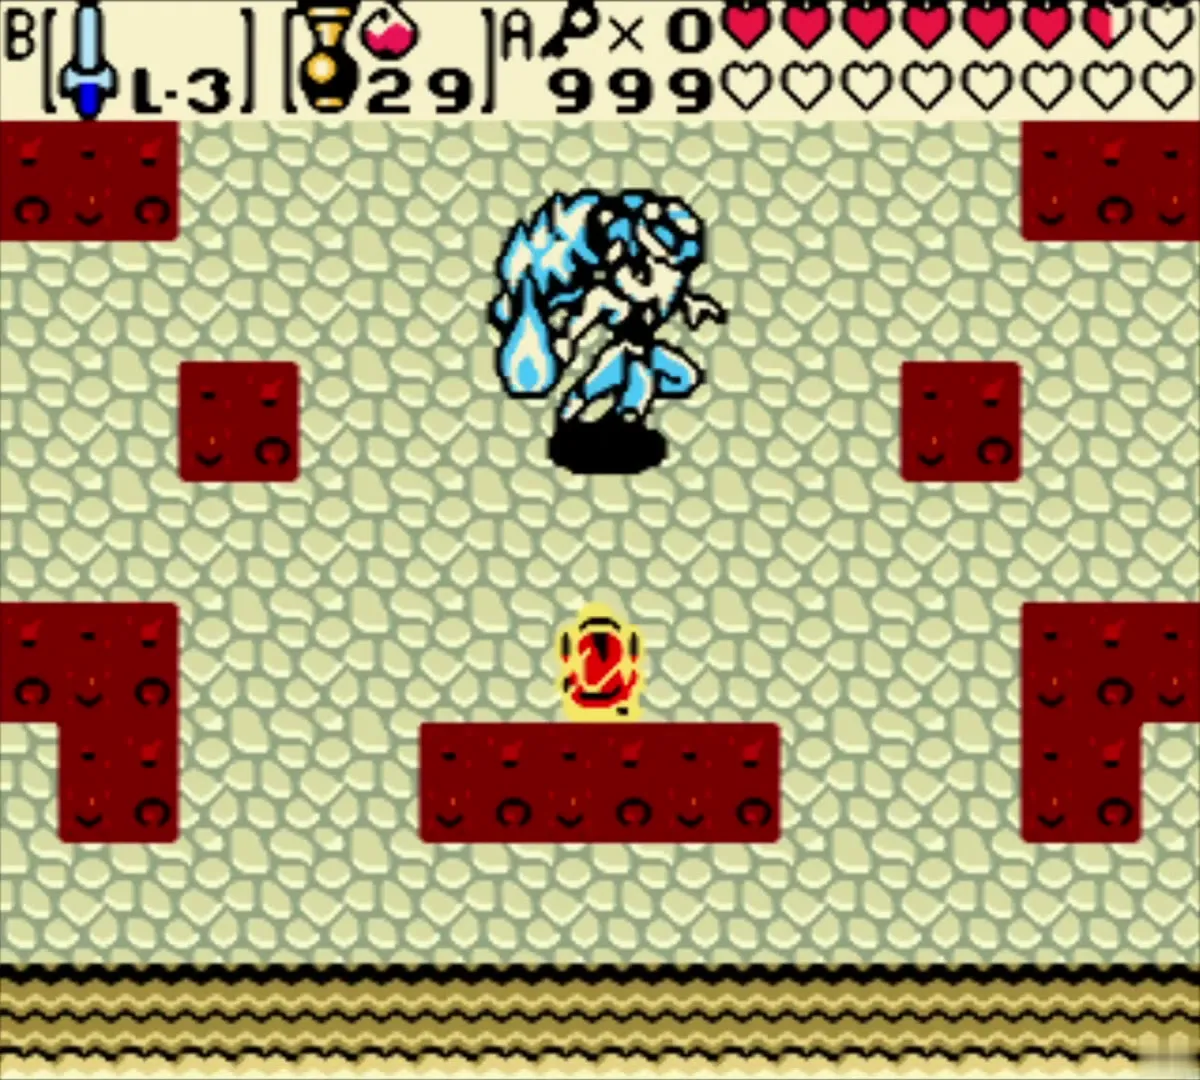
On the fire floor, Twinrova opens pits of lava, releases a swarm of fire keese, and shoots fireballs that split and bounce when they hit a wall or the floor. Your shield blocks every one of her attacks. Spin attacks with your sword do the most damage when she is close.
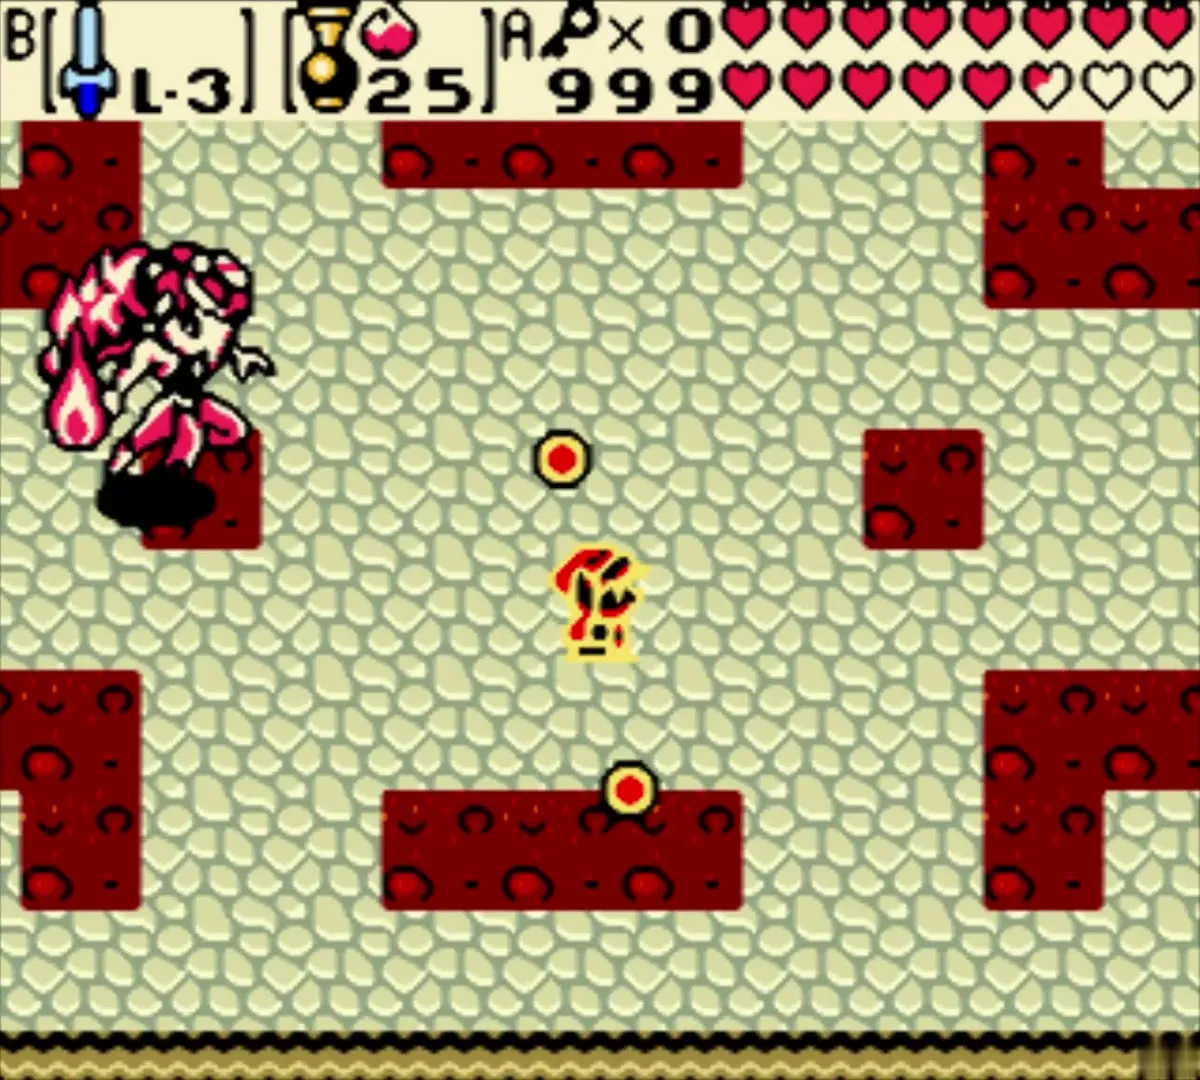


After several sword hits, she briefly turns both red and blue. Fire a seed from your Seed Shooter at her during this window. The guides disagree on which seed works best. One names the Scent Seed, while another names Mystery and Ember Seeds, so carry a mix of seed types into the room.
Ice phase
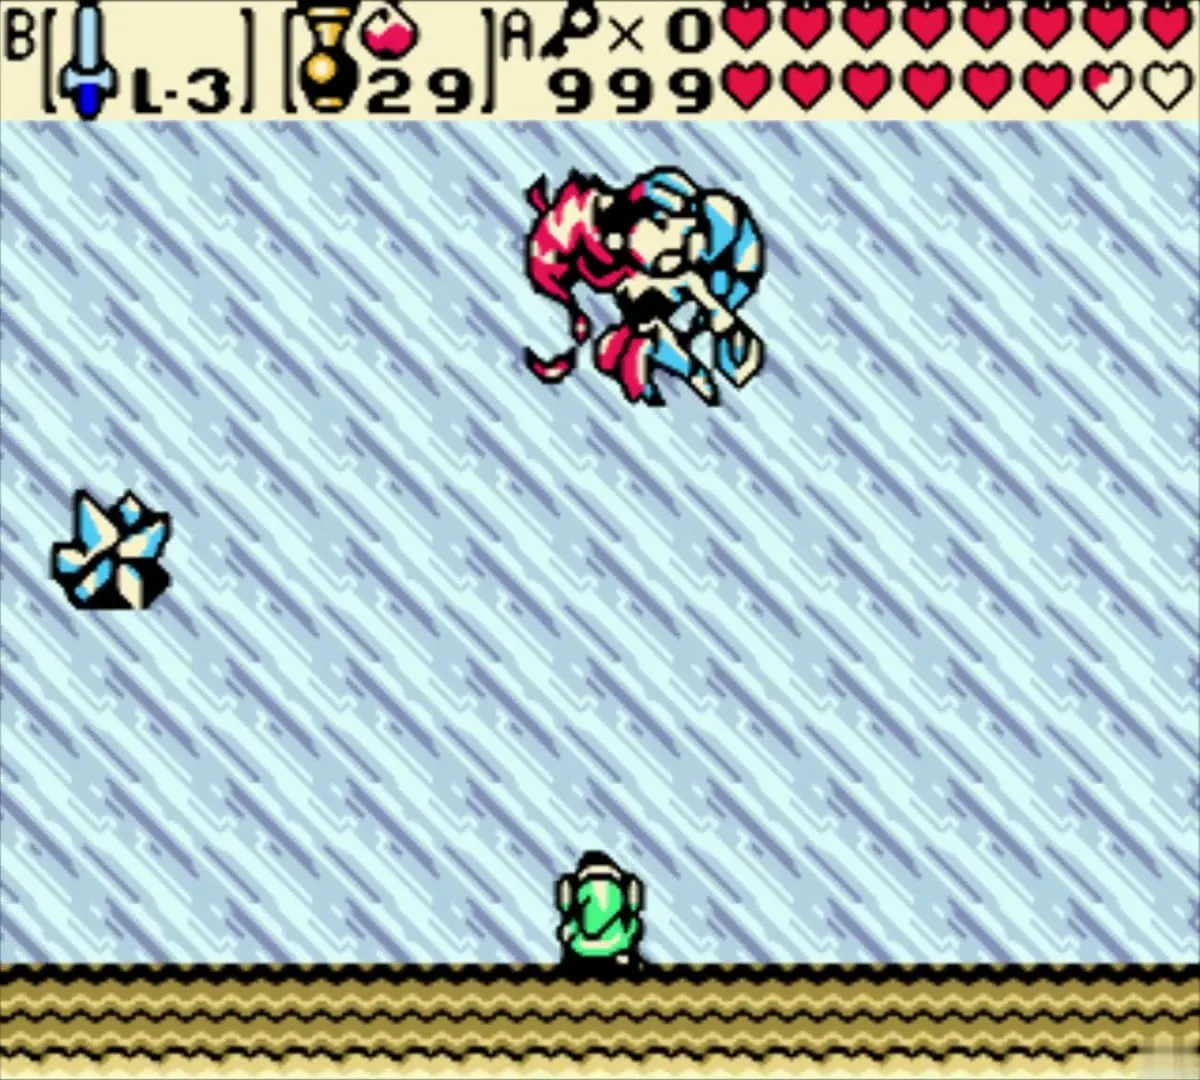
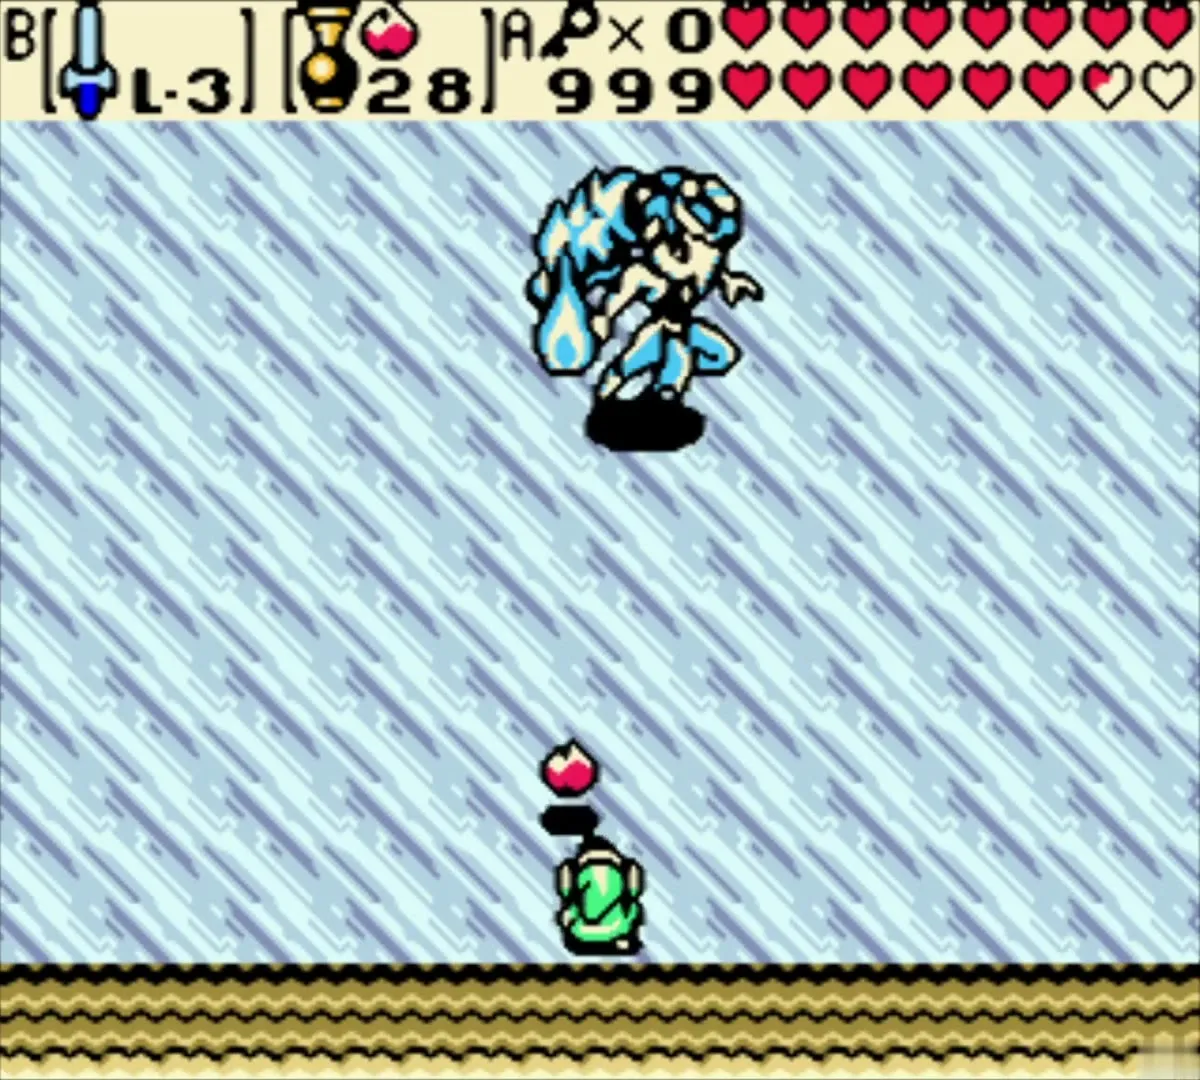
When the floor turns to ice, Twinrova sends spiked balls of ice across the room. Block them with your shield, or knock them away with your sword. The ice makes Link slide, so the Snowshoe Ring (number 34) helps if you have it. It stops the slide and lets you keep control while you attack.


Sword hits again damage her, and the same window appears: she shows both colours, and a seed from the Seed Shooter lands. The fight repeats between the fire floor and the ice floor. Each room change is a moment to step back to the middle or the edge of the room, away from lava and ice spikes.


Twinrova’s defeat
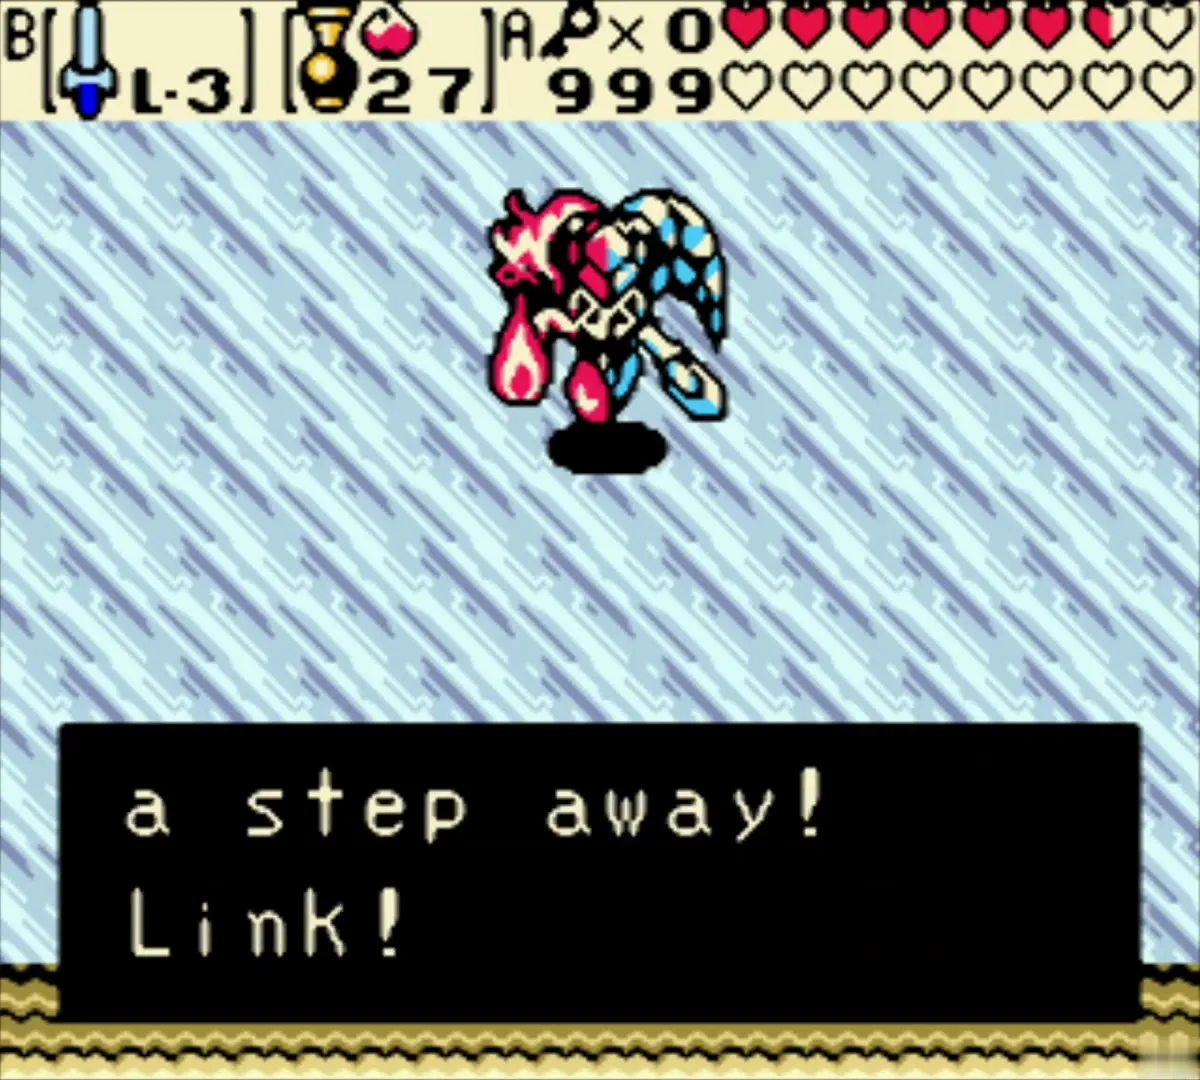
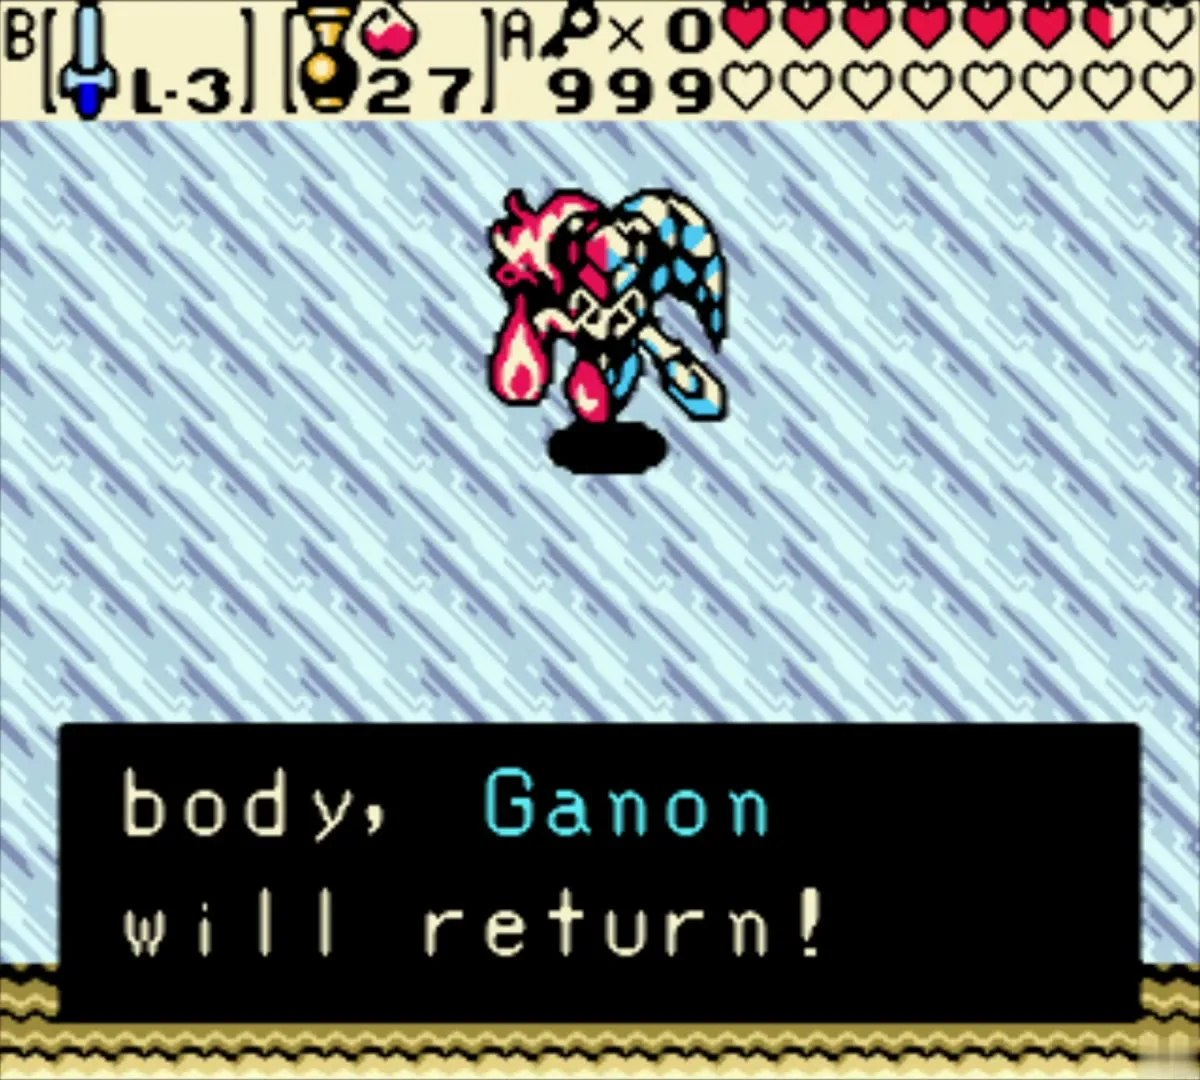
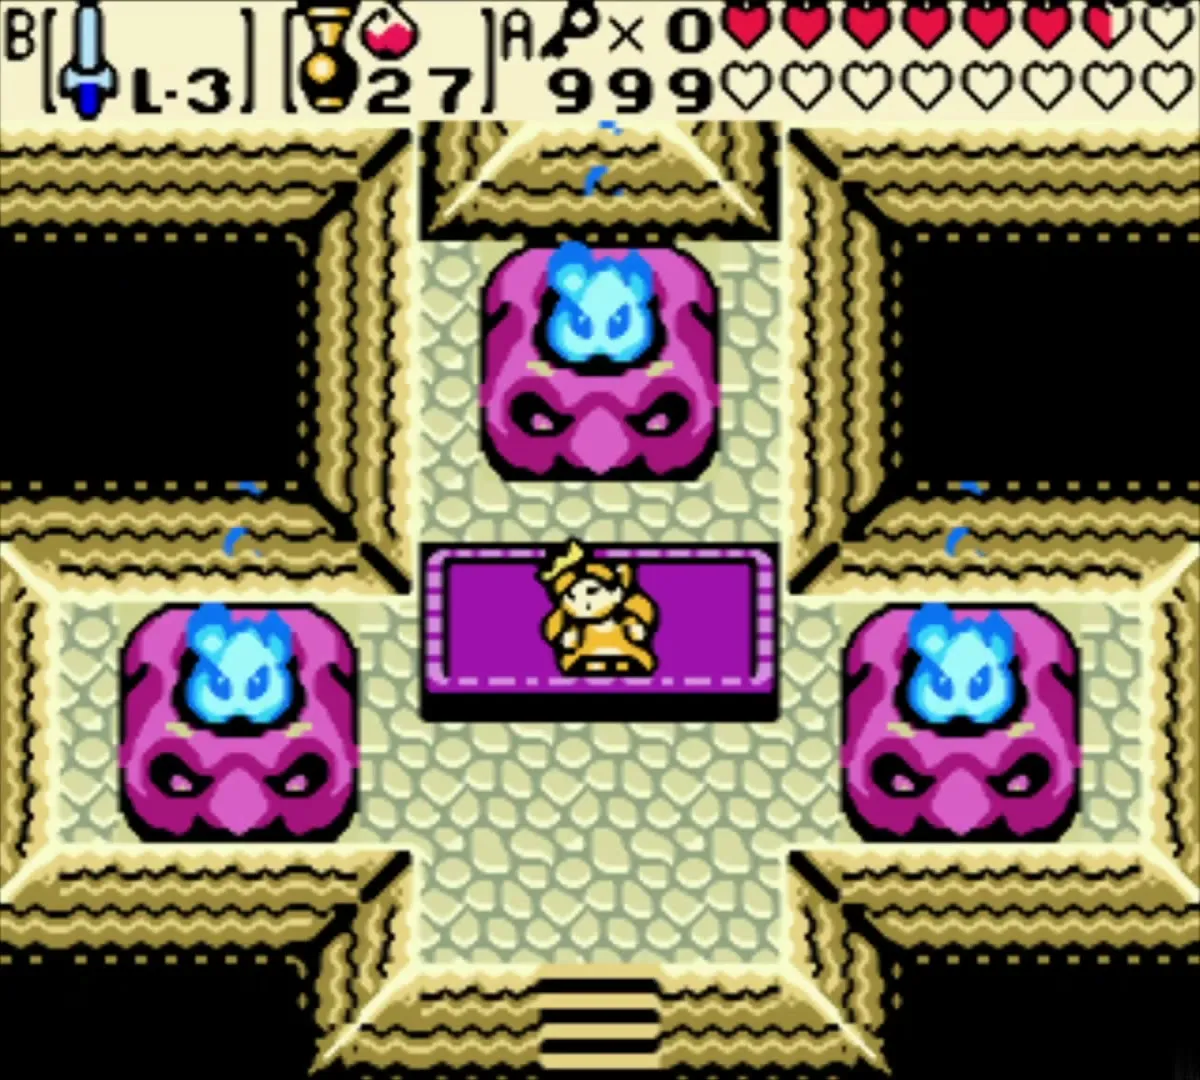
Keep attacking until she falls. Her last lines say that the sacrifice of her body will bring Ganon back. A white flash closes the fight, and afterward the three flames on the altar light up, which tells you the ritual has been broken.
Ganon: the final boss
Ganon appears
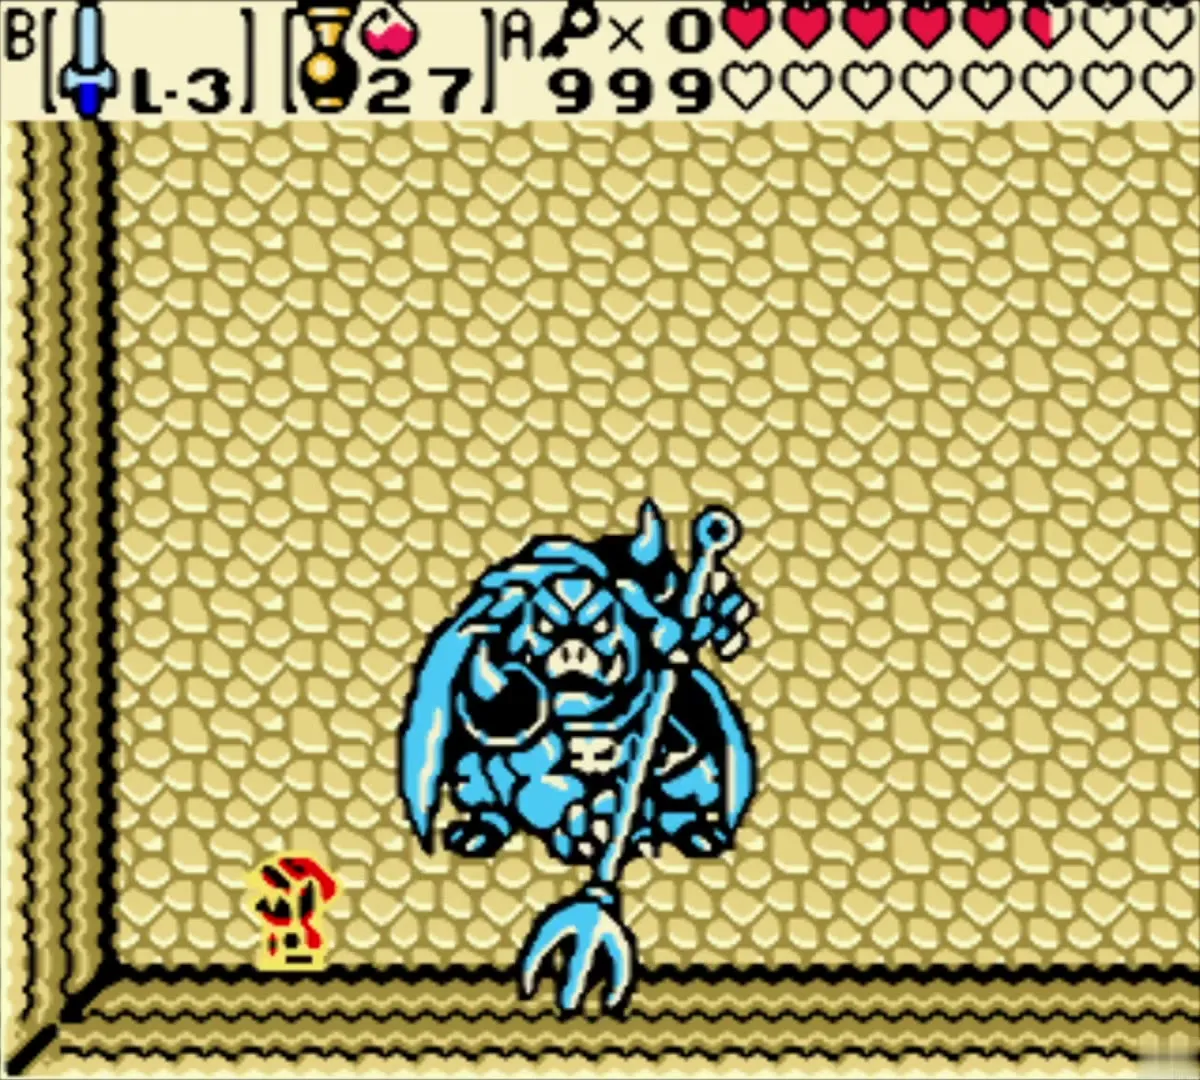
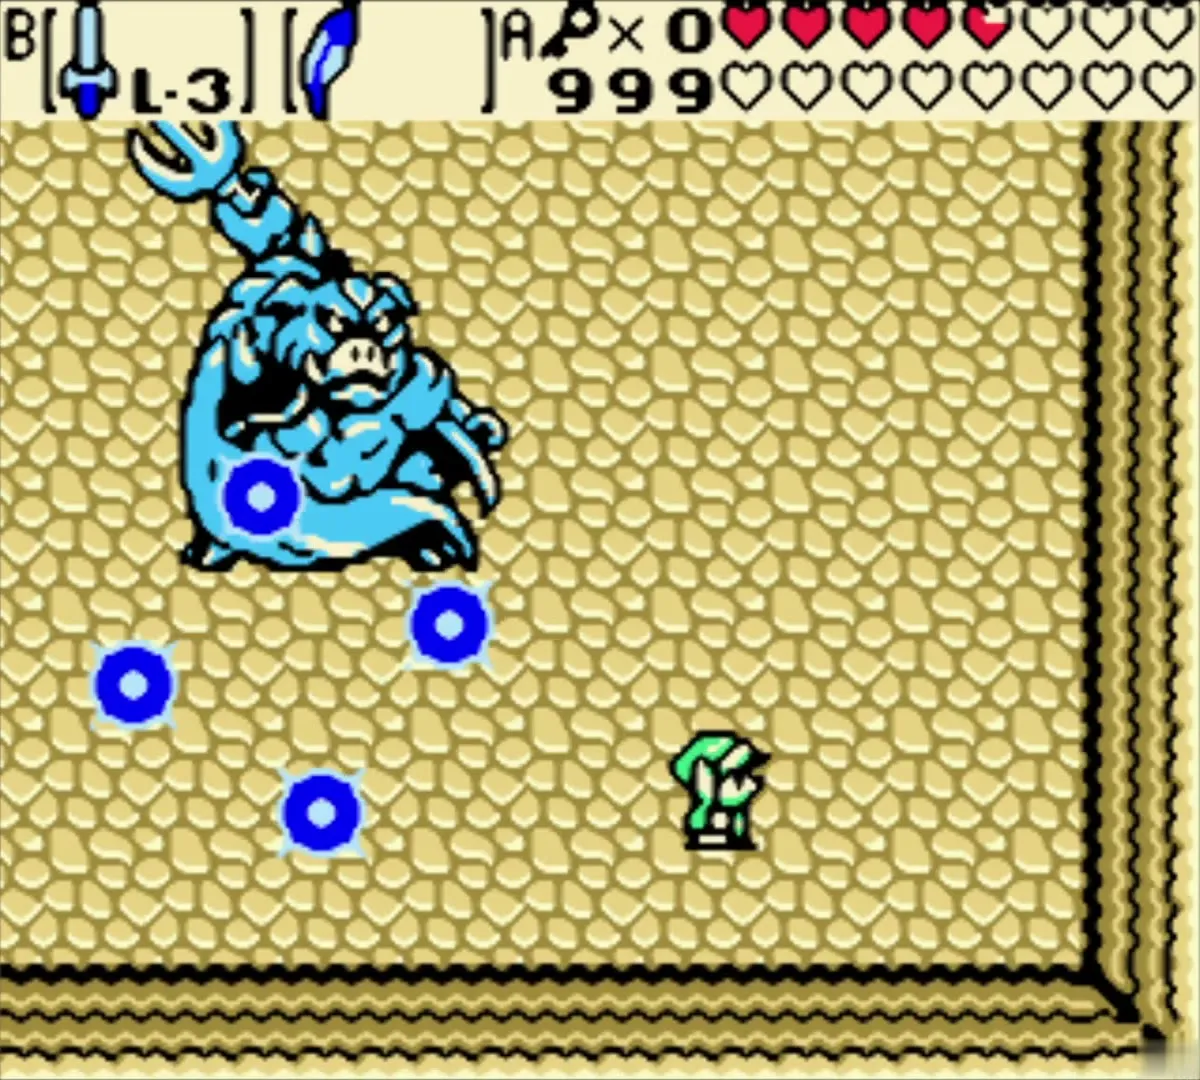
After the flash, Ganon appears as a blue boar-like figure in a sand room. He is loud and aggressive, and he attacks without waiting. Keep your distance for a moment, then close in once you see his first move. He carries a trident, so watch the spear before you strike.

Strike with spin attacks
Charge a spin attack and release it when Ganon appears, then dodge at once. If he is about to thrust his spear, dodge first, because the thrust leaves you no time to hit him. The Master Sword can also harm him with ordinary hits. Spin attacks work with the sword you carry, so use them as your main way to damage him.
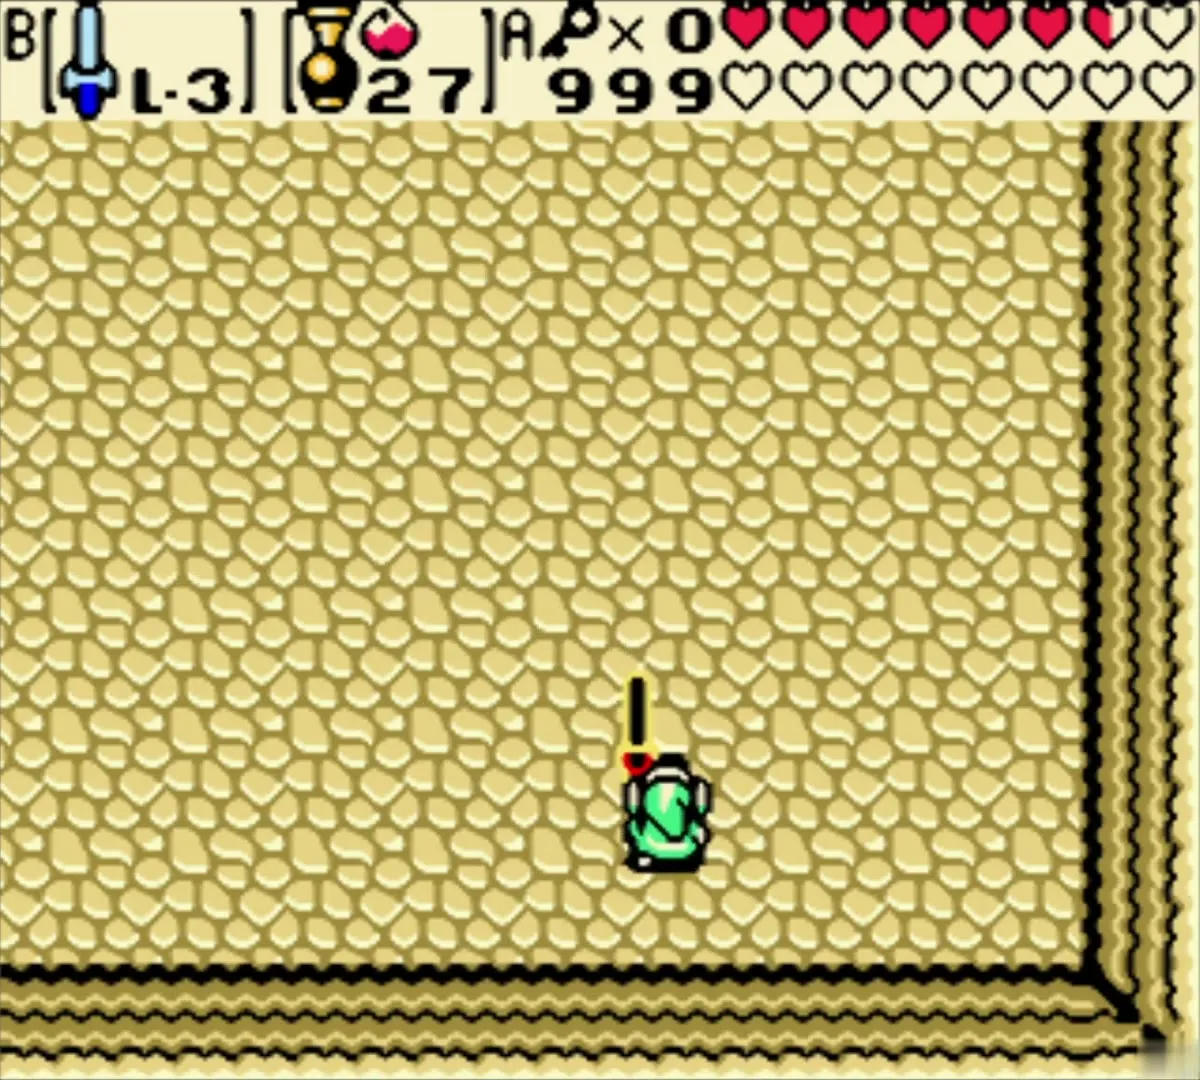
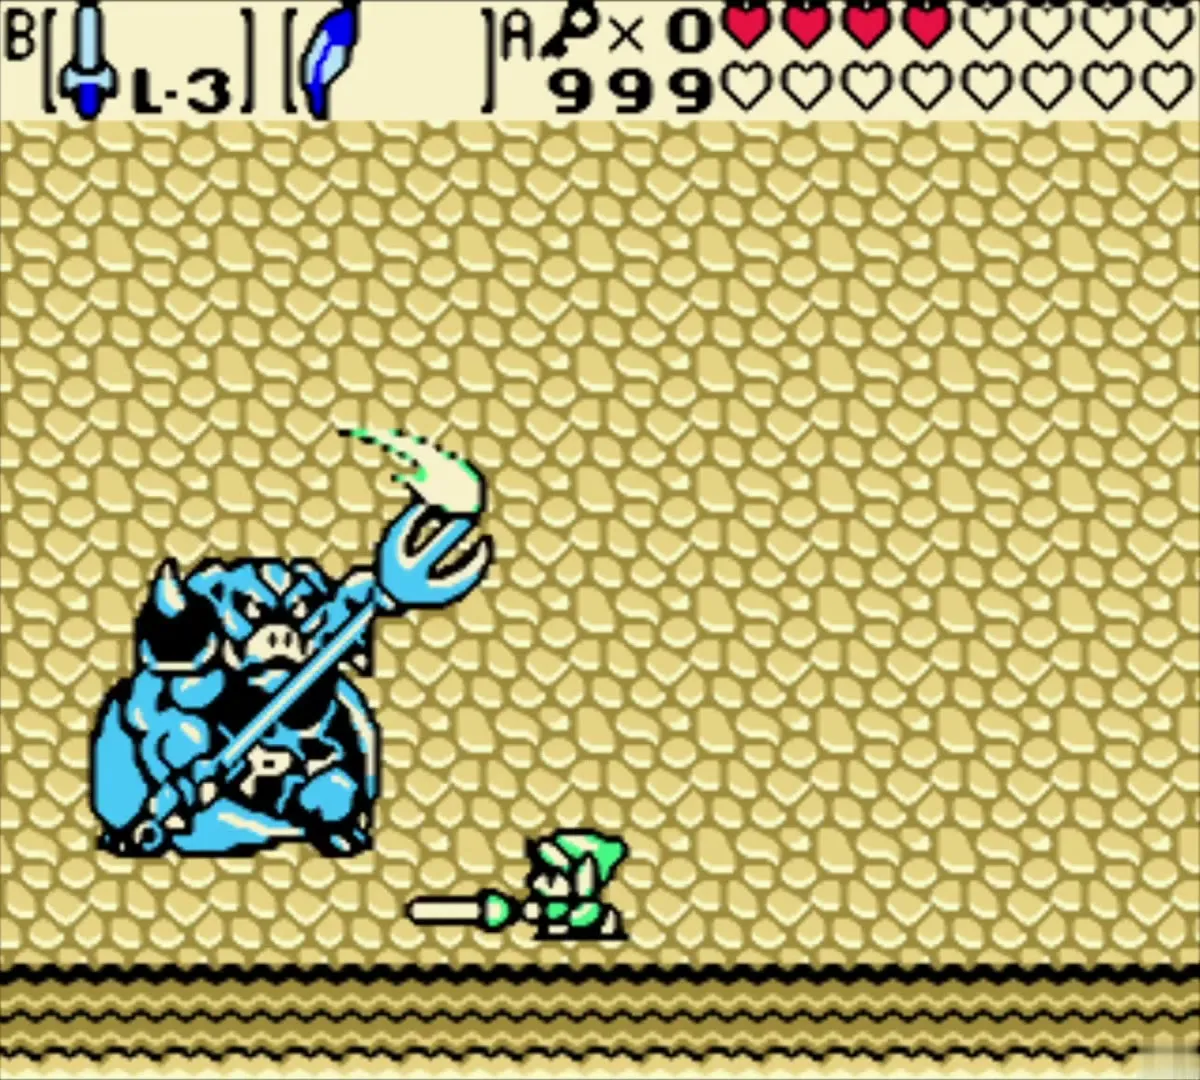
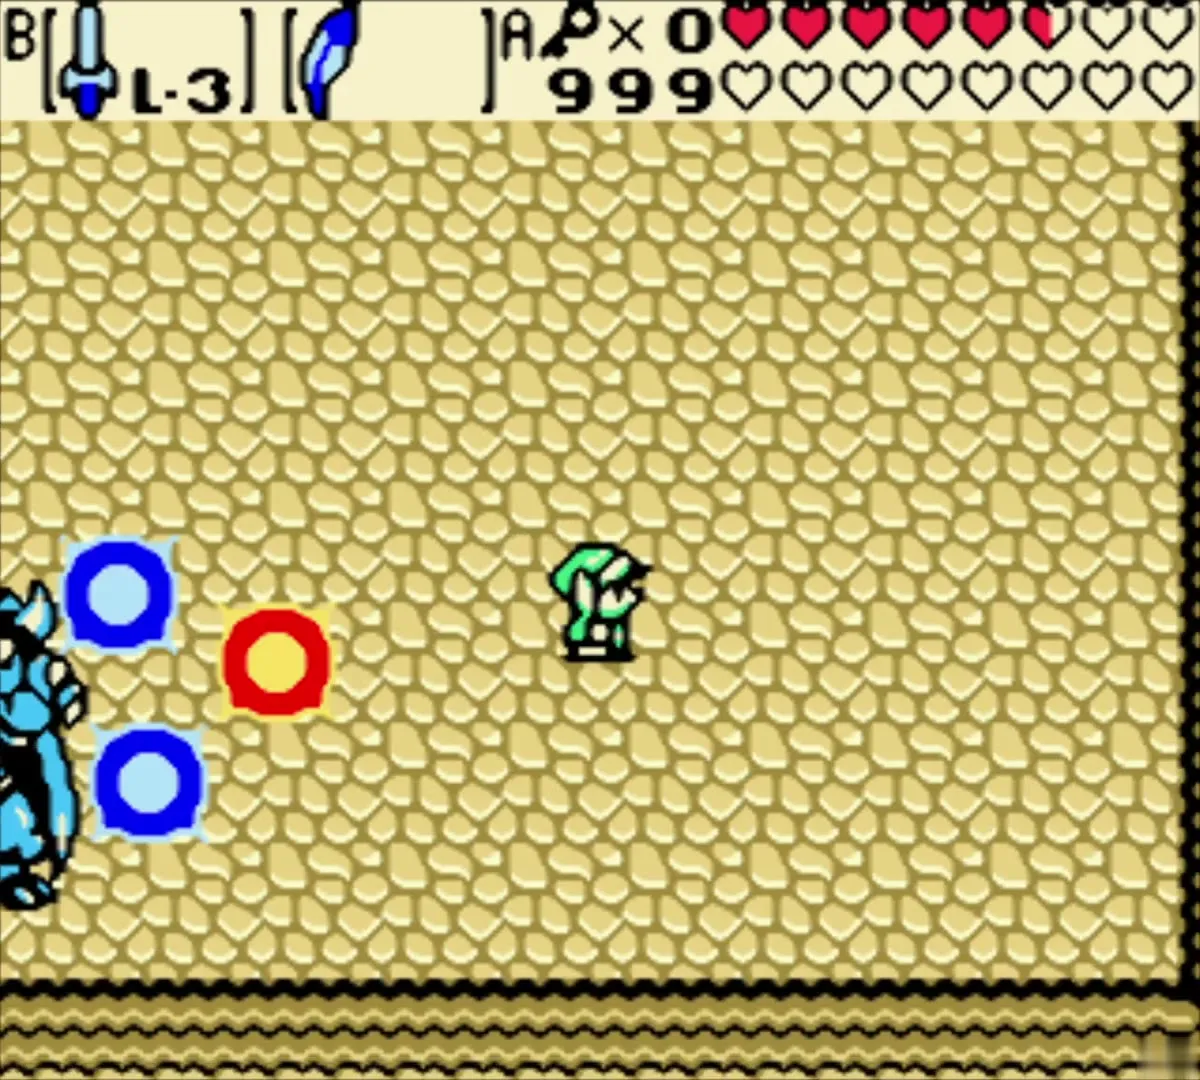
Ganon warps around the room and fires single or triple energy balls, so jump over them. A four-way shot splits into smaller balls, so jump over those too. He sometimes warps a few times without showing himself, then jumps at you to stun you. Jump just before his landing and dodge the large energy ball that follows, timing your own landing after his.
Phase two: reversed controls
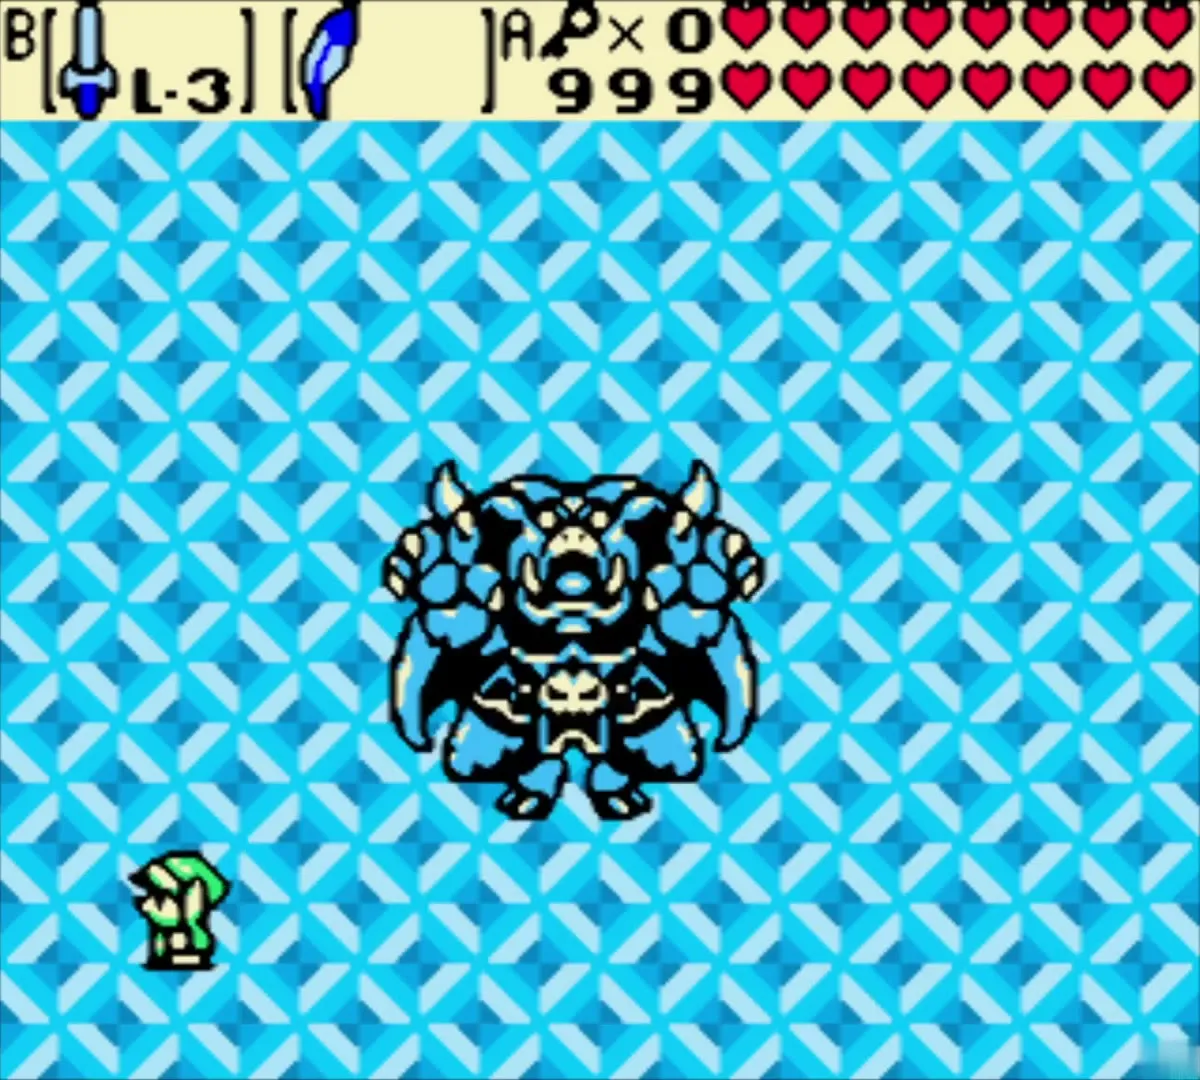
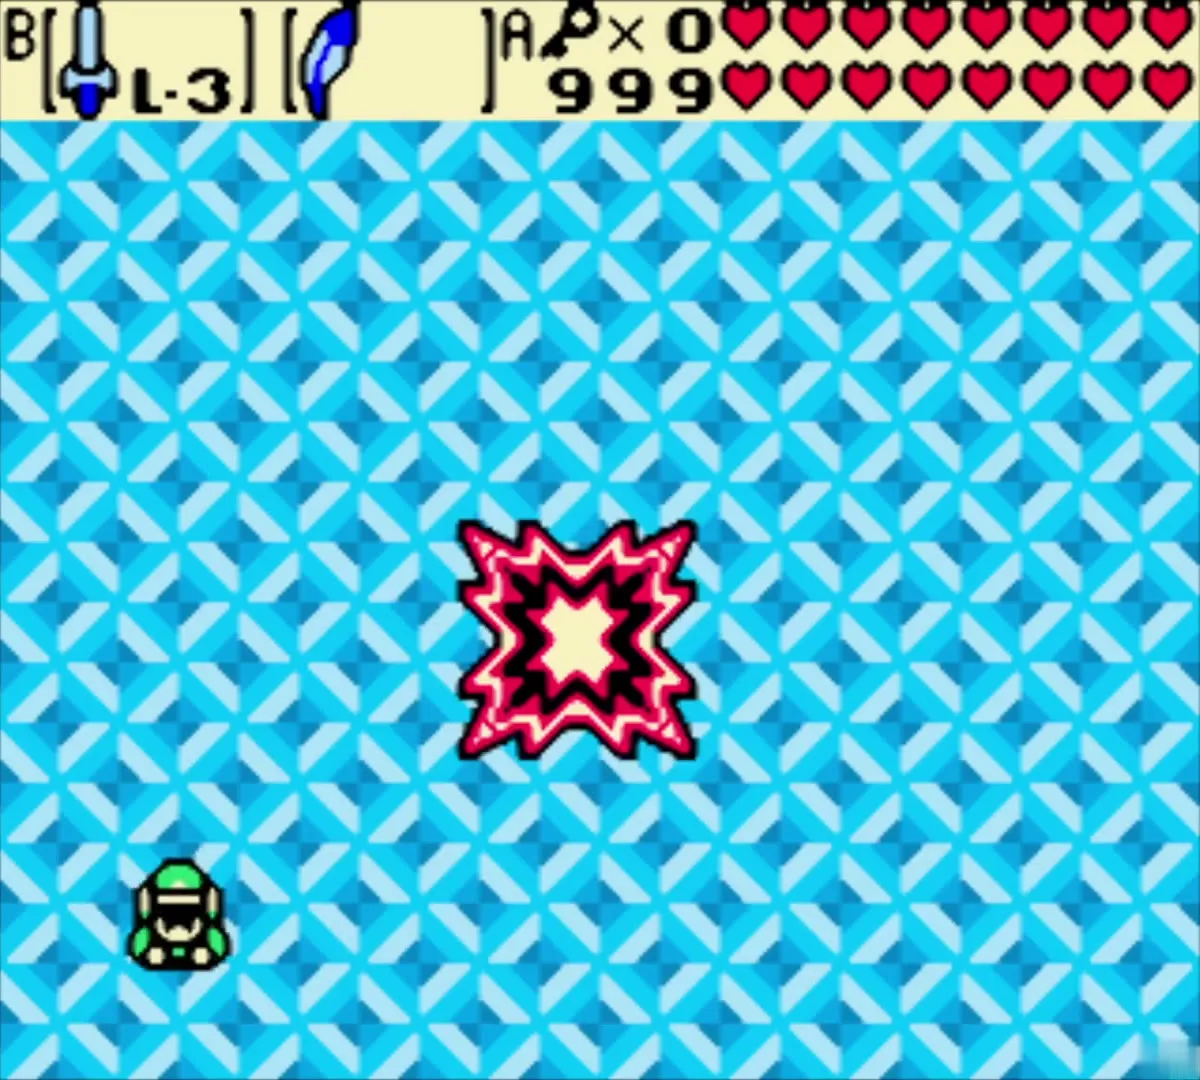
When Ganon nears defeat, the room changes. The floor becomes blue with a diamond pattern, and your controls are reversed. Move carefully, because pressing left takes you right. Ganon walks toward you while he fires, so dodge his shots and keep attacking until the floor returns to normal.

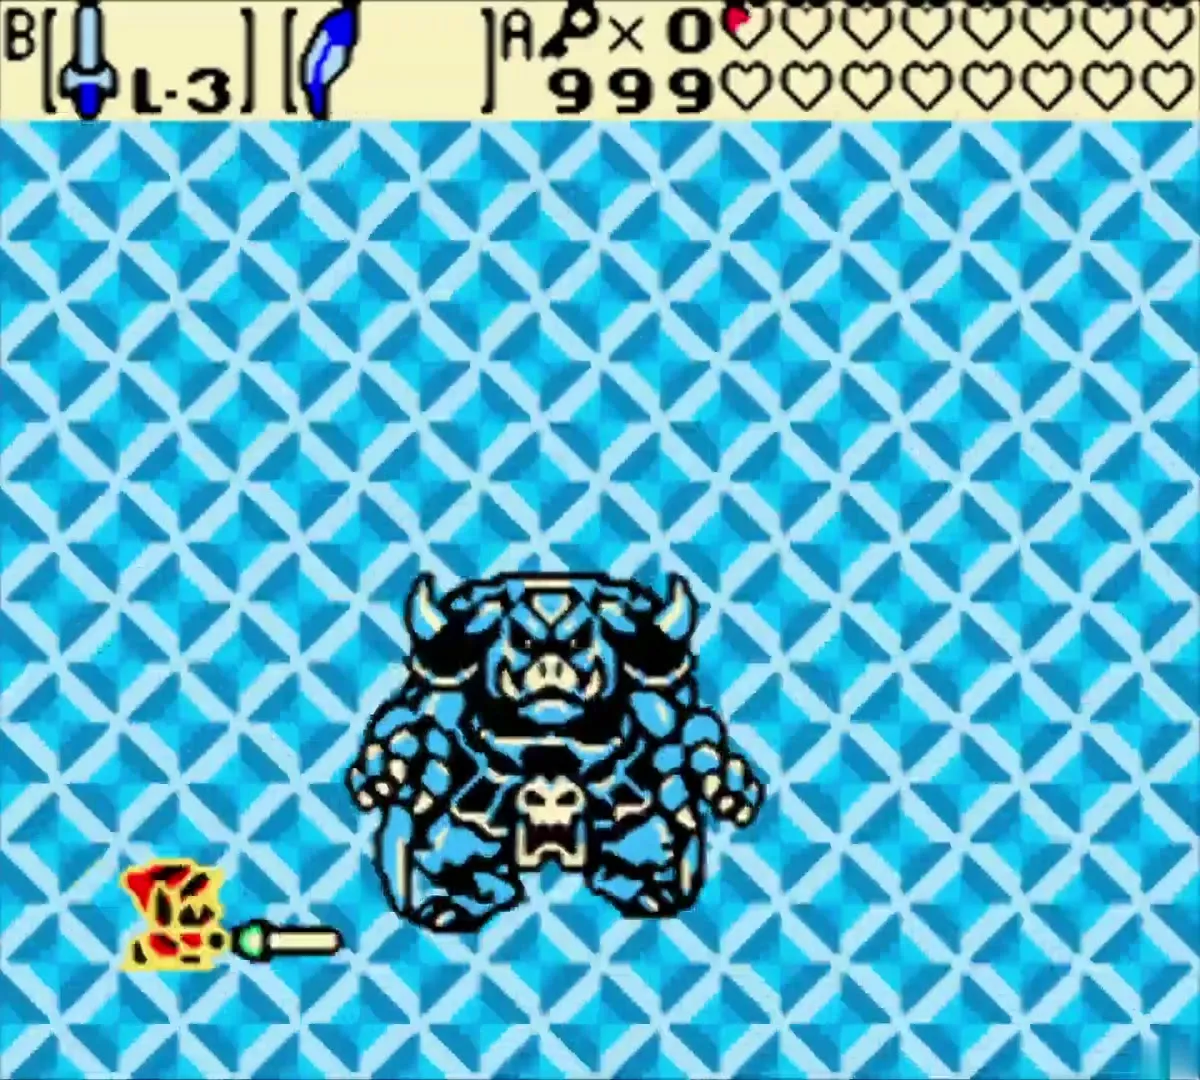
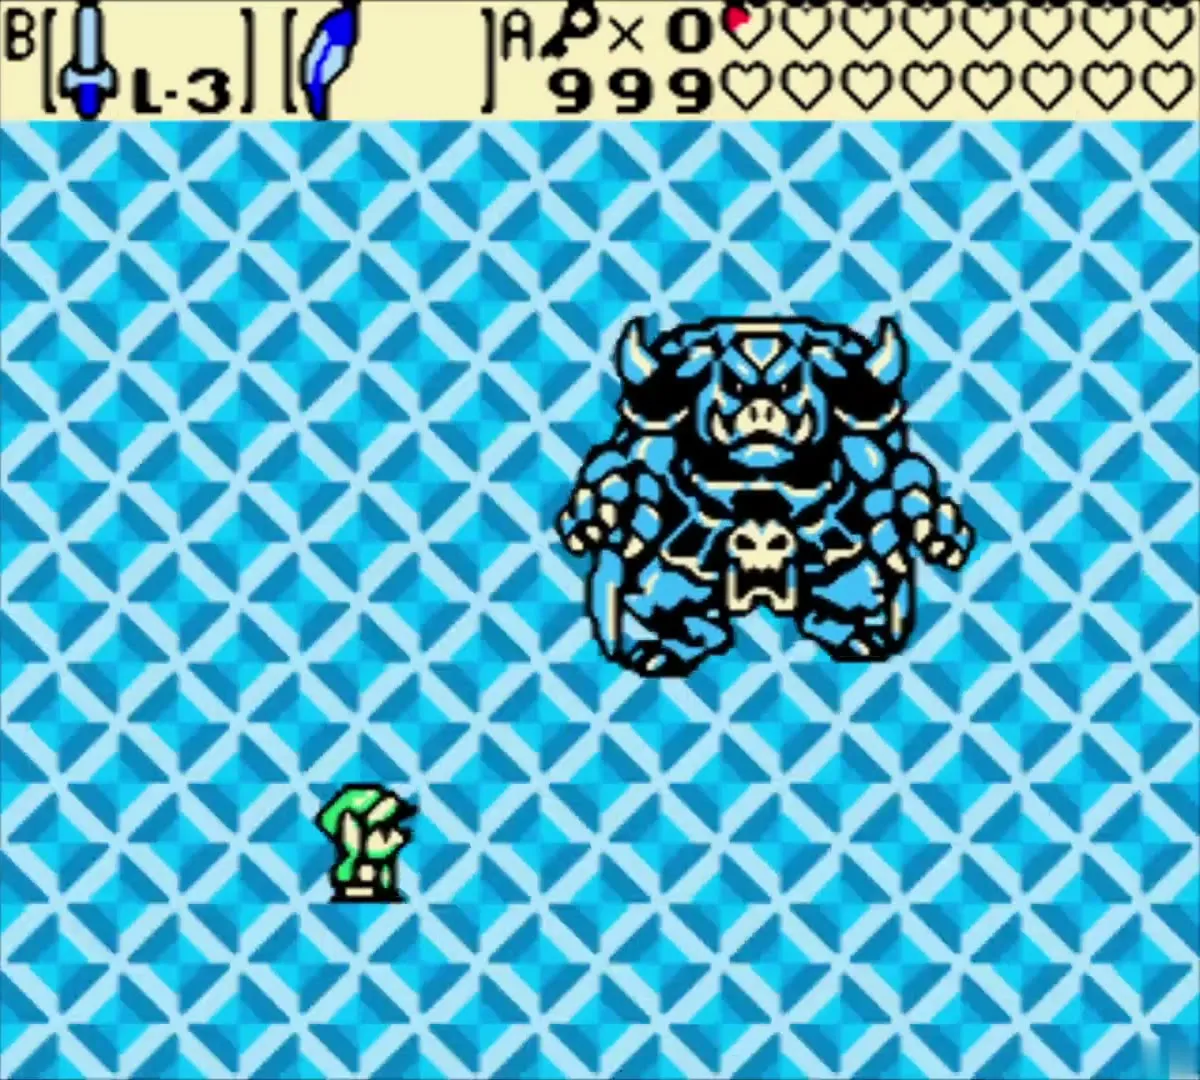
After many hits, Ganon bursts apart in a red explosion, and a white flash ends the fight. The Linked Game ends here, so the rest of the chapter is the aftermath.
The ending and the Hero’s Secret
Zelda on the altar
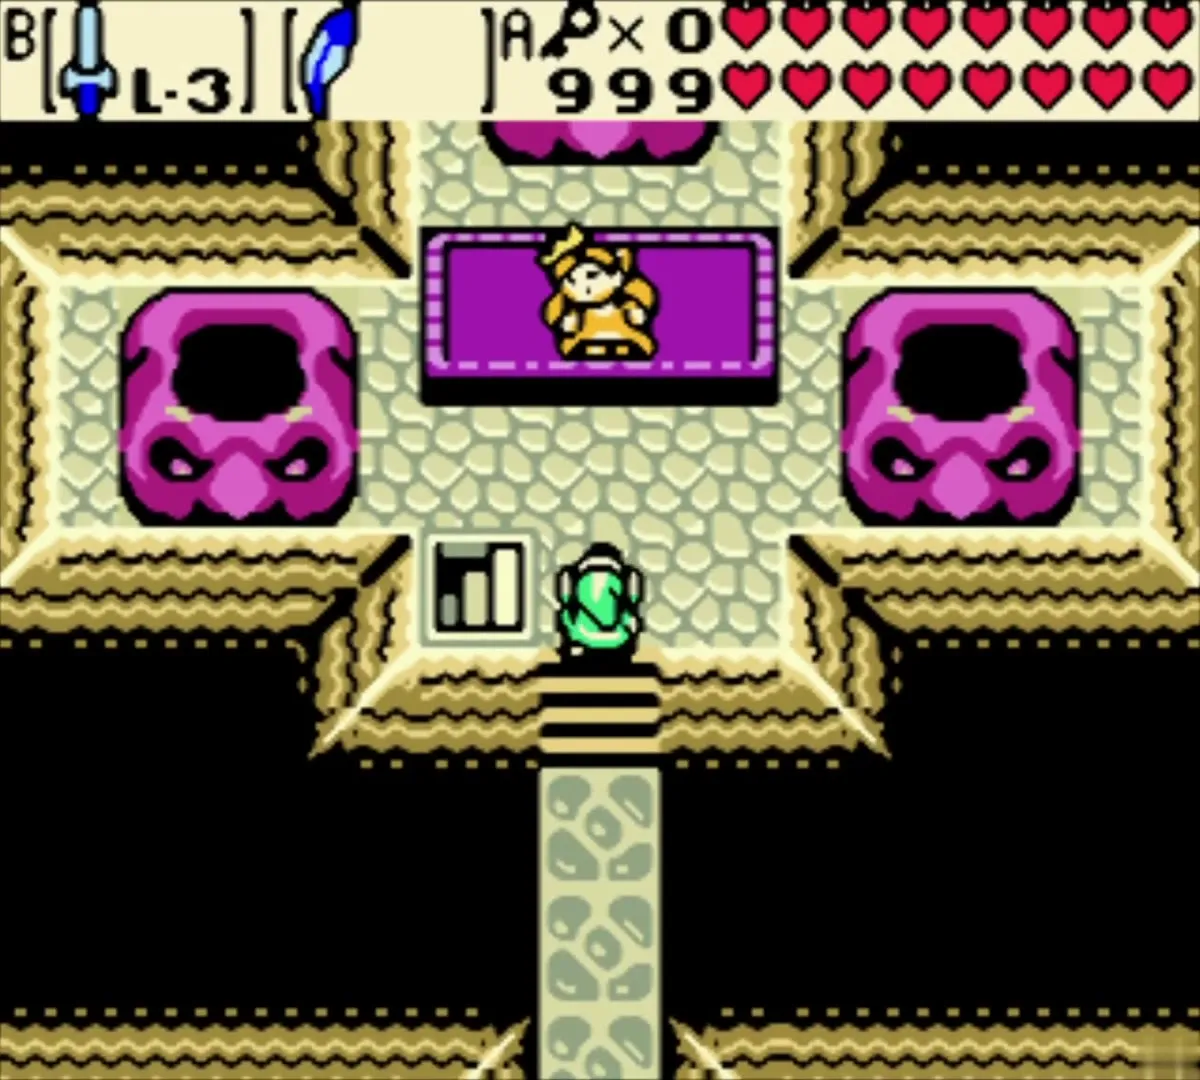
Zelda is on the purple platform in the altar room, with three empty pink altars around her. Walk up to her and talk. She explains that the rites were stopped and that the Ganon who returned was only a mindless, raging beast. Her thanks finish the scene.

The Maku Tree grove
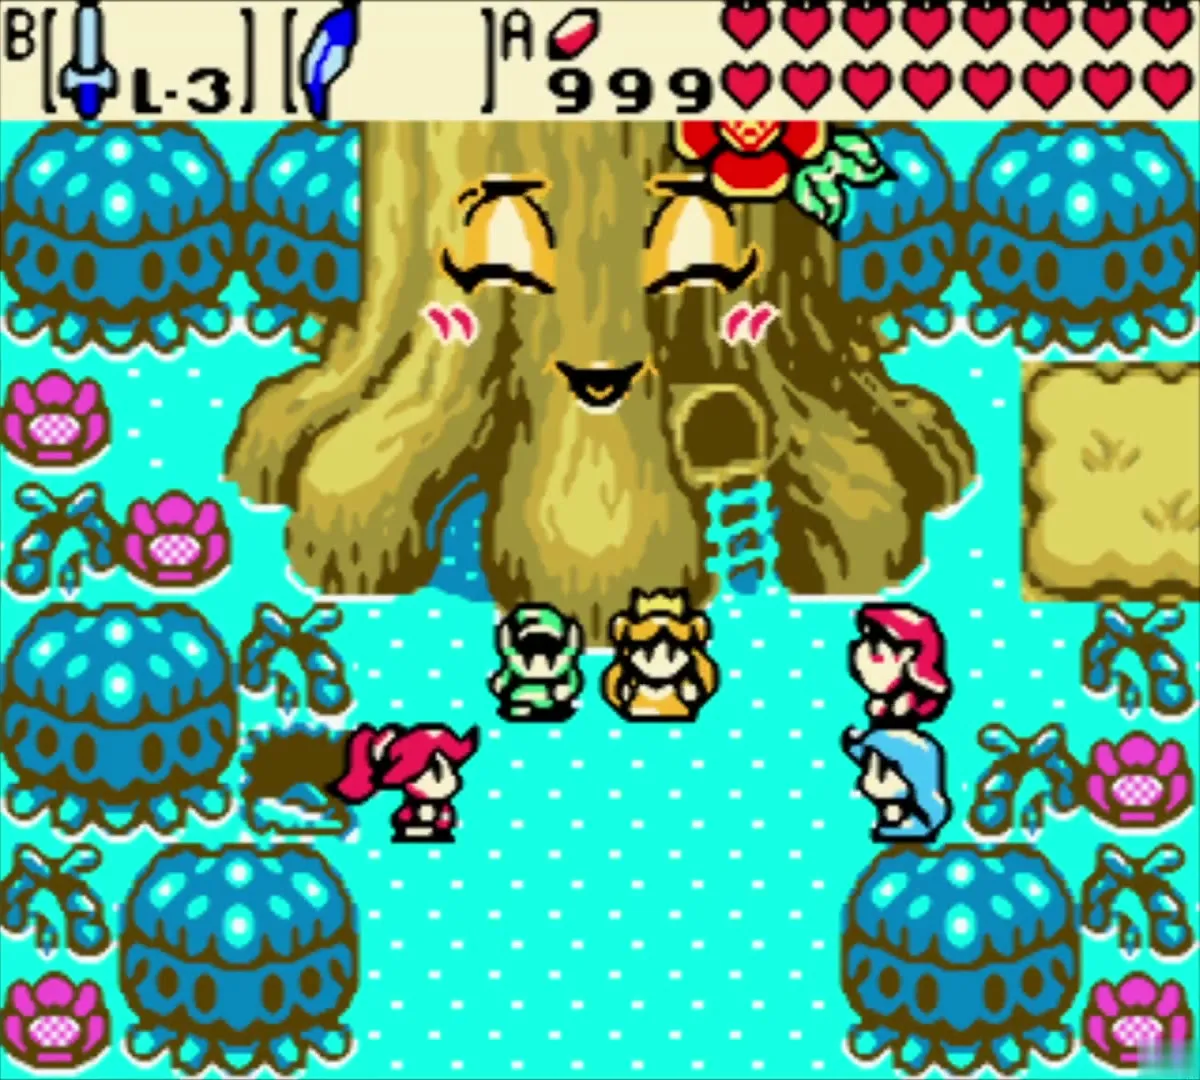
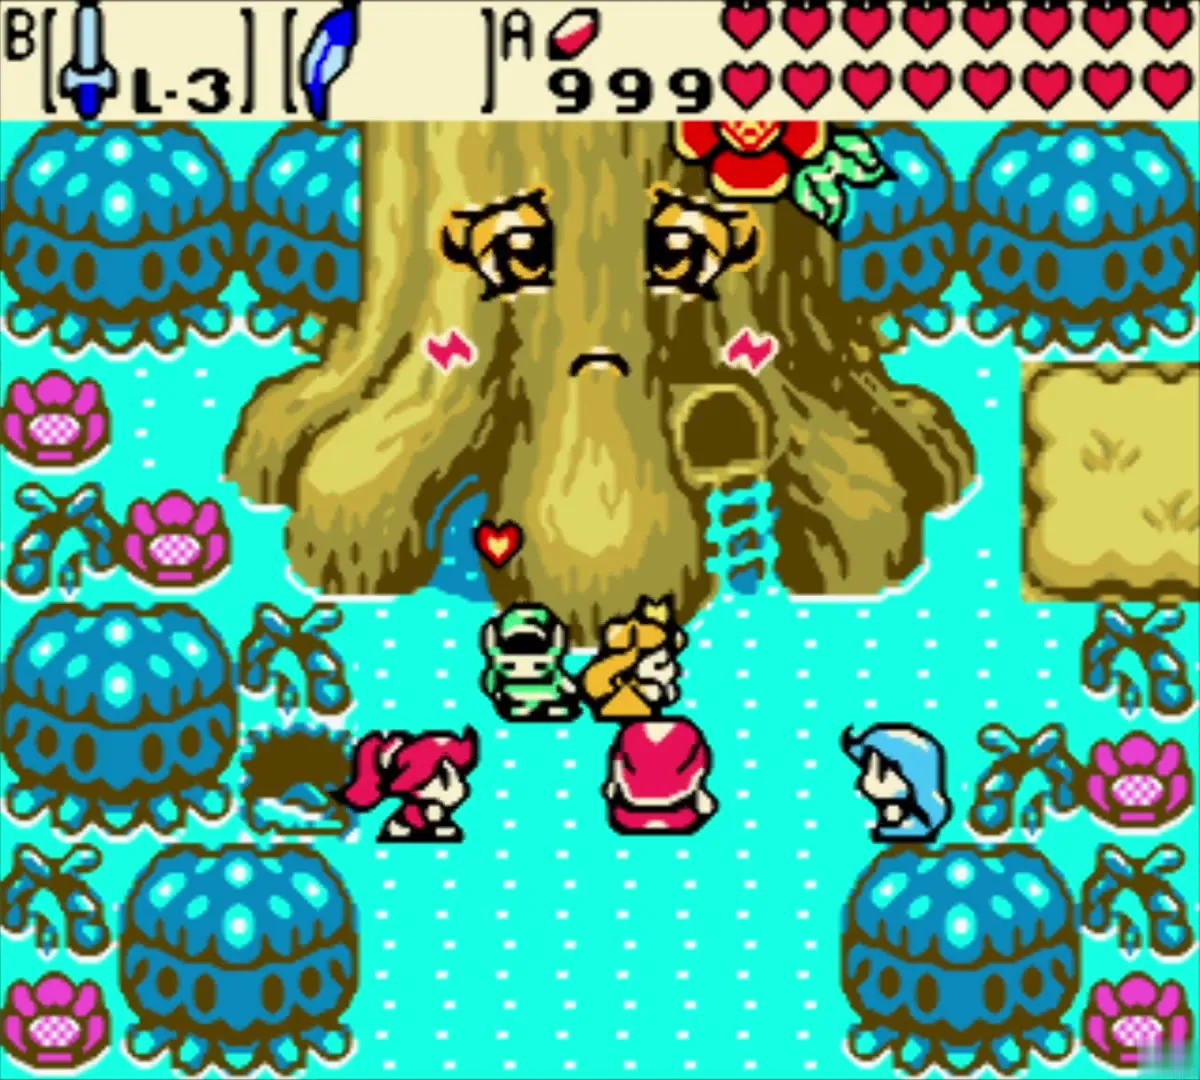
After the flash, you are in the Maku Tree’s grove beside the blue pond. The Maku Tree and the characters you met across Labrynna gather to thank you. They speak of the Essences of Nature and Time, and of the Triforce that has changed you into a hero. Stand where they can see you and let the scene run to its end.

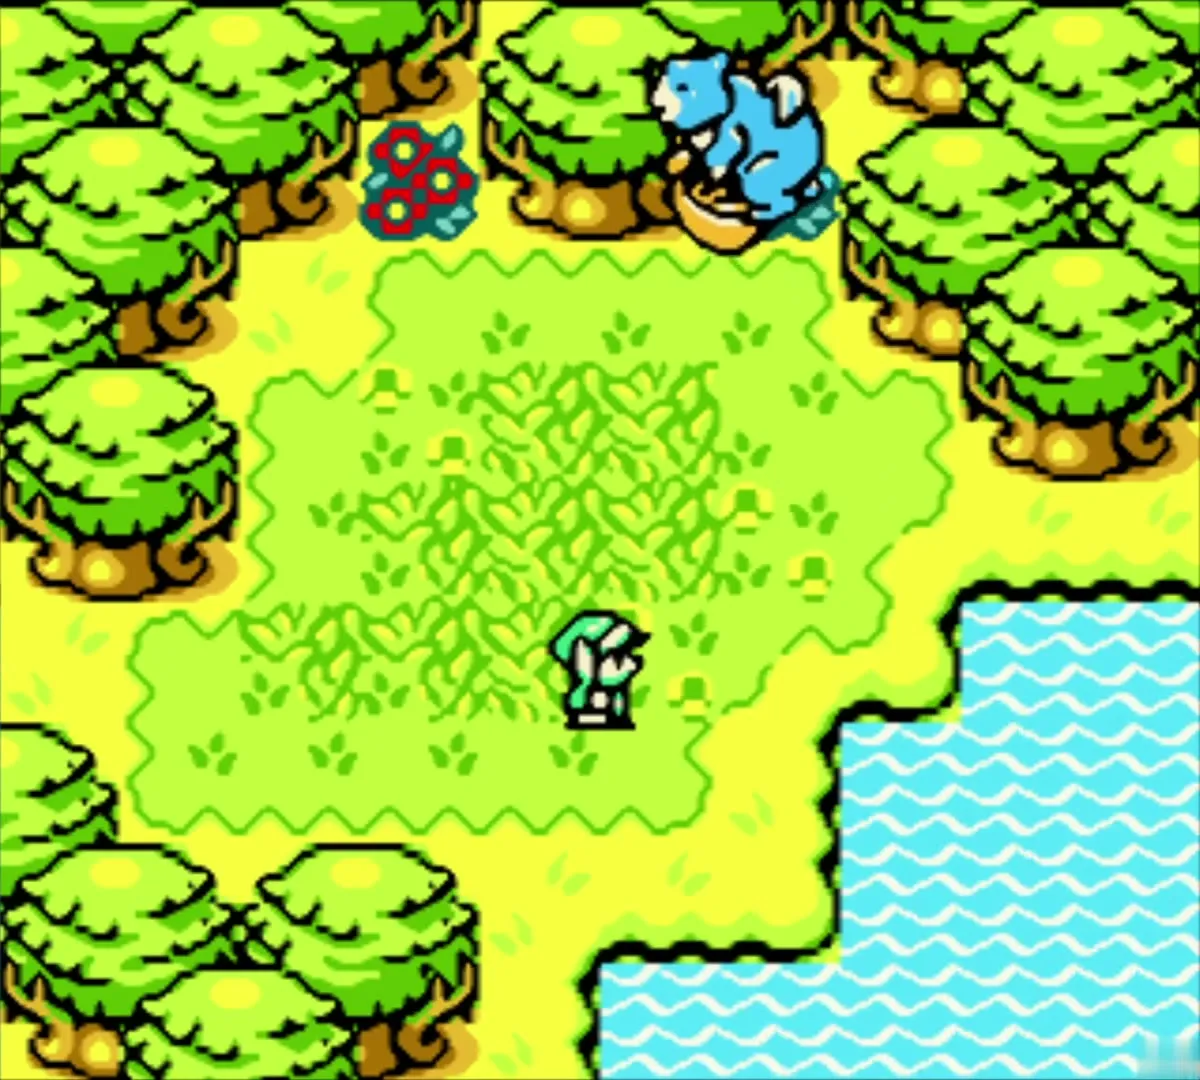
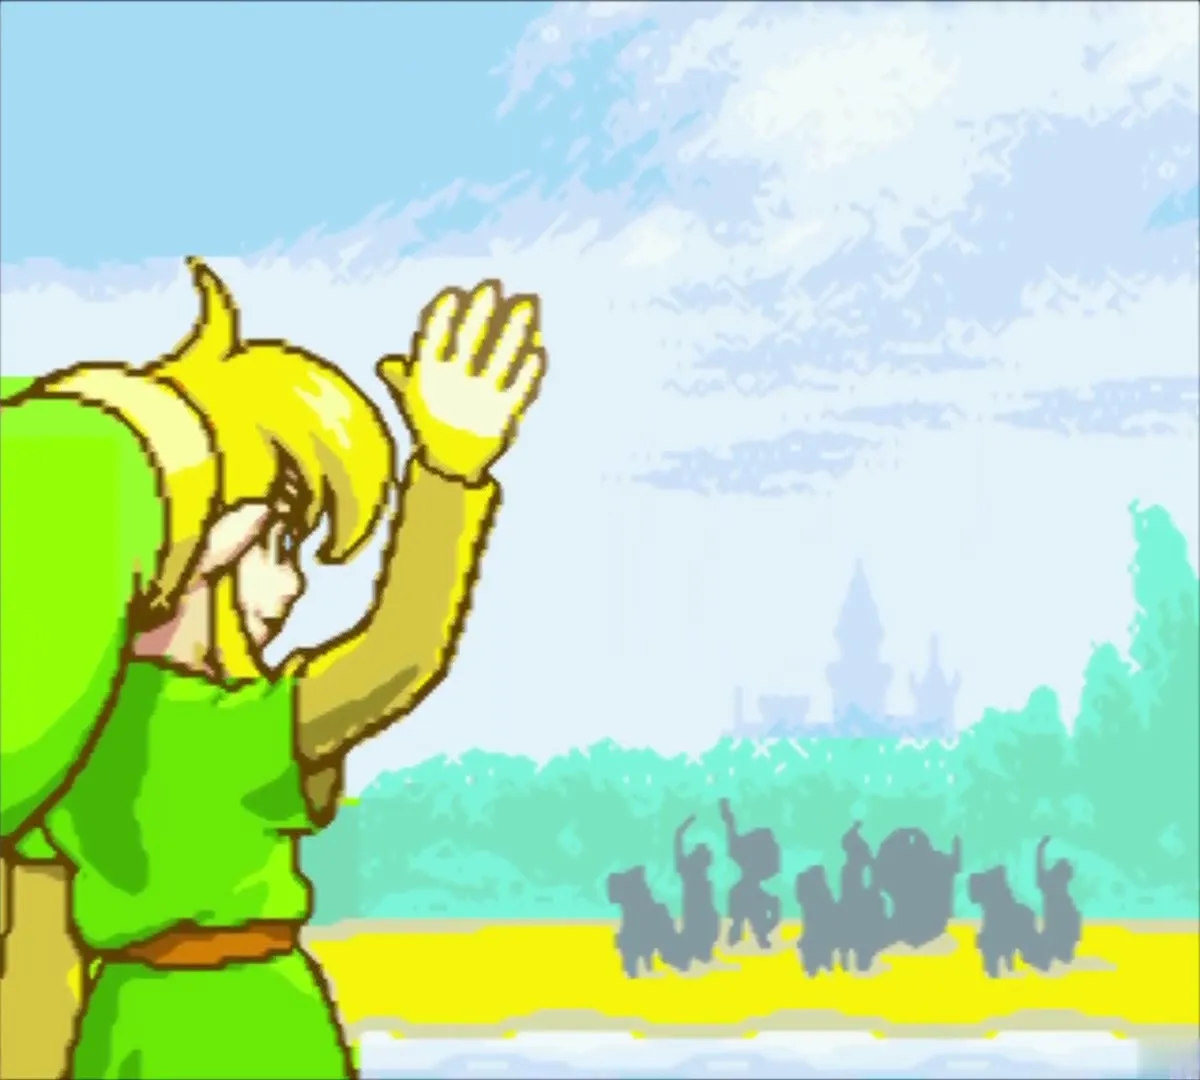
The credits follow the grove scene. They run over group artwork, the Lynna meadow and a title card, then the staff credits. You do not need to press anything. The credits end at sea: Link waves from the pier while a ship sails toward a sunset, and the words “The End” appear.


When the credits finish, the game shows a Hero’s Secret. This is the password that starts a Hero’s Game later, which lets you play the original storyline without the Linked Game‘s changes. Write it down exactly as it appears, because the code is generated for your save file and differs from one run to the next. Keep it safe, and do not share it.


Defeating the final boss earns the Victory Ring. It is the last ring you can get in this game, and it is worth checking your ring list once the credits are over. See Magic Rings for its effect.
Chapter checklist
| Type | Name | Where |
|---|---|---|
| Boss | Twinrova (Koume and Kotake) | Room of Rites altar room, present |
| Boss | Ganon | Room of Rites final rooms, present |
| Ring | Victory Ring | Reward for beating the final boss, present |
| Secret | Hero’s Secret | After the credits, present (write it down exactly) |
| Ring | Snowshoe Ring (number 34) | Equip for the ice phase, if you already have it |
