





















Oracle of Ages 100% Completion Walkthrough24 chapters
- Arrival in Labrynna and the Black TowerStart Oracle of Ages in a linked game: Forest of Time, Vasu’s Ring Box, the Maku Tree, the time portal, the Black.
- Maku Path and Spirit’s Grave (Level 1)Maku Path and Spirit’s Grave walkthrough for Oracle of Ages: Seed Satchel, Graveyard Key, Power Bracelet, Pumpkin Head.
- The Harp of Ages and Fairies’ WoodsHarp of Ages and Fairies’ Woods walkthrough for Oracle of Ages: Poe Clock, Heart Piece, Vasu’s rings, hide-and-seek.
- Deku Forest and the Mystery SeedsDeku Forest walkthrough for Oracle of Ages: Mystery Seeds, Queen Ambi’s Bombs, a Heart Piece, the Deku Secret and the.
- Wing Dungeon (Level 2)Wing Dungeon walkthrough for Oracle of Ages: all five Small Keys, Dungeon Map, Compass, Swoop, Roc’s Feather, Boss.
- Farore’s Secrets and Cheval’s GraveFarore’s secrets and Cheval’s Grave walkthrough for Oracle of Ages: West Lynna Heart Piece, Hall of Secrets codes, Red.
- Tingle’s Chart and Crescent IslandTingle’s Chart and Crescent Island walkthrough for Oracle of Ages: Ricky’s Gloves, Island Chart, Rafton’s raft, the.
- Moonlit Grotto (Level 3)Moonlit Grotto walkthrough for Oracle of Ages: all Small Keys, Compass, Seed Shooter, Gasha Seeds, Subterror, Boss.
- Nuun Highlands and the Strange FlutesOracle of Ages Nuun Highlands walkthrough: Dimitri’s Flute, Tingle’s 99-seed Satchel, the Black Tower rescue, the.
- Symmetry City and Talus PeaksOracle of Ages Symmetry City and Talus Peaks walkthrough: Cracked Tuni Nut, Patch’s ceremony, Tune of Currents, Heart.
- Skull Dungeon (Level 4)Skull Dungeon walkthrough for Oracle of Ages: Compass, Dungeon Map, 5 Small Keys, Armos Warrior, Switch Hook, Boss.
- Lynna Trades and the Noble SwordOracle of Ages trading sequence walkthrough, Funny Joke to Noble Sword: Touching Book, Maple’s Magic Oar, Sea Ukulele.
- West Rolling Ridge and the Great MoblinWest Rolling Ridge walkthrough for Oracle of Ages: Lynna secret shop, Pegasus Seeds, Moblin’s Keep, Great Moblin, Bomb.
- Crown Dungeon (Level 5)Crown Dungeon (Level 5) walkthrough for Oracle of Ages: Small Keys, Cane of Somaria, Smasher, Compass, Boss Key, Smog.
- East Rolling Ridge and the Mermaid KeysEast Rolling Ridge walkthrough for Oracle of Ages: Goron Dance, Brother Emblem, Target Carts, Rock Brisket, Goron Vase.
- Mermaid’s Cave (Level 6) Walkthrough for Oracle of AgesMermaid’s Cave walkthrough for Oracle of Ages: get the Old Mermaid Key, clear both halves, collect the Mermaid Suit.
- Ambi’s Palace and the Tune of AgesAmbi’s Palace walkthrough for Oracle of Ages: sneak in, beat Possessed Nayru, learn the Tune of Ages, claim Hall of.
- Zora Seas and the Fairy PowderOracle of Ages Zora Seas walkthrough: the Gasha Seed chest, King Zora’s Library Key, Book of Seals, Fairy Powder and.
- Jabu-Jabu’s Belly (Level 7)Jabu-Jabu’s Belly walkthrough for Oracle of Ages: Like Like Ring, Compass, Small Keys, Long Hook, Boss Key, Plasmarine.
- Sea of Storms and the Pirate ShipSea of Storms walkthrough for Oracle of Ages: Zora Scale, pirate ship and Tokay Eyeball, clam grotto ring, Tokay.
- Ancient Tomb (Level 8)Ancient Tomb (Level 8) walkthrough for Oracle of Ages: three Slates, the Boss Key, two Gasha Seeds, Ramrock boss.
- Final Collection and the Hero’s CaveOracle of Ages final collection walkthrough: Maple Piece of Heart, Gasha Nut rings and fairies, Hero’s Cave Armor Ring.
- The Black Tower and VeranFinal ring appraisals, the Huge Maku Seed, the Black Tower climb and the three-phase Veran boss fight in Oracle of.
- Room of Rites, Twinrova and GanonOracle of Ages Room of Rites walkthrough: the eye-statue hallway, Twinrova’s fire and ice phases, the Ganon boss.
| Covers | Skull Dungeon beneath the volcano of Symmetry City, in the present, from the entrance to the Essence of Time |
|---|---|
| Dungeon | Skull Dungeon (Level 4): Switch Hook, mini-boss Armos Warrior, boss Eyesoar, Essence of Time: Burning Flame |
| Rewards | Compass, Dungeon Map, 5 Small Keys, Switch Hook, Boss Key, Heart Container, Burning Flame. No Heart Pieces, rings, Gasha Seeds or soft soil in this chapter |
The Skull Dungeon is the fourth dungeon, hidden under the volcano above Symmetry City. It is a maze of lava floors, minecart tracks and colored floor tiles, and its treasure is the Switch Hook, which swaps you with a stone diamond or a pot. You take the Compass, the Dungeon Map and five Small Keys, beat the Armos Warrior, find the Switch Hook, win the Boss Key from a pot puzzle and defeat Eyesoar to collect the Burning Flame.
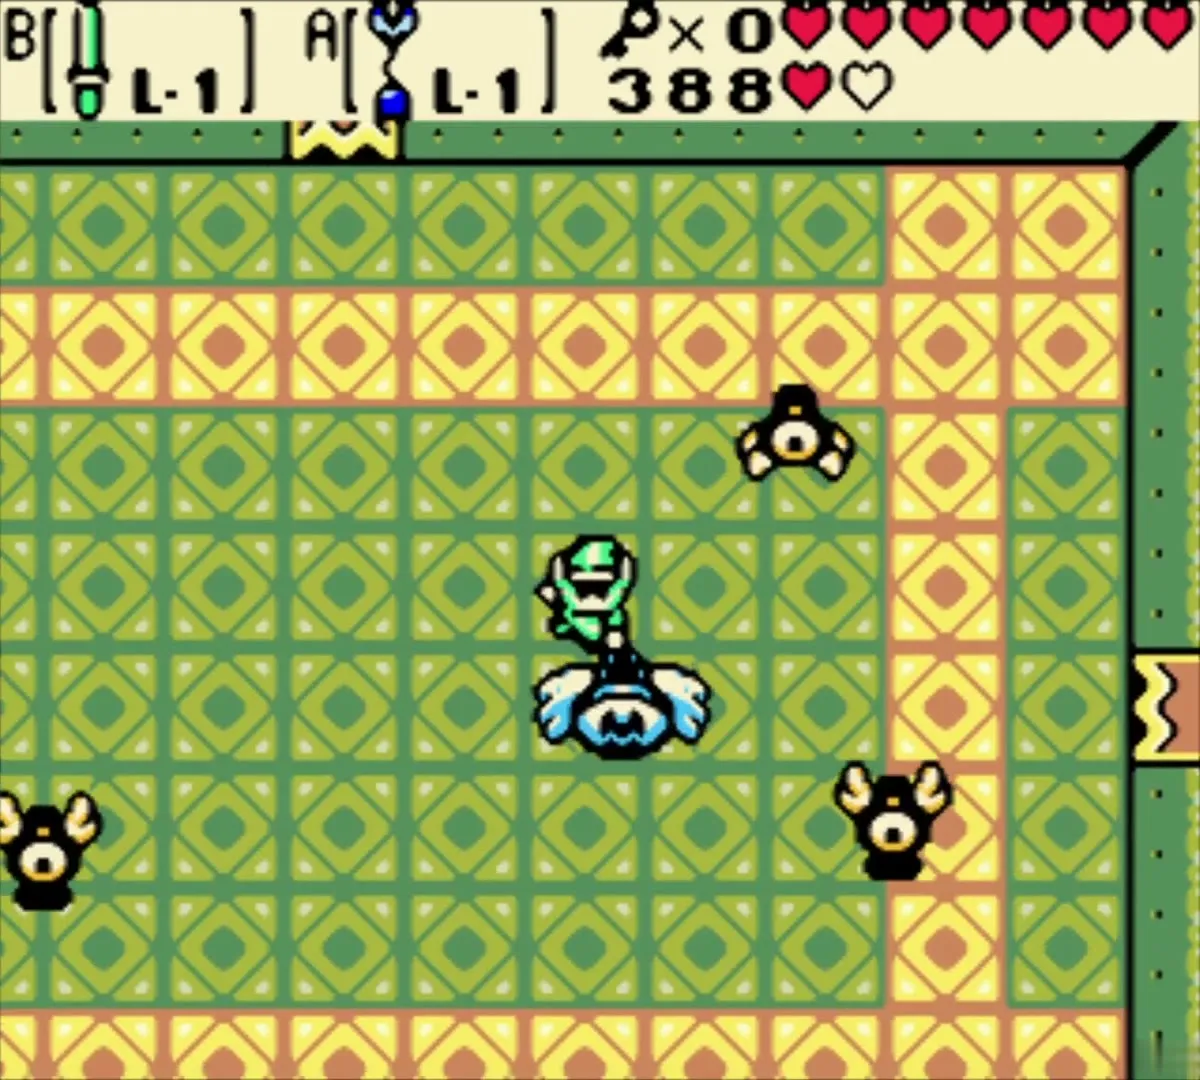


Recap: entrance, Compass and first Small Key
Enter the dungeon
The entrance is the cave behind the waterfall at the pond in Symmetry City, and the walk into the dungeon is covered at the end of the Symmetry City and Talus Peaks chapter. Bring the Seed Shooter, Bombs, Roc’s Feather, the Power Bracelet and a stock of Ember and Scent Seeds, because all of them are used inside.
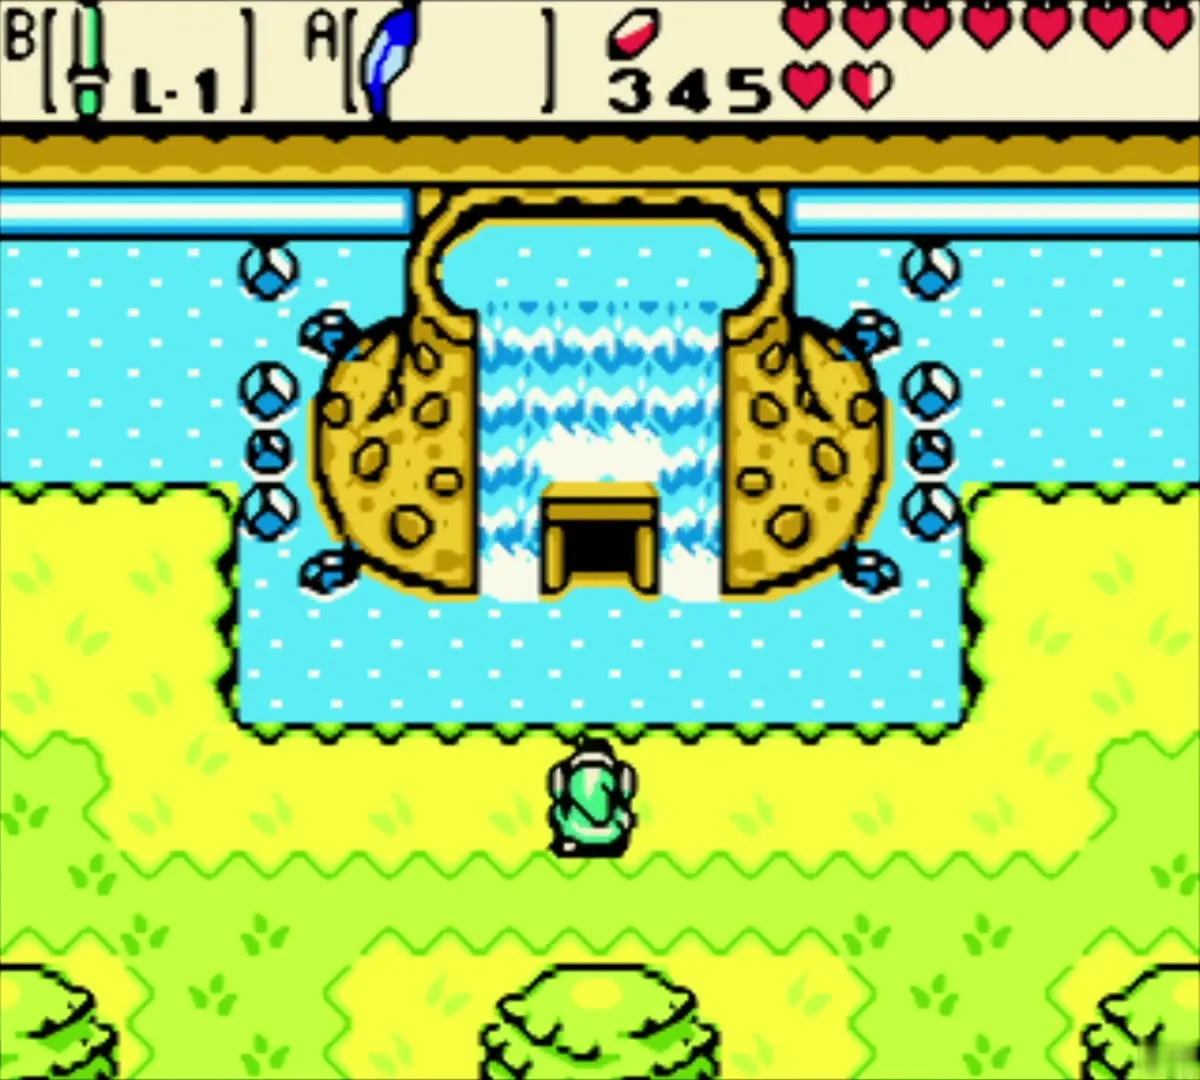
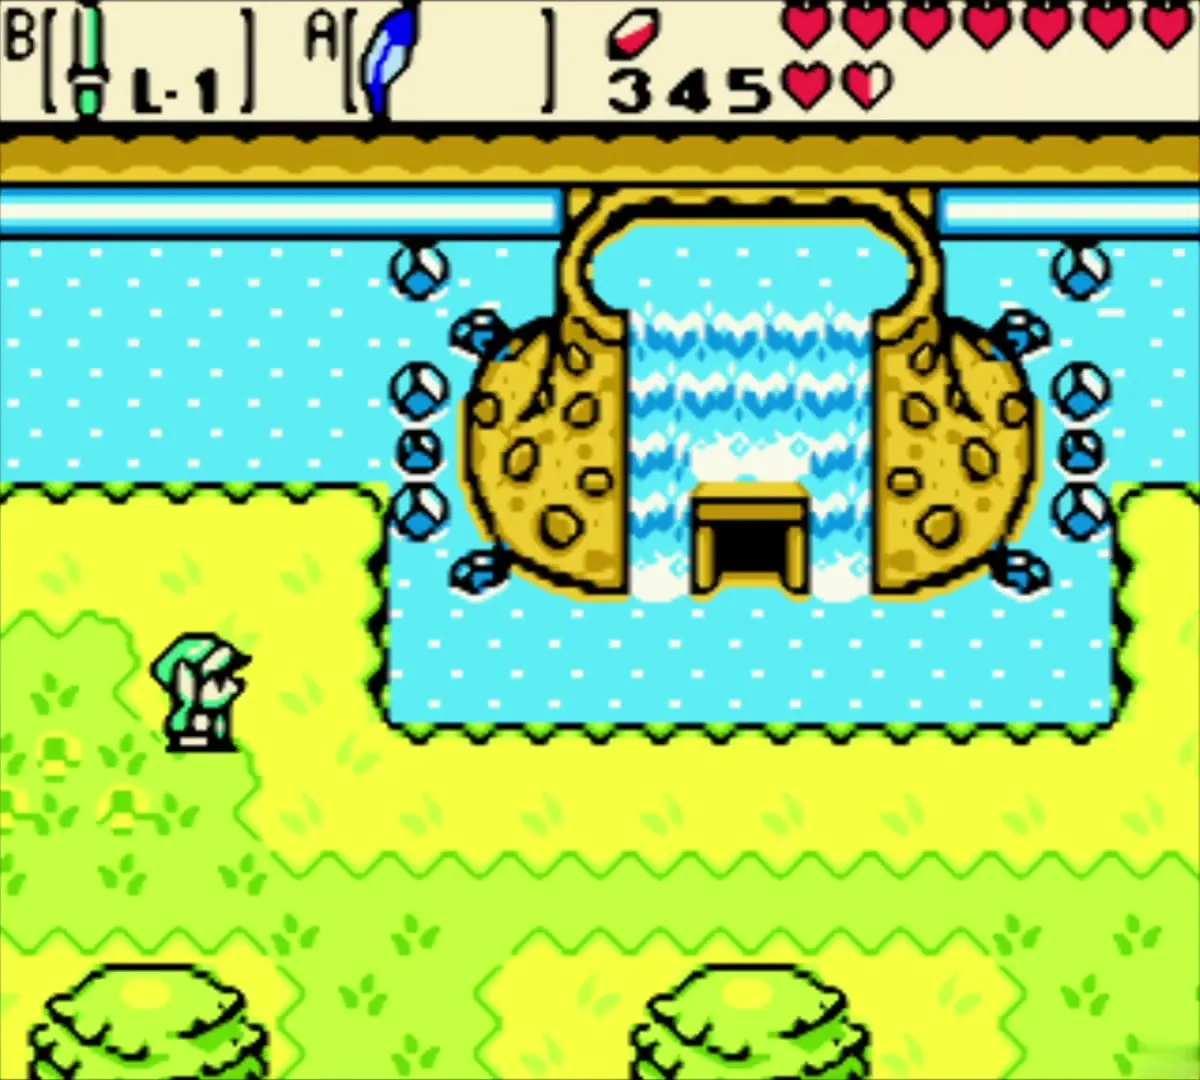

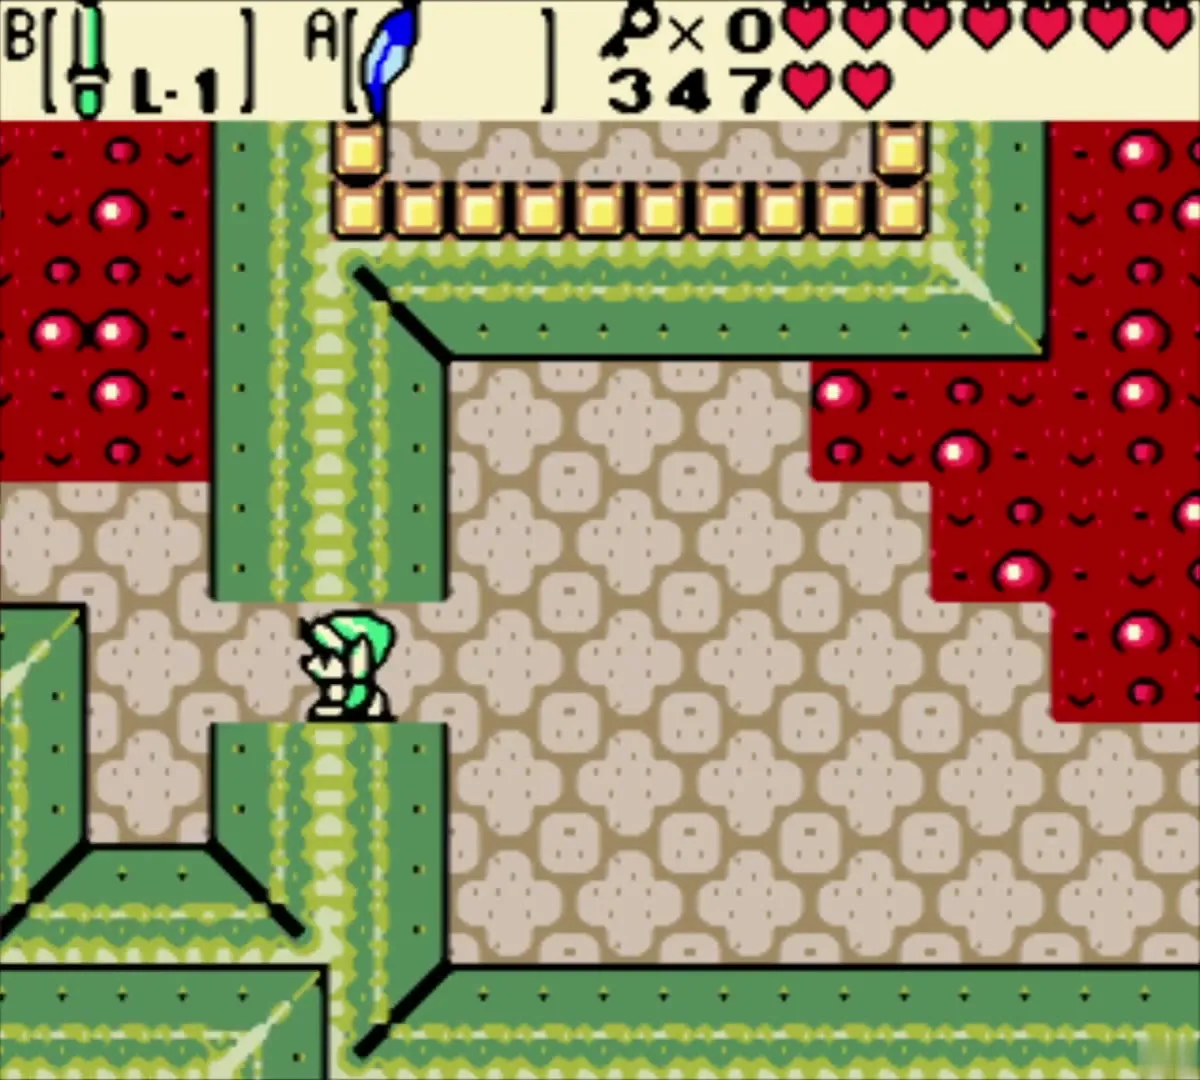
Lava rooms and the Compass
The Compass chest is in the block room past the first lava rooms: push the right-most block down to reach it, as the Symmetry City and Talus Peaks chapter shows.



Block puzzle and Small Key 1
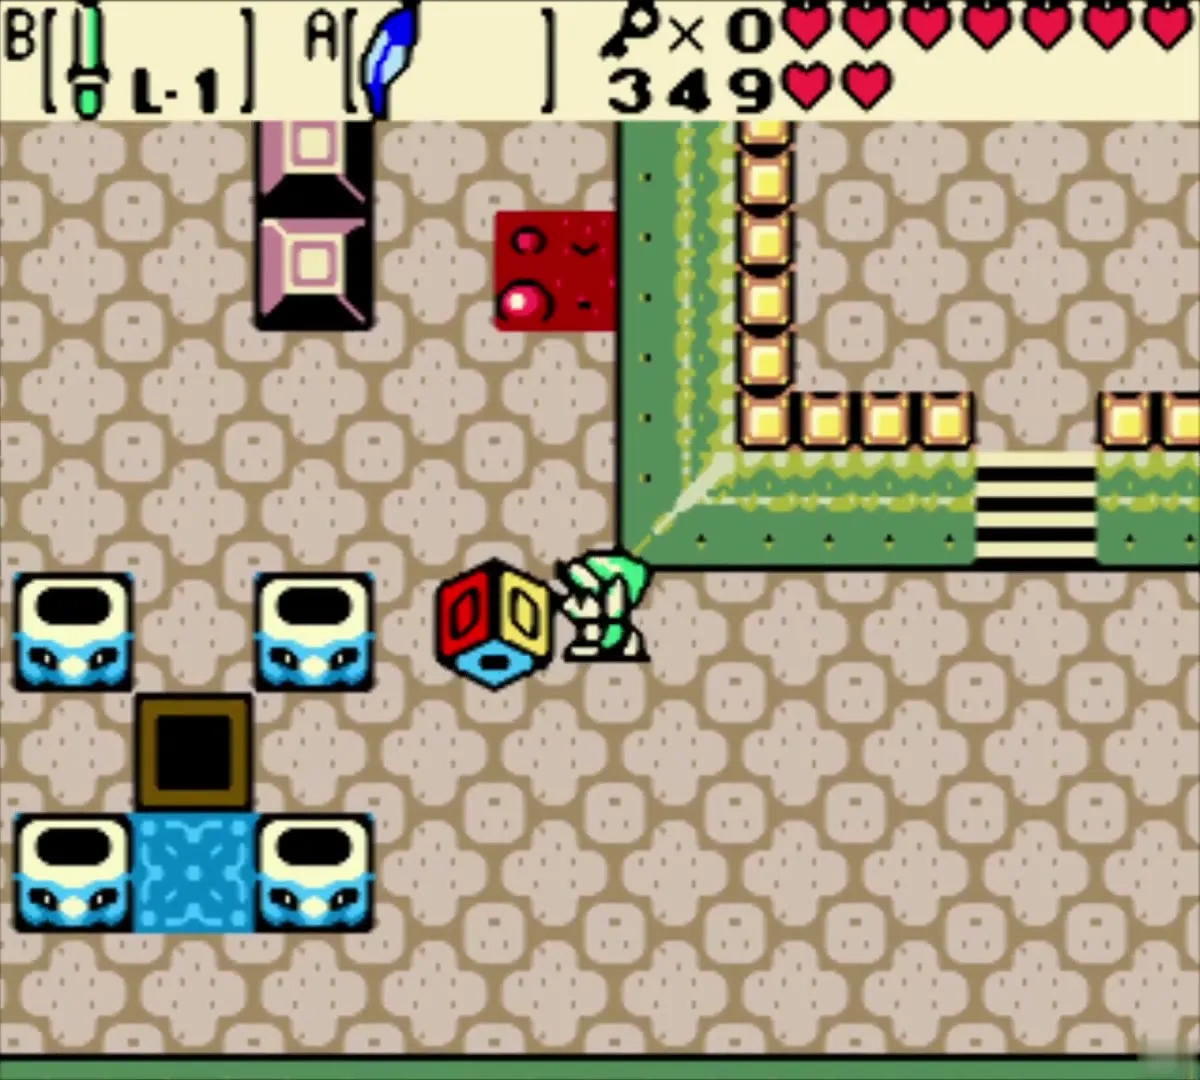
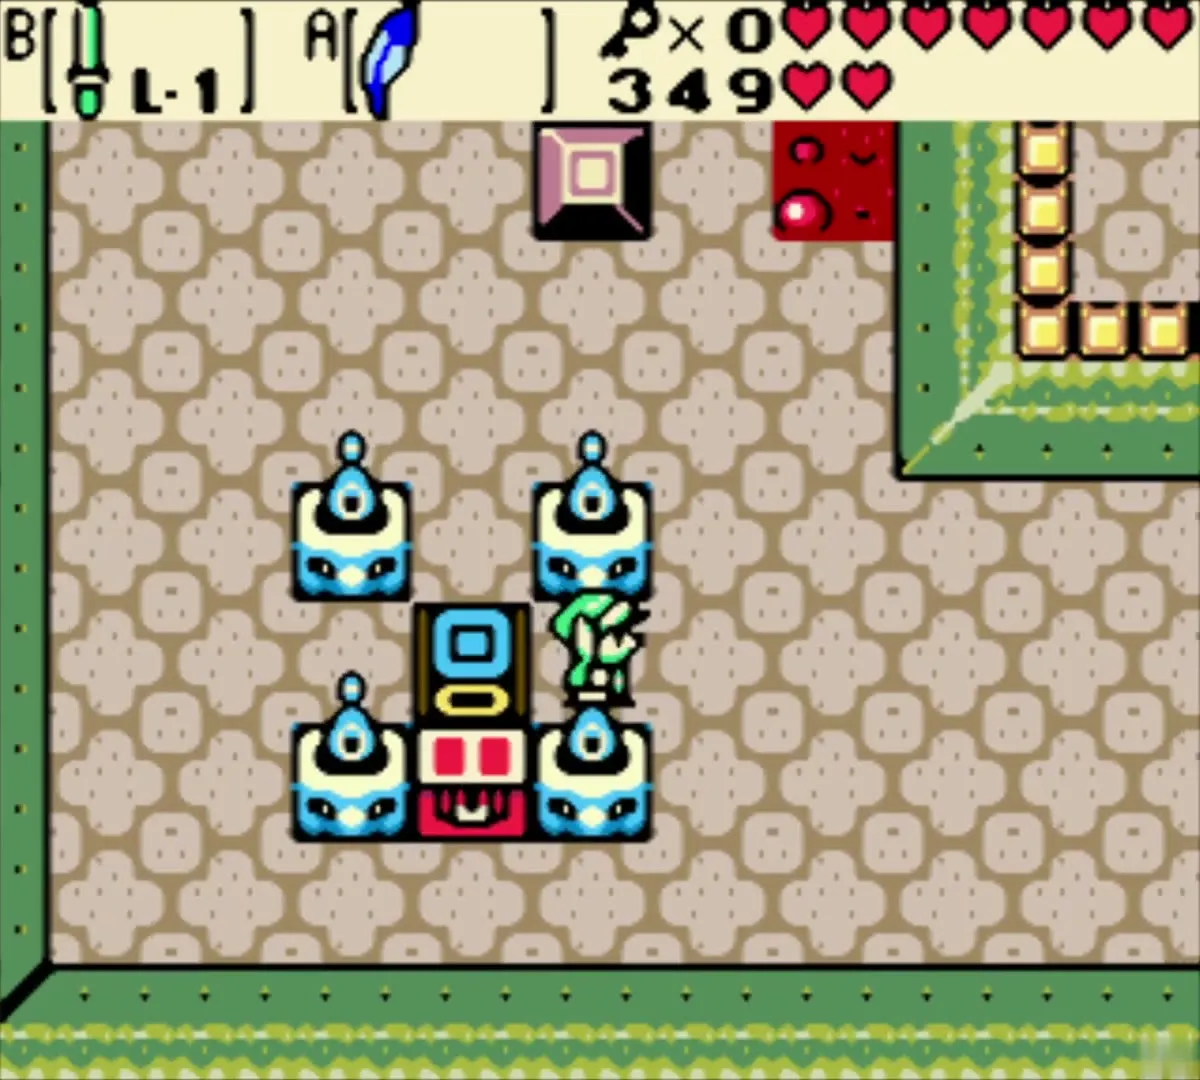
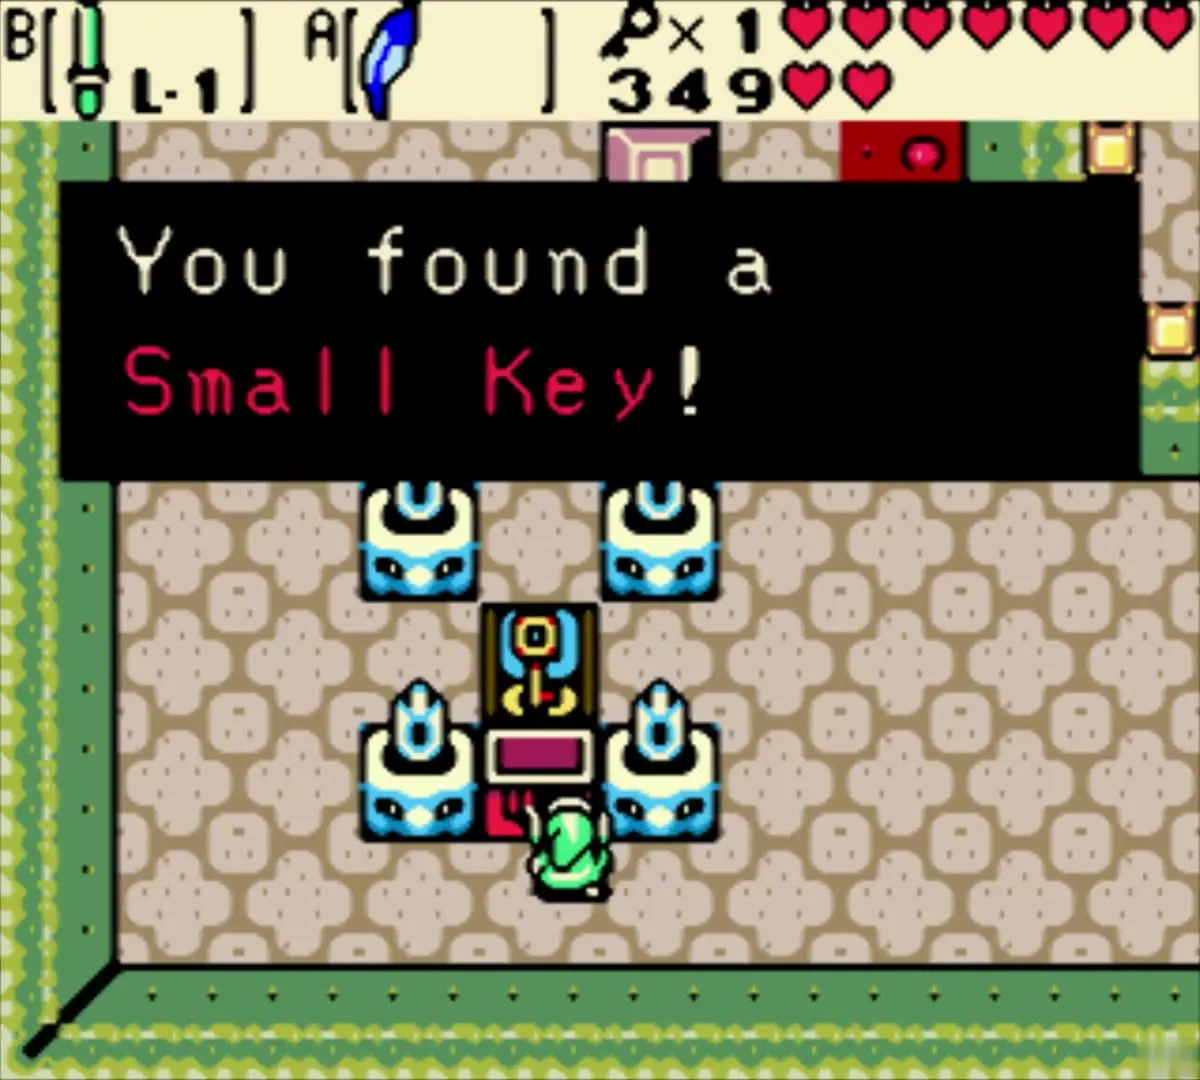
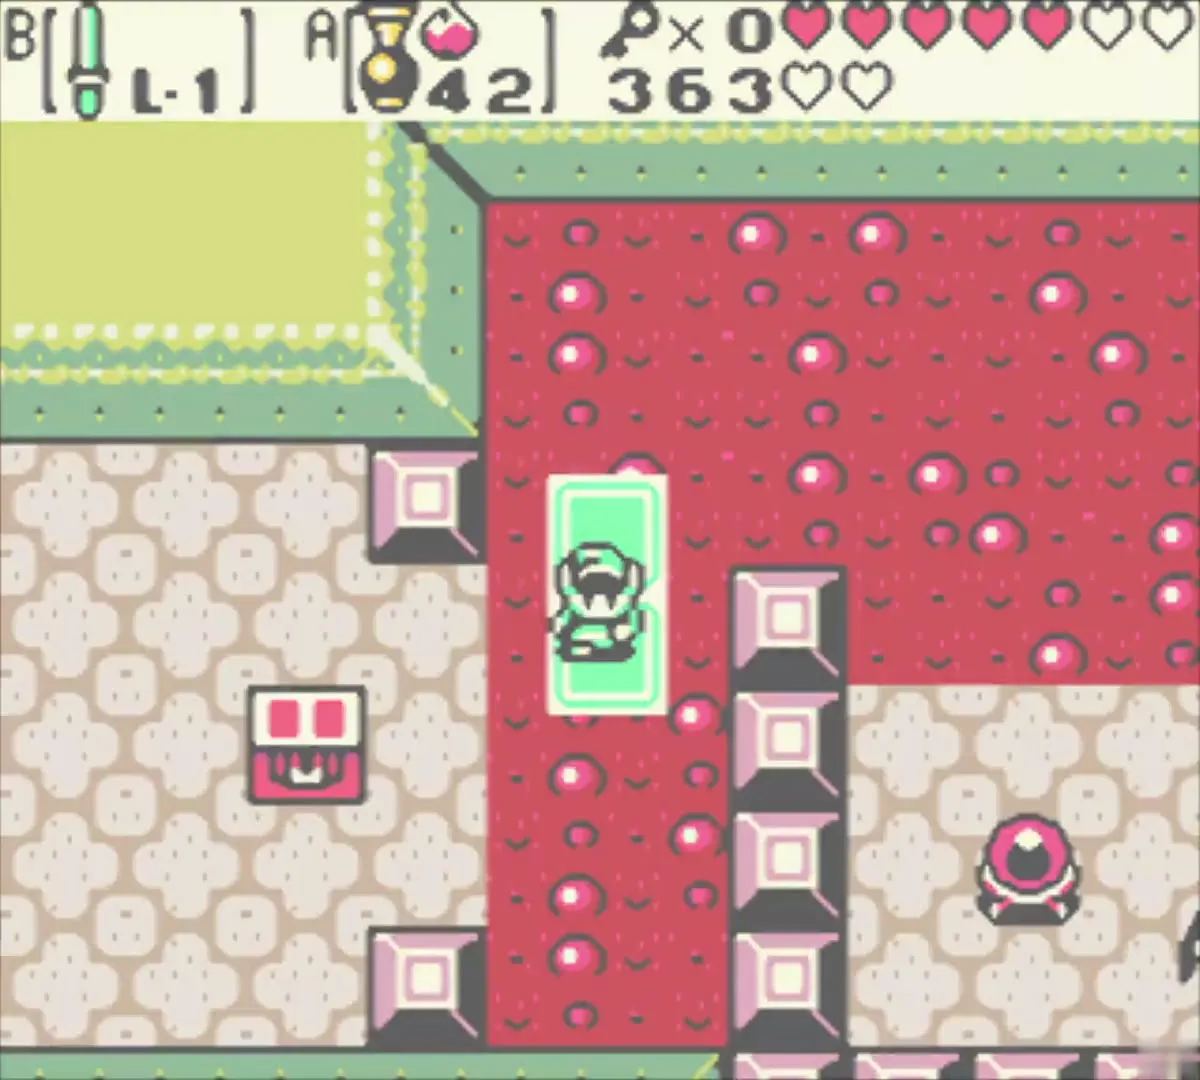
The first Small Key is the reward for the colored-block puzzle in the room after that, so push the block onto its marked square with the blue face up and take the chest that appears.


Dungeon Map, Small Keys 2 to 4 and the minecarts
Dungeon Map
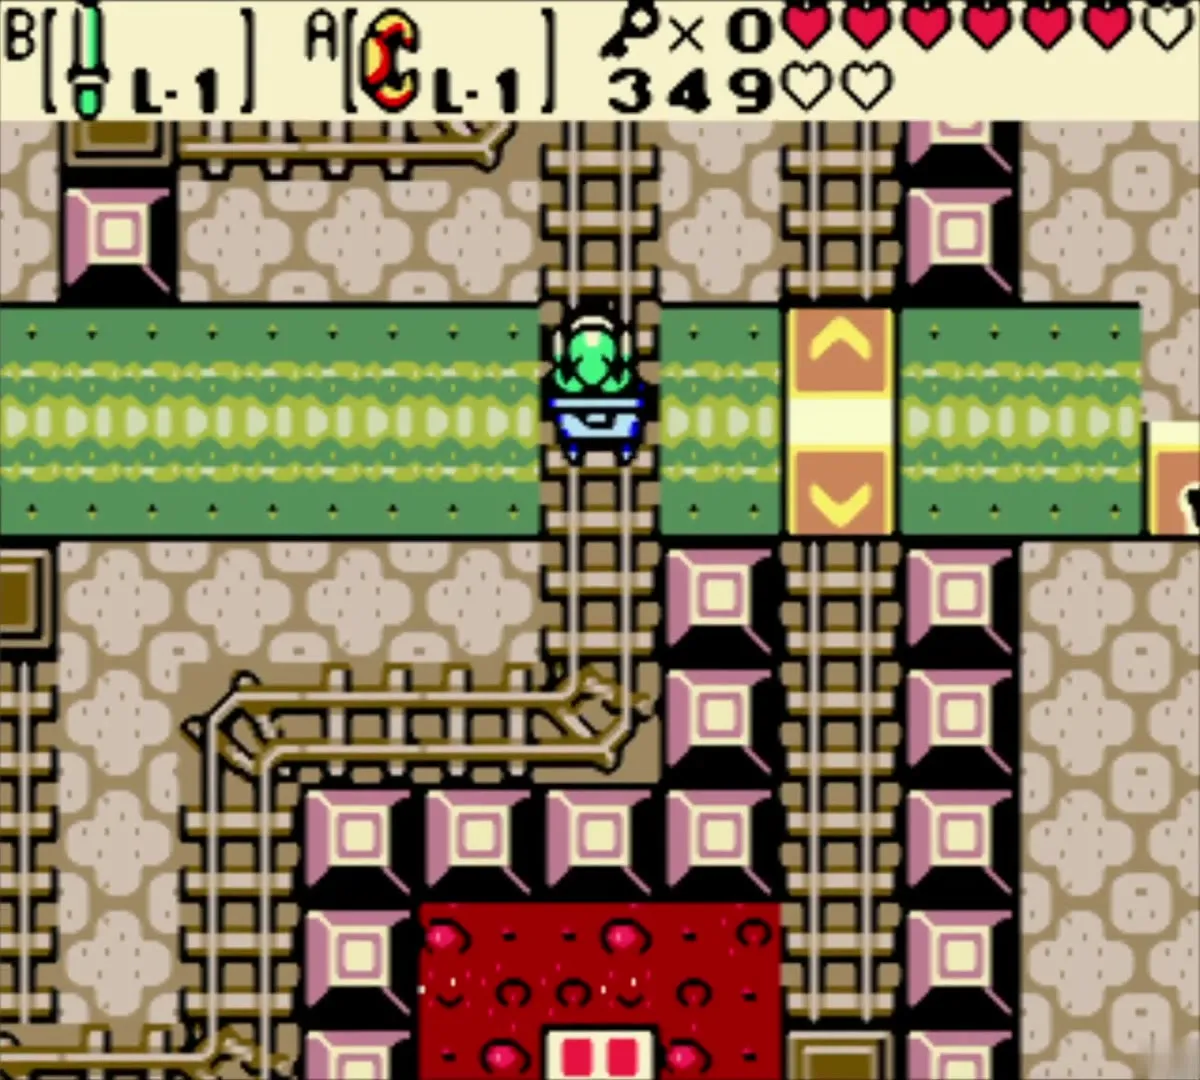
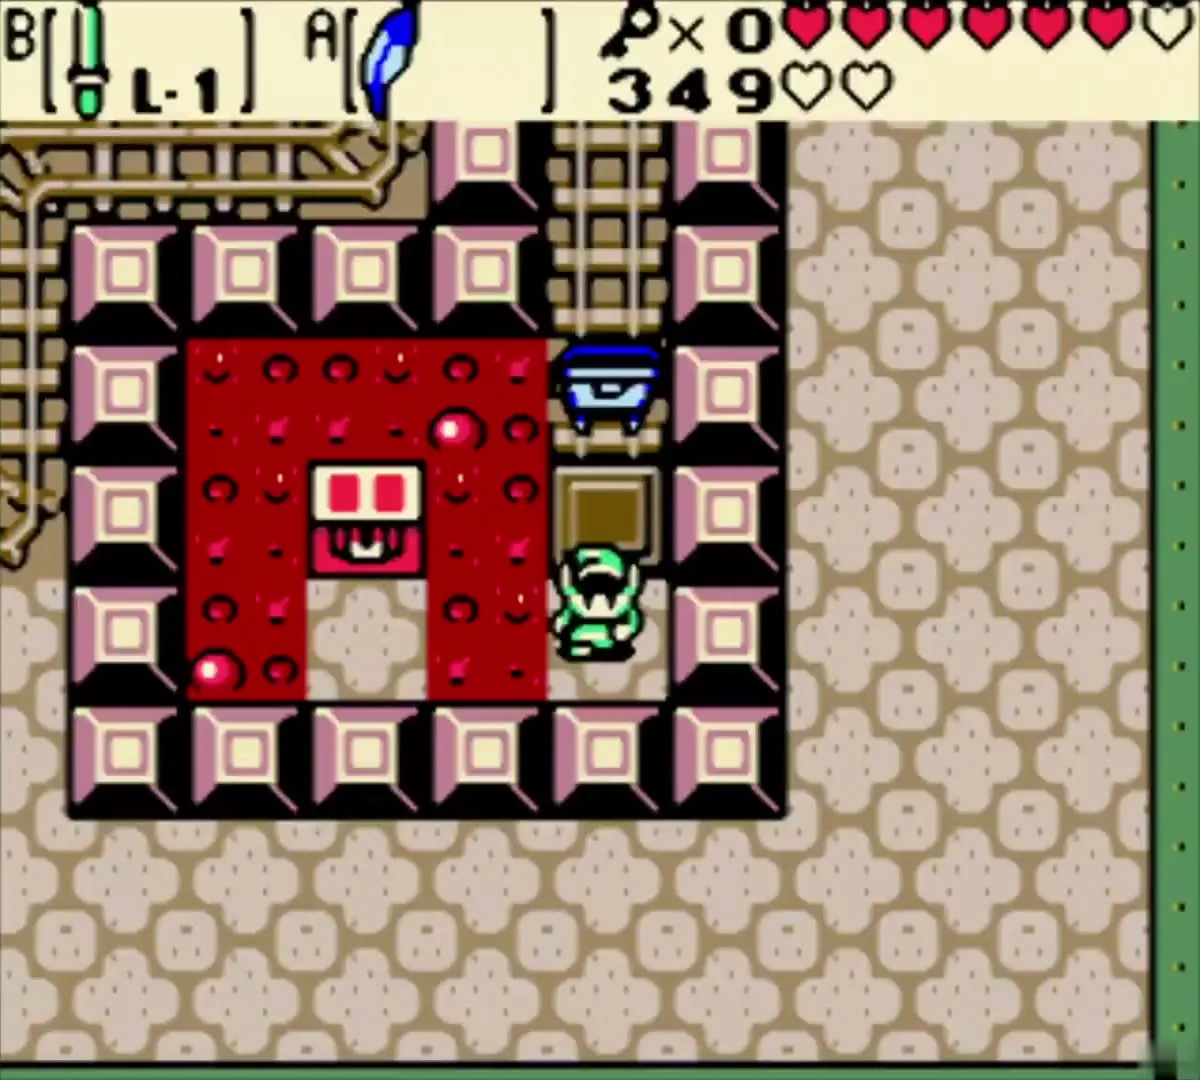
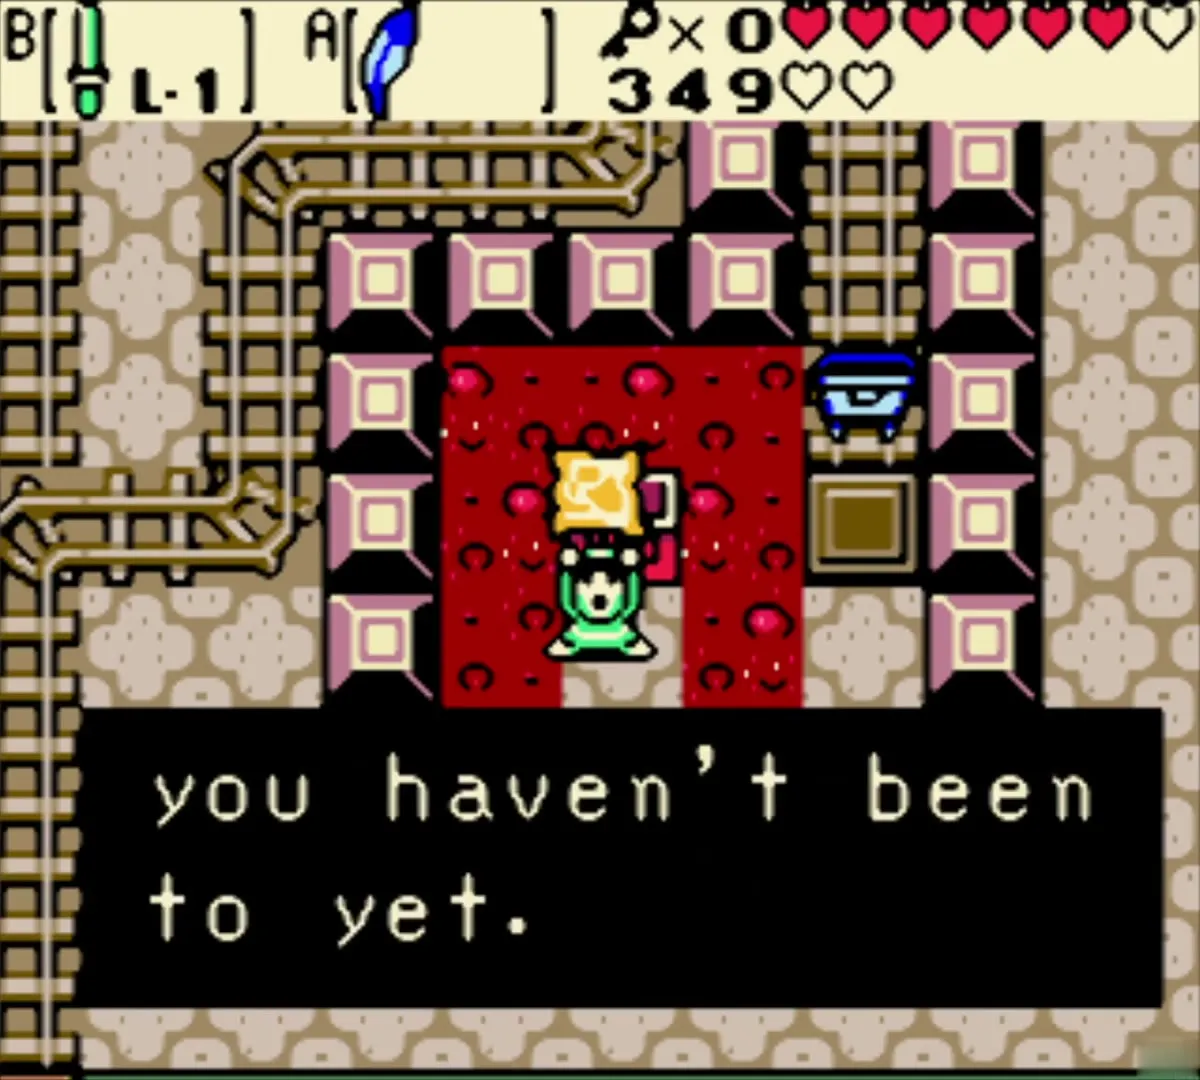
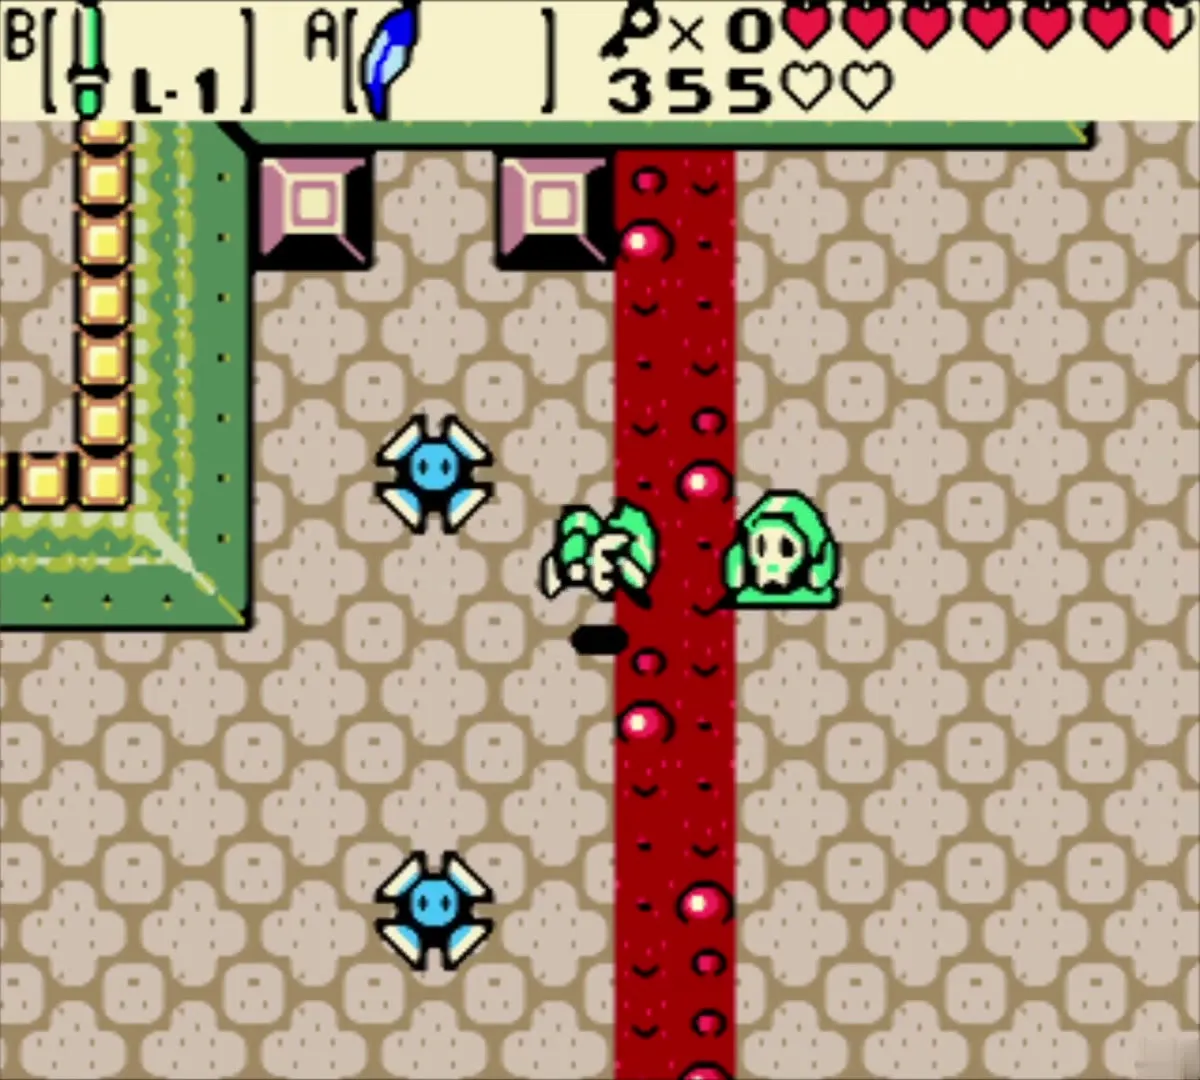
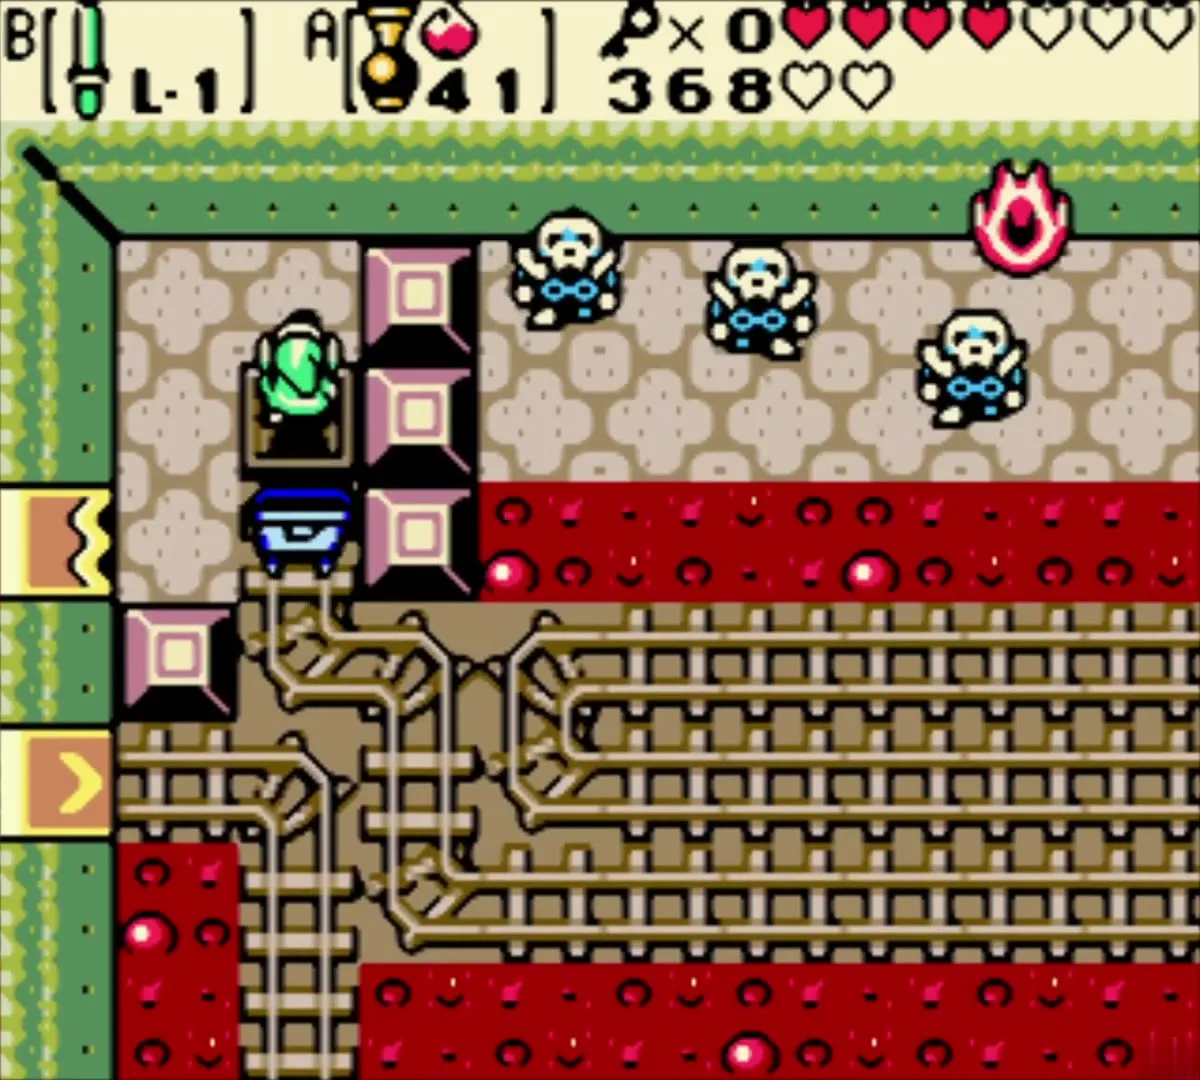
Go back to the first lava room and continue east, jumping across the tiles to the locked door and using Small Key 1 on it. Beyond it is a room with Stalfos, a Spark and a Green Zol, and on its east side the first minecart. Hit the track switch, ride the cart to the small platform with a chest, and open it for the Dungeon Map. Ride back, restore the switch and take the cart toward the south end of the track.


Small Key 2
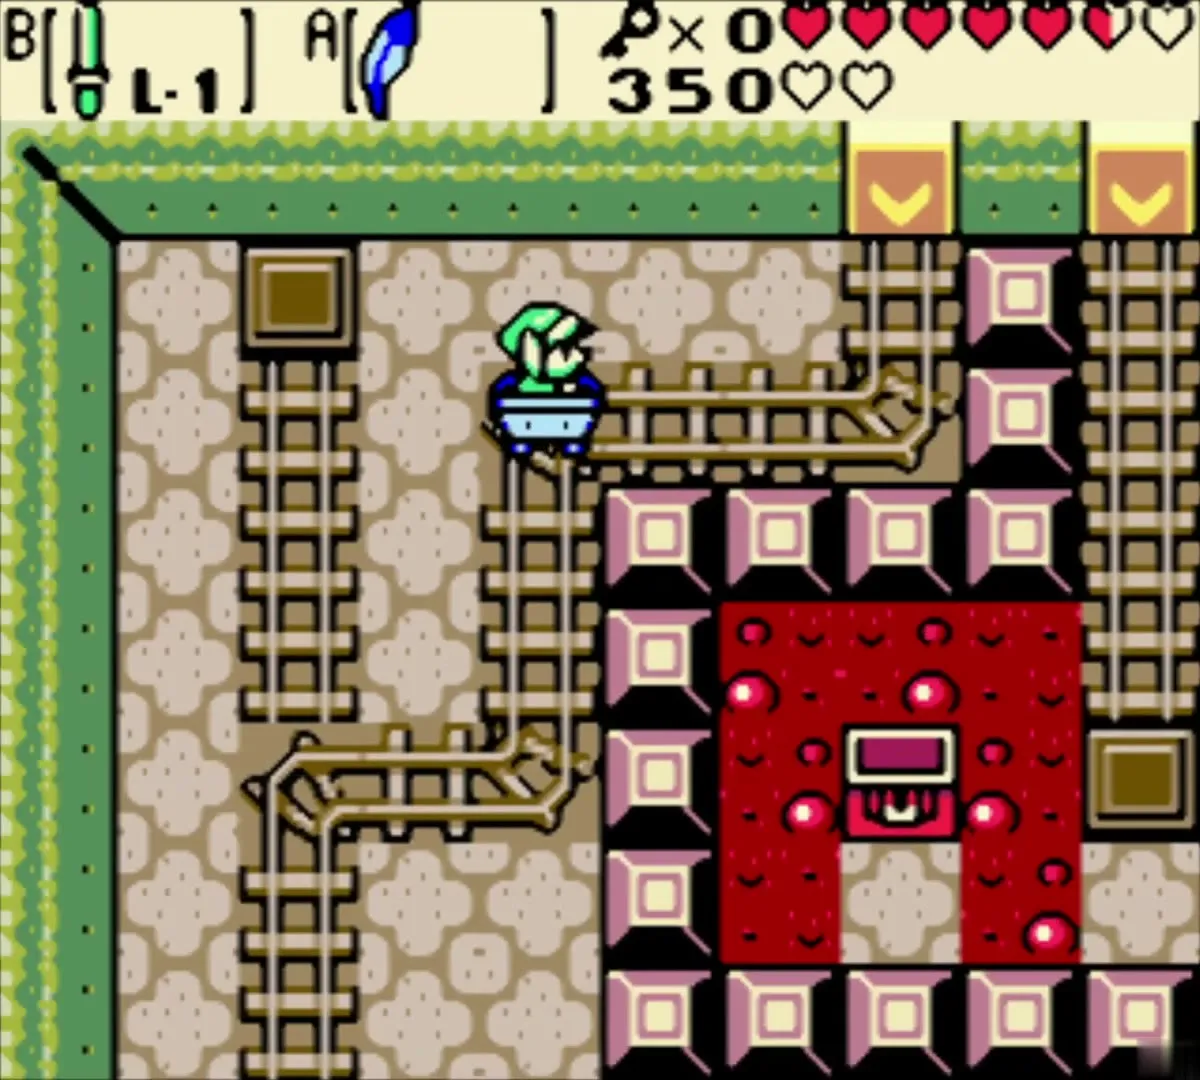
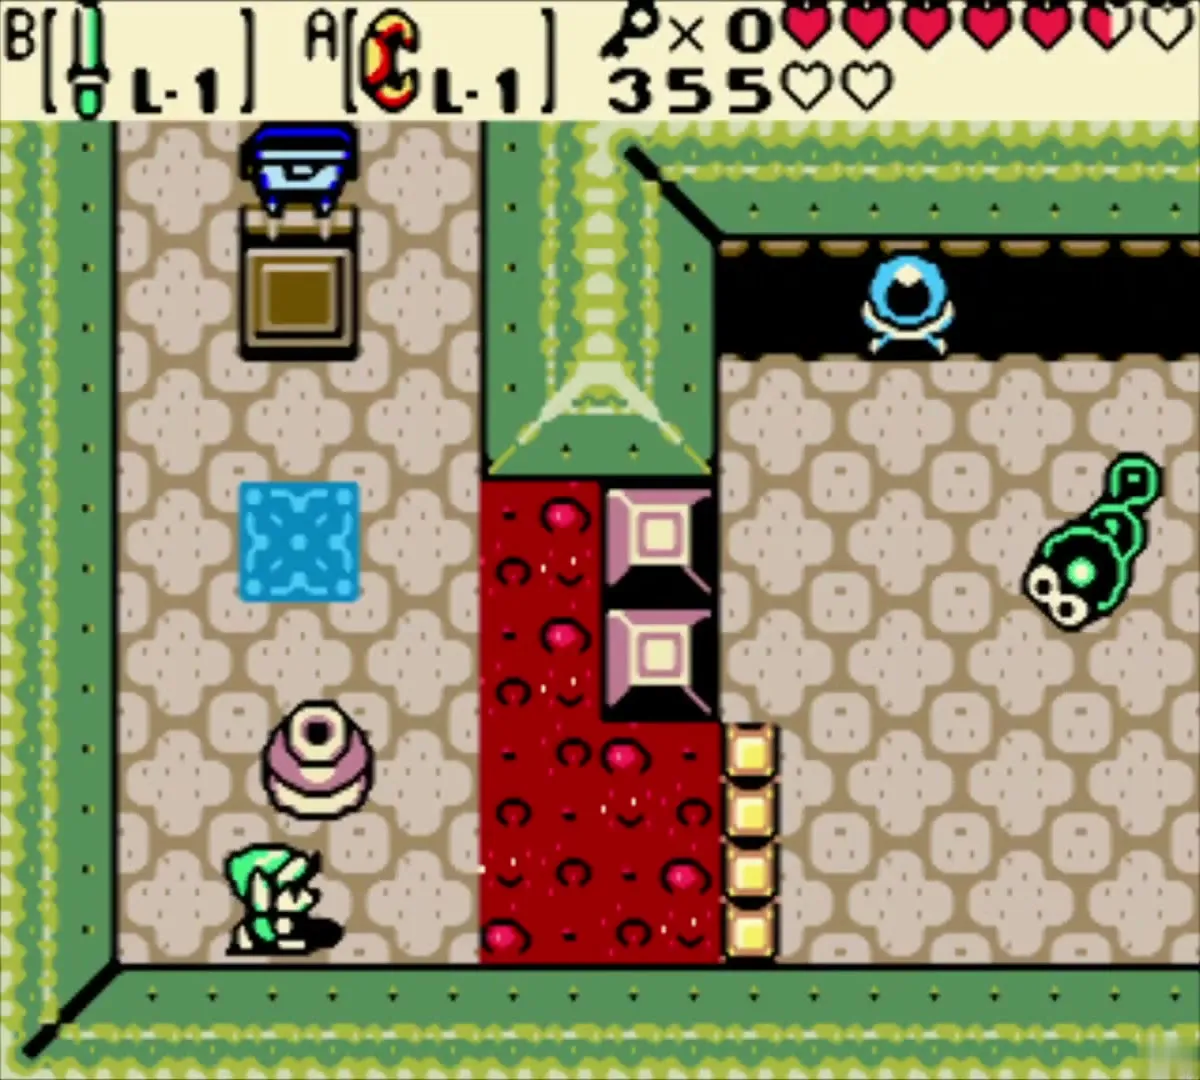
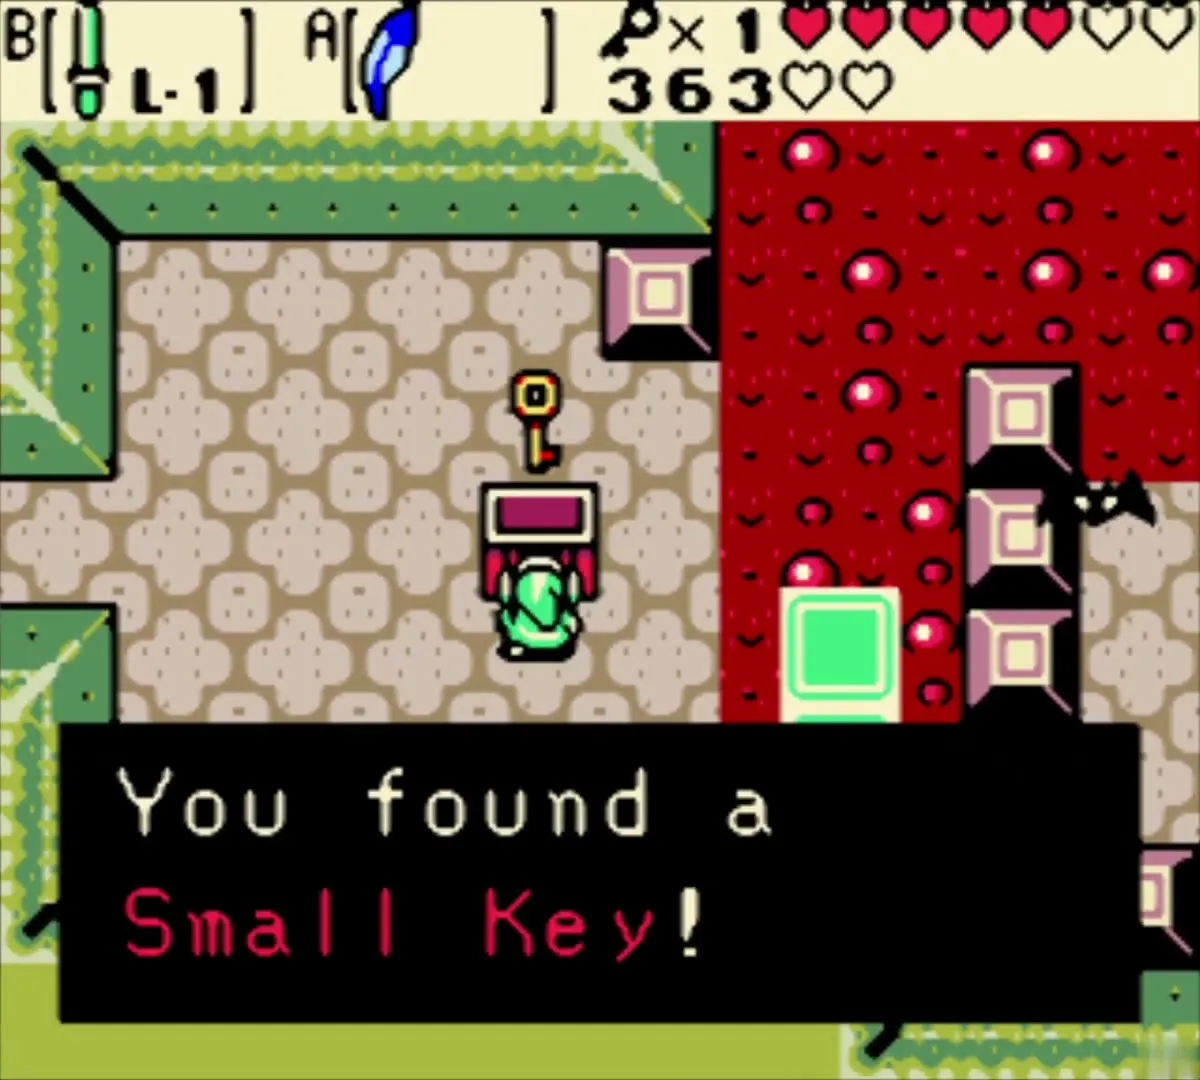
Hit the switch on the way south to change the rails, and the cart carries you to a room with a Moldorm and a crystal switch. Kill the Moldorm with a Scent Seed, then fire the Seed Shooter at the crystal switch, from the cart if you like. A chest rises with Small Key 2. Take it, ride the cart to the middle room and open the locked door on the right.
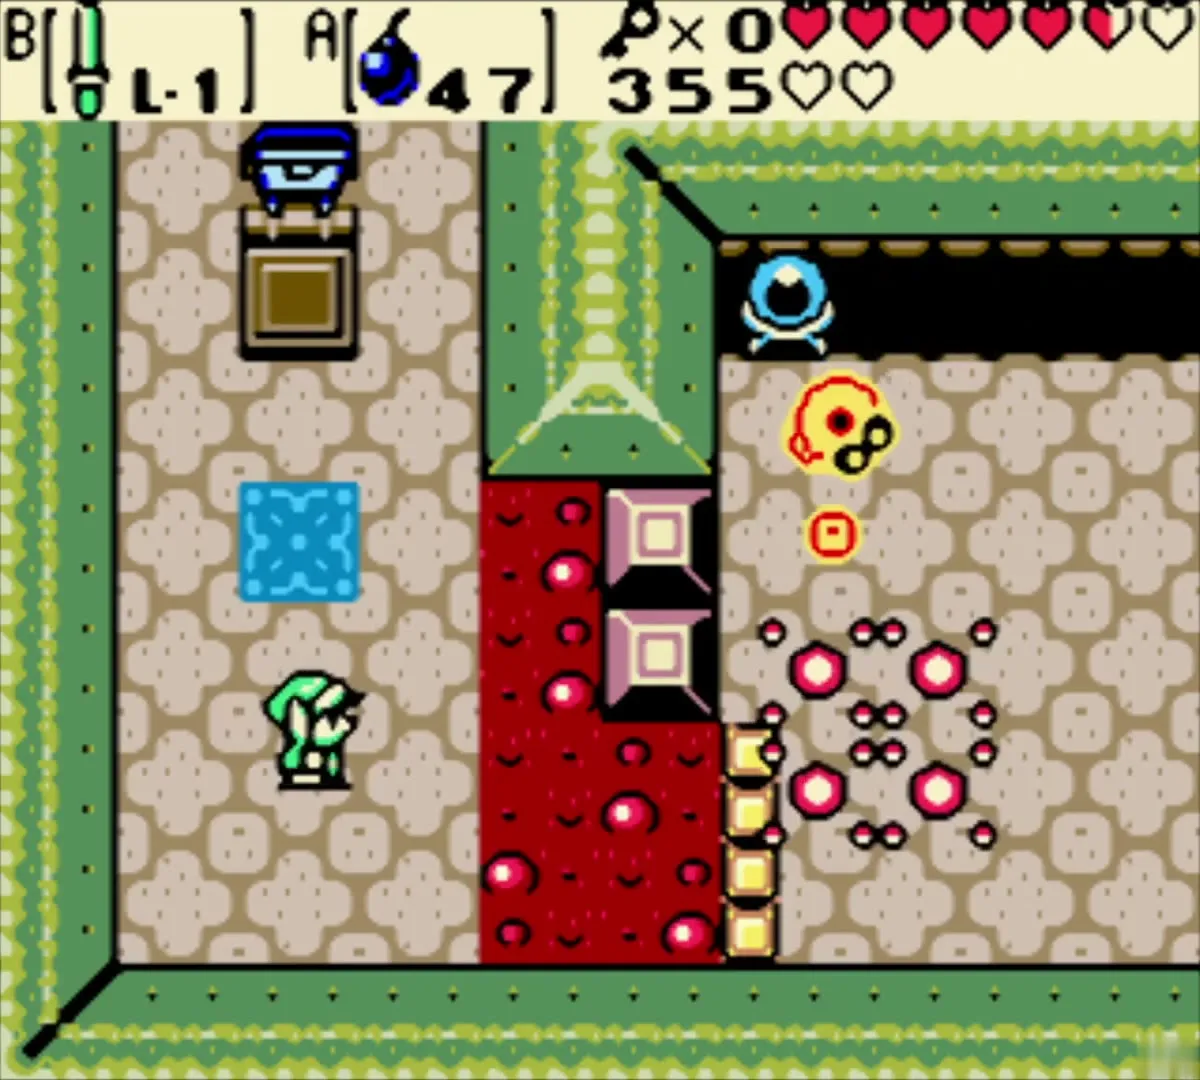
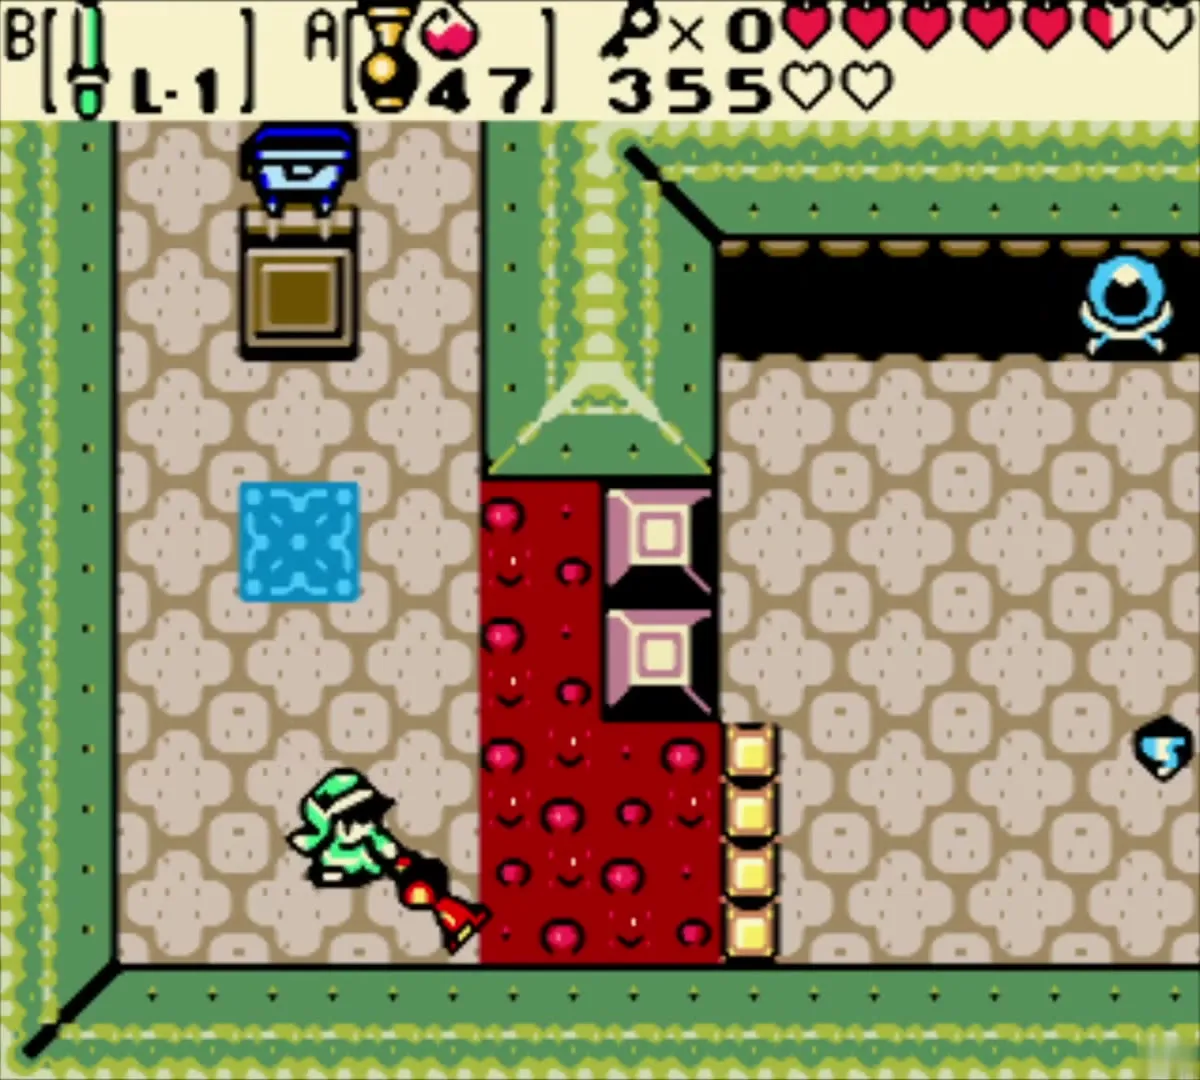
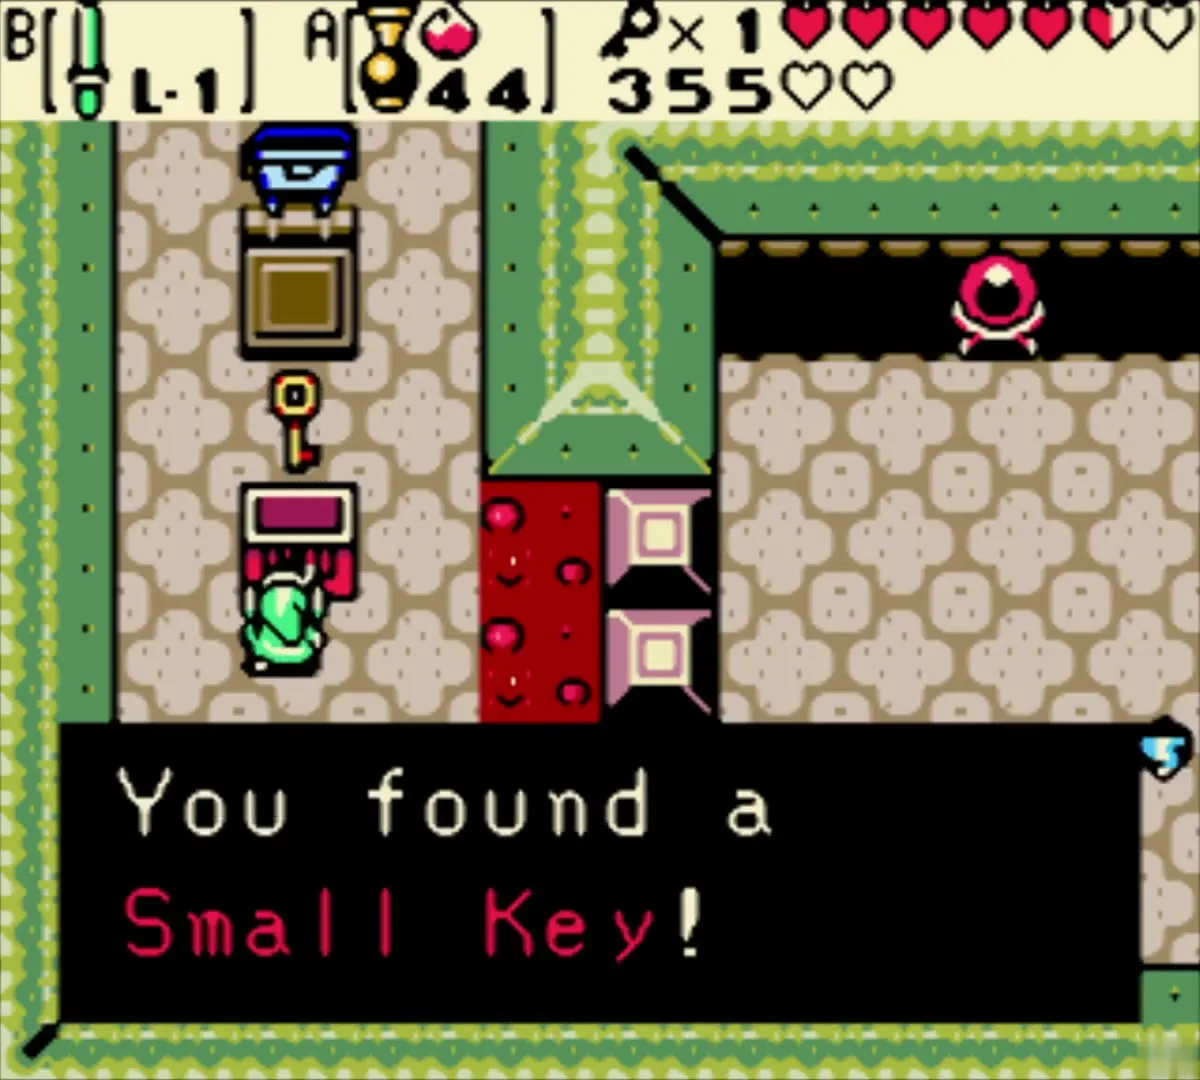
Blade Traps and the lava lever
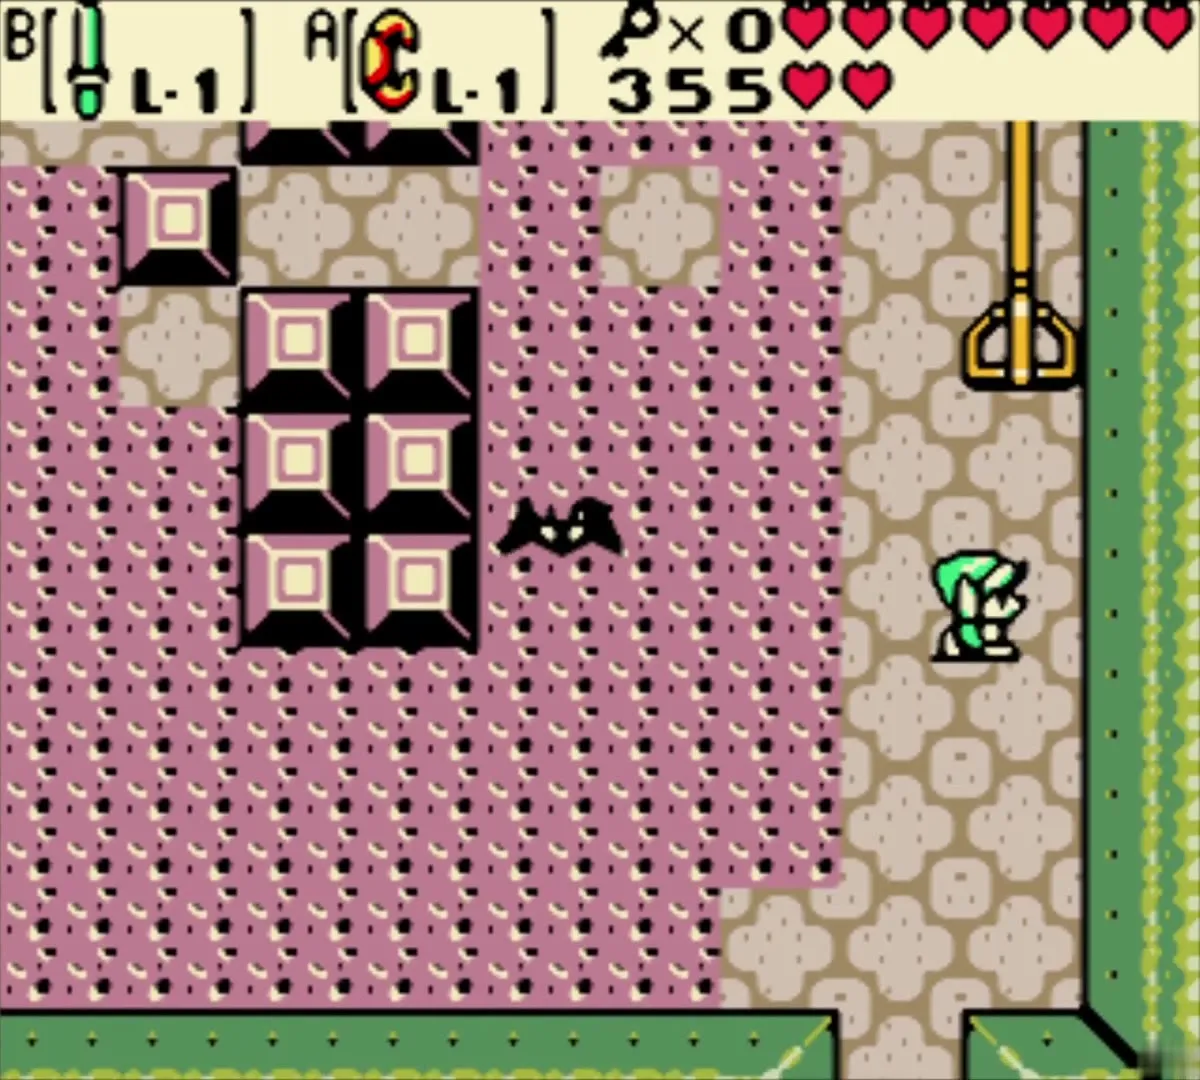
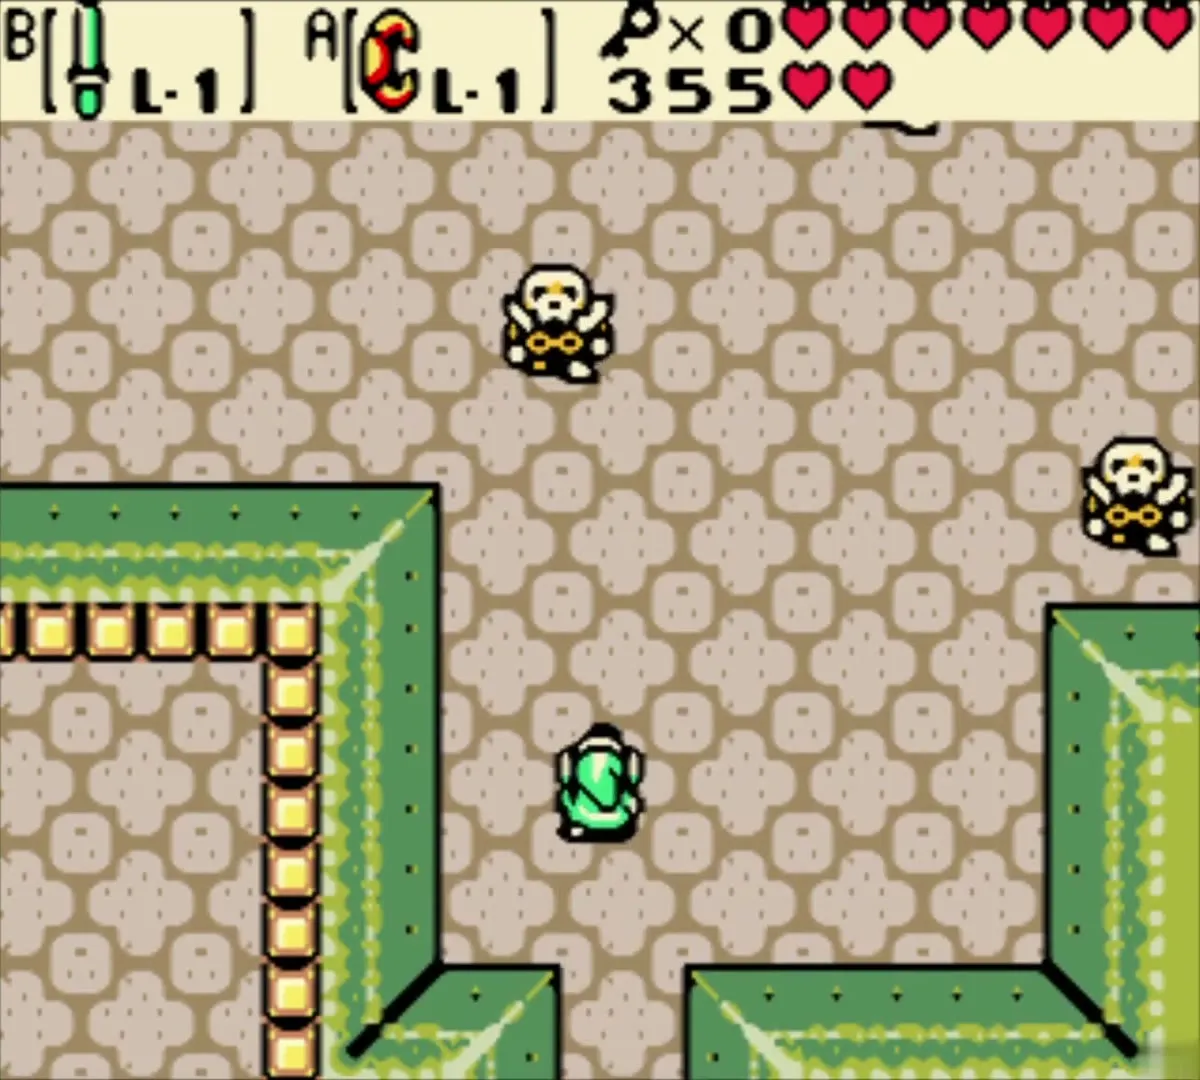
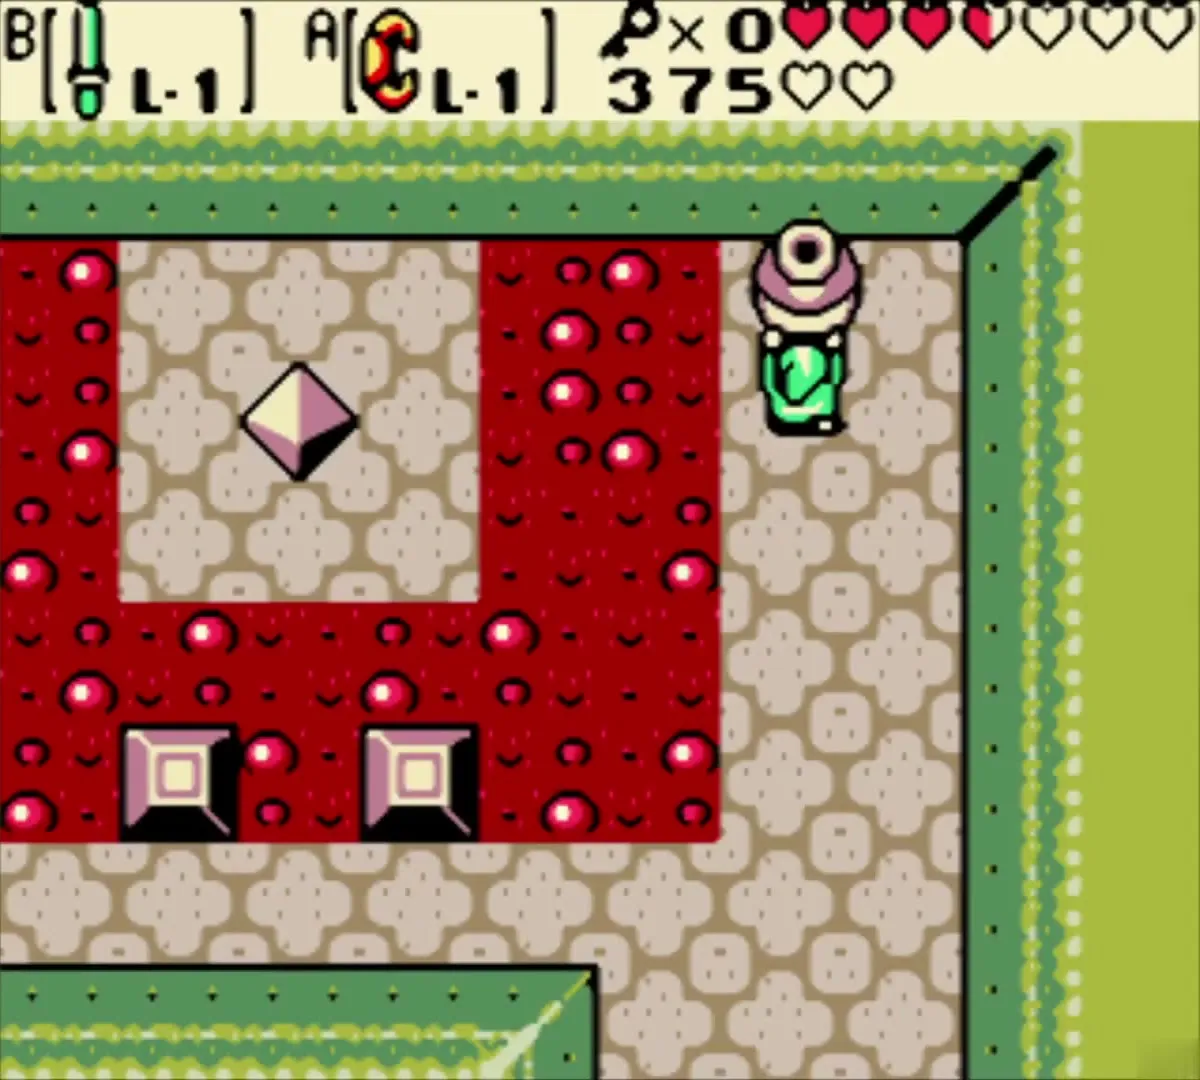
Beyond the door the first Blade Trap waits. Step toward it and back to set it off, then jump the lava to the north exit. In the next room, equip the Power Bracelet and pull the lever to stop the lava, then run for the north exit before the flow returns. Kill the four Stalfos in the following room to unlock the west door; corner each one and strike as it lands from a hop.
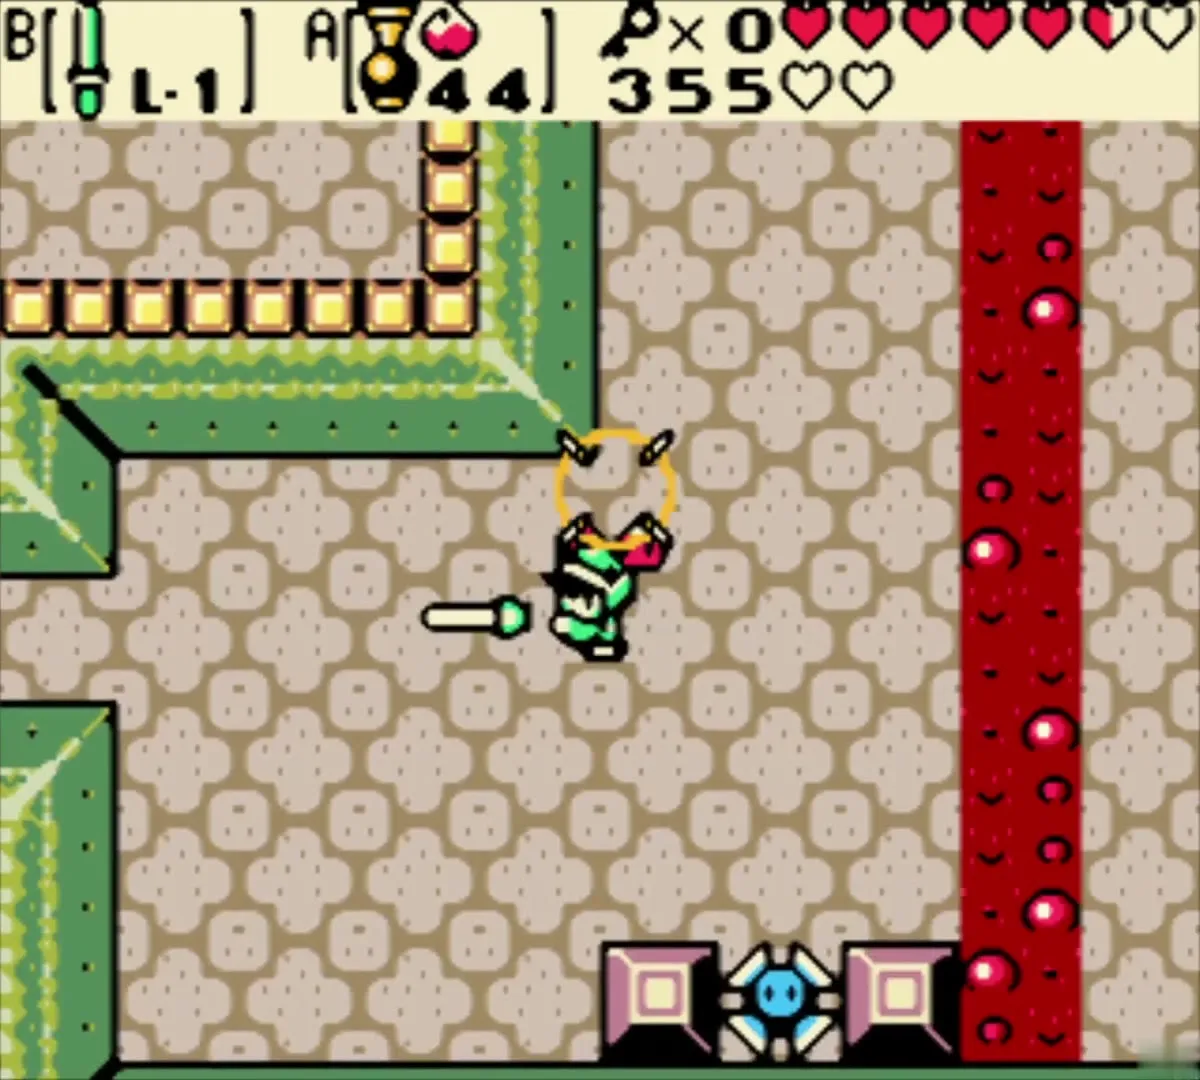

Color tile puzzle and the block room
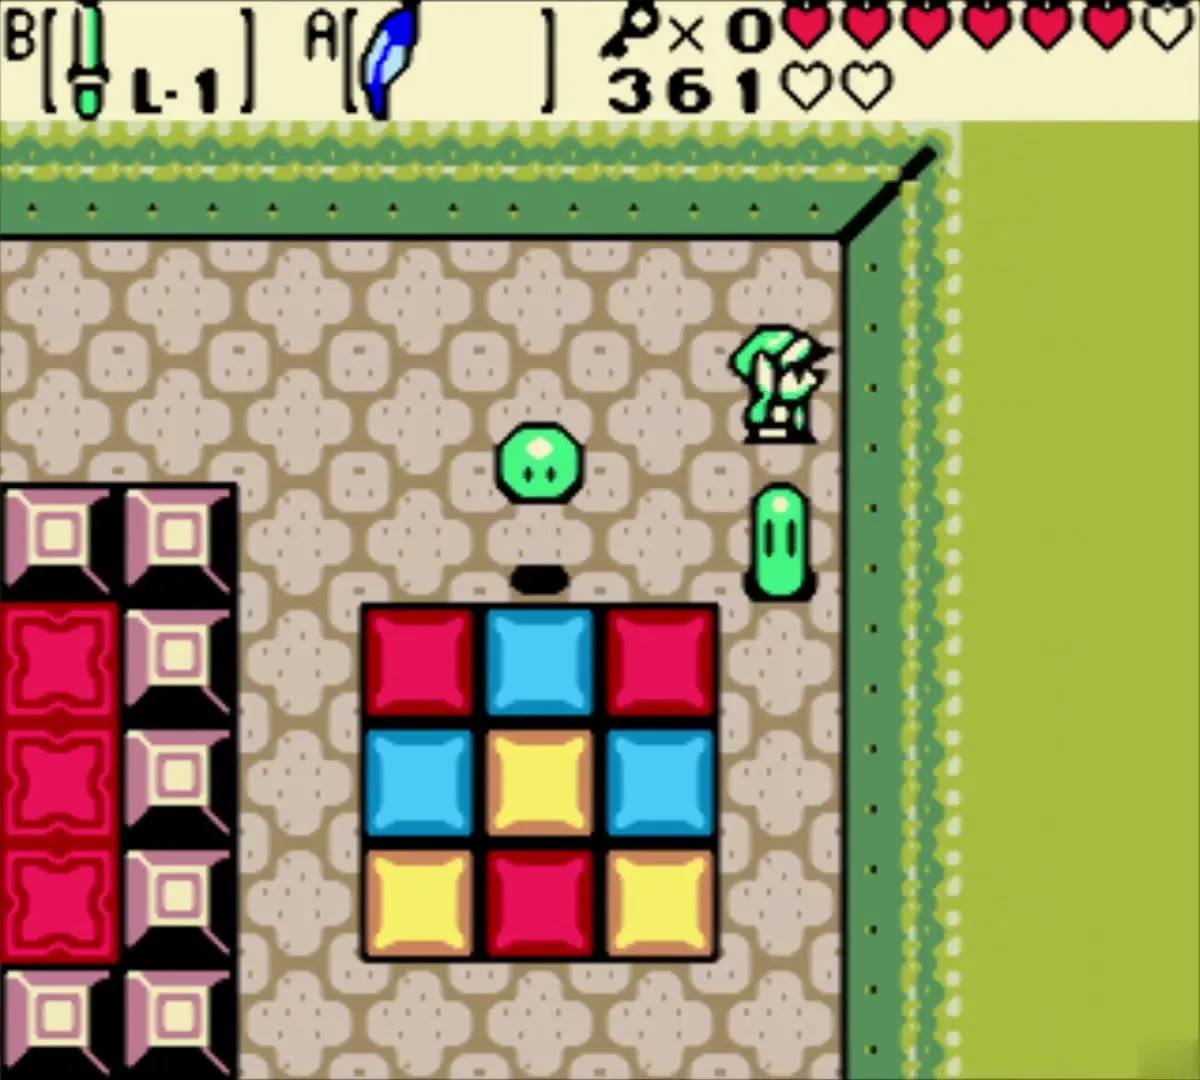
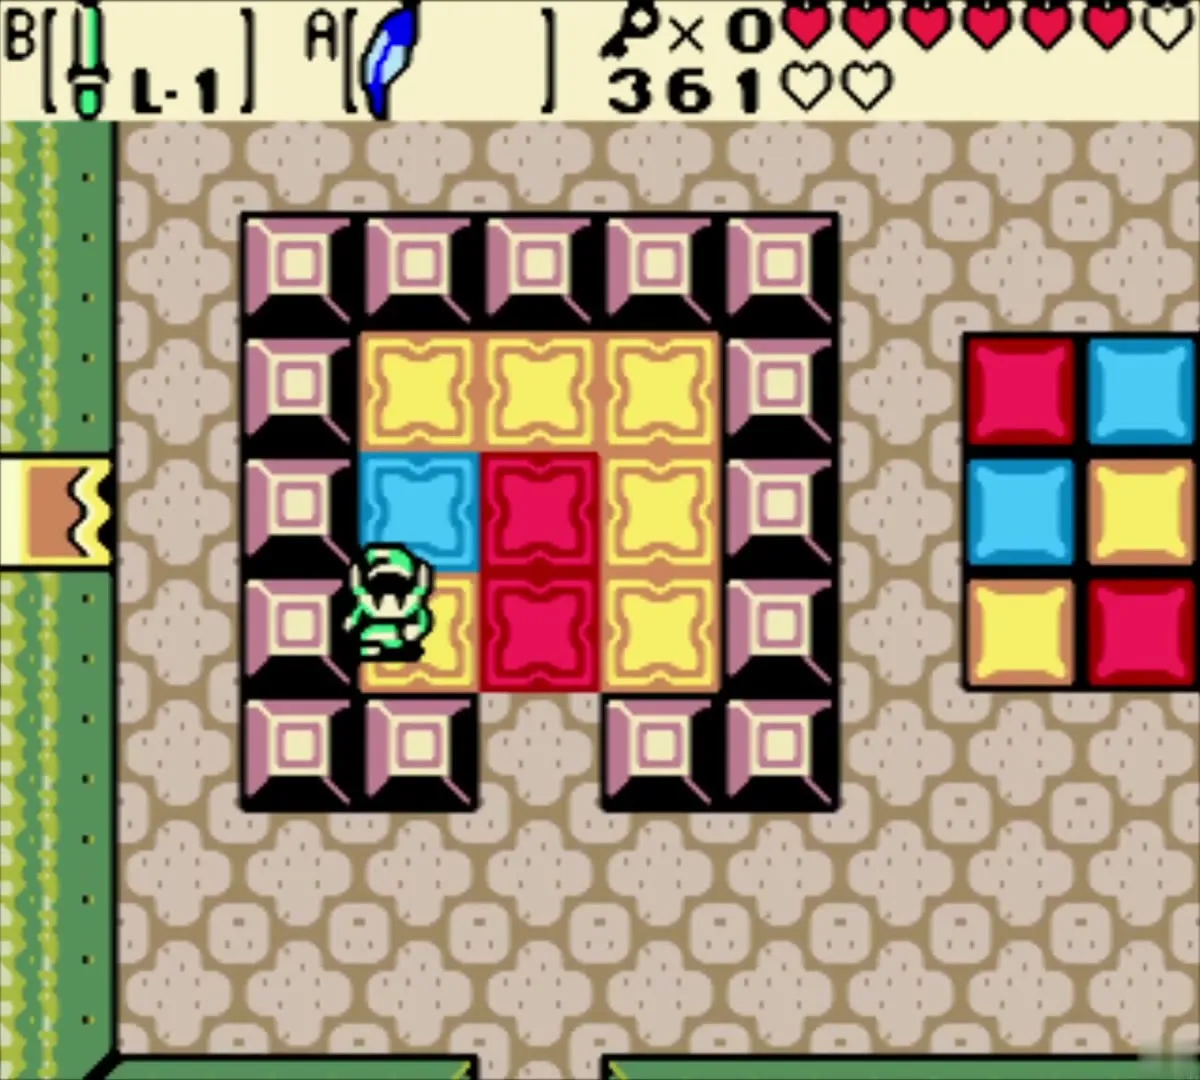
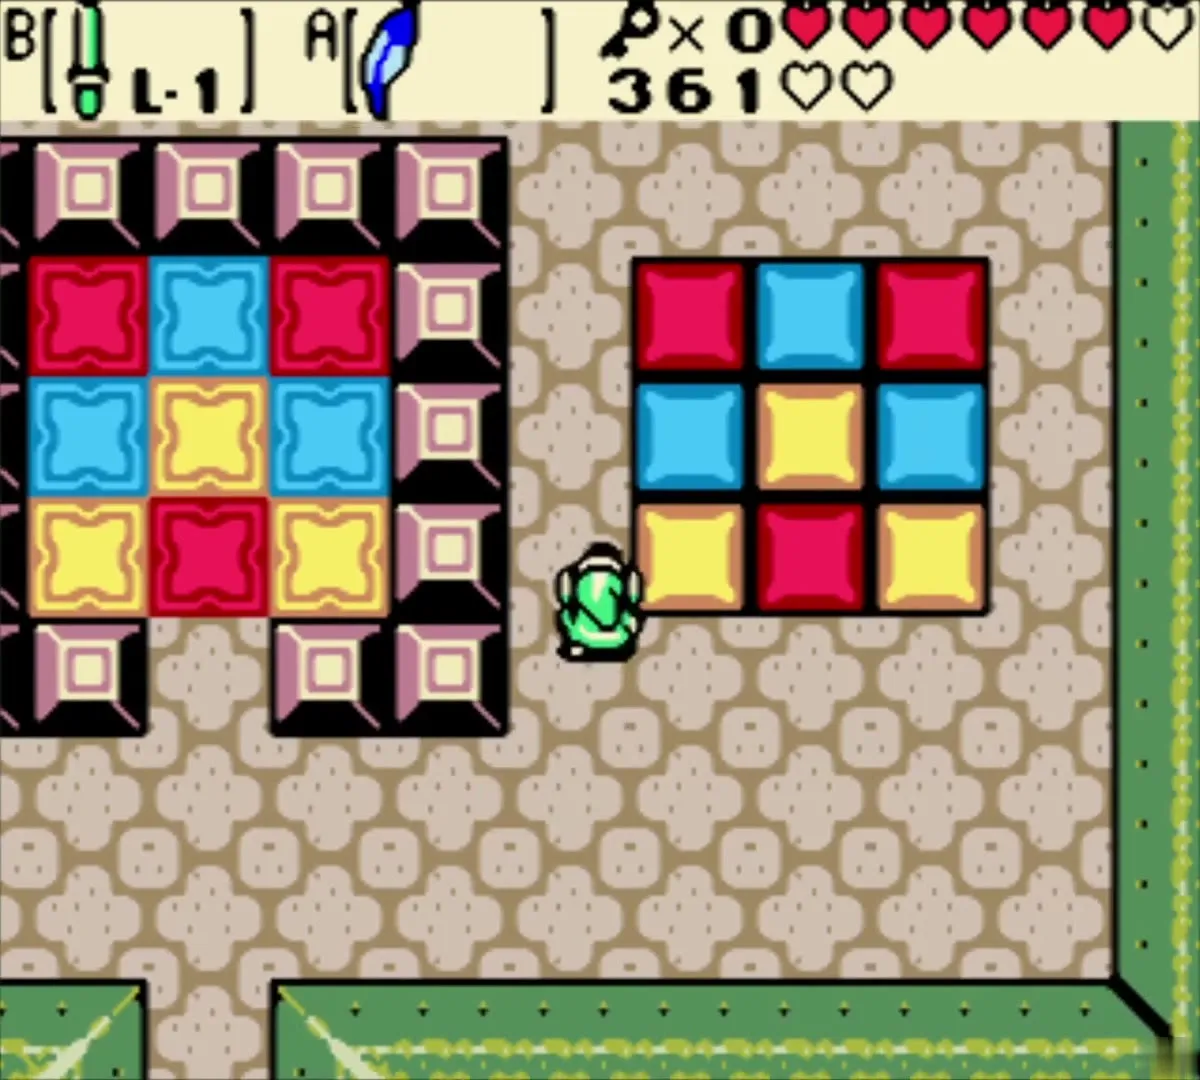
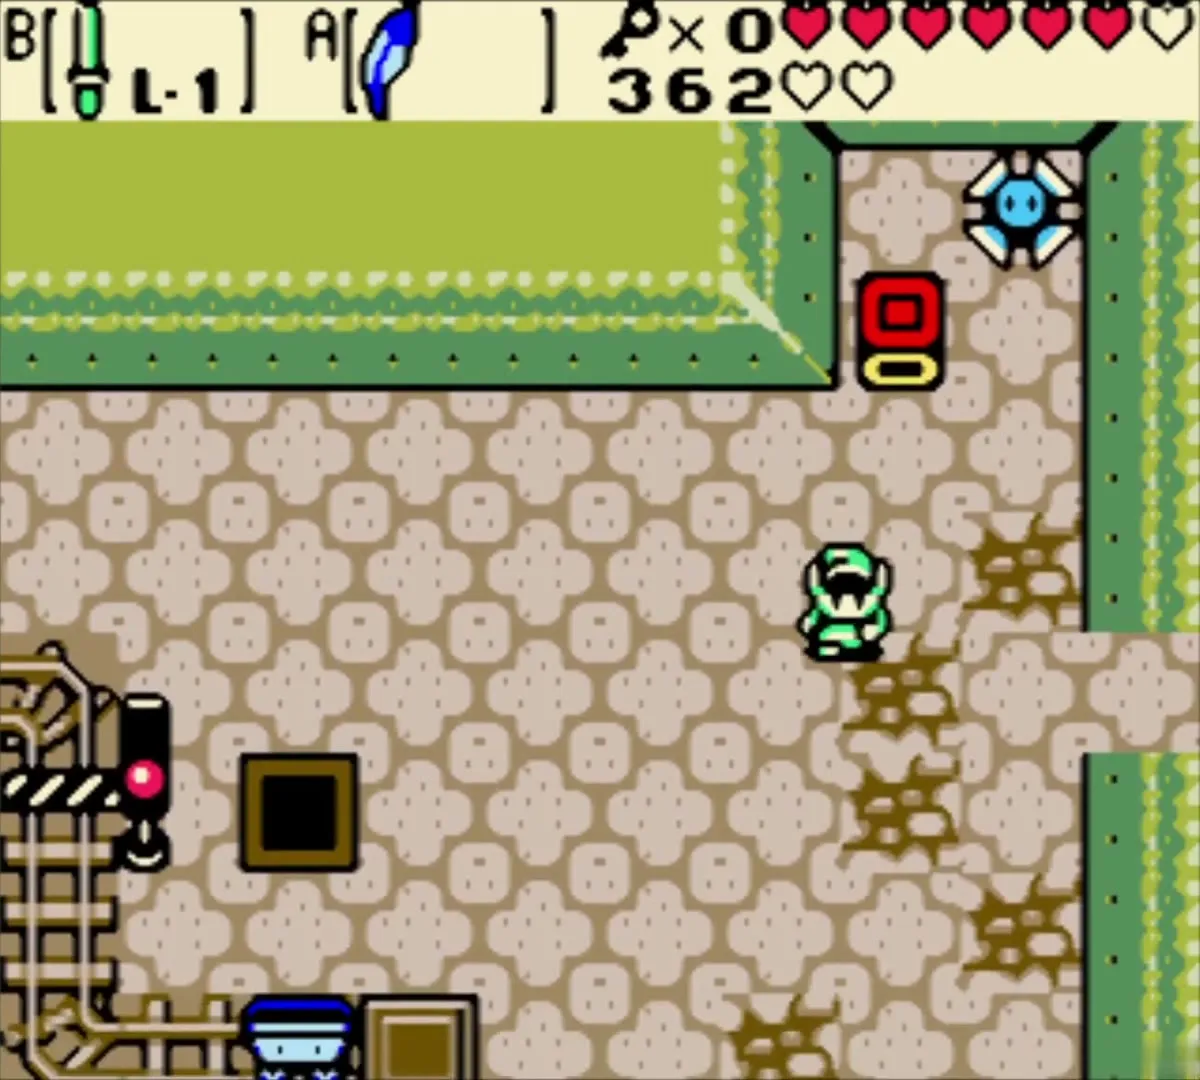
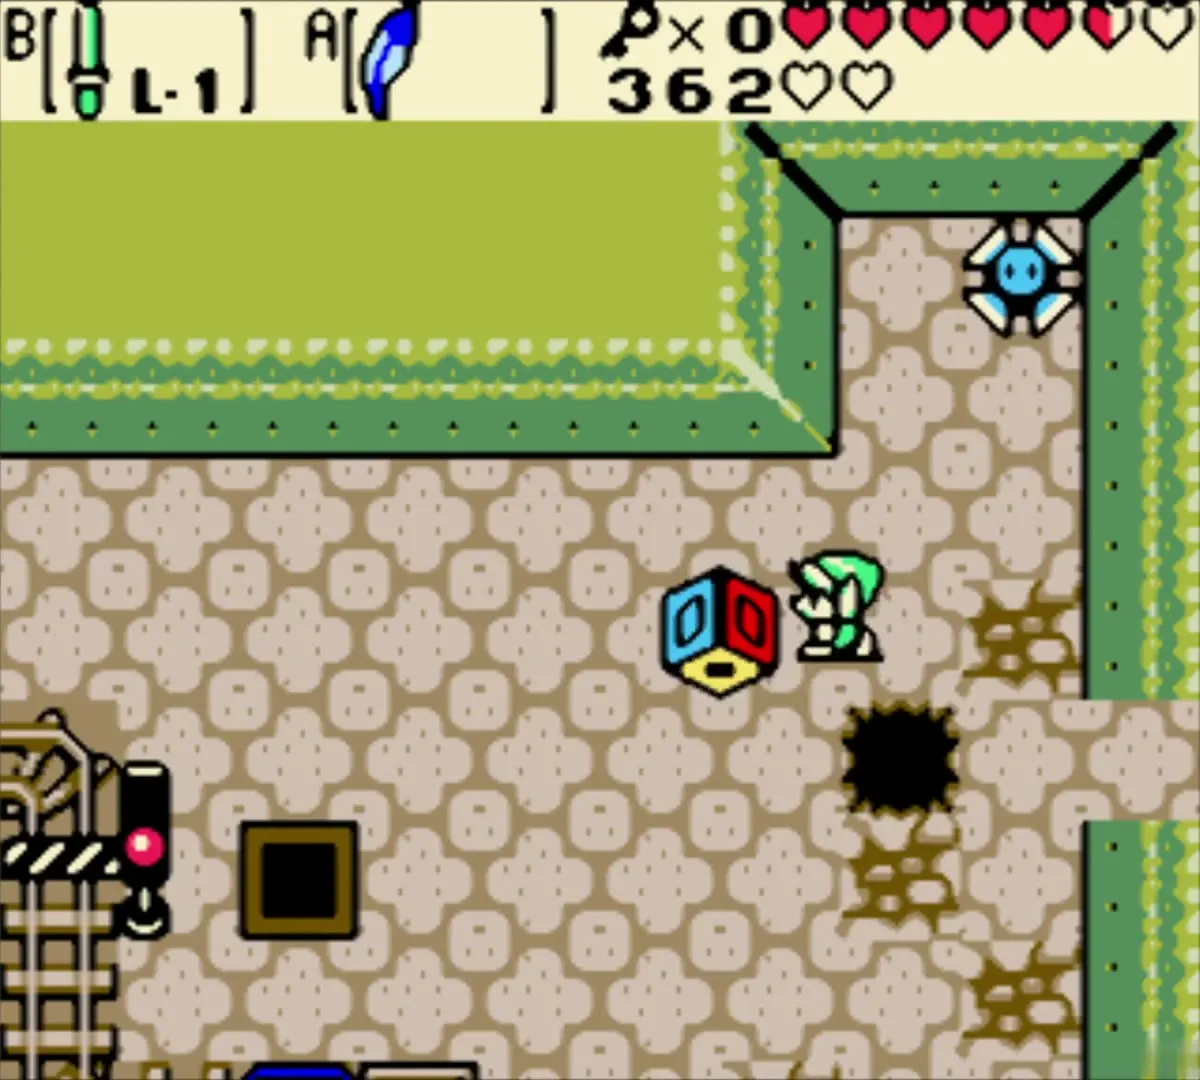
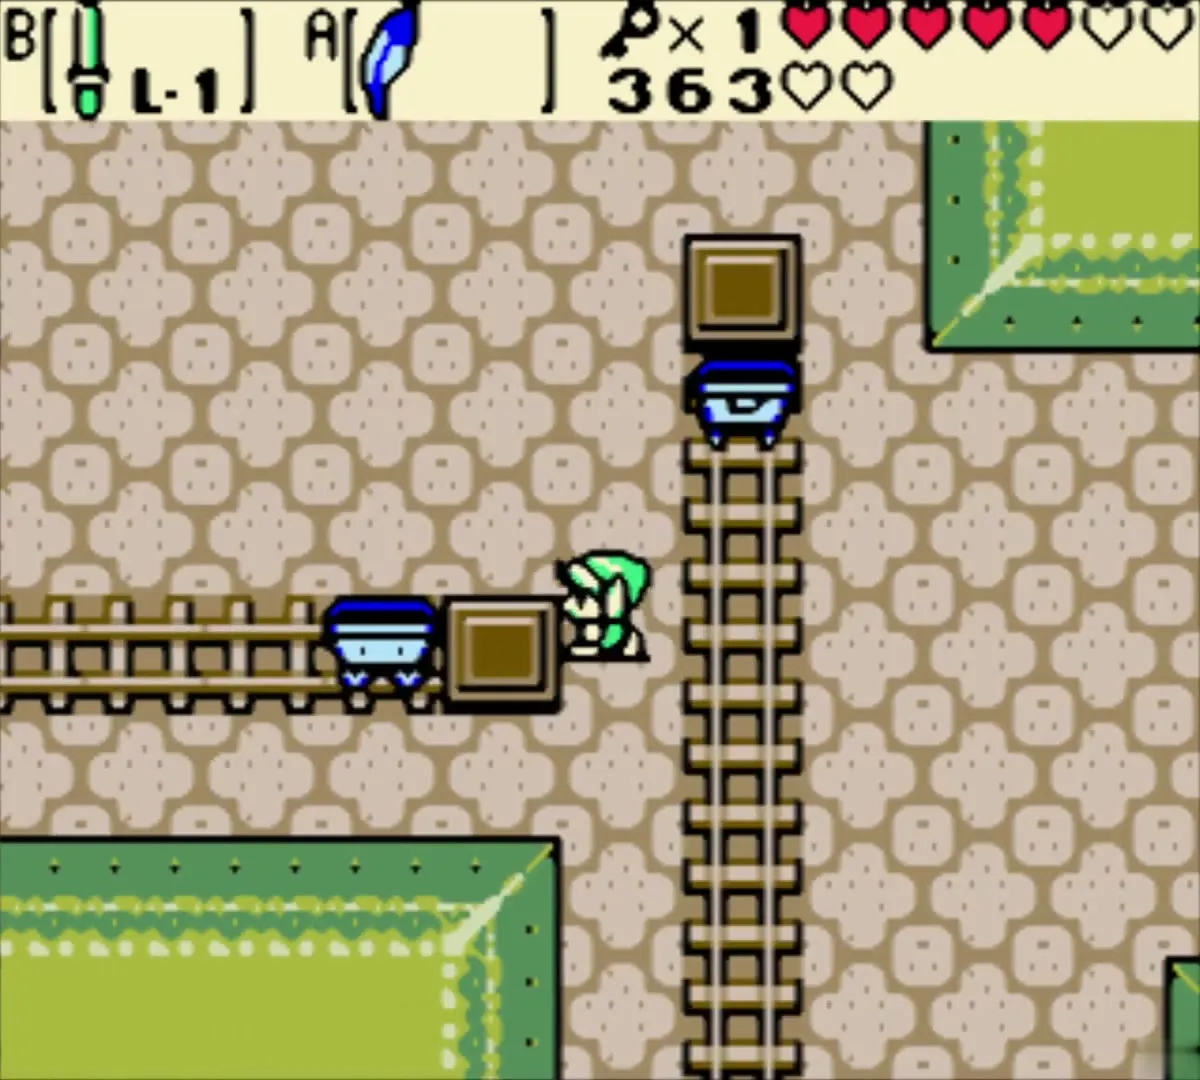
Past the Hardhat Beetles, the door of the next room opens when the colored floor tiles on the left match the pattern displayed on the right. Each jump onto a tile changes its color, so step only on the tiles you need to change, the right number of times. In the room after that, spring the Blade Traps, circle the block as they retract and push it down two squares. Spring them again and push it left before they come back, onto the black square. The gate opens and a minecart is waiting.

Small Key 3
The cart stops at the north of the dungeon. Go east and shoot the crystal switch with the Seed Shooter, from the cart or the platform, to raise a chest holding Small Key 3. Walk back two rooms west and use the key on the key block, which opens the barrier.

Long track, moving platforms and Small Key 4
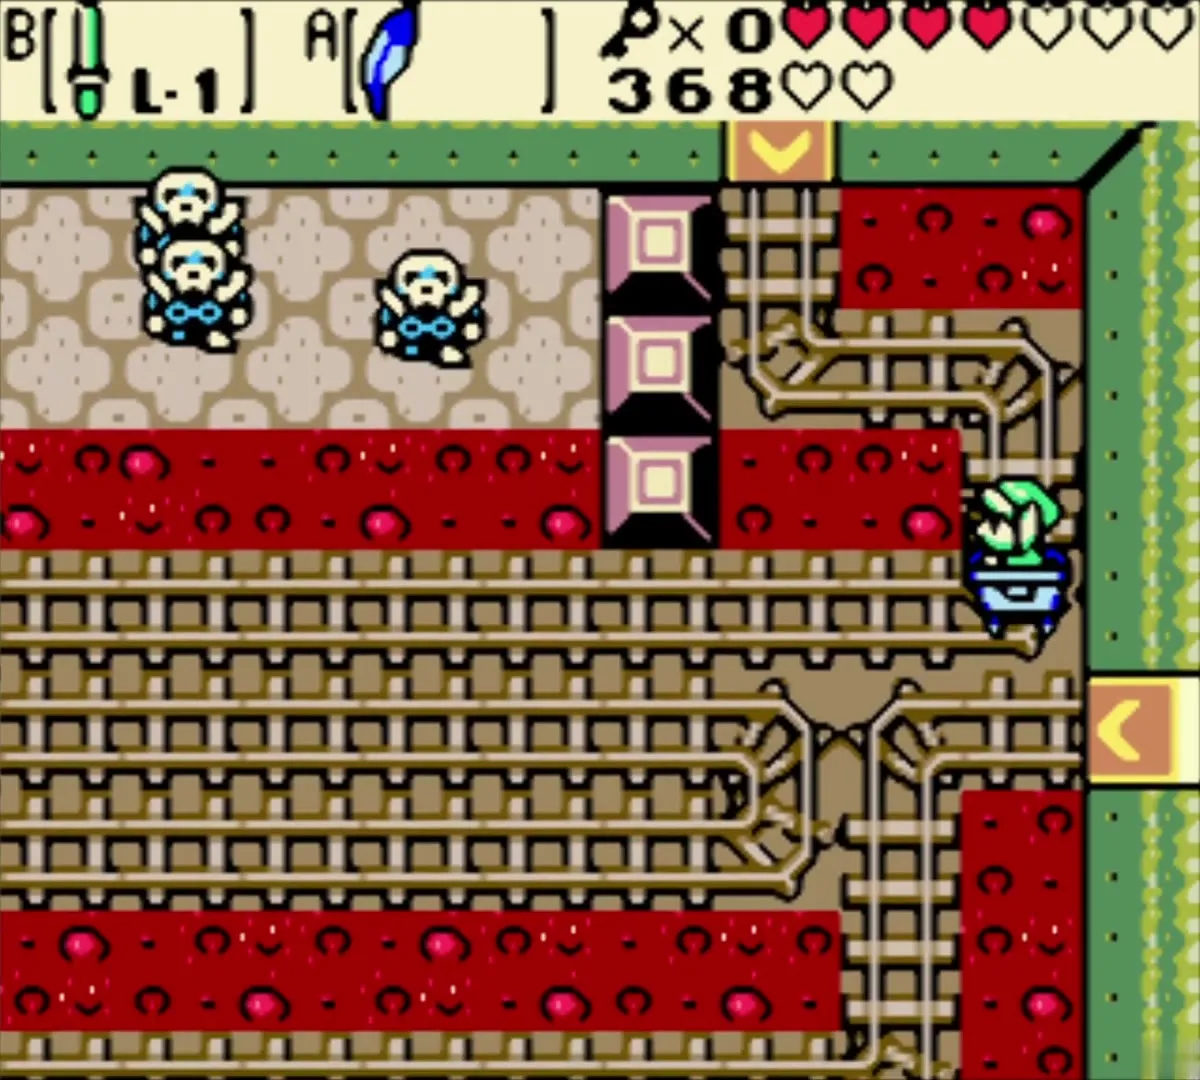
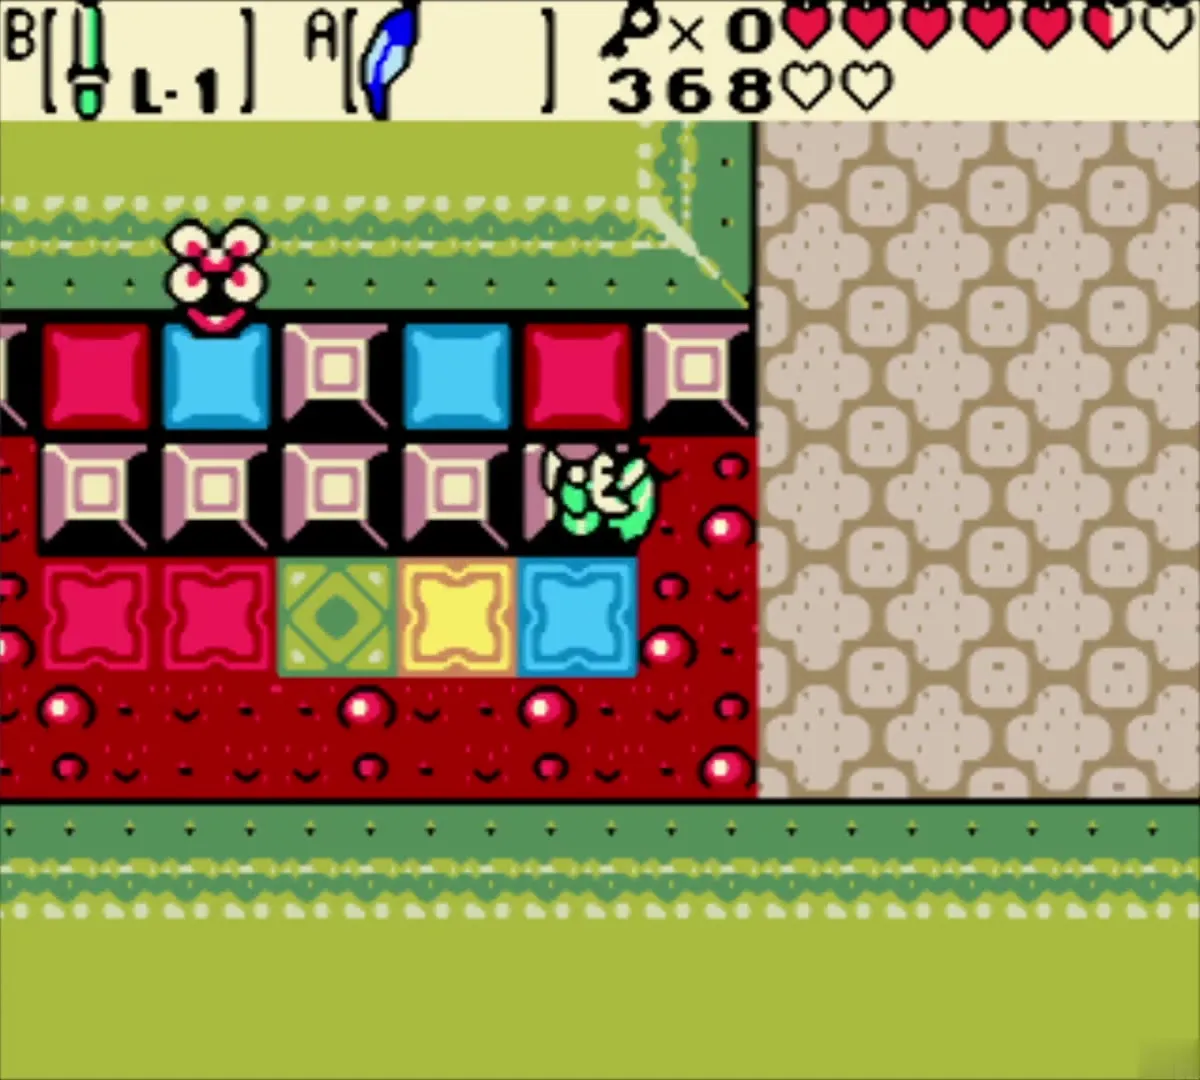
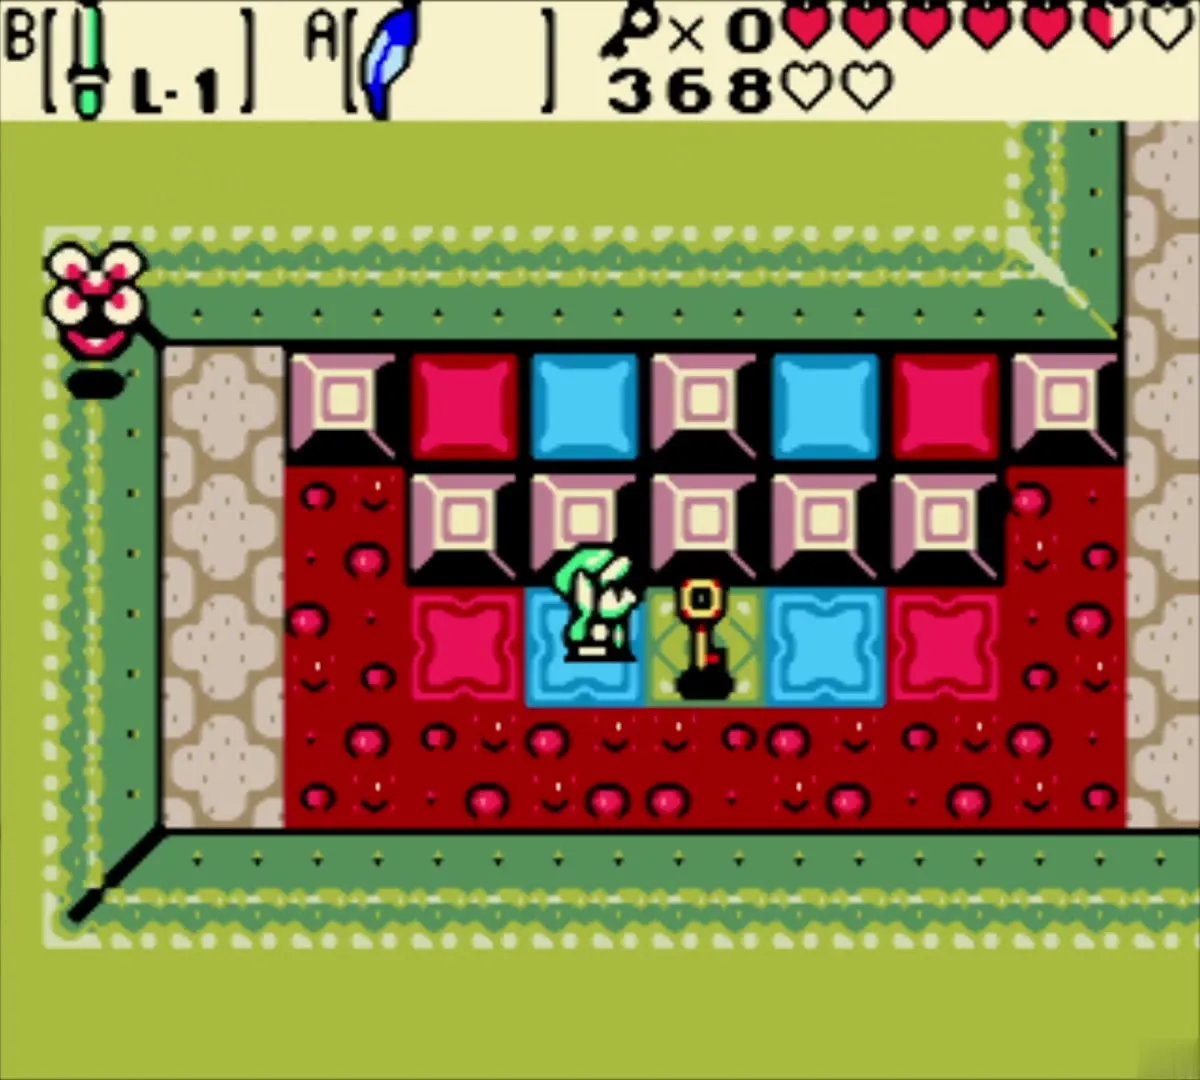
Climb into the second minecart and ride a long track while three Stalfos wait at the top of the room. Shoot all three with the Seed Shooter or throw Bombs before the track ends, because that opens the door to the west. Next you cross moving green platforms over lava, then go south to a room of colored tiles with a pattern shown on a block at the top. Jump on the tiles until the floor matches it and Small Key 4 drops.


Back to the cart
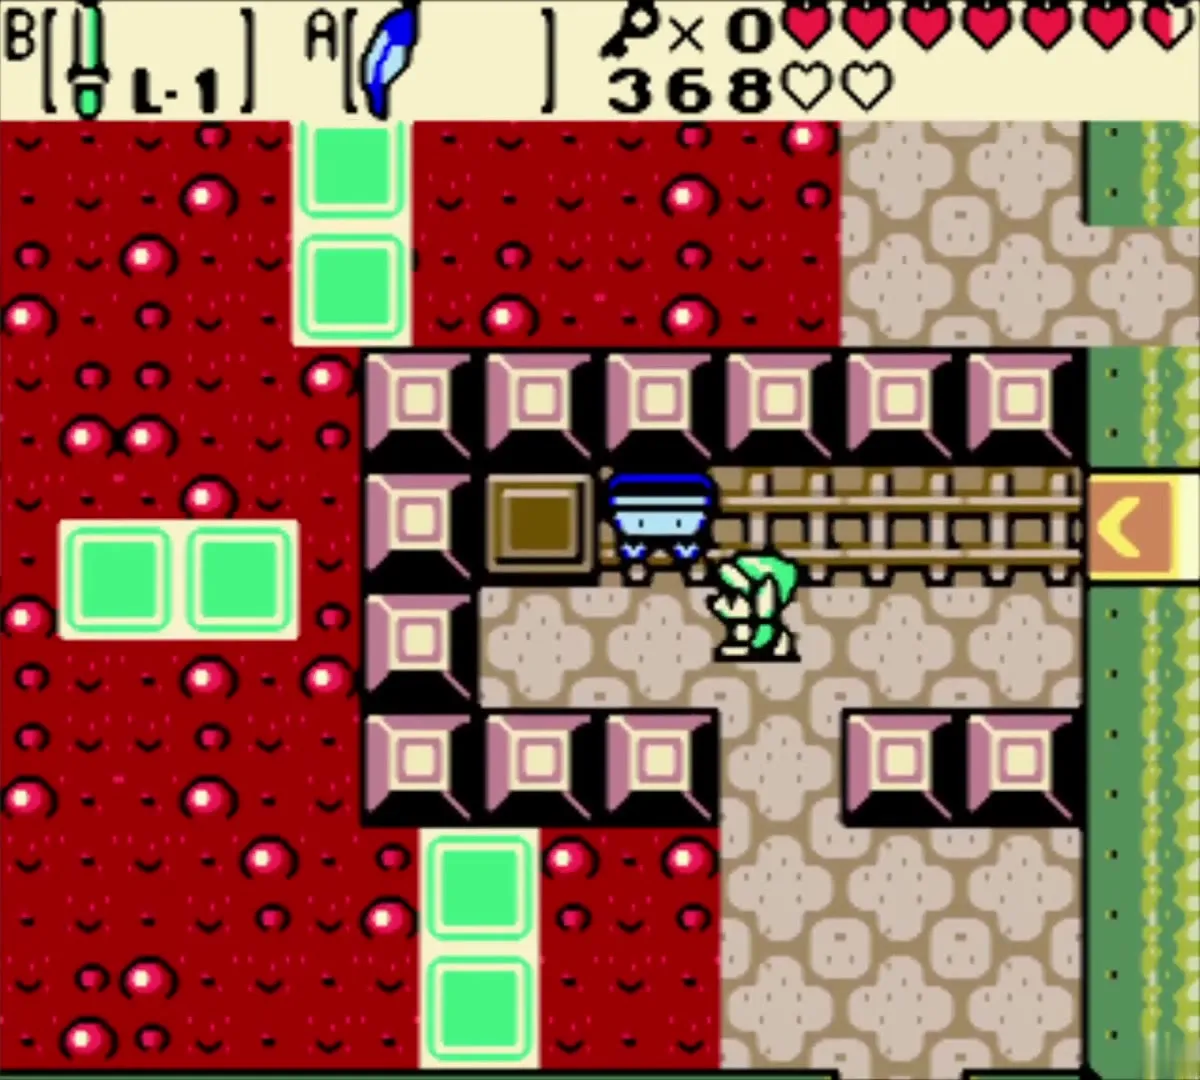
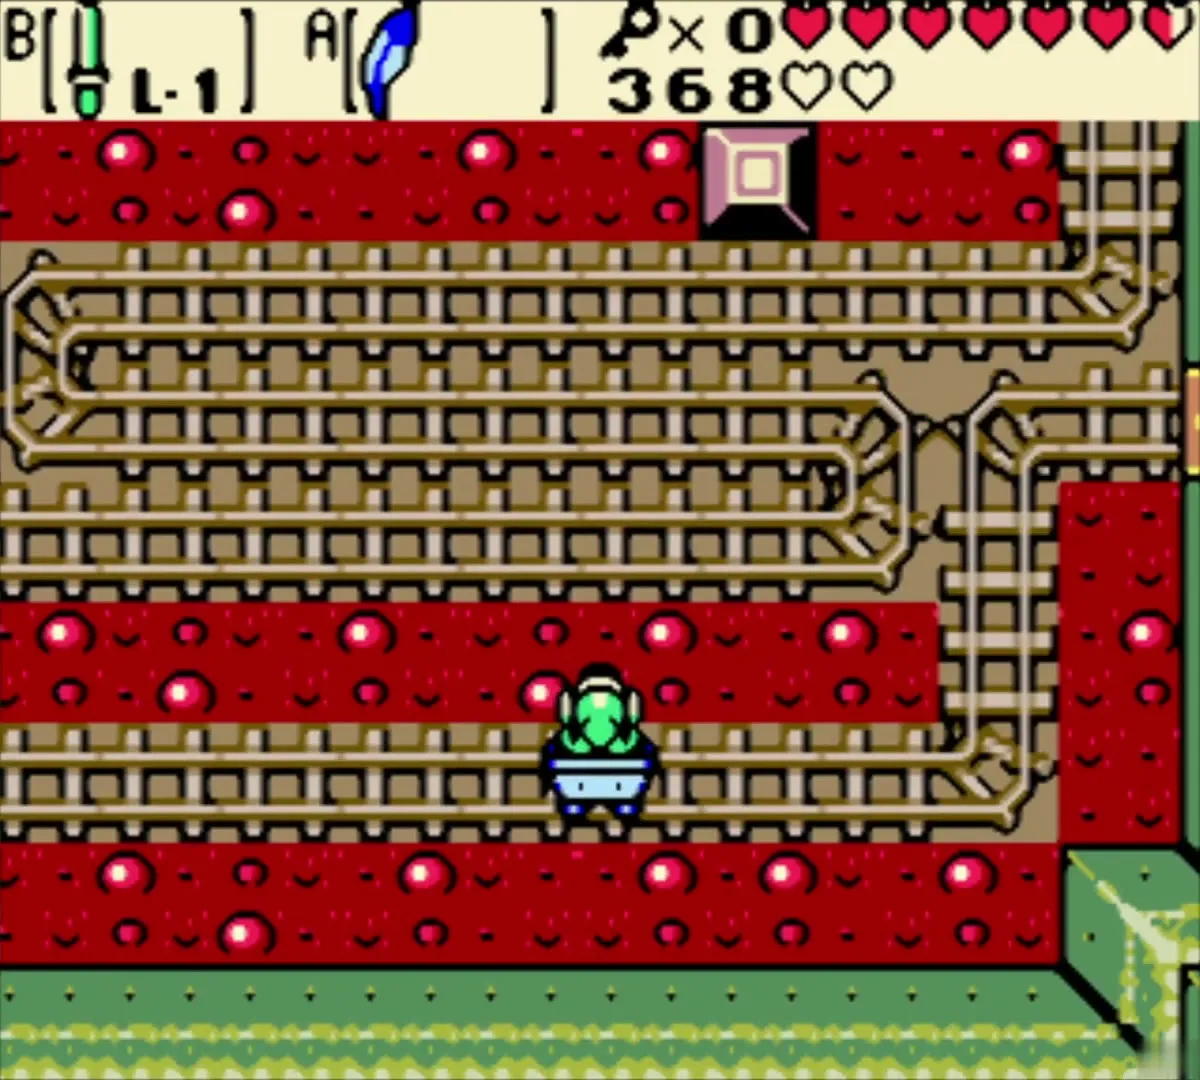
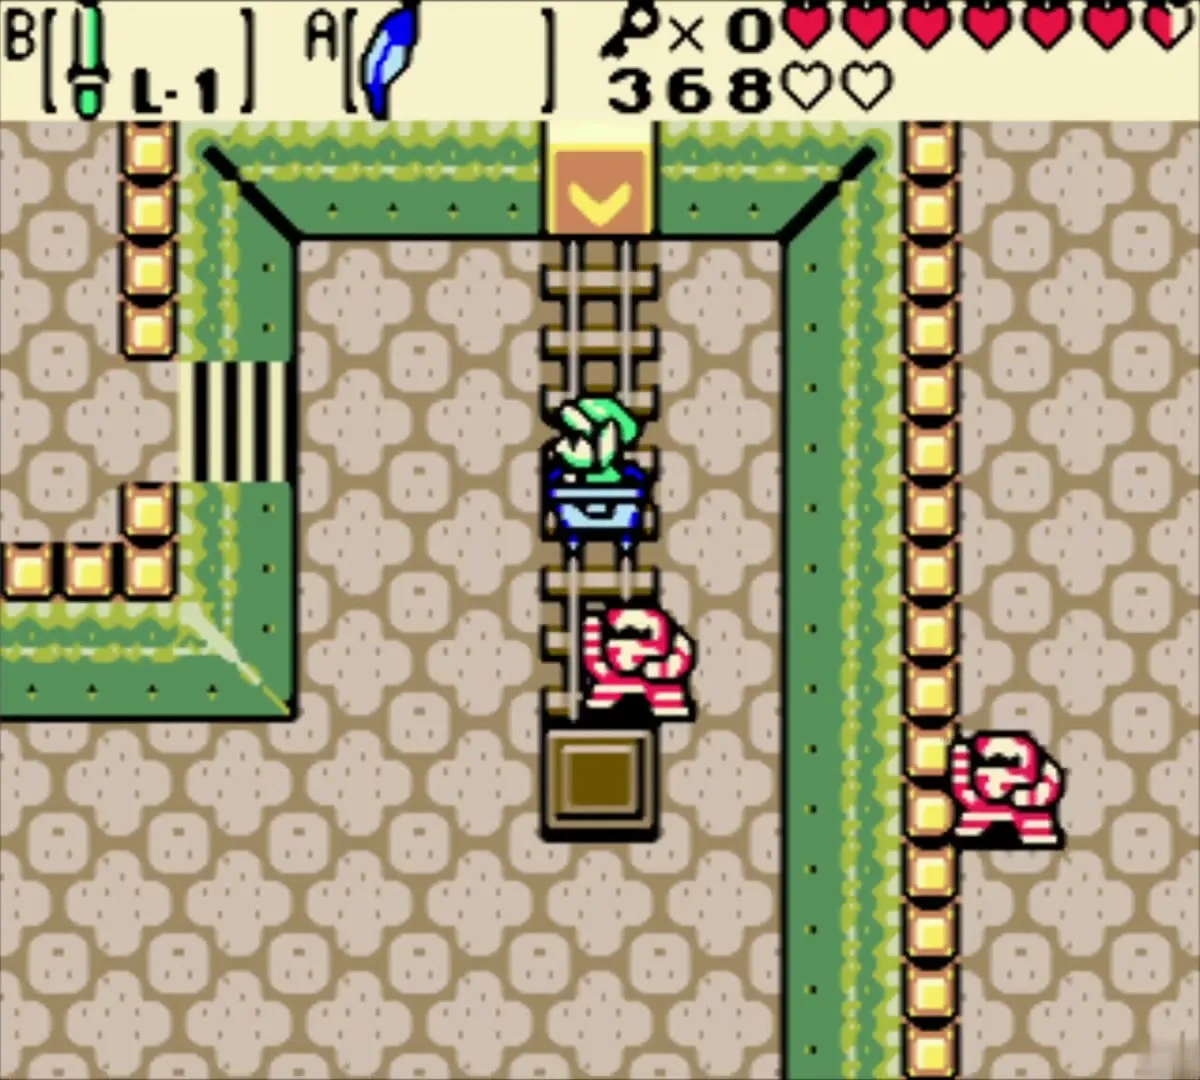
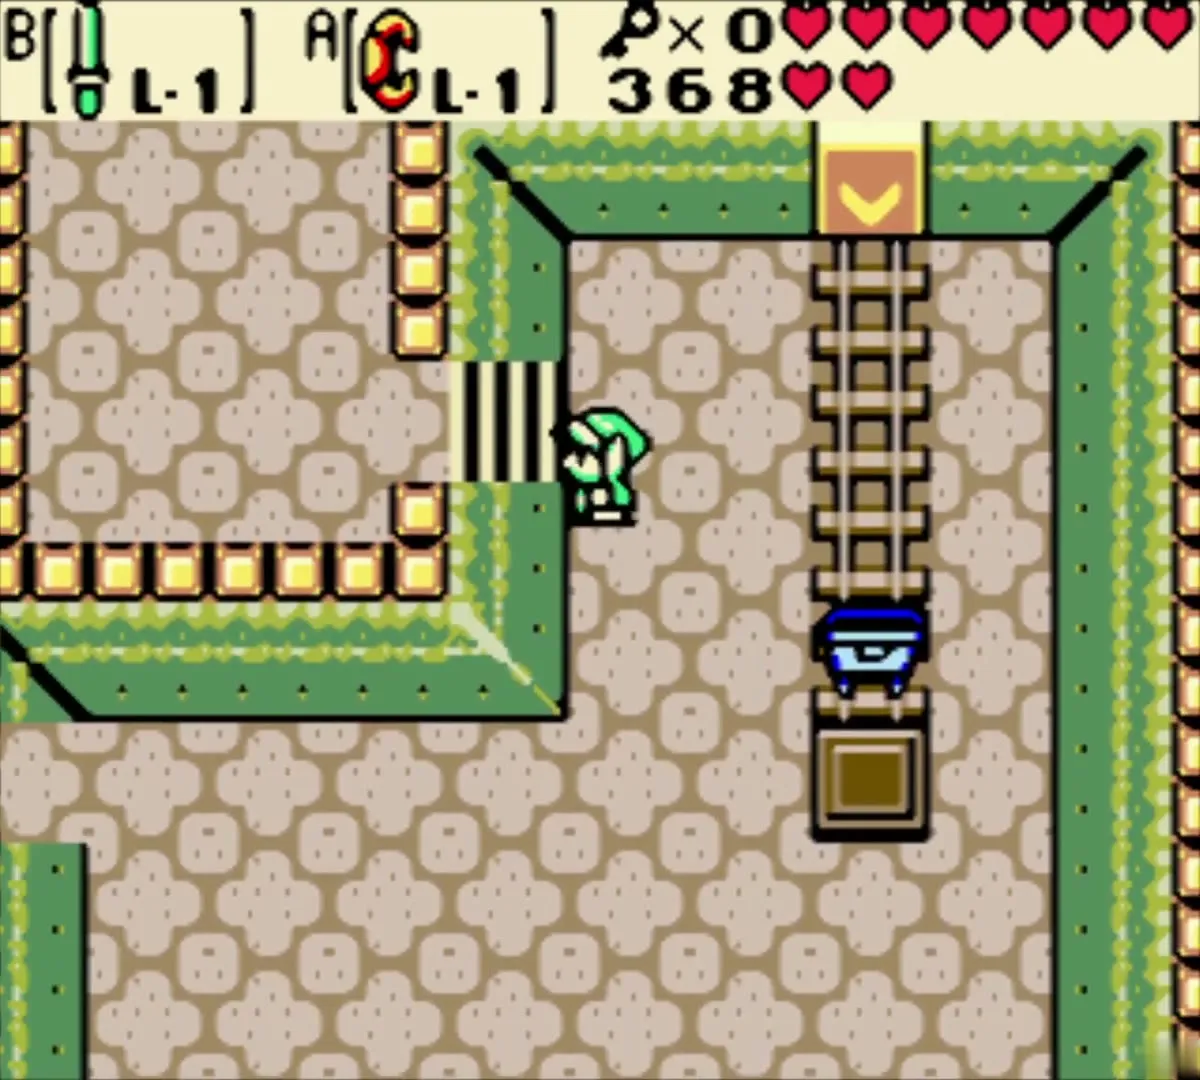
Return north, use Small Key 4 on the key block and board the minecart again. At the end of the track, leave through the door on the left.
Mini-boss: Armos Warrior
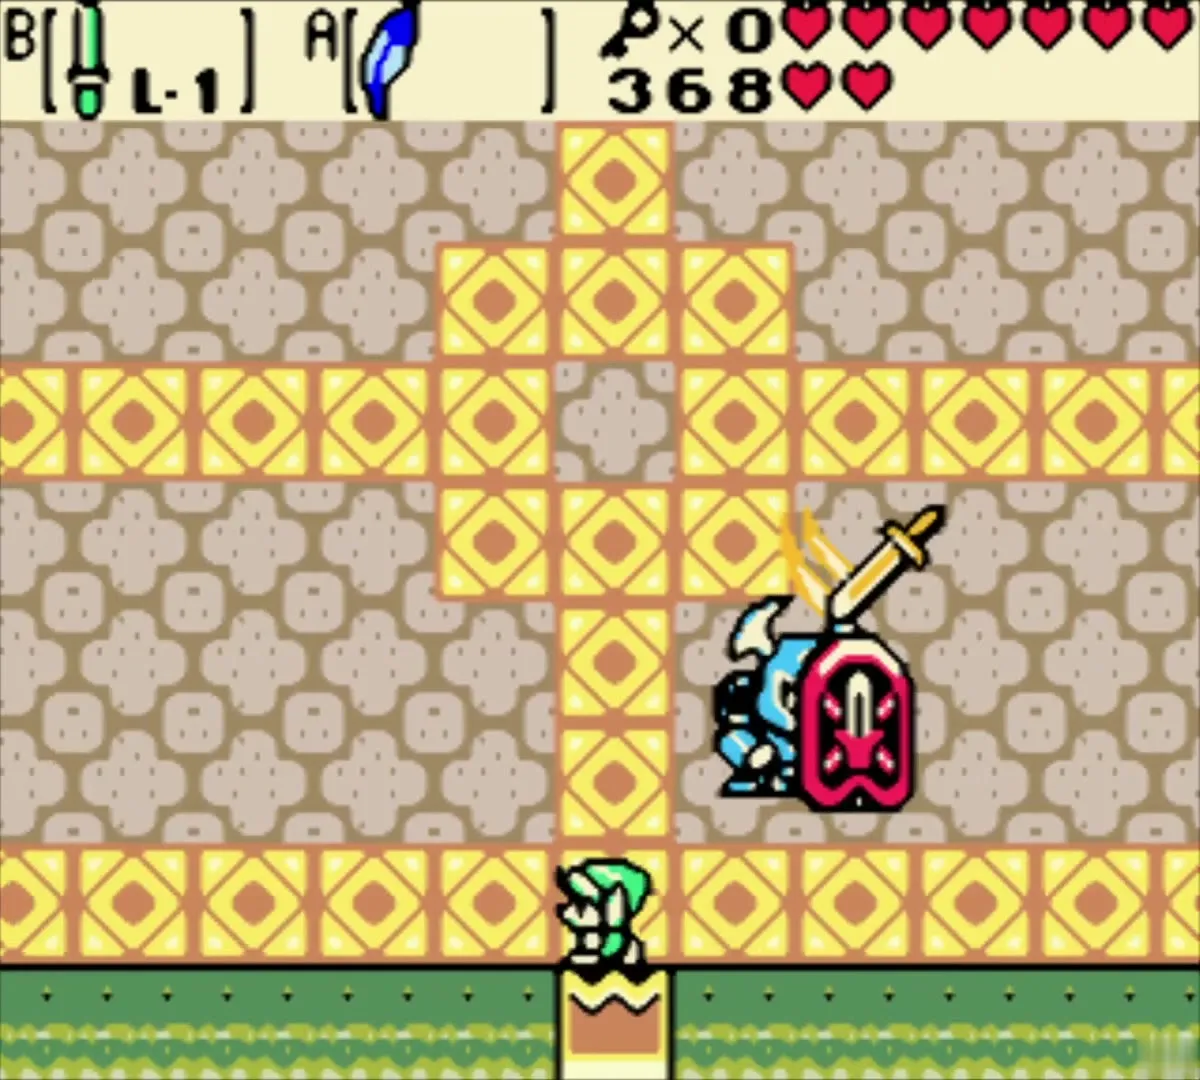
Defeat the Armos Warrior
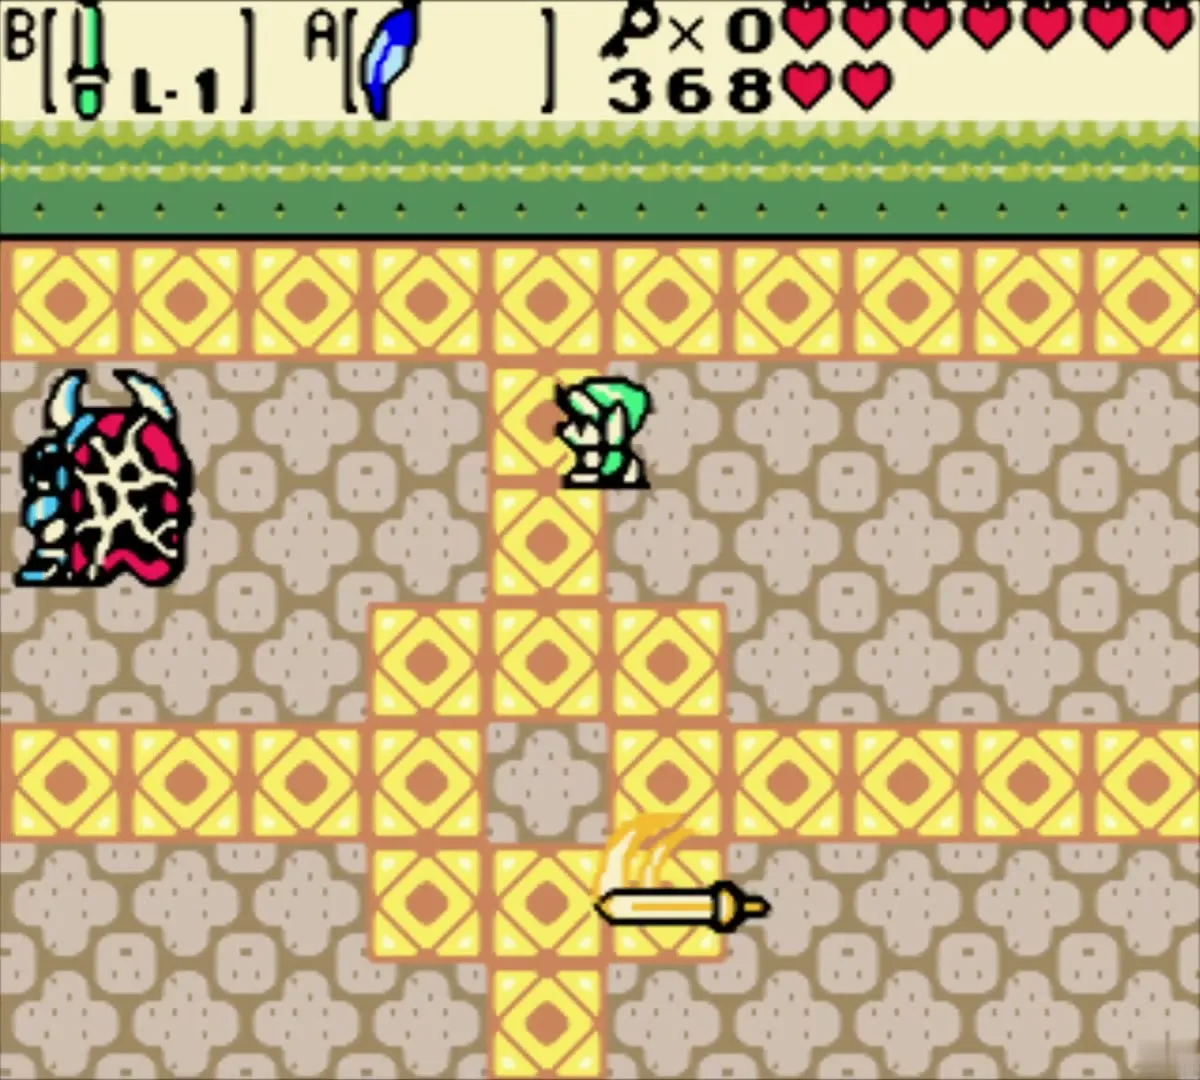
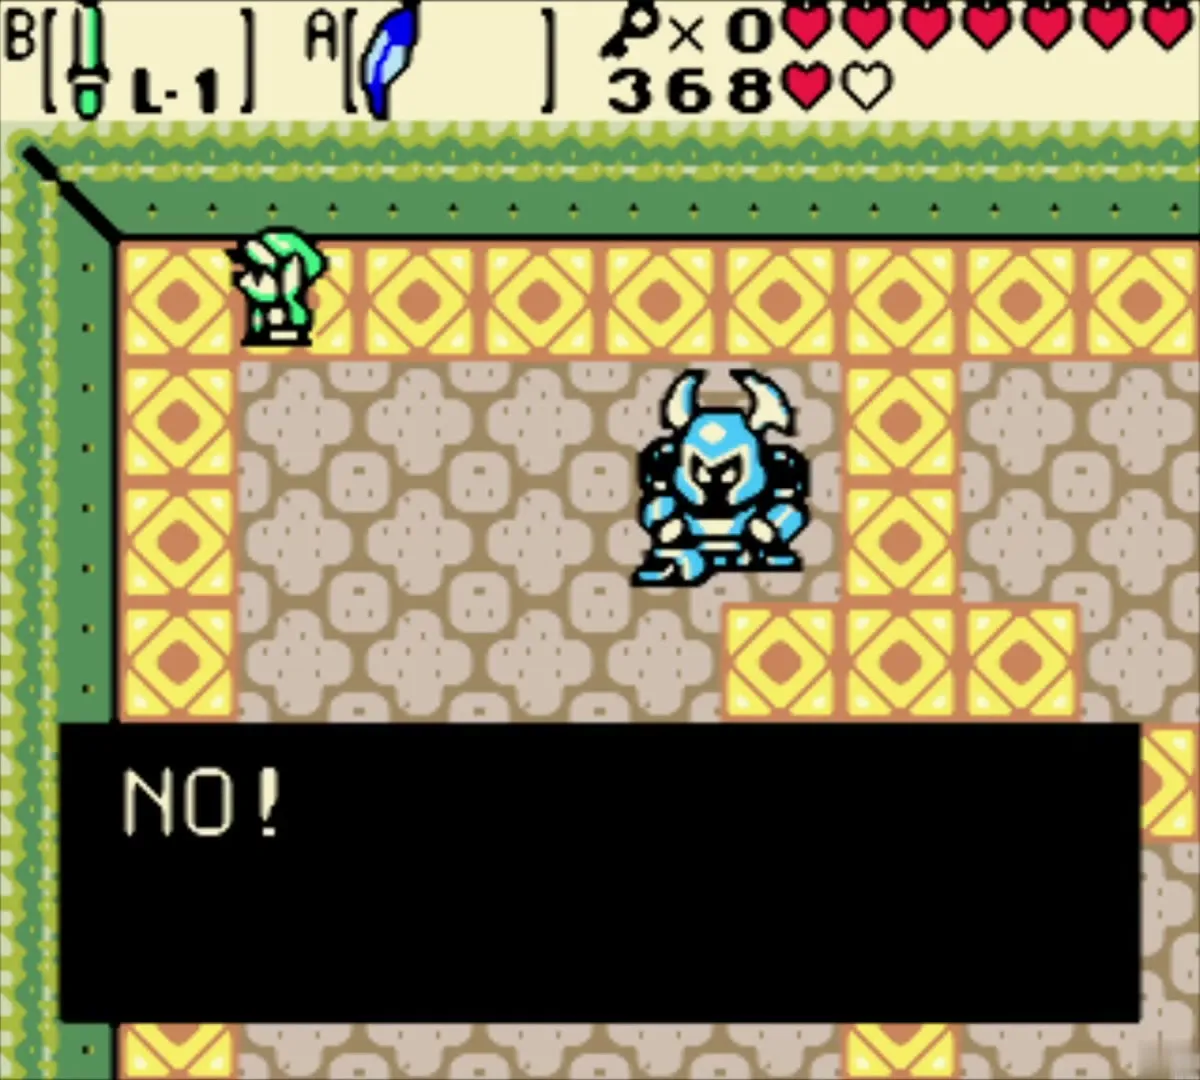
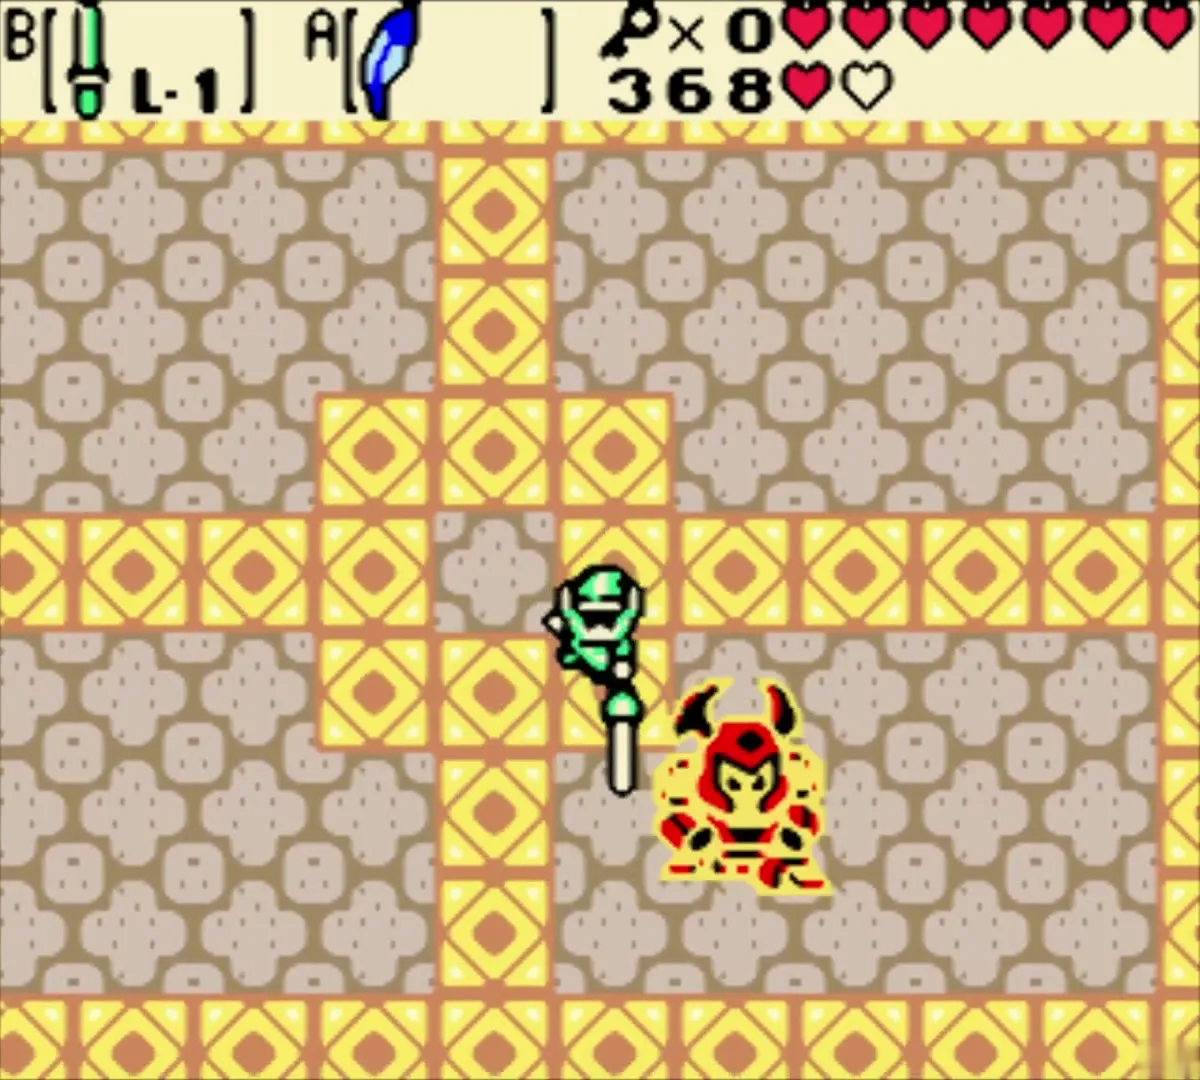
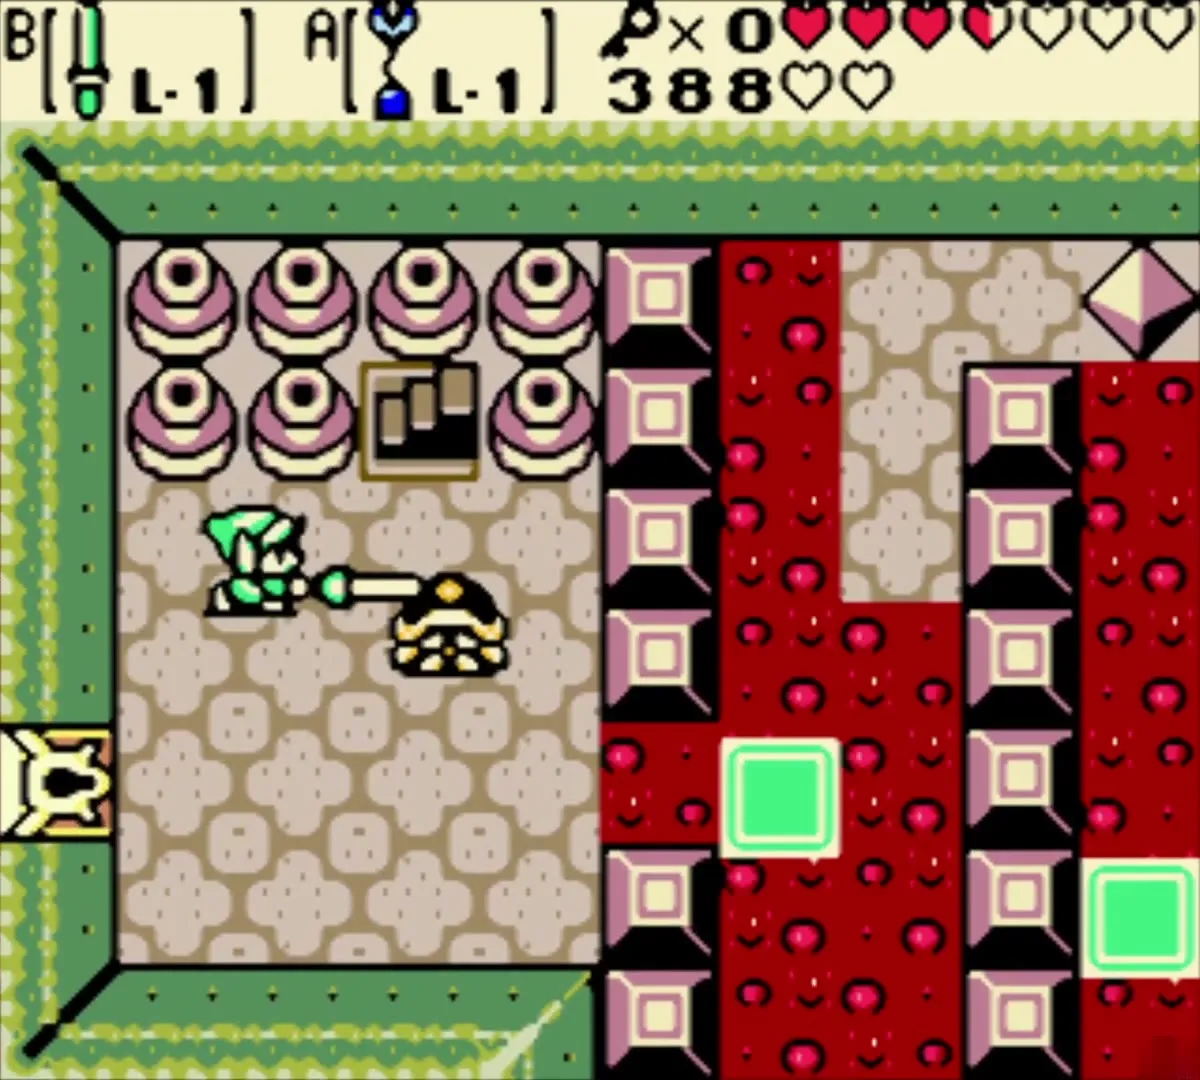
The Armos Warrior boasts about his mighty sword and shield, then sends his sword floating through the room. The blade flies in a straight line, so move to make it hit the Armos Warrior himself. Three of these hits shatter his sword and shield. Without them he simply charges, so step aside and strike him while he is stunned against a wall. Take the fairy that appears if you need hearts, and leave by the south door. Other foes are listed in Enemies.


How to get the Switch Hook
Cracked wall and the bridge
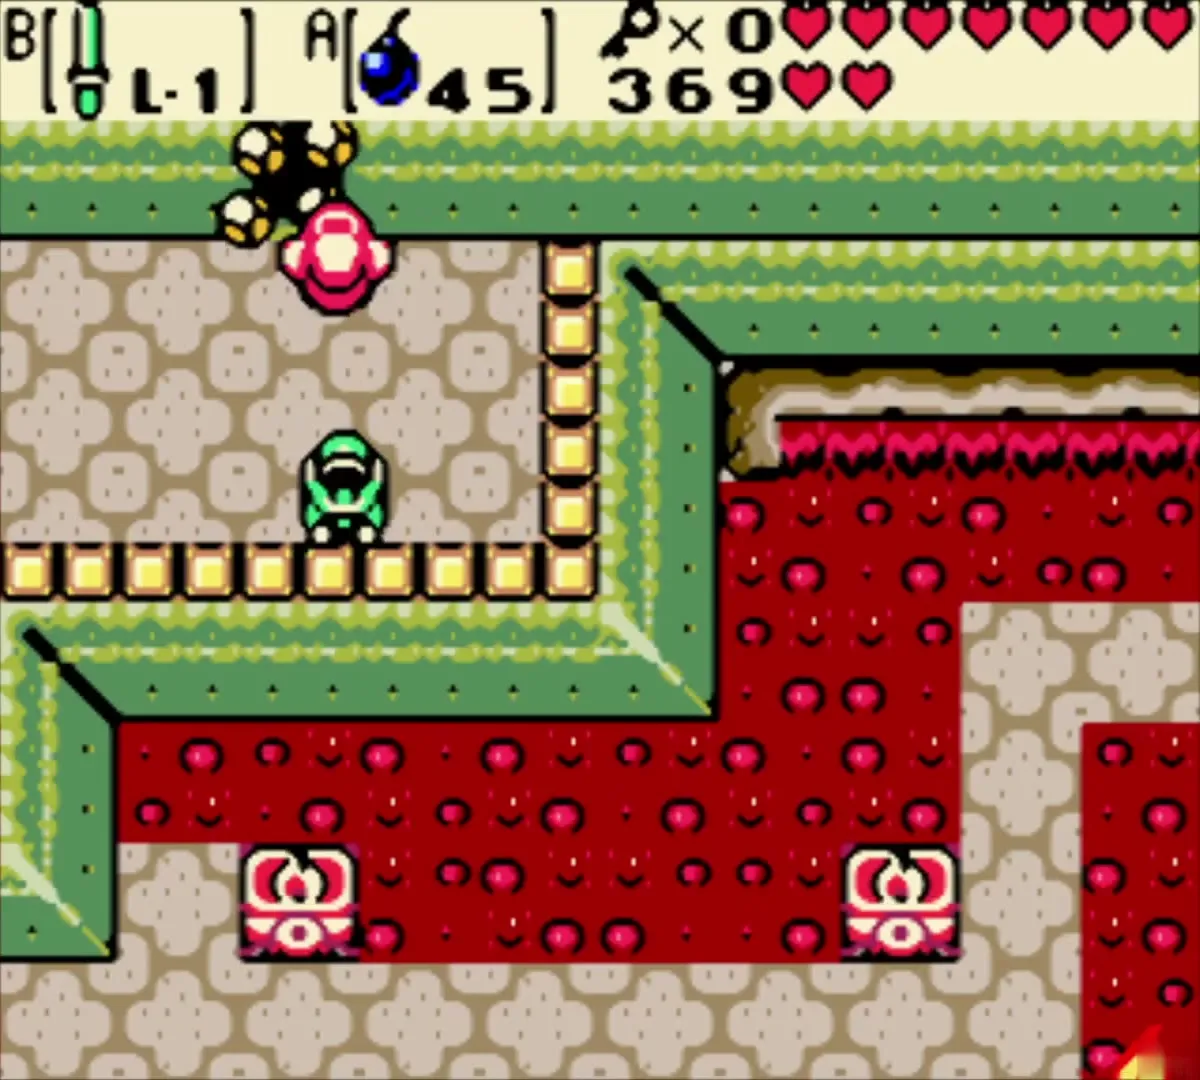
Only one route leads south from the mini-boss room, over a lava room with a green bridge. A cracked wall stands in the next room, so equip Bombs and blow it open to enter the colored-tile chamber behind it.


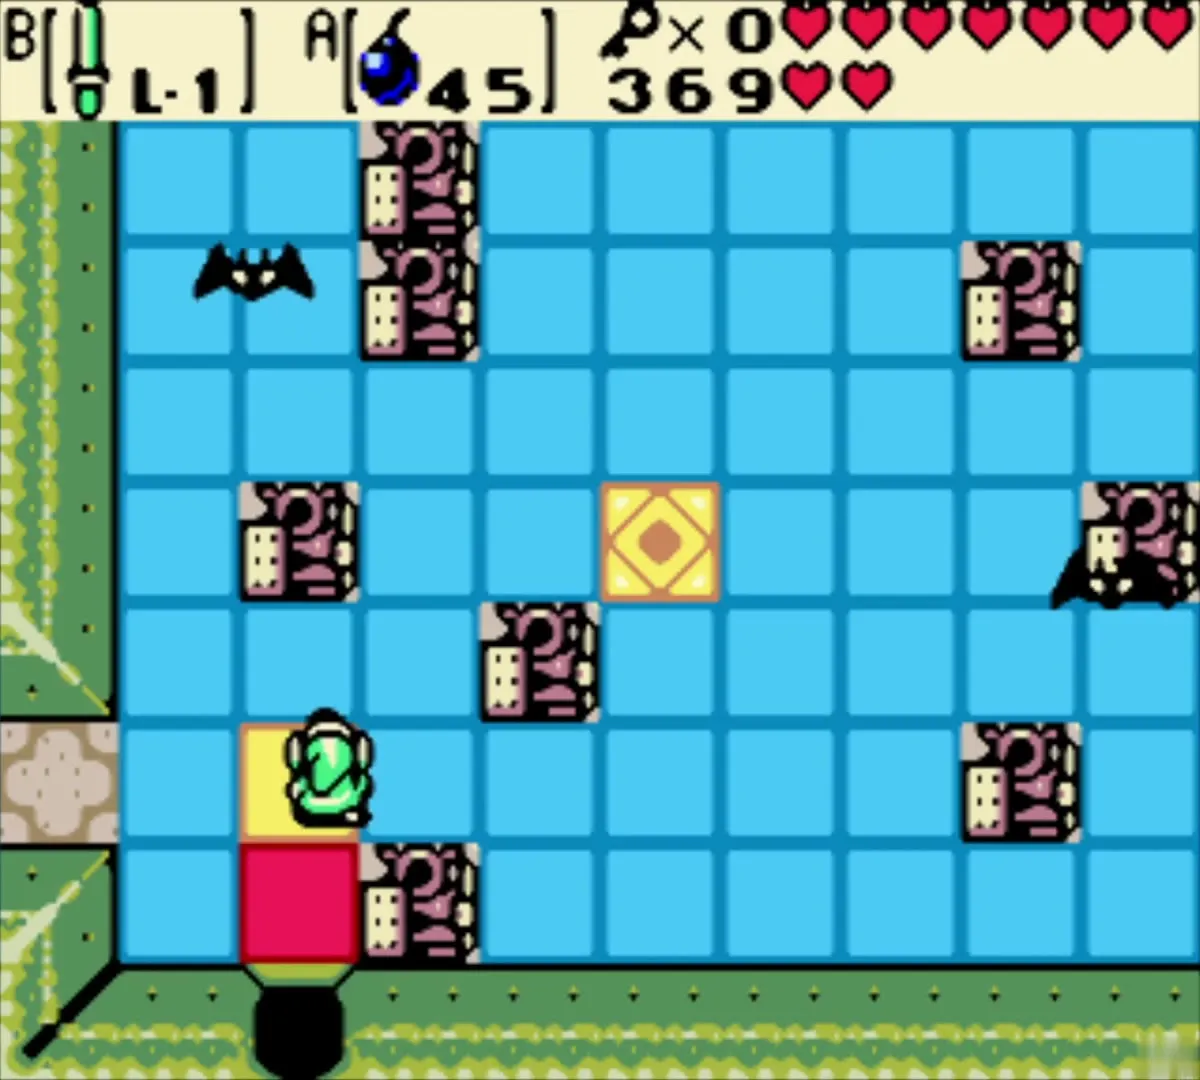
The chest with the Switch Hook
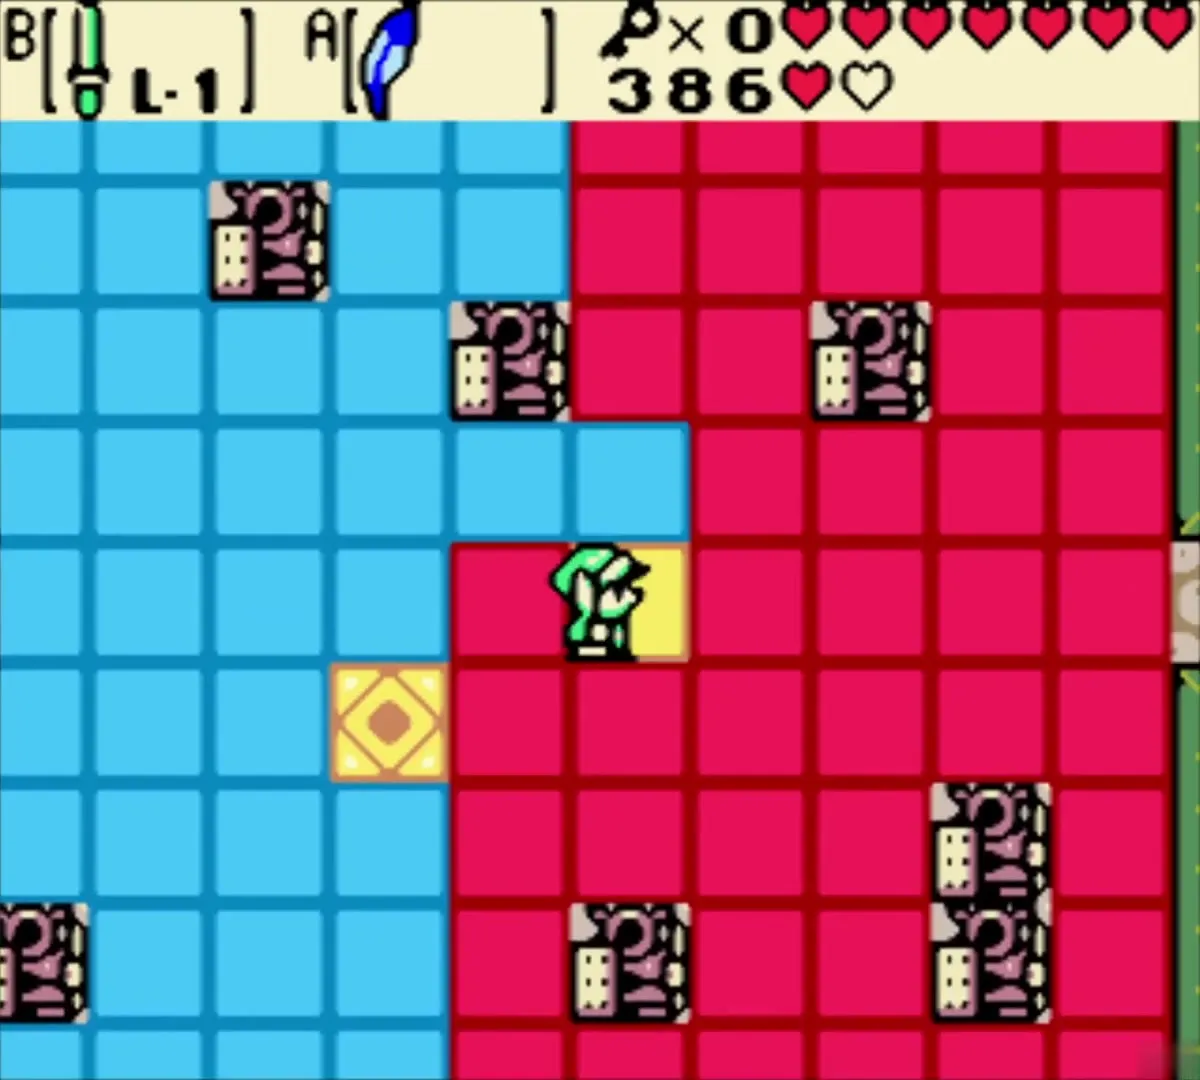
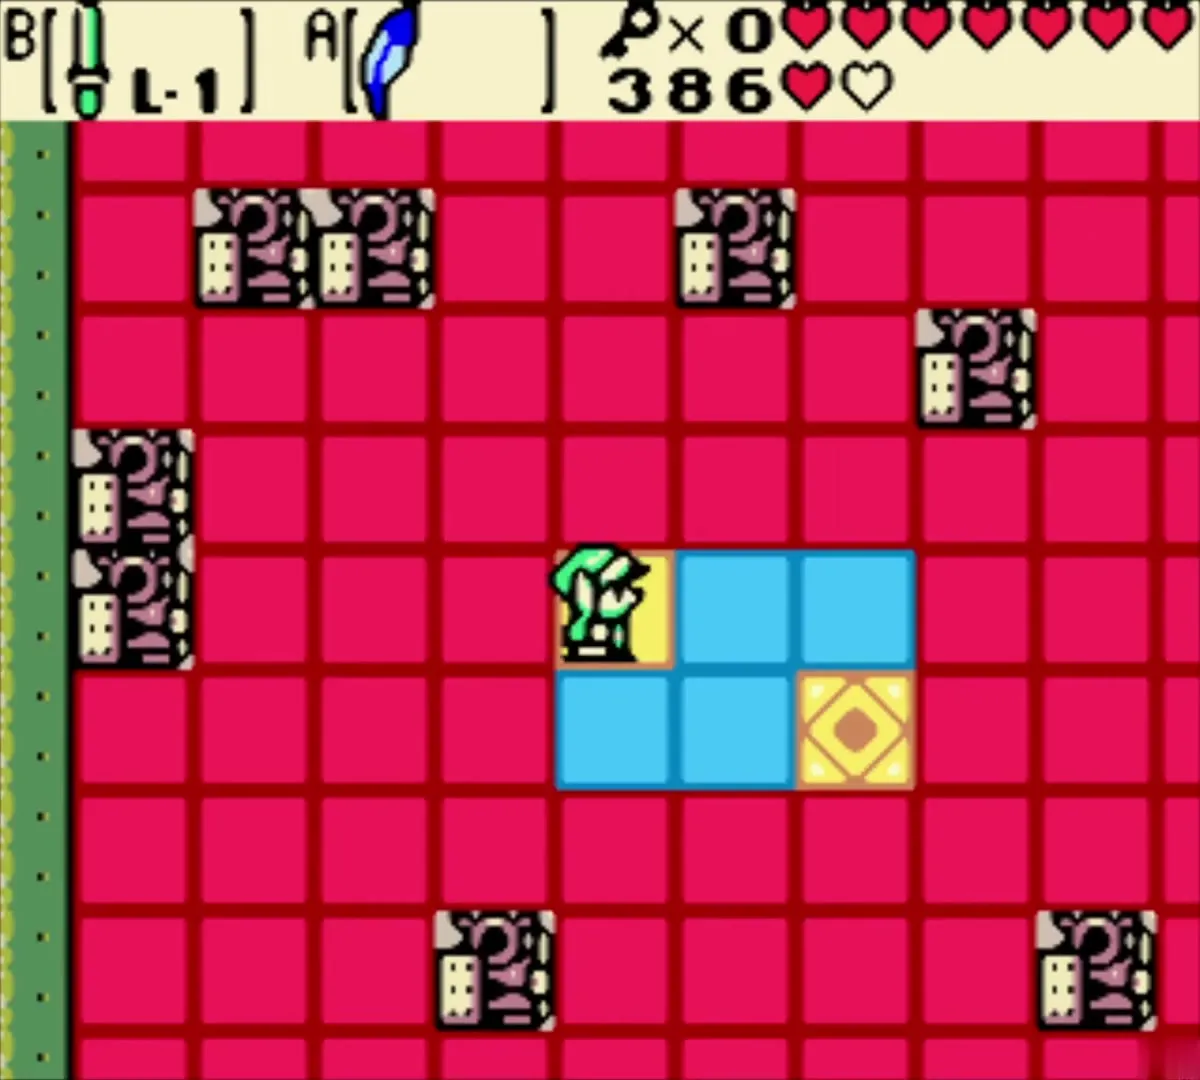
The floor of this room is blue, and you start on the yellow tile. Every tile you leave turns red, so plan a path that crosses each blue tile once without trapping you in a corner; if you get stuck, leave and re-enter to reset. When every tile is red, a chest appears holding the Switch Hook. Fire it at a stone diamond or a pot and you and the target trade places. Make it your item for the rest of the dungeon. Items and Equipment covers its later upgrade, the Long Hook.

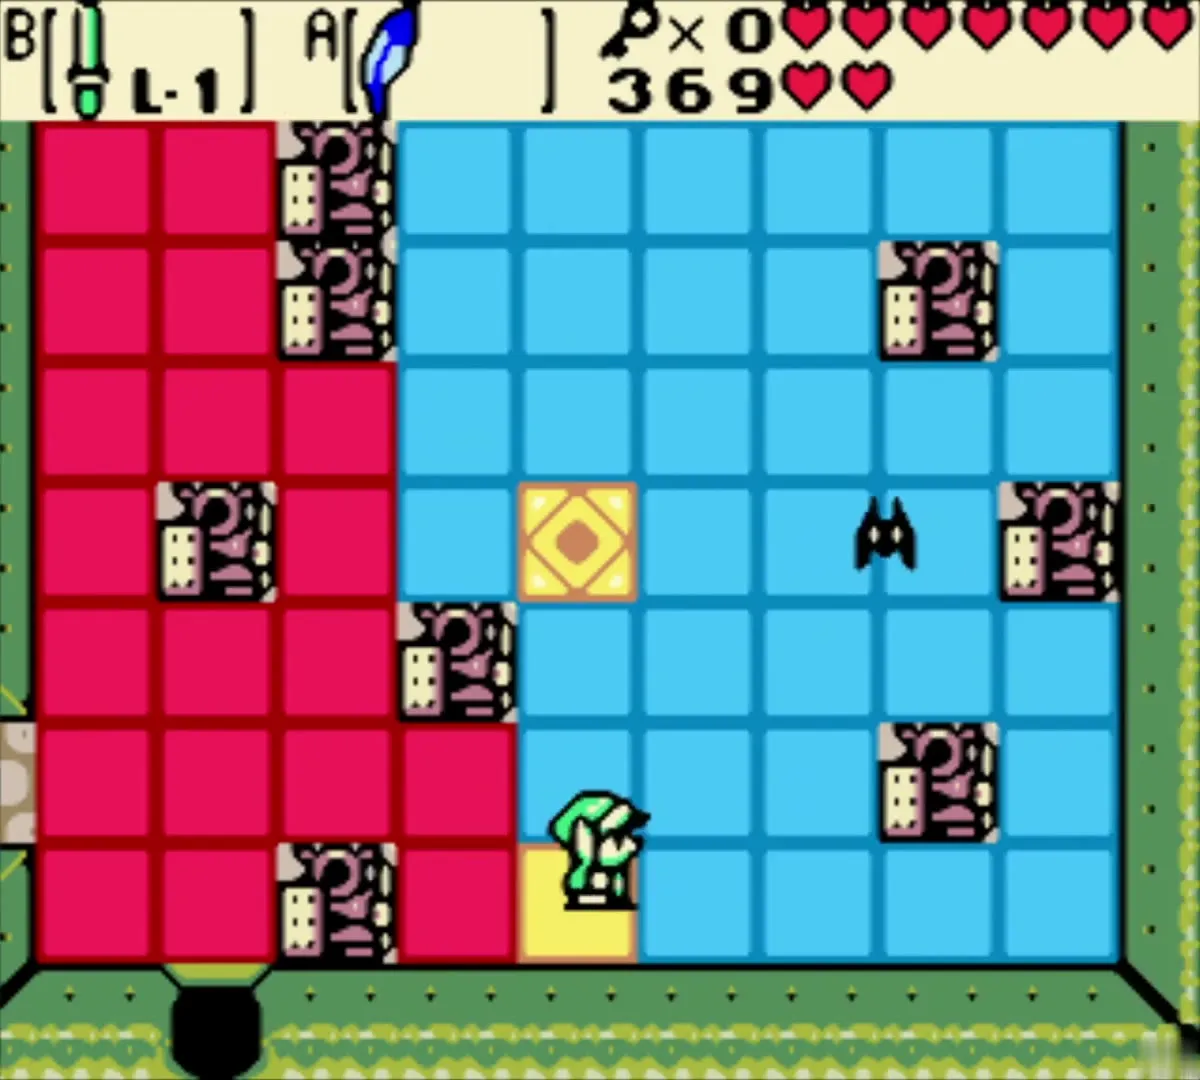
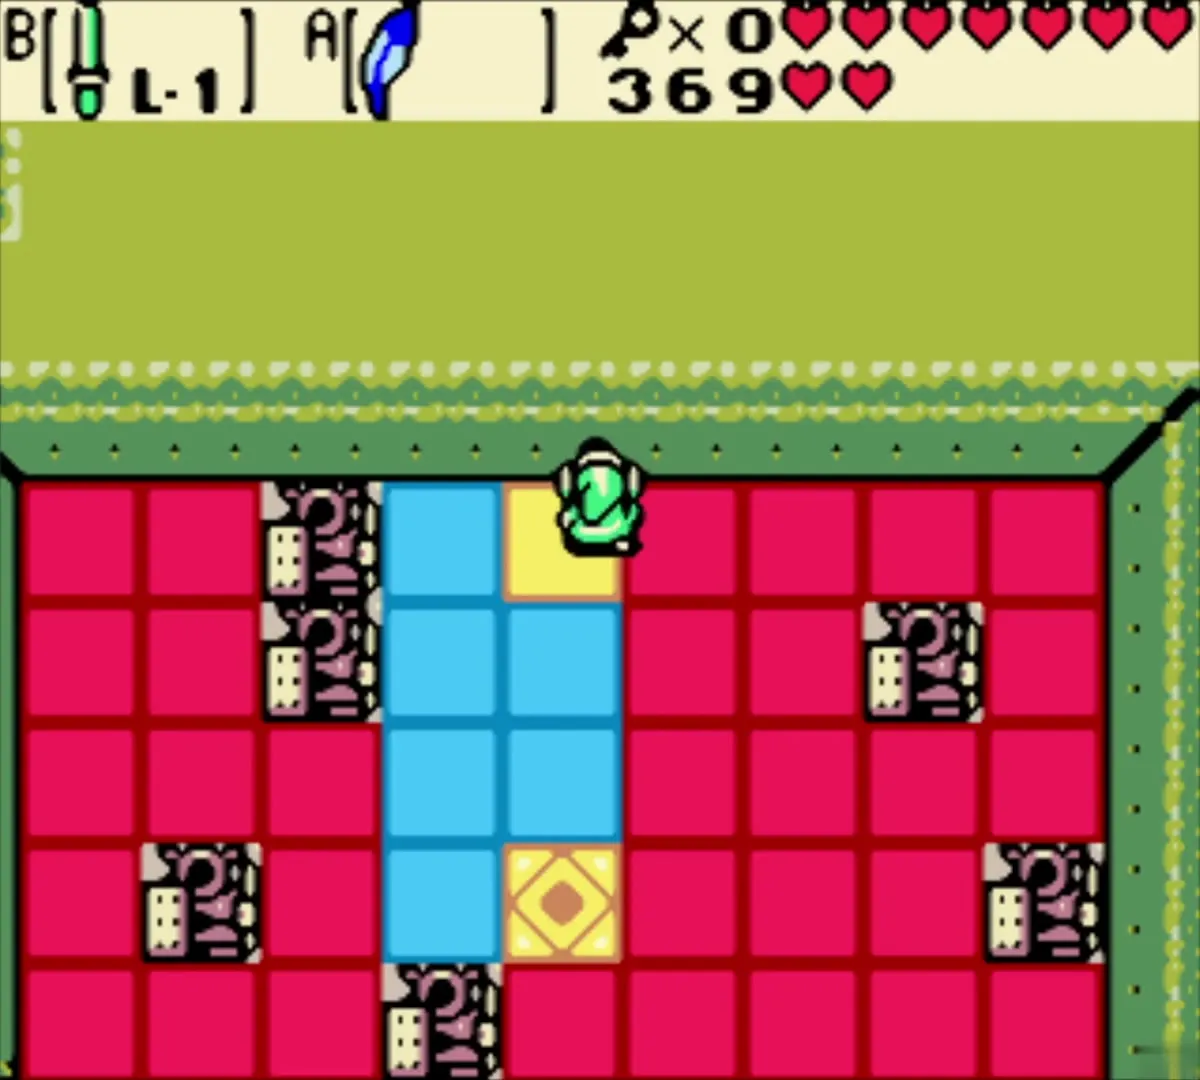
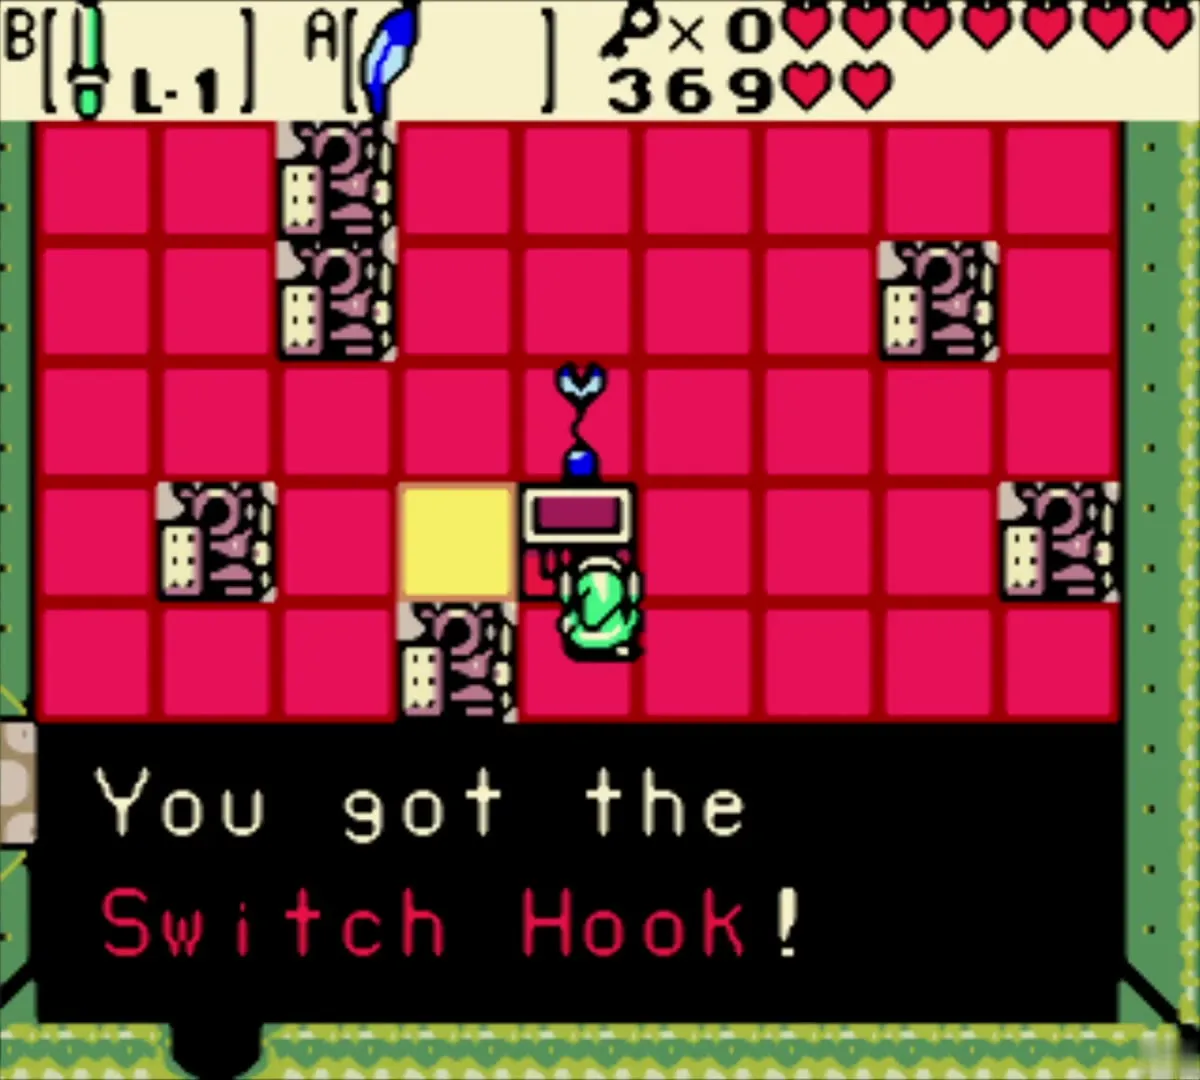
Using the Switch Hook: lava crossings and Small Key 5
Diamonds, pots and buttons
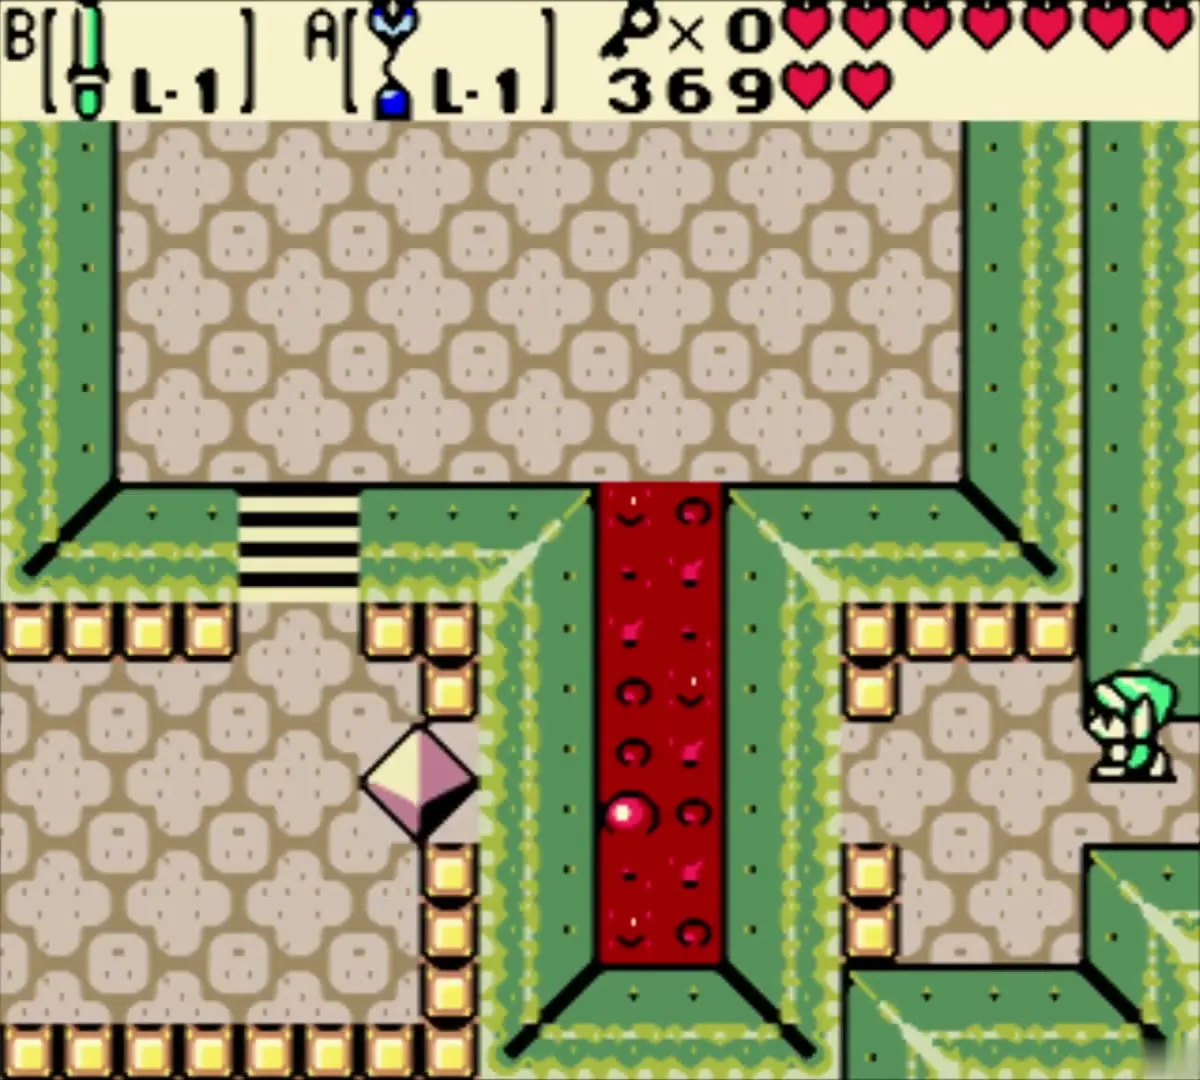
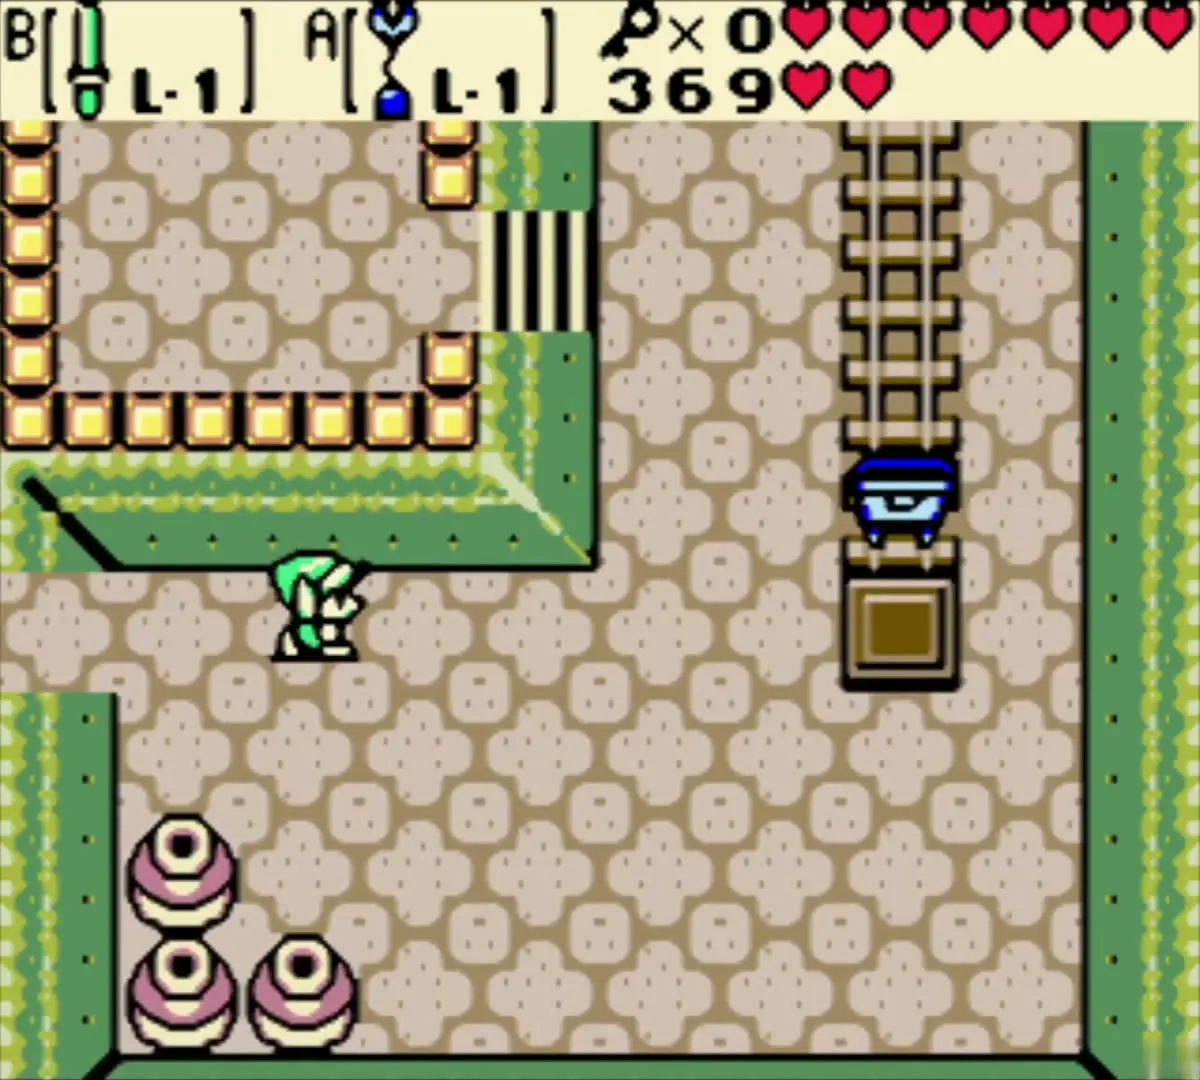
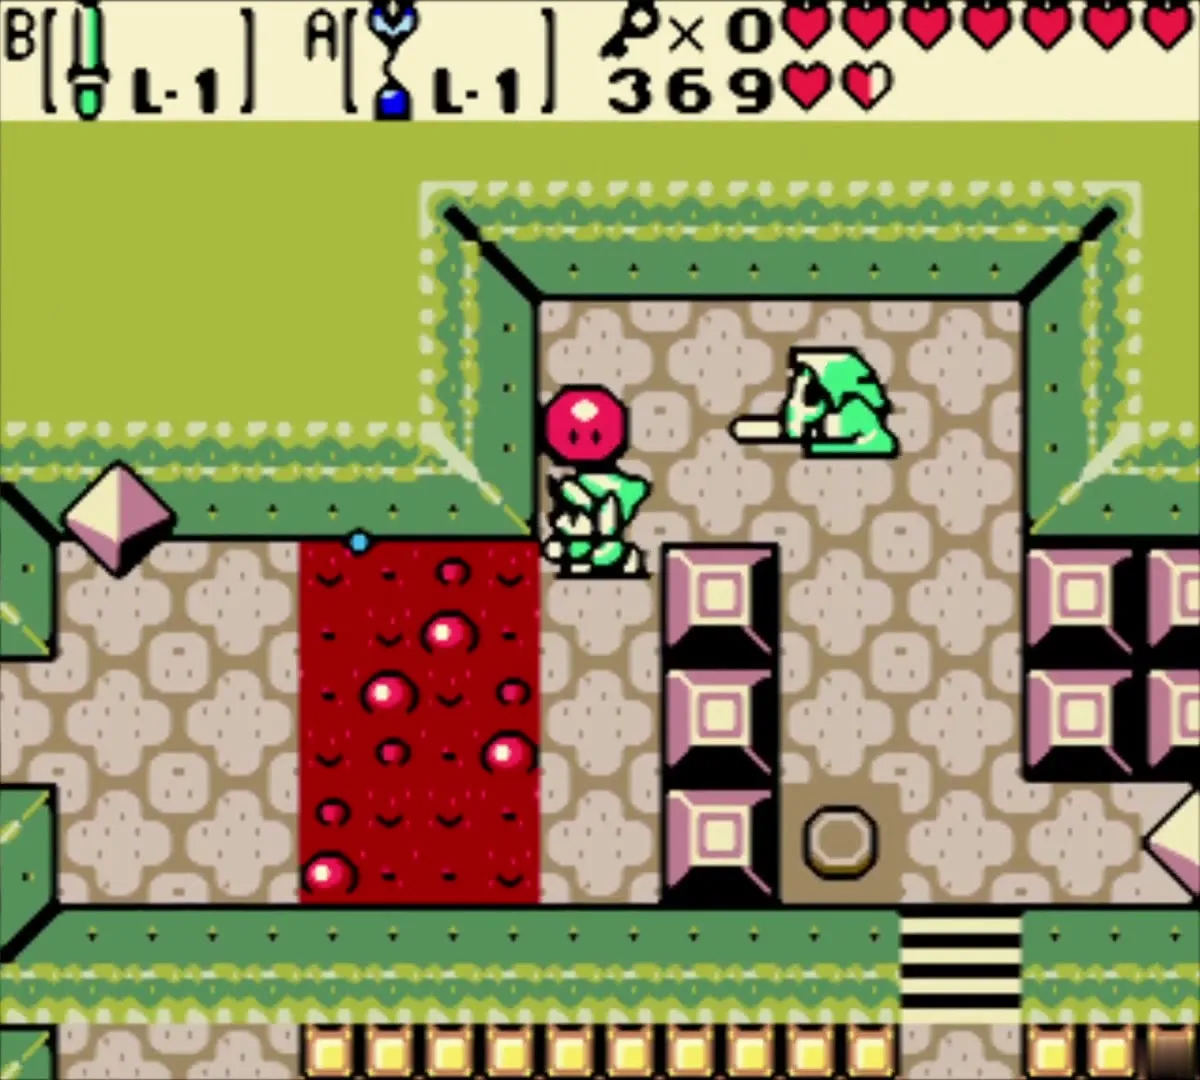
Leave west and swap with the first diamond, then return to the minecart room and walk north on foot. Keep switching with diamonds to cross lava and open the way south and east. In one room you must swap with a diamond, stand on the button and then swap with a second diamond to open the exit, which leads to a staircase down.

Ropes, pots and the invisible Gels
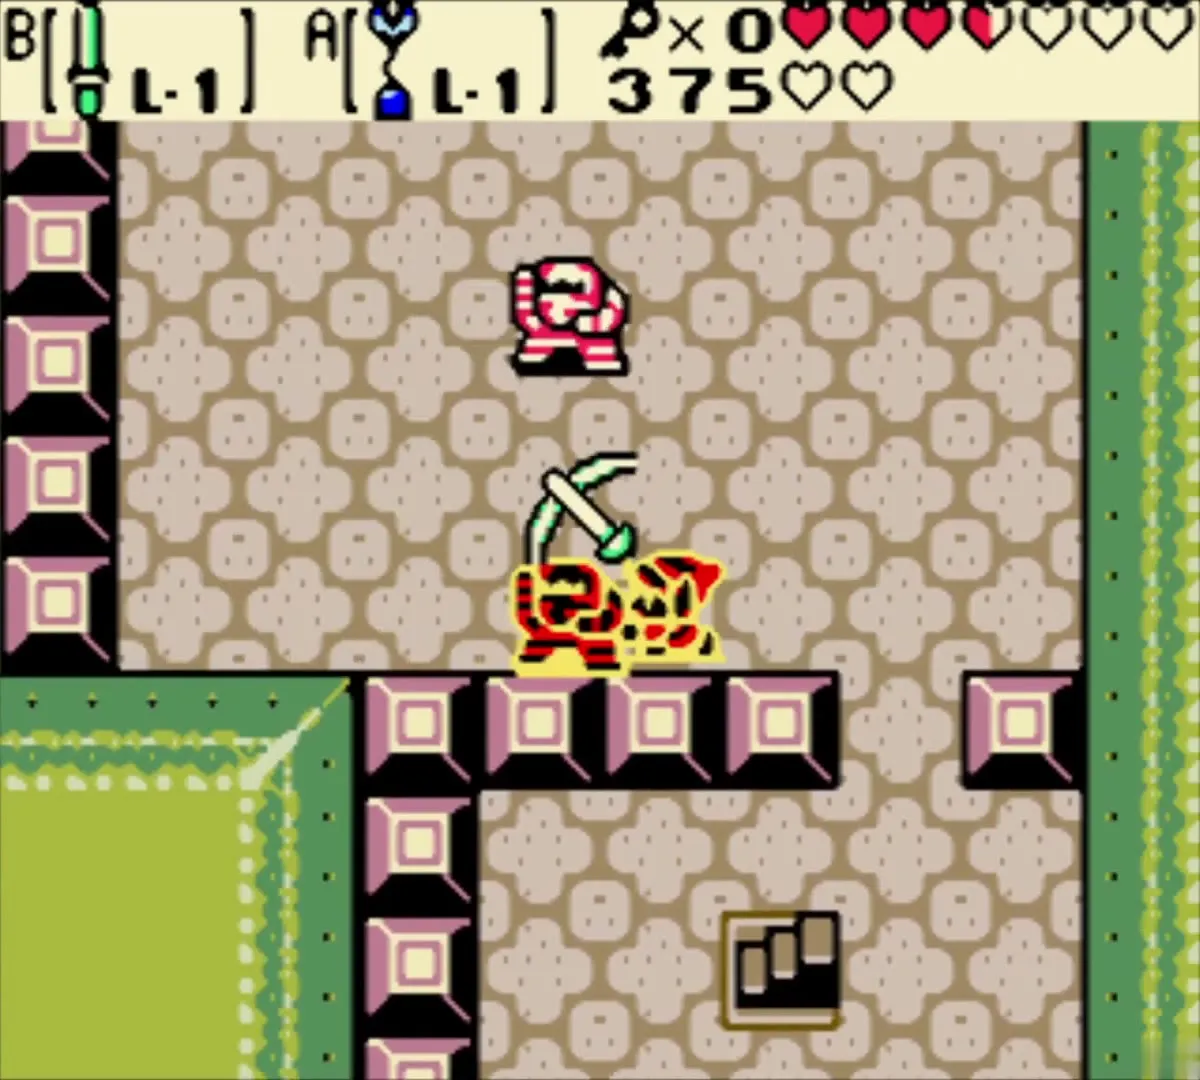
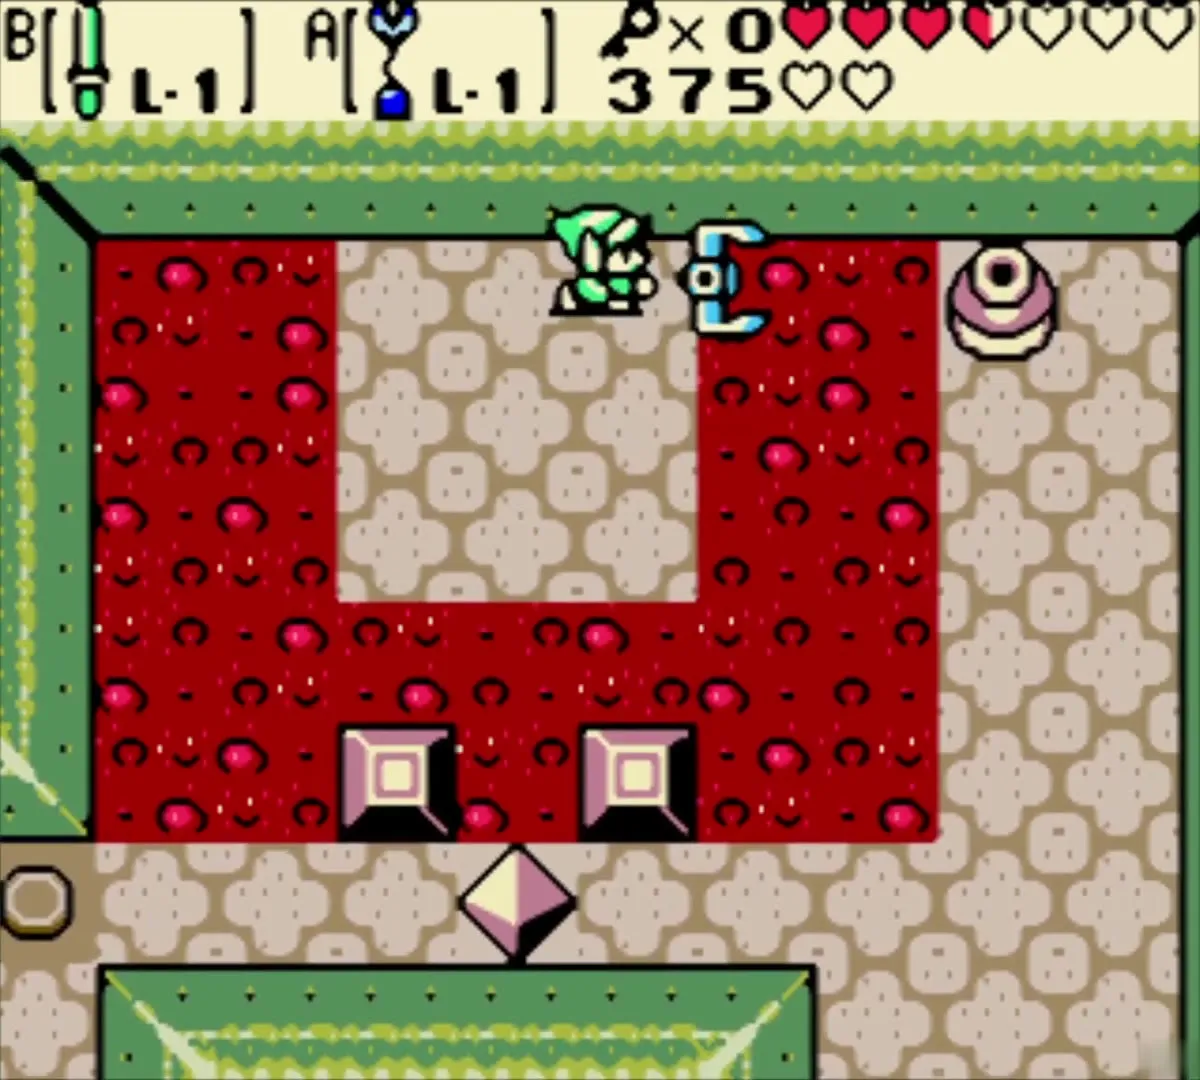
North of the stairs, kill the Ropes, then swap with the diamond from below and with the pot. Bring the diamond onto the button by swapping with it several times to open the next door. Cross the lava on the following screen by hooking onto the pots, and re-enter the room if you slip. In the room after that, jump onto the center tile to reveal the invisible Gels so that you can kill them, then continue west past the lava and Blade Traps.

Second large tile floor and Small Key 5
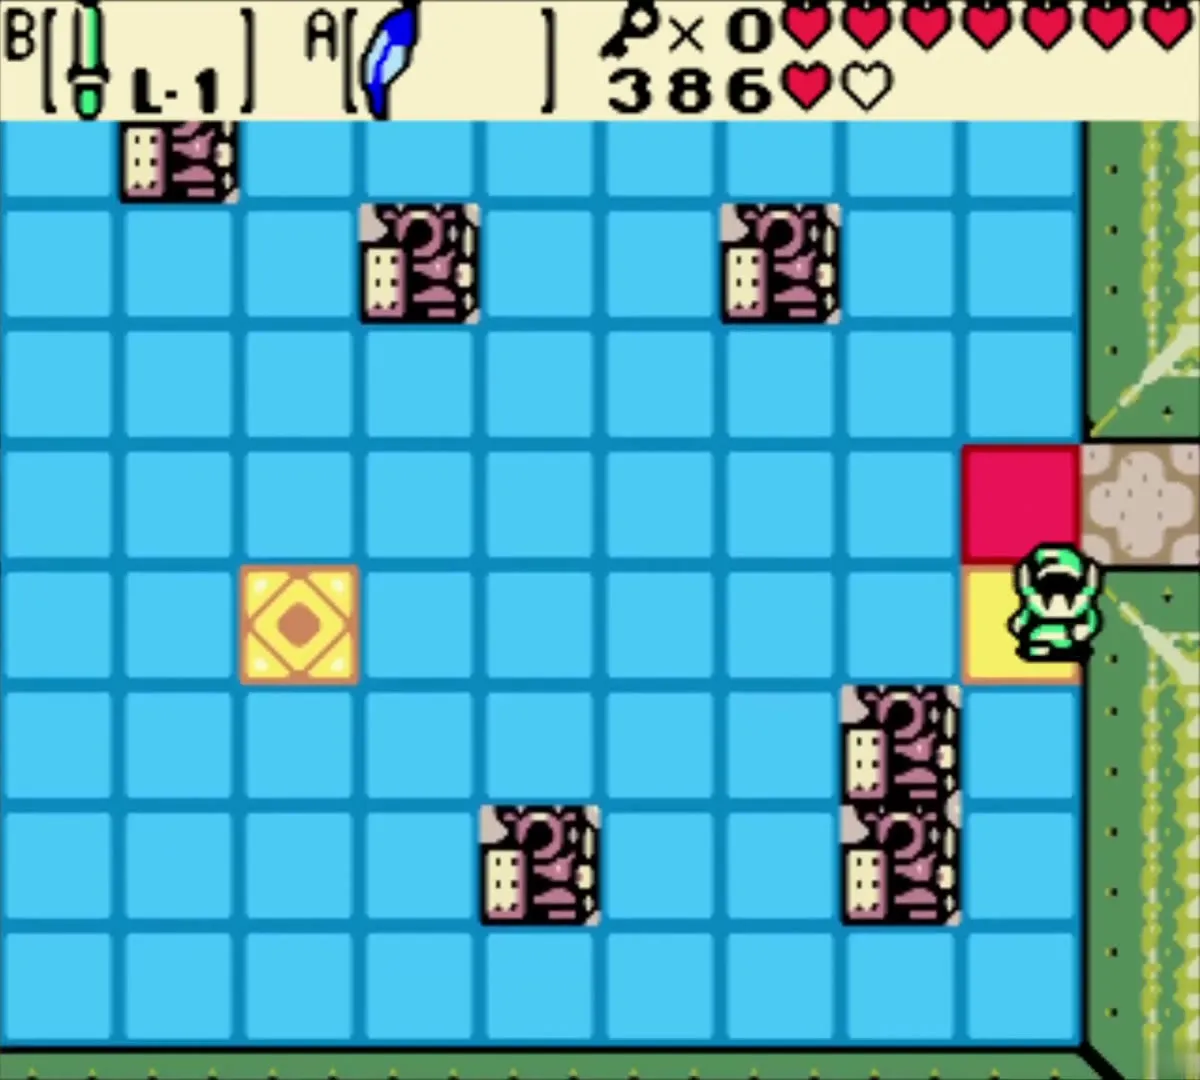
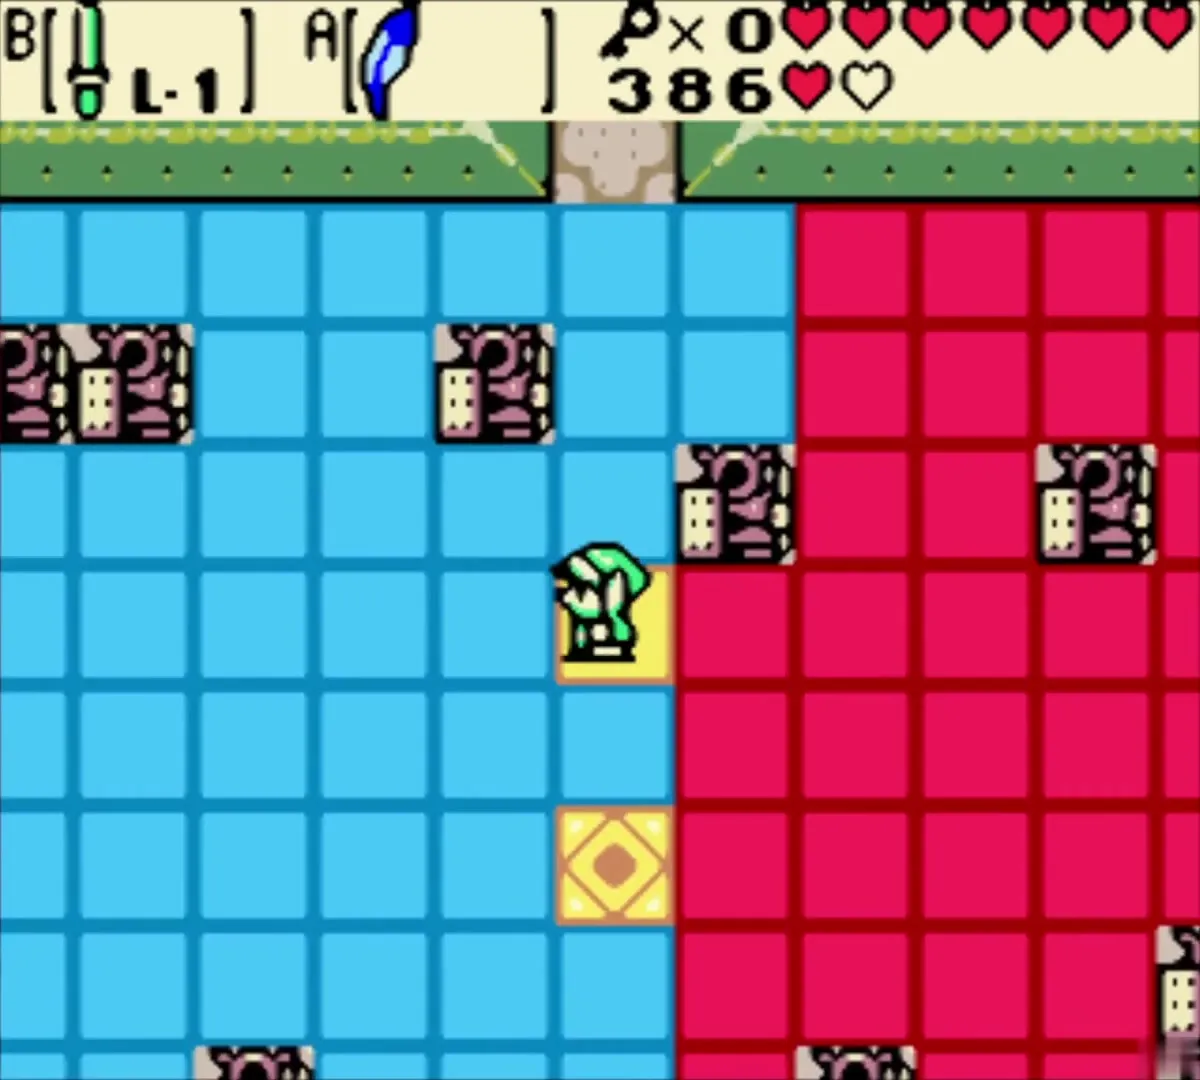
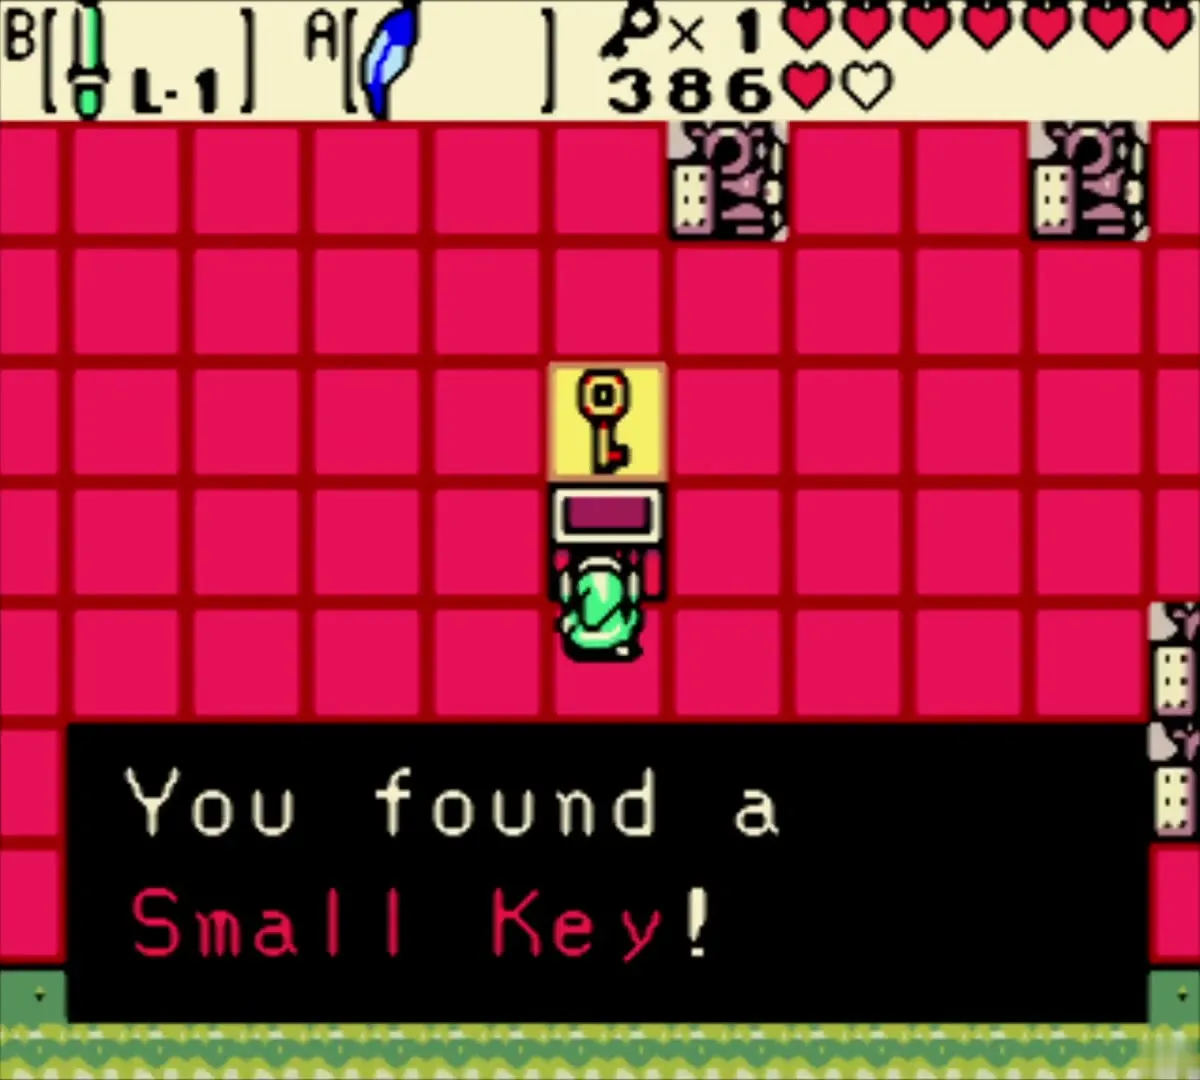
A second large blue floor must be turned red. Start on the yellow tile and walk so that each tile you step on turns red, with no dead end. When the whole floor is red, a chest appears with Small Key 5. Exit through the north door.
Boss Key
Moving platforms, ladder and key block
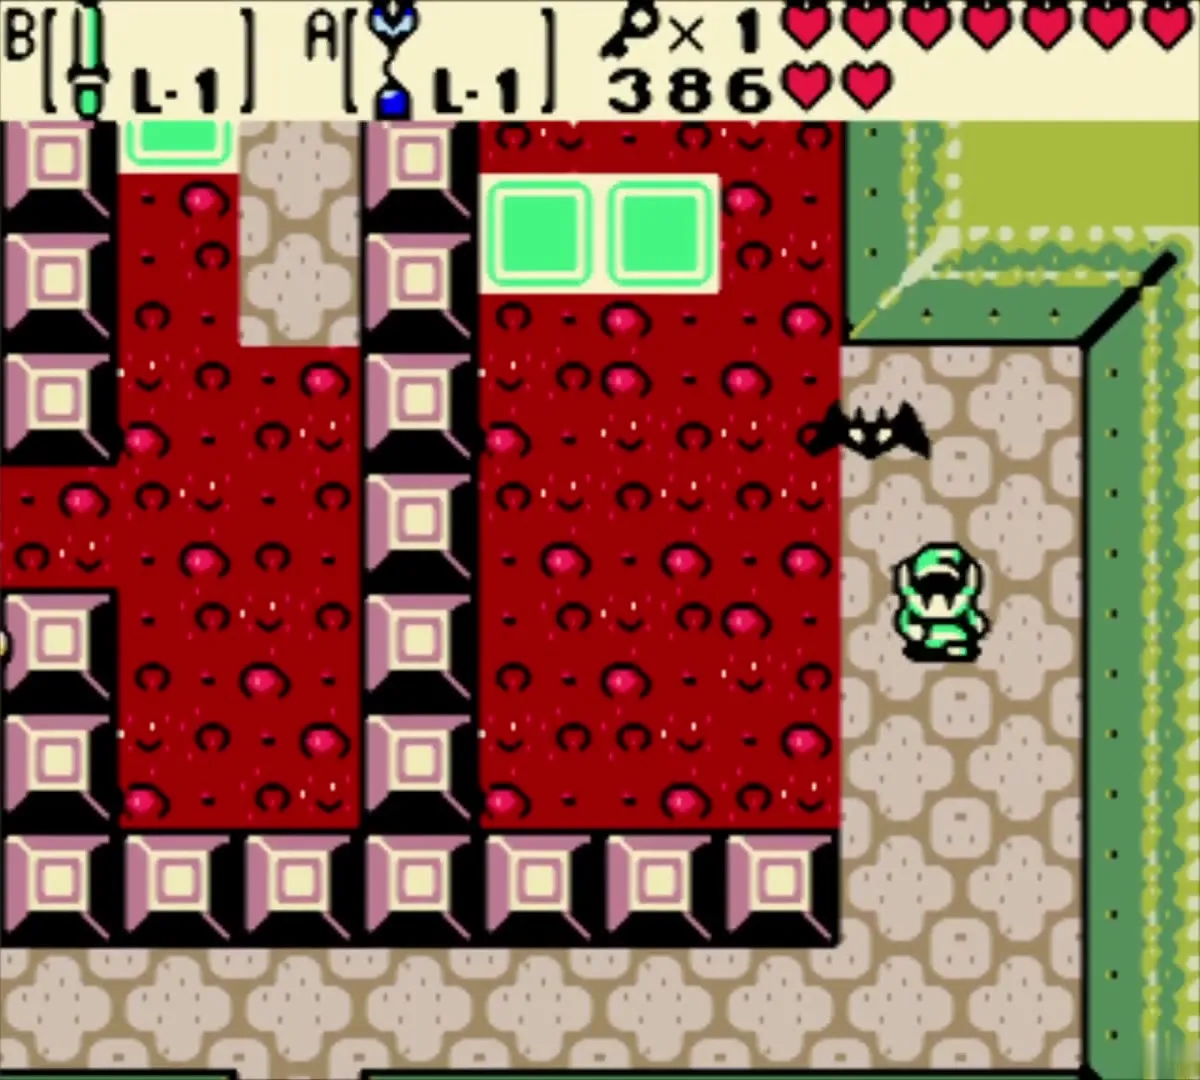
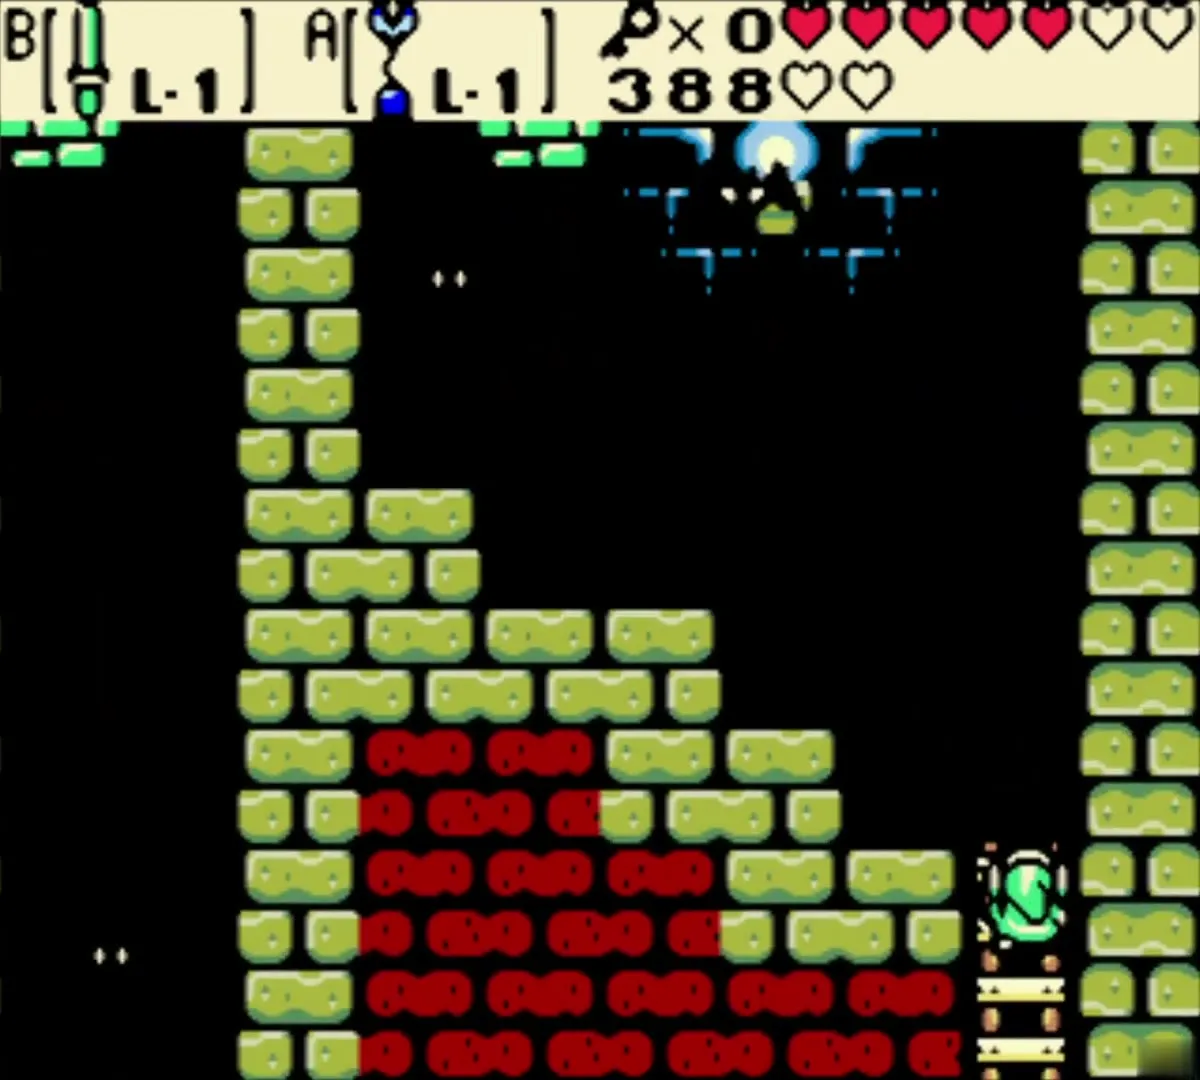
Ride the moving platforms north of the puzzle room, switching with diamonds and pots where the lava gets in the way, and jump across on the green platforms with Roc’s Feather. Climb the ladder to a side-view room of brick pillars topped with pots, where you swap with the pots or jump over them. At the top, use Small Key 5 on the key block and clear the stone diamonds.

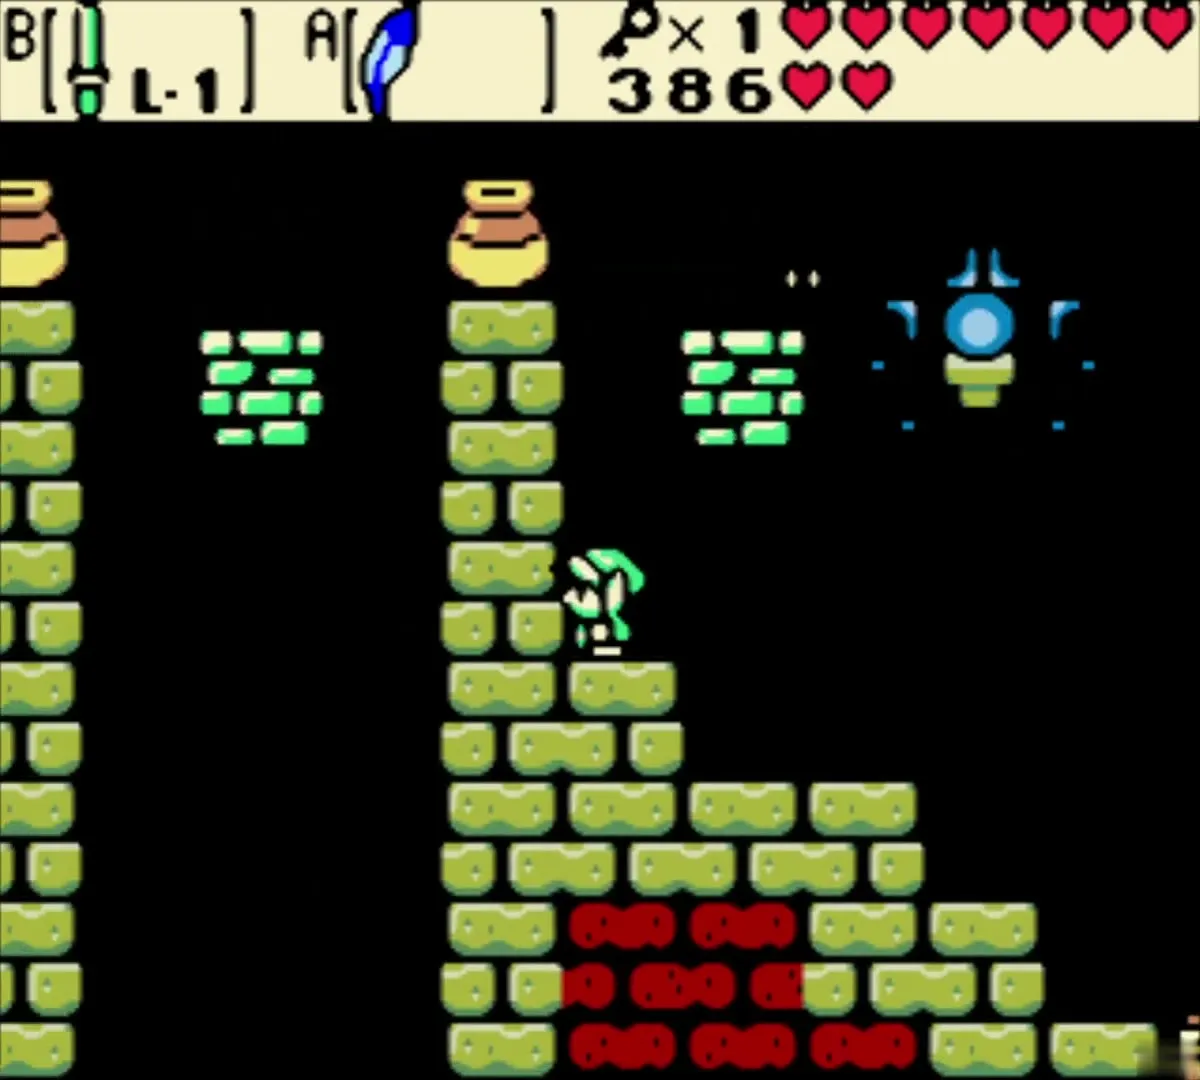


Three lava rooms
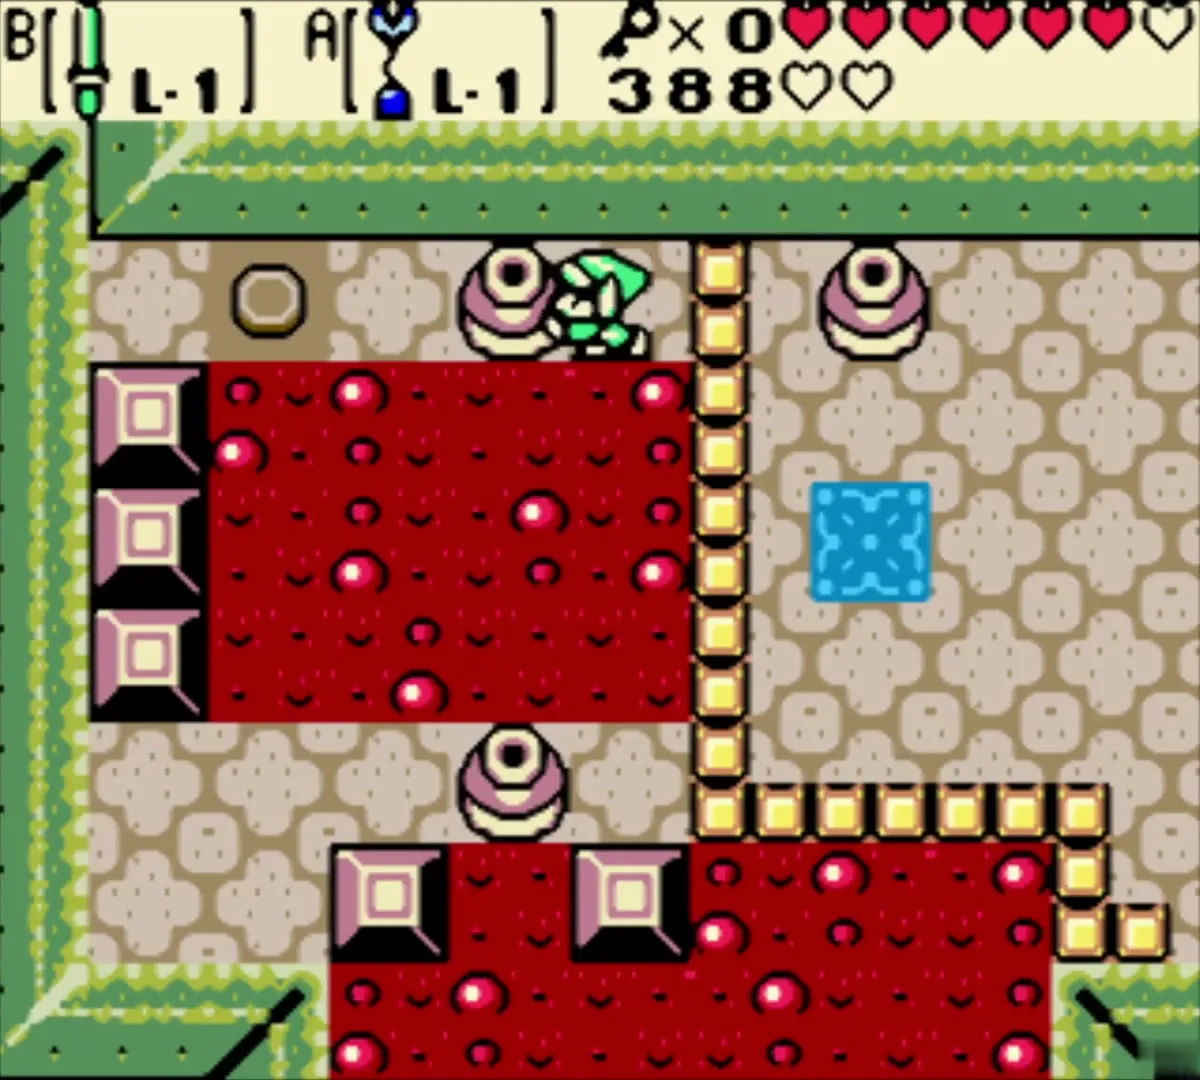
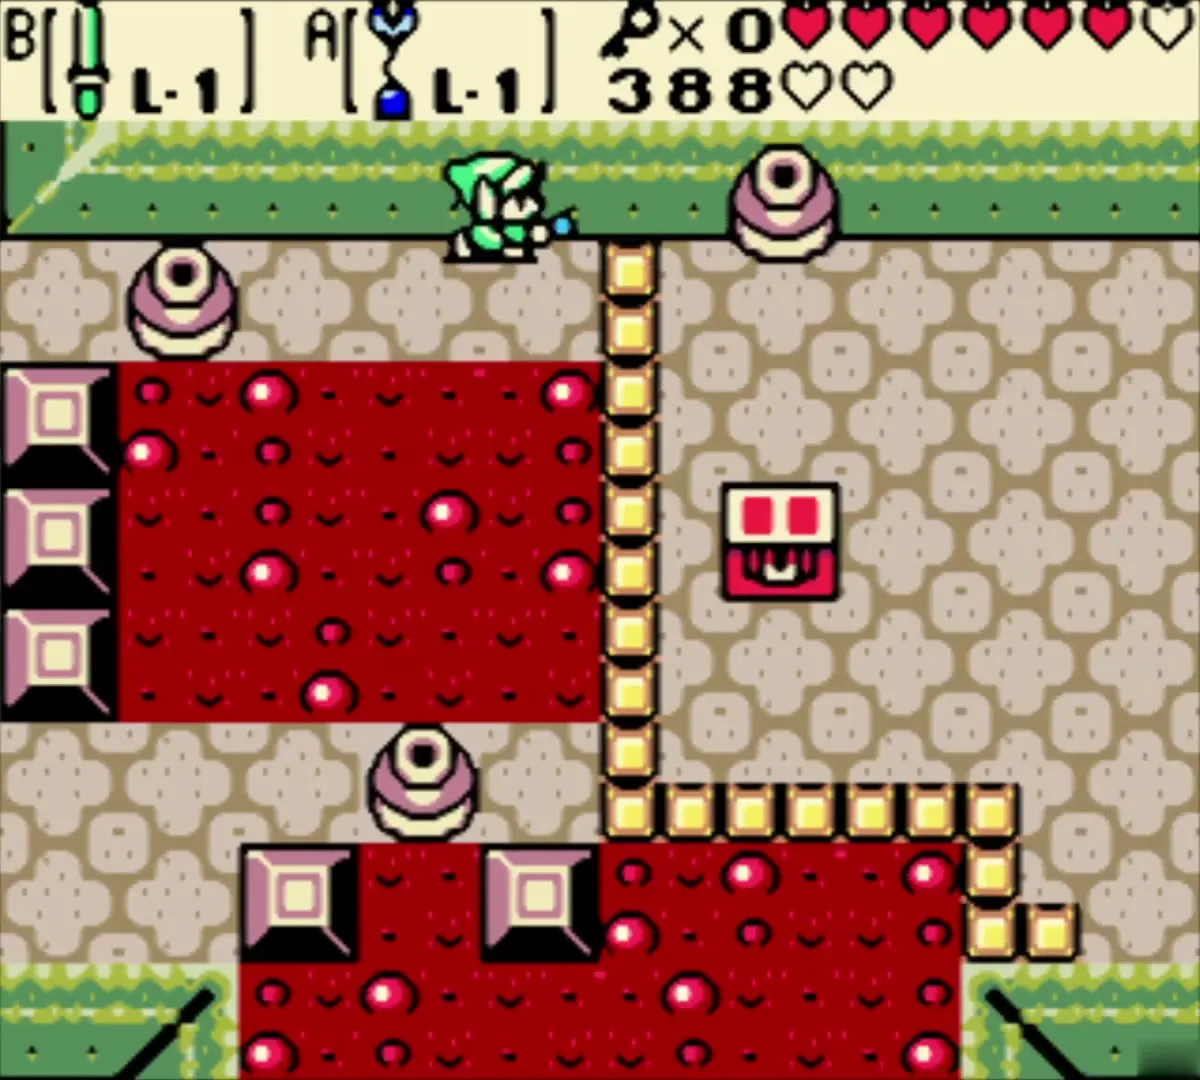
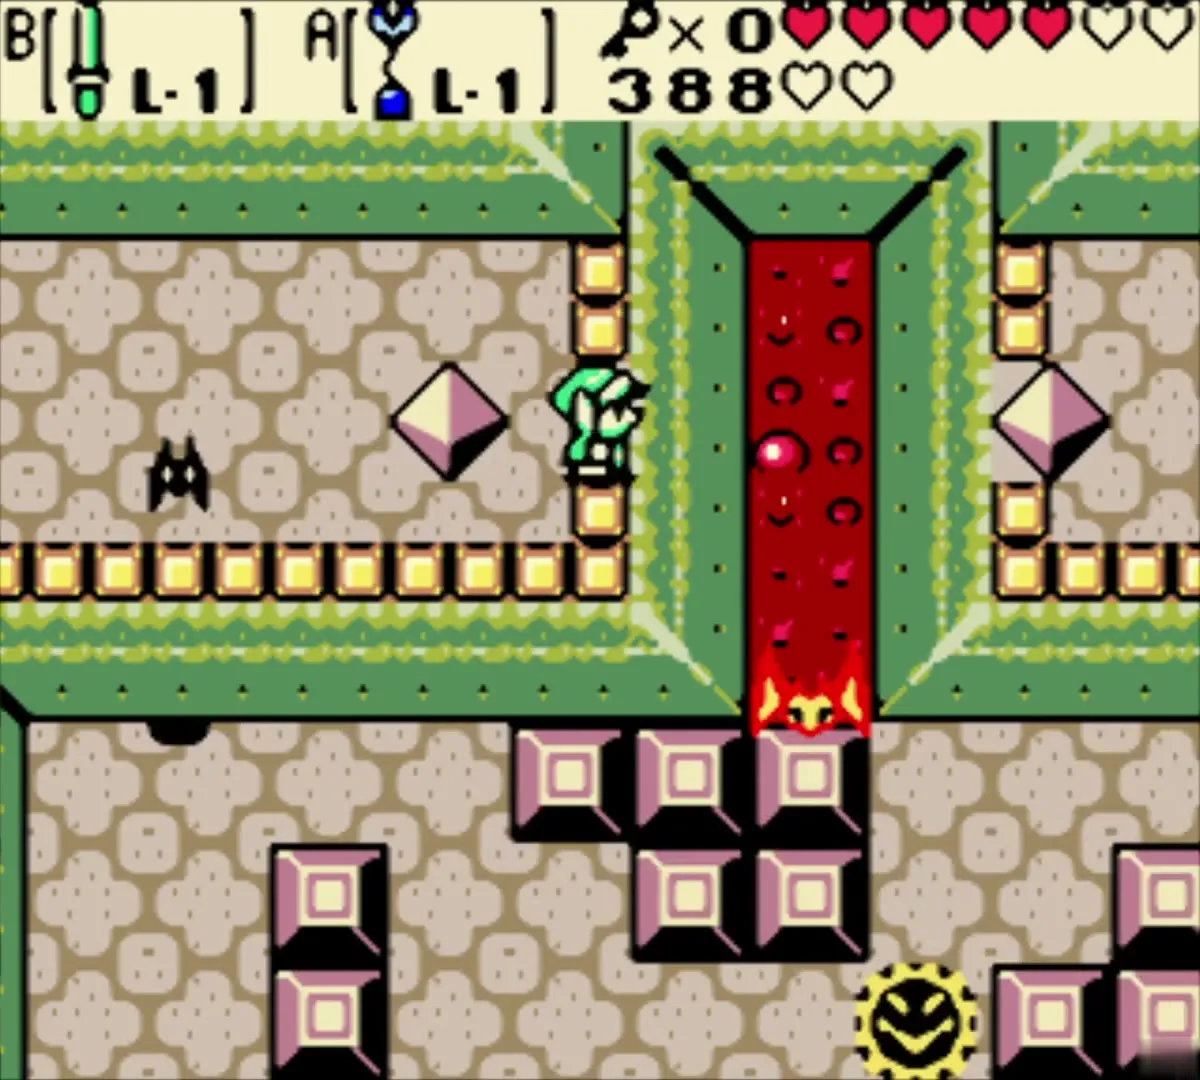
You now cross a series of three lava rooms. In the first, pull the lever as far as it goes and run: you only just reach the far side before the lava starts. In the second, pull the lever to stop the flow, cross to the first pot and stand on it, because lava never covers a square that held a pot. Swap from pot to pot toward the upper left and finish with a diagonal jump.
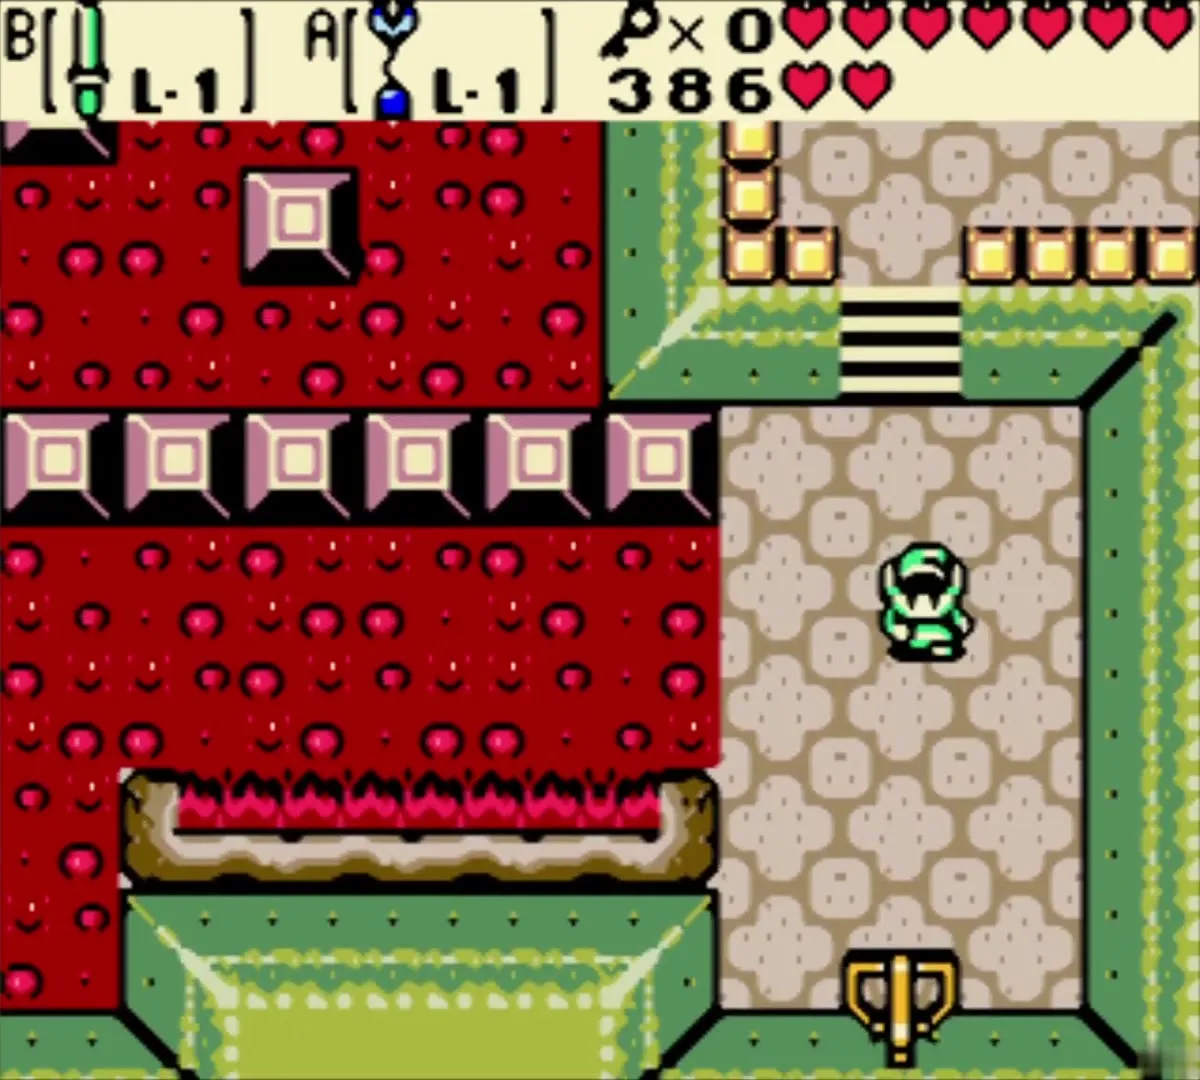


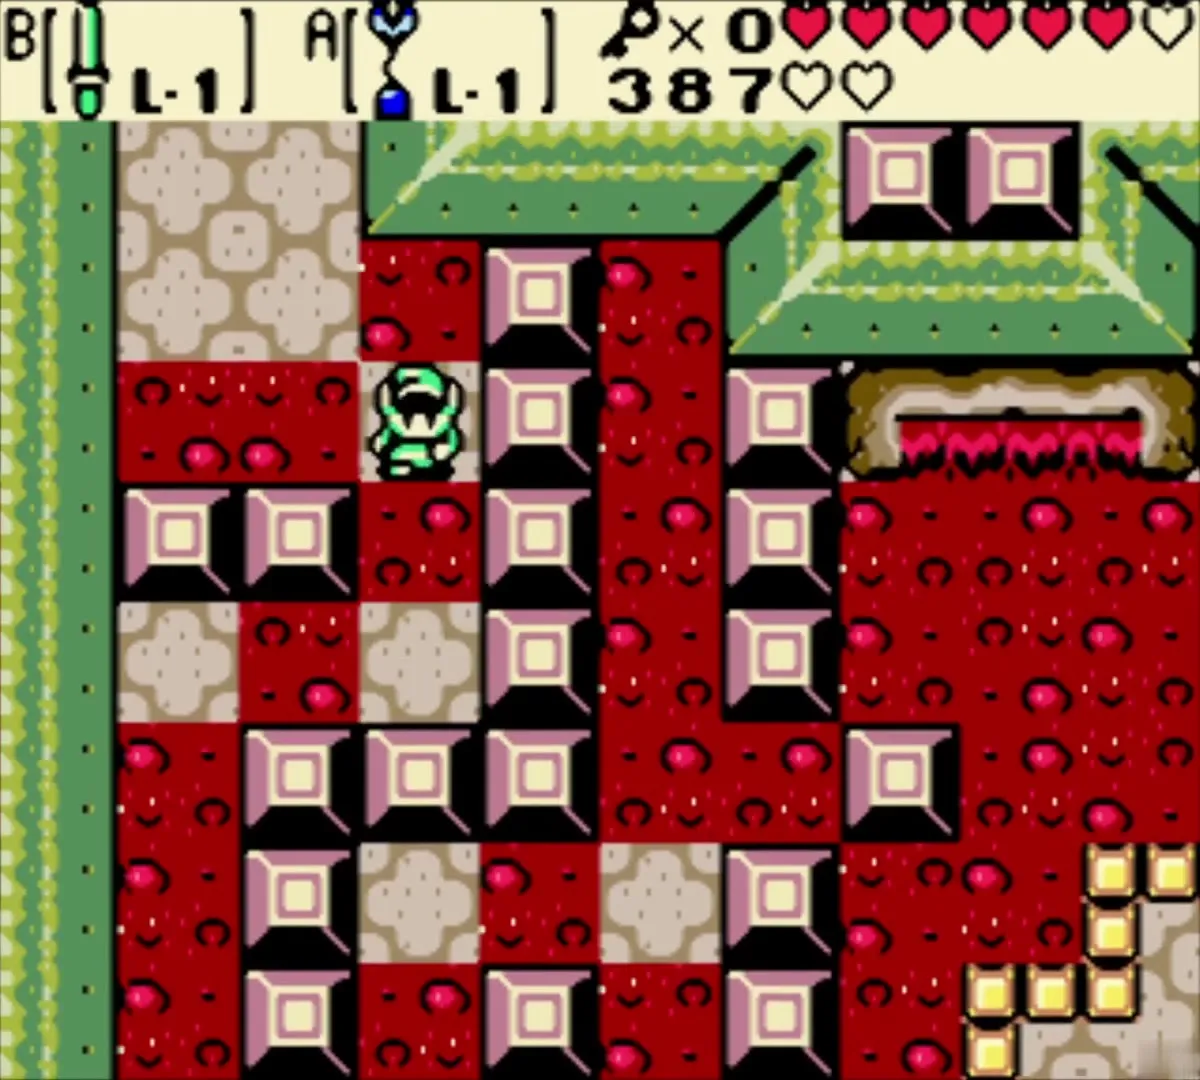
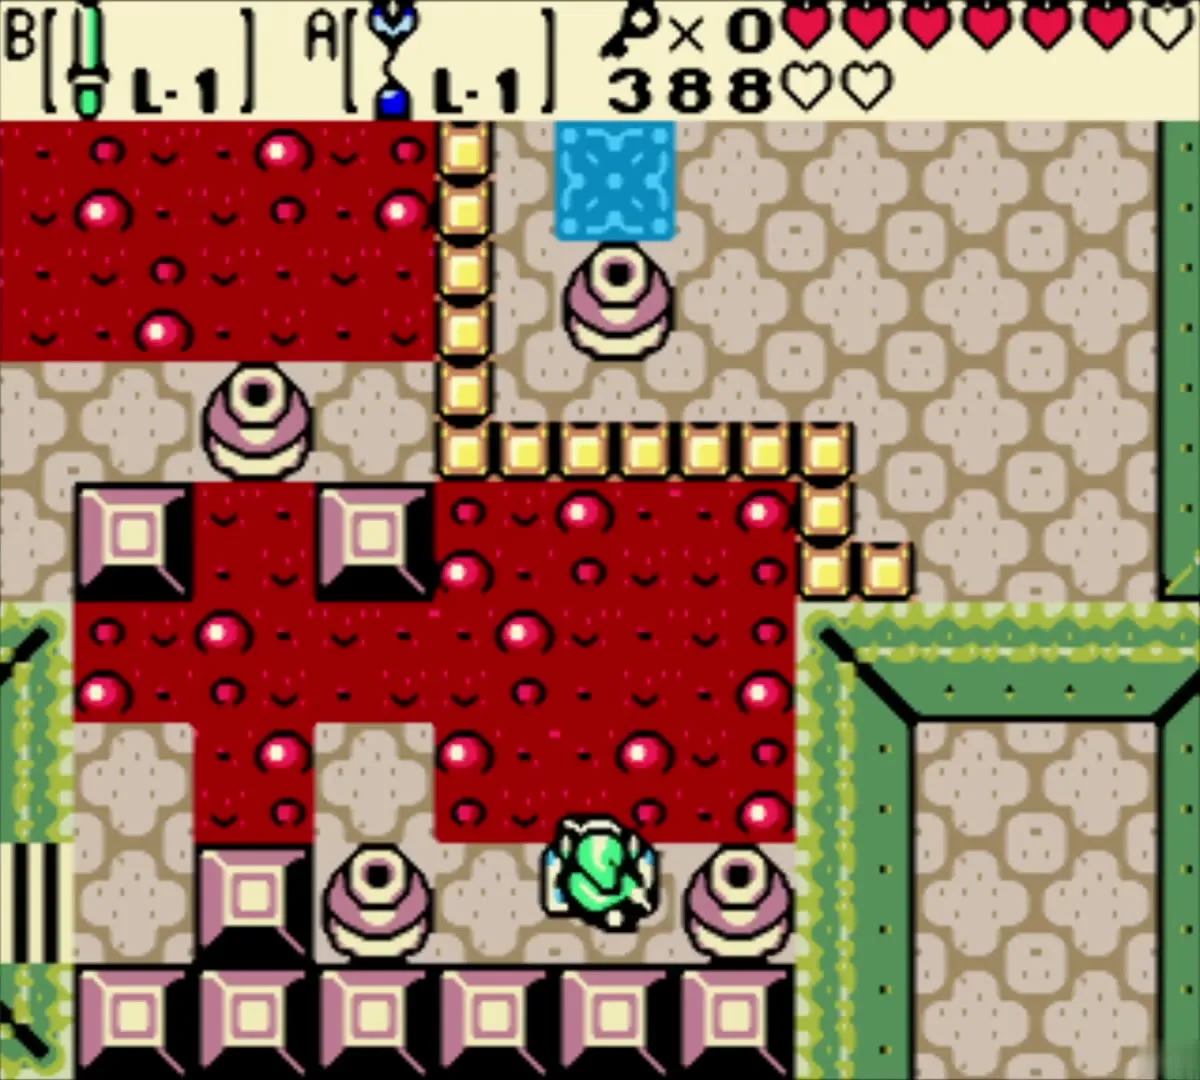
The pot puzzle and the Boss Key
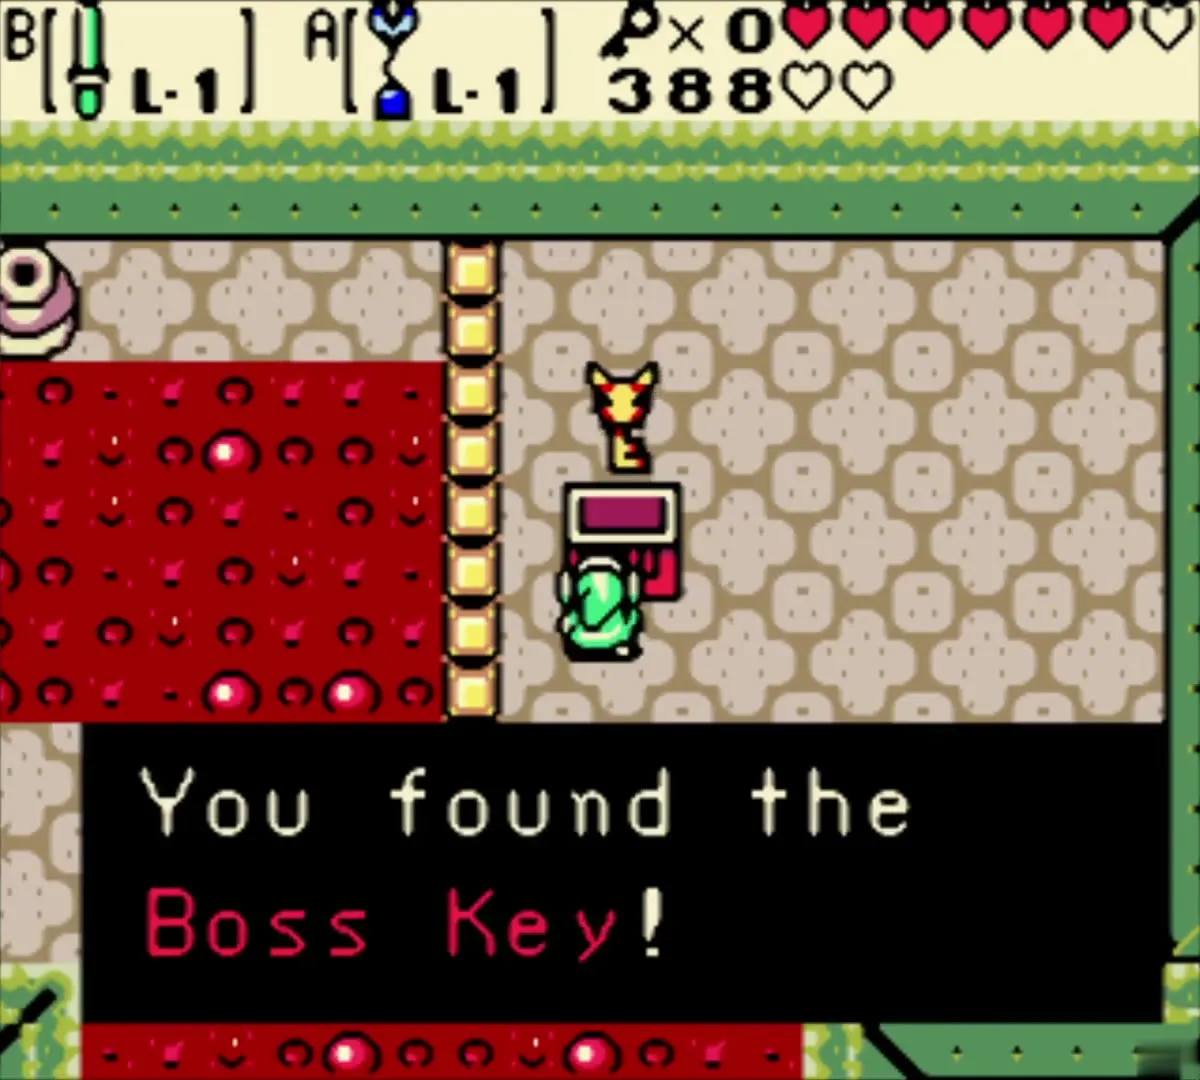
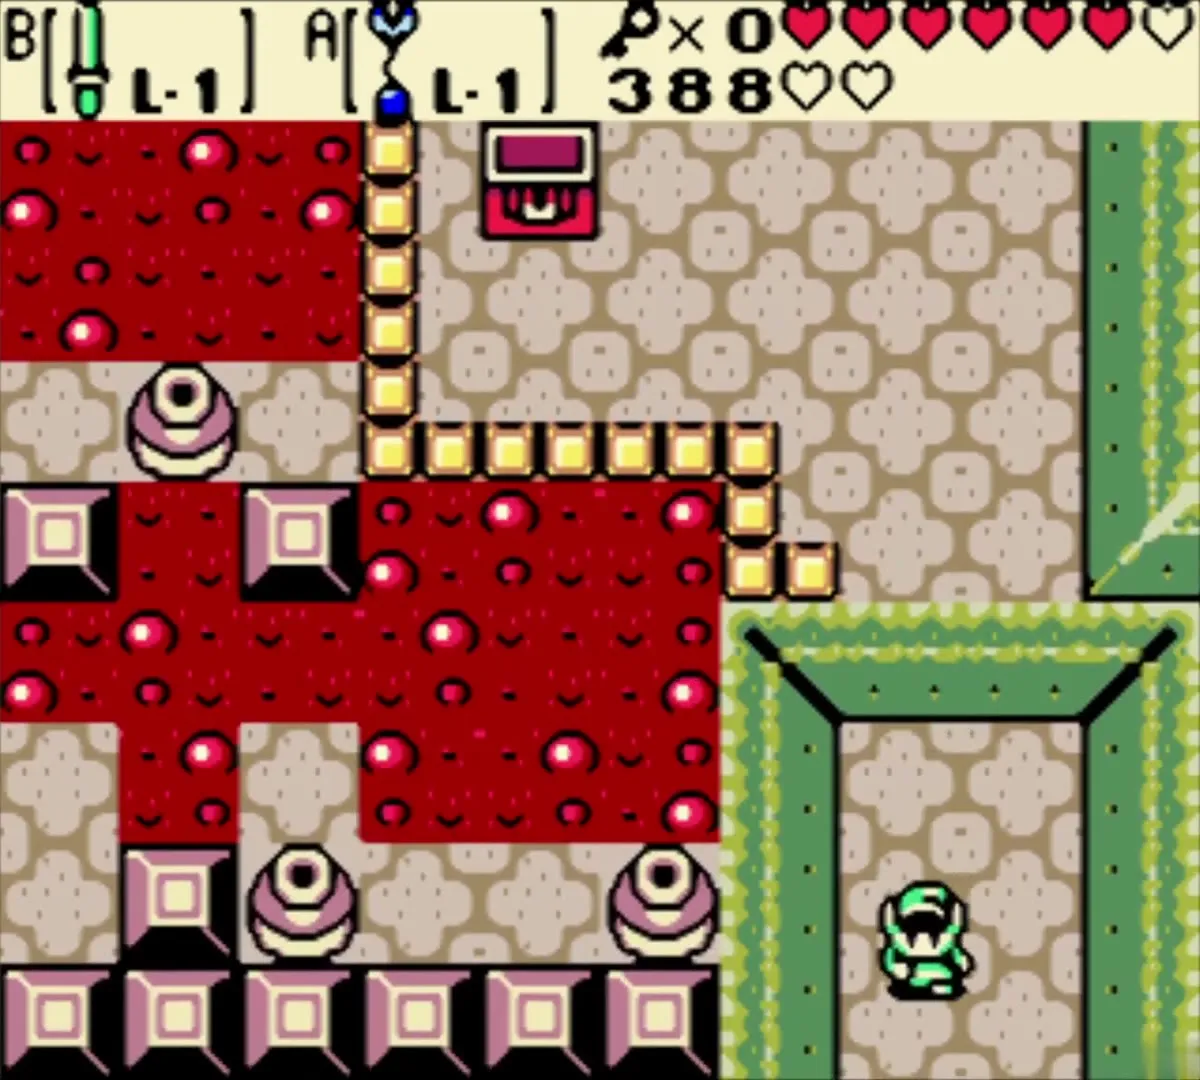
The third room needs a plan, and leaving and re-entering resets it. Climb the steps, then use the Switch Hook and pushing to get one pot onto the floor button and yourself to the far corner past the short wall. A chest opens and holds the Boss Key. Jump off the ledge and return to the stairs.
Boss: Eyesoar
Reach the boss door
Go southeast and take the stairs down. Hook onto the stone diamonds, go east and use pots and the moving platforms to reach the ladder on the east side. Climb it and open the boss door with the Boss Key. Boss Strategies collects every boss fight.


Defeat Eyesoar
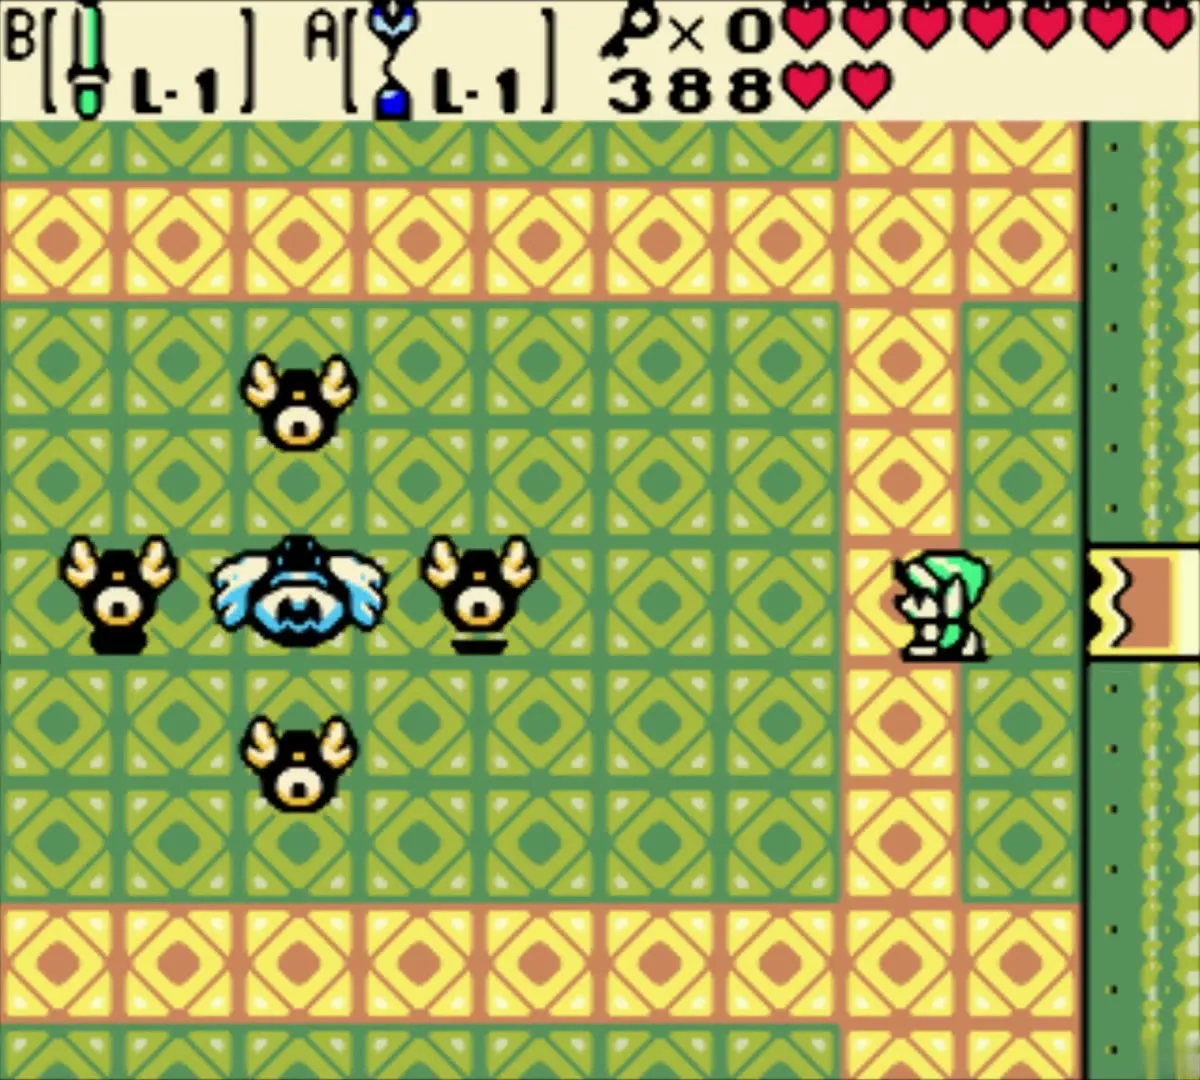
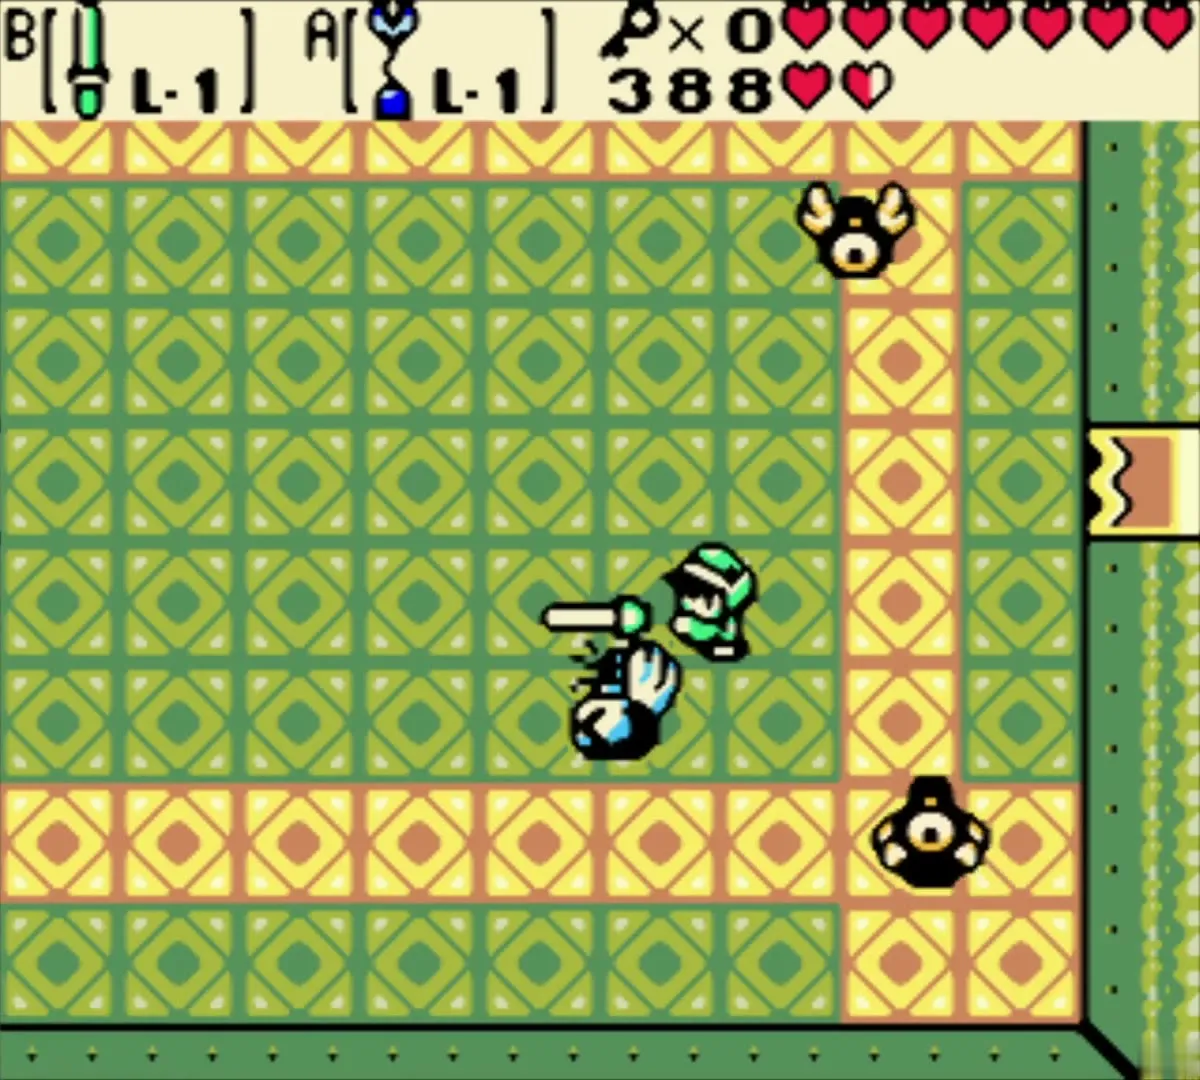
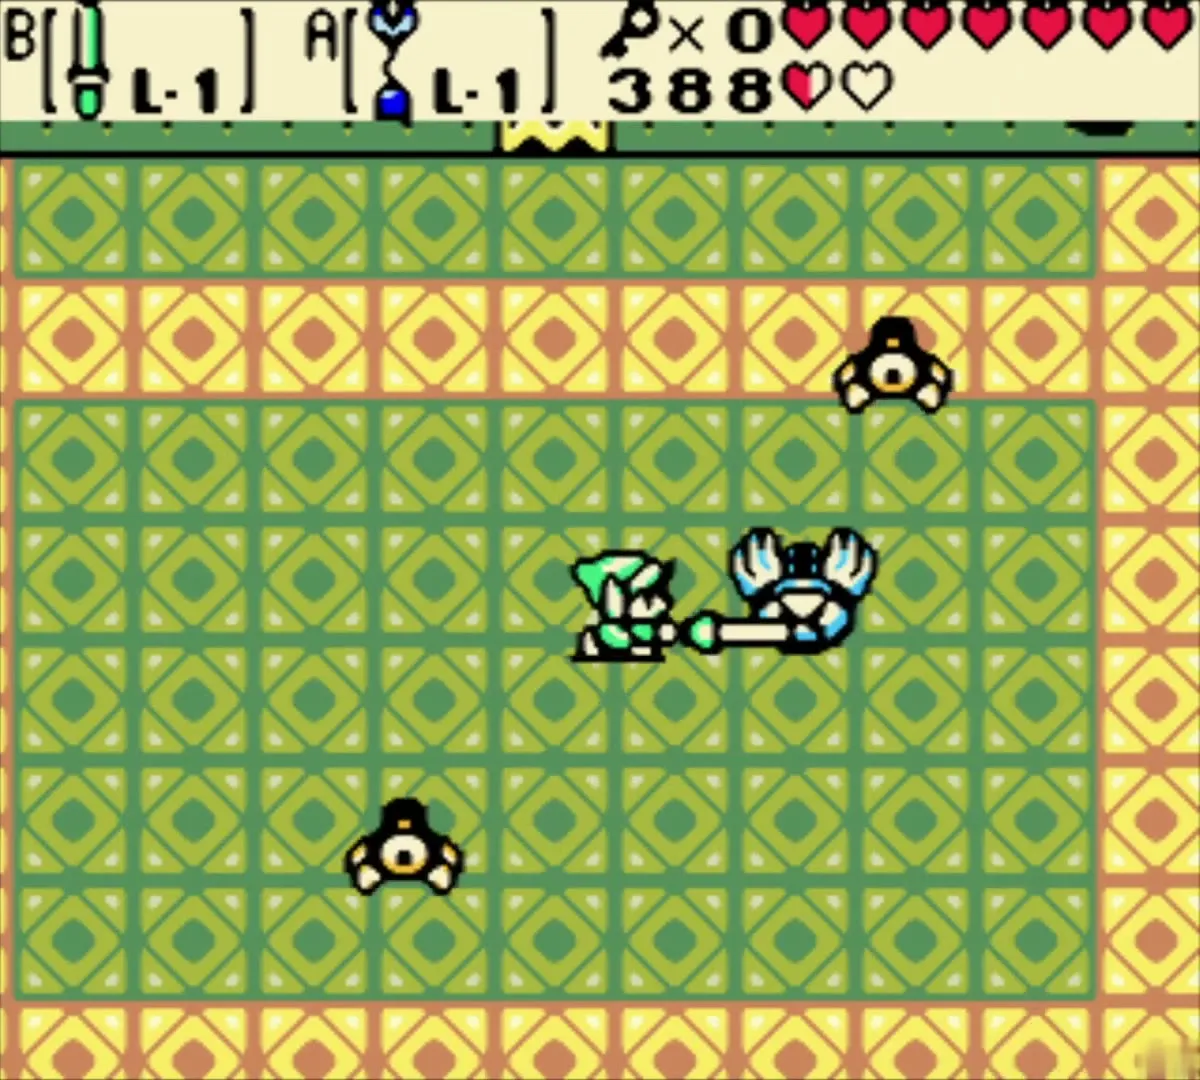
Eyesoar starts the fight at once, shielded by four eyes that circle its big central eye. Hits on the outer eyes only knock them away, and they regrow. Fire the Switch Hook so it connects with the central blue eye. You swap places with it, the outer eyes scatter and you can slash the center with your sword. Keep hooking and slashing until it falls.

Heart Container and the Burning Flame
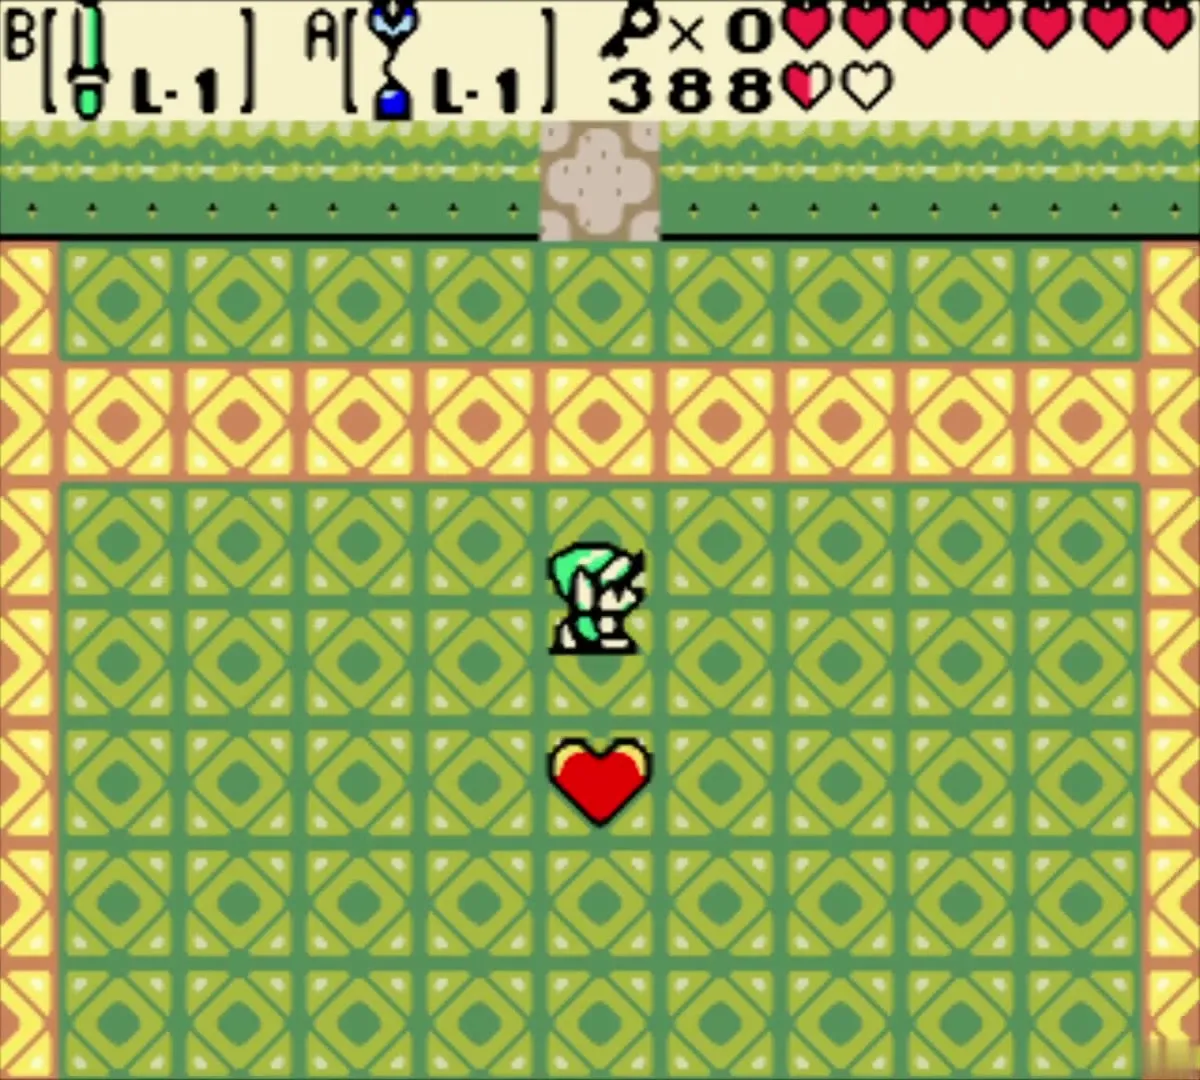
Eyesoar leaves a Heart Container. Take it, then walk north along the carpet to the shrine at the back of the dungeon. The Burning Flame floats in front of you. Pick it up to claim the fourth Essence of Time; the Essences of Time page tracks all eight.


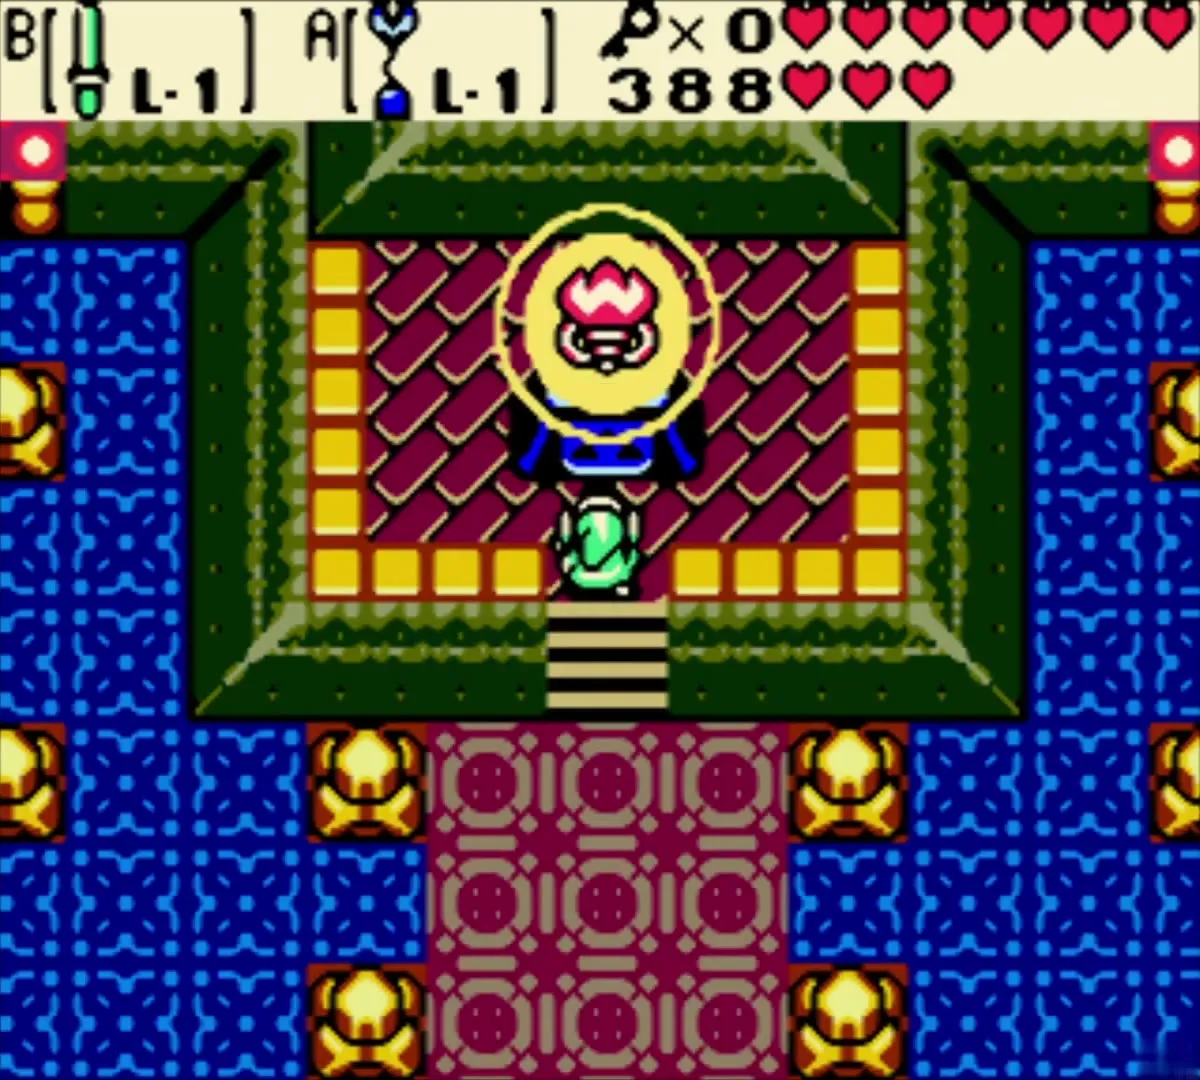
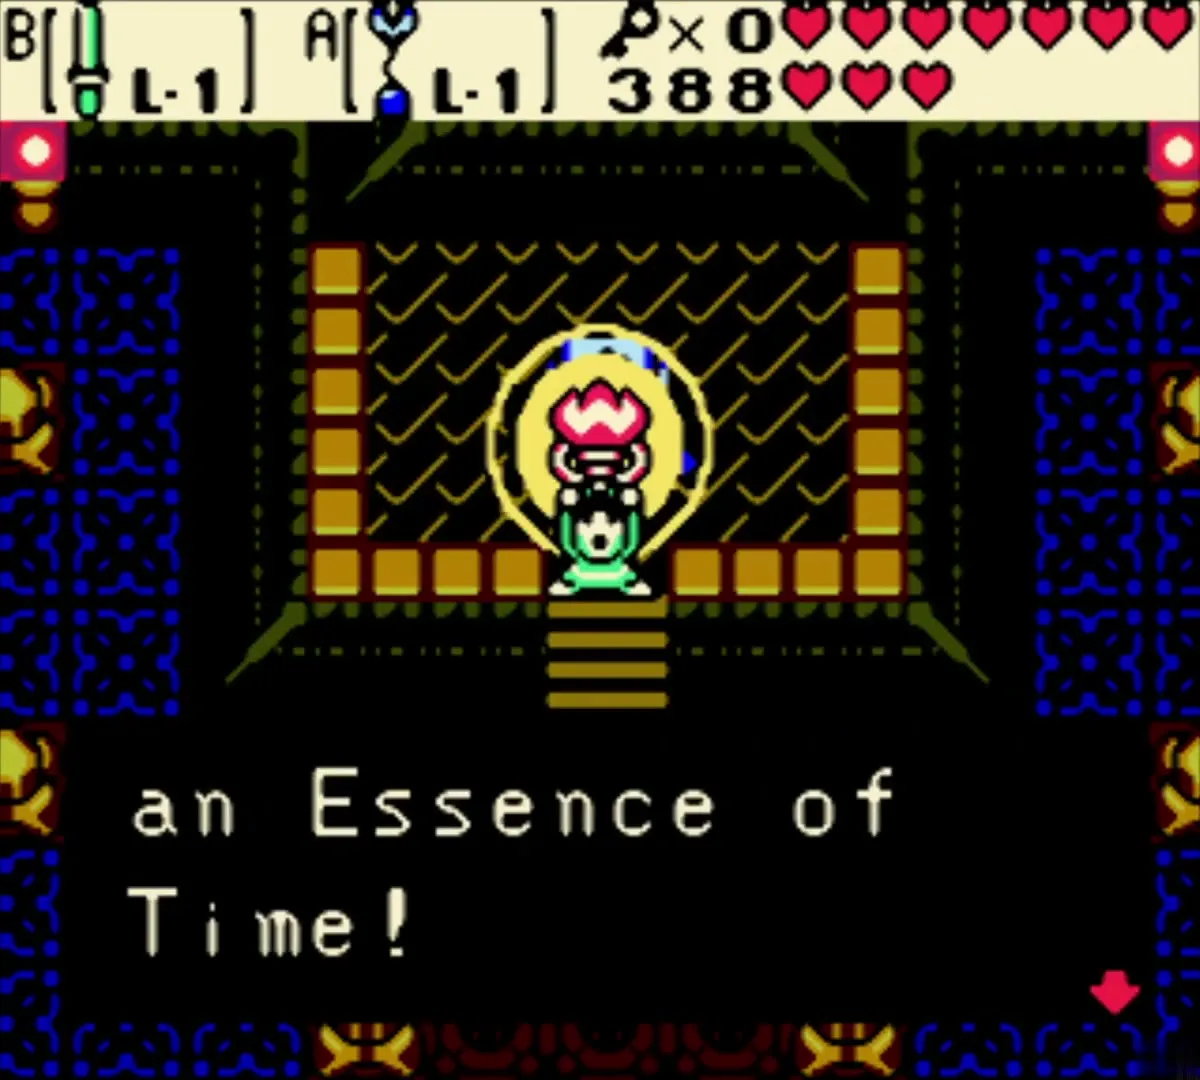
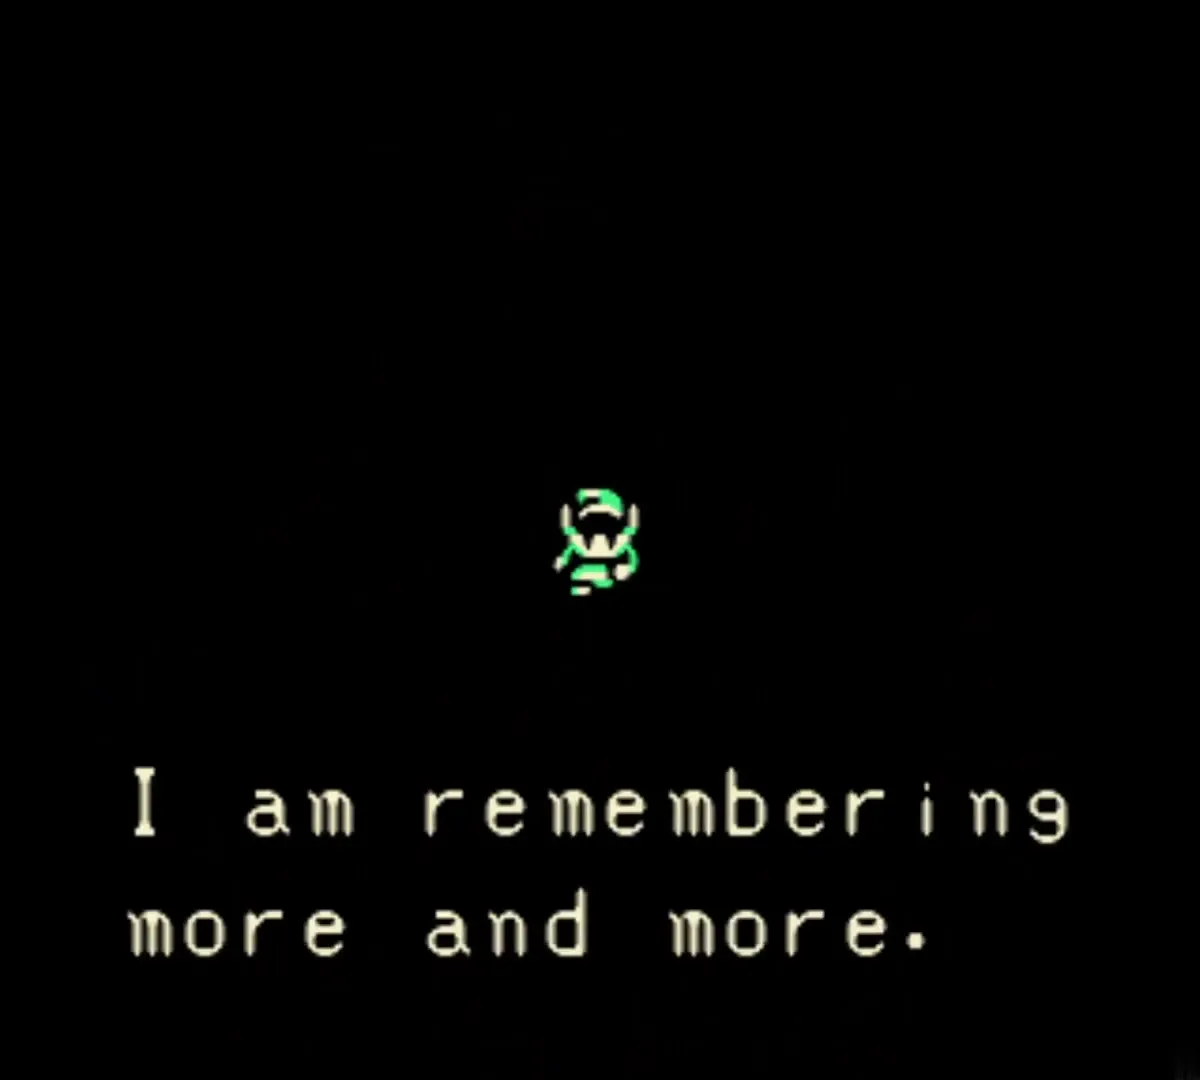
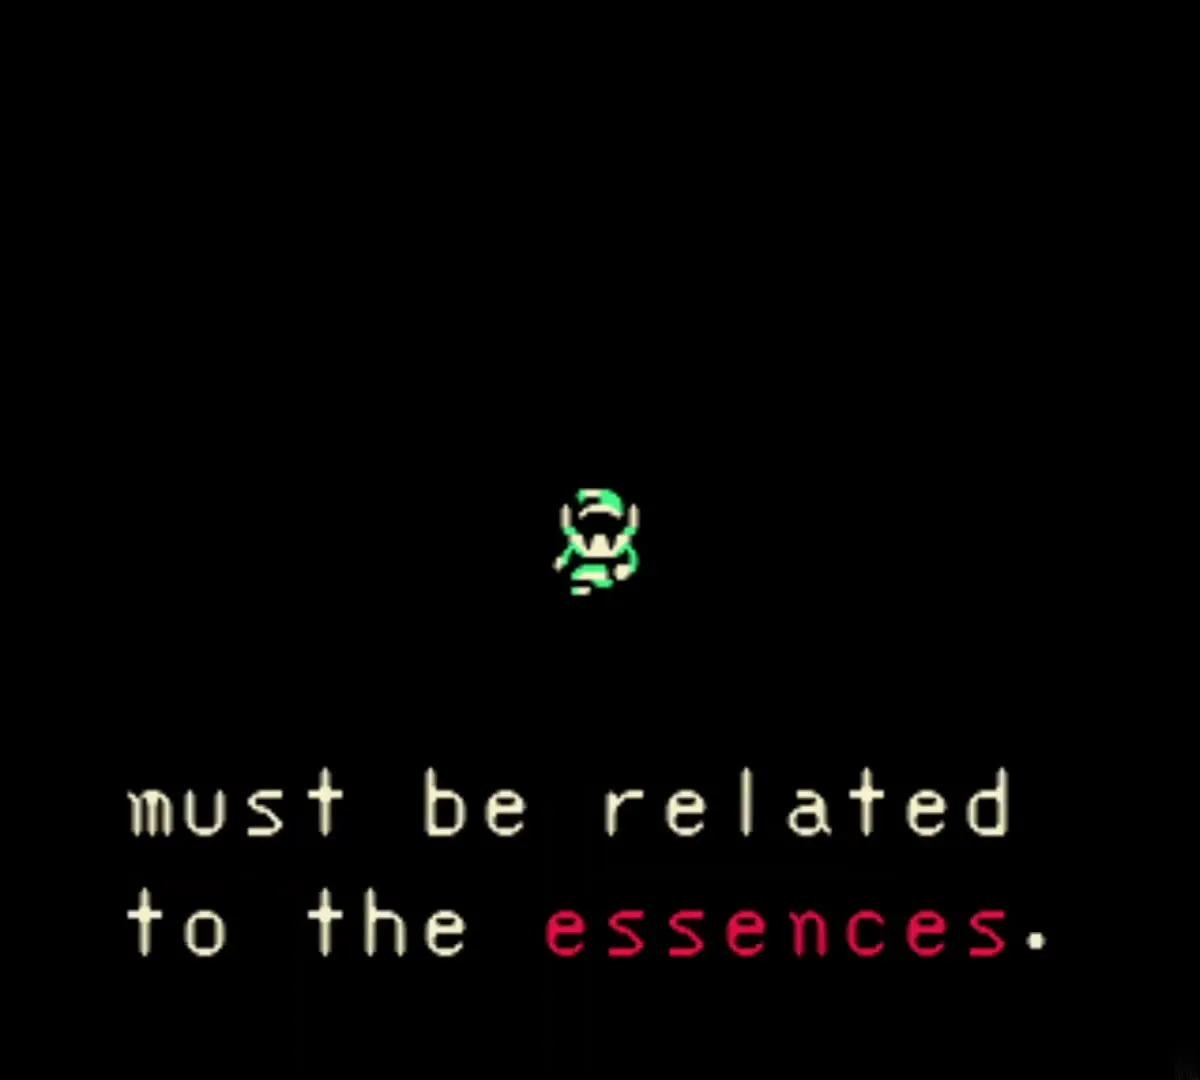
When the essence is yours, the Maku Tree speaks to you. It says the memory is returning, and that the ridge north of Nayru’s house must be tied to the Essences. That is your next goal.

Chapter checklist
| Type | Name | Where |
|---|---|---|
| Dungeon item | Compass | Chest in the south room beside the first lava rooms, push the right-most block down (present) |
| Small Key | Small Key 1 | Chest after the colored block puzzle (present) |
| Dungeon item | Dungeon Map | Chest on the platform reached by the first minecart (present) |
| Small Key | Small Key 2 | Chest revealed by shooting the crystal switch in the Moldorm room (present) |
| Small Key | Small Key 3 | Chest revealed by a crystal switch north of the block room (present) |
| Small Key | Small Key 4 | Falls when the colored tiles match the pattern (present) |
| Mini-boss | Armos Warrior | Room after the second minecart (present) |
| Key item | Switch Hook | Chest in the tile room behind the cracked wall (present) |
| Small Key | Small Key 5 | Chest after the second large tile floor (present) |
| Dungeon item | Boss Key | Chest at the end of the pot puzzle room (present) |
| Boss | Eyesoar | Boss room at the top of the east ladder (present) |
| Heart Container | Heart Container | Left by Eyesoar (present) |
| Essence of Time | Burning Flame | Shrine north of the boss room (present) |
