





















Oracle of Ages 100% Completion Walkthrough24 chapters
- Arrival in Labrynna and the Black TowerStart Oracle of Ages in a linked game: Forest of Time, Vasu’s Ring Box, the Maku Tree, the time portal, the Black.
- Maku Path and Spirit’s Grave (Level 1)Maku Path and Spirit’s Grave walkthrough for Oracle of Ages: Seed Satchel, Graveyard Key, Power Bracelet, Pumpkin Head.
- The Harp of Ages and Fairies’ WoodsHarp of Ages and Fairies’ Woods walkthrough for Oracle of Ages: Poe Clock, Heart Piece, Vasu’s rings, hide-and-seek.
- Deku Forest and the Mystery SeedsDeku Forest walkthrough for Oracle of Ages: Mystery Seeds, Queen Ambi’s Bombs, a Heart Piece, the Deku Secret and the.
- Wing Dungeon (Level 2)Wing Dungeon walkthrough for Oracle of Ages: all five Small Keys, Dungeon Map, Compass, Swoop, Roc’s Feather, Boss.
- Farore’s Secrets and Cheval’s GraveFarore’s secrets and Cheval’s Grave walkthrough for Oracle of Ages: West Lynna Heart Piece, Hall of Secrets codes, Red.
- Tingle’s Chart and Crescent IslandTingle’s Chart and Crescent Island walkthrough for Oracle of Ages: Ricky’s Gloves, Island Chart, Rafton’s raft, the.
- Moonlit Grotto (Level 3)Moonlit Grotto walkthrough for Oracle of Ages: all Small Keys, Compass, Seed Shooter, Gasha Seeds, Subterror, Boss.
- Nuun Highlands and the Strange FlutesOracle of Ages Nuun Highlands walkthrough: Dimitri’s Flute, Tingle’s 99-seed Satchel, the Black Tower rescue, the.
- Symmetry City and Talus PeaksOracle of Ages Symmetry City and Talus Peaks walkthrough: Cracked Tuni Nut, Patch’s ceremony, Tune of Currents, Heart.
- Skull Dungeon (Level 4)Skull Dungeon walkthrough for Oracle of Ages: Compass, Dungeon Map, 5 Small Keys, Armos Warrior, Switch Hook, Boss.
- Lynna Trades and the Noble SwordOracle of Ages trading sequence walkthrough, Funny Joke to Noble Sword: Touching Book, Maple’s Magic Oar, Sea Ukulele.
- West Rolling Ridge and the Great MoblinWest Rolling Ridge walkthrough for Oracle of Ages: Lynna secret shop, Pegasus Seeds, Moblin’s Keep, Great Moblin, Bomb.
- Crown Dungeon (Level 5)Crown Dungeon (Level 5) walkthrough for Oracle of Ages: Small Keys, Cane of Somaria, Smasher, Compass, Boss Key, Smog.
- East Rolling Ridge and the Mermaid KeysEast Rolling Ridge walkthrough for Oracle of Ages: Goron Dance, Brother Emblem, Target Carts, Rock Brisket, Goron Vase.
- Mermaid’s Cave (Level 6) Walkthrough for Oracle of AgesMermaid’s Cave walkthrough for Oracle of Ages: get the Old Mermaid Key, clear both halves, collect the Mermaid Suit.
- Ambi’s Palace and the Tune of AgesAmbi’s Palace walkthrough for Oracle of Ages: sneak in, beat Possessed Nayru, learn the Tune of Ages, claim Hall of.
- Zora Seas and the Fairy PowderOracle of Ages Zora Seas walkthrough: the Gasha Seed chest, King Zora’s Library Key, Book of Seals, Fairy Powder and.
- Jabu-Jabu’s Belly (Level 7)Jabu-Jabu’s Belly walkthrough for Oracle of Ages: Like Like Ring, Compass, Small Keys, Long Hook, Boss Key, Plasmarine.
- Sea of Storms and the Pirate ShipSea of Storms walkthrough for Oracle of Ages: Zora Scale, pirate ship and Tokay Eyeball, clam grotto ring, Tokay.
- Ancient Tomb (Level 8)Ancient Tomb (Level 8) walkthrough for Oracle of Ages: three Slates, the Boss Key, two Gasha Seeds, Ramrock boss.
- Final Collection and the Hero’s CaveOracle of Ages final collection walkthrough: Maple Piece of Heart, Gasha Nut rings and fairies, Hero’s Cave Armor Ring.
- The Black Tower and VeranFinal ring appraisals, the Huge Maku Seed, the Black Tower climb and the three-phase Veran boss fight in Oracle of.
- Room of Rites, Twinrova and GanonOracle of Ages Room of Rites walkthrough: the eye-statue hallway, Twinrova’s fire and ice phases, the Ganon boss.
| Covers | The Crown Dungeon on Rolling Ridge, in the present, from the entrance to the Essence of Time |
|---|---|
| Dungeon | Crown Dungeon (Level 5): Cane of Somaria, mini-boss Smasher, boss Smog, Essence of Time: Sacred Soil |
| Rewards | Dungeon Map, Compass, 5 Small Keys, Cane of Somaria, Boss Key, 50 Rupees, Heart Container, Sacred Soil. No Heart Pieces, rings, Gasha Seeds or soft soil in this chapter |
The Crown Dungeon is the fifth dungeon, a maze of red and blue color barriers, stone statues and colored floor tiles built under the high ground of Rolling Ridge. Its treasure is the Cane of Somaria, a rod that conjures a solid block wherever you point it, and nearly every puzzle after it depends on that block. You collect the Dungeon Map, the Compass and five Small Keys, beat the mini-boss Smasher, solve the owl statue puzzle for the Boss Key, and defeat Smog to earn the Sacred Soil.
Crown Dungeon entrance and how the barriers work
Open the door with the Crown Key
The Crown Key from the Goron Elder opens the keyhole door on Rolling Ridge (see the West Rolling Ridge chapter), and you need the Seed Shooter, Ember and Pegasus Seeds, the Power Bracelet, Roc’s Feather and the Switch Hook here.


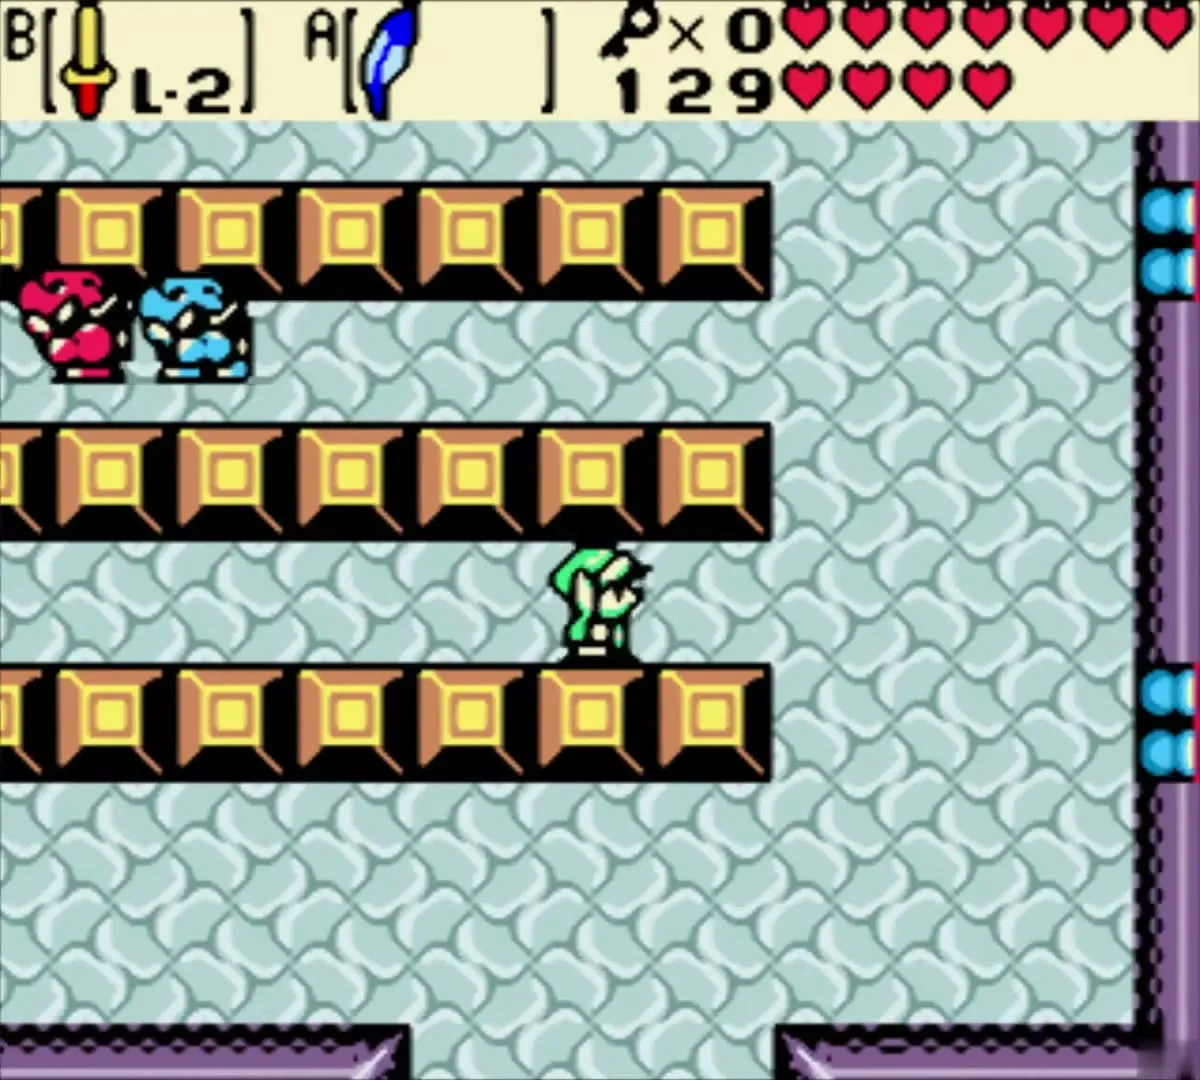
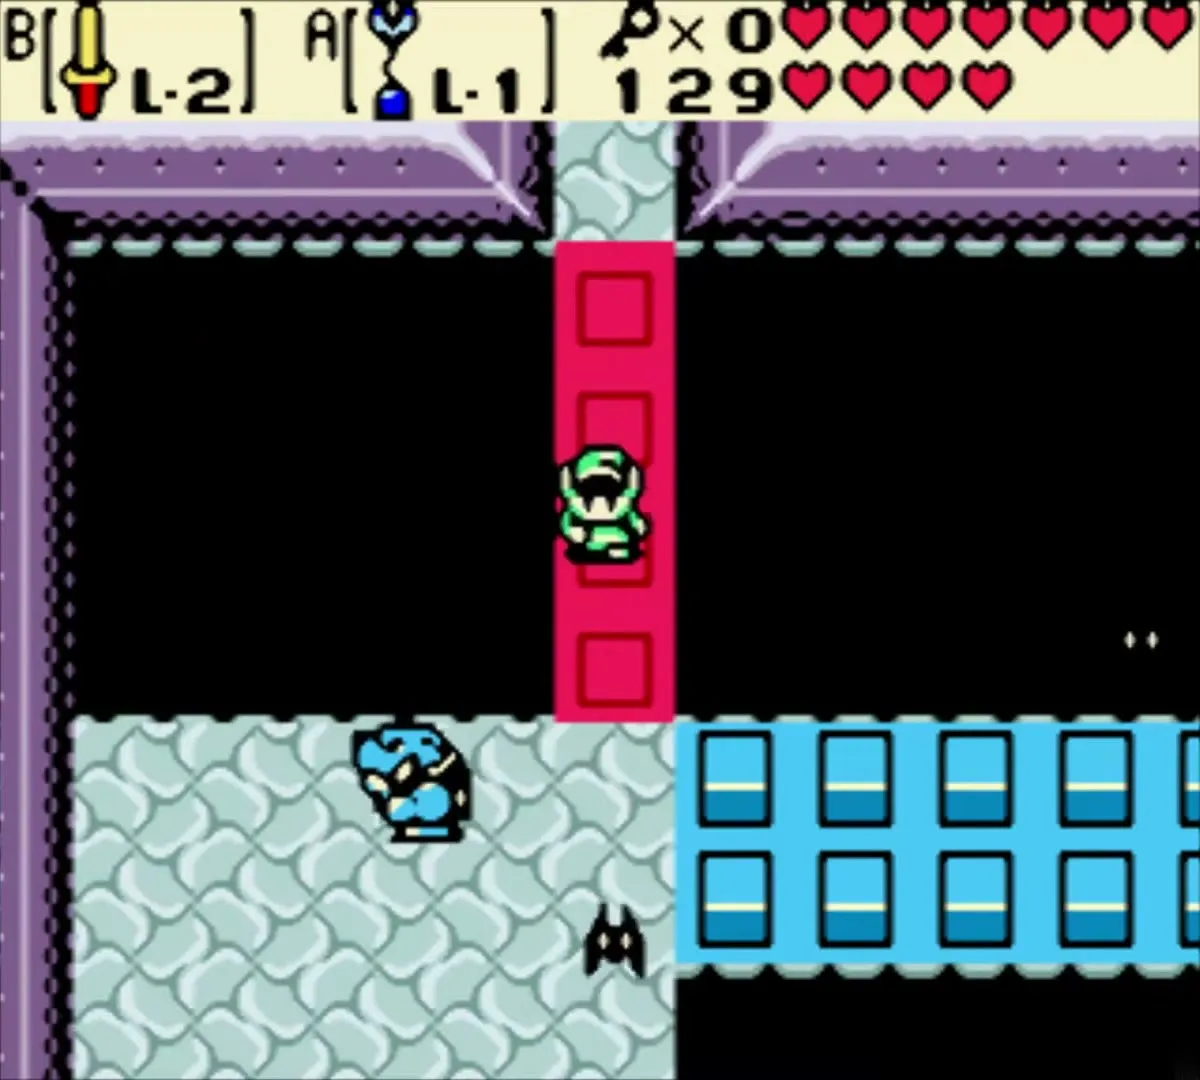
Red and blue barriers
The first Moblin rooms and the crystal switch are covered at the end of the West Rolling Ridge chapter, and a crystal switch flips every red and blue block in the dungeon, so remember which color is raised before you leave a room.

Small Keys 1 and 2
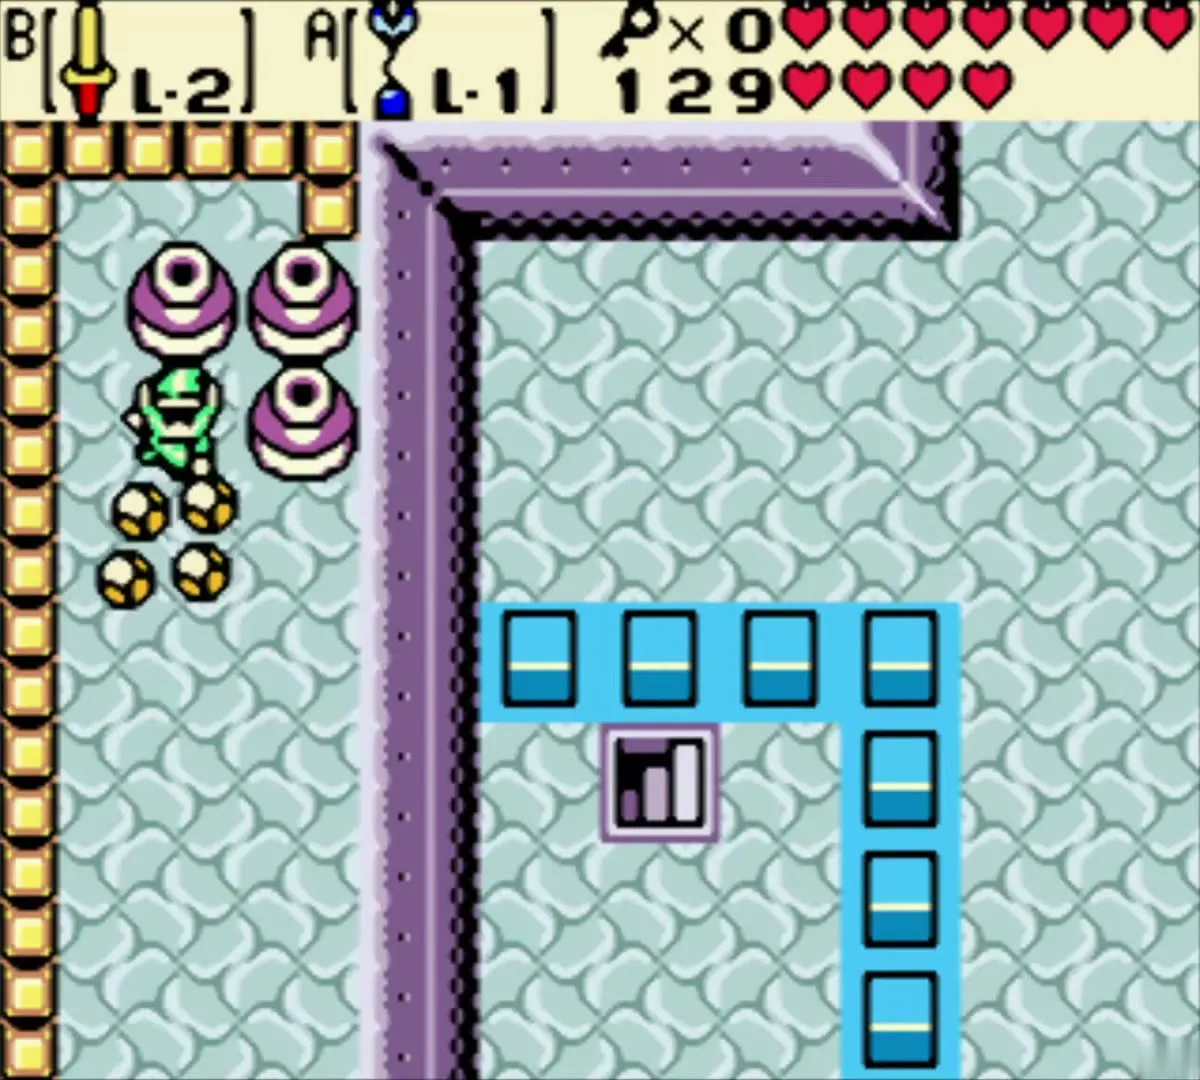
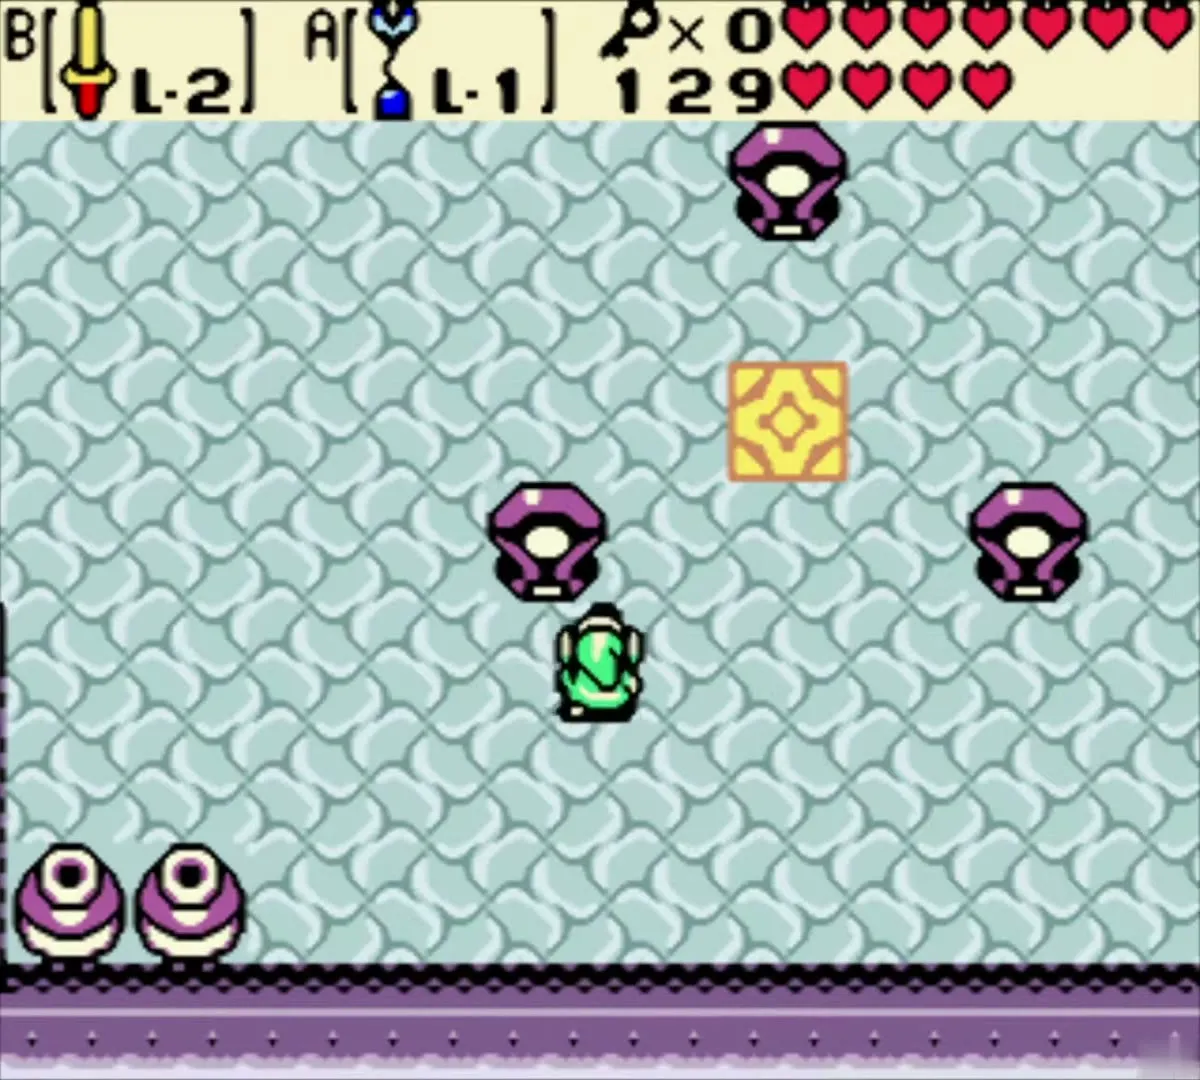
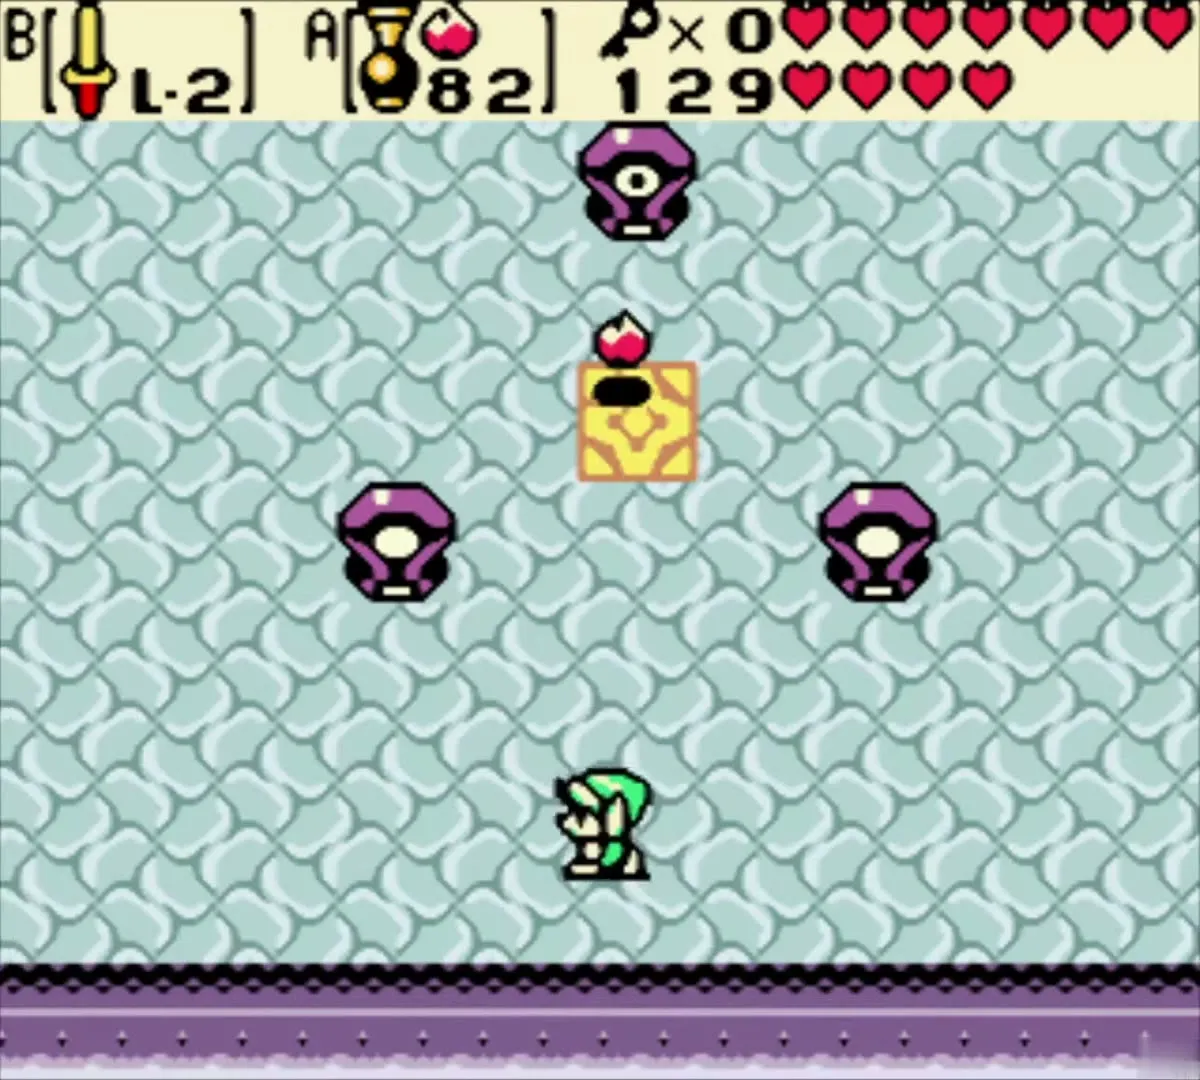
Small Key 1: three statues
Small Key 1 comes from the three statues on the yellow tile, which the West Rolling Ridge chapter walks through.
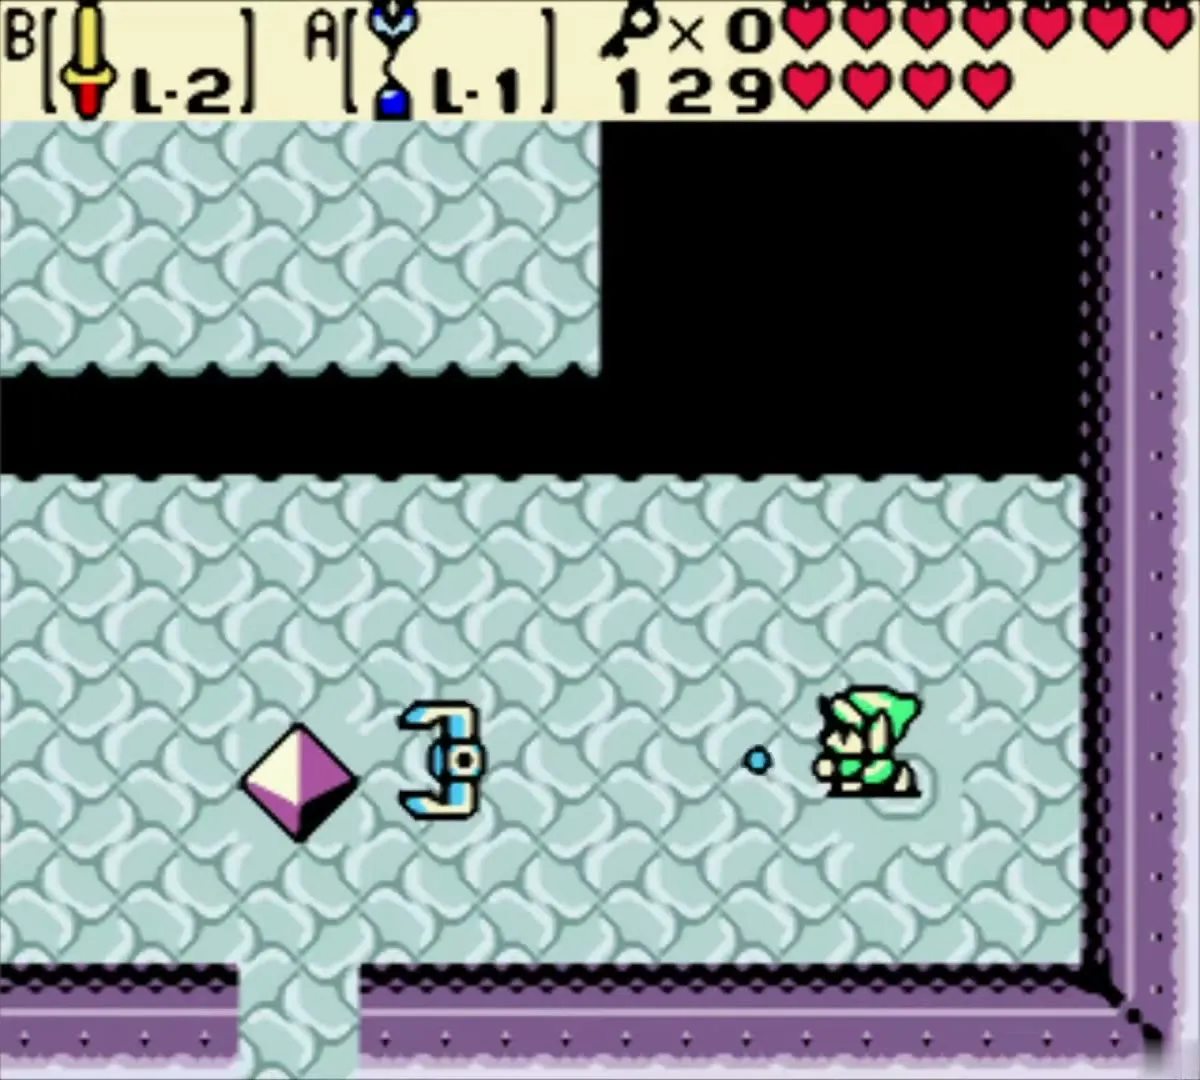


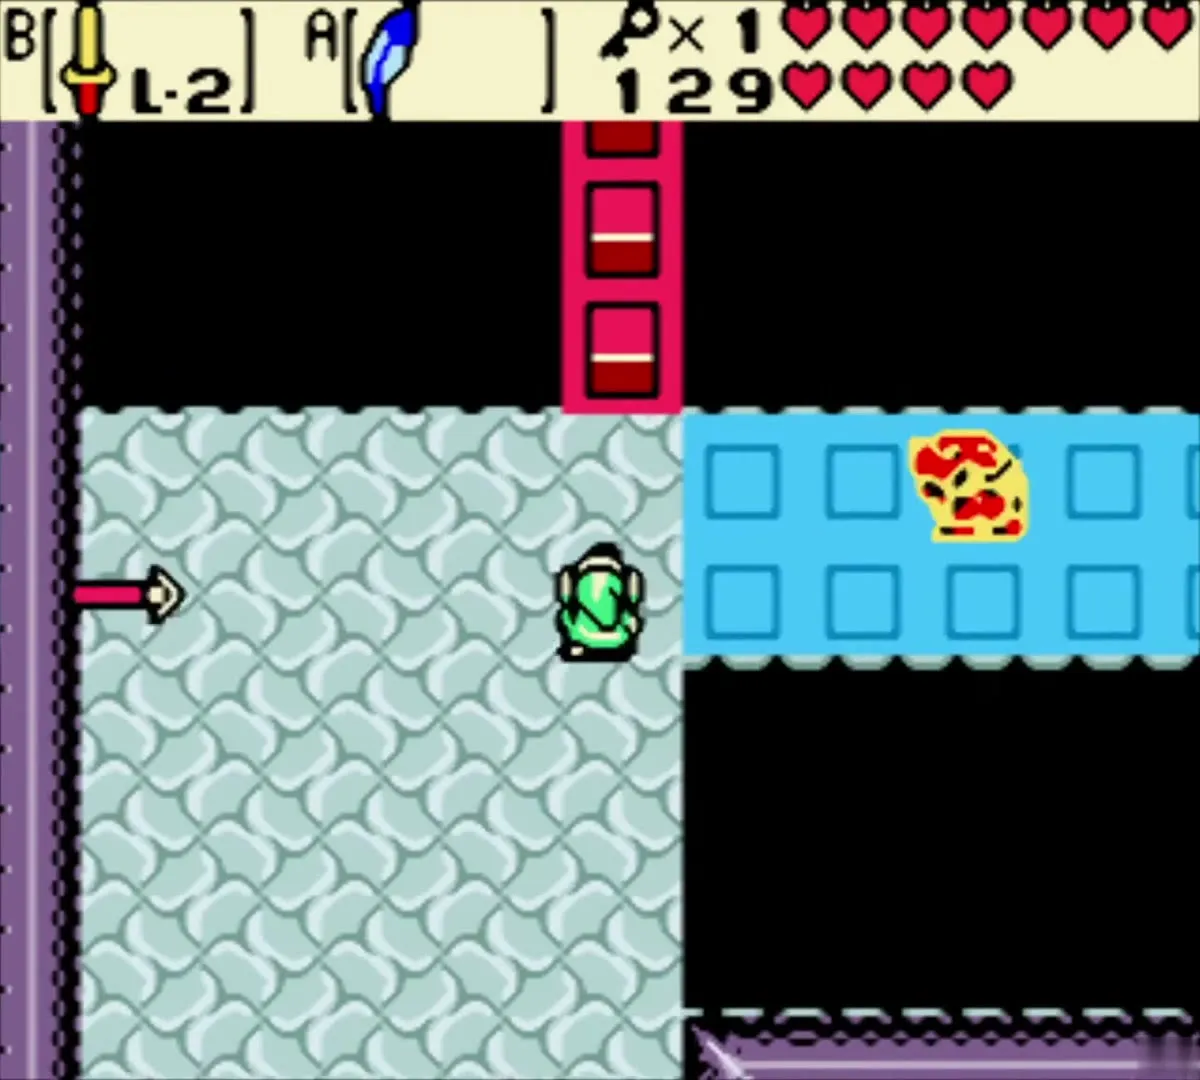
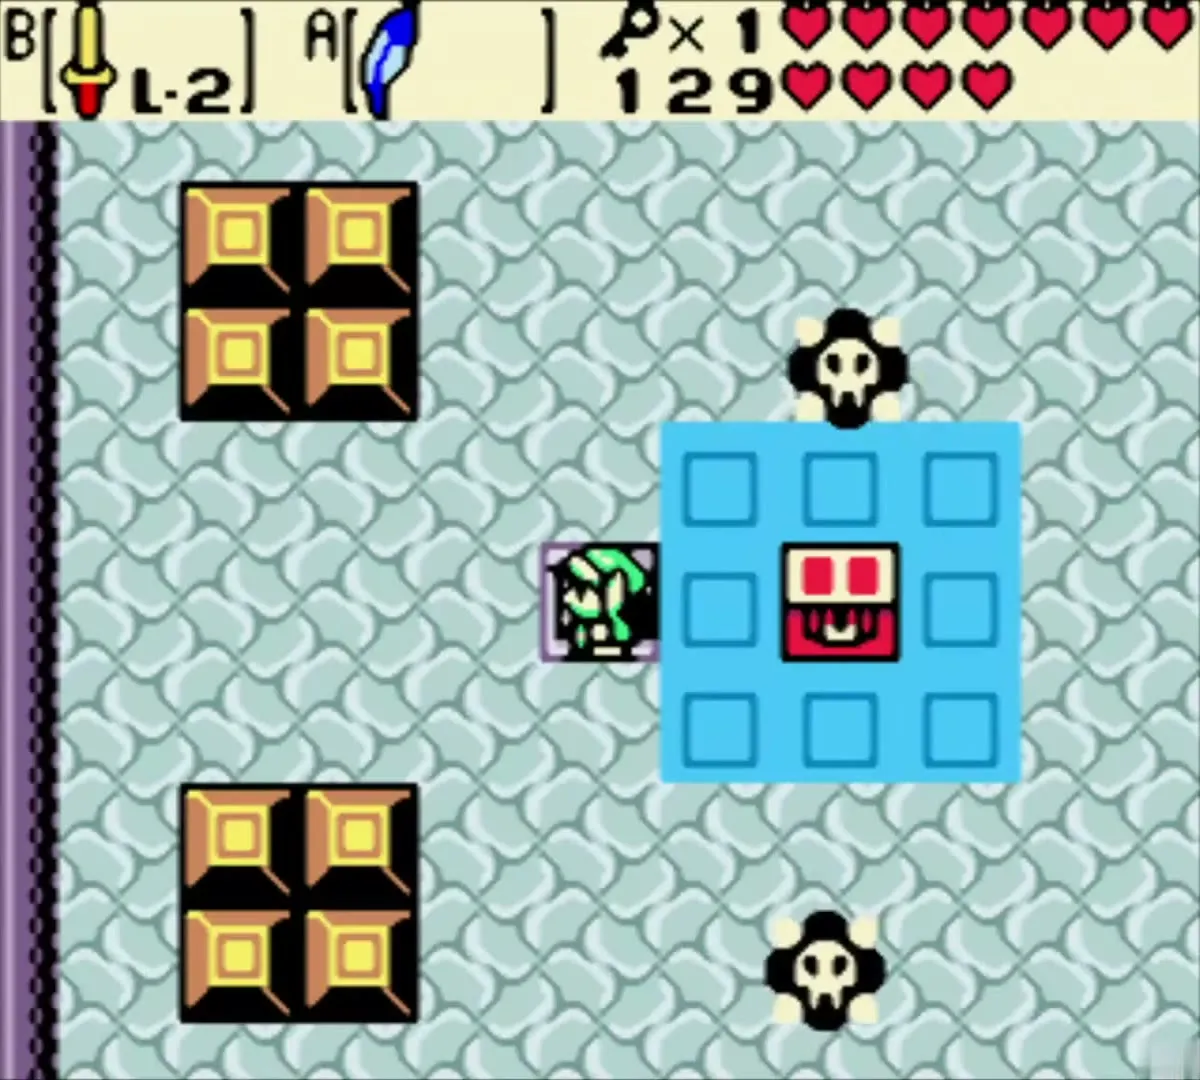
Small Key 2: the chest below
Small Key 2 is in the chest in the room below the first staircase, reached by flipping the crystal switch as the West Rolling Ridge chapter explains.


Dungeon Map
The chest beside the boss door
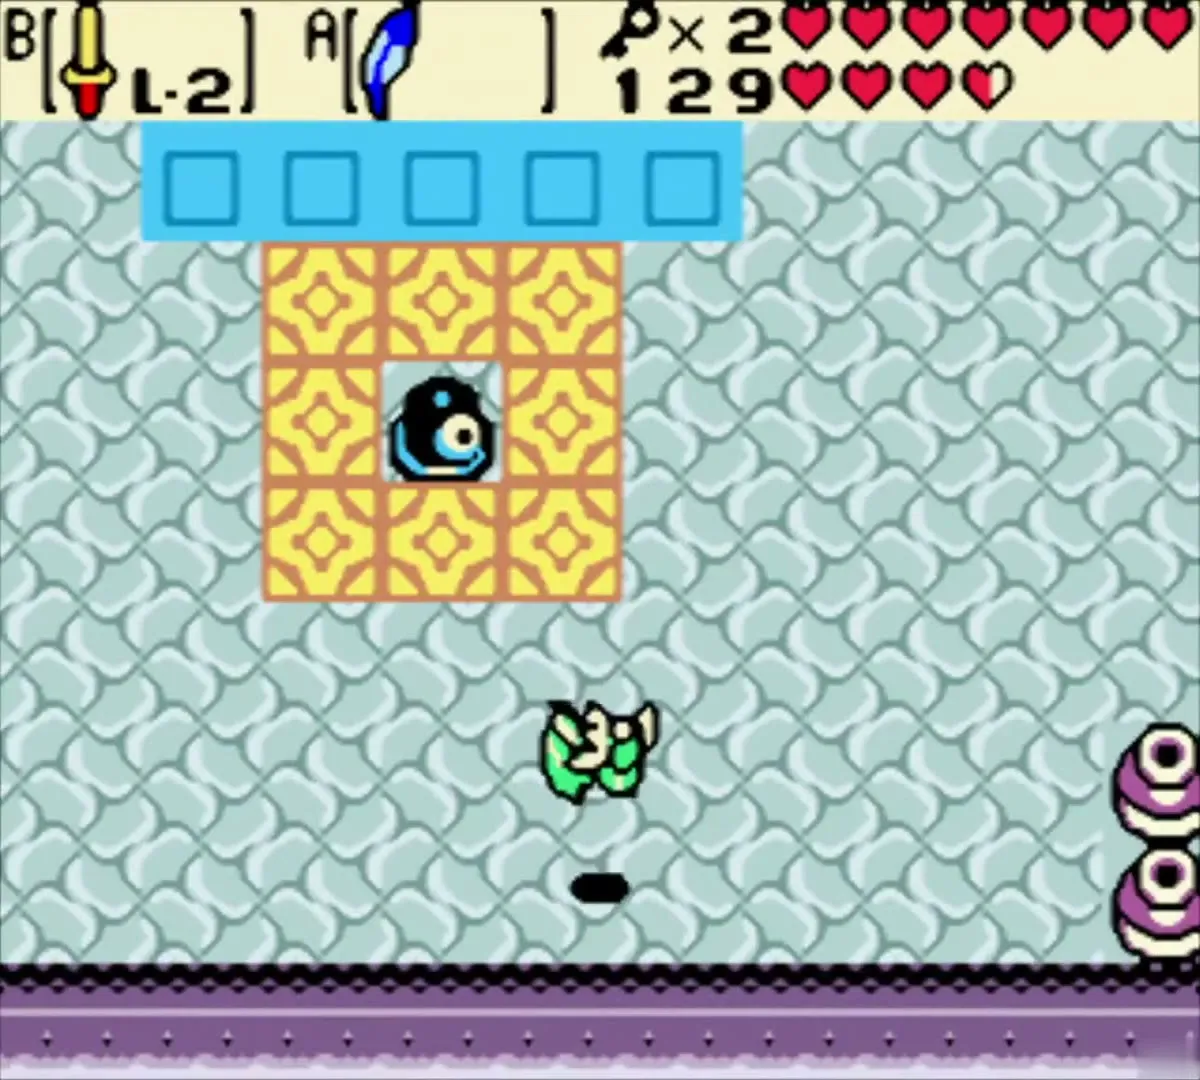
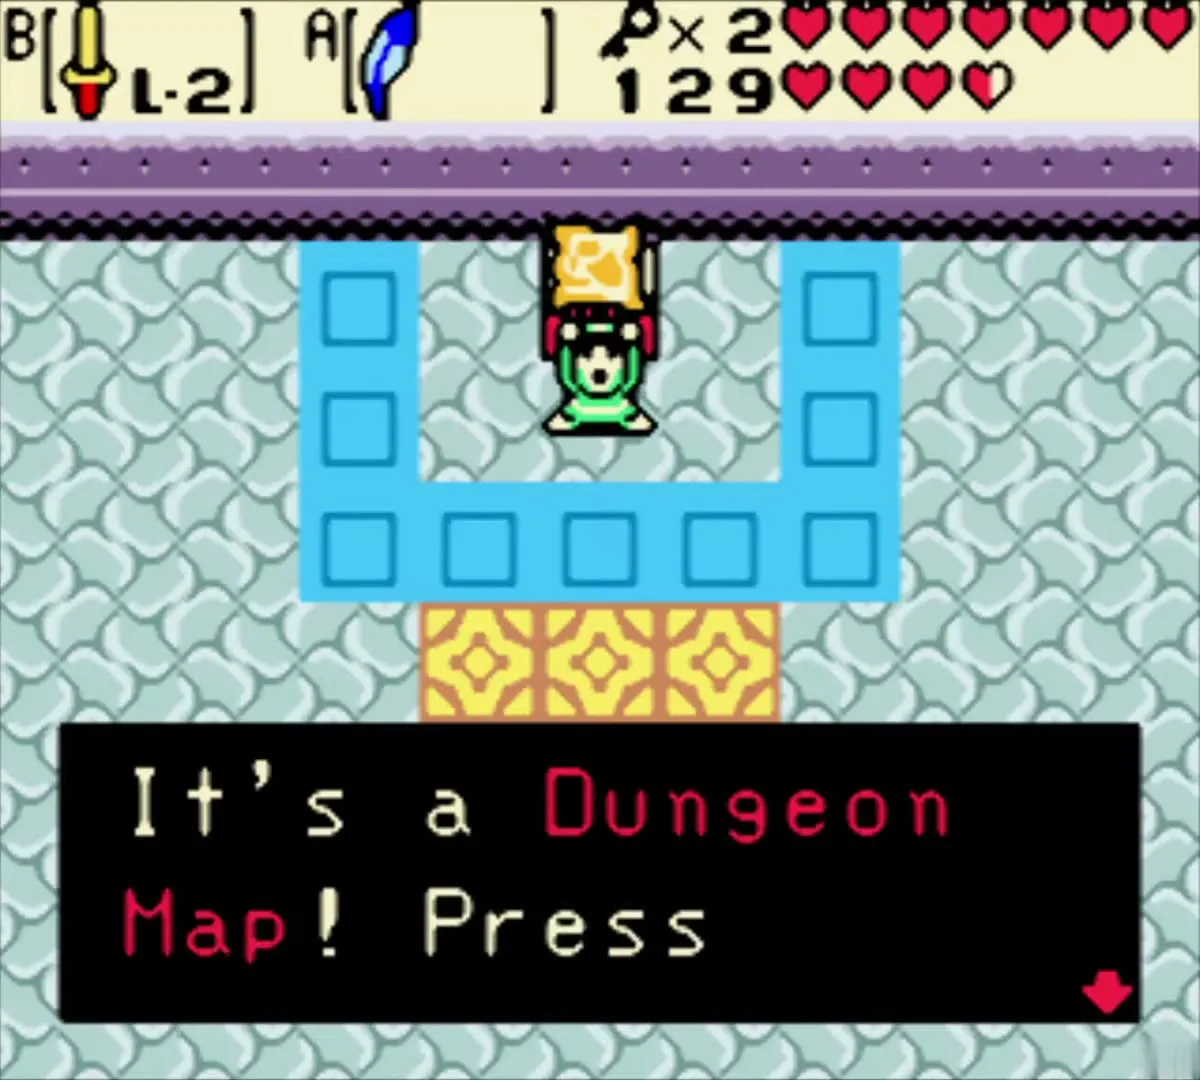
The Dungeon Map is in the south-east corner of the ground floor, in the same room as the boss door. Its chest stands inside a U-shaped frame of blue blocks, with a black orb switch on a square of yellow tiles in front of it. Open it to receive the map, which shows the layout of both floors and darkens the rooms you have not visited. You cannot open the boss door yet, so go back west and carry on collecting keys.

How to get the Cane of Somaria
First locked block and the Ember Seed burners
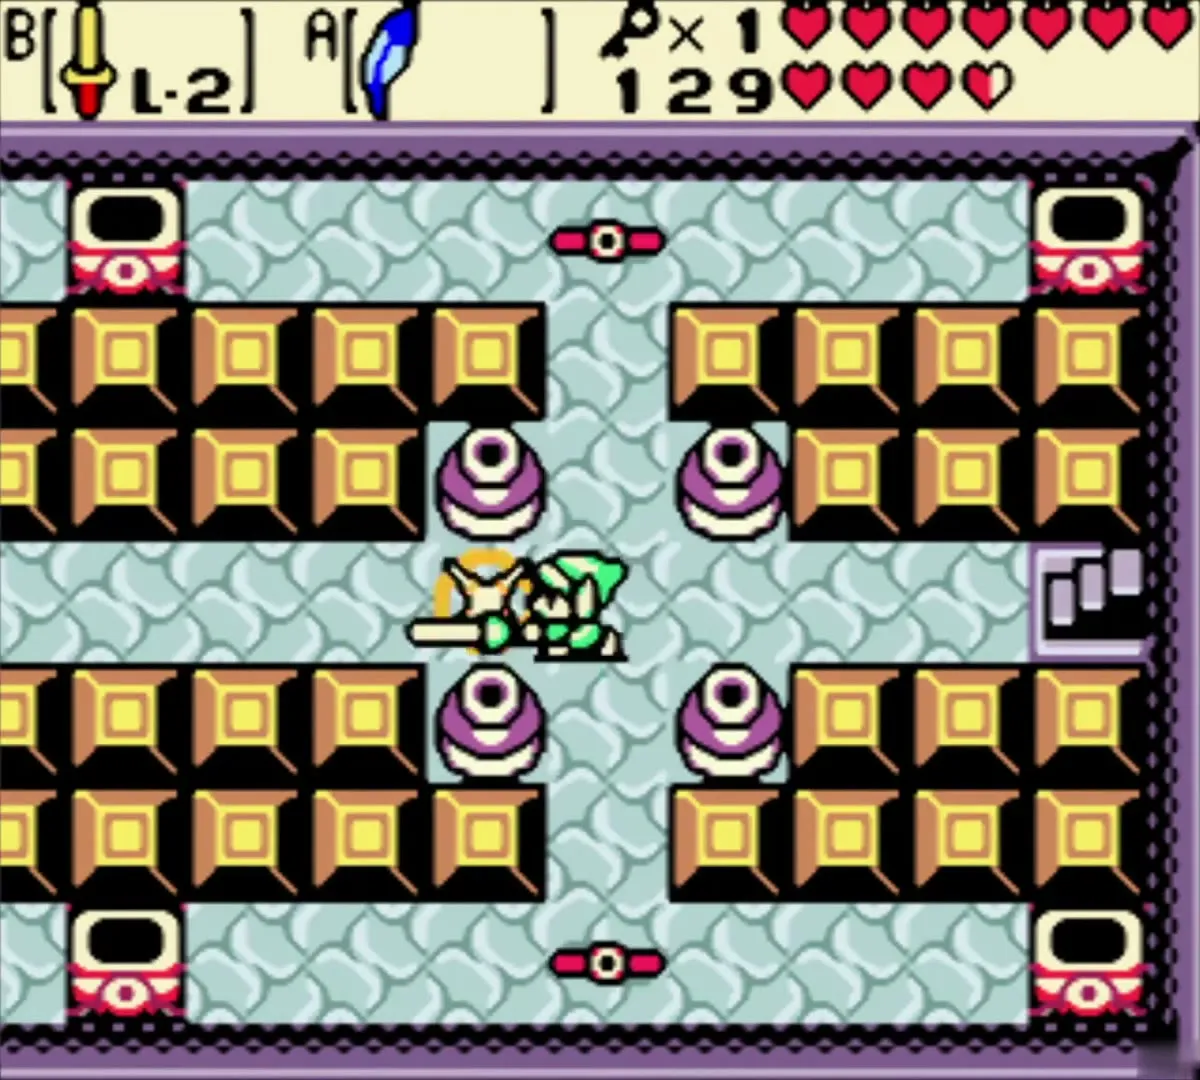
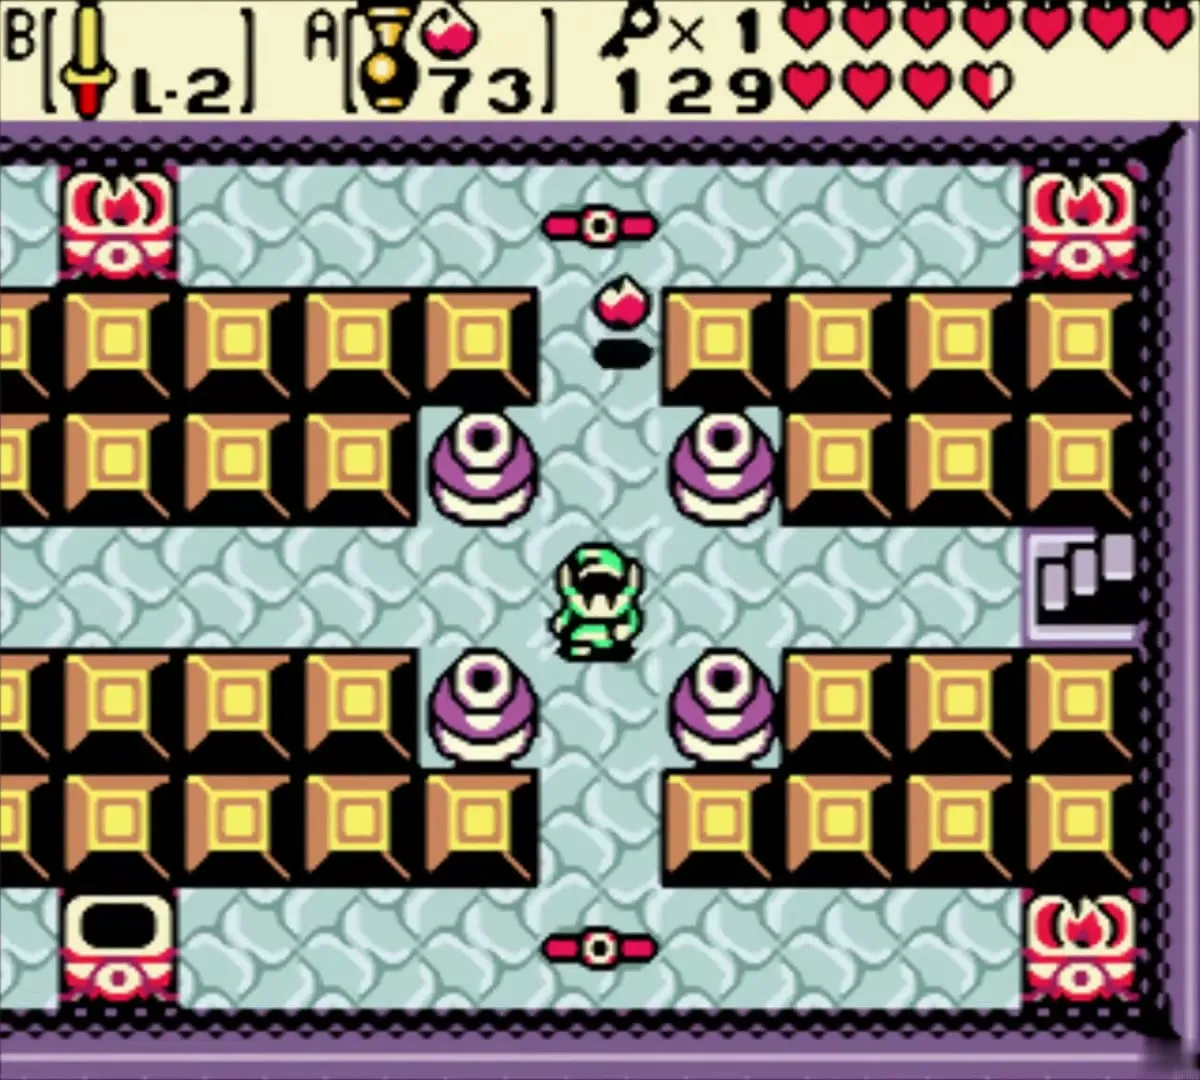
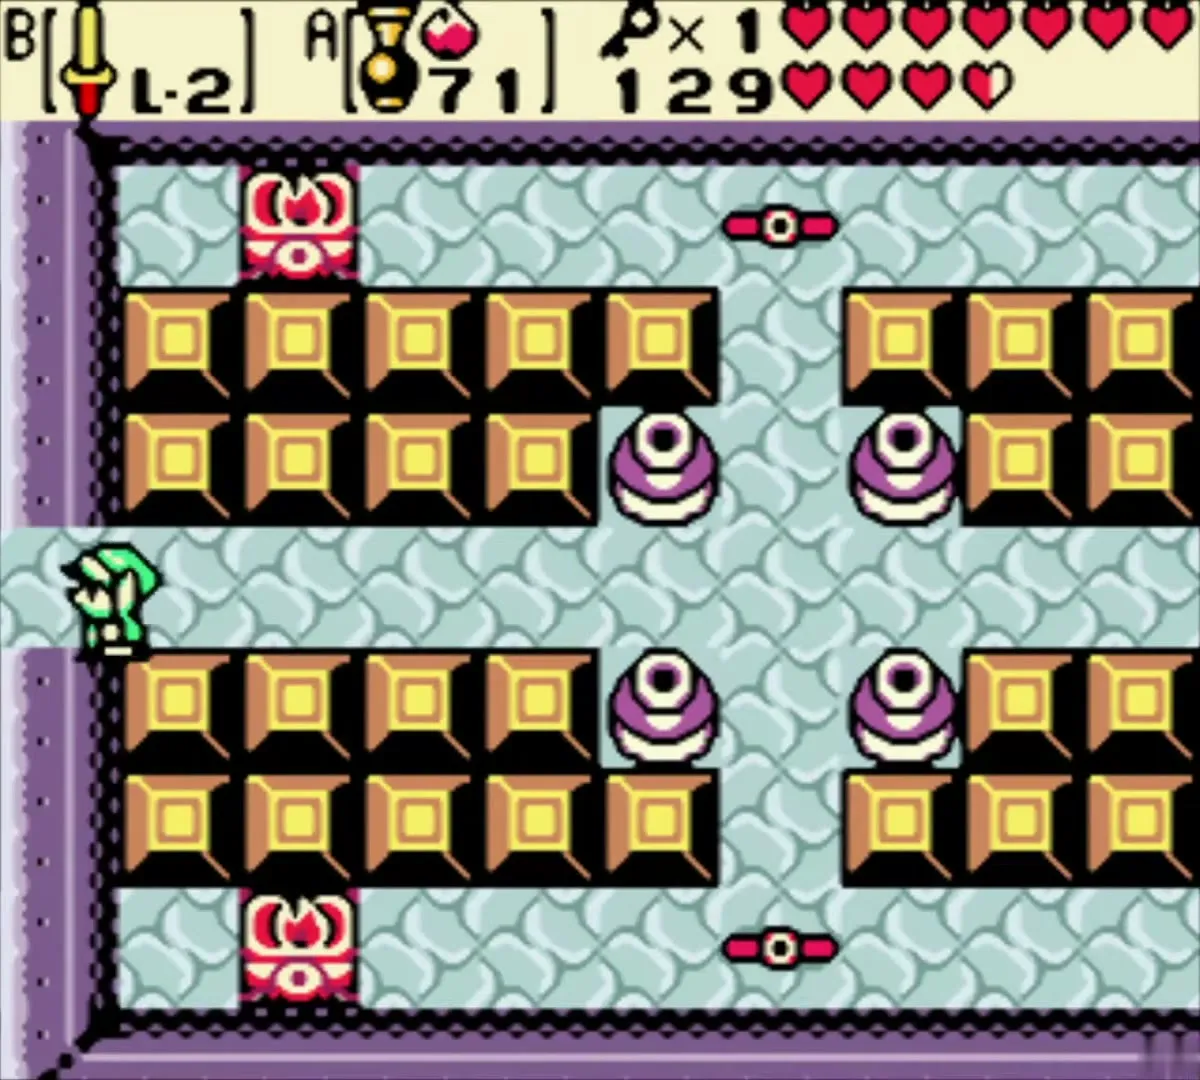
Push the skull-faced blocks in the next rooms to clear a path, and open the locked block with a Small Key. In the large room with orange blocks, you reach the west door only by shooting Ember Seeds from the Seed Shooter at the empty burners on the wall until they light.
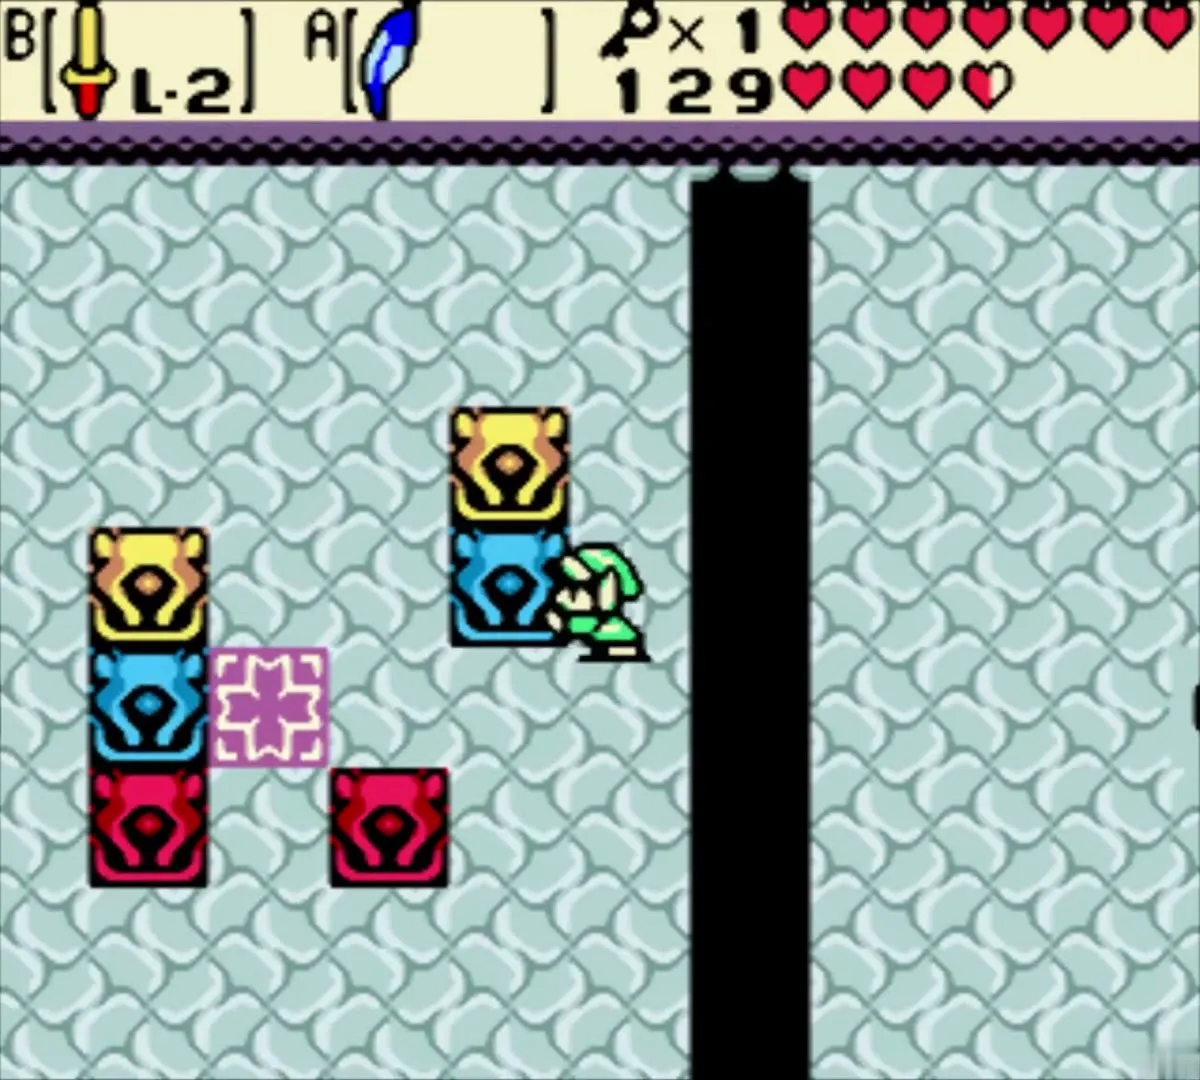
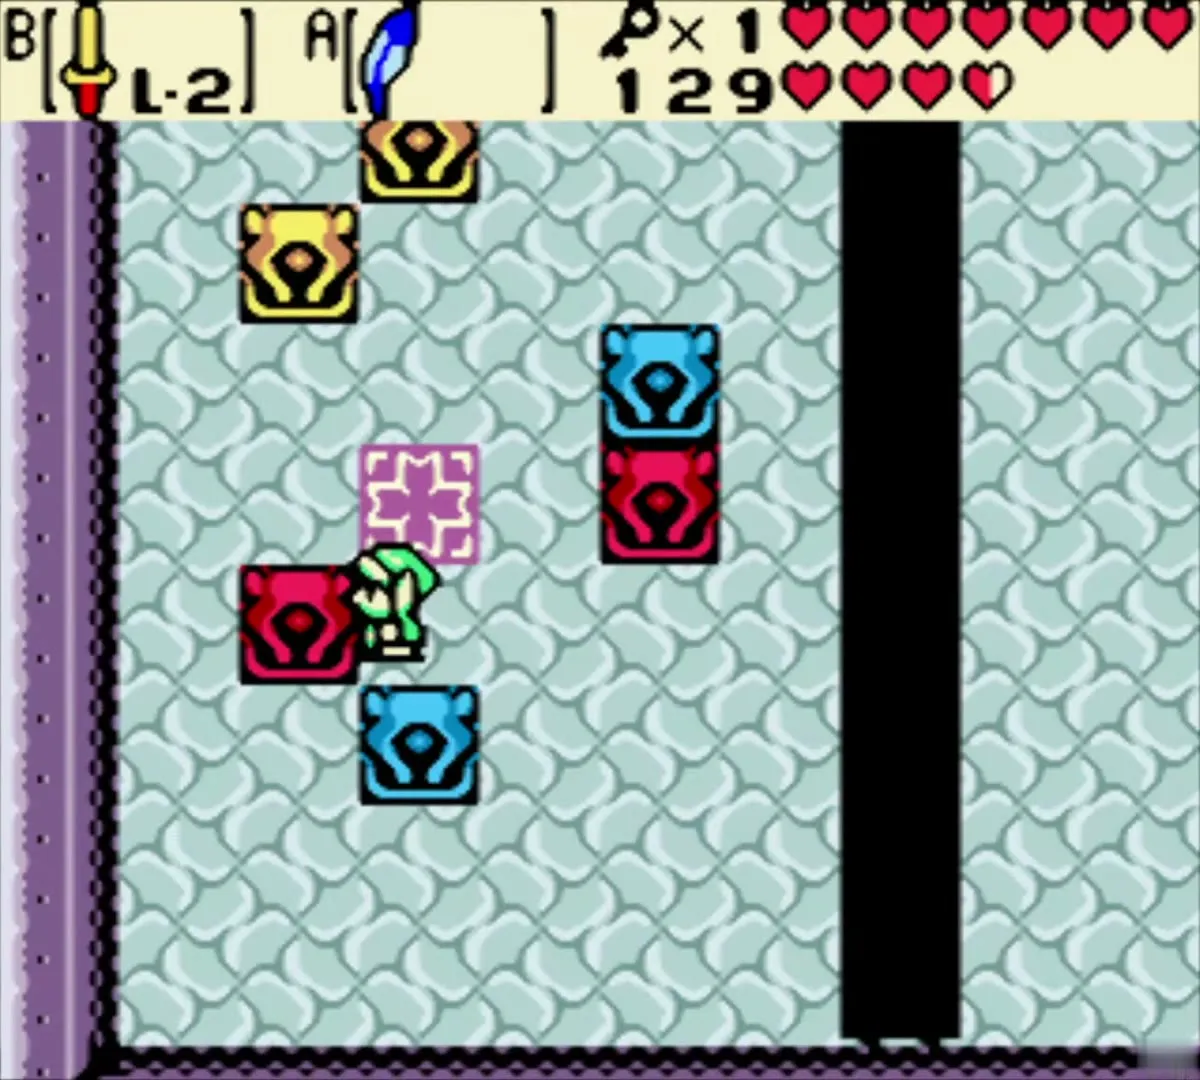
Copy the statue pattern
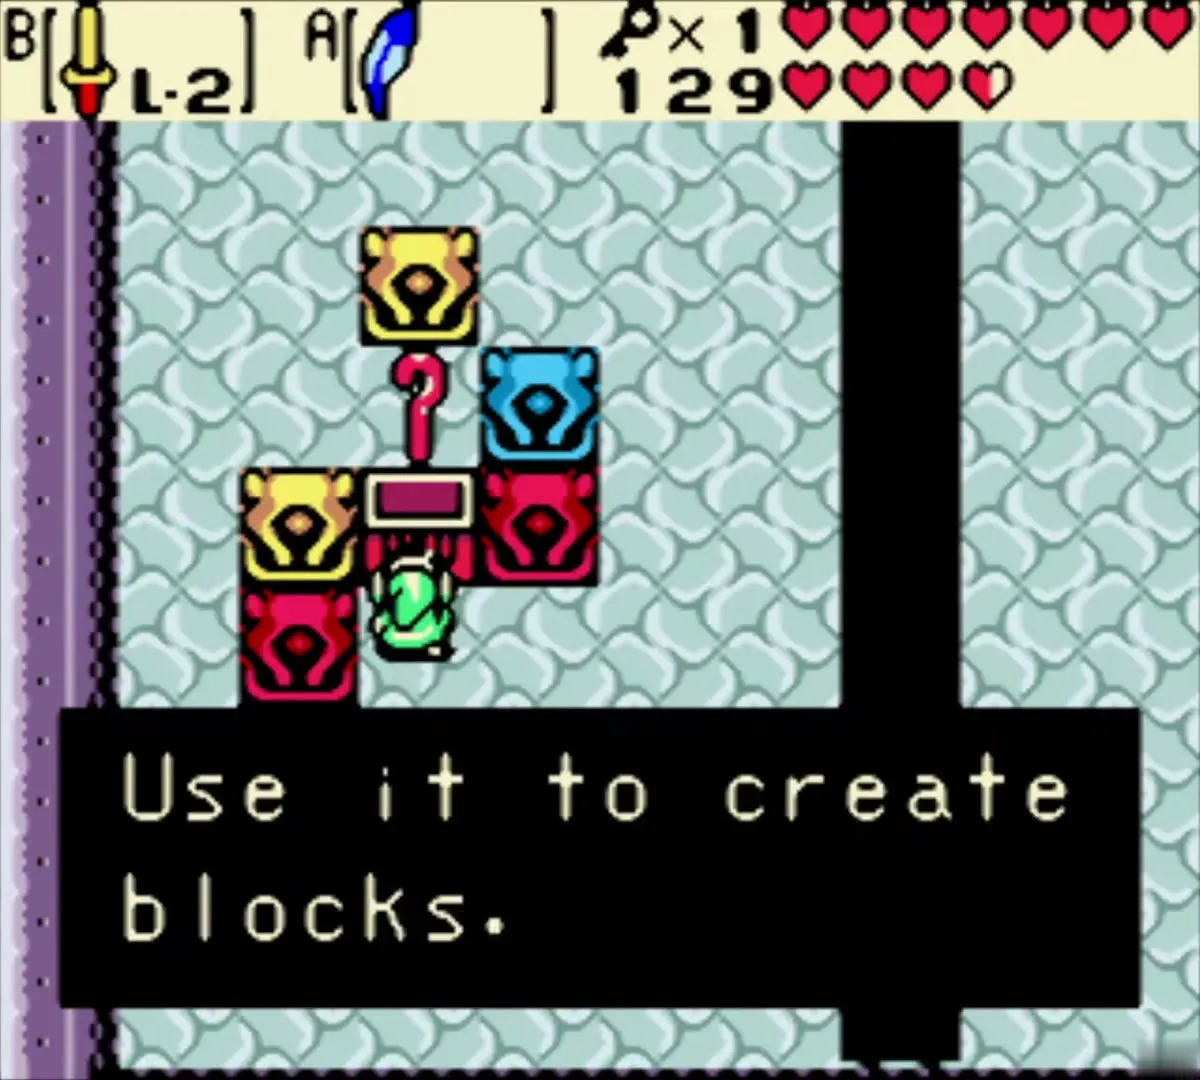
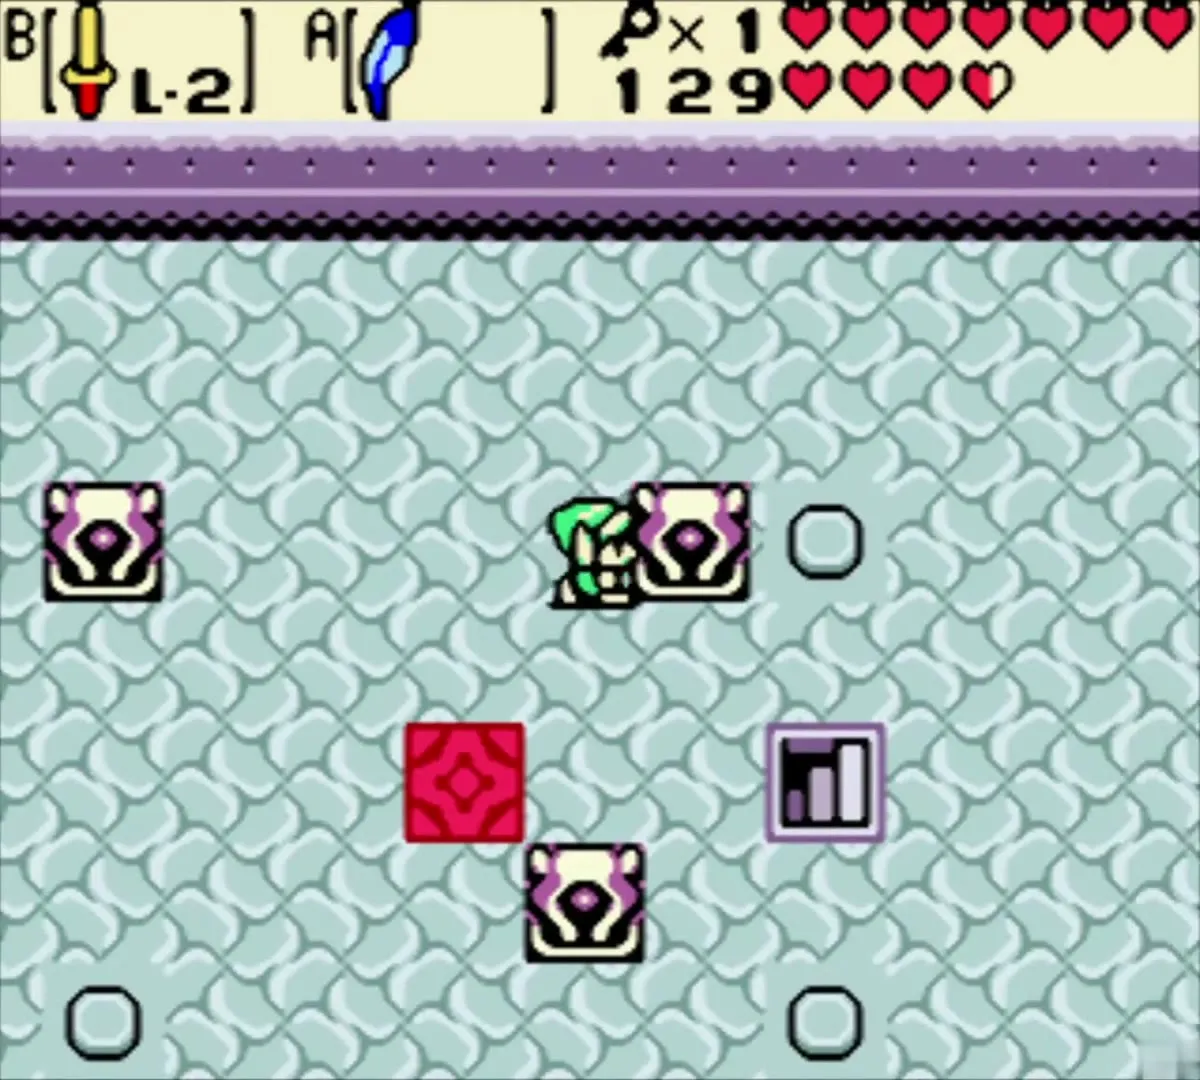
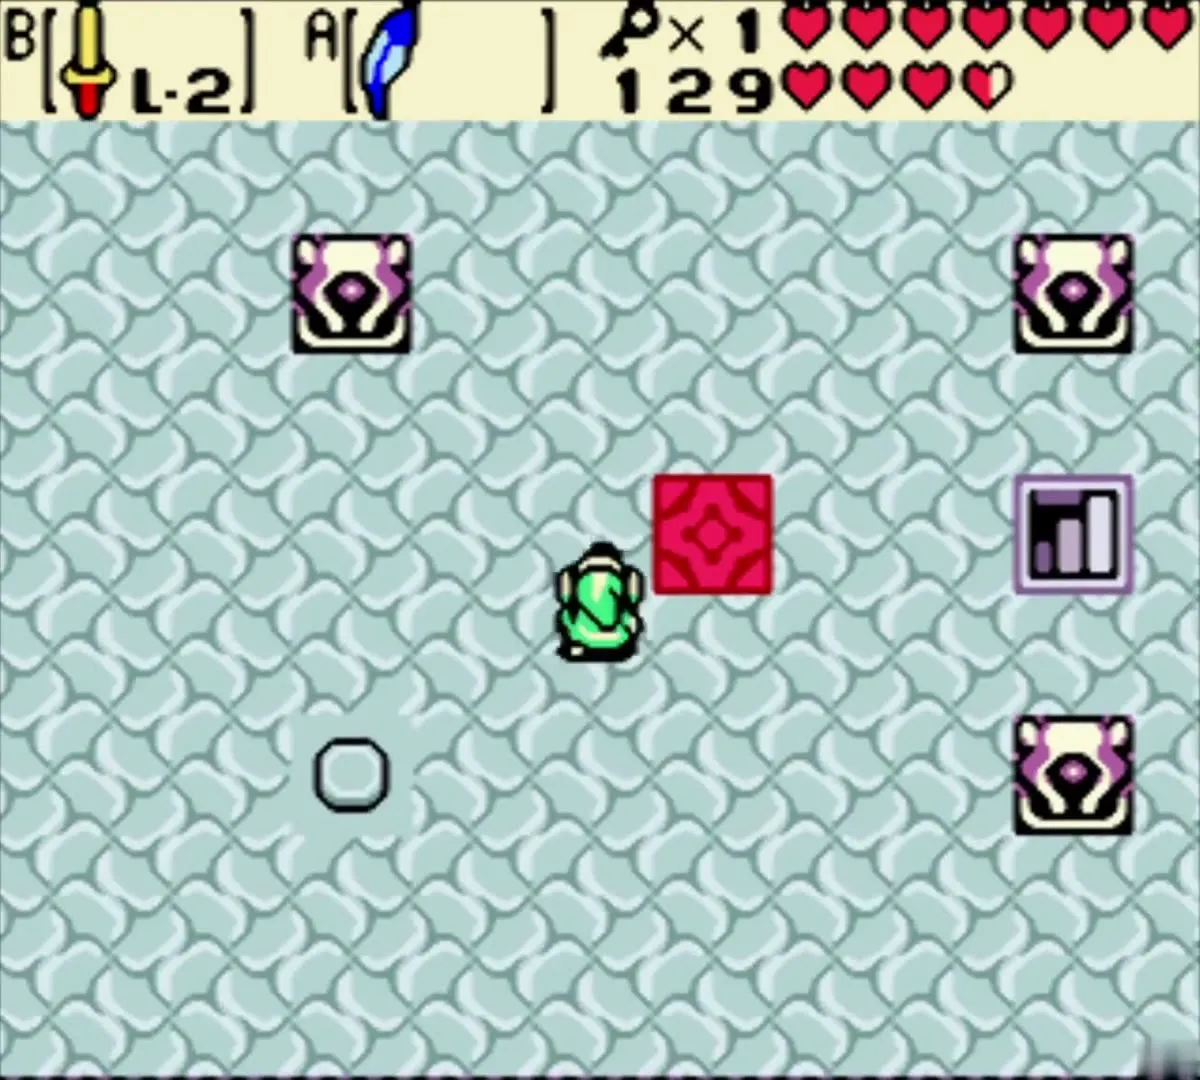
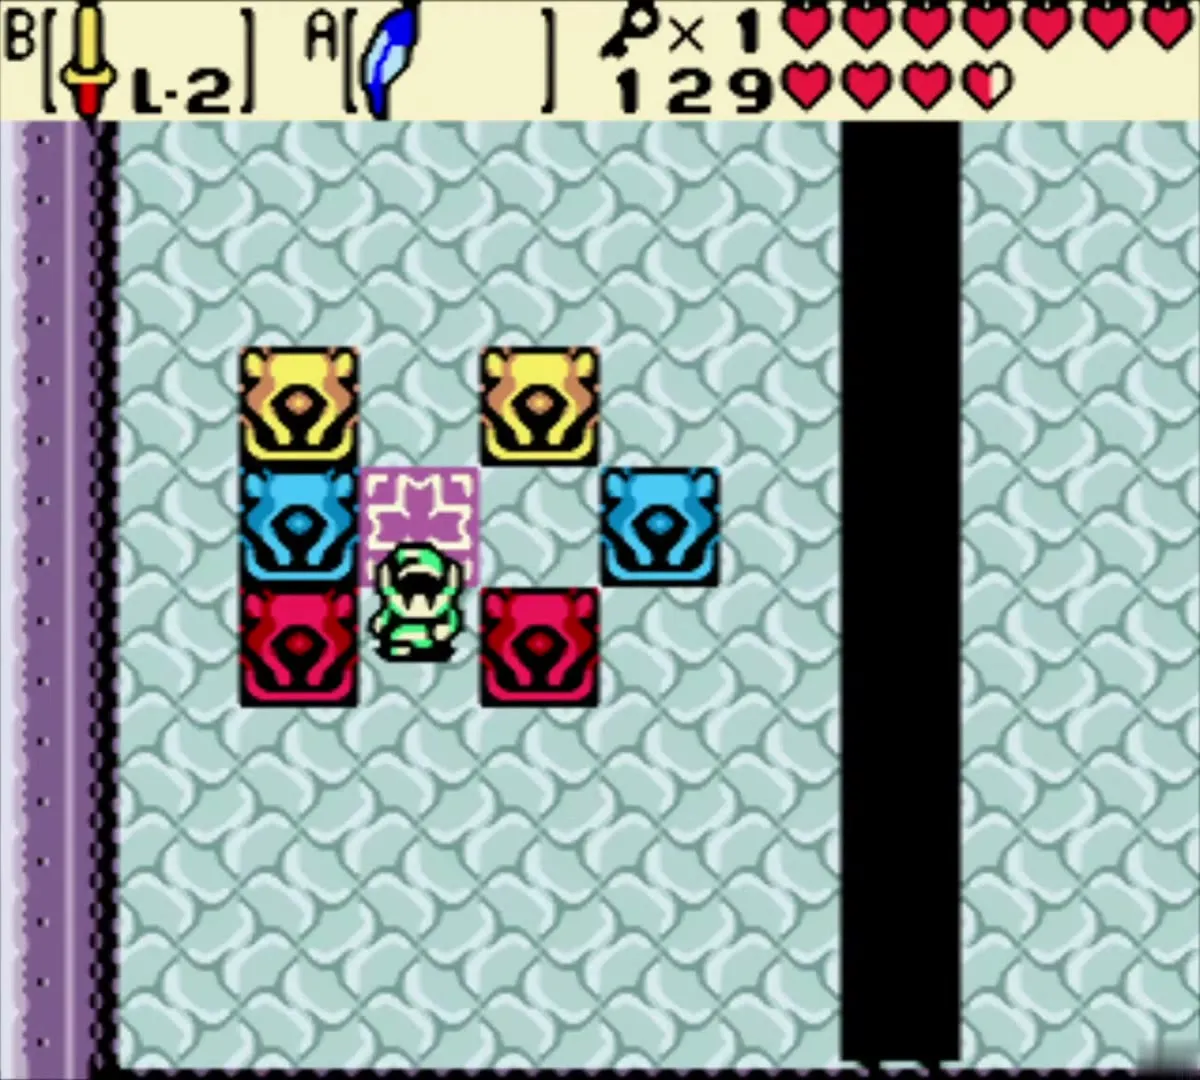
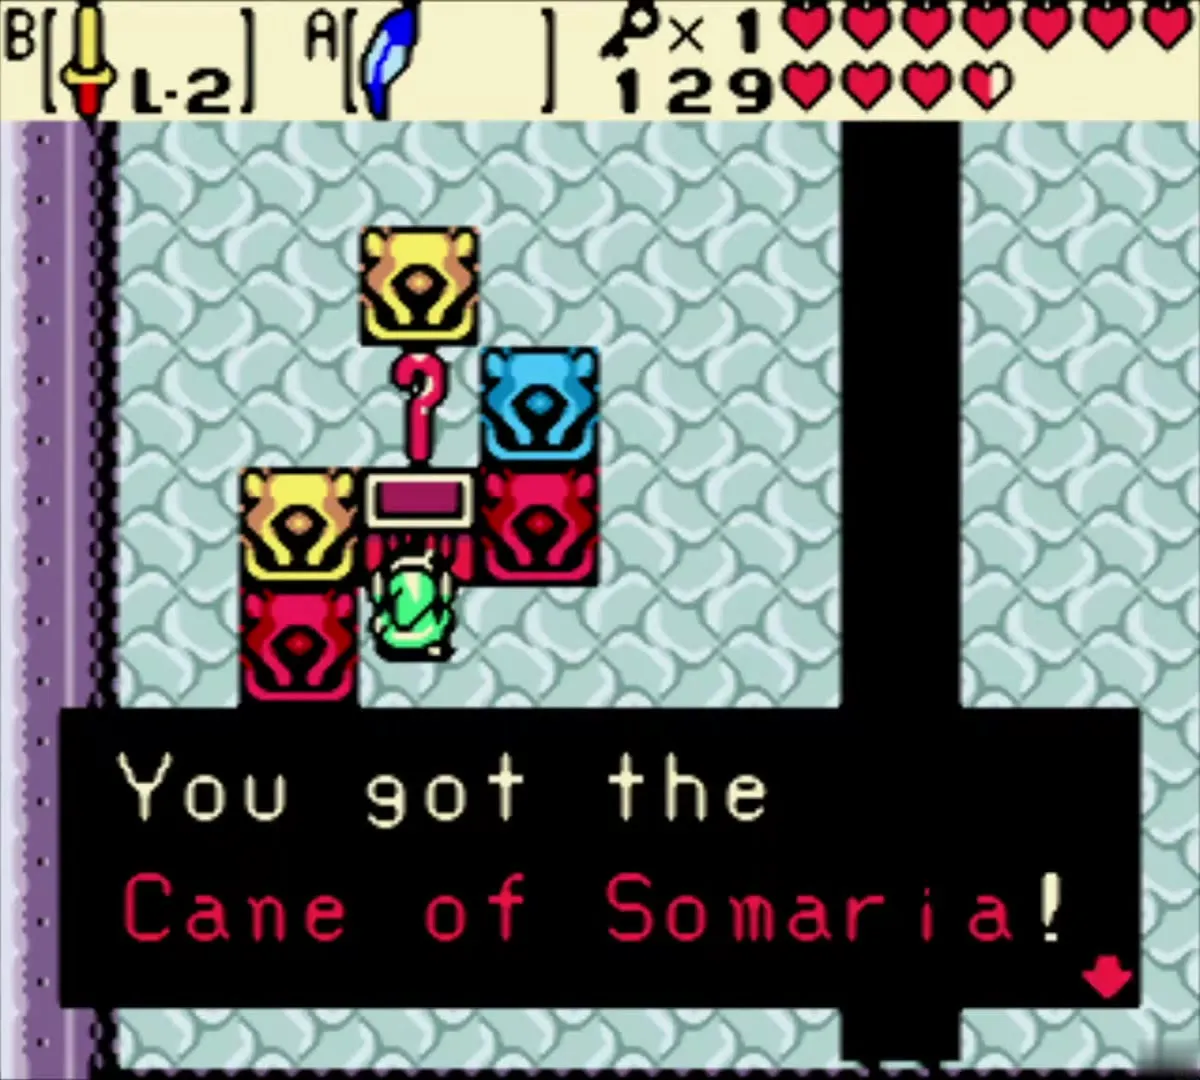
Below, stand on the floor button and read the pattern of colored statues shown on the right side of the room. Then push the yellow, blue and red statues on the left until their order matches the pattern; you can step off and back on the button as often as you like to re-check it. When the two sides agree, a chest appears with the Cane of Somaria. Equip it and press the button to create a block in front of you. The block can be pushed, stepped on and used as a stepping stone or a weight.

Small Keys 3, 4 and 5
Small Key 3: statues on the buttons
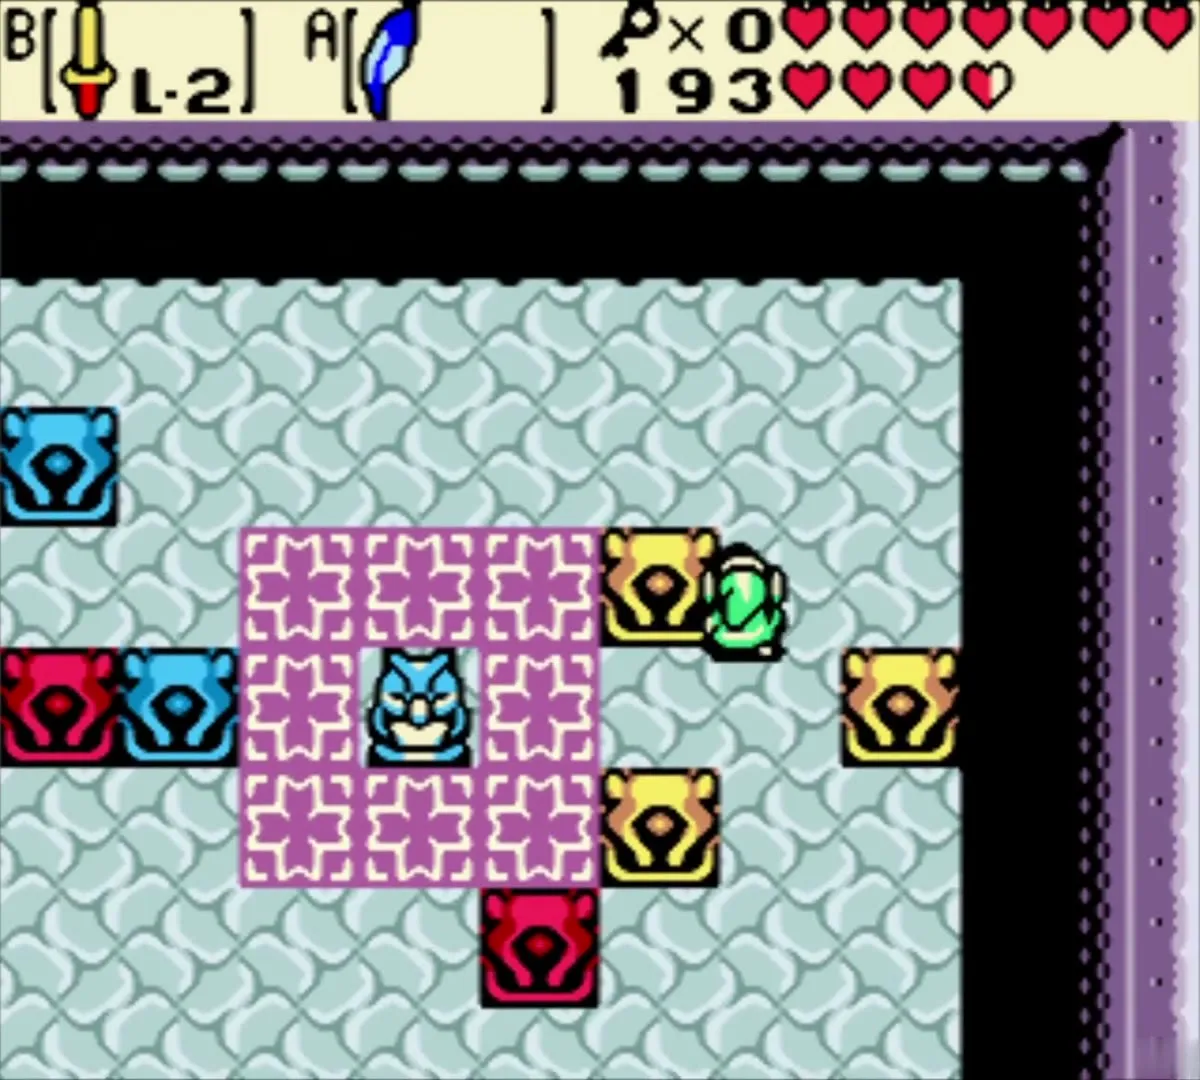
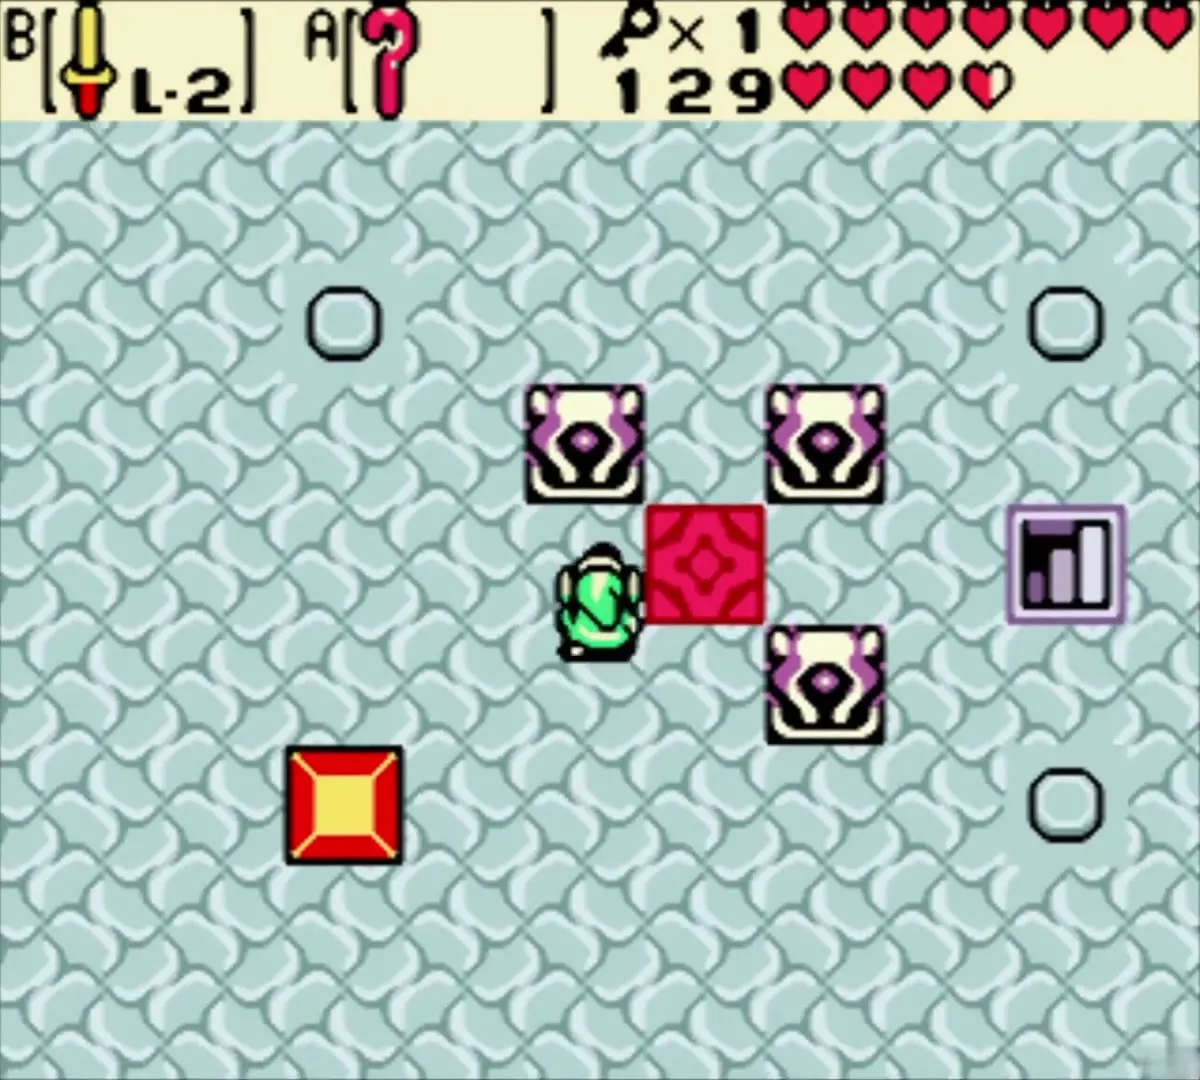
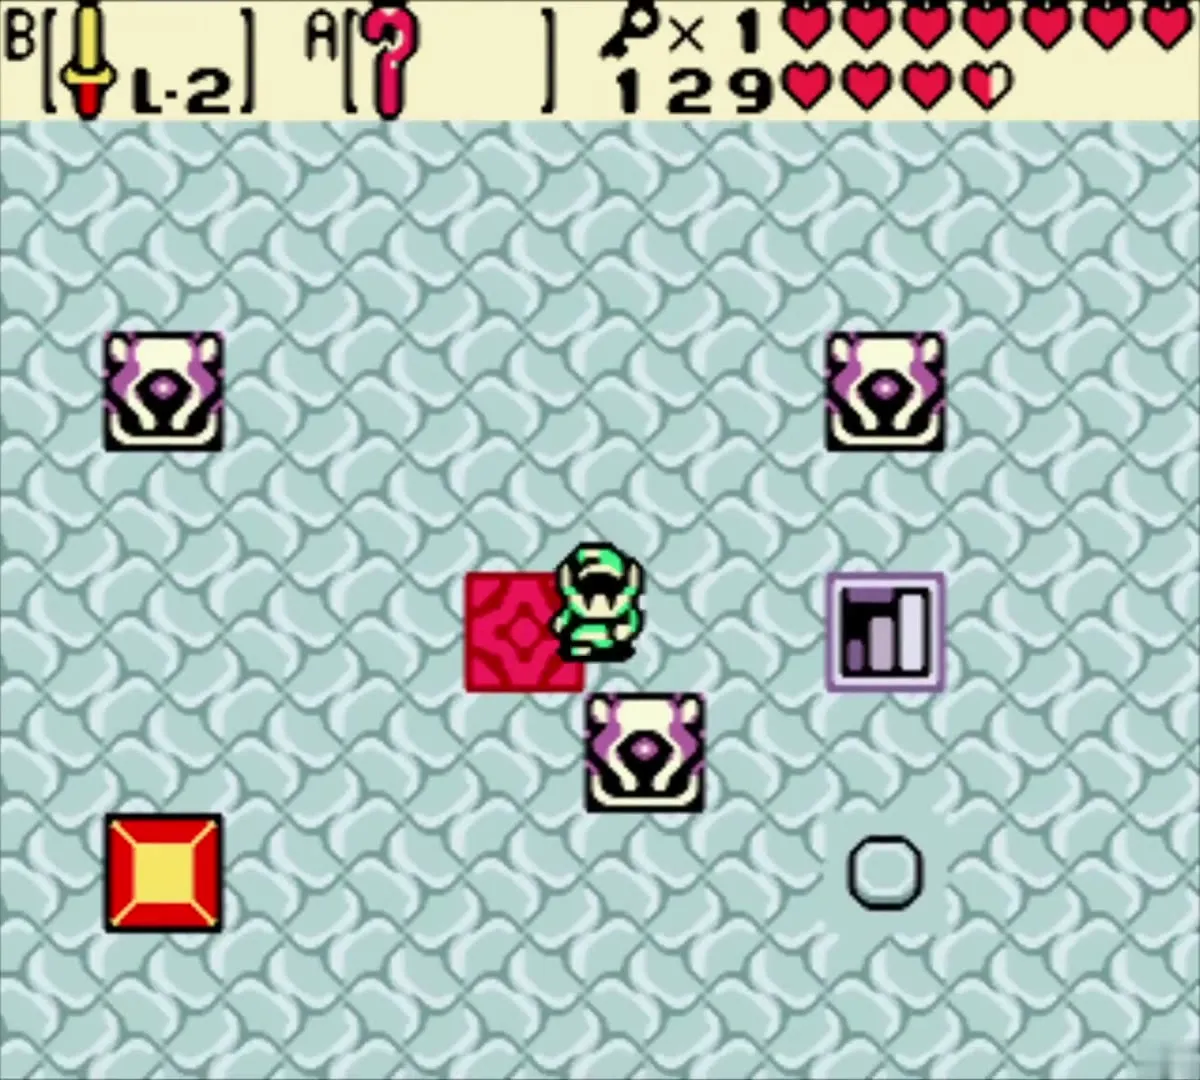
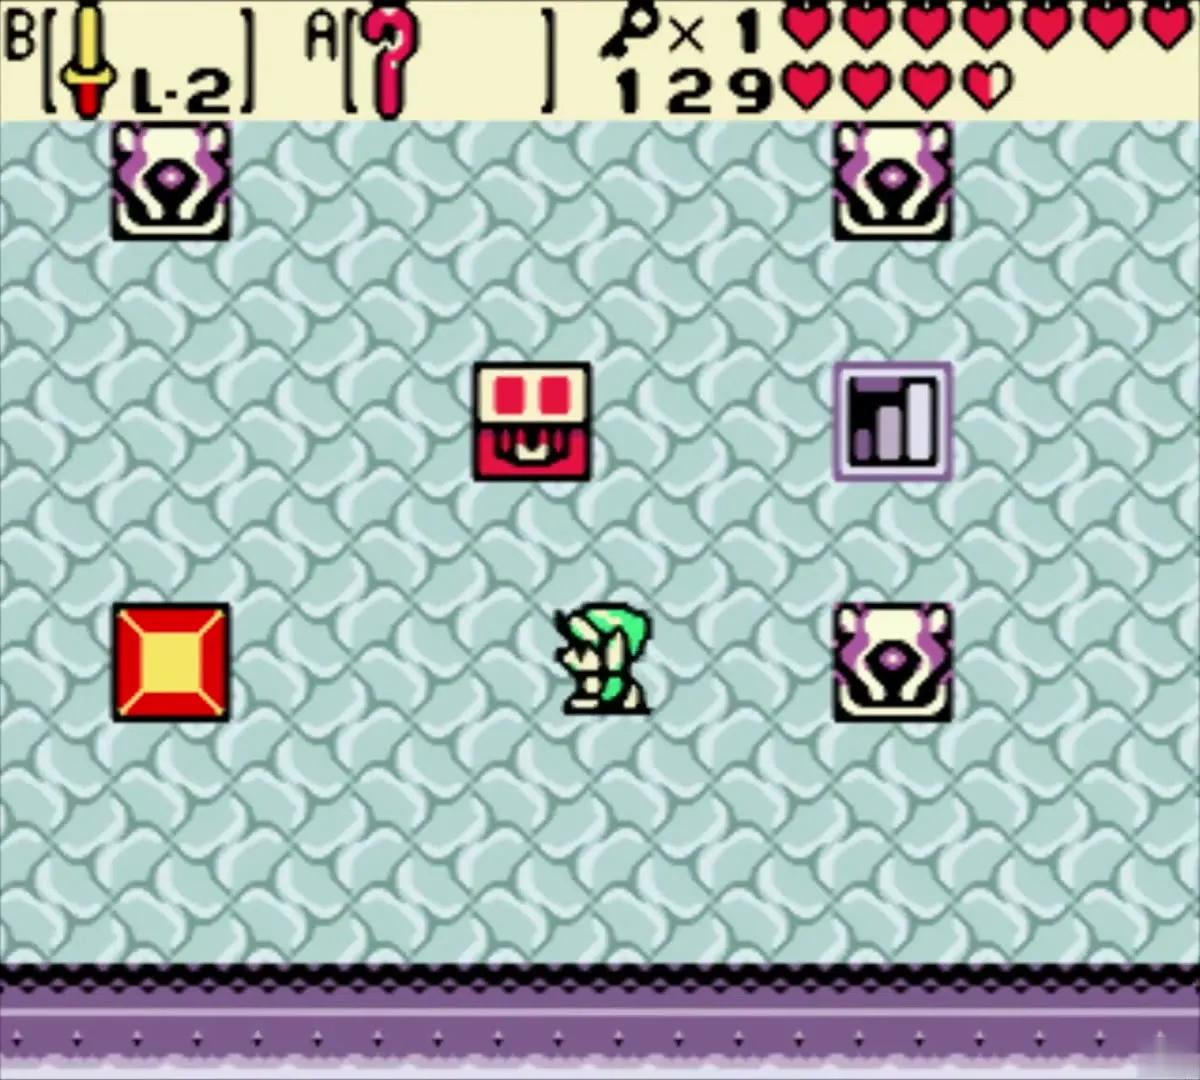
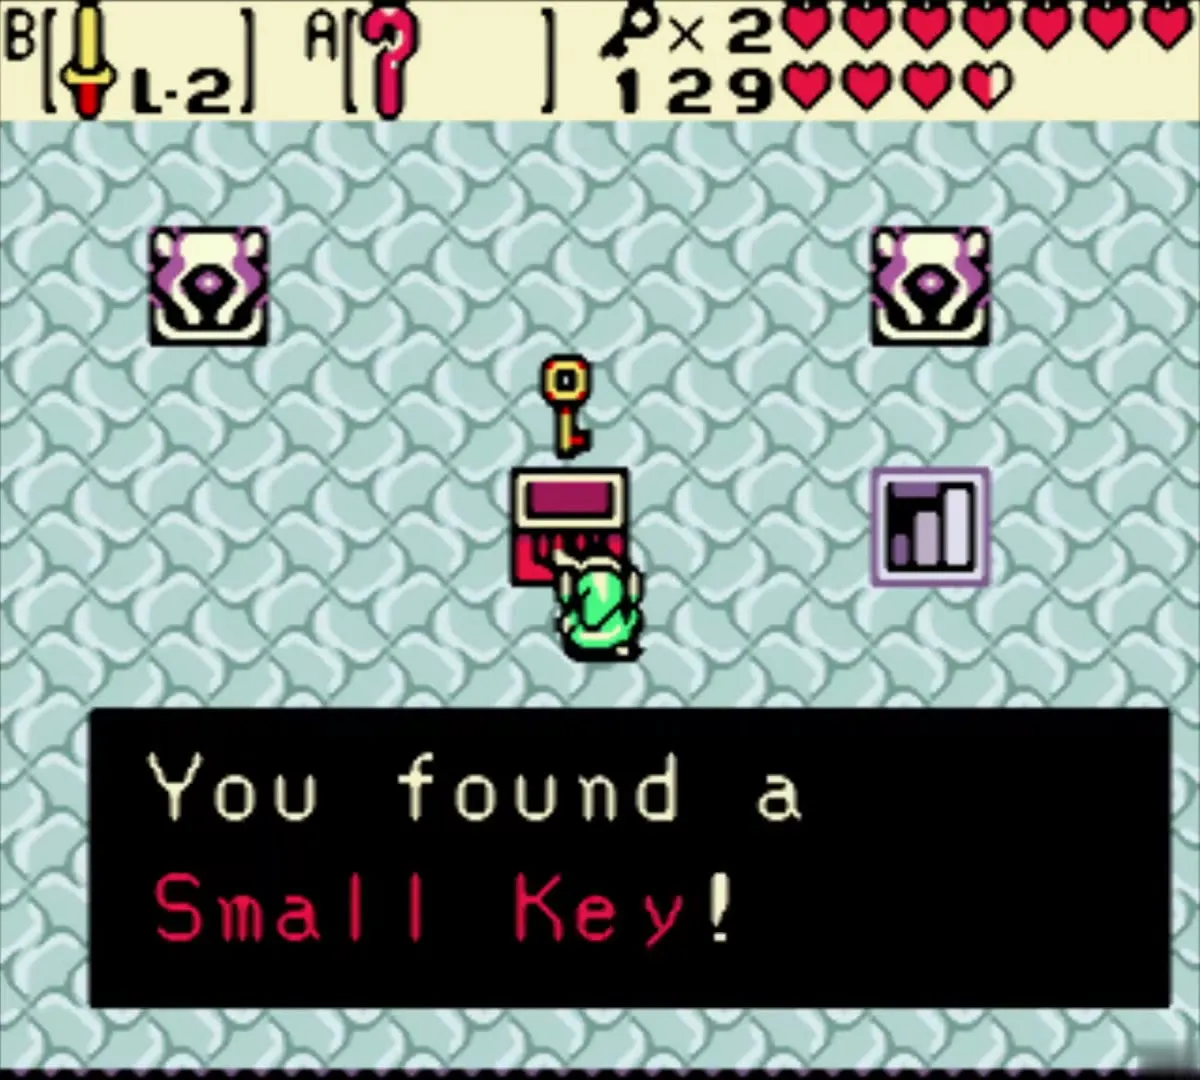
Back on the ground floor, the room with four floor buttons and three statues finally makes sense. Push the three statues onto three buttons, then create a Cane block on the fourth. The chest in the middle of the room appears with the third Small Key.

Small Key 4: statues that move together
The next branch lies north of the door you opened with the key. Jump down from the ledge, descend the stairs ringed by blue tiles, pass the two pots and descend again. In the side-view room, make a Cane block and jump from it to the next ledge. Shoot the crystal switch with a seed to open the way north. In the last room, two statues move in unison and must end up on the two red tiles; stop one of them behind a Cane block so that the other can reach its tile alone. The chest then gives the fourth Small Key.

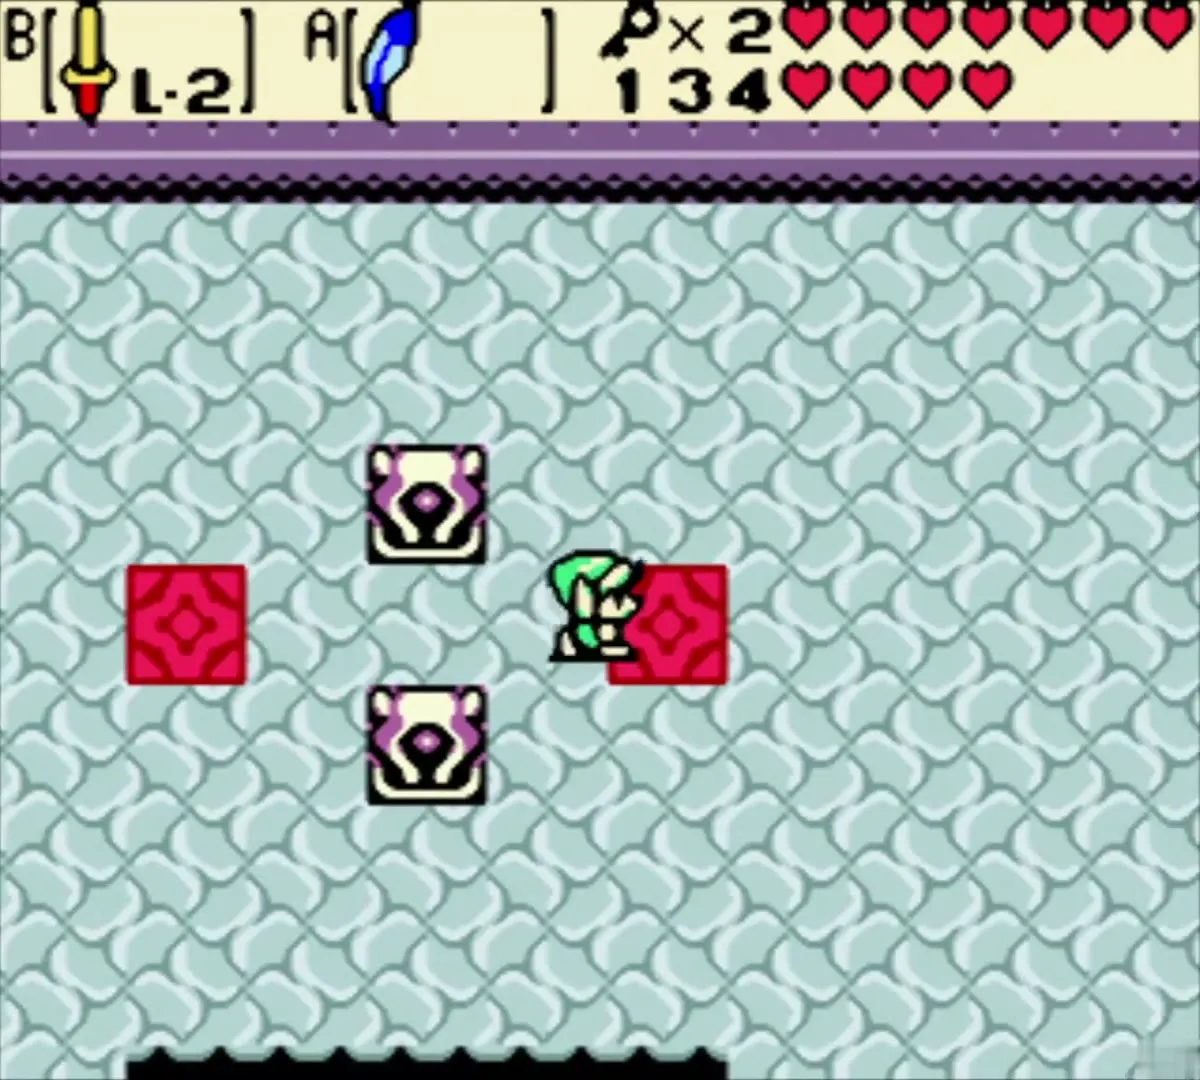
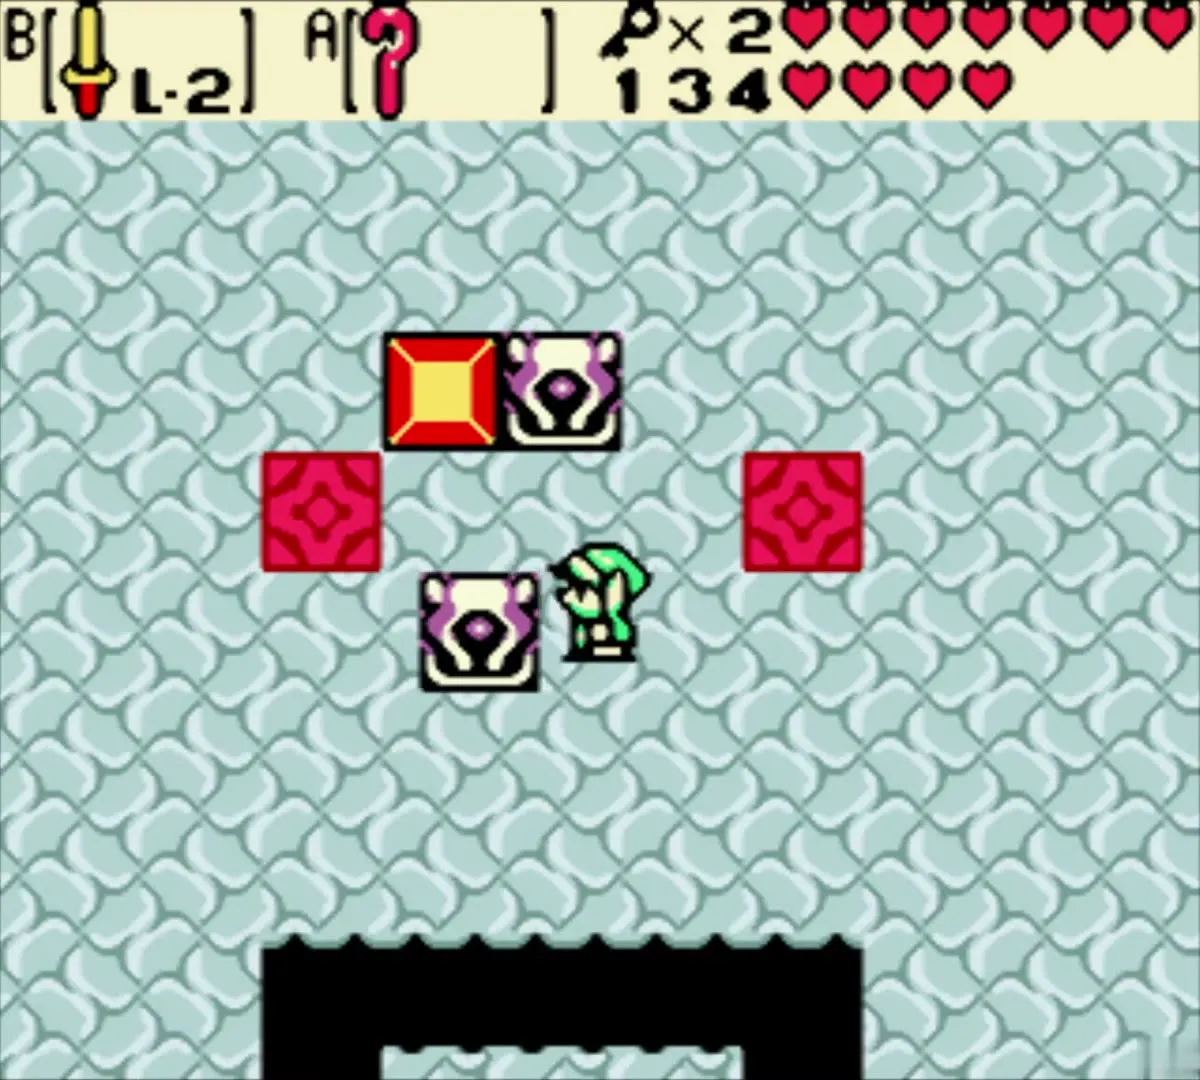
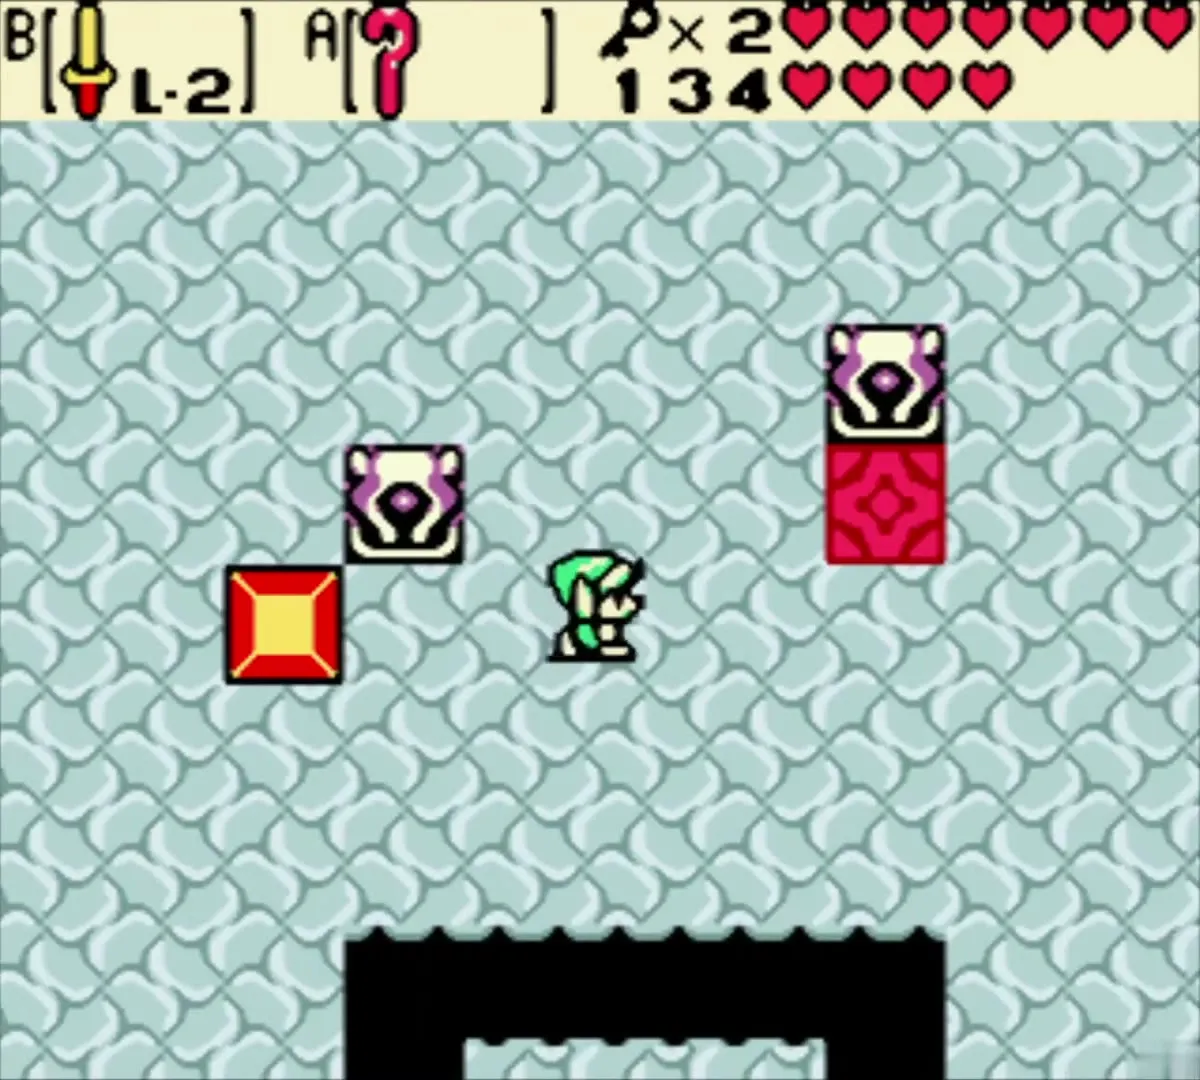
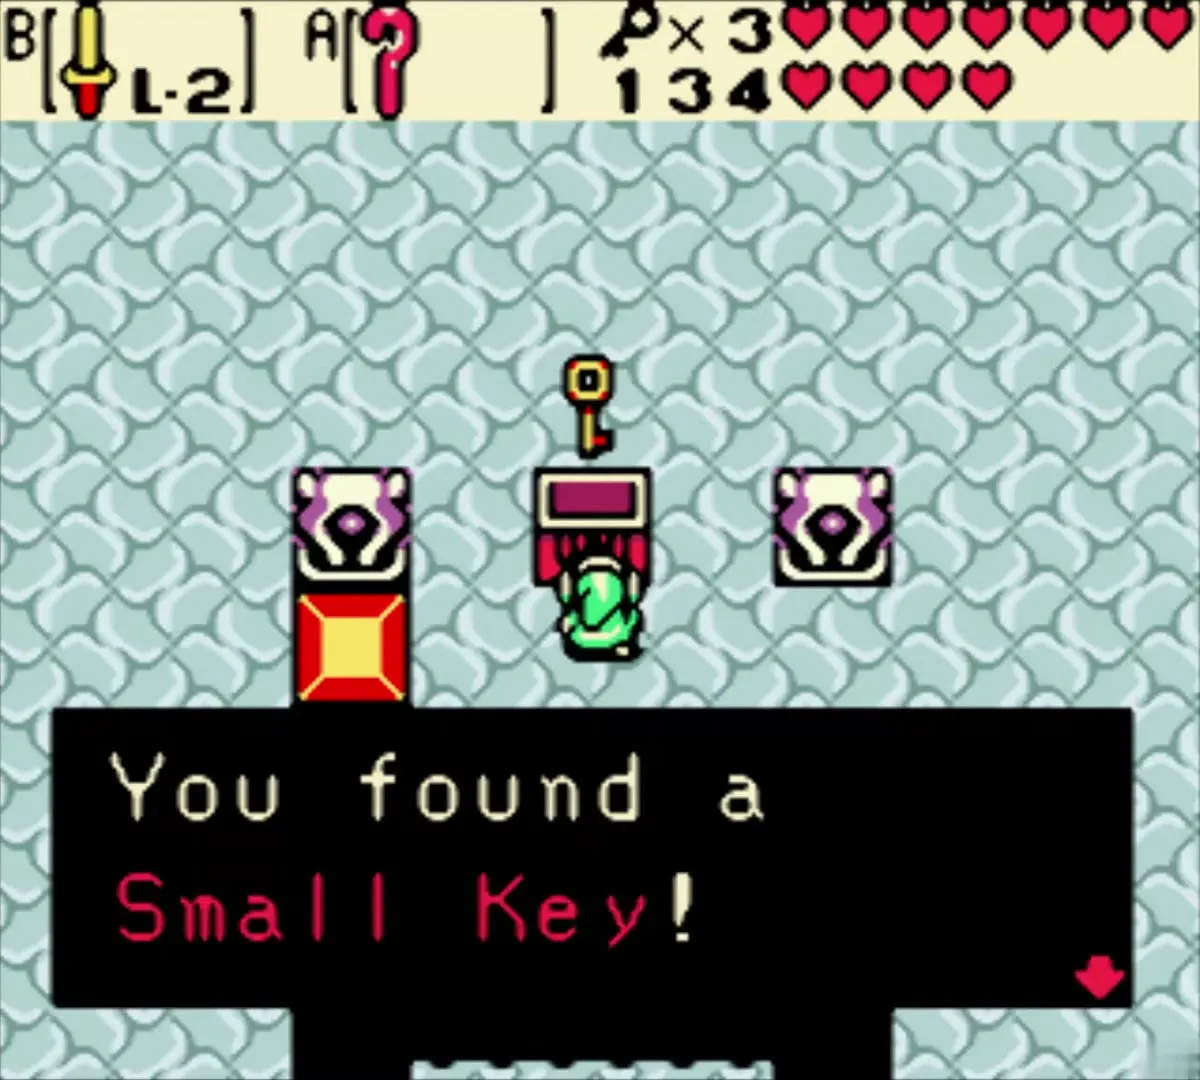
Small Key 5: the dark room with the hidden floor
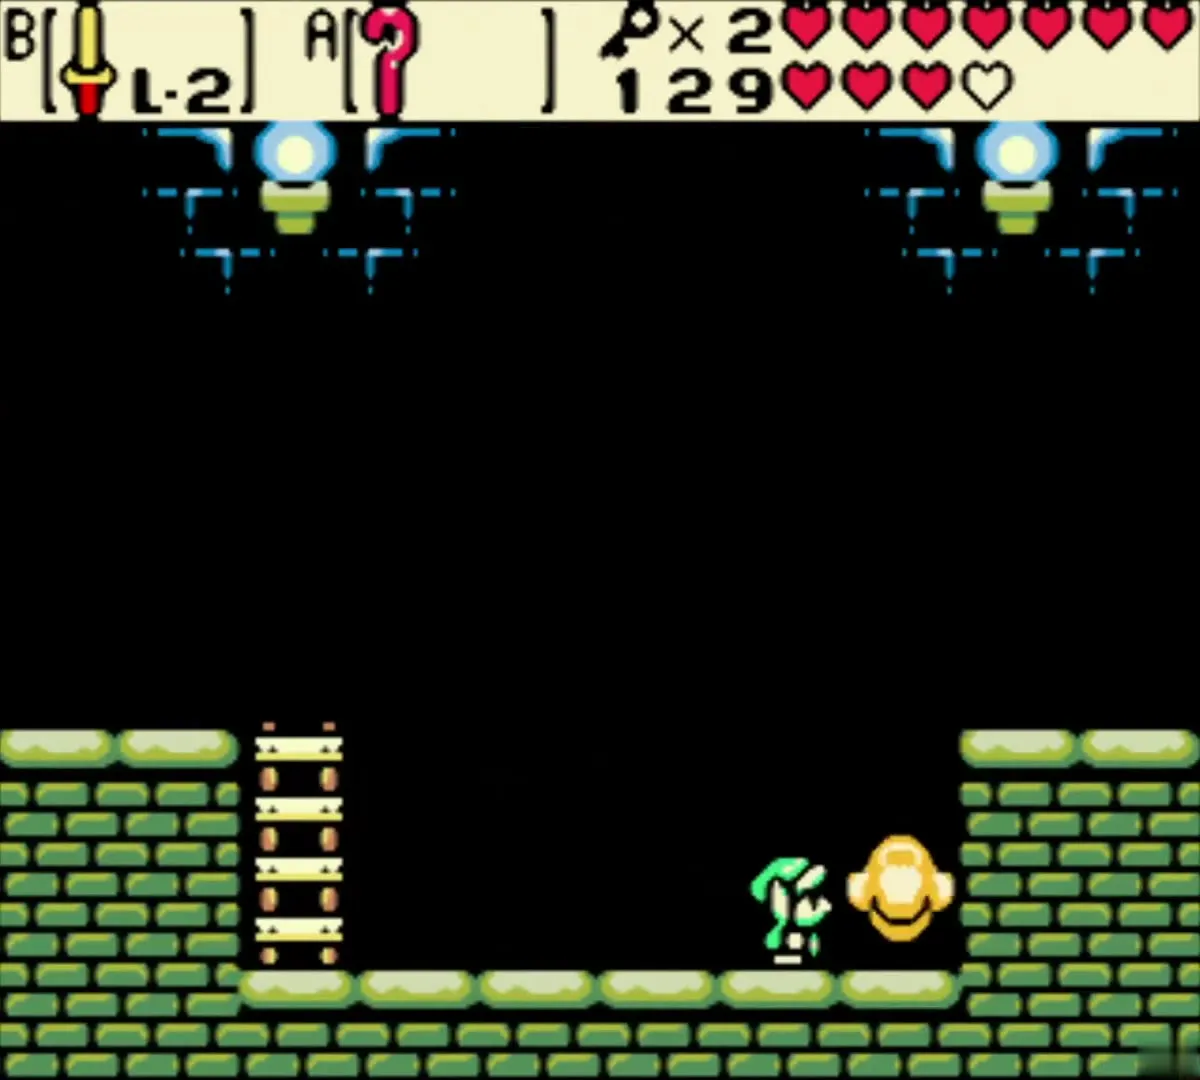
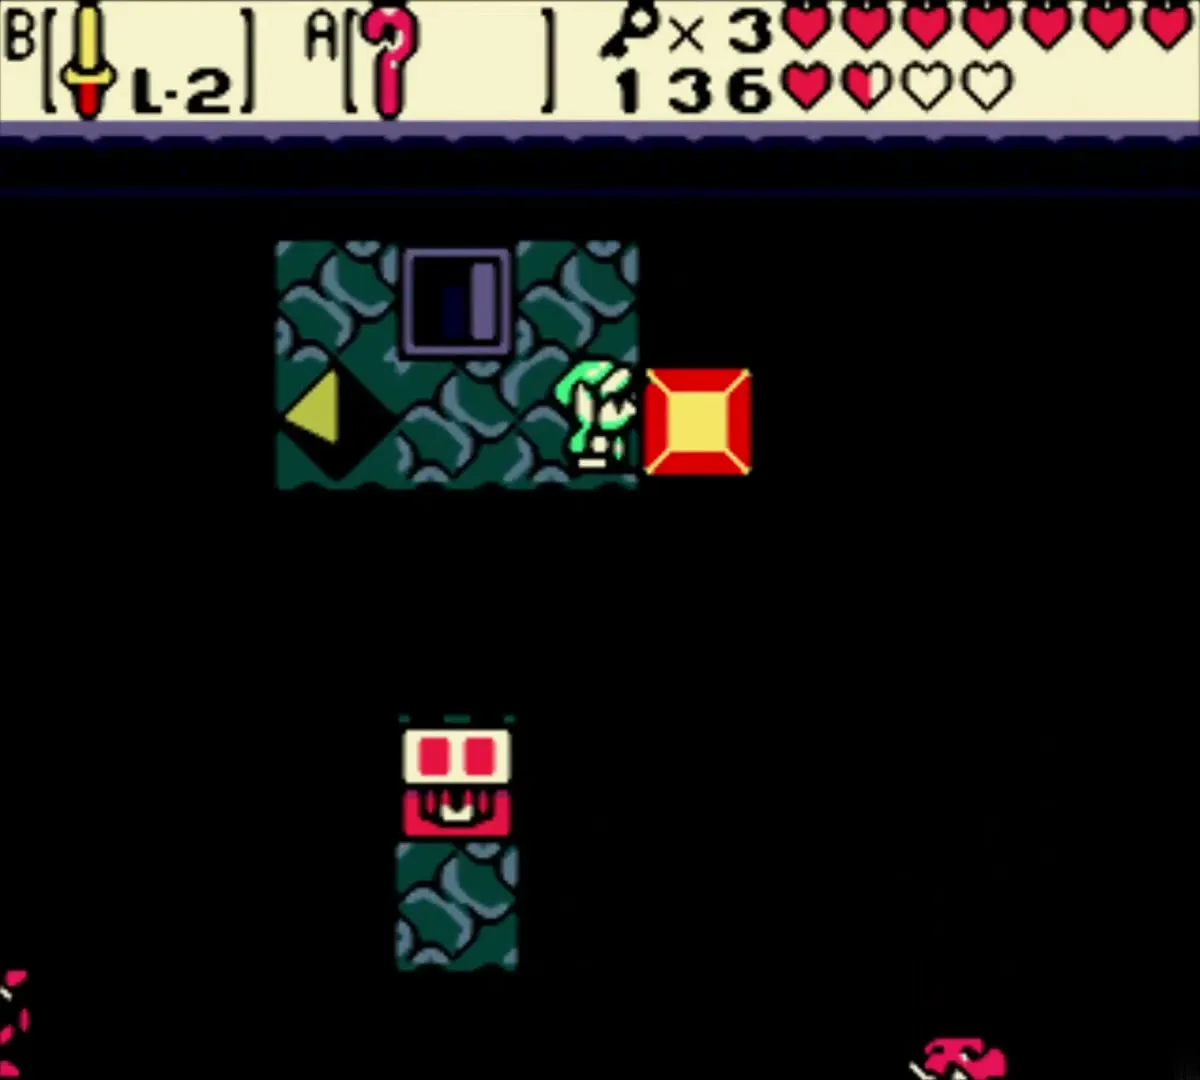
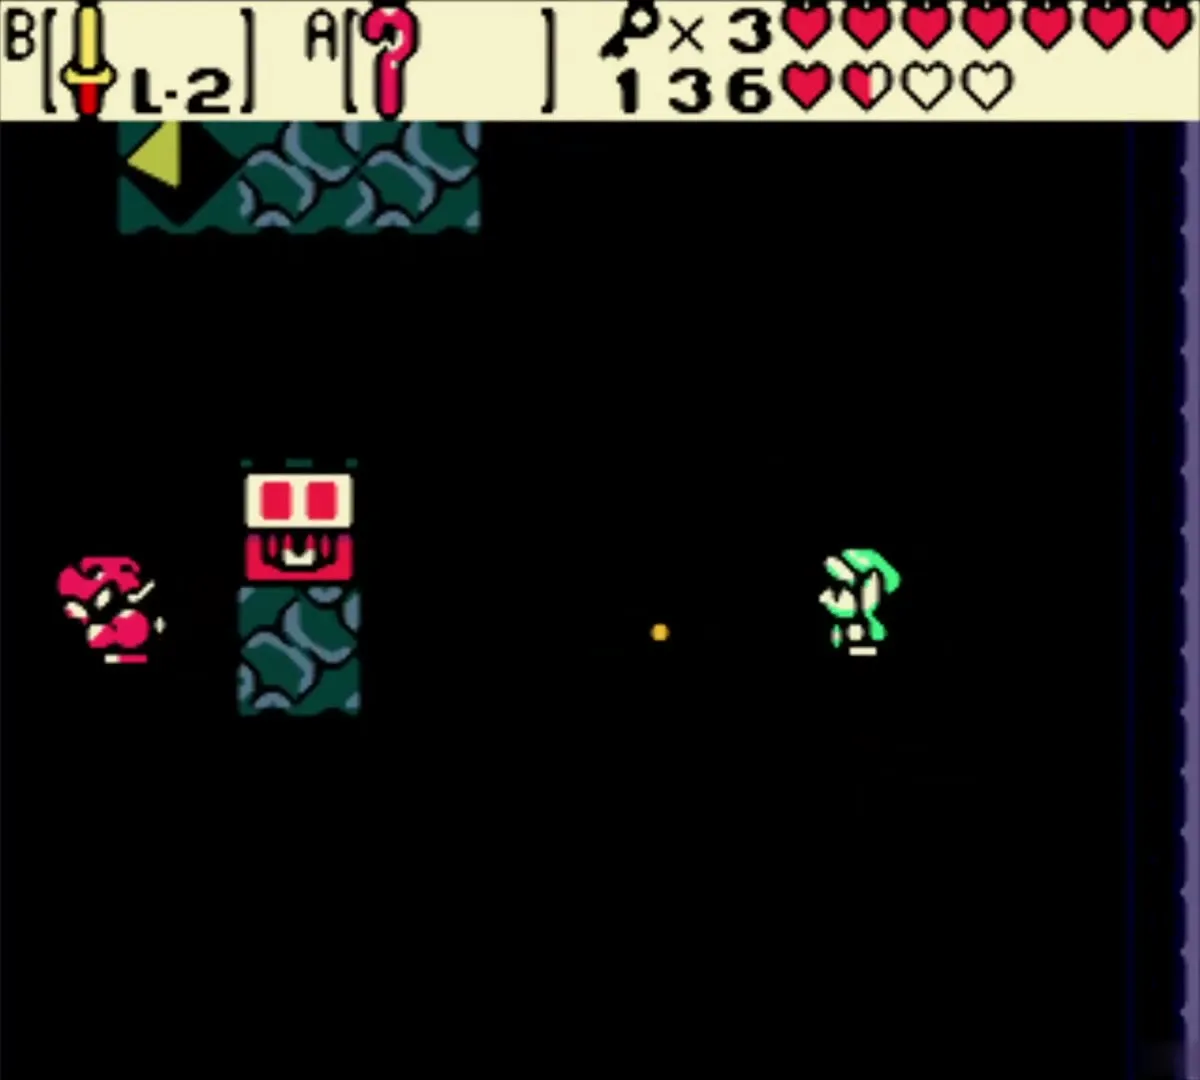
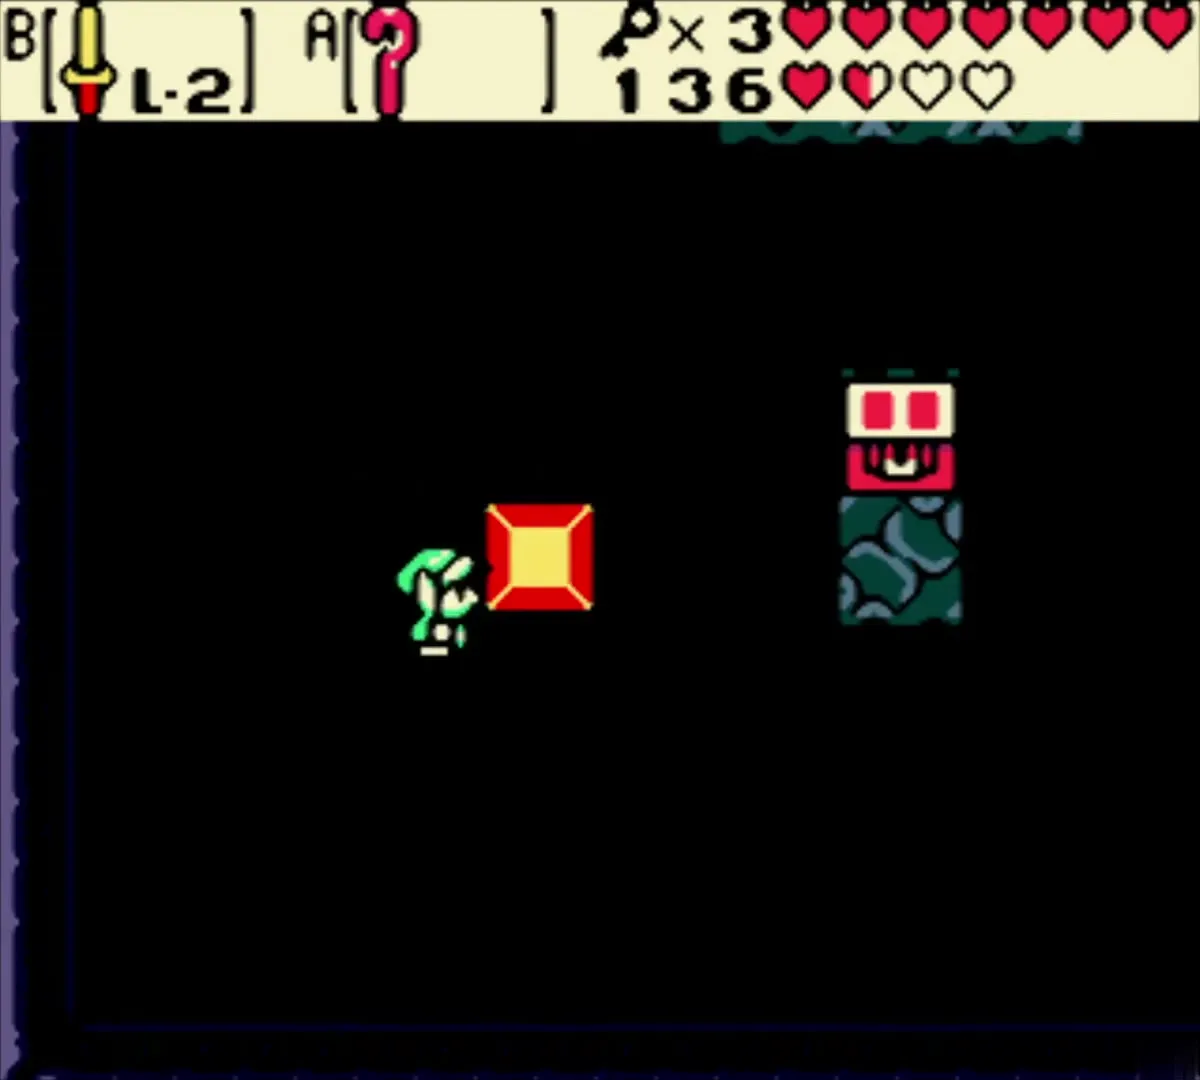
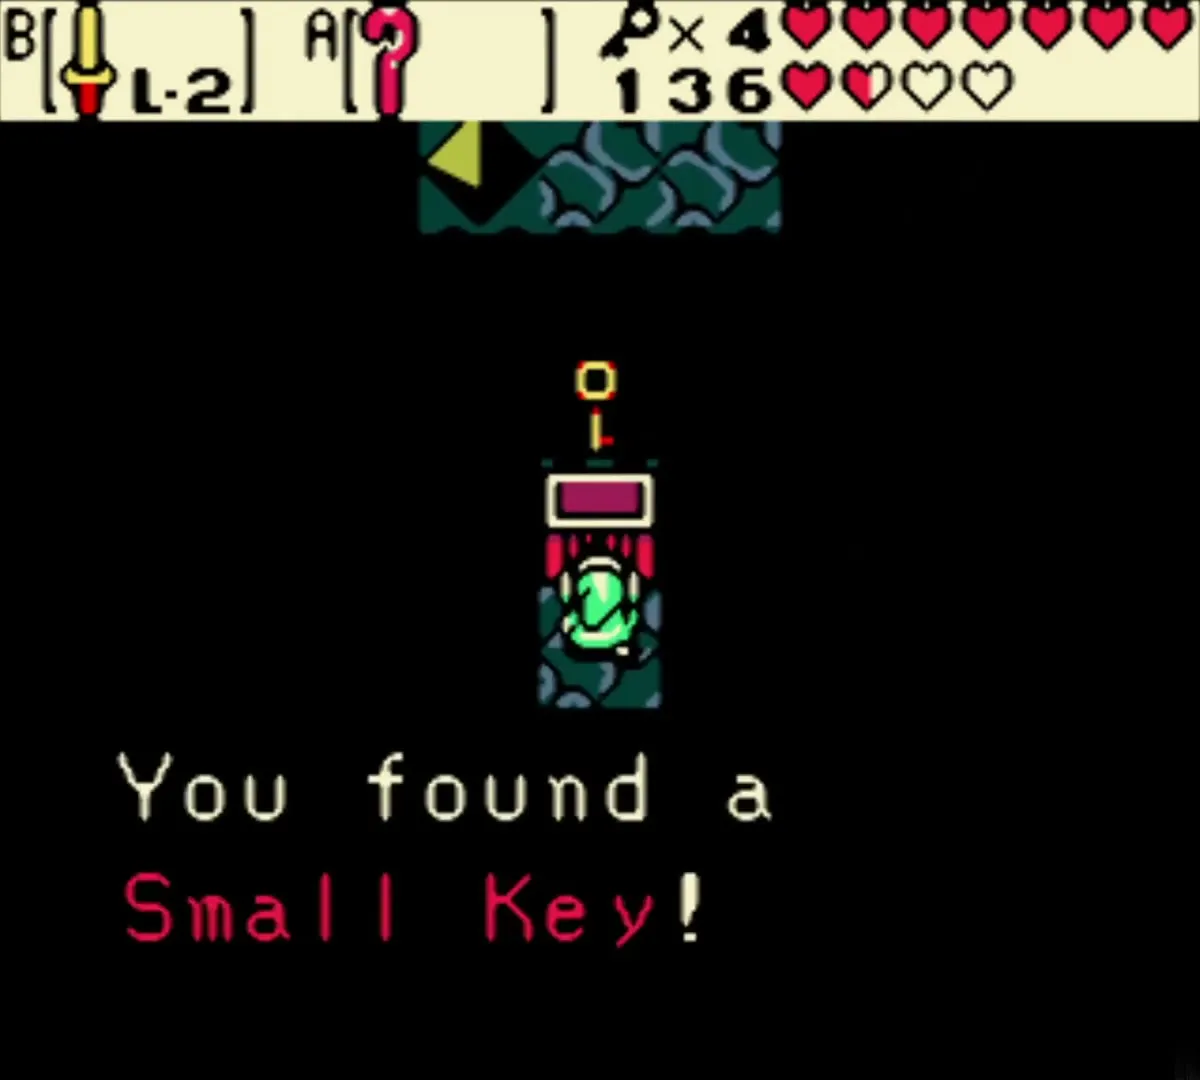
Head to the east part of the dungeon, cross the floating platforms and climb the ladder into a dark room with invisible floor tiles. Moblins walk here, and they only step on real floor, so watch where they go. A seed fired from the Seed Satchel also reveals whether a square is solid or a pit, and a Cane block pushed ahead of you helps test the way. Cross to the chest on the pedestal in the middle of the room to take the fifth Small Key. Throw a Scent Seed if the Moblins keep getting in your way.

Mini-boss: Smasher
Cross the gaps
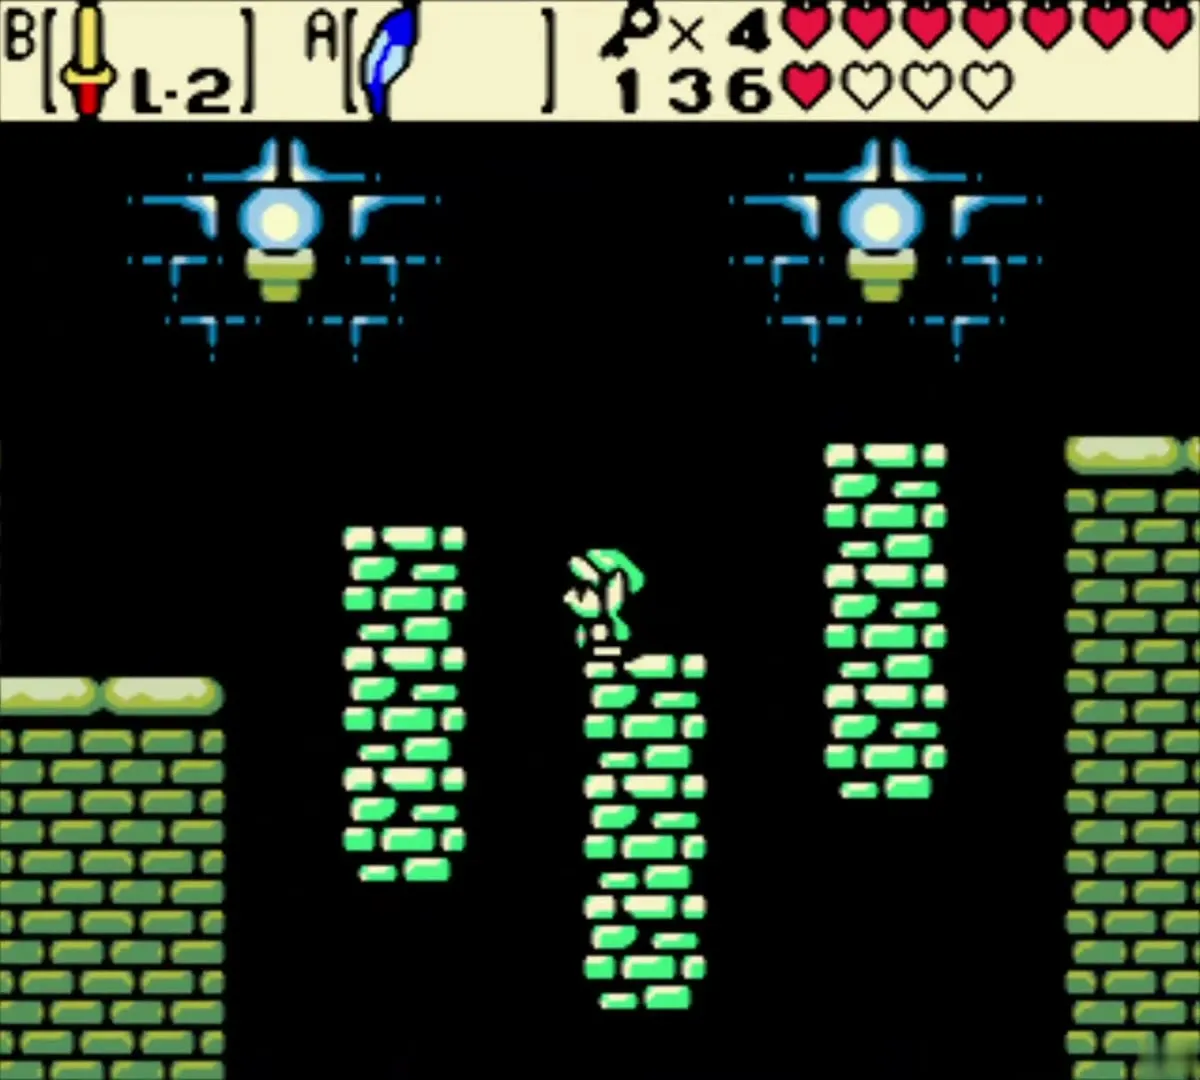
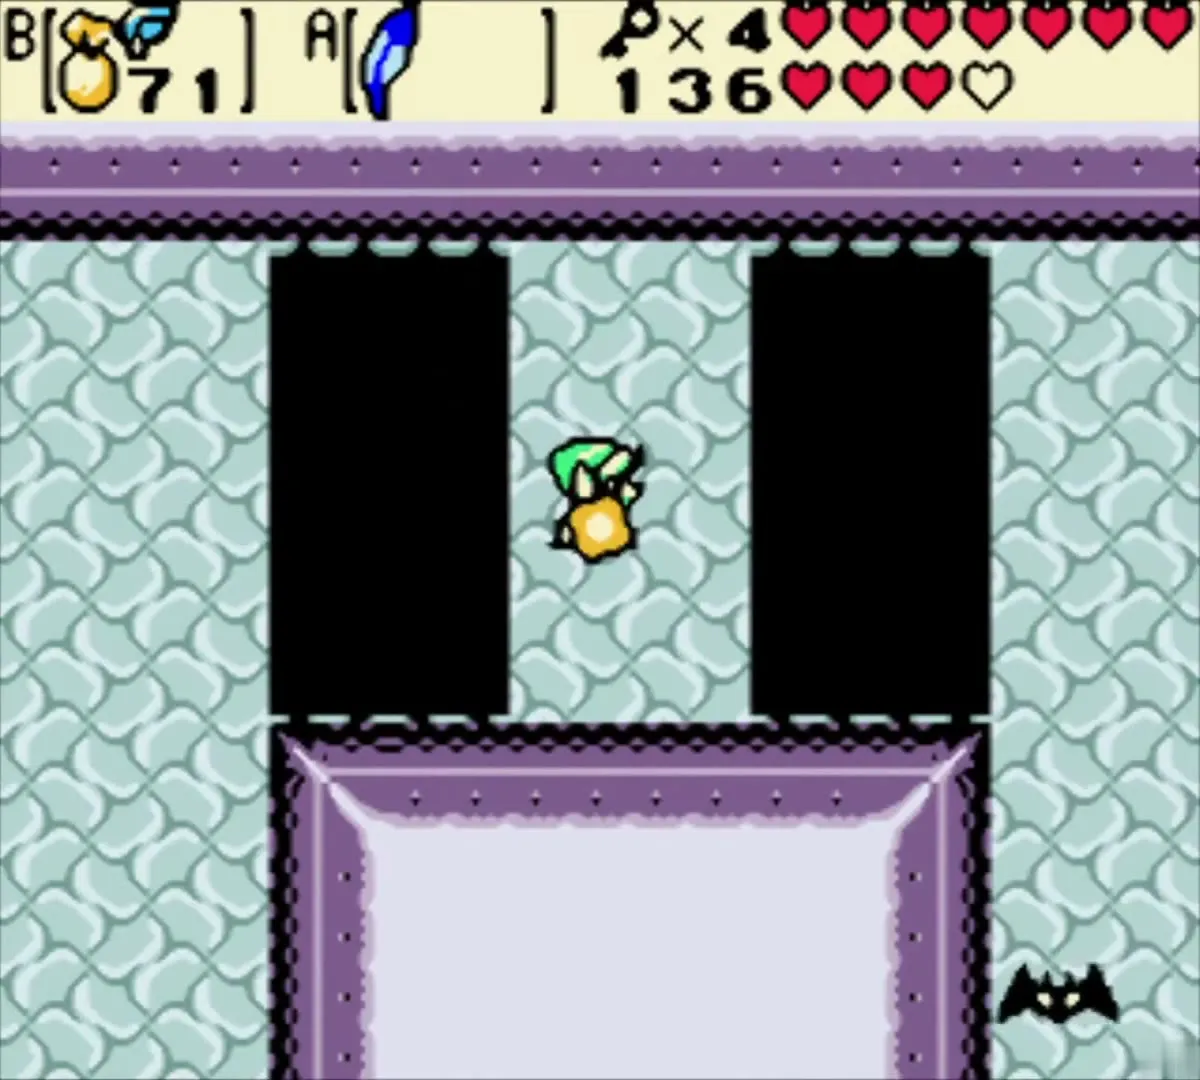
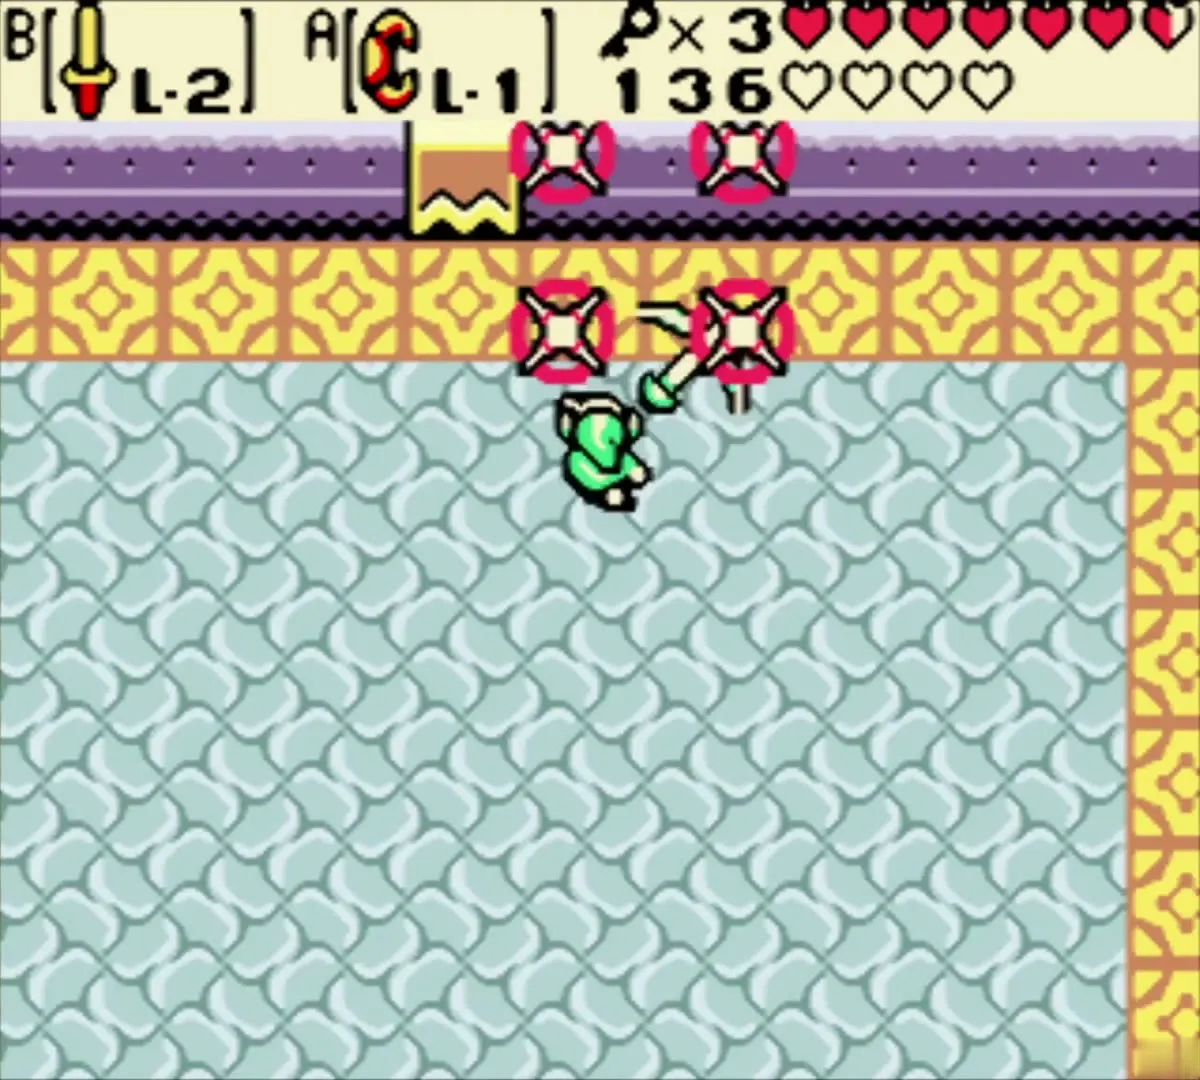
Smasher waits in the north-east part of the ground floor. Two wide pits lie on the way, and you cross them by jumping with Roc’s Feather and using a Pegasus Seed in mid-air for extra distance. Unlock the door to his room with a Small Key and equip the Power Bracelet before you go in.

Defeat Smasher
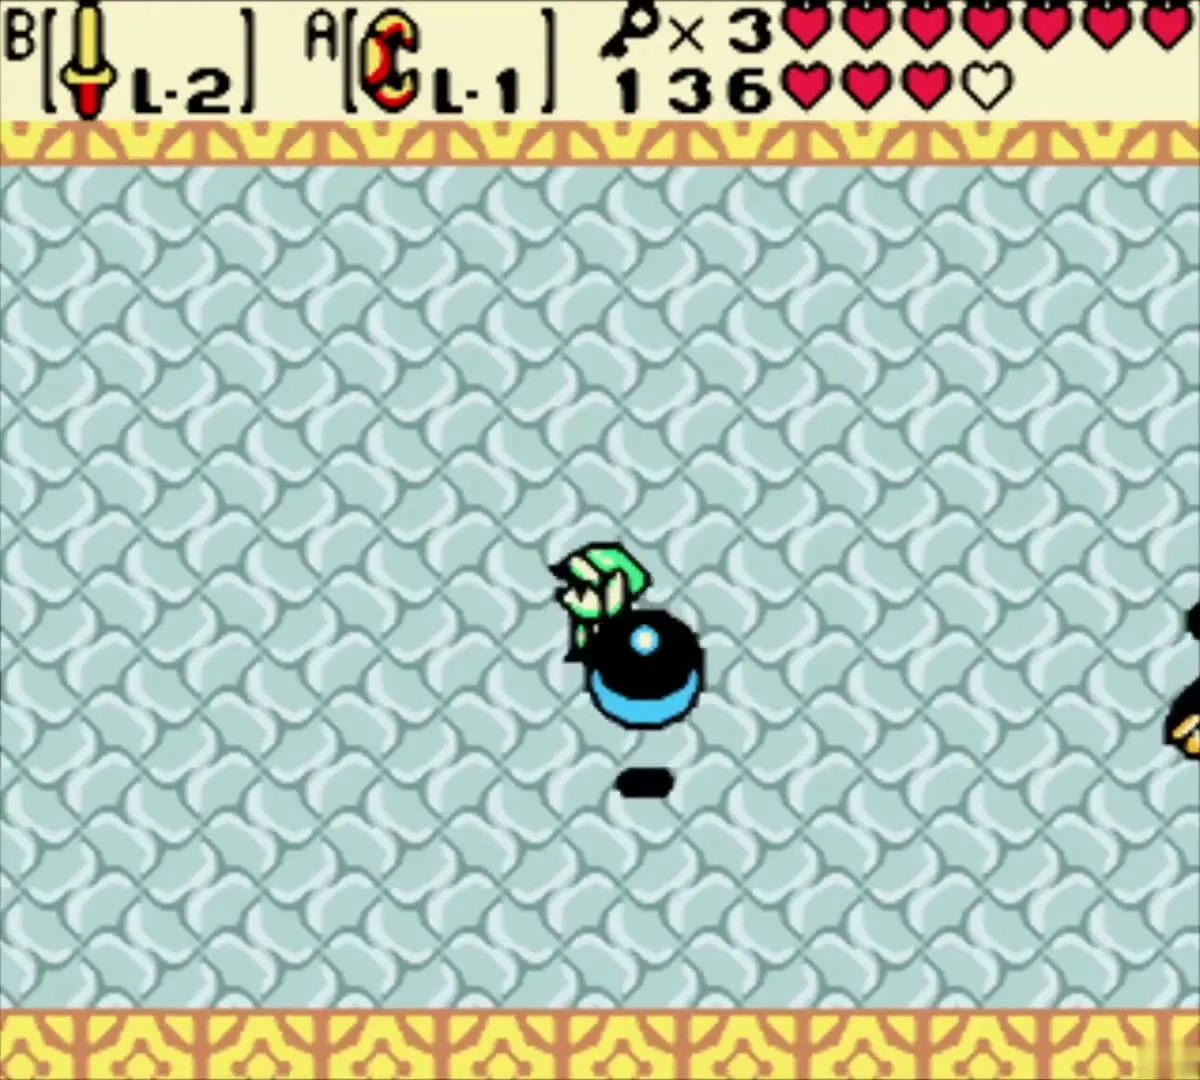
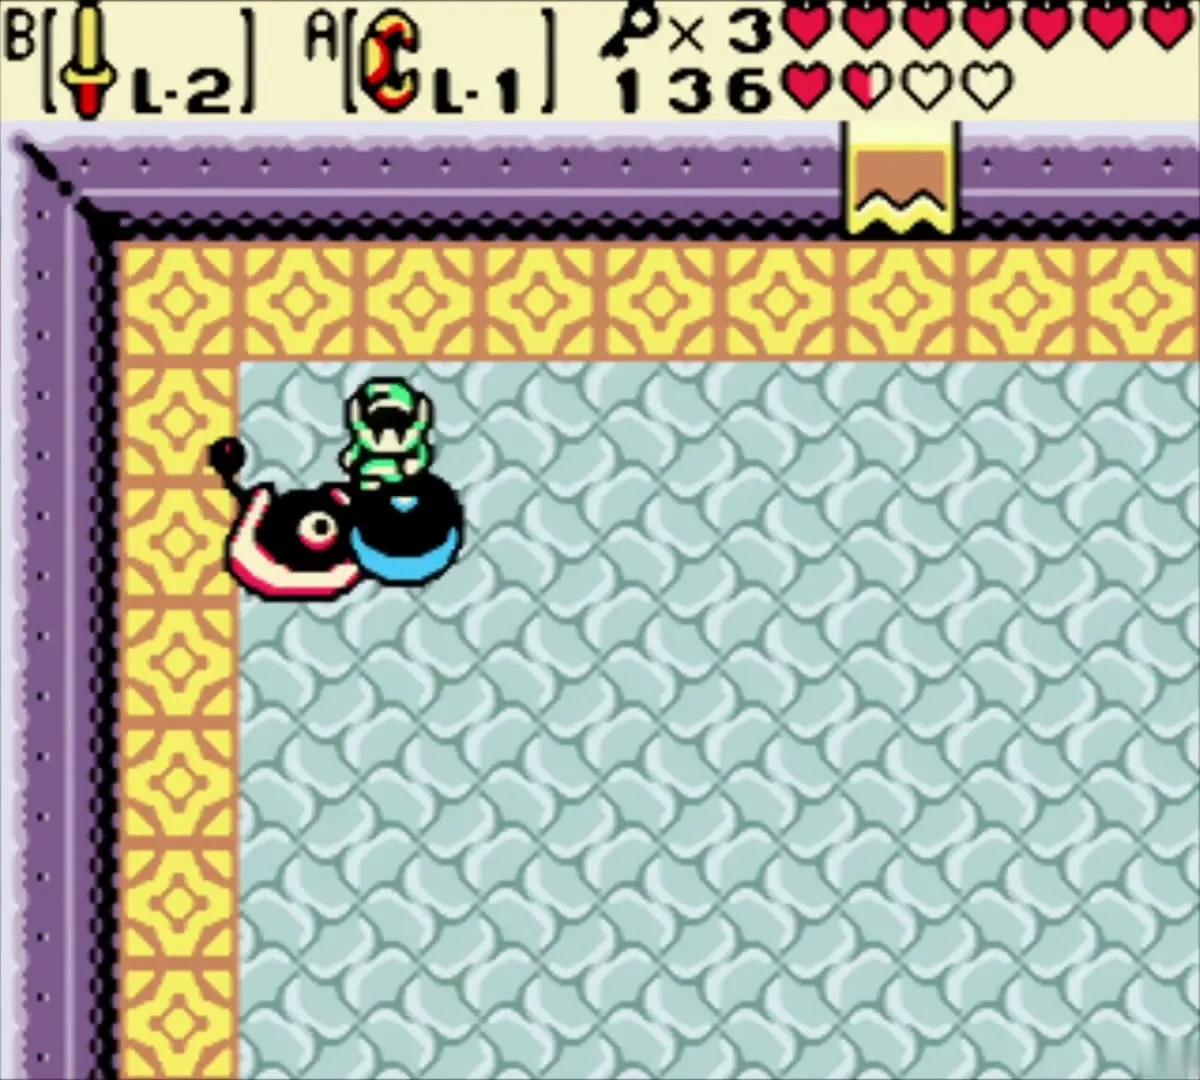
Smasher throws a heavy ball at you. Pick the ball up with the Power Bracelet and throw it back at him; if you wait too long the ball vanishes and reappears elsewhere in the room, so keep an eye out for it. After enough hits he falls and the north door opens.

Compass
The bridge and the Switch Hook
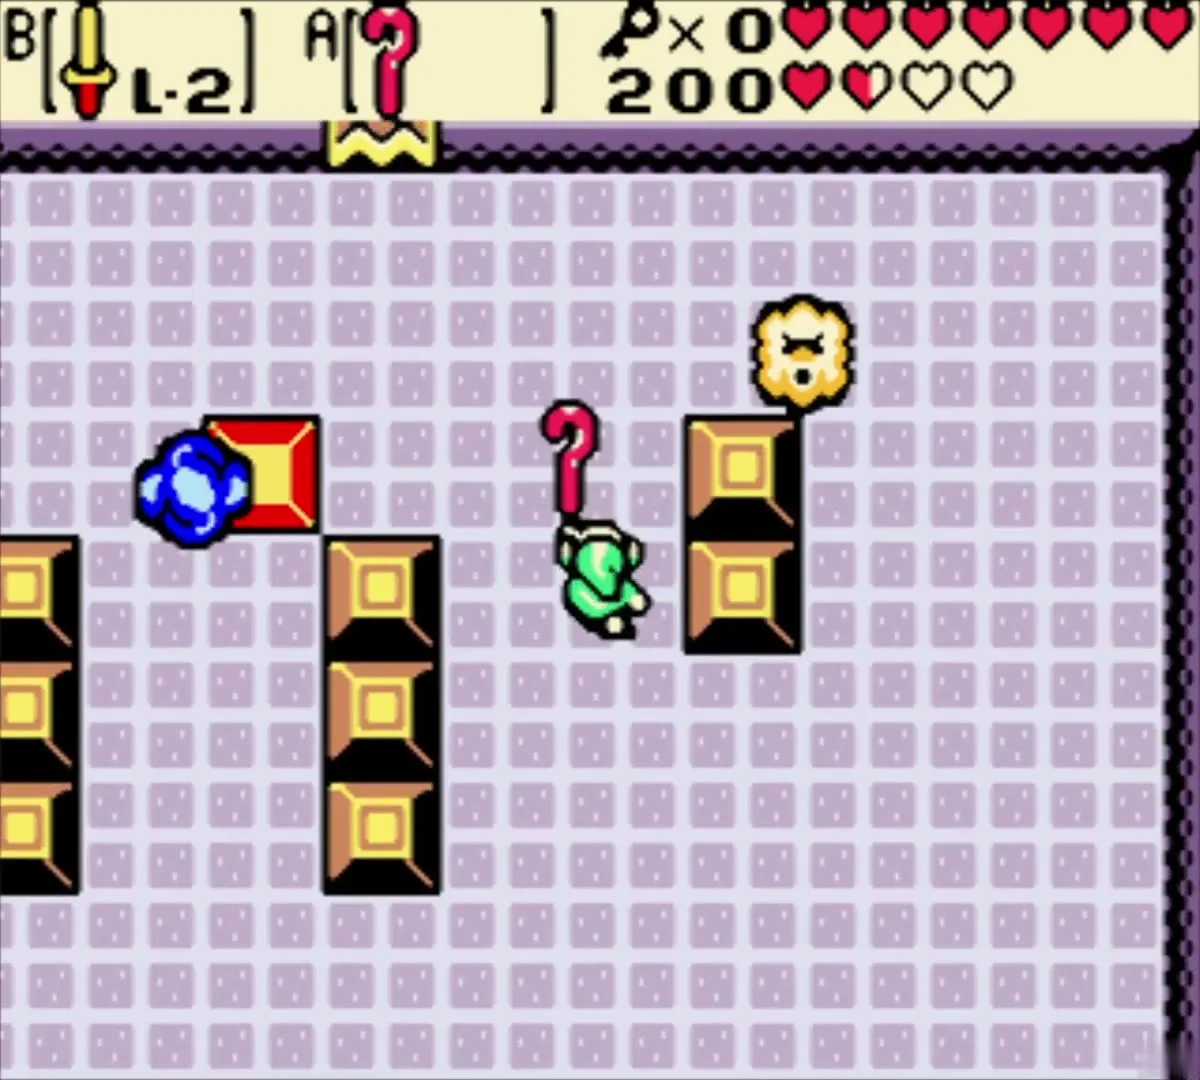
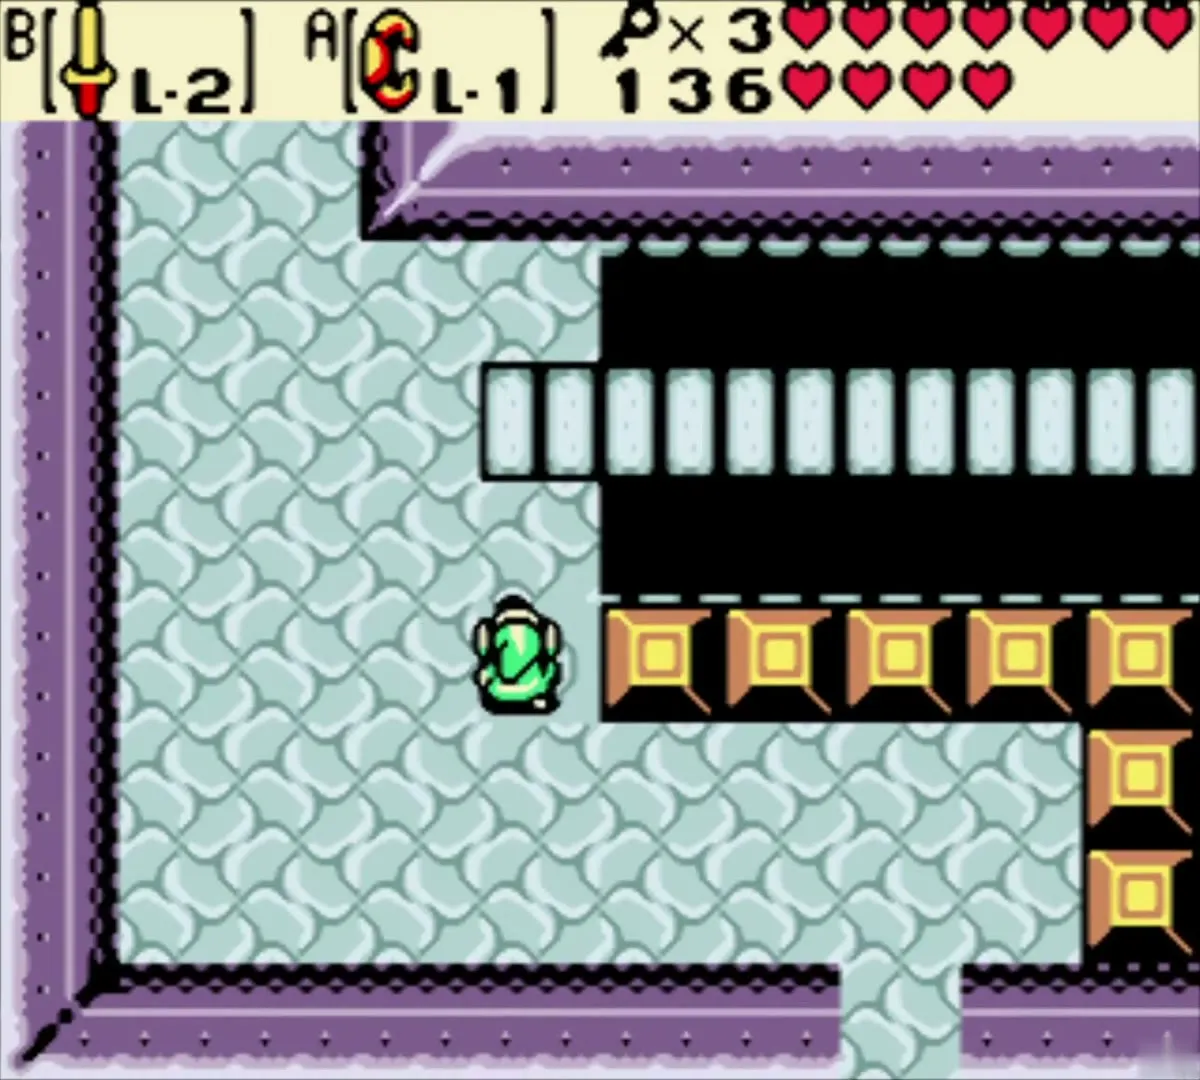
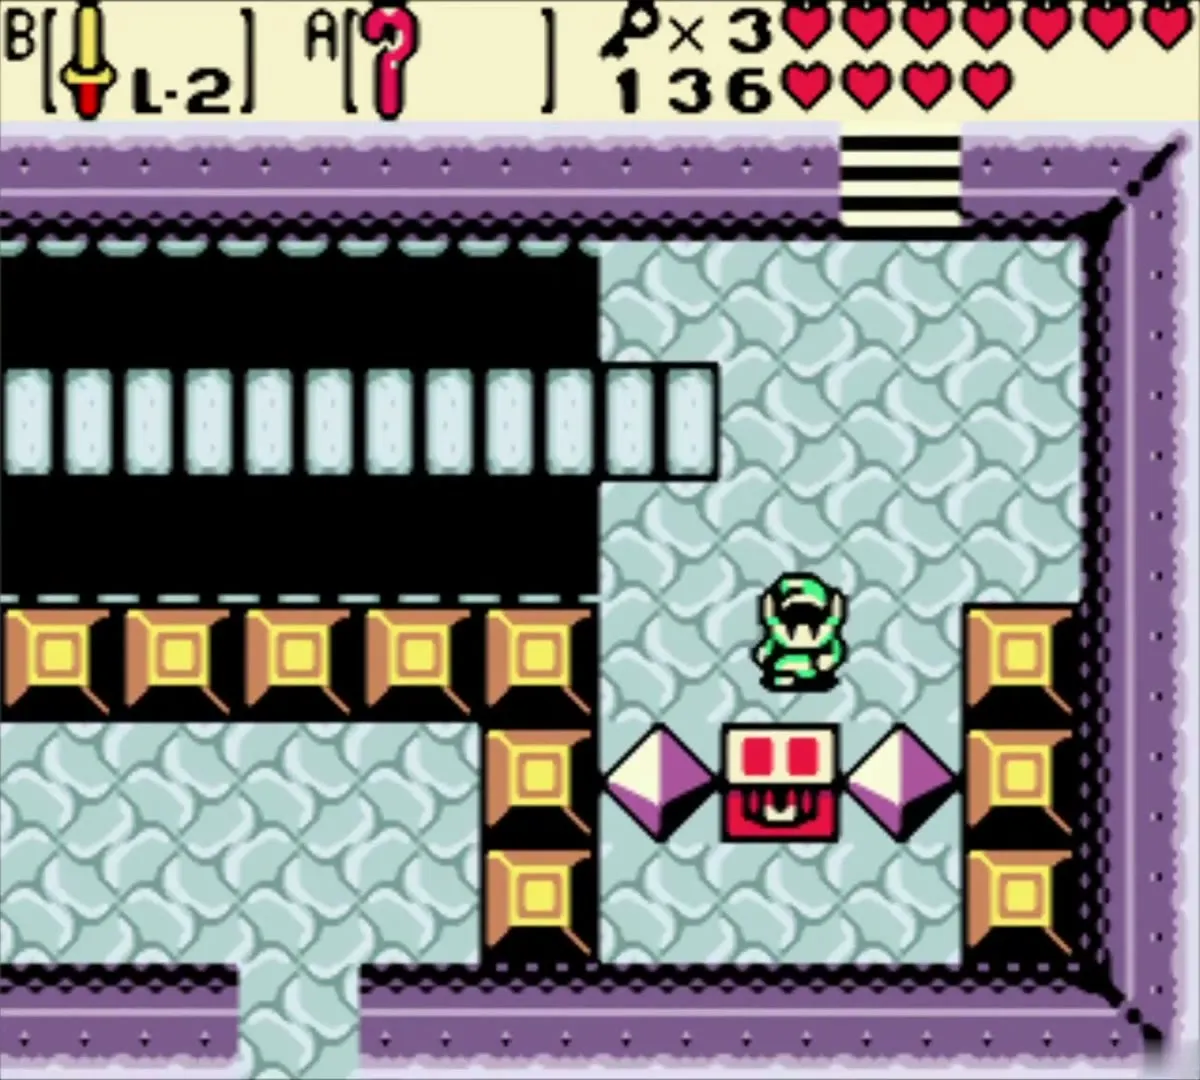
In the room north of Smasher, create a Cane block on the switch so that the bridge extends and you can cross it. Equip the Switch Hook and fire it at a stone diamond to swap places with it, which carries you to the chest. Open it for the Compass, which tracks your position and locates chests. Take the stairs at the north end of the room.


How to get the Boss Key
Platforms, key blocks and the north cross
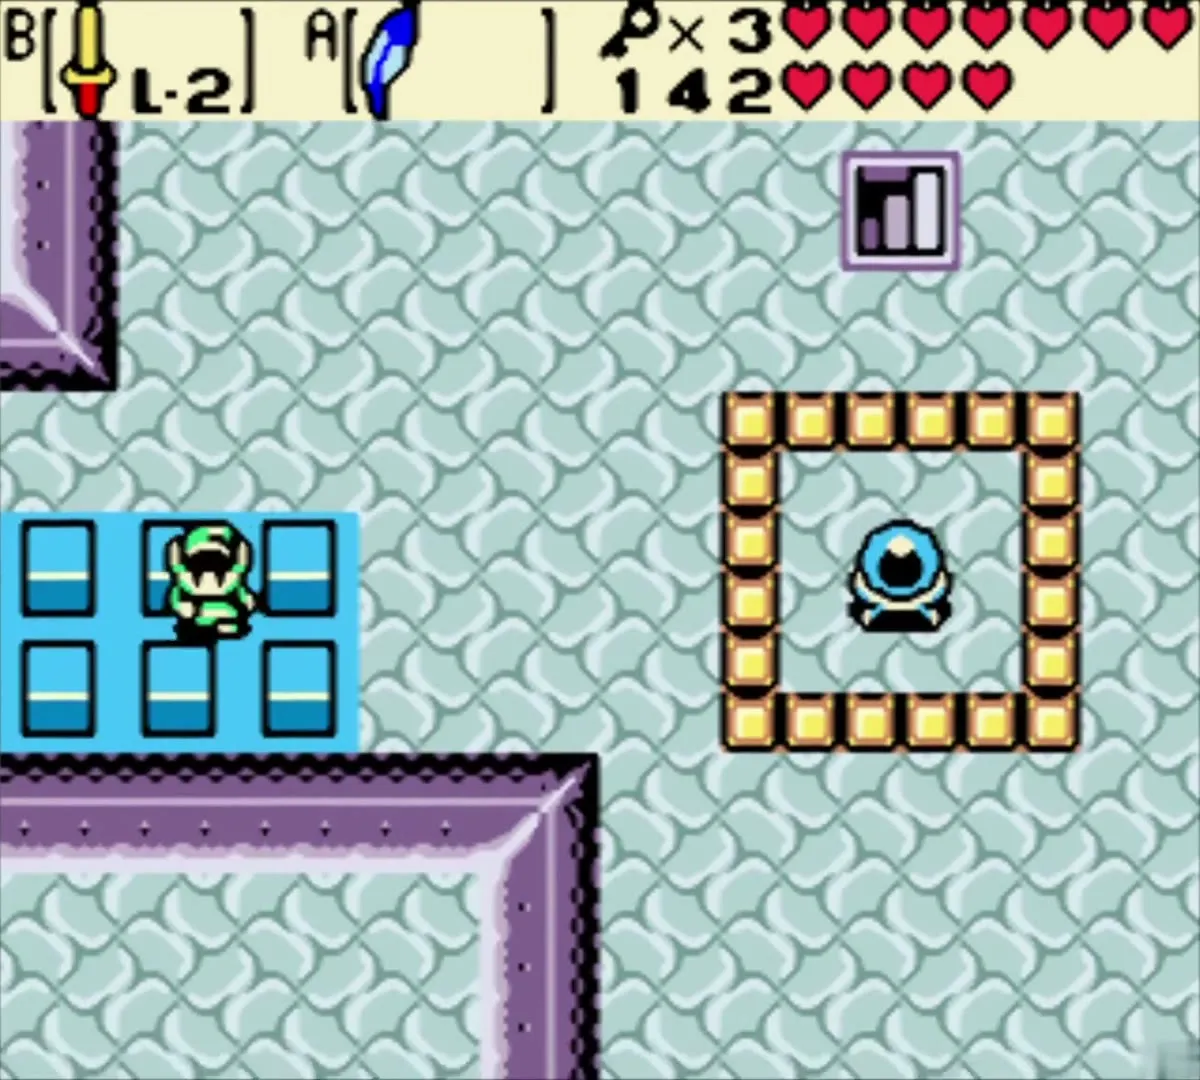
The path leads over moving platforms in a side-view room and back to the unexplored cross-shaped section on the ground floor. Make sure the blue blocks are lowered before you step onto them, then shoot the crystal switch with the Seed Shooter. Go west and south and use Small Keys on the key blocks, then raise the red barrier. From the south balcony jump onto the raised red blocks, cross to the next room, jump off to the north and descend the stairs.


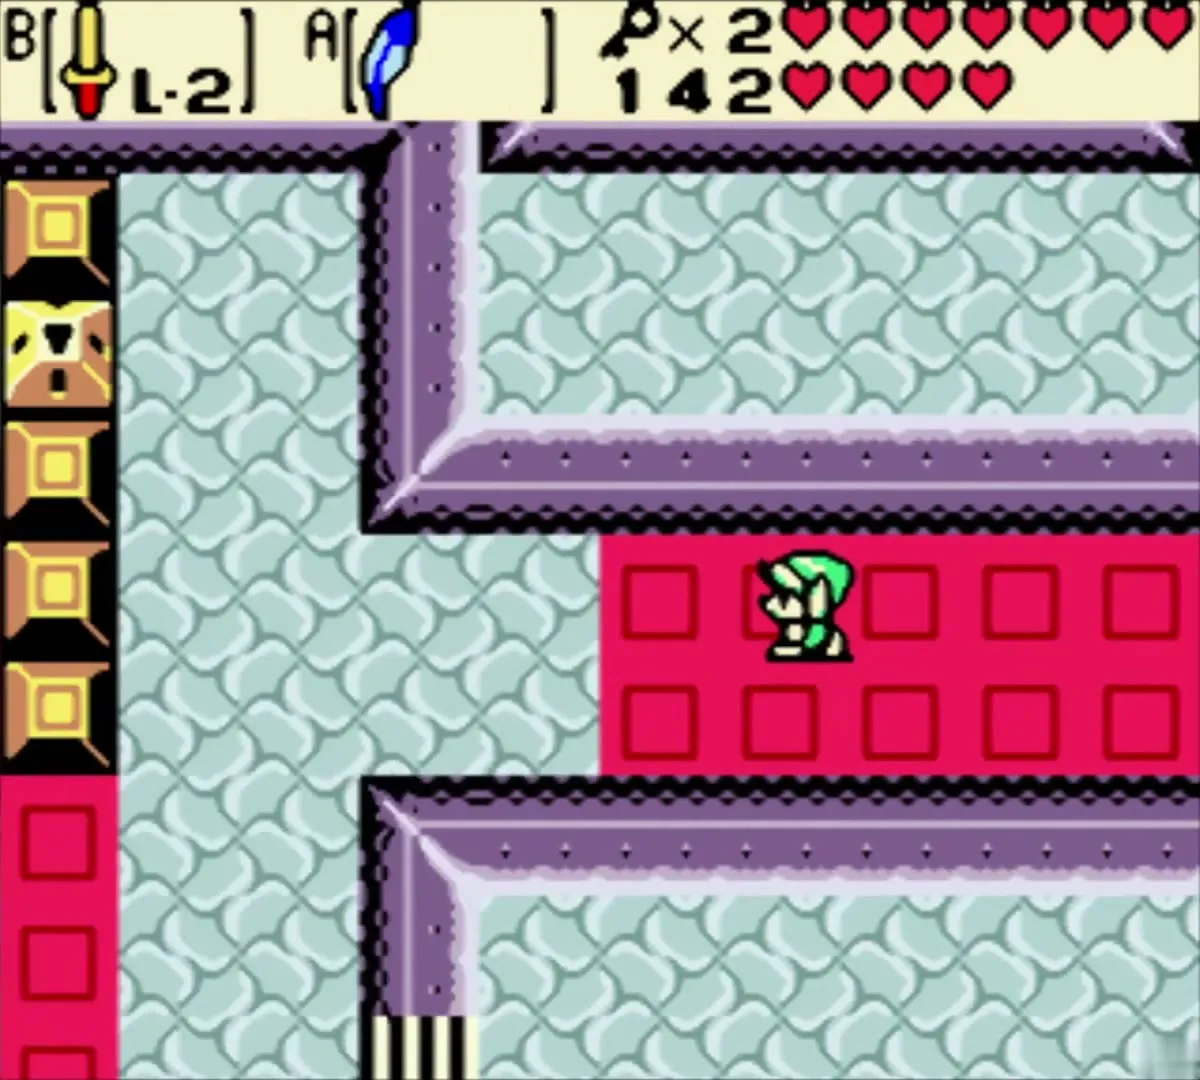
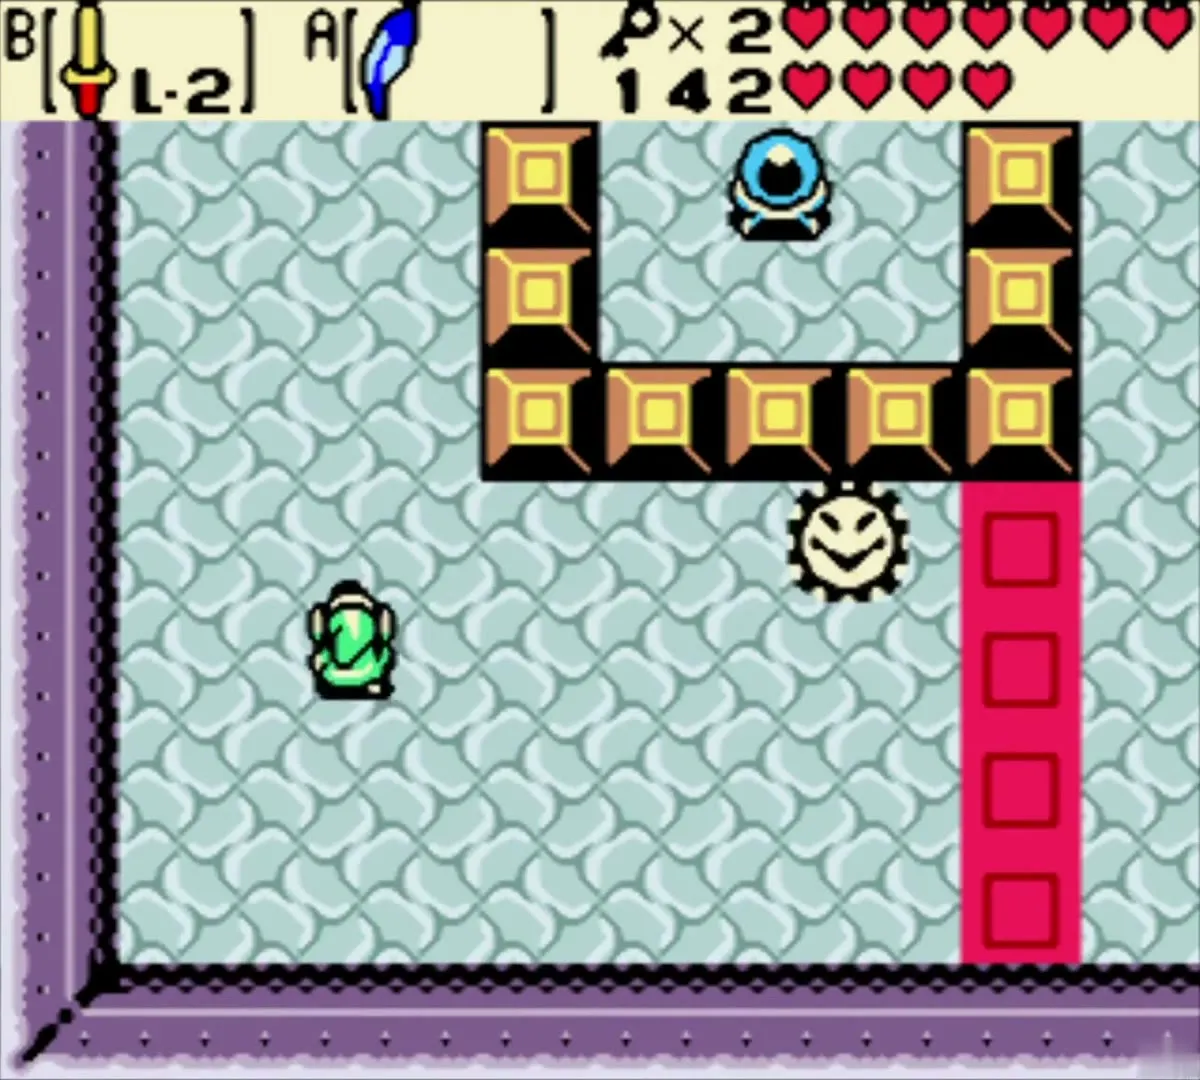
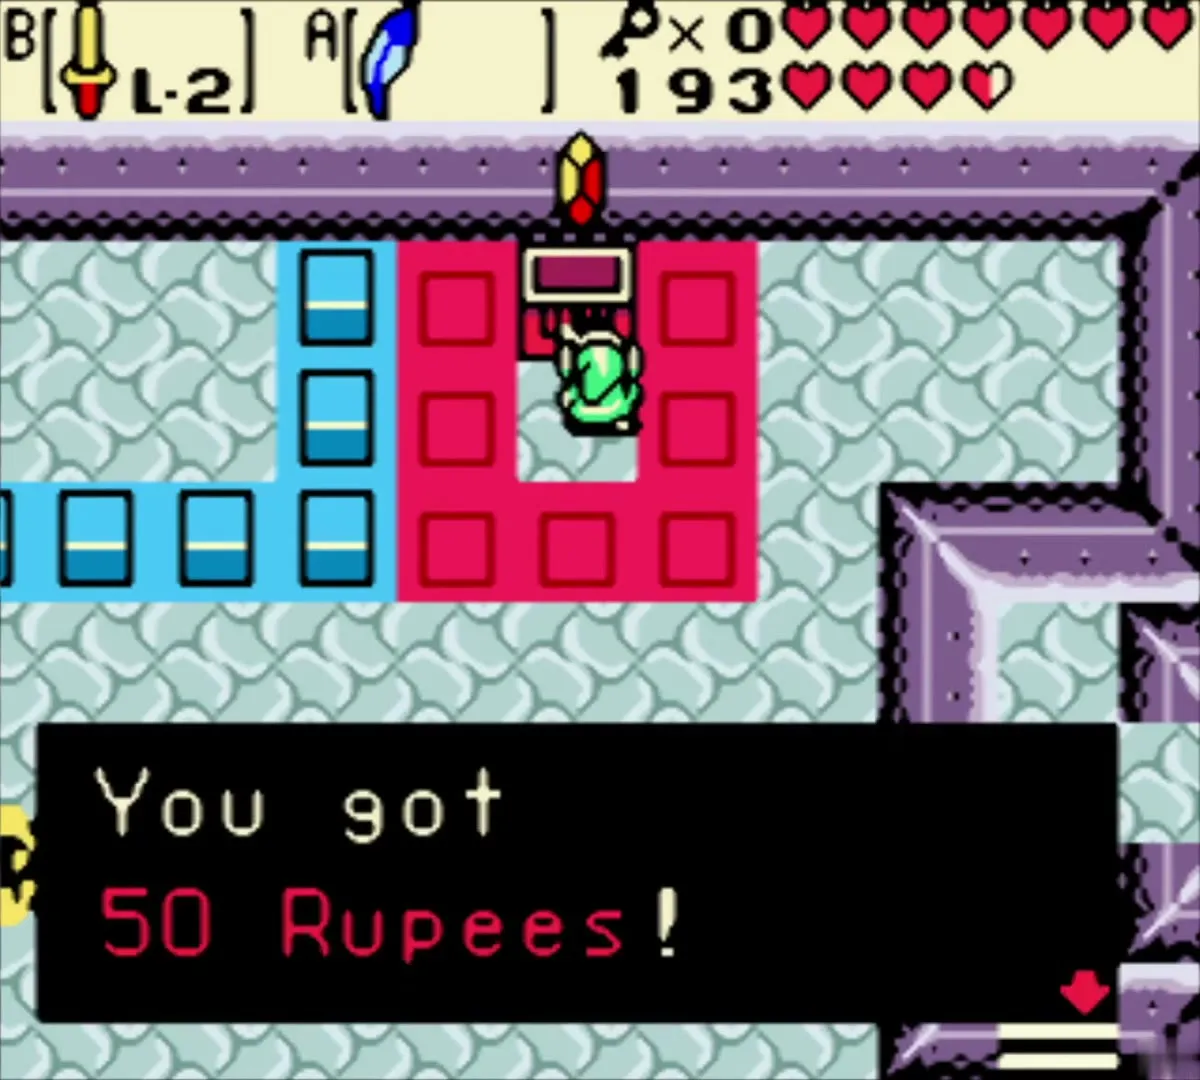
50 Rupees
Shoot the crystal switch to open the door on the left, and take the chest in this room: it holds 50 Rupees. The chest is optional, but it fills a good part of your wallet. Then go down the second staircase.
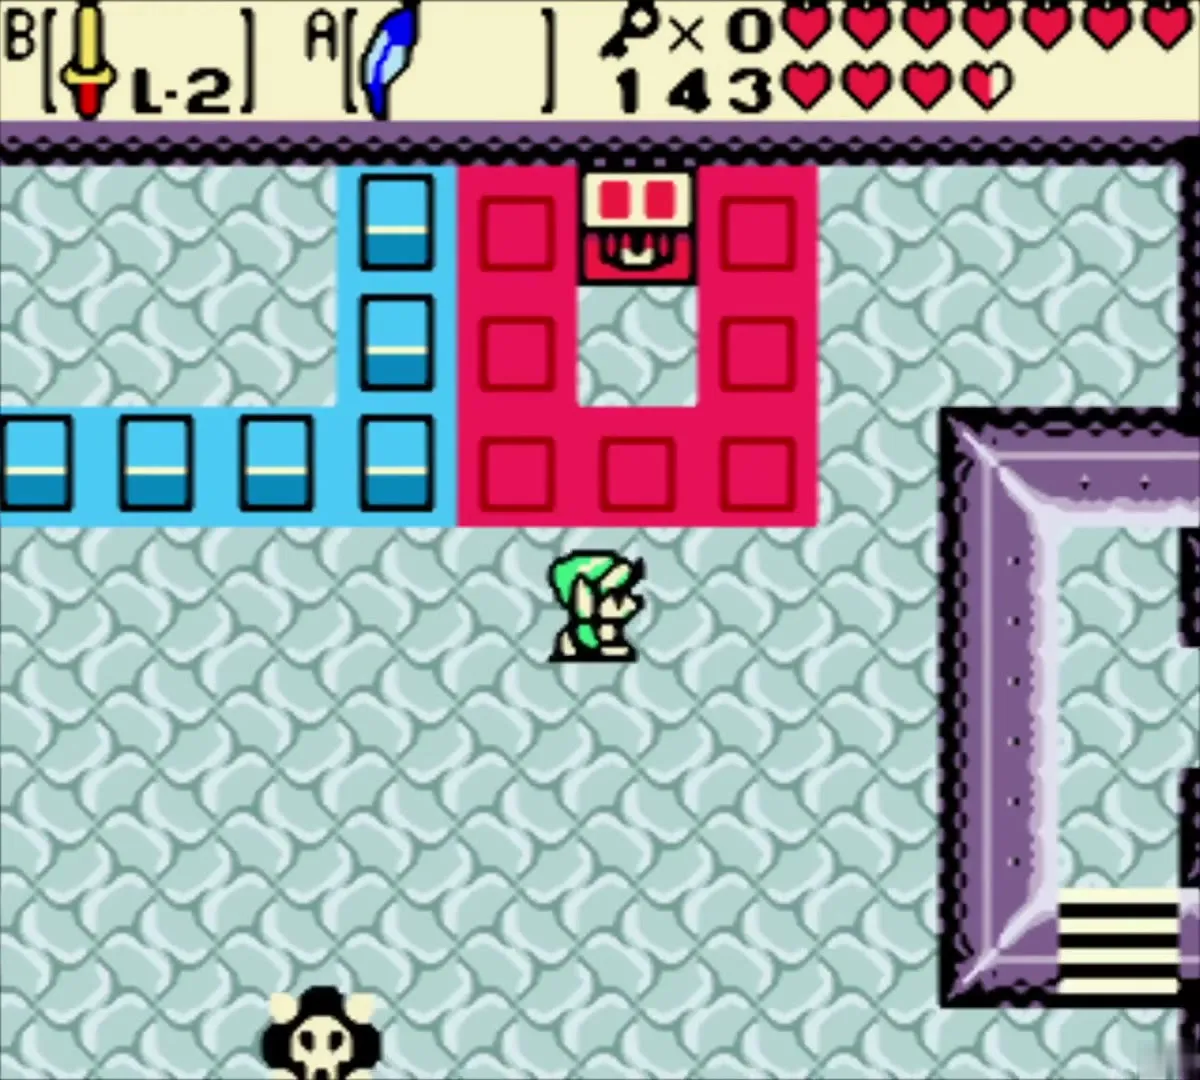
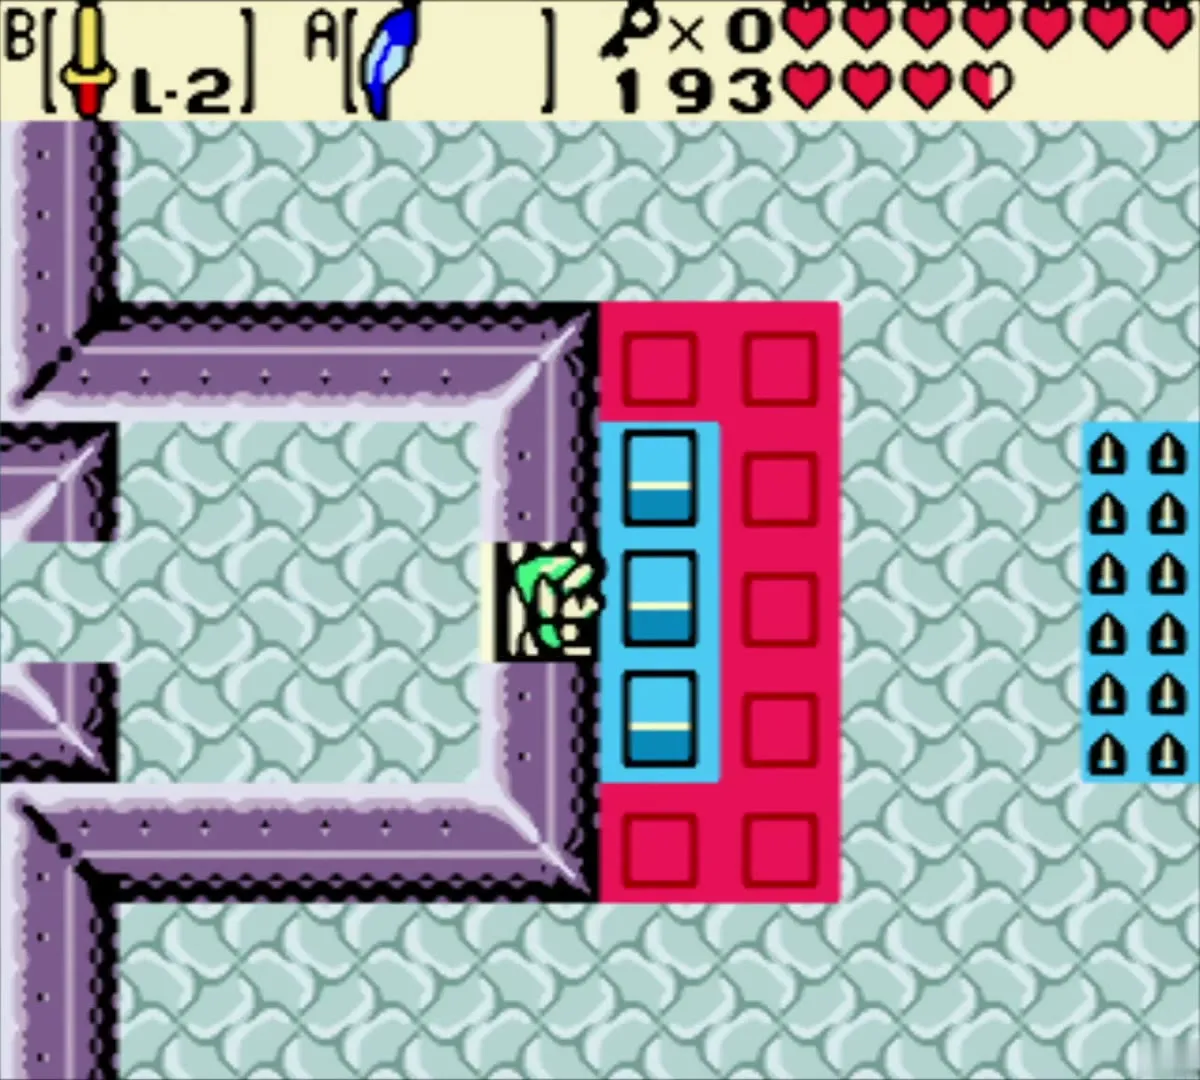
Ladder and the owl statue room
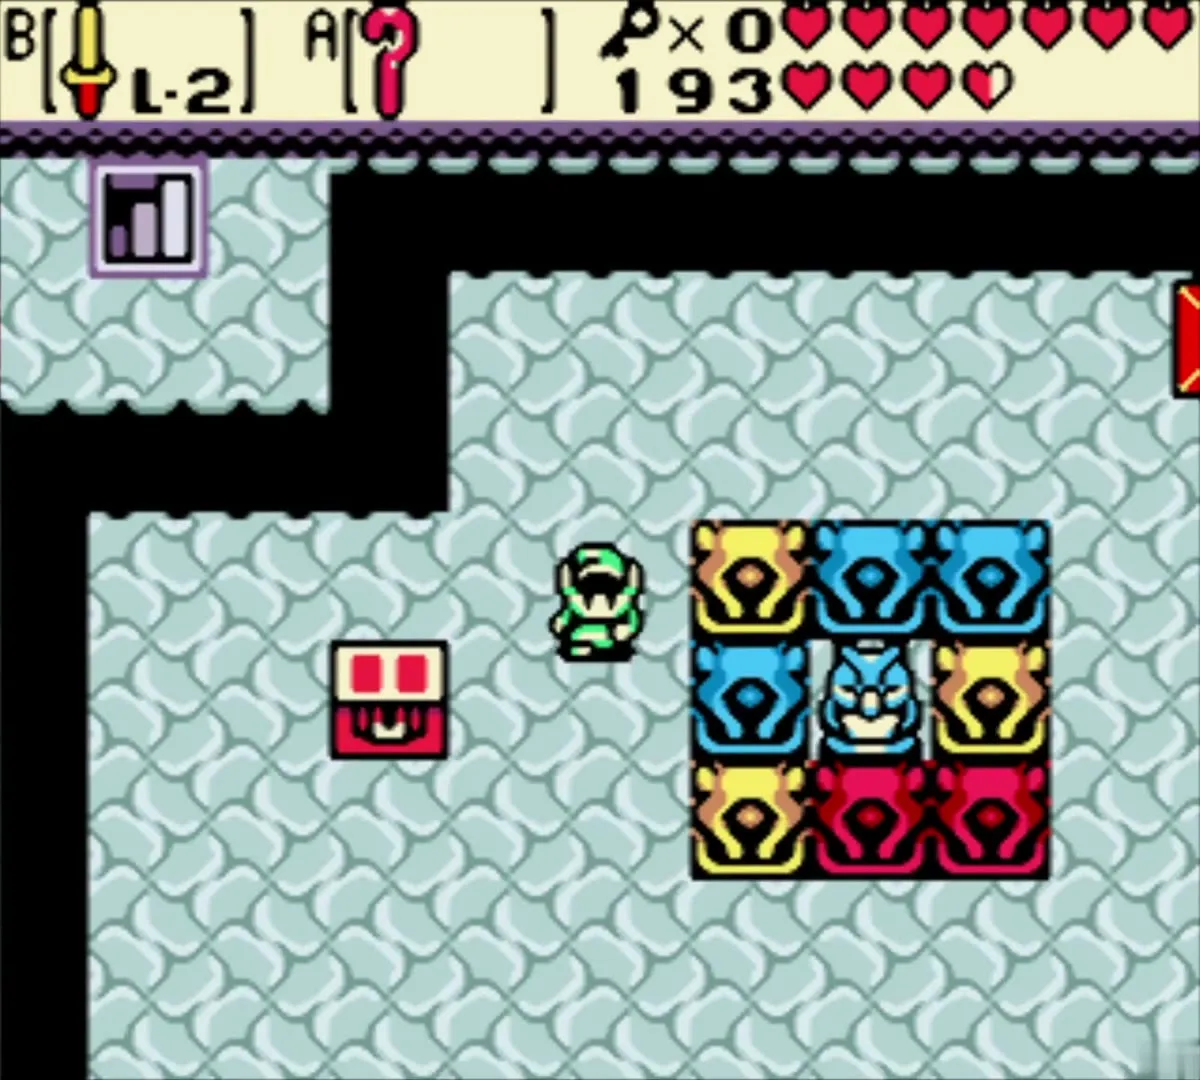
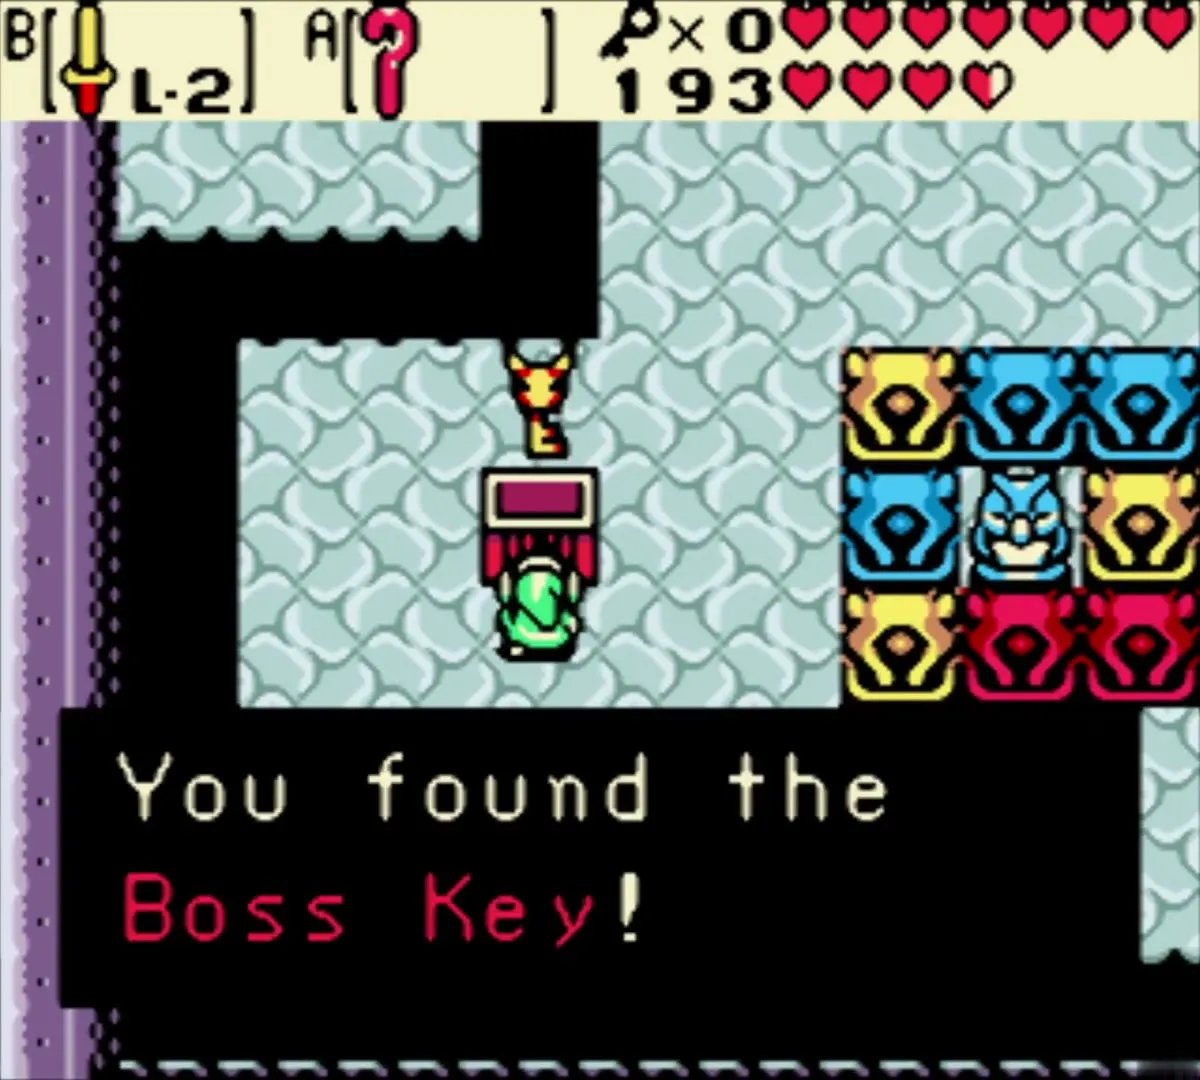
Make a Cane block to climb over the platform, dodge the bubble and climb the ladder. In the last room, eight statues in three colors stand around a blue owl. Statues of the same color move together, so one push moves several of them. Your goal is to put all eight on the tiles that surround the owl. A Cane block holds one statue in place while the rest are pushed. One way is to move the yellow statues first, line the others up in one column, and then settle the blue statues and the red ones last.

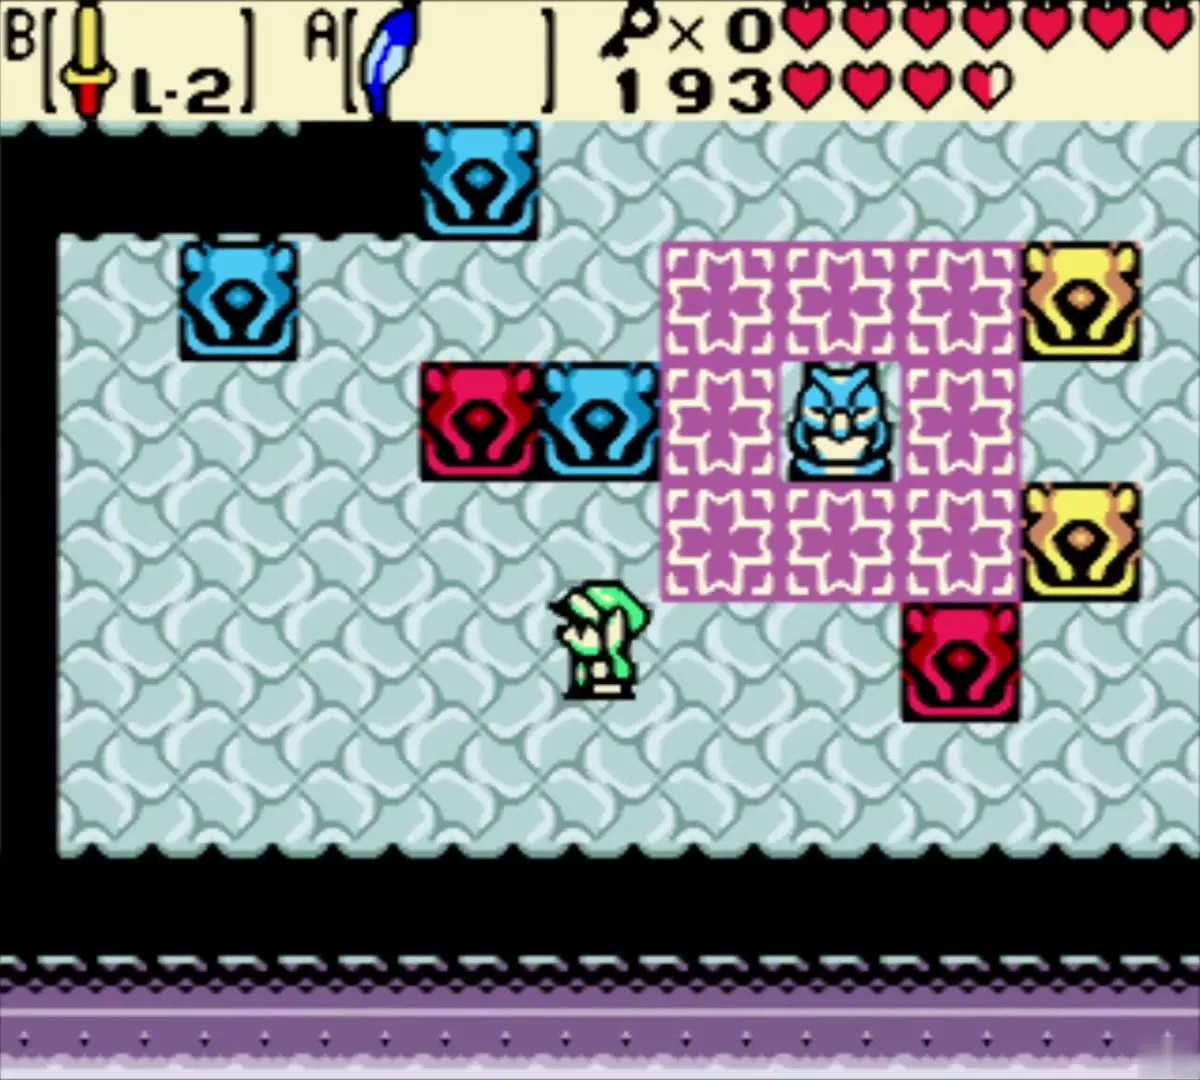
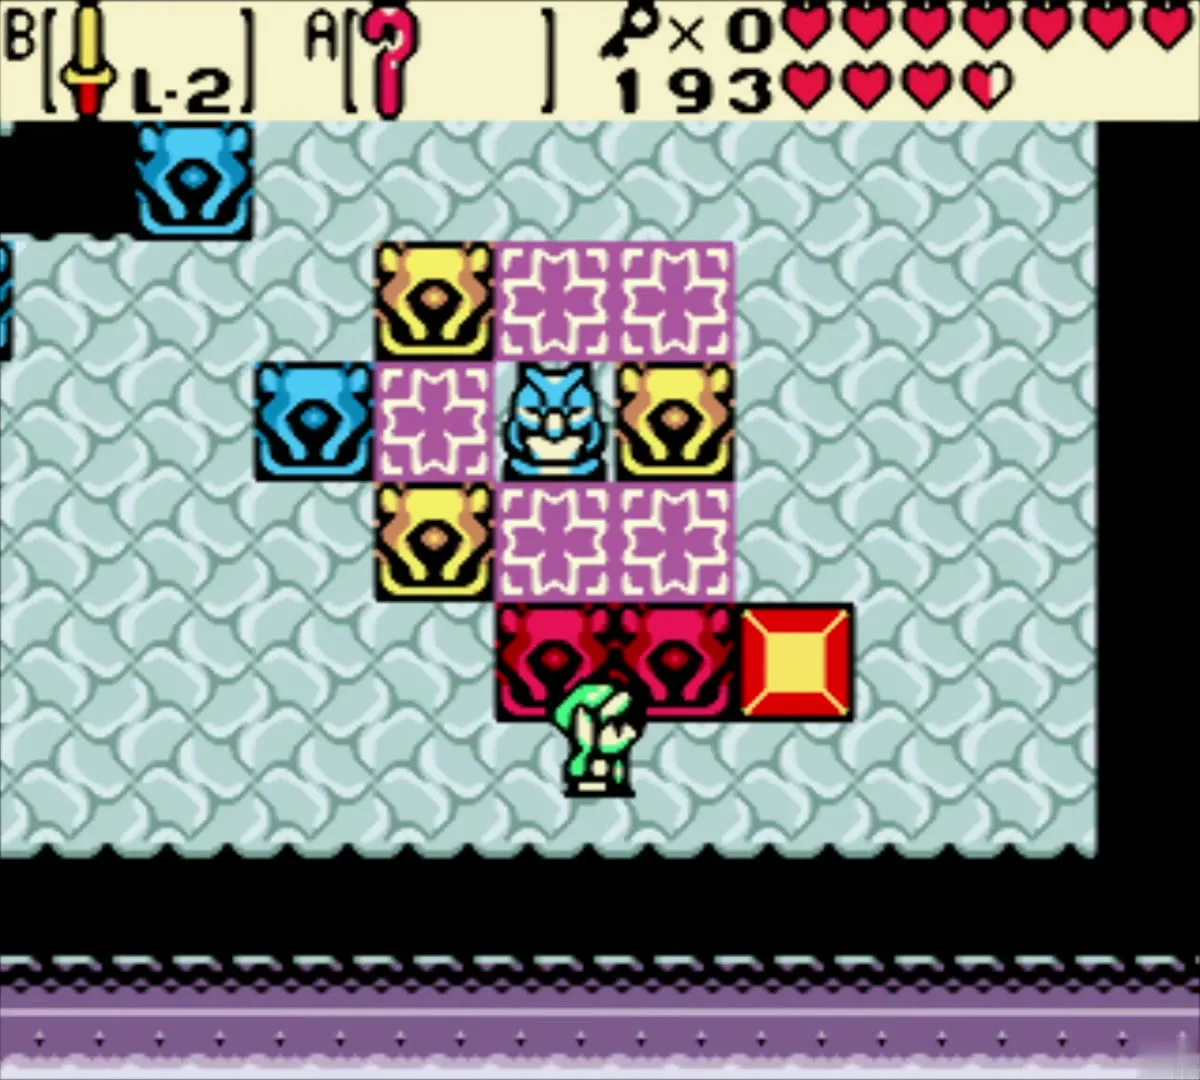


Take the Boss Key
When the last statue is in place, a chest appears. Open it for the Boss Key.
Boss: Smog (Level 5)
Return to the boss door
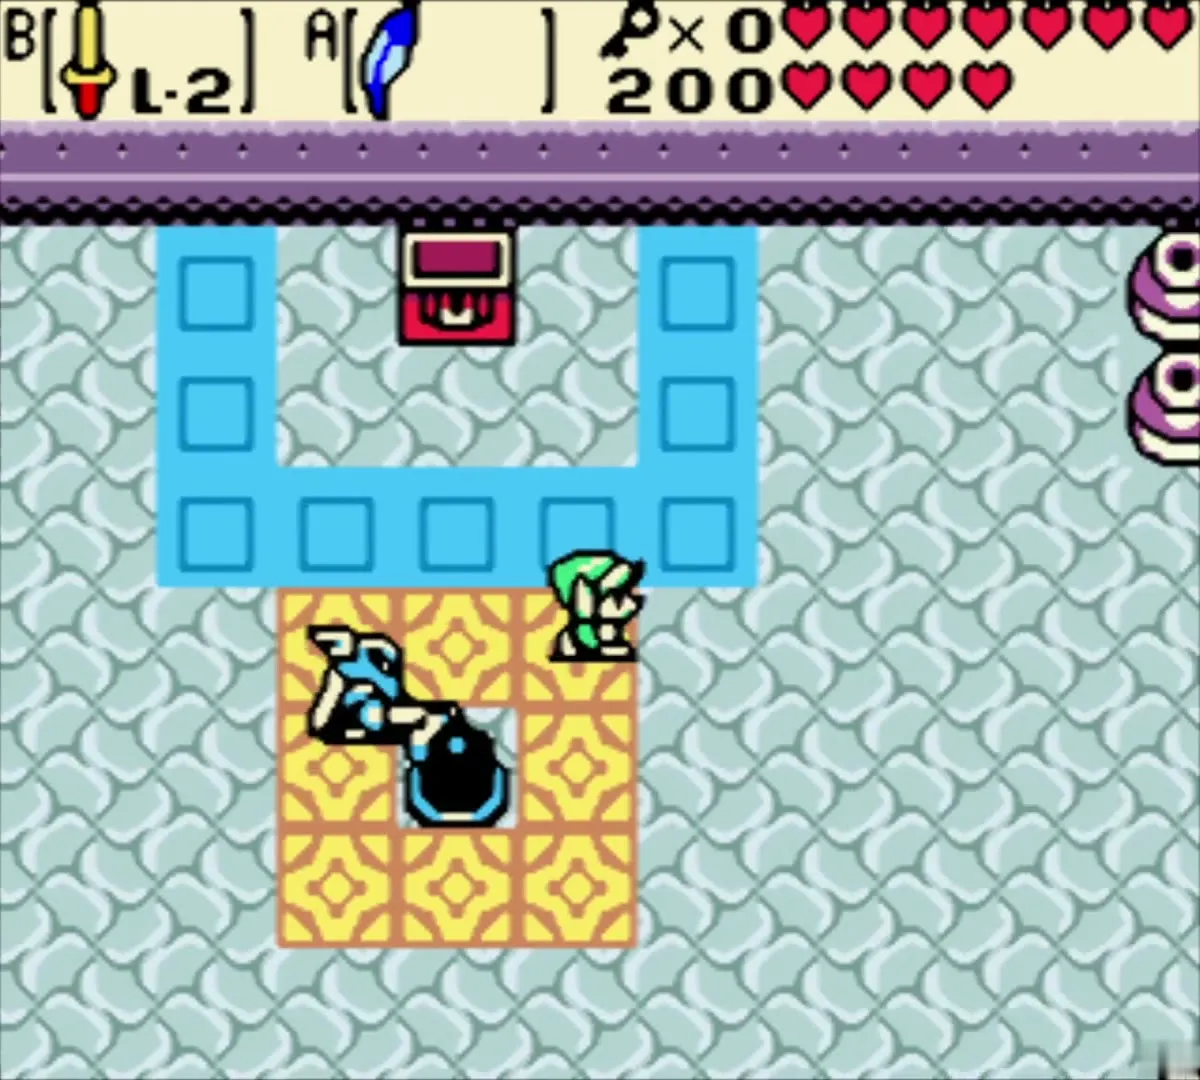
Walk back to the room with the Dungeon Map chest in the south-east corner of the ground floor, where the boss door stands, and use the Boss Key. Fill up your hearts before you enter, and equip the Cane of Somaria with the sword on your other button.
Defeat Smog
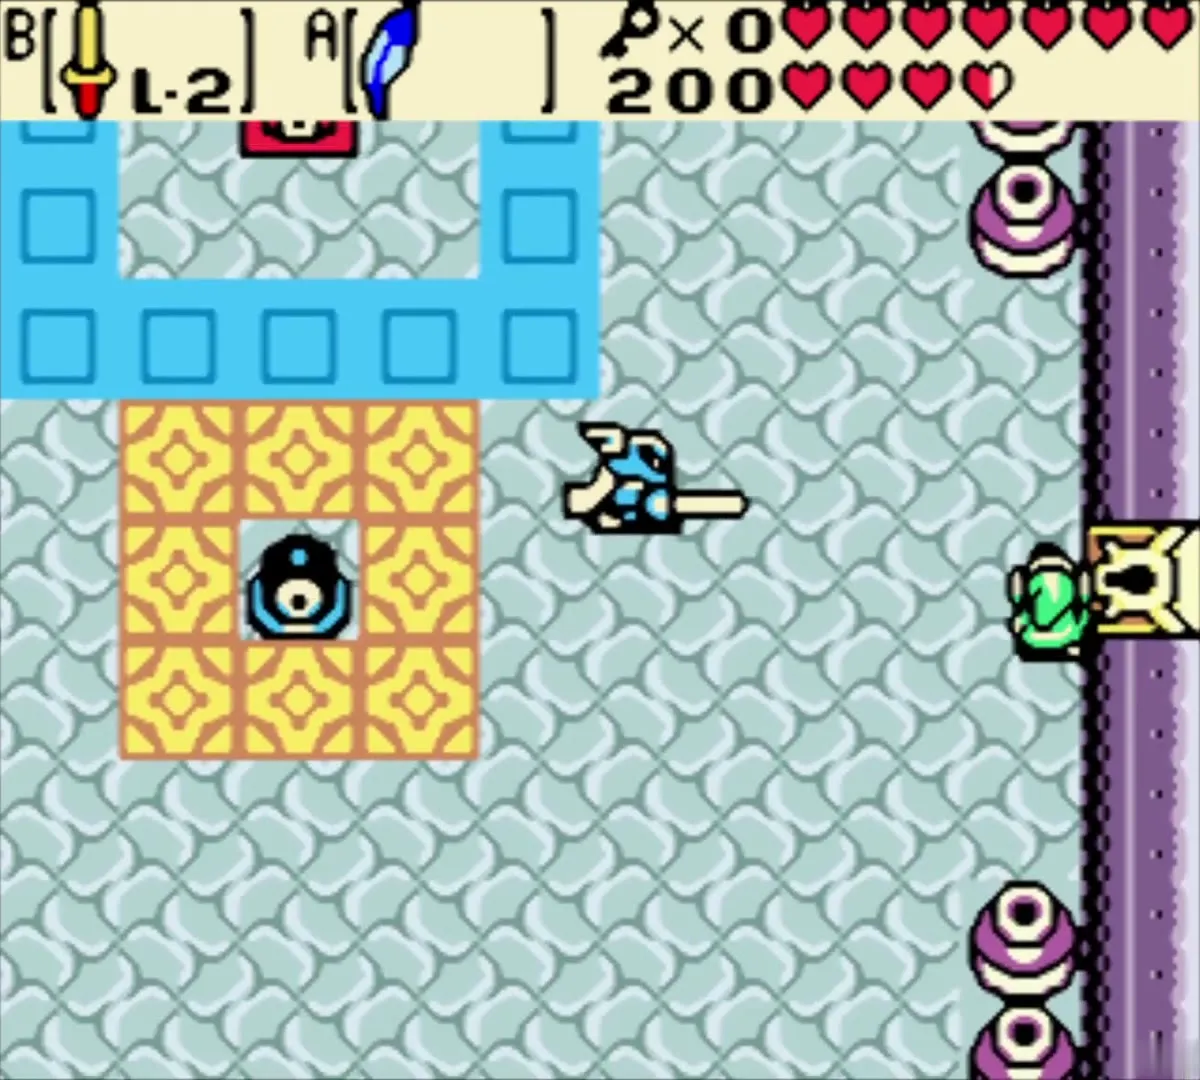
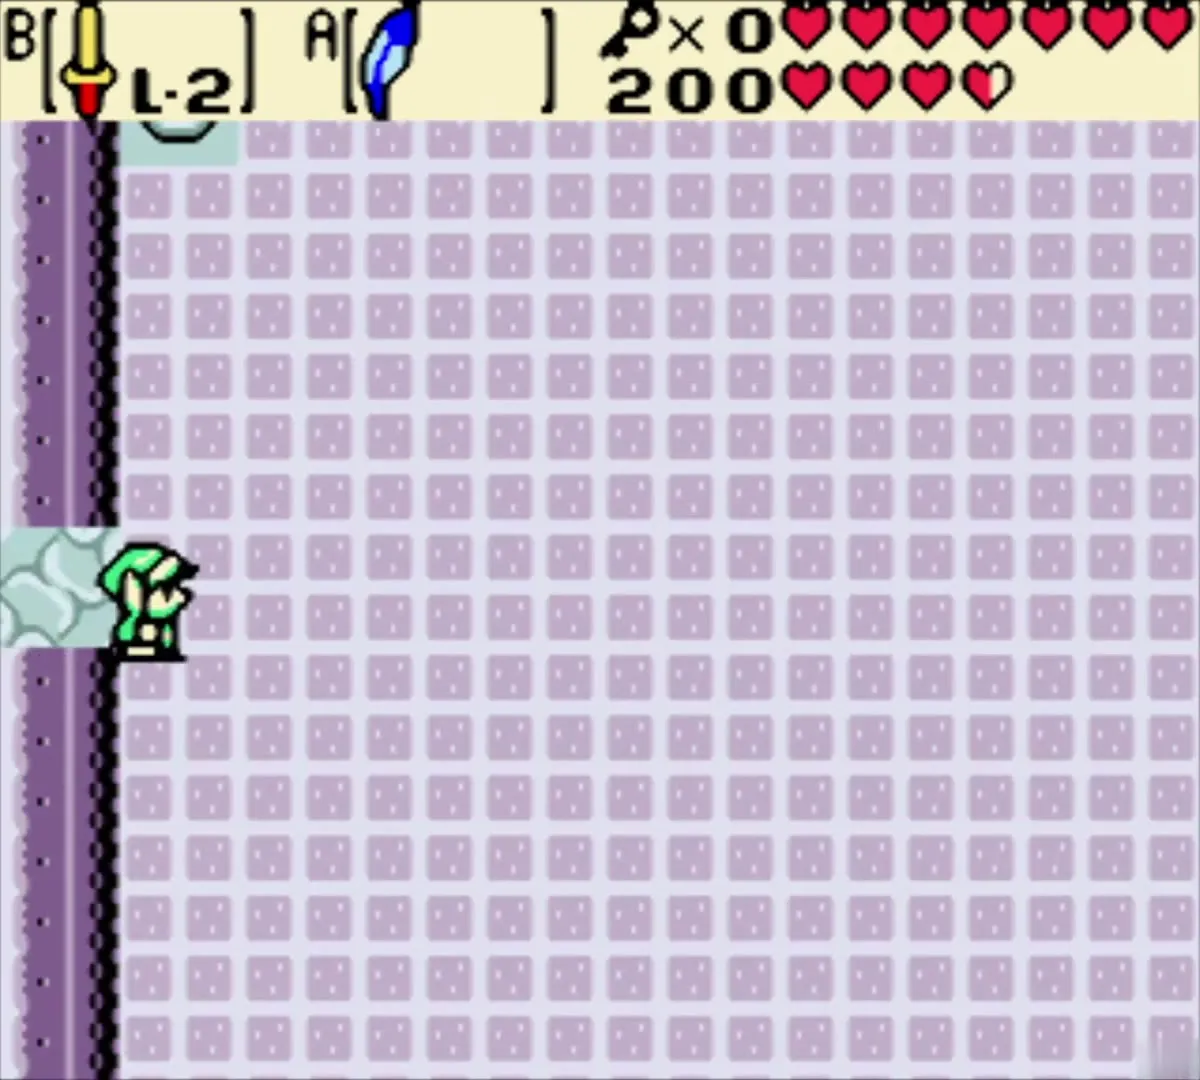
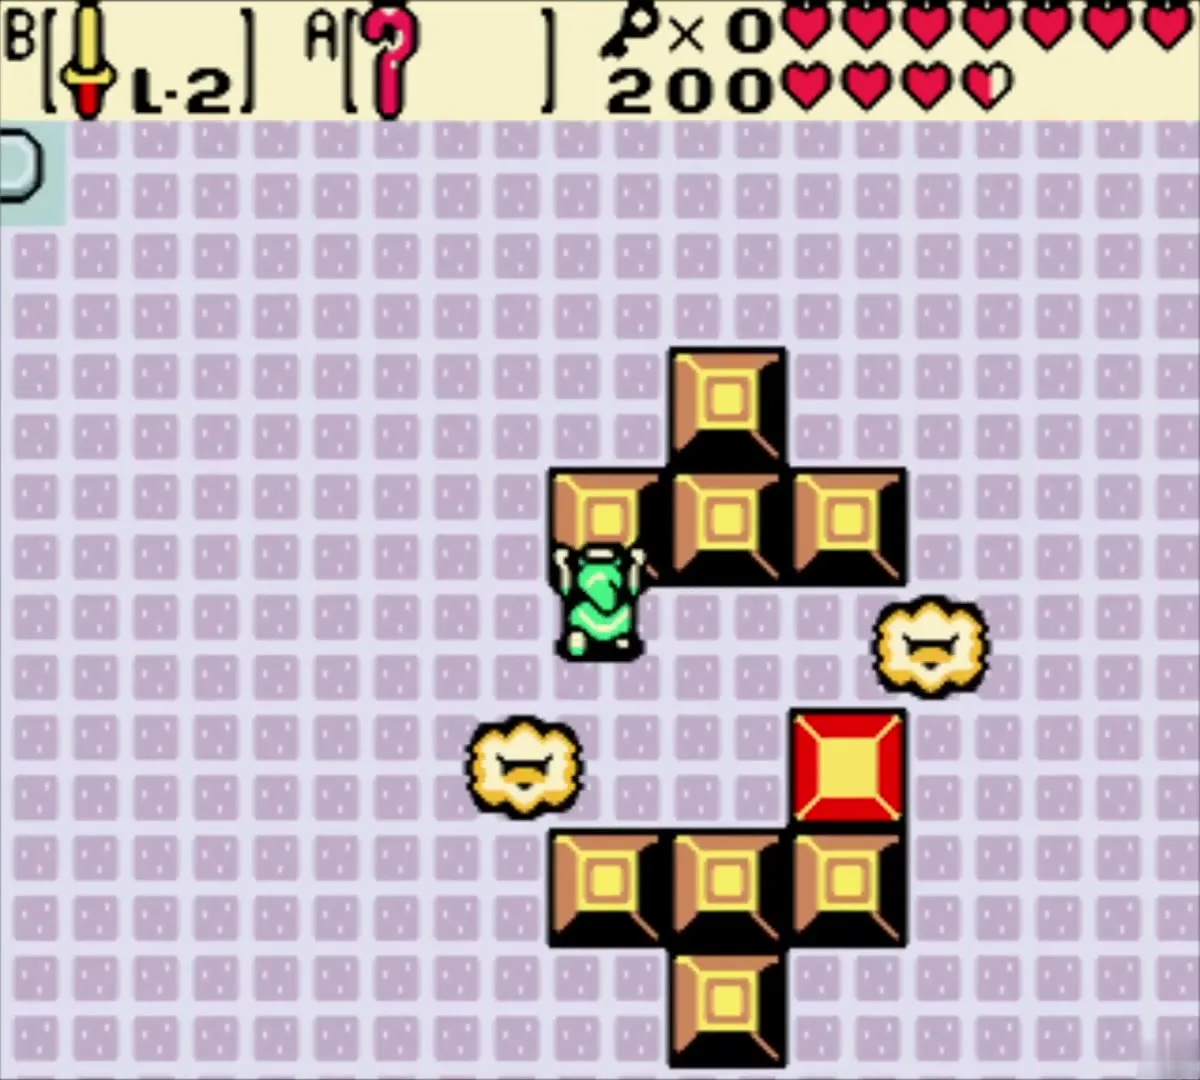
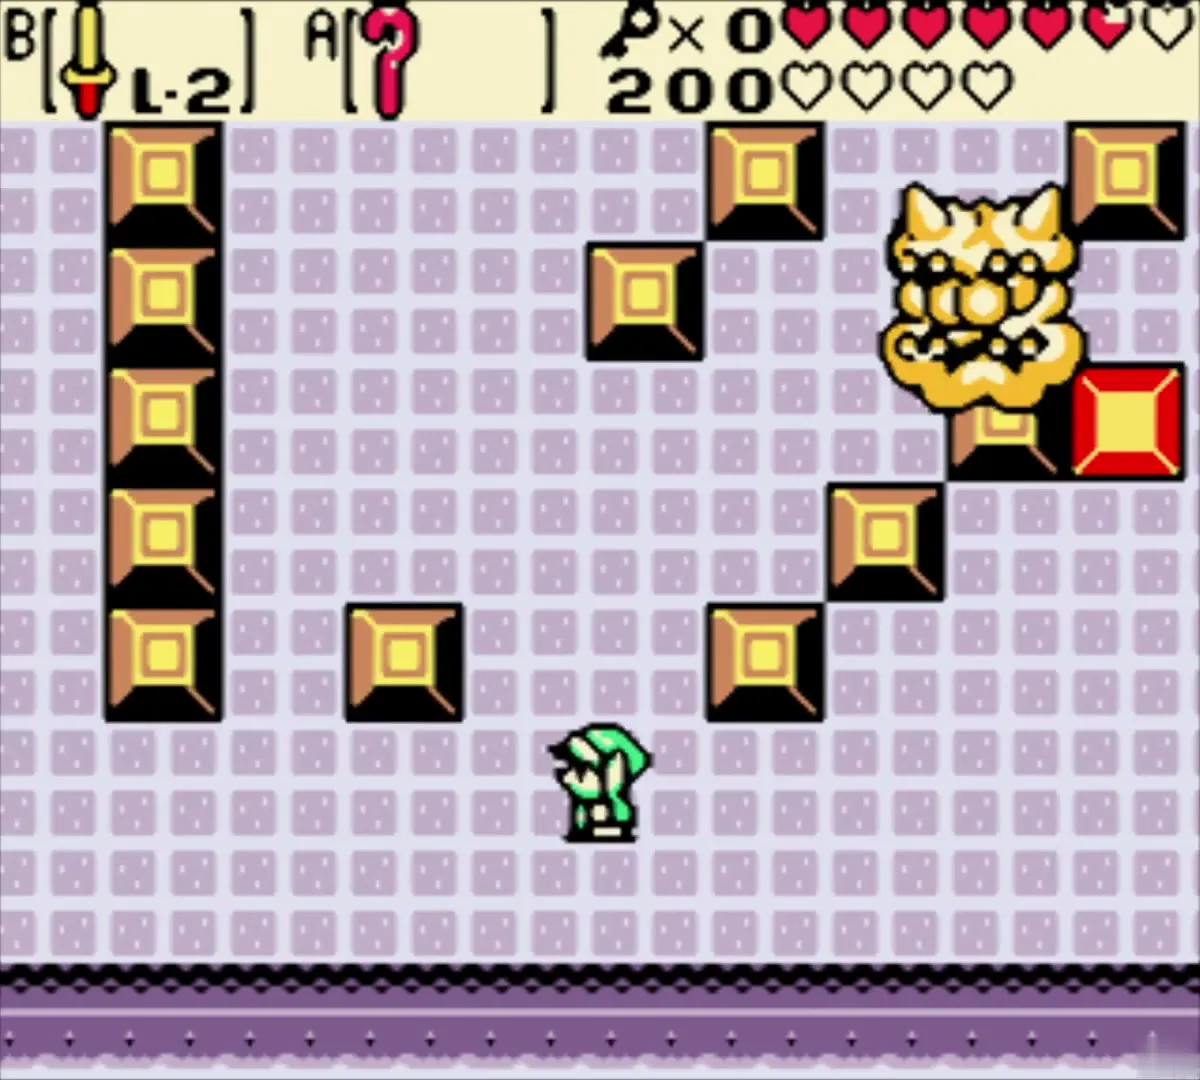
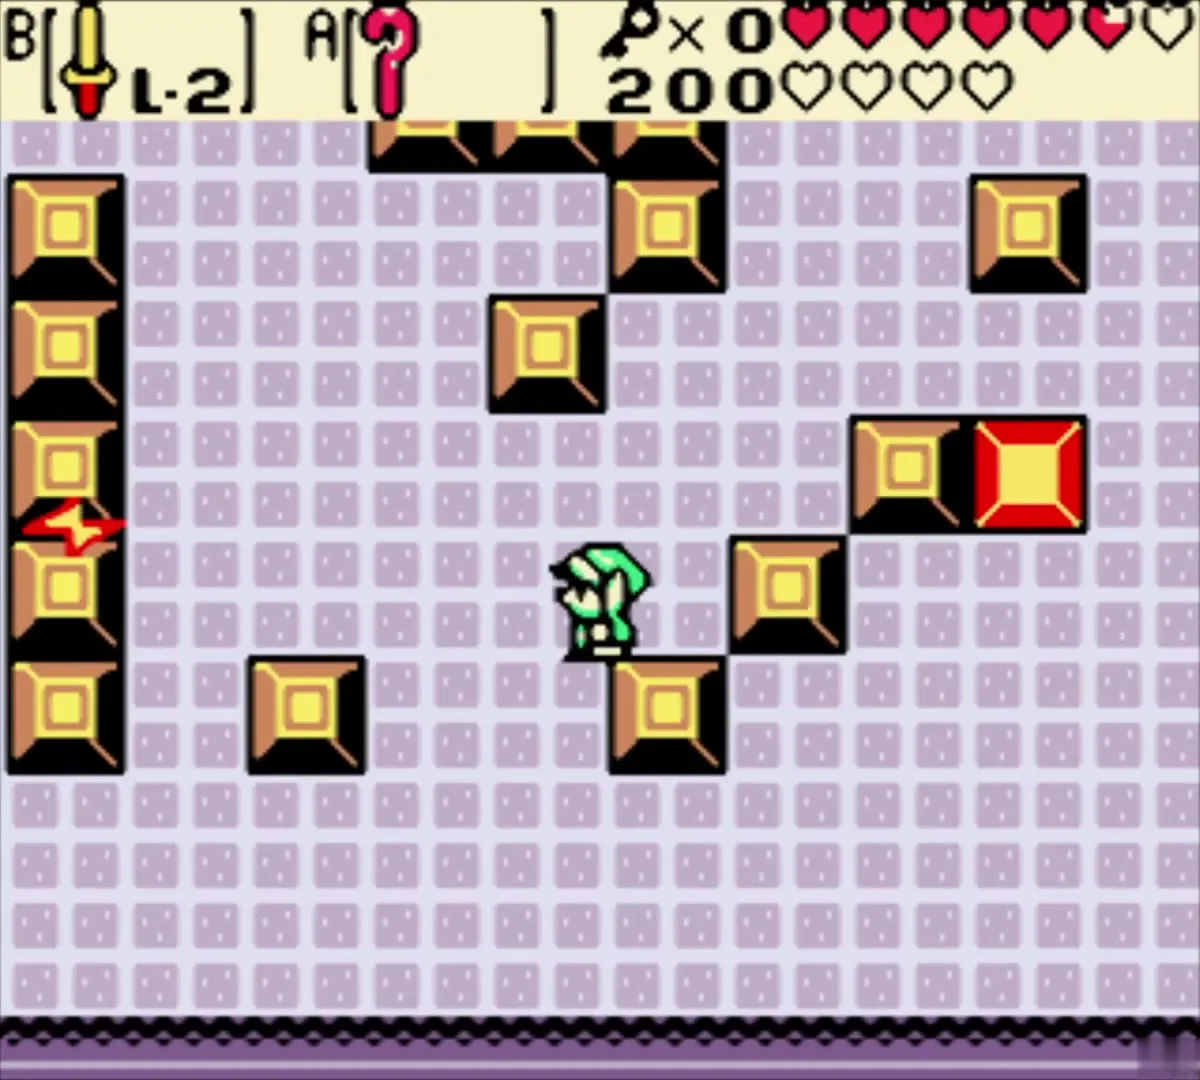
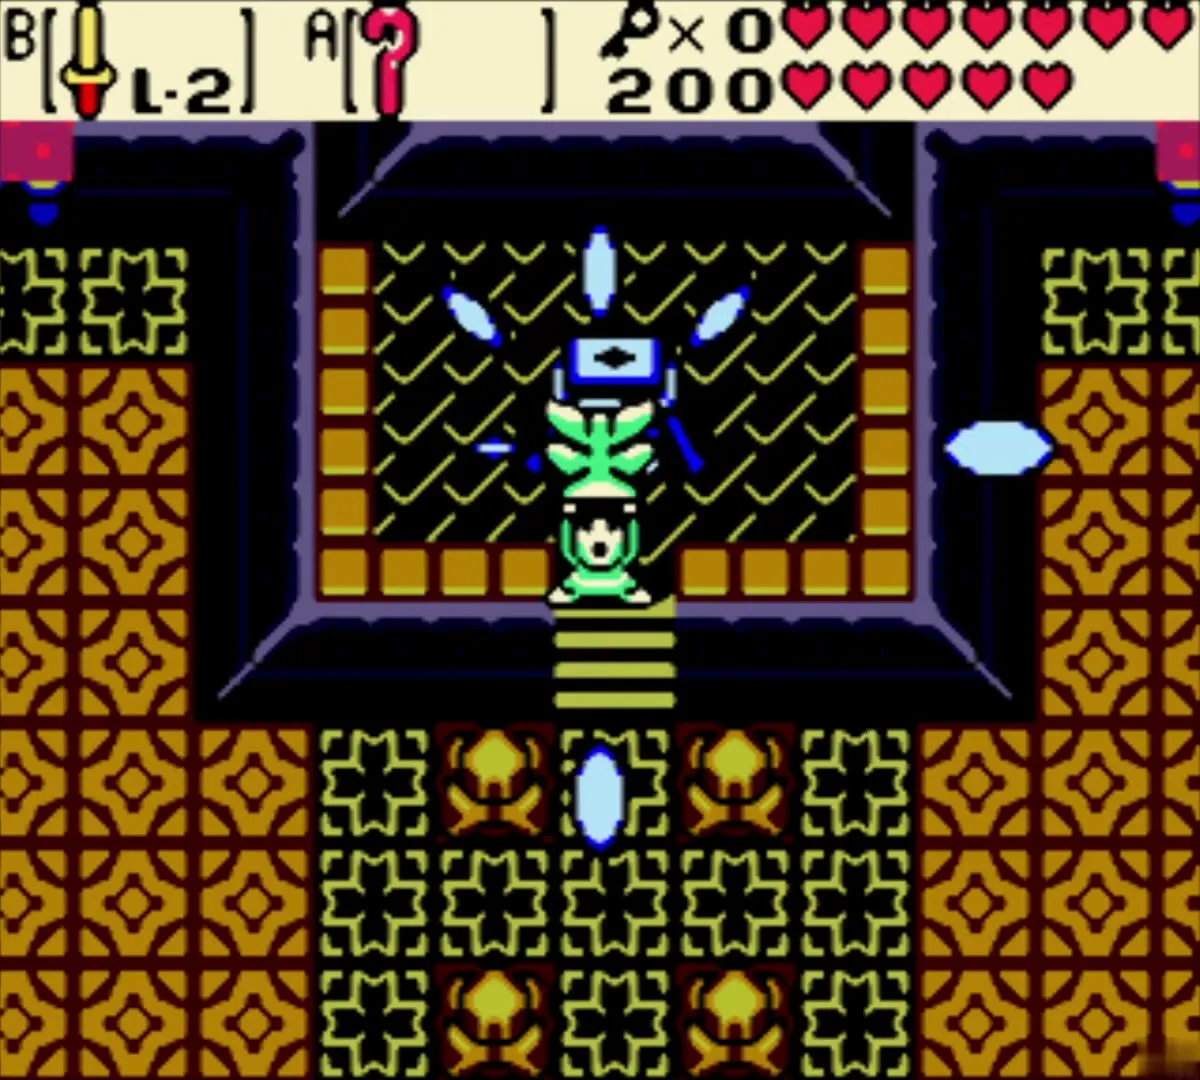
Smog breaks into several smaller pieces that drift around the arena, together with blue blobs. Create blocks with the Cane and push the stone blocks around so that the pieces are forced to bump into each other and merge. The blue blobs cannot pass through blocks, so you can hide behind one, and the sword stuns a piece for a moment and cuts down enemy bullets. When every piece has merged, Smog returns to full size, flings lightning bolts that you cannot cut and charges straight at you. Dodge them and slash him a few times until he is destroyed or breaks apart again; repeat the block puzzle for several rounds until he finally falls.


Heart Container and Sacred Soil
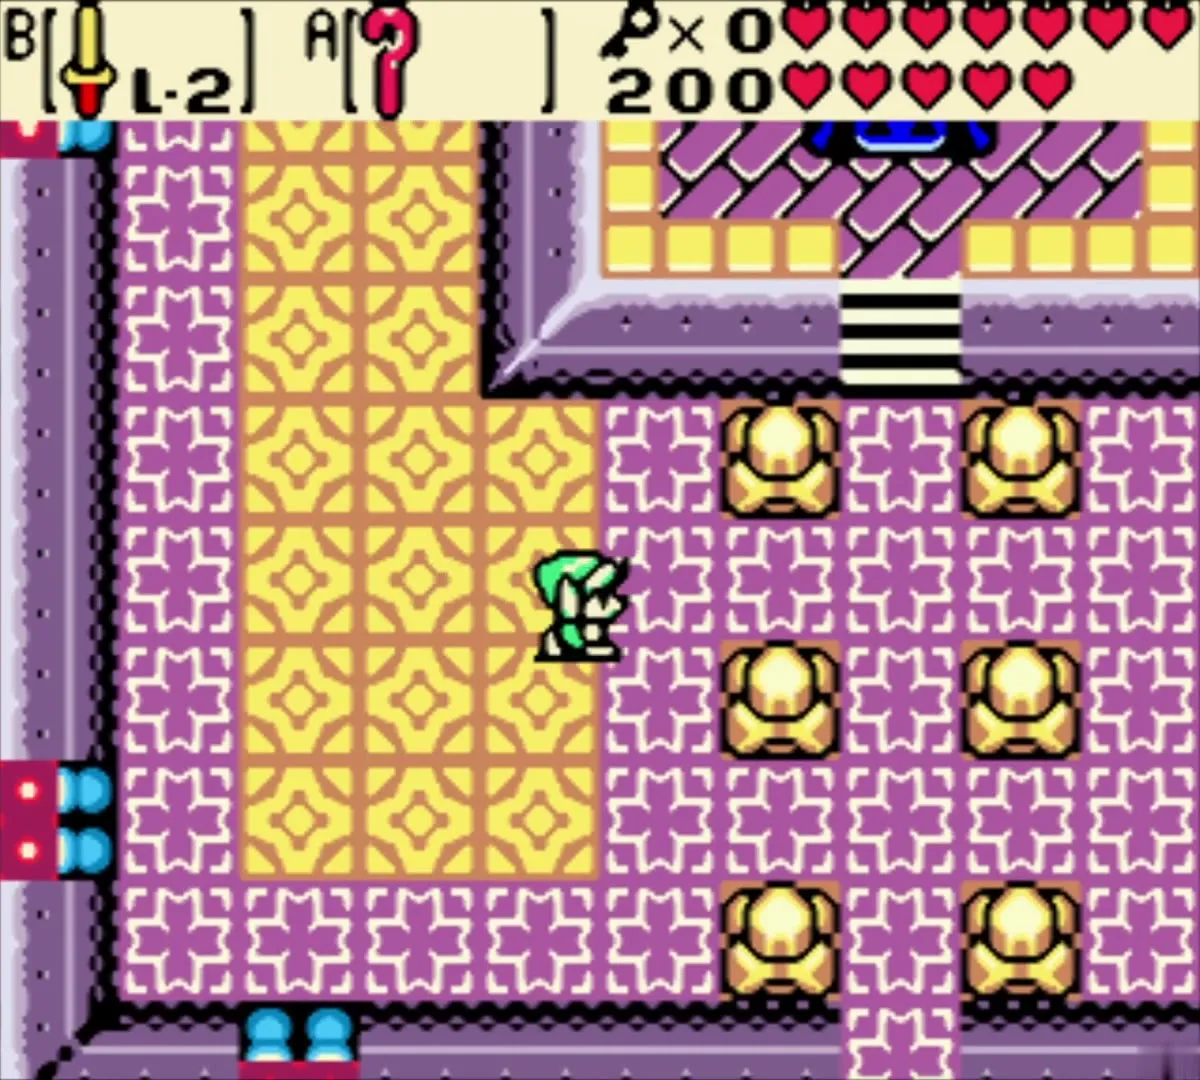
Smog leaves a Heart Container, which adds a full heart to your life meter. Walk north up the aisle into the shrine and step onto the dais to take the Sacred Soil, the fifth Essence of Time. As you leave, the Maku Tree tells you that she senses another Essence echoing near Rolling Ridge.



Chapter checklist
| Type | Name | Where (era) |
|---|---|---|
| Key item | Crown Key | Goron Elder, after the Bomb Flower delivery (present) |
| Small Key | Small Keys 1 and 2 | Three-statue room and the chest below the first staircase (present) |
| Dungeon item | Dungeon Map | South-east room beside the boss door (present) |
| Dungeon item | Cane of Somaria | Statue pattern puzzle, west side of the ground floor (present) |
| Small Key | Small Keys 3, 4 and 5 | Four-button statue room, red-tile statue room and the dark hidden-floor room (present) |
| Mini-boss | Smasher | North-east ground floor (present) |
| Dungeon item | Compass | Chest north of Smasher’s room (present) |
| Rupees | 50 Rupees | Chest in the room after the key blocks (present) |
| Dungeon item | Boss Key | Owl statue room (present) |
| Boss | Smog | Boss room in the south-east corner (present) |
| Heart Container | Heart Container | Dropped by Smog (present) |
| Essence | Sacred Soil | Shrine north of the boss room (present) |
