
























Oracle of Ages 100% Completion Walkthrough24 chapters
- Arrival in Labrynna and the Black TowerForest of Time, Vasu’s Ring Box, the Maku Tree, the time portal, the Black Tower Shovel and the first Heart Piece.
- Maku Path and Spirit’s Grave (Level 1)Seed Satchel, Graveyard Key, Power Bracelet, Pumpkin Head and the Eternal Spirit.
- The Harp of Ages and Fairies’ WoodsPoe Clock, Heart Piece, Vasu’s rings, hide-and-seek, Tune of Echoes and the first time travel.
- Deku Forest and the Mystery SeedsMystery Seeds, Queen Ambi’s Bombs, a Heart Piece, the Deku Secret and the first rooms of the Wing Dungeon.
- Wing Dungeon (Level 2)All five Small Keys, Dungeon Map, Compass, Swoop, Roc’s Feather, Boss Key, Head Thwomp and the Ancient Wood.
- Farore’s Secrets and Cheval’s GraveWest Lynna Heart Piece, Hall of Secrets codes, Red Snake, Zora’s Flippers and Cheval Rope.
- Tingle’s Chart and Crescent IslandRicky’s Gloves, Island Chart, Rafton’s raft, the Tokay thieves, Scent Seeds and the Grotto.
- Moonlit Grotto (Level 3)All Small Keys, Compass, Seed Shooter, Gasha Seeds, Subterror, Boss Key, Shadow Hag and the Echoing Howl.
- Nuun Highlands and the Strange FlutesDimitri’s Flute, Tingle’s 99-seed Satchel, the Black Tower rescue, the bridge workers, Gale Seeds and Symmetry City.
- Symmetry City and Talus PeaksCracked Tuni Nut, Patch’s ceremony, Tune of Currents, Heart Piece, bomb fairy and Skull Dungeon.
- Skull Dungeon (Level 4)Compass, Dungeon Map, 5 Small Keys, Armos Warrior, Switch Hook, Boss Key, Eyesoar and the Burning Flame.
- Lynna Trades and the Noble SwordTouching Book, Maple’s Magic Oar, Sea Ukulele, Broken Sword and Patch’s ceremony.
- West Rolling Ridge and the Great MoblinLynna secret shop, Pegasus Seeds, Moblin’s Keep, Great Moblin, Bomb Flower, Crown Key and the Crown Dungeon.
- Crown Dungeon (Level 5)Small Keys, Cane of Somaria, Smasher, Compass, Boss Key, Smog and the Sacred Soil.
- East Rolling Ridge and the Mermaid KeysGoron Dance, Brother Emblem, Target Carts, Rock Brisket, Goron Vase and Goronade trades, and Mermaid Keys.
- Mermaid’s Cave (Level 6) Walkthrough for Oracle of AgesGet the Old Mermaid Key, clear both halves, collect the Mermaid Suit and defeat Octogon for the Essence of Time.
- Ambi’s Palace and the Tune of AgesSneak in, beat Possessed Nayru, learn the Tune of Ages, claim Hall of Secrets upgrades and the Mirror Shield.
- Zora Seas and the Fairy PowderThe Gasha Seed chest, King Zora’s Library Key, Book of Seals, Fairy Powder and Jabu-Jabu’s Belly entrance.
- Jabu-Jabu’s Belly (Level 7)Like Like Ring, Compass, Small Keys, Long Hook, Boss Key, Plasmarine fight, Heart Container and Rolling Sea.
- Sea of Storms and the Pirate ShipZora Scale, pirate ship and Tokay Eyeball, clam grotto ring, Tokay statue cave and Sea of No Return maze.
- Ancient Tomb (Level 8)Three Slates, the Boss Key, two Gasha Seeds, Ramrock boss strategy and the Falling Star Essence.
- Final Collection and the Hero’s CaveMaple Piece of Heart, Gasha Nut rings and fairies, Hero’s Cave Armor Ring L-3 and Vasu ring appraisals.
- The Black Tower and VeranFinal ring appraisals, the Huge Maku Seed, the Black Tower climb.
- Room of Rites, Twinrova and GanonThe eye-statue hallway, Twinrova’s fire and ice phases, the Ganon boss fight, and the linked-game ending.
| Covers | The Moonlit Grotto on Crescent Island in the present, from the Dungeon Map to the Essence of Time |
|---|---|
| Dungeon | Moonlit Grotto (Level 3): Seed Shooter, mini-boss Subterror, boss Shadow Hag, Essence of Time: Echoing Howl |
| Rewards | Dungeon Map, Compass, 4 Small Keys, 30 Rupees, 20 Rupees, Seed Shooter, 2 Gasha Seeds, Boss Key, Heart Container, Echoing Howl. No Heart Pieces, rings or soft soil in this chapter |
The Moonlit Grotto is the third dungeon and the home of the Seed Shooter, a slingshot whose seeds bounce off walls. You explore it in the present, on Crescent Island, with the Shovel, Roc’s Feather and Power Bracelet you recovered from the Tokay. Four crystals are scattered through its rooms, and breaking them collapses the central turntable room. Along the way you take the Compass, four Small Keys, the Seed Shooter and two Gasha Seeds, beat the mini-boss Subterror, claim the Boss Key and bounce seeds off the walls to defeat the Shadow Hag.
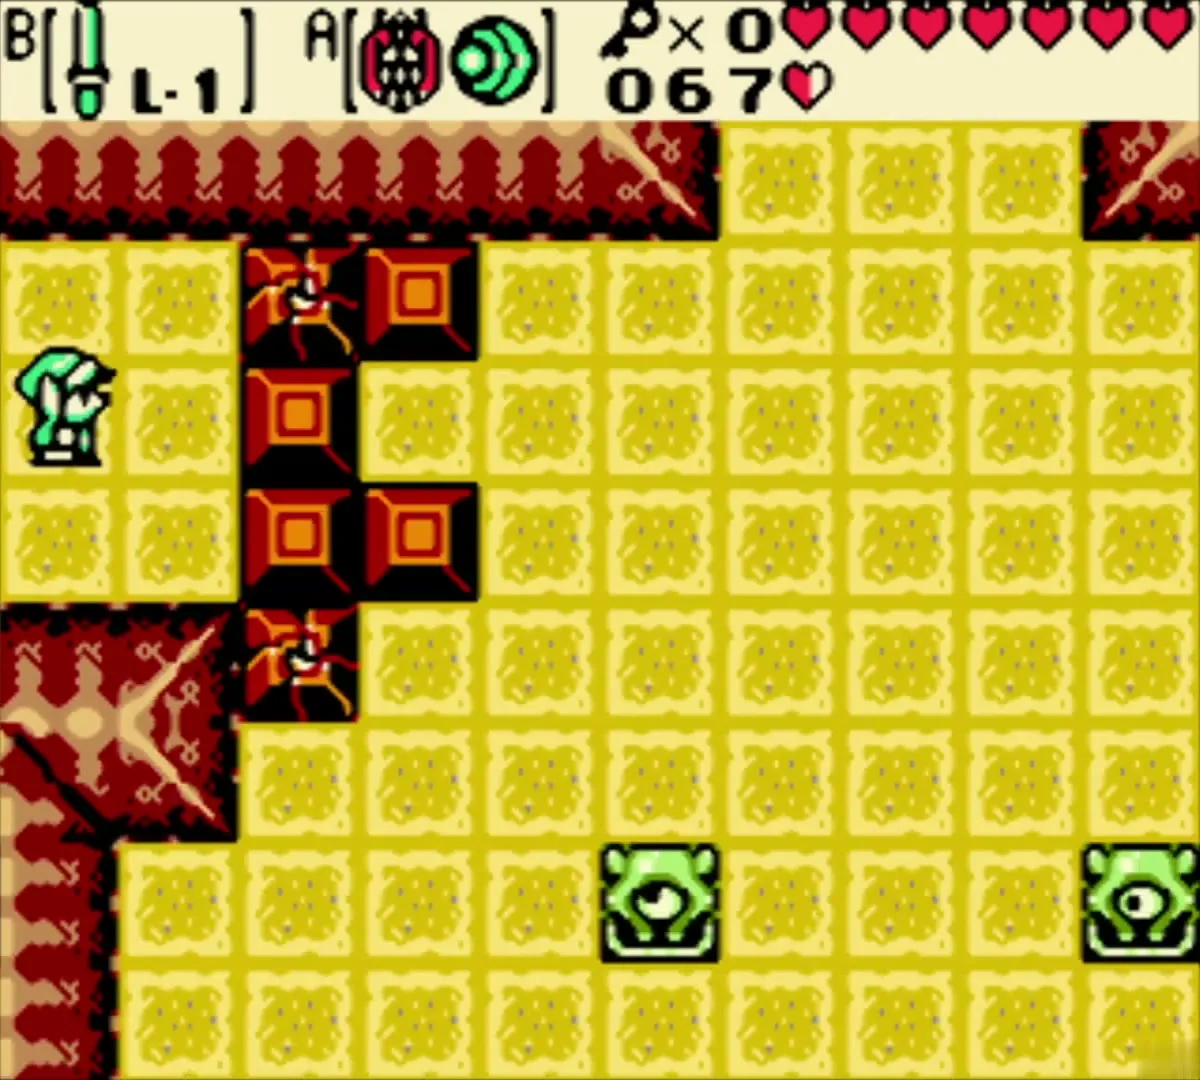

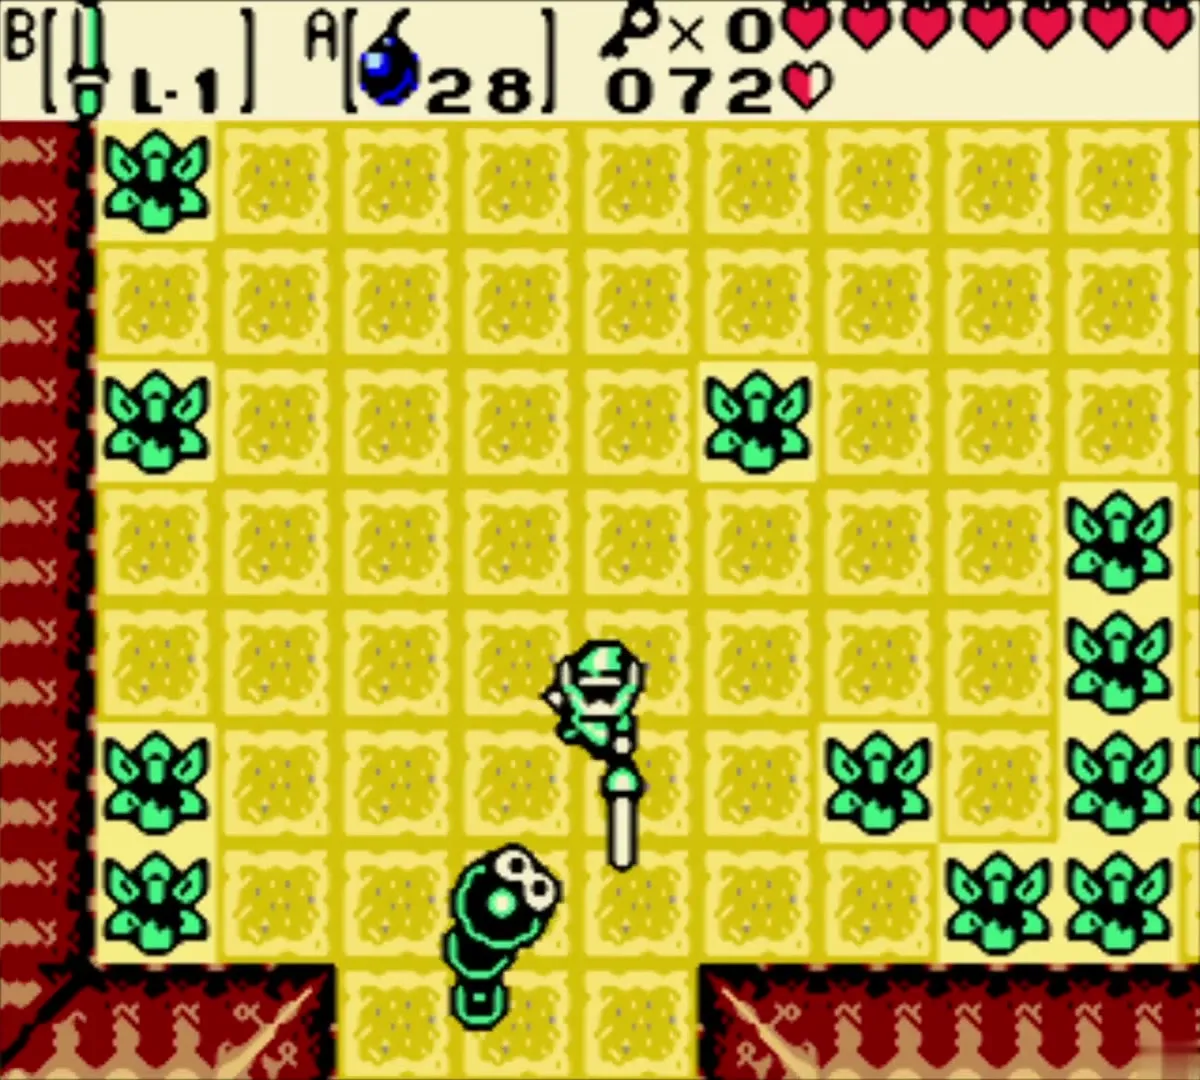
Table of Contents
Moonlit Grotto first rooms: bombs, the Harp and block puzzles

Dungeon Map and the Harp of Ages
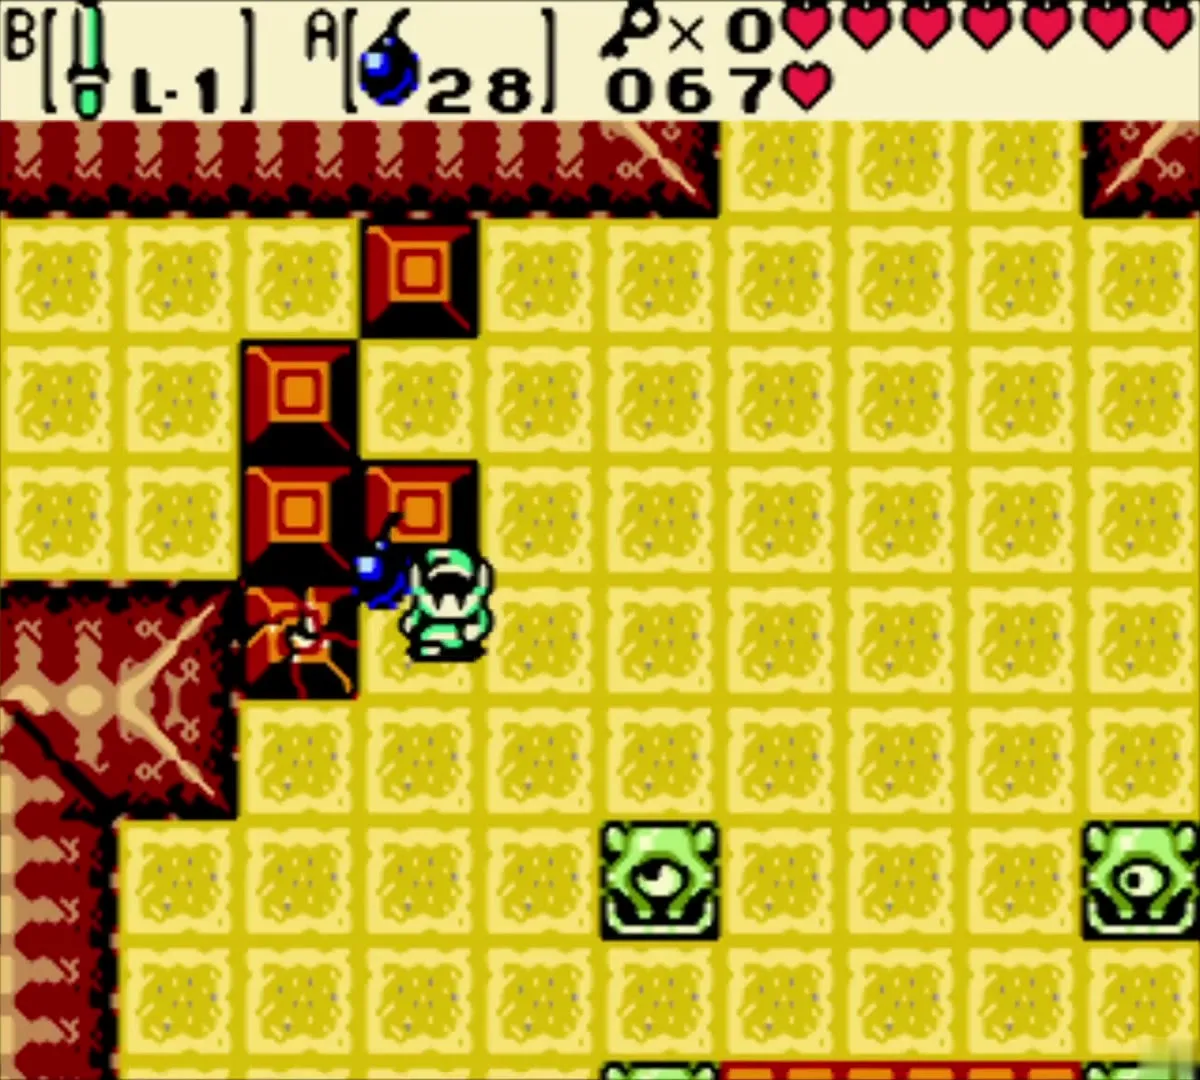
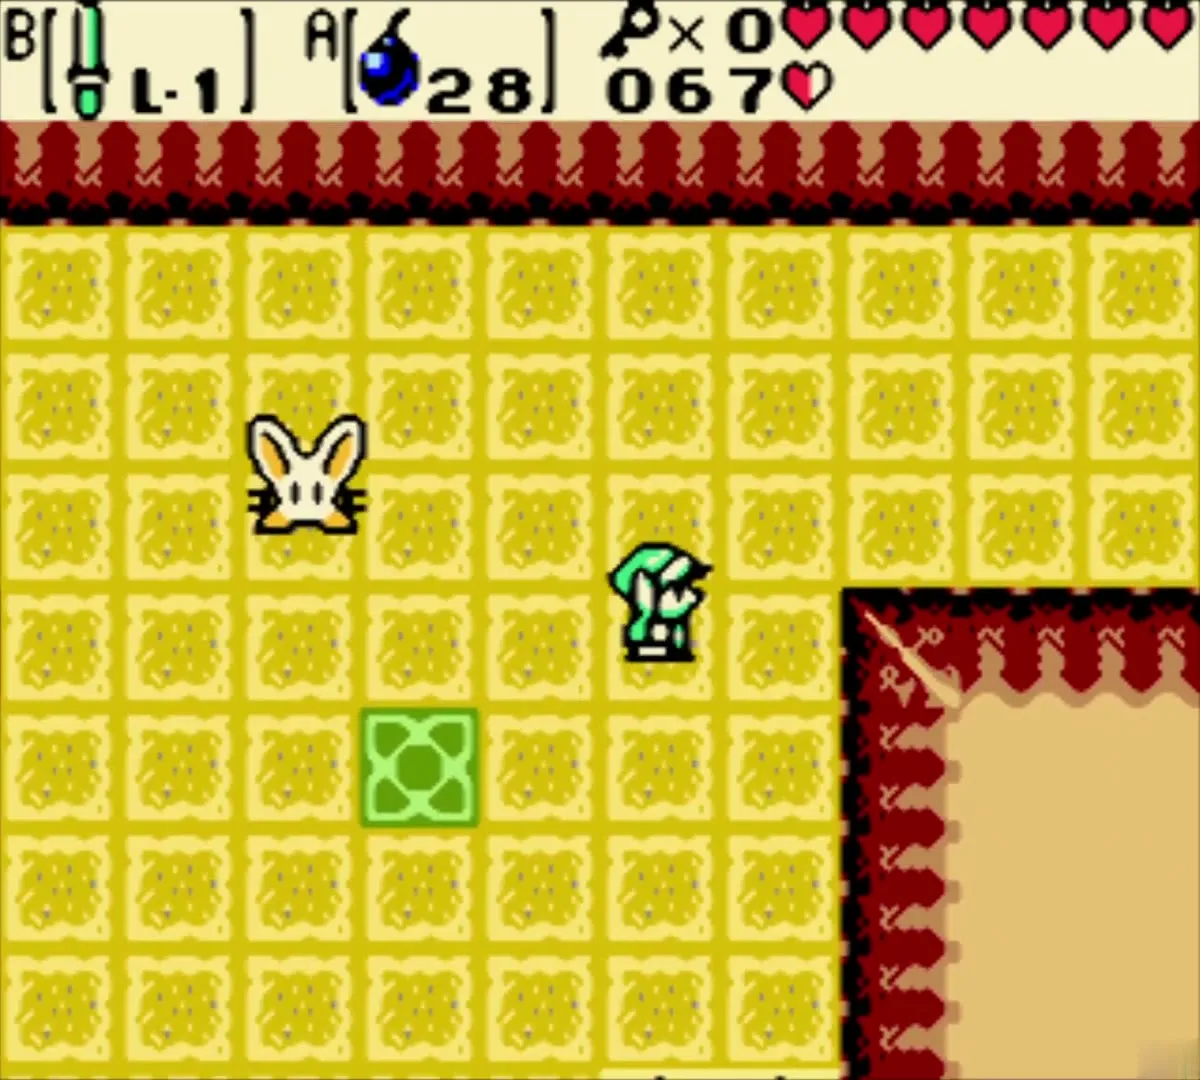
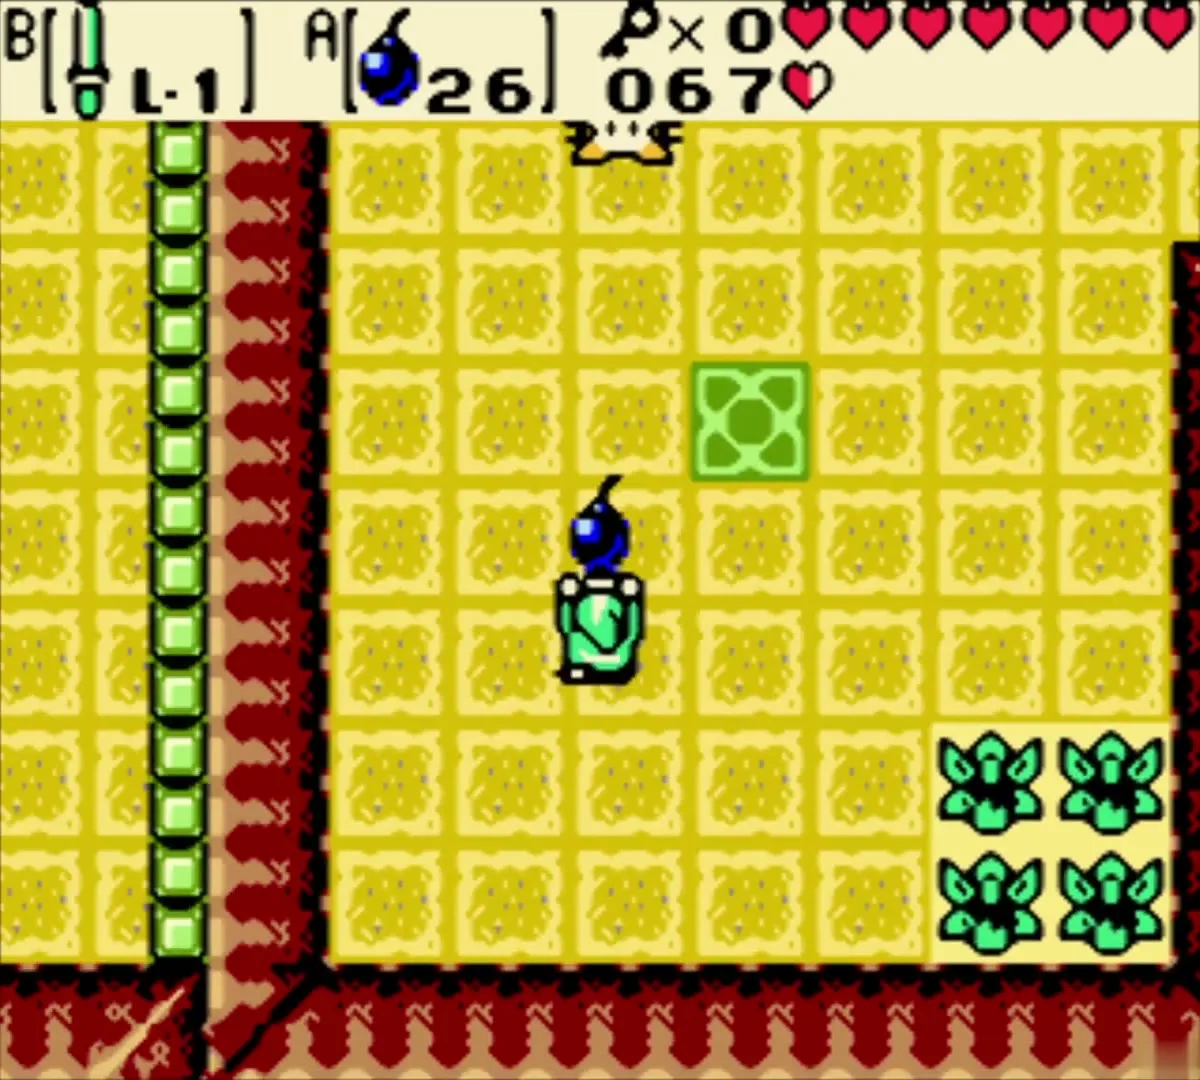
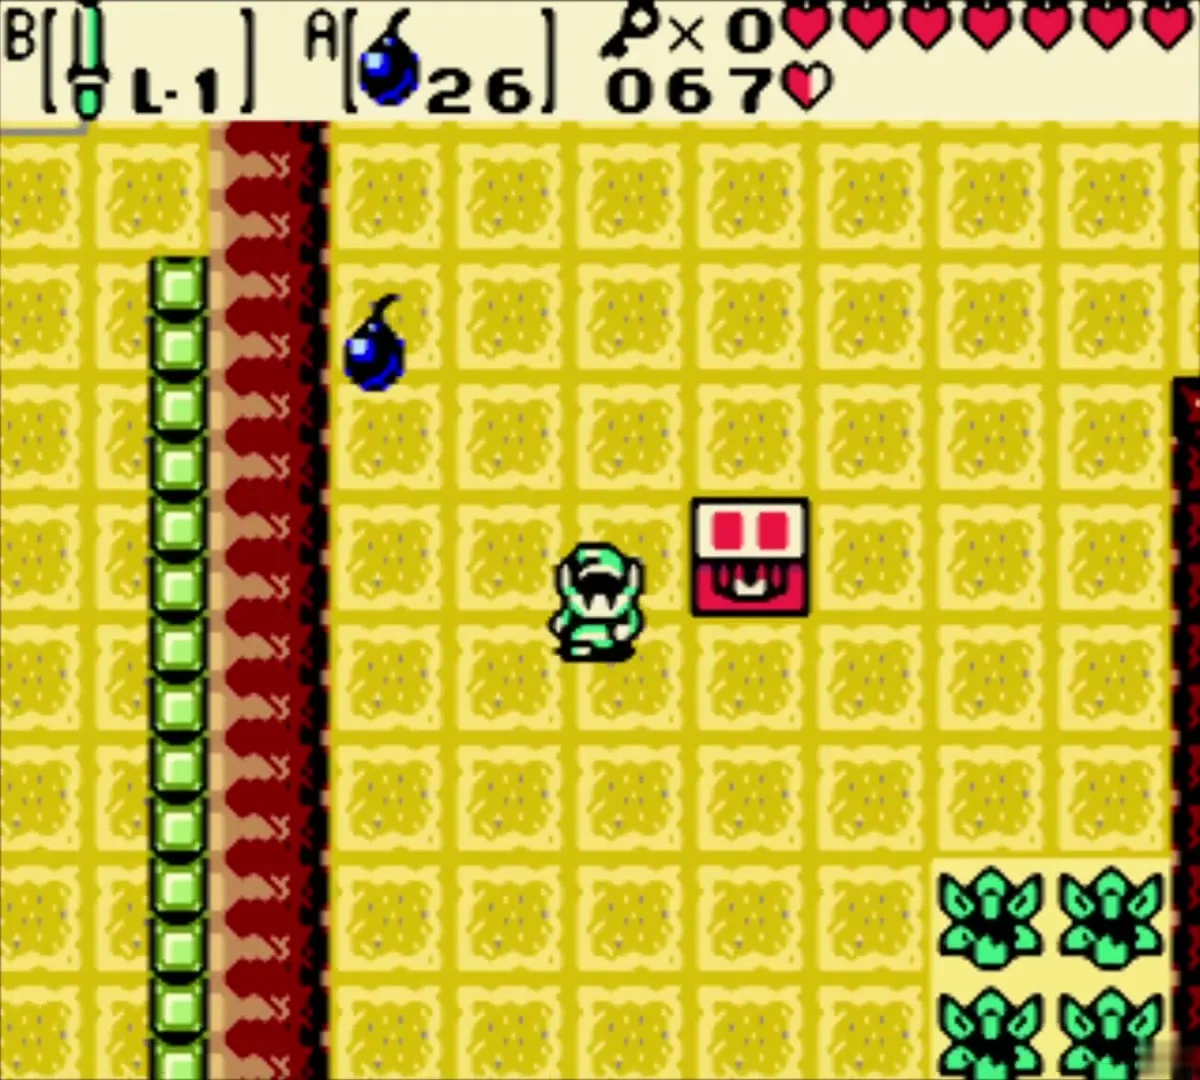
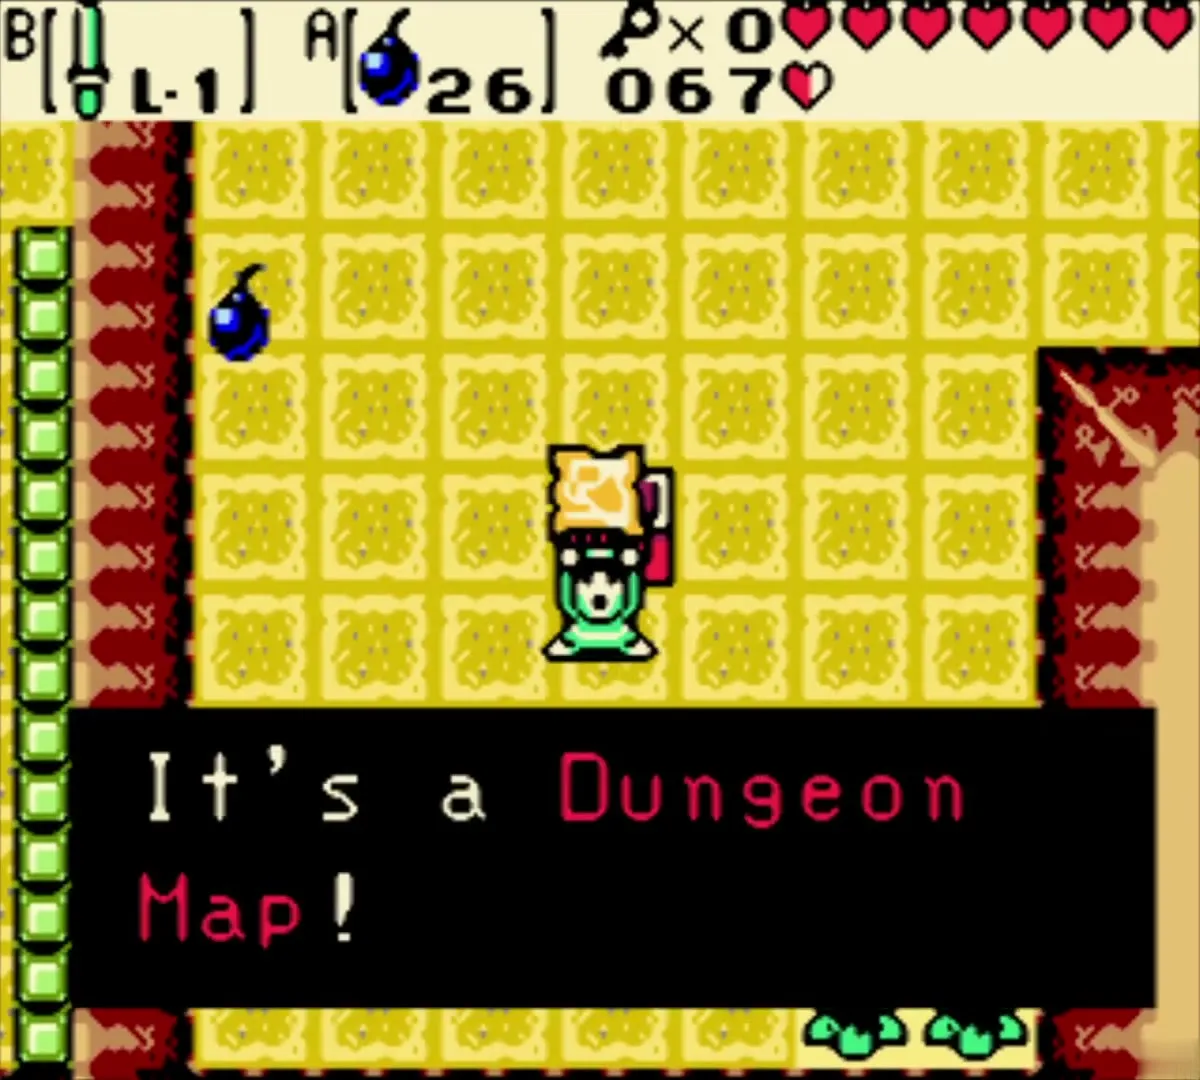
The Dungeon Map sits in a chest in the first stretch of the grotto. Bomb the cracked blocks near the entrance, push the middle block aside and leave by the west side. The Pols Voice here can be killed with a Bomb or by playing the Harp of Ages, and its death makes the chest appear. Keep Bombs equipped for most of this dungeon, because cracked blocks and bomb-only enemies are everywhere. Press SELECT with the Map to see which rooms you have not yet visited.
Switch rooms and the first crystal
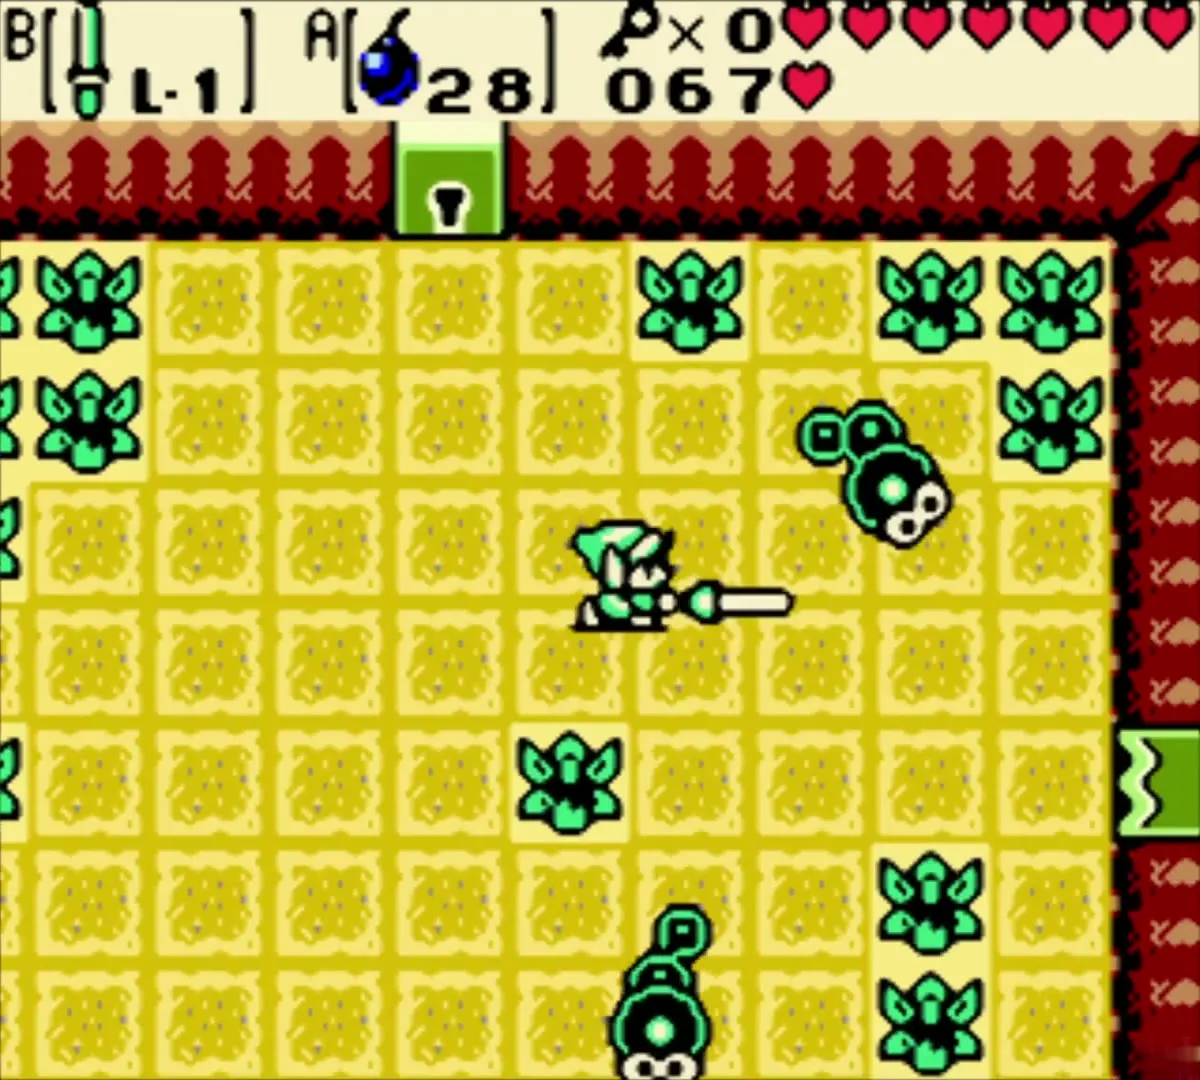
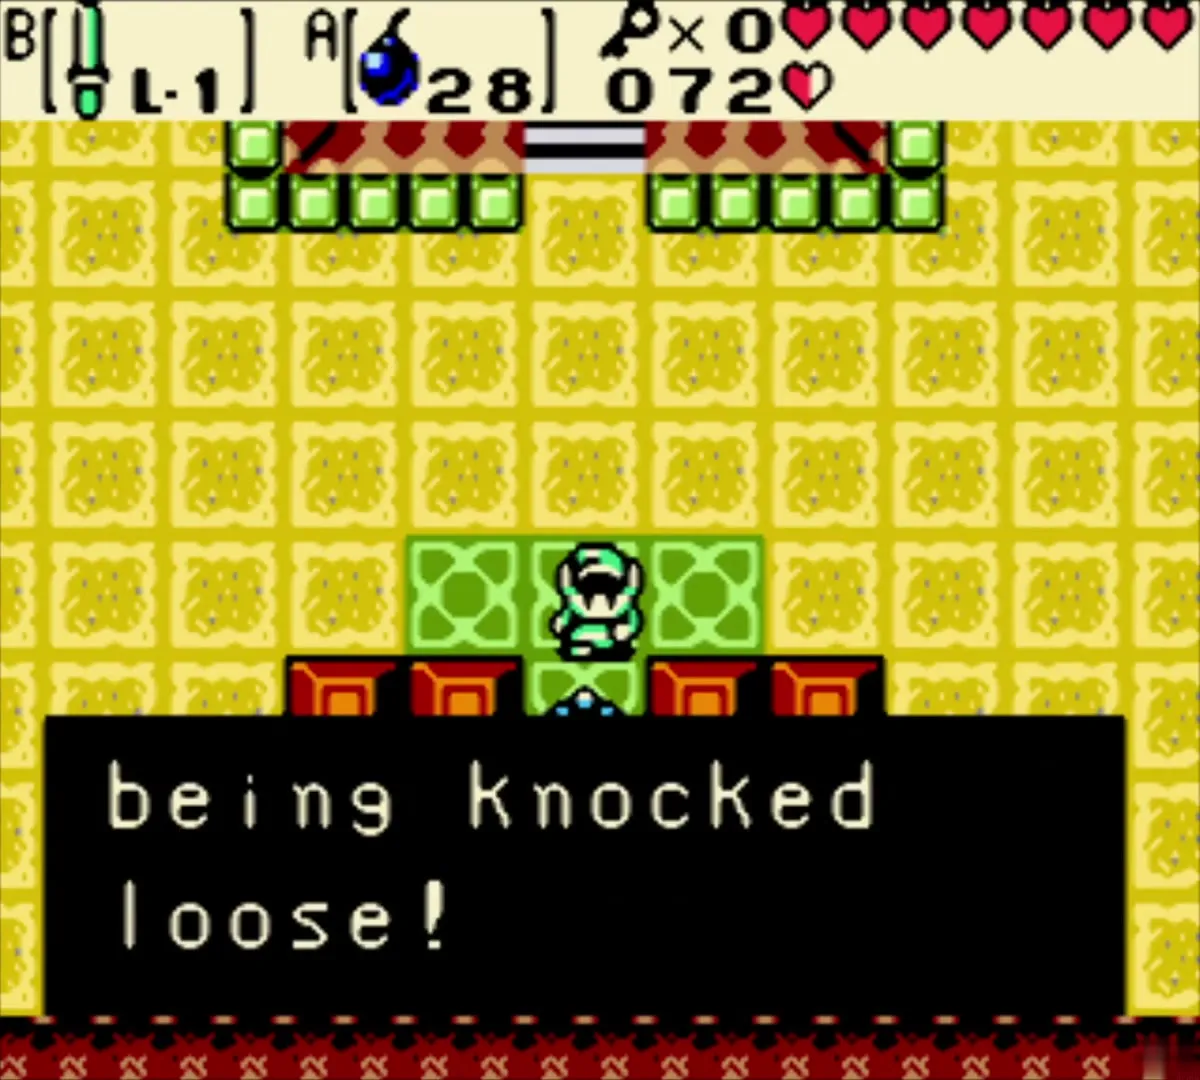
Back near the entrance the yellow floor is dotted with red blocks and green floor panels, and a crystal switch raises or lowers the red blocks whenever you hit it with your sword. Use it to open and close your path. Kill the Mini-Moldorms in the room to unlock the east door; the Iron Masks beyond can only be hurt from behind. Break the first crystal in the next room with your sword. Each time a crystal breaks, a message tells you something far away was knocked loose.


Turntable room, second crystal and Small Key 1
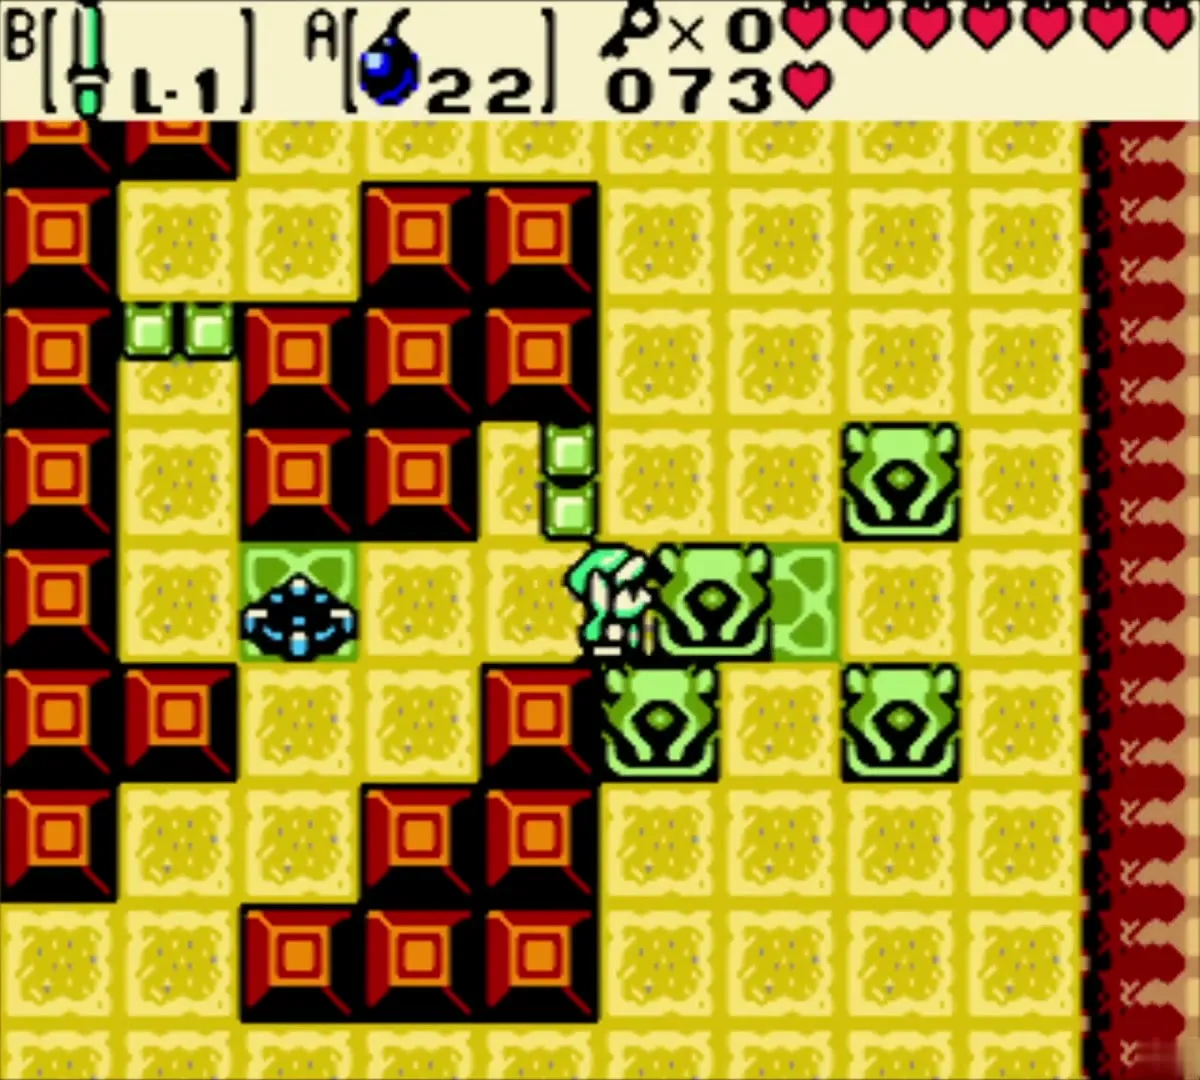
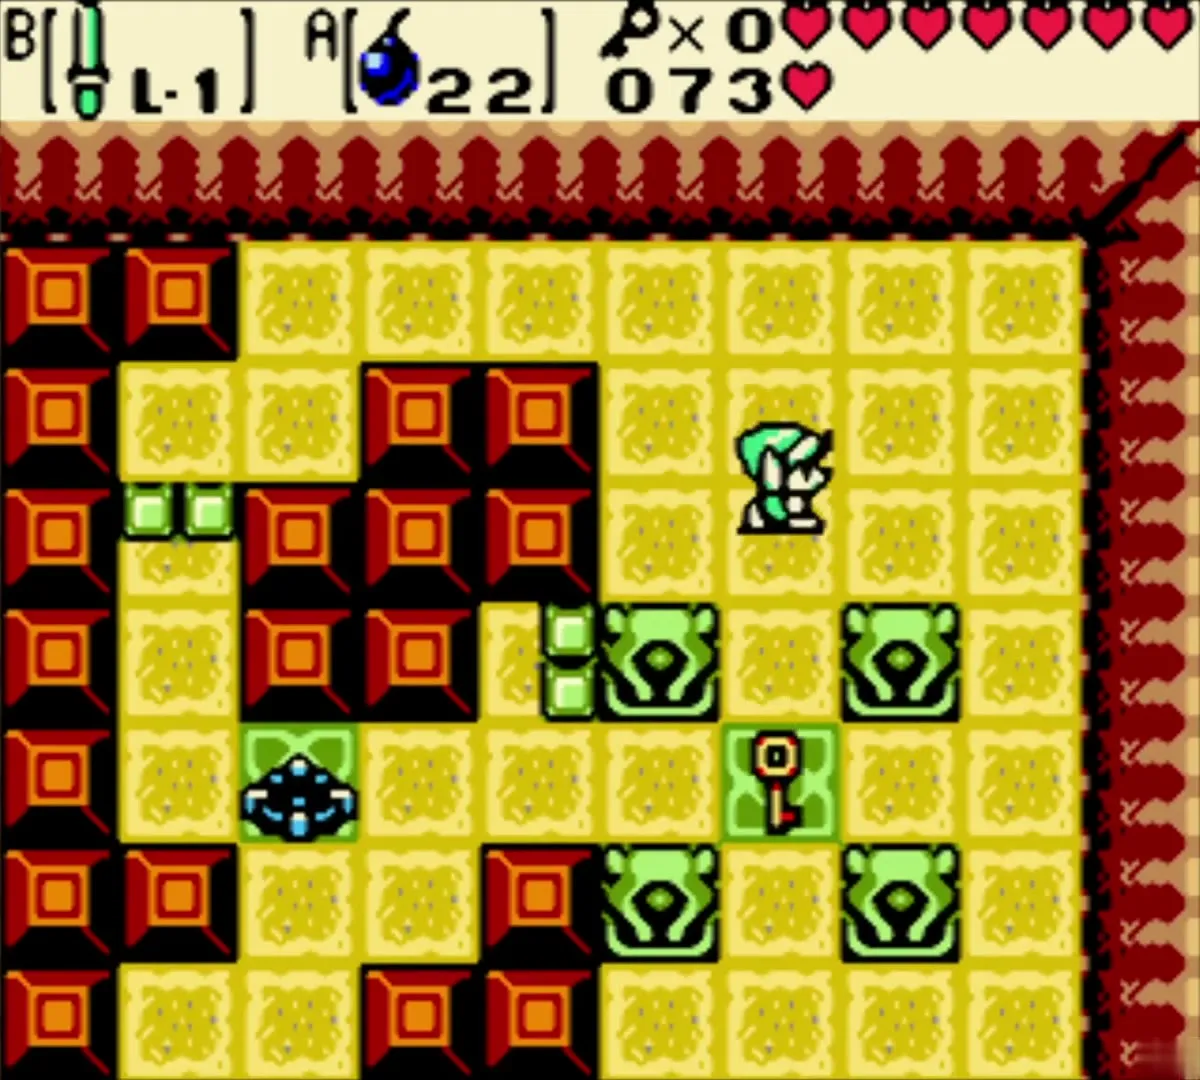
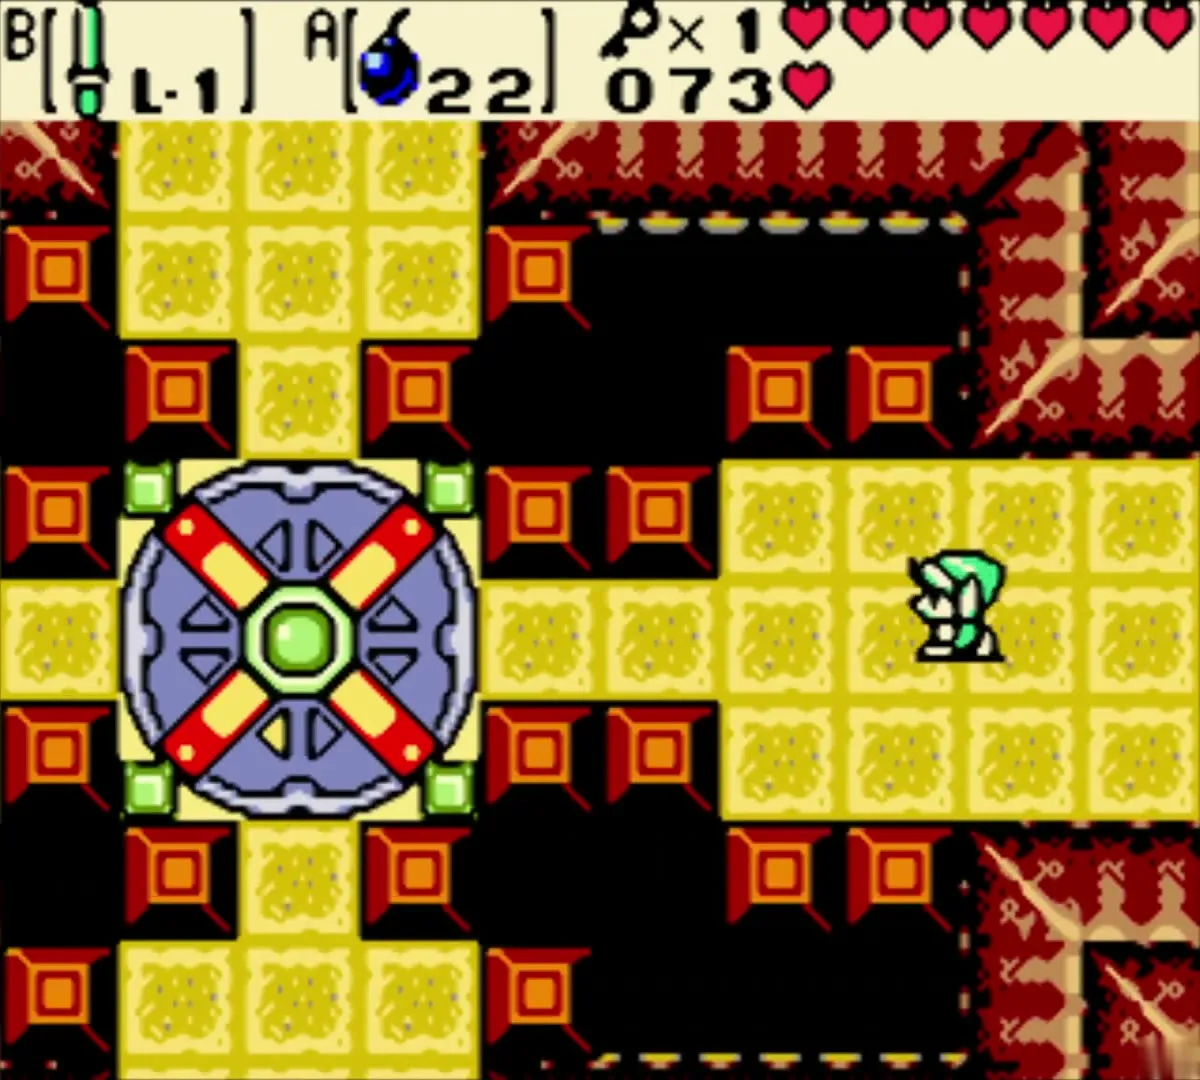
A blue four-armed turntable sits at the centre of the dungeon. Step on it and its arms carry you to whichever room it points at, so you will use it again and again. Take it east, then bomb the block beside the four statues. Throw further Bombs over the low fences to blow up cracked blocks around the second crystal, shift the blocks and smash it.

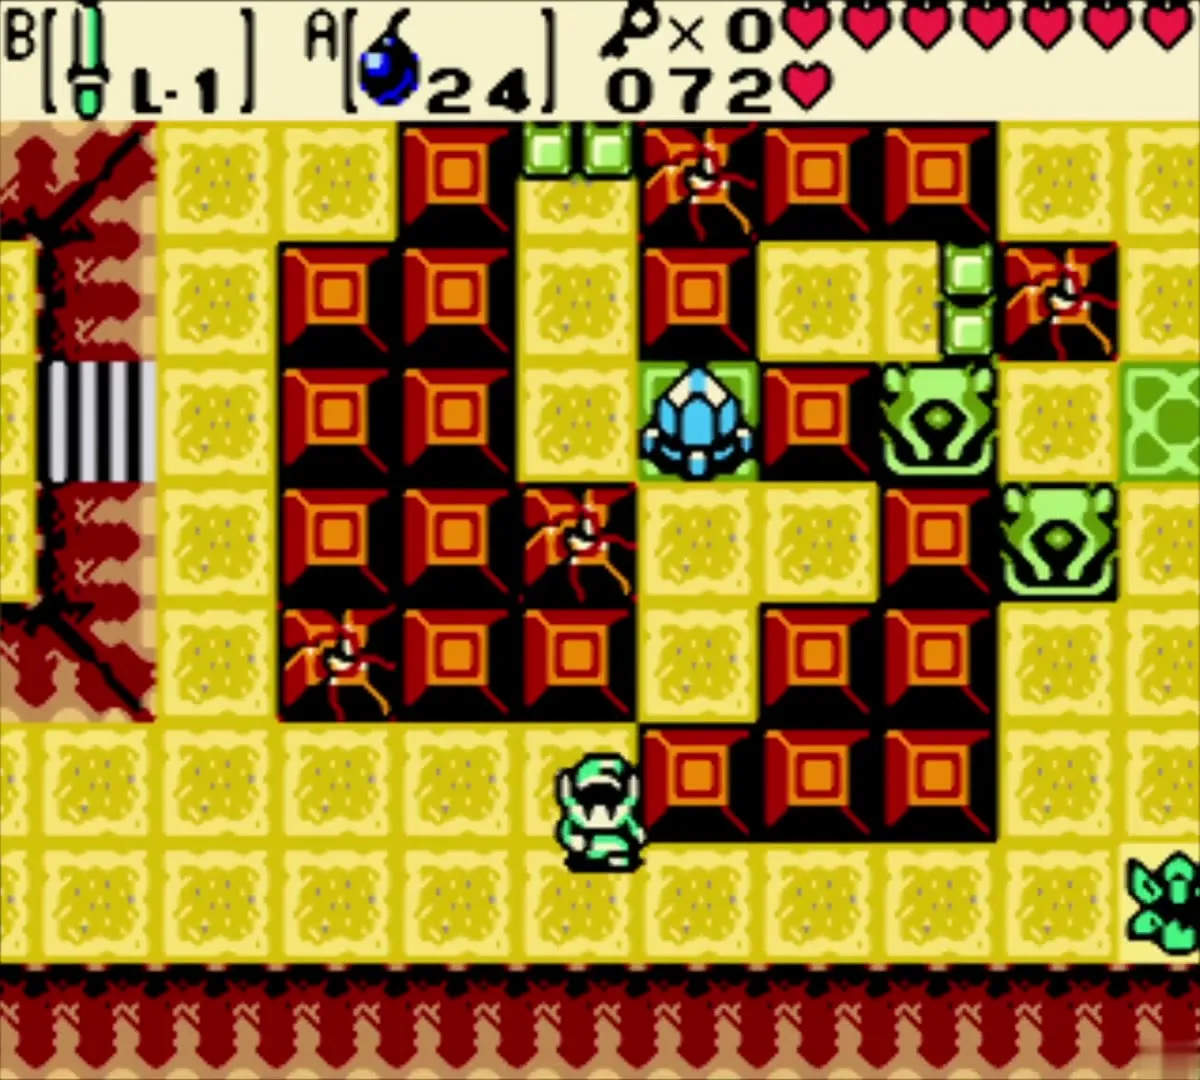
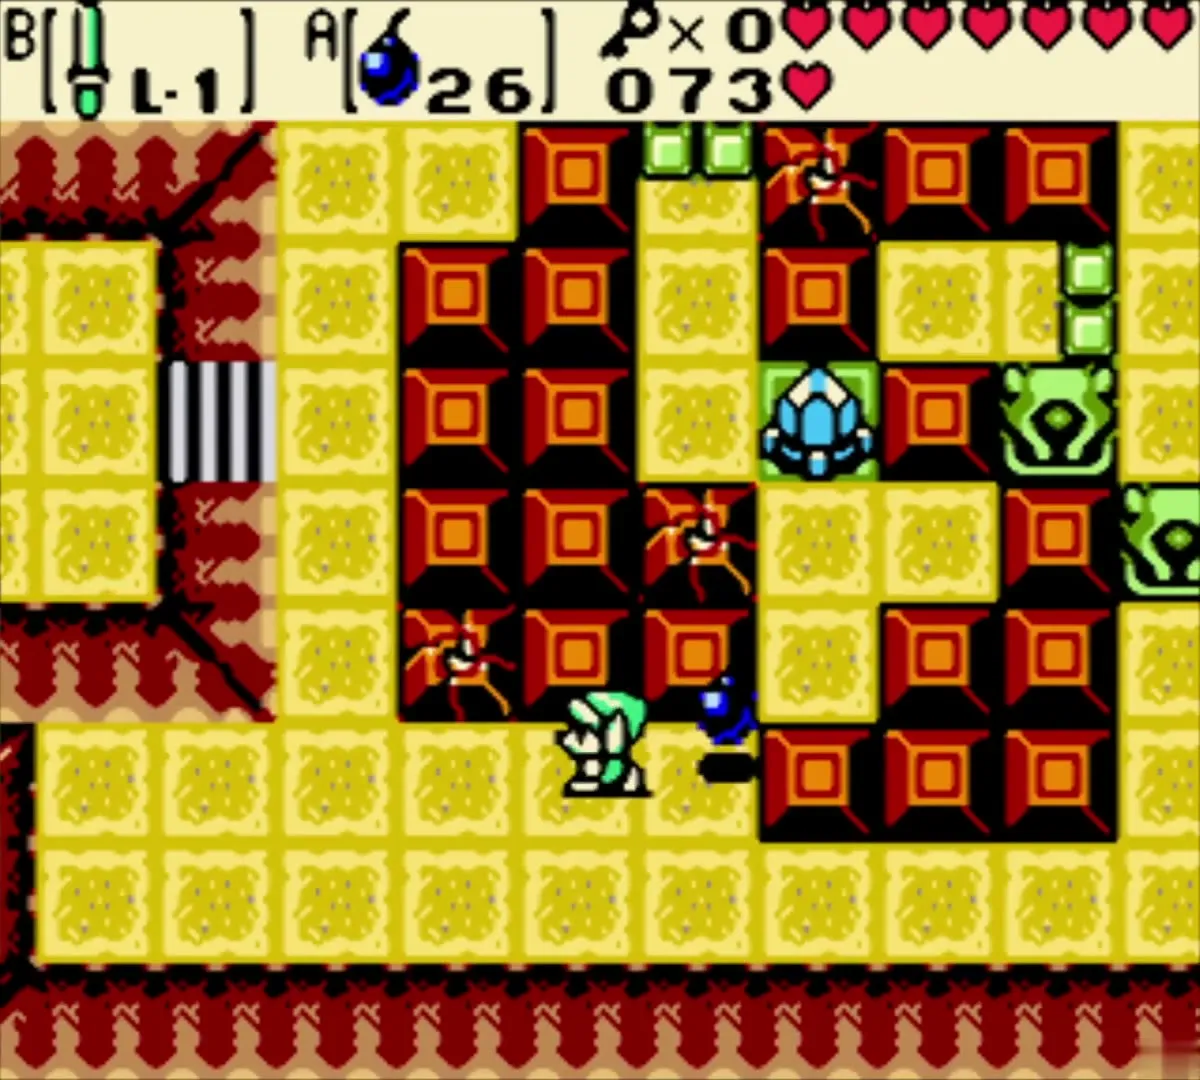
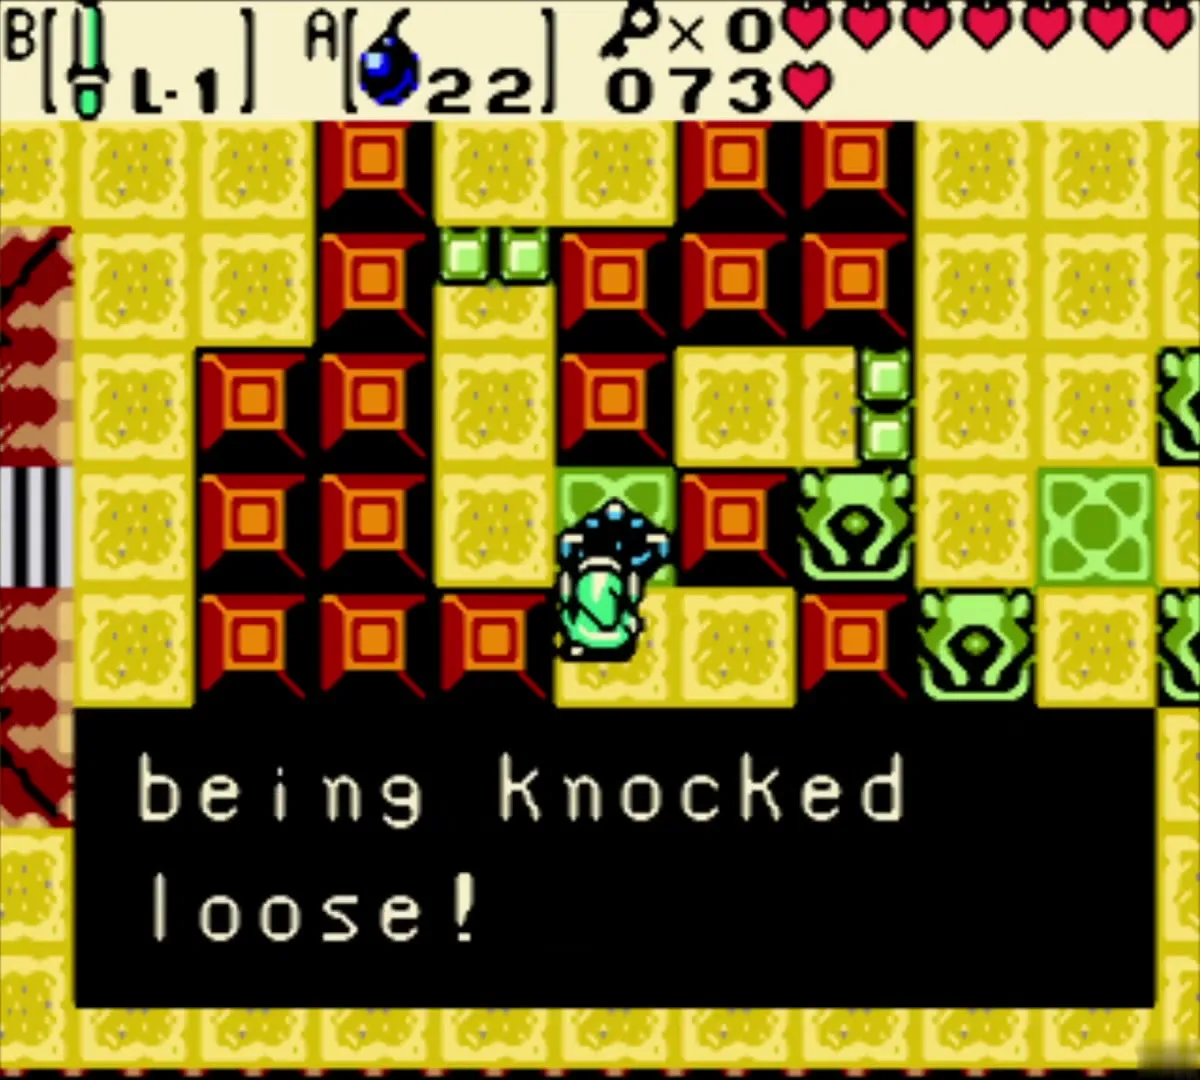
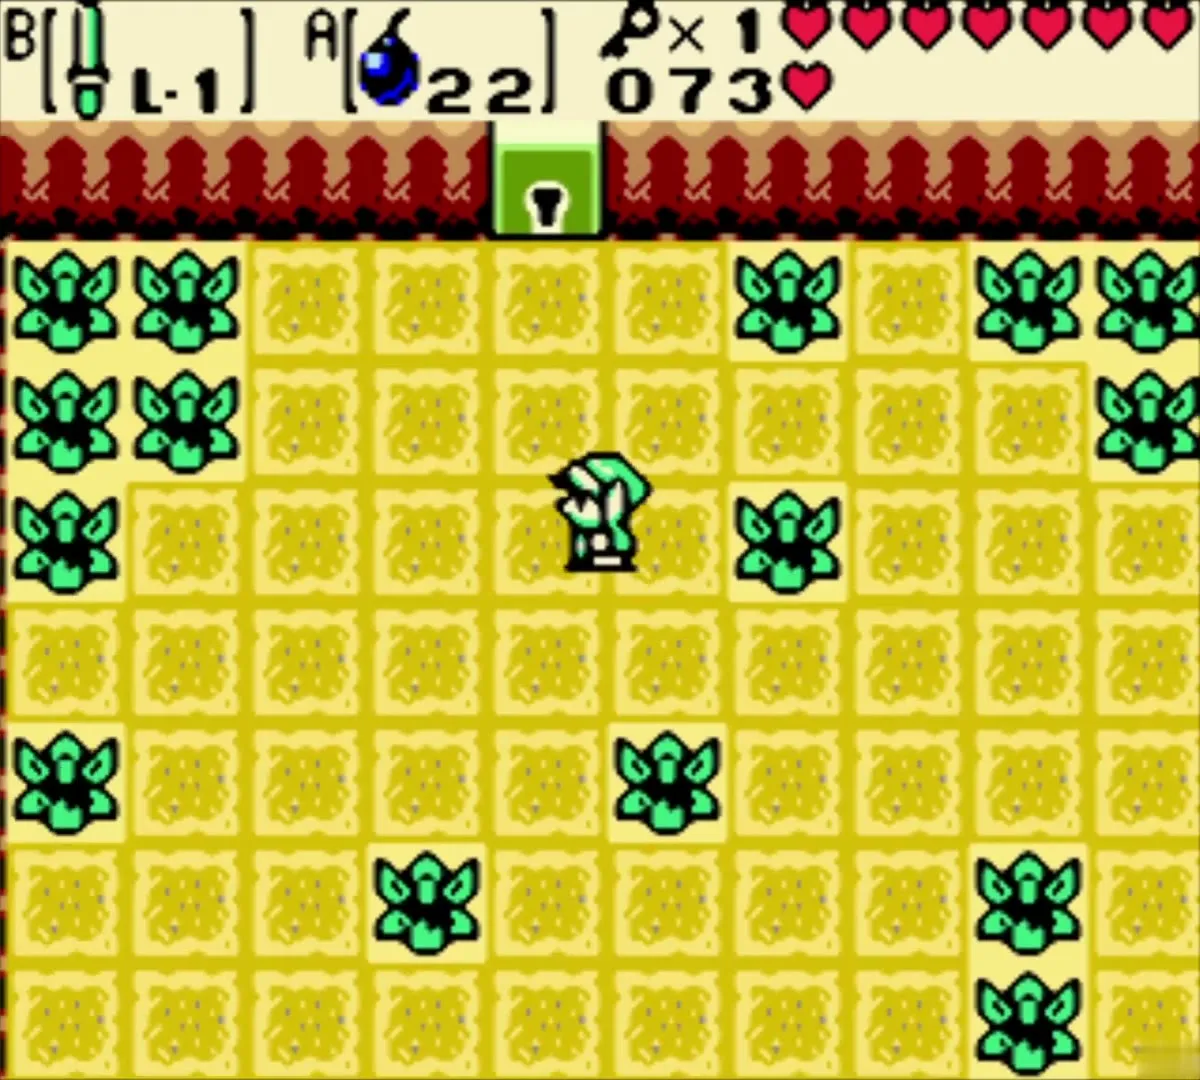
With the second crystal gone, push the right-hand block up, then slide the statue east twice, north twice, west once and south once. A Small Key falls into the room. Take it, return to the turntable and go south and west to the locked north door. Spend the key to open it.

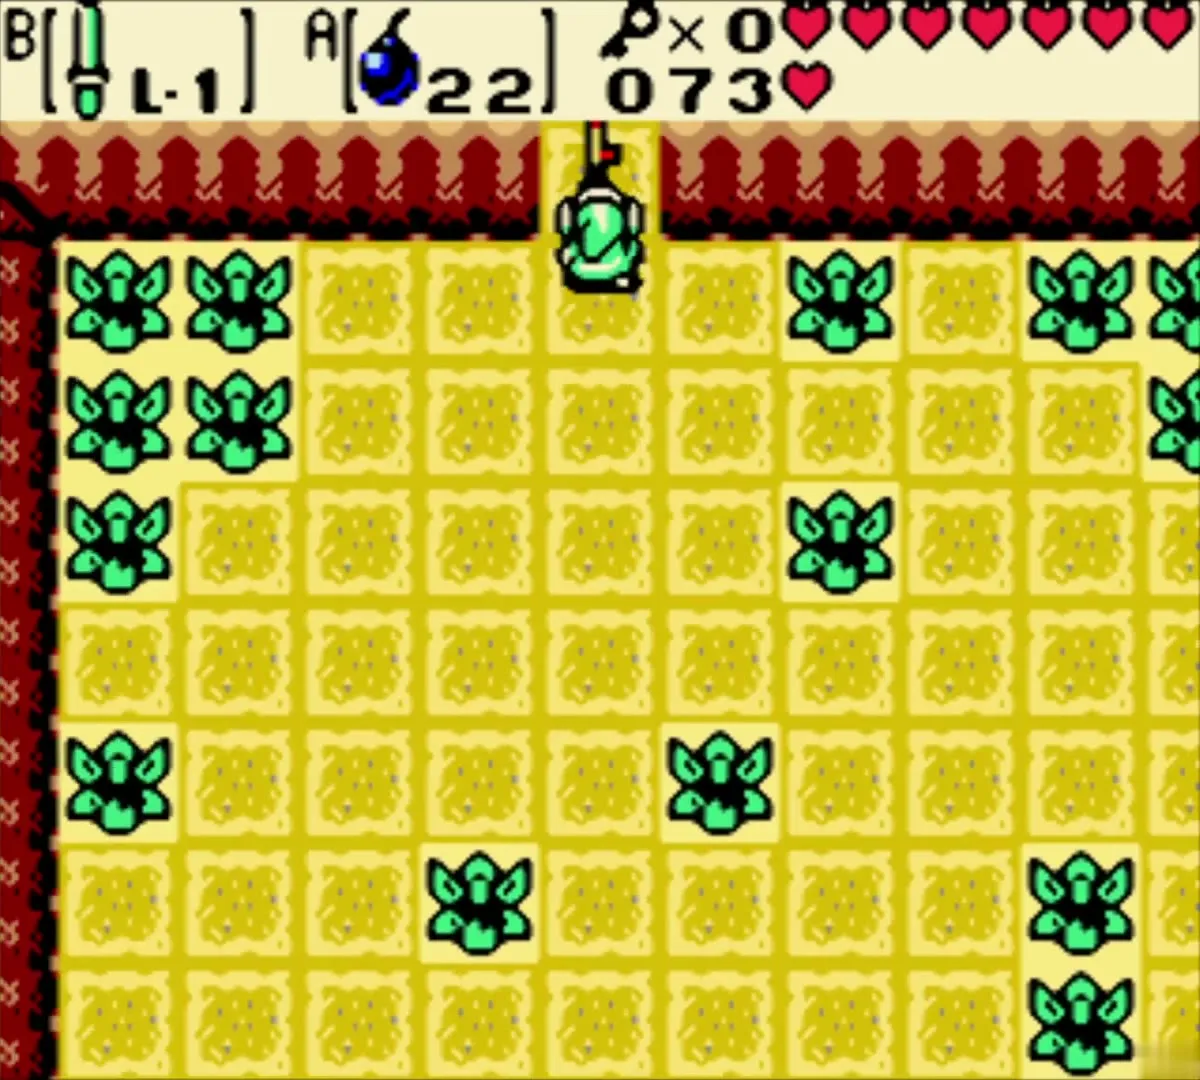
Compass and Small Keys 2 and 3
Basement and the third crystal
Beyond the locked door, drop through the hole in the Peahat room to land in the basement. Fight the Tektites and Zols, leave by the south exit, kill the Mini-Moldorm to open the next door and bomb the Pols Voices (or play the Harp) to open the north door. Climb the stairs and break the third crystal at the top.


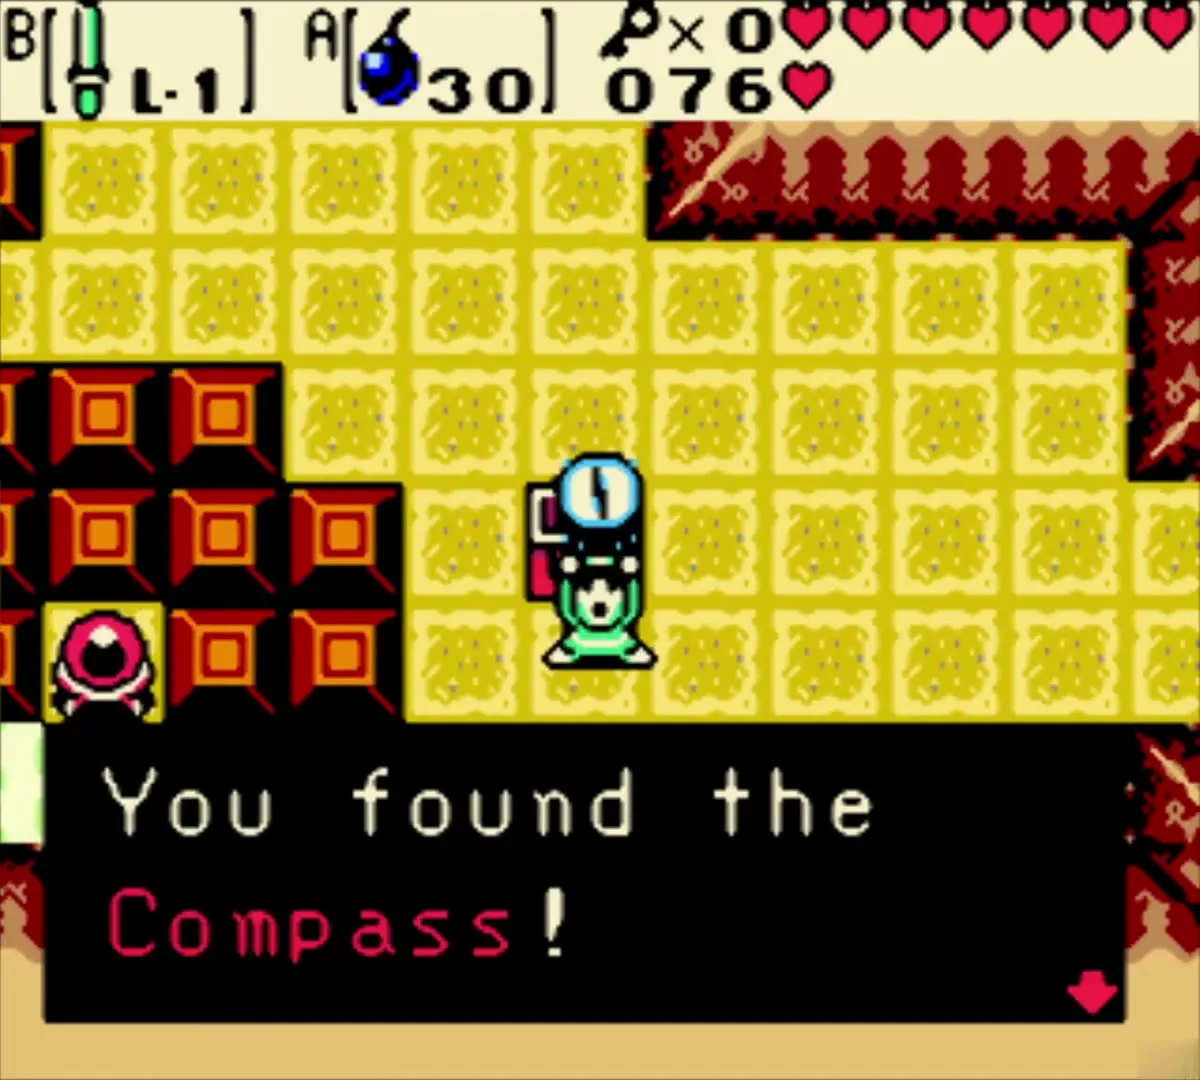
Compass
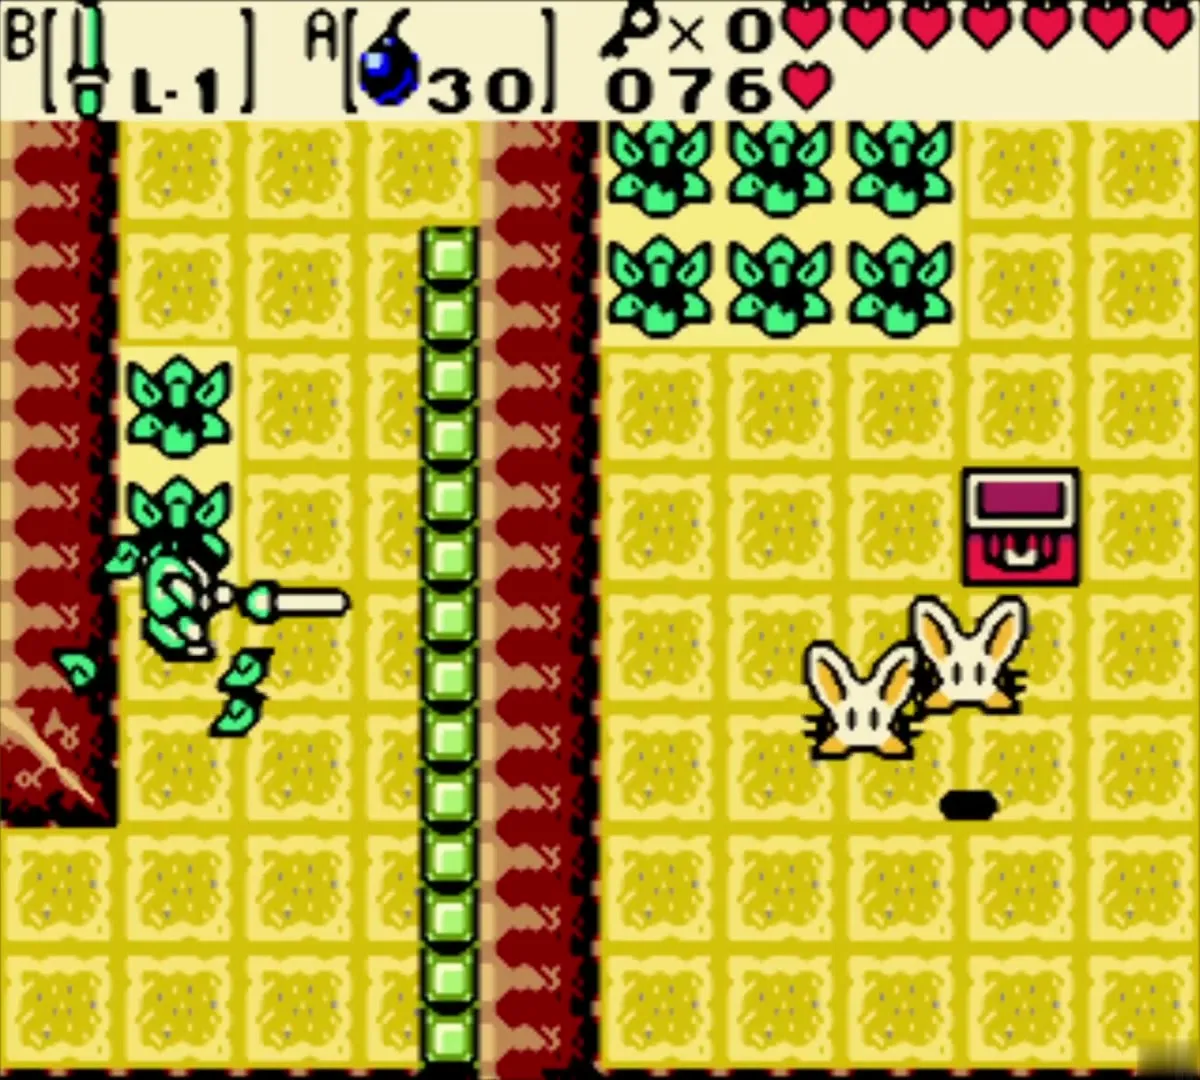
Return to the basement, clear the Mini-Moldorm with a Bomb thrown over the fence and take the south door to a room with a crystal switch behind a fence. Throw a Bomb so it explodes beside the switch, which wakes an Armos statue. Bomb the Armos and open the chest it guarded to take the Compass, which shows where the chests are. Climb back to the ground floor.
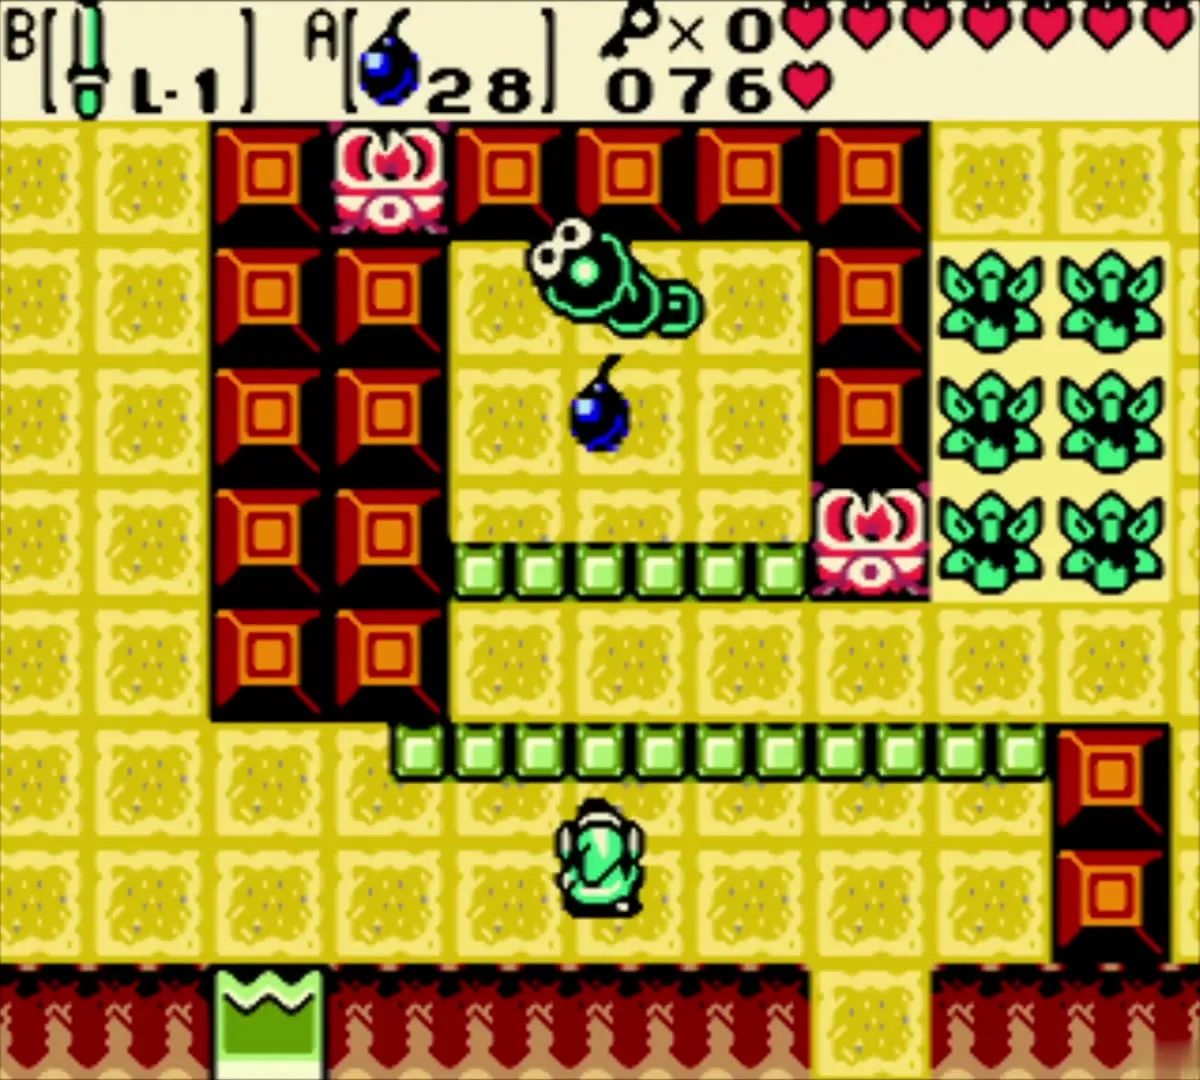
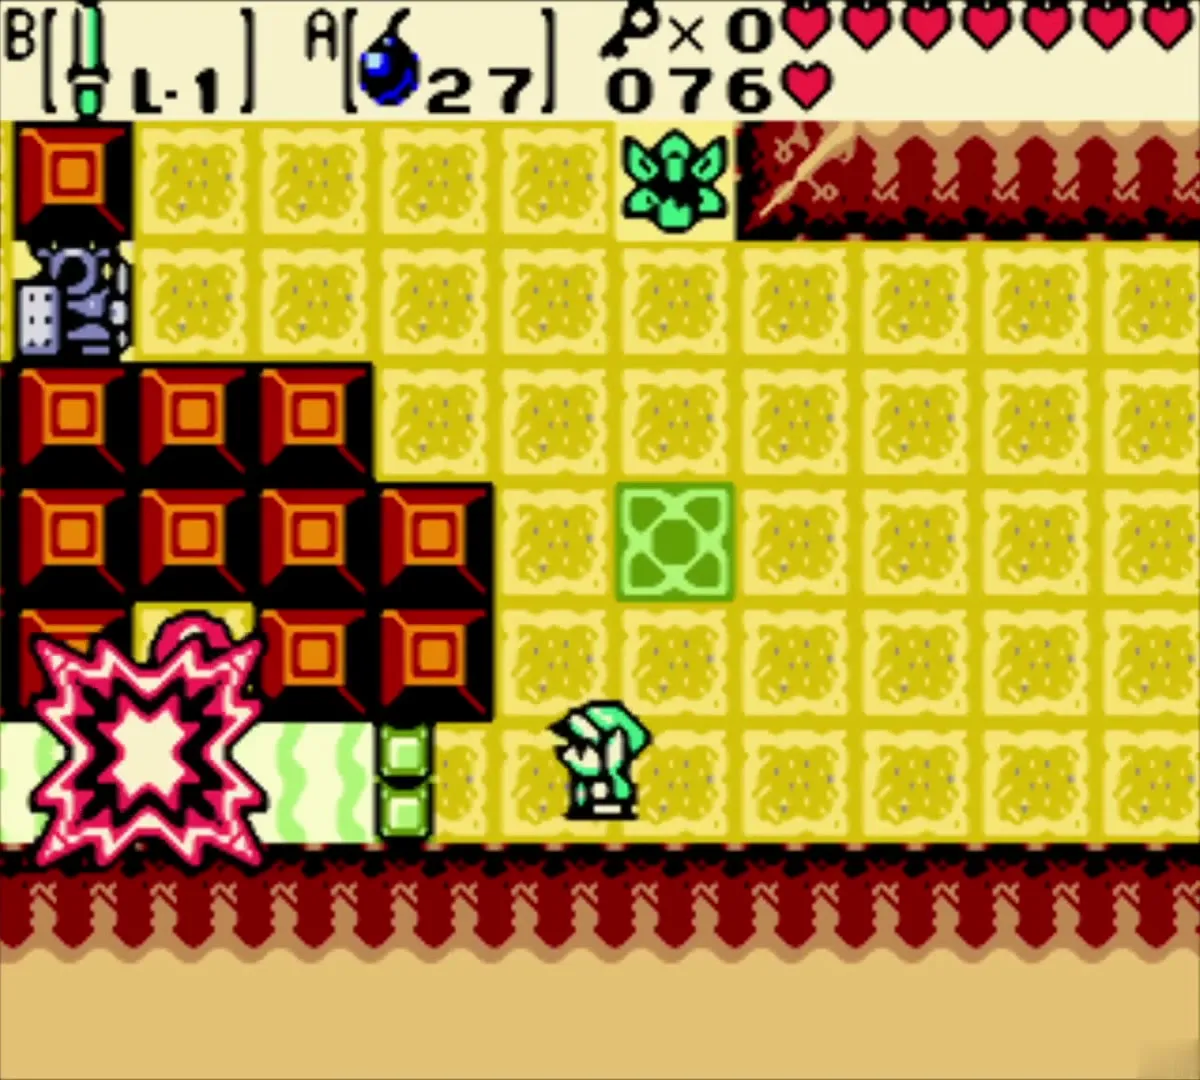

Small Key 2
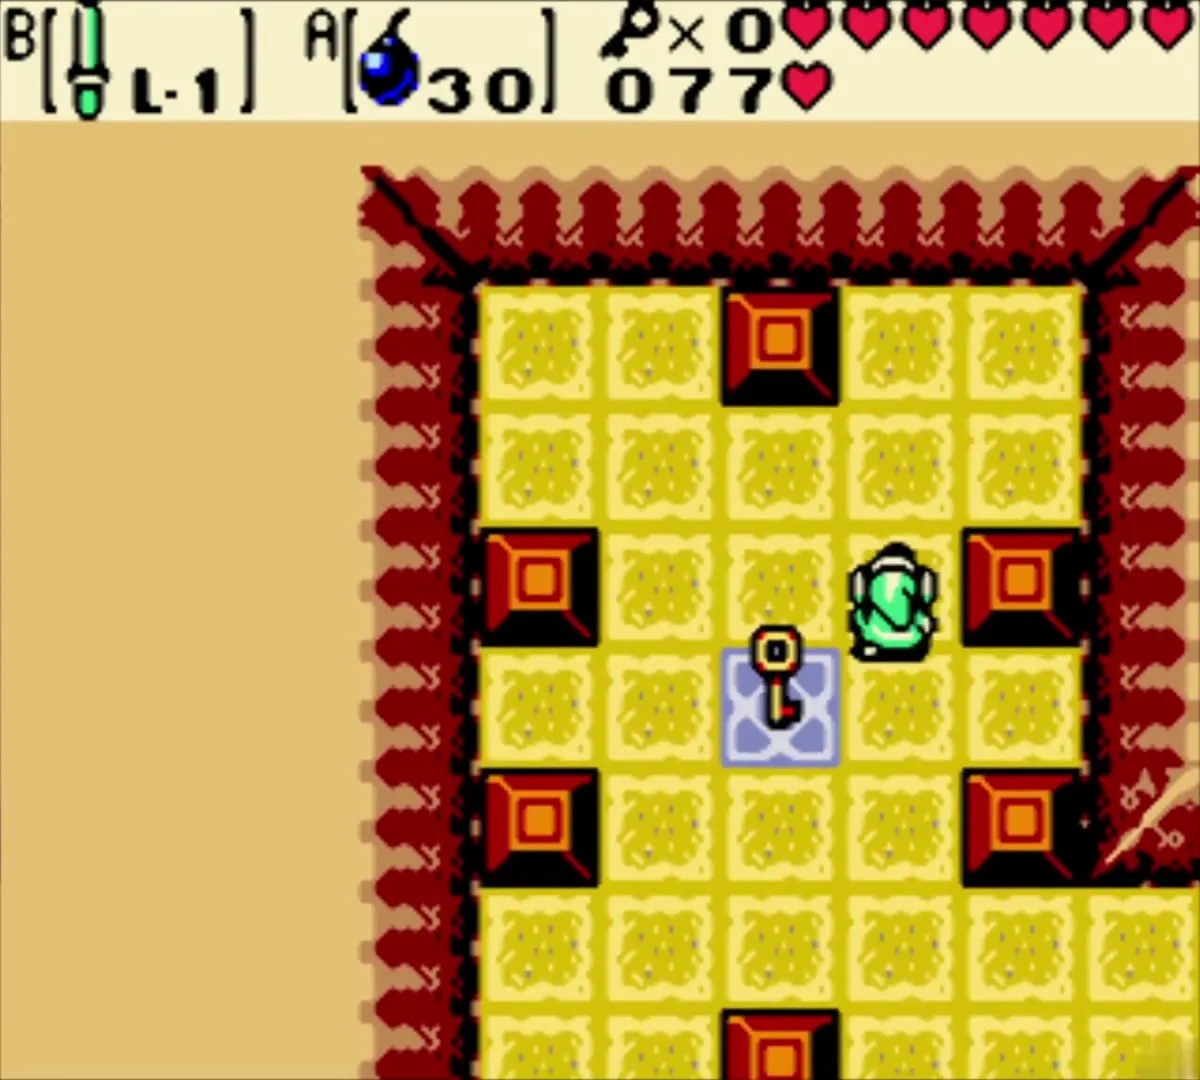
Go west on the ground floor and push the upper blocks until they match the diamond pattern of the lower ones. A second Small Key drops. Collect it and jump off the ledge to return to the turntable from the west side.


Armos statues and Small Key 3
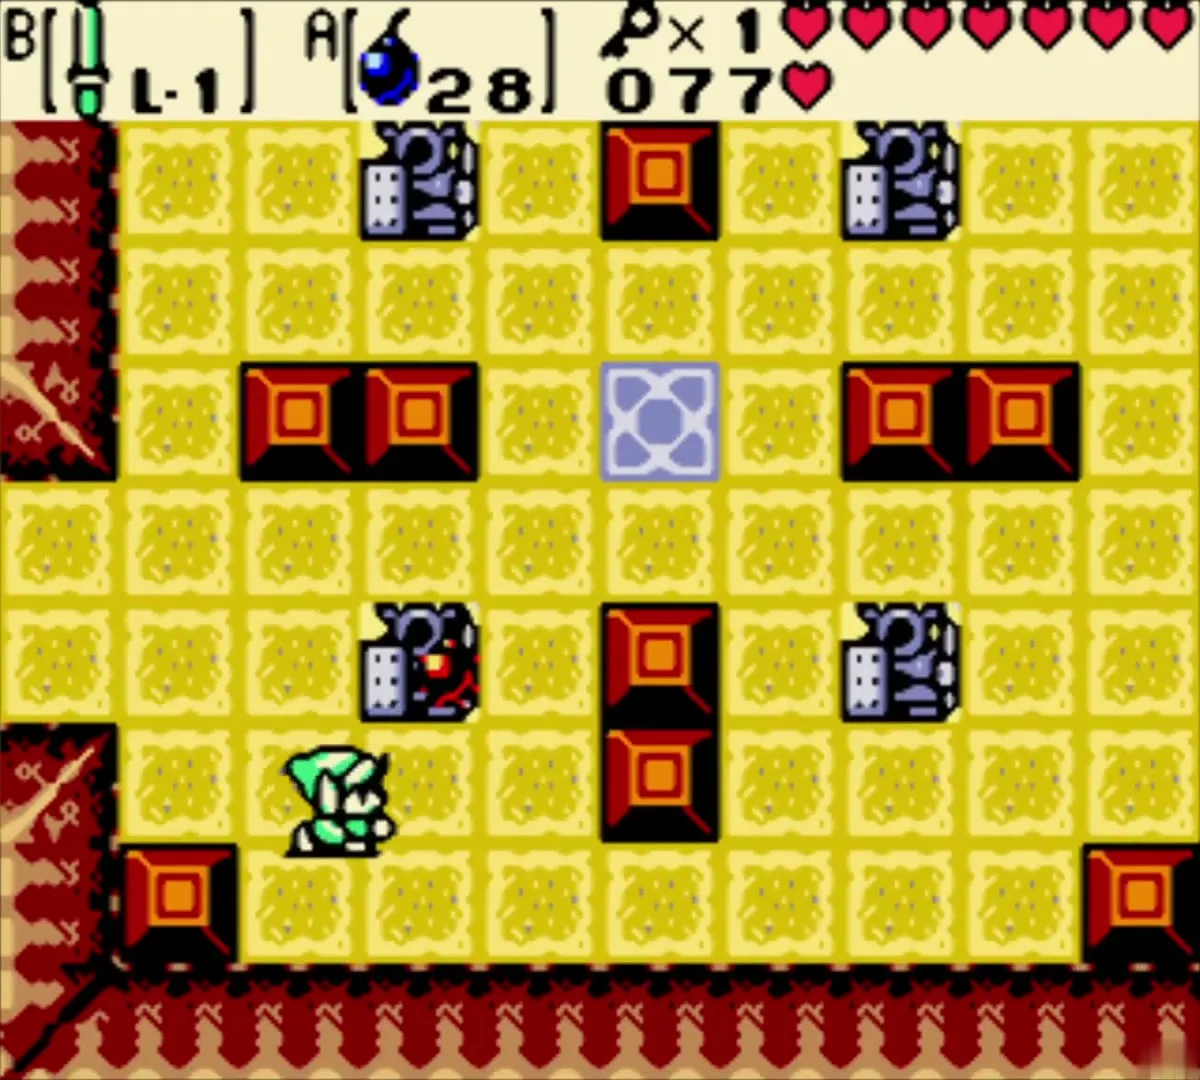
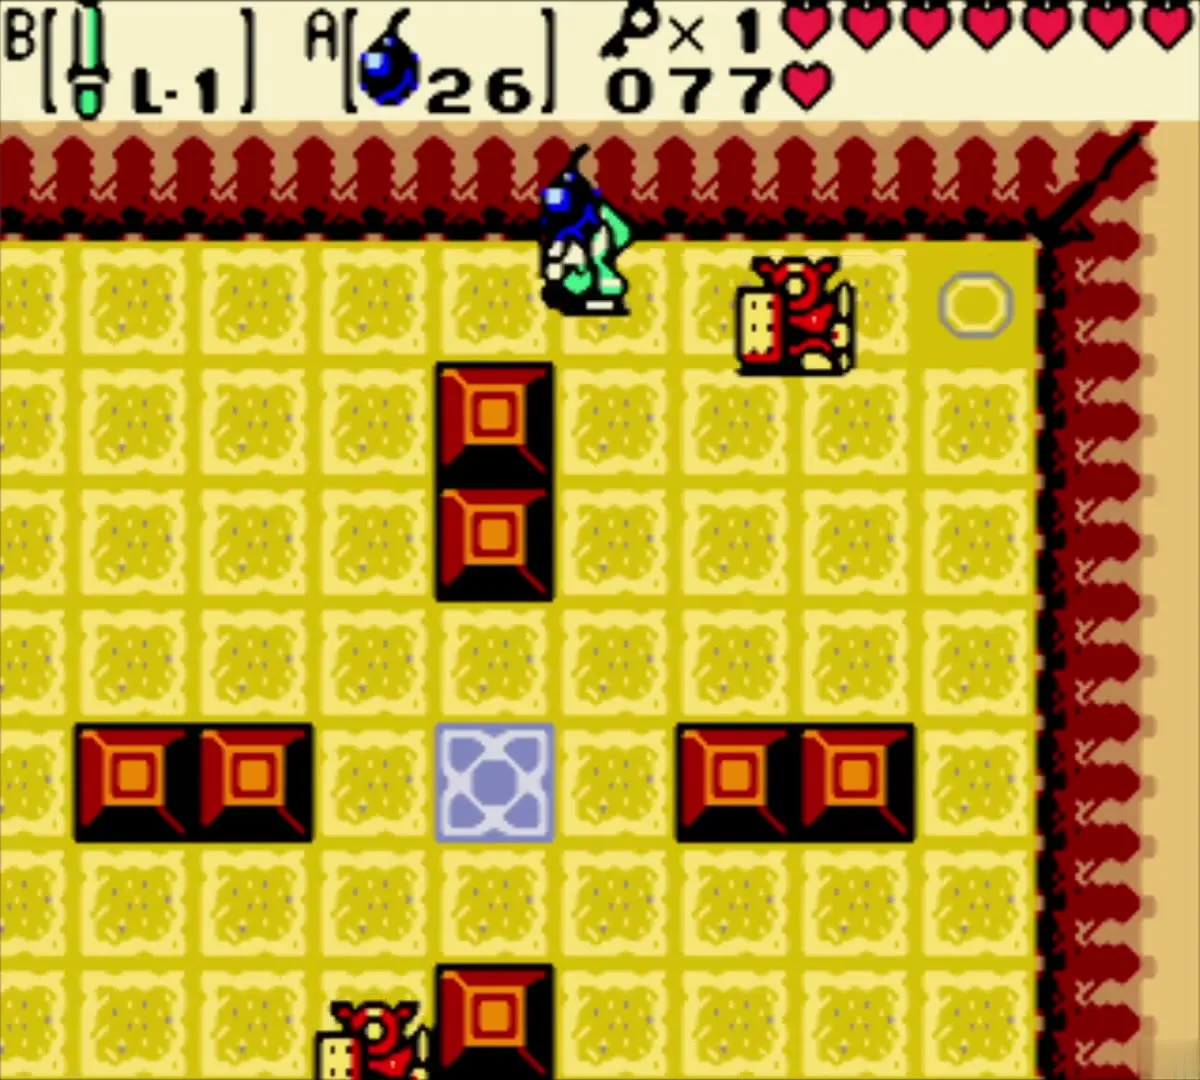
Ride the turntable while it points south, return to it from the west again and the next ride points north. Like Likes in the room ahead eat your shield, so bomb them from a distance. Step on the switch at the right to wake four Armos statues. A hint reminds you that stone soldiers do not fear swords, so kill them with Bombs or Scent Seeds. When the last one falls, a Small Key appears on the blue pad in the middle of the room. Take it and go back west to open the locked door.

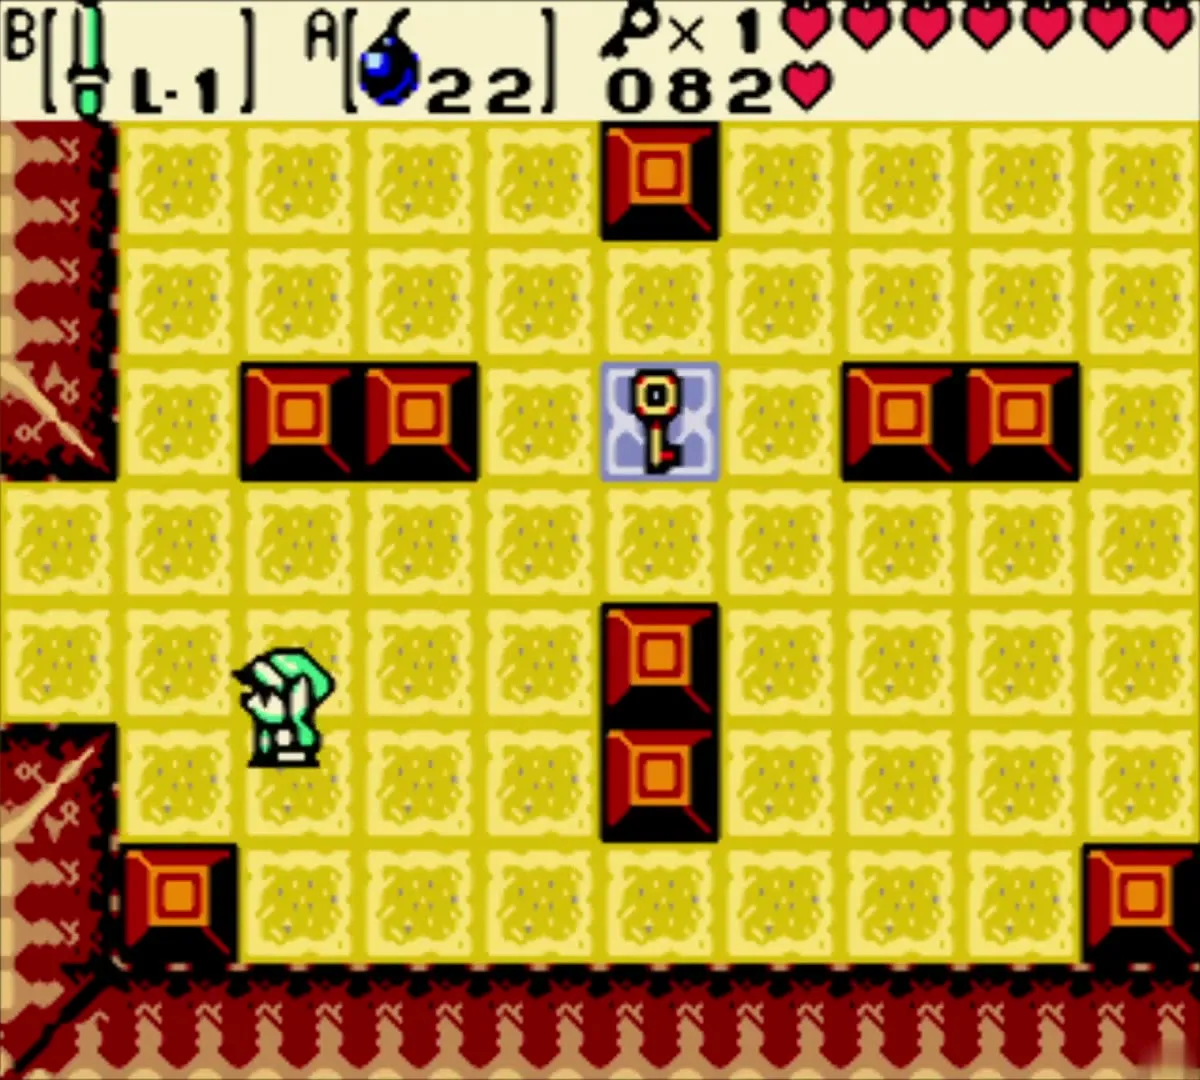
Seed Shooter

Flying tiles and 30 Rupees
Beyond the door, hold your shield against the Flying Tiles and kill the Zols and Gels until every tile is spent and the doors unlock. Follow the passage to a chest holding 30 Rupees.

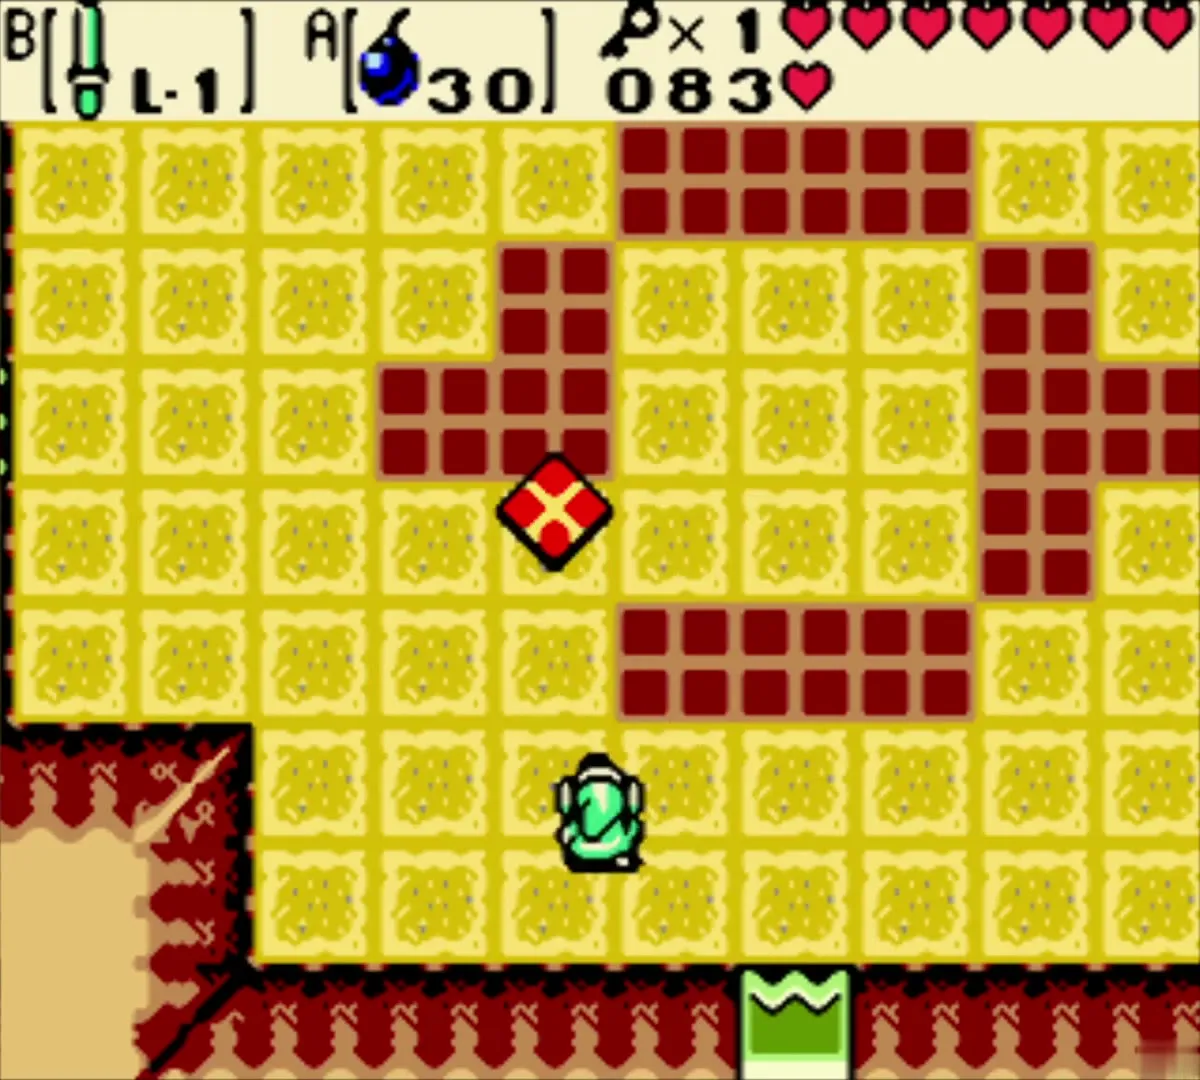

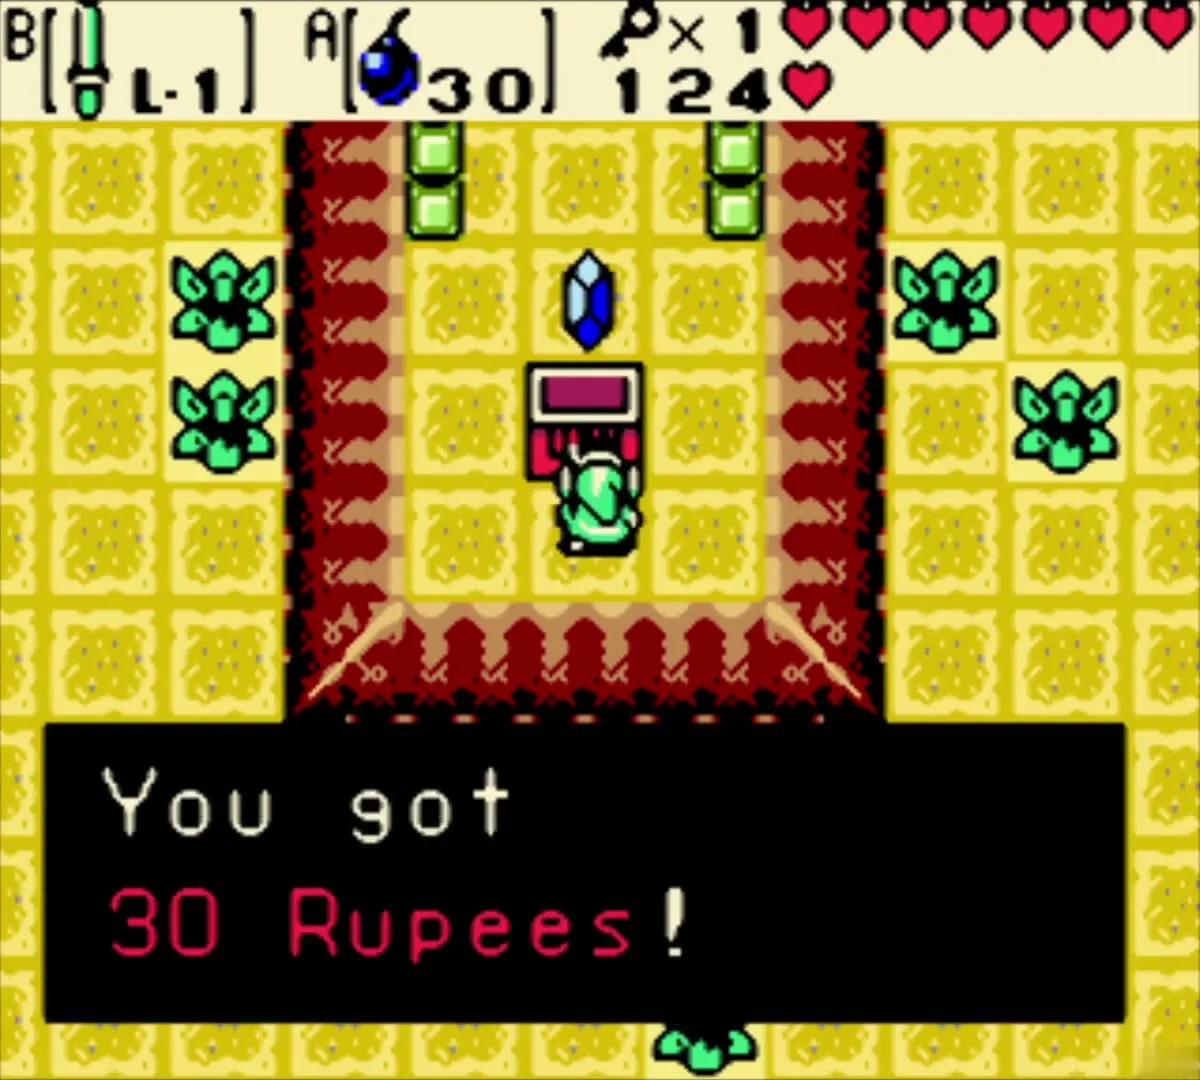
Take the Seed Shooter
Open the next locked door and make your way to the room where a red diamond switch is set in the floor. Step on it and a chest appears on the green pad, or defeat the enemies in the room if it does not. It holds the Seed Shooter, the dungeon item of Level 3. Equip it, pick a seed type, and each seed will ricochet off walls at the angle you aim.
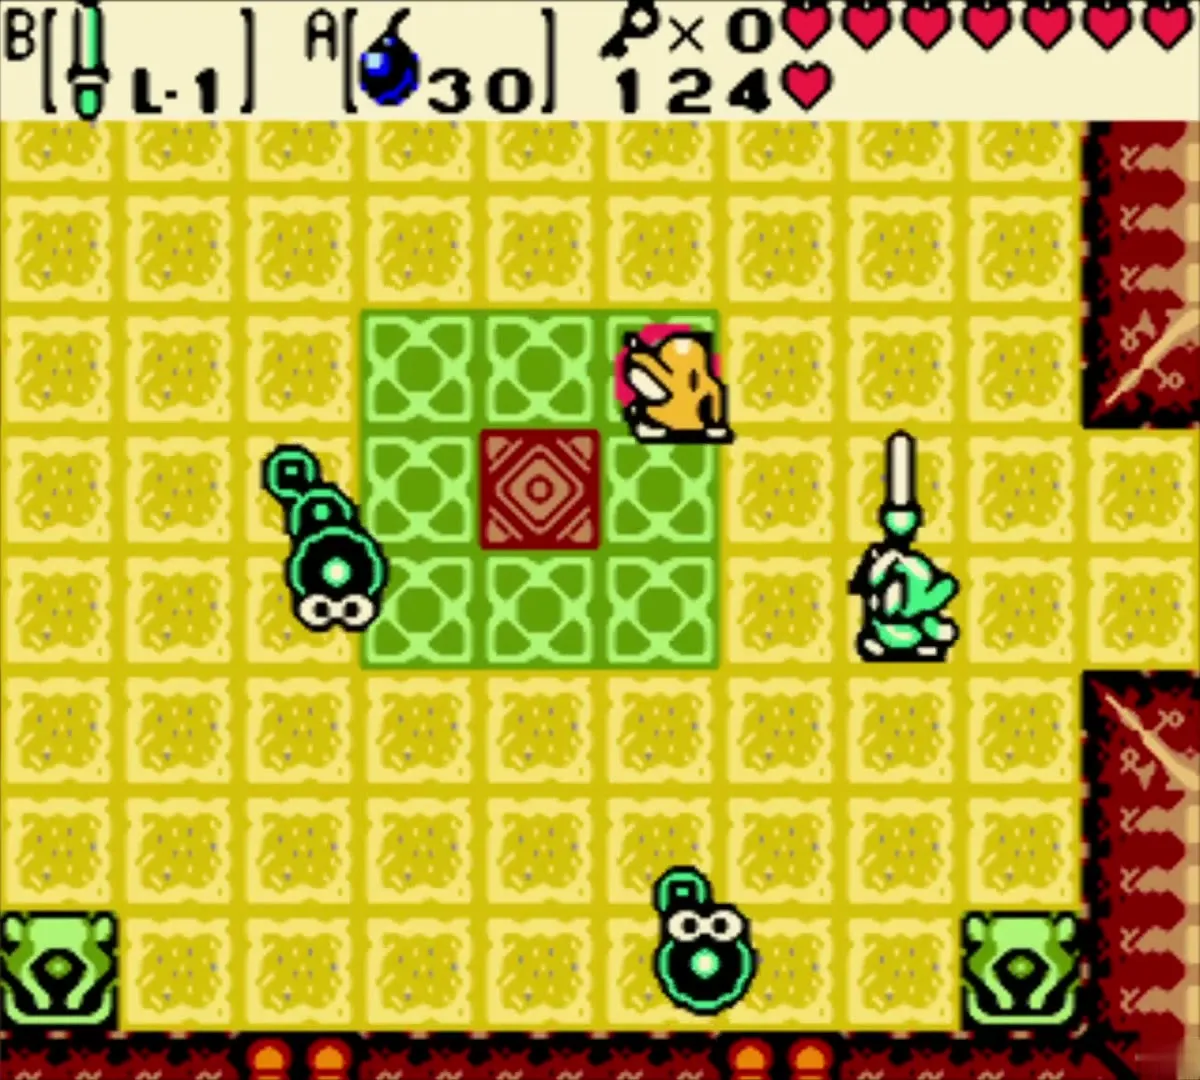
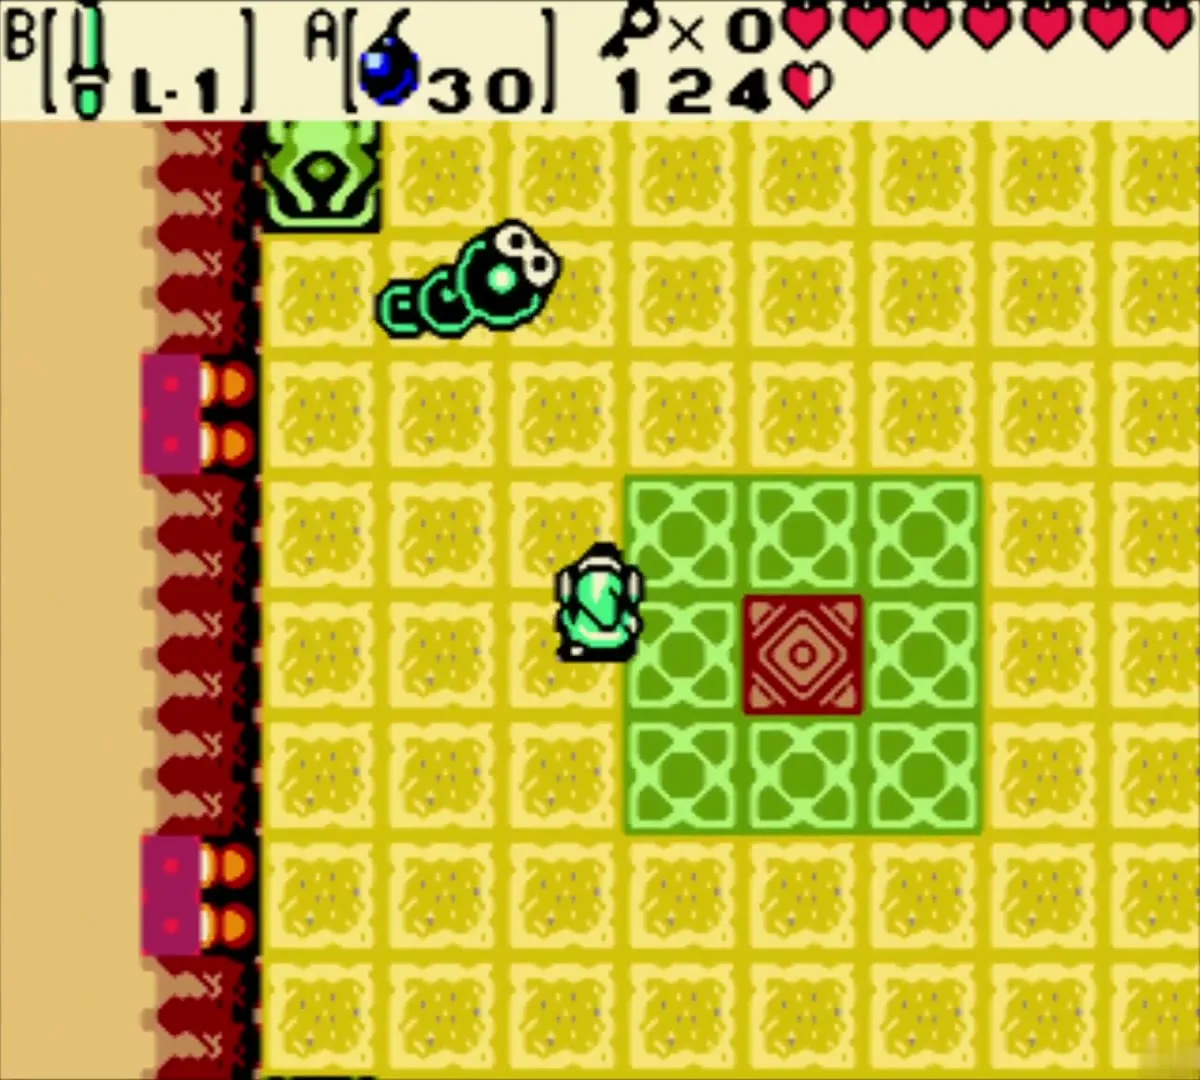
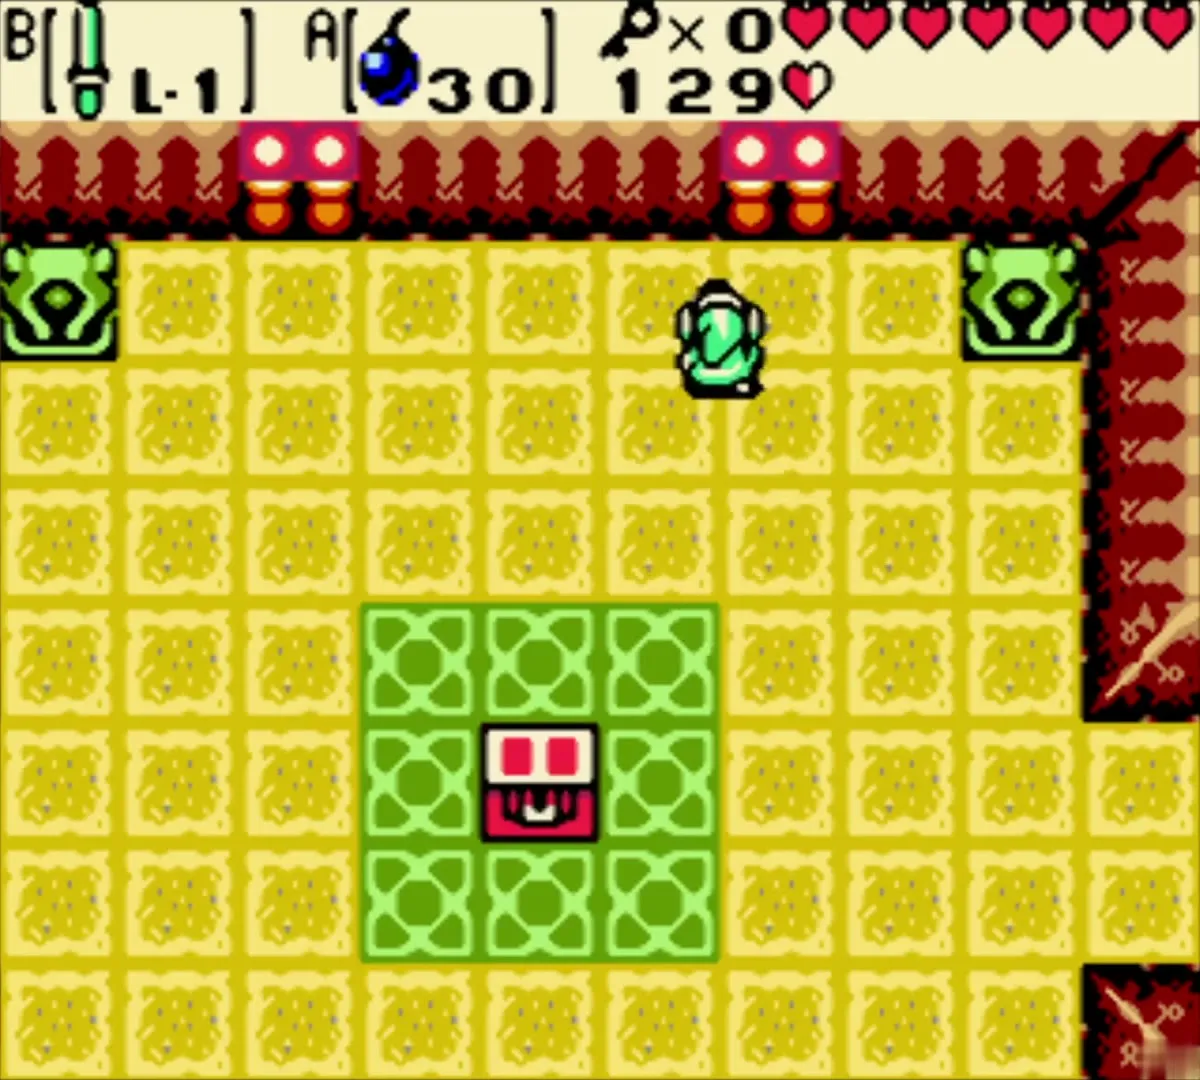

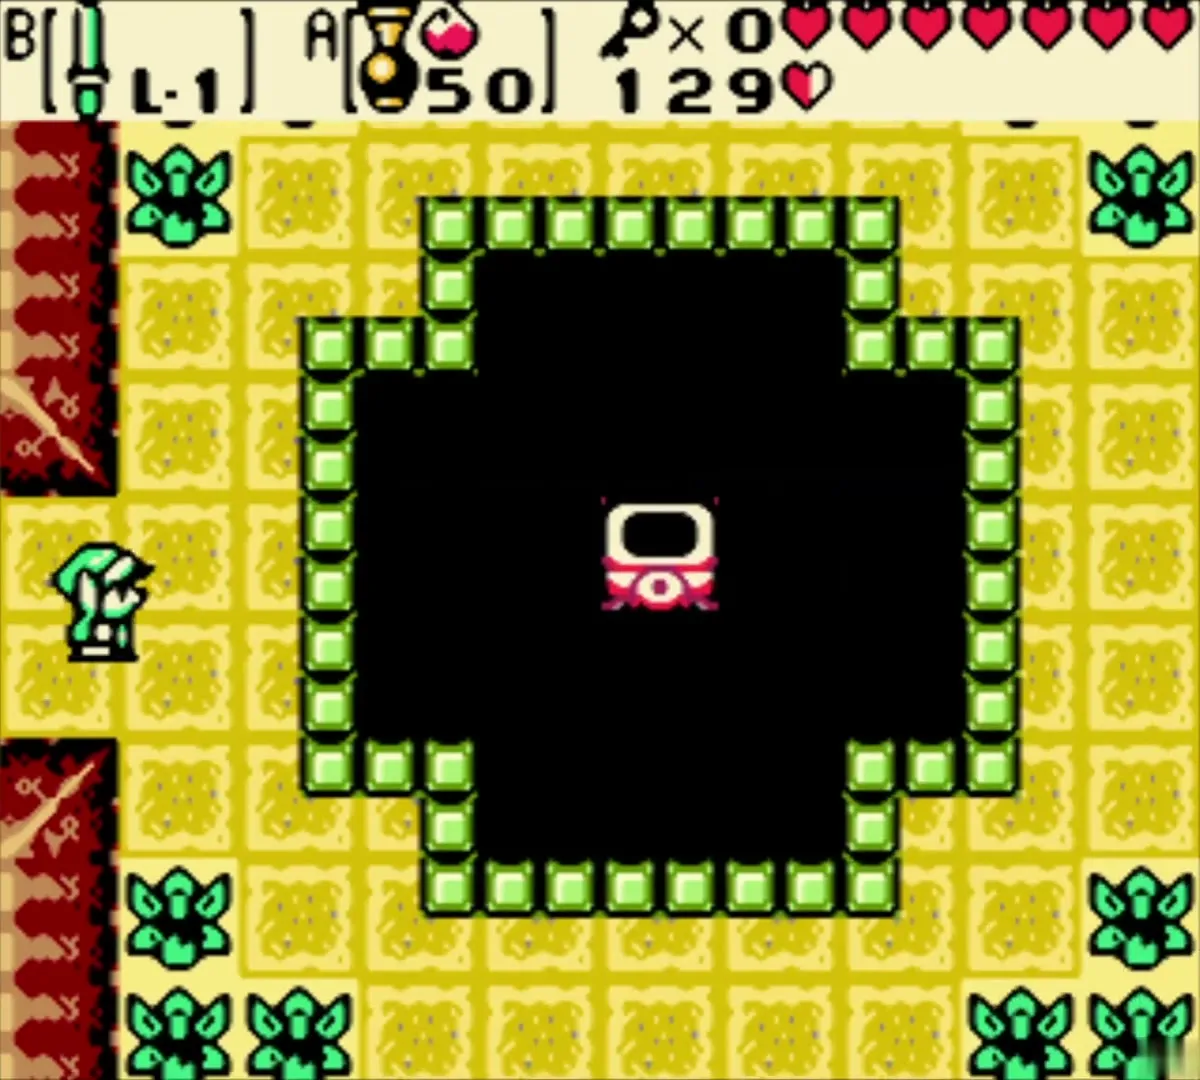
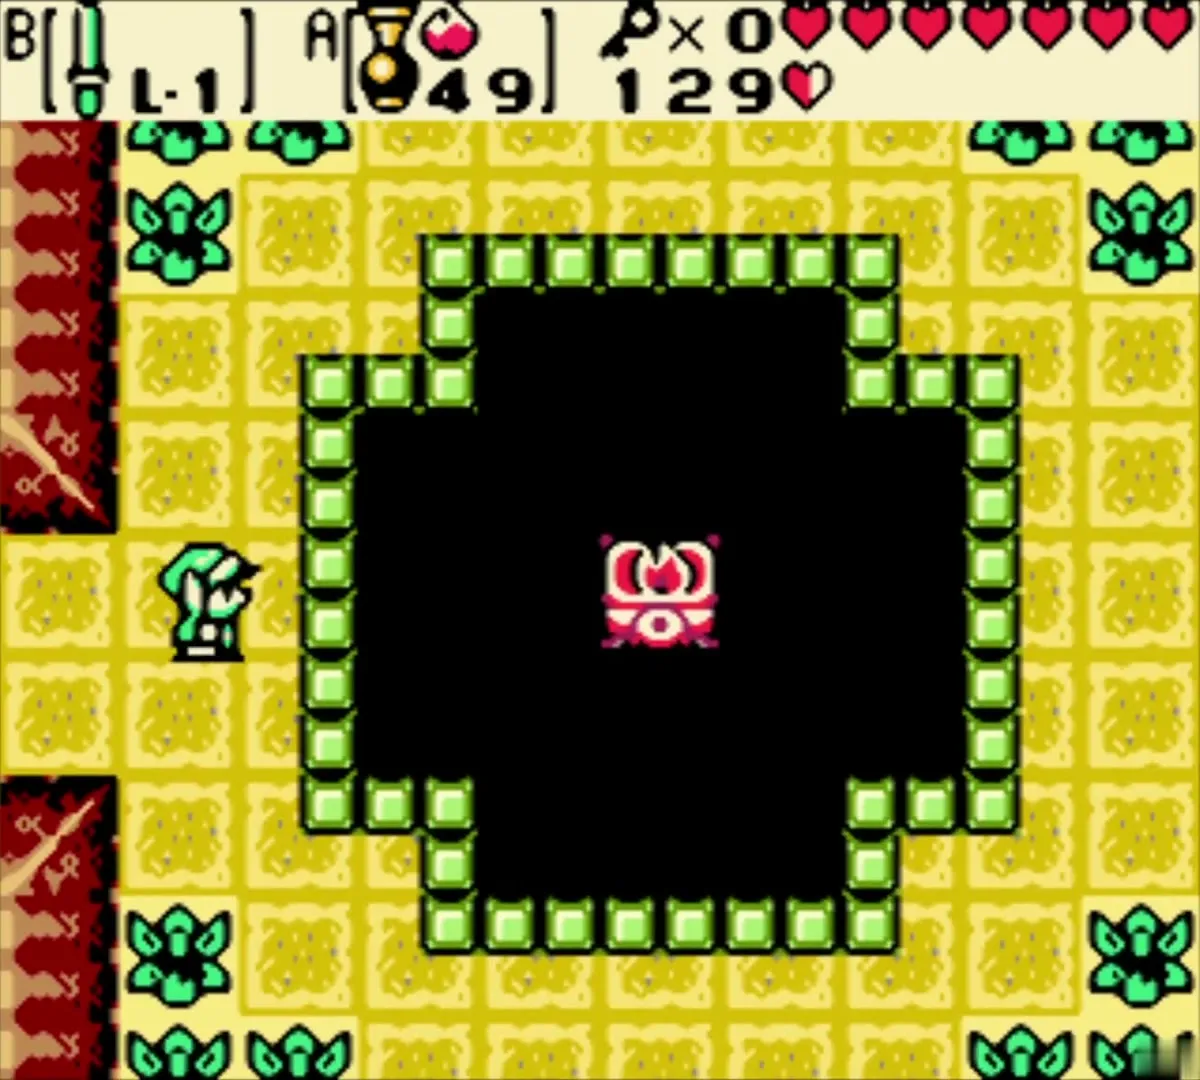
Fire an Ember Seed from the Seed Shooter at the torch in the middle of the torch room to light it and open the south door.
Fourth crystal and two Gasha Seeds
Fourth crystal
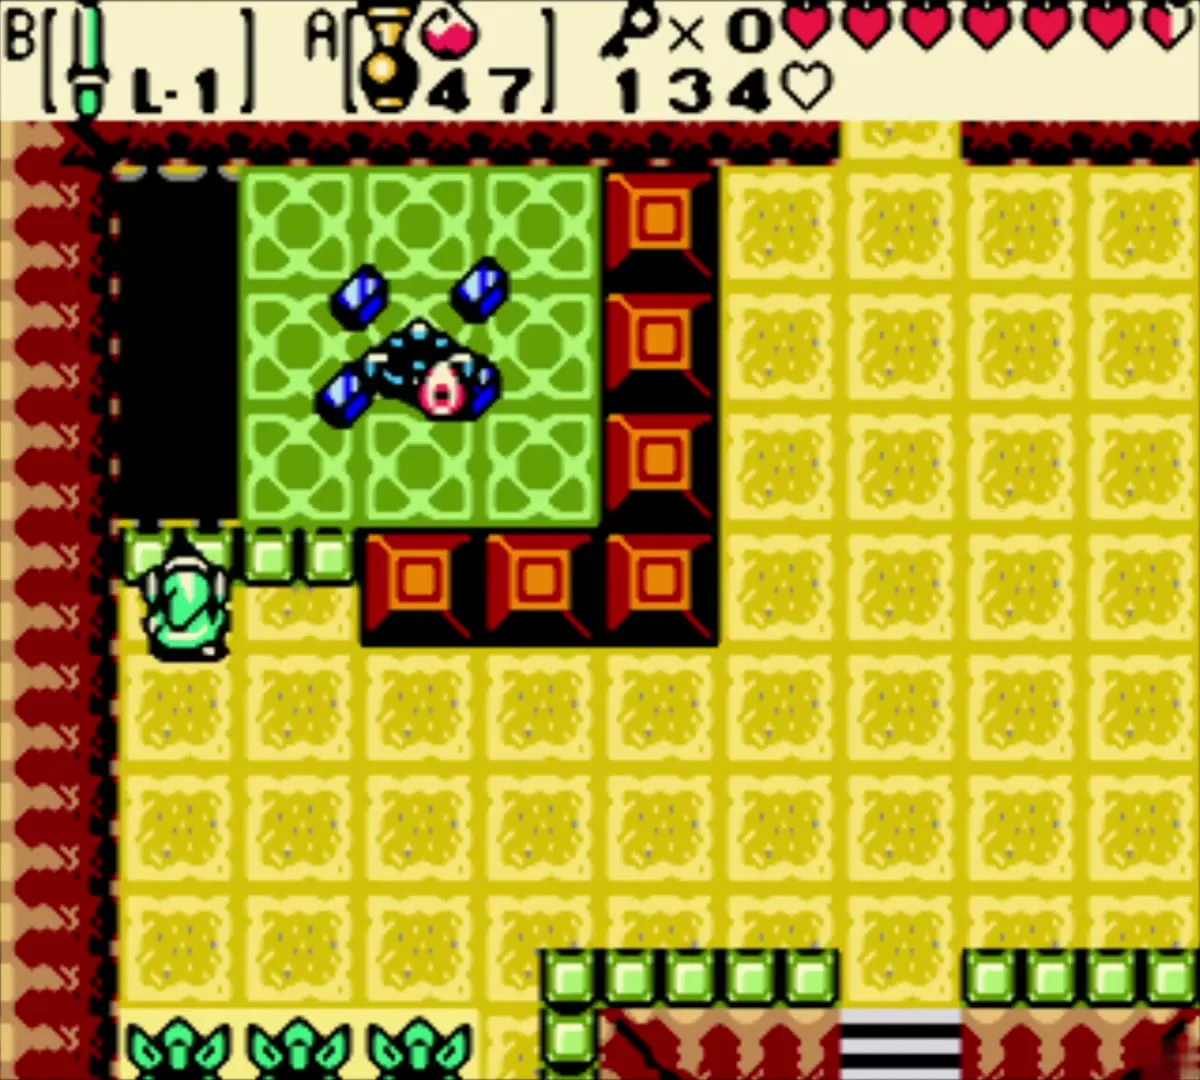
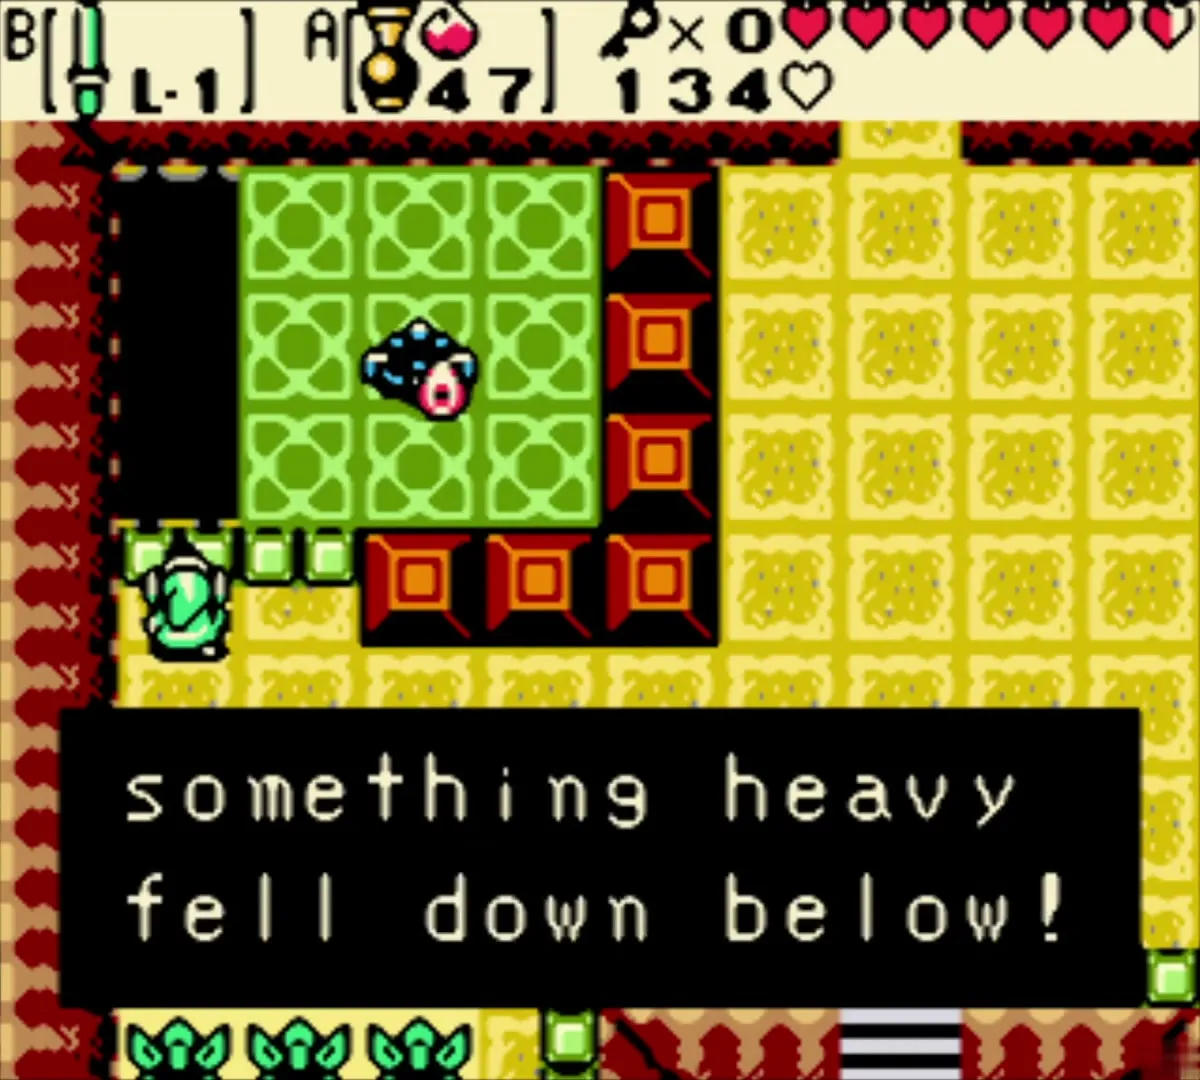
Work around to the room with the fourth crystal. From behind the short wall, aim the Seed Shooter diagonally so the seed reaches the crystal, and break it. The turntable room now collapses and the turntable falls to the basement; a chest takes its place.


First Gasha Seed
Open the chest where the turntable stood to receive a Gasha Seed. Plant it in soft soil later; Gasha Seeds explains how to grow Gasha Nuts.
Second Gasha Seed
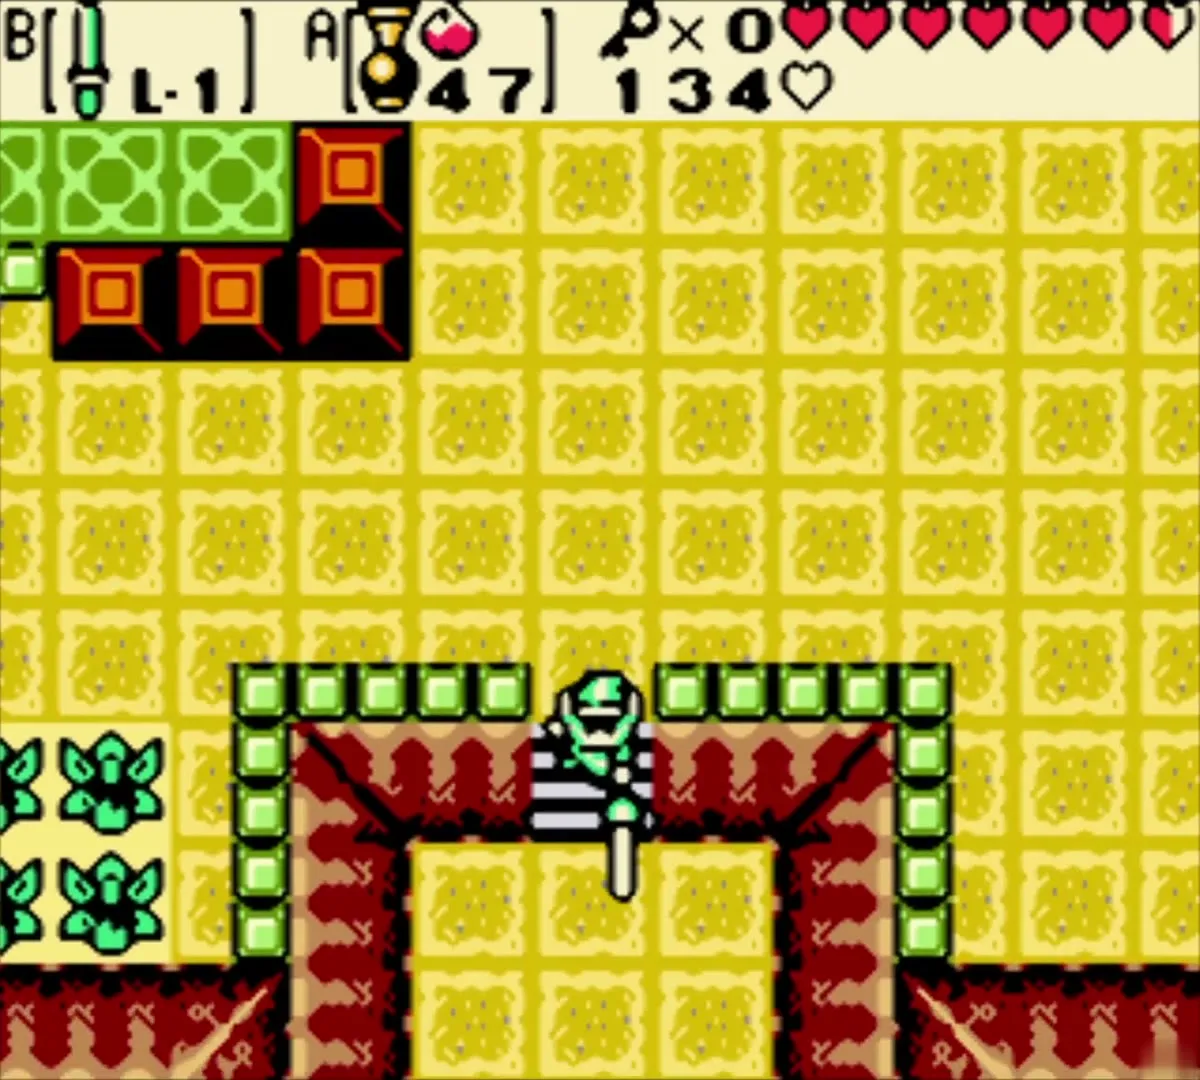
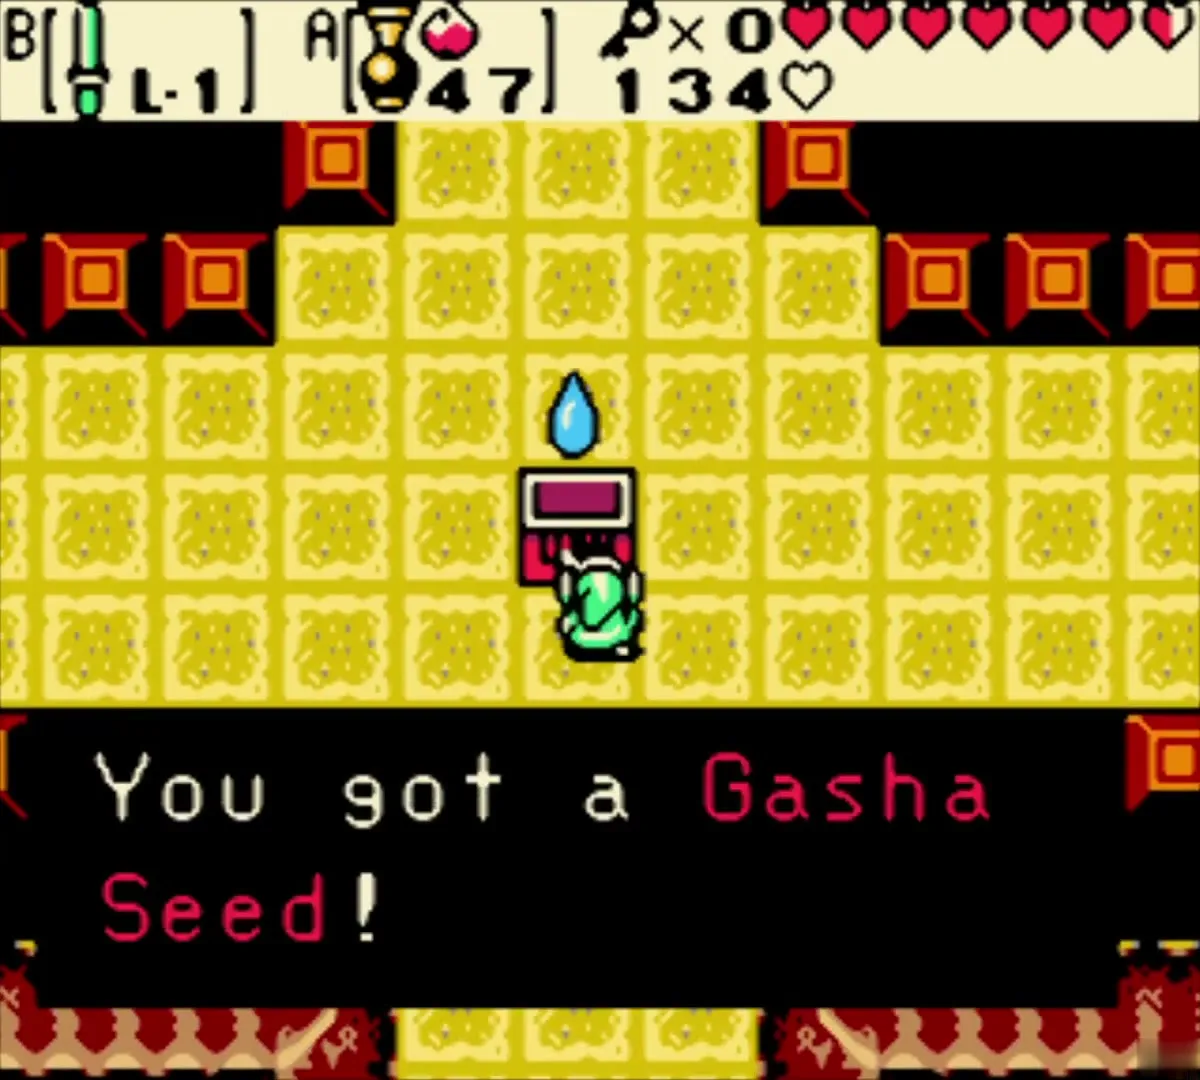
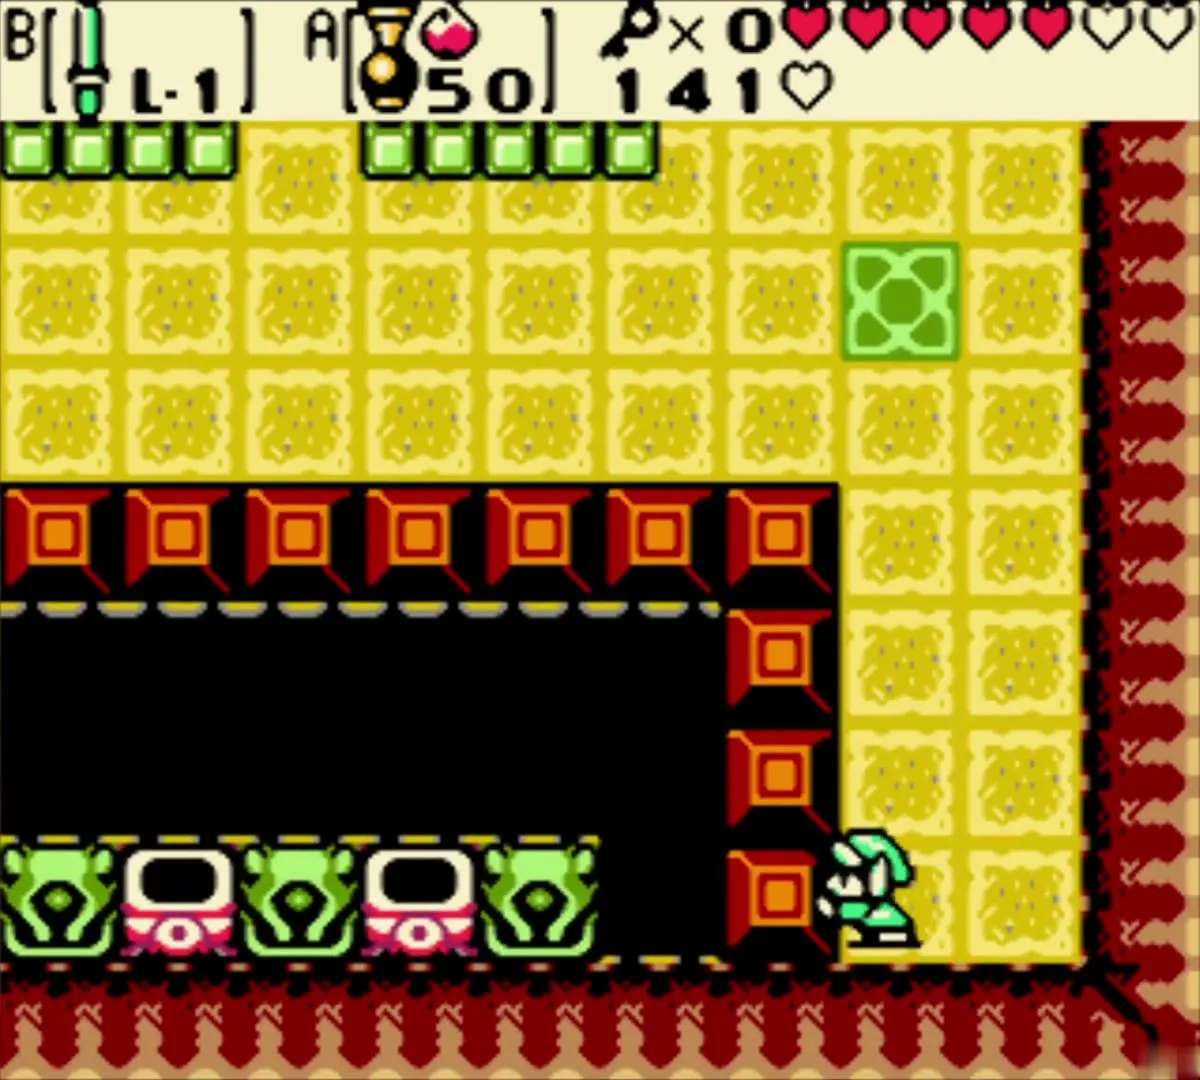
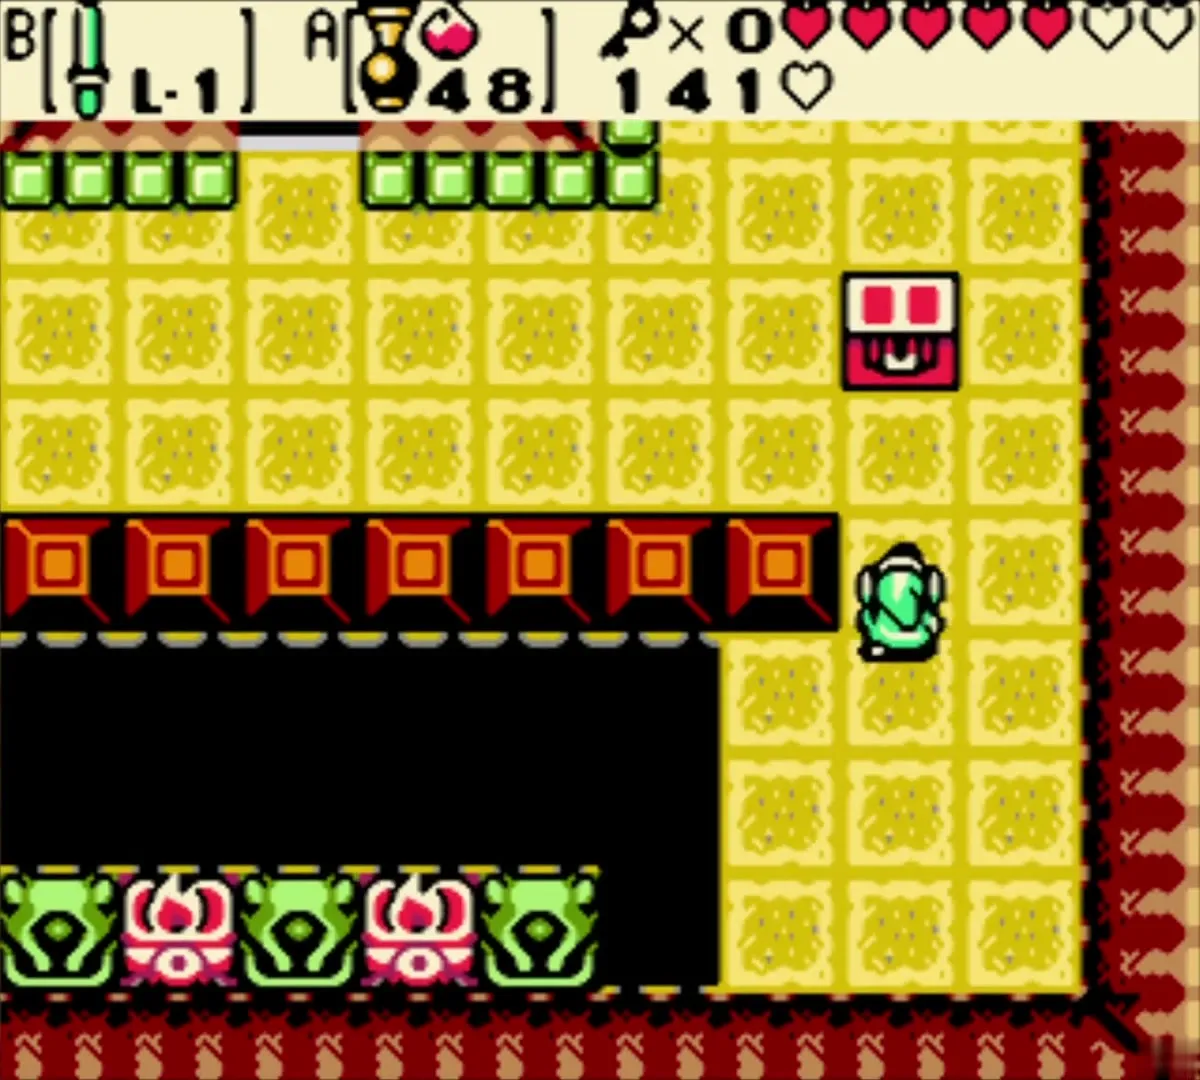
Jump down the hole to the basement and go east. The fallen turntable opens new rooms. In the south room, push the three blocks on the east side into the pit, then light two torches with Ember Seeds, standing near the edge and aiming diagonally so they bounce in. A second chest appears with another Gasha Seed.



Mini-boss: Subterror
Dig it up and strike
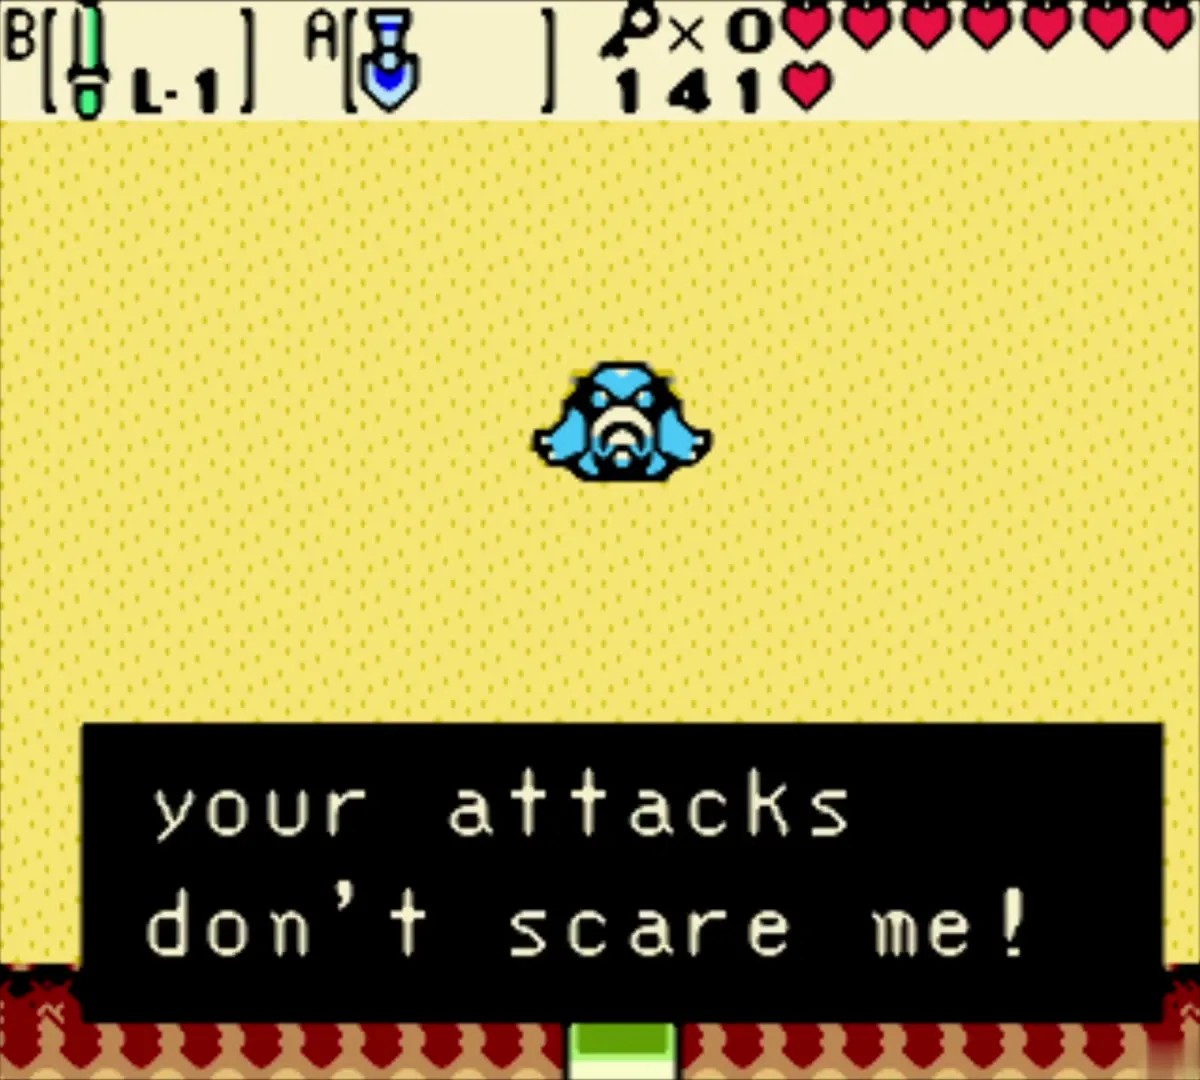
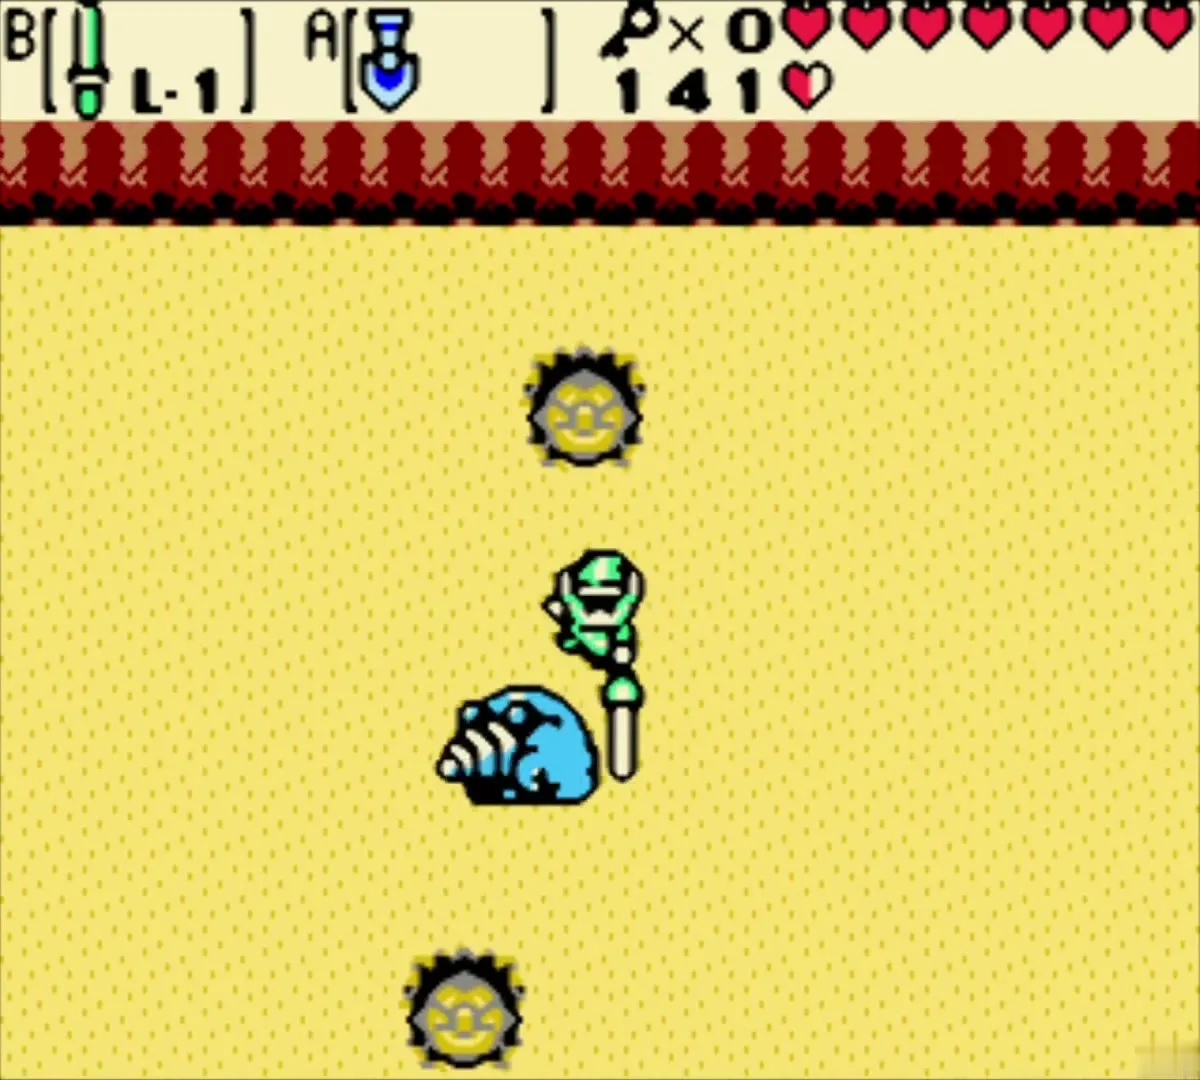
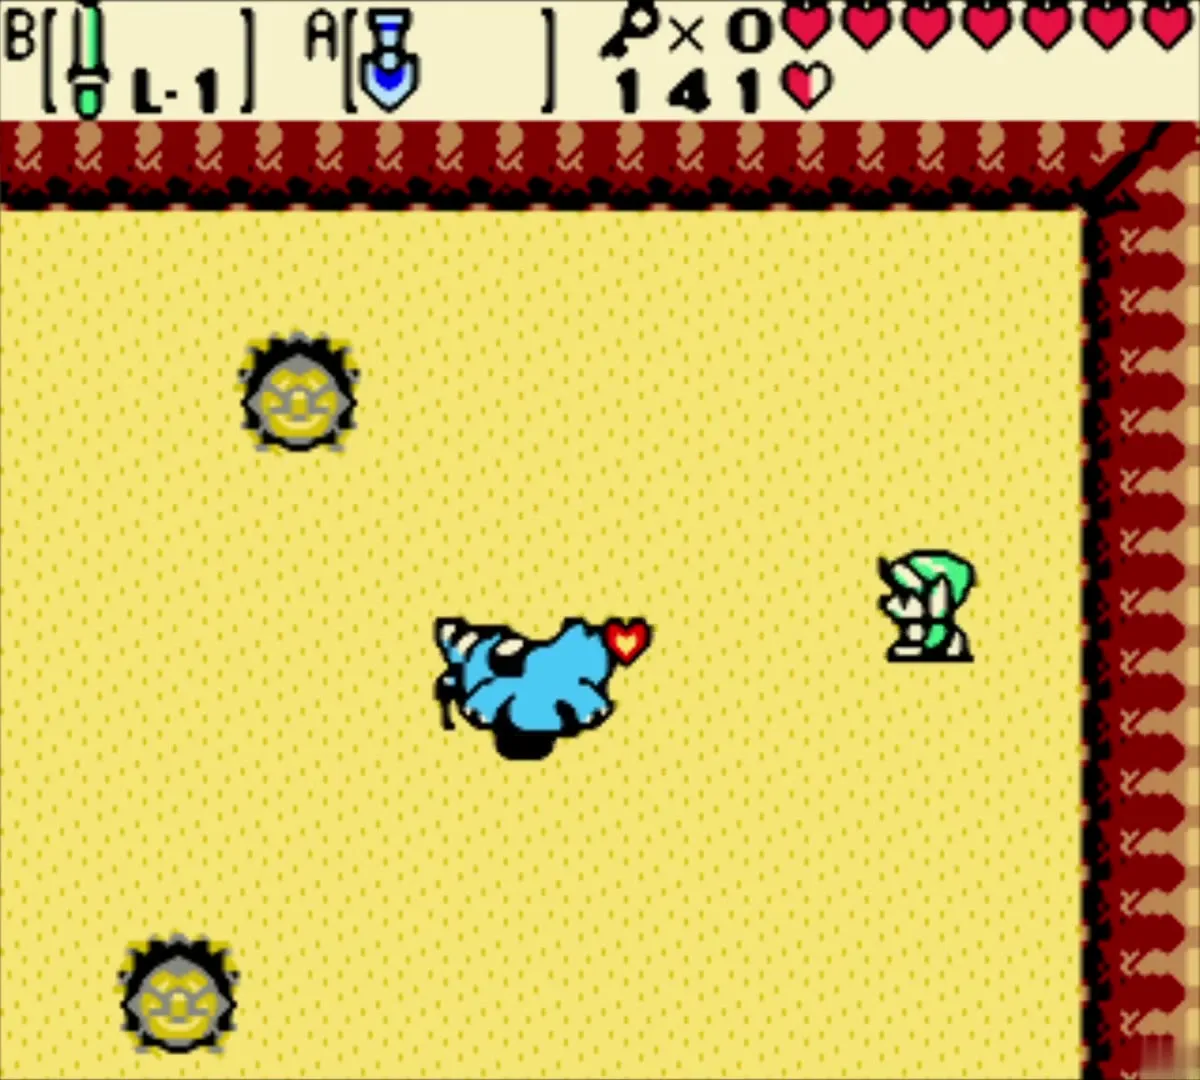
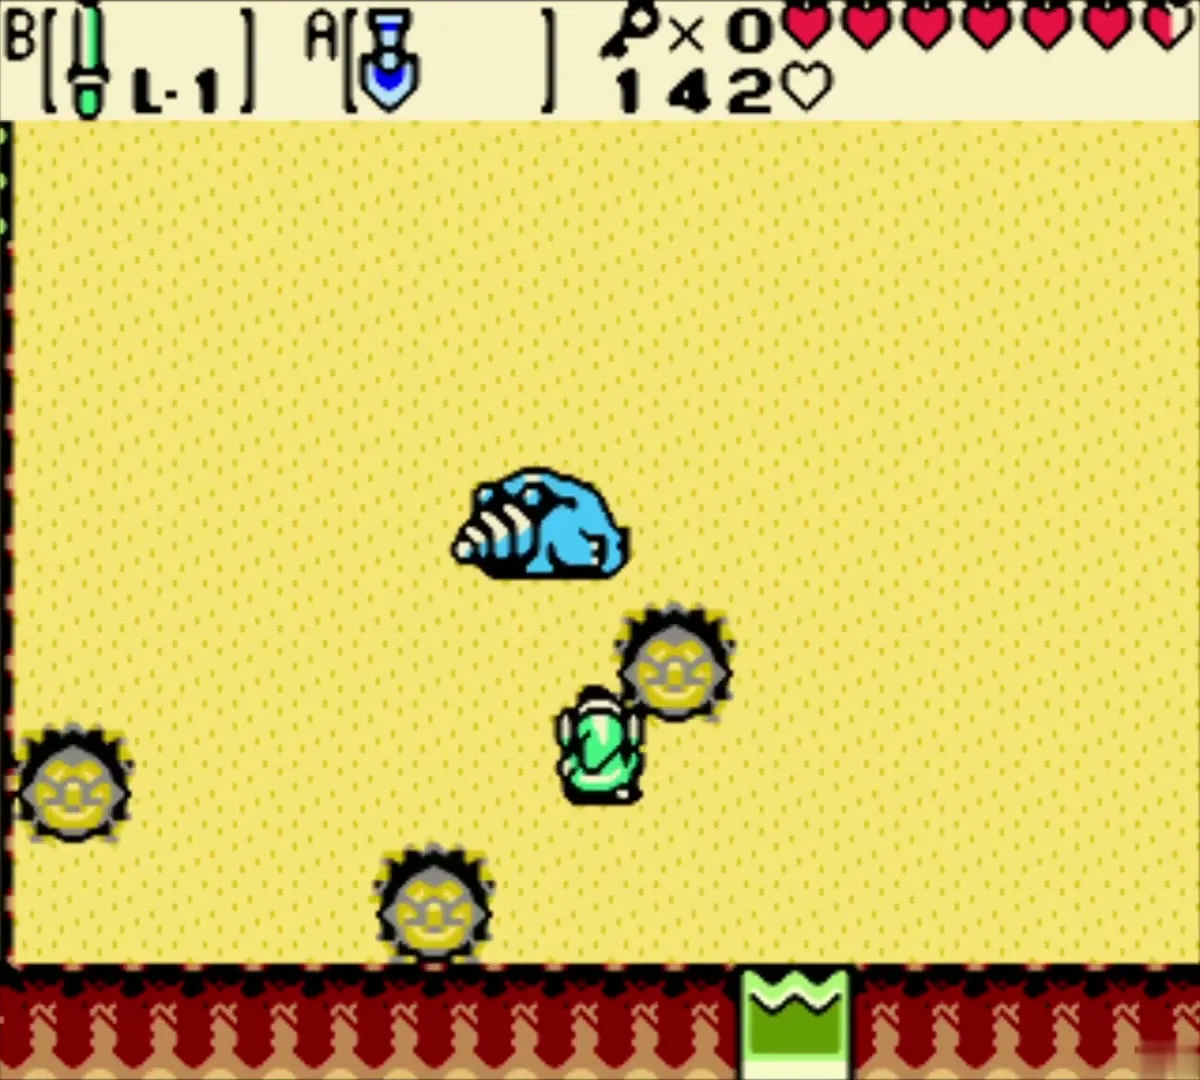
Ride the turntable north to a sand-floored room, where Subterror waits. It hides underground, and your sword does nothing until it surfaces. Equip the Shovel and sword, dig where it moves, and slash it while it is stunned. Each hit makes it faster, so dig quickly or it drills up and bites you. A few hits finish it.
Small Key 4, 20 Rupees and the Boss Key
Small Key 4
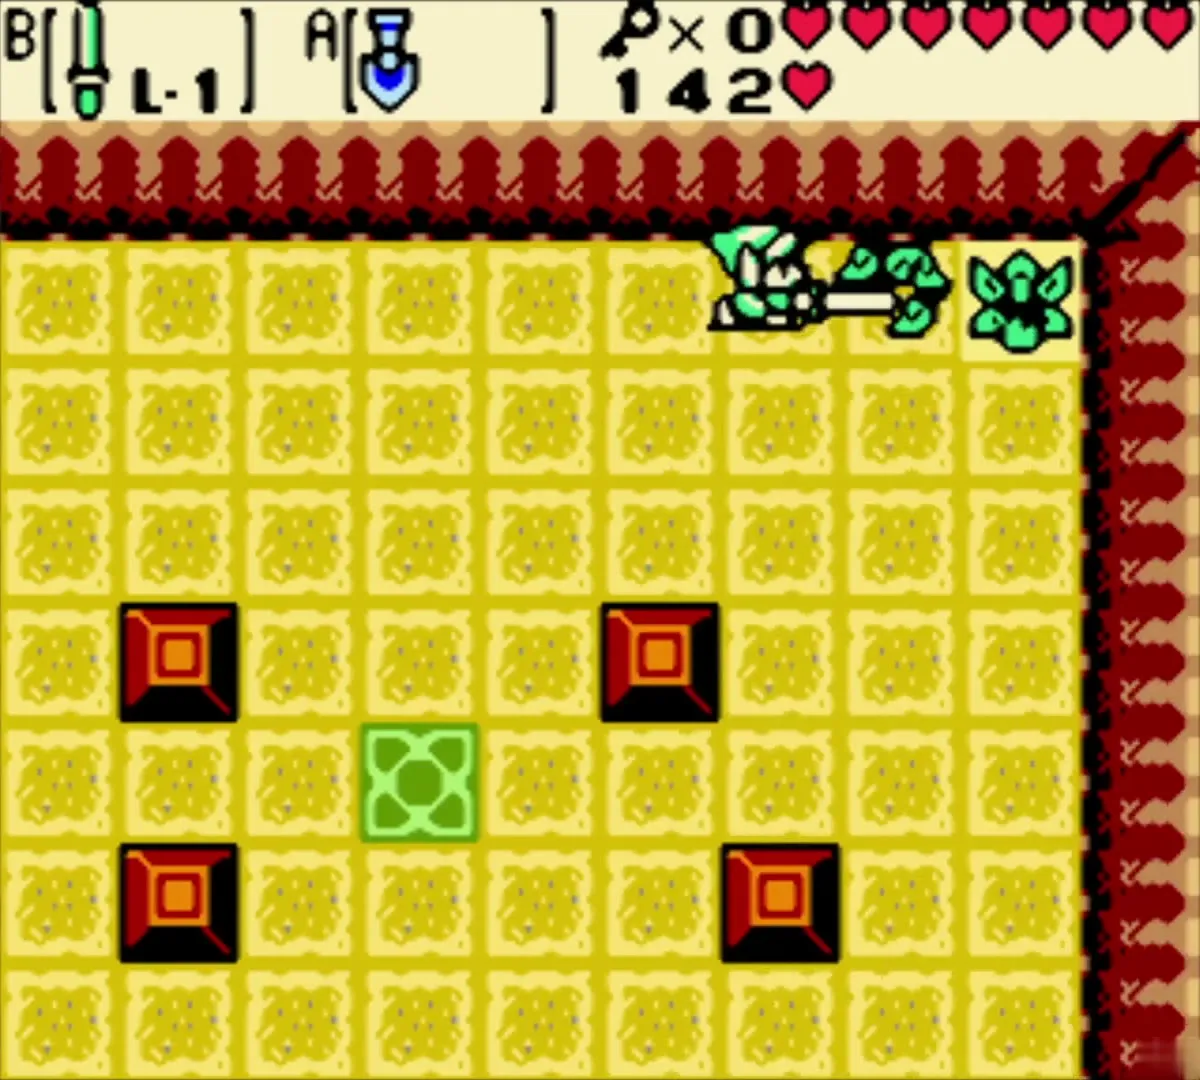
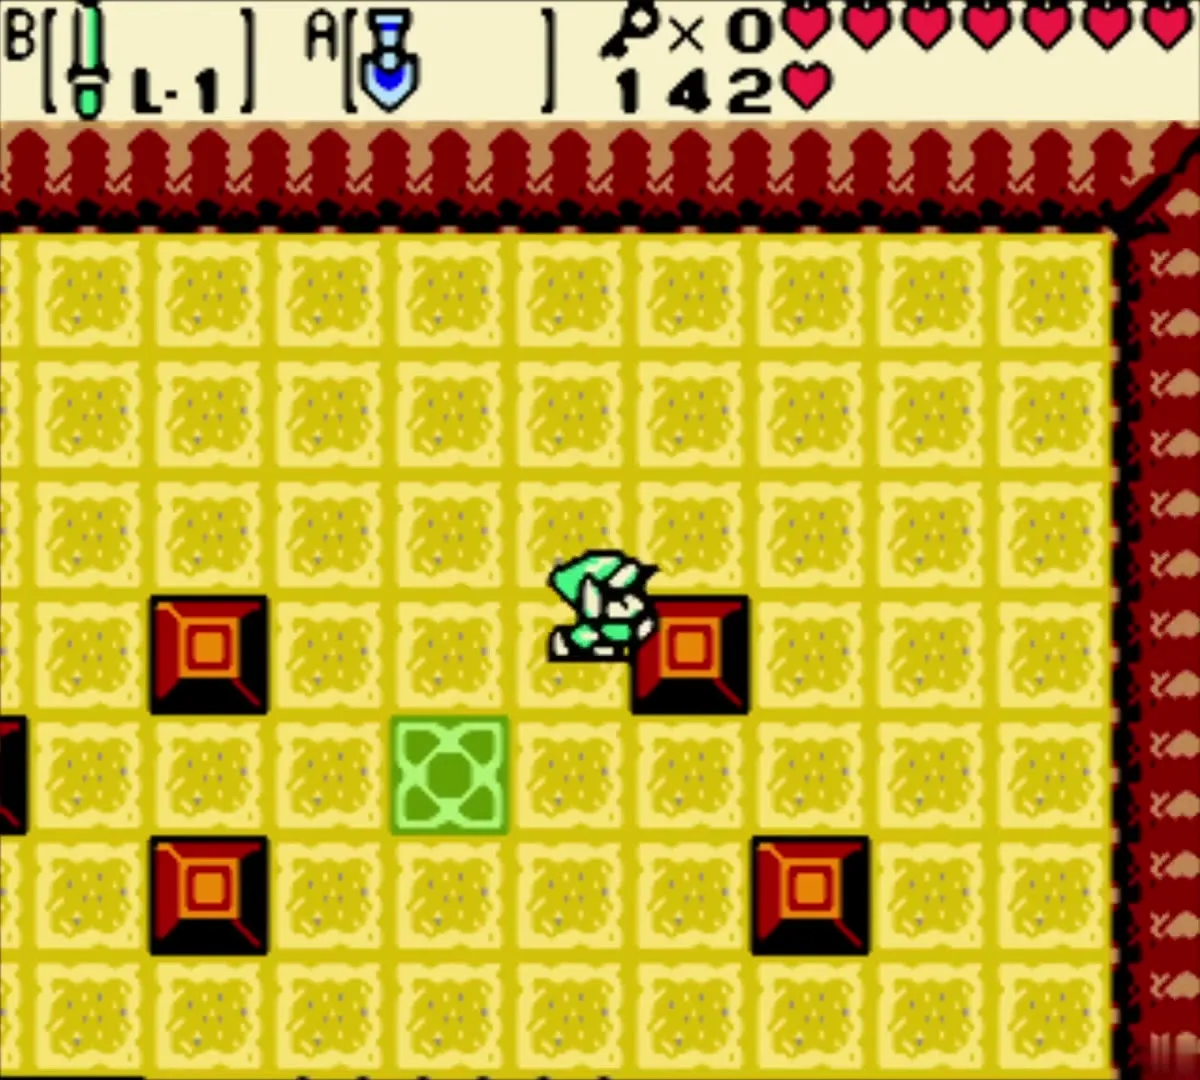
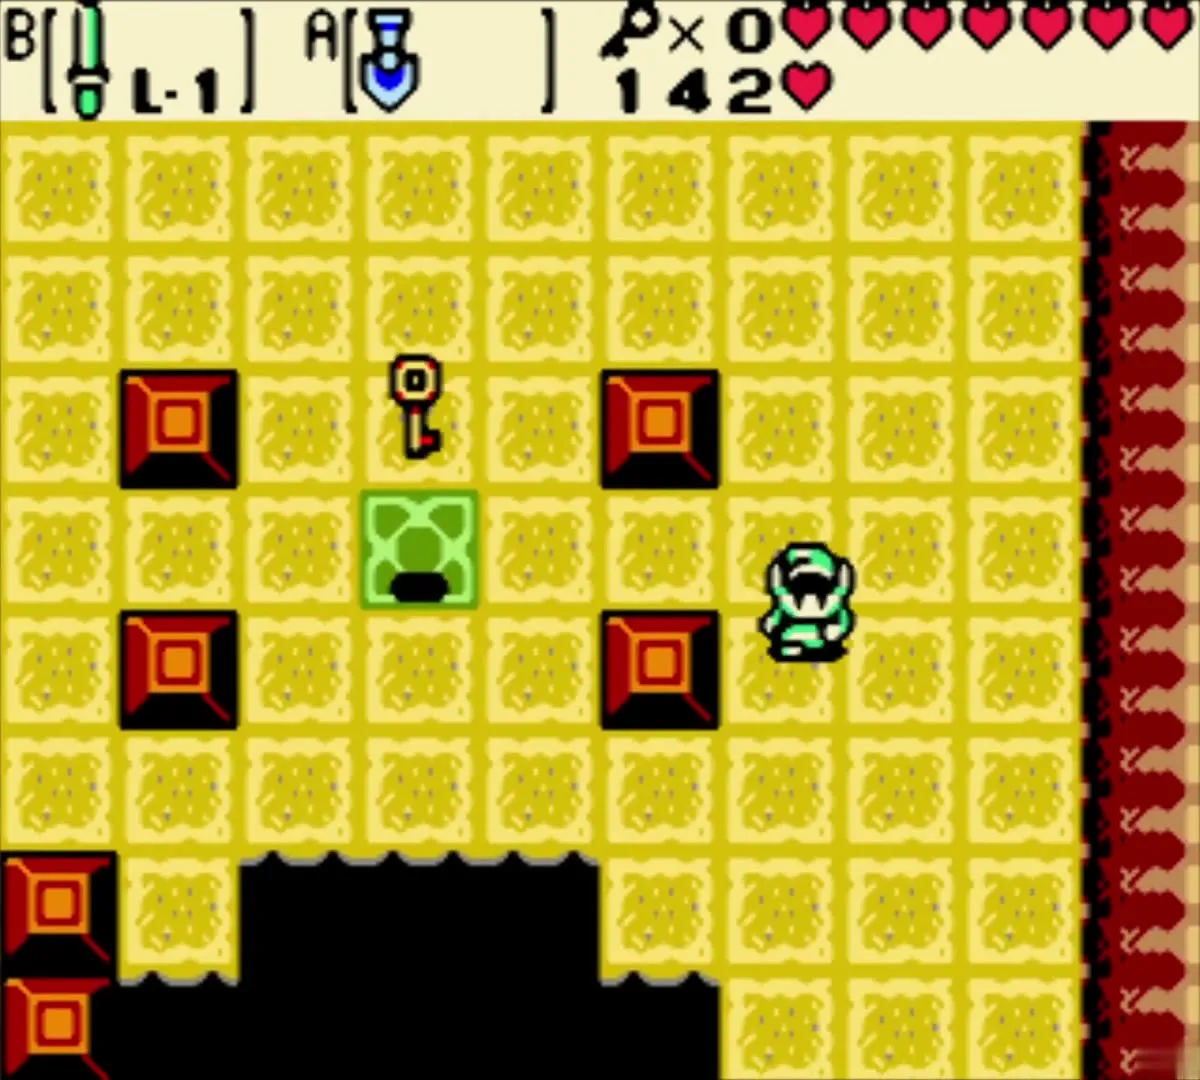
Leave west and follow the passage north. Kill the Mini-Moldorms by swinging your sword over the blocks, then push the lower block into line with the others. The fourth Small Key falls.

Bridge room and 20 Rupees
Return to the turntable and take the path to the dark room with the wooden ladder. Hit the crystal ball with a seed to rotate the barrier, then shoot a seed through to the floor switch to extend a bridge. Cross, rotate the barrier again and shoot the switch a second time. The way opens to a chest with 20 Rupees. The grass here regrows, so harvest it for seeds.


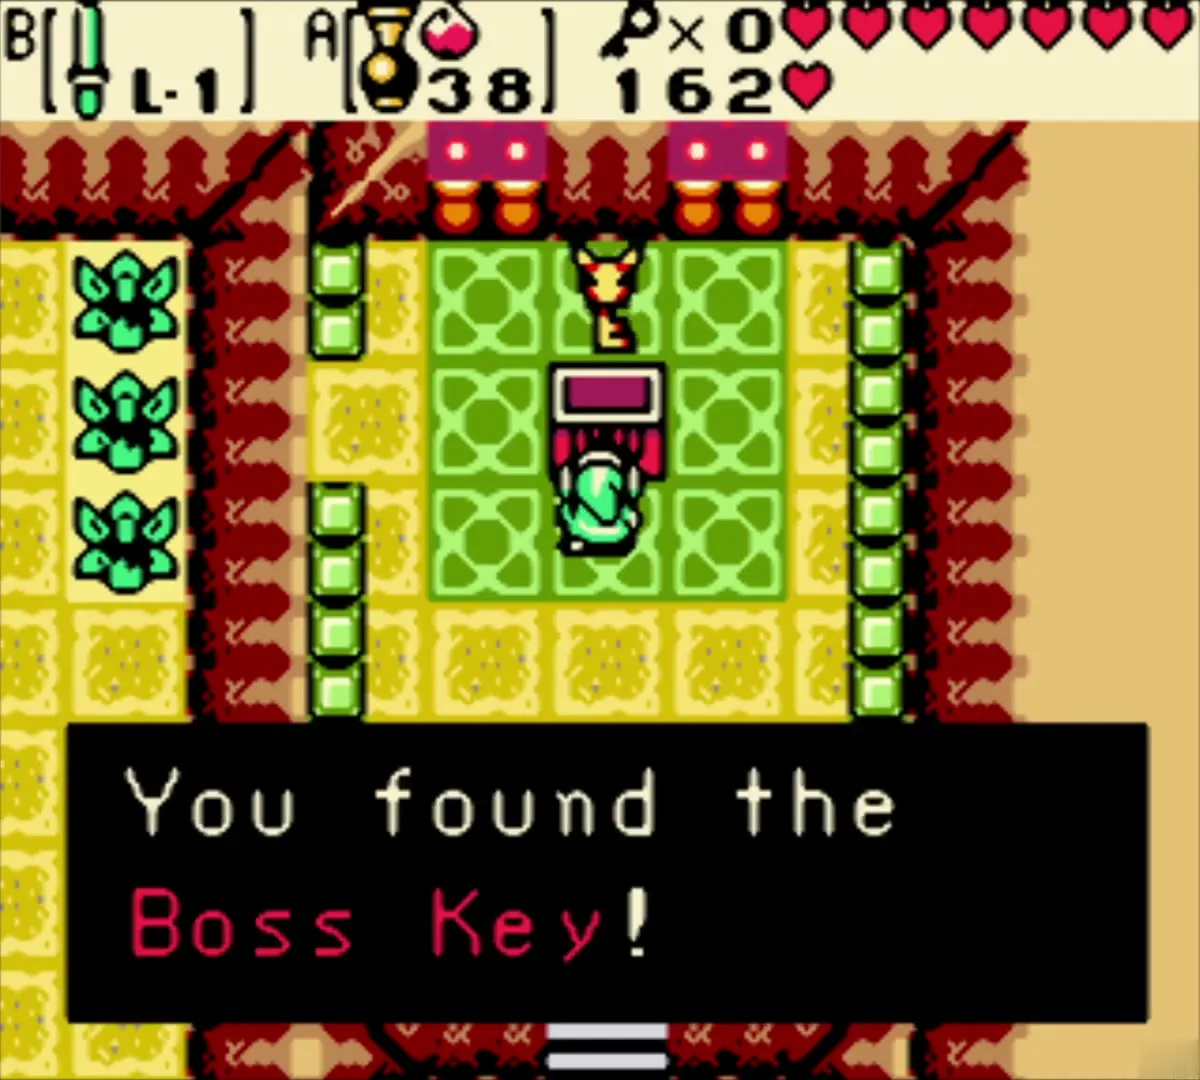
Boss Key
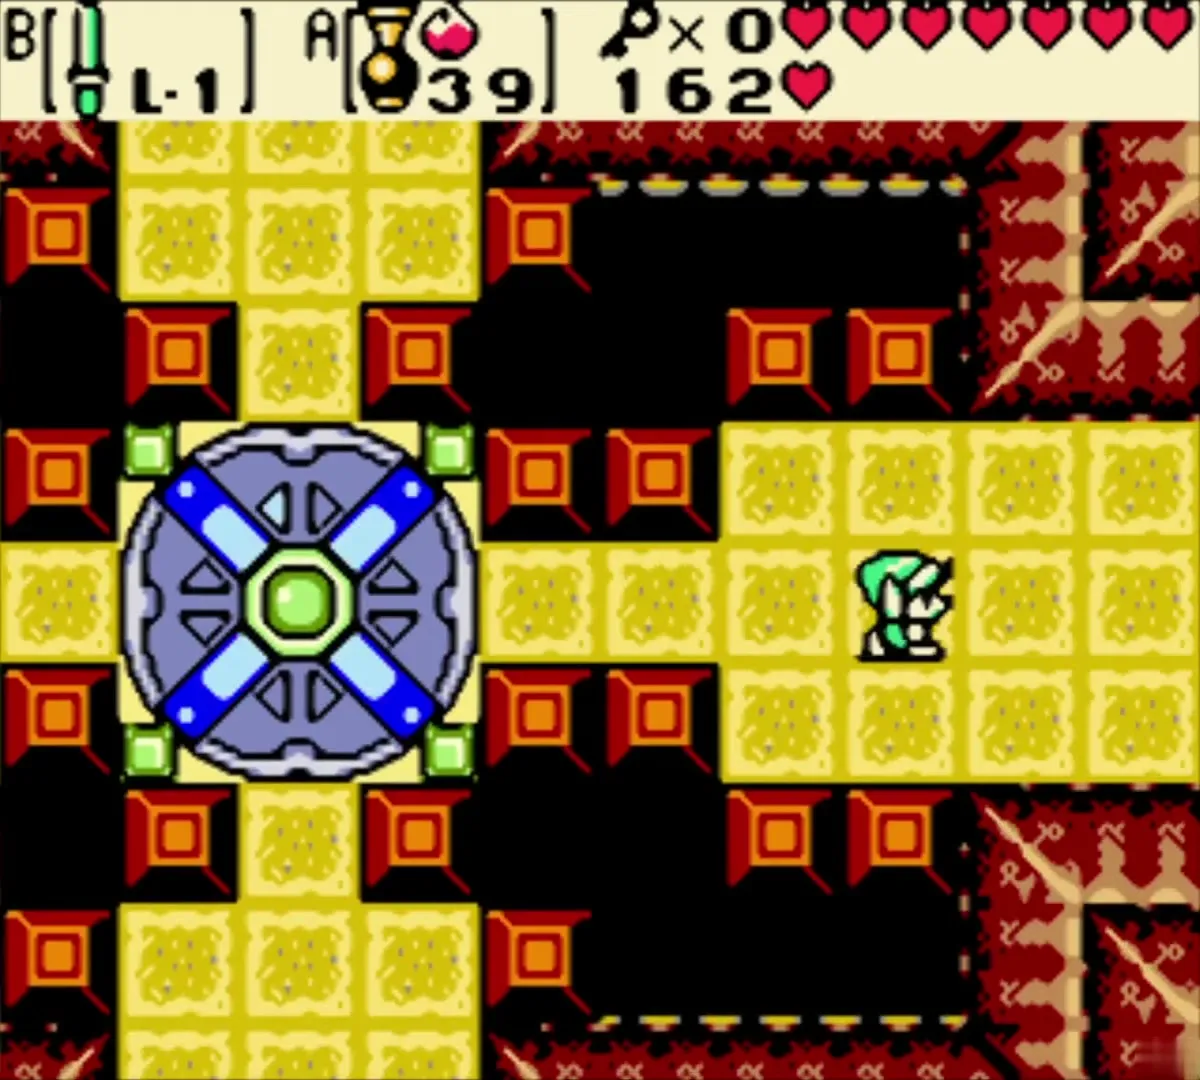
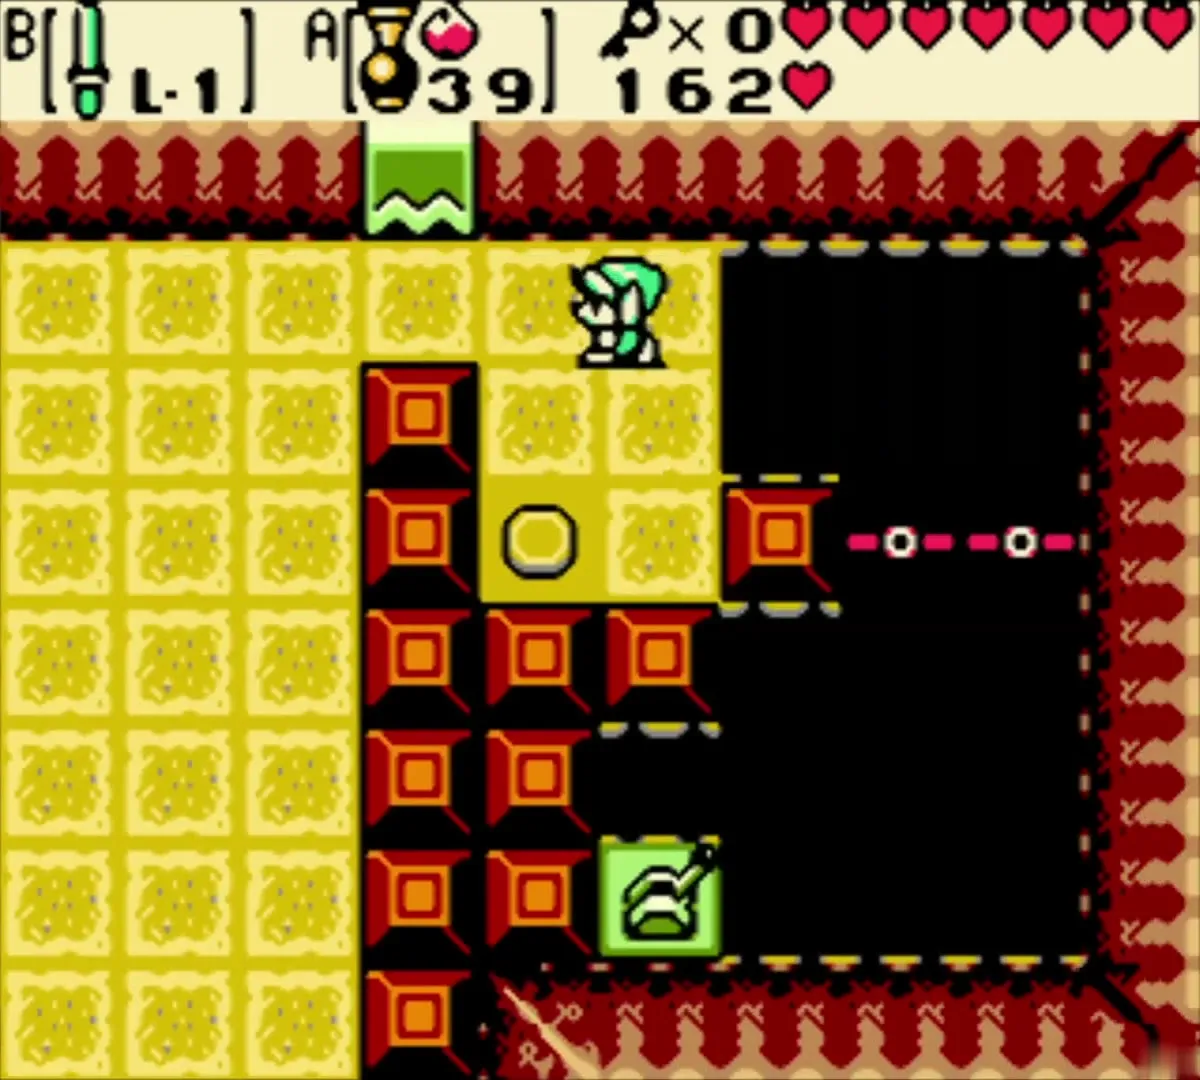
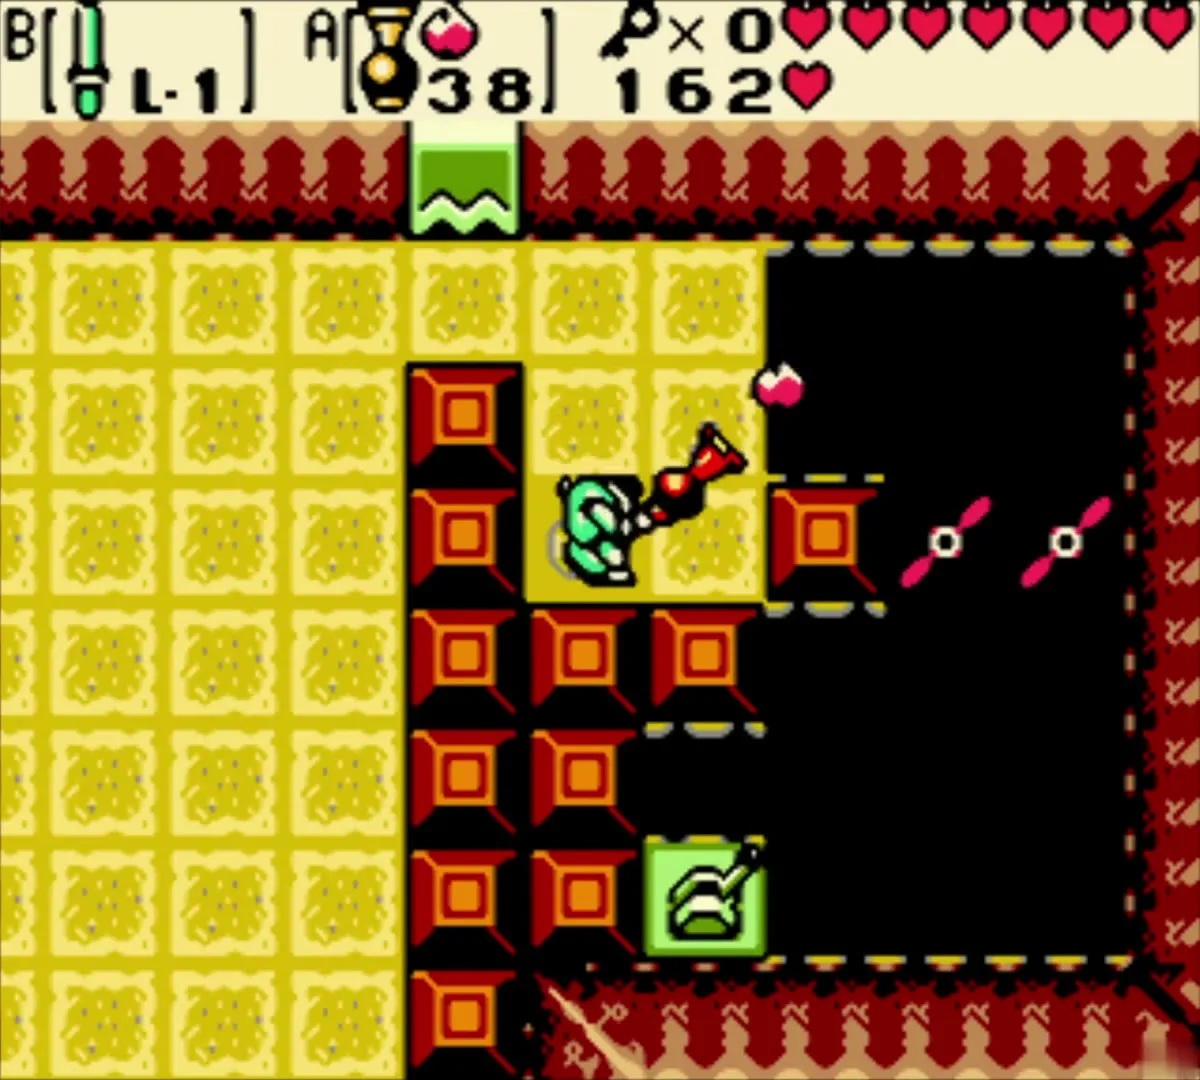
Unlock the door at the top right with your key and repeat the bridge puzzle, then push the lone block aside. Back at the turntable, take the east path, stand on the floor switch and bounce a seed diagonally off the walls so it hits the second switch. The door opens. Go north and open the chest to find the Boss Key.

Path to the boss door
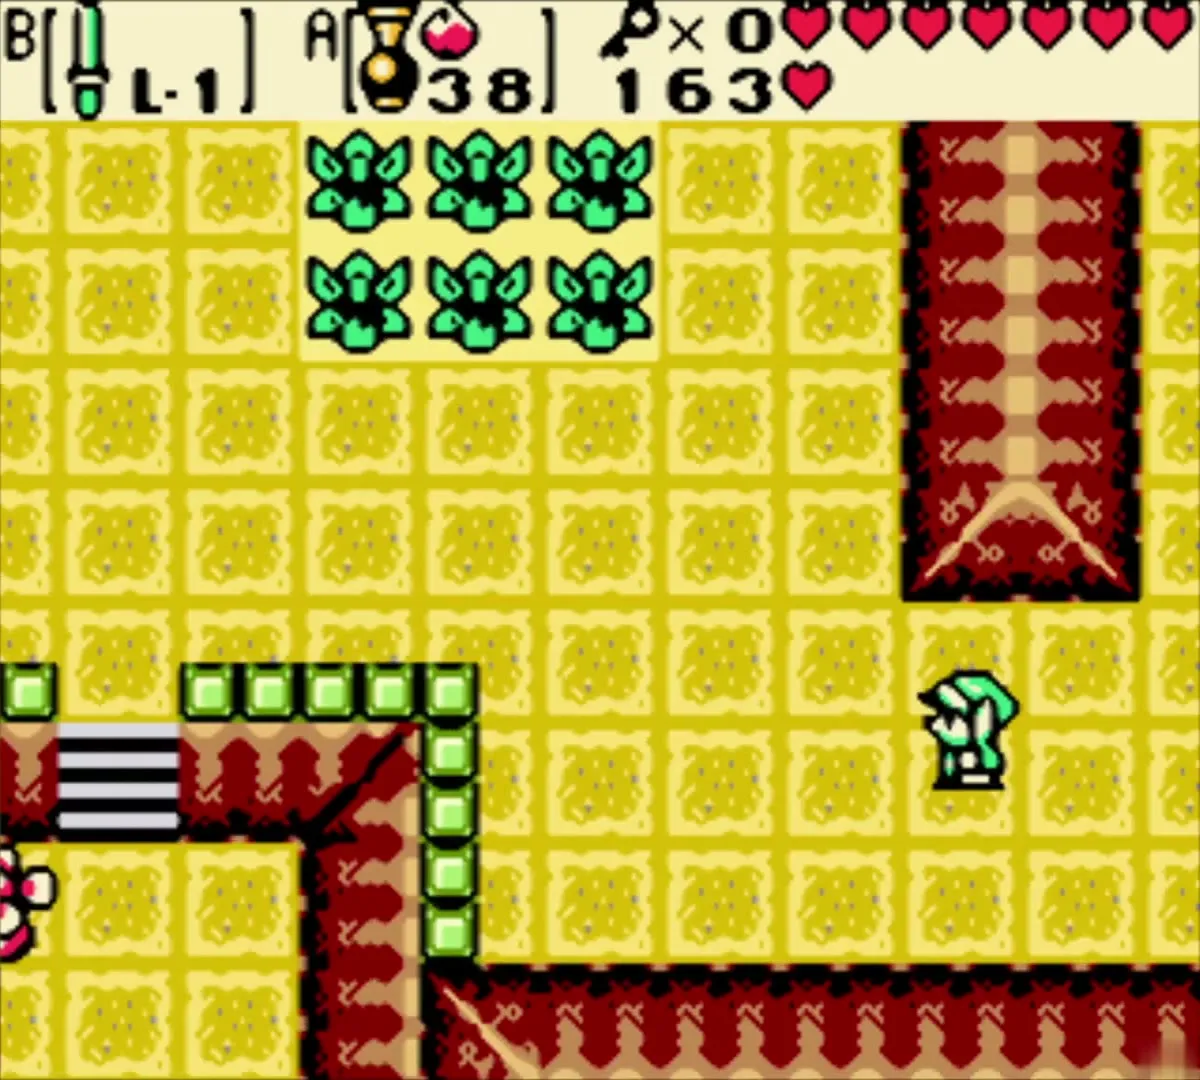
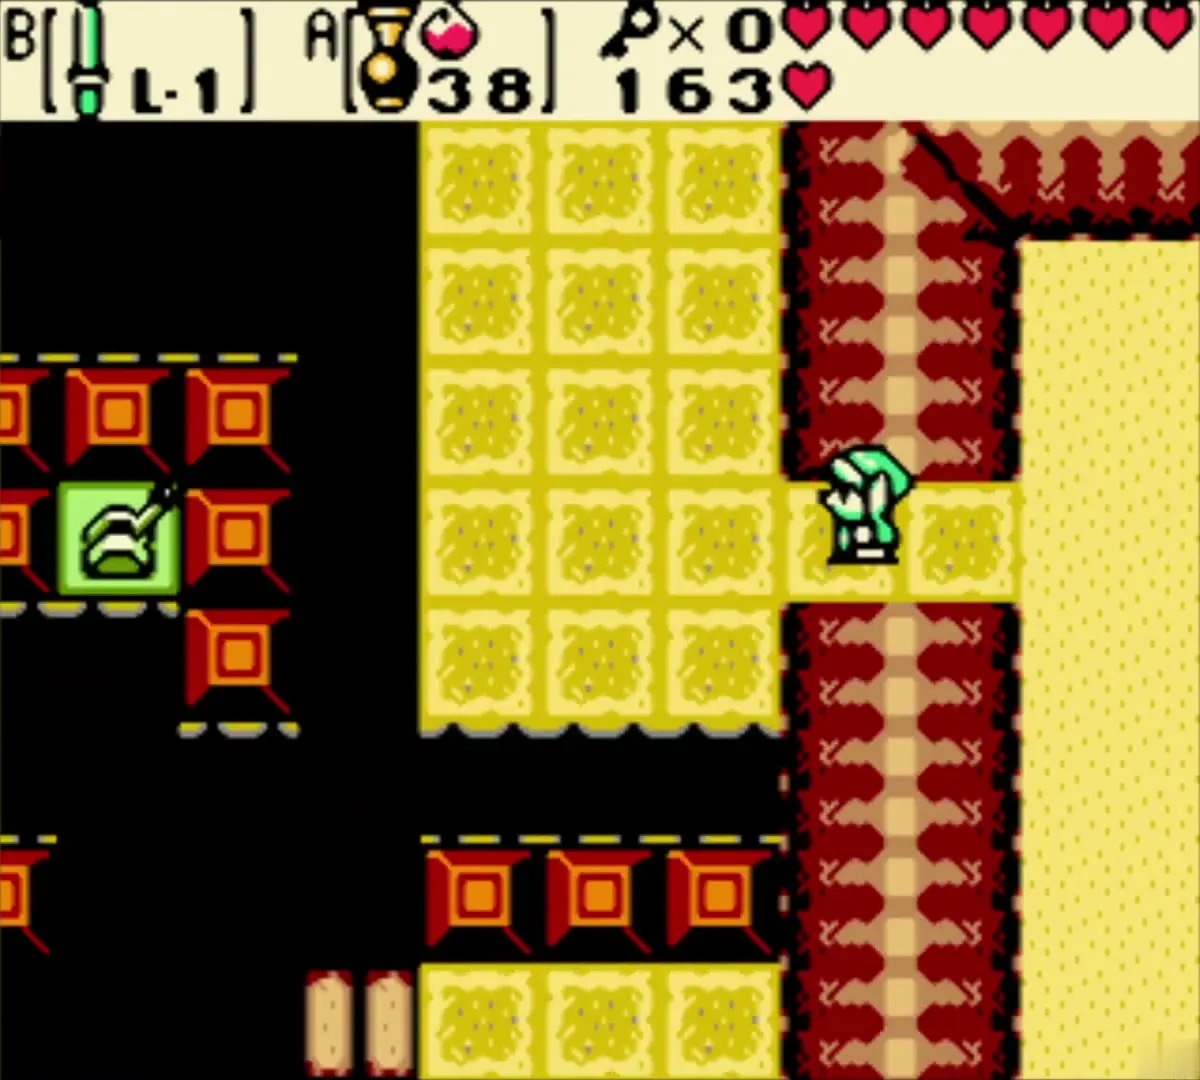
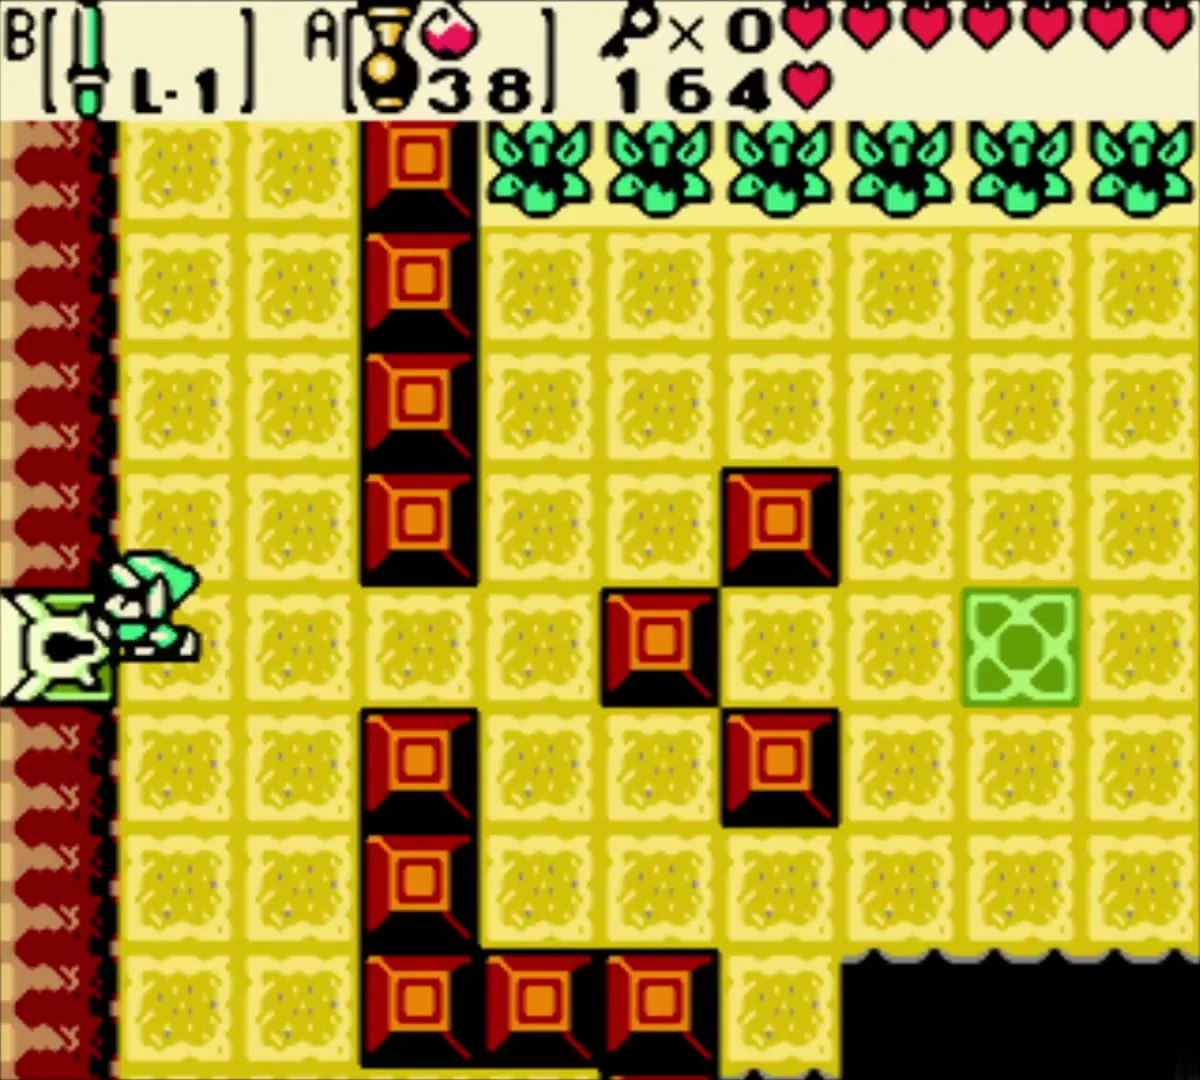
Jump off the ledge, walk west and then north to the boss door. Top up your seeds and hearts, save if you like, and open the door with the Boss Key.

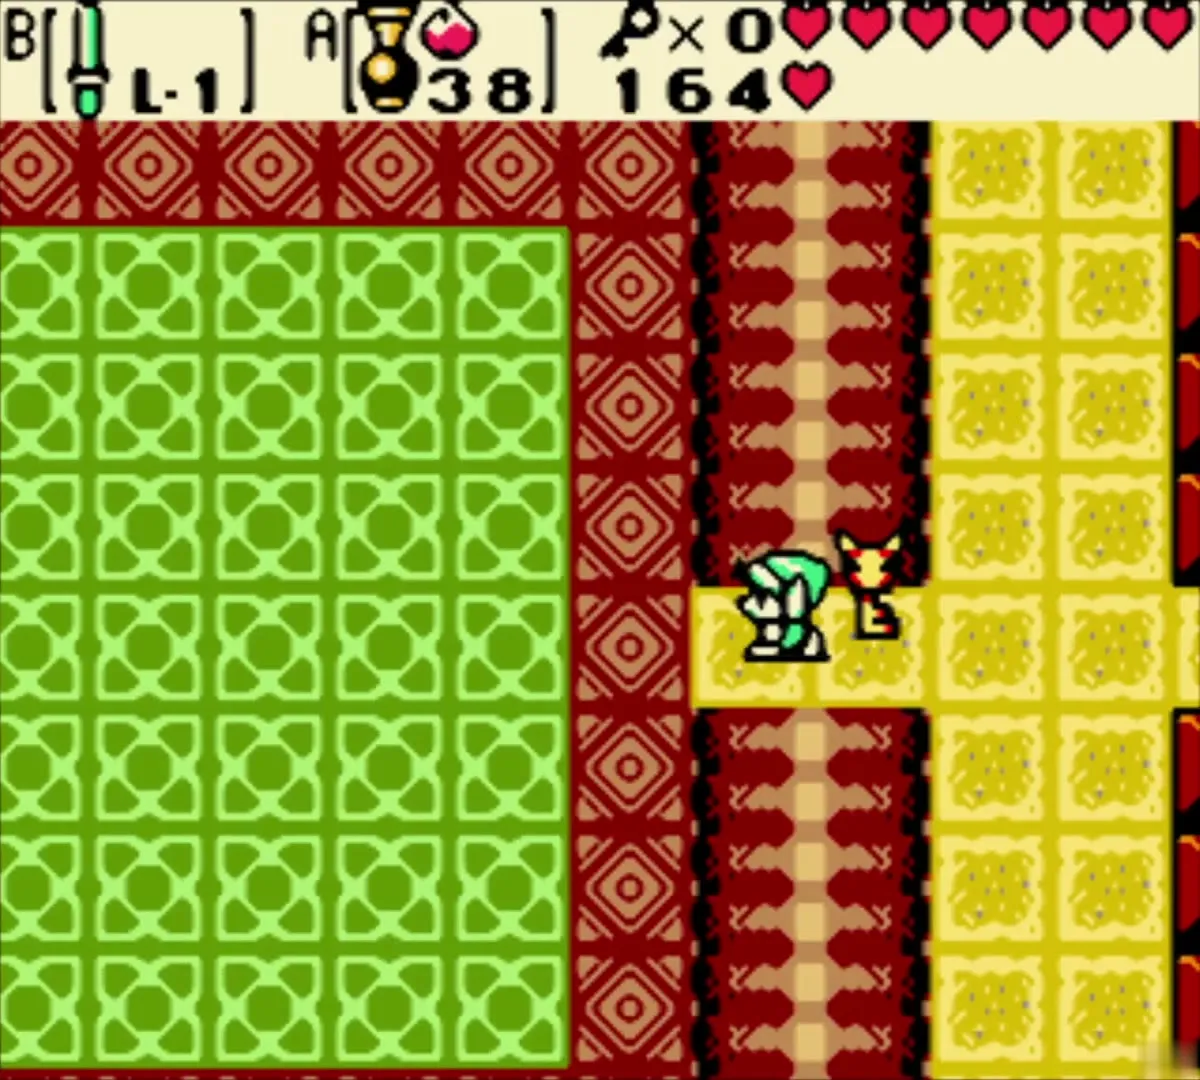
Boss: Shadow Hag

Bounce a seed off the wall
Equip the Seed Shooter and sword. Shadow Hag splits into four dark shadows that creep toward you across the green floor, so keep away from them. After a while they merge into a single small shadow and release moths. Kill the moths, which can drop hearts and seeds.
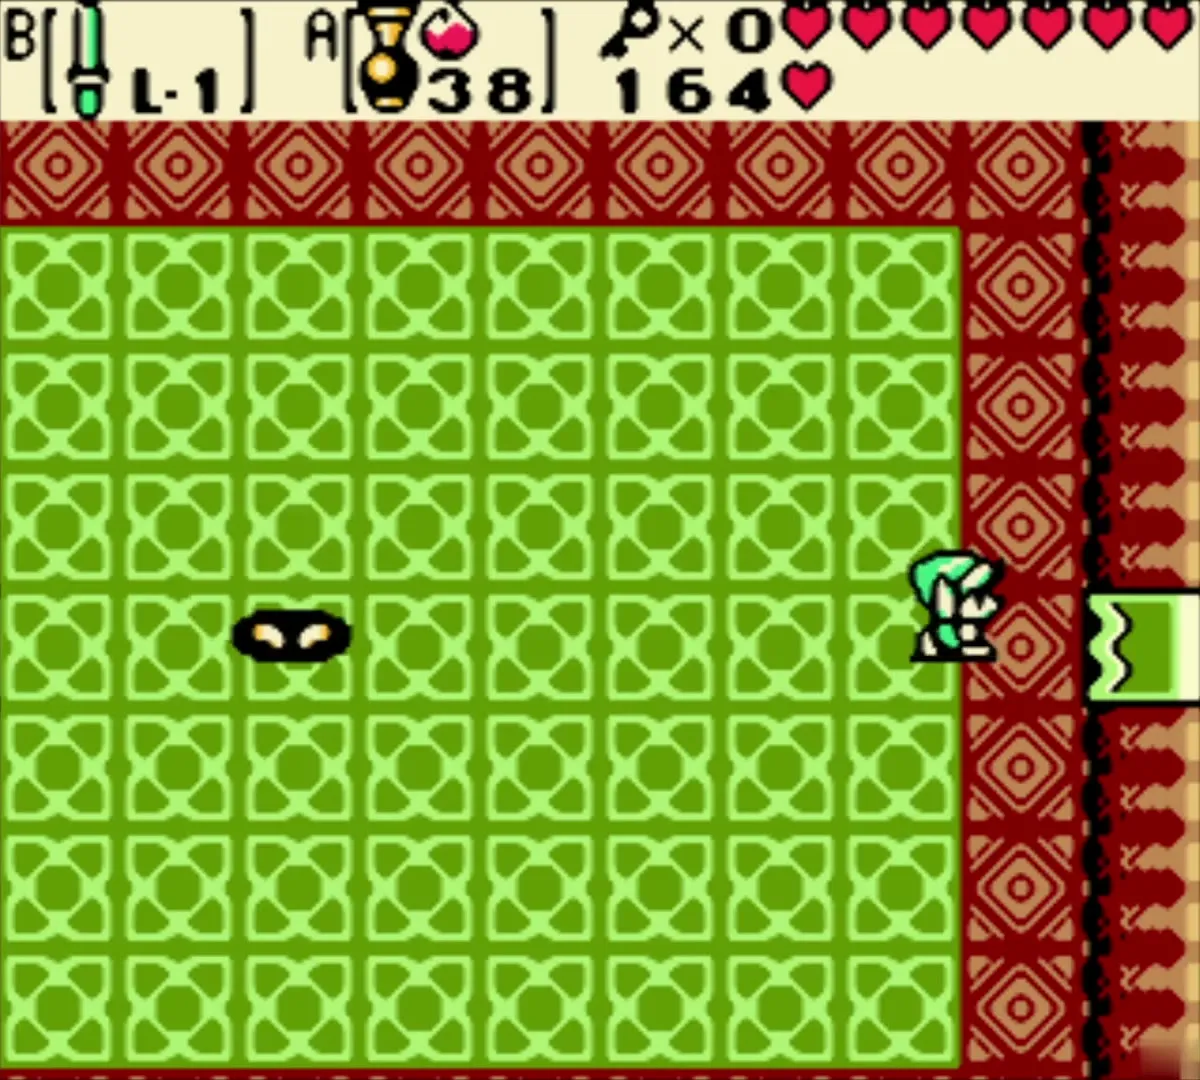
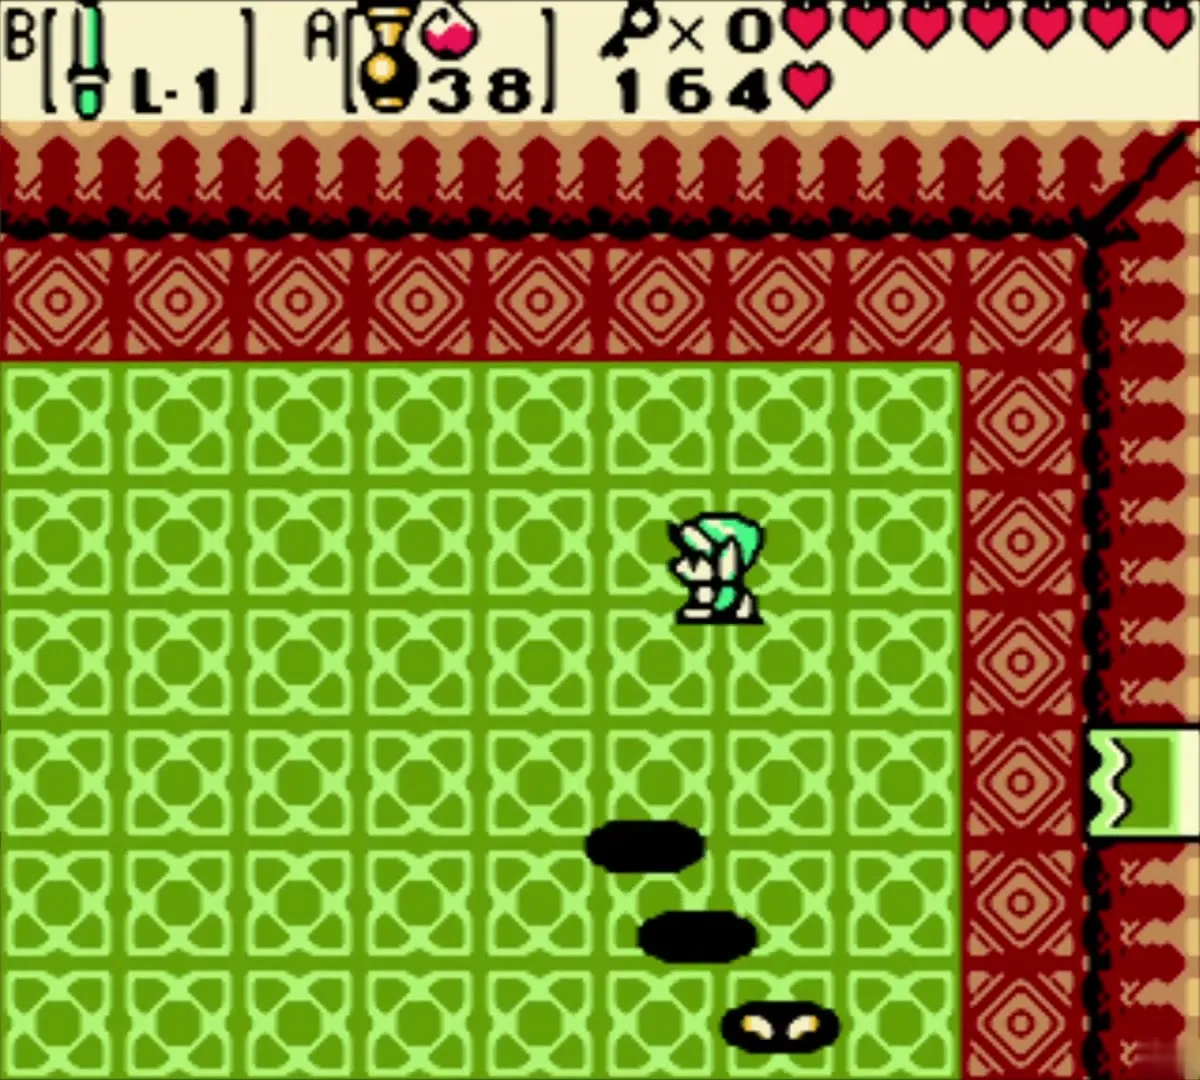
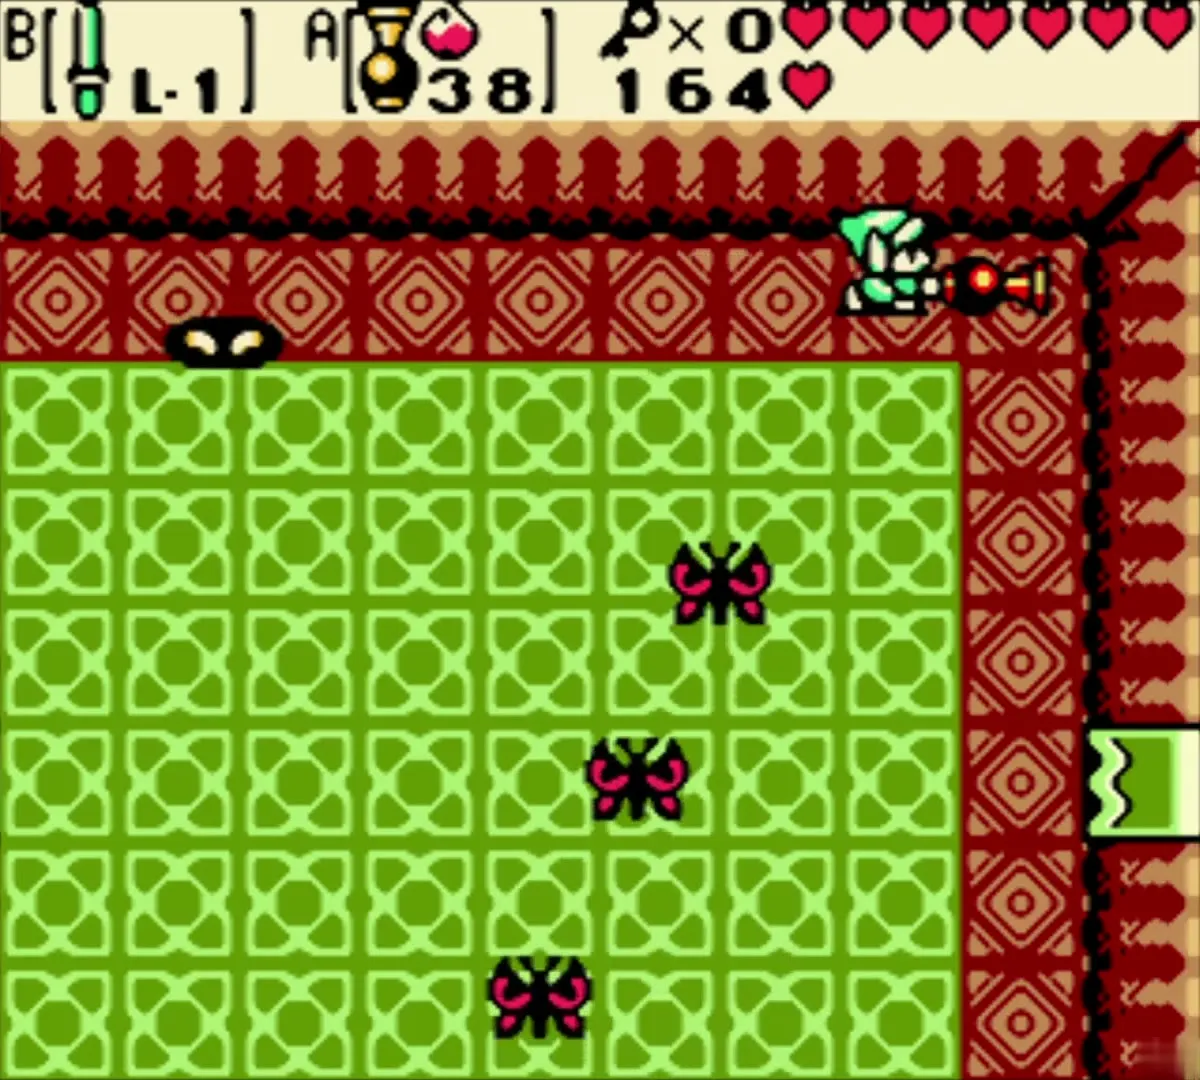
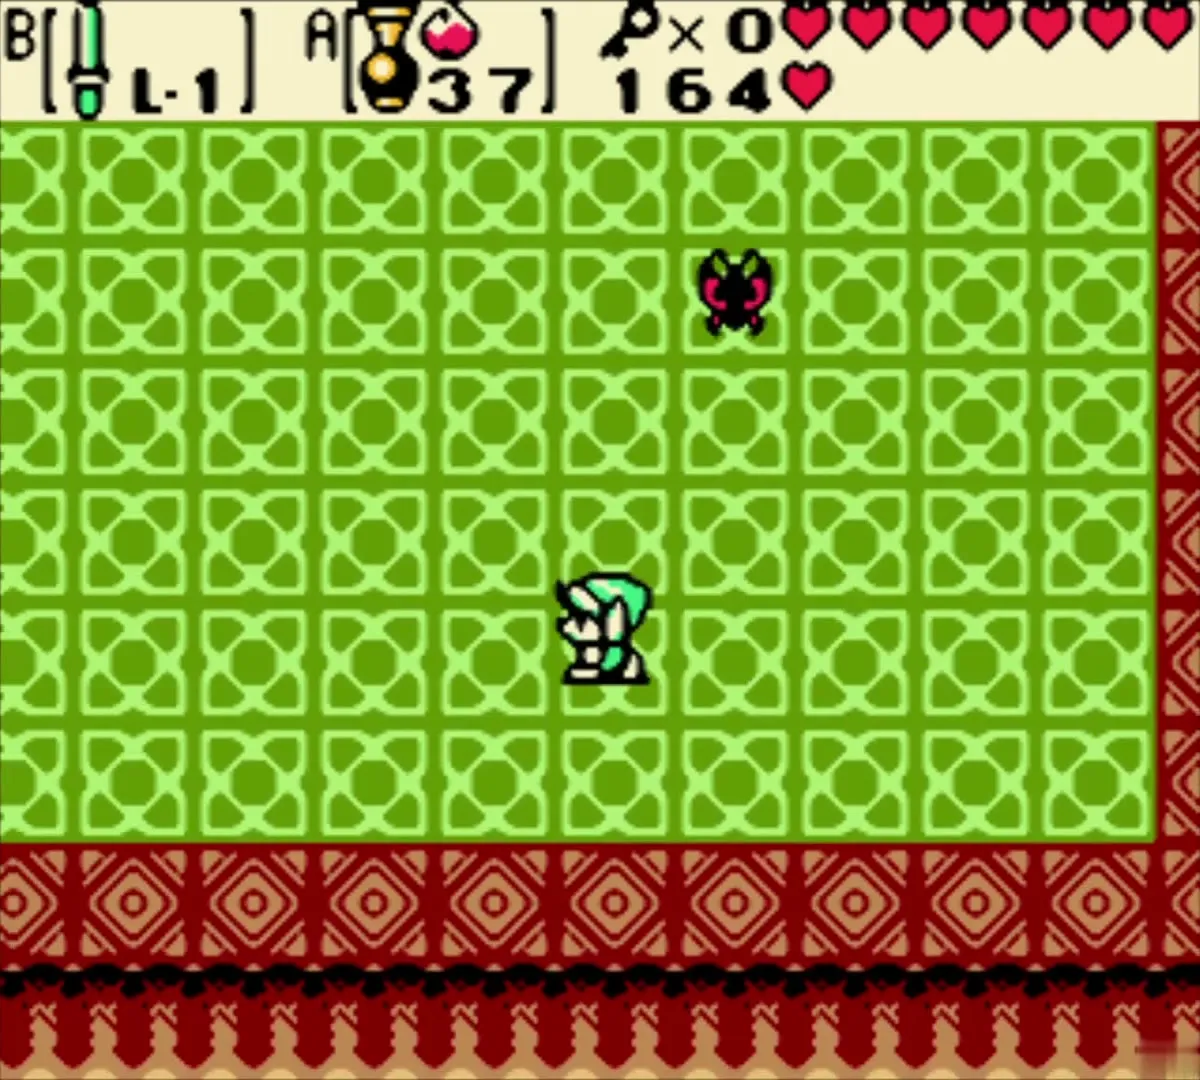
When the Hag reappears she is behind you, so do not turn around or she vanishes. Face the opposite wall and fire a seed at it so it bounces back and strikes her. Her four shadows form again after each hit. Only one seed can be in flight at a time, so time your shots. A few repeats defeat her.
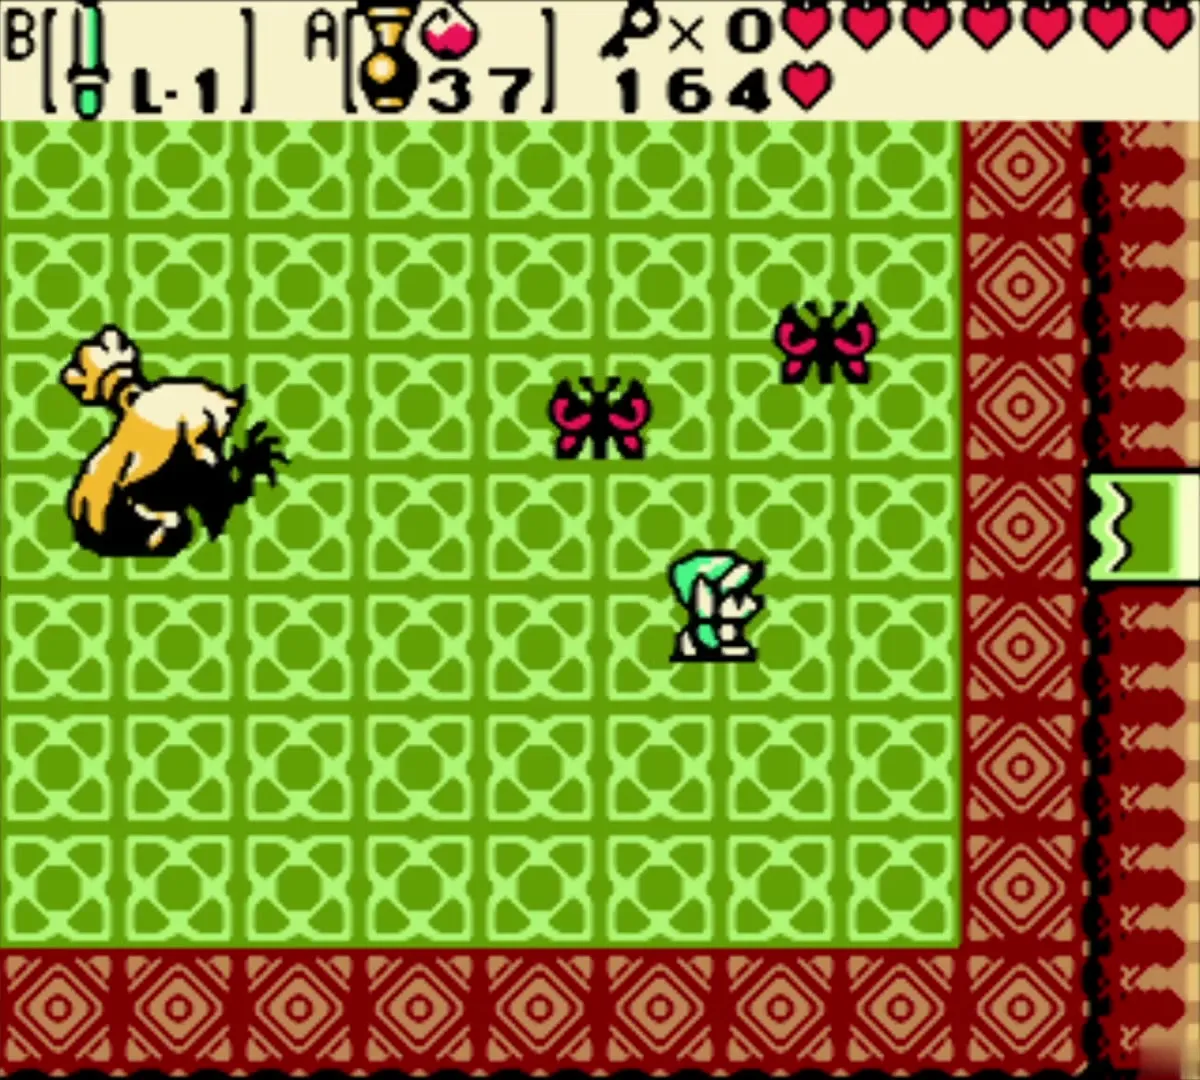
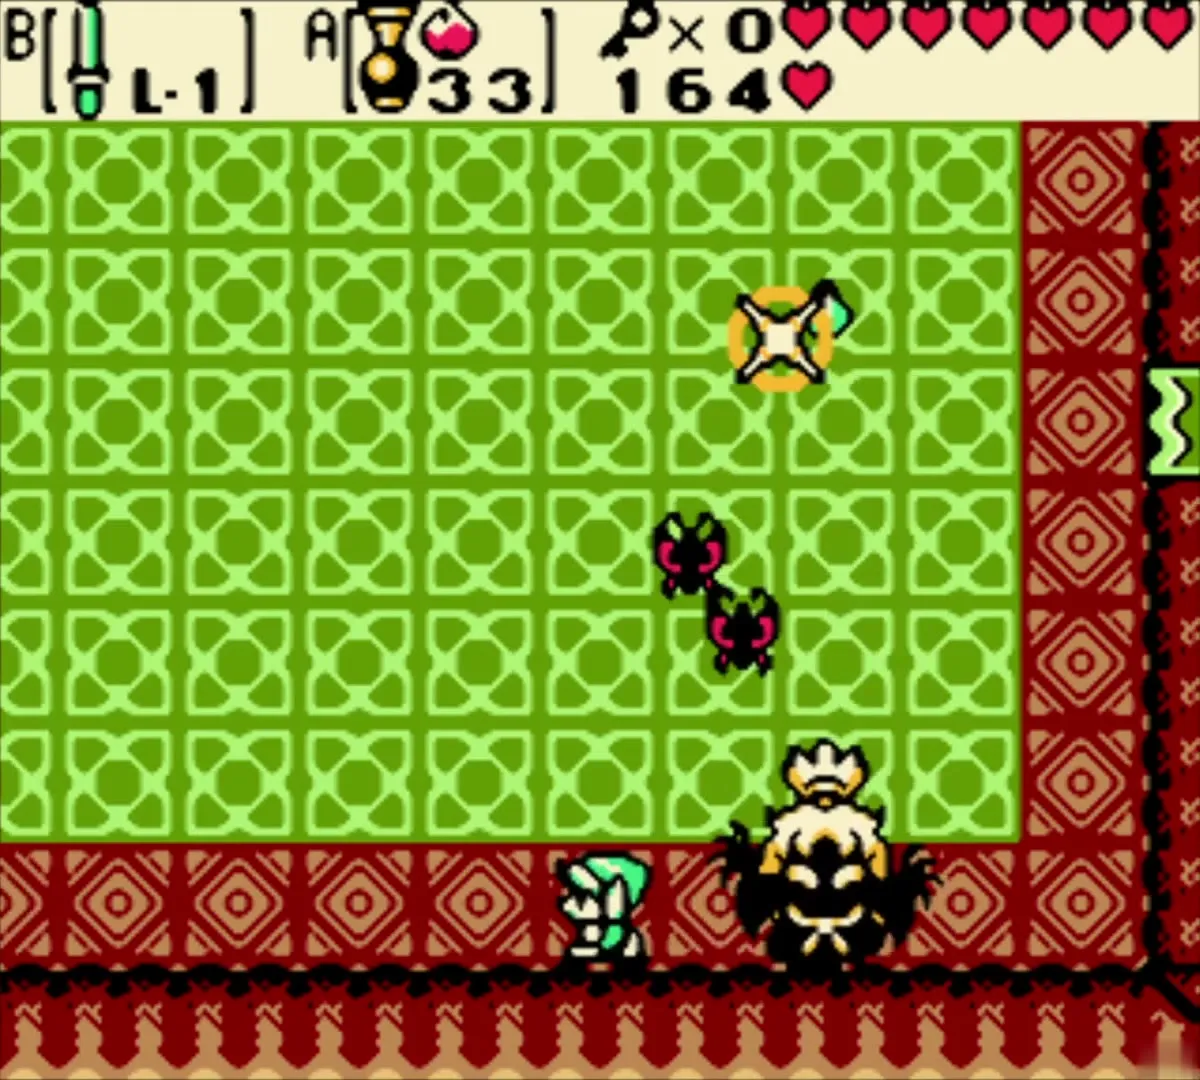
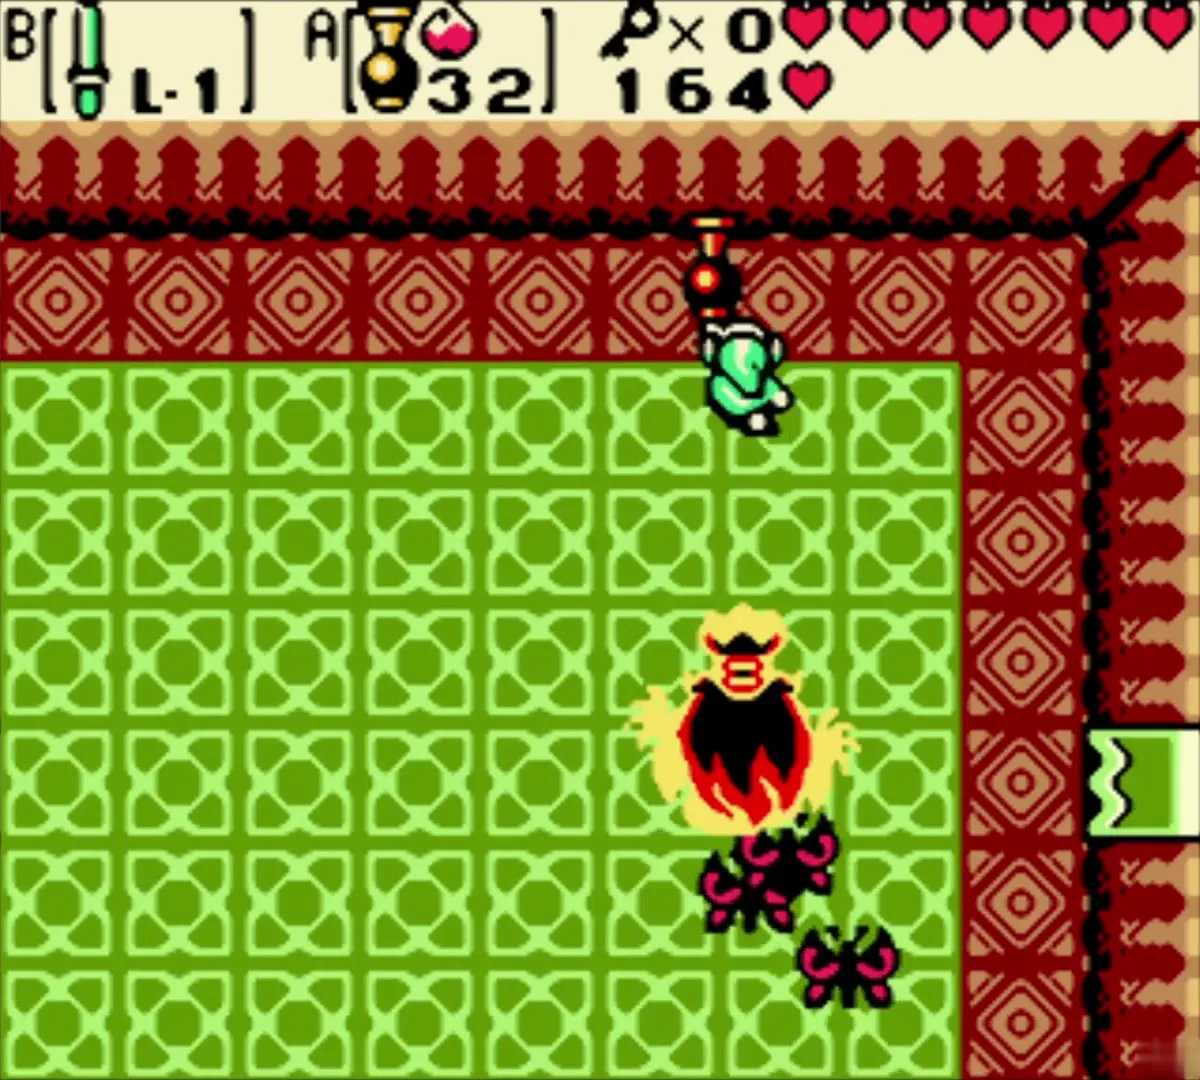


Heart Container and Echoing Howl
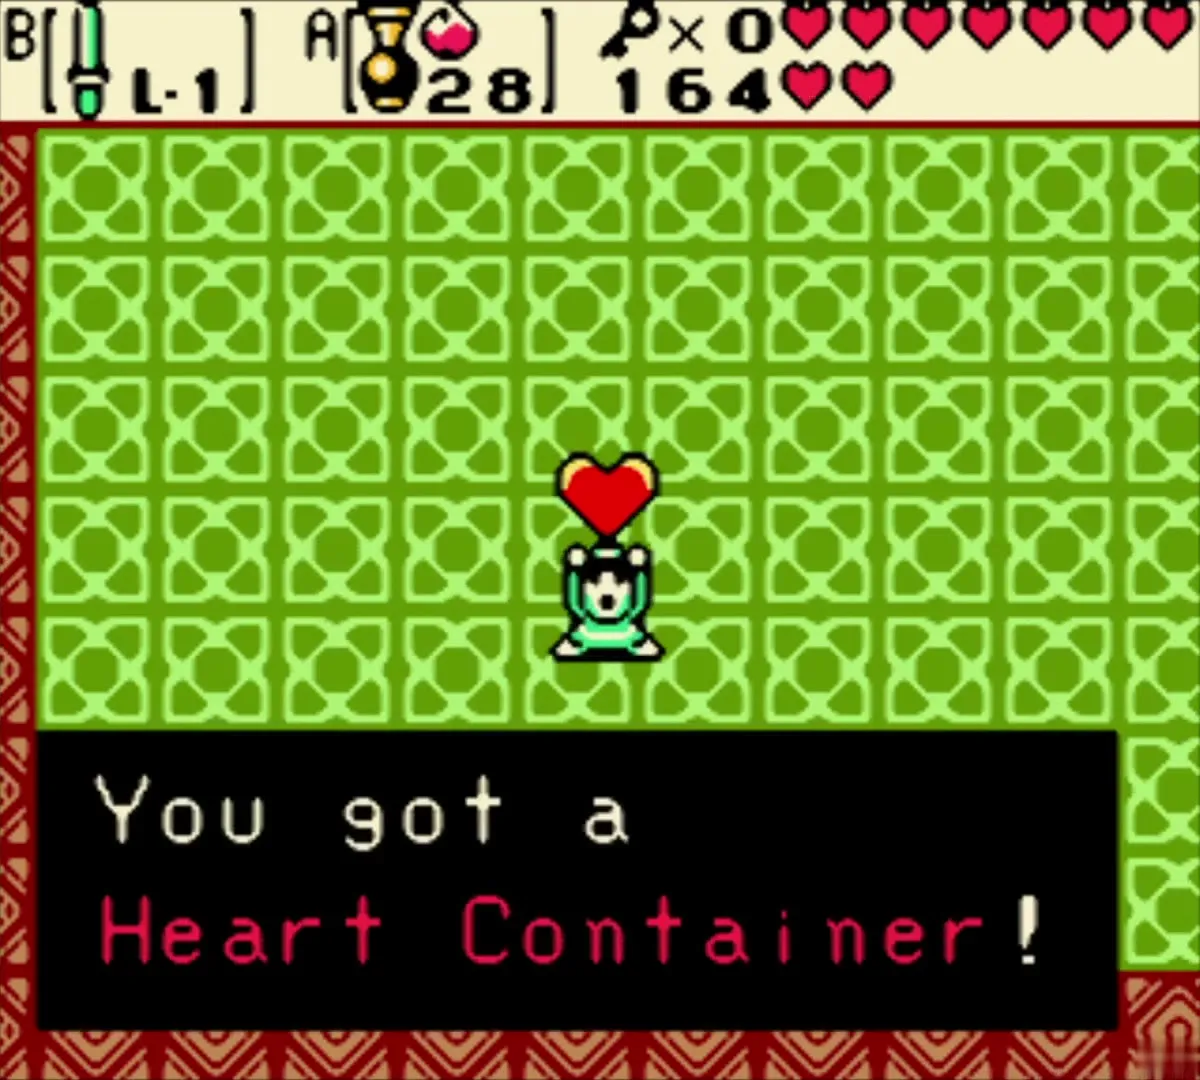
Shadow Hag leaves a Heart Container. Take it to extend your life meter, then walk through the red hall past the green statues to the stairs.

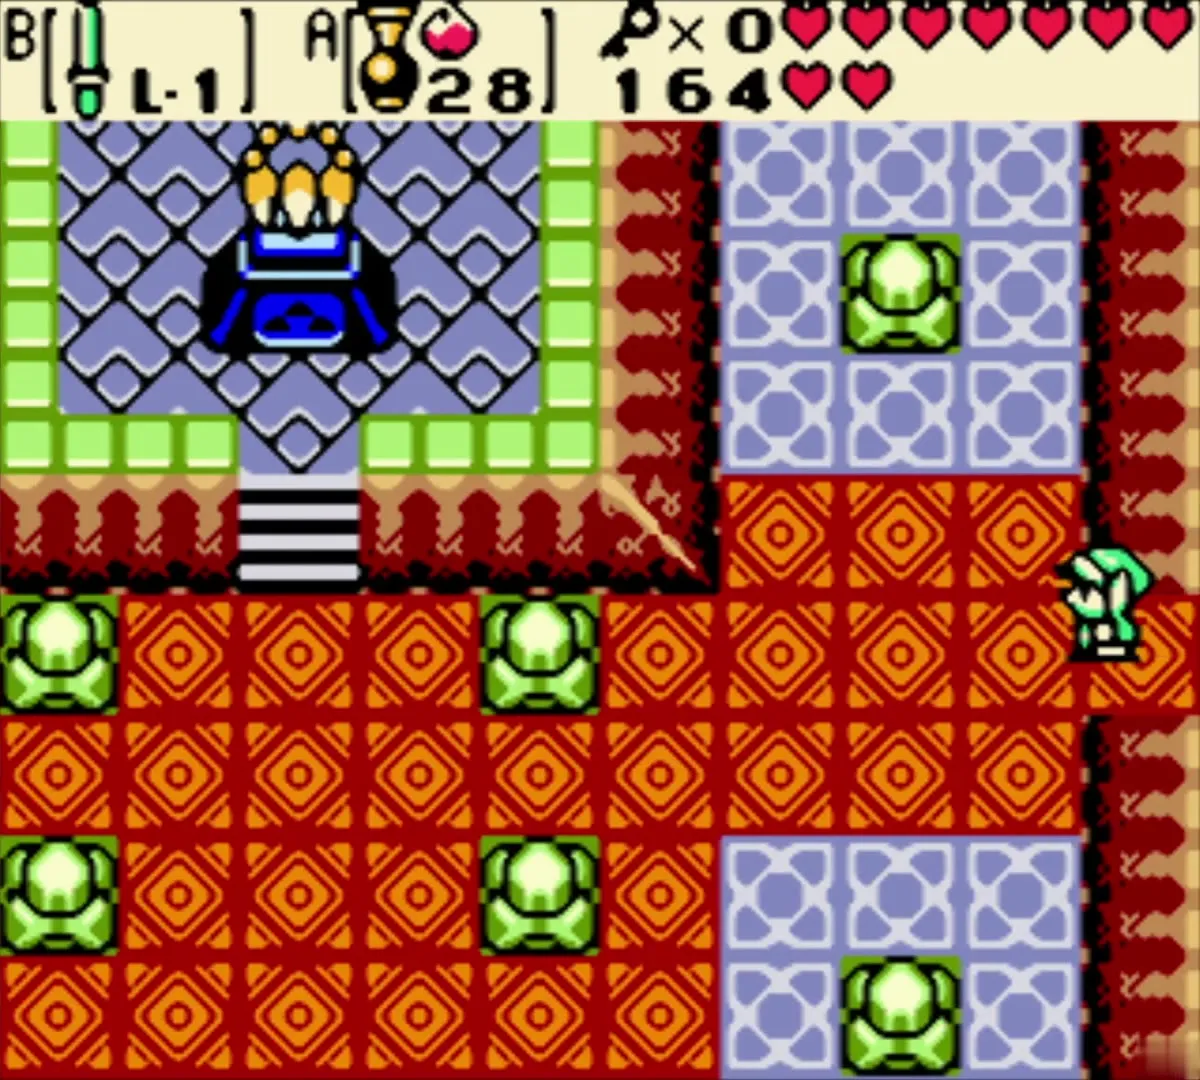
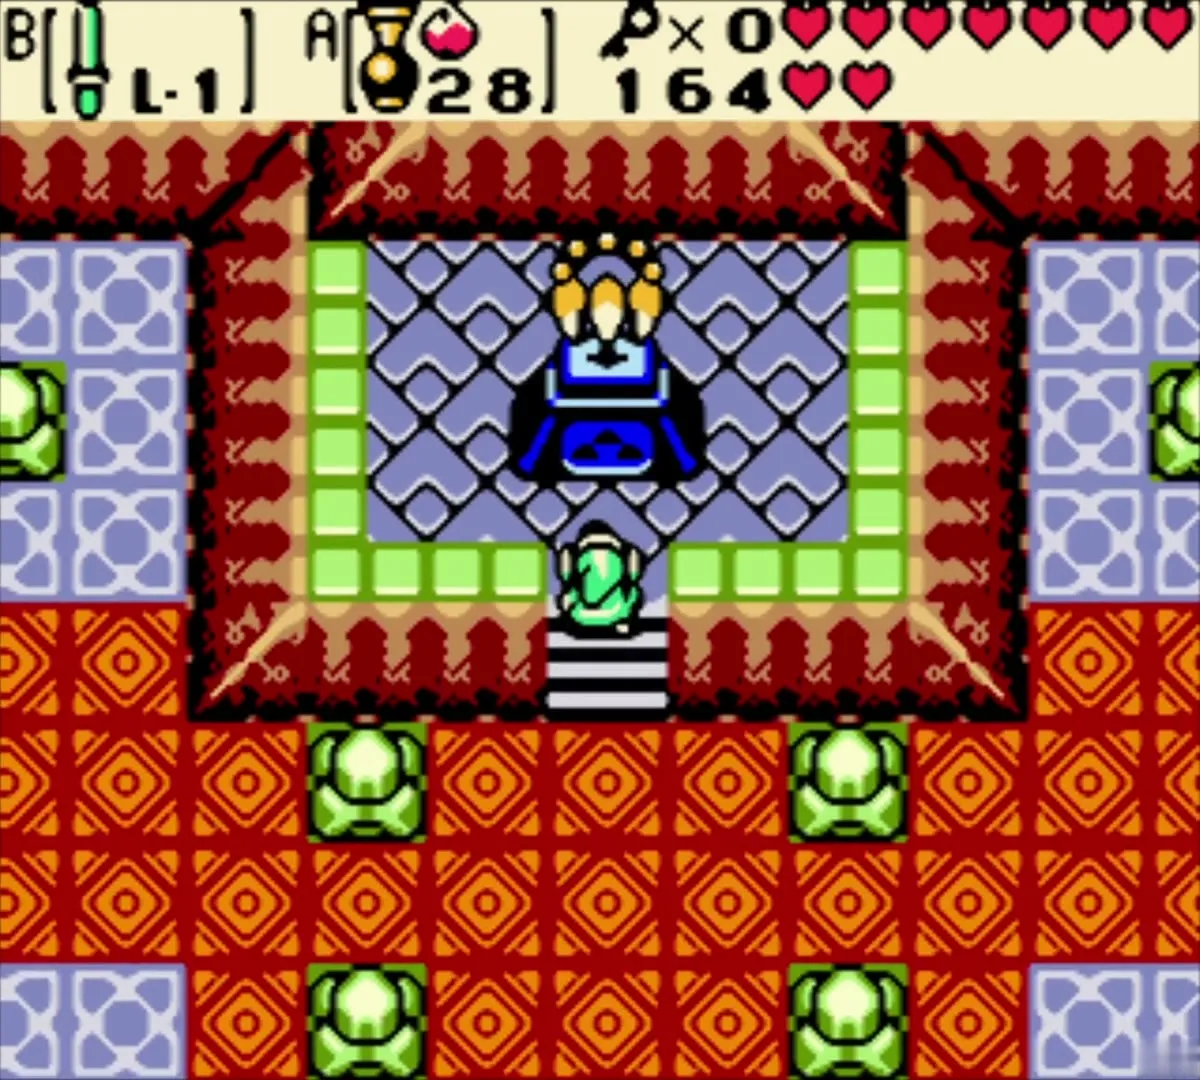
Climb to the essence room and step up to the pedestal to take the Echoing Howl, the third Essence of Time (see Essences of Time). You are carried out to the entrance of the Moonlit Grotto in the present.


After the Moonlit Grotto
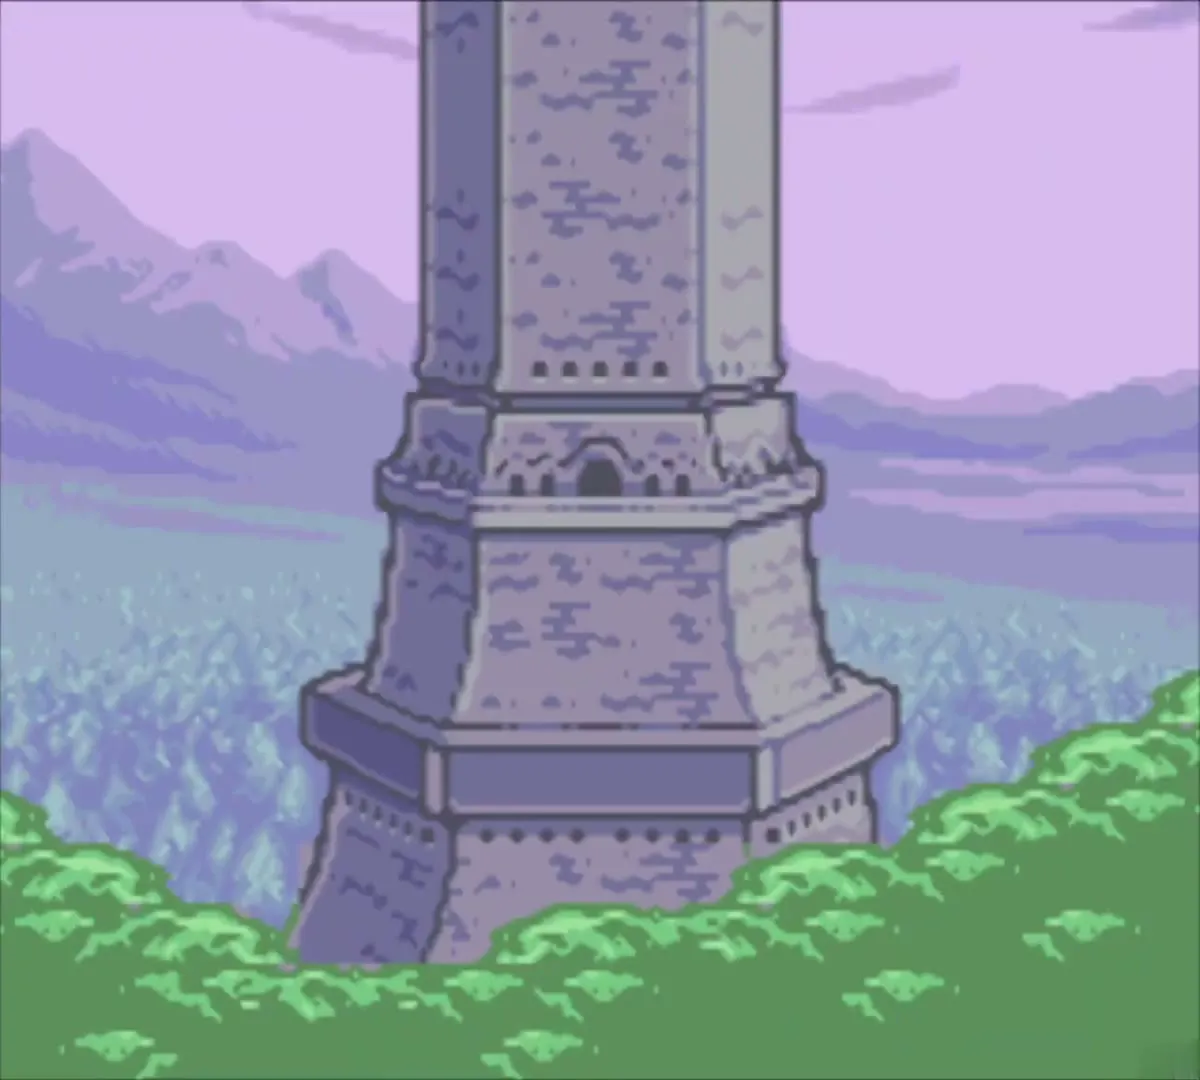
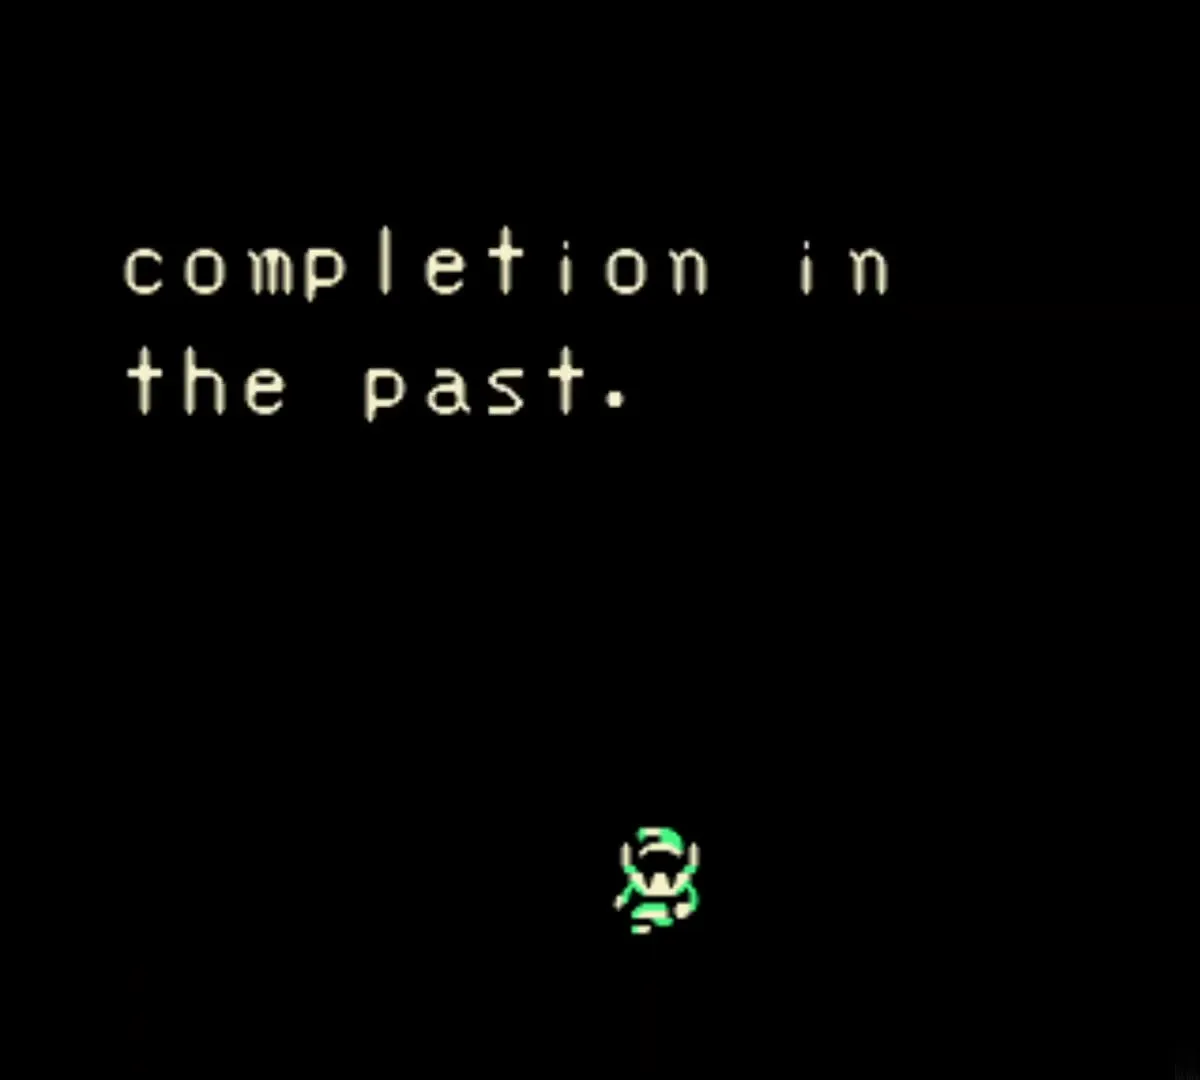
Outside, you see a vision of the Black Tower nearing completion in the past. A voice warns you to hurry and says that another Essence echoes from the peaks northwest of Lynna City. Head back to Lynna City to continue.


Chapter checklist
| Type | Name | Where (era) |
|---|---|---|
| Dungeon item |  Dungeon Map | Chest guarded by a Pols Voice, west of the entrance (present) |
| Small Key | Small Key 1 | Statue puzzle after the second crystal (present) |
| Dungeon item | Compass | Chest beyond the crystal switch and Armos (present) |
| Small Key | Small Key 2 | Block room west of the ground-floor stairs (present) |
| Small Key | Small Key 3 | Armos room with the blue pad (present) |
| Rupees | 30 Rupees | Chest after the Flying Tiles (present) |
| Dungeon item |  Seed Shooter | Chest on the green pad (present) |
| Gasha Seed | First Gasha Seed | Chest where the turntable stood (present) |
| Gasha Seed | Second Gasha Seed | Basement torch room (present) |
| Mini-boss |  Subterror | Sand room north of the turntable (present) |
| Small Key | Small Key 4 | Block room west of the Subterror room (present) |
| Rupees | 20 Rupees | Chest across the bridge room (present) |
| Dungeon item | Boss Key | Chest north of the east switch room (present) |
| Boss | Shadow Hag | Boss room (present) |
| Heart Container | Boss reward | Boss room (present) |
| Essence of Time |  Echoing Howl | Essence room (present) |
