





















Oracle of Ages 100% Completion Walkthrough24 chapters
- Arrival in Labrynna and the Black TowerStart Oracle of Ages in a linked game: Forest of Time, Vasu’s Ring Box, the Maku Tree, the time portal, the Black.
- Maku Path and Spirit’s Grave (Level 1)Maku Path and Spirit’s Grave walkthrough for Oracle of Ages: Seed Satchel, Graveyard Key, Power Bracelet, Pumpkin Head.
- The Harp of Ages and Fairies’ WoodsHarp of Ages and Fairies’ Woods walkthrough for Oracle of Ages: Poe Clock, Heart Piece, Vasu’s rings, hide-and-seek.
- Deku Forest and the Mystery SeedsDeku Forest walkthrough for Oracle of Ages: Mystery Seeds, Queen Ambi’s Bombs, a Heart Piece, the Deku Secret and the.
- Wing Dungeon (Level 2)Wing Dungeon walkthrough for Oracle of Ages: all five Small Keys, Dungeon Map, Compass, Swoop, Roc’s Feather, Boss.
- Farore’s Secrets and Cheval’s GraveFarore’s secrets and Cheval’s Grave walkthrough for Oracle of Ages: West Lynna Heart Piece, Hall of Secrets codes, Red.
- Tingle’s Chart and Crescent IslandTingle’s Chart and Crescent Island walkthrough for Oracle of Ages: Ricky’s Gloves, Island Chart, Rafton’s raft, the.
- Moonlit Grotto (Level 3)Moonlit Grotto walkthrough for Oracle of Ages: all Small Keys, Compass, Seed Shooter, Gasha Seeds, Subterror, Boss.
- Nuun Highlands and the Strange FlutesOracle of Ages Nuun Highlands walkthrough: Dimitri’s Flute, Tingle’s 99-seed Satchel, the Black Tower rescue, the.
- Symmetry City and Talus PeaksOracle of Ages Symmetry City and Talus Peaks walkthrough: Cracked Tuni Nut, Patch’s ceremony, Tune of Currents, Heart.
- Skull Dungeon (Level 4)Skull Dungeon walkthrough for Oracle of Ages: Compass, Dungeon Map, 5 Small Keys, Armos Warrior, Switch Hook, Boss.
- Lynna Trades and the Noble SwordOracle of Ages trading sequence walkthrough, Funny Joke to Noble Sword: Touching Book, Maple’s Magic Oar, Sea Ukulele.
- West Rolling Ridge and the Great MoblinWest Rolling Ridge walkthrough for Oracle of Ages: Lynna secret shop, Pegasus Seeds, Moblin’s Keep, Great Moblin, Bomb.
- Crown Dungeon (Level 5)Crown Dungeon (Level 5) walkthrough for Oracle of Ages: Small Keys, Cane of Somaria, Smasher, Compass, Boss Key, Smog.
- East Rolling Ridge and the Mermaid KeysEast Rolling Ridge walkthrough for Oracle of Ages: Goron Dance, Brother Emblem, Target Carts, Rock Brisket, Goron Vase.
- Mermaid’s Cave (Level 6) Walkthrough for Oracle of AgesMermaid’s Cave walkthrough for Oracle of Ages: get the Old Mermaid Key, clear both halves, collect the Mermaid Suit.
- Ambi’s Palace and the Tune of AgesAmbi’s Palace walkthrough for Oracle of Ages: sneak in, beat Possessed Nayru, learn the Tune of Ages, claim Hall of.
- Zora Seas and the Fairy PowderOracle of Ages Zora Seas walkthrough: the Gasha Seed chest, King Zora’s Library Key, Book of Seals, Fairy Powder and.
- Jabu-Jabu’s Belly (Level 7)Jabu-Jabu’s Belly walkthrough for Oracle of Ages: Like Like Ring, Compass, Small Keys, Long Hook, Boss Key, Plasmarine.
- Sea of Storms and the Pirate ShipSea of Storms walkthrough for Oracle of Ages: Zora Scale, pirate ship and Tokay Eyeball, clam grotto ring, Tokay.
- Ancient Tomb (Level 8)Ancient Tomb (Level 8) walkthrough for Oracle of Ages: three Slates, the Boss Key, two Gasha Seeds, Ramrock boss.
- Final Collection and the Hero’s CaveOracle of Ages final collection walkthrough: Maple Piece of Heart, Gasha Nut rings and fairies, Hero’s Cave Armor Ring.
- The Black Tower and VeranFinal ring appraisals, the Huge Maku Seed, the Black Tower climb and the three-phase Veran boss fight in Oracle of.
- Room of Rites, Twinrova and GanonOracle of Ages Room of Rites walkthrough: the eye-statue hallway, Twinrova’s fire and ice phases, the Ganon boss.
| Covers | Ambi’s Palace garden and interior (the past, 400 years ago); the Maku Tree and Farore’s Hall of Secrets in Lynna City (the present); a ledge south of Restoration Wall (past and present); the seabed around Crescent Island (past and present) |
|---|---|
| Dungeon | No numbered dungeon. Ambi’s Palace is a short stealth area that ends with a boss fight against Veran, who possesses Nayru’s body. No Essence of Time is found in this chapter. |
| Rewards | Tune of Ages; 1 unappraised ring (Gold Luck Ring); 3 Gasha Seeds (2 from the Maku Tree, 1 from a chest) and 1 soft soil spot planted; Piece of Heart 10 of 12; Linked Game upgrades from Farore: Master Sword, Bombchus, Iron Shield, Biggoron’s Sword (4 secrets entered); Mirror Shield from a Tokay (Linked Game) |
This chapter frees Nayru and gives you the last song of the Harp of Ages. You sneak into Queen Ambi’s Palace through the garden, defeat Veran inside Nayru’s body, learn the Tune of Ages at the Maku Tree and collect two Gasha Seeds from its treetop. In a Linked Game you then spend four secret codes at Farore’s Hall of Secrets for sword, shield and Bombchu upgrades, use the new tune to reach a Gasha Seed chest, and dive around Crescent Island for the Mirror Shield and a Piece of Heart. The short route is: four garden buttons, the pond passage, the ring chest, the fairies, Veran, the Maku Tree, Farore, the Restoration Wall chest, then the Tokay’s cave and the underwater maze.

Ambi’s Palace garden (the past)
Meet Ralph at the gate
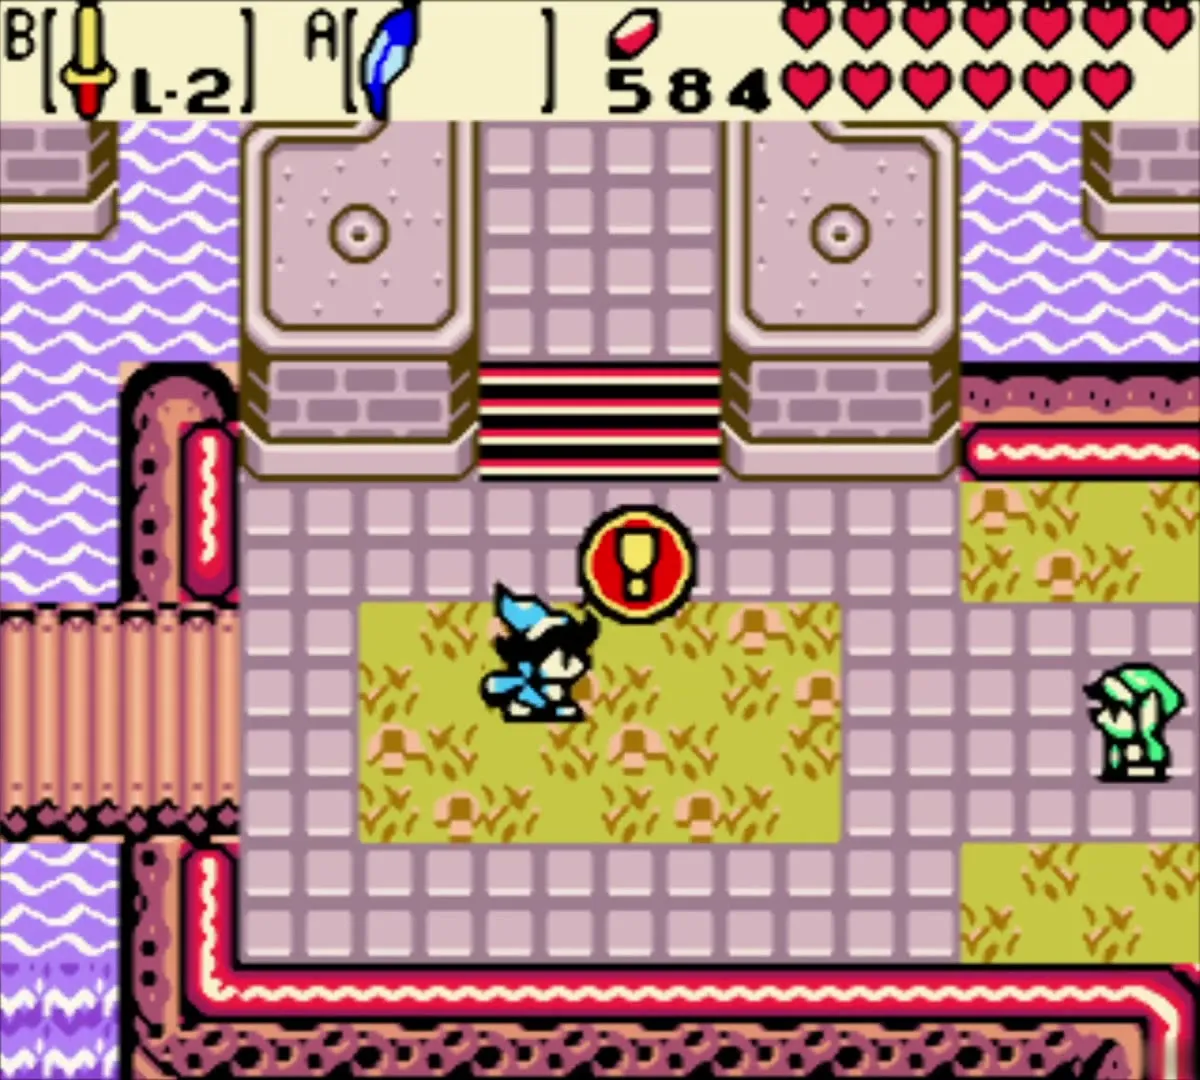
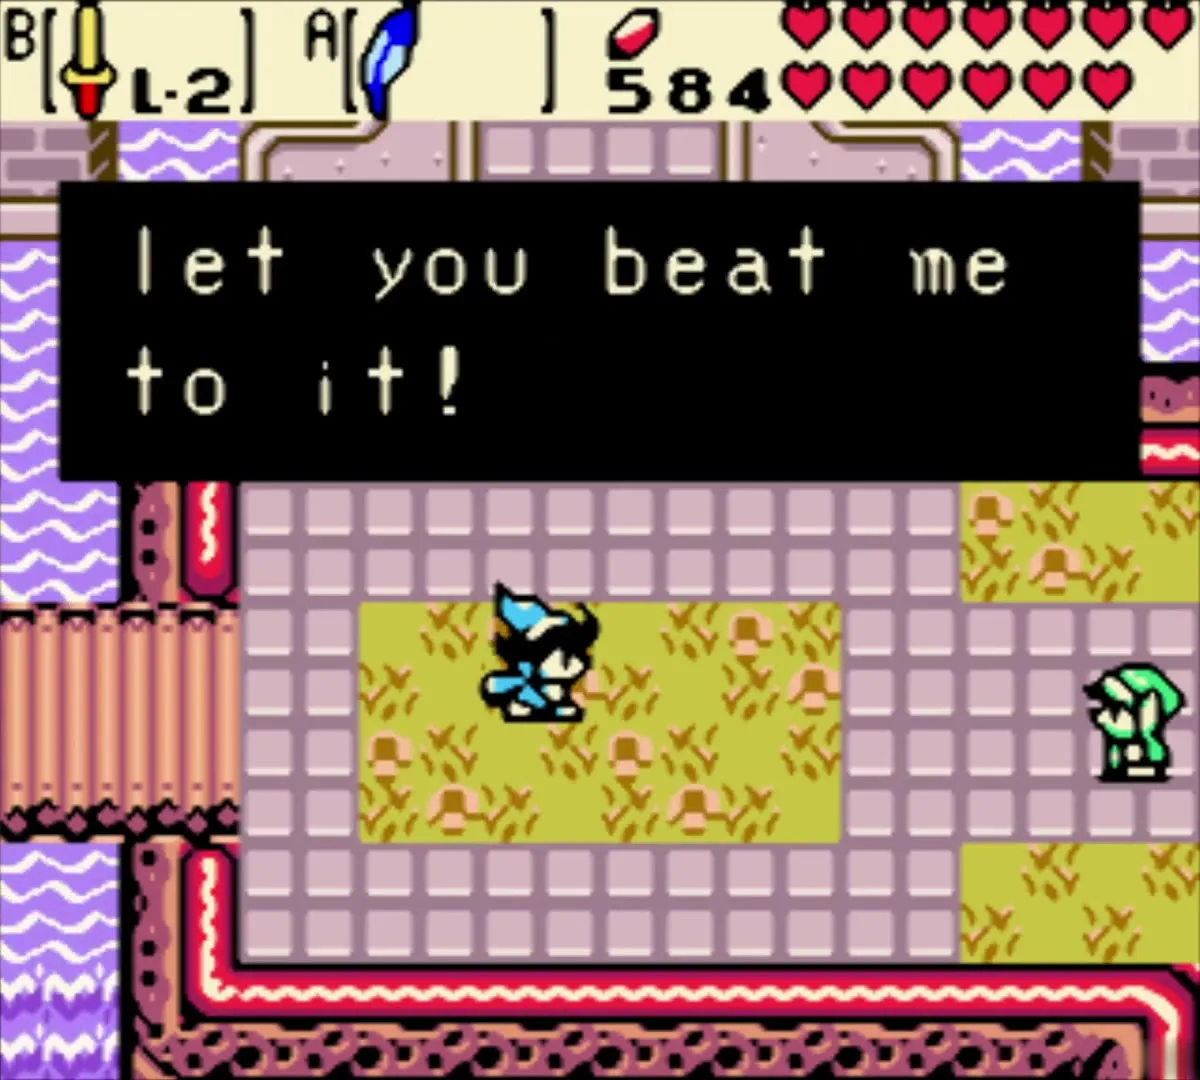
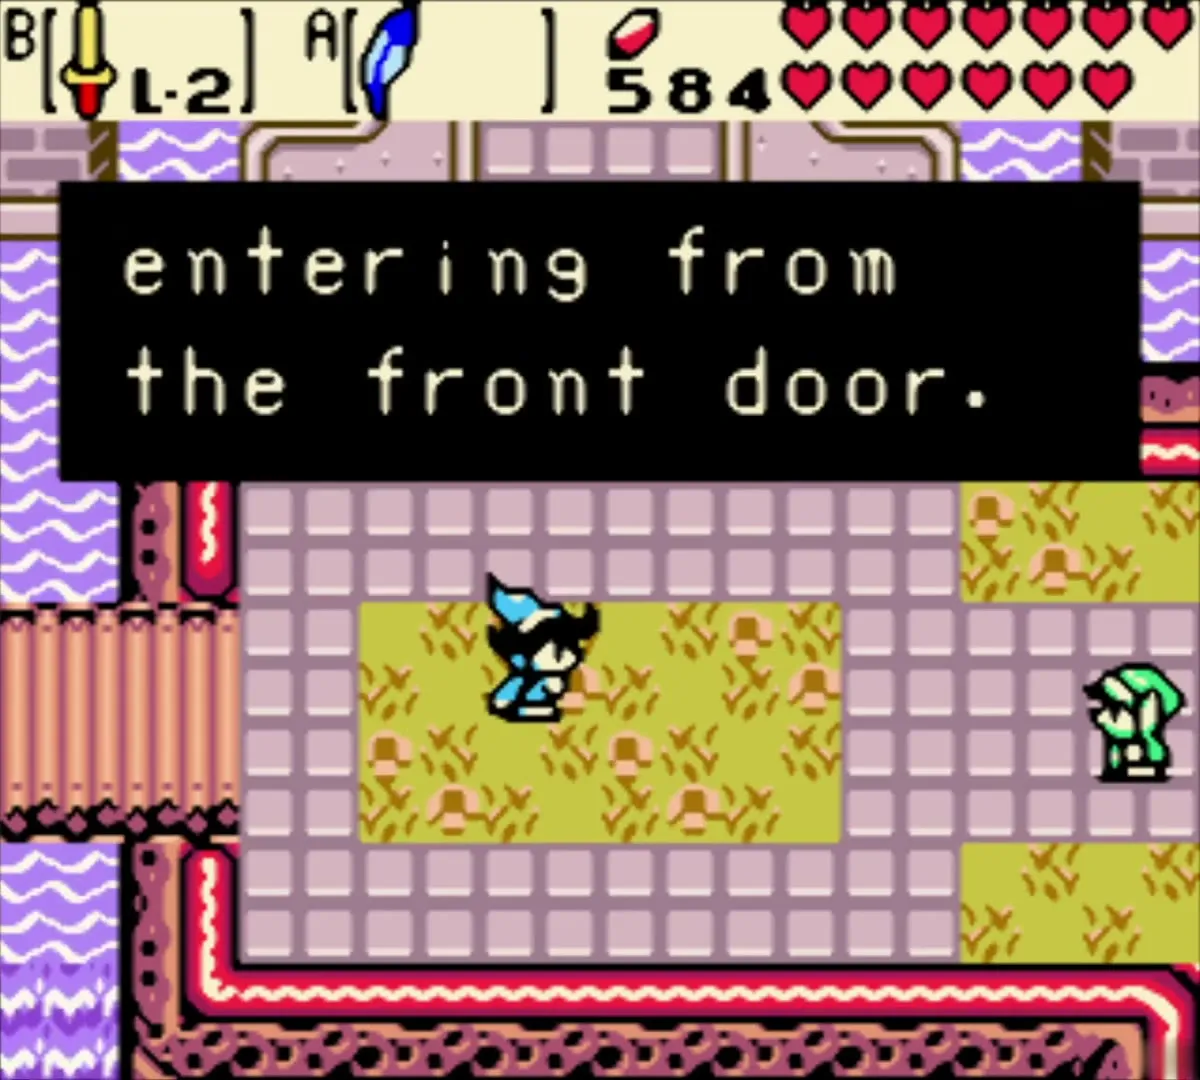
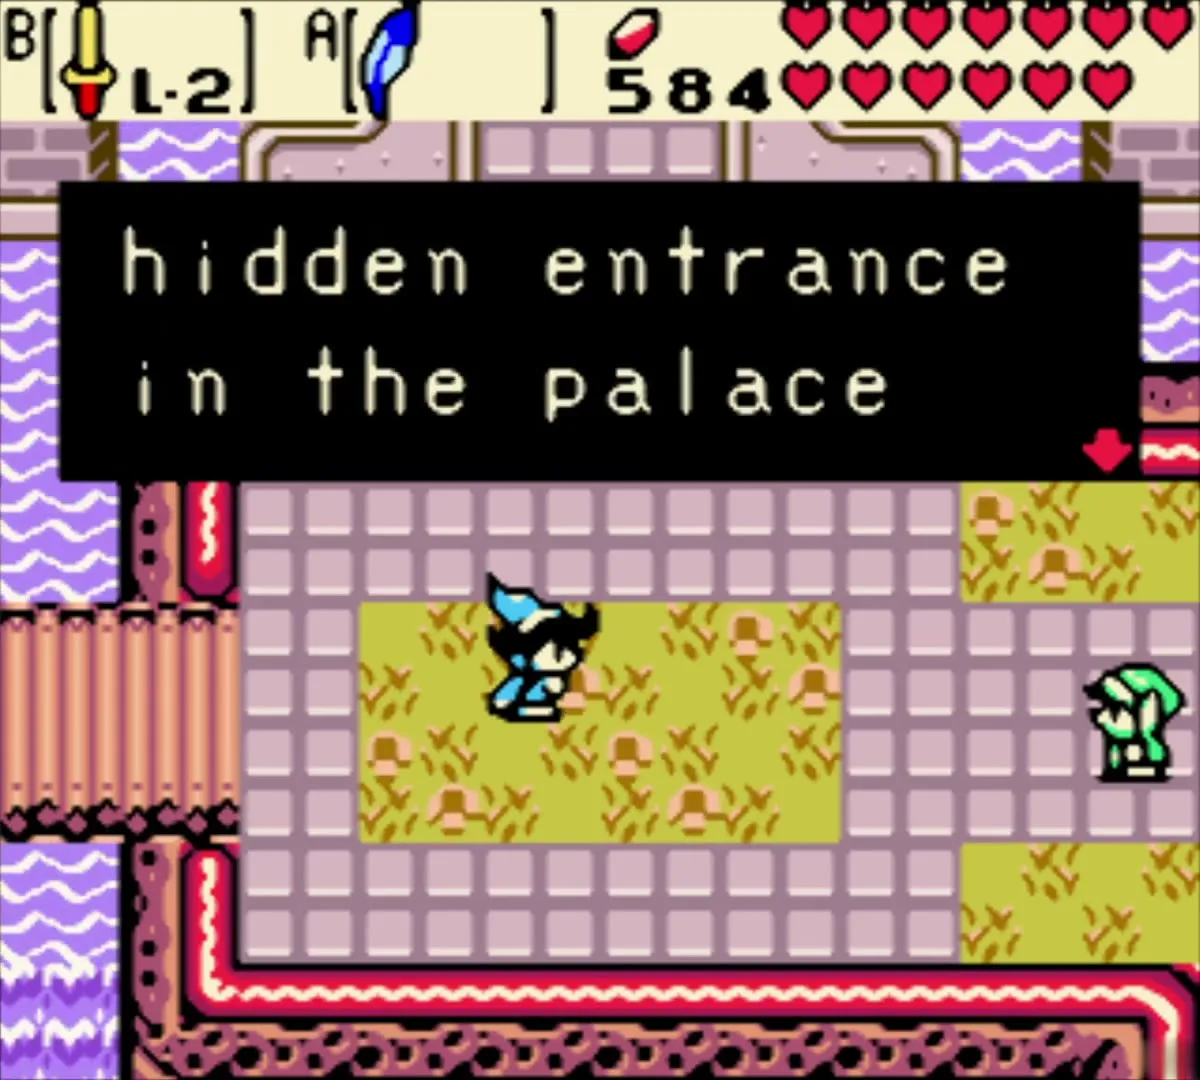
Travel to Ambi’s Palace in the past, on the high ground north of Lynna Village, once the Maku Tree has told you that the queen has left. Ralph waits on the paving in front of the palace and will not stop talking about saving Nayru himself. He explains that the front gate is crowded with guards and that there is a hidden way in through the garden. If you try the gate anyway, a guard blocks you and sends you away.

Press the four garden buttons
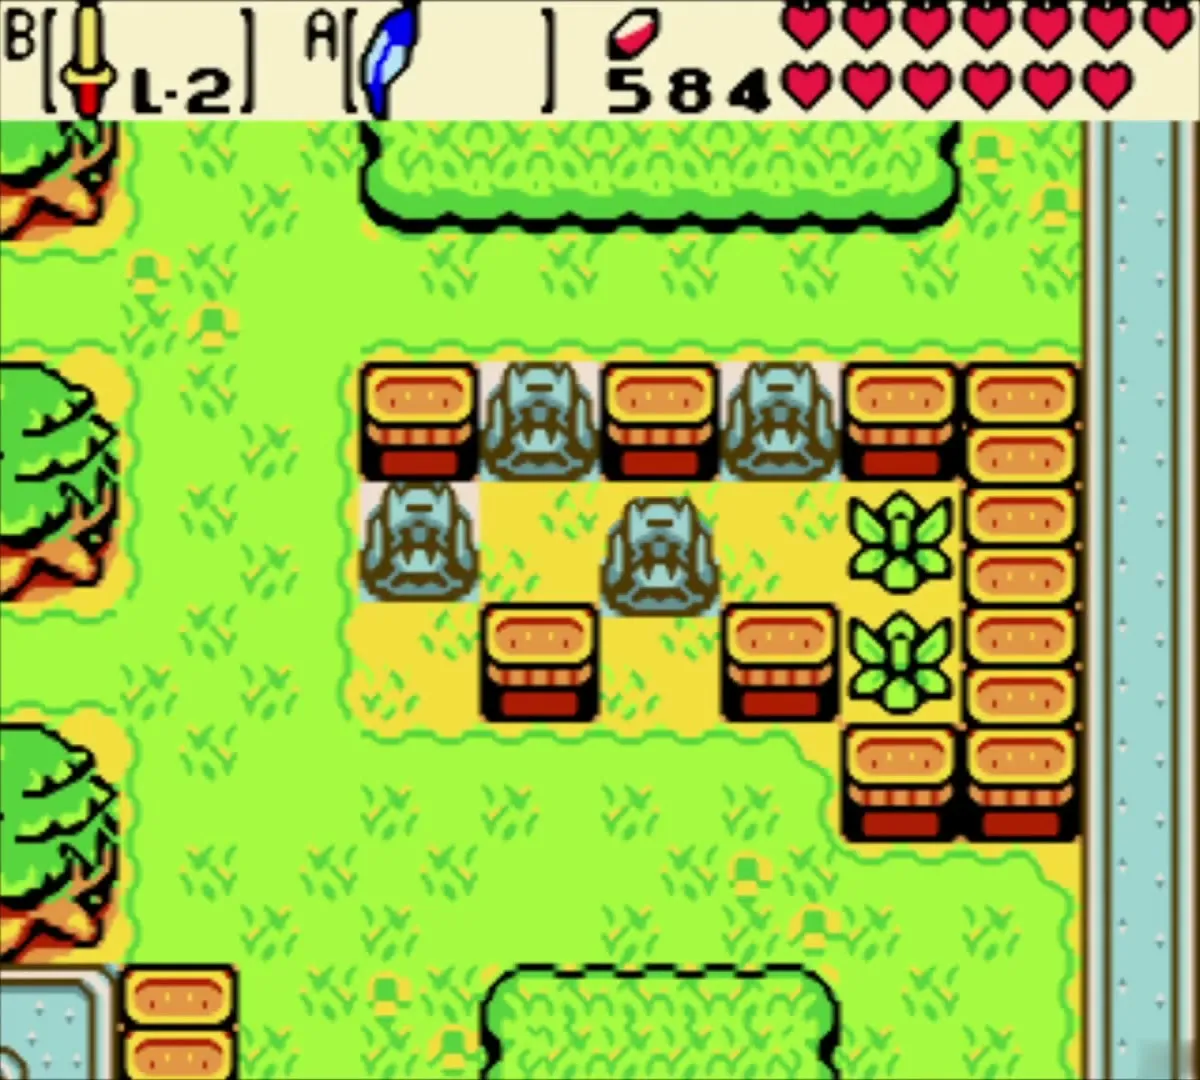
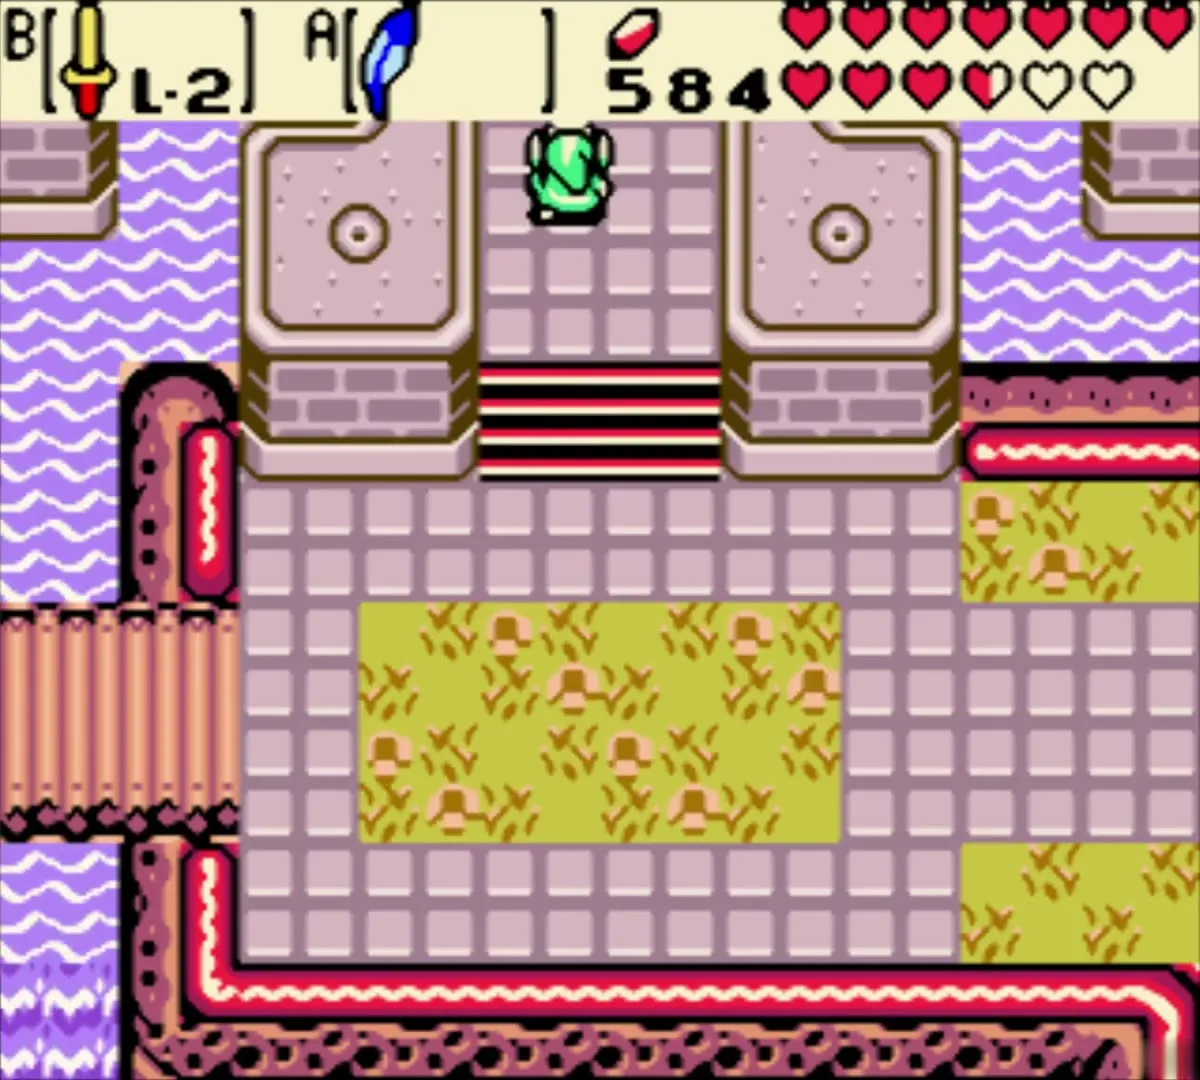
Walk into the garden. It is a series of lawns divided by rows of orange blocks, trees and flowerbeds, and soldiers patrol every lawn. A floor button sits in each corner of the grounds, and each one slides one of Ambi’s statues out of the way. Wait beside a wall or block until a patrol turns its back, then run to the button and step on it. Pegasus Seeds are worth using on the exposed dashes.
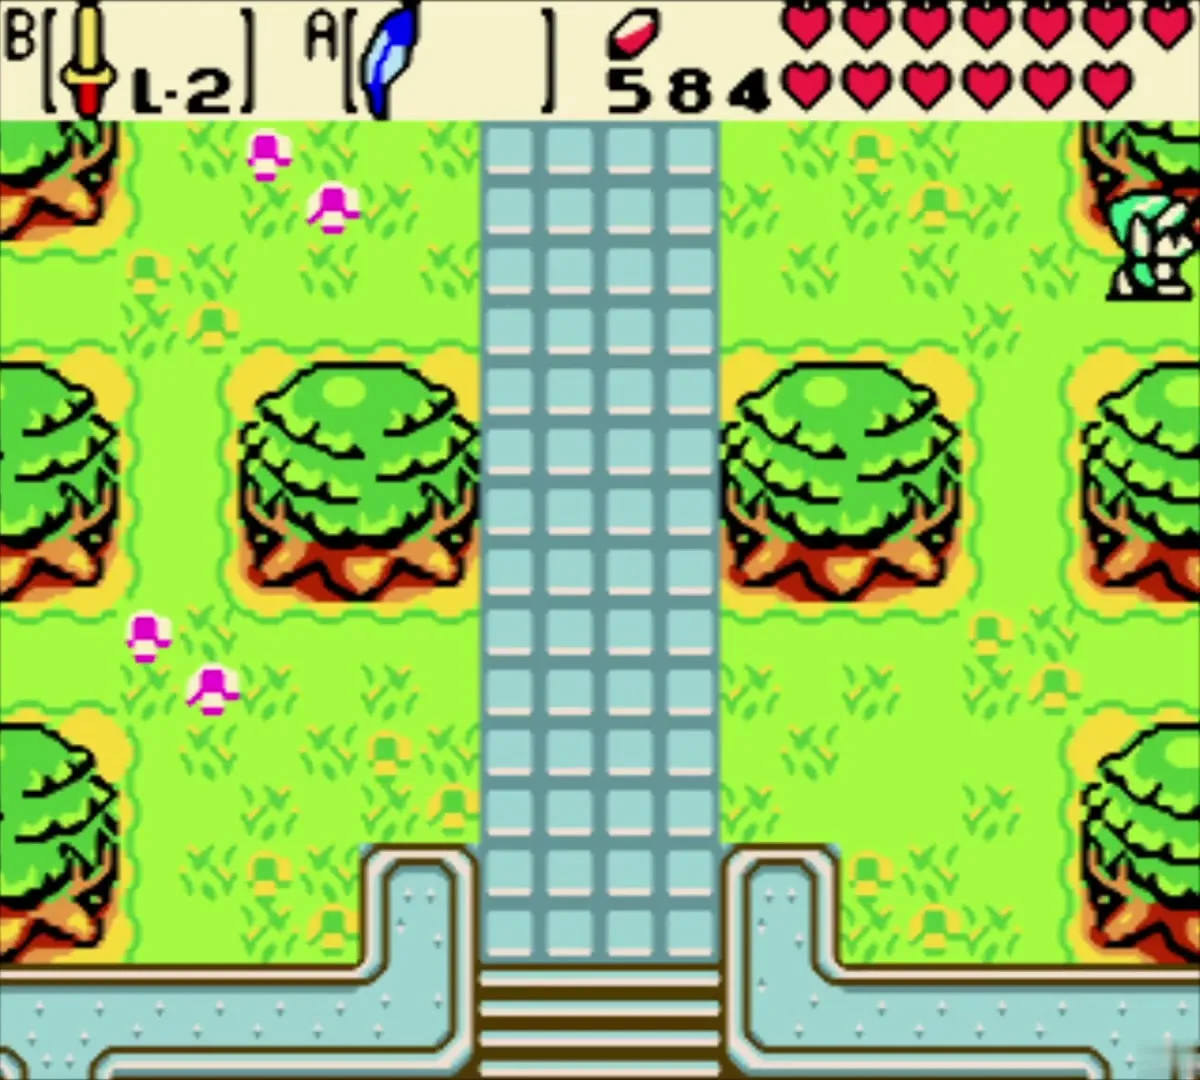
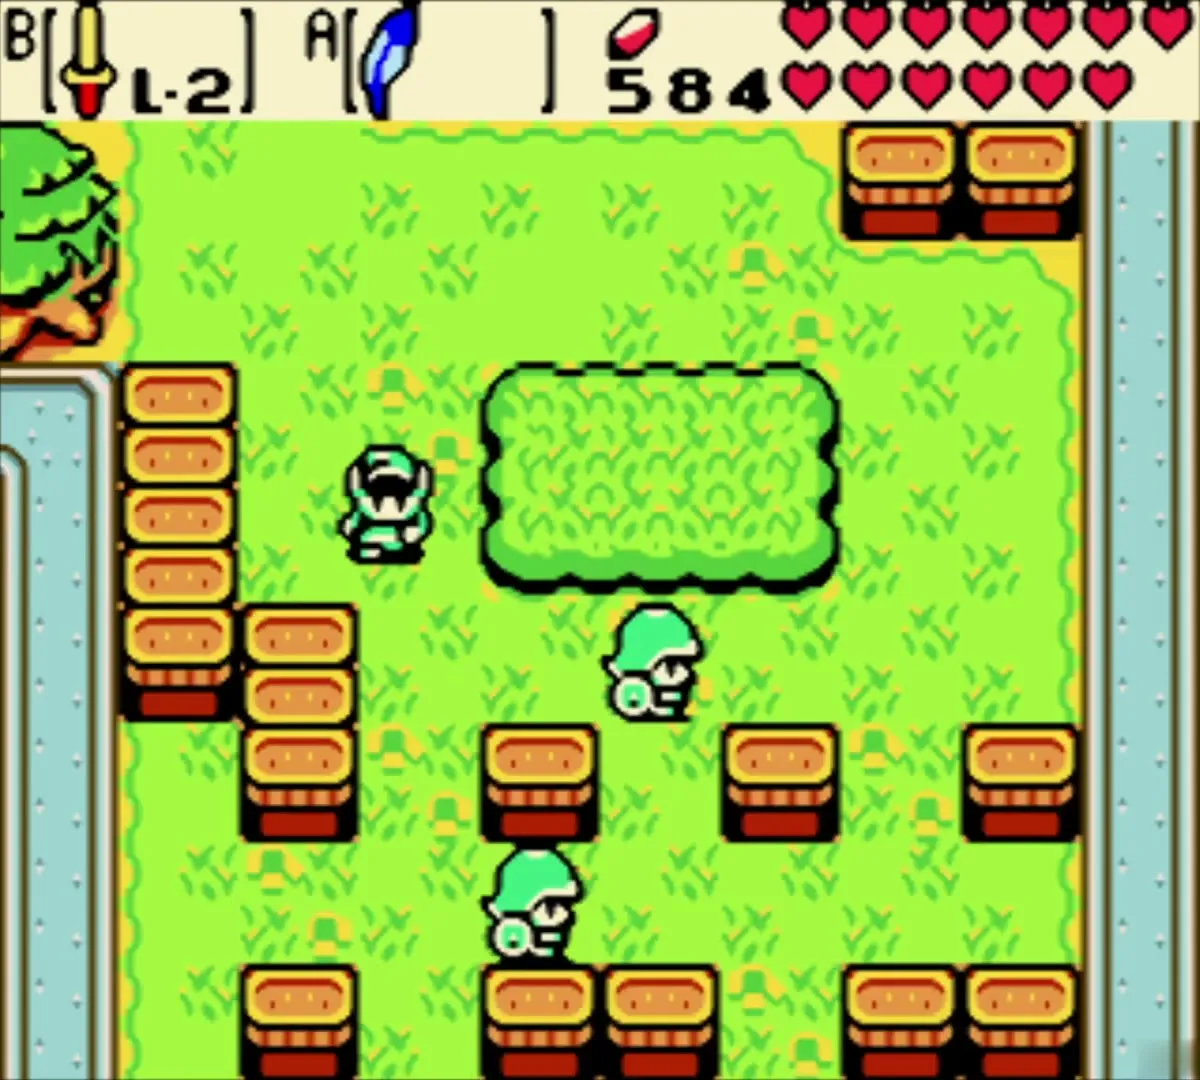
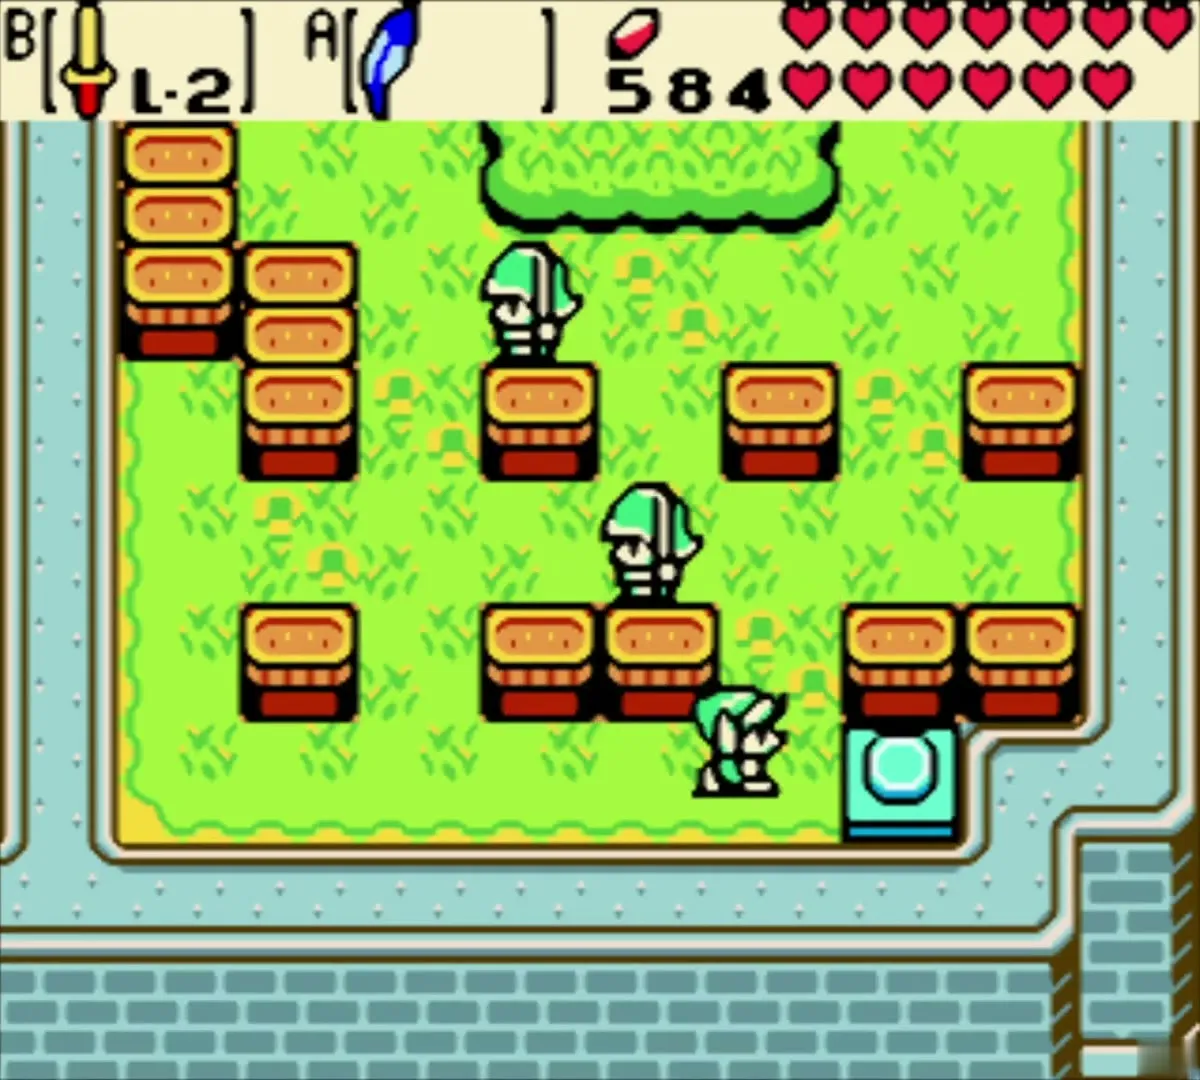
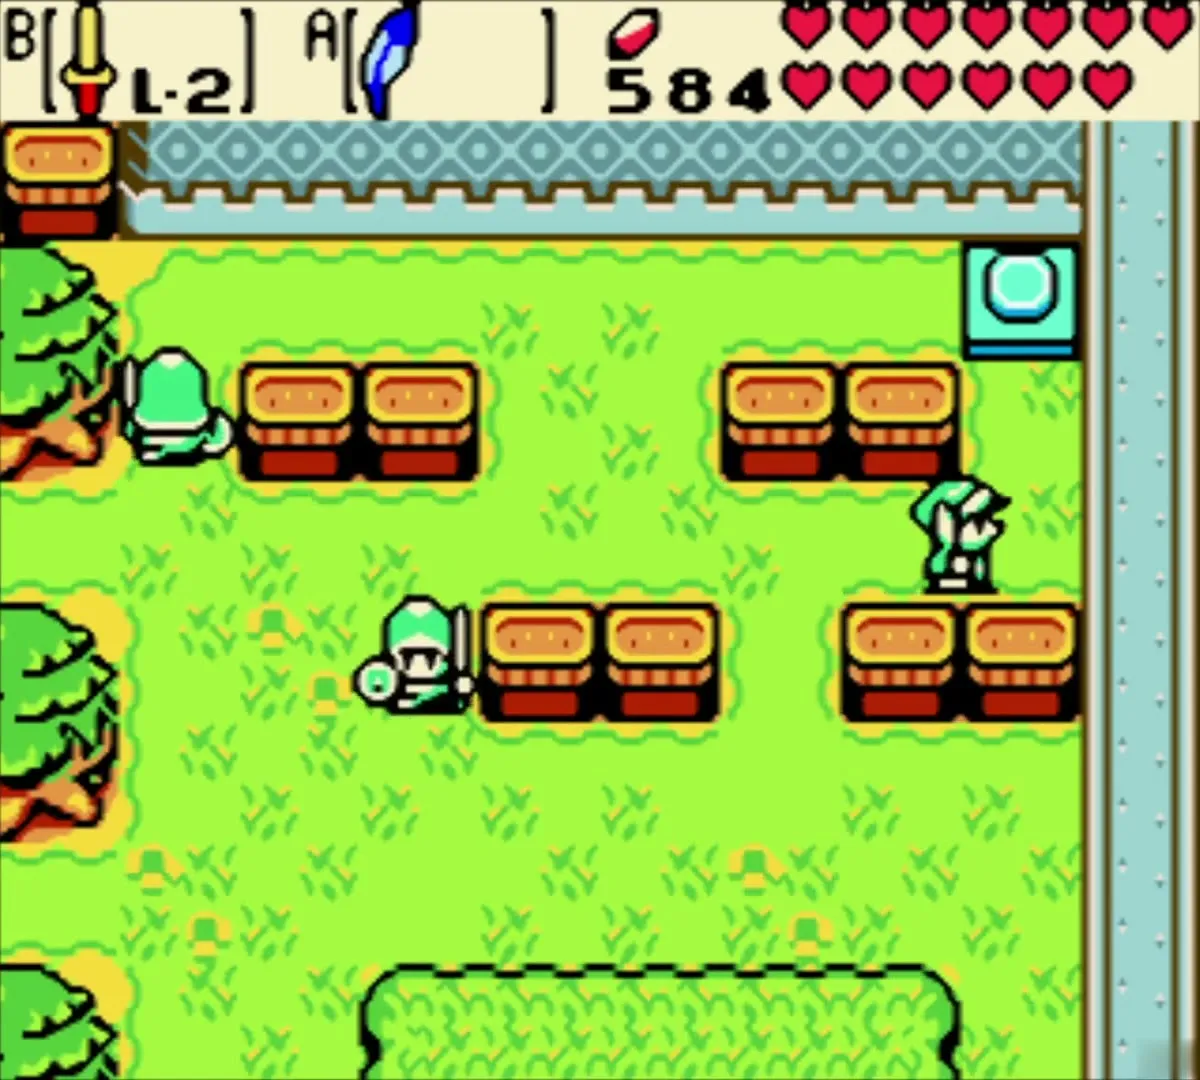
A guard who spots you throws you out of the grounds. Your progress is kept, though: buttons you already pressed stay pressed, so you only repeat the walk to the next one. Work through all four.
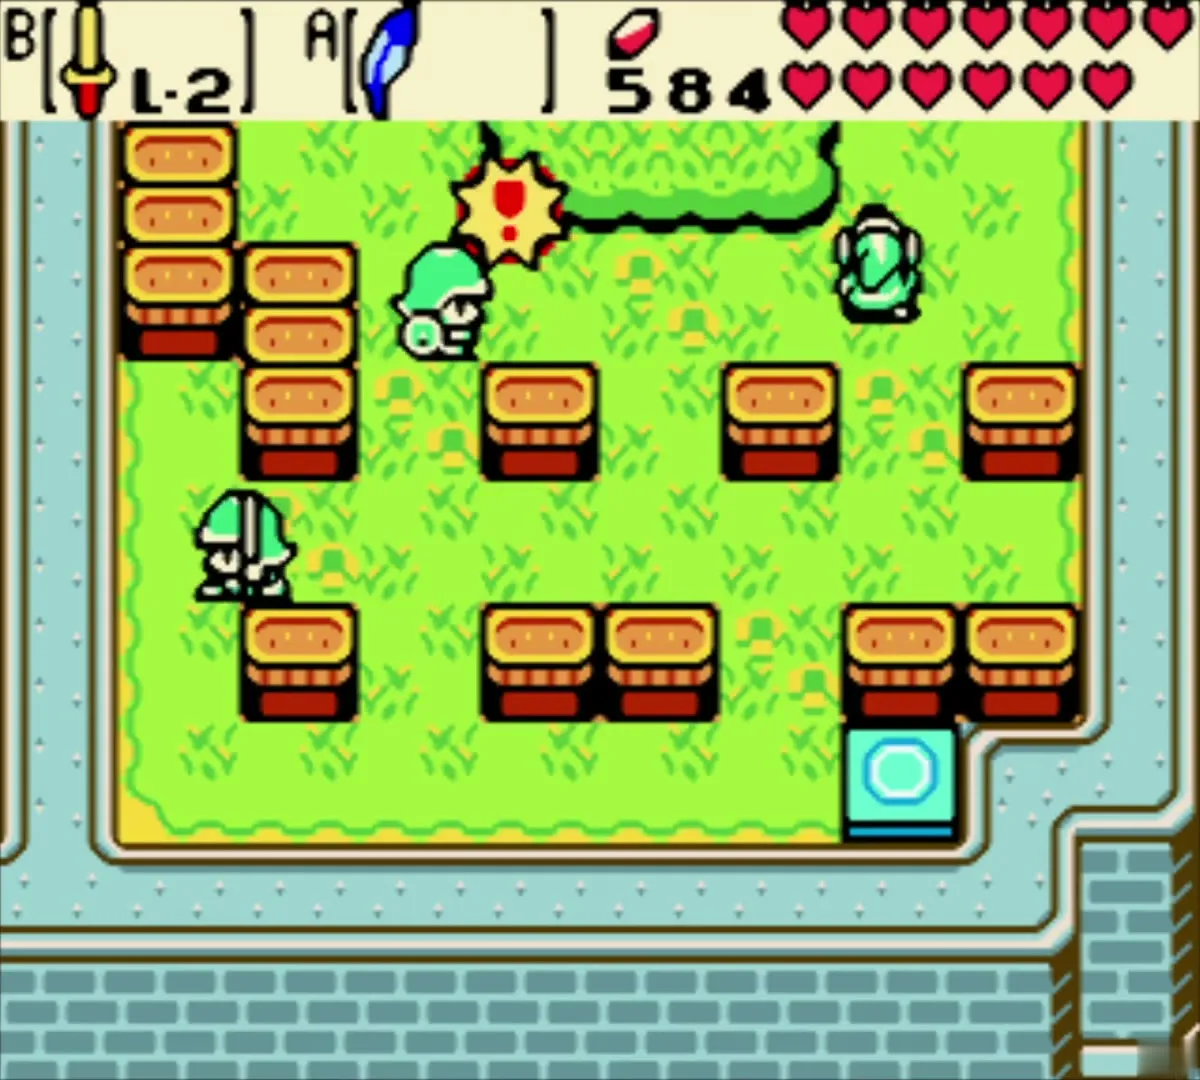

Uncover the pond stairs
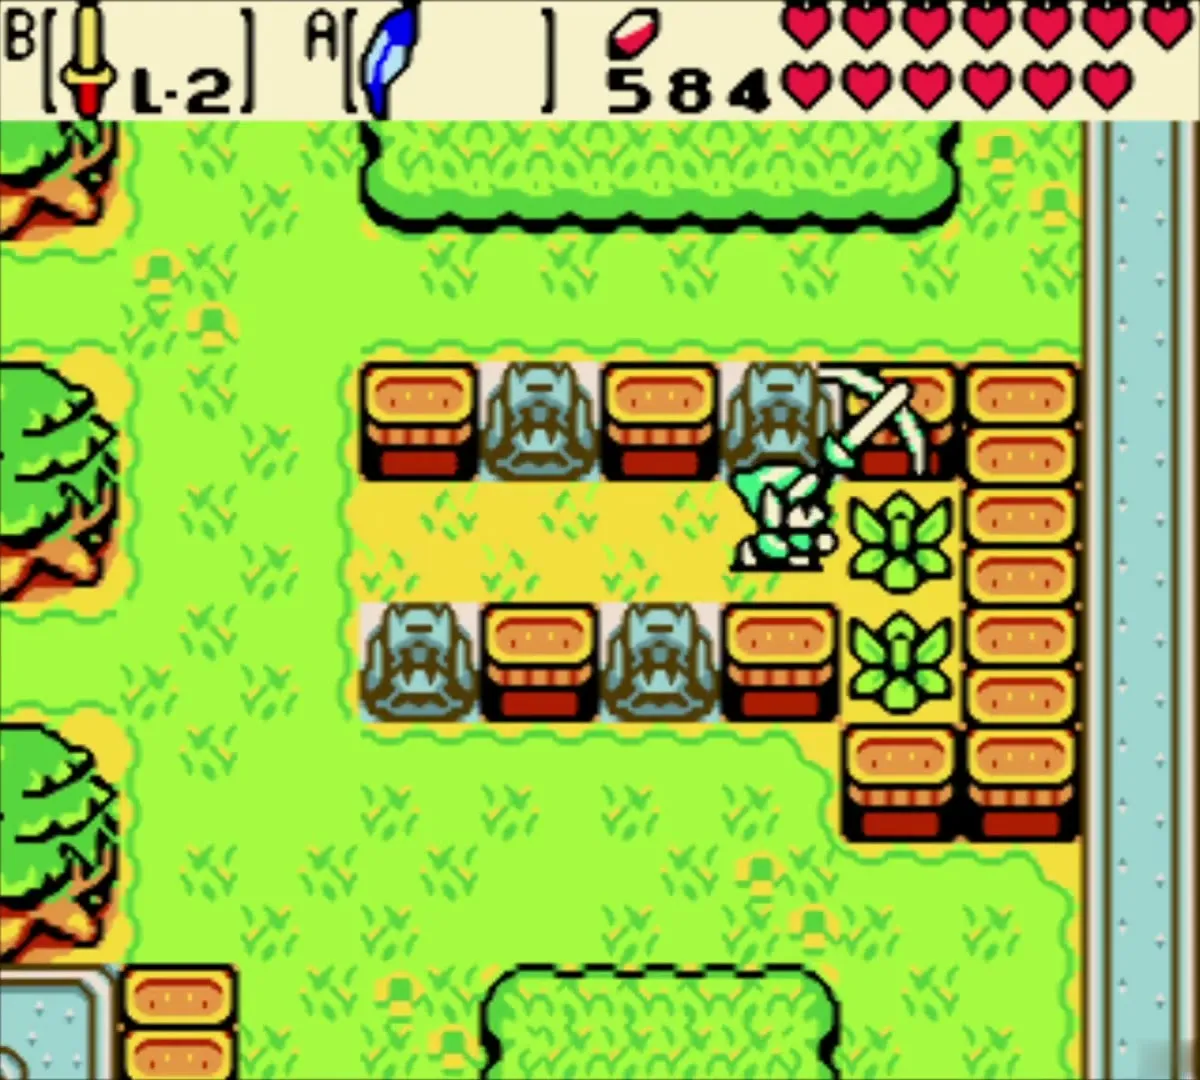
When the fourth statue has moved, go back to the lawn where a row of the statues stood. Slash the bush that was hidden behind them to uncover a staircase going down.

Swim into the palace
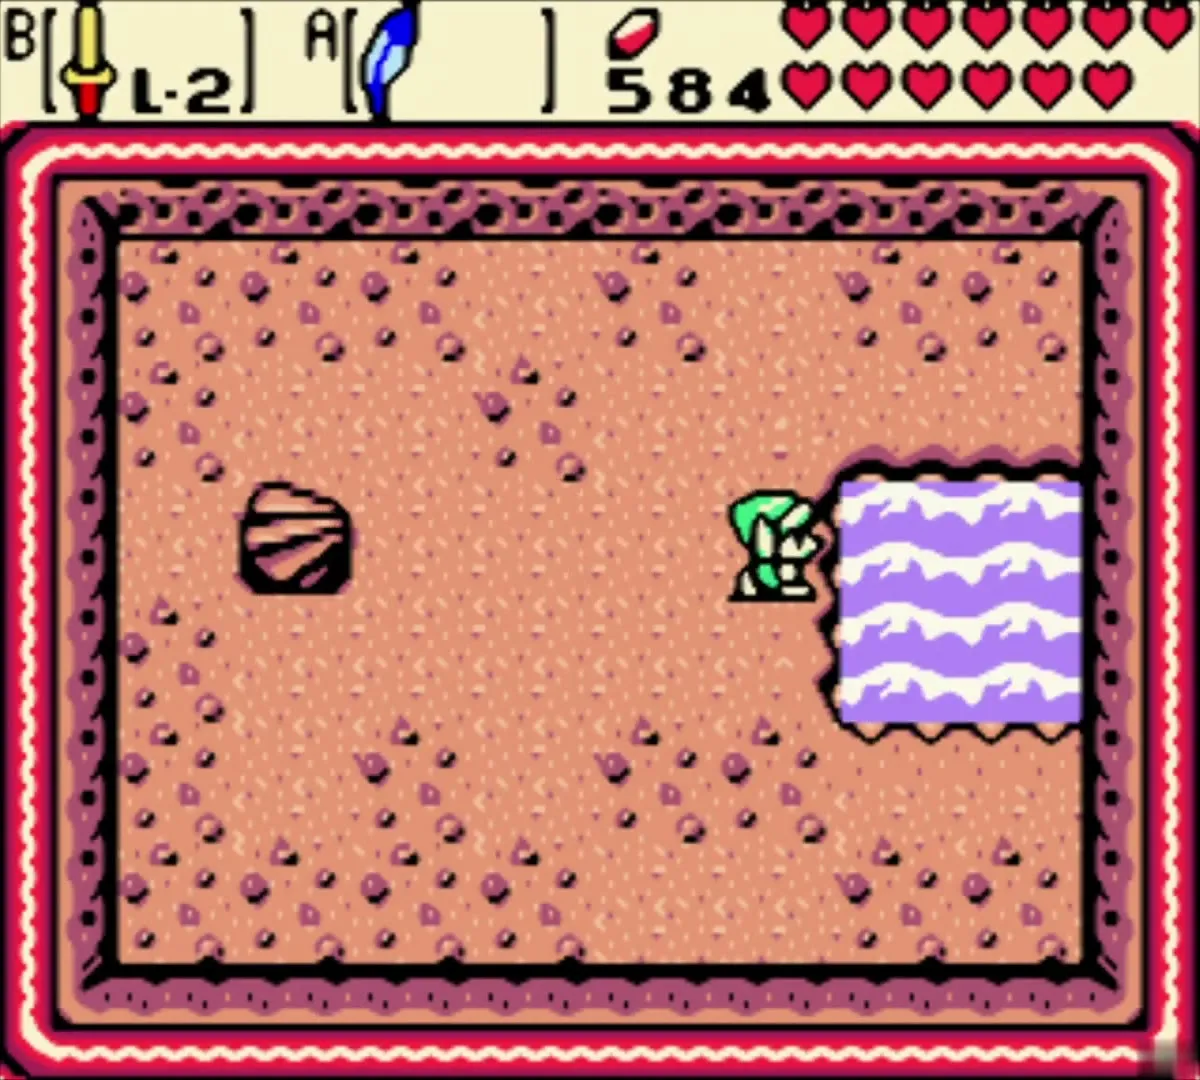
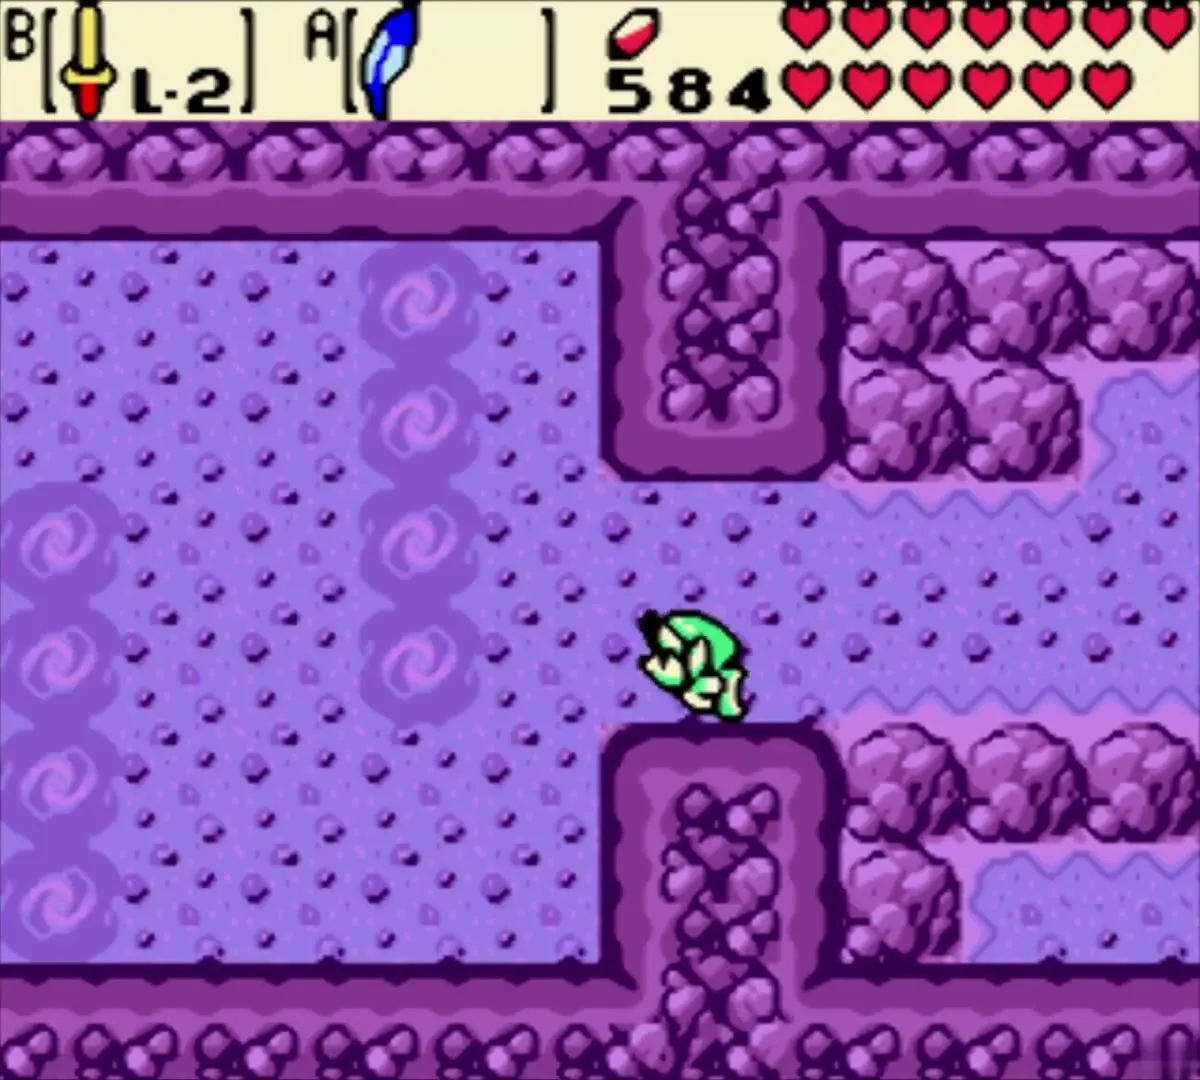
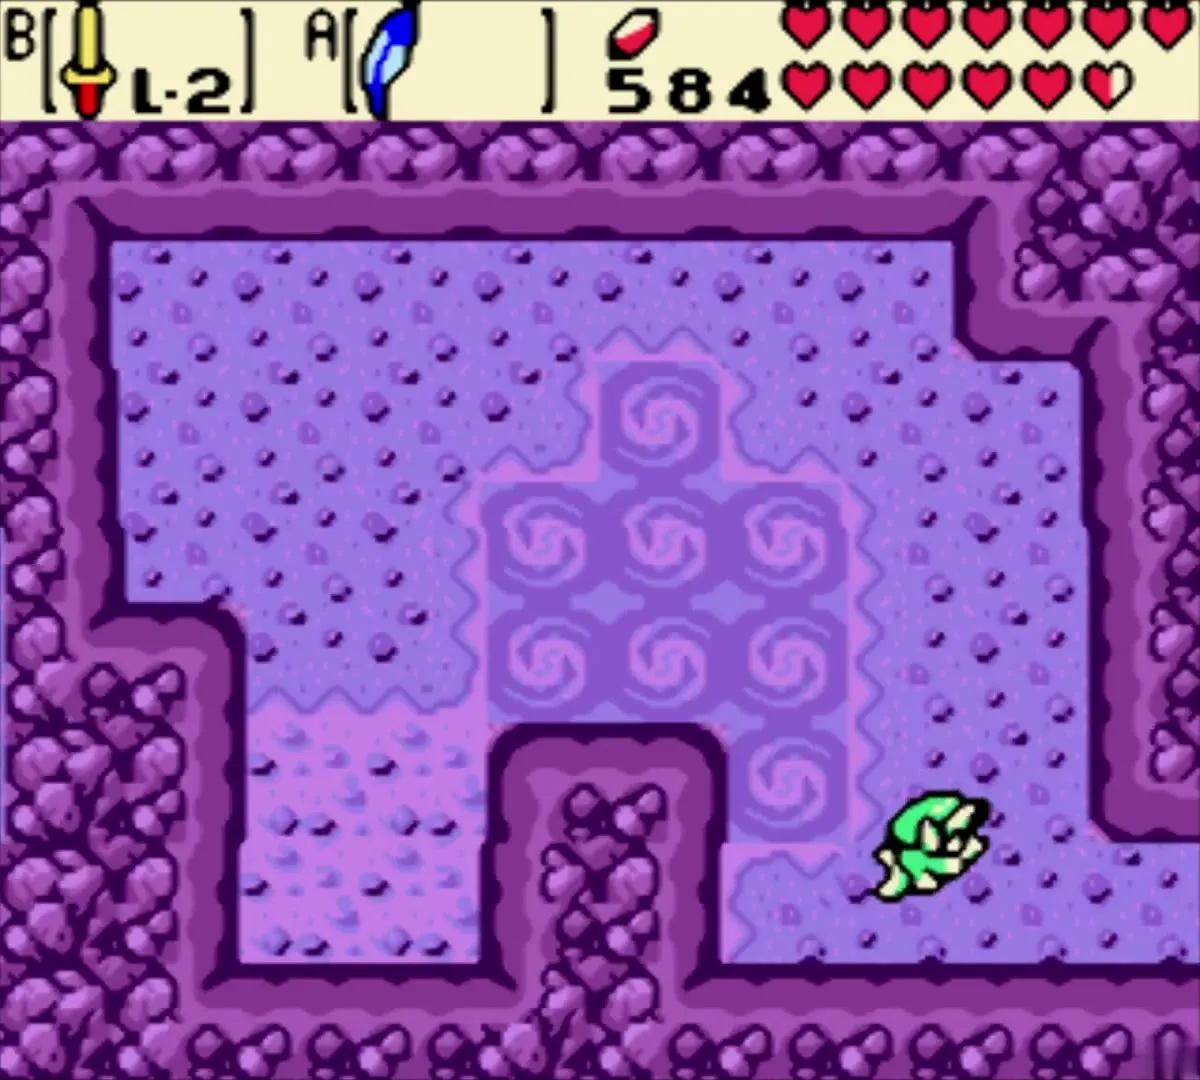
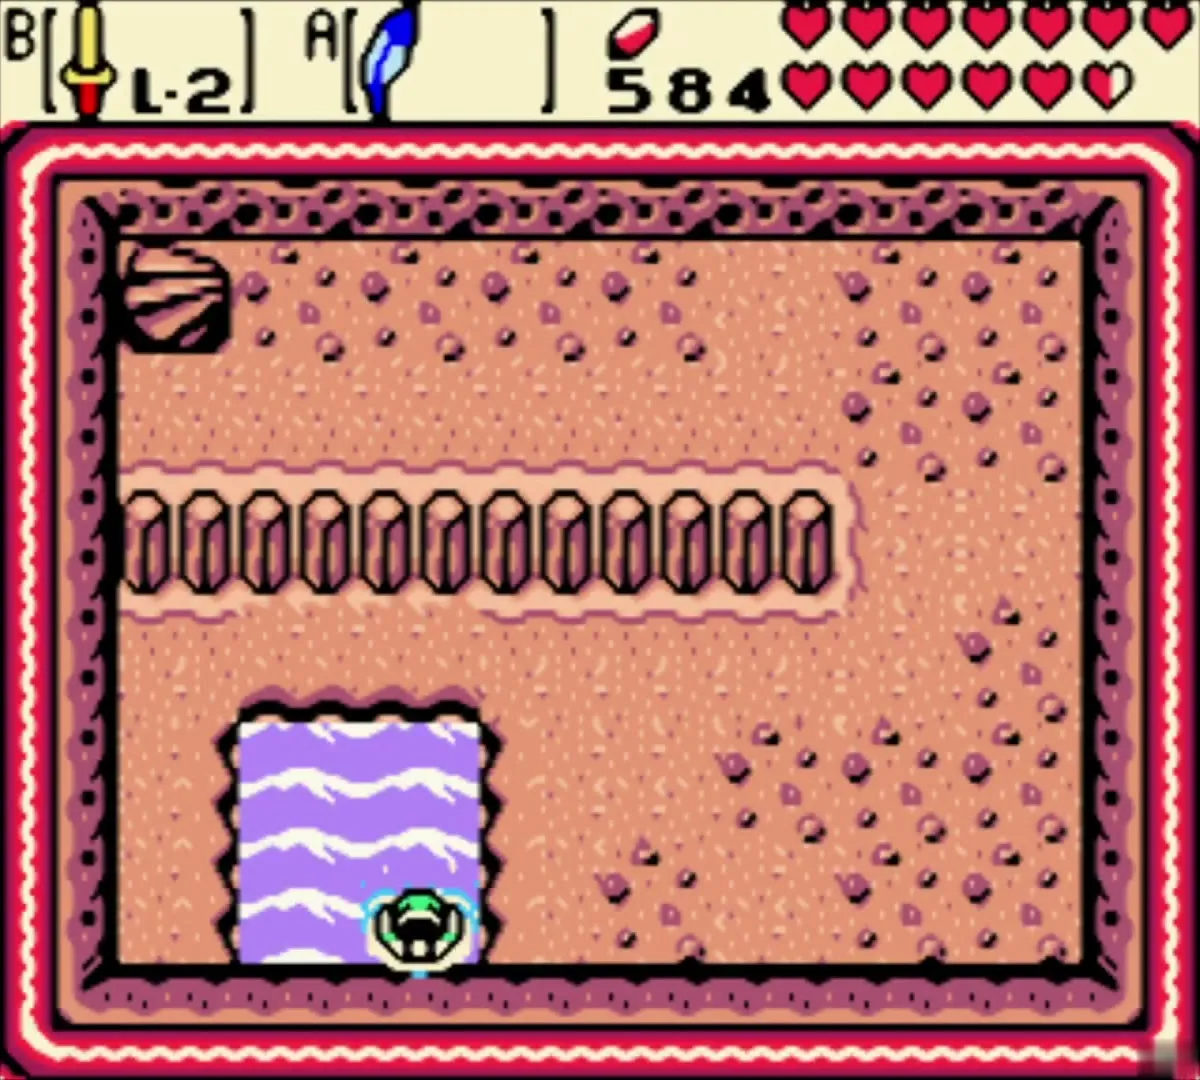
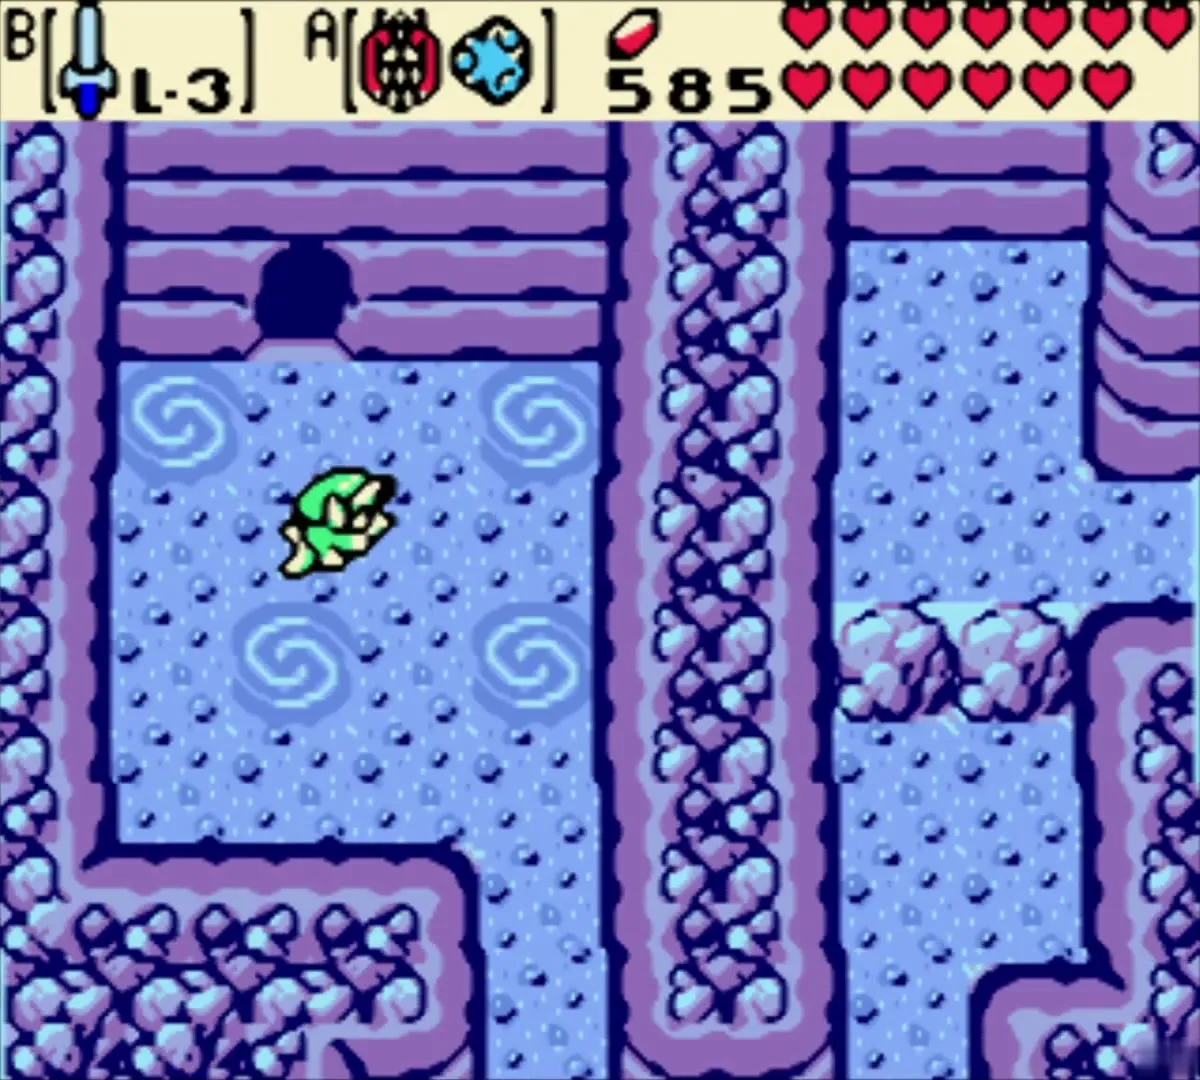
Take the stairs down to a small pond, jump in with Zora’s Flippers and swim through the underwater passage, heading west. Whirlpools push you about, so steer around them. At the far end, surface on the lighter-coloured shallows and climb the stairs in the corner of the room. You are now inside the palace.

Inside the palace: guards, a ring and fairies
Rooms of orange blocks
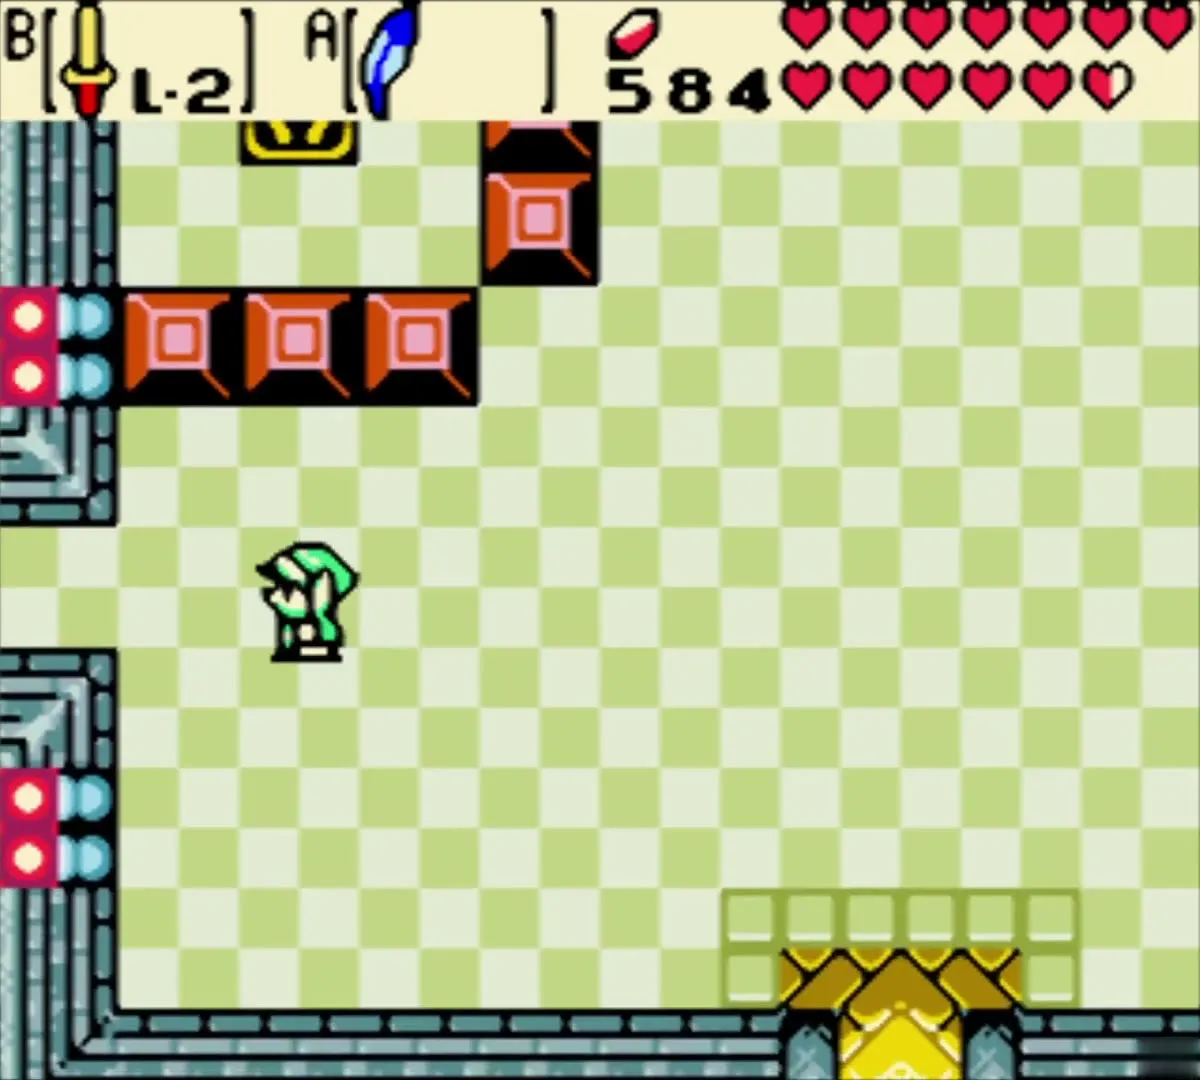
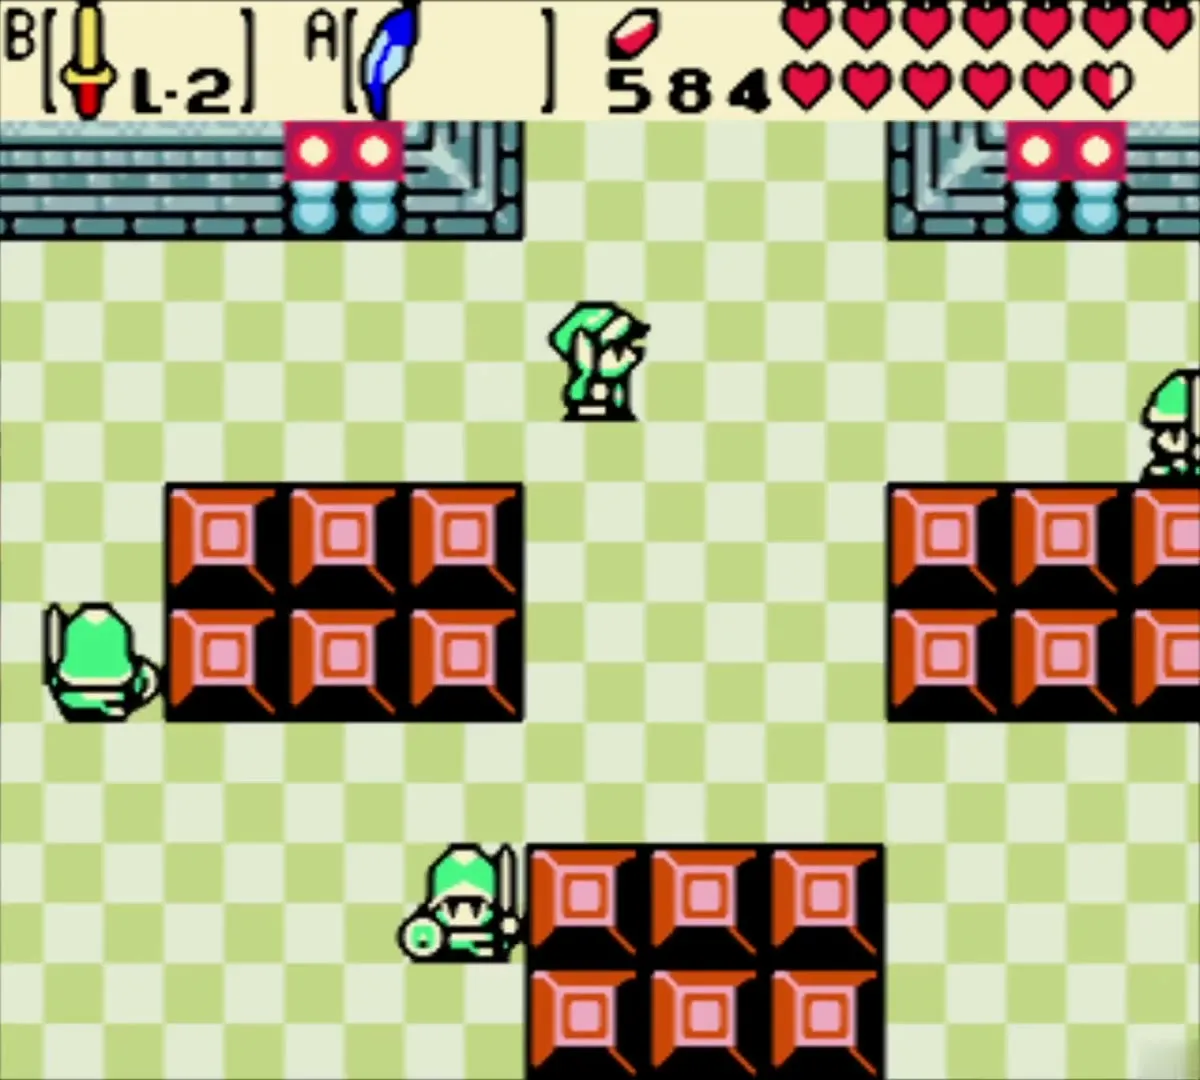
The palace rooms have green checkered floors, orange blocks and gold doors. Soldiers chase you here, and a flame-spitting enemy patrols some rooms, so a careless crossing can strip several hearts. Hit the soldiers with your sword or outrun them. If one catches you, you are thrown back out to the front gate, and you have to walk the garden and swim the pond again (the buttons stay pressed).


Ring chest
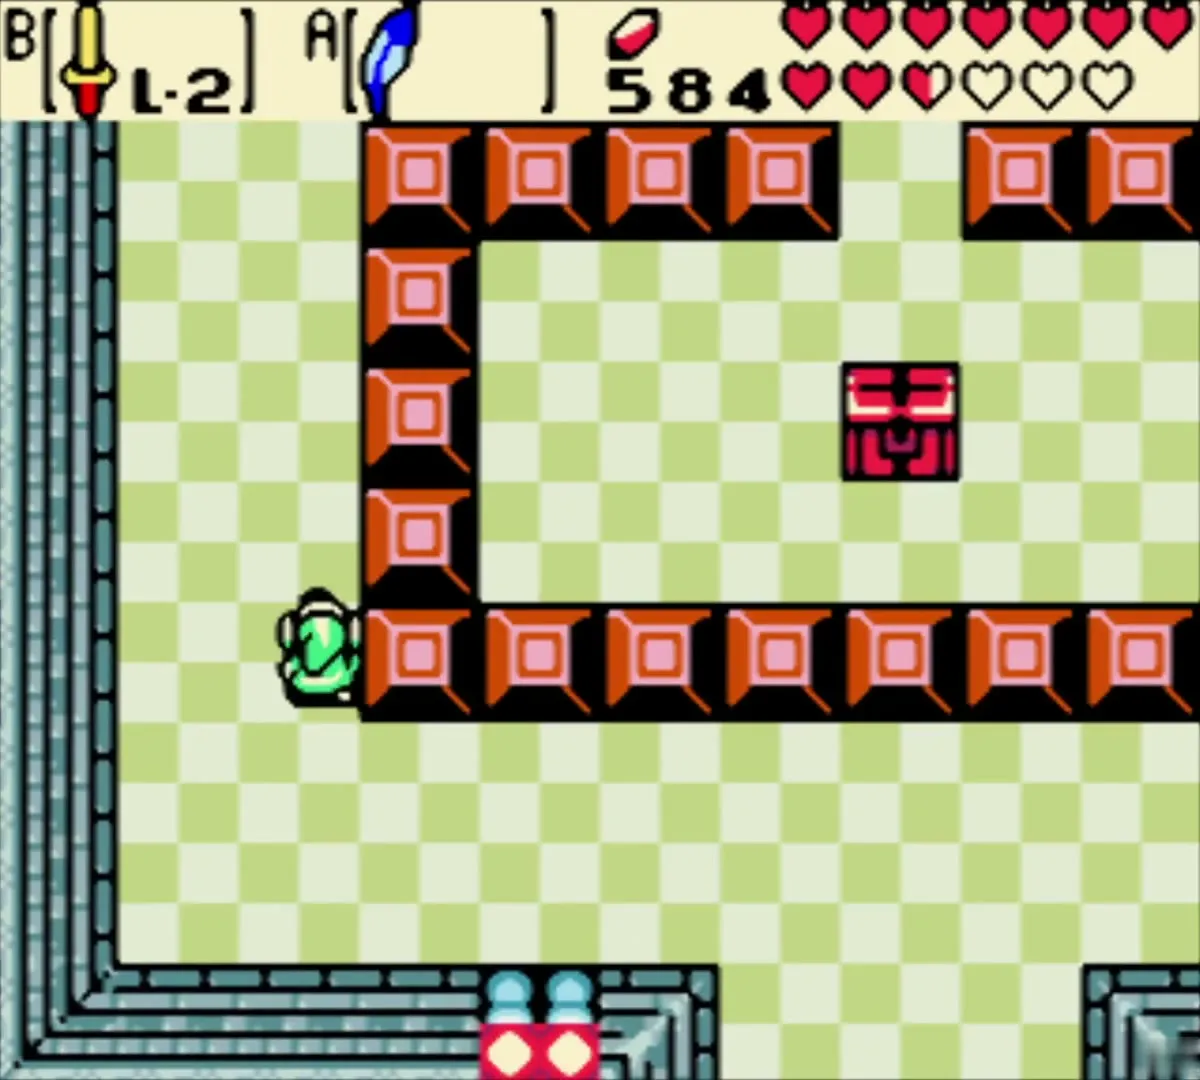
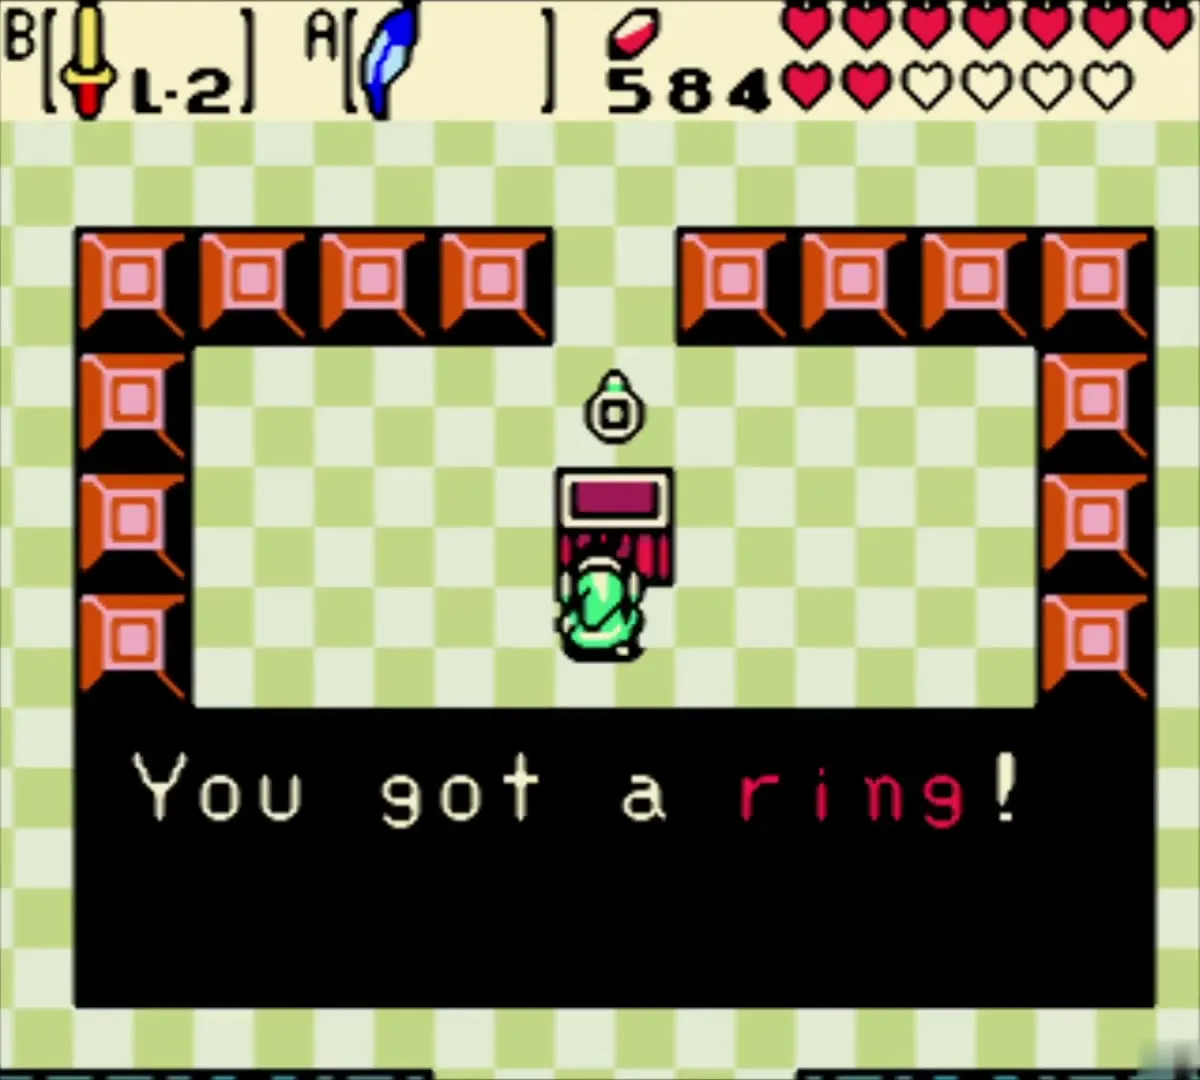
Find the chest enclosed by a ring of orange blocks in one of the first rooms and slip through the gap to open it. It holds a ring, which arrives unappraised. Take it to Vasu’s jewelry shop afterwards: it is the Gold Luck Ring (see Magic Rings).

Fairies and the stairs
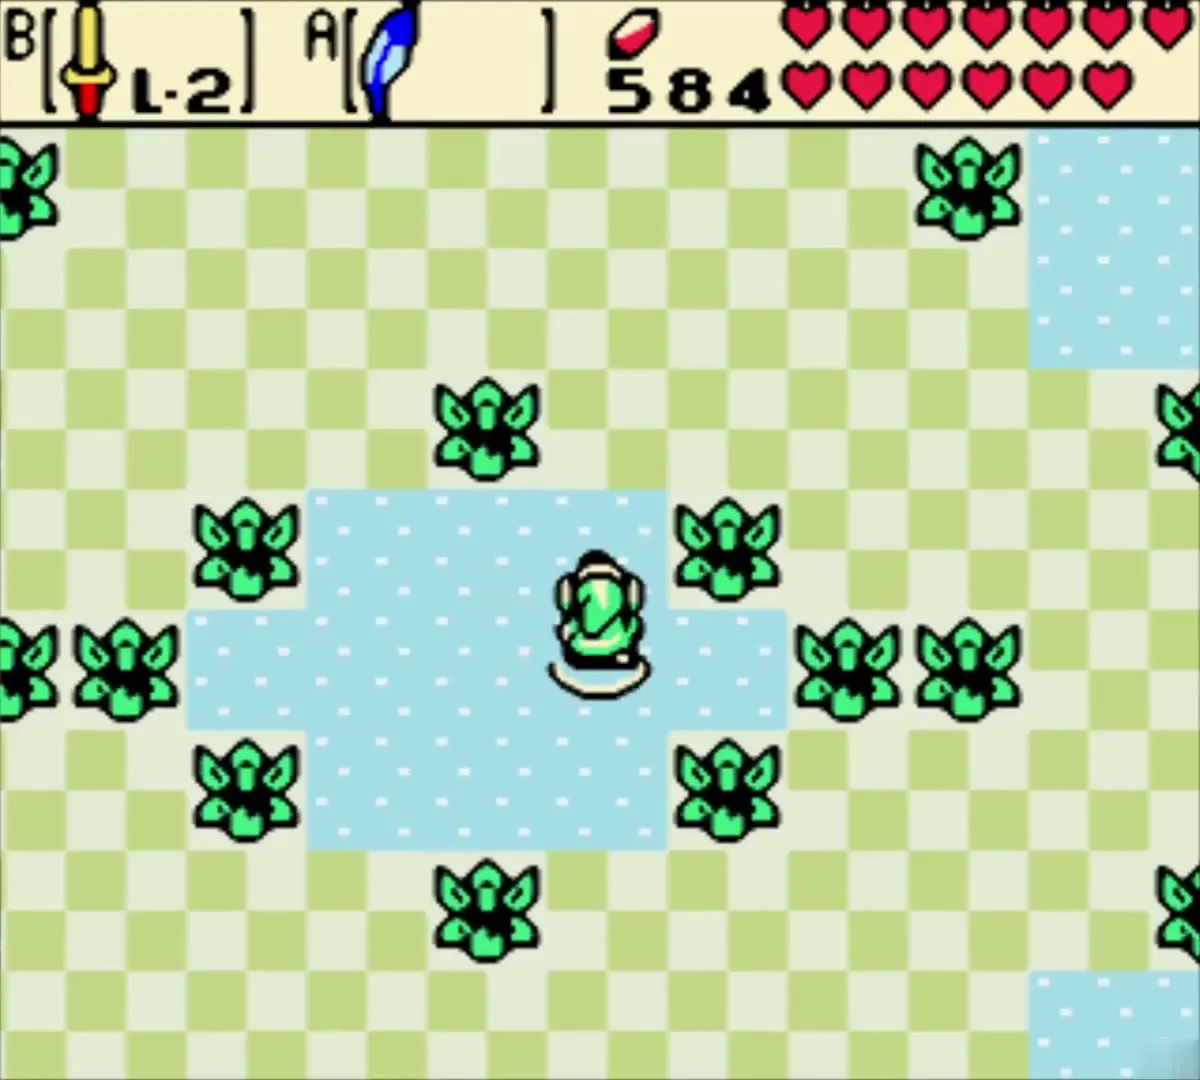
Keep going through the block rooms until you find a room with two fairies hovering over patches of pale blue floor. They refill your hearts, so spend a moment here before the boss. Then climb the staircase to the upper floor.

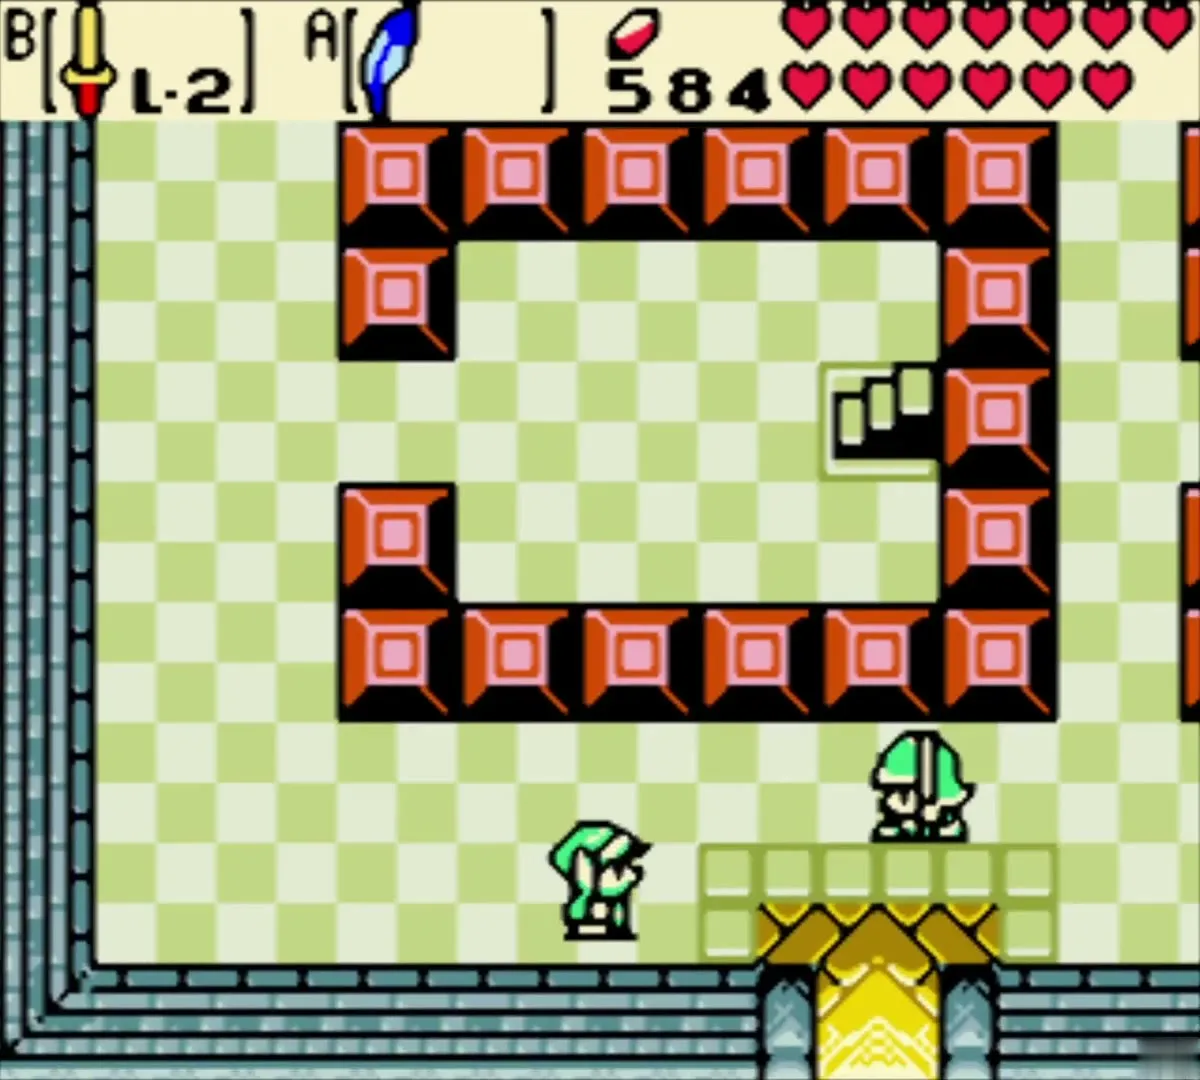

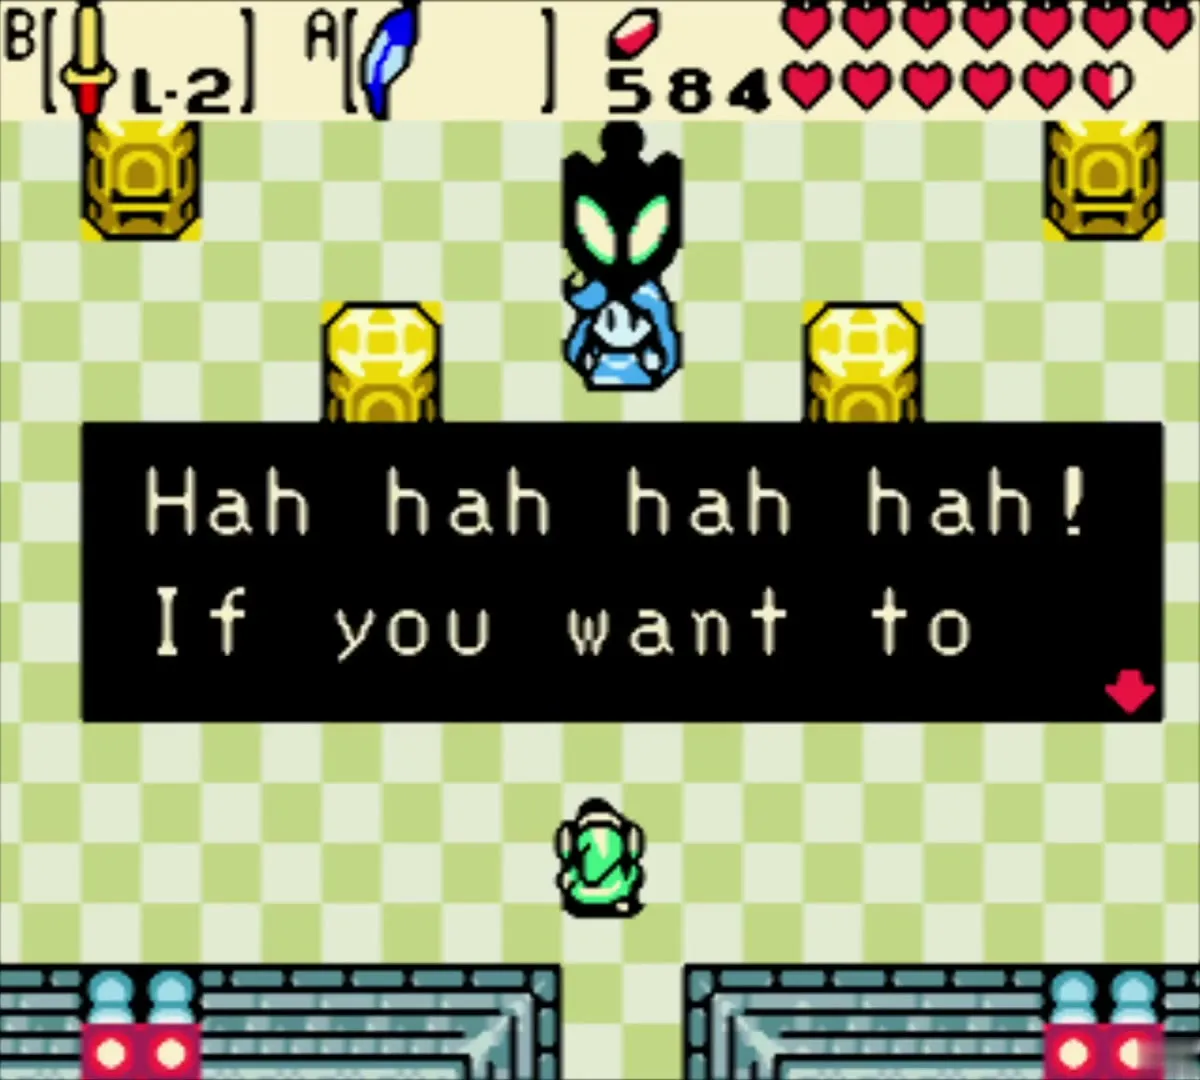
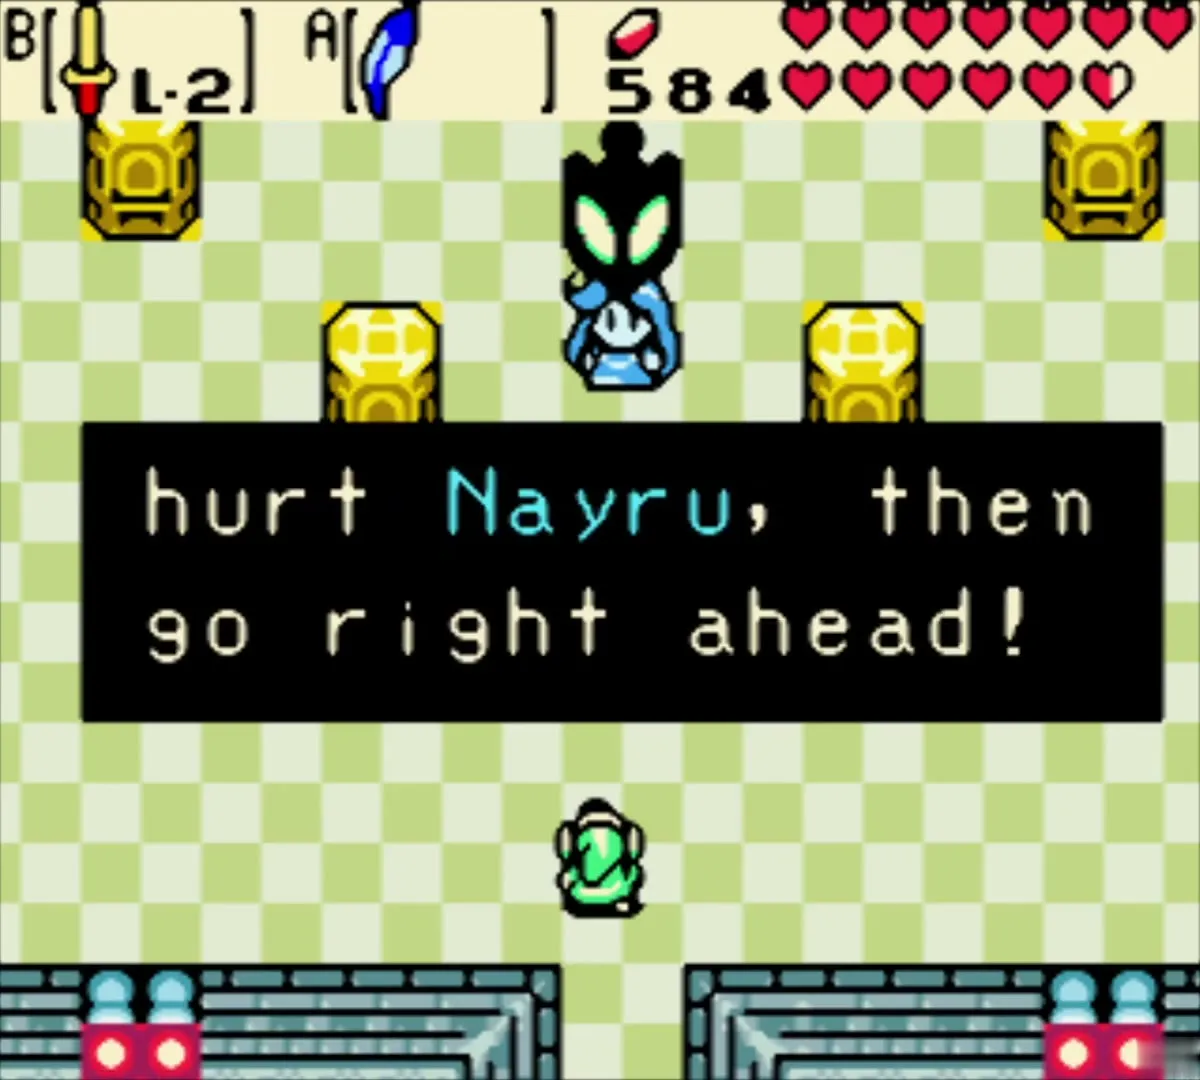
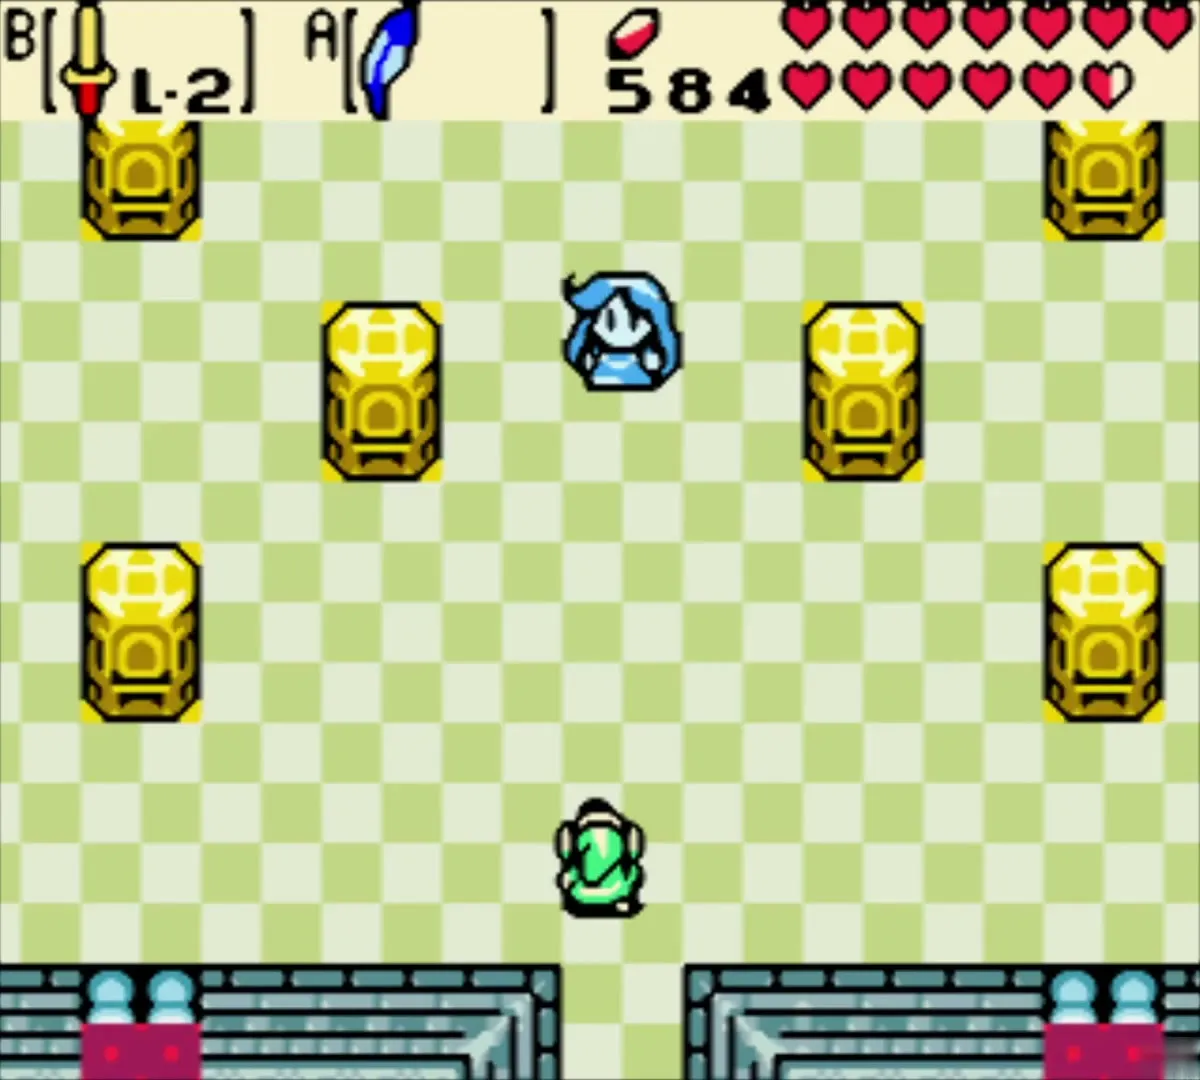
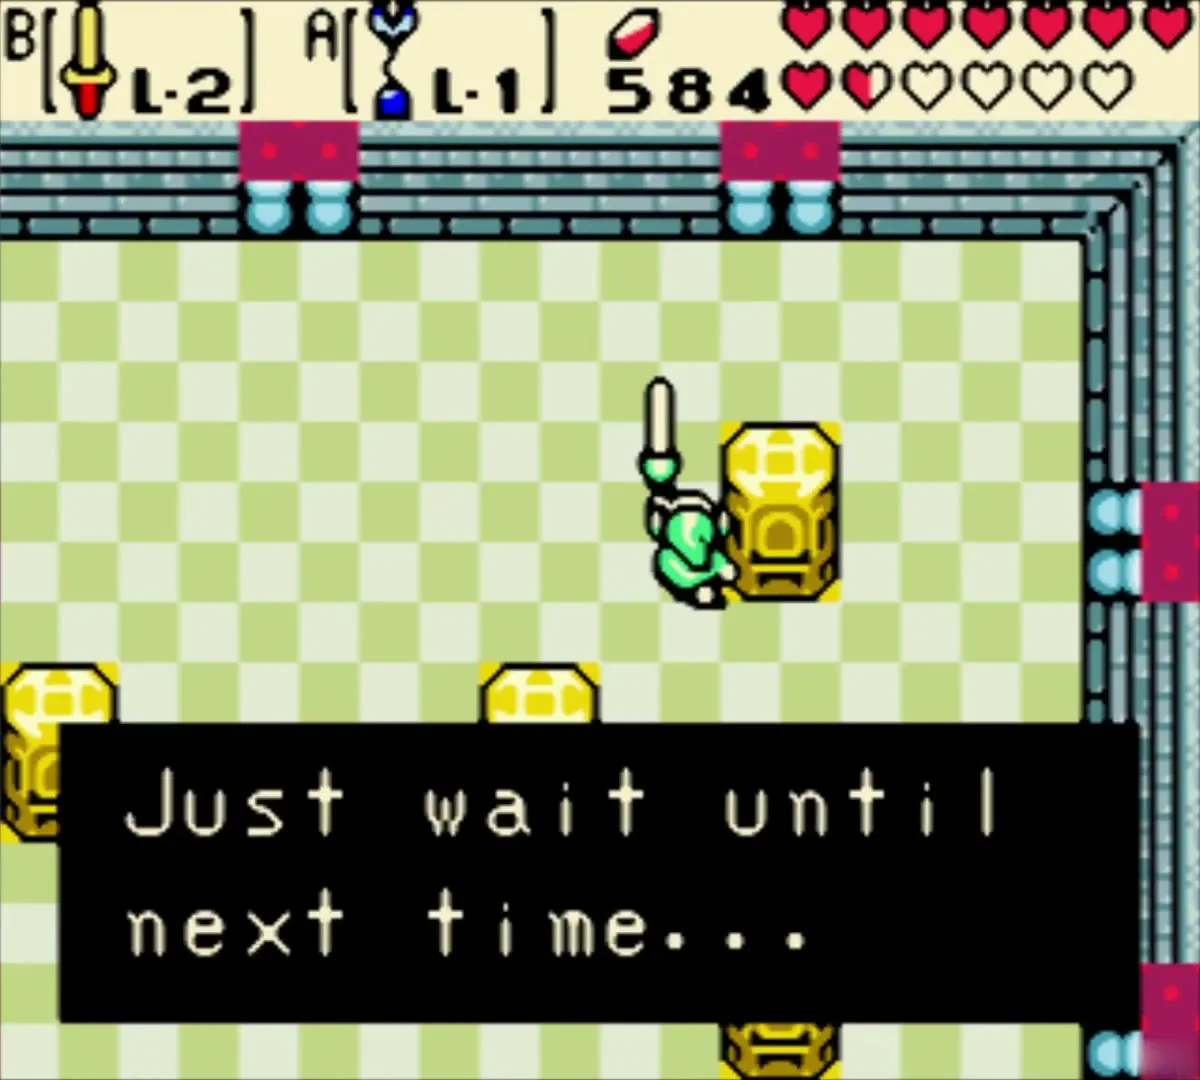
Cross the rooms on the upper floor, pushing blocks aside as you go, until you reach a large checkered chamber lined with golden pedestals. Nayru stands in the middle of it, and Veran speaks through her.
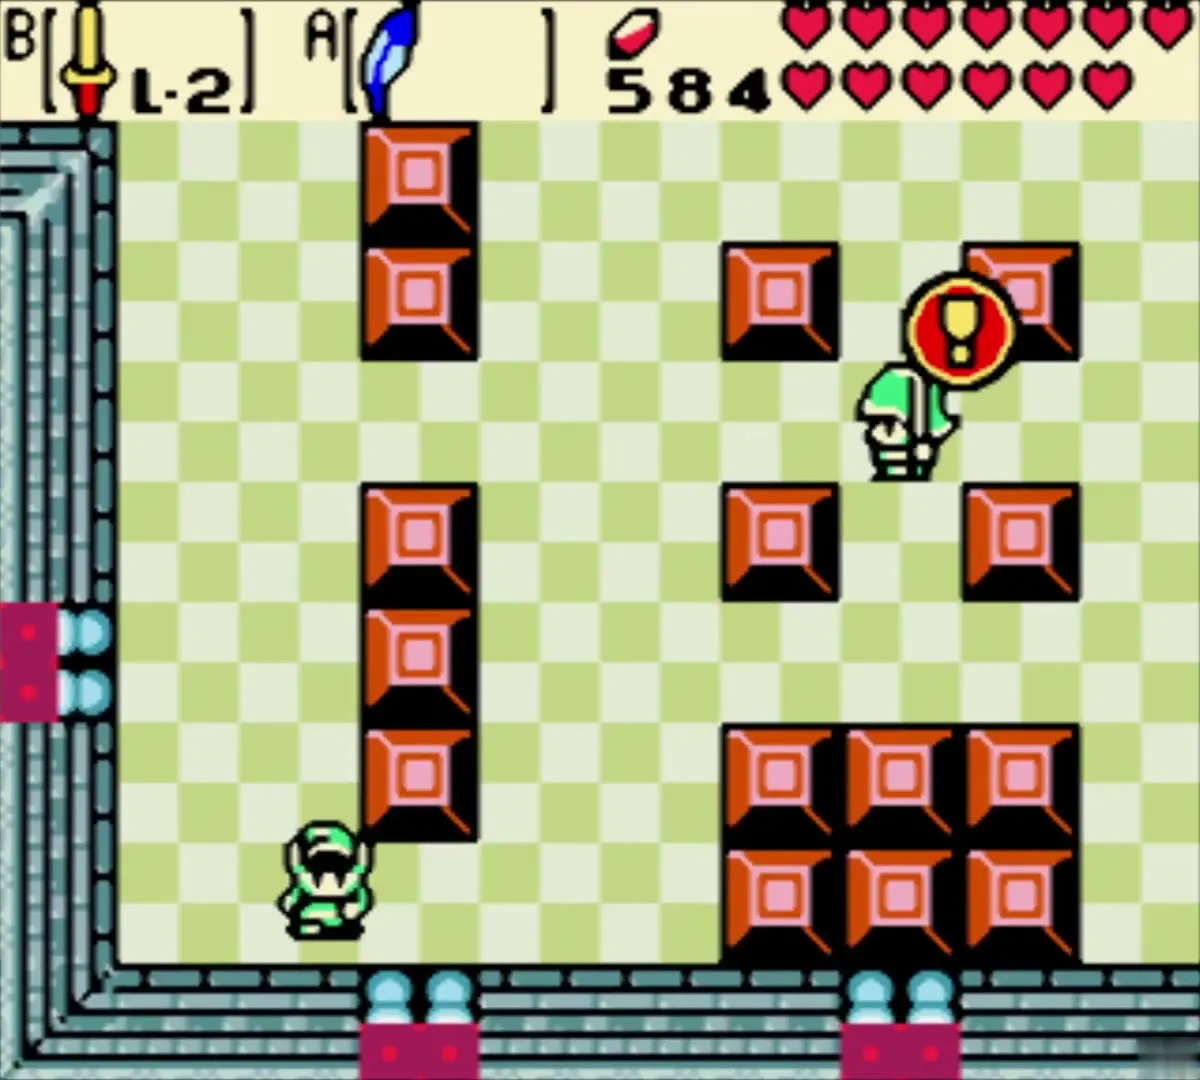
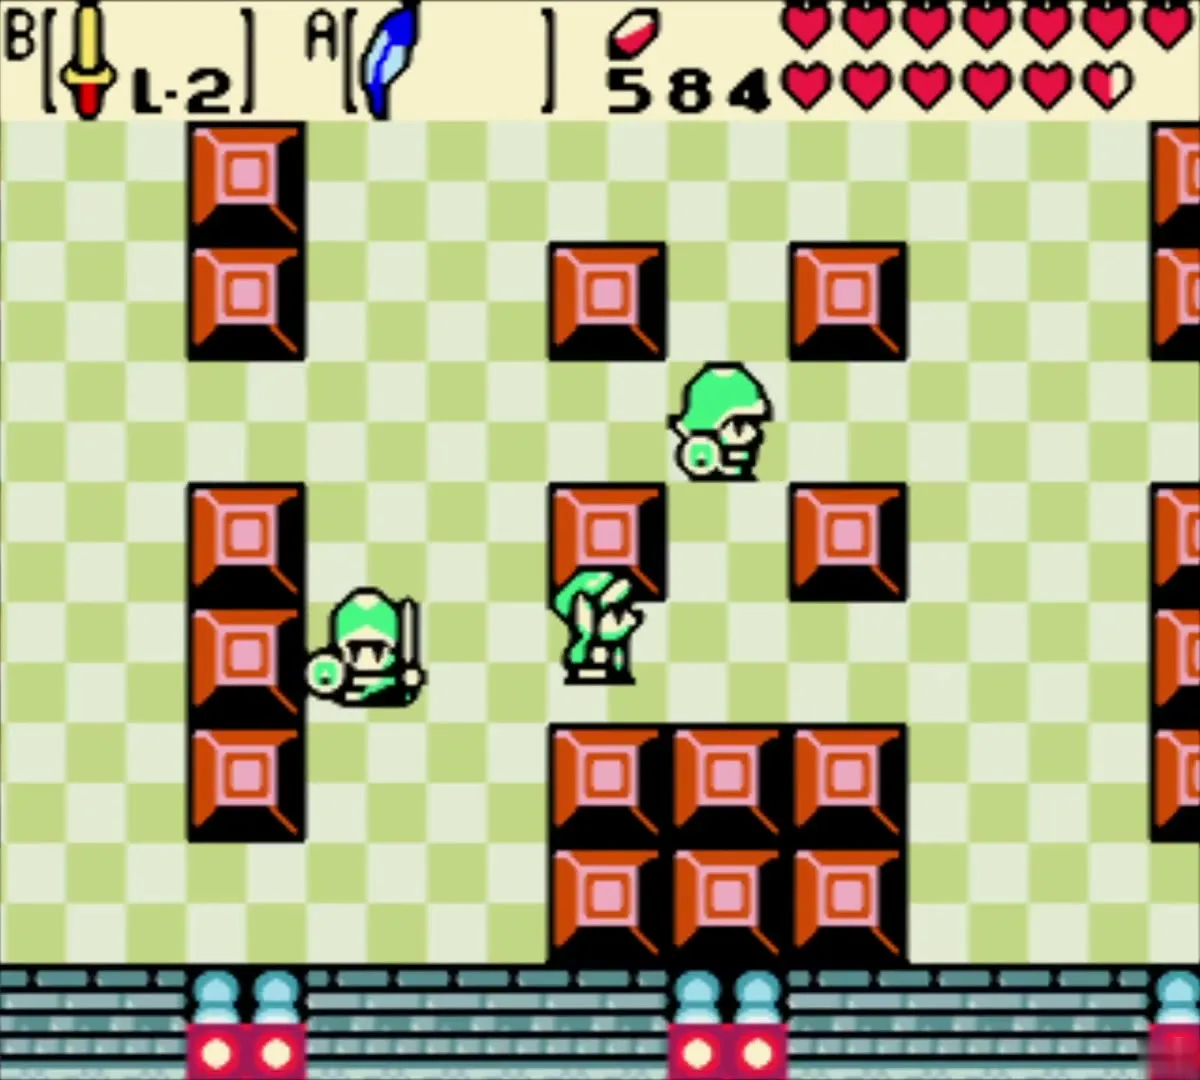


Boss: Possessed Nayru (Veran)
Prepare your items
Before you walk up to Nayru, set up your A button. You need the Seed Shooter loaded with Mystery Seeds and the Switch Hook, and they share one slot. Keep the sword on B and swap the A item in the item menu between the two as the fight goes on (see Boss strategies).
Strategy
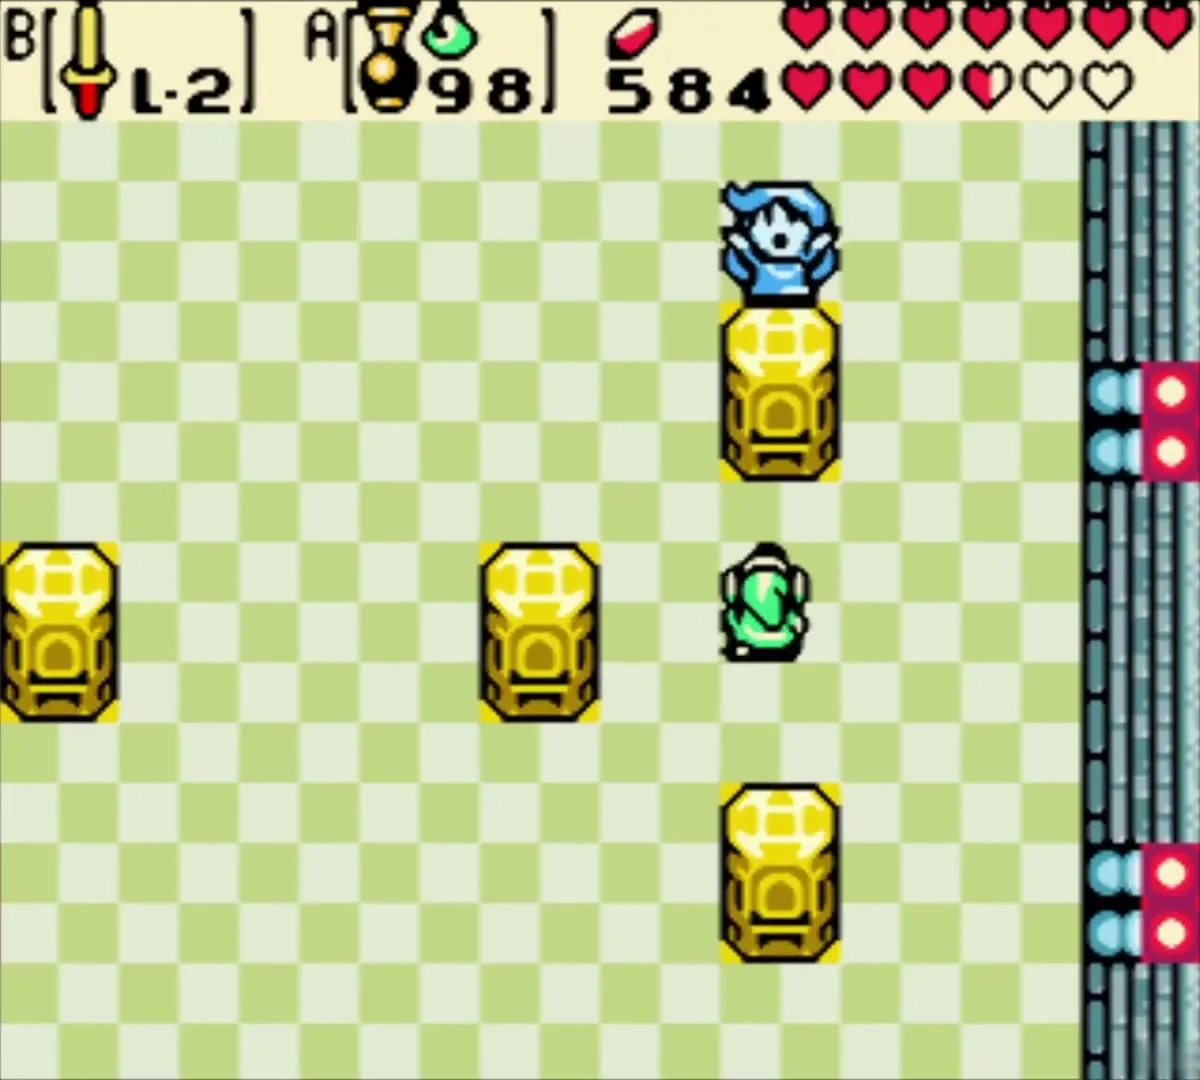
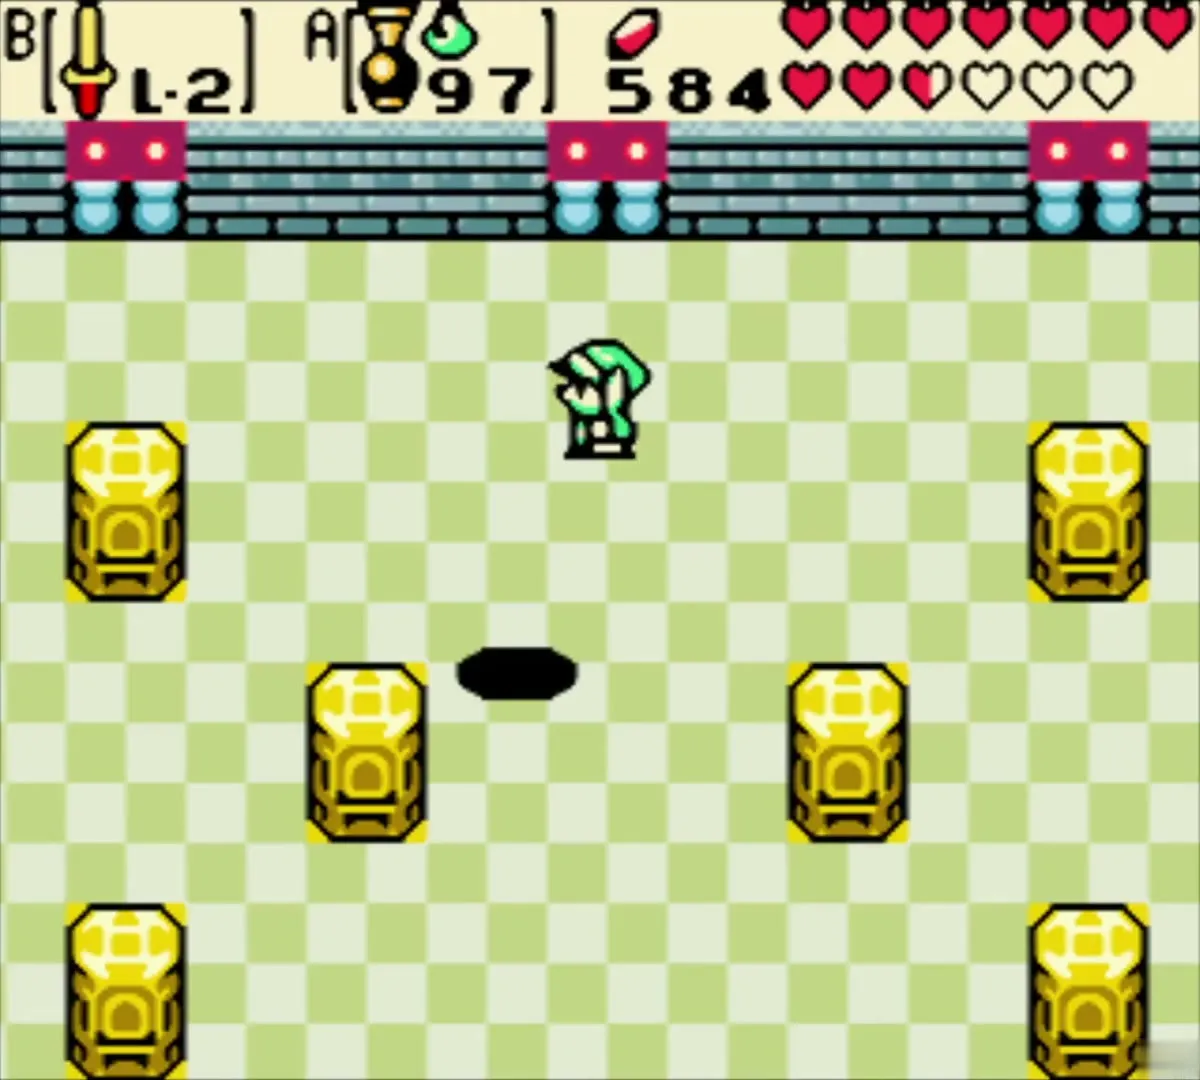
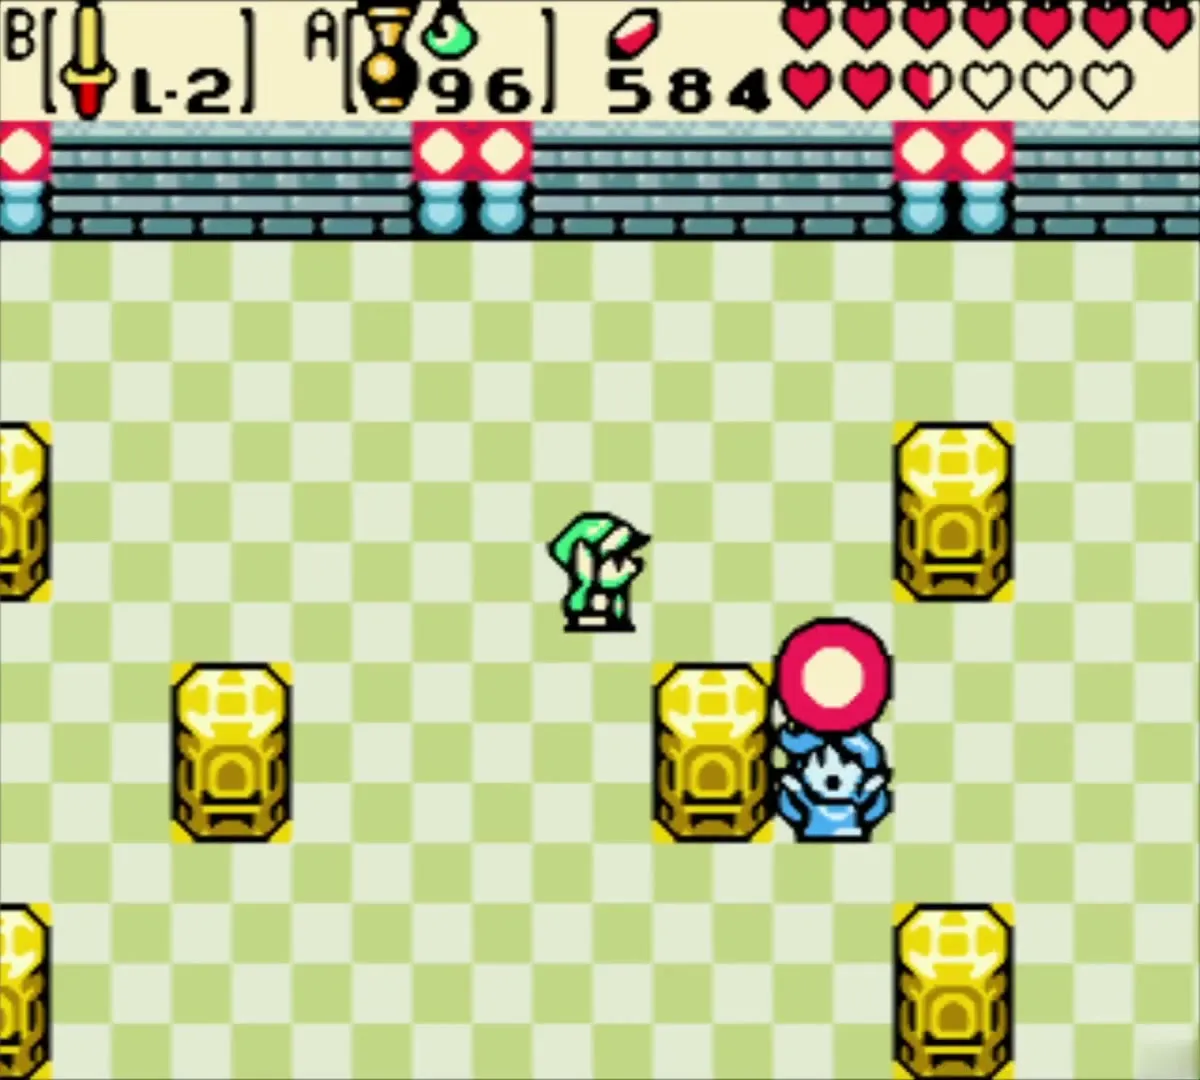
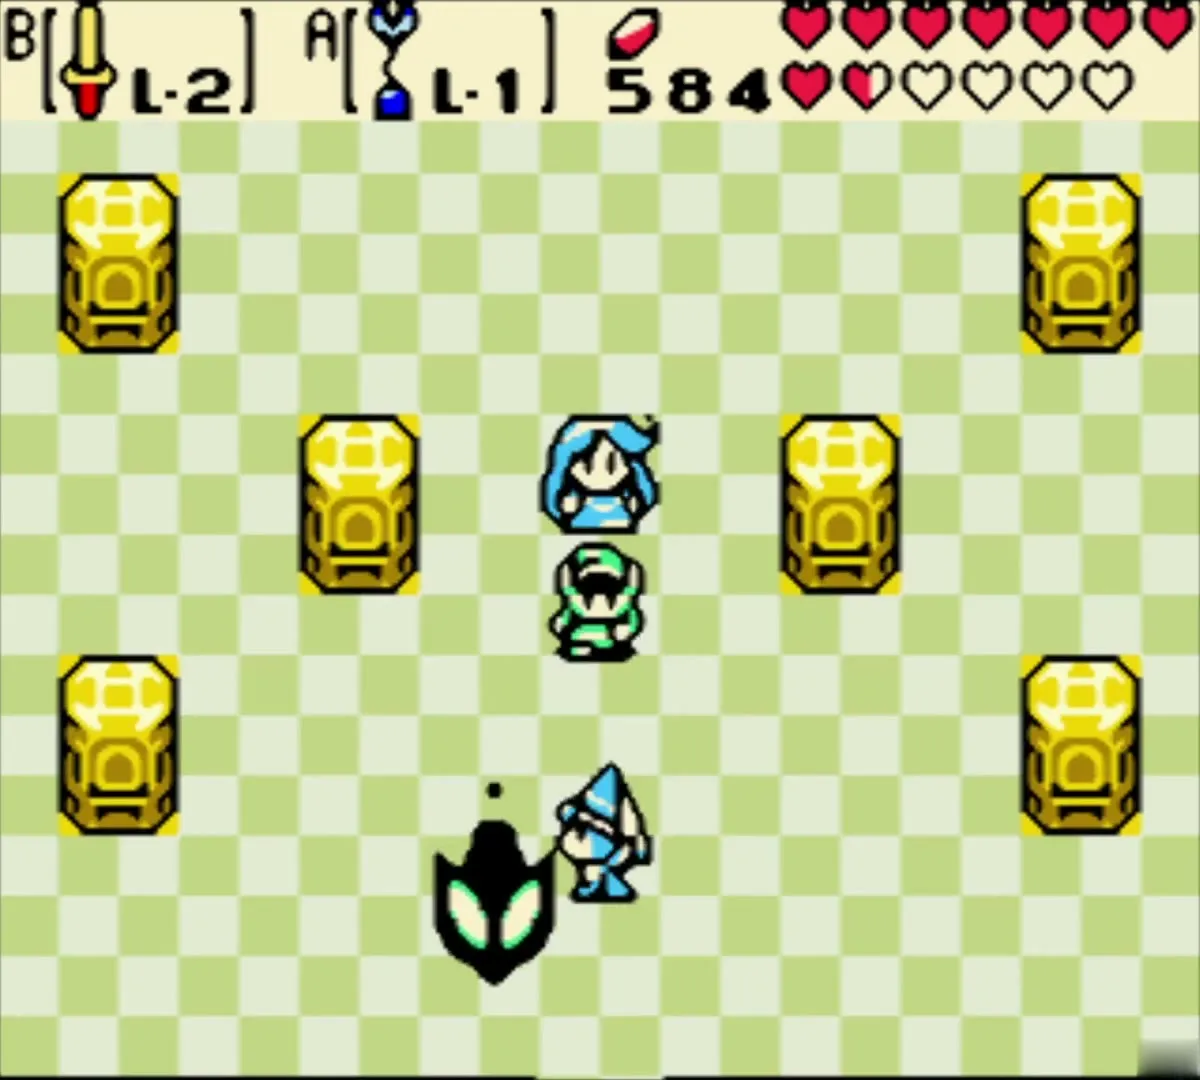
While Veran sits inside Nayru, your sword cannot hurt her. She warps around the chamber and fires fireballs in all directions. You cannot block them with a shield, so step between them. Shoot Nayru with a Mystery Seed from the Seed Shooter to push Veran out of her body. She appears as a dark winged spirit beside Nayru.
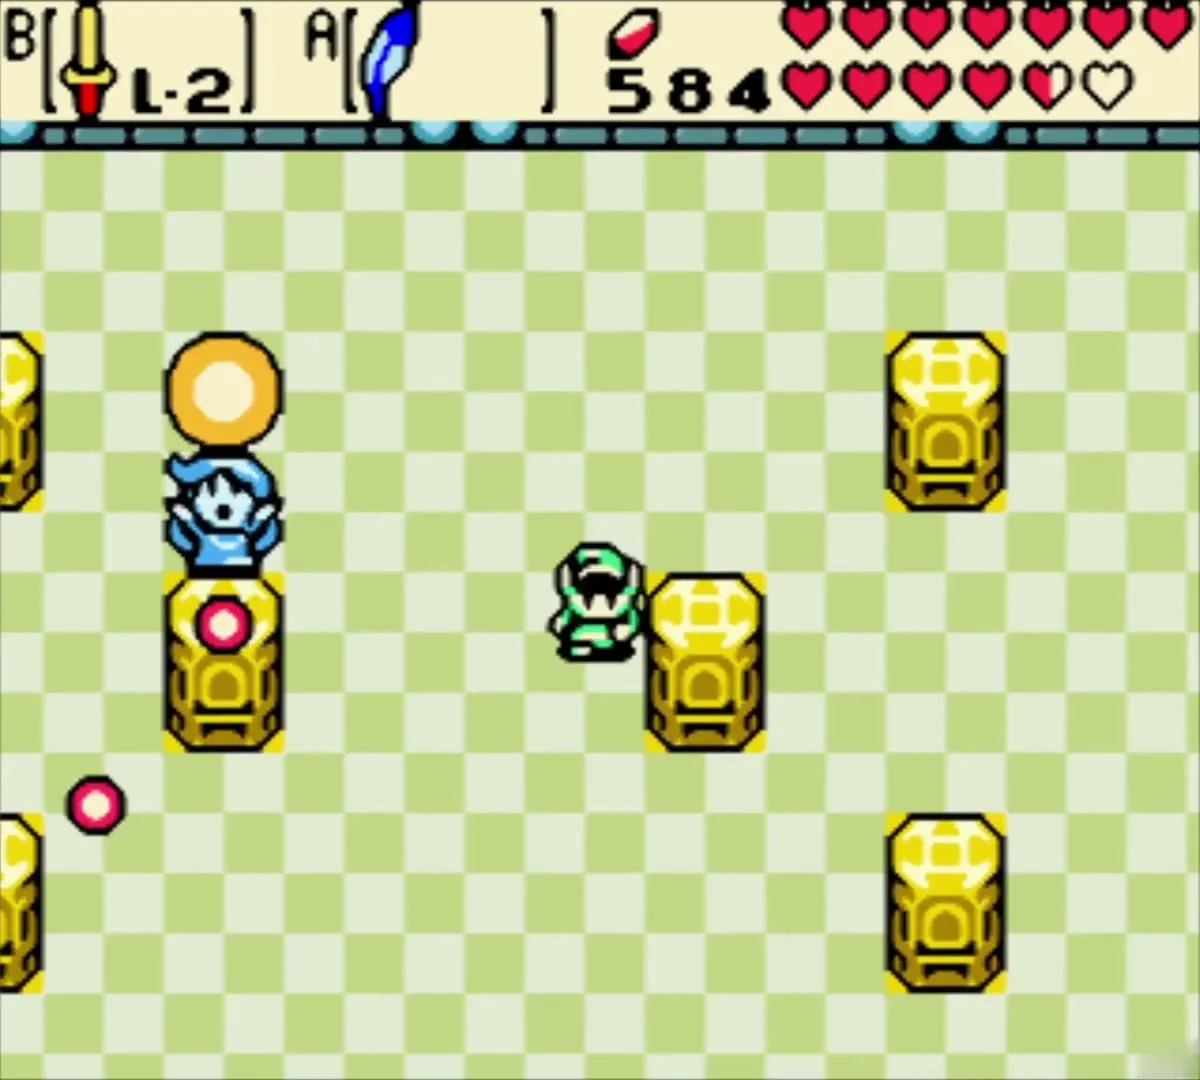

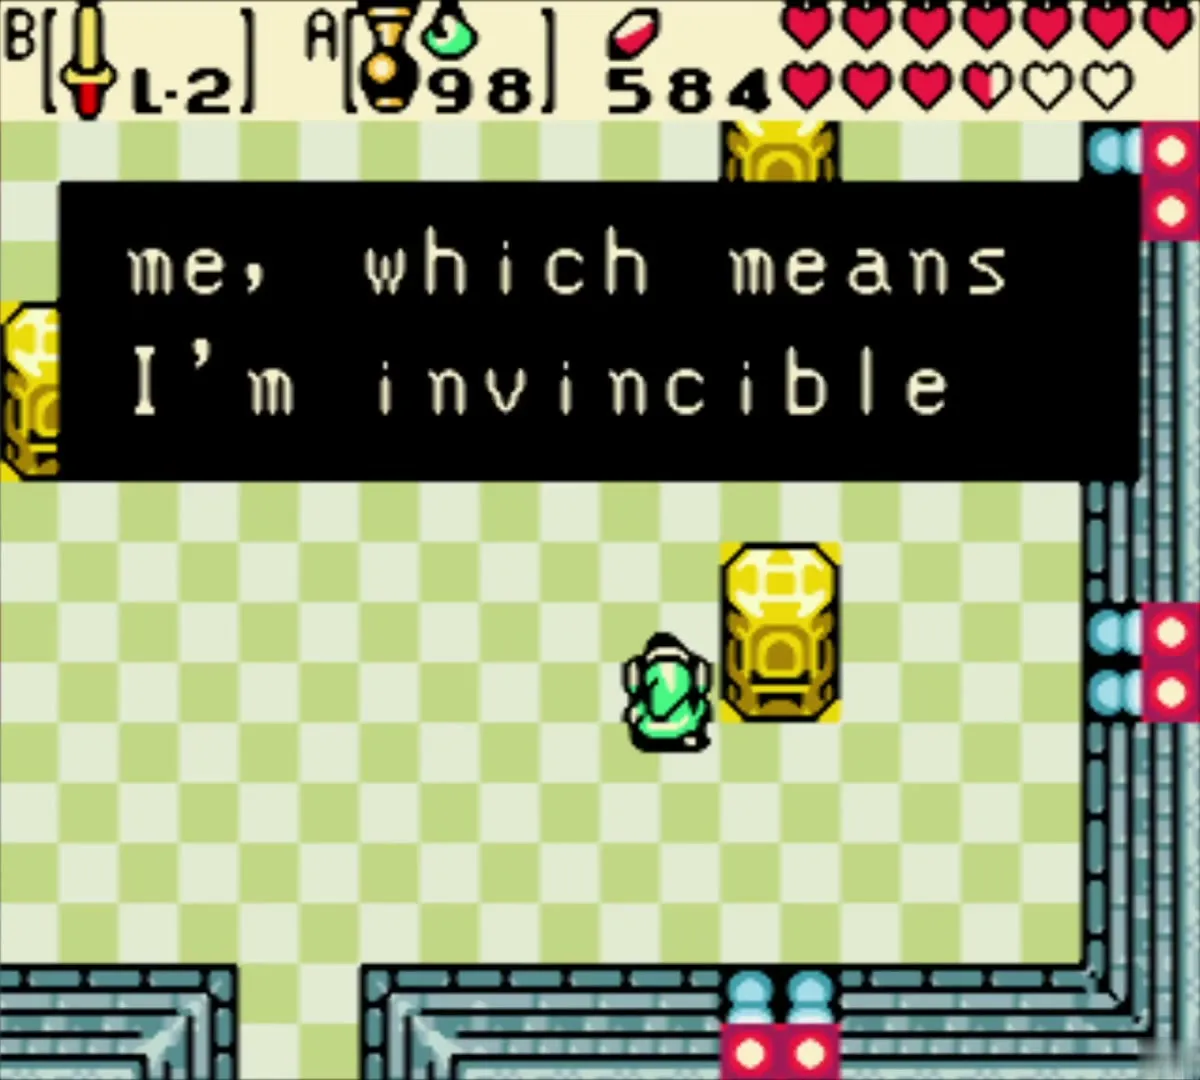
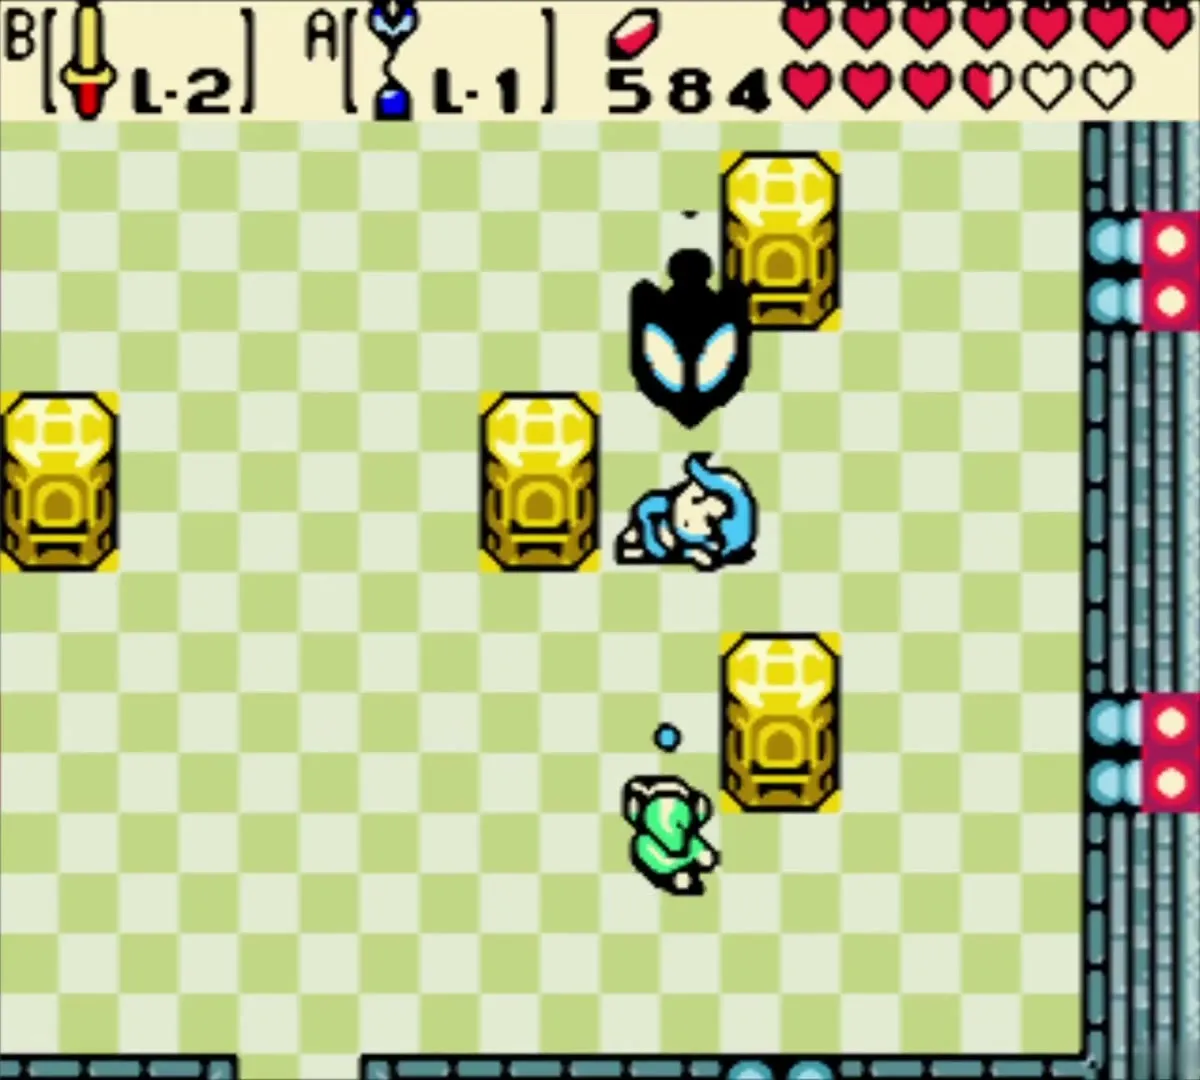
Swap to the Switch Hook and fire it at the spirit. You trade places with her, which leaves her away from Nayru’s body. Now swing the sword at her. She dives back into Nayru, and you repeat the cycle: seed, Switch Hook, sword. Three rounds free Nayru and defeat Veran for now, and no reward drops.
Tune of Ages and the Maku Tree (the present)
Nayru’s escape
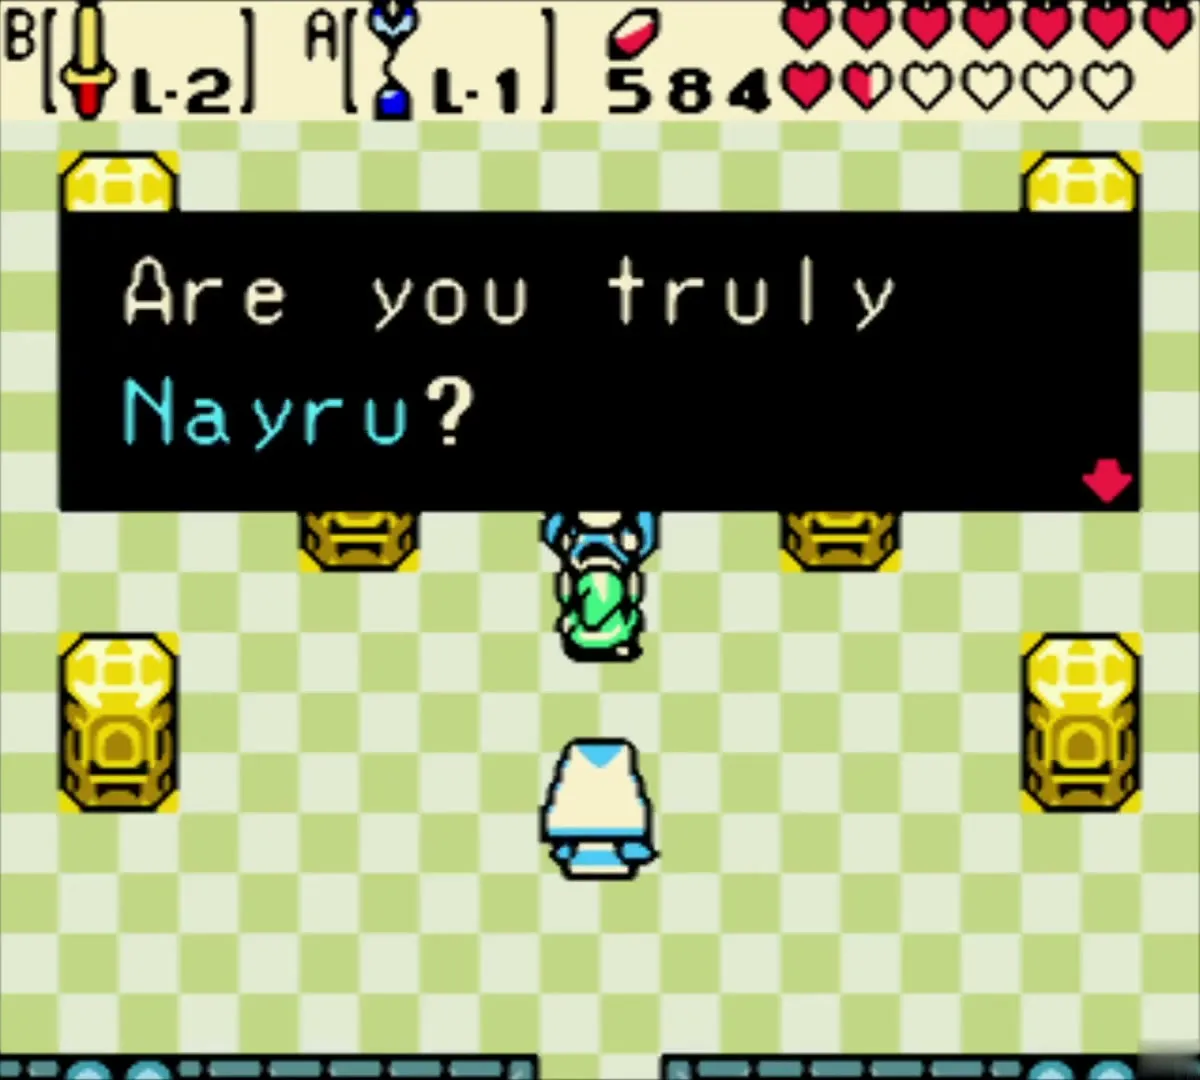
Nayru recovers and recognises you, but before you can leave, Queen Ambi enters and Veran takes over her instead, sending her soldiers after you. Nayru sweeps you and Ralph out of the palace and forward in time to the Maku Tree in Lynna City.


Learn the Tune of Ages
In the Maku Tree’s chamber, Nayru teaches you the Tune of Ages, the last song of the Harp of Ages. Unlike the Tune of Echoes, which needs a time portal, and the Tune of Currents, which only sends you forward, the Tune of Ages moves you either way between the past and the present from almost anywhere outdoors (see Harp of Ages and time travel). It does not work inside dungeons, in Yoll Graveyard, in the Sea of No Return or on the Black Tower grounds.
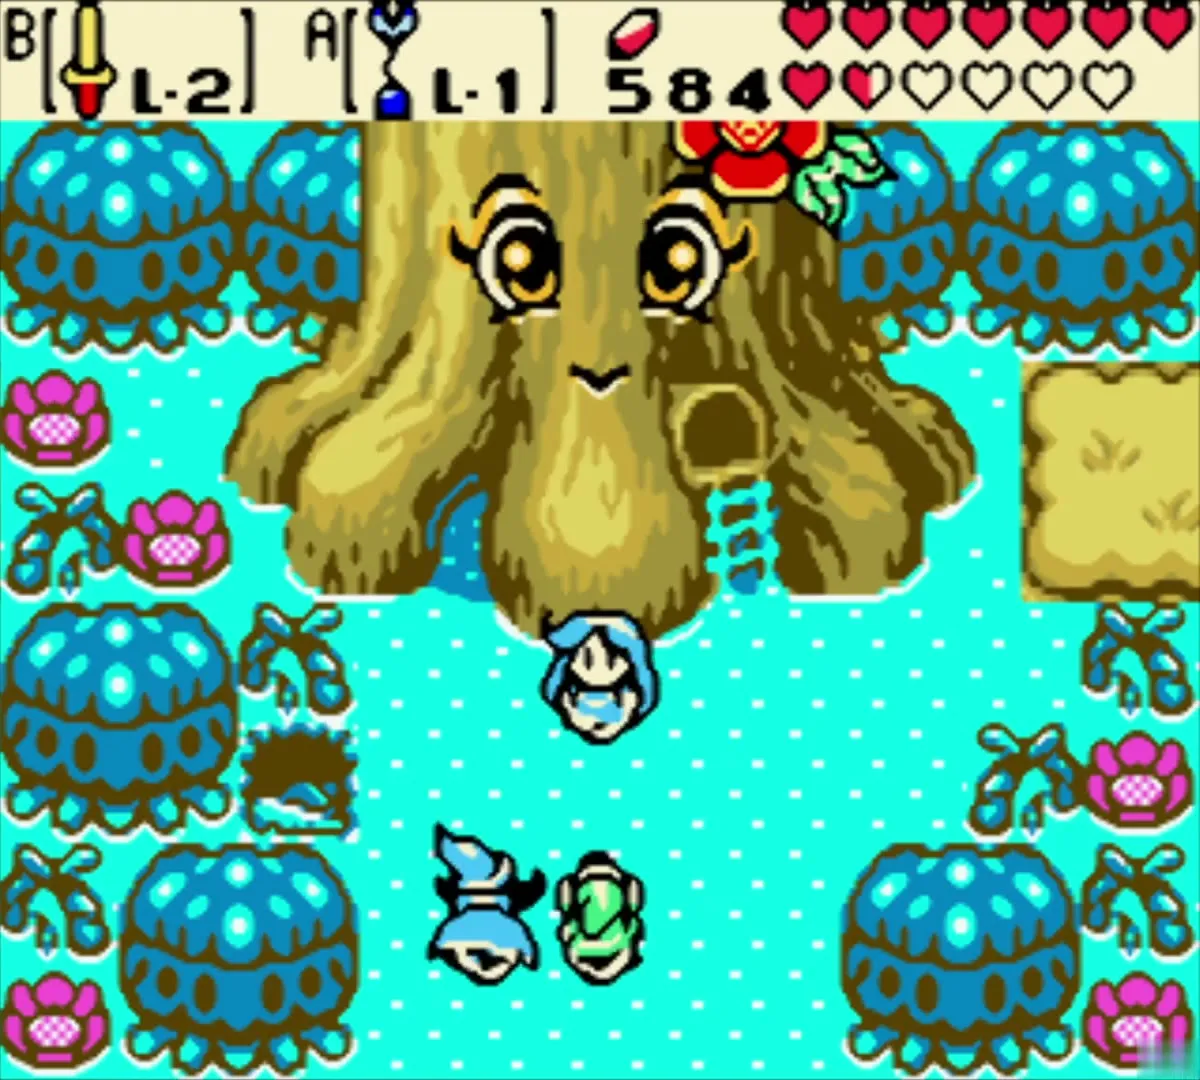


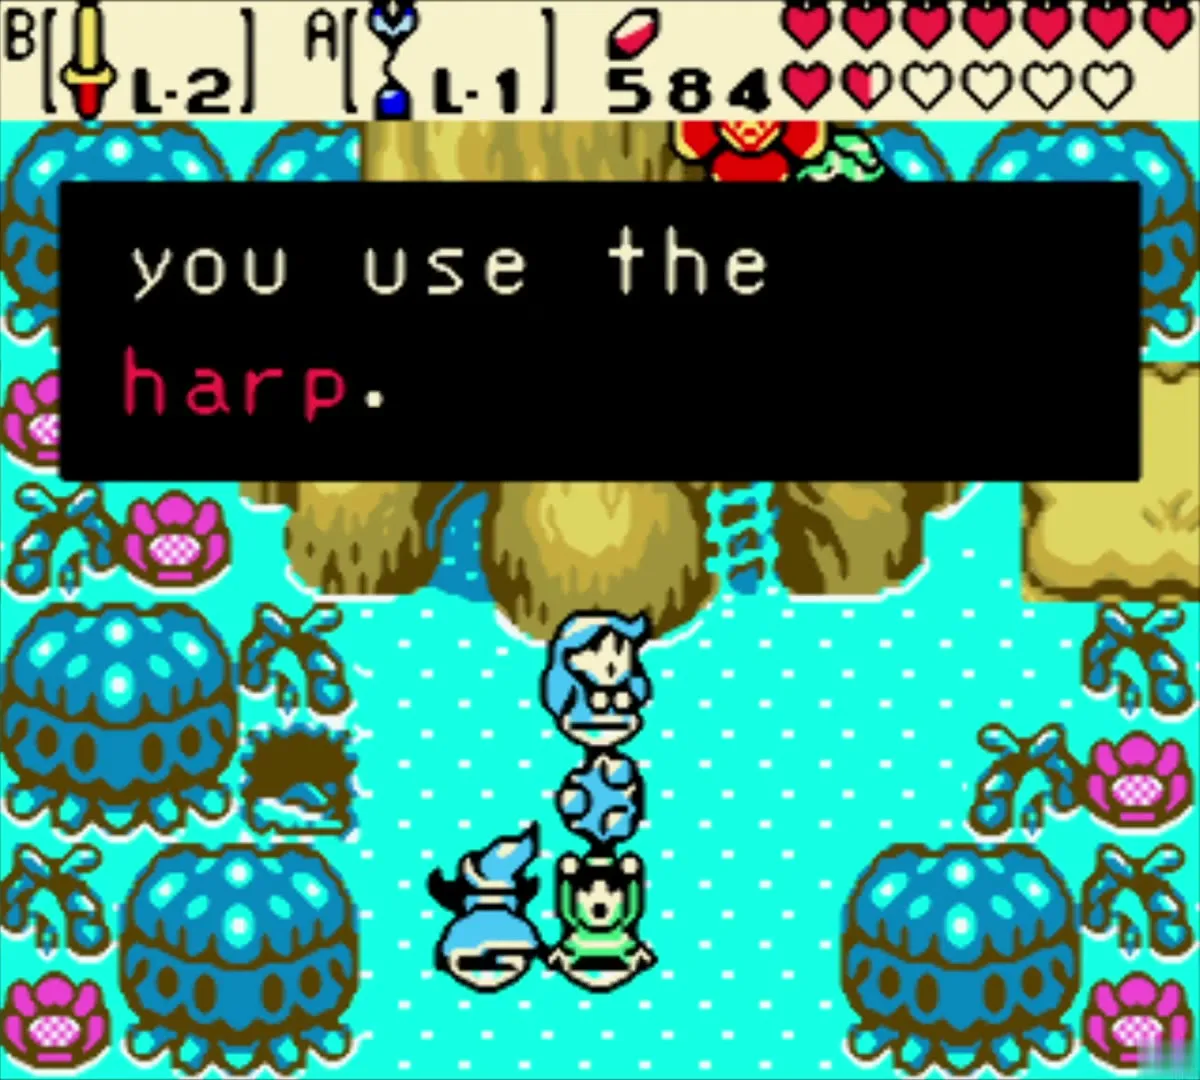
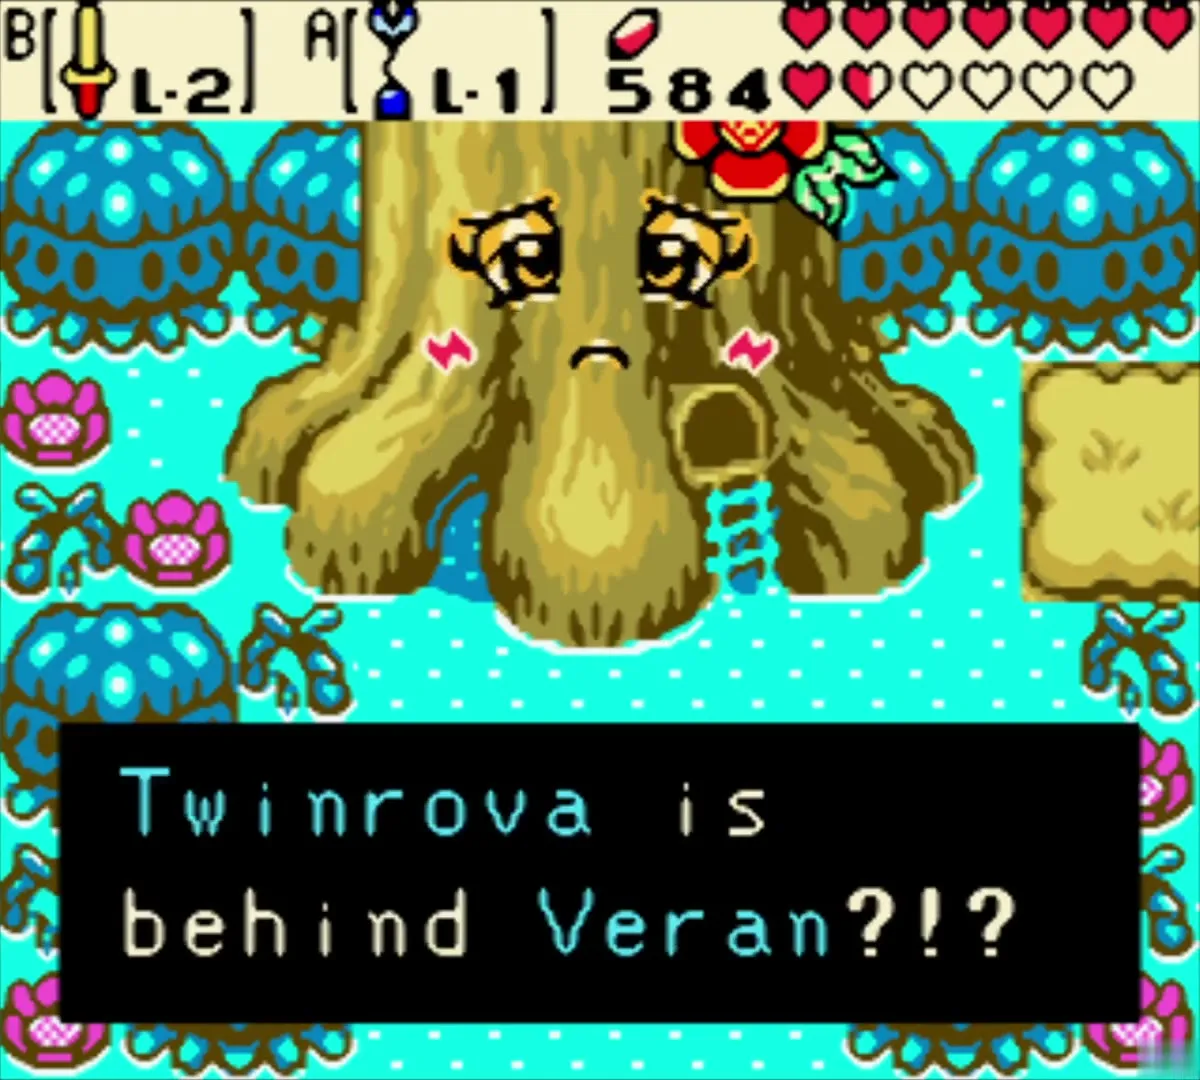
The Maku Tree then says that an Essence of Time is echoing from inside a fish. That is the clue for Jabu-Jabu’s Belly, which lies beyond the Zora Seas.

Two Gasha Seeds on the treetop
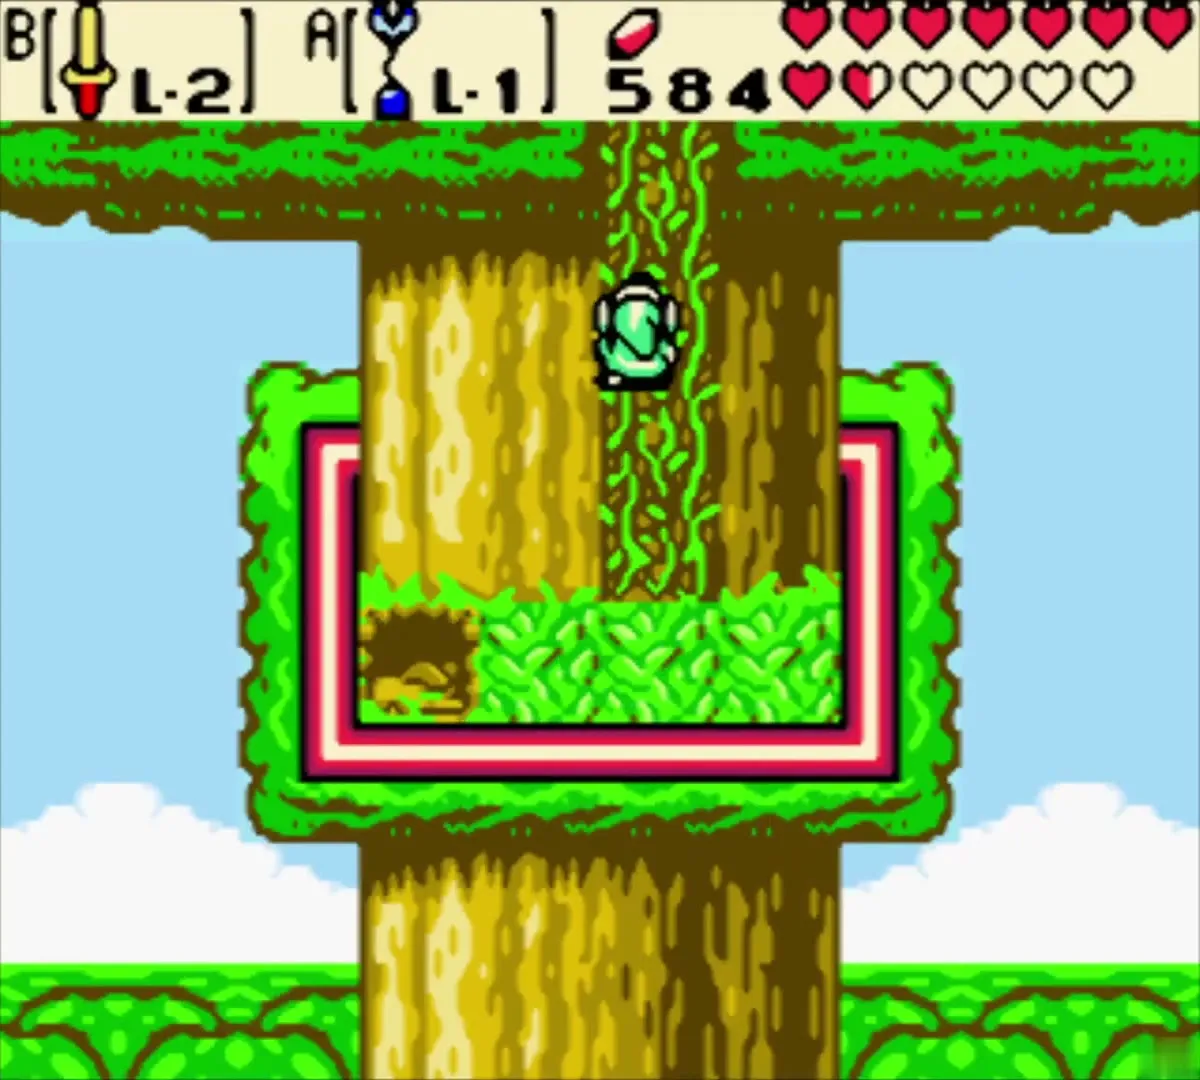
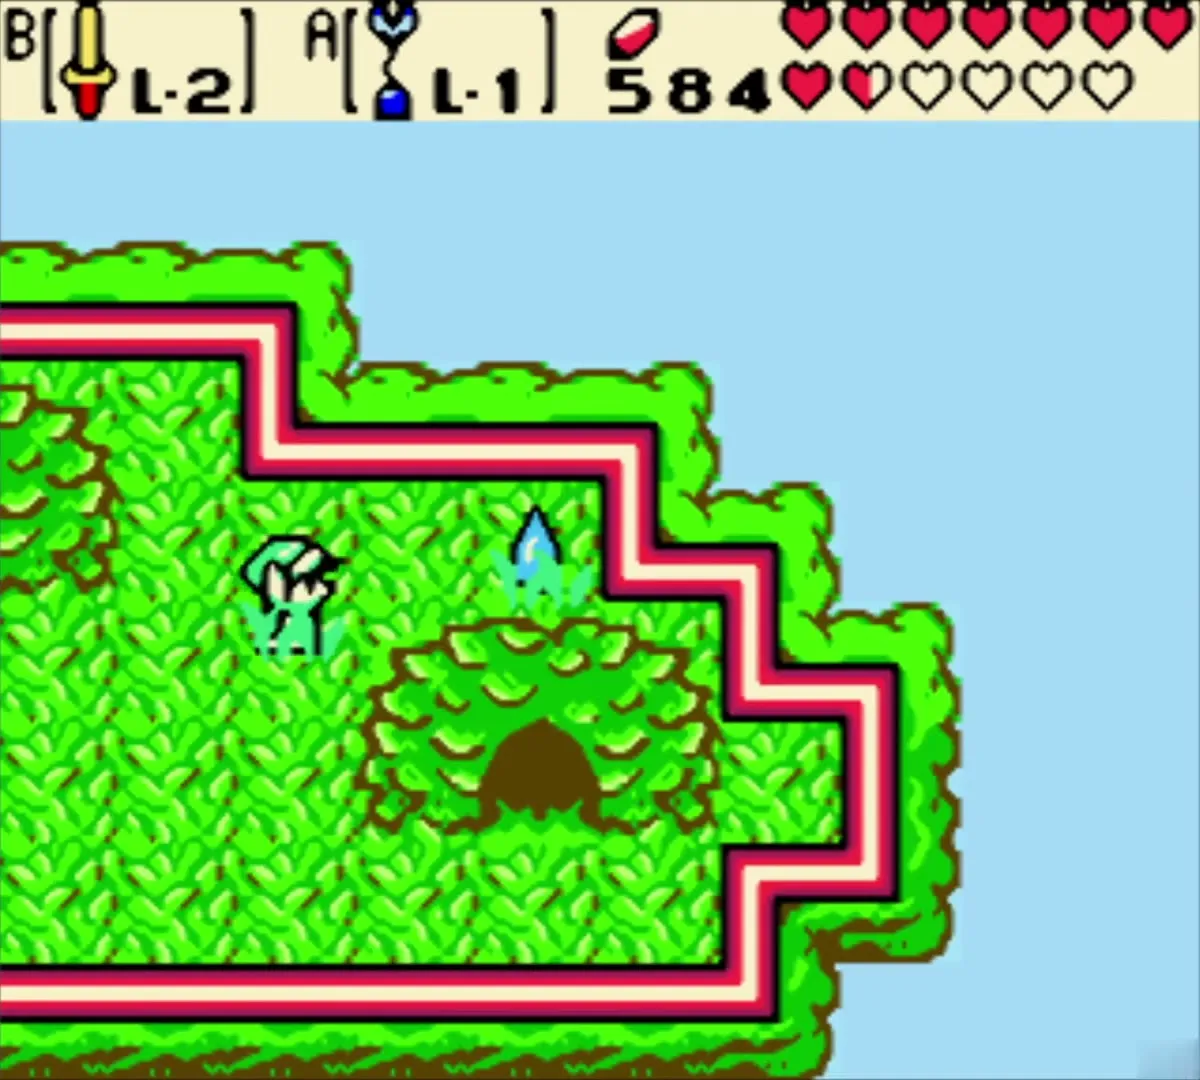
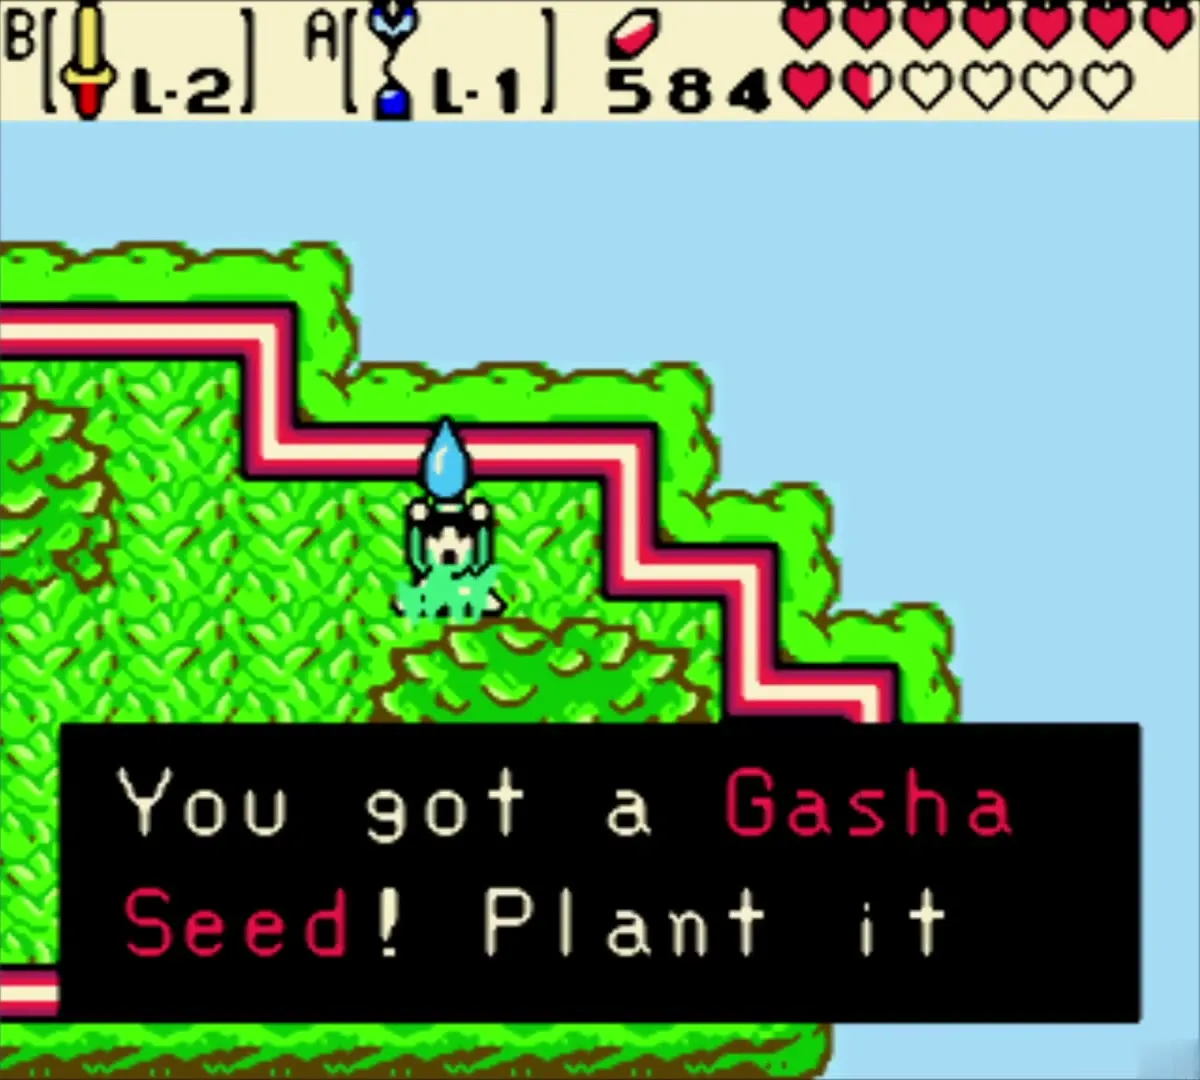
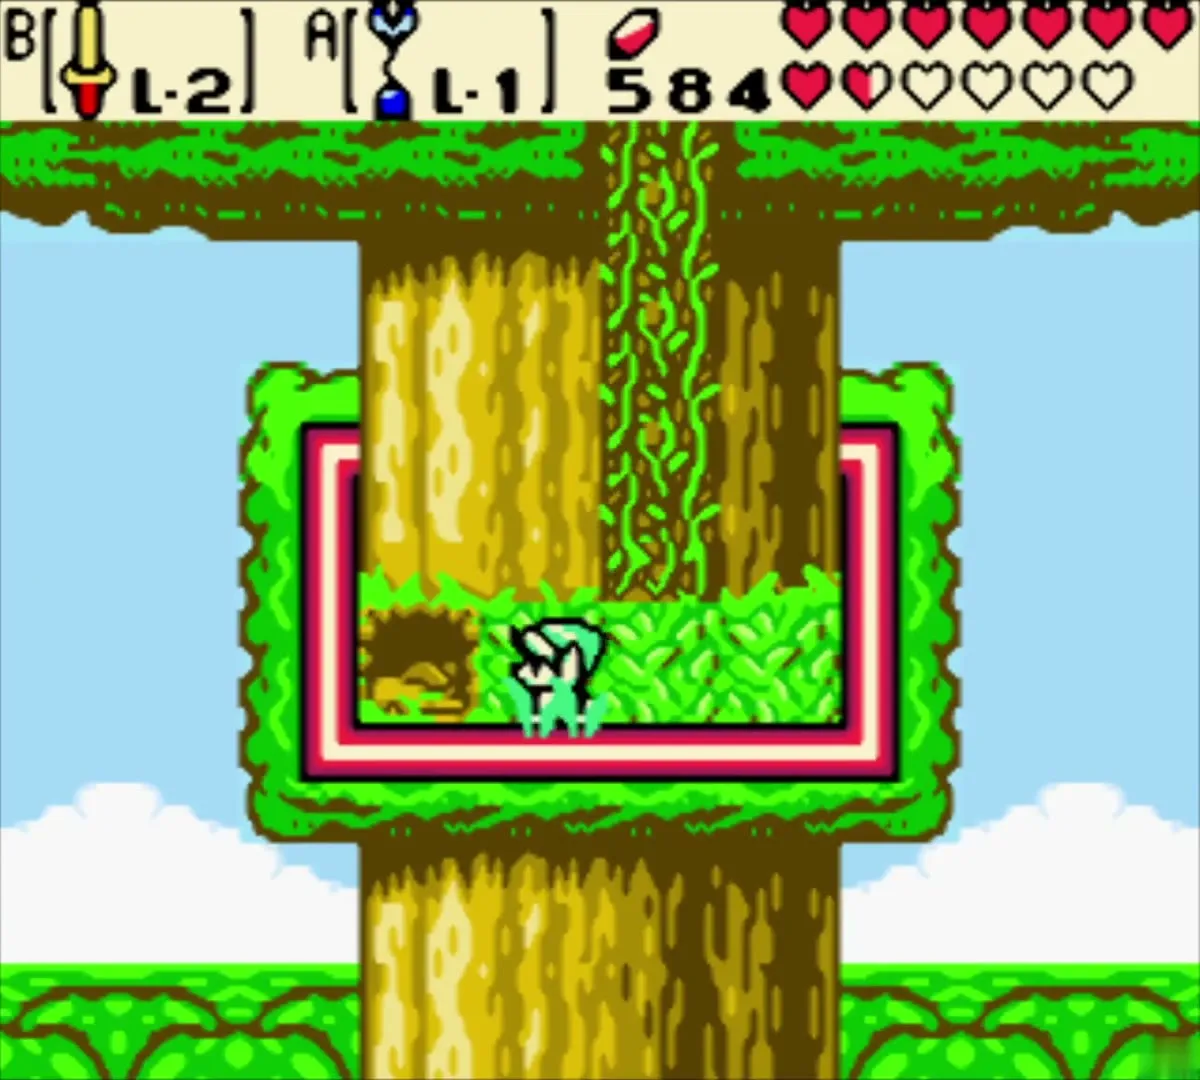
Climb the vines up the Maku Tree’s trunk to its leafy crown and walk its ledges. One Gasha Seed grows up here after you finish the fourth dungeon (Skull Dungeon) and a second after the sixth (Mermaid’s Cave), so take both if neither is in your bag yet. Each pickup reminds you to plant the seed in soft soil (see Gasha Seeds). Climb back down and go to the Hall of Secrets.


Farore’s Hall of Secrets: Linked Game upgrades (the present)
Return codes
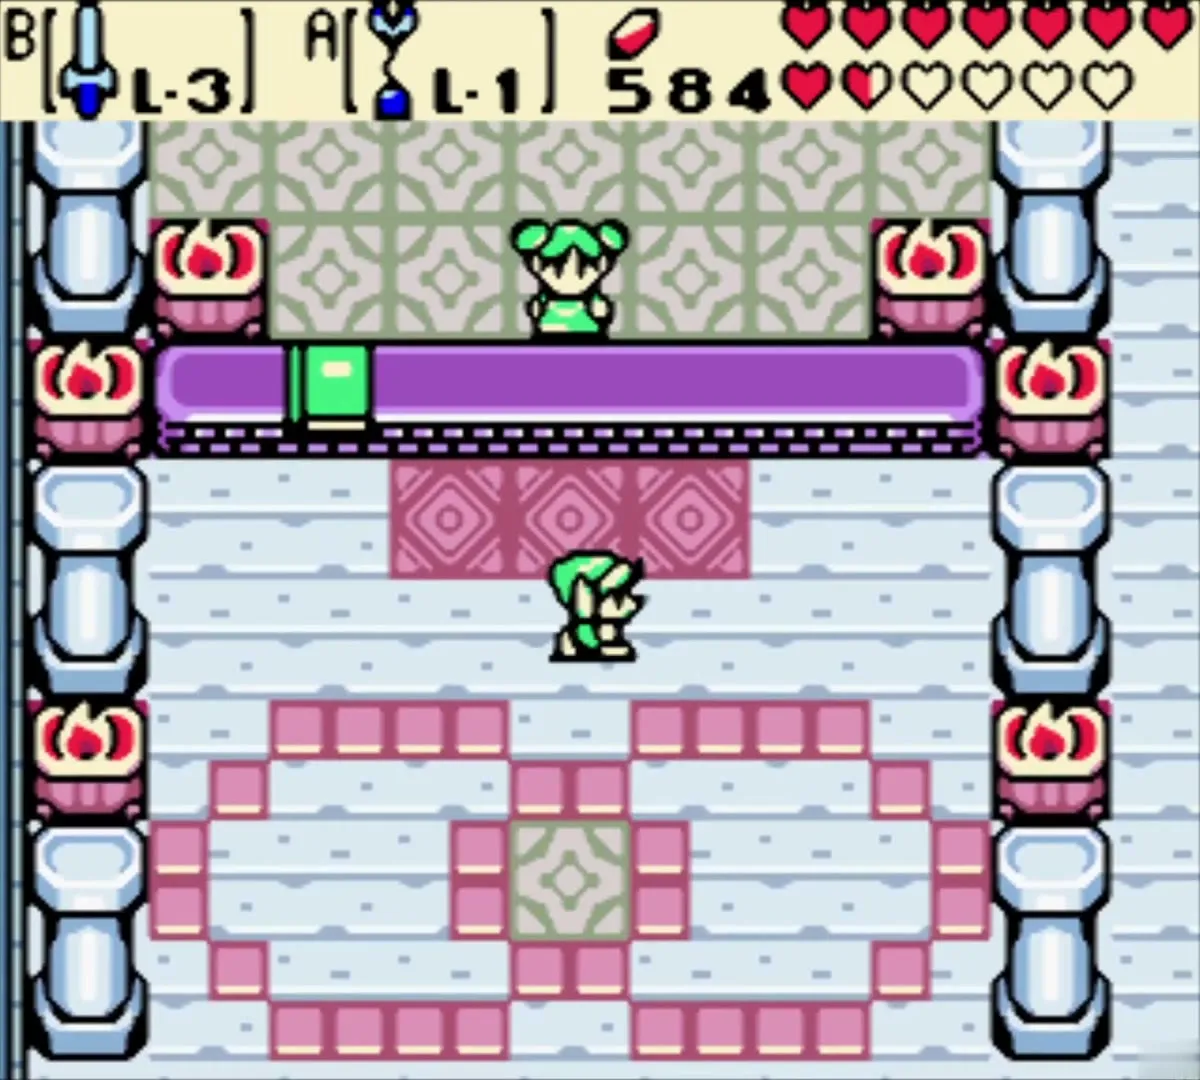
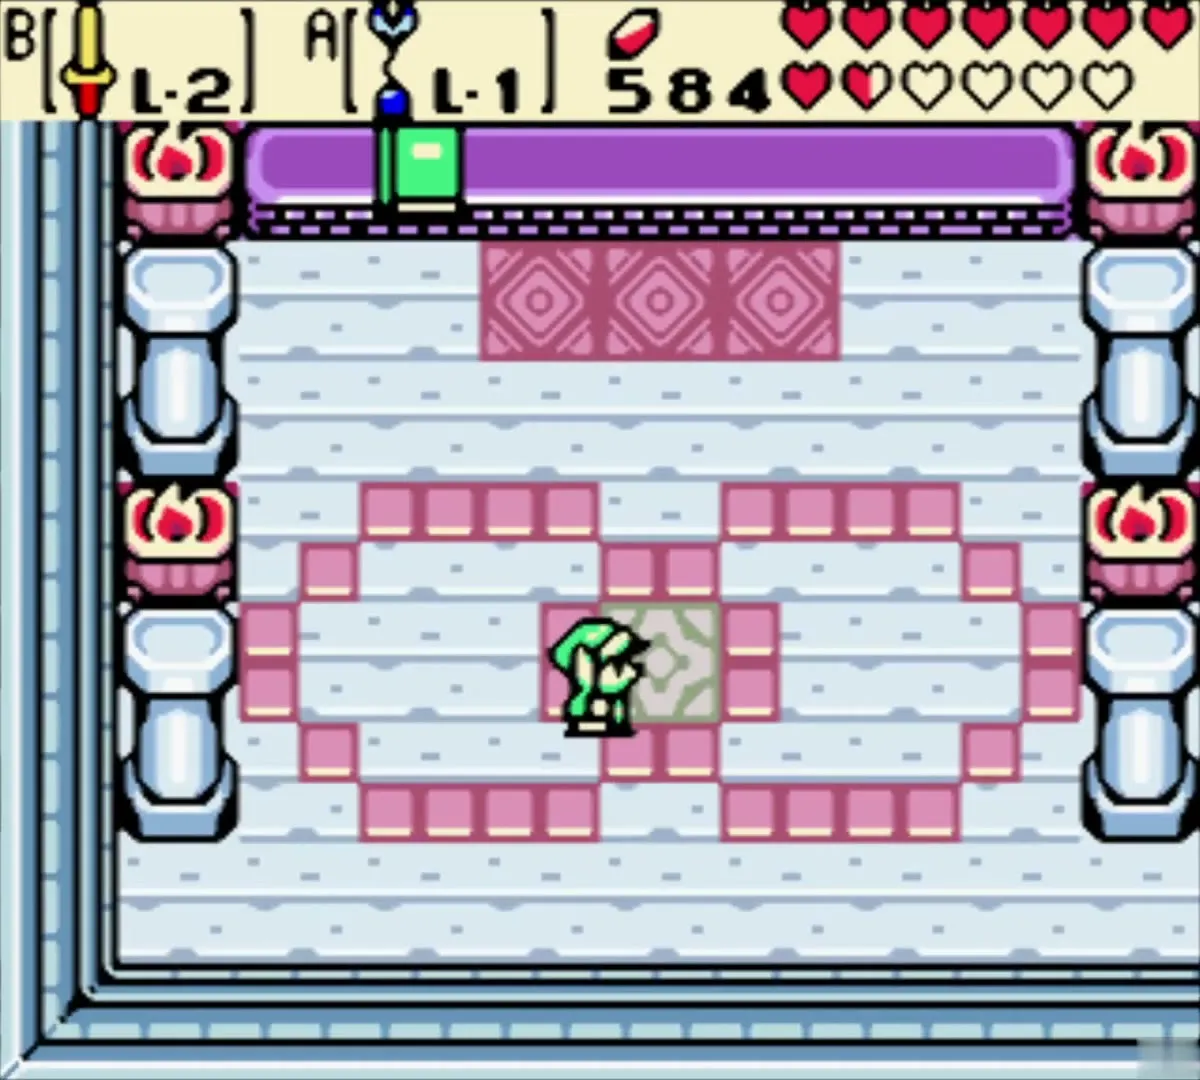
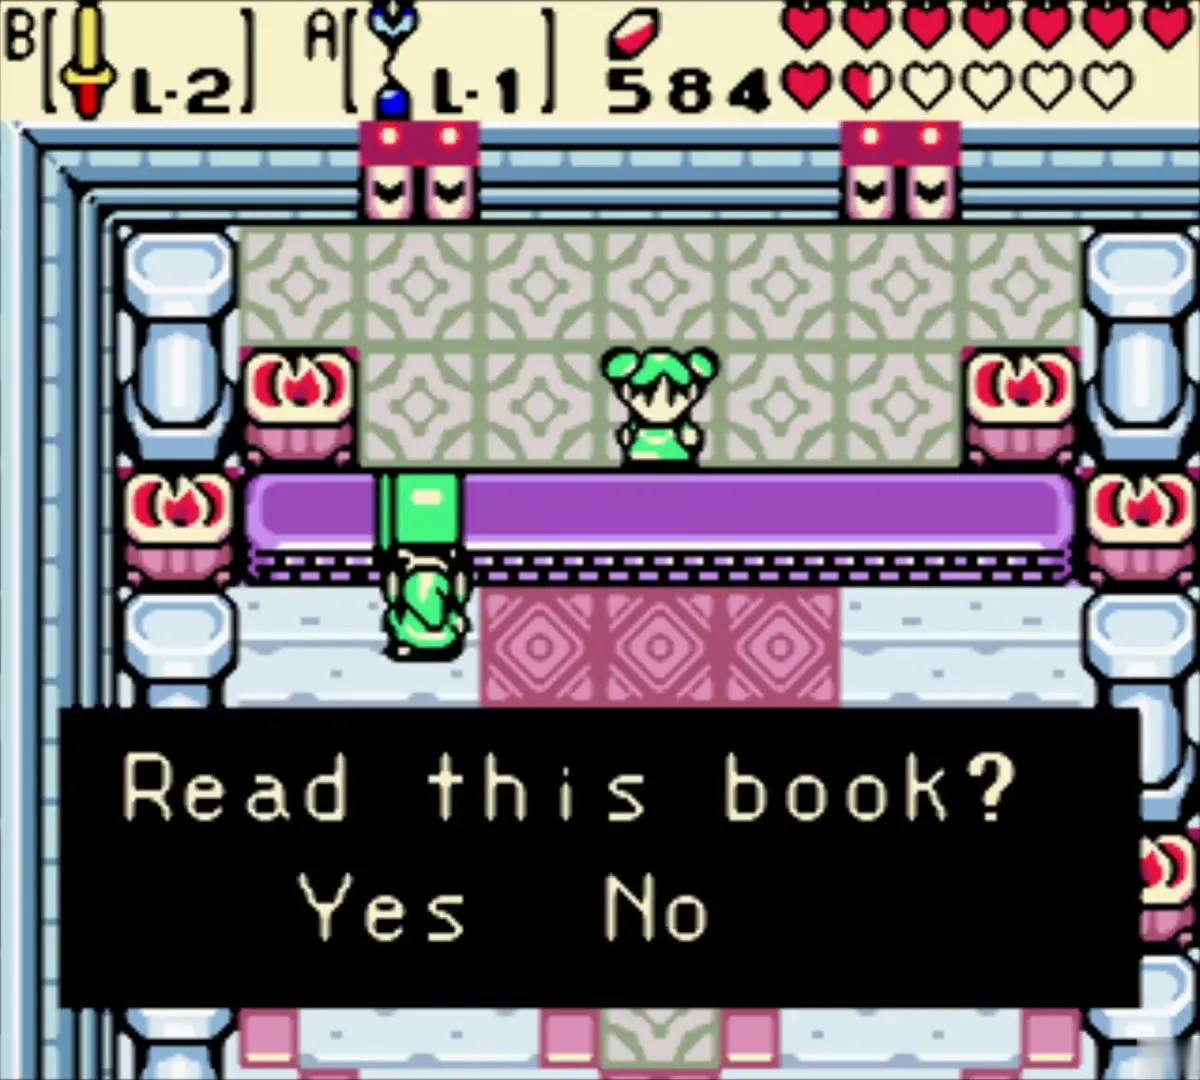
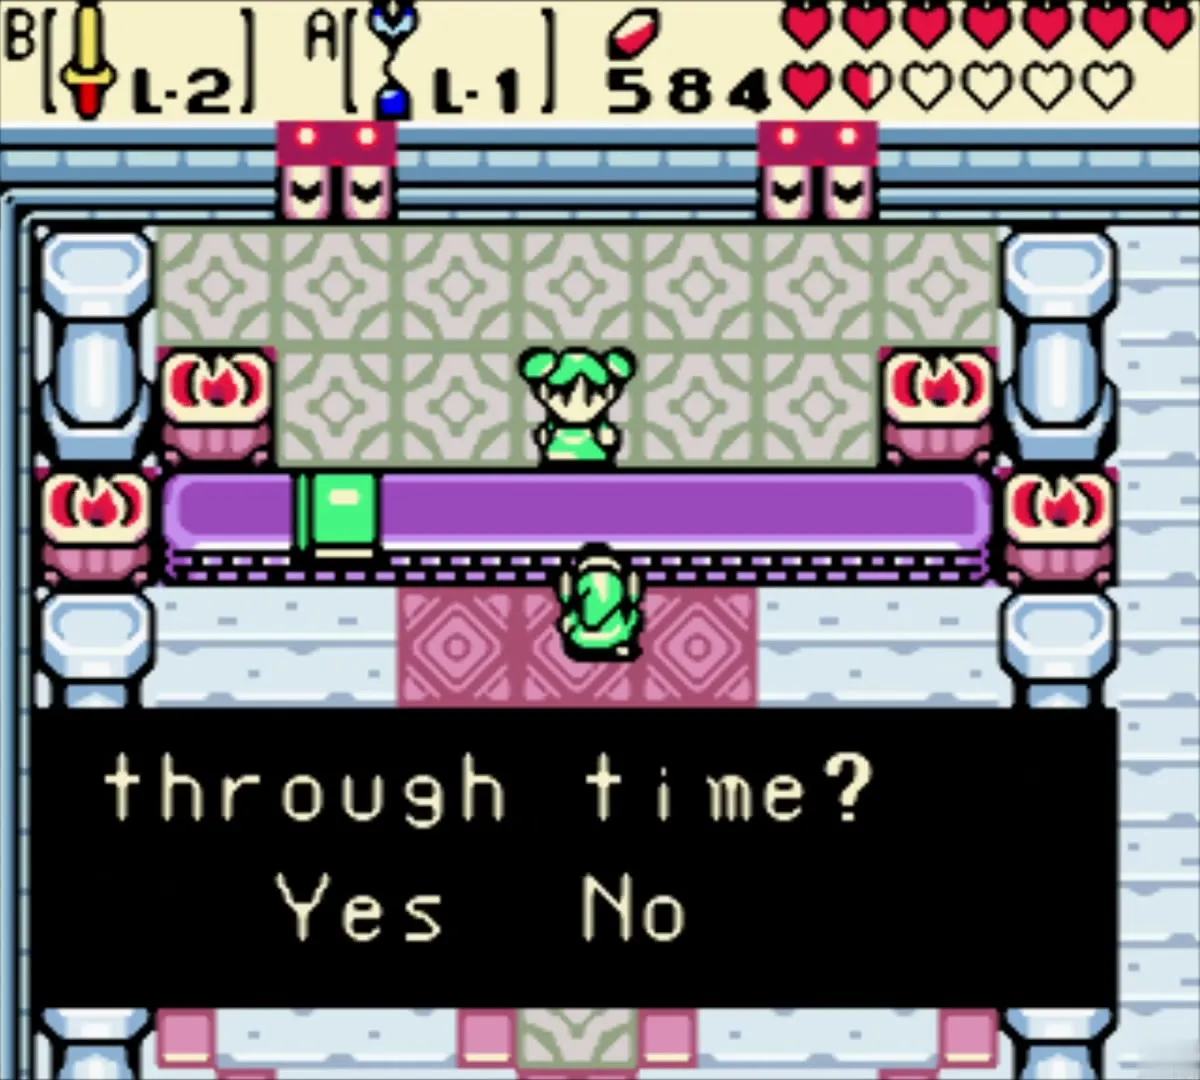
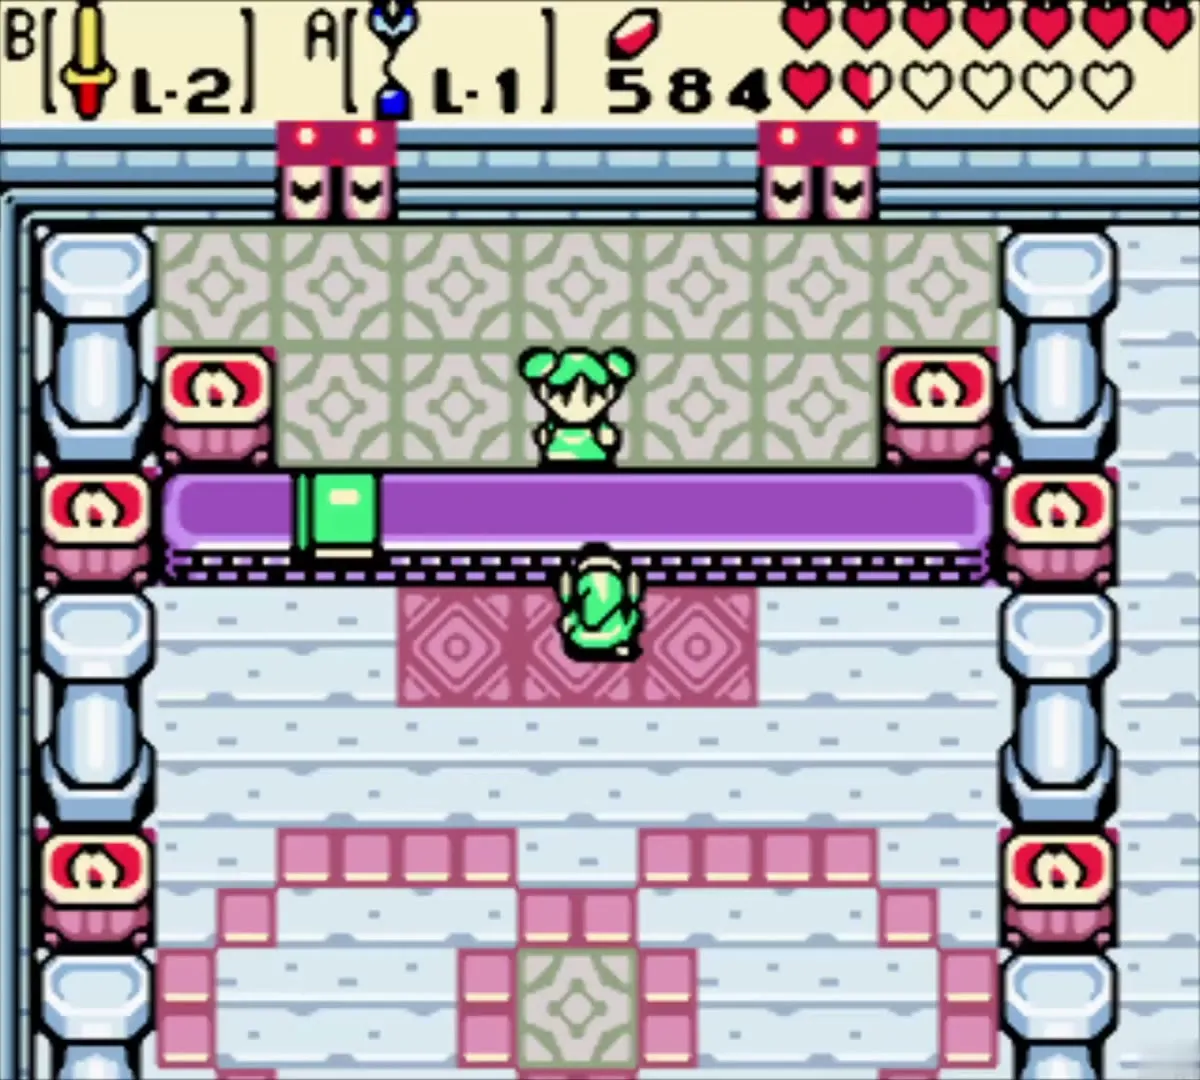
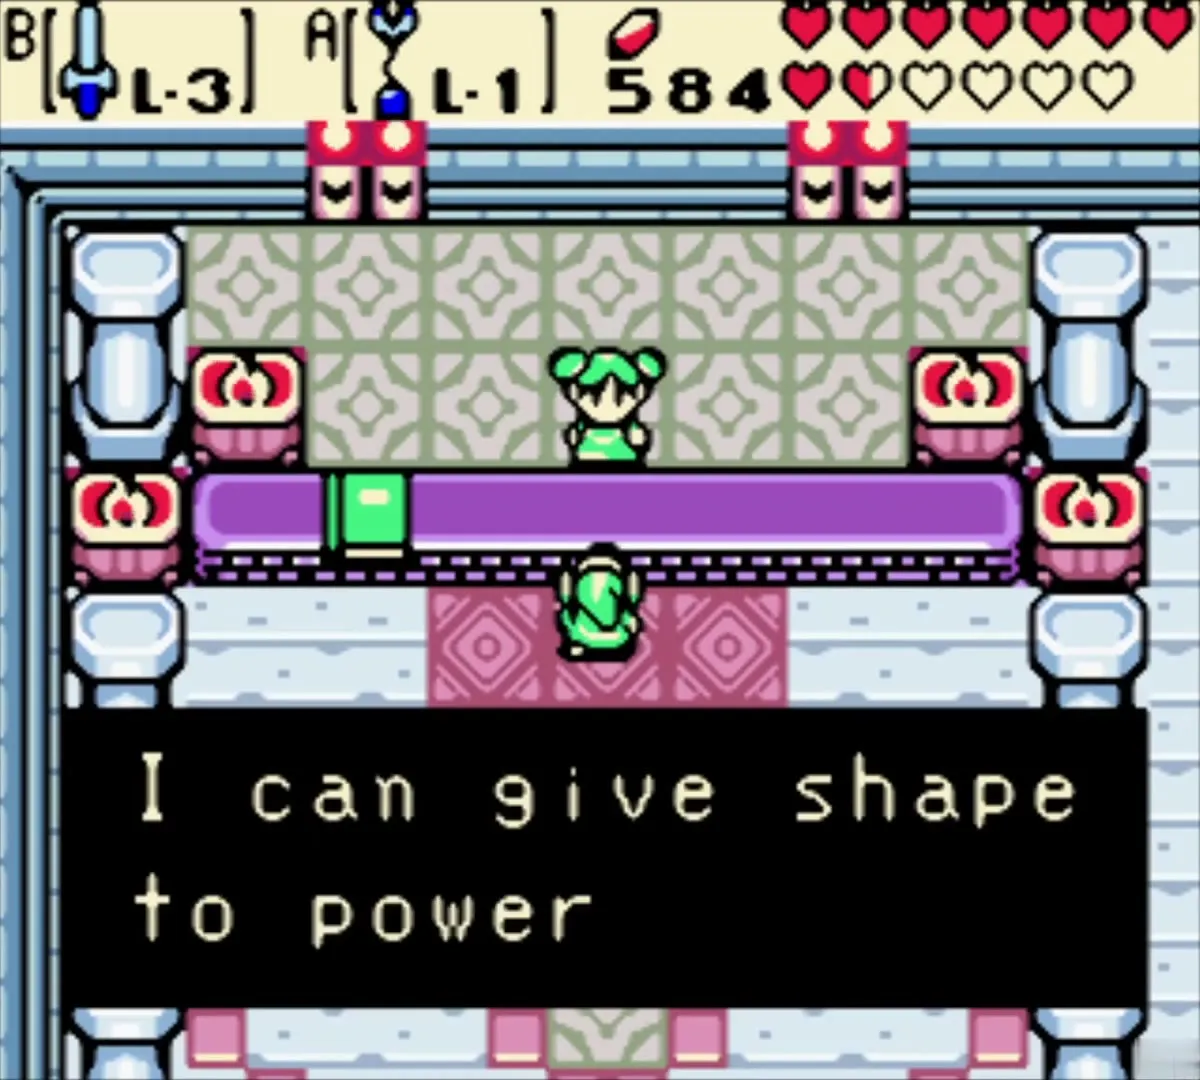
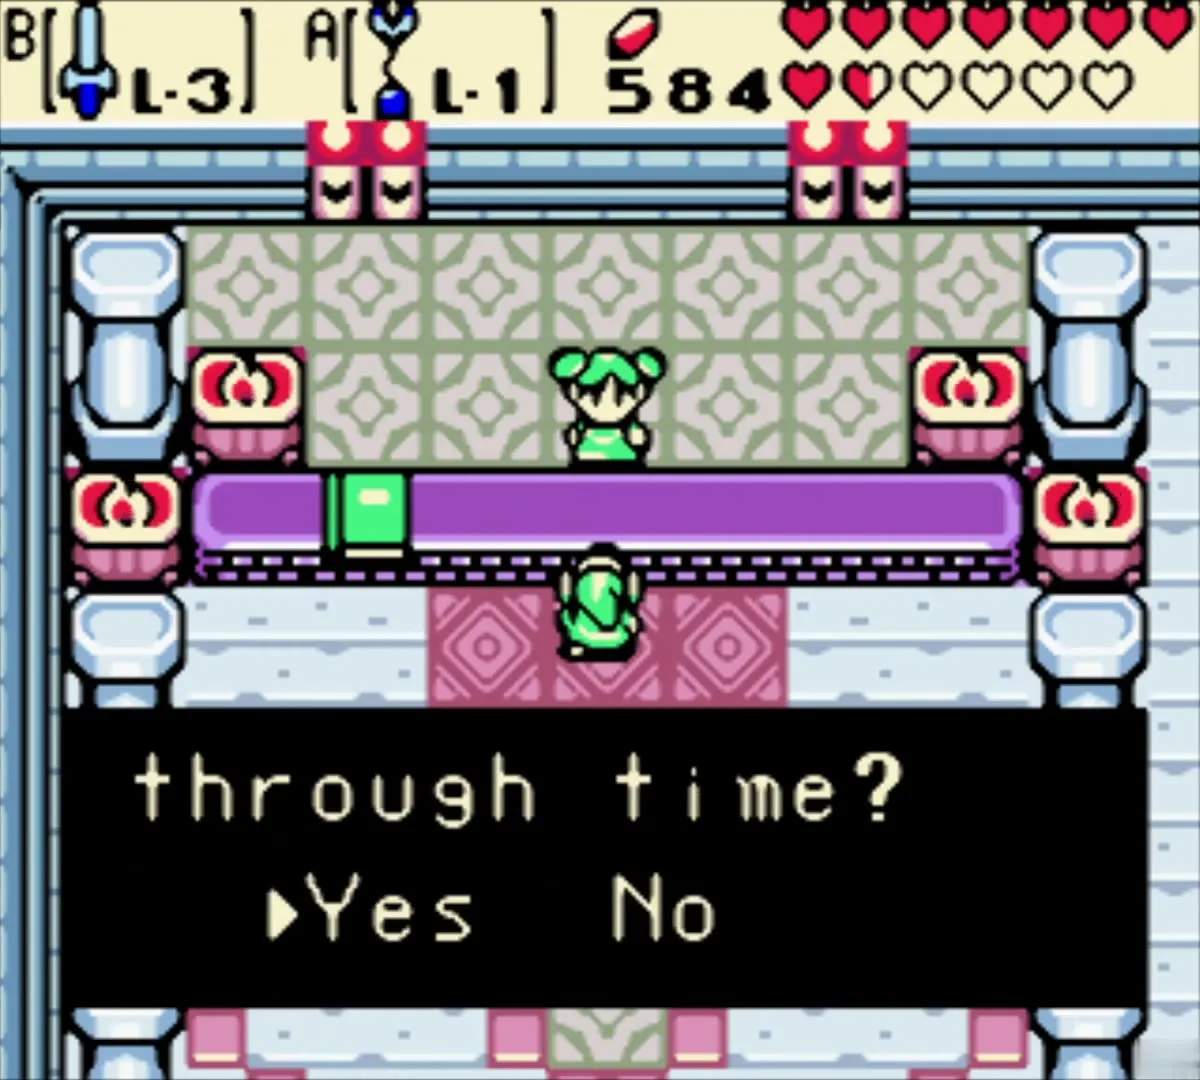
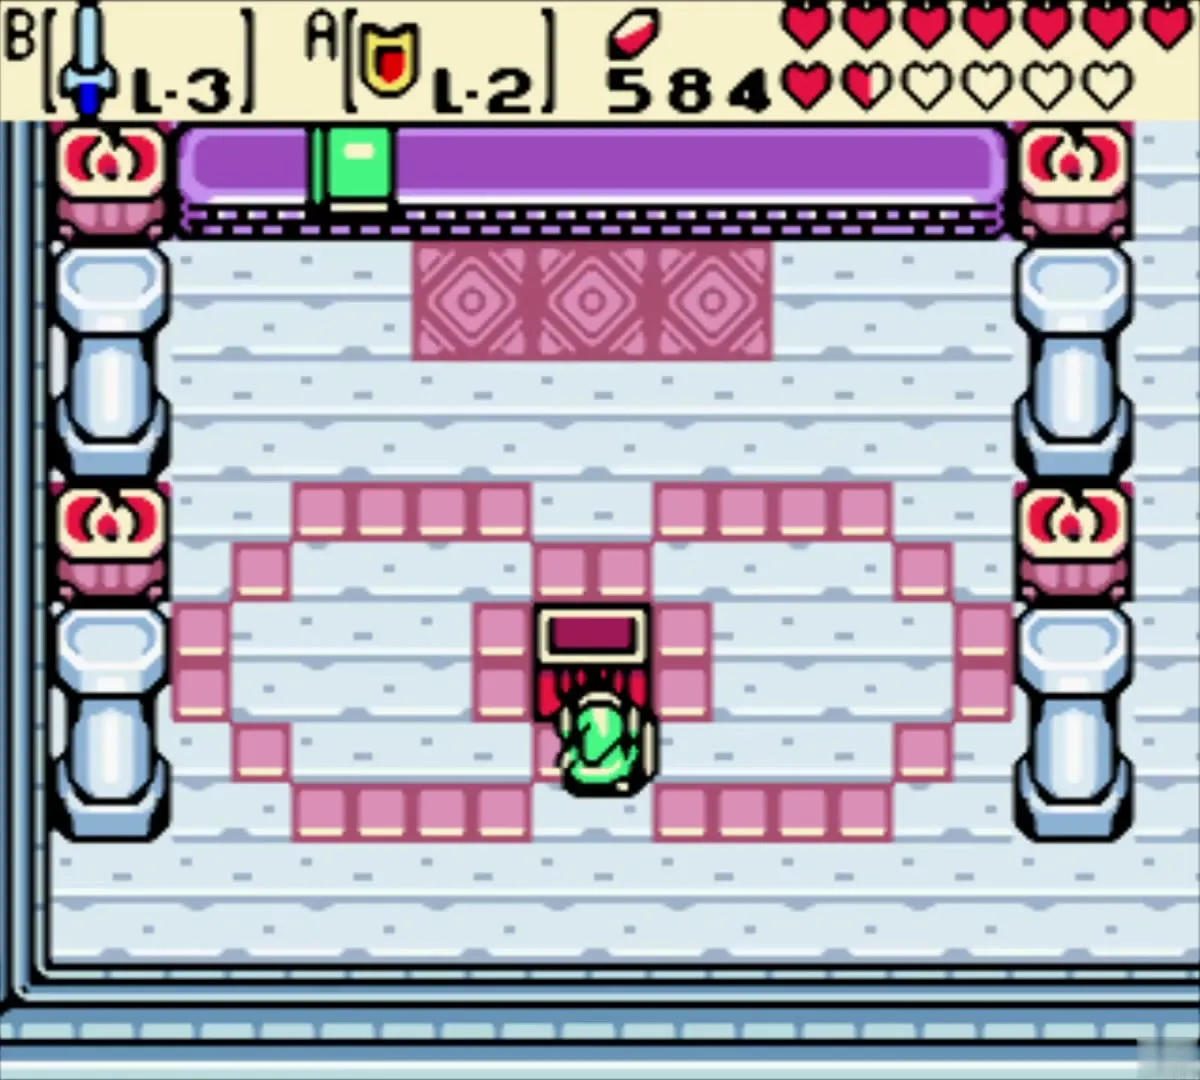
Enter the Hall of Secrets inside the Maku Tree and talk to Farore. Her Memory book lists every secret you have been told. Her counter takes the return code that a character in Seasons gave you after you passed on a secret from Labrynna. Answer Yes when she asks whether you know the secret to moving through time, then type the code. Codes differ for each save file and are not printed here (see Linked Game secrets). You need to have finished Oracle of Seasons and be playing a Linked Game for any of this.

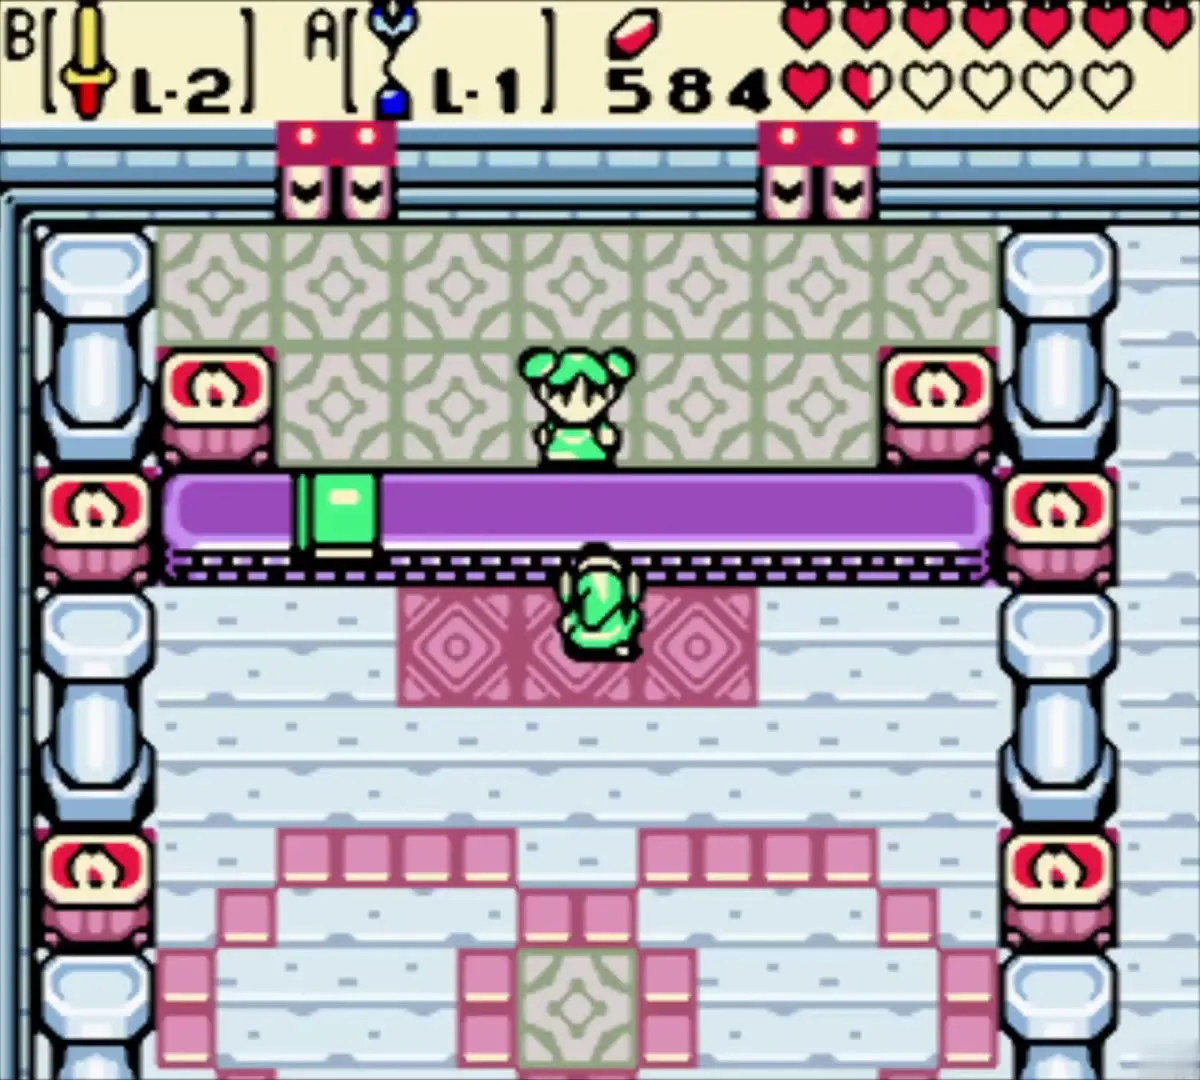
Master Sword
Enter the code from the old man below the Clock Shop. Farore gives you the Master Sword, and your sword icon changes from L-2 to L-3. This upgrade works because you already carry the Noble Sword; with the Wooden Sword the same code would give you the Noble Sword instead.


Bombchus
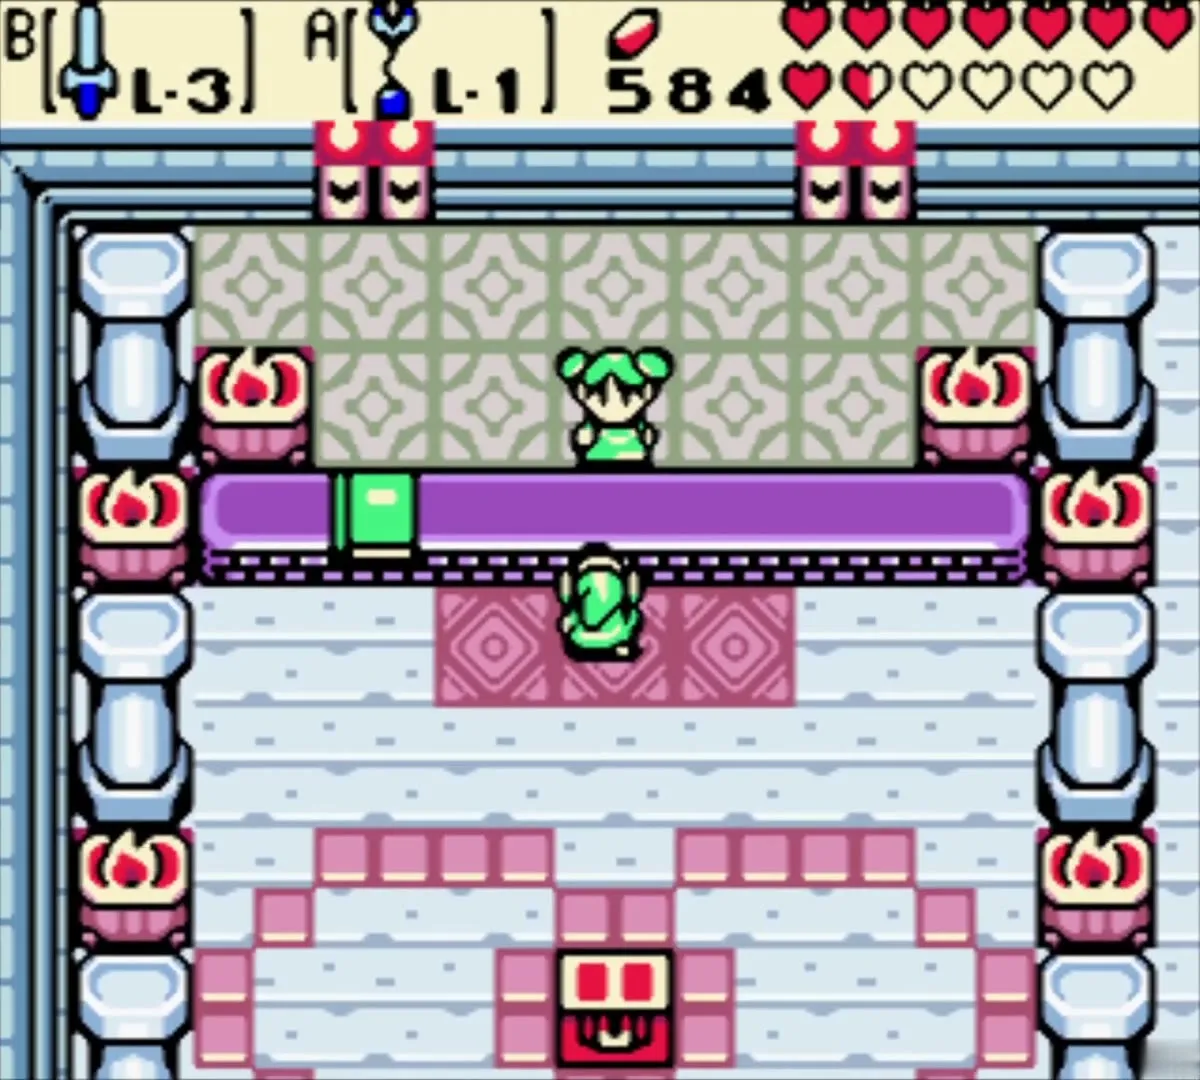
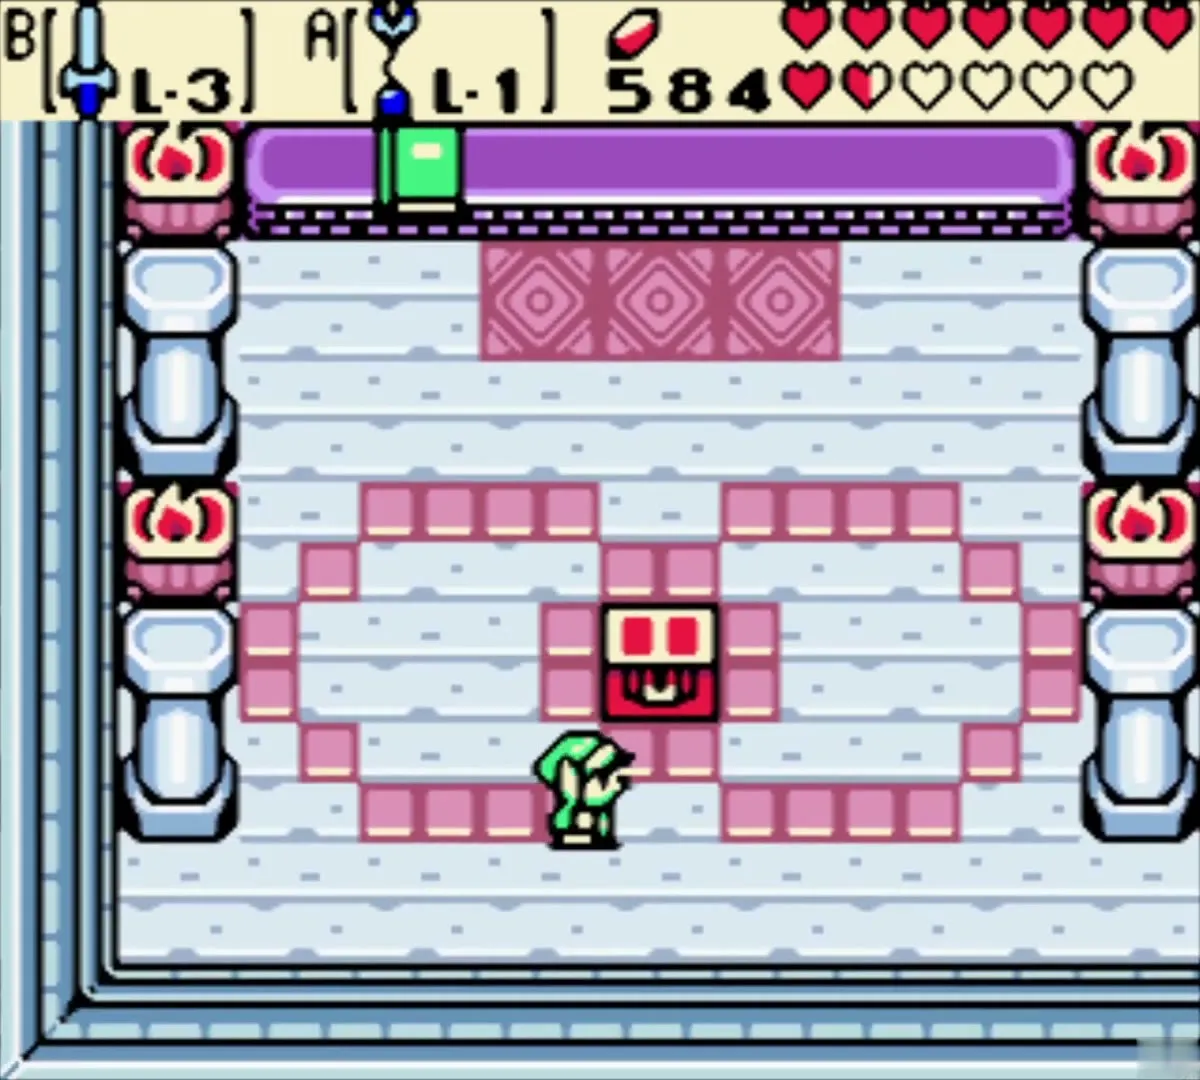
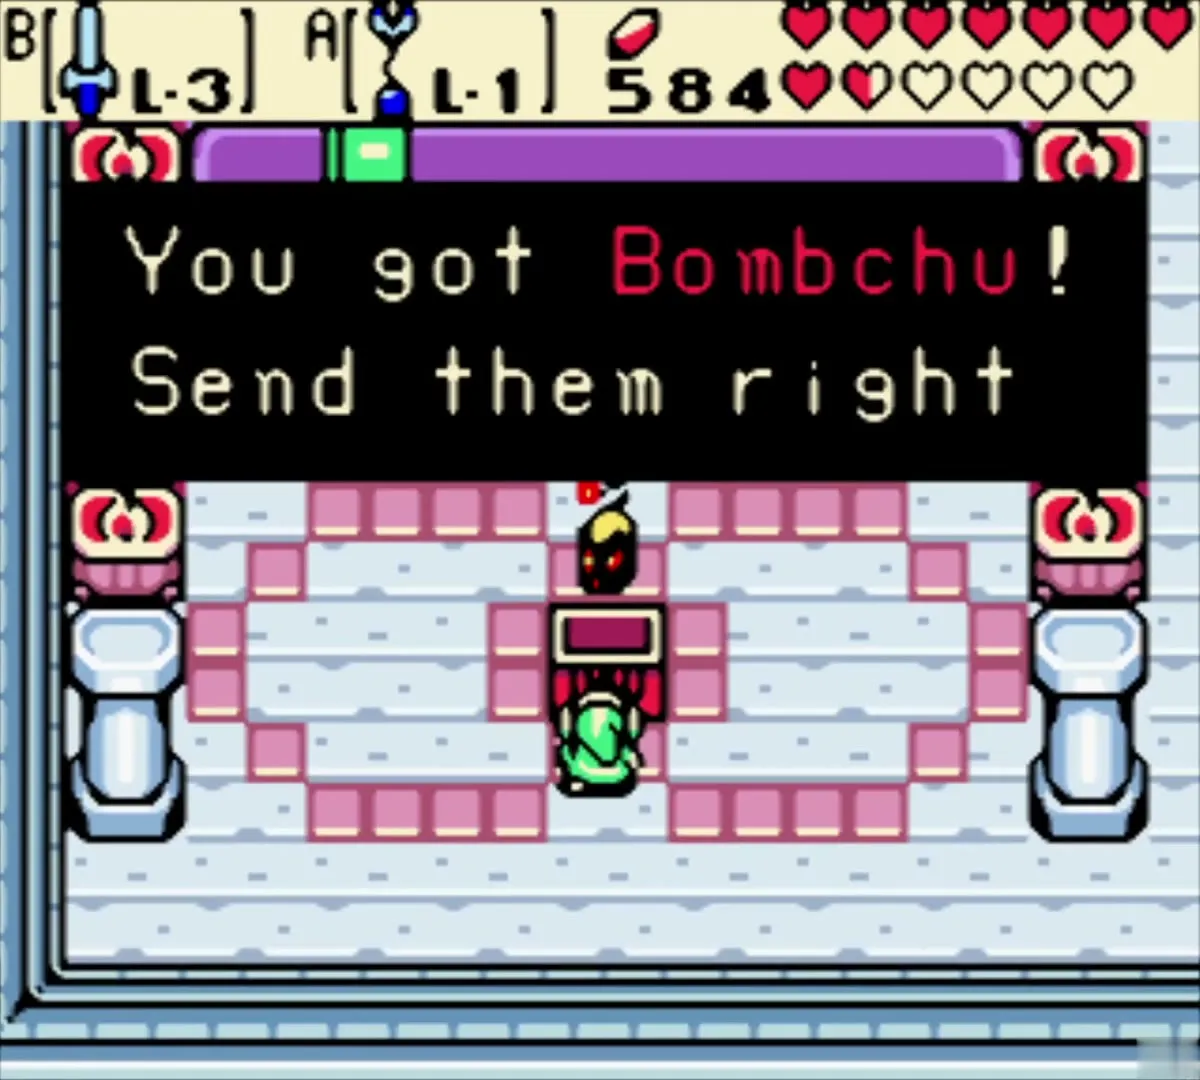
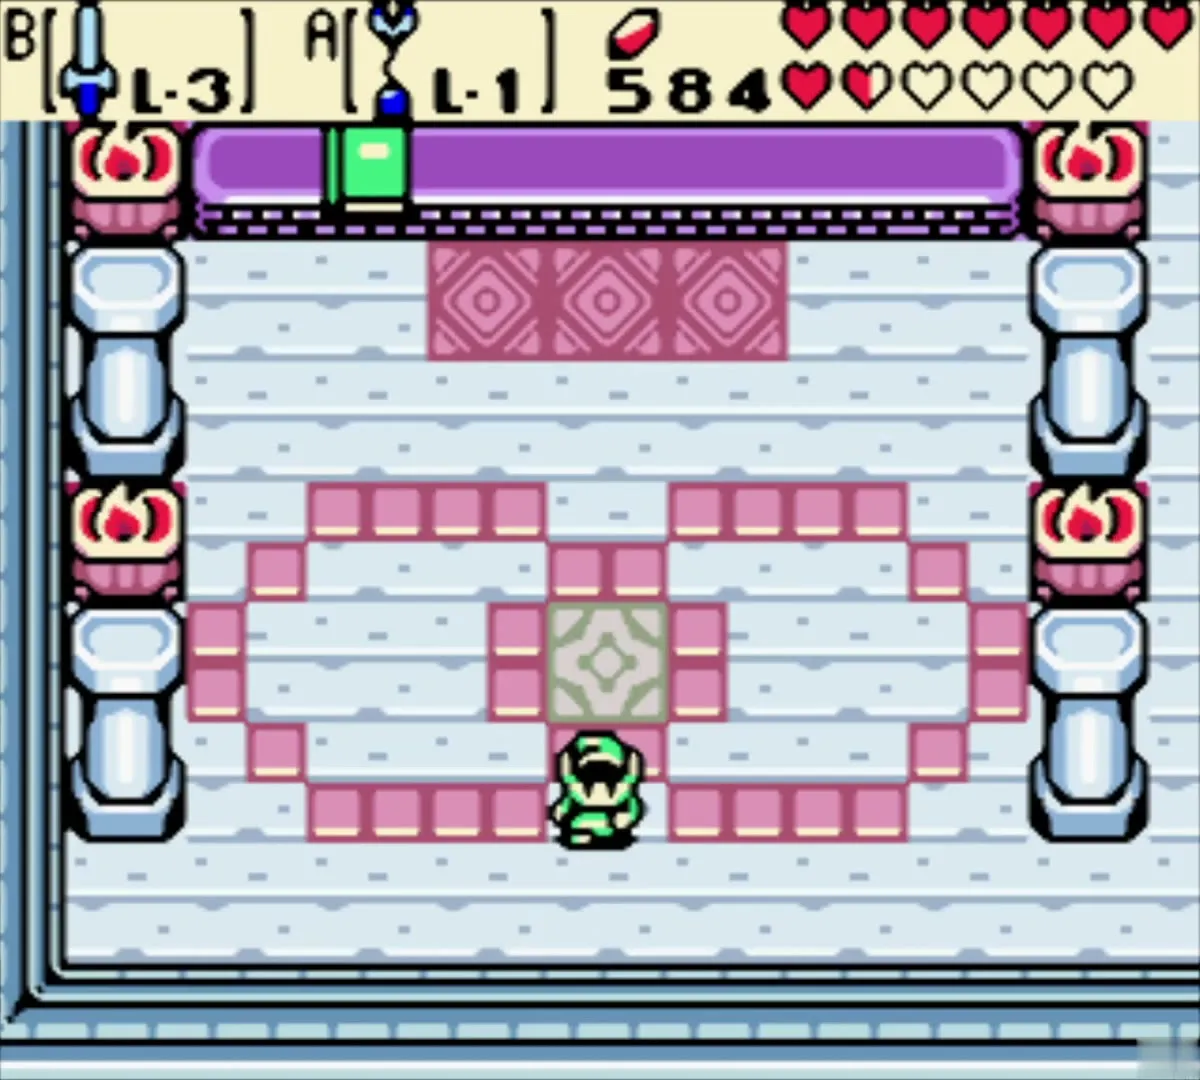
Talk to Farore again and enter the code from the golden Subrosian at the Subrosian Volcanoes. A red chest rises in the middle of the room, and inside are Bombchus. They go into your item menu with a stock of 10.
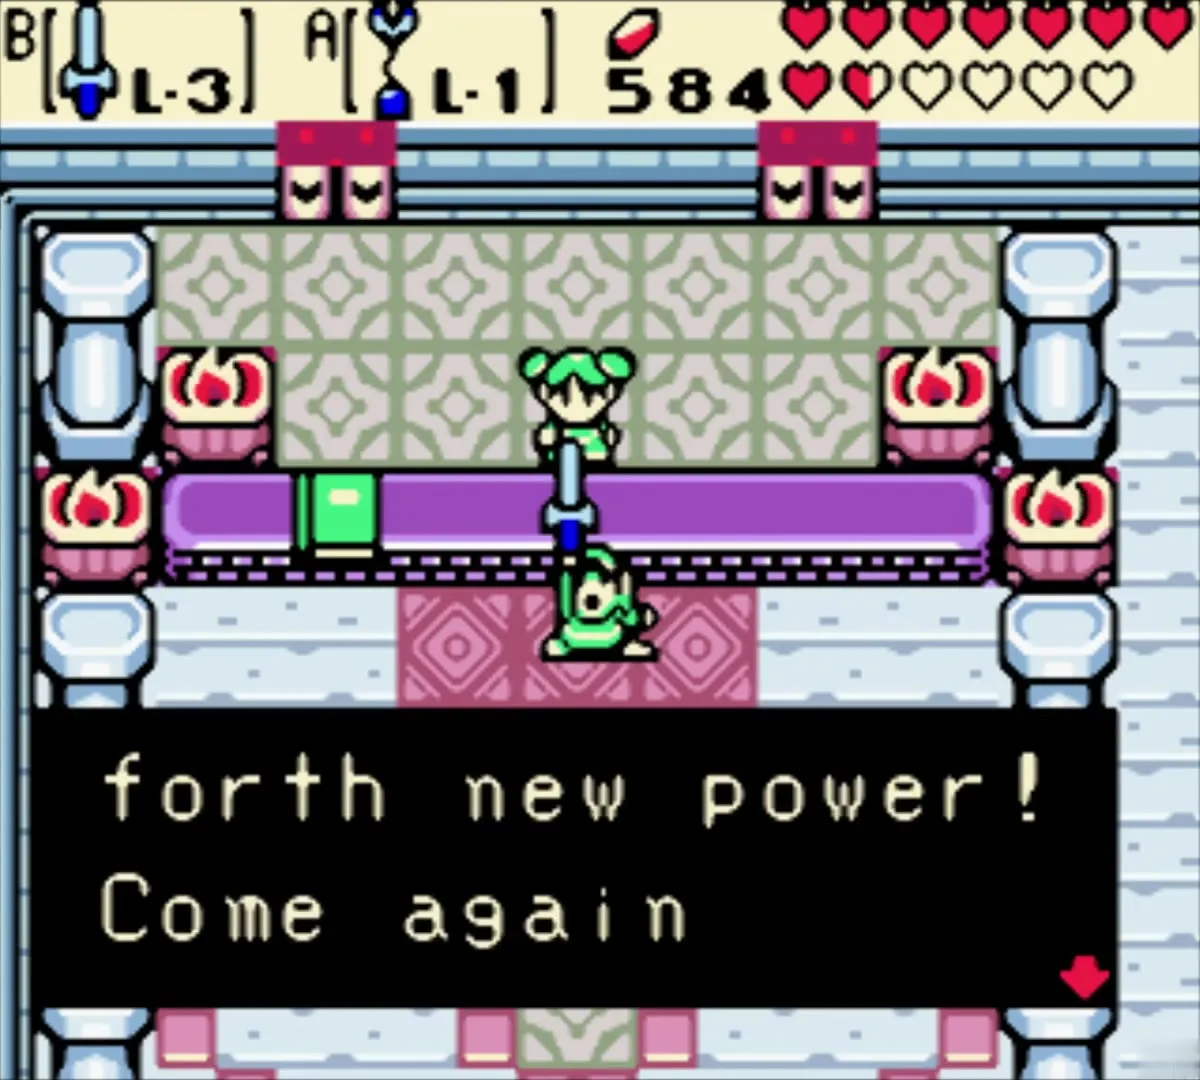
Iron Shield
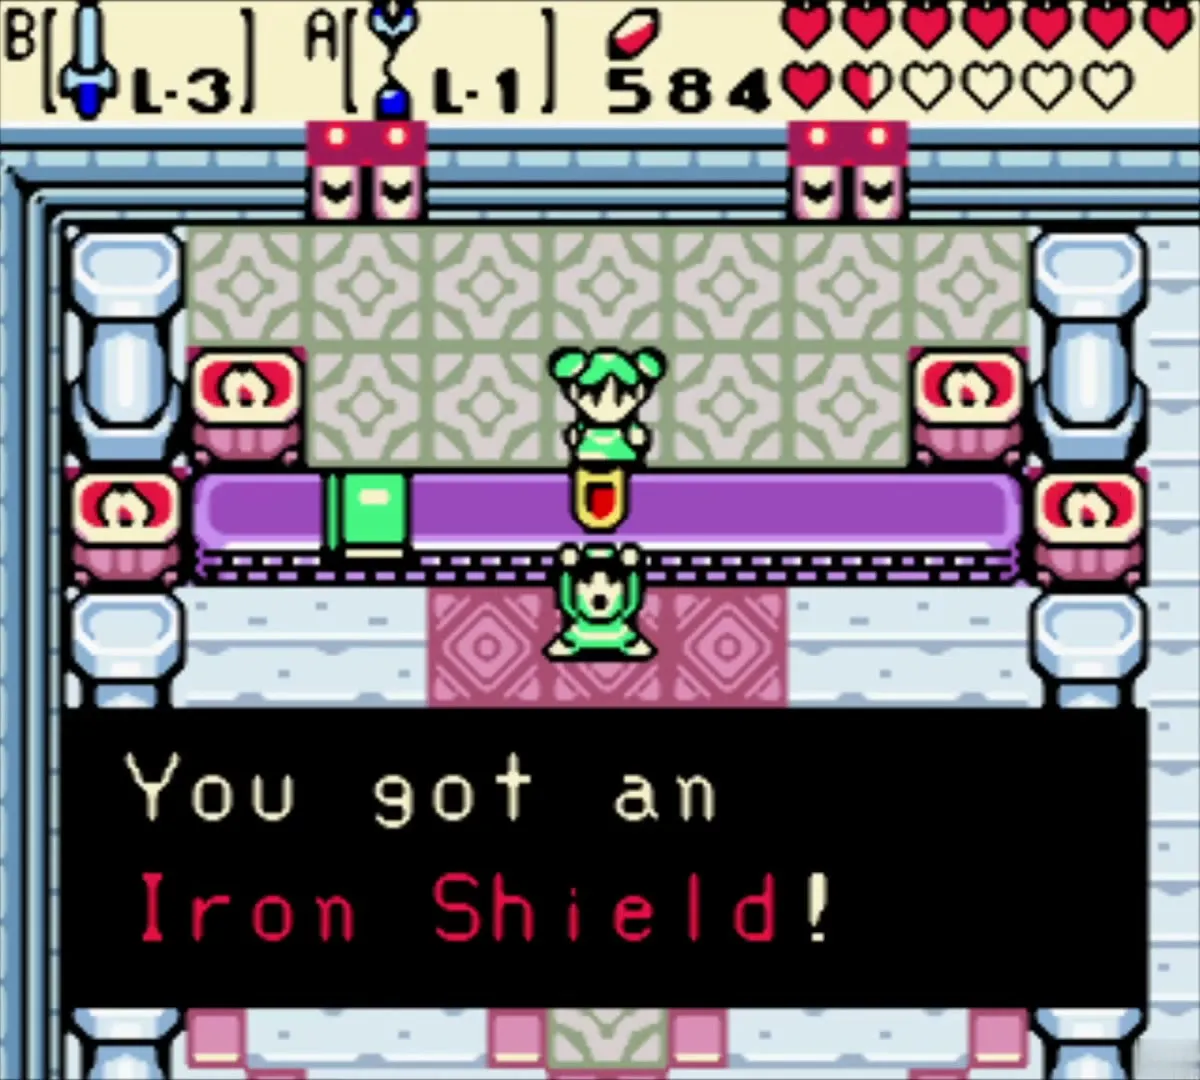
Enter the code from the Subrosian smith. Farore tells you that your secrets have called forth new power, and your shield icon turns from L-1 to L-2: the Wooden Shield has become the Iron Shield. No chest appears for this one.

Biggoron’s Sword
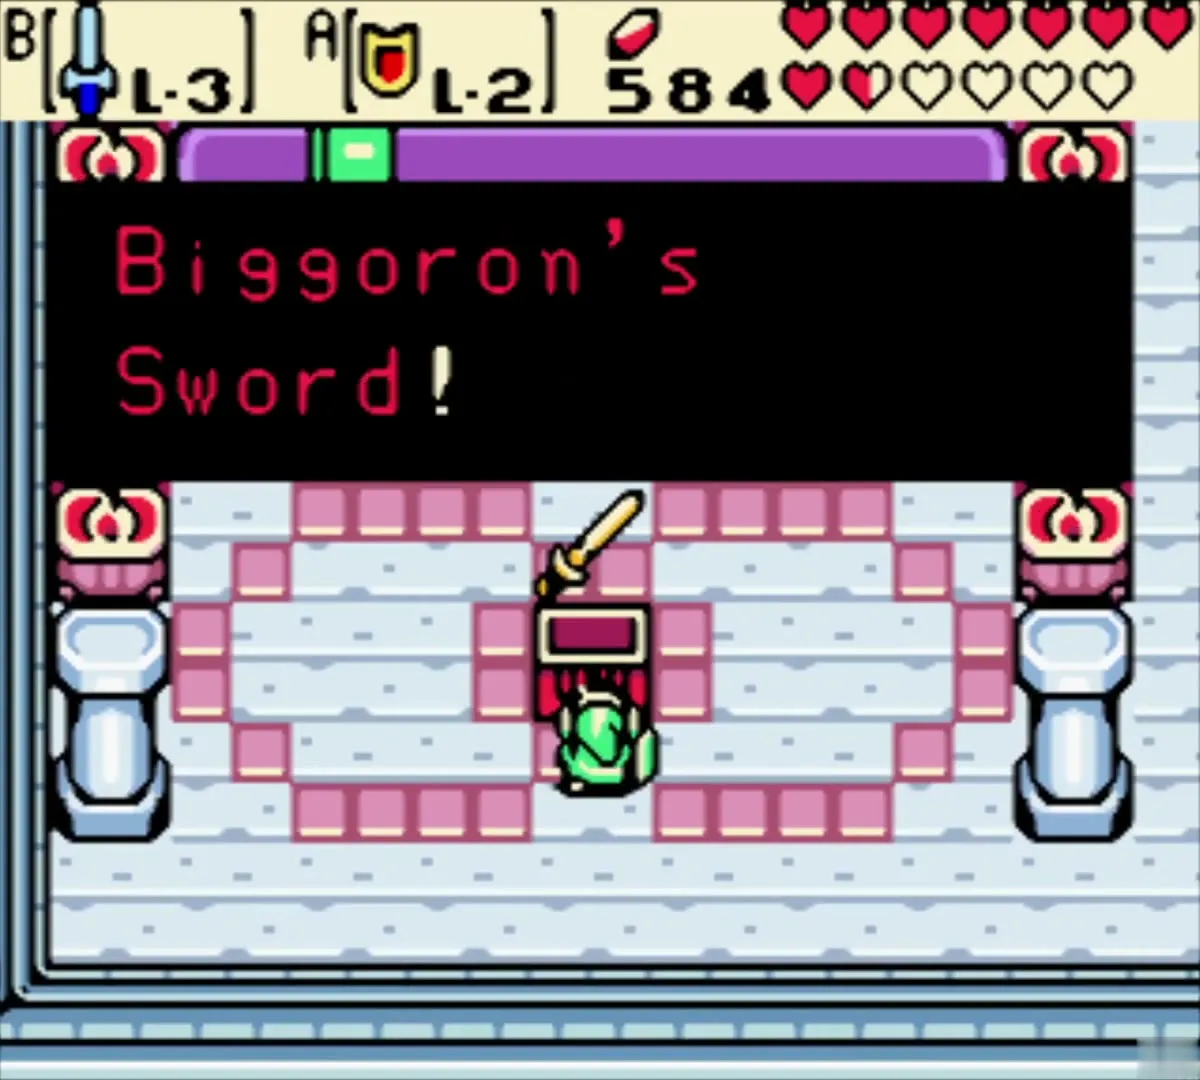
Enter the code from Biggoron on Mt. Cucco. A red chest rises, and you get Biggoron’s Sword, a huge two-handed blade. It sits in your item menu as a separate item, so equip it to a button when you want it. Your regular sword slot keeps the Master Sword.


Practice the Tune of Ages: Gasha Seed chest near Restoration Wall
Play the tune
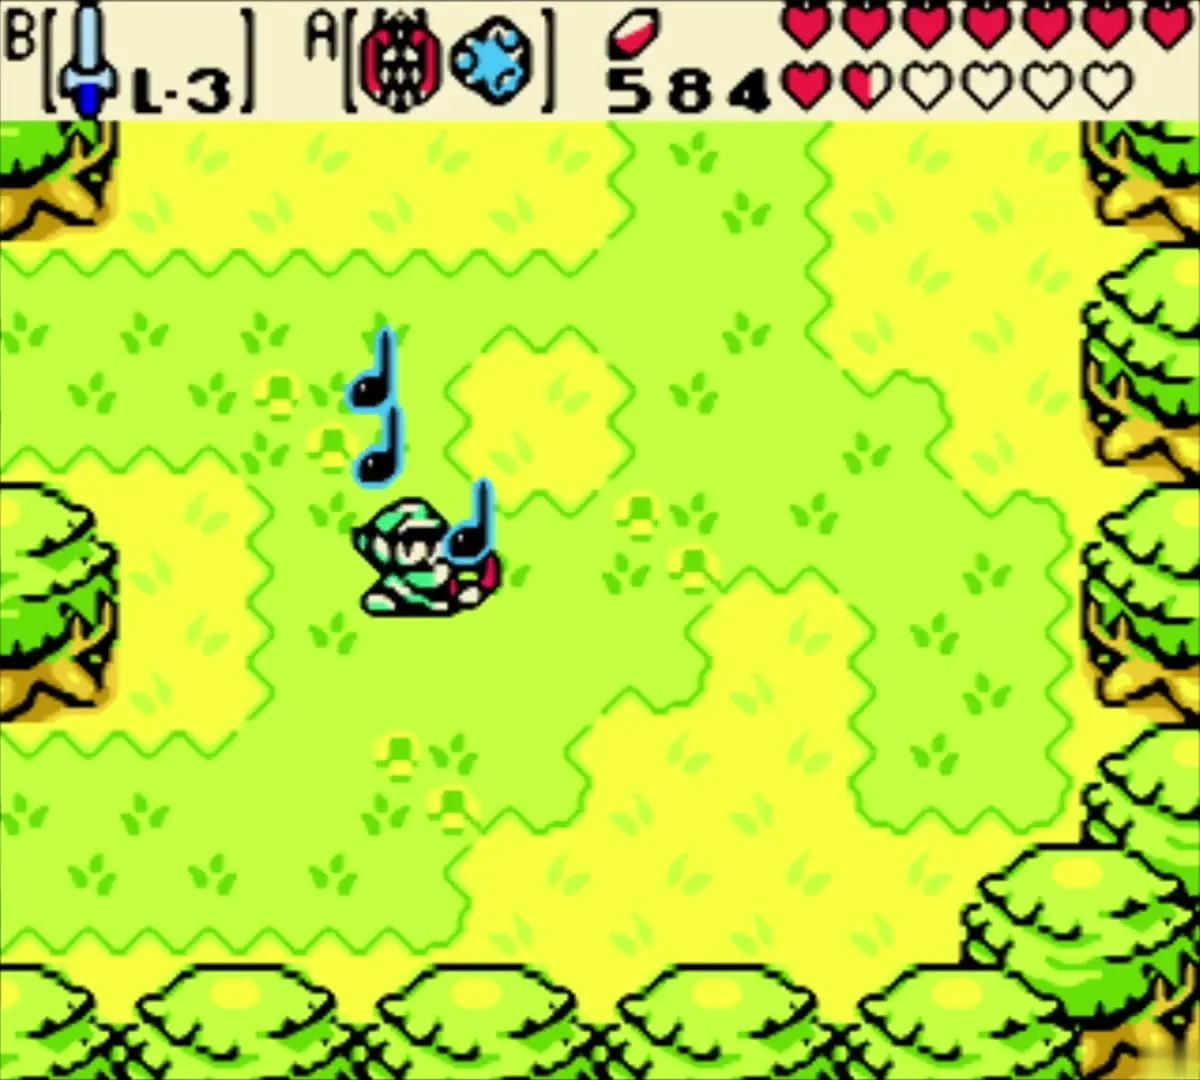
Leave the Maku Tree. Open the item menu, choose the Harp of Ages, select the Tune of Ages (the third song) and play it in the open air. A white flash and a pillar of light carry you to the same spot in the other era. In the past, water is purple and the ground pink and orange; in the present, water is blue and the meadows are yellow and green.


Optional: the chest south of Restoration Wall
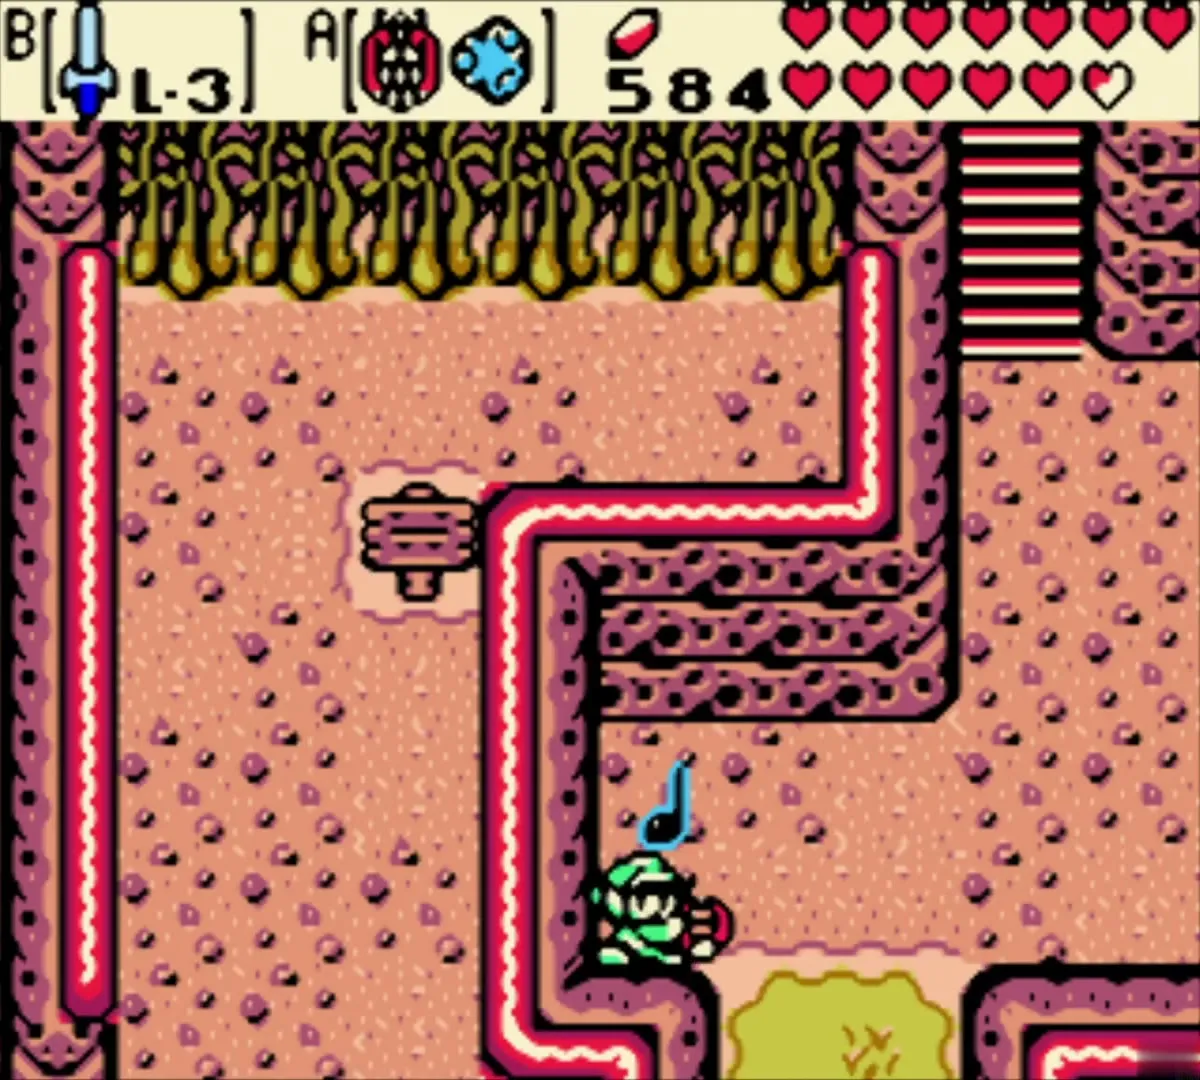
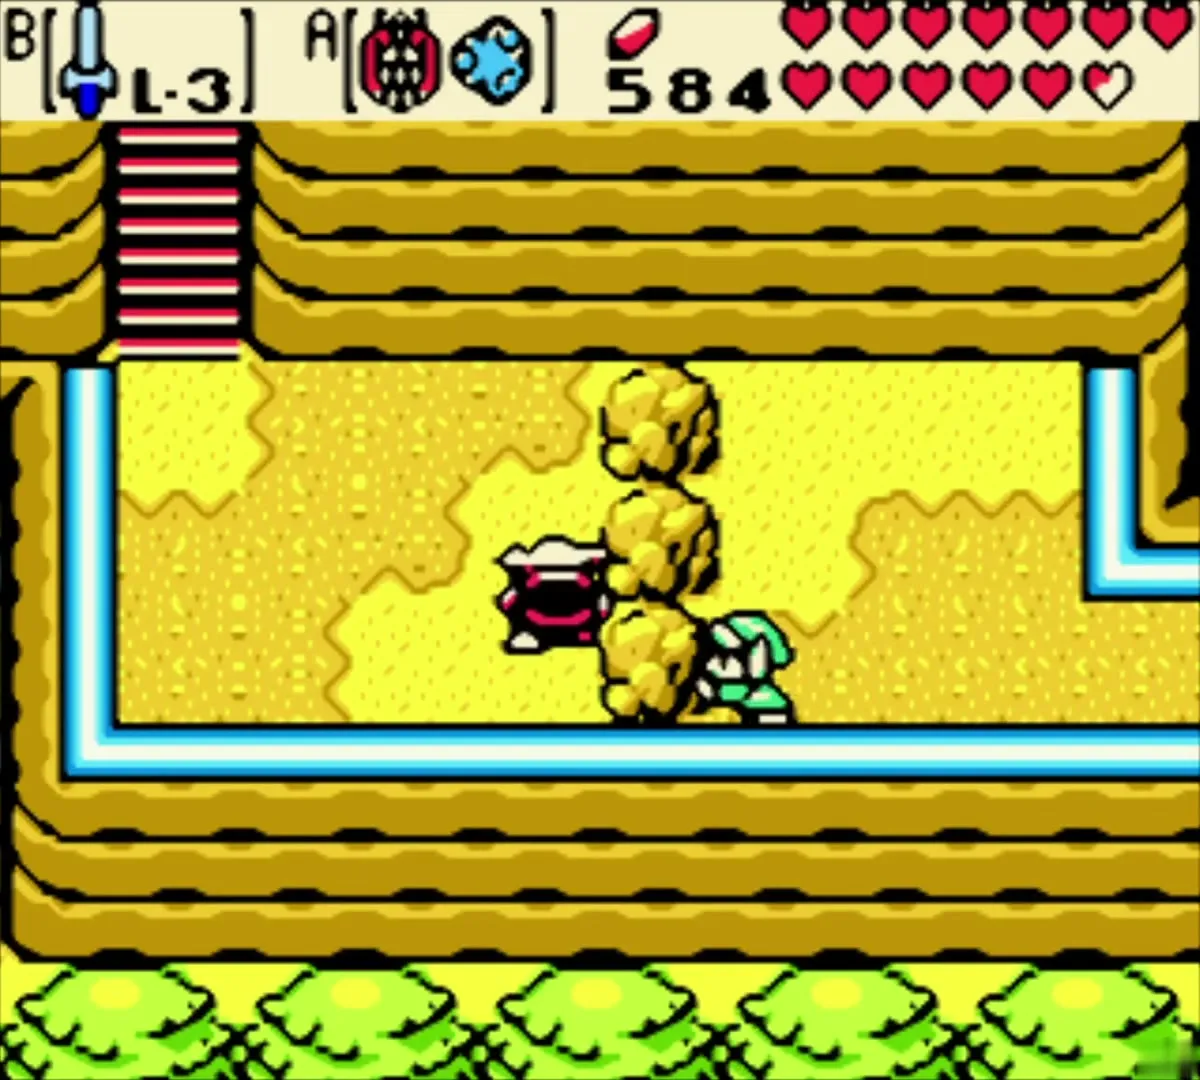
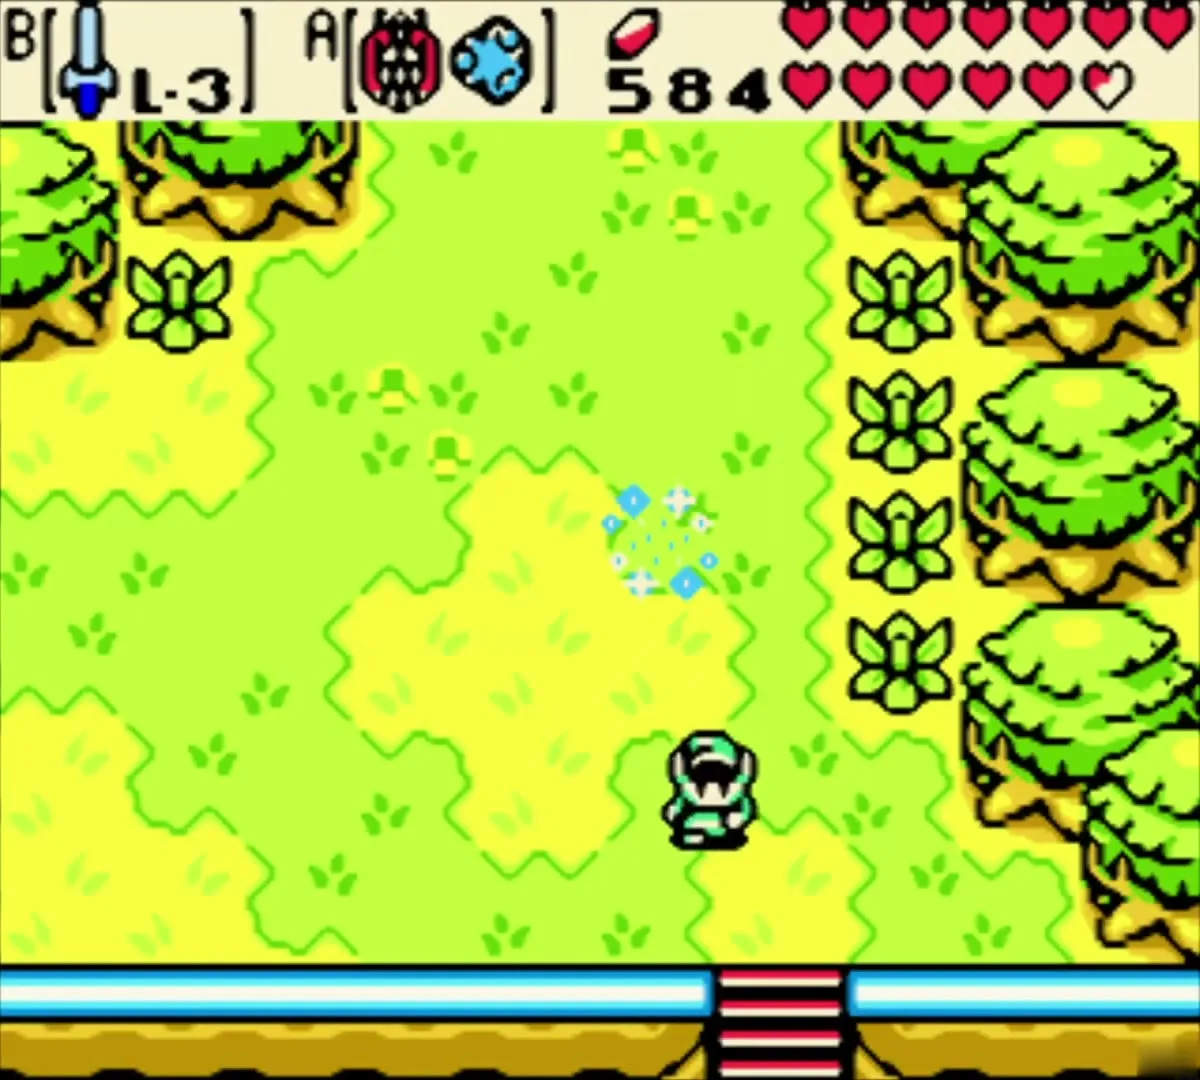
For the 100% run, collect the Gasha Seed that sits in a chest on a ledge south of Restoration Wall in the present. Go to the screen just south of the Restoration Wall sign in the past and play the Tune of Ages (or the Tune of Currents) to arrive in the present on the ledge. You may need to hop between the eras once or twice, because the cliffs differ between past and present, to reach the ledge. Open the chest to get a Gasha Seed.
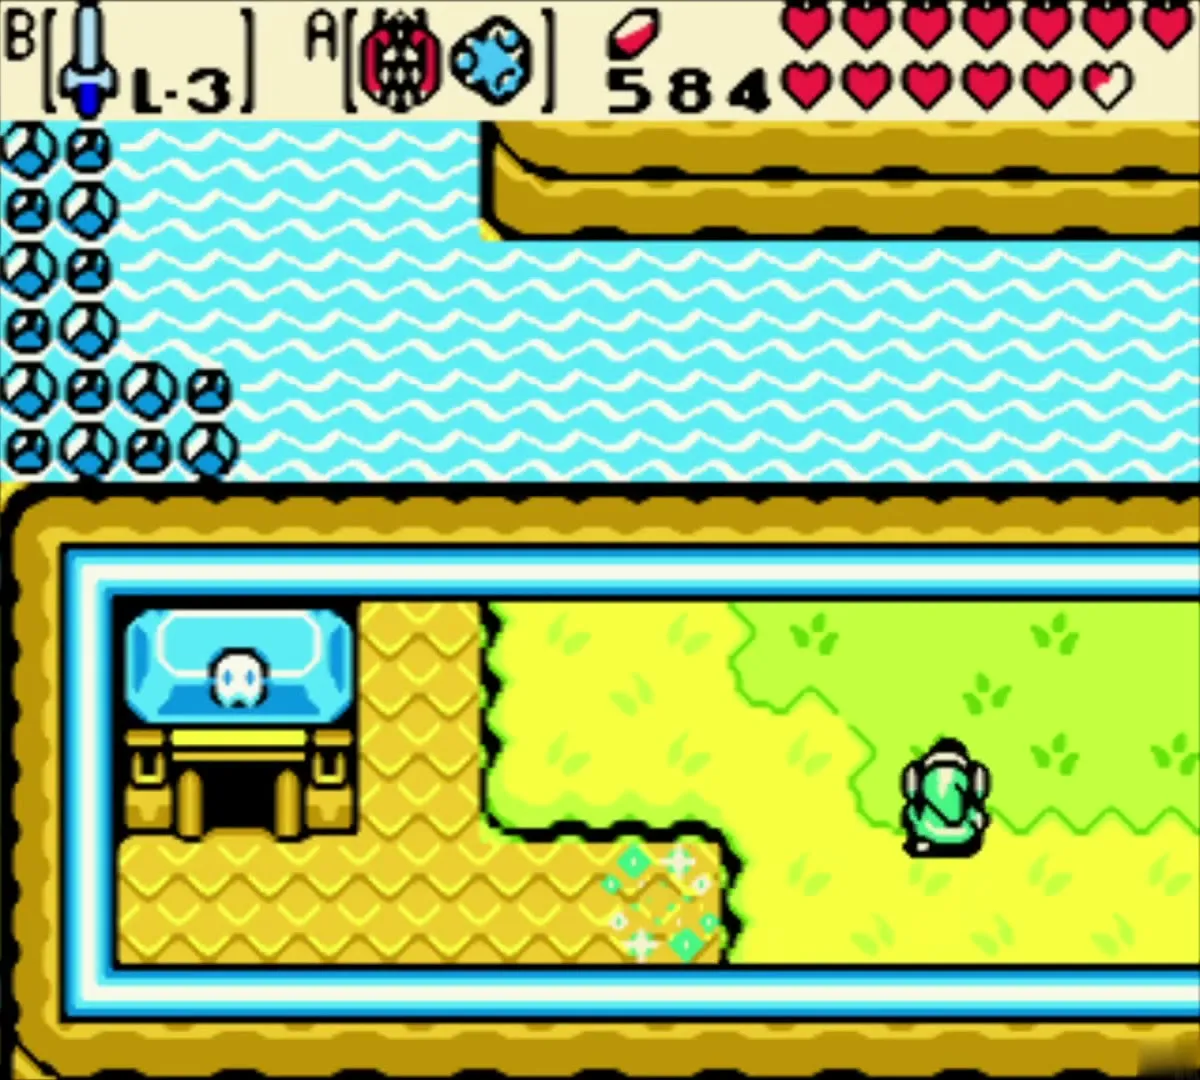

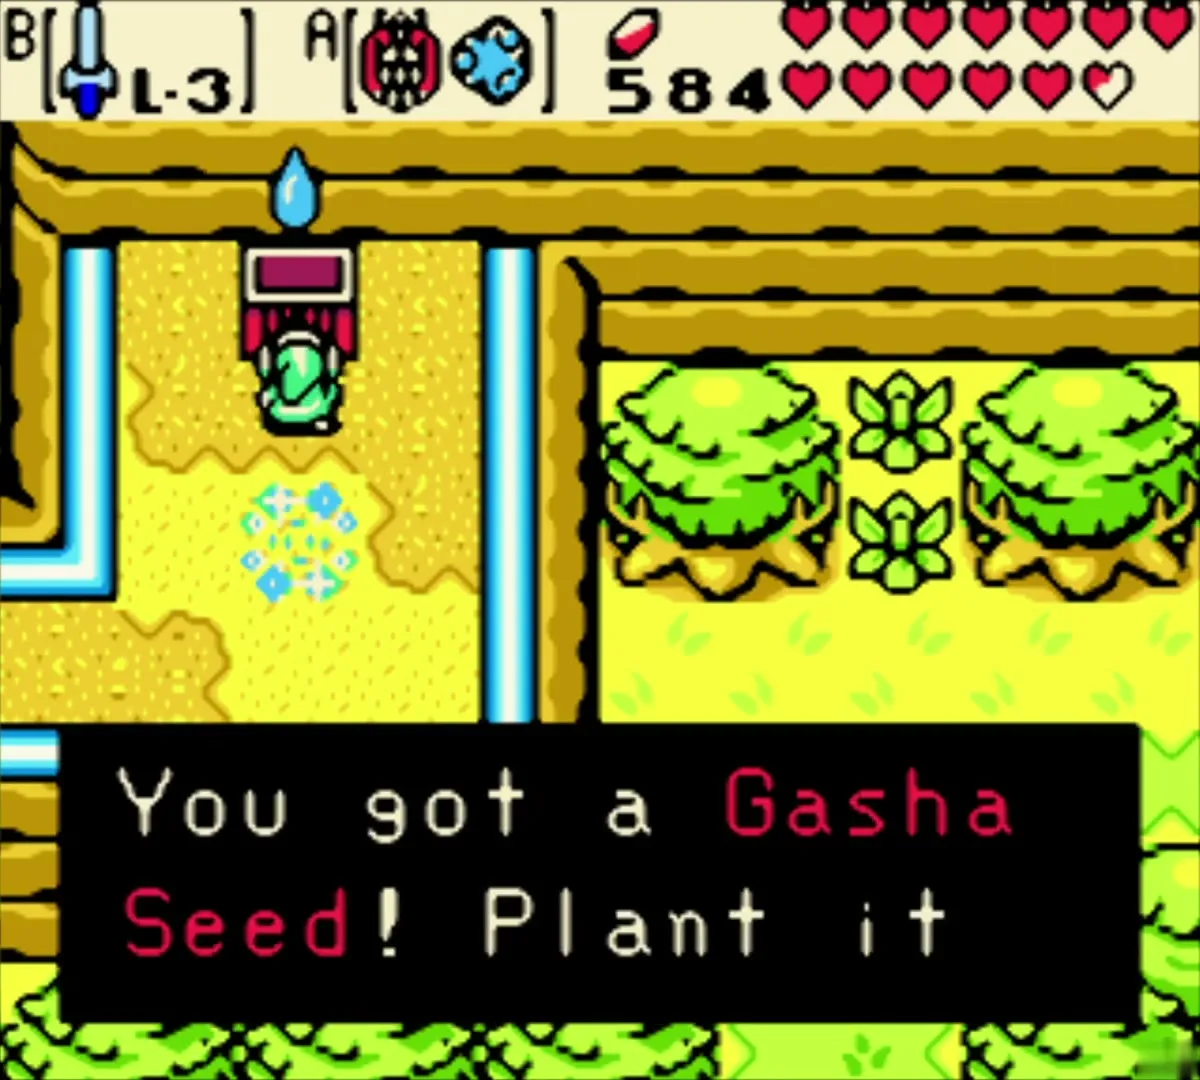
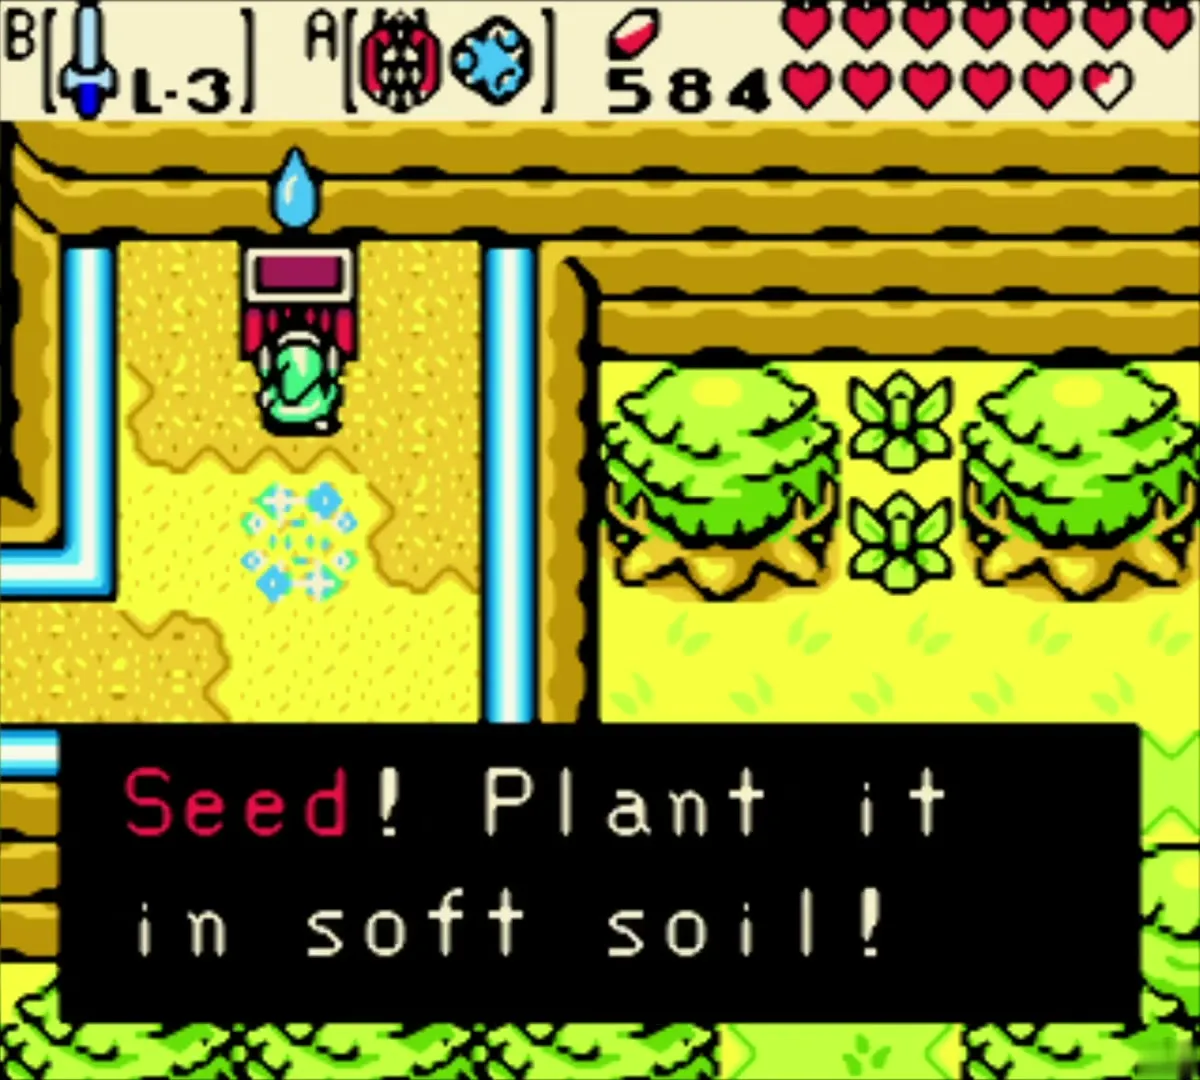
The ground just below the chest glitters. That is soft soil. Switch to the Gasha Seed, choose Plant, and it starts growing a Gasha Tree. Come back later and cut the tree down for a Gasha Nut.
Crescent Island seabed: Mirror Shield and a Piece of Heart
Warp to the coast and cross the sea (past)
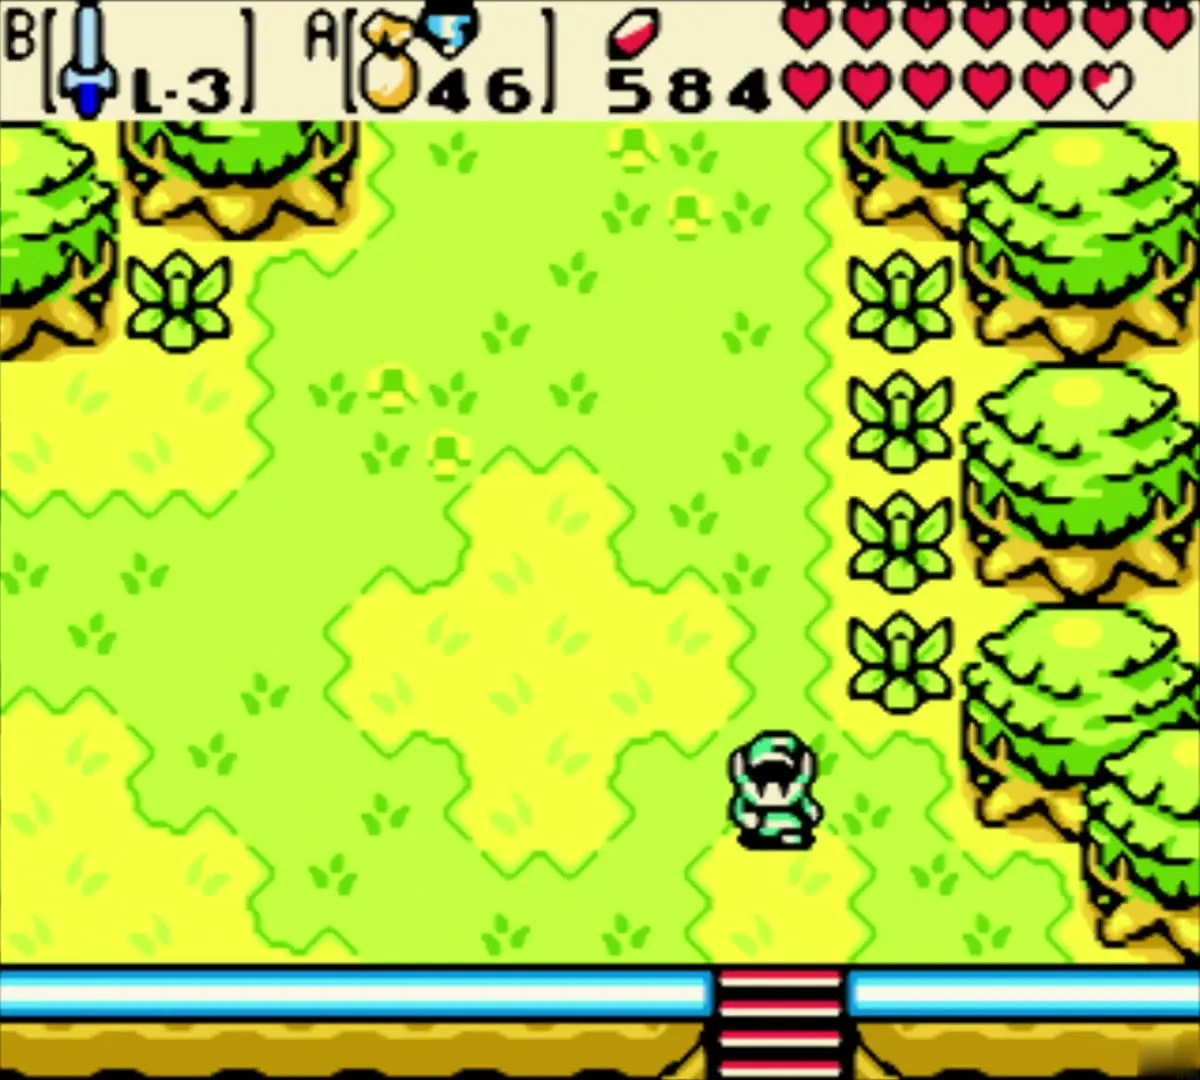
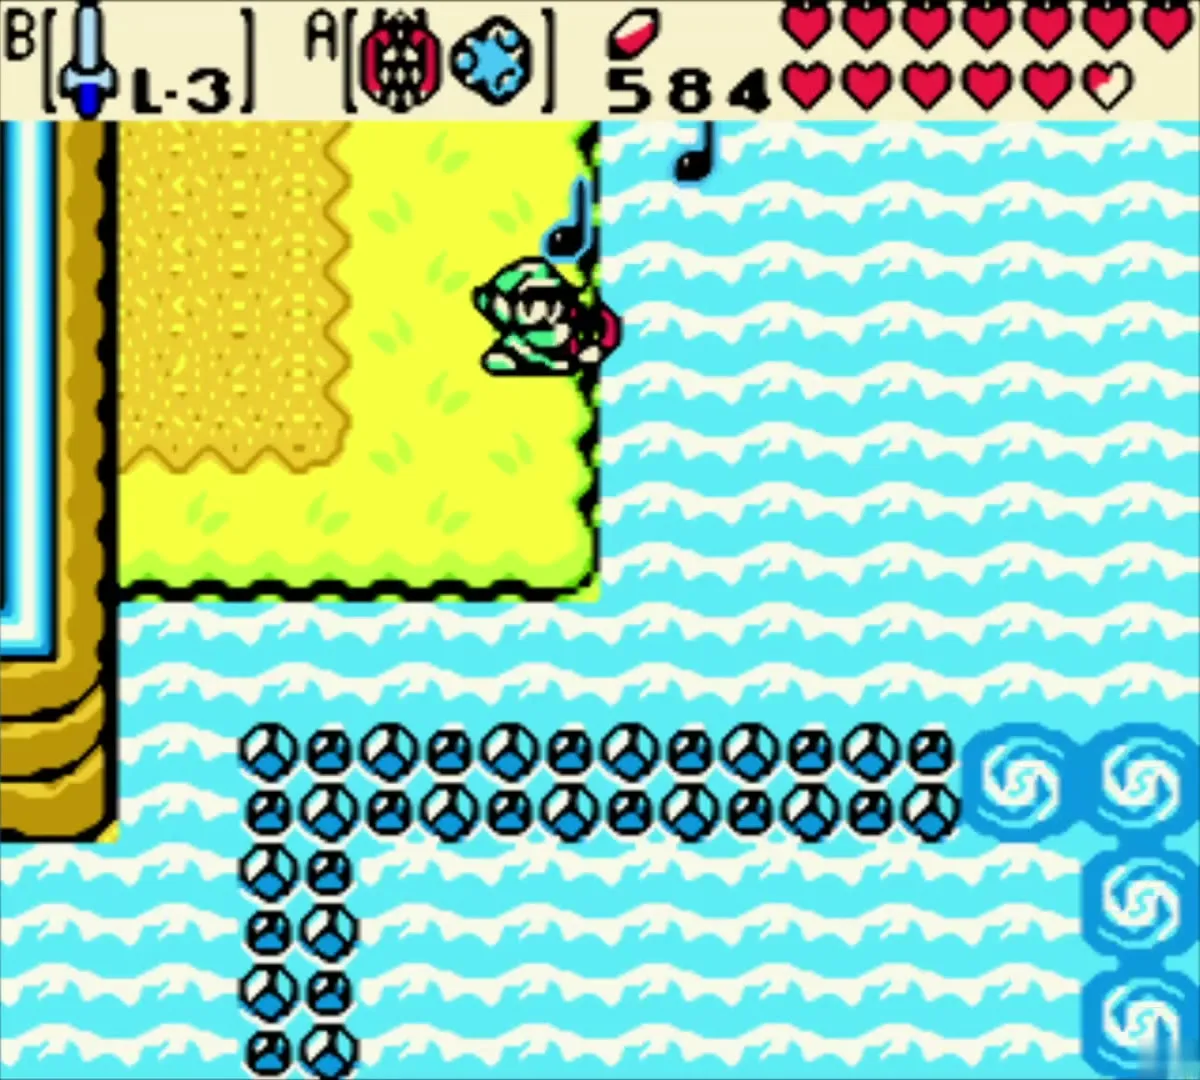
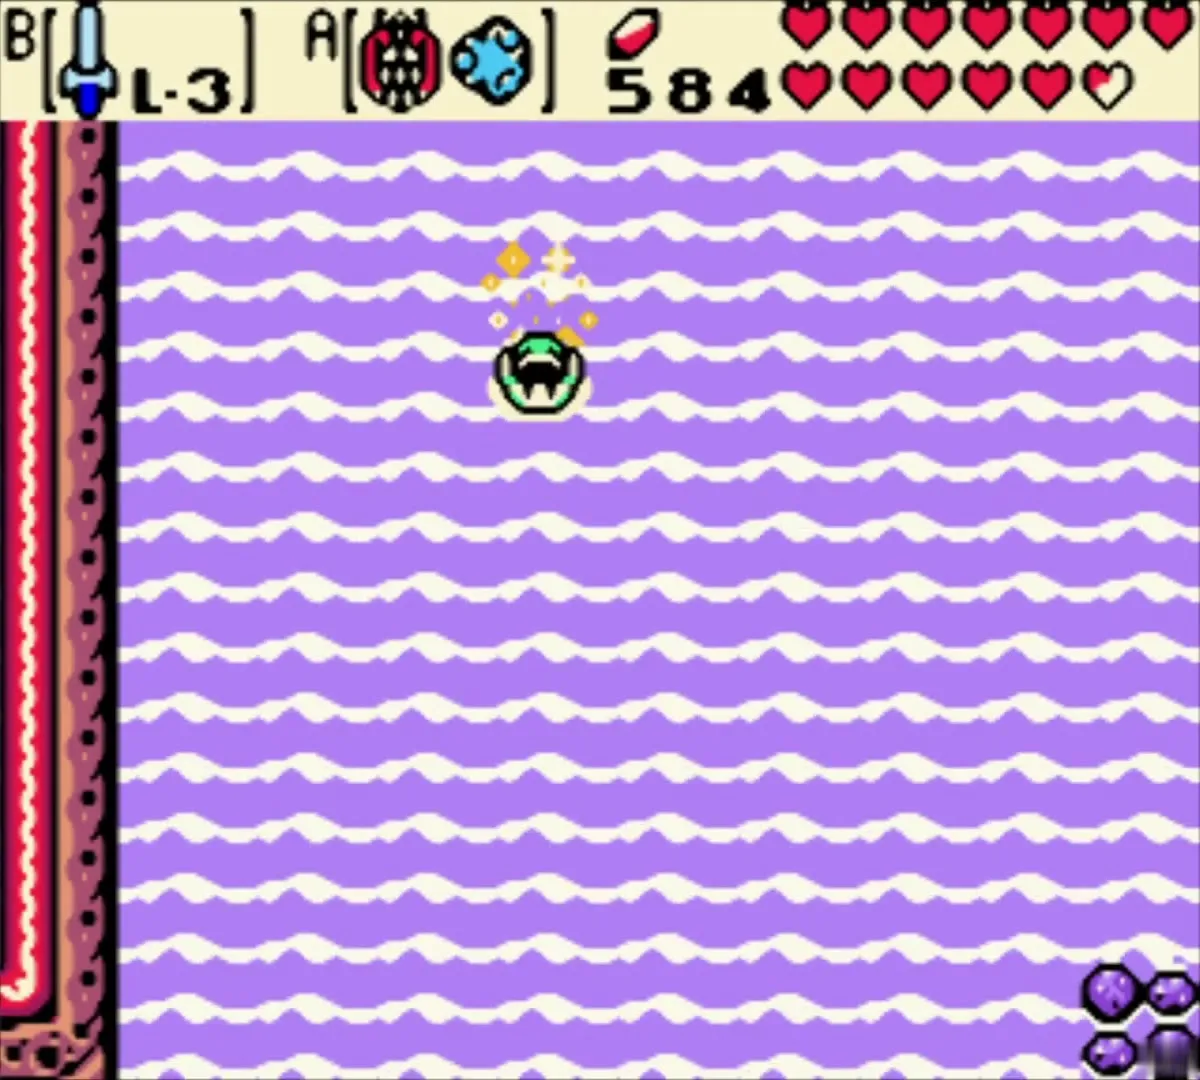
Walk to the shore in the present (a Gale Seed warp to a seed tree near the coast is the quick way). Stand on the beach, play the Tune of Ages to travel to the past, and start swimming. You need Zora’s Flippers for the swim and the Mermaid Suit for diving. Head for Crescent Island across the purple sea.

Tokay’s cave: Mirror Shield (Linked Game)
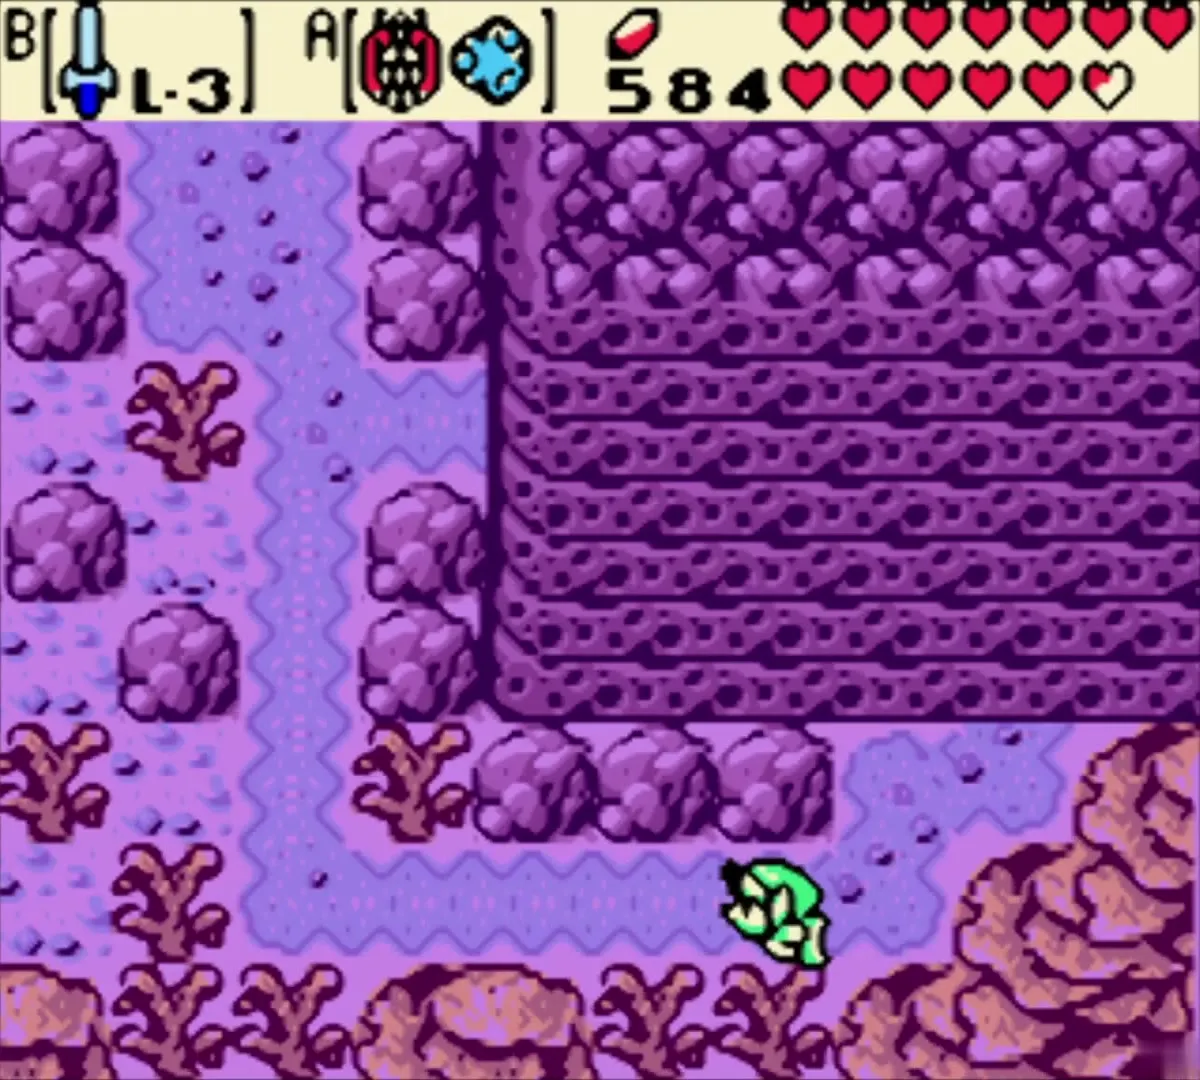
Swim to the pink cliffs on the south-west side of Crescent Island and look for a hole in the rock. A barrier blocks the way in, so dive under it with the Mermaid Suit and surface on the far side. Swim into the flooded cave until you reach a sandy ledge.

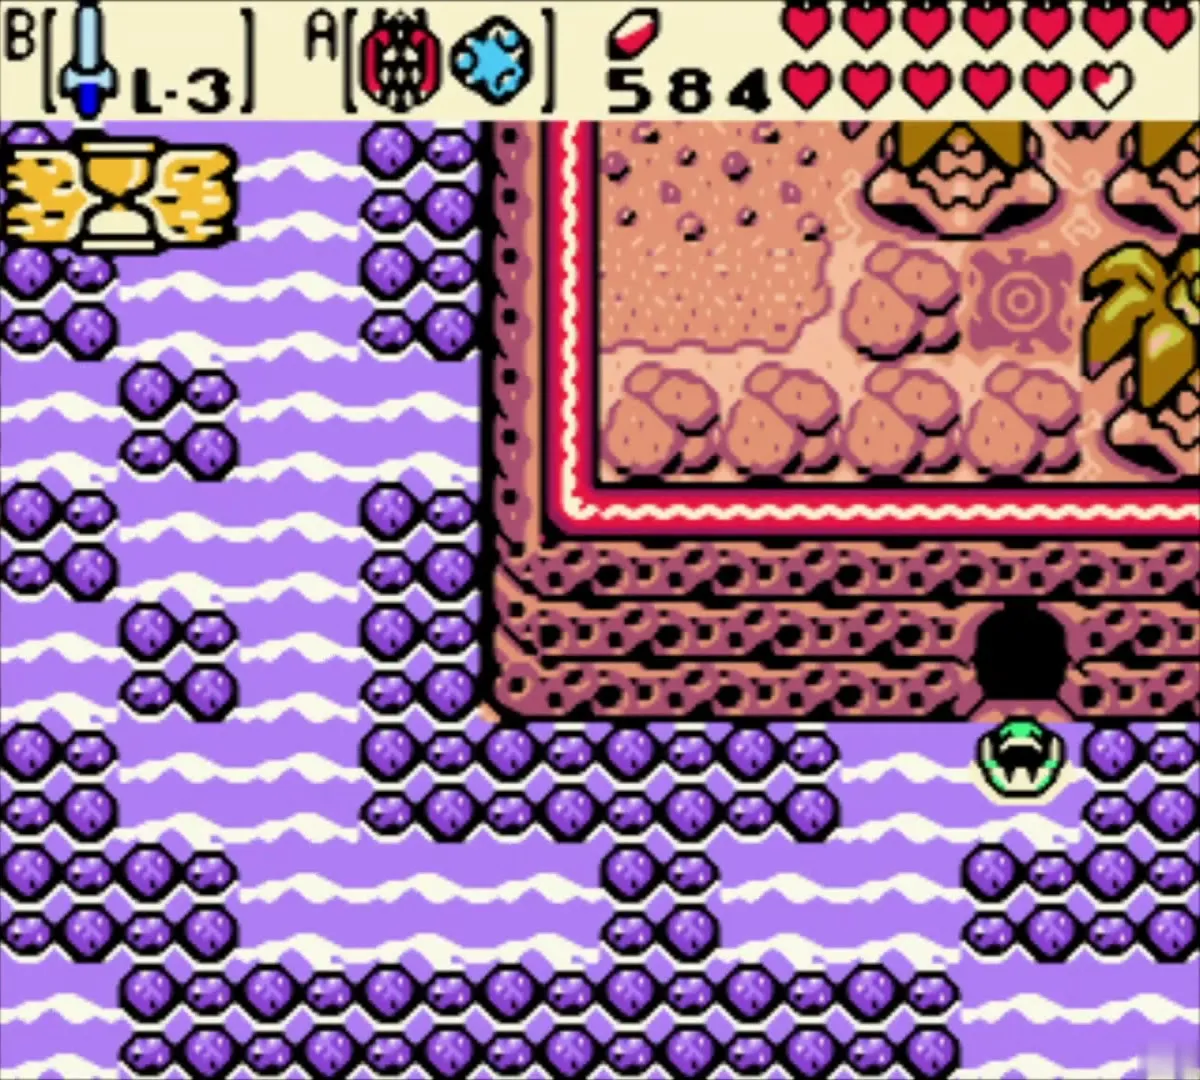
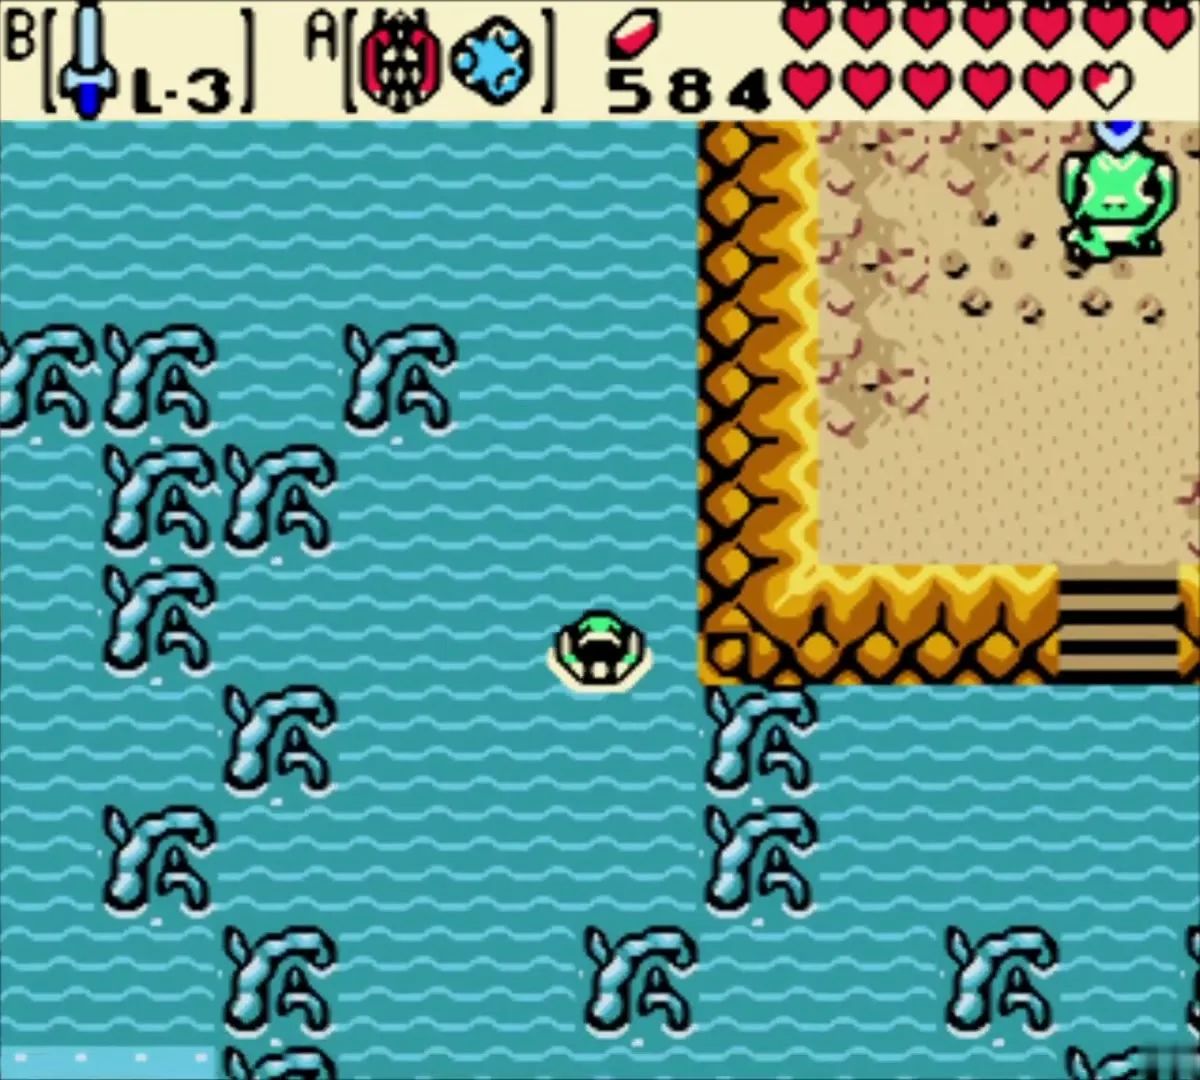
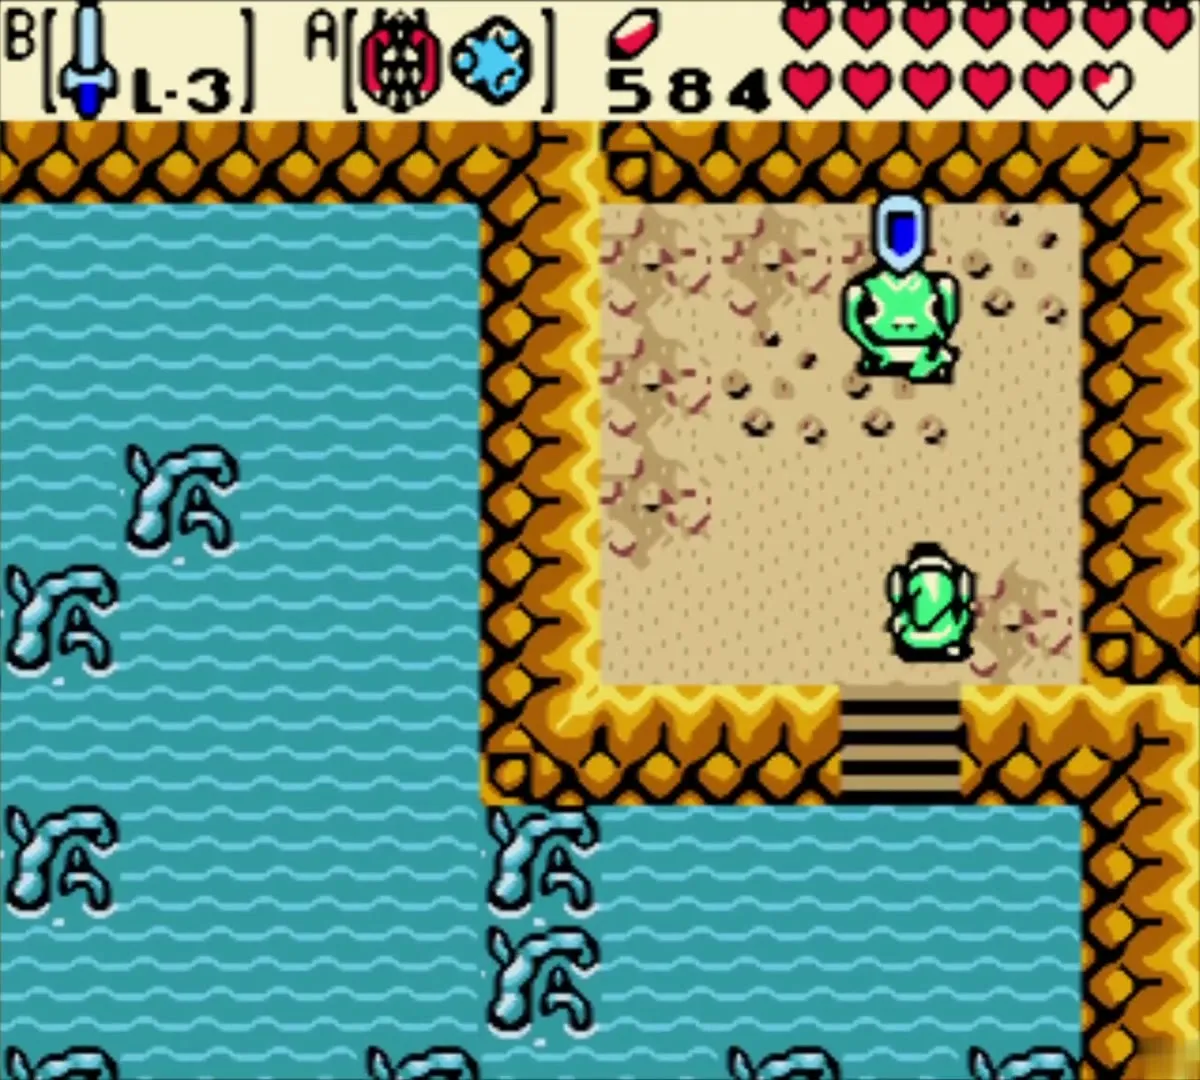
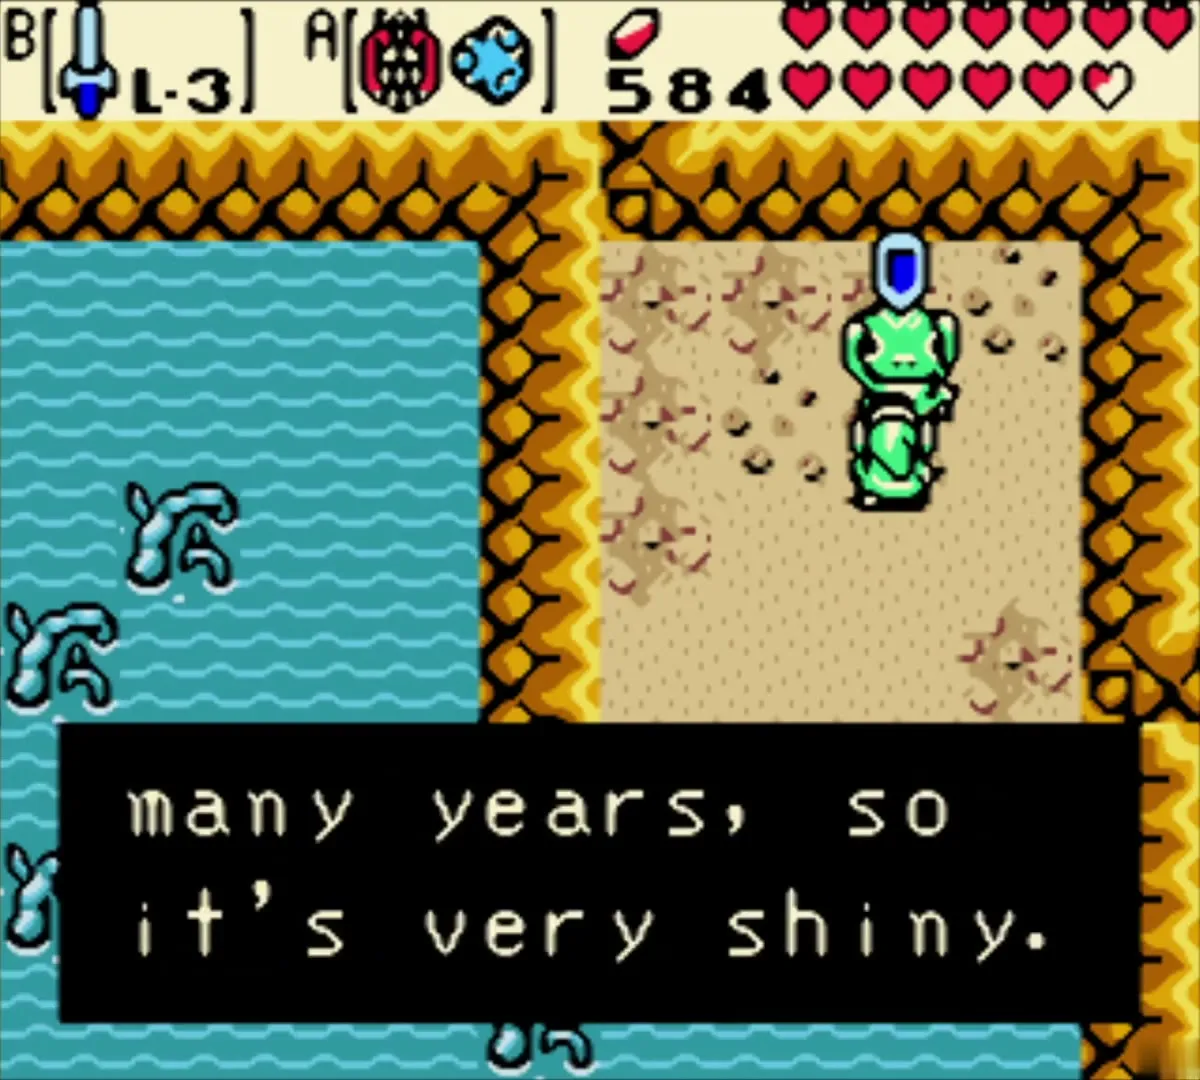
A Tokay is waiting on the sand. He tells you that he found scrap wood by the sea and has polished it for many years, and he hands it over. Because your shield is already the Iron Shield, you receive the Mirror Shield, the L-3 shield. In a game that is not linked, or without the Smith upgrade, this Tokay gives you the Iron Shield instead (see Equipment upgrades).


Underwater maze: Piece of Heart 10 of 12 (present)
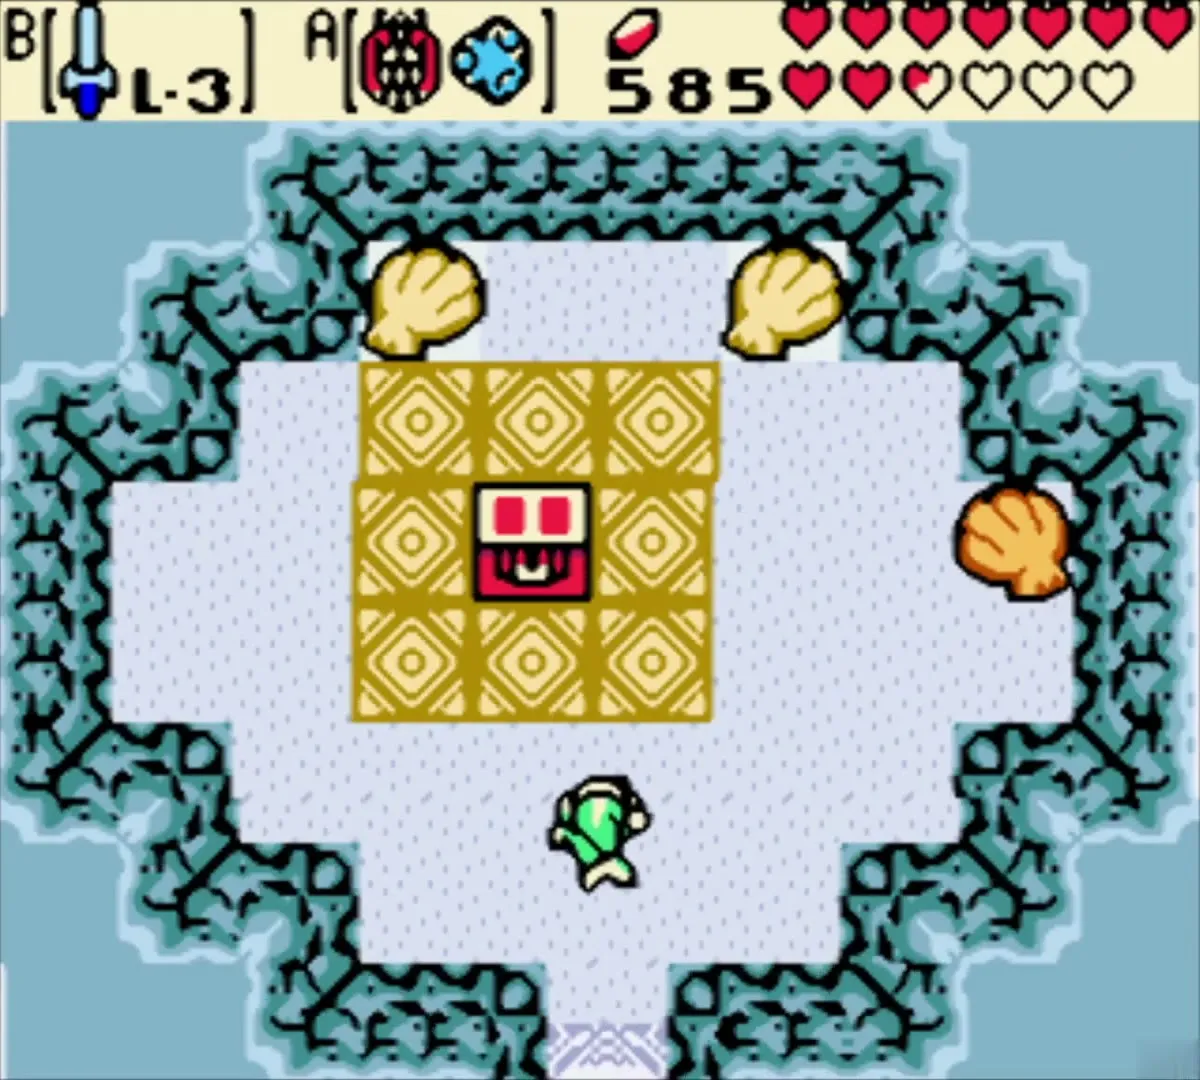
Play the Tune of Ages from the shore to travel back to the present. Dive in at the north coast of Crescent Island and follow the underwater passage. This is a small maze with several dead ends and whirlpools that tug you off course. Keep to one wall as you swim and you will eventually come out under the island at a cave floored with golden tiles.



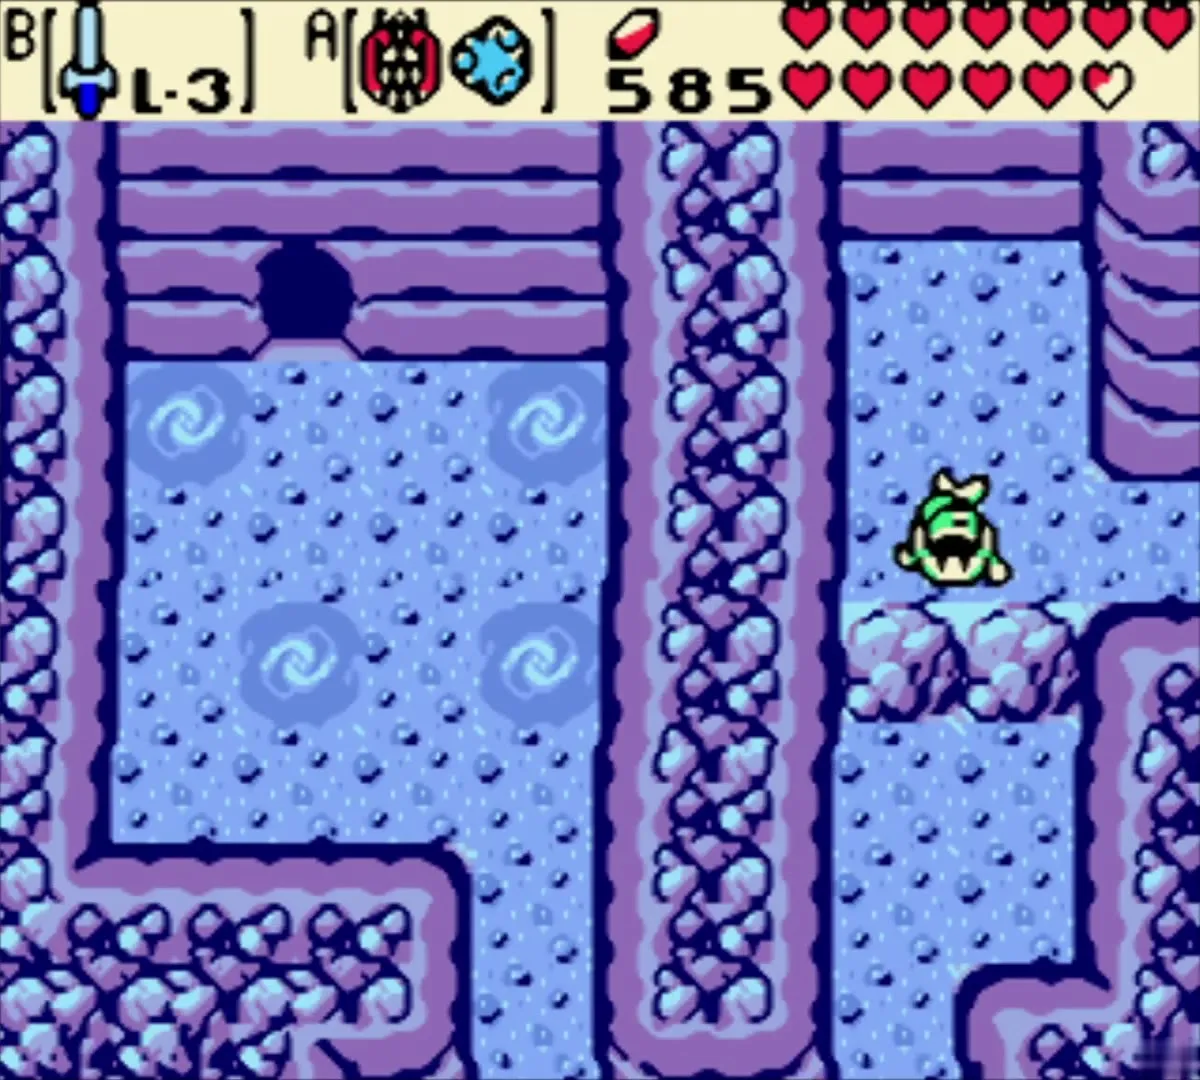
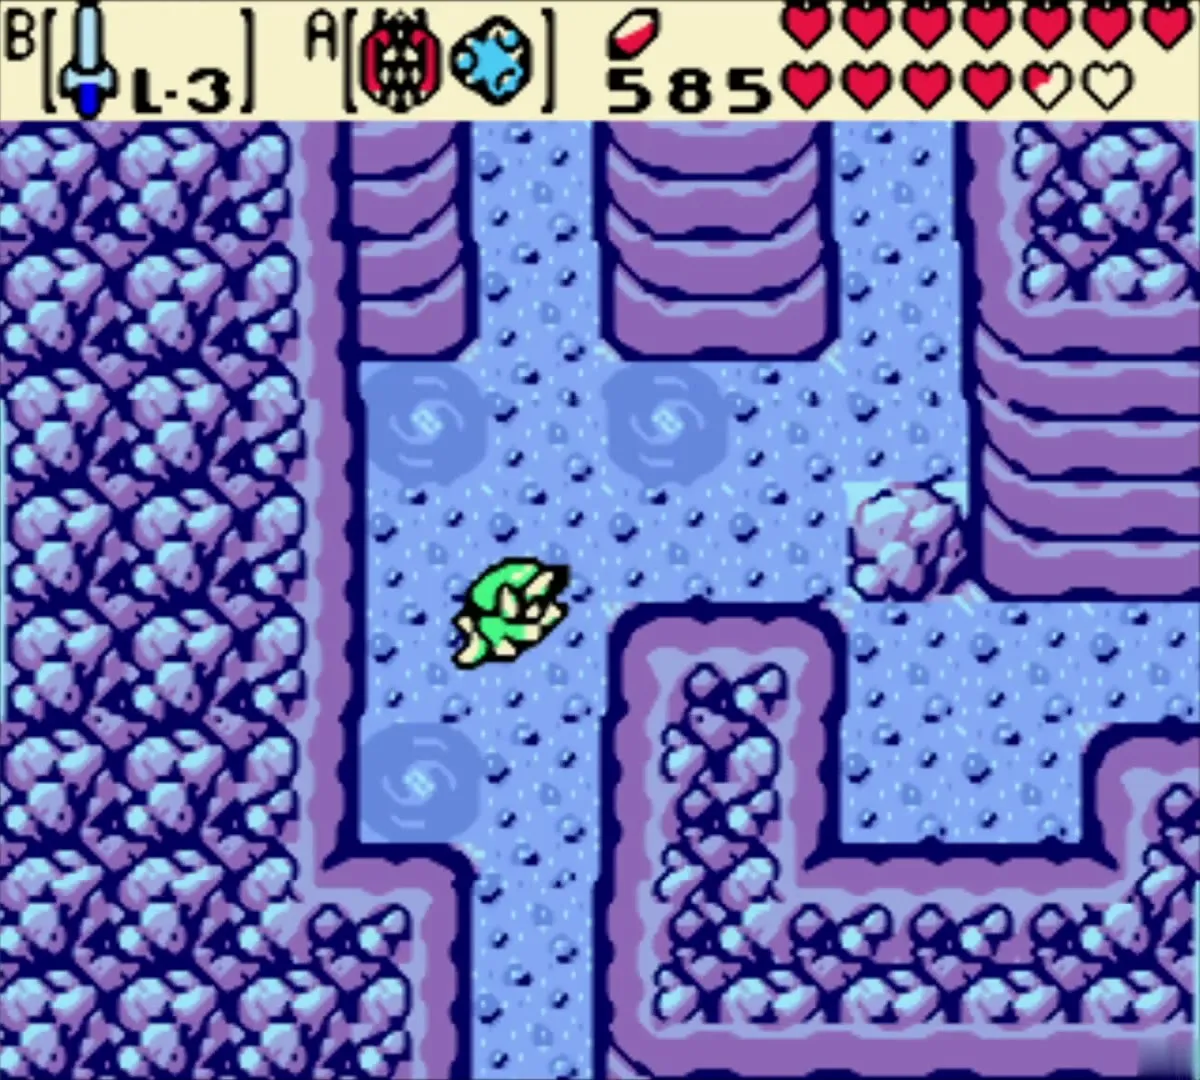
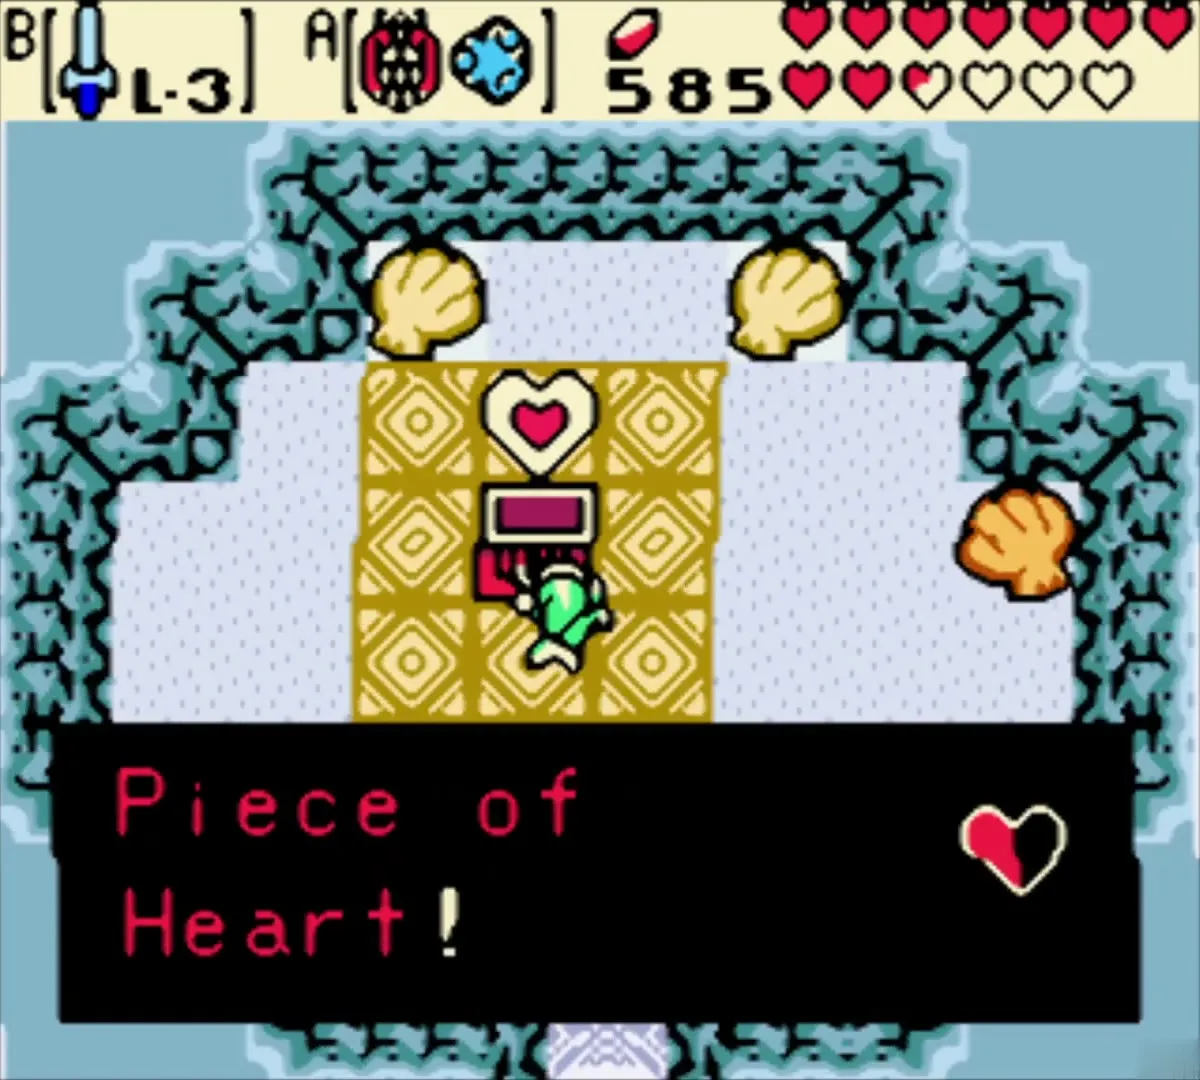
Open the chest in the cave. It holds a Piece of Heart, your tenth of twelve and the second toward your third Heart Container (see Heart Piece locations). Swim back out through the maze.
Onward to the Zora Seas
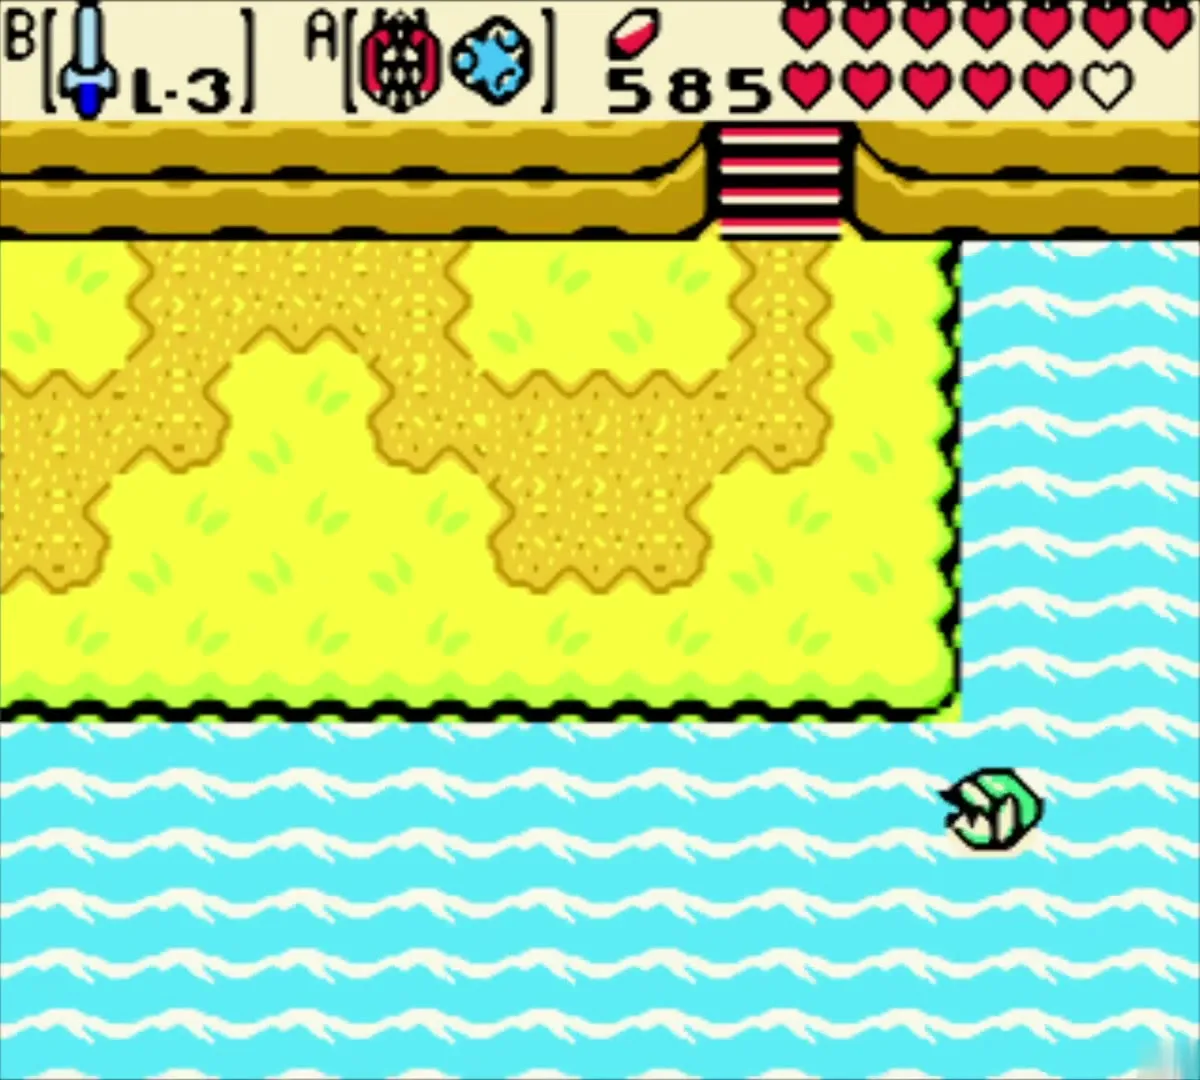
Leave the maze and keep swimming across the open sea, past sandy islands and strings of whirlpools. This route leads on into the Zora Seas, which the next chapter covers.


Chapter checklist
| Type | Name | Where (era) |
|---|---|---|
| Ring (unappraised) | Gold Luck Ring | Chest in a ring of orange blocks inside Ambi’s Palace (past) |
| Boss | Possessed Nayru (Veran) | Upper chamber of Ambi’s Palace (past) |
| Song | Tune of Ages | Taught by Nayru in the Maku Tree chamber (present) |
| Gasha Seed | 2 Gasha Seeds | Treetop of the Maku Tree (present) |
| Linked secret | 4 return codes entered | Farore’s Hall of Secrets, Maku Tree (present) |
| Upgrade (Linked Game) | Master Sword (Sword L-3) | Farore, Clock Shop code (present) |
| Item (Linked Game) | Bombchus | Red chest from Farore, Subrosian code (present) |
| Upgrade (Linked Game) | Iron Shield (Shield L-2) | Farore, Smith code (present) |
| Item (Linked Game) | Biggoron’s Sword | Red chest from Farore, Biggoron code (present) |
| Gasha Seed | 1 Gasha Seed | Chest on the ledge south of Restoration Wall (present) |
| Soft soil | 1 spot planted | Beside the Restoration Wall chest (present) |
| Upgrade (Linked Game) | Mirror Shield (Shield L-3) | Tokay in the cave on the south-west of Crescent Island (past) |
| Piece of Heart | Piece of Heart 10 of 12 | Chest in the underwater cave beneath Crescent Island’s north coast (present) |
