





















Oracle of Ages 100% Completion Walkthrough24 chapters
- Arrival in Labrynna and the Black TowerStart Oracle of Ages in a linked game: Forest of Time, Vasu’s Ring Box, the Maku Tree, the time portal, the Black.
- Maku Path and Spirit’s Grave (Level 1)Maku Path and Spirit’s Grave walkthrough for Oracle of Ages: Seed Satchel, Graveyard Key, Power Bracelet, Pumpkin Head.
- The Harp of Ages and Fairies’ WoodsHarp of Ages and Fairies’ Woods walkthrough for Oracle of Ages: Poe Clock, Heart Piece, Vasu’s rings, hide-and-seek.
- Deku Forest and the Mystery SeedsDeku Forest walkthrough for Oracle of Ages: Mystery Seeds, Queen Ambi’s Bombs, a Heart Piece, the Deku Secret and the.
- Wing Dungeon (Level 2)Wing Dungeon walkthrough for Oracle of Ages: all five Small Keys, Dungeon Map, Compass, Swoop, Roc’s Feather, Boss.
- Farore’s Secrets and Cheval’s GraveFarore’s secrets and Cheval’s Grave walkthrough for Oracle of Ages: West Lynna Heart Piece, Hall of Secrets codes, Red.
- Tingle’s Chart and Crescent IslandTingle’s Chart and Crescent Island walkthrough for Oracle of Ages: Ricky’s Gloves, Island Chart, Rafton’s raft, the.
- Moonlit Grotto (Level 3)Moonlit Grotto walkthrough for Oracle of Ages: all Small Keys, Compass, Seed Shooter, Gasha Seeds, Subterror, Boss.
- Nuun Highlands and the Strange FlutesOracle of Ages Nuun Highlands walkthrough: Dimitri’s Flute, Tingle’s 99-seed Satchel, the Black Tower rescue, the.
- Symmetry City and Talus PeaksOracle of Ages Symmetry City and Talus Peaks walkthrough: Cracked Tuni Nut, Patch’s ceremony, Tune of Currents, Heart.
- Skull Dungeon (Level 4)Skull Dungeon walkthrough for Oracle of Ages: Compass, Dungeon Map, 5 Small Keys, Armos Warrior, Switch Hook, Boss.
- Lynna Trades and the Noble SwordOracle of Ages trading sequence walkthrough, Funny Joke to Noble Sword: Touching Book, Maple’s Magic Oar, Sea Ukulele.
- West Rolling Ridge and the Great MoblinWest Rolling Ridge walkthrough for Oracle of Ages: Lynna secret shop, Pegasus Seeds, Moblin’s Keep, Great Moblin, Bomb.
- Crown Dungeon (Level 5)Crown Dungeon (Level 5) walkthrough for Oracle of Ages: Small Keys, Cane of Somaria, Smasher, Compass, Boss Key, Smog.
- East Rolling Ridge and the Mermaid KeysEast Rolling Ridge walkthrough for Oracle of Ages: Goron Dance, Brother Emblem, Target Carts, Rock Brisket, Goron Vase.
- Mermaid’s Cave (Level 6) Walkthrough for Oracle of AgesMermaid’s Cave walkthrough for Oracle of Ages: get the Old Mermaid Key, clear both halves, collect the Mermaid Suit.
- Ambi’s Palace and the Tune of AgesAmbi’s Palace walkthrough for Oracle of Ages: sneak in, beat Possessed Nayru, learn the Tune of Ages, claim Hall of.
- Zora Seas and the Fairy PowderOracle of Ages Zora Seas walkthrough: the Gasha Seed chest, King Zora’s Library Key, Book of Seals, Fairy Powder and.
- Jabu-Jabu’s Belly (Level 7)Jabu-Jabu’s Belly walkthrough for Oracle of Ages: Like Like Ring, Compass, Small Keys, Long Hook, Boss Key, Plasmarine.
- Sea of Storms and the Pirate ShipSea of Storms walkthrough for Oracle of Ages: Zora Scale, pirate ship and Tokay Eyeball, clam grotto ring, Tokay.
- Ancient Tomb (Level 8)Ancient Tomb (Level 8) walkthrough for Oracle of Ages: three Slates, the Boss Key, two Gasha Seeds, Ramrock boss.
- Final Collection and the Hero’s CaveOracle of Ages final collection walkthrough: Maple Piece of Heart, Gasha Nut rings and fairies, Hero’s Cave Armor Ring.
- The Black Tower and VeranFinal ring appraisals, the Huge Maku Seed, the Black Tower climb and the three-phase Veran boss fight in Oracle of.
- Room of Rites, Twinrova and GanonOracle of Ages Room of Rites walkthrough: the eye-statue hallway, Twinrova’s fire and ice phases, the Ganon boss.
| Covers | Symmetry City (present) and Symmetry Village (the past, 400 years ago), Talus Peaks and Tokkey’s hidden cave (past and present), Restoration Wall, and the first rooms of Skull Dungeon |
|---|---|
| Dungeon | Skull Dungeon (Level 4): Switch Hook, mini-boss Armos Warrior, boss Eyesoar, Essence of Time: Burning Flame. This chapter only opens the door, finds the Compass and the first Small Key, and reaches the first minecart room. |
| Rewards | Cheesy Mustache (trading sequence), Cracked Tuni Nut, repaired Tuni Nut, Tune of Currents, 1 Piece of Heart, bomb capacity 30 to 50, 4 Maple races, Compass, 1 Small Key; optional: 1 Gasha Seed chest and 2 soft soil spots |
The Tuni Nut that holds Symmetry Village in balance has cracked, and the present-day city is in ruins because of it. You fetch the Cracked Tuni Nut from the past, learn the Tune of Currents from Tokkey, climb Restoration Wall so Patch can repair the nut, and put it back on its pedestal in the Middle House. The present city is then restored and the way into Skull Dungeon opens.
Symmetry City and Symmetry Village (present and past)
Travel to Symmetry Village
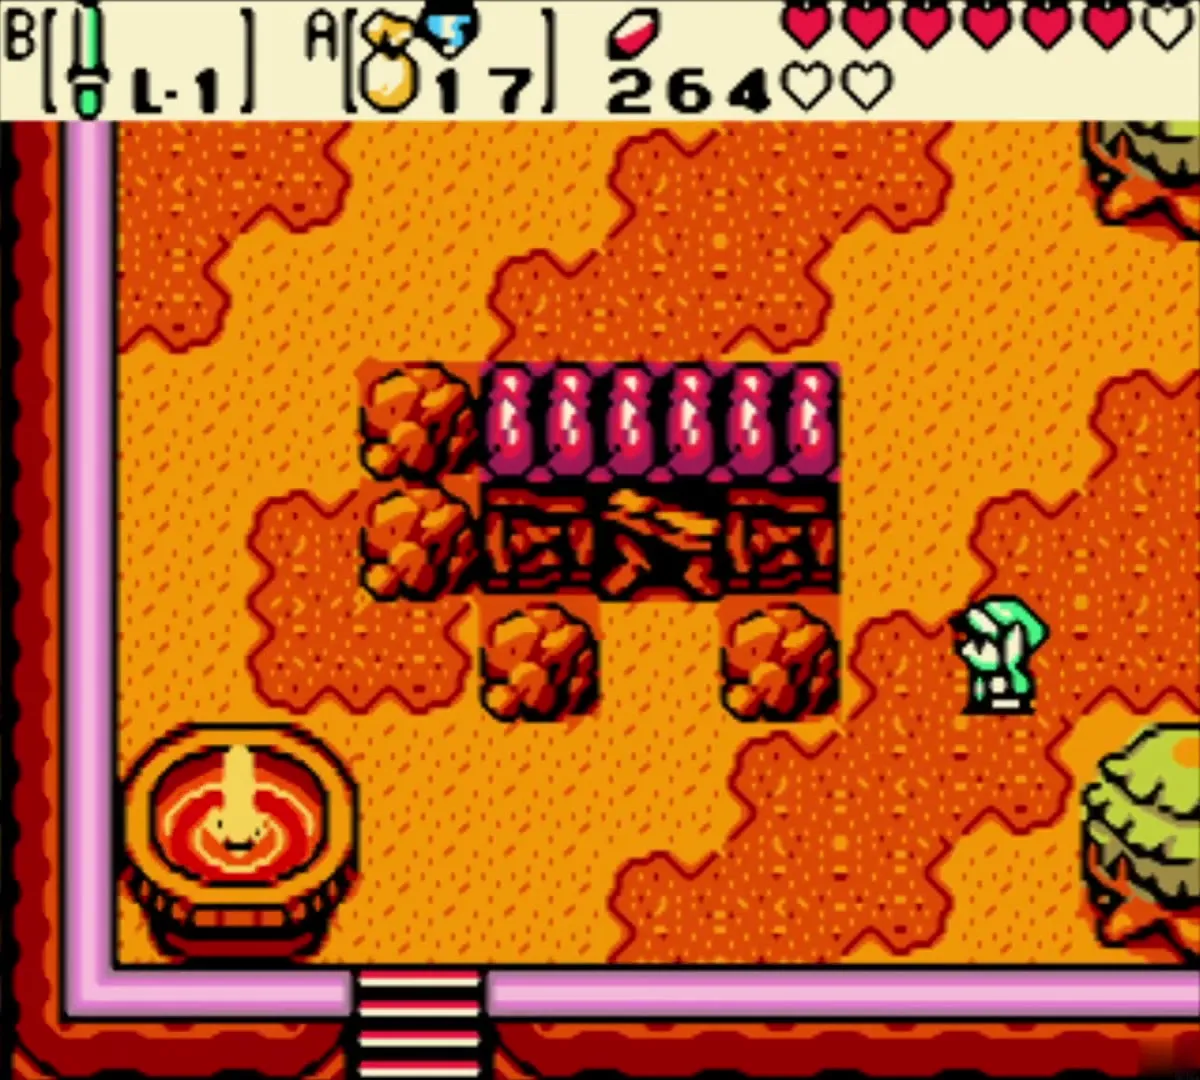
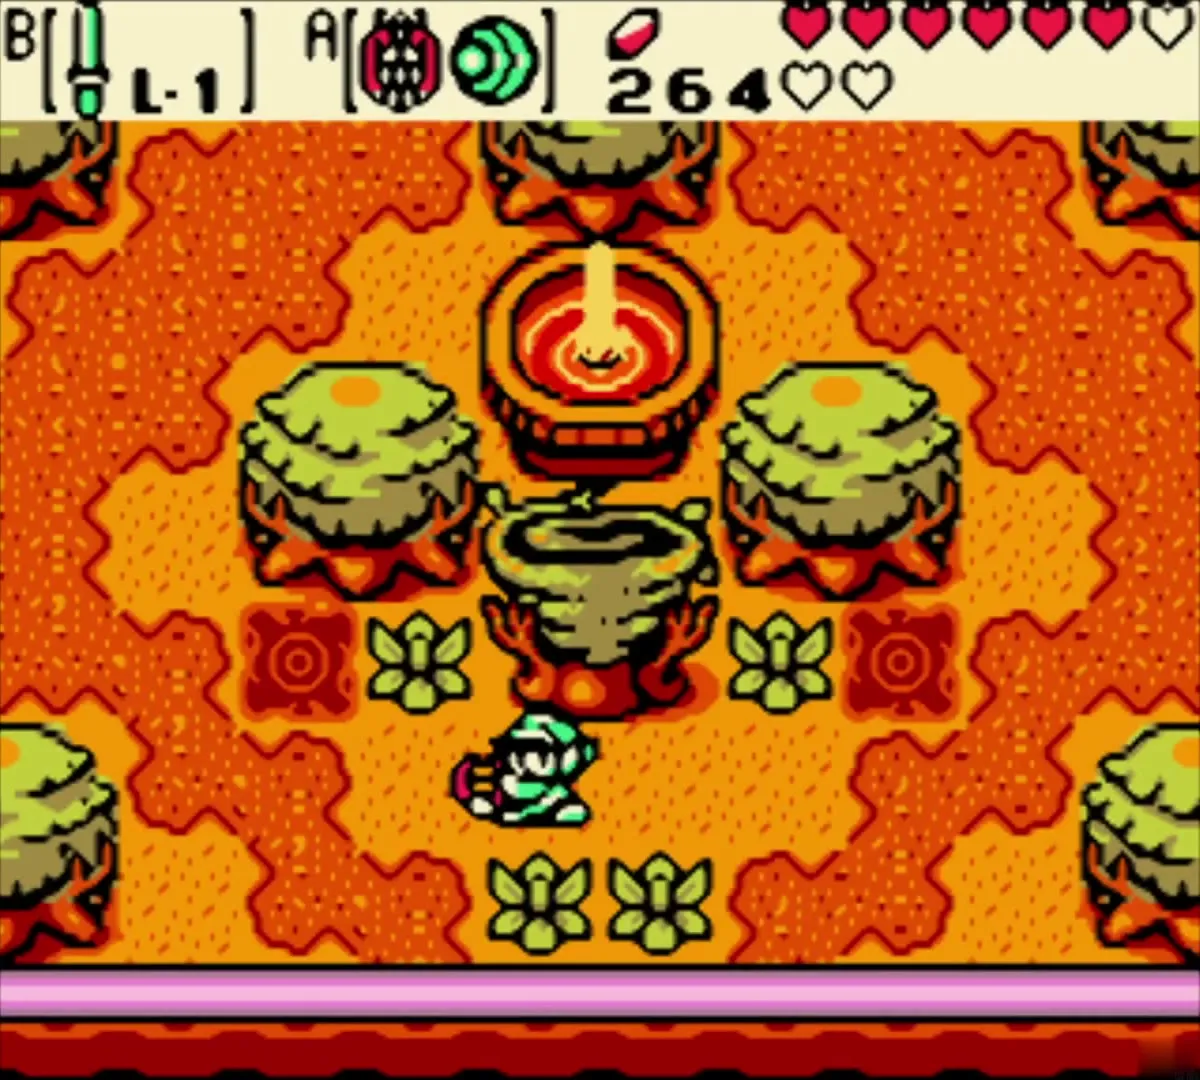
You begin in present-day Symmetry City, a scorched orange plateau with a fountain in the middle. Cut the bushes beside the Gale Seed tree to uncover a dormant time portal, stand on it and play the Tune of Echoes on the Harp of Ages. You arrive 400 years earlier in Symmetry Village, where the same square is reddish and a volcano glows over the town.


Talk to the twins in the Middle House
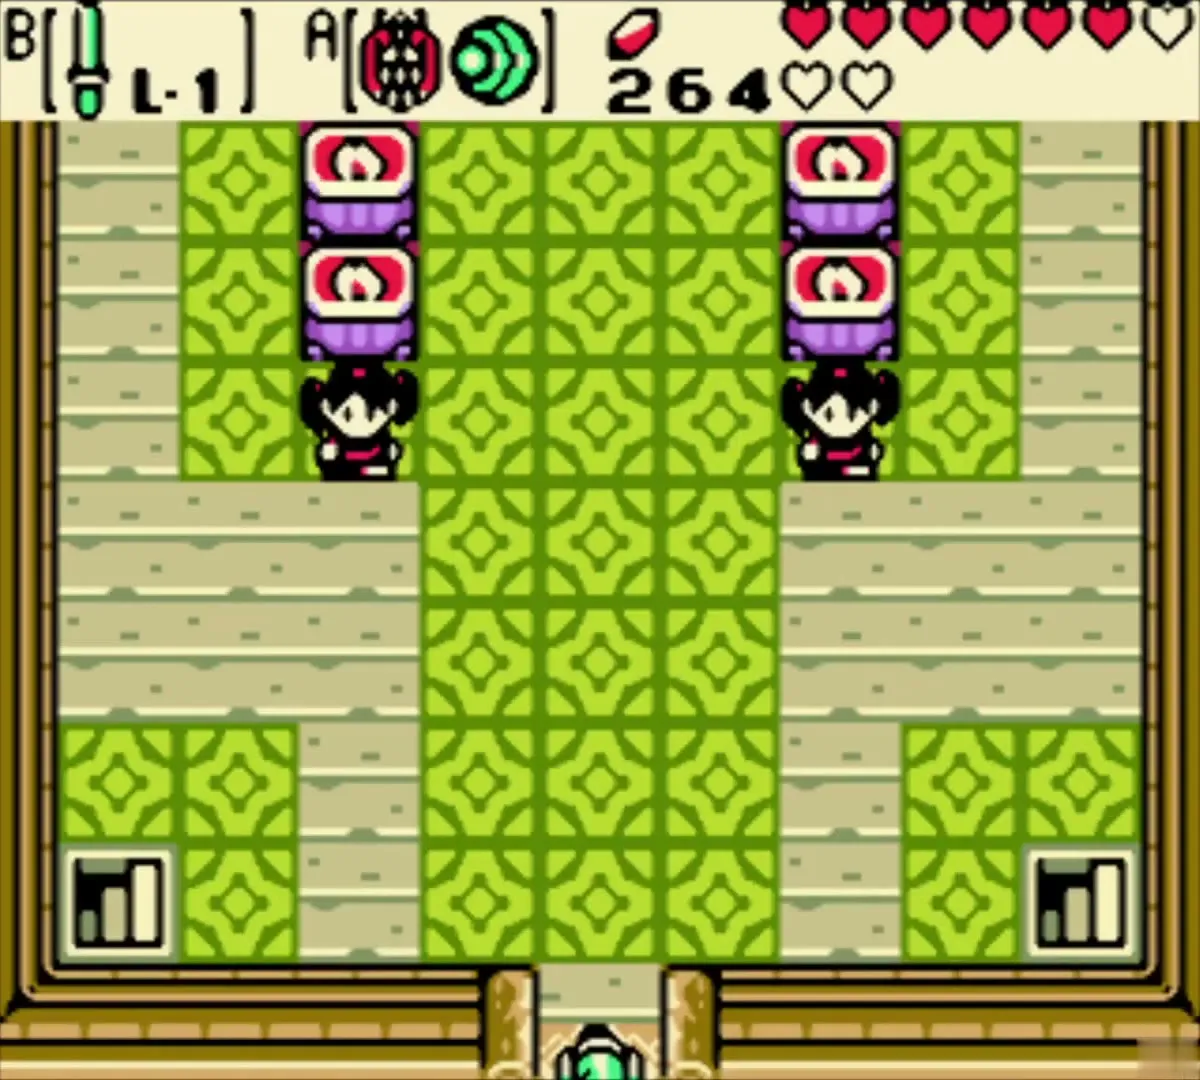
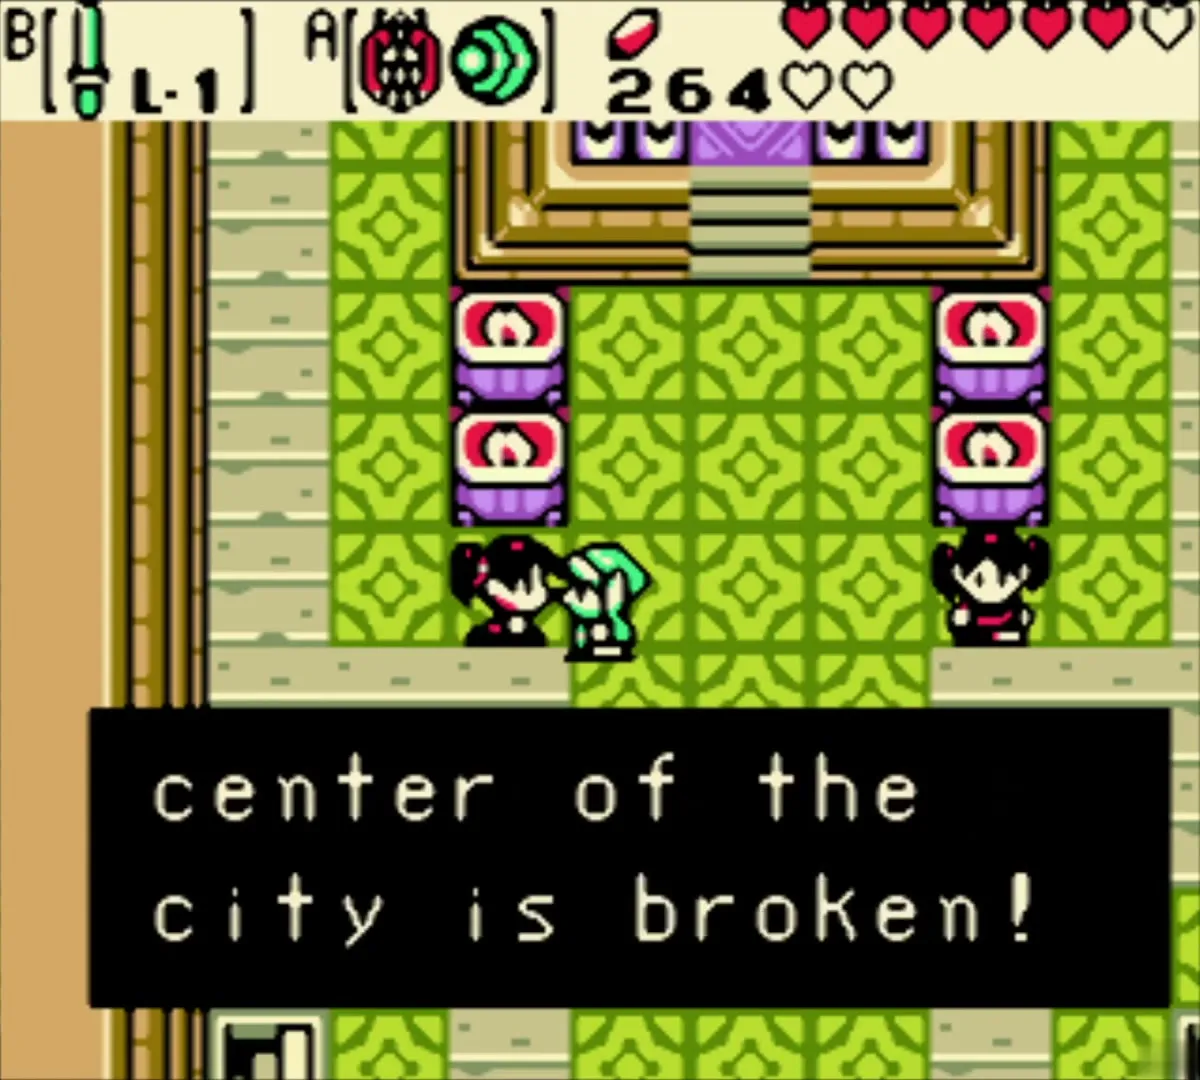
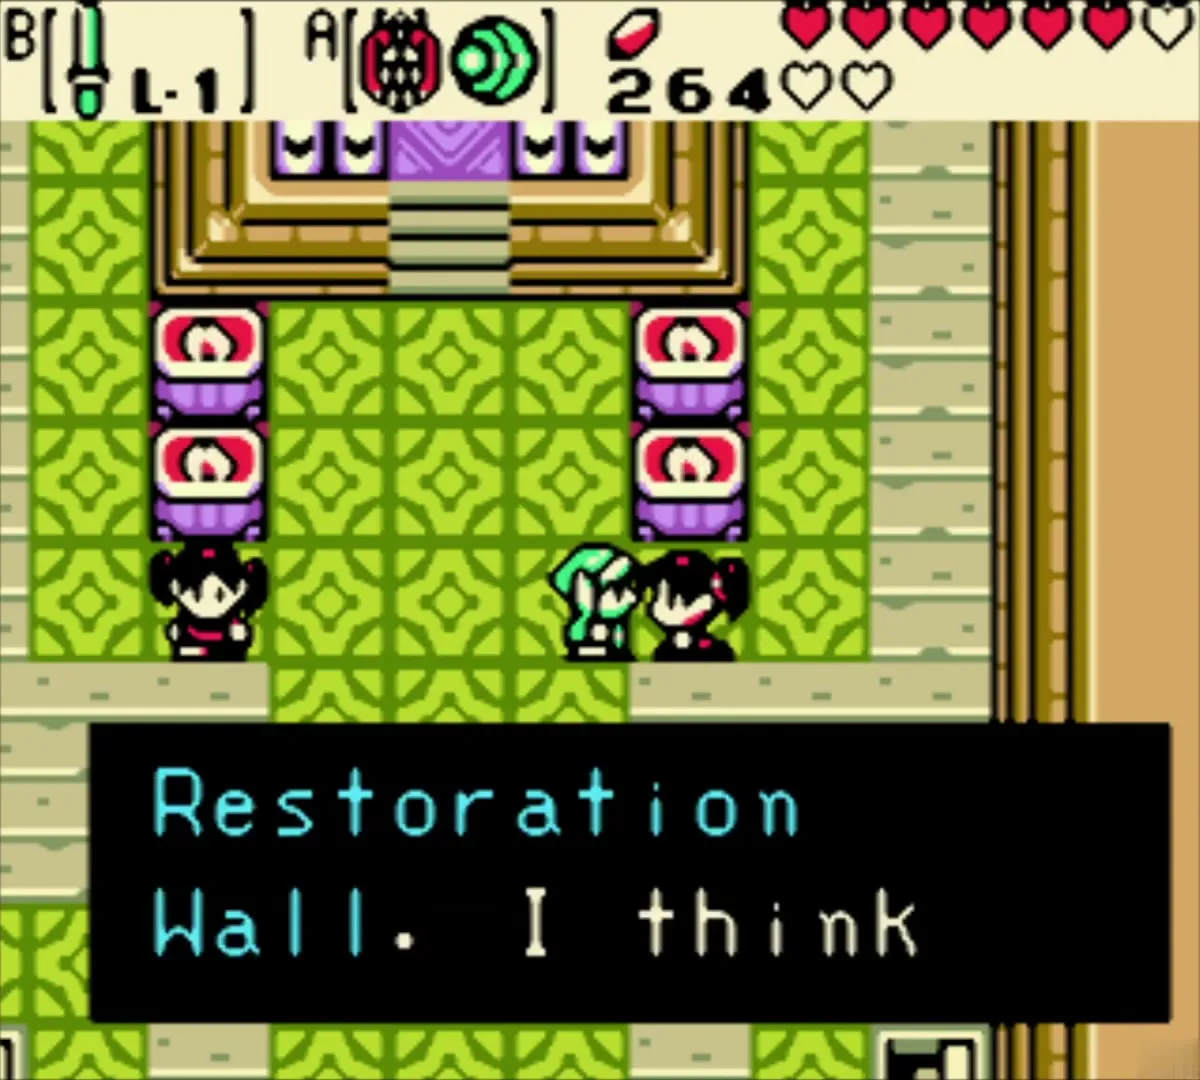
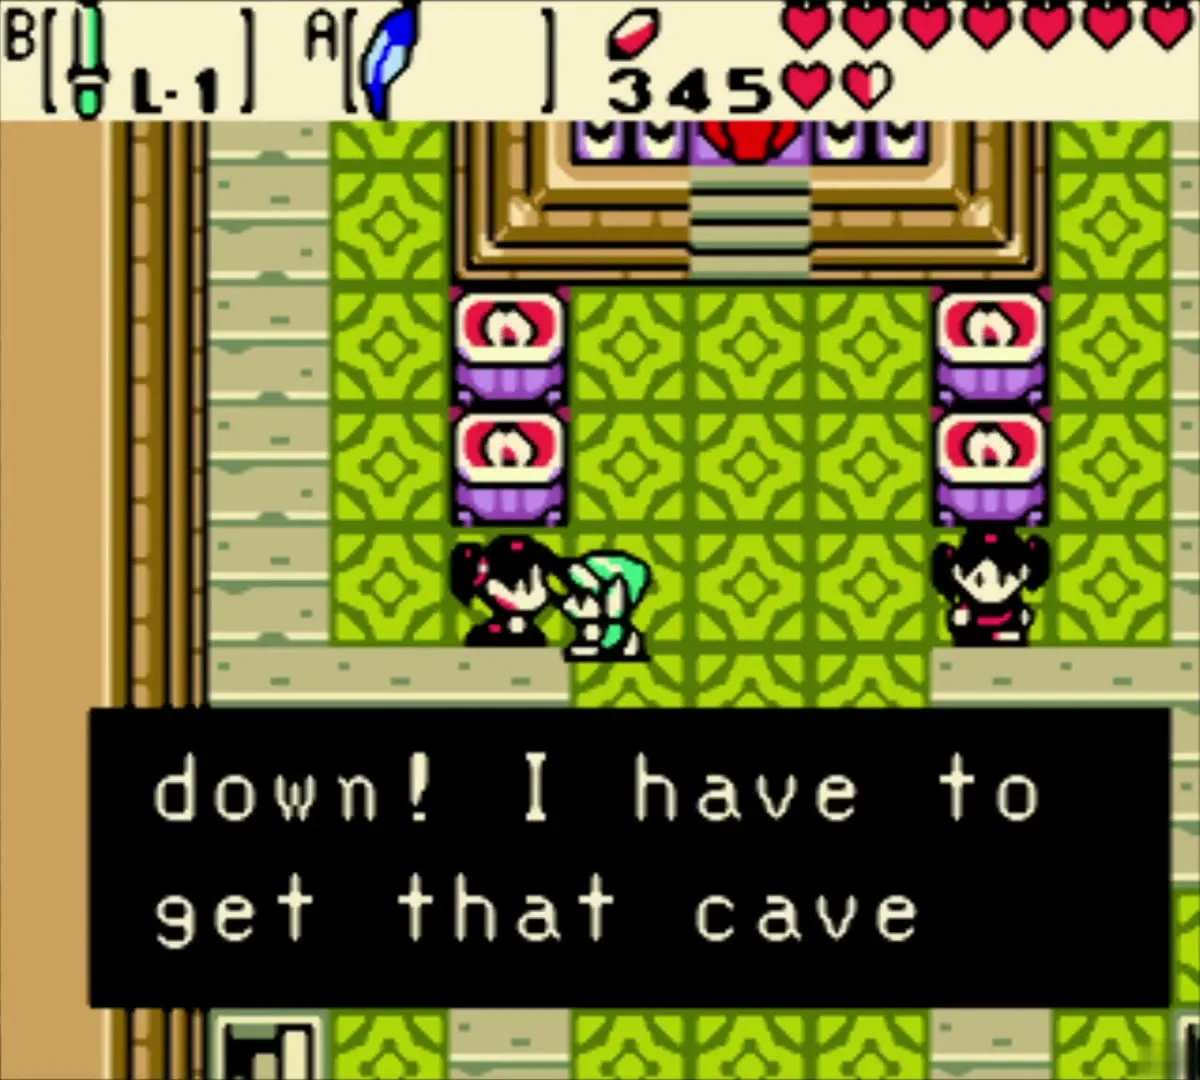
Walk into the green-carpeted Middle House, the village’s town hall, and talk to the two brothers guarding the entrance. They explain that the village is built on perfect left-right balance and that the Tuni Nut at its centre is its sacred symbol. Since the nut broke, the volcano has been erupting and the Black Tower has been drawing nearer, and the nut must be repaired by a guru named Patch, who lives at the top of Restoration Wall.


Trade the Dumbbell for the Cheesy Mustache
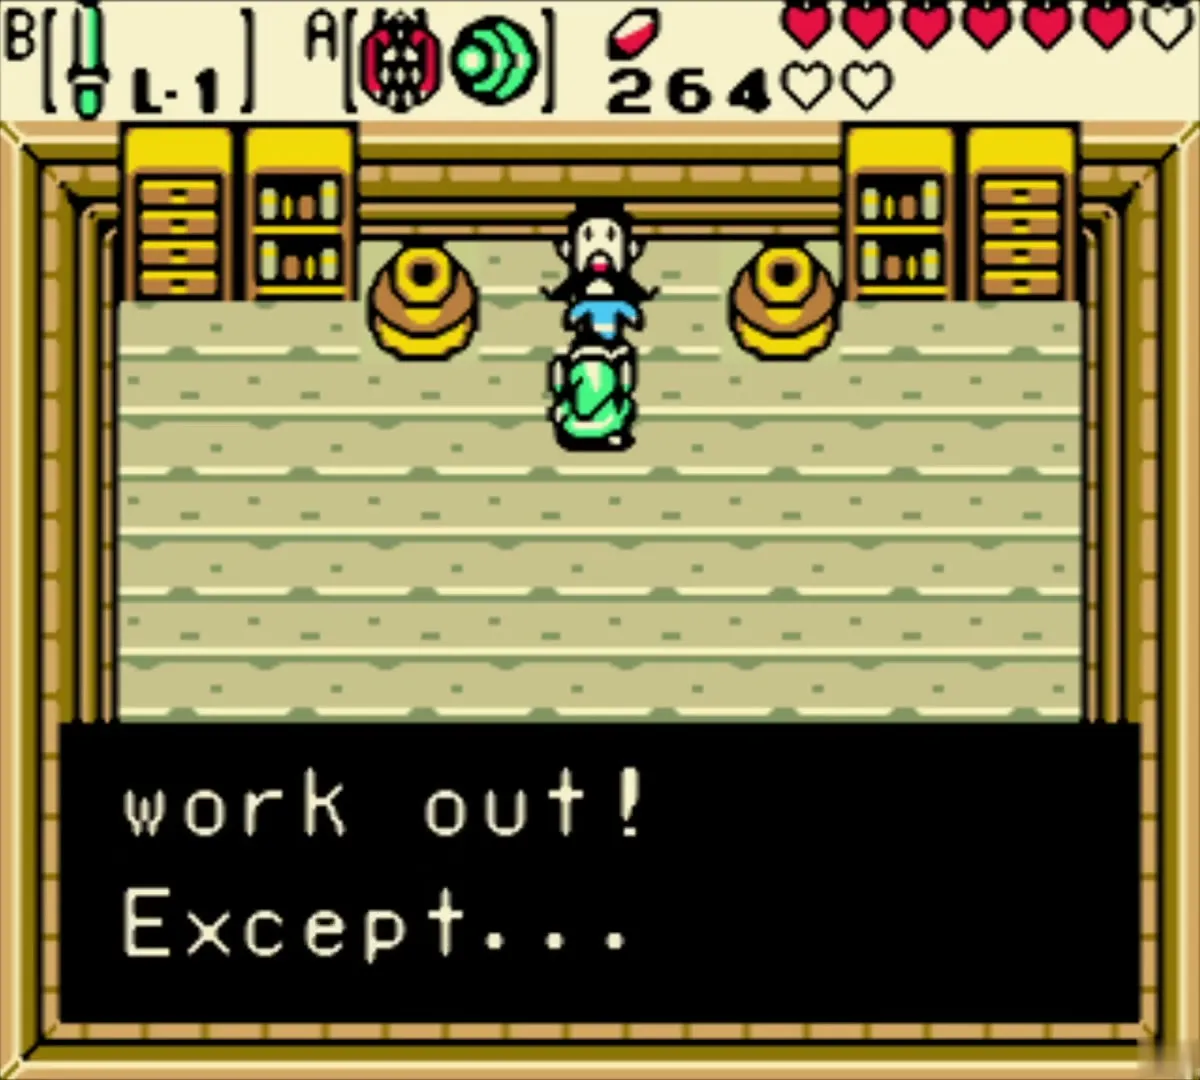
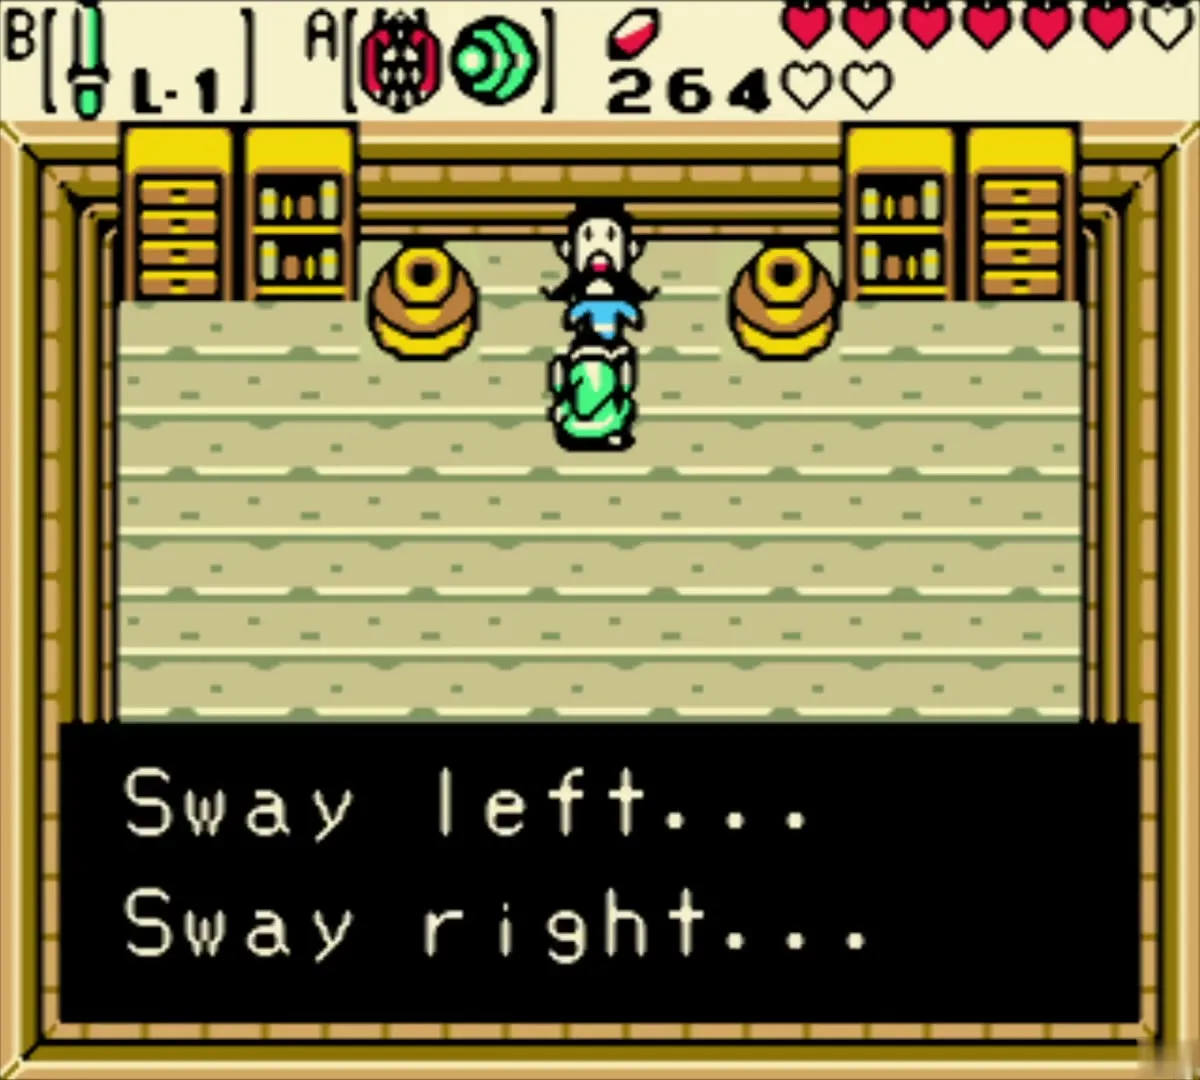
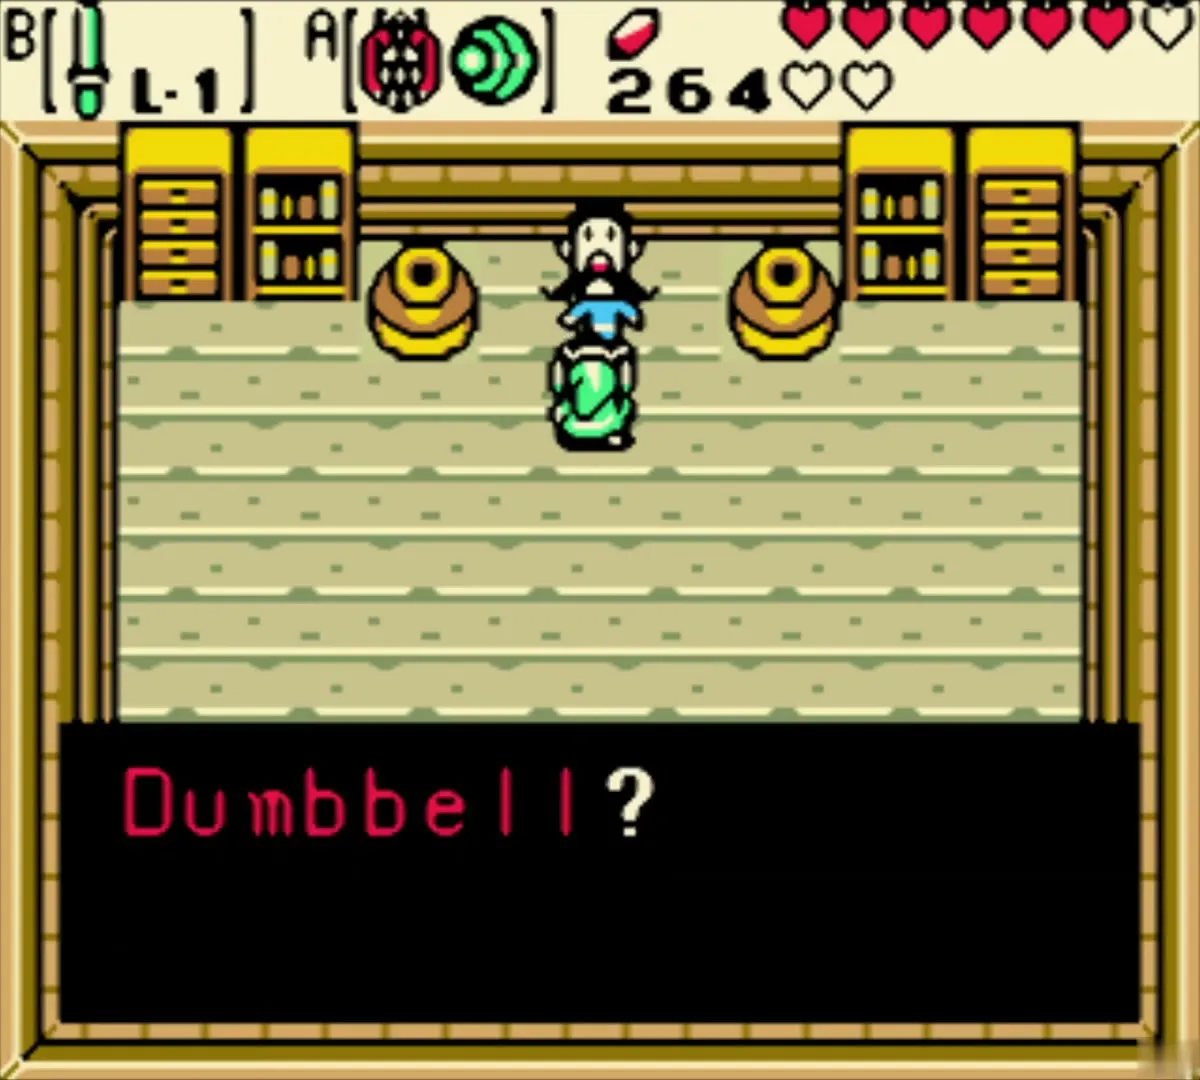
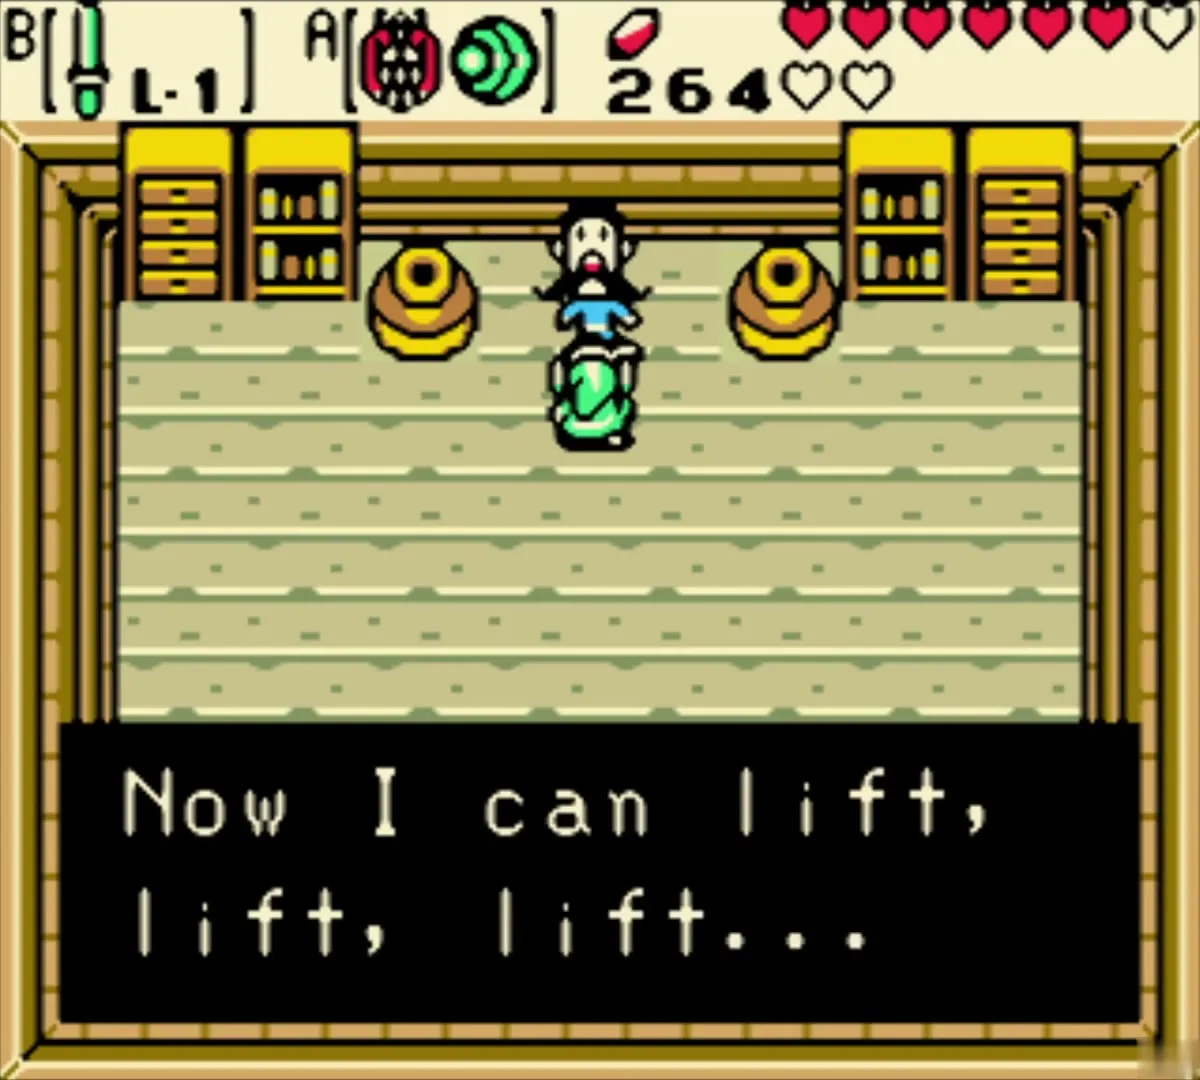
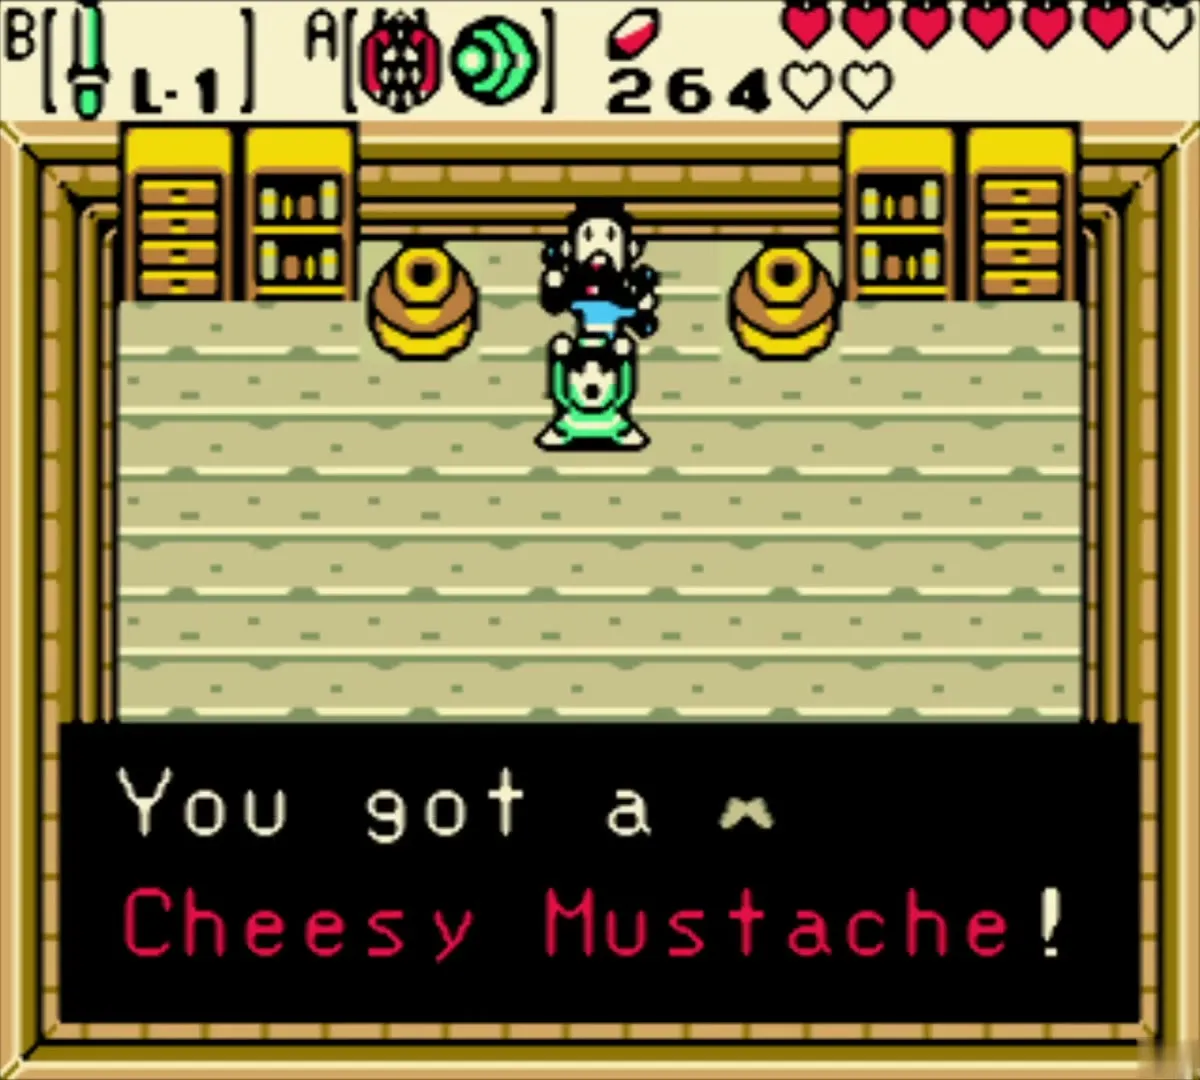
Go down the stairs inside the Middle House. A muscular man is trying to build himself up but owns only one dumbbell. Hand over the Dumbbell you got from Mamamu Yan and he gives you the Cheesy Mustache, the next item in the trading sequence. The Funny Joke comes later in Lynna City.
Get the Cracked Tuni Nut
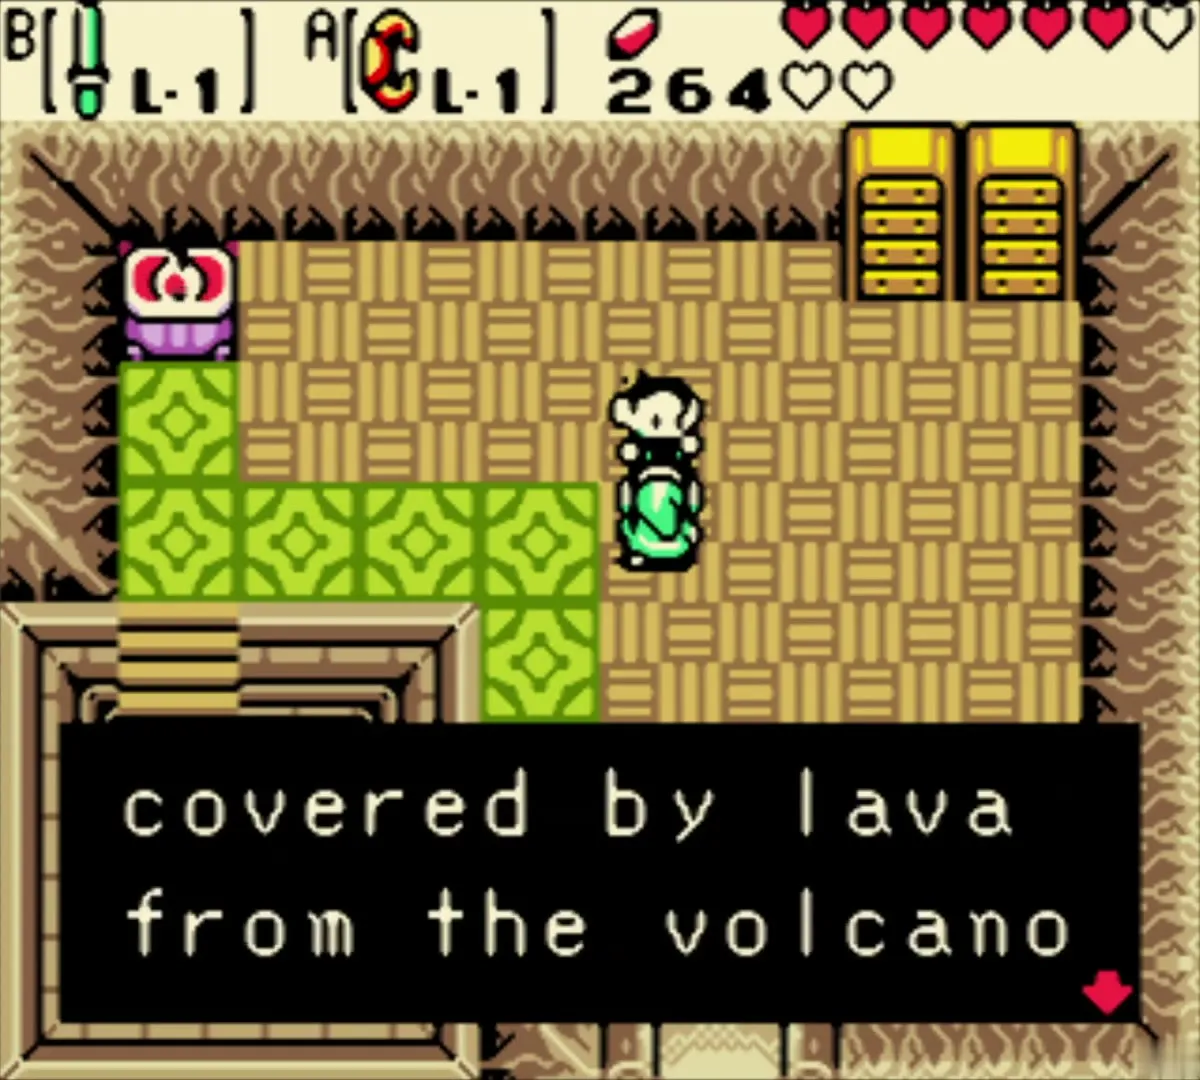
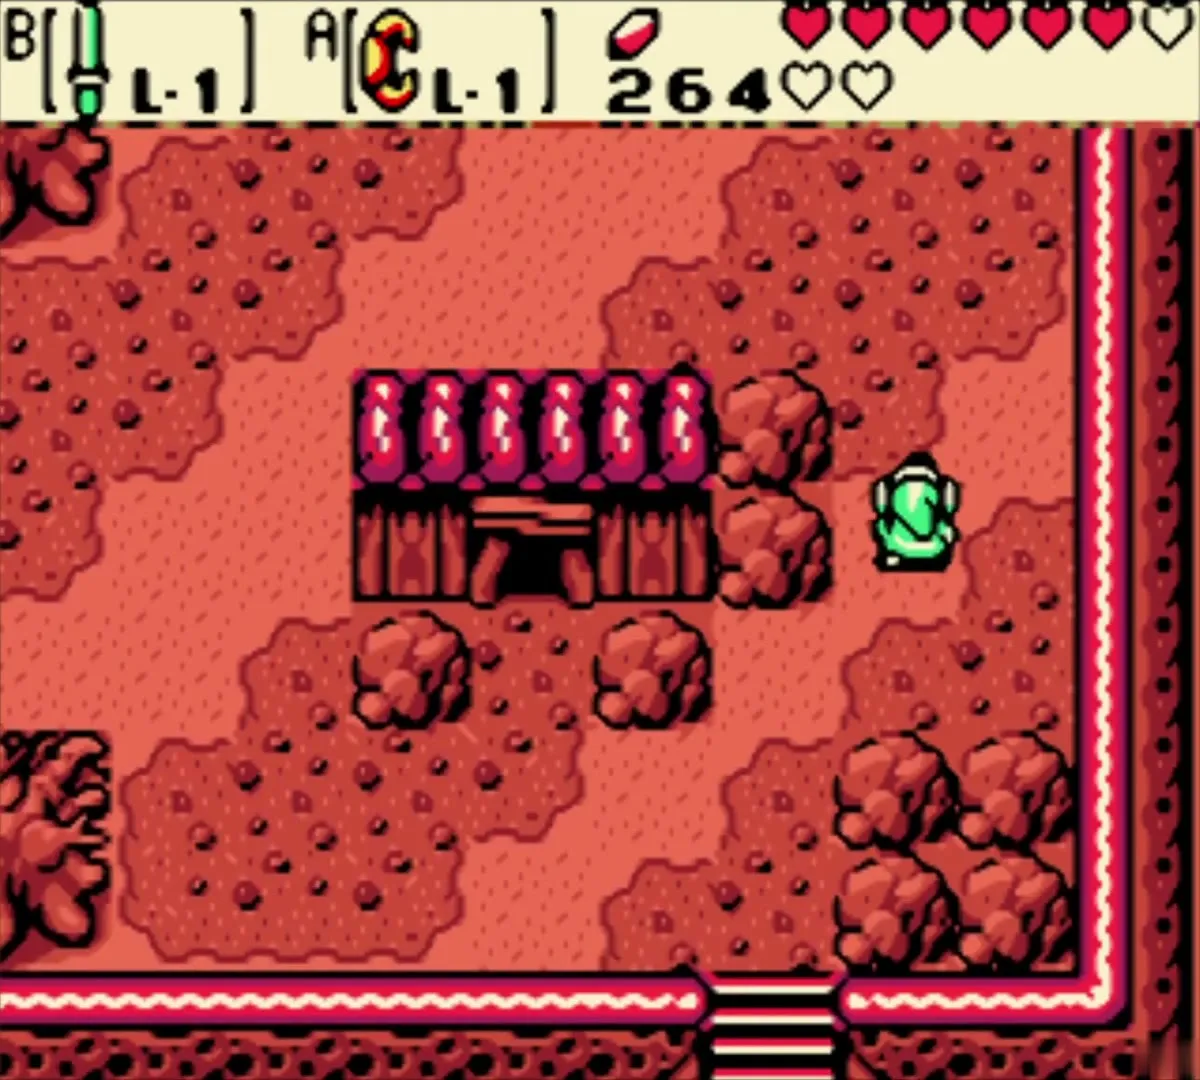
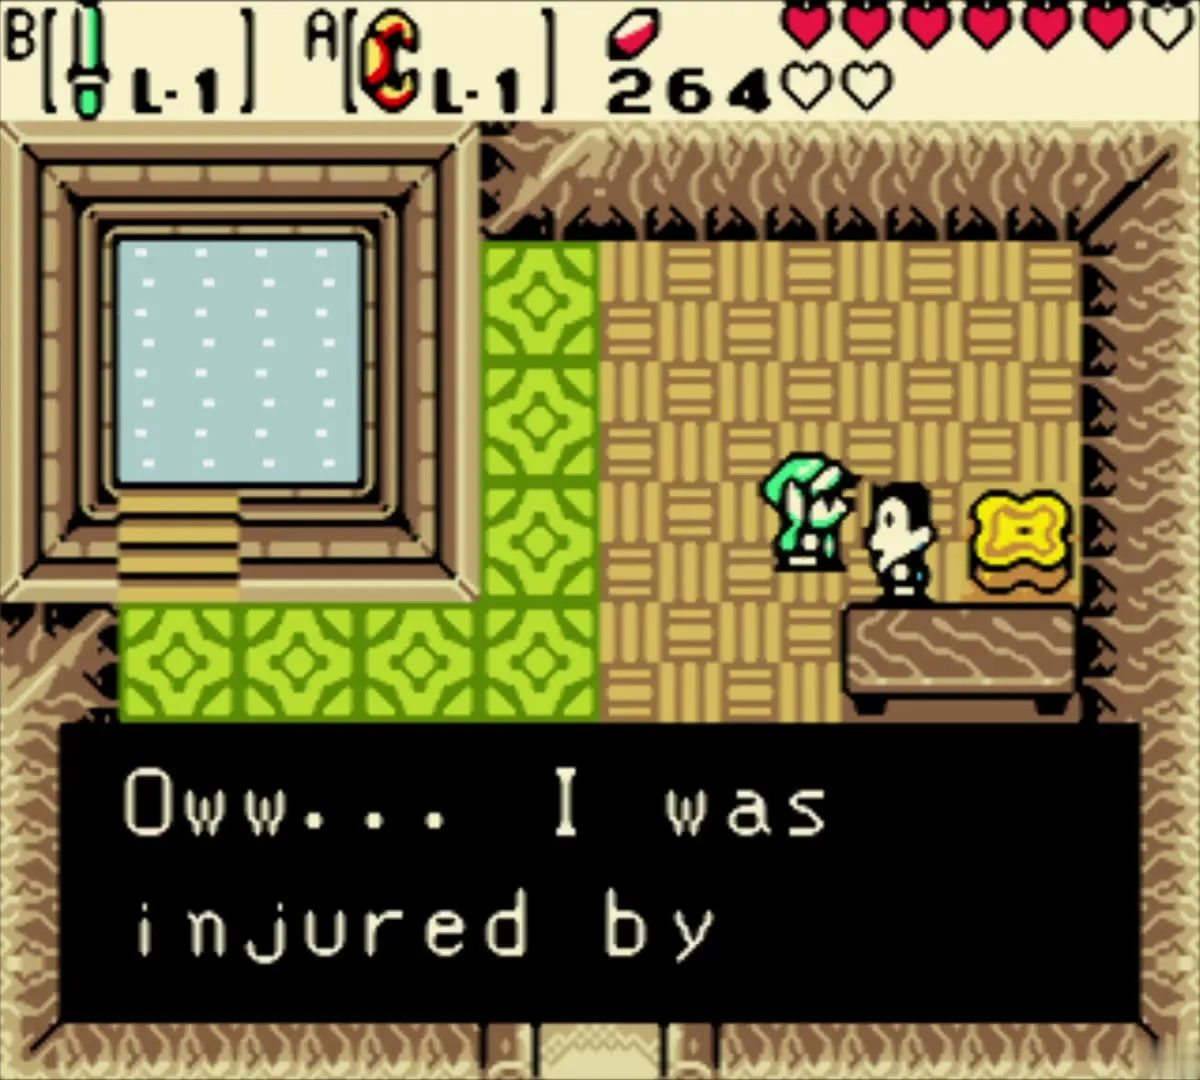
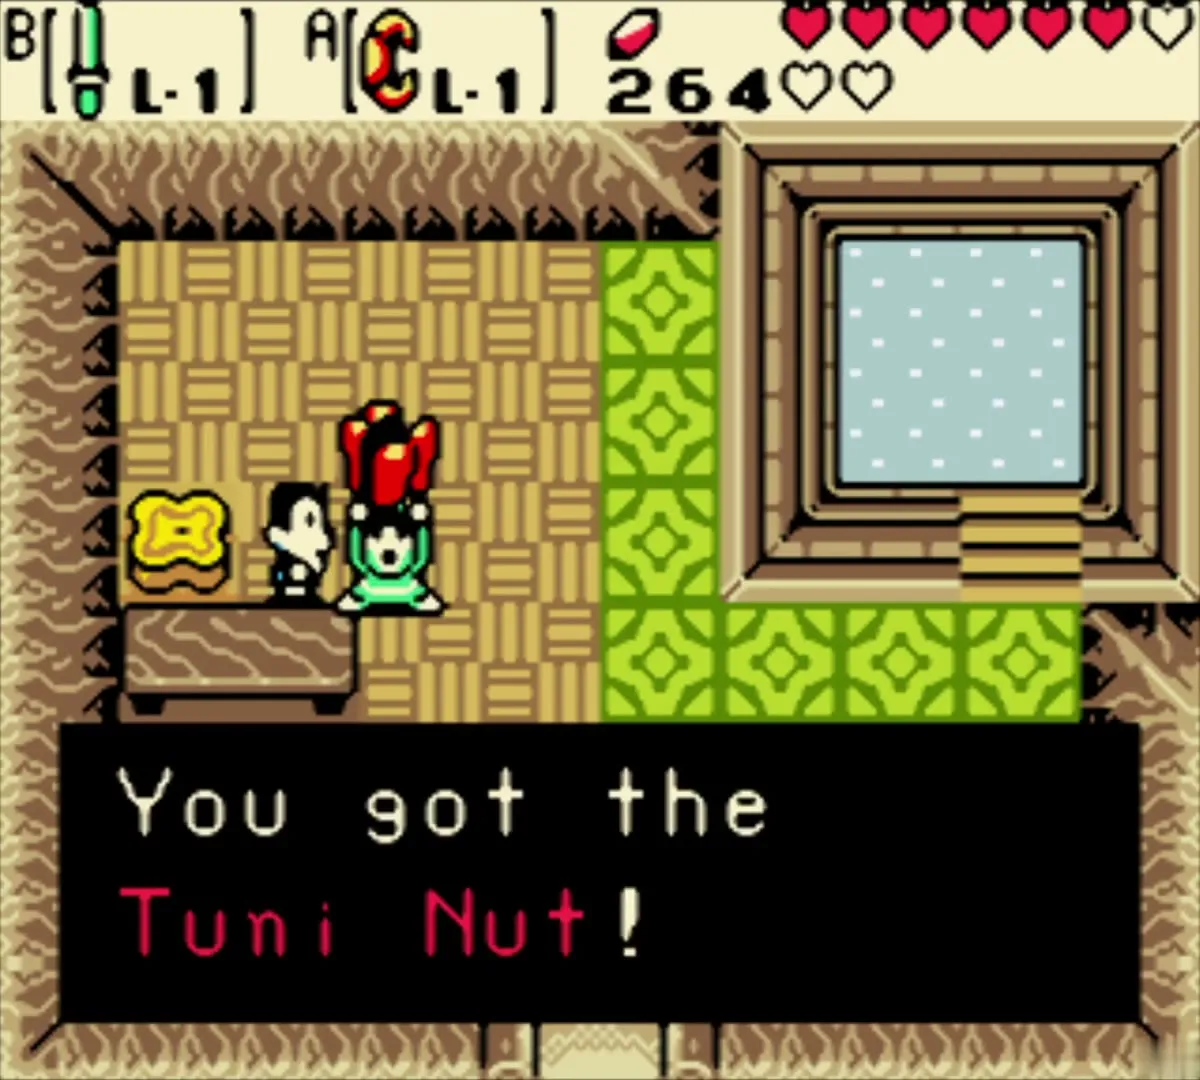
Leave the hall and enter the nearby house. The injured brother who lives there was hit by a rock thrown from the volcano and cannot make the climb to Patch himself, so he asks you to do it and hands over the Cracked Tuni Nut. Another villager mentions that the cave entrance was buried by lava long ago and may open if the volcano calms down, which is why Skull Dungeon is still closed.

Talus Peaks and Tokkey’s Tune of Currents
Leave the village and find Ralph (past)
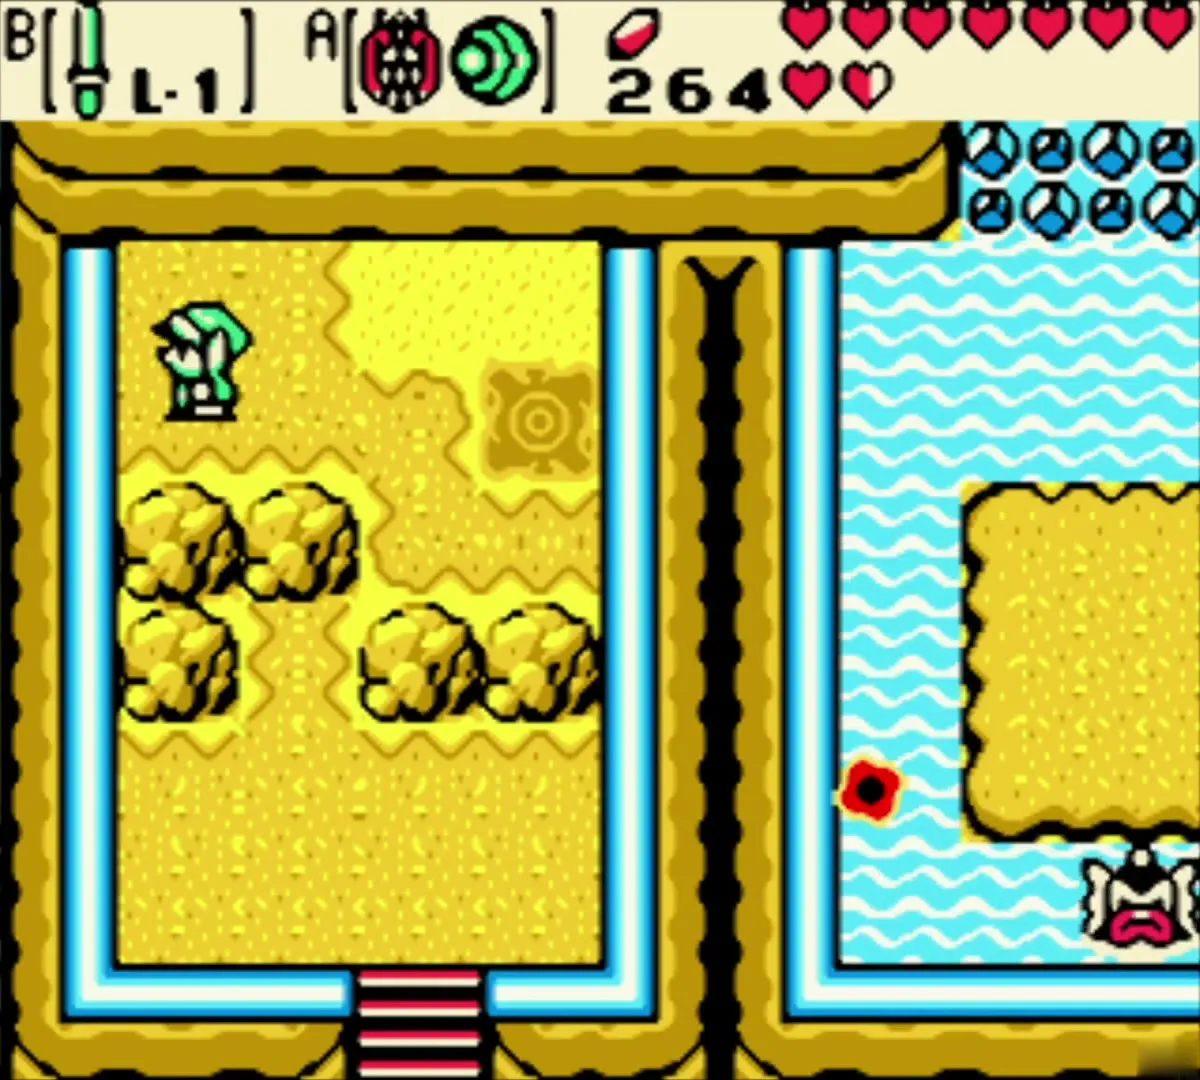
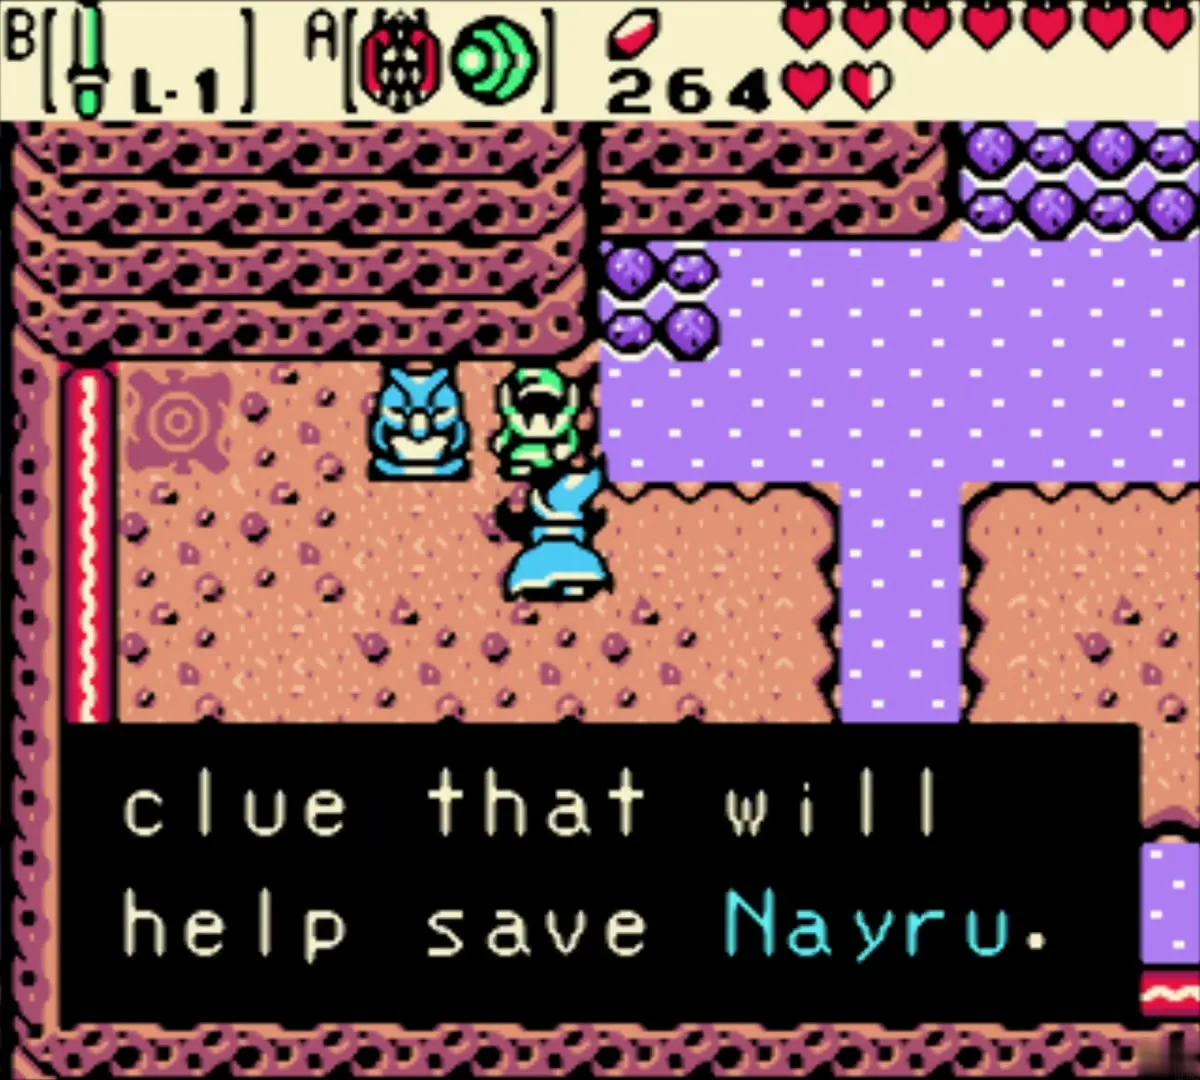
Walk south out of the village into the Talus Peaks, still in the past: red-brown rock, purple water and waterfalls. Beside the Owl Statue your friend Ralph is waiting, looking for an old hermit who studies tunes and who may have a clue to save Nayru. The statue reminds you that time changes the land, so the peaks are crossed by hopping between the past and the present. Dormant time portals dot the ground. Play the Tune of Echoes at one to reach the present and again to return.




Maple’s races
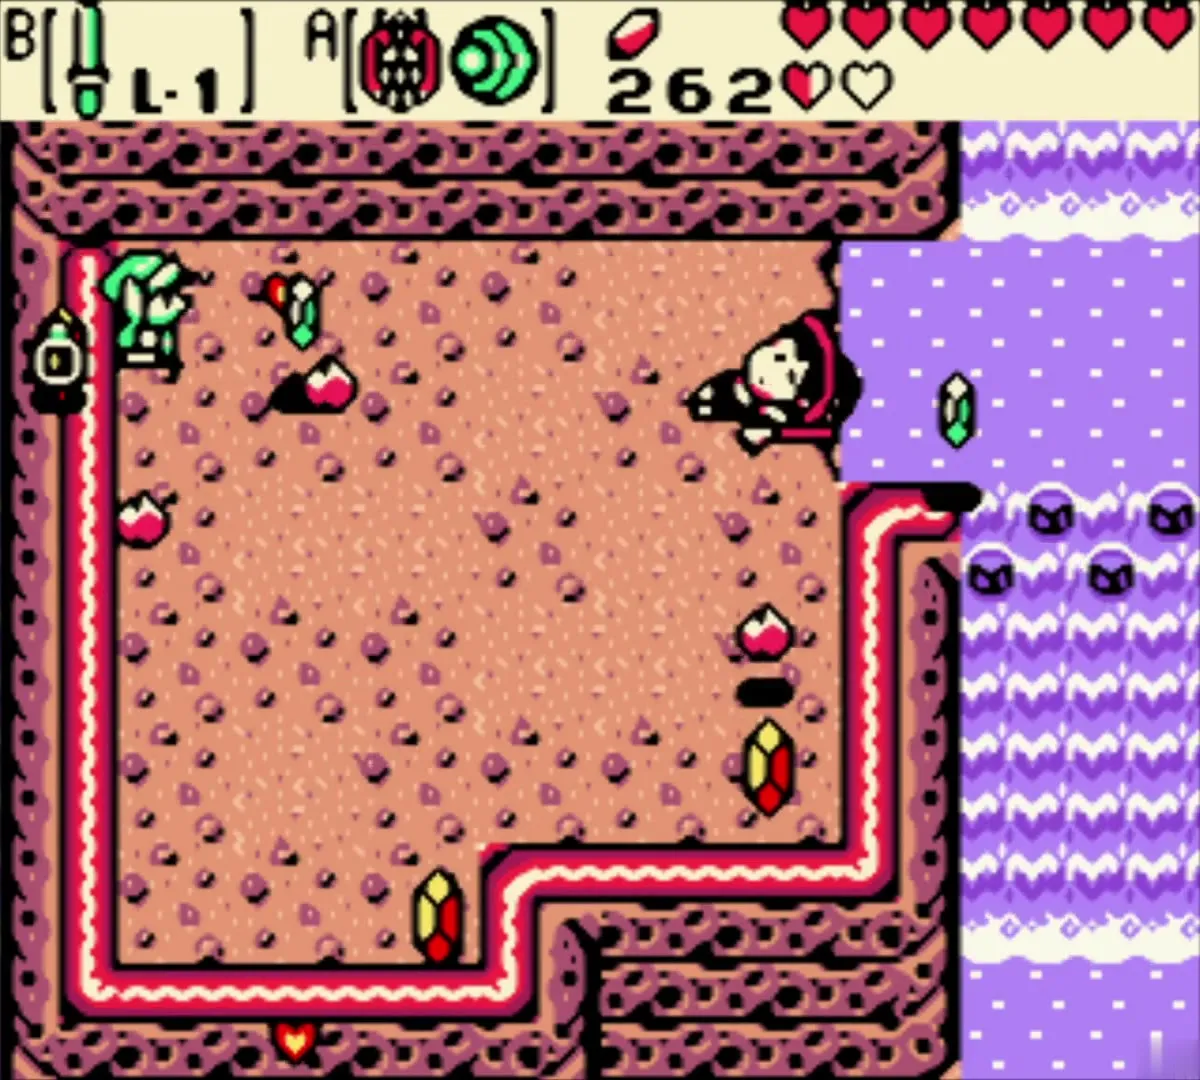
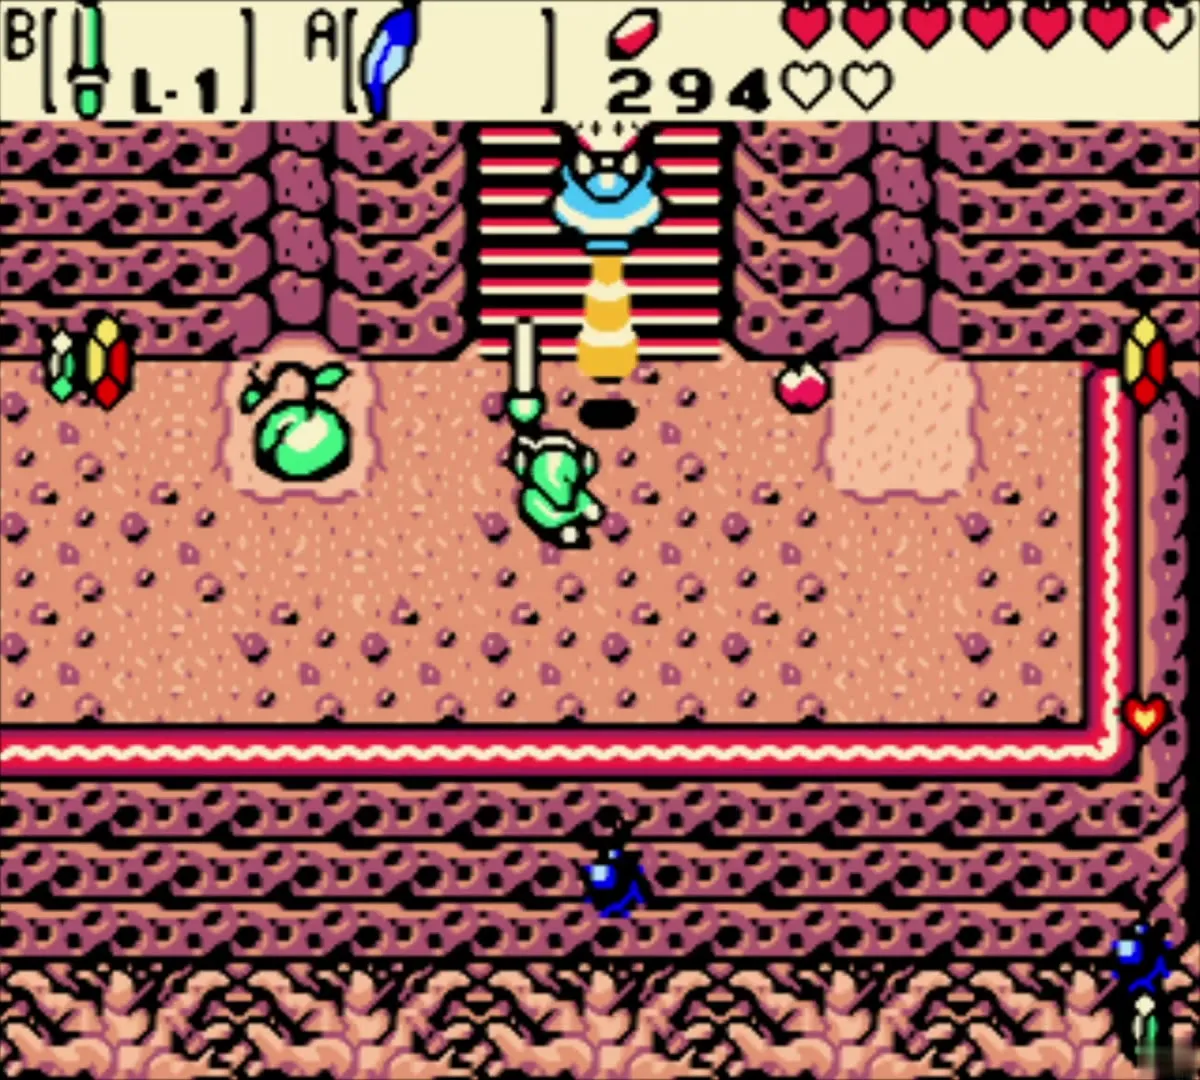
Maple shows up more than once in the peaks. Each time, run for the rupees she drops before she can grab them. You gain roughly 10, 11, 11 and 27 Rupees in four races here, and nothing is lost by missing one. See Maple for her other appearances.


Dive to Tokkey’s cave
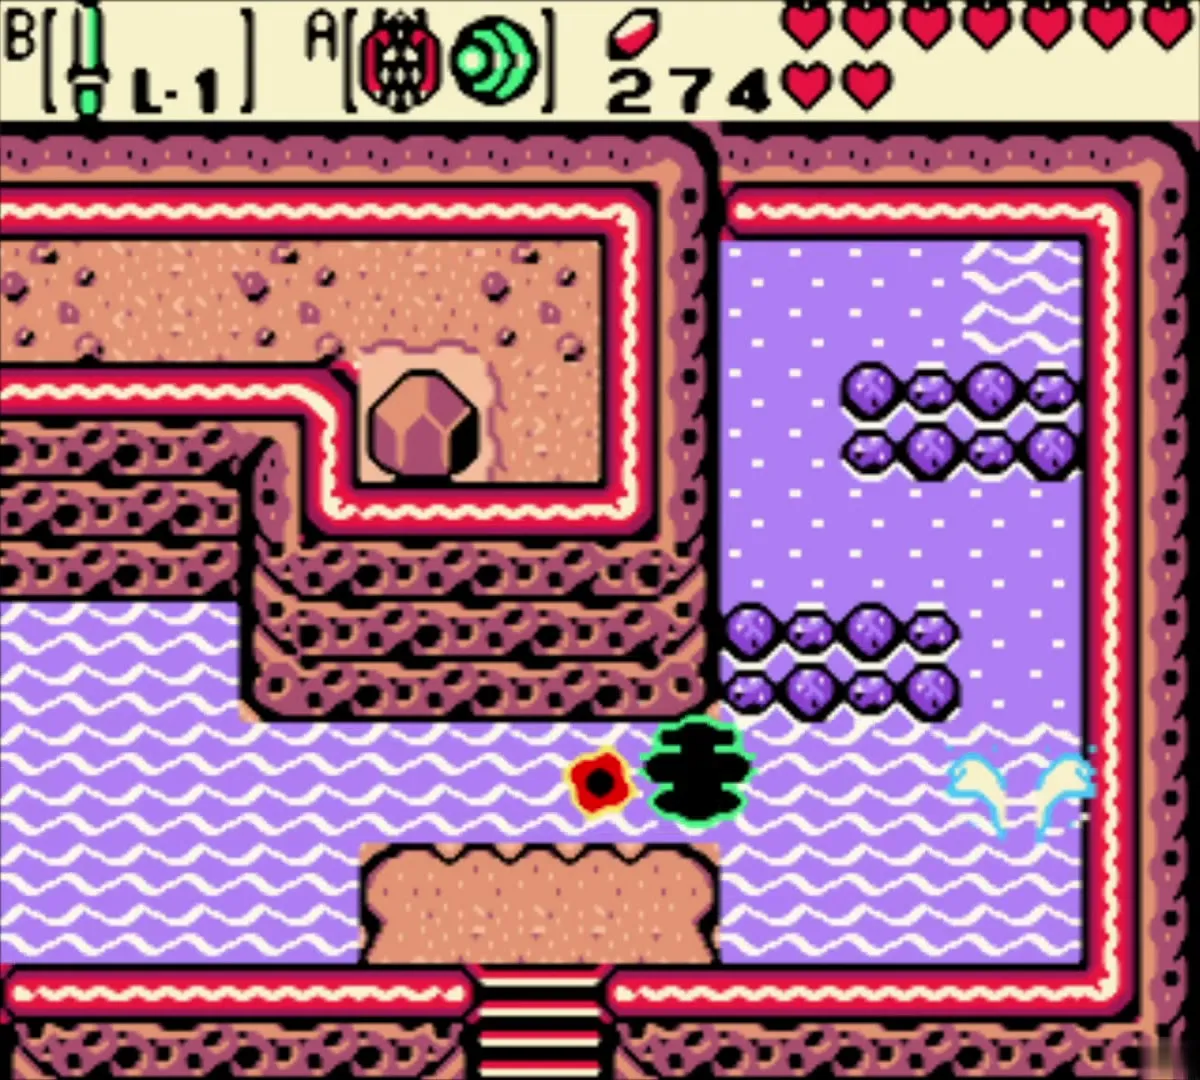
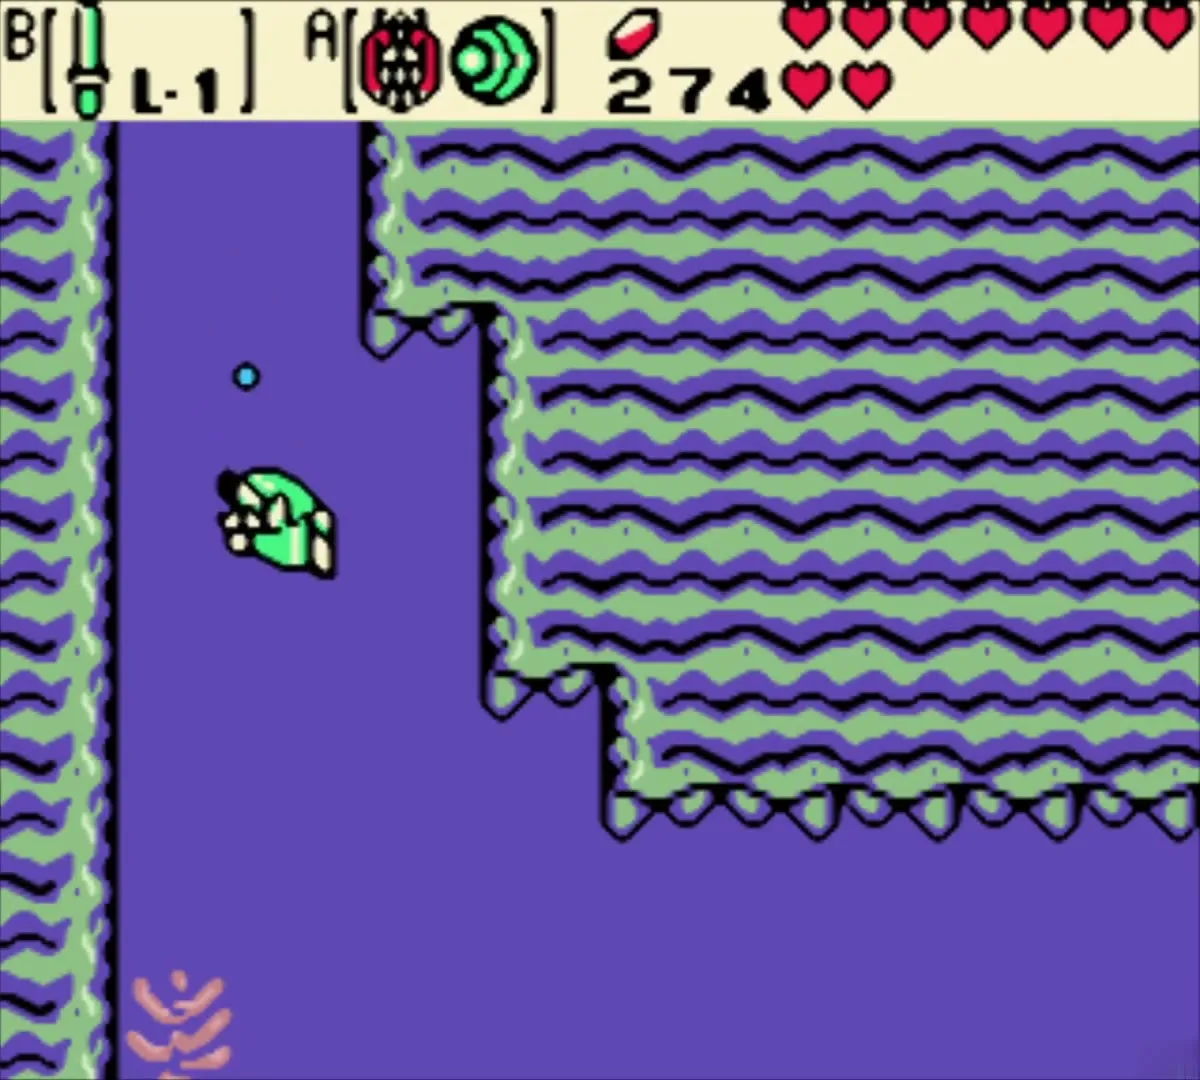
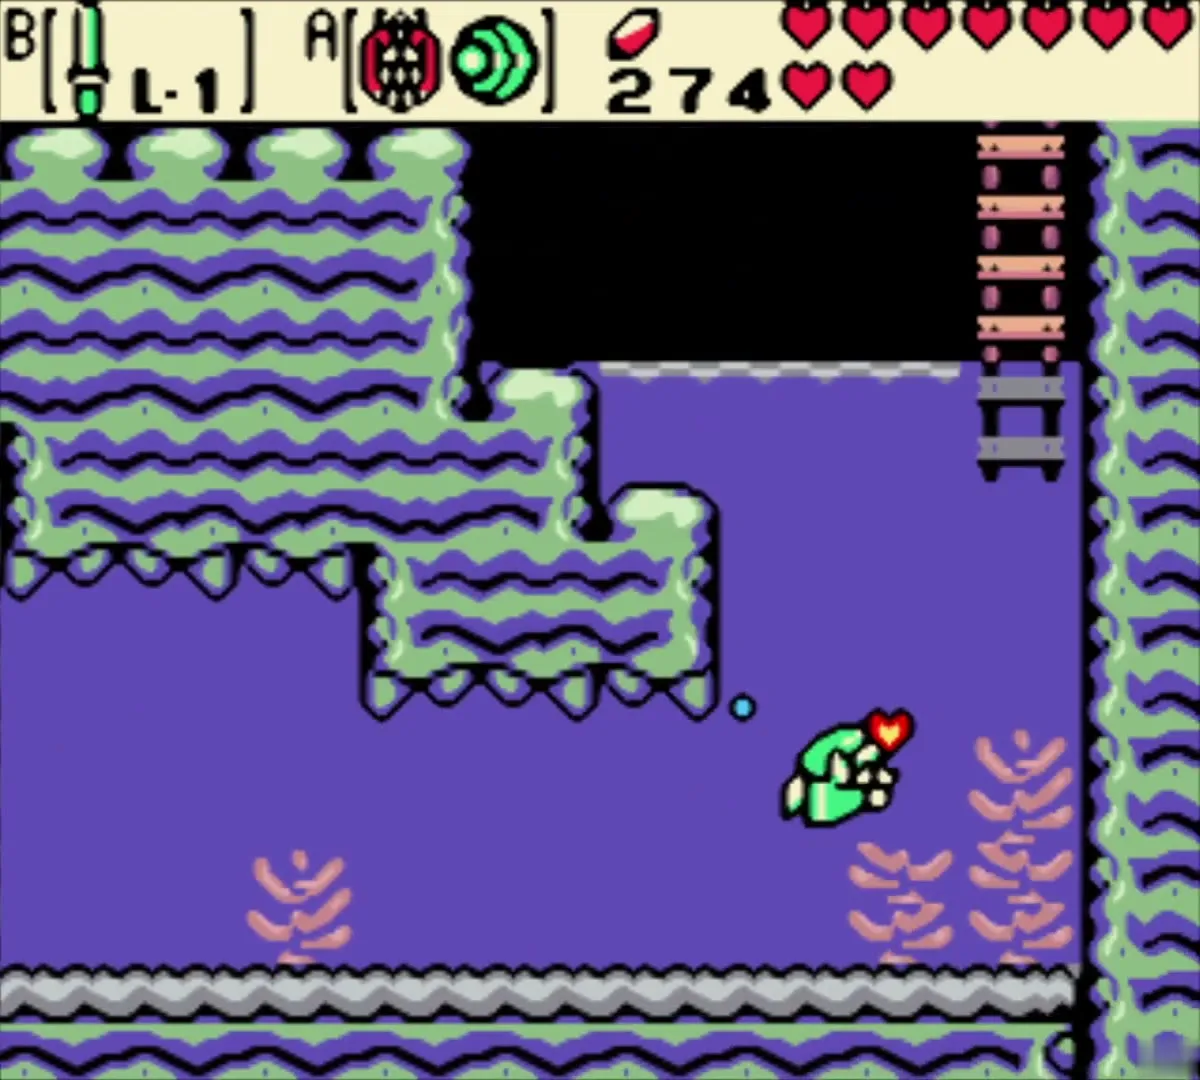
Climb to the top of the peaks in the past and swim out across the lake, which is Talus Lake. Zora’s Flippers let you dive from the ledge near the far shore. Swim underwater beneath the rock wall and surface by the ladder to find Tokkey’s hidden cave, a library with a white-haired researcher inside.

Learn the Tune of Currents
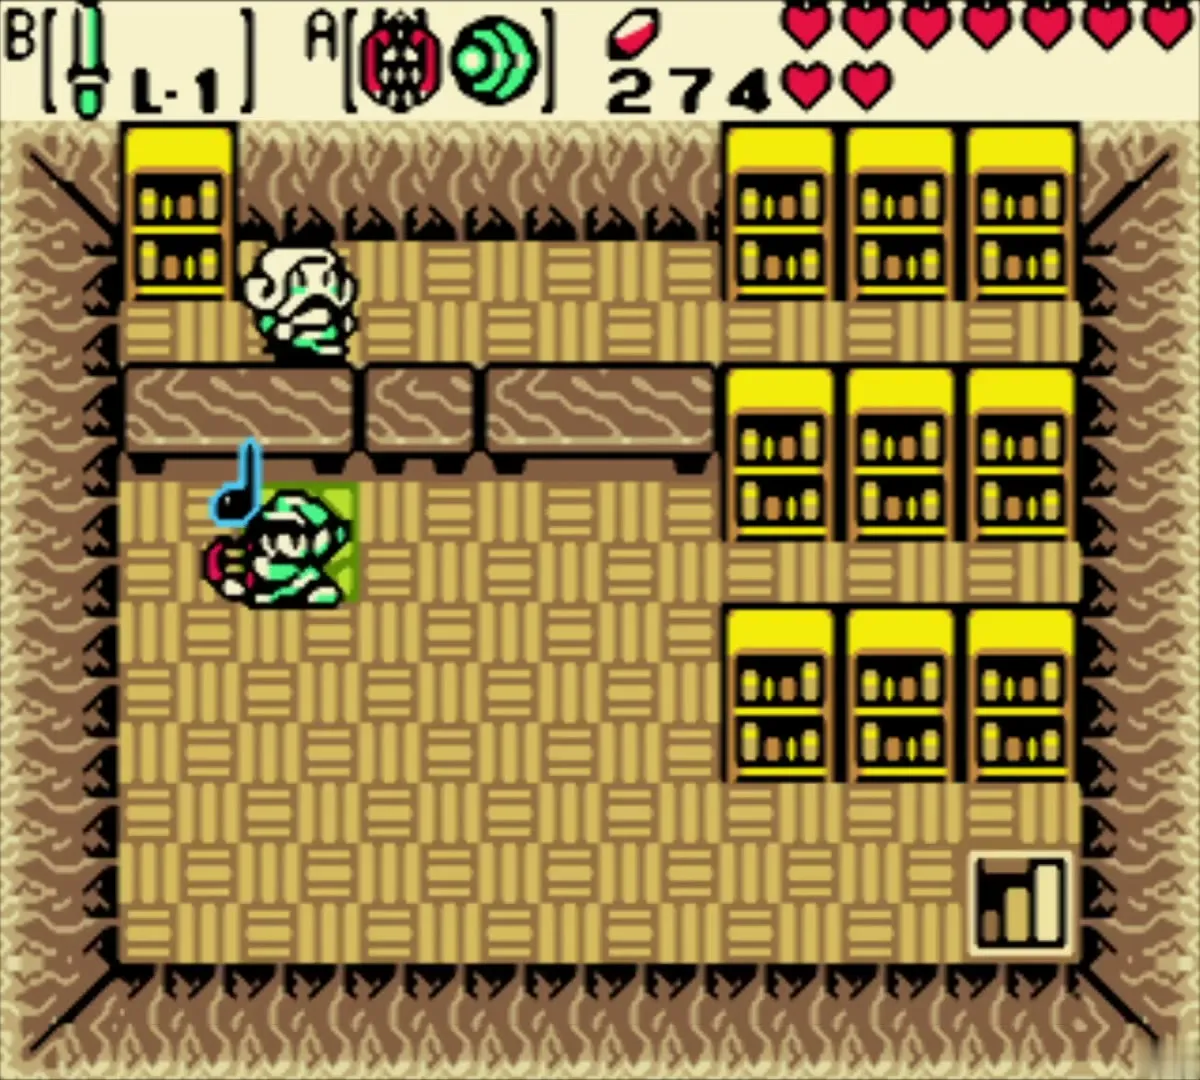
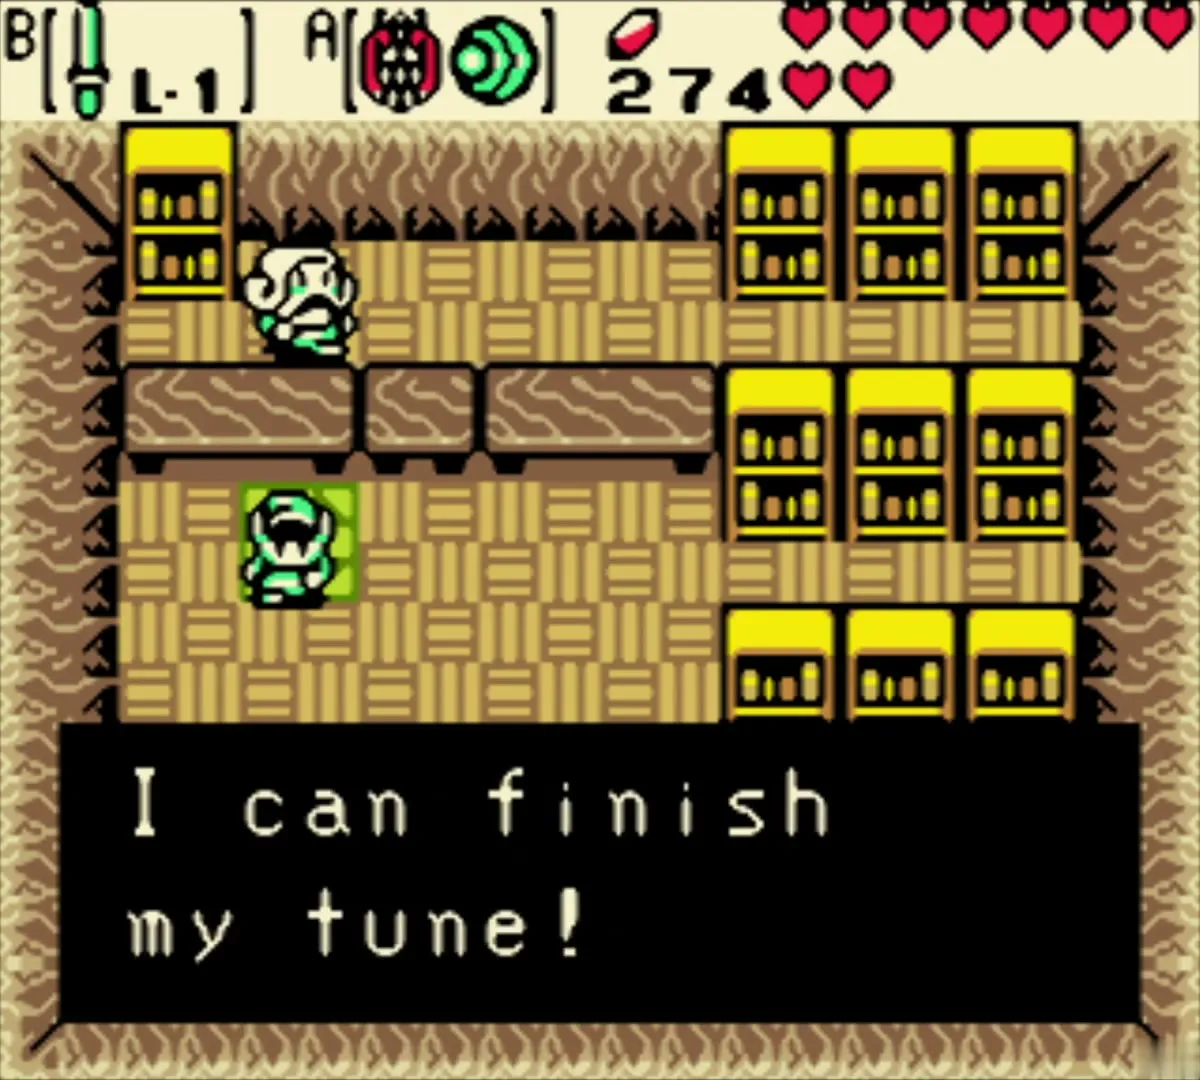
Tokkey says he is one step from perfecting a tune that moves you forward in time but is stuck on the riddle “Echoes produce waves”. Equip the Harp of Ages and play the Tune of Echoes for him. That completes his research, and he teaches you the Tune of Currents. From now on, choose it on the Harp of Ages to travel from the past to the present anywhere, without needing a time portal. It does not go the other way, so you still need the Tune of Echoes or the later Tune of Ages to return to the past.


Piece of Heart south of Tokkey’s lake (present)
Swim back out and go to the screen directly south of Tokkey’s lake in the past. Stand in its bottom-left corner and play the Tune of Currents. You arrive in the present on a ledge, so cross the plank bridge to the right and pick up the Piece of Heart on the other side (see Heart Piece locations). Play the Tune of Echoes at a portal to return to the past.


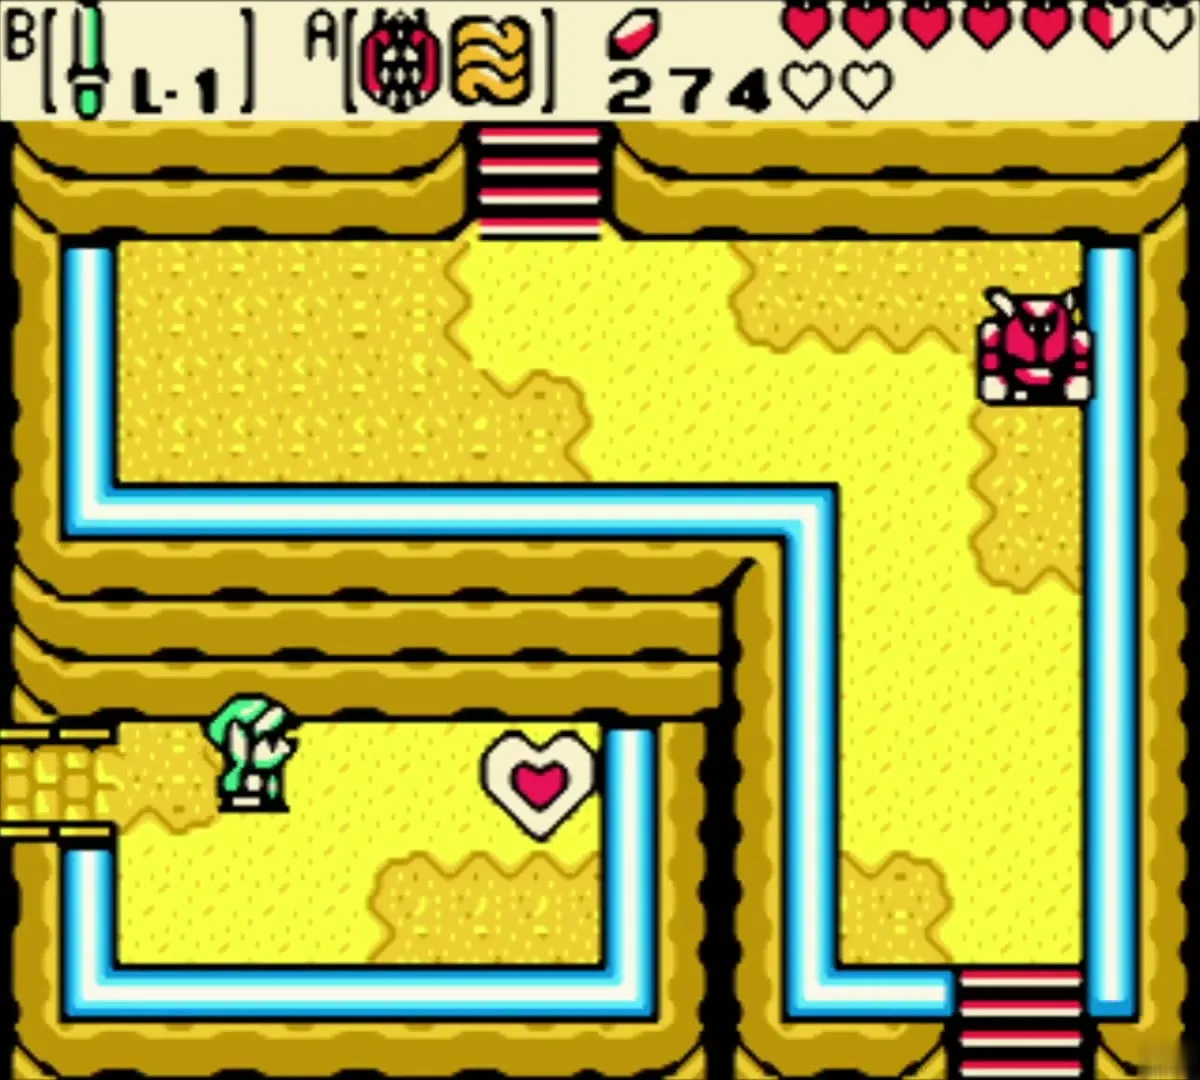

The bomb-capacity fairy and the route to Restoration Wall
Change the river and grow the vine
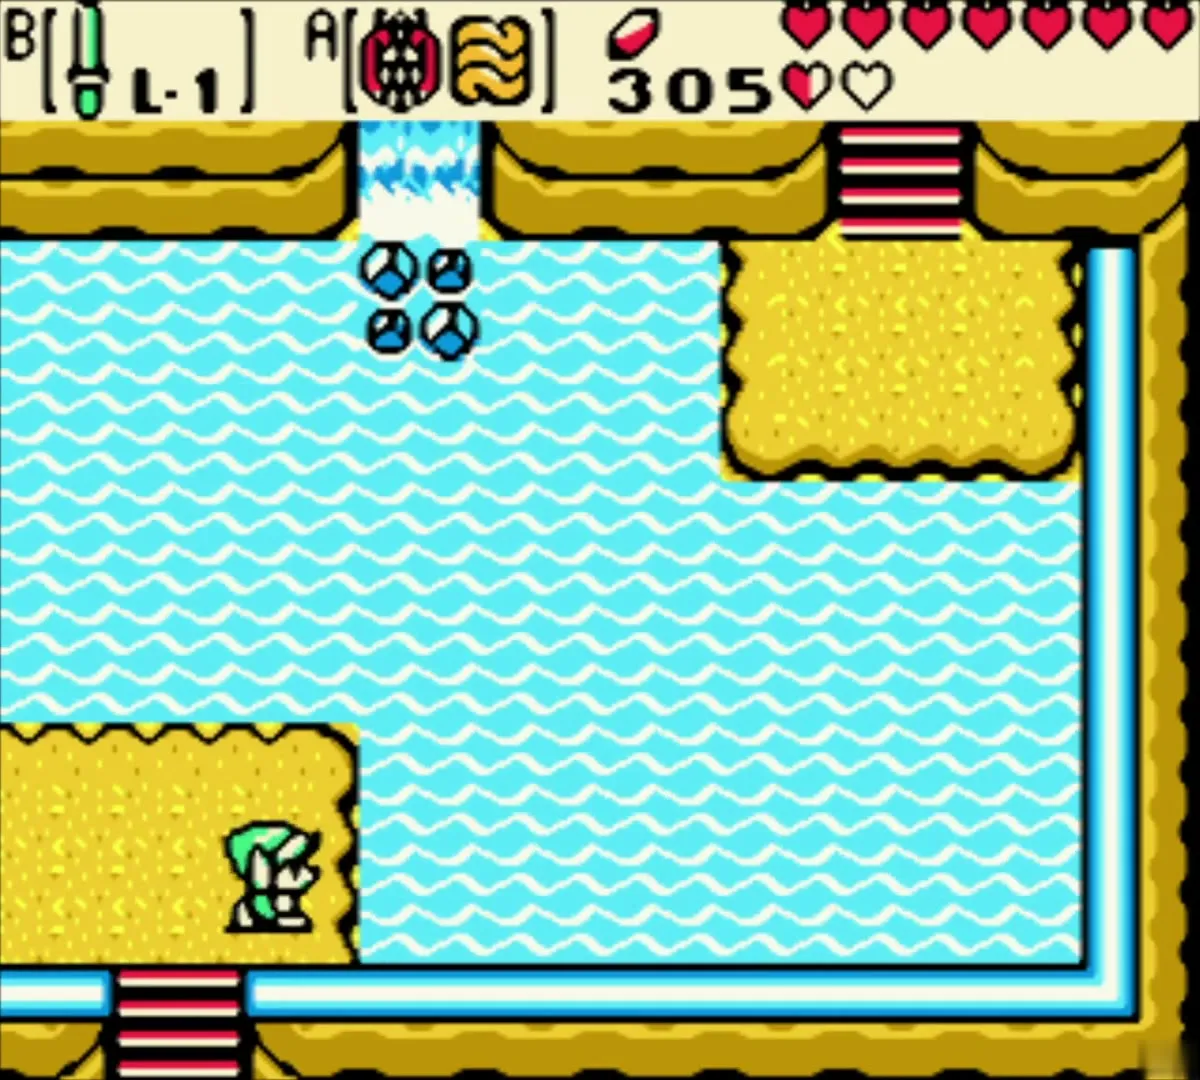
The peaks are a puzzle of past and present. In the past, enter the cave near the signpost, take its east exit and push the red boulder, which makes the river change course. Then push the small sapling in the past to a spot beside the ledge, because in the present it grows into a vine you can climb. Return to the present with the Tune of Currents and check that a vine now leads up the cliff.
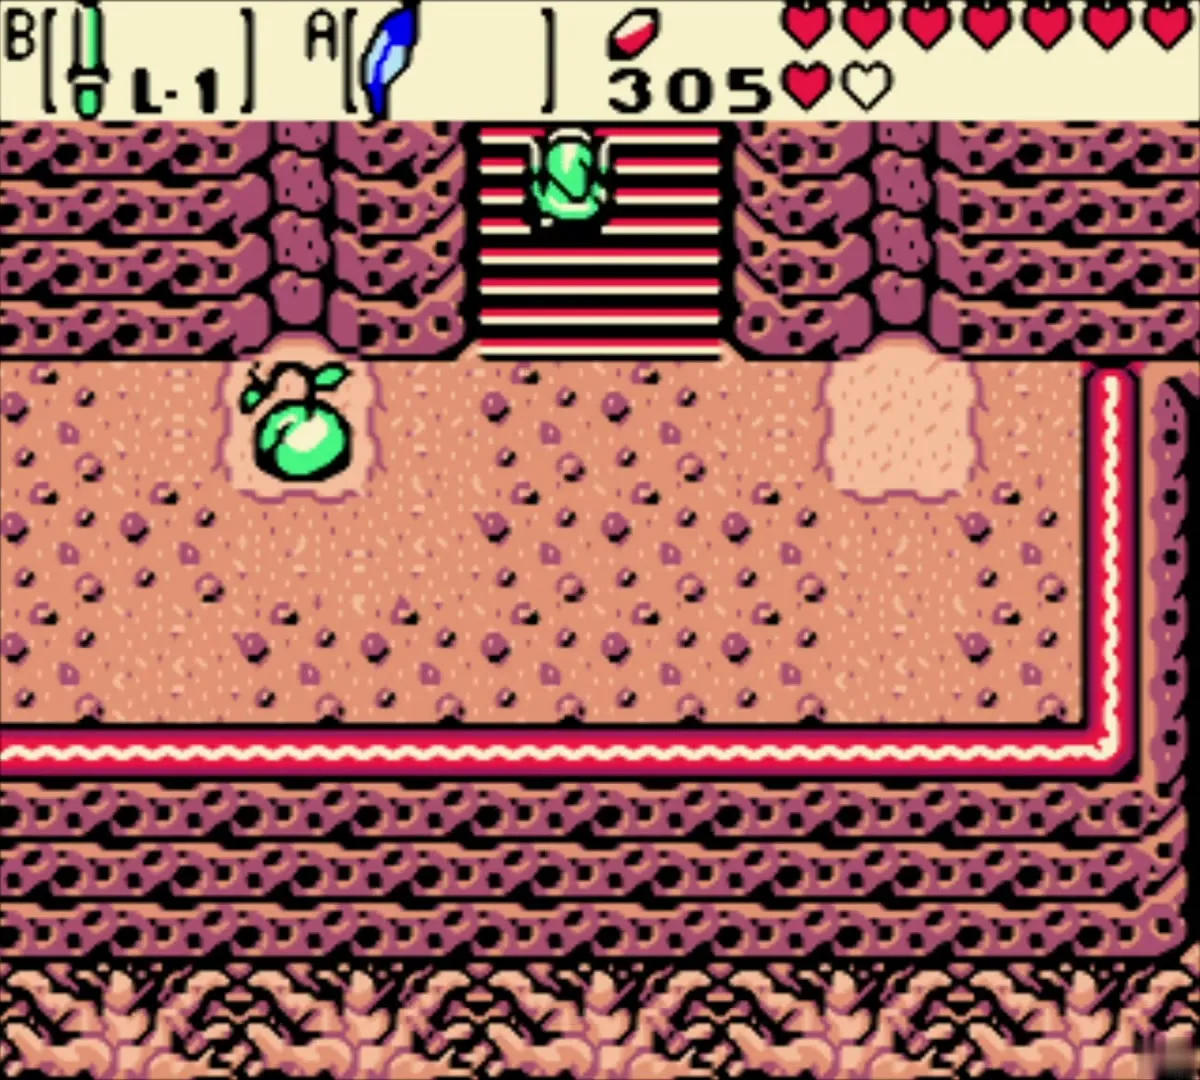
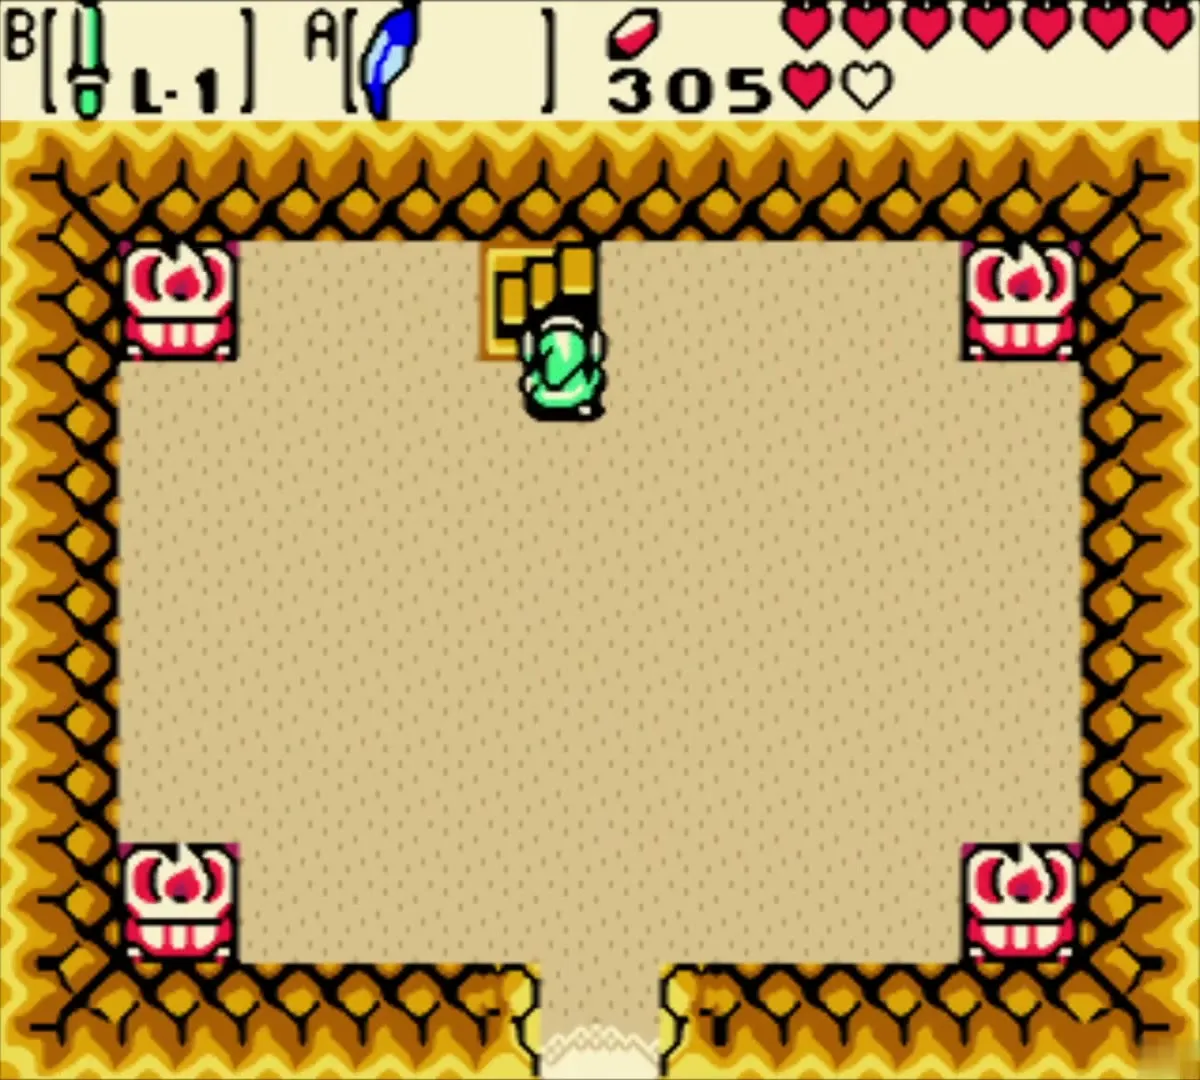

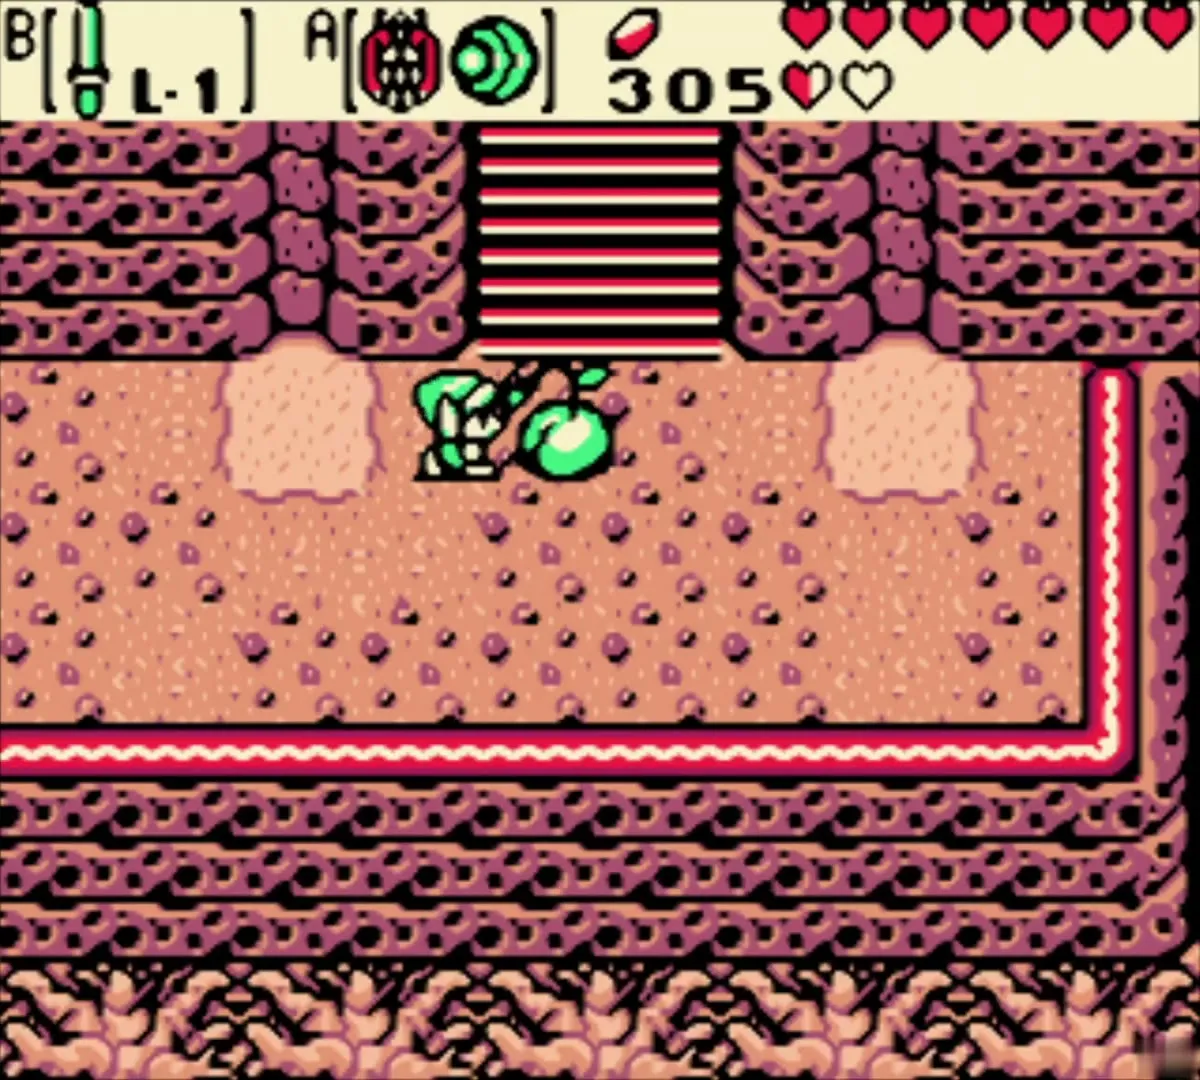


Throw a bomb into the pond (present)
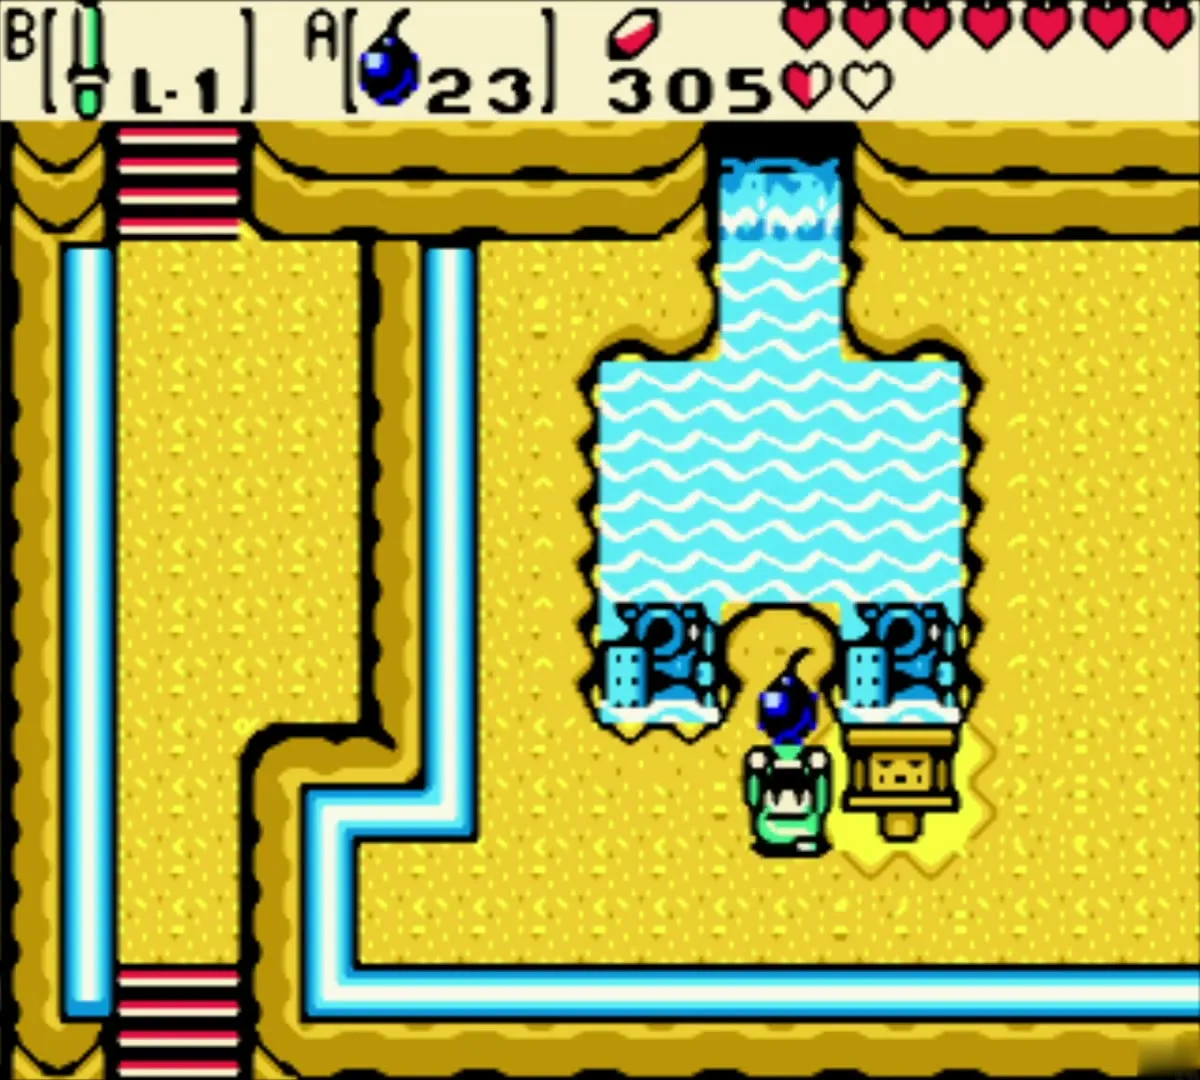
In the present, climb the vine to a pond between two statues, with a sign saying to throw nothing into the water. Throw a Bomb into the pond, then stand between the statues, and a fairy appears. She asks whether you dropped a golden bomb, a silver bomb or a regular one. Choose the regular one: any other answer is a lie and costs you either your hearts or all your bombs. The honest answer raises your bomb limit by 20, to 50, and refills your bag.



Optional: Gasha Seed chest and soft soil
South of Restoration Wall, play the Tune of Currents from the past to reach a ledge area in the present, where a chest in the southeast corner holds a Gasha Seed. Two soft soil patches are in the peaks as well: one on a high ledge in the past, under a single rock, and one on the west side in the present, on a high ledge reached by warping from below the rock formation and cutting the bushes. Plant Gasha Seeds there and read about the rings they grow into on Gasha Seeds.

Restoration Wall and Patch’s ceremony
Climb to Patch (past)
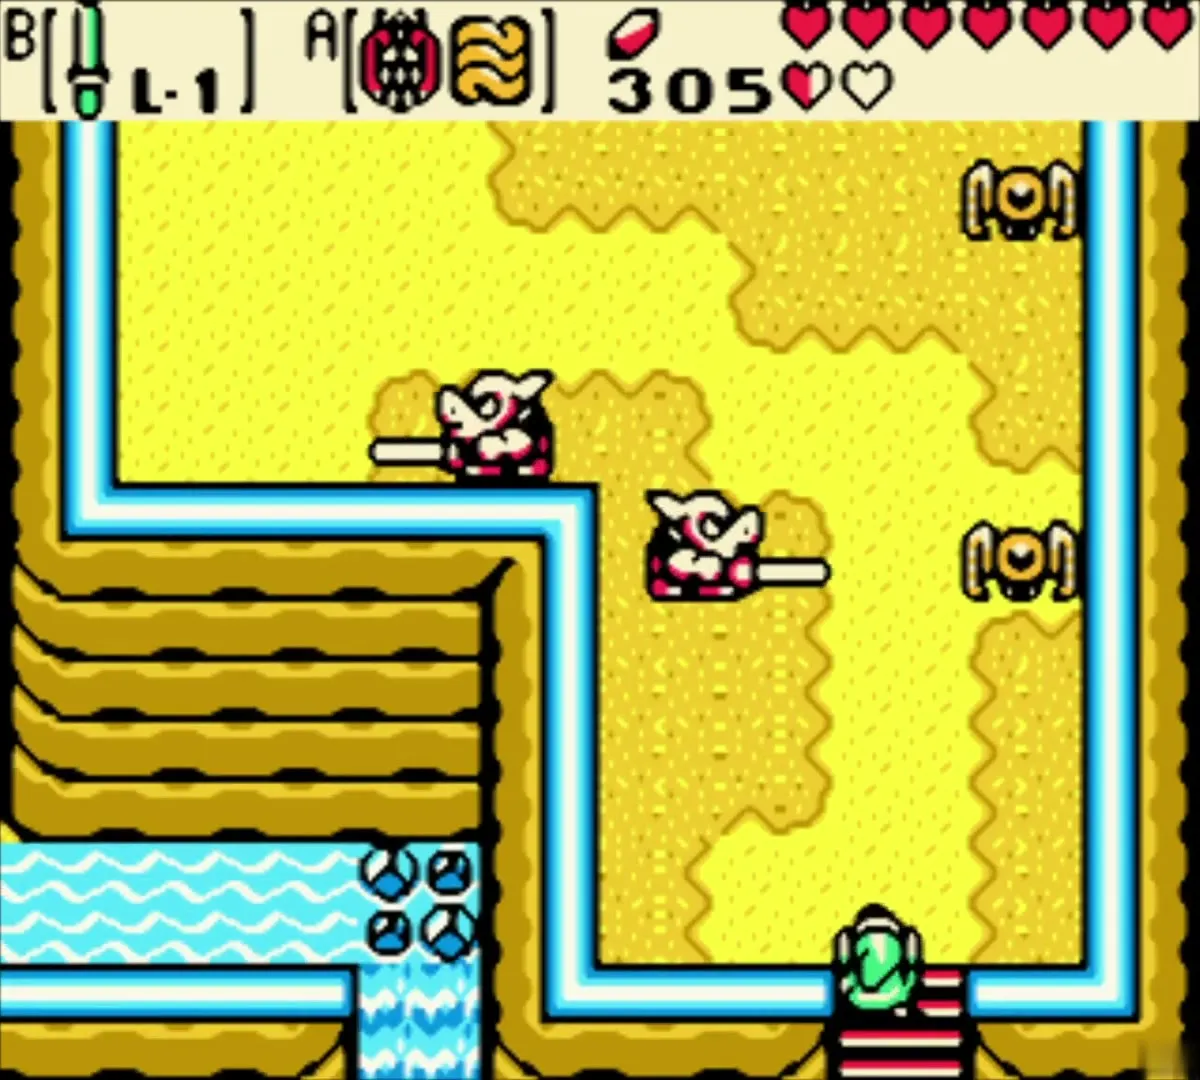
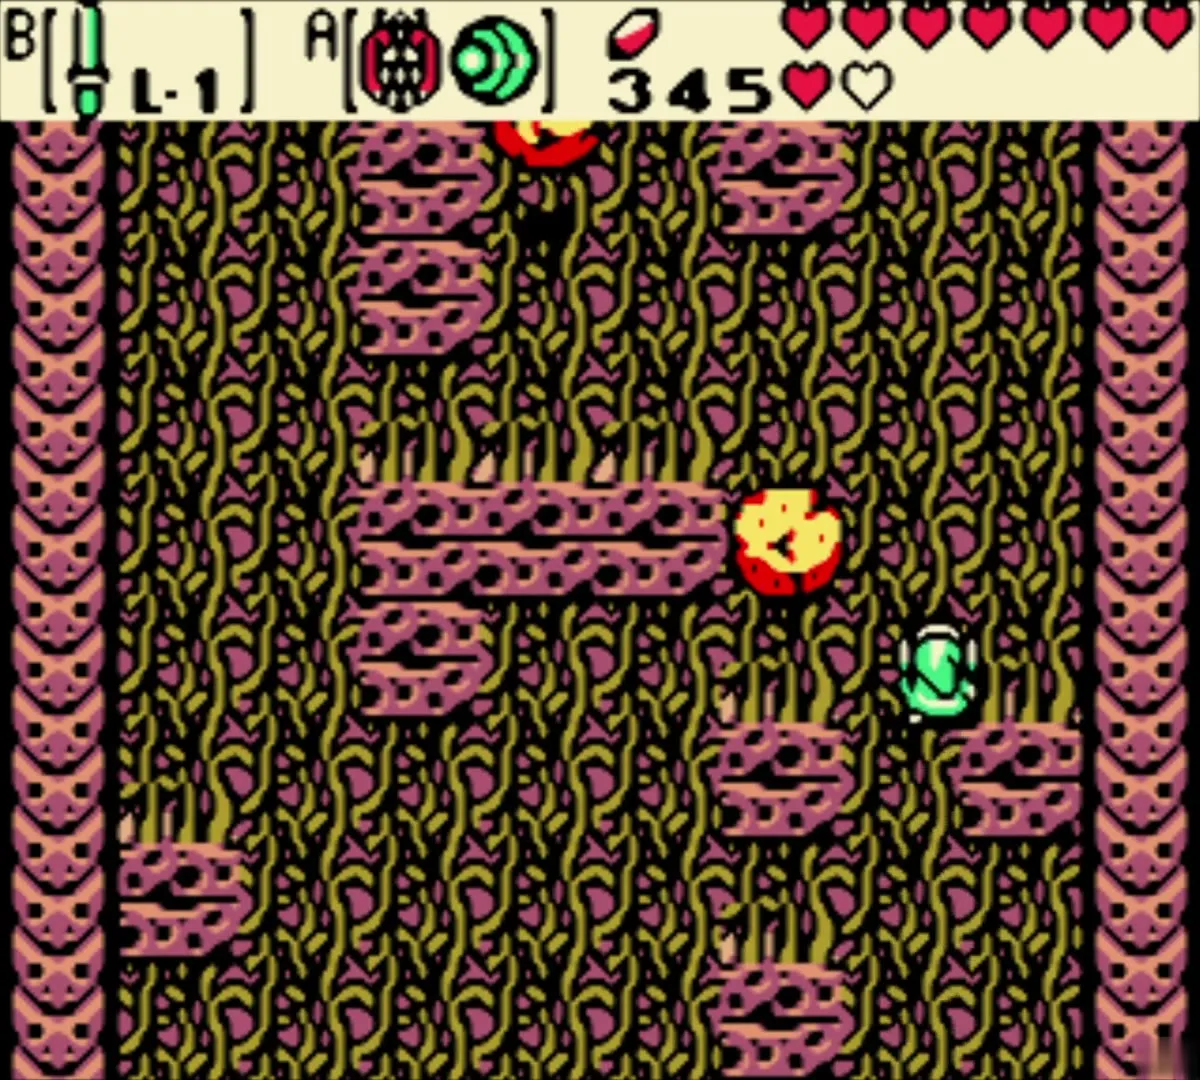
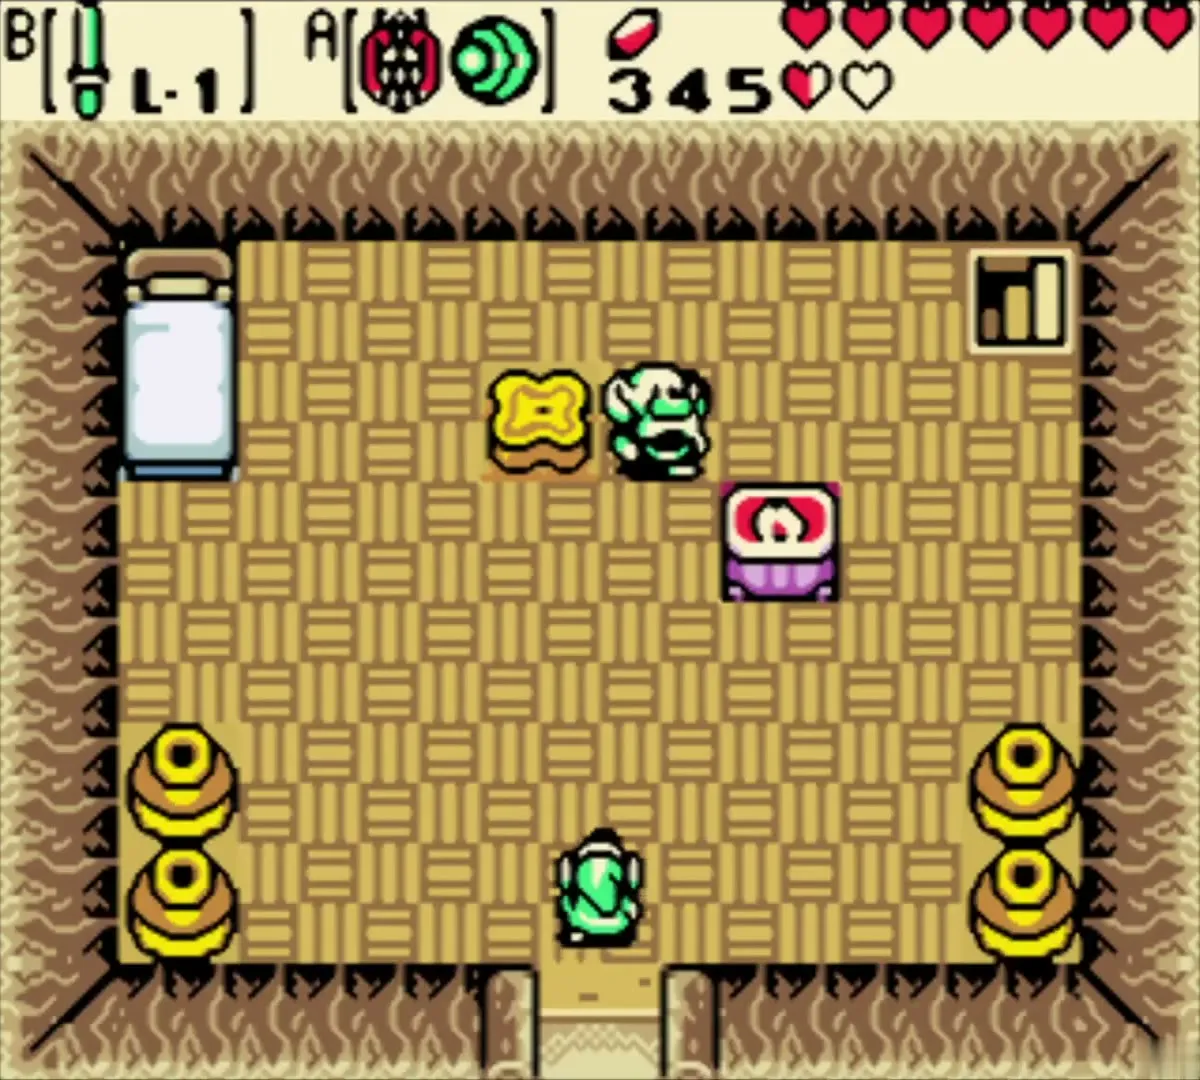
Follow the signs for Restoration Wall in the past. Cross the thorny vines and climb the wall by the vines to reach Patch’s house at the top. Patch calls himself a guru of restoration and offers to repair your nut, but first asks whether you will take part in his ceremony. Answer Yes and follow him down to his sandy ceremony room.


Patch’s Crazy Cart
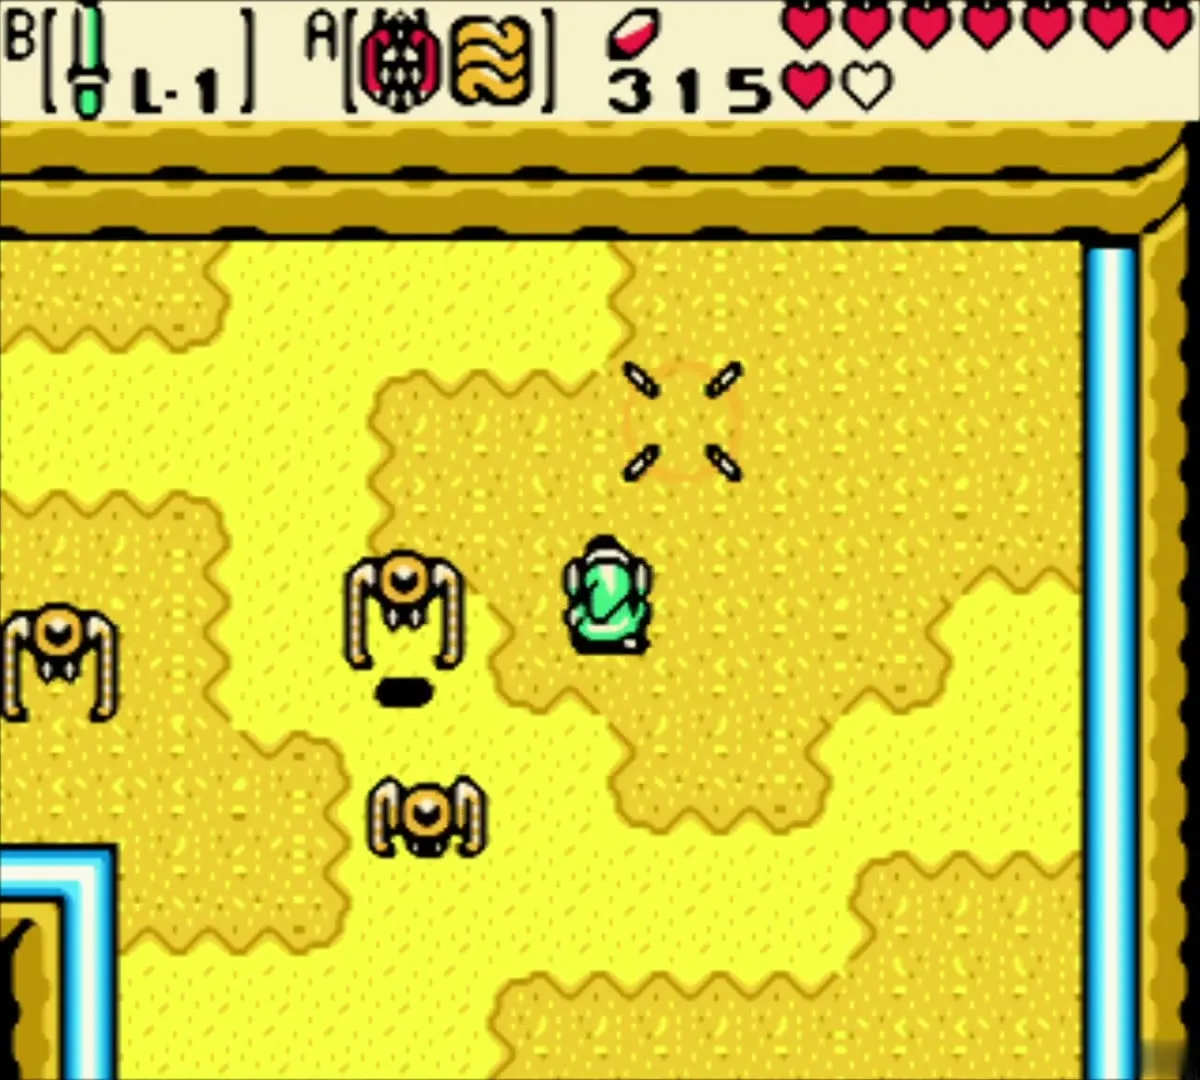
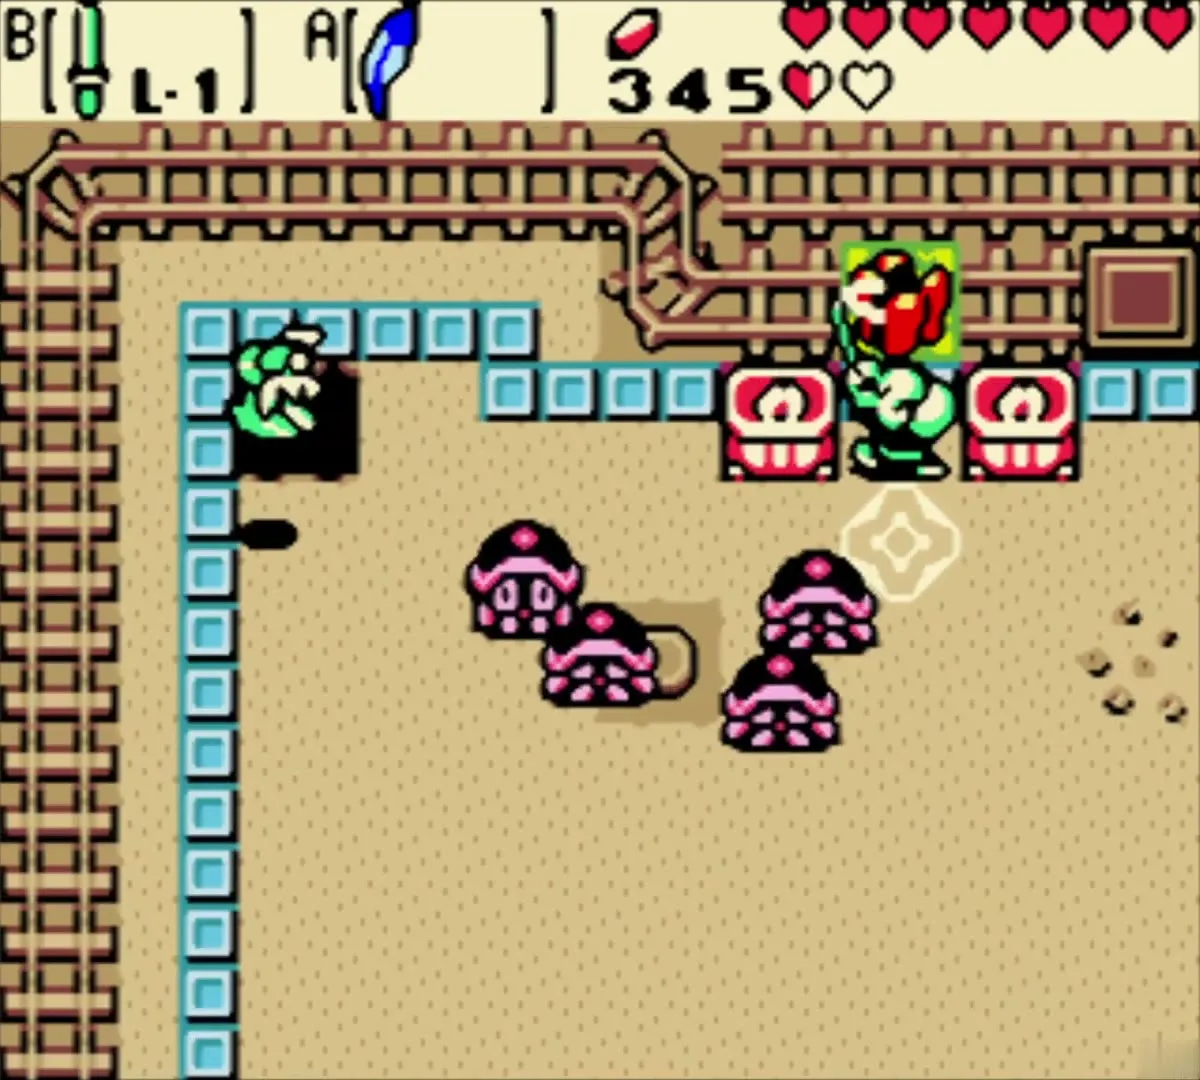
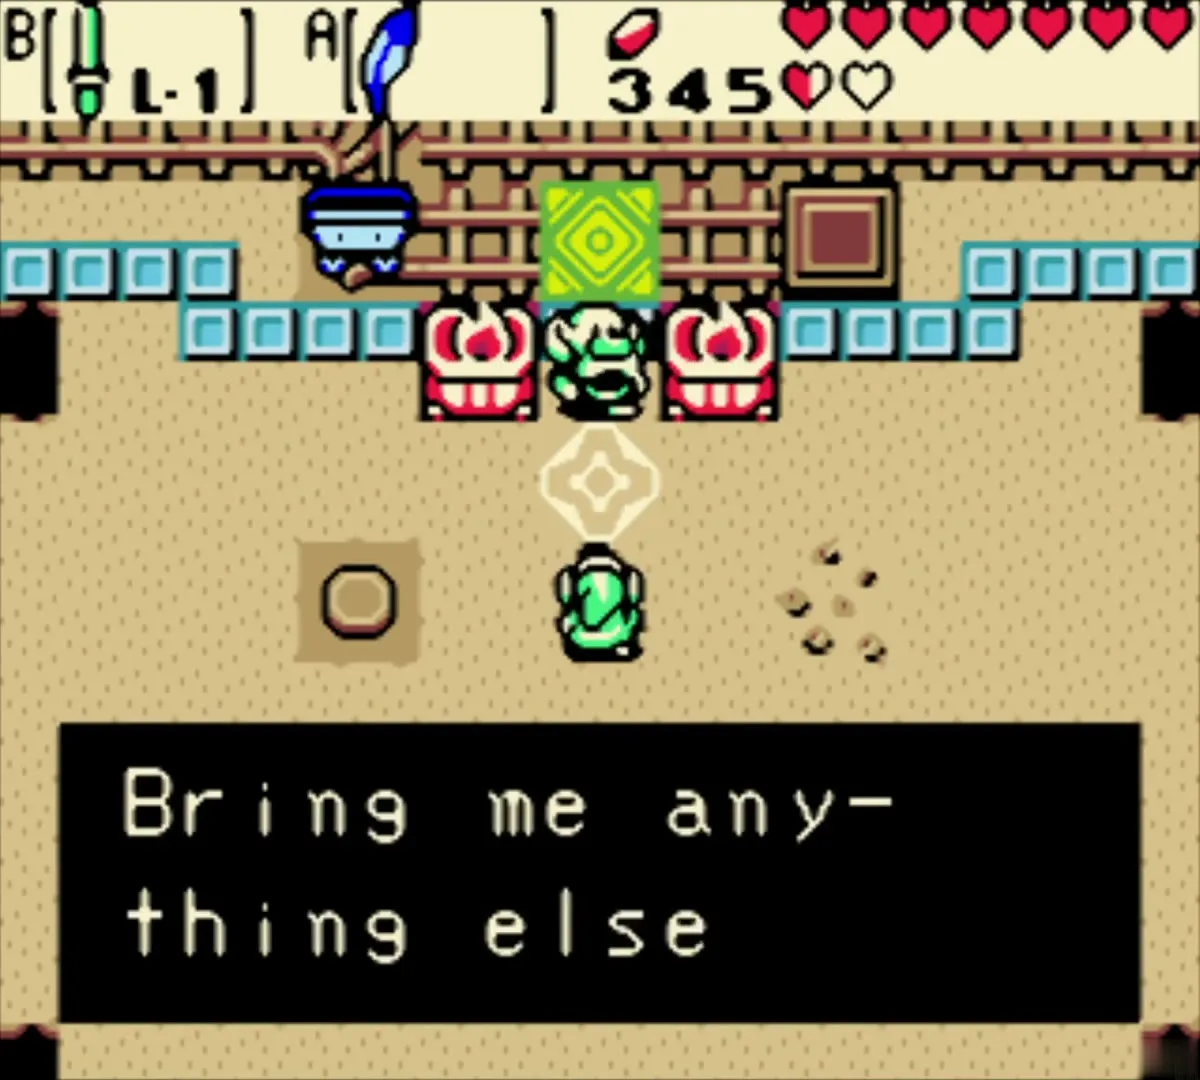
The broken nut sits on a green tile beside the minecart track. Hardhat Beetles appear in the room and you must push all four into the holes in the corners by walking into them. A minecart circles the track and will smash the nut if it hits it, so step on the switch just before it reaches the nut to send it around again. Once the last beetle is gone, Patch hands over the repaired Tuni Nut. He offers to fix anything else you bring, which you will do later with the Broken Sword.


Put the nut on its pedestal
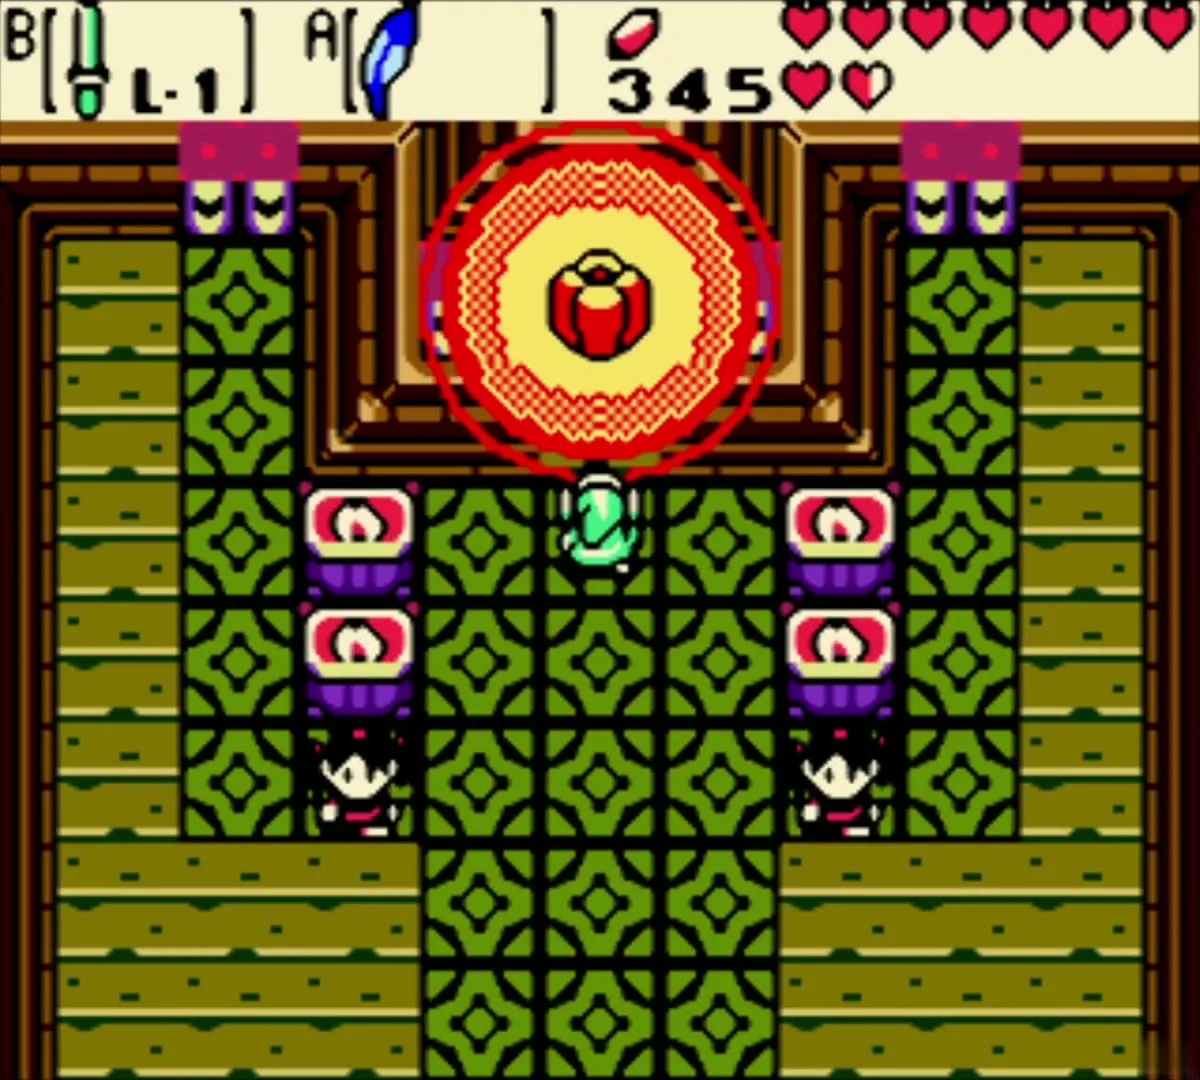
Return to the Middle House in Symmetry Village and walk to the dais at the end of the hall. Place the Tuni Nut on the pedestal, and the nut glows inside a red ring. The brother says the volcano should now calm down and that he must clean out the cave.


Symmetry City restored (present)
Return to the present
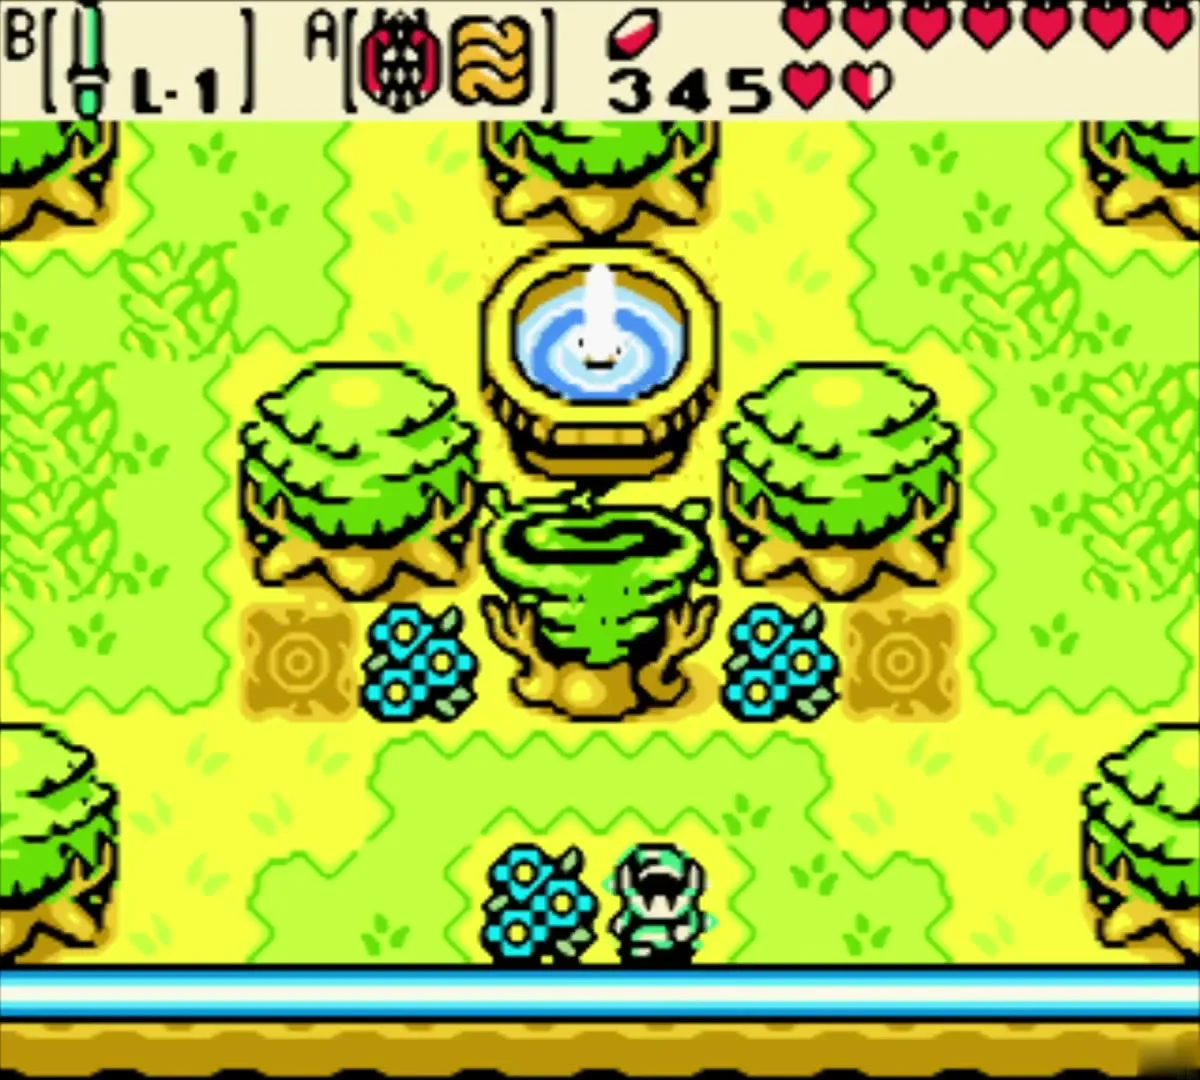
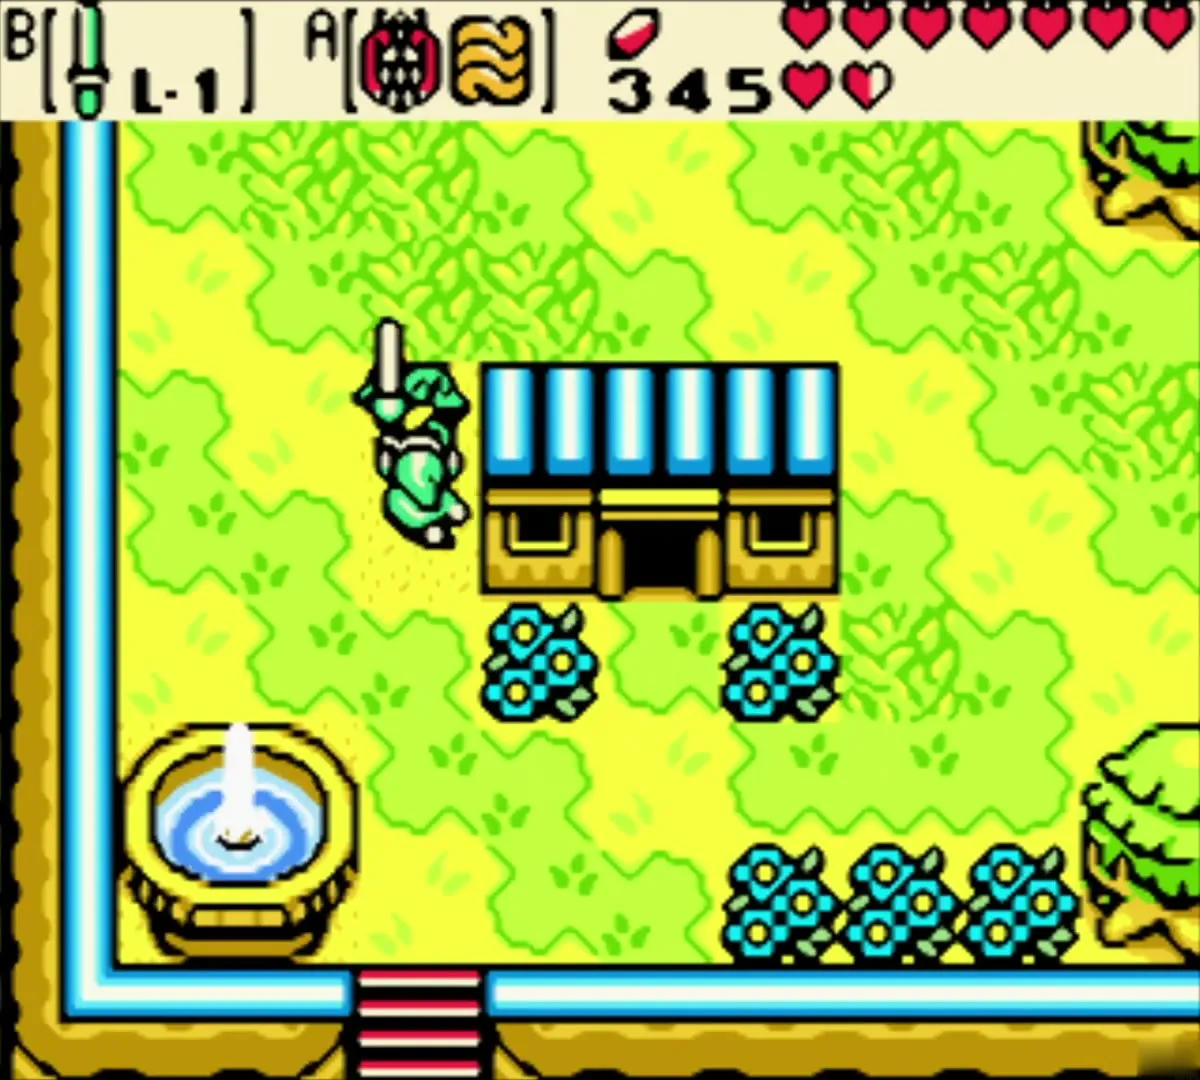
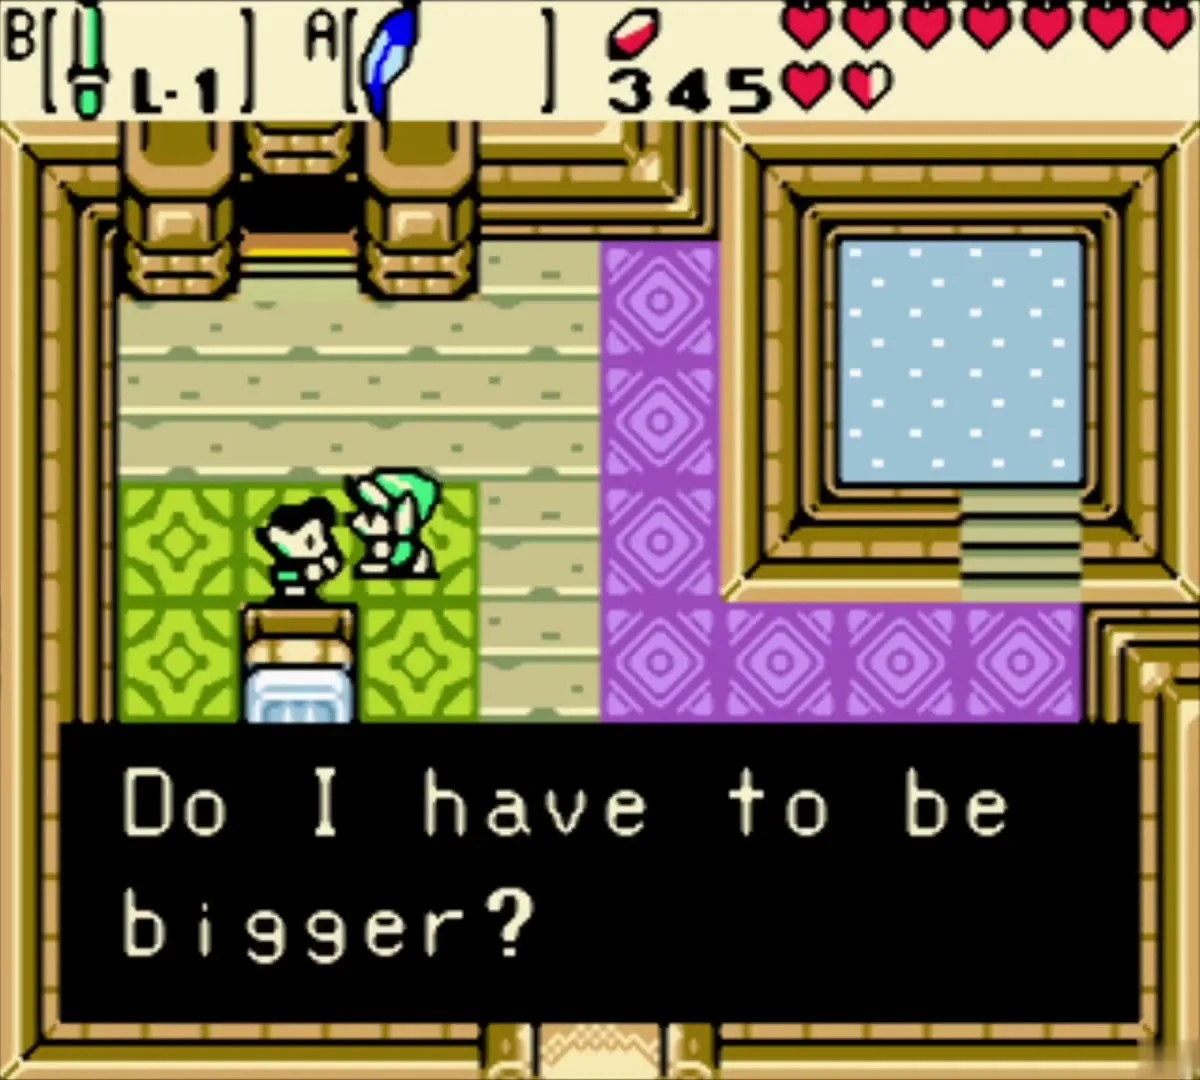
Play the Harp of Ages and choose the Tune of Currents to go back to the present. Symmetry City is now green and bright, with its fountain and houses restored. Visit the villagers and the two men who are not identical twins. One says he is too small and the other too big. Then walk to the waterfall pond where the lava used to be. The cave mouth of Skull Dungeon is now open behind the falls.

Dungeon: Skull Dungeon (Level 4)
Entrance and lava rooms
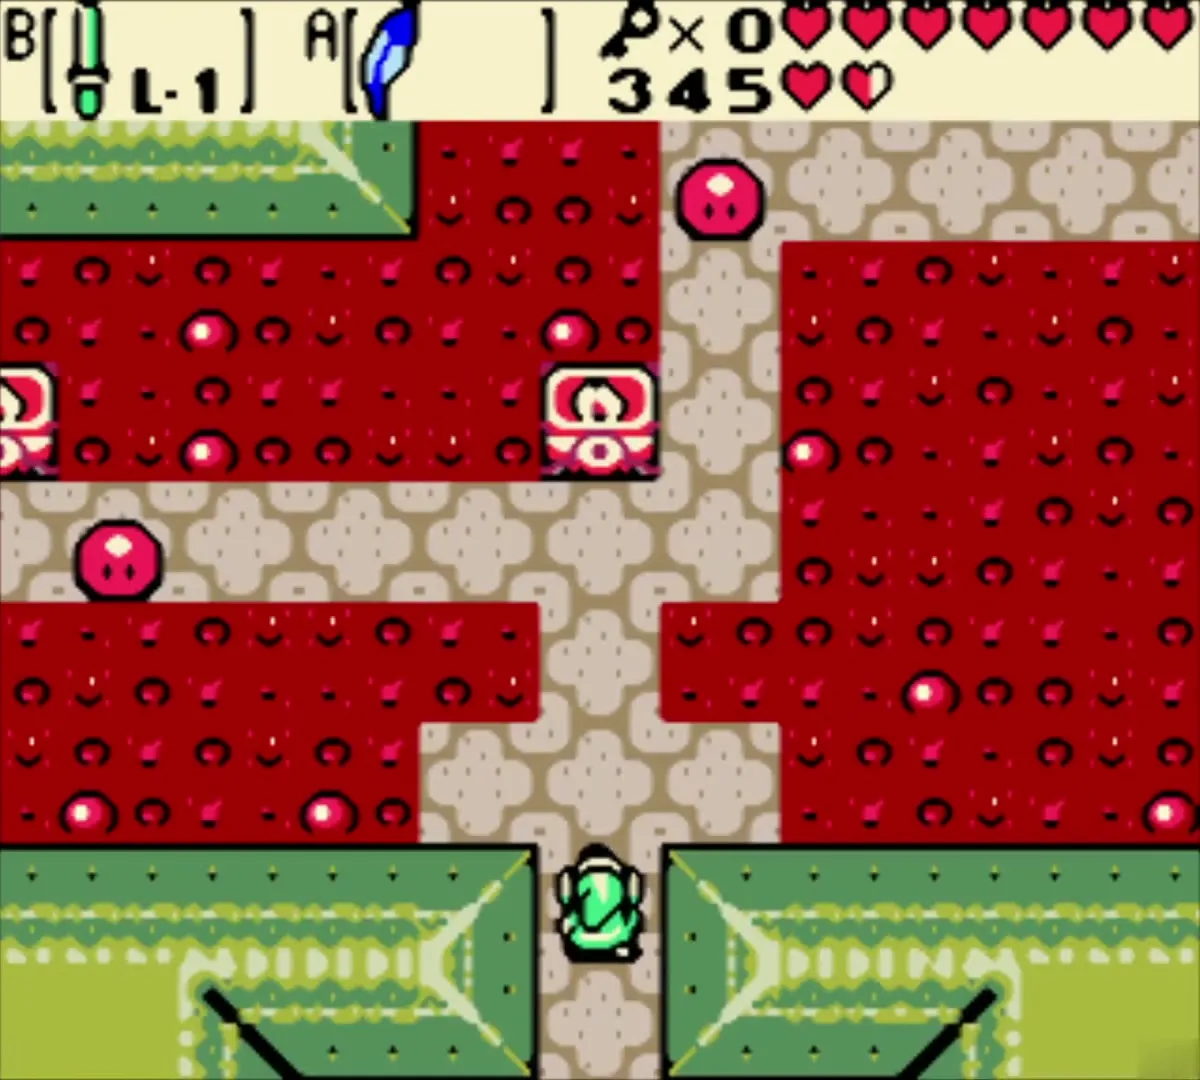
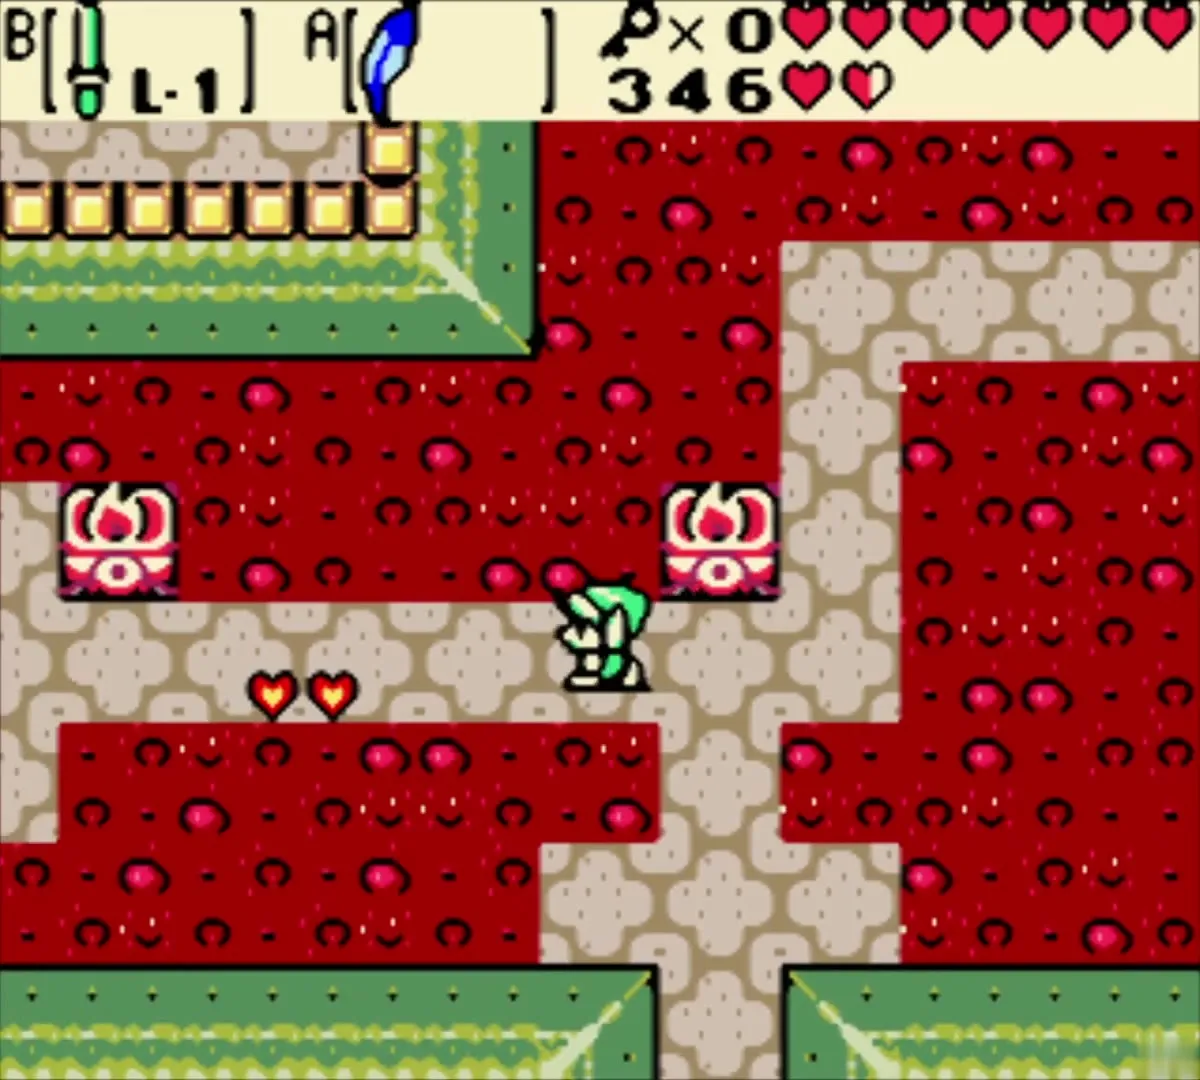
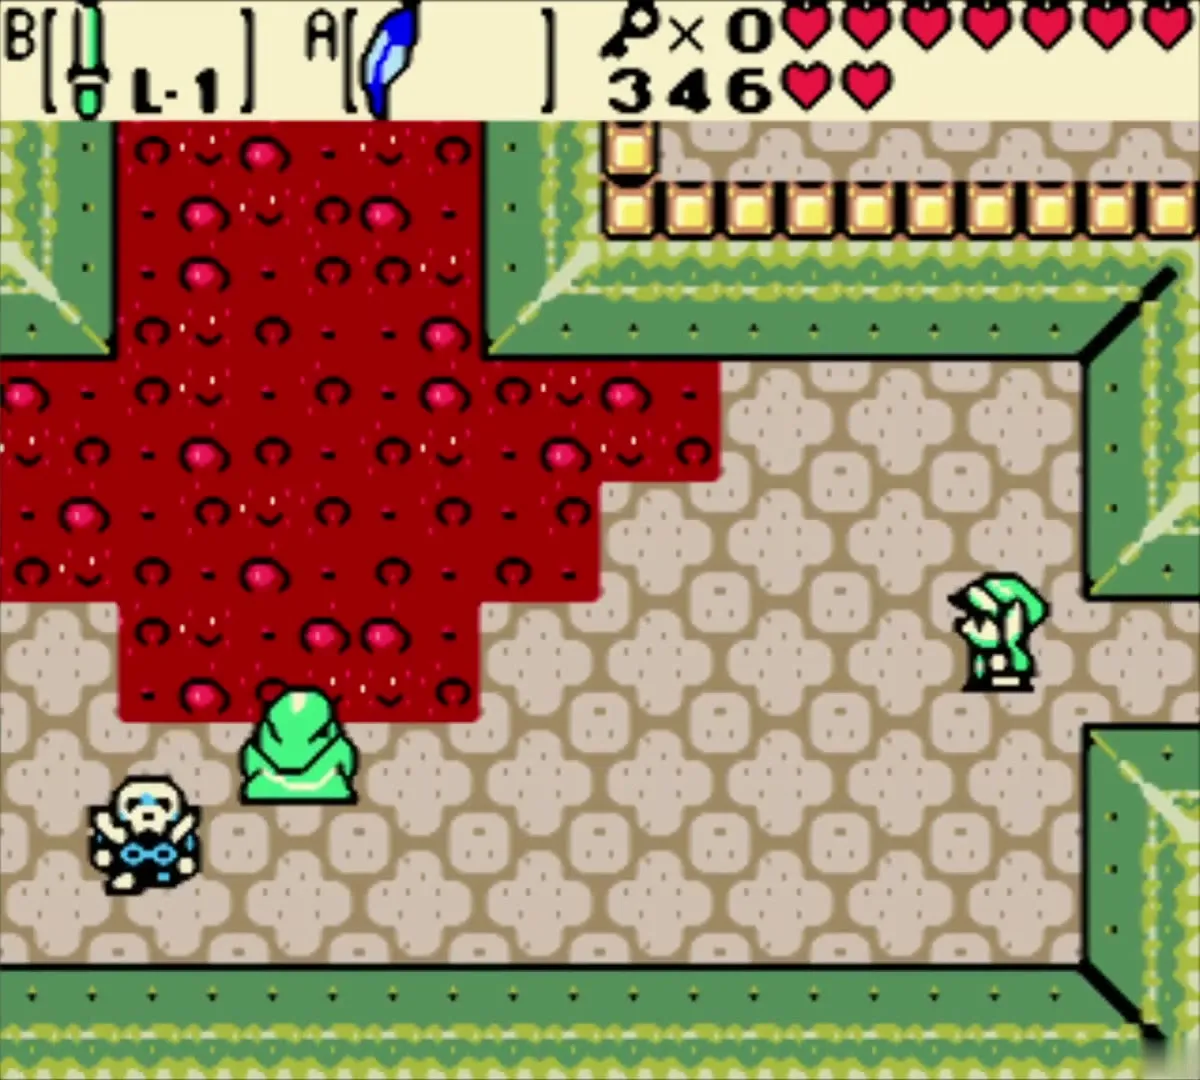
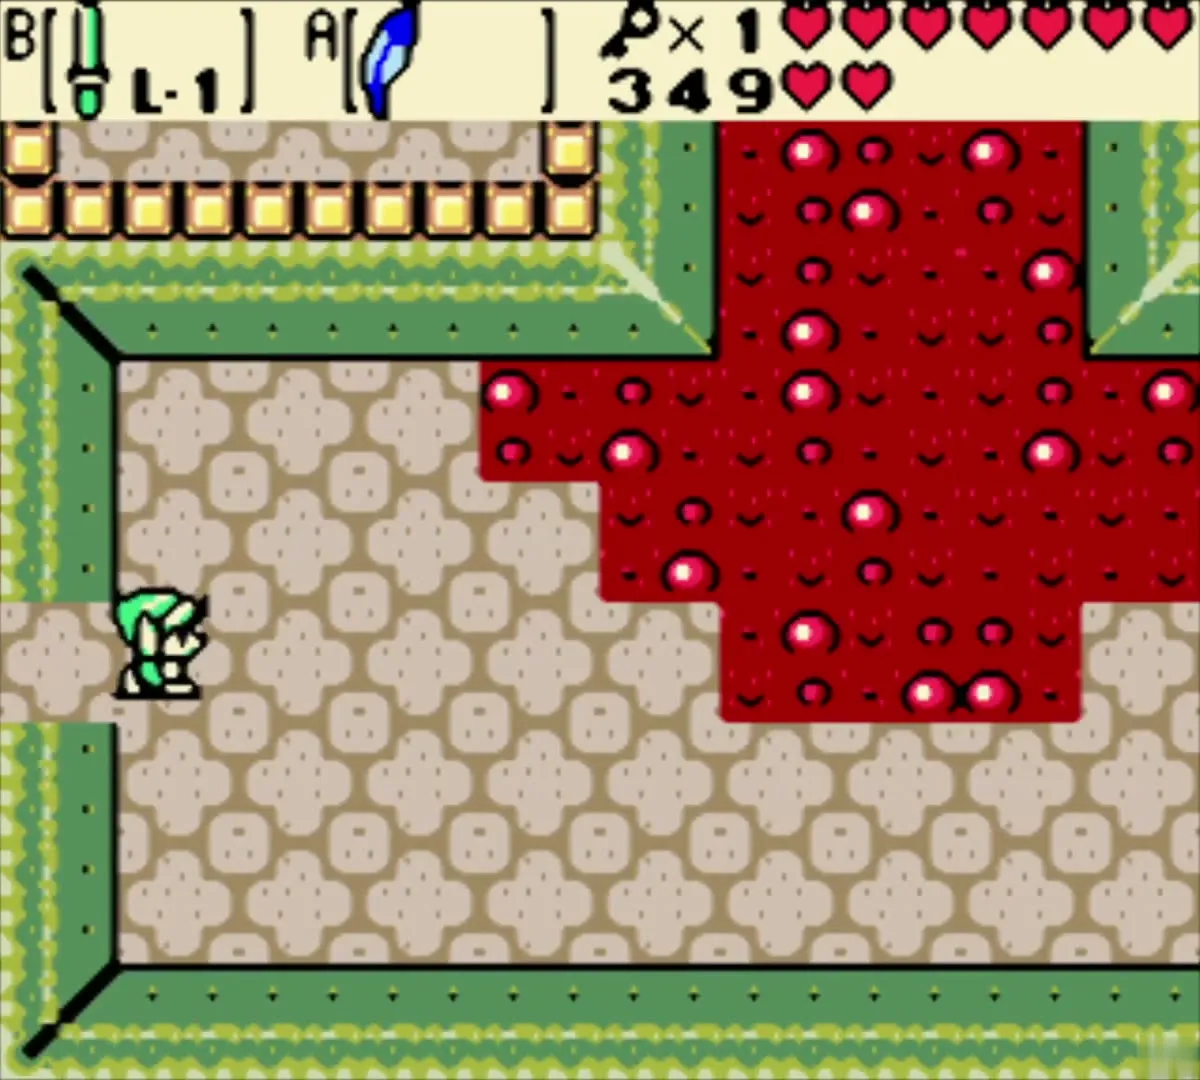
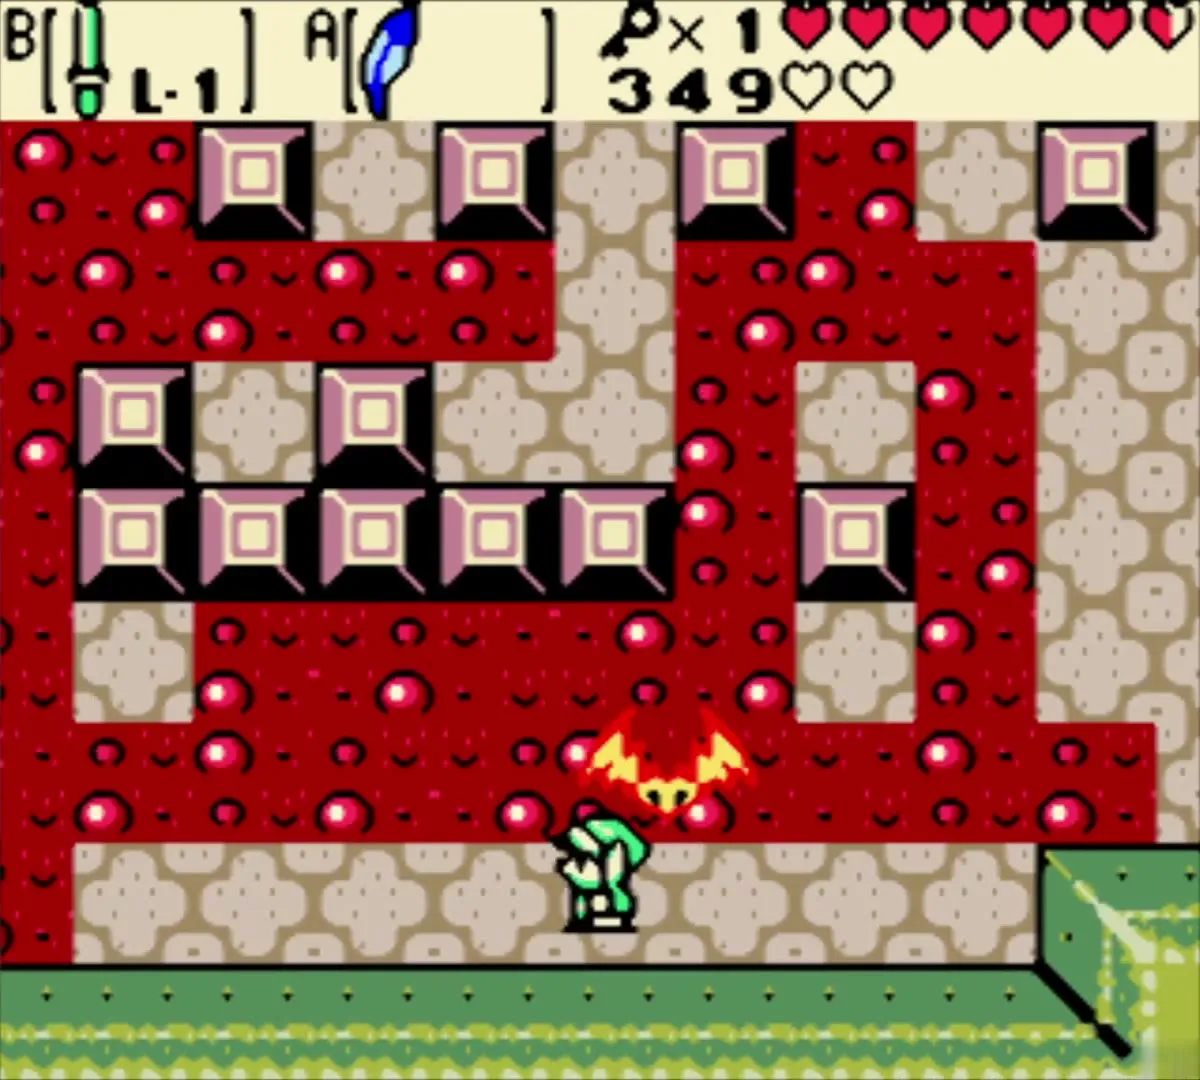
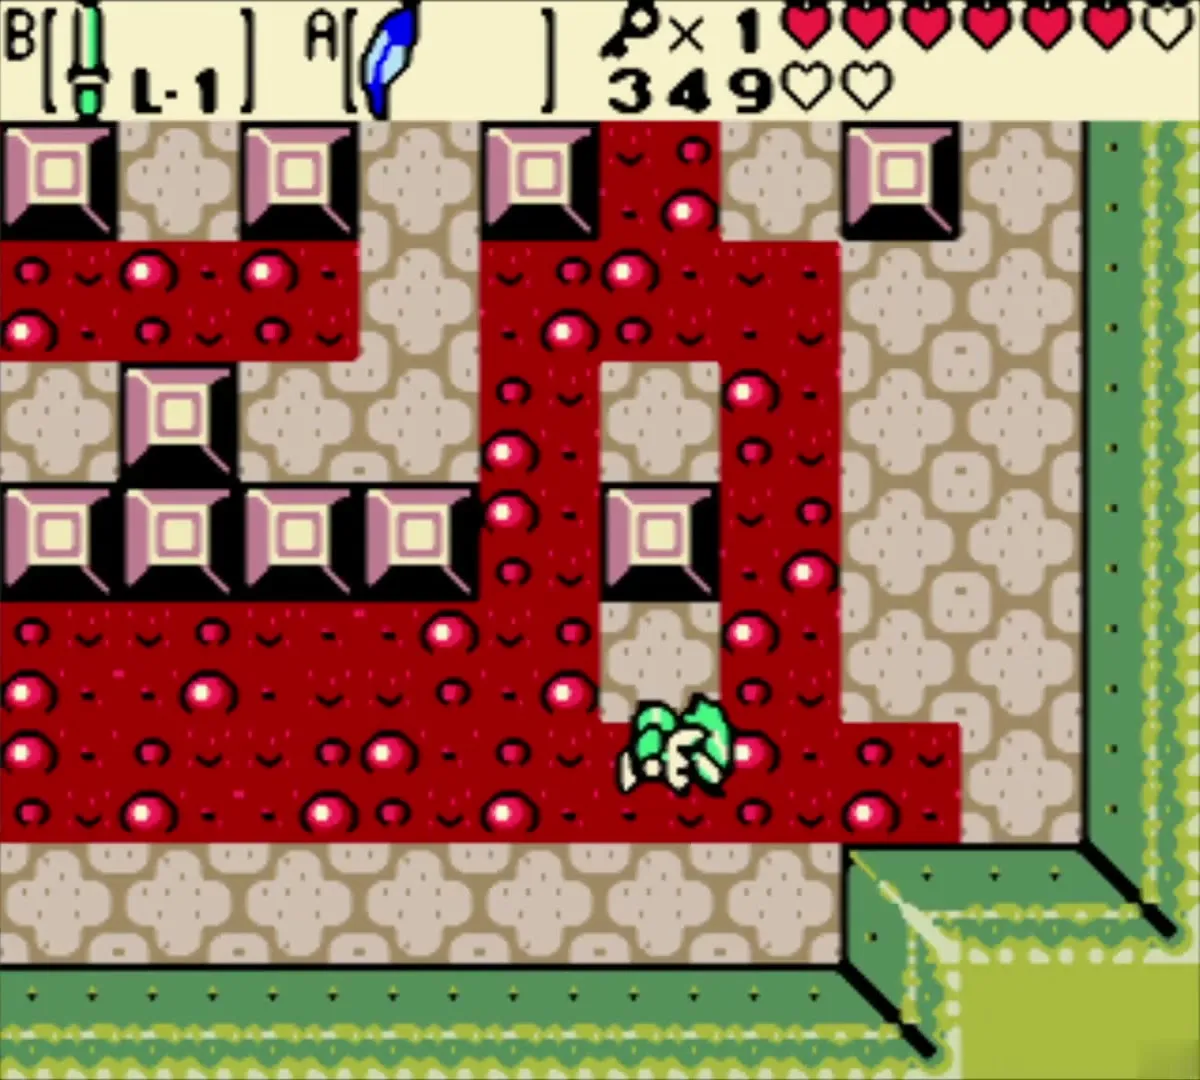
Enter the dungeon and a title card announces Level 4, Skull Dungeon. The first room has a door to the north. You will need a Small Key before you can reach the east wing, so go north and then west through the rooms. In the second room, defeat all the enemies to open the door. Hop the lava pits with Roc’s Feather and keep an eye out for the Spark that circles the walls.

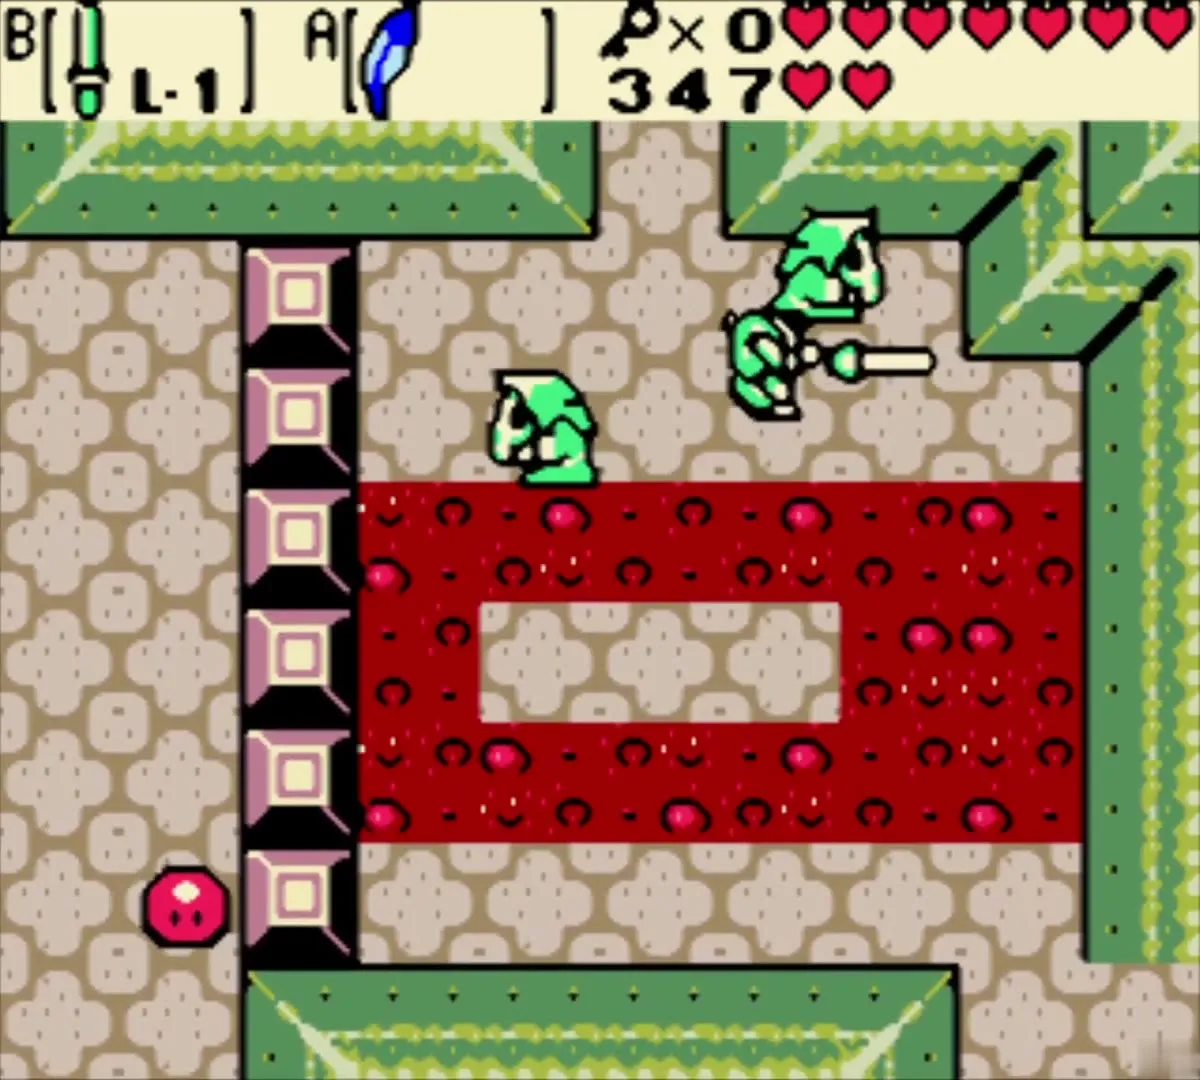
Compass
Cross to the west exit and enter the first room to the south. Push the eastmost block down to clear a path to the chest, and open it to get the Compass.

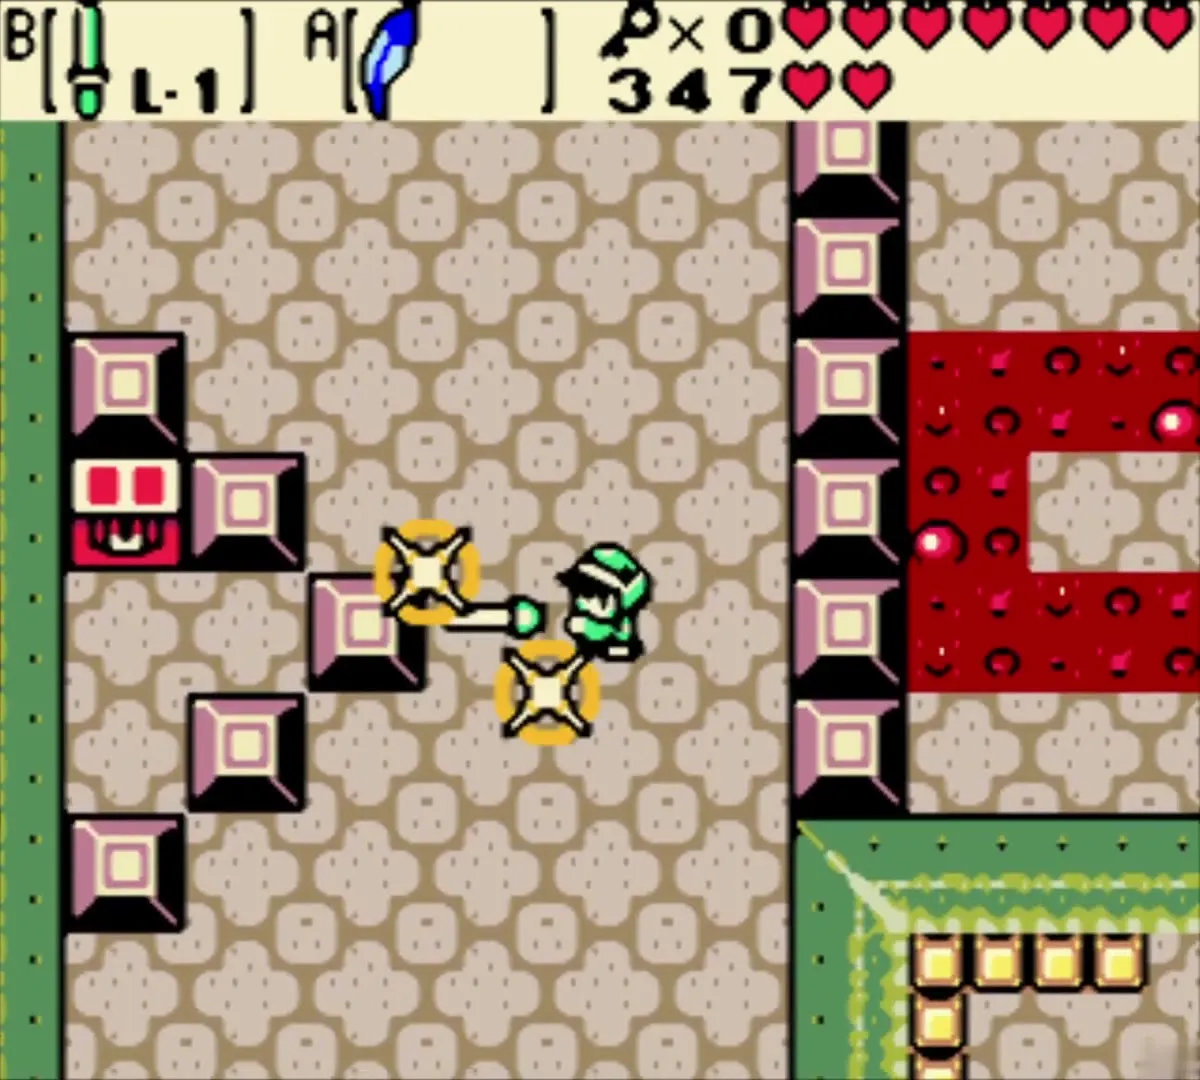

First Small Key: the colour-block room
In the last room of this wing, beat the monsters and jump over the lava. Push the coloured block onto the marked square so that its blue face is up. A shortest path is four pushes down, one right, one up, one left, one down and two left. When it settles, a chest appears with the first Small Key.


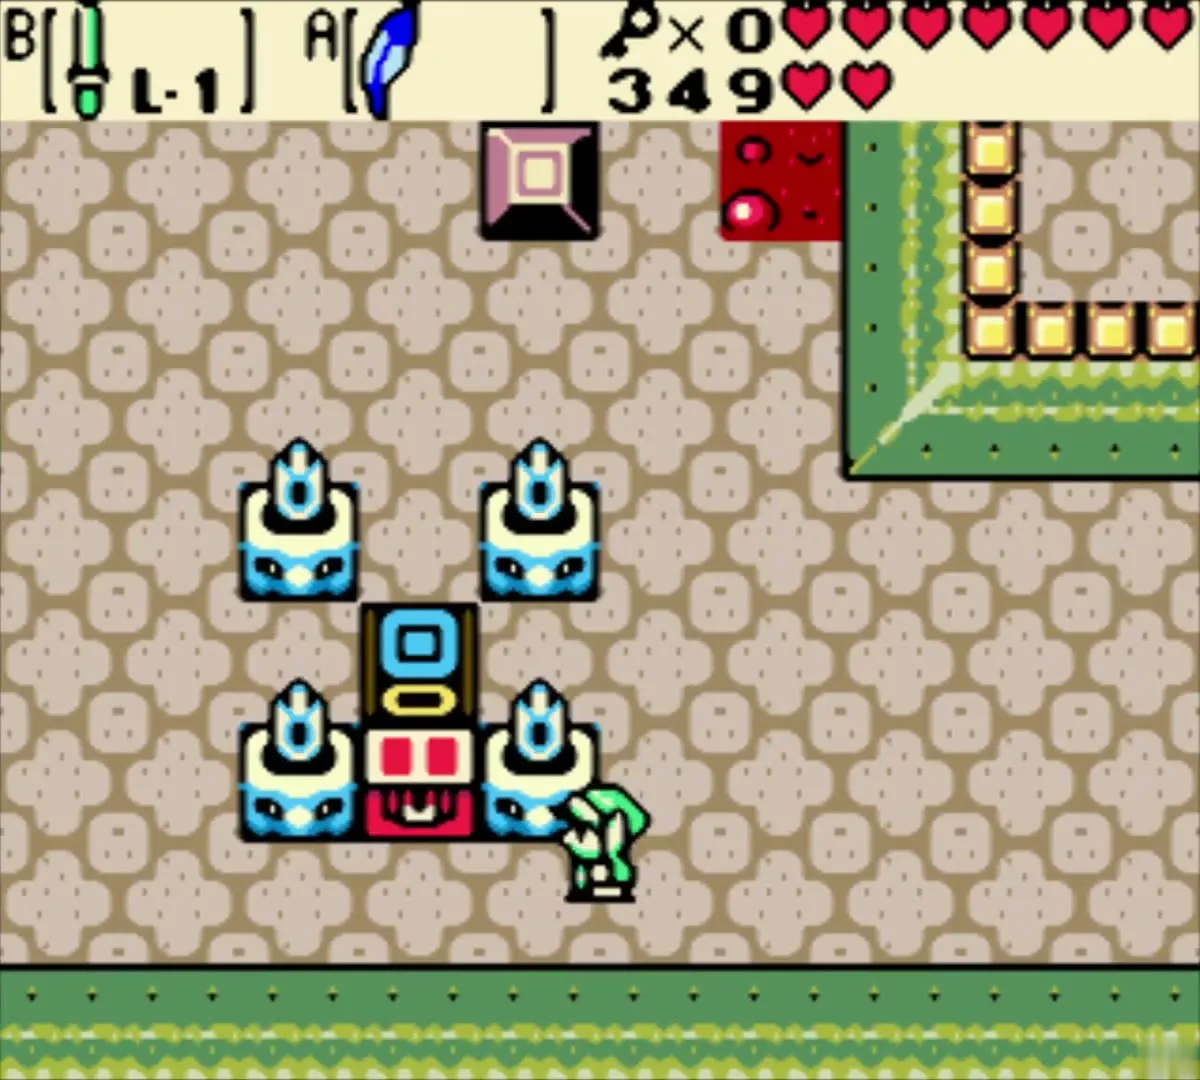
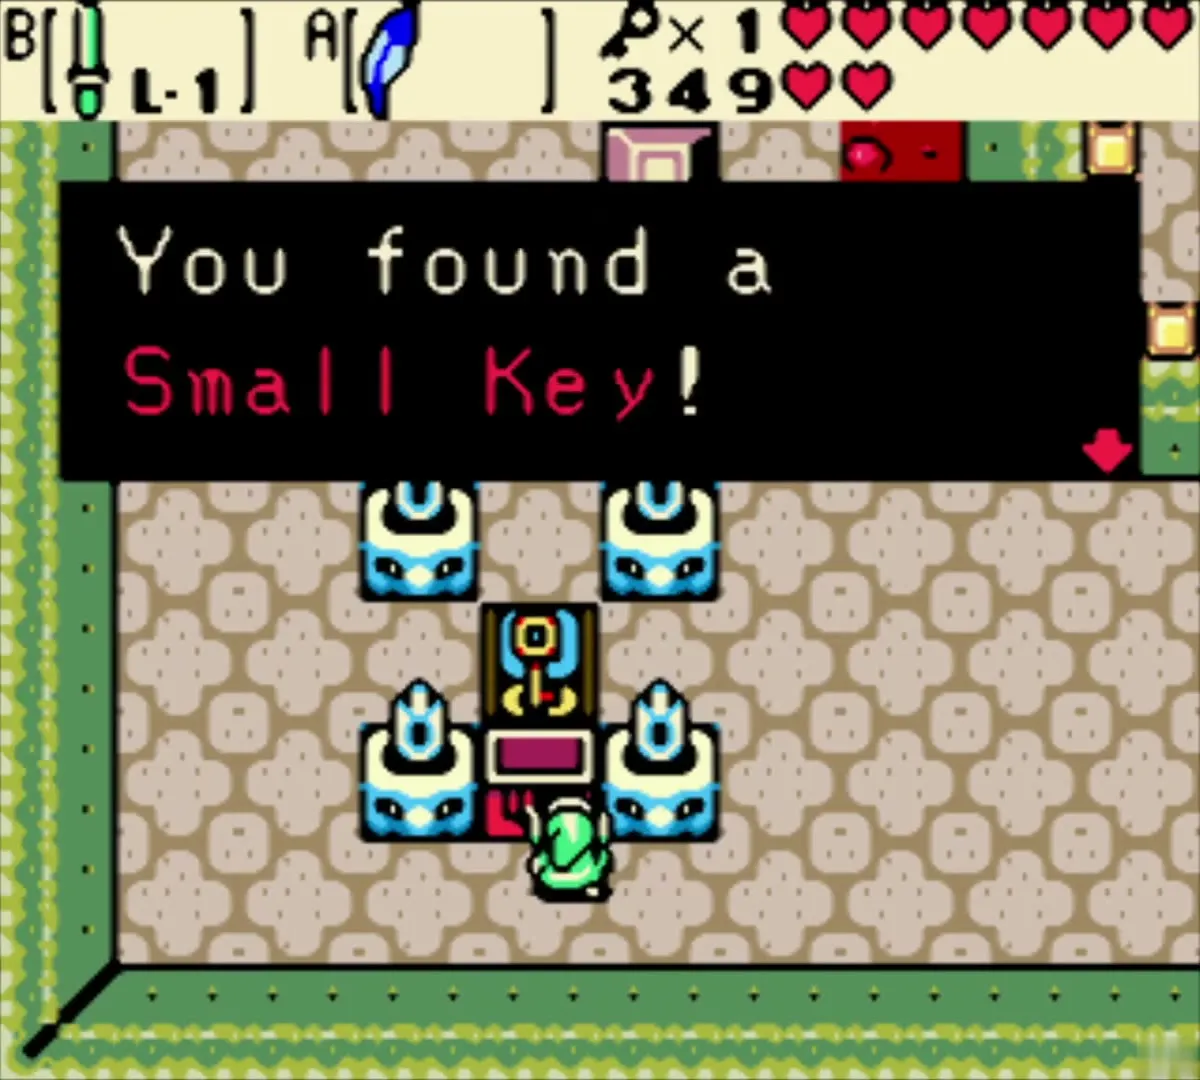
The east wing and the first minecart
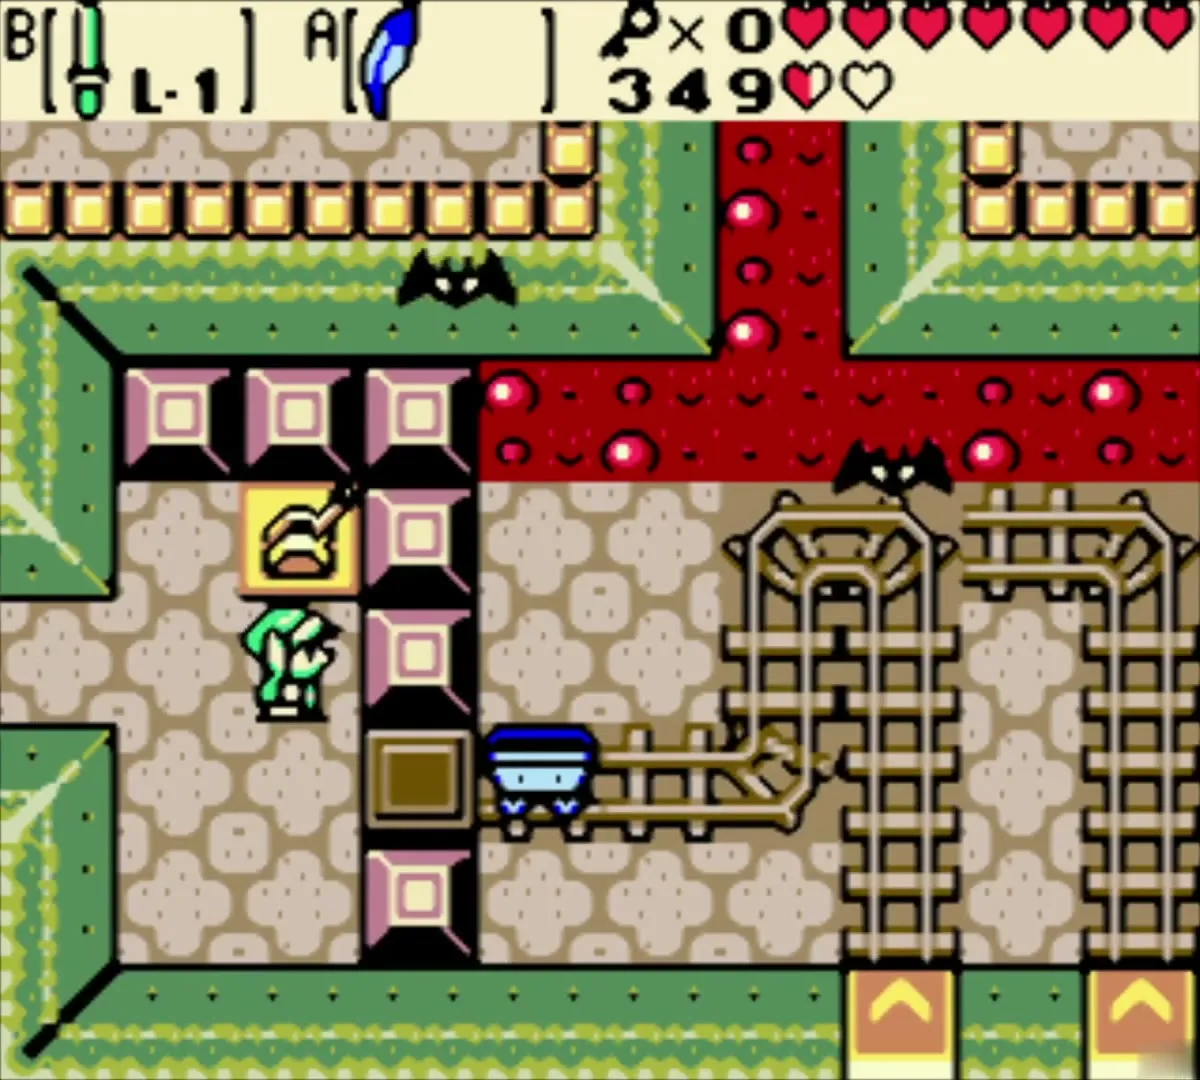
Go back to the first lava room, using the shortcut on the right, and continue east to the locked door. Make the jumps across the lava toward the island at the centre, push one block left to make the next hop safe, cross, and push the next block to the right to clear the way. Use the Small Key on the door. Beyond it is a room with minecarts, where lava and bats wait. This is the minecart room that continues the dungeon.


Chapter checklist
| Type | Name | Where (era) |
|---|---|---|
| Trade | Cheesy Mustache (for the Dumbbell) | Downstairs in the Middle House, Symmetry Village (past) |
| Key item | Cracked Tuni Nut | Injured brother’s house, Symmetry Village (past) |
| Tune | Tune of Currents | Tokkey, hidden cave under Talus Lake (past) |
| Piece of Heart | 1 Piece of Heart | Talus Peaks, south of Tokkey’s lake, on a ledge reached by playing the Tune of Currents (present) |
| Upgrade | Bomb capacity 30 to 50 | Fairy pond at the top of the vine, Talus Peaks (present) |
| Minigame | Maple‘s races, 4 times | Talus Peaks (past) |
| Minigame | Patch’s Crazy Cart: repaired Tuni Nut | Restoration Wall (past) |
| Gasha Seed | Chest south of Restoration Wall (optional) | Talus Peaks (present) |
| Soft soil | 2 spots, high ledges (optional) | Talus Peaks (past and present) |
| Dungeon item | Compass | Skull Dungeon, first south room |
| Small Key | 1 Small Key (colour-block room) | Skull Dungeon |
