





















Oracle of Ages 100% Completion Walkthrough24 chapters
- Arrival in Labrynna and the Black TowerStart Oracle of Ages in a linked game: Forest of Time, Vasu’s Ring Box, the Maku Tree, the time portal, the Black.
- Maku Path and Spirit’s Grave (Level 1)Maku Path and Spirit’s Grave walkthrough for Oracle of Ages: Seed Satchel, Graveyard Key, Power Bracelet, Pumpkin Head.
- The Harp of Ages and Fairies’ WoodsHarp of Ages and Fairies’ Woods walkthrough for Oracle of Ages: Poe Clock, Heart Piece, Vasu’s rings, hide-and-seek.
- Deku Forest and the Mystery SeedsDeku Forest walkthrough for Oracle of Ages: Mystery Seeds, Queen Ambi’s Bombs, a Heart Piece, the Deku Secret and the.
- Wing Dungeon (Level 2)Wing Dungeon walkthrough for Oracle of Ages: all five Small Keys, Dungeon Map, Compass, Swoop, Roc’s Feather, Boss.
- Farore’s Secrets and Cheval’s GraveFarore’s secrets and Cheval’s Grave walkthrough for Oracle of Ages: West Lynna Heart Piece, Hall of Secrets codes, Red.
- Tingle’s Chart and Crescent IslandTingle’s Chart and Crescent Island walkthrough for Oracle of Ages: Ricky’s Gloves, Island Chart, Rafton’s raft, the.
- Moonlit Grotto (Level 3)Moonlit Grotto walkthrough for Oracle of Ages: all Small Keys, Compass, Seed Shooter, Gasha Seeds, Subterror, Boss.
- Nuun Highlands and the Strange FlutesOracle of Ages Nuun Highlands walkthrough: Dimitri’s Flute, Tingle’s 99-seed Satchel, the Black Tower rescue, the.
- Symmetry City and Talus PeaksOracle of Ages Symmetry City and Talus Peaks walkthrough: Cracked Tuni Nut, Patch’s ceremony, Tune of Currents, Heart.
- Skull Dungeon (Level 4)Skull Dungeon walkthrough for Oracle of Ages: Compass, Dungeon Map, 5 Small Keys, Armos Warrior, Switch Hook, Boss.
- Lynna Trades and the Noble SwordOracle of Ages trading sequence walkthrough, Funny Joke to Noble Sword: Touching Book, Maple’s Magic Oar, Sea Ukulele.
- West Rolling Ridge and the Great MoblinWest Rolling Ridge walkthrough for Oracle of Ages: Lynna secret shop, Pegasus Seeds, Moblin’s Keep, Great Moblin, Bomb.
- Crown Dungeon (Level 5)Crown Dungeon (Level 5) walkthrough for Oracle of Ages: Small Keys, Cane of Somaria, Smasher, Compass, Boss Key, Smog.
- East Rolling Ridge and the Mermaid KeysEast Rolling Ridge walkthrough for Oracle of Ages: Goron Dance, Brother Emblem, Target Carts, Rock Brisket, Goron Vase.
- Mermaid’s Cave (Level 6) Walkthrough for Oracle of AgesMermaid’s Cave walkthrough for Oracle of Ages: get the Old Mermaid Key, clear both halves, collect the Mermaid Suit.
- Ambi’s Palace and the Tune of AgesAmbi’s Palace walkthrough for Oracle of Ages: sneak in, beat Possessed Nayru, learn the Tune of Ages, claim Hall of.
- Zora Seas and the Fairy PowderOracle of Ages Zora Seas walkthrough: the Gasha Seed chest, King Zora’s Library Key, Book of Seals, Fairy Powder and.
- Jabu-Jabu’s Belly (Level 7)Jabu-Jabu’s Belly walkthrough for Oracle of Ages: Like Like Ring, Compass, Small Keys, Long Hook, Boss Key, Plasmarine.
- Sea of Storms and the Pirate ShipSea of Storms walkthrough for Oracle of Ages: Zora Scale, pirate ship and Tokay Eyeball, clam grotto ring, Tokay.
- Ancient Tomb (Level 8)Ancient Tomb (Level 8) walkthrough for Oracle of Ages: three Slates, the Boss Key, two Gasha Seeds, Ramrock boss.
- Final Collection and the Hero’s CaveOracle of Ages final collection walkthrough: Maple Piece of Heart, Gasha Nut rings and fairies, Hero’s Cave Armor Ring.
- The Black Tower and VeranFinal ring appraisals, the Huge Maku Seed, the Black Tower climb and the three-phase Veran boss fight in Oracle of.
- Room of Rites, Twinrova and GanonOracle of Ages Room of Rites walkthrough: the eye-statue hallway, Twinrova’s fire and ice phases, the Ganon boss.
| Covers | Overworld rupee and item farming against Maple in both eras (Lynna Village, the yellow and pink zones, the lilac grove and the beach); Hero’s Cave in the present; Vasu Jewelers in Lynna City (present) |
|---|---|
| Dungeon | Hero’s Cave (Linked Game only, no level): small keys, Gasha Seeds from chests, Armor Ring L-3 in the last chest. No mini-boss, no boss, no Essence of Time. |
| Rewards | 2 Pieces of Heart (one from Maple, one from a Gasha Nut); 4 Gasha Nuts (a ring, a fairy, 200 Rupees, a Piece of Heart); 2 Gasha Seeds from Hero’s Cave; several small keys; Armor Ring L-3; Slayer’s Ring (1000-monster prize); rings appraised at Vasu’s for 20 Rupees each; no Essence and no linked secrets in this chapter |
This chapter is the sweep before the finale. You farm Maple for rupees and drops, dig four Gasha Nuts out of soft soil, clear Hero’s Cave in the present, and take your rings to Vasu to be appraised. Along the way you collect two Pieces of Heart. Use the Harp of Ages to switch between eras. The route runs: Maple and her Piece of Heart, the four Gasha Nuts, Hero’s Cave from its entrance to the last chest, then Vasu’s ring prize and appraisals.
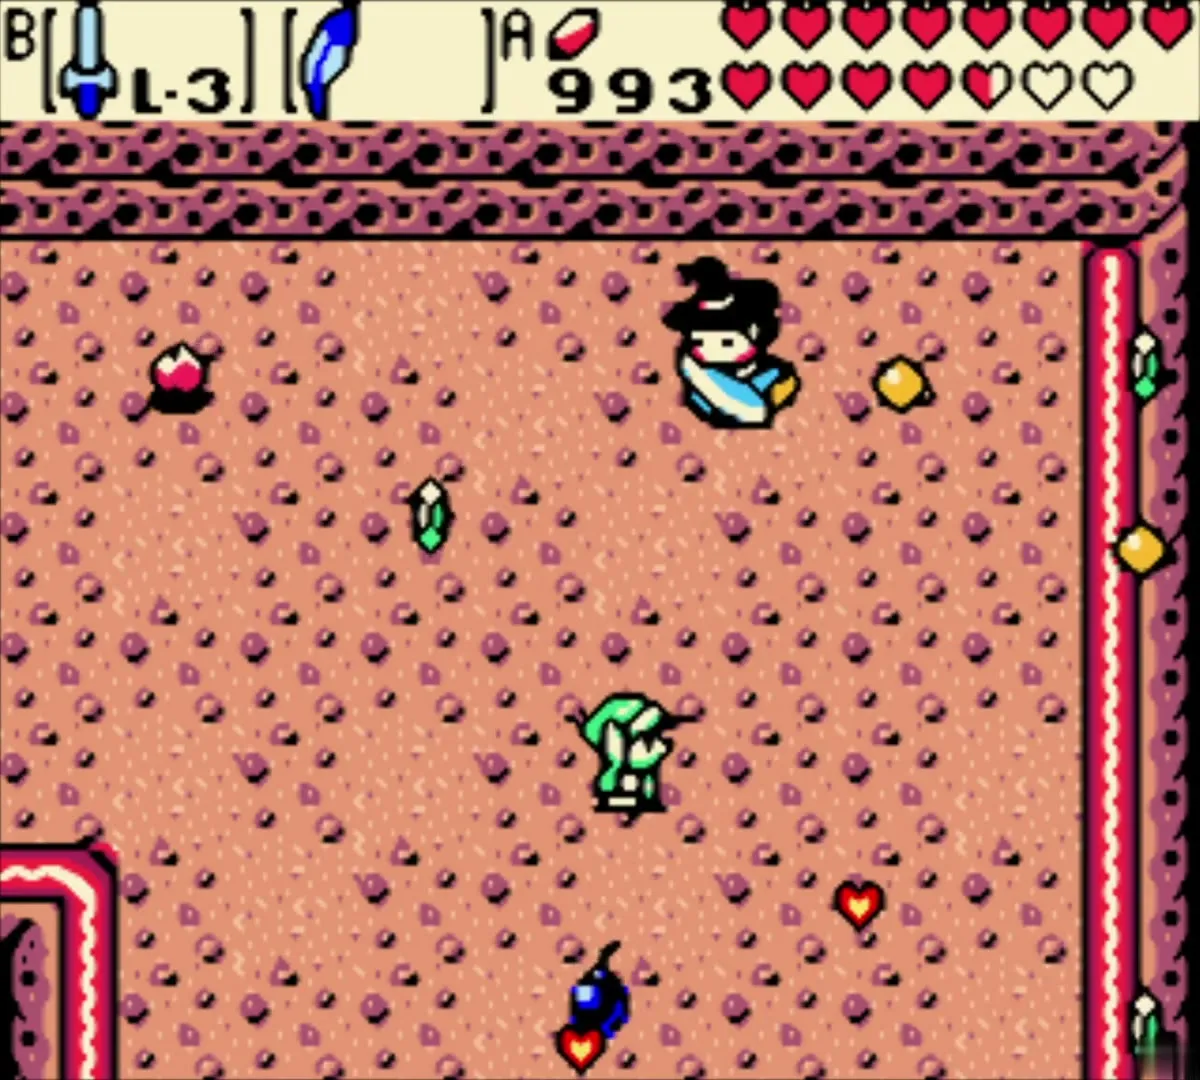

Maple: rupees, drops and a Piece of Heart
Let Maple find you
Maple flies in after you defeat enough enemies: about 30 kills, or 15 while you wear Maple’s Ring (see Maple encounters). Her music plays first, and her shadow crosses the screen before she appears. Stay in her path so that she crashes into you. Both of you drop items, and she can show up in the past or the present. She cannot steal your rings, potions or Gasha Seeds, so the worst outcome is losing a few Rupees and seeds.


Collect the drops quickly. Maple takes Pieces of Heart first, then Gasha Seeds, rings and potions. Hearts, bombs and Rupees are the leftovers. After each crash, read her reply, which tells you whether she collected more items than you. If she takes enough Rupees over many encounters, she upgrades her broom to a vacuum that hoovers up everything in reach, so keep farming with that in mind.


Catch the Piece of Heart she drops
Stay in the yellow zone with the blue channels for the crash that drops a heart-shaped item at the right edge. Catch it before Maple reaches it. The box confirms a Piece of Heart and says that collecting four in all gives you an extra Heart Container. Maple is one of the two random sources of Pieces of Heart in the game (see Heart Piece locations).


Gasha Nuts from soft soil
Dig for a ring
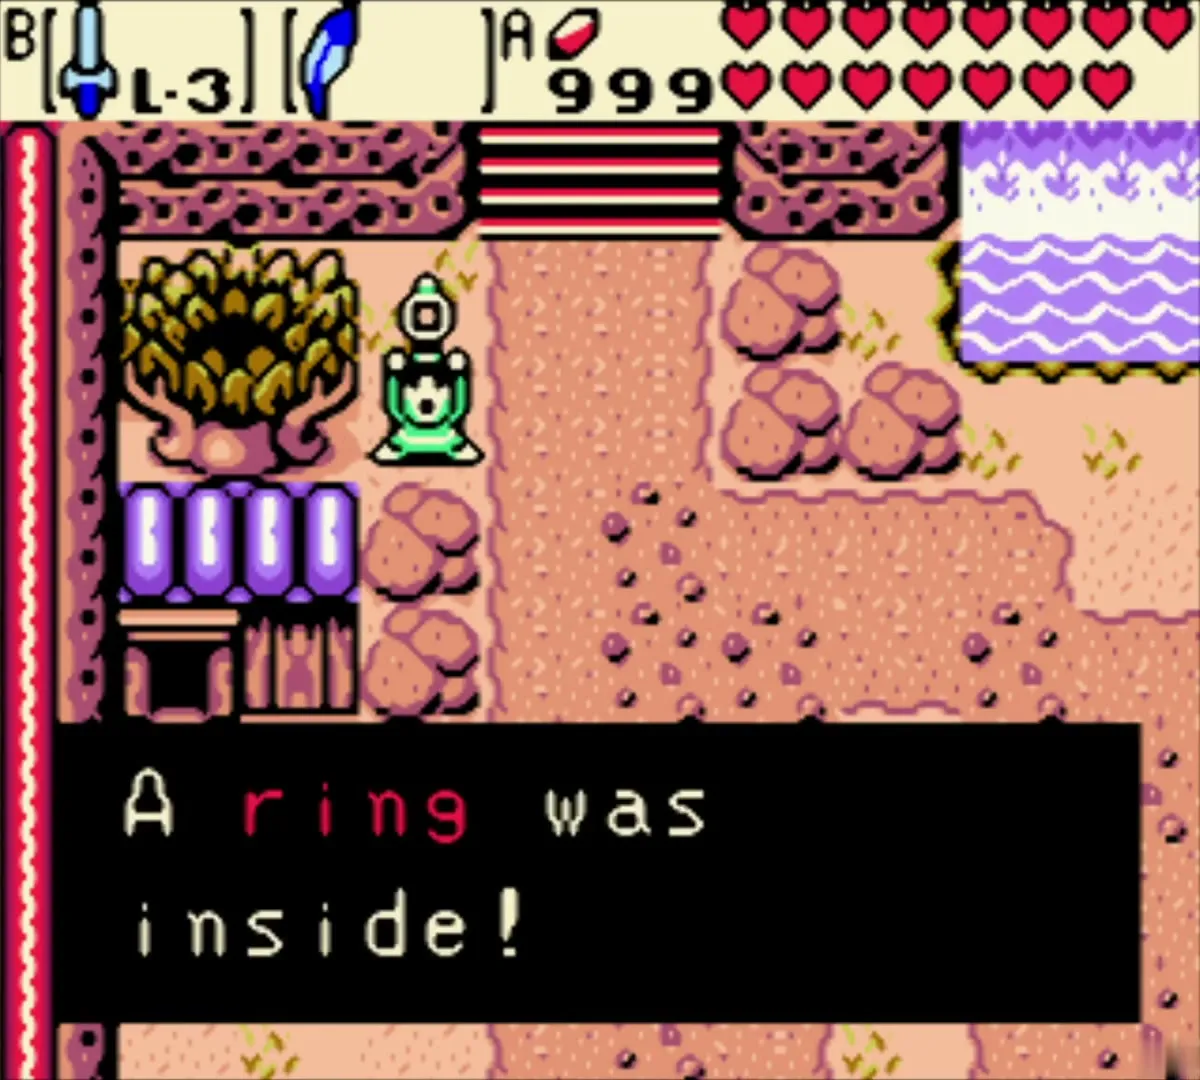
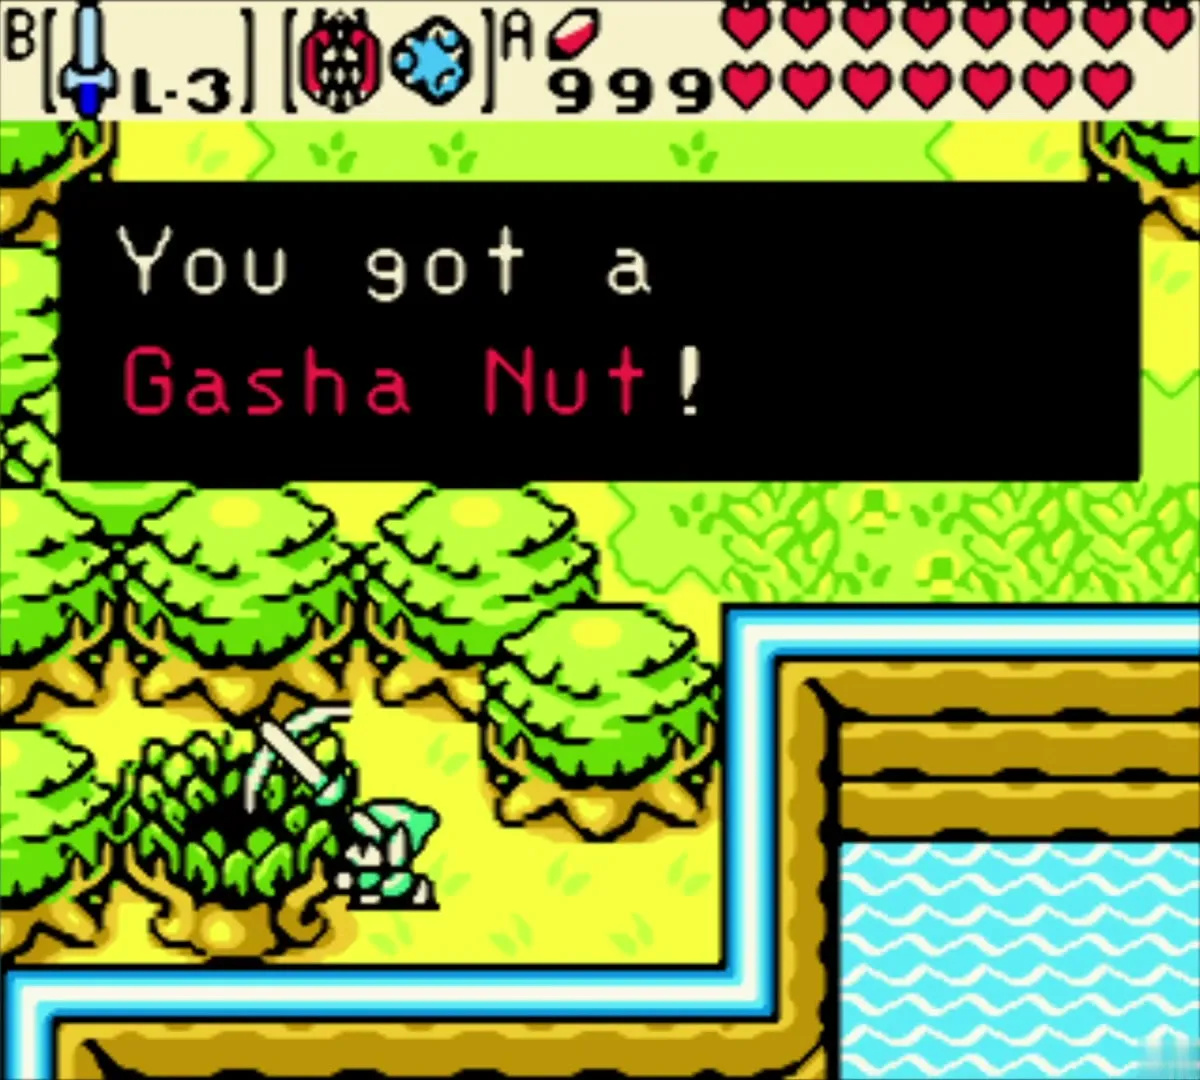
Gasha Nuts grow on Gasha Trees, which come from Gasha Seeds planted in soft soil. Dig each soft soil bush you reach and watch for “You got a Gasha Nut!” In the pink sand area, next to a bush and a pair of purple posts, the first nut holds a ring. It arrives unappraised, so you can only wear it after Vasu has appraised it (see Gasha Seeds and soft soil).

Release a fairy from the coast
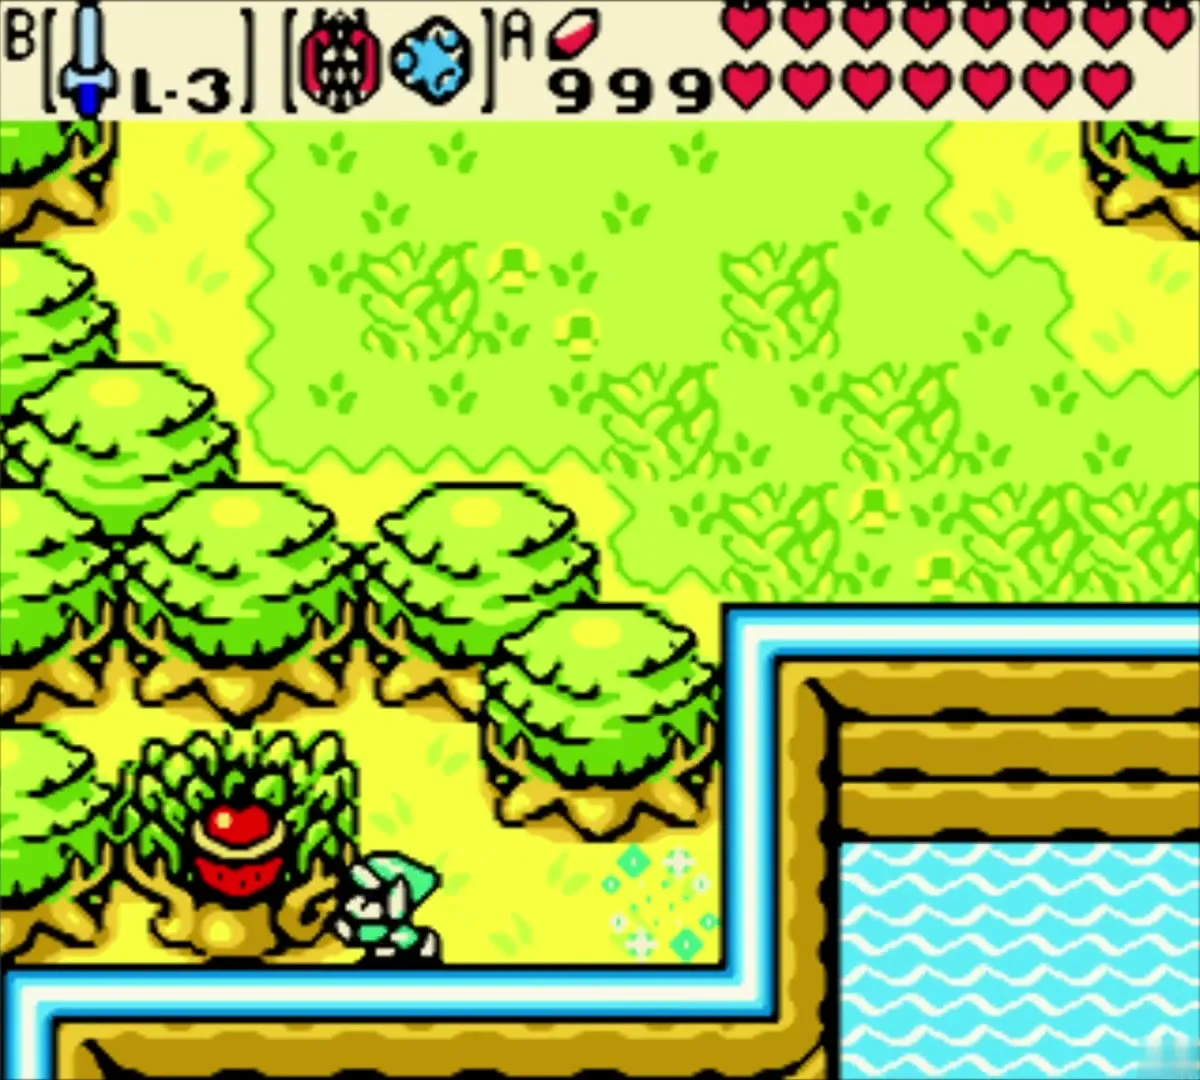
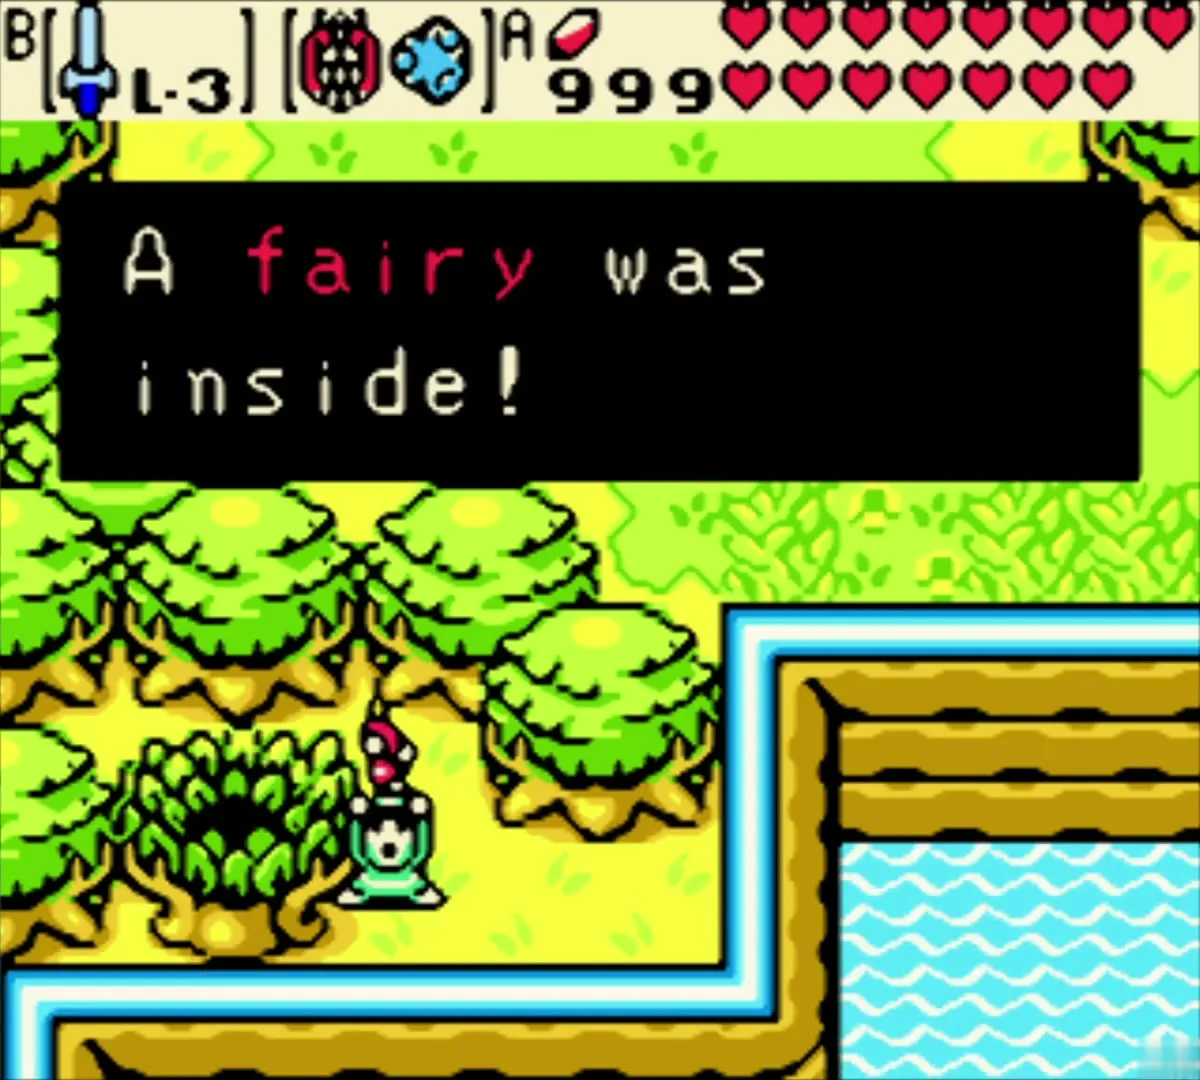
Use the Harp of Ages to reach the green coast by the sea, and dig the red-capped shrub beside the water. The second nut releases a fairy. Gasha Nuts can hold rings, hearts, fairies, Rupees or potions, so this result is one of the common ones.
Take 200 Rupees from the beach
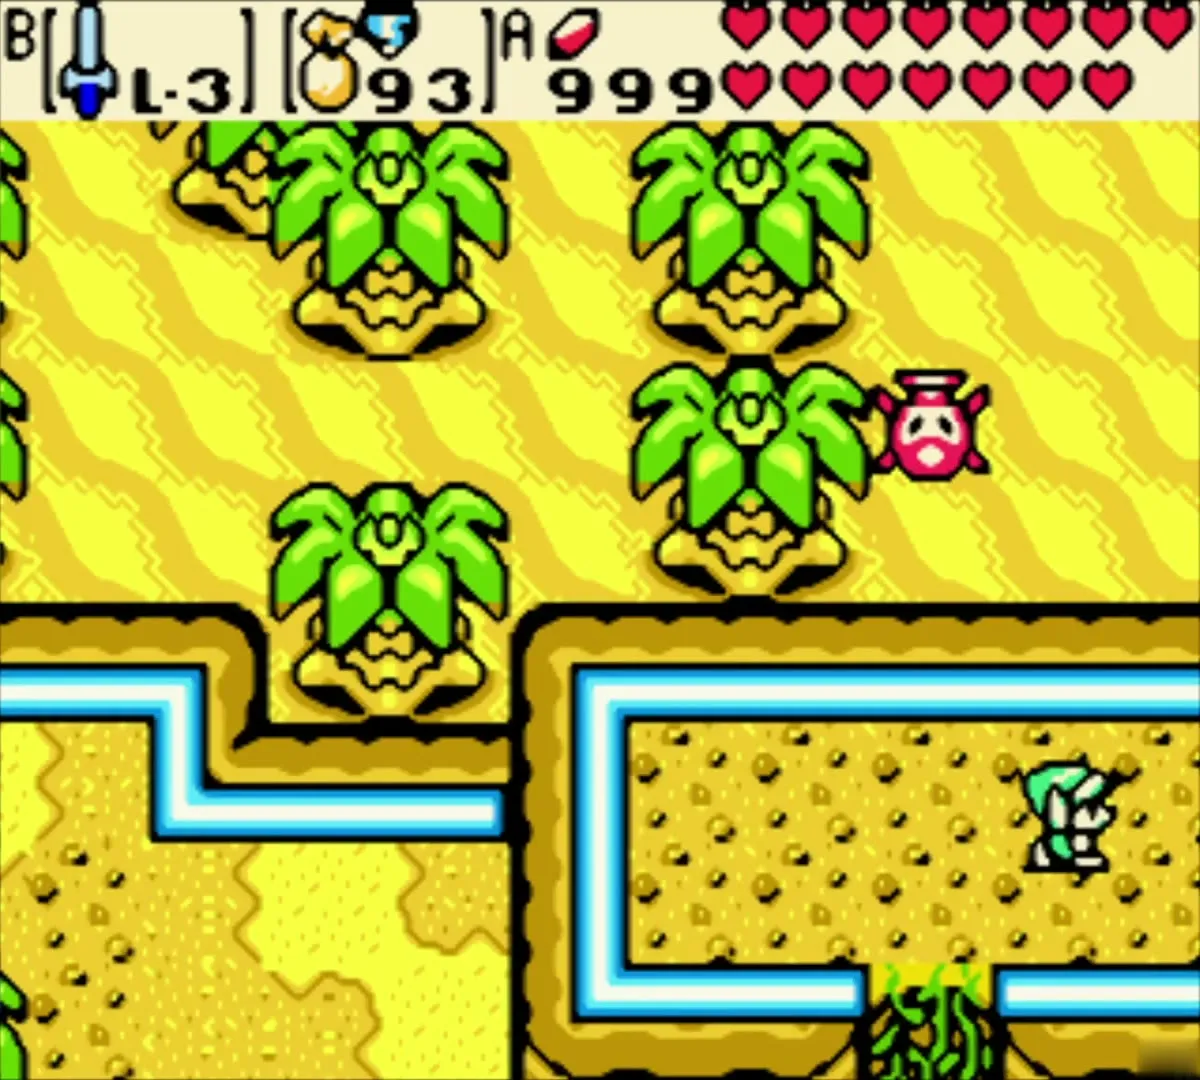
On the sandy beach with palm trees, dig the bush patch near the water. The third nut holds 200 Rupees, which go straight into your wallet.

Dig the lilac grove for a Piece of Heart
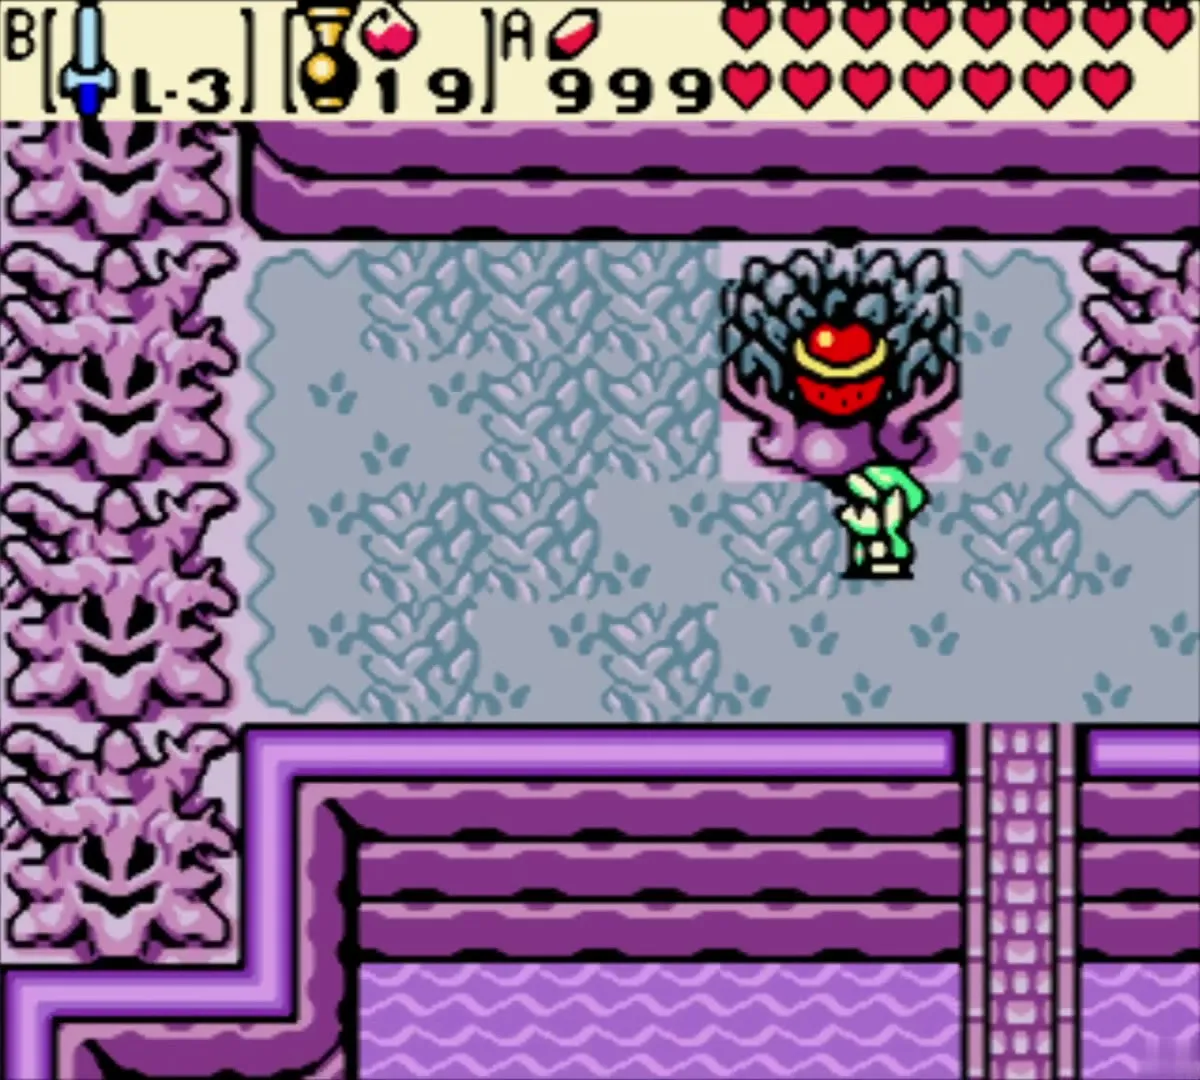
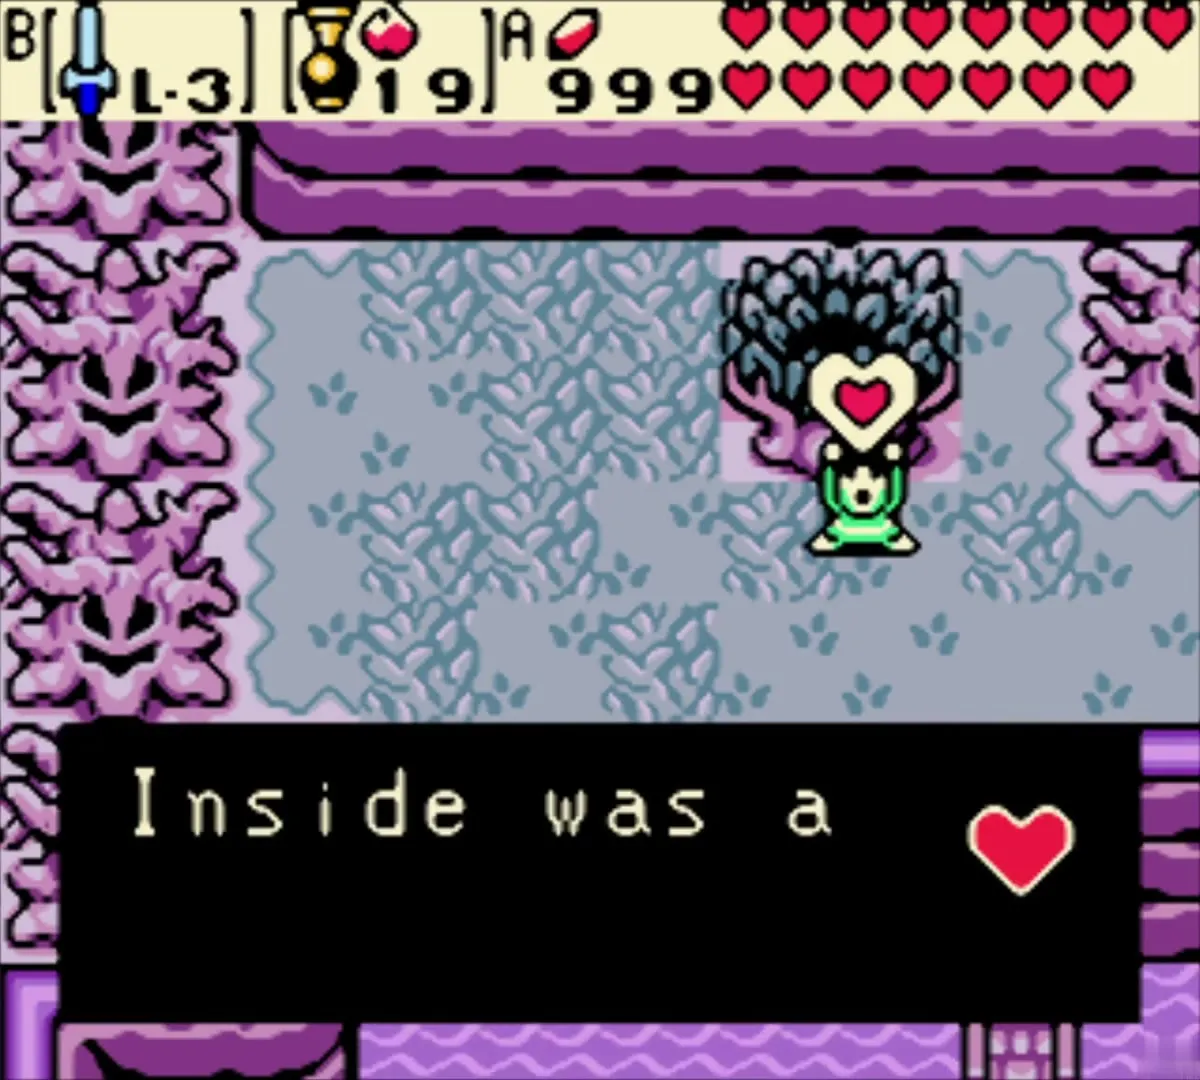
Walk into the lilac clearing near the large grey tree and dig the soft soil there. The fourth nut holds a Piece of Heart, with the same message as the Maple drop. Gasha Nuts are the second random source of Pieces of Heart, so dig the soft soil patches you pass.

Hero’s Cave (Linked Game)
Find the entrance
Hero’s Cave appears only in a Linked Game. Its entrance is in the present, just south-west of the Maku Tree in Lynna City, near the Maku Road. The cave is linear, and each room holds a puzzle or lock that must be solved before the next door opens. Warp points appear partway through, so you can leave and come back. The cave can only be finished after you have the treasures of the earlier dungeons, including the Mermaid Suit from Mermaid’s Cave.
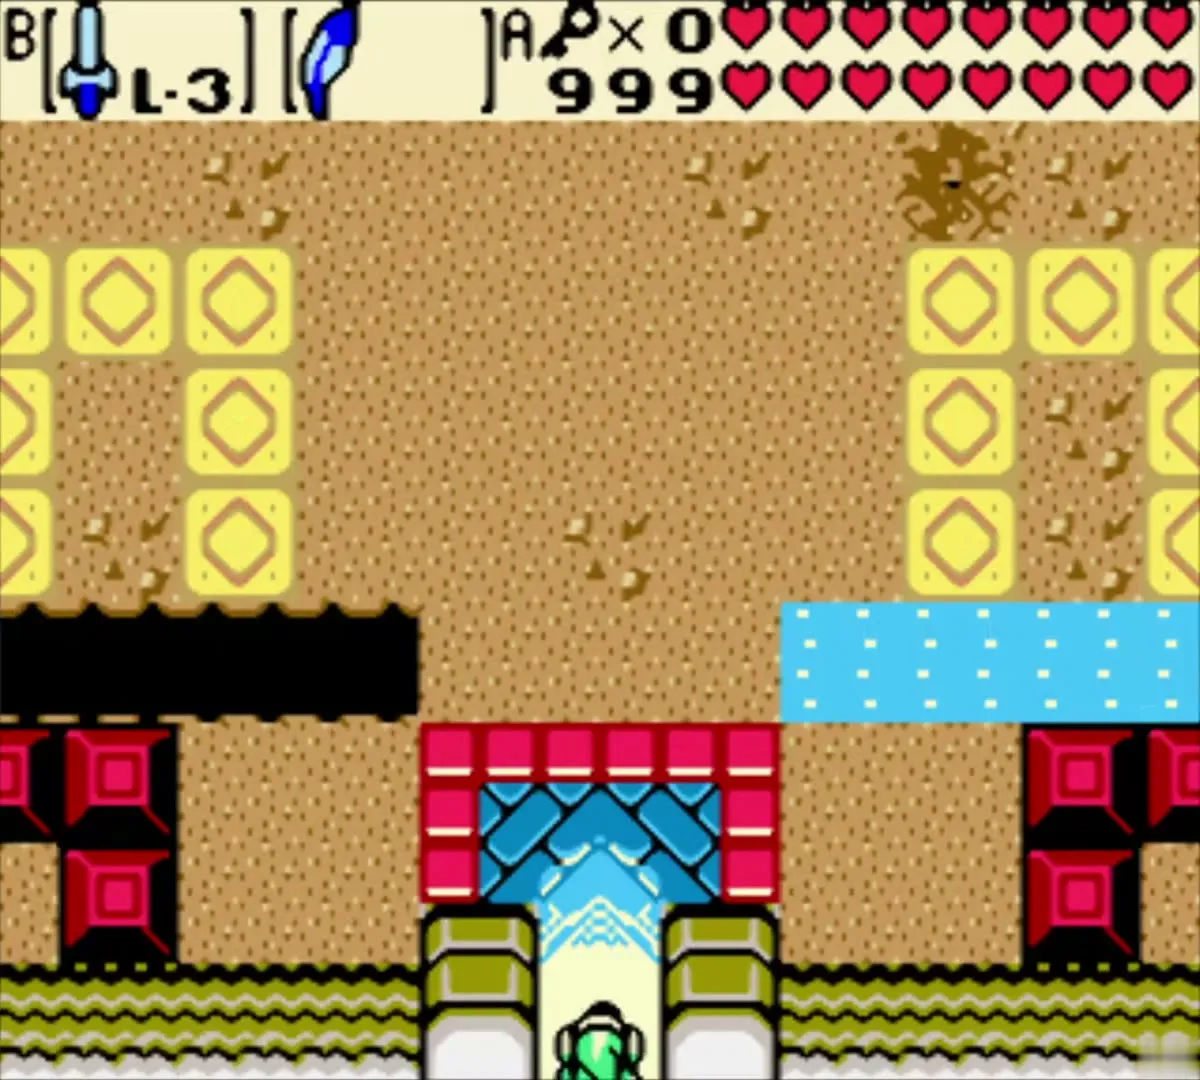

Sand rooms and the first small key
The first rooms have sand floors, red blocks and a few bats. Bombs open walls where a route looks sealed. The first chest holds a small key, which opens a locked door further in. Keep an eye on your bombs, because the next few rooms use them up quickly.
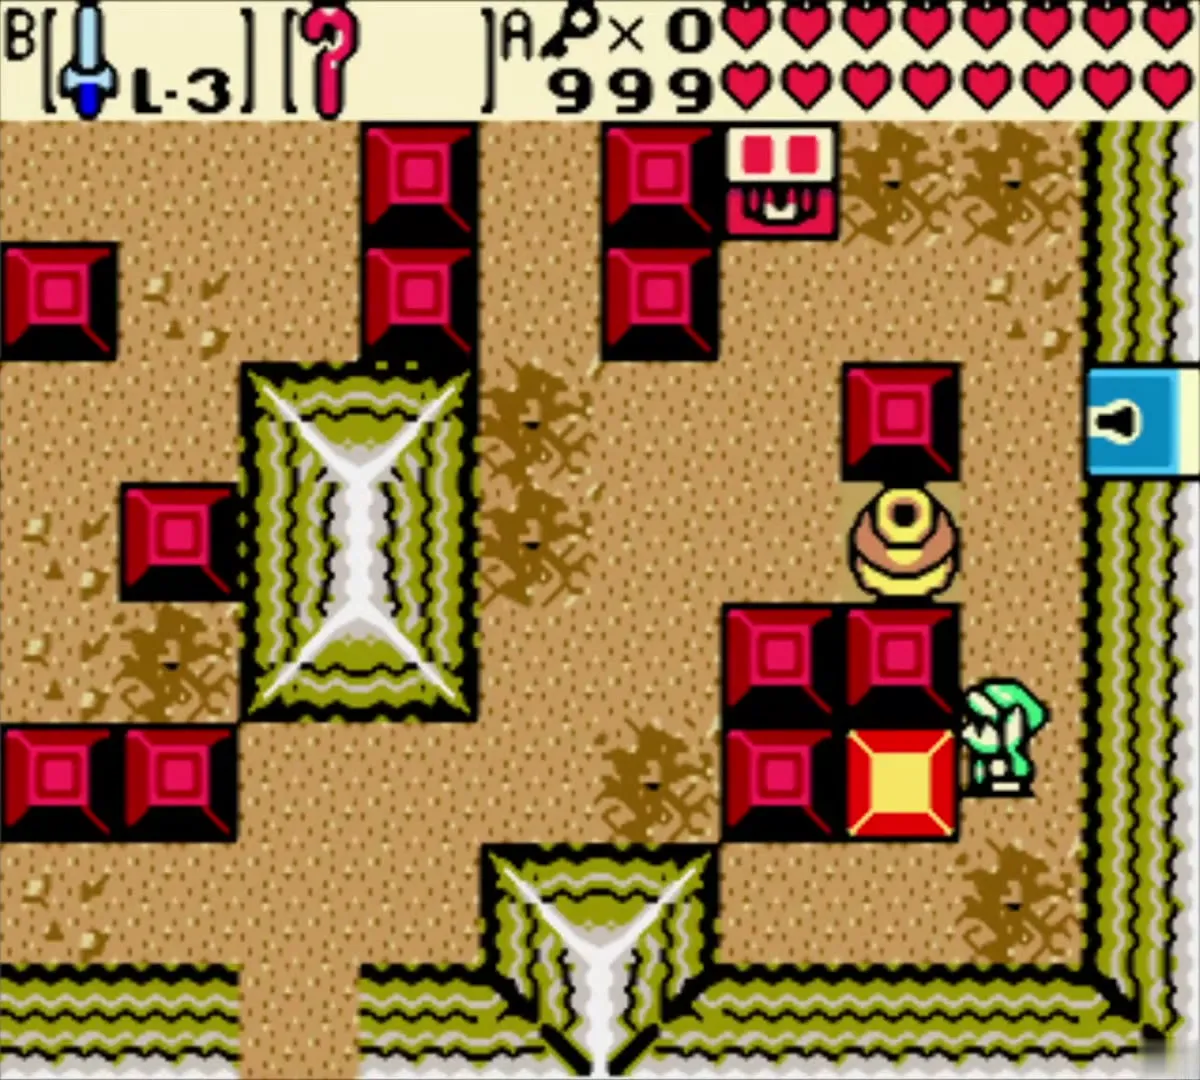
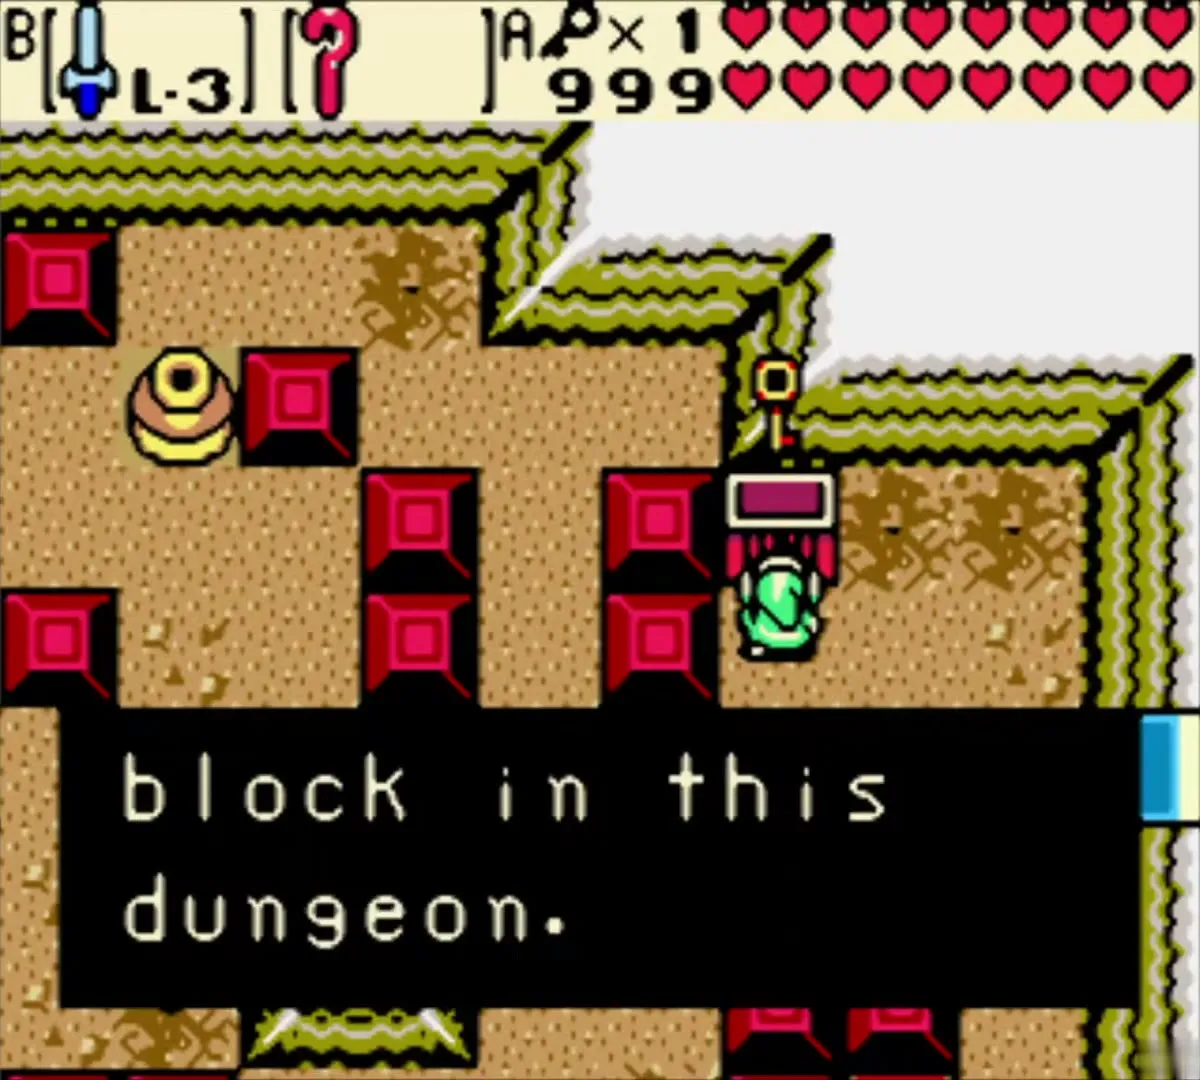
Pots and a Gasha Seed
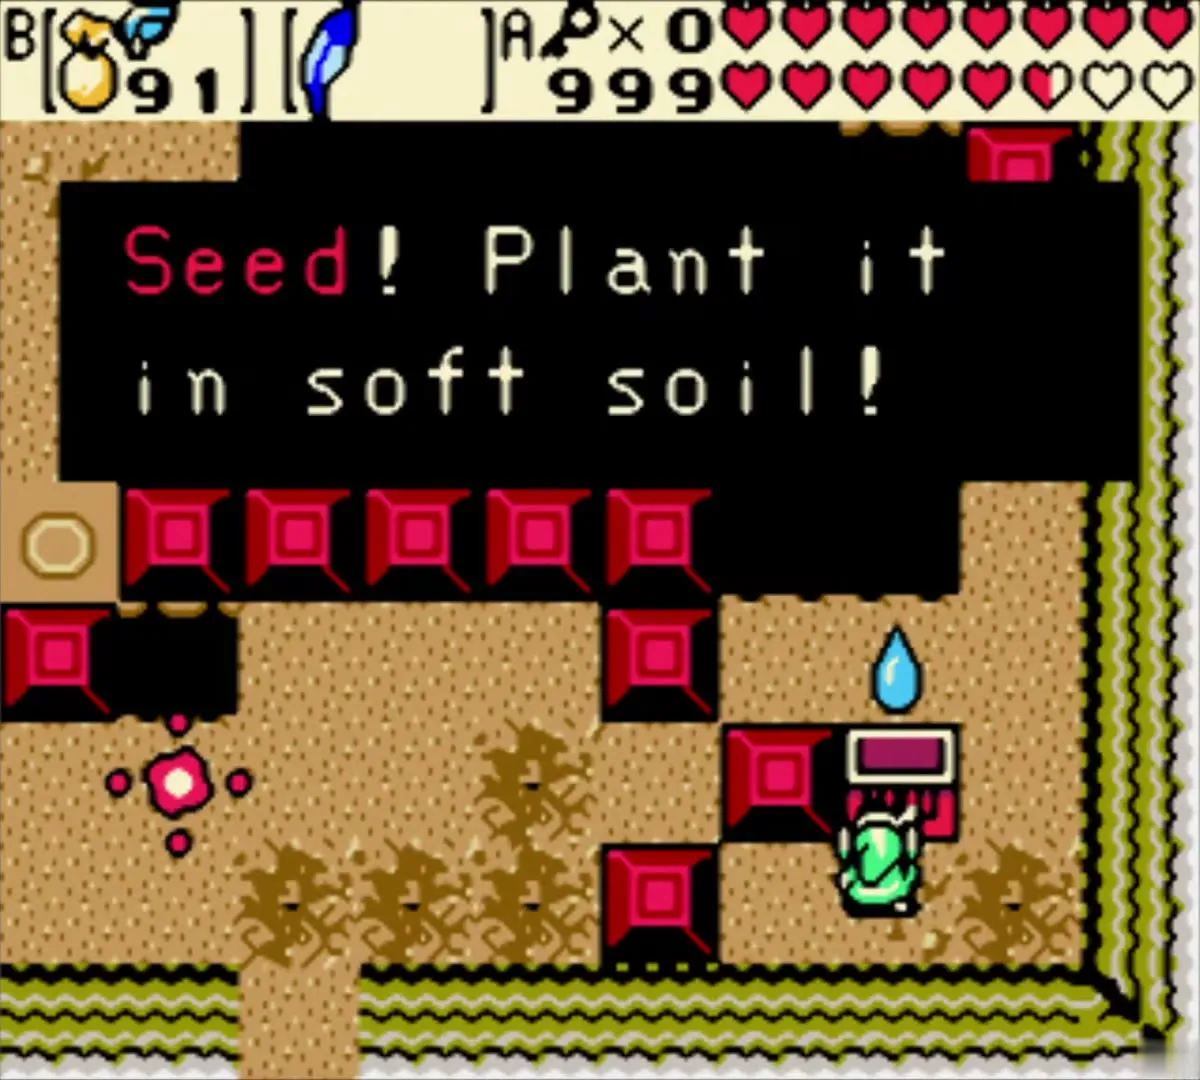
In the sand room with scattered pots and a yellow pressure pad, lift and throw the pots to clear the way. Breaking one of them reveals a Gasha Seed, which you pick up. Plant it in soft soil later to start a new Gasha Tree.


Block puzzles and switches
Continue through the rooms of red and blue blocks, and step on the red gem switches so that the blocks rearrange. Use the Long Hook to pull yourself across gaps and reach switch targets. In the room with a red gem switch, a chest on a pedestal holds a second Gasha Seed, and its box tells you to plant it in soft soil.

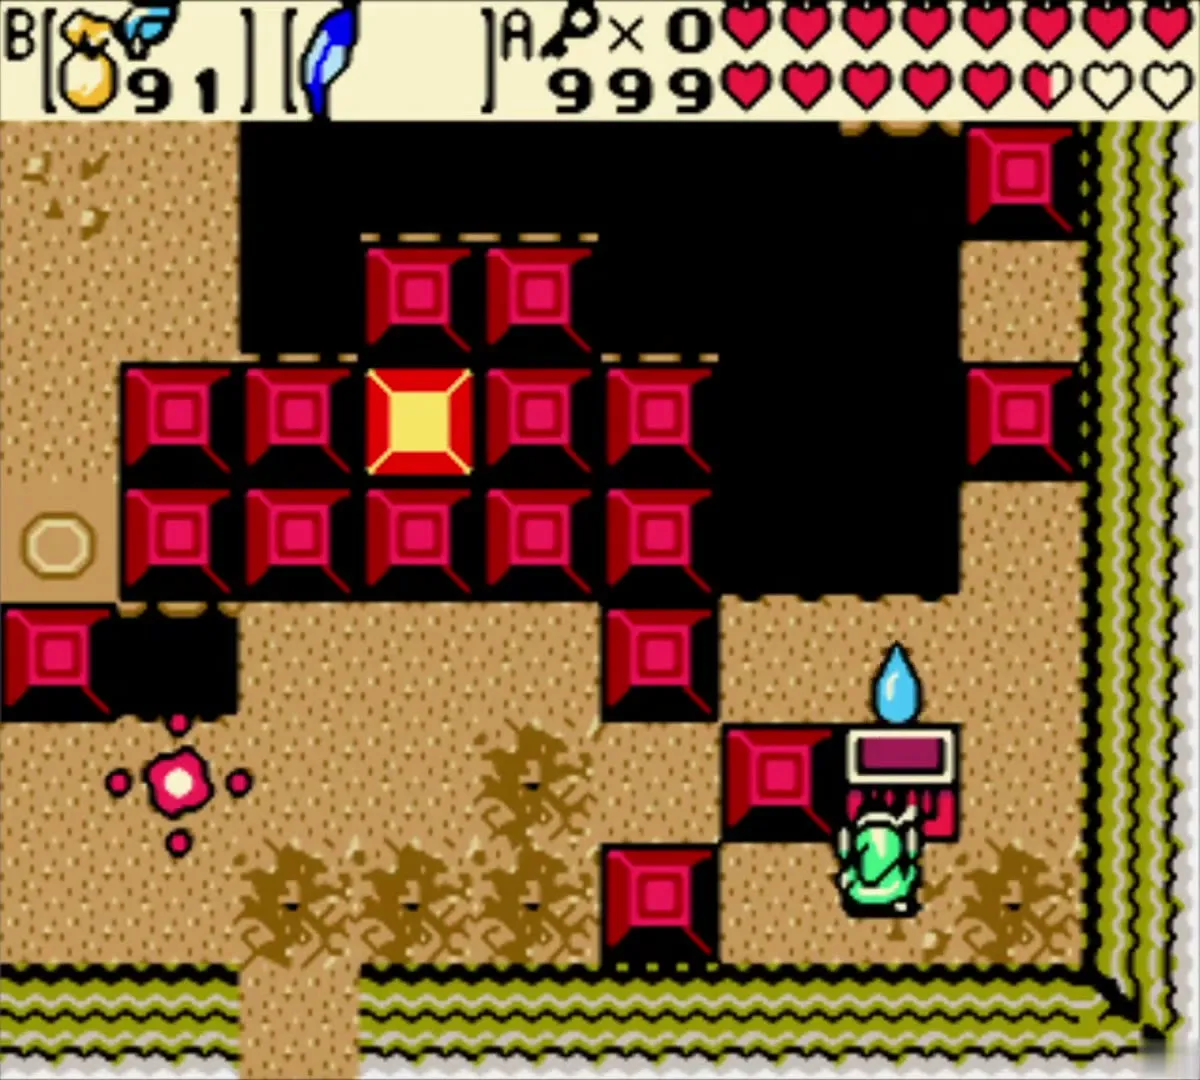
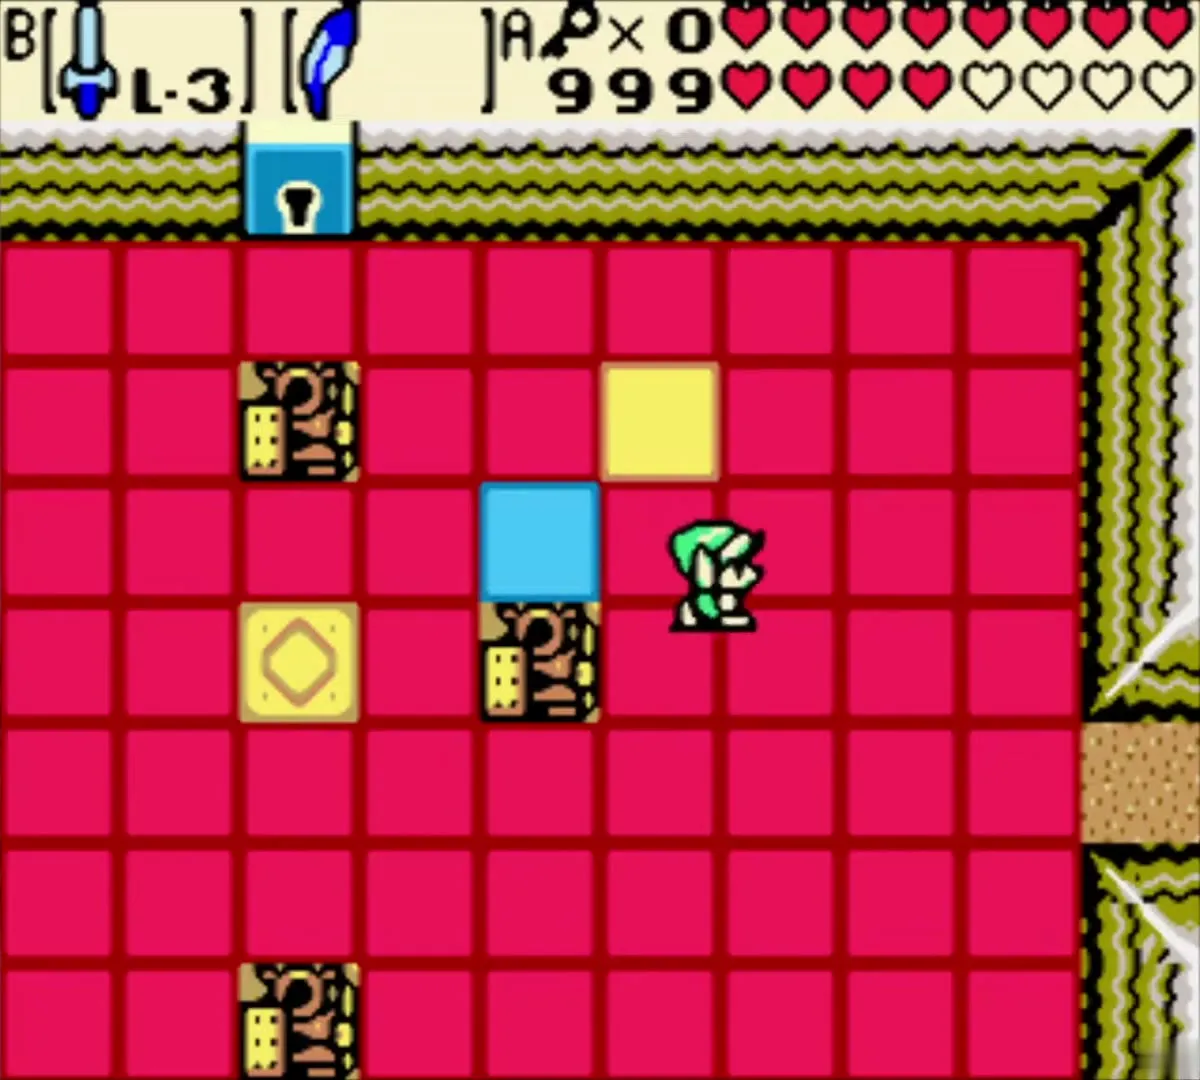
The large floor-tile rooms have gold turntables and switchable tiles. Step on the tiles in the order the turntables allow, then open the chest when the way is clear. The chest holds a small key, with a box that says it opens a locked door or block in this dungeon.


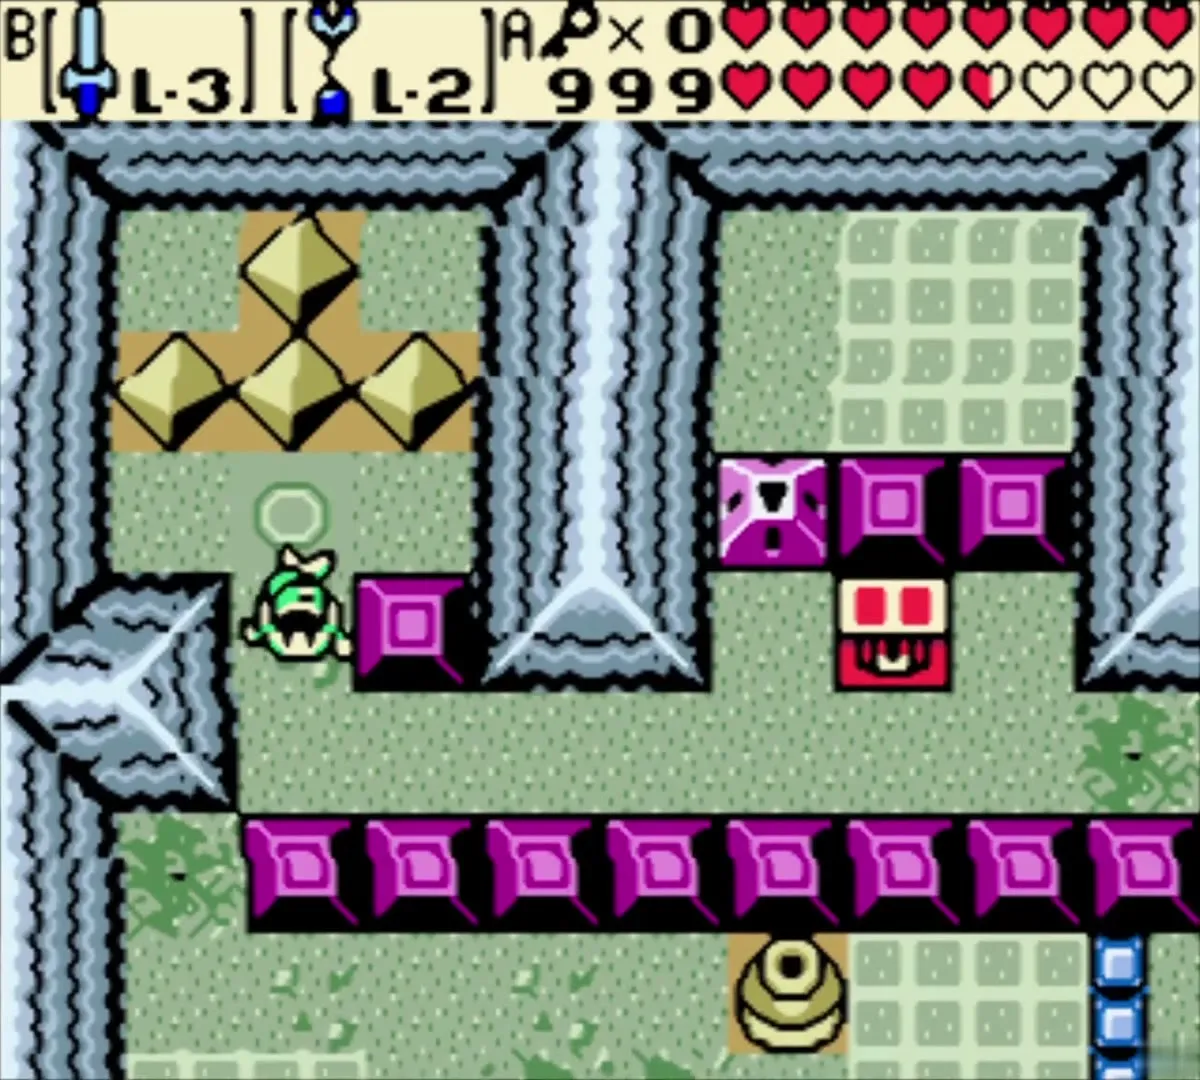
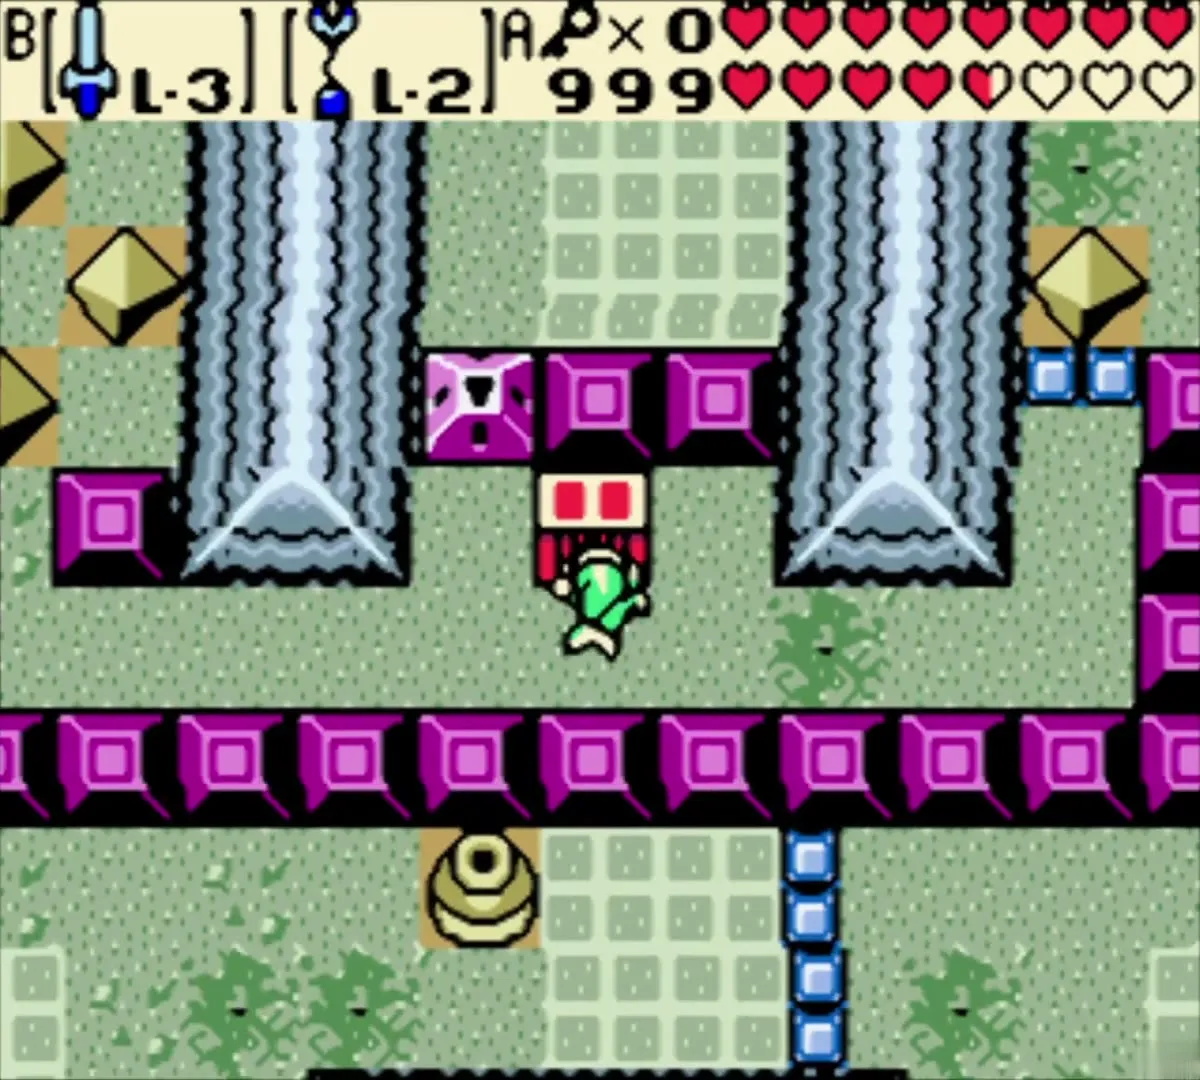
In the room with green floors and purple crystal blocks, cross the blocks with the Long Hook, then continue to the water-pool room. Bombs break the walls there and help you clear enemies, so keep a few in stock. A chest with a key sign in the water-pool room holds another small key.


The stone rooms have gold turntables and grey statues, and blue Zol-like enemies roll in as you cross. Use the sword or a bomb on them. The pedestal chest in the last stone room holds one more small key.

Bombs, ropes and the red room
The red-floor rooms bring red ball enemies, so fight them with bombs when they gather. Grapple across the rope rooms with the Long Hook and step onto the blue gem pads that carry you from room to room. In the red room, switch to Roc’s Feather to hop the last pits.
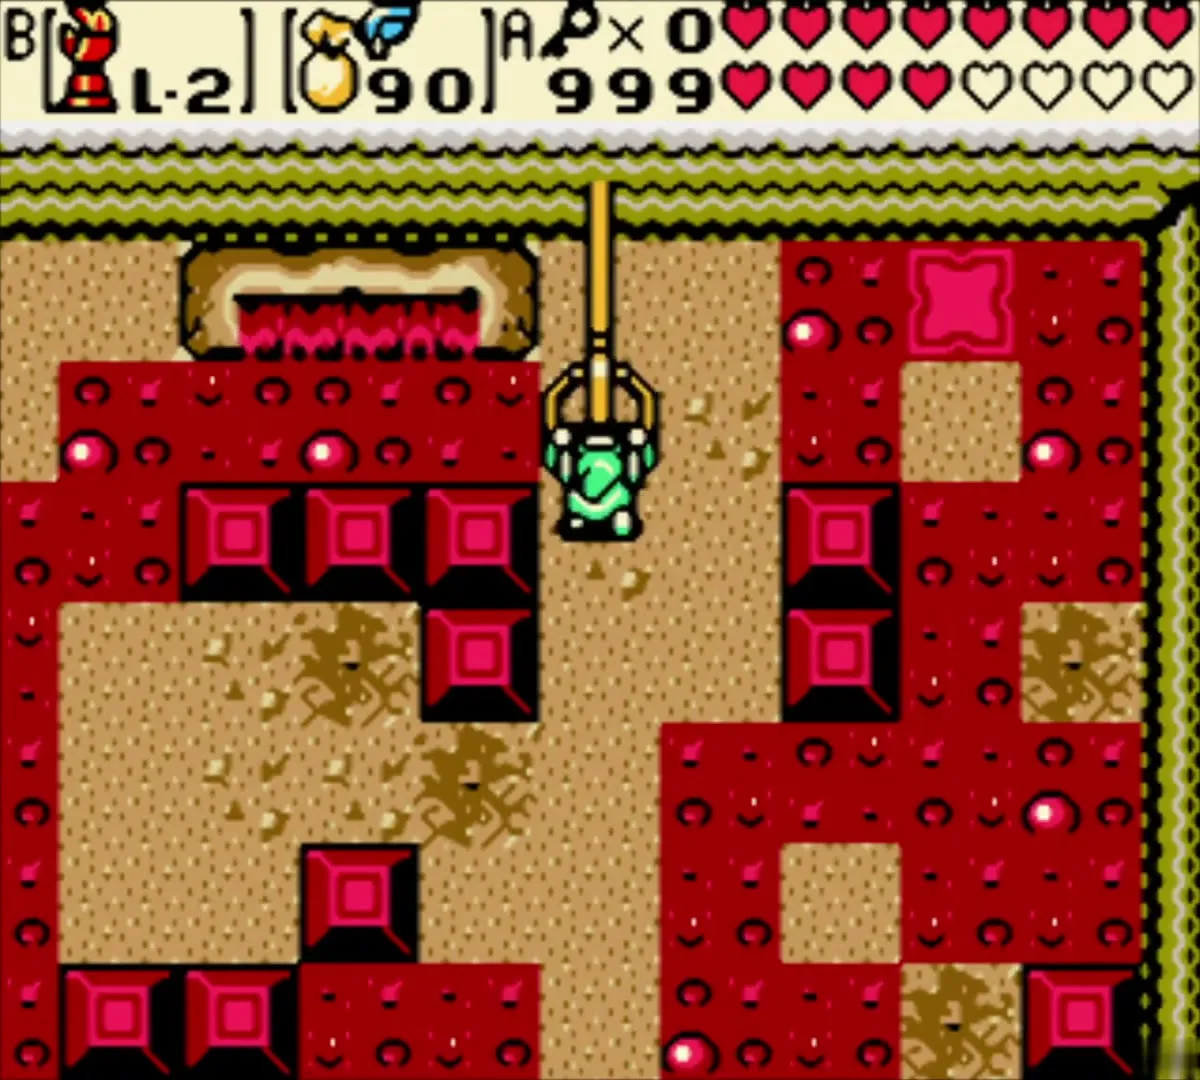
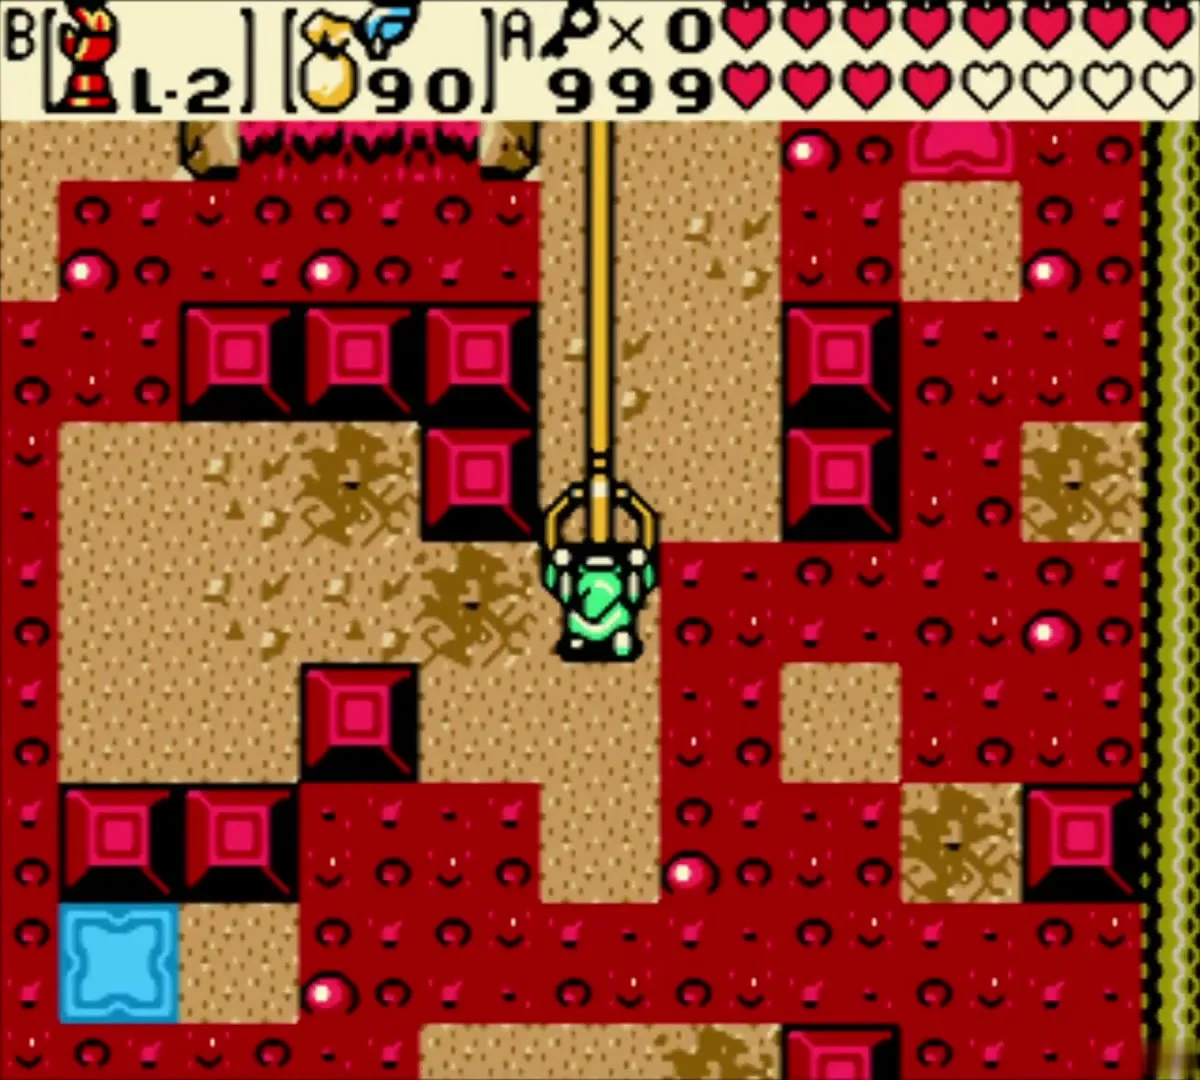
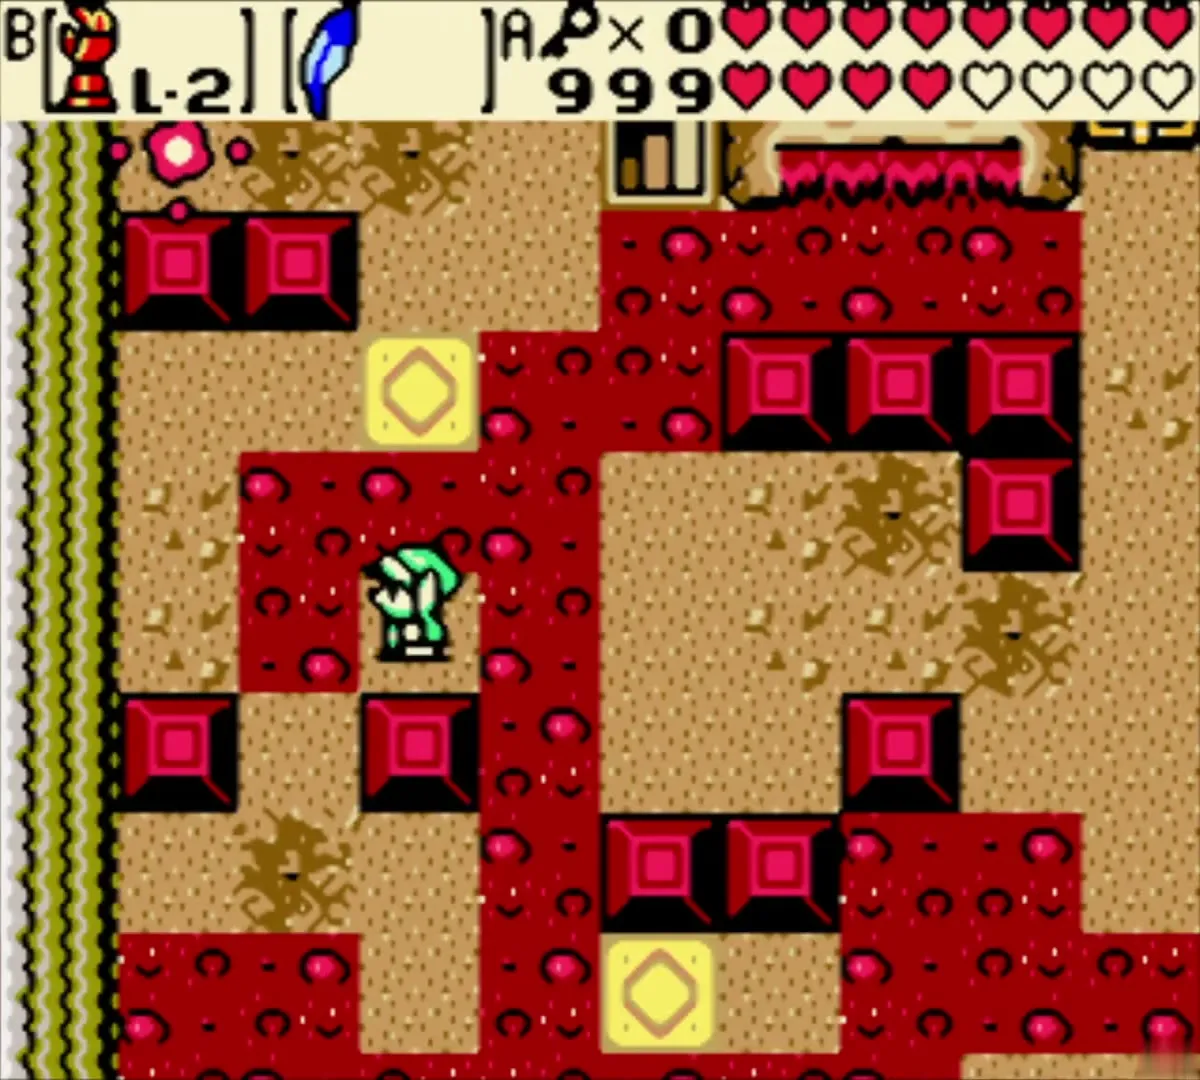
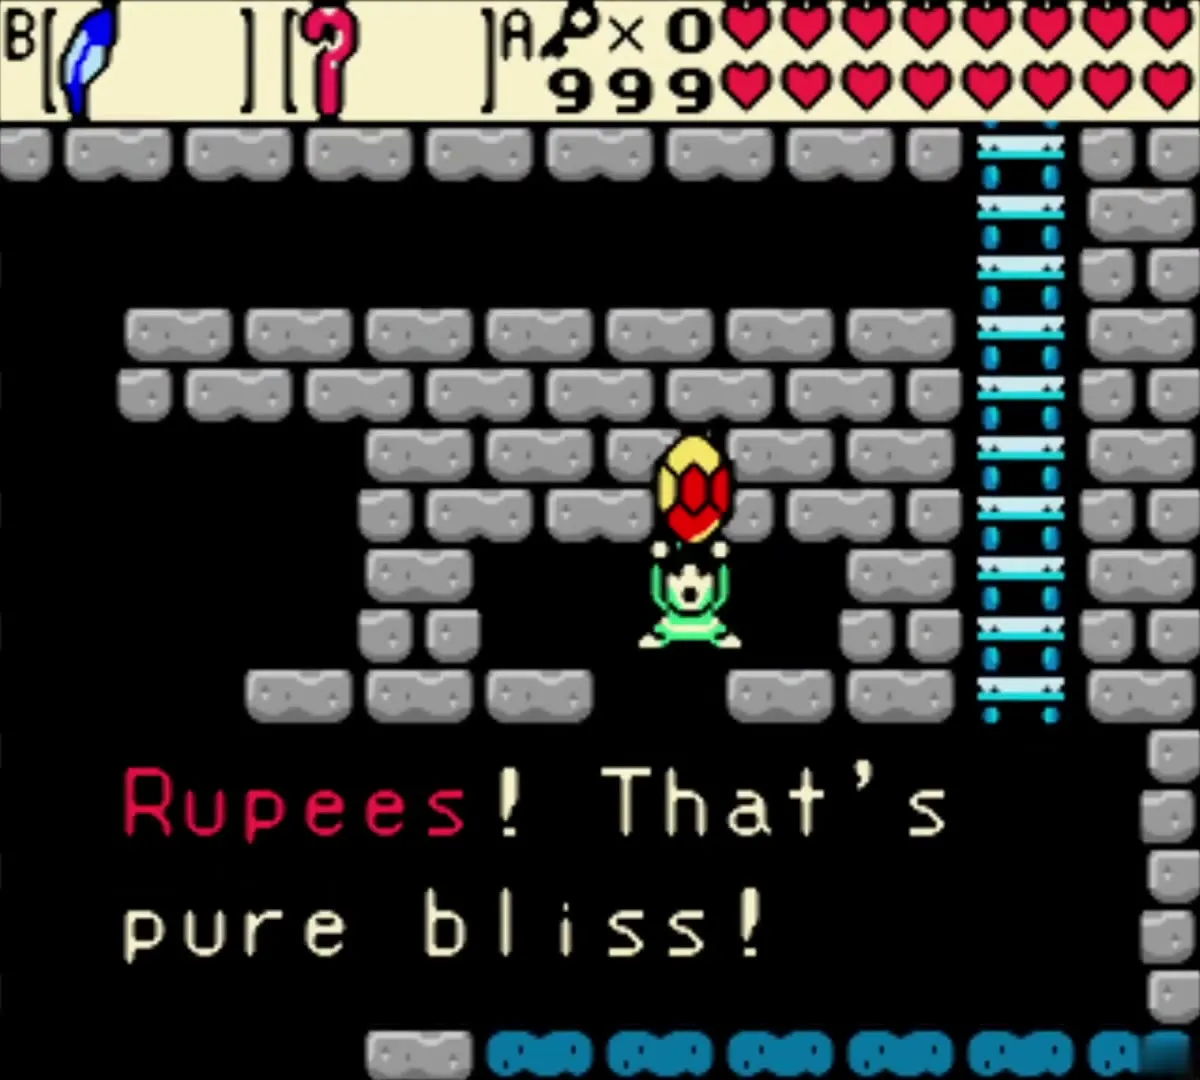
The side-view rooms have ladders and a water jar. Climb the ladders and pick up the red rupee in the corner of the room, which brings up a box about having plenty of Rupees.

The next section is a minecart rail room and a chest room with three green statues. Open the chest in this room and continue toward the last enclosed sand room of the cave.


The last chest: Armor Ring L-3
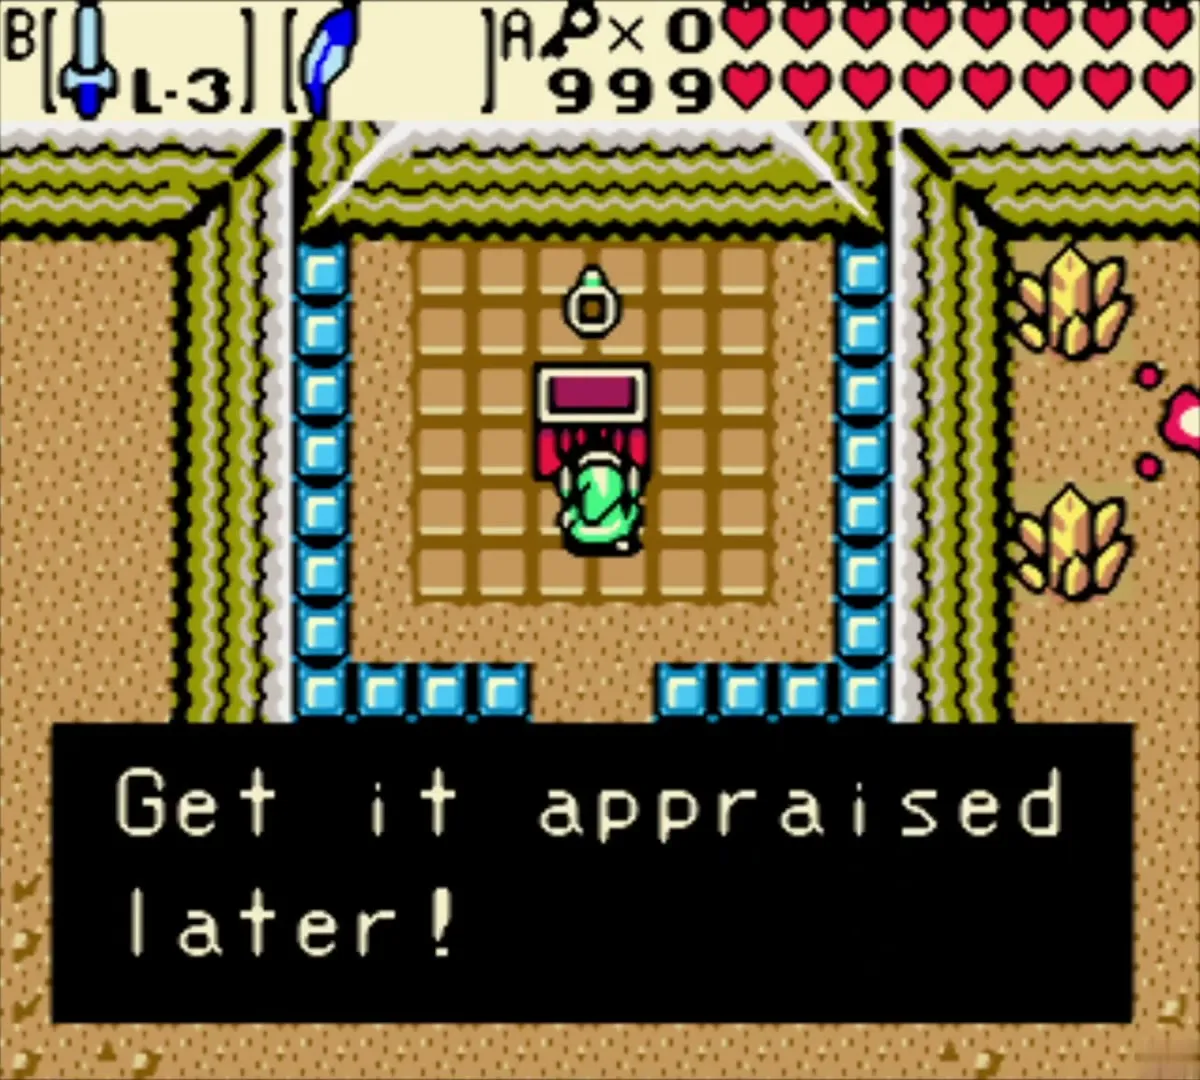
The last chest sits in an enclosed sand room with blue-walled edges. Open it for a ring, and the box says you got a ring to get appraised later. The box does not name it, but this is the cave’s reward chest. Hero’s Cave is the only source of the Armor Ring L-3 (see Magic Rings).

Vasu Jewelers: the Slayer’s Ring and appraisals
Claim the 1000-monster ring
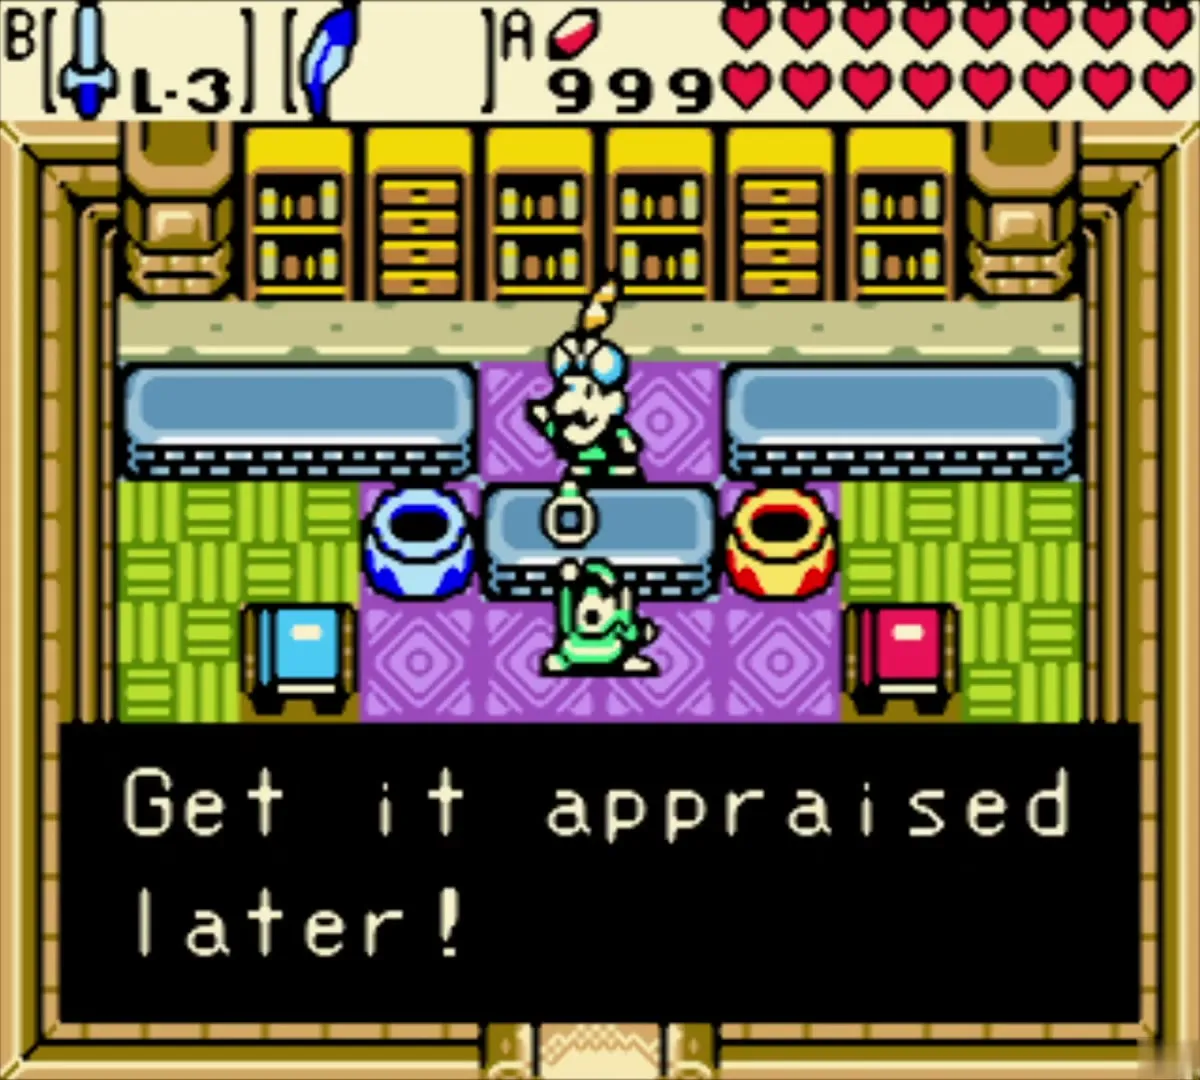
Walk to Vasu Jewelers in Lynna City in the present. Vasu congratulates you on slaying 1000 monsters and gives you a ring as a prize. It is the Slayer’s Ring, and like every ring it must be appraised before you can wear it.

Appraise the rings
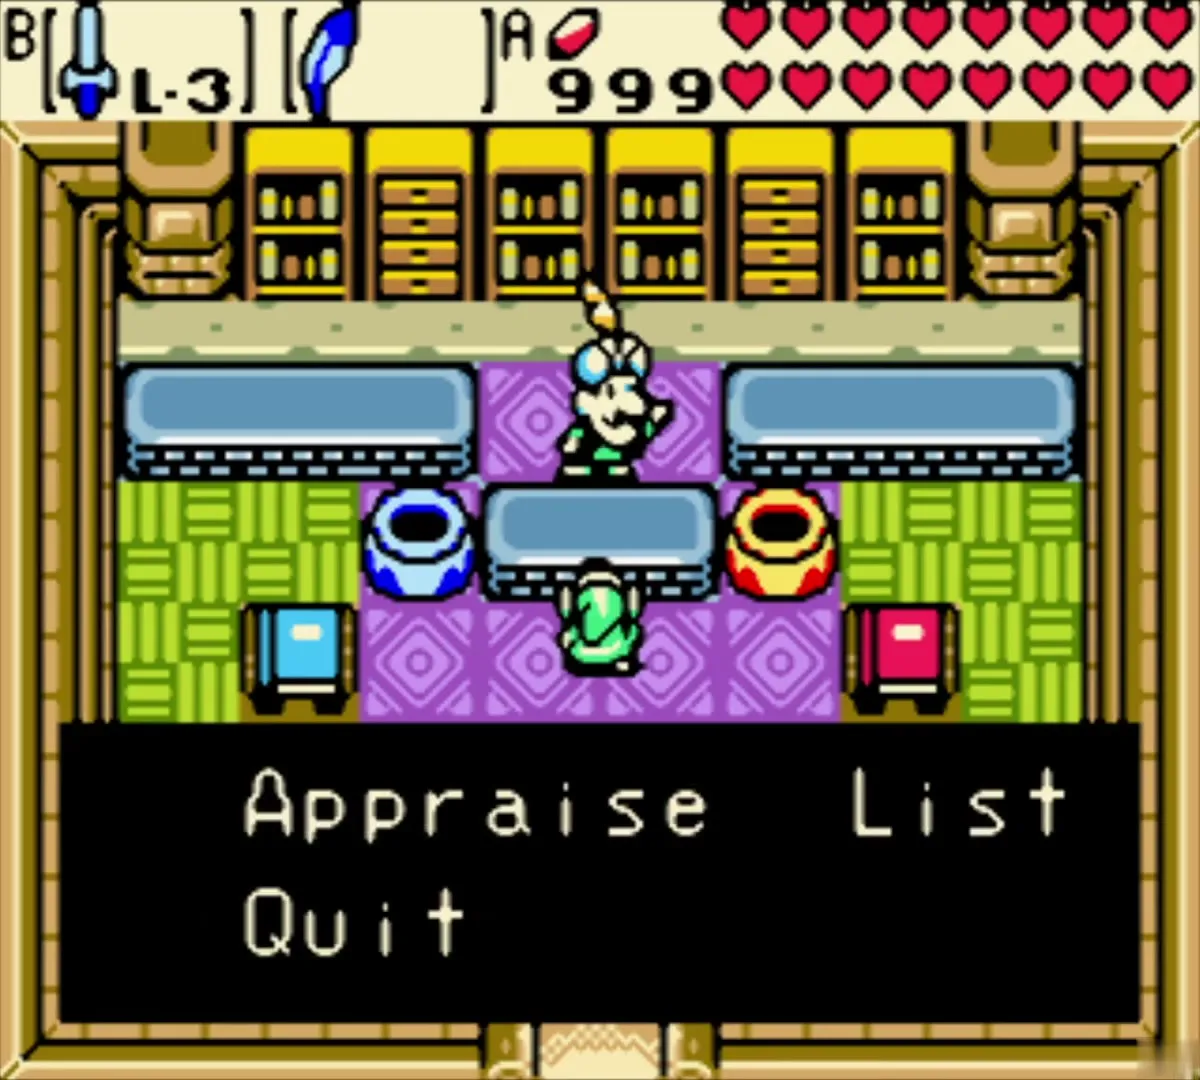
Talk to Vasu and choose Appraise. Each appraisal costs 20 Rupees. When you already own the ring, Vasu buys the spare back for 30 Rupees, so a duplicate leaves you 10 Rupees ahead. Choose a ring from the list, and Vasu names it and explains its effect.
Work through the list in the order it appears. The appraisals in this chapter are the Expert’s Ring (punch when unequipped), Roc’s Ring (cracked floors do not crumble), an Armor Ring, the Toss Ring (farther throws), the Gold Luck Ring (half damage from falls), the Whimsical Ring (sword damage down, sometimes a kill), the Like Like Ring and a red ring that stops damage from small rocks. Each named duplicate goes back to Vasu for 30 Rupees.
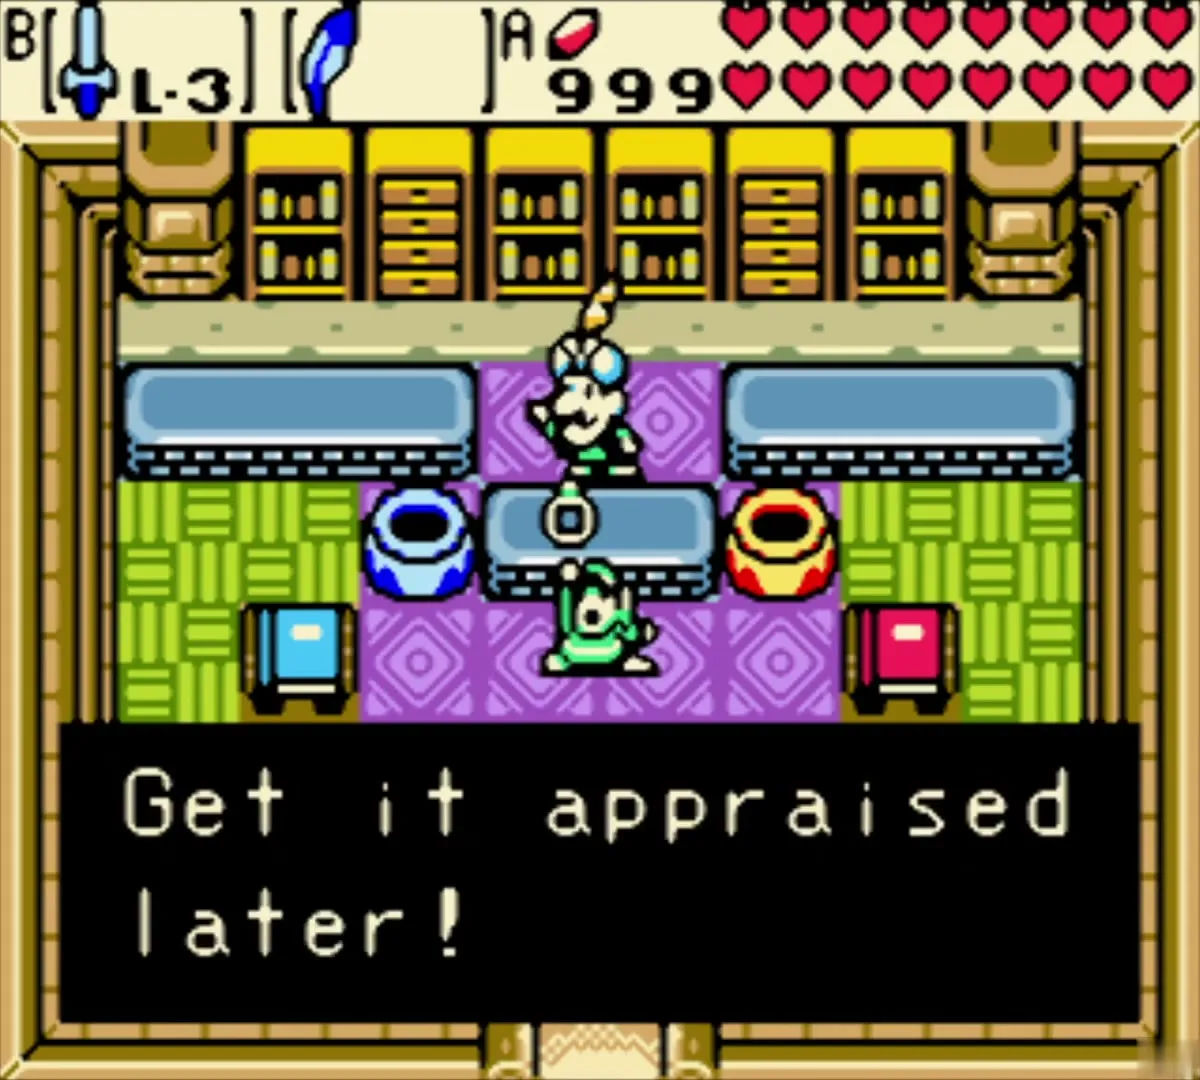
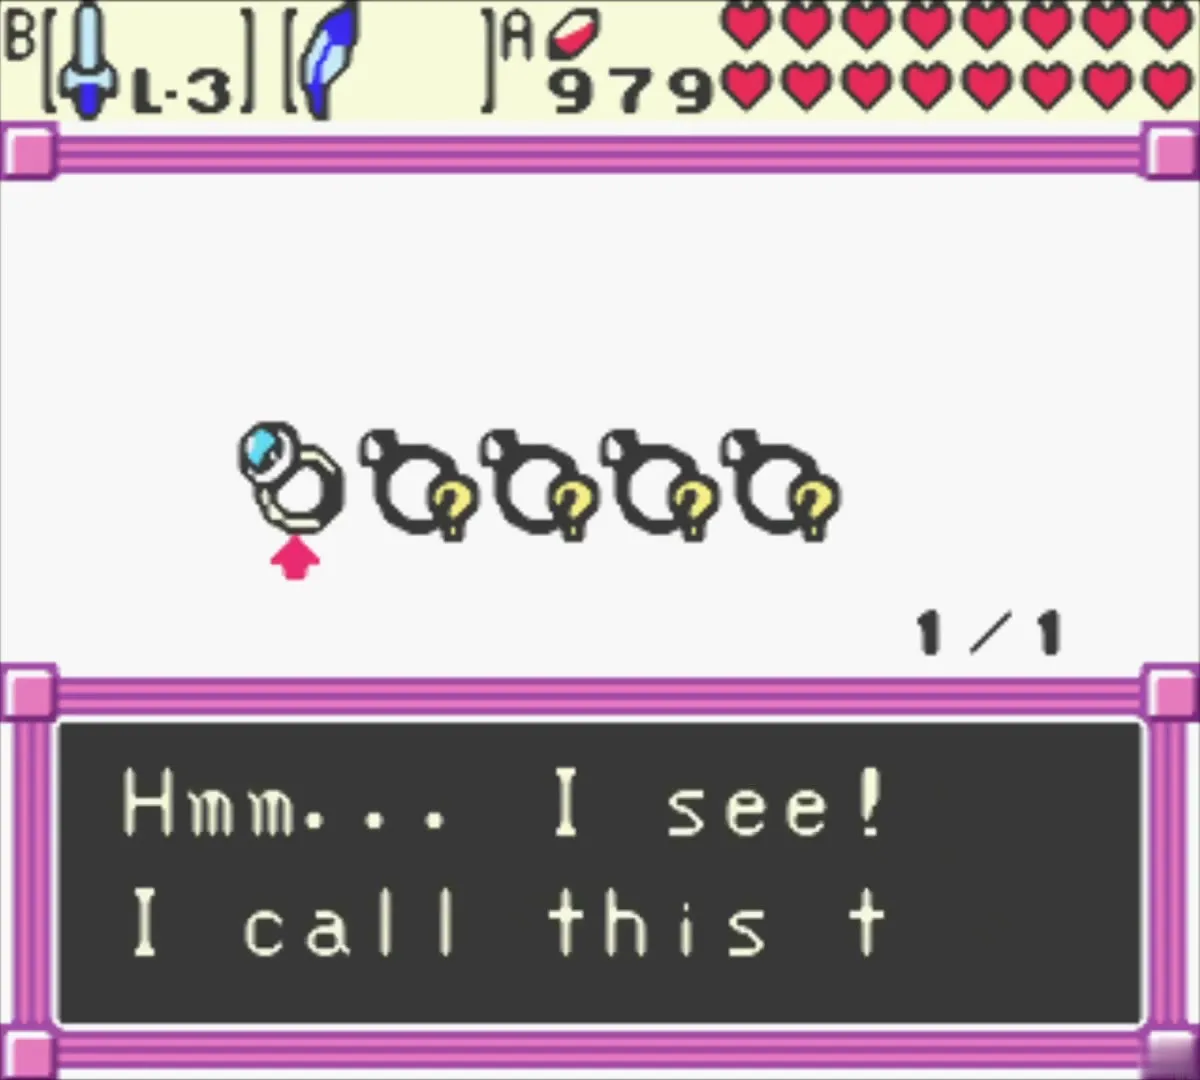
The appraisal session continues into the next chapter, so keep going with The Black Tower and Veran (see The Black Tower and Veran).
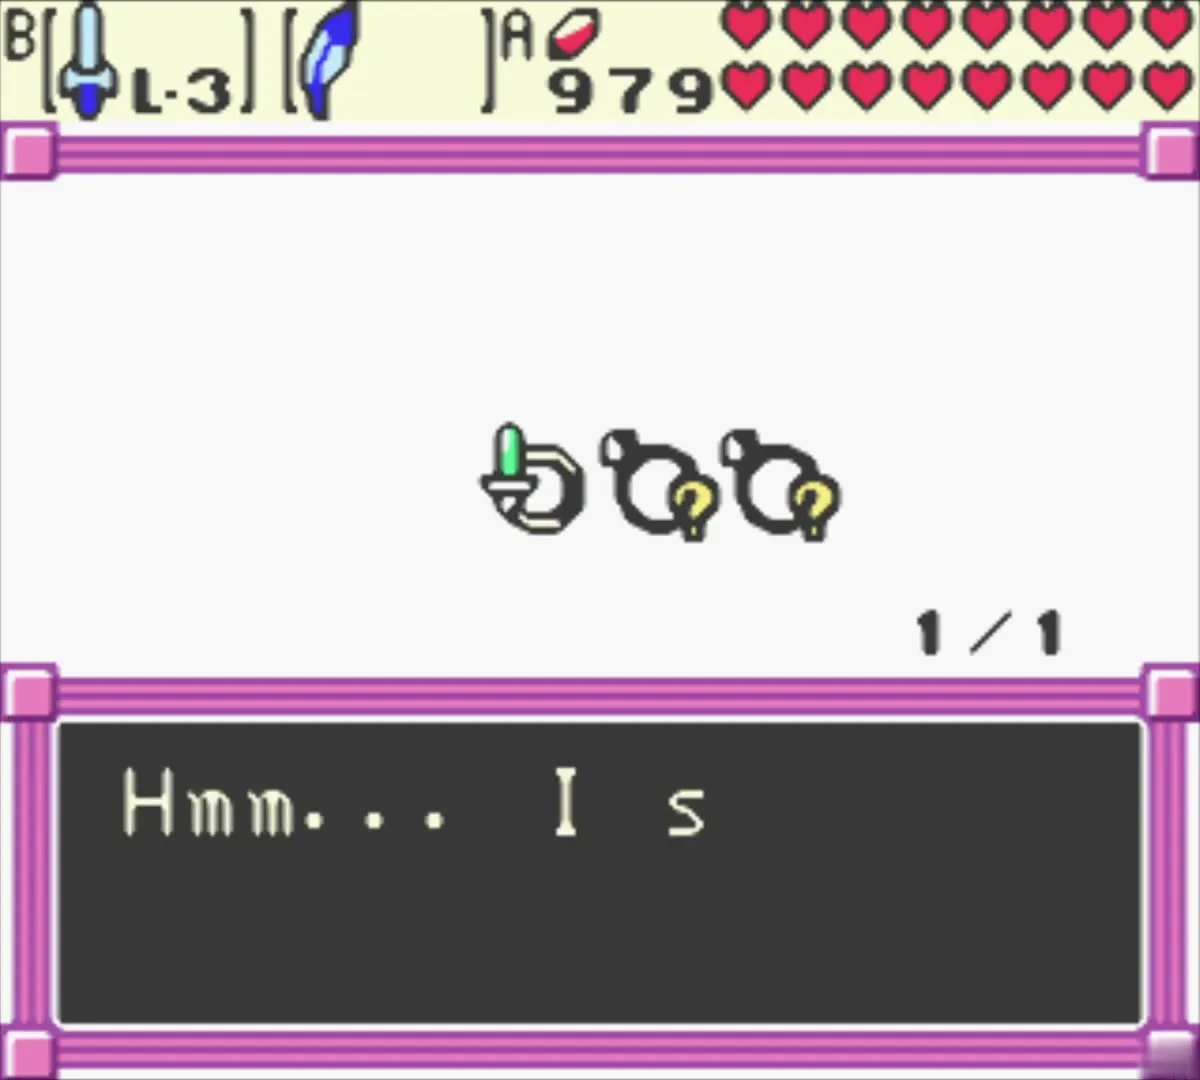
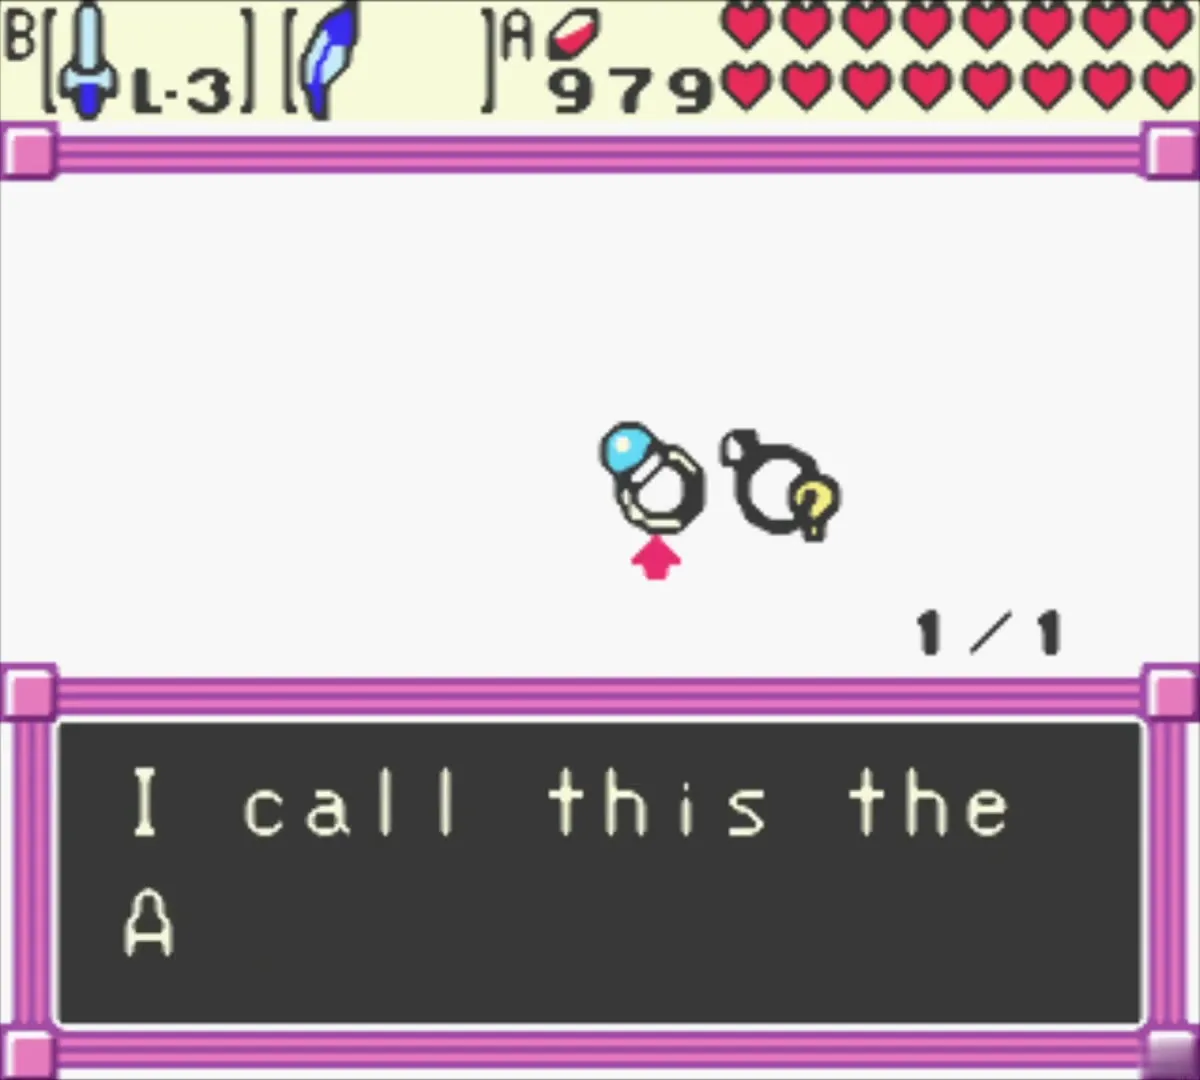
| Ring | Effect (as Vasu describes it) | Status at the end of this chapter |
|---|---|---|
| Expert’s Ring | Punch when unequipped | Appraised, duplicate |
| Roc’s Ring | Cracked floors don’t crumble | Appraised, duplicate |
| Armor Ring | Damage taken and sword damage down | Appraised, duplicate (level not confirmed from the text) |
| Toss Ring | Throwing distance up | Appraised, duplicate |
| Gold Luck Ring | Half damage from falls | Appraised, duplicate |
| Whimsical Ring | Sword damage down, sometimes deadly | Appraised, duplicate (name not read) |
| Like Like Ring | Become a Like Like | Appraised, duplicate |
| Red Holy Ring | No damage from small rocks | Appraisal started, result not read |
| Slayer’s Ring | 1000 monsters slain | Unappraised |
Chapter checklist
| Type | Name | Where (era) |
|---|---|---|
| Piece of Heart | Dropped by Maple | Yellow zone with blue channels |
| Piece of Heart | From a Gasha Nut | Lilac grove soft soil |
| Gasha Nut | Ring (unappraised) | Pink sand bush near purple posts |
| Gasha Nut | Fairy | Green coast bush by the sea |
| Gasha Nut | 200 Rupees | Sandy beach with palm trees |
| Gasha Seed | Broken pot | Hero’s Cave (present) |
| Gasha Seed | Pedestal chest | Hero’s Cave (present) |
| Small Key | Several chests | Hero’s Cave (present) |
| Ring | Armor Ring L-3 | Last chest, Hero’s Cave (present) |
| Ring | Slayer’s Ring | Prize from Vasu Jewelers (present) |
