
























Oracle of Ages 100% Completion Walkthrough24 chapters
- Arrival in Labrynna and the Black TowerForest of Time, Vasu’s Ring Box, the Maku Tree, the time portal, the Black Tower Shovel and the first Heart Piece.
- Maku Path and Spirit’s Grave (Level 1)Seed Satchel, Graveyard Key, Power Bracelet, Pumpkin Head and the Eternal Spirit.
- The Harp of Ages and Fairies’ WoodsPoe Clock, Heart Piece, Vasu’s rings, hide-and-seek, Tune of Echoes and the first time travel.
- Deku Forest and the Mystery SeedsMystery Seeds, Queen Ambi’s Bombs, a Heart Piece, the Deku Secret and the first rooms of the Wing Dungeon.
- Wing Dungeon (Level 2)All five Small Keys, Dungeon Map, Compass, Swoop, Roc’s Feather, Boss Key, Head Thwomp and the Ancient Wood.
- Farore’s Secrets and Cheval’s GraveWest Lynna Heart Piece, Hall of Secrets codes, Red Snake, Zora’s Flippers and Cheval Rope.
- Tingle’s Chart and Crescent IslandRicky’s Gloves, Island Chart, Rafton’s raft, the Tokay thieves, Scent Seeds and the Grotto.
- Moonlit Grotto (Level 3)All Small Keys, Compass, Seed Shooter, Gasha Seeds, Subterror, Boss Key, Shadow Hag and the Echoing Howl.
- Nuun Highlands and the Strange FlutesDimitri’s Flute, Tingle’s 99-seed Satchel, the Black Tower rescue, the bridge workers, Gale Seeds and Symmetry City.
- Symmetry City and Talus PeaksCracked Tuni Nut, Patch’s ceremony, Tune of Currents, Heart Piece, bomb fairy and Skull Dungeon.
- Skull Dungeon (Level 4)Compass, Dungeon Map, 5 Small Keys, Armos Warrior, Switch Hook, Boss Key, Eyesoar and the Burning Flame.
- Lynna Trades and the Noble SwordTouching Book, Maple’s Magic Oar, Sea Ukulele, Broken Sword and Patch’s ceremony.
- West Rolling Ridge and the Great MoblinLynna secret shop, Pegasus Seeds, Moblin’s Keep, Great Moblin, Bomb Flower, Crown Key and the Crown Dungeon.
- Crown Dungeon (Level 5)Small Keys, Cane of Somaria, Smasher, Compass, Boss Key, Smog and the Sacred Soil.
- East Rolling Ridge and the Mermaid KeysGoron Dance, Brother Emblem, Target Carts, Rock Brisket, Goron Vase and Goronade trades, and Mermaid Keys.
- Mermaid’s Cave (Level 6) Walkthrough for Oracle of AgesGet the Old Mermaid Key, clear both halves, collect the Mermaid Suit and defeat Octogon for the Essence of Time.
- Ambi’s Palace and the Tune of AgesSneak in, beat Possessed Nayru, learn the Tune of Ages, claim Hall of Secrets upgrades and the Mirror Shield.
- Zora Seas and the Fairy PowderThe Gasha Seed chest, King Zora’s Library Key, Book of Seals, Fairy Powder and Jabu-Jabu’s Belly entrance.
- Jabu-Jabu’s Belly (Level 7)Like Like Ring, Compass, Small Keys, Long Hook, Boss Key, Plasmarine fight, Heart Container and Rolling Sea.
- Sea of Storms and the Pirate ShipZora Scale, pirate ship and Tokay Eyeball, clam grotto ring, Tokay statue cave and Sea of No Return maze.
- Ancient Tomb (Level 8)Three Slates, the Boss Key, two Gasha Seeds, Ramrock boss strategy and the Falling Star Essence.
- Final Collection and the Hero’s CaveMaple Piece of Heart, Gasha Nut rings and fairies, Hero’s Cave Armor Ring L-3 and Vasu ring appraisals.
- The Black Tower and VeranFinal ring appraisals, the Huge Maku Seed, the Black Tower climb.
- Room of Rites, Twinrova and GanonThe eye-statue hallway, Twinrova’s fire and ice phases, the Ganon boss fight, and the linked-game ending.
| Covers | Zora Seas and the Sea of Storms (present, Linked Game), the pirate ship, the Tokay statue cave and the Sea of No Return (past), up to the Ancient Tomb entrance |
|---|---|
| Dungeon | No numbered dungeon is cleared here. The Sea of No Return maze leads to the entrance of Level 8 Ancient Tomb, which the next chapter covers |
| Rewards | Zora Scale, Tokay Eyeball, two unappraised rings (the clam grotto ring is the Pegasus Ring). No Heart Pieces, Heart Containers, Gasha Seeds or soft soil on this stretch |
This chapter takes you from the Zora palace, just after Jabu-Jabu’s Belly, to the entrance of the Sea of No Return and the Ancient Tomb. You get the Zora Scale, pass the Zora guard into the Sea of Storms, trade for the Tokay Eyeball on the pirate ship, and collect two rings from caves in the Zora Seas. Then you travel to the past for the Tokay statue, pass the three-room cave, and reach the maze of the Sea of No Return. In a Linked Game the Zora Seas and the Sea of Storms are in the present, while the statue, the cave and the Sea of No Return are in the past.

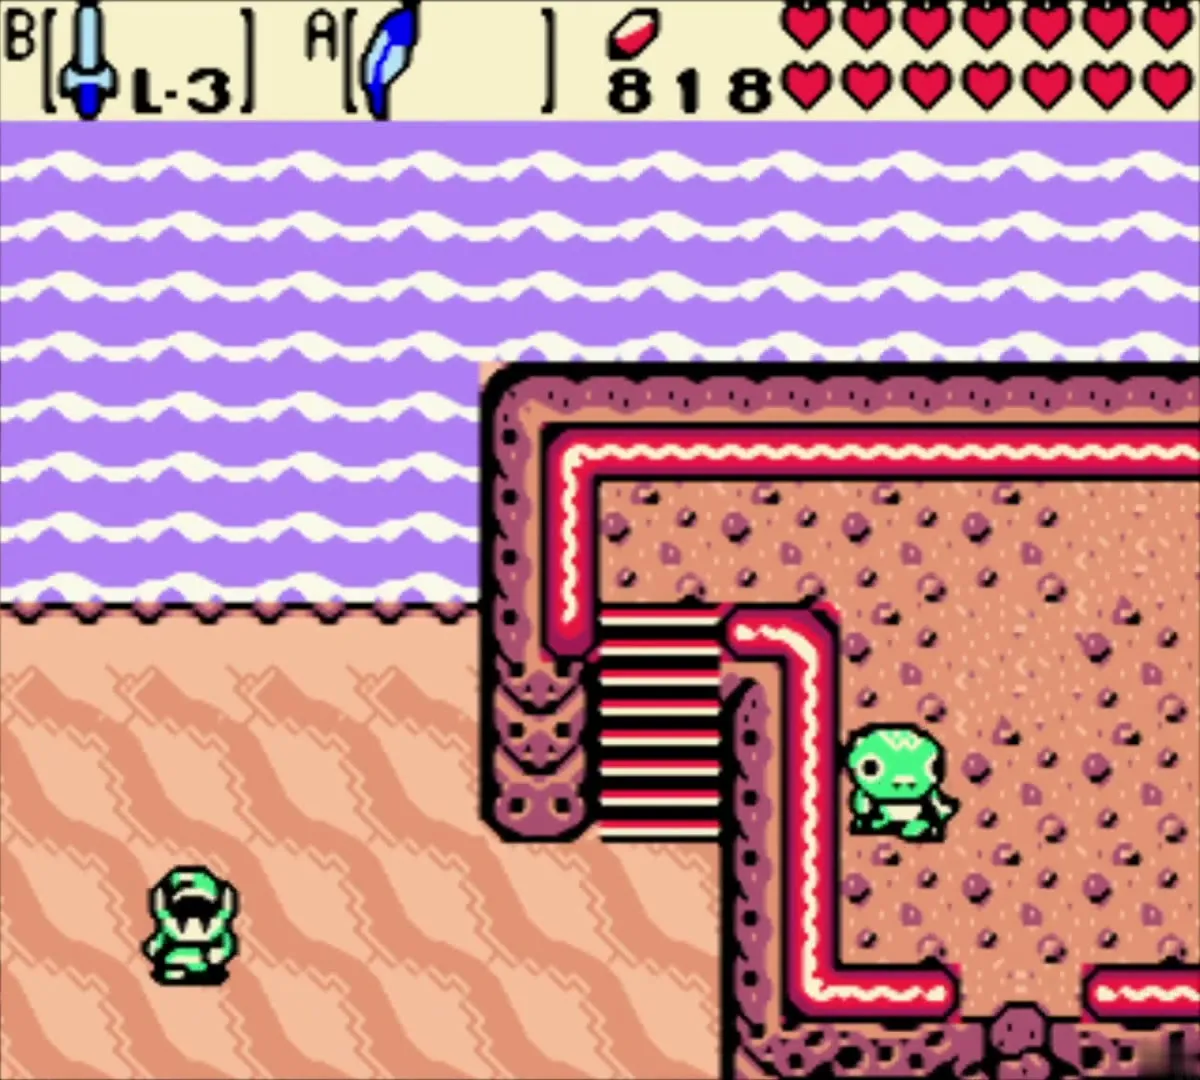
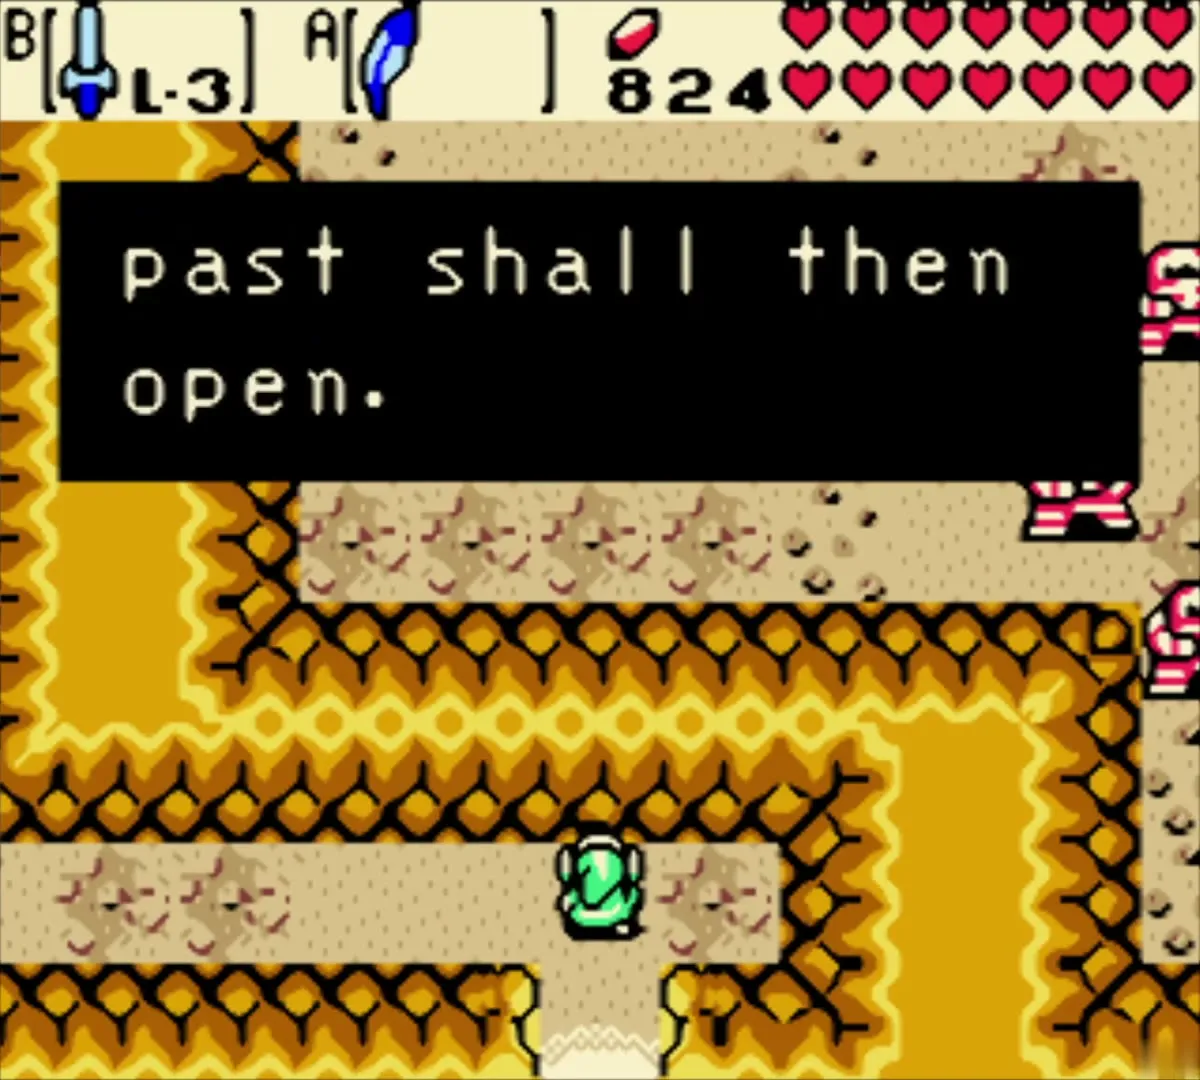
Table of Contents
Zora Scale from the Zora palace

Collect the Zora Scale
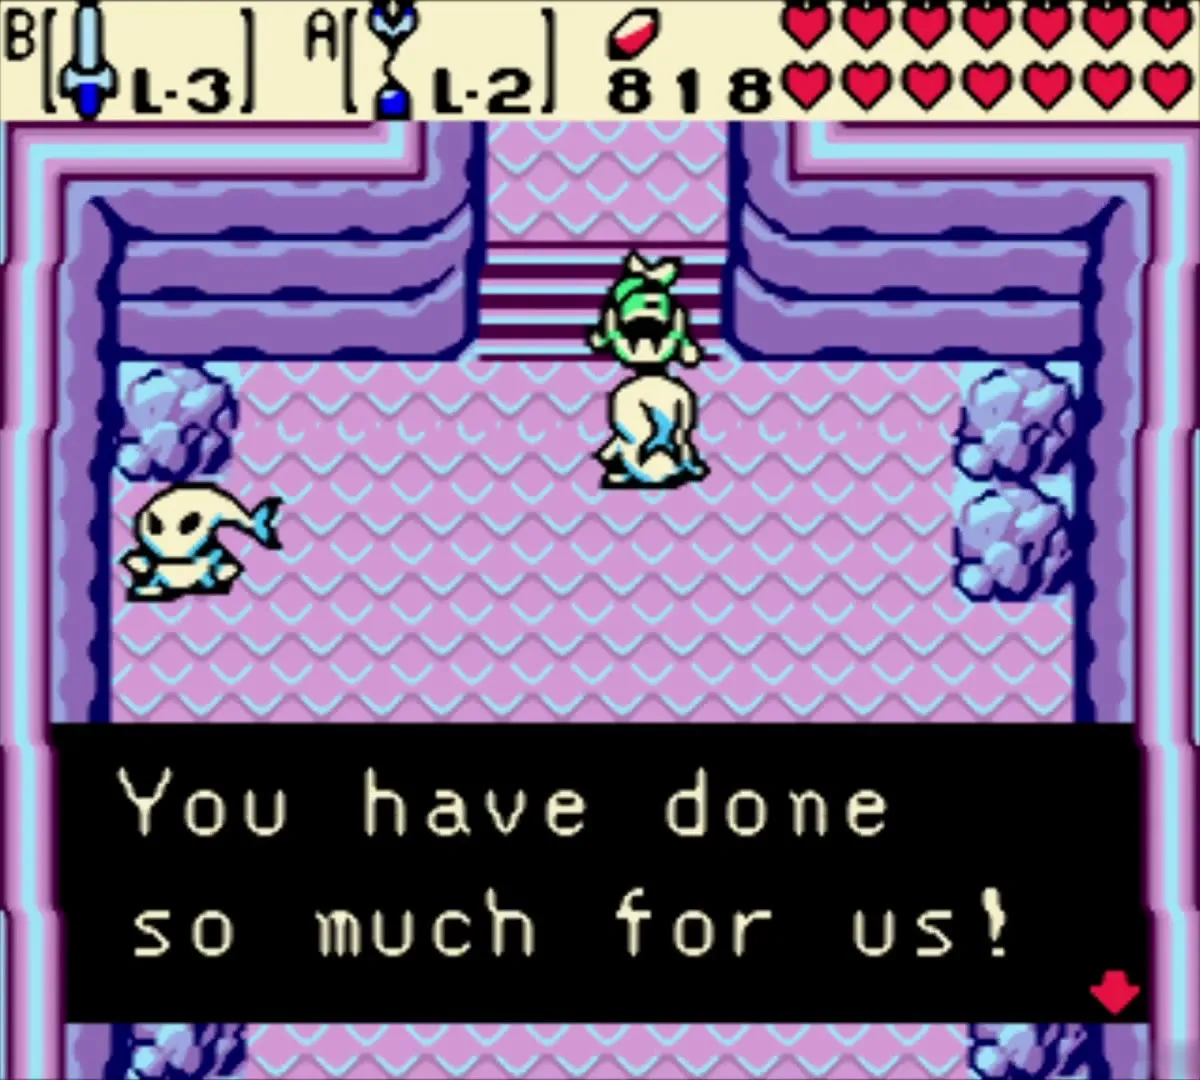
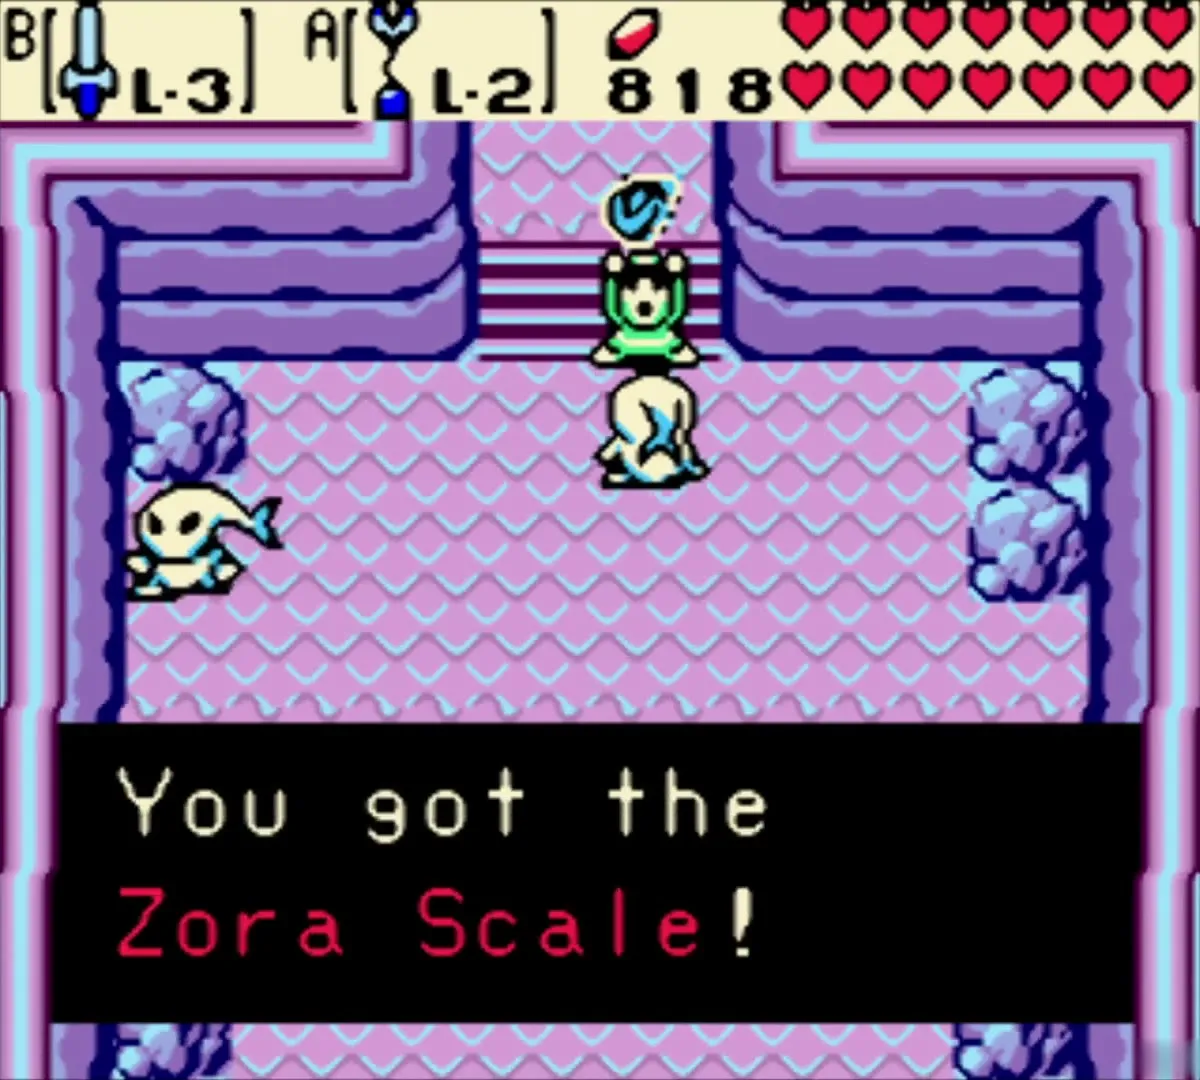
Leave Jabu-Jabu’s Belly by its shrine, and a Zora in the palace area hands you the Zora Scale as a symbol of heroism. This happens in the Zora palace right after Jabu-Jabu’s Belly. The Scale is the key item for everything in this chapter, so keep it in your inventory.

Sea of Storms gate and the Zora guard

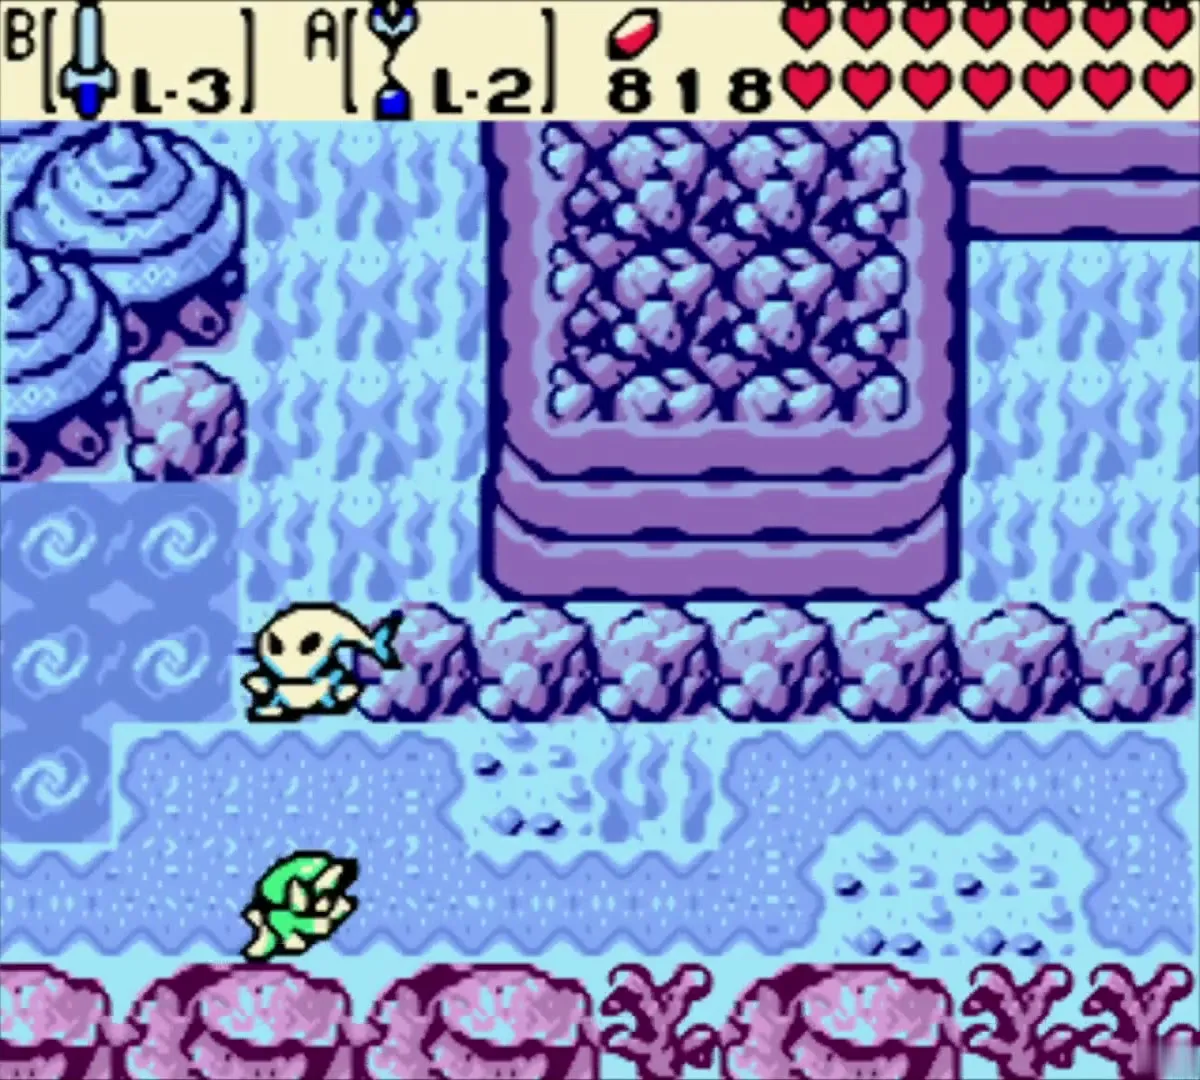
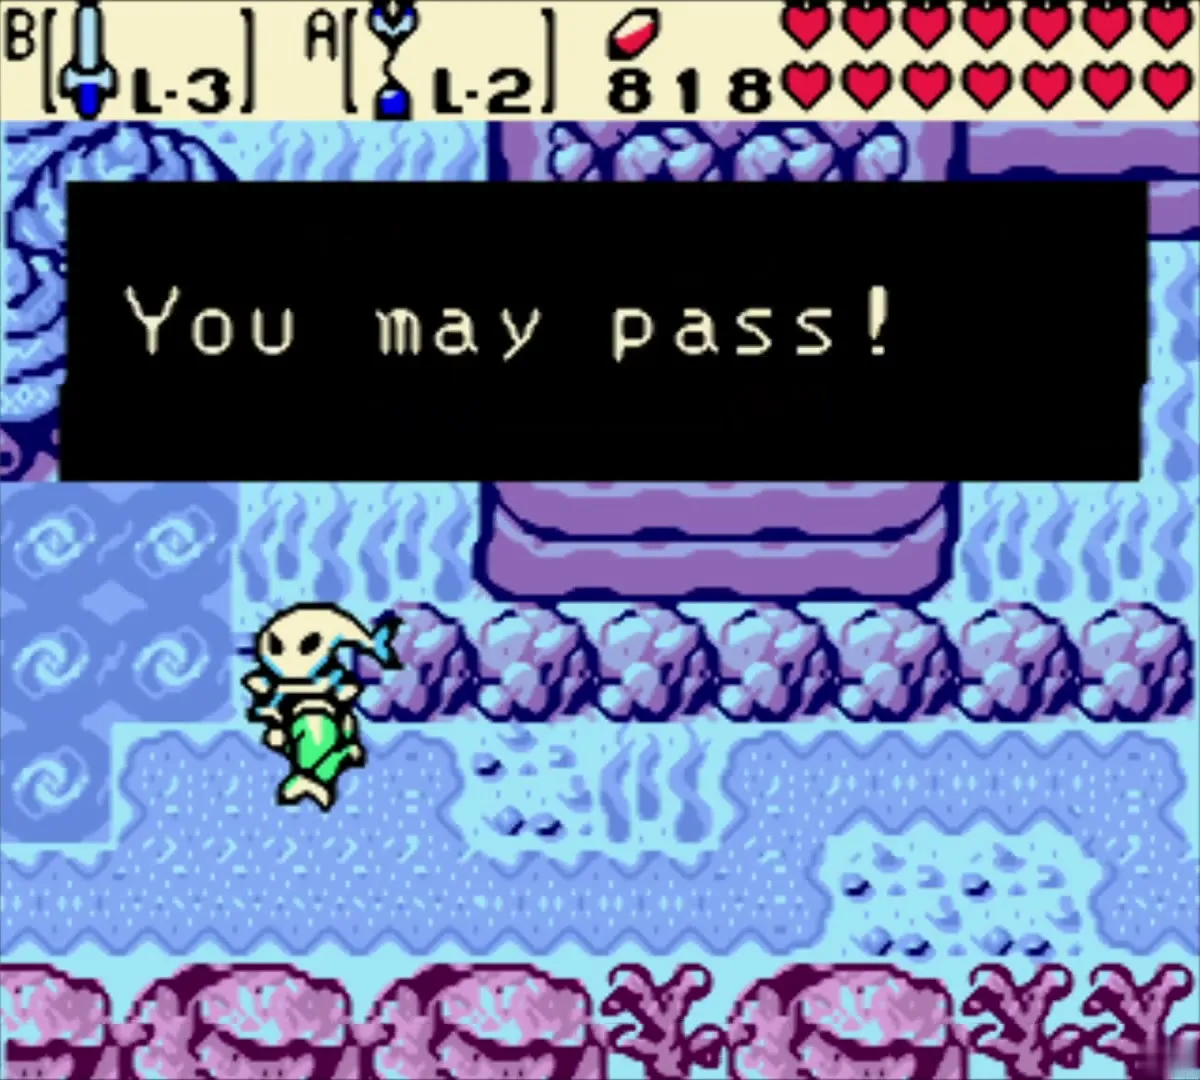
Pass the guard on the blue seabed
Dive into the blue coral seabed south of the palace and swim toward the blocked passage. A Zora guard stops you and warns that the sea beyond is dangerous. Show him the Zora Scale, and he lets you pass. You need the Mermaid Suit to move freely underwater here, so equip it before you dive.

Enter the Sea of Storms
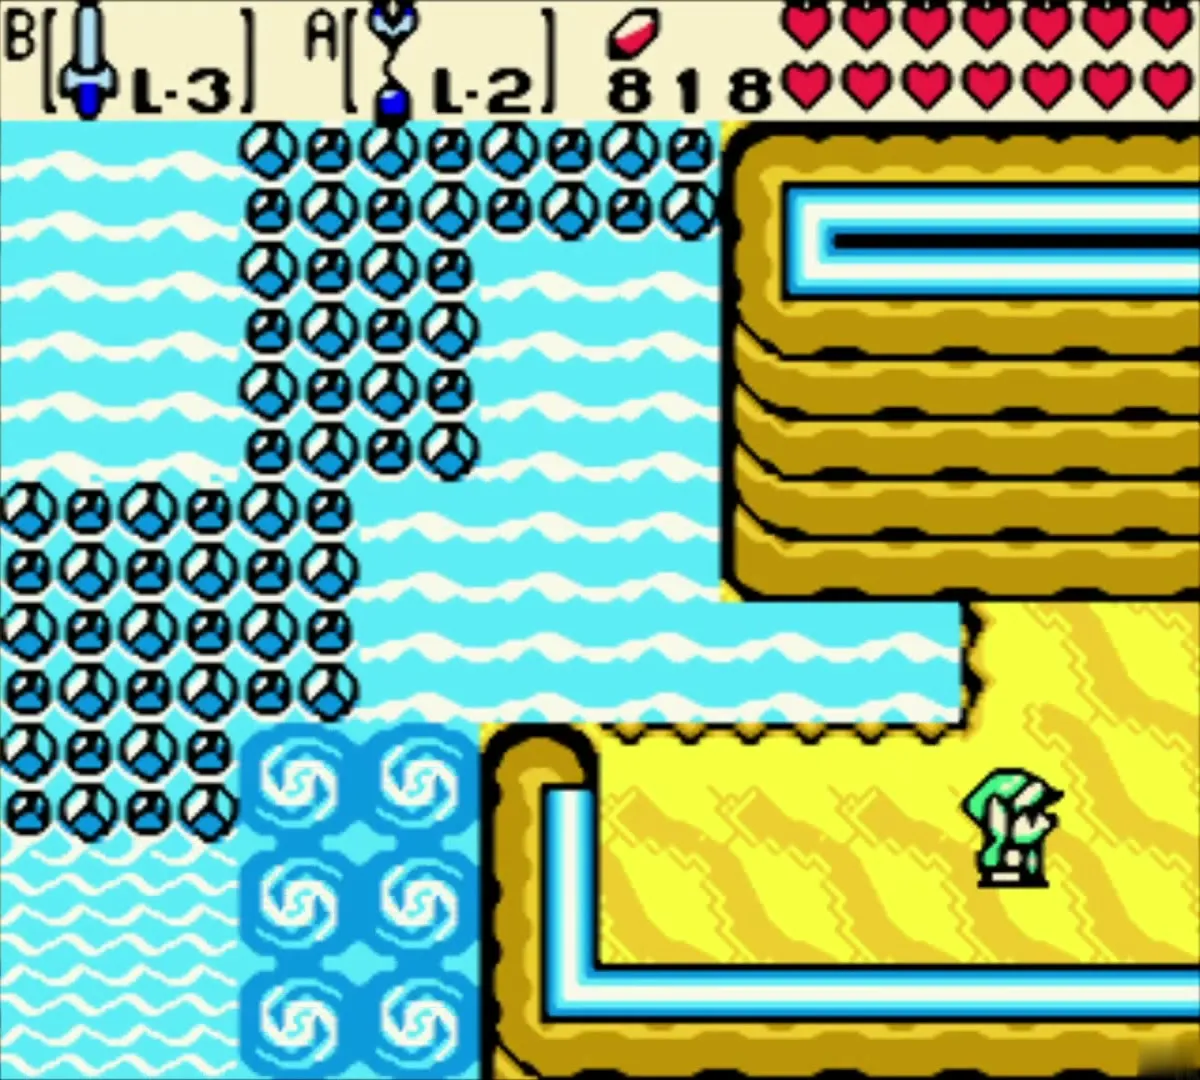
Past the gate, the seabed opens onto the turquoise Sea of Storms. Whirlpools and small sand islands mark the route, and the pirate ship’s silhouette appears on the right side of the water. Because this is a Linked Game, the Piratians sail in the present, so you explore the Sea of Storms in Zelda’s time.

Pirate ship and the Tokay Eyeball

Talk with the Piratians
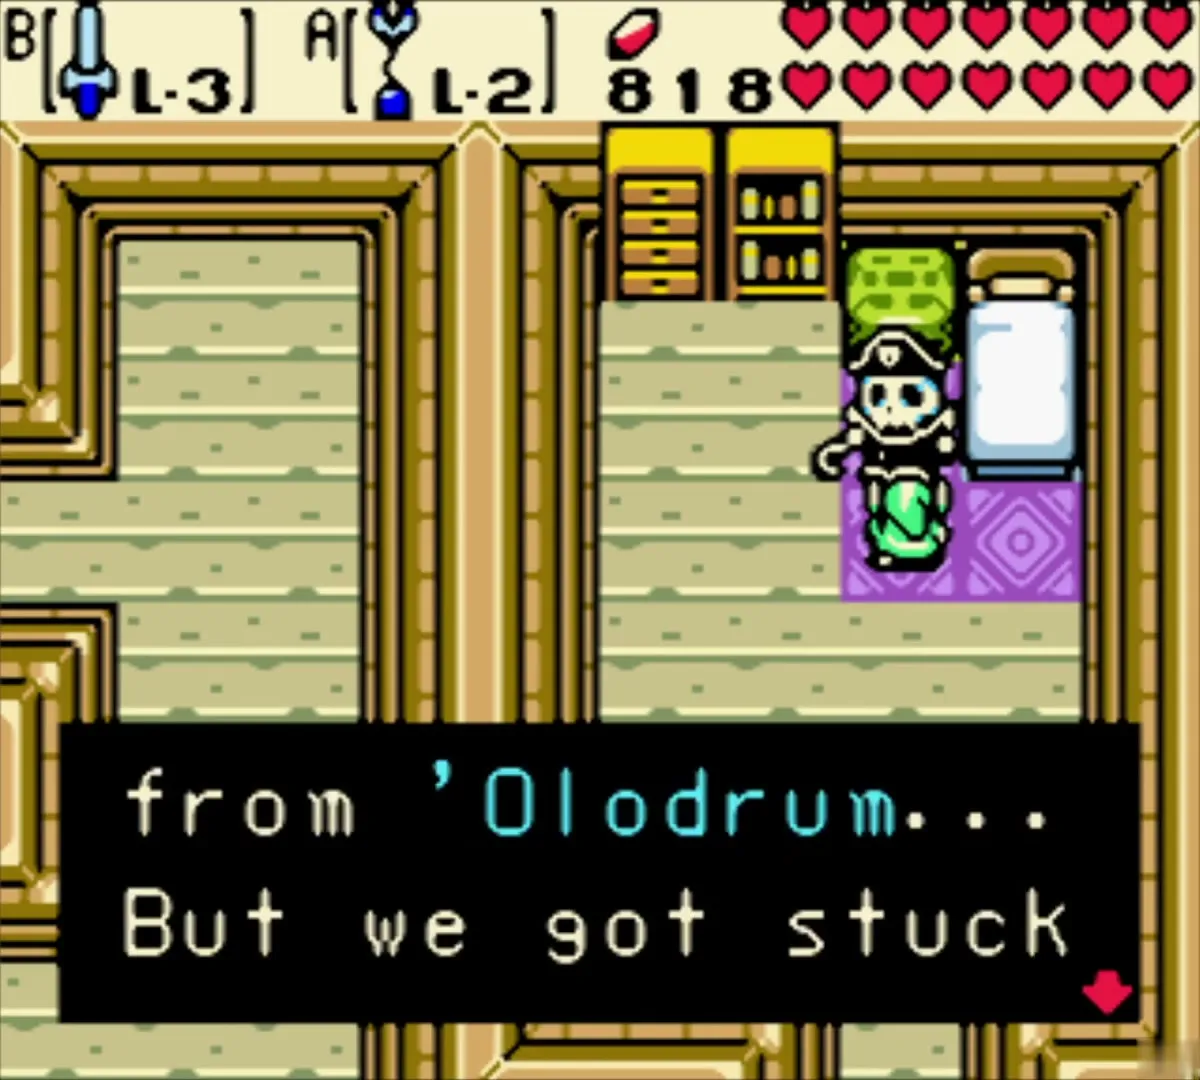
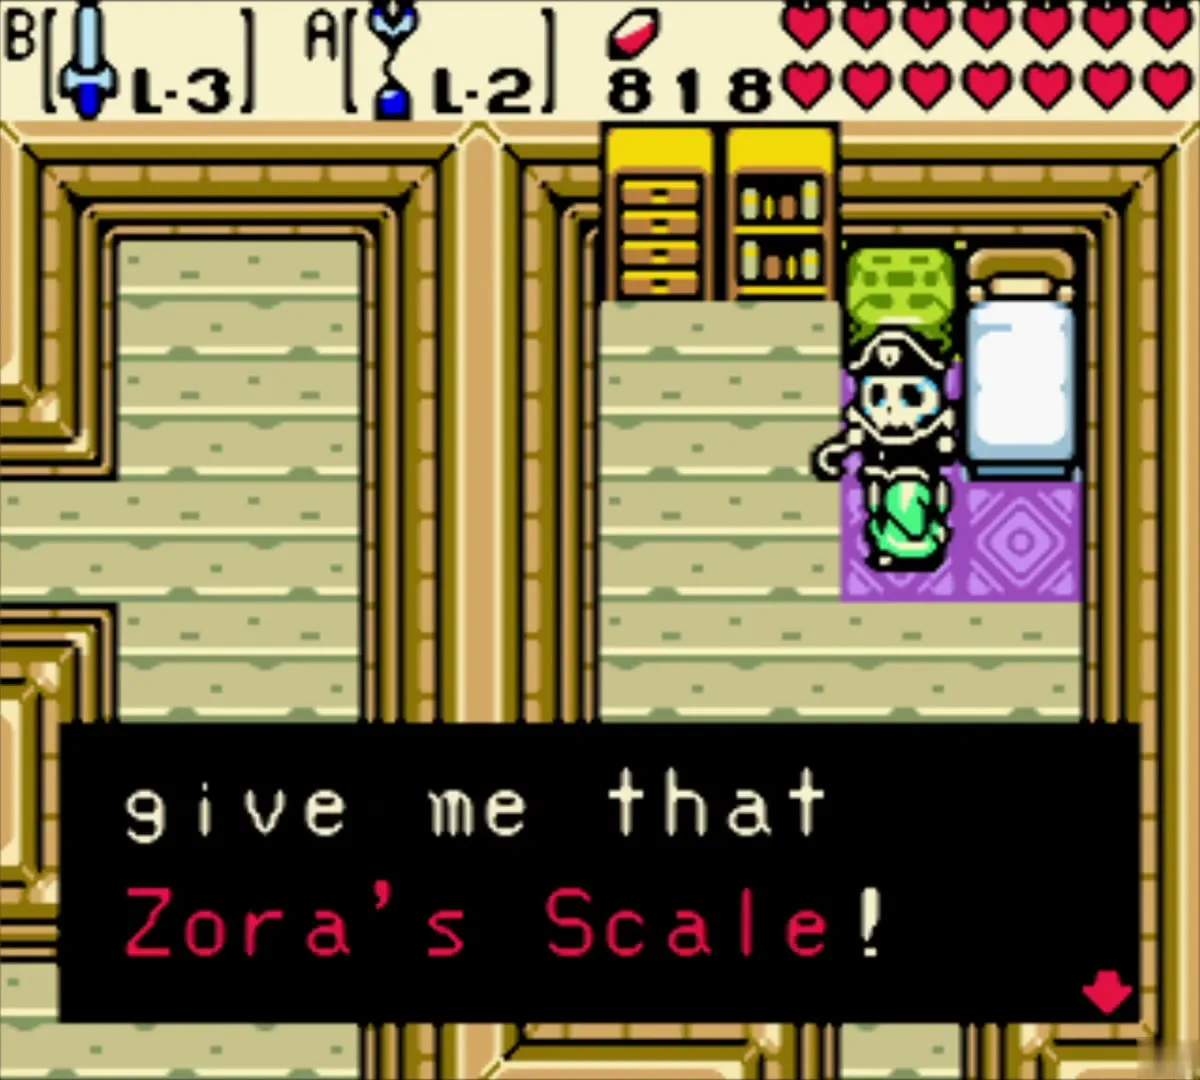
Swim to the pirate ship and go into the tan wooden cabin with its beds and barrels. The crew explains that they have been stranded in these seas for a long time. Their captain thanks you for freeing the waters and asks for the Zora Scale in return for a reward.


Take the Tokay Eyeball
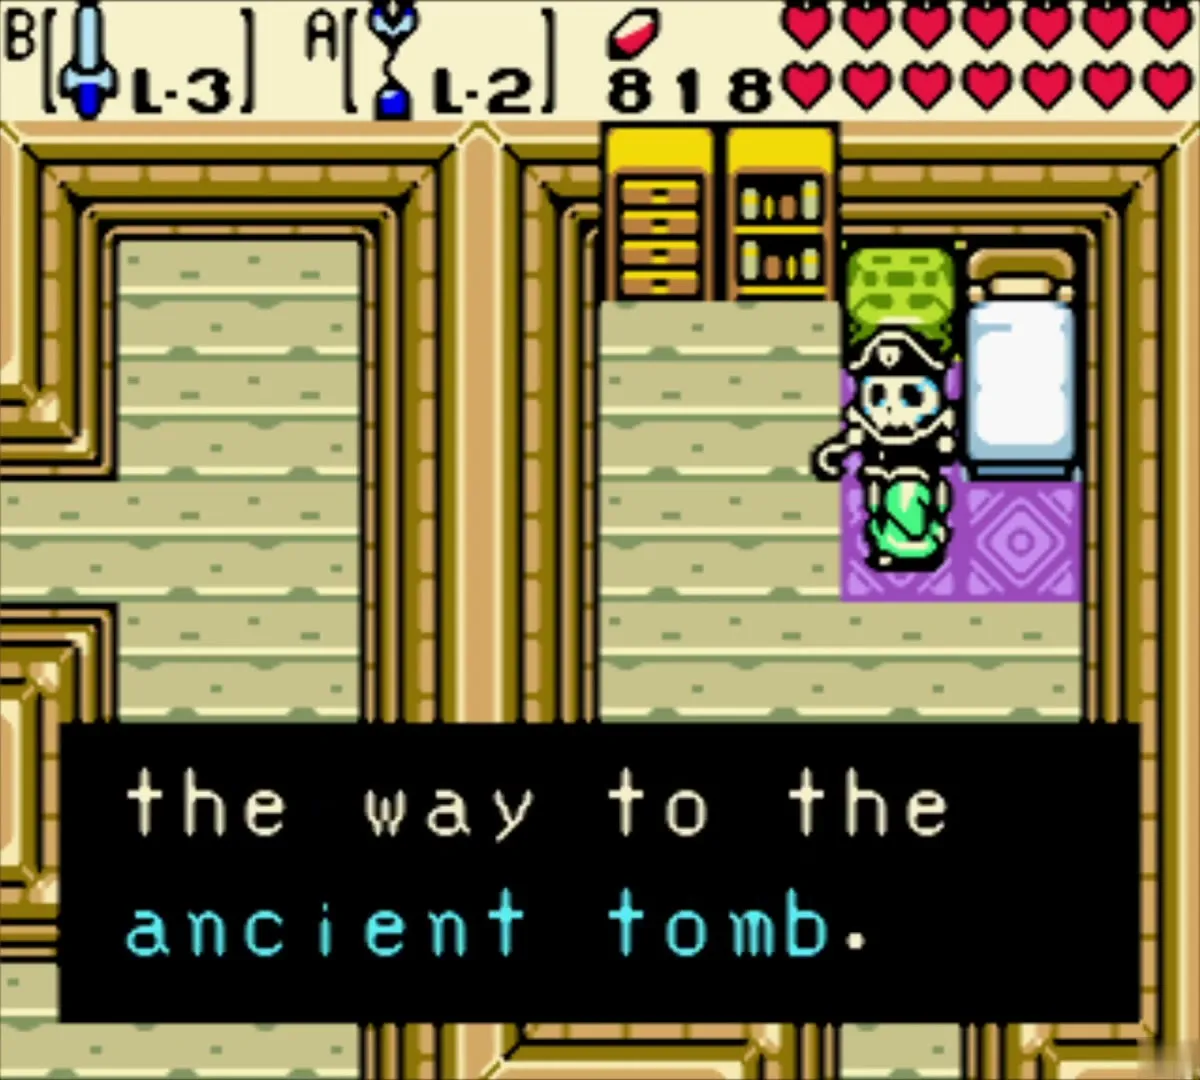
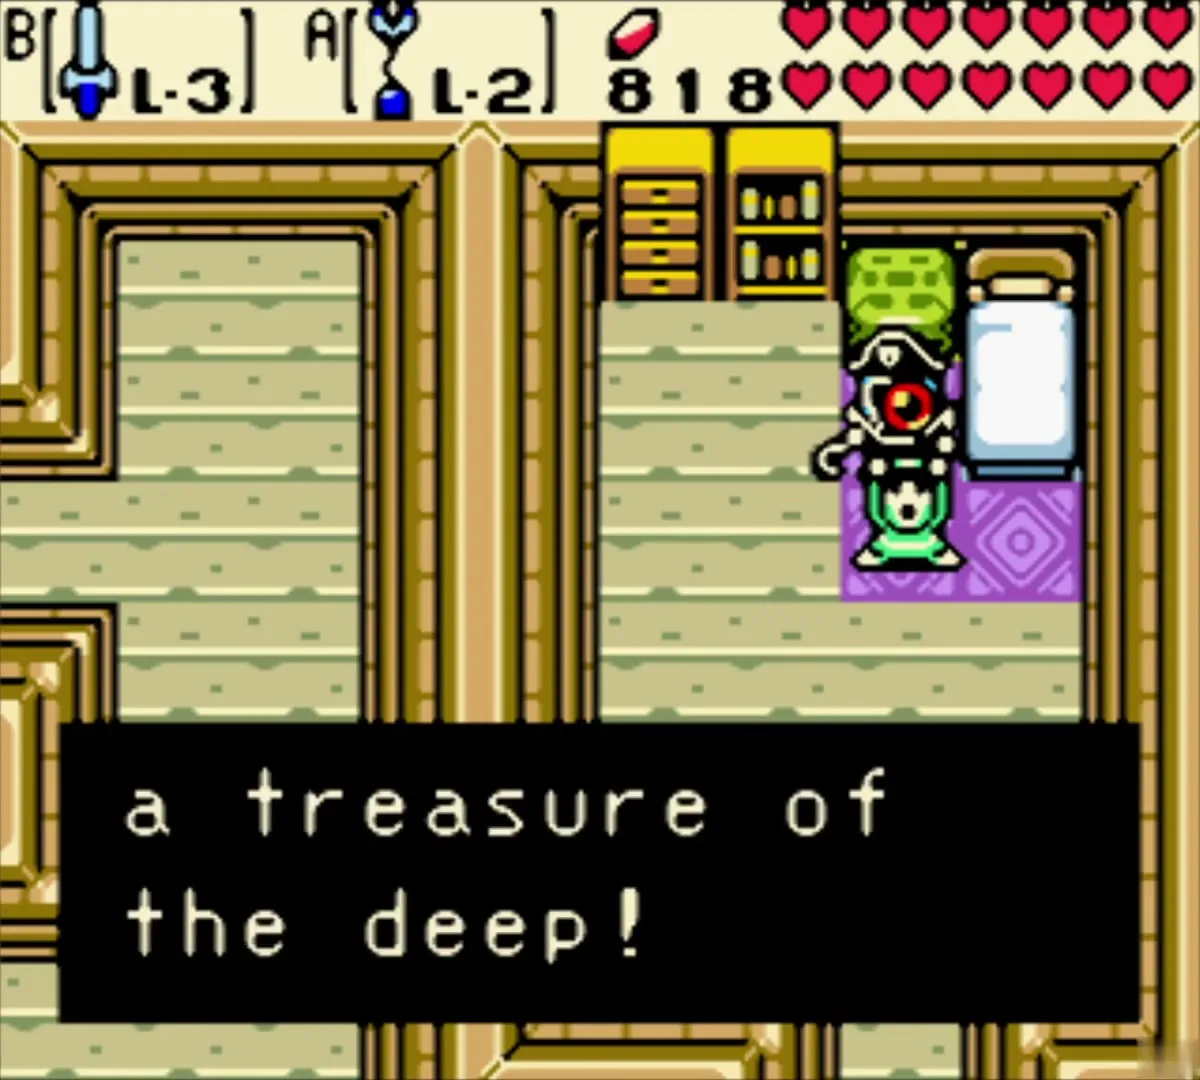
The captain gives you the Tokay Eyeball, a jewel that he believes shows the way to the ancient tomb. Its box names it a treasure of the deep. You will use it later, in the past, to open the Tokay statue on Crescent Island, so hold on to it.
Clam grotto ring
Open the chest among the clams
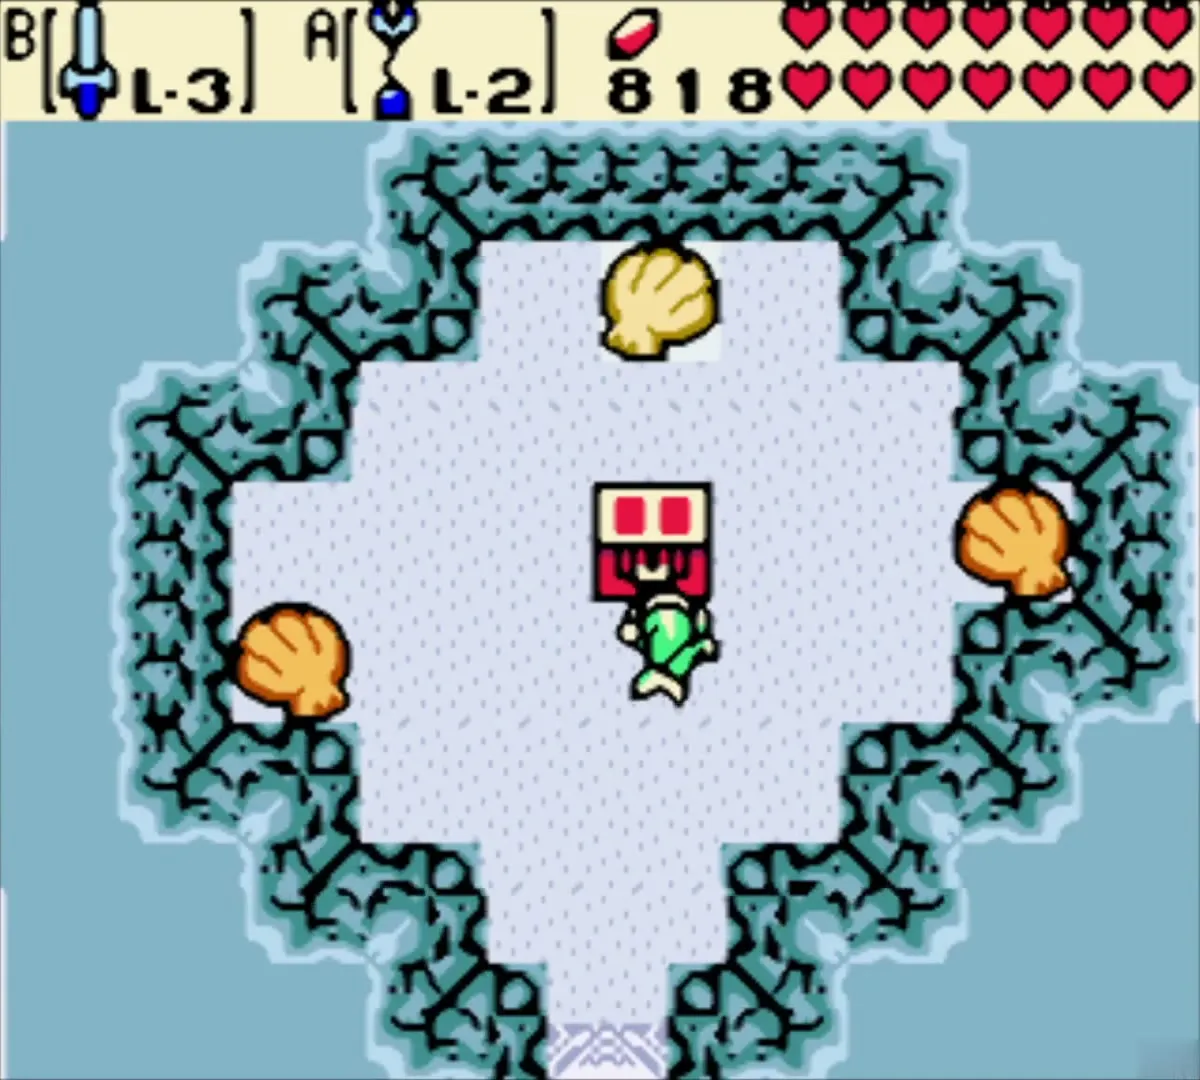
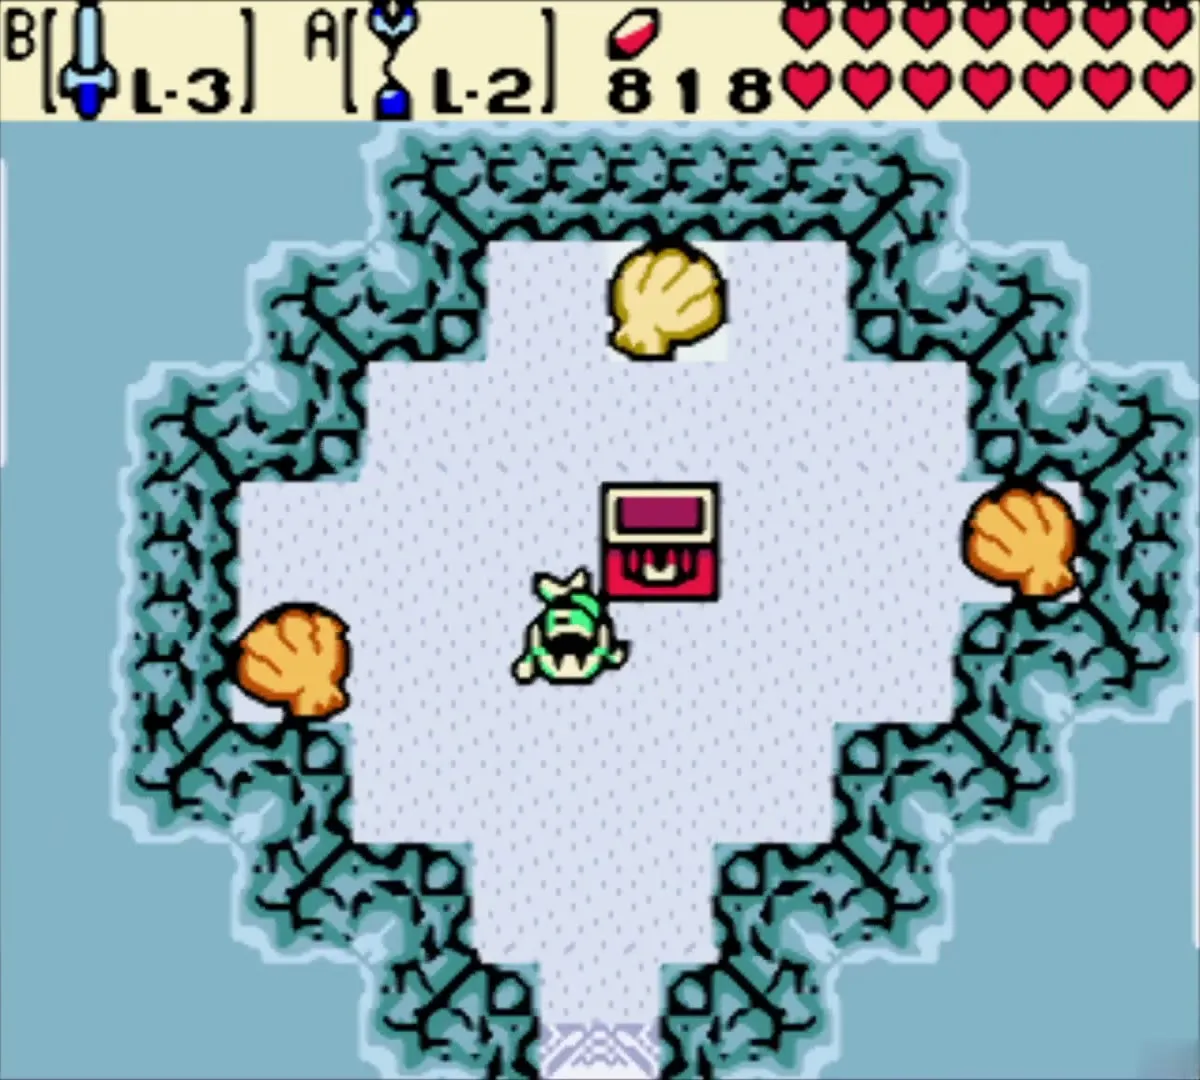
Leave the ship and swim through the turquoise water to the coral shore with a cave mouth. Inside the pale grotto, four orange clams surround a red chest. Walk up to the chest and open it. The box says you got a ring that must be appraised, so take it to Vasu in Lynna City later.
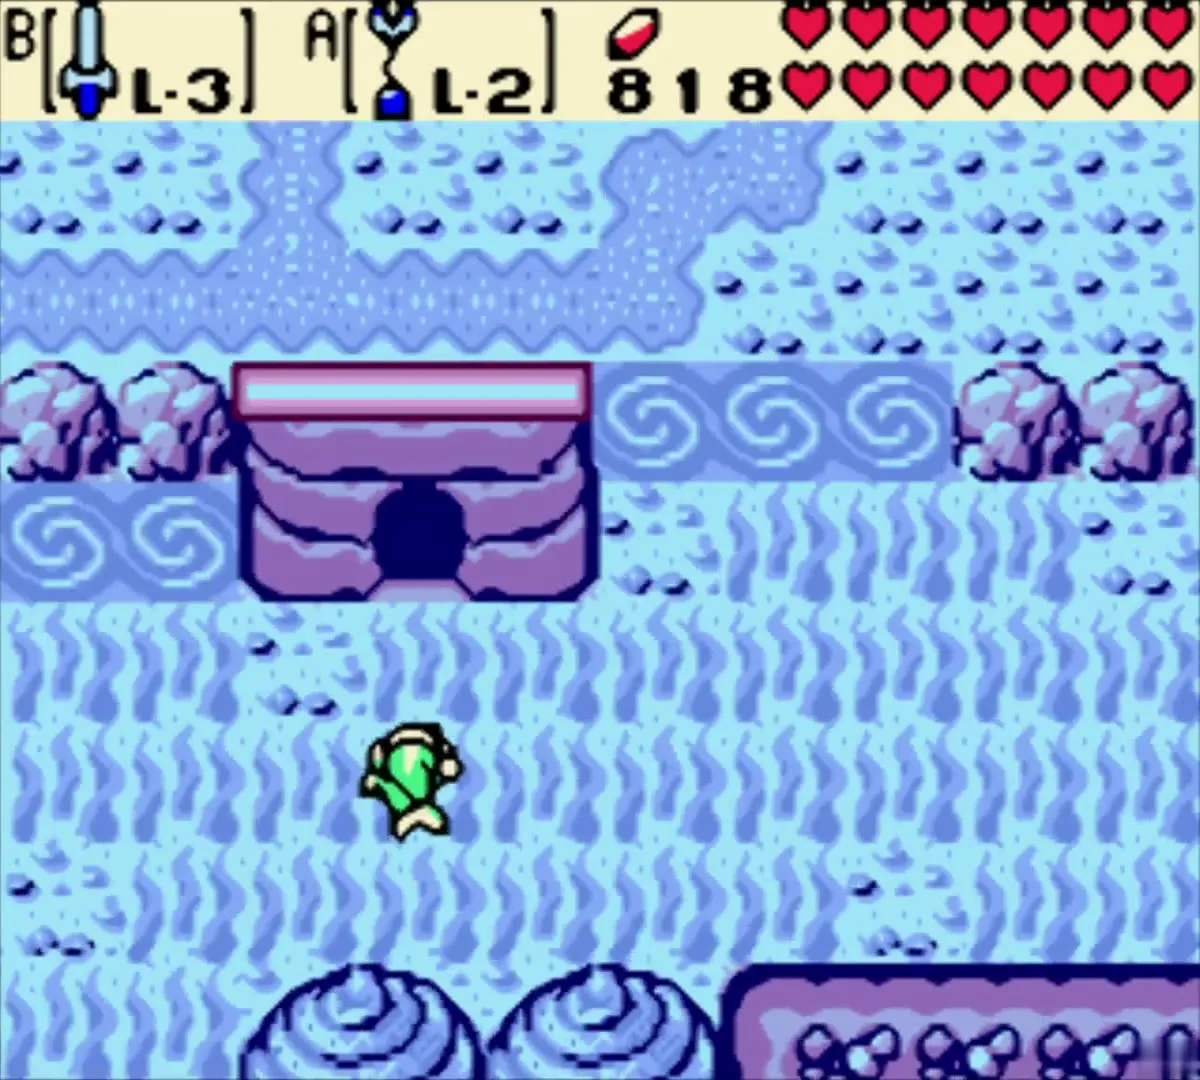
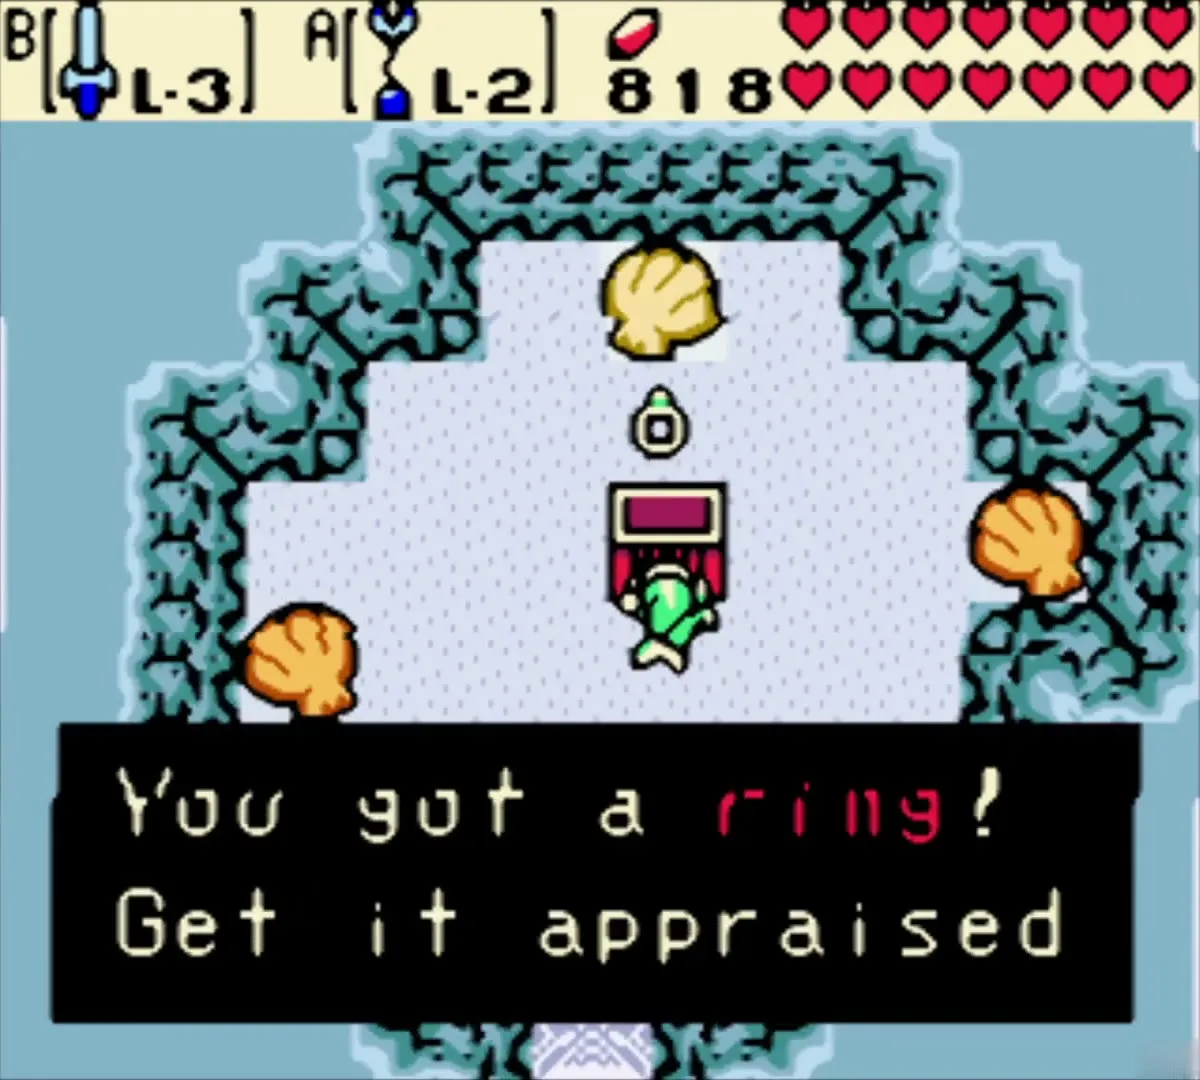
This chest holds the Pegasus Ring, the fixed ring of the Sea of Storms. Its name shows only when Vasu appraises it. The magical rings page lists the Pegasus Ring and its effect on Pegasus Seeds.
Cave ring on the Zora Seas shore
Take the ring from the red chest
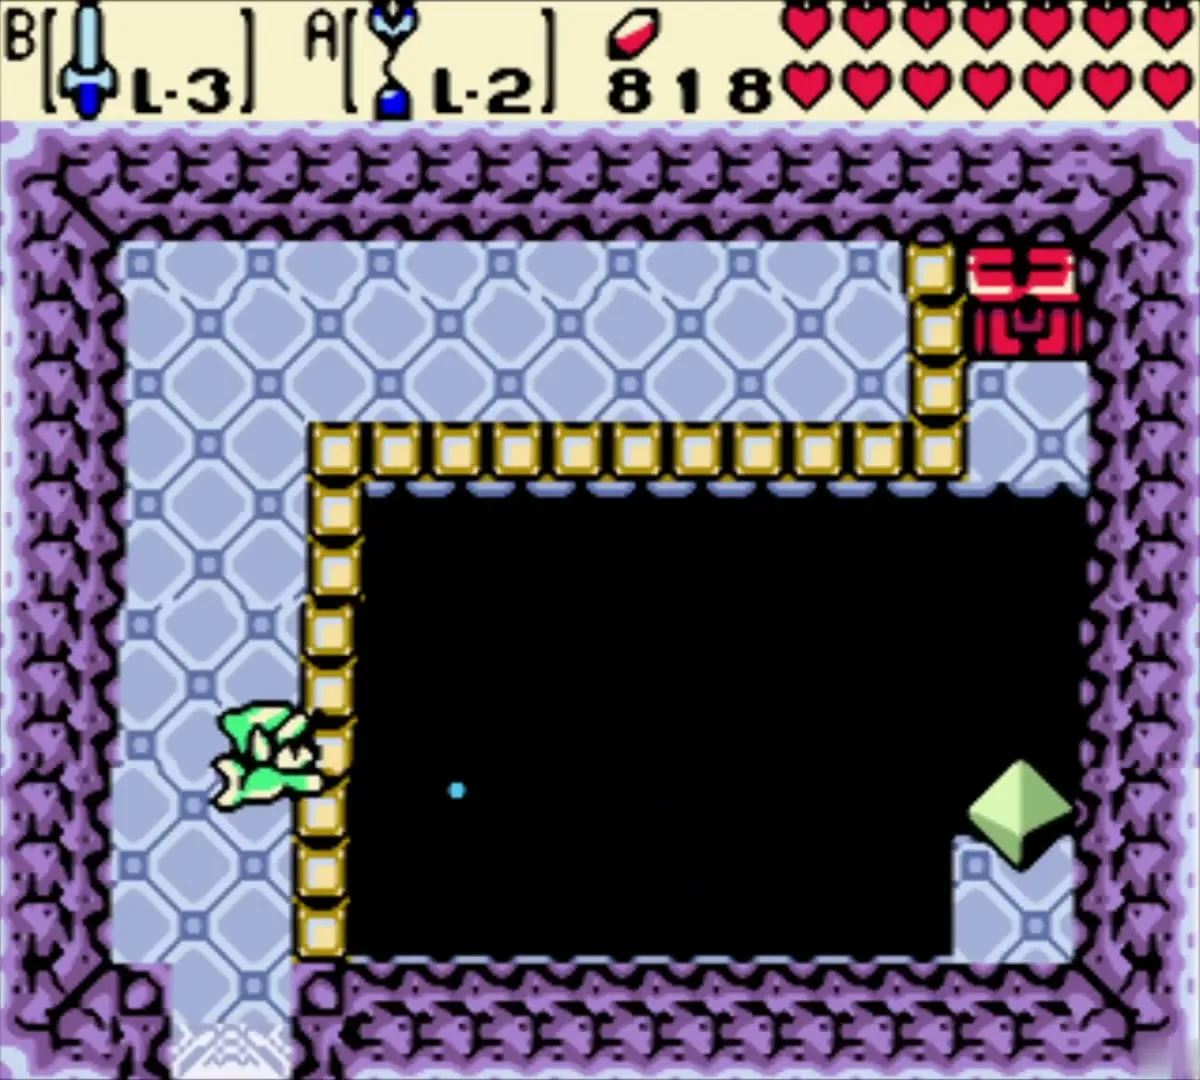
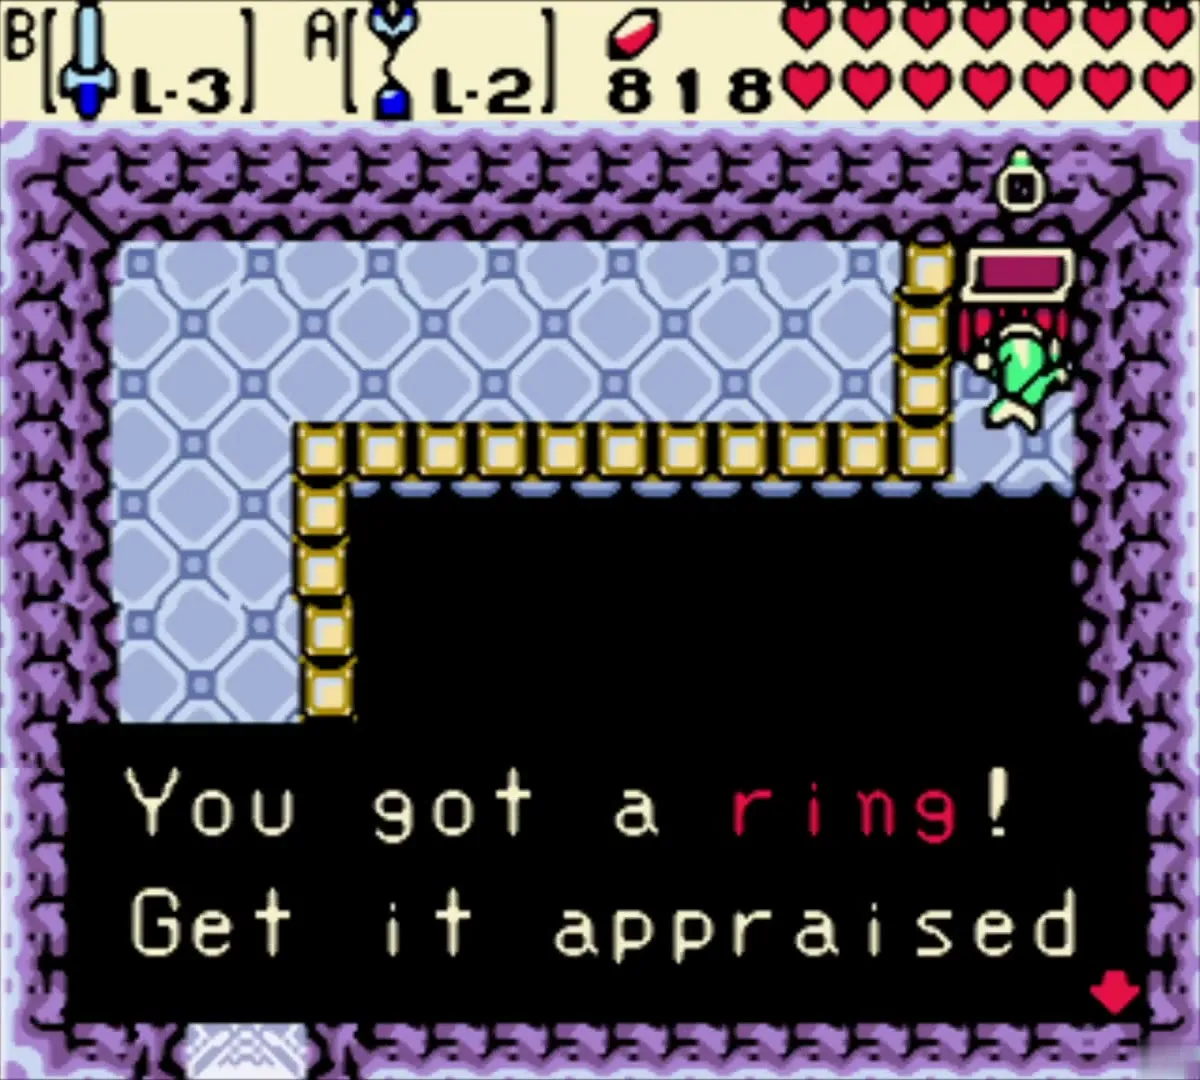
Before the Sea of Storms gate, follow the shore to a cave on the purple overworld. Inside, walk along the gold rail to a red chest in the upper right. Open it for a second unappraised ring. Its name appears once Vasu appraises it.
Tokay statue and the three-room cave
Travel to the past for the statue
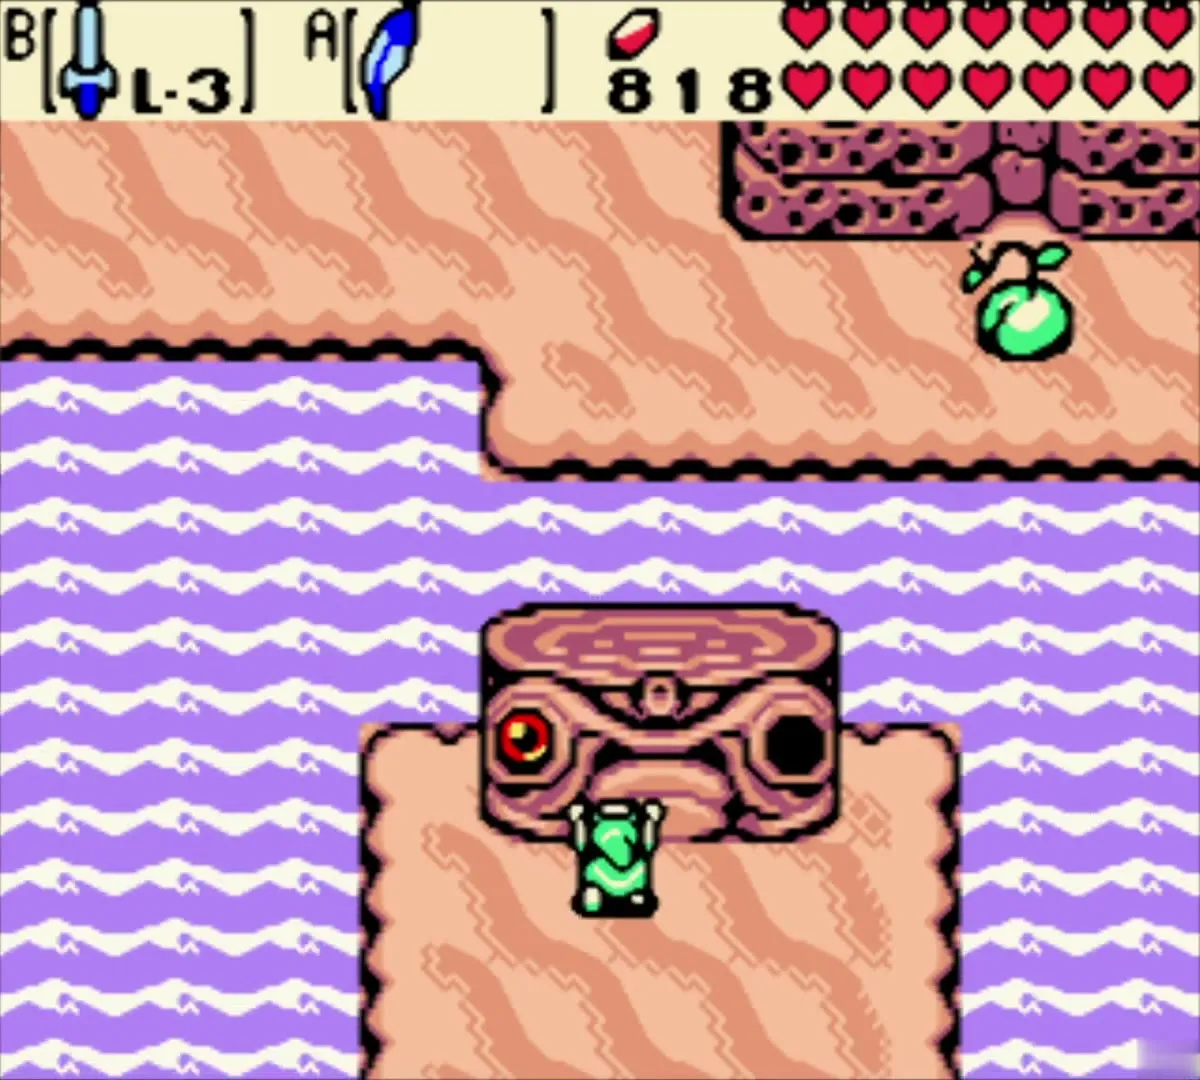
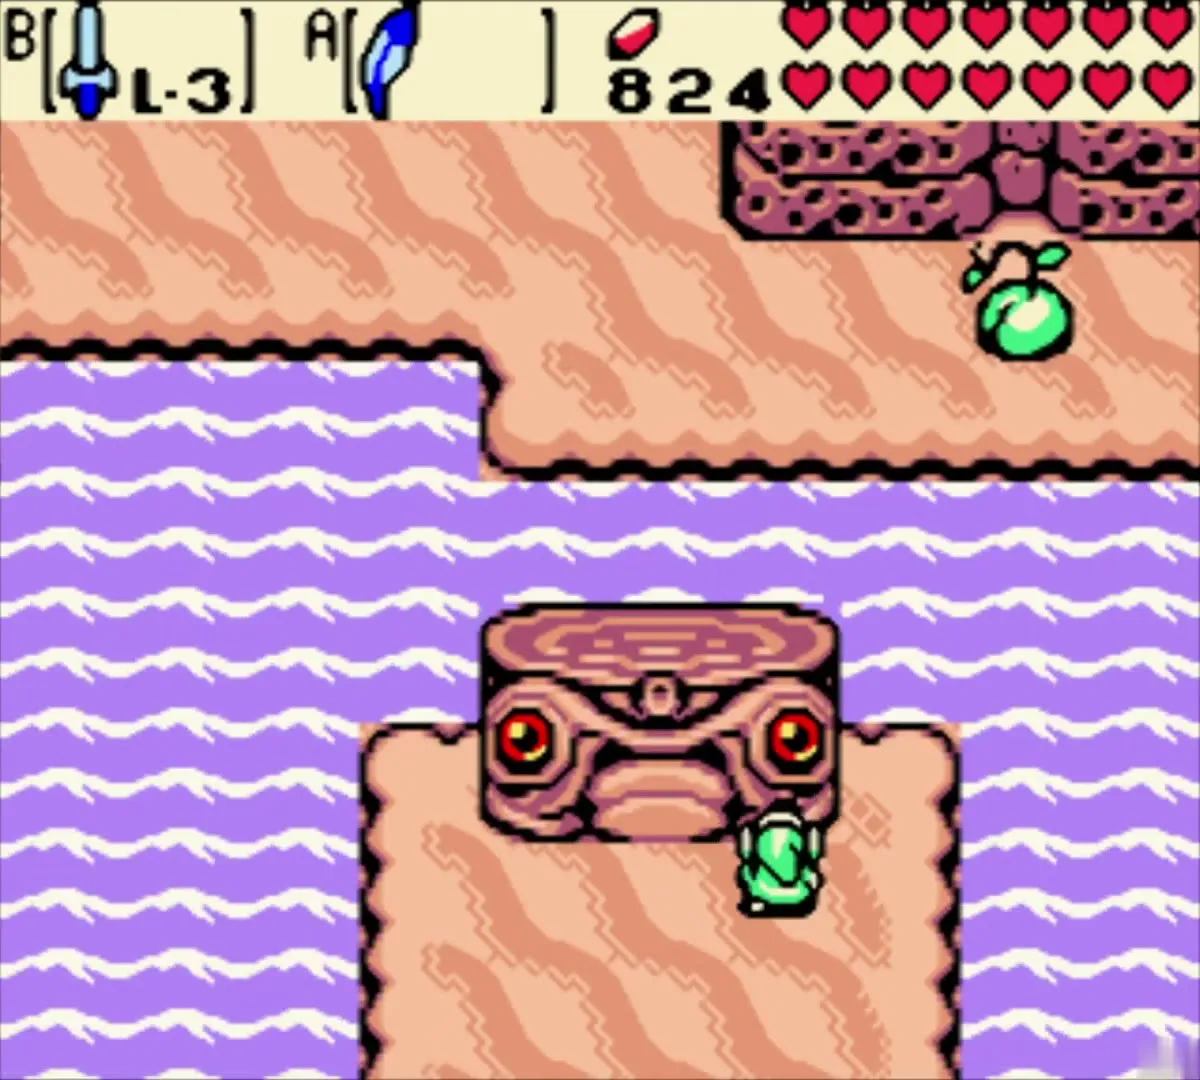
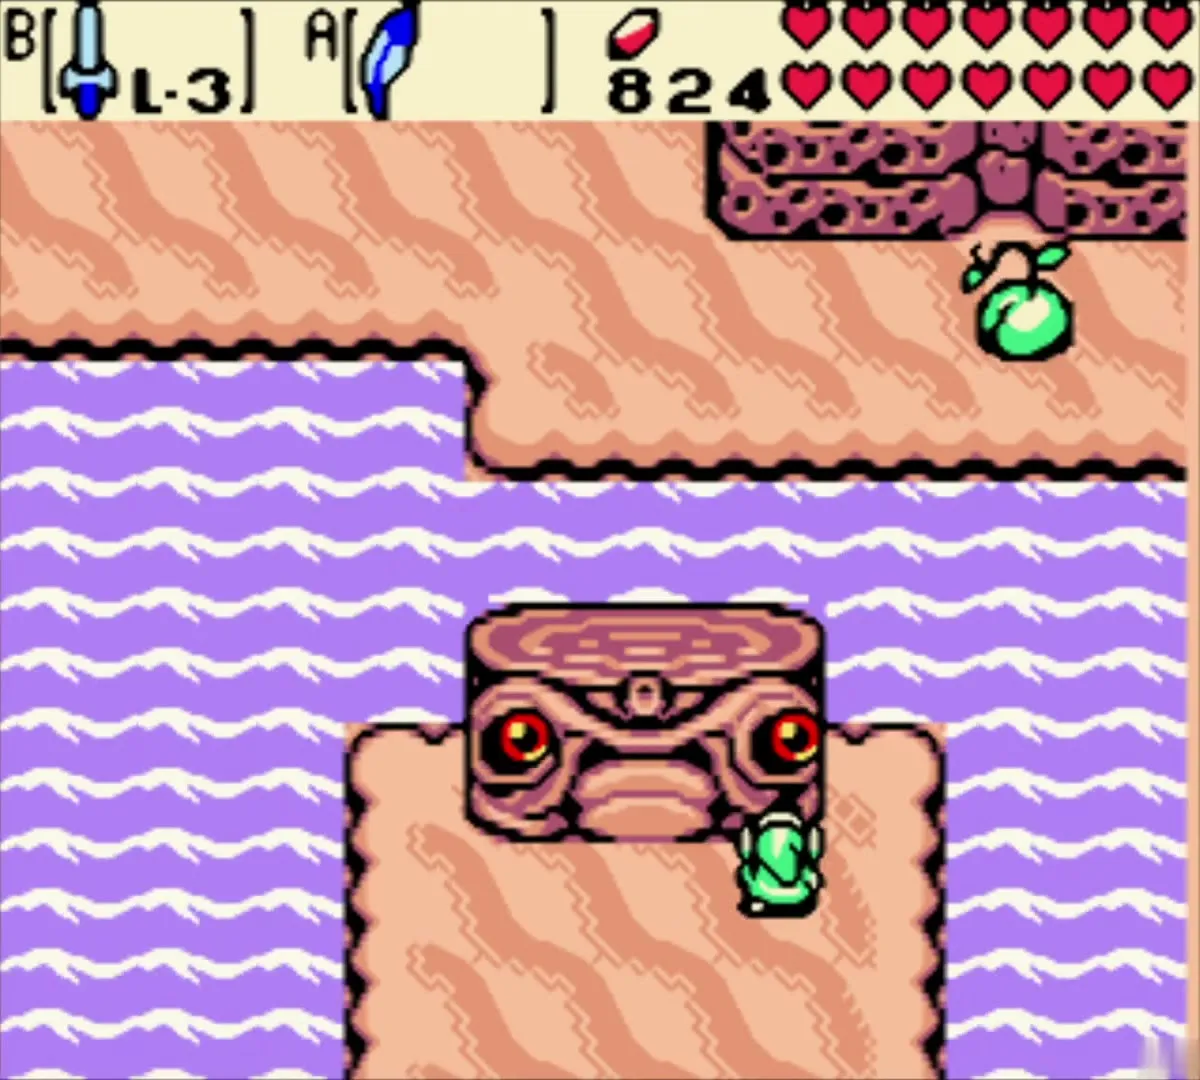
Play the Tune of Ages to travel to the past, since it works in either direction. Head to the west end of Crescent Island, where a stone Tokay Guardian statue stands with its eye missing. Place the Tokay Eyeball in the statue, and a passage opens into the sand area beyond.
Cross the sand and the dark rooms
The sand passage leads to a pink-sand island with a stump building and a shrine voice that tells you about courage and power. Follow the path past the red crab-like enemies and the pink flower enemies, and push the rock pads to clear the way. Keep your bombs for the cracked walls.
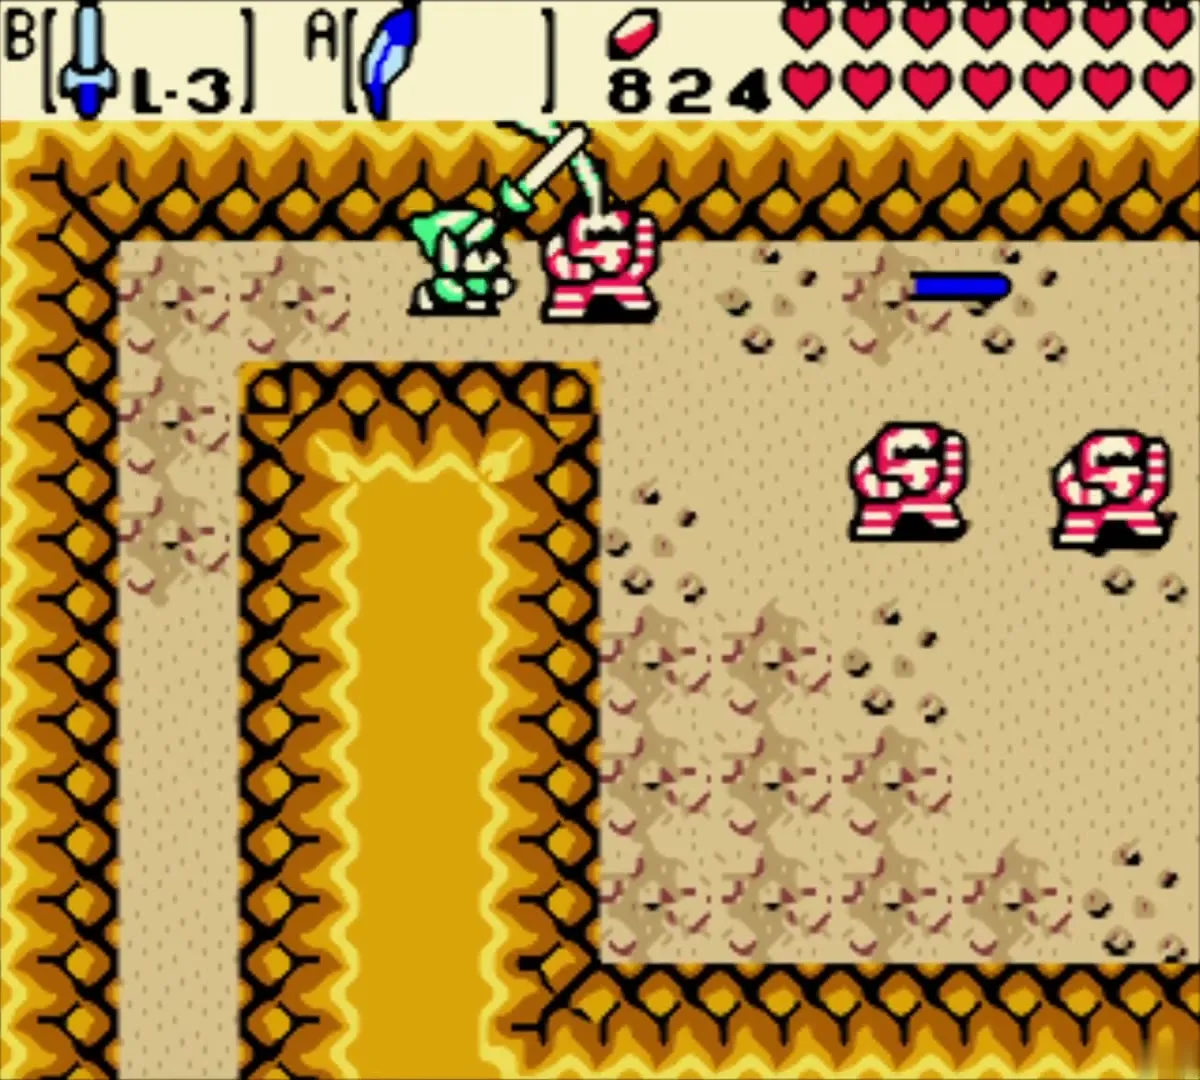
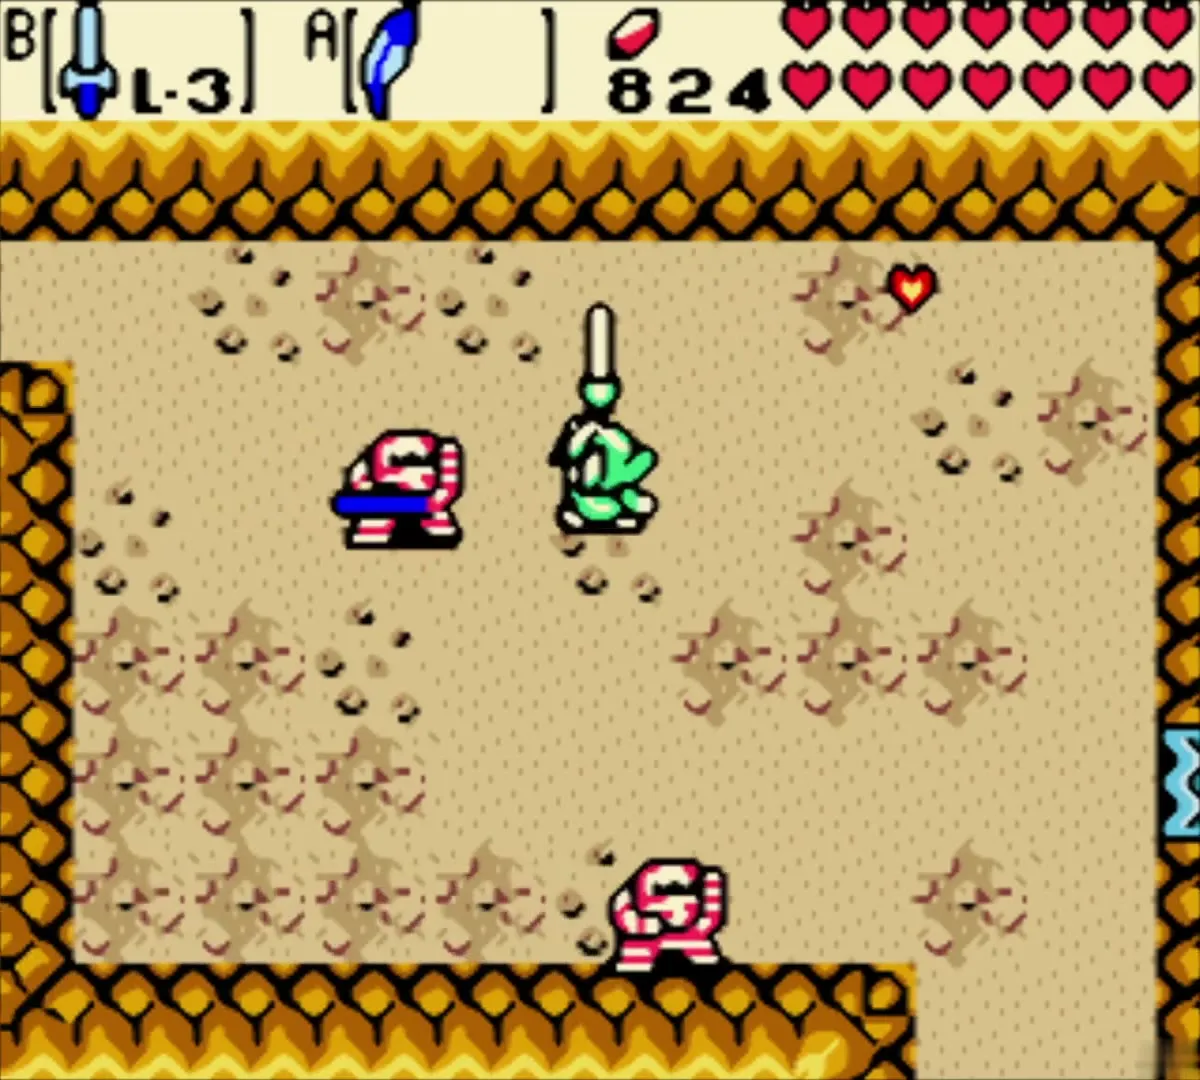
Next comes the room with the spinning blade traps. Let the trap follow you to a corner, where it stops being dangerous, then jump over it with the Roc’s Feather. Dodge the blue blade trap and use your shield against the Hardhat Beetles.
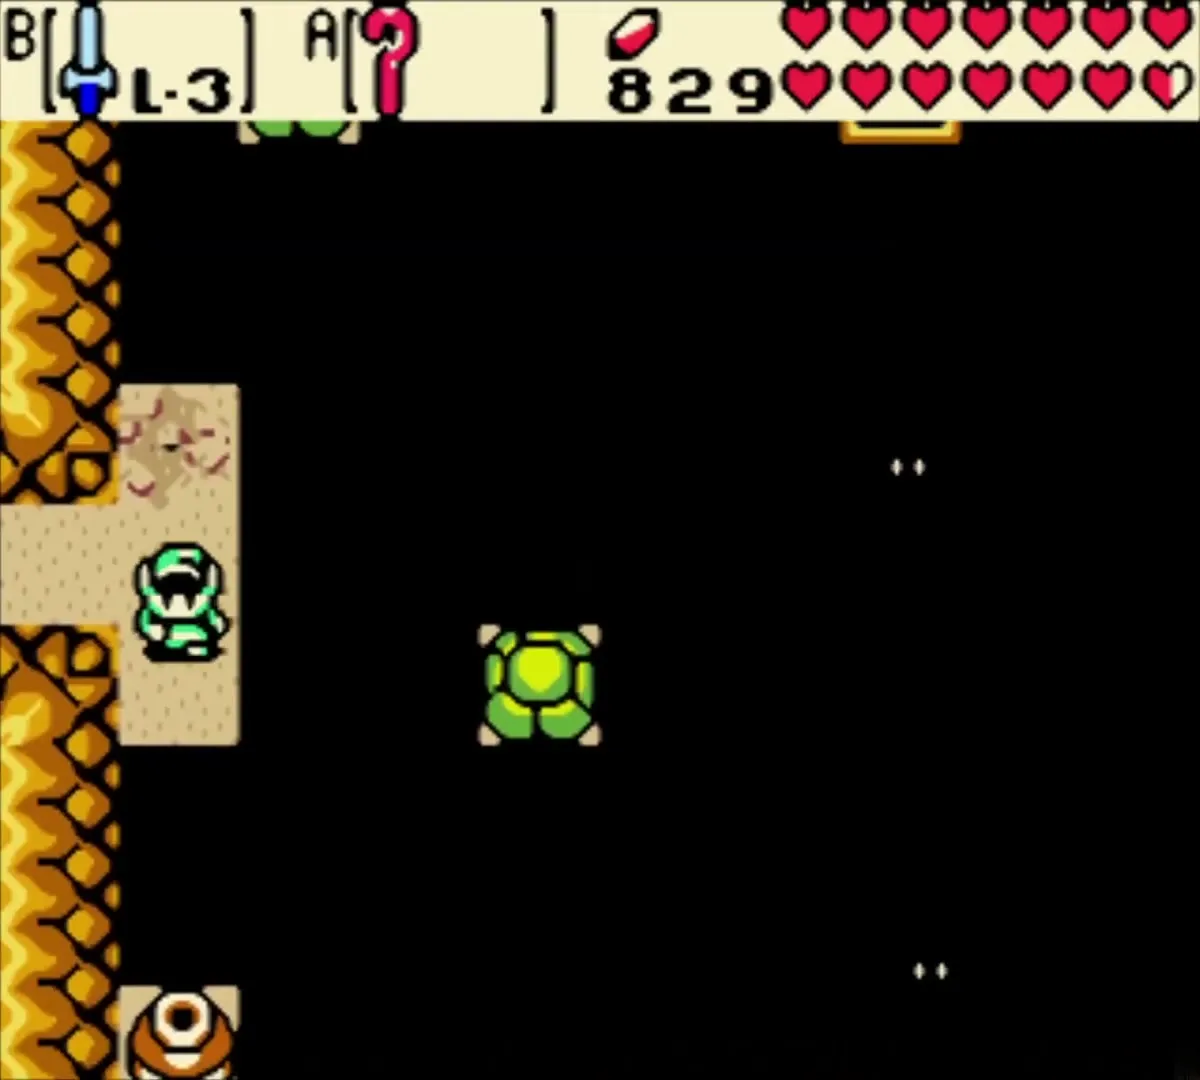
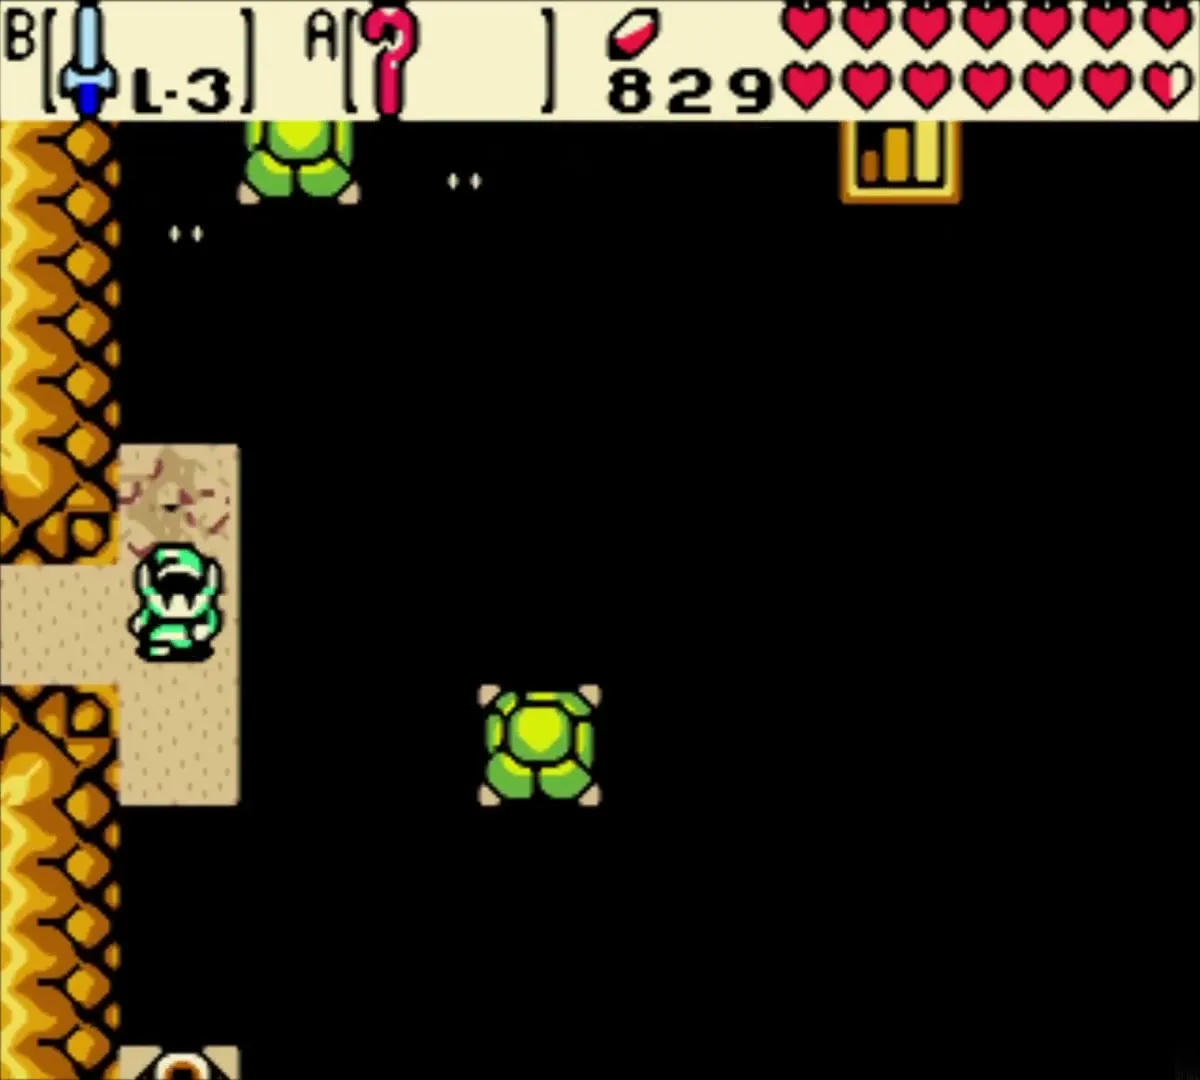
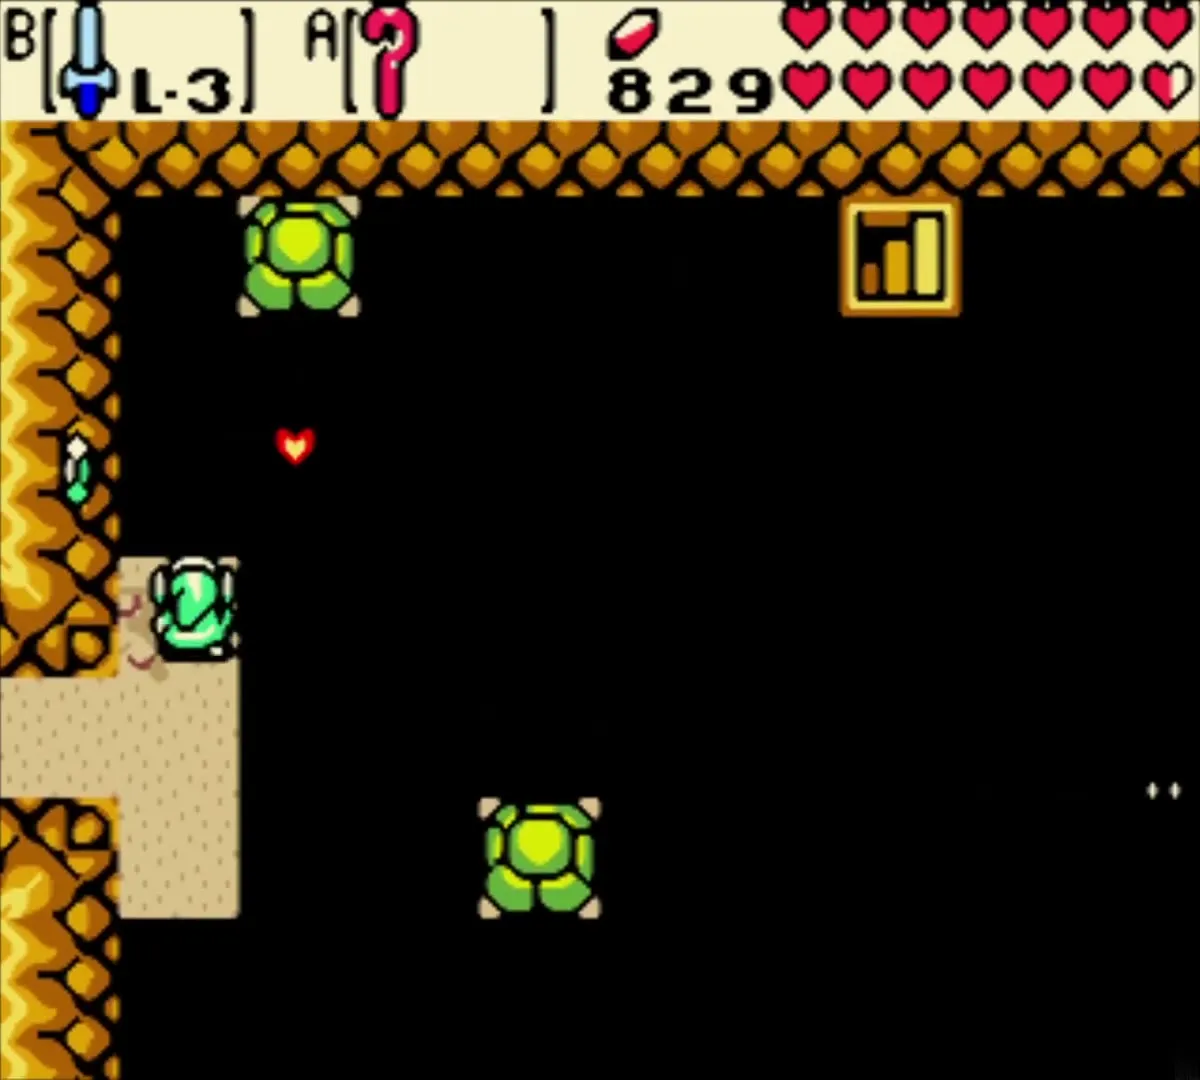
The third room is a dark floor where the Cane of Somaria reveals the safe tiles. Use the cane to make blocks where the floor is unsafe and cross from one tile to the next. A bat and a few enemies guard the way, so keep your sword ready.
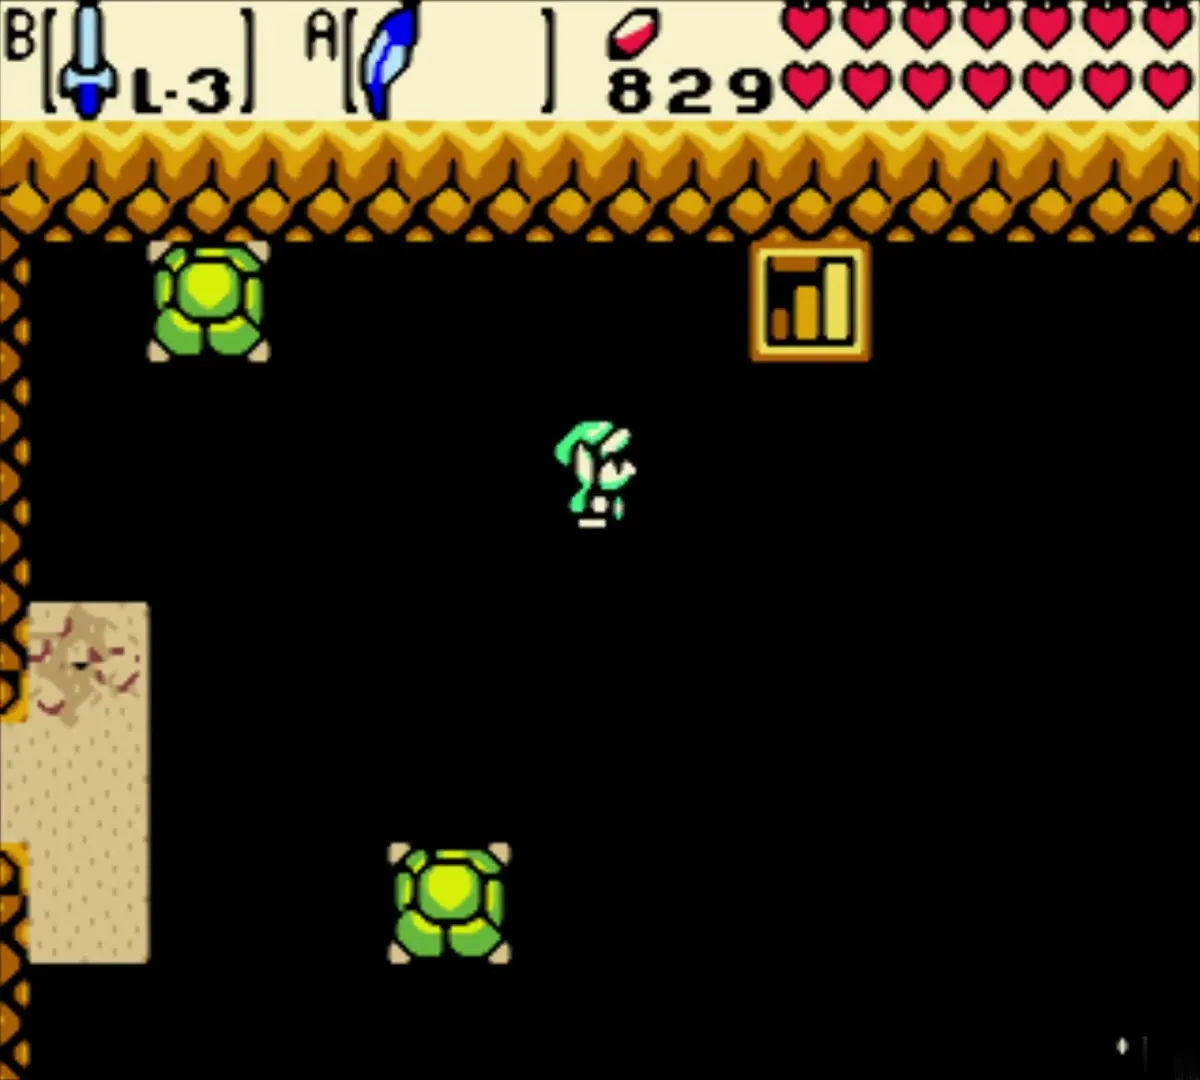
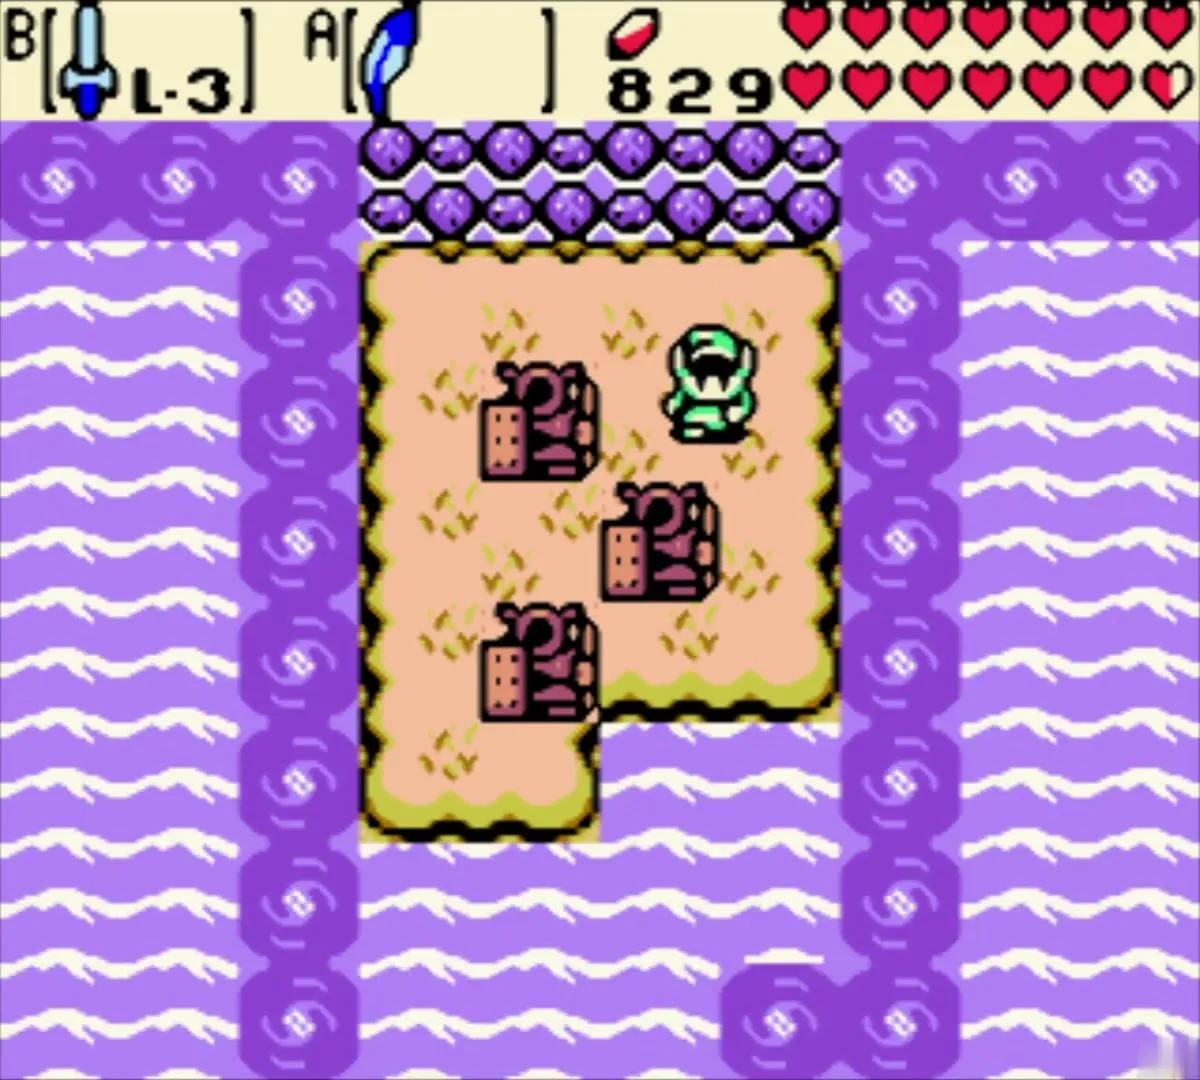
Finish the cave by diving into the underwater passage, which takes you through a teal water room with ladders and a purple room with a stone door. Swim through the passage to the end, and you come out at the Sea of No Return.
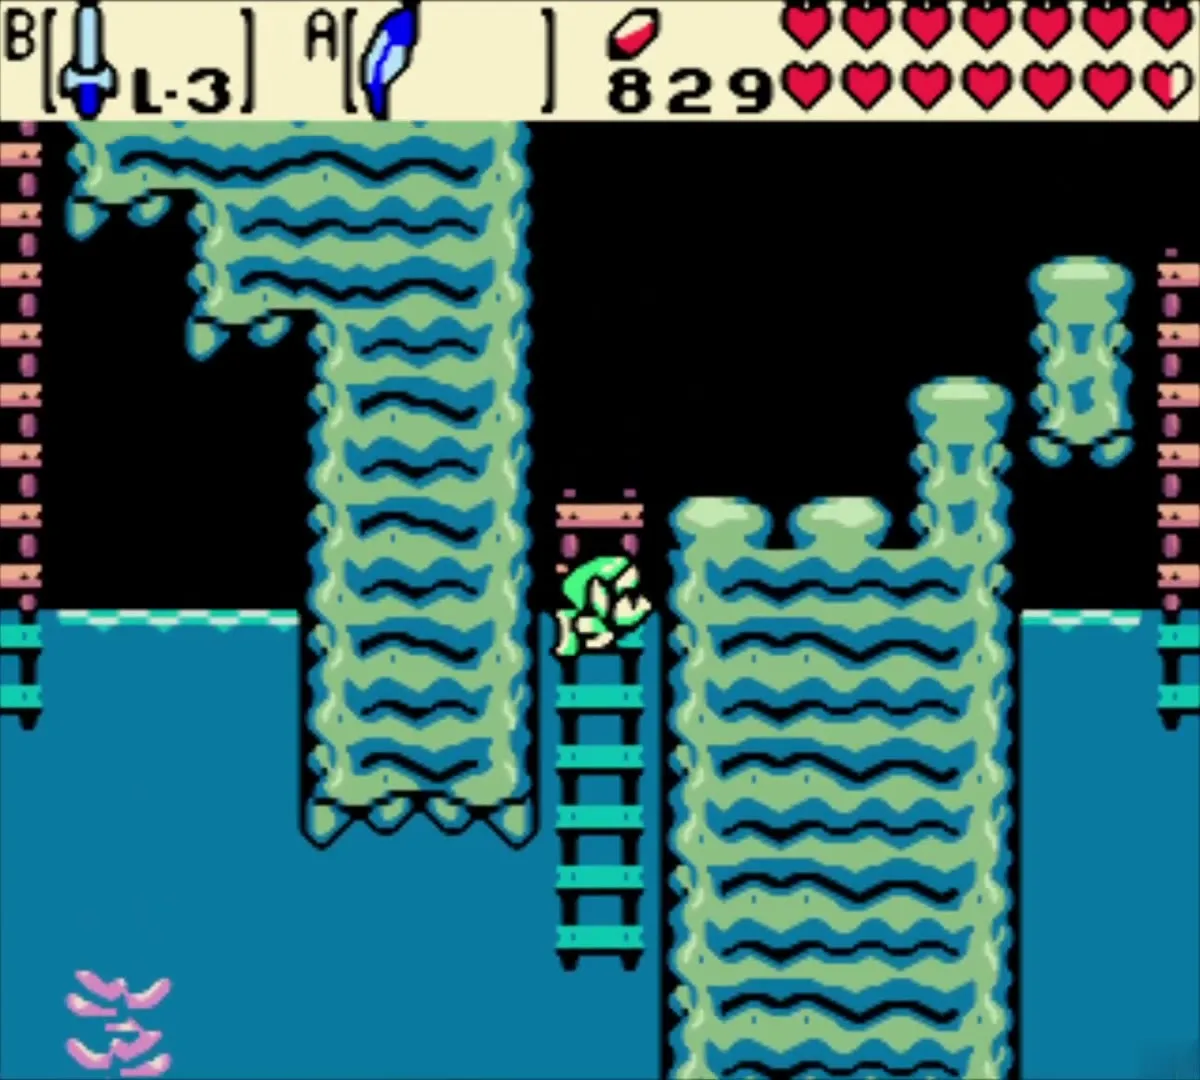
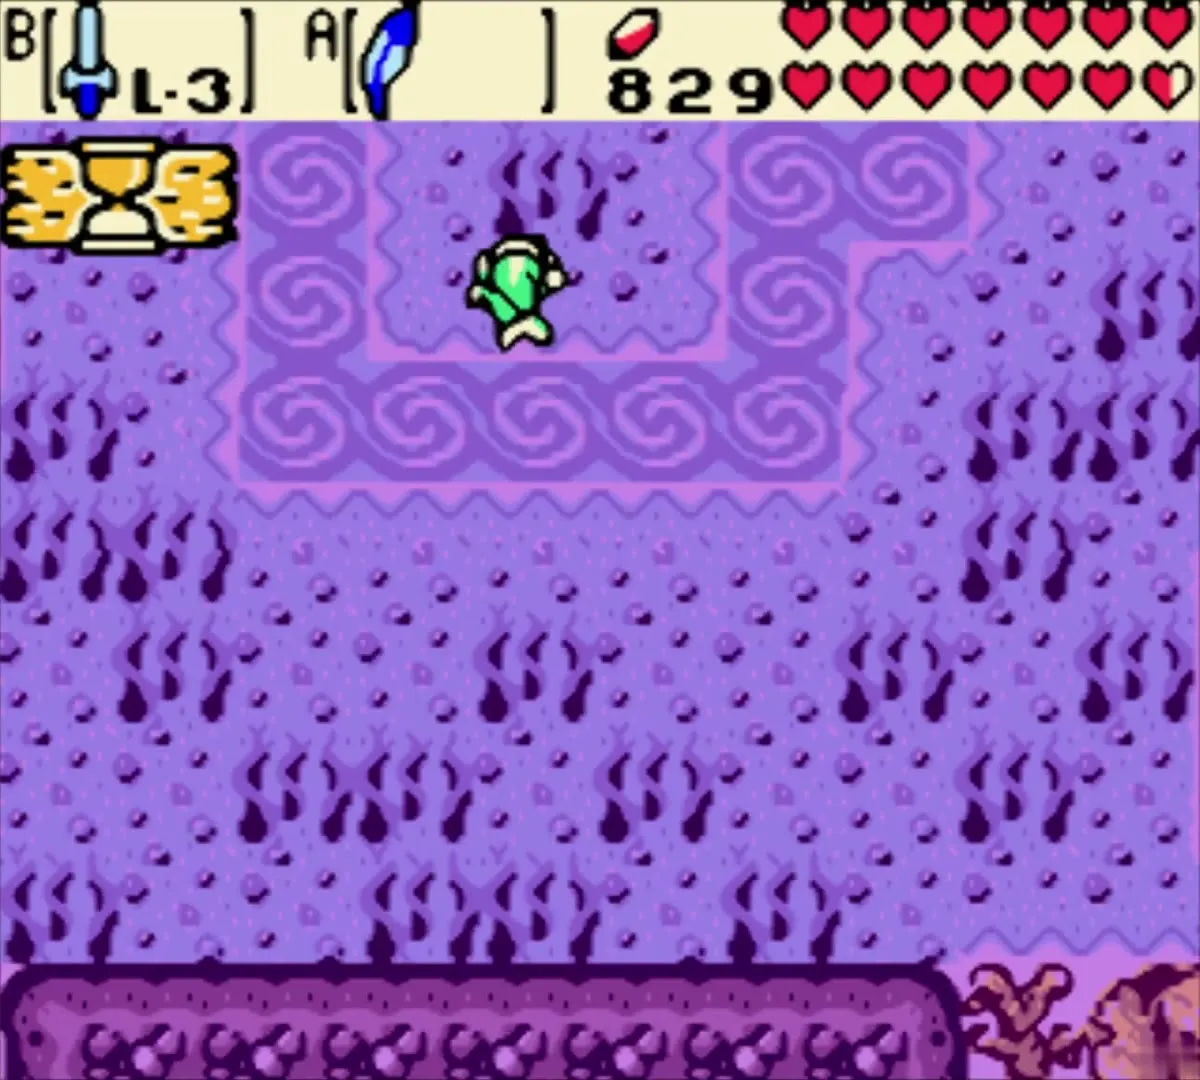
Sea of No Return
Align the statues at the entrance
Climb out of the water and push one statue so that three statues line up. Once they are aligned, the entrance to the Sea of No Return opens. The maze beyond is a pink sand labyrinth of raised walls, and the statues you see around the entrance are part of the puzzle.
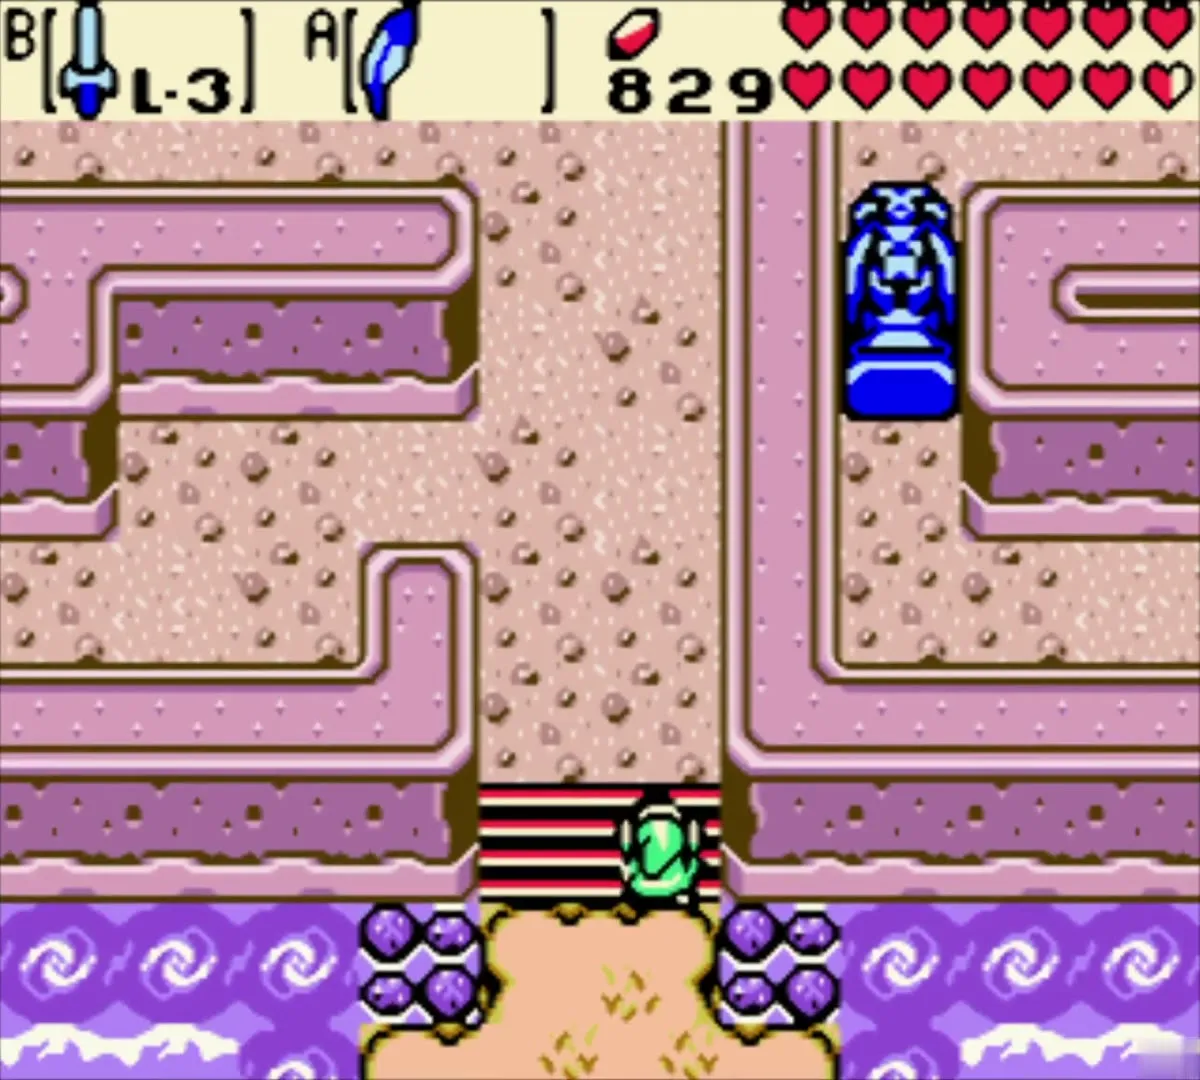
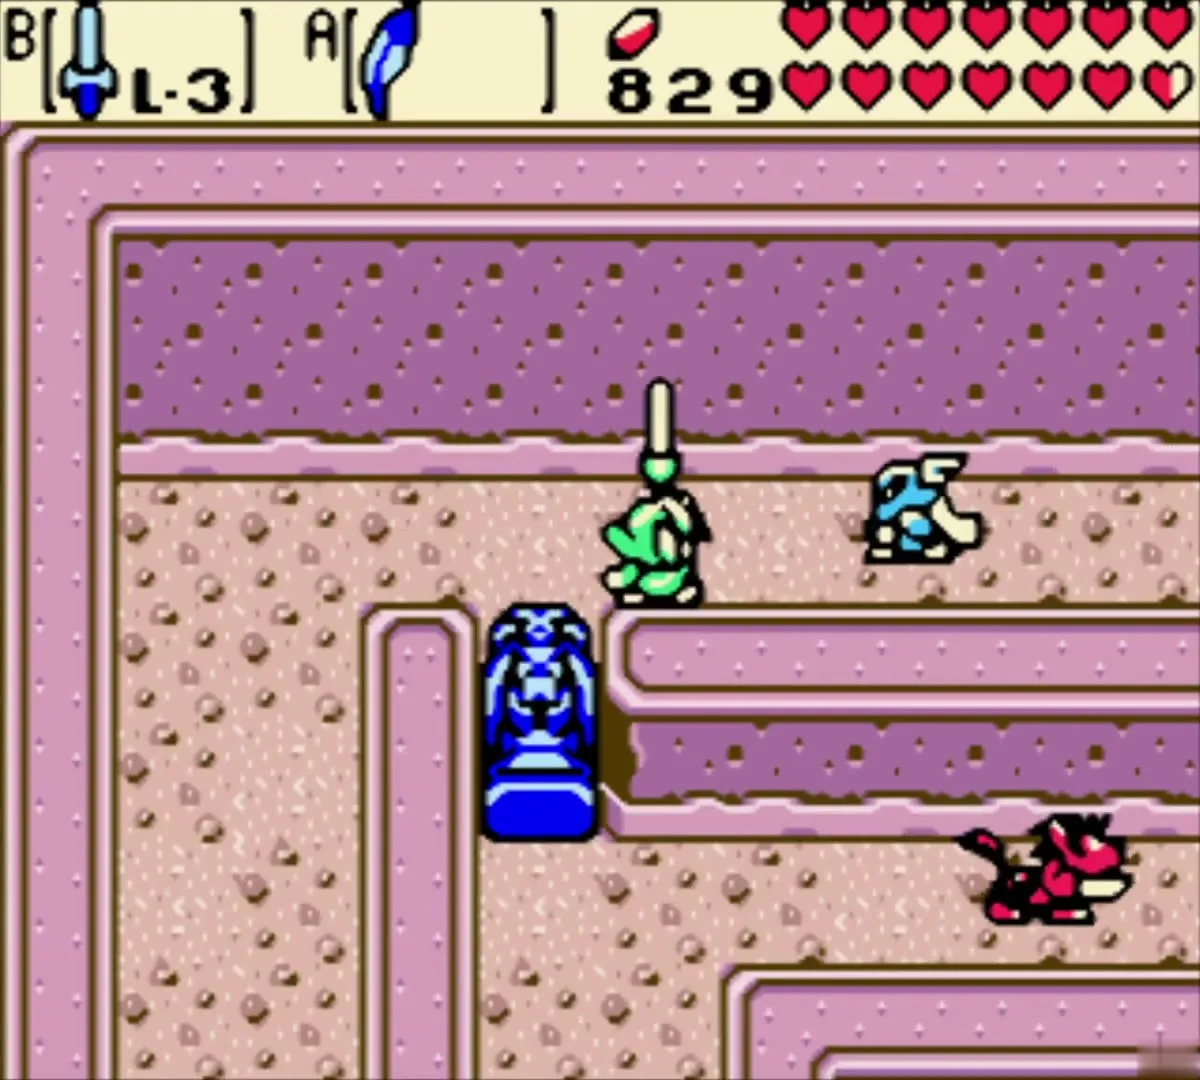
Wind through the maze
The maze has many short dead ends, so the route is mostly a matter of following the wall. The main danger is the Lynels, which charge at you from the walls. Keep moving, and do not stop in open ground when a centaur-like enemy is near. You cannot change eras inside the Sea of No Return, so finish the maze in the past.
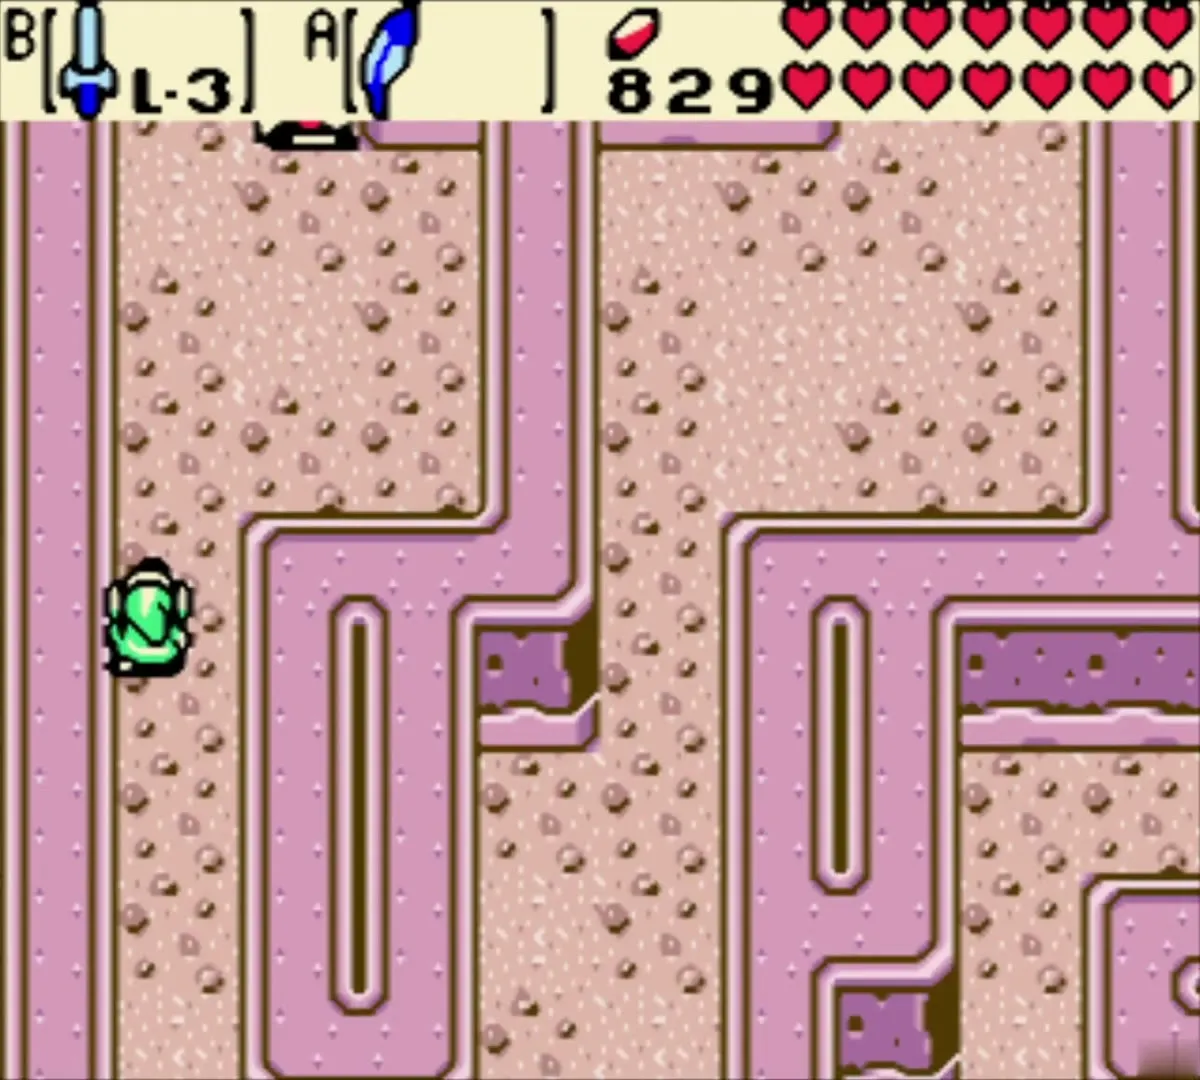
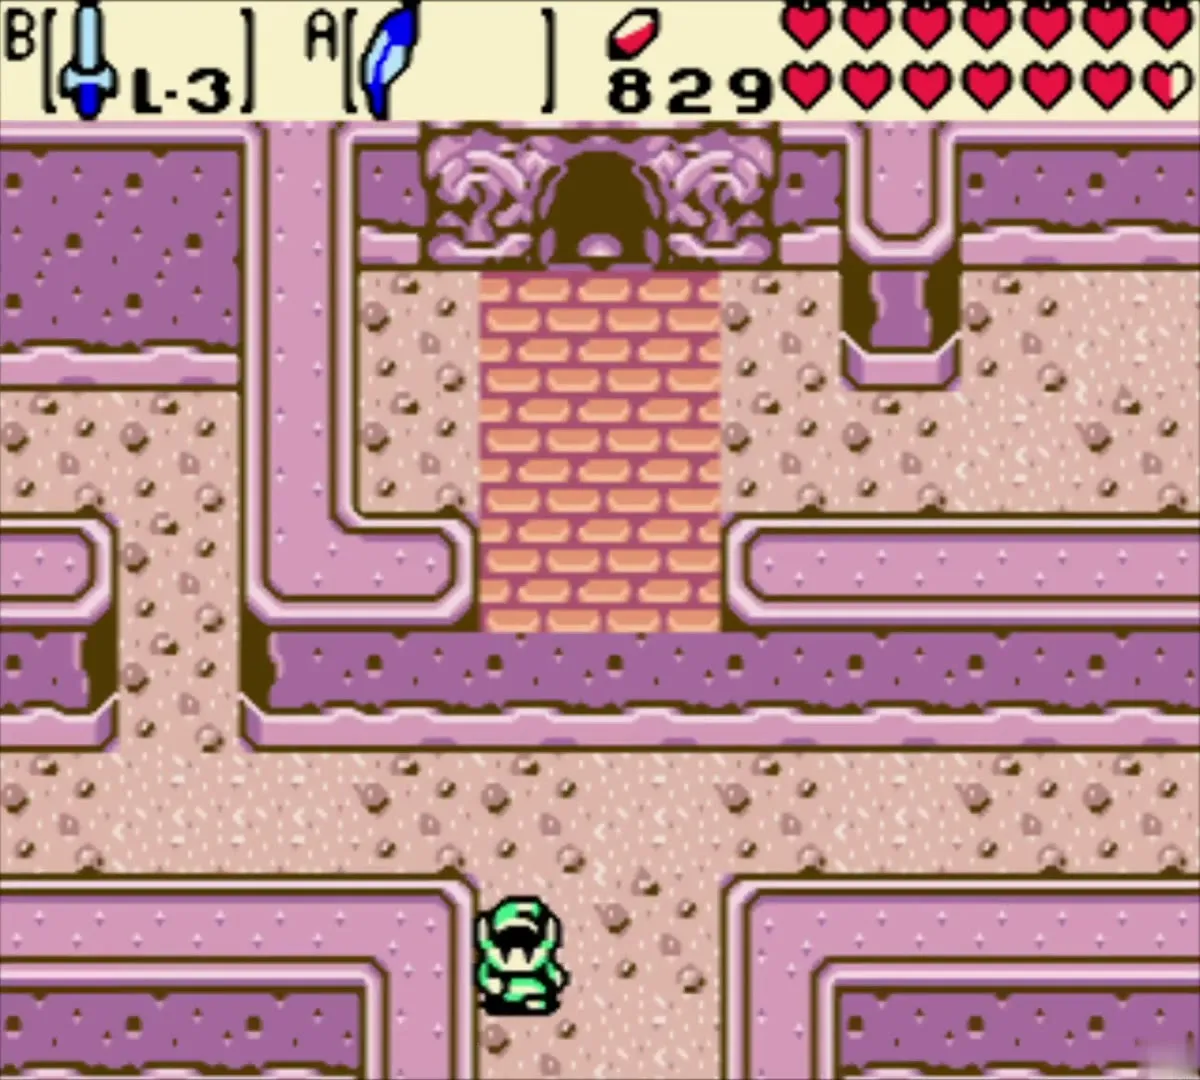
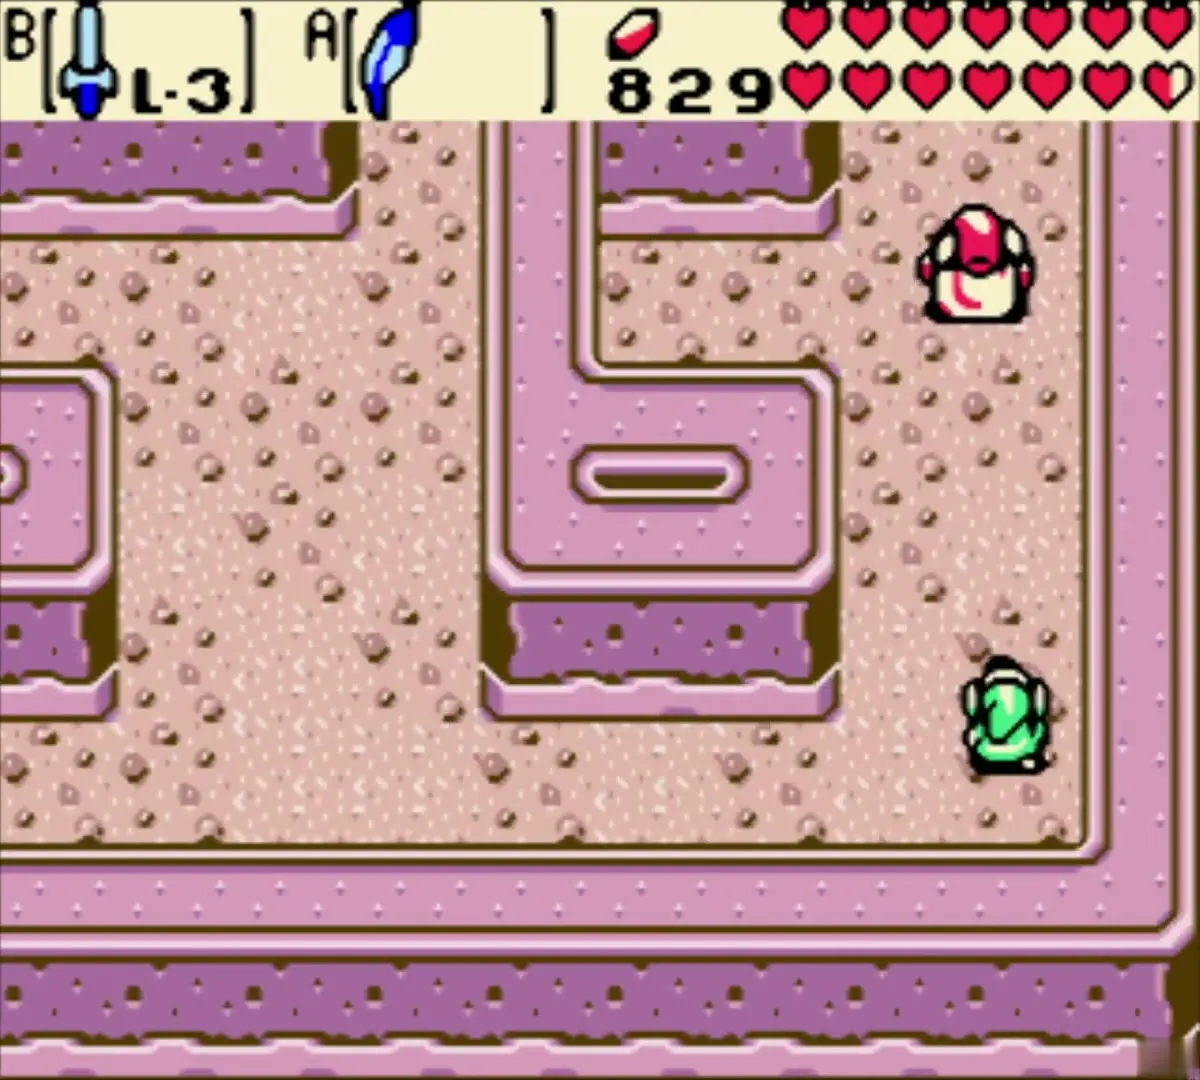
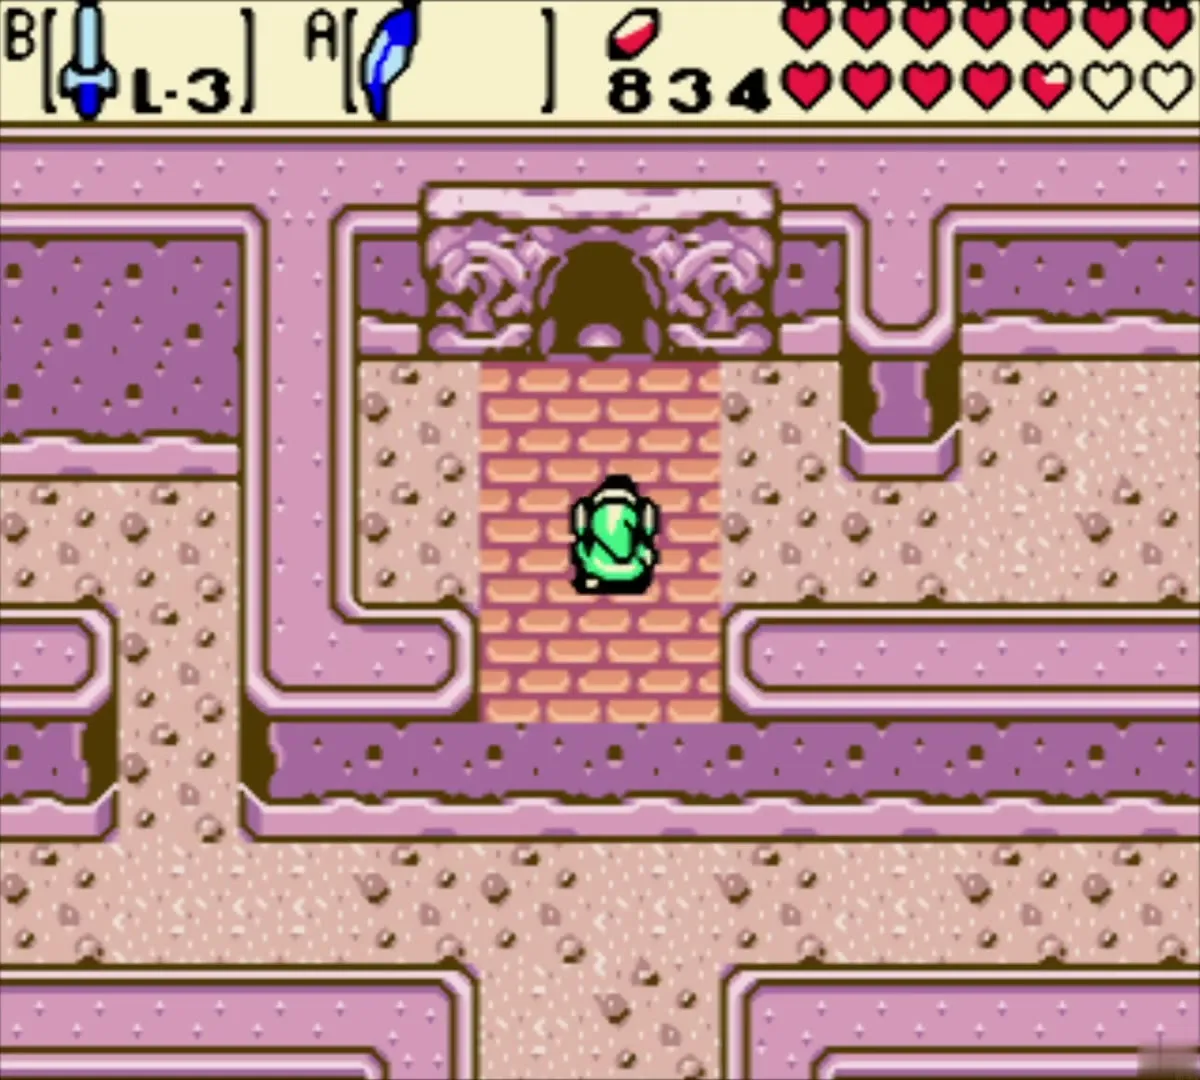
Keep following the maze until you see a pink-brick doorway with two eye-shaped statues beside it. Walk through the door and you enter Level 8, the Ancient Tomb, where the next walkthrough picks up. The Ancient Tomb‘s first room is empty, and the dungeon begins with its own puzzles.

Chapter checklist
| Type | Name | Where (era) |
|---|---|---|
| Item | Zora Scale | Zora palace, after Jabu-Jabu’s Belly |
| Item | Tokay Eyeball | Pirate ship cabin in the Sea of Storms (present) |
| Ring | Unappraised ring (Pegasus Ring) | Clam grotto in the Sea of Storms (present) |
| Ring | Unappraised ring | Cave on the Zora Seas shore, purple overworld (present) |
| Dungeon entry | Ancient Tomb entrance | Sea of No Return maze (past) |
