





















Oracle of Ages 100% Completion Walkthrough24 chapters
- Arrival in Labrynna and the Black TowerStart Oracle of Ages in a linked game: Forest of Time, Vasu’s Ring Box, the Maku Tree, the time portal, the Black.
- Maku Path and Spirit’s Grave (Level 1)Maku Path and Spirit’s Grave walkthrough for Oracle of Ages: Seed Satchel, Graveyard Key, Power Bracelet, Pumpkin Head.
- The Harp of Ages and Fairies’ WoodsHarp of Ages and Fairies’ Woods walkthrough for Oracle of Ages: Poe Clock, Heart Piece, Vasu’s rings, hide-and-seek.
- Deku Forest and the Mystery SeedsDeku Forest walkthrough for Oracle of Ages: Mystery Seeds, Queen Ambi’s Bombs, a Heart Piece, the Deku Secret and the.
- Wing Dungeon (Level 2)Wing Dungeon walkthrough for Oracle of Ages: all five Small Keys, Dungeon Map, Compass, Swoop, Roc’s Feather, Boss.
- Farore’s Secrets and Cheval’s GraveFarore’s secrets and Cheval’s Grave walkthrough for Oracle of Ages: West Lynna Heart Piece, Hall of Secrets codes, Red.
- Tingle’s Chart and Crescent IslandTingle’s Chart and Crescent Island walkthrough for Oracle of Ages: Ricky’s Gloves, Island Chart, Rafton’s raft, the.
- Moonlit Grotto (Level 3)Moonlit Grotto walkthrough for Oracle of Ages: all Small Keys, Compass, Seed Shooter, Gasha Seeds, Subterror, Boss.
- Nuun Highlands and the Strange FlutesOracle of Ages Nuun Highlands walkthrough: Dimitri’s Flute, Tingle’s 99-seed Satchel, the Black Tower rescue, the.
- Symmetry City and Talus PeaksOracle of Ages Symmetry City and Talus Peaks walkthrough: Cracked Tuni Nut, Patch’s ceremony, Tune of Currents, Heart.
- Skull Dungeon (Level 4)Skull Dungeon walkthrough for Oracle of Ages: Compass, Dungeon Map, 5 Small Keys, Armos Warrior, Switch Hook, Boss.
- Lynna Trades and the Noble SwordOracle of Ages trading sequence walkthrough, Funny Joke to Noble Sword: Touching Book, Maple’s Magic Oar, Sea Ukulele.
- West Rolling Ridge and the Great MoblinWest Rolling Ridge walkthrough for Oracle of Ages: Lynna secret shop, Pegasus Seeds, Moblin’s Keep, Great Moblin, Bomb.
- Crown Dungeon (Level 5)Crown Dungeon (Level 5) walkthrough for Oracle of Ages: Small Keys, Cane of Somaria, Smasher, Compass, Boss Key, Smog.
- East Rolling Ridge and the Mermaid KeysEast Rolling Ridge walkthrough for Oracle of Ages: Goron Dance, Brother Emblem, Target Carts, Rock Brisket, Goron Vase.
- Mermaid’s Cave (Level 6) Walkthrough for Oracle of AgesMermaid’s Cave walkthrough for Oracle of Ages: get the Old Mermaid Key, clear both halves, collect the Mermaid Suit.
- Ambi’s Palace and the Tune of AgesAmbi’s Palace walkthrough for Oracle of Ages: sneak in, beat Possessed Nayru, learn the Tune of Ages, claim Hall of.
- Zora Seas and the Fairy PowderOracle of Ages Zora Seas walkthrough: the Gasha Seed chest, King Zora’s Library Key, Book of Seals, Fairy Powder and.
- Jabu-Jabu’s Belly (Level 7)Jabu-Jabu’s Belly walkthrough for Oracle of Ages: Like Like Ring, Compass, Small Keys, Long Hook, Boss Key, Plasmarine.
- Sea of Storms and the Pirate ShipSea of Storms walkthrough for Oracle of Ages: Zora Scale, pirate ship and Tokay Eyeball, clam grotto ring, Tokay.
- Ancient Tomb (Level 8)Ancient Tomb (Level 8) walkthrough for Oracle of Ages: three Slates, the Boss Key, two Gasha Seeds, Ramrock boss.
- Final Collection and the Hero’s CaveOracle of Ages final collection walkthrough: Maple Piece of Heart, Gasha Nut rings and fairies, Hero’s Cave Armor Ring.
- The Black Tower and VeranFinal ring appraisals, the Huge Maku Seed, the Black Tower climb and the three-phase Veran boss fight in Oracle of.
- Room of Rites, Twinrova and GanonOracle of Ages Room of Rites walkthrough: the eye-statue hallway, Twinrova’s fire and ice phases, the Ganon boss.
| Covers | Lynna City secret shop (present), West Rolling Ridge in the past and the present, the Goron caves, Moblin’s Keep, the Goron Elder’s cave (past) and the door of the Crown Dungeon |
|---|---|
| Dungeon | Crown Dungeon (Level 5), first rooms only: entrance, Moblin arena, crystal switch and the first two Small Keys. The rest of the dungeon, with its item, mini-boss, boss and Essence of Time, is in the Crown Dungeon walkthrough |
| Rewards | Piece of Heart 7 of 12 (secret shop, 500 Rupees) and Piece of Heart 8 of 12 (completes a second Heart Container), 50 Rupees, 30 Rupees, an unappraised Magic Ring (Armor Ring L-1), 18 Pegasus Seeds, Bomb Flower, Crown Key, 2 Small Keys; 1 soft soil spot, a Great Fairy, a time portal and 2 Maple races. Boss: Great Moblin |
This chapter carries you from the hidden shop under Lynna City up to the high ground of Rolling Ridge. You spend 500 Rupees on a Piece of Heart, earn the Pegasus Seeds, clear Moblin’s Keep, beat the Great Moblin to win a Bomb Flower, and carry that flower back to the past to free the Goron Elder, who hands you the Crown Key. With the key you open the door of the Crown Dungeon and clear its first rooms.

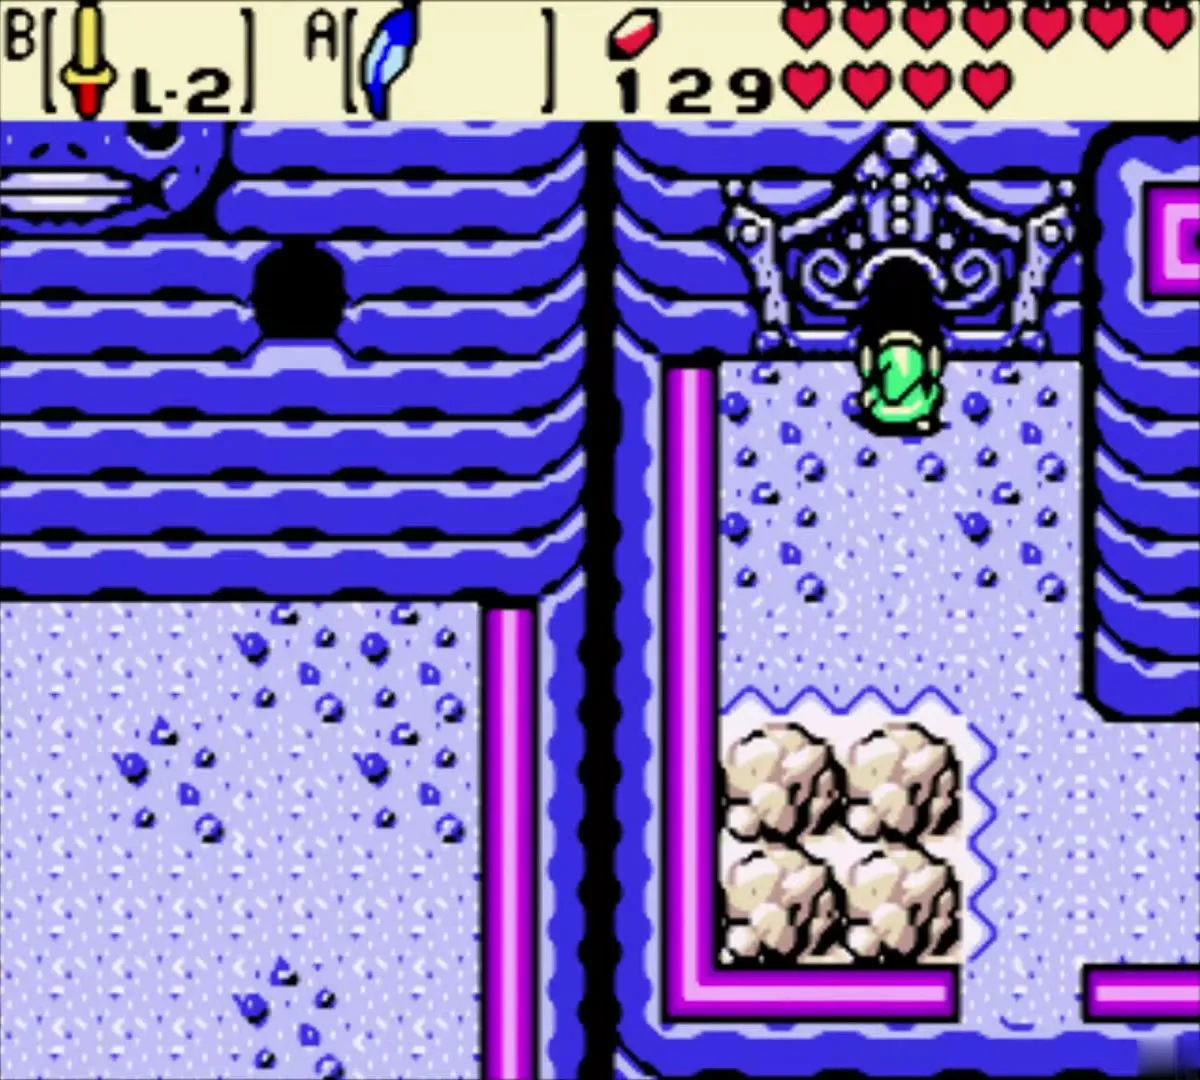
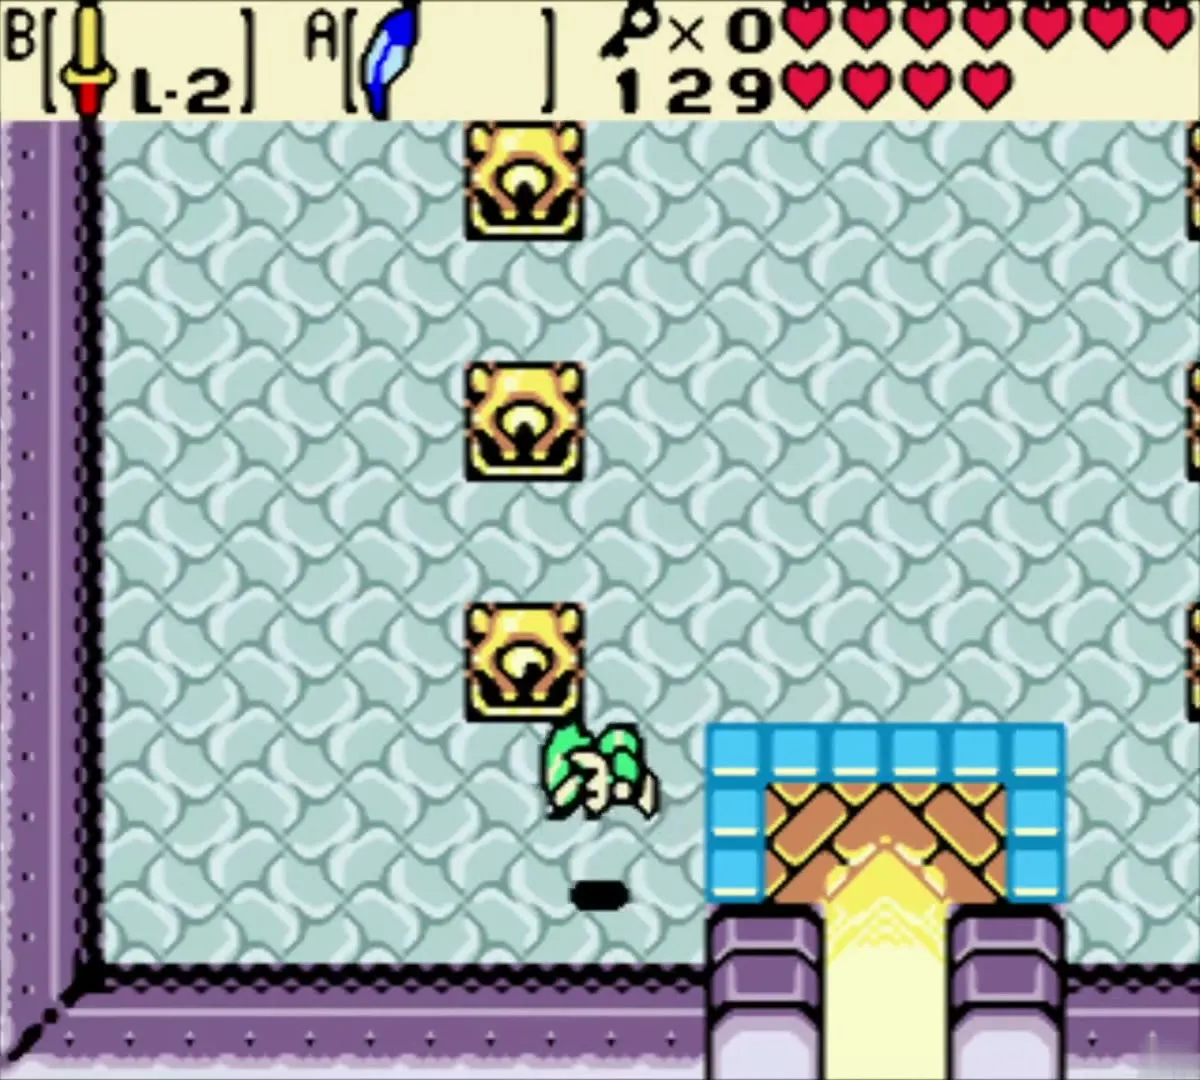
Lynna City secret shop: Tune of Currents and Piece of Heart 7
Collect 500 Rupees
The hidden shop sells its best goods for 300 to 500 Rupees, so arrive with a full wallet. Cut the bushes and grass around Lynna City in the past until the counter reads at least 500 Rupees. If you also want everything in the basement, plan on spending far more, because the L-2 Ring Box and the Gasha Seed each cost 300 and the Piece of Heart costs 500.
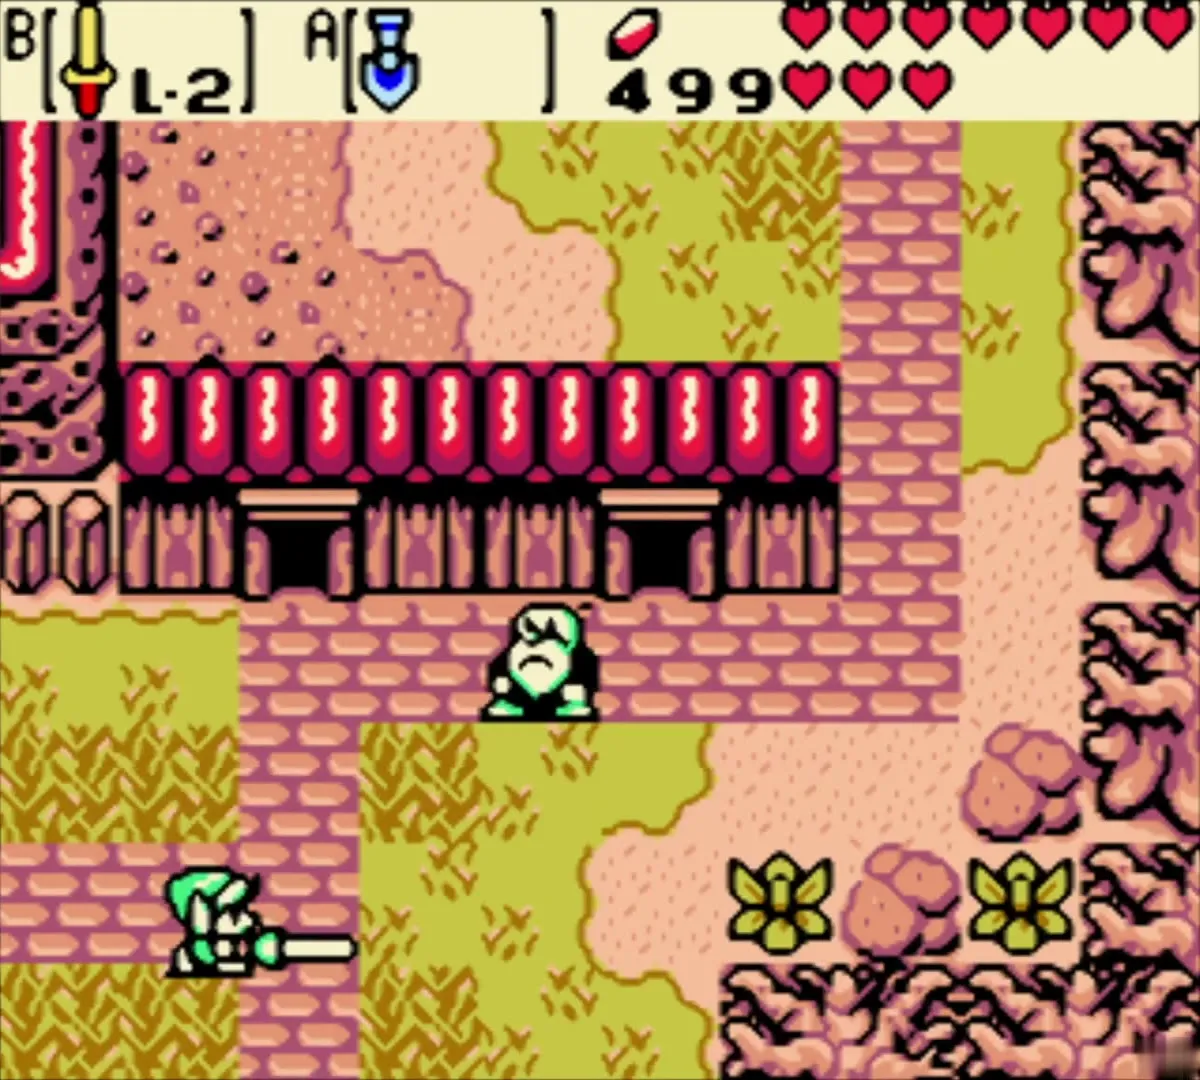
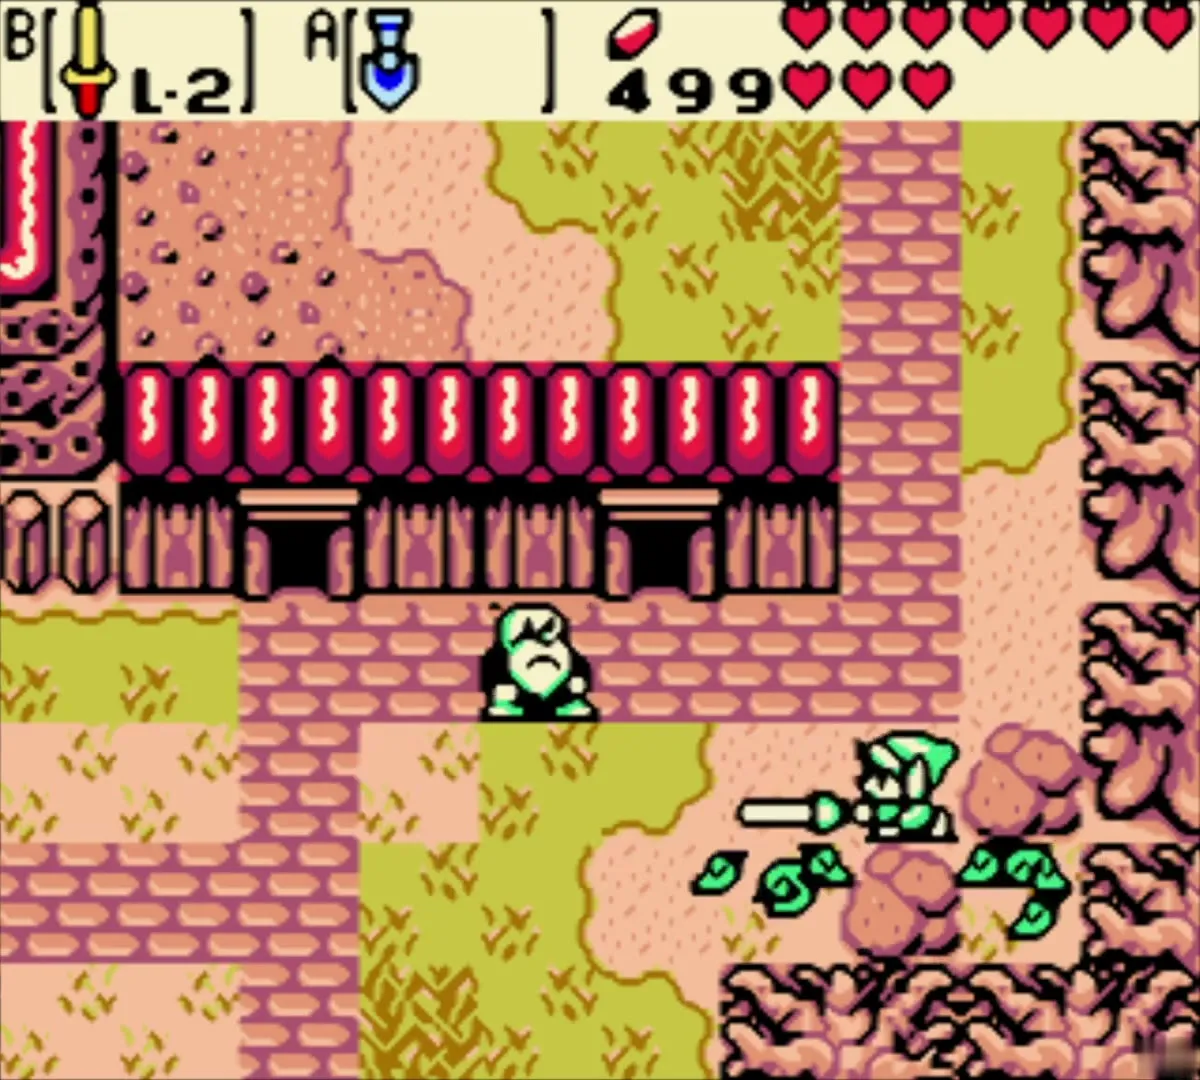
Play the Tune of Currents in the past
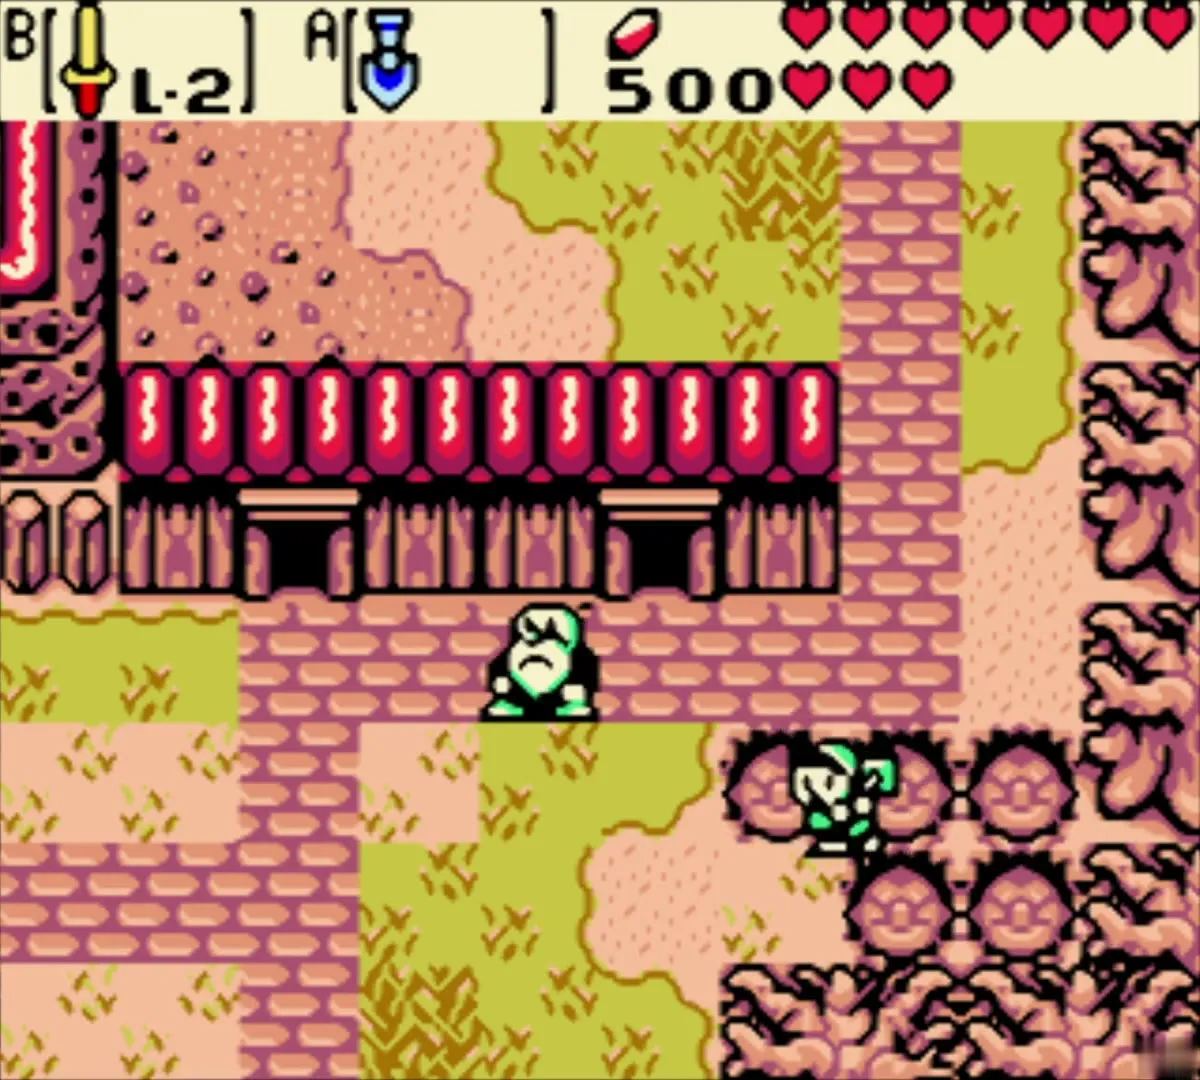
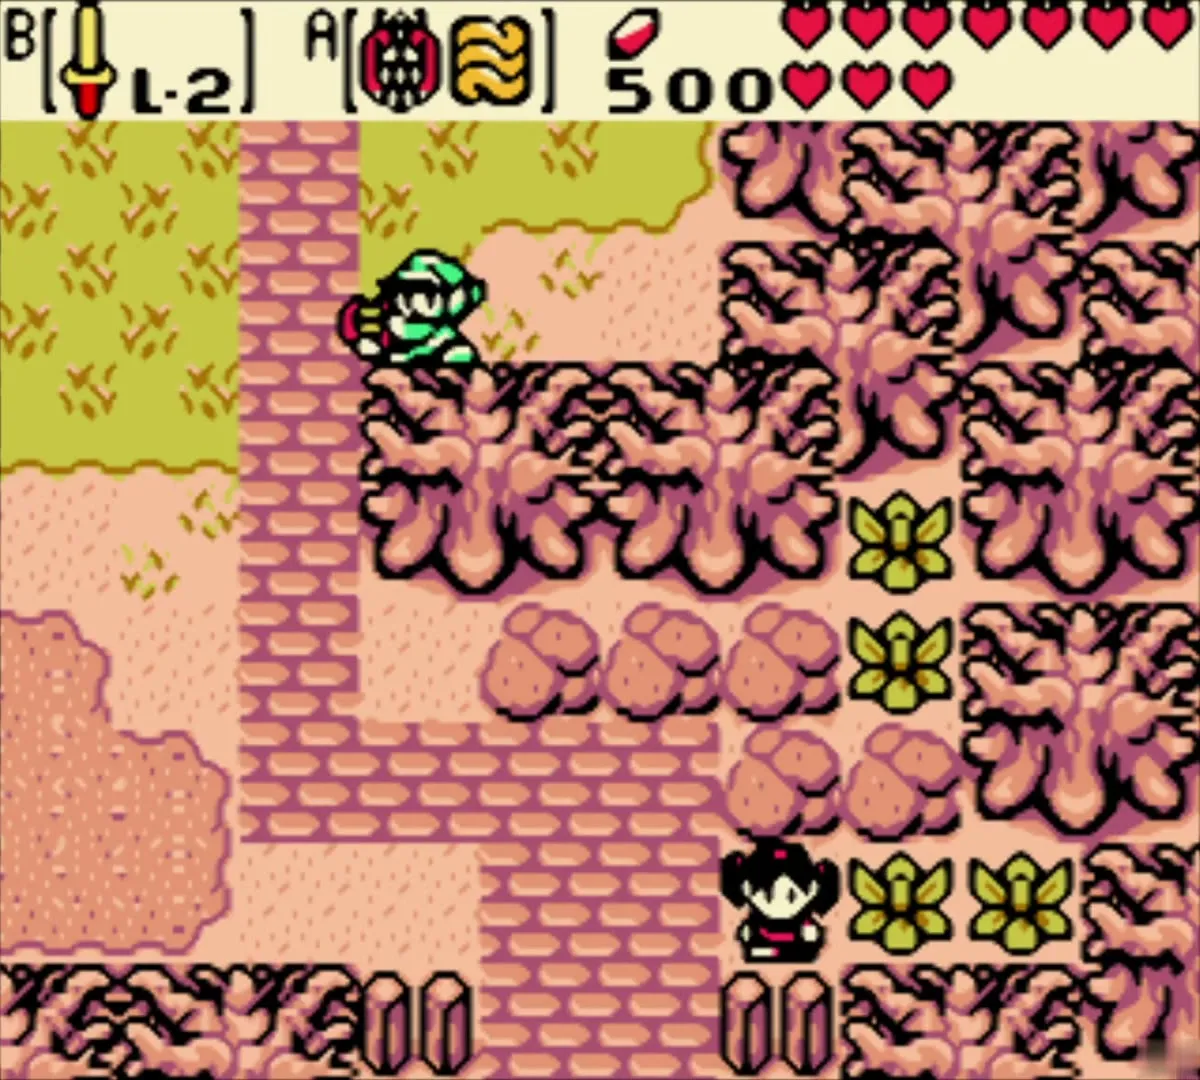
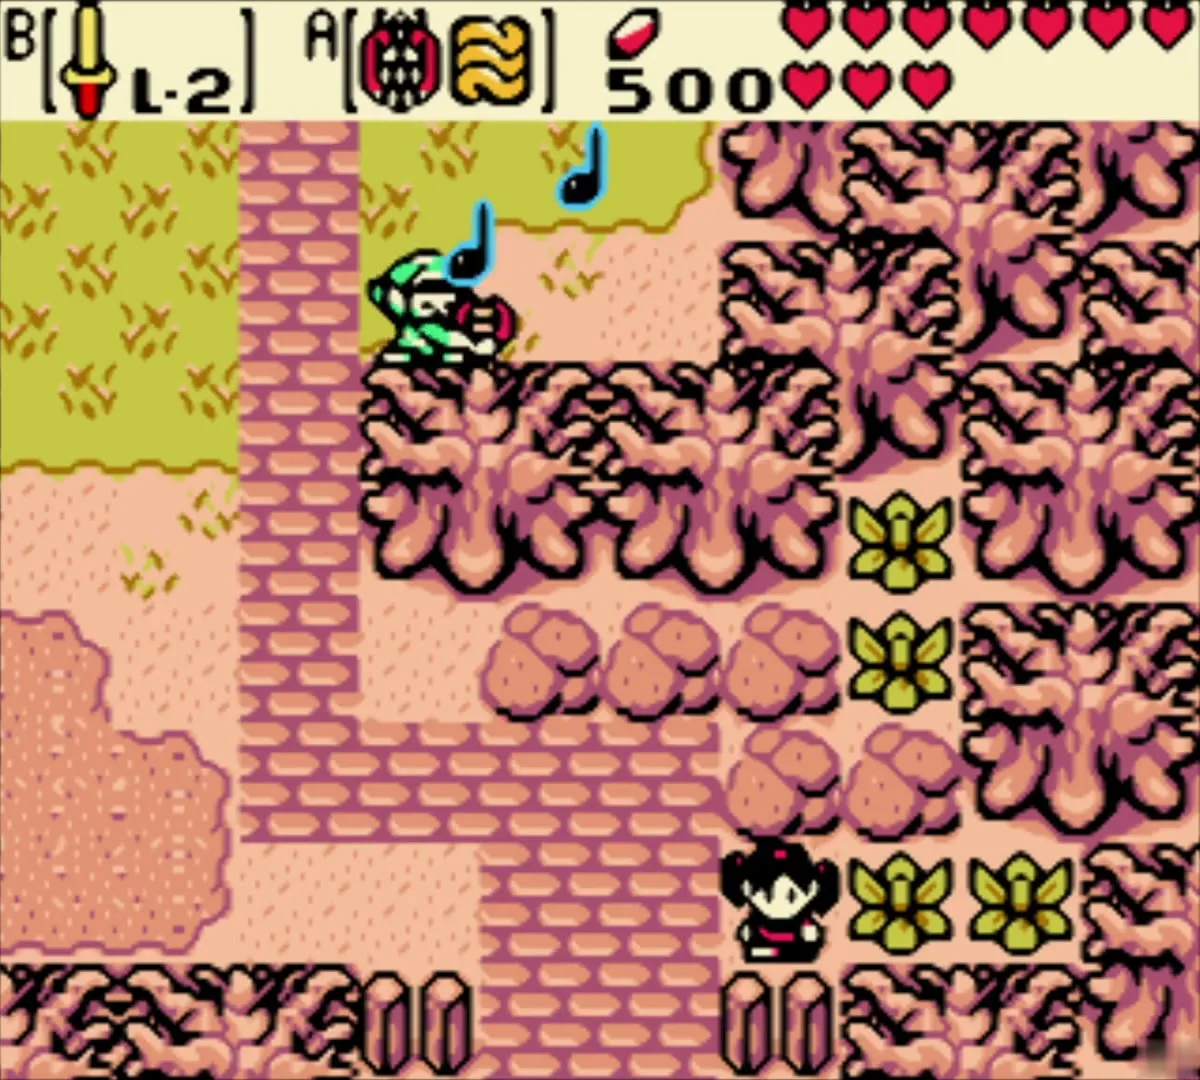
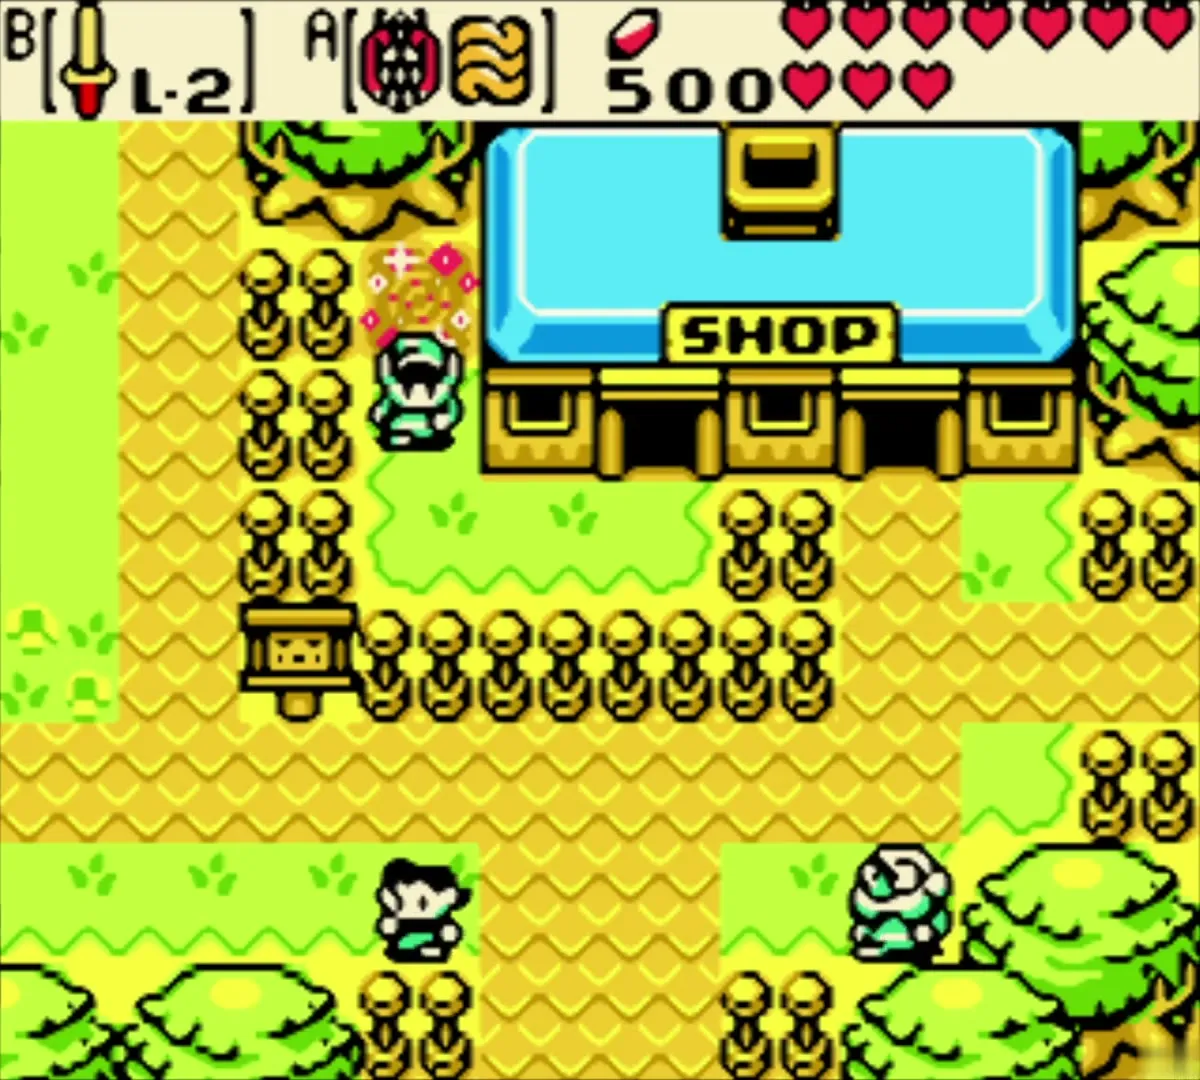
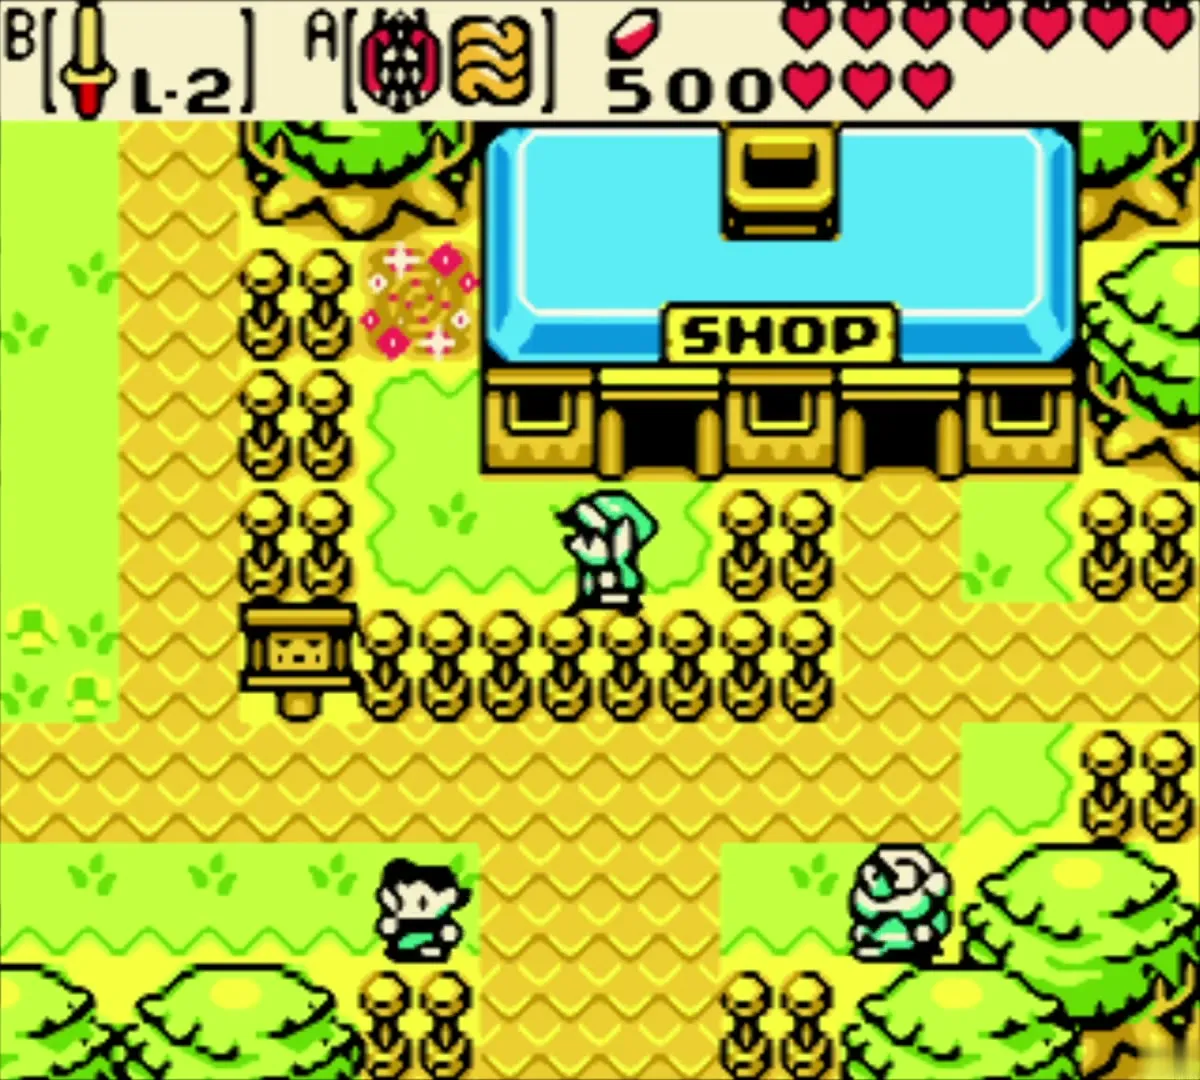
In the past, walk to the screen one step south of the Lynna City shooting gallery. Stand in the top-left corner of the screen, up behind the trees, which is the spot that lines up with the shop in the present. Equip the Harp of Ages and play the Tune of Currents (see the Harp of Ages). You travel to the present and appear on a small fenced lawn beside the shop.
Walk down to the basement
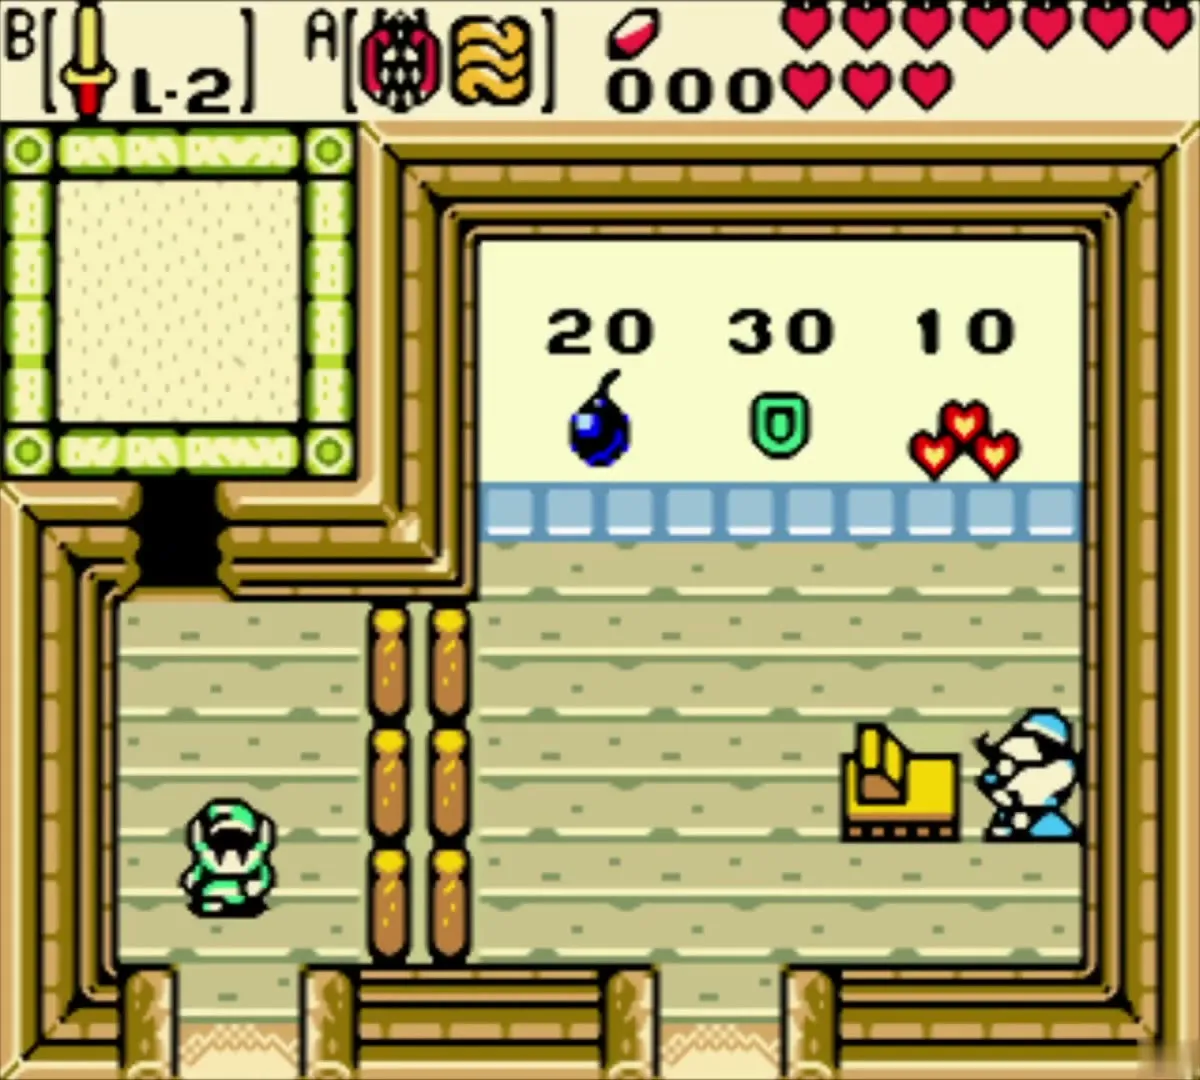
You are now in the present. Enter the shop through its front door and look at the ordinary stock of Bombs, a Wooden Shield (a spare in a Linked Game) and Recovery Hearts. Take the staircase in the upper-left corner of the room, which leads down to the secret basement. The basement shopkeeper sells three things: the L-2 Ring Box for 300 Rupees, a Gasha Seed for 300 Rupees and a Piece of Heart for 500 Rupees.
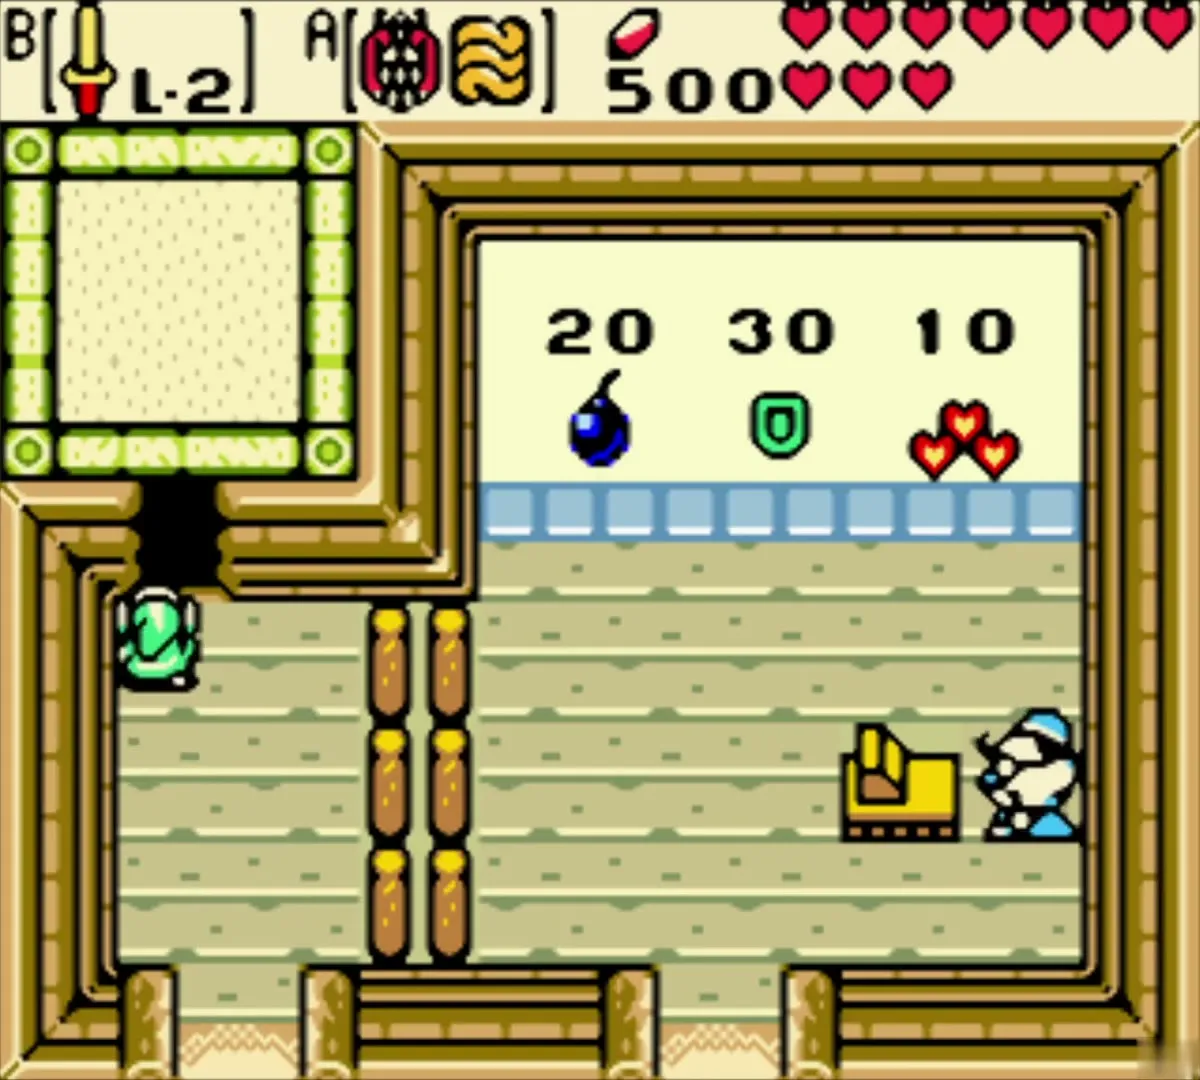

Buy Piece of Heart 7
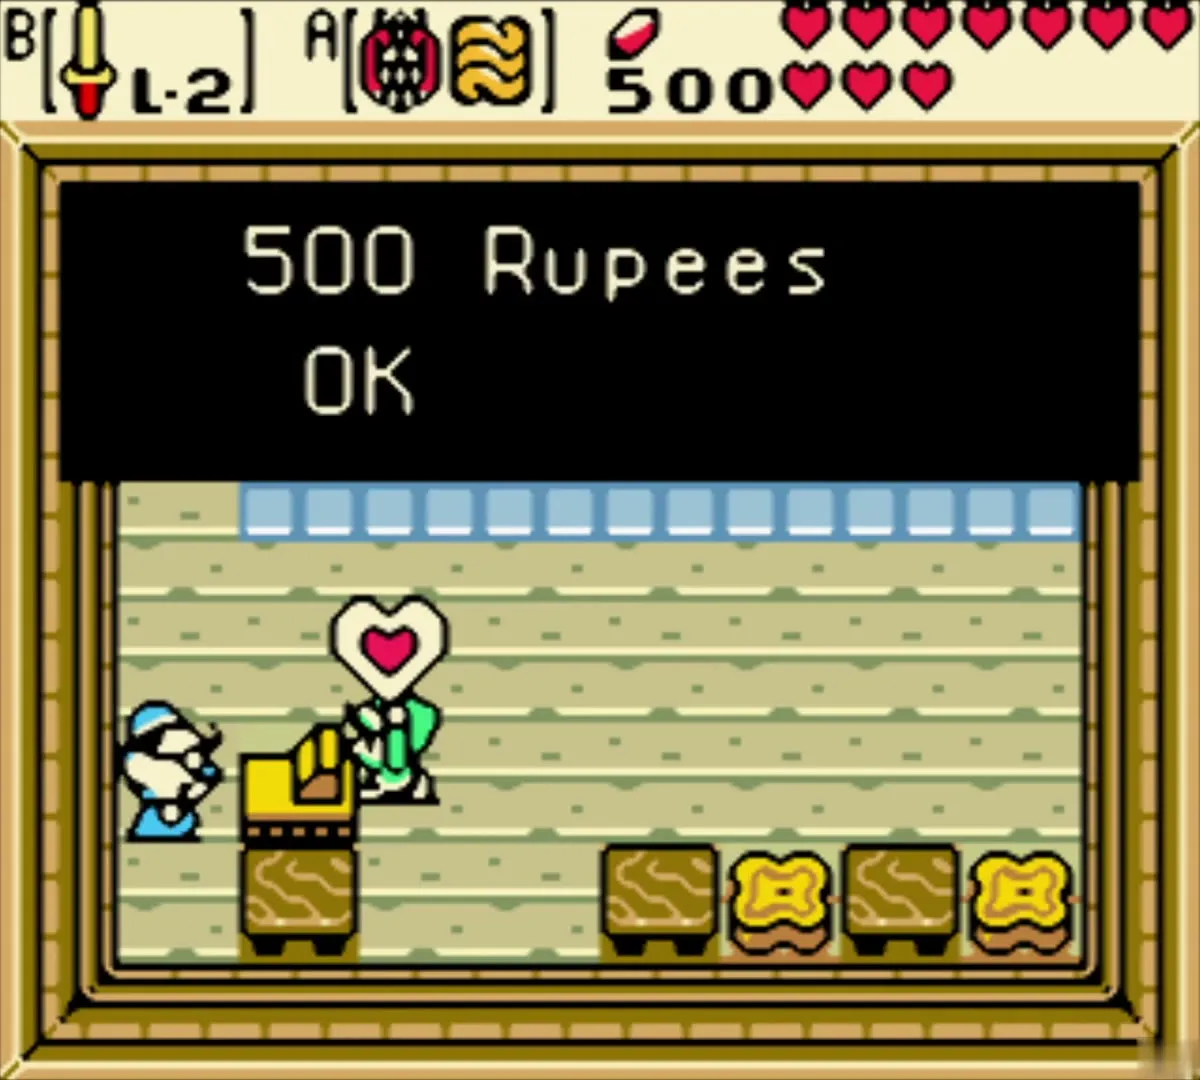
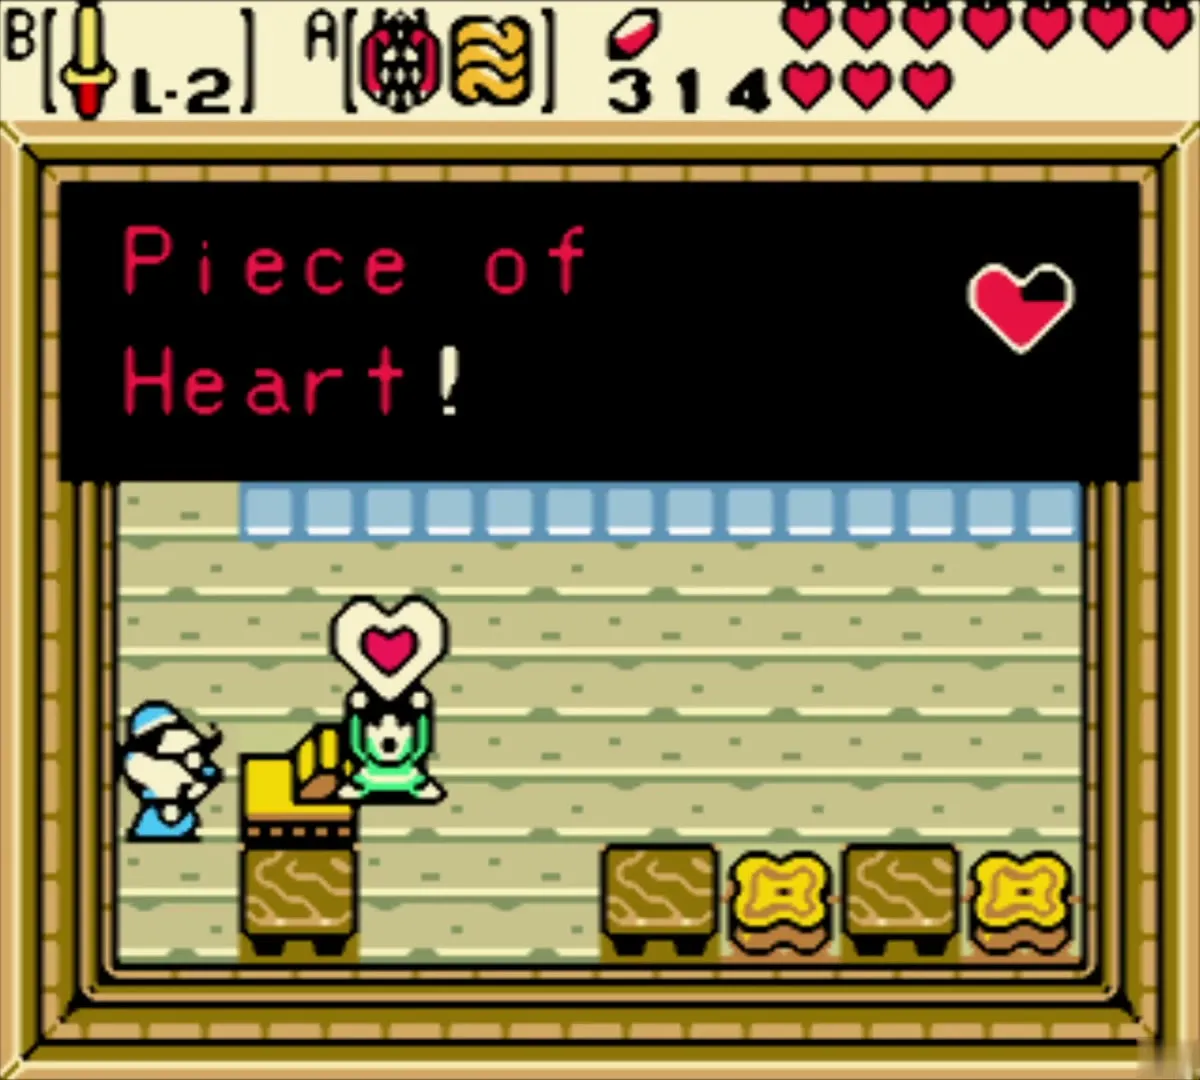
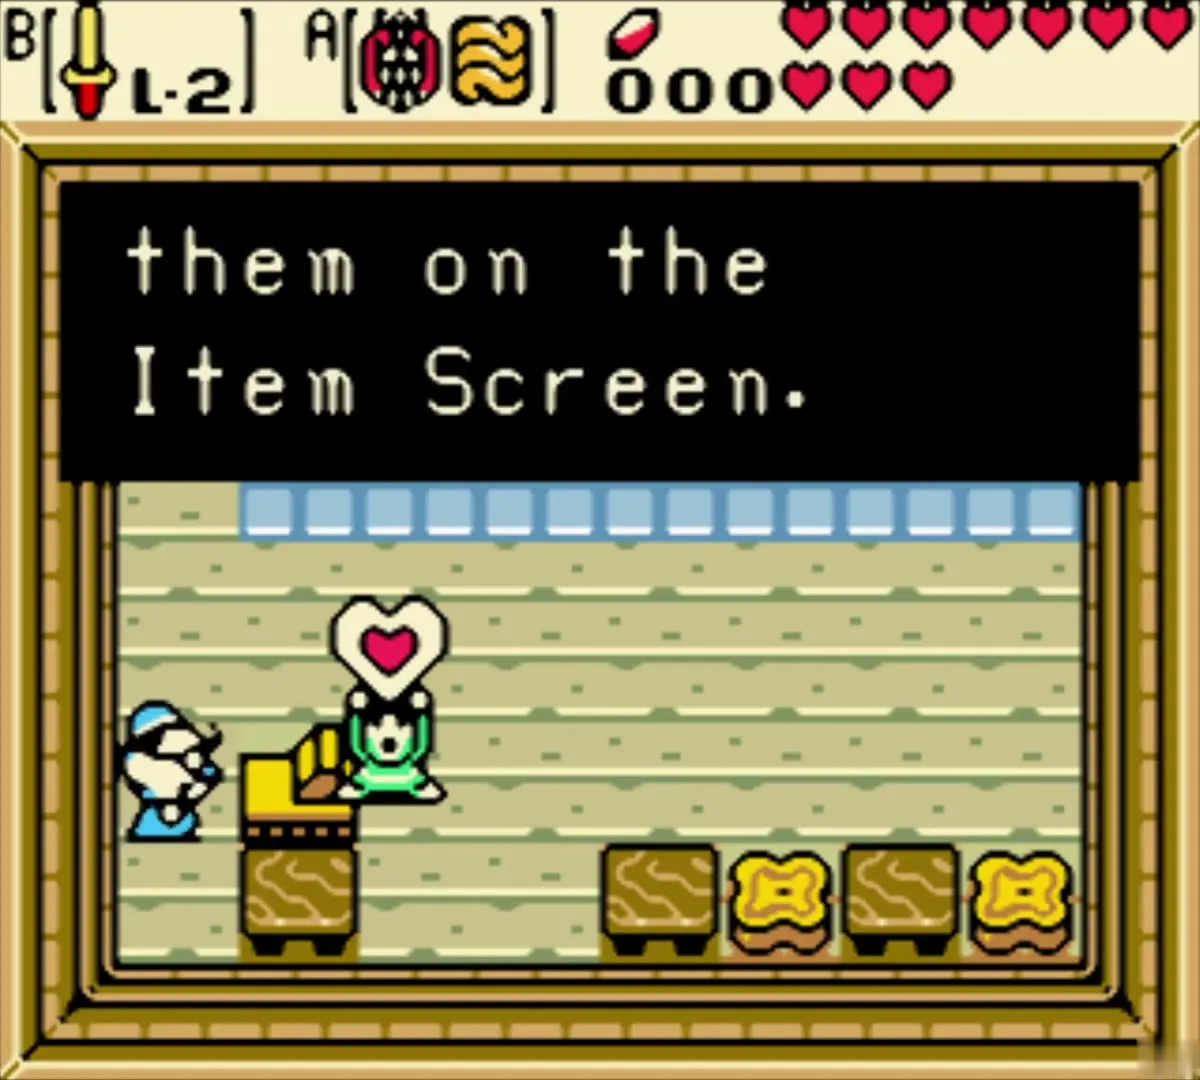
Step up to the heart on the right and pay the 500 Rupees. This is your seventh Piece of Heart, the third of the four you need for your next Heart Container, and it empties your wallet down to nothing. Leave the Ring Box and the Gasha Seed for a later visit; the L-2 Ring Box is only needed if you have not already received it from Farore in a Linked Game (see the Lynna City secret shop for the stock).

Return to the past
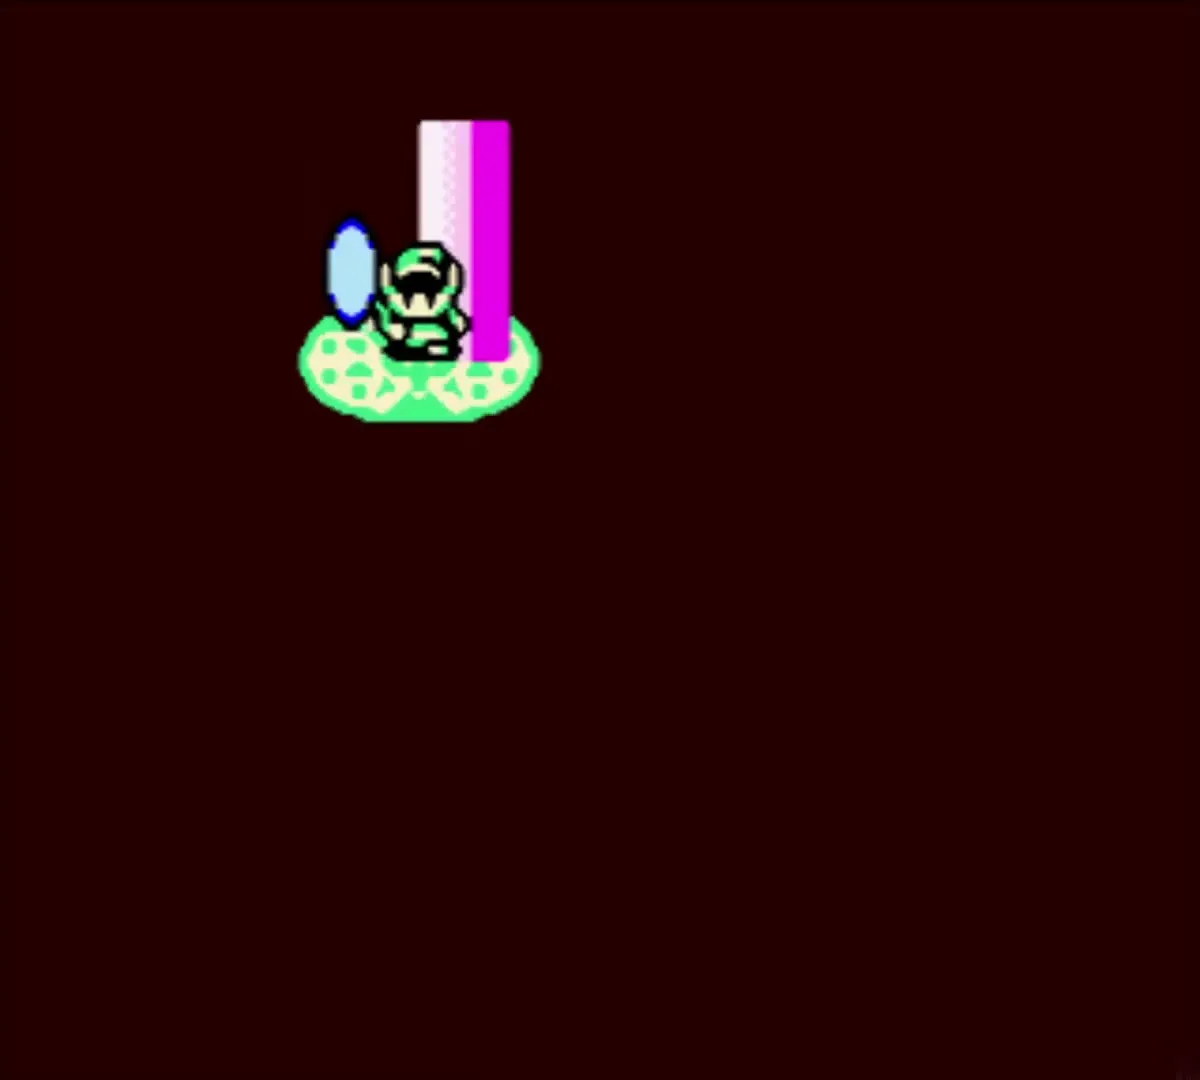
Climb the stairs and leave the shop. On the lawn outside, step onto the time portal near the shop’s upper-left corner to return to the past, where Lynna City is pink and orange.
West Rolling Ridge in the past: Switch Hook crossing and soft soil
Maple’s race
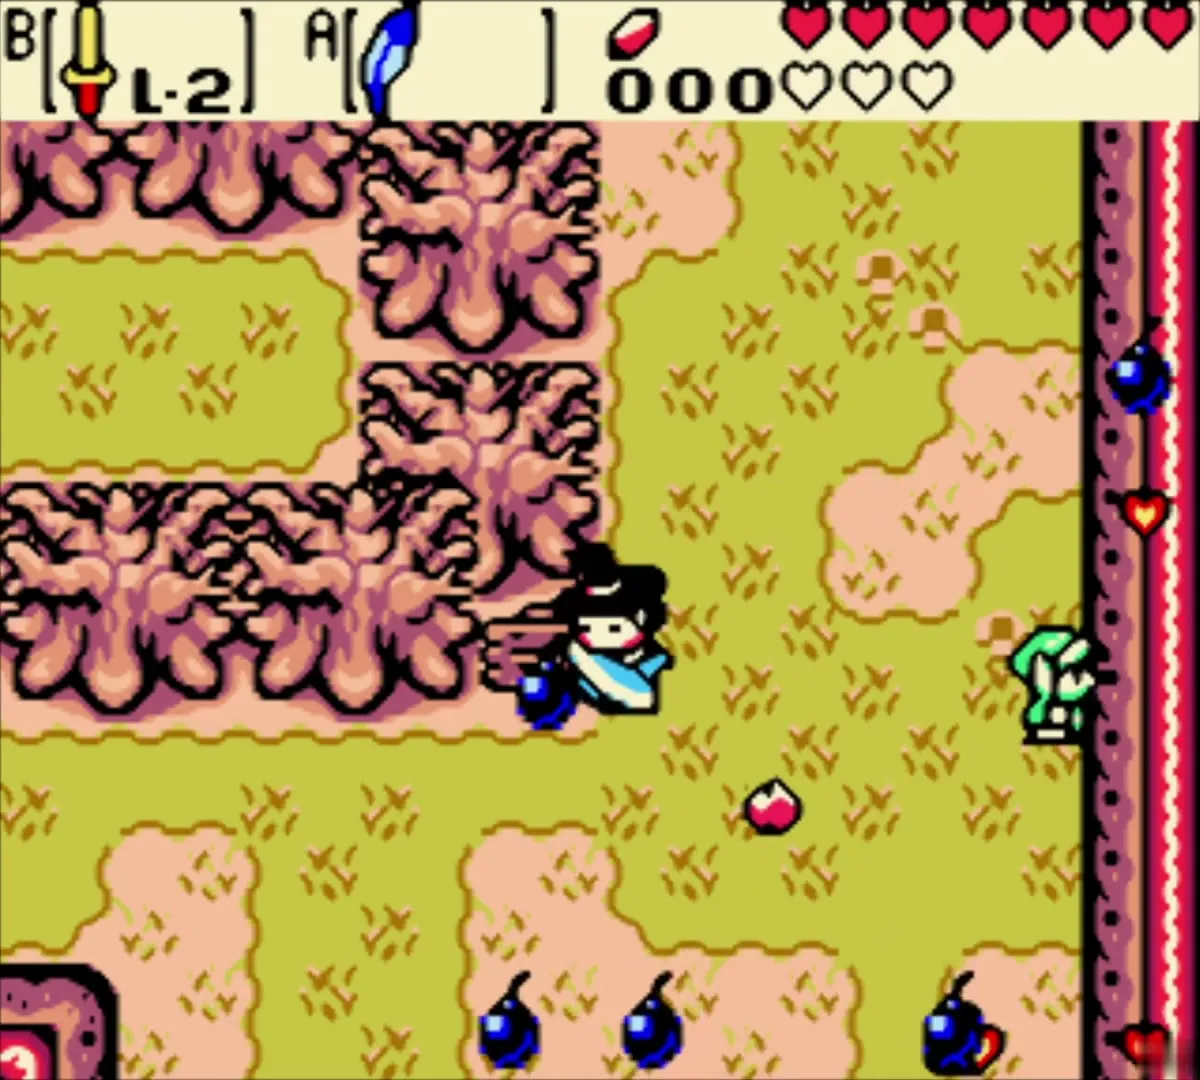
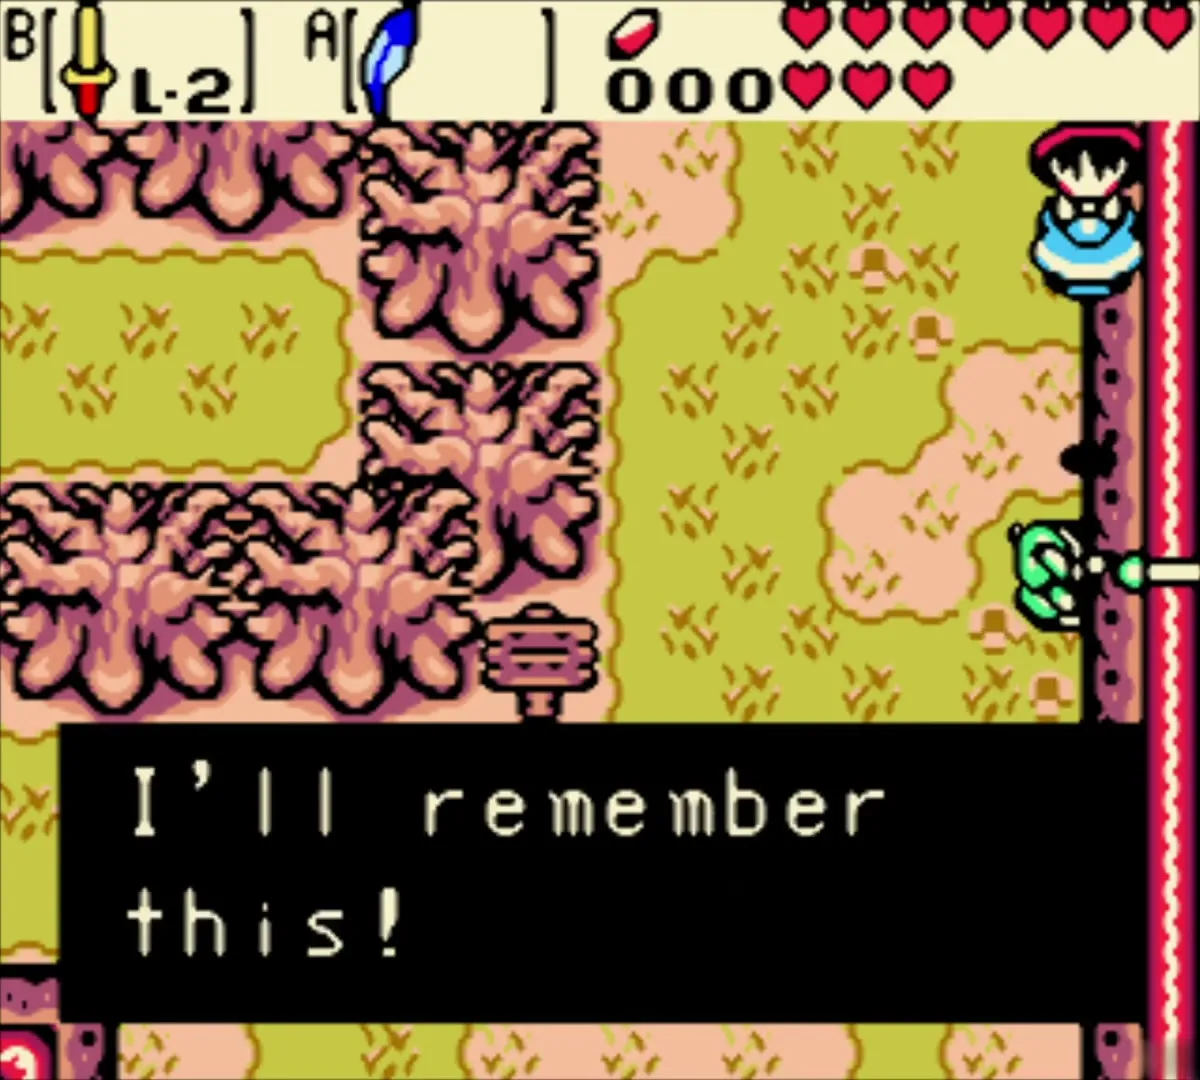
As you leave town, Maple the witch may fly in (she appears after you have defeated about 30 enemies). Move into her path so that she crashes into you, then pick up more of the scattered items than she does. If you do, she grumbles and leaves; you lose nothing important either way (see Maple). You have almost no Rupees at this point, so the race pays little, but it is a quick chance for a ring or a heart if she drops one.

Cross the field of pits with the Switch Hook
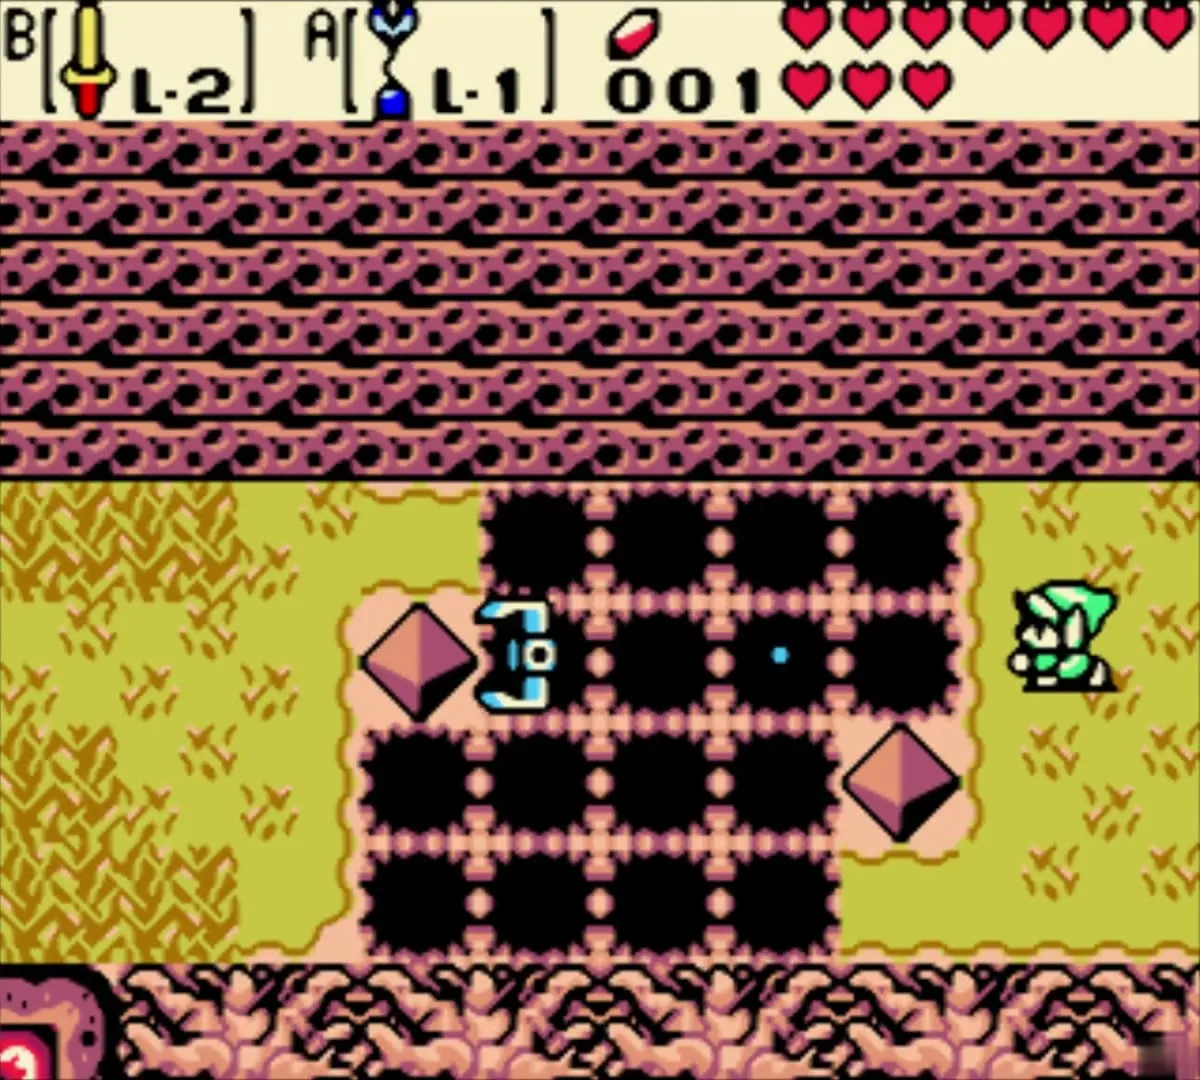
On the way to the Goron cave you reach a screen filled with a block of pits and two red stone diamonds. Equip the Switch Hook, aim it at a diamond across the gap and swap places with it. Repeat from the new diamond until you stand on the far side of the field.


Soft soil under the bushes
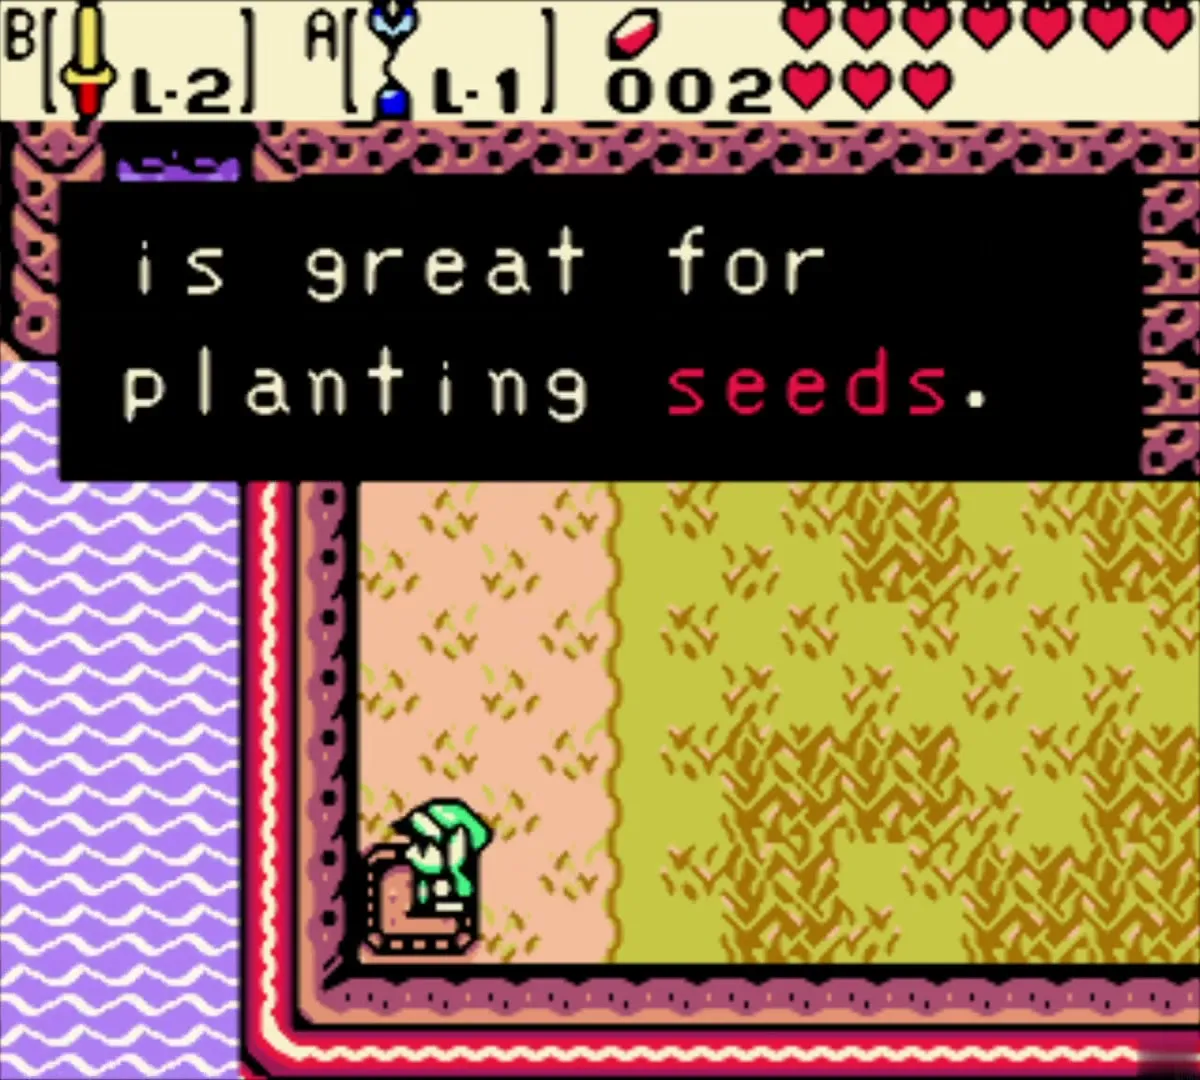
The next screen has a waterfall on the left, a Goron cave in the cliff above and a column of flowers. Slash the bushes in the bottom-left corner, next to the water, to uncover a patch of soft soil. Walk onto it and the game tells you it is good ground for planting seeds. Plant a Gasha Seed here if you have one, and come back later for the Gasha Nut (see Gasha Seeds).


The Goron Elder is trapped
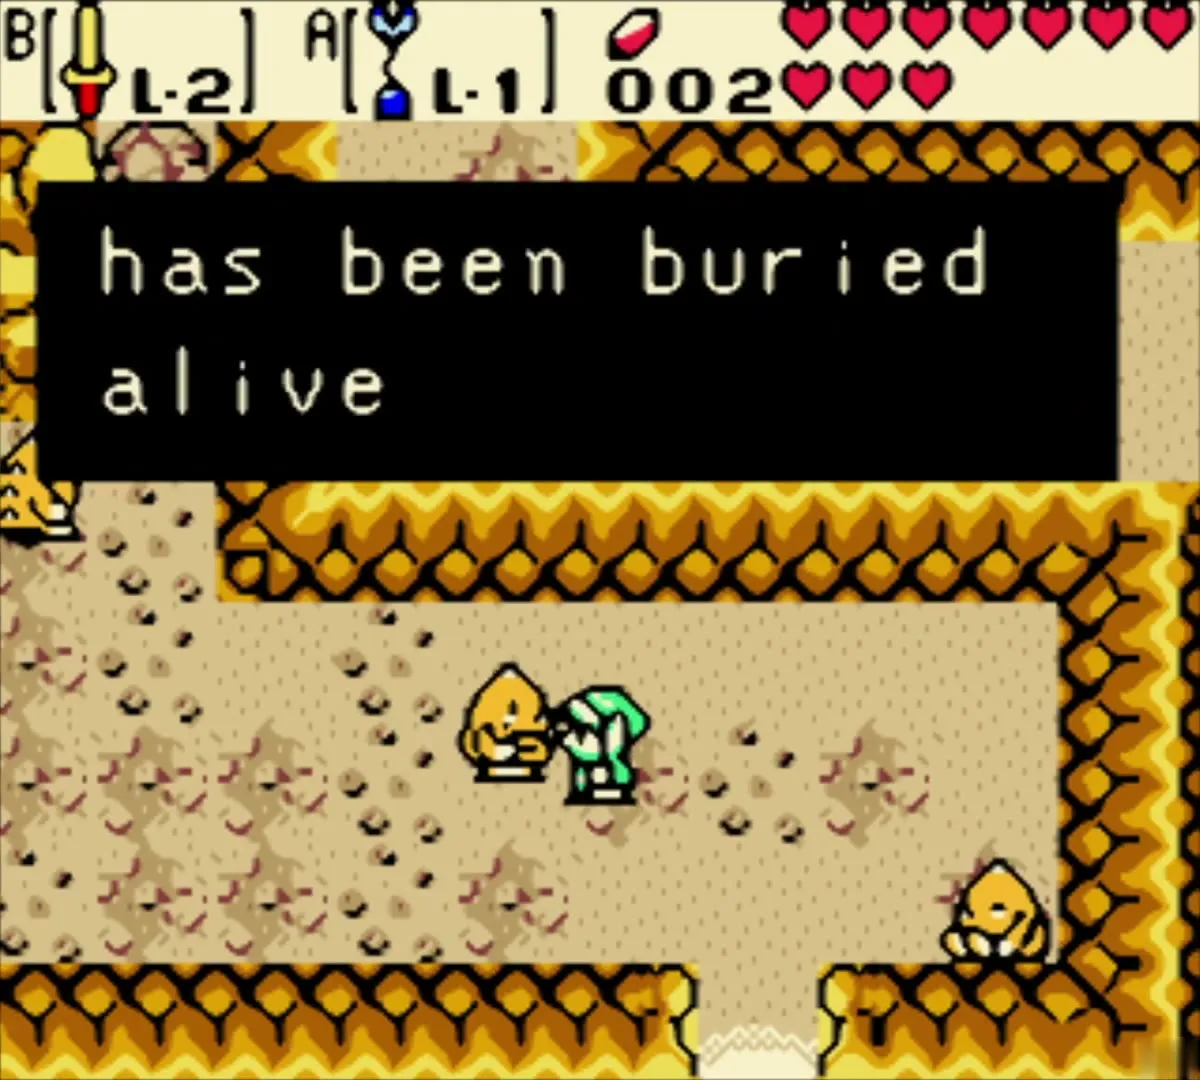
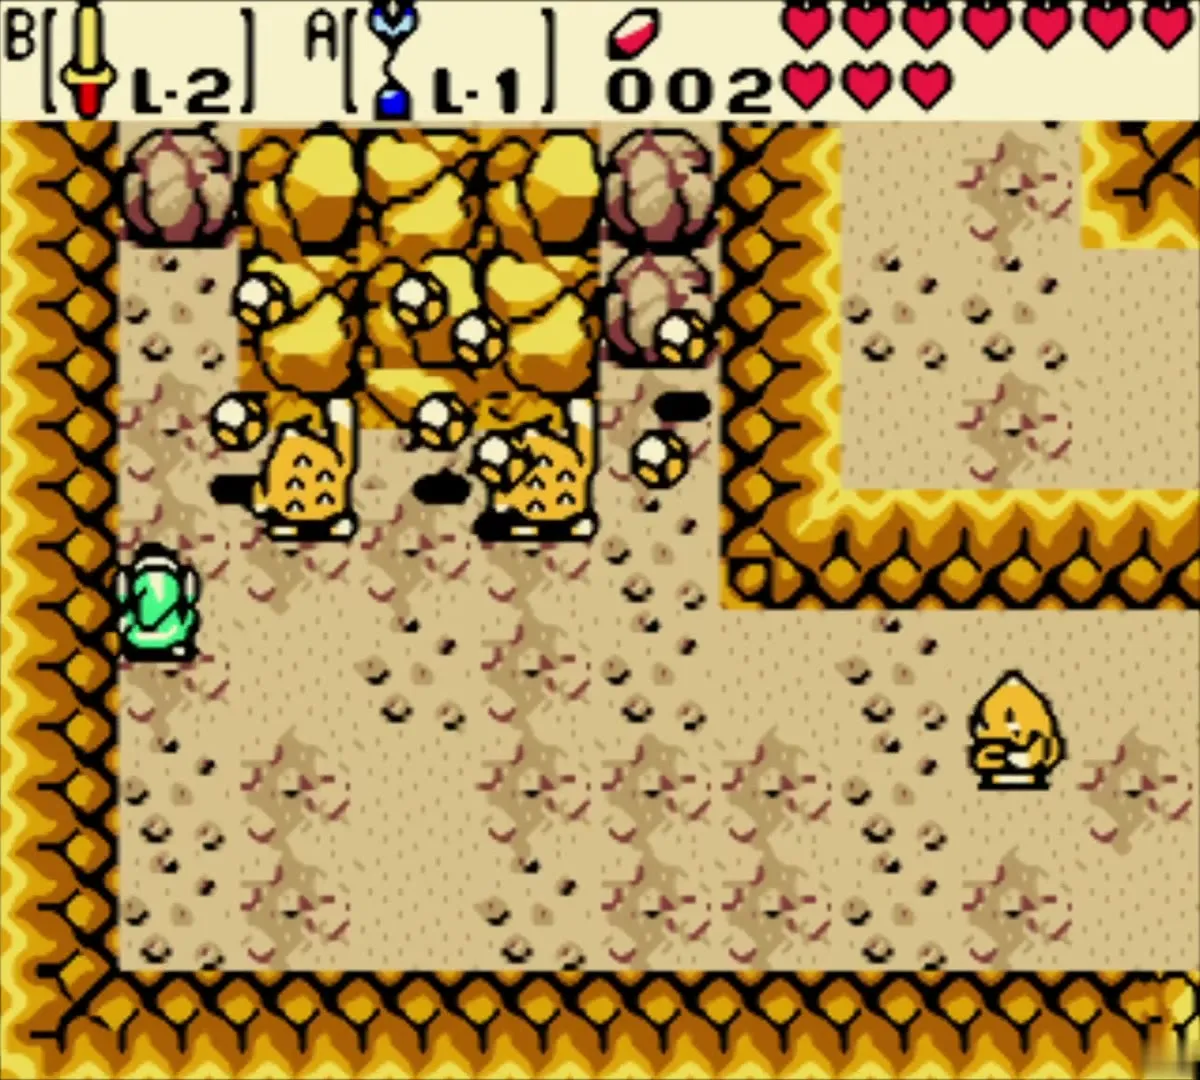
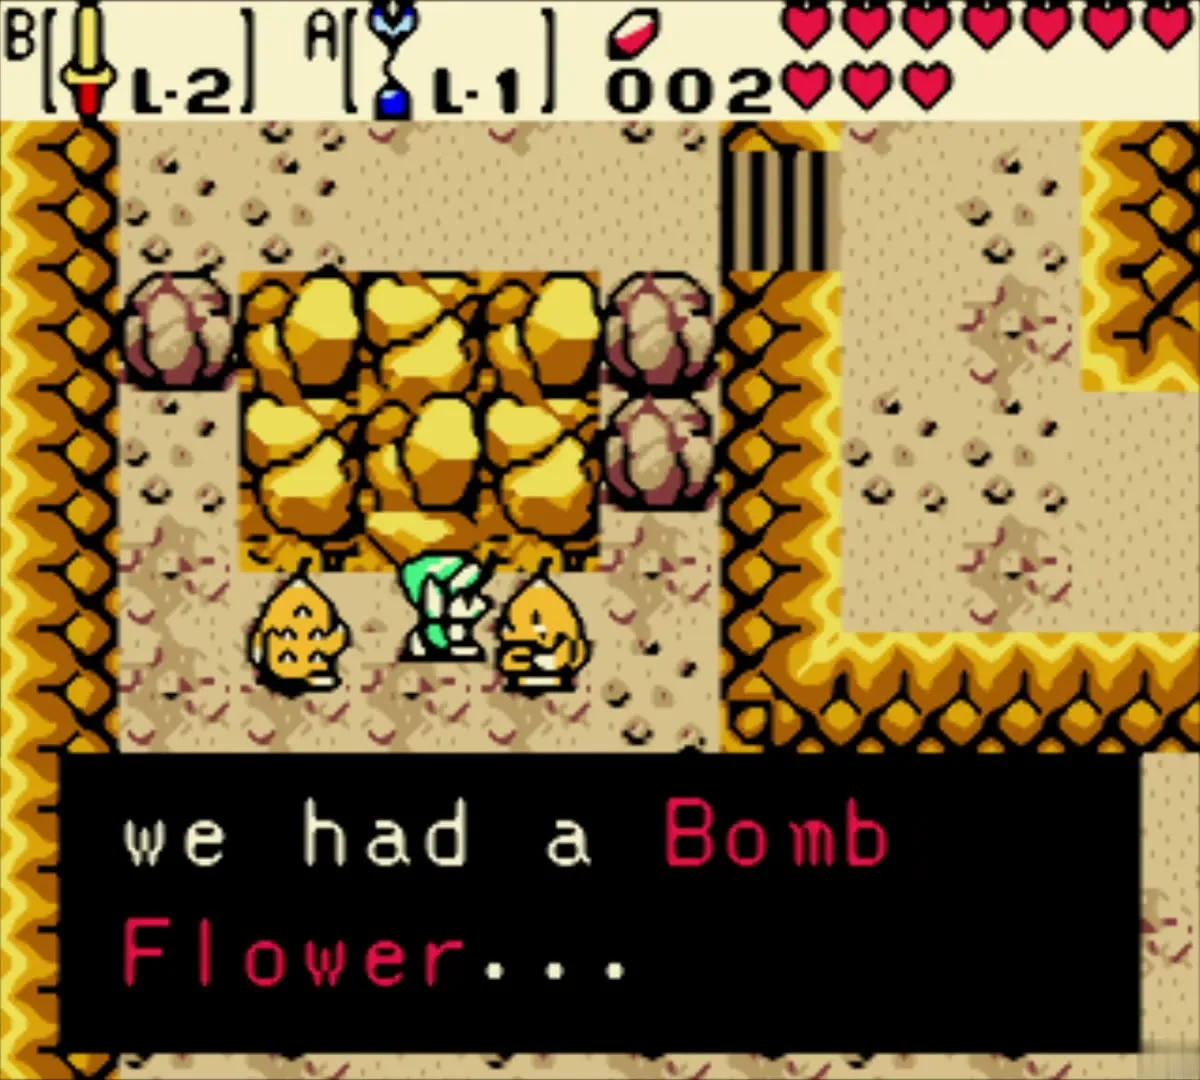
Enter the cave above the soft soil. The Gorons inside are in a panic: their Elder is buried under a rockfall, and they say that only a Bomb Flower could blast it free. You have no way to help yet. The Bomb Flowers grow in the present, so leave the cave and plan to come back with one.

The Goron caves in the present: 50 Rupees and Piece of Heart 8
Warp to the present
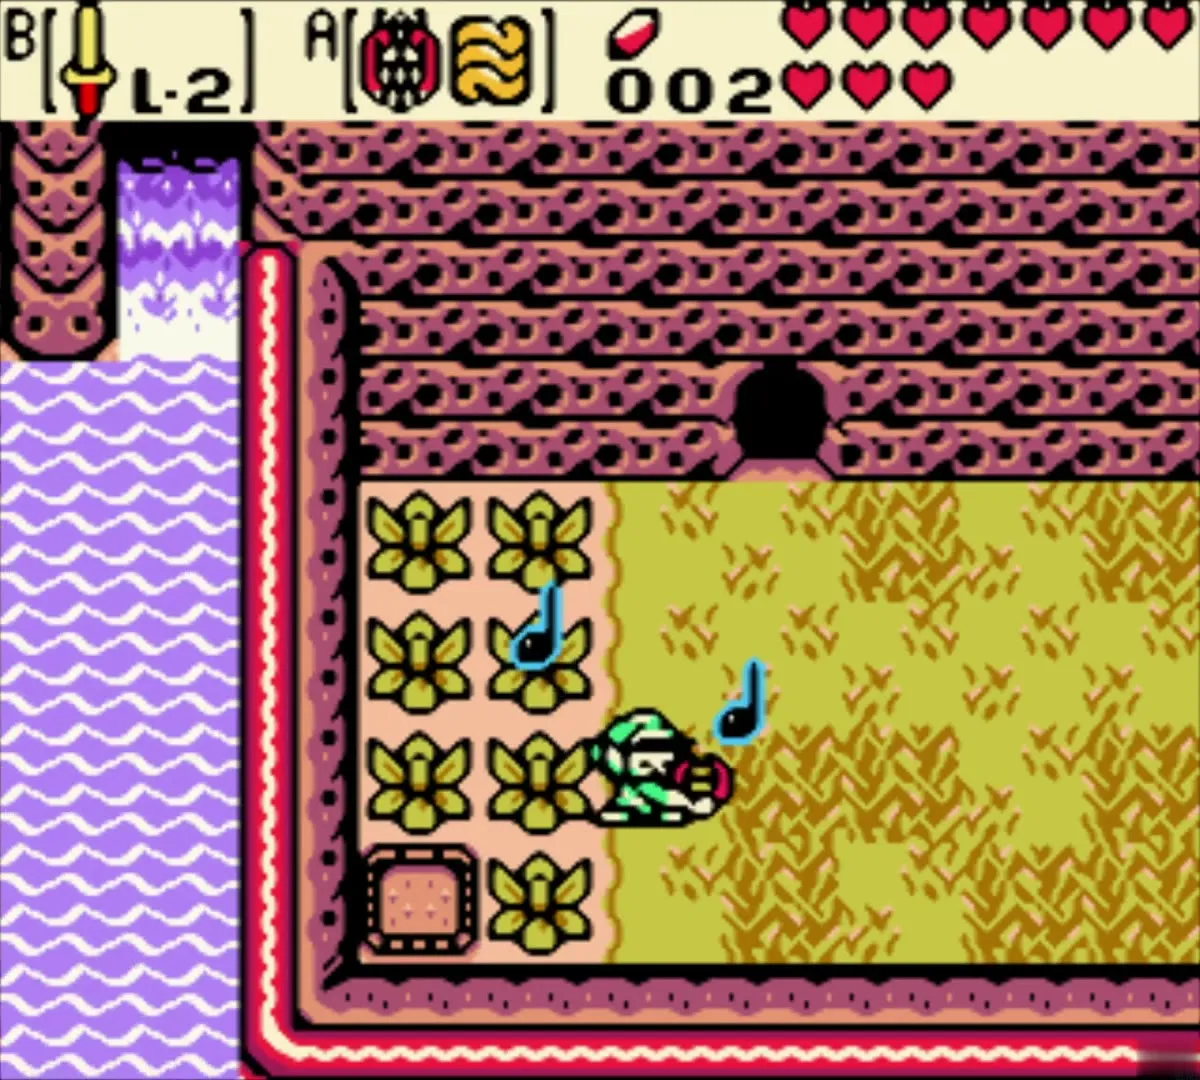
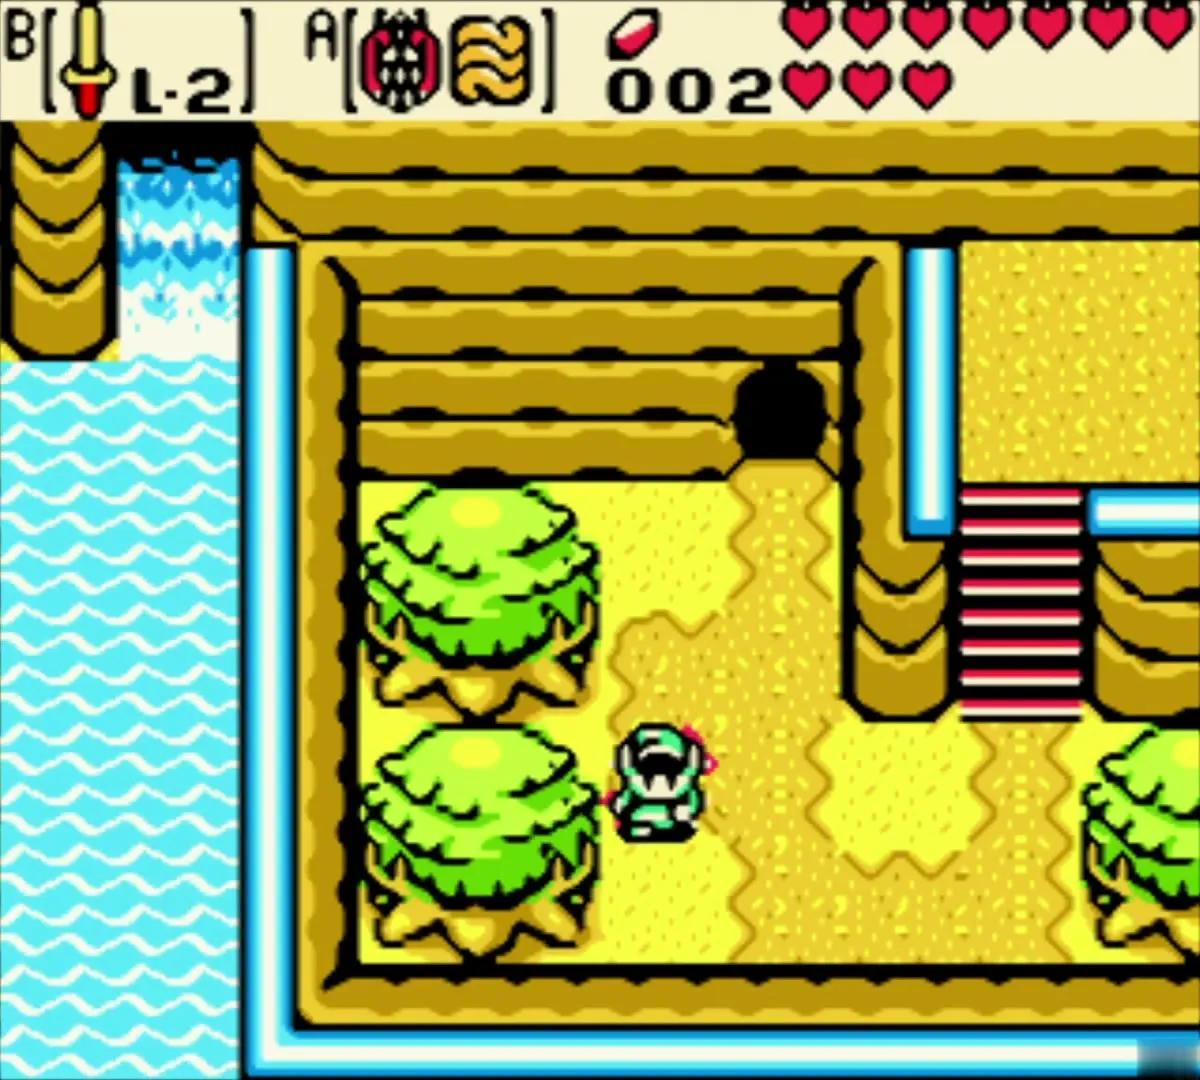
Stand just outside the cave entrance on the same screen and play the Tune of Currents. You arrive in the present, where the same cliff is bright yellow with a blue stream beside it. Enter the cave at the top of the cliff.

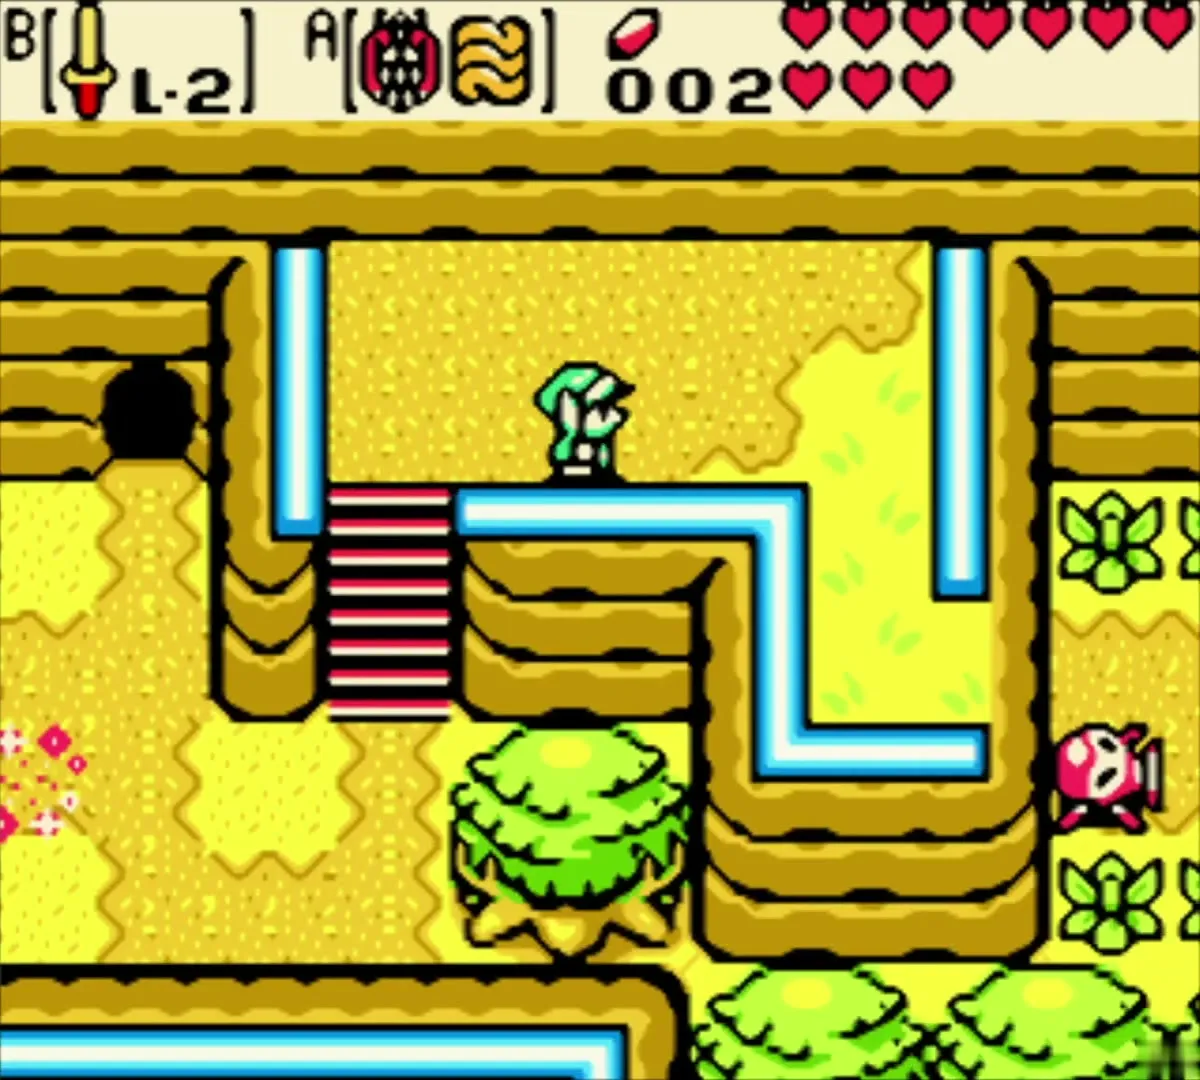
What the Gorons tell you
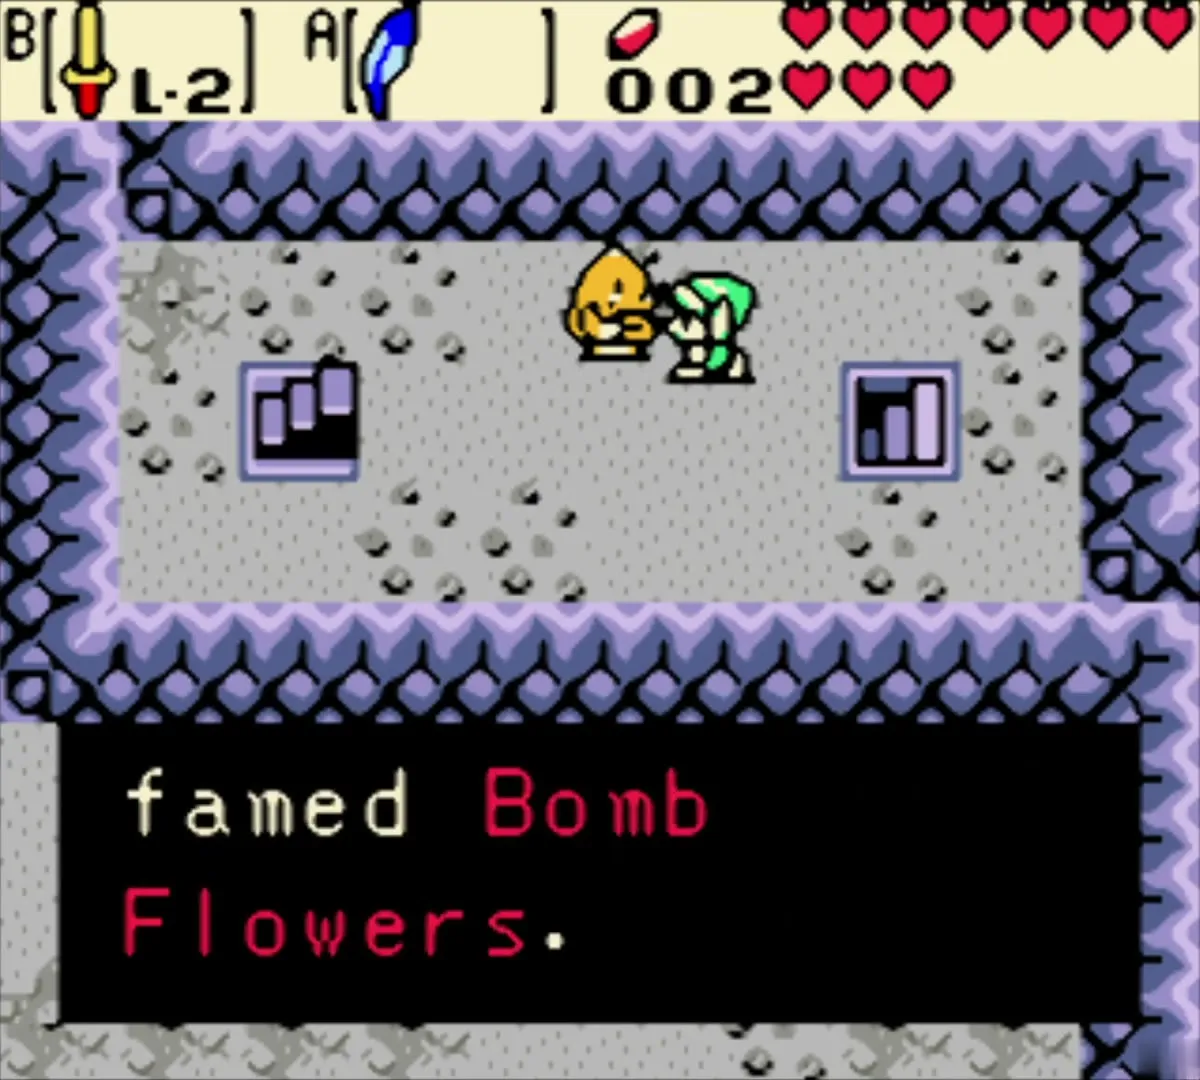
The first rooms are sandy with orange rock walls; stairs lead down into grey tunnels where the rock turns lilac. Talk to the Gorons you meet. They explain that Rolling Ridge was famous for its Bomb Flowers until a brute called the Great Moblin built a tower and took them all for himself, which is why the Gorons cannot rescue their Elder in the past.
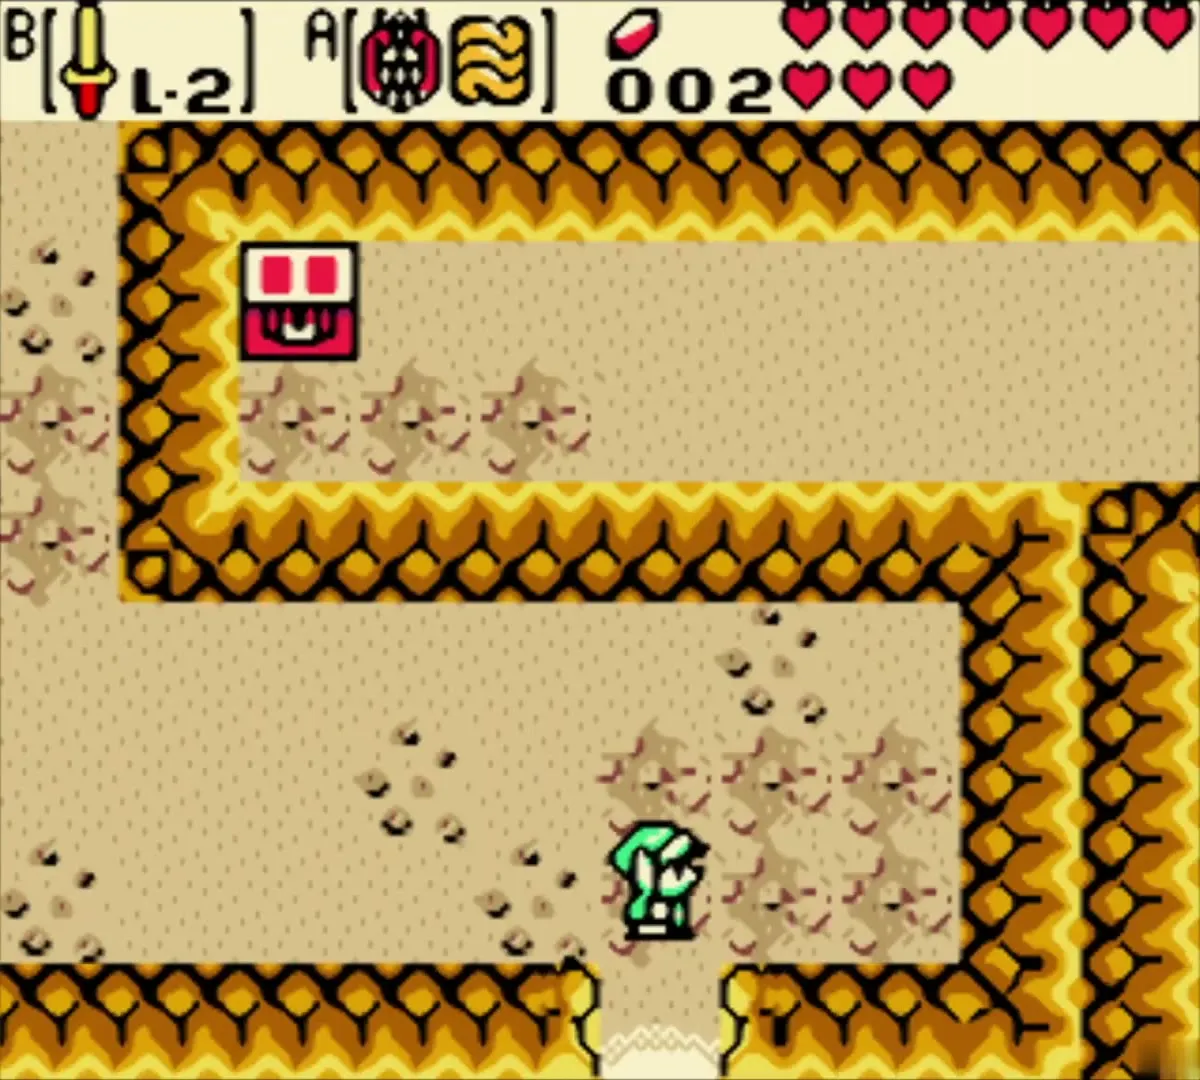


Chest with 50 Rupees
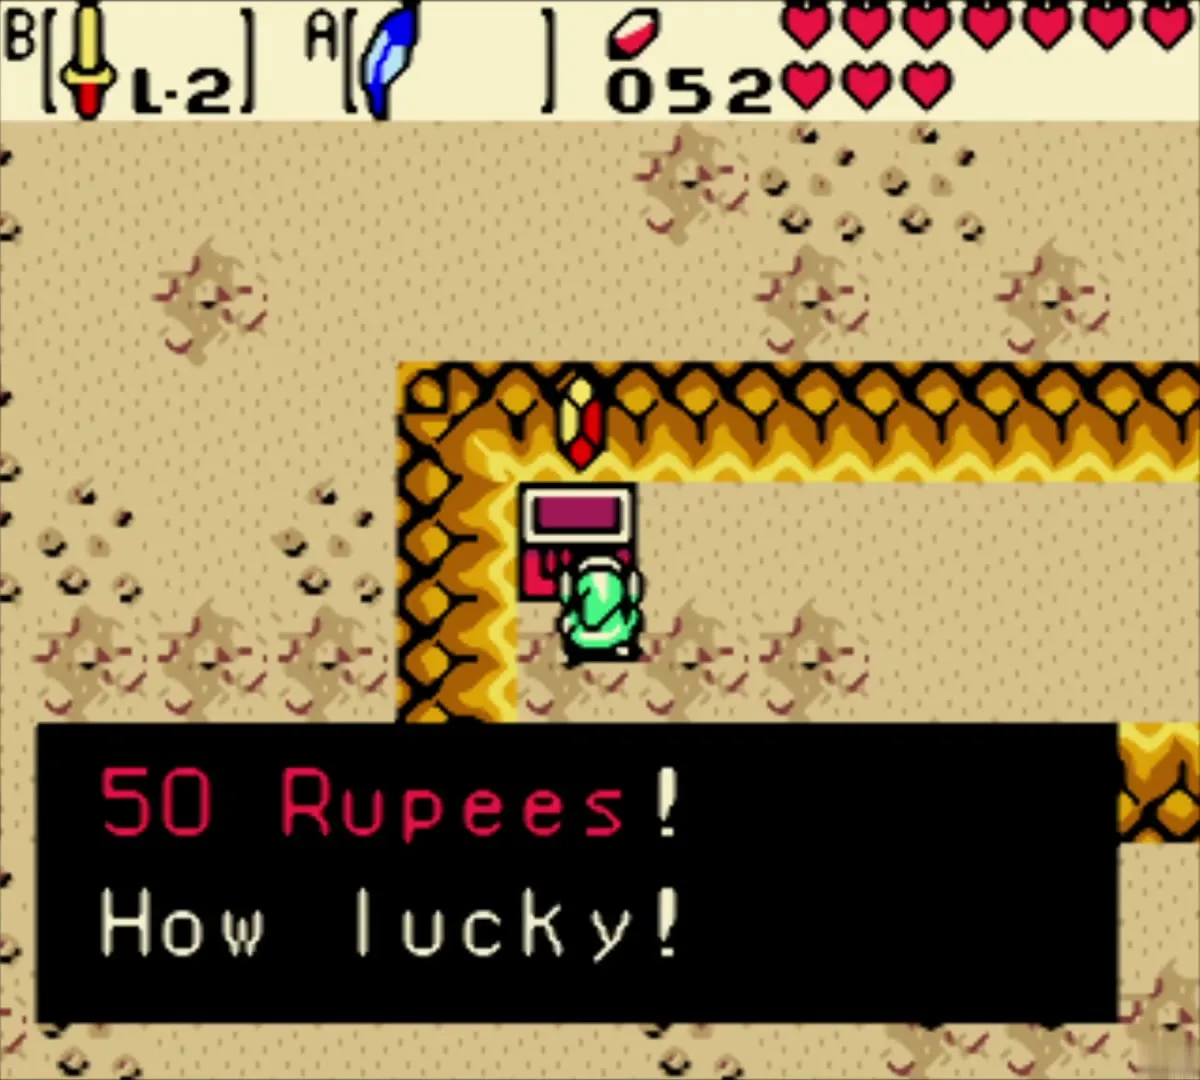
Follow the stairs back up into a sandy room where a red chest stands at the end of a ledge and open it for 50 Rupees. Take the next stairs down into the grey tunnels and keep going until you reach a room where one Goron stands beside a cracked stretch of wall.

Bomb the wall for Piece of Heart 8
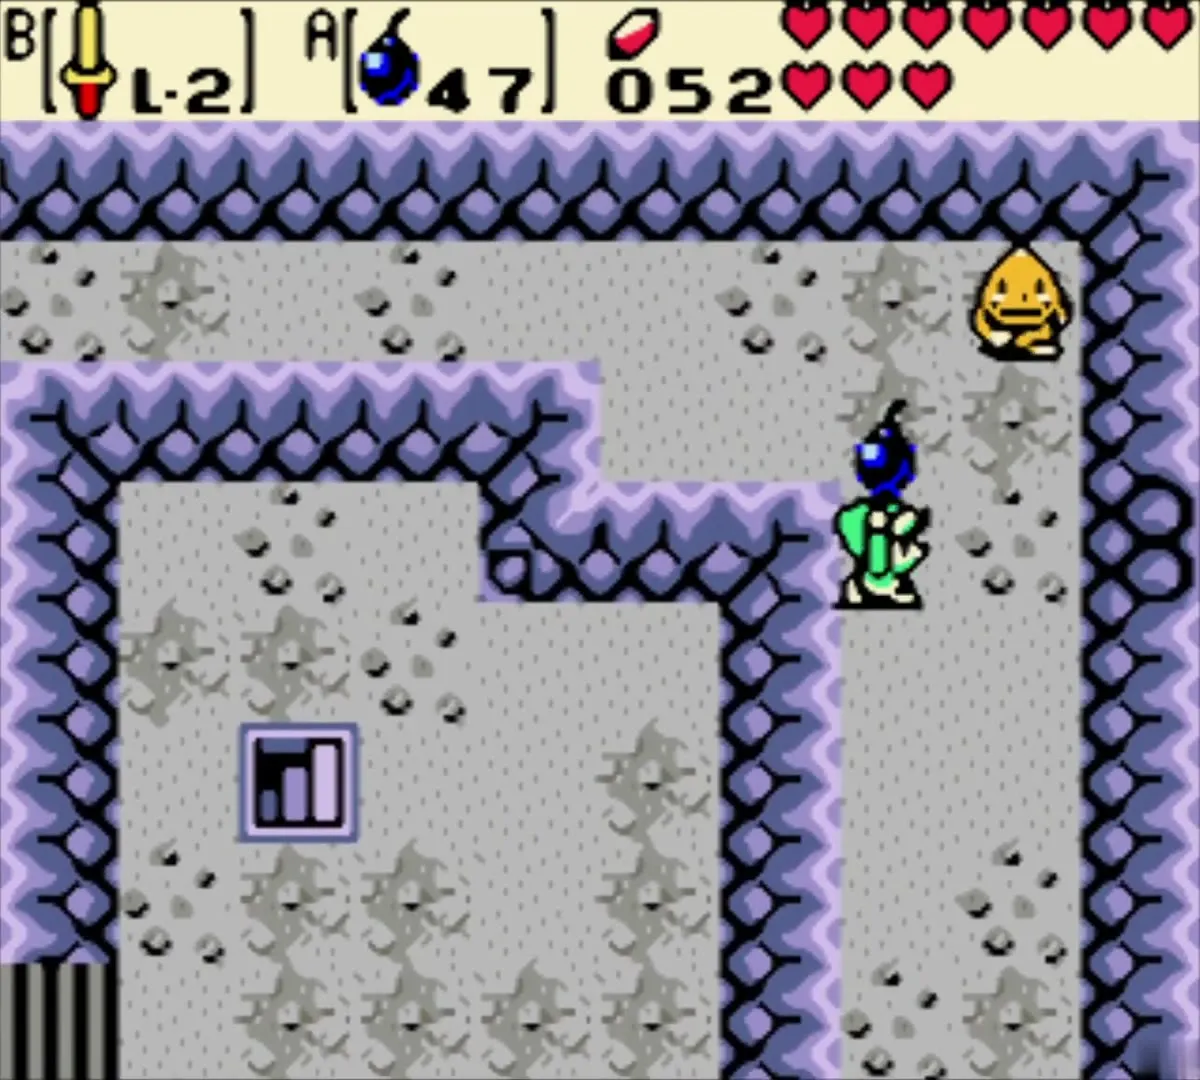
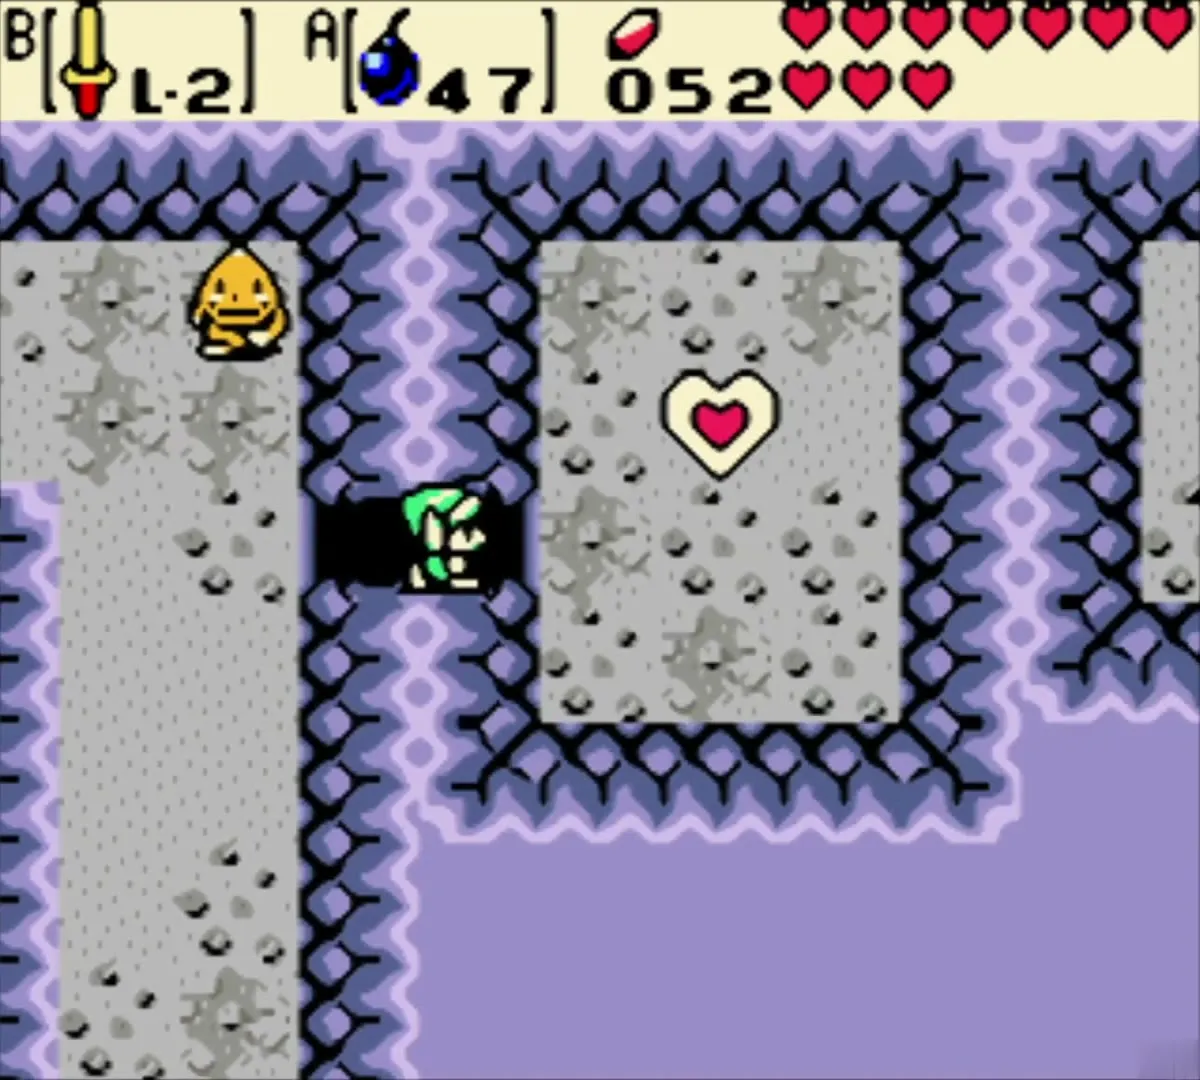
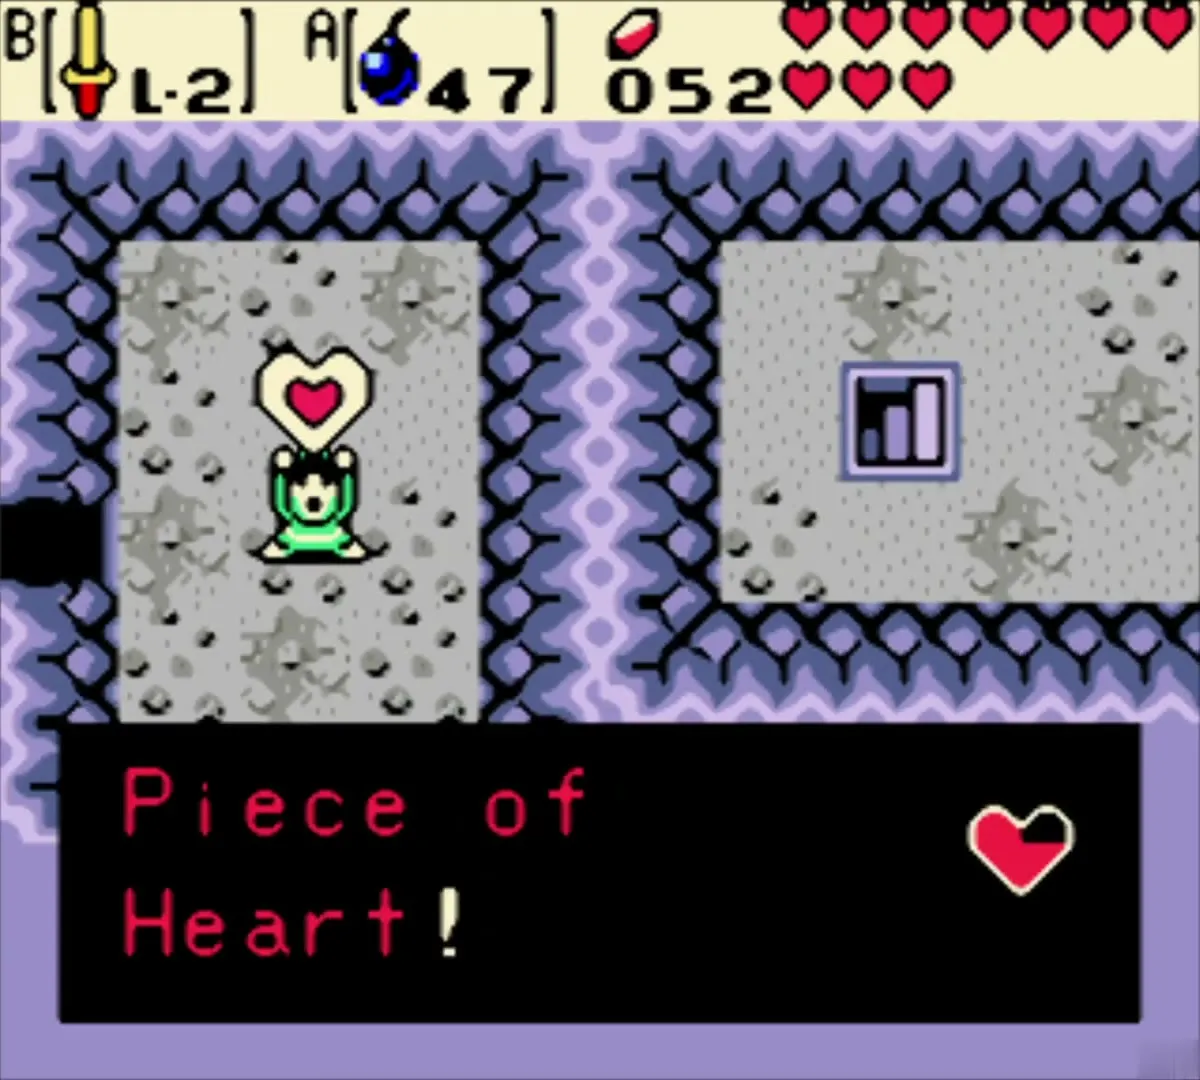
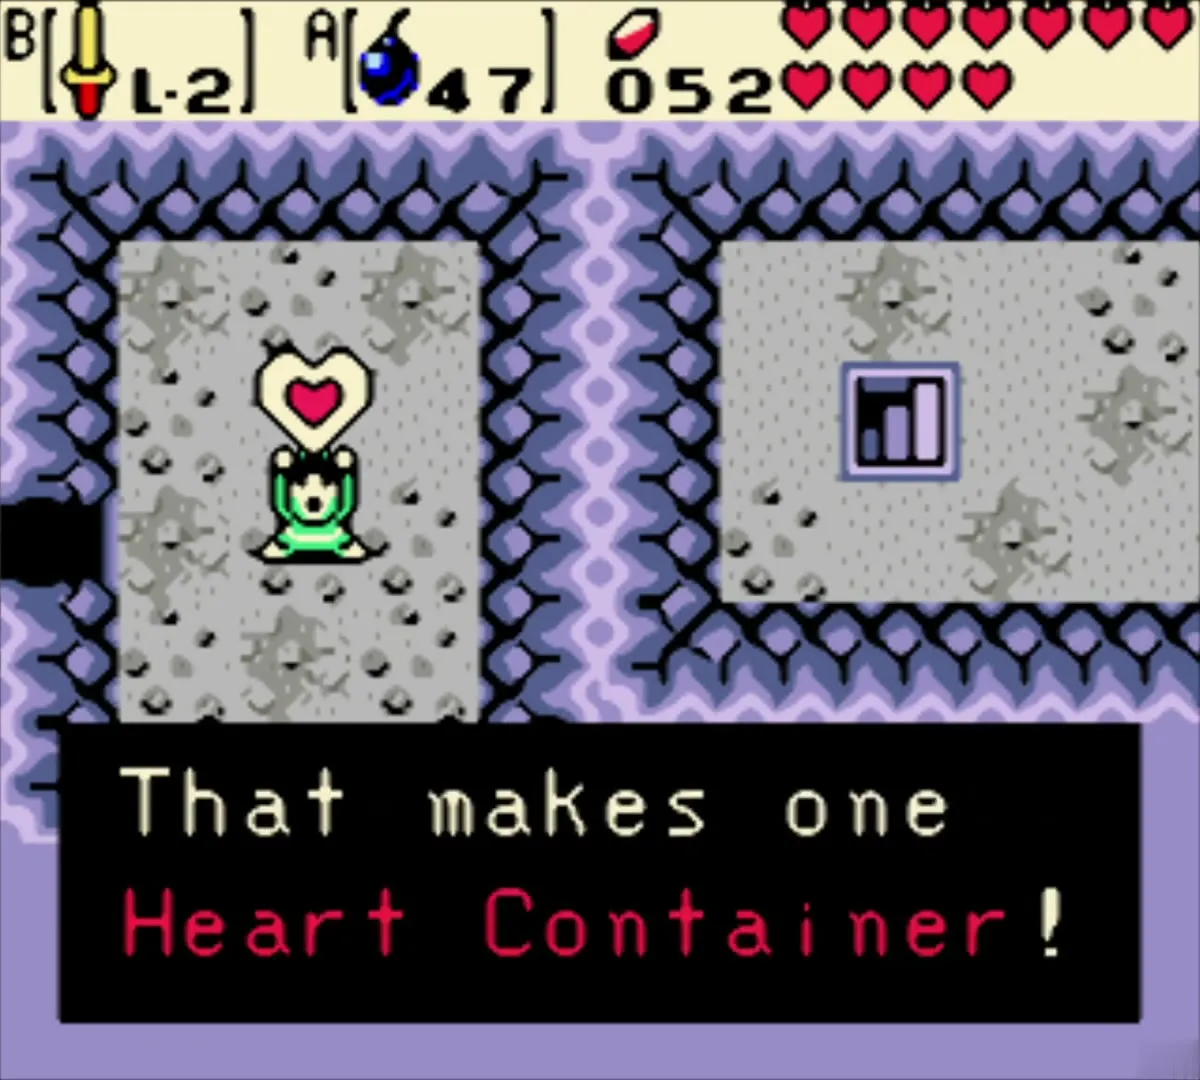
Equip Bombs, place one against the cracked wall on the east side of the room and step back. Walk through the hole into the next small room, where a Piece of Heart floats in the middle. This is your eighth Piece, and together with the earlier ones it forms a second Heart Container (see Heart Piece locations). Leave the cave when you are done.
Cross the bridge for 30 Rupees
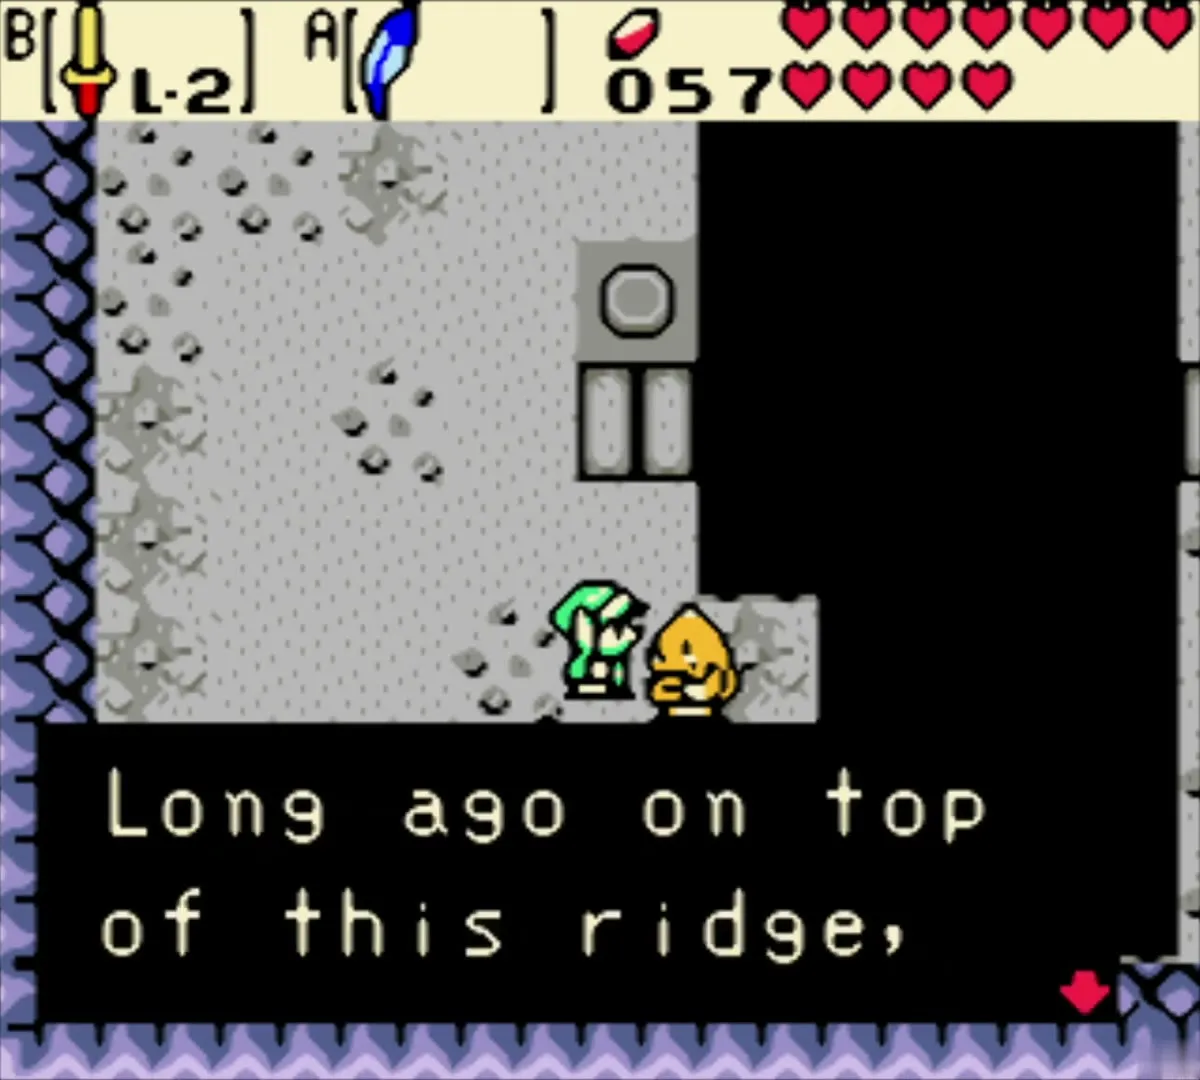
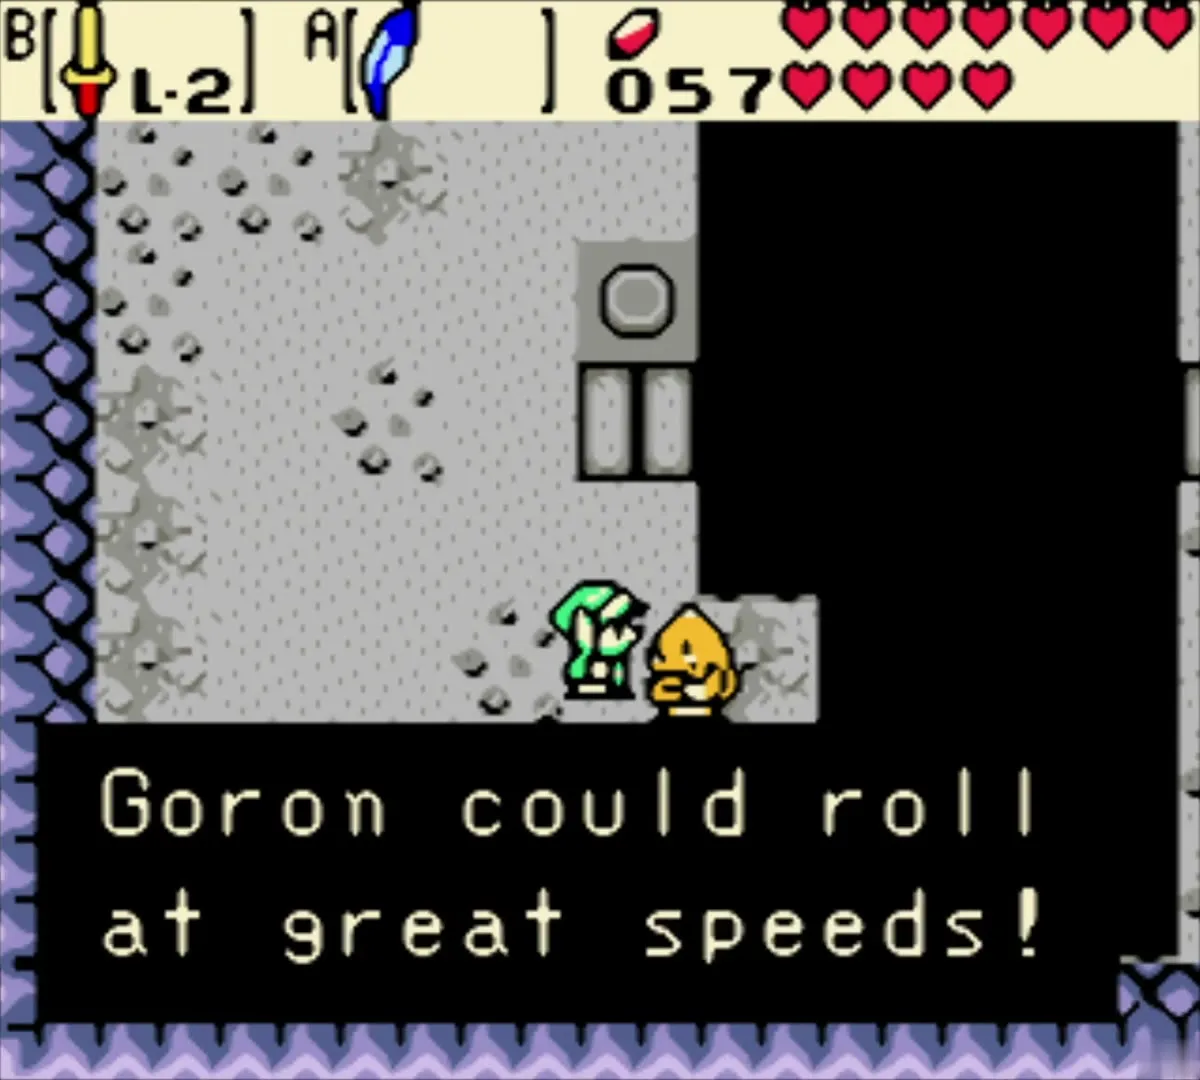
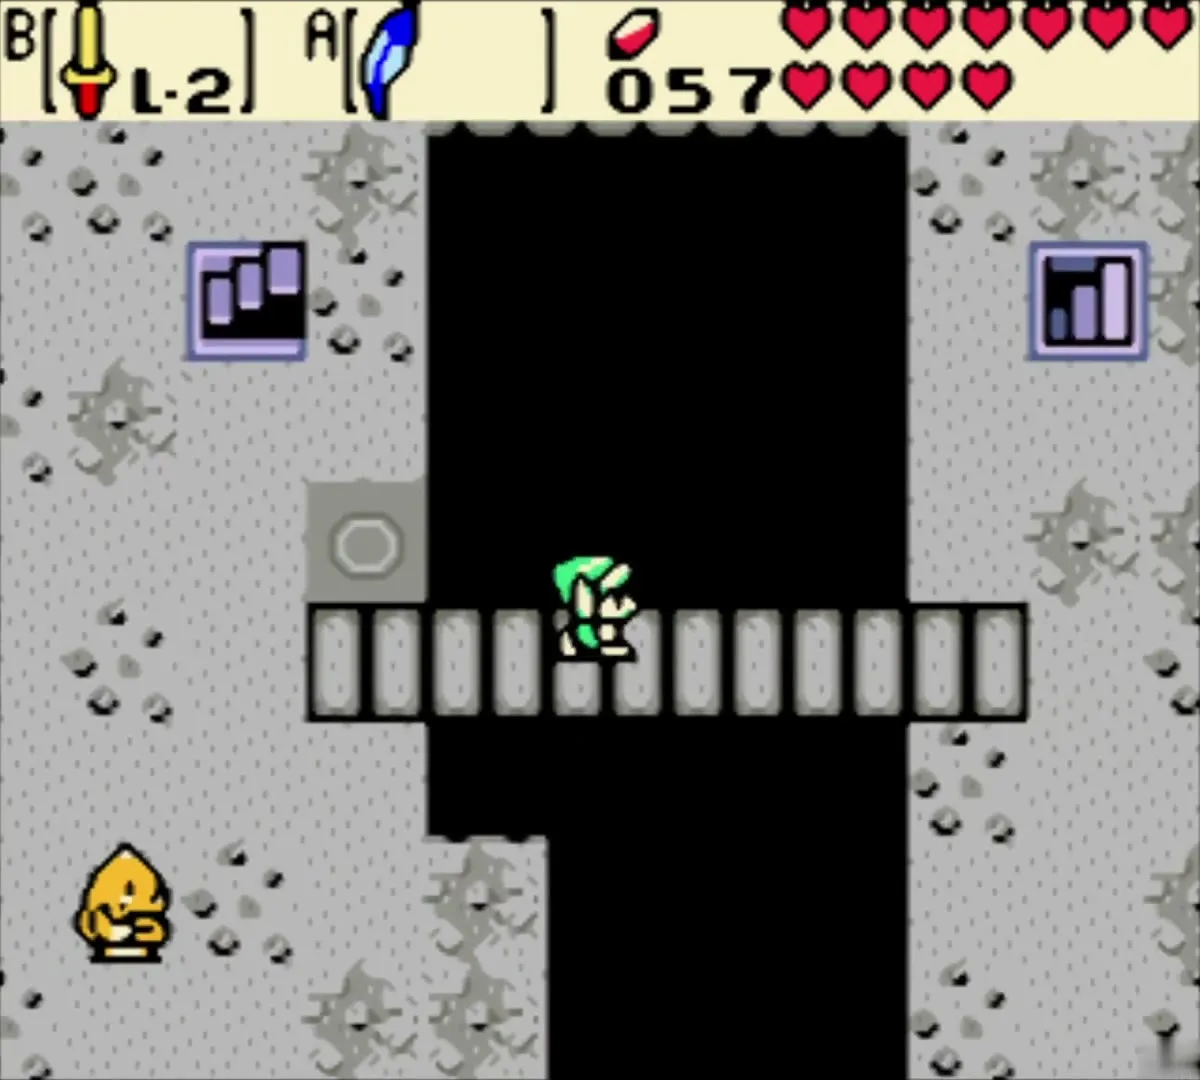
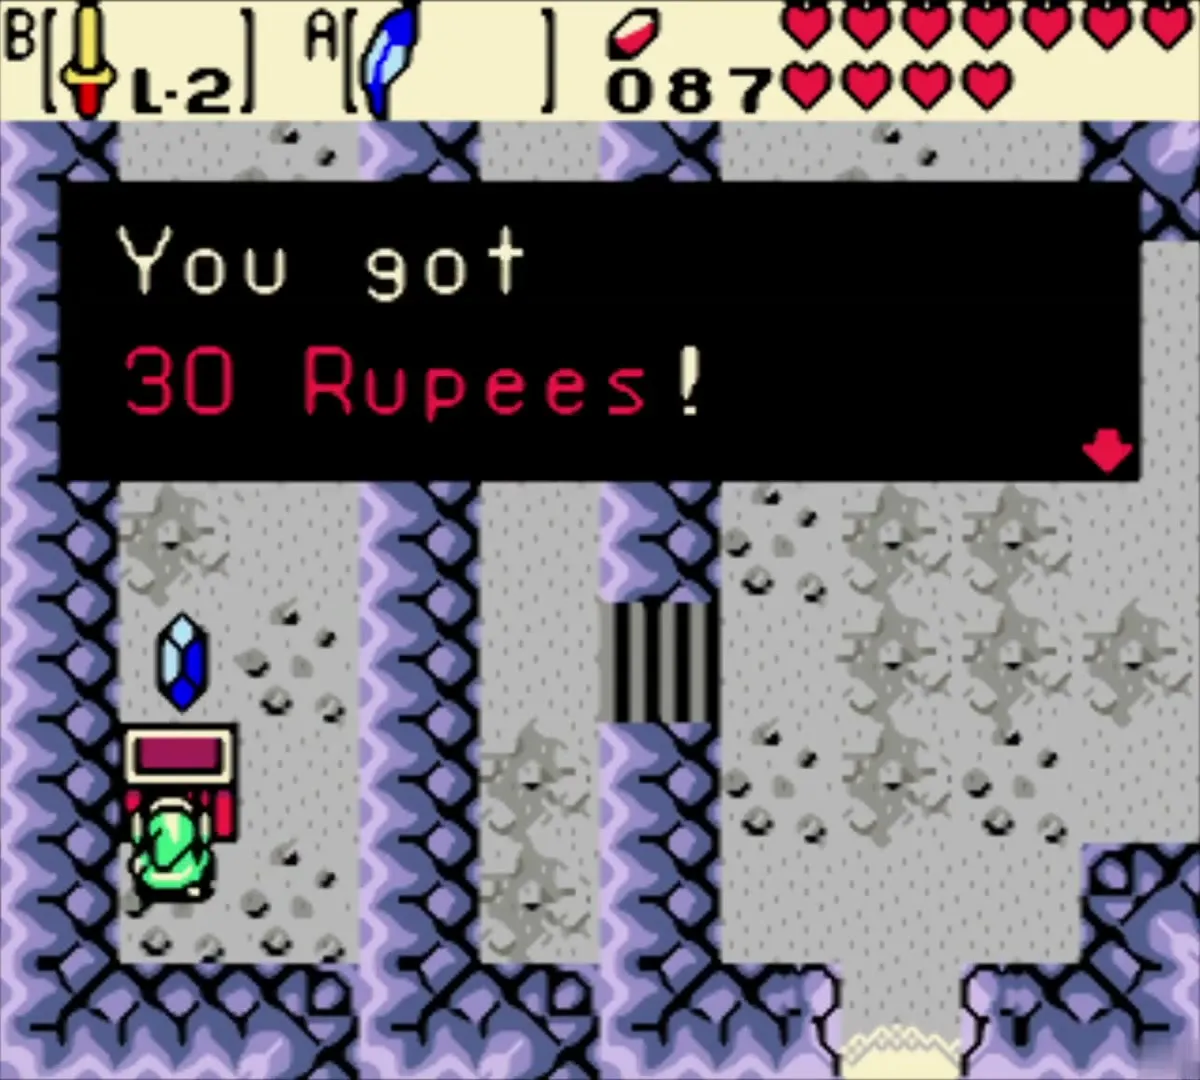
Outside on the blue ridge, take the stairs on the left down to a Goron. He tells you the story of the lost Pegasus tree: long ago a tree on top of the ridge dropped seeds that made a Goron roll fast. Step on the stone switch at the edge of the pit and the bridge of tiles stretches out across the gap. Cross it quickly (the Roc’s Feather helps) and take the stairs down to a chest holding 30 Rupees.
Pegasus Seeds: Great Fairy, time portal and Pegasus tree
Great Fairy and the rock portal
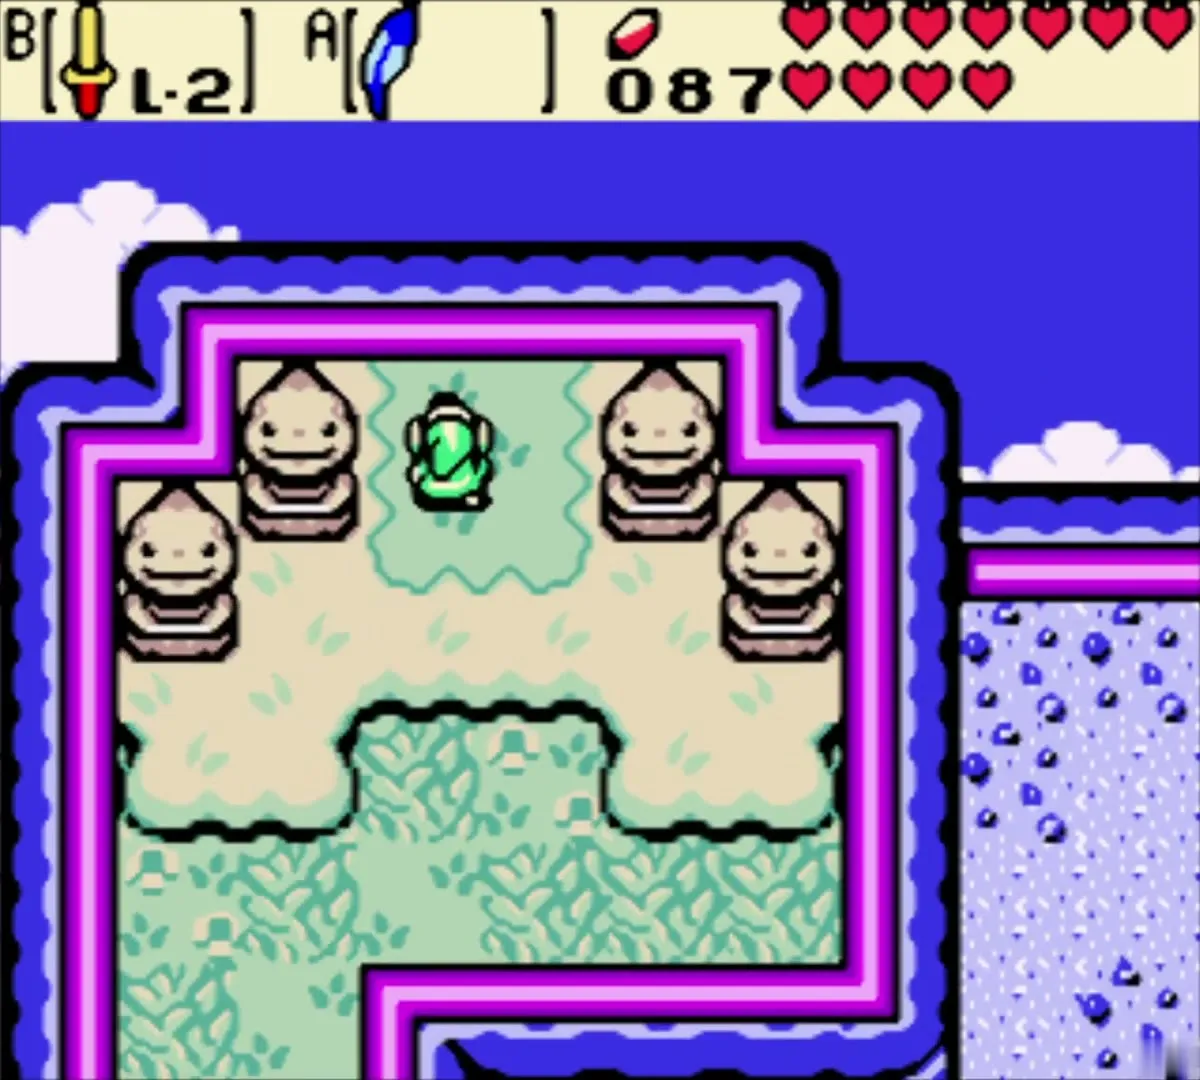
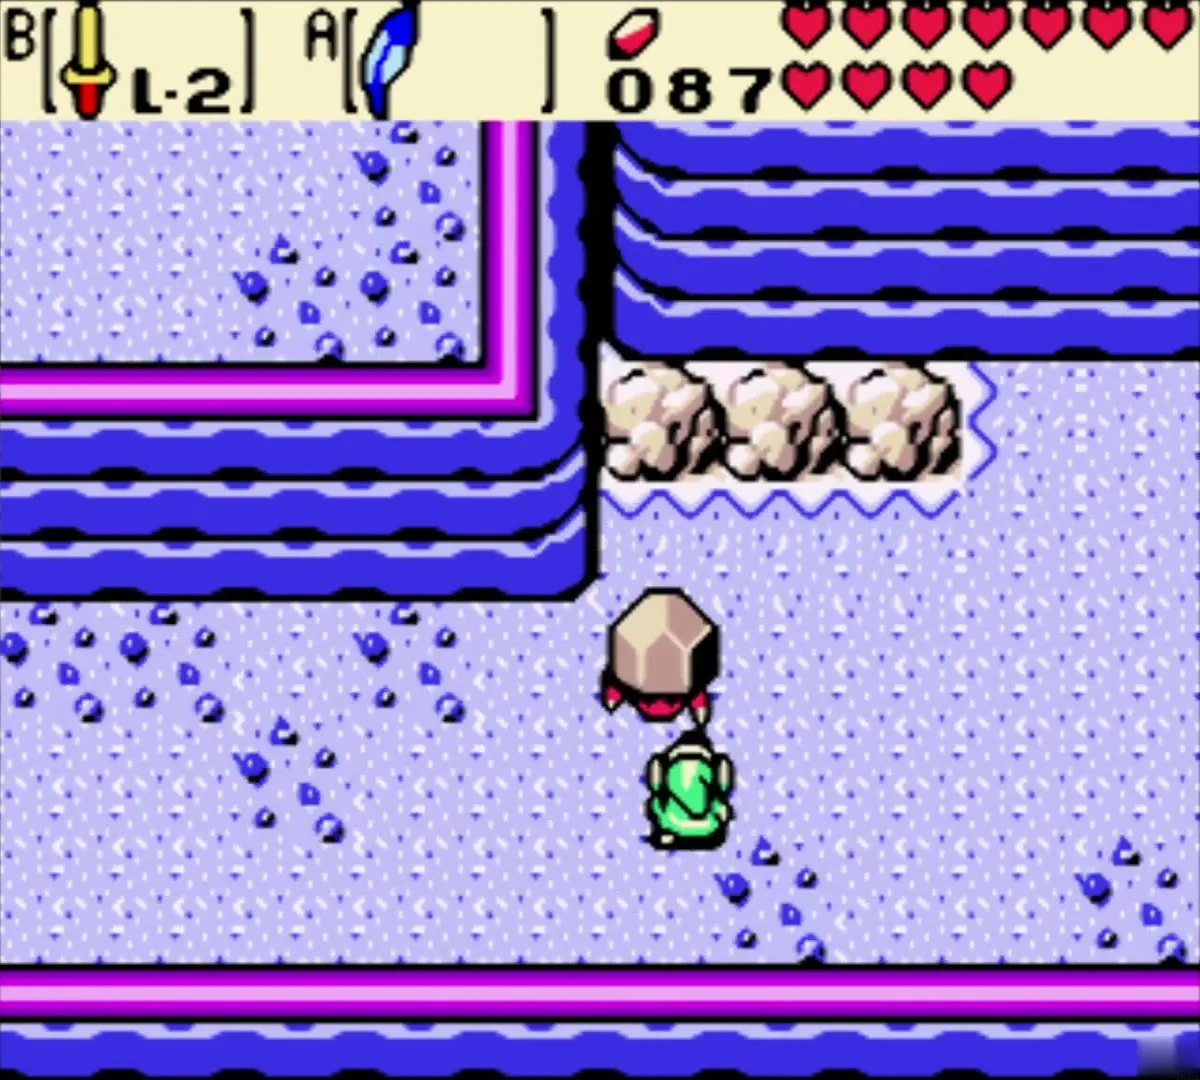
Climb to the shrine ringed by four Goron faces; this is where the Pegasus tree stood in the past, and today the shrine is empty. Then continue to the far south-east corner of the ridge. A small cave there holds a Great Fairy who restores all your hearts whenever you visit, a good place to rest before the Great Moblin. Beside it lies a cluster of rocks; lift them with the Power Bracelet.

Open the time portal
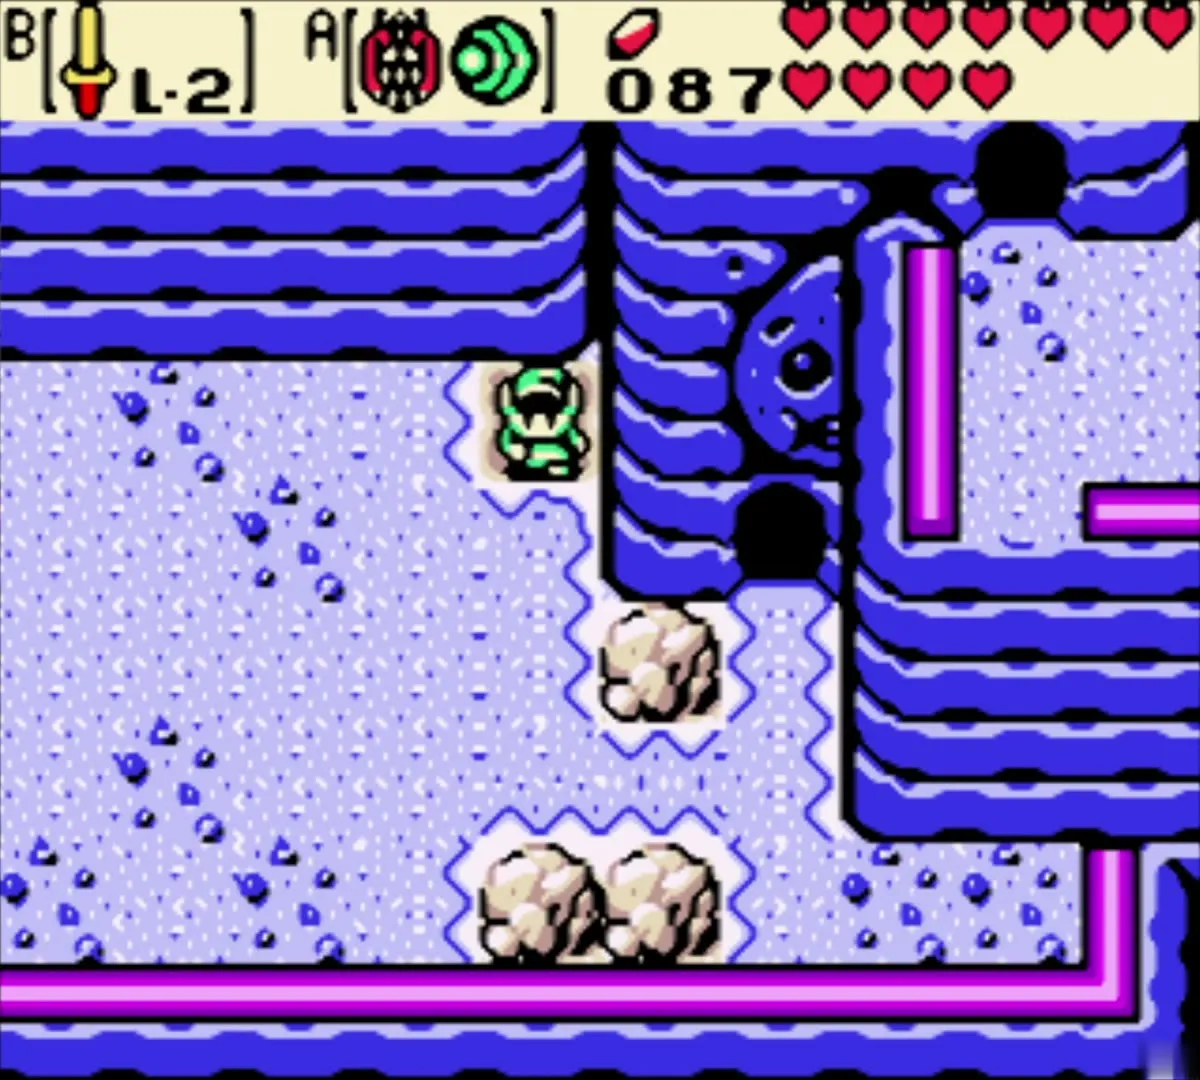
Under the rocks is a patch of white ground that hides a time portal. Equip the Harp of Ages and play the Tune of Echoes while you stand on it. The portal swirls open and you step in, arriving in the past, where Rolling Ridge is orange and red (see time portals).


Walk to the Pegasus tree
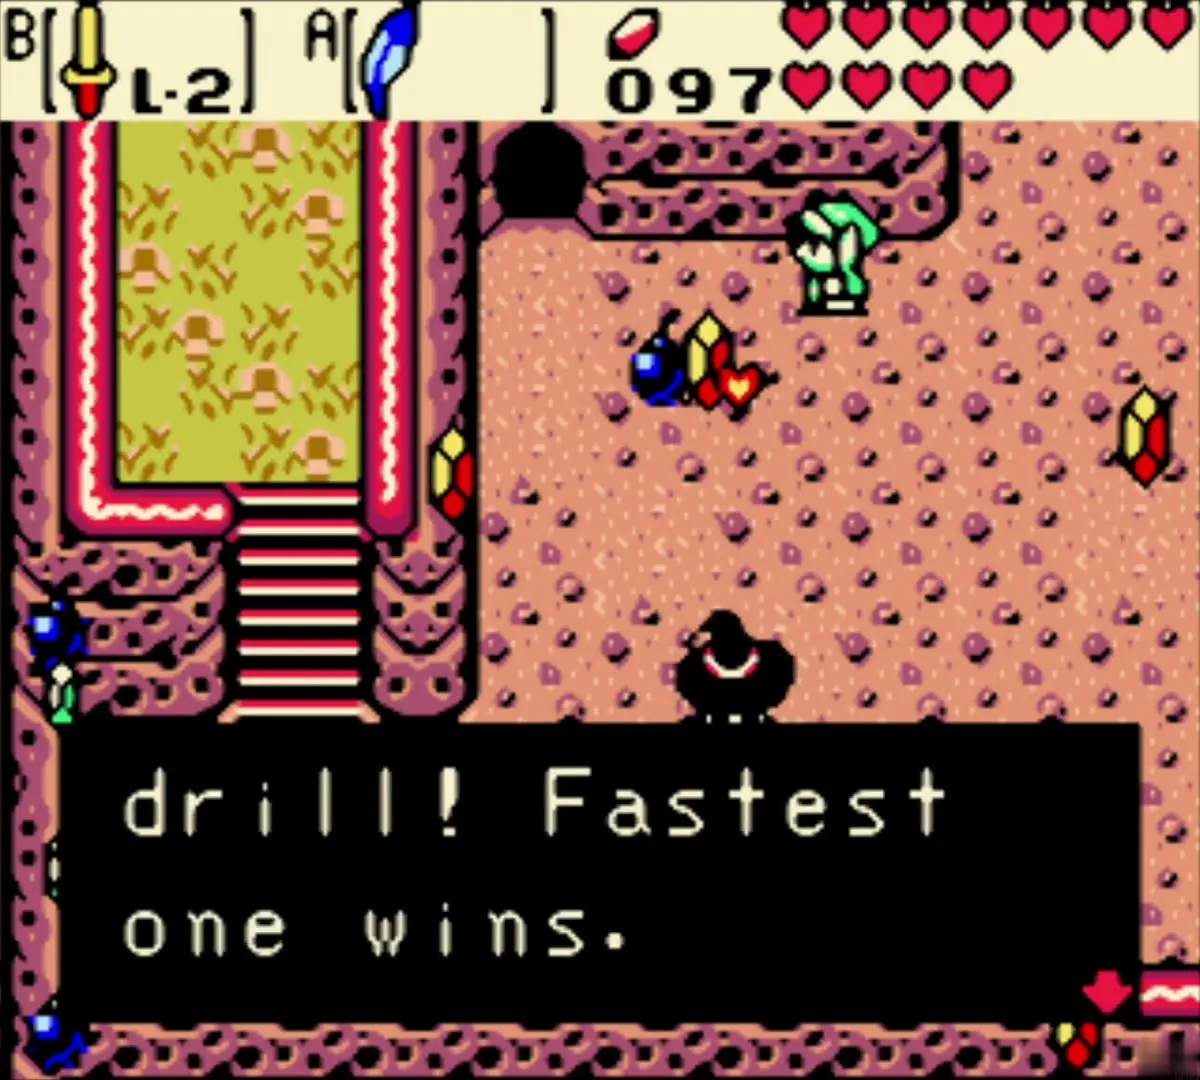
In the past, go west and then north along the ridge. You pass a Goron face carved into the cliff and fight a few Tektites on the way. Maple may fly in again. Crash into her and collect more than she does to earn a handful of Rupees, as before.



Hit the tree for 18 Pegasus Seeds
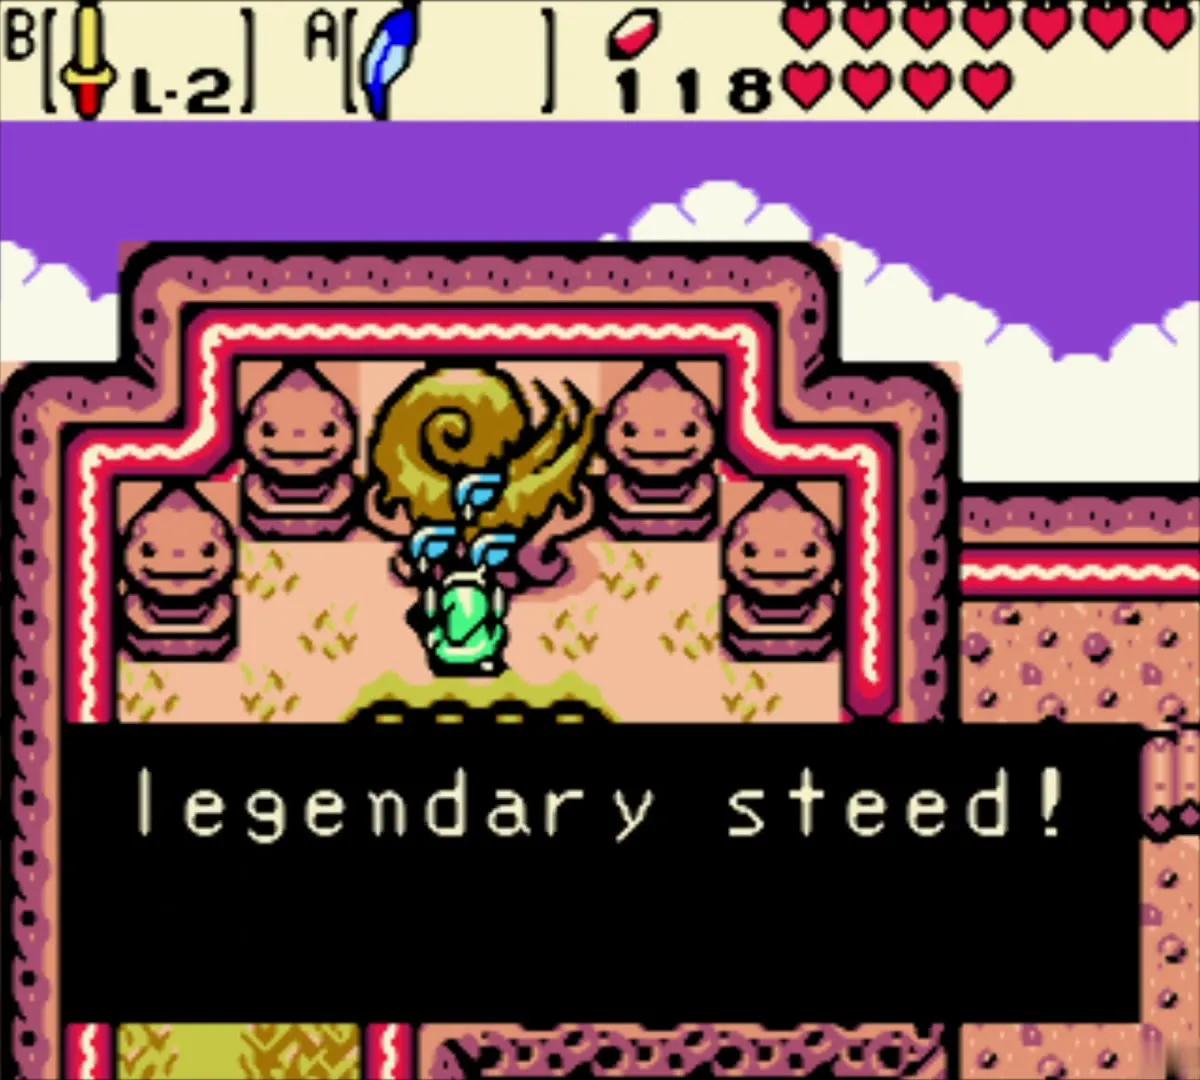
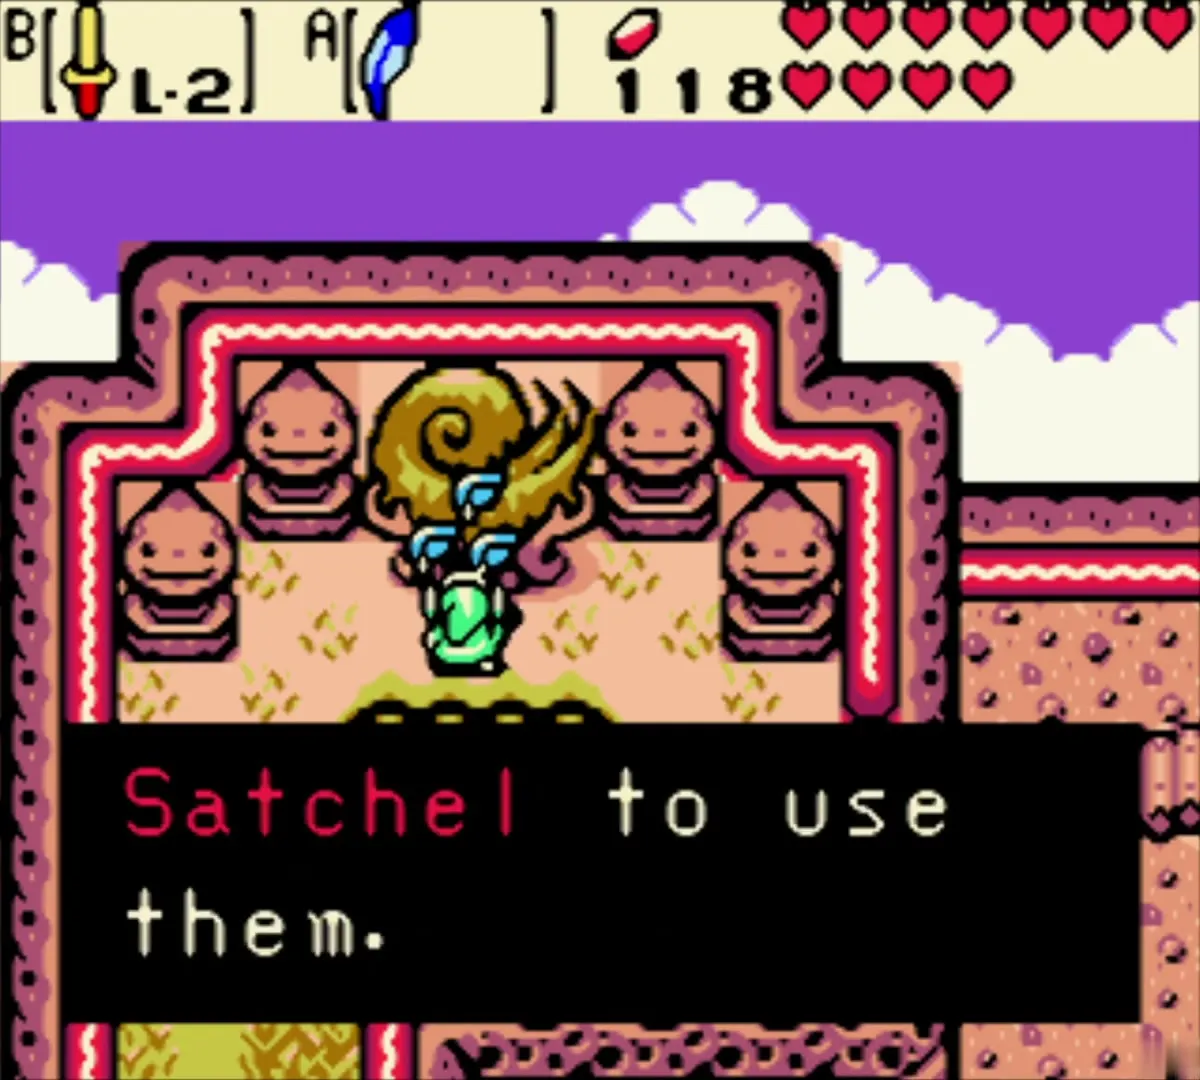
The path ends at a shrine of four Goron faces with a golden tree in the middle. Slash the tree with your sword and its seeds drop. Collect them all to get 18 Pegasus Seeds, which make you run at great speed for a short time. Equip them from the Seed Satchel when you need to cross something quickly.

Return with the Tune of Currents
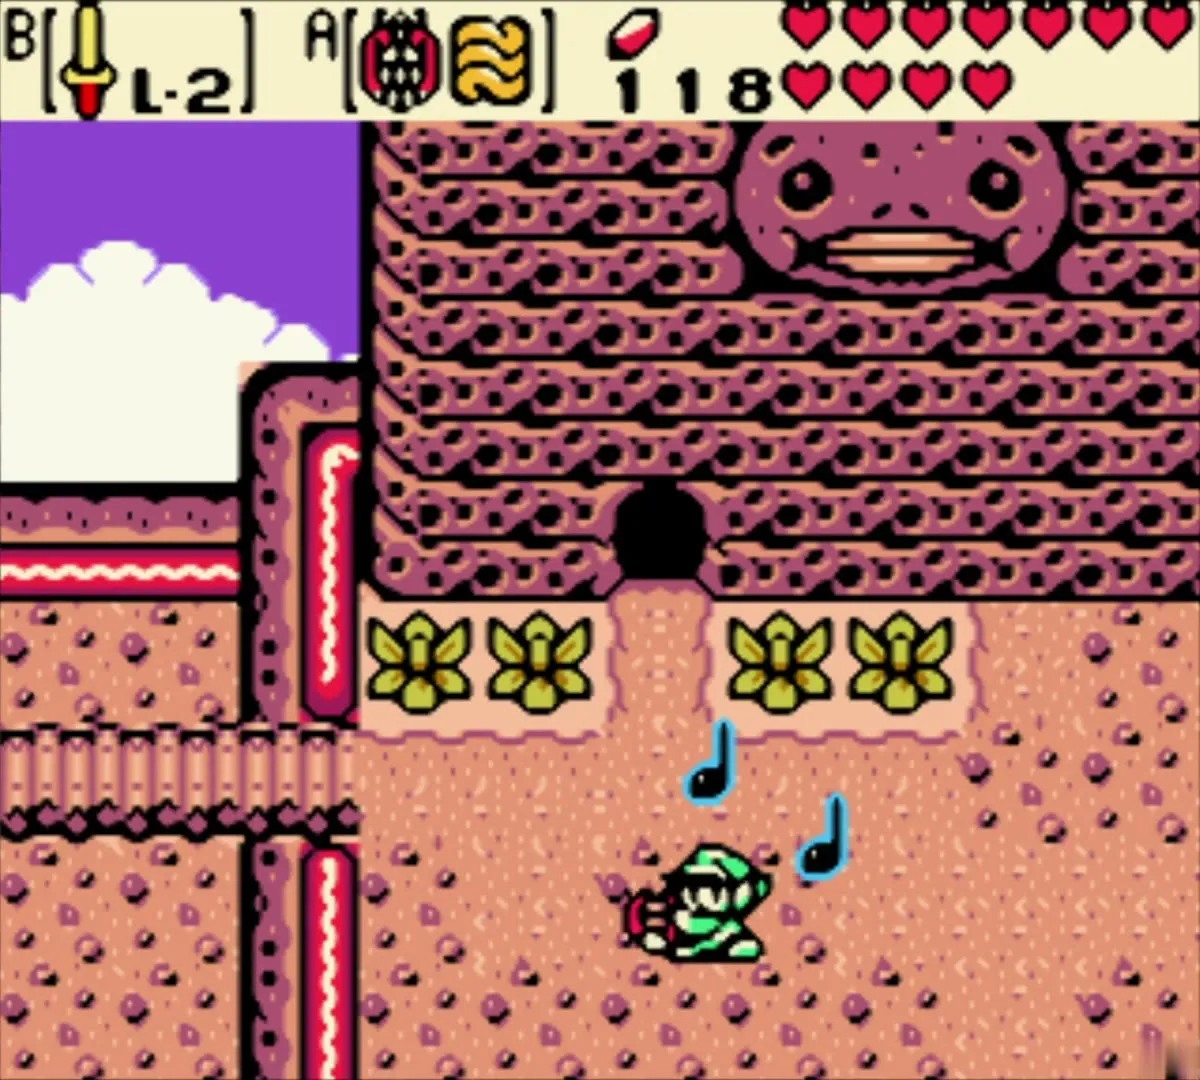
Head back down to the screen below the Goron cave, the one with the flowers and the plank bridge, and play the Tune of Currents there. You arrive in the present in front of Moblin’s Keep.

Moblin’s Keep: the trap and the Armor Ring L-1
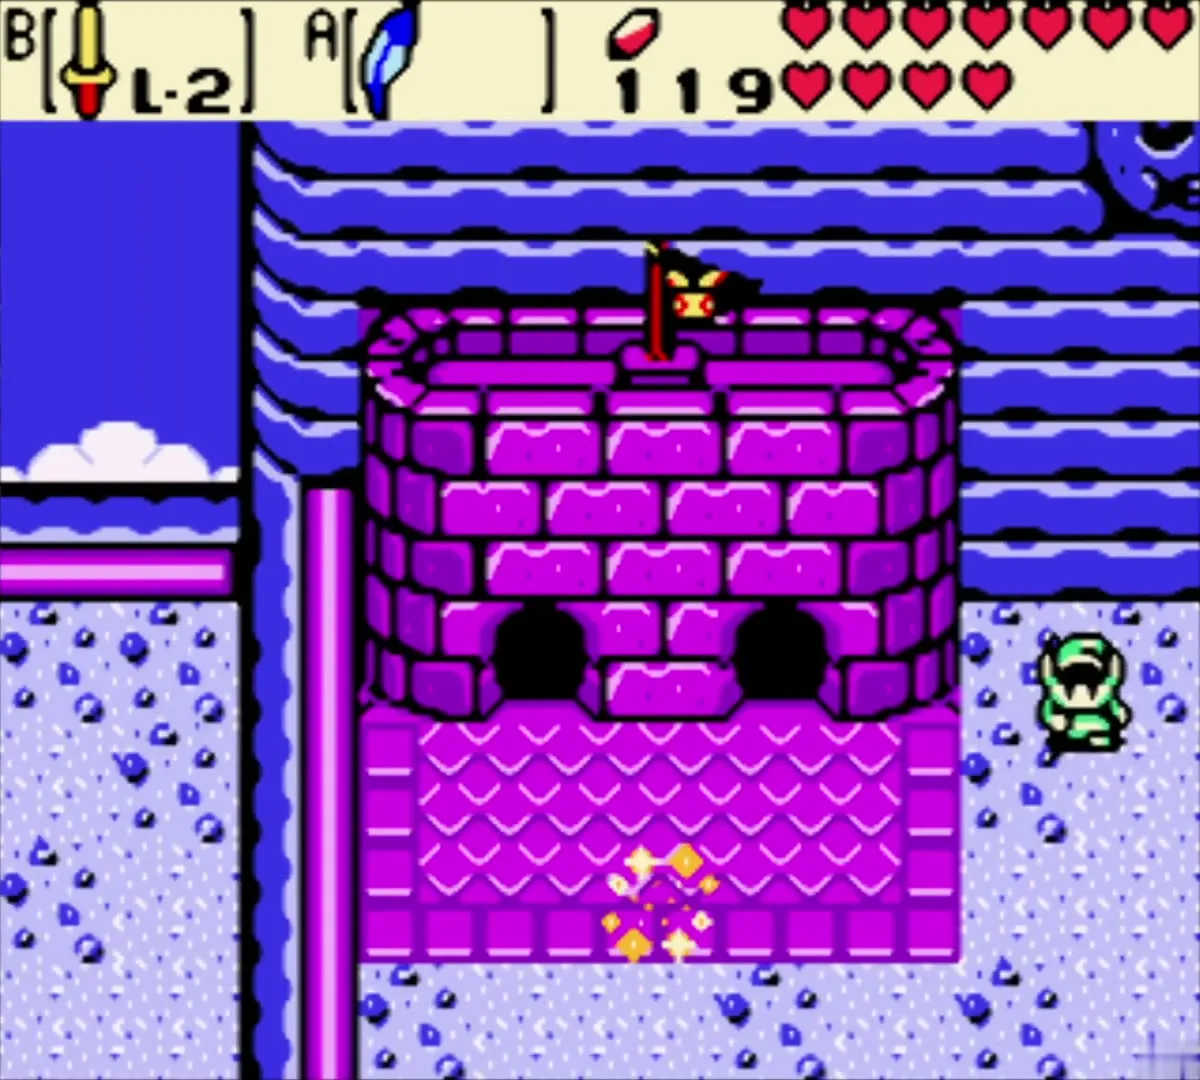
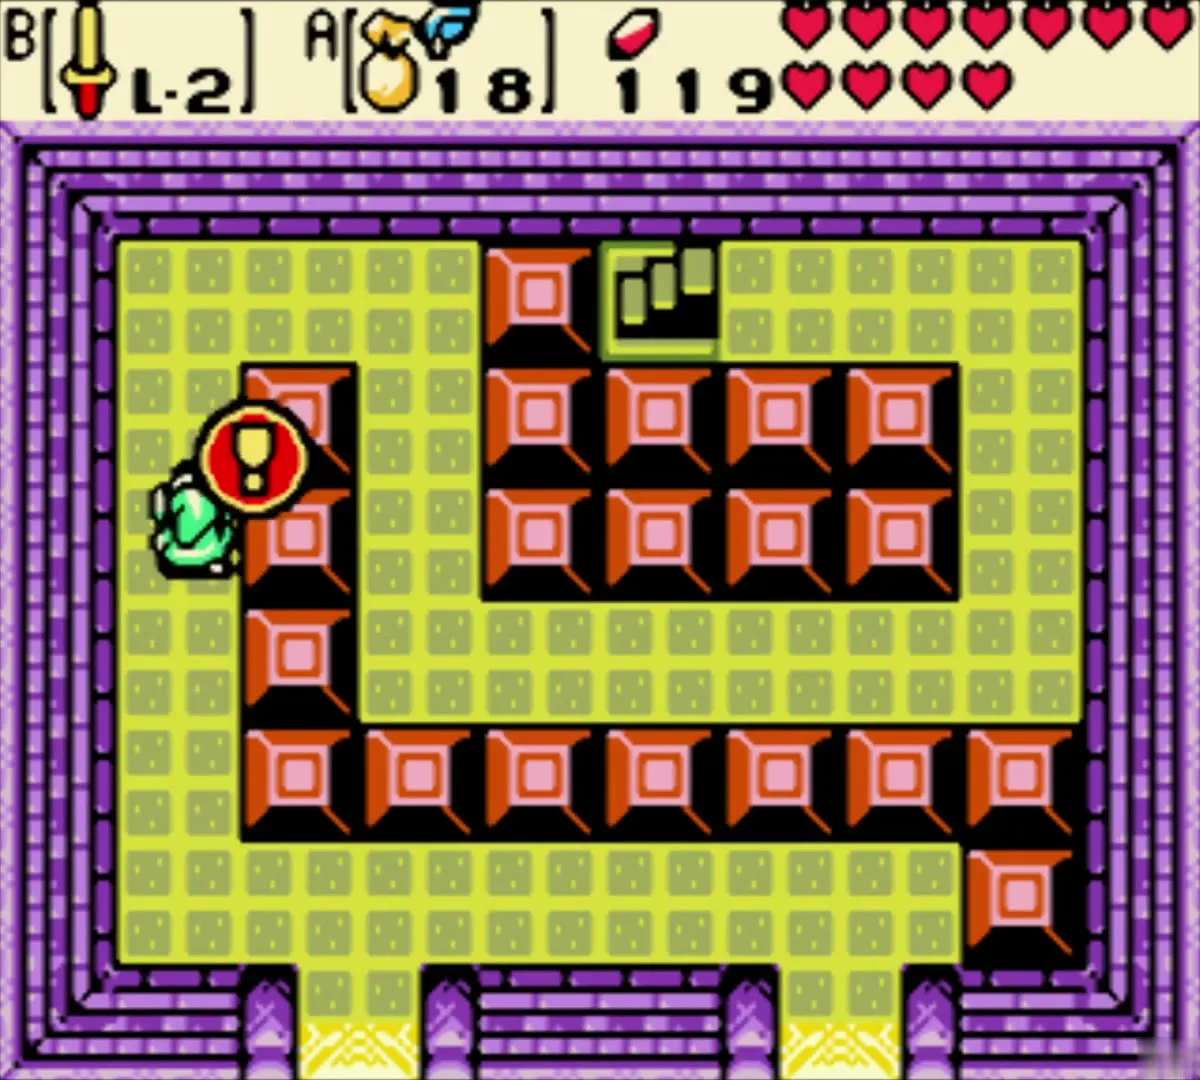
The first room collapses
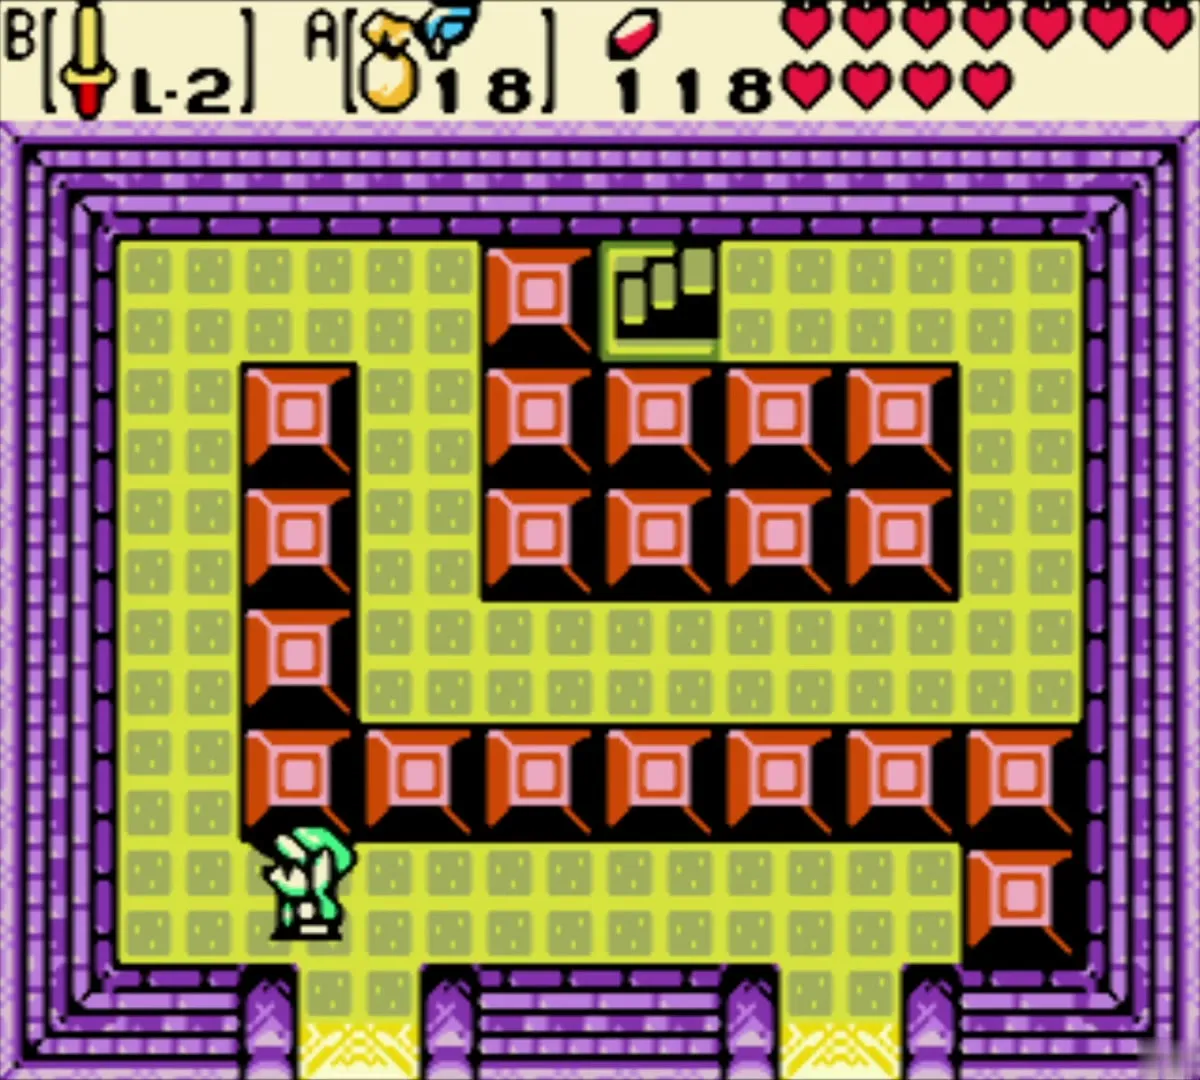
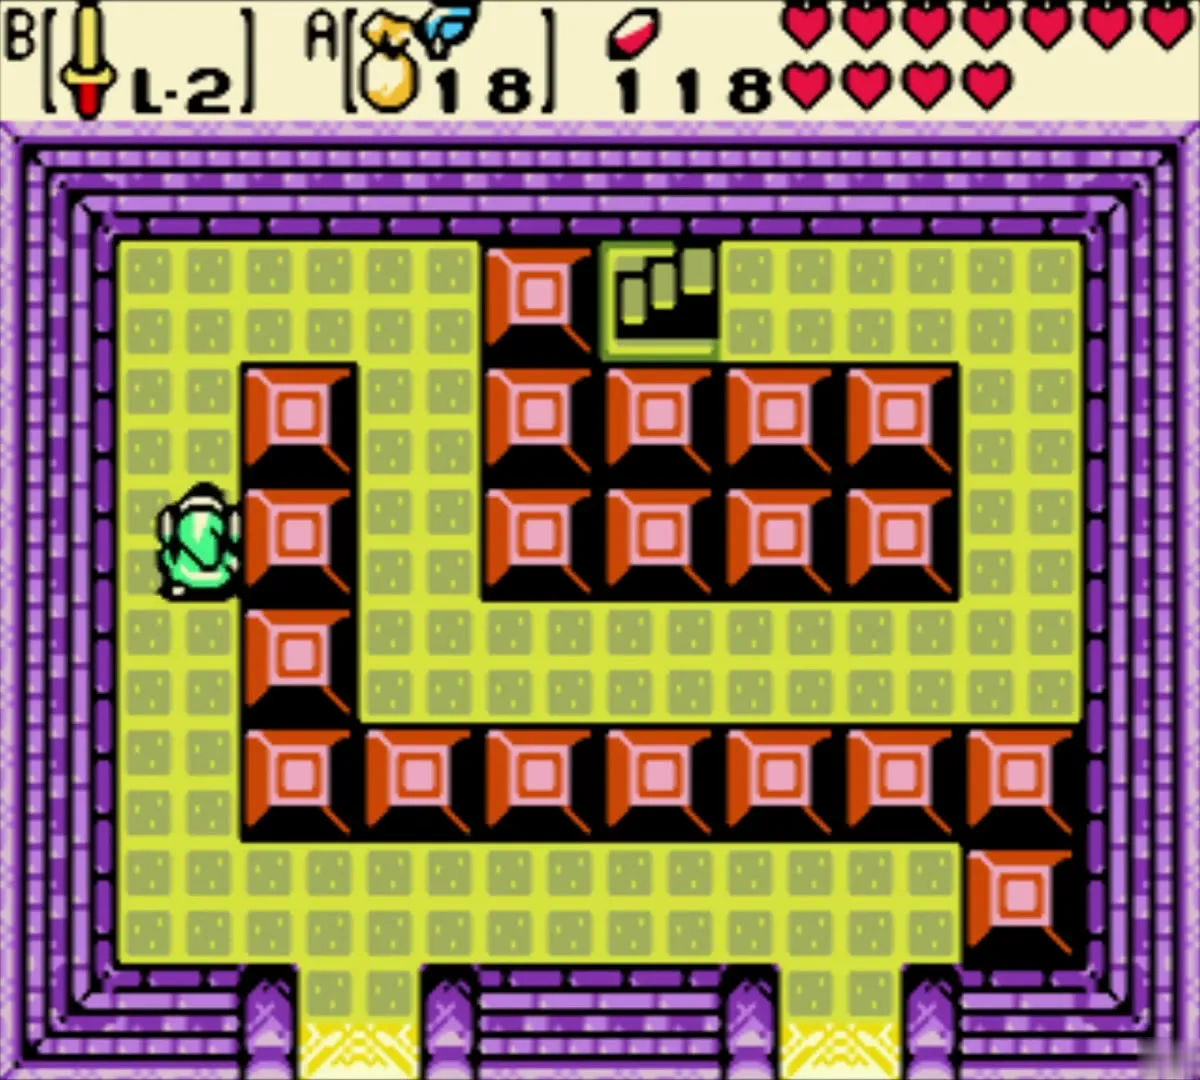
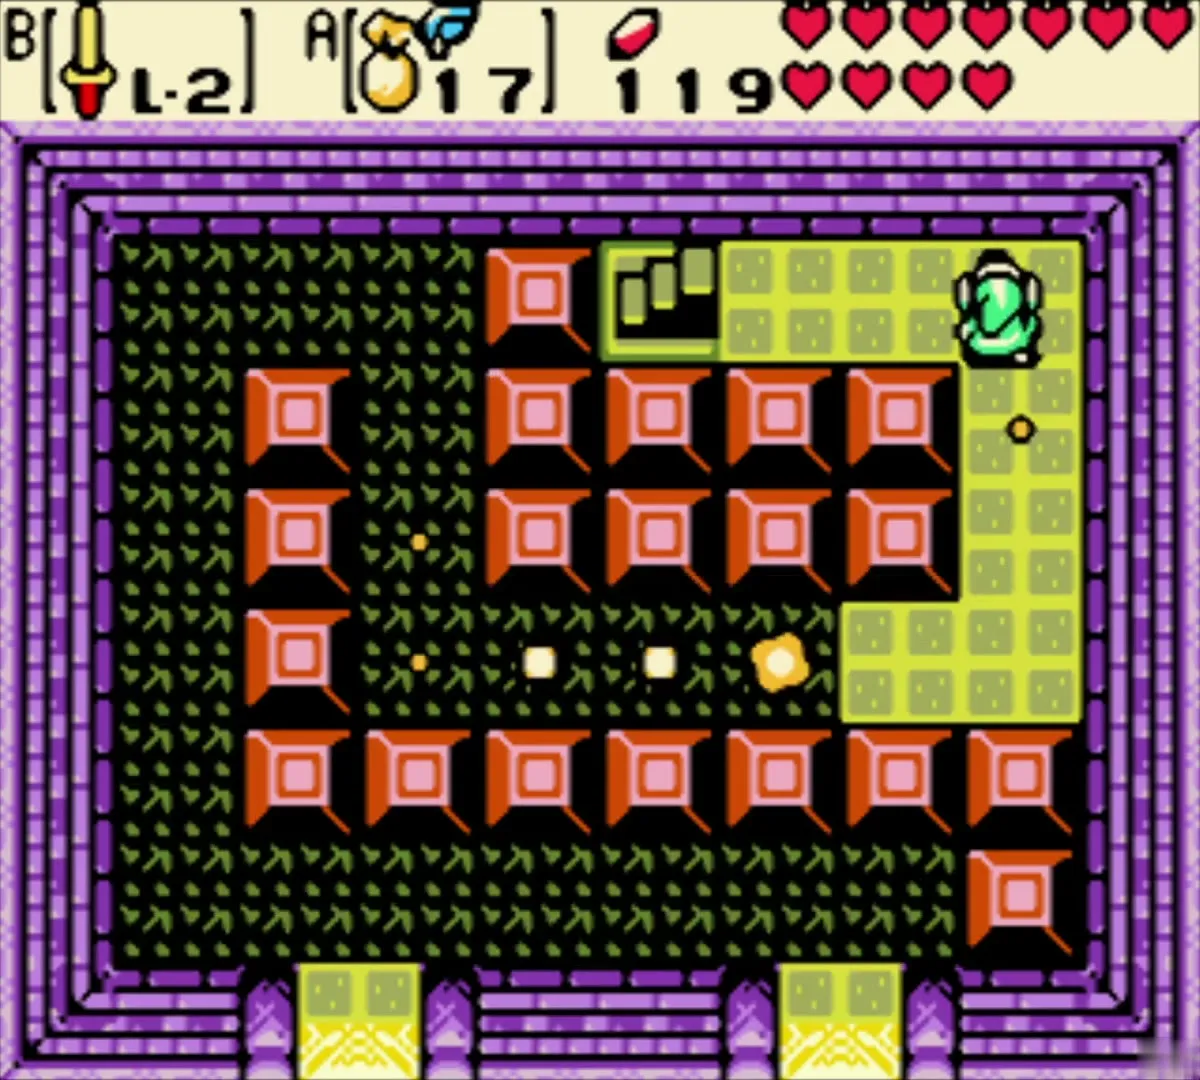
Climb the stairs to the purple tower and go in through the left door. The first room is a maze of red blocks with a staircase at the top, and the floor gives way row by row from the bottom as soon as you move. A Pegasus Seed lets you outrun the collapse: equip it before you walk in, press it the moment the floor starts to crumble and run up the left side to the staircase. If you want the ring first, simply let yourself fall.
The flooded side-scrolling cave
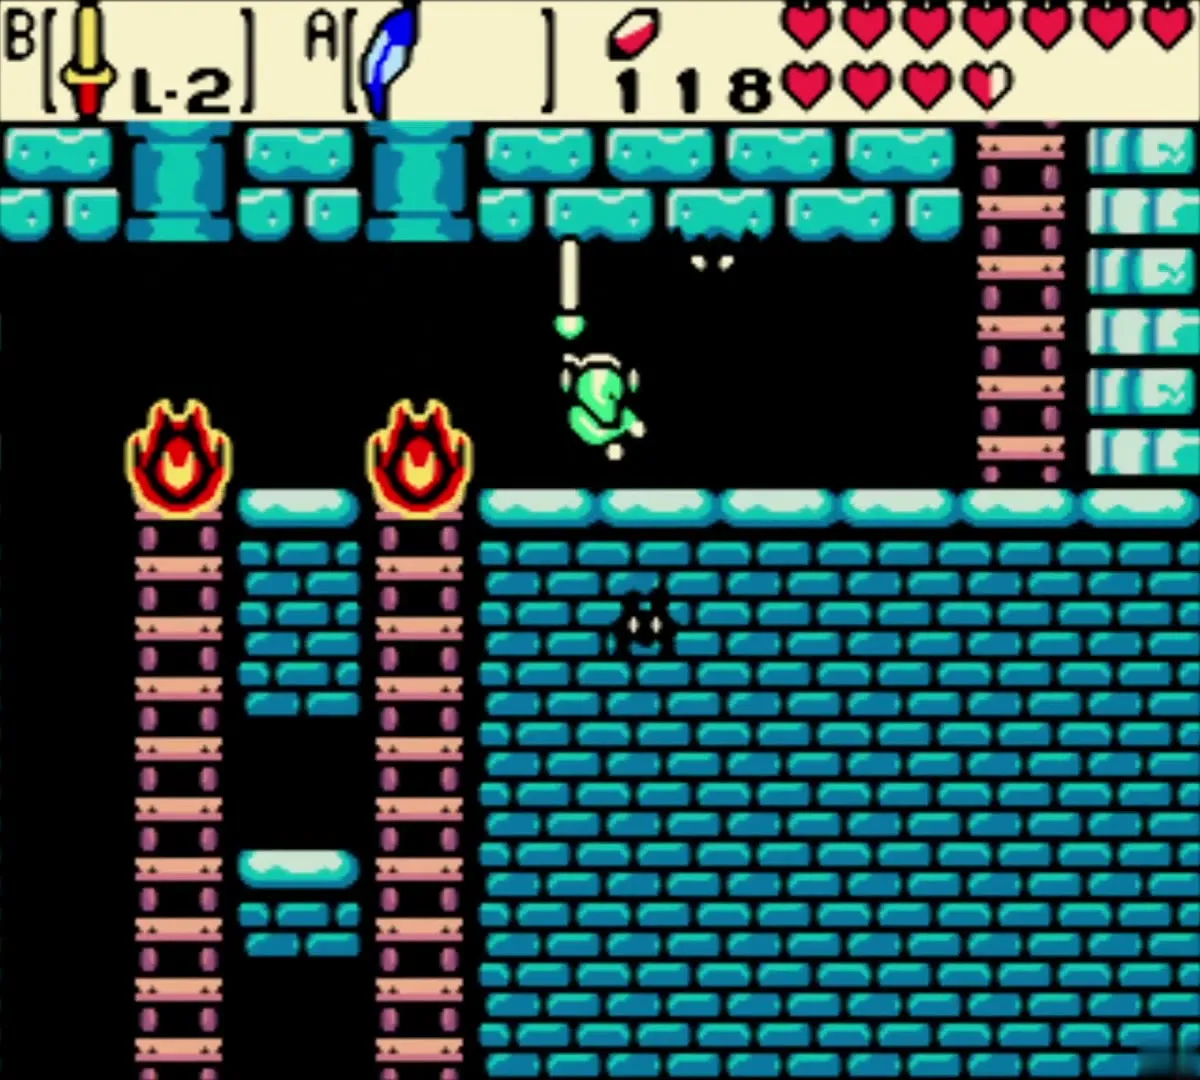
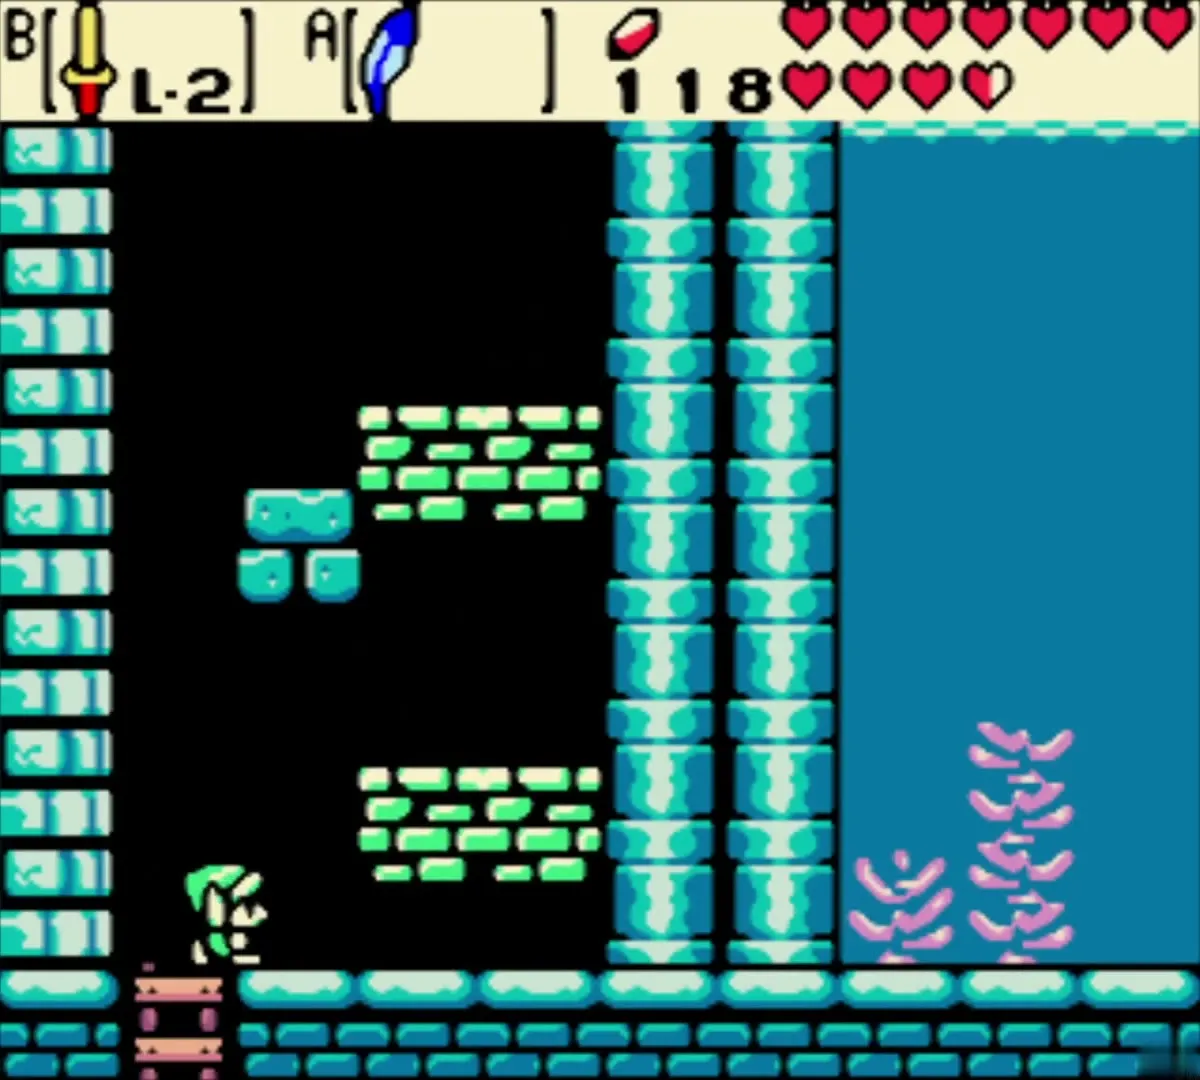
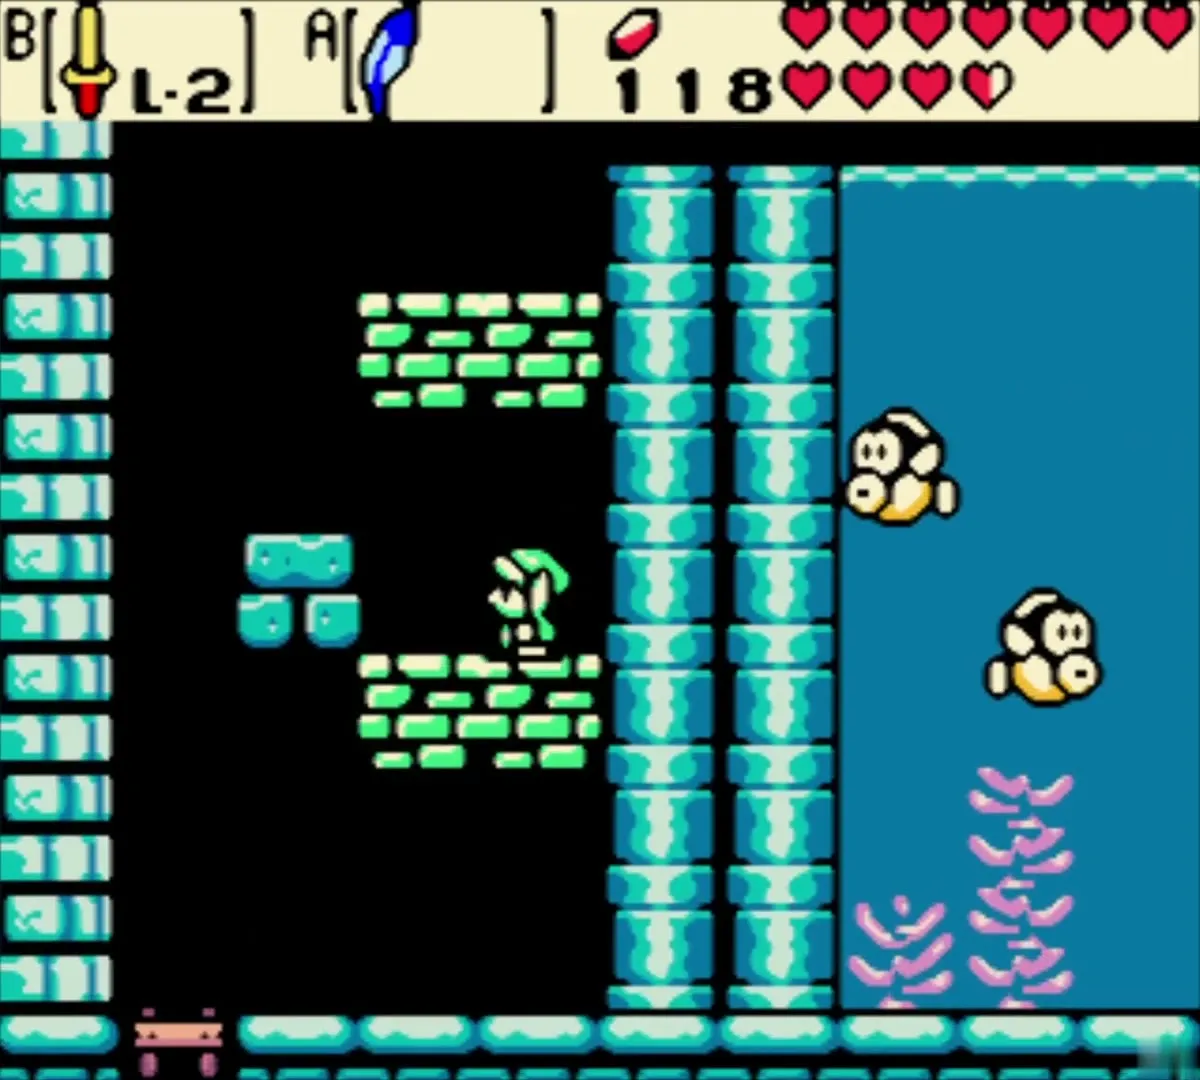
Falling drops you into a flooded cave seen from the side. There are ladders to climb and fish to avoid, and you can swim and dive in the water. Take the first ladder that leads upward to an exit; it ends in a small sandy chamber with a chest.

Armor Ring L-1
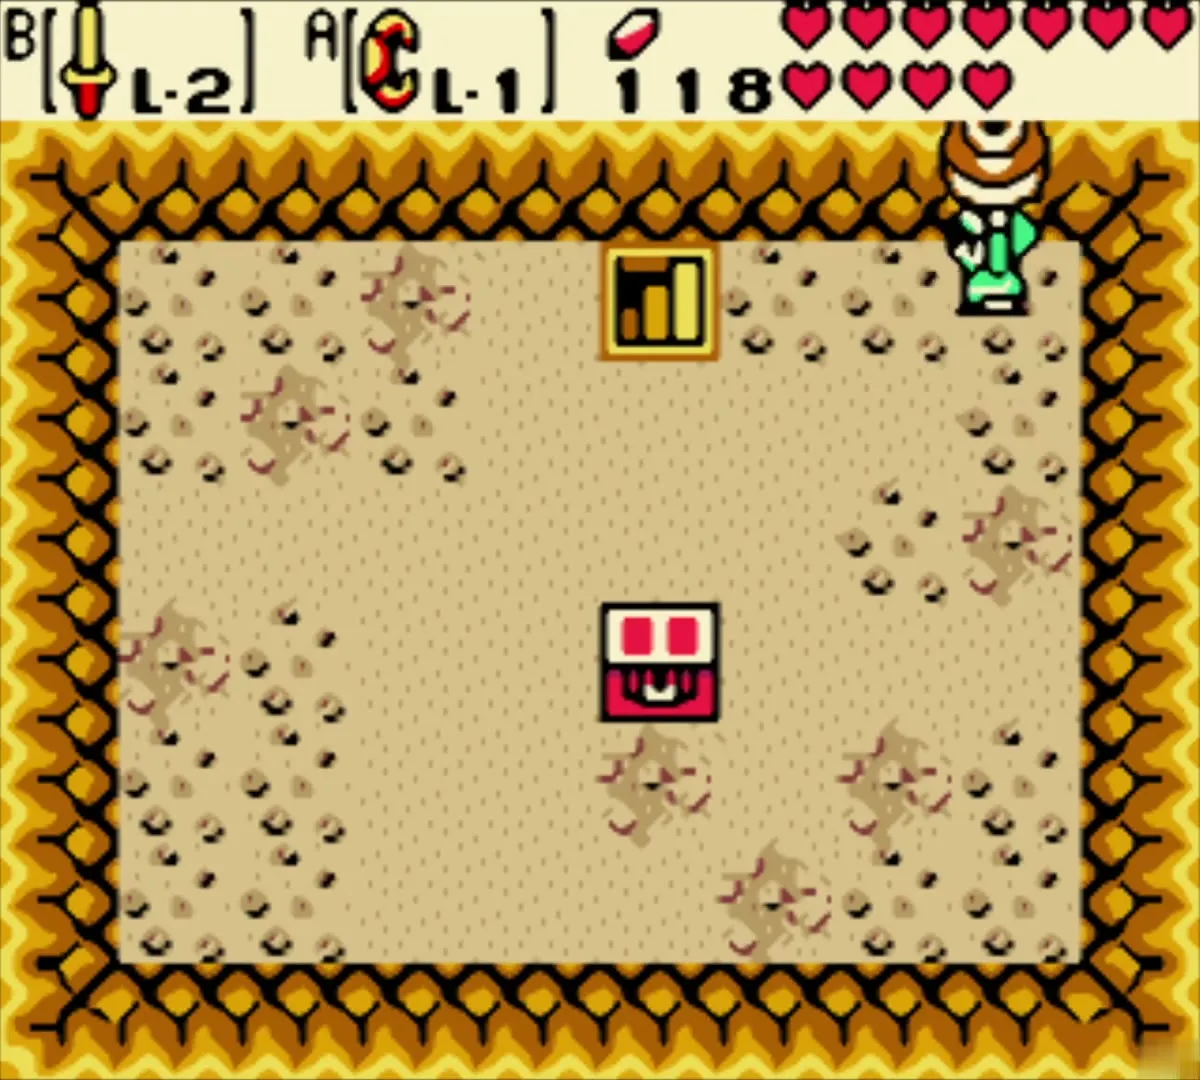
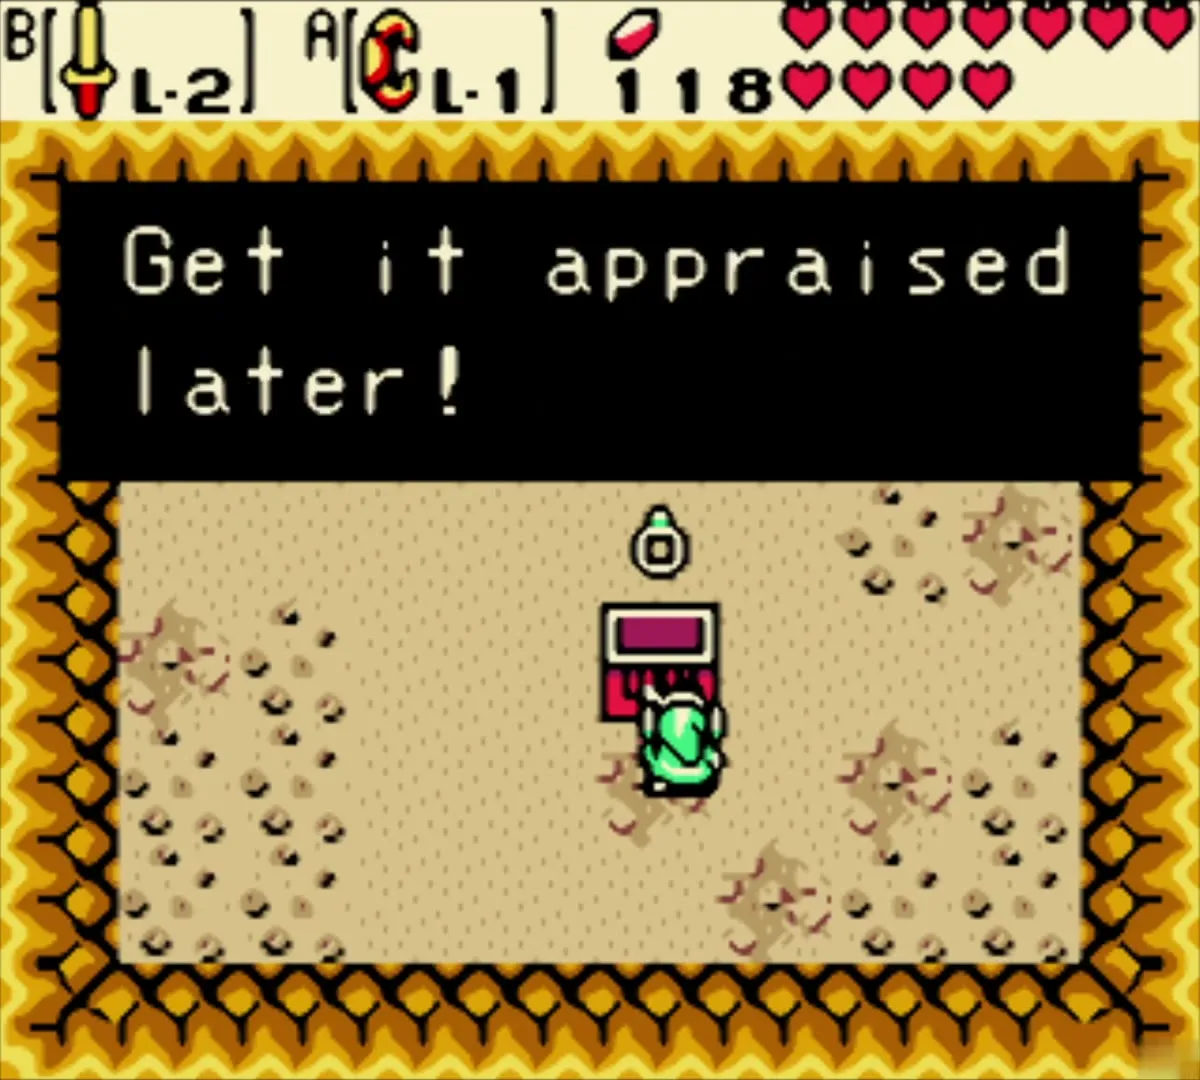
Open the lone chest in the sandy chamber for a Magic Ring. The game tells you to get it appraised later, so it is still unidentified. It is the Armor Ring L-1, which reduces the damage you take but also weakens your sword. Take it to Vasu in Lynna City when you next pass through.
Bomb your way out
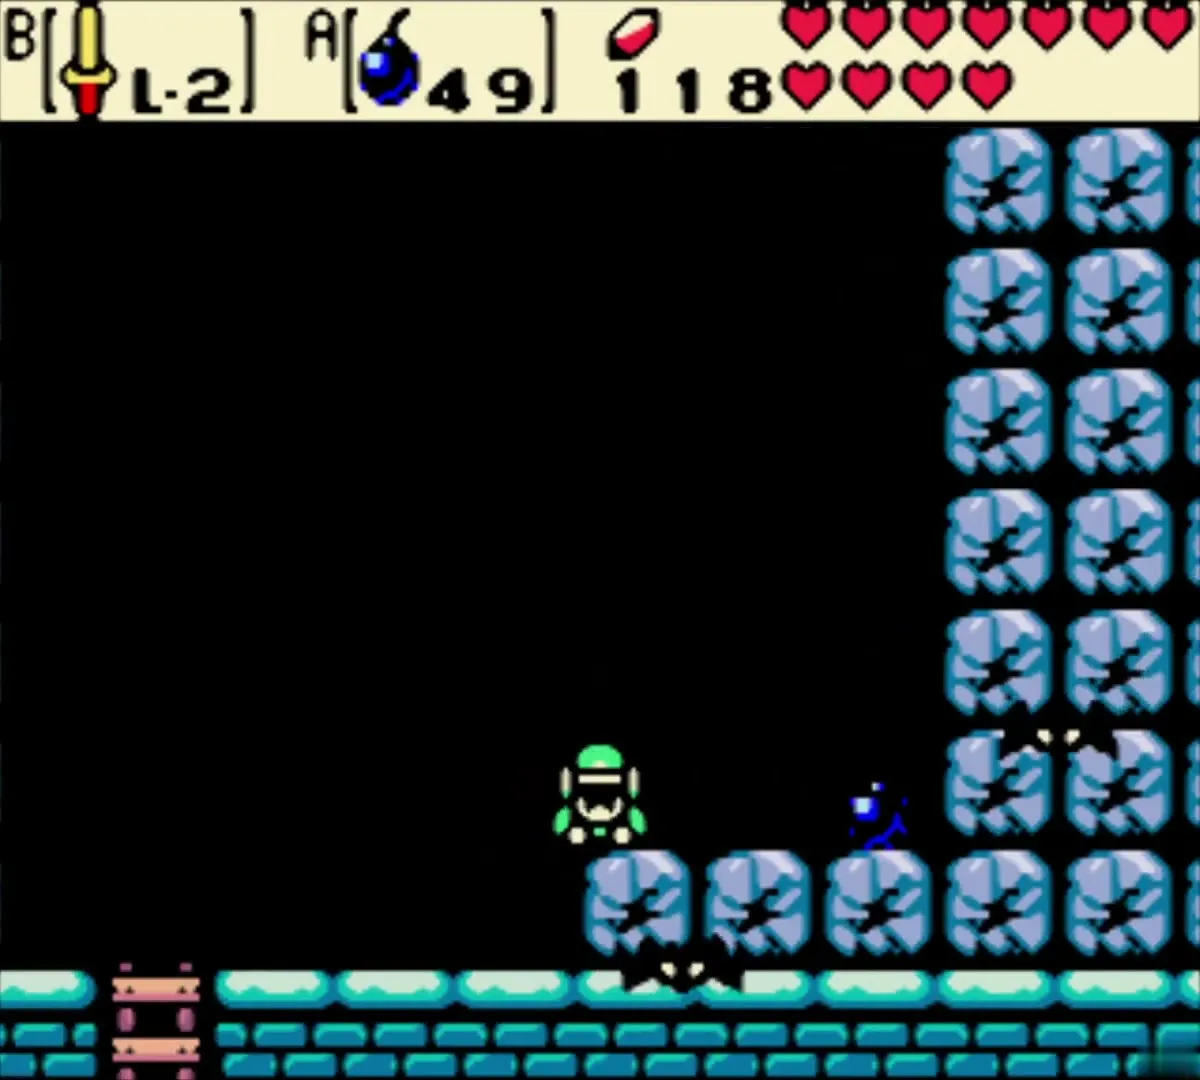
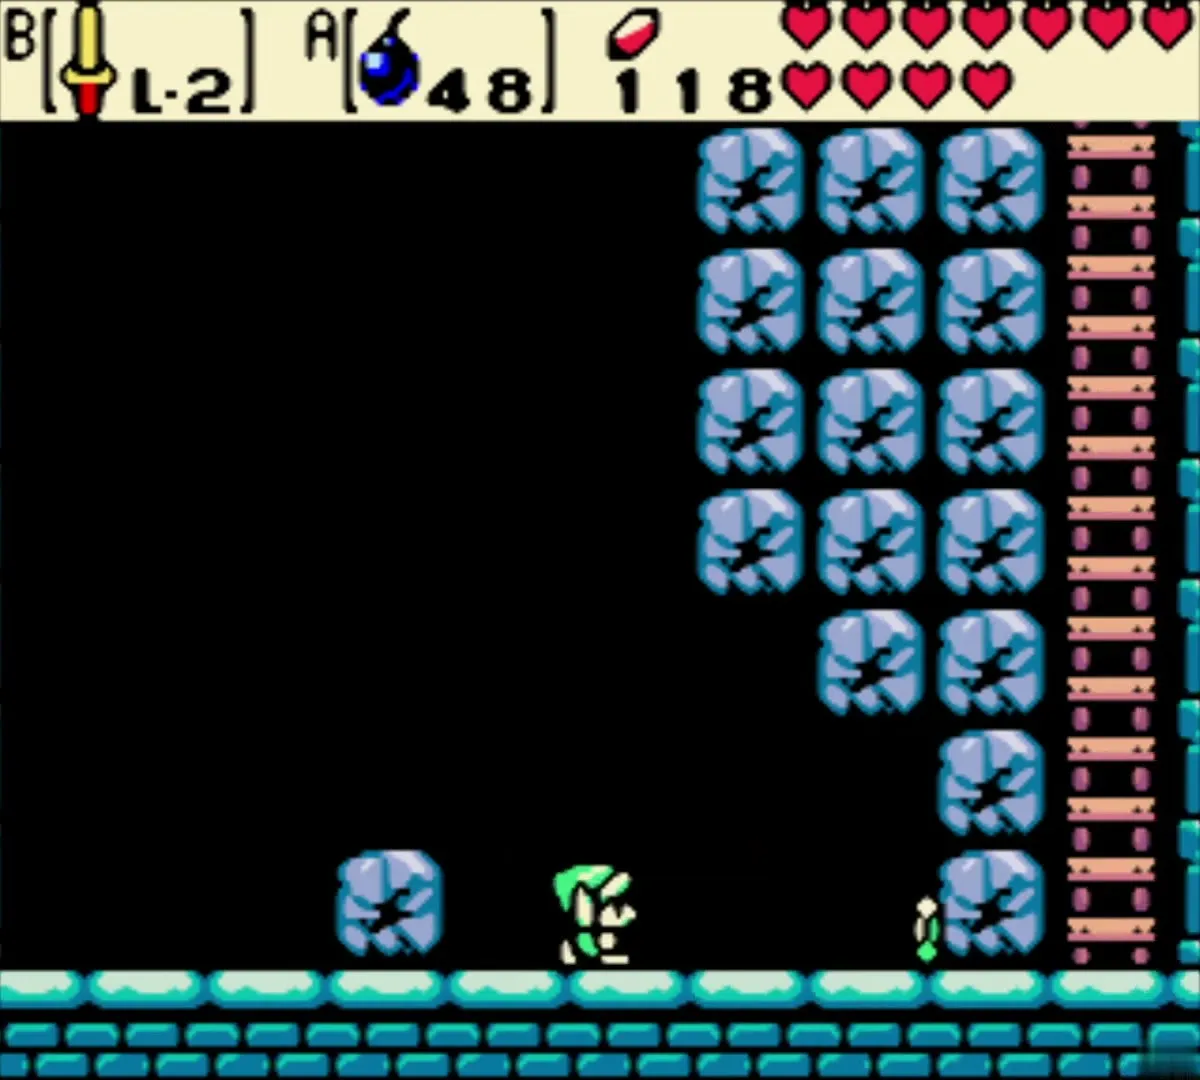
Go back down the way you came, dive to the right and climb the ladder in the next room. A wall of cracked blue blocks blocks the way out, so place a Bomb against them and blast an exit. You come out in front of the keep. Return to the left door and use the Pegasus Seed as soon as the floor begins to crumble; this time you reach the staircase at the top of the room in time.
Boss: Great Moblin
The throne room
The staircase leads to the top of the keep, a wide hall with a checkered floor. The Great Moblin sits on a throne at the north end, flanked by two small Moblins in the corners. The little ones lob ordinary bombs, while the boss throws the stolen Bomb Flowers and boasts of the explosions he plans for you.


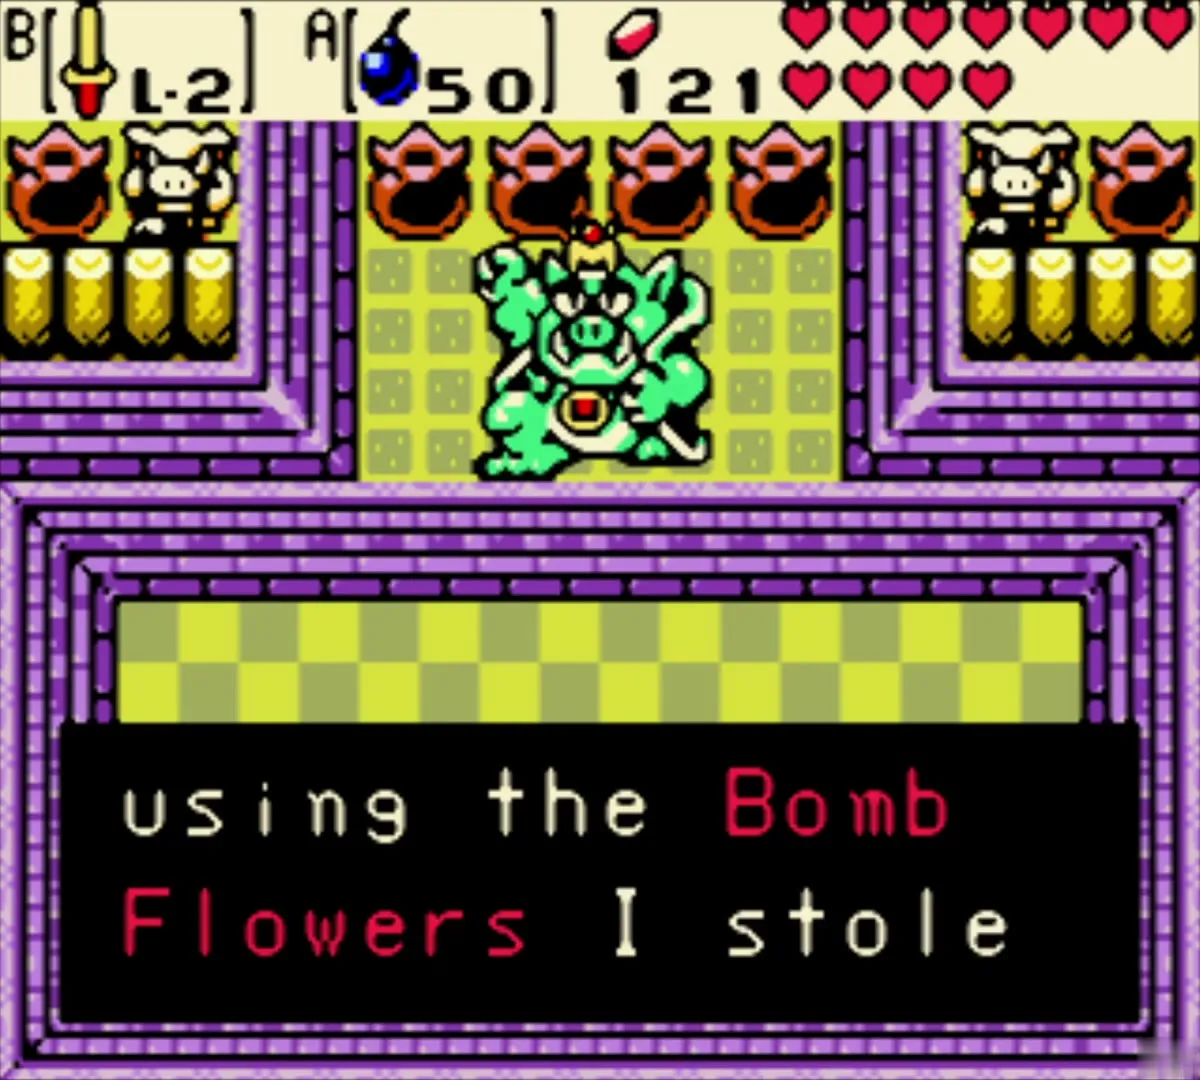
Throw the bombs back
Equip the Power Bracelet on A. Stay out of the way until a bomb lands near you, then lift it with the Bracelet and throw it at the Great Moblin before the fuse runs out. Each bomb that explodes on him wounds him, and after about three hits he starts to move faster. Pick up the bomb right after it lands and carry it until it flashes, because that makes the timing easier. Keep your distance from the small Moblins’ bombs, since the explosions can bring you down to your last heart, and stock up on hearts or visit the Great Fairy beforehand (see boss strategies).


Defeat the boss
Keep this up until the boss is beaten. He turns grey, tumbles down from the tower and flees, wailing about his bad luck. The Great Moblin is a mini-boss, so there is no Heart Container, but the Gorons are very grateful.

Bomb Flower, Goron Elder and Crown Key
Receive the Bomb Flower
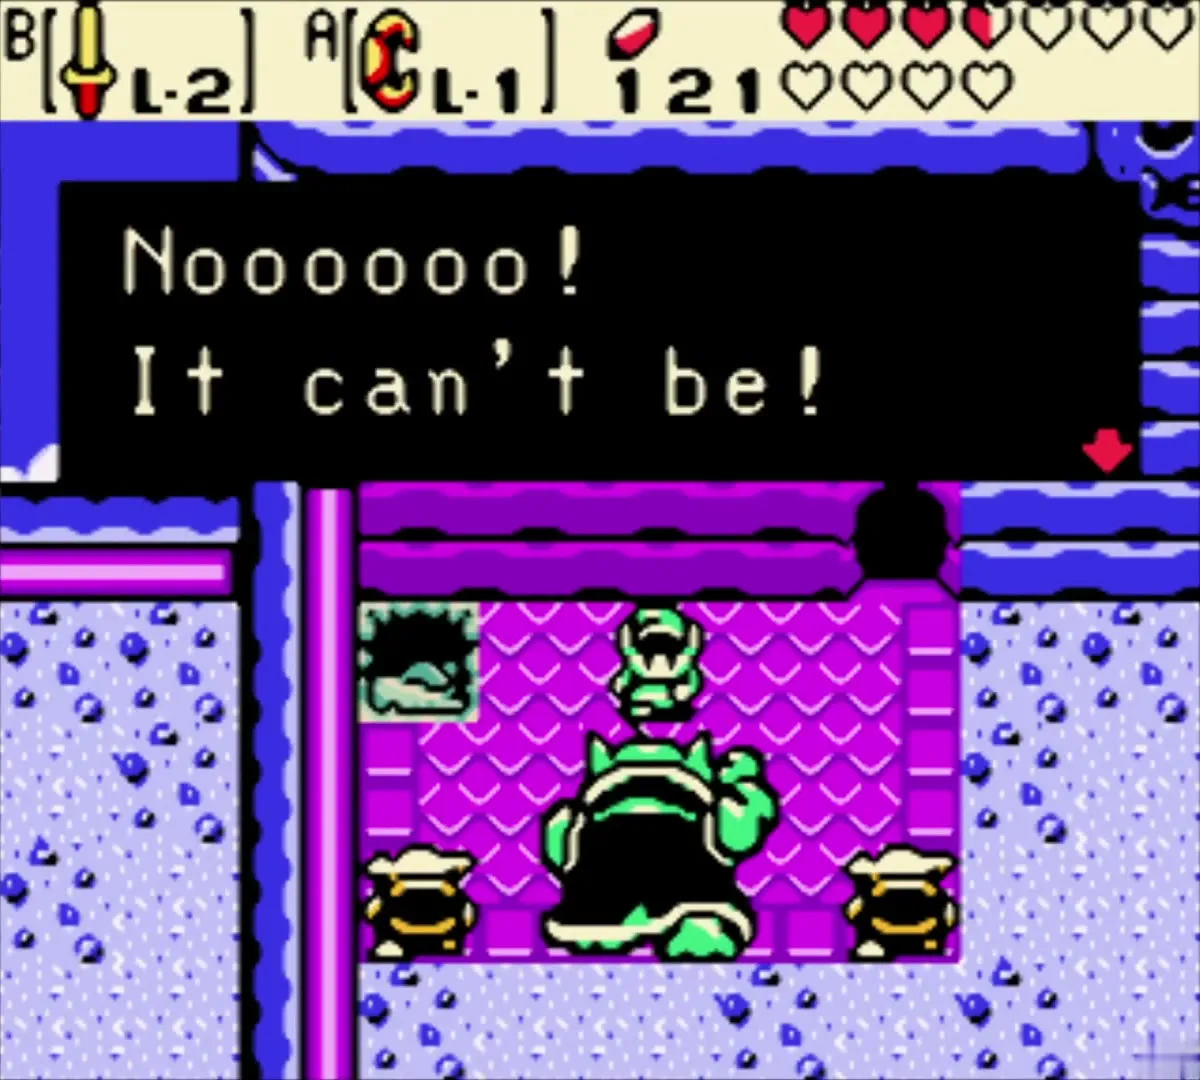
Step outside onto the platform in front of the keep. The Gorons thank you, admit they have no idea who you are and give you a Bomb Flower. They tell you to handle it with care. The Maku Tree then speaks to you, surprised that your name has appeared in ancient Goron tales about a hero who helped them in their hour of need.


Look at the Crown Dungeon route
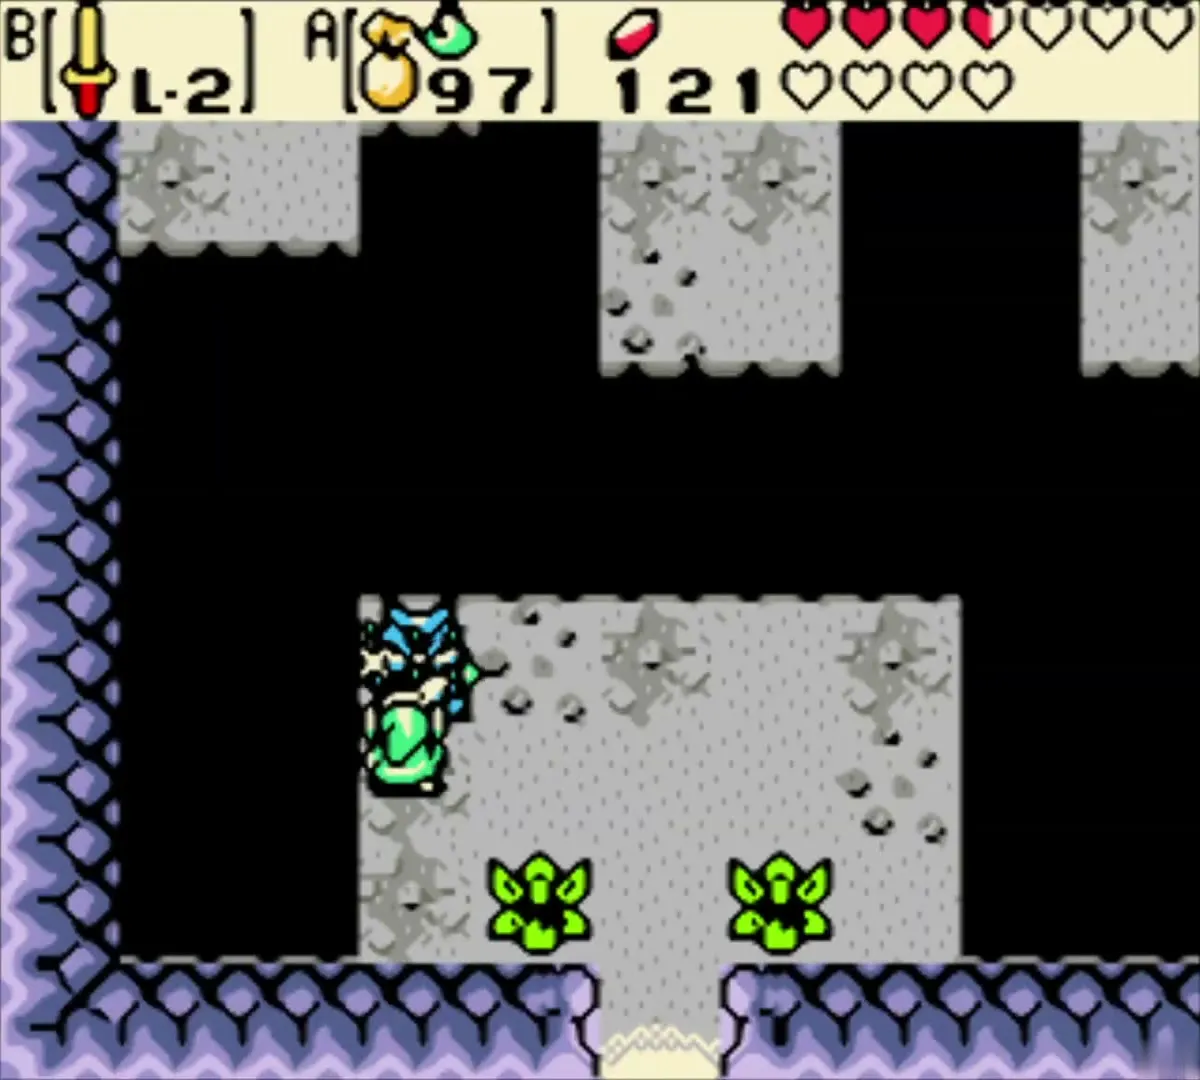
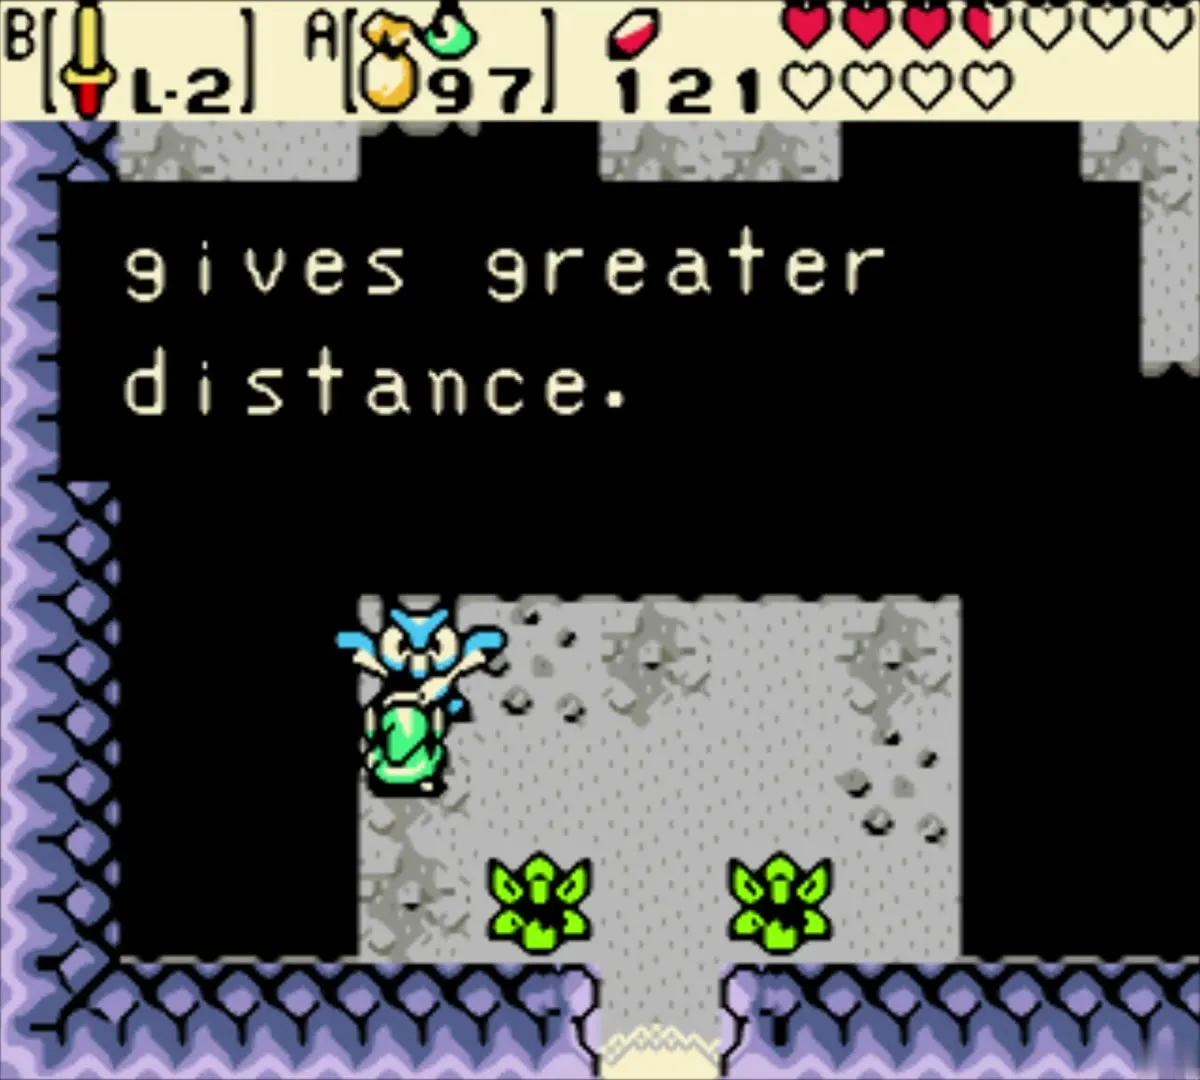
Before you go back, you can walk into the cave beside the tower. The first chamber contains a stone owl whose message tells you that greater speed gives greater distance. This hints at the Pegasus Seeds you will need on the way to the Crown Dungeon. Leave the cave again and return to the time portal.

Take the flower to the past
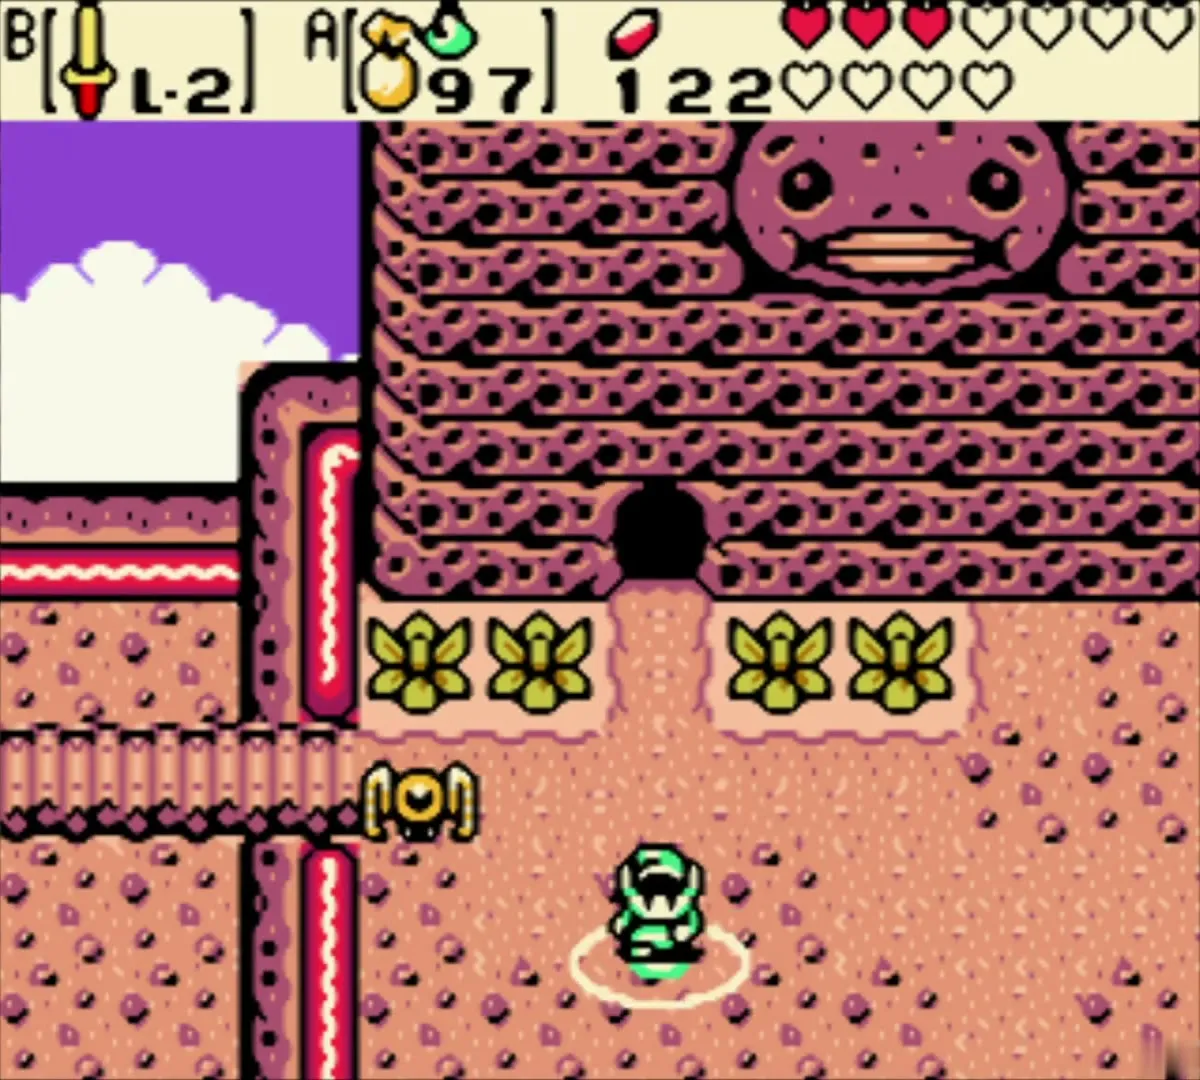
Step into the time portal to return to the past. Walk up to the screen in front of the Goron cave, with its row of flowers and its cave in the cliff.

Free the Goron Elder
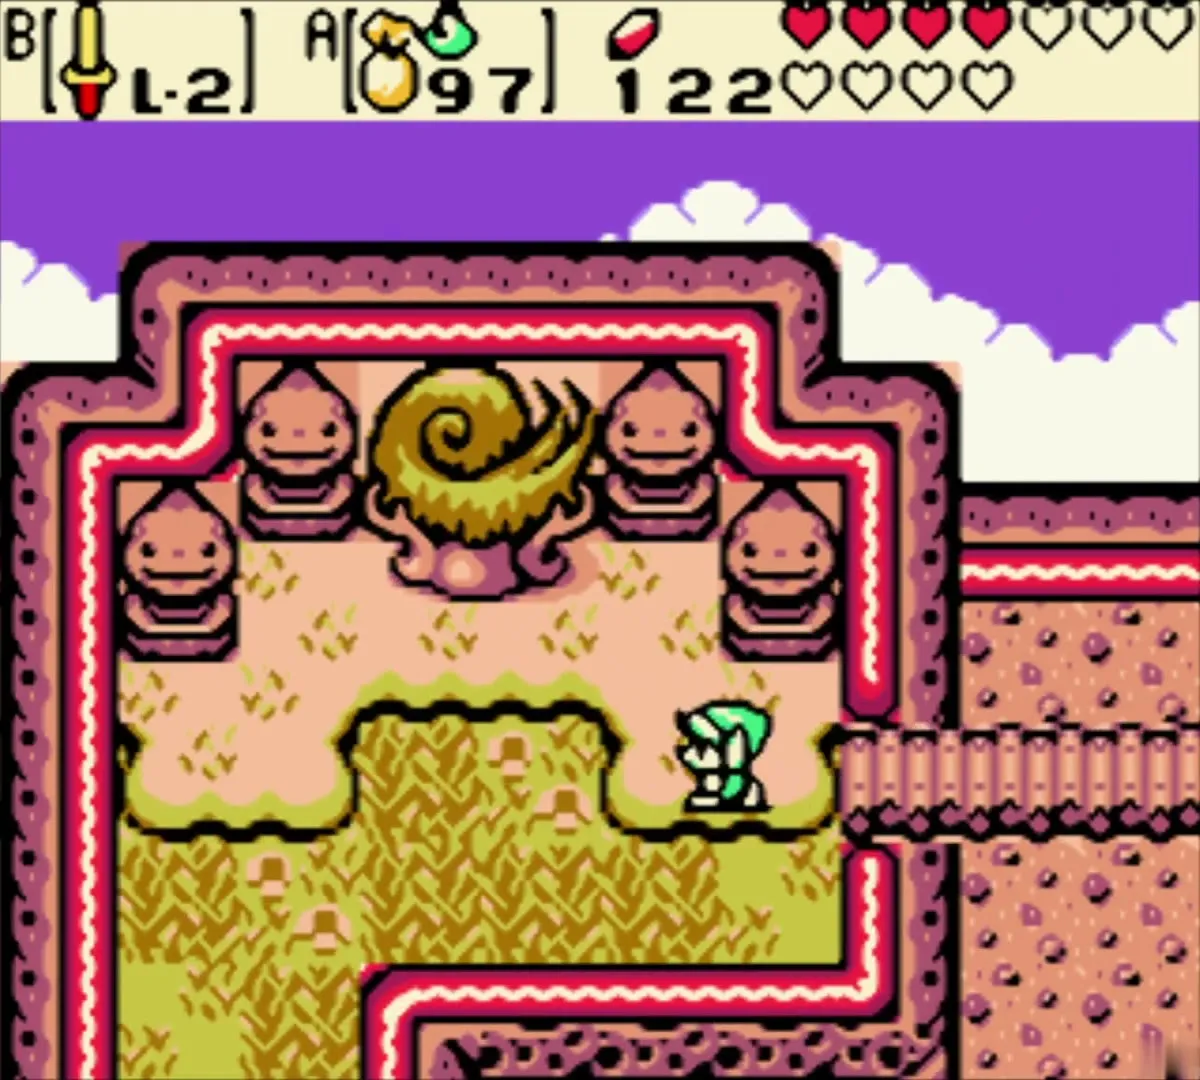
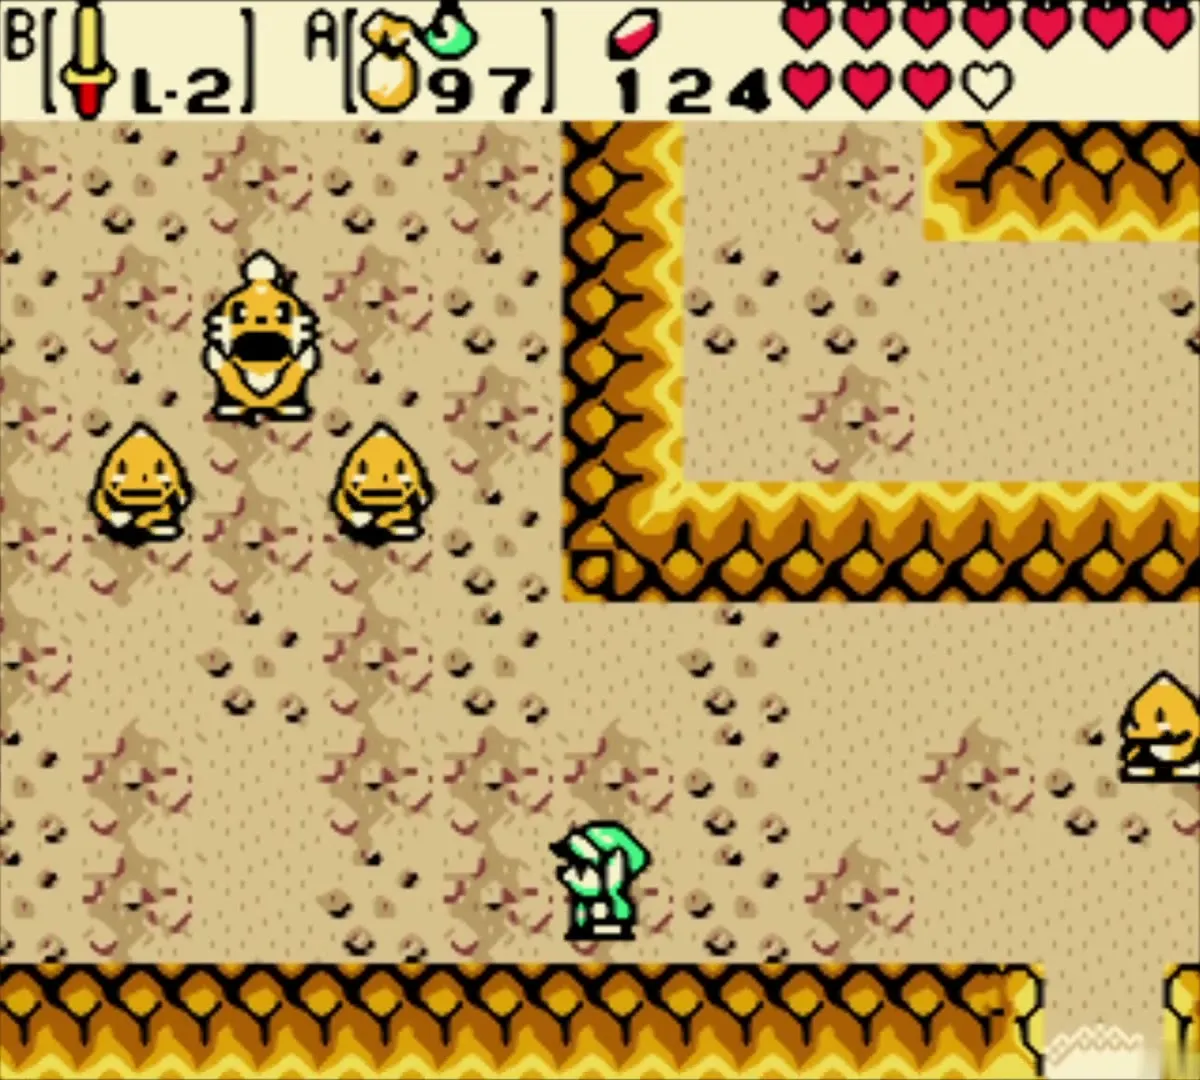
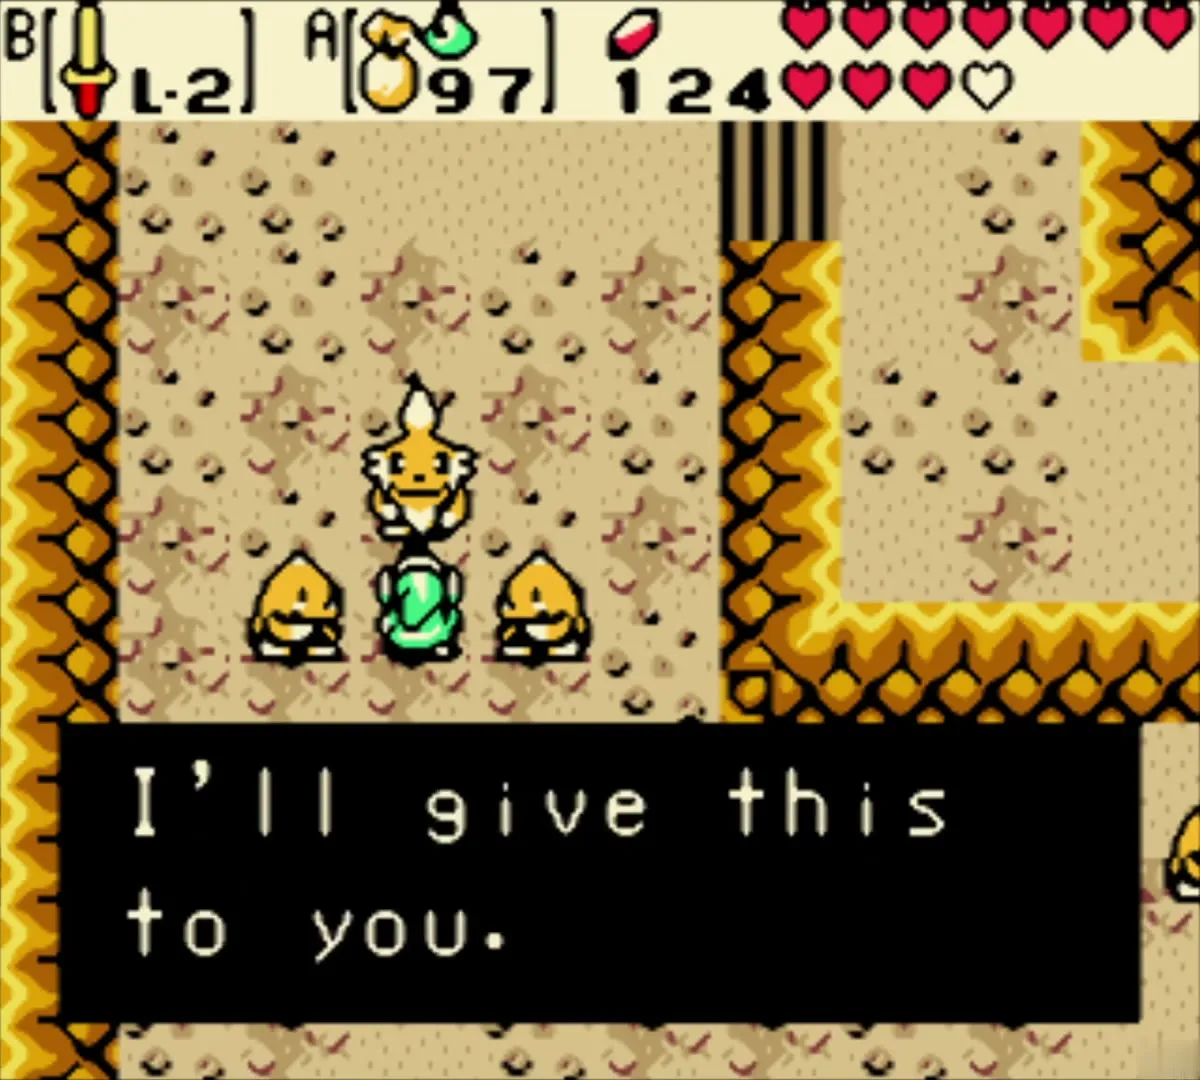
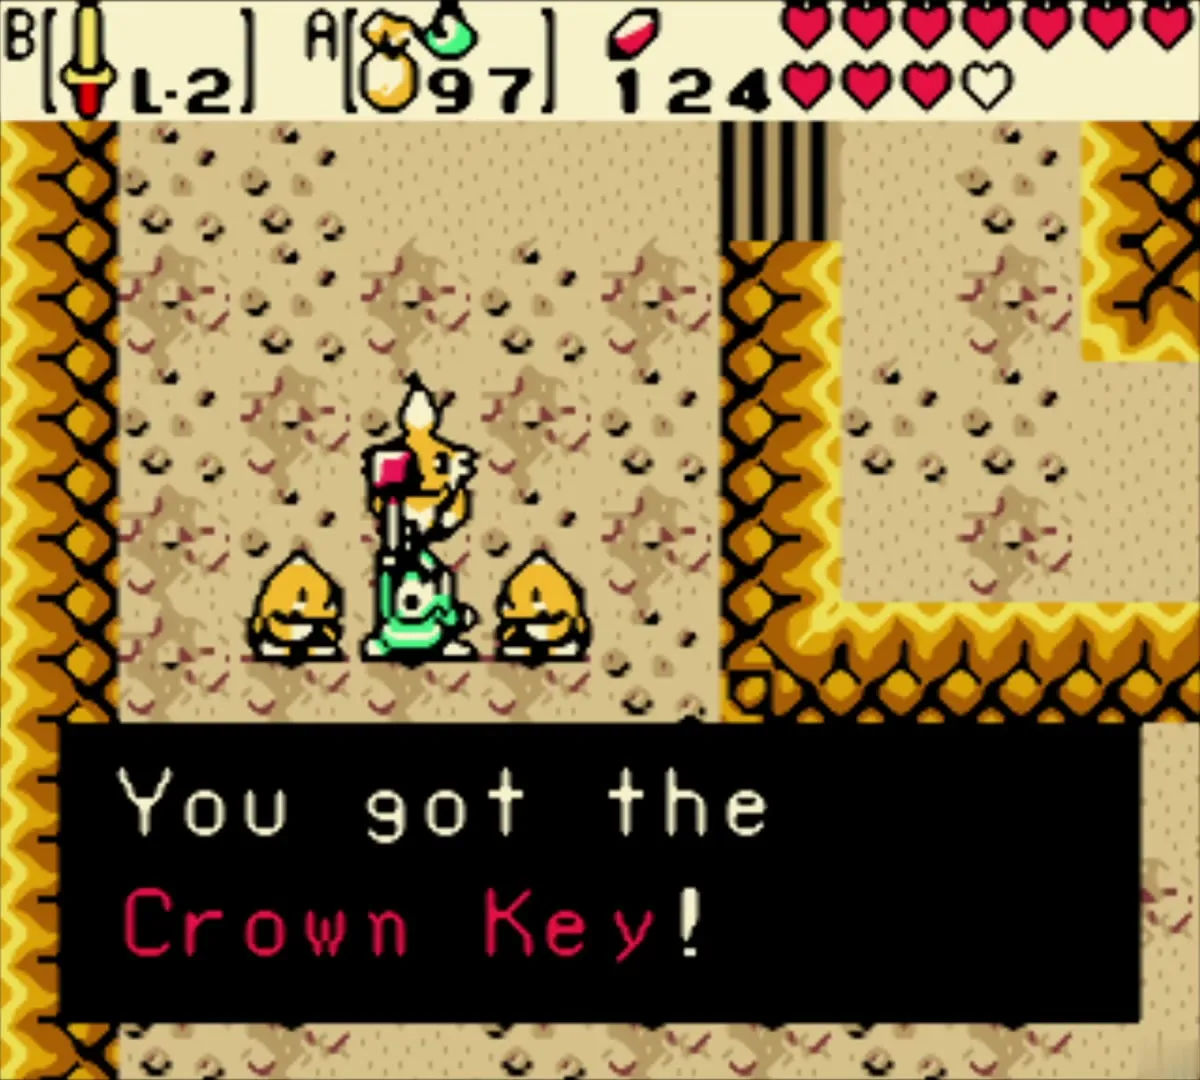
Go into the Goron cave. The Gorons use the Bomb Flower to blast away the rockfall, and the Elder is free. He found the key long ago on Northern Peak but never located its keyhole, so he gives you the Crown Key. The Gorons promise to take good care of the Bomb Flowers you brought them and say they will keep digging a new tunnel.

Leave through the new tunnel
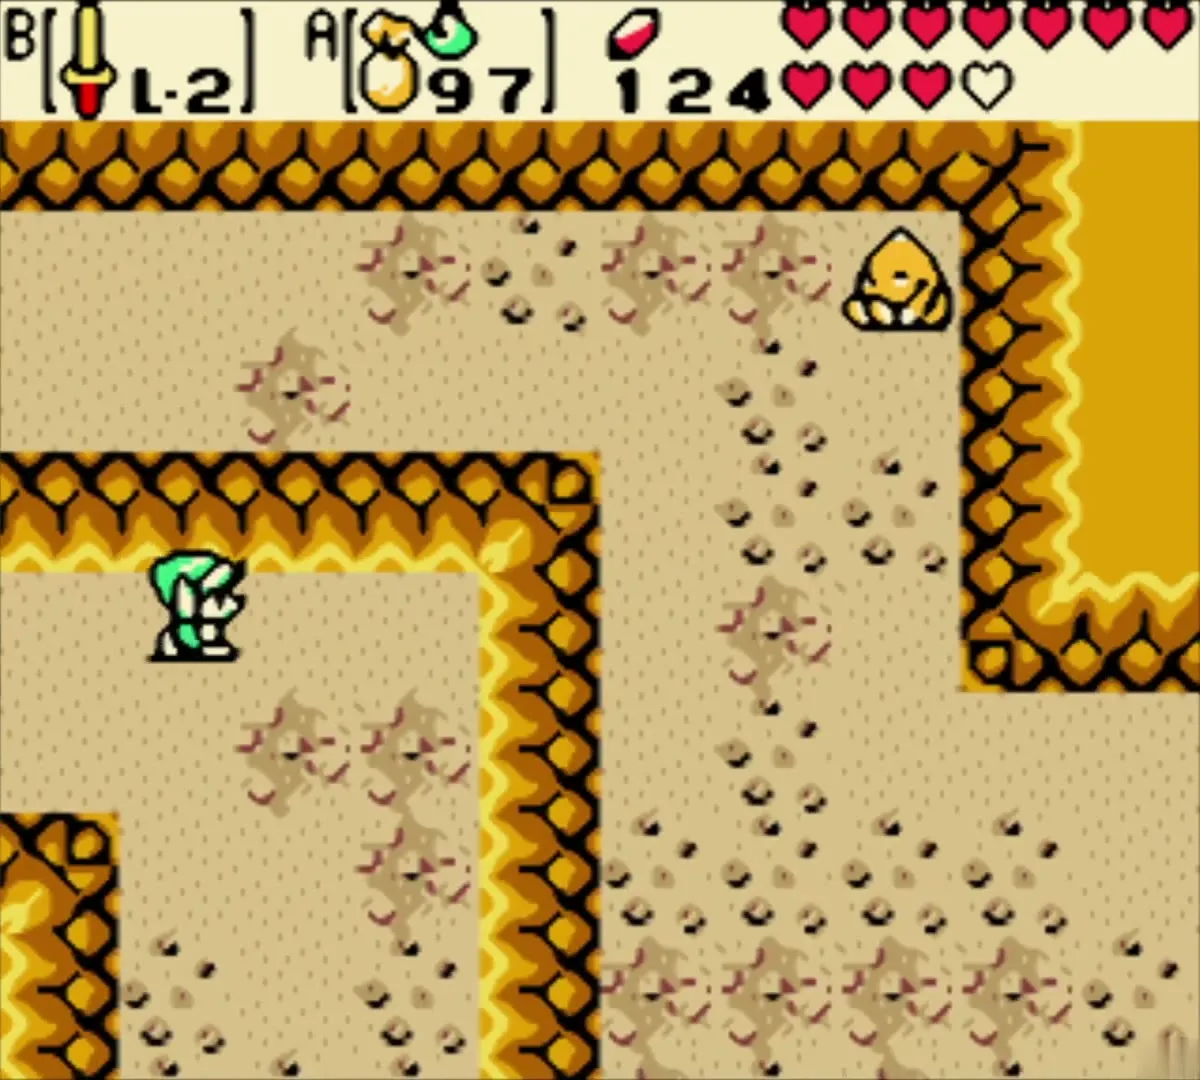
Follow the tunnel past the Gorons and walk out onto the red ridge above the cave. Stay in the past and play the Tune of Currents.
Cross the dark cave
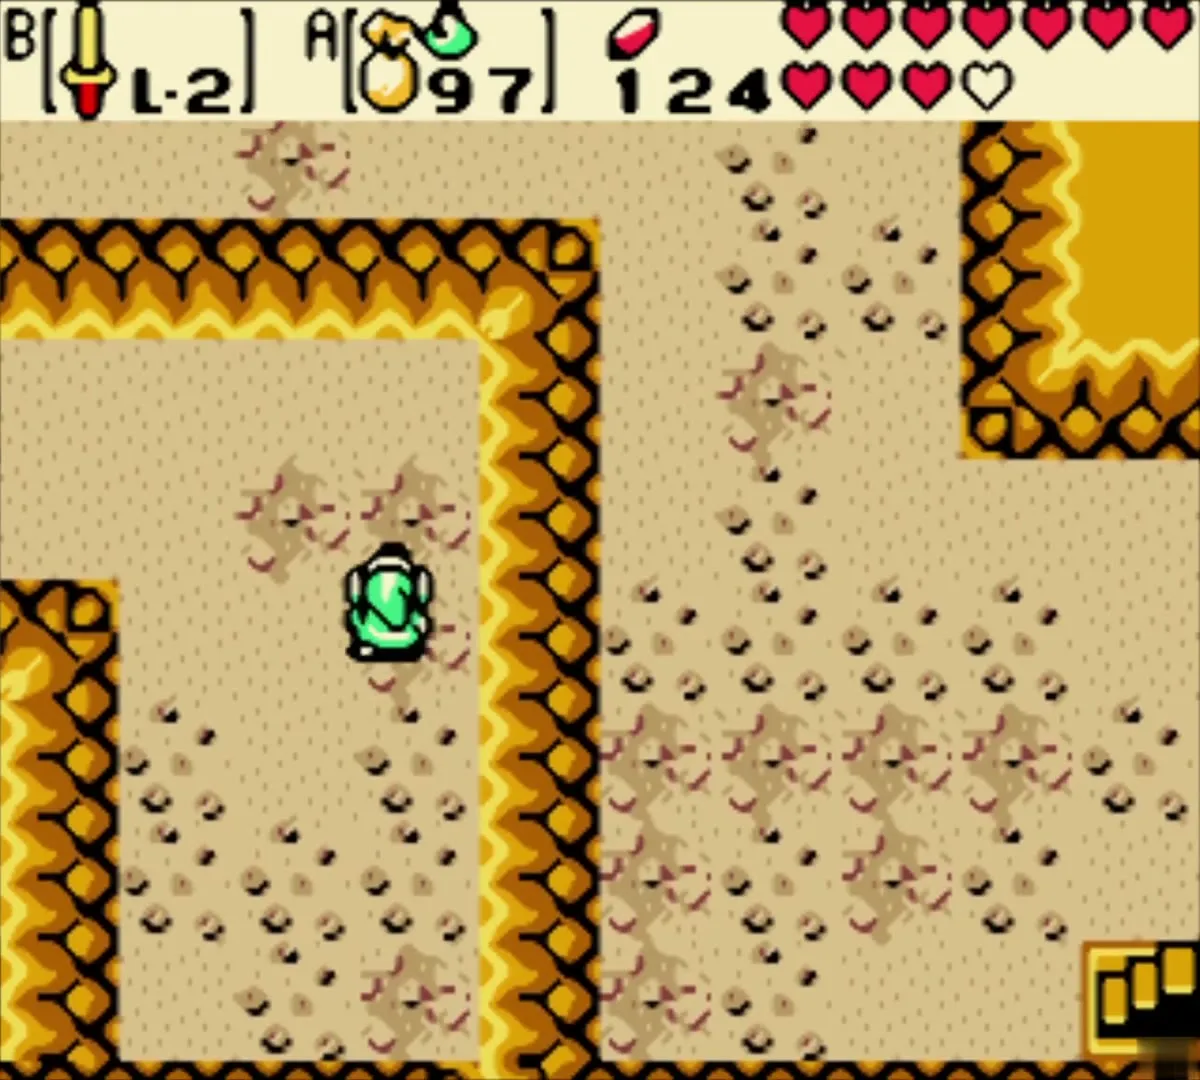
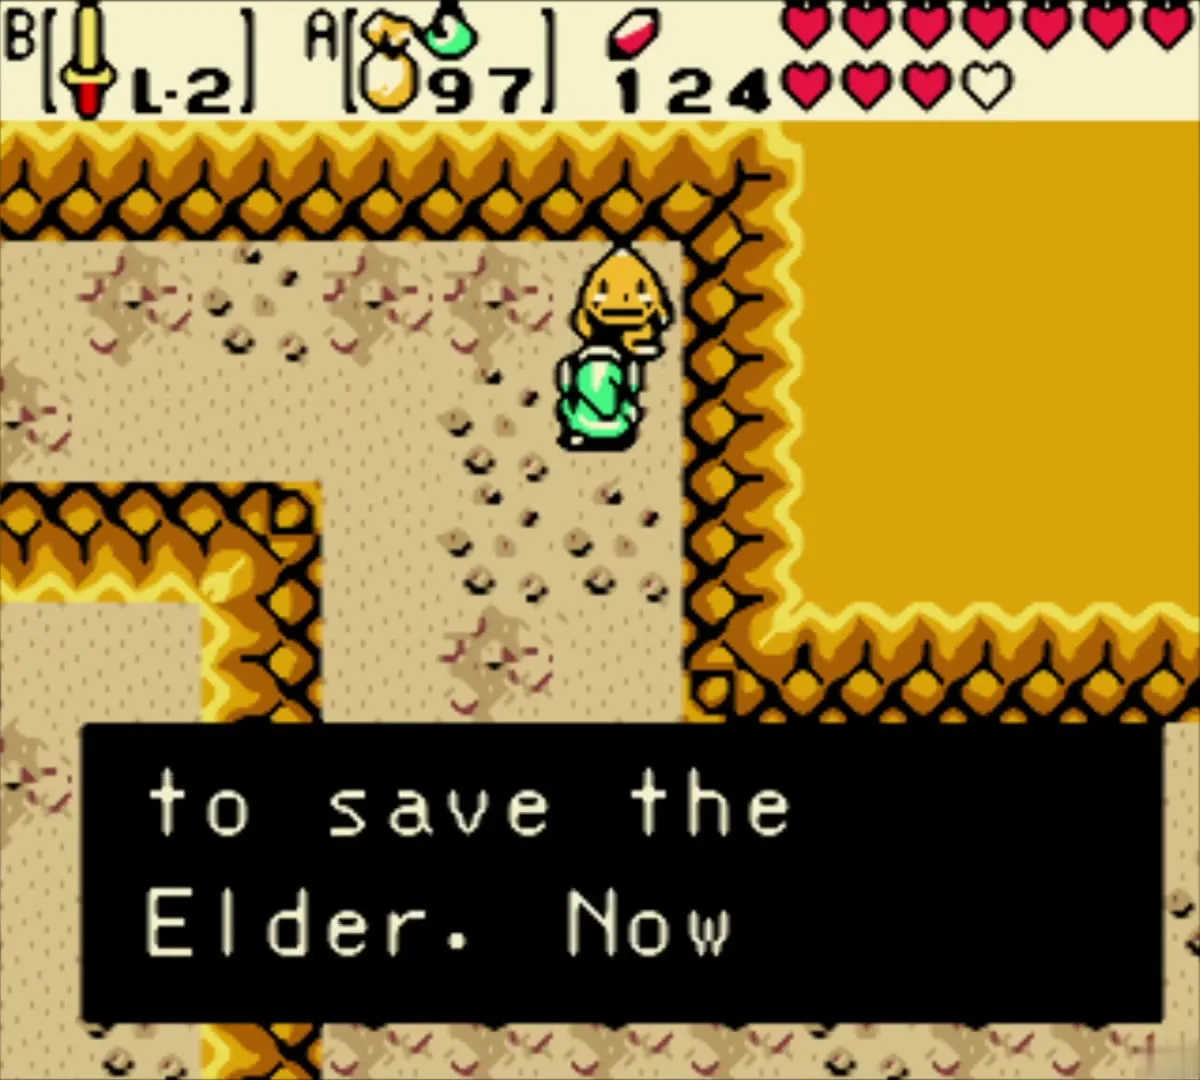
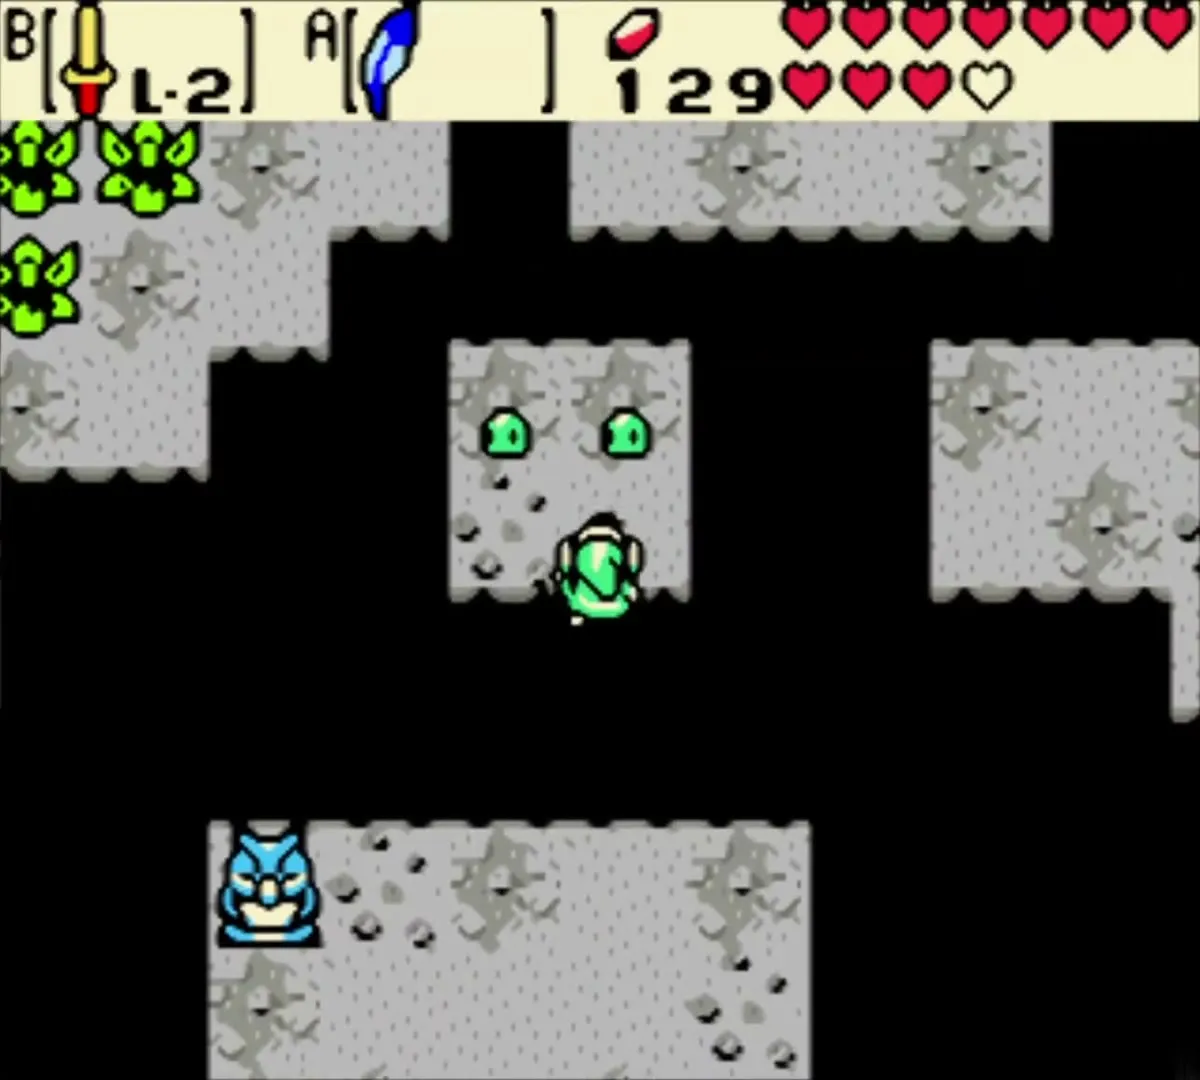
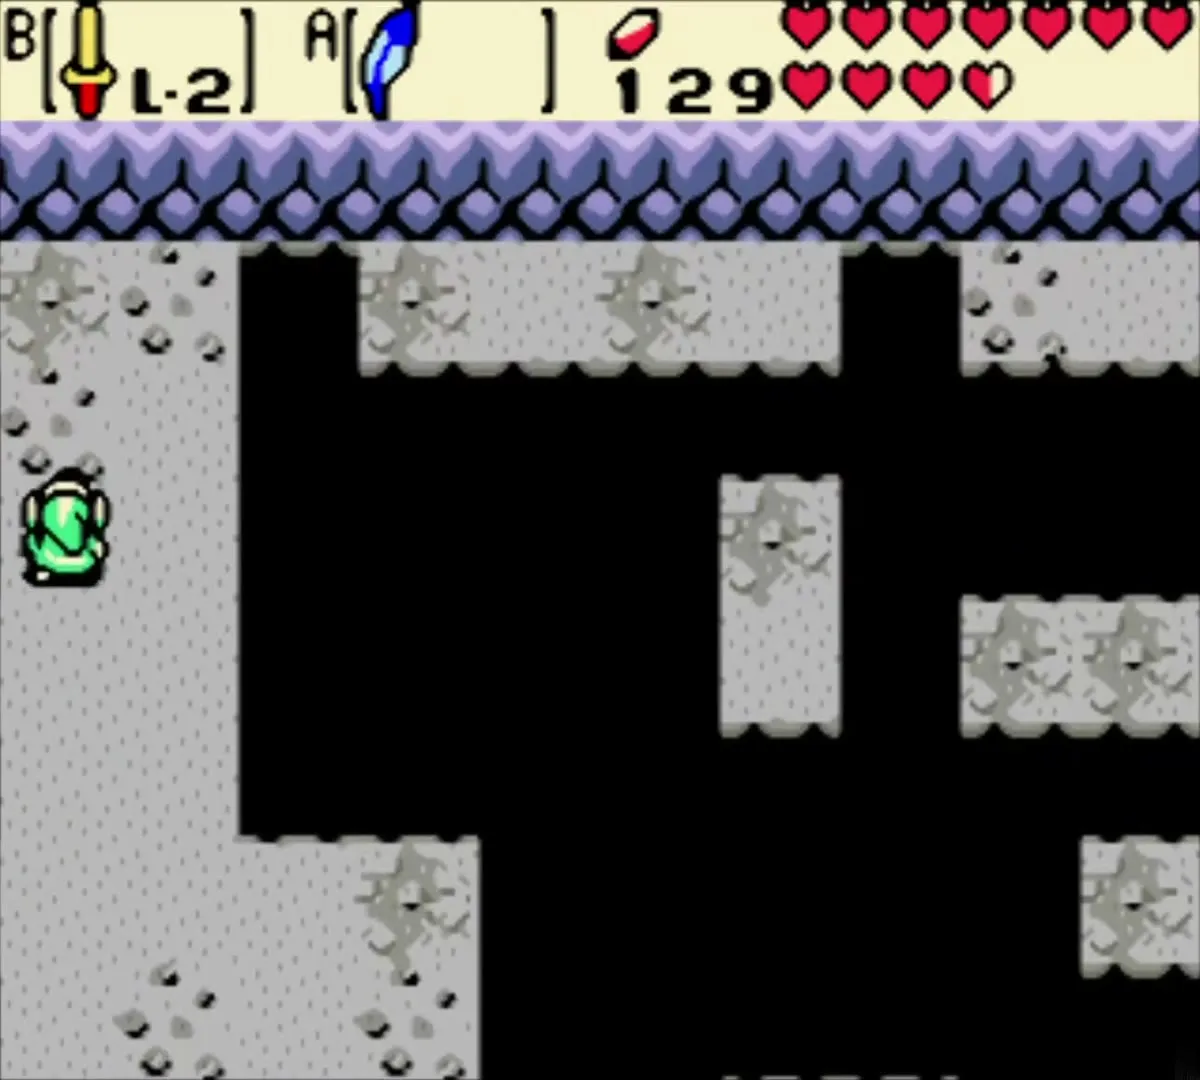
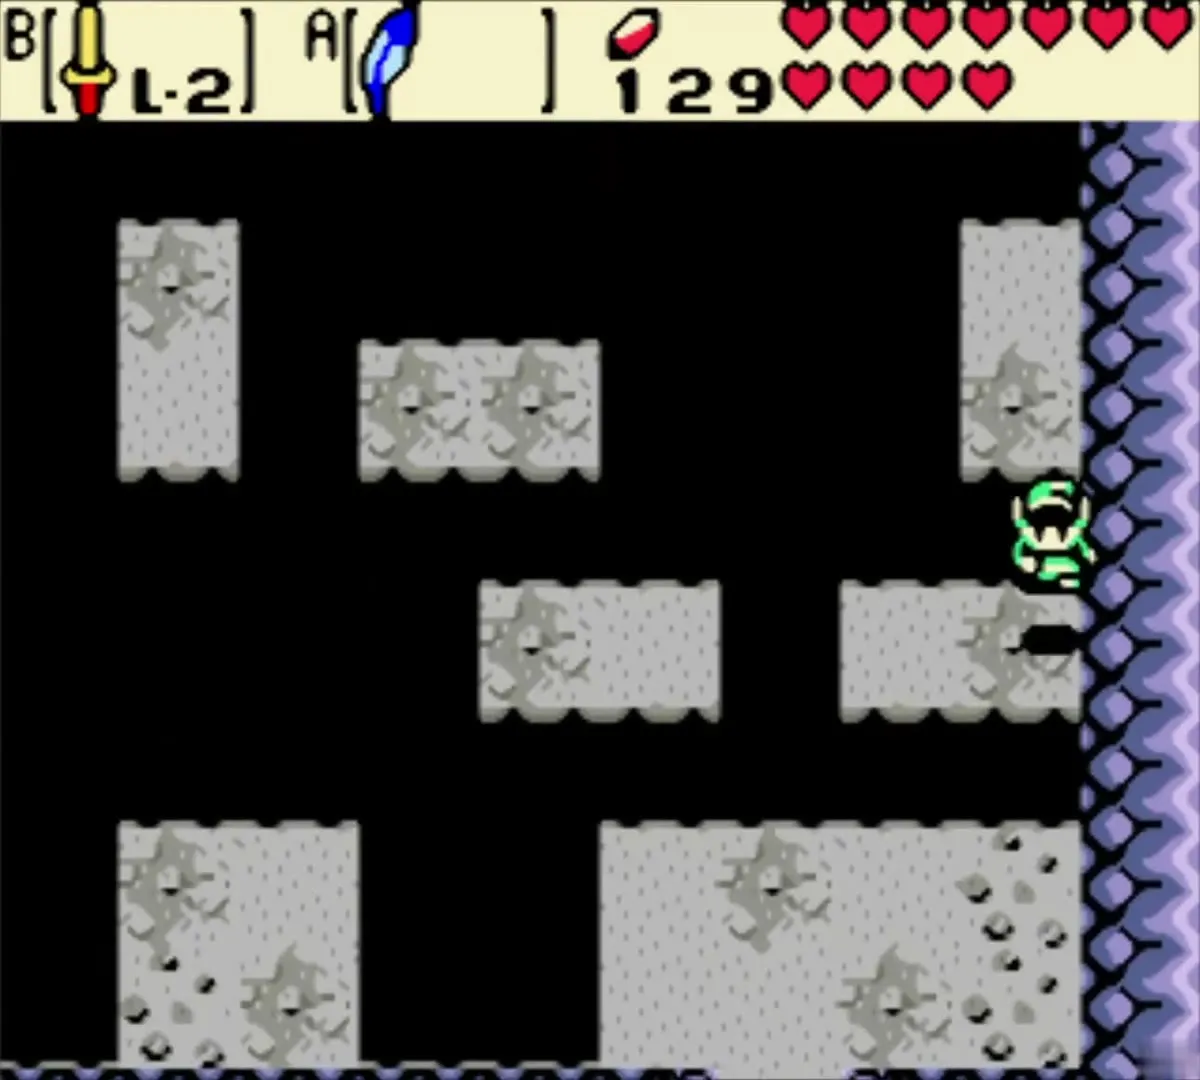
You return to the present at the bottom of the cave with the owl statue, so its hint now applies. Equip the Pegasus Seeds, use one with the Roc’s Feather to jump up to the far platform of the first room, and move right quickly before the green Zols reach you. The next room has small gaps over a bottomless pit that you can cross with the feather alone. Leave through the door at the bottom right, which brings you out onto the ridge.

Open the Crown Dungeon door
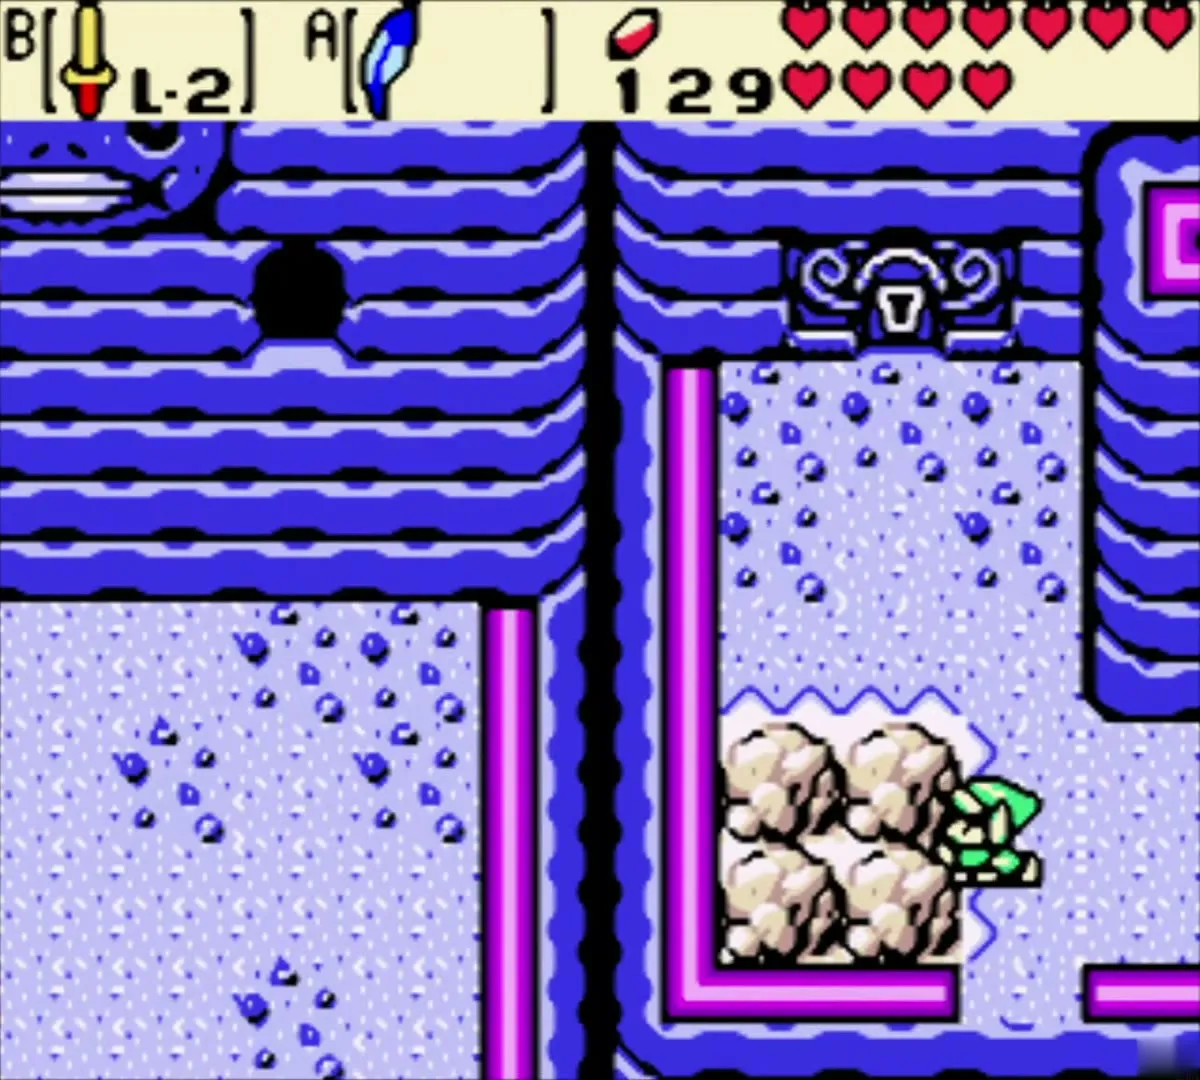
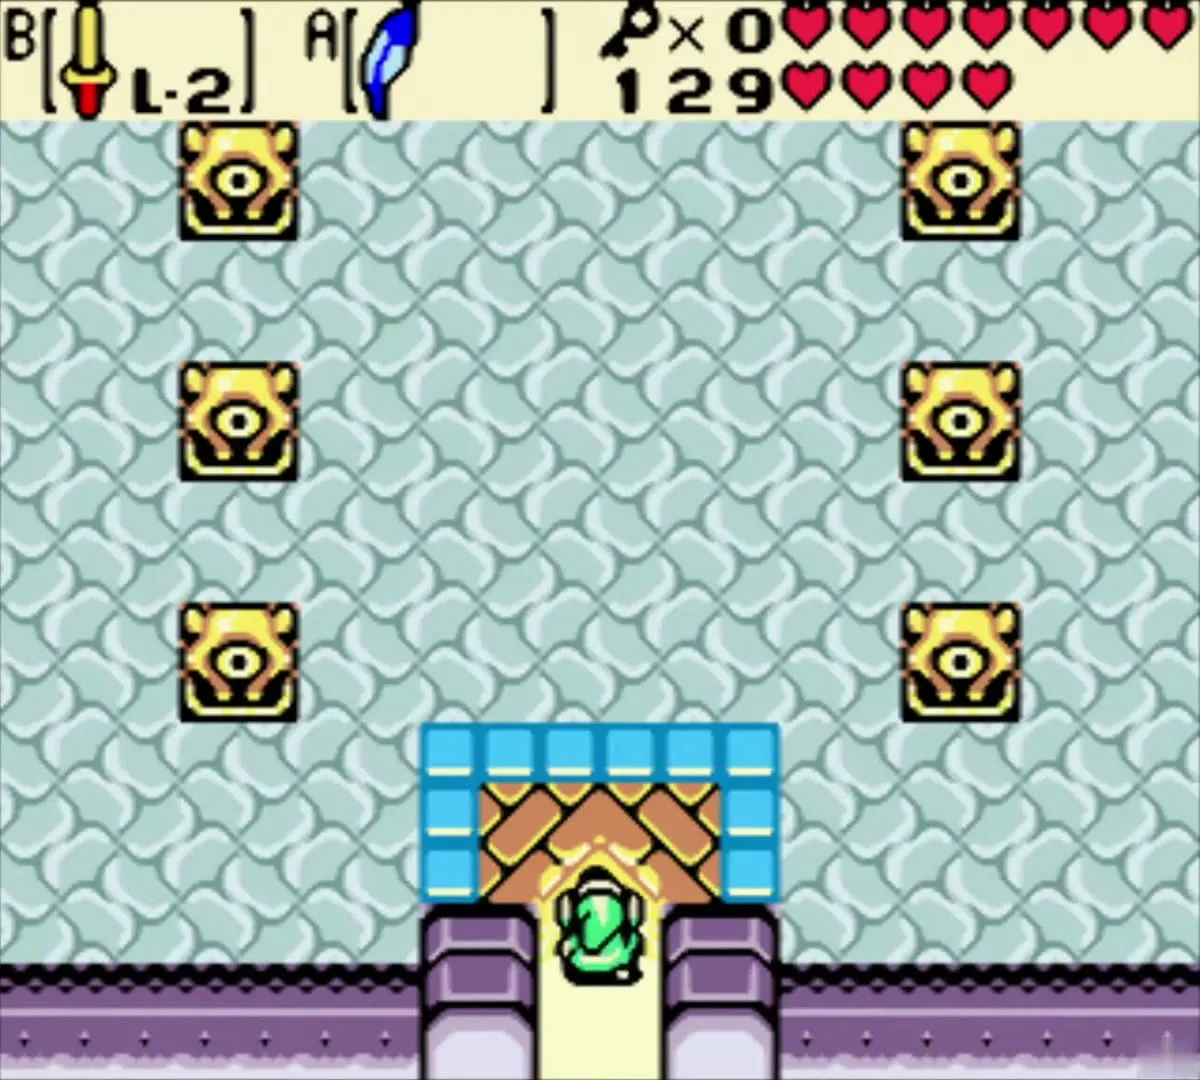
Walk around the boulders to the keyhole door on the ledge and use the Crown Key. The title card Level 5: Crown Dungeon appears as you step inside.
Crown Dungeon: first rooms and two Small Keys
Entrance and Moblin arena
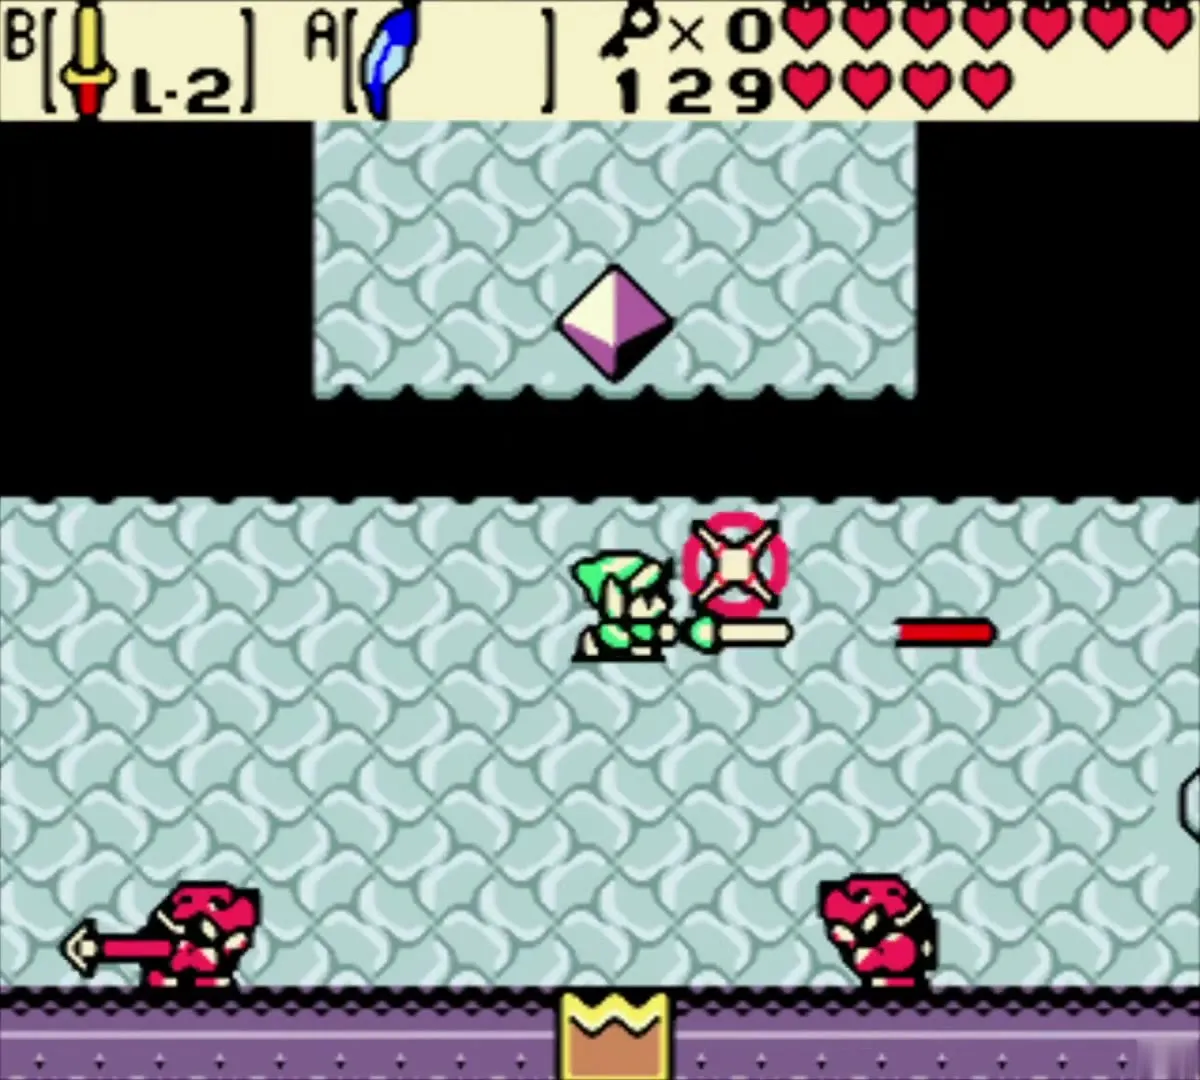
The Crown Dungeon is built in the shape of a crown. The entrance room is a standard hall with rows of stone statues. North of it lies an arena of Moblins: defeat all of them to open the way on. The dungeon uses red and blue crystal barriers throughout; the next room has a crystal switch with blue blocks around it, but do not strike the switch yet. Explore as far as you can without touching it.

Switch Hook diamond and the first Small Key
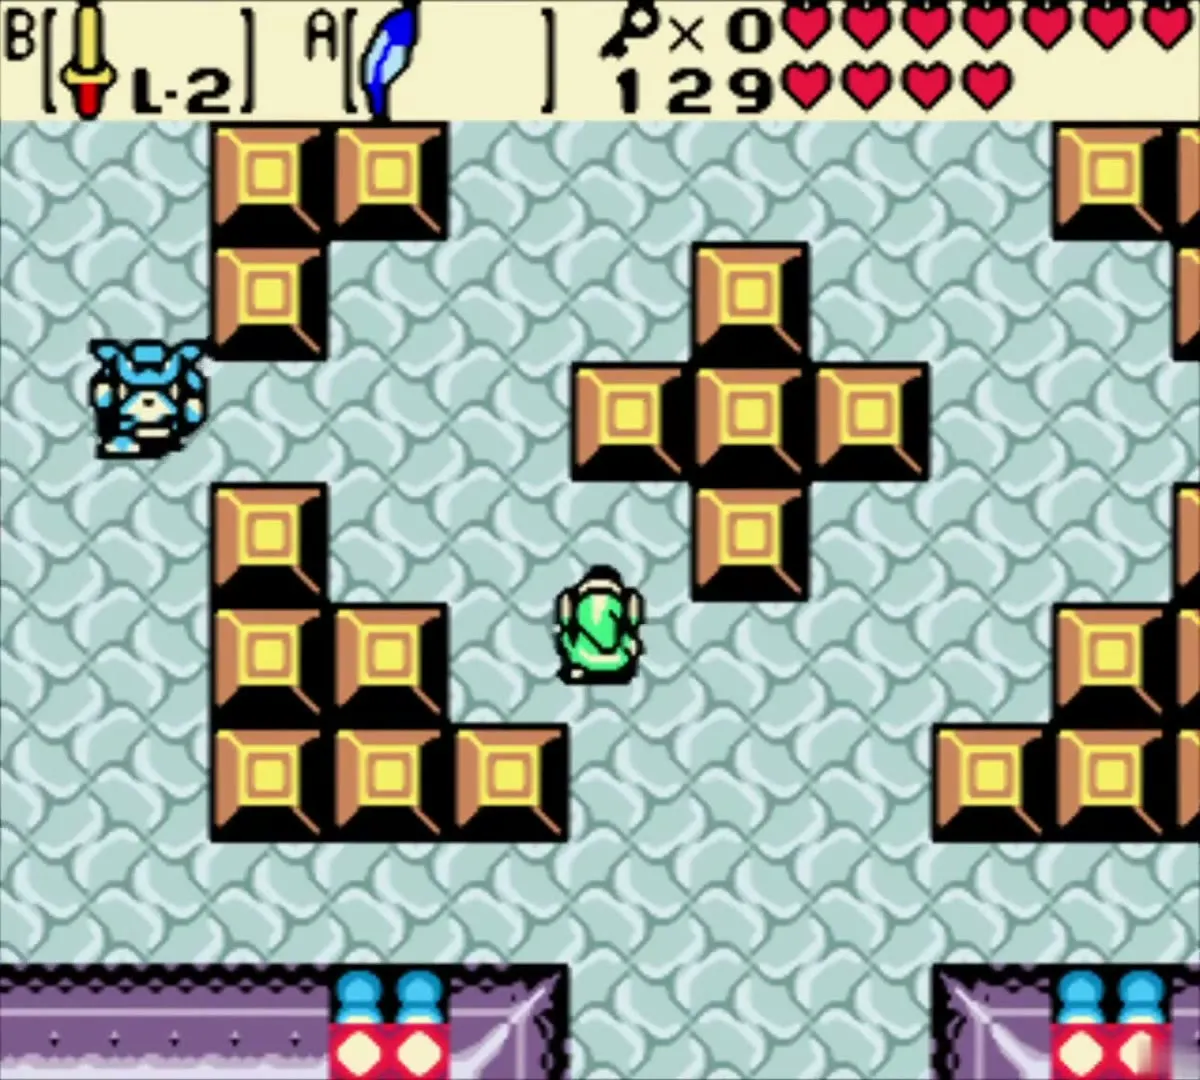
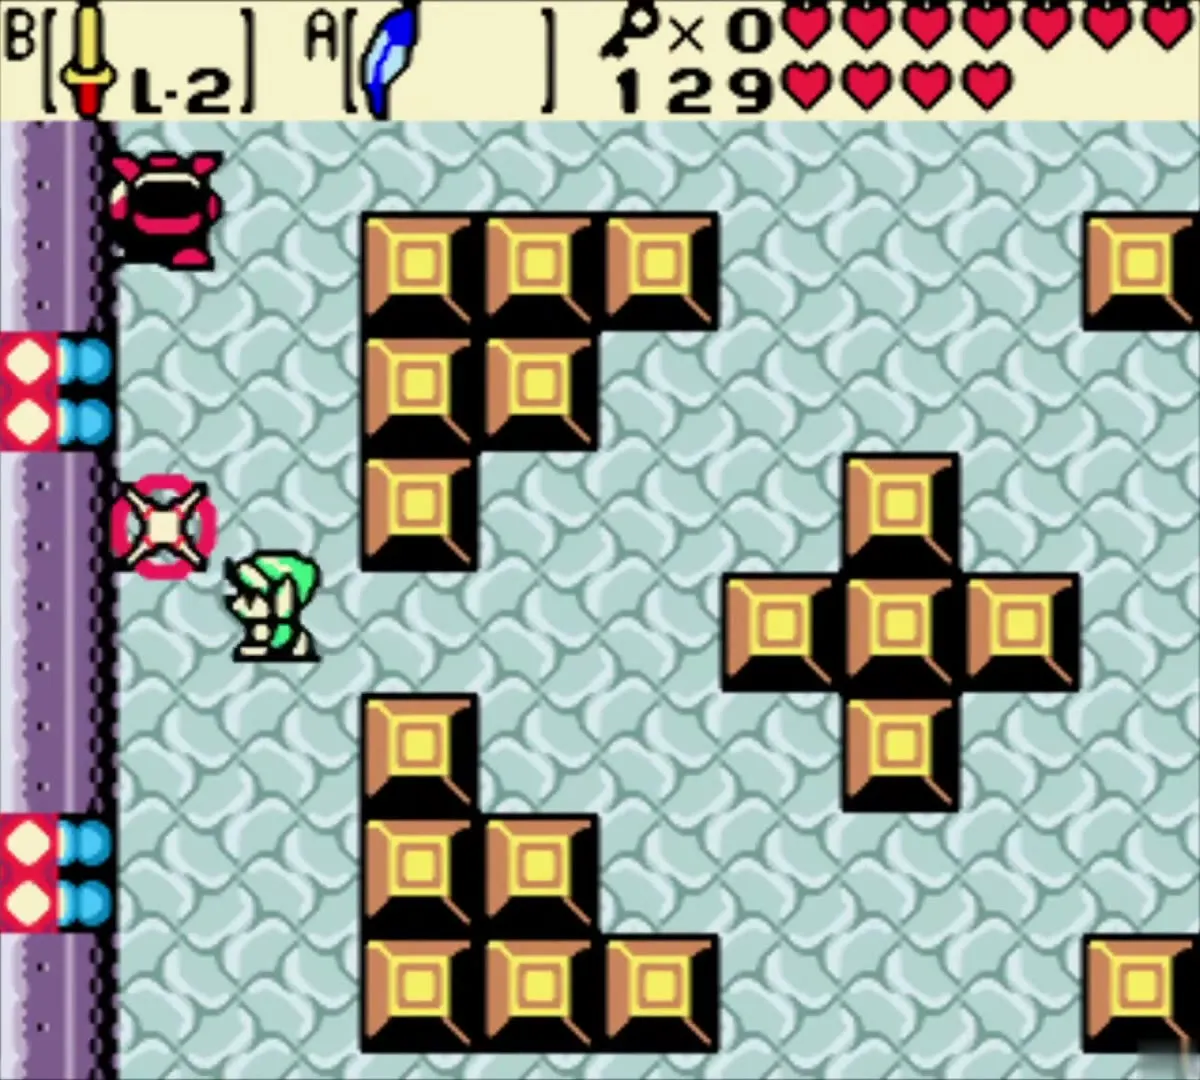
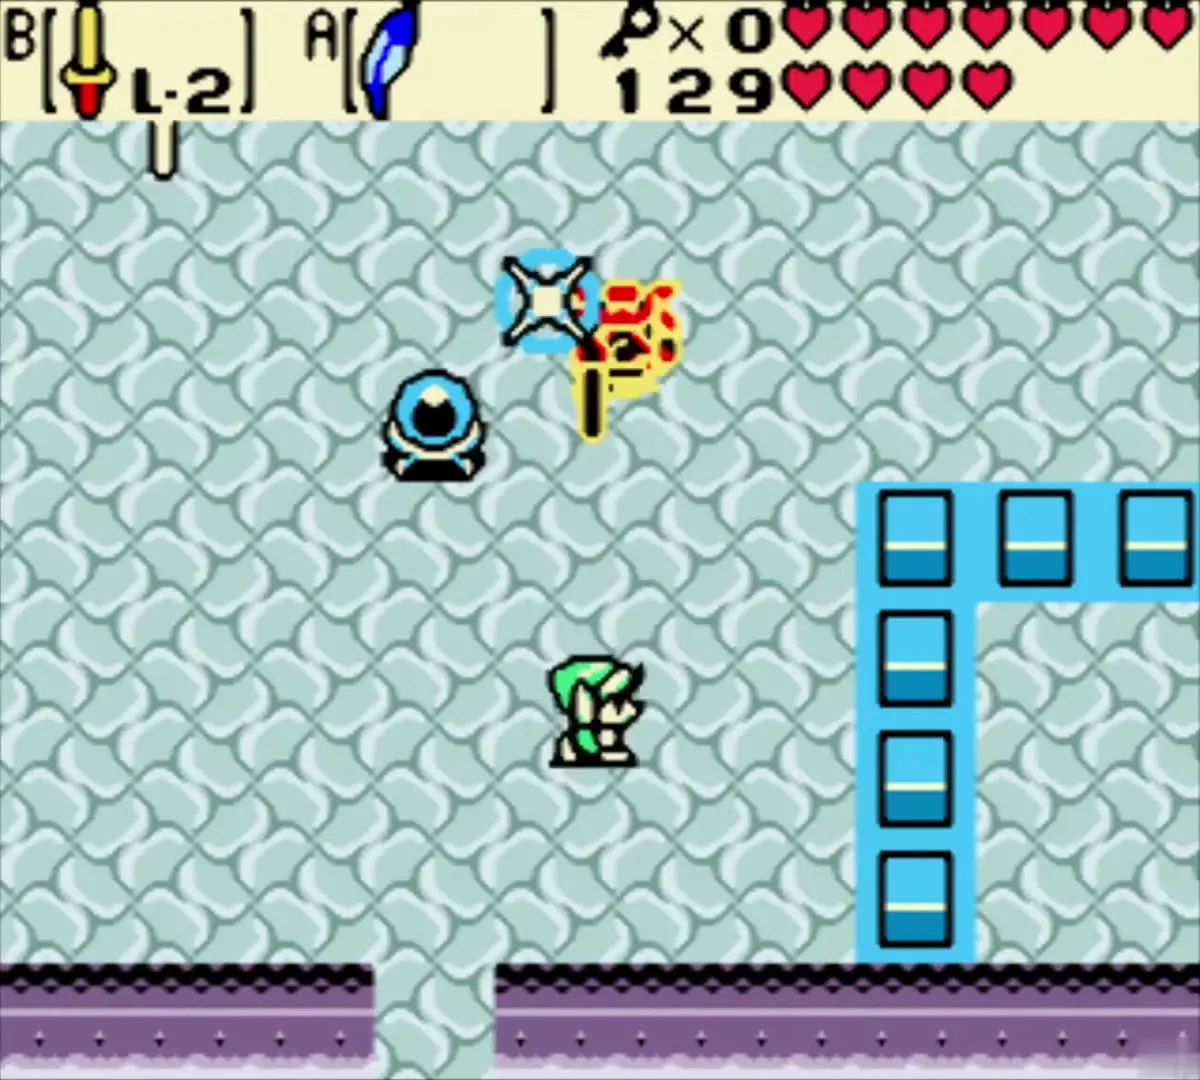
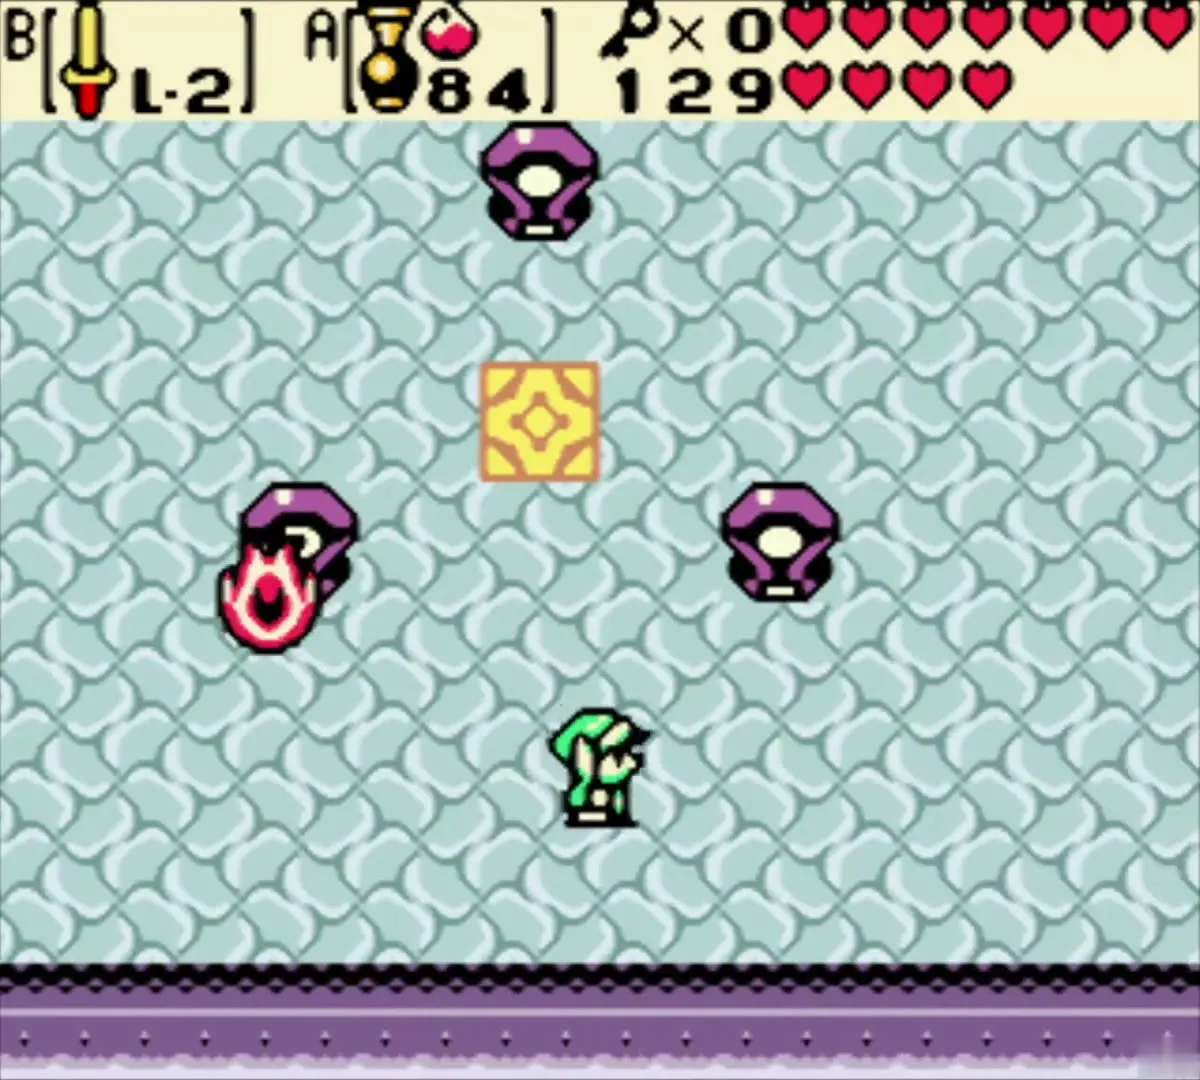
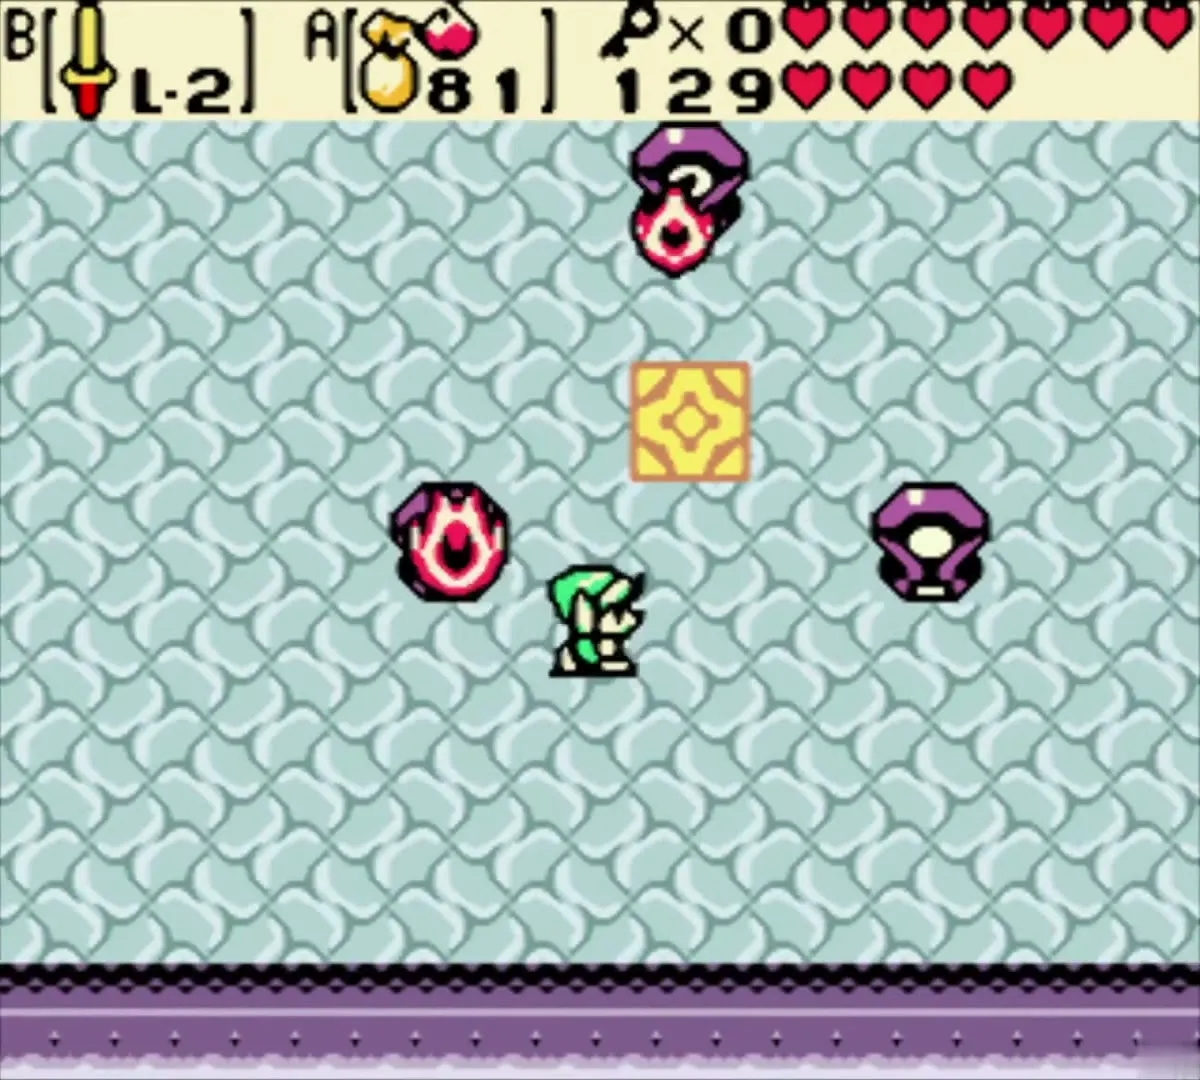
Equip the Switch Hook. From the first switch go west and then north, and defeat the Moblins to reveal a staircase down. Below, use the Switch Hook on the stone diamond to put it on the floor button, then go south and back up the stairs. Walk south to the end and hit the crystal switch there. In the room to the right three stone statues surround a yellow tile. Hit all three in quick succession (a seed from the Seed Satchel on the top one and a bounce shot from the Seed Shooter on the lower two); a chest rises on the tile with the first Small Key.
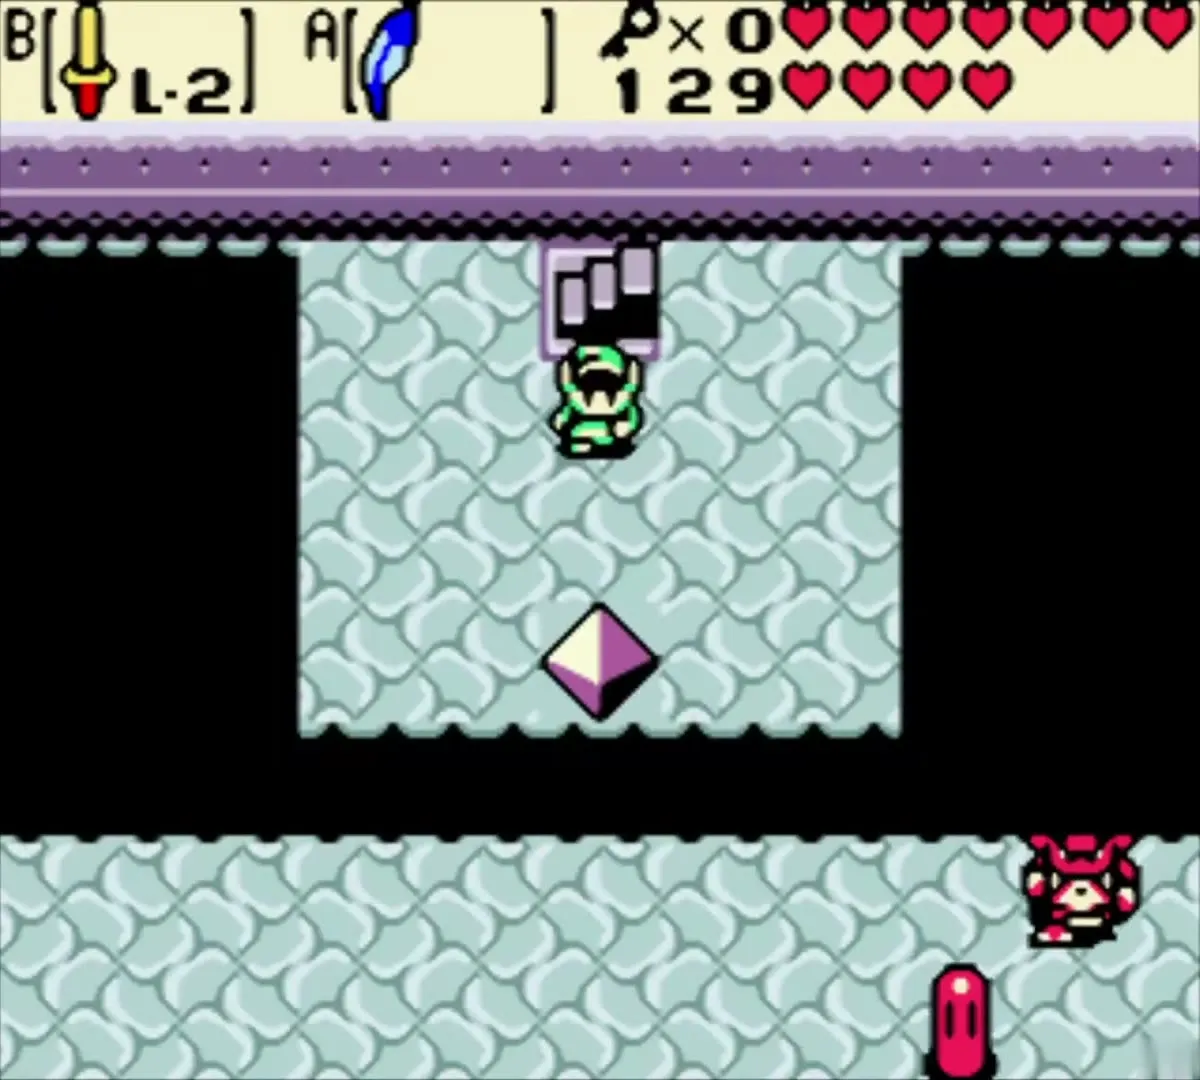
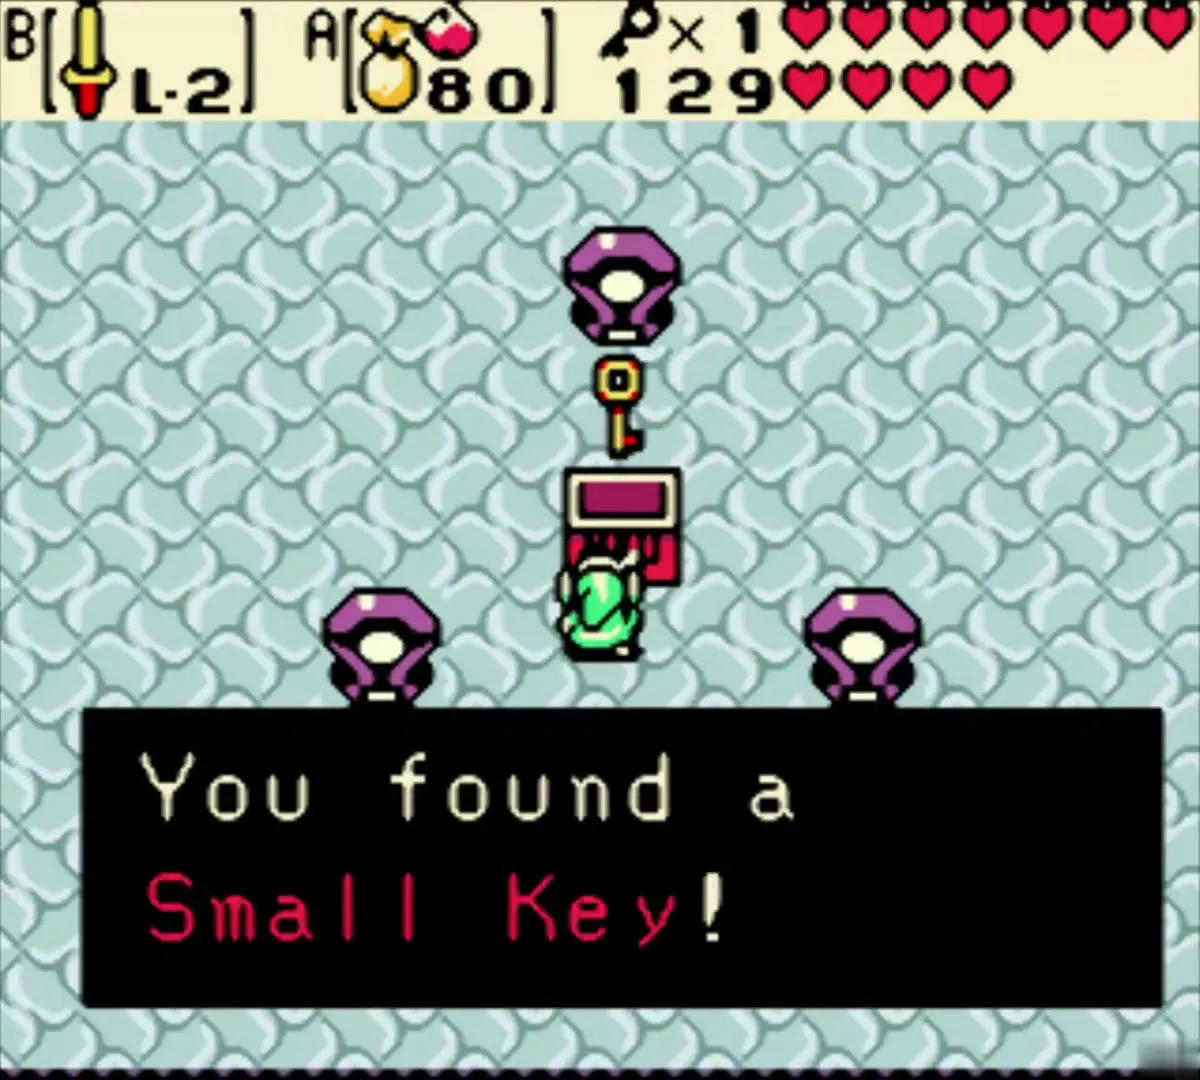
Second Small Key
Go back west and strike the crystal switch to lower the red barrier, cross it and strike the switch again from a distance. Go north over the blue barrier to the first staircase you saw and climb down. A chest in a frame of blue tiles holds the second Small Key. Hit the crystal switch once more on the way back to return the barriers to their normal state. The rest of the dungeon is in the Crown Dungeon walkthrough.

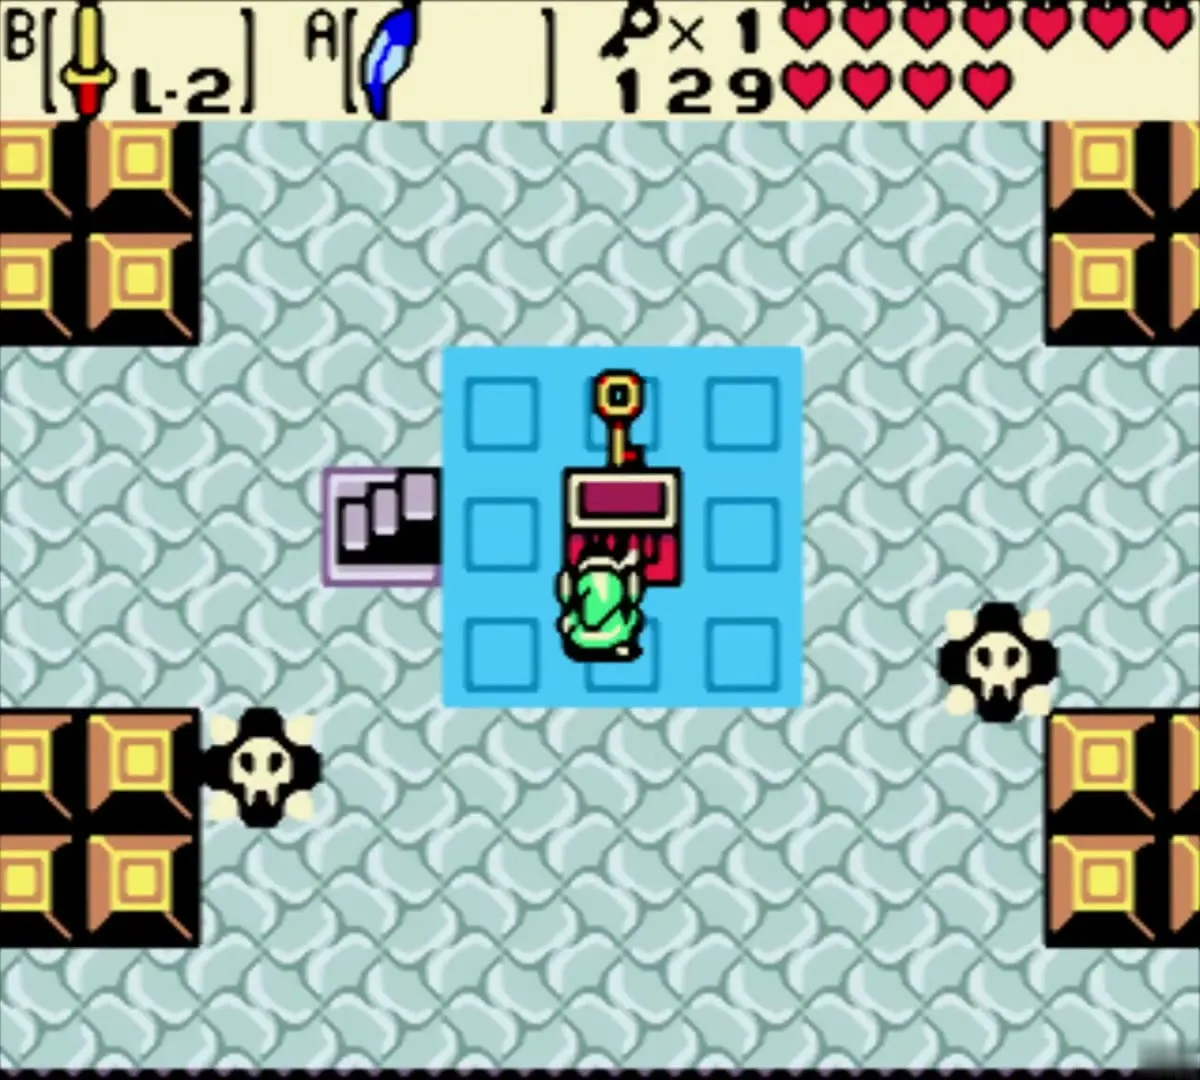
Chapter checklist
| Type | Name | Where (era) |
|---|---|---|
| Piece of Heart | No. 7 of 12 (500 Rupees) | Secret shop under the Lynna City shop (present) |
| Piece of Heart | No. 8 of 12 (completes a Heart Container) | Behind the cracked wall in the Goron tunnels, West Rolling Ridge (present) |
| Rupees | 50 Rupees | Red chest in the first Goron cave rooms (present) |
| Rupees | 30 Rupees | Chest behind the switch bridge (present) |
| Magic Ring | Unappraised ring, the Armor Ring L-1 | Chest in the sandy chamber under Moblin’s Keep (present) |
| Mystical Seeds | 18 Pegasus Seeds | Pegasus tree on top of Rolling Ridge (past) |
| Key item | Bomb Flower | Reward from the Gorons after the Great Moblin (present) |
| Key item | Crown Key | Goron Elder’s cave (past) |
| Small Keys | 2 Small Keys | Crown Dungeon, first rooms (present) |
| Soft soil | 1 spot | Next to the Goron cave on West Rolling Ridge, under the bushes in the bottom-left corner (past) |
| Time portal | Rolling Ridge portal, opened with the Tune of Echoes | Rock row in the south-east of Rolling Ridge (present) |
| Other | Great Fairy, Maple‘s race (2) | South-east Rolling Ridge cave (present); West Rolling Ridge (past) |
| Boss | Great Moblin | Top of Moblin’s Keep (present) |
