





















Oracle of Ages 100% Completion Walkthrough24 chapters
- Arrival in Labrynna and the Black TowerStart Oracle of Ages in a linked game: Forest of Time, Vasu’s Ring Box, the Maku Tree, the time portal, the Black.
- Maku Path and Spirit’s Grave (Level 1)Maku Path and Spirit’s Grave walkthrough for Oracle of Ages: Seed Satchel, Graveyard Key, Power Bracelet, Pumpkin Head.
- The Harp of Ages and Fairies’ WoodsHarp of Ages and Fairies’ Woods walkthrough for Oracle of Ages: Poe Clock, Heart Piece, Vasu’s rings, hide-and-seek.
- Deku Forest and the Mystery SeedsDeku Forest walkthrough for Oracle of Ages: Mystery Seeds, Queen Ambi’s Bombs, a Heart Piece, the Deku Secret and the.
- Wing Dungeon (Level 2)Wing Dungeon walkthrough for Oracle of Ages: all five Small Keys, Dungeon Map, Compass, Swoop, Roc’s Feather, Boss.
- Farore’s Secrets and Cheval’s GraveFarore’s secrets and Cheval’s Grave walkthrough for Oracle of Ages: West Lynna Heart Piece, Hall of Secrets codes, Red.
- Tingle’s Chart and Crescent IslandTingle’s Chart and Crescent Island walkthrough for Oracle of Ages: Ricky’s Gloves, Island Chart, Rafton’s raft, the.
- Moonlit Grotto (Level 3)Moonlit Grotto walkthrough for Oracle of Ages: all Small Keys, Compass, Seed Shooter, Gasha Seeds, Subterror, Boss.
- Nuun Highlands and the Strange FlutesOracle of Ages Nuun Highlands walkthrough: Dimitri’s Flute, Tingle’s 99-seed Satchel, the Black Tower rescue, the.
- Symmetry City and Talus PeaksOracle of Ages Symmetry City and Talus Peaks walkthrough: Cracked Tuni Nut, Patch’s ceremony, Tune of Currents, Heart.
- Skull Dungeon (Level 4)Skull Dungeon walkthrough for Oracle of Ages: Compass, Dungeon Map, 5 Small Keys, Armos Warrior, Switch Hook, Boss.
- Lynna Trades and the Noble SwordOracle of Ages trading sequence walkthrough, Funny Joke to Noble Sword: Touching Book, Maple’s Magic Oar, Sea Ukulele.
- West Rolling Ridge and the Great MoblinWest Rolling Ridge walkthrough for Oracle of Ages: Lynna secret shop, Pegasus Seeds, Moblin’s Keep, Great Moblin, Bomb.
- Crown Dungeon (Level 5)Crown Dungeon (Level 5) walkthrough for Oracle of Ages: Small Keys, Cane of Somaria, Smasher, Compass, Boss Key, Smog.
- East Rolling Ridge and the Mermaid KeysEast Rolling Ridge walkthrough for Oracle of Ages: Goron Dance, Brother Emblem, Target Carts, Rock Brisket, Goron Vase.
- Mermaid’s Cave (Level 6) Walkthrough for Oracle of AgesMermaid’s Cave walkthrough for Oracle of Ages: get the Old Mermaid Key, clear both halves, collect the Mermaid Suit.
- Ambi’s Palace and the Tune of AgesAmbi’s Palace walkthrough for Oracle of Ages: sneak in, beat Possessed Nayru, learn the Tune of Ages, claim Hall of.
- Zora Seas and the Fairy PowderOracle of Ages Zora Seas walkthrough: the Gasha Seed chest, King Zora’s Library Key, Book of Seals, Fairy Powder and.
- Jabu-Jabu’s Belly (Level 7)Jabu-Jabu’s Belly walkthrough for Oracle of Ages: Like Like Ring, Compass, Small Keys, Long Hook, Boss Key, Plasmarine.
- Sea of Storms and the Pirate ShipSea of Storms walkthrough for Oracle of Ages: Zora Scale, pirate ship and Tokay Eyeball, clam grotto ring, Tokay.
- Ancient Tomb (Level 8)Ancient Tomb (Level 8) walkthrough for Oracle of Ages: three Slates, the Boss Key, two Gasha Seeds, Ramrock boss.
- Final Collection and the Hero’s CaveOracle of Ages final collection walkthrough: Maple Piece of Heart, Gasha Nut rings and fairies, Hero’s Cave Armor Ring.
- The Black Tower and VeranFinal ring appraisals, the Huge Maku Seed, the Black Tower climb and the three-phase Veran boss fight in Oracle of.
- Room of Rites, Twinrova and GanonOracle of Ages Room of Rites walkthrough: the eye-statue hallway, Twinrova’s fire and ice phases, the Ganon boss.
| Covers | Maku Path and the young Maku Tree (the past); the Maku Tree, Lynna City and Yoll Graveyard (the present); Spirit’s Grave |
|---|---|
| Dungeon | Spirit’s Grave (Level 1): Power Bracelet inside, mini-boss Giant Ghini, boss Pumpkin Head, Essence of Time Eternal Spirit |
| Rewards | Seed Satchel with 20 Ember Seeds, Graveyard Key, Power Bracelet, Heart Container, Eternal Spirit; 1 Piece of Heart; Power Ring L-1 and Discovery Ring (both unappraised); 2 Gasha Seeds (1 bought, 1 from a chest) and 1 soft soil patch planted; Dungeon Map, Compass, Boss Key |
This chapter takes you through the Maku Path to the young Maku Tree, then forward to the present to collect the Seed Satchel, open Yoll Graveyard and clear the first dungeon. In short: dig into the Maku Path from Lynna Village in the past, rescue the Maku Sprout, step through the portal home, take the Satchel, fetch the Graveyard Key, and finish Spirit’s Grave for the Power Bracelet and the Eternal Spirit.
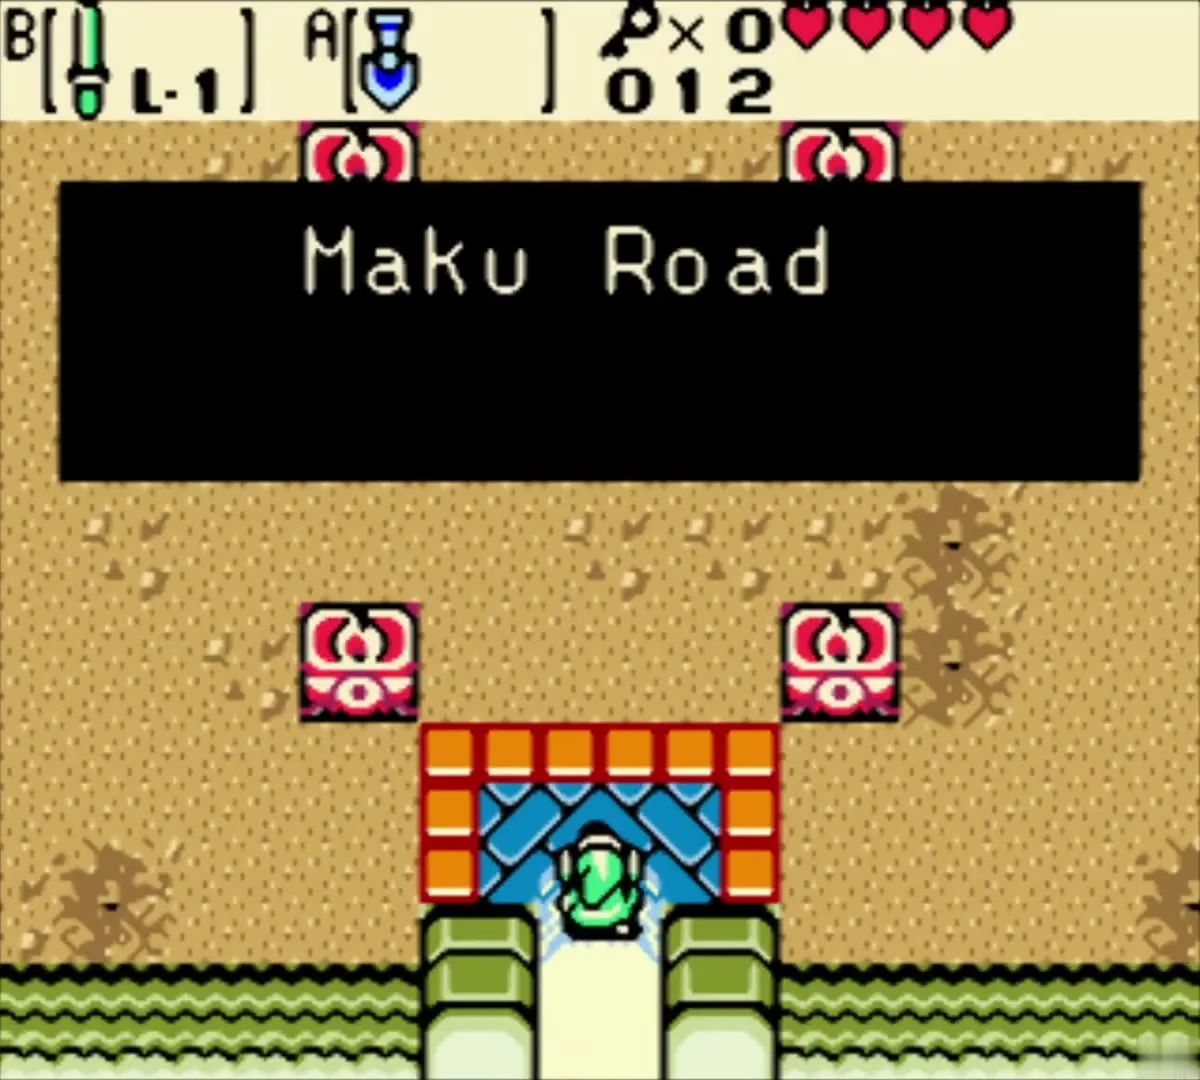
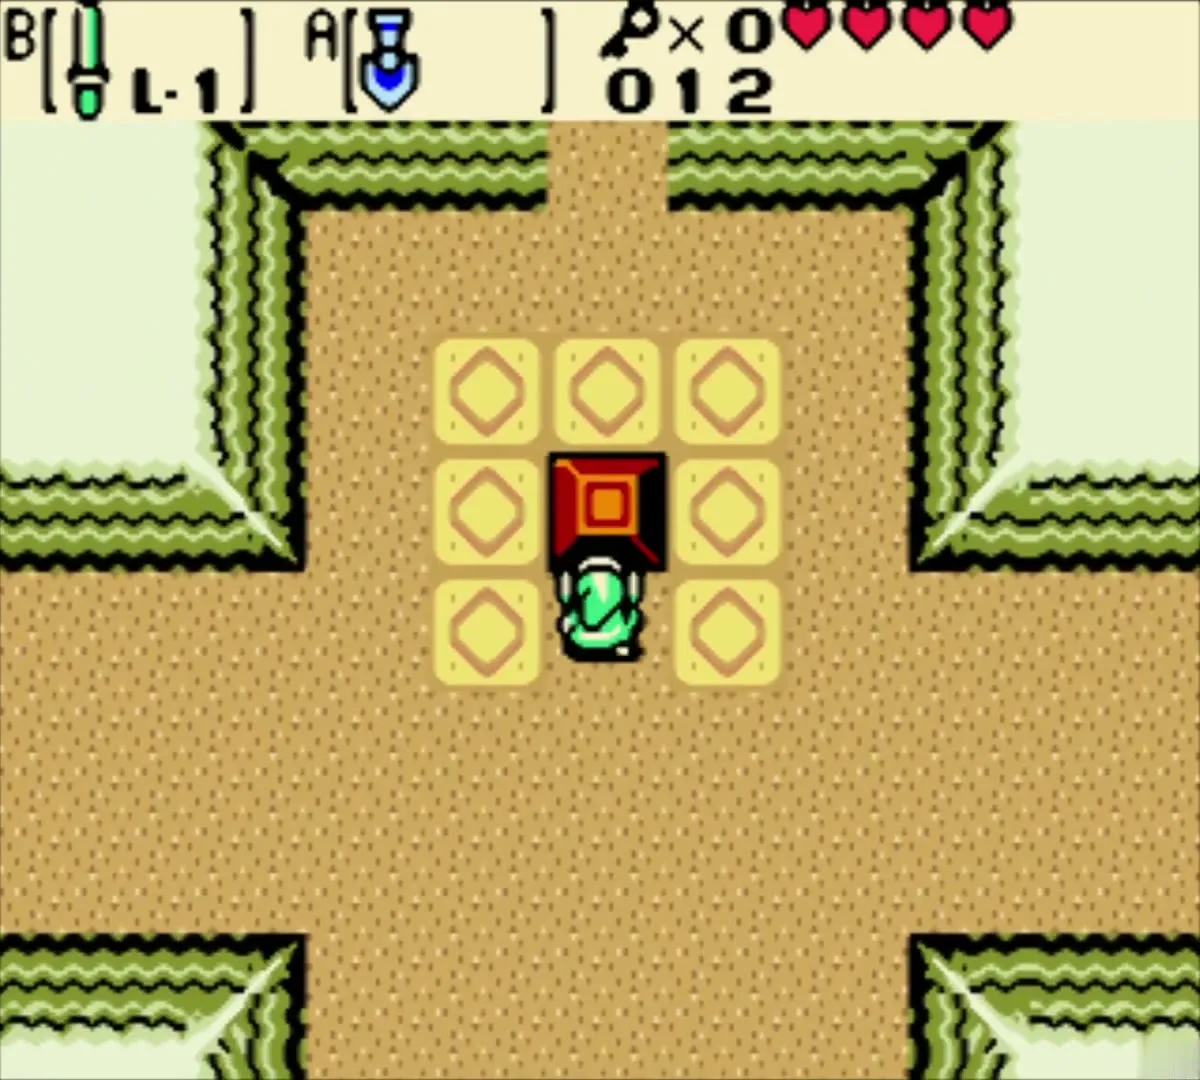
Maku Path: the way to the Maku Tree (the past)
Dig into the Maku Path
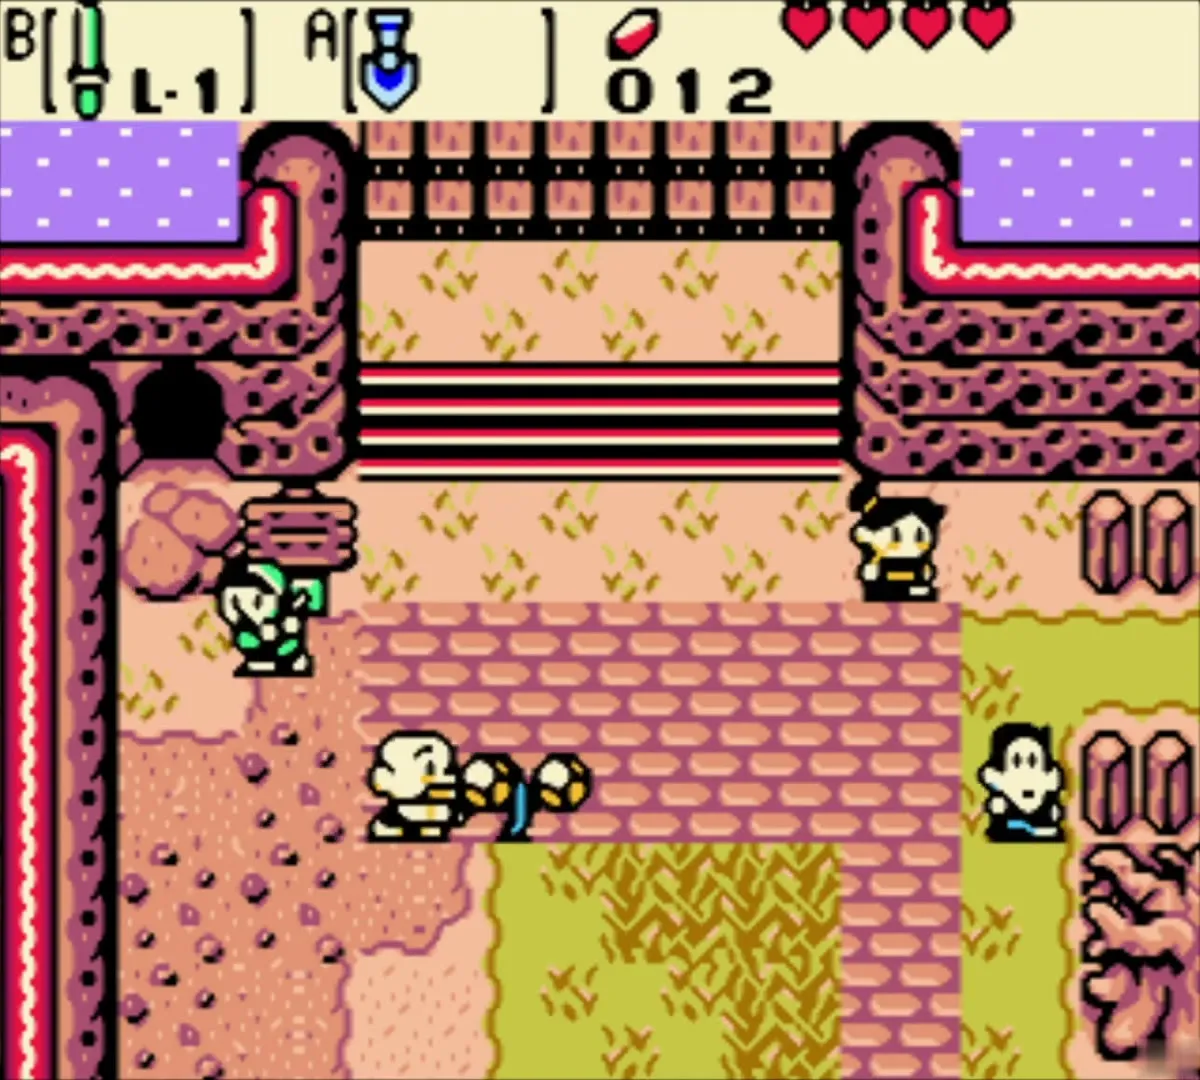
You begin in Lynna Village, 400 years ago, with the Shovel from the Black Tower. Go to the village entrance in the north and dig through the loose soil there to open the way into the cave. The sign calls it Maku Road. The Maku Tree sits at its far end behind a gate that only opens from the inside, so this cave is the only way in.
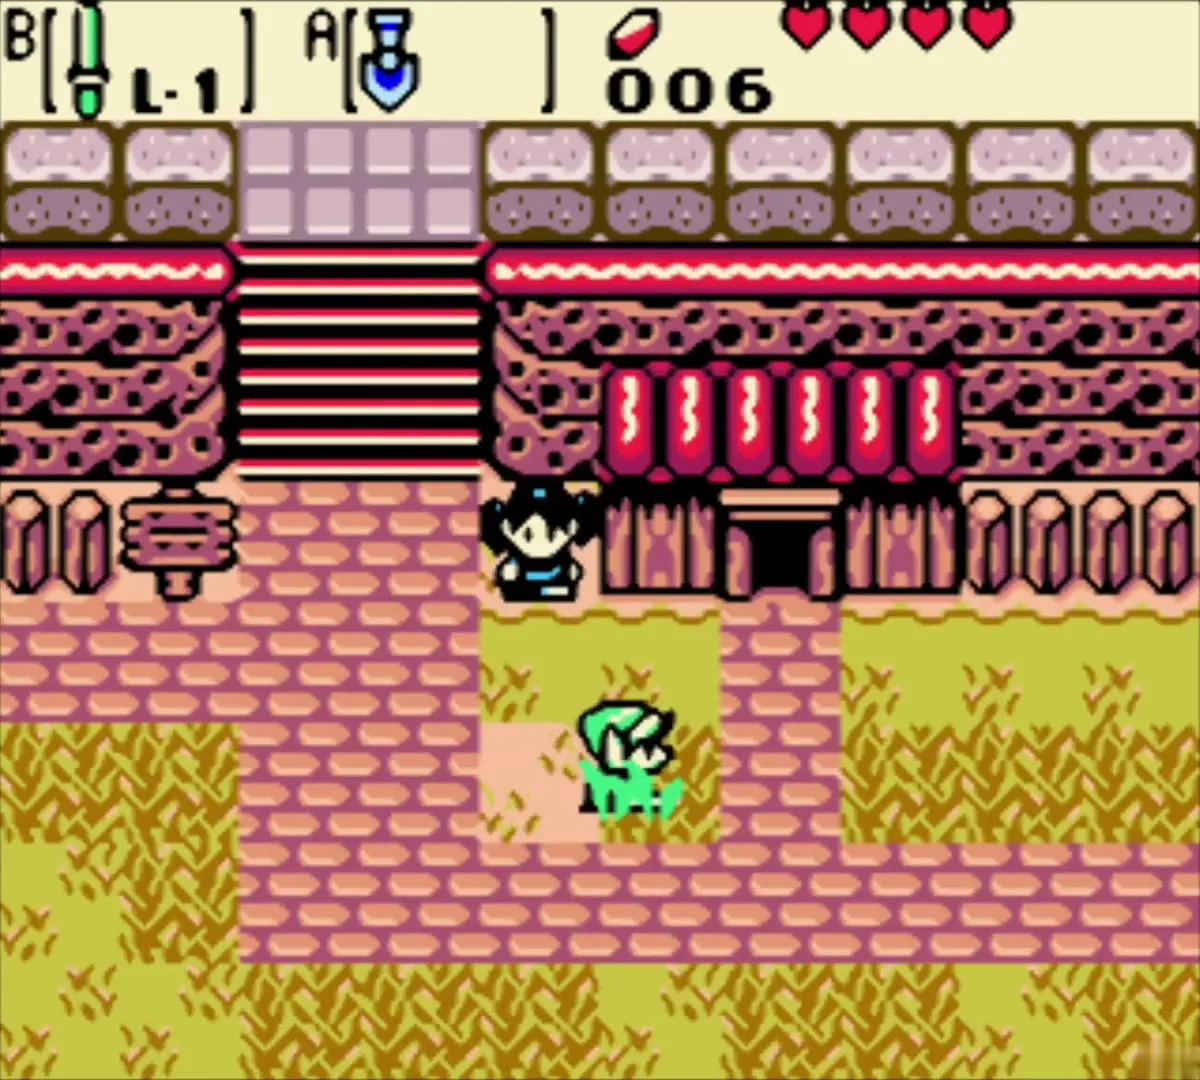
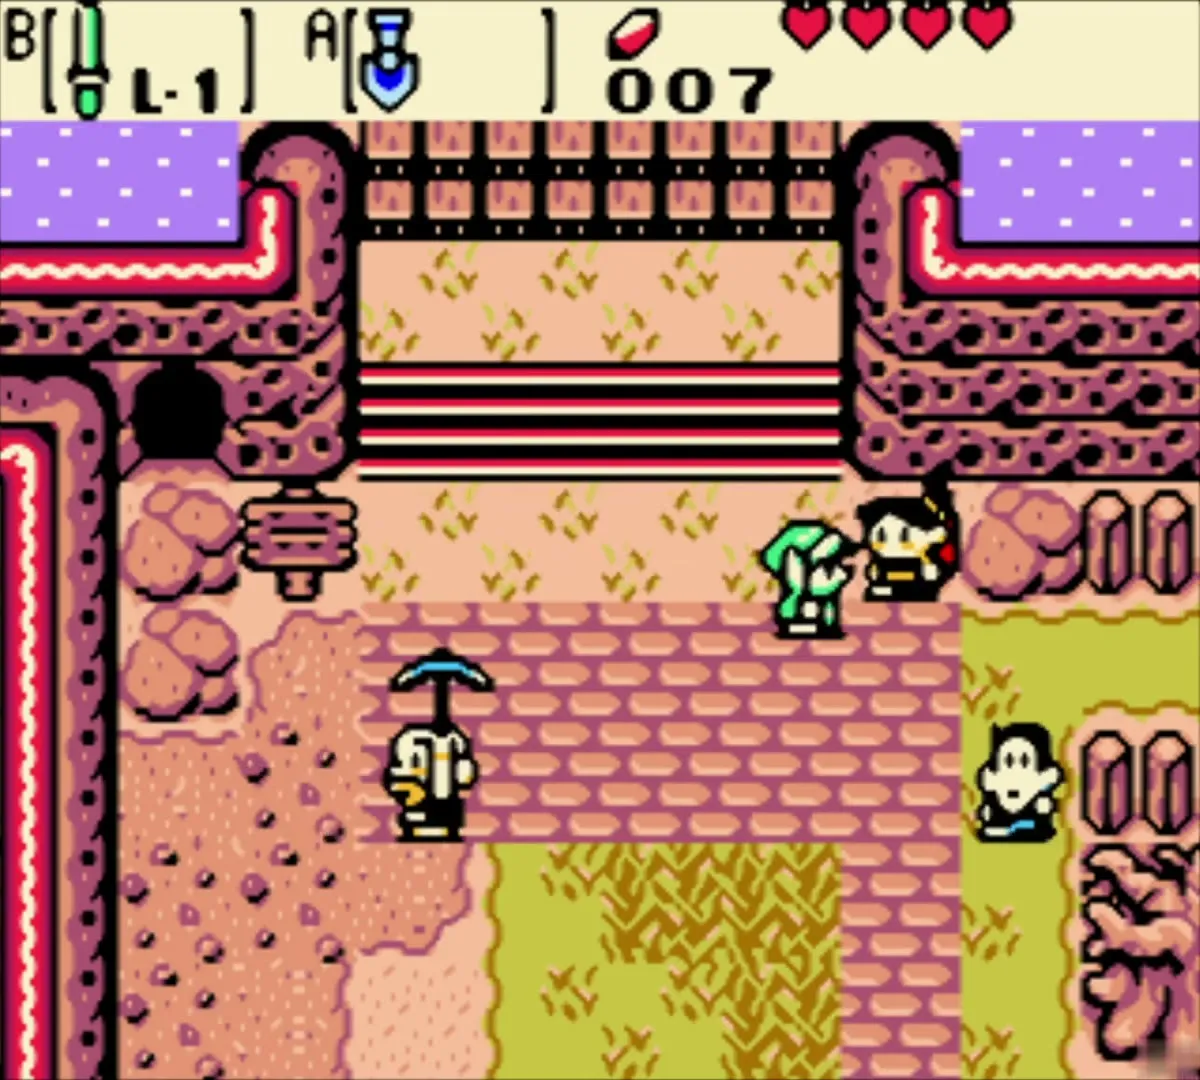
Block rooms and the Small Key
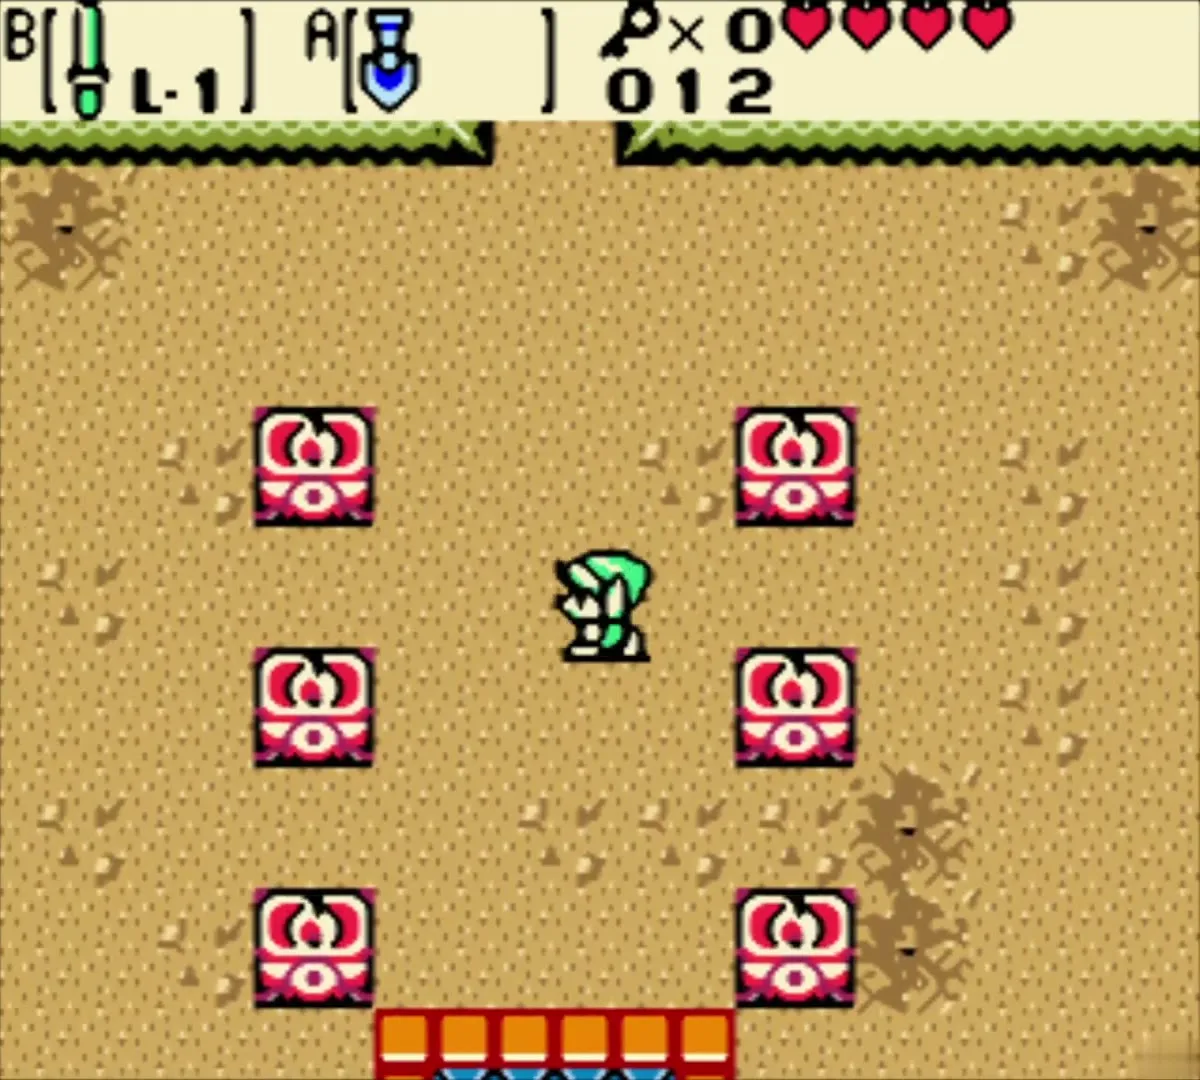
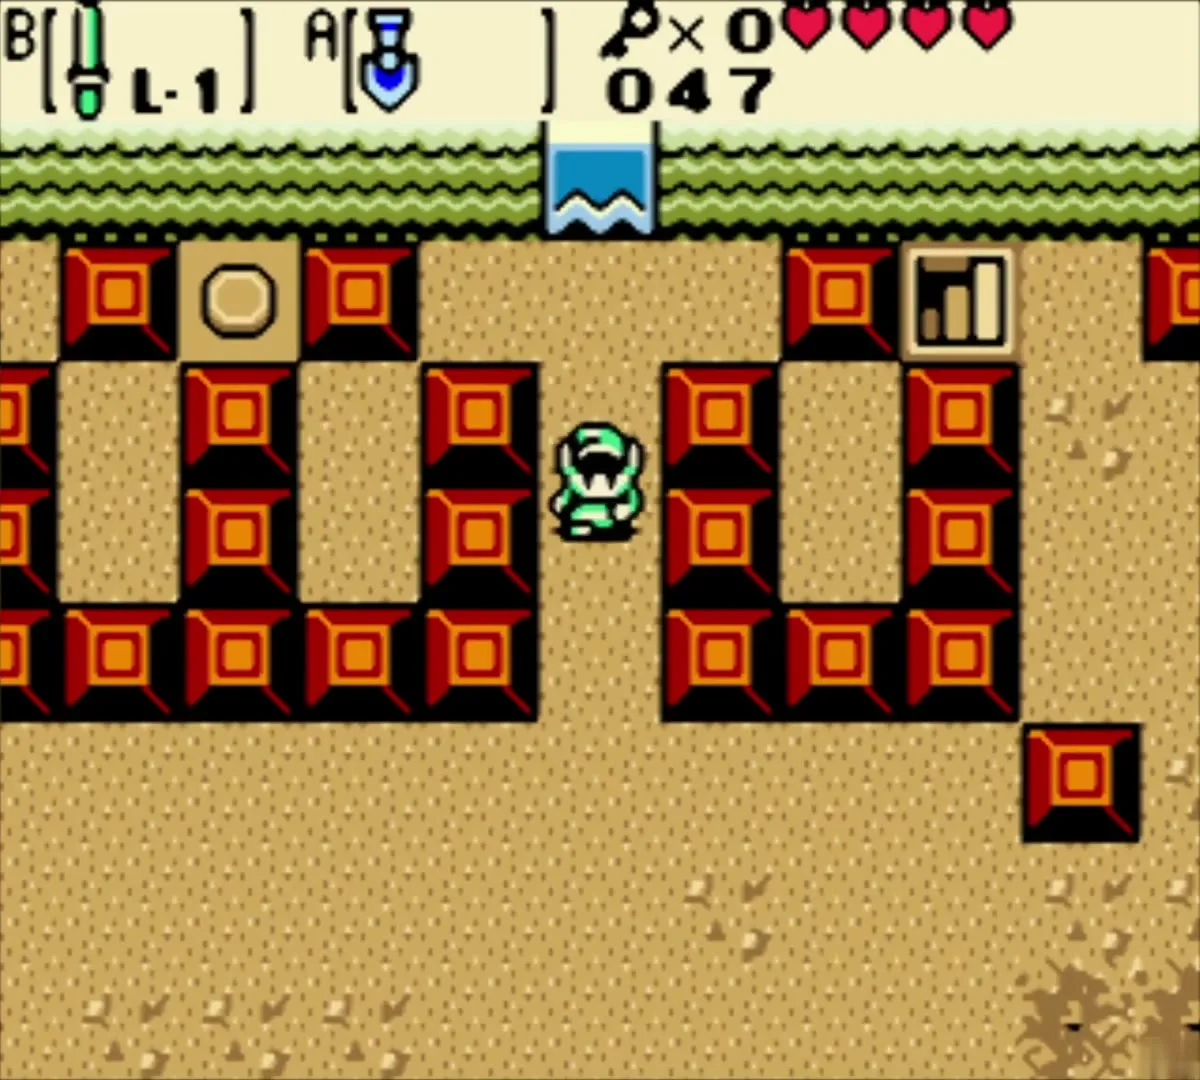
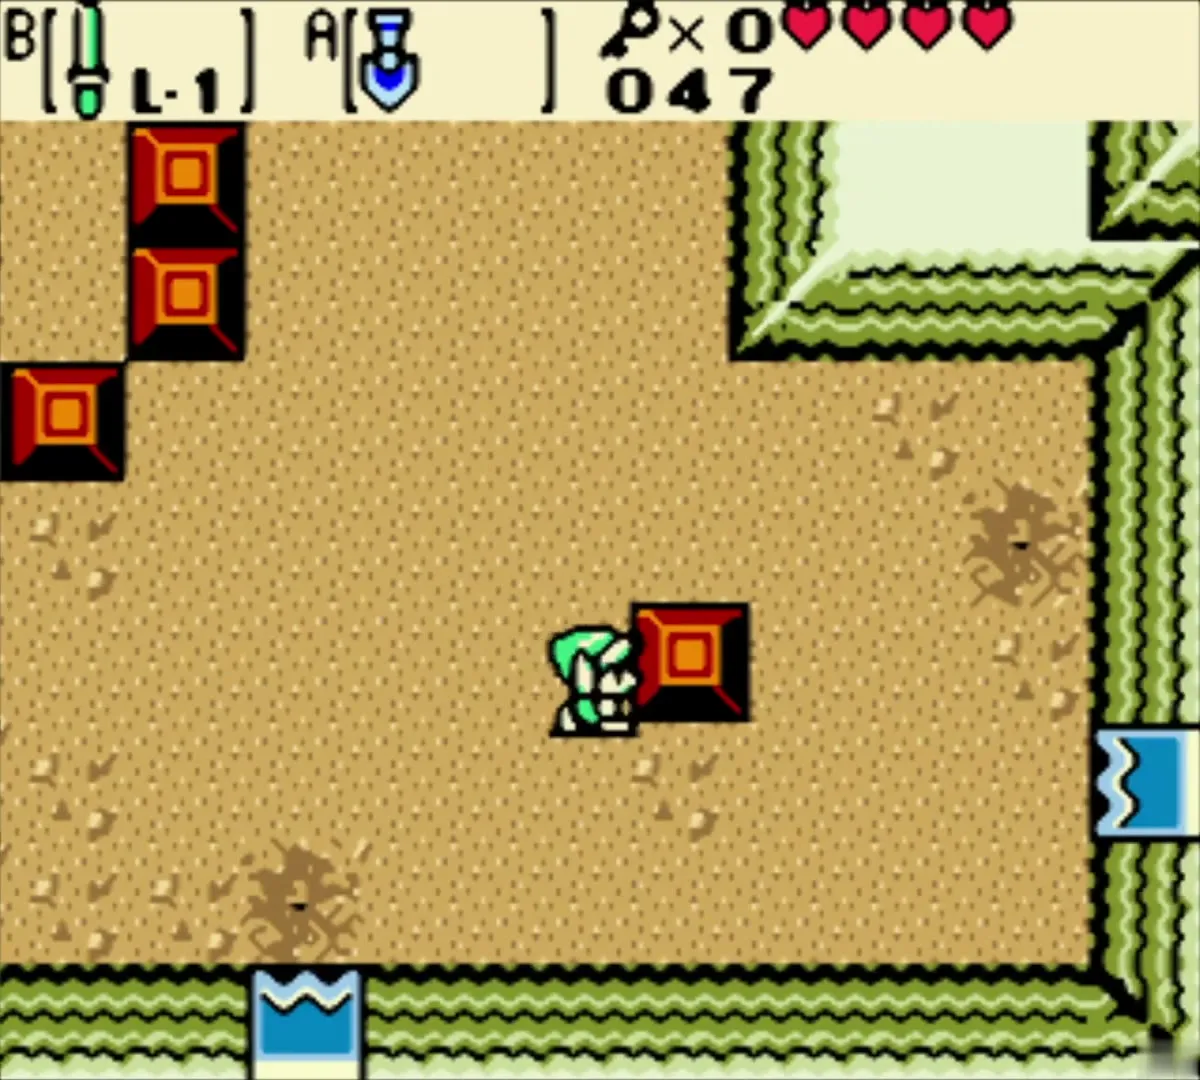
The Maku Path is a small practice dungeon of block-pushing rooms, switch blocks and a few Keese and Gels. Push blocks as needed to open each door and keep heading north. Your key counter starts at zero.

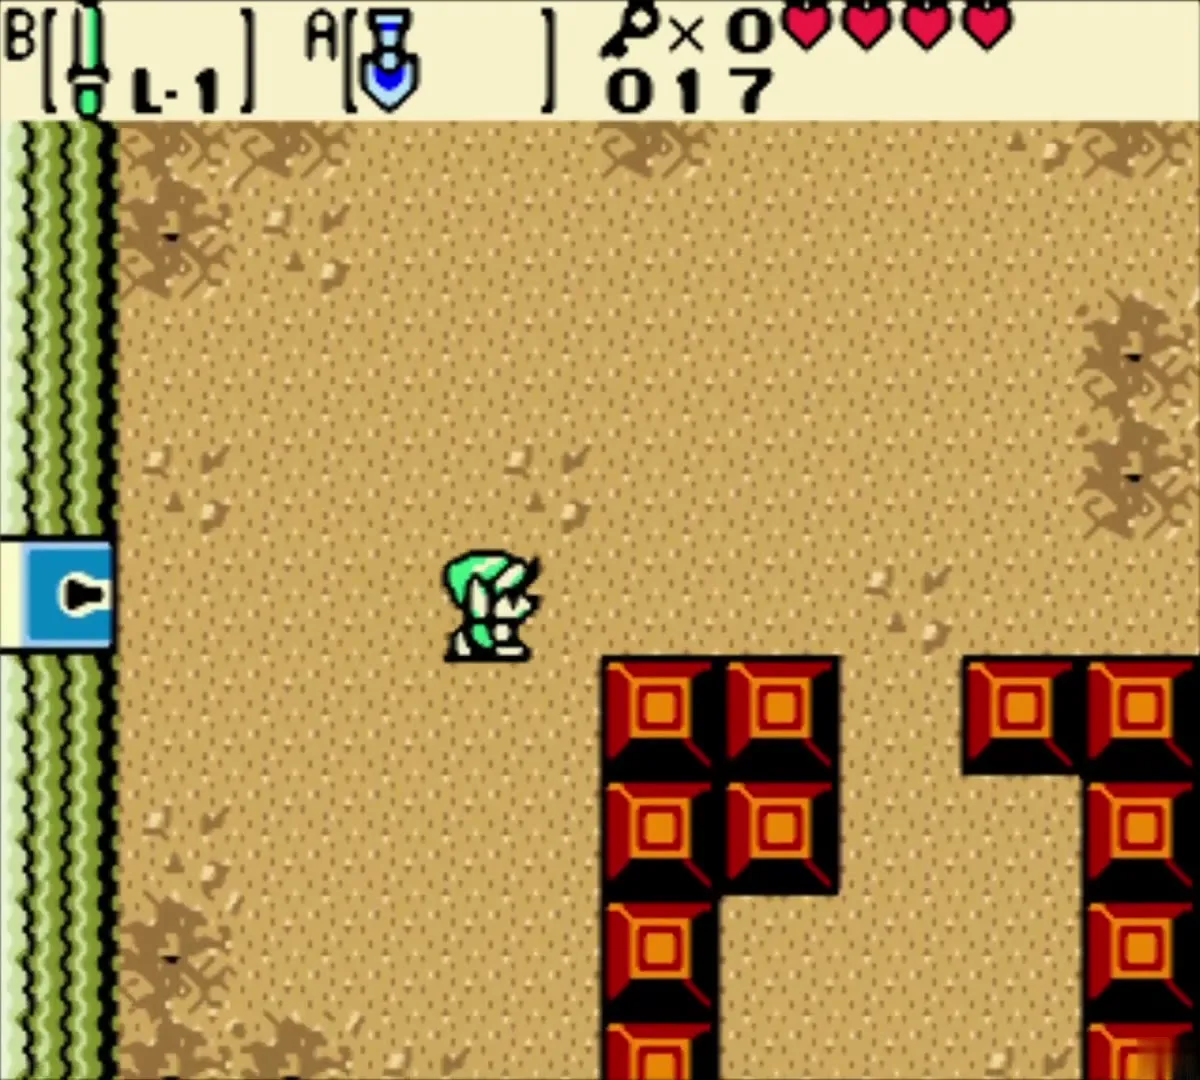

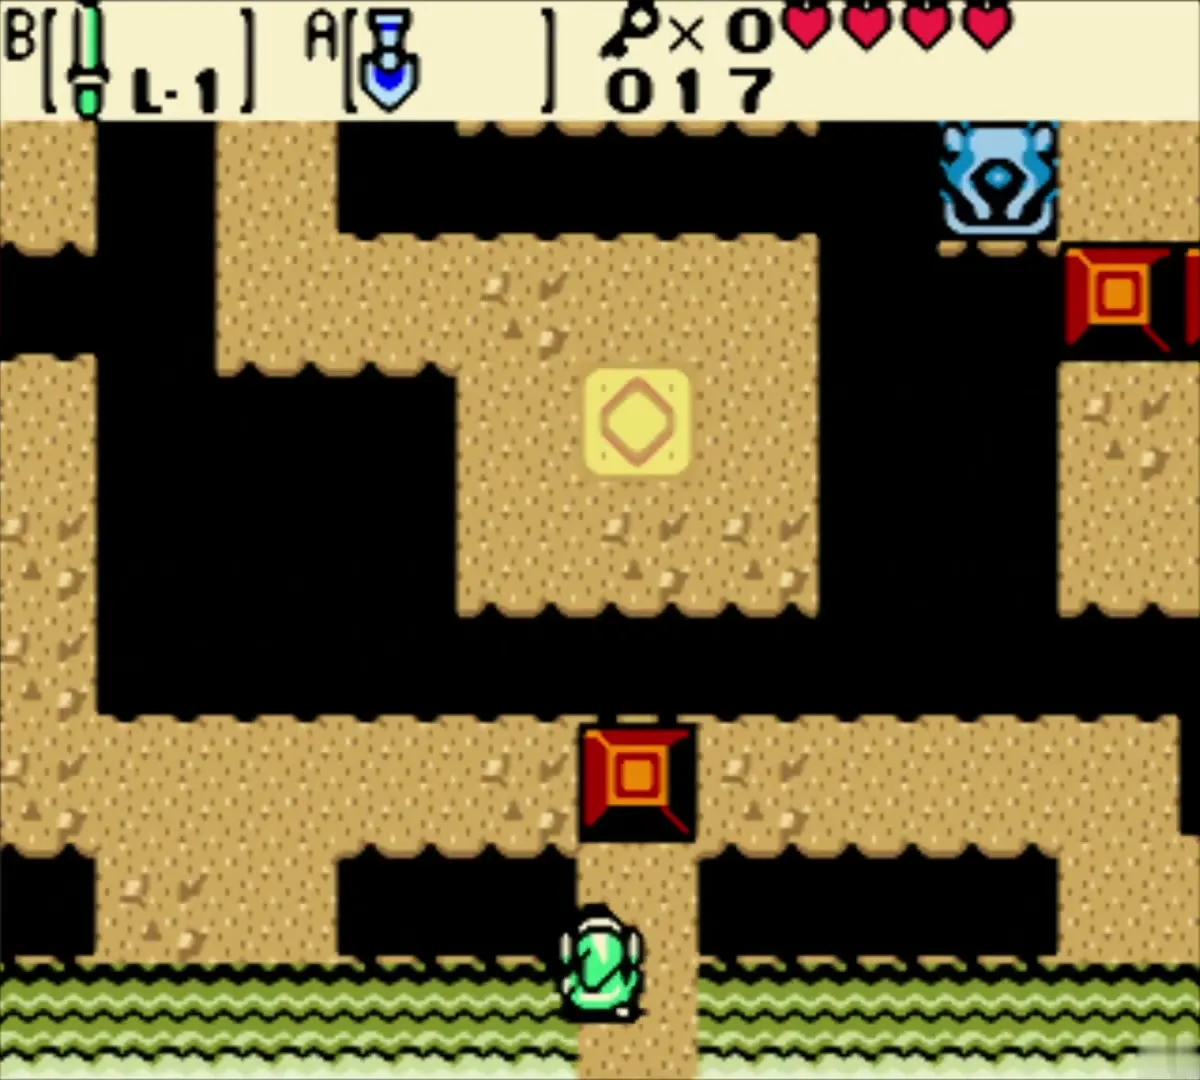
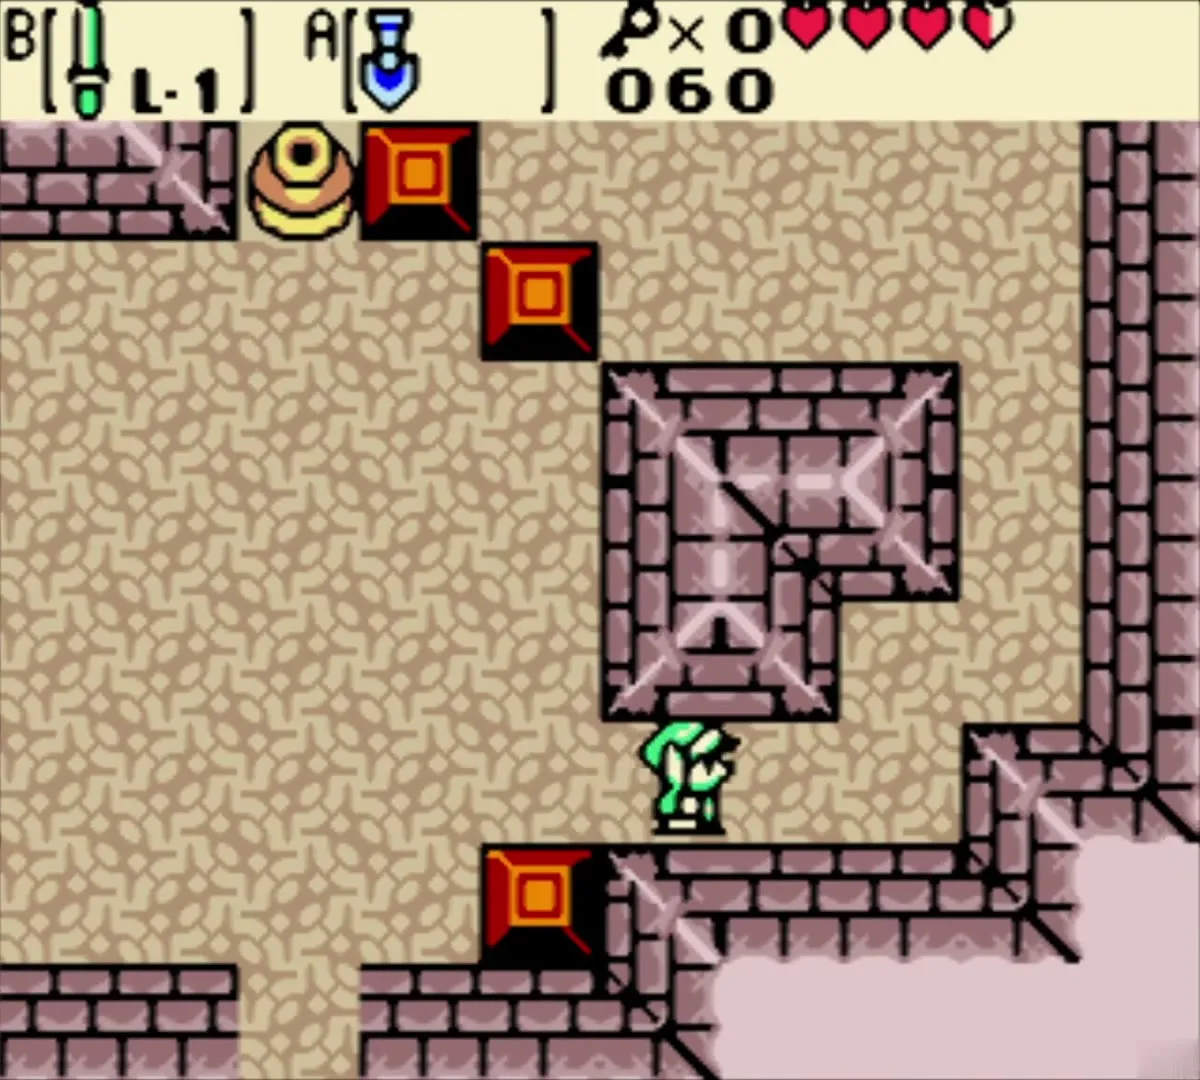
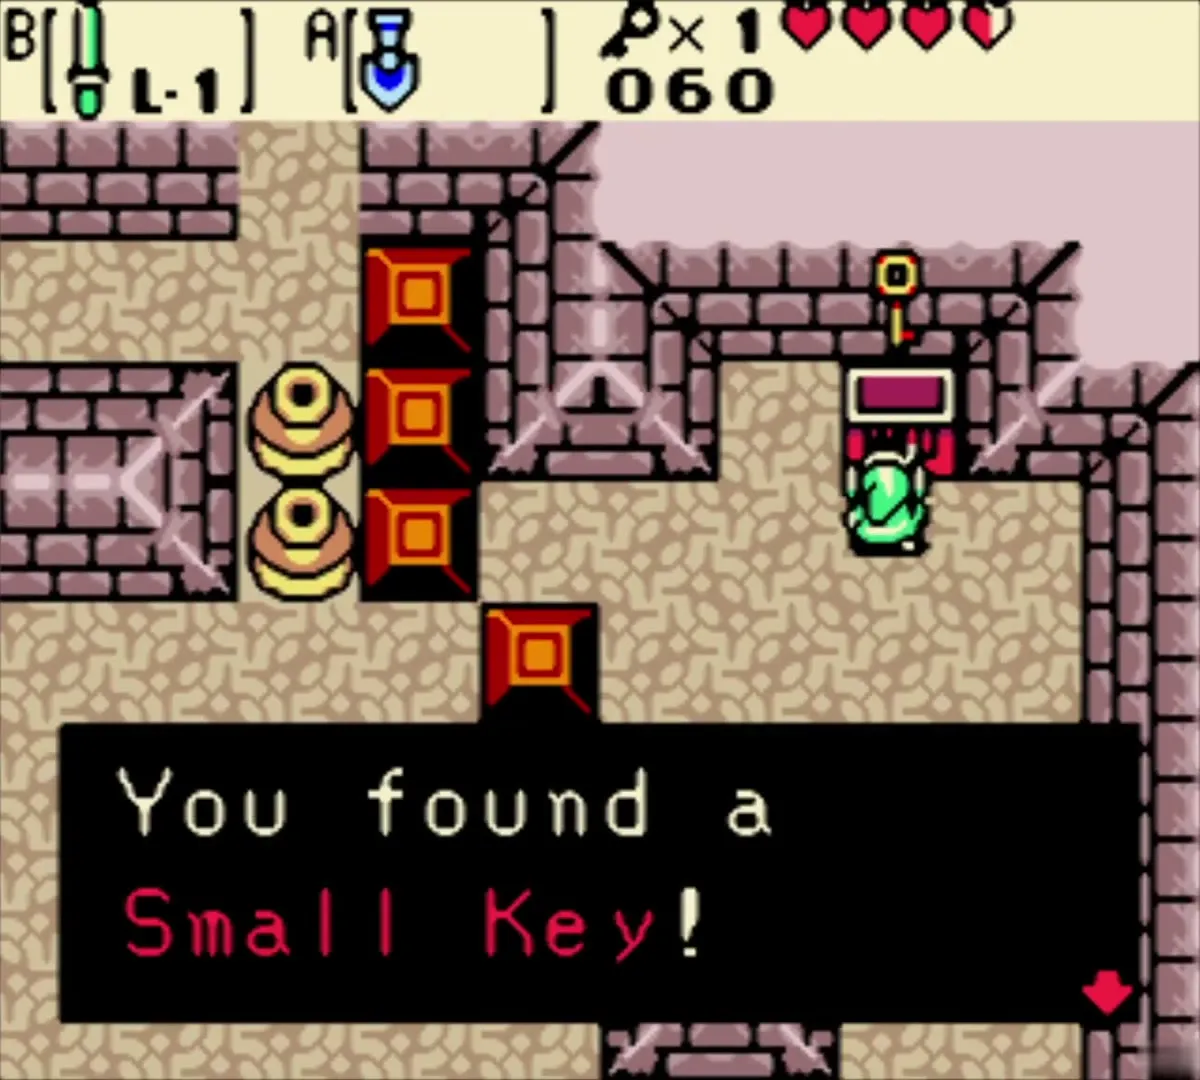
In the long room with the yellow floor tiles, press the button to make a chest appear, then open it for a Small Key. Carry it to the locked door and use it. A few rooms on, rearrange the blocks around the button to open the next door.
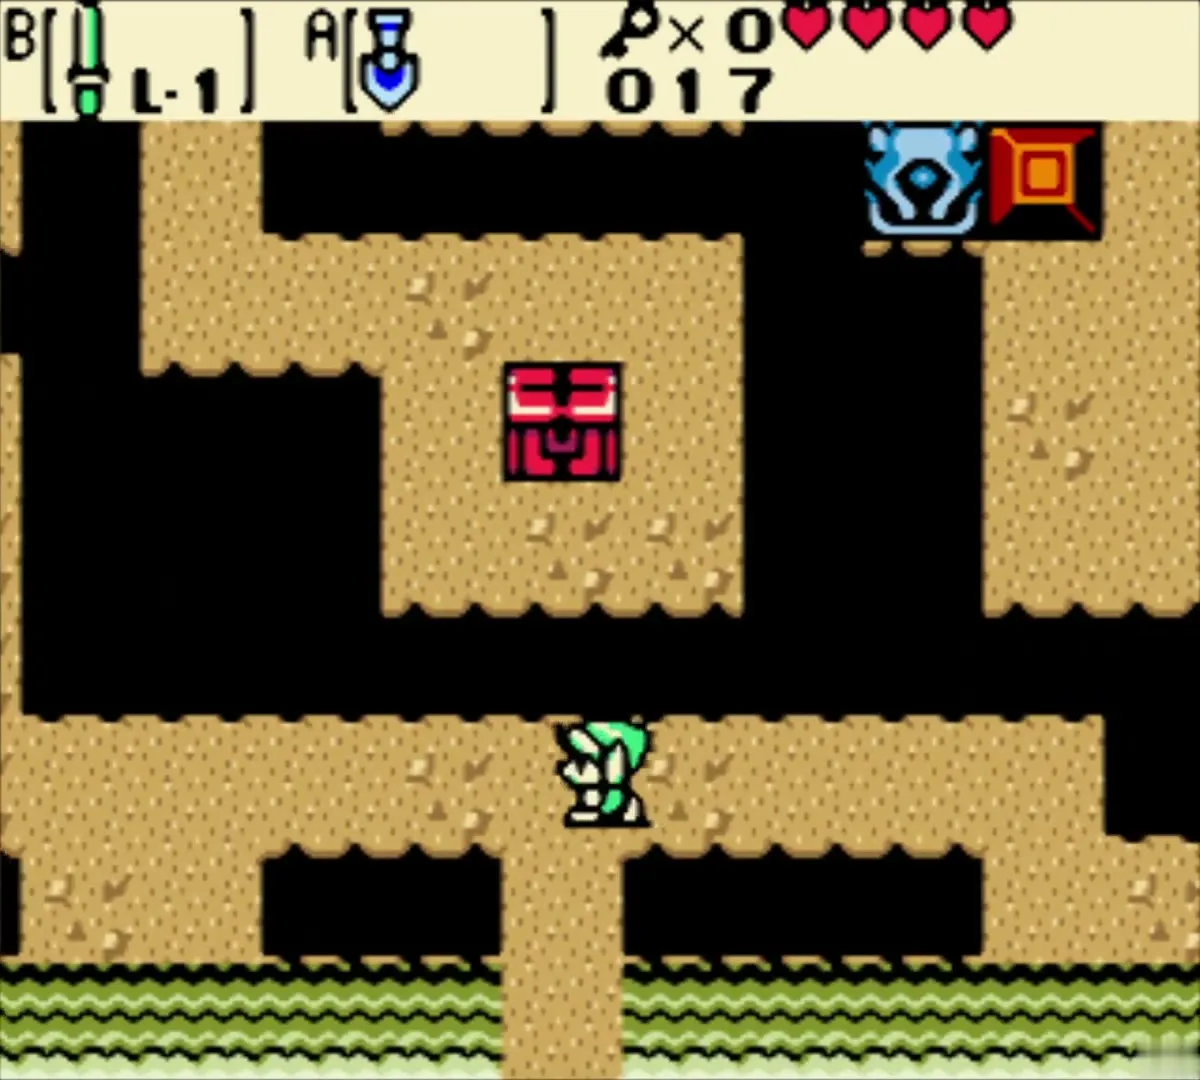

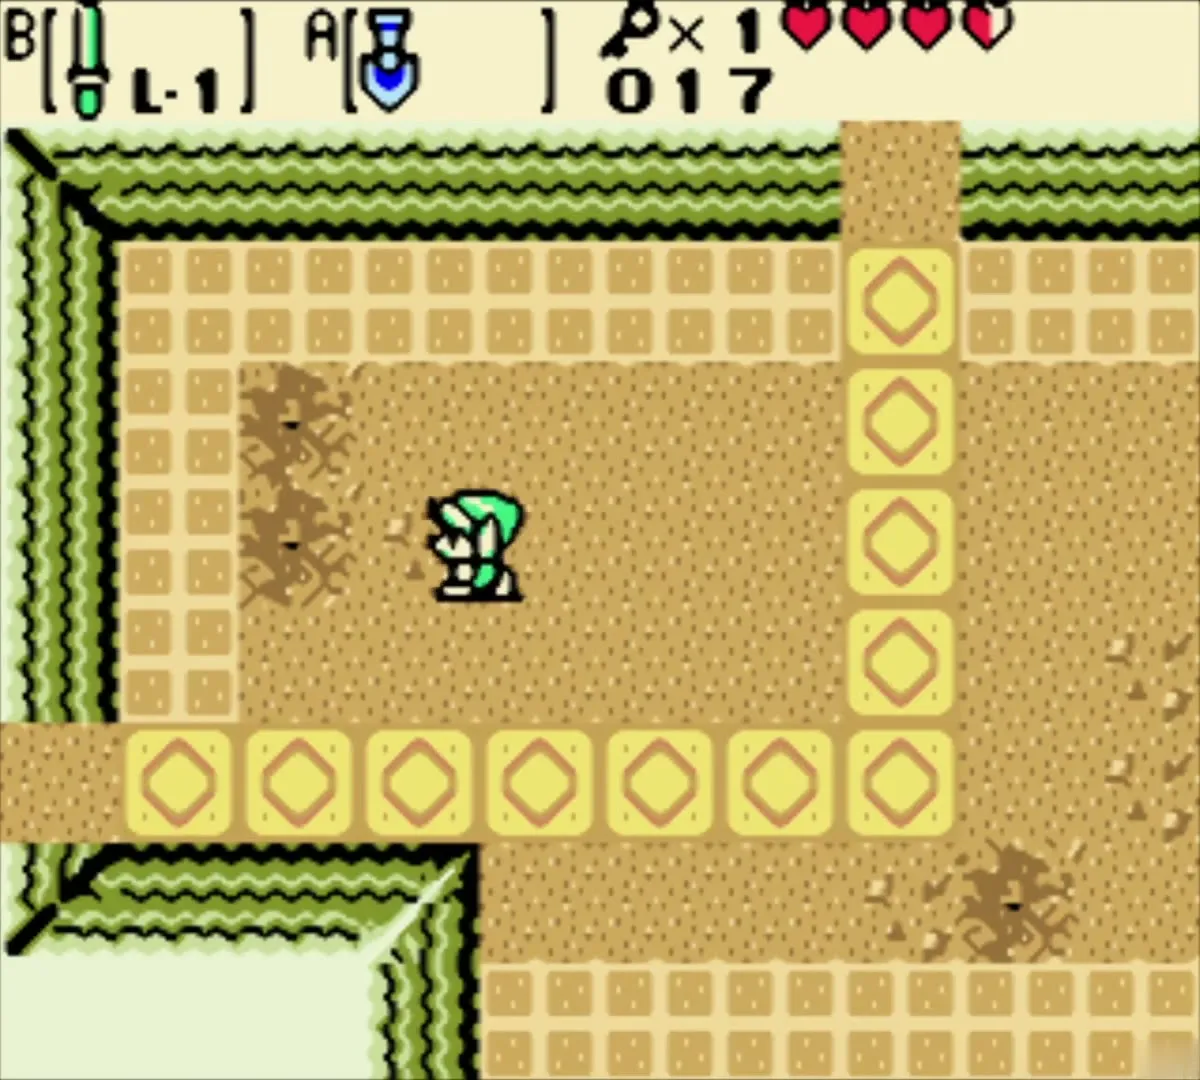
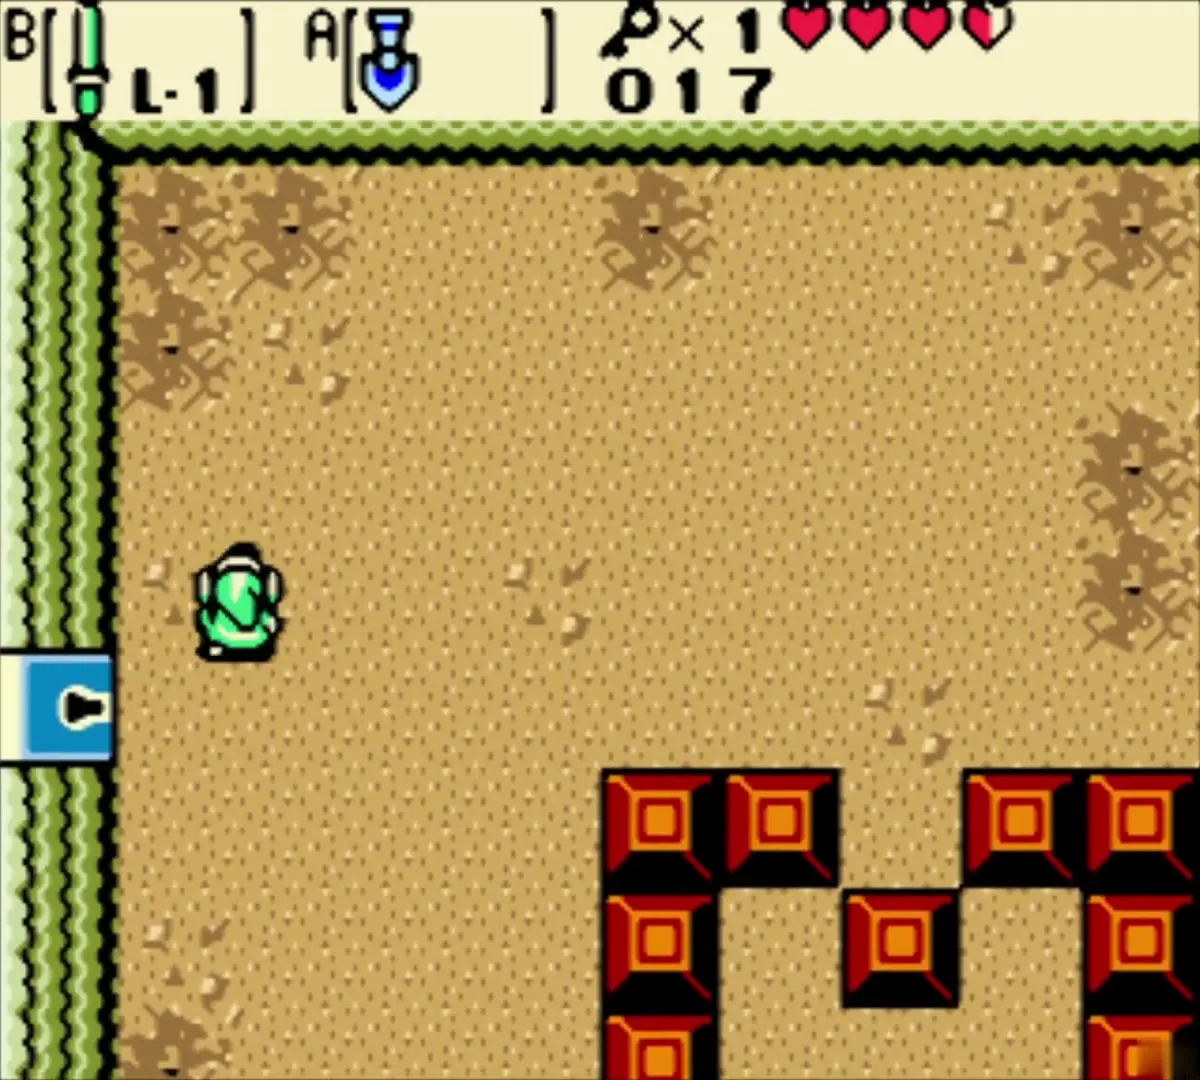
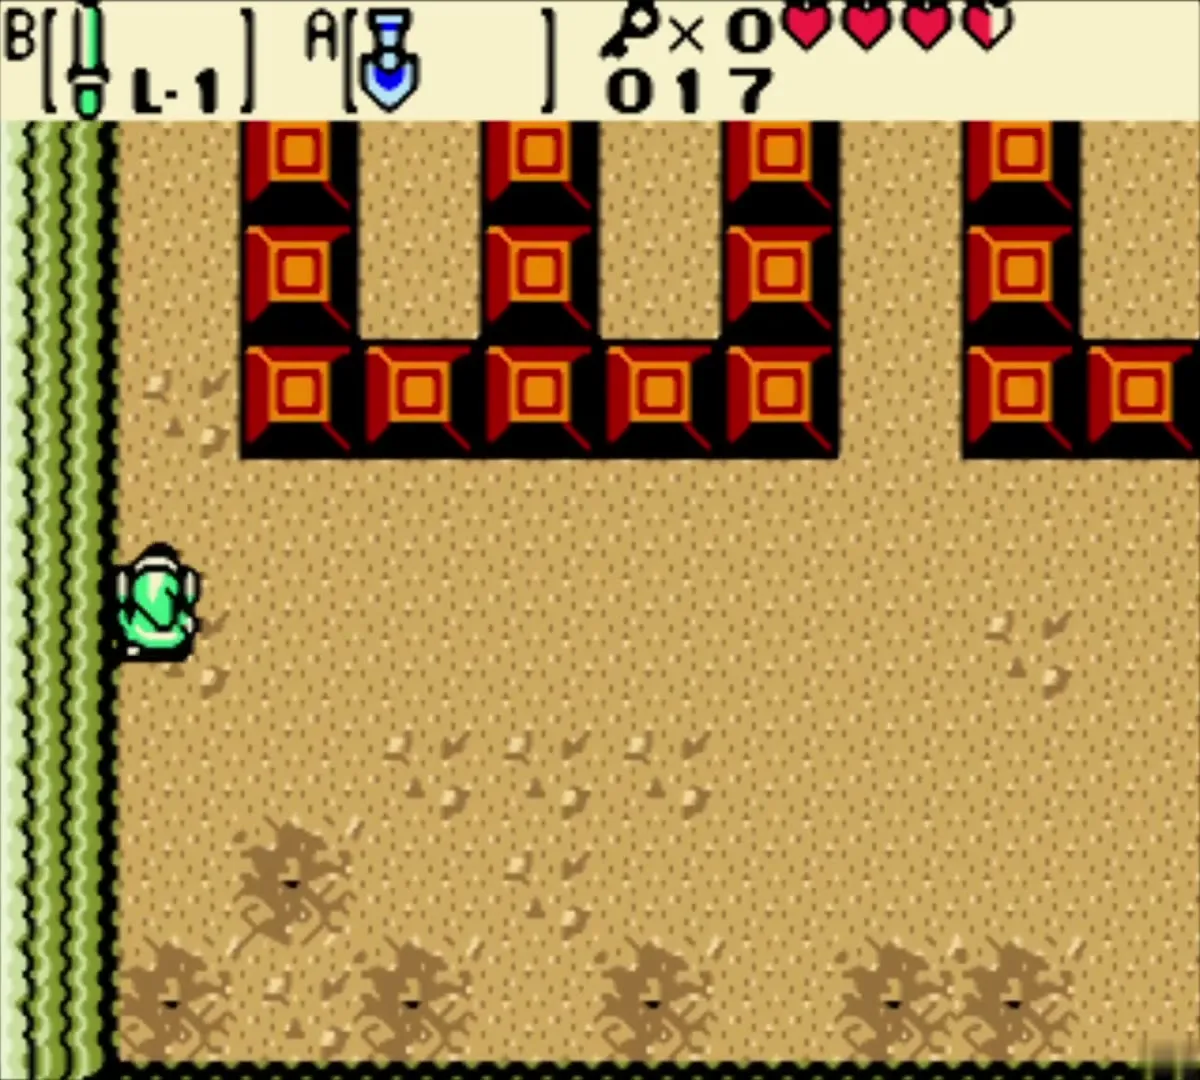
Piece of Heart and 30 Rupees
In the room where a heart floats beside a pile of blocks, push the blocks aside until you can walk up to it. This is a Piece of Heart (see Heart Piece locations), and it is the second one you have found in the past, after the one by the Black Tower.

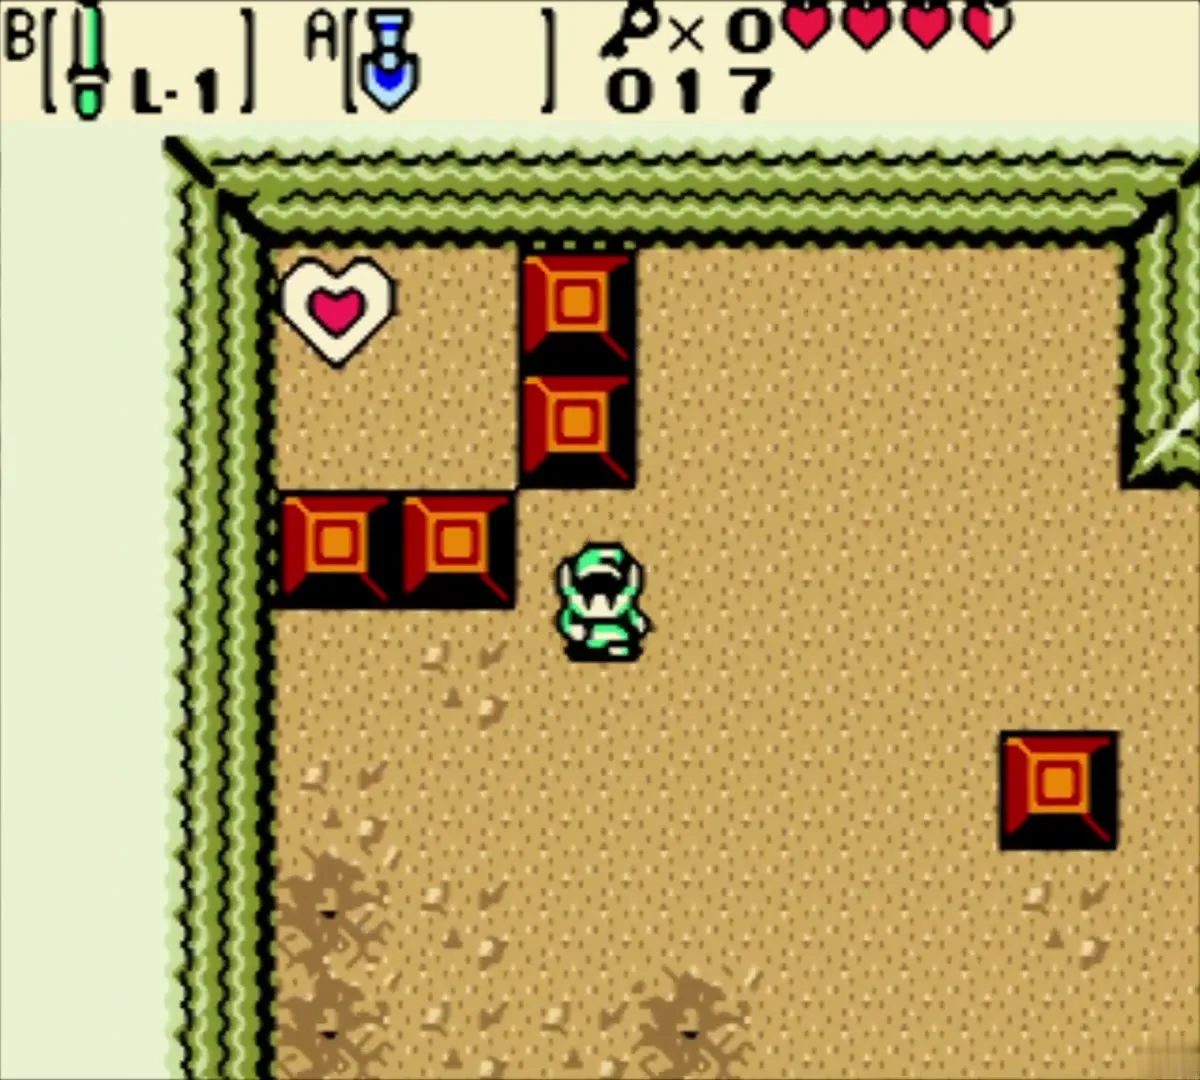
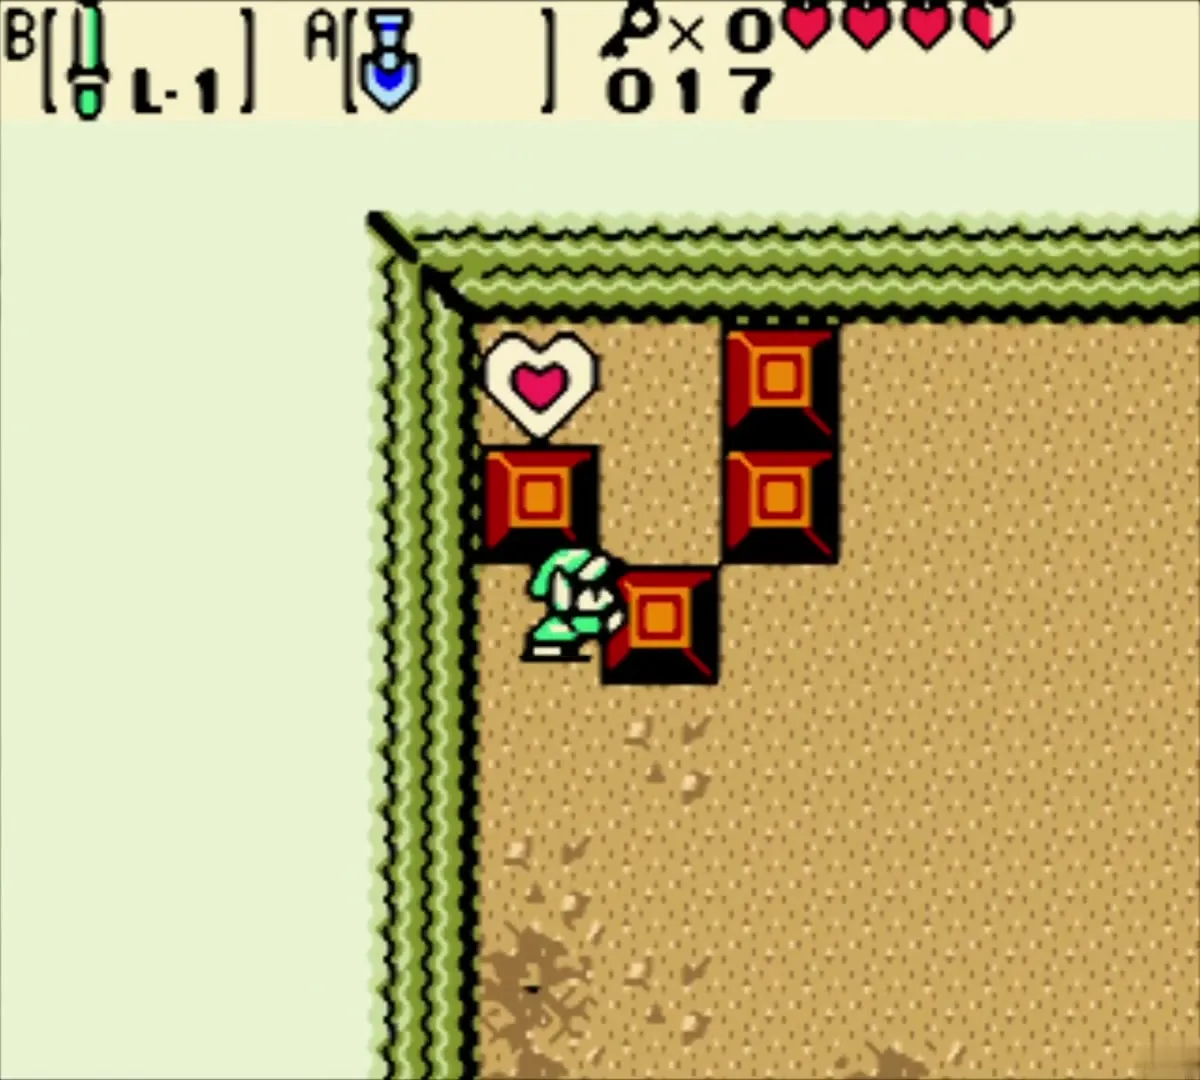

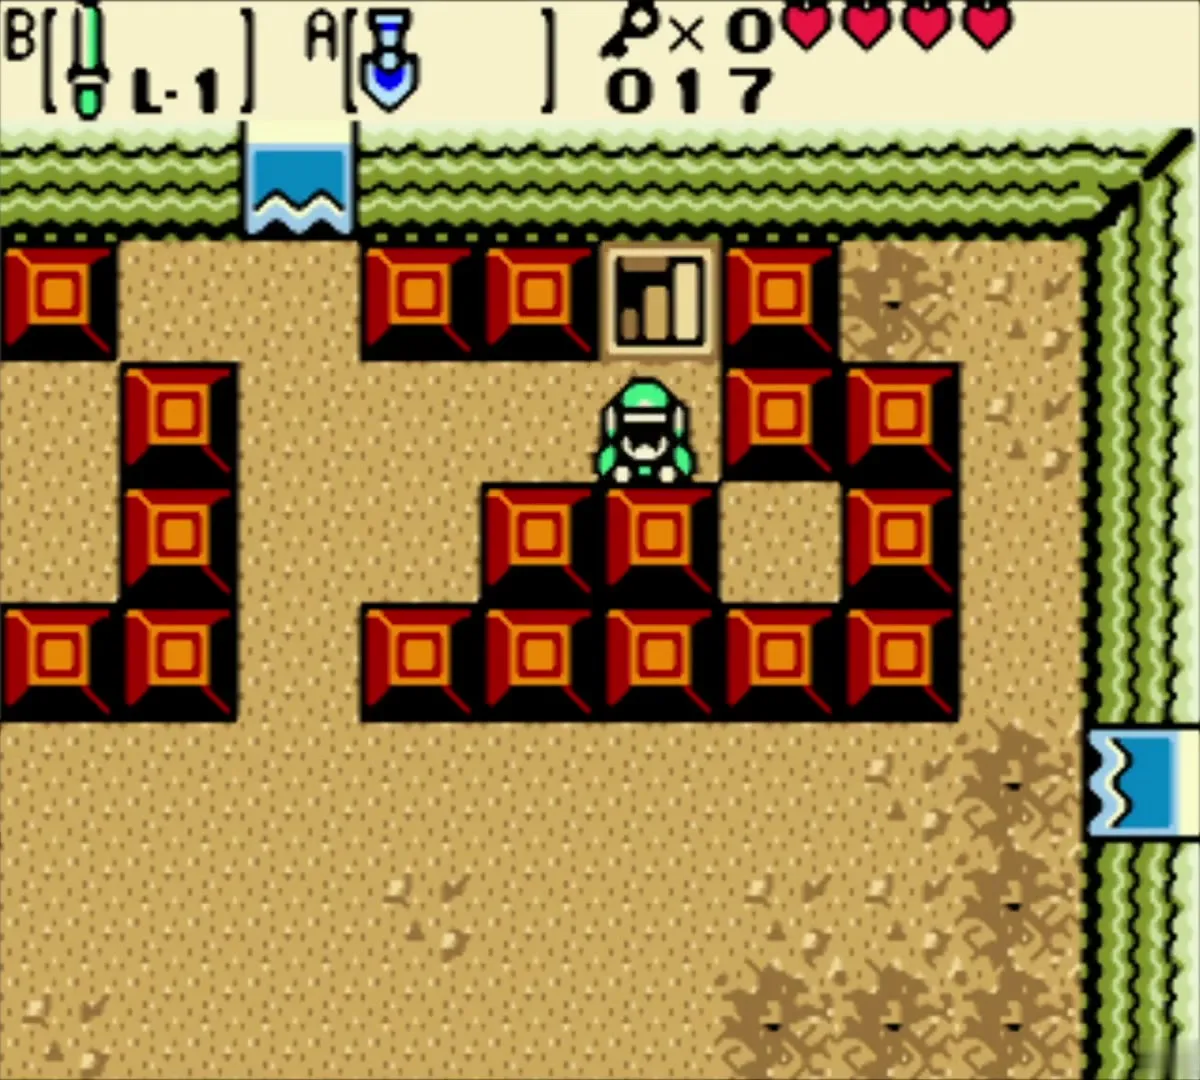
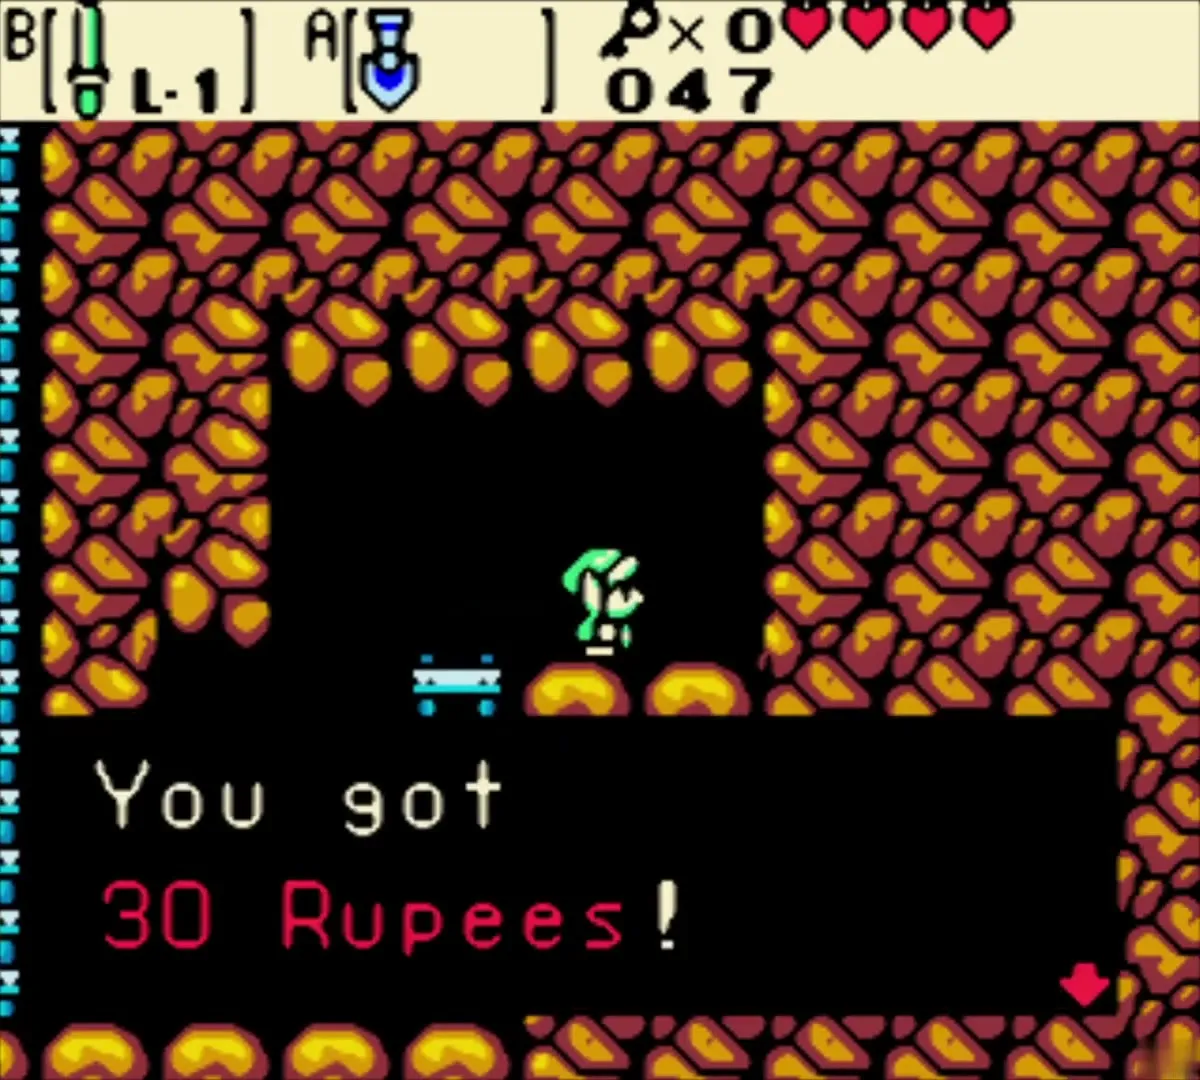
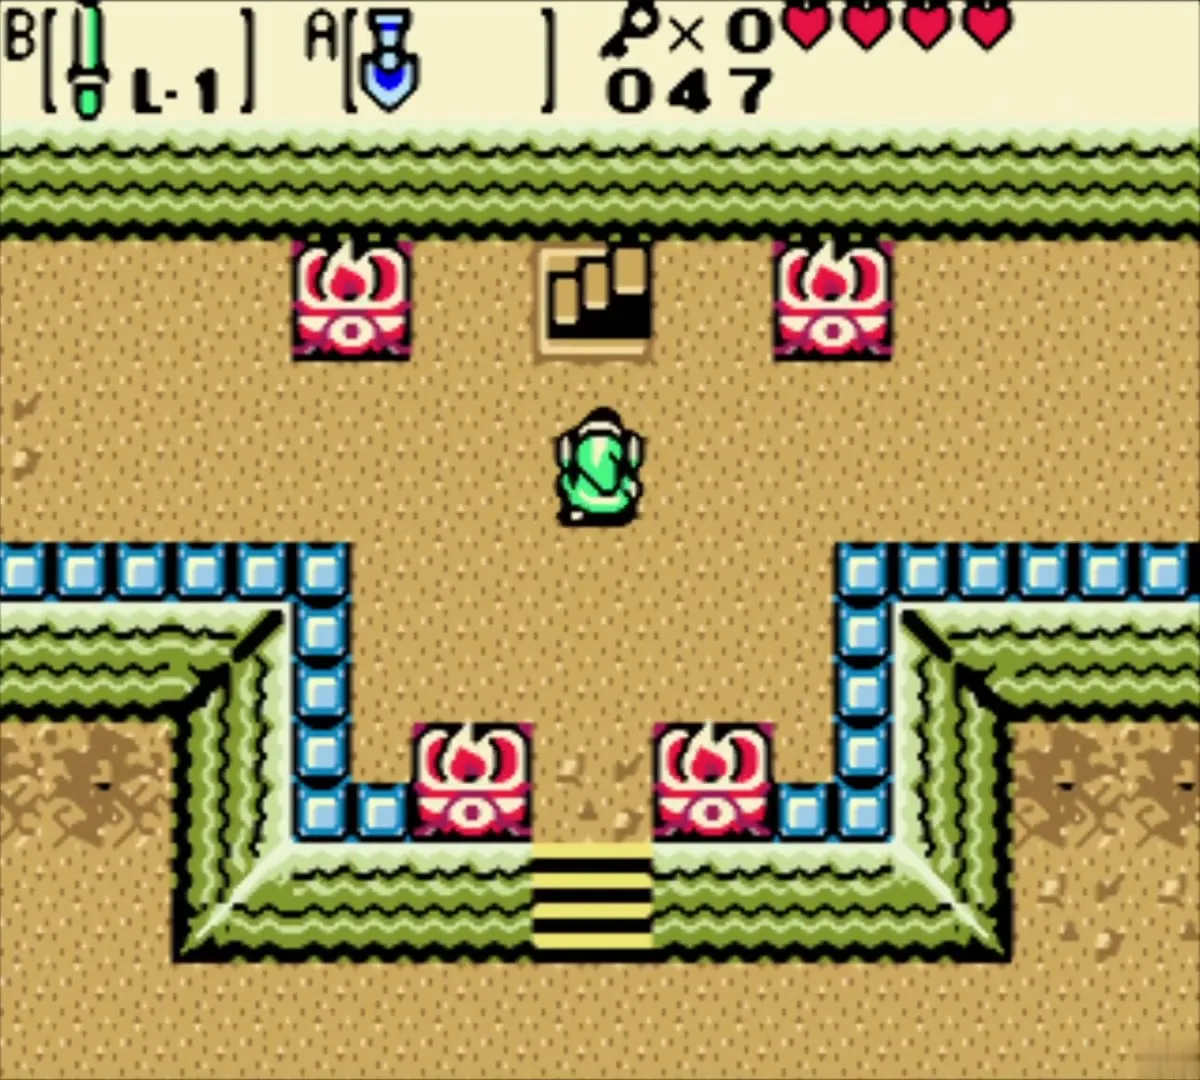
Take the hidden staircase in the next block room to a small cave with 30 Rupees. Then push the remaining blocks, cross the blue tile bridge in the last room and climb the stairs to the Maku Tree.
The young Maku Tree and the Seed Satchel
Save the Maku Sprout (the past)
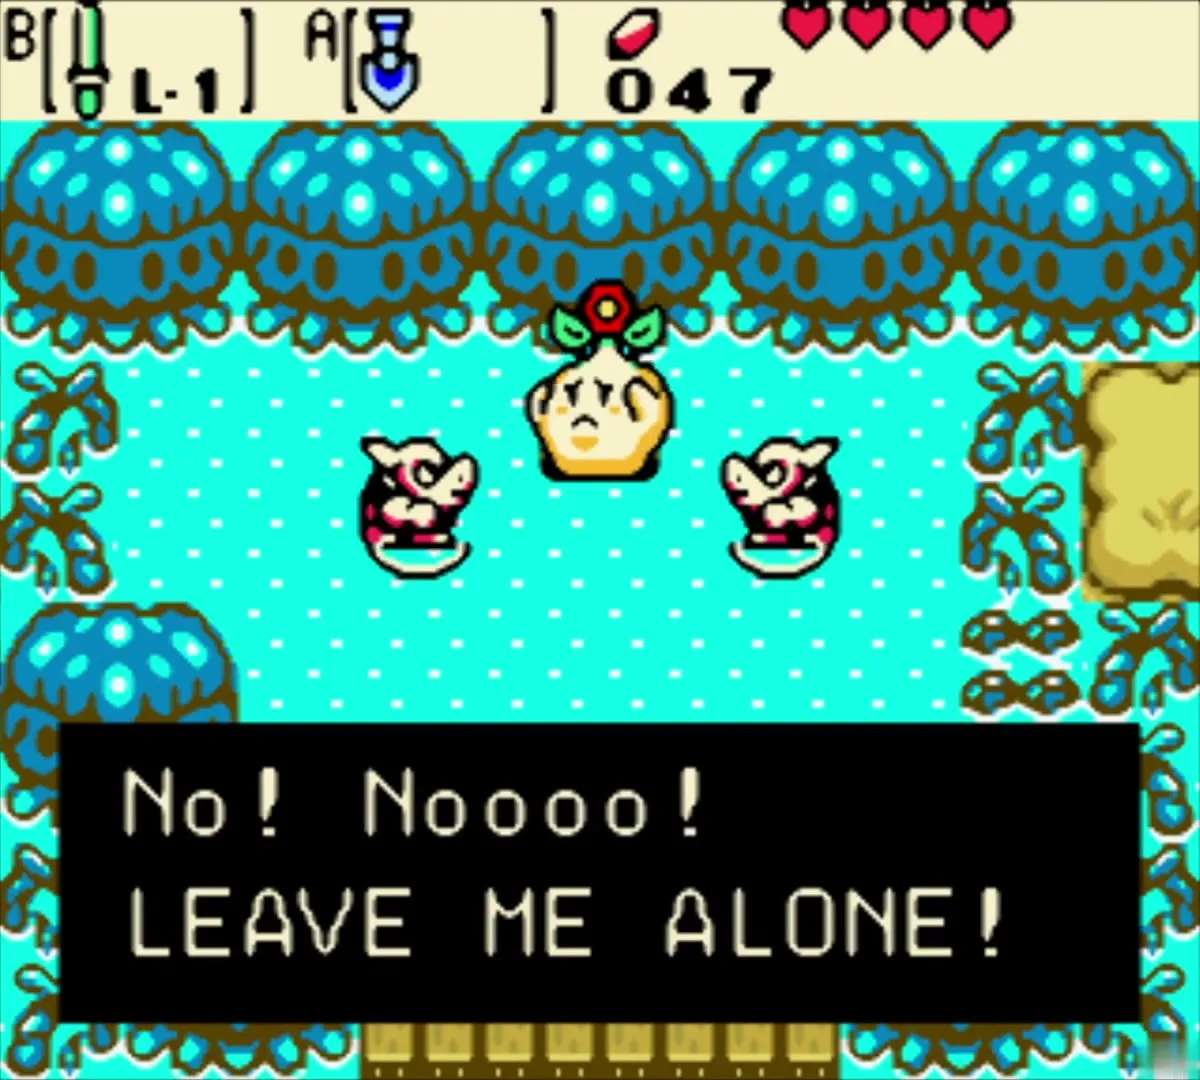
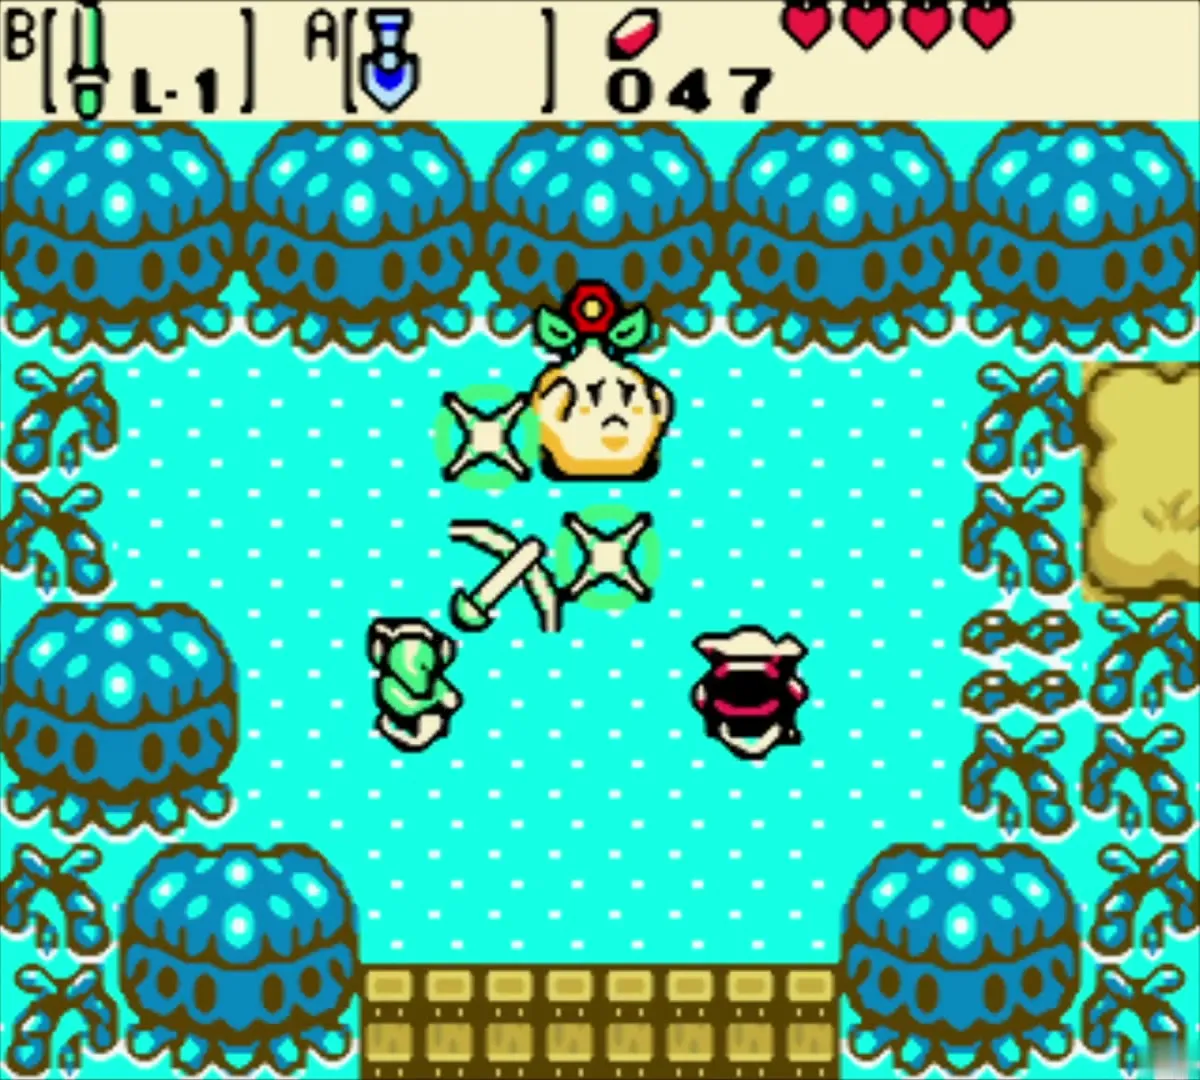
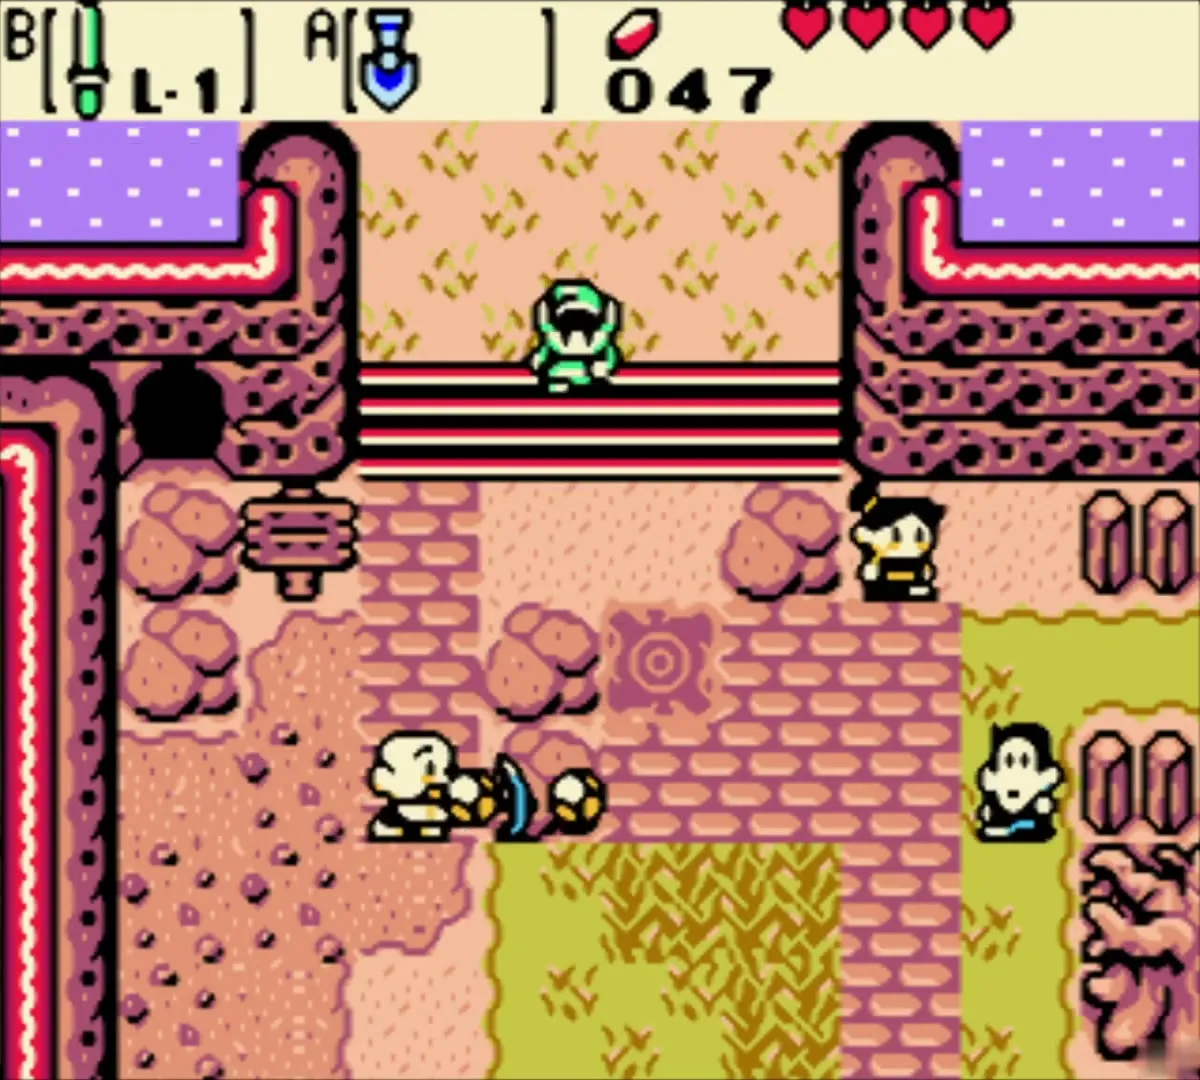
In the grove, two Moblins are attacking the Maku Tree, who is only a sprout in this era. Defeat both with your sword and she thanks you. Walk back out to Lynna Village and step into the time portal to return to the present.


Seed Satchel and Ember Seeds (the present)
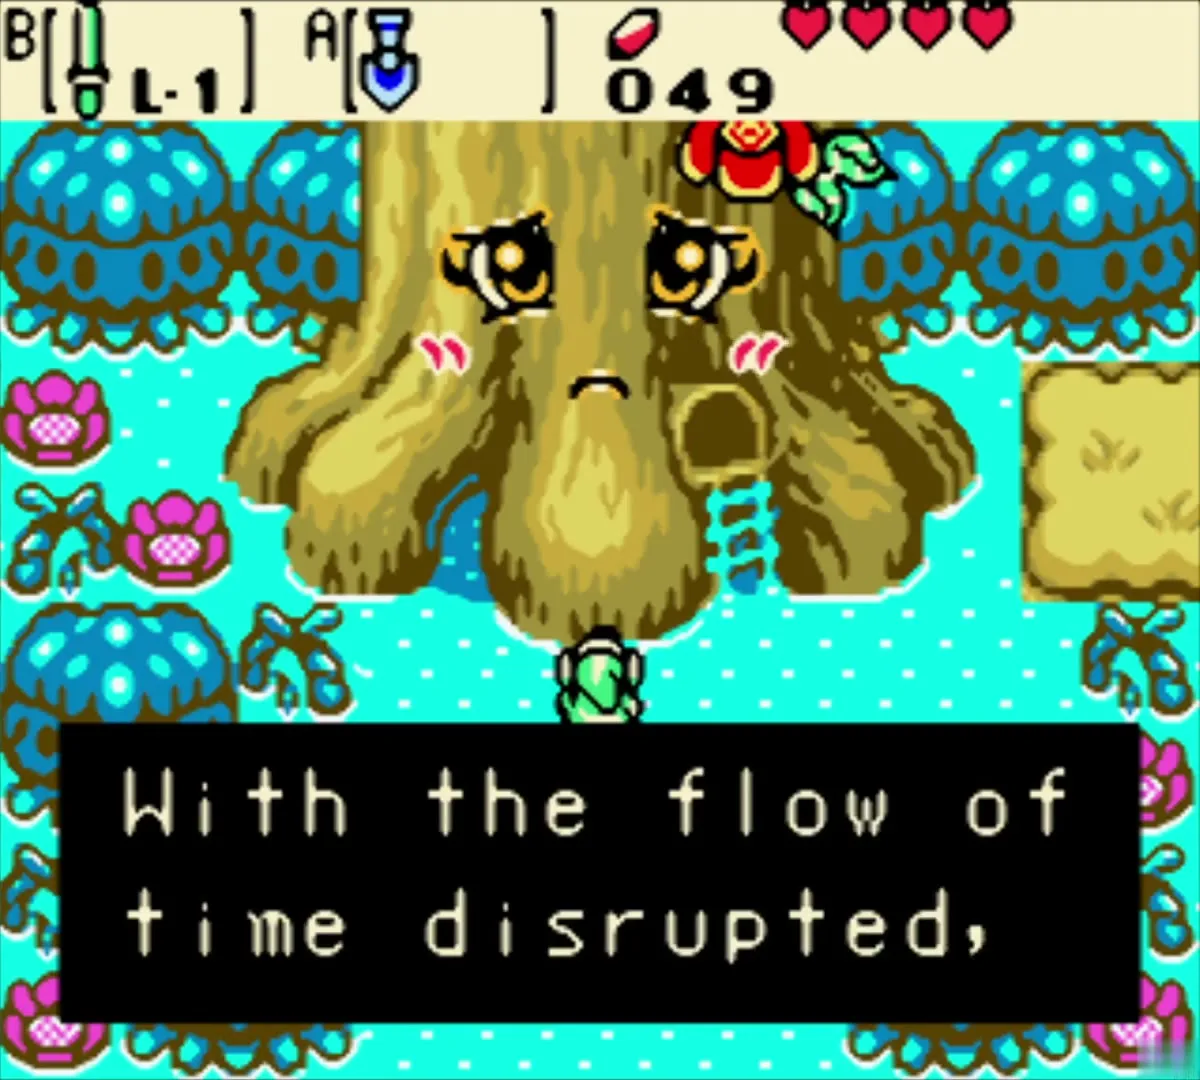
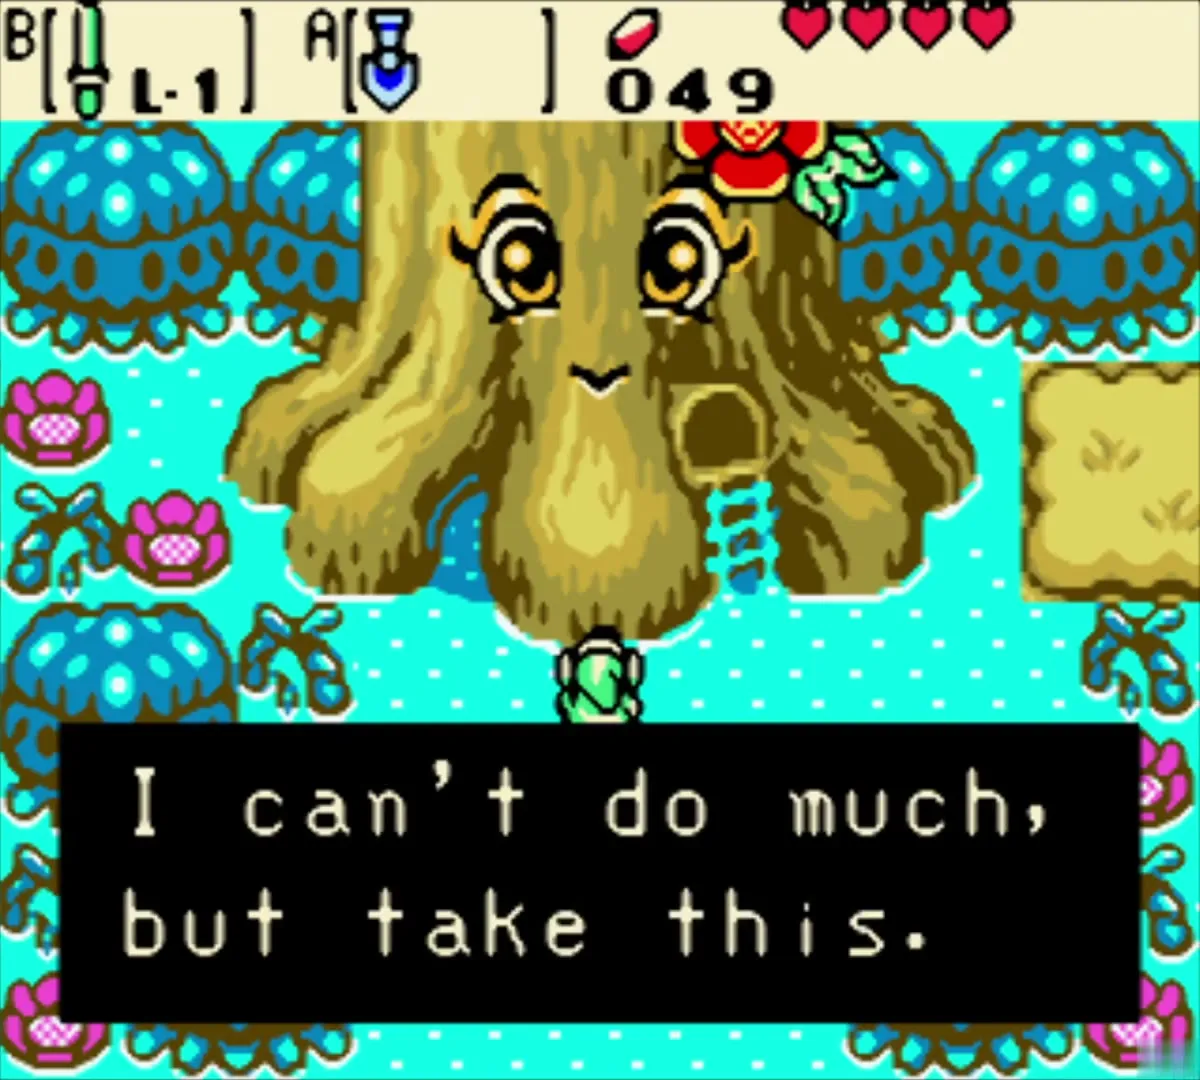
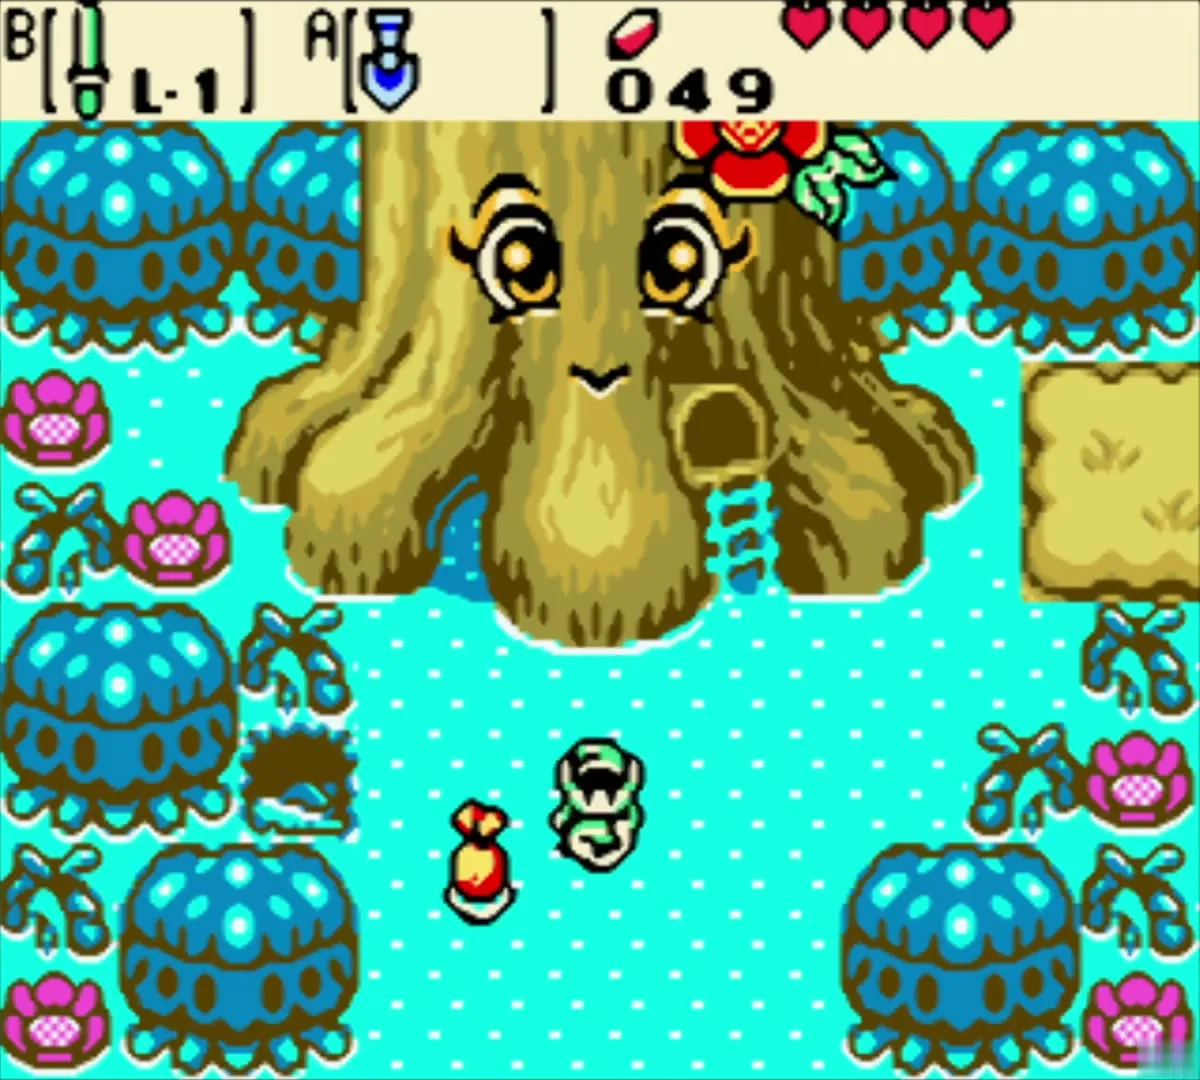
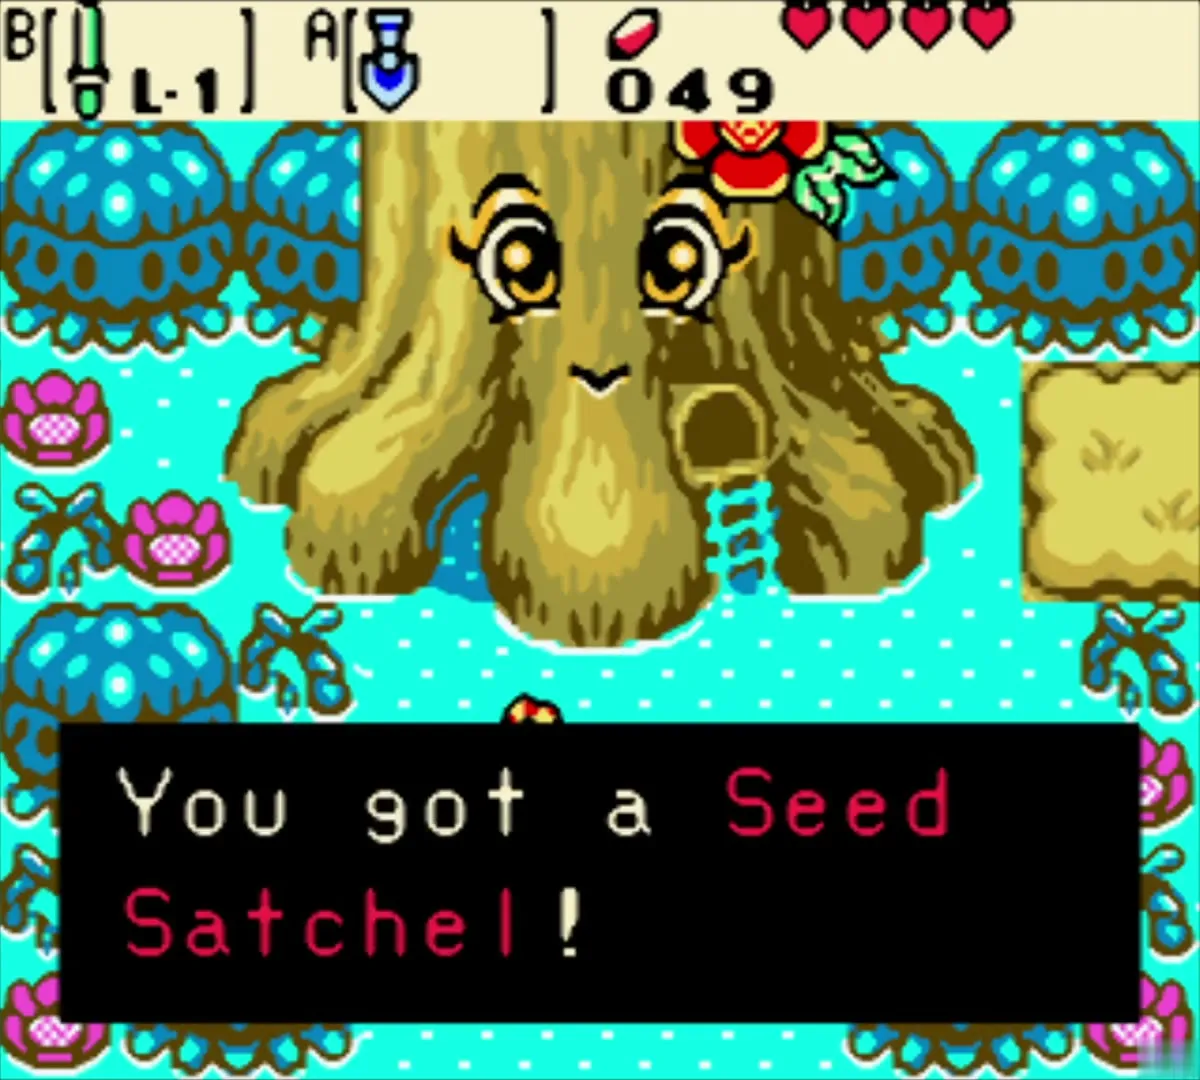
In the present, walk north to the Maku Tree. She asks you to find the eight Essences of Time and gives you the Seed Satchel with 20 Ember Seeds. Set it on a button and use it to throw an Ember Seed at bushes and torches to burn them (see Mystical Seeds).
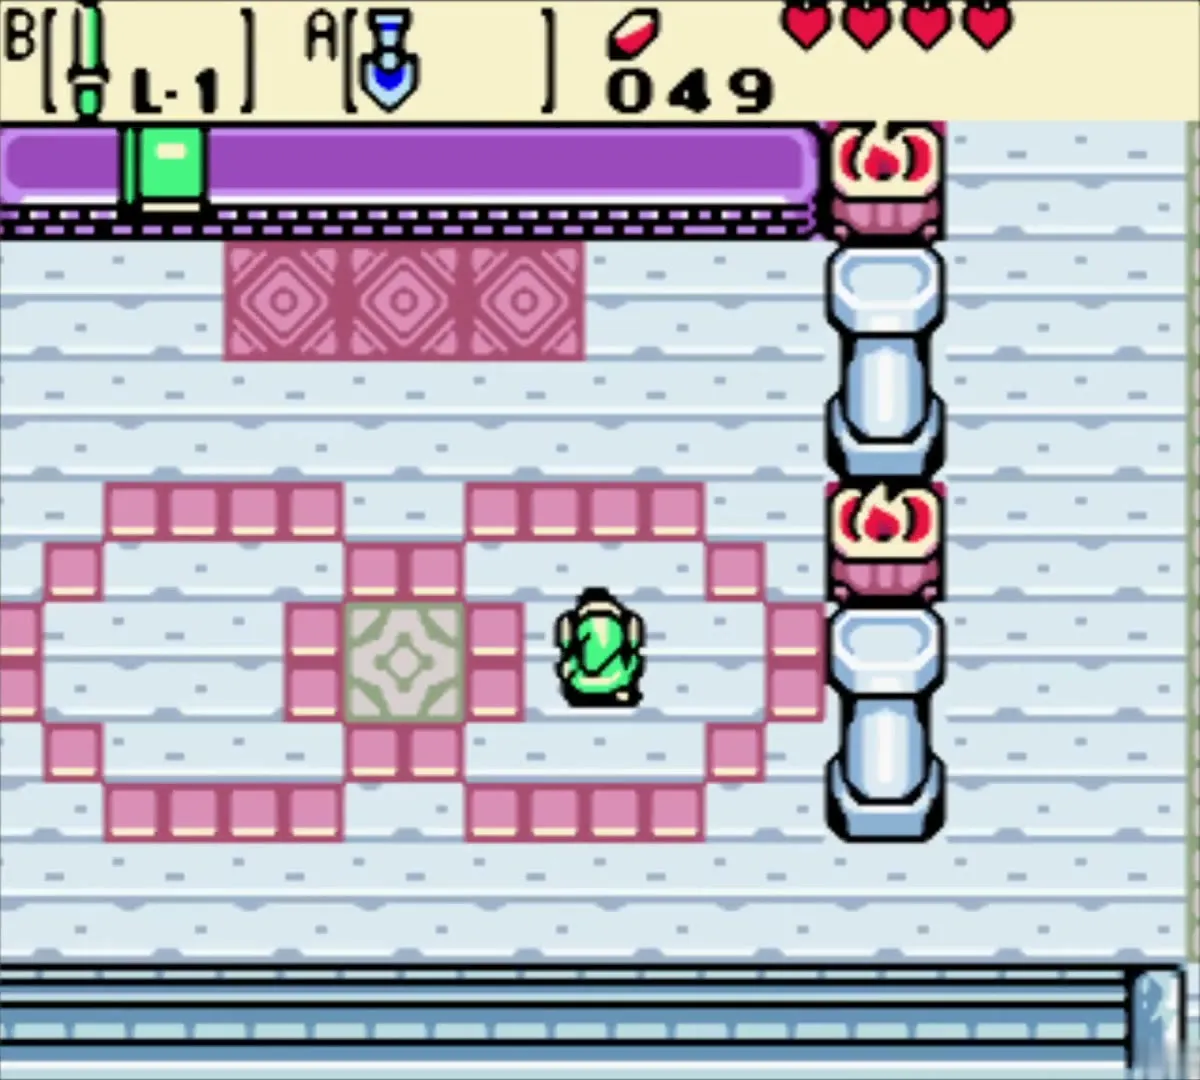
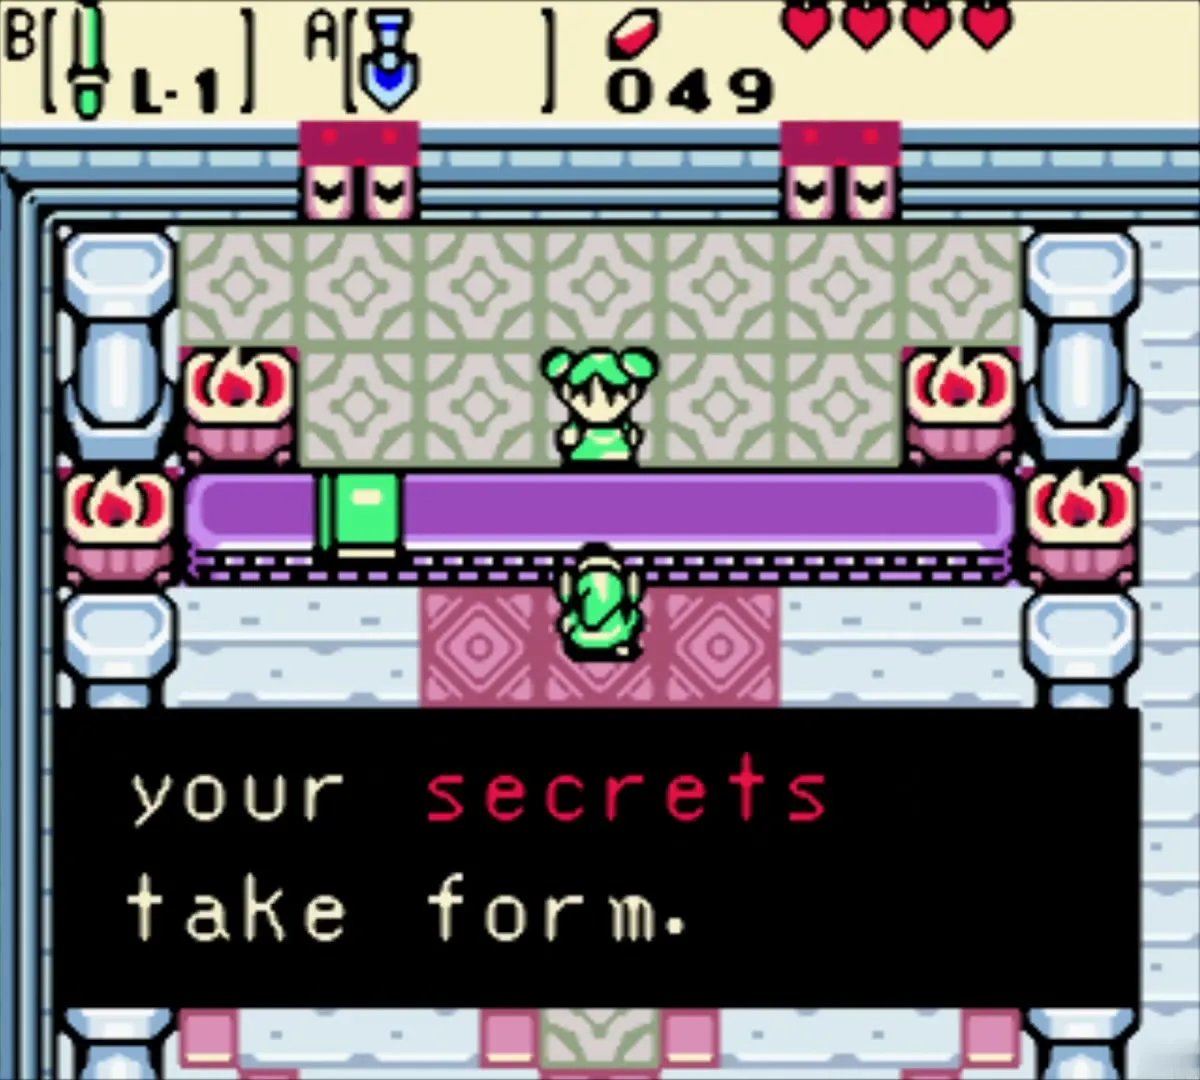
Farore’s Hall of Secrets is inside the Maku Tree’s grounds. In a Linked Game this is where you enter Seasons secrets, but nothing is needed yet. Leave the Maku Tree and head for Lynna City.


Lynna City and Yoll Graveyard (the present)
Chest of Rupees and the Gasha Seed
From the Maku Tree go south and burn the bush in the way with an Ember Seed to reach the road east. Open the chest there for 30 Rupees.
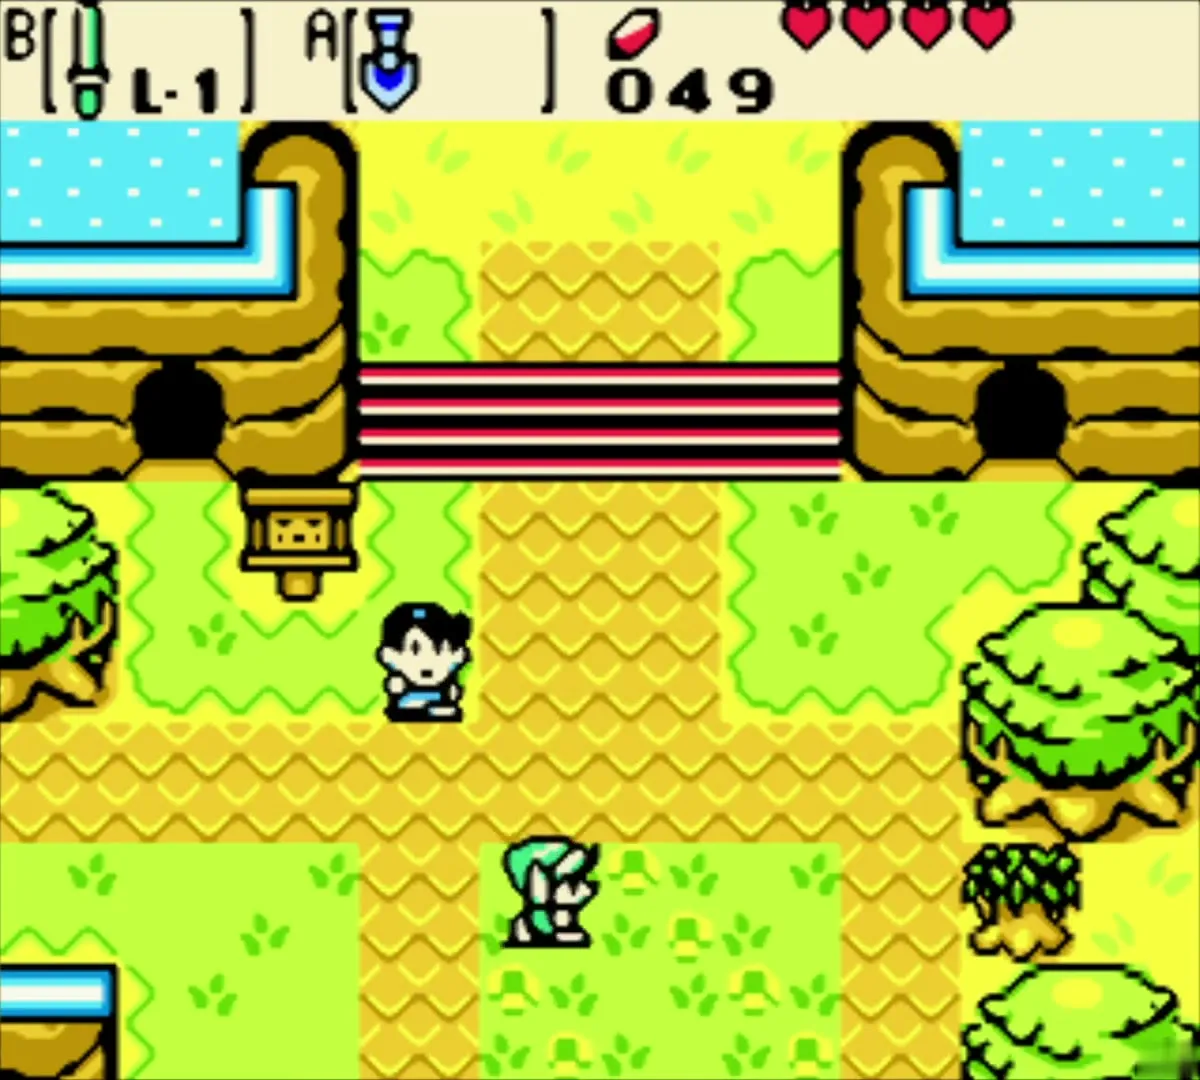

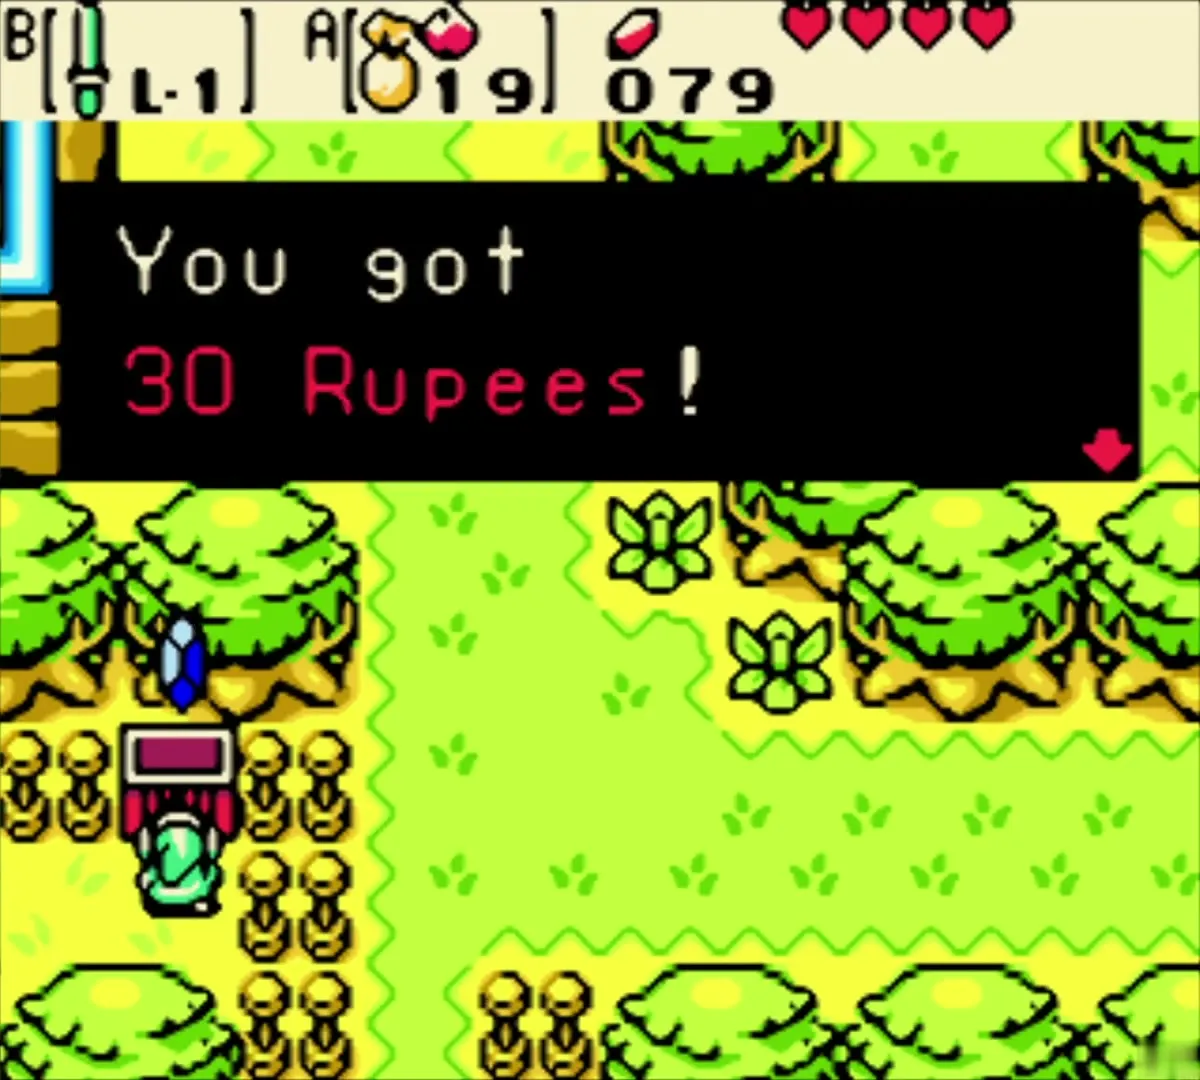
Walk into the Lynna City shop. The shopkeeper sells a Gasha Seed for 30 Rupees. Buy it: this is your first Gasha Seed, and it must be planted in soft soil.
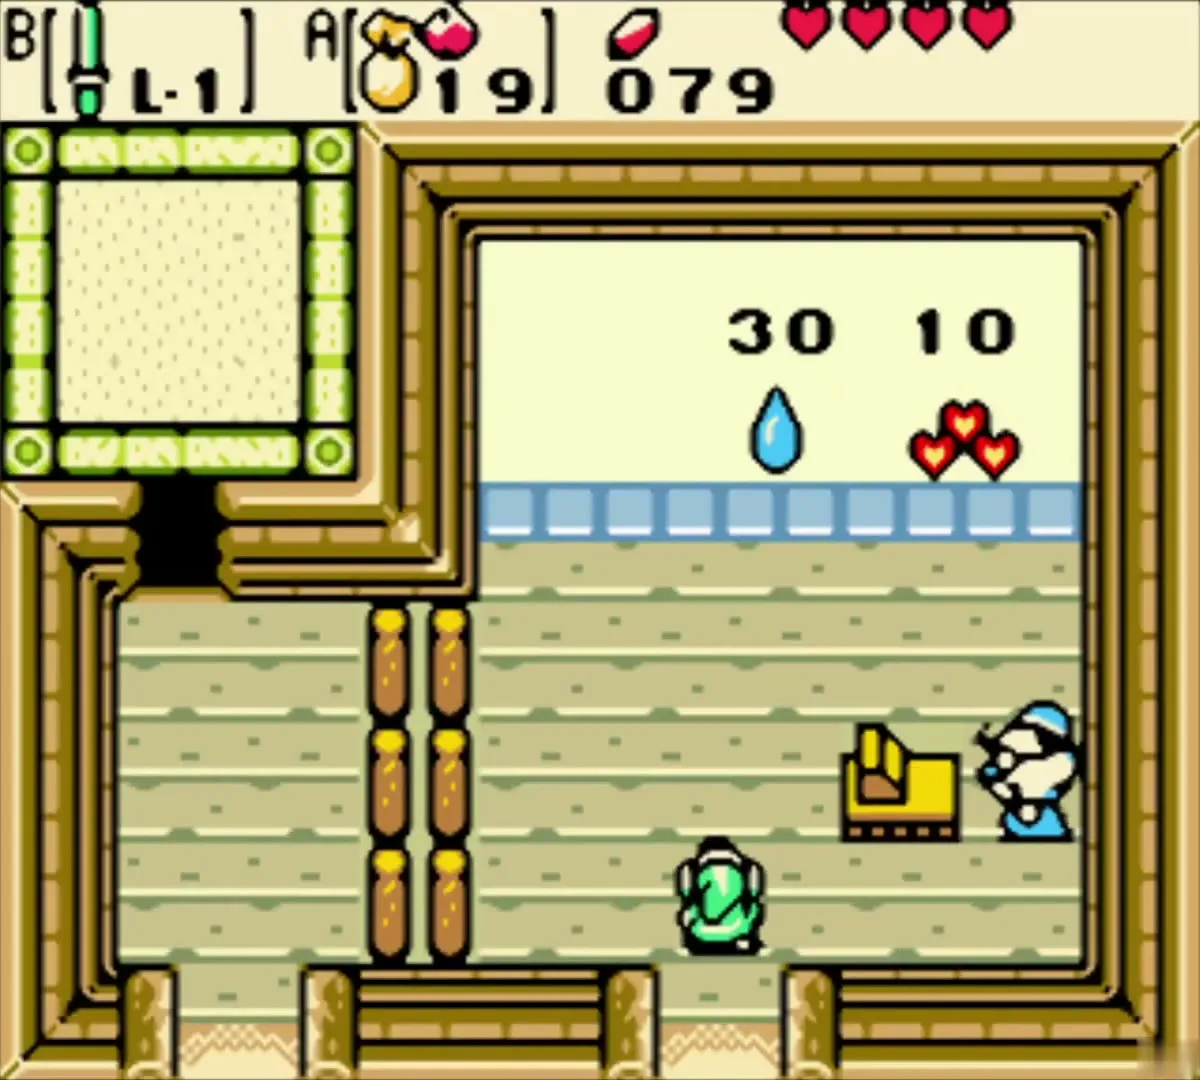
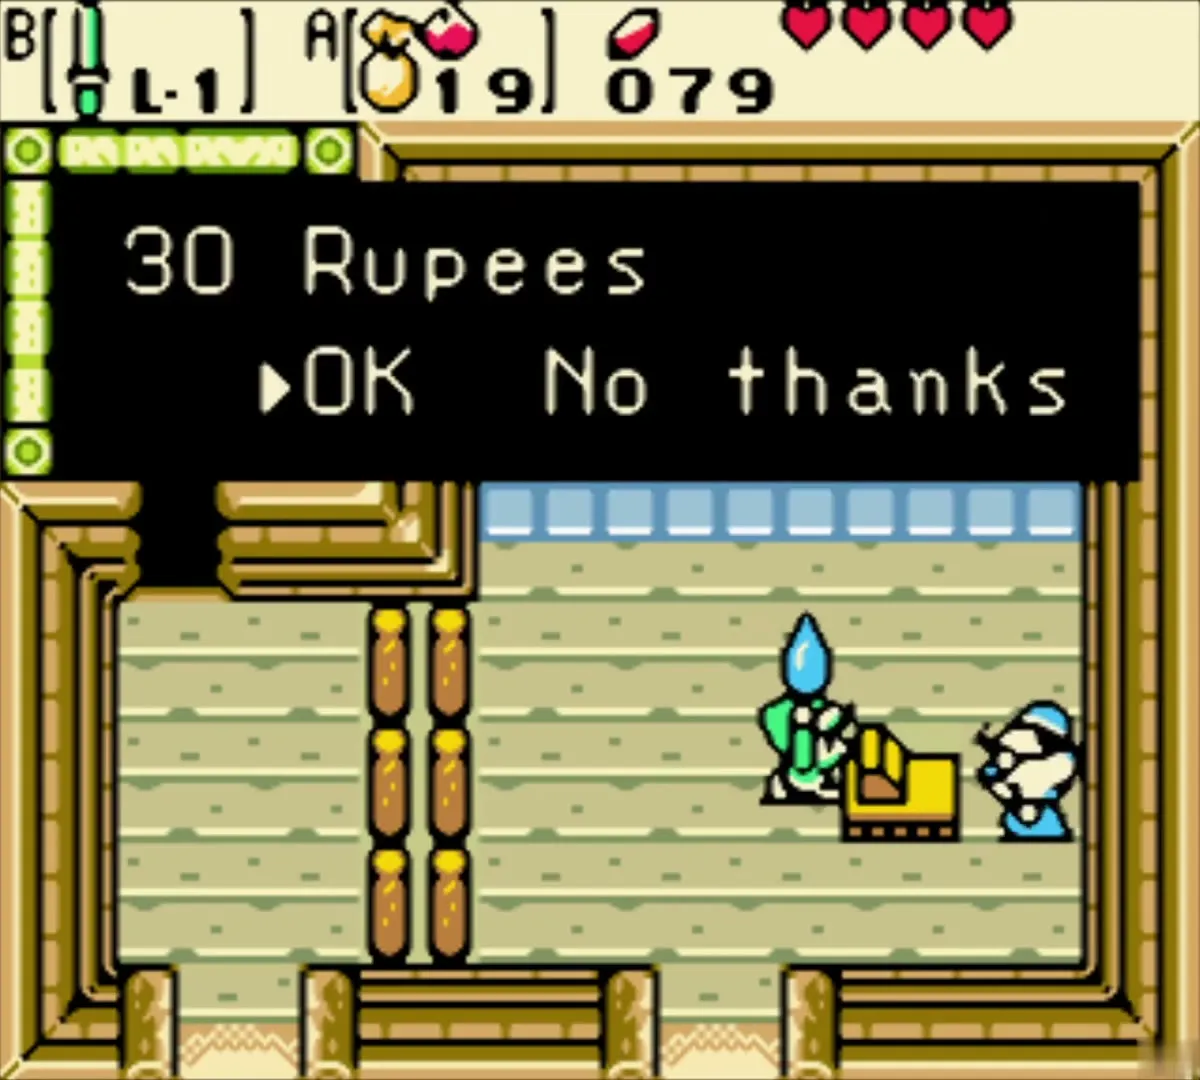
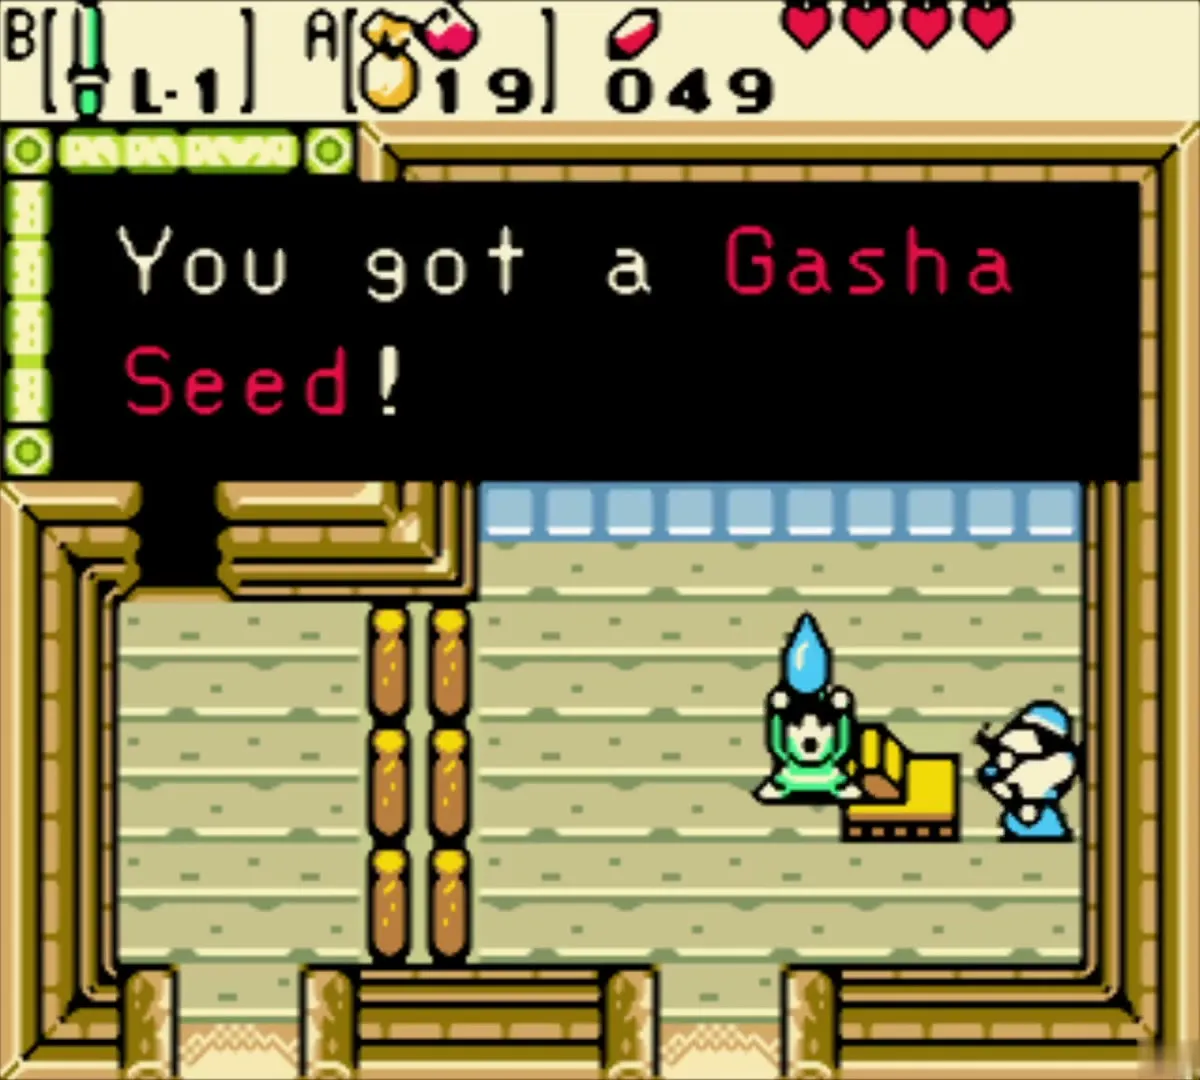
Plant the Gasha Seed by the graveyard gate
Take the road north to Yoll Graveyard. Burn the bush in the way with an Ember Seed, head east, then burn the next bush. Walk down to the ghost children by the pit and listen to what they say about a grave under a tree.

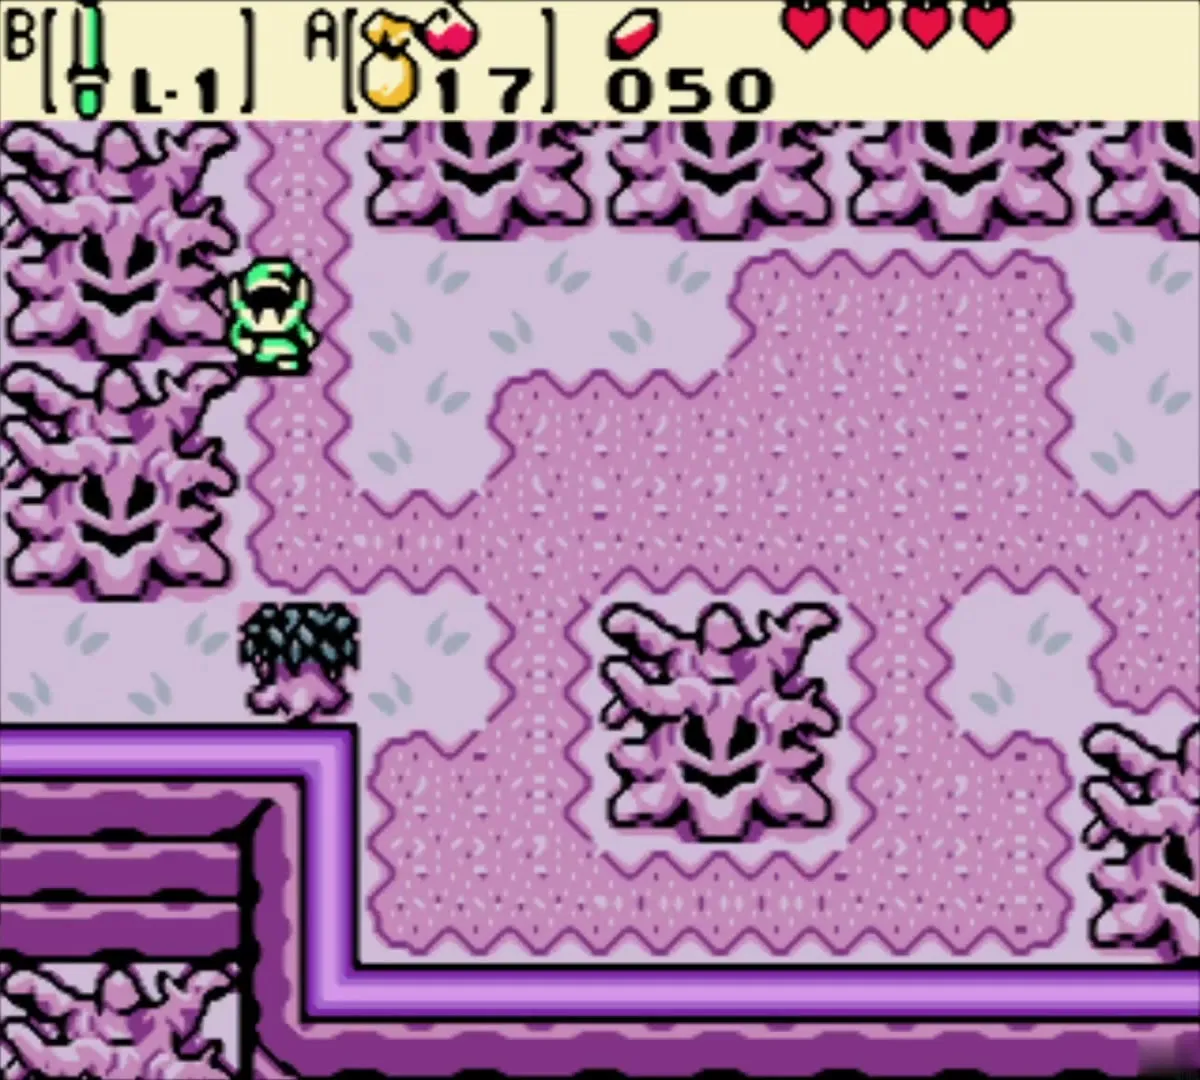

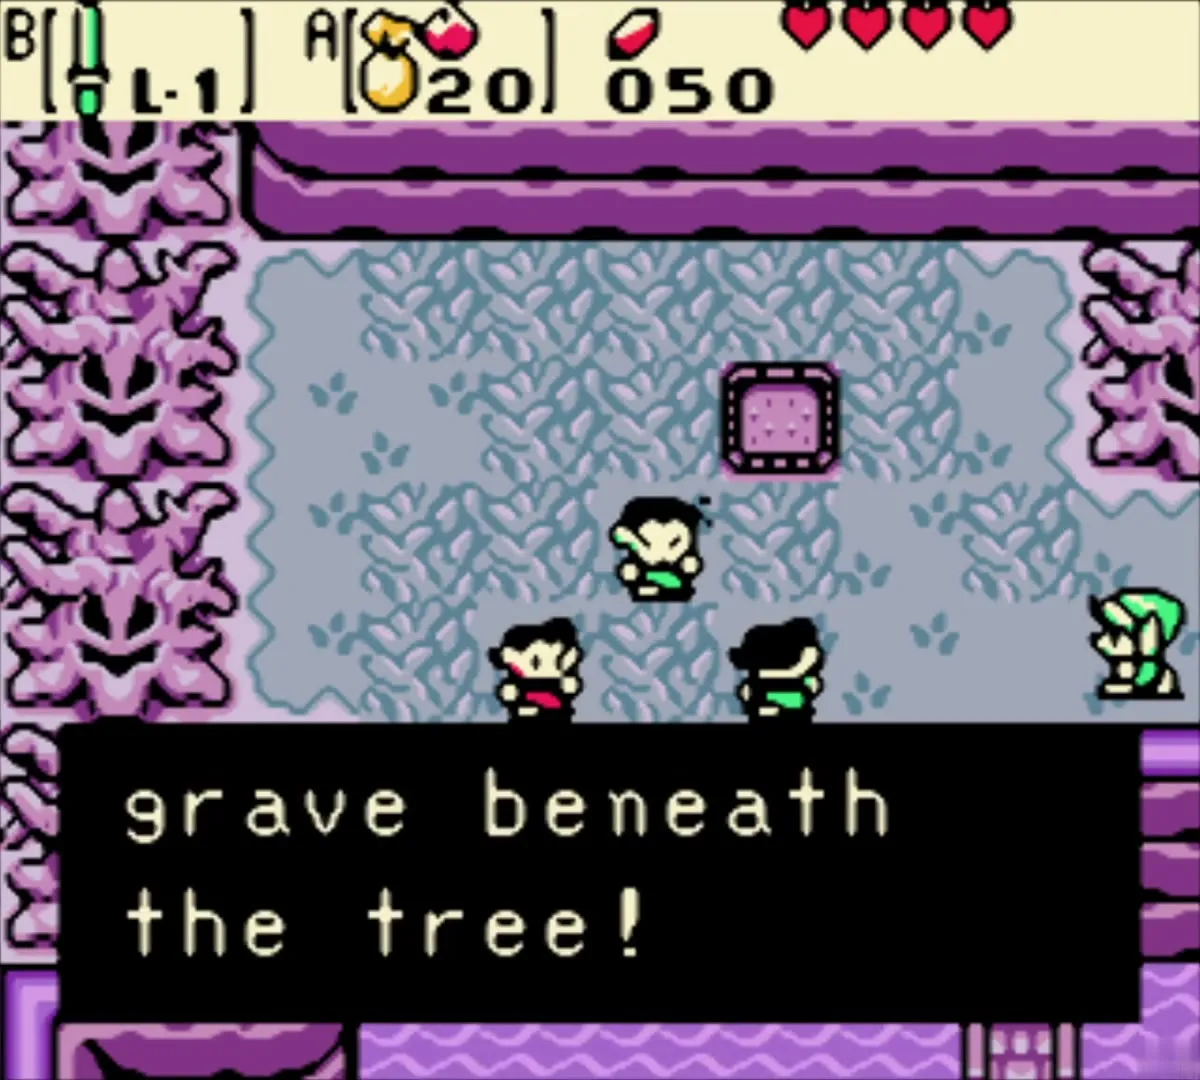
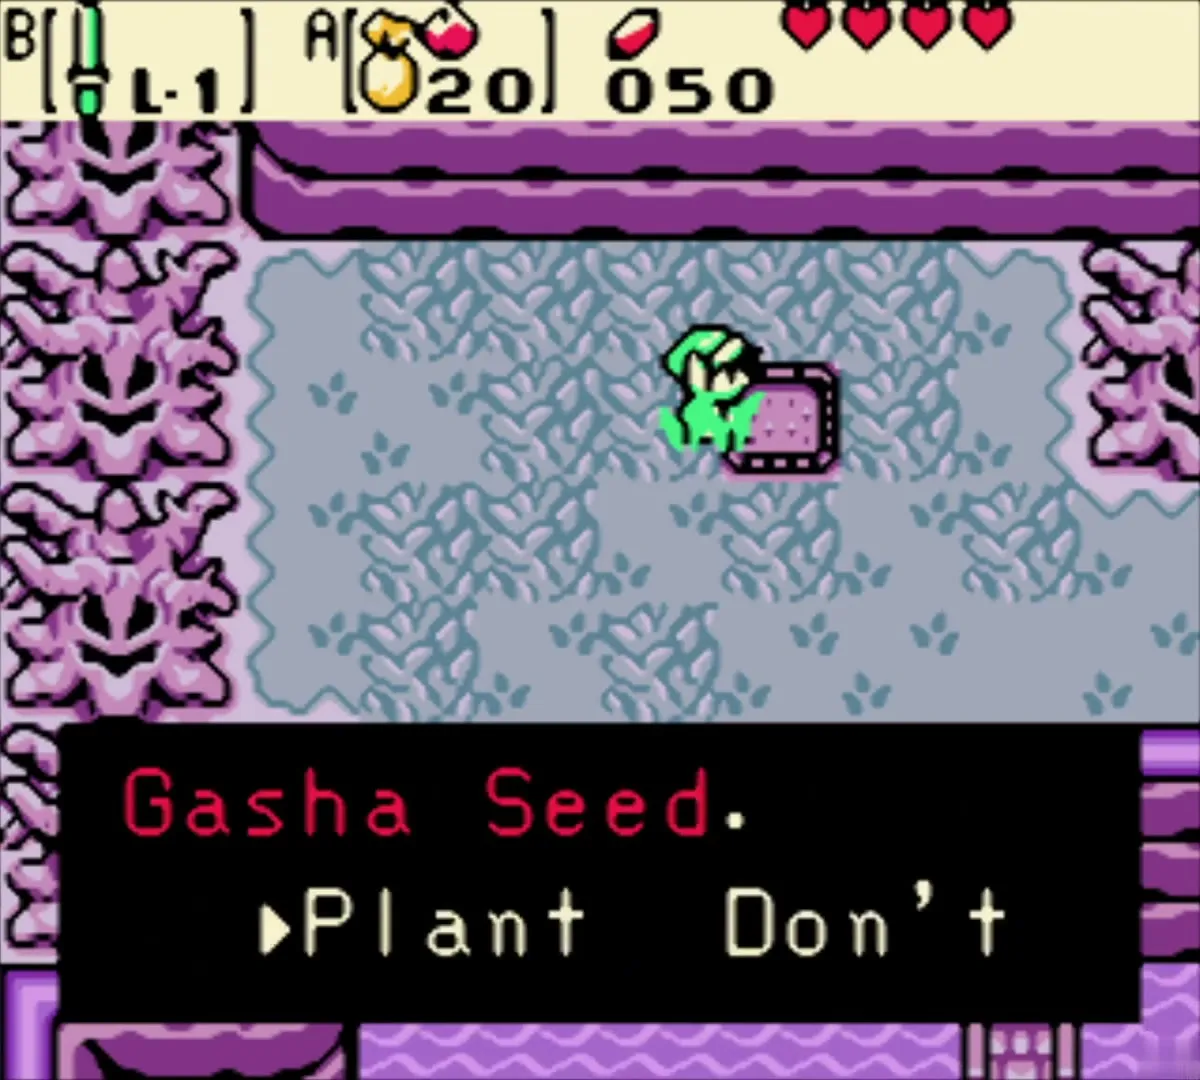
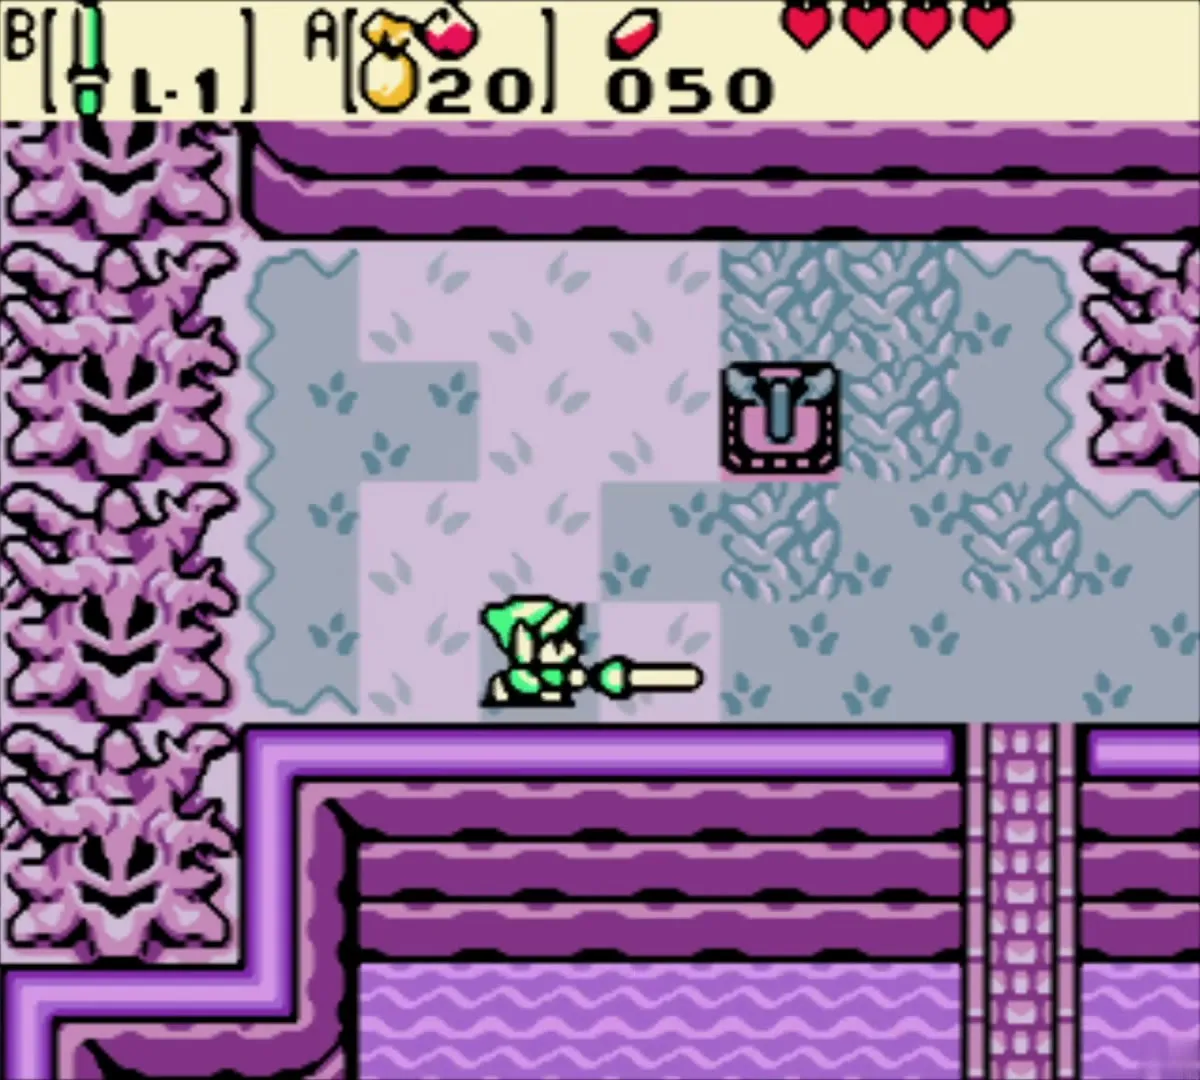
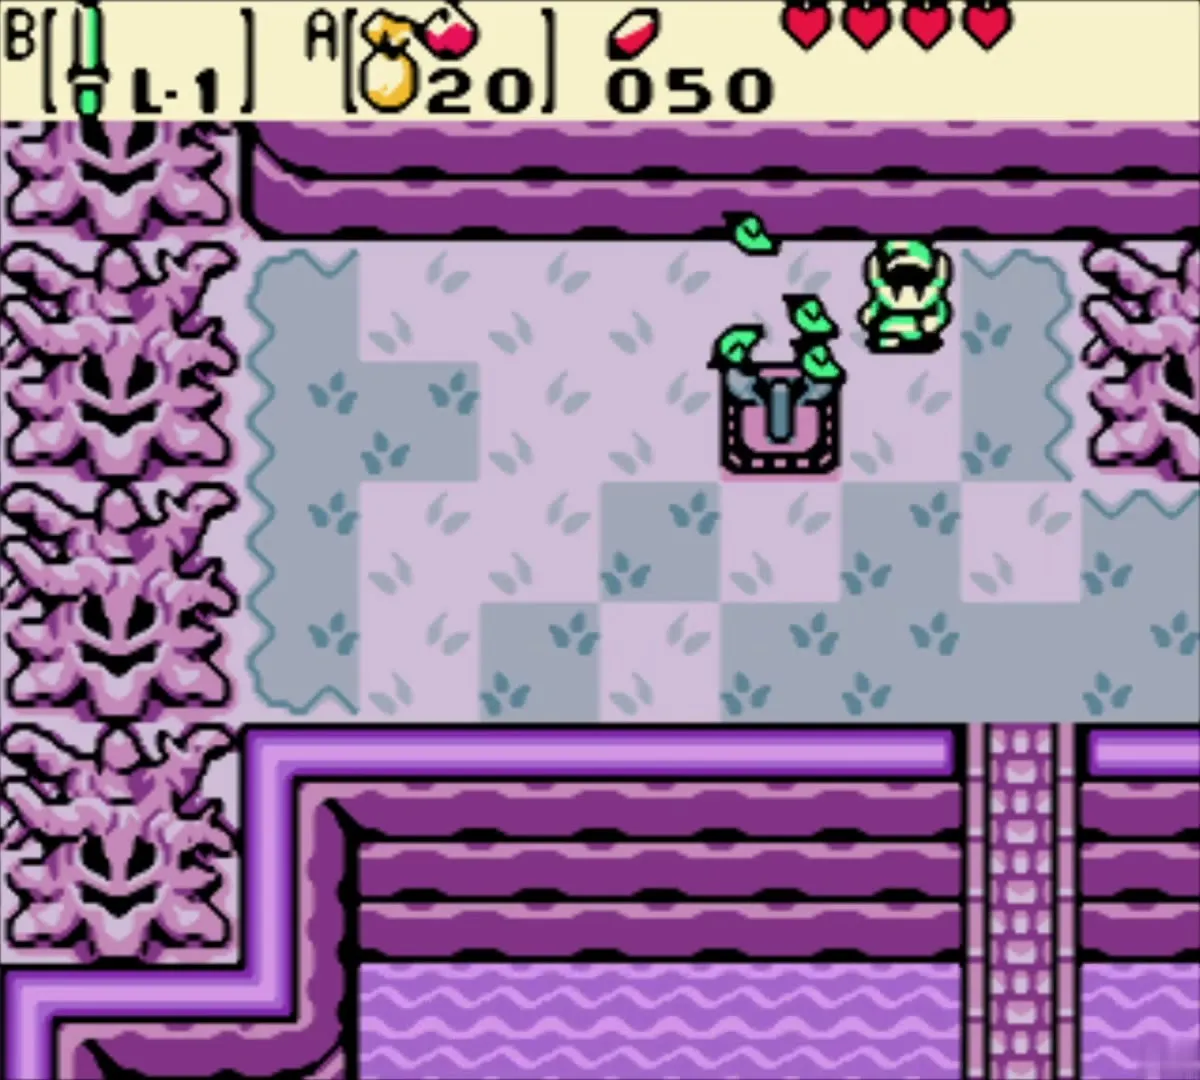
A patch of soft soil lies beside a stone block near them. Stand on it, plant the Gasha Seed from the item menu, and swing your sword over the spot. Later a tree grows there that drops Gasha Nuts with rings and Heart Pieces inside, so come back to harvest it.
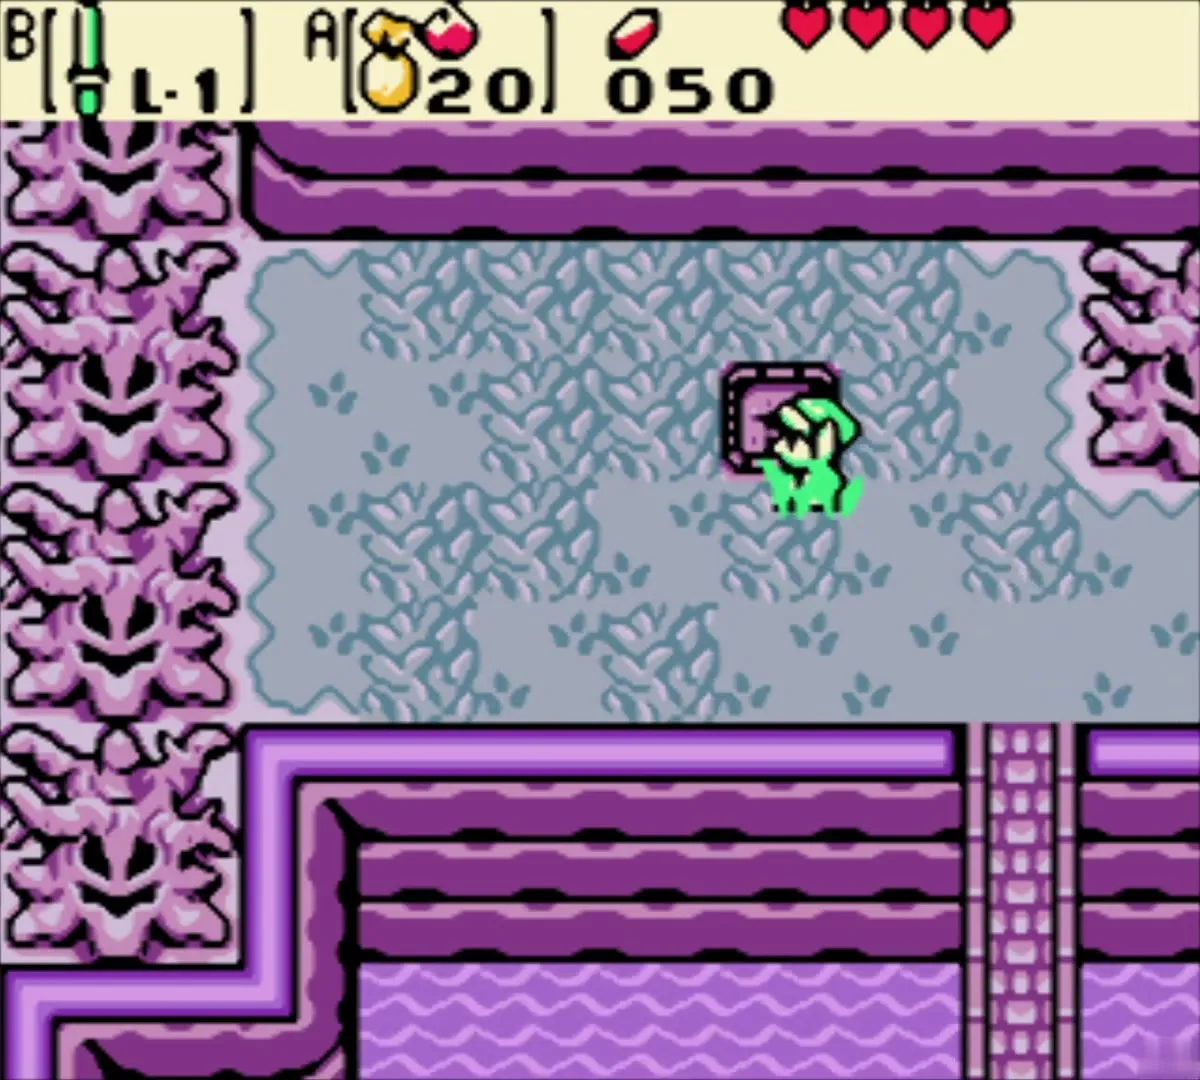
Graveyard Key
Go south, then east twice, and burn the tree at the bottom of the screen to uncover a cave entrance. The cave is dark: drop an Ember Seed on the unlit lamp, then walk east through the stone-block floor rooms. The Graveyard Key drops from the ceiling.


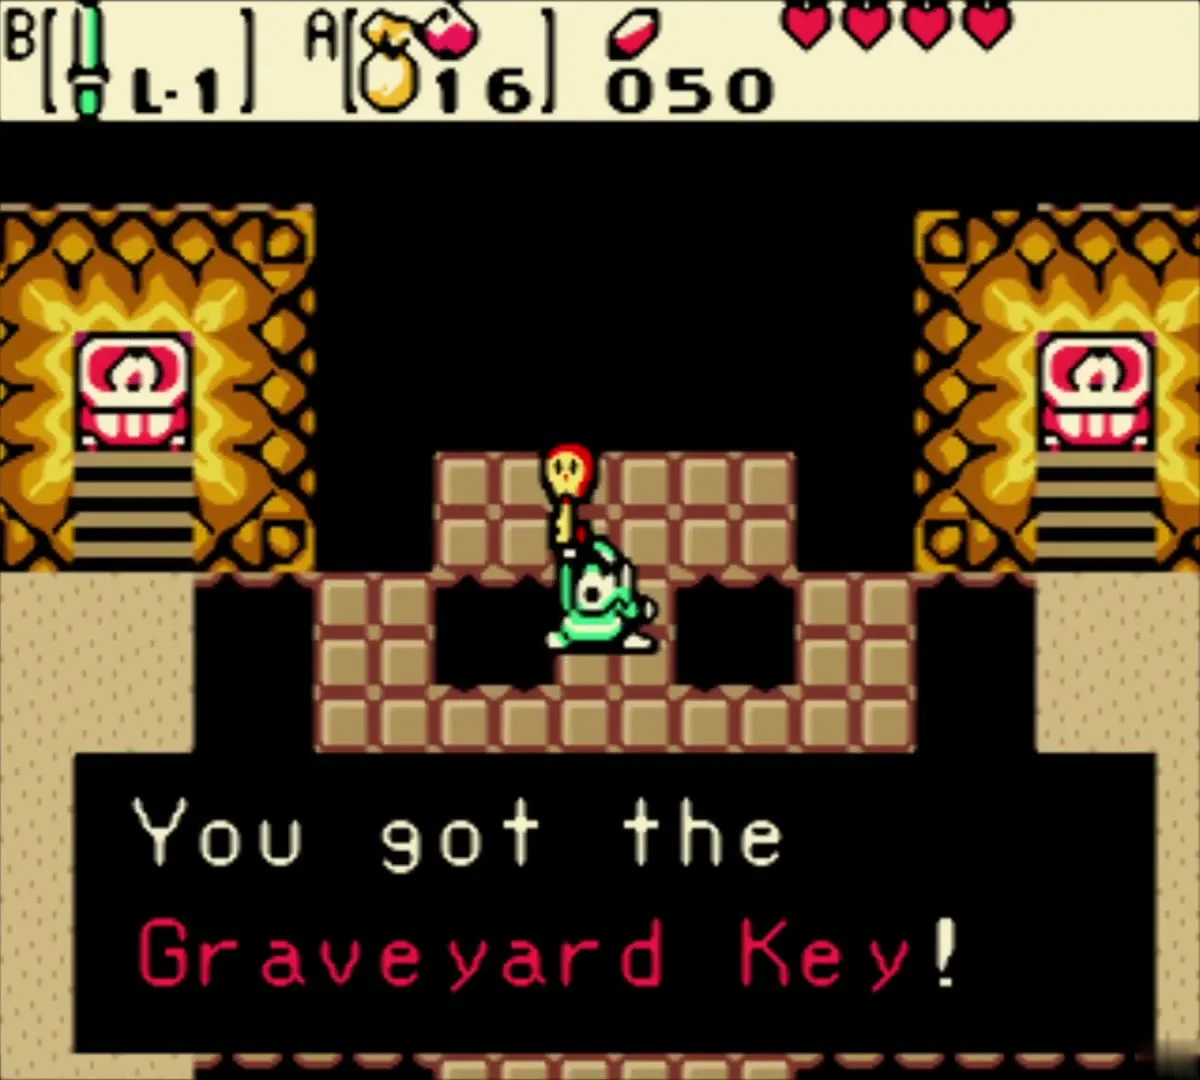
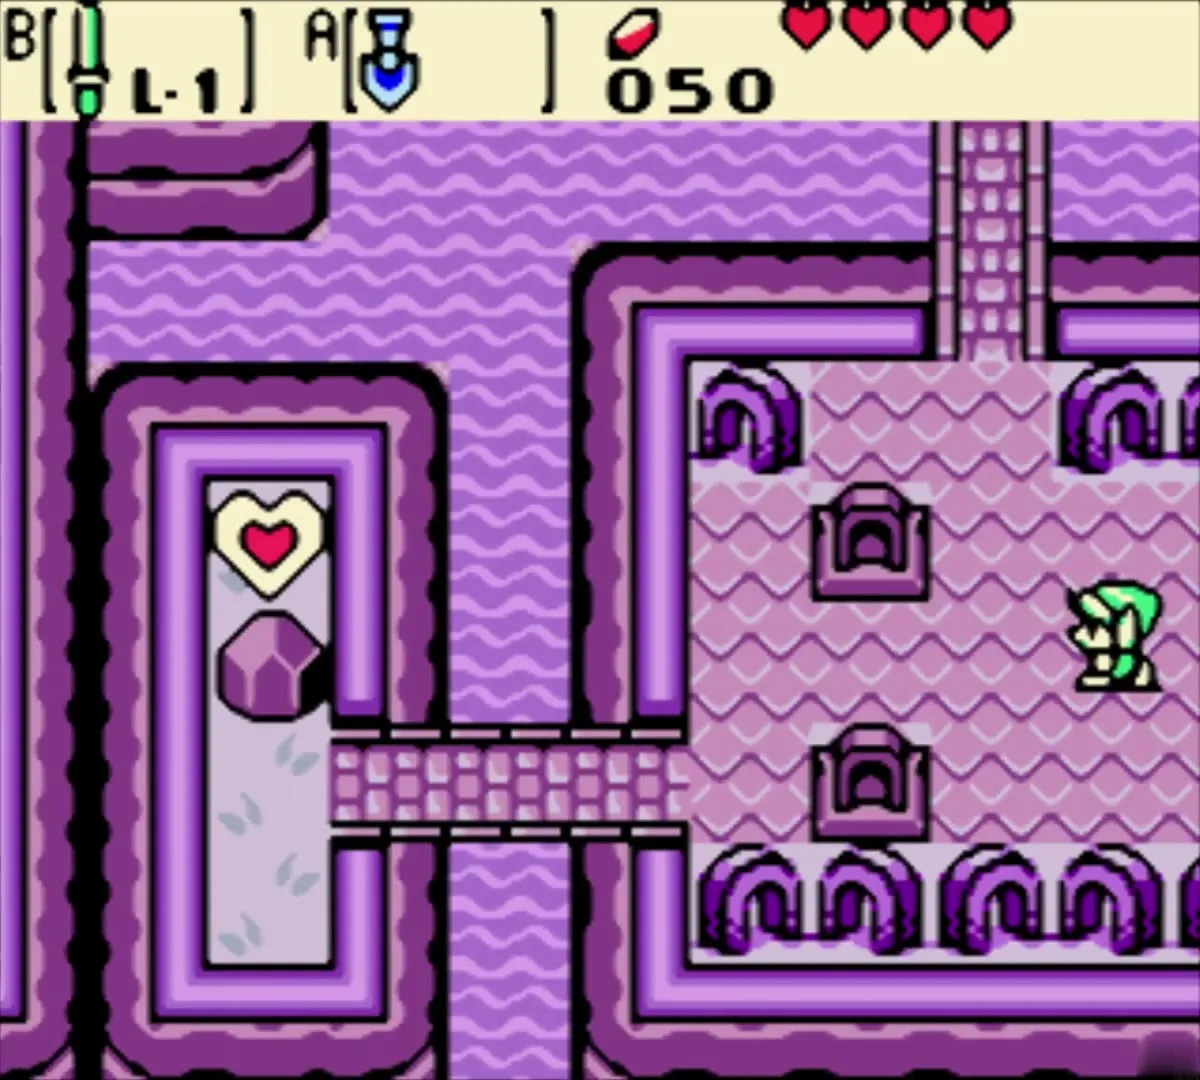
Leave the cave and return to the stairs near the ghost children. Push north against the gate to open it with the key, then go east and south through three screens to the entrance of Spirit’s Grave. A Piece of Heart sits on a ledge by the lake, but you cannot reach it without the Power Bracelet, so leave it for now.


Dungeon: Spirit’s Grave (Level 1)
Entrance, Dungeon Map and the color cube
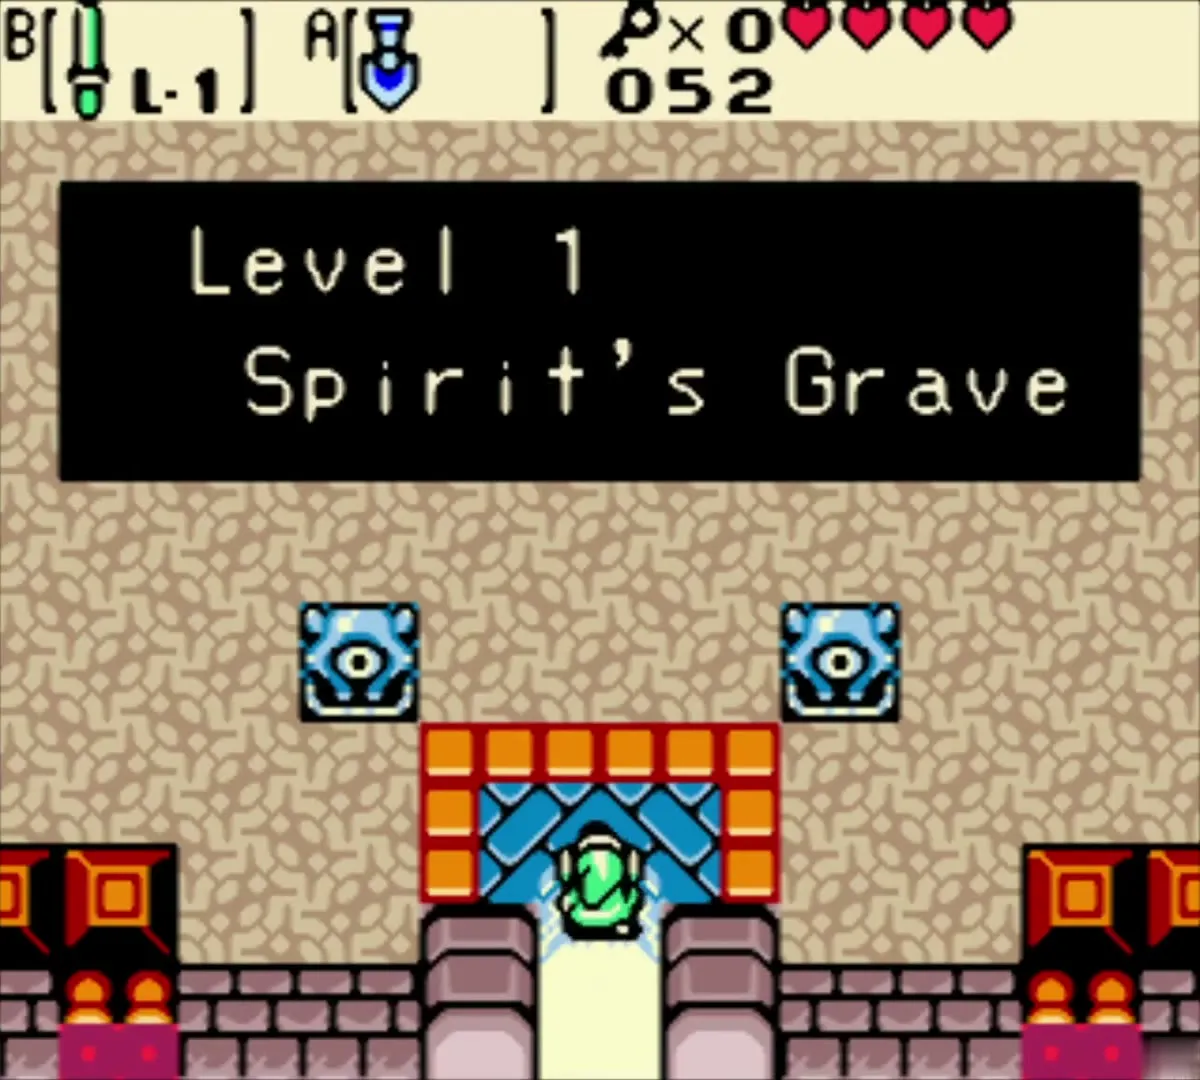
Step through the front door of Spirit’s Grave and head east. Kill the Zols, which split into Gels when hit, and push the lowest block aside to open the way north.

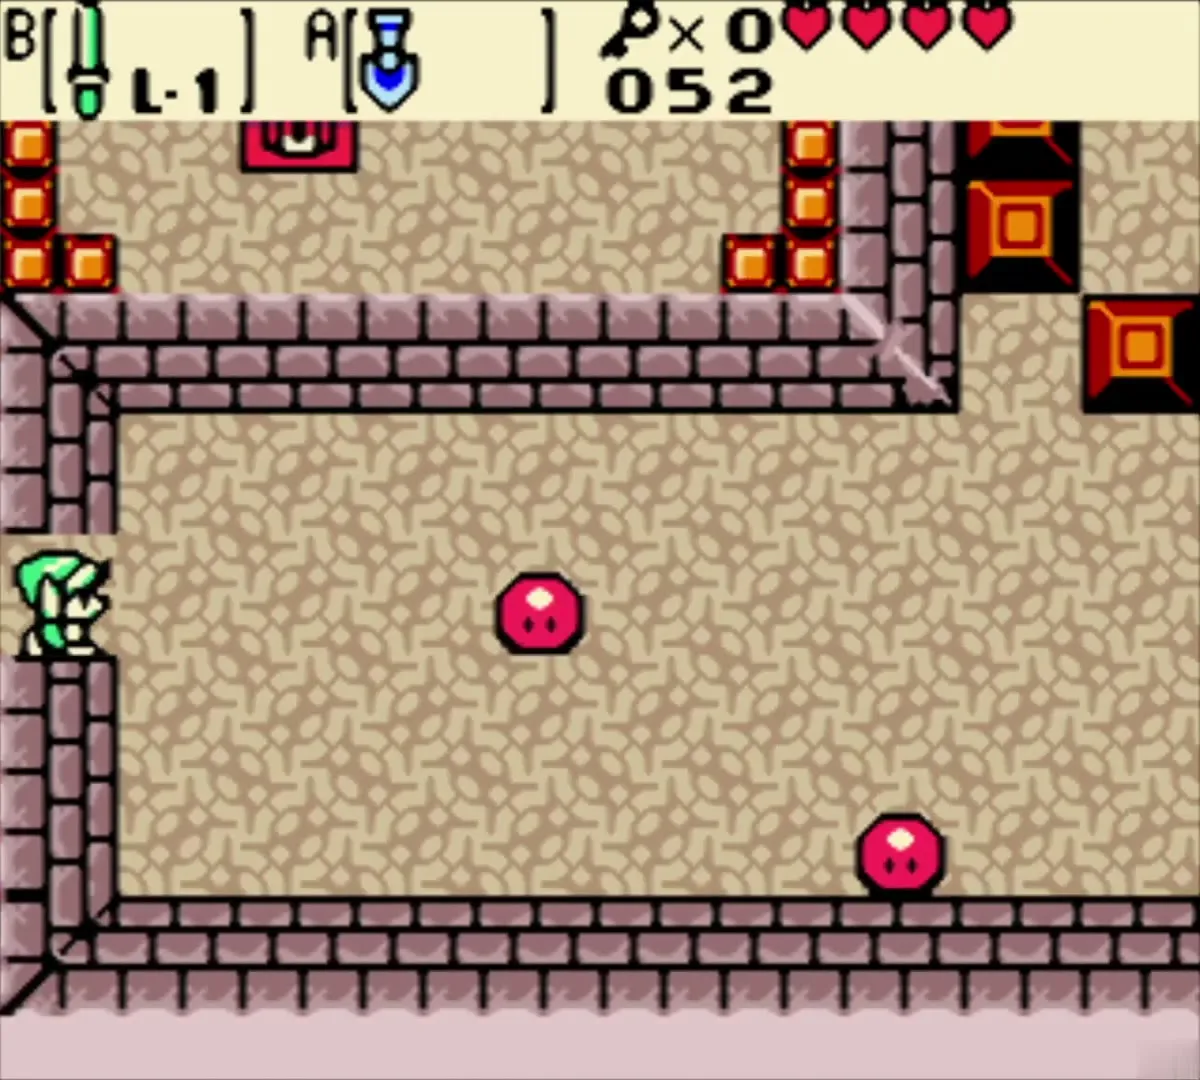
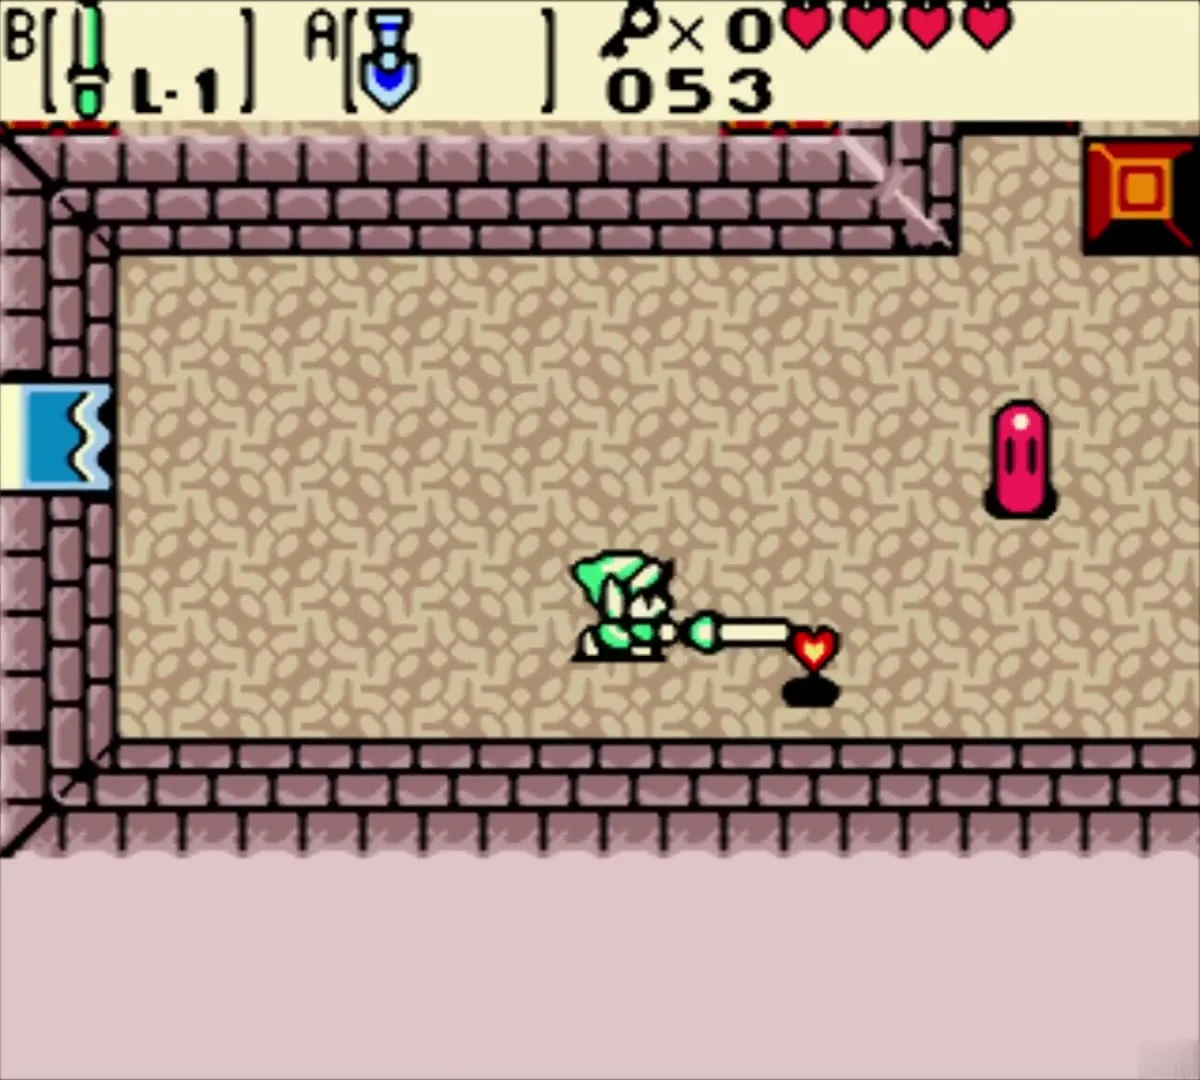
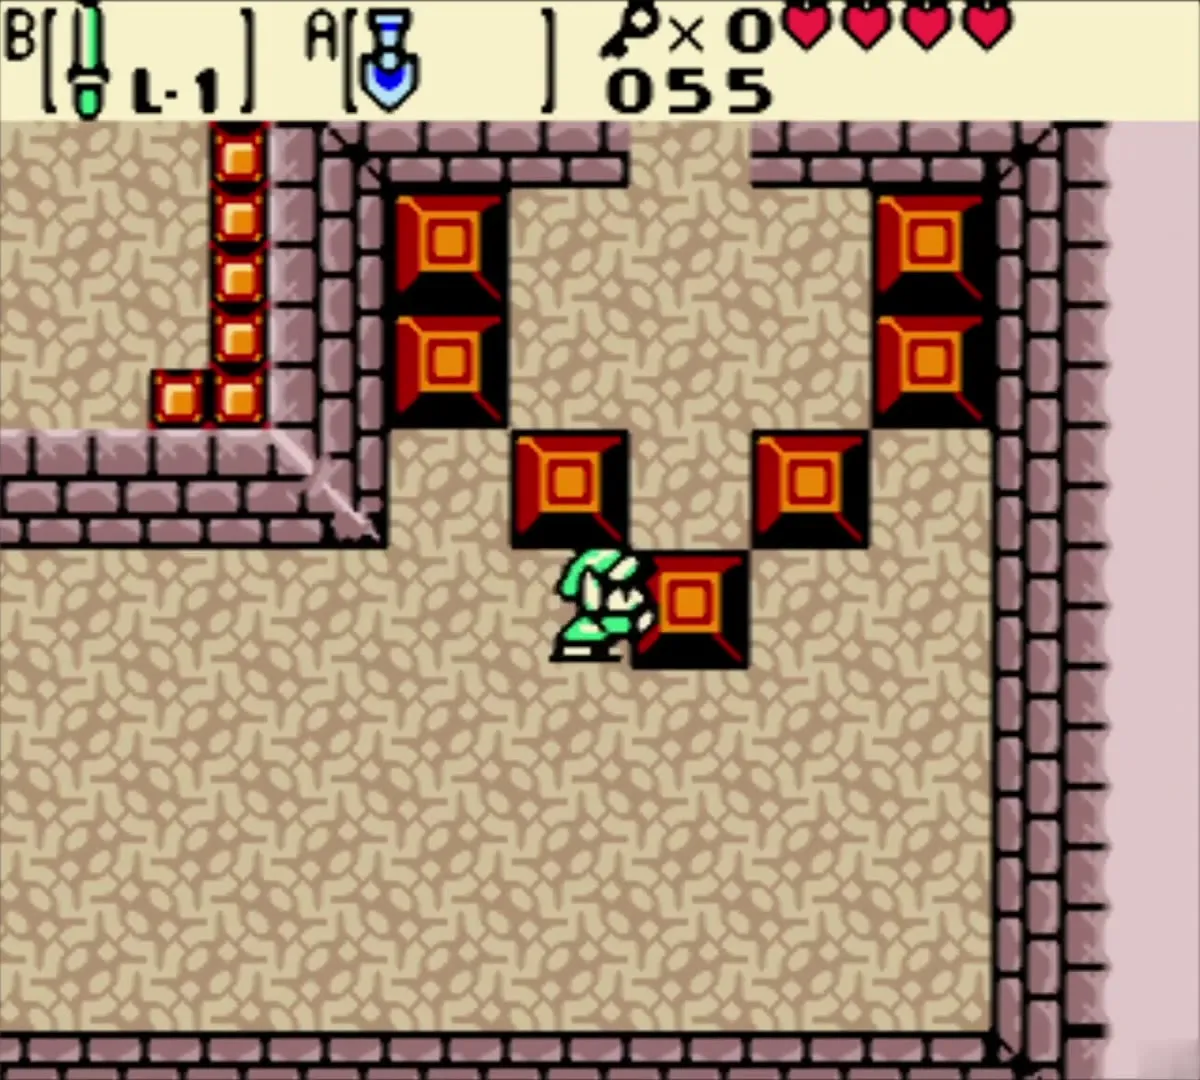
In the next room, push the multicolored cube up between the torches to unseal the doors. Climb the stairs on the left, come back down to the south and open the chest for the Dungeon Map.
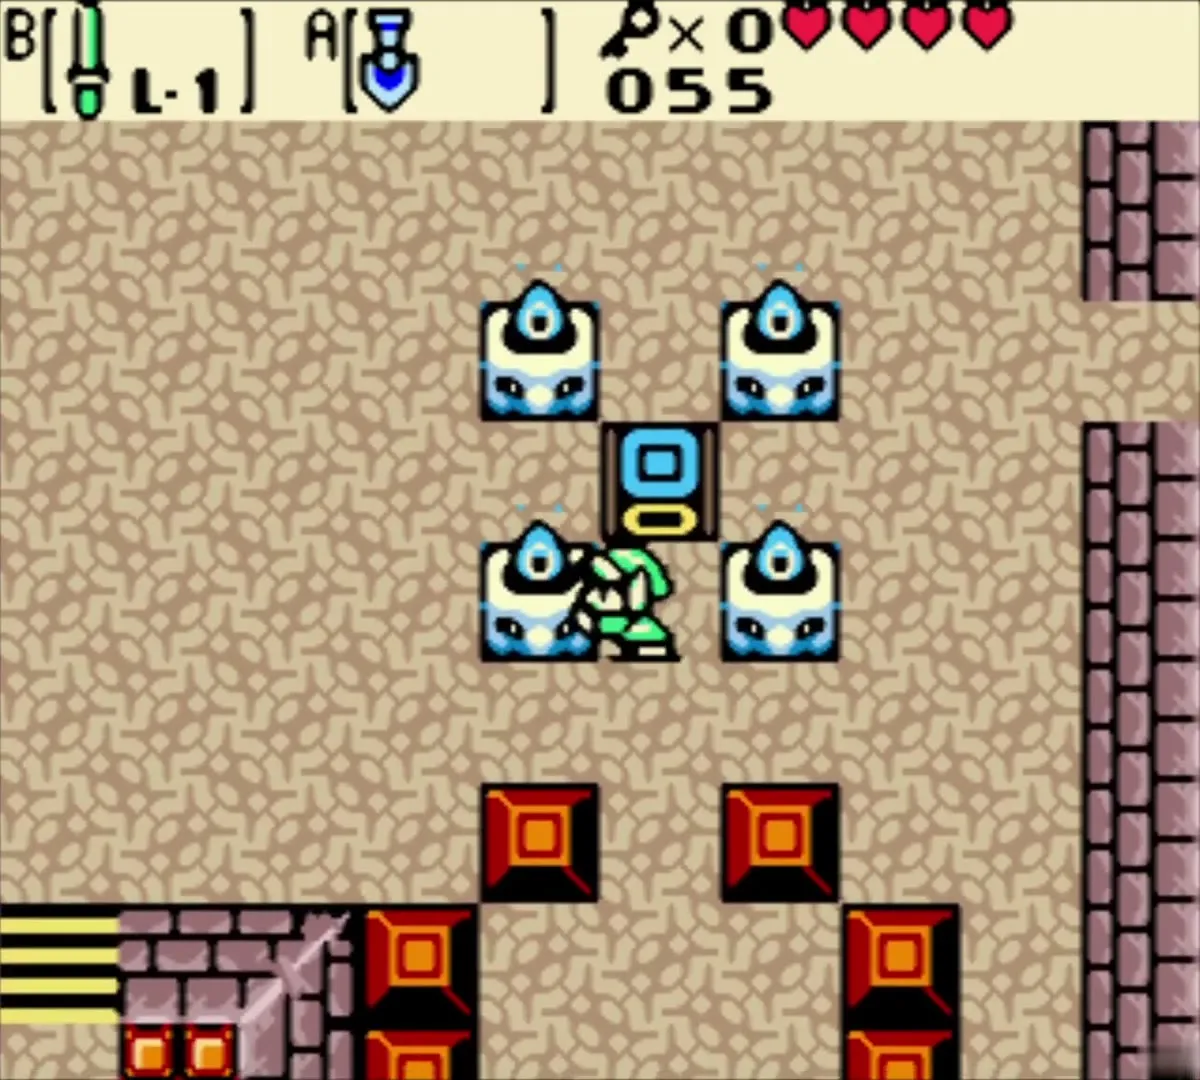
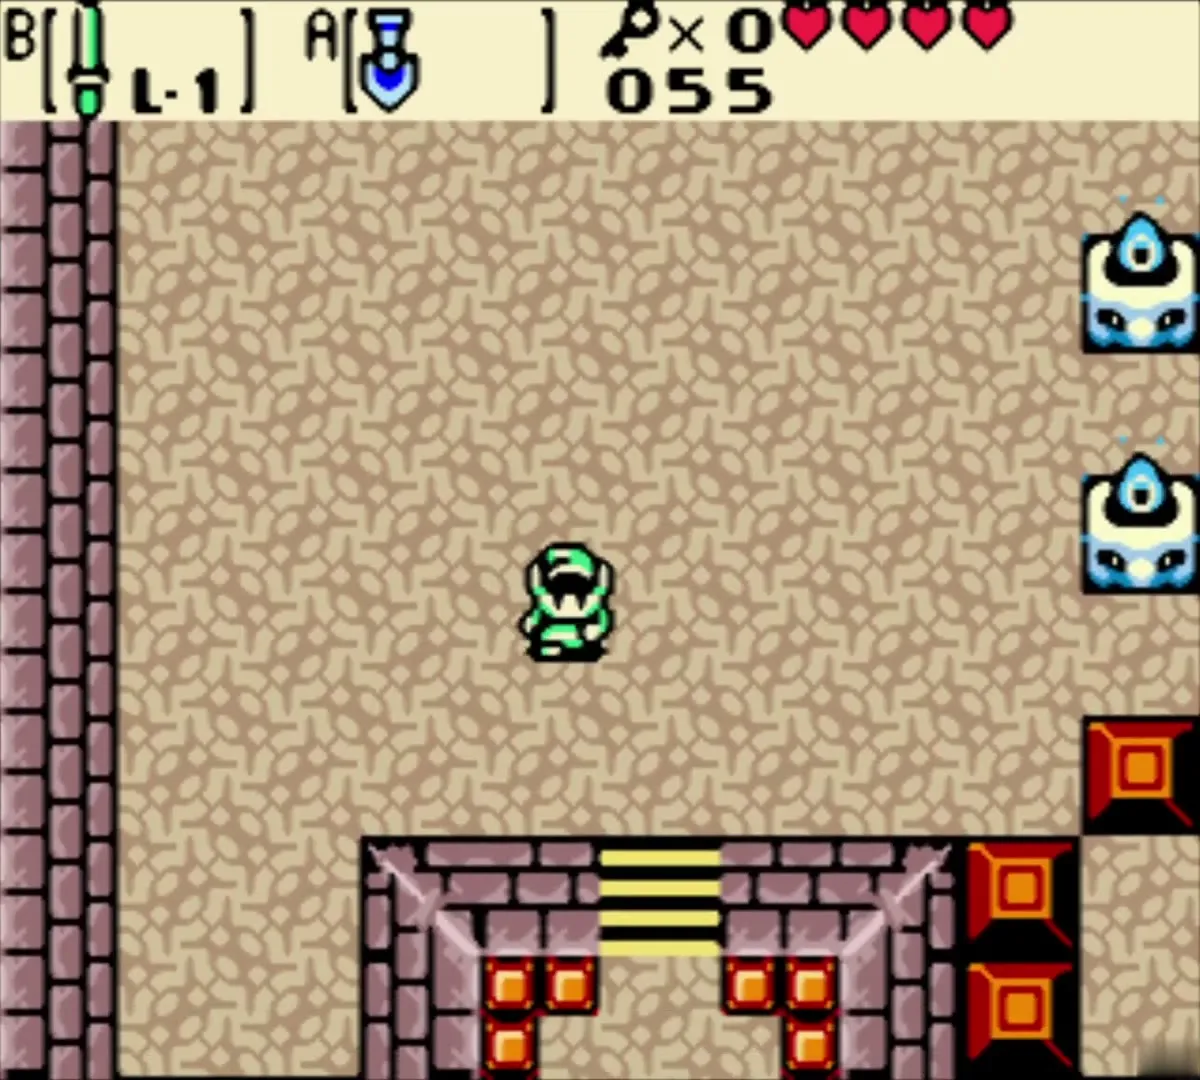
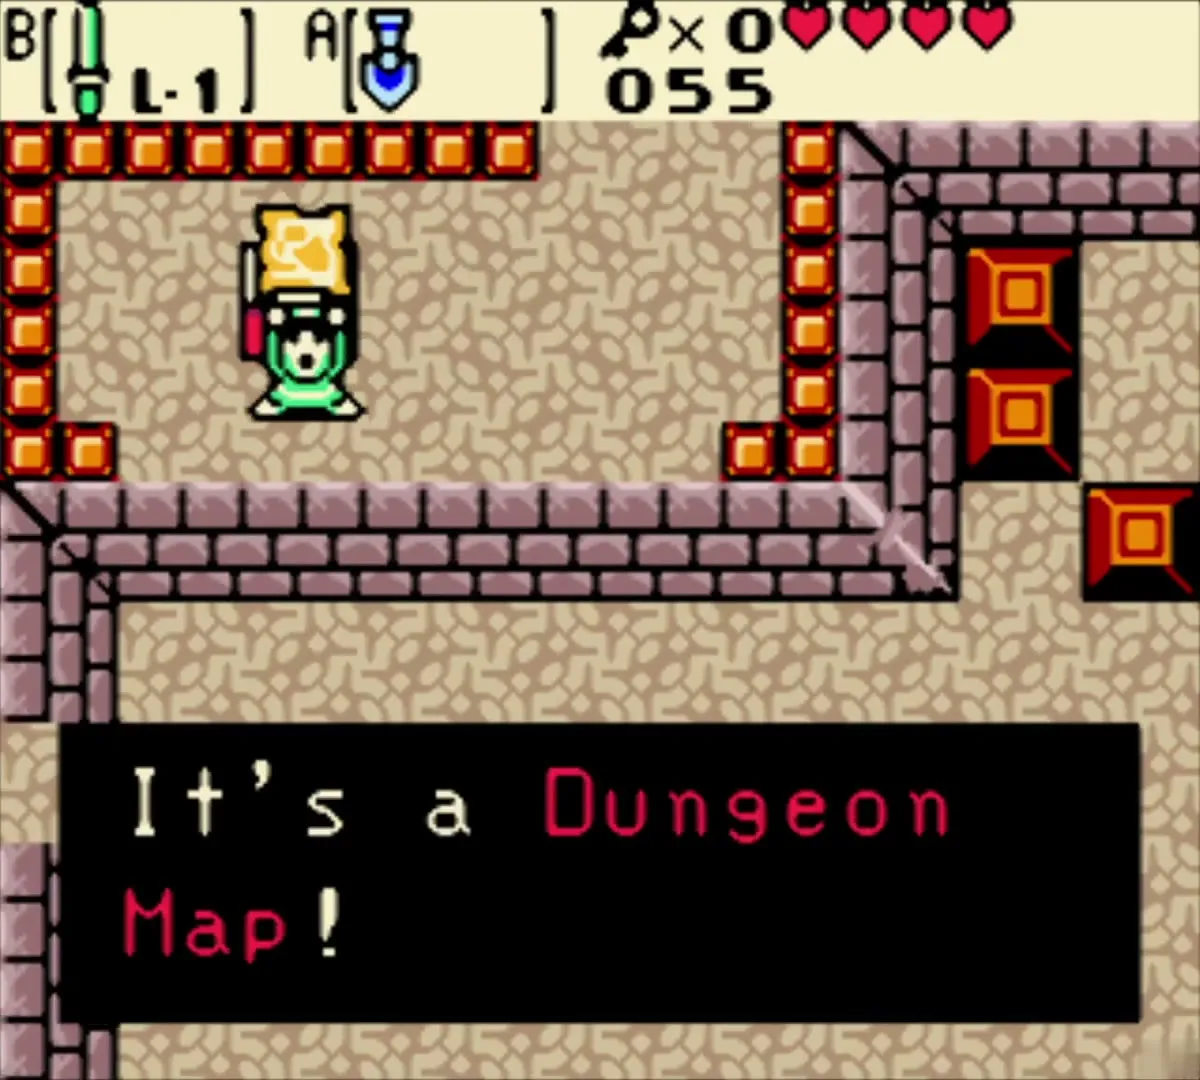
Small Key and Compass
Drop off the ledge under the map chest, push the block aside and return to the cube room. Reset the cube, go east past the Stalfos and then north to a room with a Ghini. Kill the ghost and a Small Key lands on the marked floor tile. Take it west and use it on the north door.

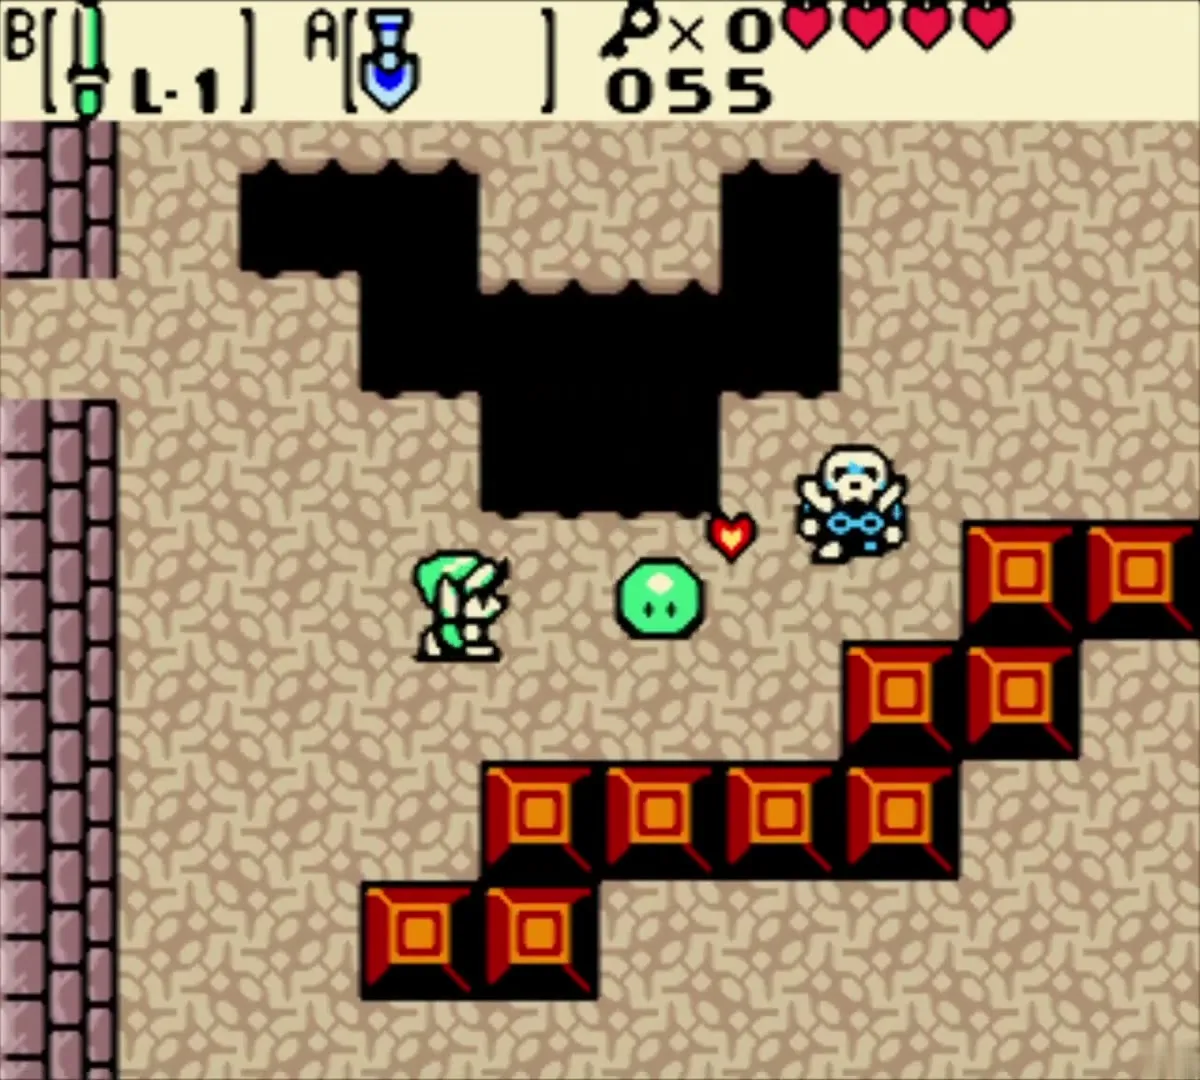
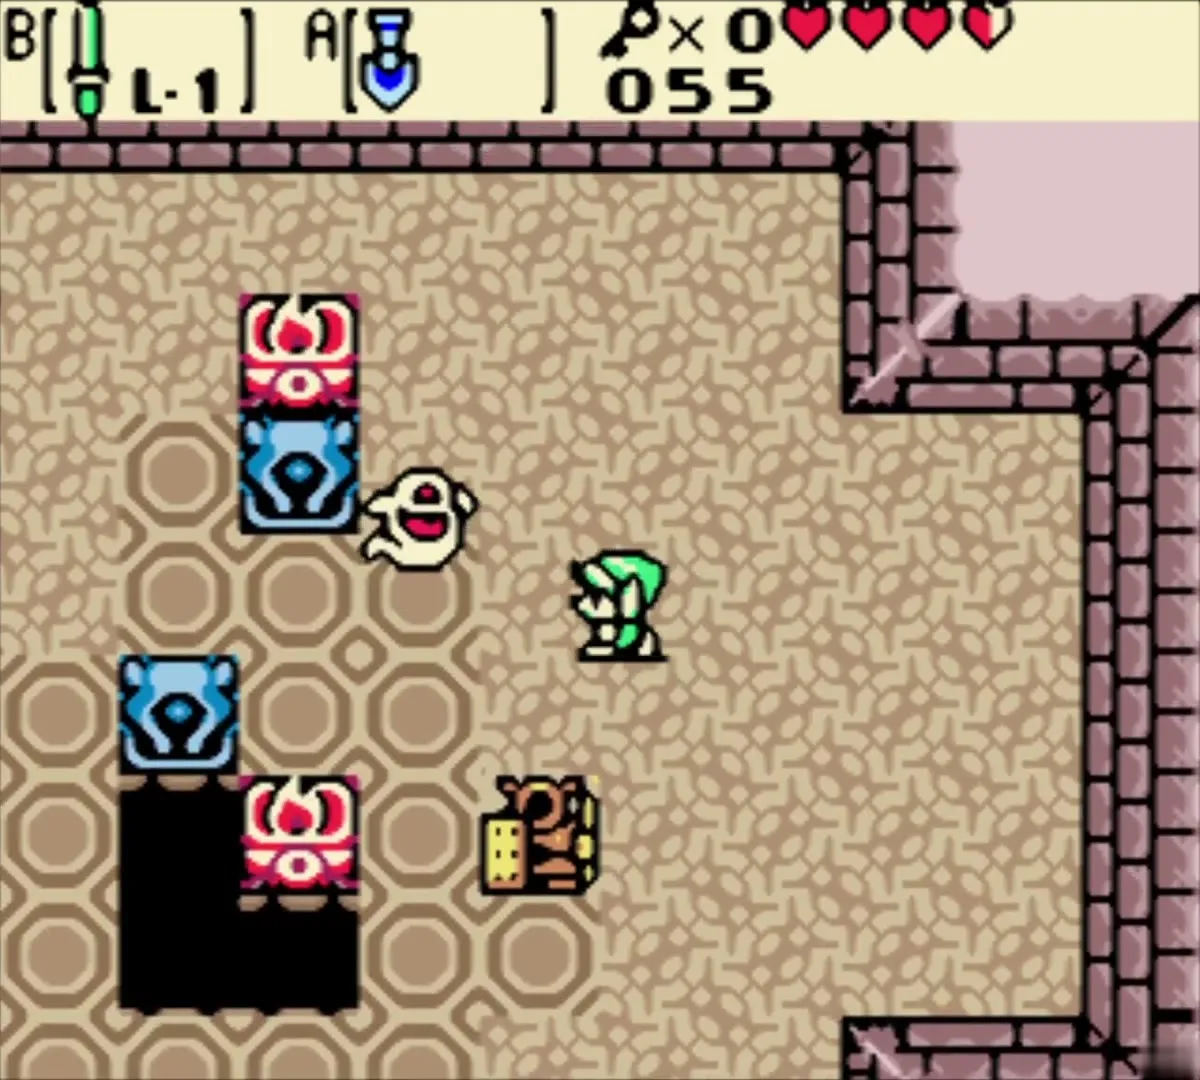

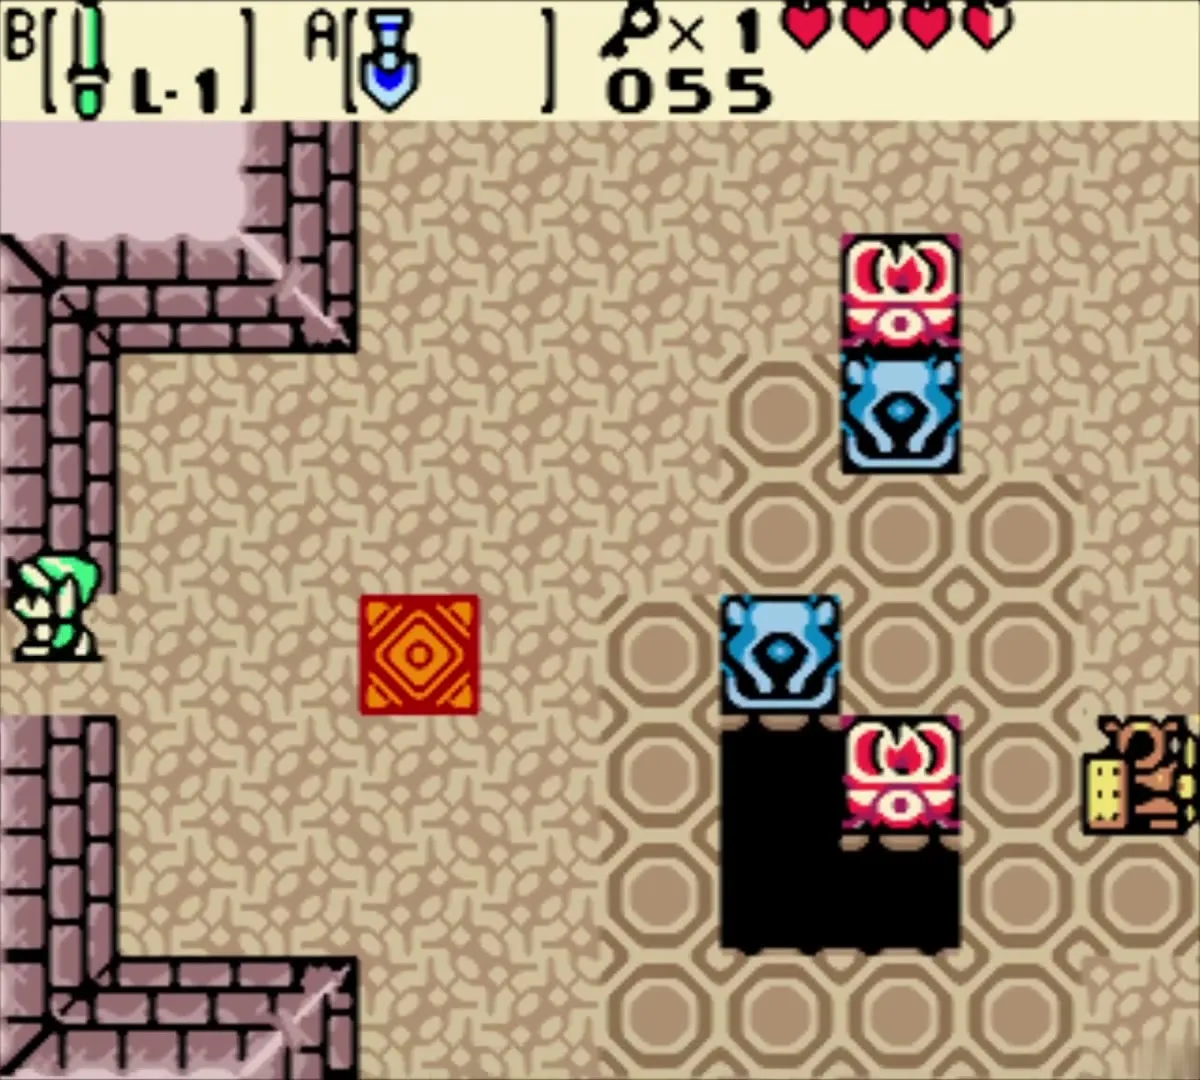
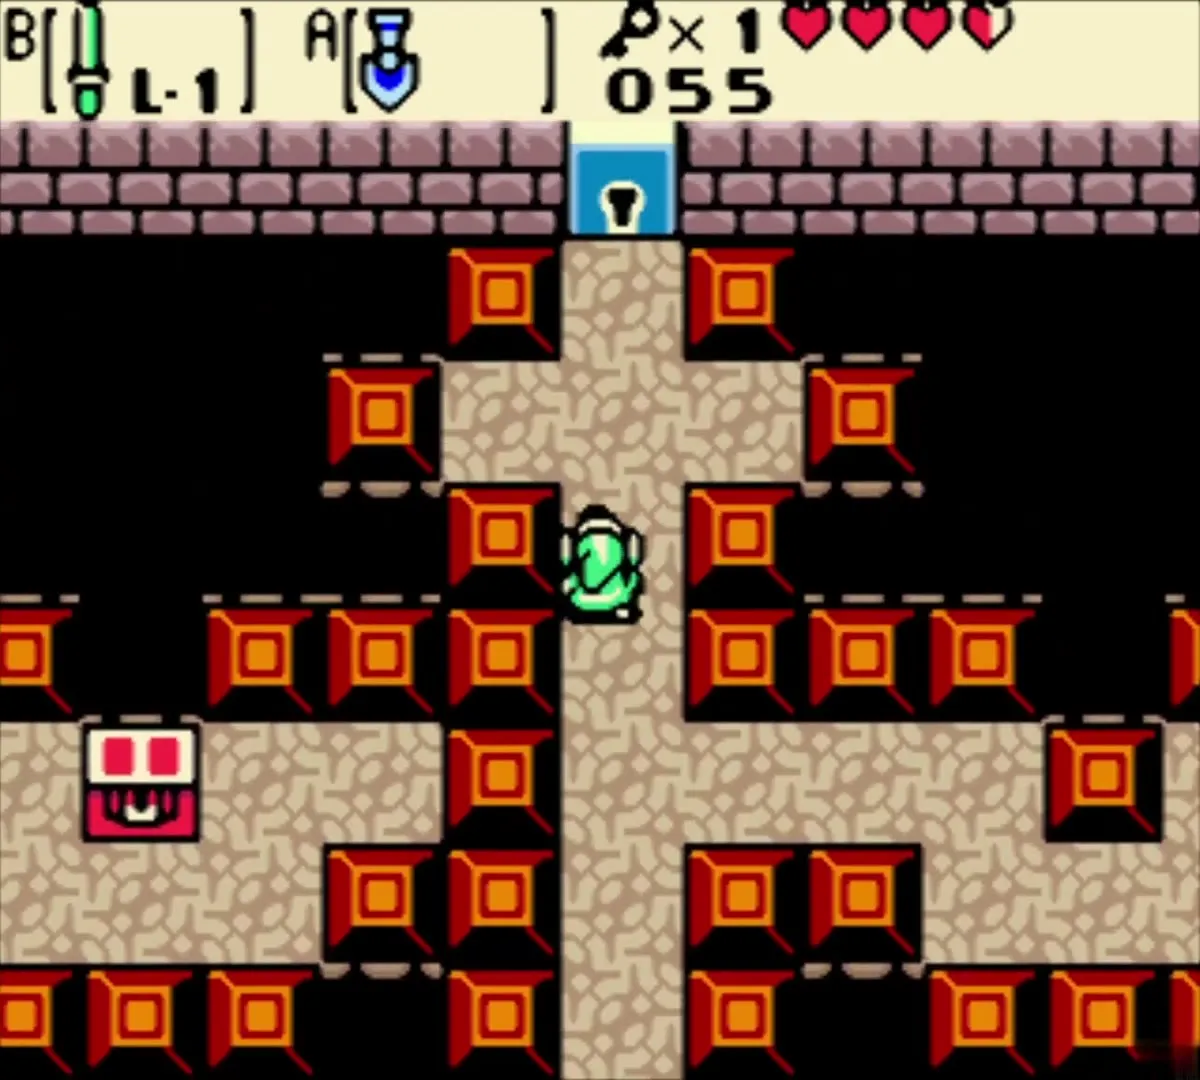
Push the center block of the four-way room and take the north route to a chest with the Compass. It also warns you with a chime when the room you are in hides something.
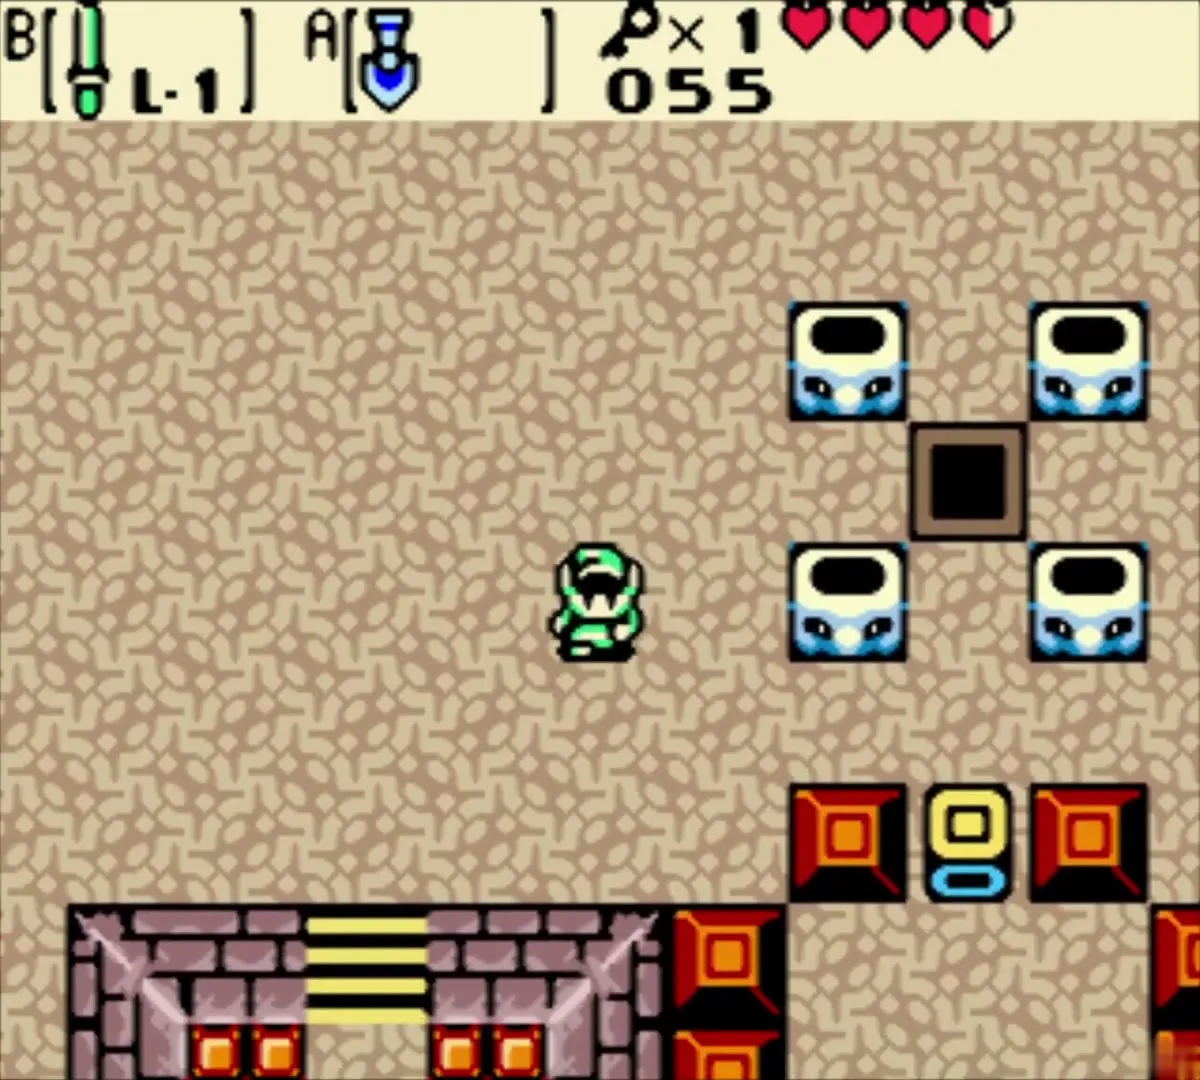
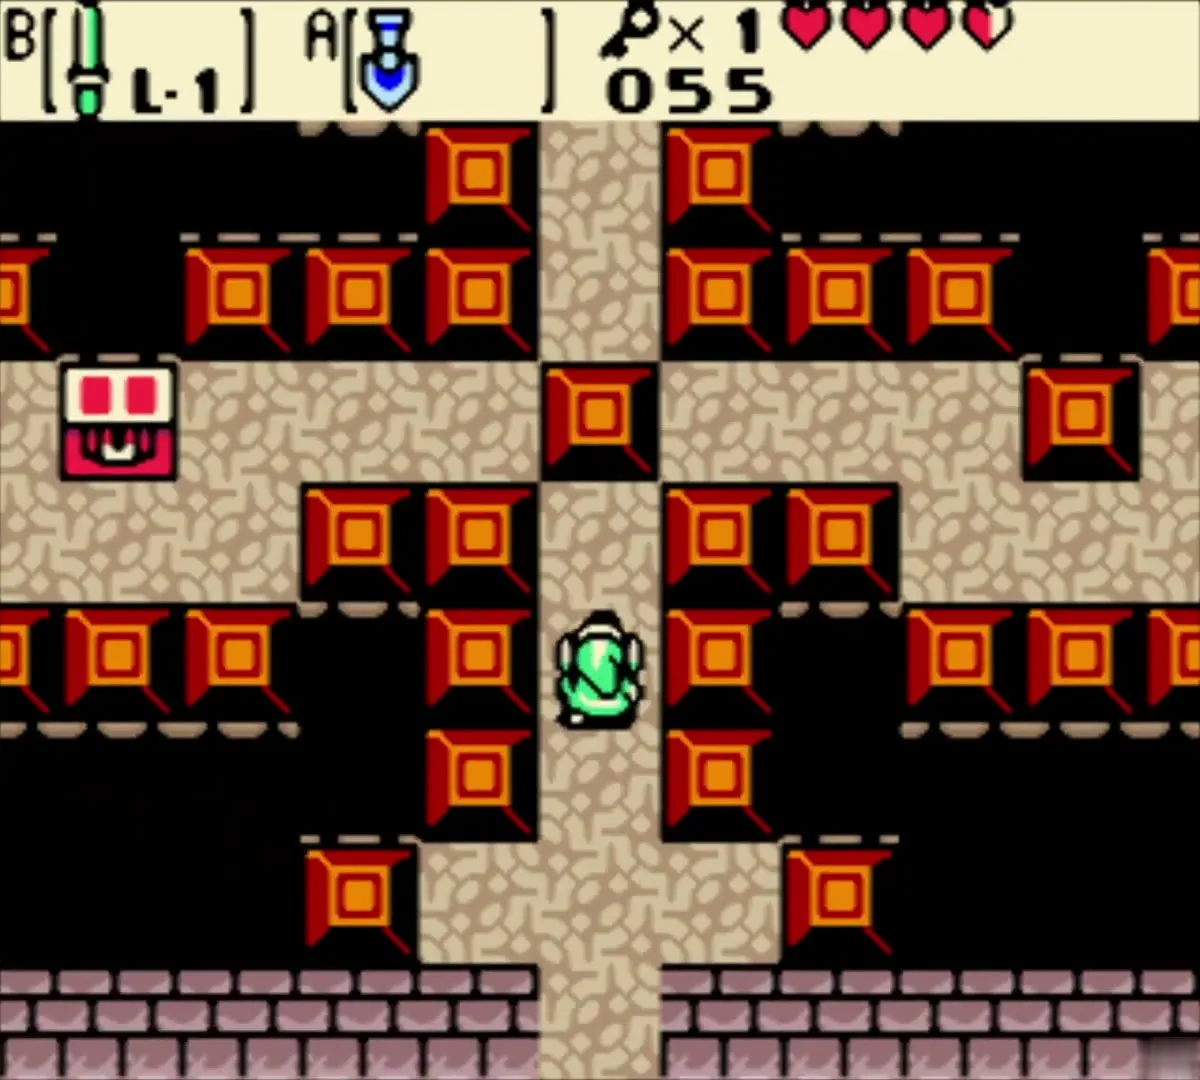
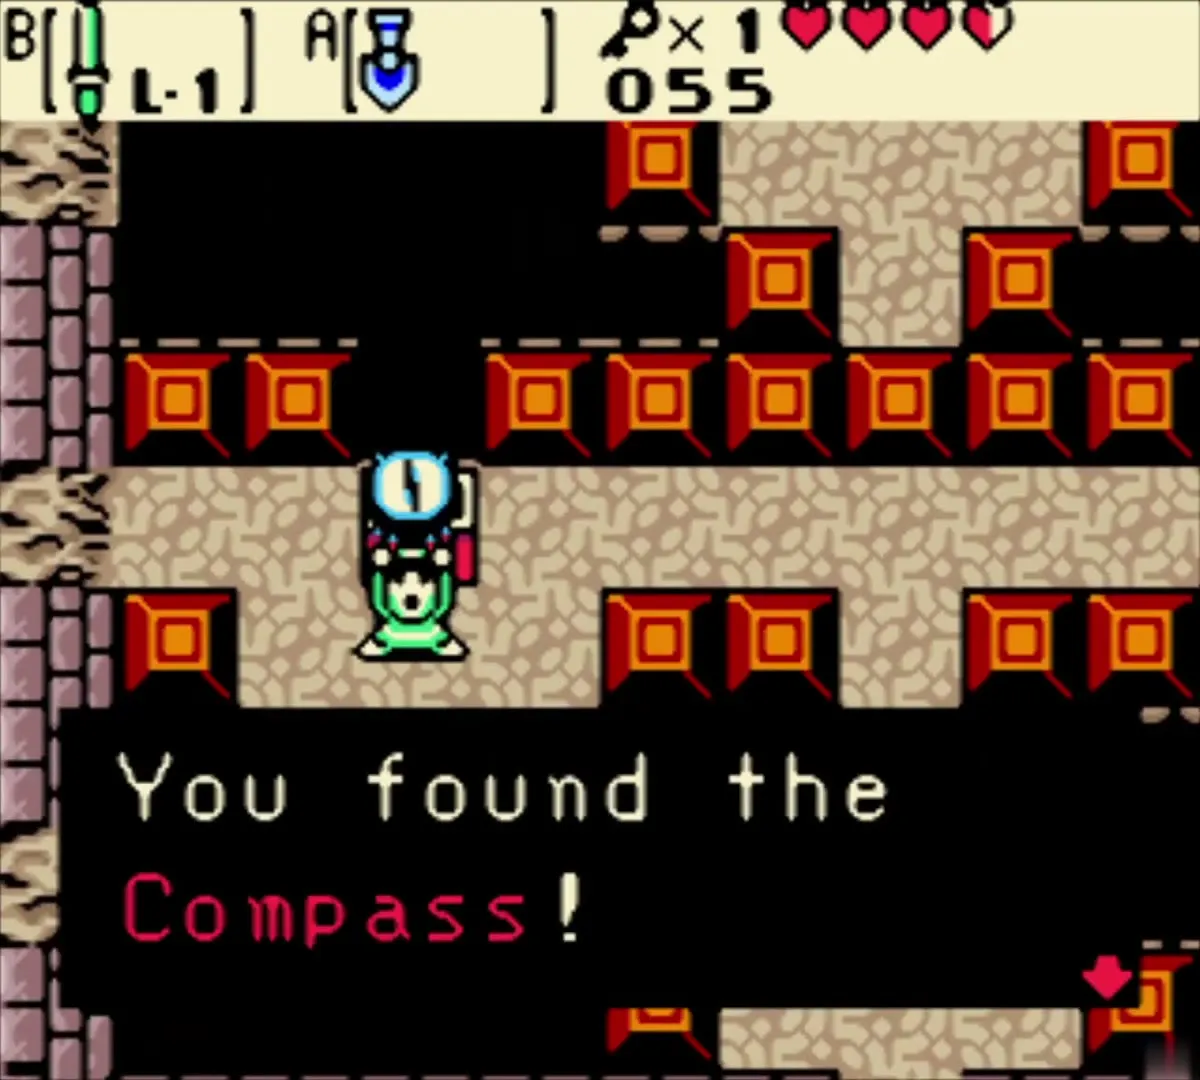
In the next room push either block aside and open the chest for another Small Key.
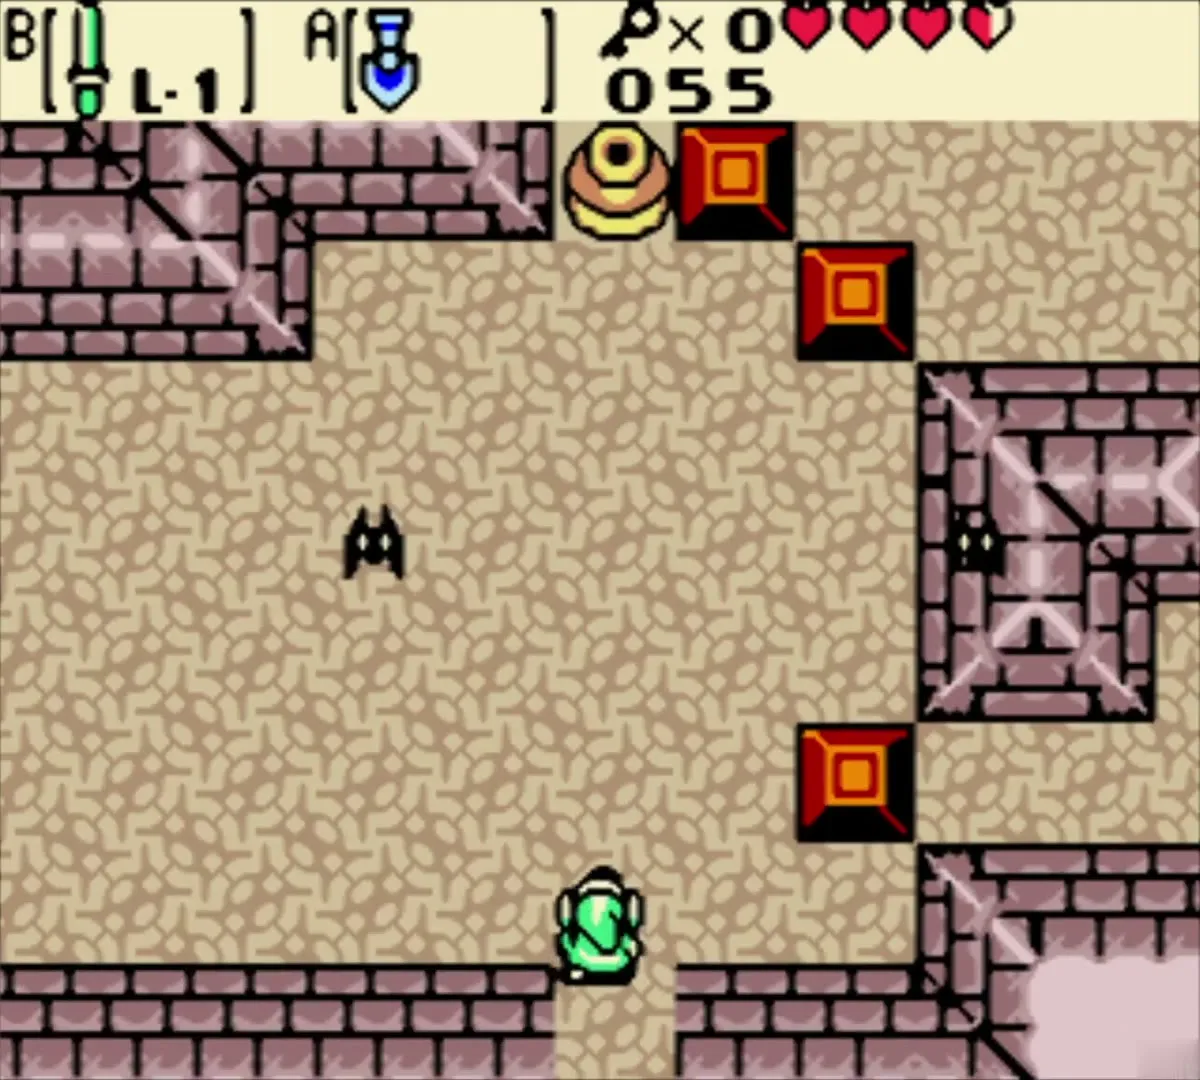
Power Ring L-1
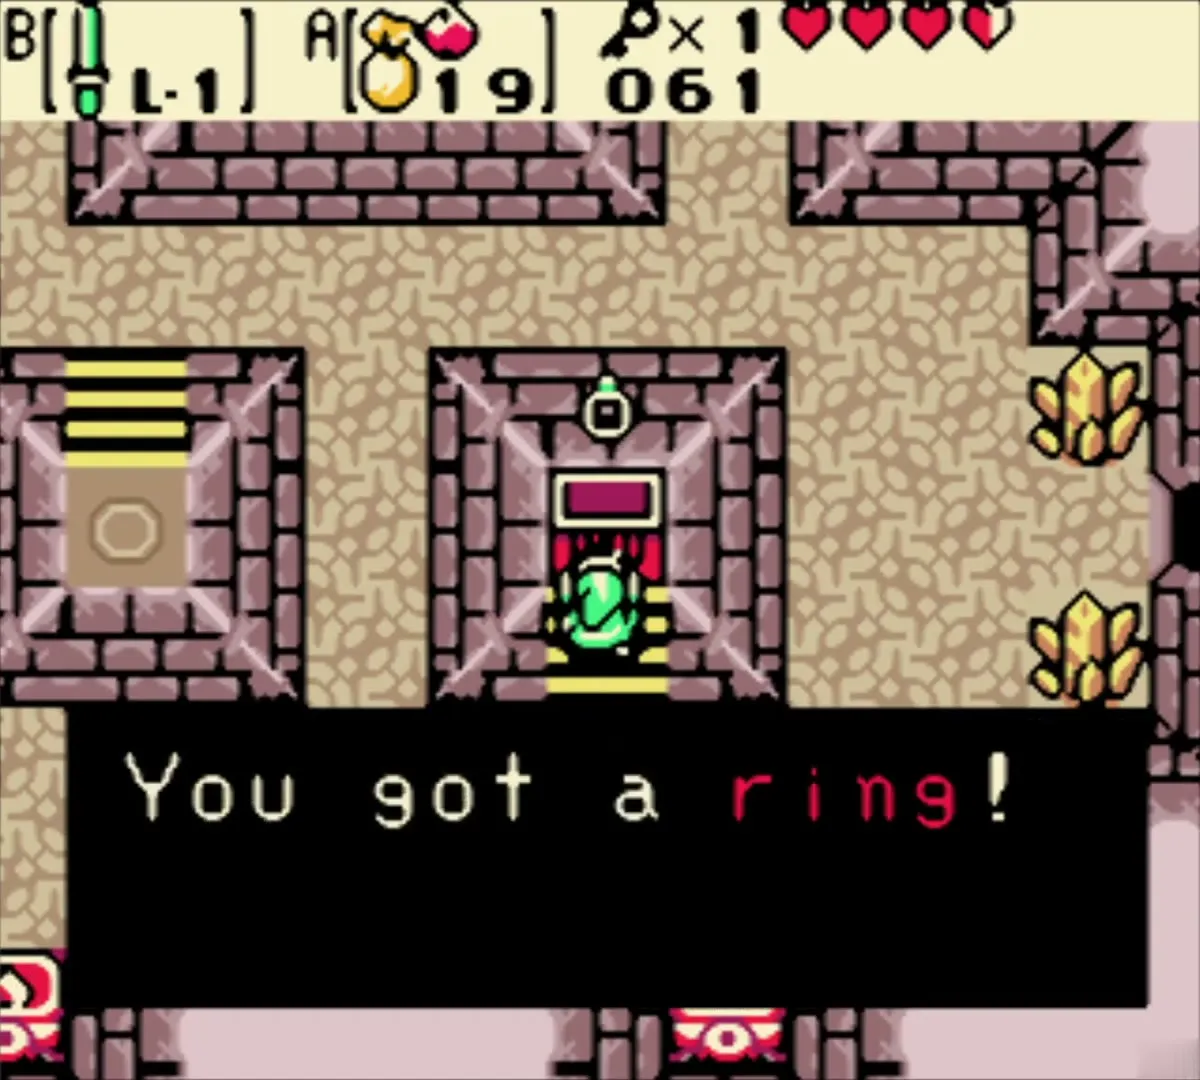
Burn the vines on the wall left of the map chest room with an Ember Seed, climb the steps beyond, kill the Ropes and press the button on the platform. A chest rises with a ring. It is the Power Ring L-1, and you must have Vasu in Lynna City appraise it before you can wear it (see Magical Rings).

Gasha Seed and the third Small Key
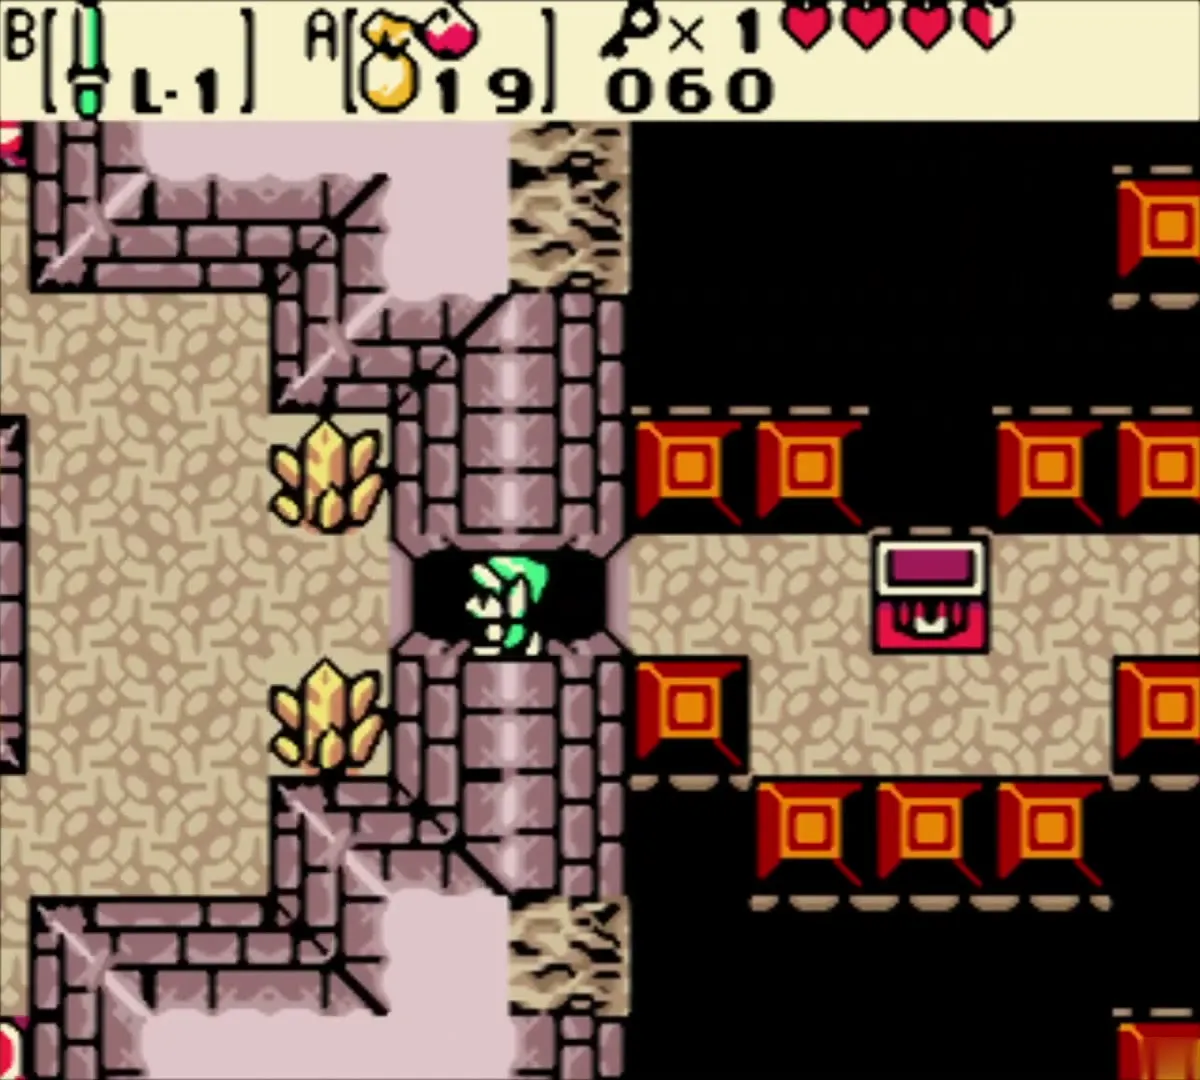
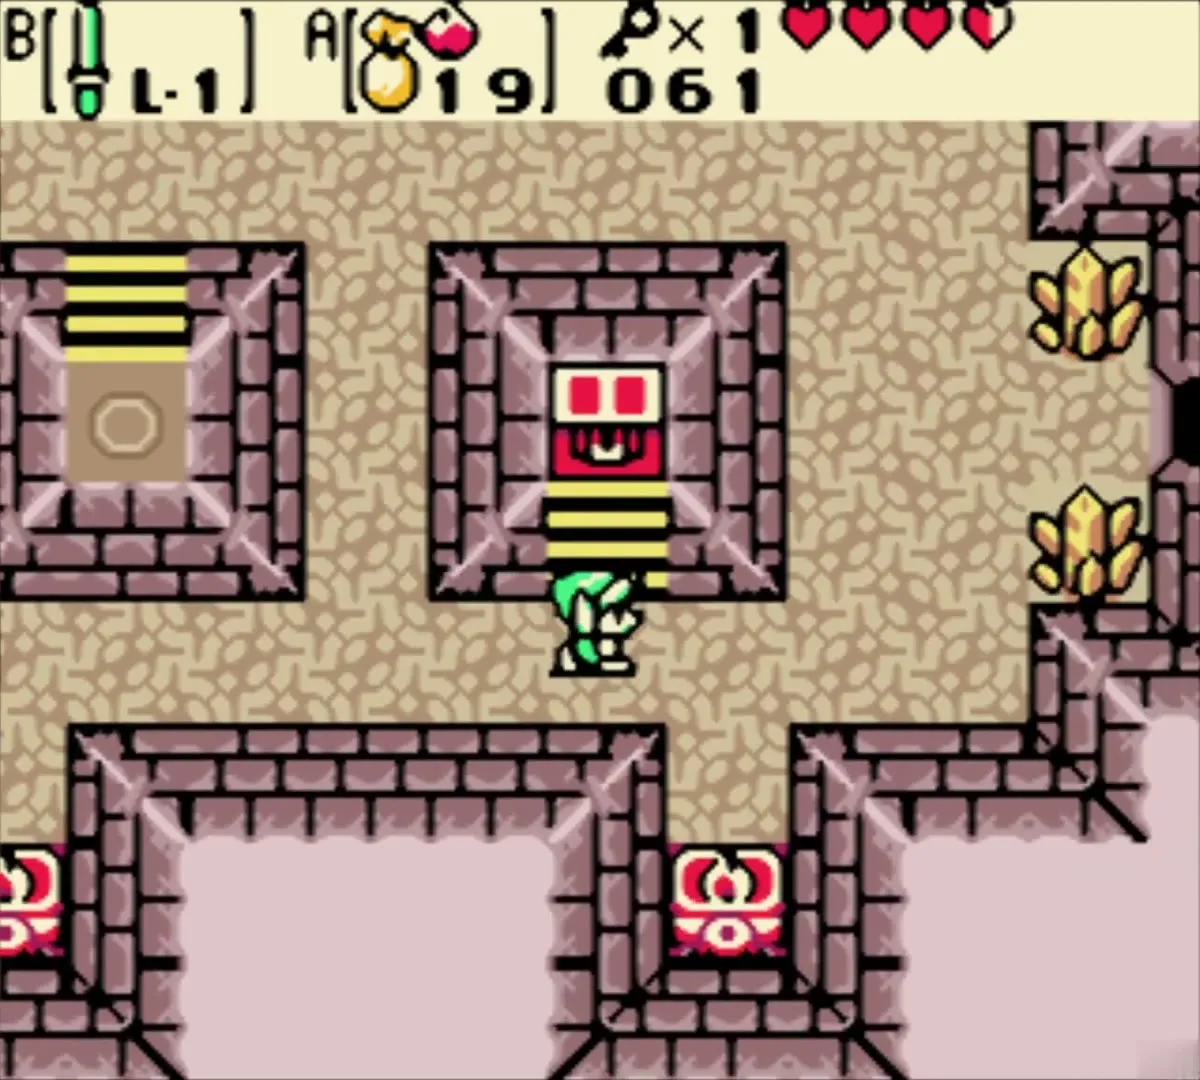
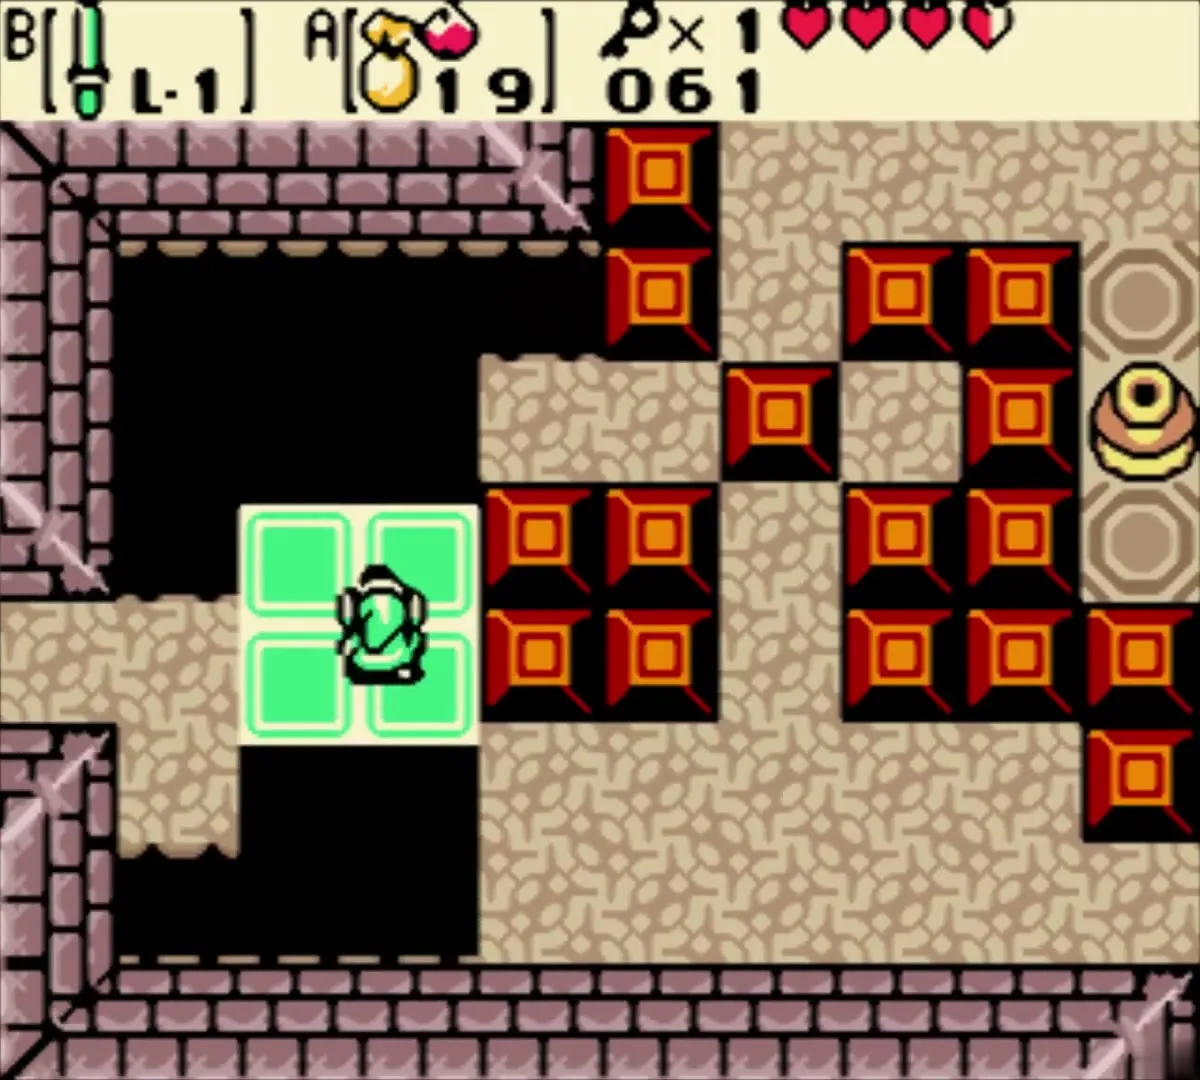
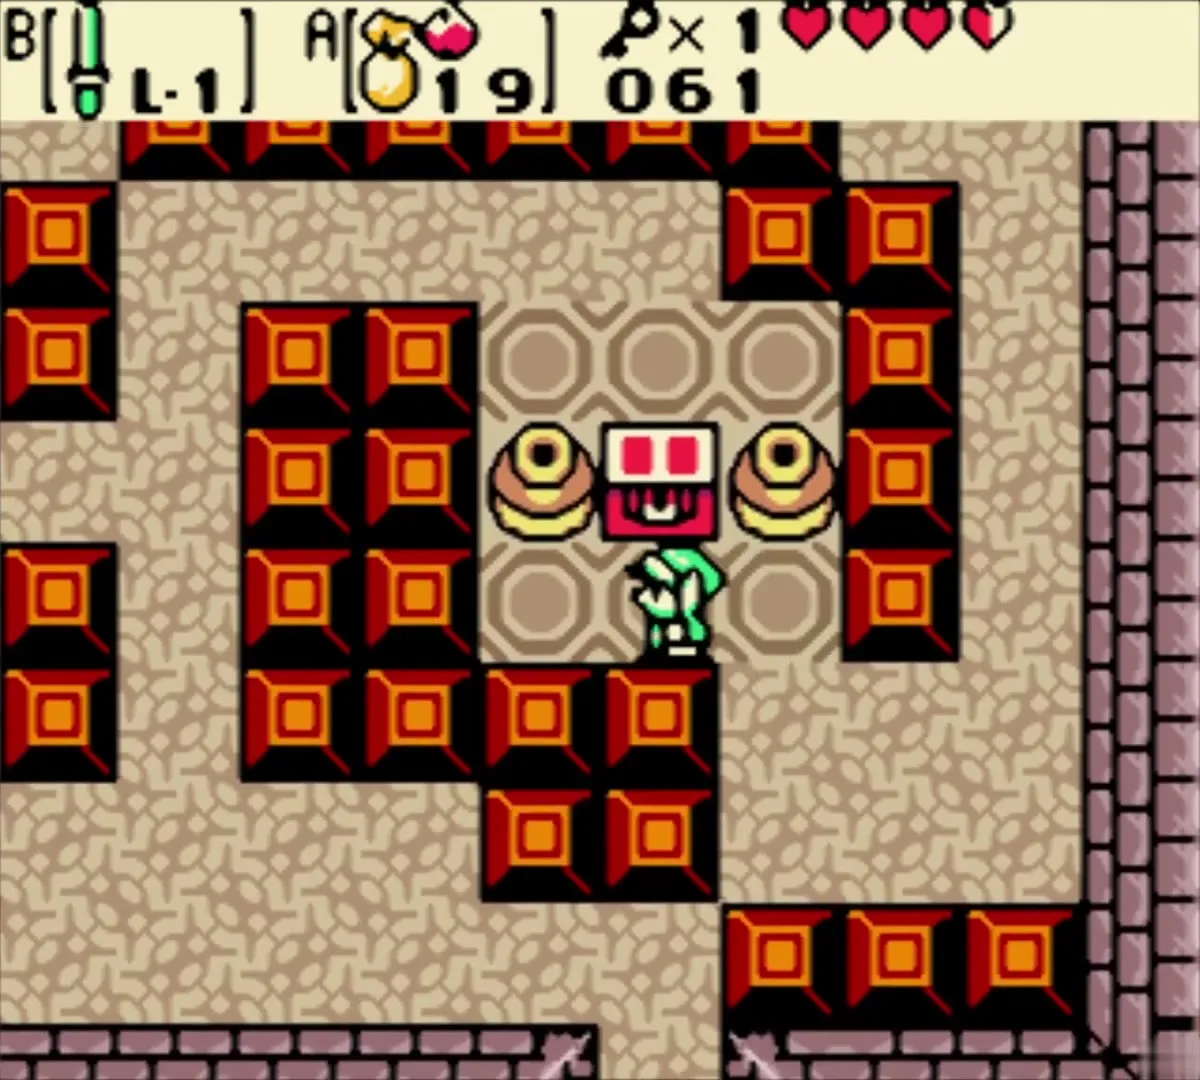
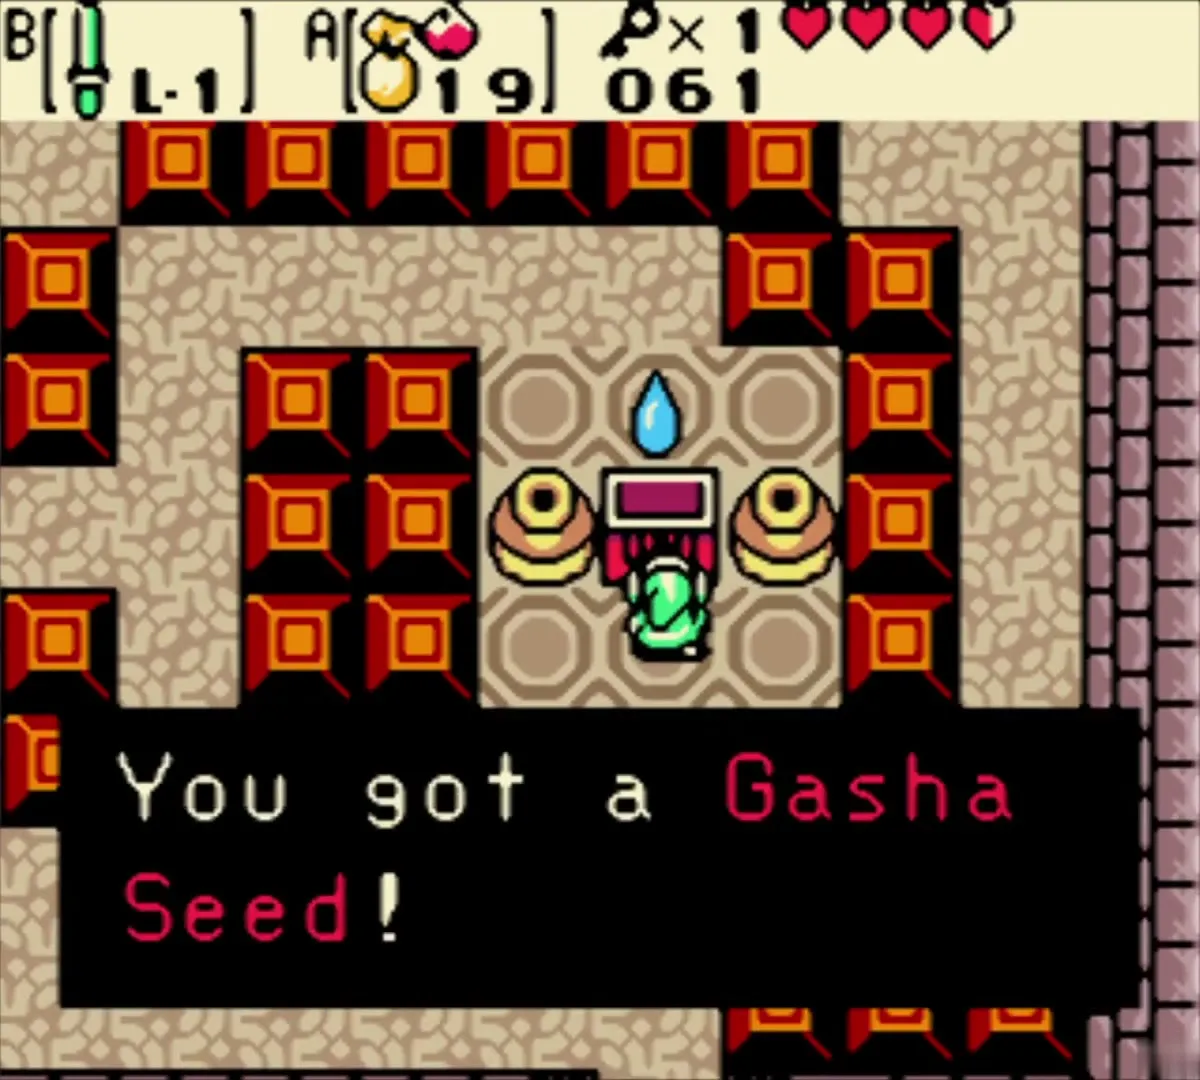
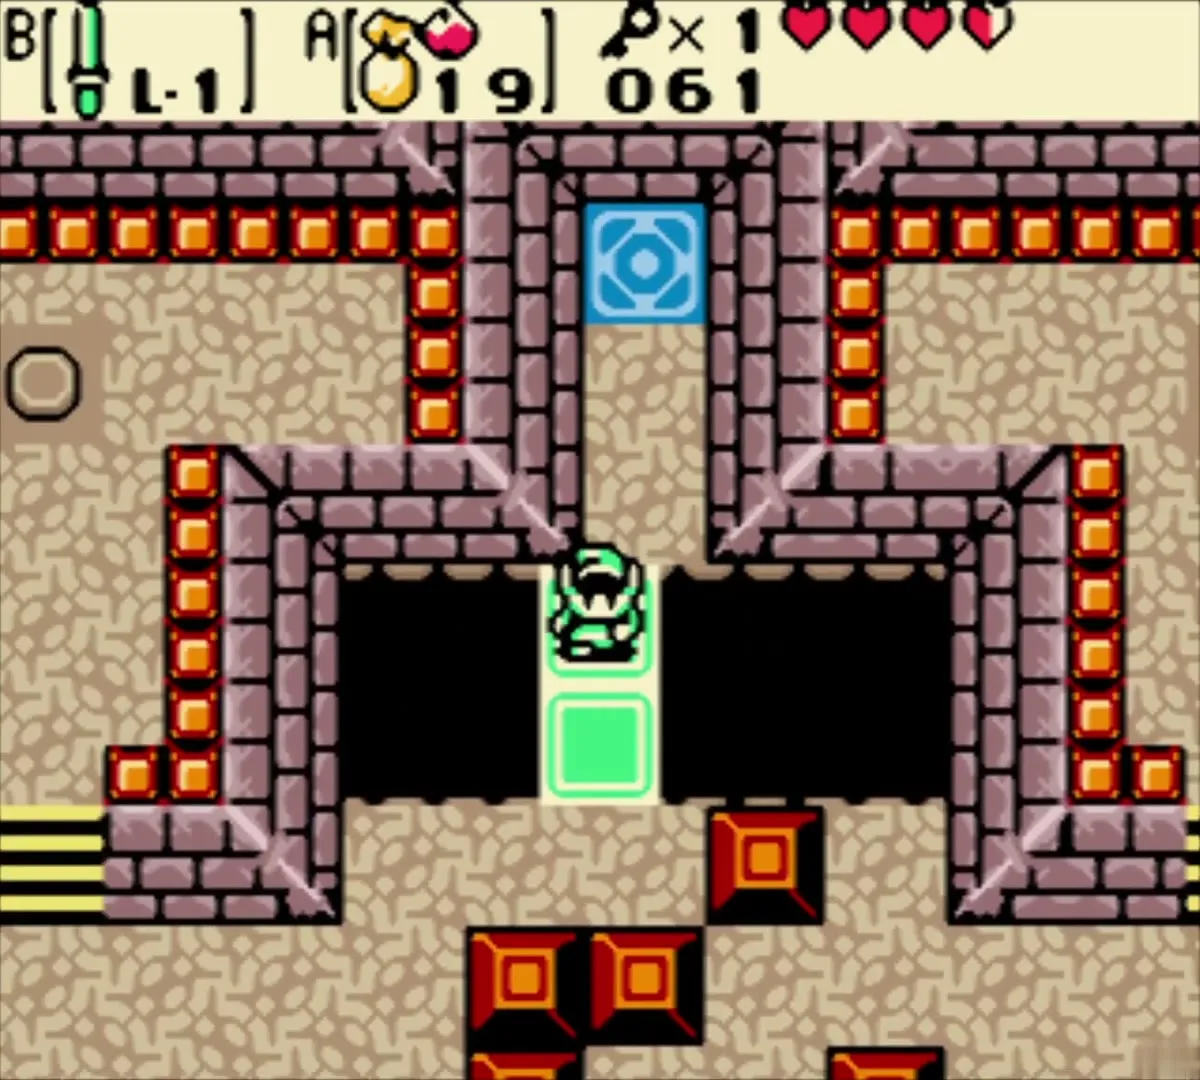
Work through the red-block rooms to the room with the buttons on raised platforms. Clear the blocks and press both buttons: one raises a chest and the other floats a moving platform over the pit. Ride the platform to the ledge on its far side, push the block there to the right and press the corner button. The chest that rises holds a second Gasha Seed.

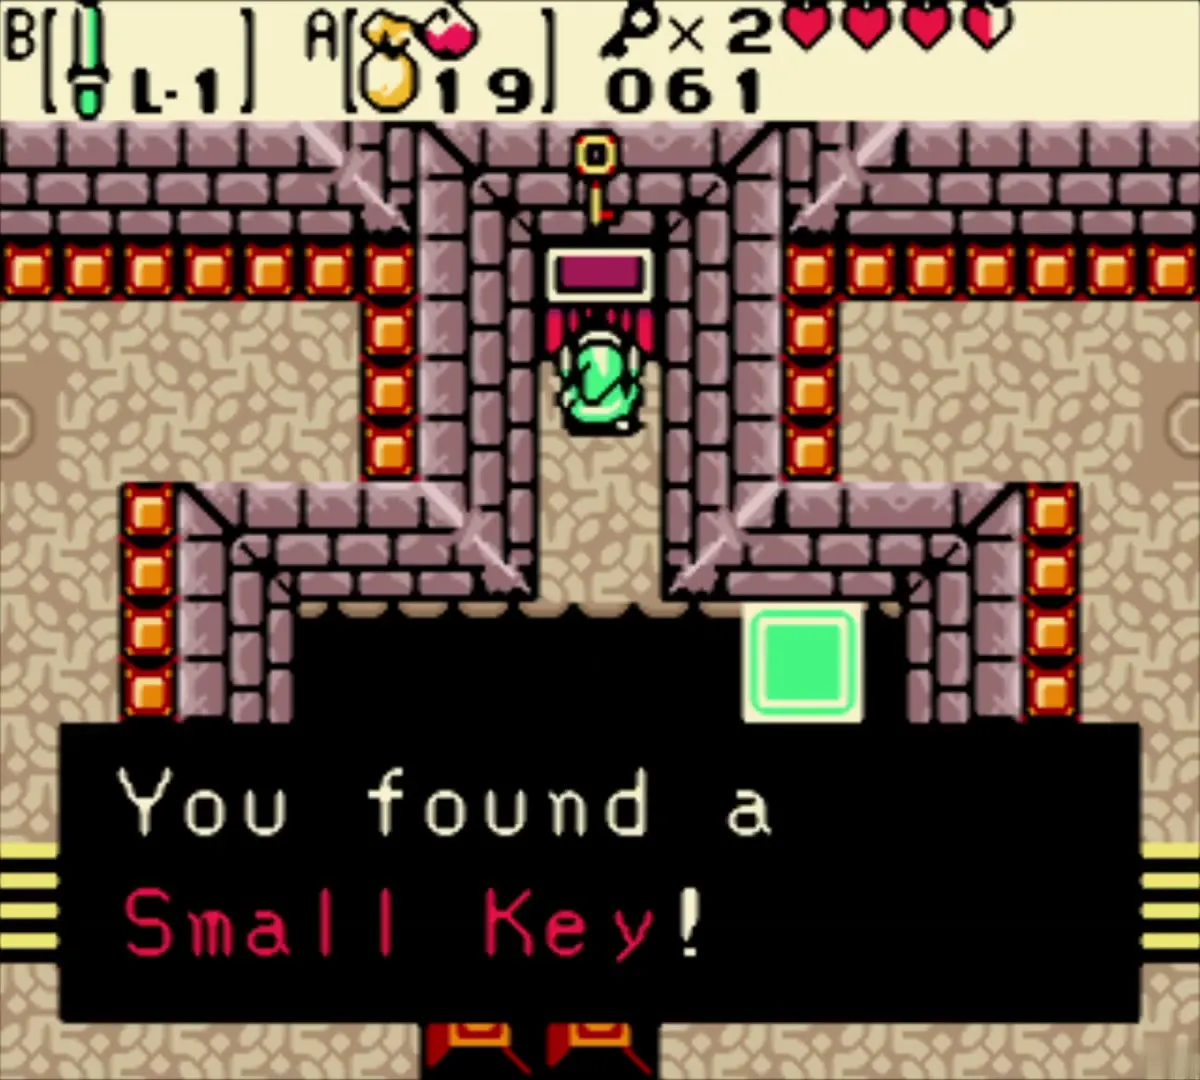
Ride the platform back and climb to the upper passage for a chest with another Small Key. Your counter now reads two. Spend one on the locked door to the south.

Mini-boss: Giant Ghini
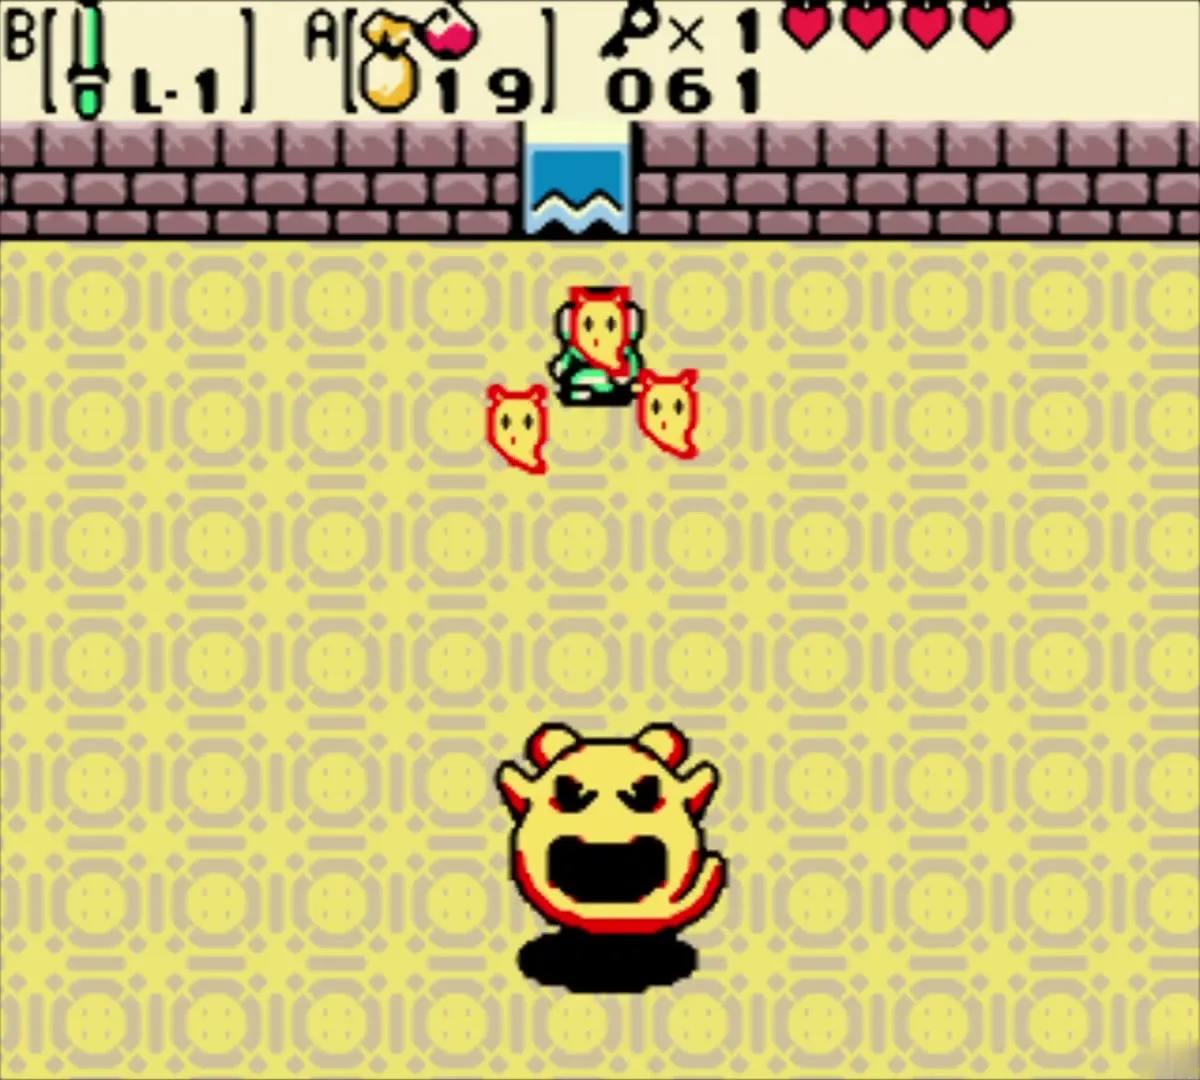
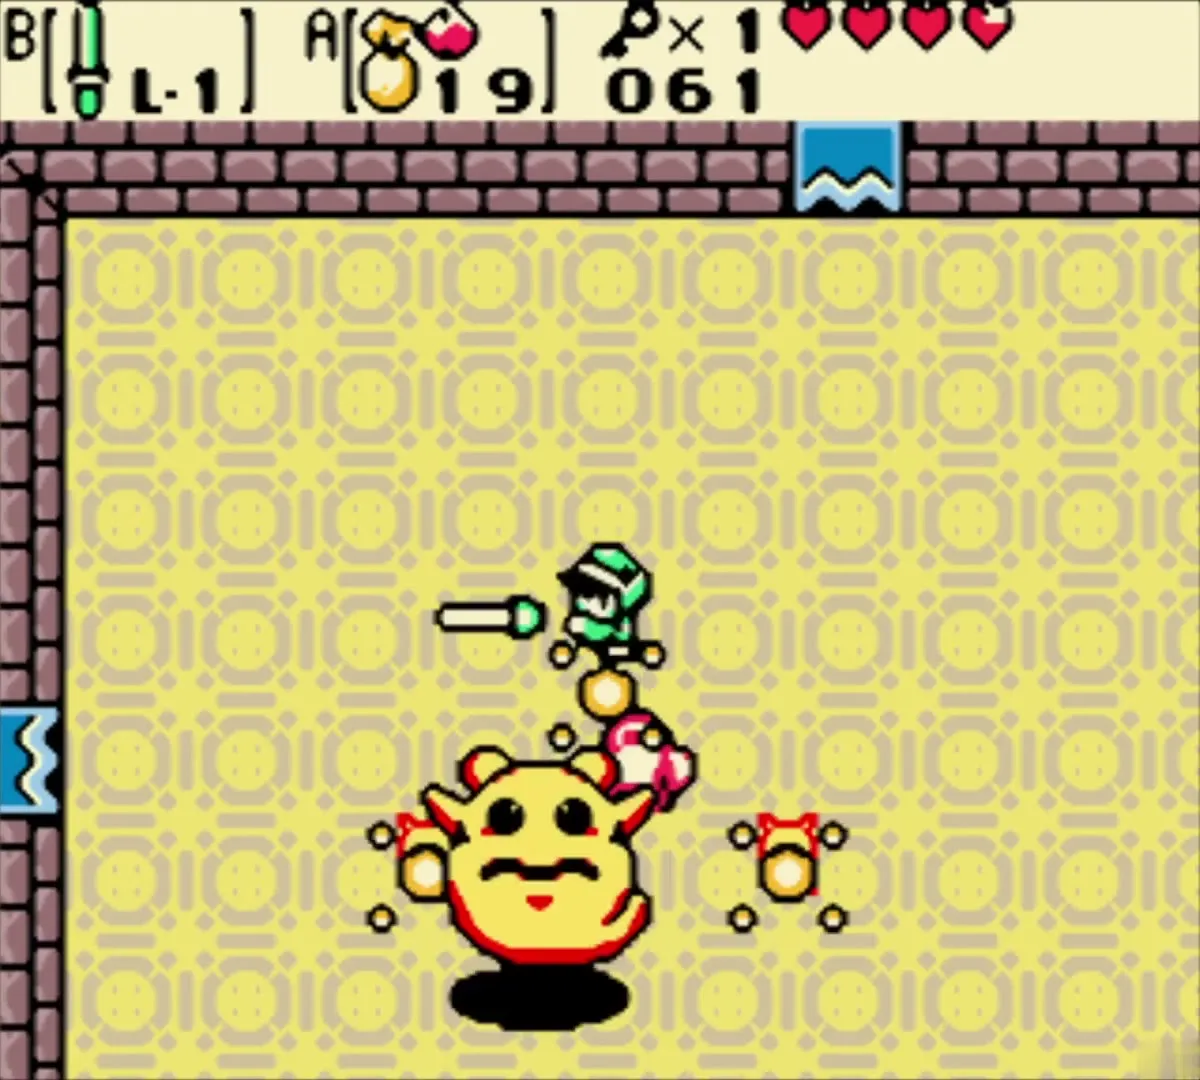
Through the door is Giant Ghini on a yellow carpet. It spits out small ghosts, so slash those away first. Then strike the big one and keep your distance when it lunges. It goes down after about six hits. A fairy appears to heal you, along with a warp panel back to the dungeon entrance.
Power Bracelet
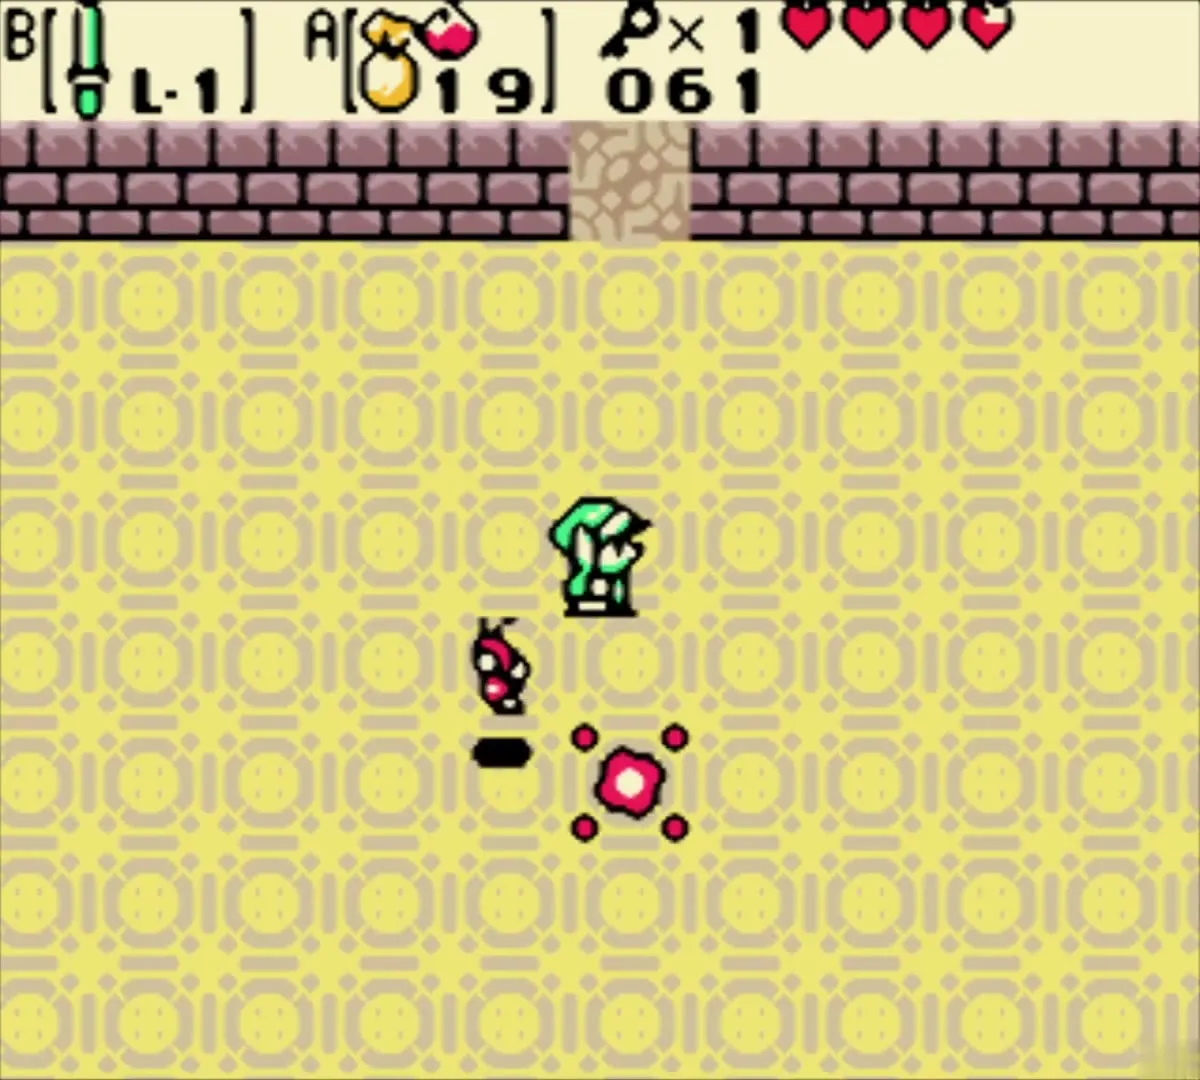
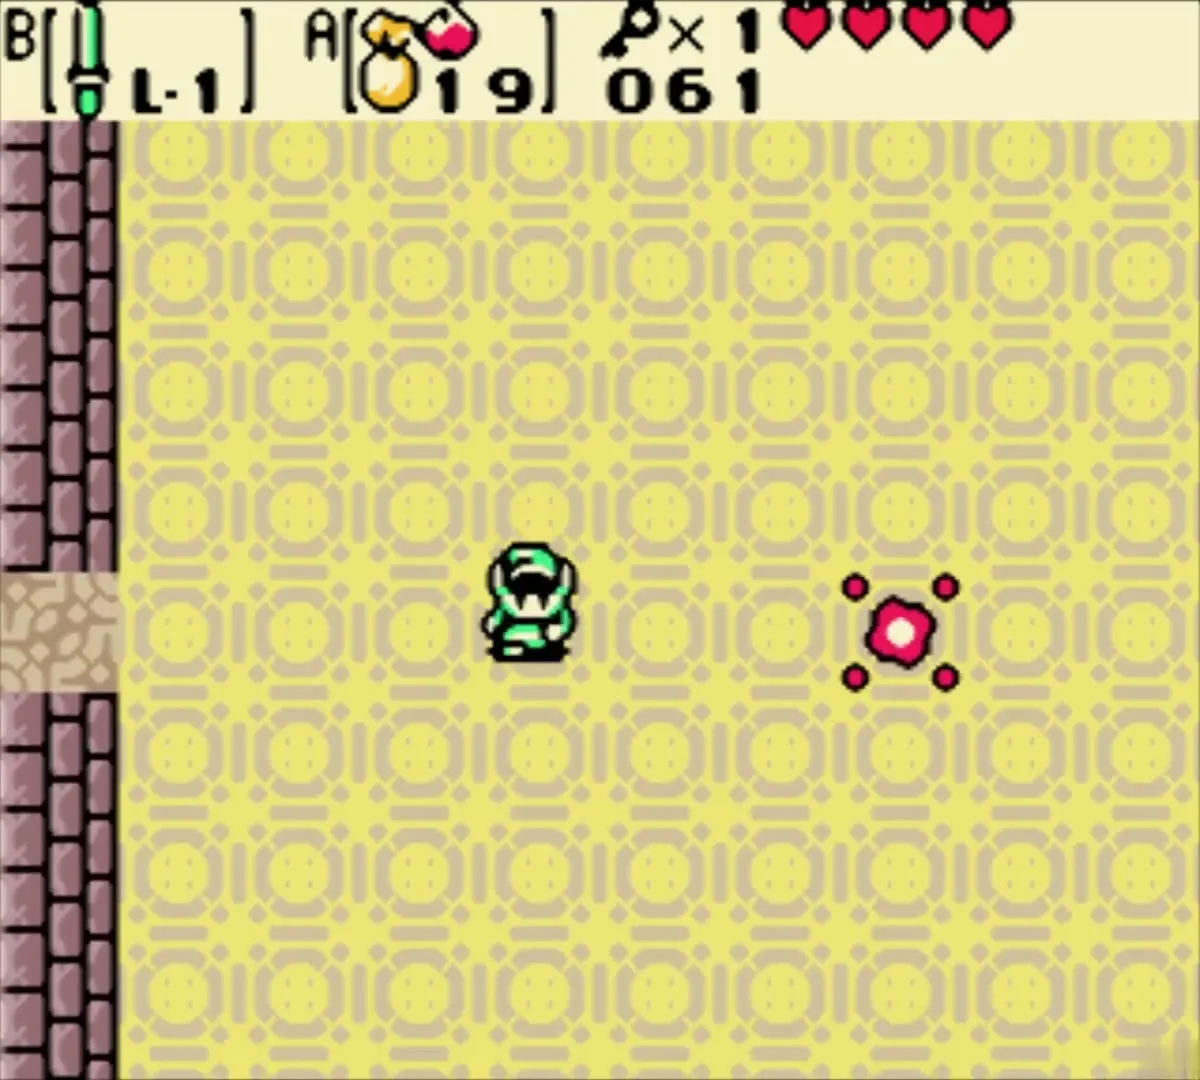
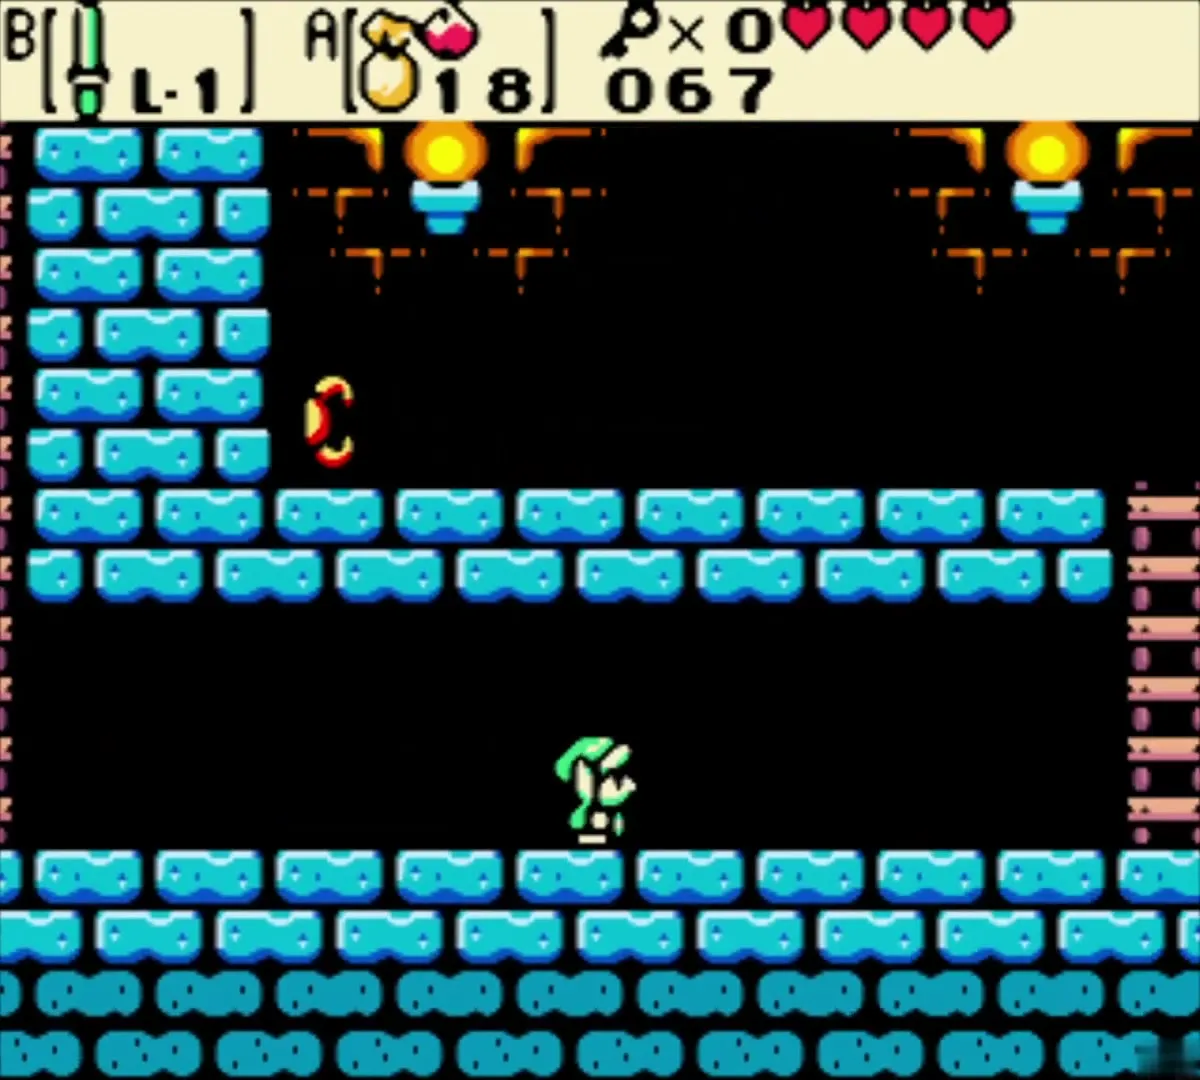
Head west past two Moblins and unlock the south door. Push the two outer blocks down and slide the middle block aside, then go south. Beat the Stalfos and take the north-east exit to a room with two unlit torches. Light both with Ember Seeds to reveal a staircase. Go down, descend the first ladder in the side-view basement and climb the other for the Power Bracelet. Hold its button and pull back on the pad to lift pots and rocks.



Discovery Ring and Boss Key
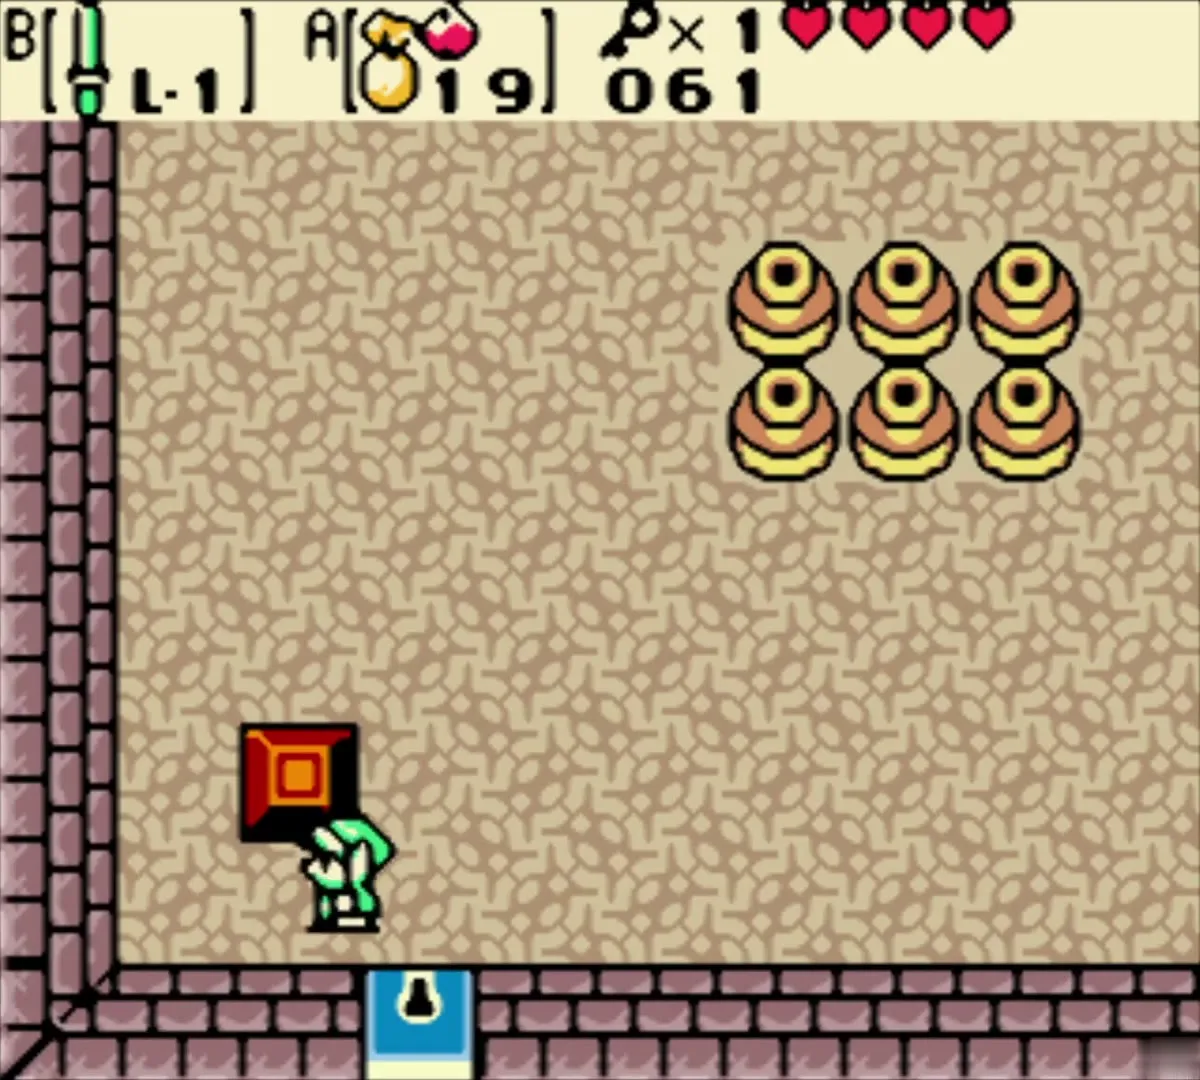
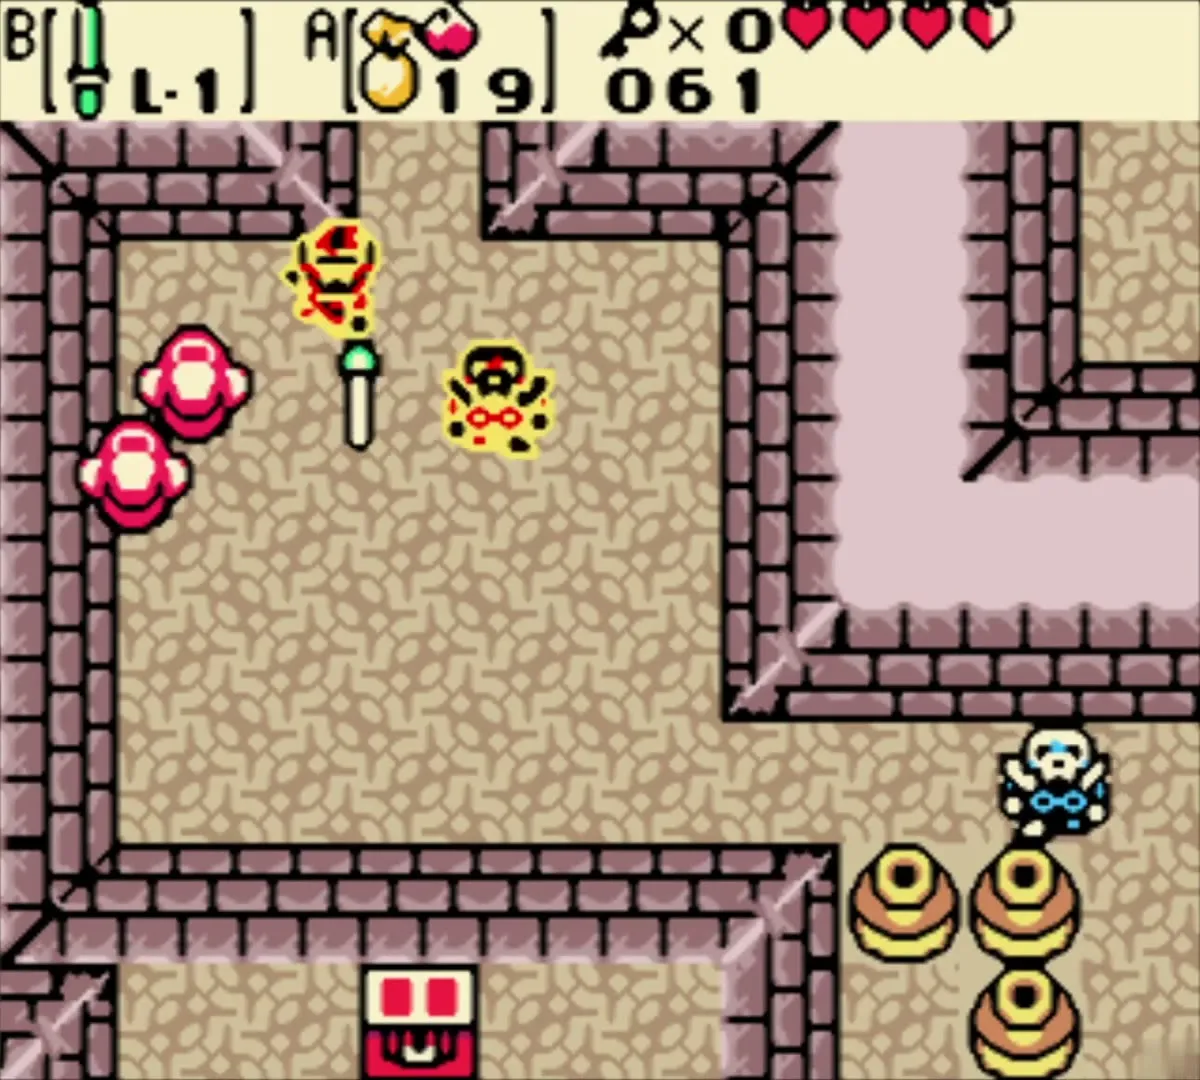
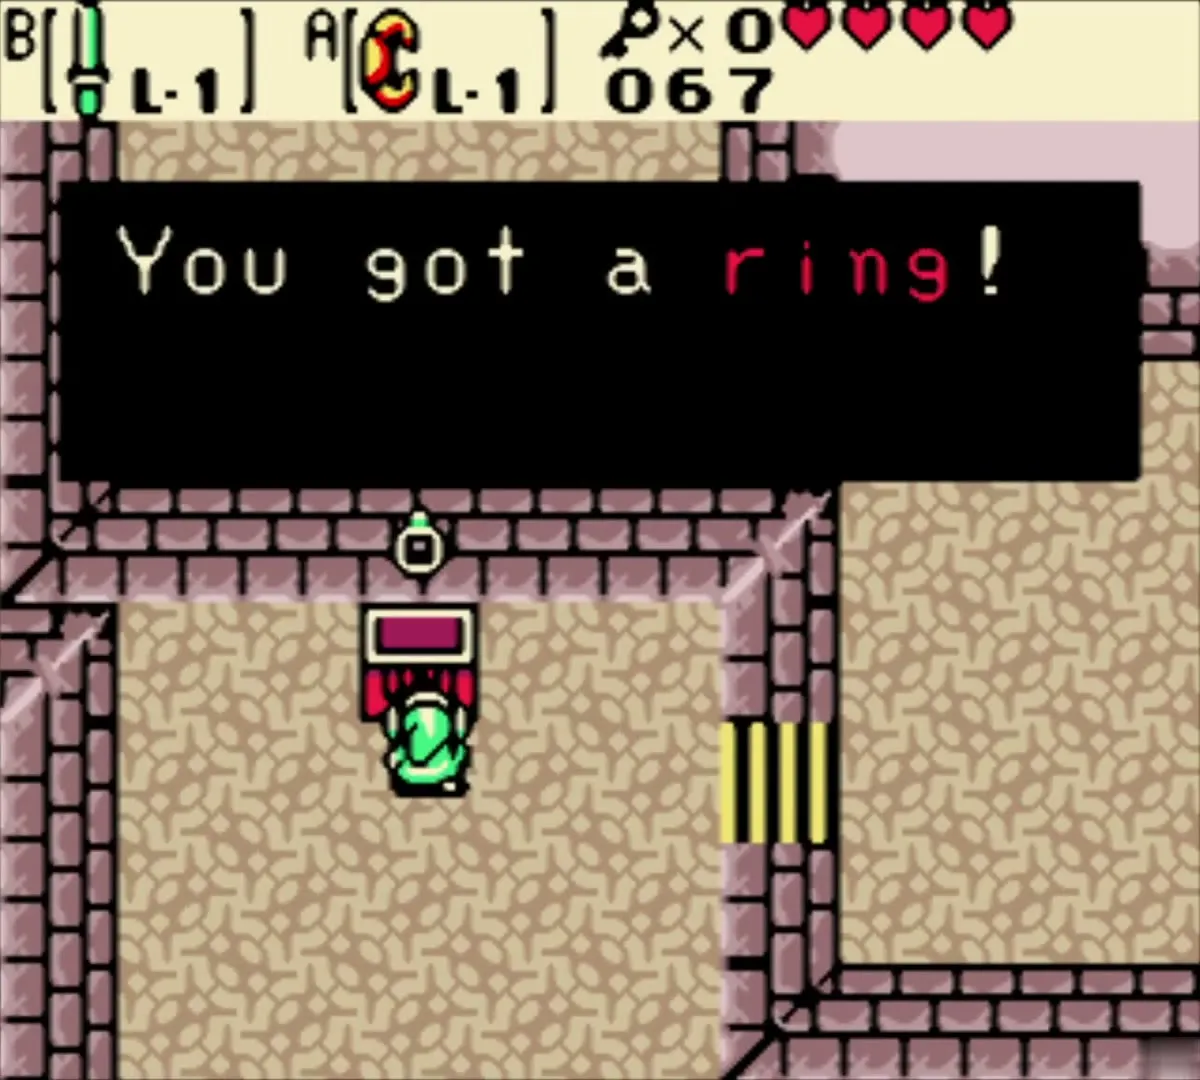
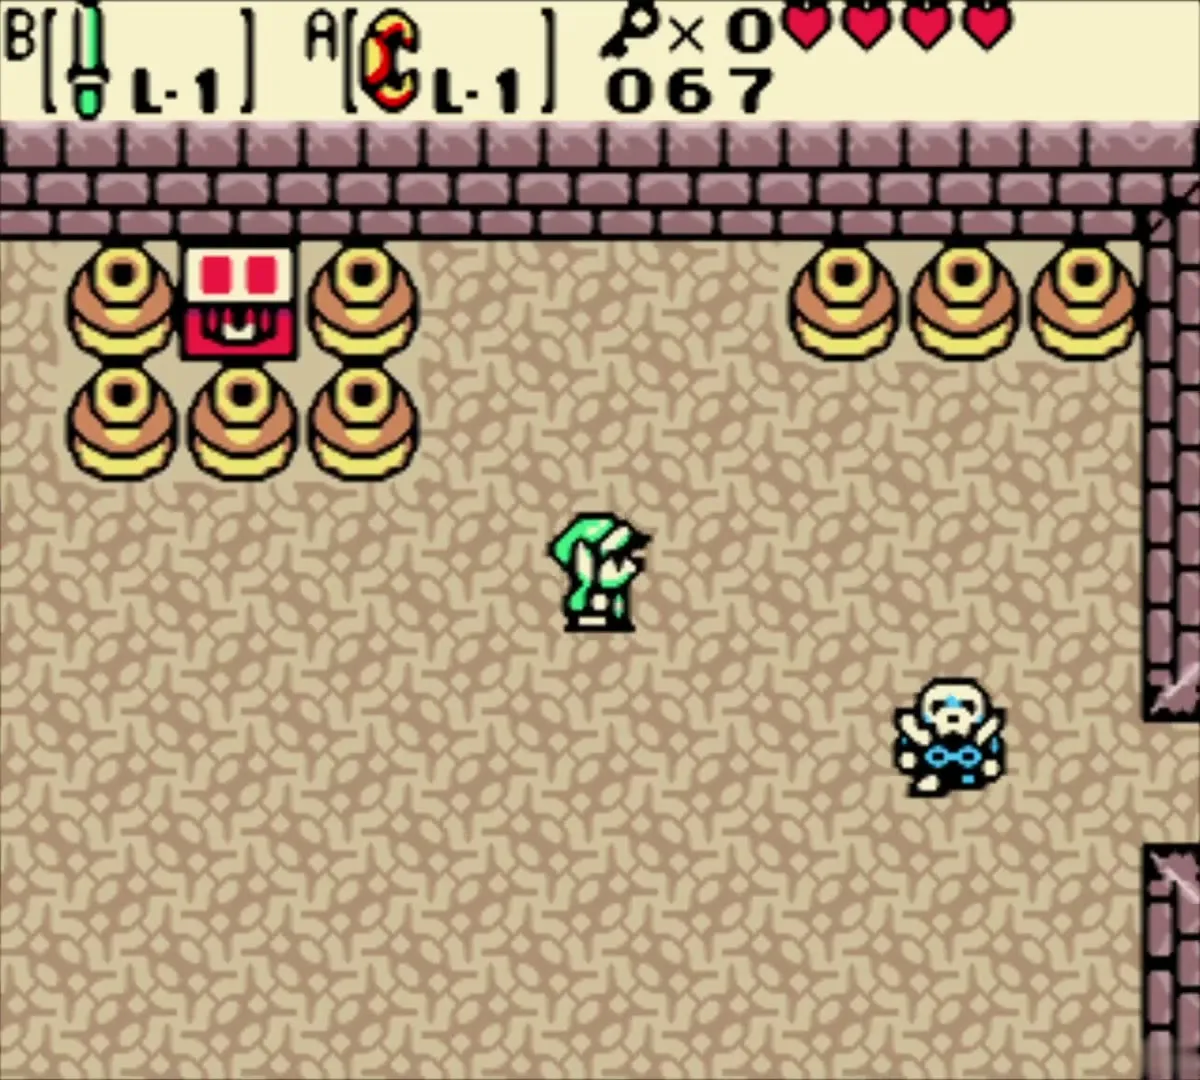
Return upstairs to the pot room with the unreachable chest. Lift the pots in front of it and open the chest for a ring: the Discovery Ring, which chimes near soft soil. It needs appraising too.
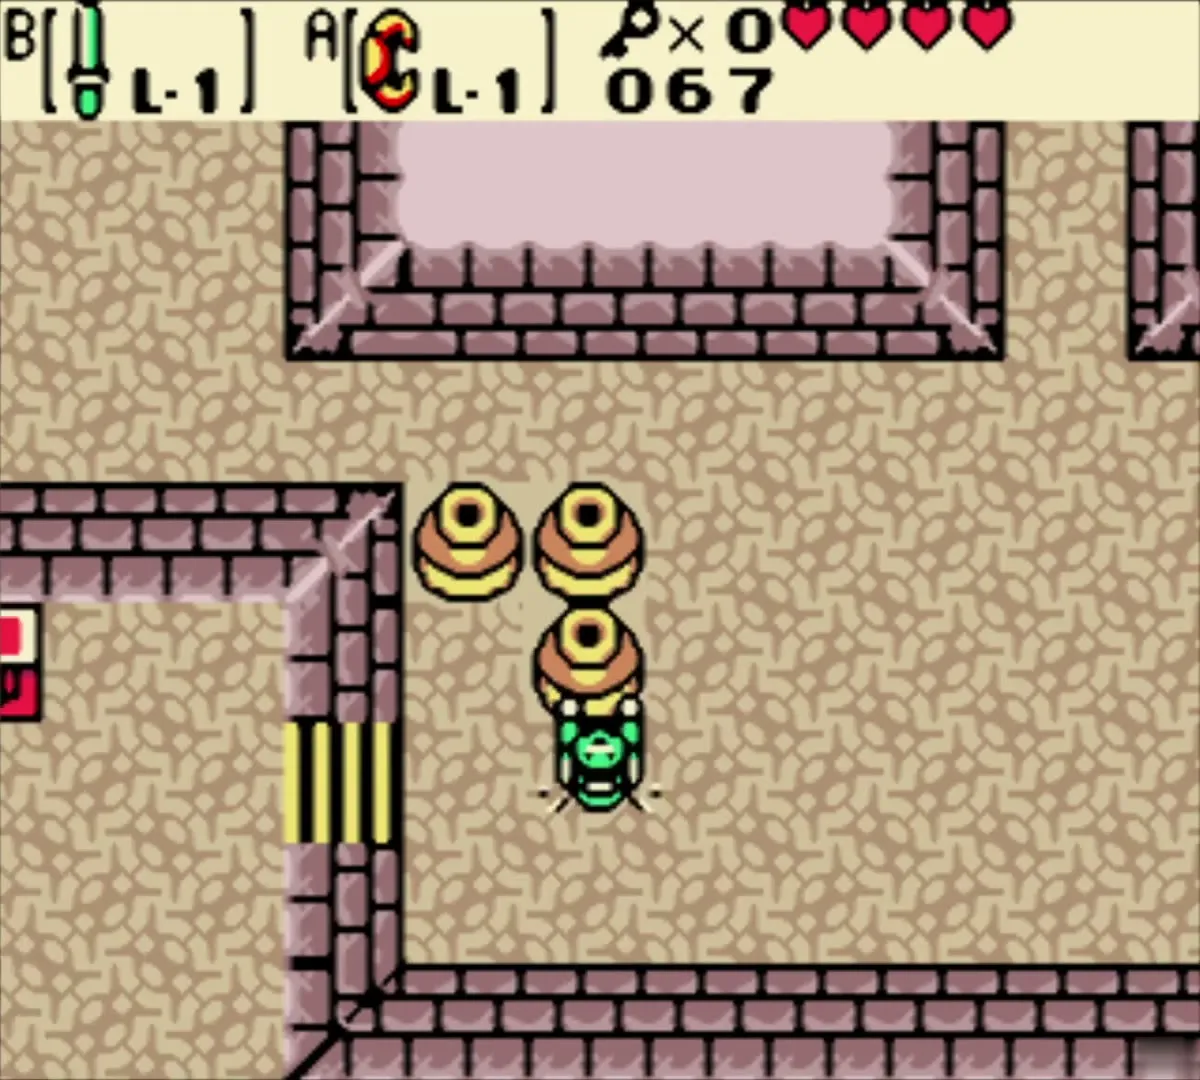
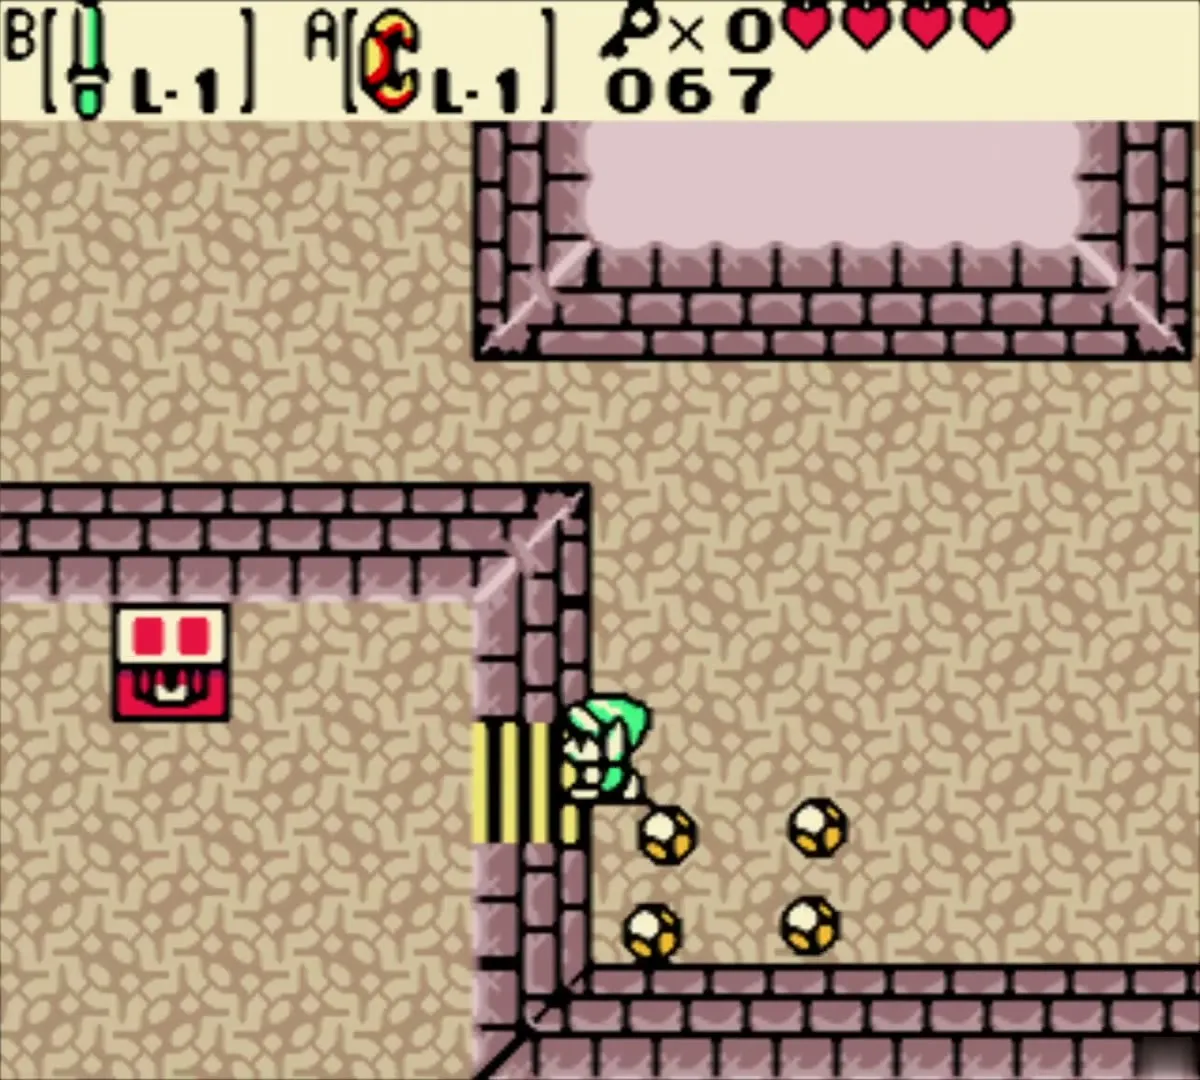
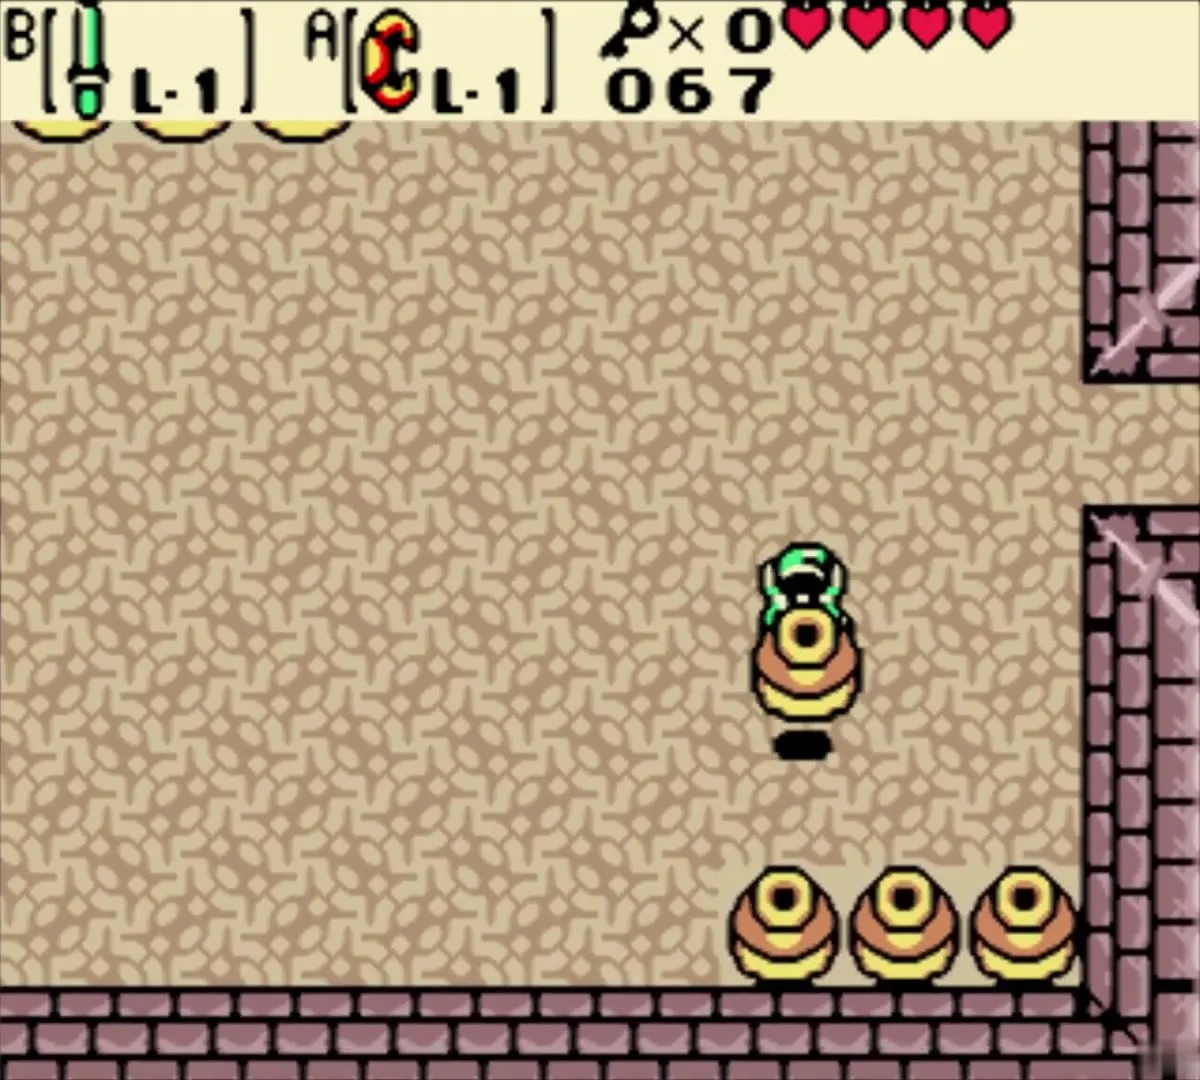
Go south. Do not lift the first pot. Push it onto the floor switch to hold the door open, then go through and beat the Stalfos. Lift the pots in front of the wall chest and open it for the Boss Key.


Boss: Pumpkin Head
Go east to the warp panel, which drops you in the Giant Ghini room, then go north twice. Wallmasters fall from the ceiling in the last room and carry you back to the entrance if they grab you, so keep moving. Unlock the boss door on the east side.

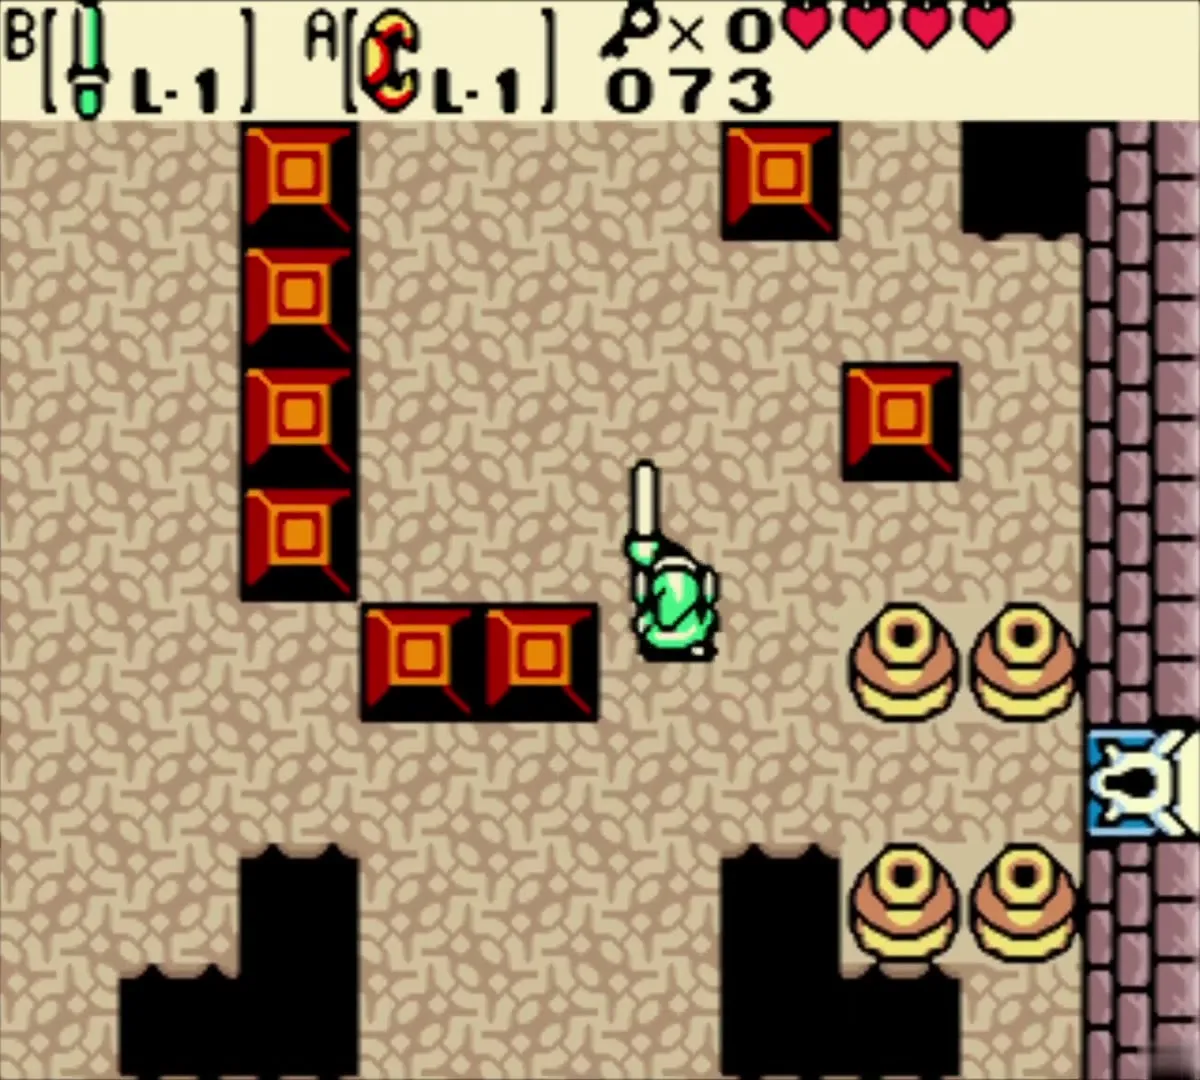

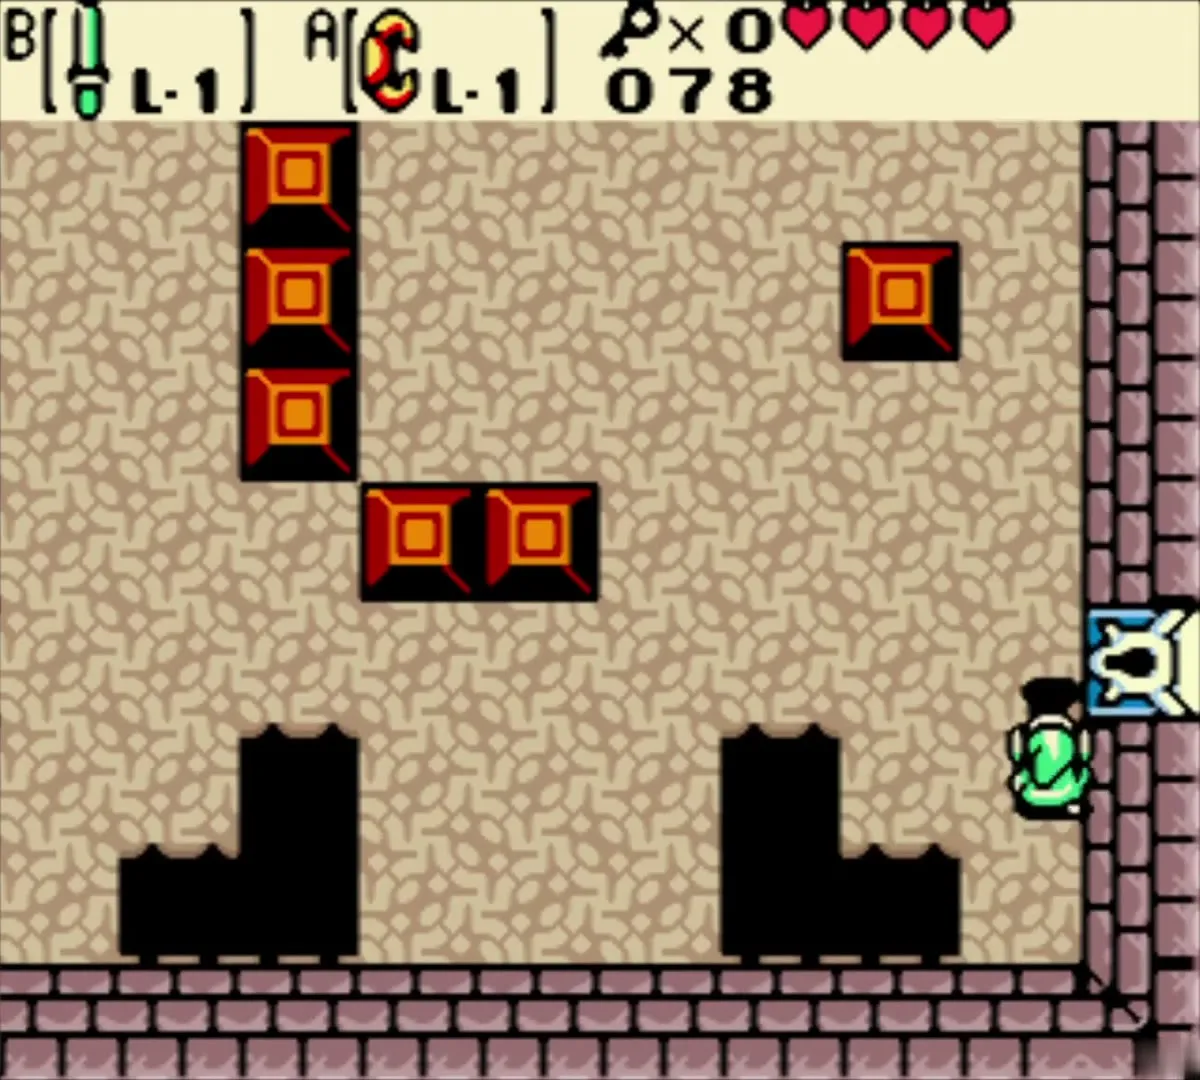
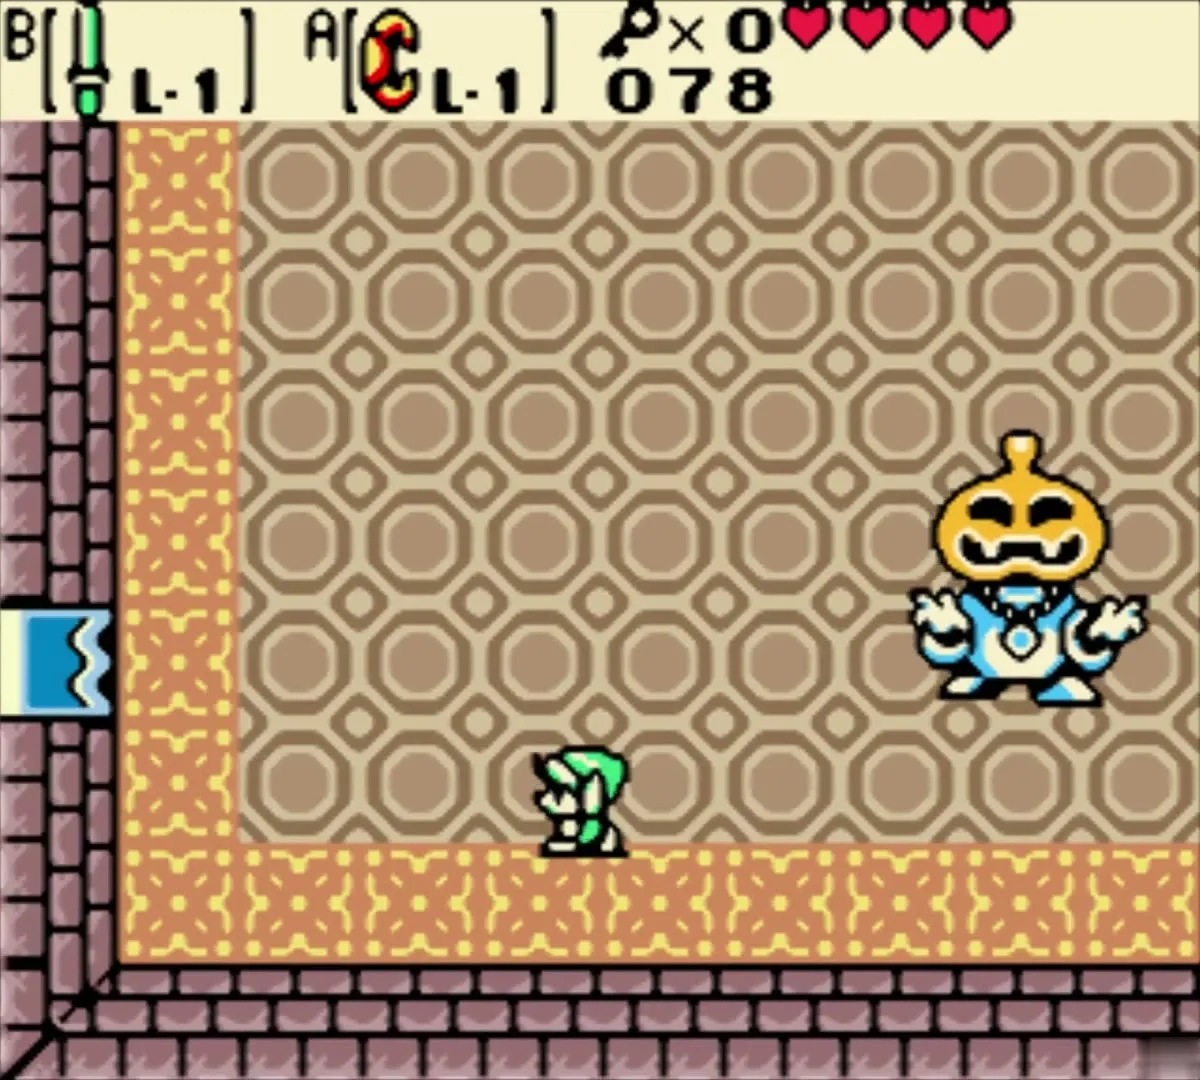
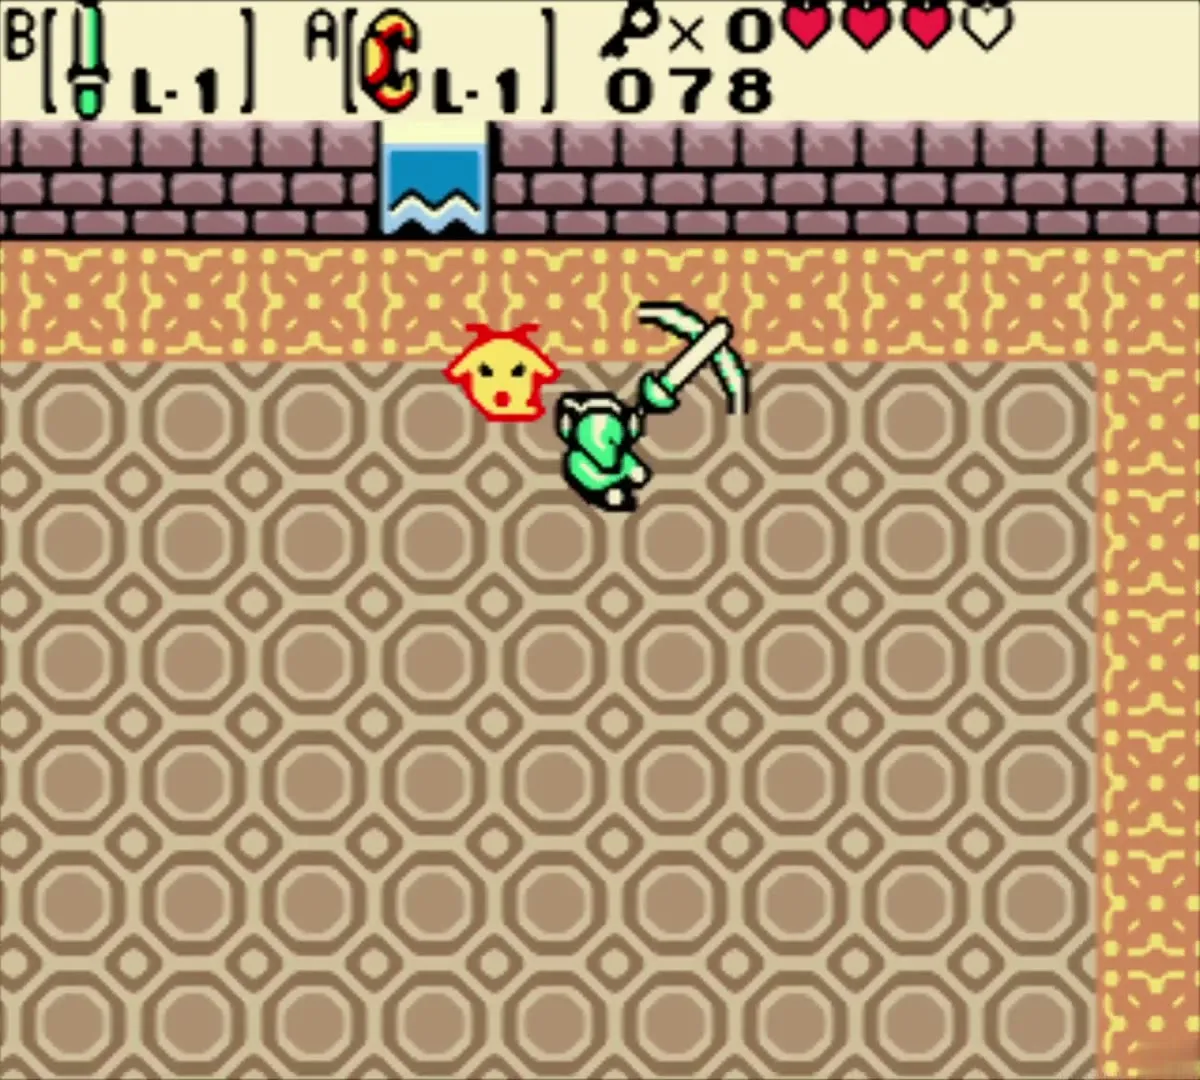
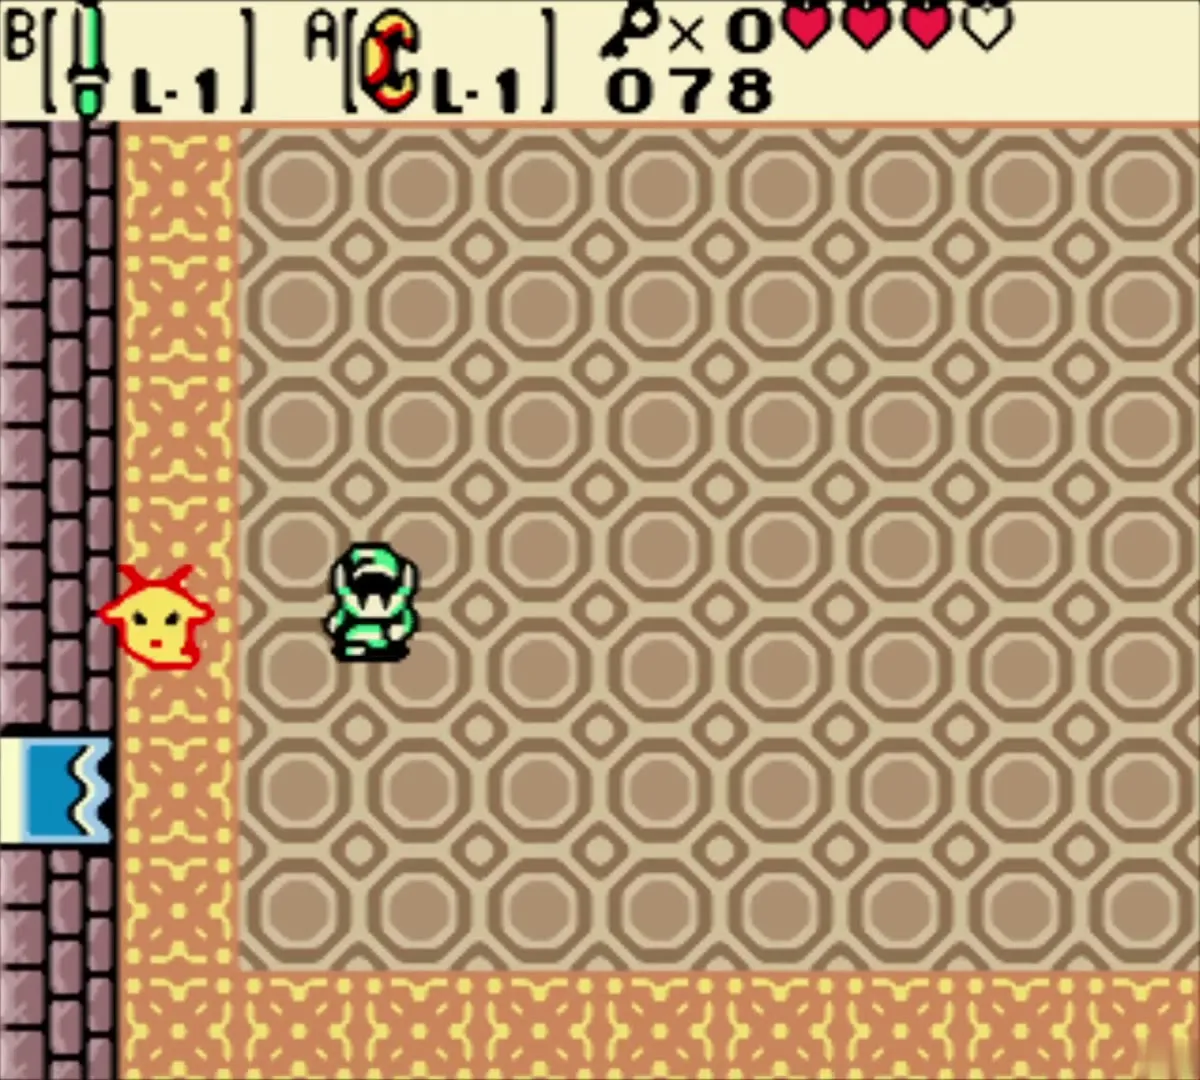
Pumpkin Head is a gown topped with a pumpkin and shoots three energy balls, so stay out of its line. Your sword does not hurt the head. Slash the body until it vanishes and the pumpkin drops. Lift the pumpkin with the Power Bracelet and throw it far from the small ghost left behind, then slash the ghost before it floats back into its pumpkin. Repeat until it is gone. Other fights are in boss strategies.

Heart Container and the Eternal Spirit
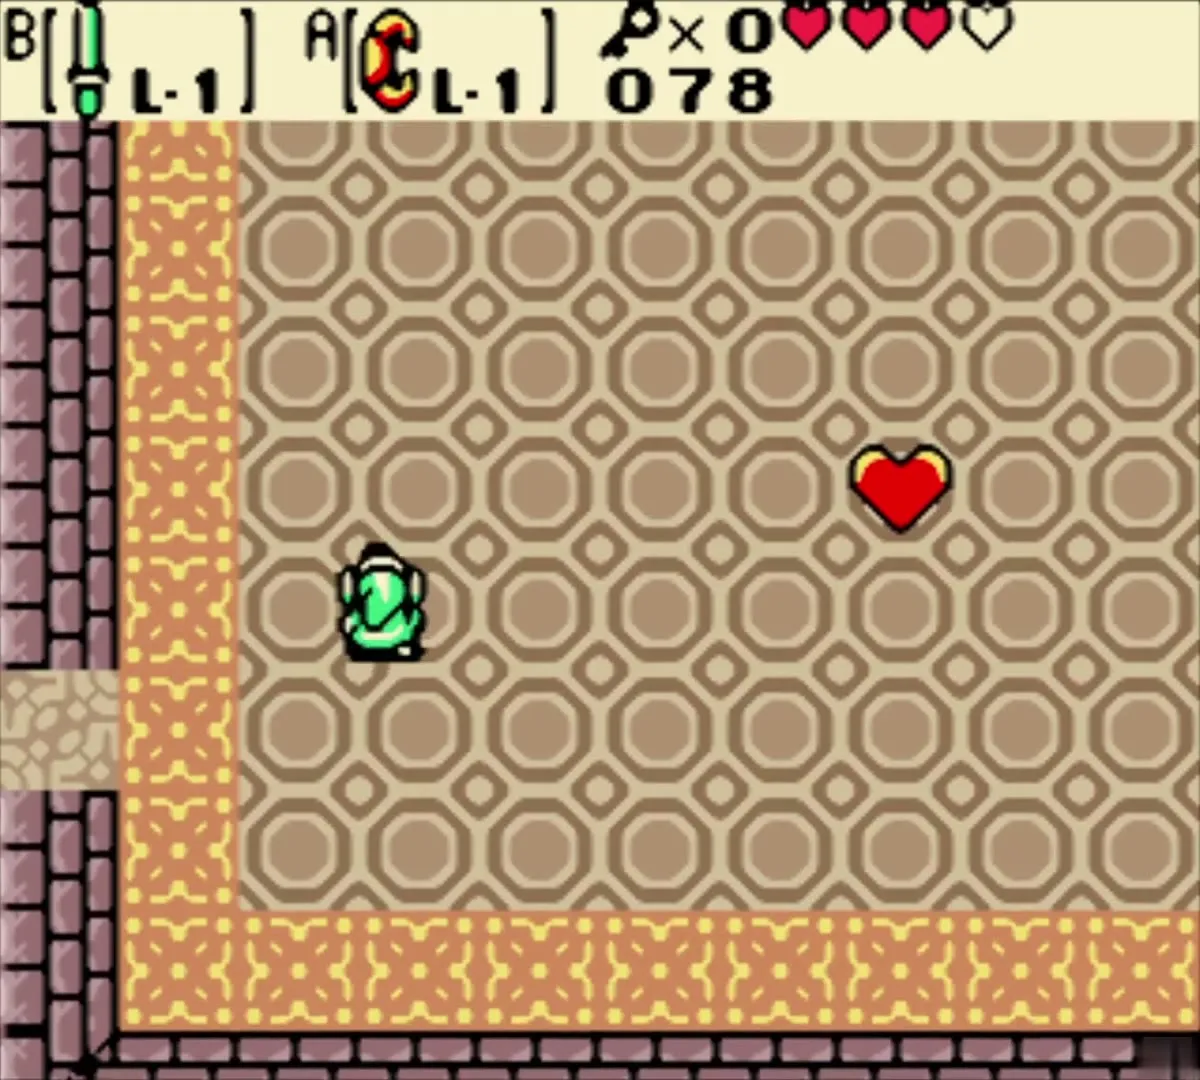
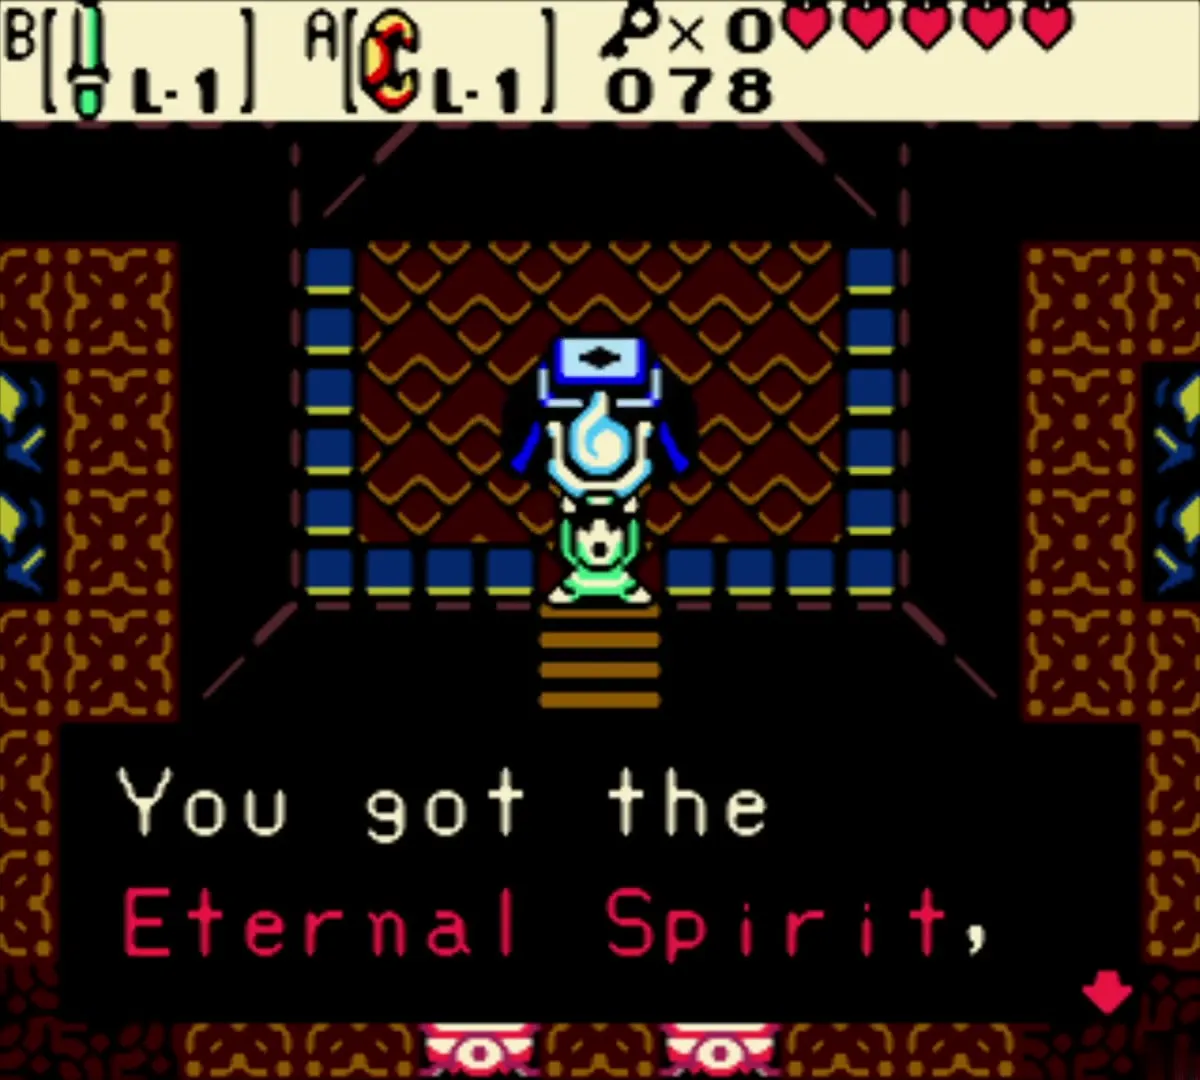
A Heart Container appears where the boss fell. Take it to refill your hearts and add one, bringing you to five. Walk north through the statue room to the altar and pick up the Eternal Spirit, the first Essence of Time. The Maku Tree then speaks to you and tells you to try the Western Woods next.



Chapter checklist
| Type | Name | Where (era) |
|---|---|---|
| Piece of Heart | Heart beside the block pile | Maku Path (past) |
| Rupees | 30 Rupees in a cave, 30 Rupees in a chest | Maku Path (past); road east of the Maku Tree (present) |
| Key item | Seed Satchel with 20 Ember Seeds | Maku Tree (present) |
| Gasha Seed | Bought for 30 Rupees | Lynna City shop (present) |
| Soft soil | Gasha Seed planted | Yoll Graveyard (present) |
| Key item | Graveyard Key | Yoll Graveyard cave (present) |
| Small Keys | 1 in Maku Path; 4 in Spirit’s Grave (floor, two chests, ledge) | Maku Path (past); Spirit’s Grave (present) |
| Dungeon items | Dungeon Map, Compass, Boss Key | Spirit’s Grave (present) |
| Rings | Power Ring L-1, Discovery Ring (both unappraised) | Spirit’s Grave (present) |
| Gasha Seed | Chest in the platform room | Spirit’s Grave (present) |
| Dungeon item | Power Bracelet | Spirit’s Grave (present) |
| Heart Container | Pumpkin Head reward | Spirit’s Grave (present) |
| Essence | Eternal Spirit | Spirit’s Grave (present) |
