





















Oracle of Ages 100% Completion Walkthrough24 chapters
- Arrival in Labrynna and the Black TowerStart Oracle of Ages in a linked game: Forest of Time, Vasu’s Ring Box, the Maku Tree, the time portal, the Black.
- Maku Path and Spirit’s Grave (Level 1)Maku Path and Spirit’s Grave walkthrough for Oracle of Ages: Seed Satchel, Graveyard Key, Power Bracelet, Pumpkin Head.
- The Harp of Ages and Fairies’ WoodsHarp of Ages and Fairies’ Woods walkthrough for Oracle of Ages: Poe Clock, Heart Piece, Vasu’s rings, hide-and-seek.
- Deku Forest and the Mystery SeedsDeku Forest walkthrough for Oracle of Ages: Mystery Seeds, Queen Ambi’s Bombs, a Heart Piece, the Deku Secret and the.
- Wing Dungeon (Level 2)Wing Dungeon walkthrough for Oracle of Ages: all five Small Keys, Dungeon Map, Compass, Swoop, Roc’s Feather, Boss.
- Farore’s Secrets and Cheval’s GraveFarore’s secrets and Cheval’s Grave walkthrough for Oracle of Ages: West Lynna Heart Piece, Hall of Secrets codes, Red.
- Tingle’s Chart and Crescent IslandTingle’s Chart and Crescent Island walkthrough for Oracle of Ages: Ricky’s Gloves, Island Chart, Rafton’s raft, the.
- Moonlit Grotto (Level 3)Moonlit Grotto walkthrough for Oracle of Ages: all Small Keys, Compass, Seed Shooter, Gasha Seeds, Subterror, Boss.
- Nuun Highlands and the Strange FlutesOracle of Ages Nuun Highlands walkthrough: Dimitri’s Flute, Tingle’s 99-seed Satchel, the Black Tower rescue, the.
- Symmetry City and Talus PeaksOracle of Ages Symmetry City and Talus Peaks walkthrough: Cracked Tuni Nut, Patch’s ceremony, Tune of Currents, Heart.
- Skull Dungeon (Level 4)Skull Dungeon walkthrough for Oracle of Ages: Compass, Dungeon Map, 5 Small Keys, Armos Warrior, Switch Hook, Boss.
- Lynna Trades and the Noble SwordOracle of Ages trading sequence walkthrough, Funny Joke to Noble Sword: Touching Book, Maple’s Magic Oar, Sea Ukulele.
- West Rolling Ridge and the Great MoblinWest Rolling Ridge walkthrough for Oracle of Ages: Lynna secret shop, Pegasus Seeds, Moblin’s Keep, Great Moblin, Bomb.
- Crown Dungeon (Level 5)Crown Dungeon (Level 5) walkthrough for Oracle of Ages: Small Keys, Cane of Somaria, Smasher, Compass, Boss Key, Smog.
- East Rolling Ridge and the Mermaid KeysEast Rolling Ridge walkthrough for Oracle of Ages: Goron Dance, Brother Emblem, Target Carts, Rock Brisket, Goron Vase.
- Mermaid’s Cave (Level 6) Walkthrough for Oracle of AgesMermaid’s Cave walkthrough for Oracle of Ages: get the Old Mermaid Key, clear both halves, collect the Mermaid Suit.
- Ambi’s Palace and the Tune of AgesAmbi’s Palace walkthrough for Oracle of Ages: sneak in, beat Possessed Nayru, learn the Tune of Ages, claim Hall of.
- Zora Seas and the Fairy PowderOracle of Ages Zora Seas walkthrough: the Gasha Seed chest, King Zora’s Library Key, Book of Seals, Fairy Powder and.
- Jabu-Jabu’s Belly (Level 7)Jabu-Jabu’s Belly walkthrough for Oracle of Ages: Like Like Ring, Compass, Small Keys, Long Hook, Boss Key, Plasmarine.
- Sea of Storms and the Pirate ShipSea of Storms walkthrough for Oracle of Ages: Zora Scale, pirate ship and Tokay Eyeball, clam grotto ring, Tokay.
- Ancient Tomb (Level 8)Ancient Tomb (Level 8) walkthrough for Oracle of Ages: three Slates, the Boss Key, two Gasha Seeds, Ramrock boss.
- Final Collection and the Hero’s CaveOracle of Ages final collection walkthrough: Maple Piece of Heart, Gasha Nut rings and fairies, Hero’s Cave Armor Ring.
- The Black Tower and VeranFinal ring appraisals, the Huge Maku Seed, the Black Tower climb and the three-phase Veran boss fight in Oracle of.
- Room of Rites, Twinrova and GanonOracle of Ages Room of Rites walkthrough: the eye-statue hallway, Twinrova’s fire and ice phases, the Ganon boss.
| Covers | Zora Seas and Zora Village (present and past), King Zora’s Palace (present and past), the Eyeglass Isle Library (past and present), the Fairy Queen’s pool (past), and the Jabu-Jabu’s Shrine entrance (present) |
|---|---|
| Dungeon | Jabu-Jabu’s Belly (Level 7): entrance and first floor only, with its first Small Key and the Dungeon Map. No mini-boss or boss in this chapter. |
| Rewards | Library Key, Book of Seals, Fairy Powder, 200 Rupees, one Gasha Seed from a chest, one Gasha Seed planted in soft soil, one ring (see the checklist), Dungeon Map, and permission to enter Jabu-Jabu. No Heart Piece, Heart Container or Essence of Time; no linked secret is entered here. |
This chapter covers the Zora Seas from the fisher’s islet to Jabu-Jabu’s mouth. You take a Gasha Seed from a chest in Zora Village, plant one in soft soil in the past, collect 200 Rupees from King Zora’s Palace, and receive the Library Key from King Zora. The Eyeglass Isle Library then gives you the Book of Seals and, after a dark puzzle in the past, the Fairy Powder. Sprinkle the powder on the Fairy Queen to clean the sea, which earns King Zora’s permission to enter Jabu-Jabu. The short route is: sail from the hut, Zora Village chest, palace chest, the Magic Potion in the past, the Library Key, the library, the dark chamber, the Fairy Queen, the sea ring chest, then Jabu-Jabu’s mouth.


Sailing the Zora Seas from the fisher’s islet
Leave the fisher’s hut and use the first time pillar
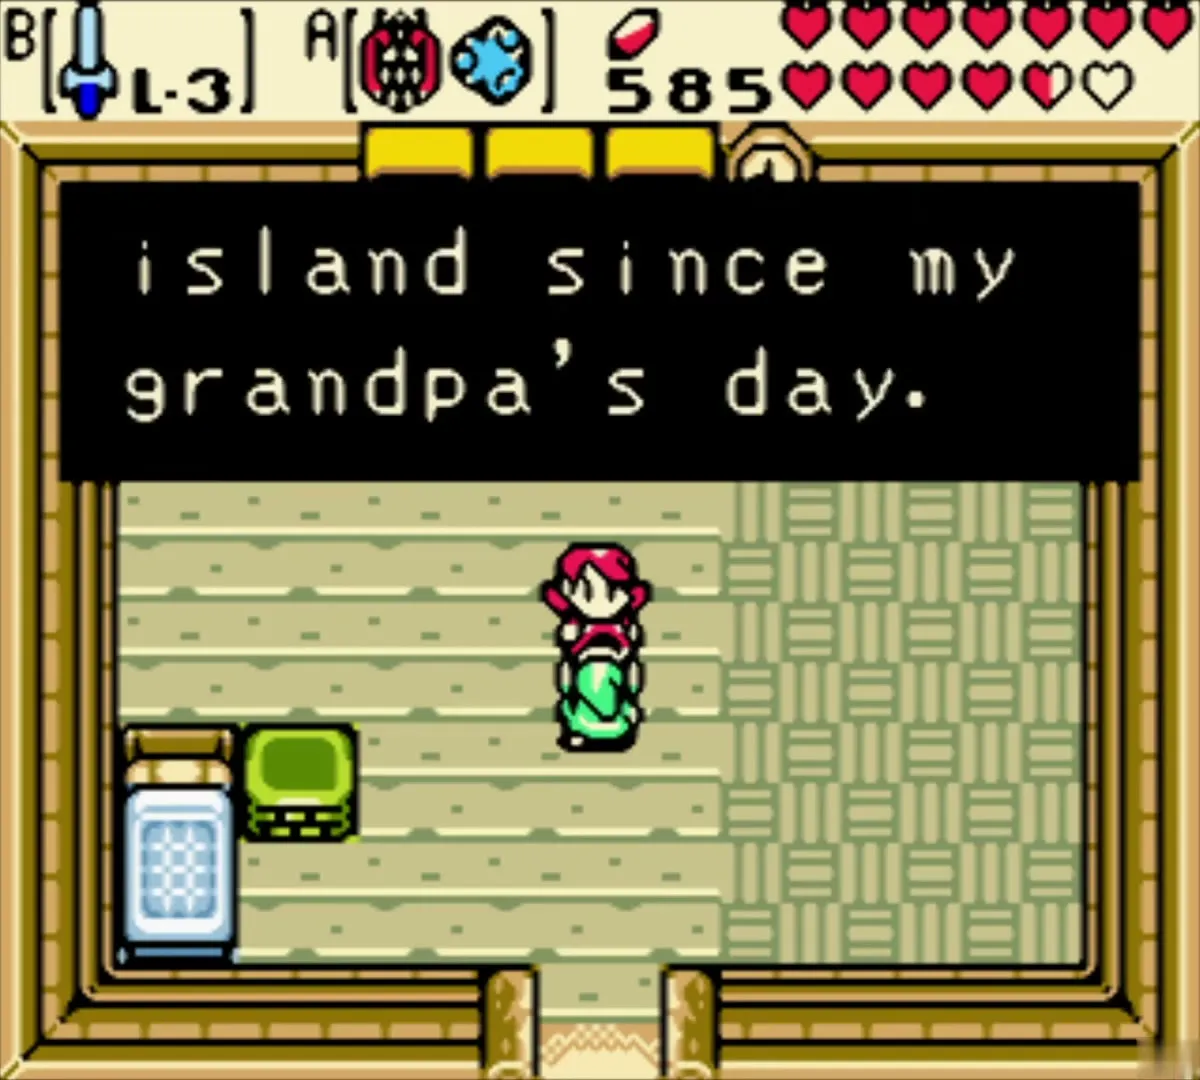
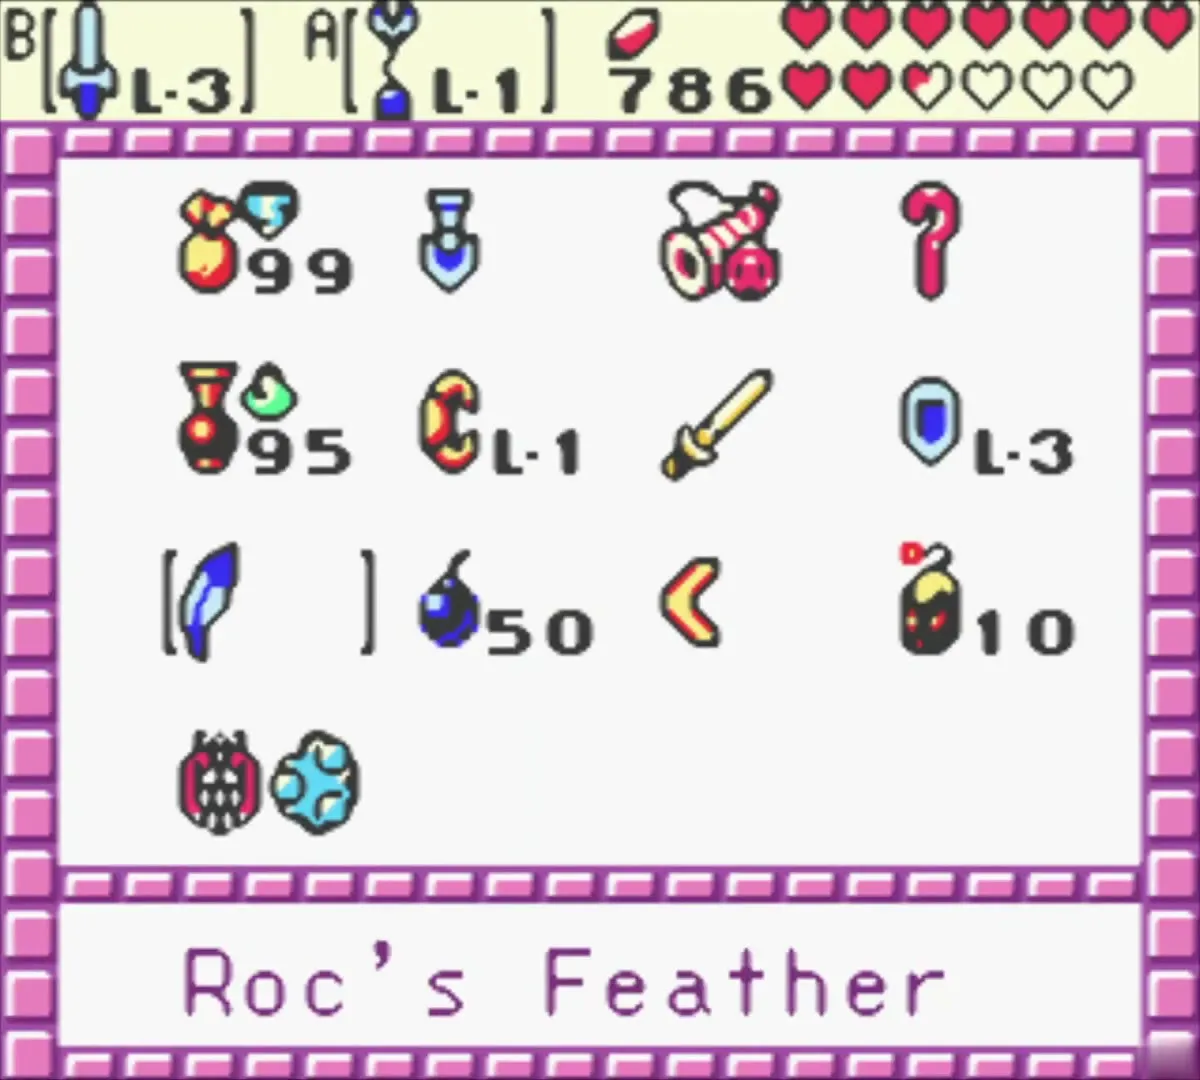
Start on the small islet in the present, where a fisher inside the hut explains that the islet drifts from west to east over the centuries. Equip the Switch Hook on the A button and the Tune of Ages on the B button. Play the tune at the west end of the islet to make a time pillar appear, then step onto it to reach the past.
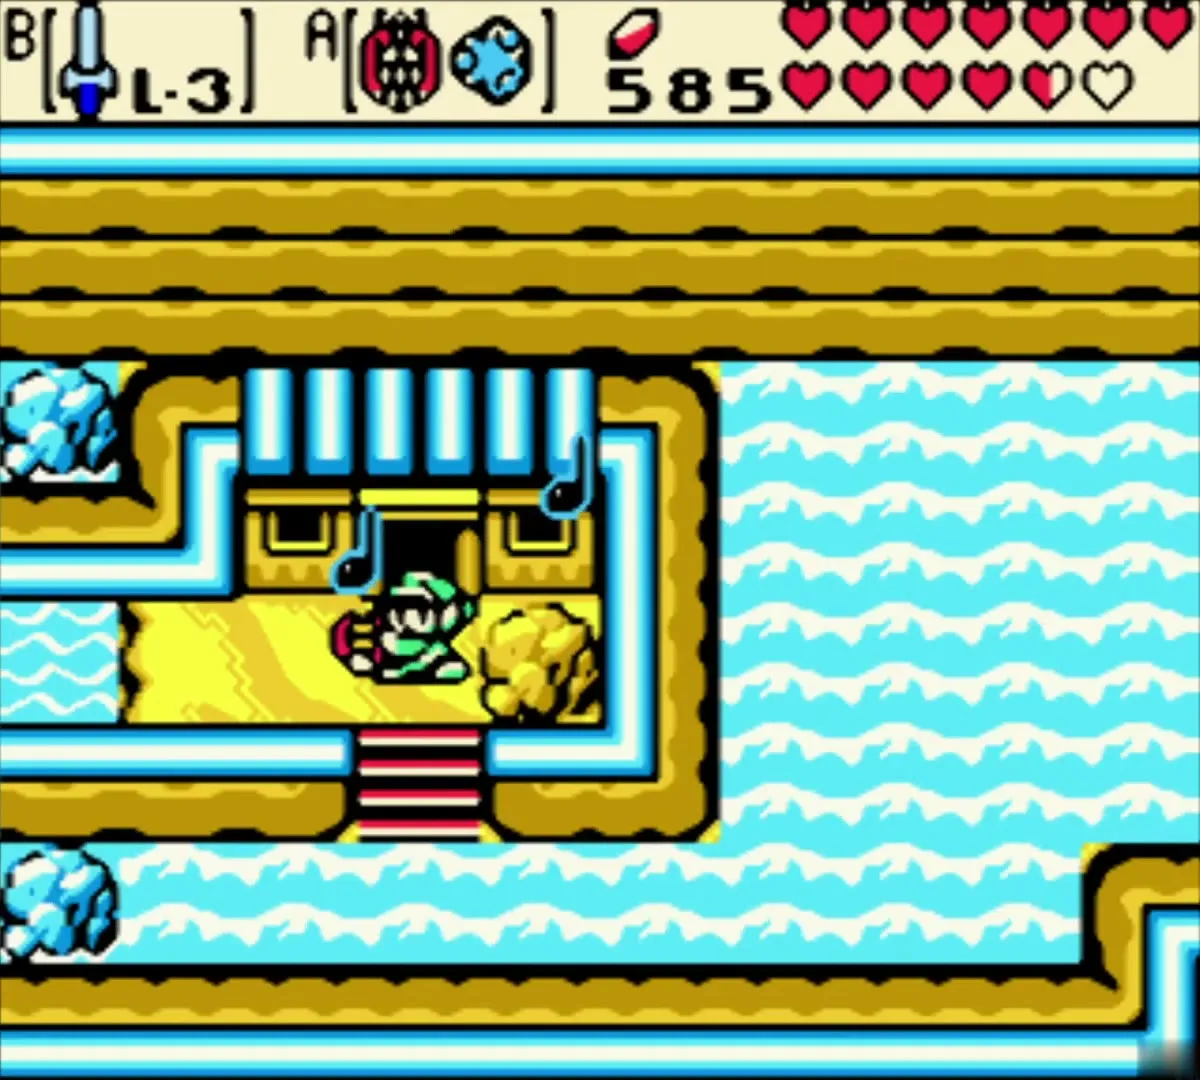
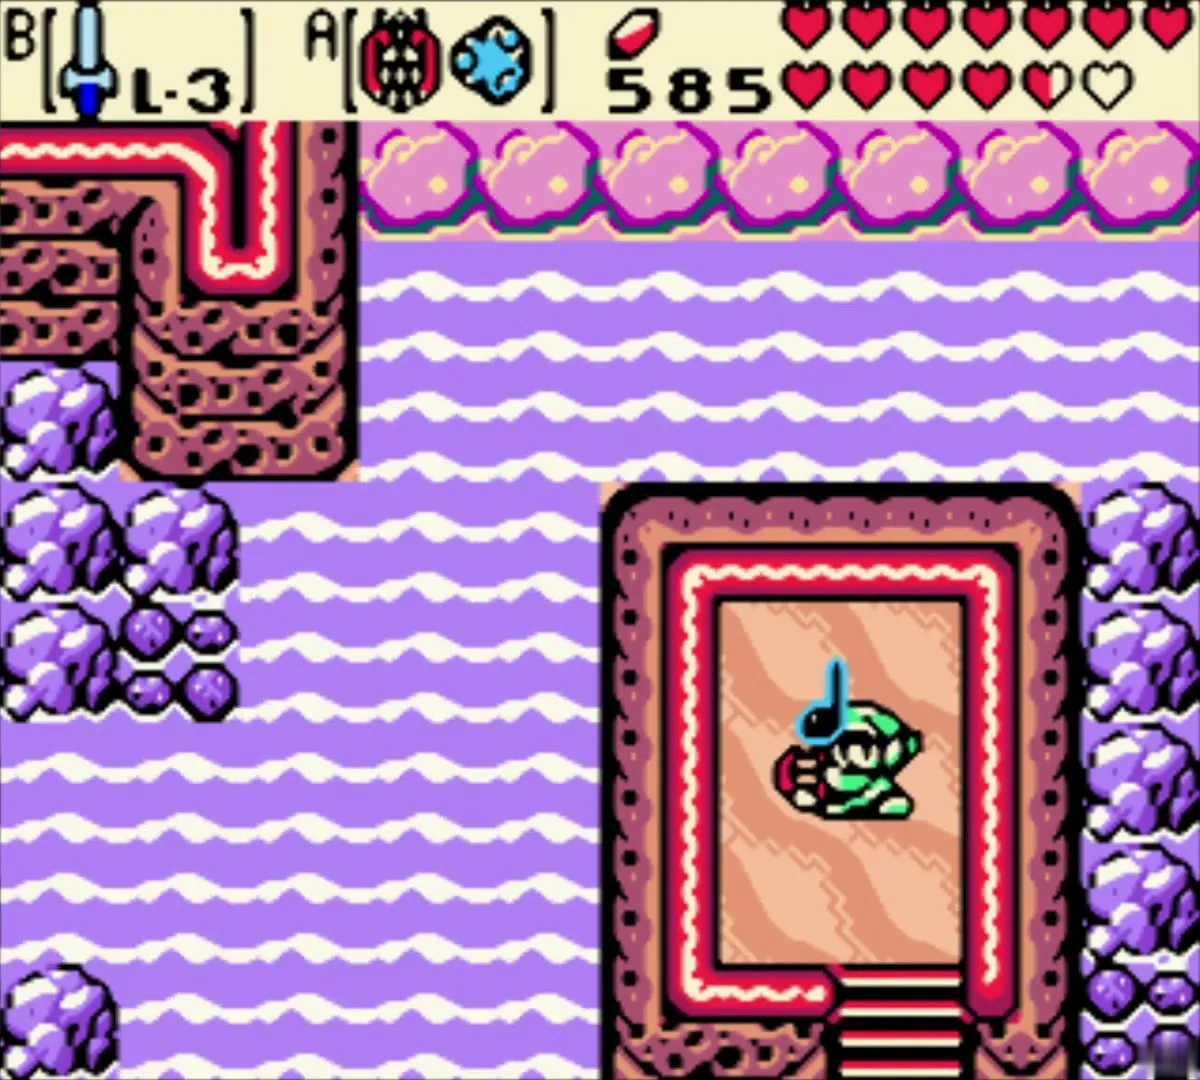
In the past, swim west and then north to another islet and play the Tune of Ages there to return to the present. From the present, dive, swim east and use the Switch Hook on the diamond block, then surface and play the tune on the next islet. Repeat the pattern once more in the past, then dive south in the present, hook the next diamond and swim west to reach Zora Village.

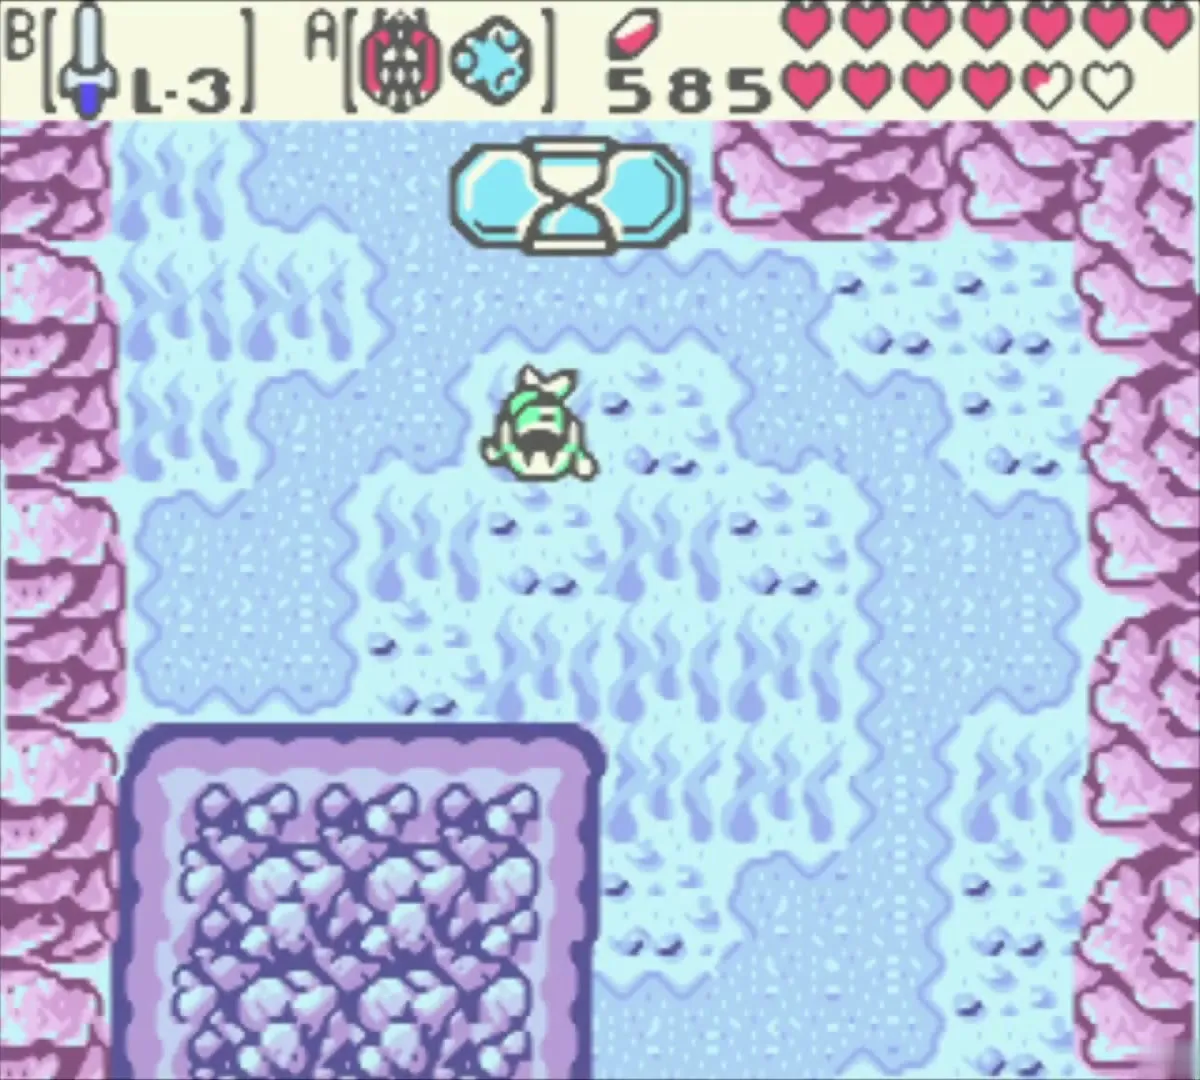
Swim underwater into Zora Village
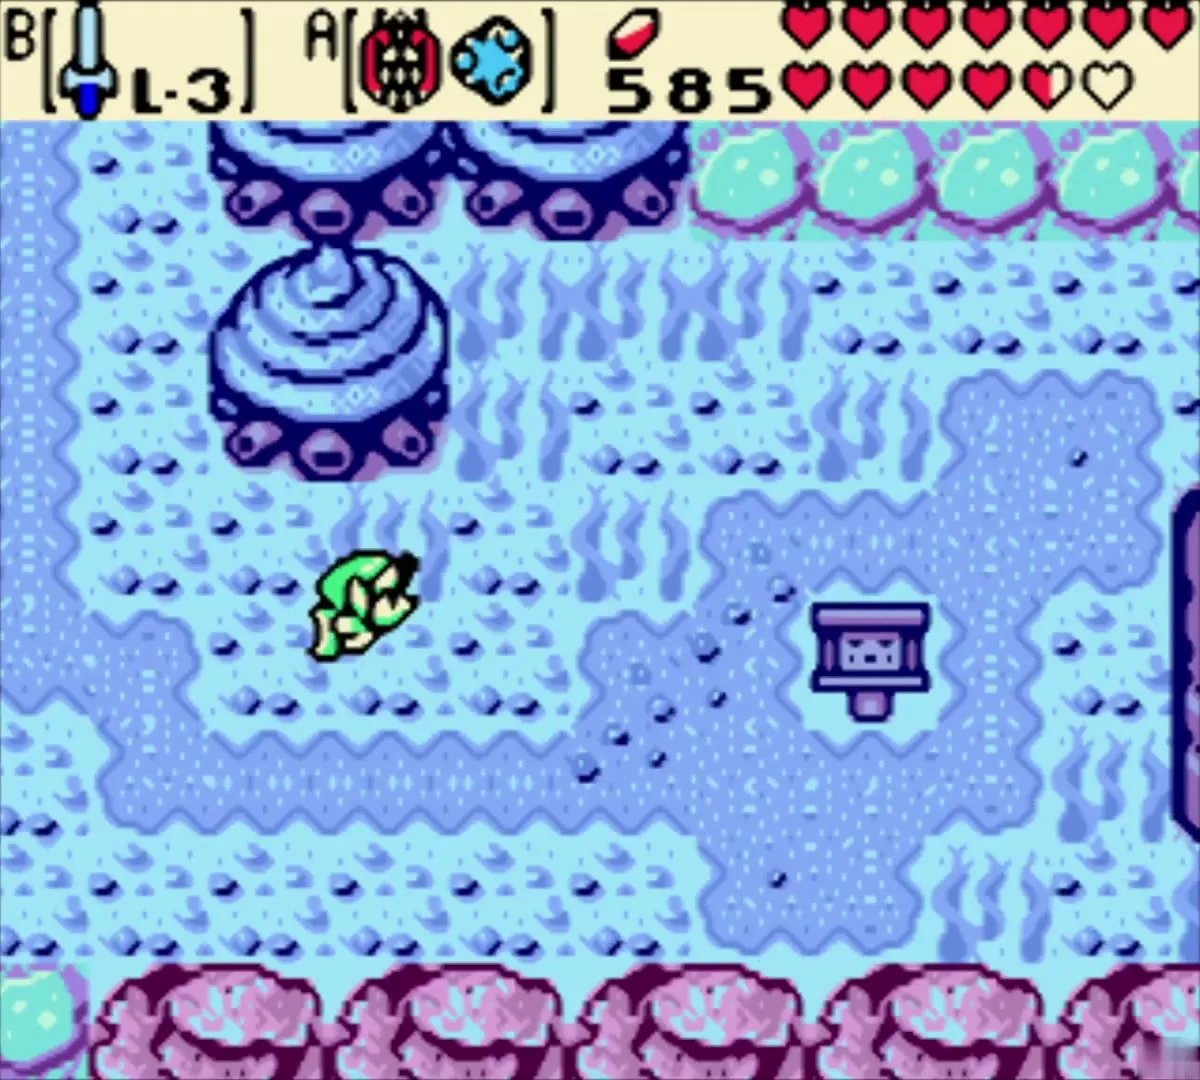
In the present, the Zora Village underwater area is full of blue mushroom trees and sandy islands. Follow the signposts toward Zora Village and the Sea of Storms, and speak to the Zoras you pass along the way. The village is a wide area of blue water, so keep moving west toward the mushroom trees.
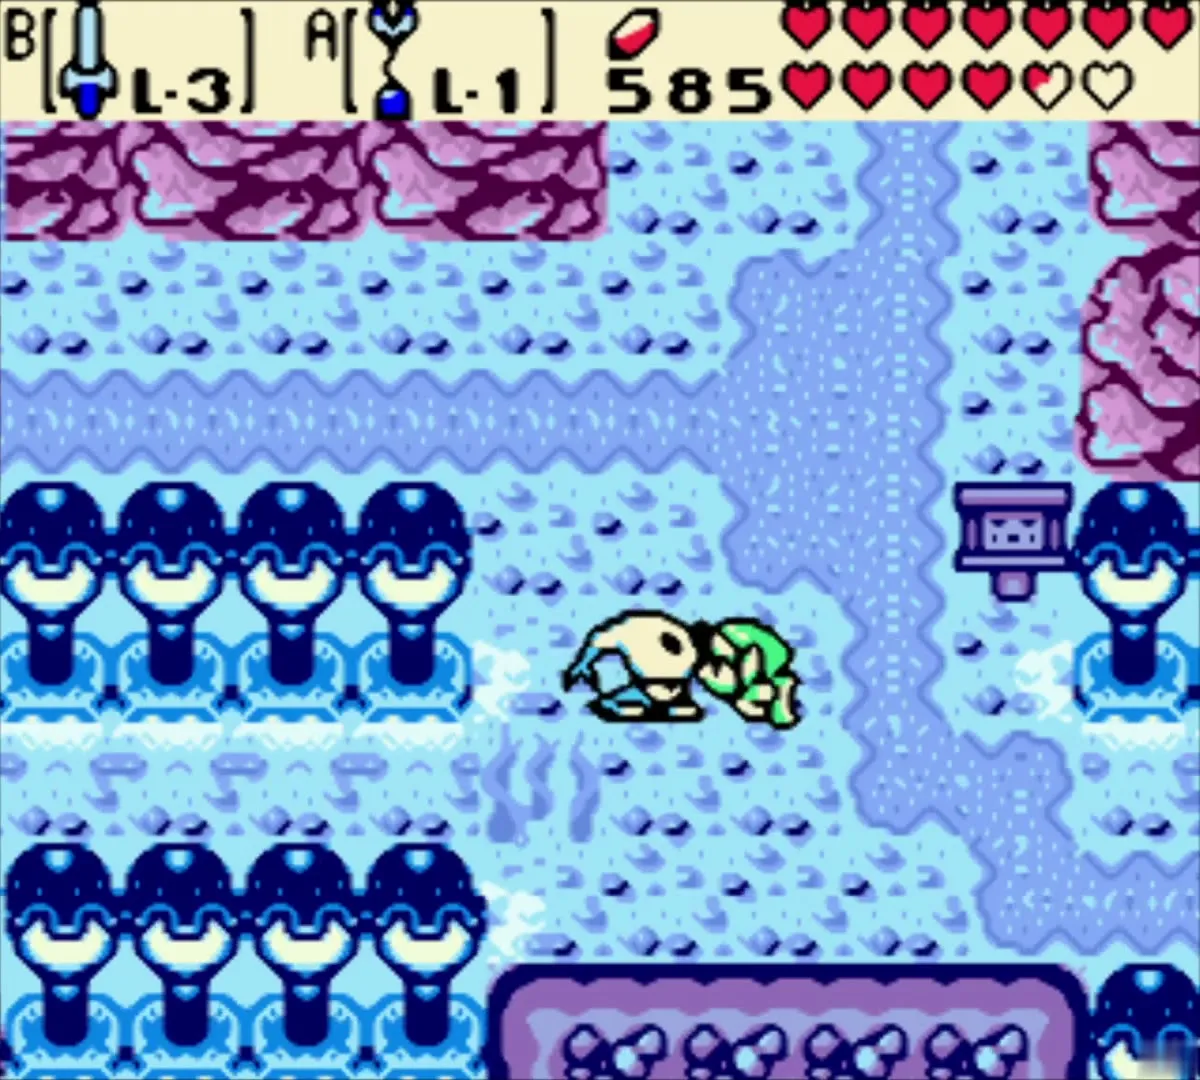
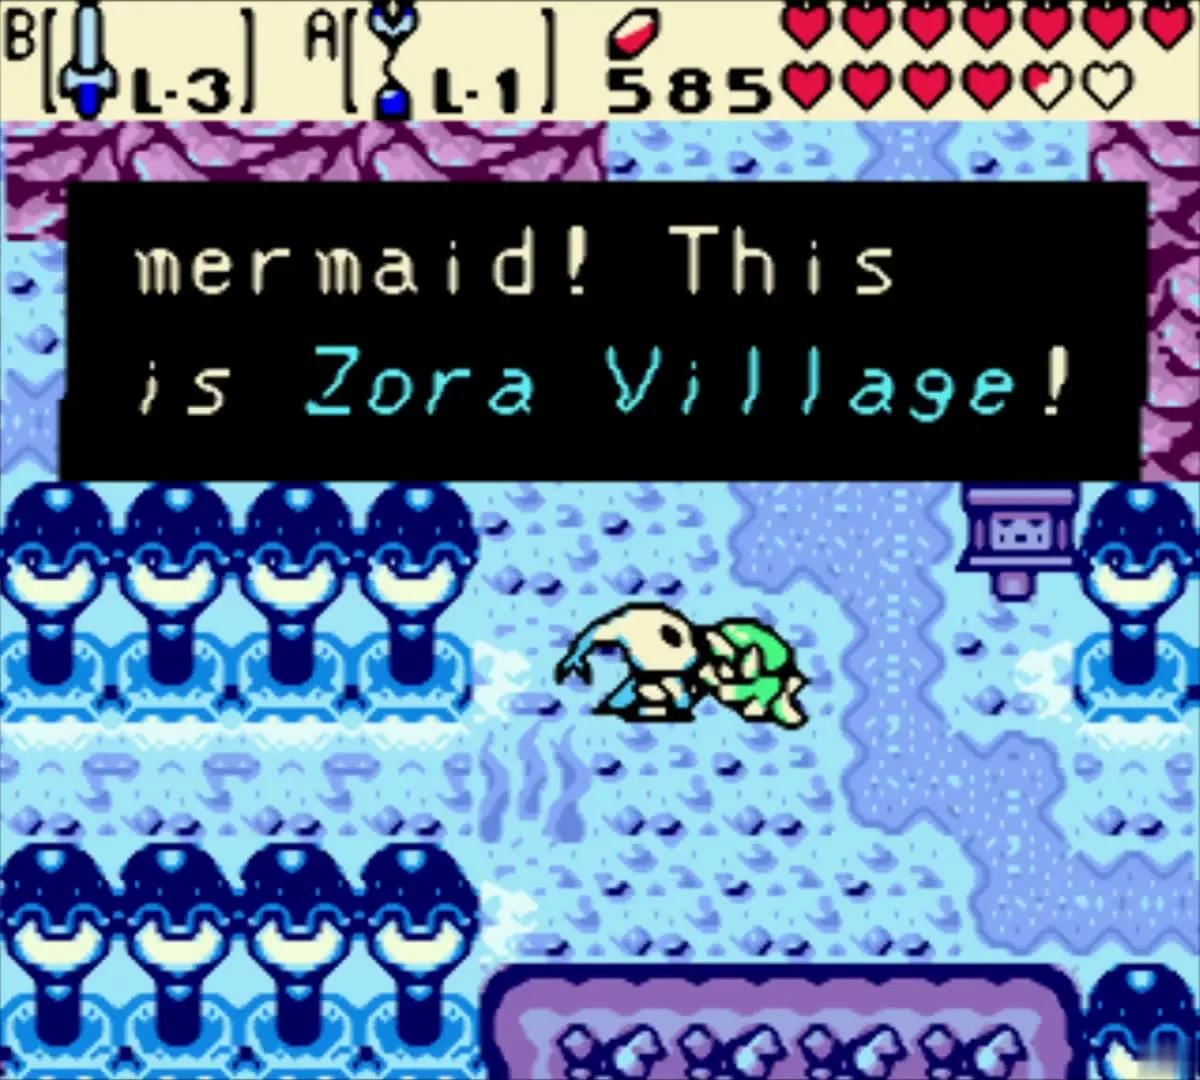
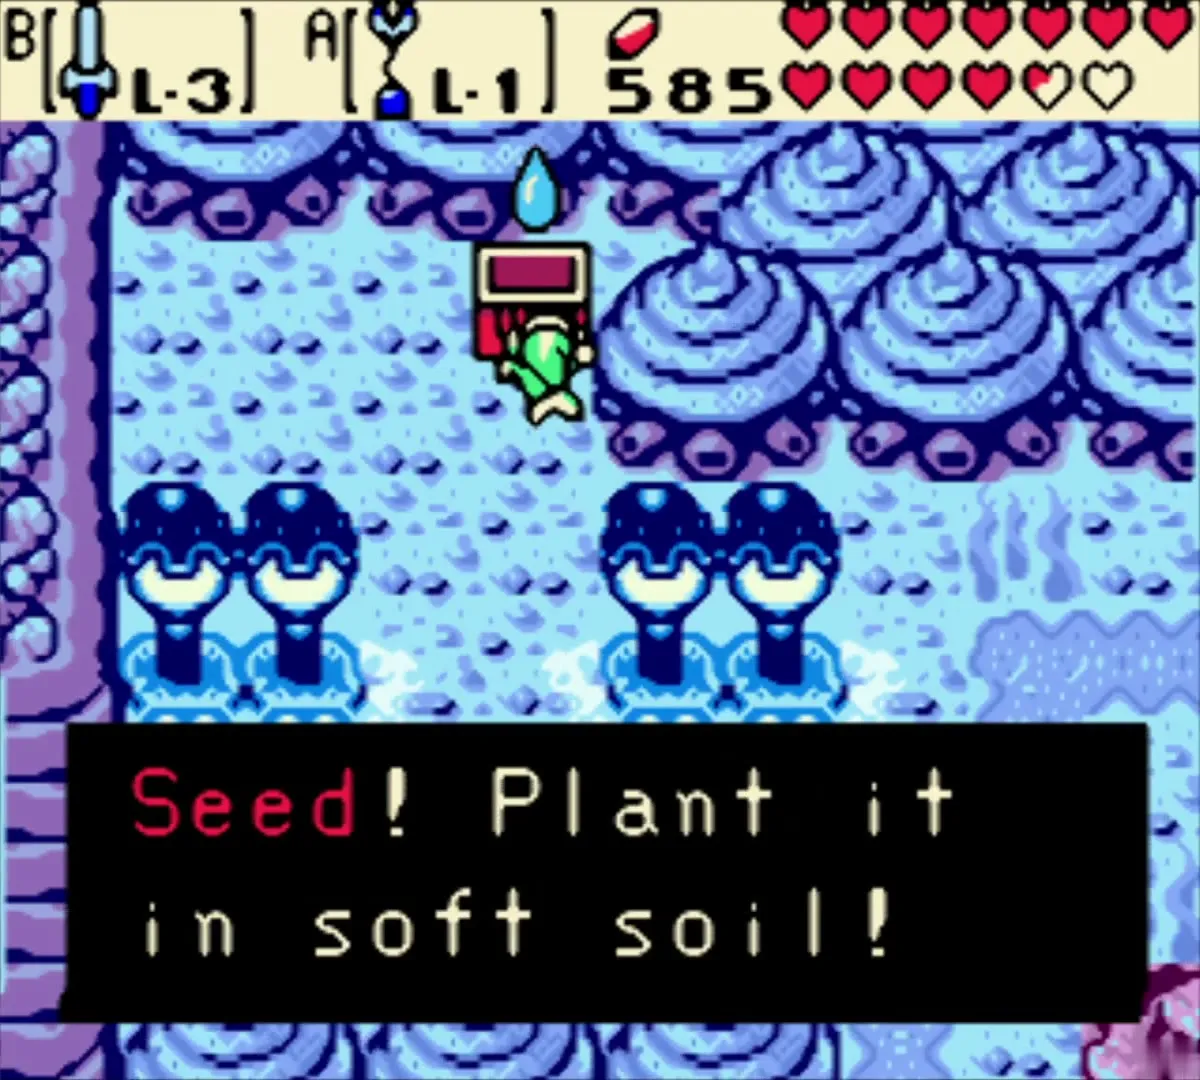
Near the blue mushroom trees on the west side of the village, a red chest sits underwater. Reach the surface, walk over the land to the enclosed section of water, and dive again to reach the chest. Open it for a Gasha Seed; the message tells you to plant it in soft soil, so keep it for the planting step below.
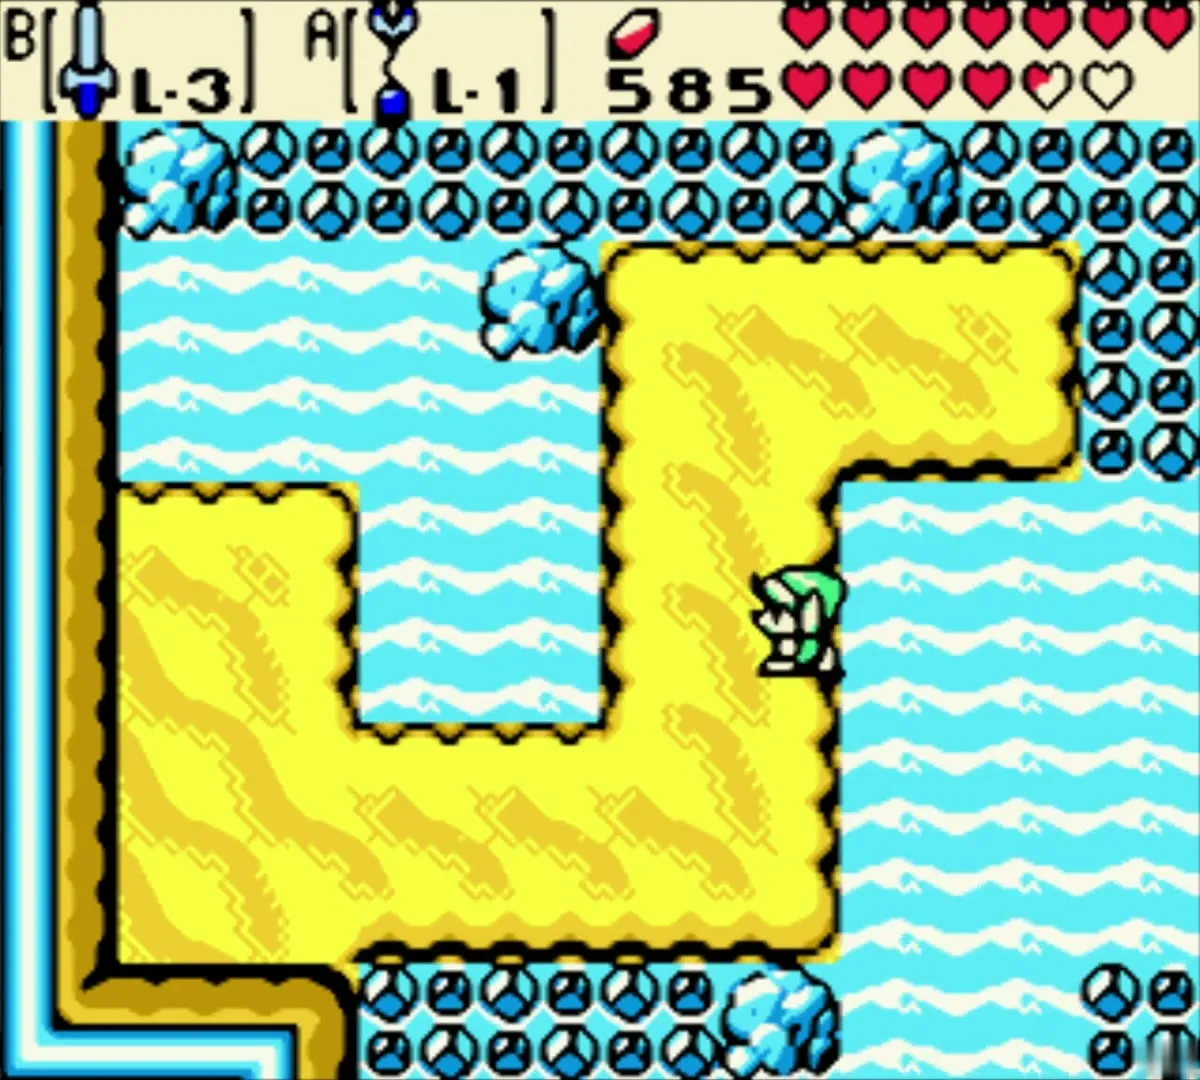
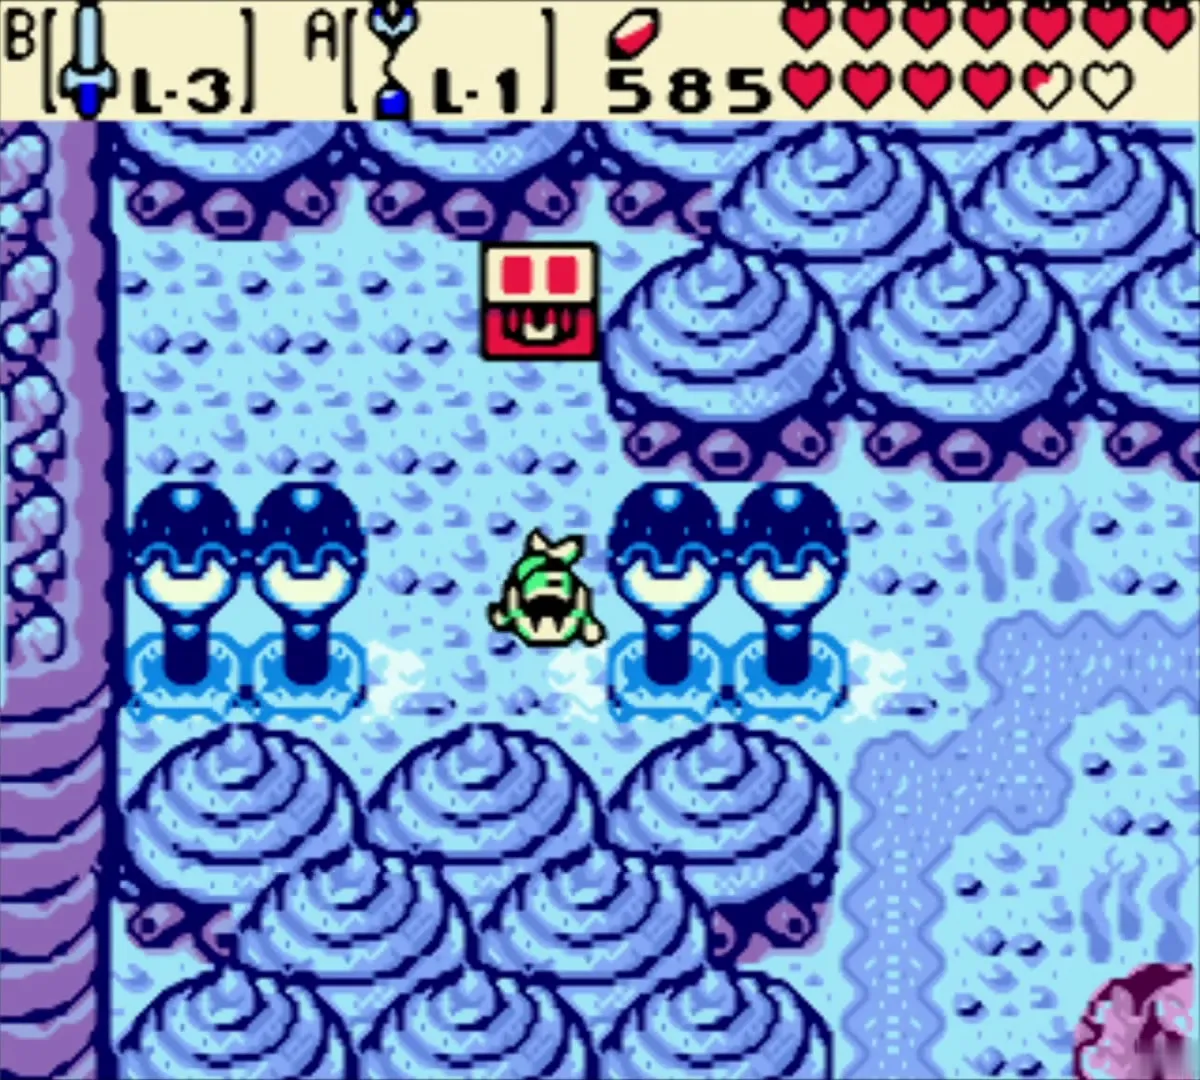
King Zora’s Palace in the present
Find the palace and the 200 Rupees chest
Follow the sign for King Zora’s Palace to the red-gated doorway of the palace. Inside, the rooms have grey hexagon floors, blue pillars and orange carpets. In the corridor beside the orange carpet, open the red chest to get 200 Rupees.
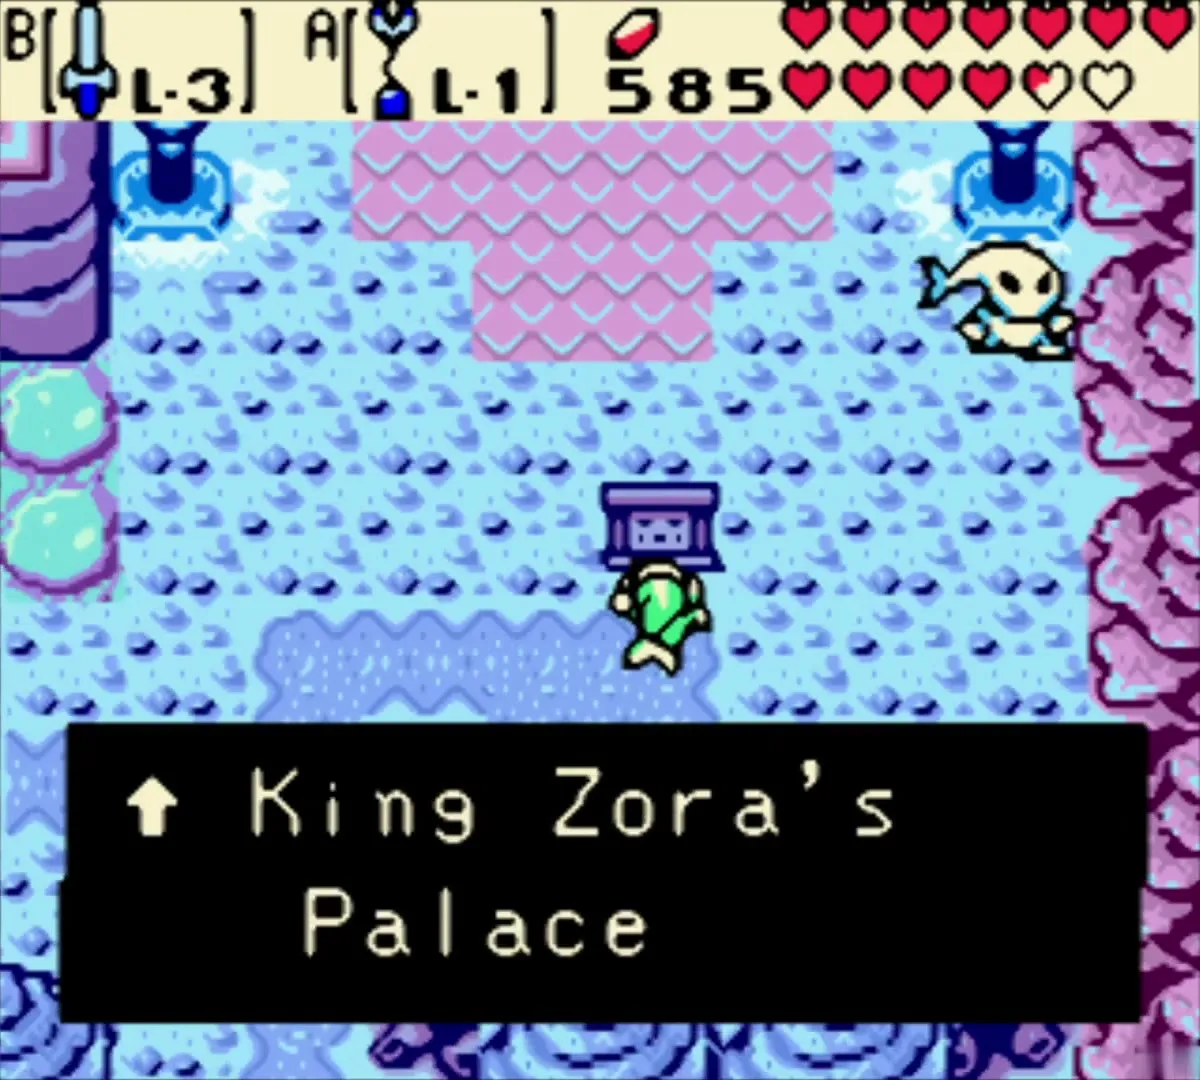
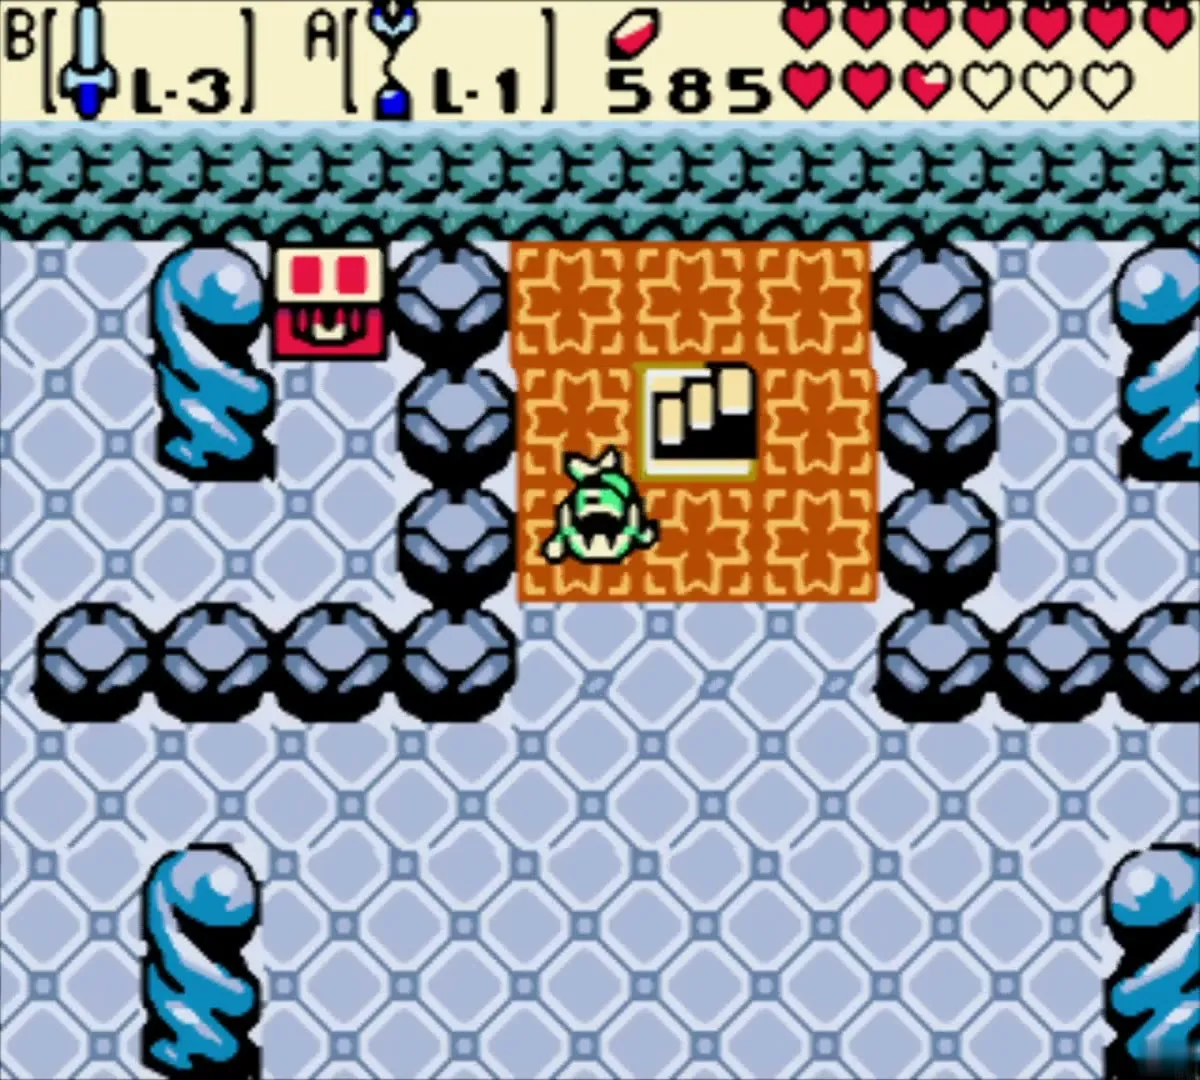
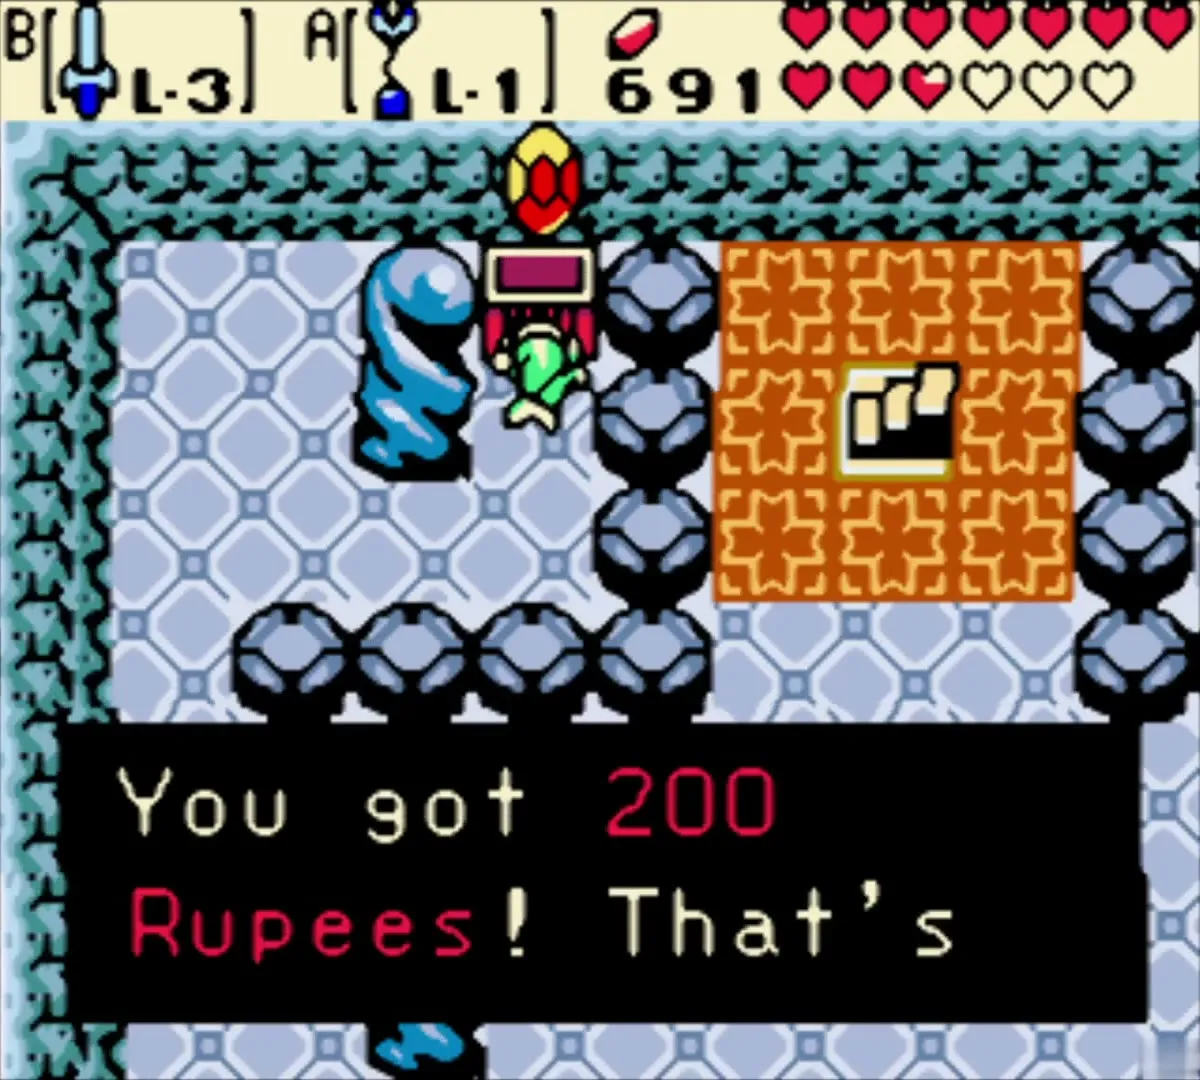
King Zora’s Magic Potion in the past
Plant a Gasha Seed on the palm beach
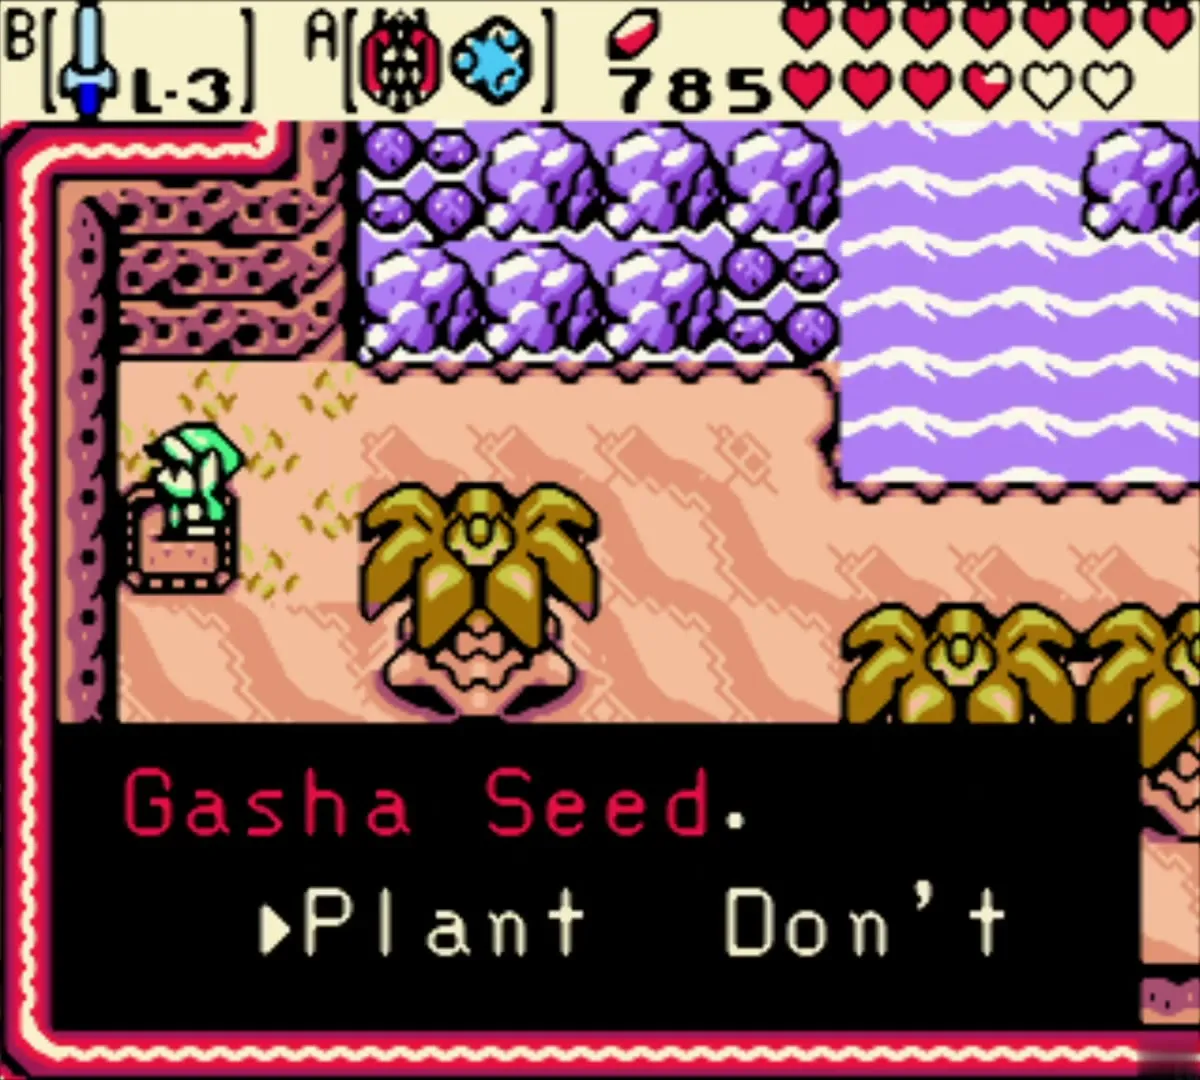
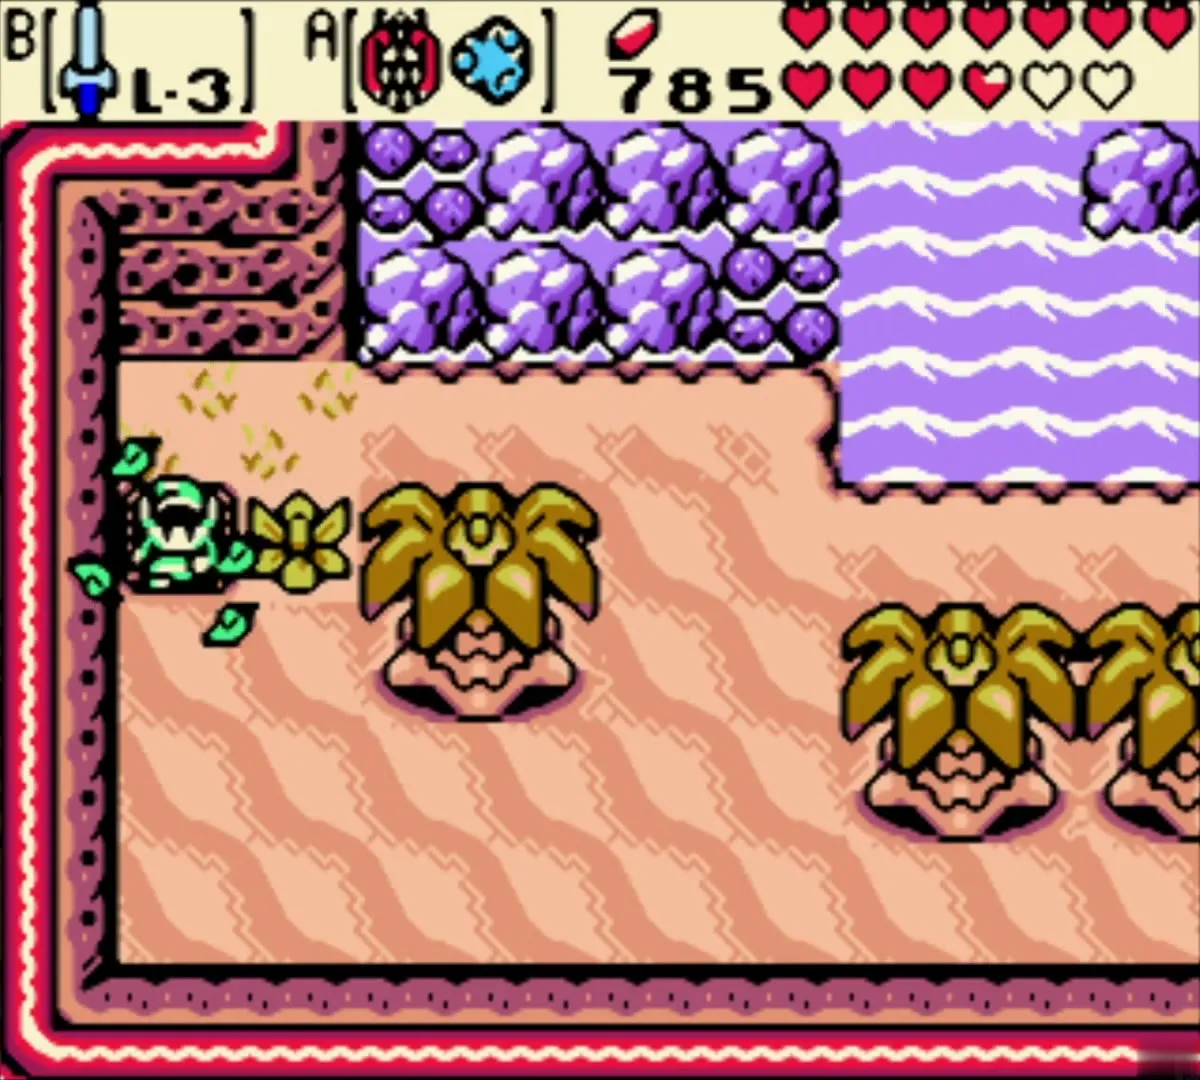
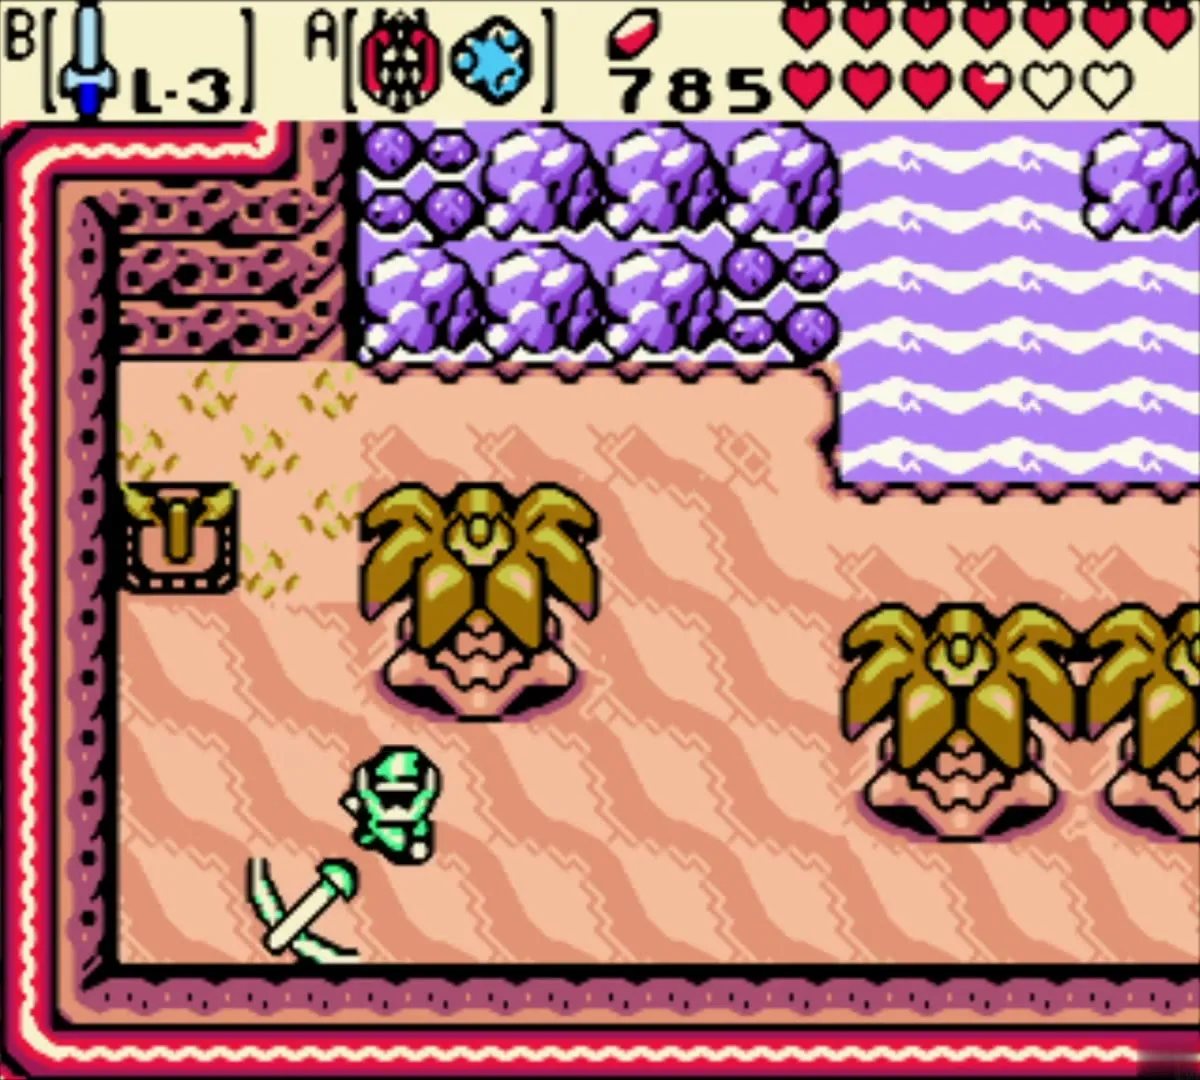
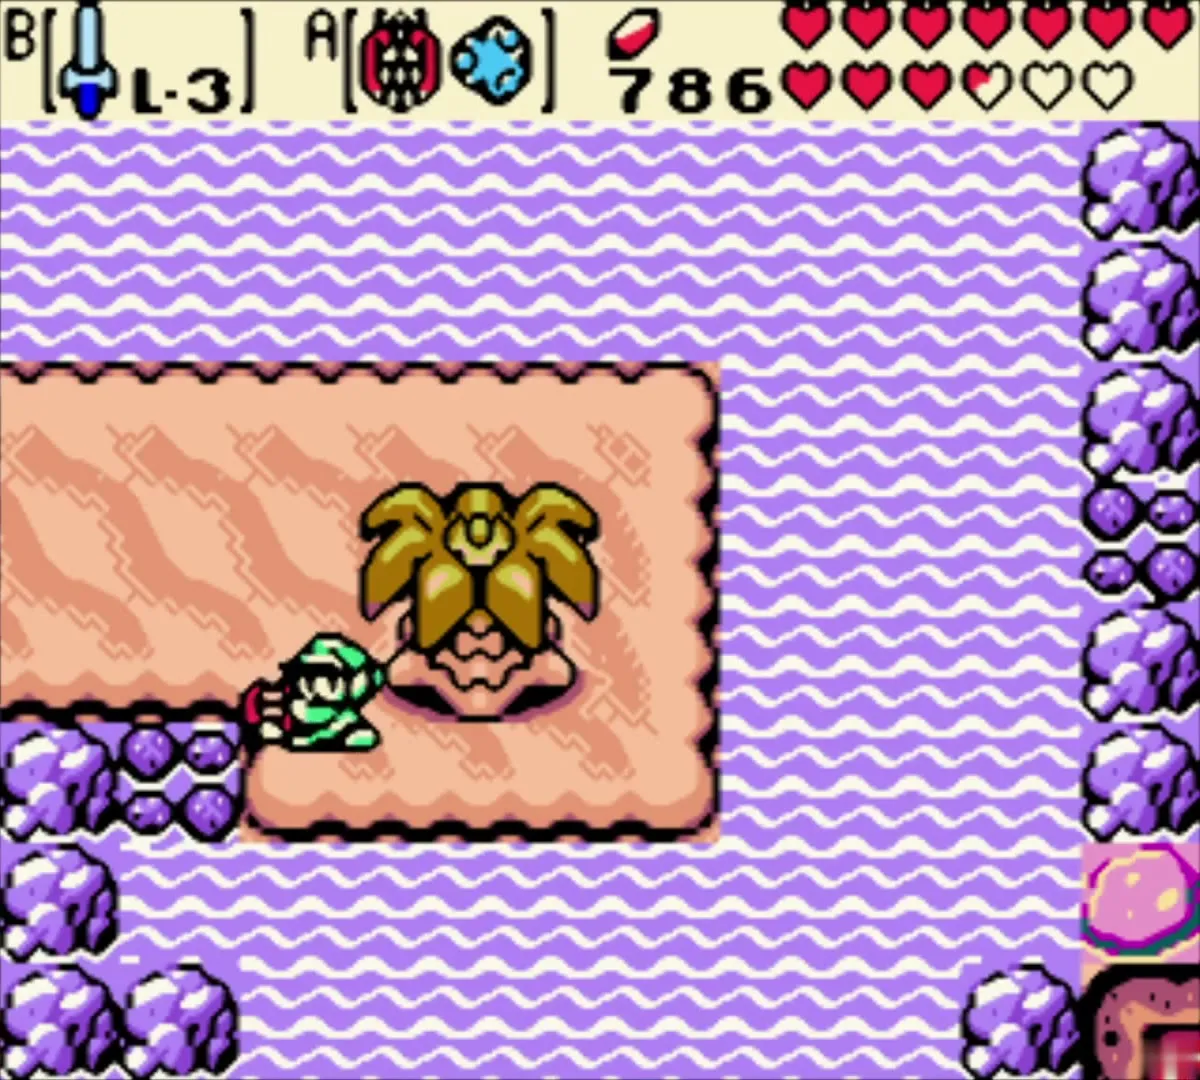
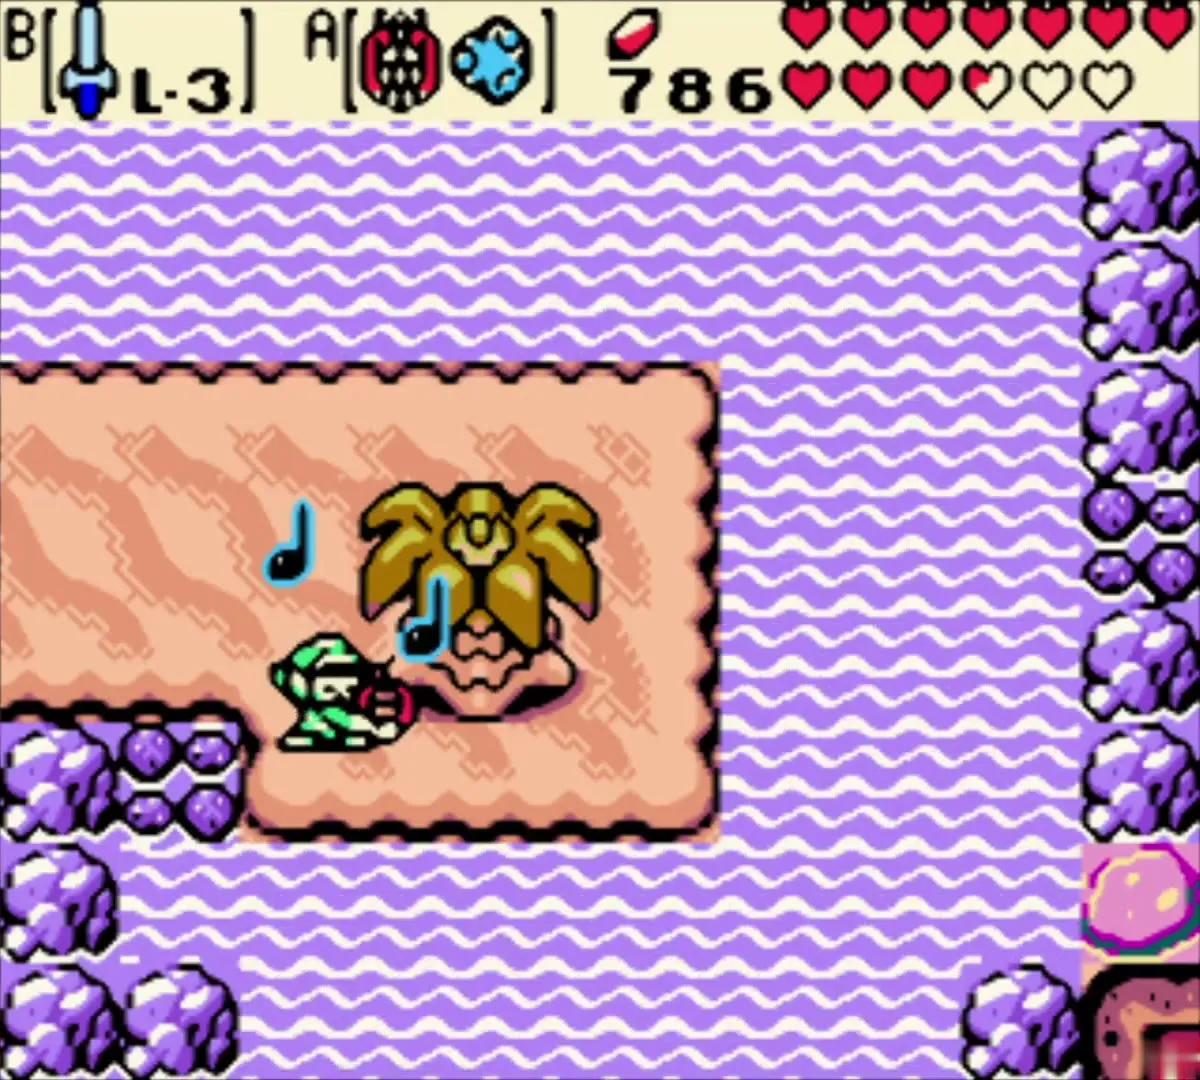
Find the time pillar on the sand island in the present sea and play the Tune of Ages to reach the past. Swim to the palm-lined sand beach on the purple sea. When the game asks whether to plant the Gasha Seed, choose to plant it, and a soil mound appears beside the palm trees.

Give the Magic Potion to King Zora
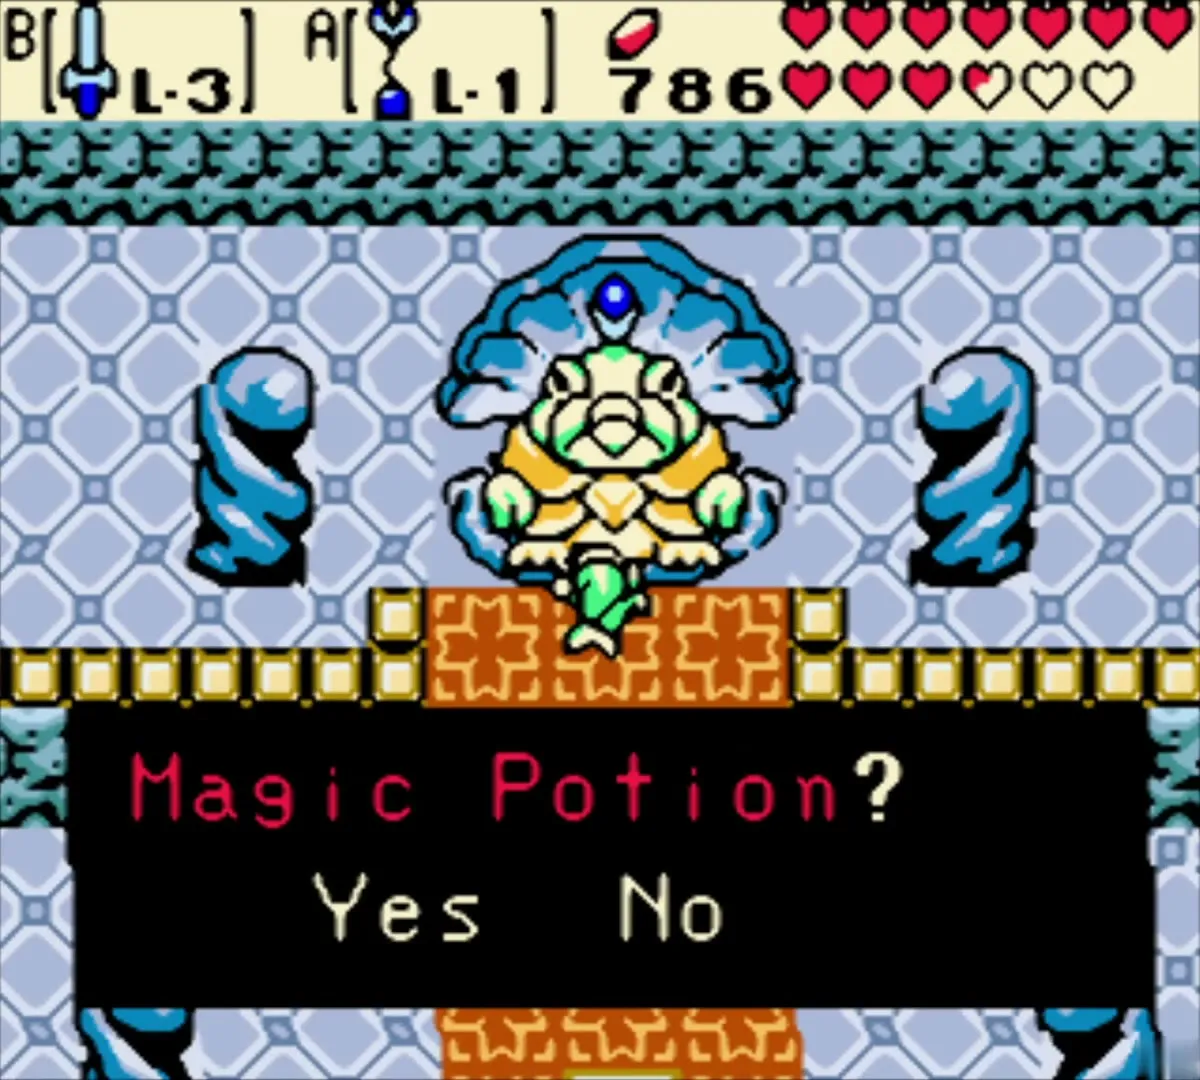
Walk through the past Zora Village to the palace and speak to King Zora, who is sick in his shell. When he asks whether this is the Magic Potion, answer yes to hand it over. The potion will heal him.
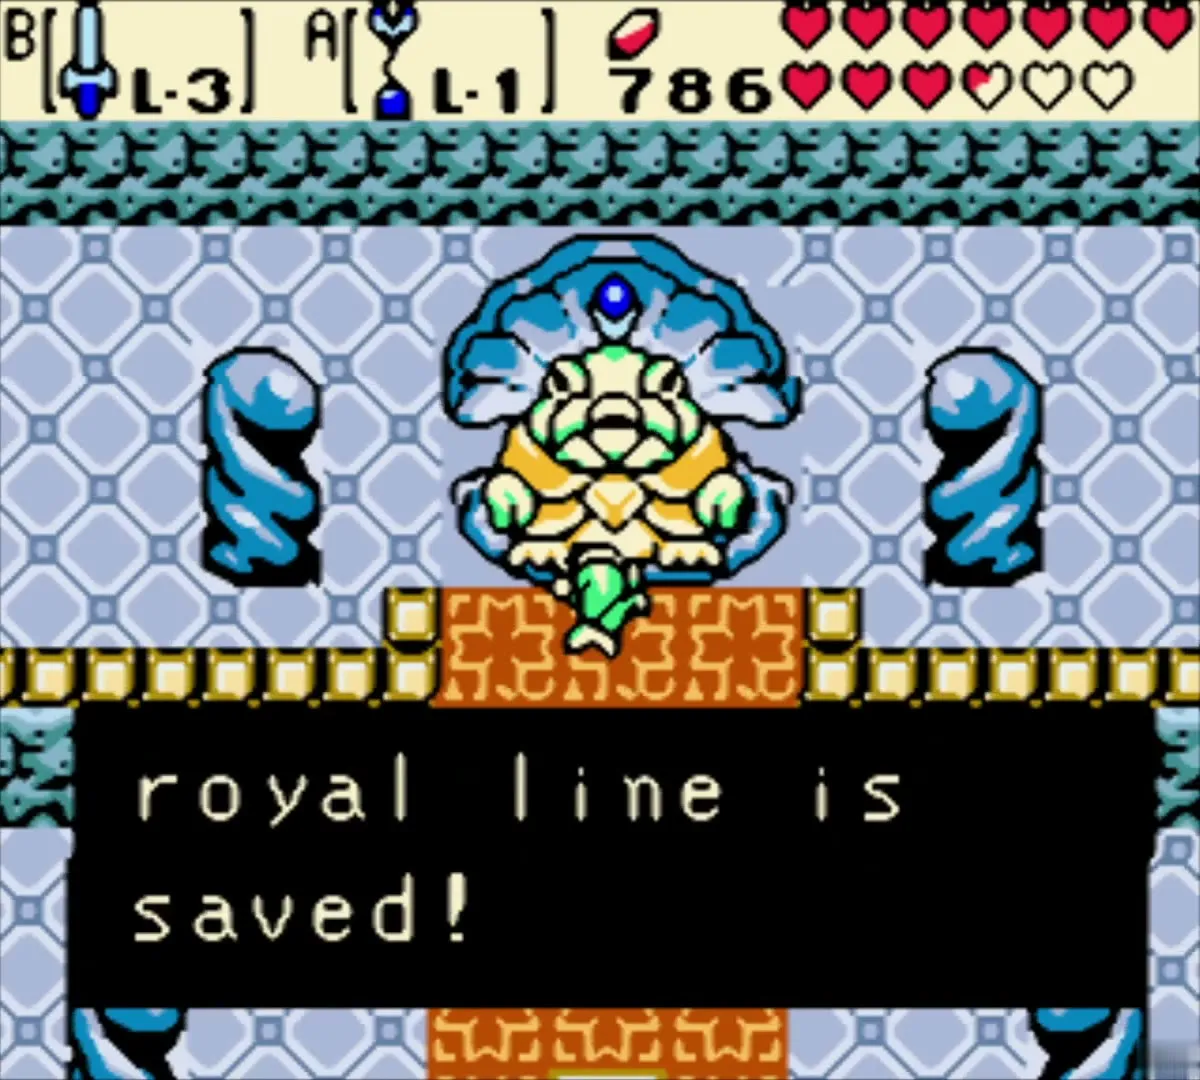
King Zora then talks about the filthy water flowing through his people and asks you to save Jabu-Jabu from the poison. Leave the palace and use the Harp of Ages at the white pillar outside to travel back to the present.
Eyeglass Isle Library
Get the Library Key from King Zora
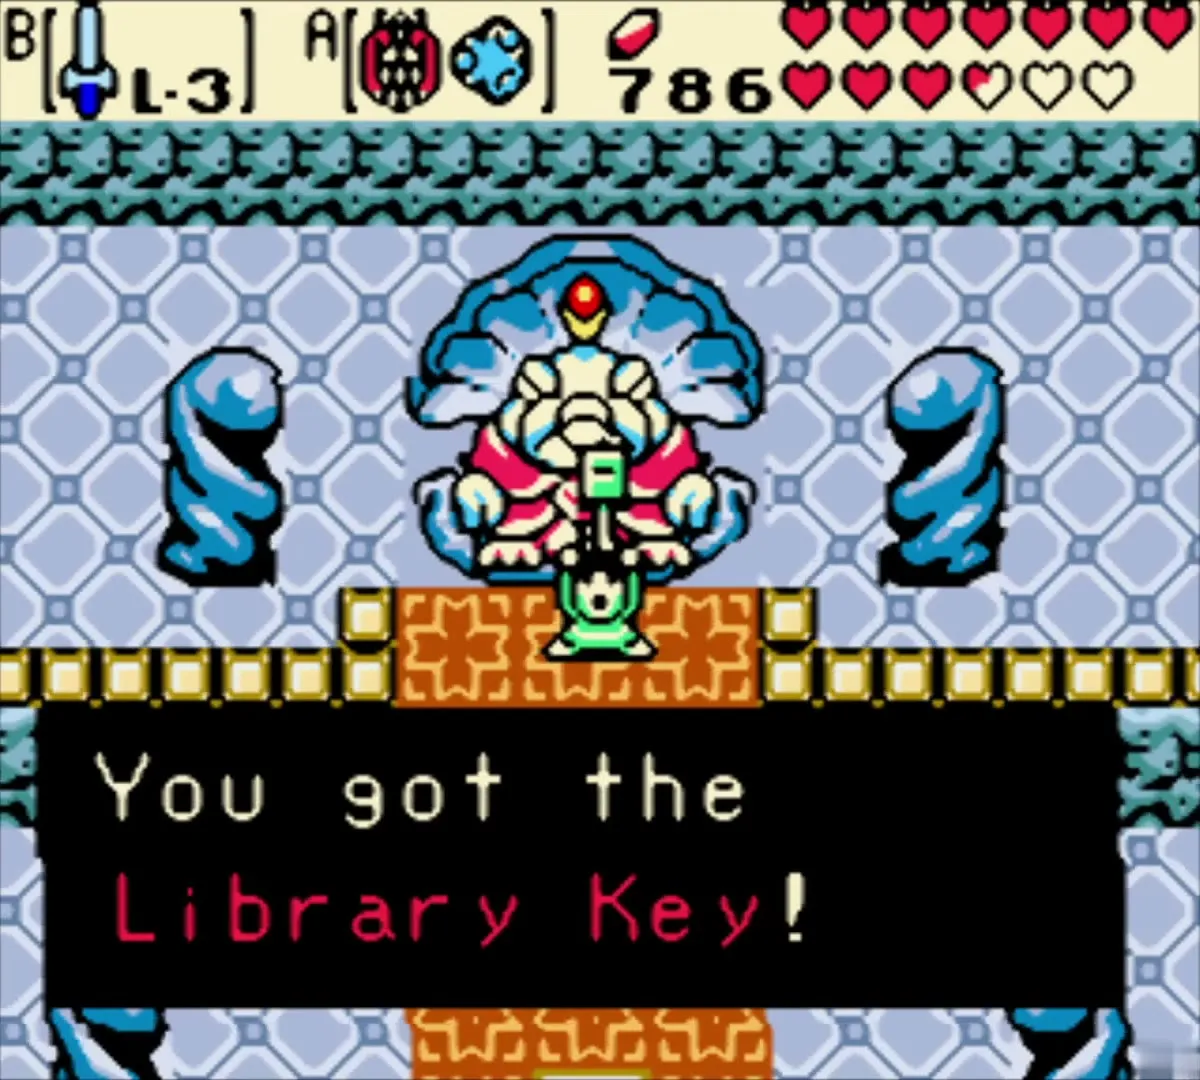
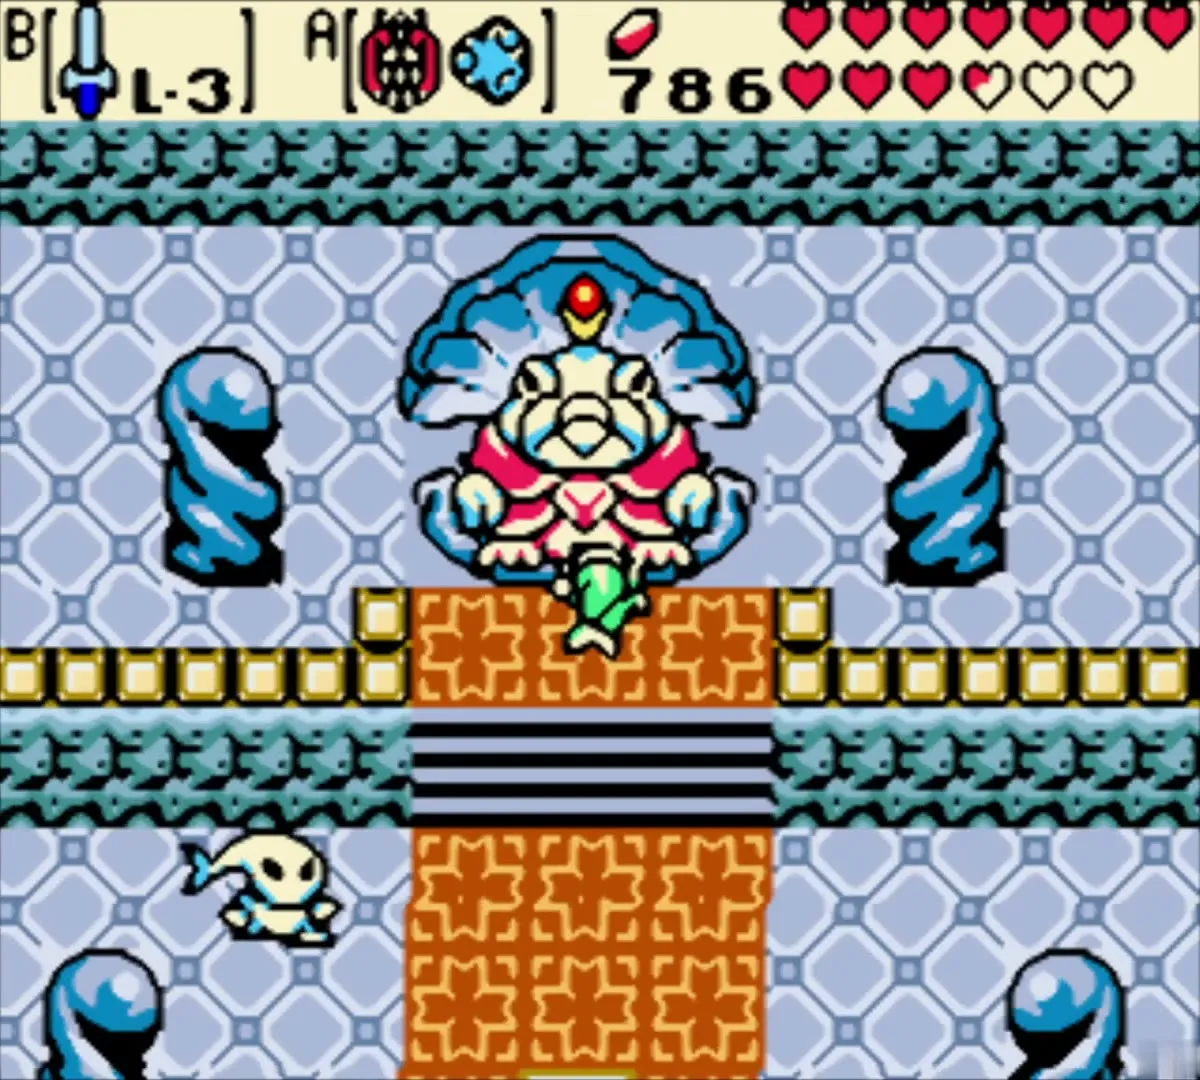
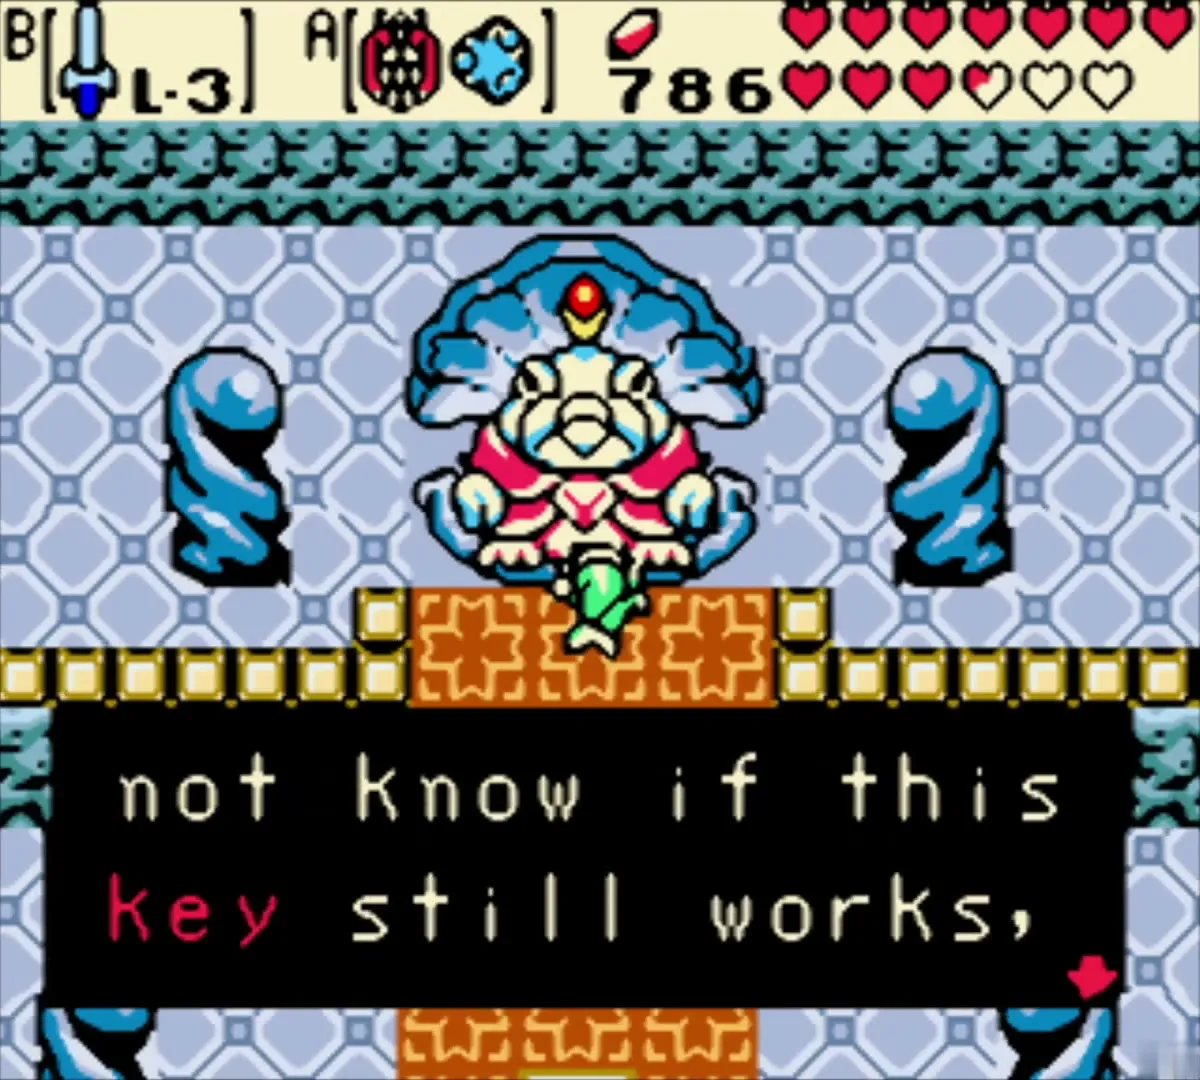
In the present, King Zora is well again. Talk to him on his throne and he hands you the Library Key. He says the Eyeglass Isle Library is east of his palace, and asks you to find out why the seawater is so filthy.
Open the library in the past
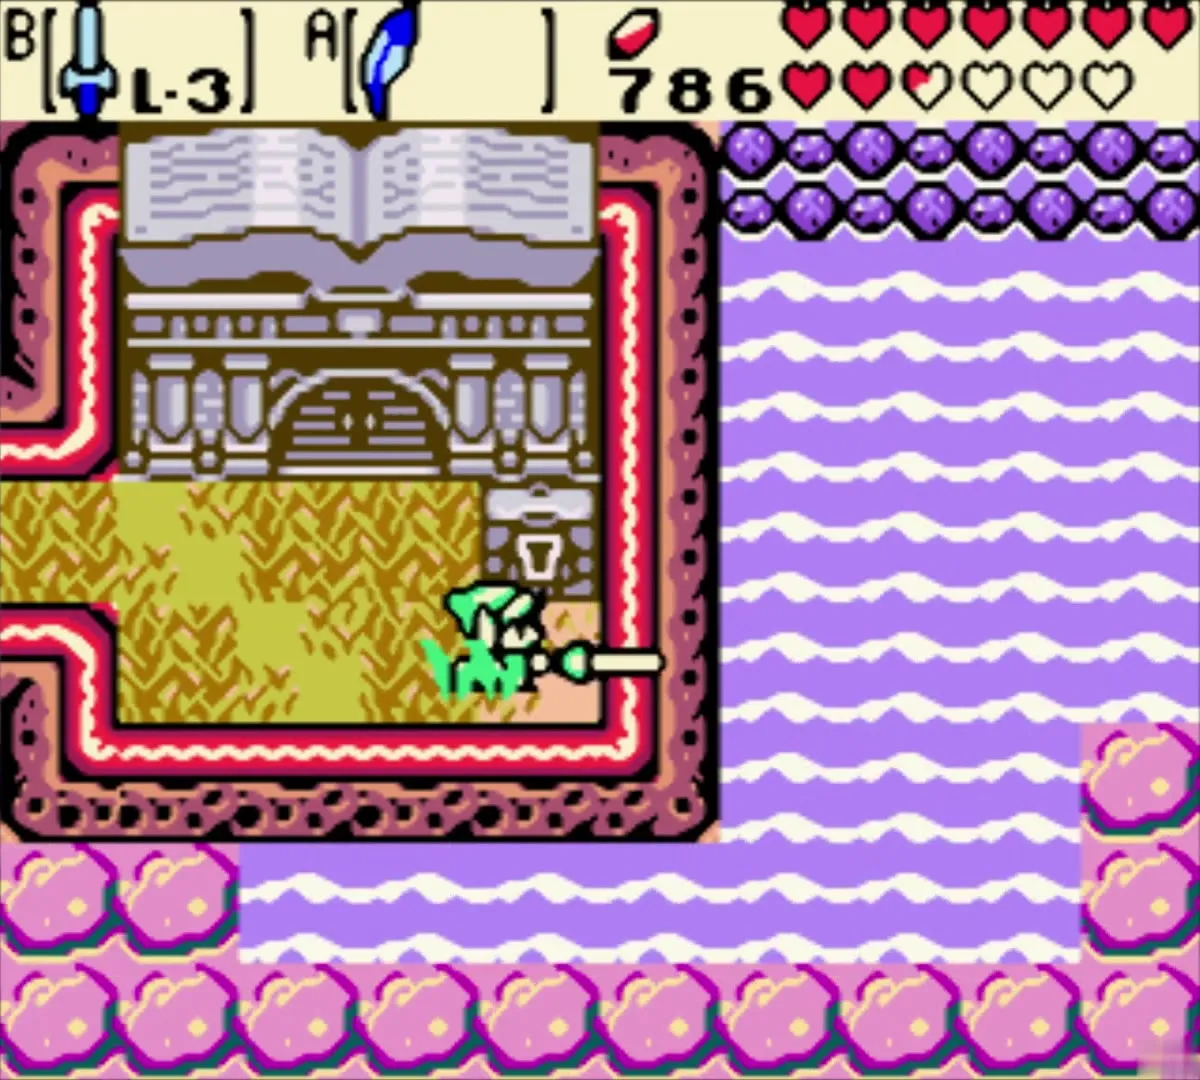
Use the Harp of Ages to return to the past, then sail east to the purple islet with the library. The library door is locked, so use the Library Key on the keyhole to get inside. Inside, the librarian explains that the Fairy Powder is kept in the back, but that a book locks it away.
Get the Book of Seals from the old man
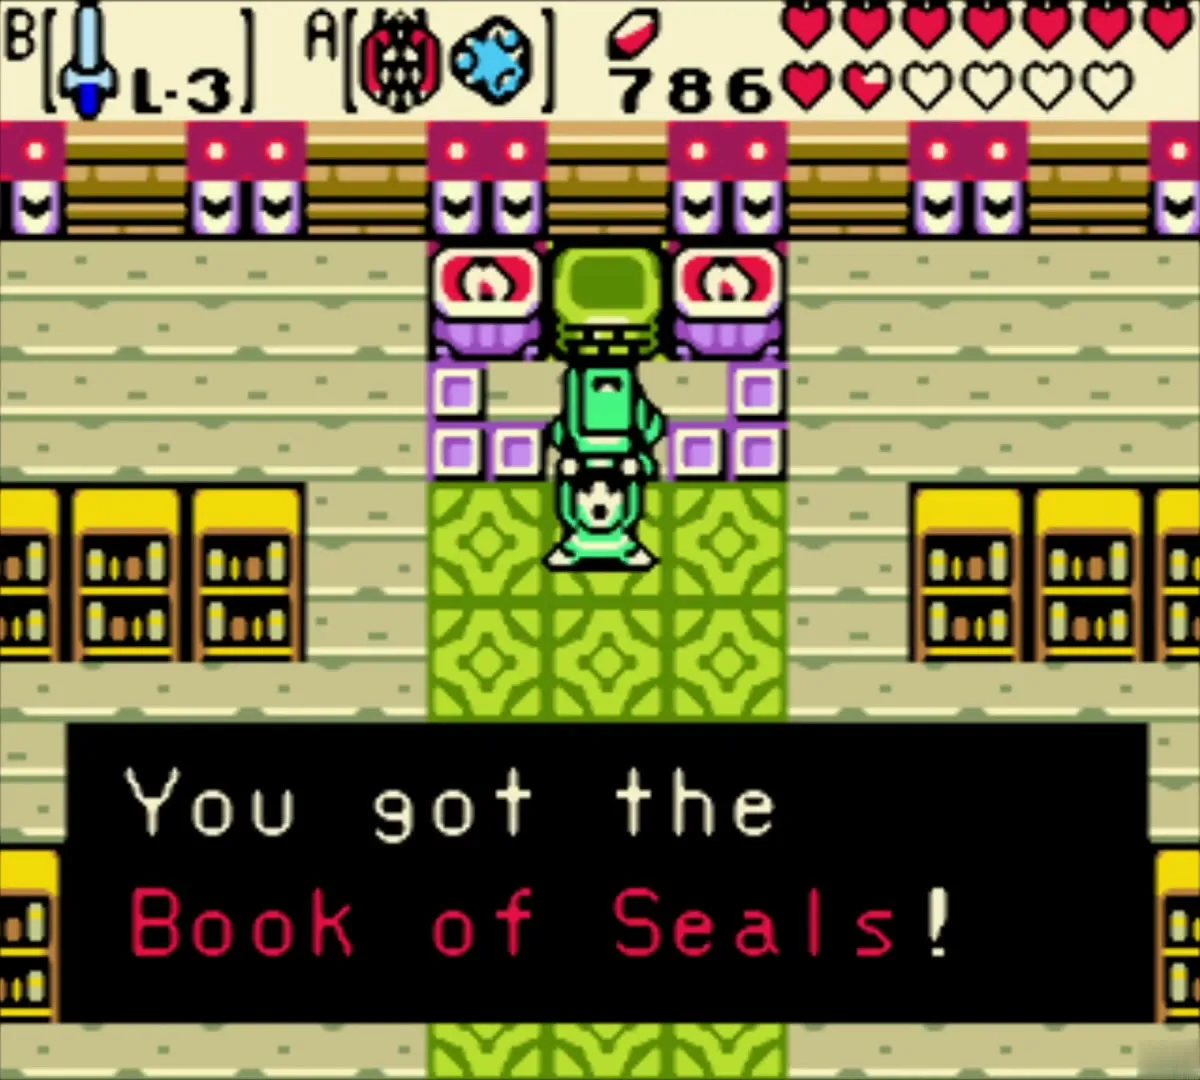
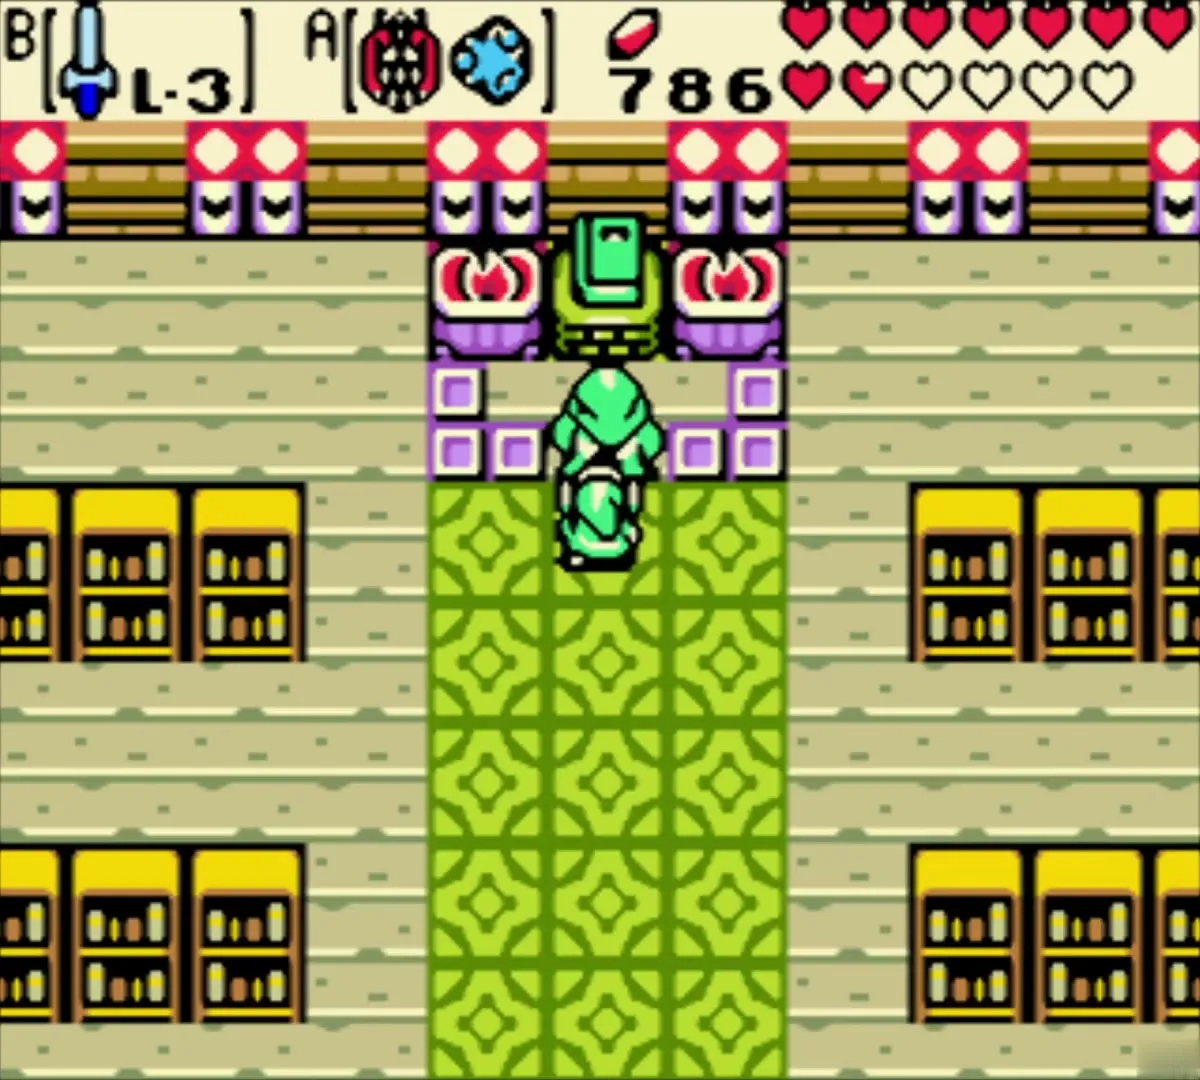
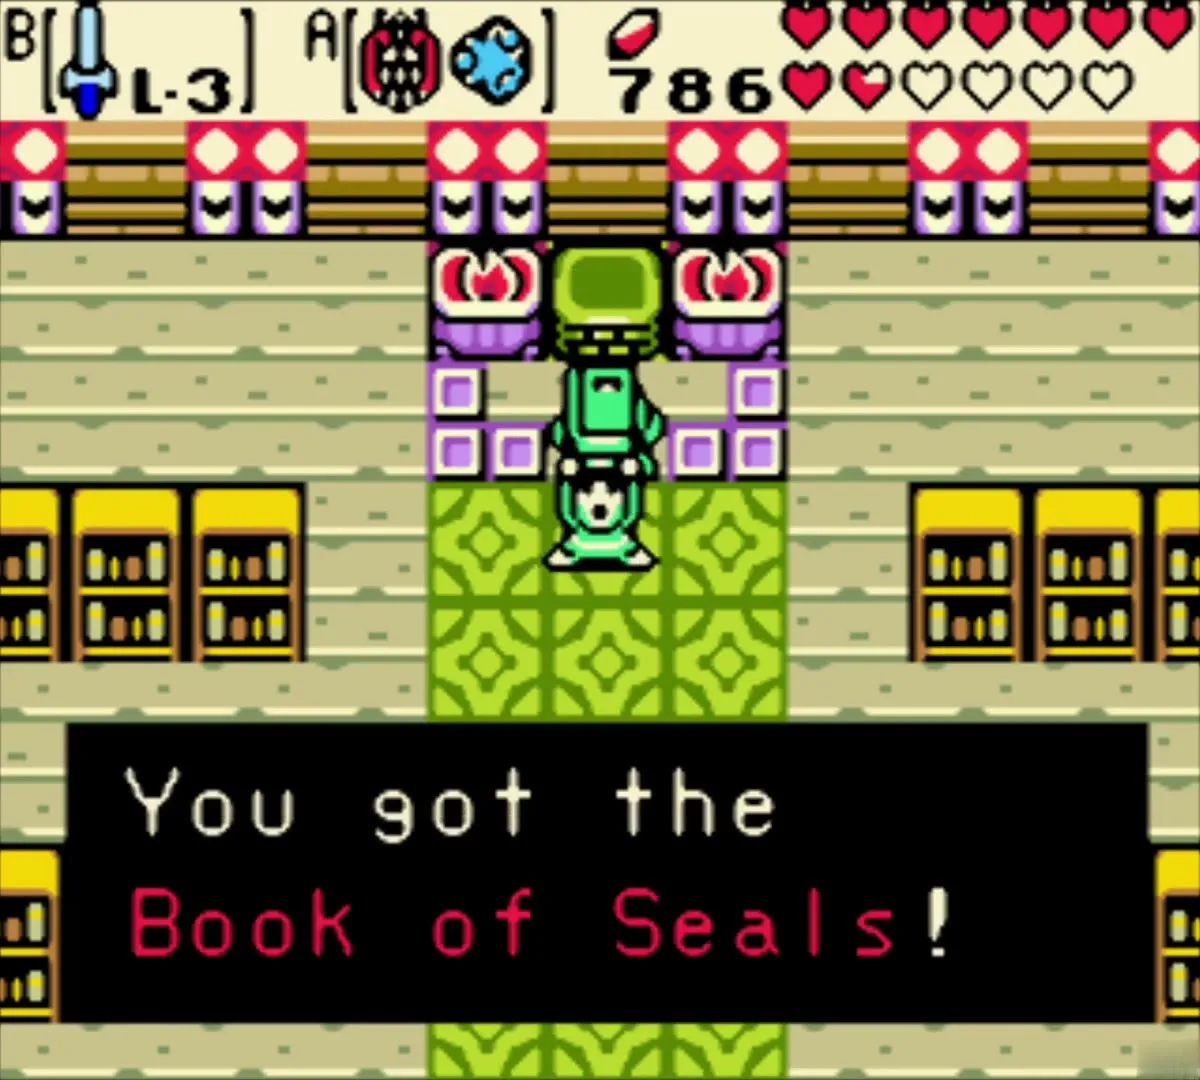
Return to the present, where the library is now open. In the back room, an old man gives you the Book of Seals from the green altar. The item description calls it a true test of courage. Take it back to the past.
Solve the darkened chamber
In the past, go to the library back room and place the Book of Seals on the pedestal. A dark chamber opens, and the hints appear as a list of arrow directions. Follow the directions one step at a time, since you cannot see the floor ahead. If you get lost, the Cane of Somaria can help you find the way through the dark.
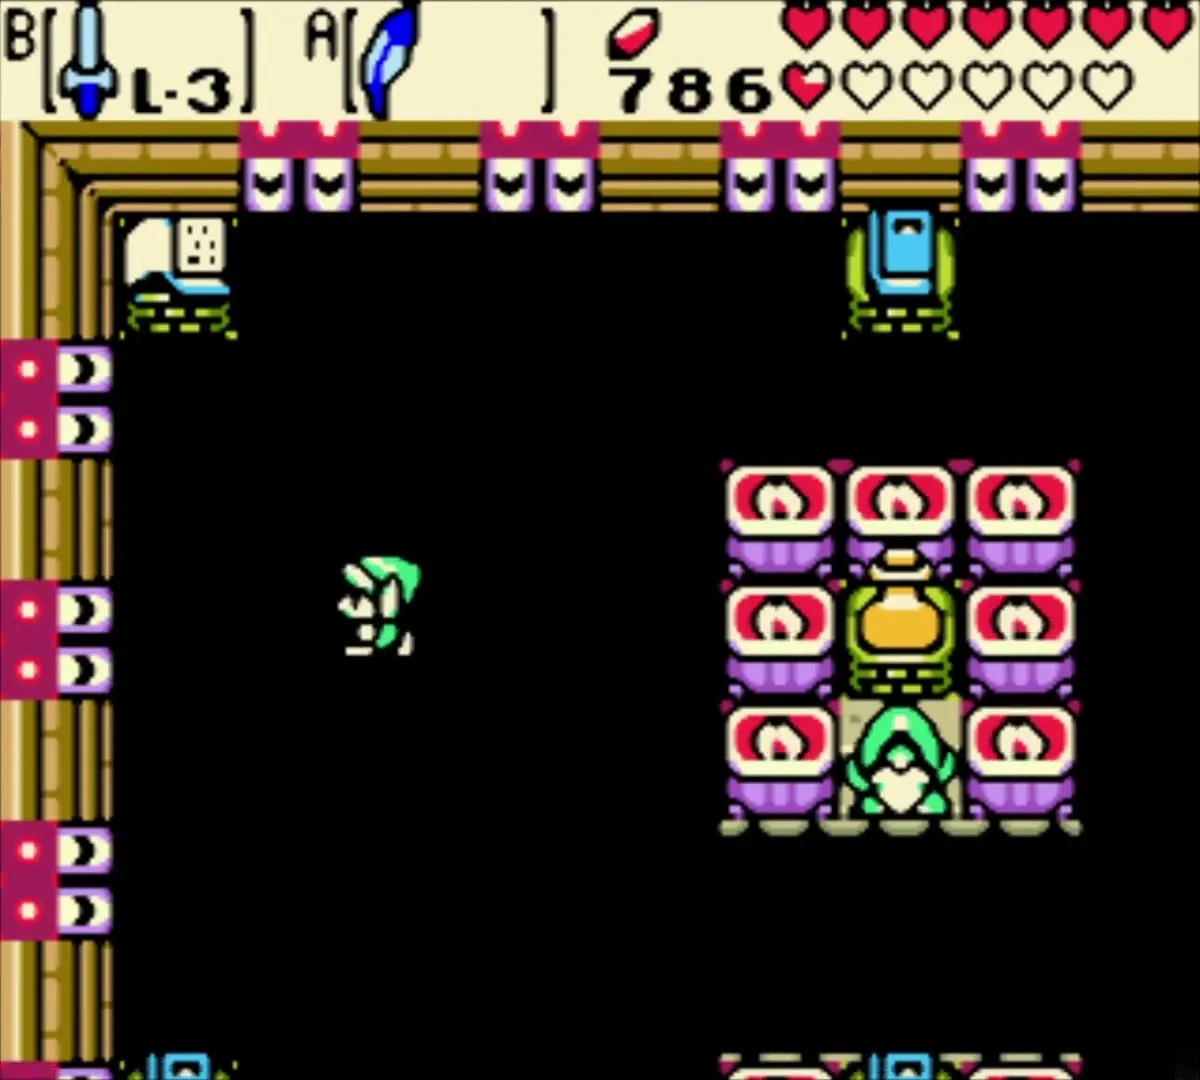
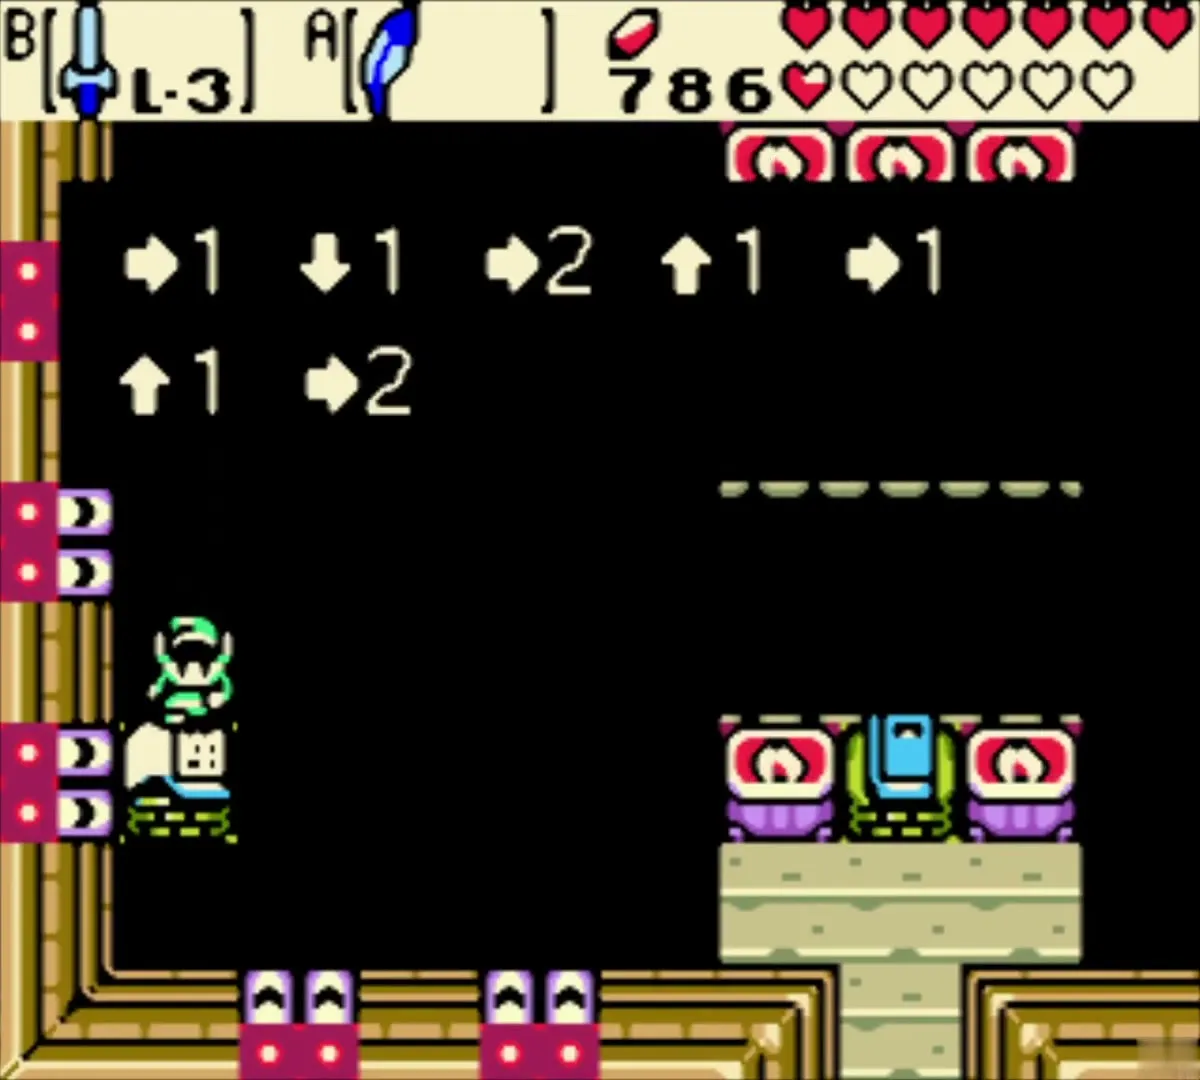
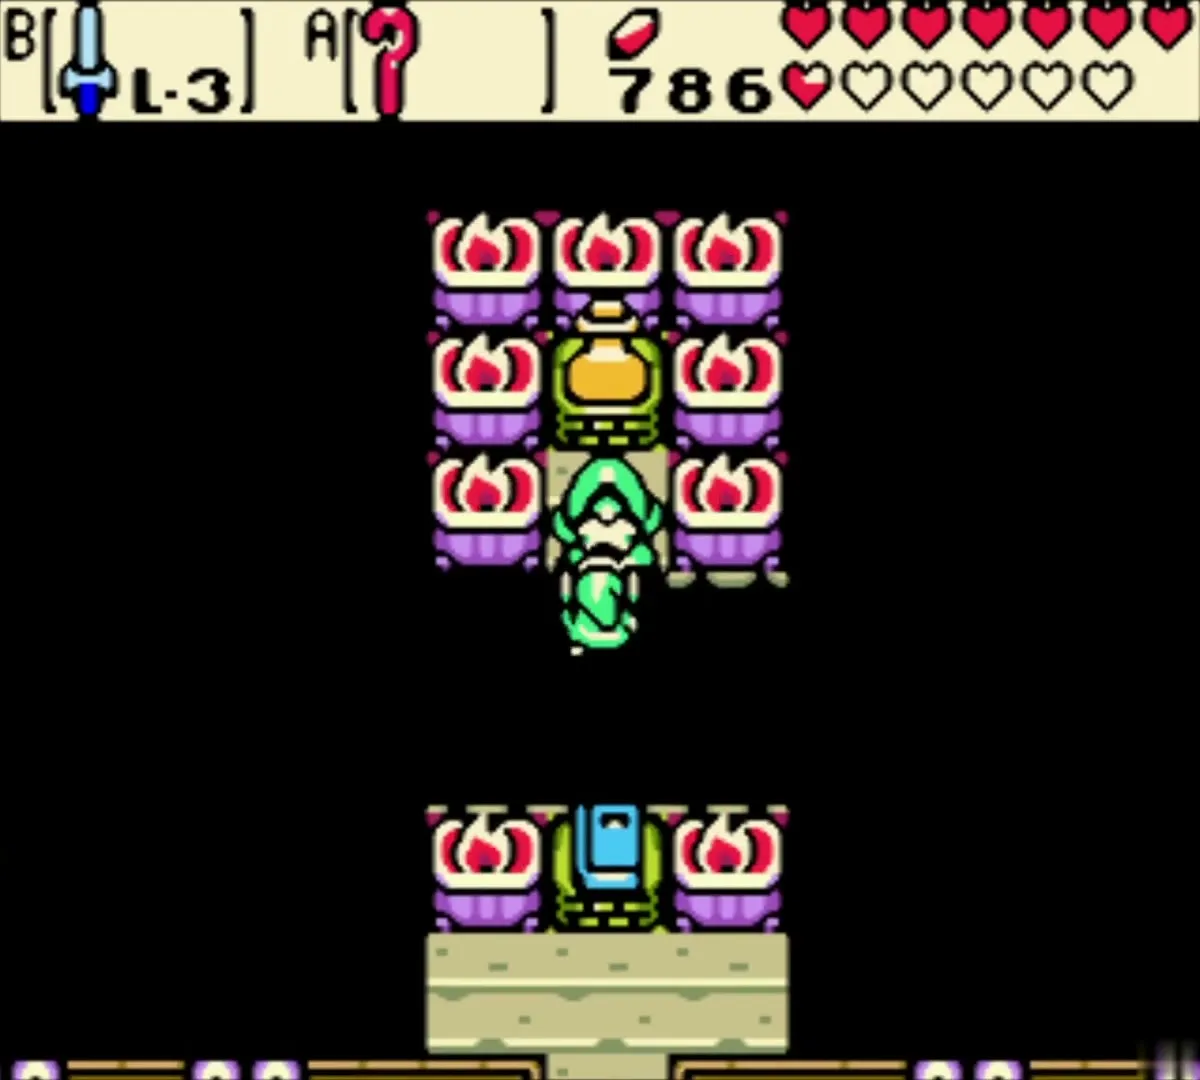
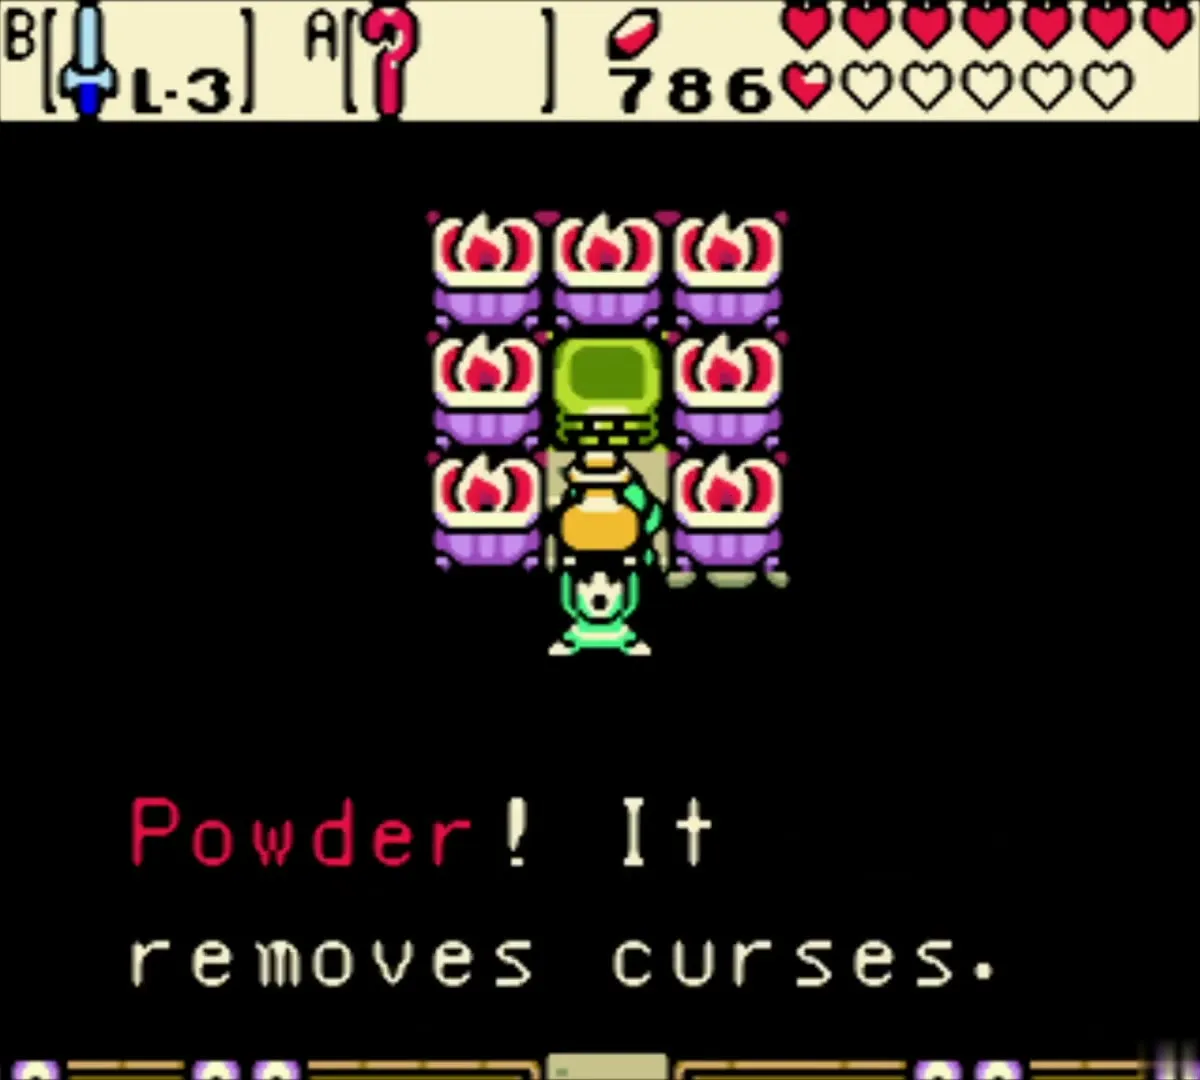
At the end of the directions you reach the old man, who hands you the Fairy Powder. The item description says it removes curses. Keep it, because the Fairy Queen needs it.
The Fairy Queen and the cleaning of the sea
Meet the Fairy Queen in the past
Sail to the pool in the past, where the Fairy Queen floats above the water. She explains that the sea was cursed after a Great Fairy was turned into an Octorok centuries ago. Tell her you will bring the powder.
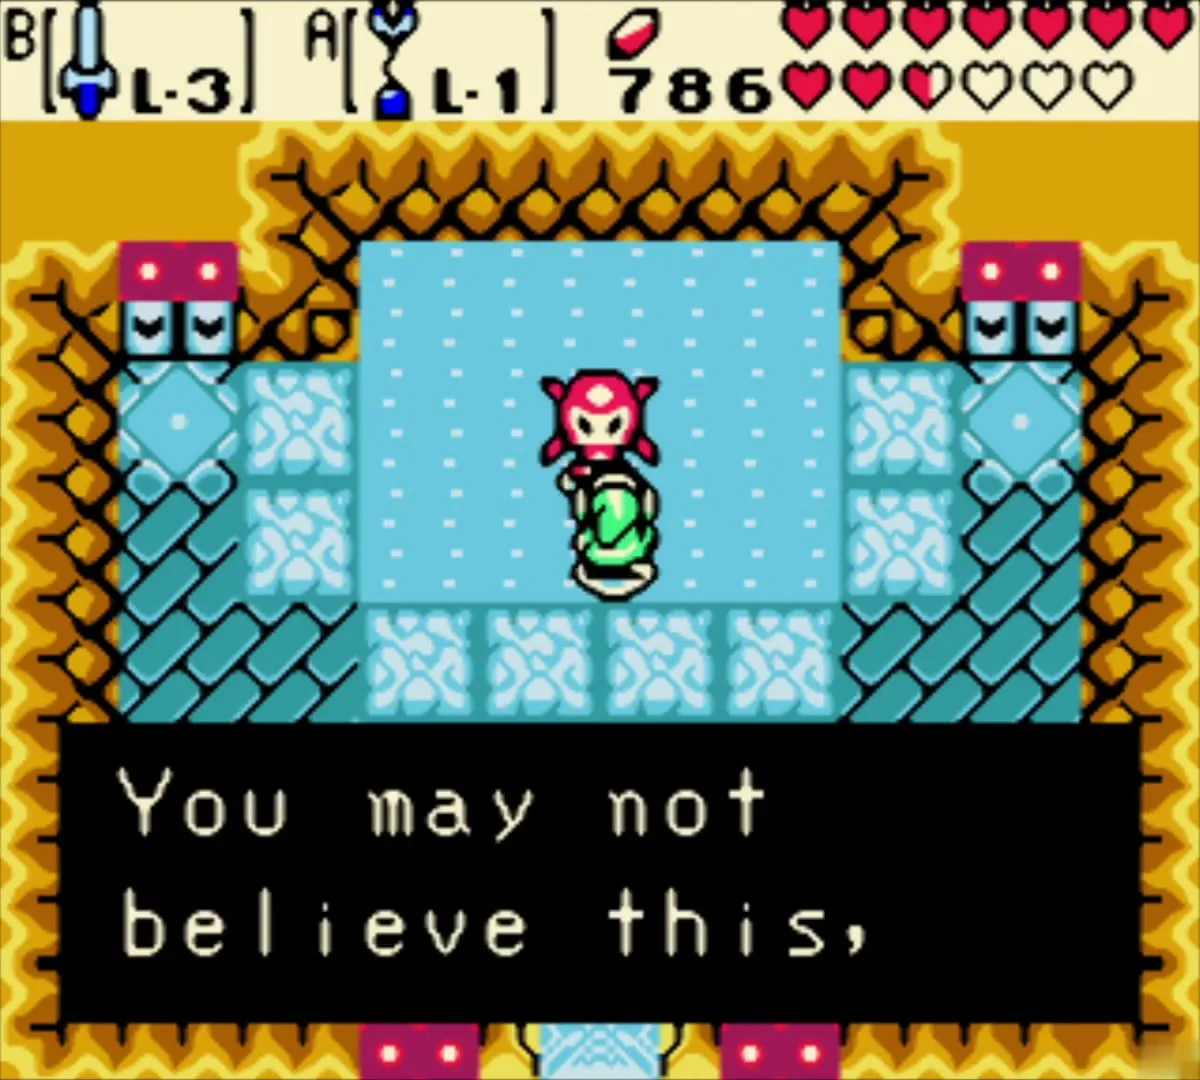
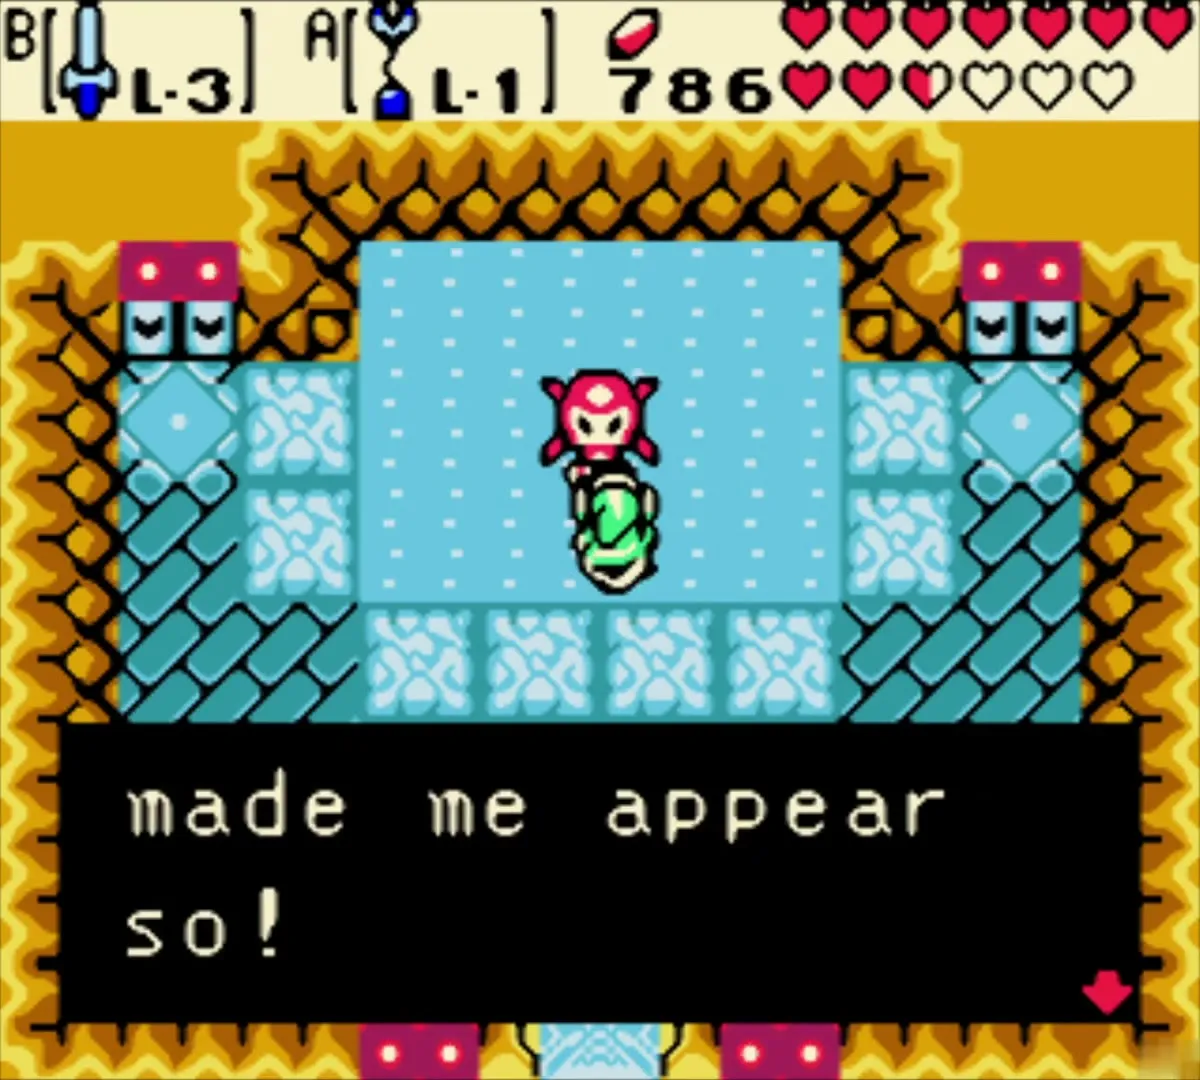
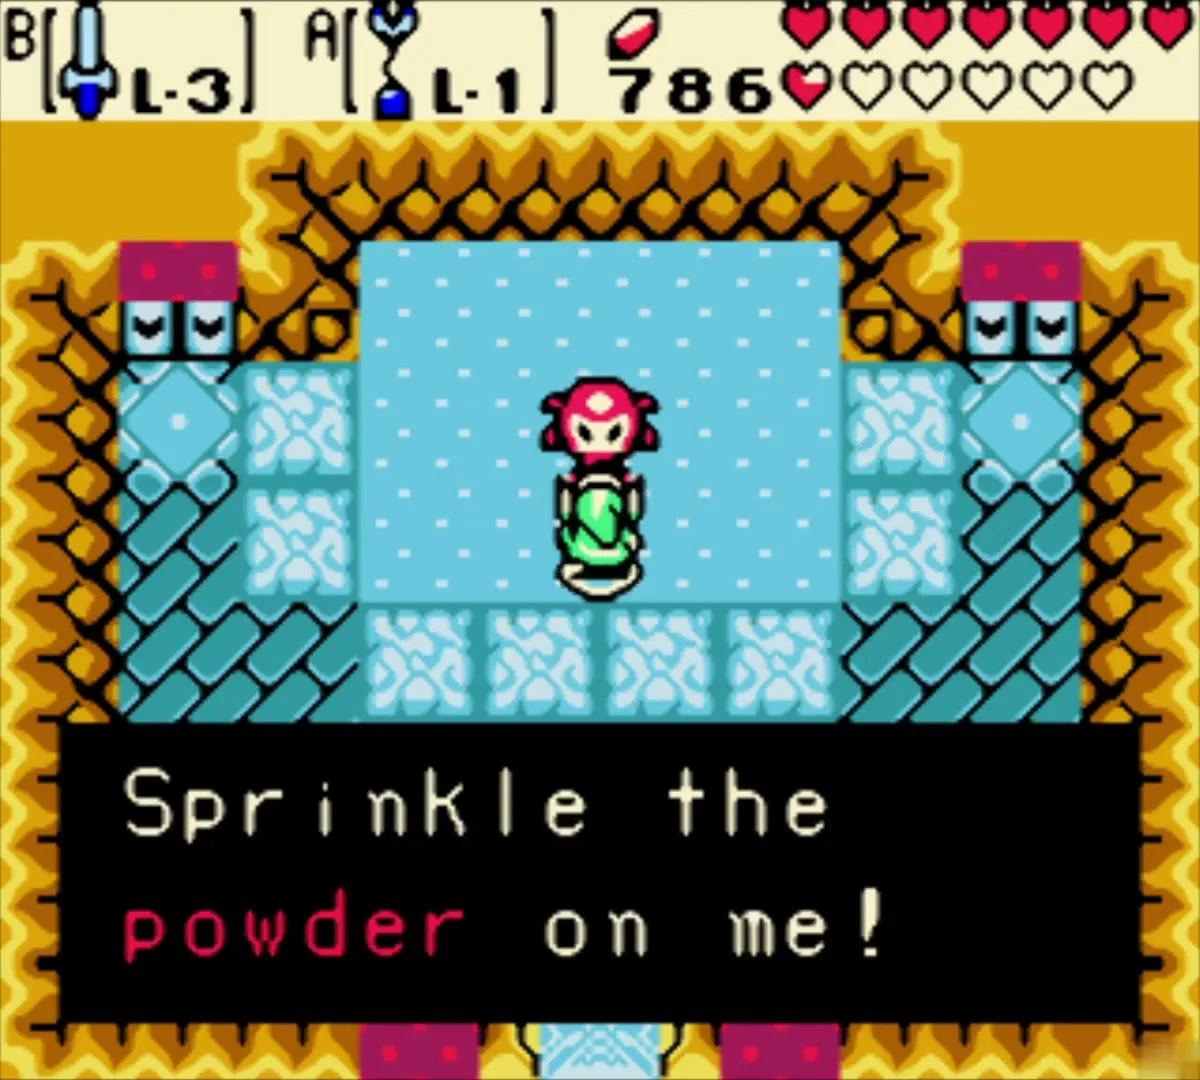
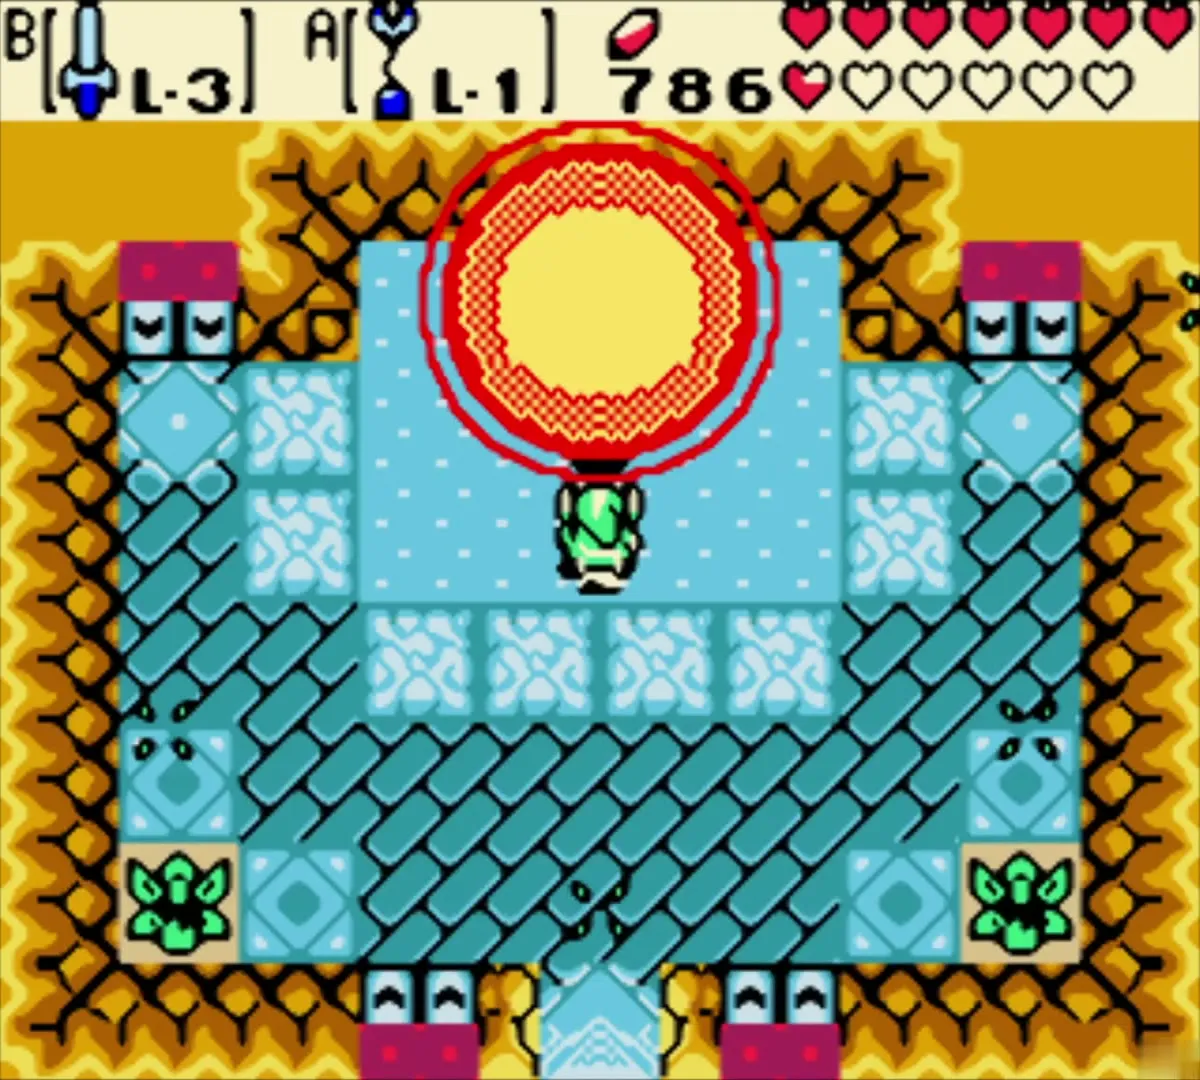
Sprinkle the Fairy Powder
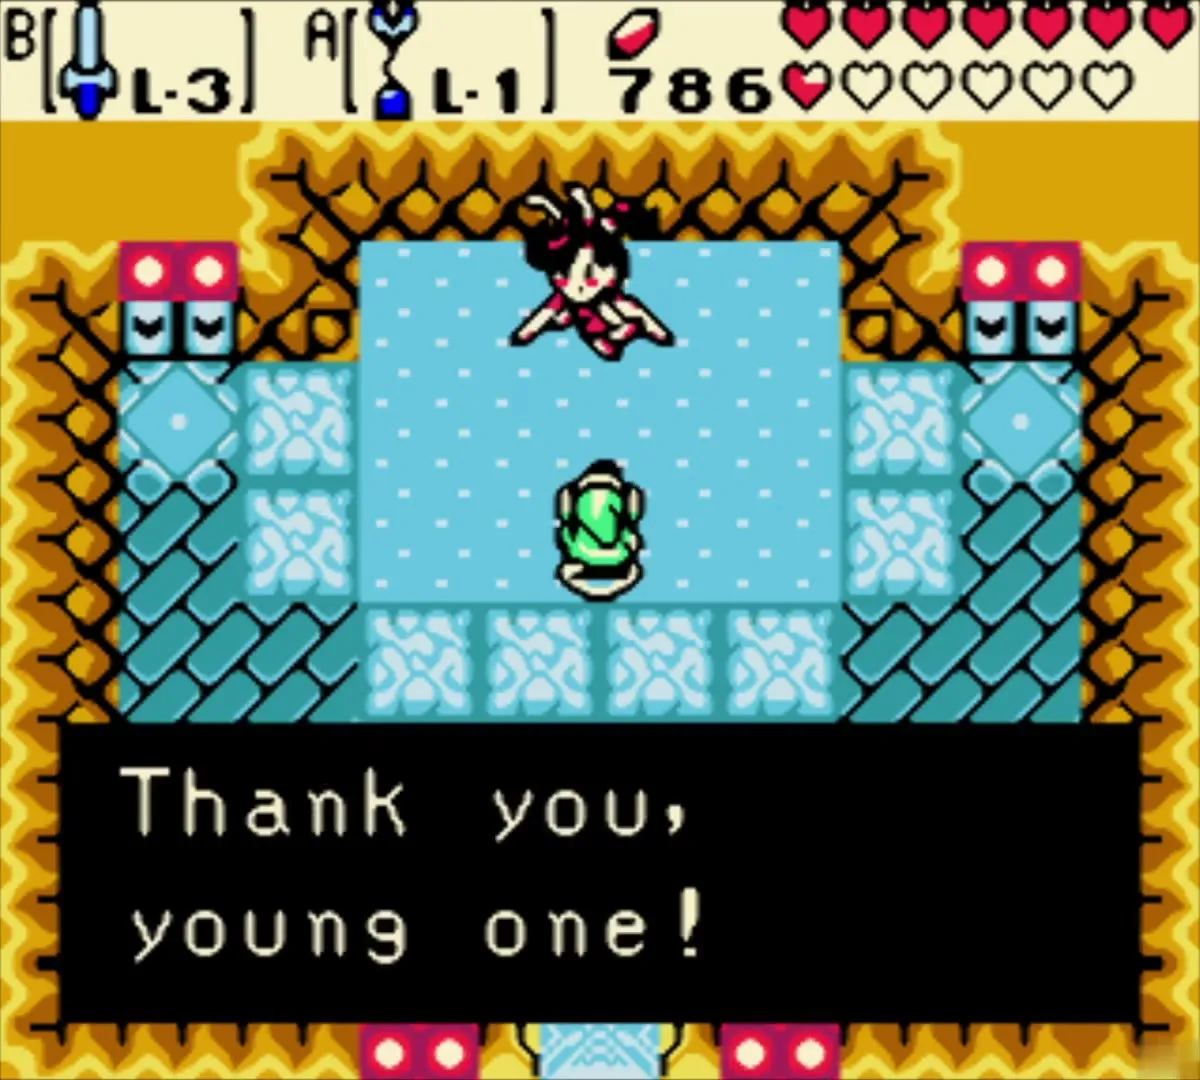
Return to the Fairy Queen with the Fairy Powder and sprinkle it over her pool. She thanks you and begins to clean the sea, and hearts drift up from the blessing.
Get King Zora’s permission
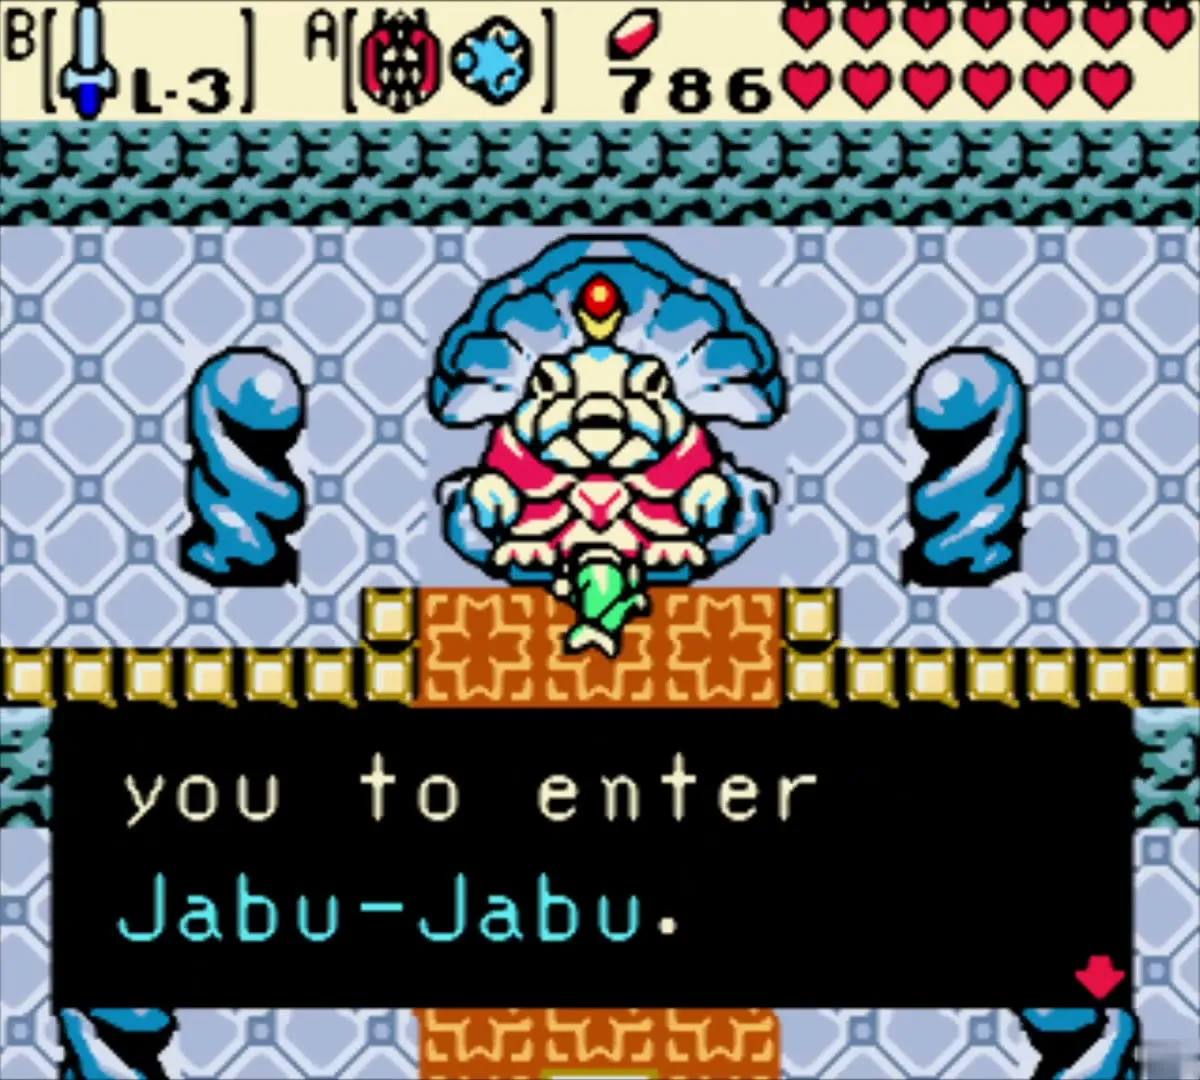
Back in the present, King Zora is healthy and white-bearded. He says he is glad the sea is clean and gives you permission to enter Jabu-Jabu. You may now go to Jabu-Jabu.

The sea ring chest
Open the chest in the south-east of the sea
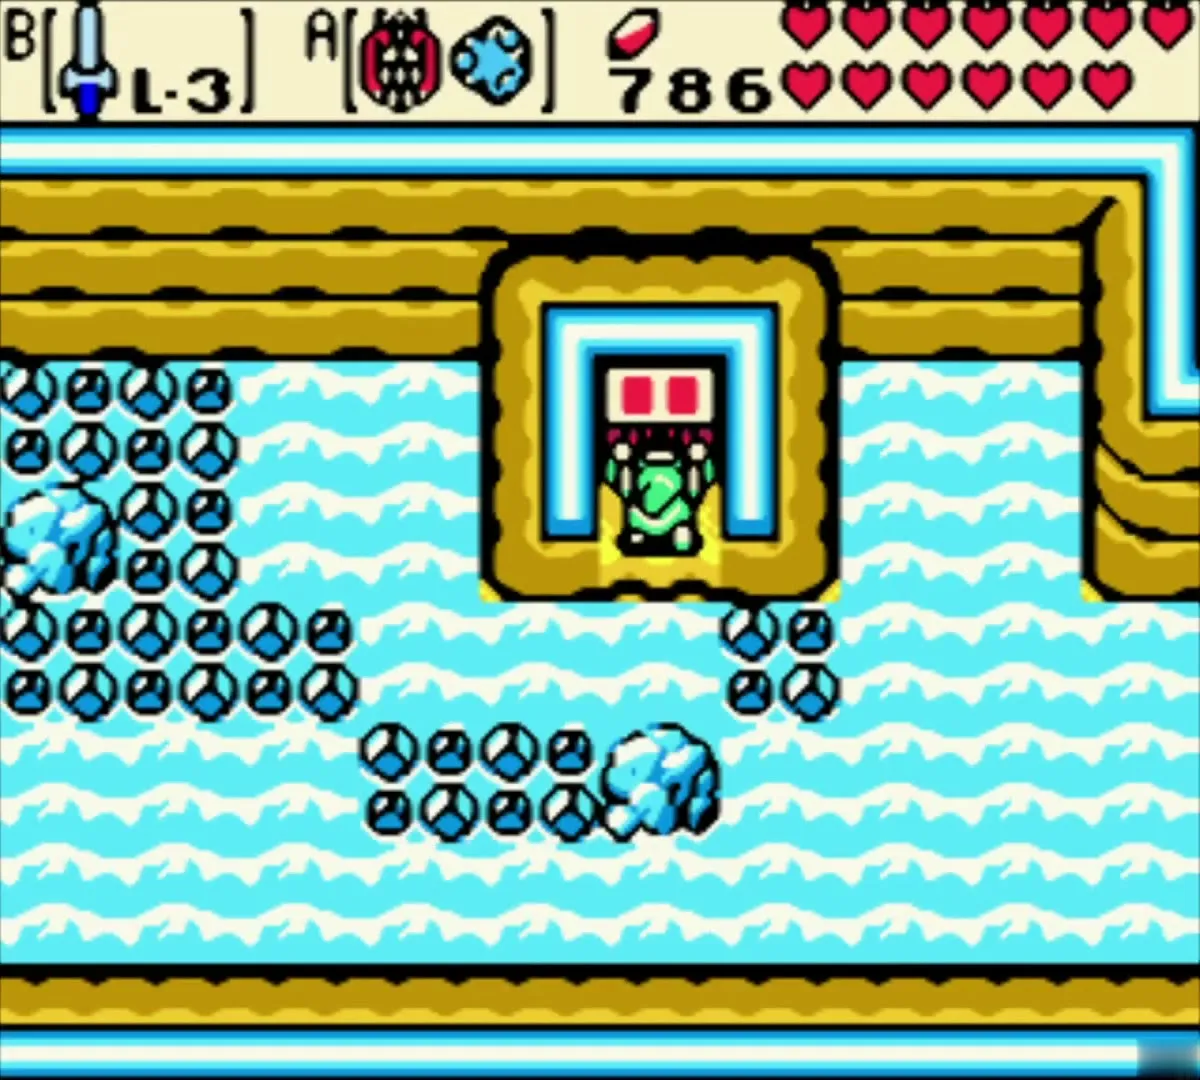
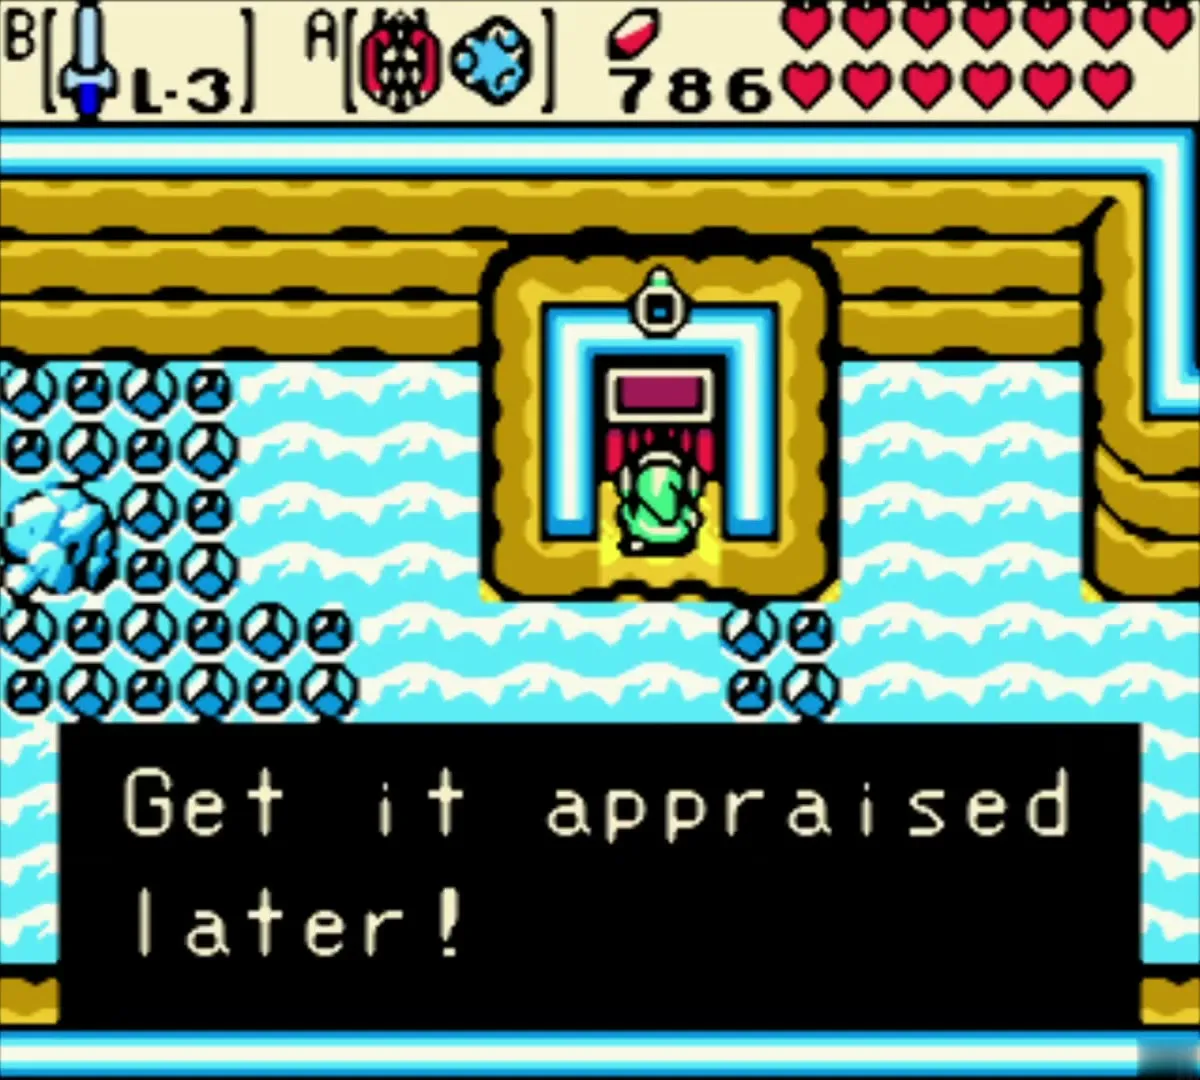
In the present, use the time pillar on the purple sea to reach the small unexplored area in the south-east of the Zora Seas. A gold-framed alcove holds a red chest. Open it for a ring, which you can get appraised at Vasu’s later. Written sources place the Whimsical Ring in this corner, so that is the ring to expect.
Dungeon: Jabu-Jabu’s Belly (Level 7)
Enter through Jabu-Jabu’s mouth
Walk to Jabu-Jabu’s Shrine in Zora Village, where the giant golden fish stands. Once King Zora has given you permission, Jabu-Jabu opens its mouth, so swim straight in. The dungeon opens onto a purple floor with teal blocks and switches.
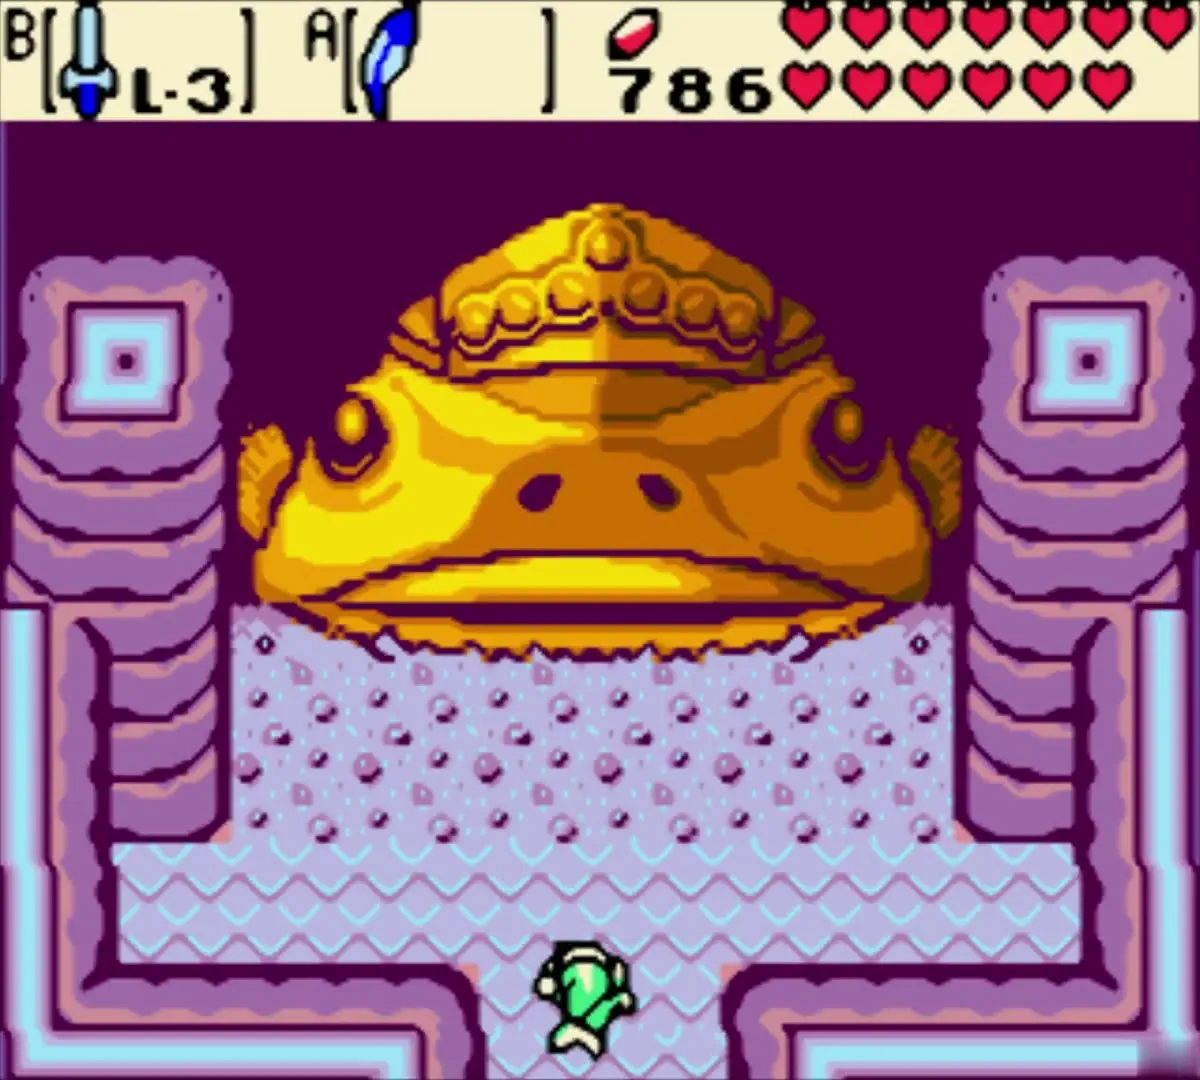
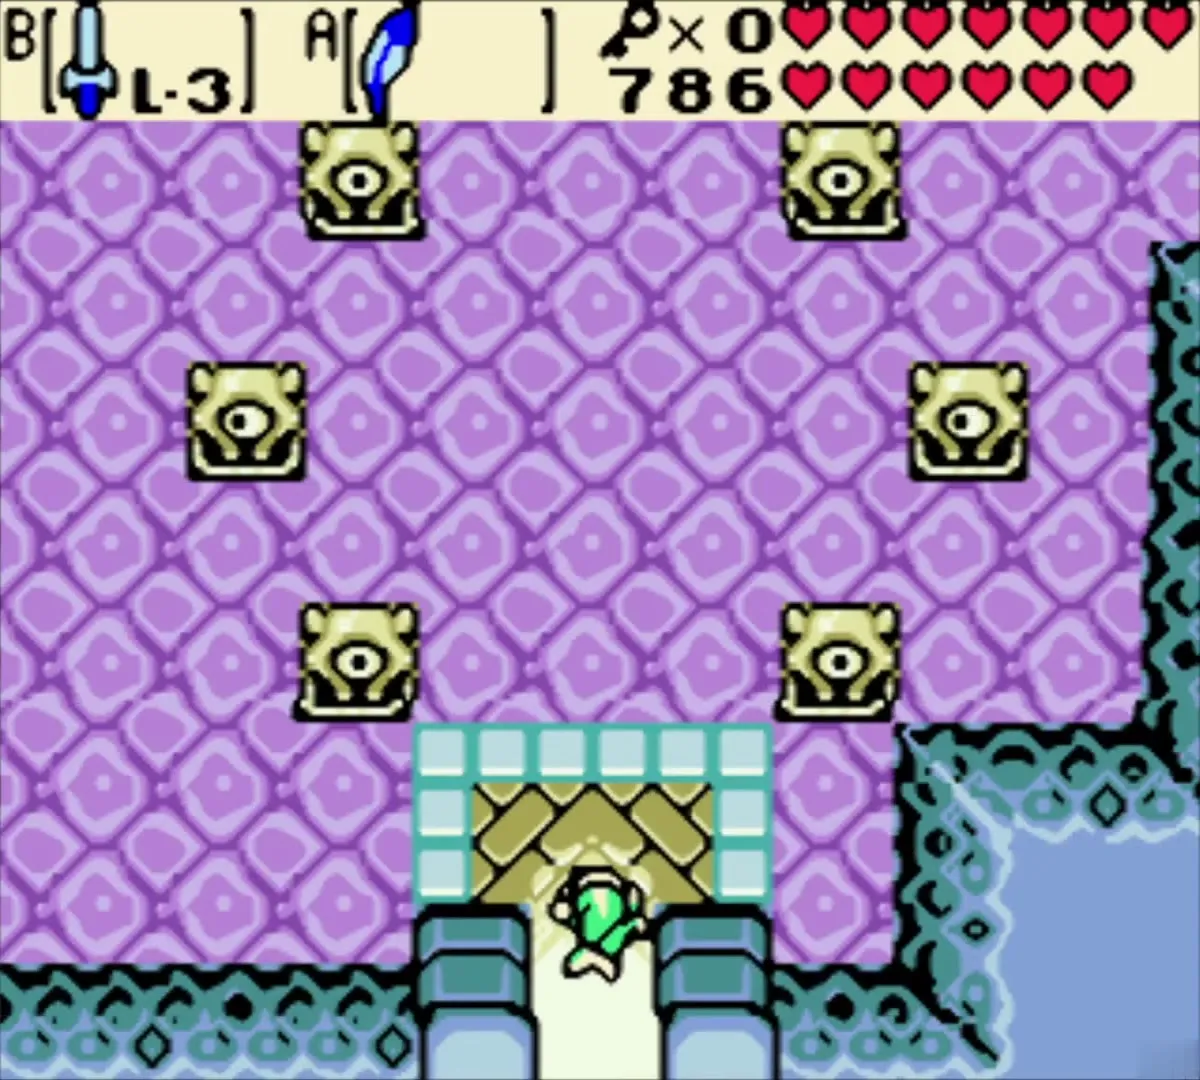
First floor: the first Small Key and the Dungeon Map
On the first floor, use the Switch Hook on the diamonds near the four statues to move them, and the first Small Key appears. Your key counter goes up to one. The rest of the first floor is covered in Jabu-Jabu’s Belly (Level 7).
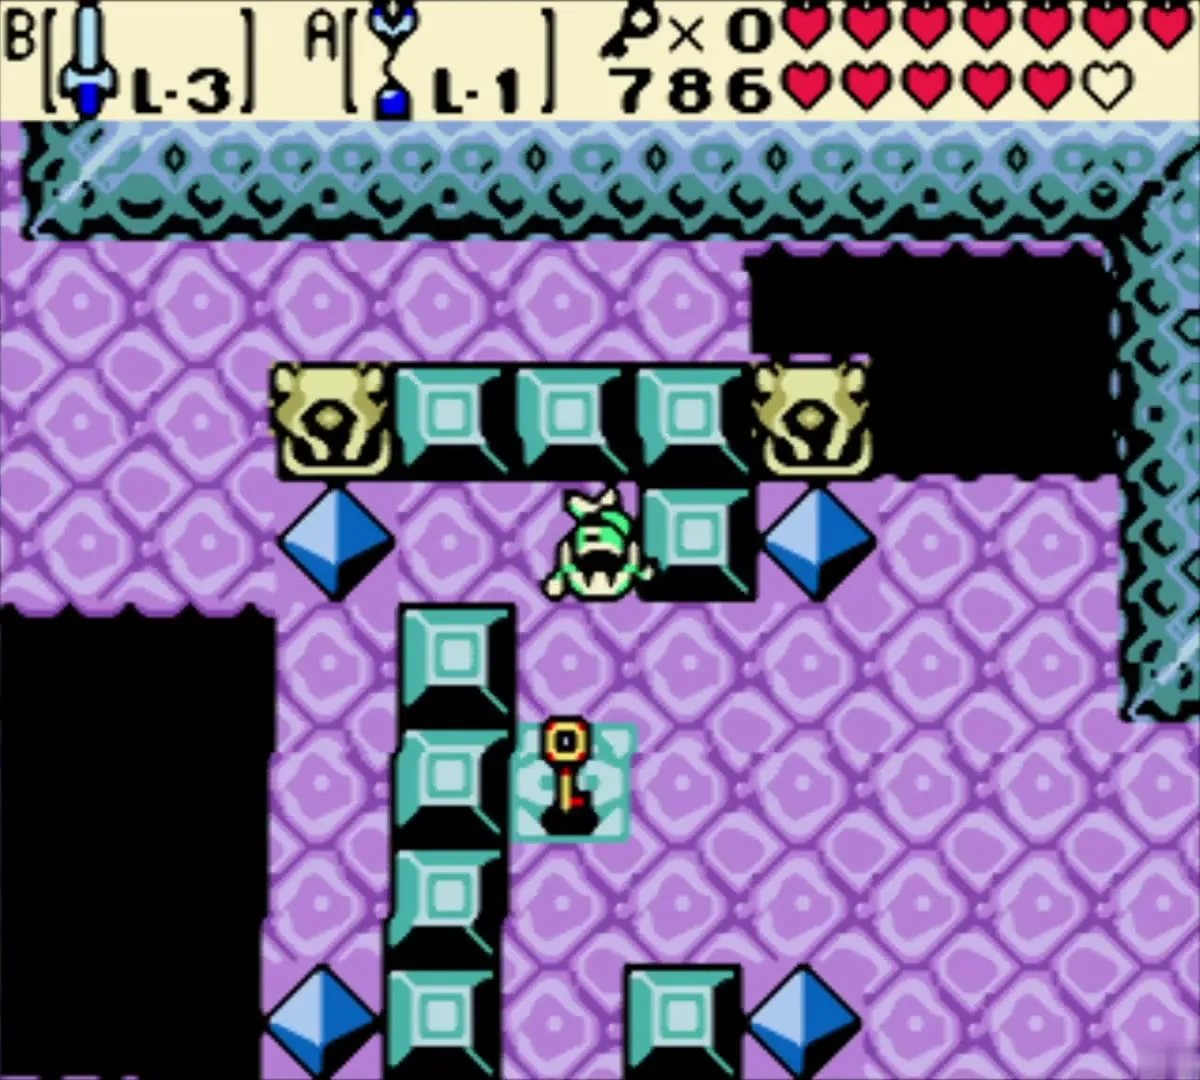
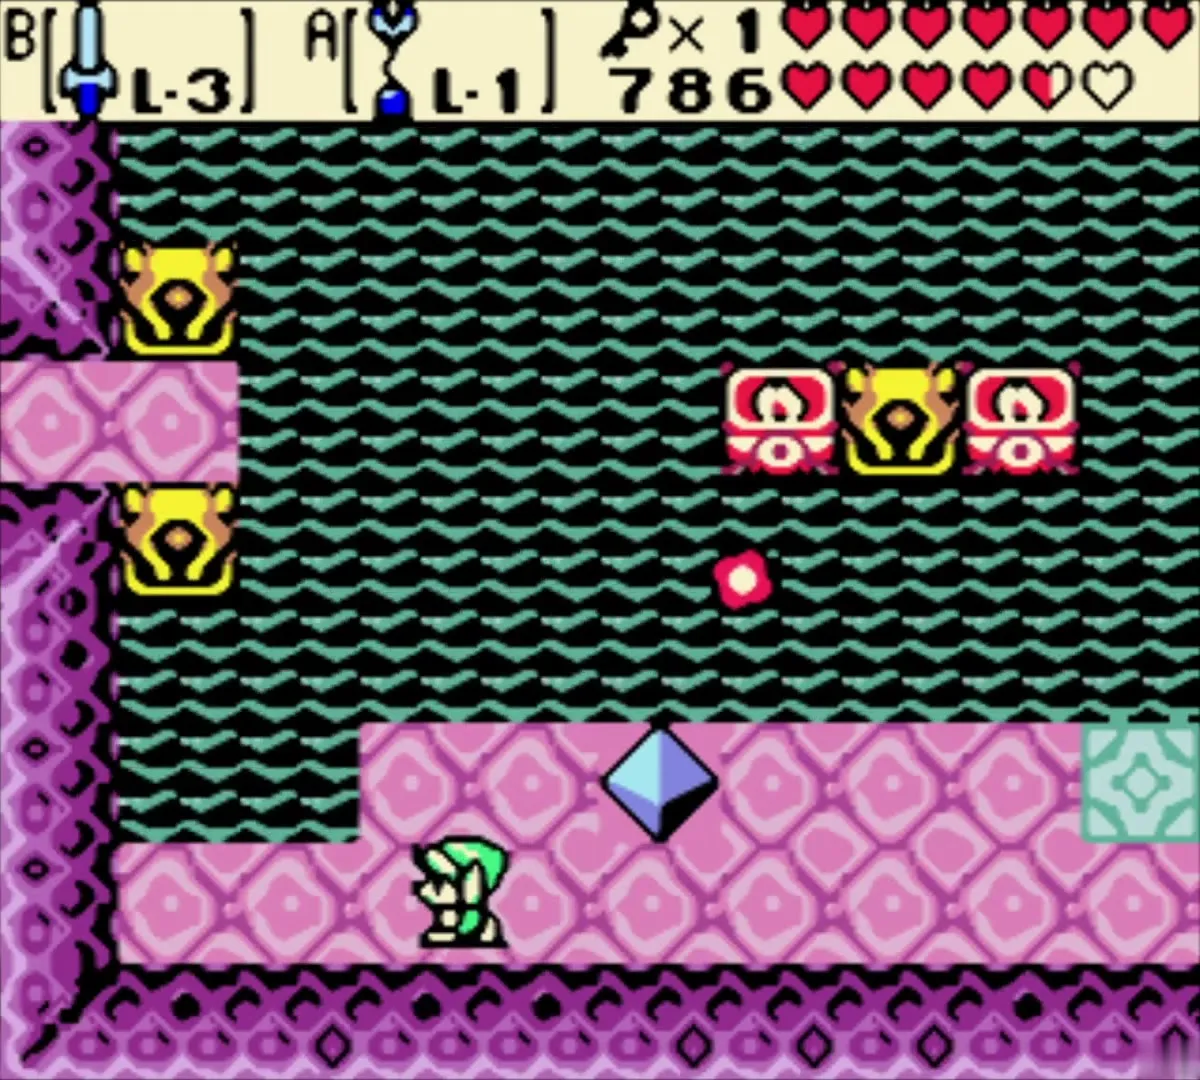
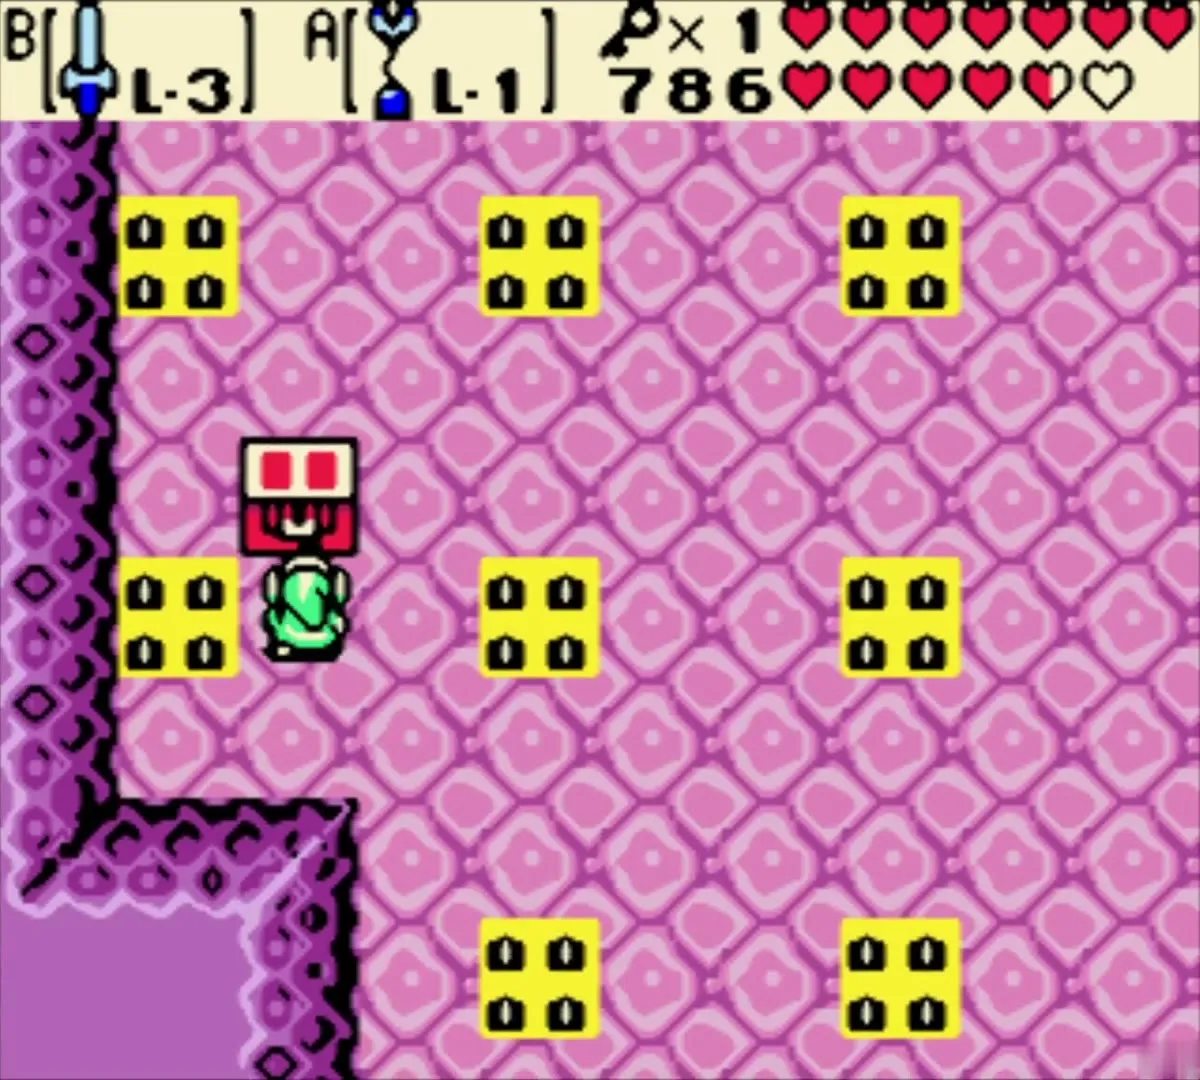
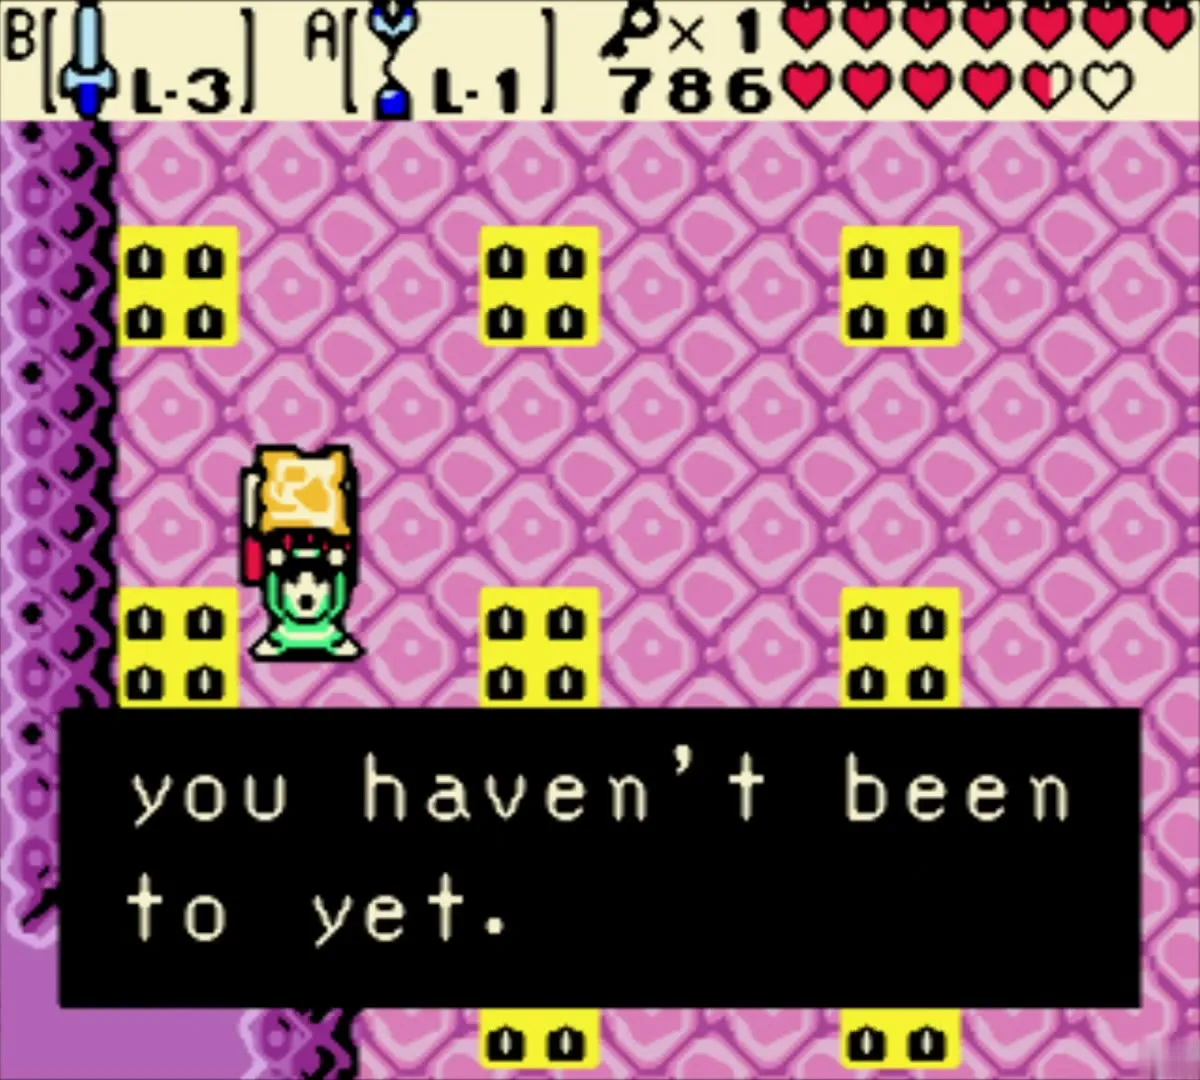
In a pink room with yellow spike tiles, open the small chest to receive the Dungeon Map. Press SELECT to check it; the darkened rooms are the ones you have not visited yet.

Chapter checklist
| Type | Name | Where (era) |
|---|---|---|
| Gasha Seed | Gasha Seed chest | Zora Village, underwater chest on the west side (present) |
| Gasha Seed | Gasha Seed planted in soft soil | Palm beach in the Zora Seas (past) |
| Rupees | 200 Rupees chest | King Zora’s Palace corridor (present) |
| Key item | Library Key | From King Zora (present) |
| Key item | Book of Seals | Old man in the library back room (present) |
| Key item | Fairy Powder | Darkened chamber behind the library pedestal (past) |
| Ring | Whimsical Ring (per written sources) | Gold alcove chest, south-east Zora Seas (present) |
| Dungeon map | Dungeon Map | Jabu-Jabu’s Belly, pink room on the first floor |
| Dungeon key | Small Key | Jabu-Jabu’s Belly, first floor |
