
























Oracle of Ages 100% Completion Walkthrough24 chapters
- Arrival in Labrynna and the Black TowerForest of Time, Vasu’s Ring Box, the Maku Tree, the time portal, the Black Tower Shovel and the first Heart Piece.
- Maku Path and Spirit’s Grave (Level 1)Seed Satchel, Graveyard Key, Power Bracelet, Pumpkin Head and the Eternal Spirit.
- The Harp of Ages and Fairies’ WoodsPoe Clock, Heart Piece, Vasu’s rings, hide-and-seek, Tune of Echoes and the first time travel.
- Deku Forest and the Mystery SeedsMystery Seeds, Queen Ambi’s Bombs, a Heart Piece, the Deku Secret and the first rooms of the Wing Dungeon.
- Wing Dungeon (Level 2)All five Small Keys, Dungeon Map, Compass, Swoop, Roc’s Feather, Boss Key, Head Thwomp and the Ancient Wood.
- Farore’s Secrets and Cheval’s GraveWest Lynna Heart Piece, Hall of Secrets codes, Red Snake, Zora’s Flippers and Cheval Rope.
- Tingle’s Chart and Crescent IslandRicky’s Gloves, Island Chart, Rafton’s raft, the Tokay thieves, Scent Seeds and the Grotto.
- Moonlit Grotto (Level 3)All Small Keys, Compass, Seed Shooter, Gasha Seeds, Subterror, Boss Key, Shadow Hag and the Echoing Howl.
- Nuun Highlands and the Strange FlutesDimitri’s Flute, Tingle’s 99-seed Satchel, the Black Tower rescue, the bridge workers, Gale Seeds and Symmetry City.
- Symmetry City and Talus PeaksCracked Tuni Nut, Patch’s ceremony, Tune of Currents, Heart Piece, bomb fairy and Skull Dungeon.
- Skull Dungeon (Level 4)Compass, Dungeon Map, 5 Small Keys, Armos Warrior, Switch Hook, Boss Key, Eyesoar and the Burning Flame.
- Lynna Trades and the Noble SwordTouching Book, Maple’s Magic Oar, Sea Ukulele, Broken Sword and Patch’s ceremony.
- West Rolling Ridge and the Great MoblinLynna secret shop, Pegasus Seeds, Moblin’s Keep, Great Moblin, Bomb Flower, Crown Key and the Crown Dungeon.
- Crown Dungeon (Level 5)Small Keys, Cane of Somaria, Smasher, Compass, Boss Key, Smog and the Sacred Soil.
- East Rolling Ridge and the Mermaid KeysGoron Dance, Brother Emblem, Target Carts, Rock Brisket, Goron Vase and Goronade trades, and Mermaid Keys.
- Mermaid’s Cave (Level 6) Walkthrough for Oracle of AgesGet the Old Mermaid Key, clear both halves, collect the Mermaid Suit and defeat Octogon for the Essence of Time.
- Ambi’s Palace and the Tune of AgesSneak in, beat Possessed Nayru, learn the Tune of Ages, claim Hall of Secrets upgrades and the Mirror Shield.
- Zora Seas and the Fairy PowderThe Gasha Seed chest, King Zora’s Library Key, Book of Seals, Fairy Powder and Jabu-Jabu’s Belly entrance.
- Jabu-Jabu’s Belly (Level 7)Like Like Ring, Compass, Small Keys, Long Hook, Boss Key, Plasmarine fight, Heart Container and Rolling Sea.
- Sea of Storms and the Pirate ShipZora Scale, pirate ship and Tokay Eyeball, clam grotto ring, Tokay statue cave and Sea of No Return maze.
- Ancient Tomb (Level 8)Three Slates, the Boss Key, two Gasha Seeds, Ramrock boss strategy and the Falling Star Essence.
- Final Collection and the Hero’s CaveMaple Piece of Heart, Gasha Nut rings and fairies, Hero’s Cave Armor Ring L-3 and Vasu ring appraisals.
- The Black Tower and VeranFinal ring appraisals, the Huge Maku Seed, the Black Tower climb.
- Room of Rites, Twinrova and GanonThe eye-statue hallway, Twinrova’s fire and ice phases, the Ganon boss fight, and the linked-game ending.
| Covers | The Wing Dungeon in the Deku Forest, 400 years ago (the past), from the first locked rooms to the Essence of Time |
|---|---|
| Dungeon | Wing Dungeon (Level 2): Roc’s Feather, mini-boss Swoop, boss Head Thwomp, Essence of Time: Ancient Wood |
| Rewards | Dungeon Map, Compass, 5 Small Keys, Roc’s Feather, 30 Rupees, 1 Gasha Seed, Boss Key, Heart Container, Ancient Wood. No Heart Pieces, rings or soft soil in this chapter |
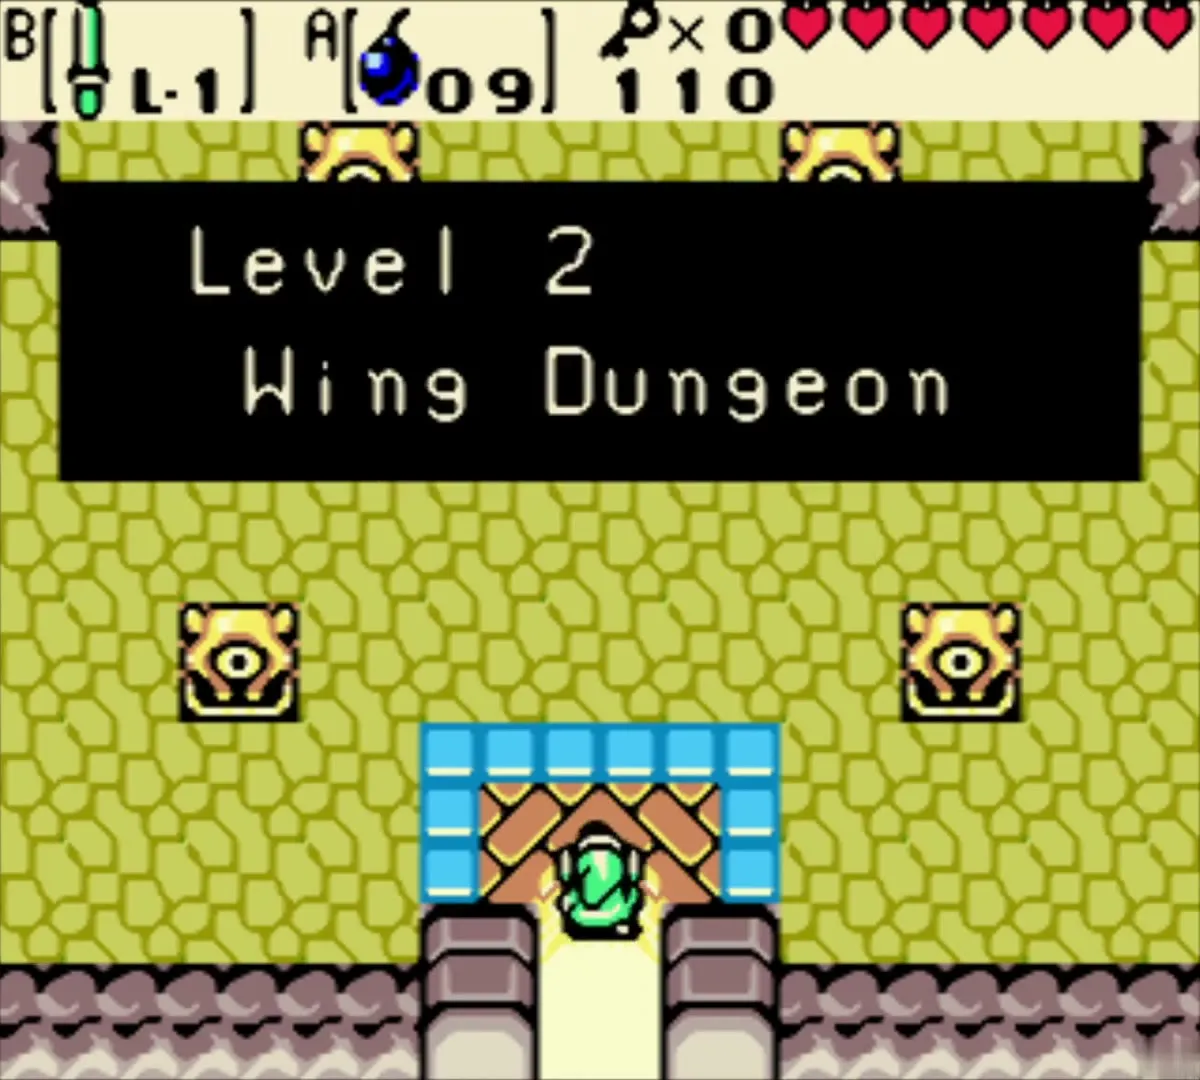
The Wing Dungeon is the second dungeon of the game and the one that hands you the Roc’s Feather, the item that lets you jump. You clear it in the past: beat the Spiked Beetles, grab the Dungeon Map and Compass, defeat Swoop, collect the Feather, work through the colour-tile rooms and minecarts, and find the Boss Key. Head Thwomp waits at the end, and the Ancient Wood is yours once it falls.
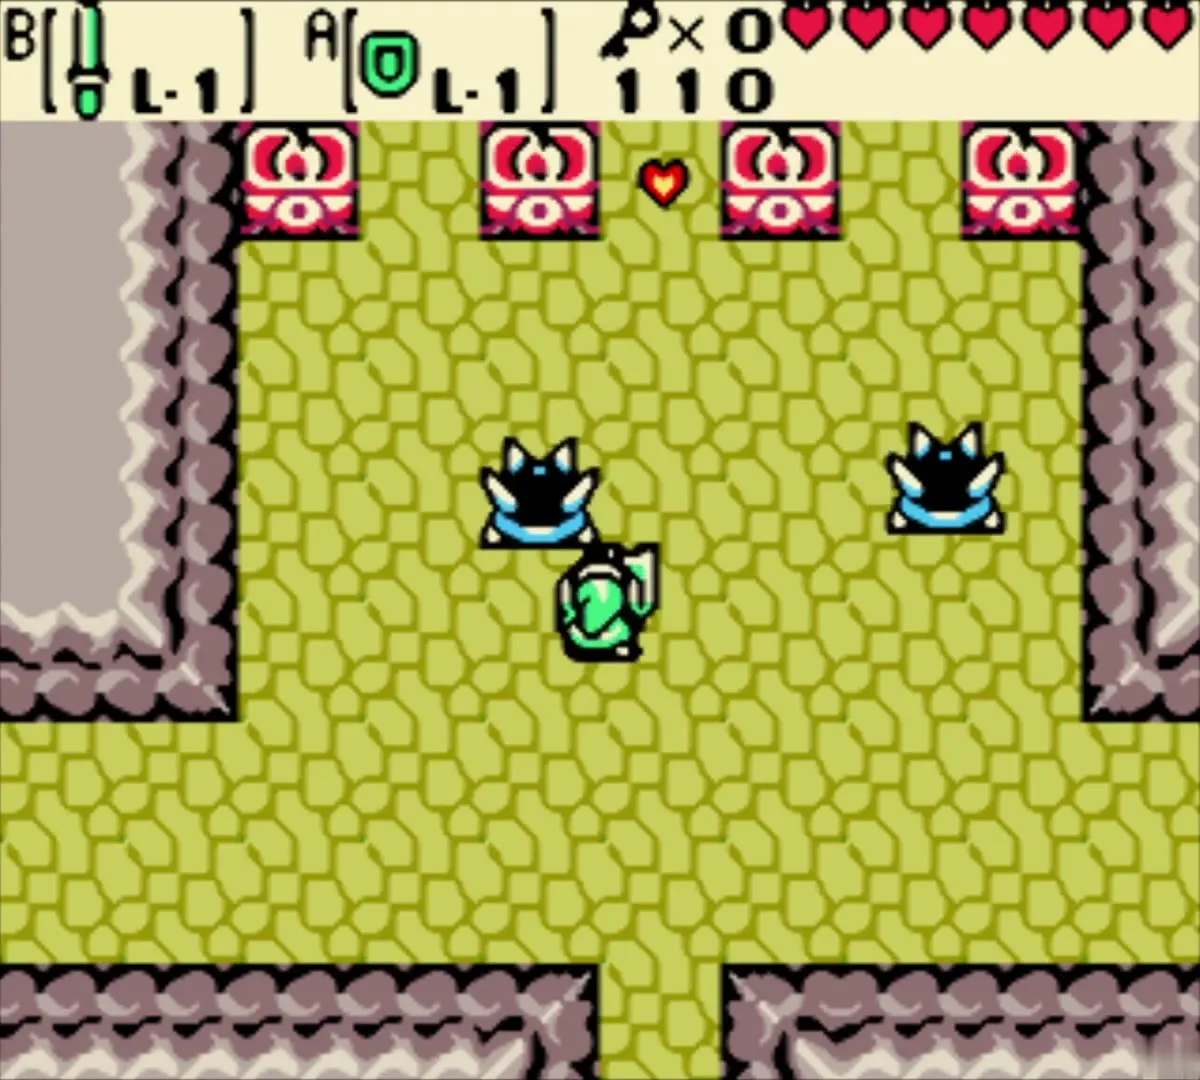
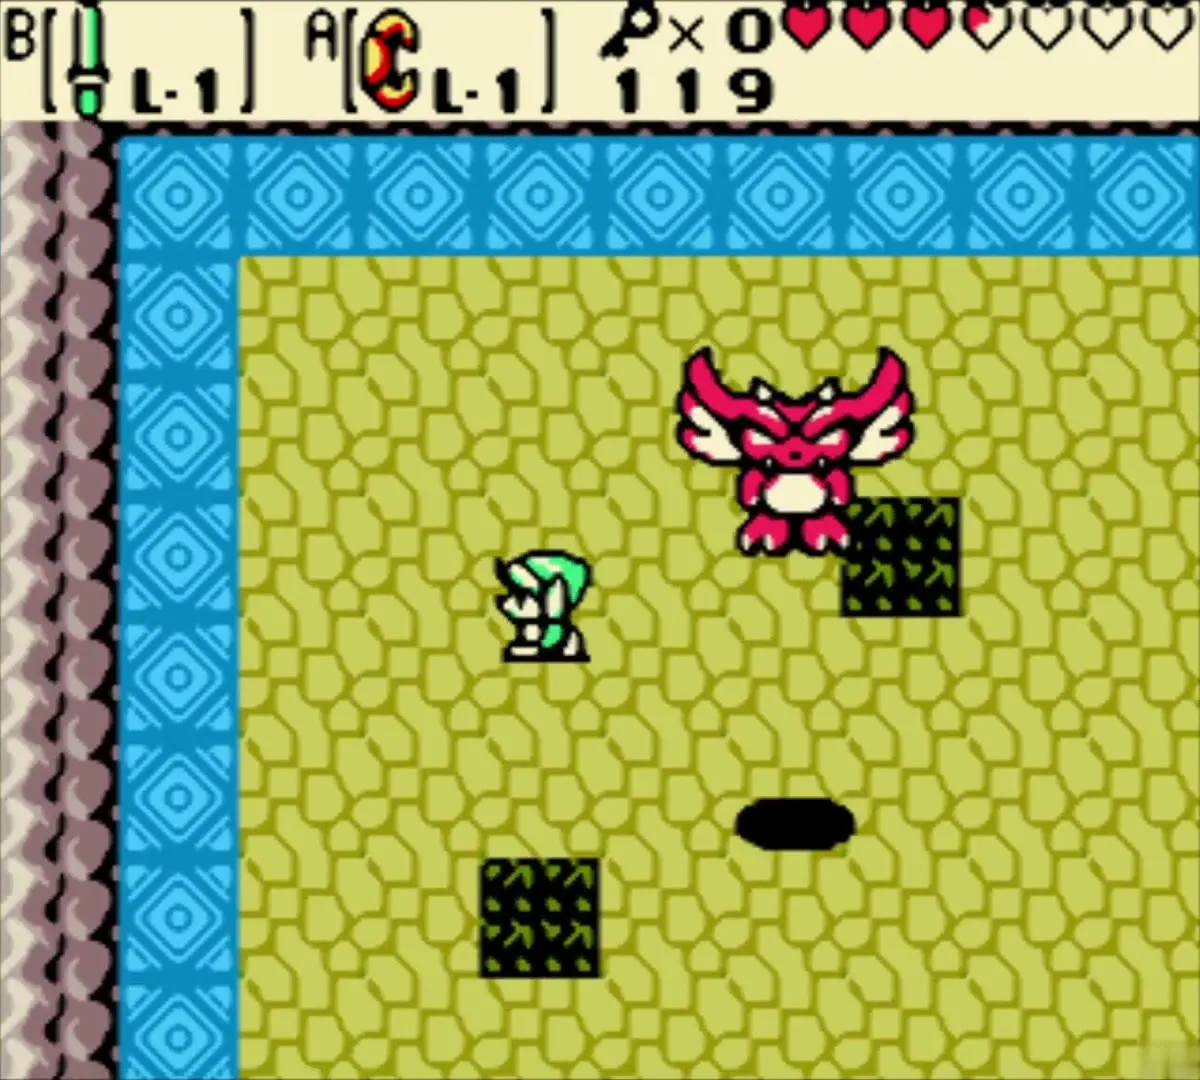
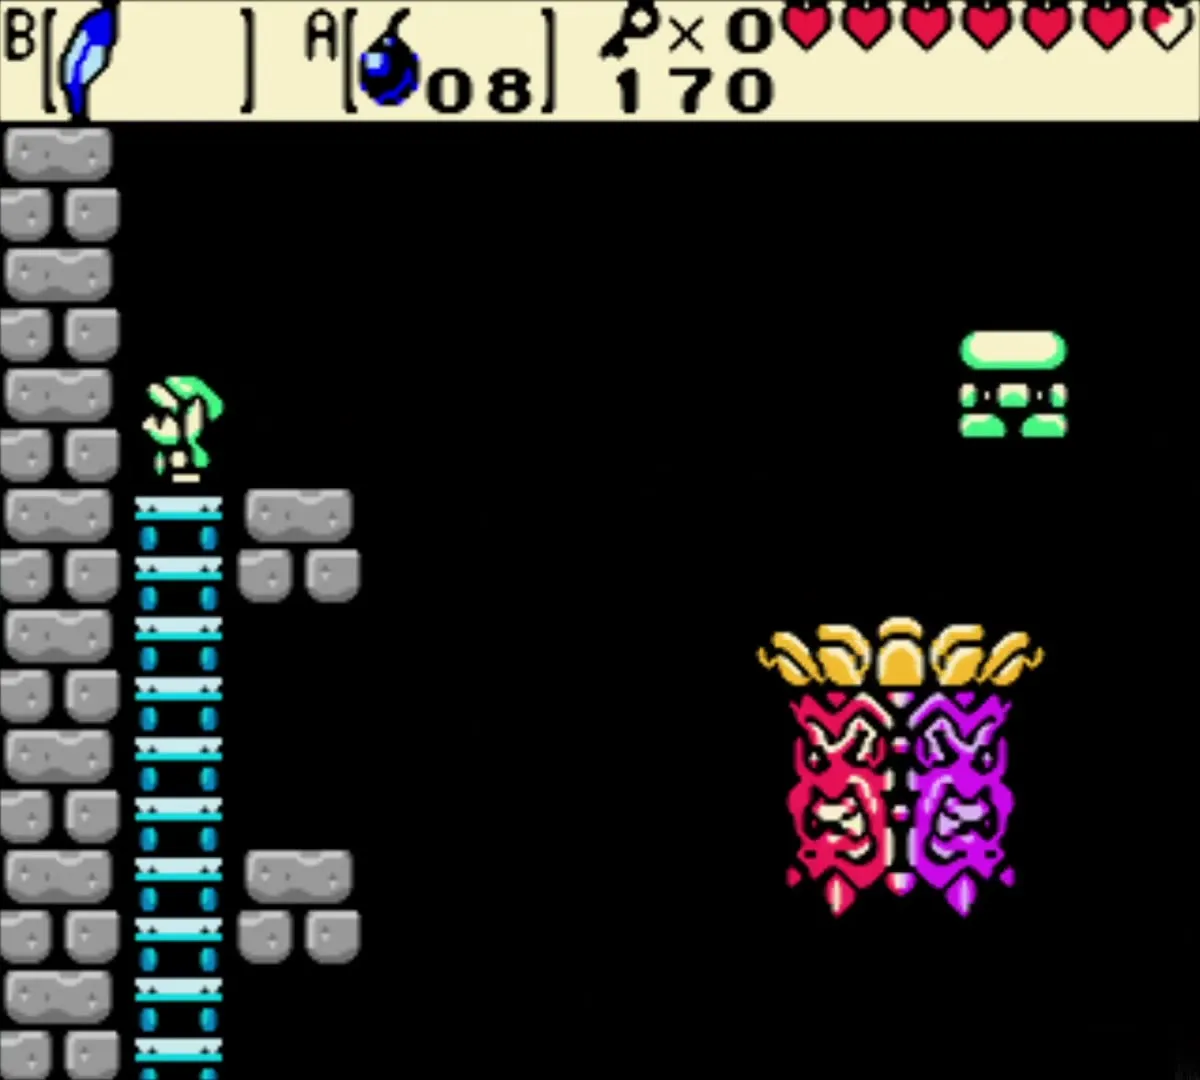
Table of Contents
Wing Dungeon first rooms: Spiked Beetles and the cube

Spiked Beetles with the Wooden Shield
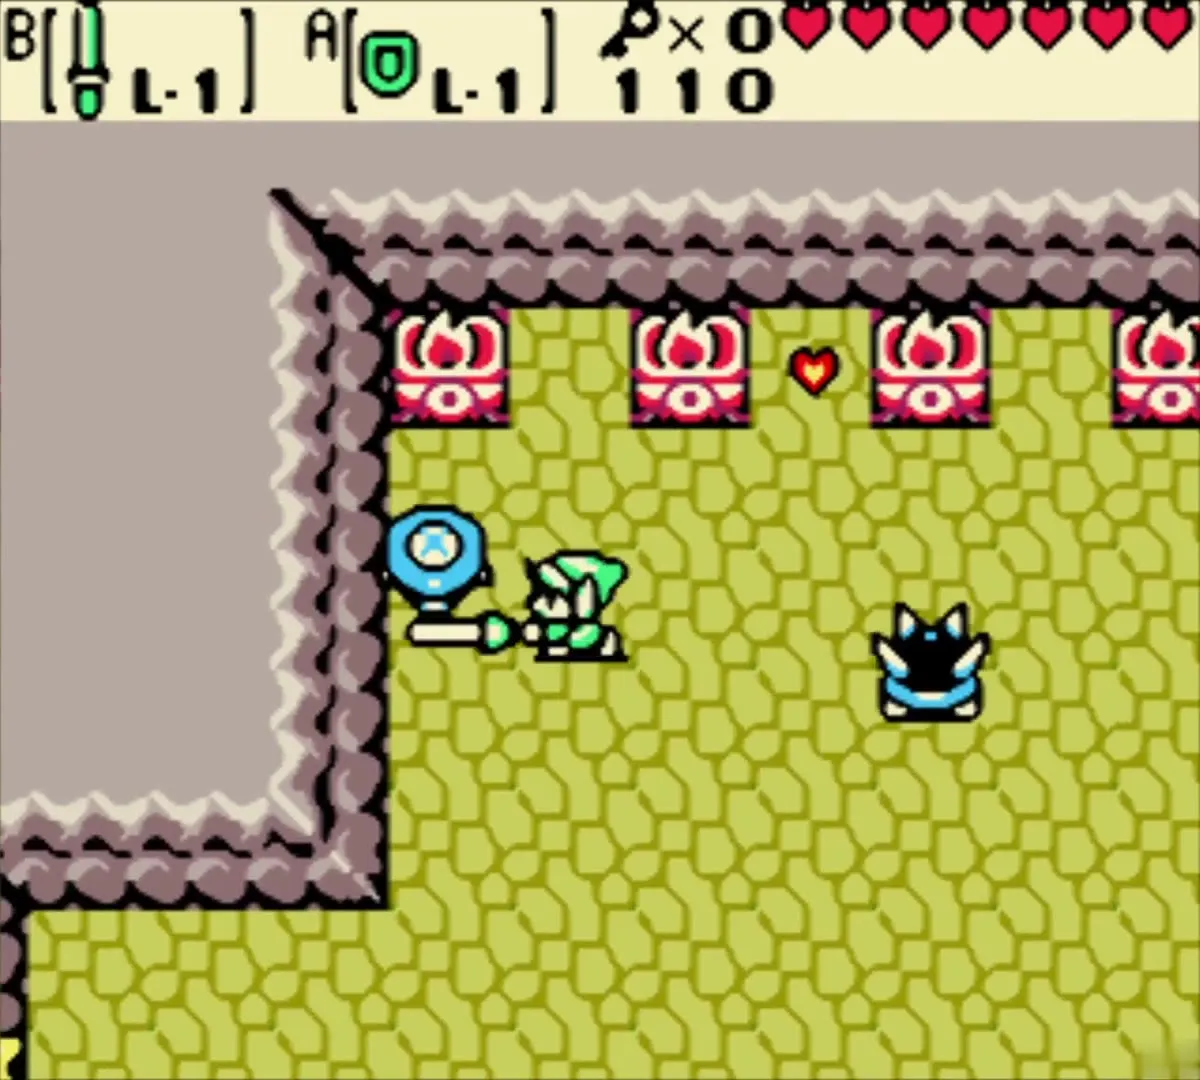
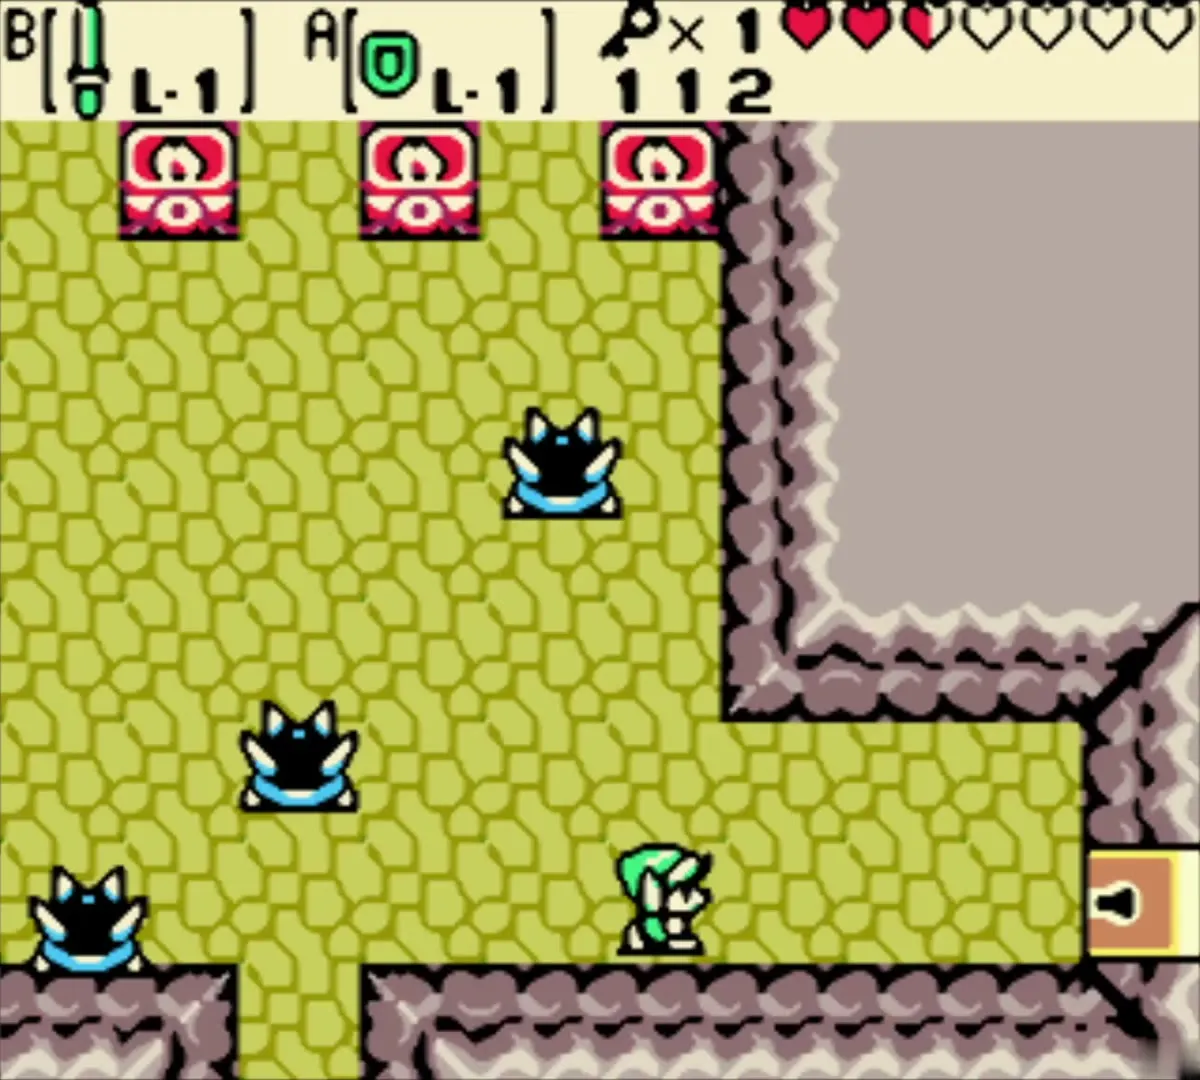
Step inside from the Deku Forest and climb the stairs of the first statue rooms. The hint statues here nudge you to defend yourself: Spiked Beetles shrug off sword hits, so put the Wooden Shield (or the Shovel) on a button. Keep a few Bombs handy too, because the first cracked wall is not far away.
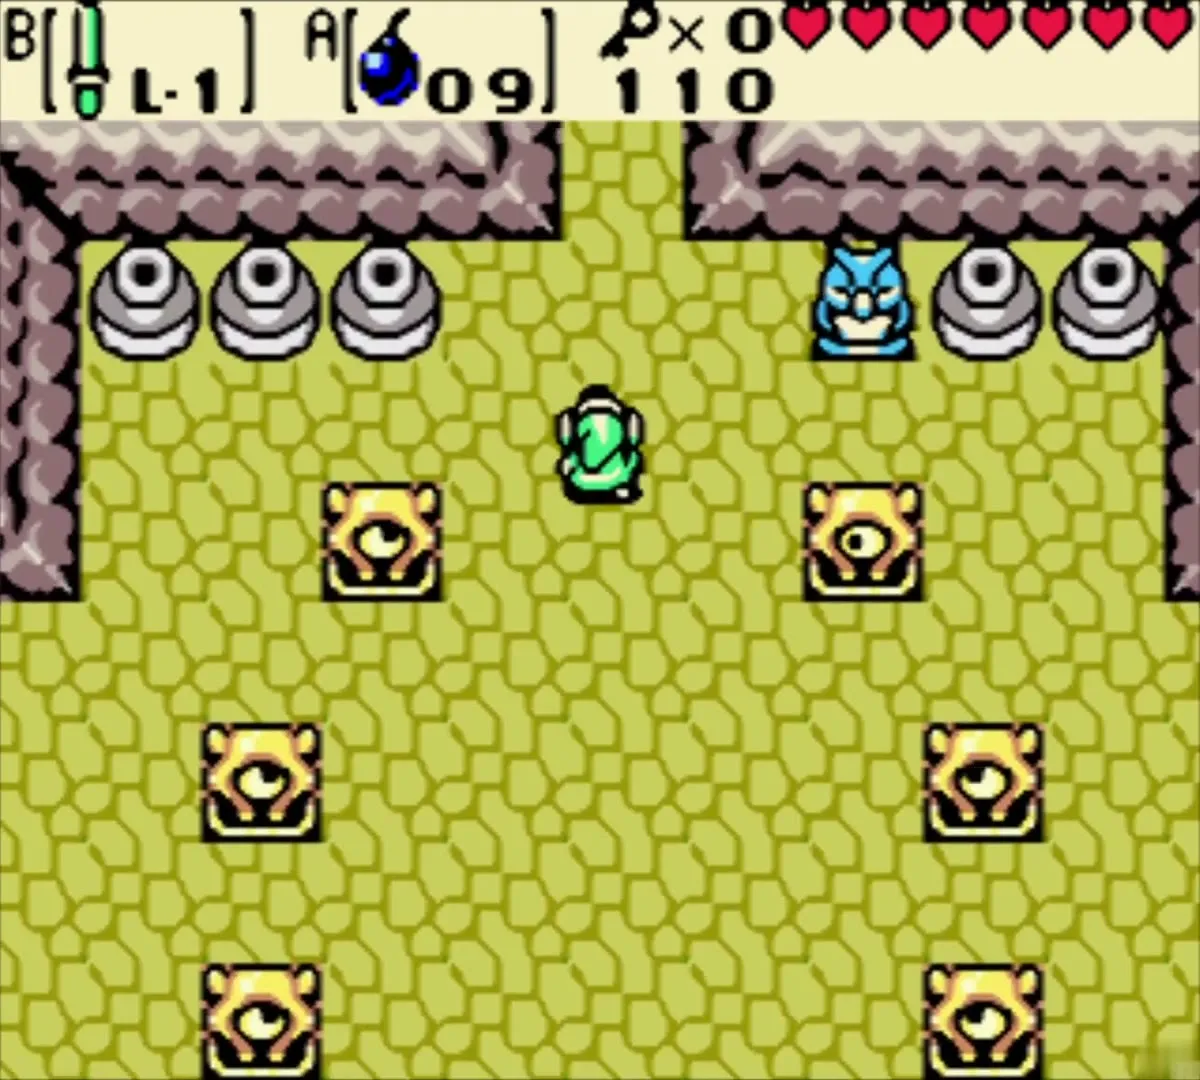
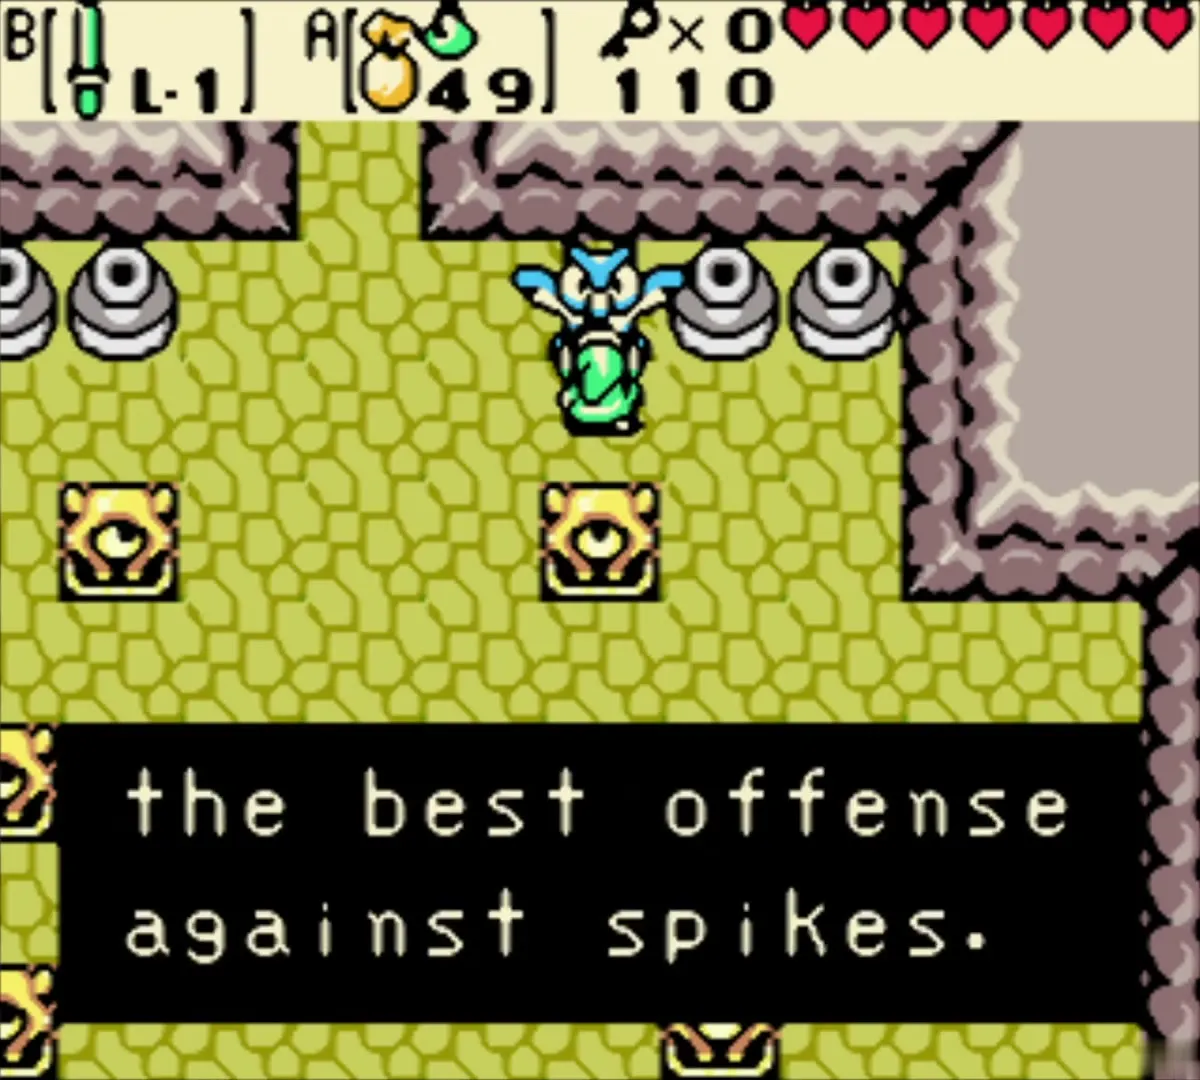
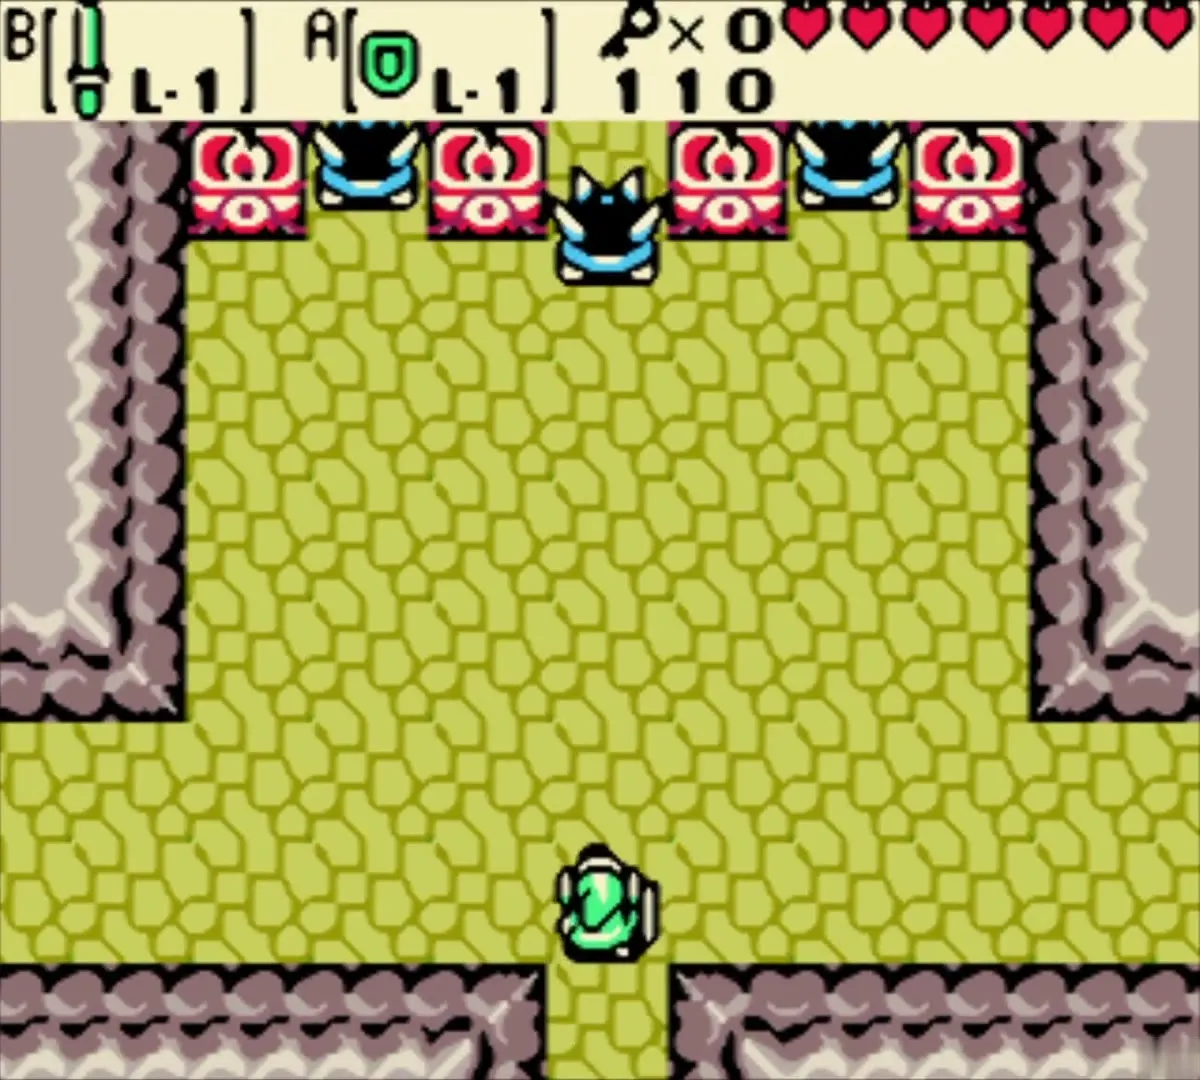
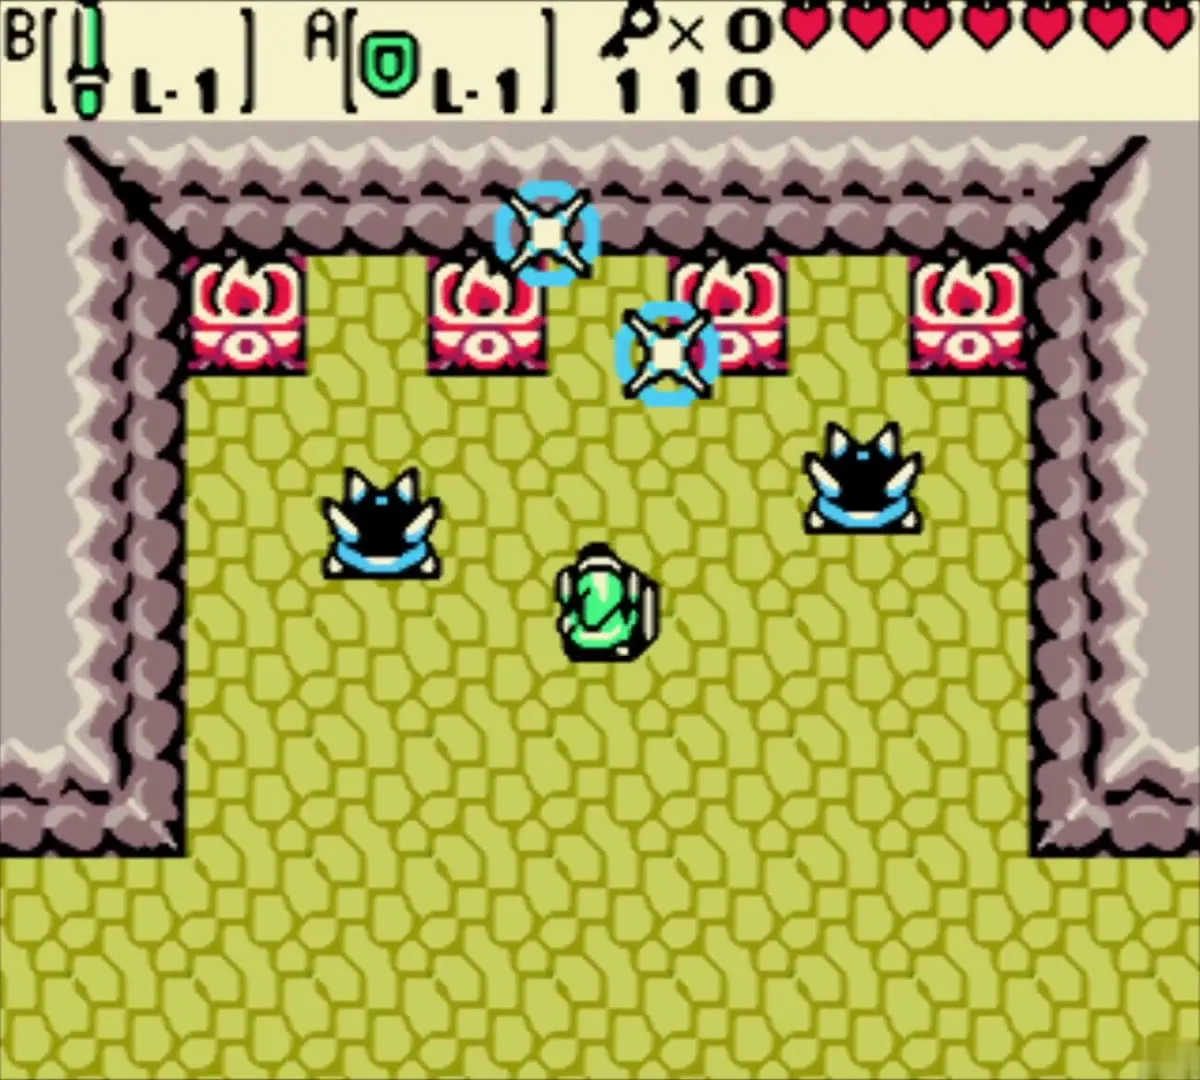
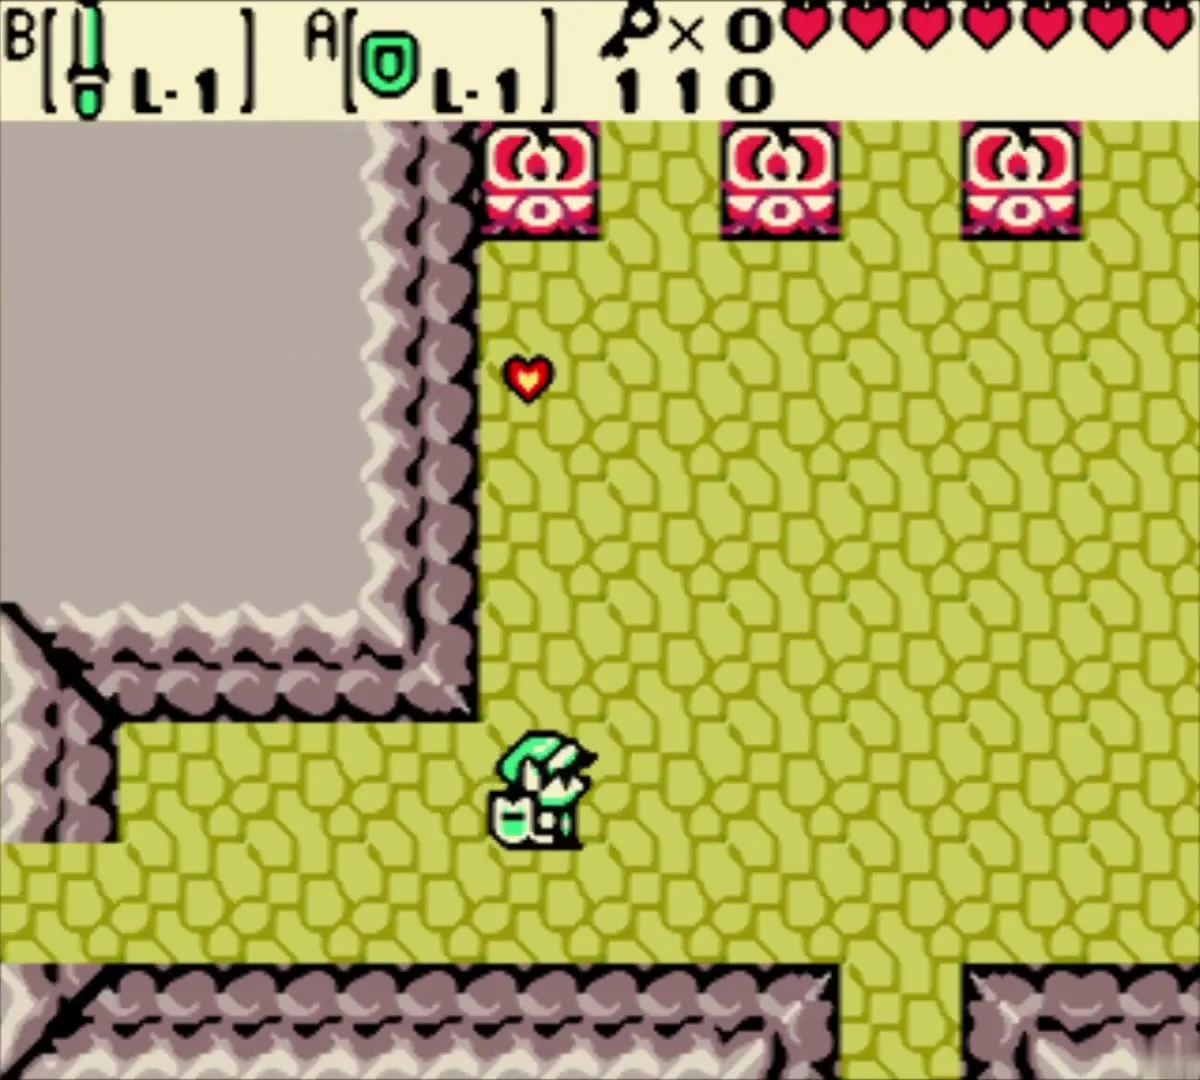
In the beetle room, run into each of the three Spiked Beetles with the shield to flip them over, then slash their undersides. The jars around the room hold hearts and seeds and refill when you re-enter. Leave through the door in the west wall when the beetles are gone.
Colour cube puzzle
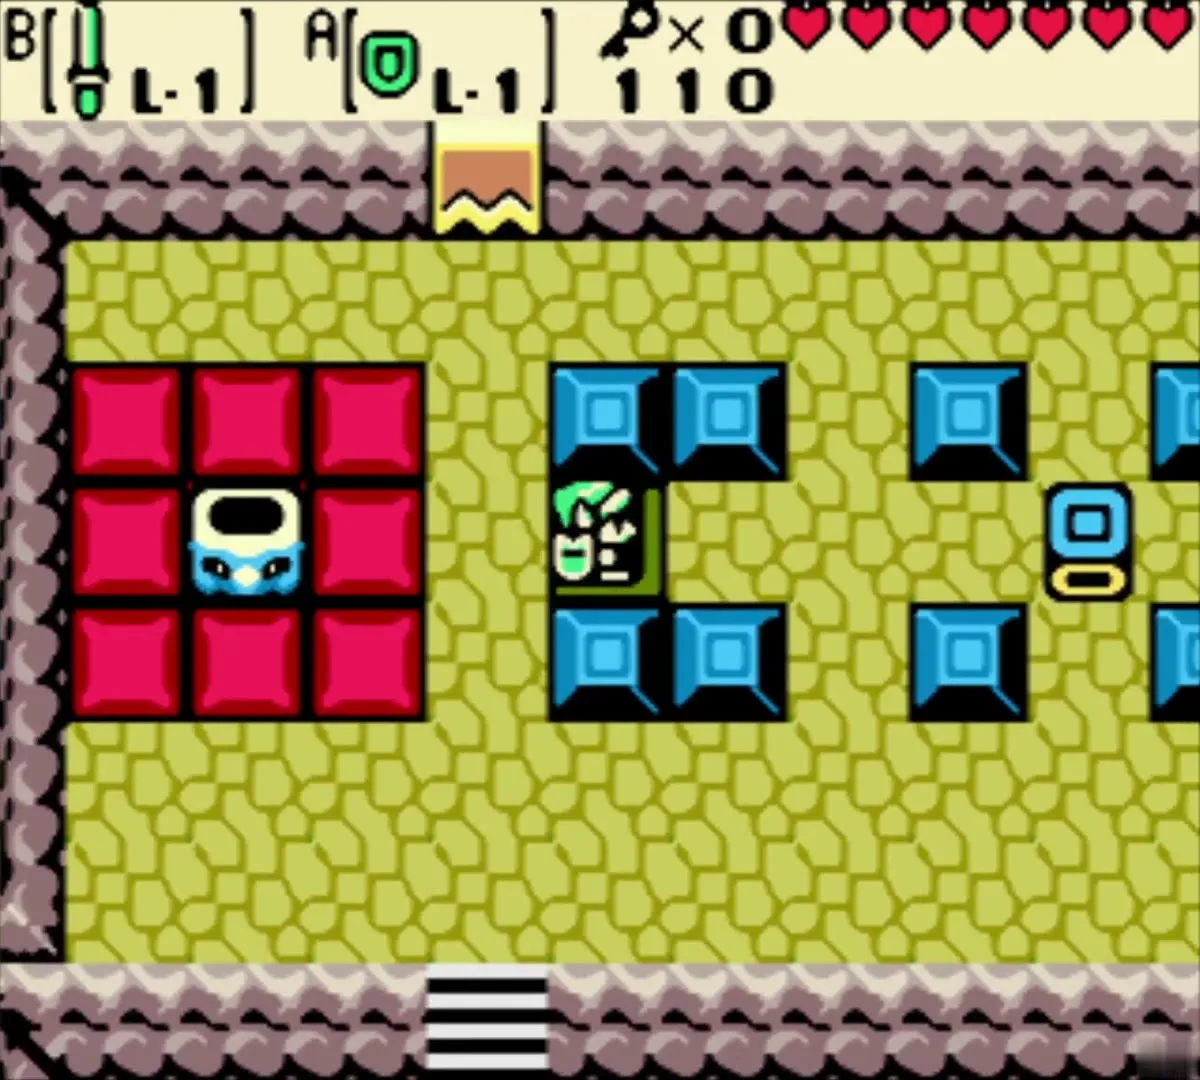
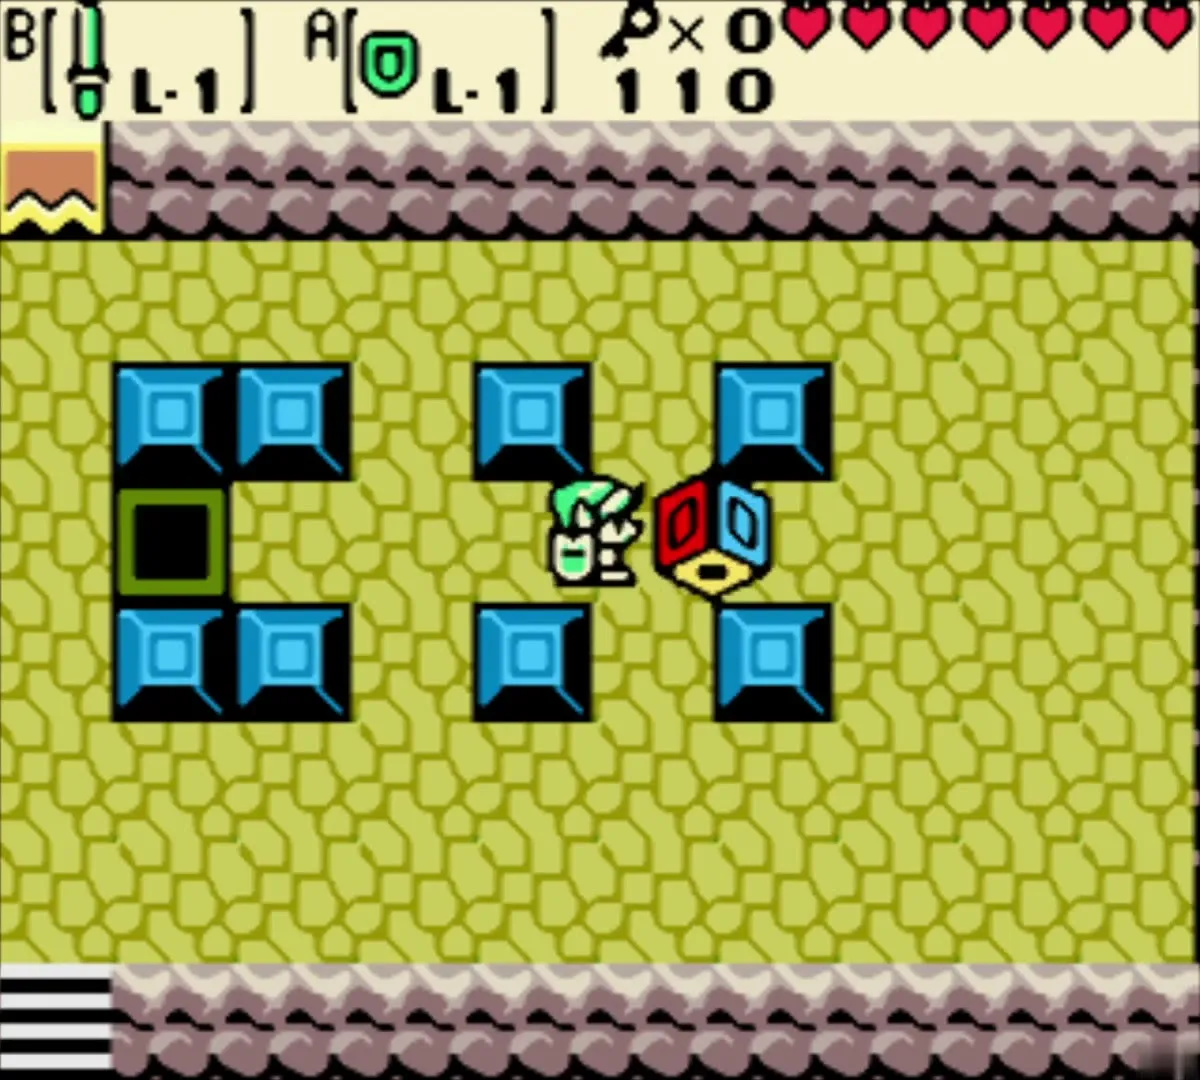
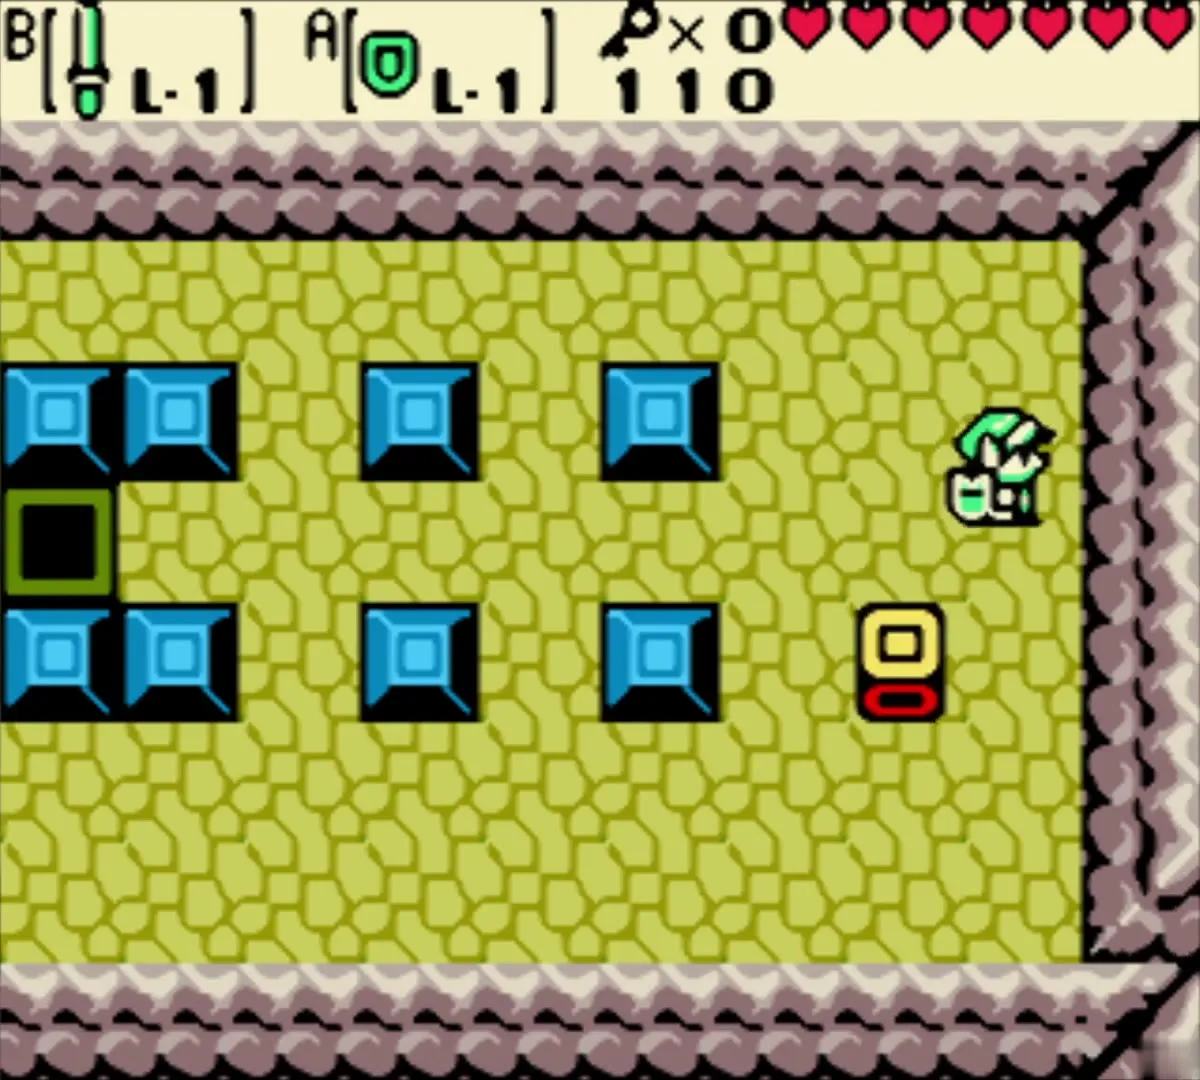
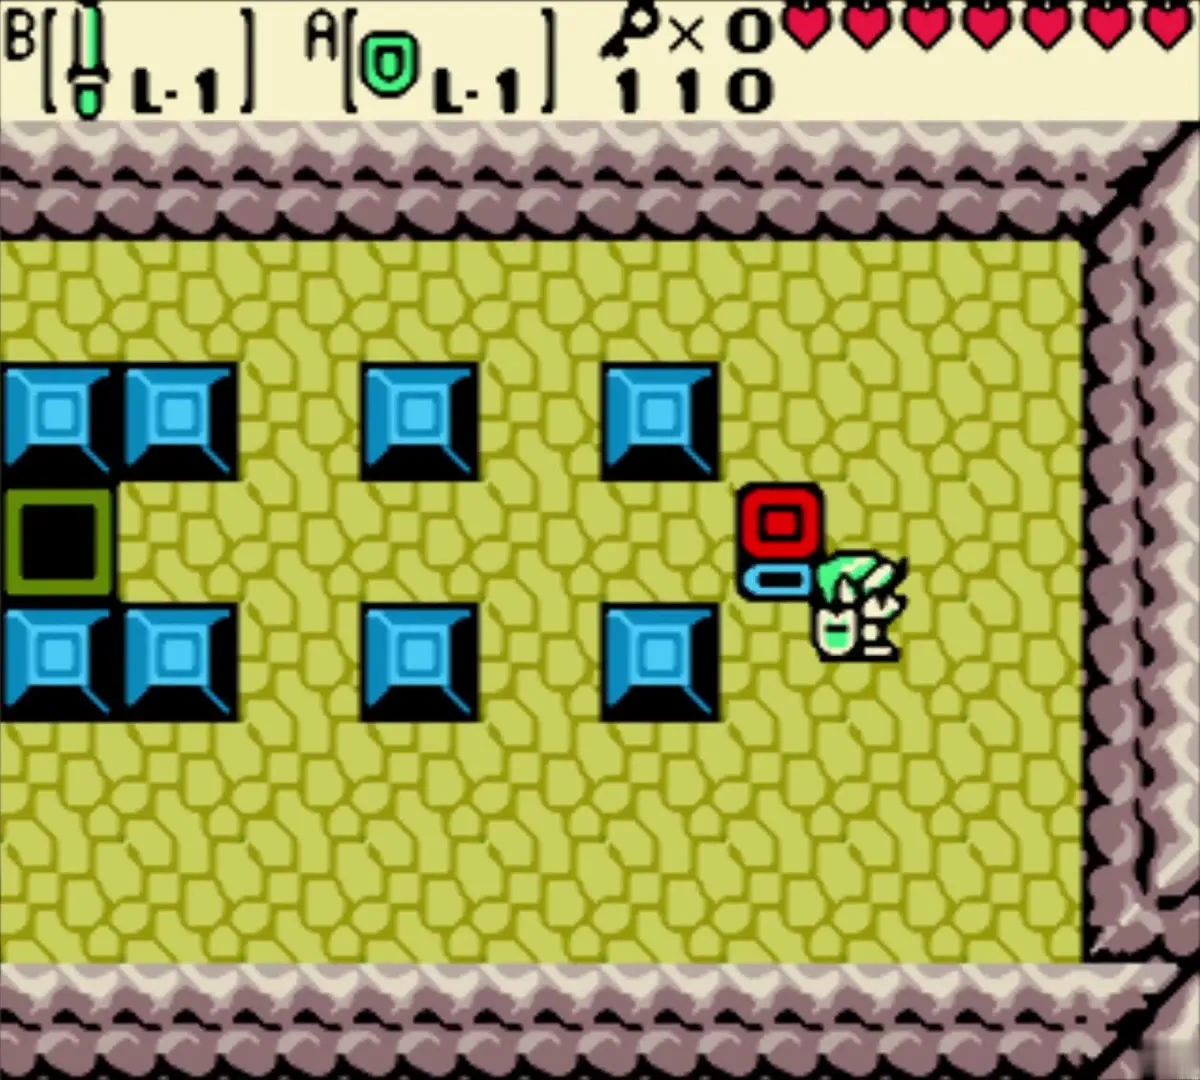
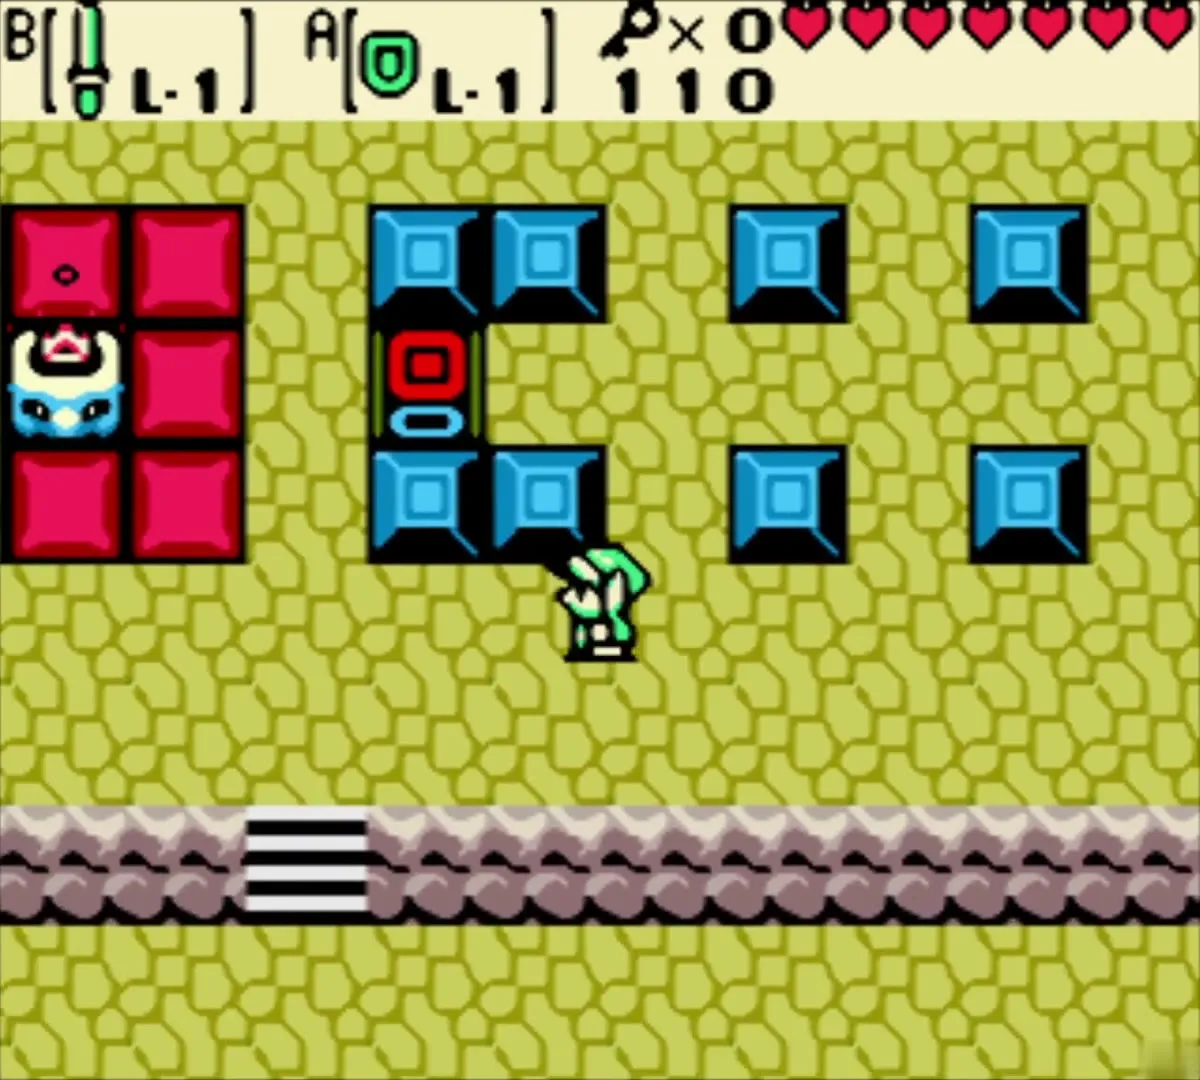
In the west room, push the multicoloured cube: three squares east, one south, one west, one north, then west until it drops onto the dark square with a red top facing up. That opens the north door, which leads on to a room of Ropes and blue blocks.
Dungeon Map and the first Small Key

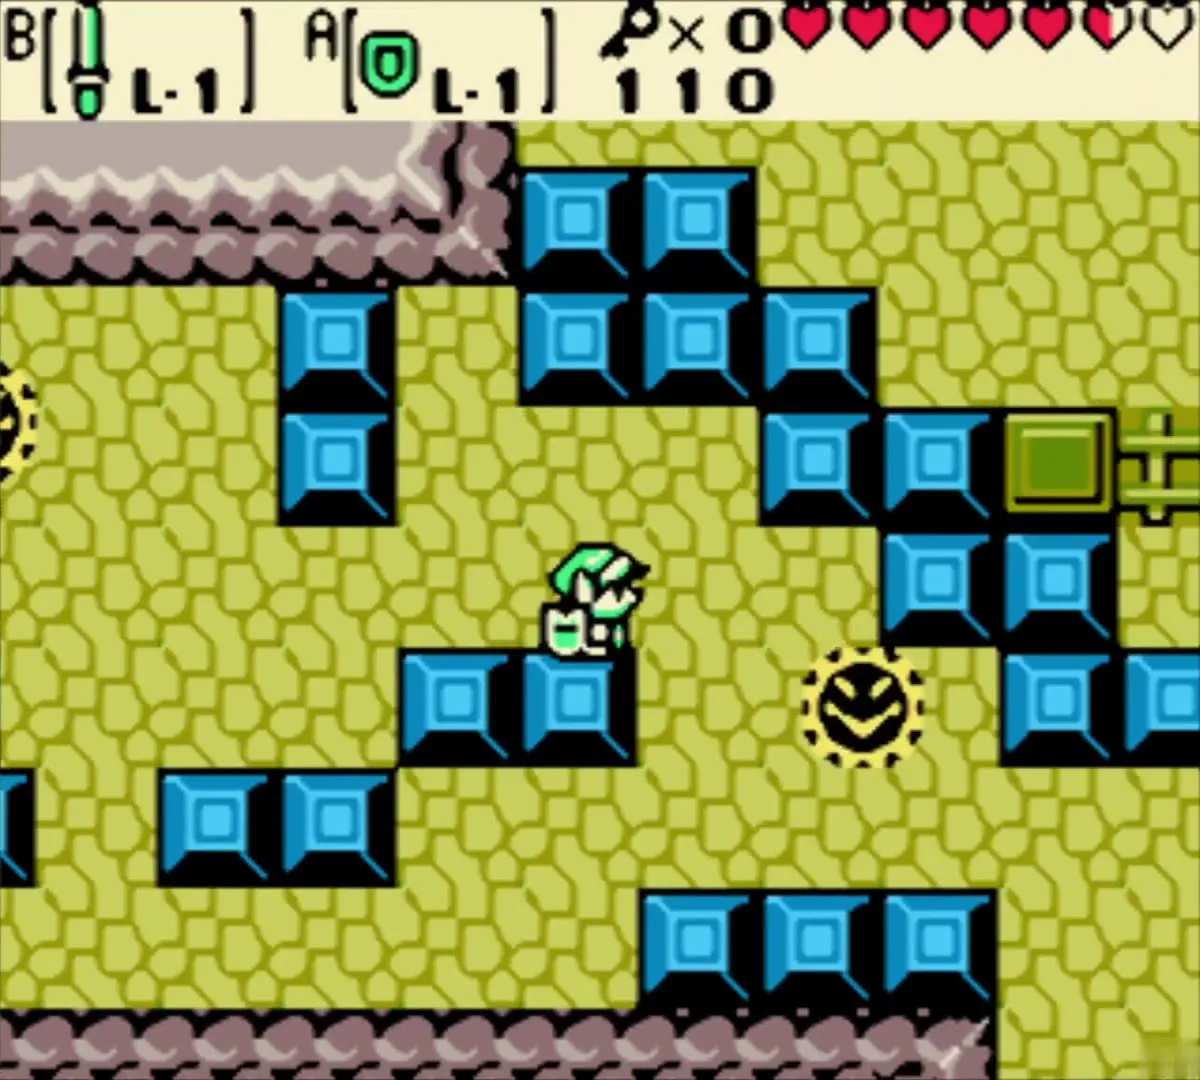
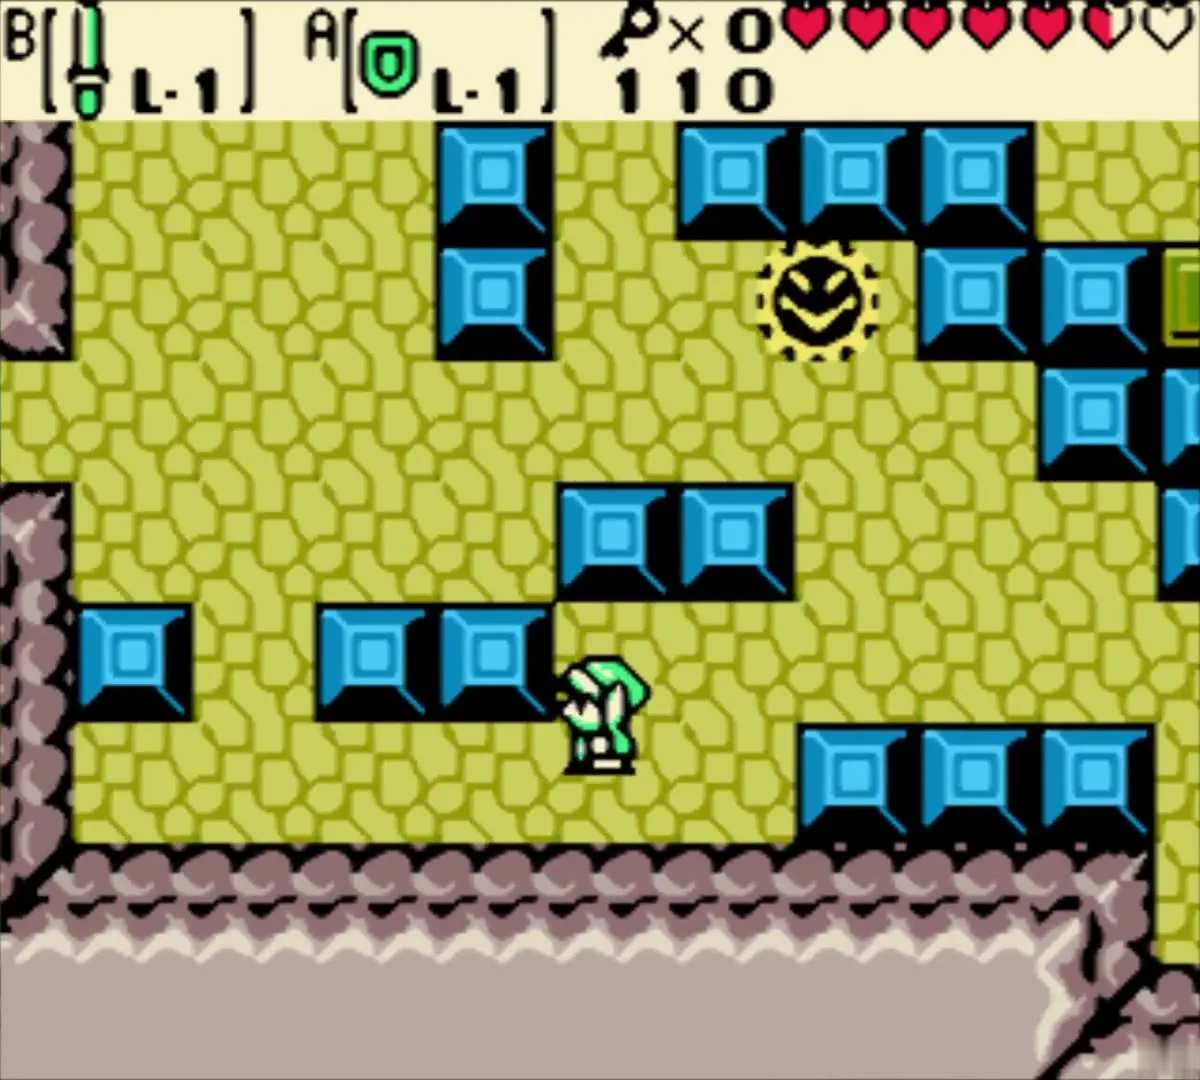
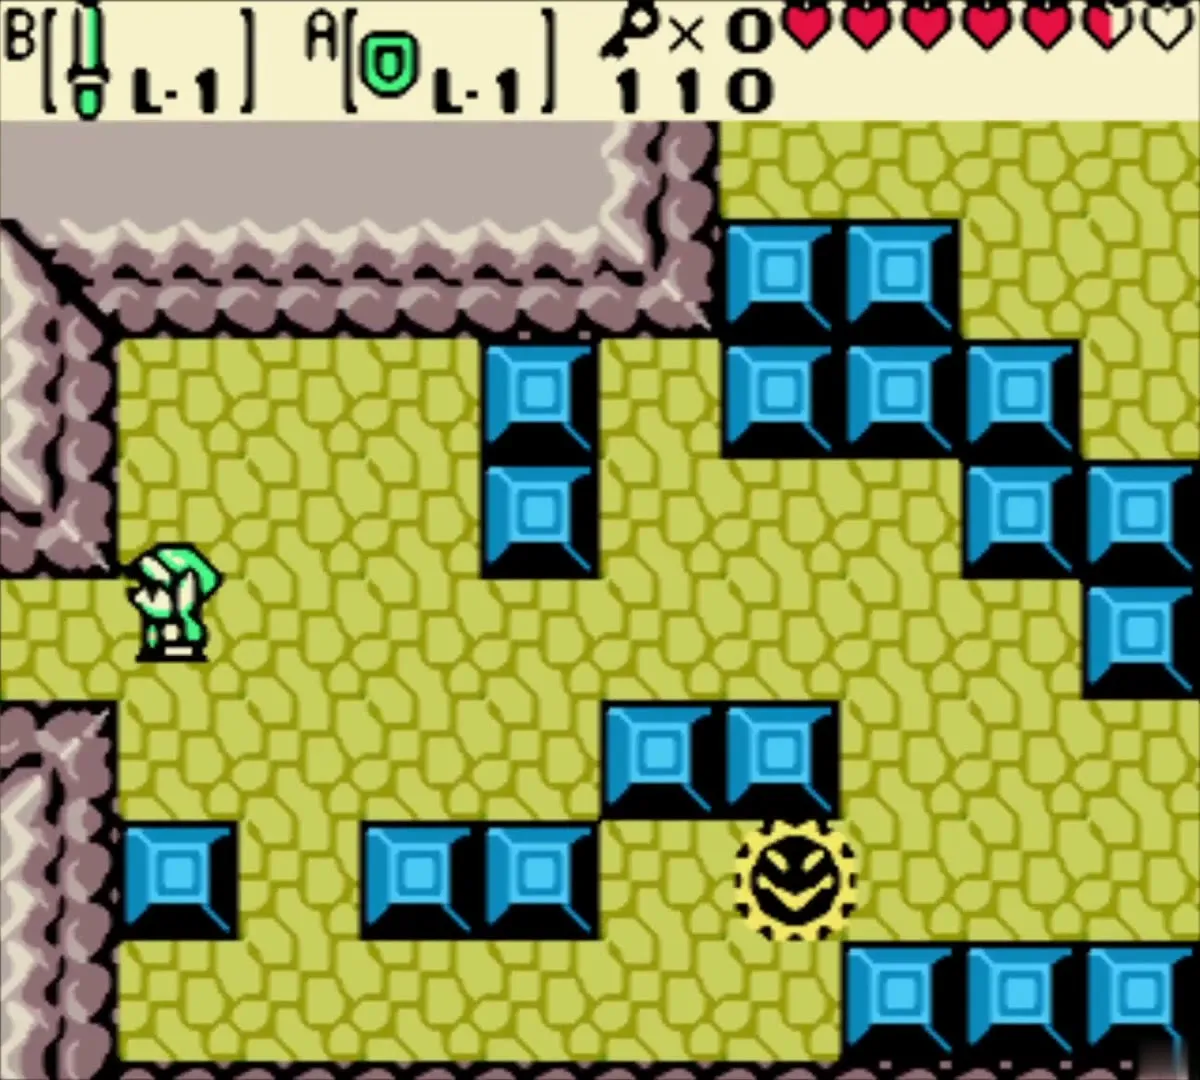
Ropes and the Spark maze
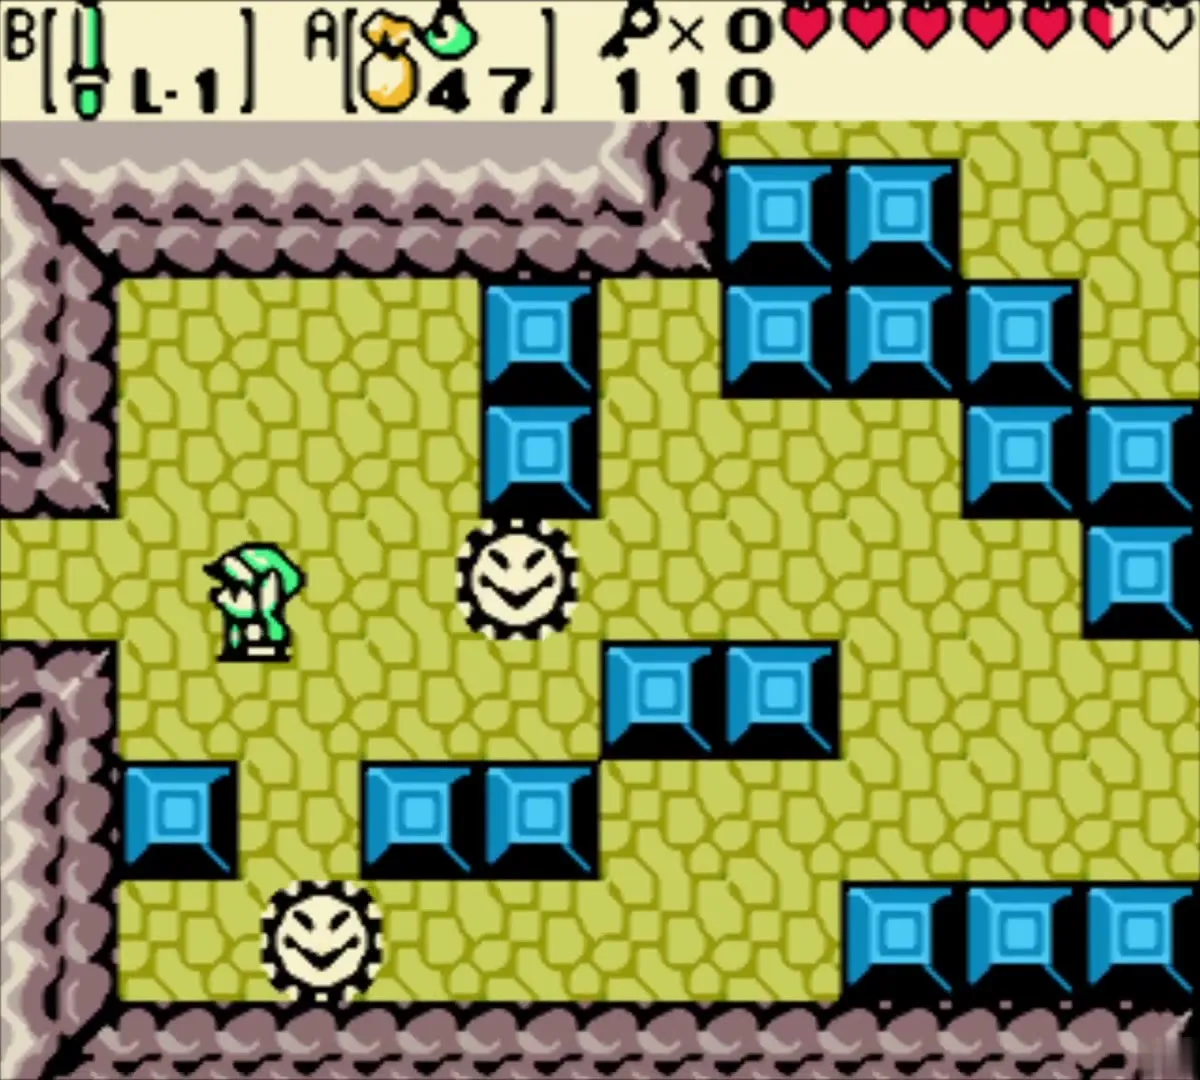
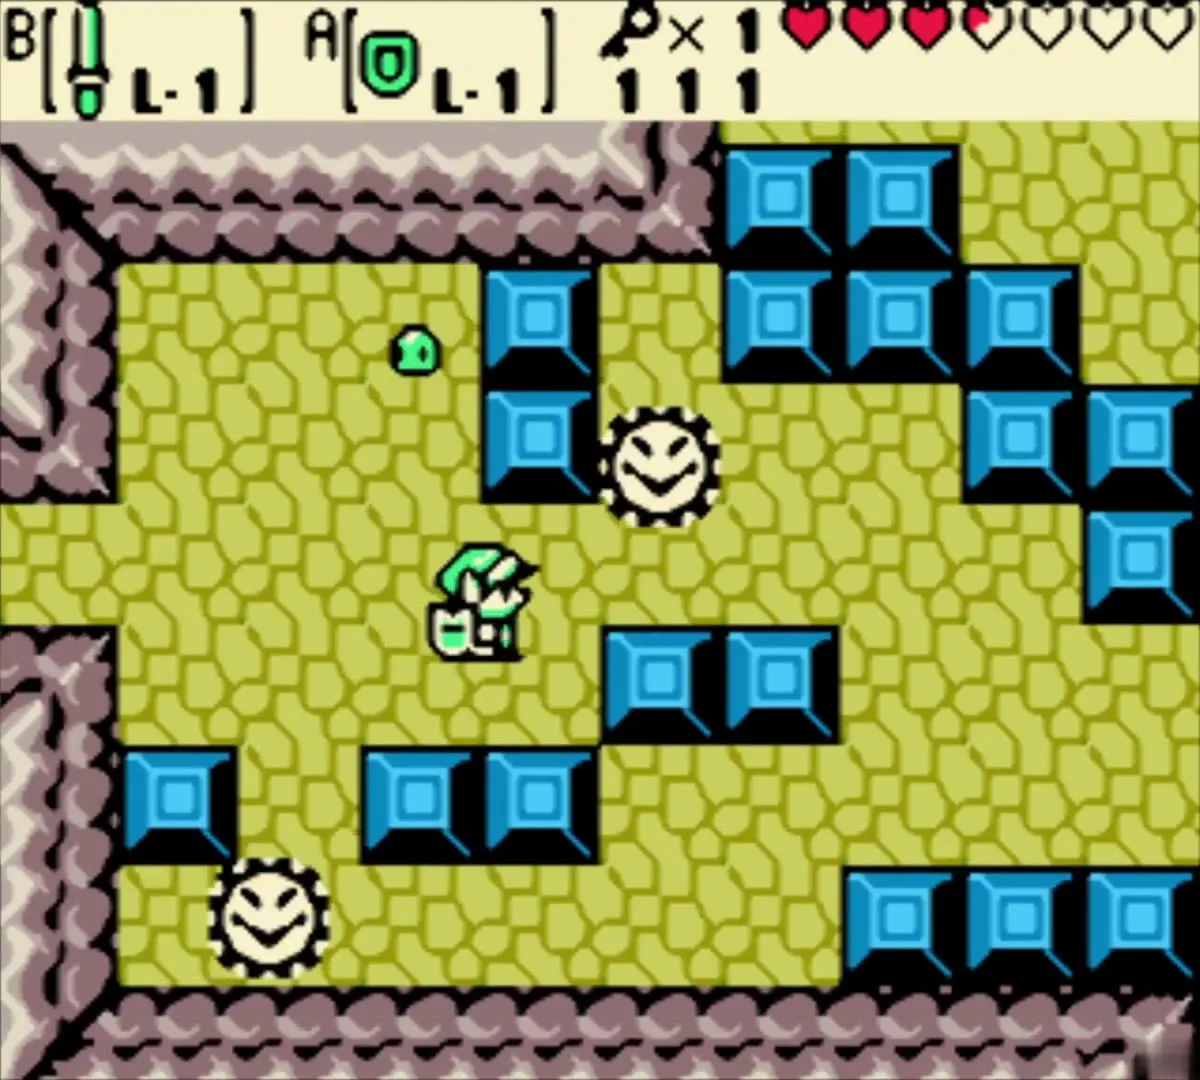
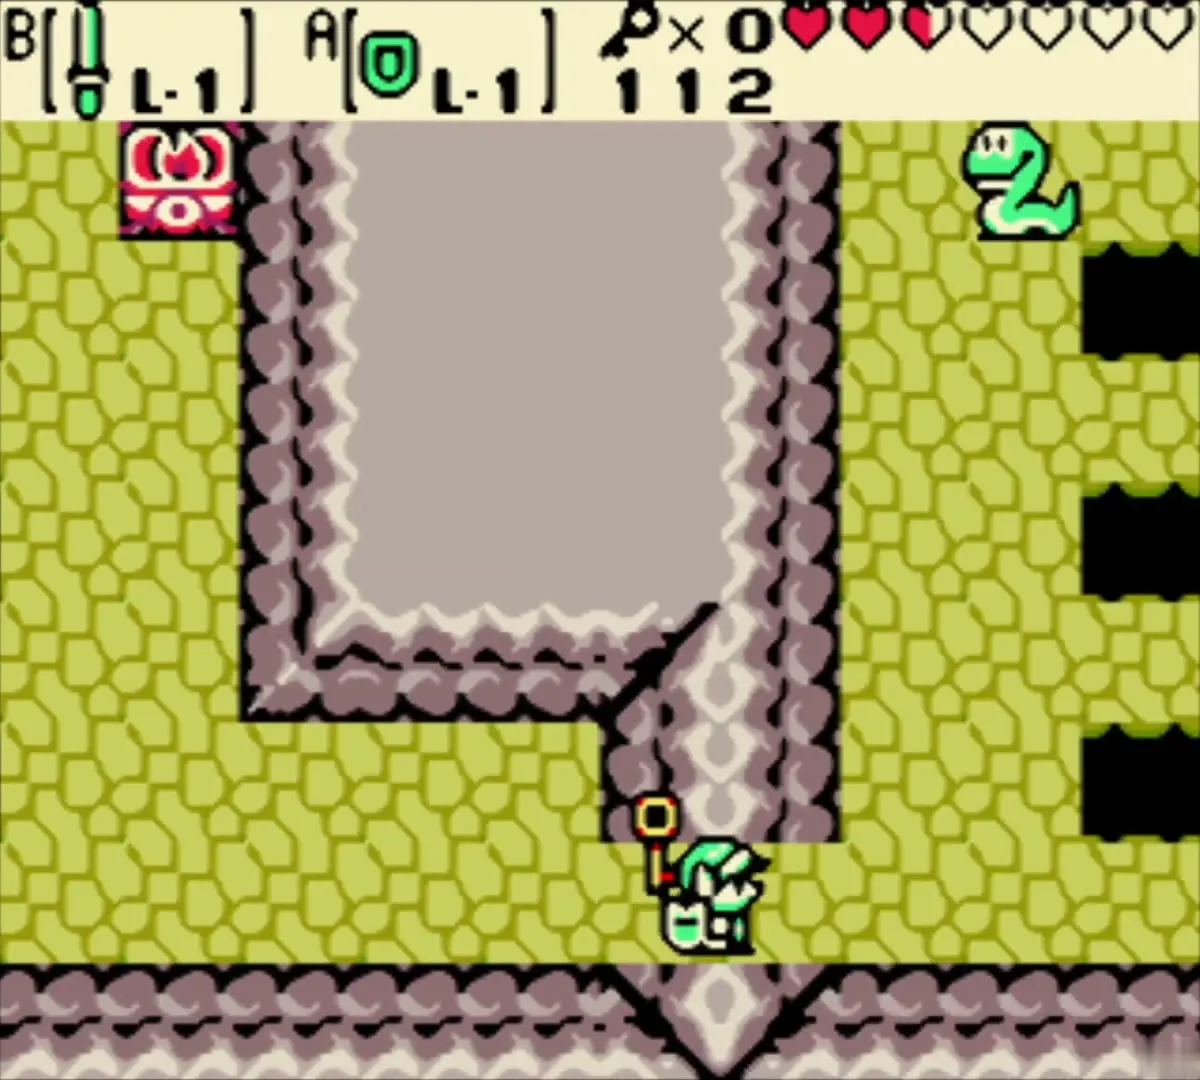
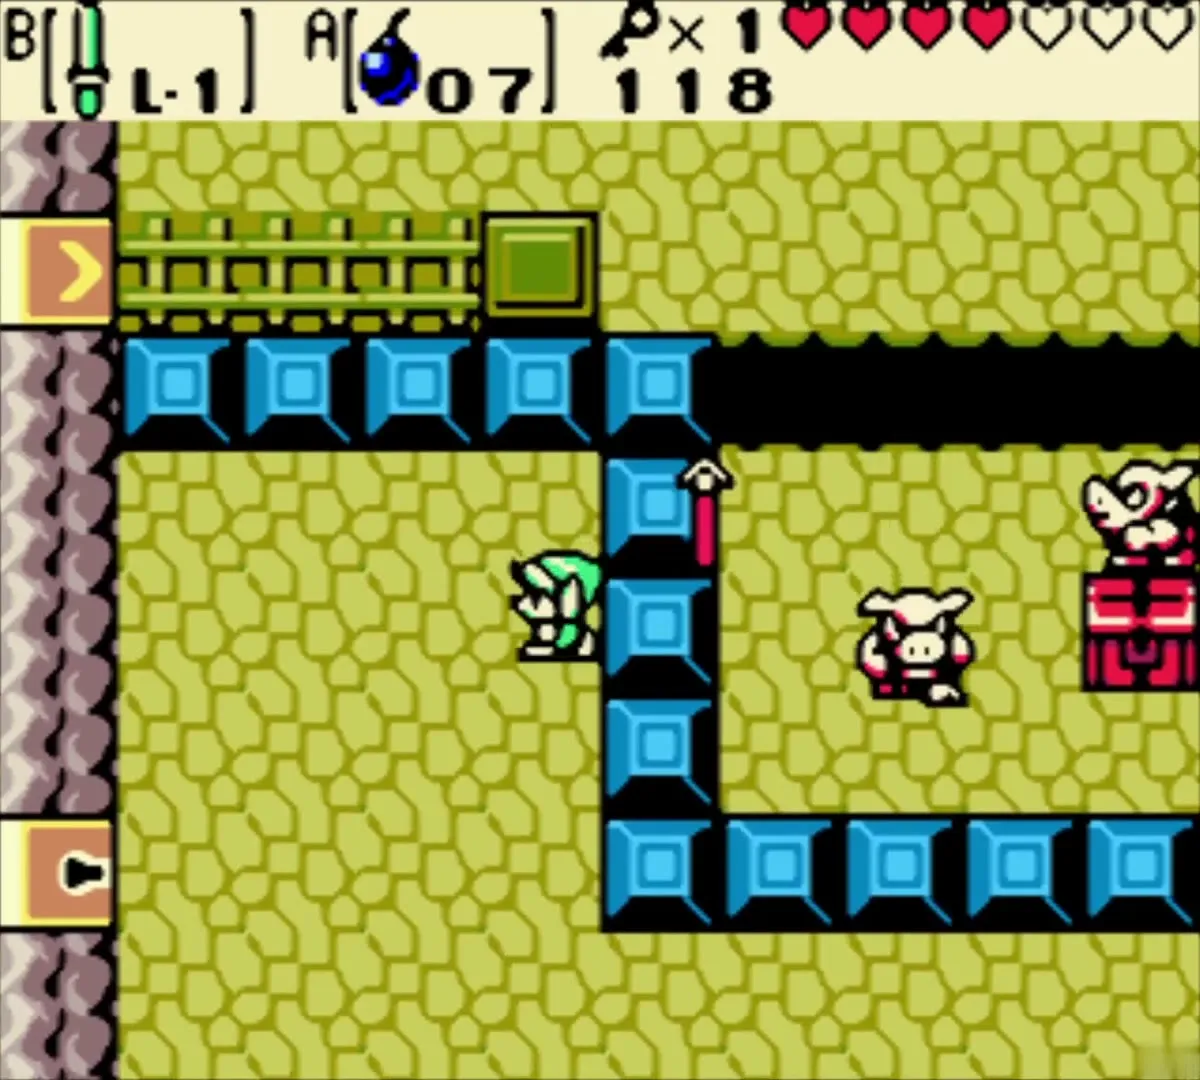
Push the blocks out of your way, kill the Ropes and take the north-west exit into a corridor maze of blue blocks. Two Sparks patrol the lanes and cannot be killed yet, so time your moves and slip past them to the room on the west.

Small Key 1 from the Pig Warriors
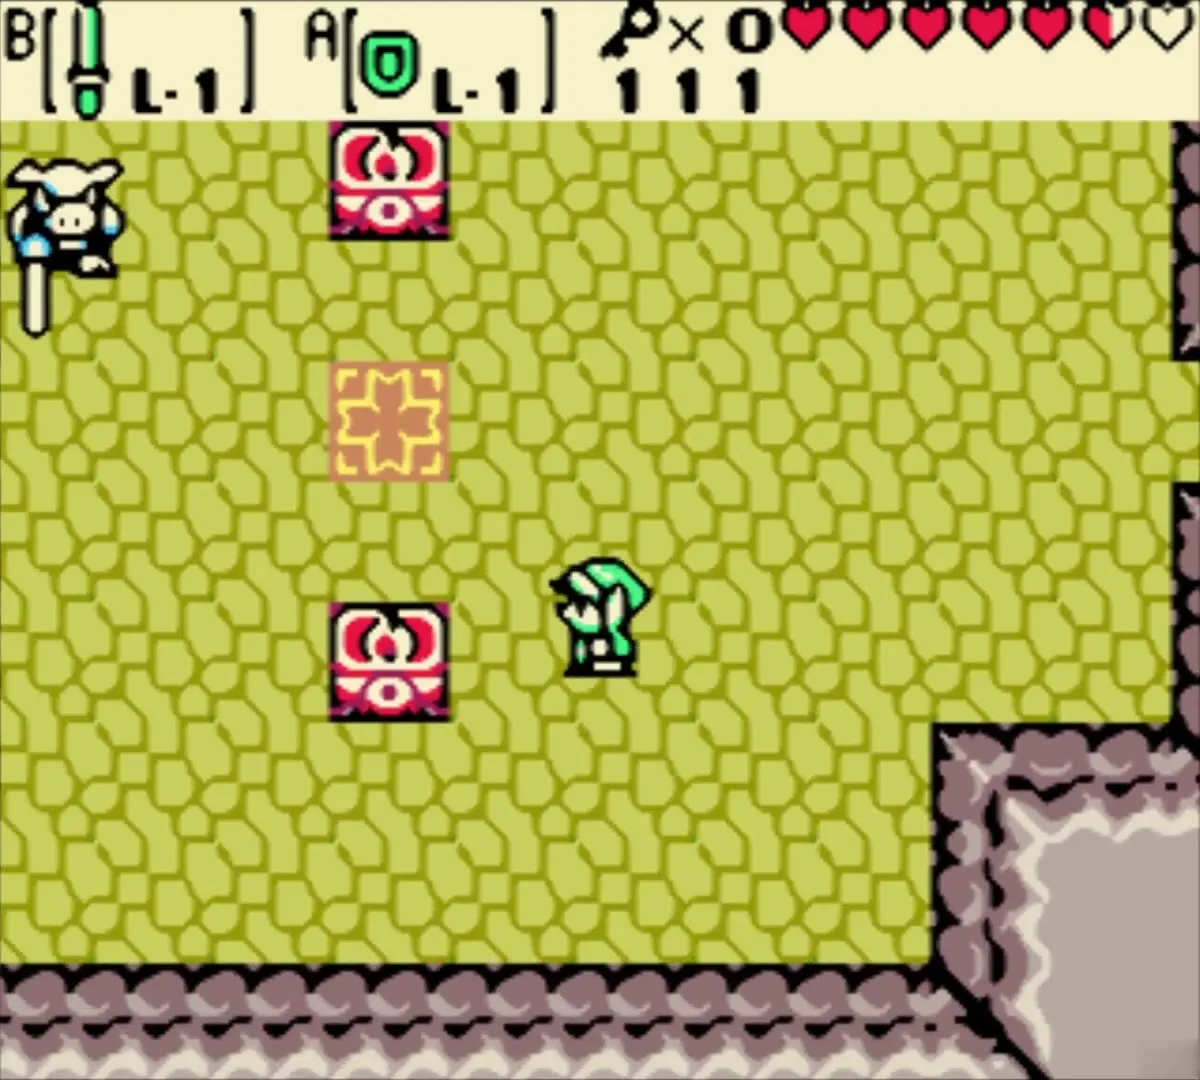
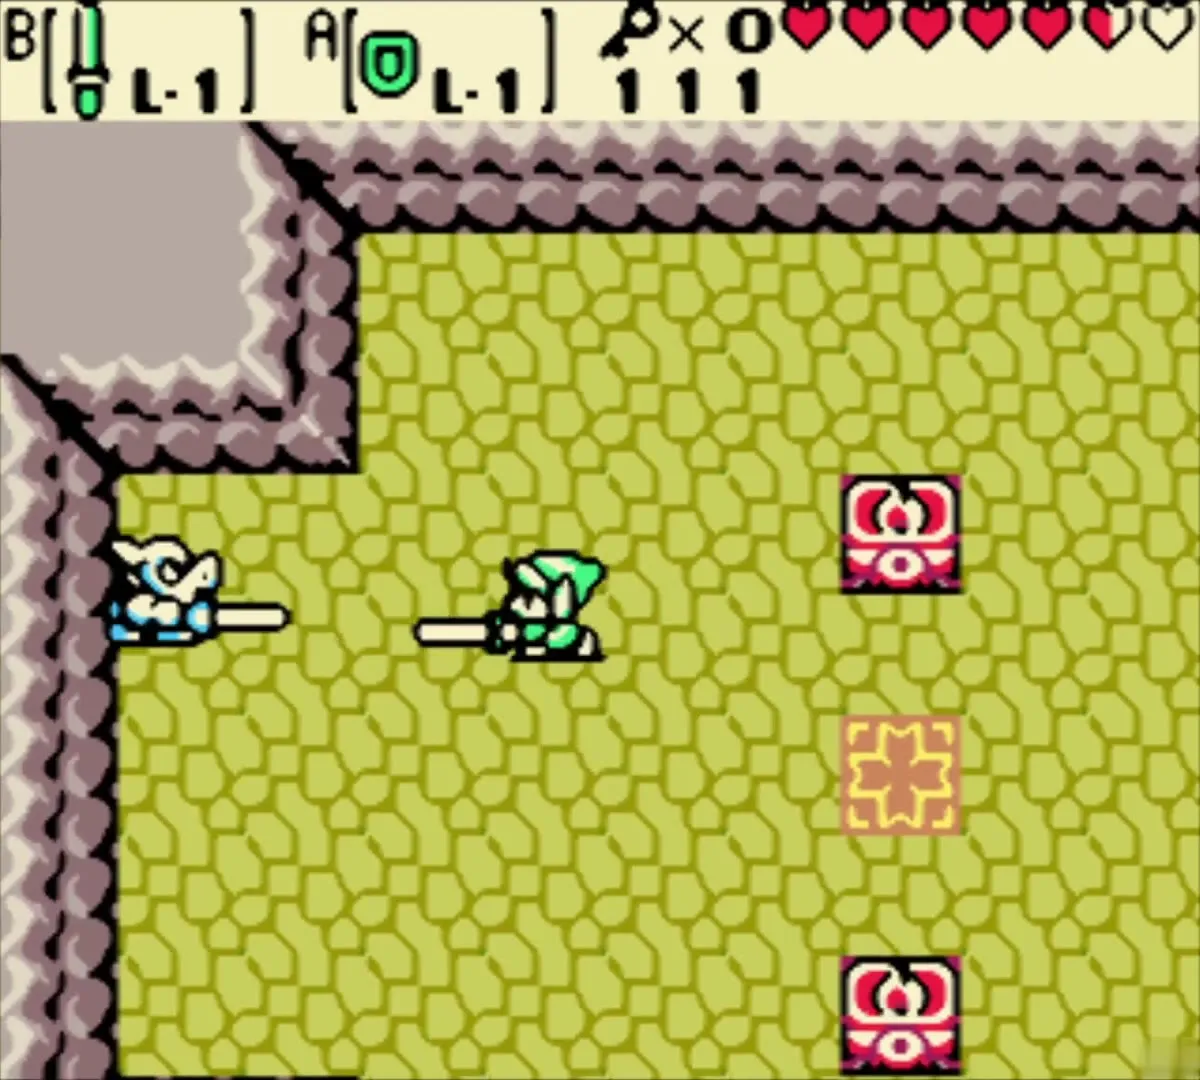
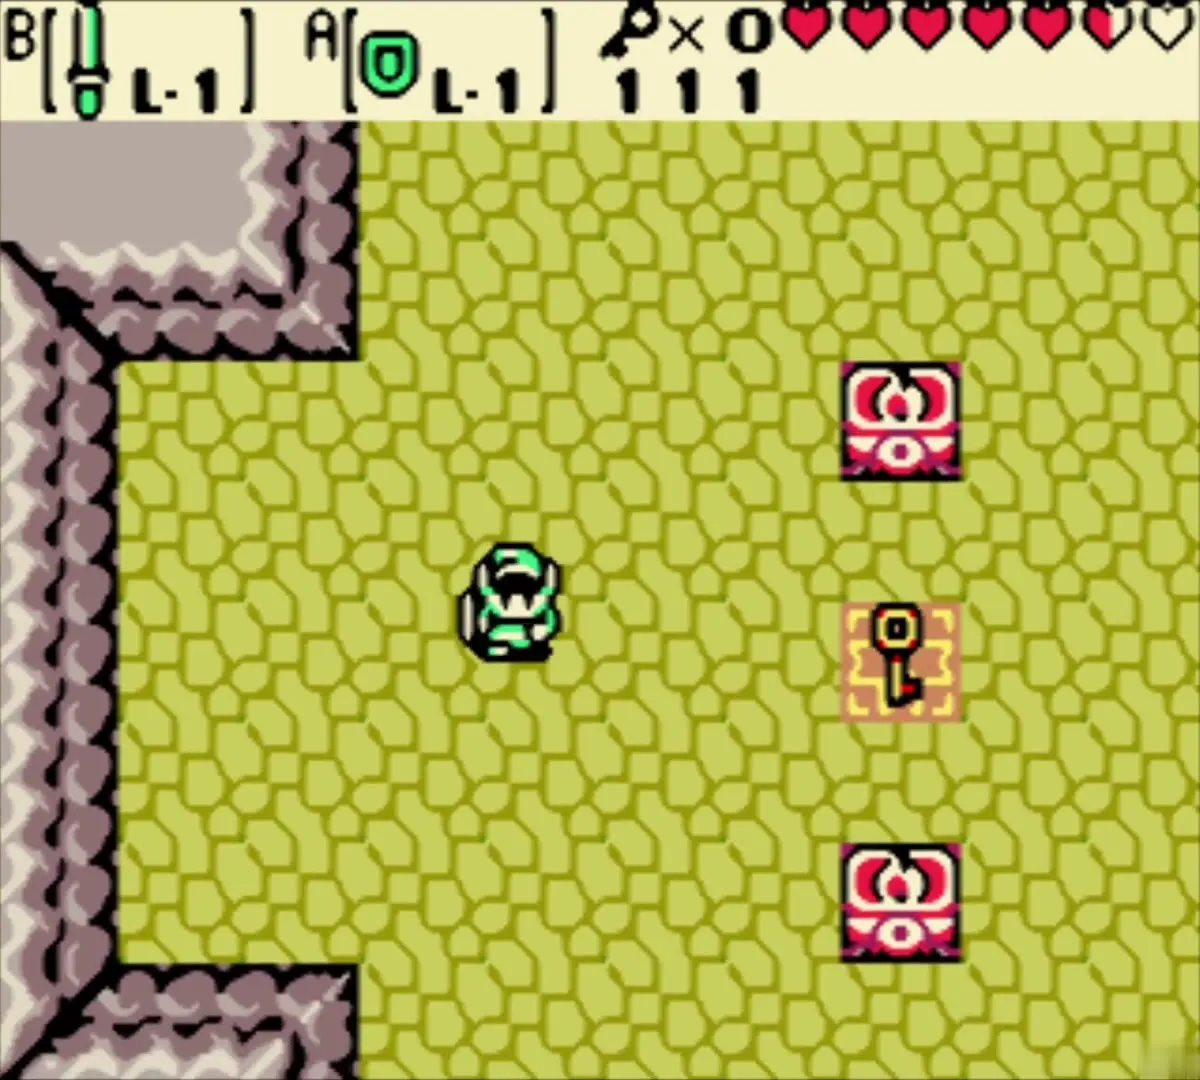
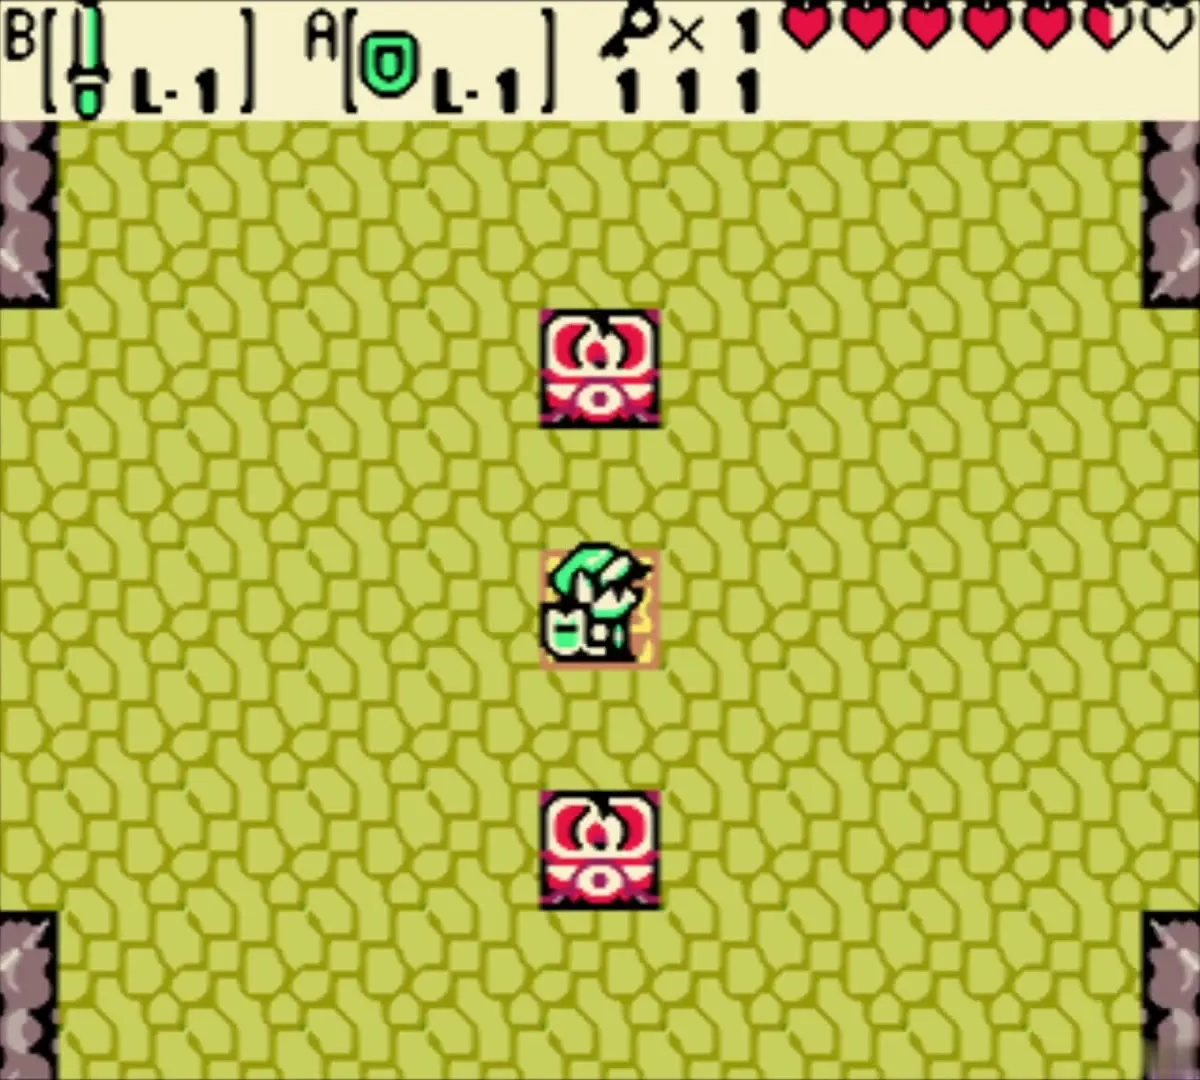
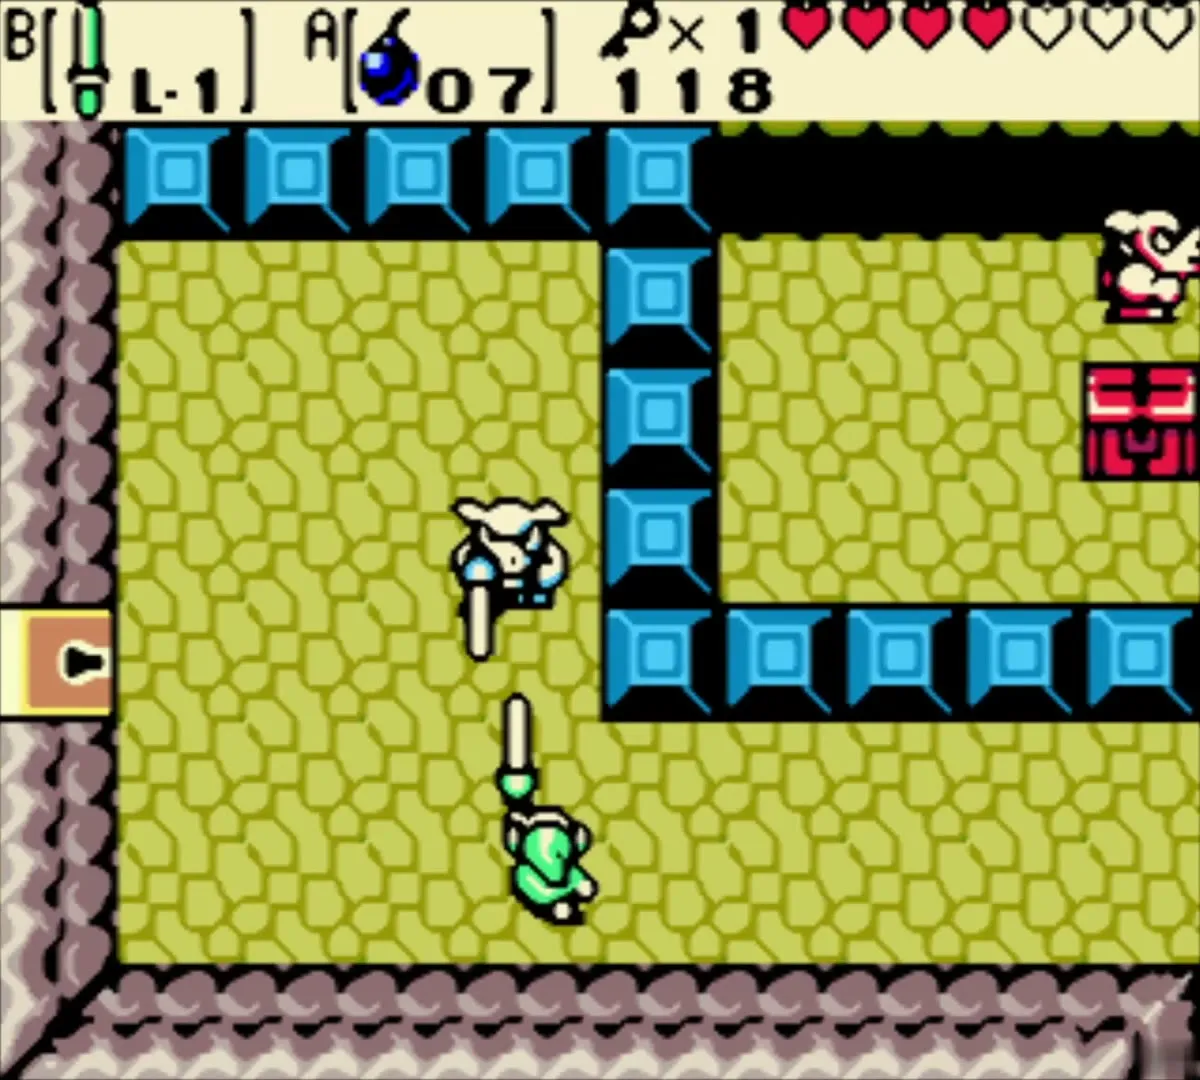
Keese and blue Pig Warriors fight you in the west room. The Pig Warriors carry swords, so strike them from the side rather than head on. Once every enemy is down, a Small Key drops from above. Pick it up and walk back east through the Spark maze.

Dungeon Map behind the cracked wall
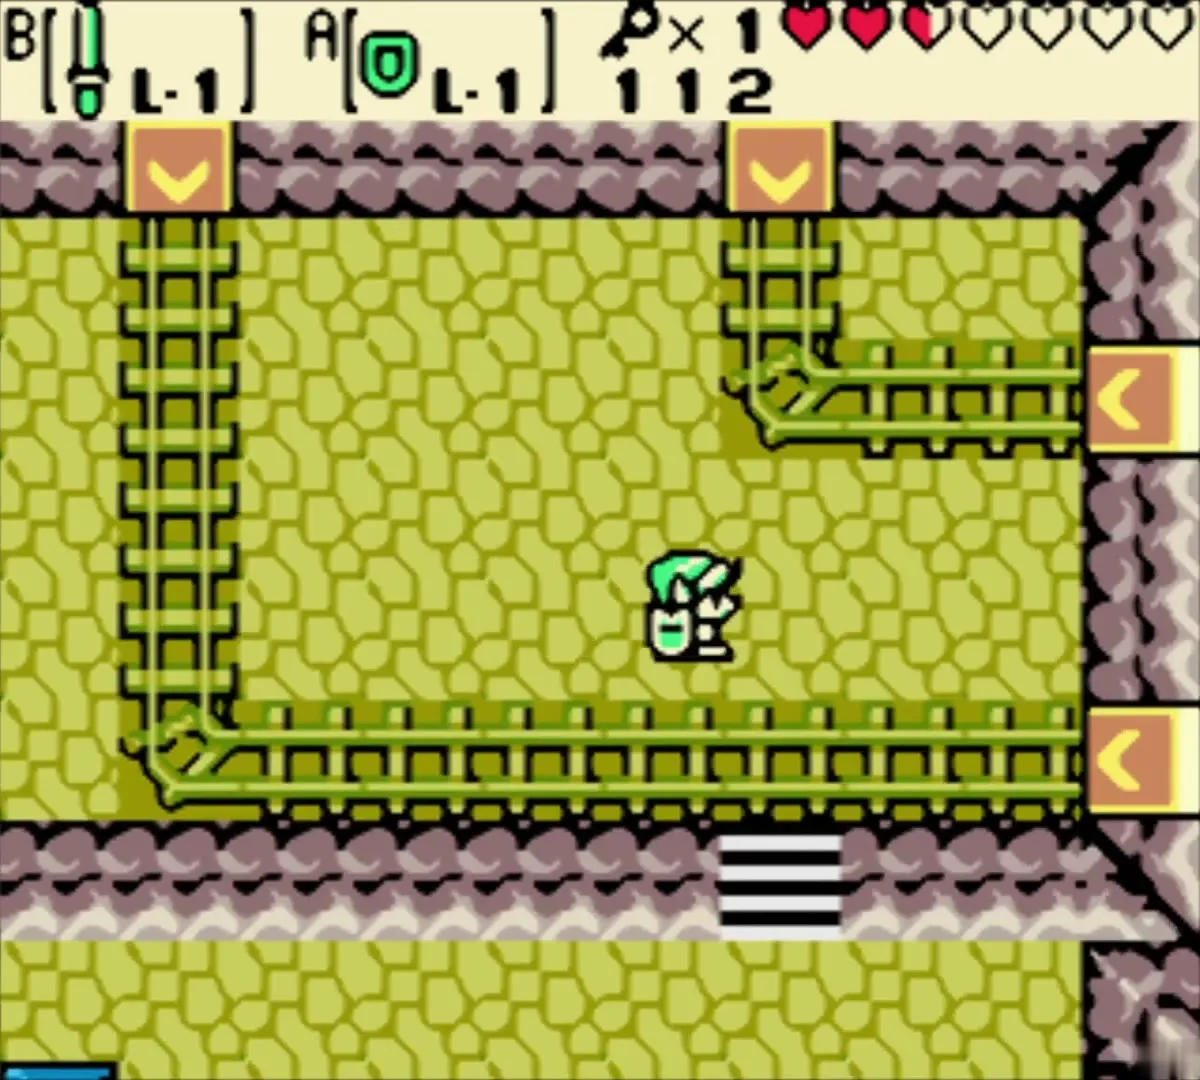
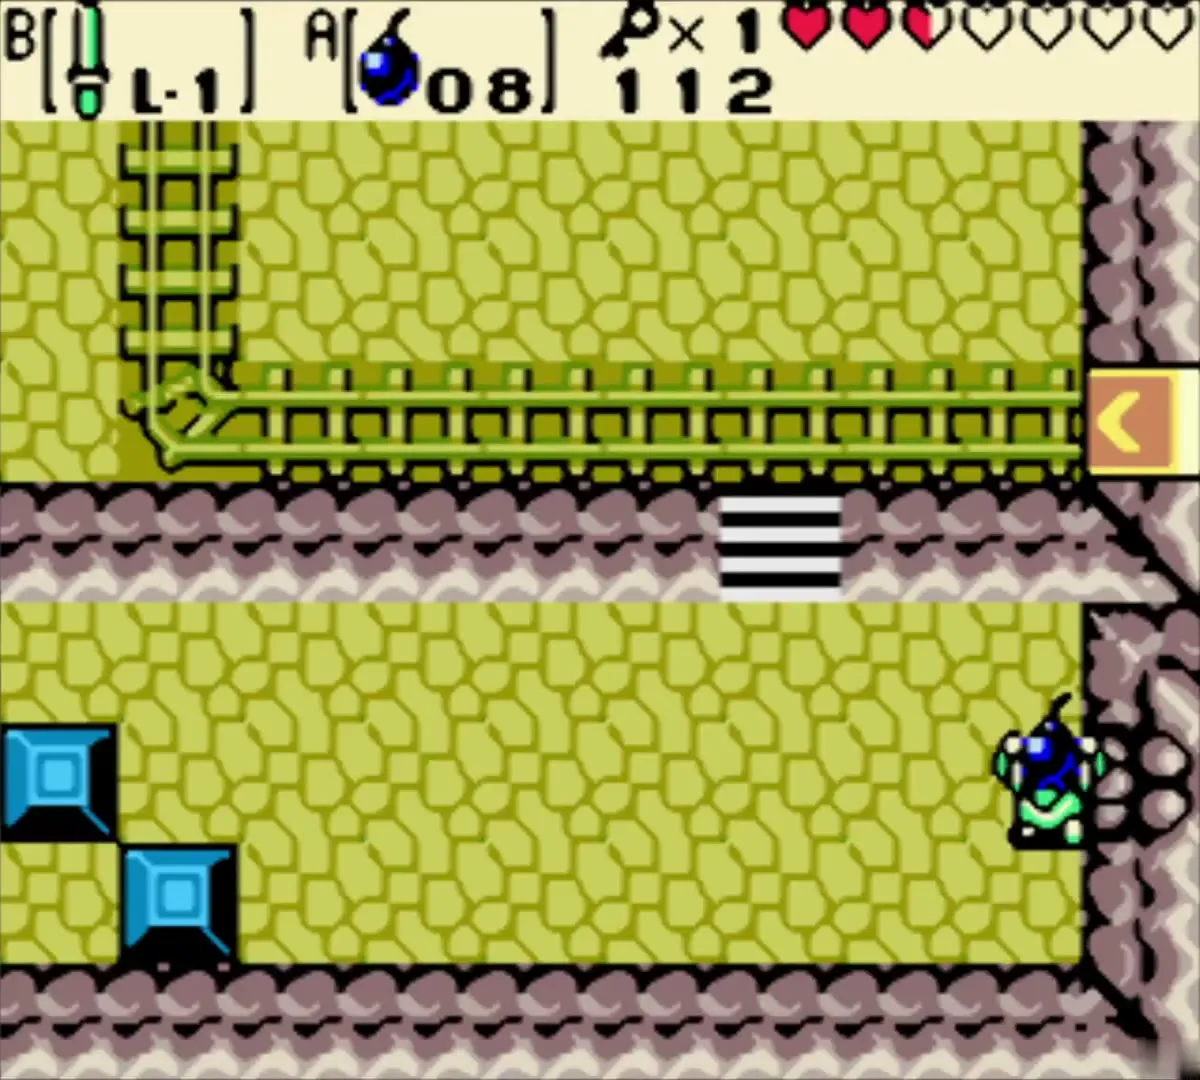
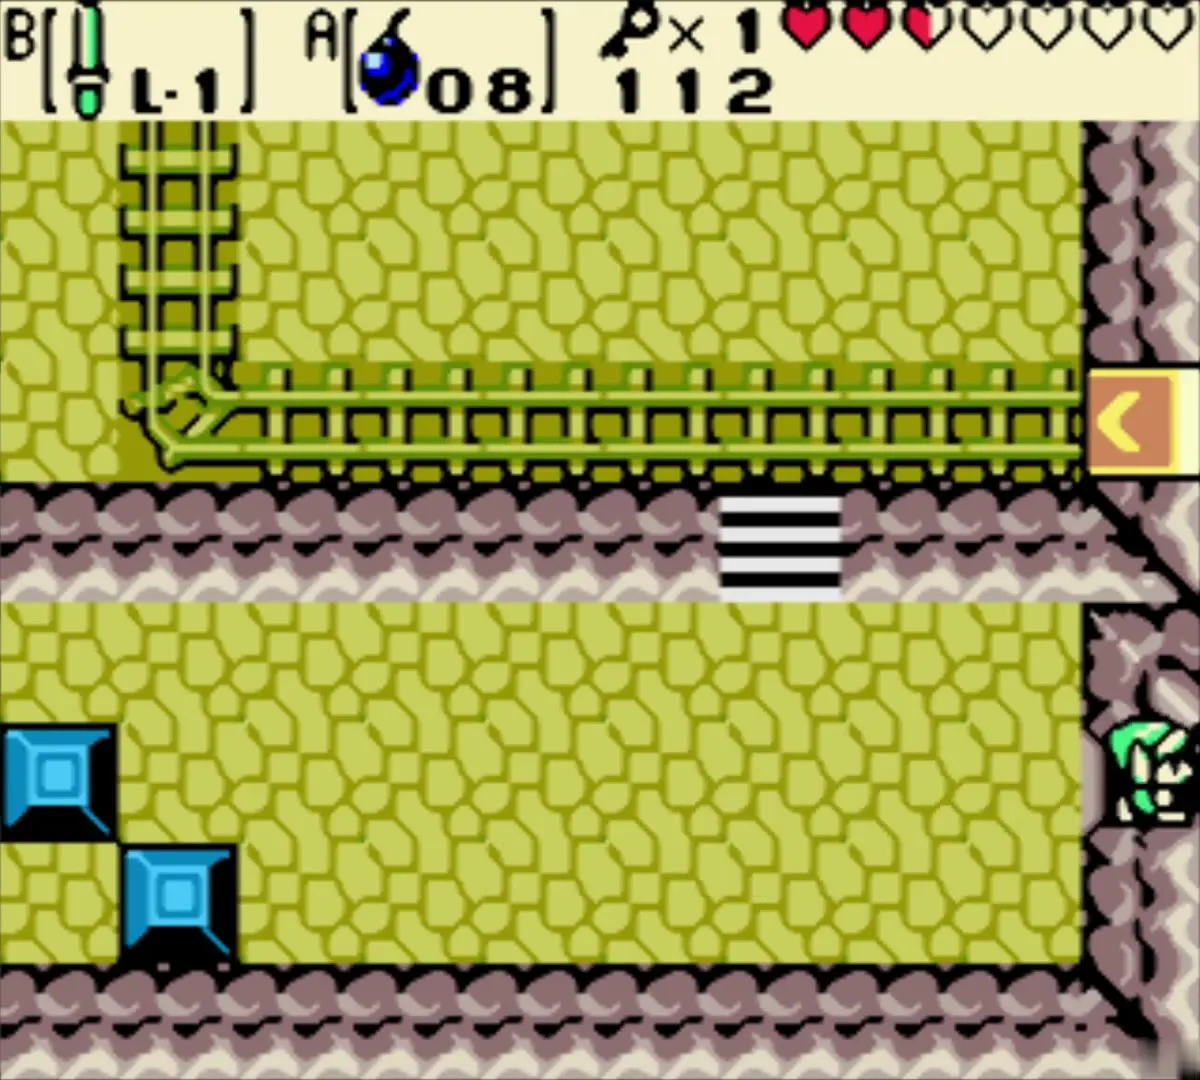
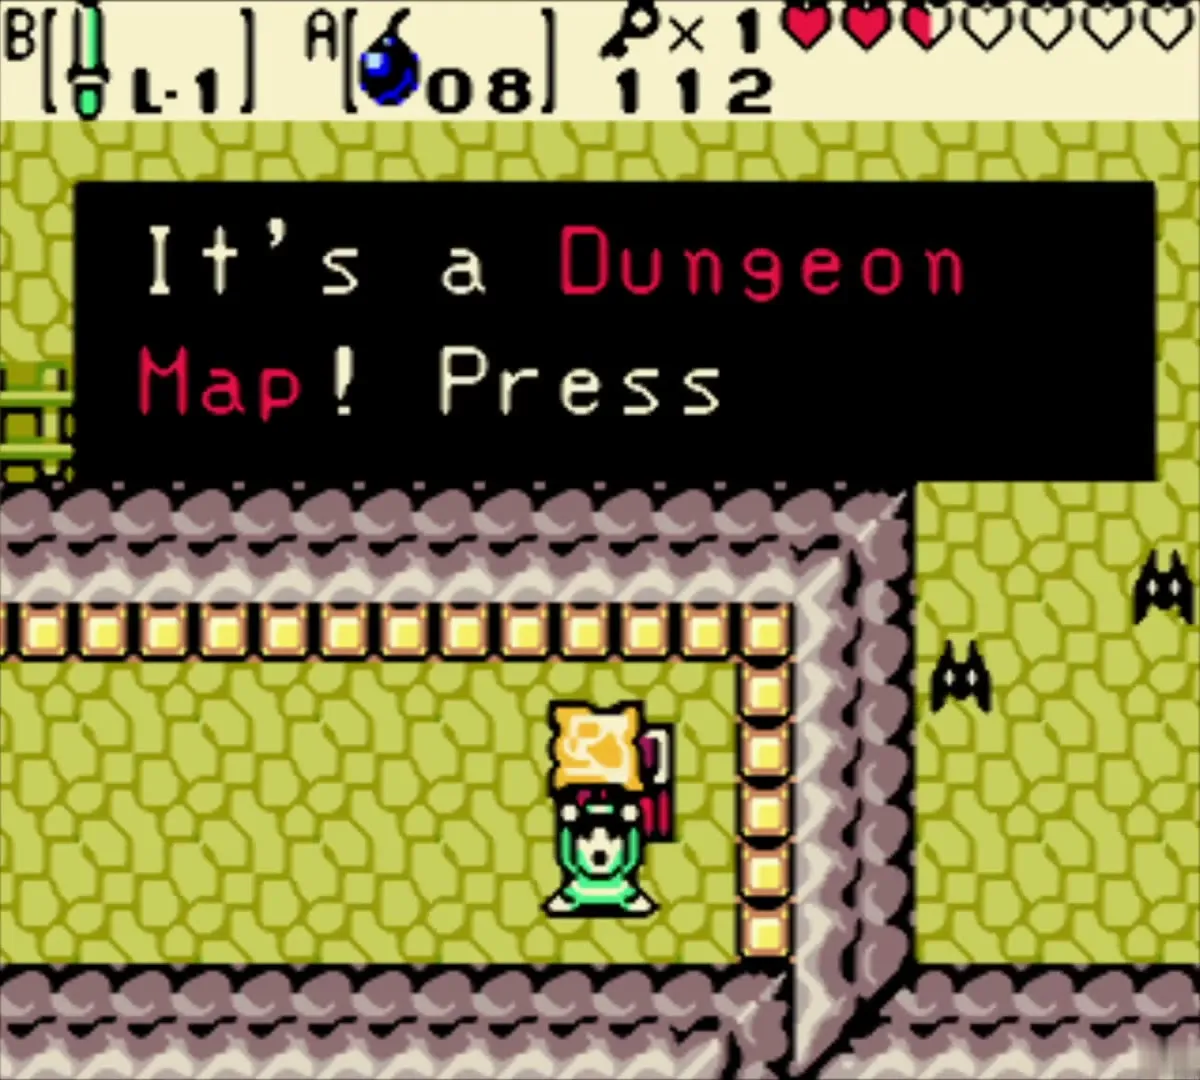
Return to the room with the minecart rails and the yellow arrow tile. Push the middle blocks aside, go to the east end of the ledge and bomb the cracked wall. Walk through the hole and open the chest for the Dungeon Map. Press SELECT to see the floors; unvisited rooms are shown dark.
Compass and Small Key 2

Spiked Beetle room: locked door
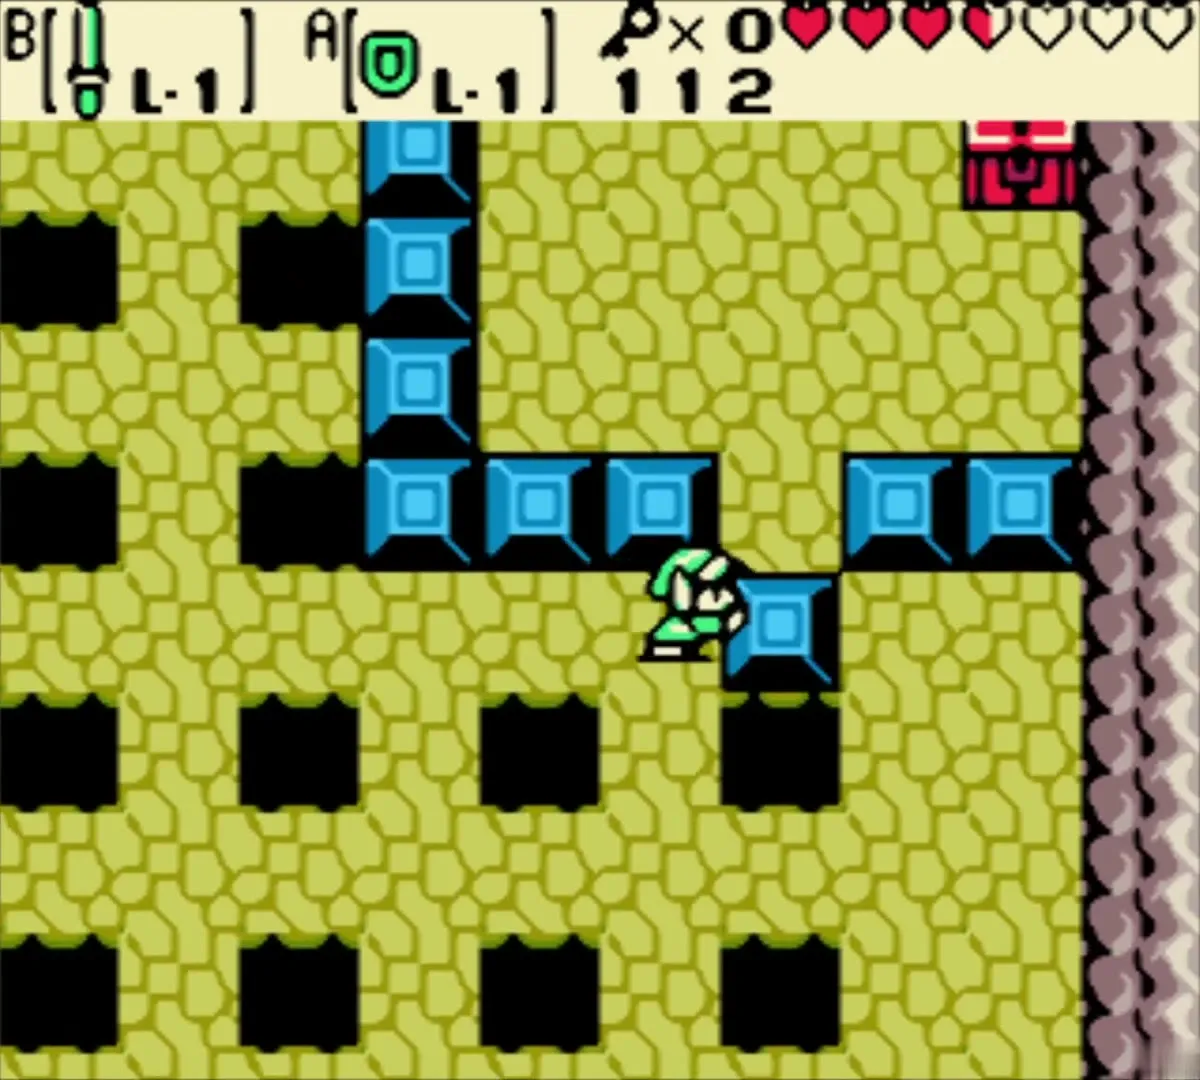
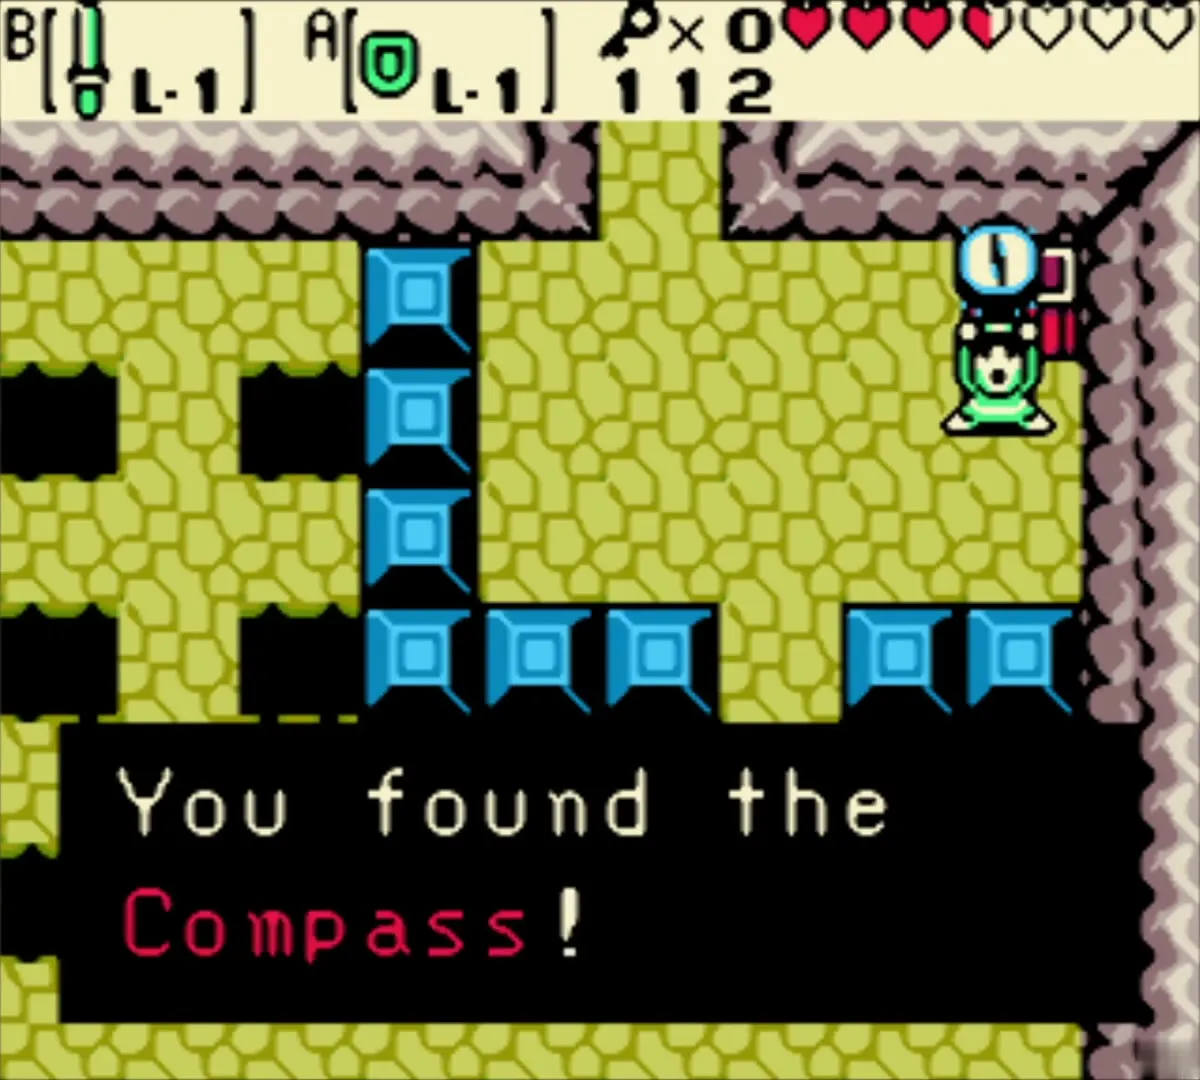
Go back to the Spiked Beetle room and spend your Small Key on the locked door in its east wall. A pit room full of blue blocks lies behind it, and the chest in its upper-right corner holds the Compass. Weave between the blocks and holes and open it.
Basement: Thwomp, ladders and a key chest
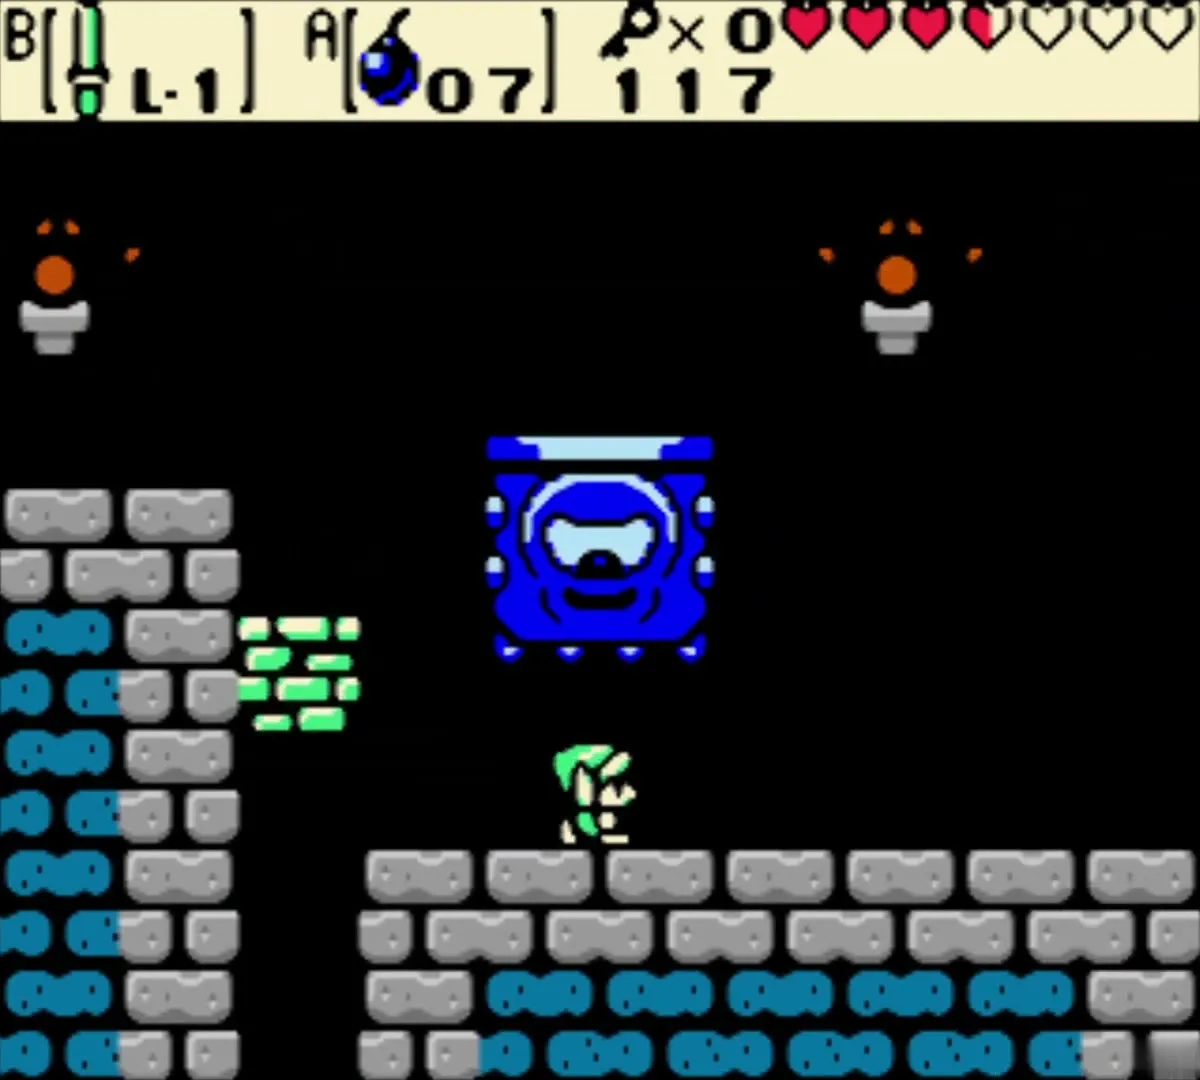
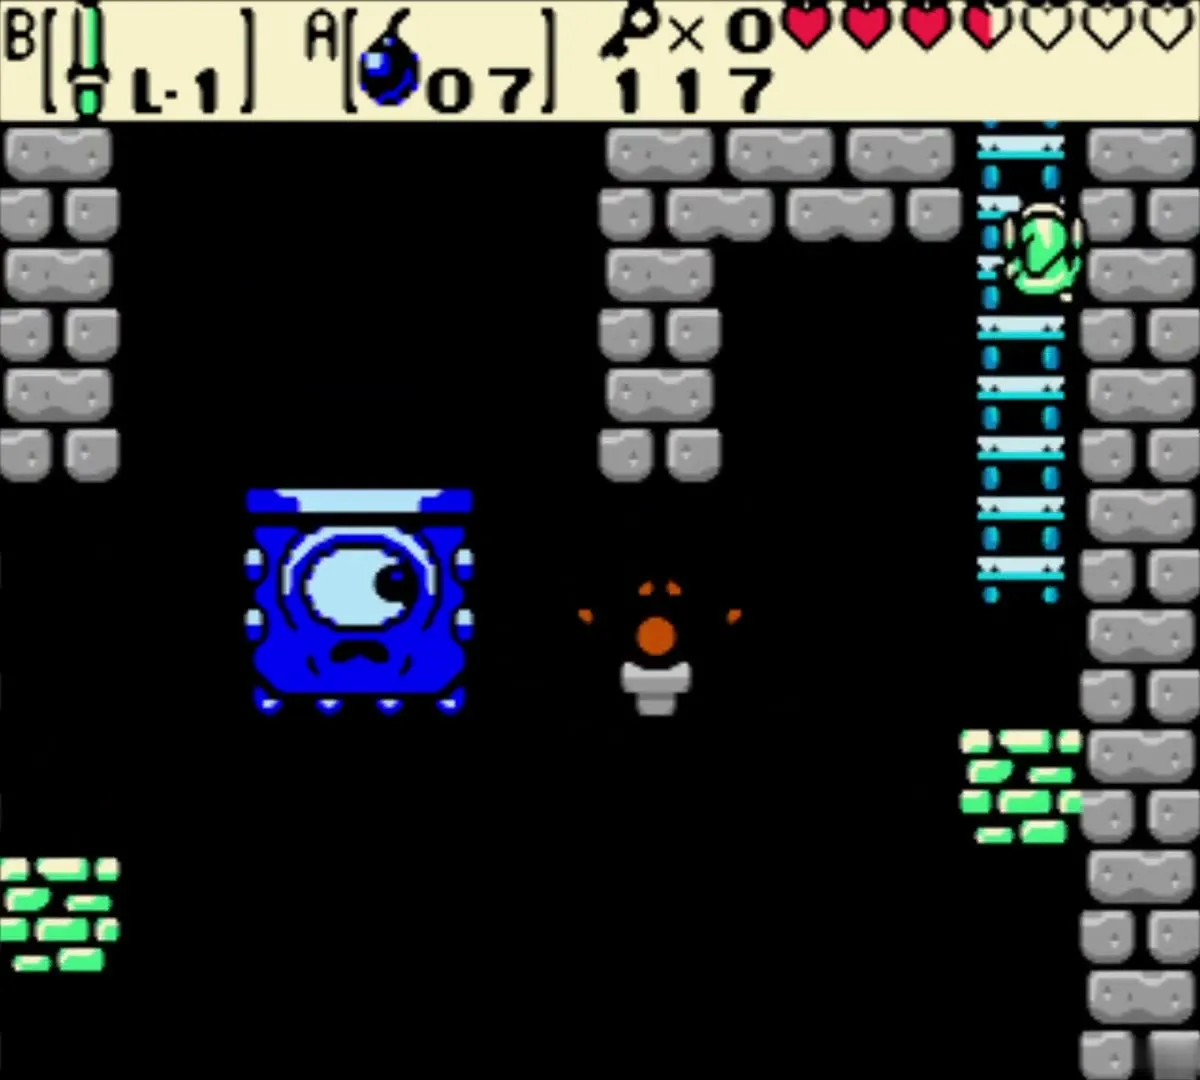
Bomb the cracked south wall of the Rope room and take the stairs down into a side-view basement. Climb the ladders on the right to the first platform, ride the moving block to the second platform and exit to the right.
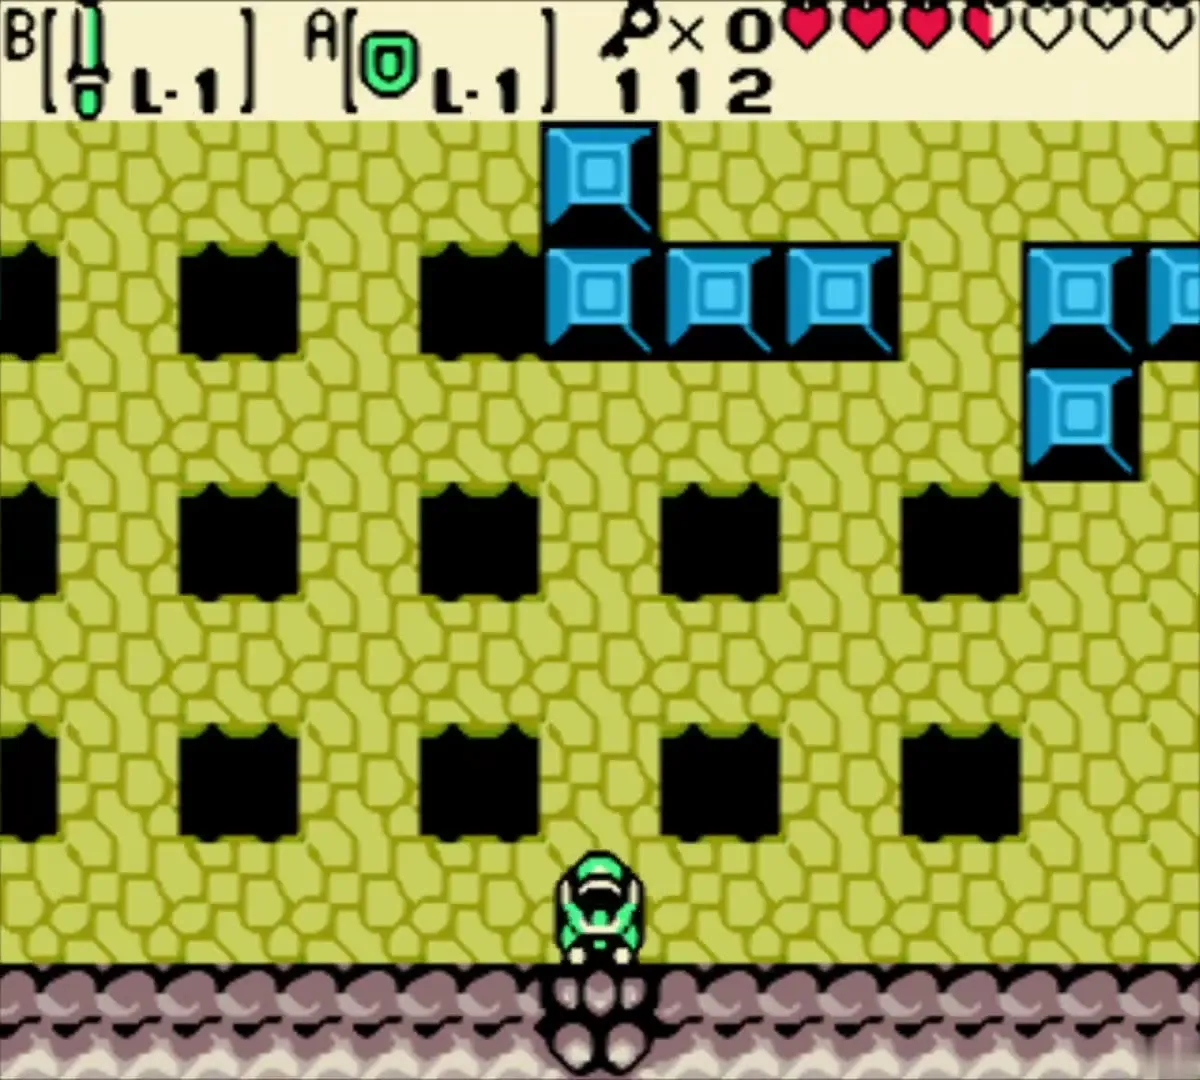
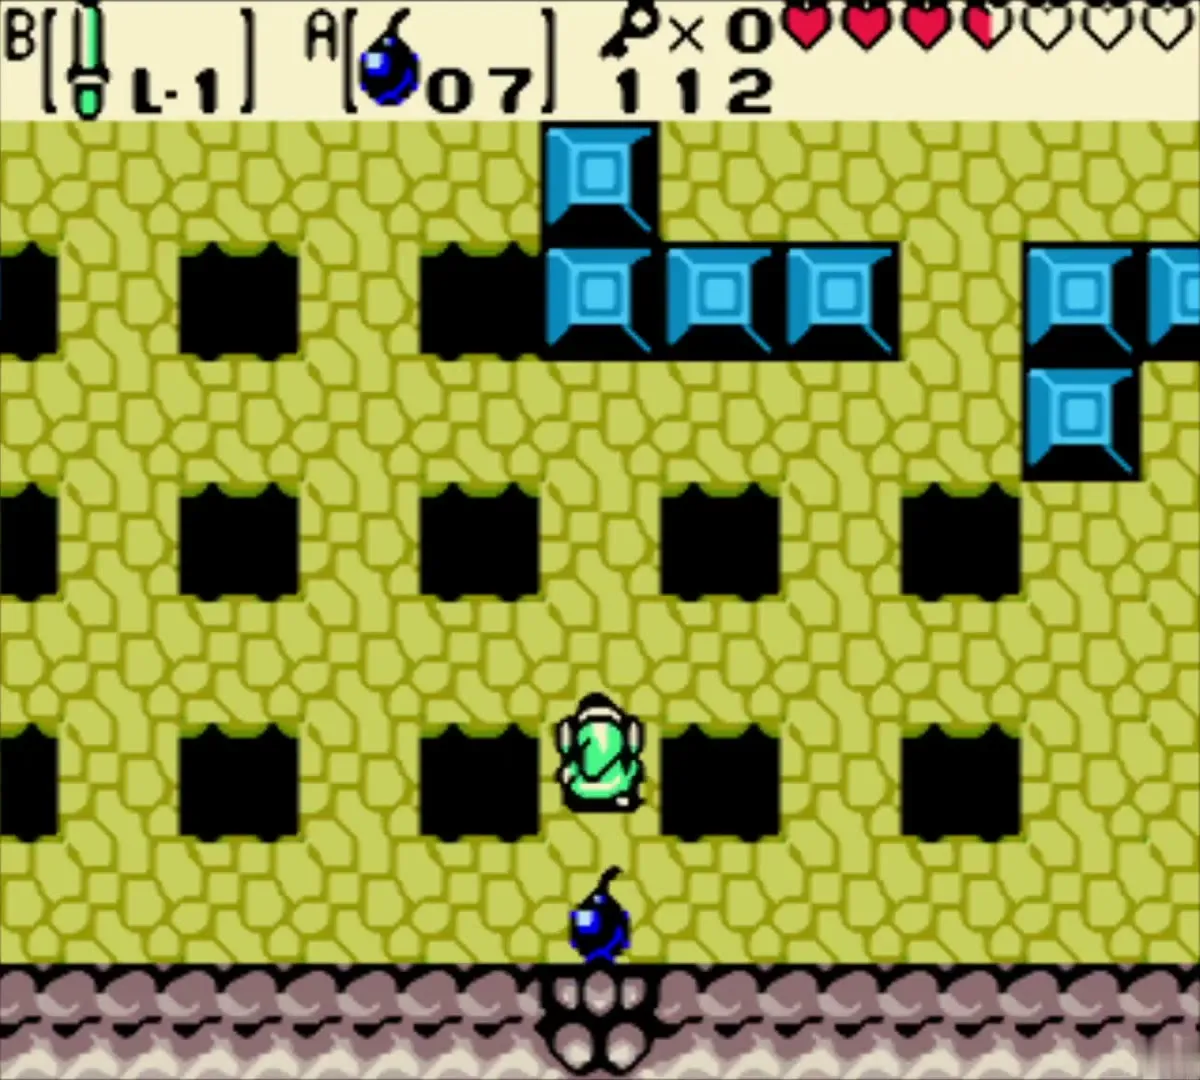
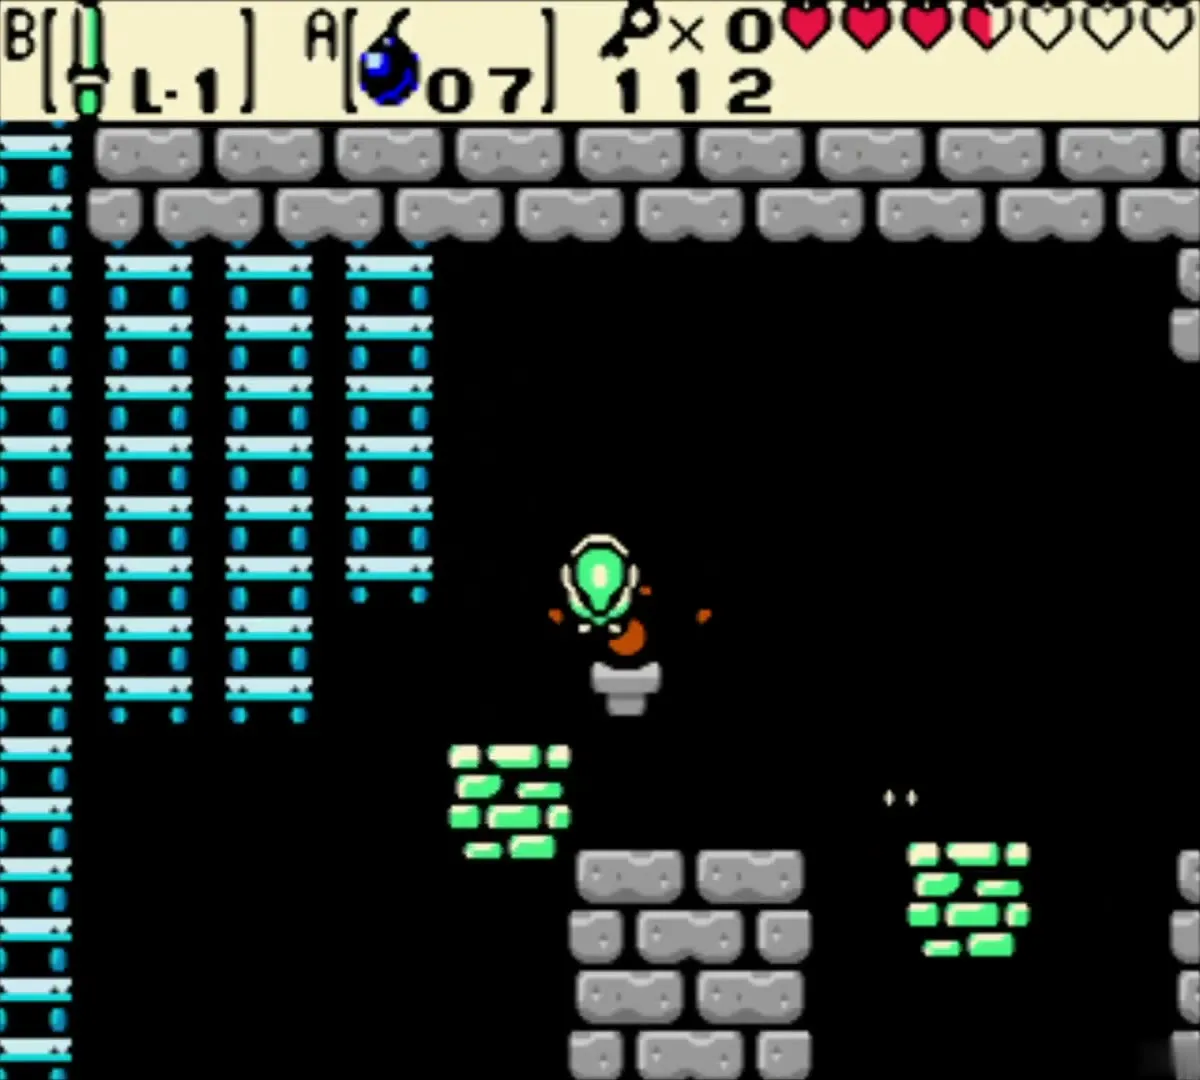
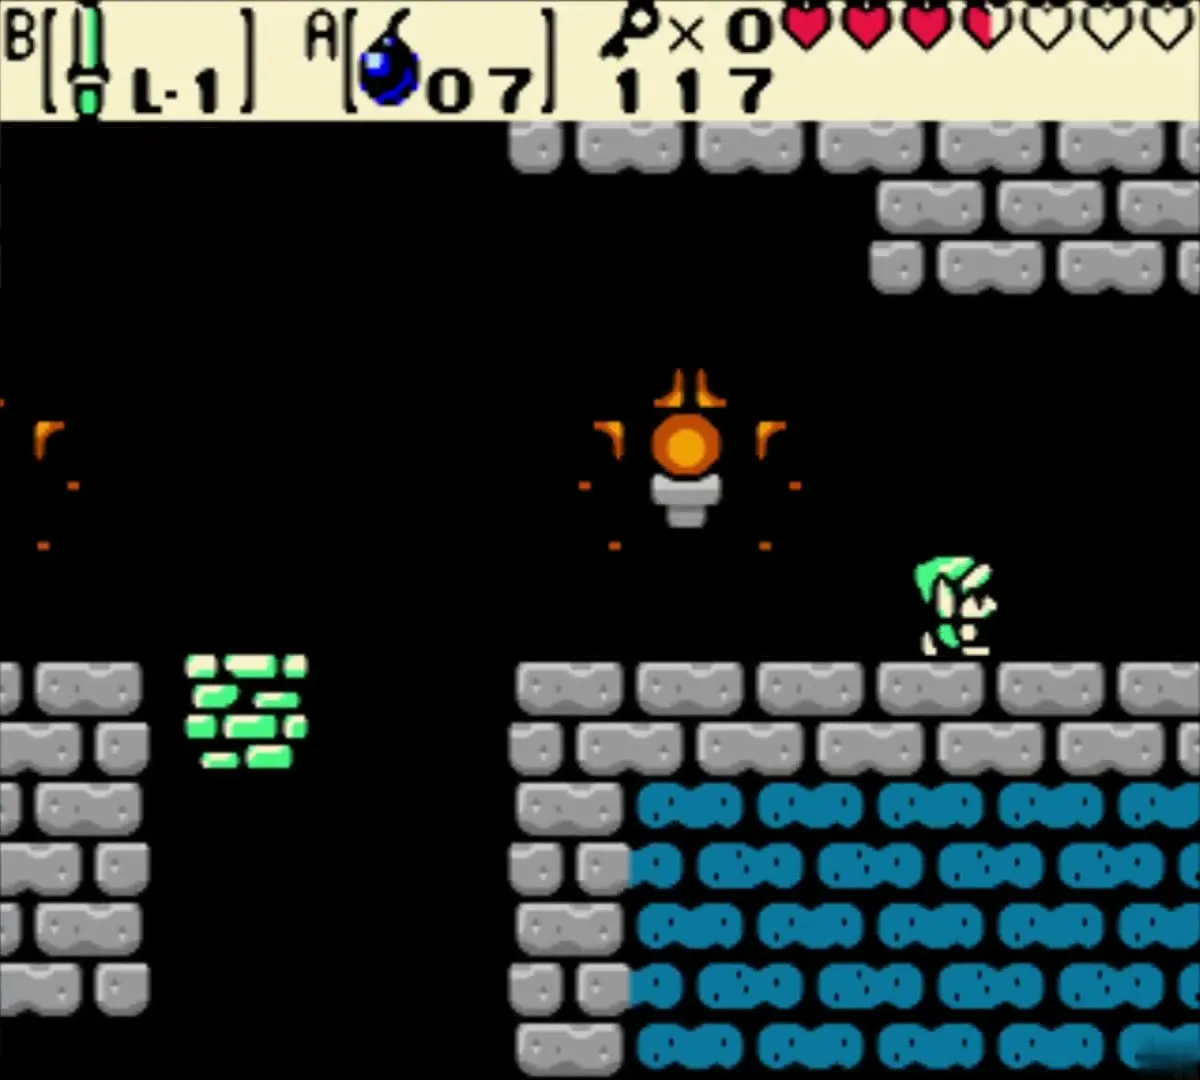
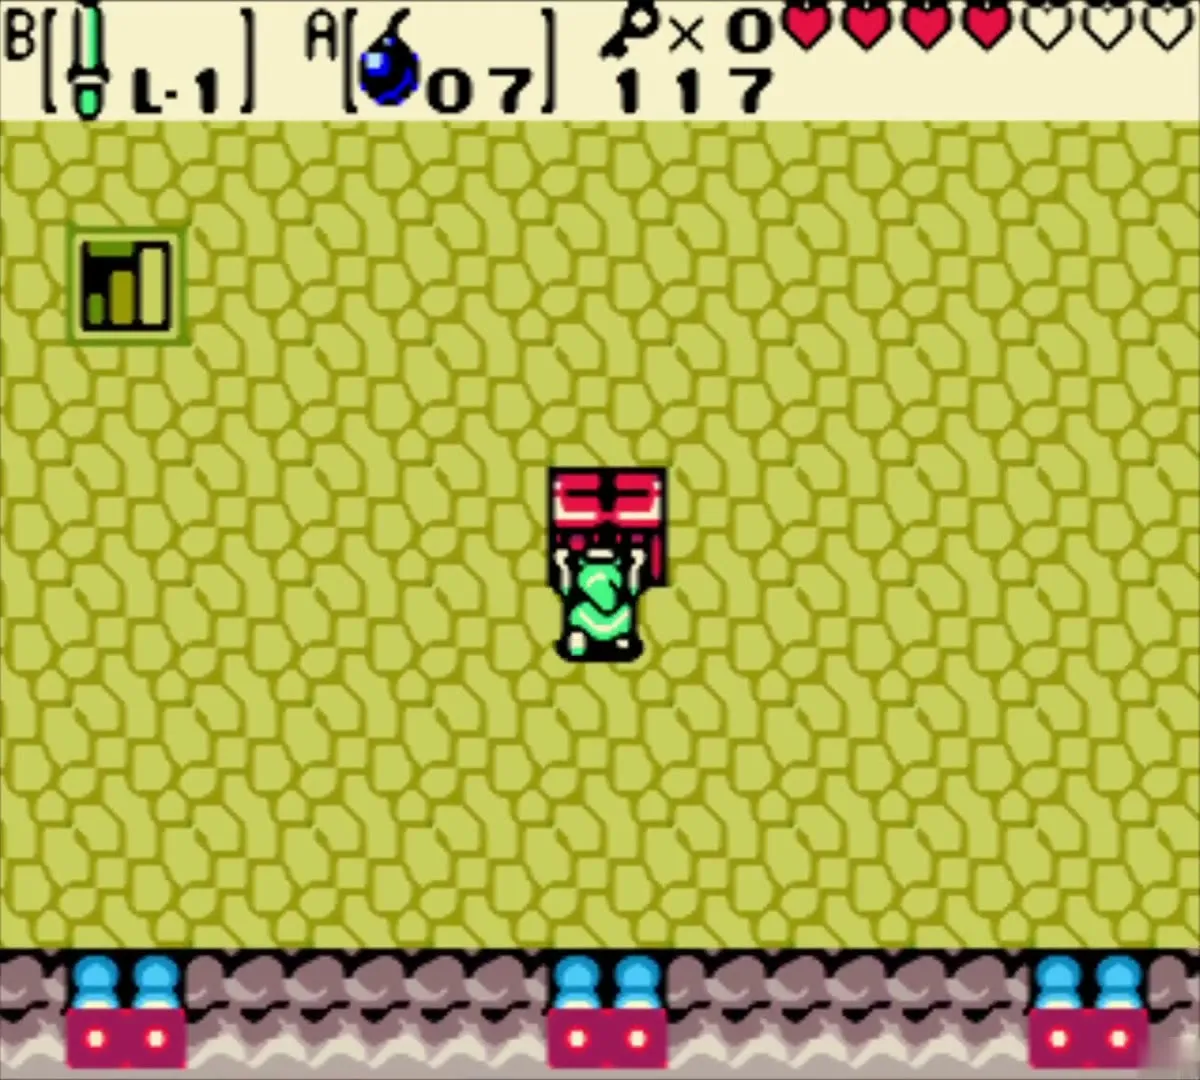
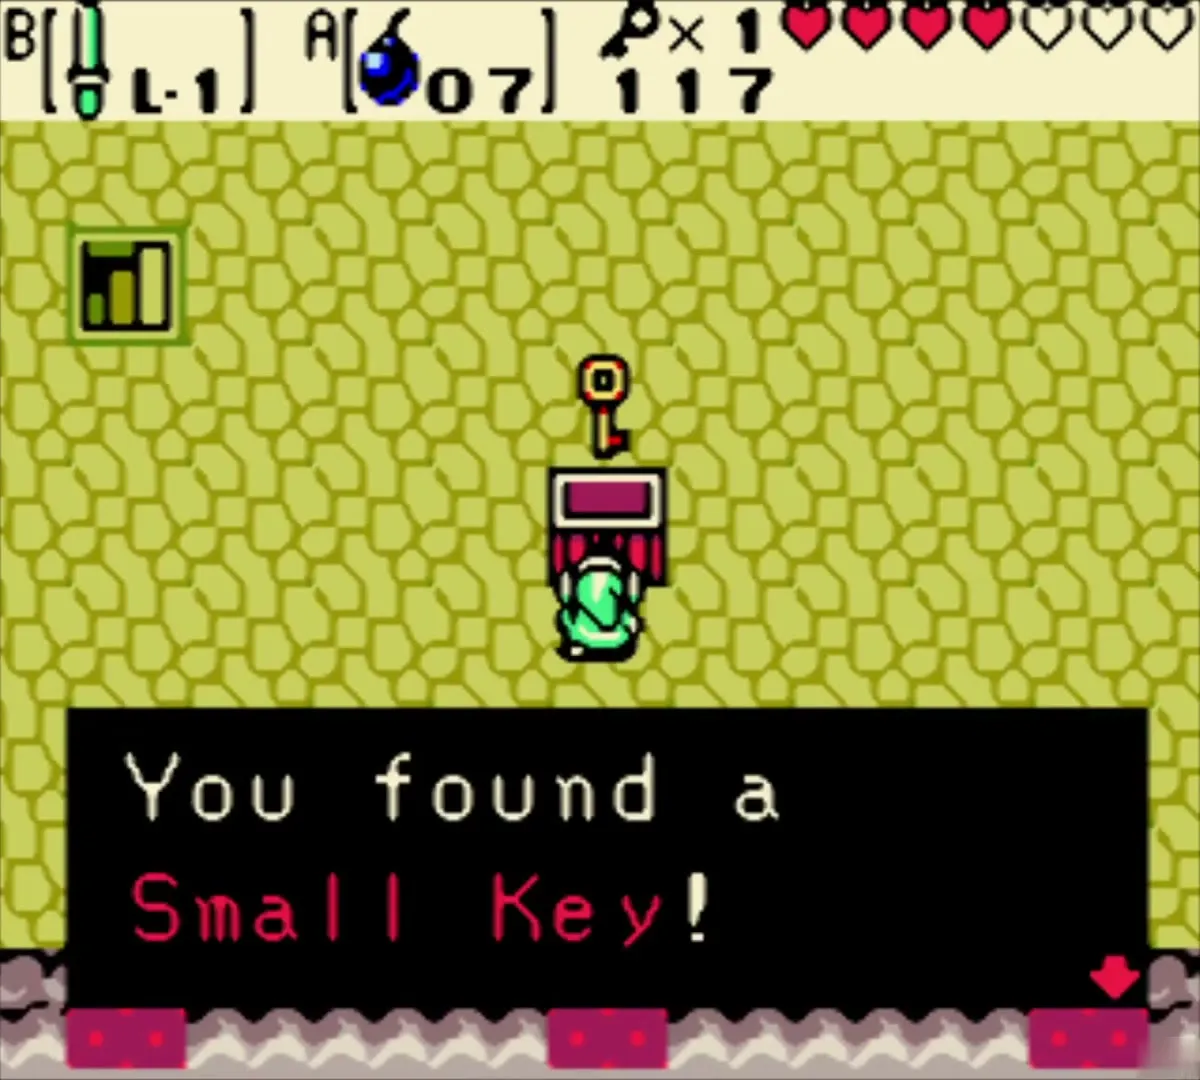
A Spiked Thwomp guards the next screen. Stay clear while it slams down, then run under it as it rises. A moving platform carries you to a ladder on the right. Upstairs, defeat every Rope that charges you. A chest appears, holding Small Key 2.

Locked door and the minecart
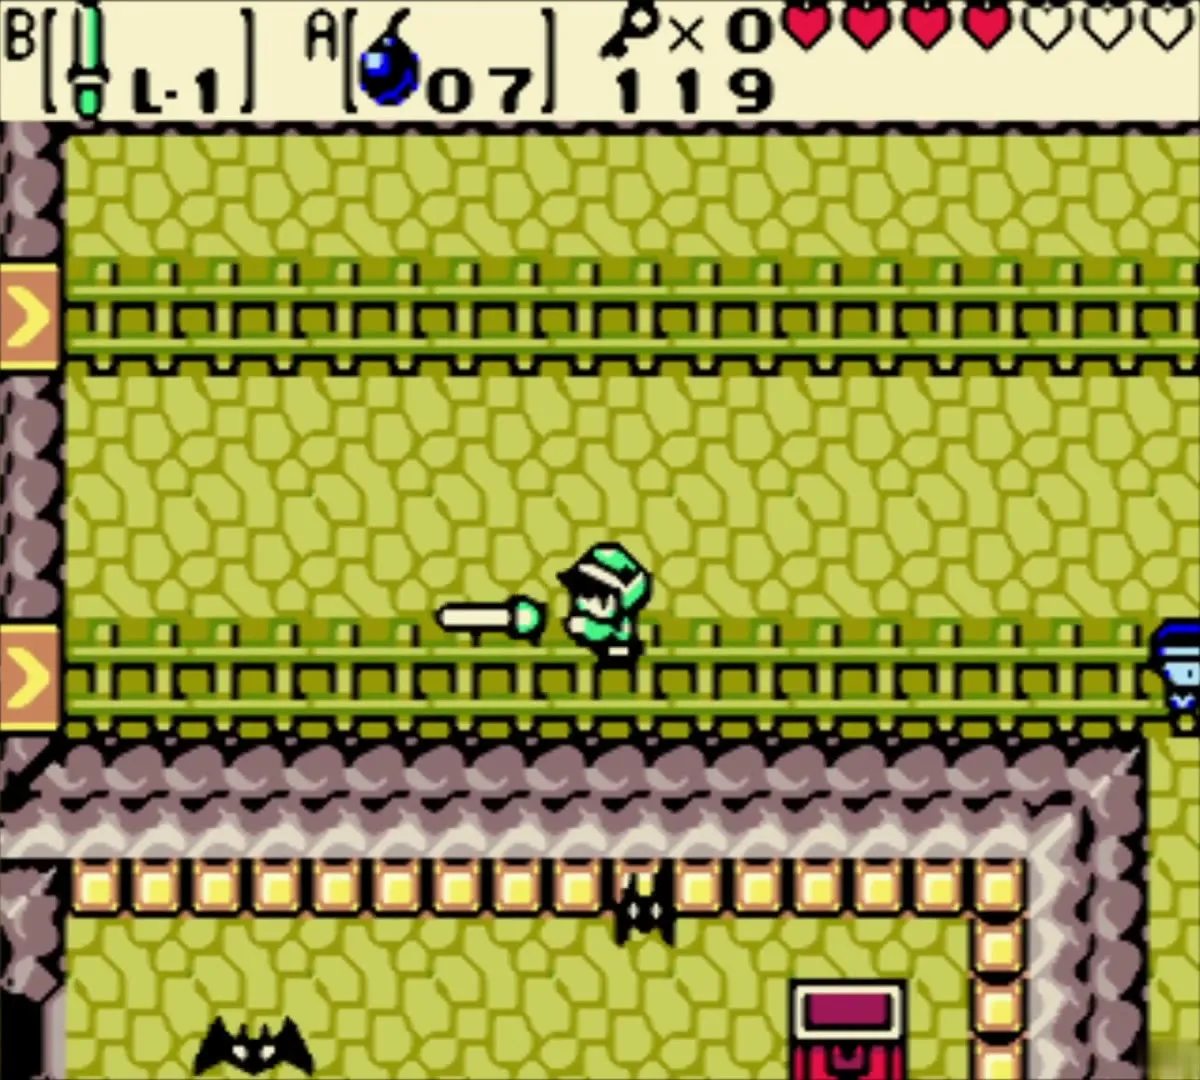
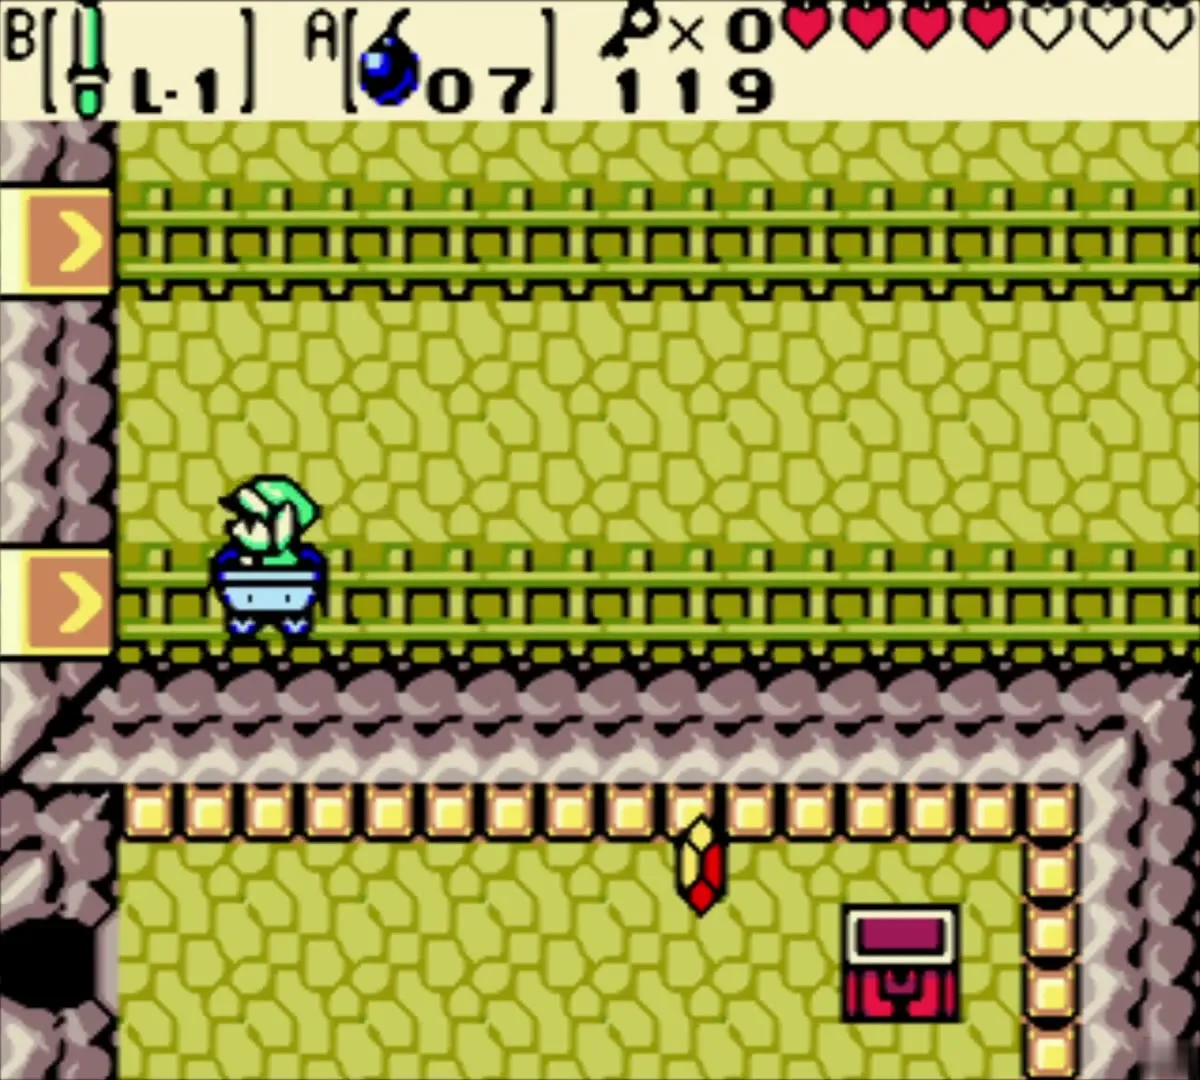
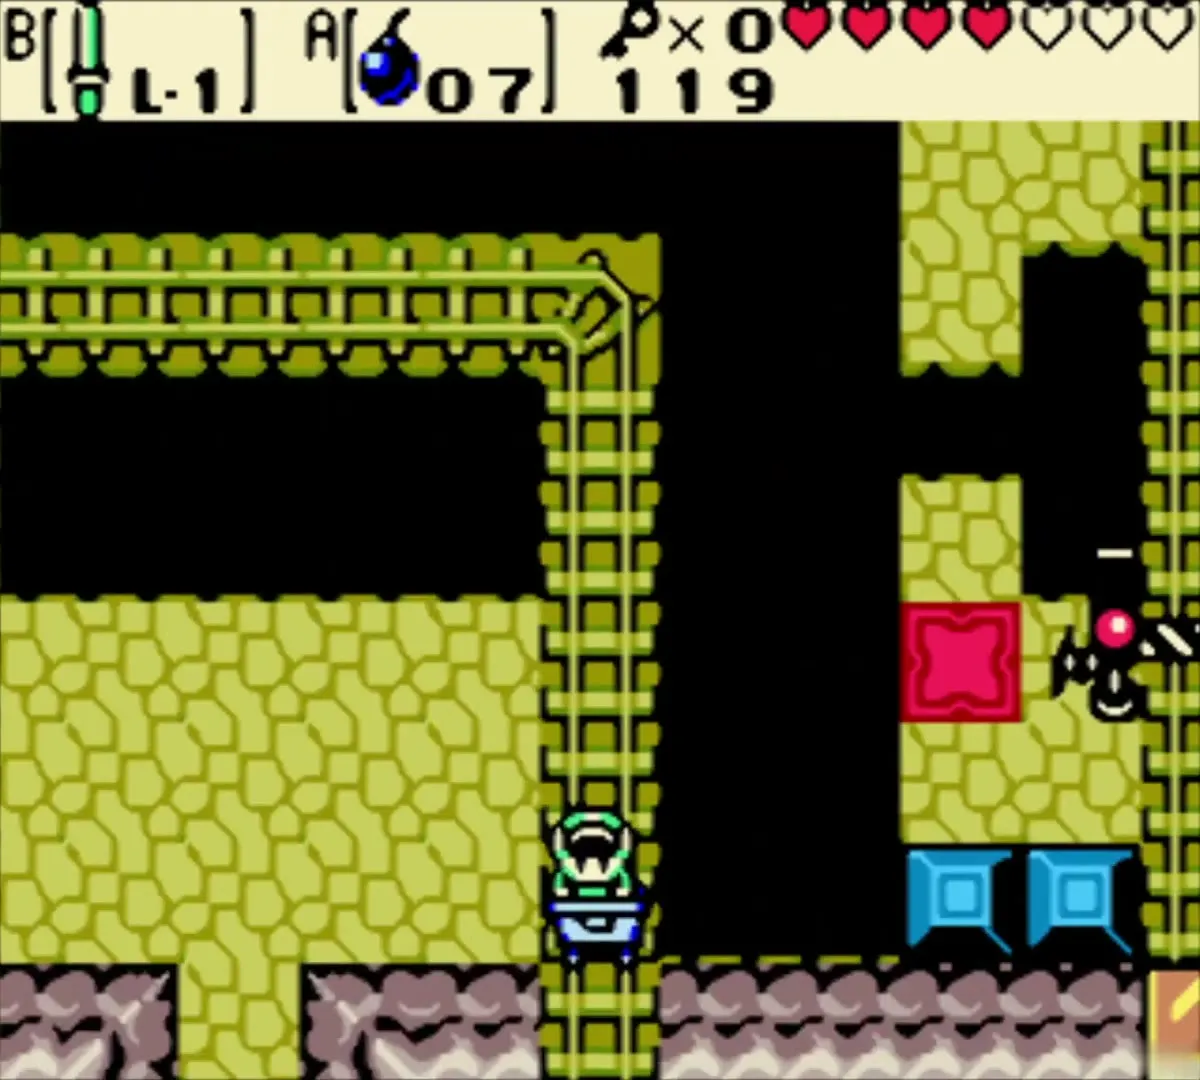
Climb back to the pit room and head through the door beyond it. Beat the two blue Pig Warriors, unlock the locked door in the west wall with your key and climb into the waiting minecart. You cannot steer it, but you can swing your sword to clear enemies. Follow the track north to the mini-boss room.
Mini-boss: Swoop

Hit Swoop when it lands
Swoop is a red winged creature that hovers over you, then dives. Stay on the blue border tiles, which never break. When it crashes down, hit it with the sword. Where it lands on the yellow floor, the tile falls out and sends you to the basement if you step into the hole.
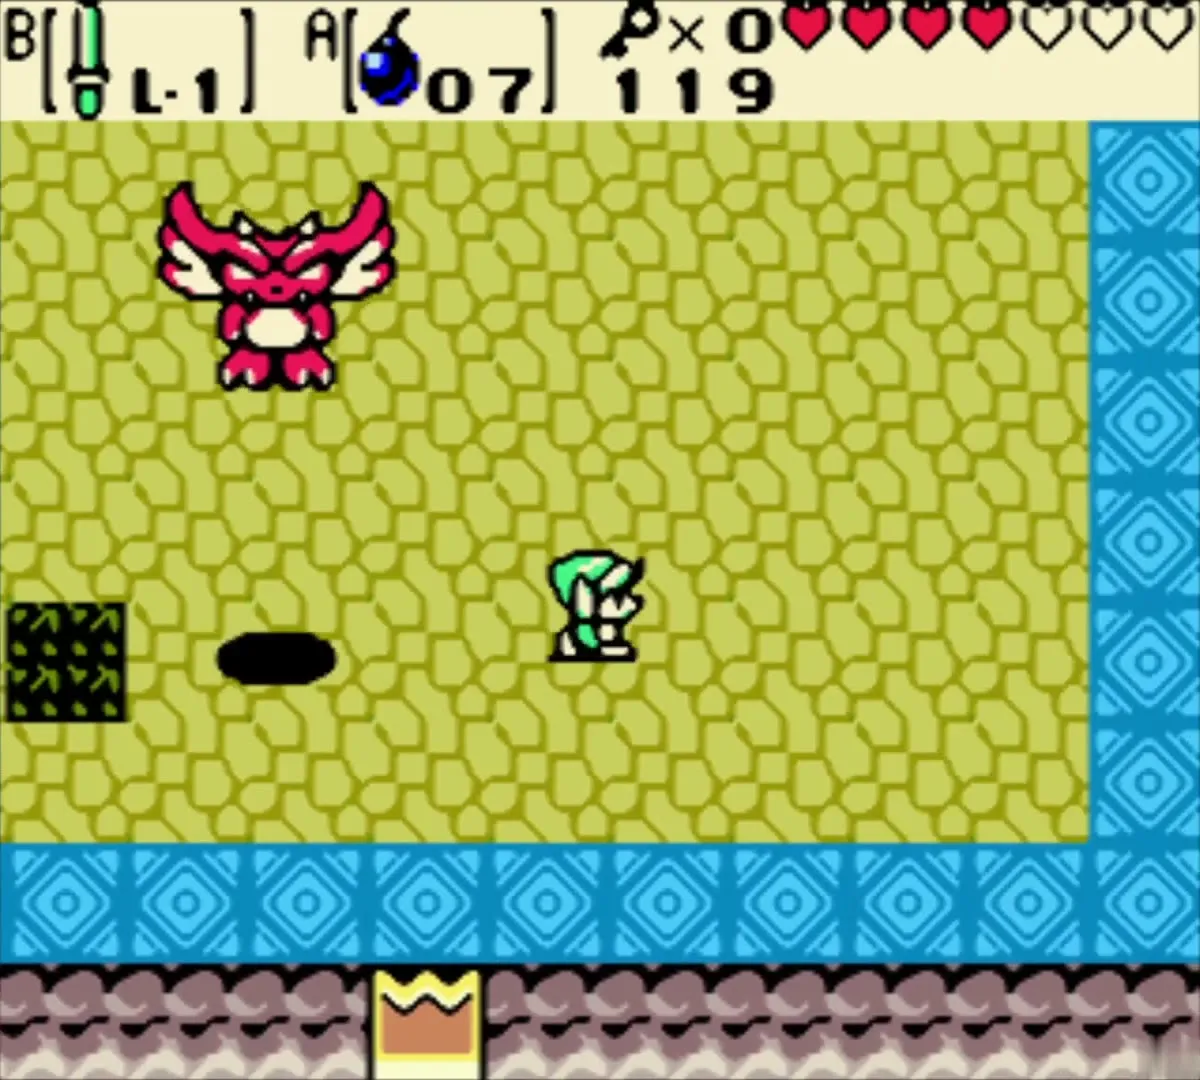
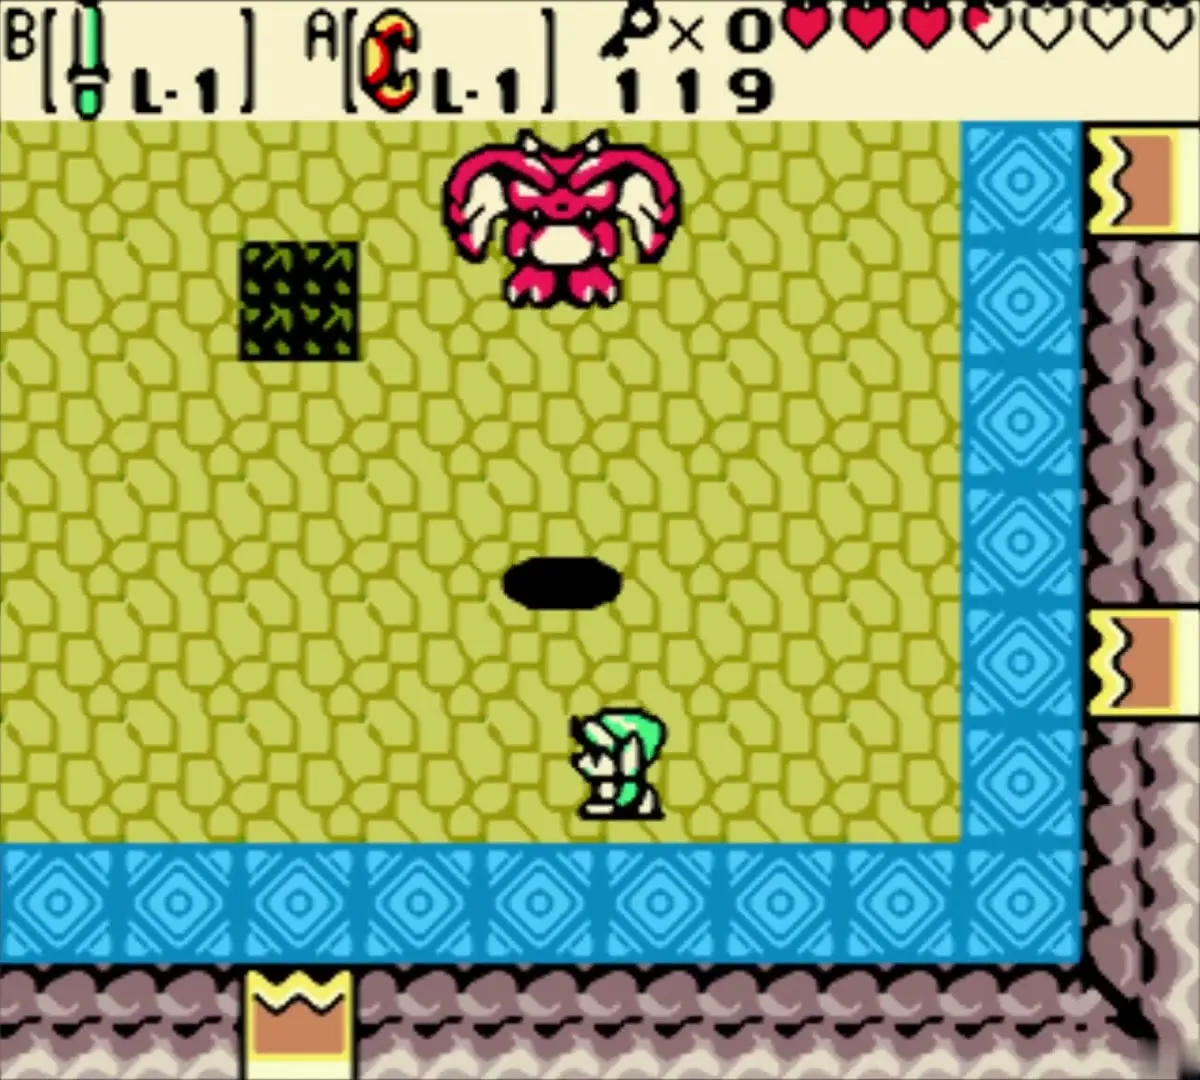
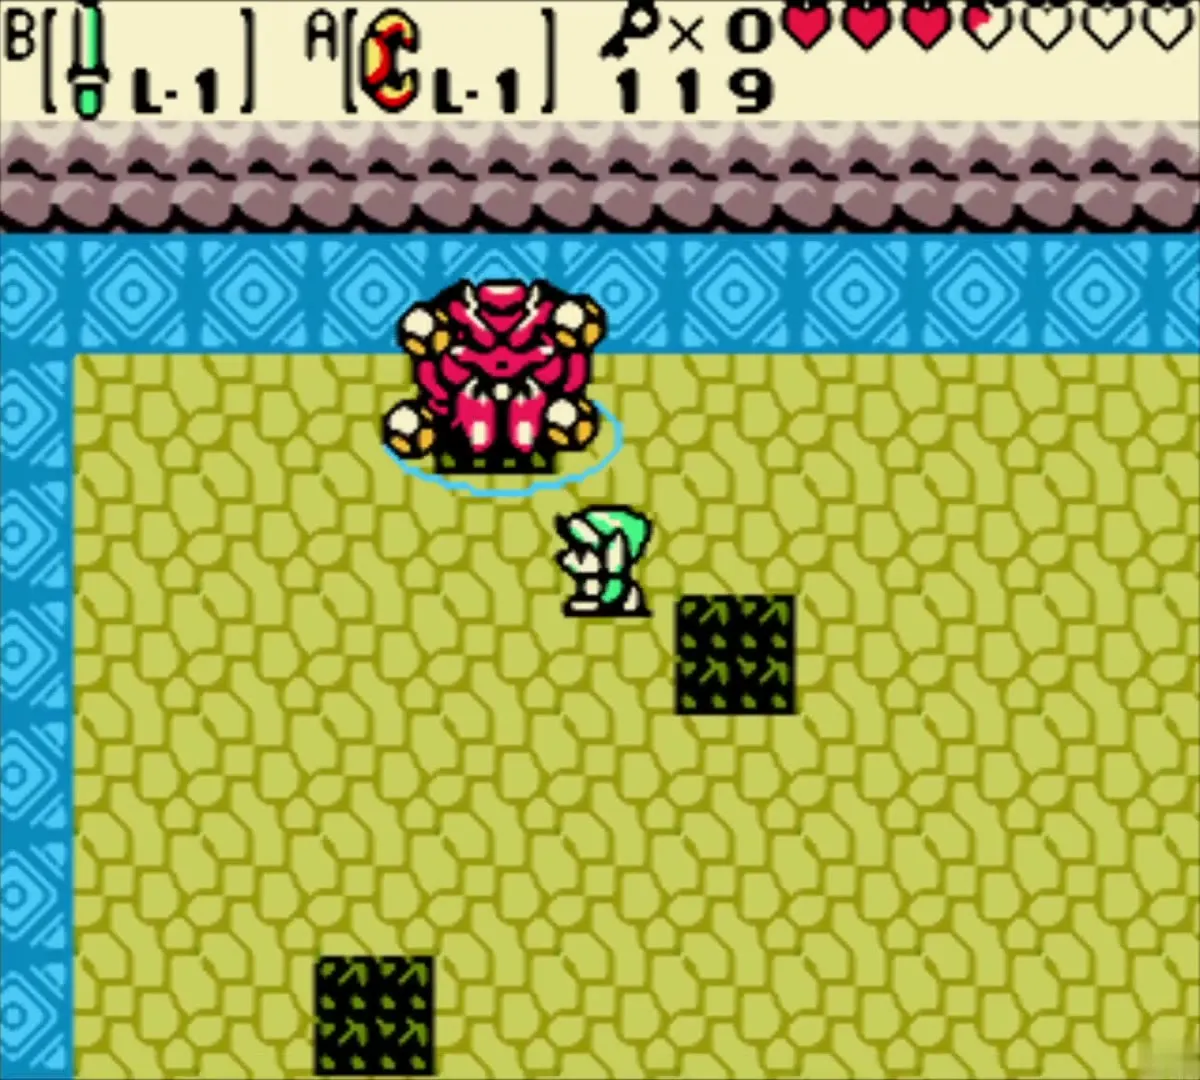
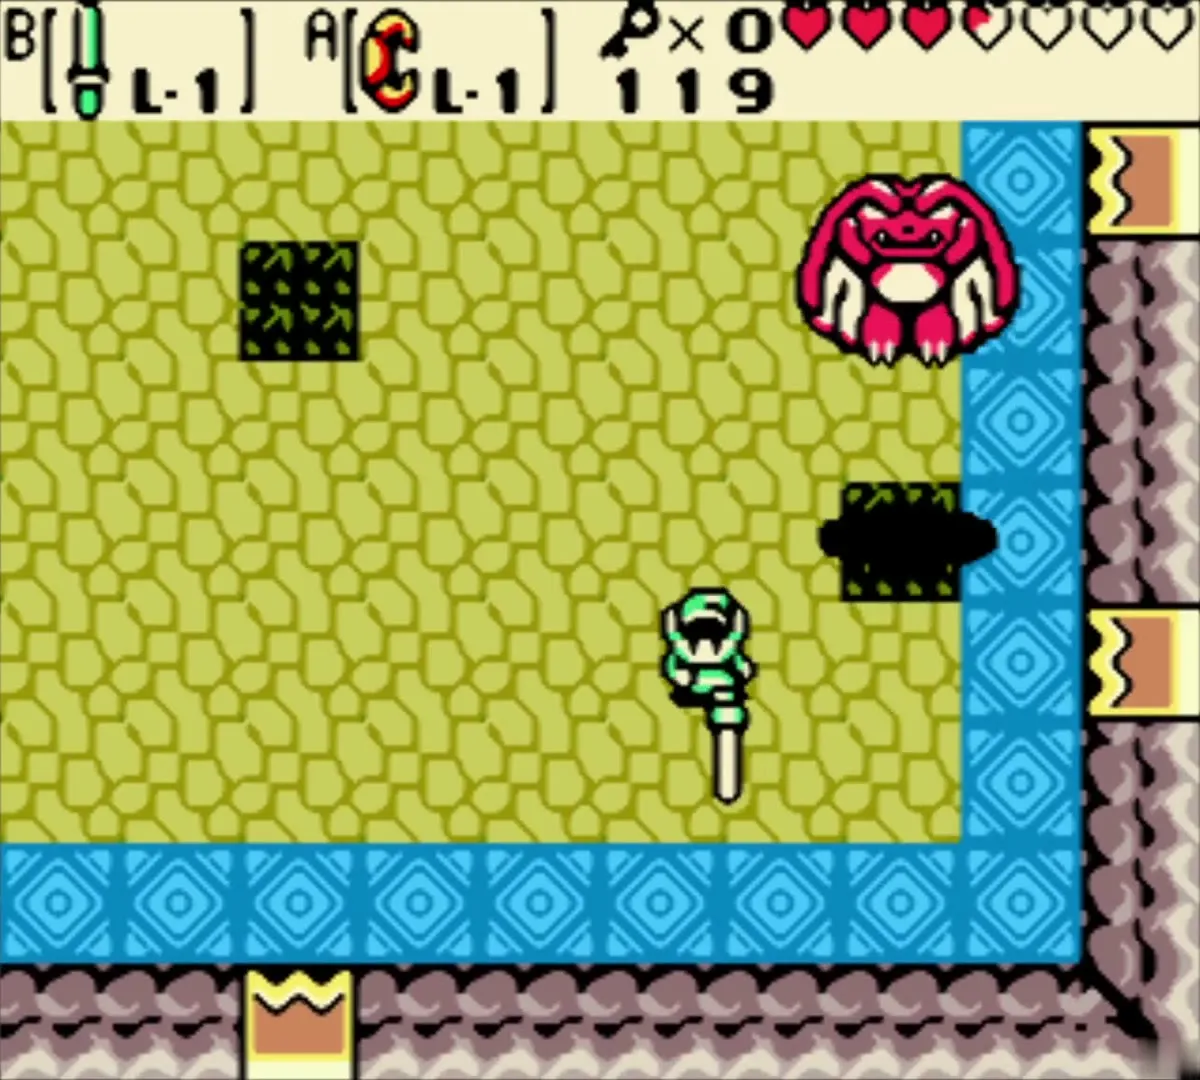
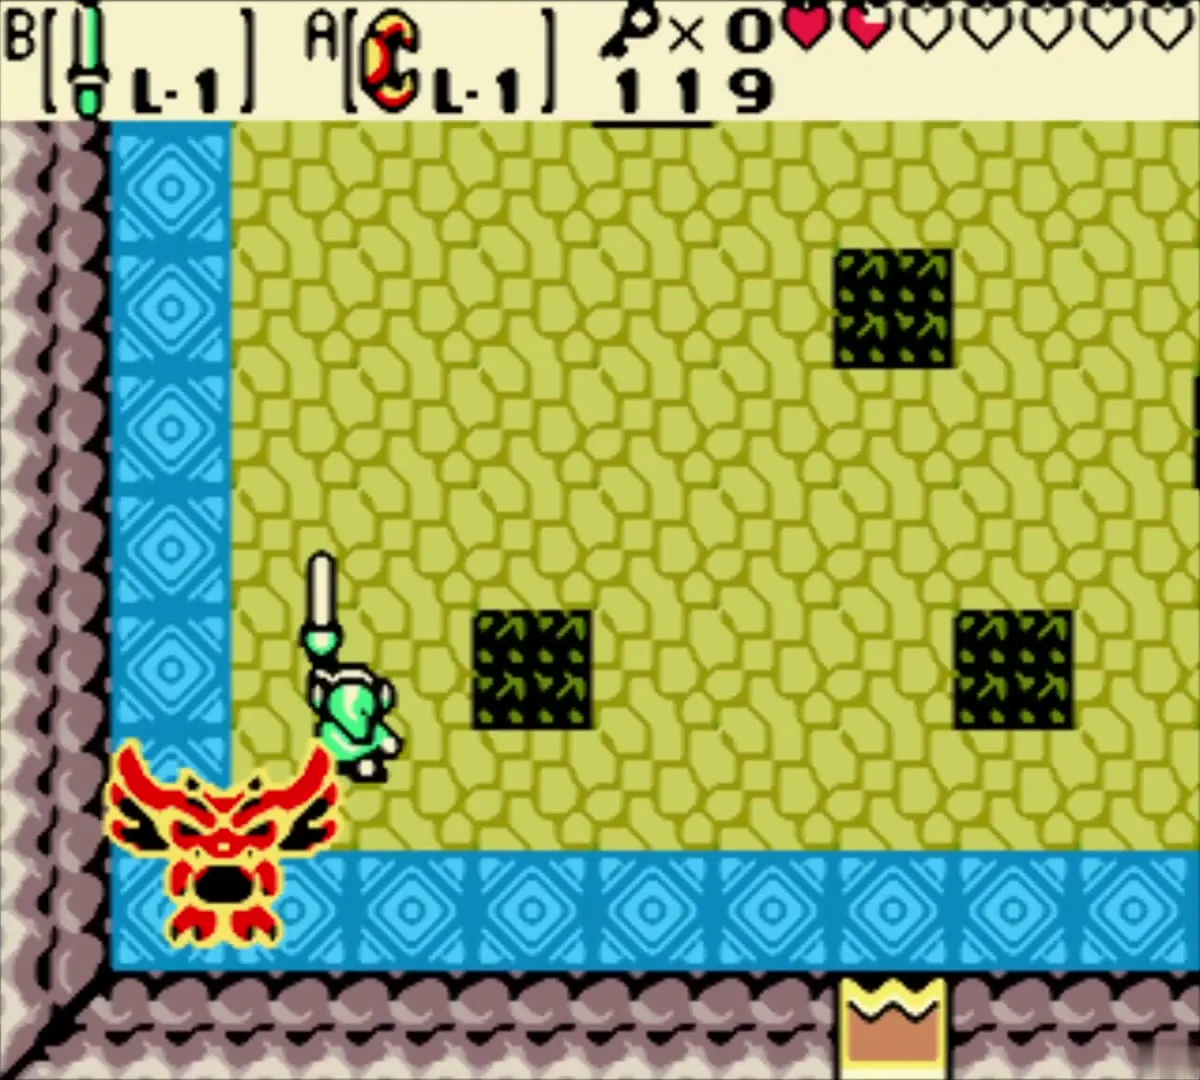
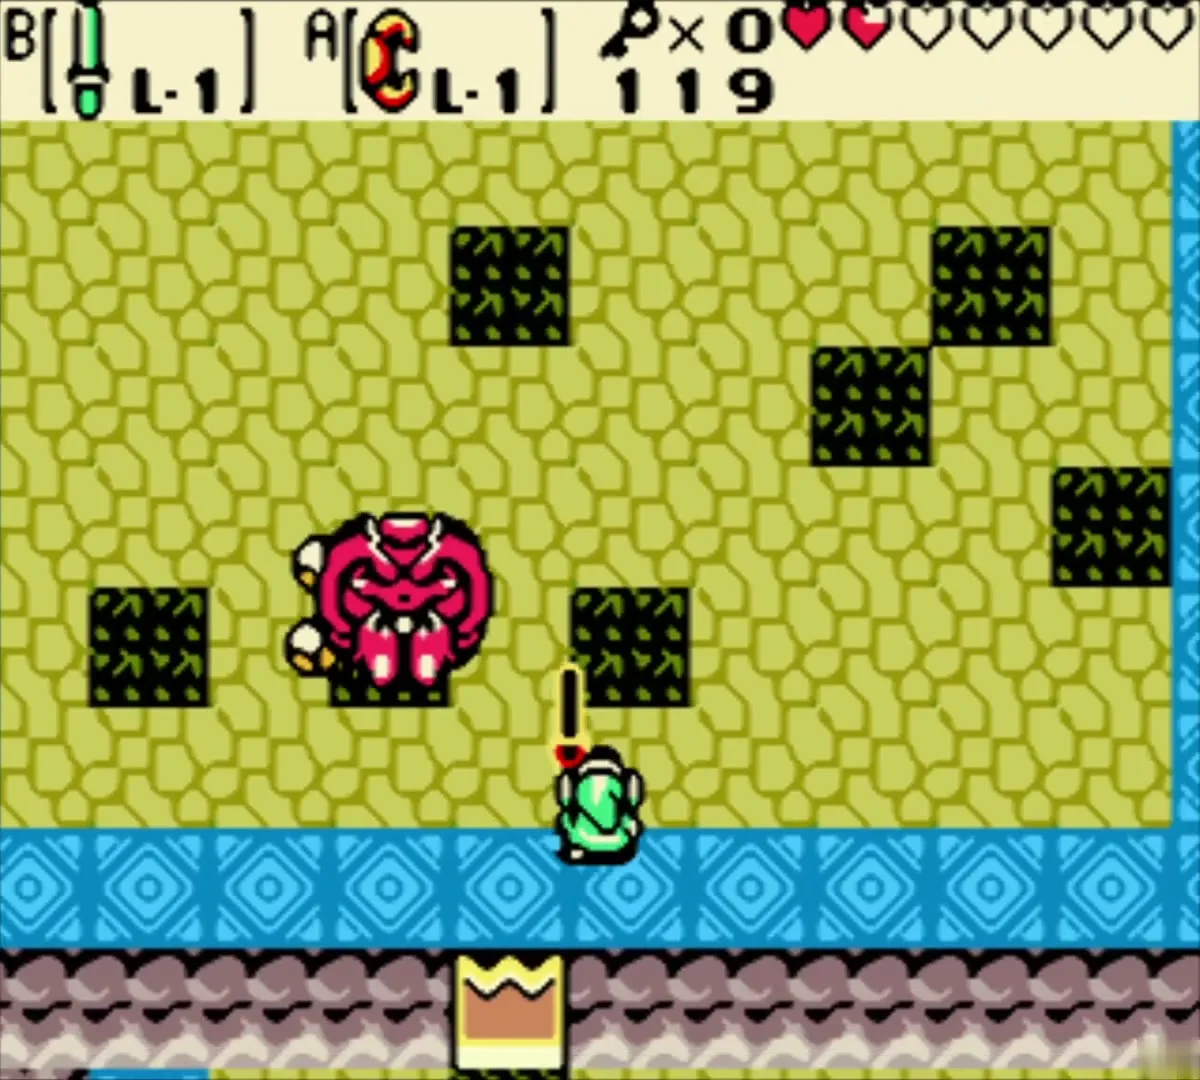
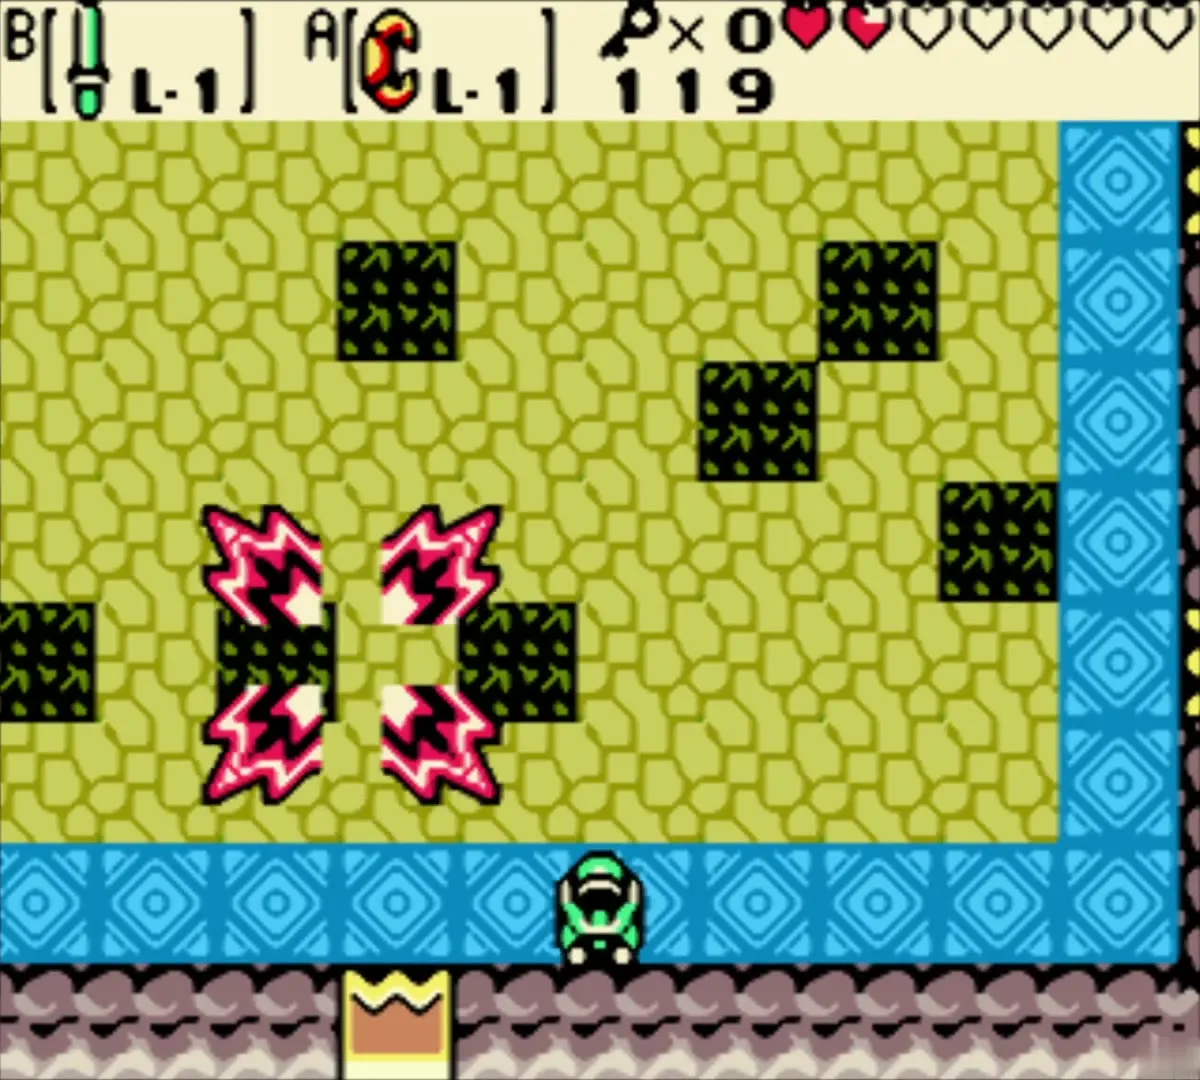
After roughly five hits Swoop speeds up and bounces closer in a chain. Back off until it stops bouncing, then strike. About ten hits finish it. A Fairy and a way back to the entrance appear. Grab the Fairy for health and head for the next exit.
Roc’s Feather
Down to the lower floor
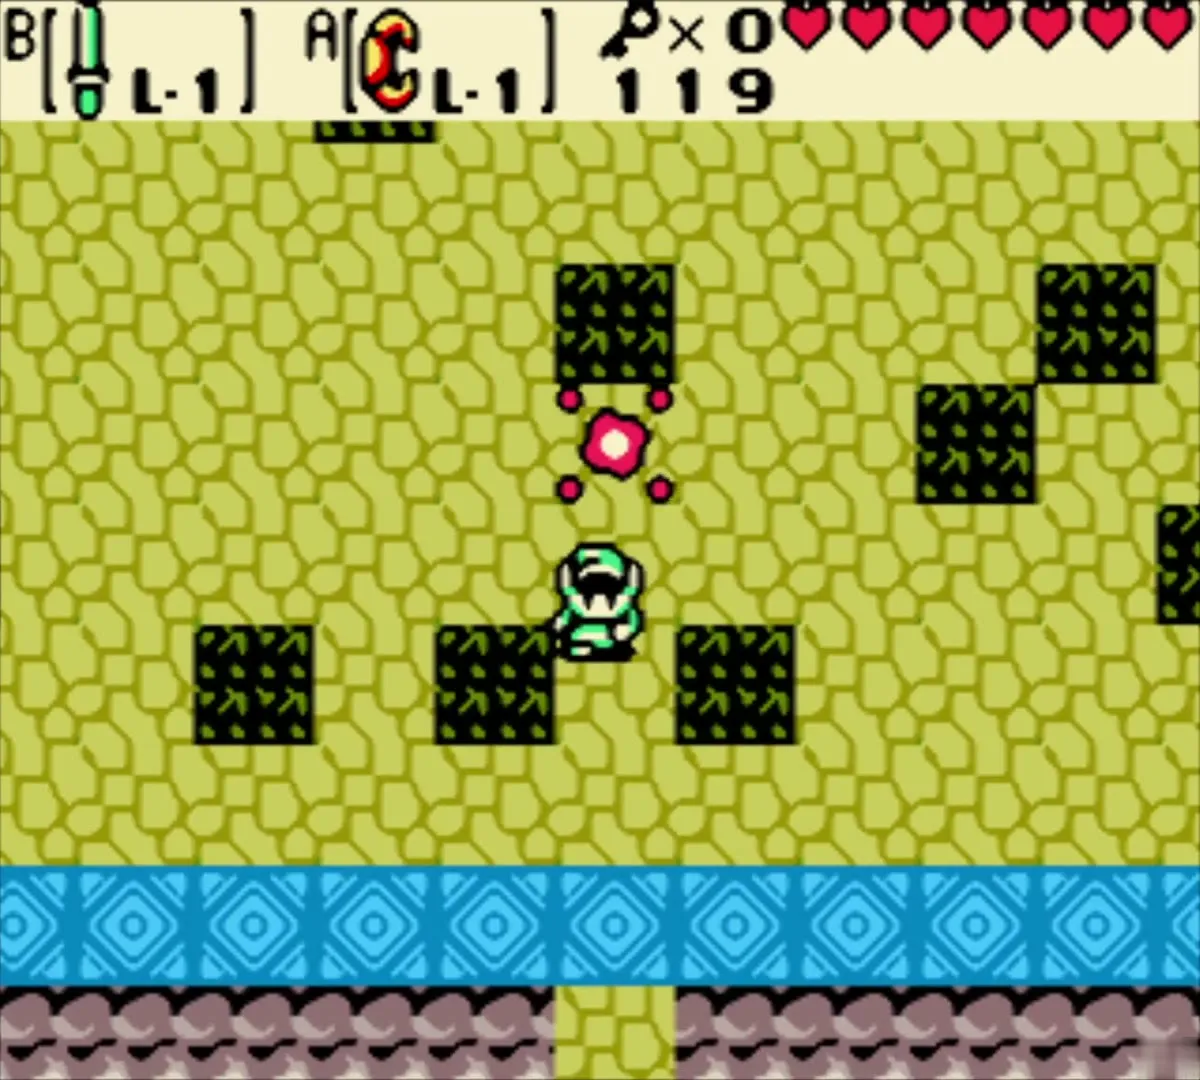
Two staircases lead down from the room after Swoop. Take the northern one. On the lower floor Anti-Fairies and Shrouded Stalfos roam, and the Anti-Fairies are immune to your sword. Leave by the south door, cross the room with the island of Shrouded Stalfos, and watch for the Zol near the next doorway.
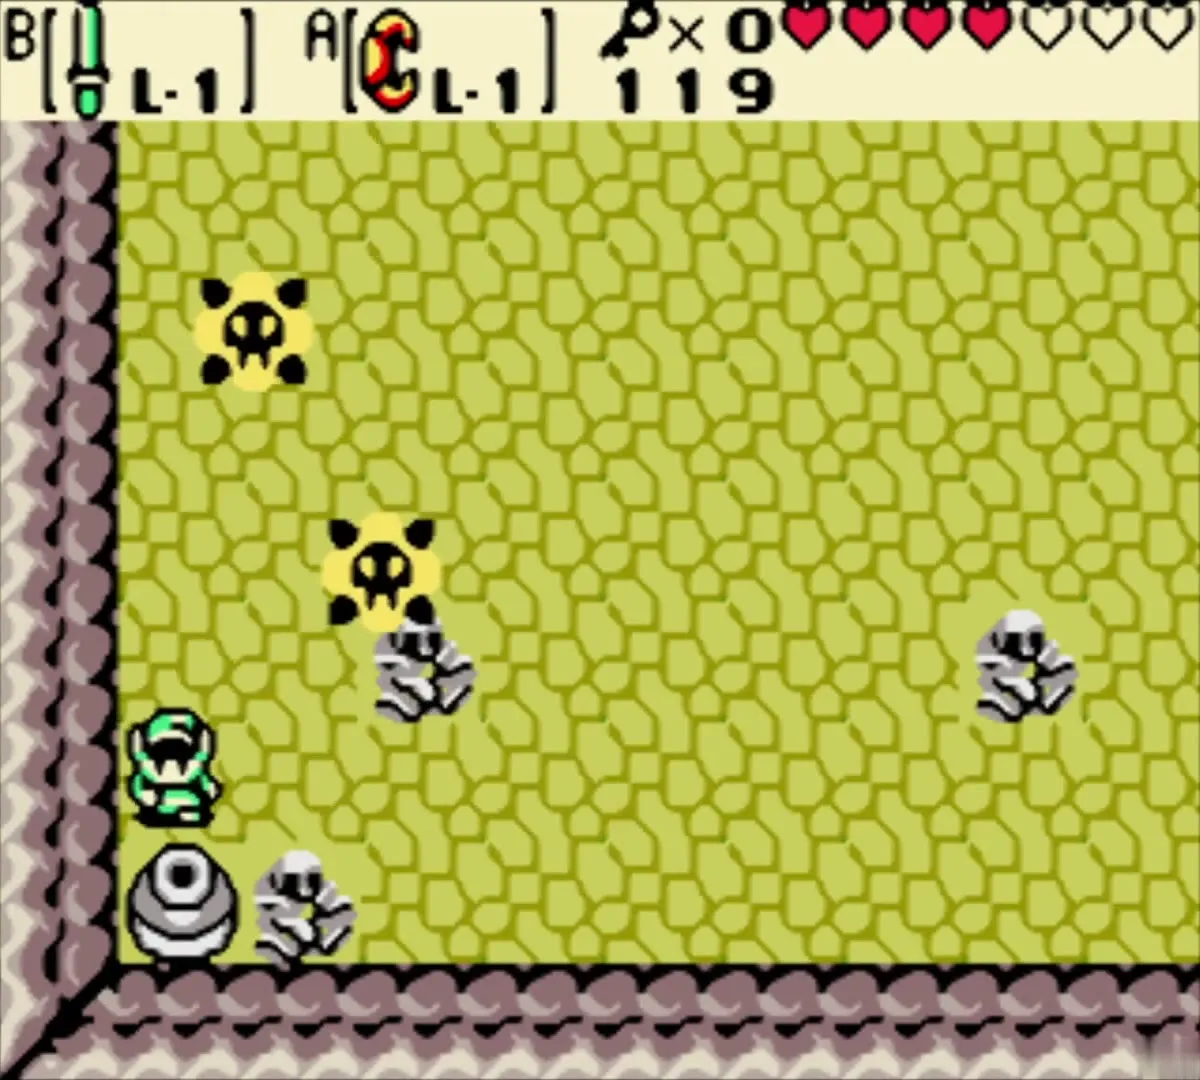
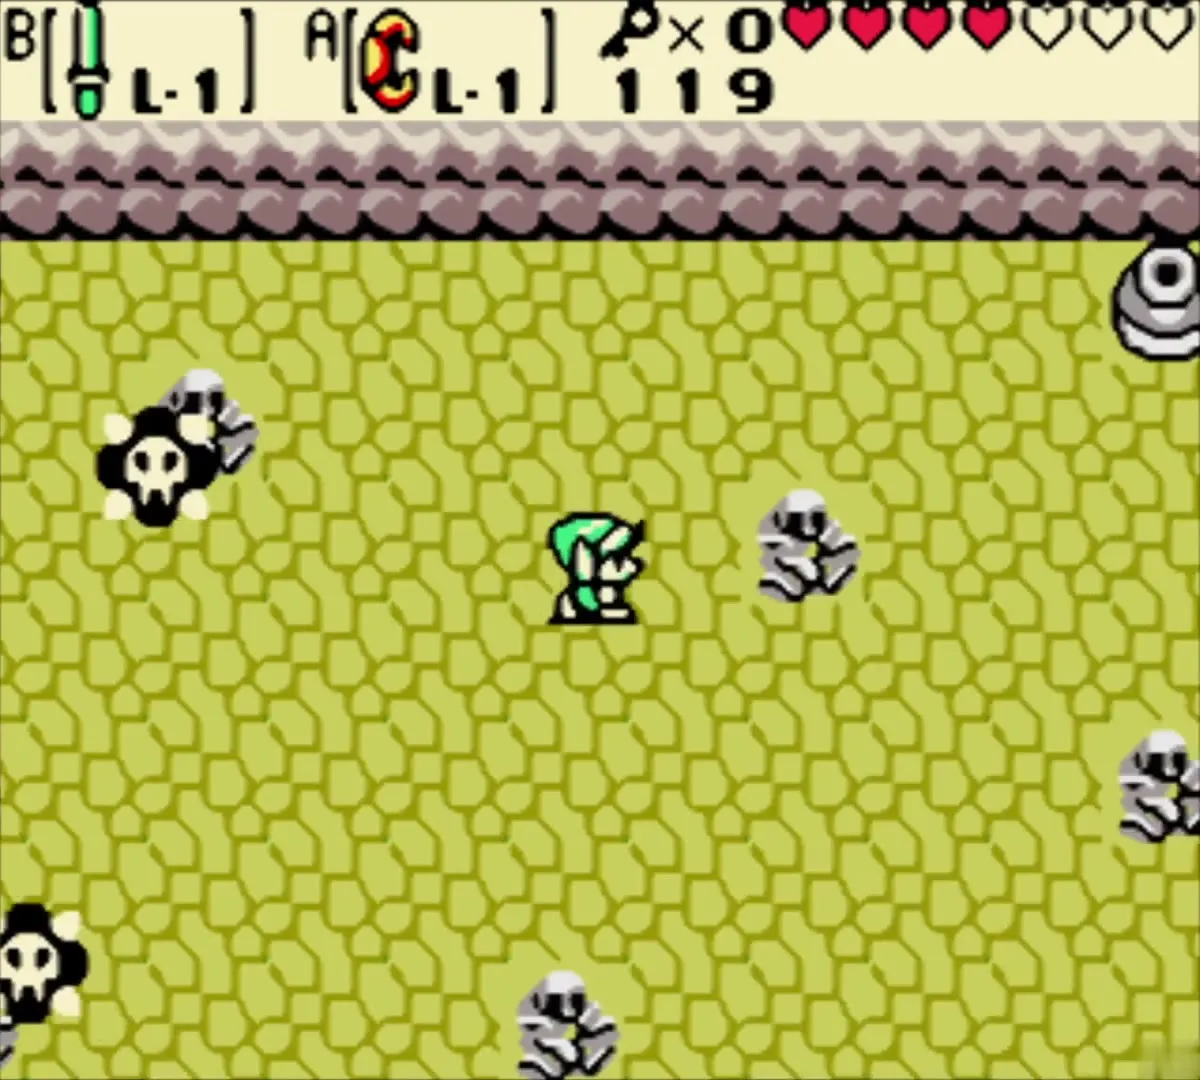
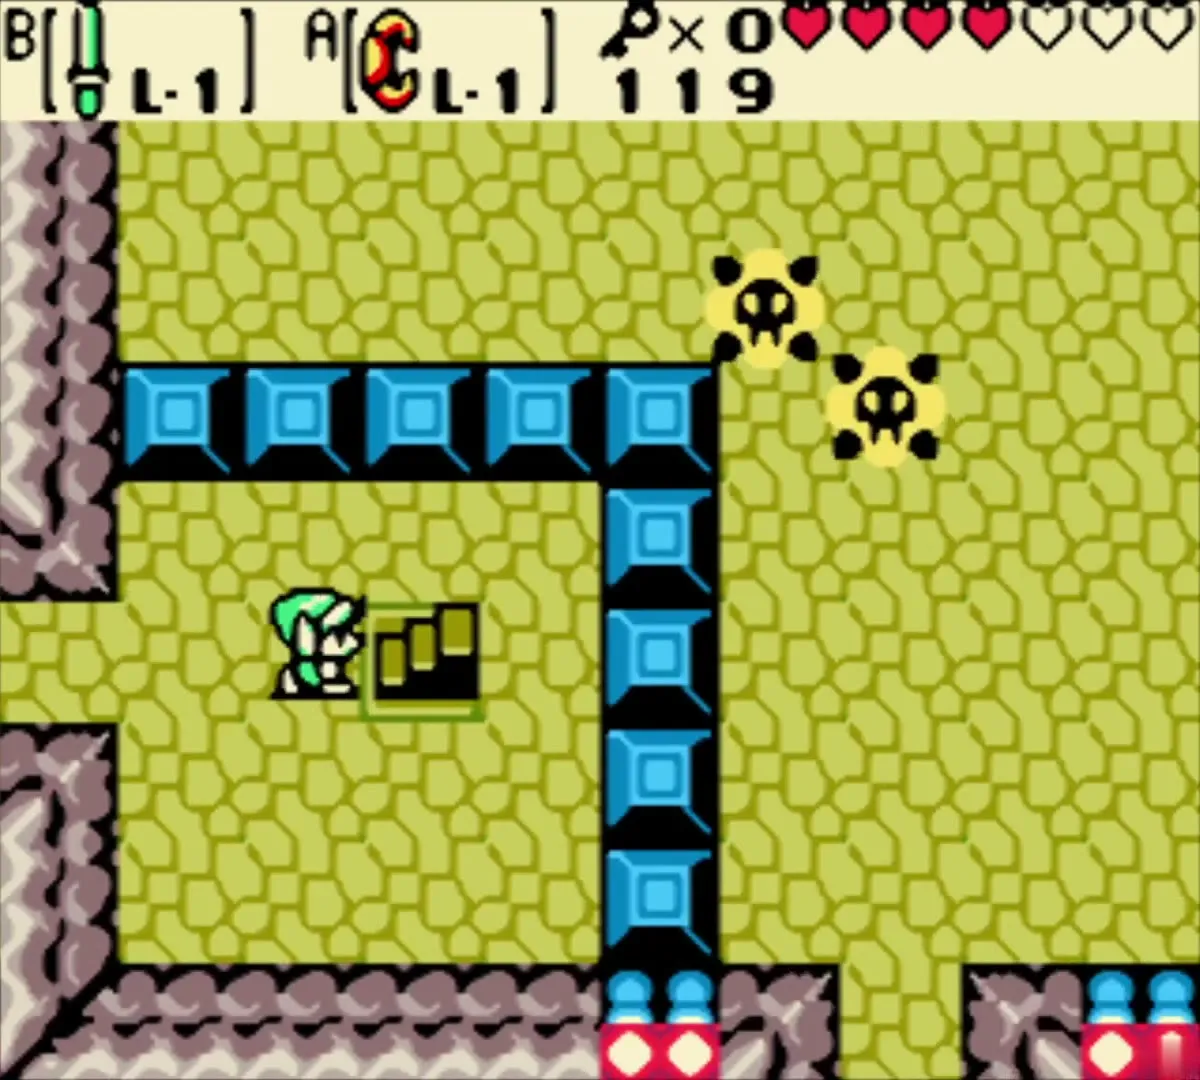
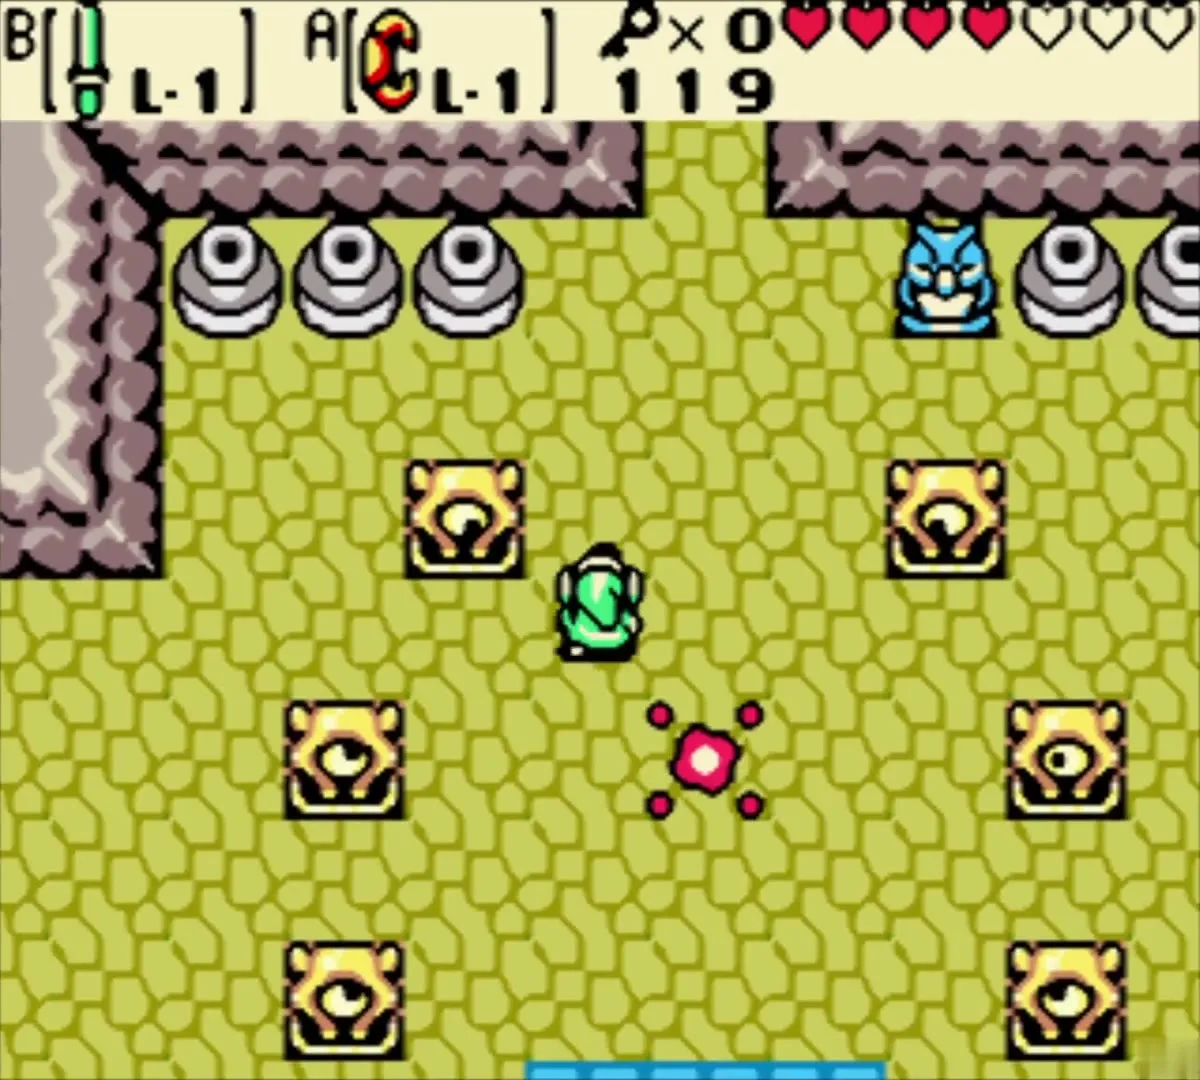
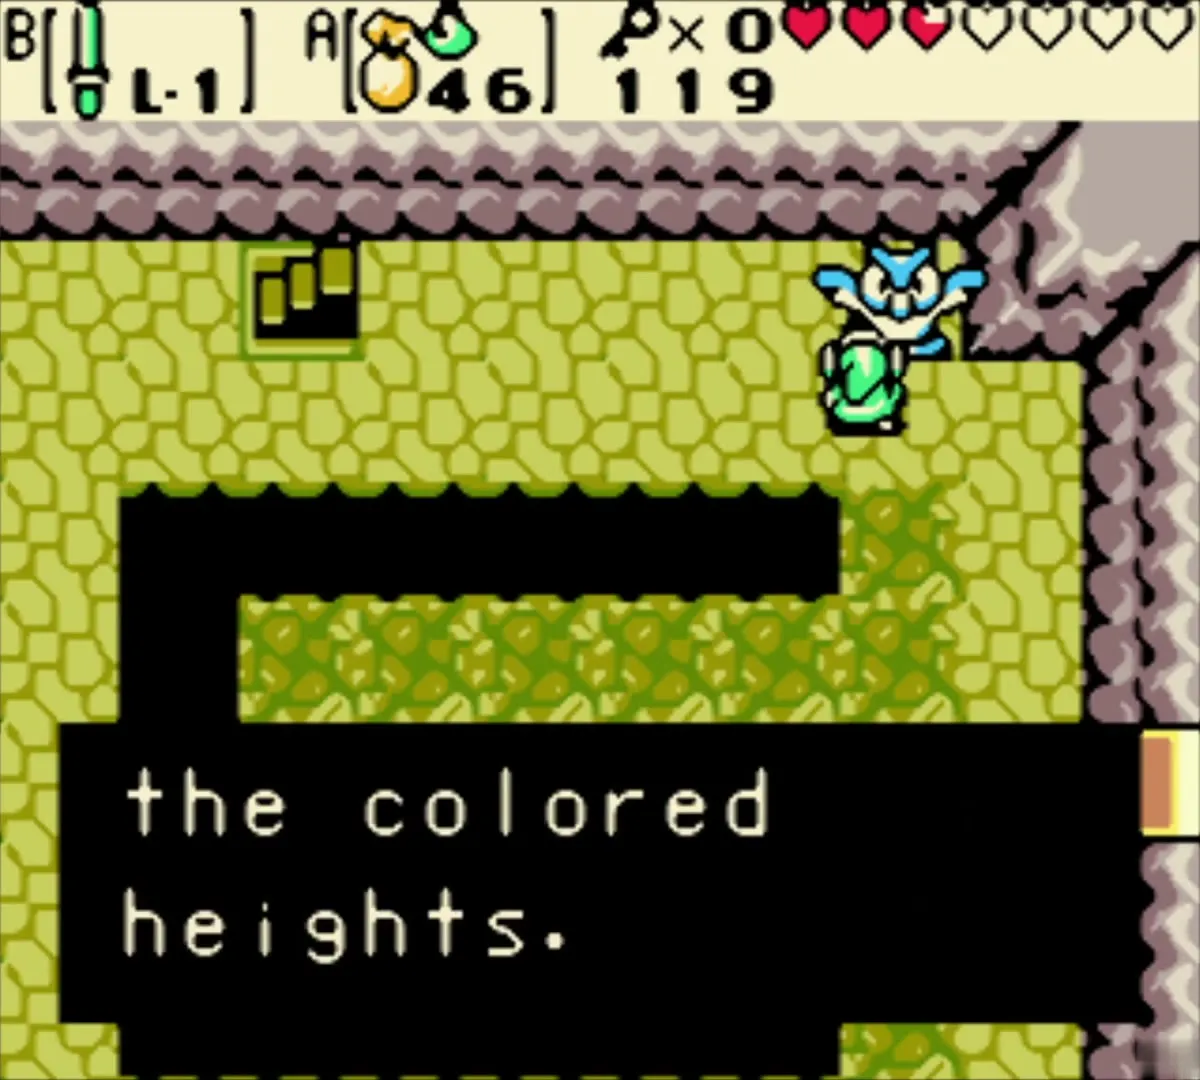
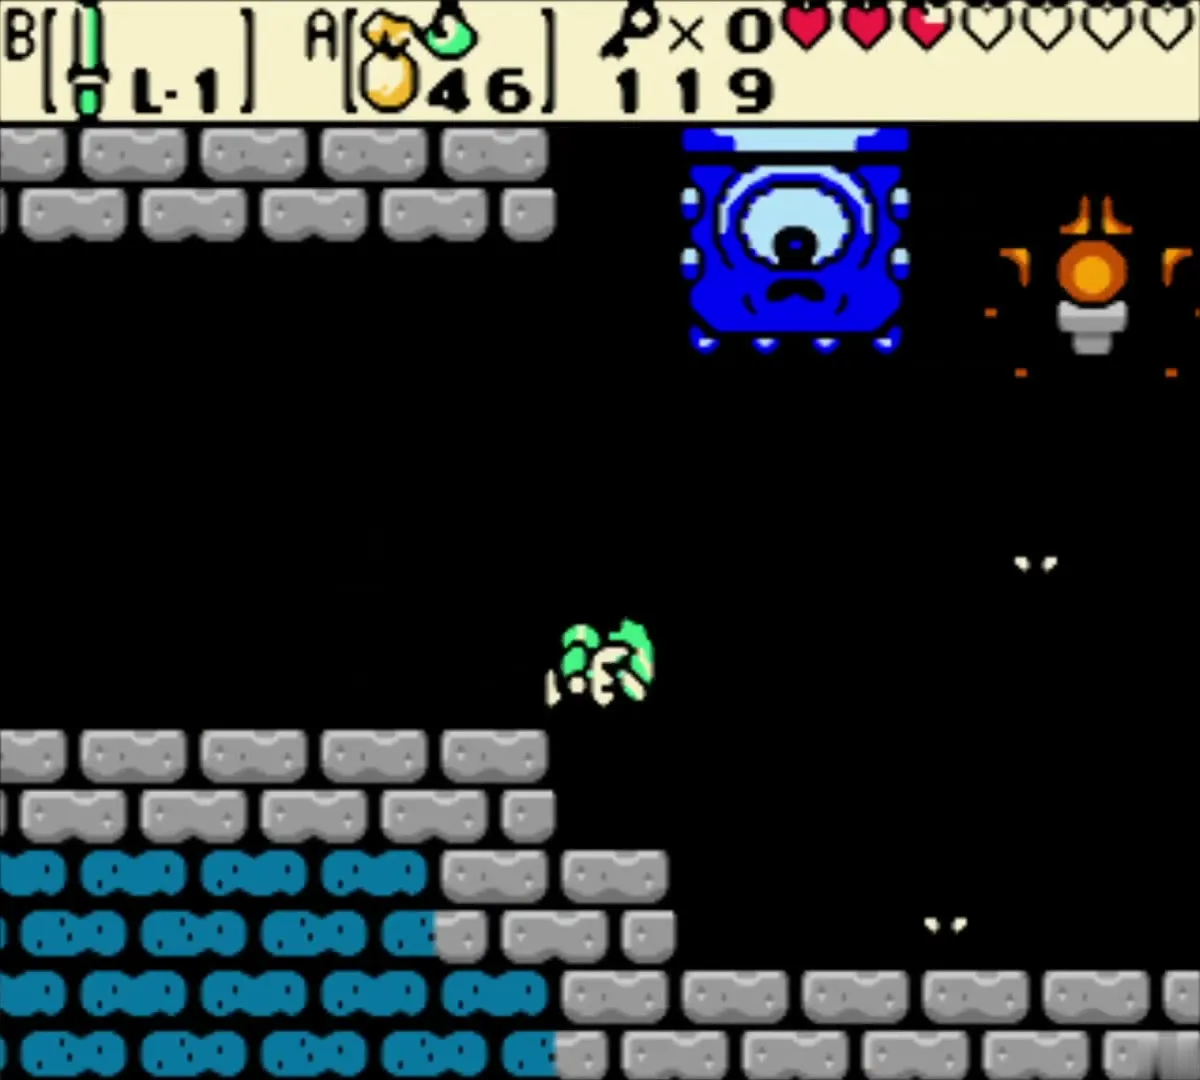
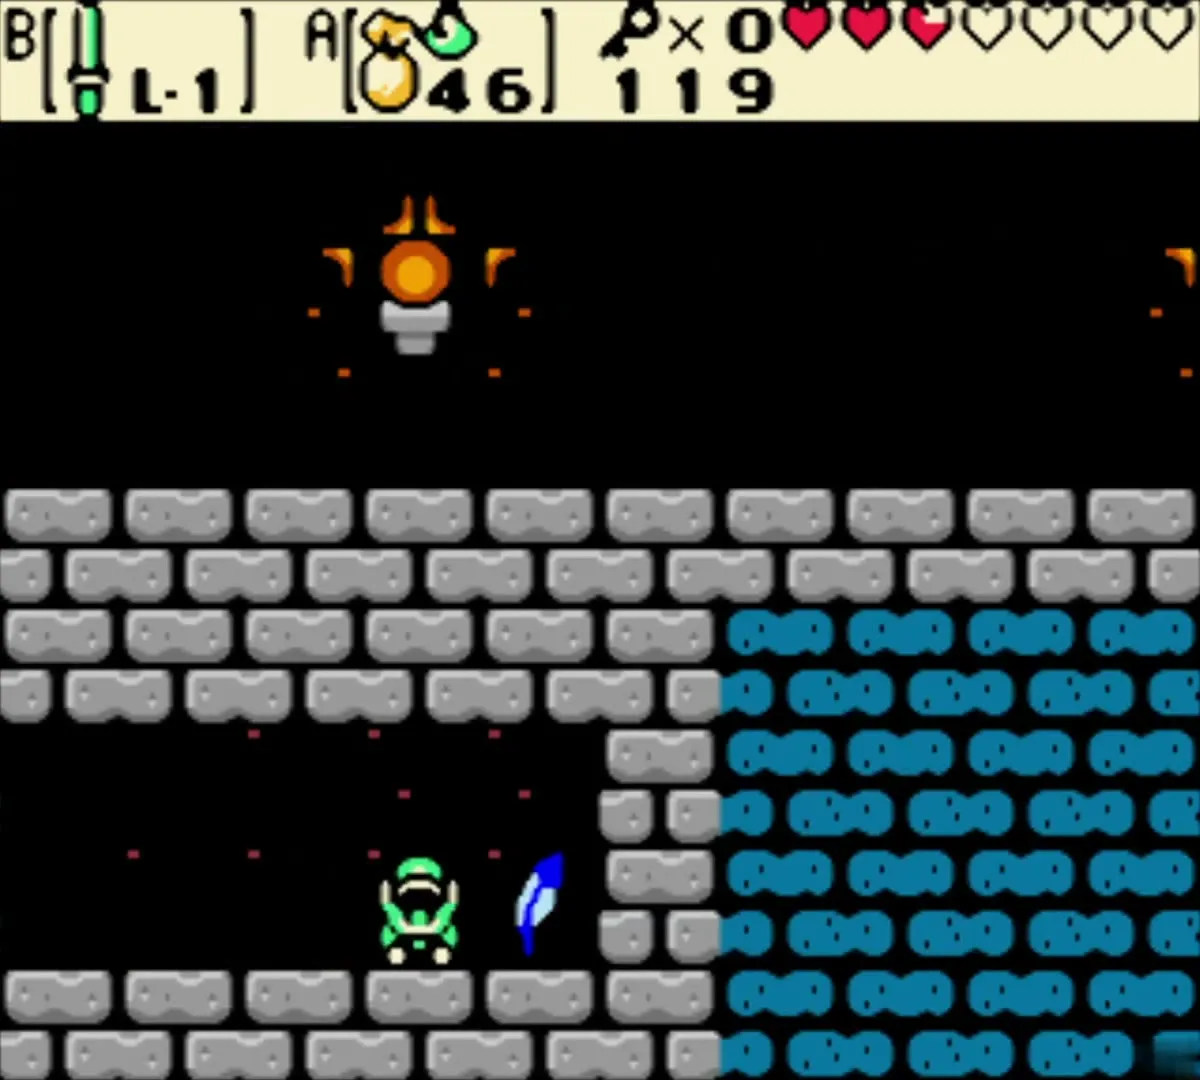
In the next room an owl statue tells you to soar over coloured heights with a feather. Climb the stairs to a side-view tunnel with a Spiked Thwomp. Drop below it, wait until it slams down and rises again, then run past.

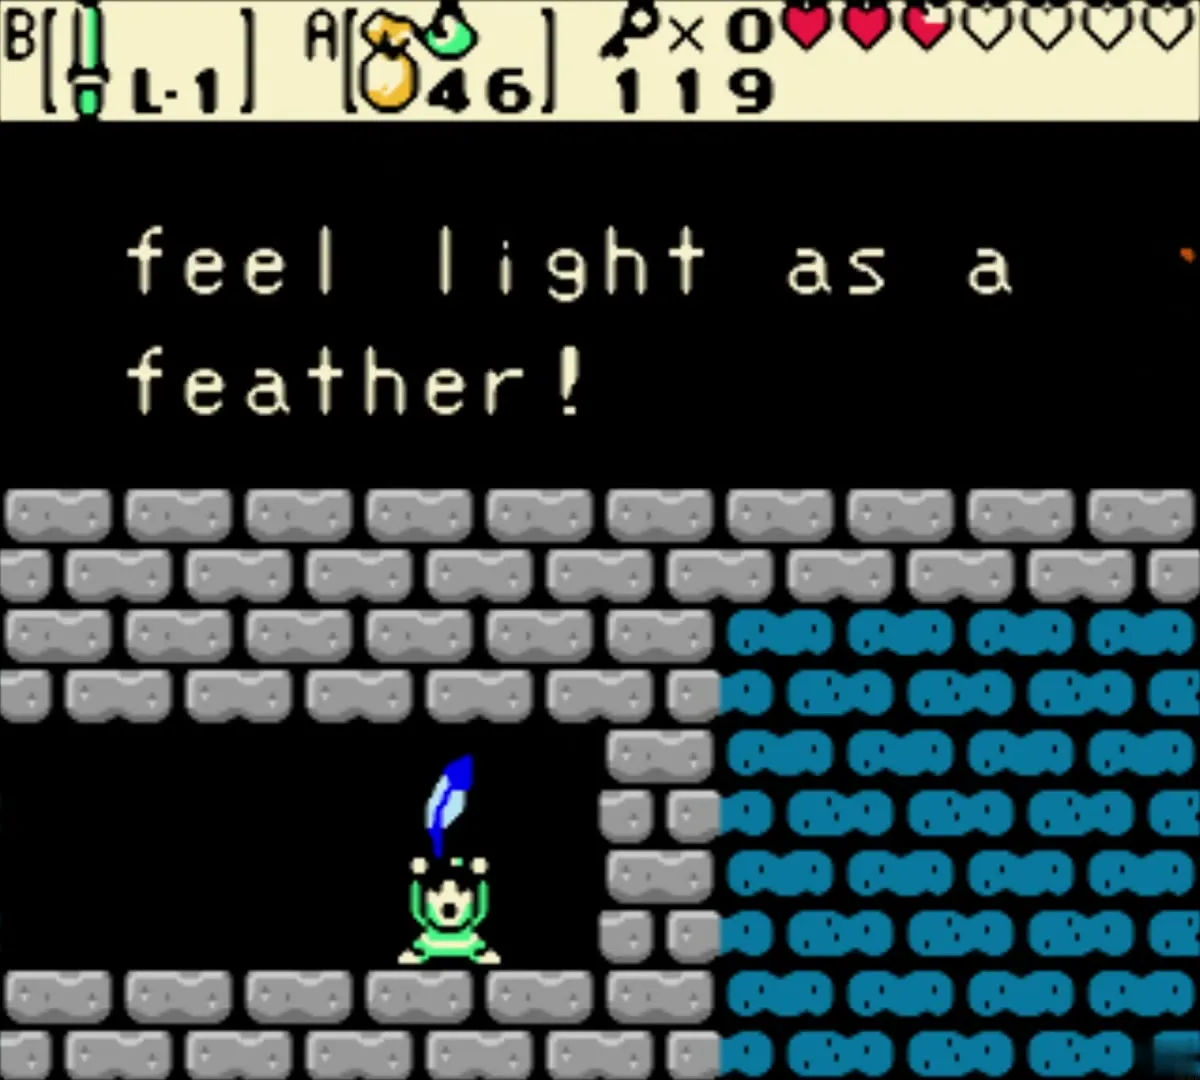
Take the Roc’s Feather
The Roc’s Feather lies on the ground on the far side of the Thwomp rather than in a chest. Pick it up, put it on a button and jump with it. It is the dungeon item of the Wing Dungeon, and you will need it constantly from here on to cross pits.

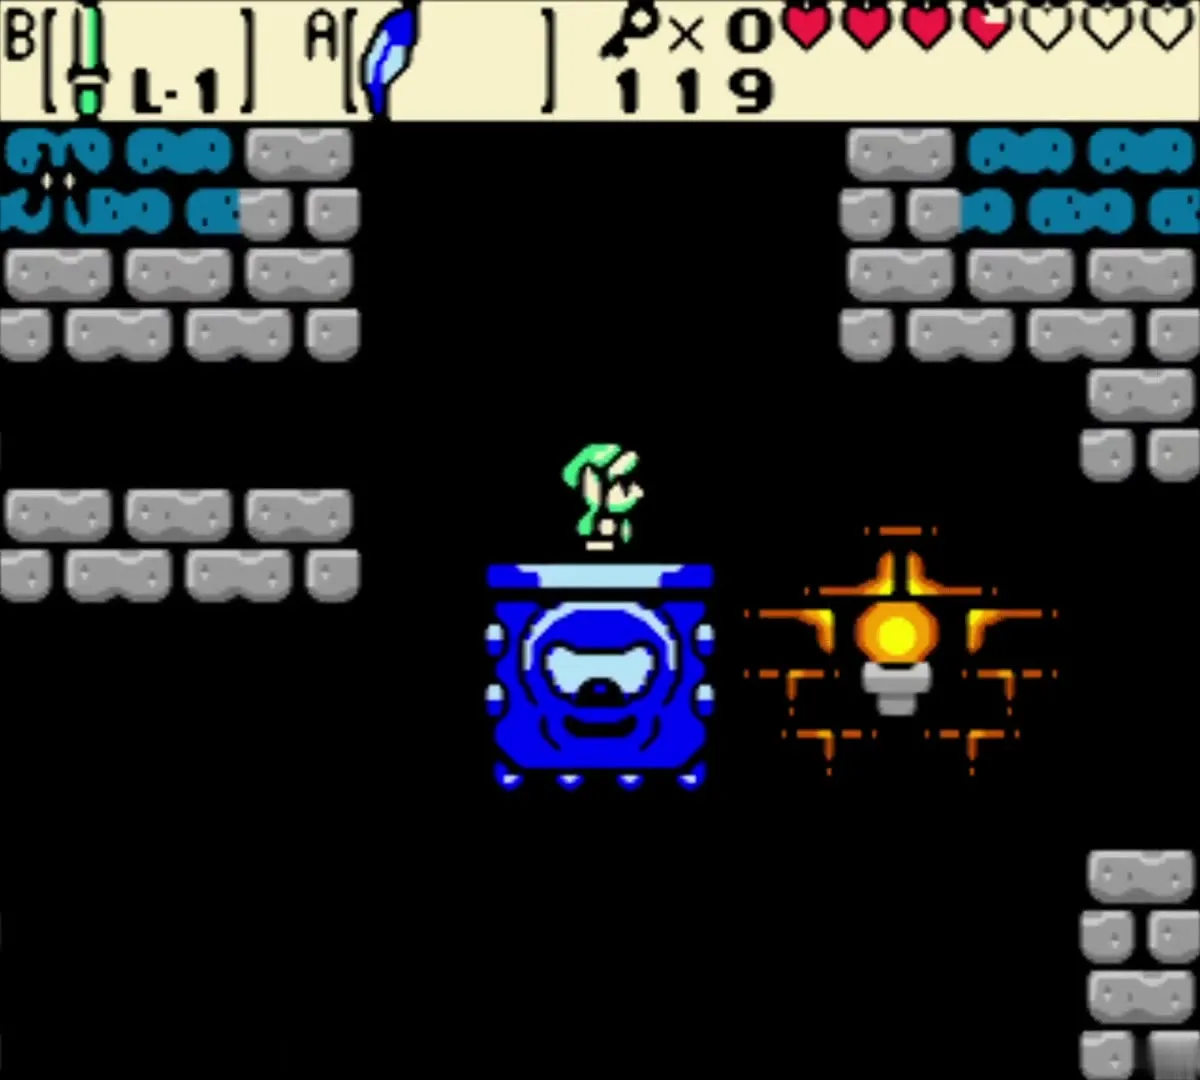
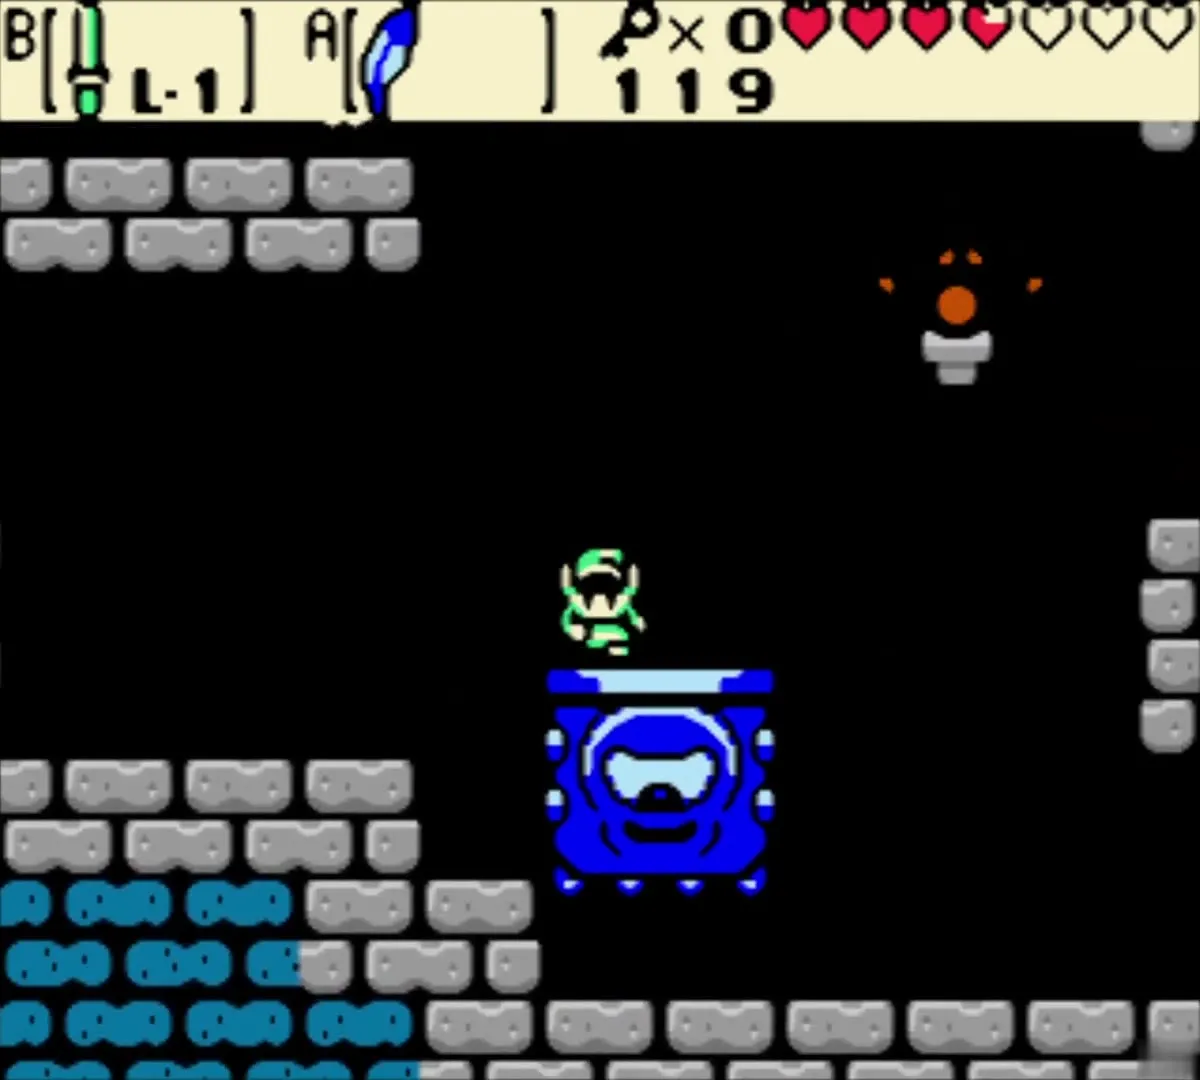
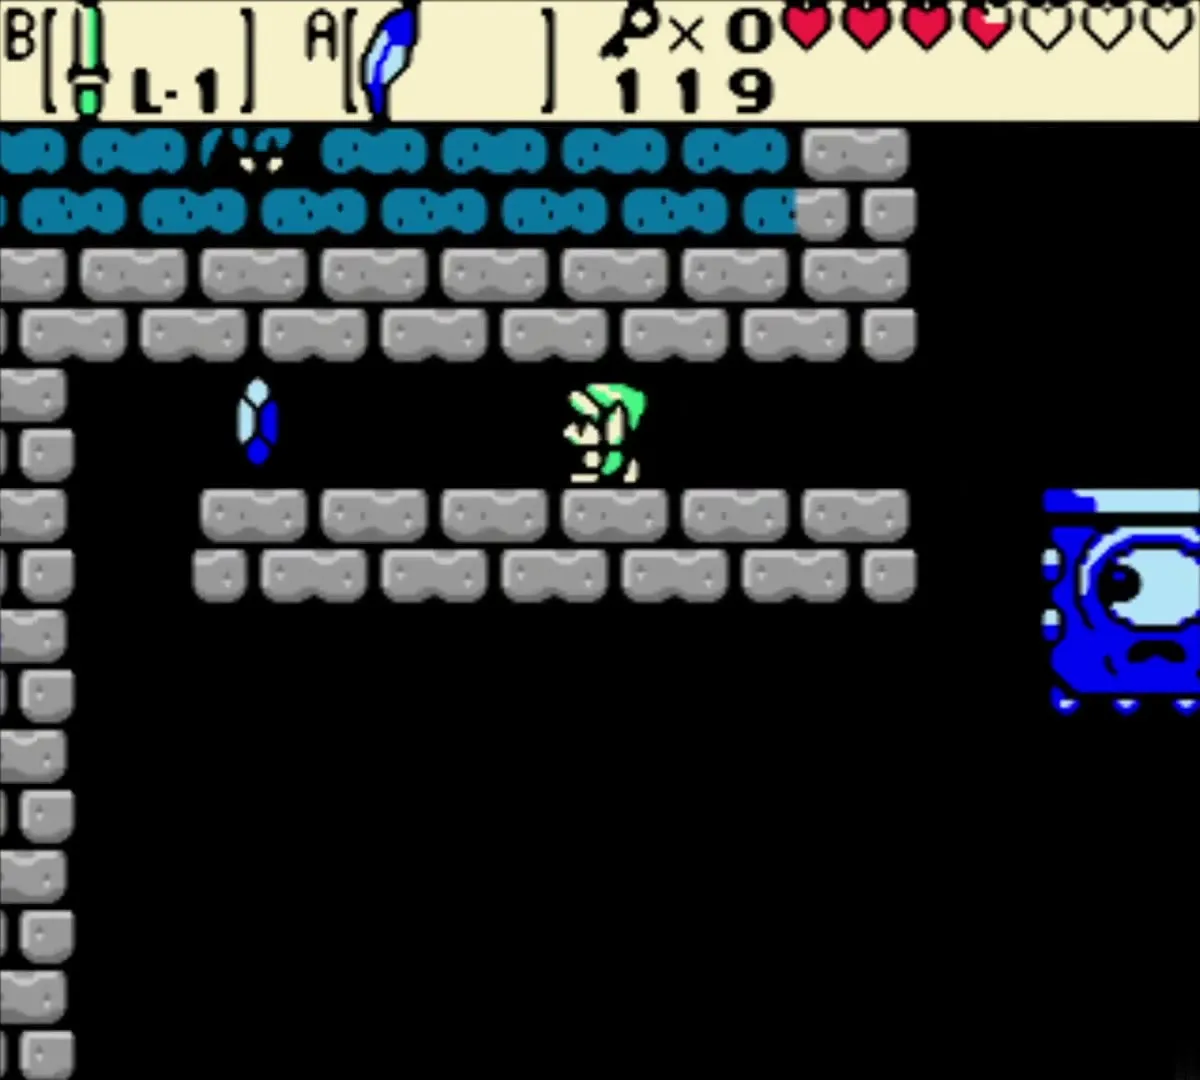
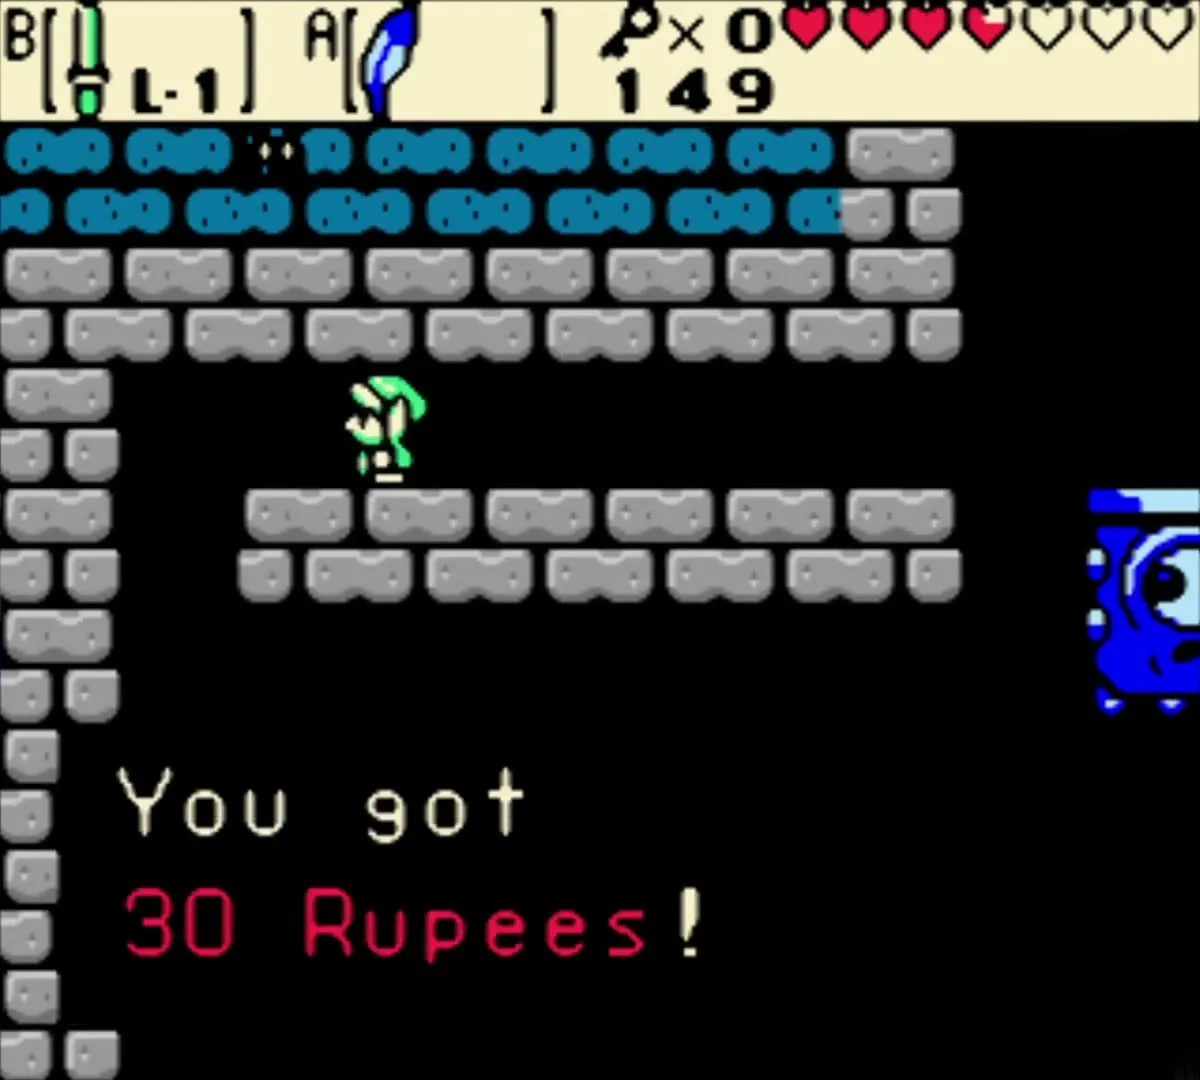
30 Rupees above the Thwomp
Go back toward the left and hop up the first step. When the Thwomp descends, jump onto it. When it rises, jump left onto the small ledge for 30 Rupees. The ledge on the right of the Thwomp is empty.
Colour tiles, minecarts and Small Keys 3 and 4
Jump the colour tile
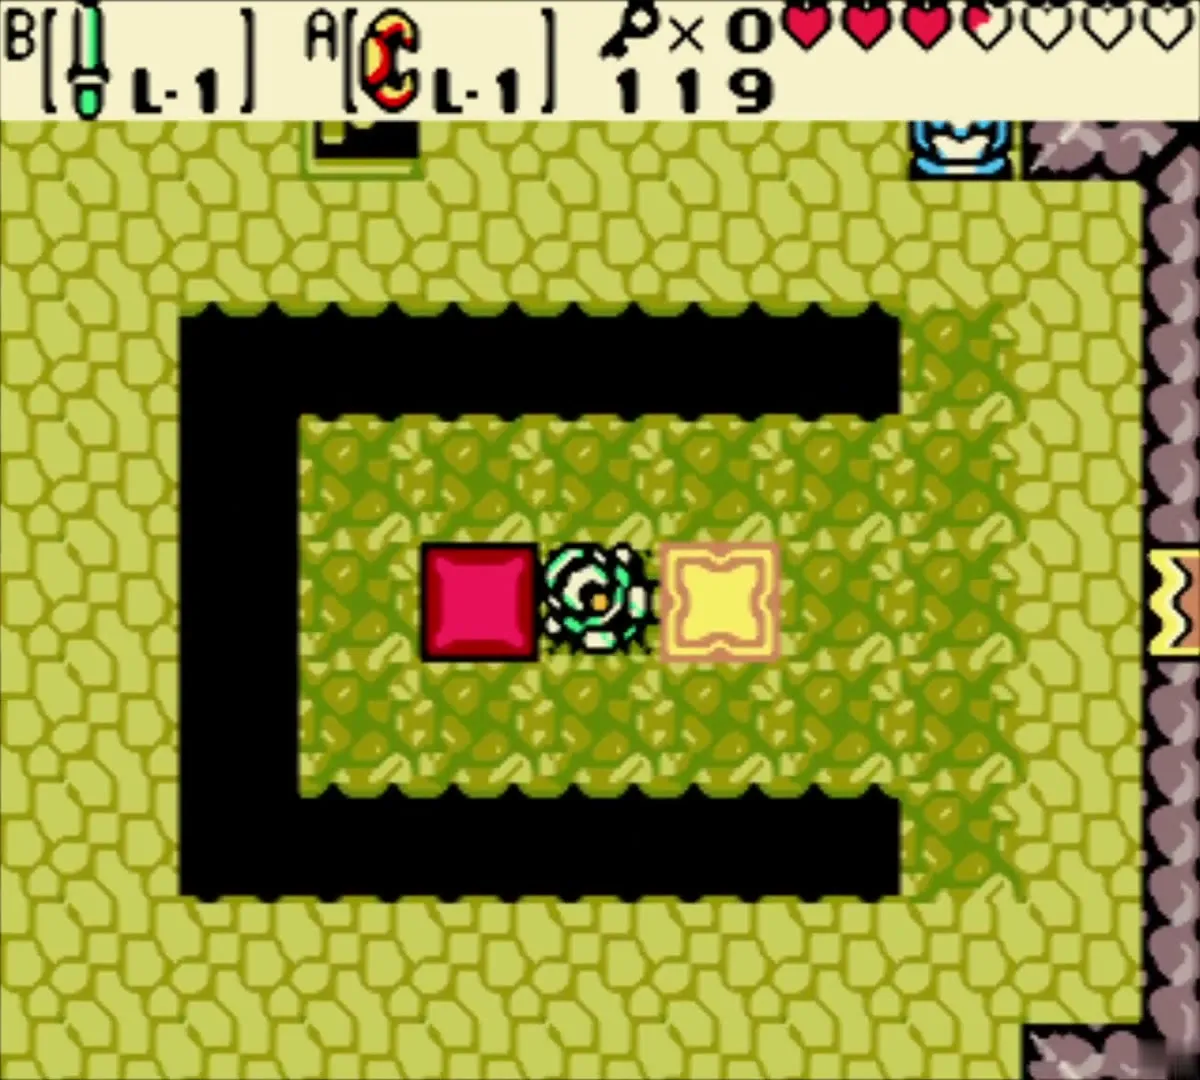
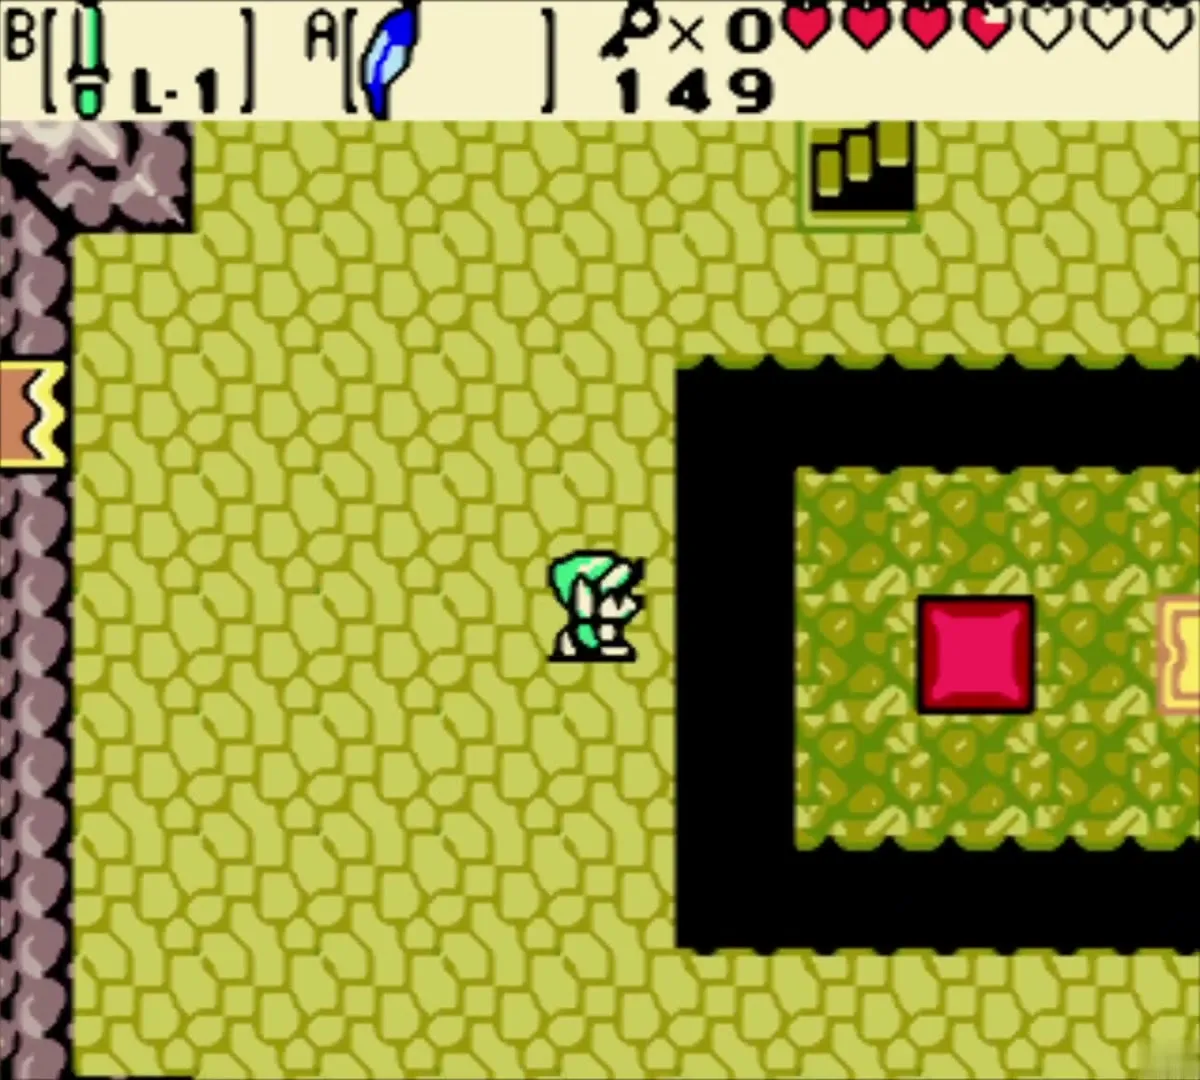
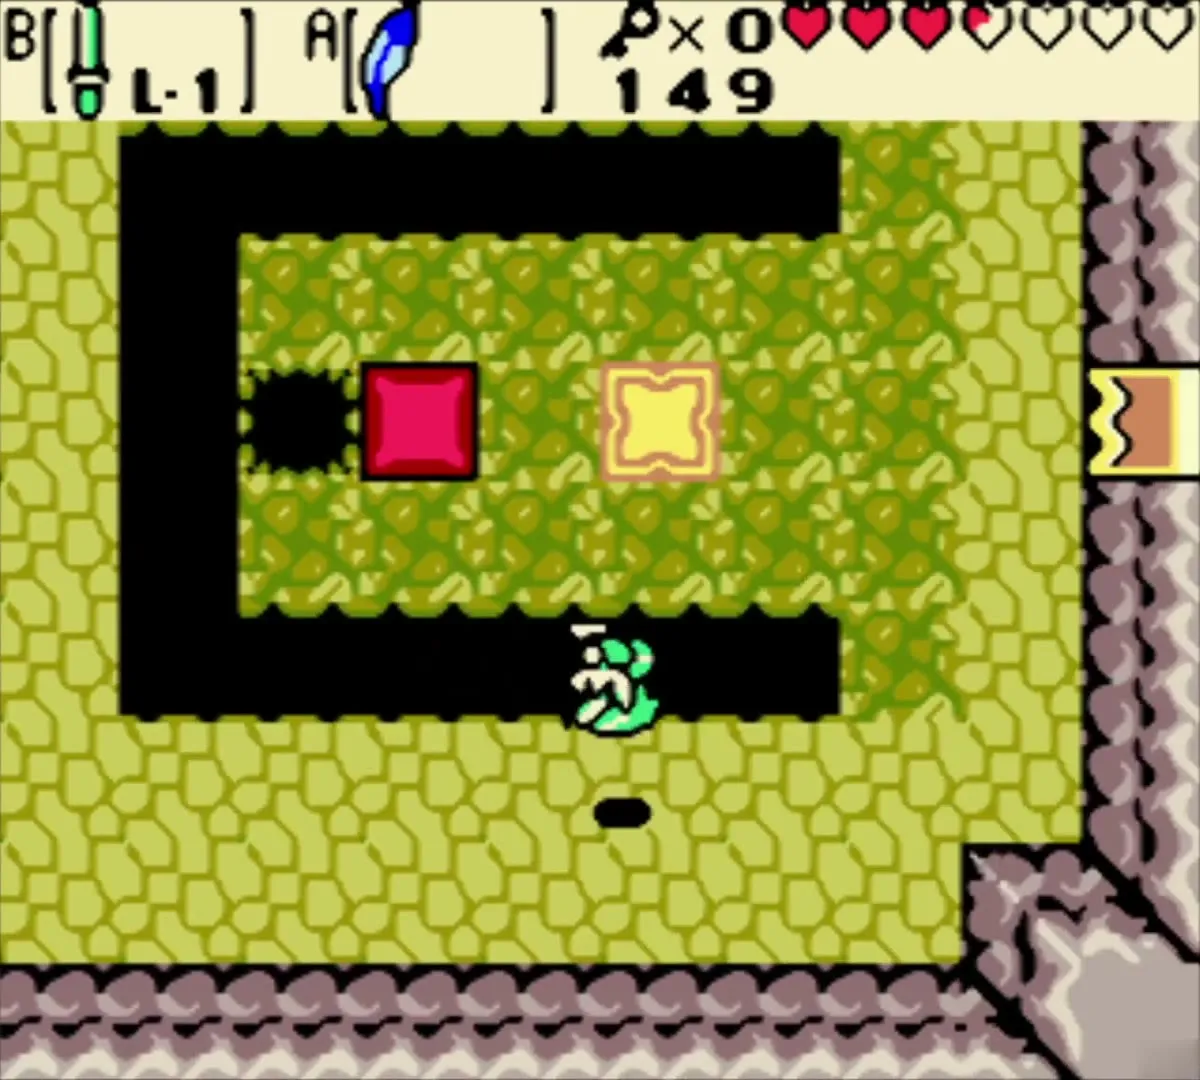
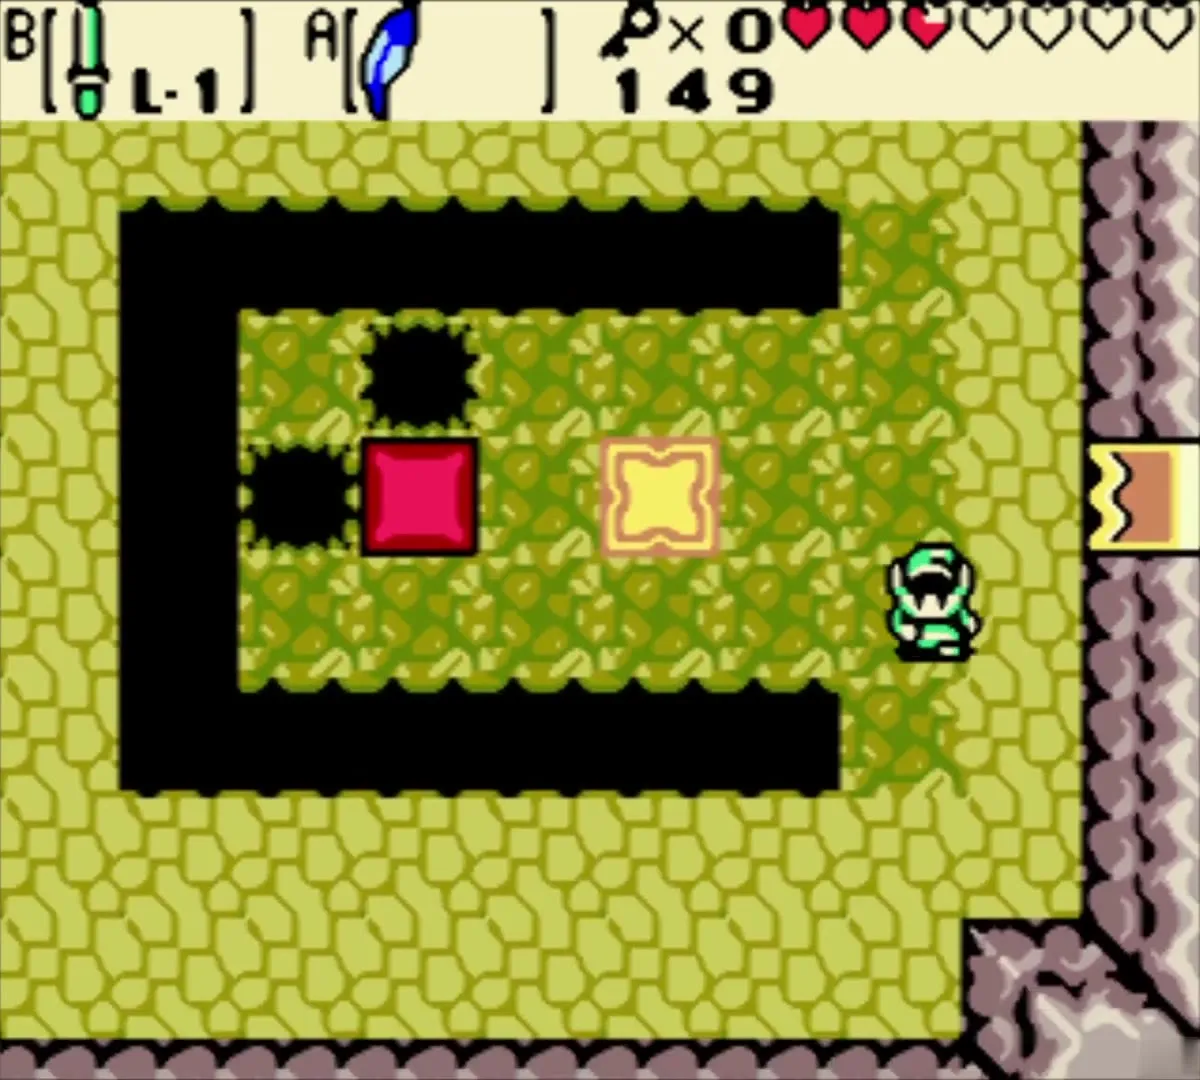
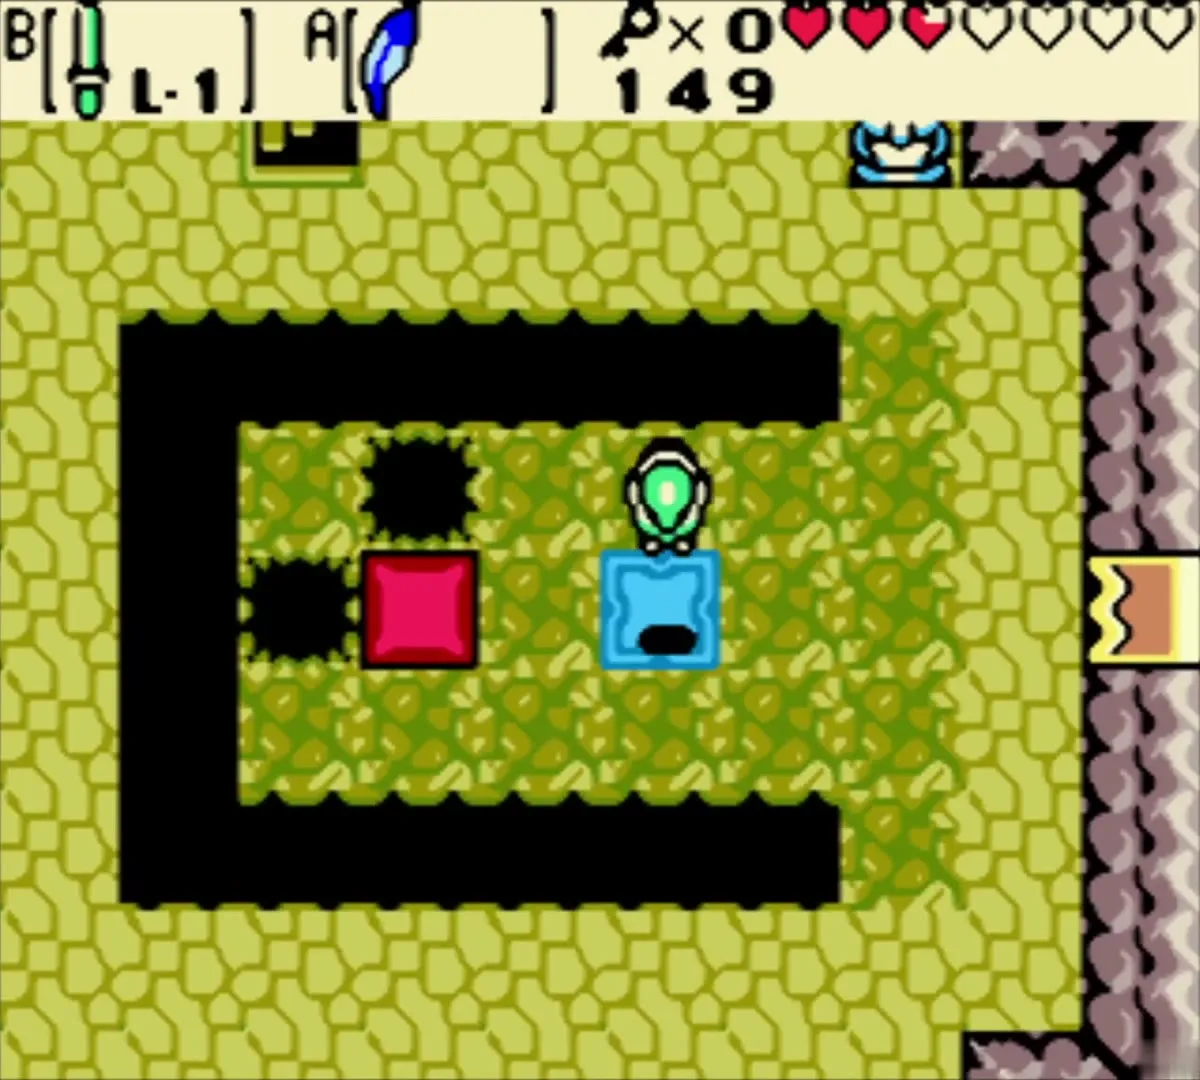
Climb down the left ladder to the colour-tile room. The red tile on the floor shows the colour you need. Jump over the yellow tile twice (yellow, blue, red) so the two match, and the east door opens. Do not linger: the ground crumbles if you stand around.
Minecart switch and Small Key 3
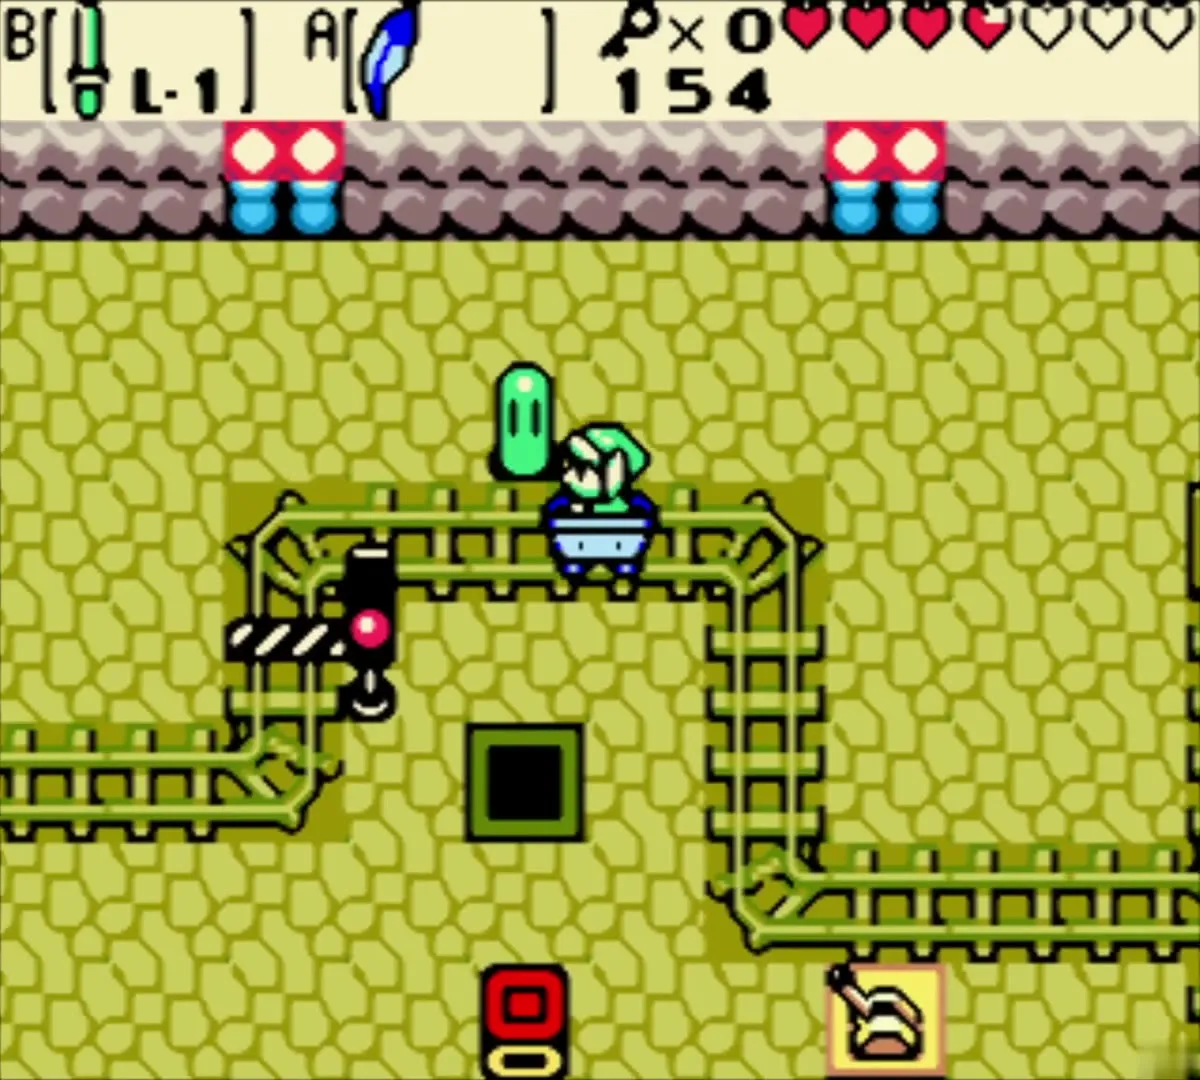
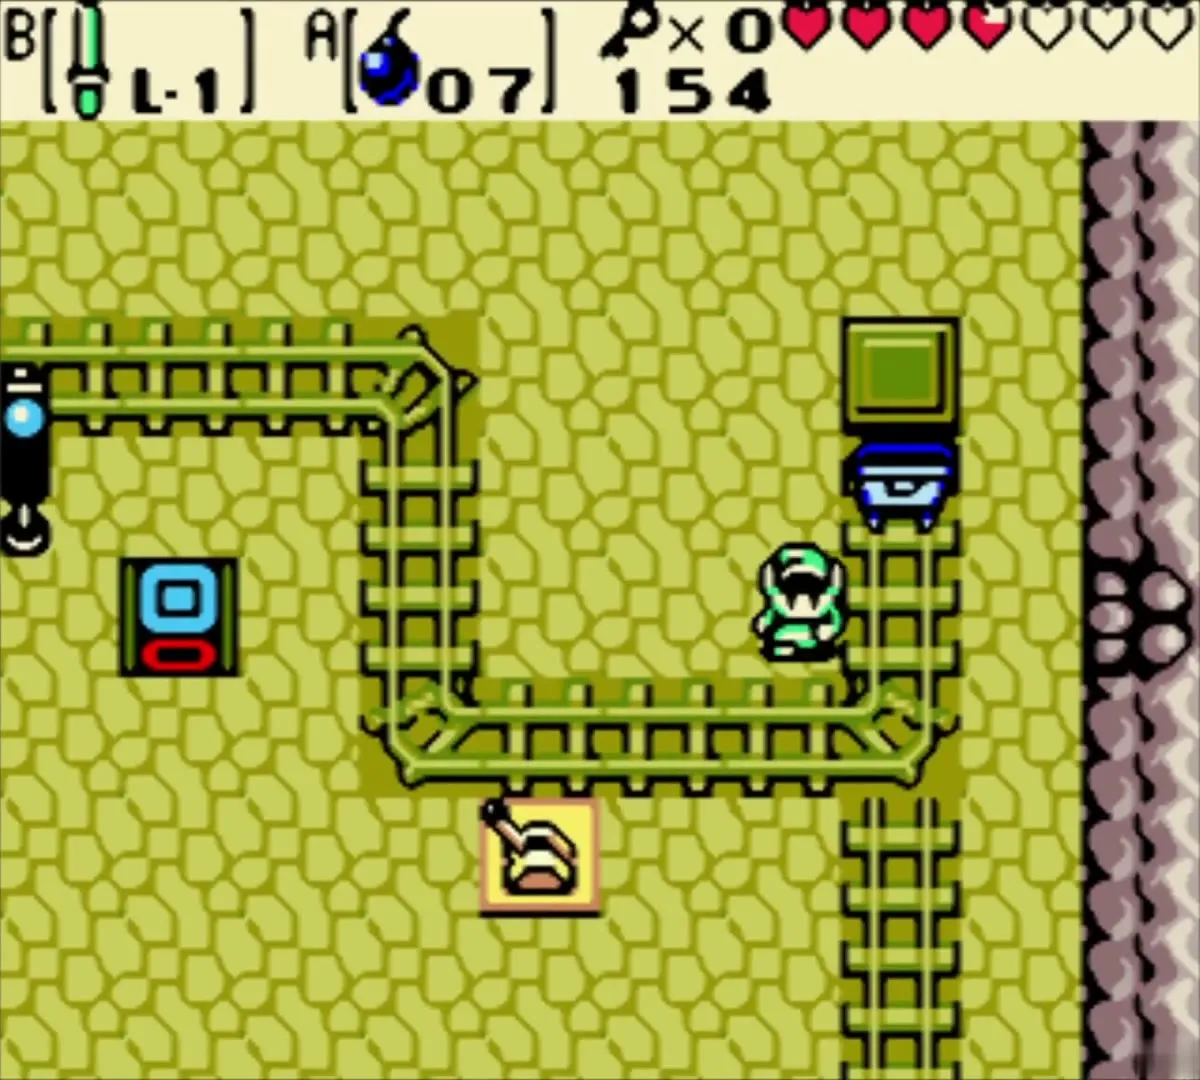
Jump the gaps to the minecart and board it. While you ride, hit the track switch with your sword so you stay in the same room instead of leaving it. Bomb the cracked east wall, kill the Stalfos and Keese behind it and open the chest that appears for Small Key 3.
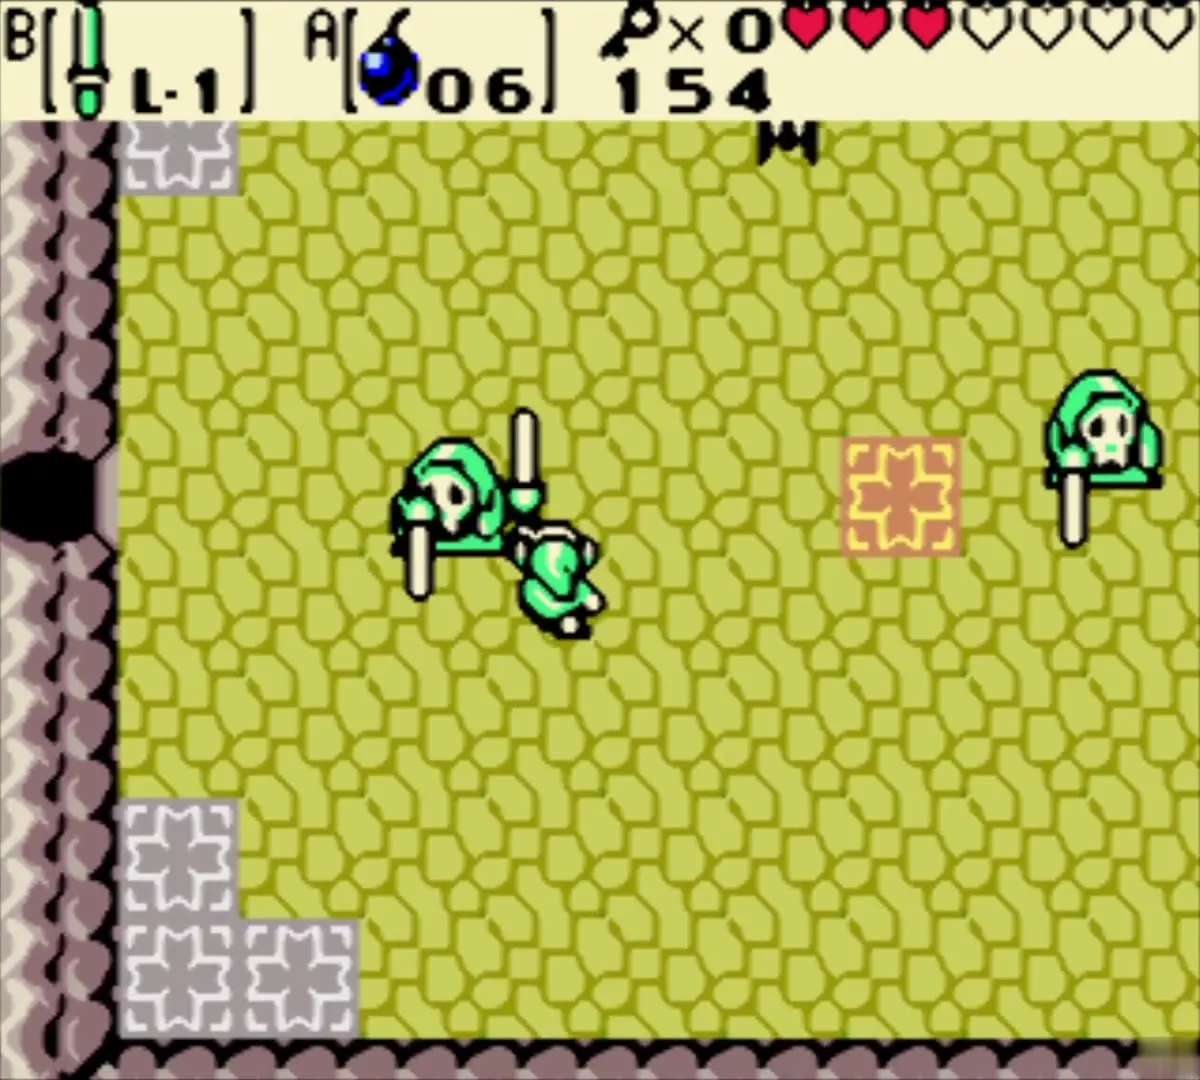
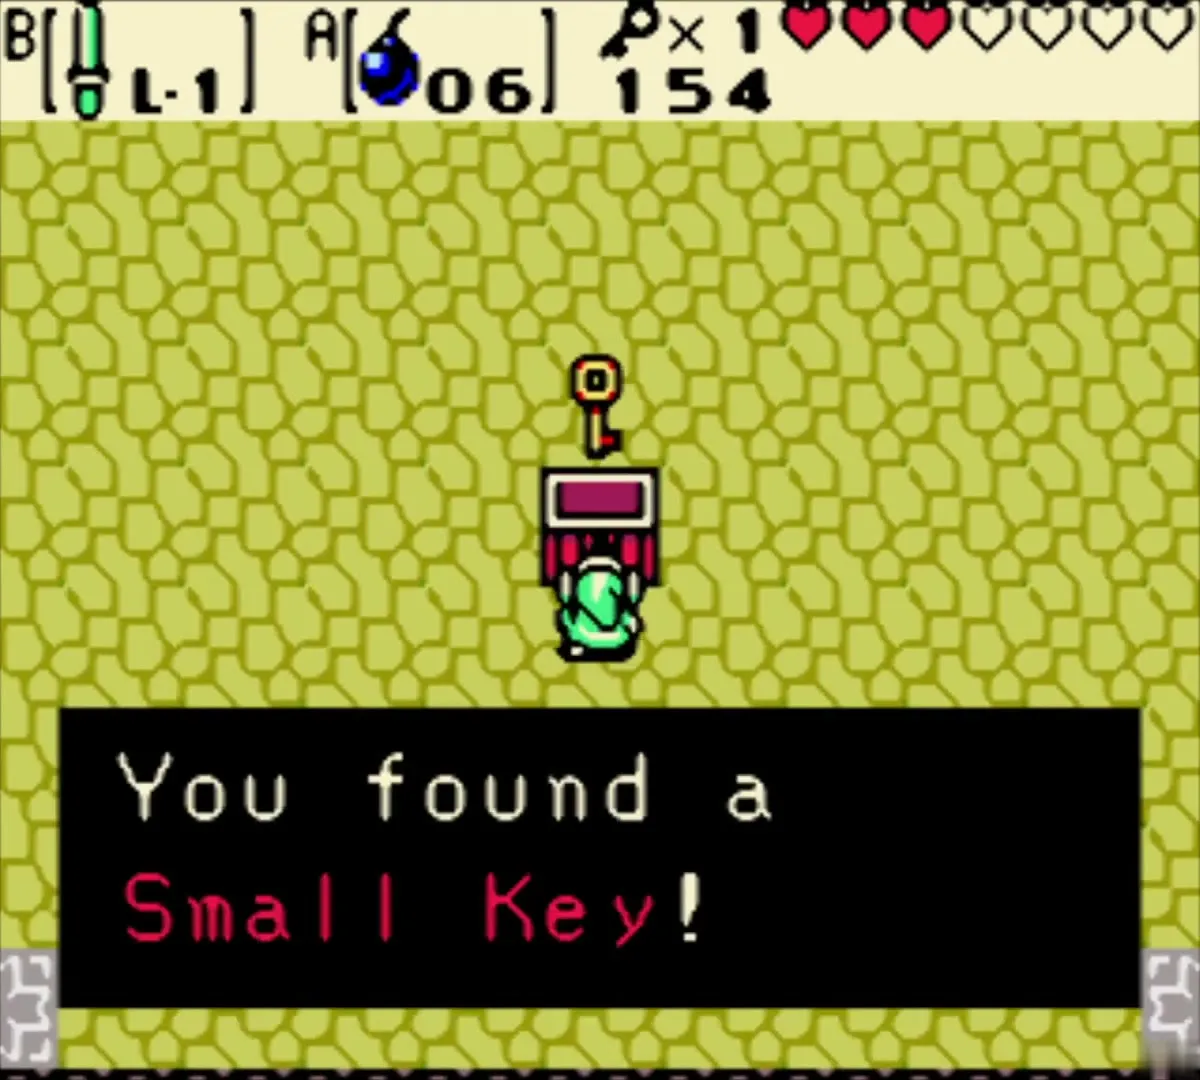
Cube, Peahats and Small Key 4
Return to the cart room and push the cube around until it fills the marked square and the barrier opens. Ride the minecart again, then deal with the Peahats once they land. In the tile room, jump over the right-hand tiles until they match the colours on the left. Small Key 4 falls from the ceiling.
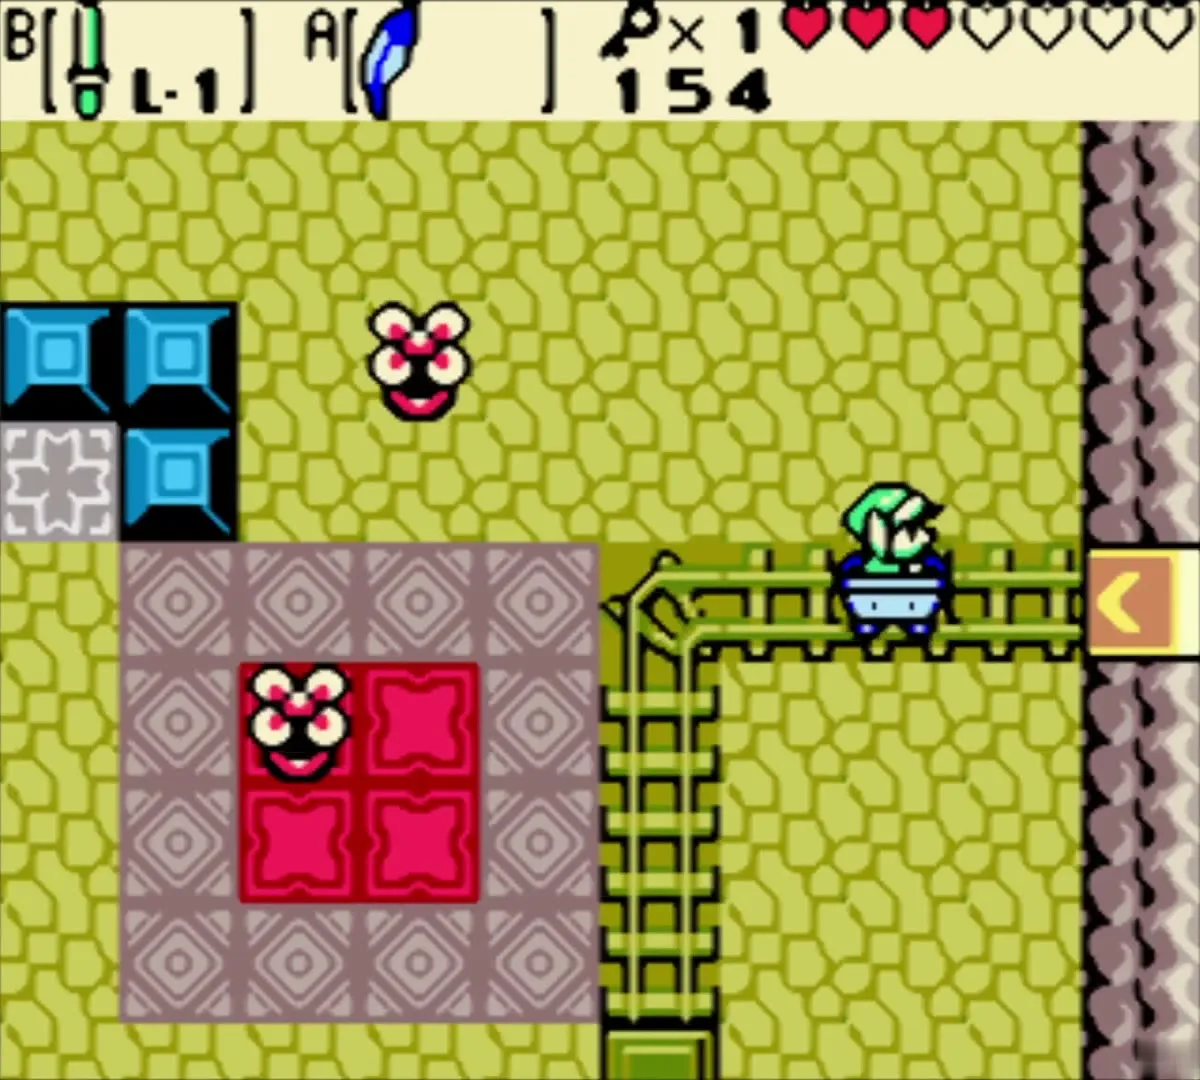
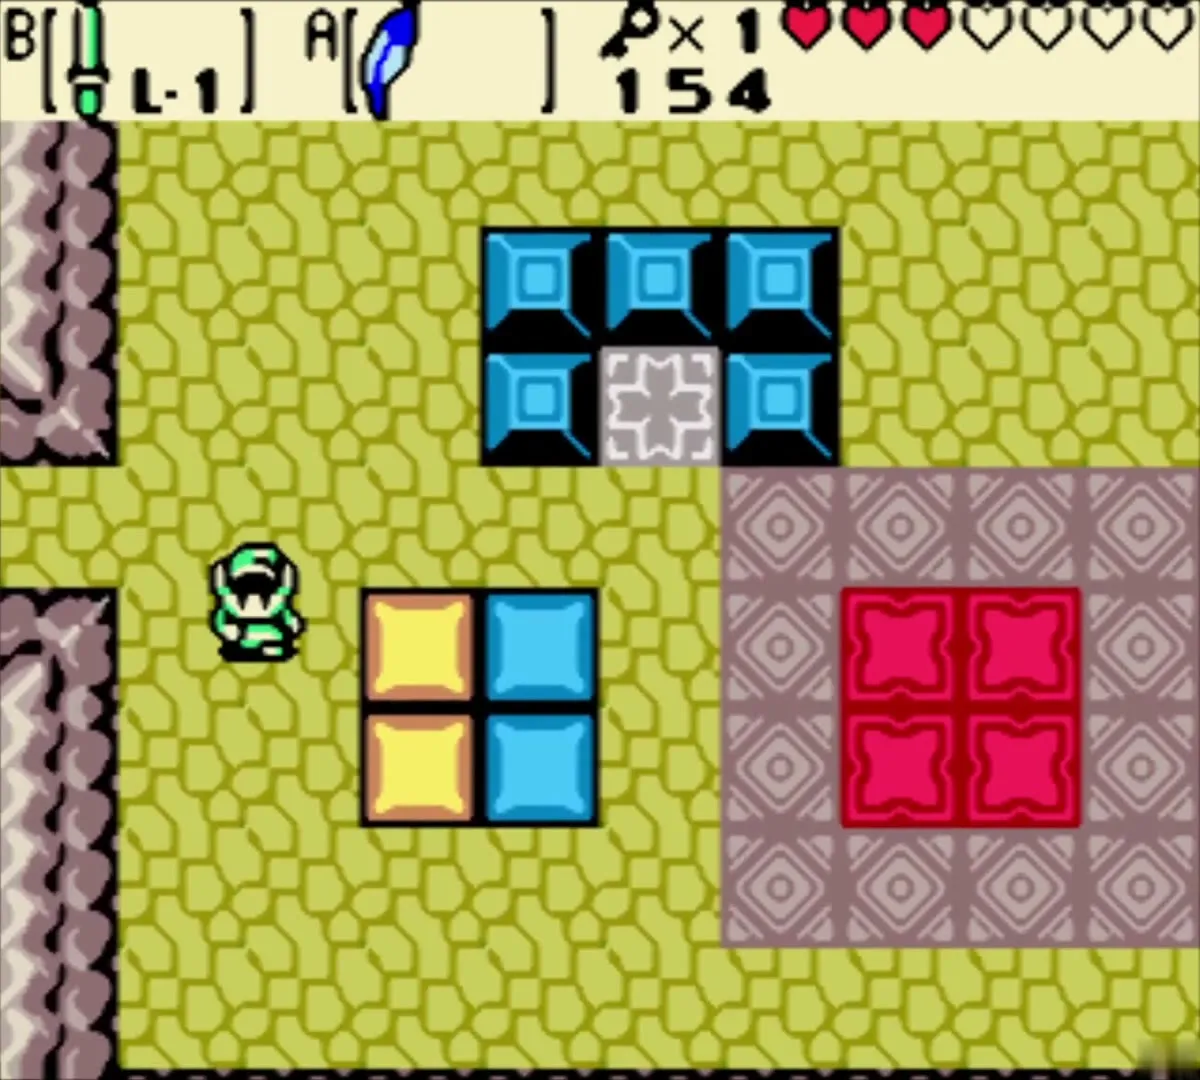
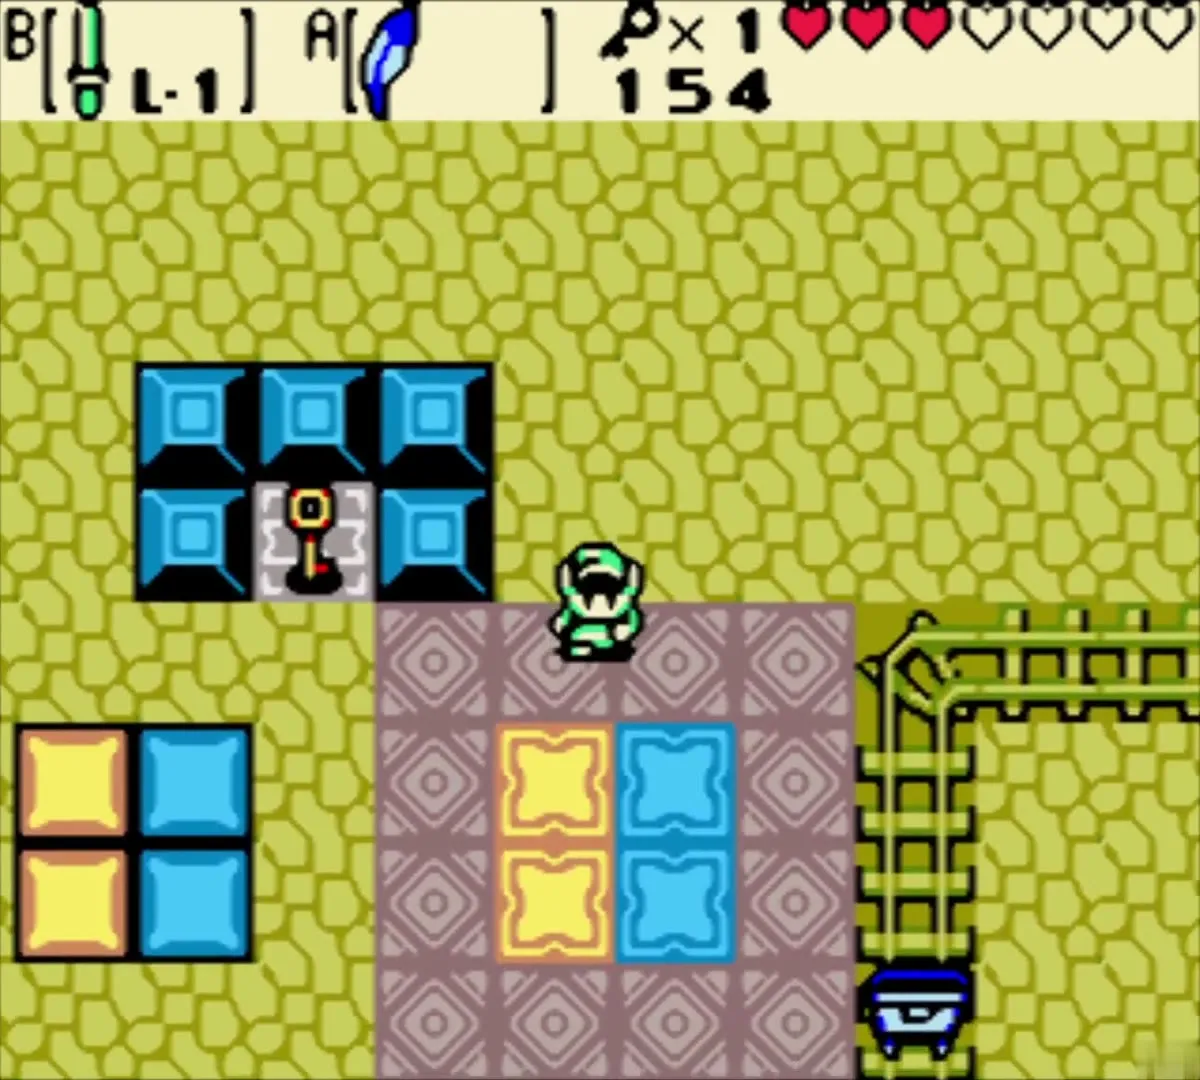
Gasha Seed and the pot room

Key block and the Gasha Seed chest
Walk west and up the stairs, then open the key block on the right with Small Key 4. Skip the minecart there. Hop off the left ledge, go south and jump the holes. Jump the colour field until it turns blue to open the gate, then board the cart.
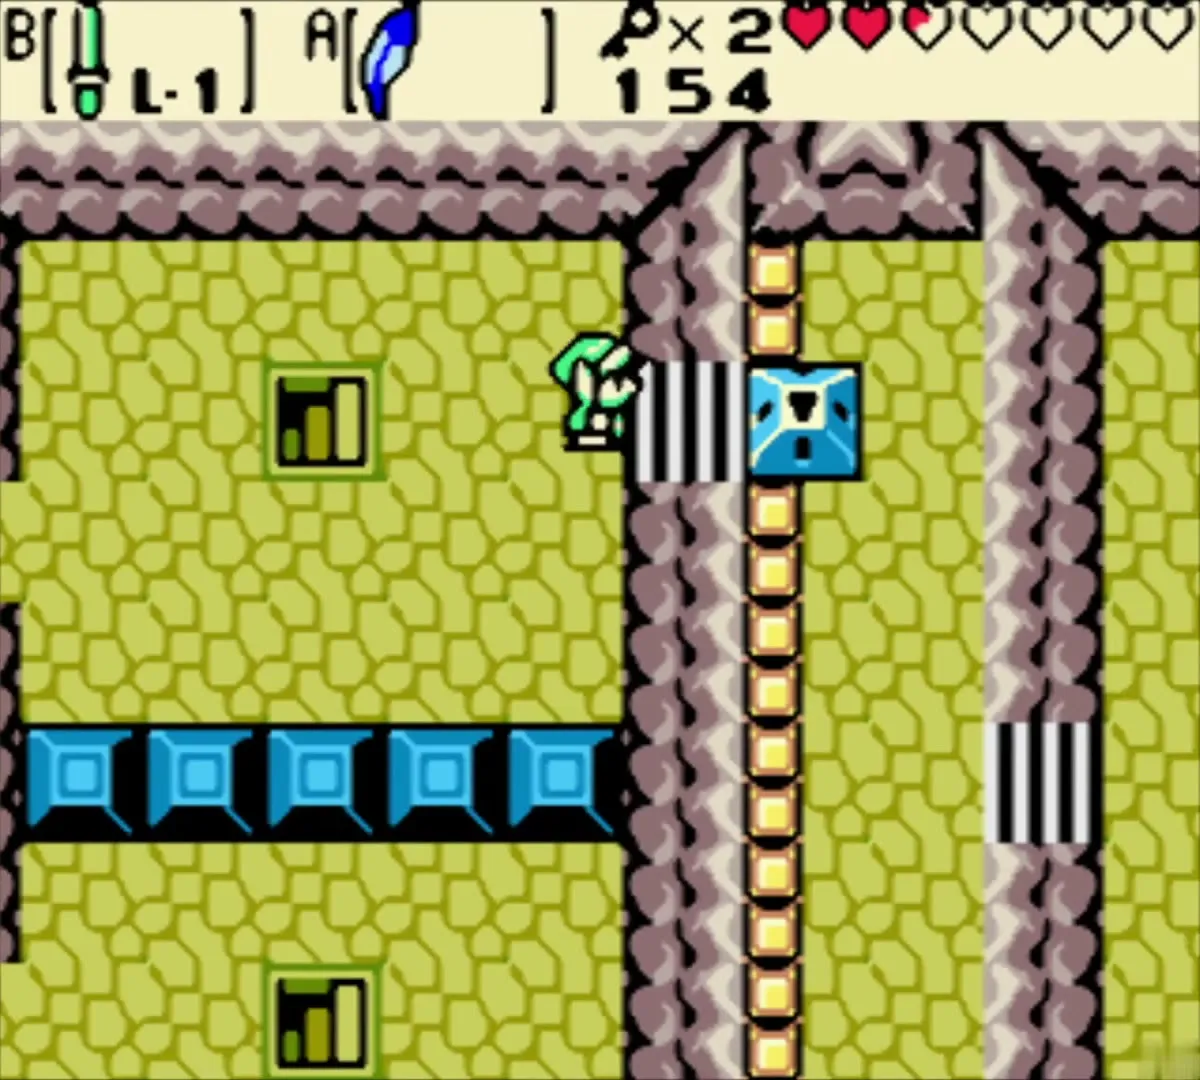
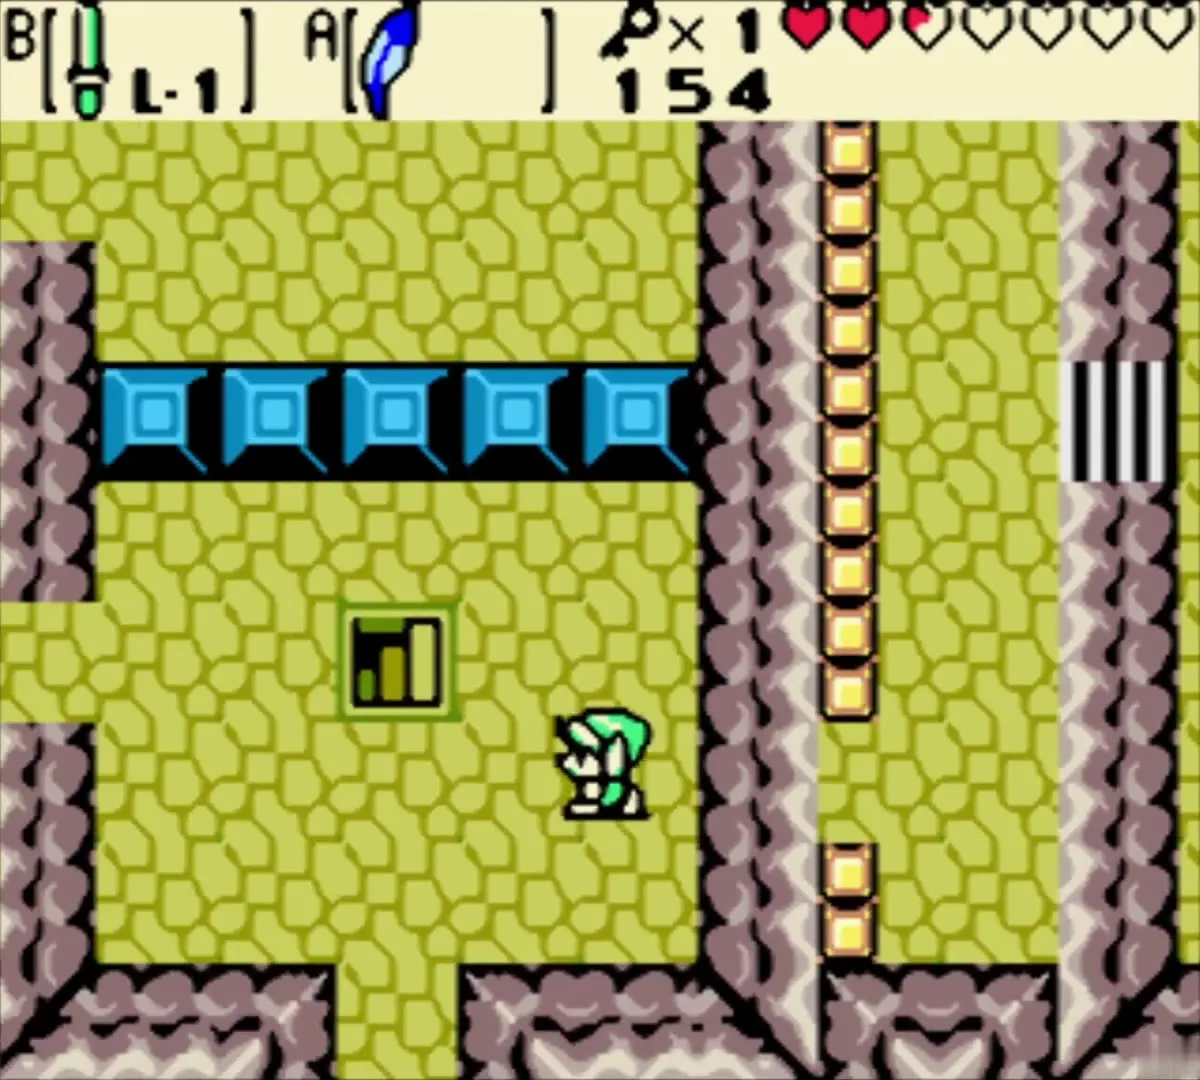
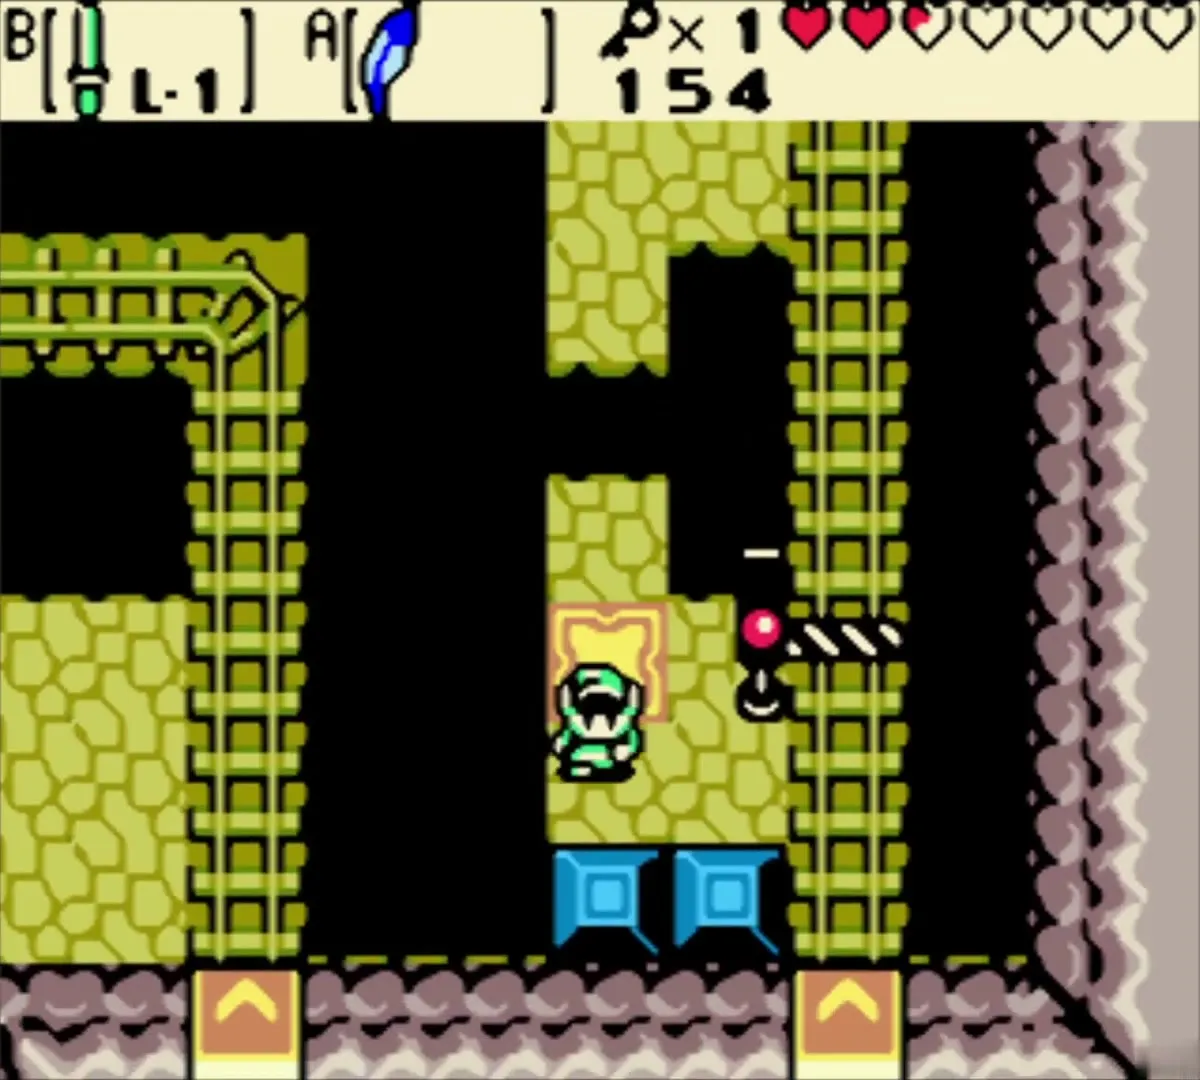
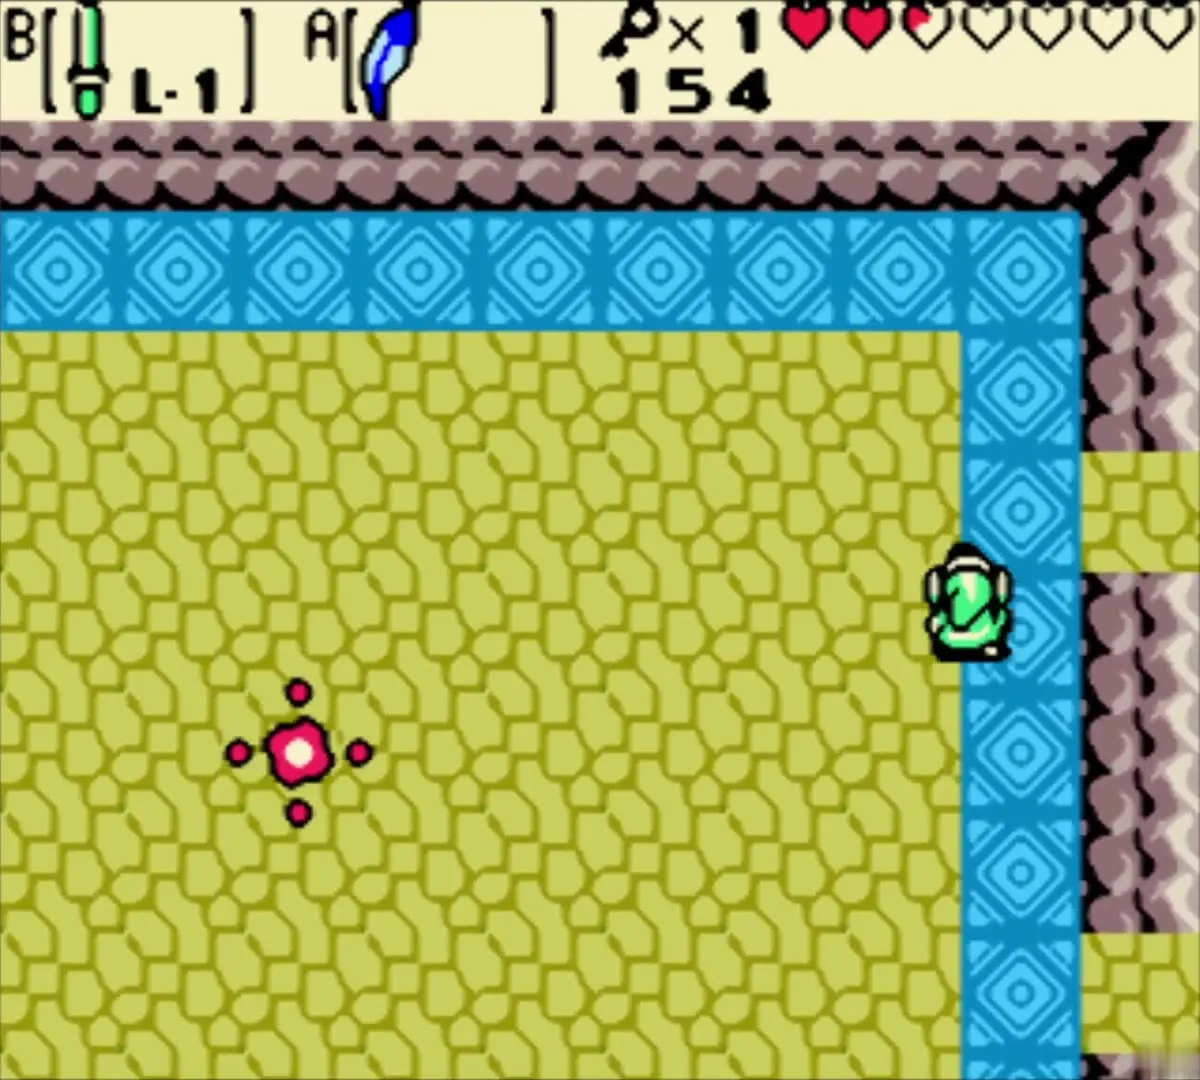
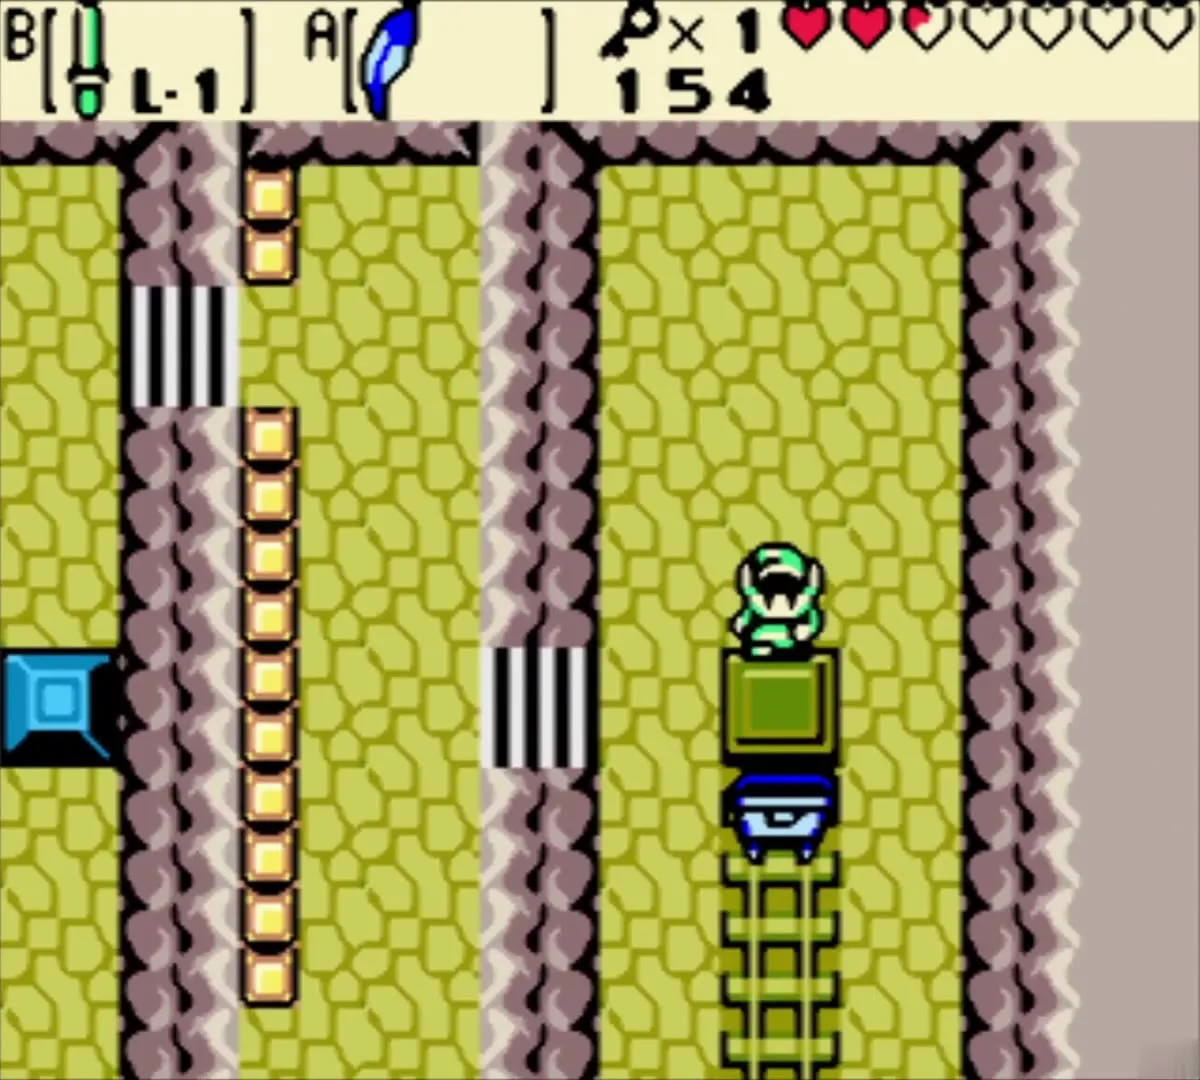
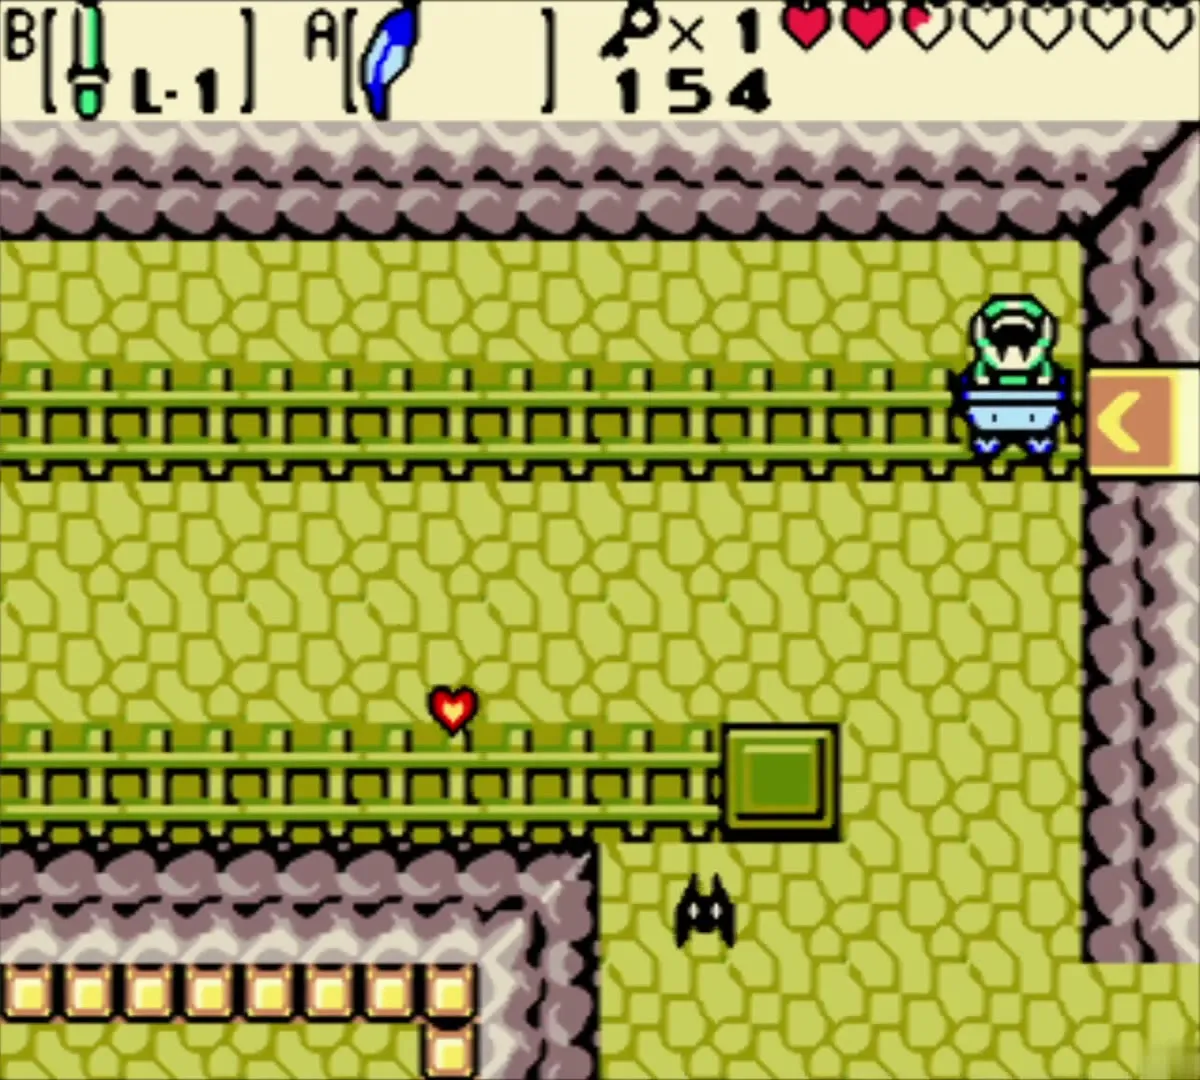
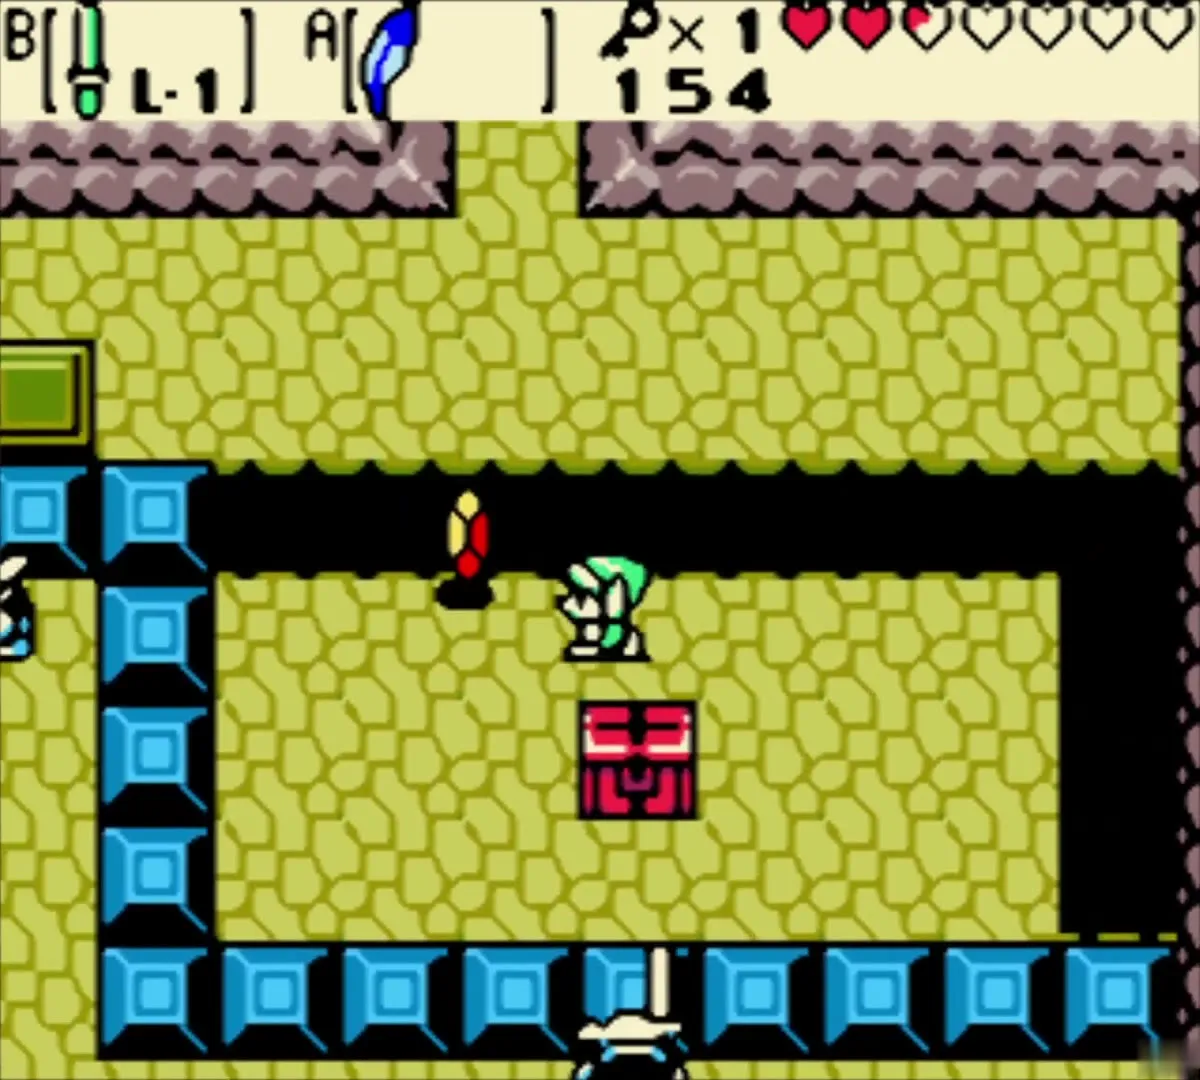
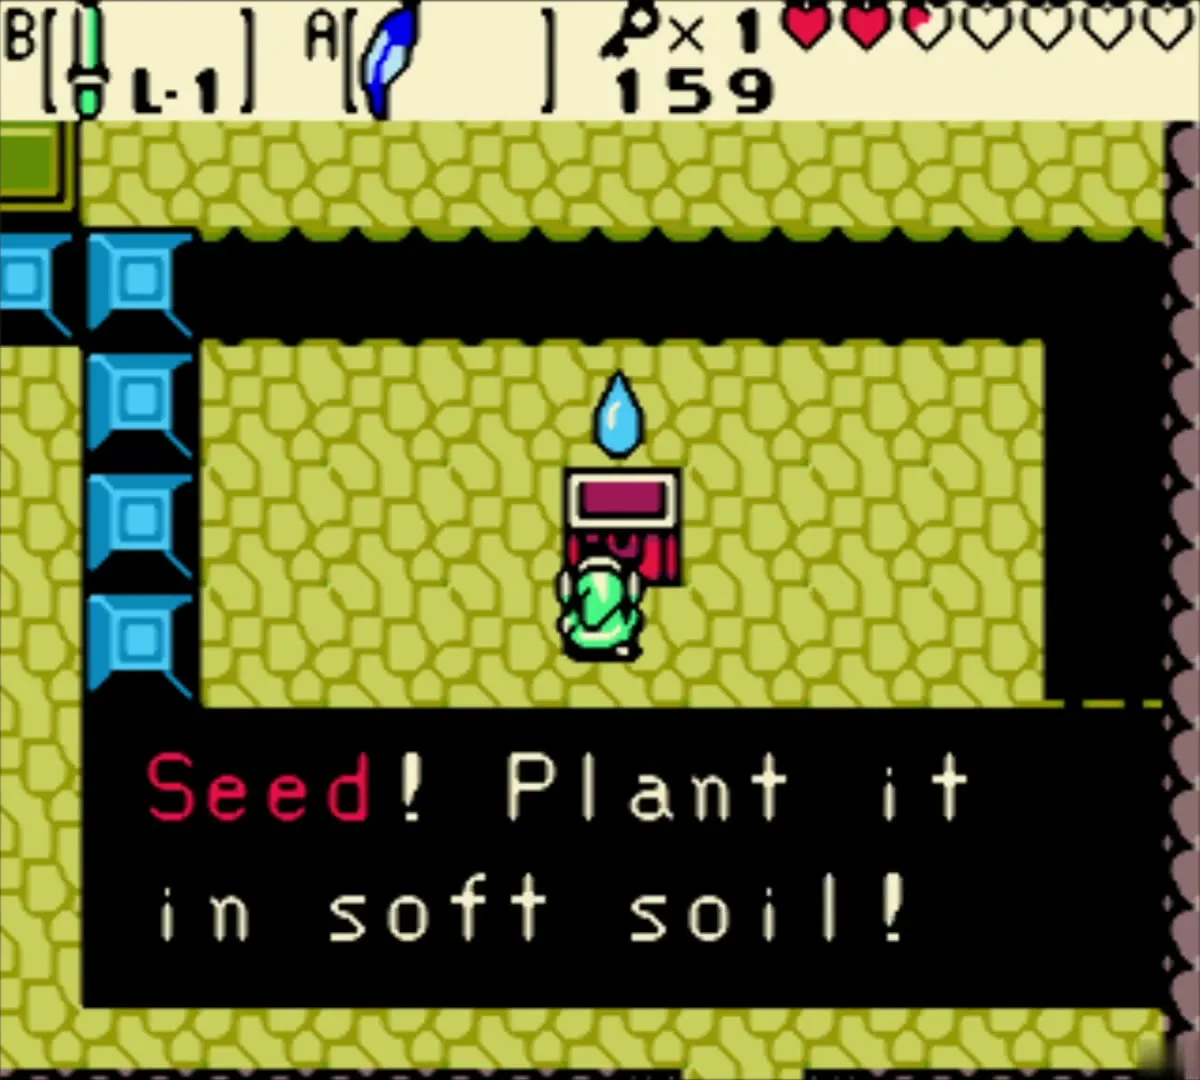
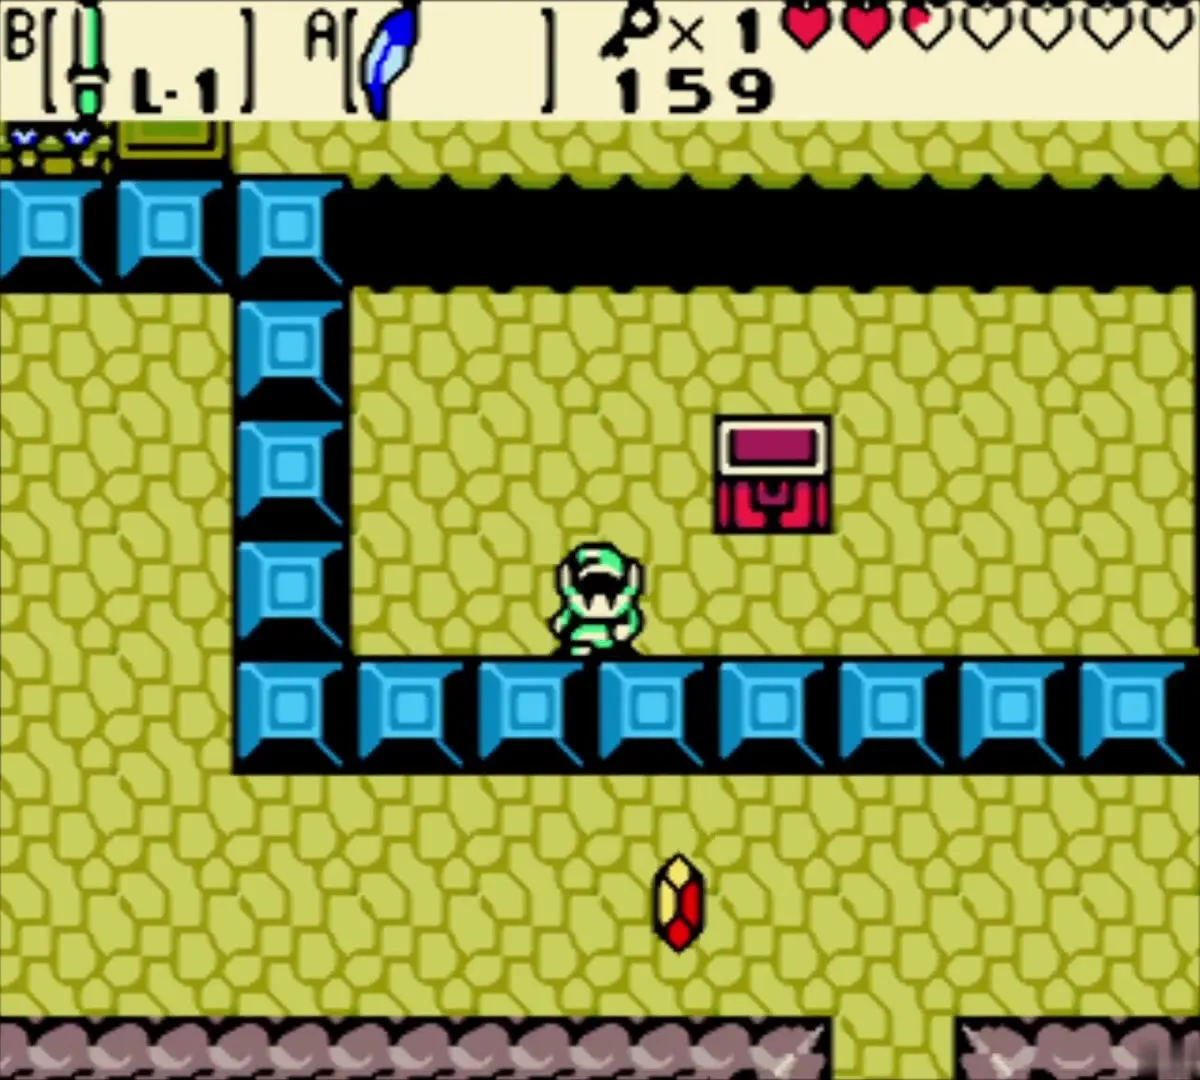
Jump the gap to the chest. Inside is a Gasha Seed; plant it in soft soil to grow a Gasha Nut later (see Gasha Seeds). Jump back across and leave by the north exit.

Pot puzzle with the Power Bracelet
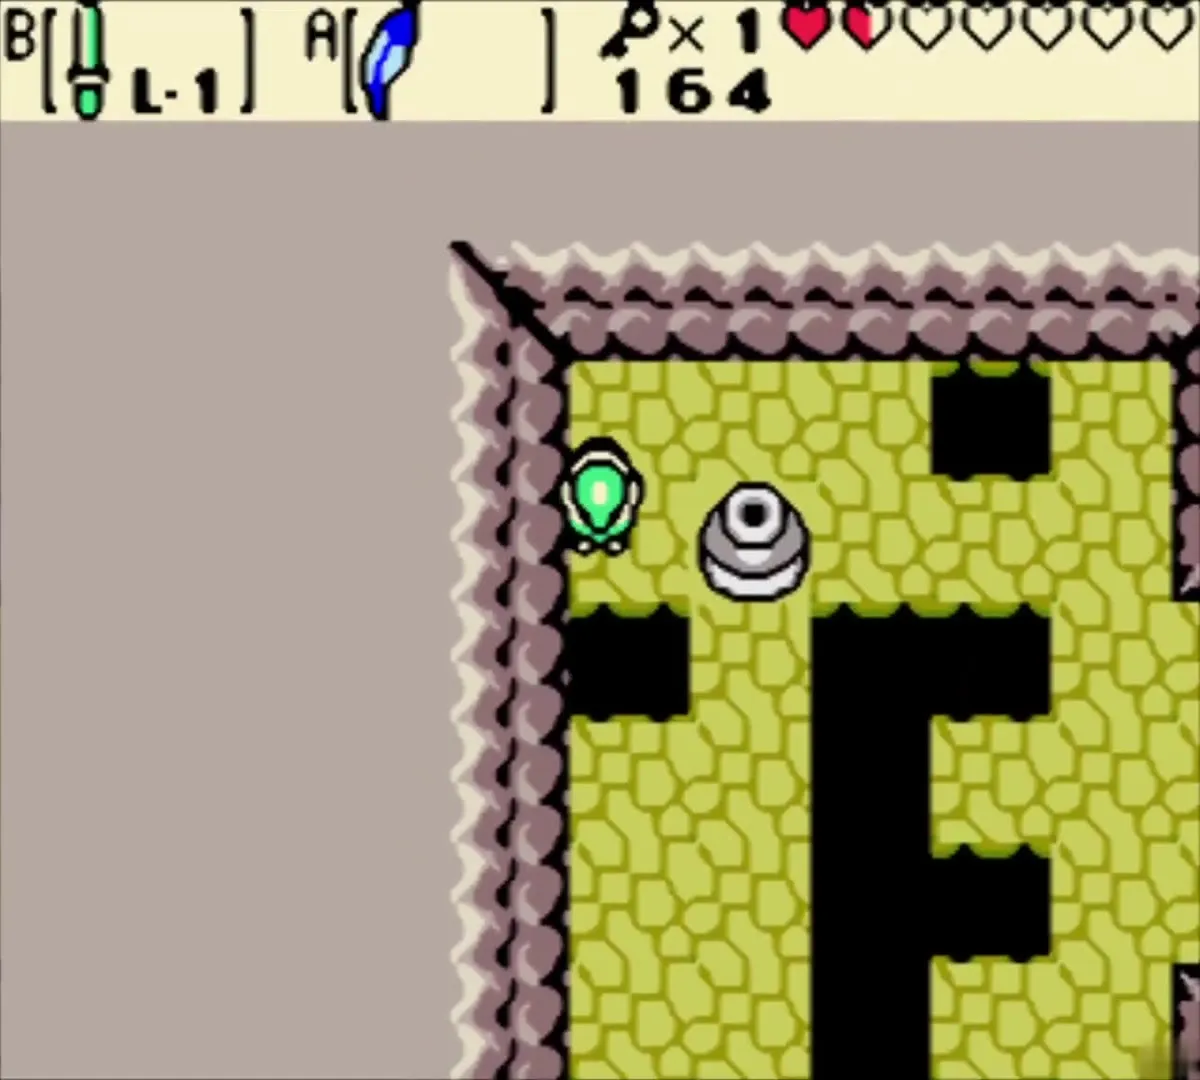
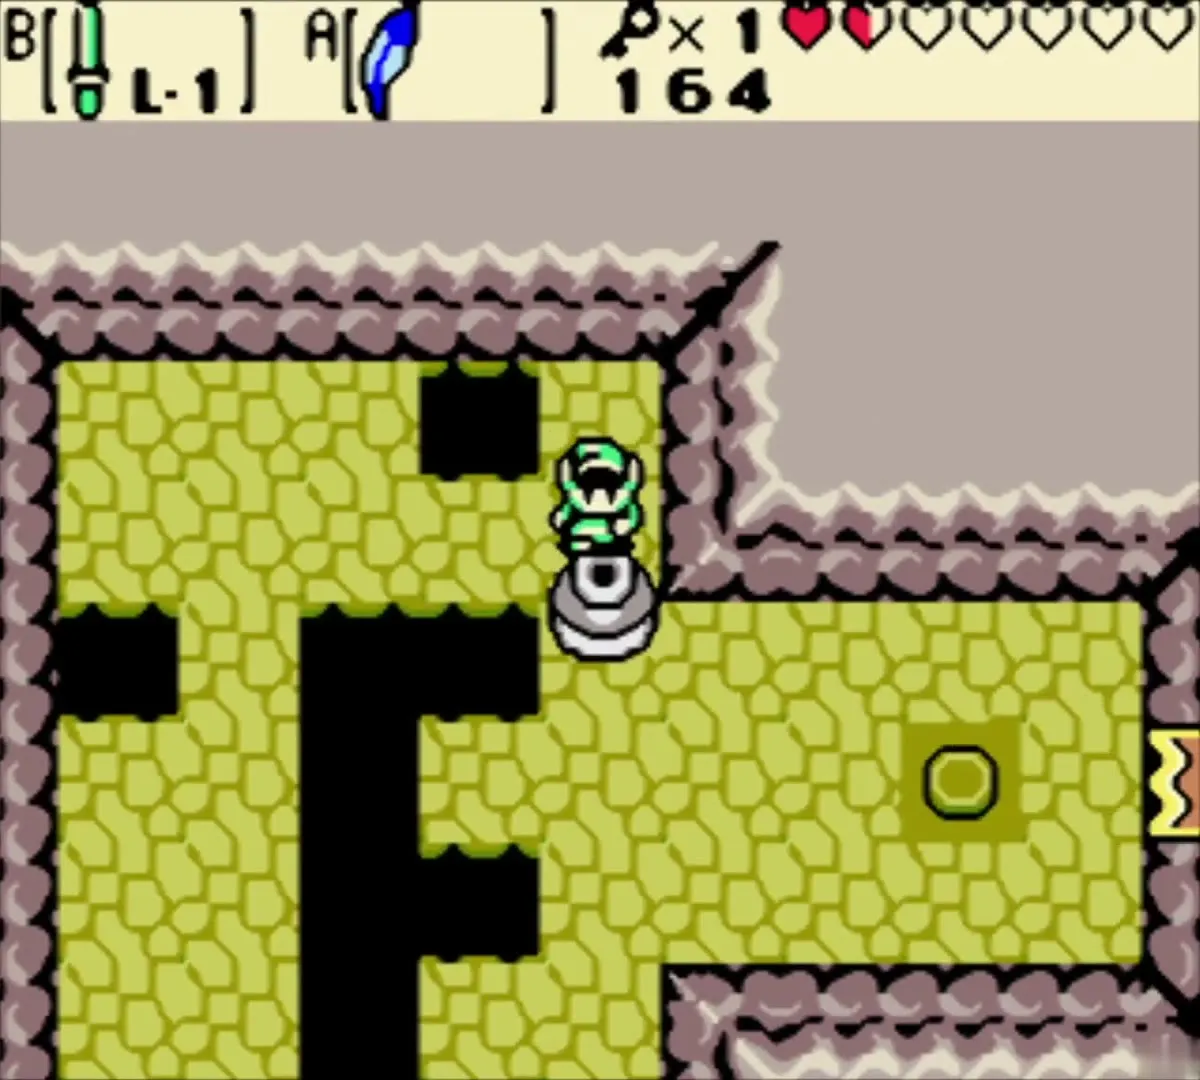
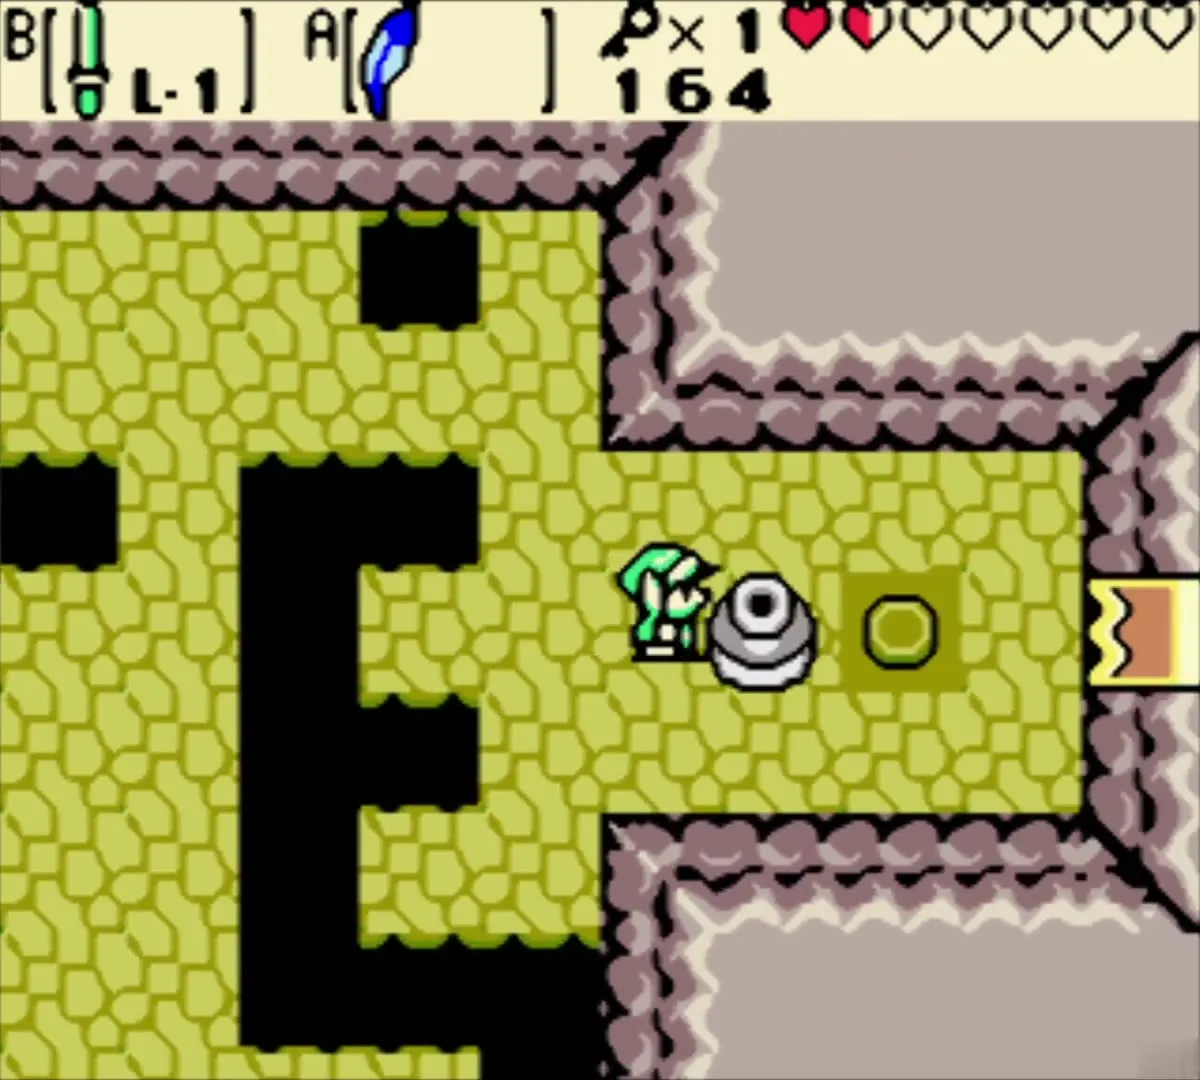
In the north room, beat the Pig Warriors and the Peahat, then lift every jar except the upper-right one with the Power Bracelet. Push that one toward the floor switch, using the Roc’s Feather to hop behind it when you need to change direction. When the switch is down, the east door opens.
Statue puzzle, Gel room and Boss Key
Match the statues for Small Key 5
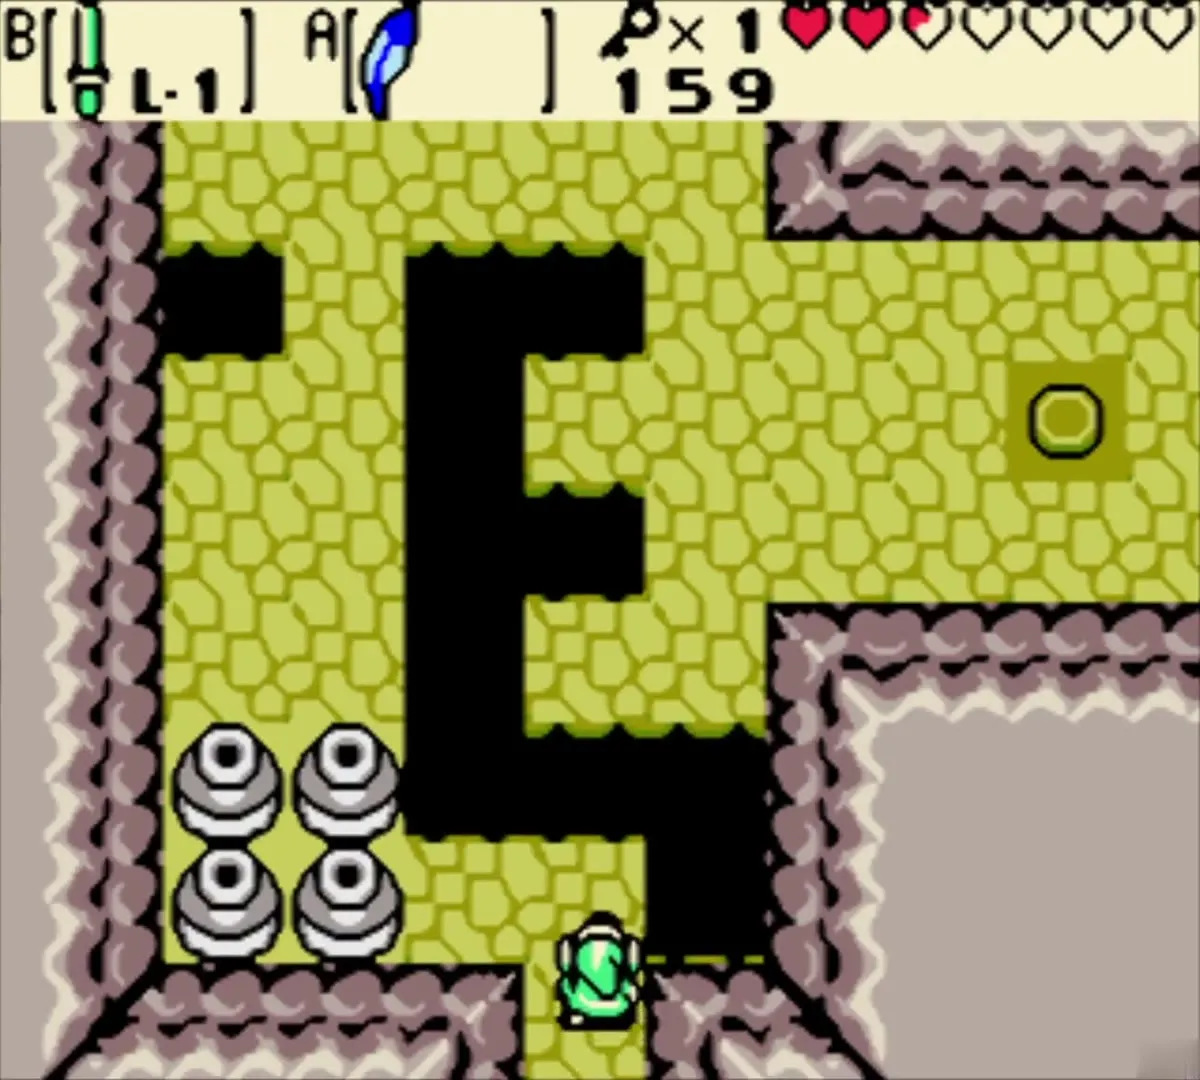
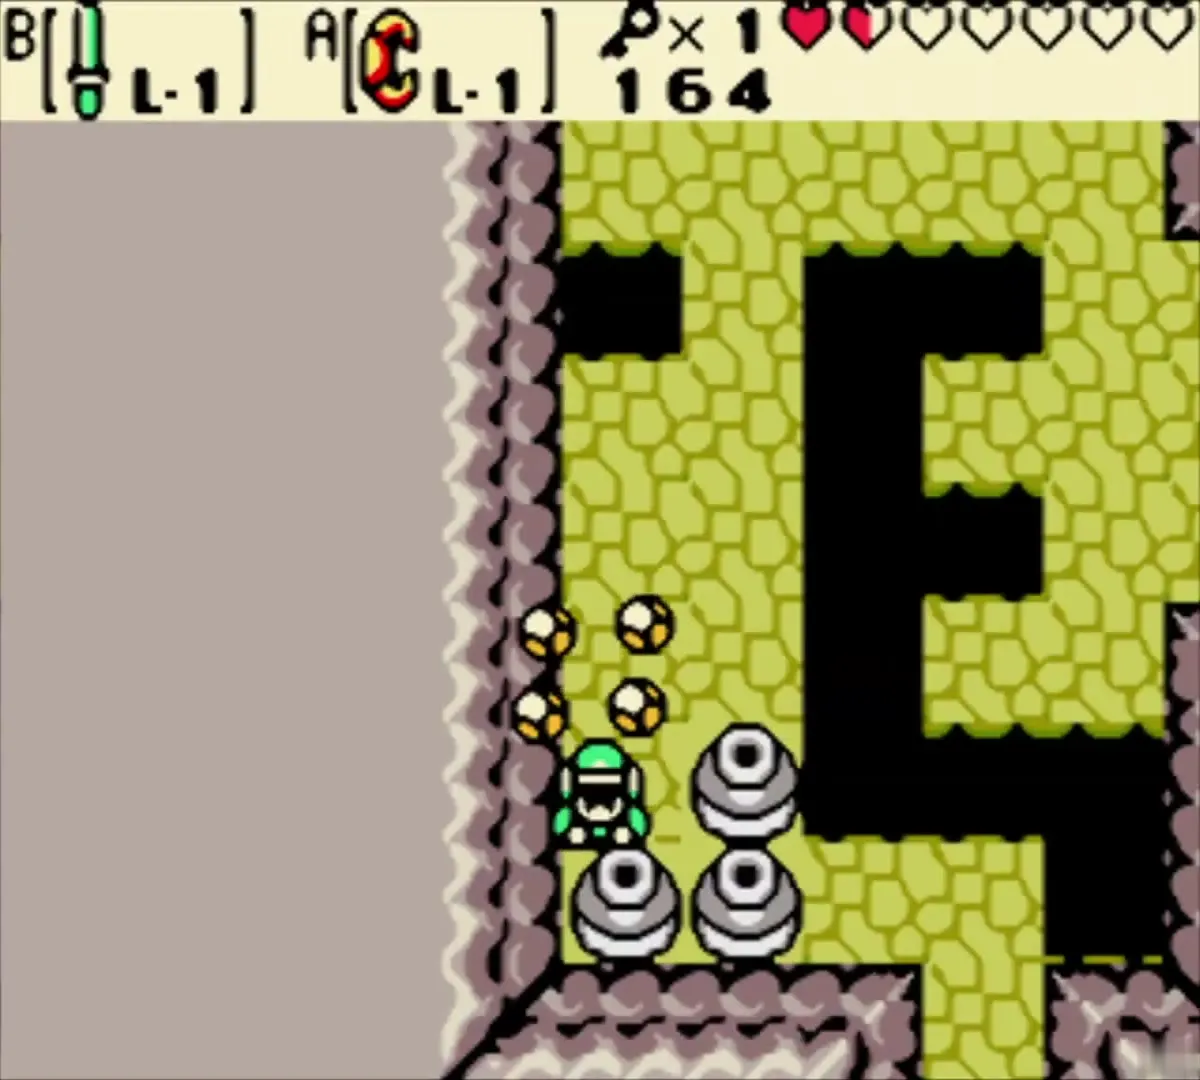
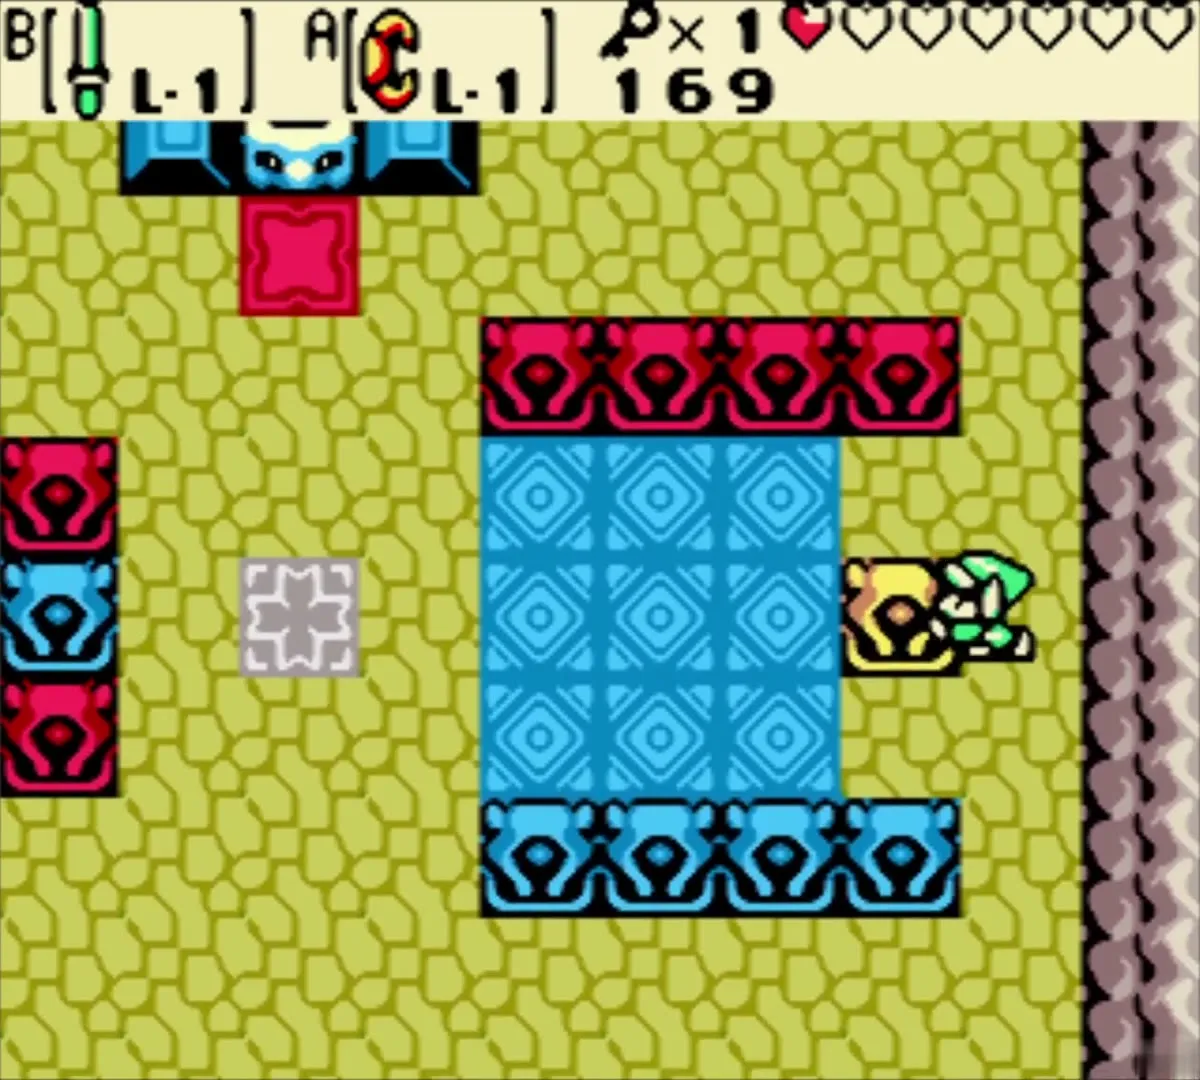
In the south room, defeat the Pig Warriors. The coloured tile on the floor decides which statues can move. Hop to yellow and push the yellow statue into the middle. Hop to blue and place the blue statues around it. Hop to red and slide the red statues into the corners. Small Key 5 drops once the pattern copies the one on the left.
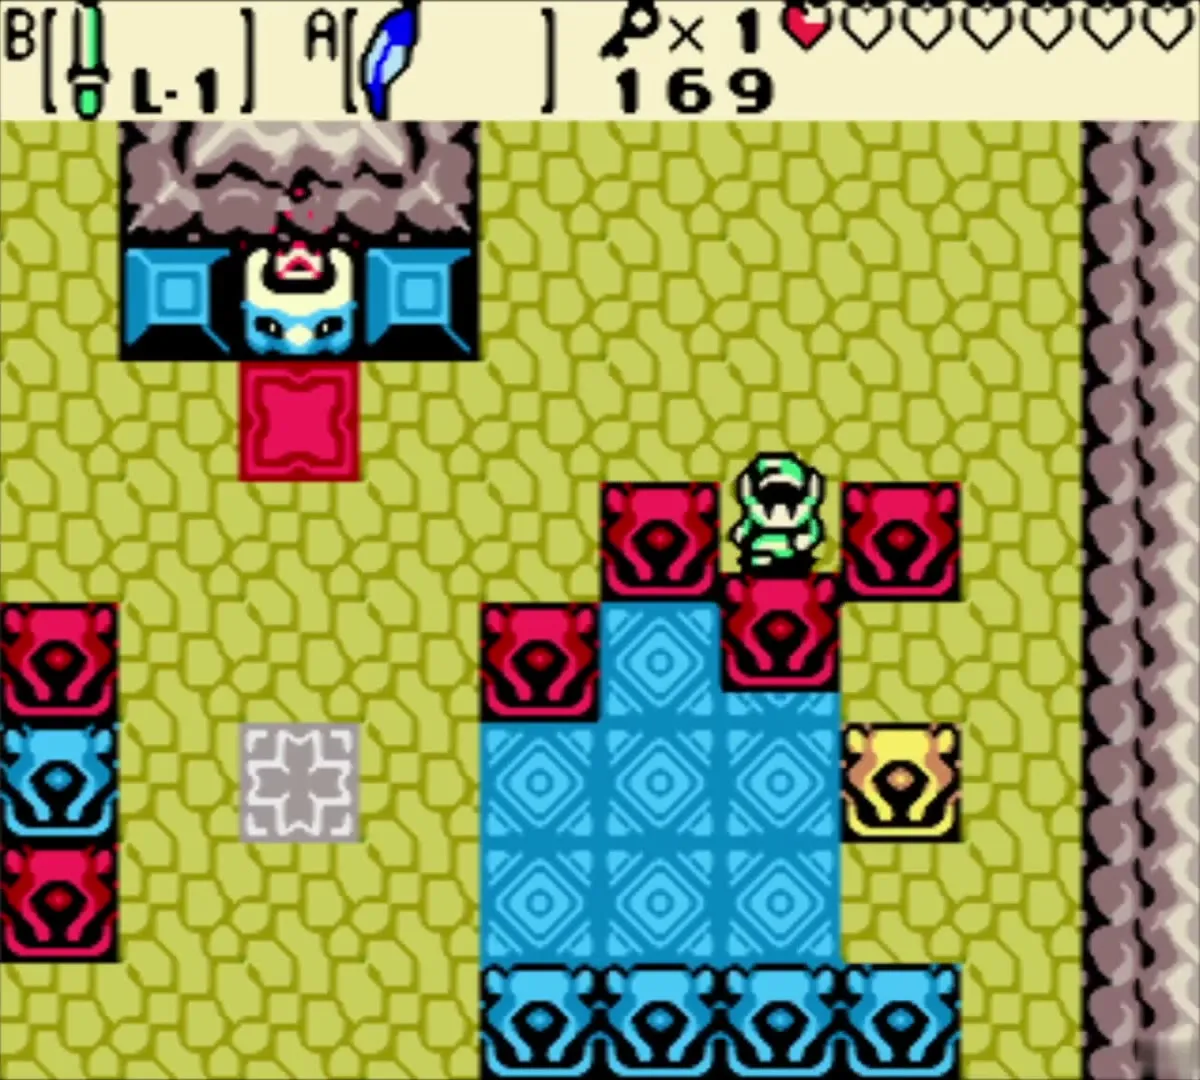
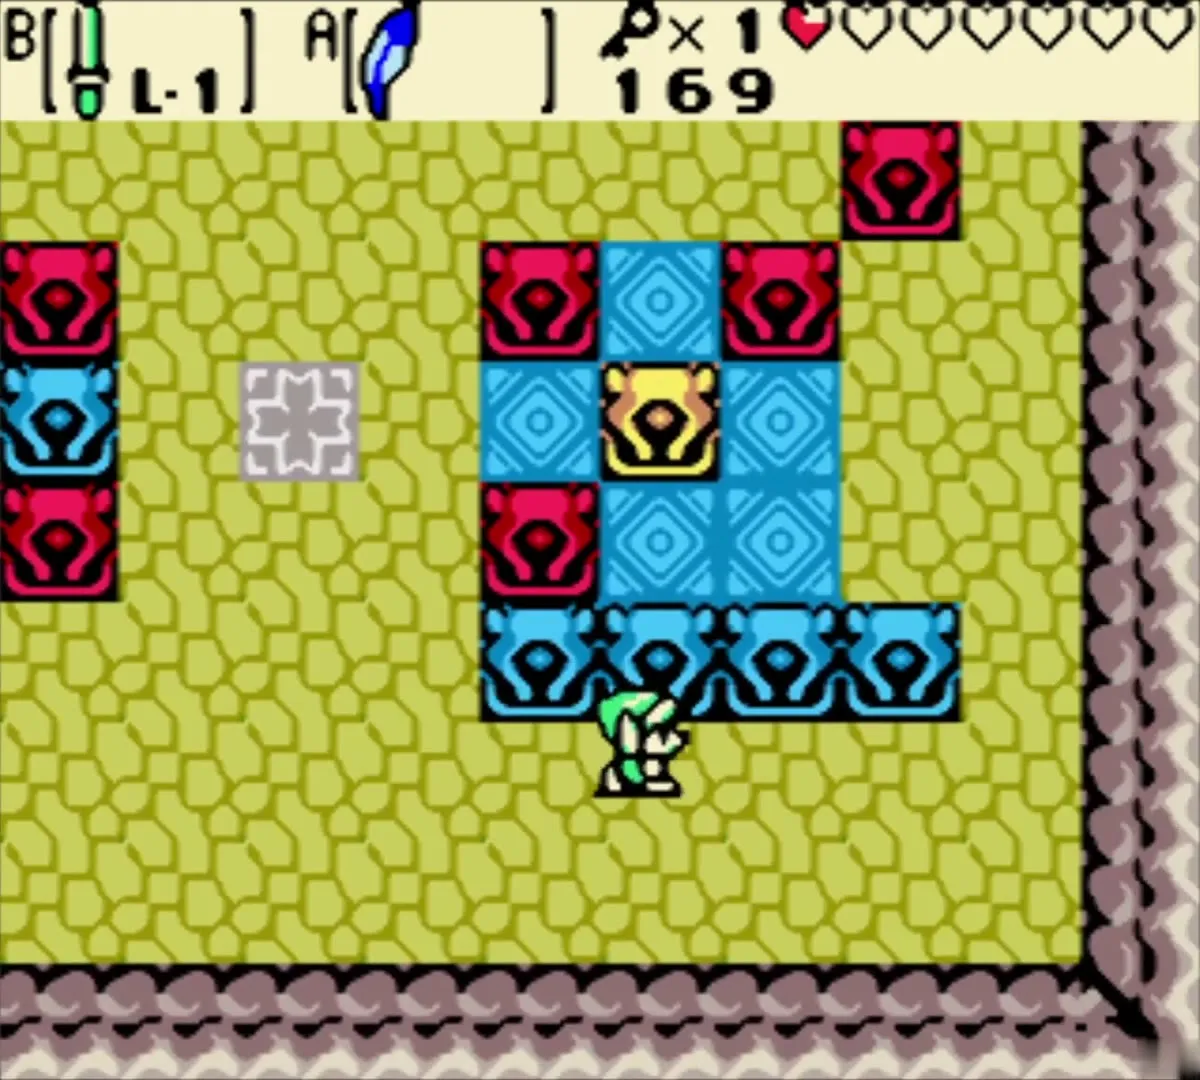
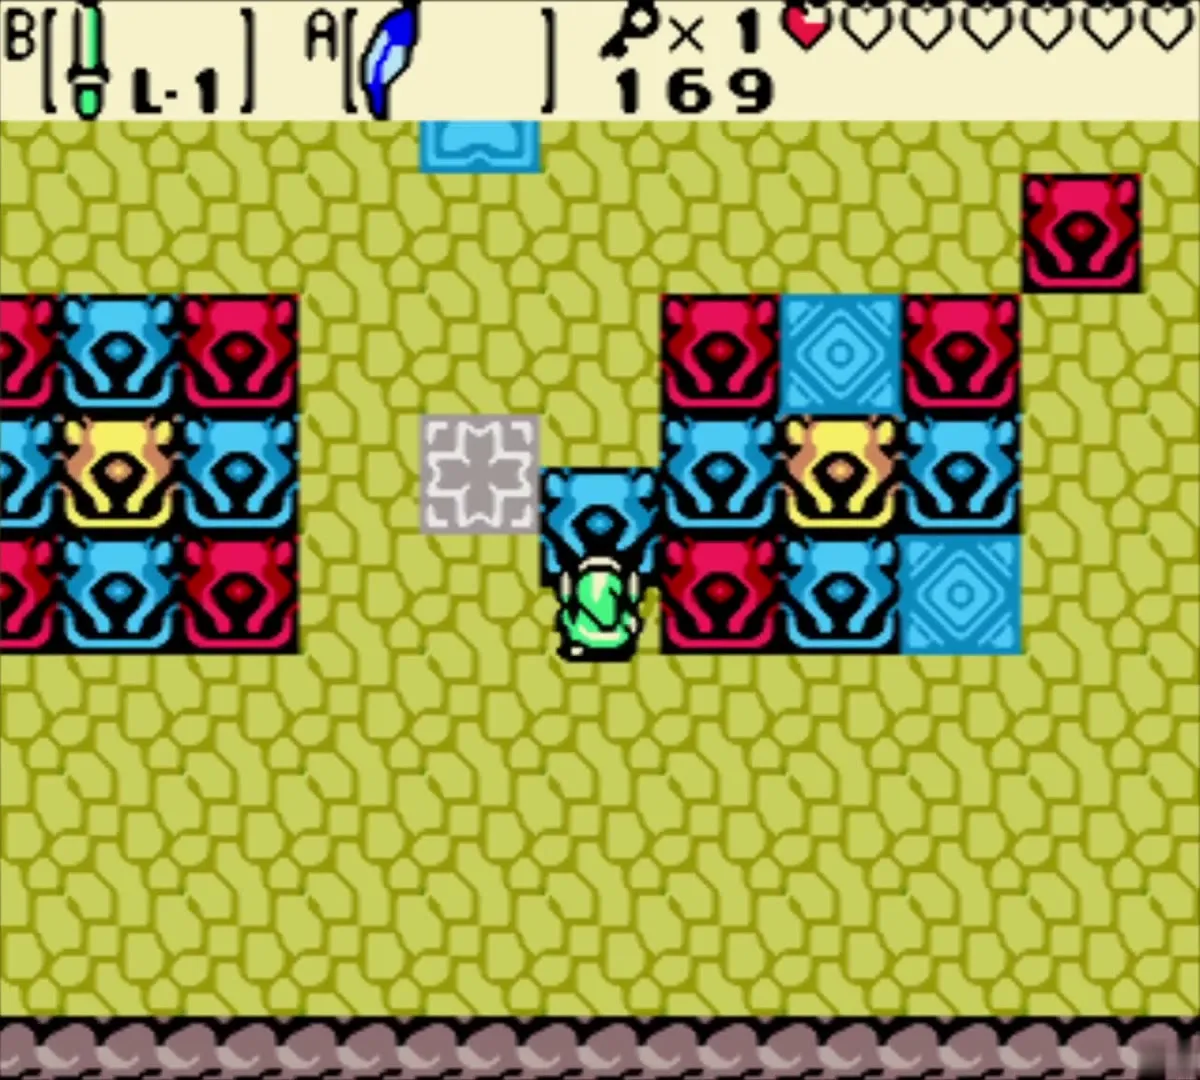
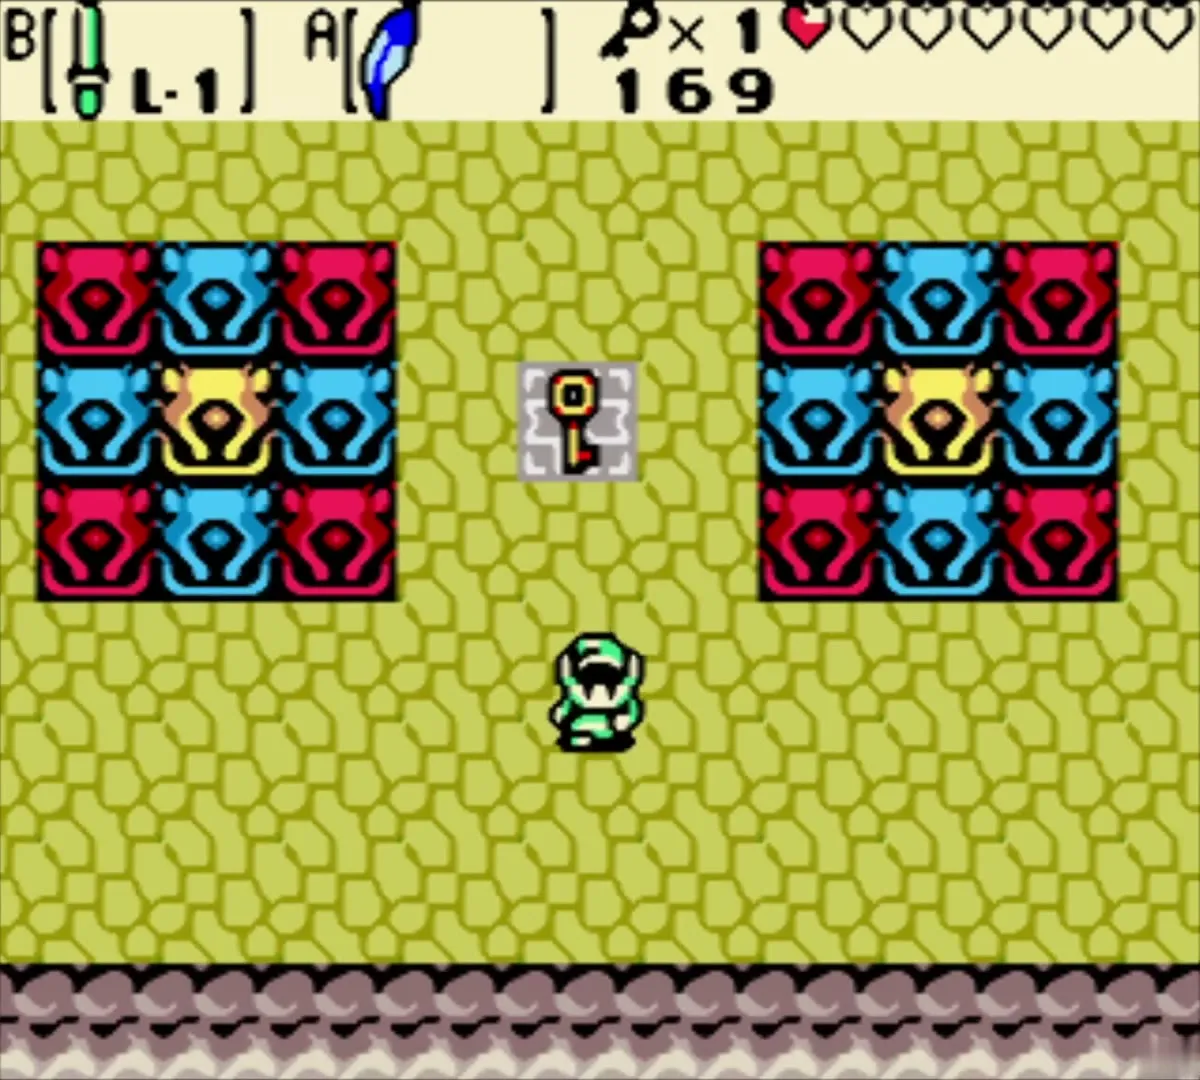

Colour-changing Gels and the Boss Key
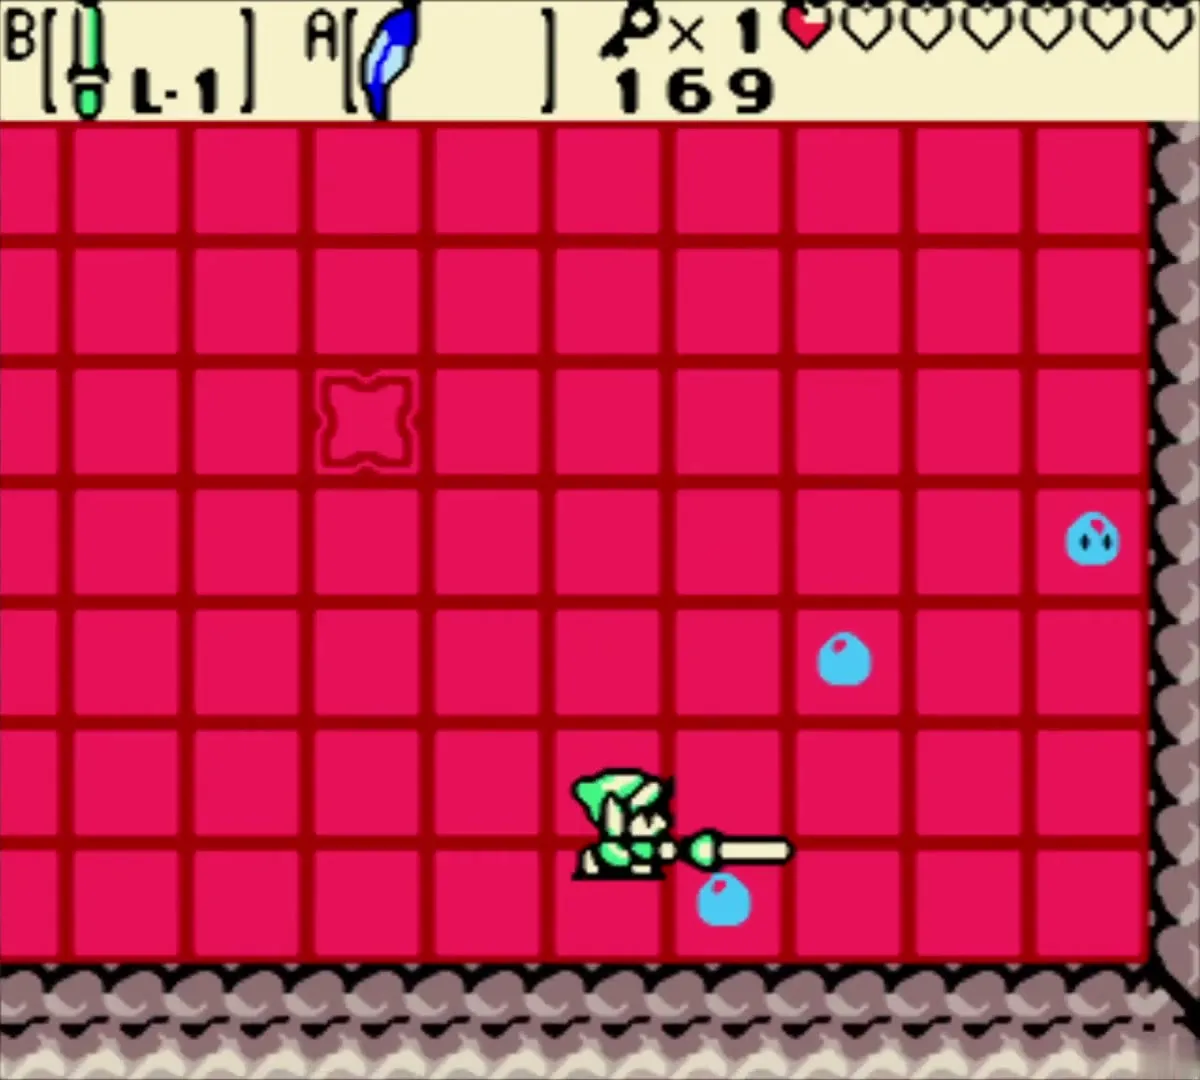
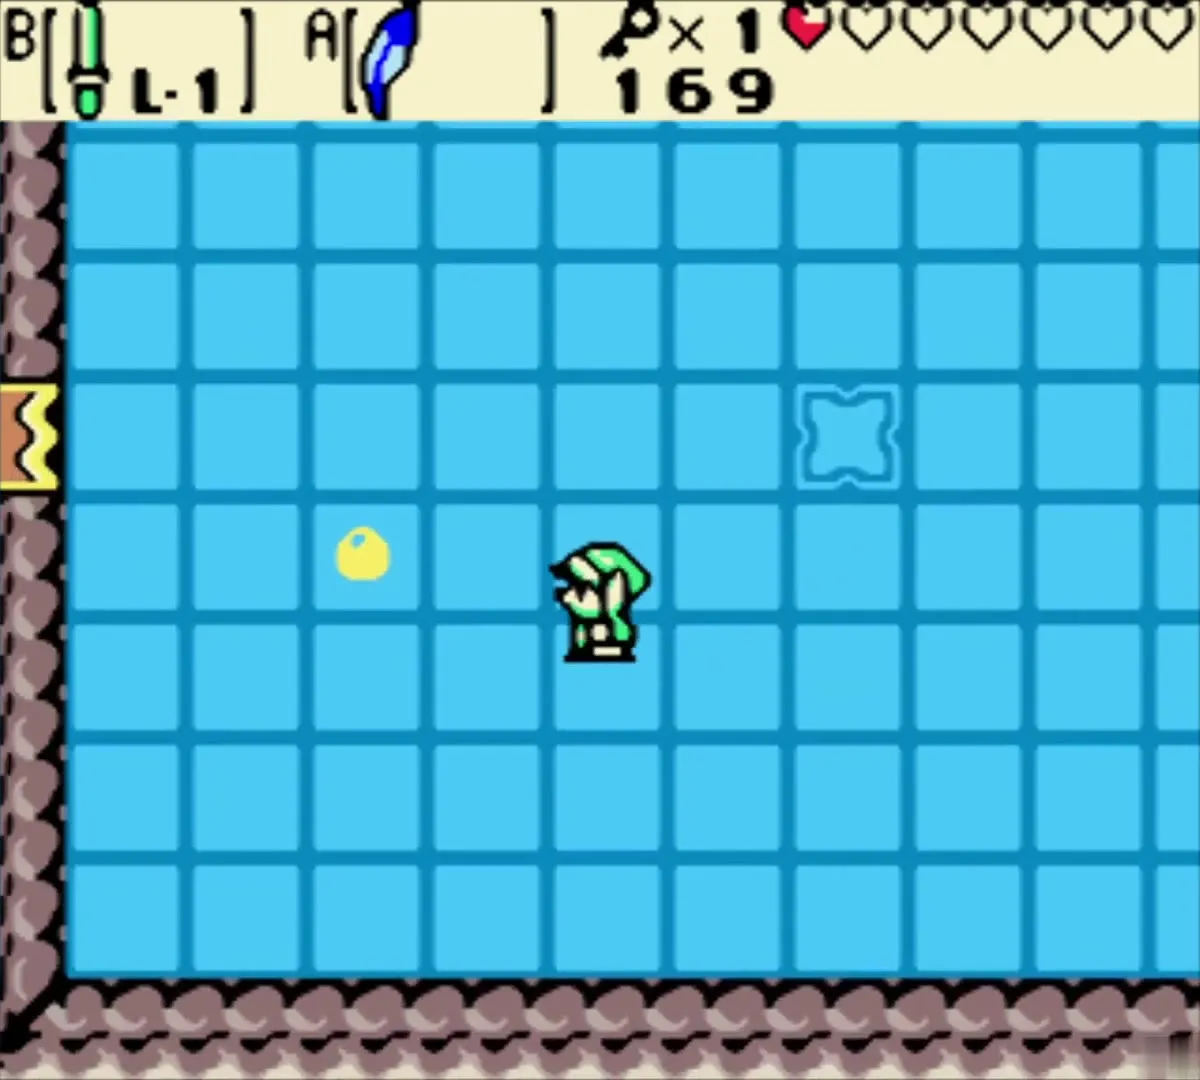
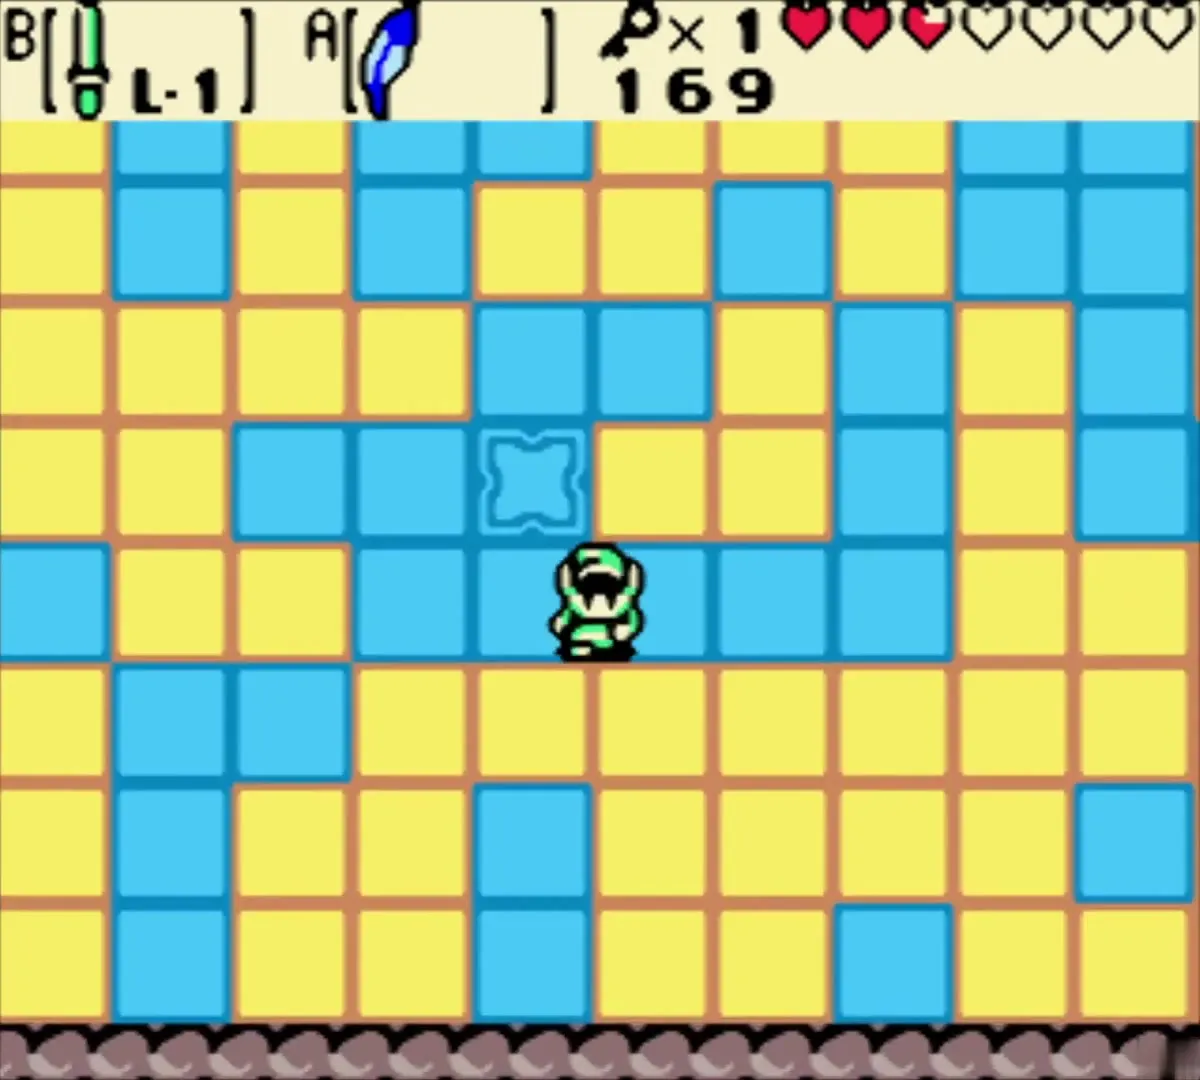
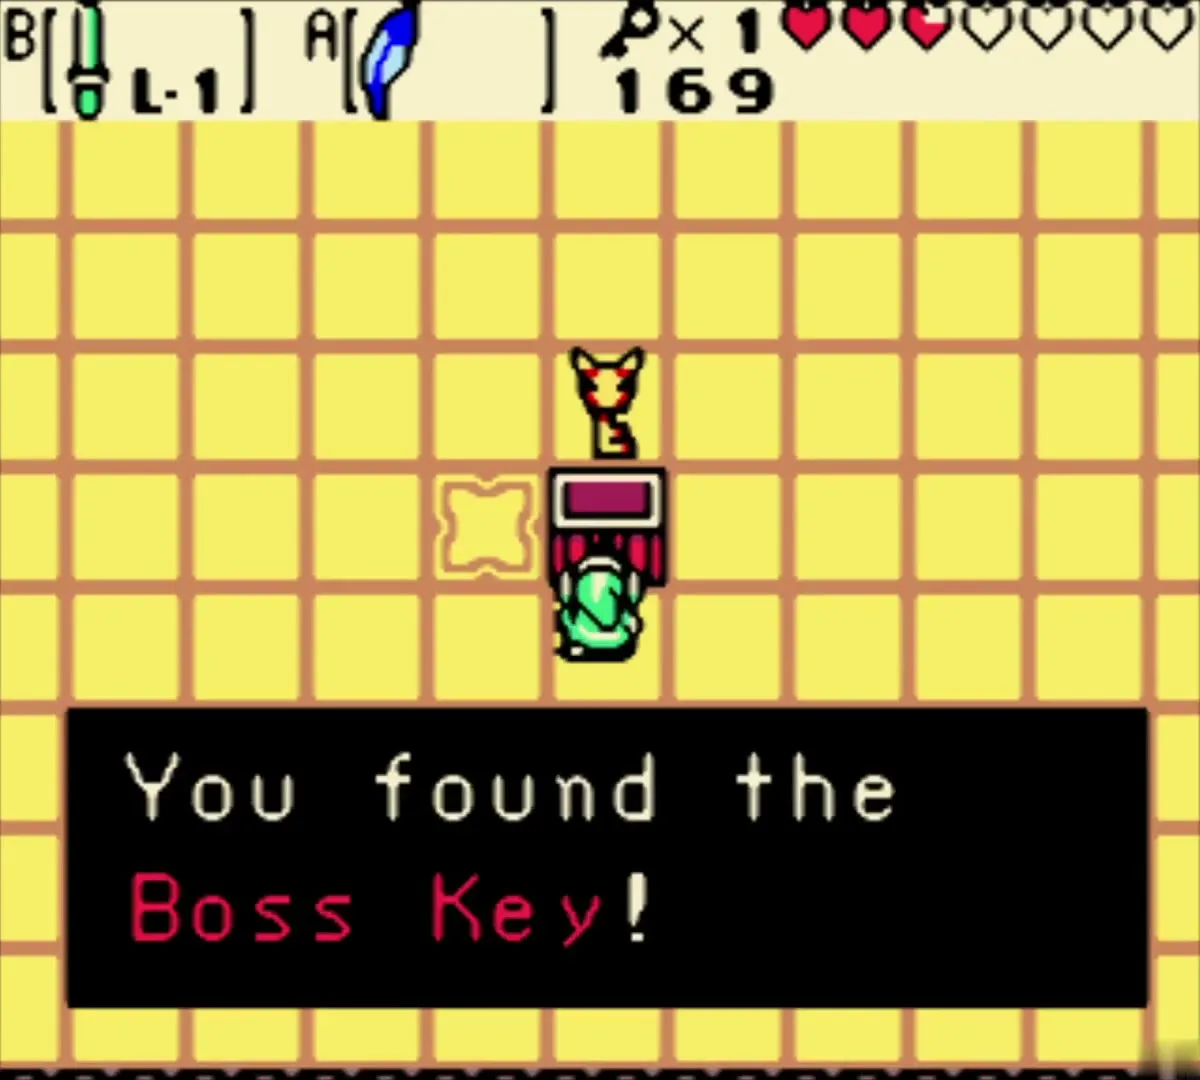
Go through the east door into the red-floored room. Camouflaged Gels are invulnerable while they match the floor. Jump over the middle tile to change the floor colour so they show up, and strike them quickly. When the last Gel dies, a chest appears with the Boss Key.
Door to the boss
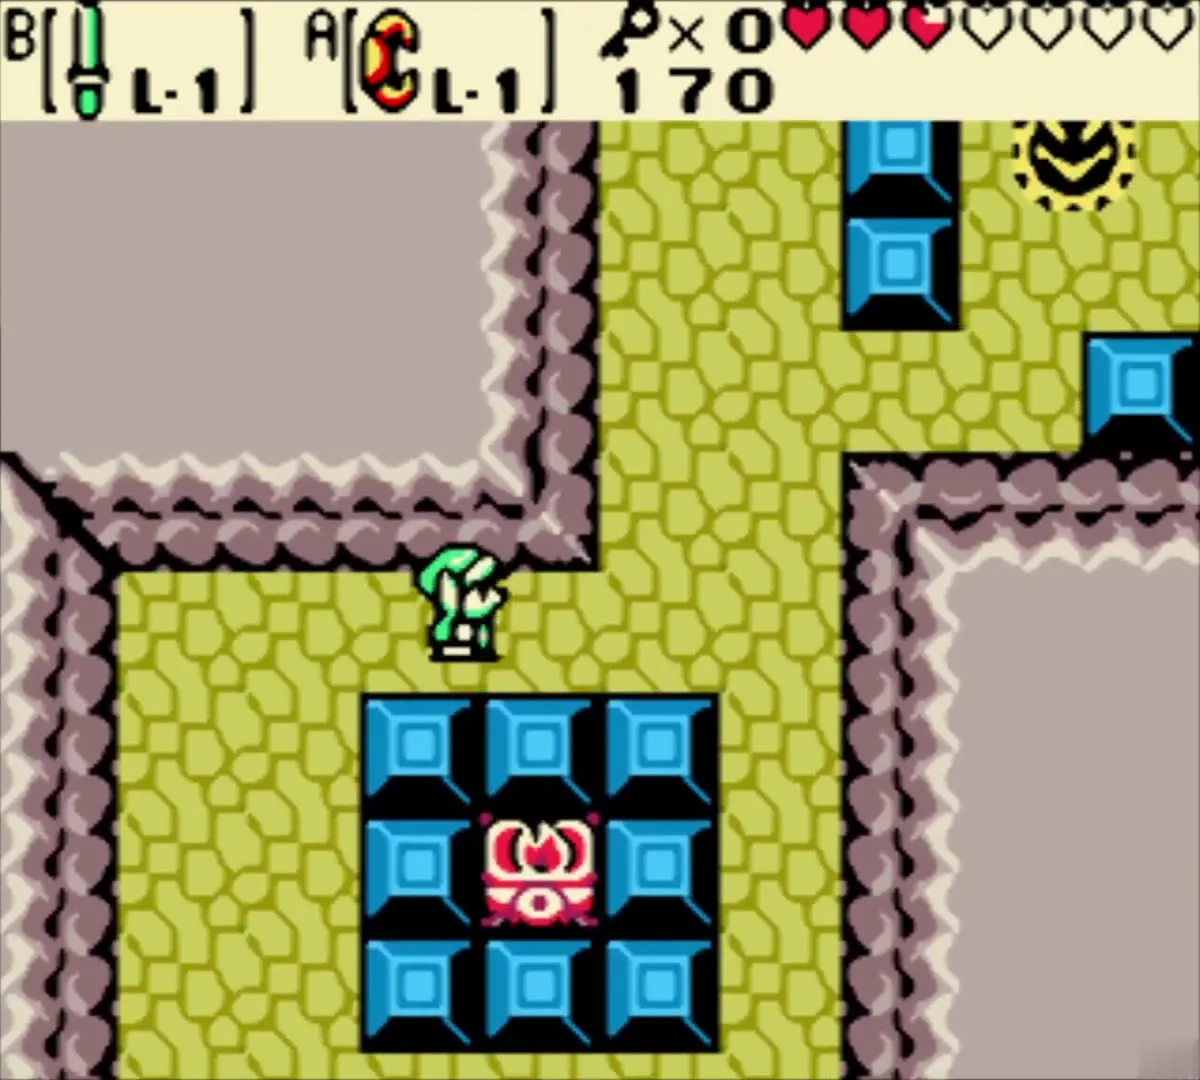
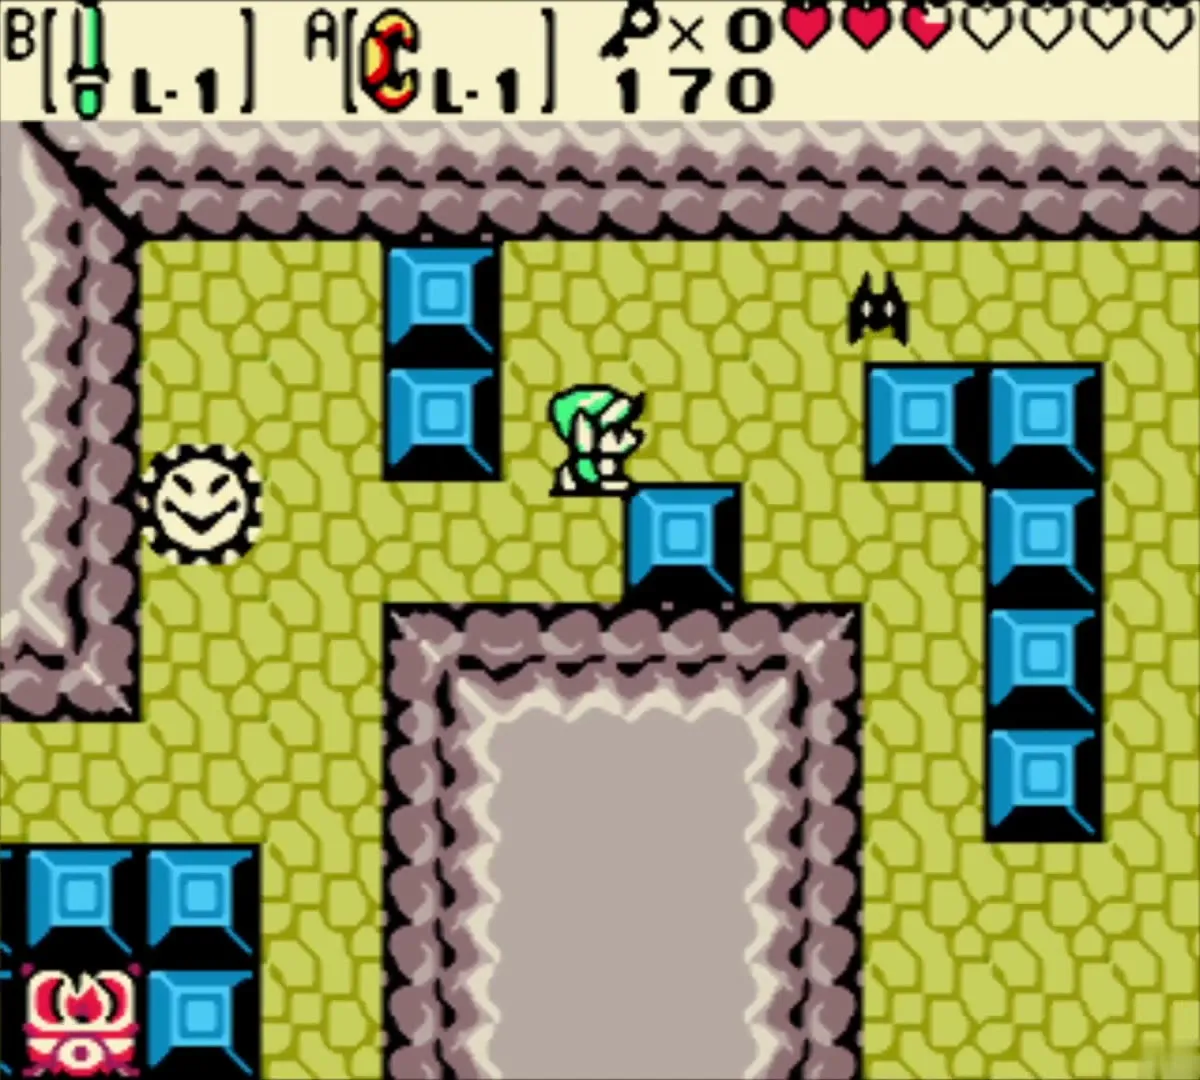
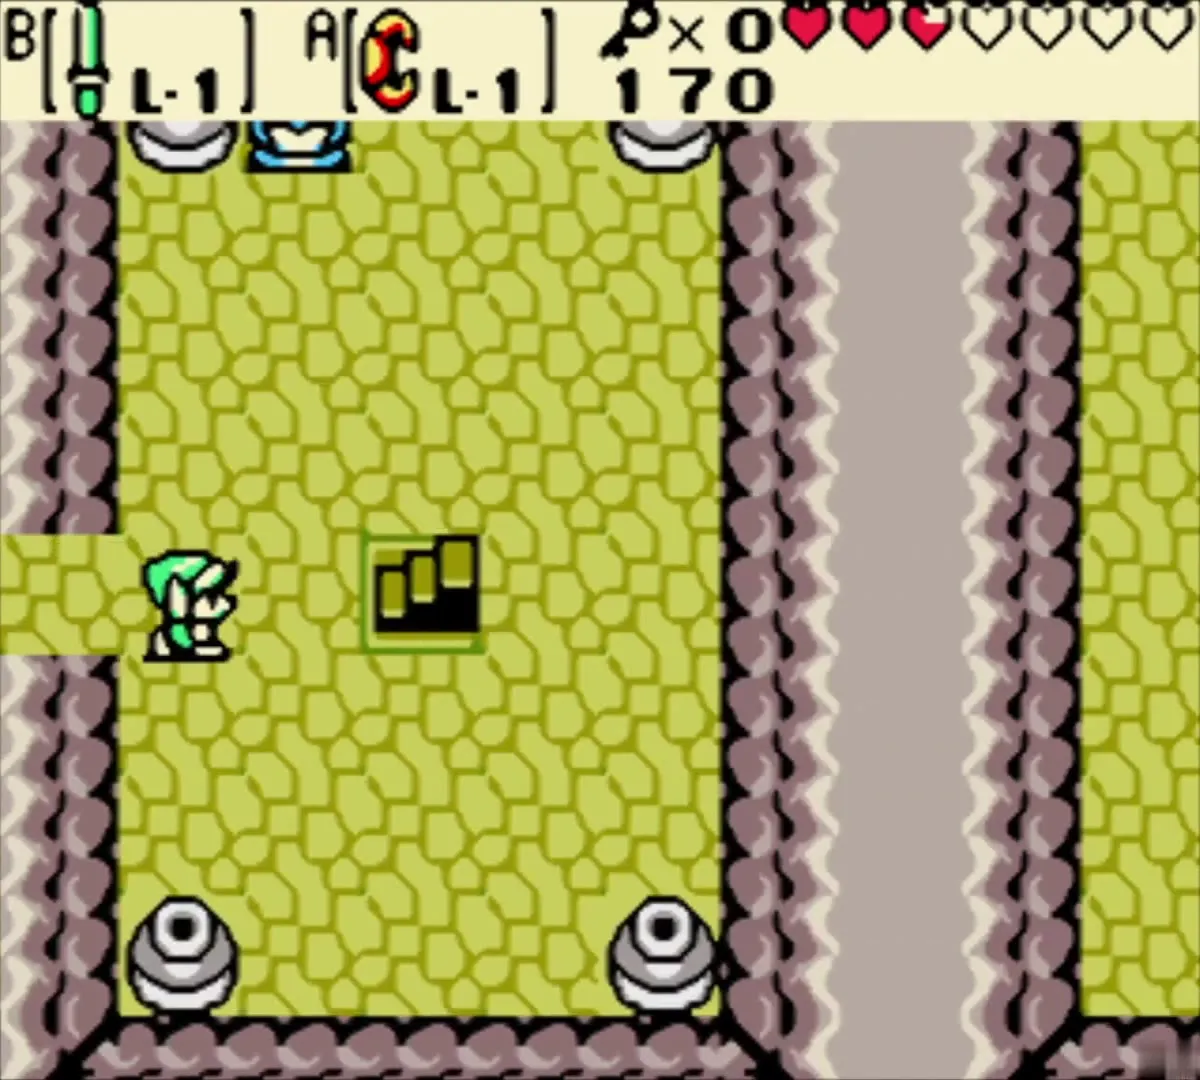
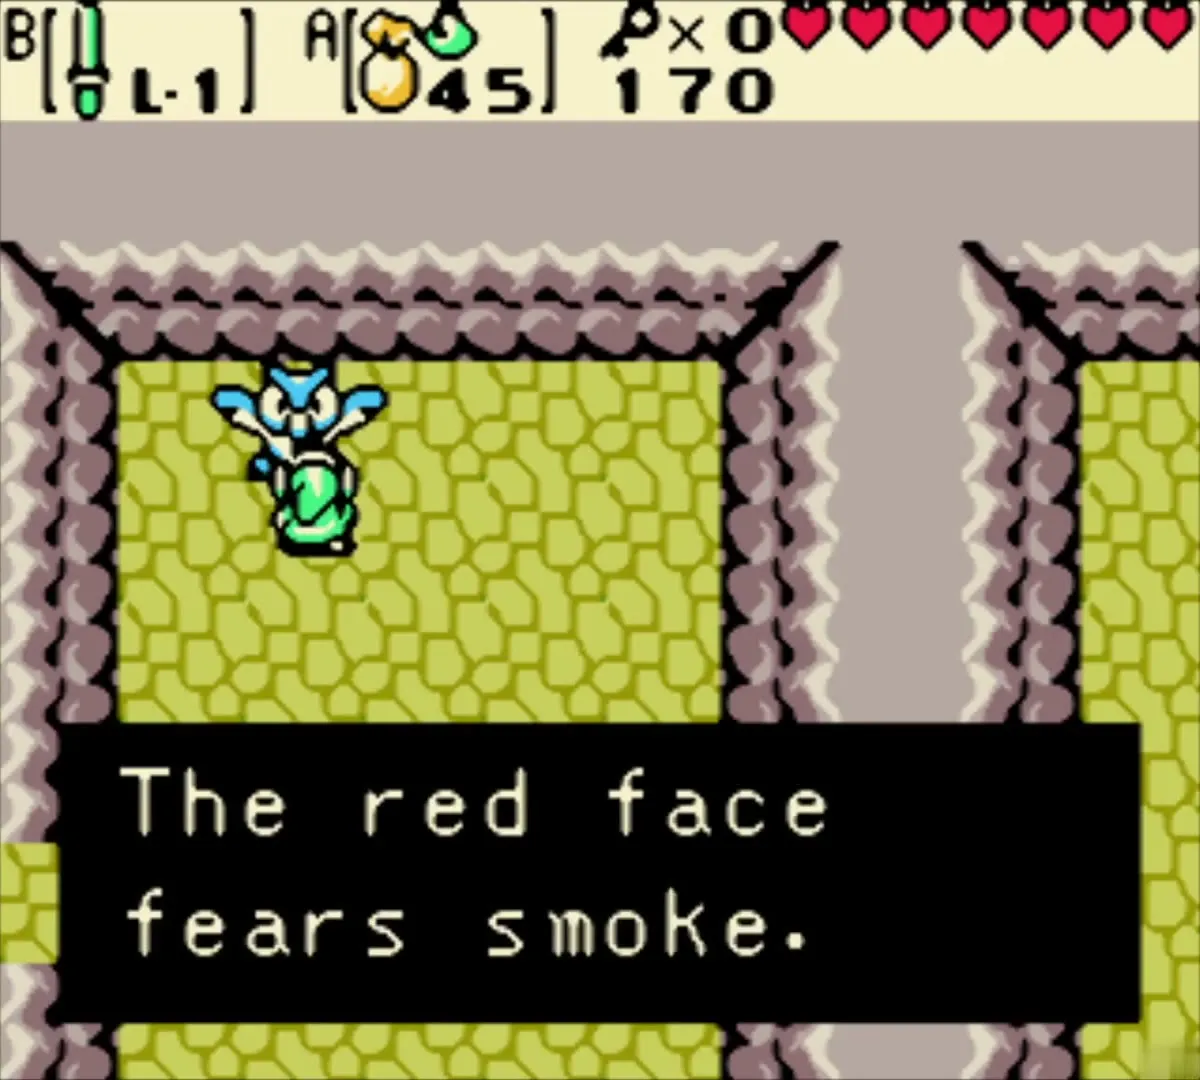
Leave by the west exit and take the north door. Avoid the Sparks along the path and spend Small Key 5 on the locked door. The boss door is in the right-hand wall and opens with the Boss Key. Beyond it, an owl statue hints that the red face fears smoke, and jars refill your hearts and Bombs.
Boss: Head Thwomp

Bomb it when it spins
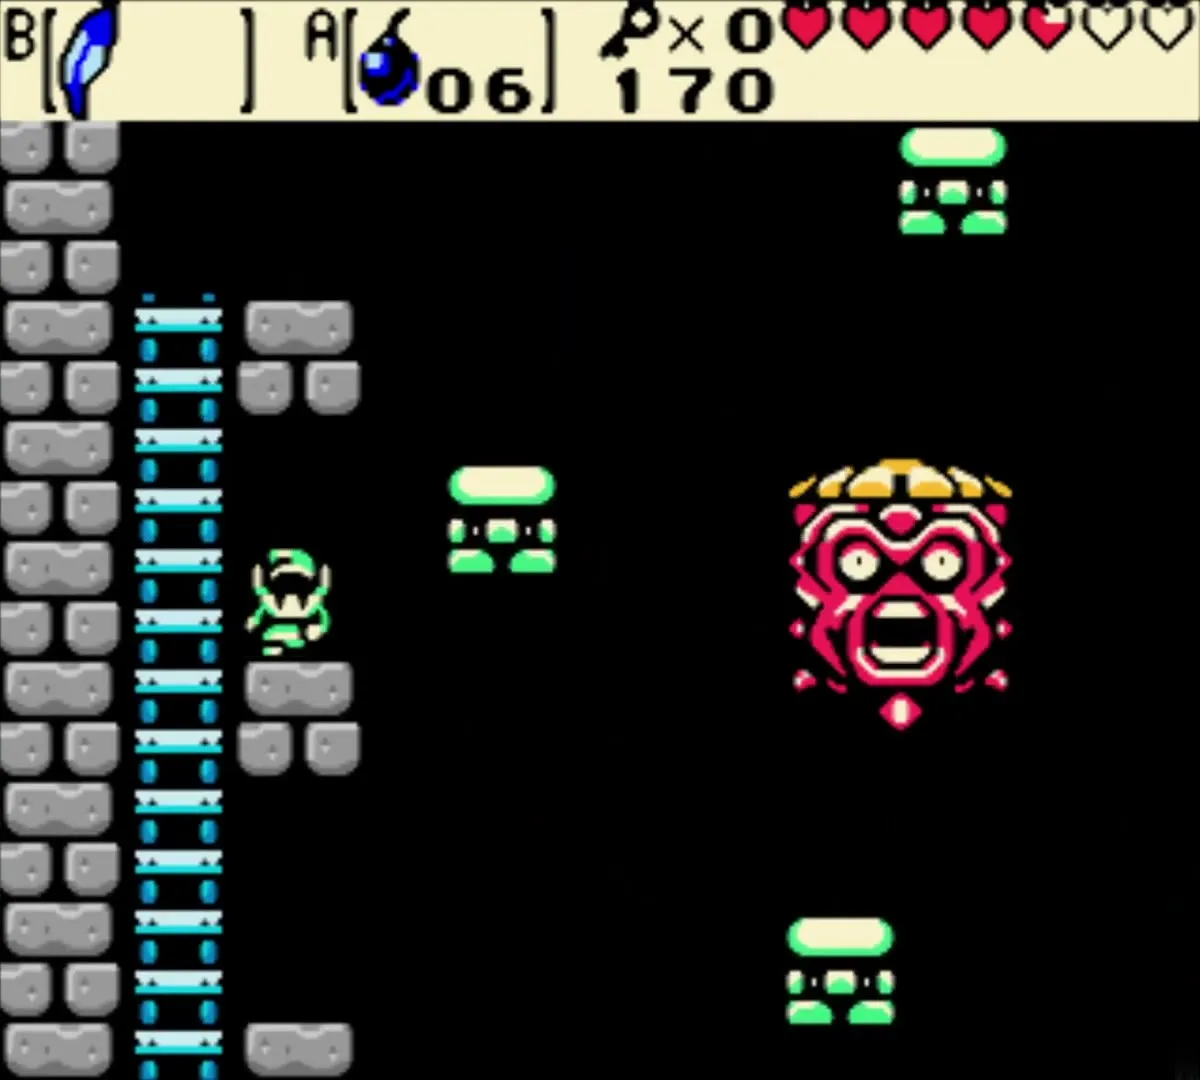
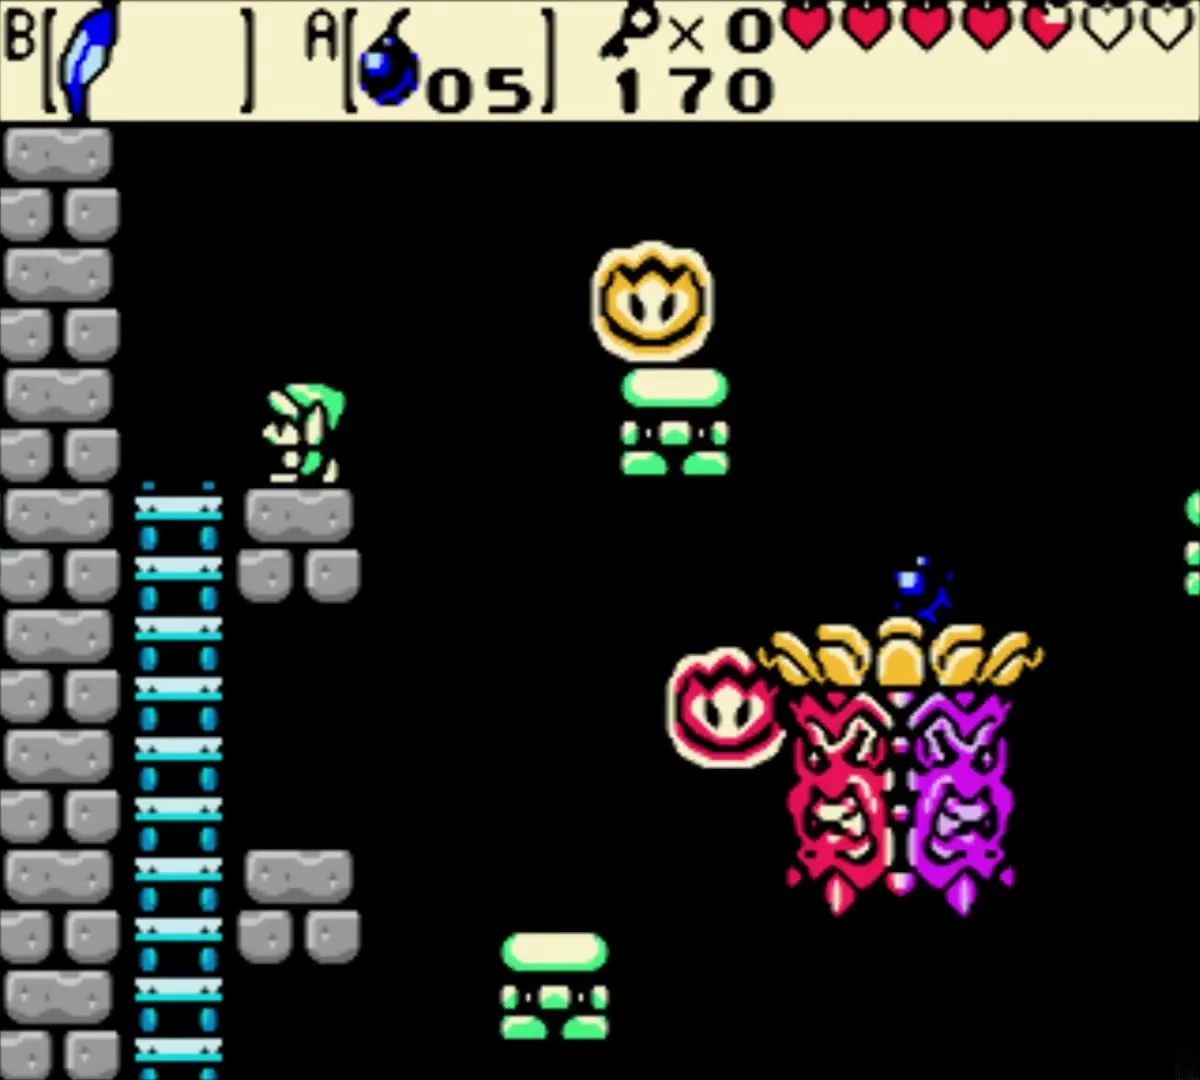
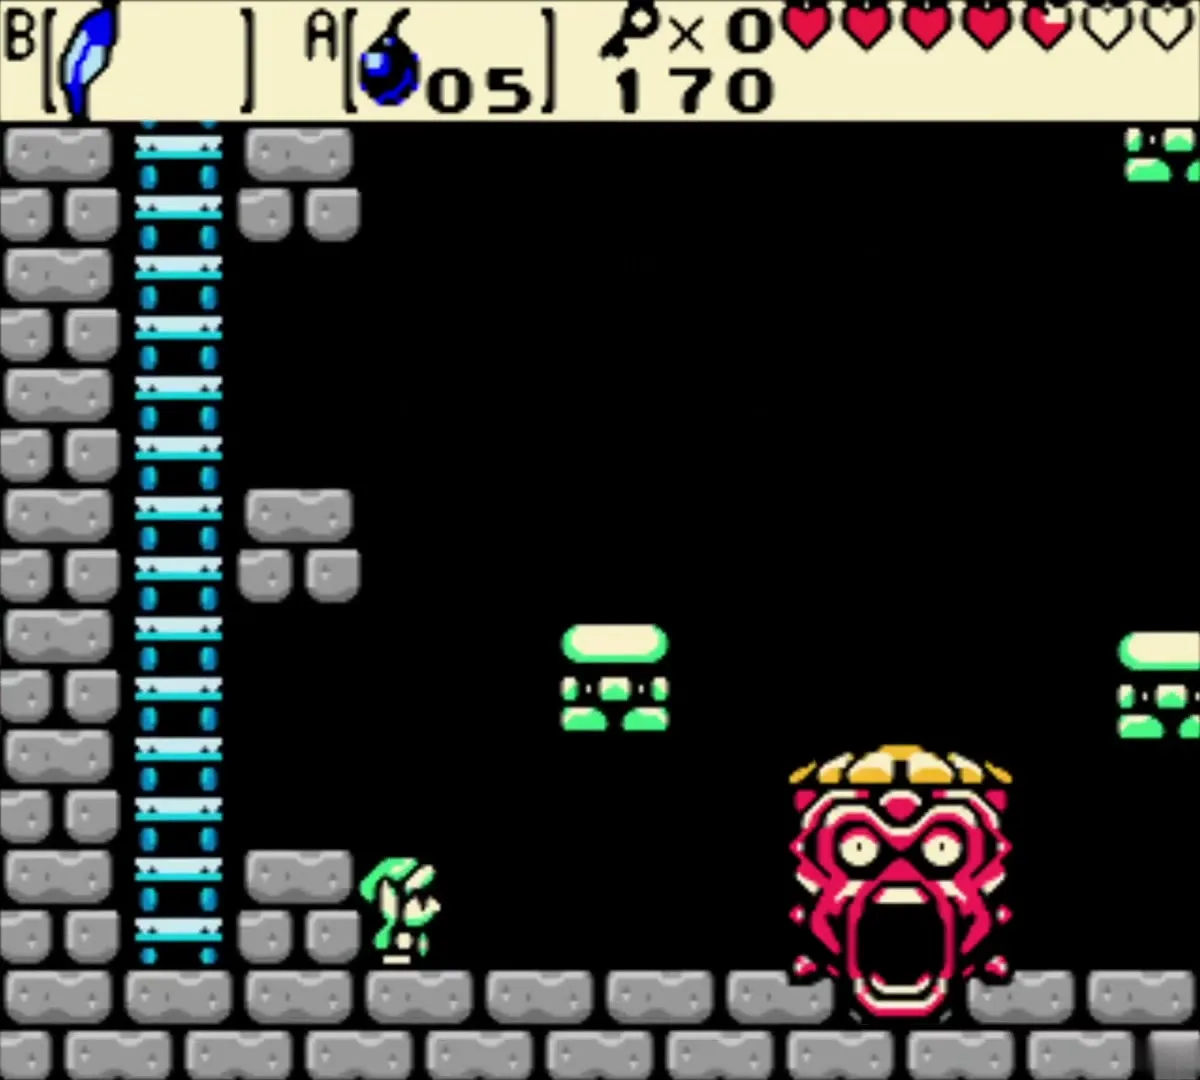
Equip Bombs on one button and the Roc’s Feather on the other, then climb the stairs into a side-view arena. Your sword does nothing. Throw a Bomb into the opening on top of the head. The boss spins quickly and settles on one face, and that face decides what happens next.
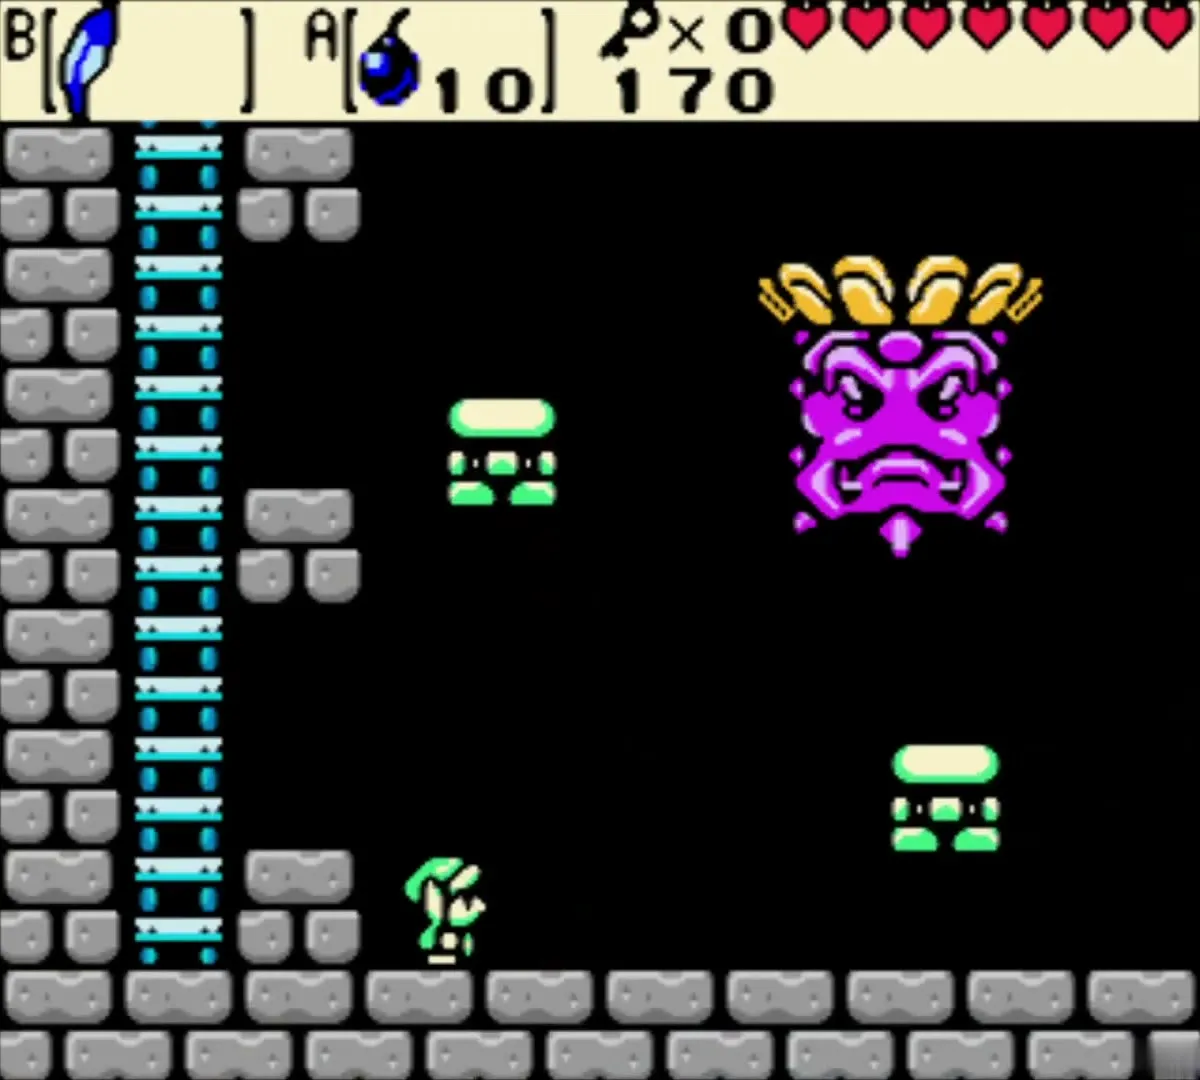
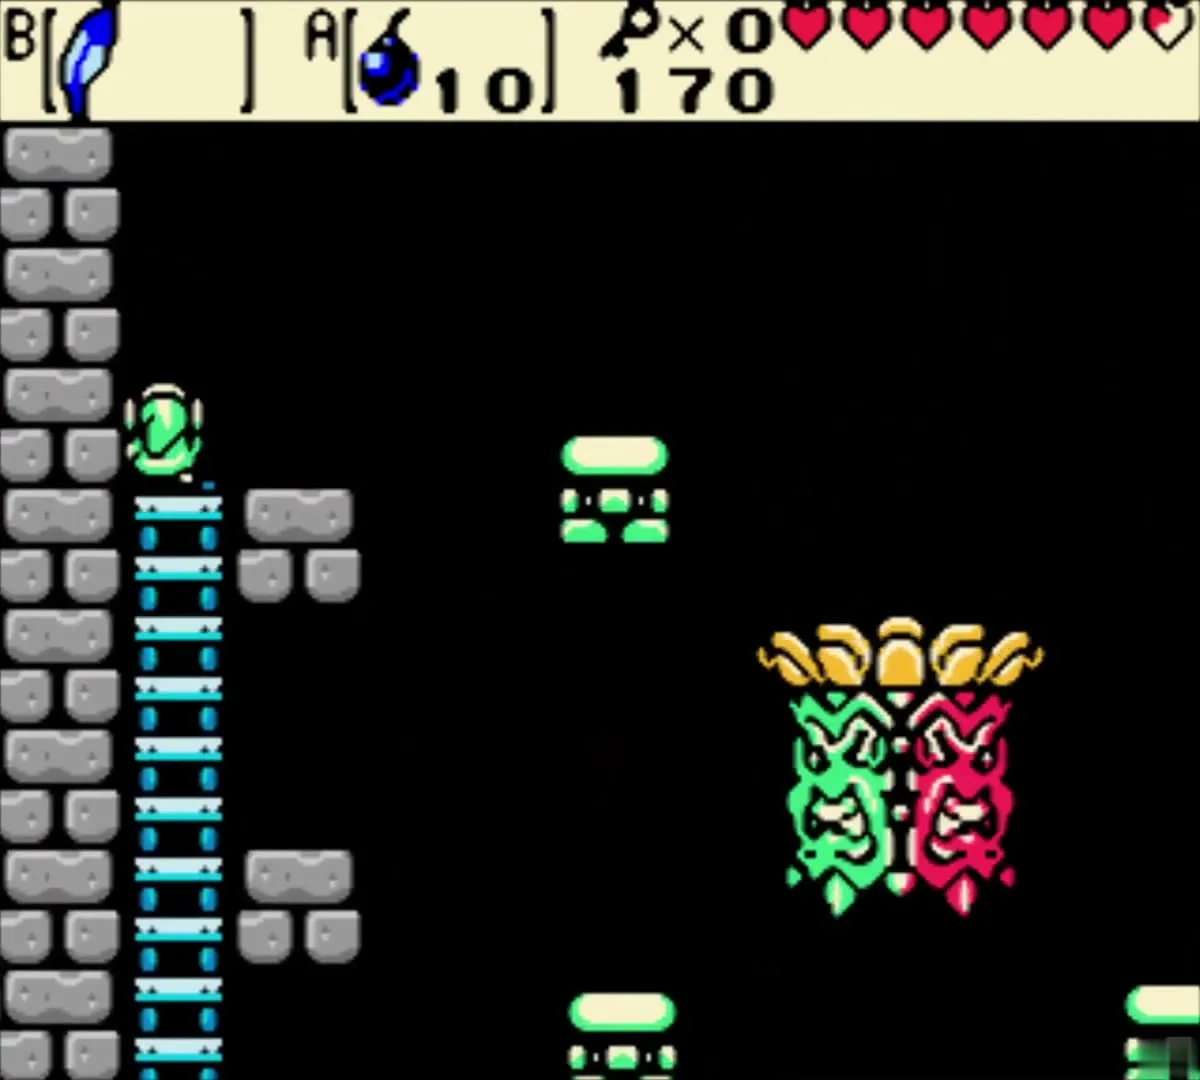
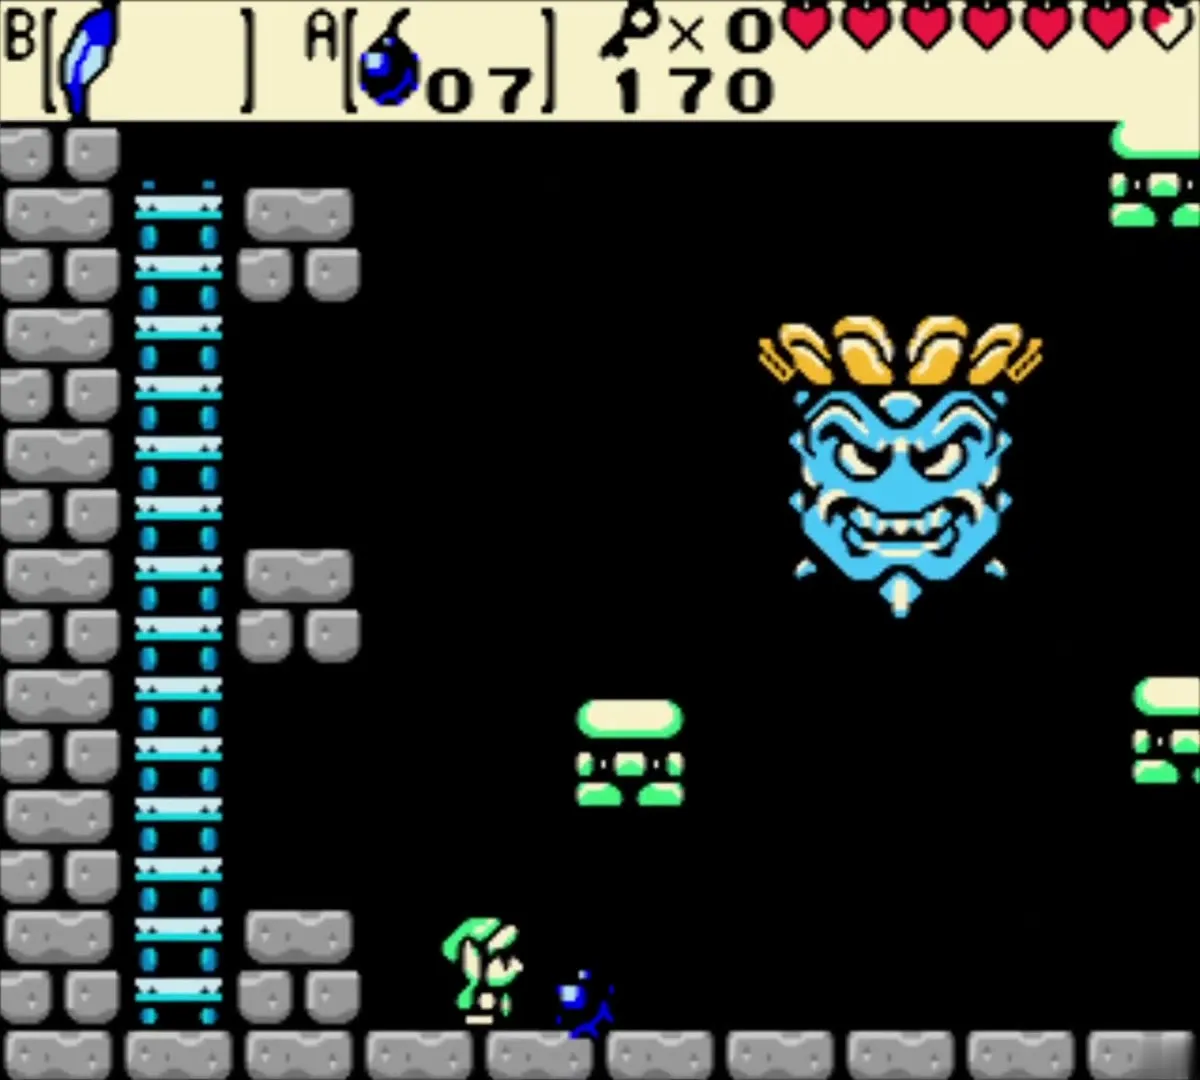
Red: the only face that hurts it, and it drops a heart. Green: fireballs shoot up and rain down, so stand at the top of a ladder. Blue: a ring of fireballs sweeps the platforms, so ride the middle ledge or jump over them. Purple: the boss slams down and rocks fall, so climb down a ladder and hide.
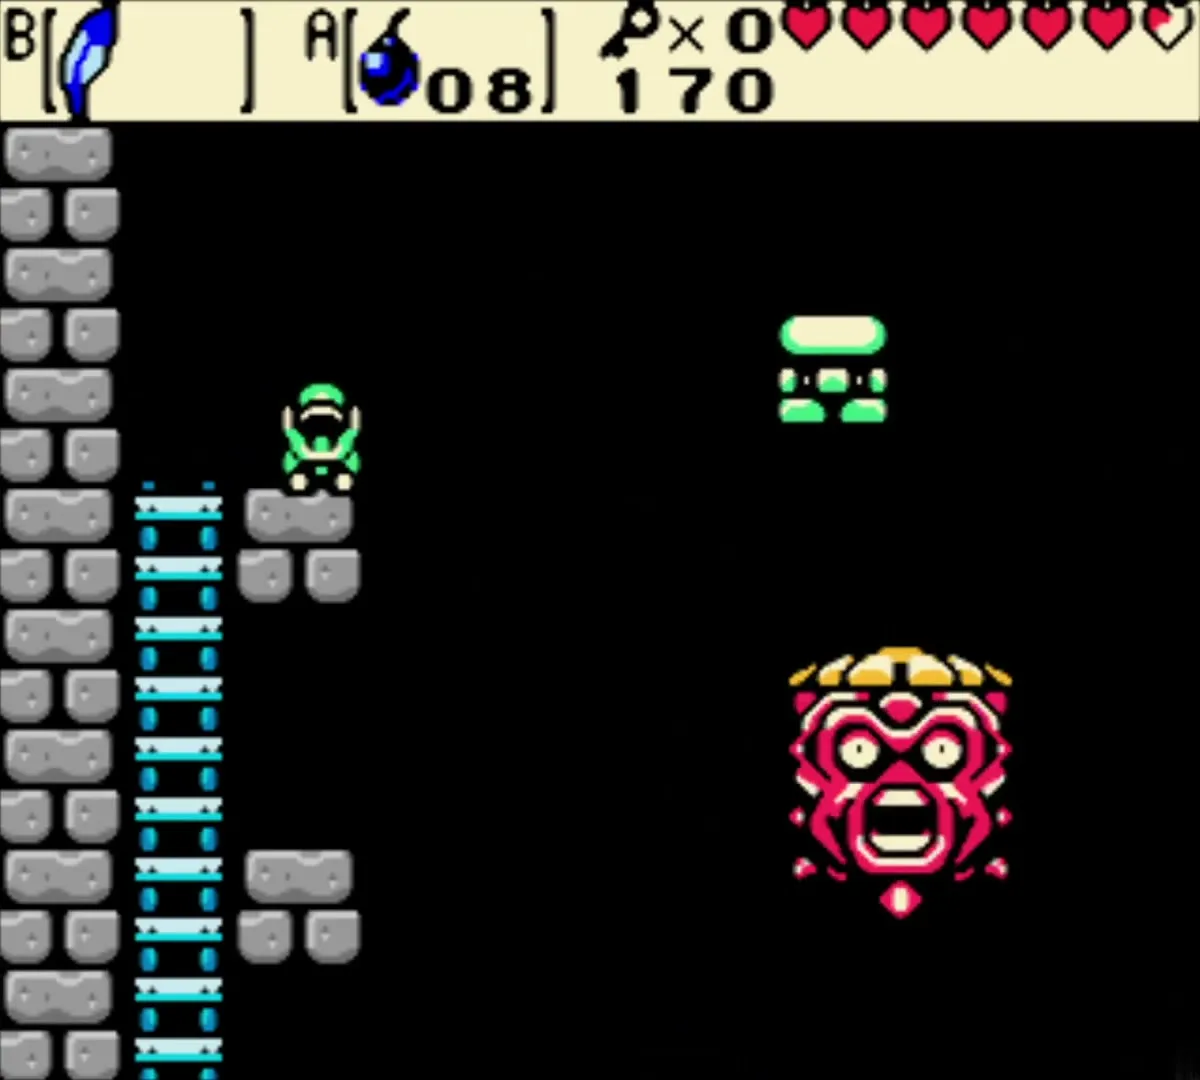
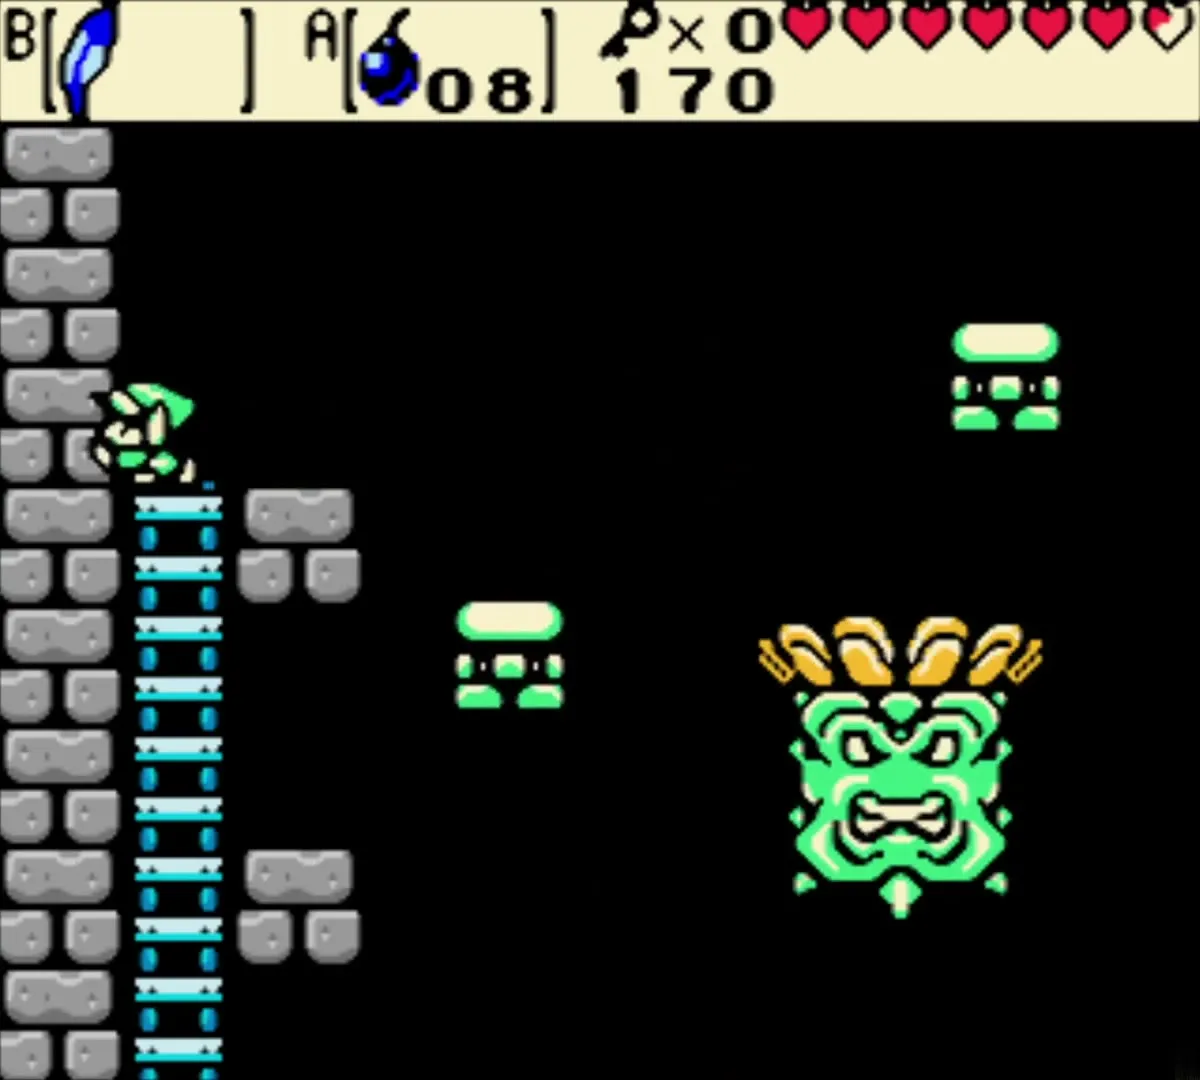
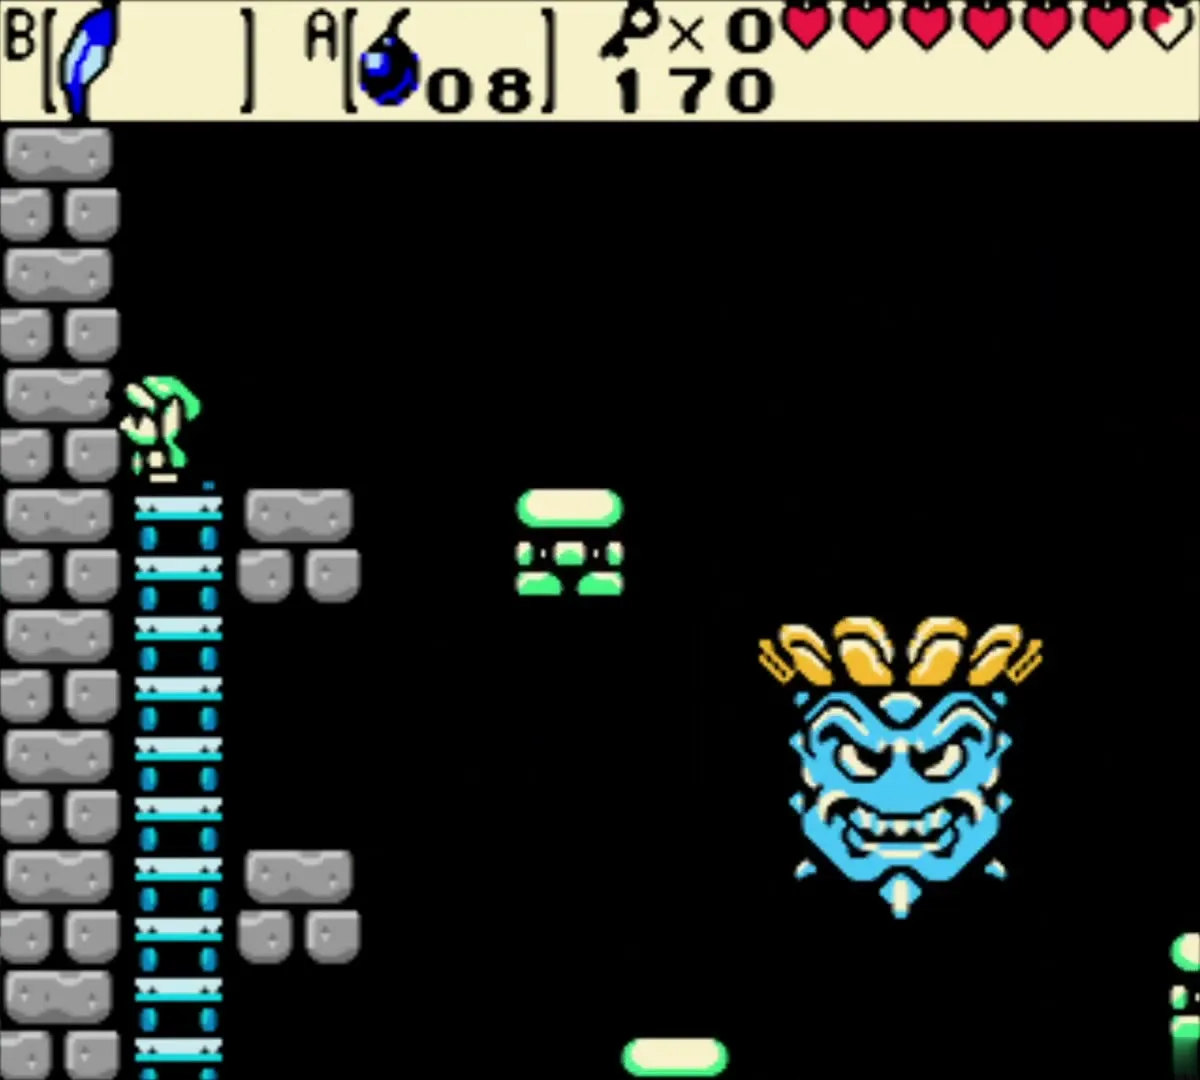
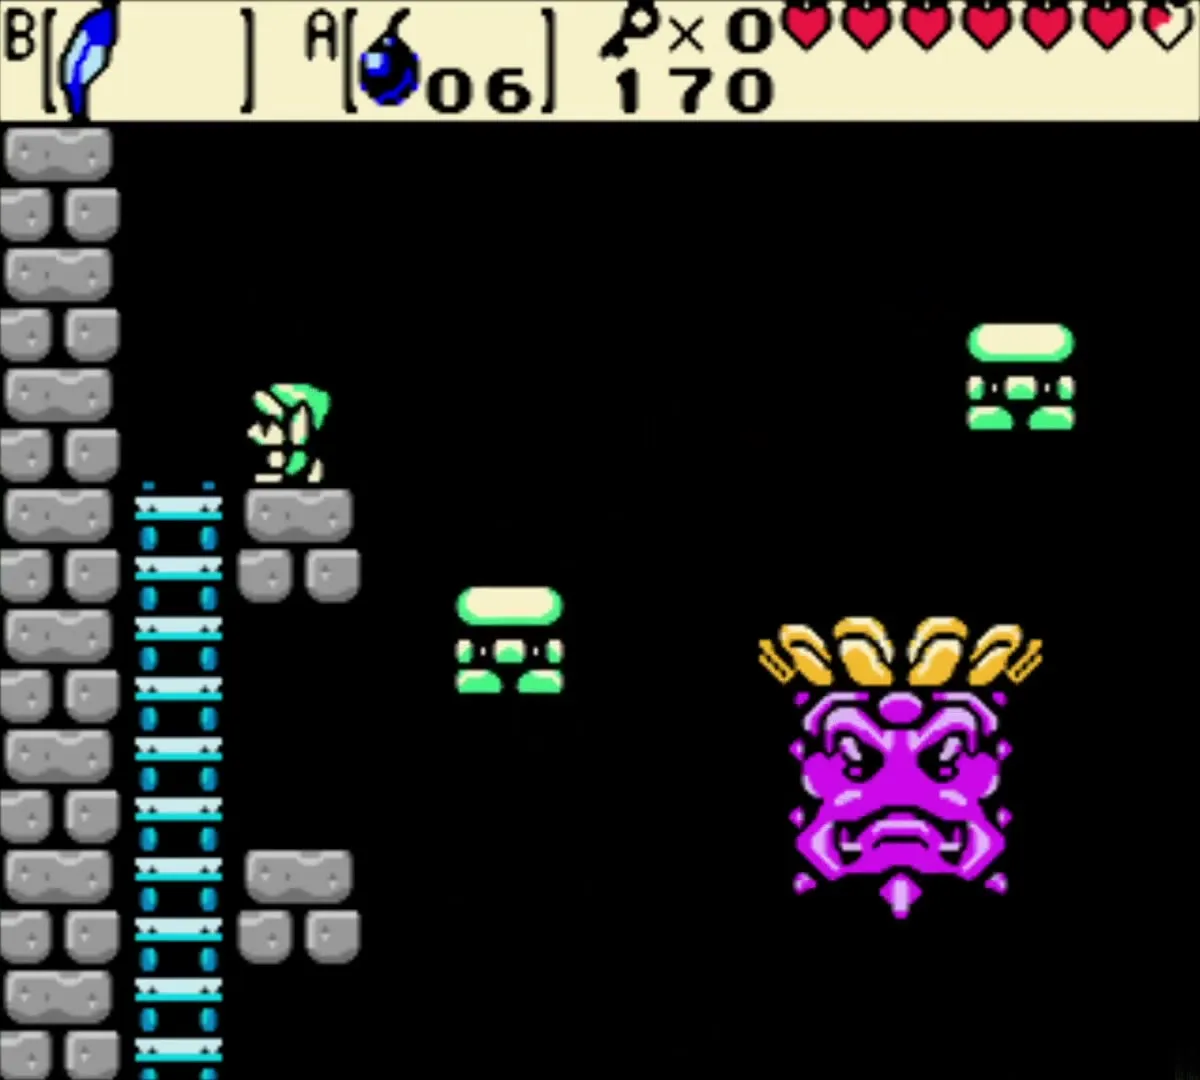
Throw when the face just before red is showing, so the Bomb lands as it reaches red. Each hit makes the spin faster. Four red hits defeat it. Head Thwomp tosses out Bombs between attacks, so pick them up if you run low.

Heart Container and Ancient Wood
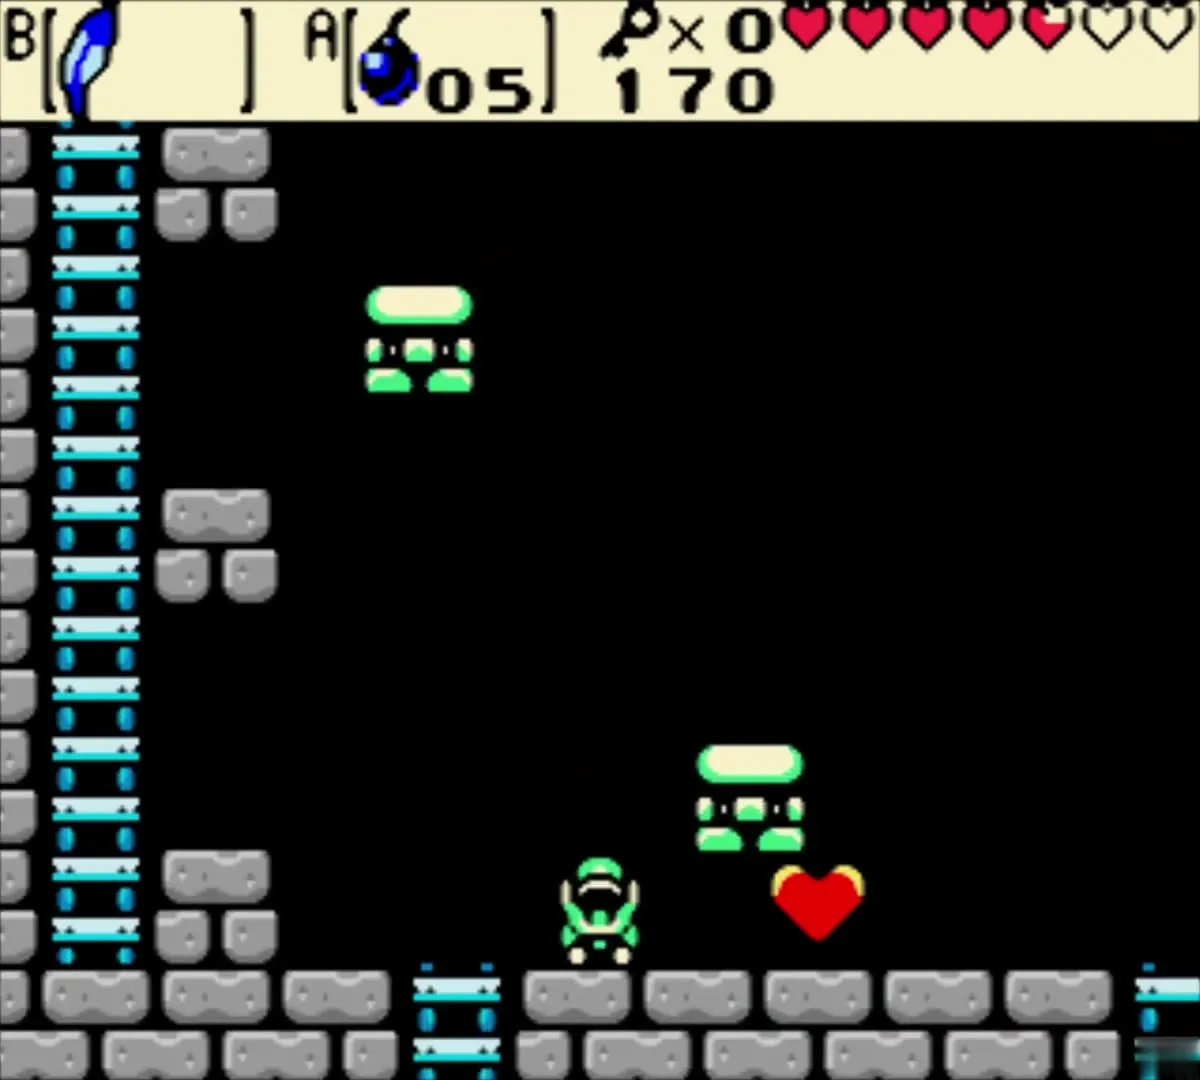
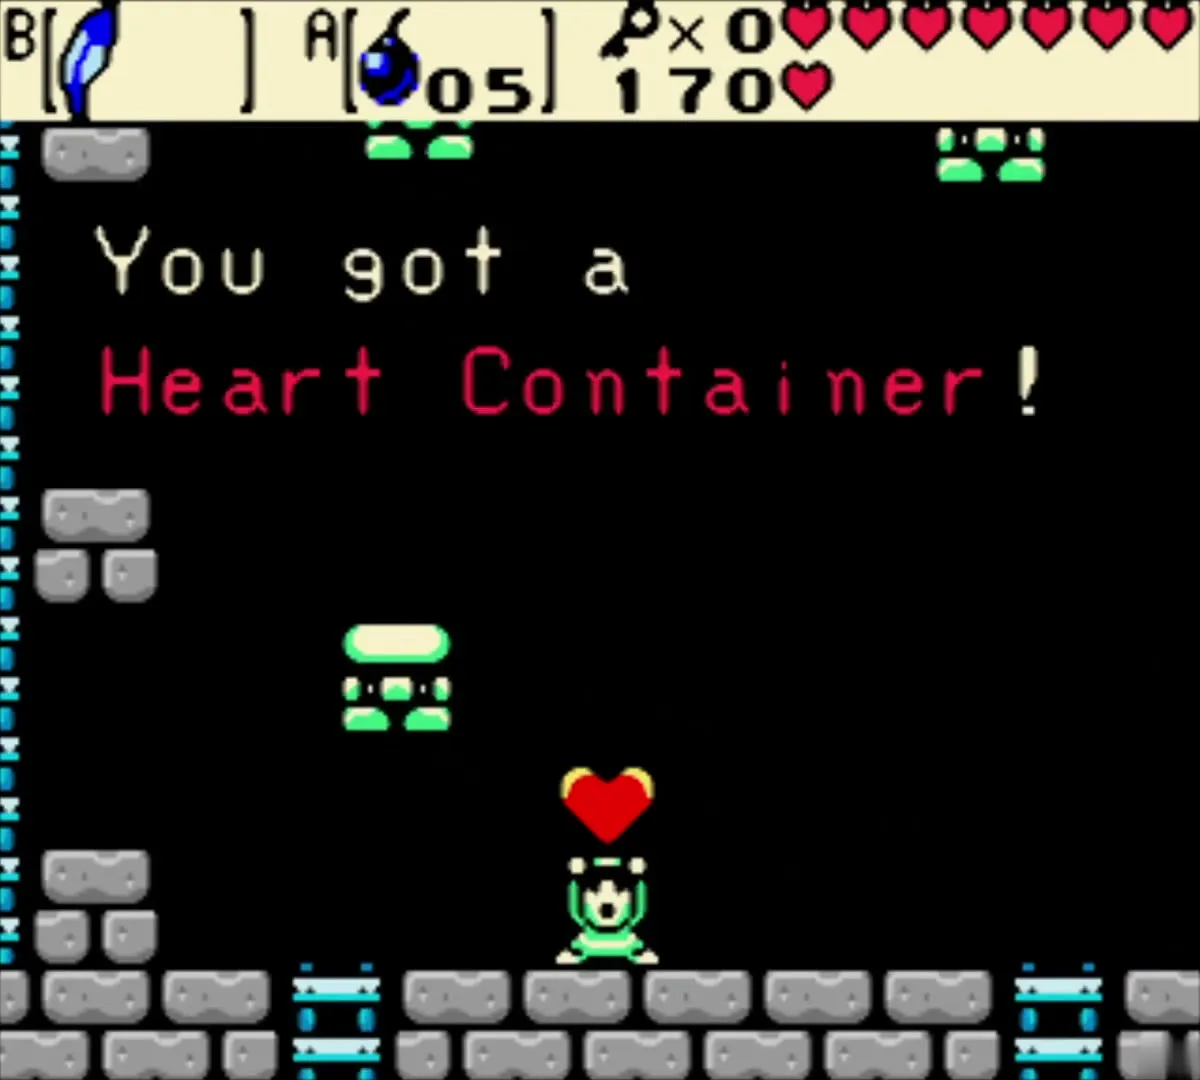
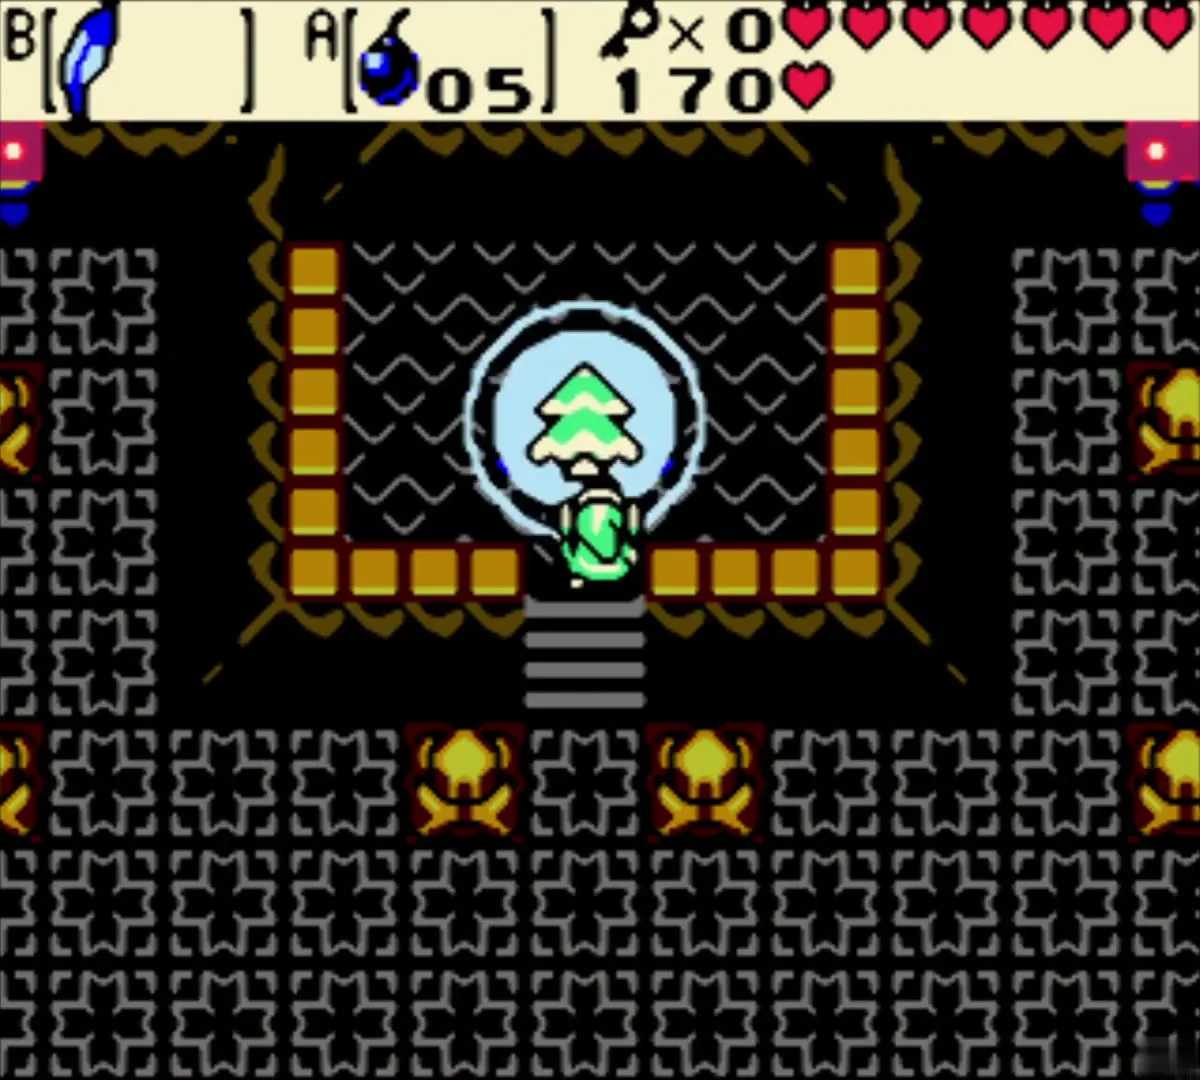
When Head Thwomp falls, a Heart Container appears. Take it to raise your life meter by one heart. Climb down the right ladder and go right to the essence chamber.
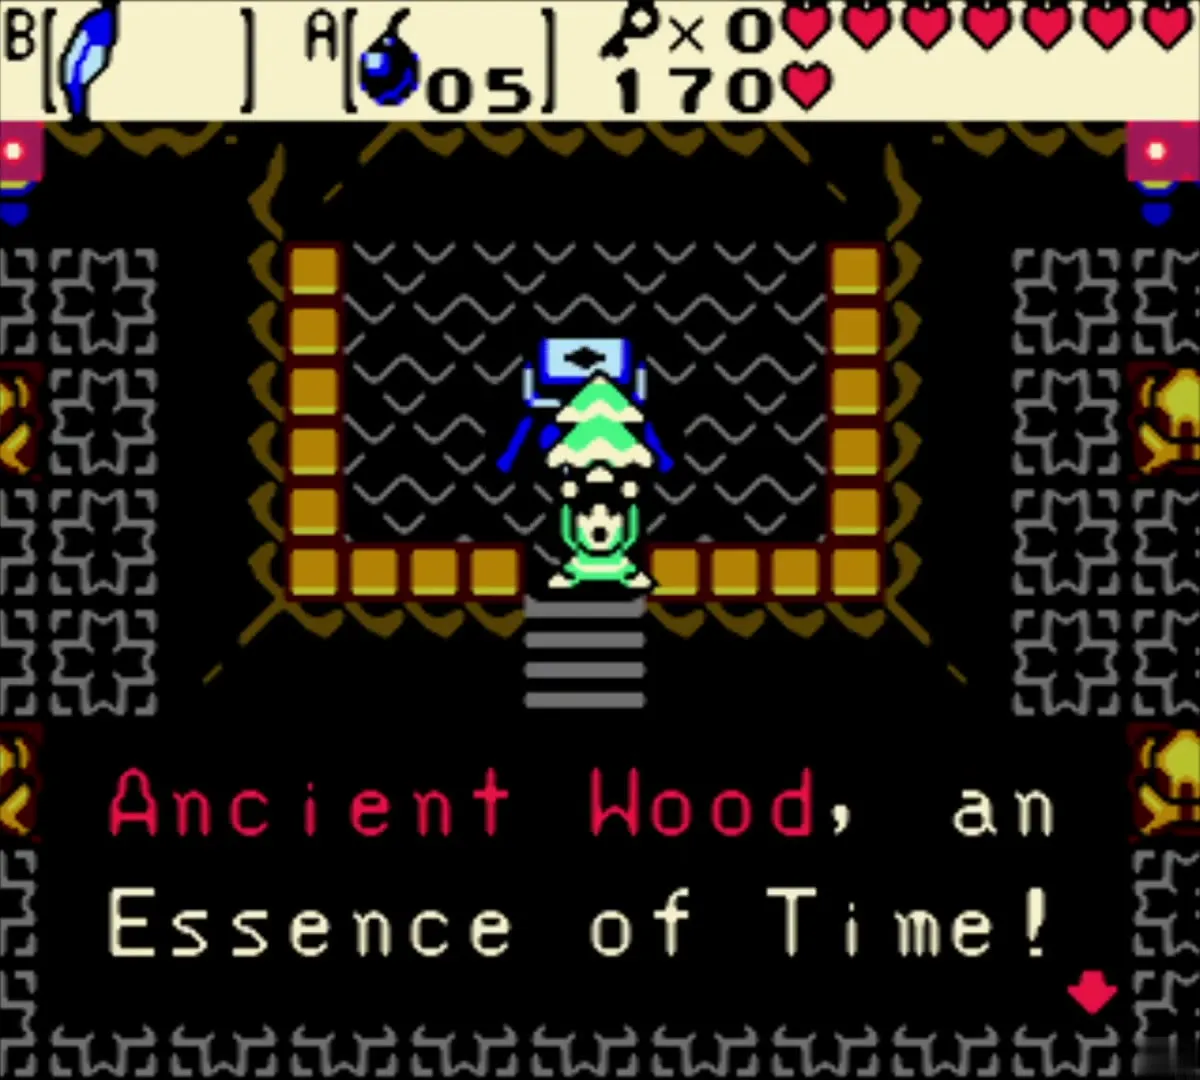
Step onto the altar to claim the Ancient Wood, the second Essence of Time (see Essences of Time). The Maku Tree then tells you the next Essence lies on Crescent Island, and that you can reach it from the coast of the town.
Chapter checklist
| Type | Name | Where (era) |
|---|---|---|
| Small Key | Small Key 1 | Pig Warrior and Keese room, west of the Spark maze (past) |
| Dungeon item | Dungeon Map | Chest behind the cracked wall, track room (past) |
| Dungeon item | Compass | Chest in the pit-and-block room (past) |
| Small Key | Small Key 2 | Chest above the basement Thwomp (past) |
| Mini-boss | Swoop | Room reached by minecart (past) |
| Dungeon item | Roc’s Feather | Floor of the side-view tunnel, lower floor (past) |
| Rupees | 30 Rupees | Ledge left of the Thwomp tunnel (past) |
| Small Key | Small Key 3 | Chest behind the bombed east wall (past) |
| Small Key | Small Key 4 | Tile room with Peahats (past) |
| Gasha Seed | Chest across the gap | Cart room (past) |
| Small Key | Small Key 5 | Statue puzzle room (past) |
| Dungeon item | Boss Key | Chest in the Gel room (past) |
| Boss | Head Thwomp | Boss room, top of the stairs (past) |
| Heart Container | Boss reward | Boss room (past) |
| Essence of Time |  Ancient Wood | Essence chamber (past) |
