
























Oracle of Ages 100% Completion Walkthrough24 chapters
- Arrival in Labrynna and the Black TowerForest of Time, Vasu’s Ring Box, the Maku Tree, the time portal, the Black Tower Shovel and the first Heart Piece.
- Maku Path and Spirit’s Grave (Level 1)Seed Satchel, Graveyard Key, Power Bracelet, Pumpkin Head and the Eternal Spirit.
- The Harp of Ages and Fairies’ WoodsPoe Clock, Heart Piece, Vasu’s rings, hide-and-seek, Tune of Echoes and the first time travel.
- Deku Forest and the Mystery SeedsMystery Seeds, Queen Ambi’s Bombs, a Heart Piece, the Deku Secret and the first rooms of the Wing Dungeon.
- Wing Dungeon (Level 2)All five Small Keys, Dungeon Map, Compass, Swoop, Roc’s Feather, Boss Key, Head Thwomp and the Ancient Wood.
- Farore’s Secrets and Cheval’s GraveWest Lynna Heart Piece, Hall of Secrets codes, Red Snake, Zora’s Flippers and Cheval Rope.
- Tingle’s Chart and Crescent IslandRicky’s Gloves, Island Chart, Rafton’s raft, the Tokay thieves, Scent Seeds and the Grotto.
- Moonlit Grotto (Level 3)All Small Keys, Compass, Seed Shooter, Gasha Seeds, Subterror, Boss Key, Shadow Hag and the Echoing Howl.
- Nuun Highlands and the Strange FlutesDimitri’s Flute, Tingle’s 99-seed Satchel, the Black Tower rescue, the bridge workers, Gale Seeds and Symmetry City.
- Symmetry City and Talus PeaksCracked Tuni Nut, Patch’s ceremony, Tune of Currents, Heart Piece, bomb fairy and Skull Dungeon.
- Skull Dungeon (Level 4)Compass, Dungeon Map, 5 Small Keys, Armos Warrior, Switch Hook, Boss Key, Eyesoar and the Burning Flame.
- Lynna Trades and the Noble SwordTouching Book, Maple’s Magic Oar, Sea Ukulele, Broken Sword and Patch’s ceremony.
- West Rolling Ridge and the Great MoblinLynna secret shop, Pegasus Seeds, Moblin’s Keep, Great Moblin, Bomb Flower, Crown Key and the Crown Dungeon.
- Crown Dungeon (Level 5)Small Keys, Cane of Somaria, Smasher, Compass, Boss Key, Smog and the Sacred Soil.
- East Rolling Ridge and the Mermaid KeysGoron Dance, Brother Emblem, Target Carts, Rock Brisket, Goron Vase and Goronade trades, and Mermaid Keys.
- Mermaid’s Cave (Level 6) Walkthrough for Oracle of AgesGet the Old Mermaid Key, clear both halves, collect the Mermaid Suit and defeat Octogon for the Essence of Time.
- Ambi’s Palace and the Tune of AgesSneak in, beat Possessed Nayru, learn the Tune of Ages, claim Hall of Secrets upgrades and the Mirror Shield.
- Zora Seas and the Fairy PowderThe Gasha Seed chest, King Zora’s Library Key, Book of Seals, Fairy Powder and Jabu-Jabu’s Belly entrance.
- Jabu-Jabu’s Belly (Level 7)Like Like Ring, Compass, Small Keys, Long Hook, Boss Key, Plasmarine fight, Heart Container and Rolling Sea.
- Sea of Storms and the Pirate ShipZora Scale, pirate ship and Tokay Eyeball, clam grotto ring, Tokay statue cave and Sea of No Return maze.
- Ancient Tomb (Level 8)Three Slates, the Boss Key, two Gasha Seeds, Ramrock boss strategy and the Falling Star Essence.
- Final Collection and the Hero’s CaveMaple Piece of Heart, Gasha Nut rings and fairies, Hero’s Cave Armor Ring L-3 and Vasu ring appraisals.
- The Black Tower and VeranFinal ring appraisals, the Huge Maku Seed, the Black Tower climb.
- Room of Rites, Twinrova and GanonThe eye-statue hallway, Twinrova’s fire and ice phases, the Ganon boss fight, and the linked-game ending.
| Covers | Yoll Graveyard, Lynna City and its fields (the present); Lynna Village and its dock (the past); the sea voyage; Crescent Island (the past and the present); the front door of the Moonlit Grotto |
|---|---|
| Dungeon | None cleared here. You reach the entrance of the Moonlit Grotto (Level 3) and pick up its Dungeon Map; the rest of the dungeon, its mini-boss, boss and Essence of Time come in the next chapter |
| Rewards | Island Chart, Ricky‘s Gloves, Scent Seedling, 18 Scent Seeds, Tasty Meat (trade item 4 of 12), 1 Gasha Seed from a chest, 2 soft soil patches planted, 20 and 50 Rupees from a minigame, all your stolen gear back (Shovel, Wooden Sword, Bombs, Zora’s Flippers, Roc’s Feather, Power Bracelet, Seed Satchel, Harp of Ages), a Great Fairy fountain. No Heart Pieces and no rings in this chapter |
This chapter turns Cheval’s Rope and Zora’s Flippers into a trip to Crescent Island, where the next Essence of Time waits. You get the Island Chart from Tingle, sail with Rafton, lose every item you own to the island’s Tokay, and win them back one by one. Along the way you plant a Scent Seedling, harvest Scent Seeds a few hundred years later, and walk up to the Moonlit Grotto.
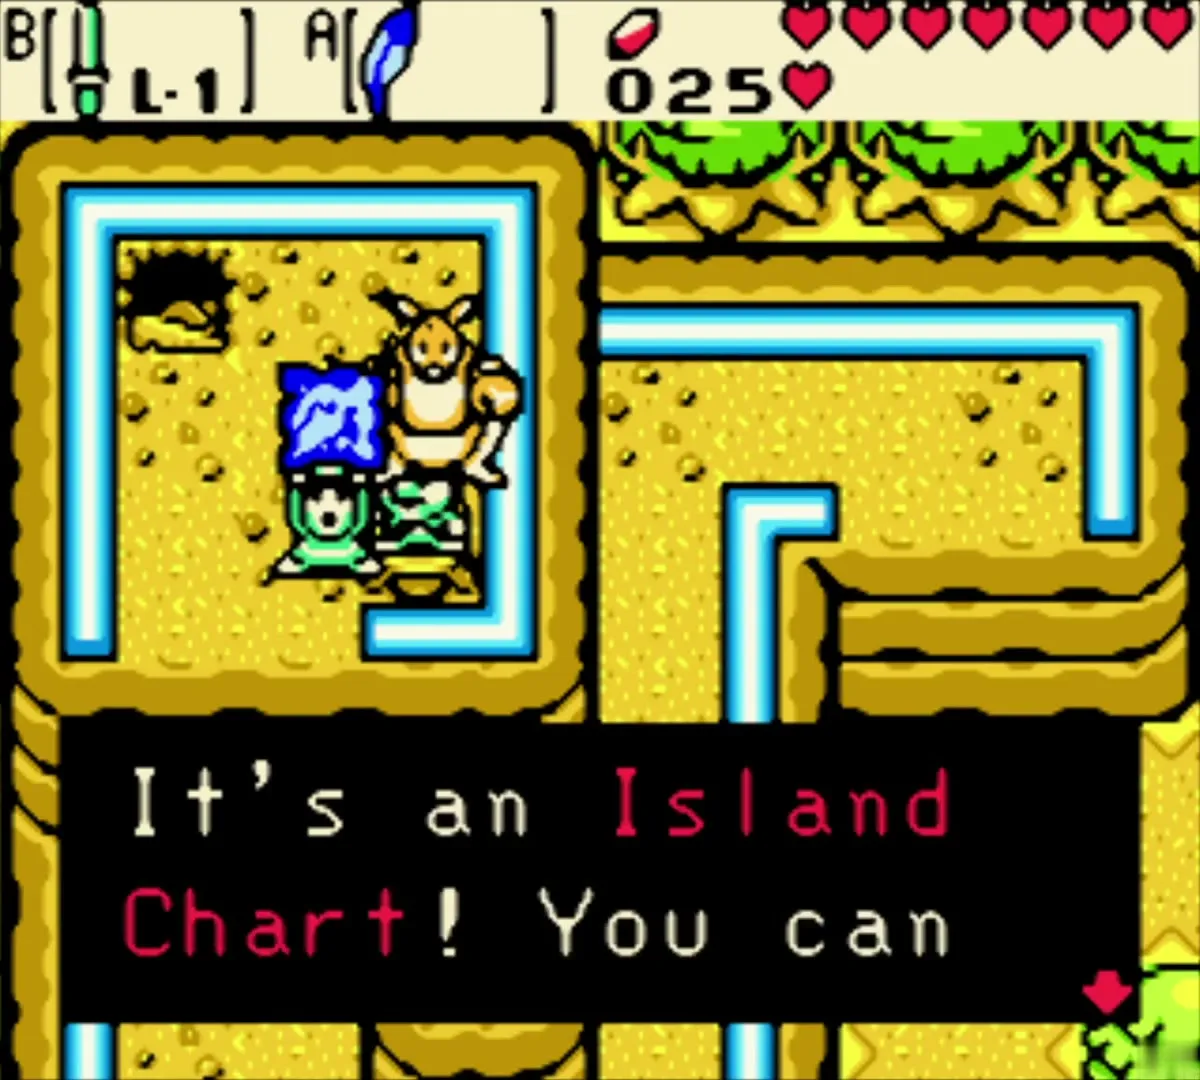
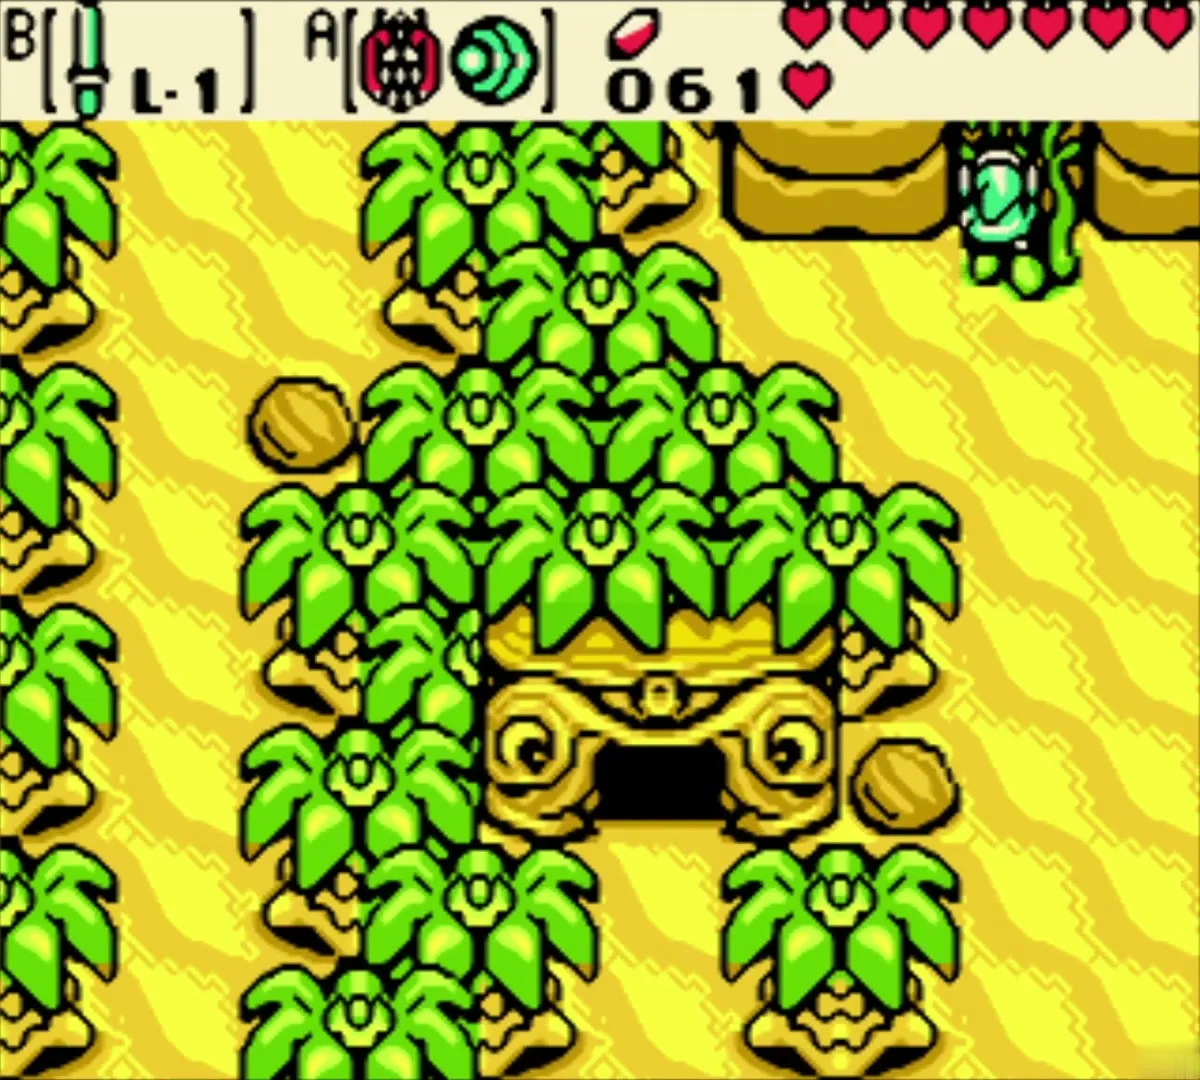
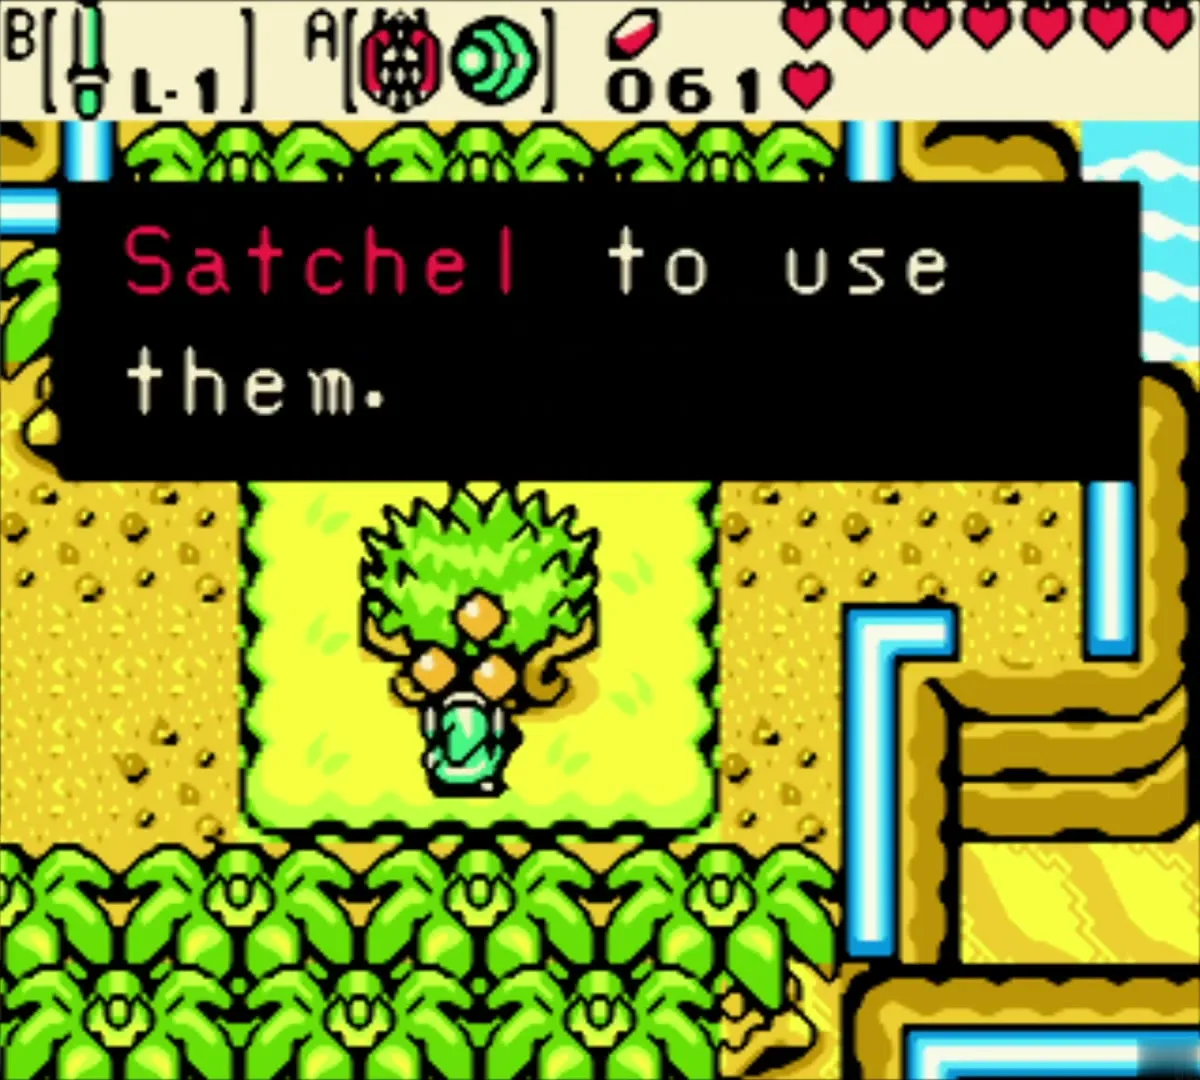
Table of Contents
Syrup’s shop and Maple (the present)
Syrup’s Potion Shop
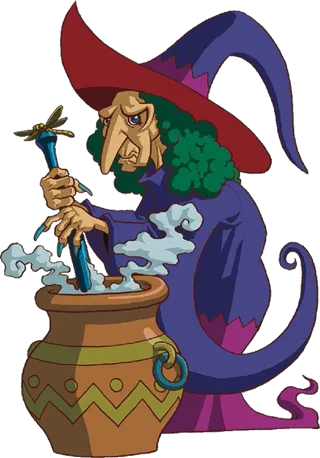
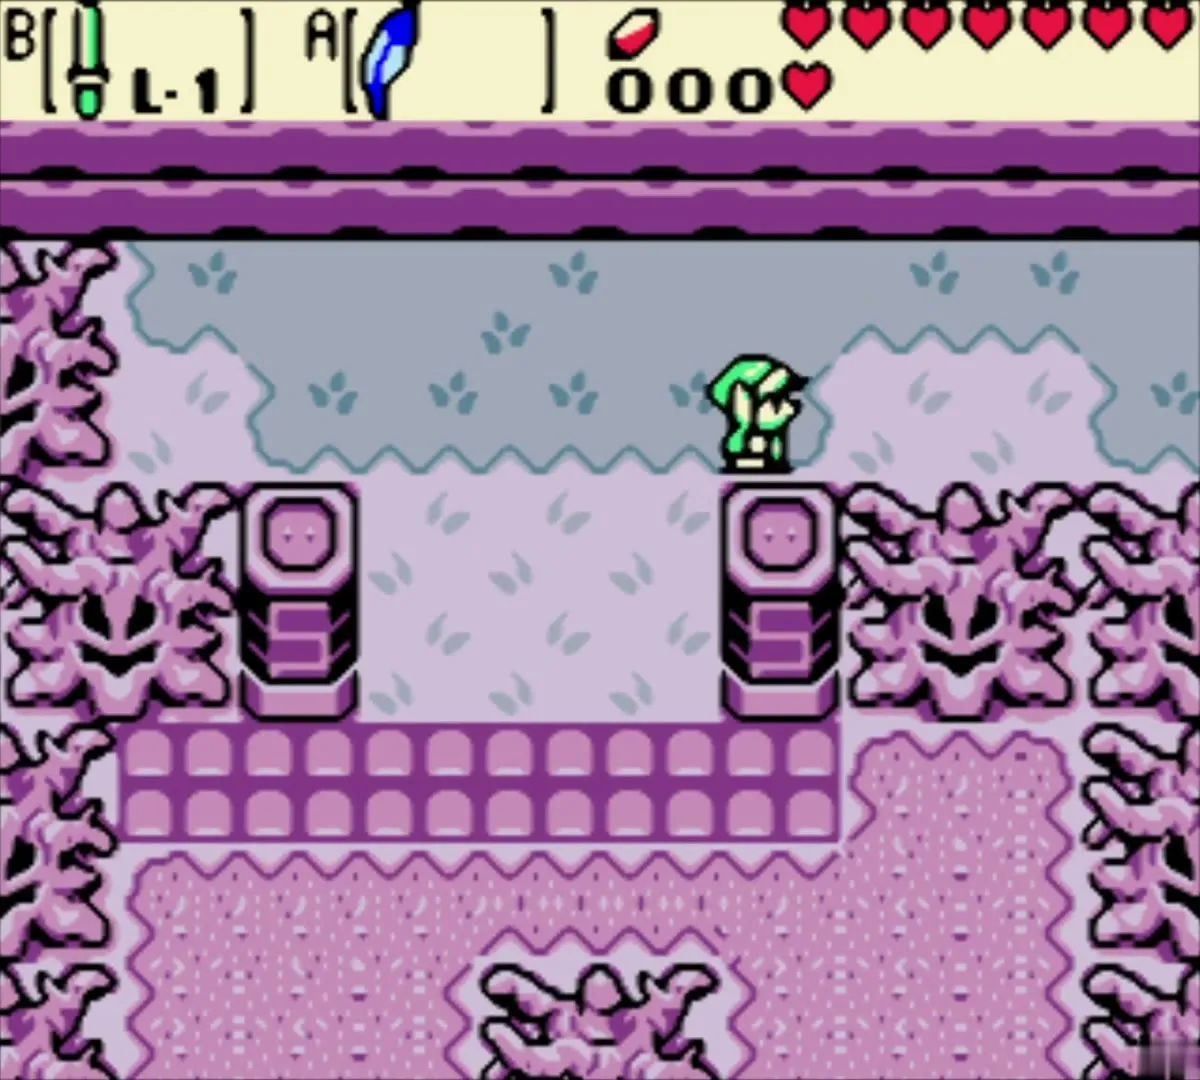
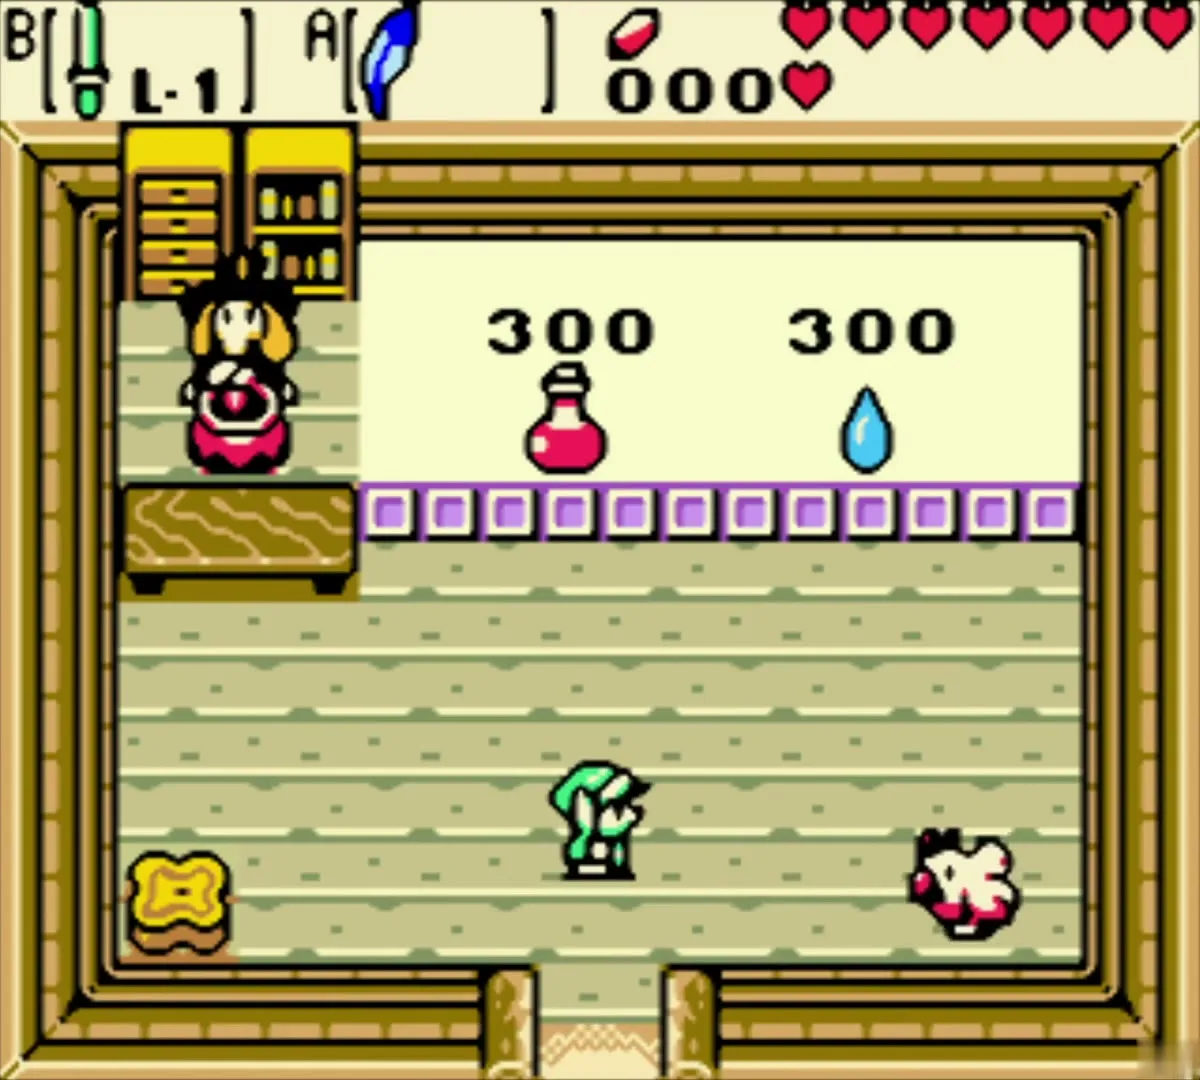
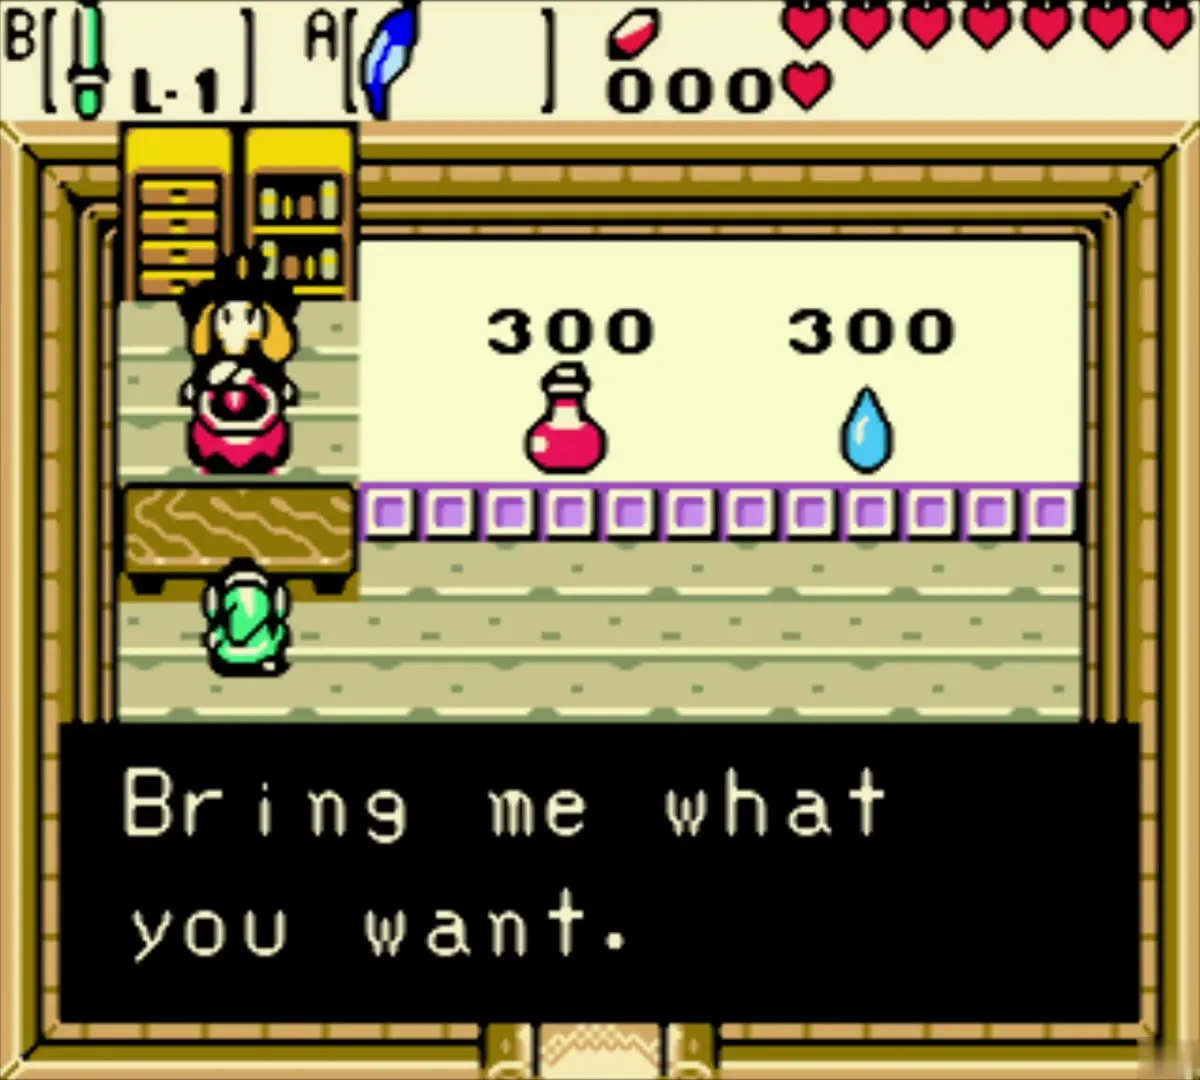
With the Flippers on, swim out of Cheval’s Grave and walk to the purple ruins of Yoll Graveyard, where Witch Syrup keeps her Potion Shop. She sells a Gasha Seed and a Magic Potion for 300 Rupees each. You cannot afford either yet, so look around and leave.

Meet Maple
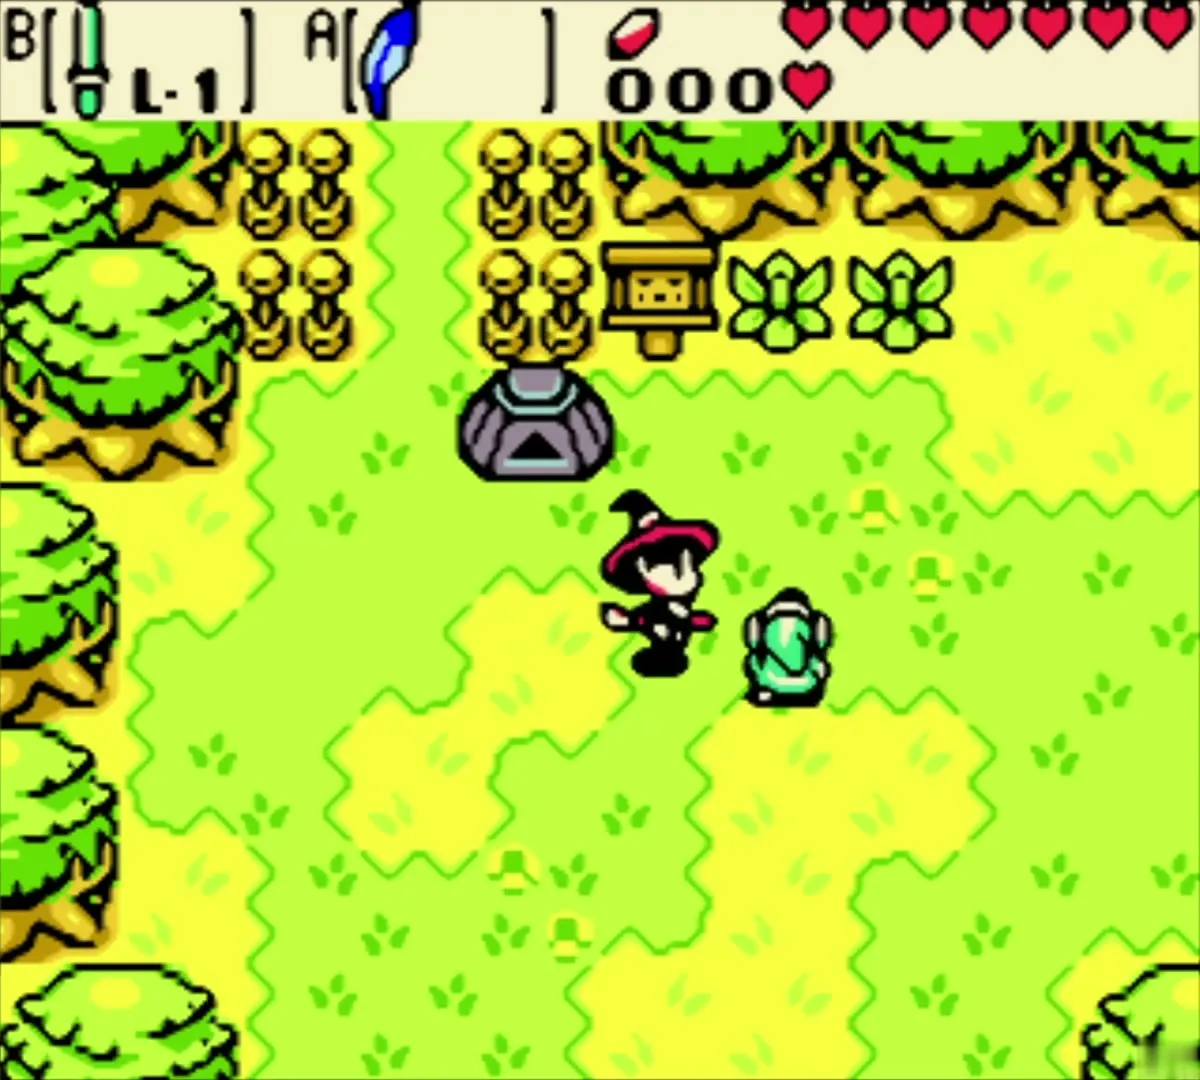
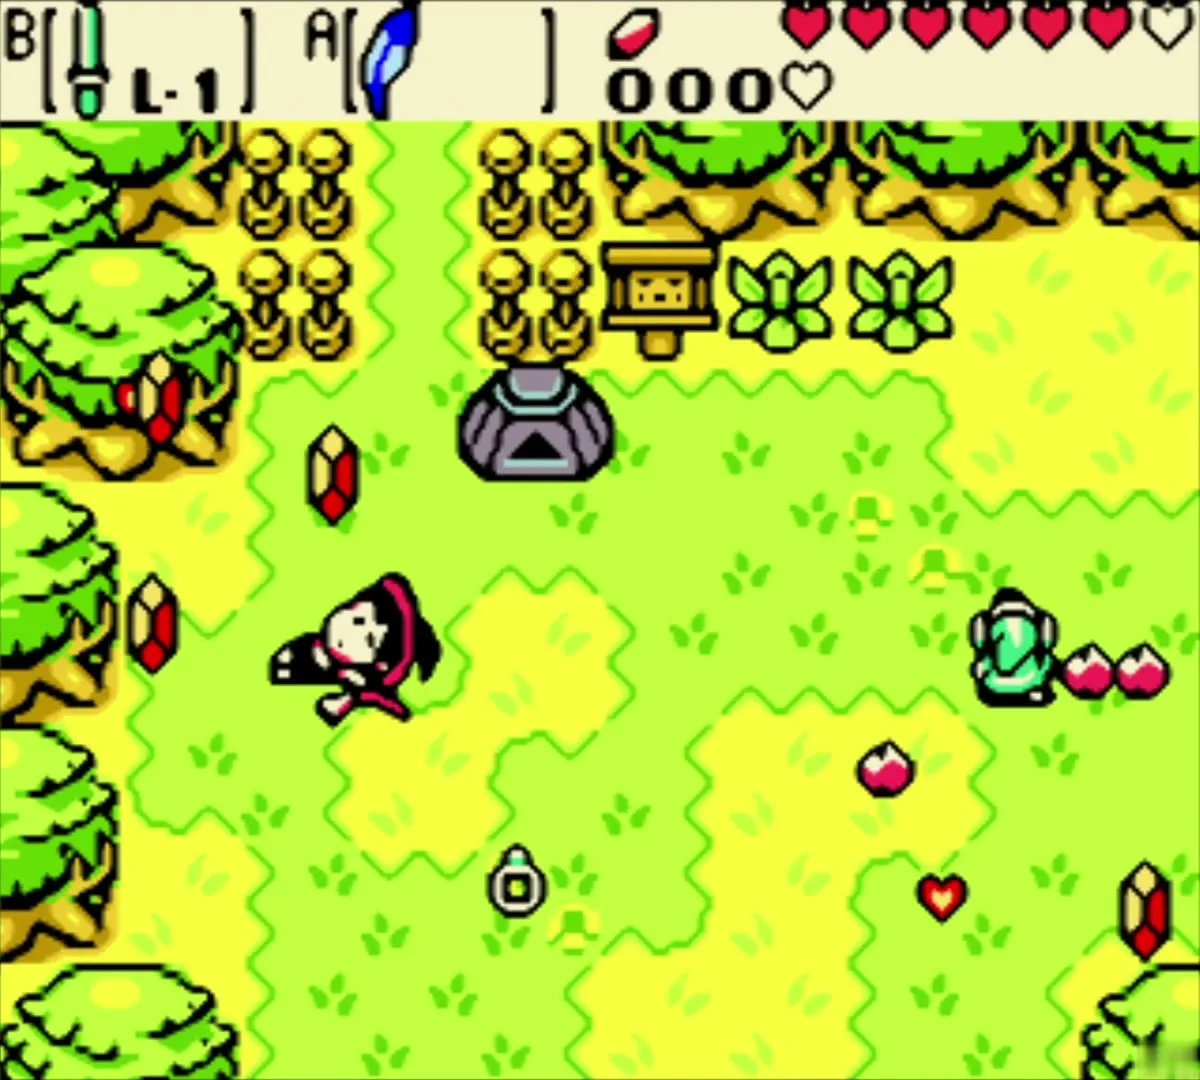
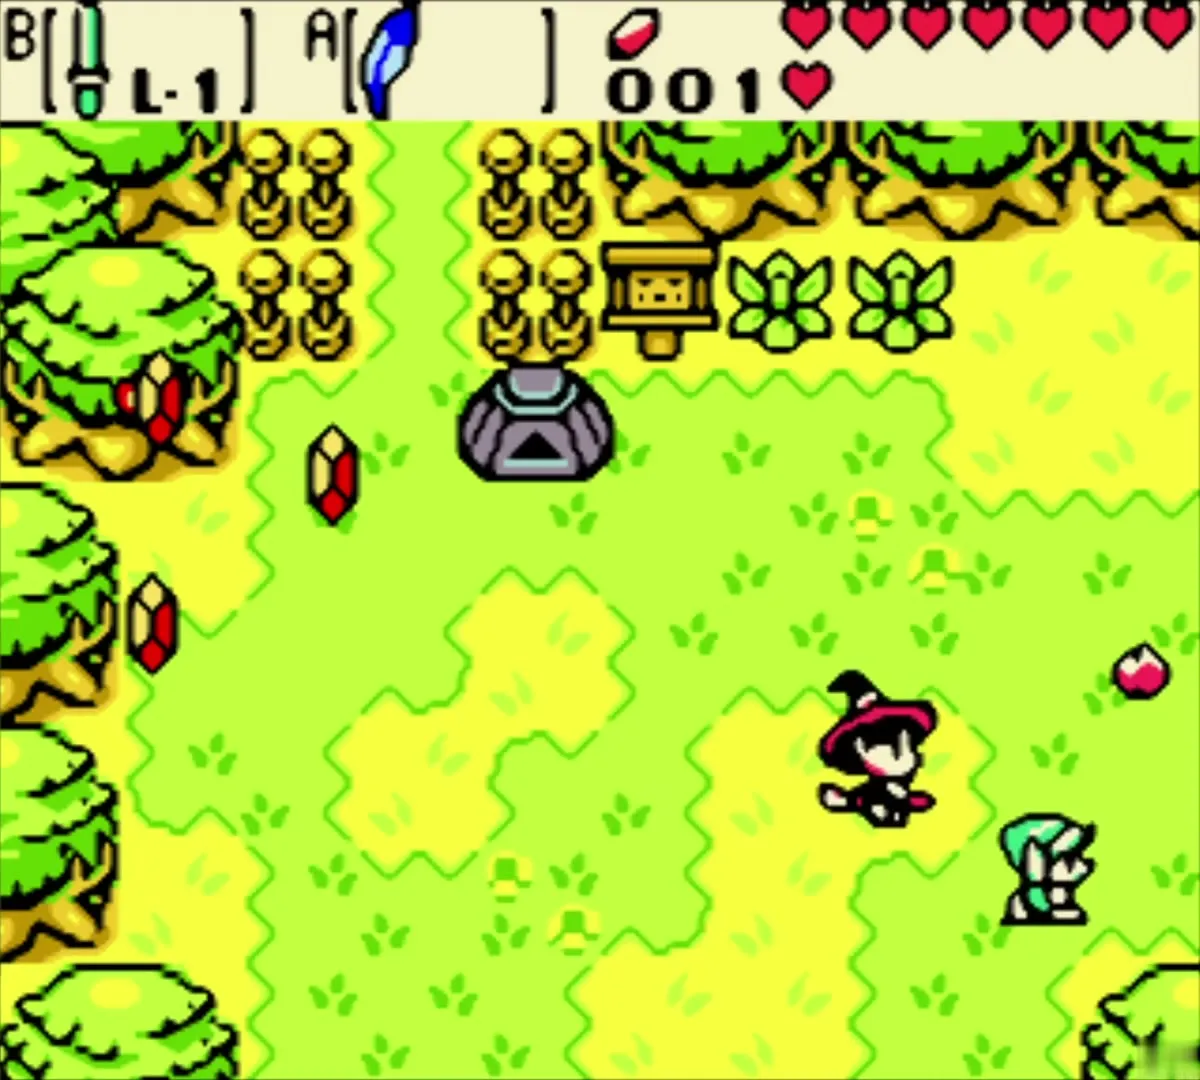
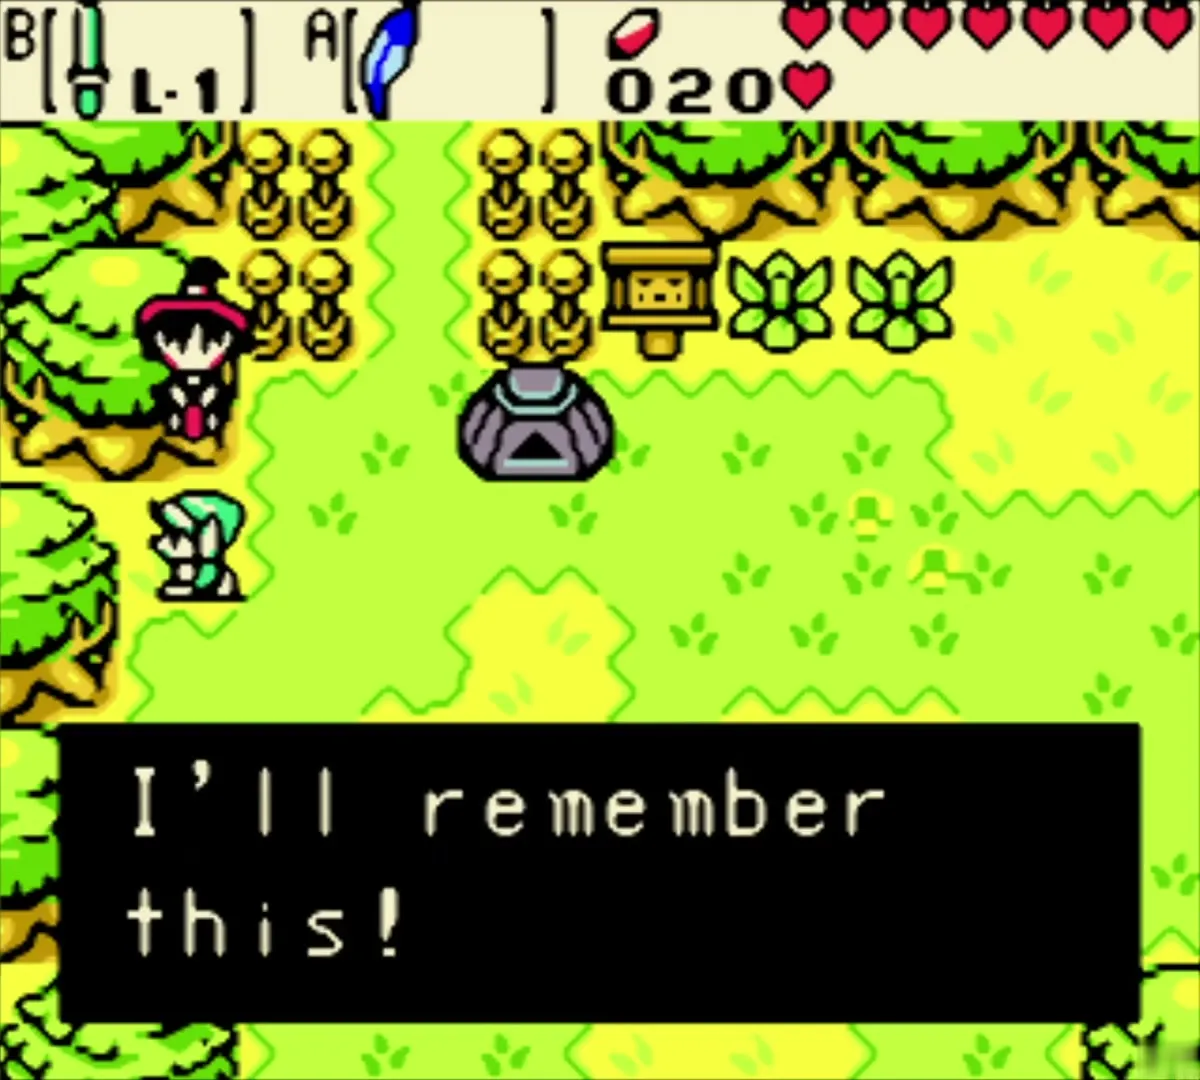
In the green fields of the present, outside Lynna City, Maple the witch swoops in on her broom. Step into her flight path so she collides with you, then grab whatever tumbles out of your bags before she does. A few Rupees fall and Maple leaves with her usual threat. Her visits are random and she can carry Pieces of Heart and rings, so read Maple Encounters if you want to hunt for them.
Lynna Village: Gasha soil and Rafton’s rope (the past)
Back to the past
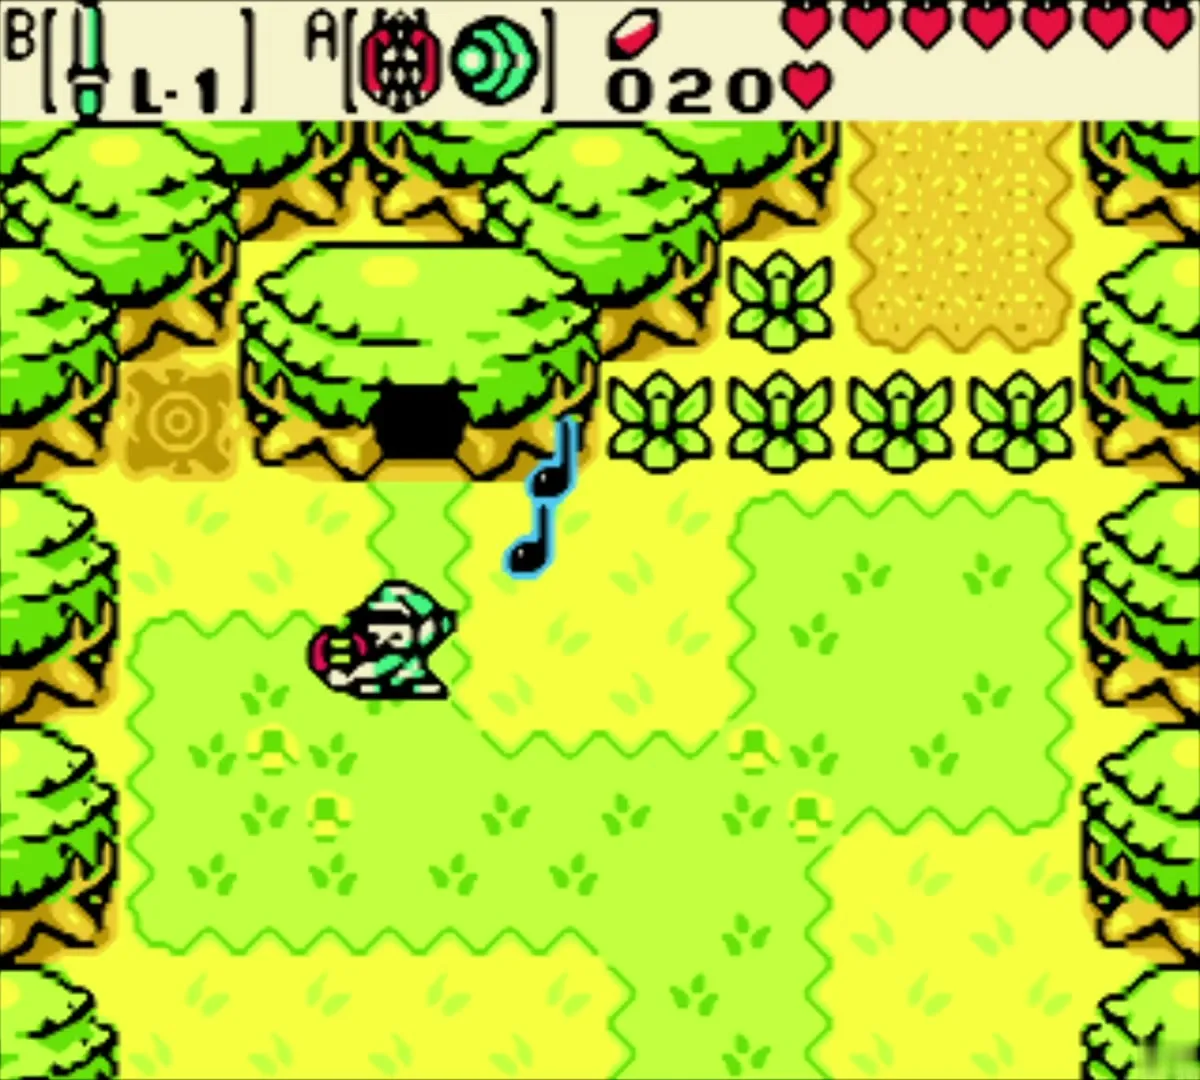
Go to the Time Portal in the tree hollow in the present fields and play the Tune of Echoes (see Time Portal Locations). You arrive in the past on the road above Lynna Village. Follow the signpost down into the village, past the stone steps and the river.
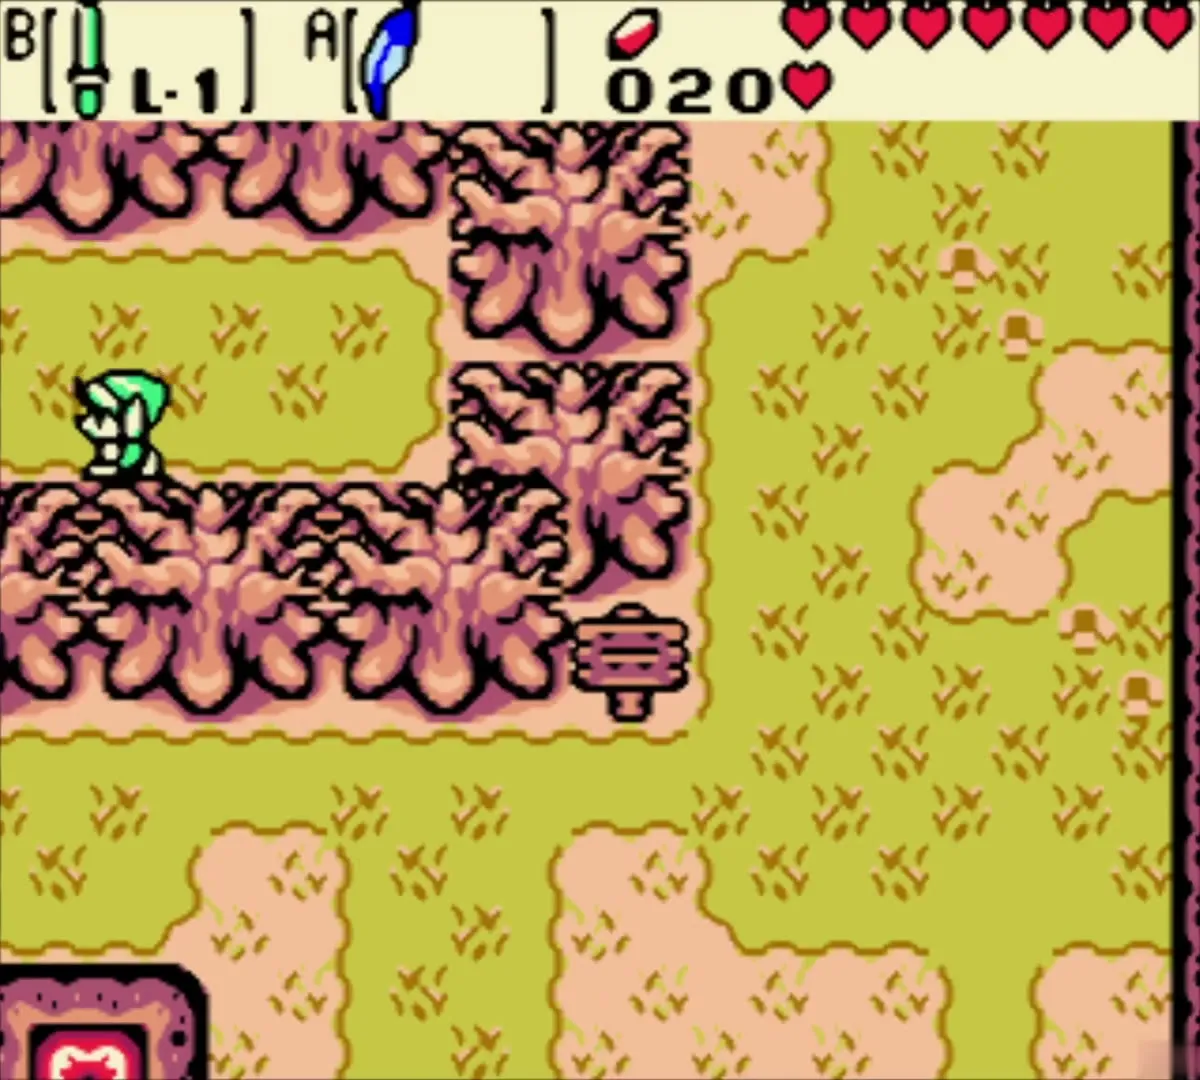
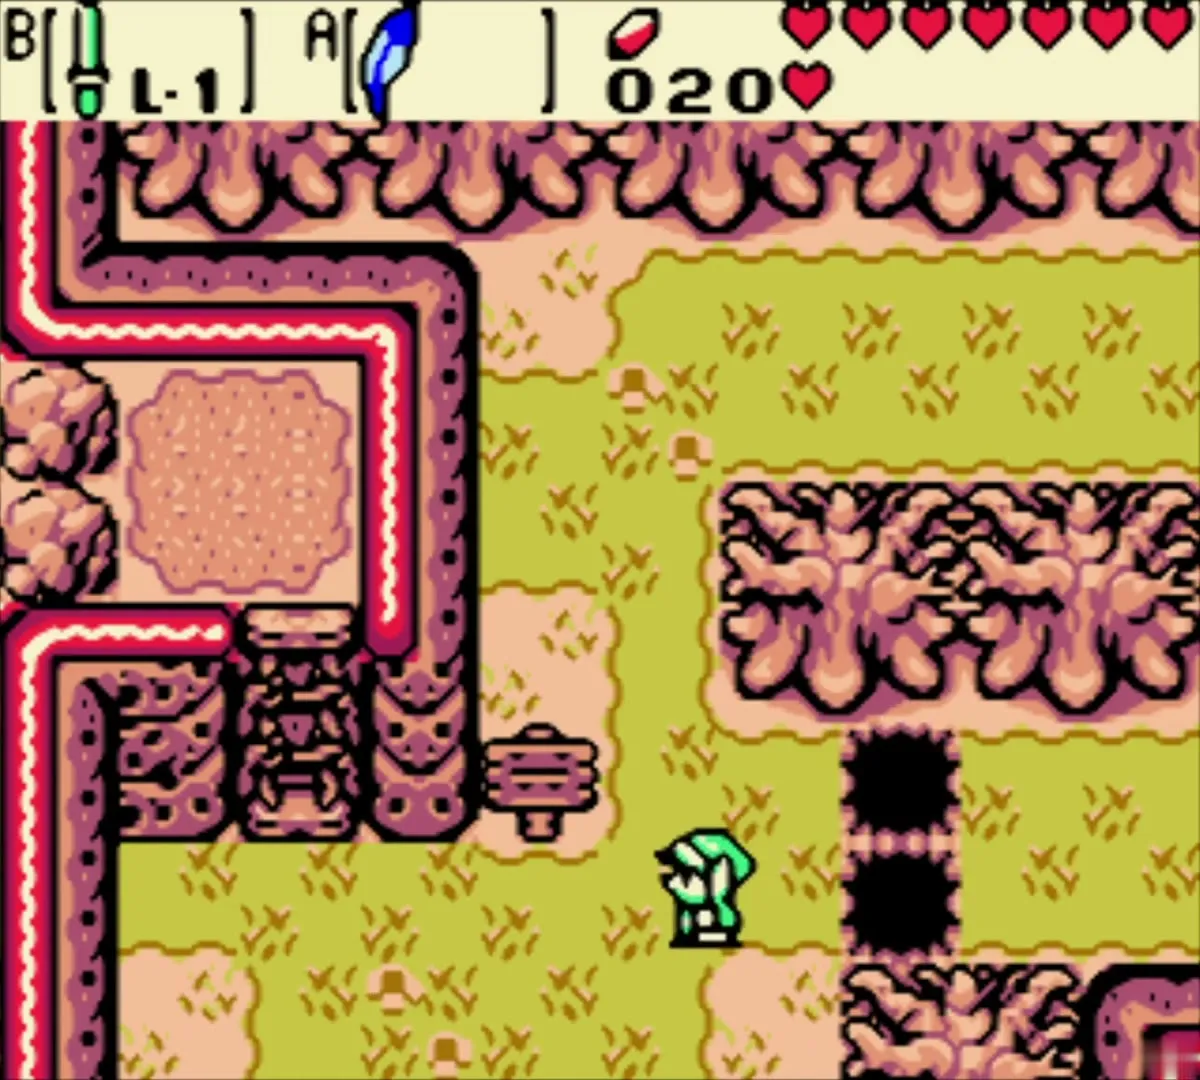
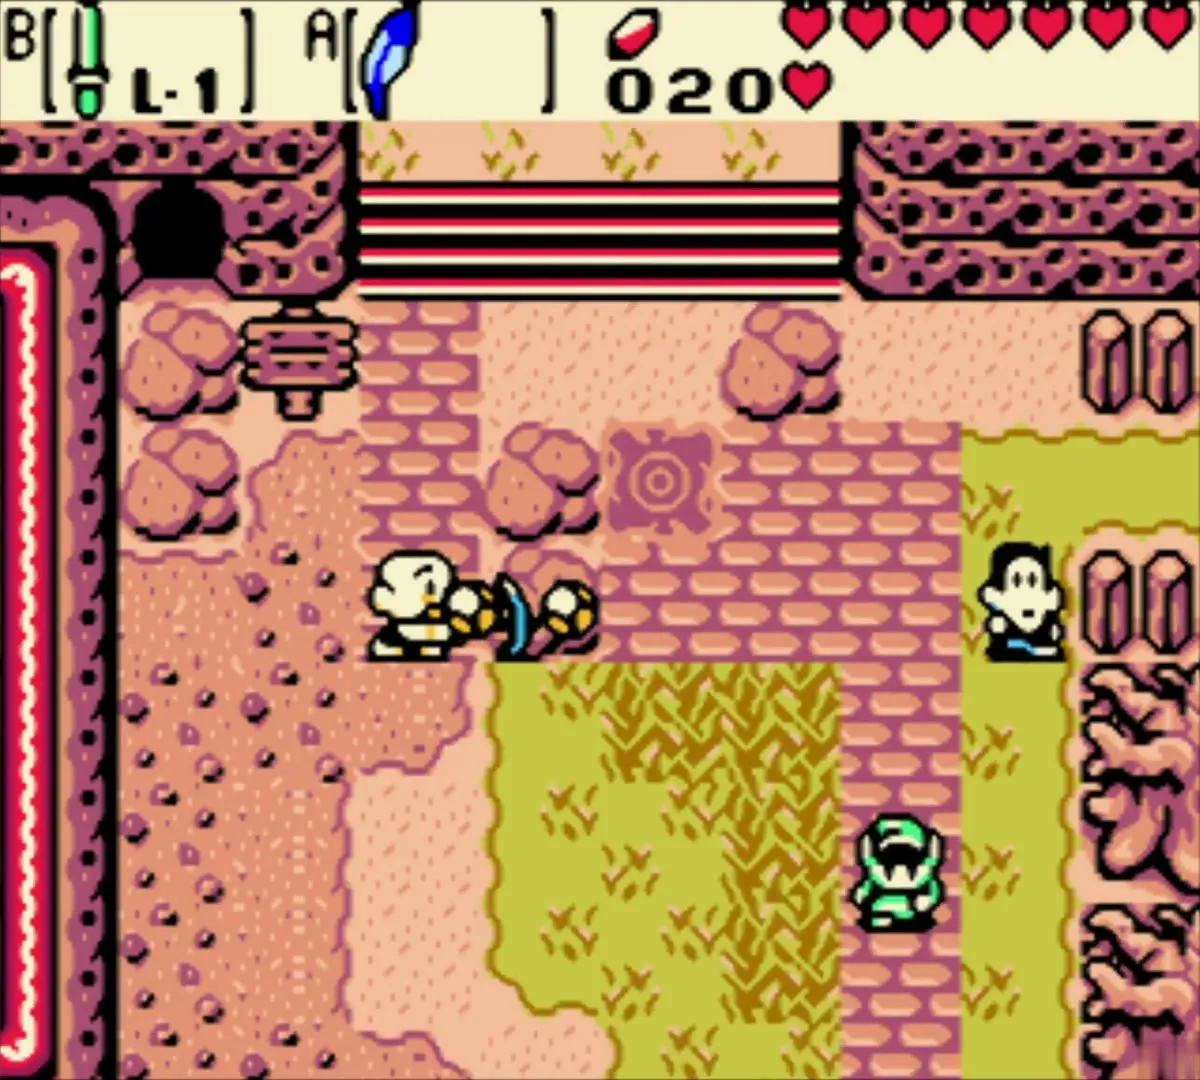

Soft soil by the waterfall (soil 1)
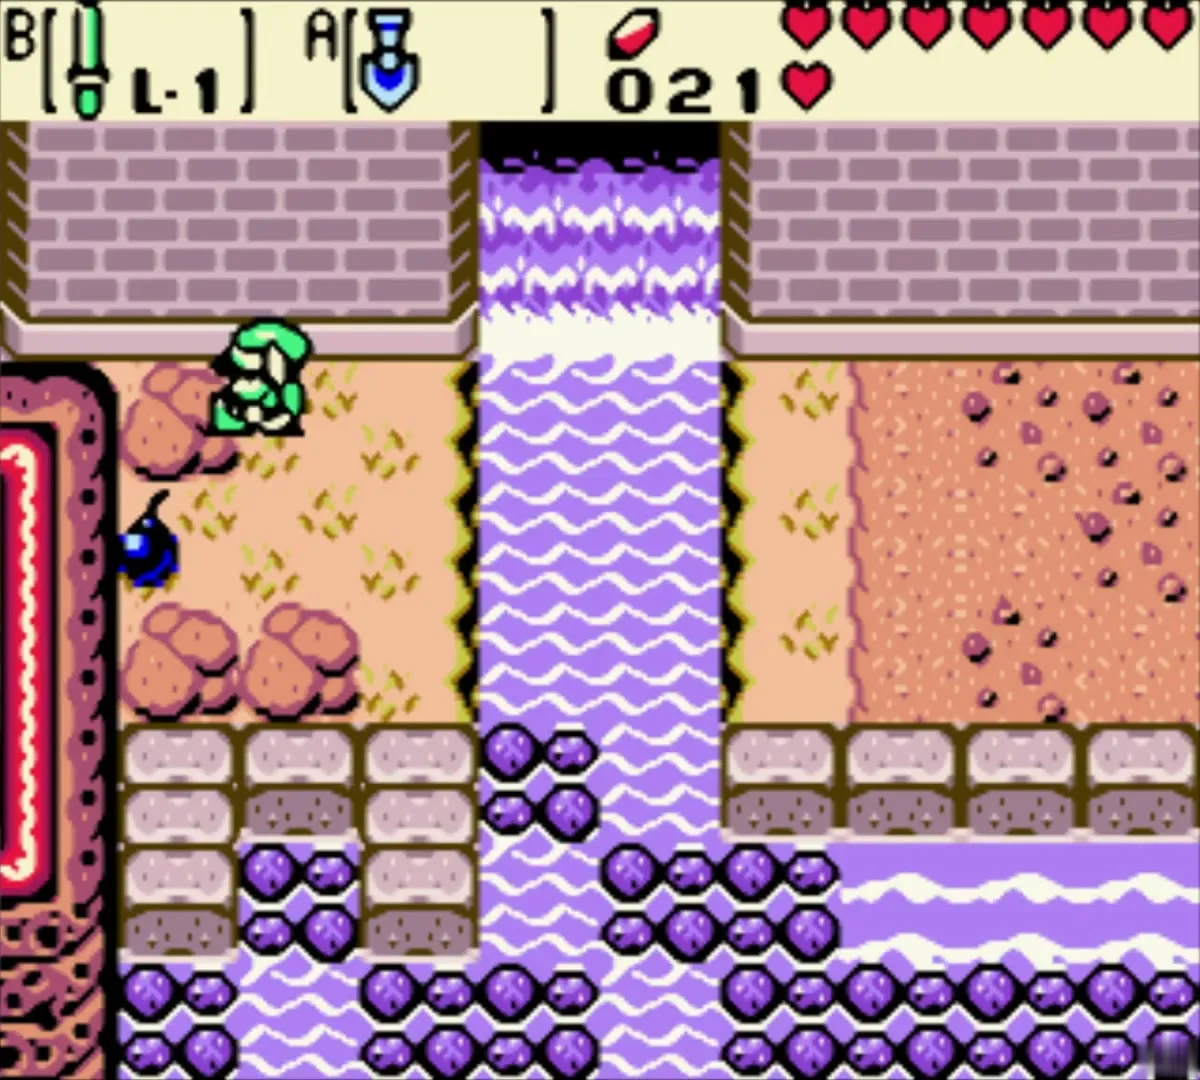
Beside the waterfall in the village river, use the Flippers to reach the ledge of dark rocks on the left bank. Dig with the Shovel and you uncover soft soil, a low-grade patch. Choose Plant to bury a Gasha Seed. Gasha Nuts grow after you kill enough enemies (see Gasha Seeds and Soft Soil), so this one will be ready on a later visit.
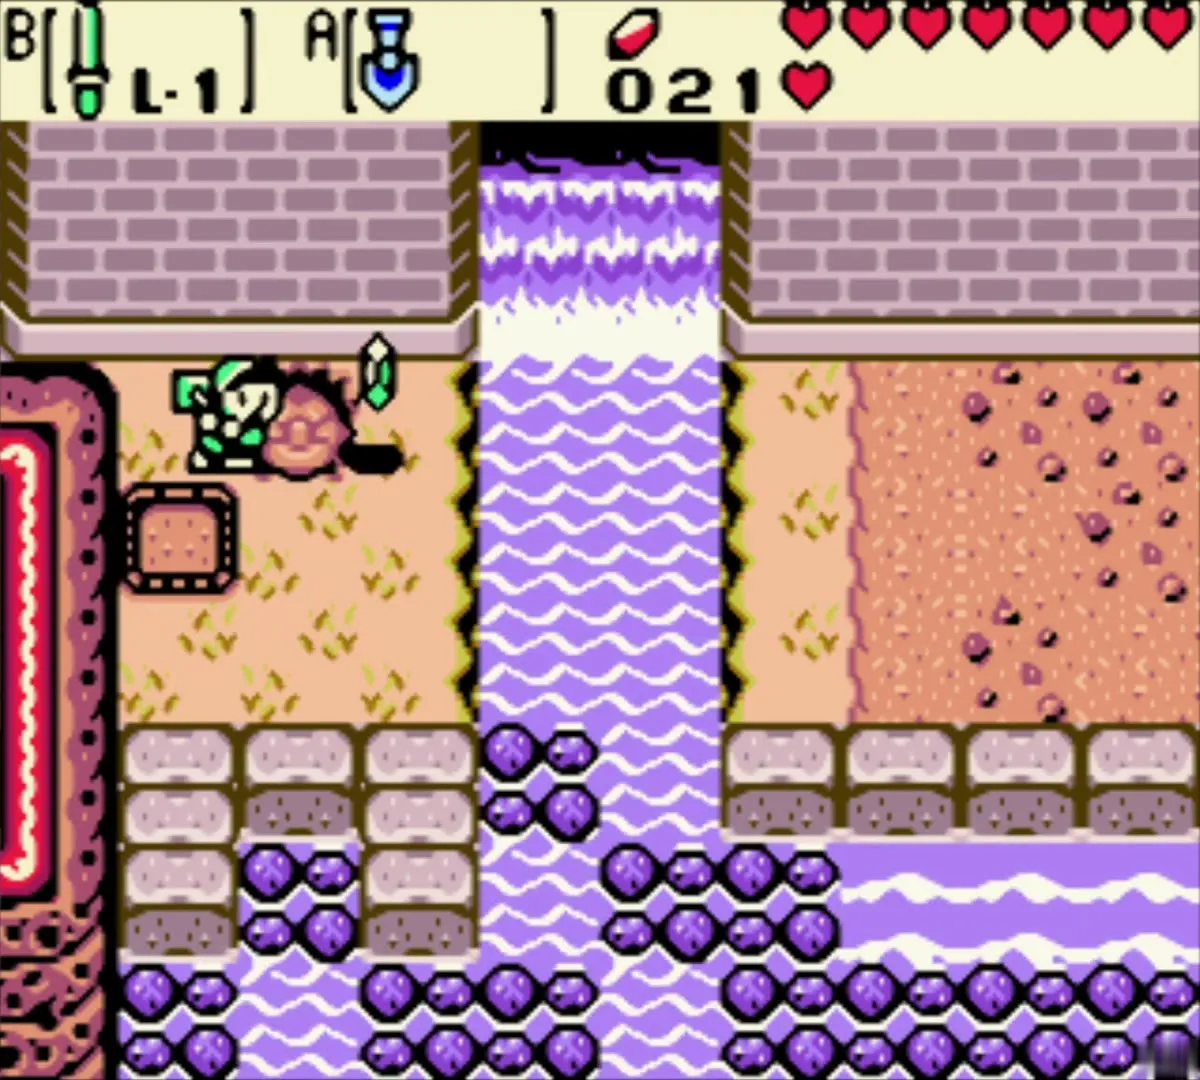
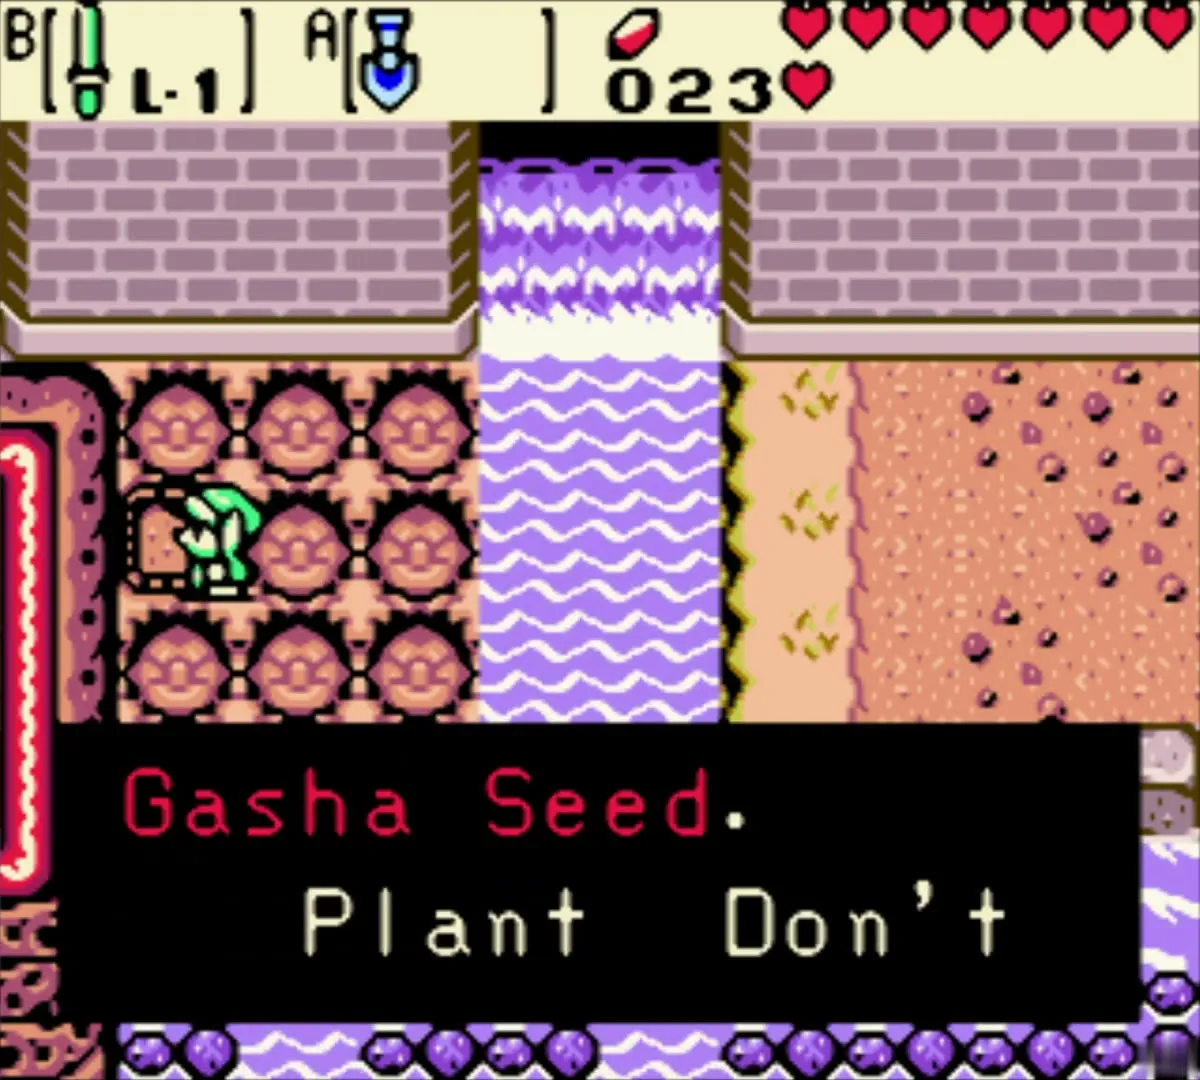

Give Rafton the Cheval Rope
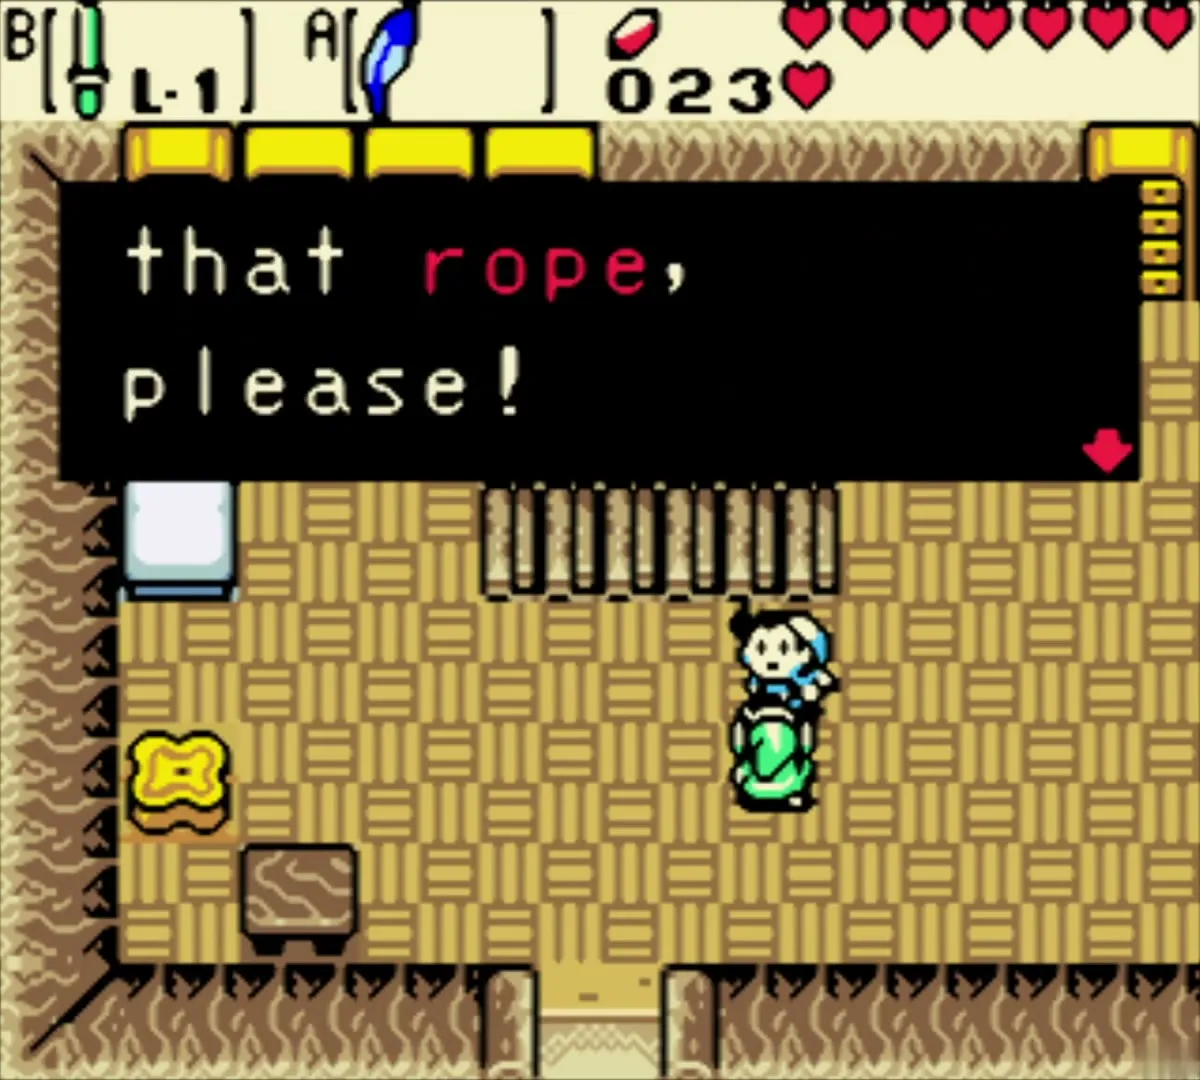
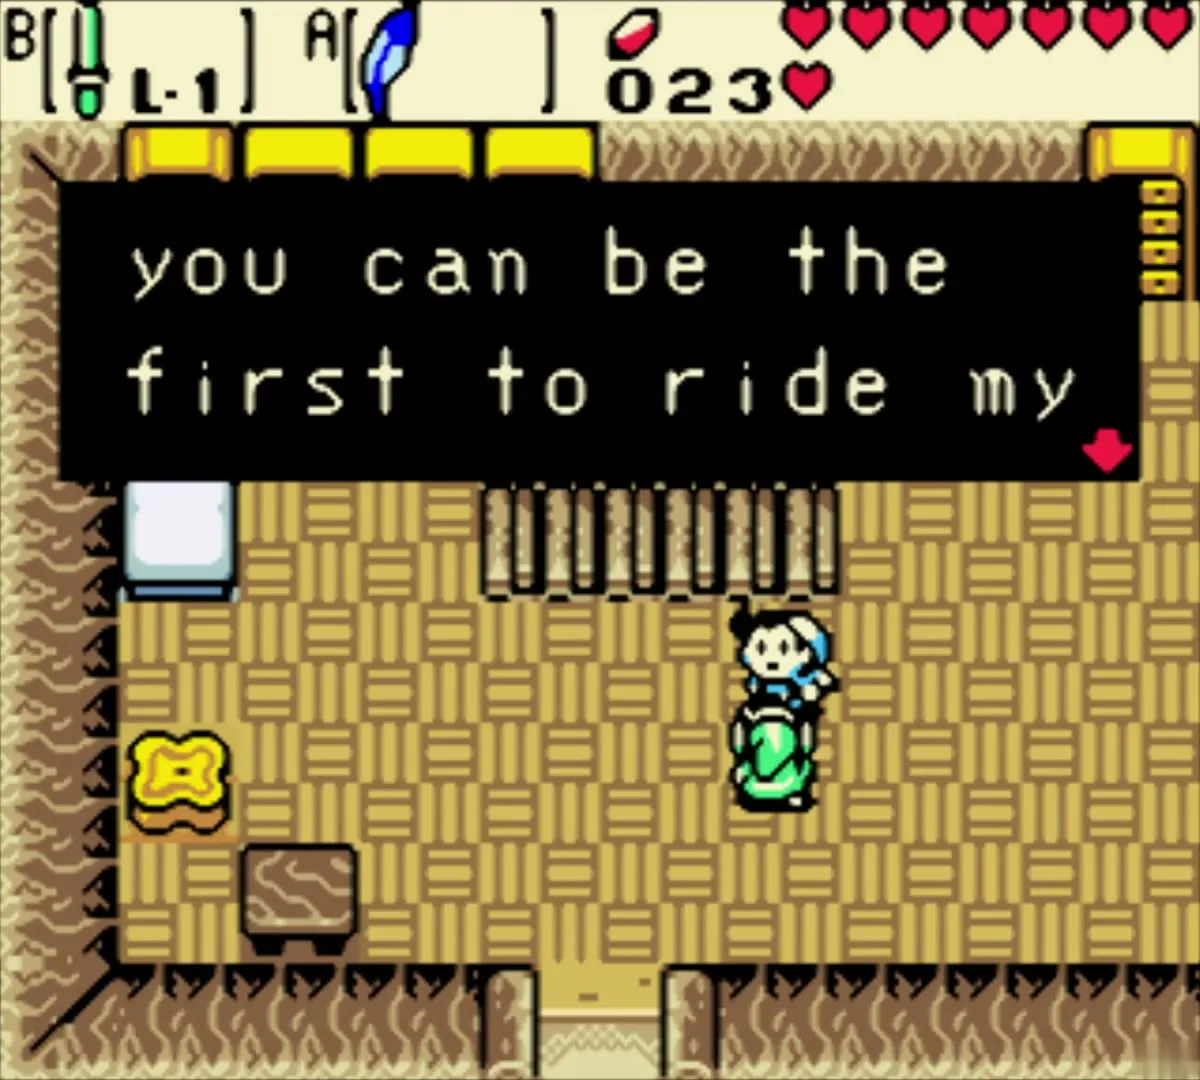
Walk to Rafton’s red-roofed house by the dock and talk to him. Answer OK when he asks for the rope: he will finish his raft, but he says you will also need a sea chart before he lets you sail. The Cheval Rope leaves your inventory here.
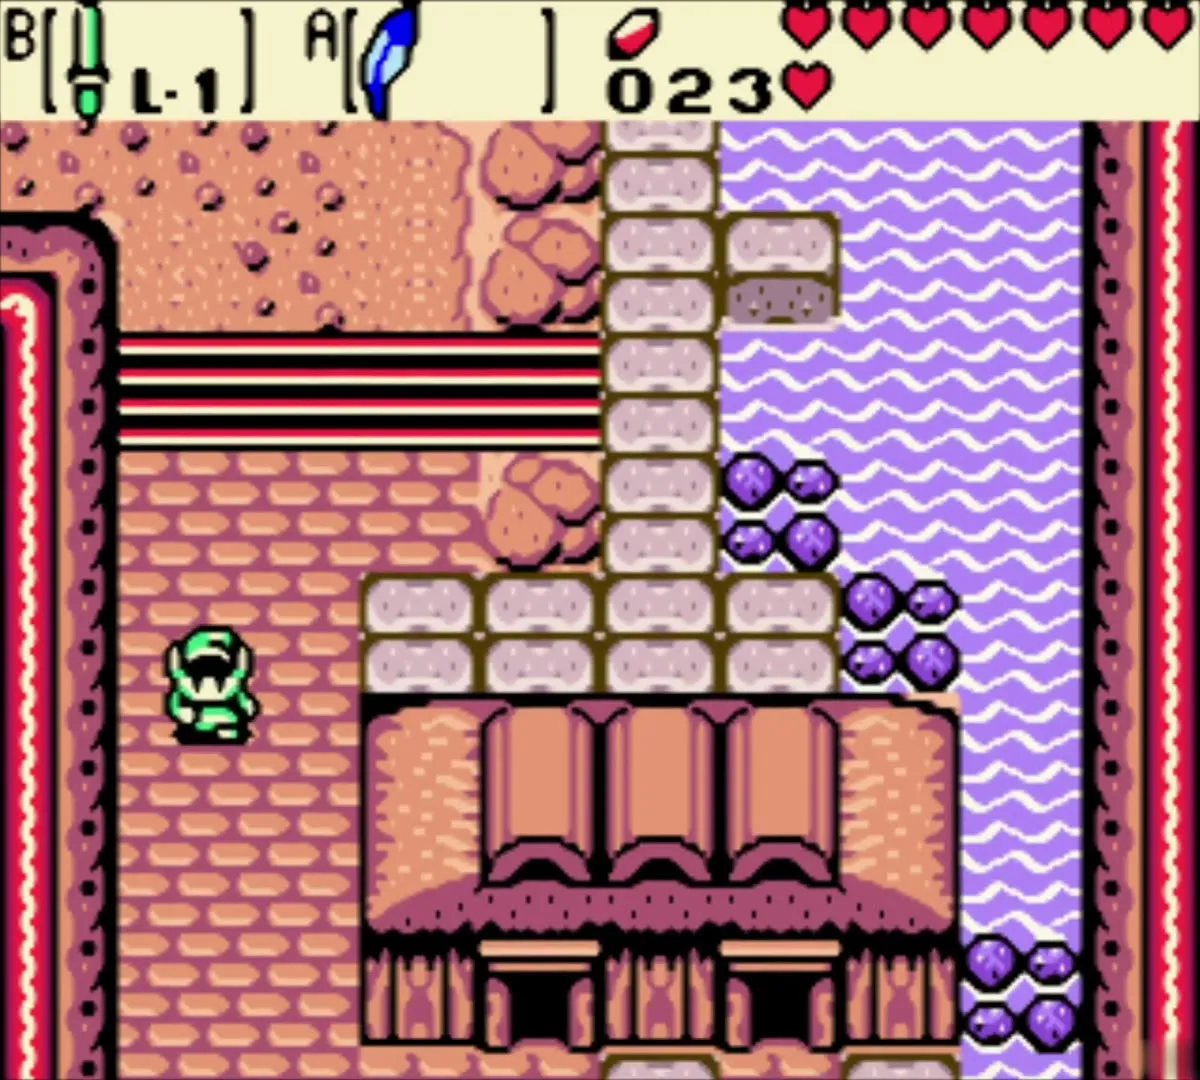
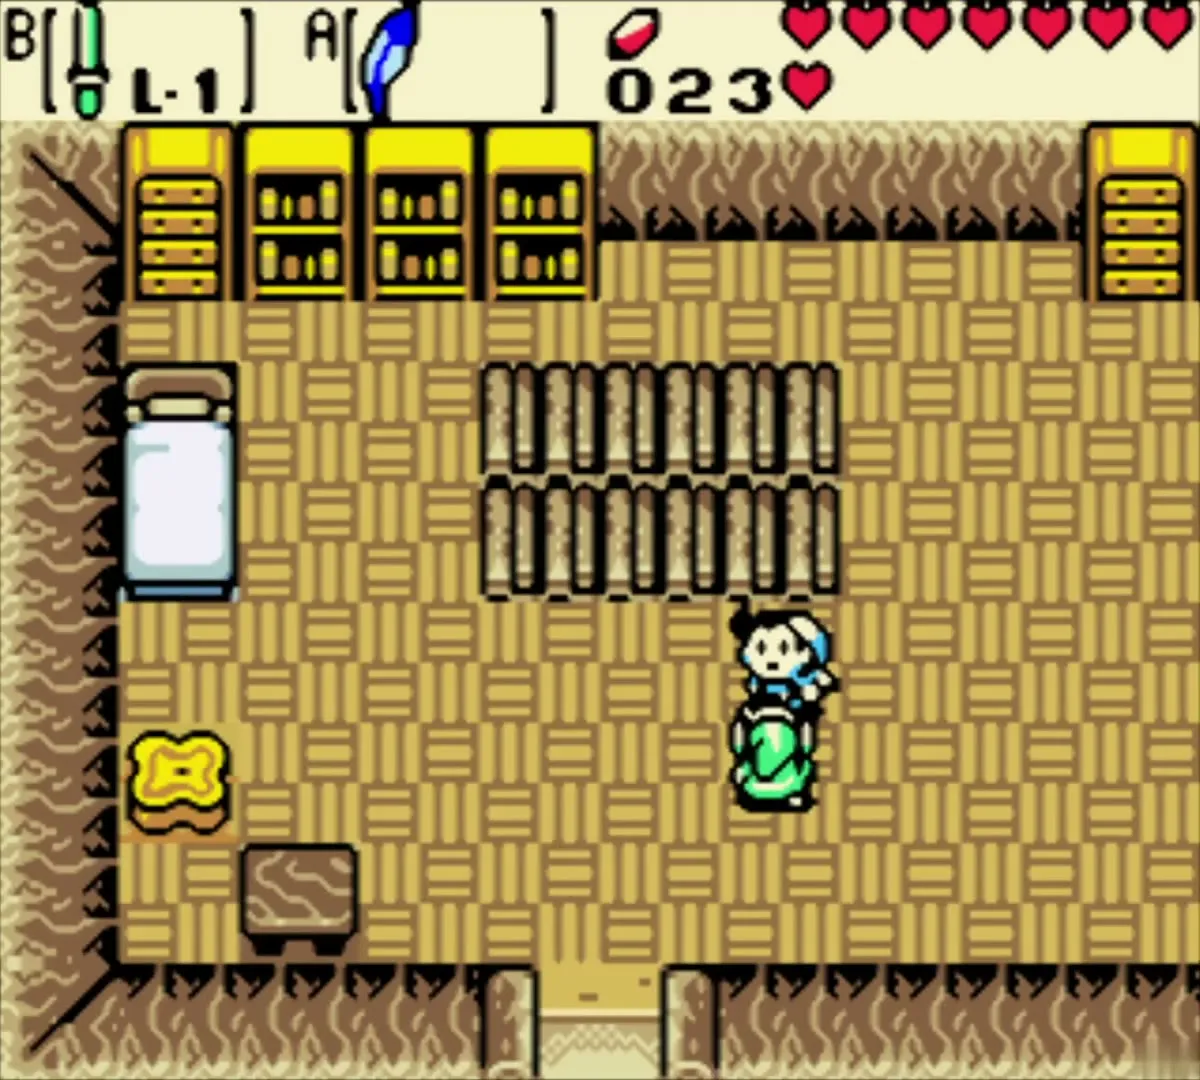
Ralph and Cheval
On the stone bridge outside, Ralph spots you and says a strange man somewhere knows about sea charts. That is Tingle, and you meet him in the present. Cheval’s house is next door and holds nothing to collect; he only chats about his work on rope that never decays.
Return to the present
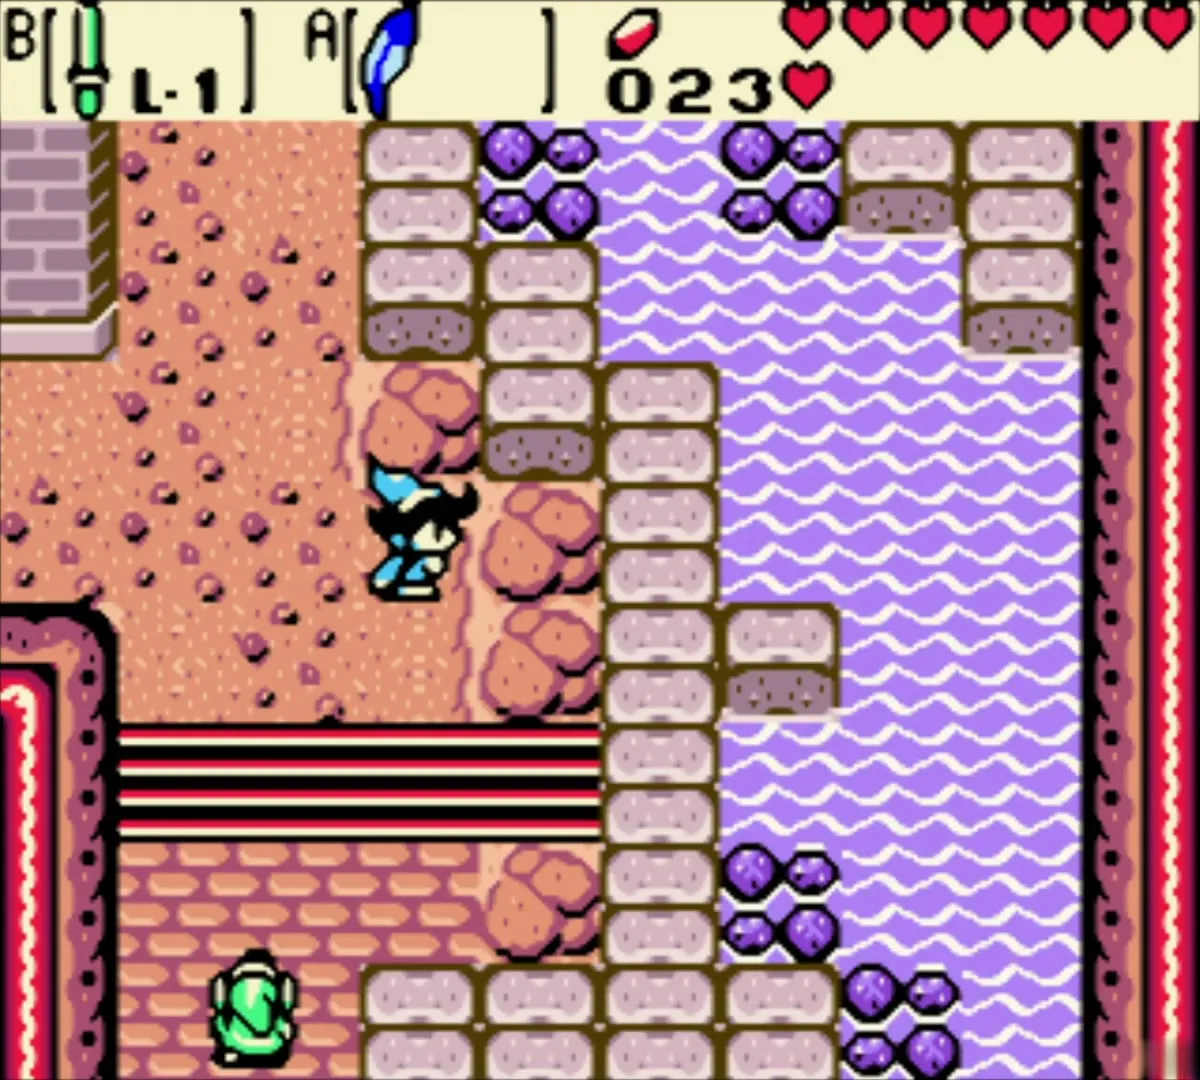
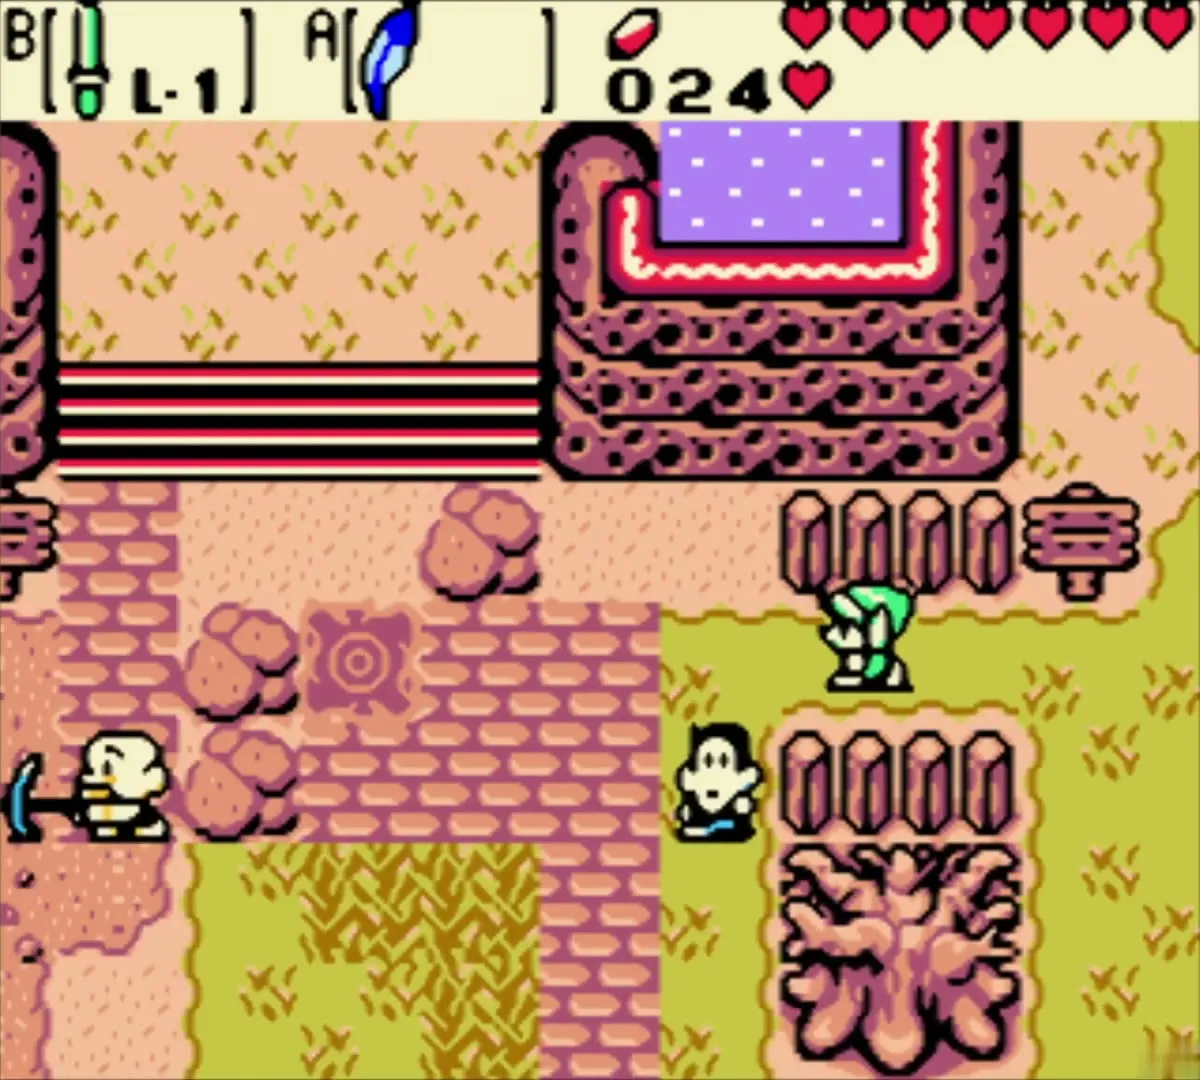
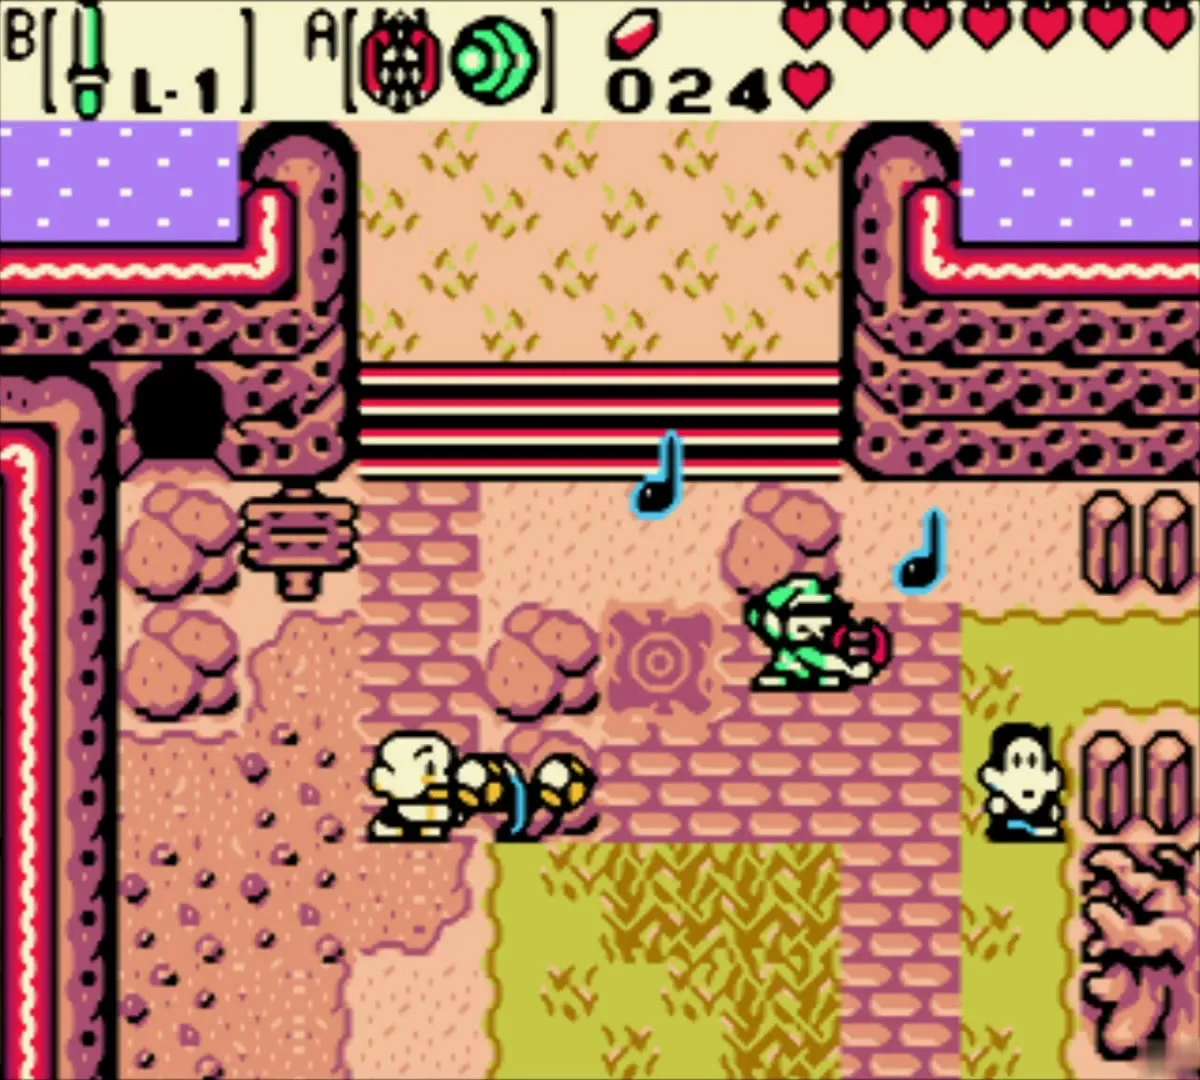
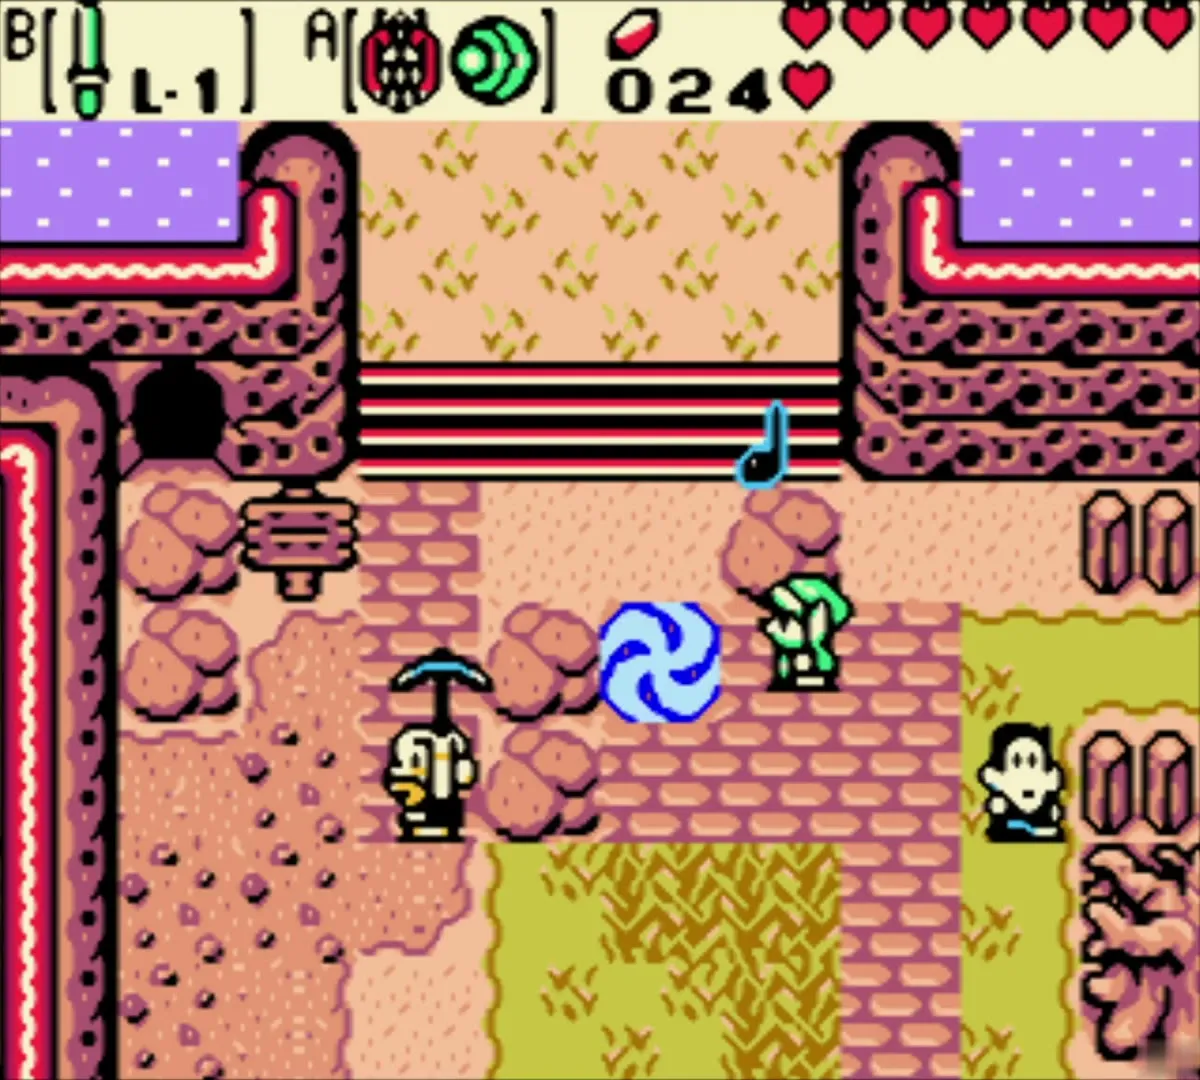
Walk to the Time Portal pad beside the stone bridge and play the Tune of Echoes. You come out in Lynna City in the present, next to the Time Portal shrine and the shop.
Ricky’s Gloves and Tingle’s Island Chart (the present)

Ricky has lost his gloves
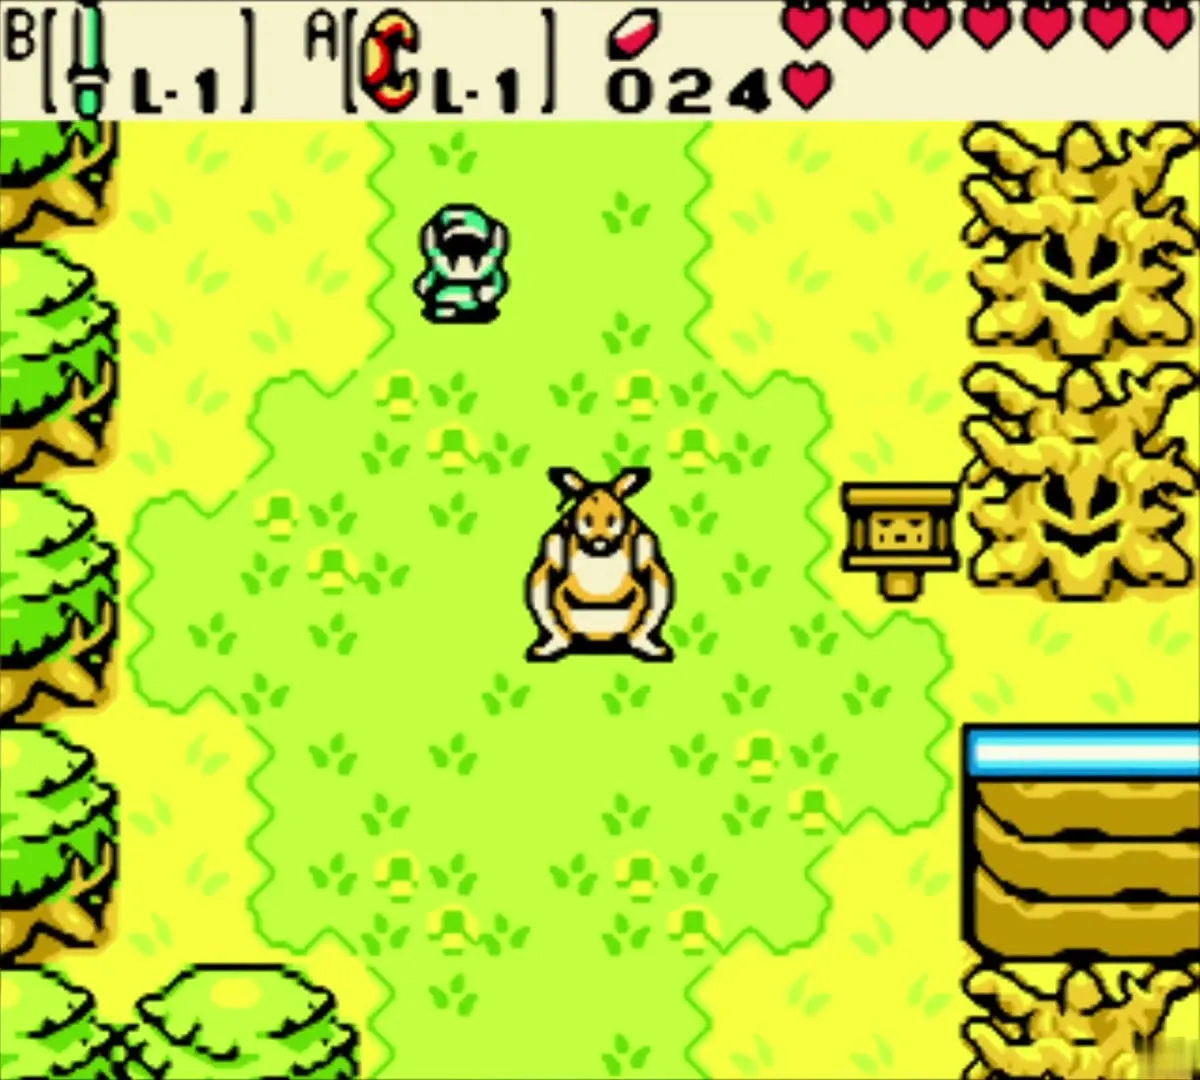
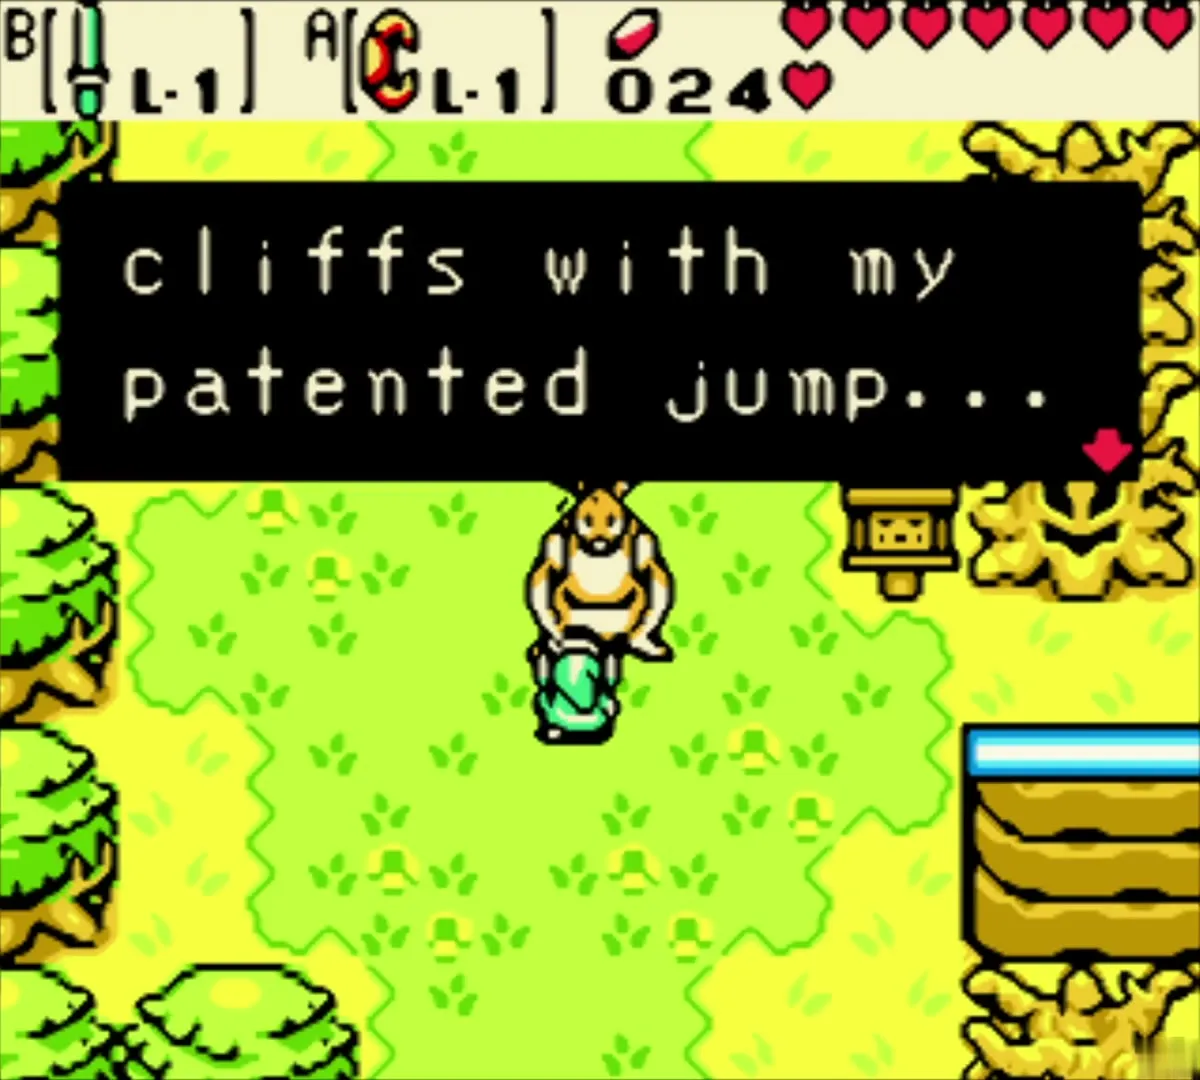
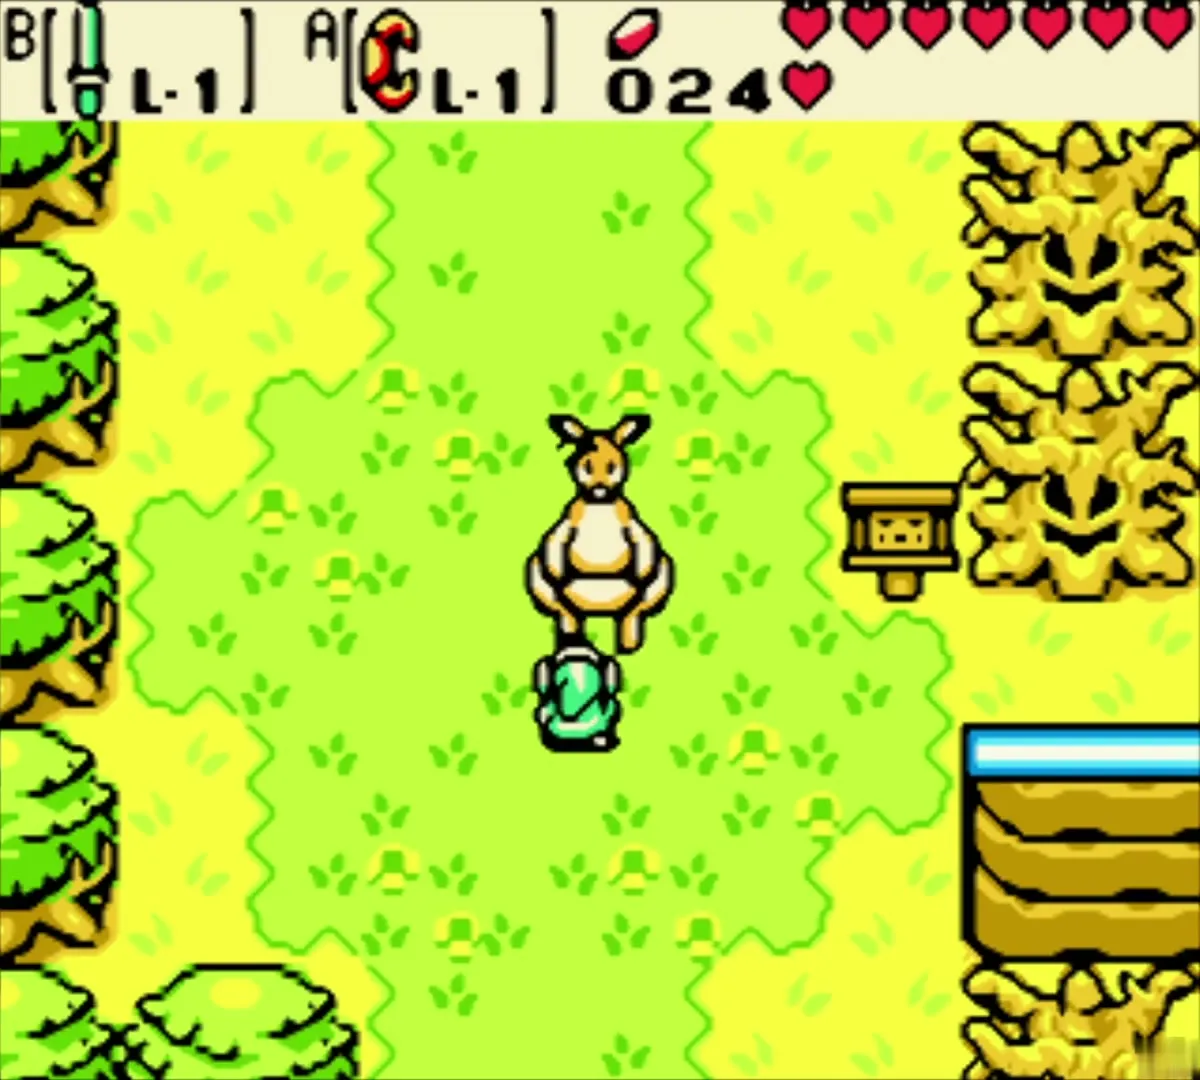
Walk out of the city into the grass field with the signpost. Ricky the kangaroo is standing there, and he tells you he lost his boxing gloves near the tree by the shore. He cannot clear holes in his current state. See Animal Companions for what Ricky can do once he travels with you.

Dig up Ricky’s Gloves
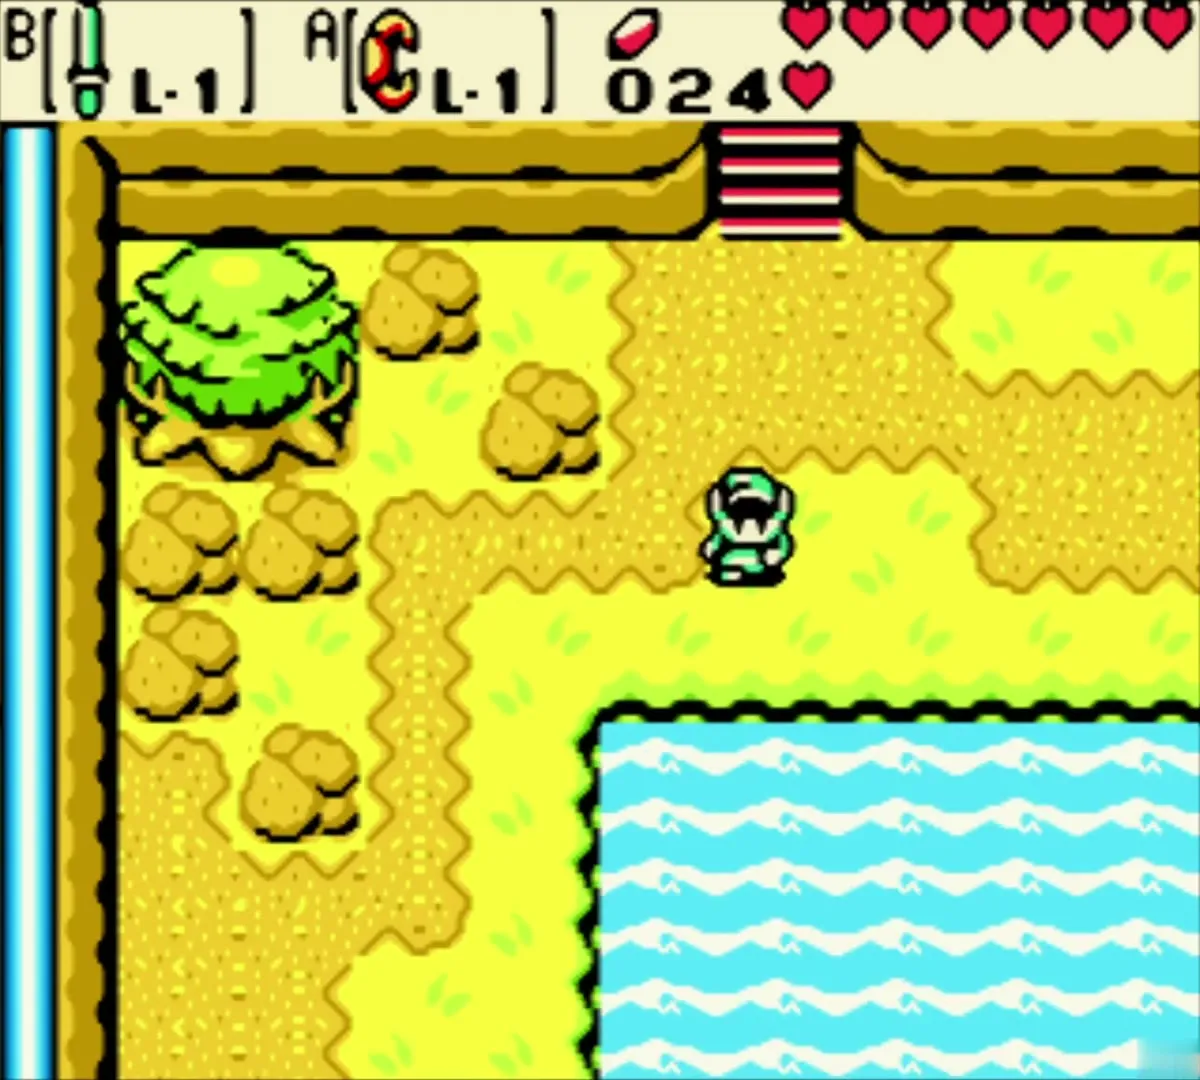
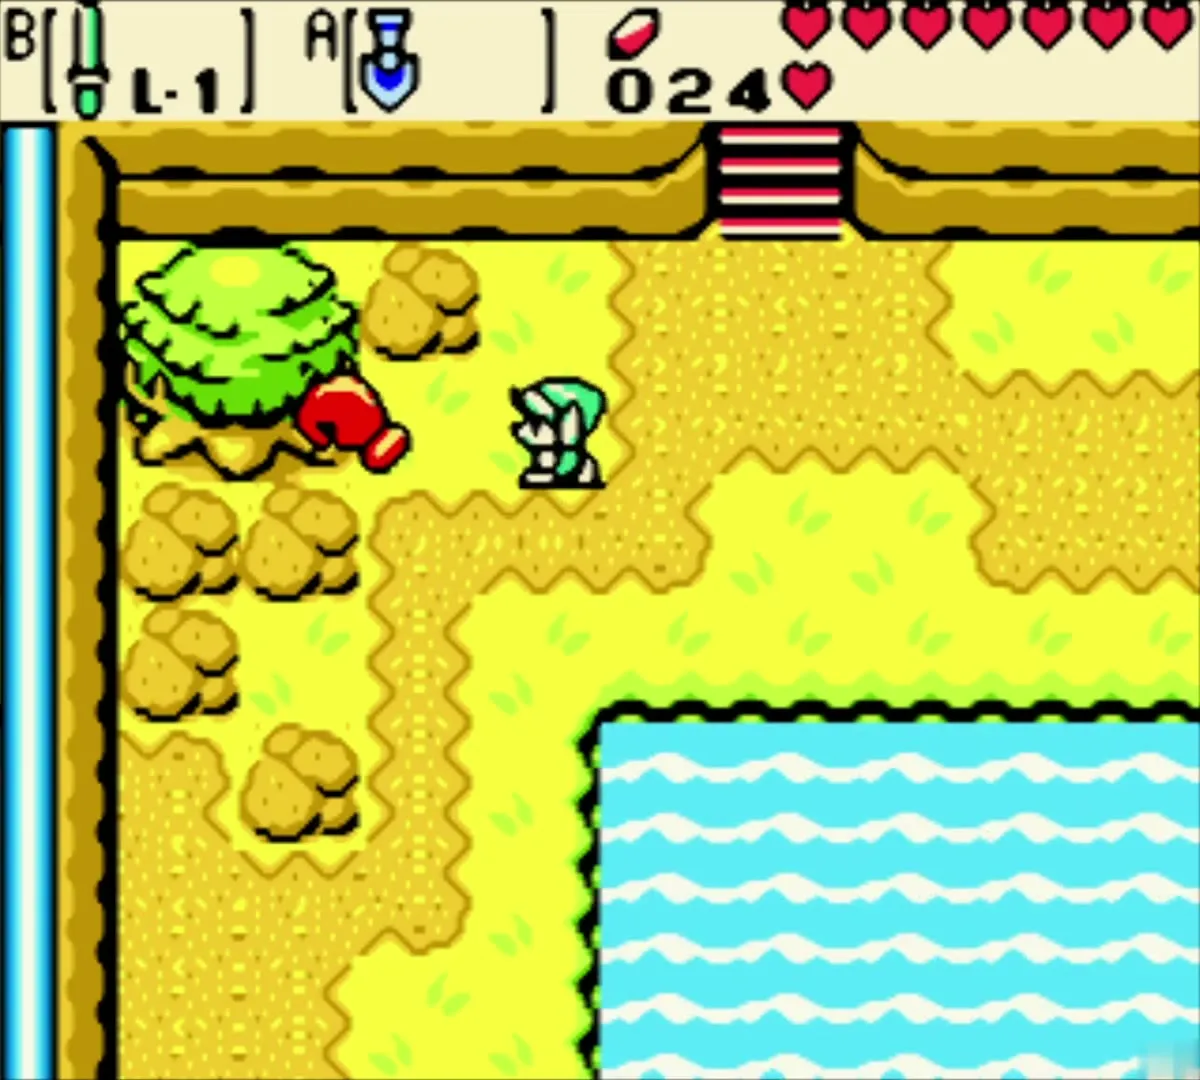
Head past the shop and down a short stair to a sandy ledge beside a pond. Equip the Shovel and dig there to unearth Ricky’s Gloves. Carry them back to the field.
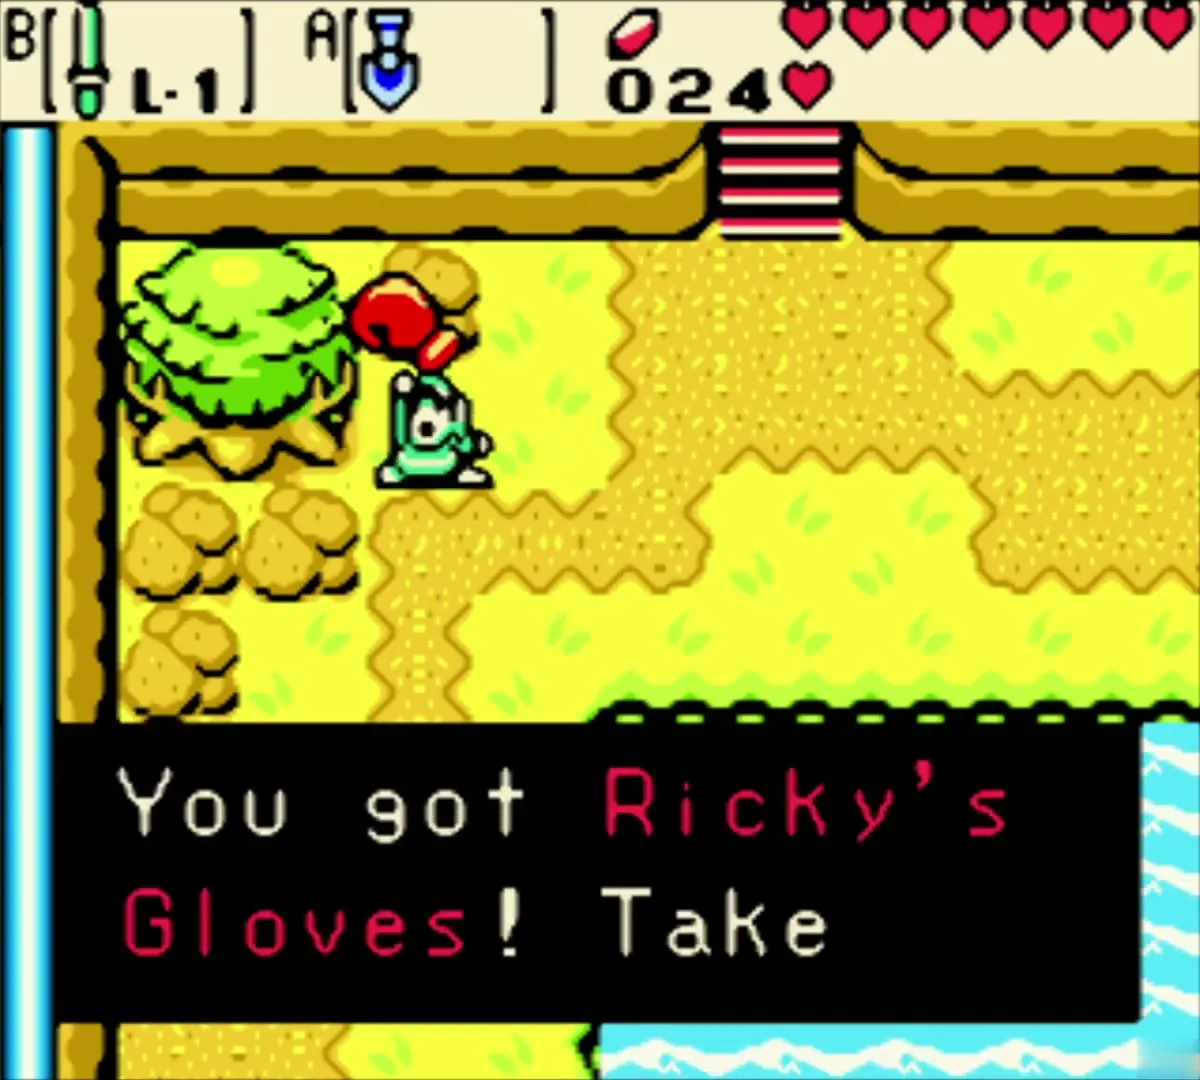
Ride Ricky to the cliffs
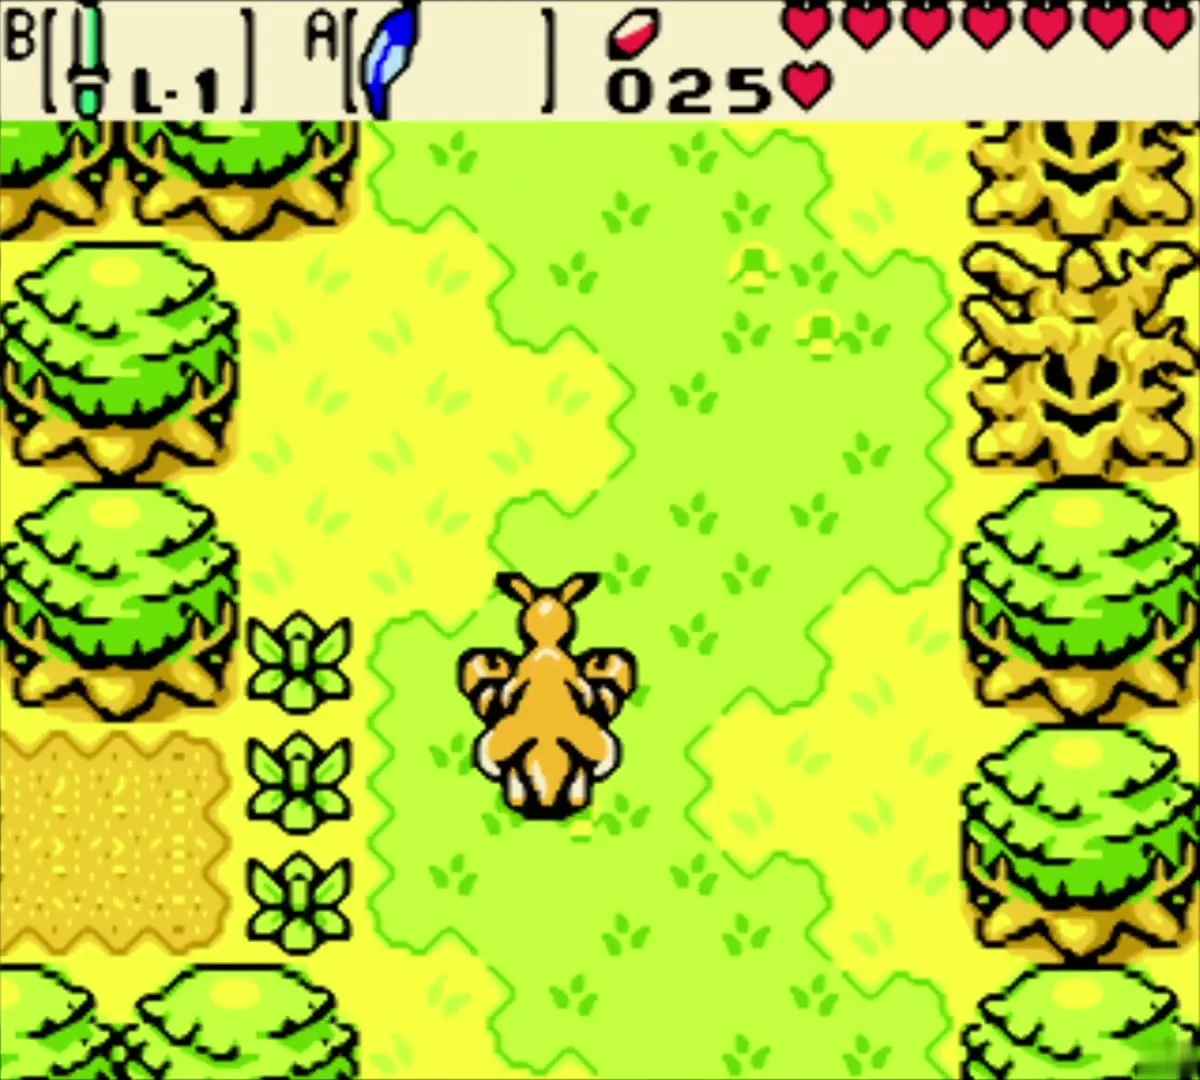
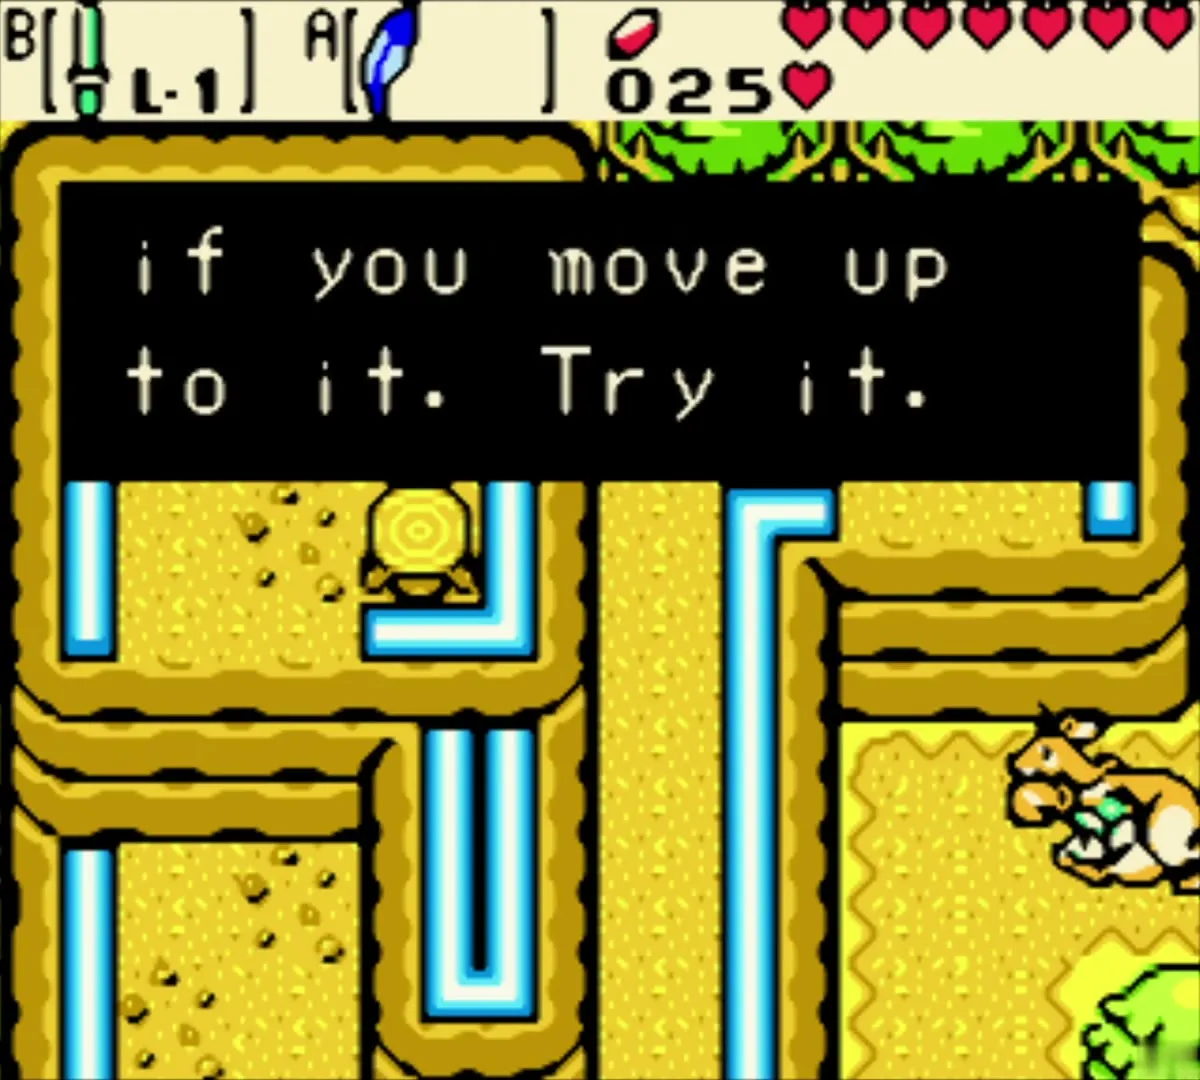
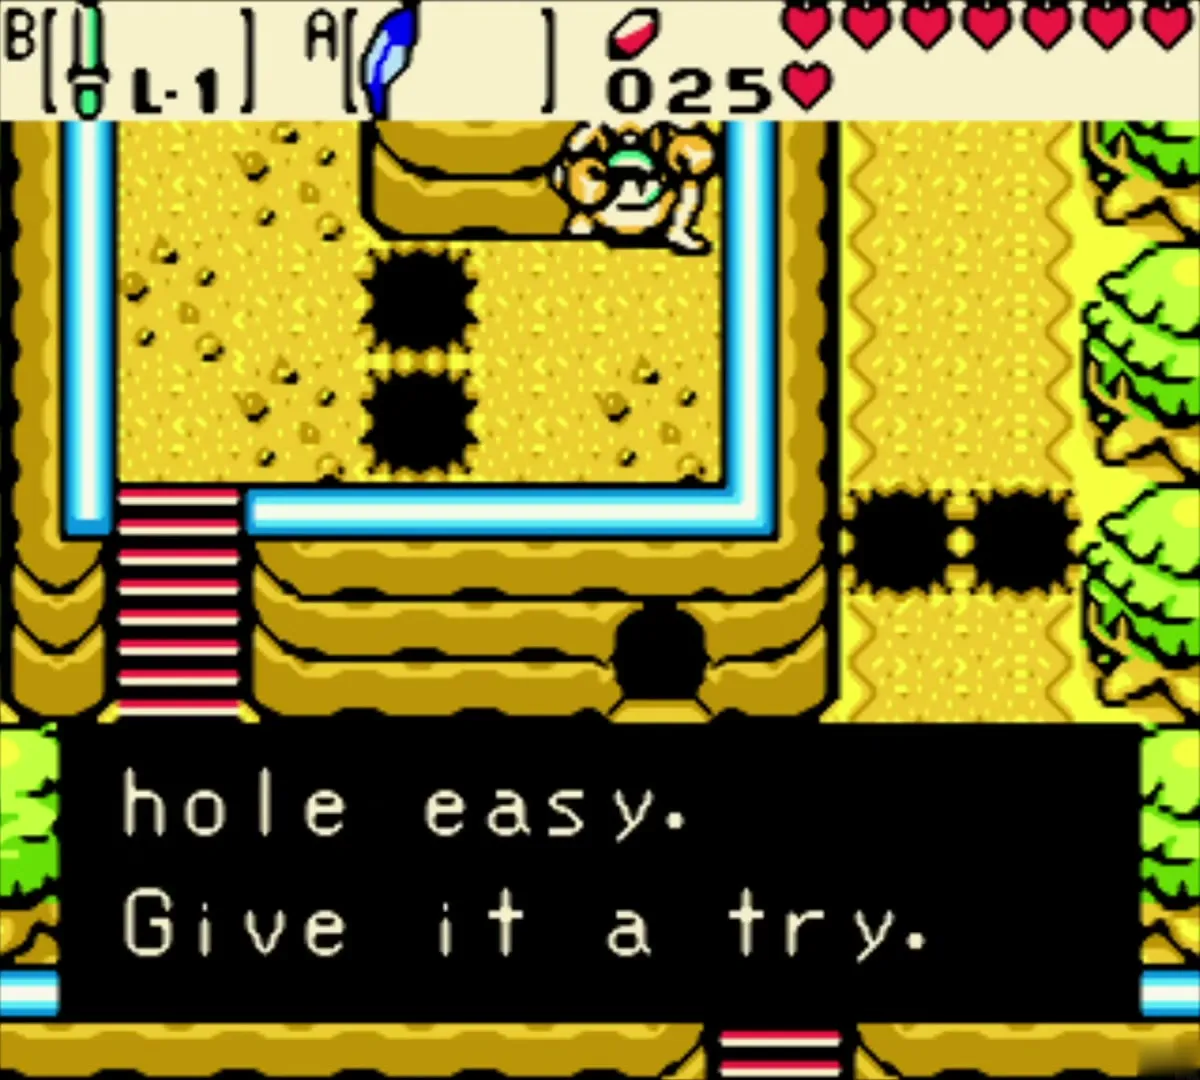
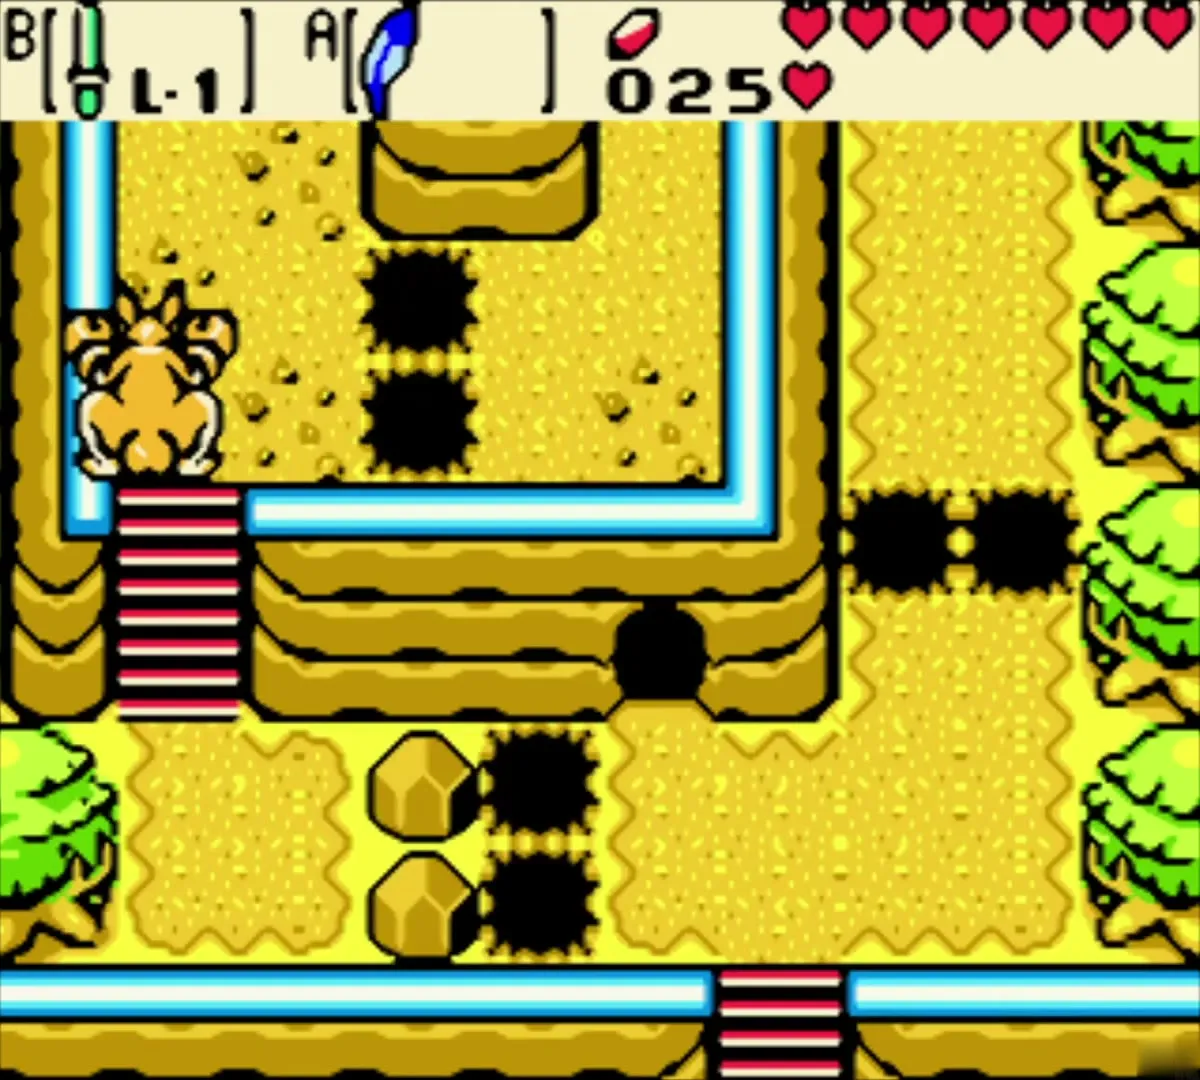
Give Ricky the gloves and he becomes your companion. Climb into his pouch and ride him toward a pit; he jumps it on his own, and he clears single-tile gaps with ease. Use him to cross the pit fields on the sand cliffs and reach the high rocky ledge to the south-west.
Pop Tingle’s balloon
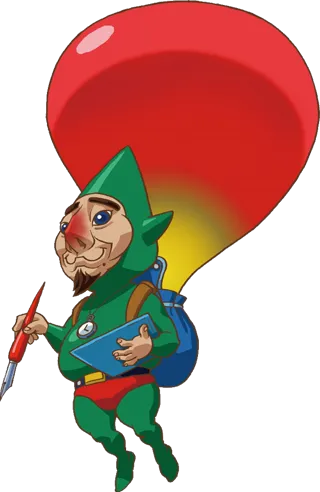
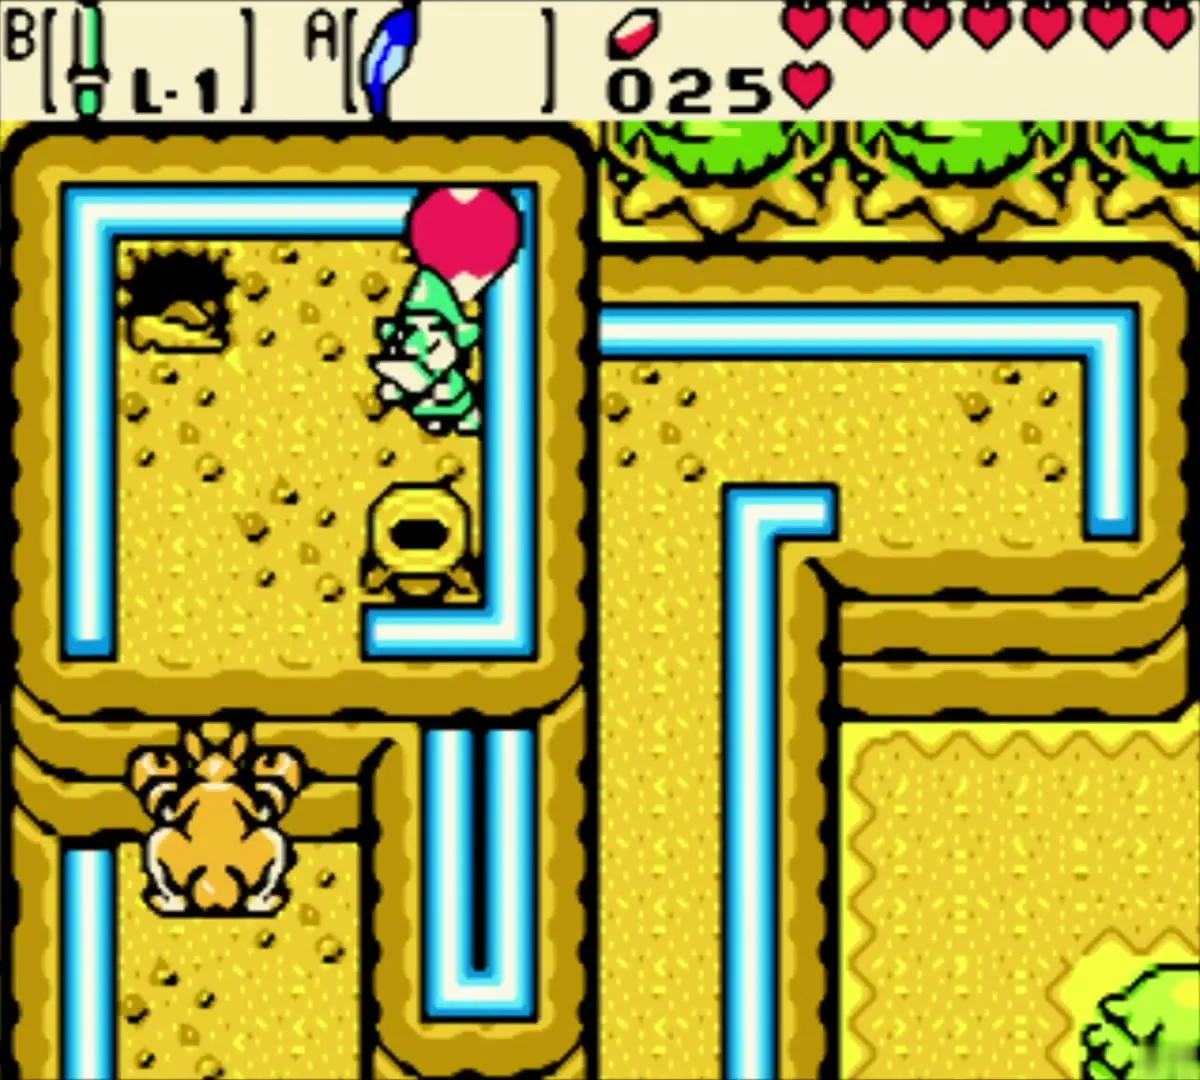
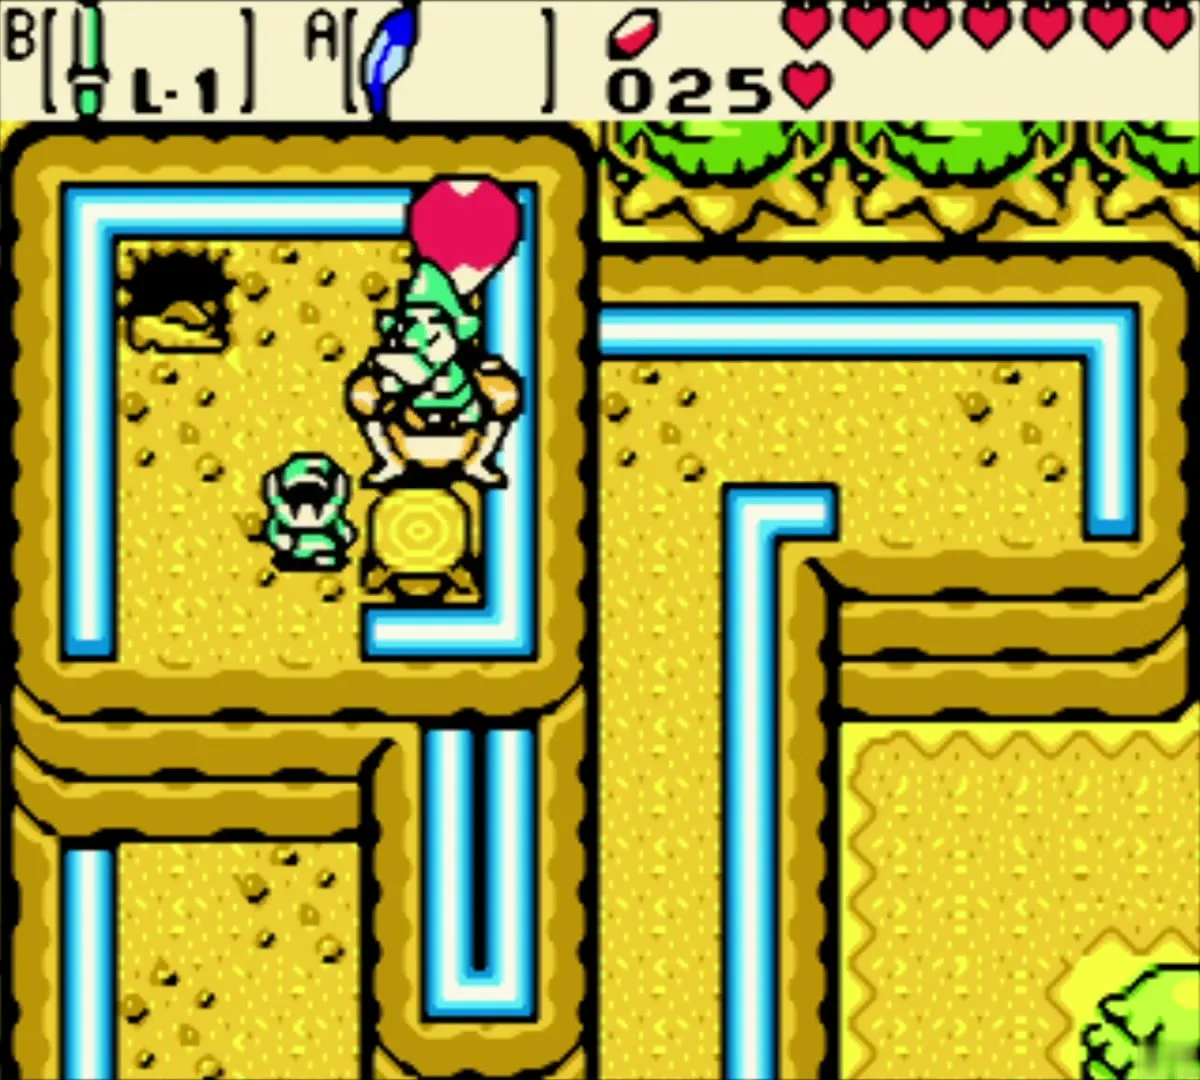
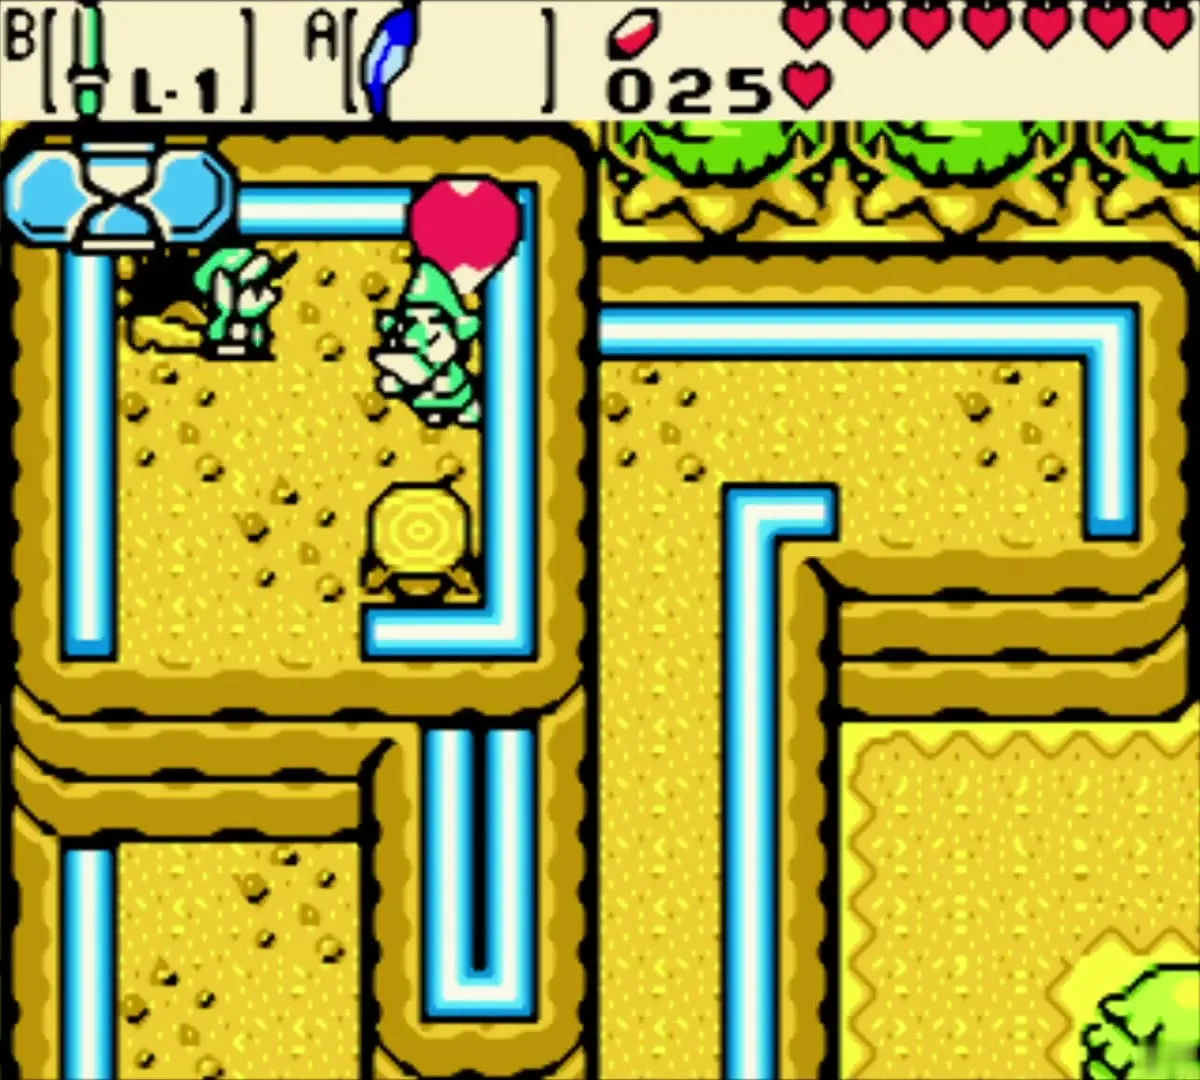
Hop out of Ricky’s pouch on the cliff. Tingle, a man in green who thinks he is a fairy, hovers overhead on a red balloon. Jump with the Roc’s Feather and swing the sword at the balloon. He drops down beside you and keeps up a stream of chatter about himself.
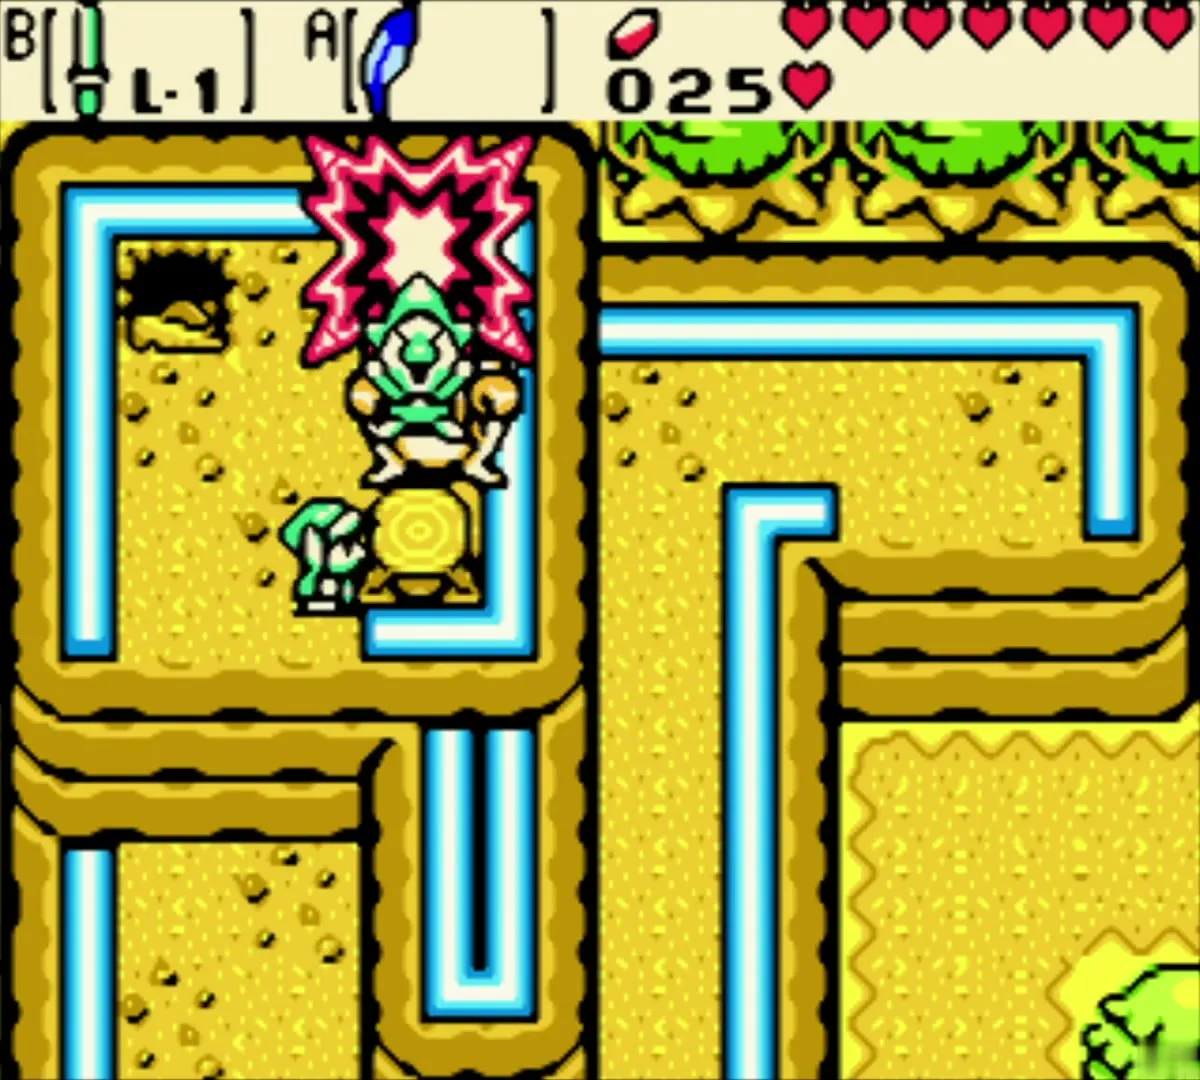
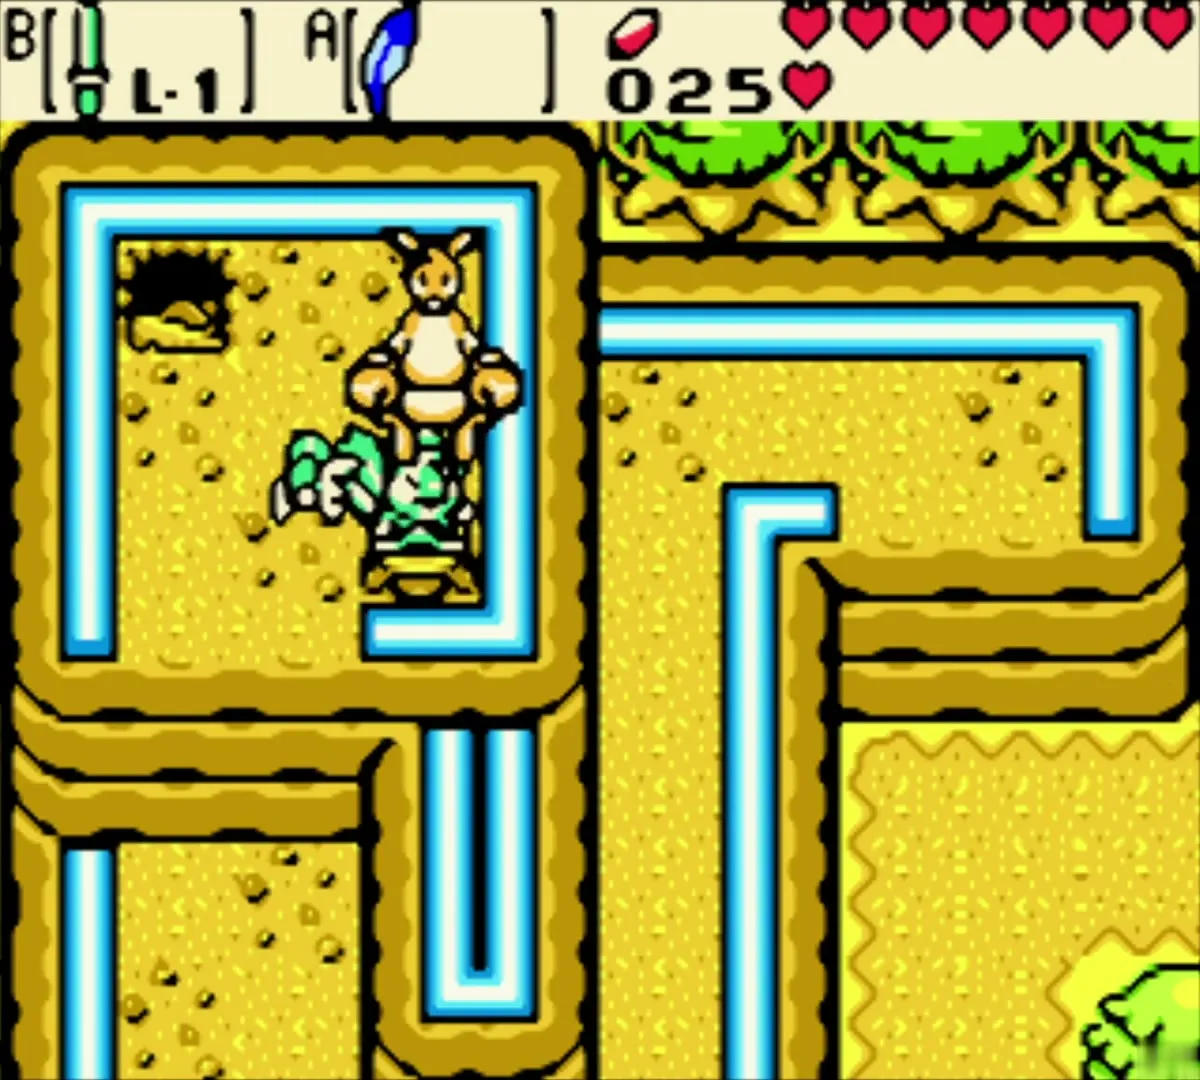
Island Chart
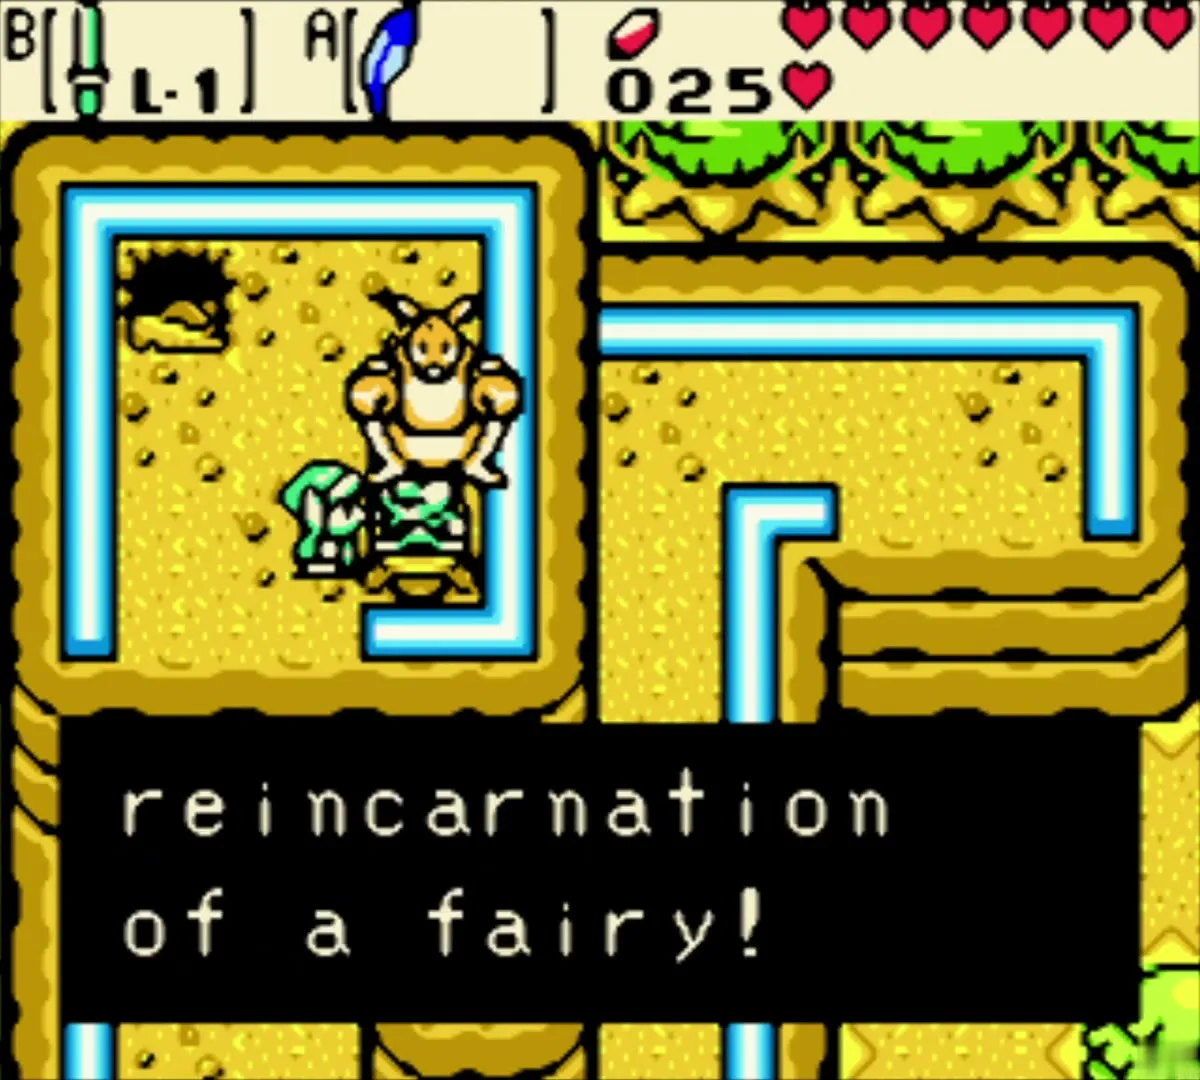
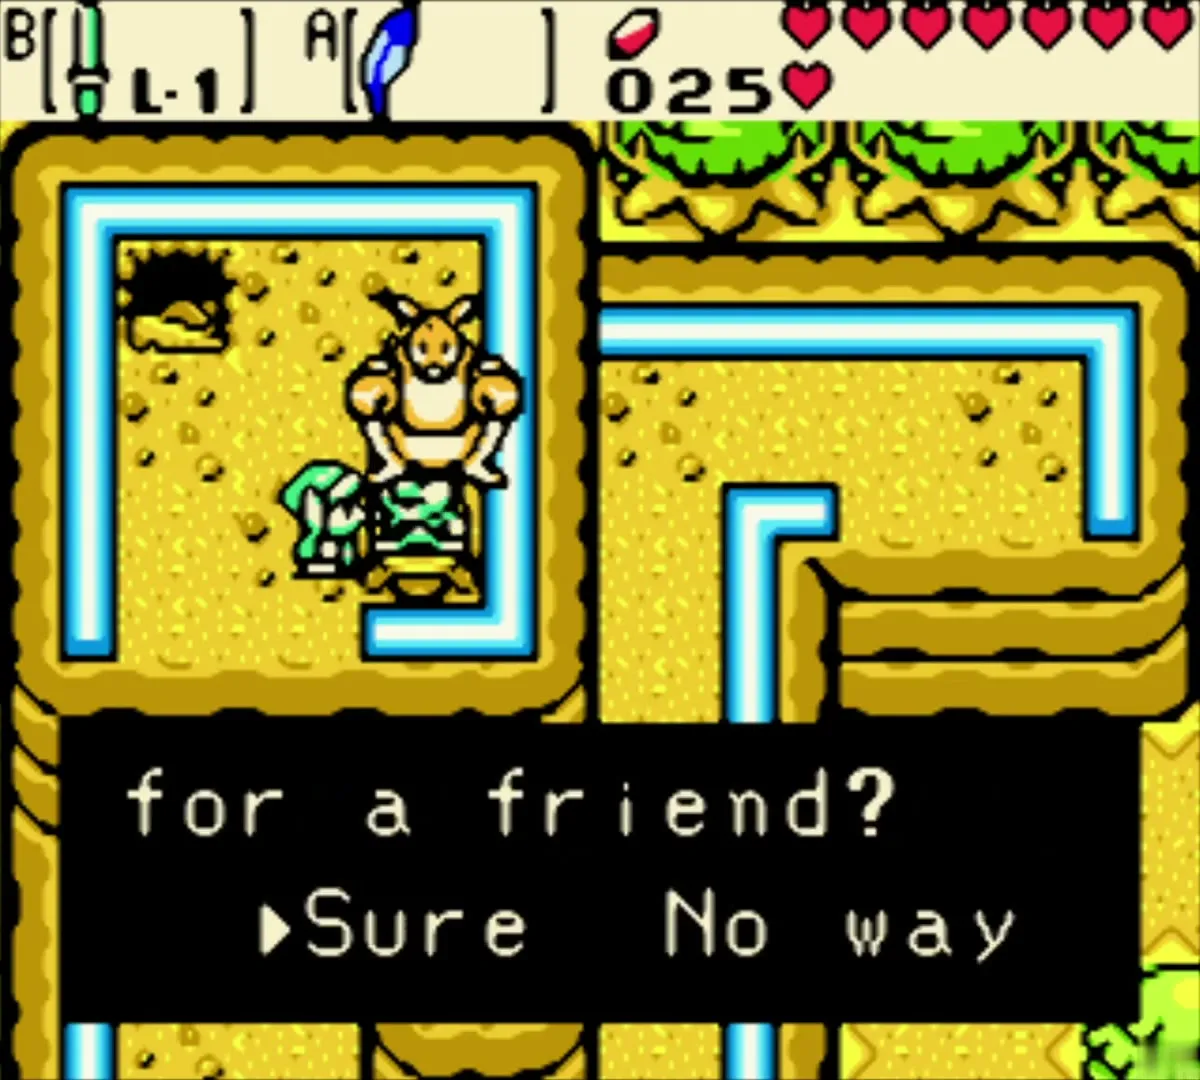
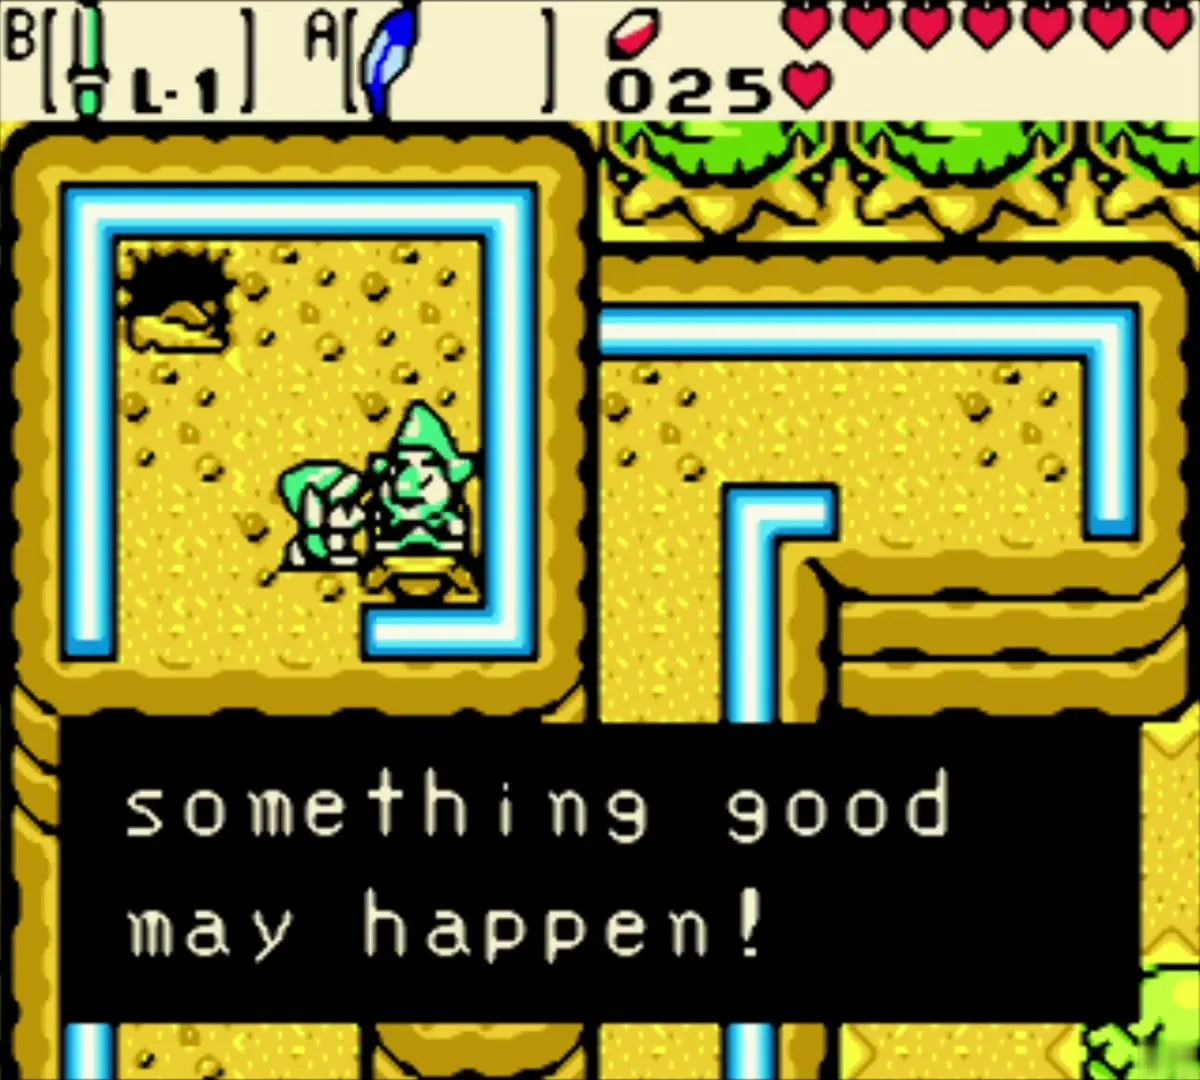
When Tingle asks if you would like to be his friend, answer Sure. As a sign of friendship he gives you the Island Chart, which lets you navigate the seas by raft. Tingle also hints that something good may happen if you bring him more Mystical Seeds (see Mystical Seeds), so remember where he lives.
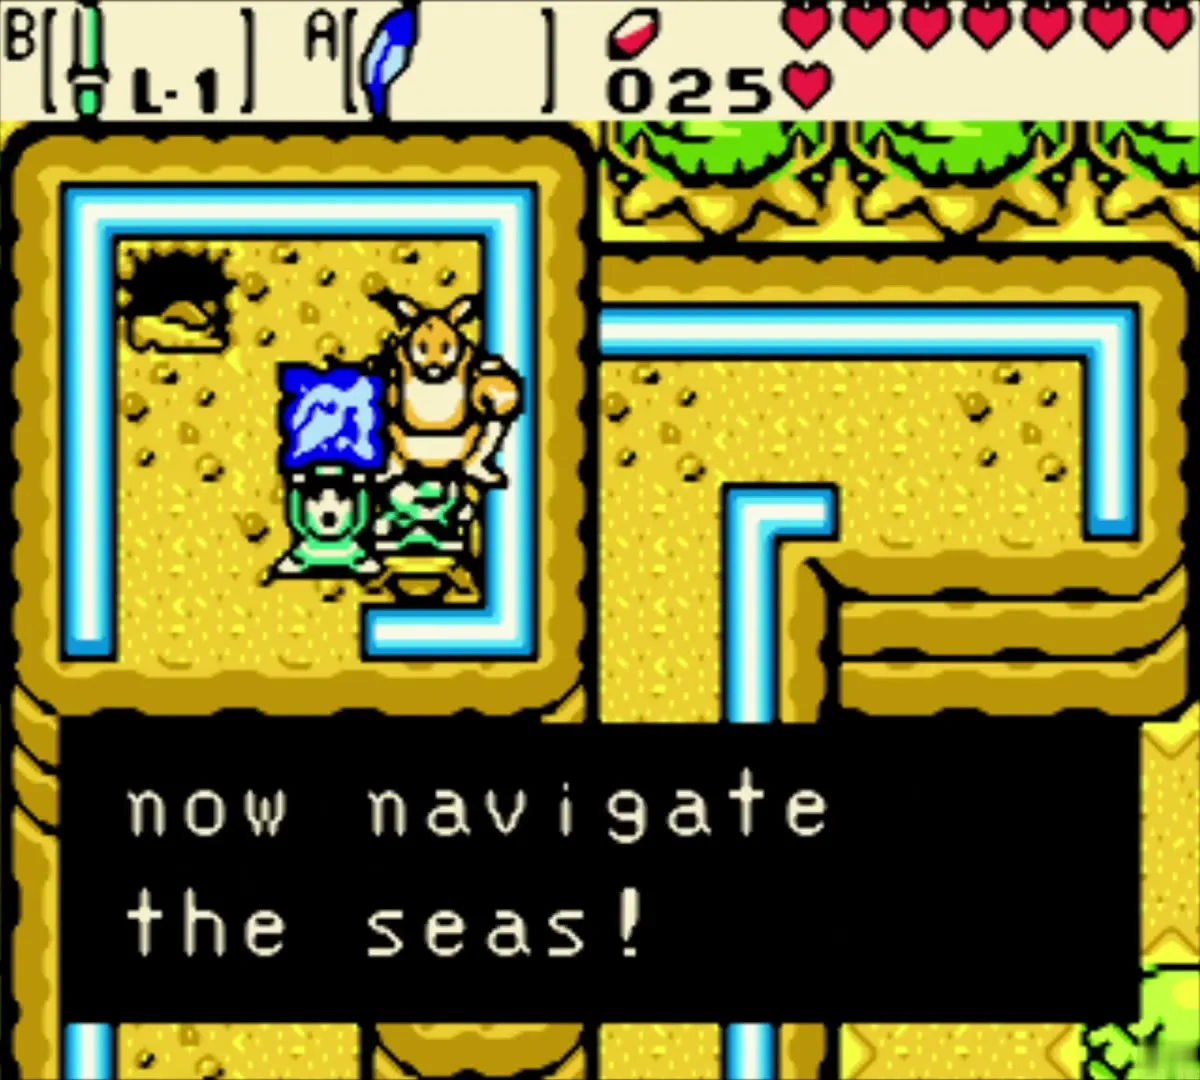
Tingle upgrades your Seed Satchel when you talk to him again some time after the chart (he is reachable on Ricky, or with the Seed Shooter otherwise). That second talk is covered in a later chapter; nothing is upgraded on this first visit.
Rafton’s raft and the voyage to Crescent Island
Back to the past and the dock
Walk back across the fields to the tree-hollow portal and play the Tune of Echoes to return to the past. In Lynna Village go to Rafton’s house again. He tells you the raft is ready and that you should board it from the dock.
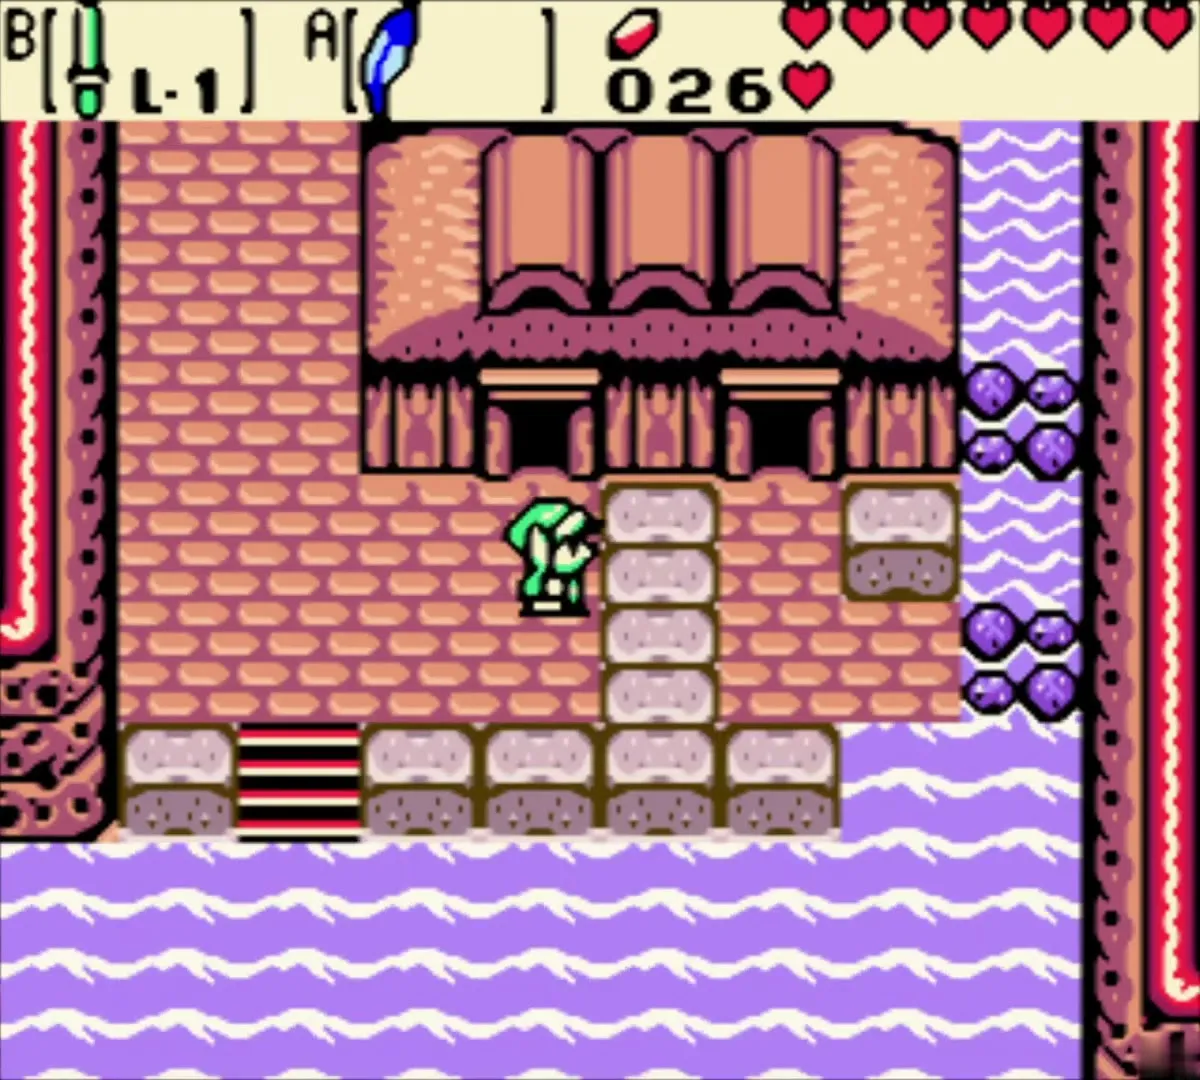
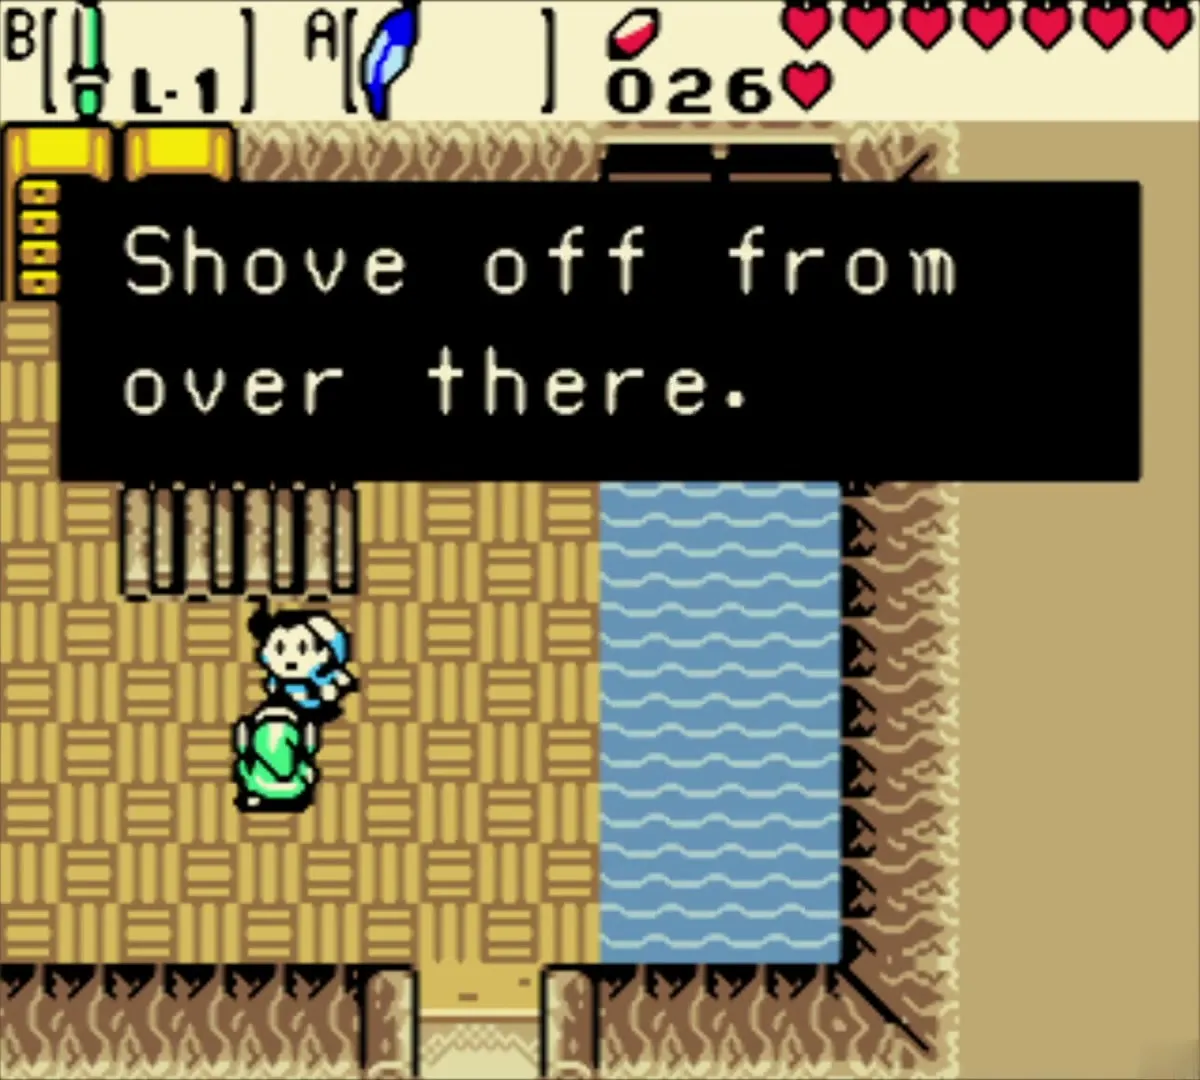
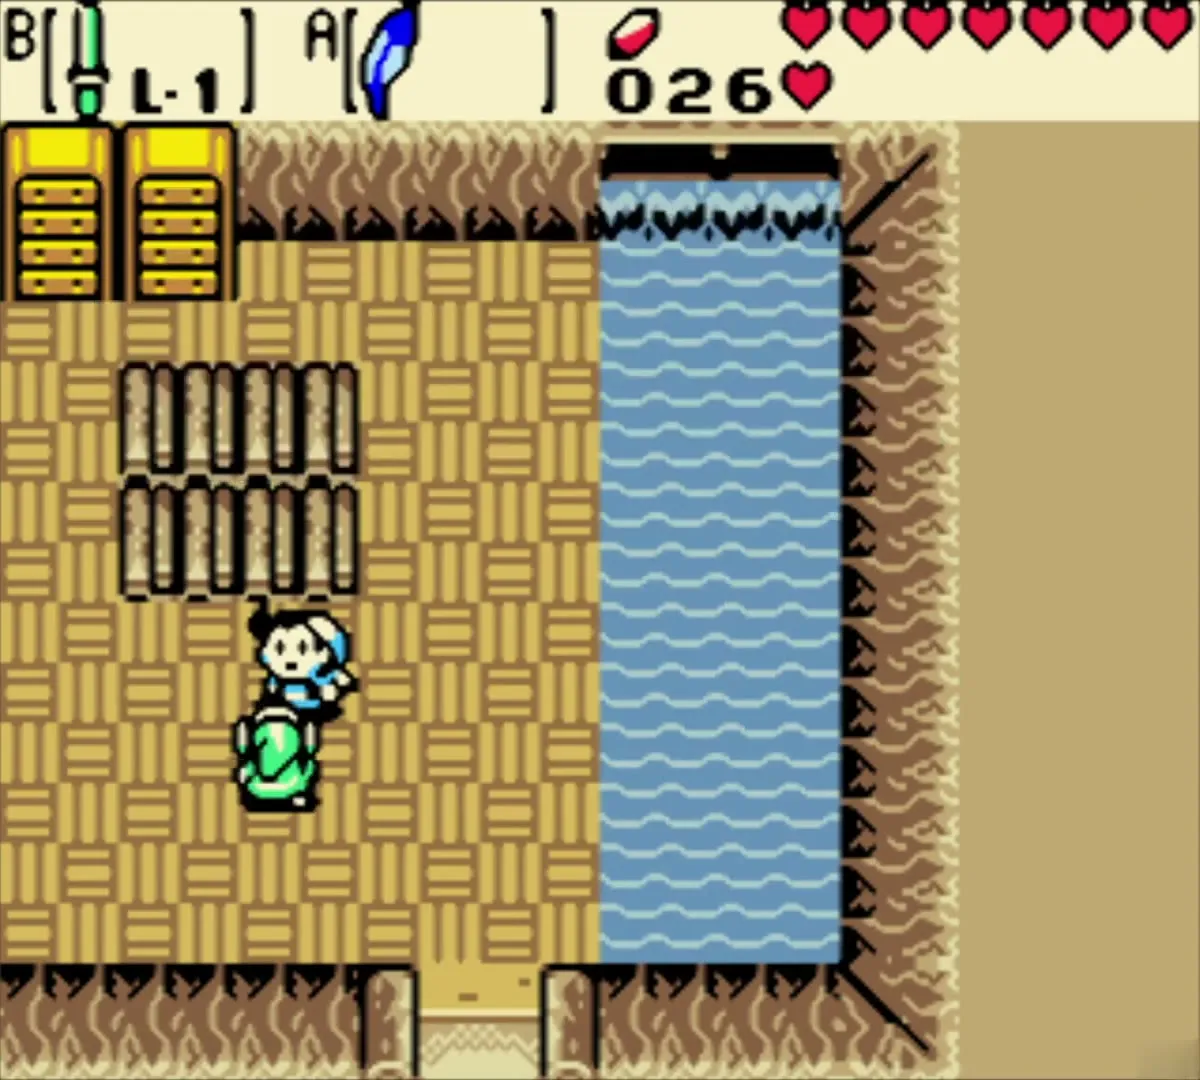
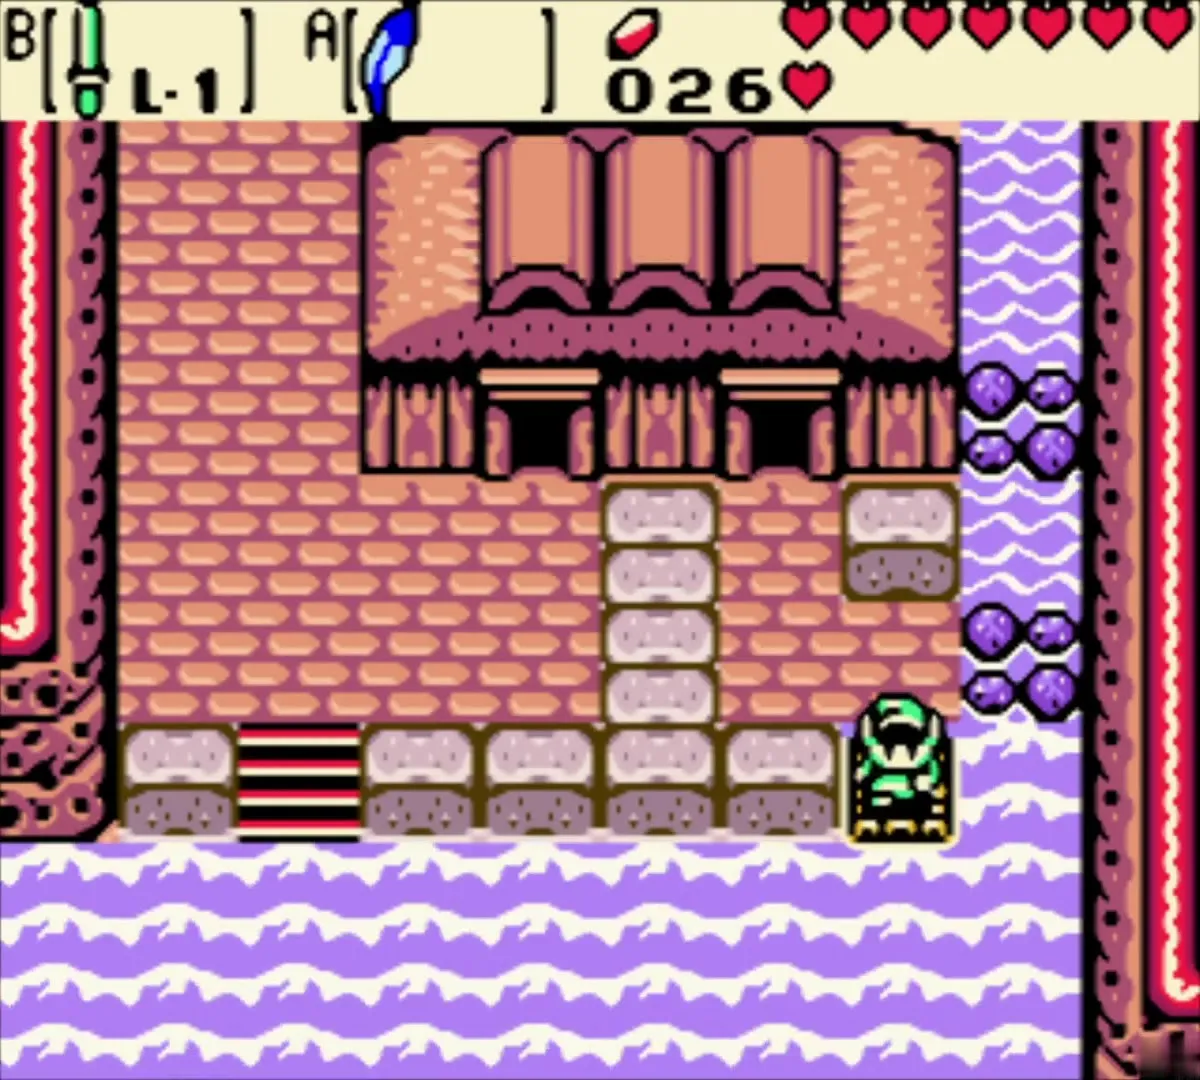
The sea route
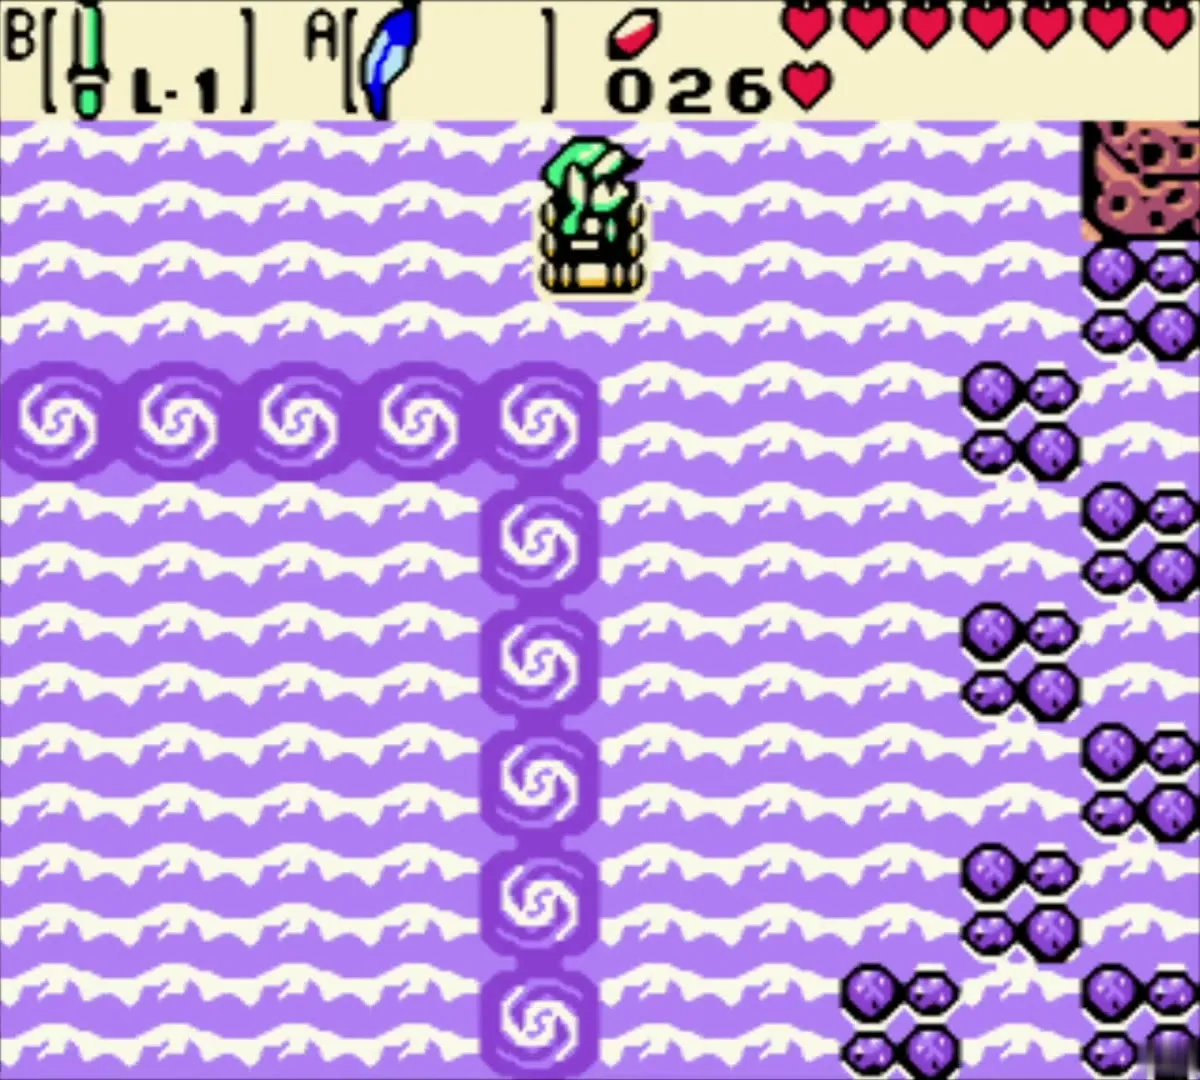
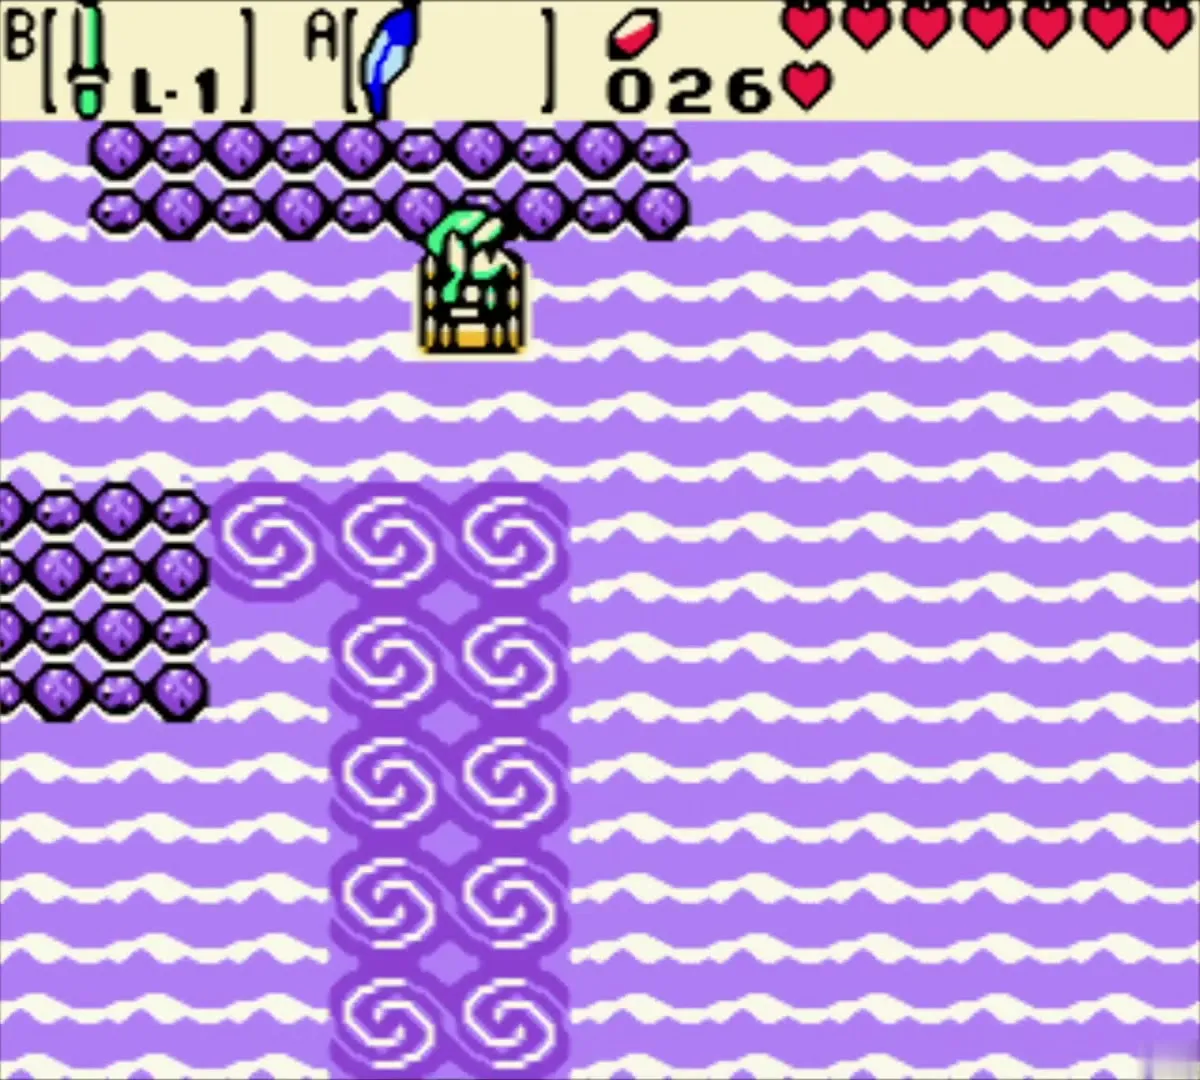
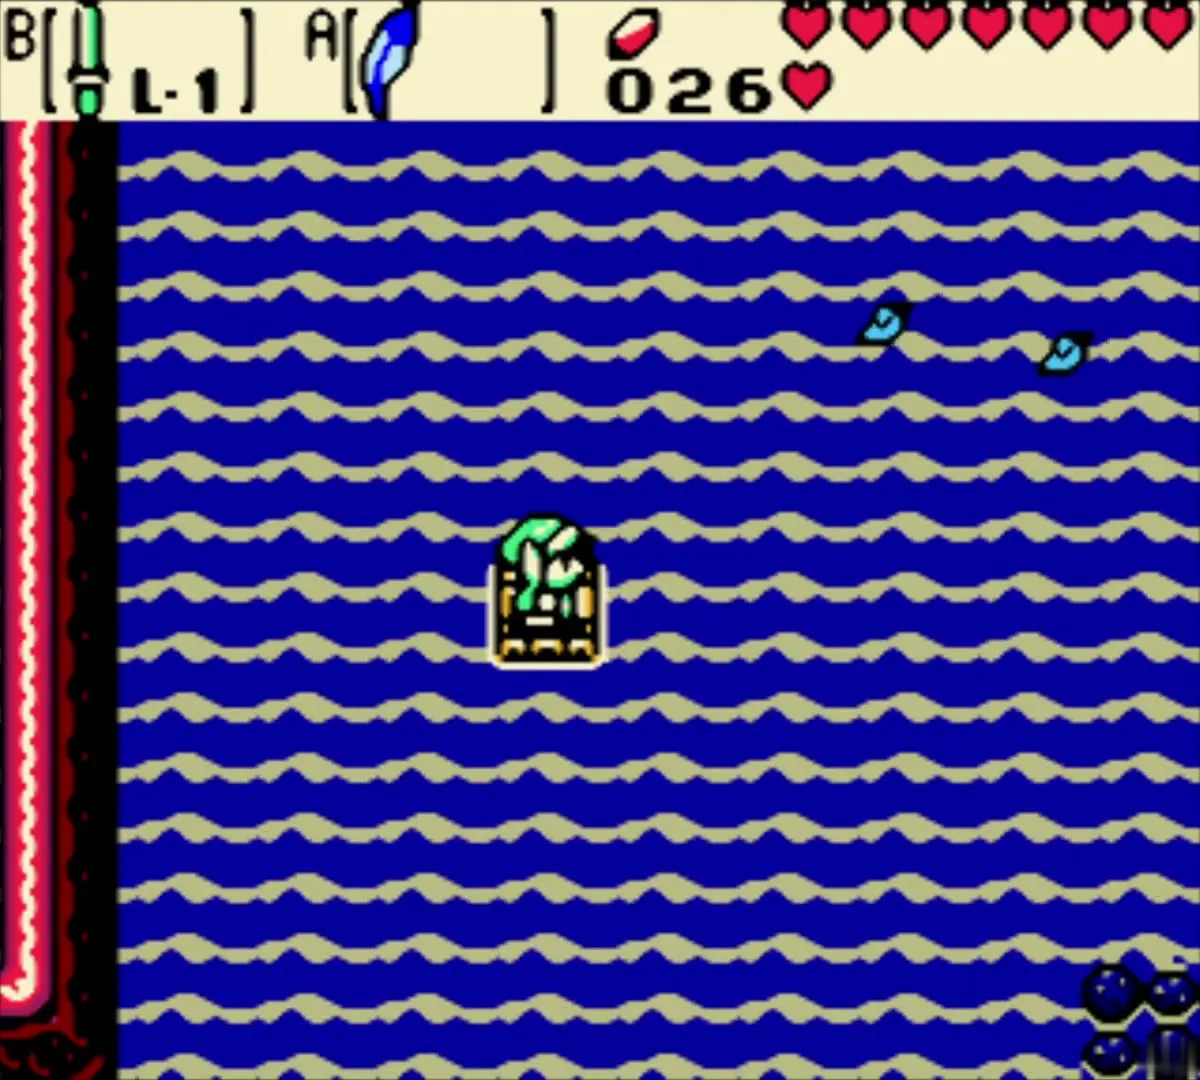
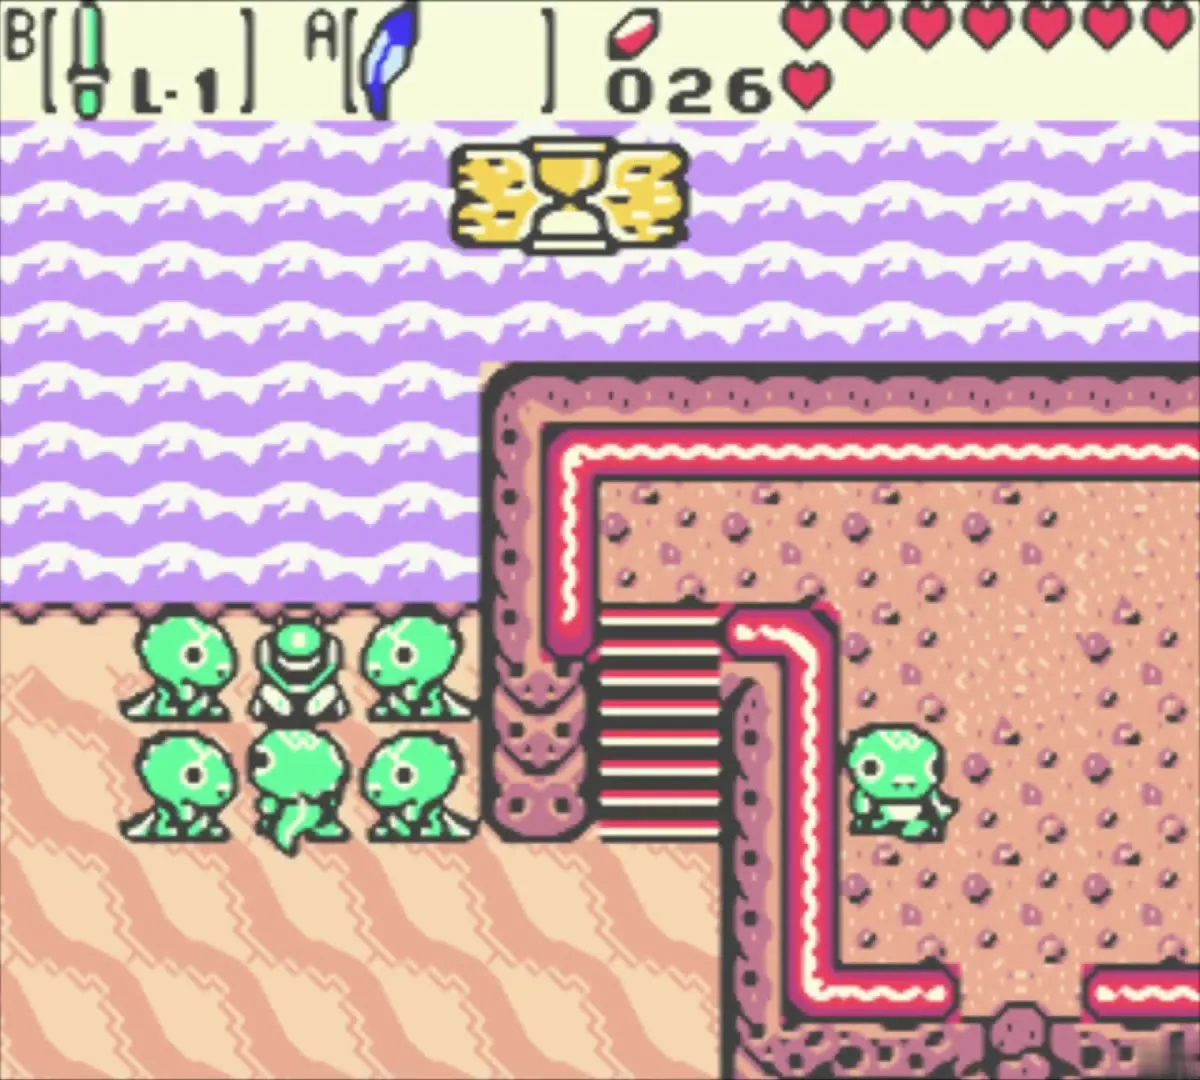
Step onto the raft at the dock. It carries you out along the coast, through whirlpools and into a storm with lightning, and washes you up on a beach of pink sand: Crescent Island in the past. Everything in your item list is now empty, because the Tokay have run off with your gear.
Crescent Island: get your stolen items back (the past)
How the theft works
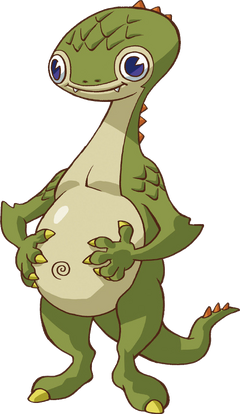
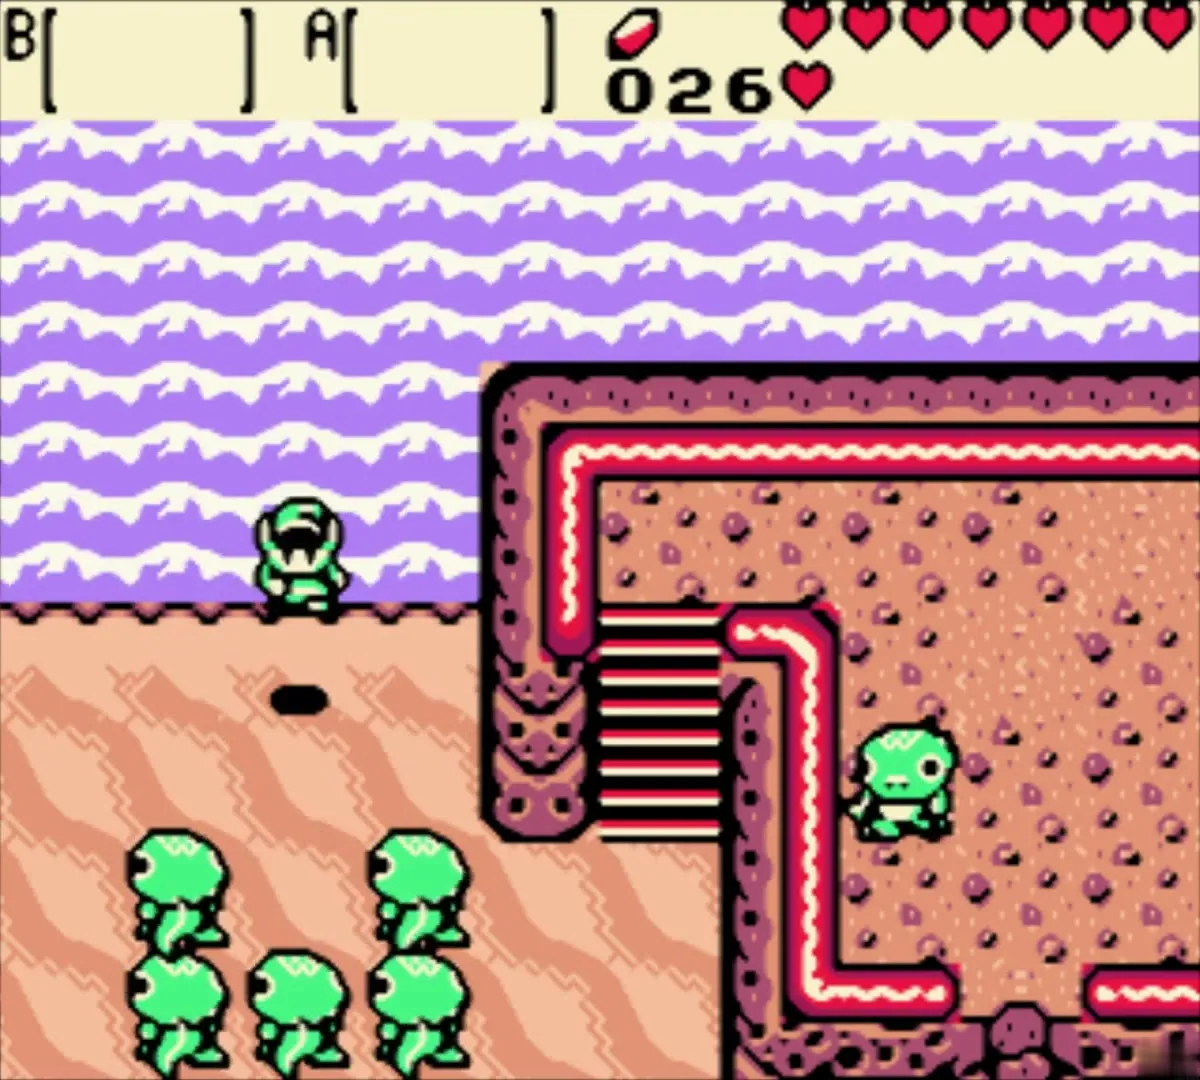
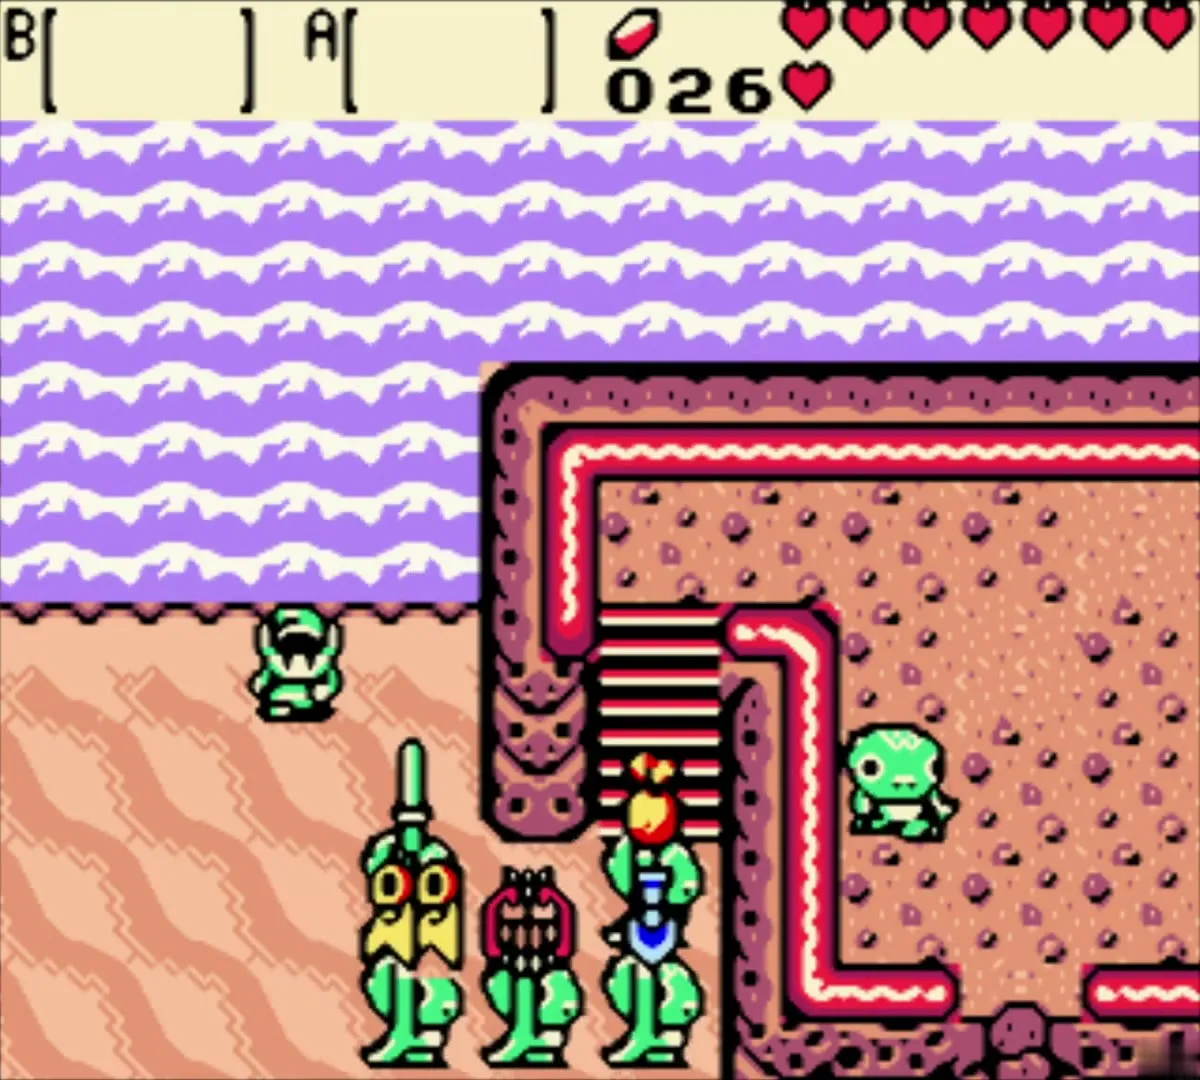
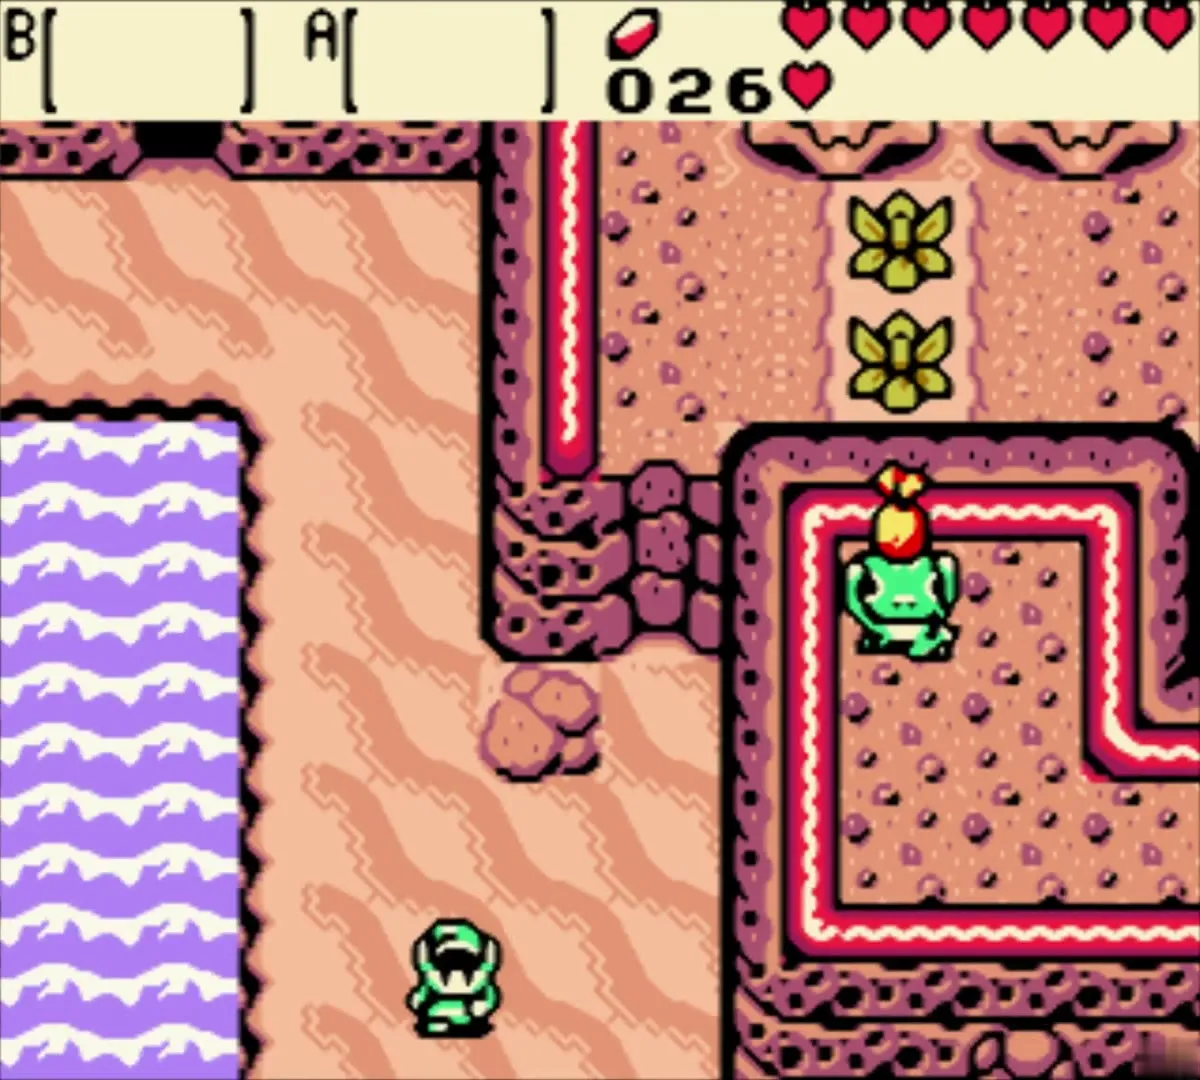
Five Tokay crowd you on the beach and run off with the Sword, Shield, Shovel, Roc’s Feather, Power Bracelet, Bombs, Seed Satchel, Zora’s Flippers and Harp of Ages. Each item ends up with a different Tokay, and you get them back by finding the thieves and by swapping with the trader.

Shovel from Rosa
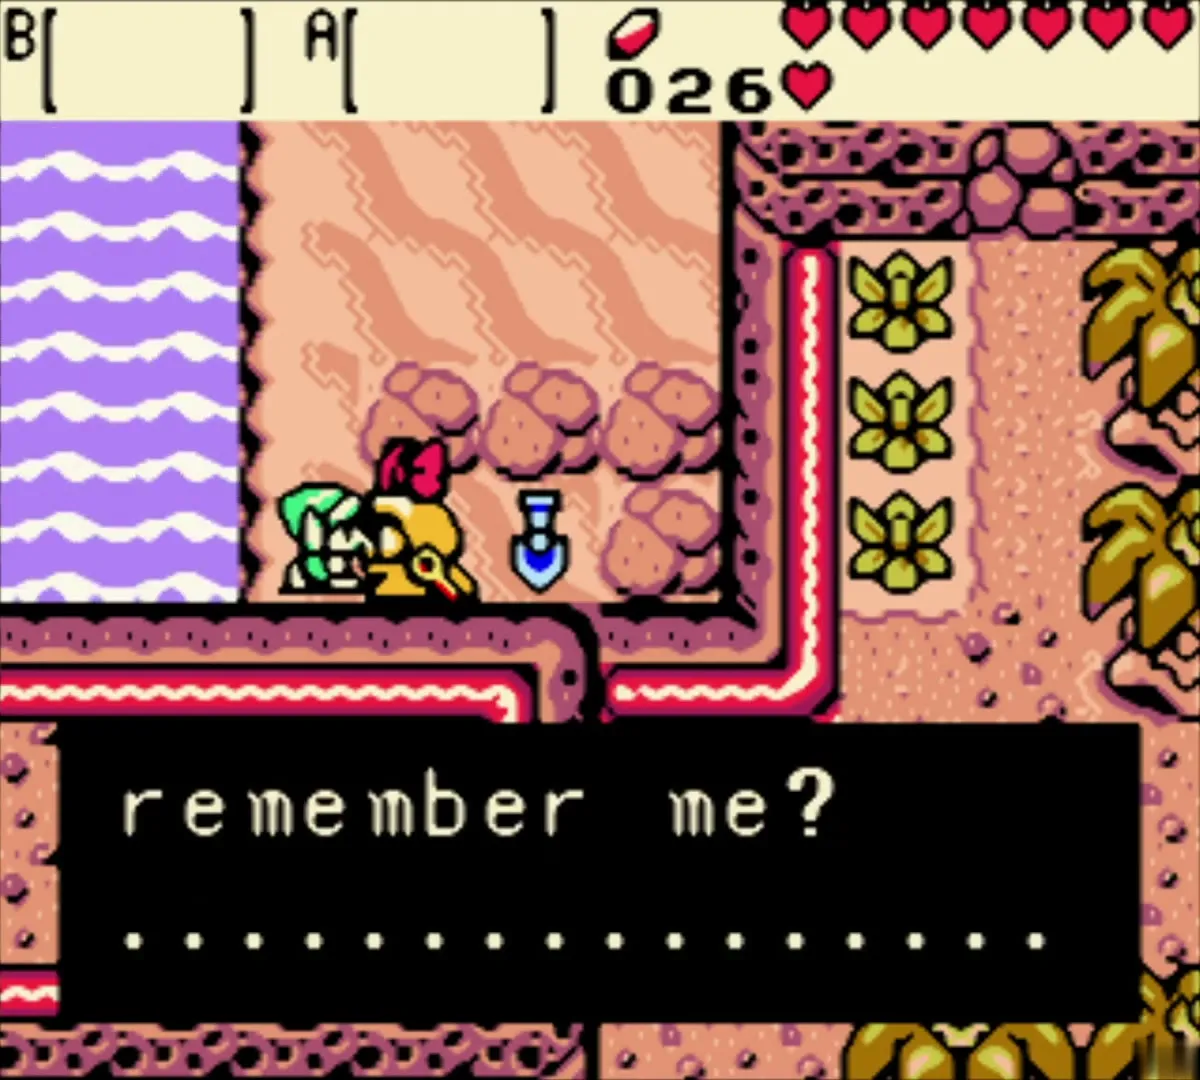
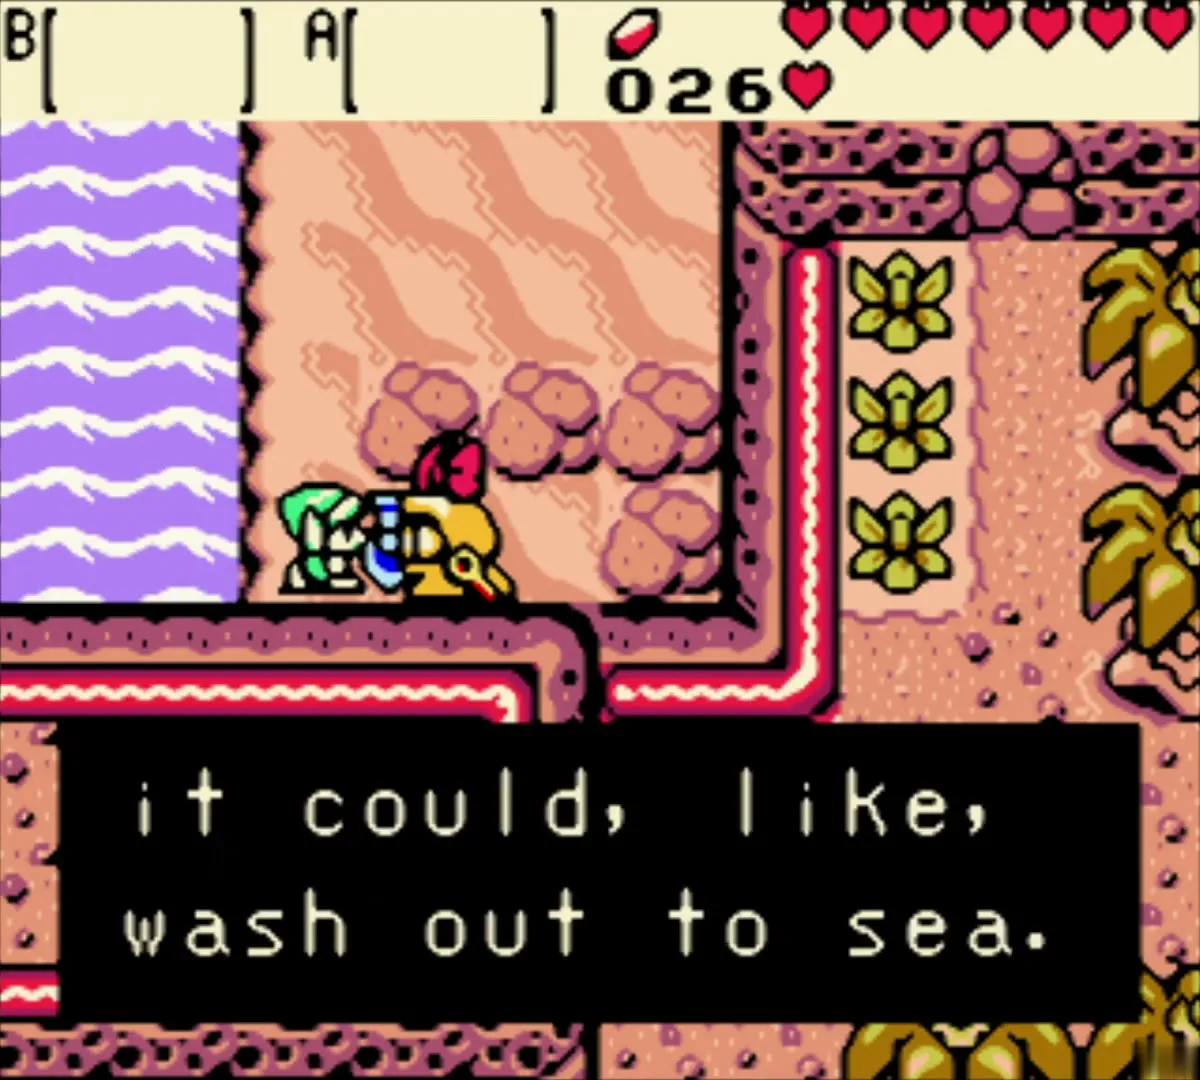
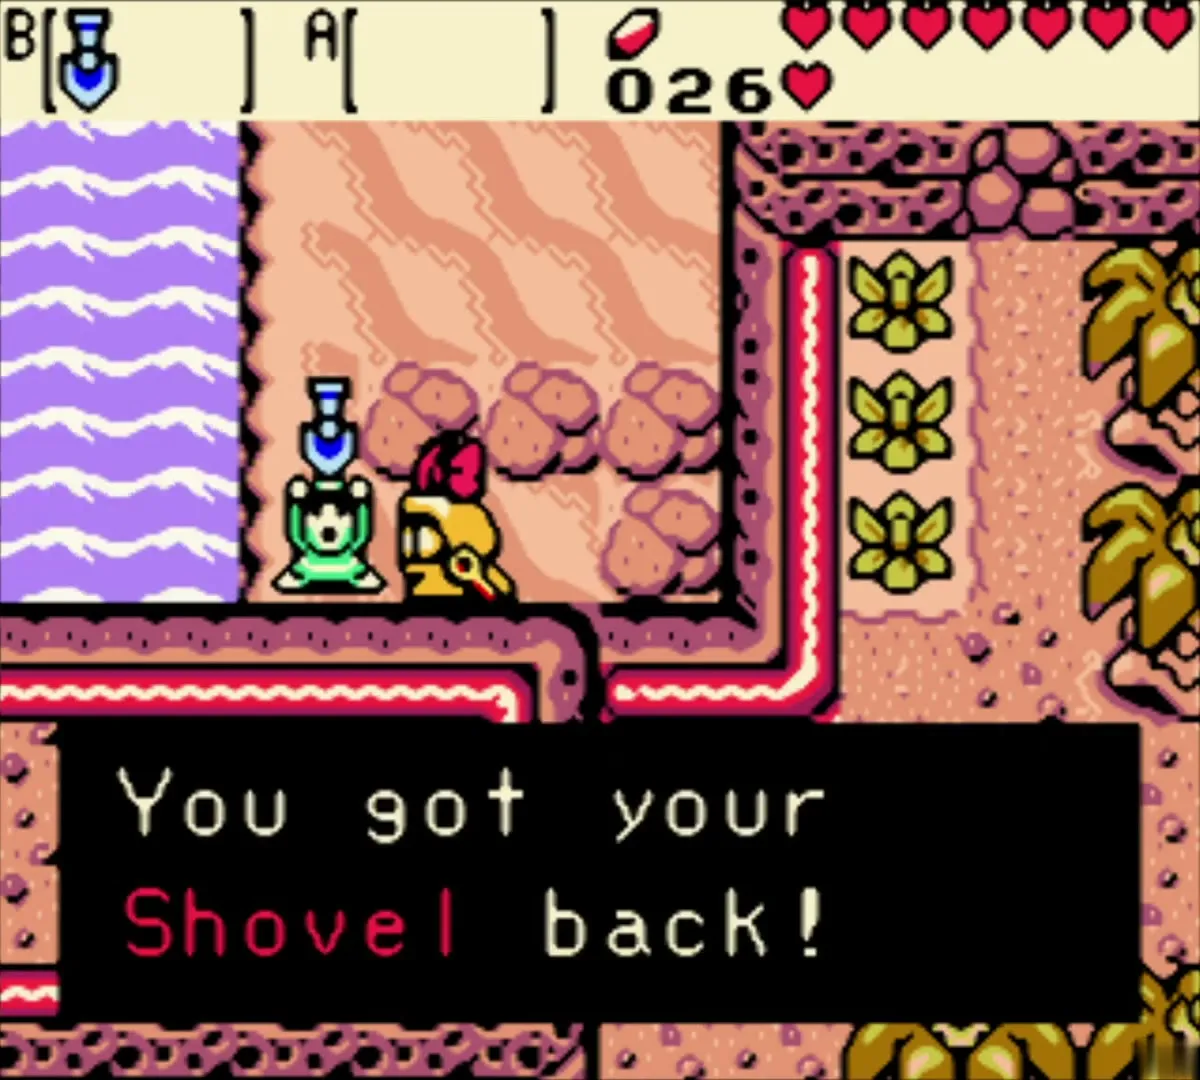
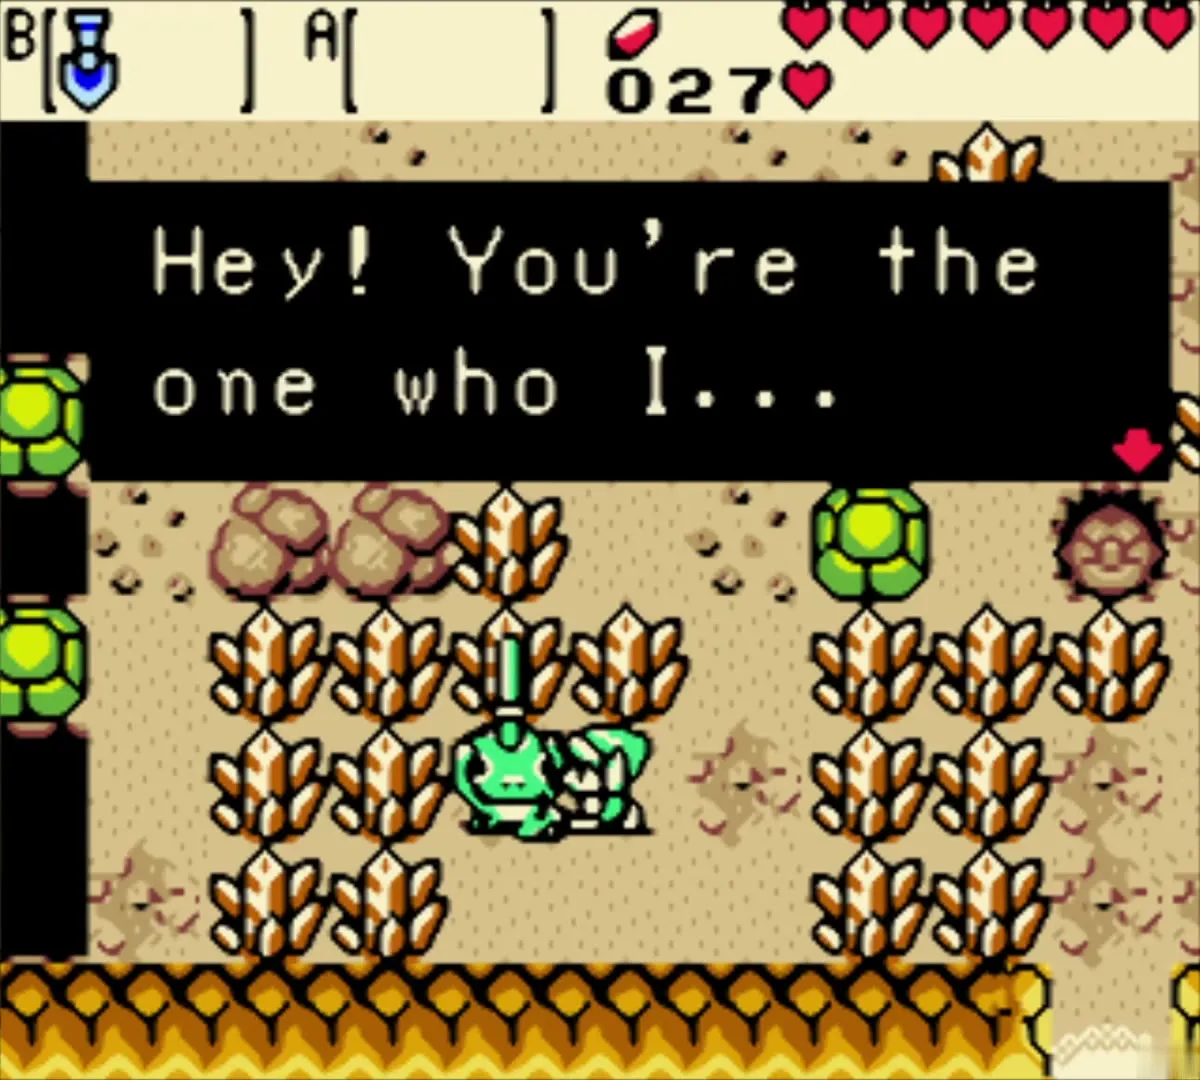
Take the red-cliff path past the blue jellyfish and cut through the crystal yard. On the plateau, Rosa, the Tokay with a red bow, gives your Shovel back after a long ramble about her holiday. She is the thief with the Shovel in a Linked Game, and she warns you to hang on to it.

Wooden Sword
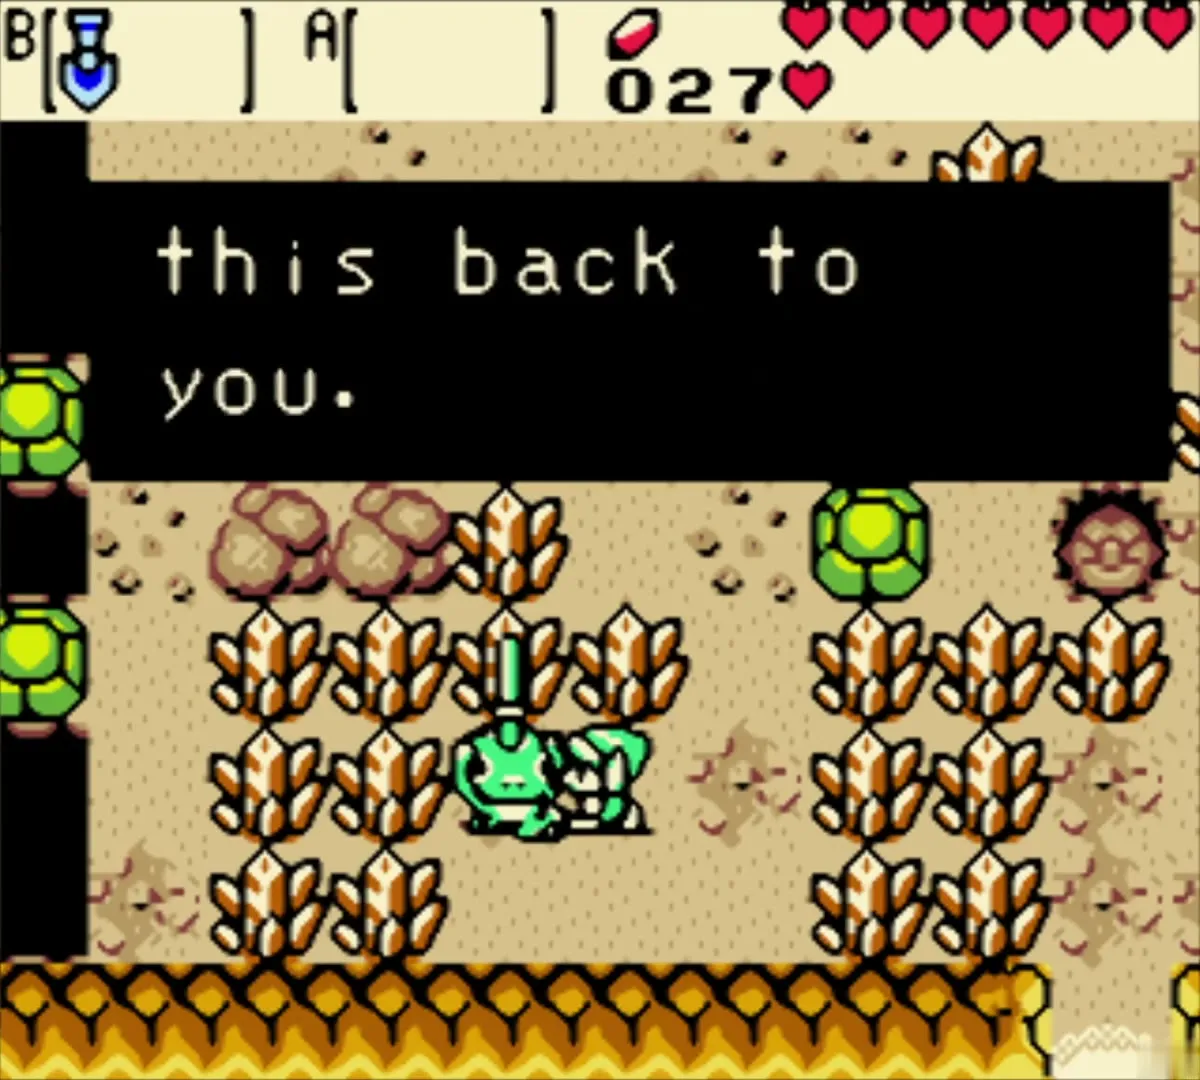
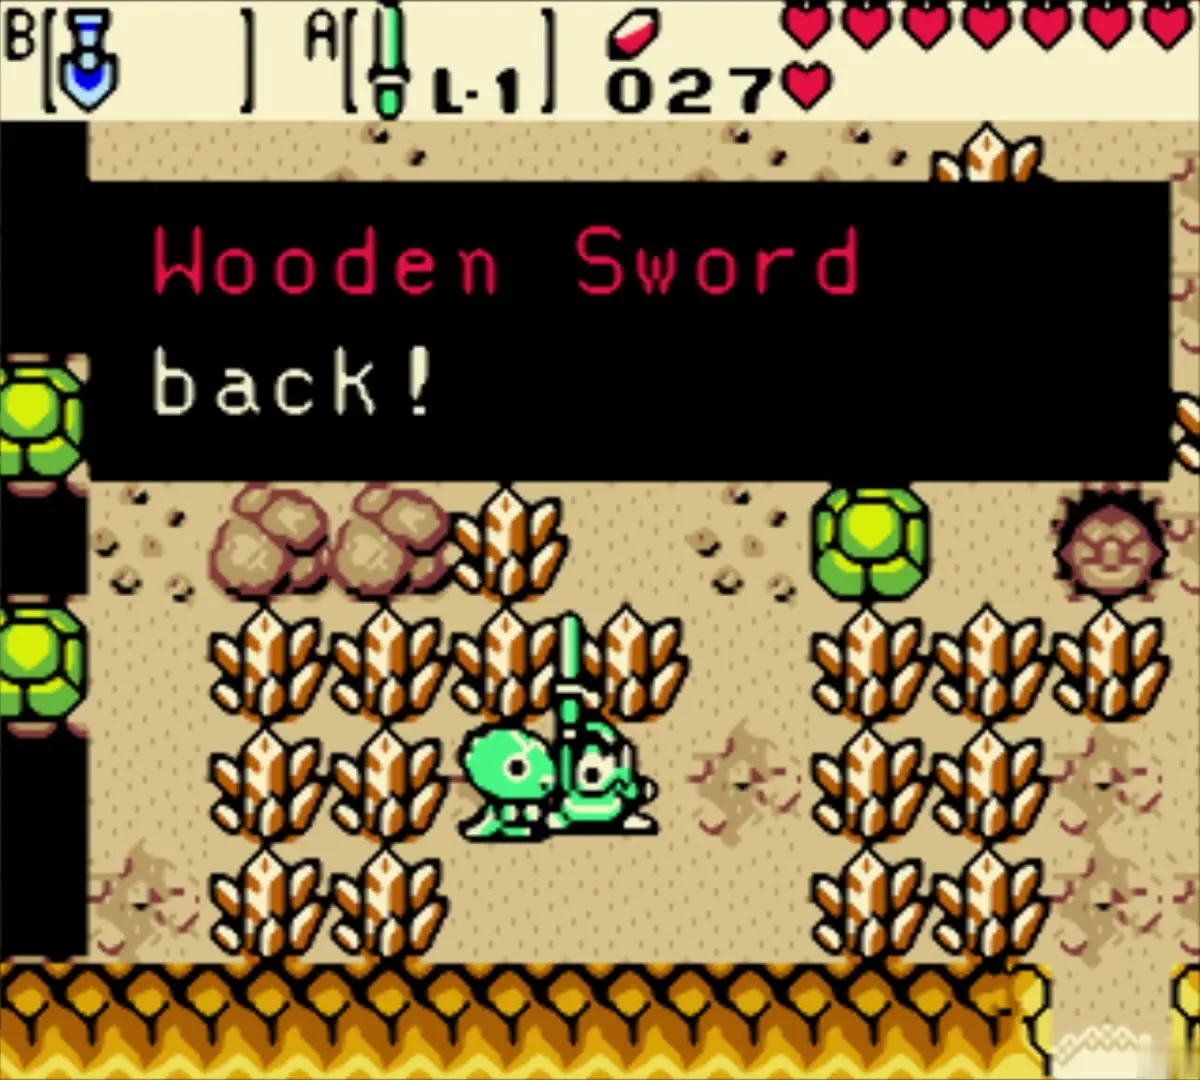
Back in the crystal yard, a shy Tokay mumbles about hiding and then gives back your Wooden Sword. Now you can fight the Octoroks and jellyfish along the island’s shores.

Business Scrub and the Wooden Shield
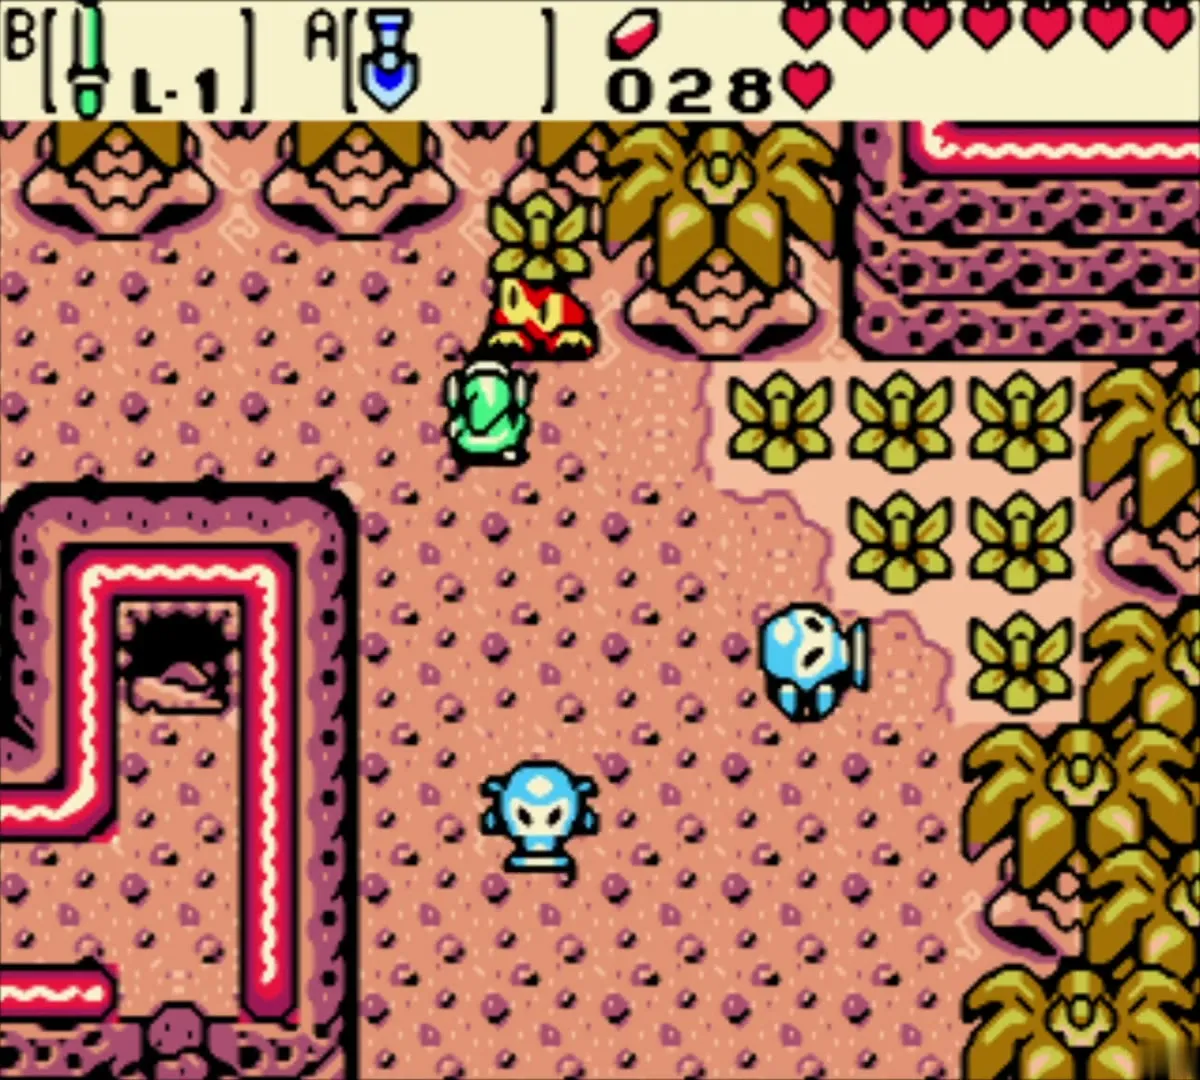
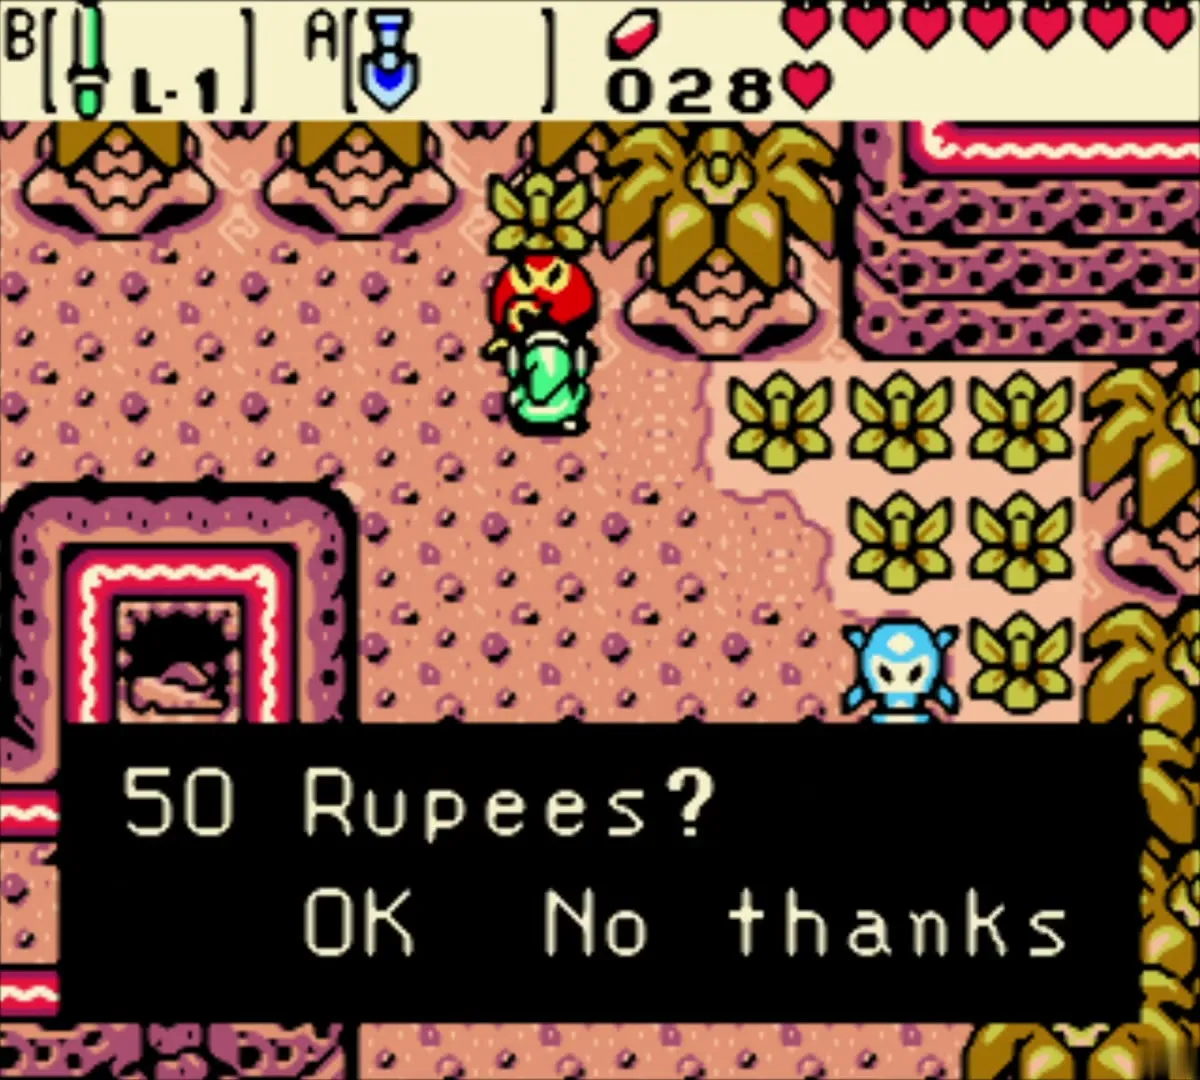
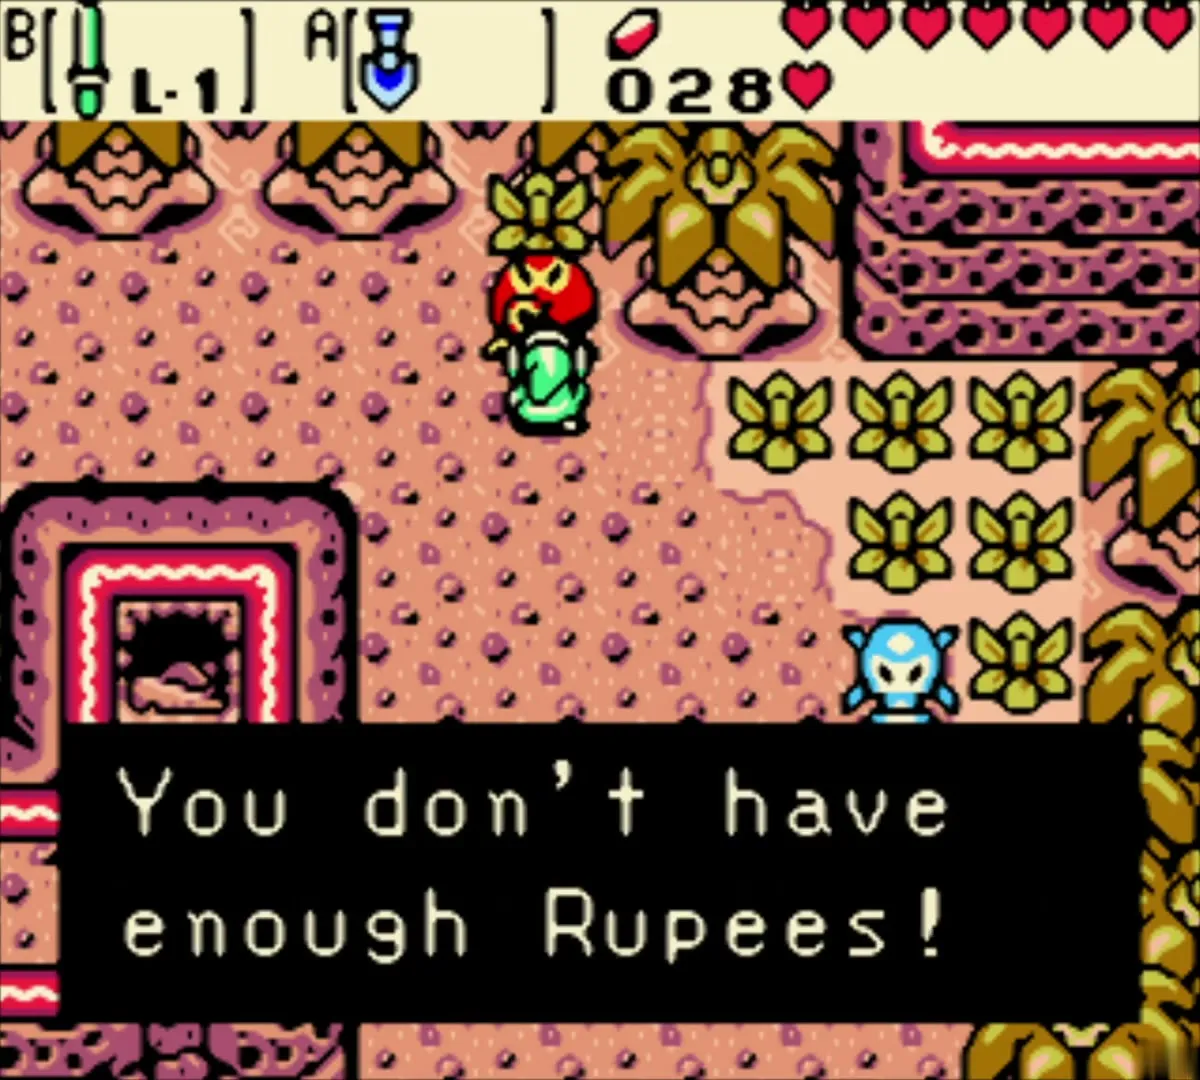
A Business Scrub on the dunes offers a Shield for 50 Rupees. You only have 28, so decline; a Tokay trades it back for 10 Scent Seeds later. Leave the Shield for now, because you do not need it to reach the Moonlit Grotto.

Trading hut: Power Bracelet for the Shovel
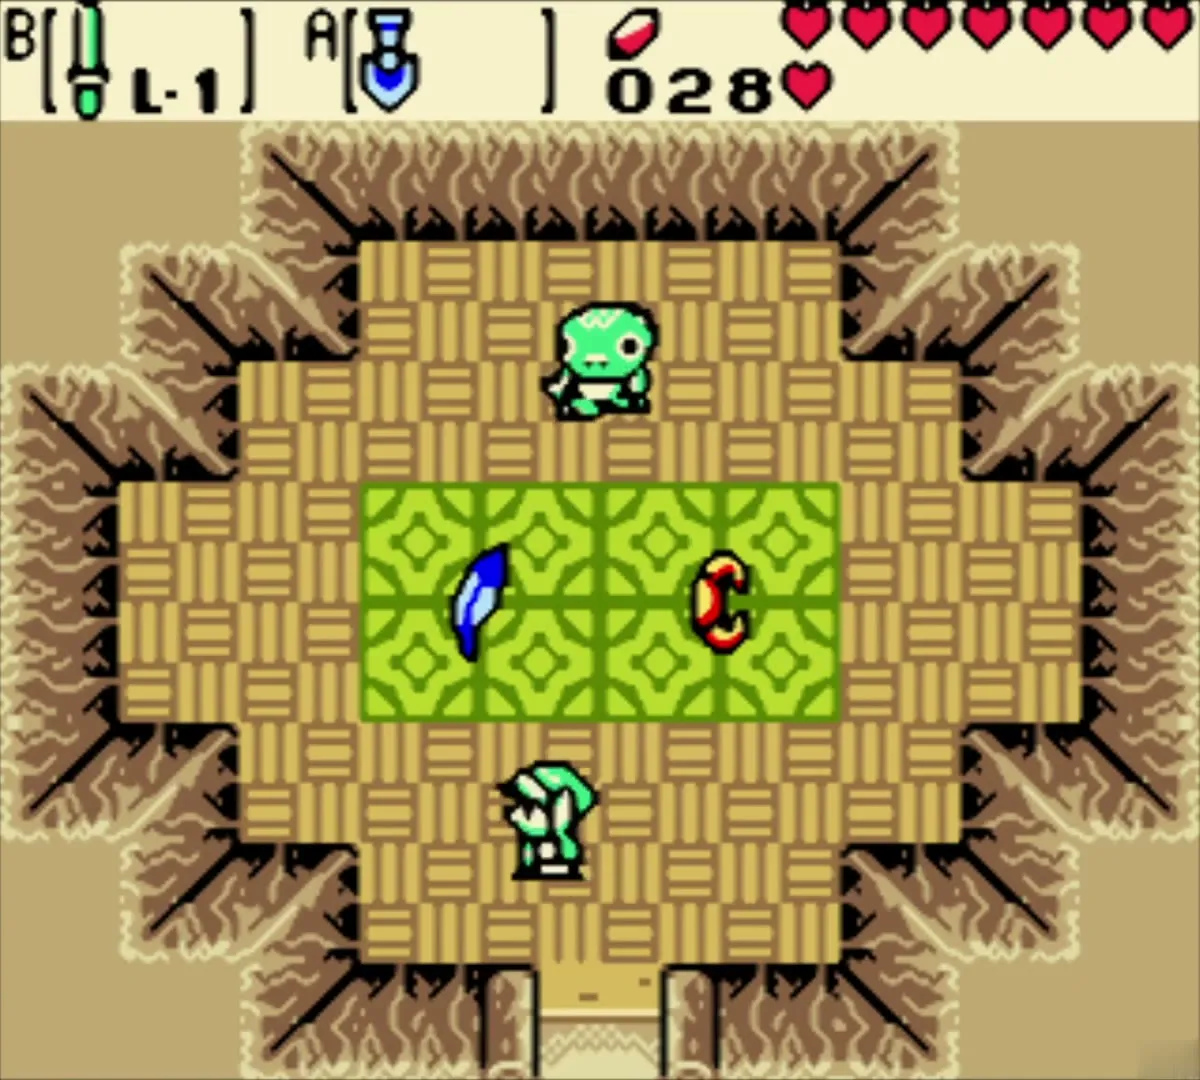
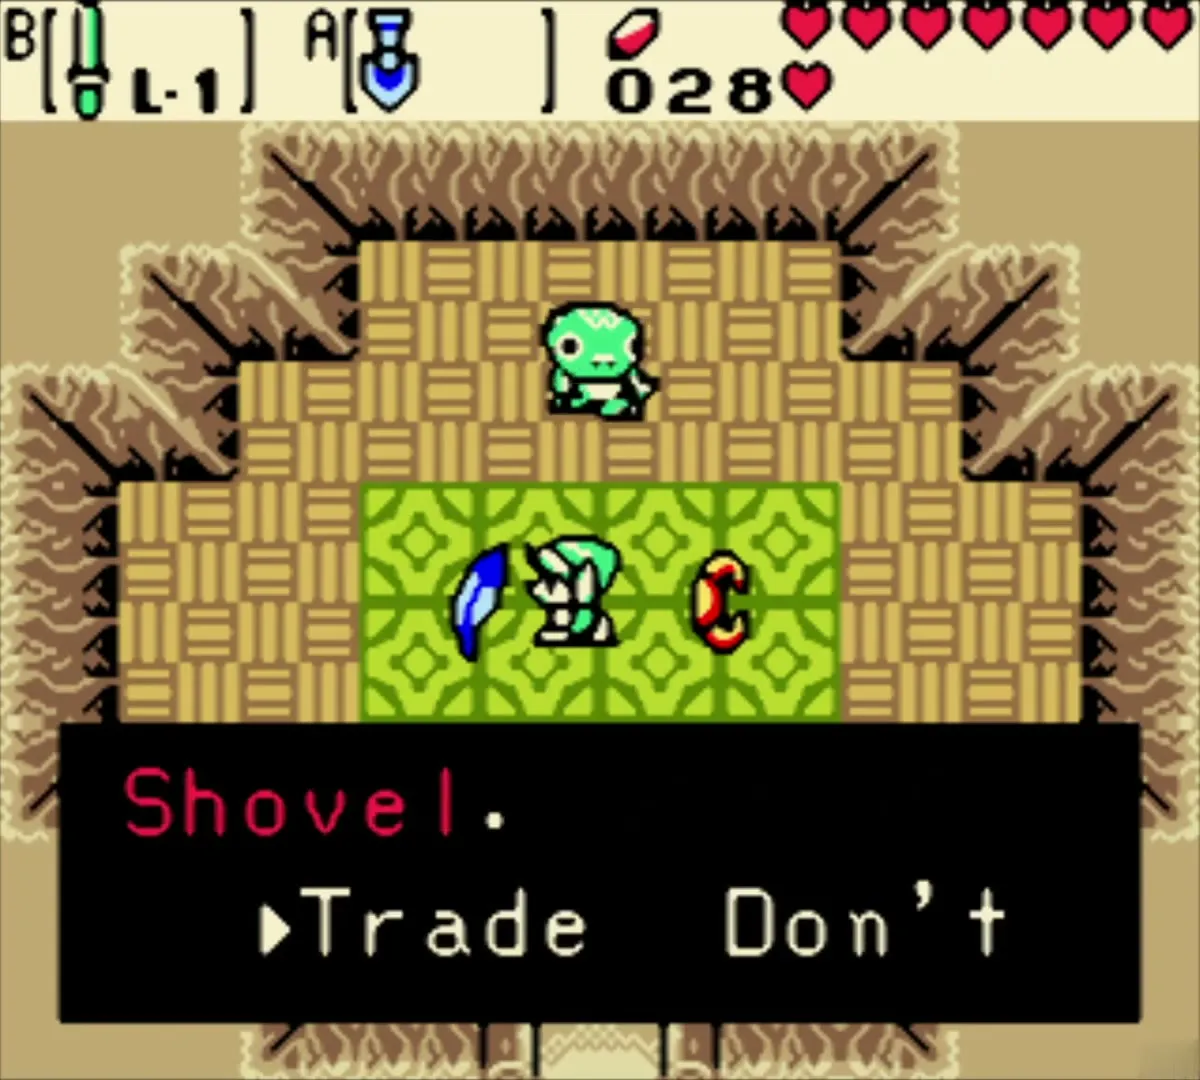
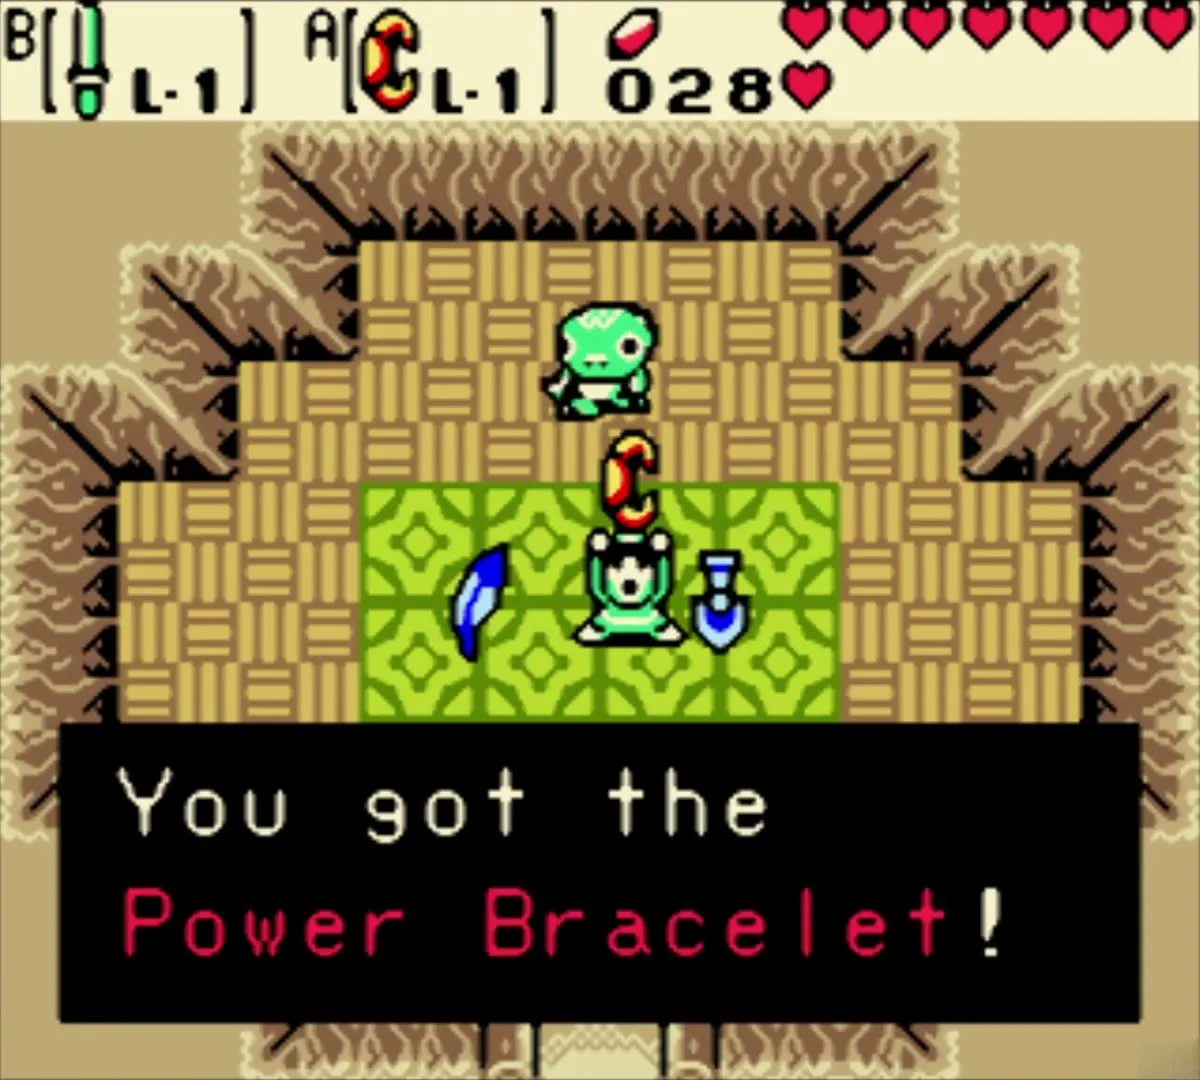
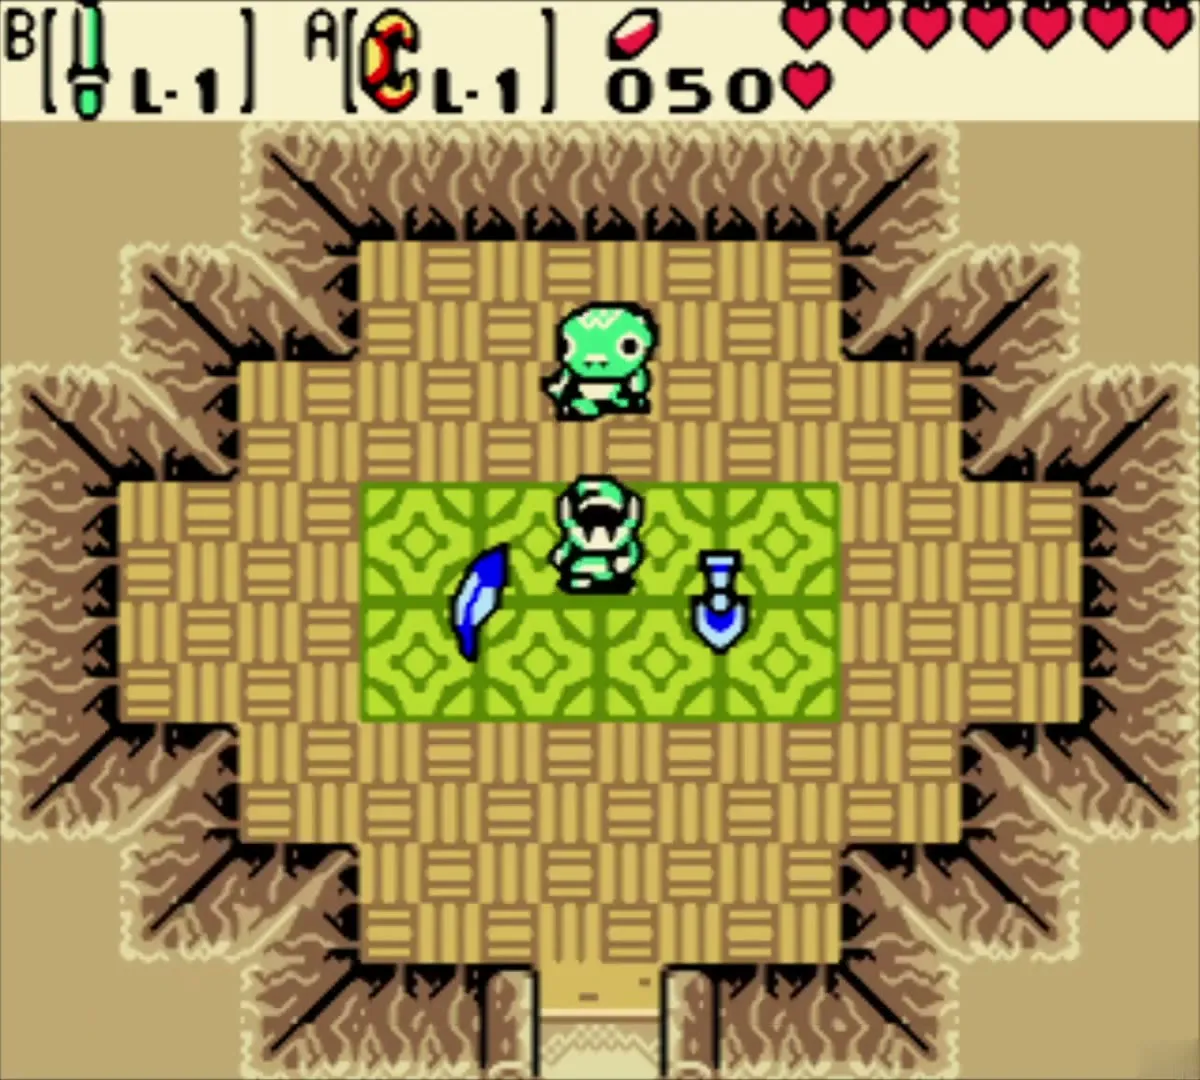
Find the trading hut on the island coast. The Tokay trader keeps a green mat with one stolen item on each side. He will sell the Power Bracelet to you for 10 Scent Seeds or swap it for your Shovel, and sell Roc’s Feather for 10 Mystery Seeds or swap it for the Shovel. You have no seeds yet, so swap the Shovel for the Power Bracelet.

Cucco Hut: Bombs
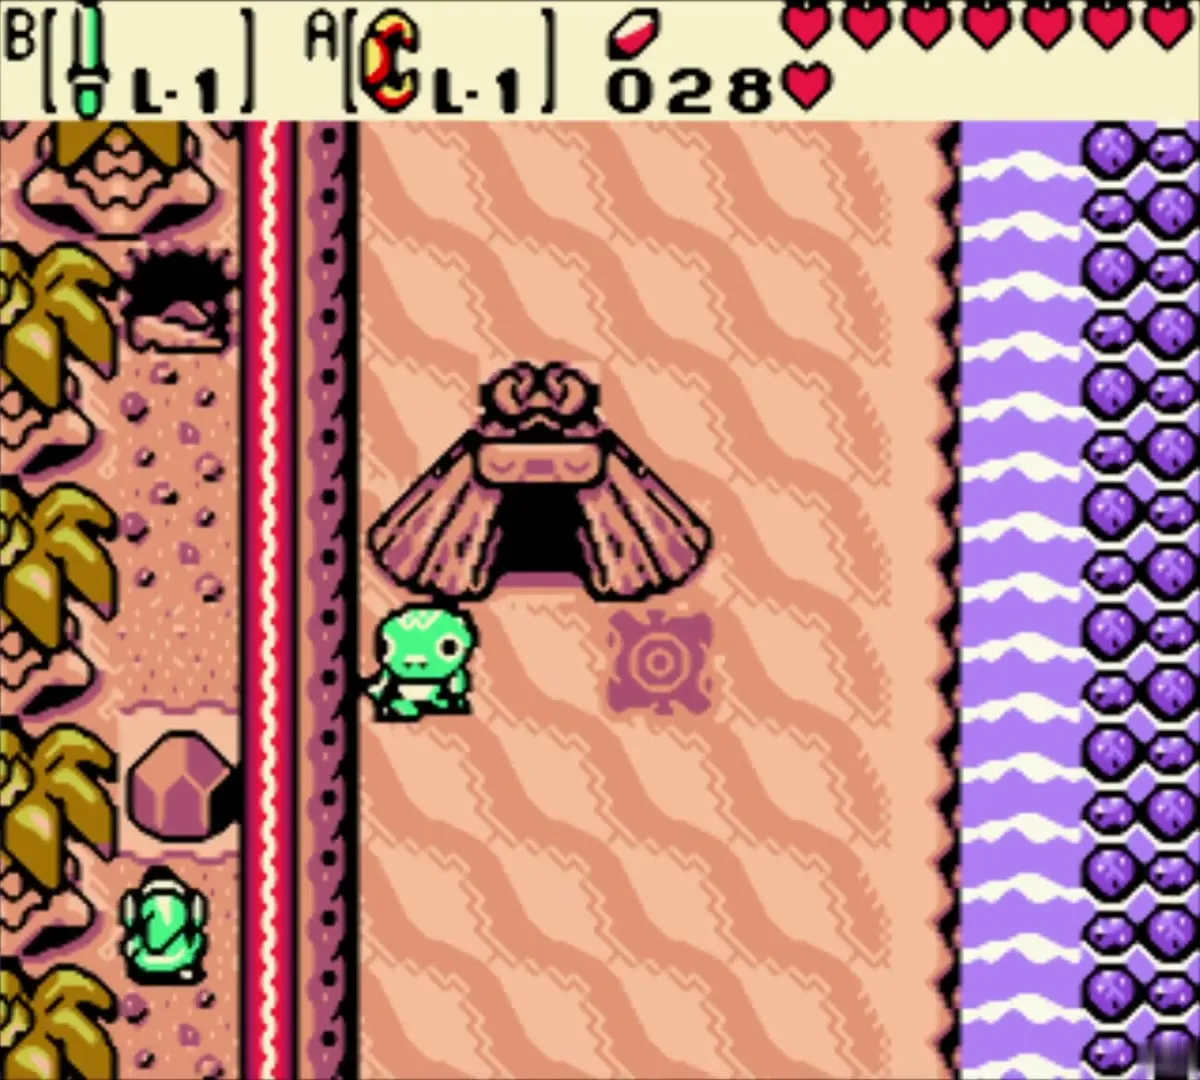
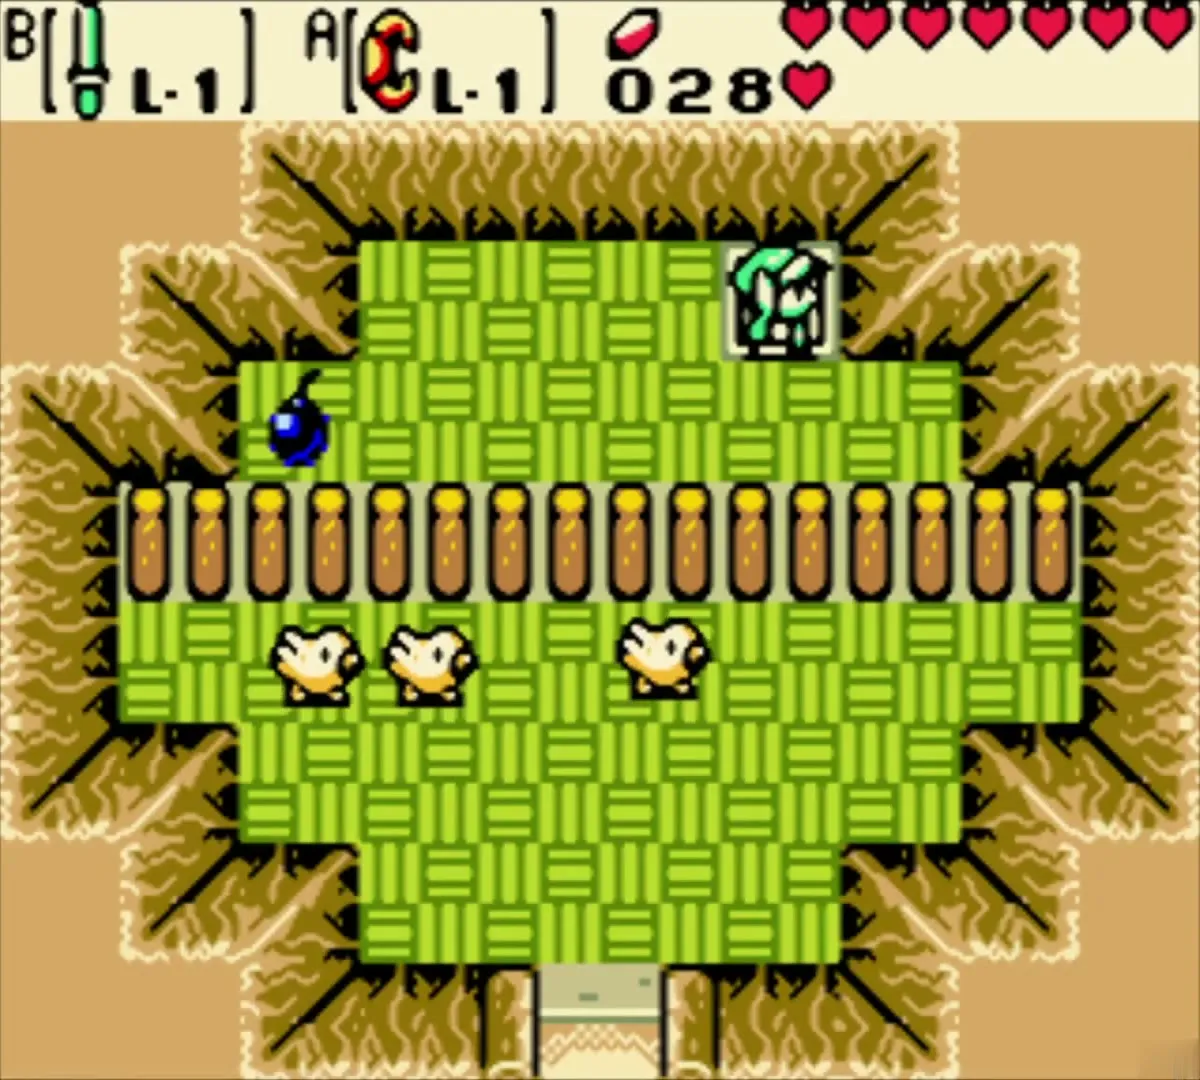
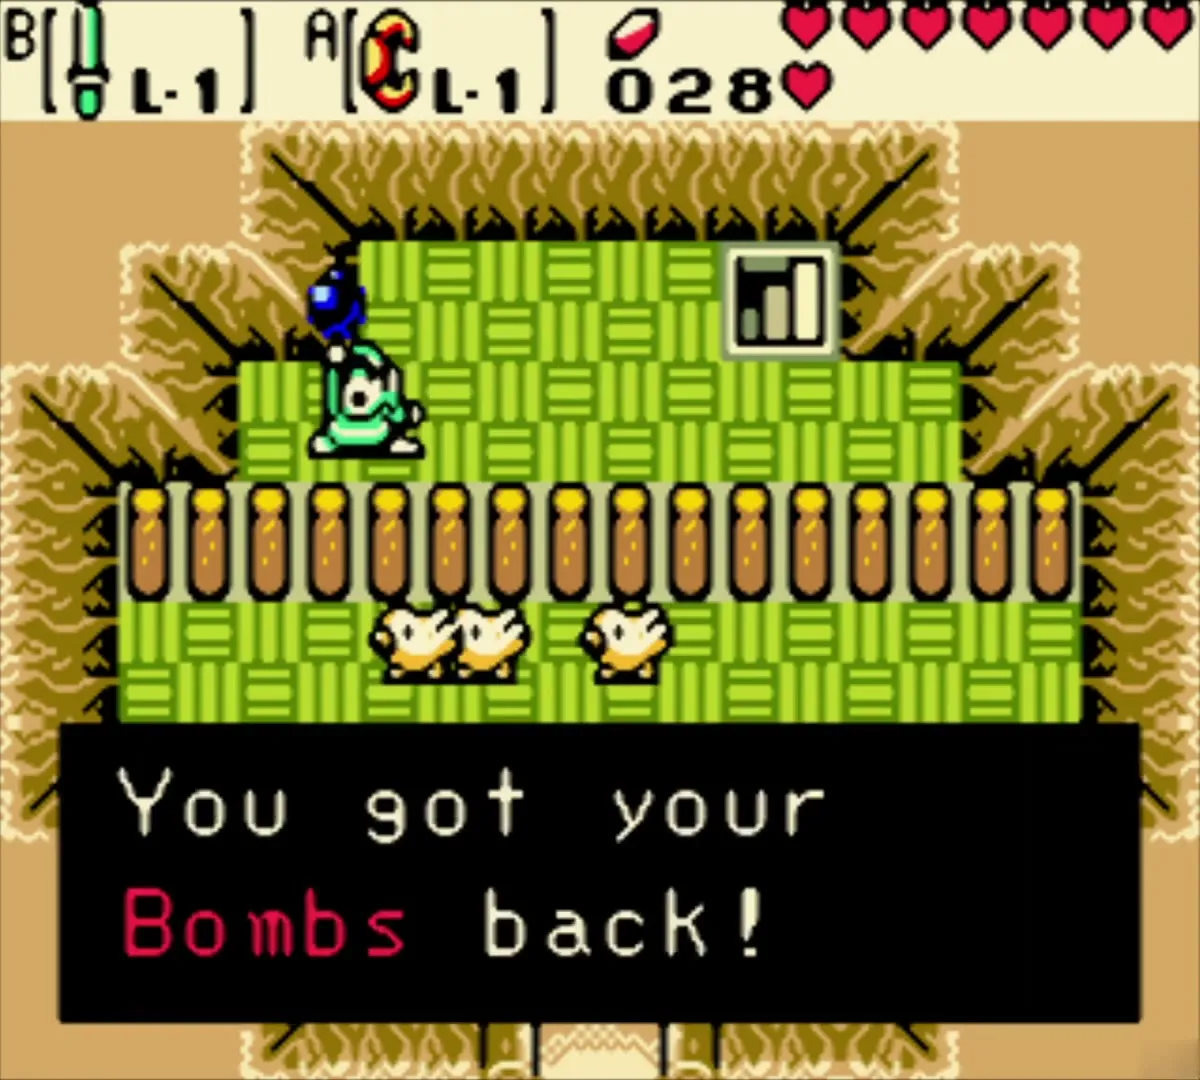
Use the Power Bracelet to move the boulder along the shore and take the stairs down to the Cucco Hut, the hut with the portal glyph outside. A Tokay inside hands your Bombs back.

Gasha Seed in the chest cave
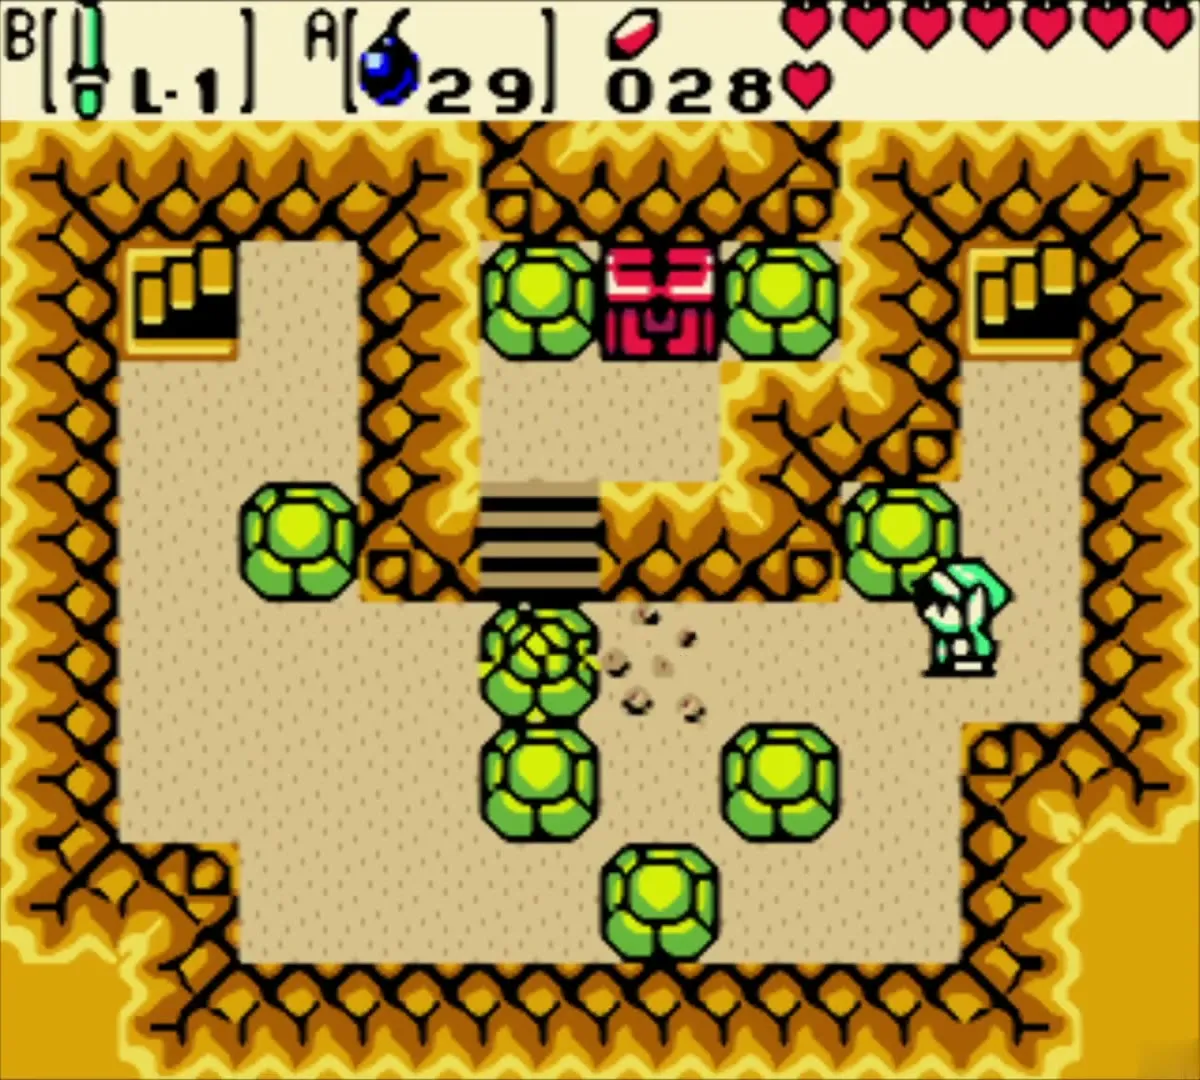
Return to the bush-ringed cave room you passed on the way: a cracked block guards a chest. Bomb it, step across and open the chest for a Gasha Seed.
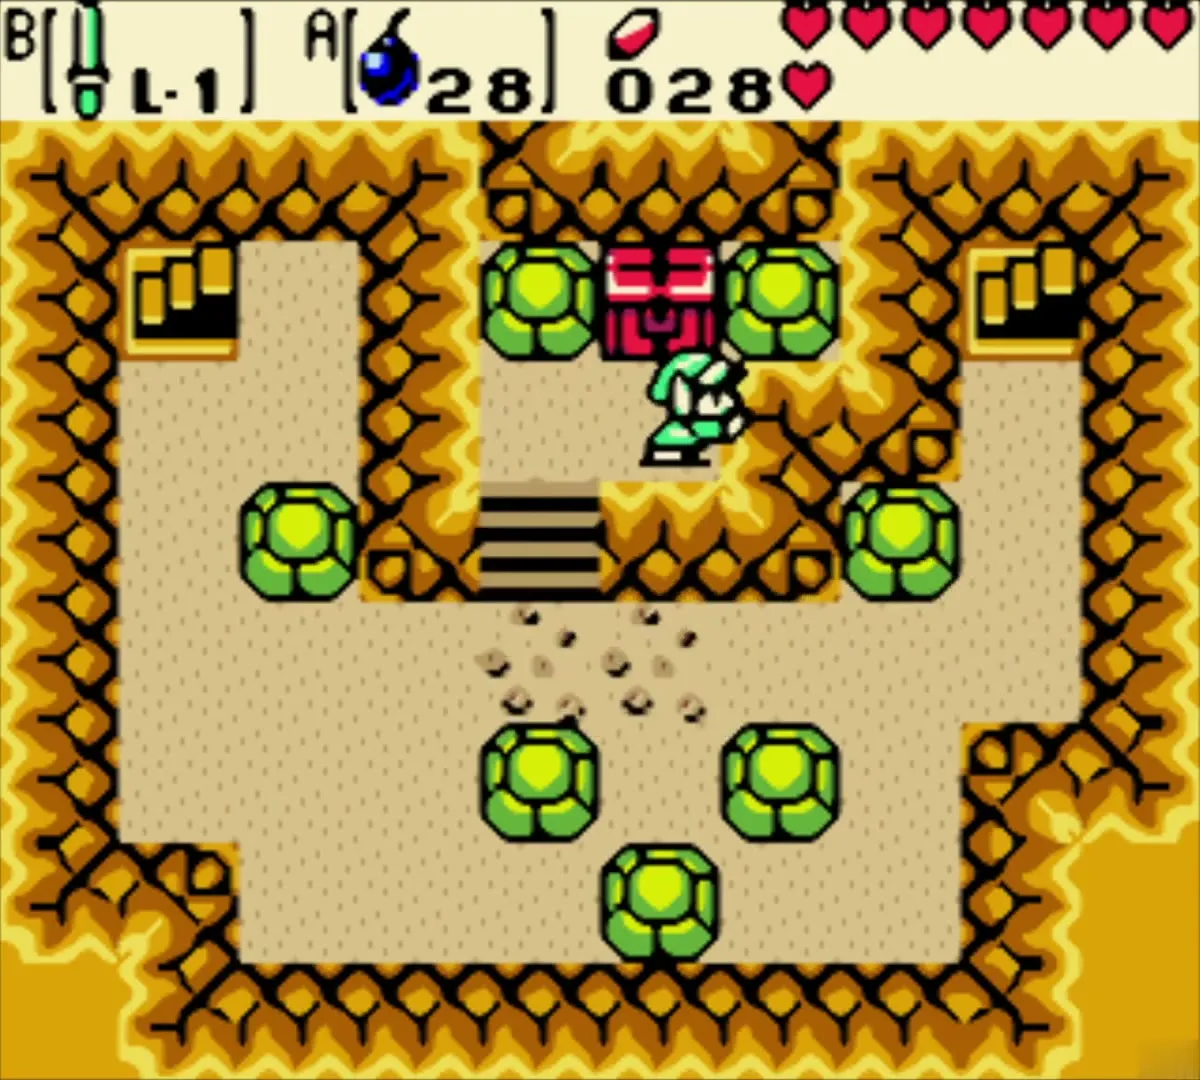
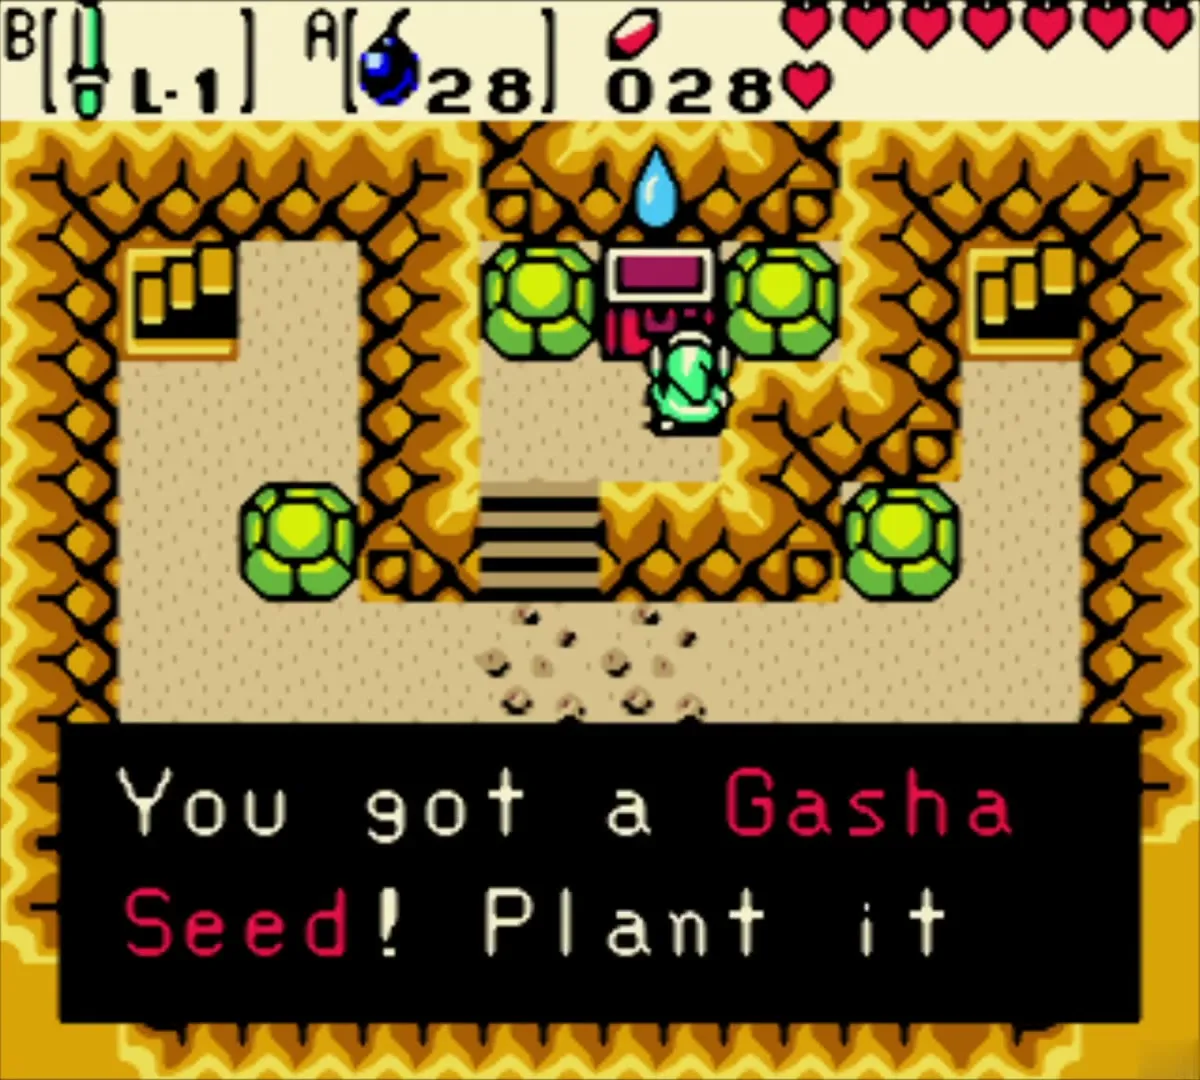

Wild Tokay game: Scent Seedling
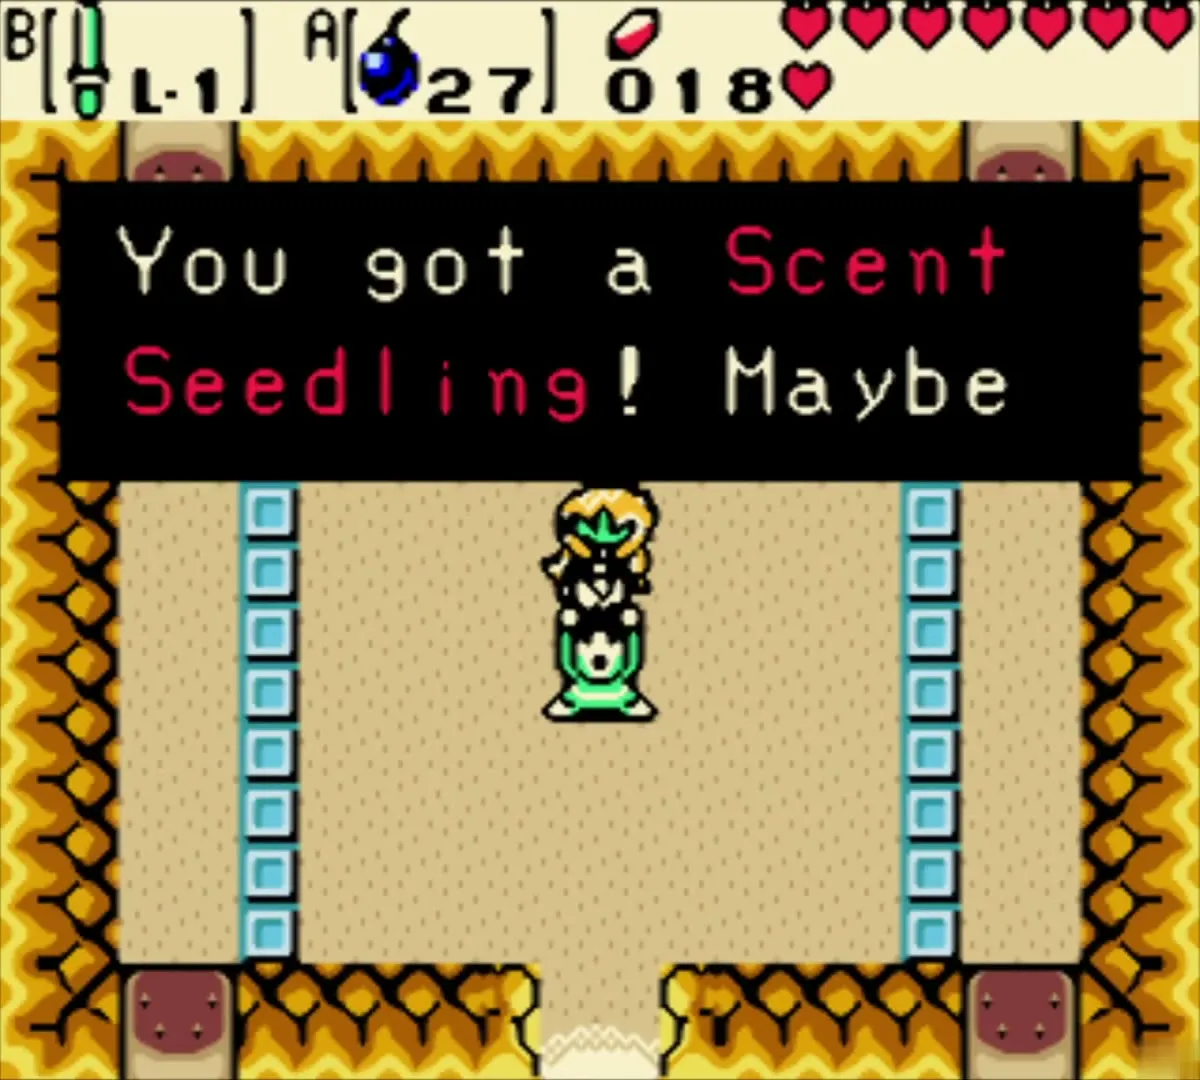
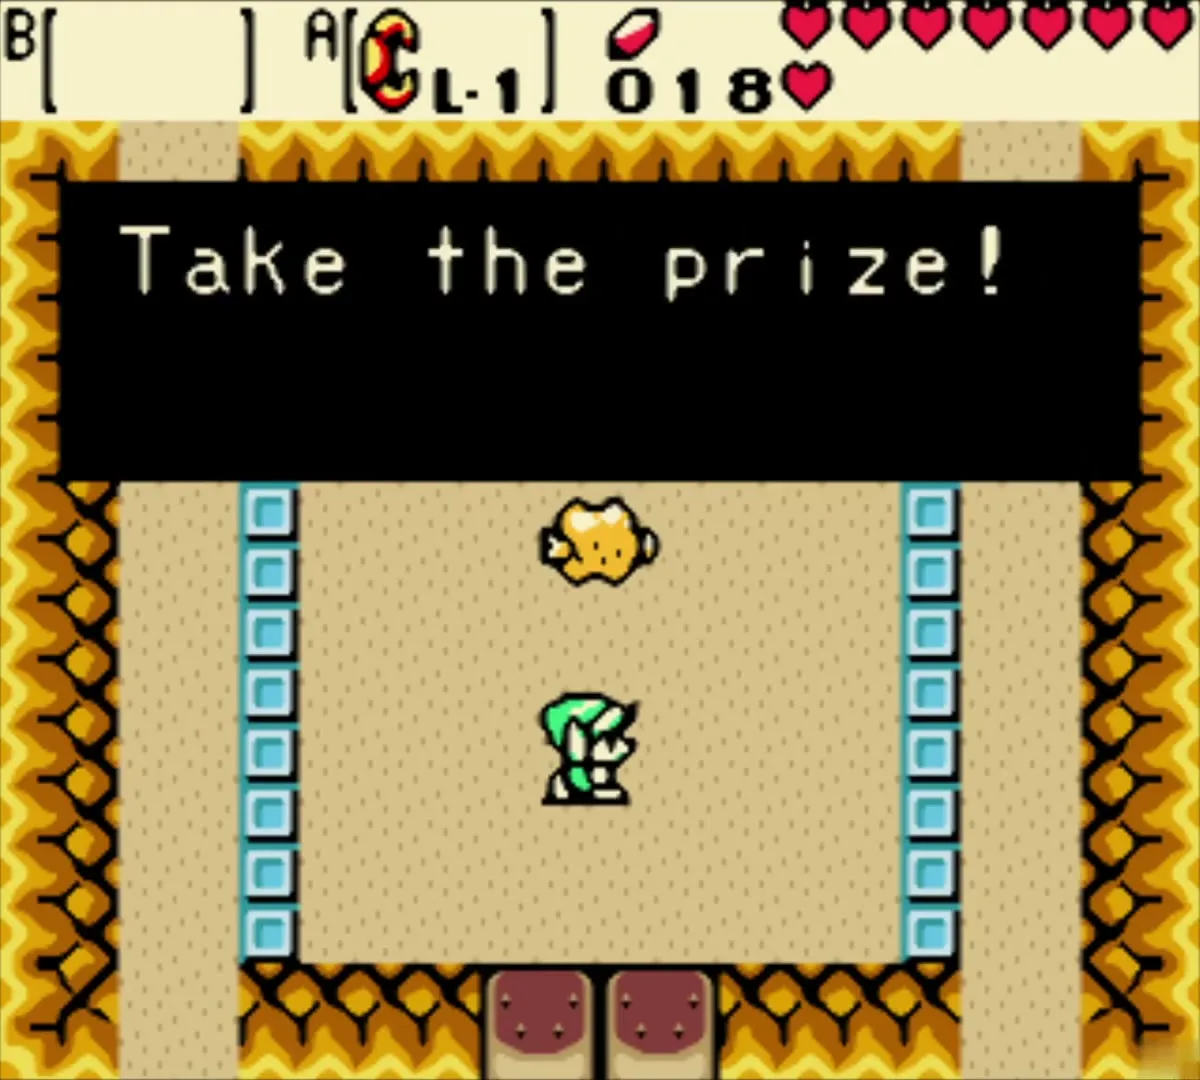
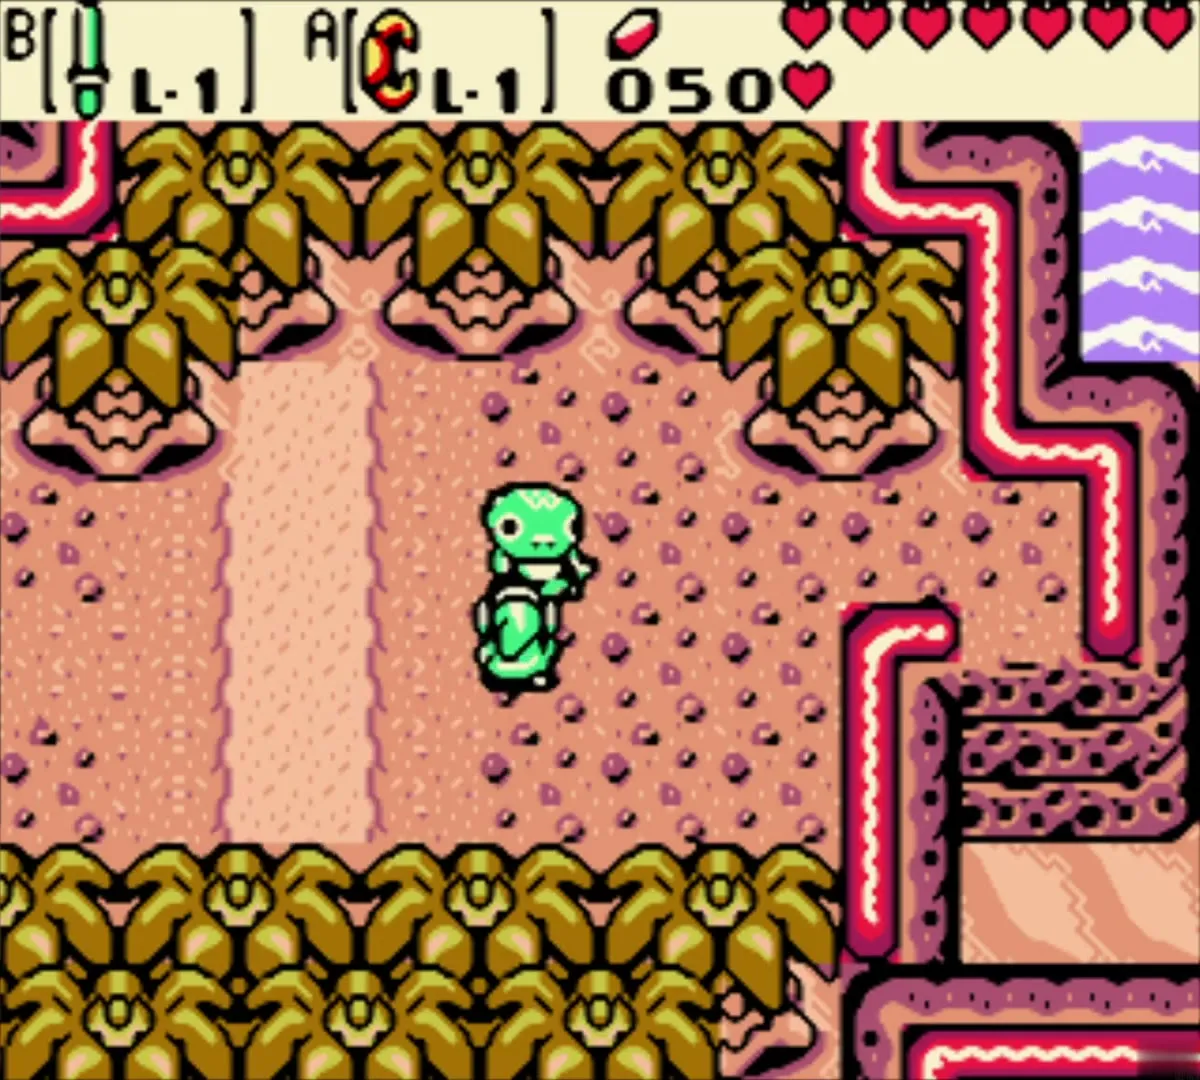
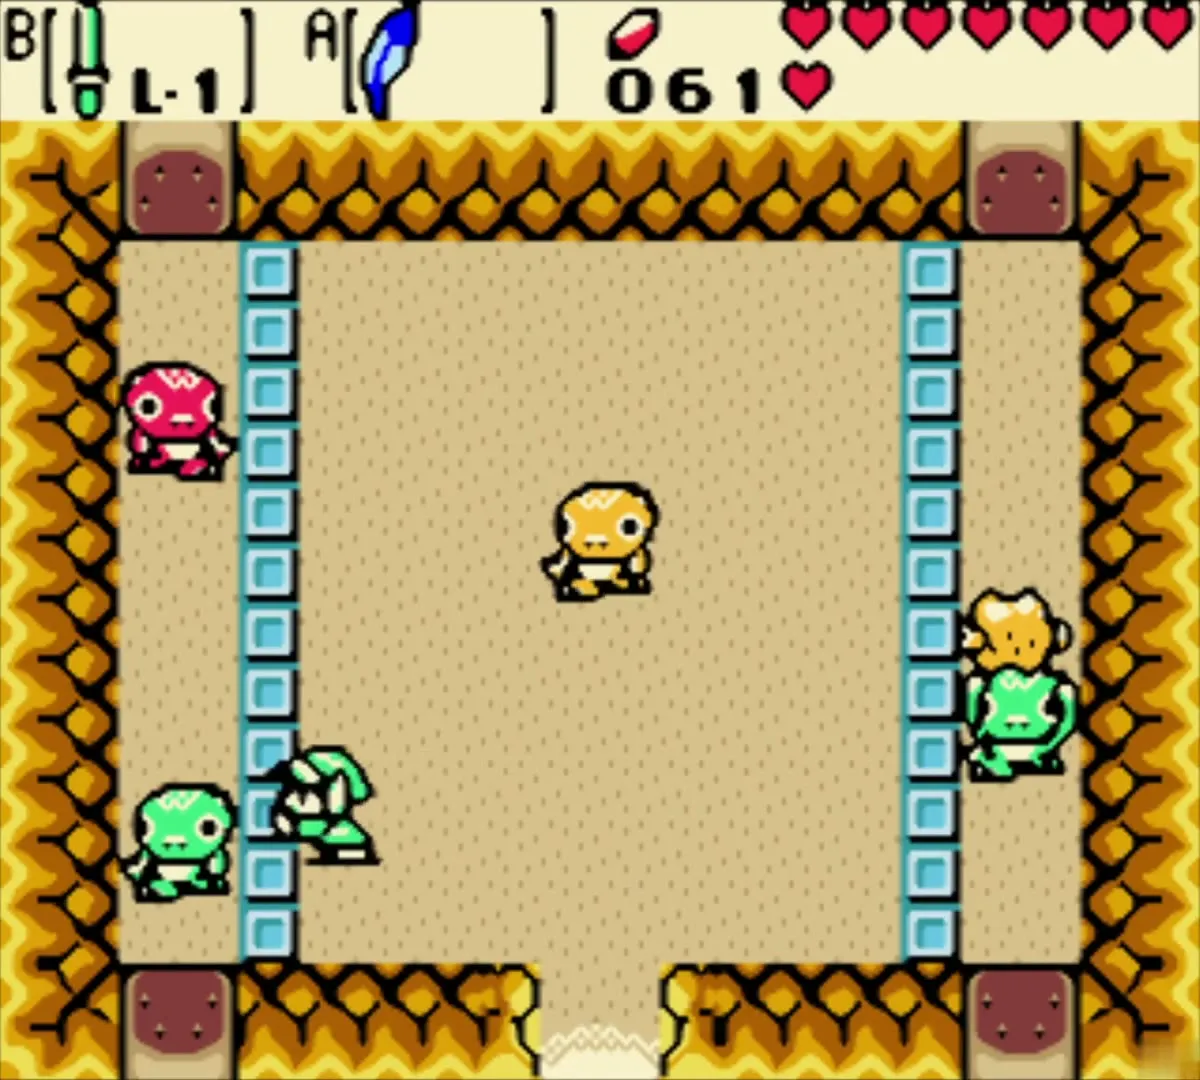
Bomb the cracked wall outside the Cucco Hut and walk into the Wild Tokay game room. The host offers a prize for each win and each try costs 10 Rupees. Tokay run in from both sides: toss a piece of meat to every one of them without missing even one. Skip one and you fail.
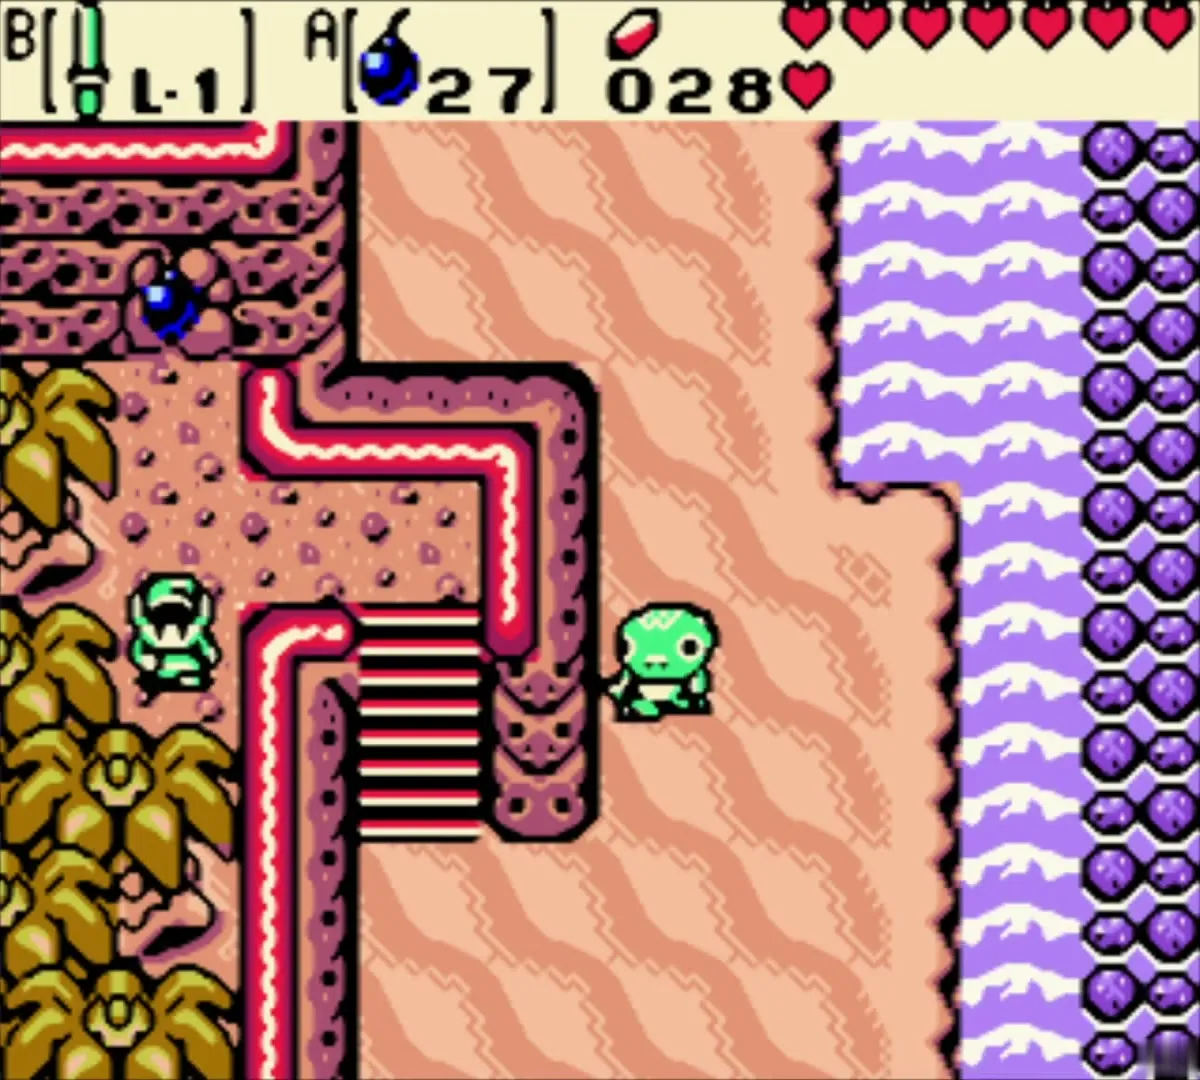
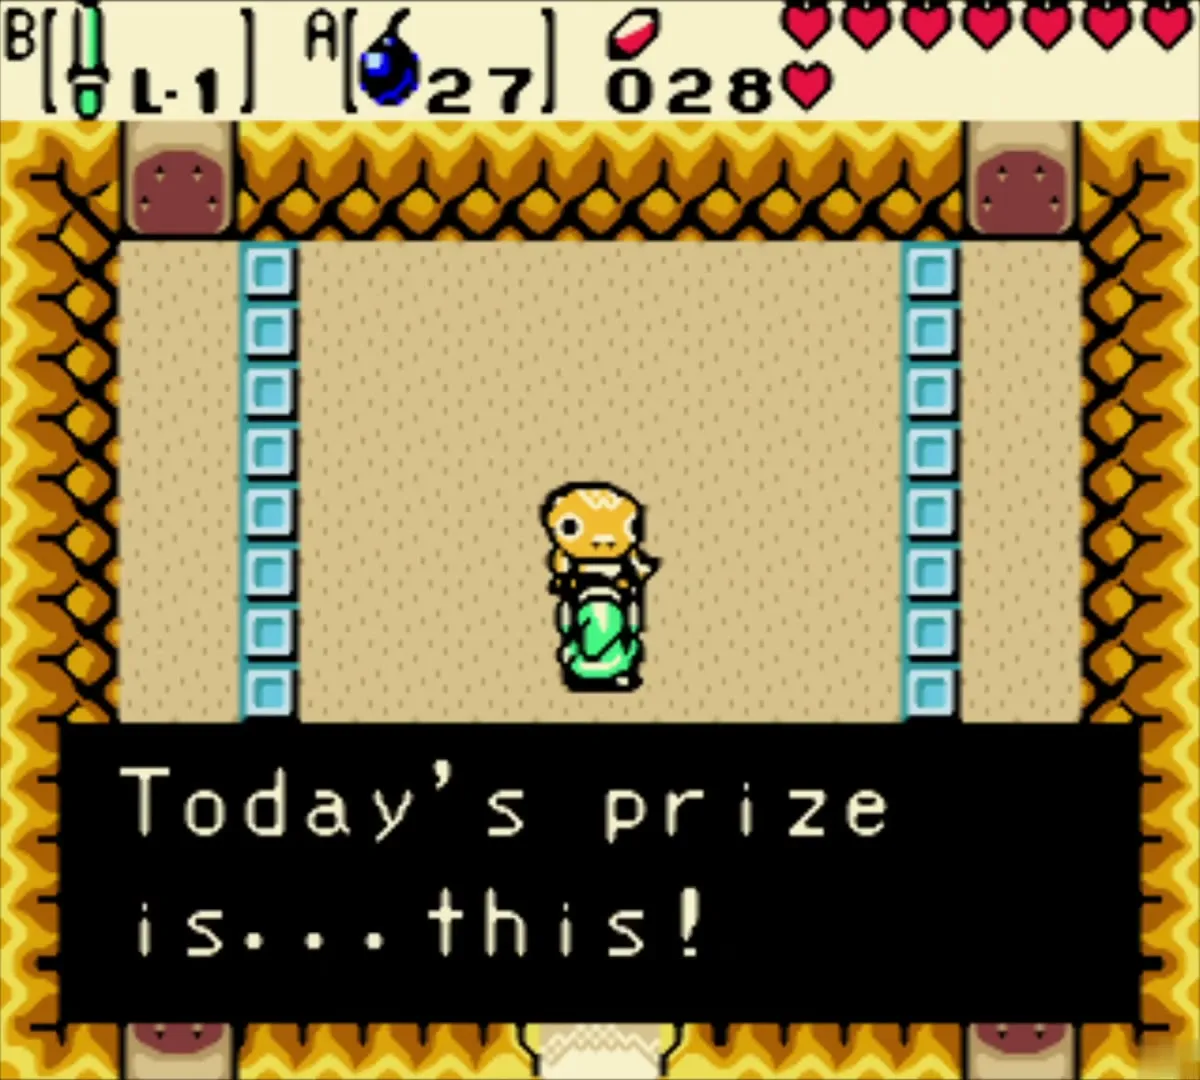
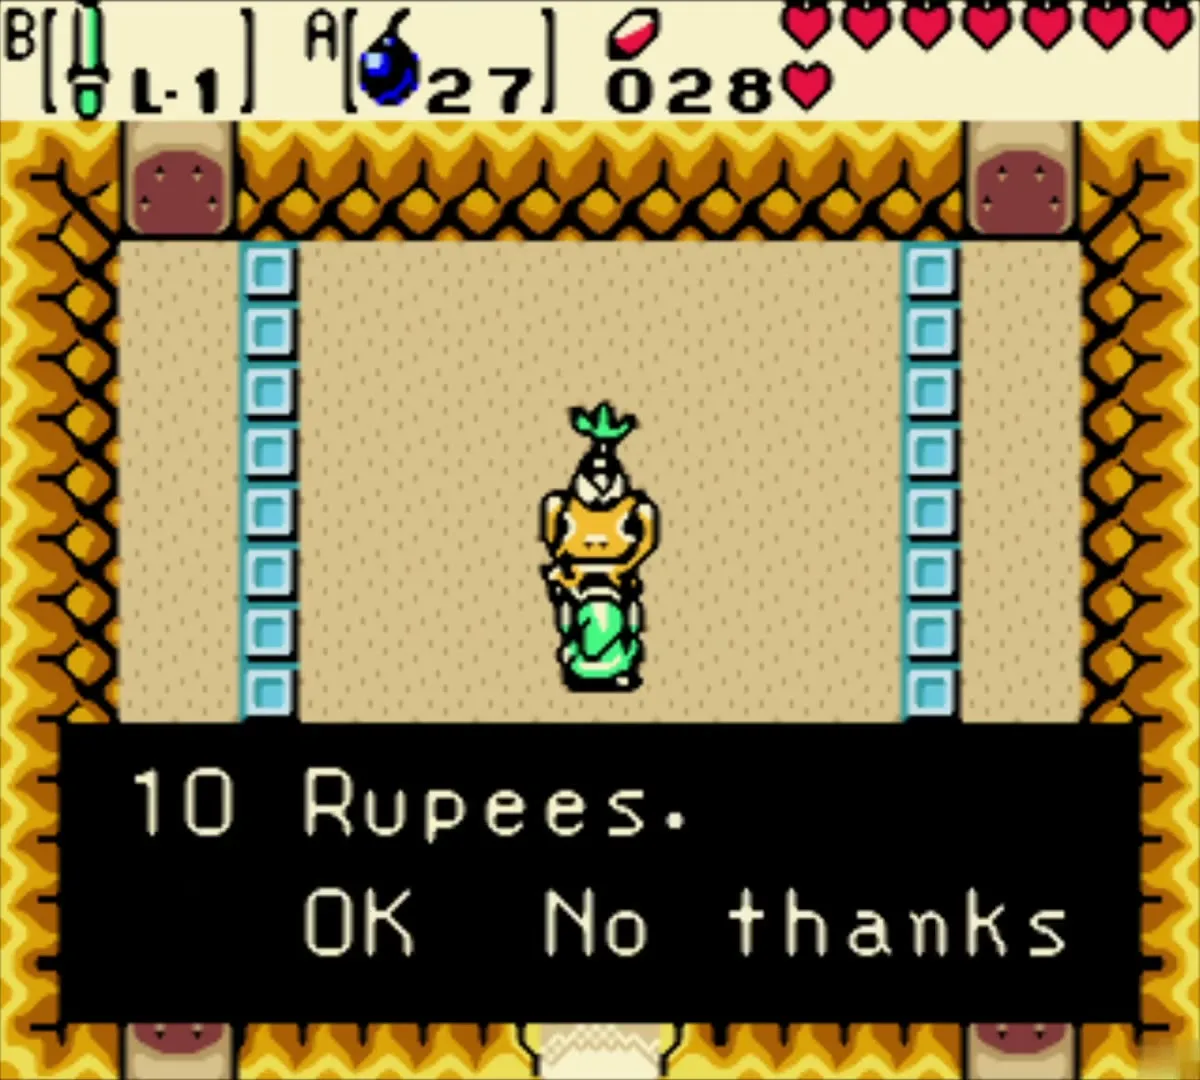
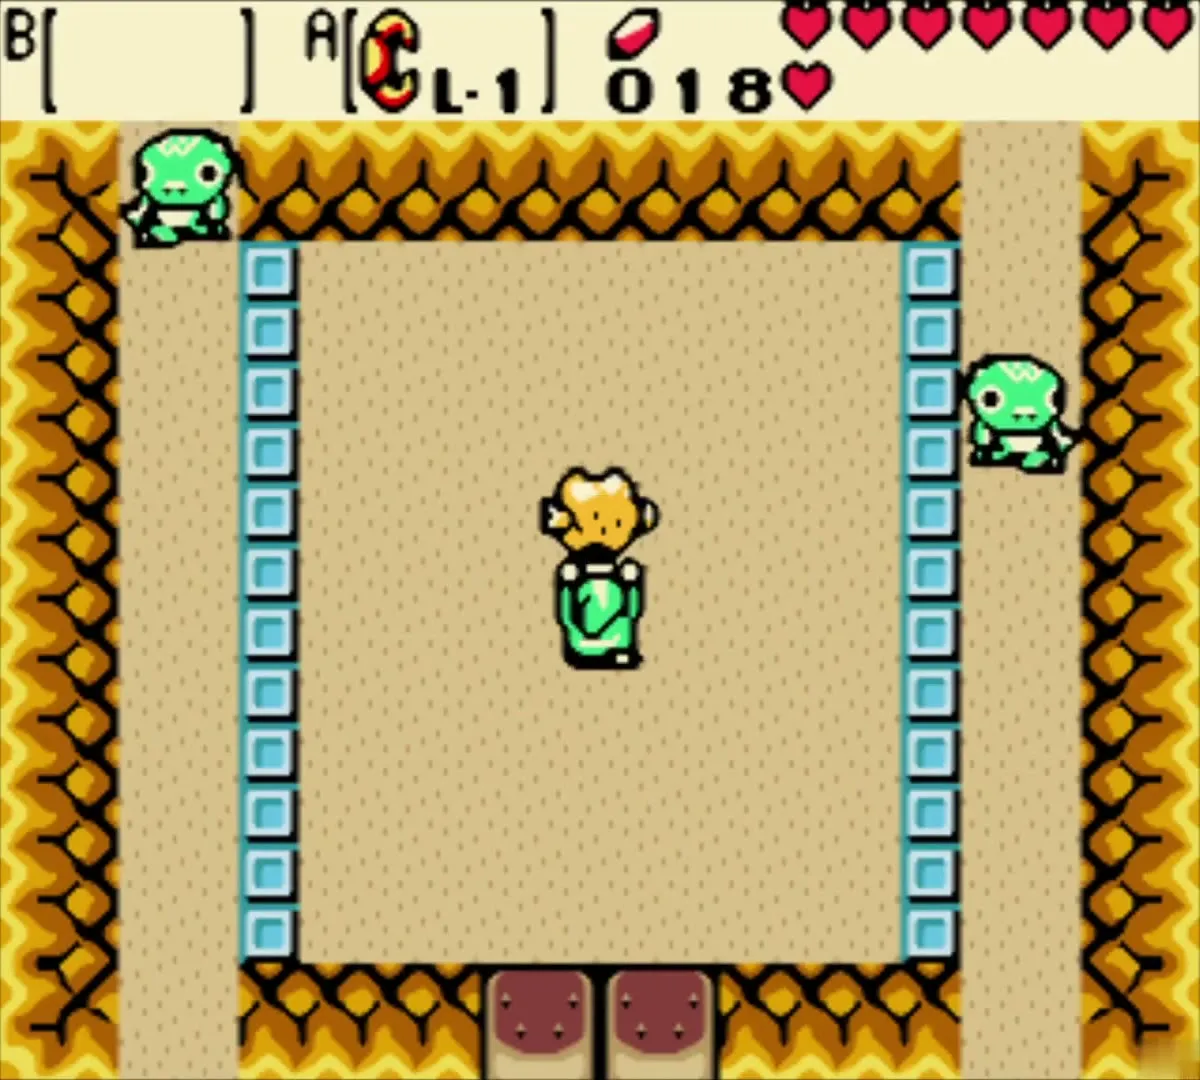
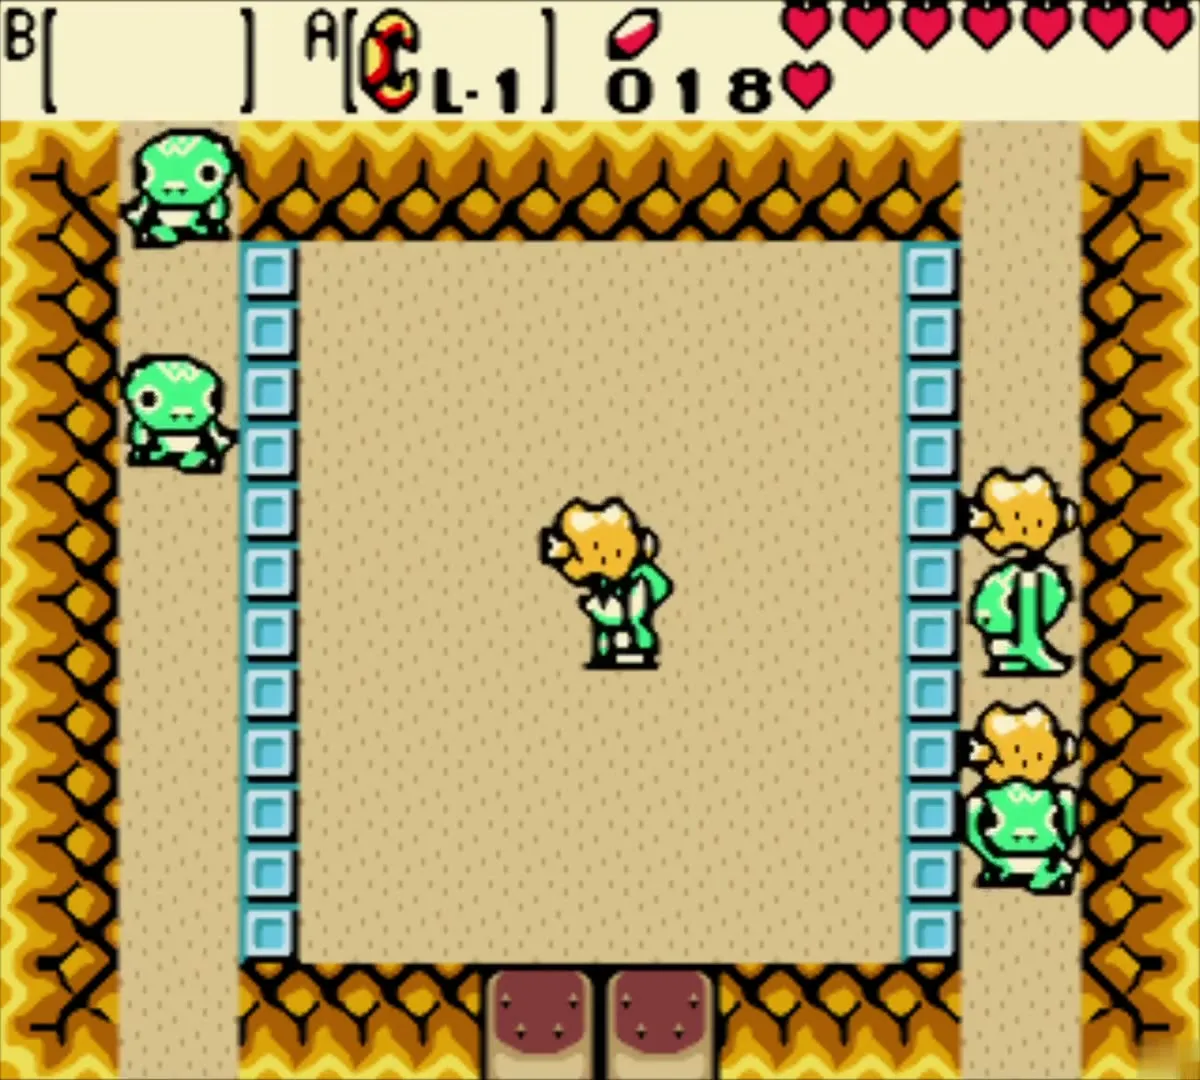
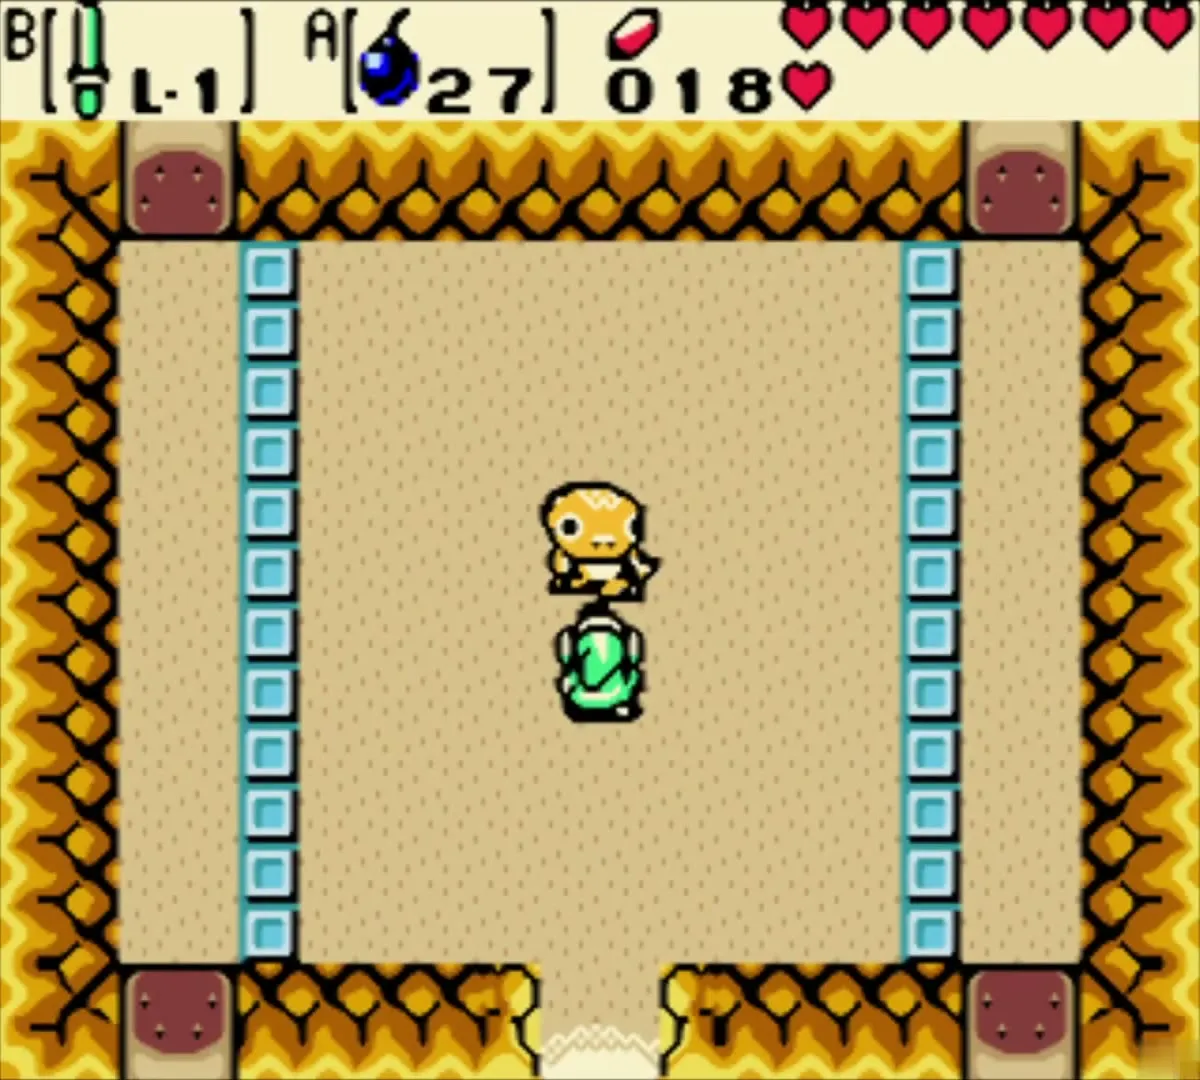
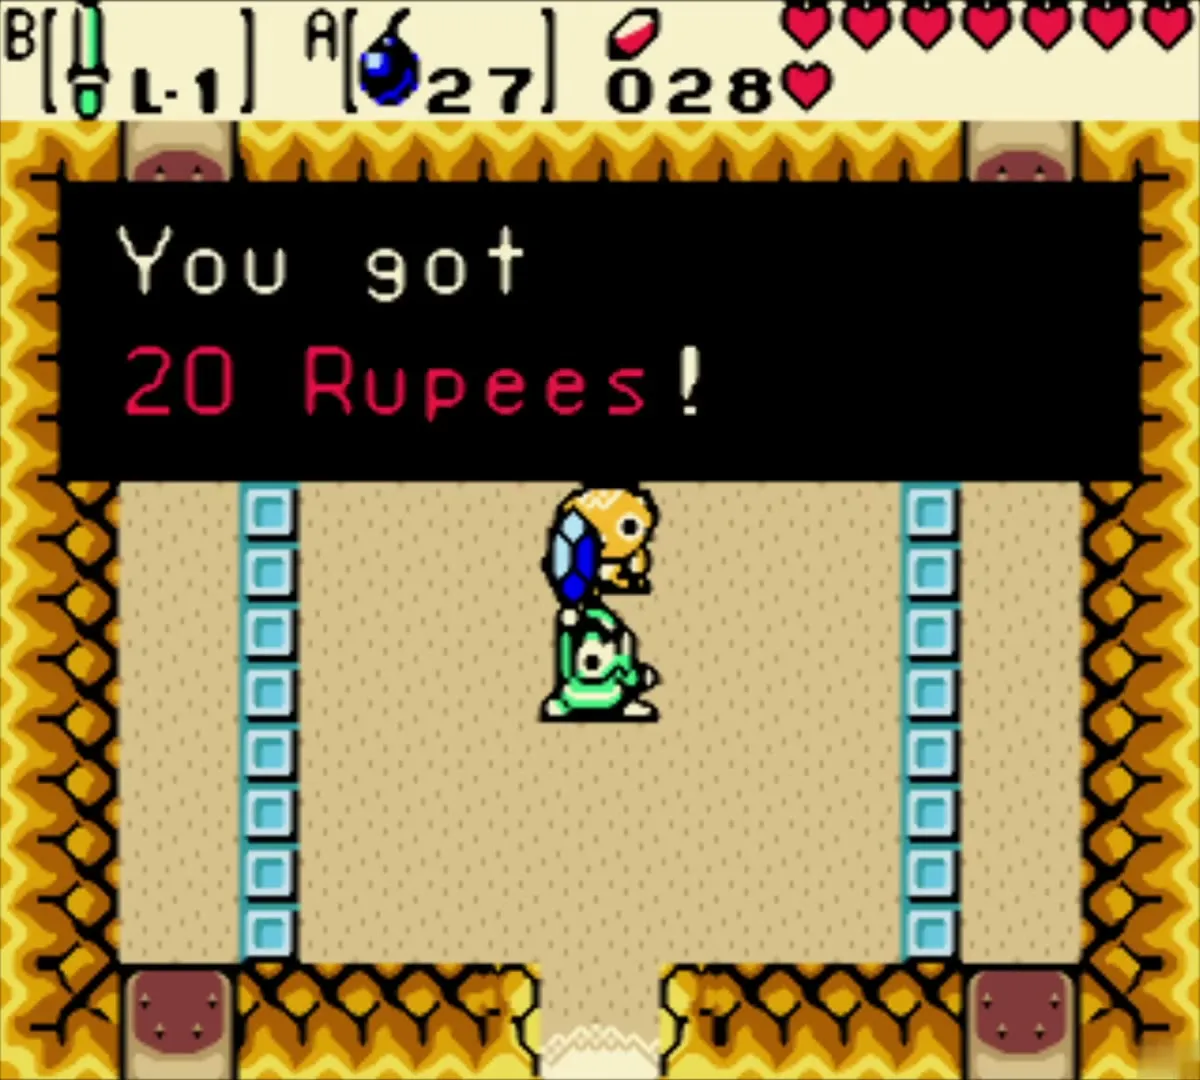
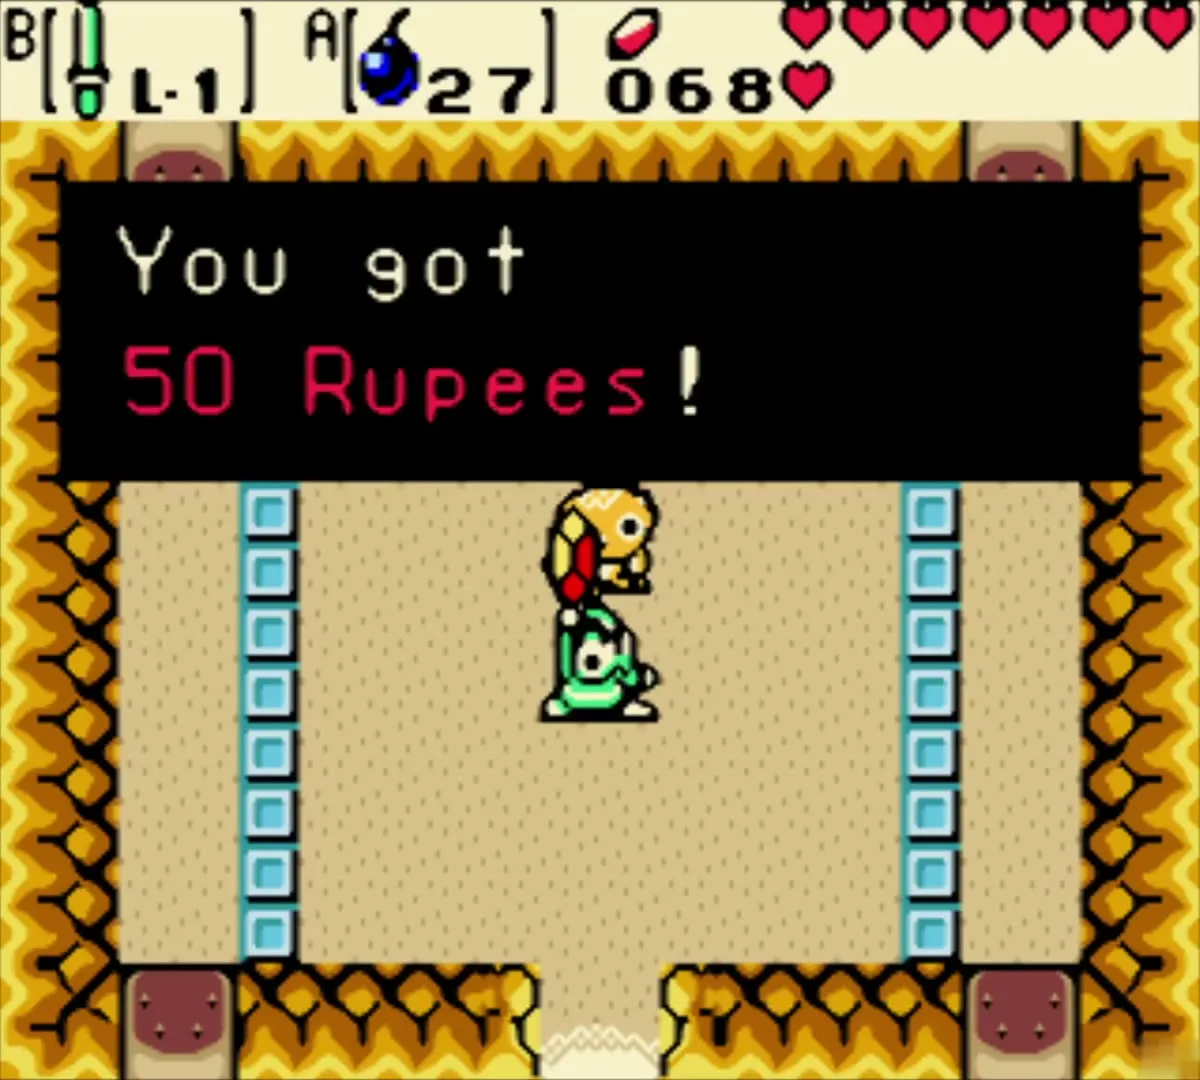
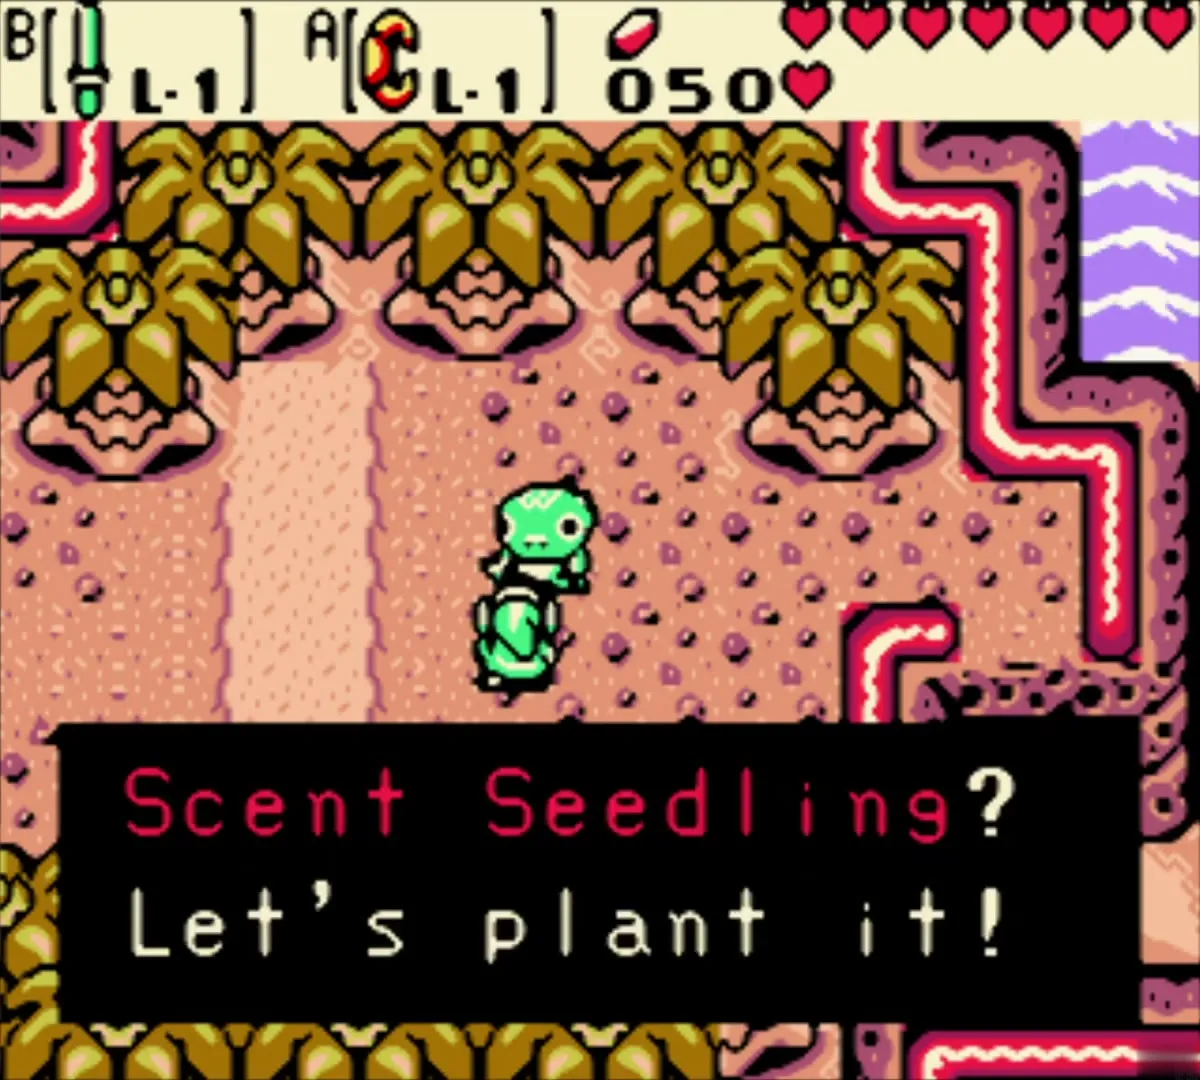
Your first win earns the Scent Seedling. The second win pays 20 Rupees and the third pays 50 Rupees. The fourth prize is a Gasha Seed and the last one, 100 Rupees, can be won again and again; the game gets harder with each win (see Minigames).

Plant the Scent Seedling
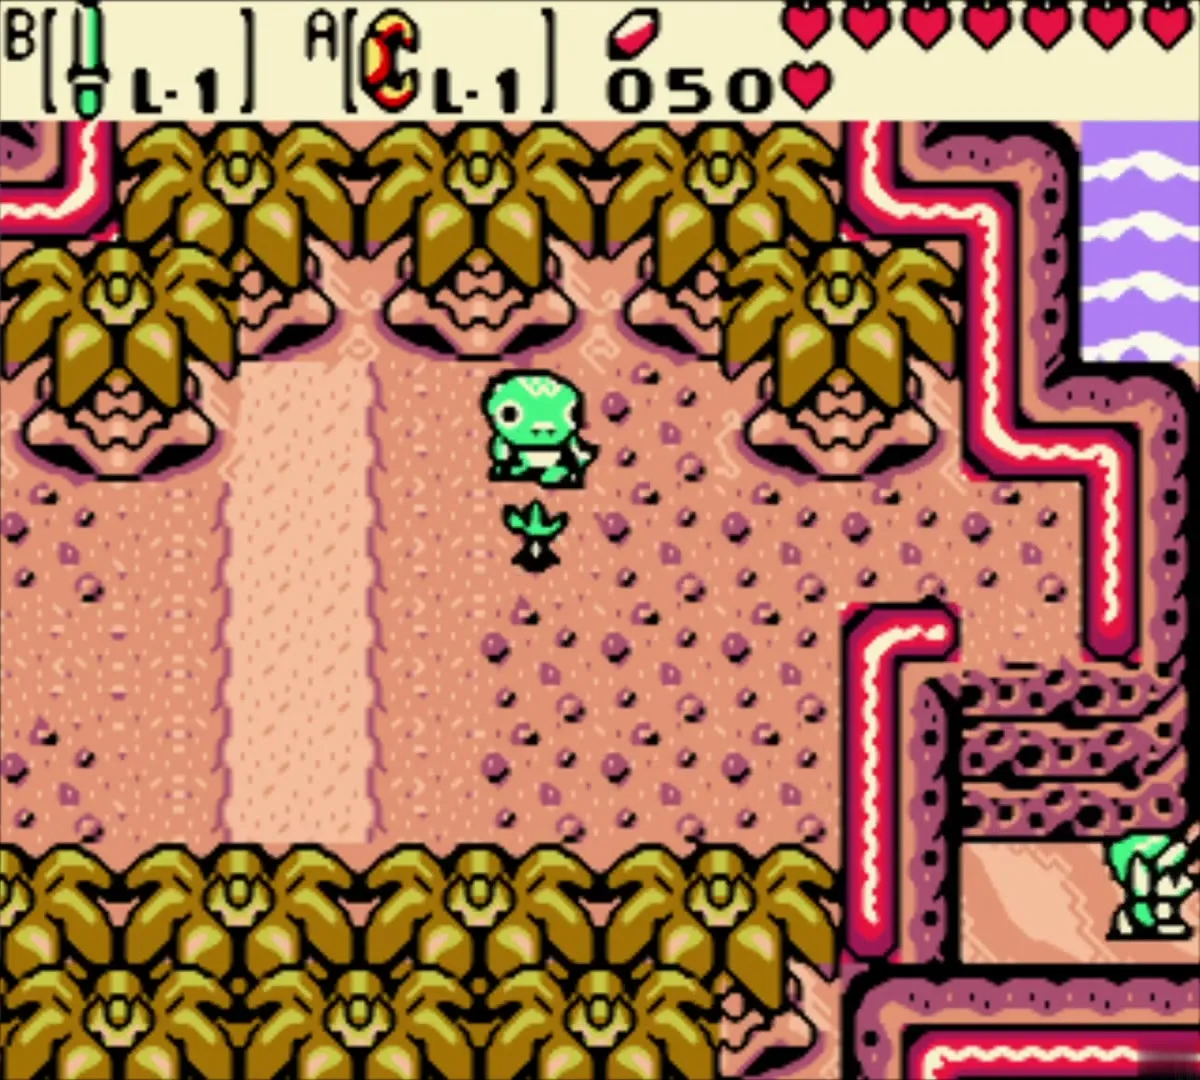
Carry the Seedling to the palm grove in the north of the island, where a Tokay keeps a tree nursery, and plant it on the spot he points out. A tree takes a very long time to grow, which is why you harvest it from the present.

Roc’s Feather and Zora’s Flippers
Return to the trading hut. Hand the Power Bracelet back to get the Shovel, then swap the Shovel for Roc’s Feather. (The Feather costs 10 Mystery Seeds, but your satchel is still missing.) With the Feather you can jump the water patches and holes in the cave north of the village.
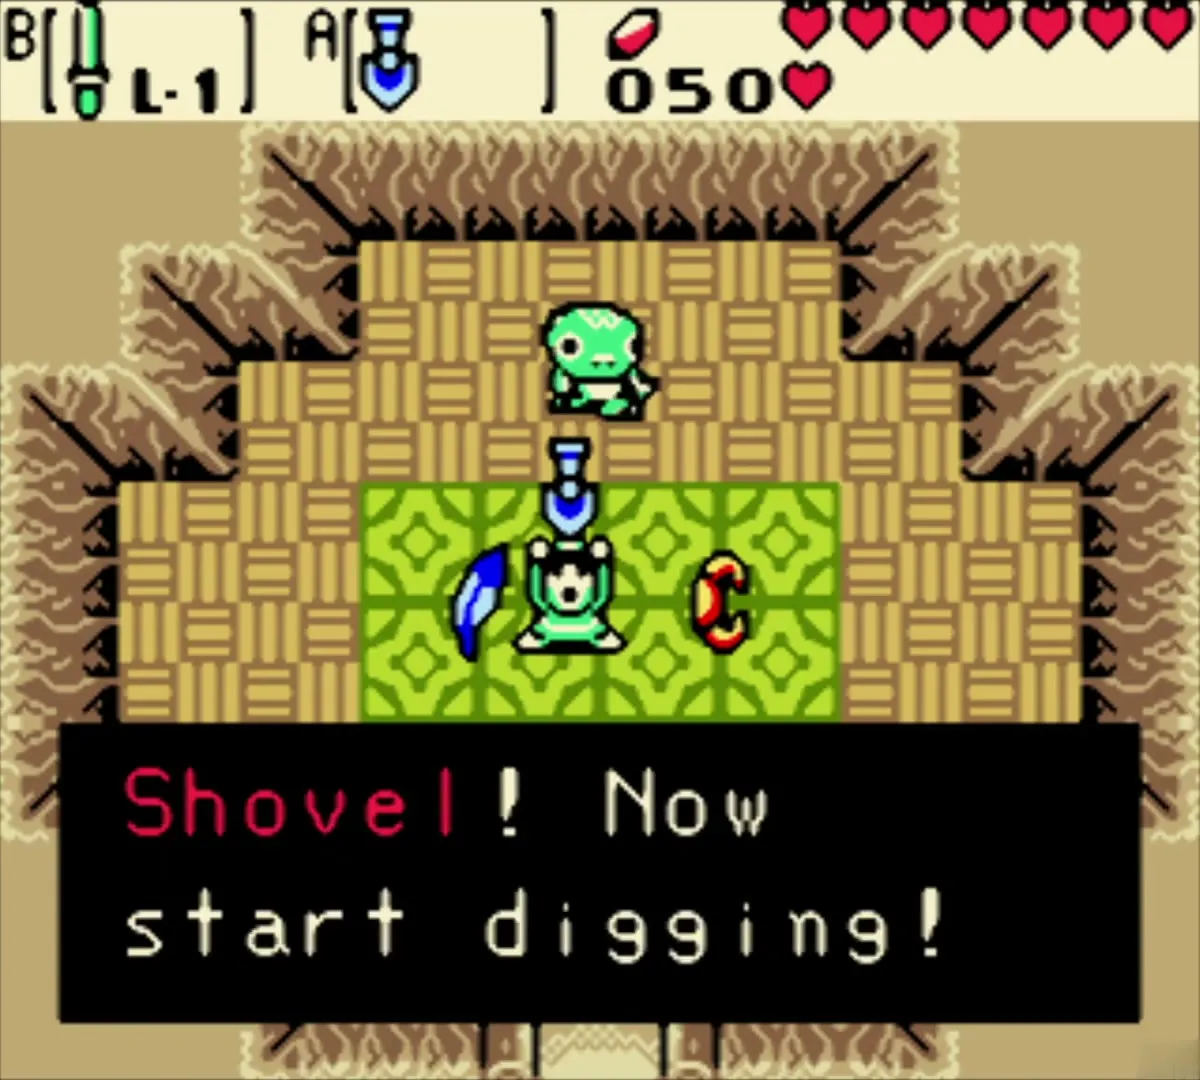
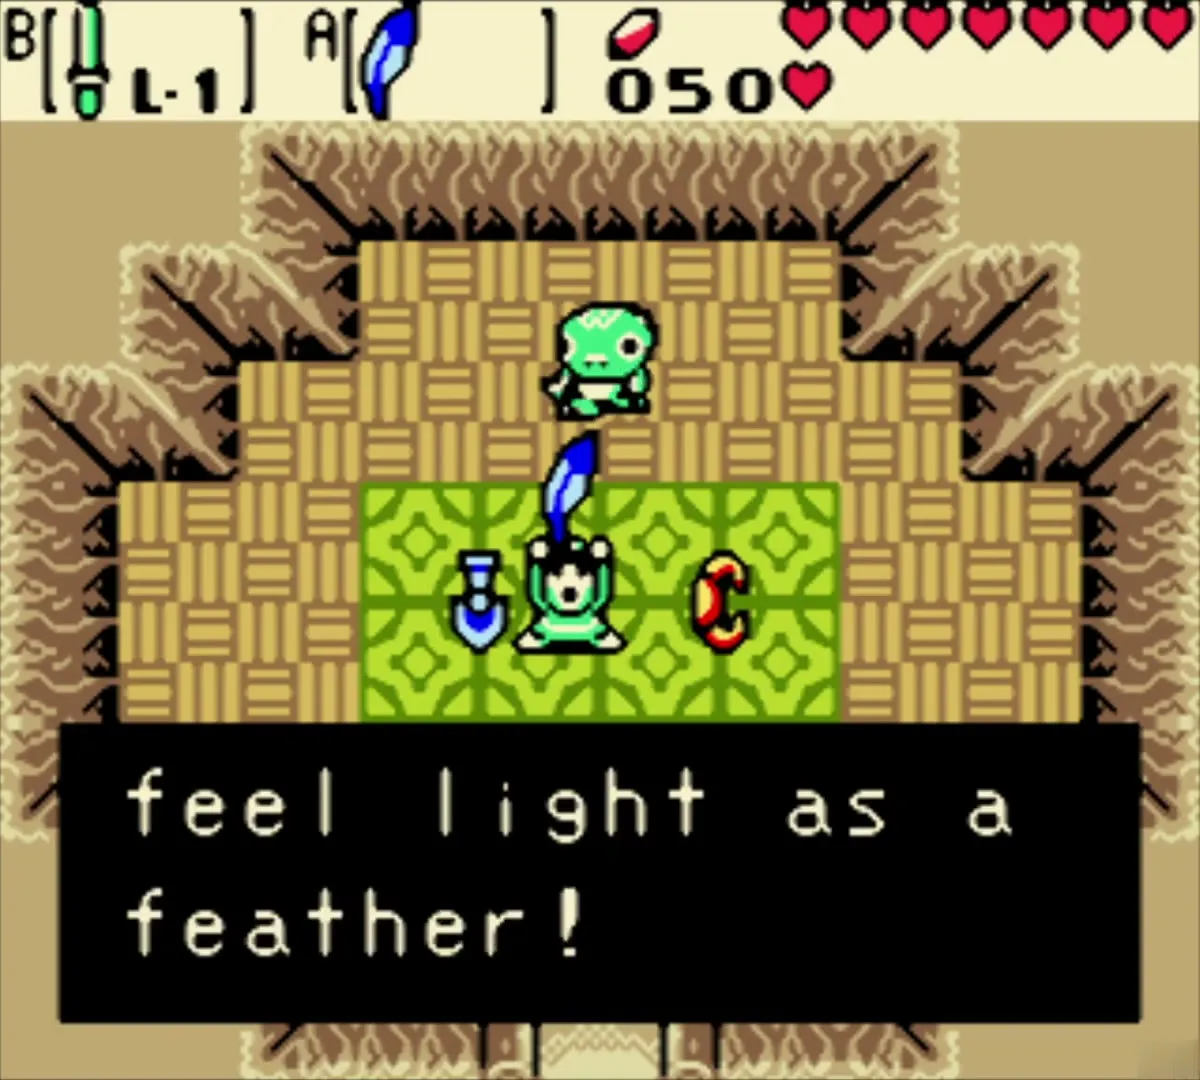
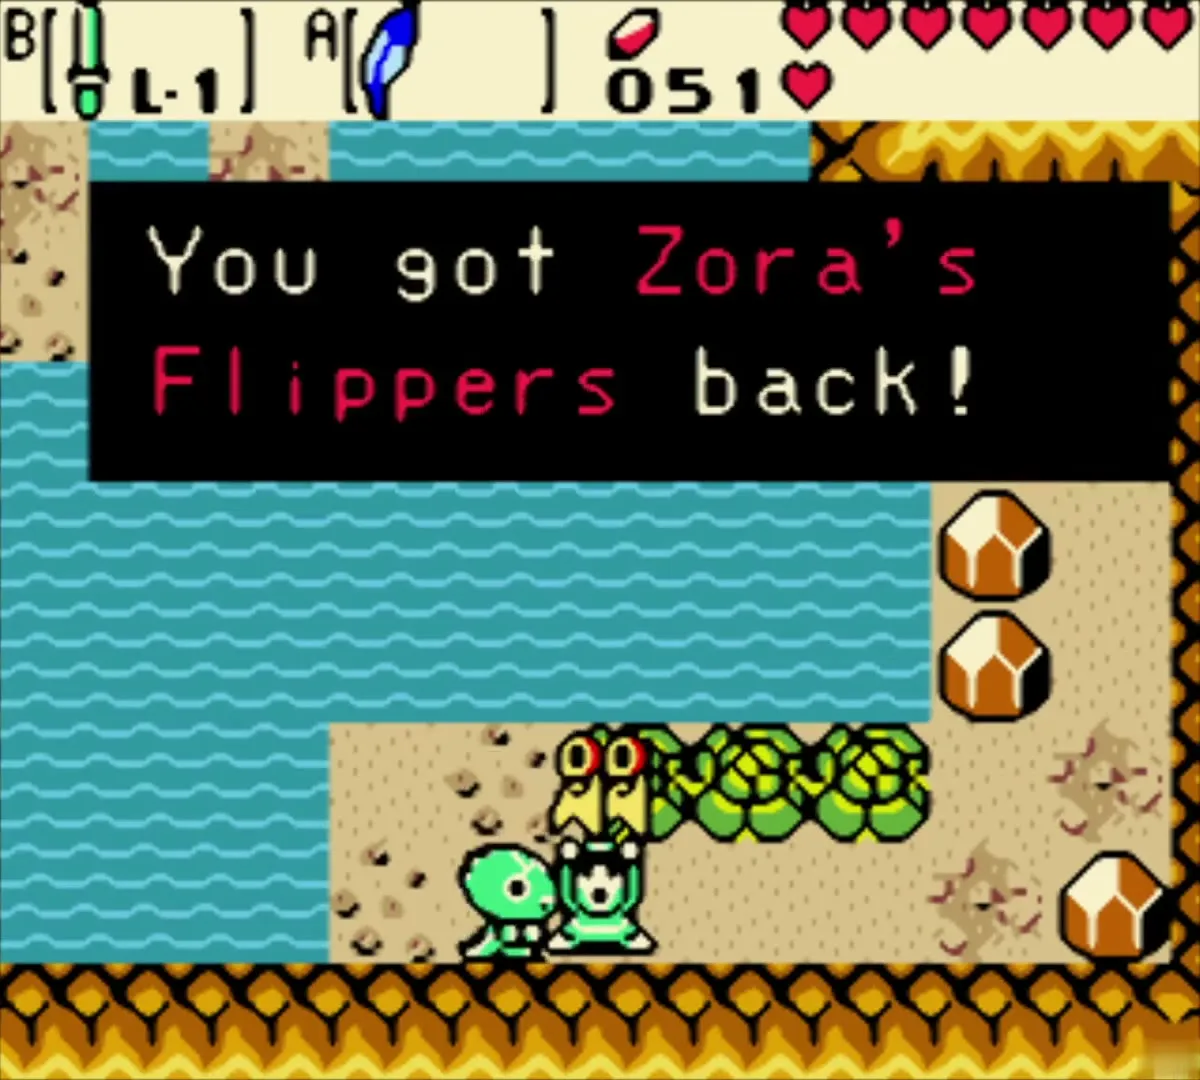
Bomb the cracked blocks in the cave and hop across the water to the shy Tokay in the water cave. He apologises and returns Zora’s Flippers, which lets you swim again.
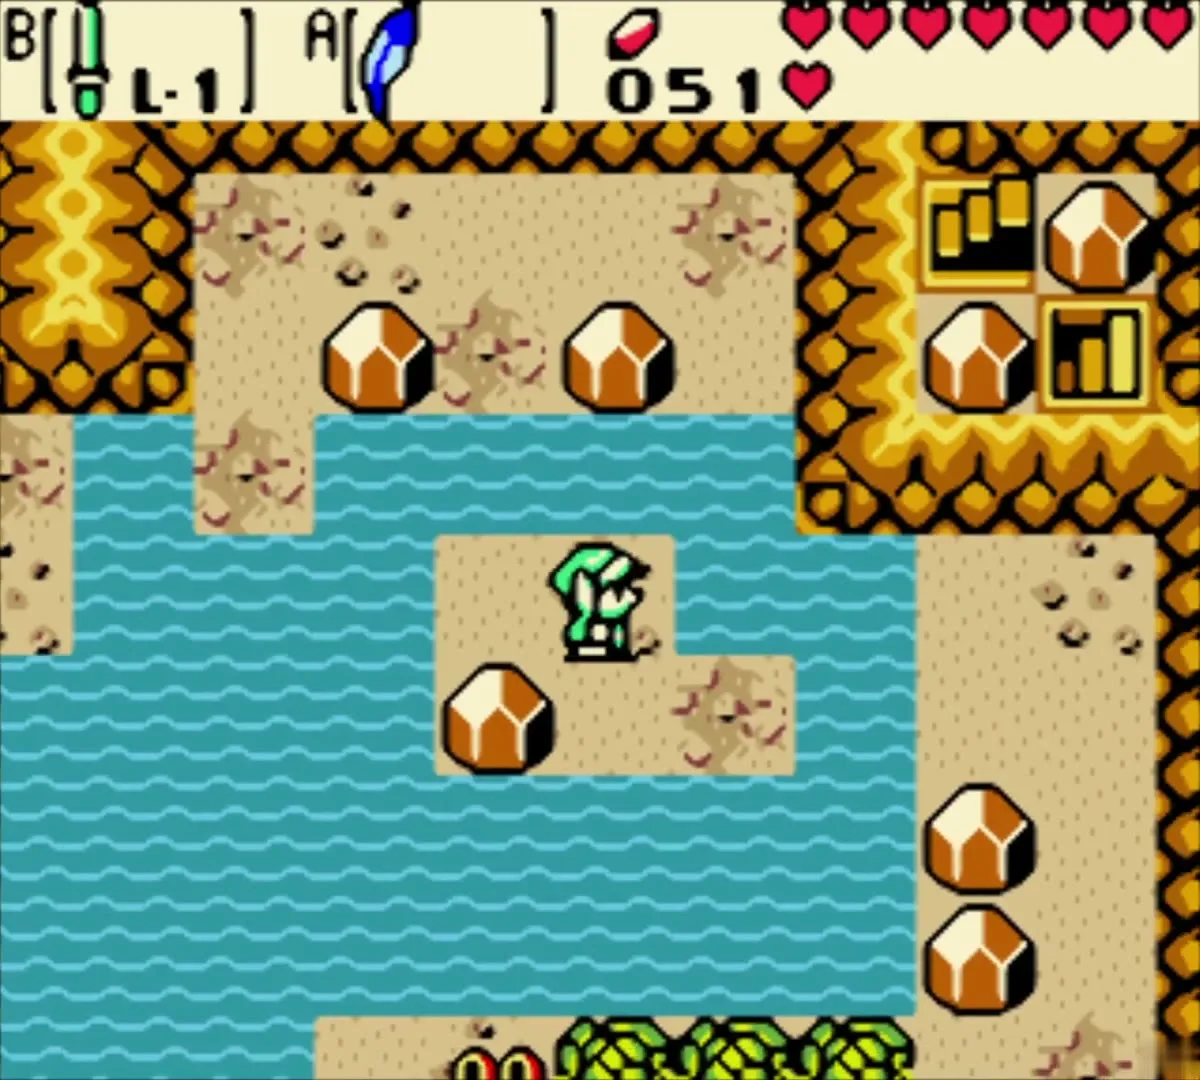
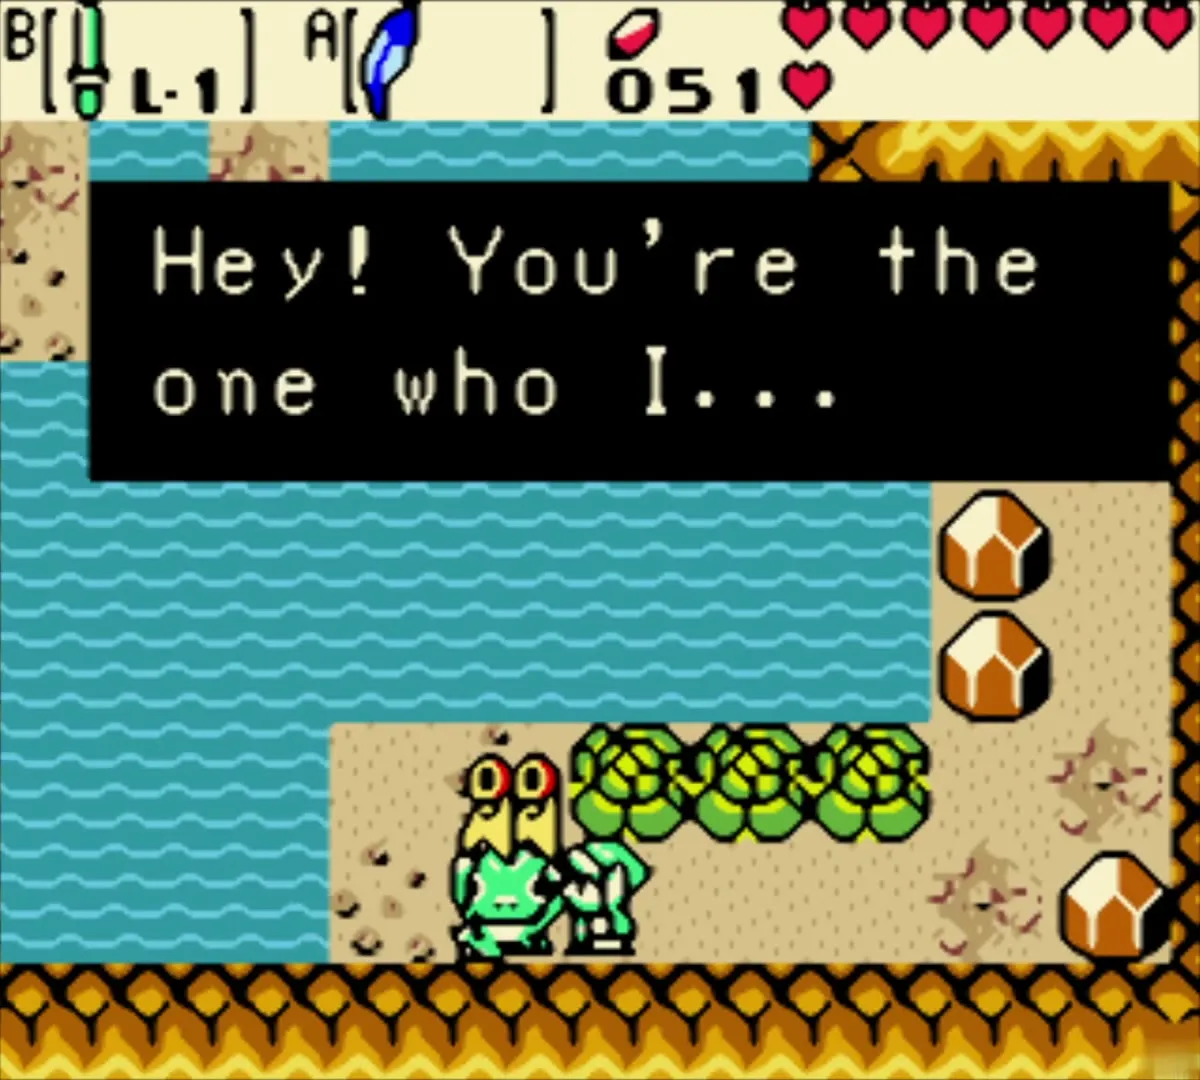

Seed Satchel
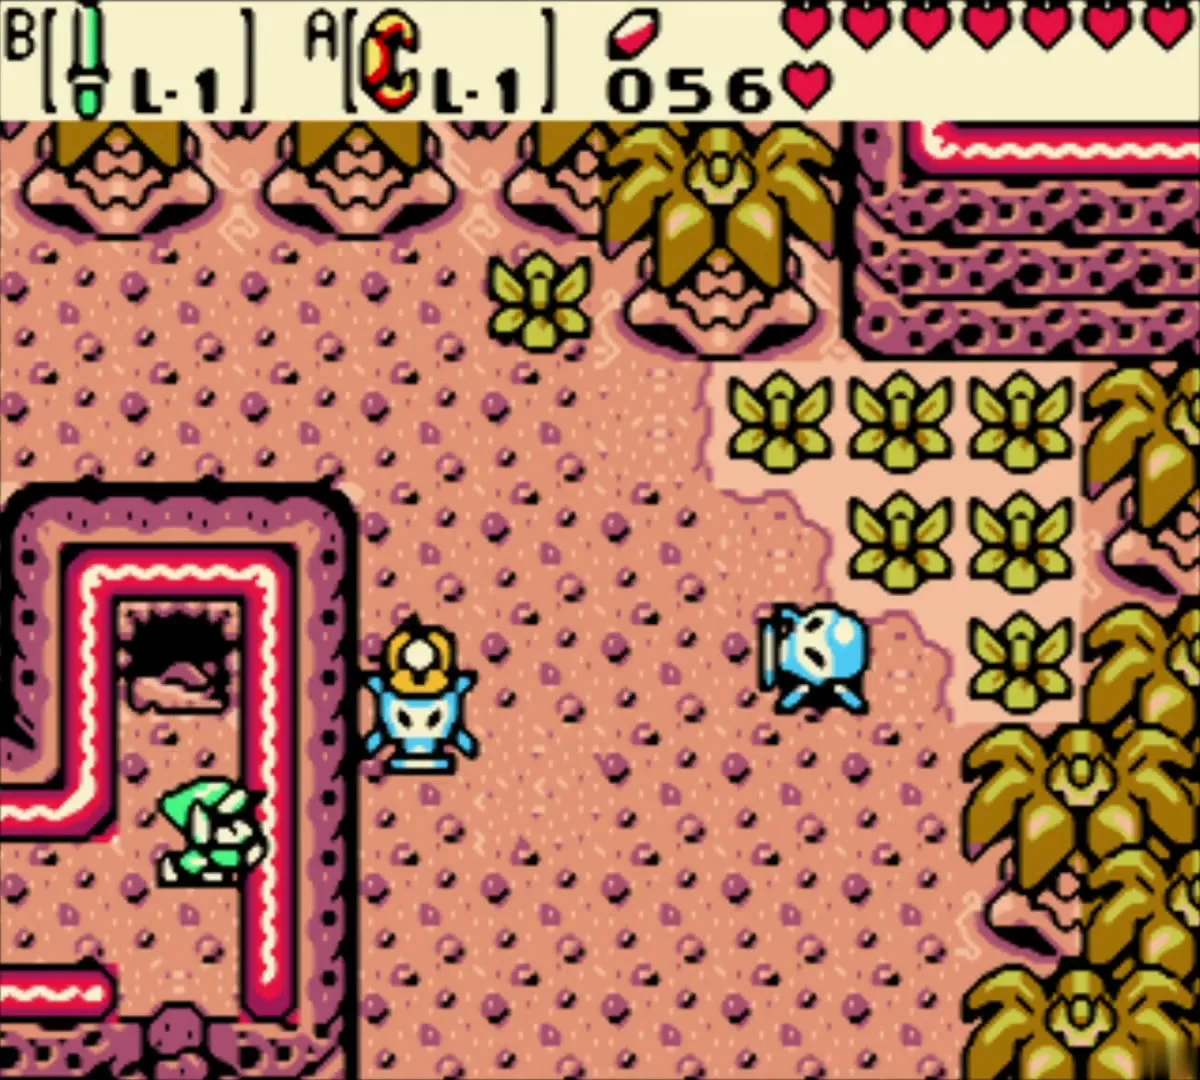
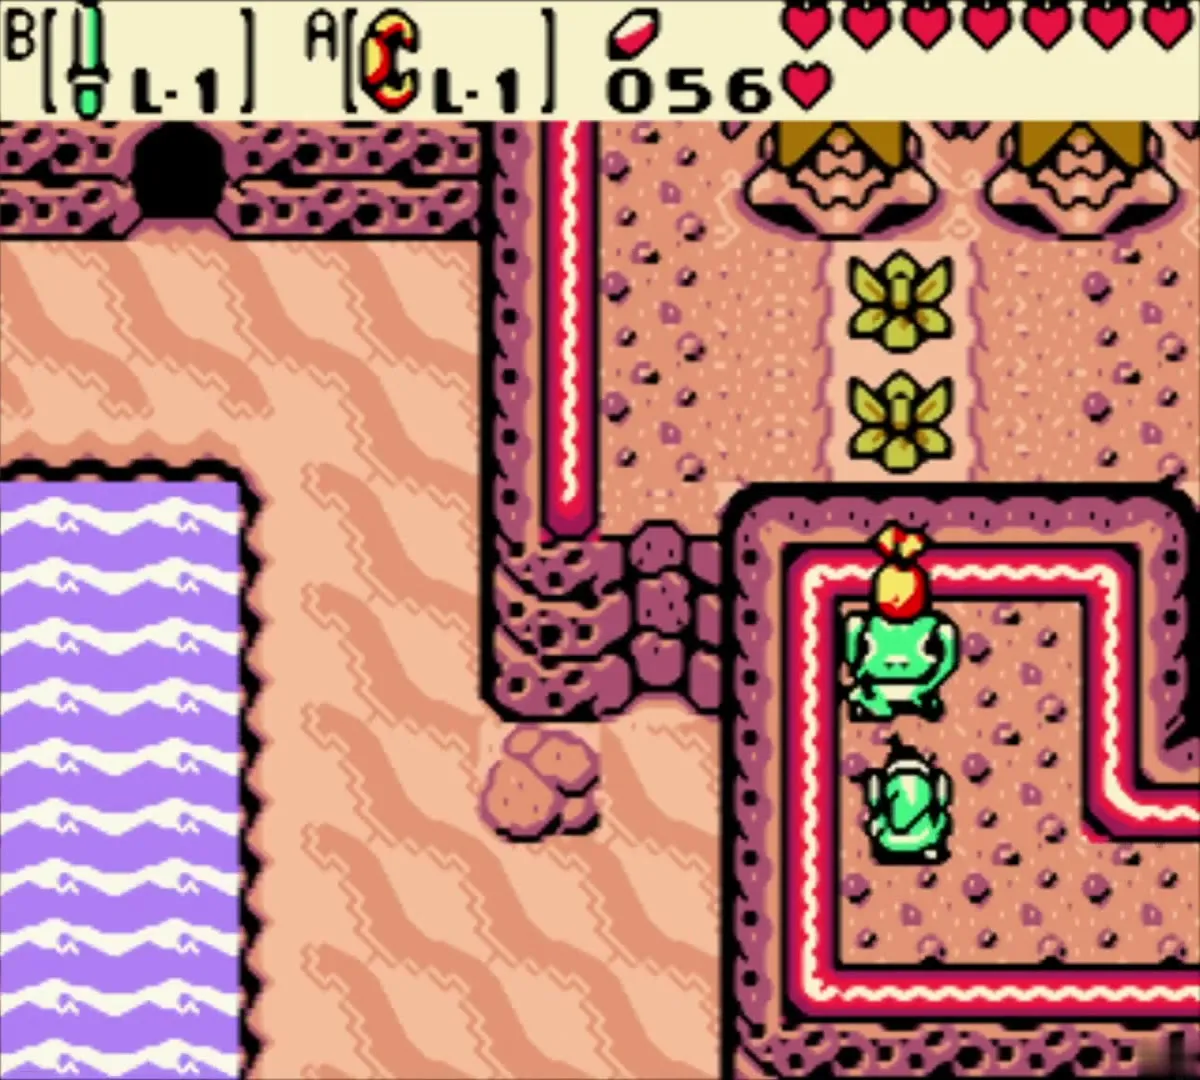
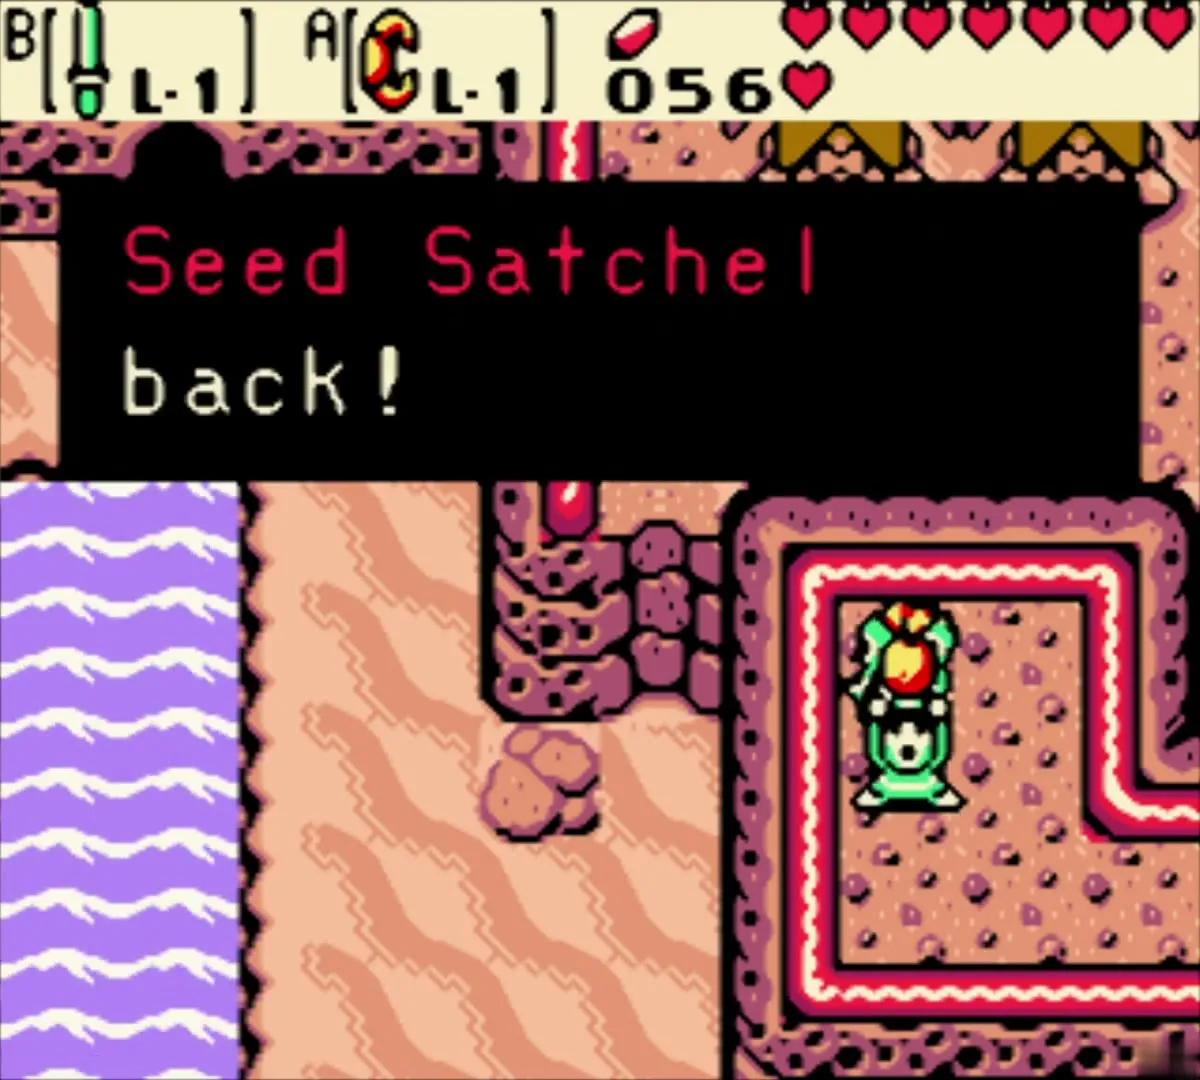
Swap the Feather back for the Power Bracelet at the trader, enter the same cave and dive into the water at its north-west corner. The underwater passage leads up a ladder to stairs that reach the central plateau, where a Tokay with a flower on his head returns your Seed Satchel.
Buy the Feather and Shovel with seeds
With the satchel back, return to the trader and buy Roc’s Feather for 10 Mystery Seeds. Then give the Power Bracelet back for the Shovel again. Roc’s Feather and the Shovel are now yours, and only the Power Bracelet has to wait for the Scent Seeds.
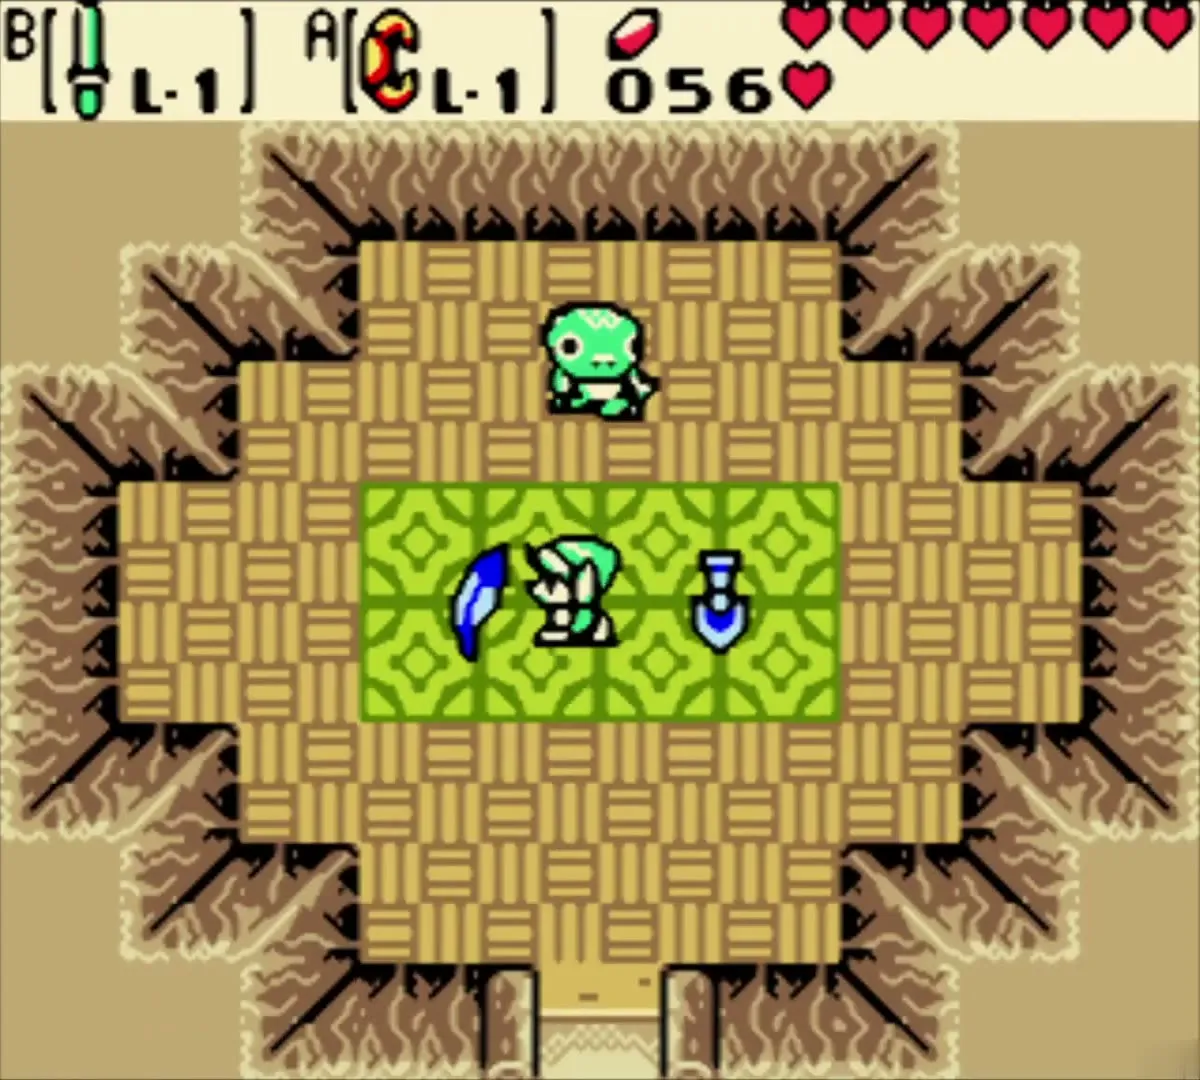
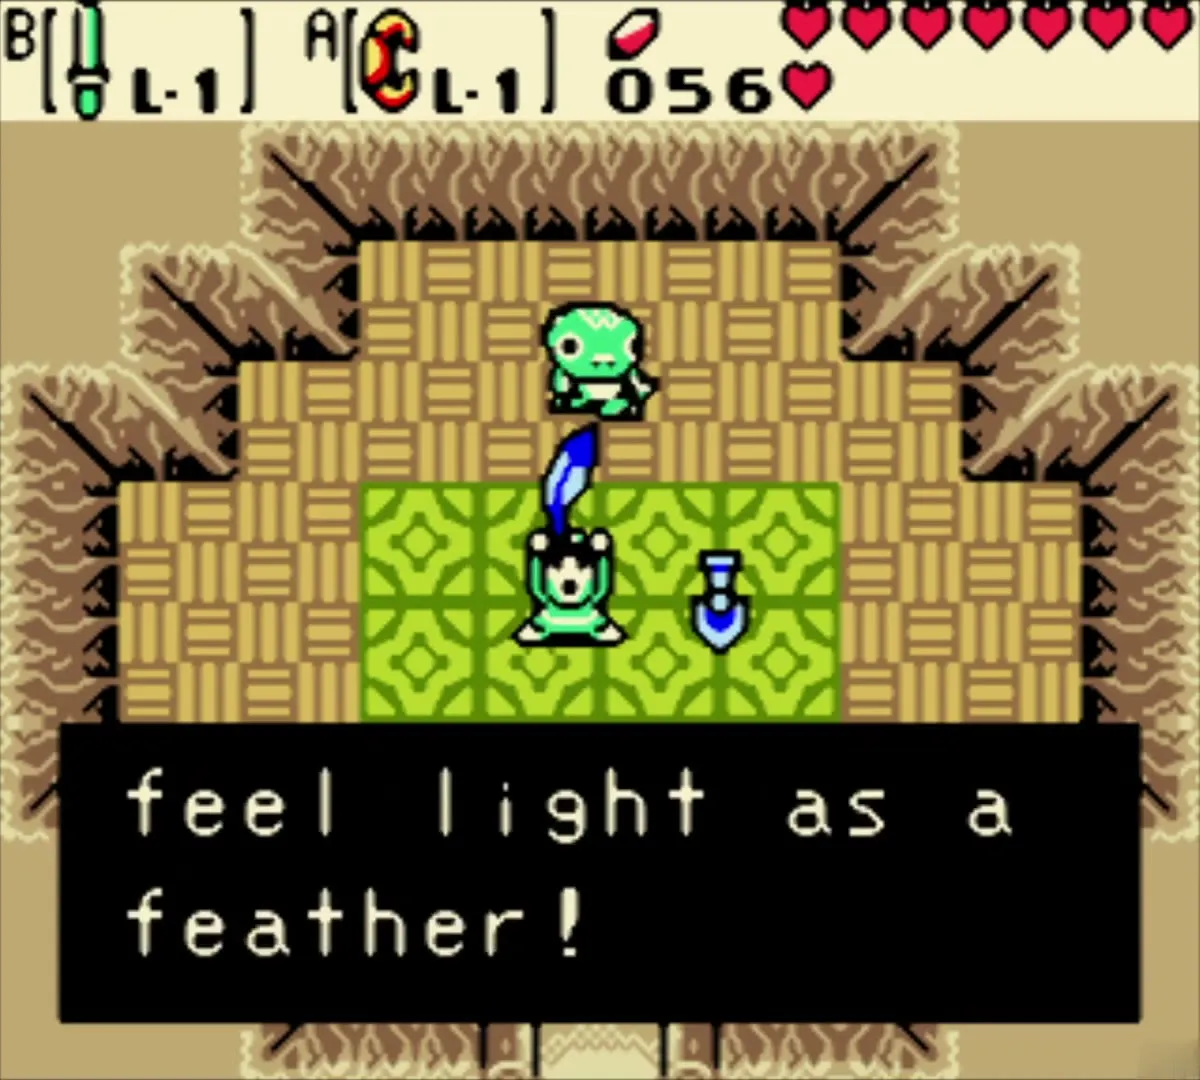
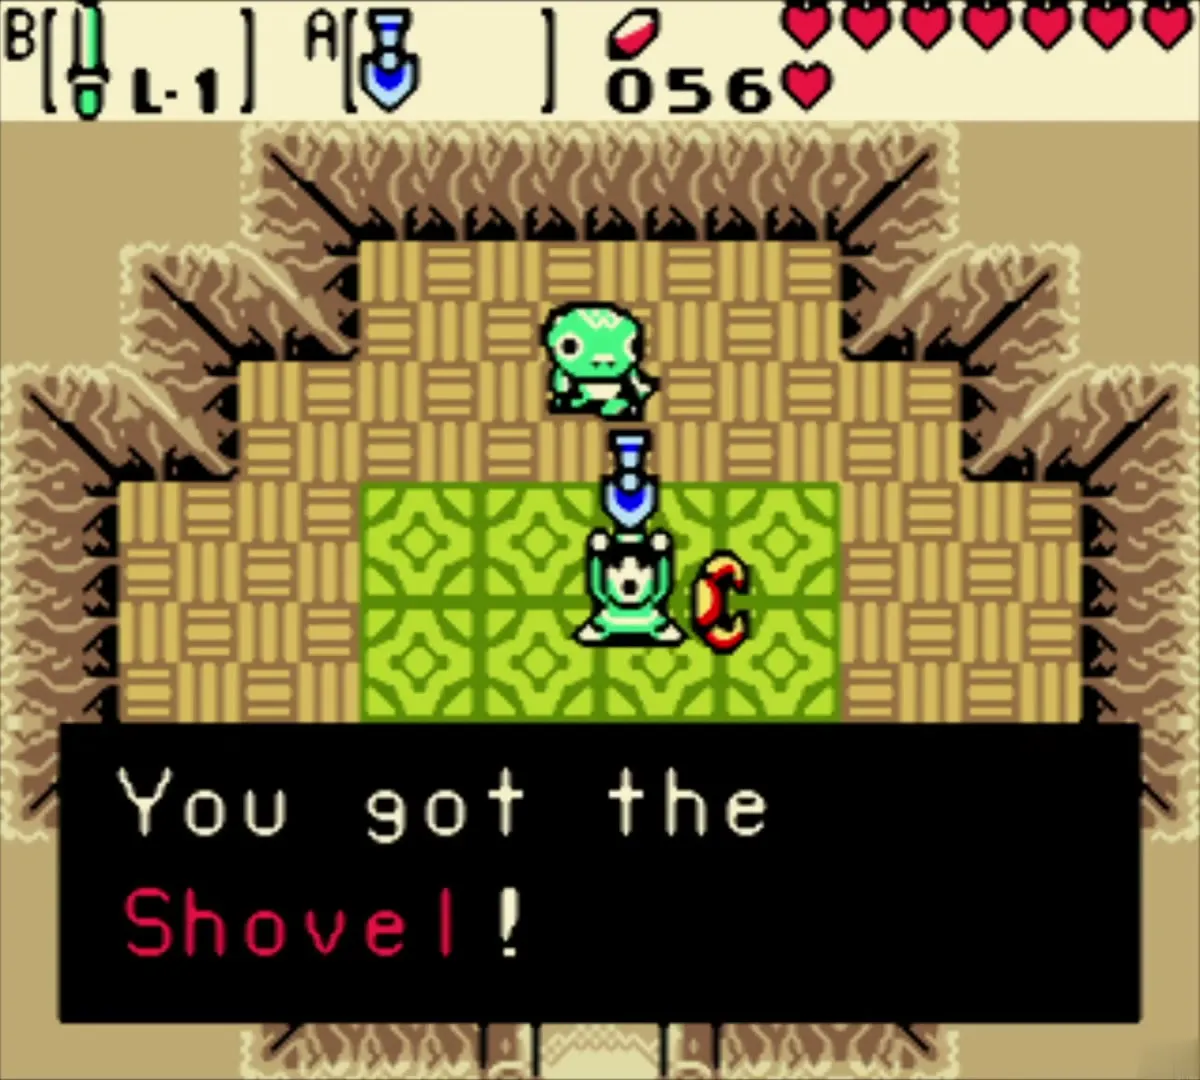

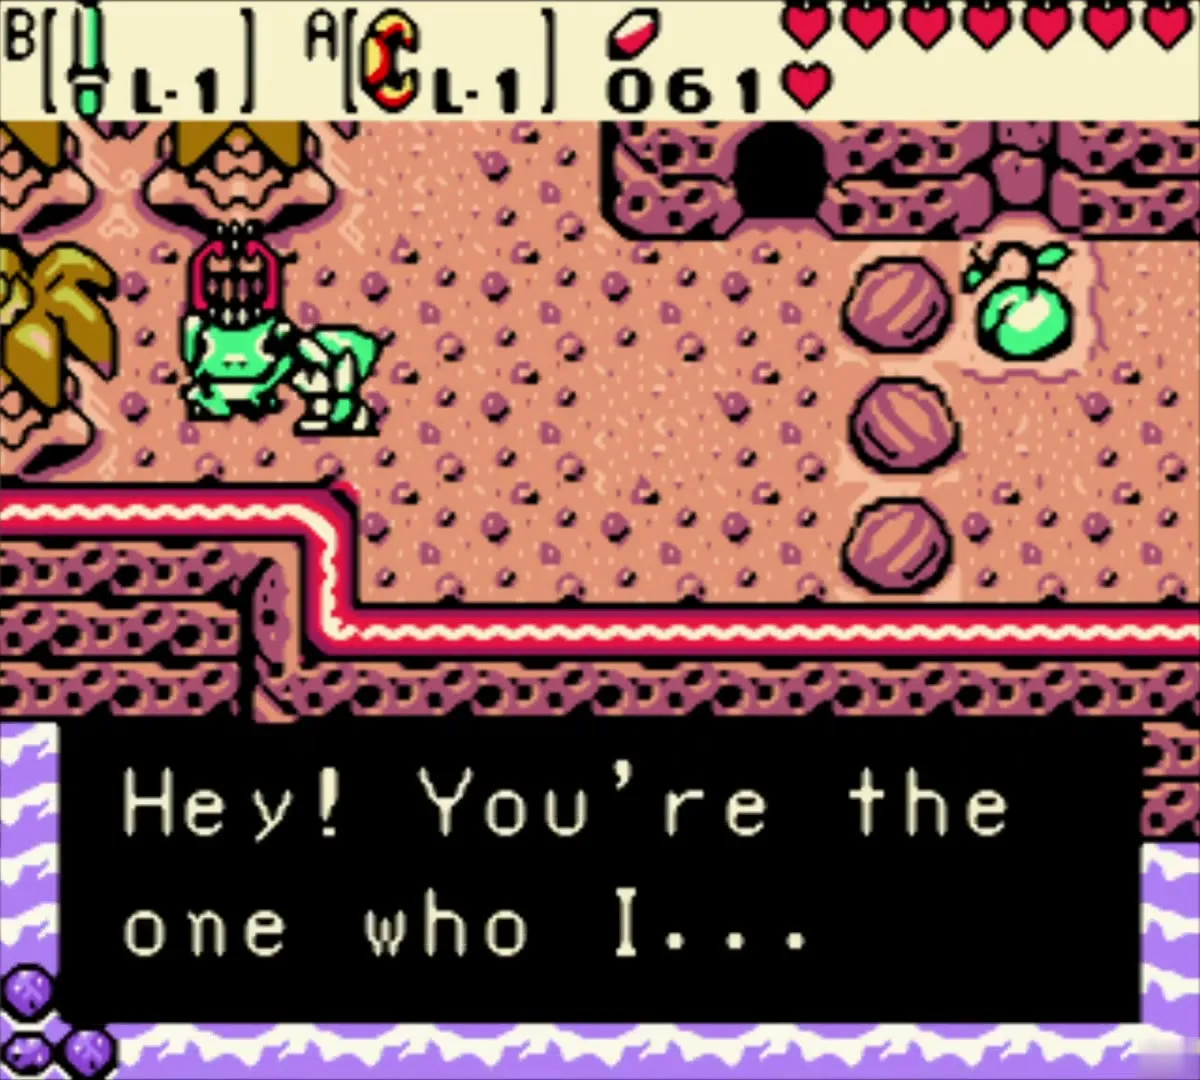
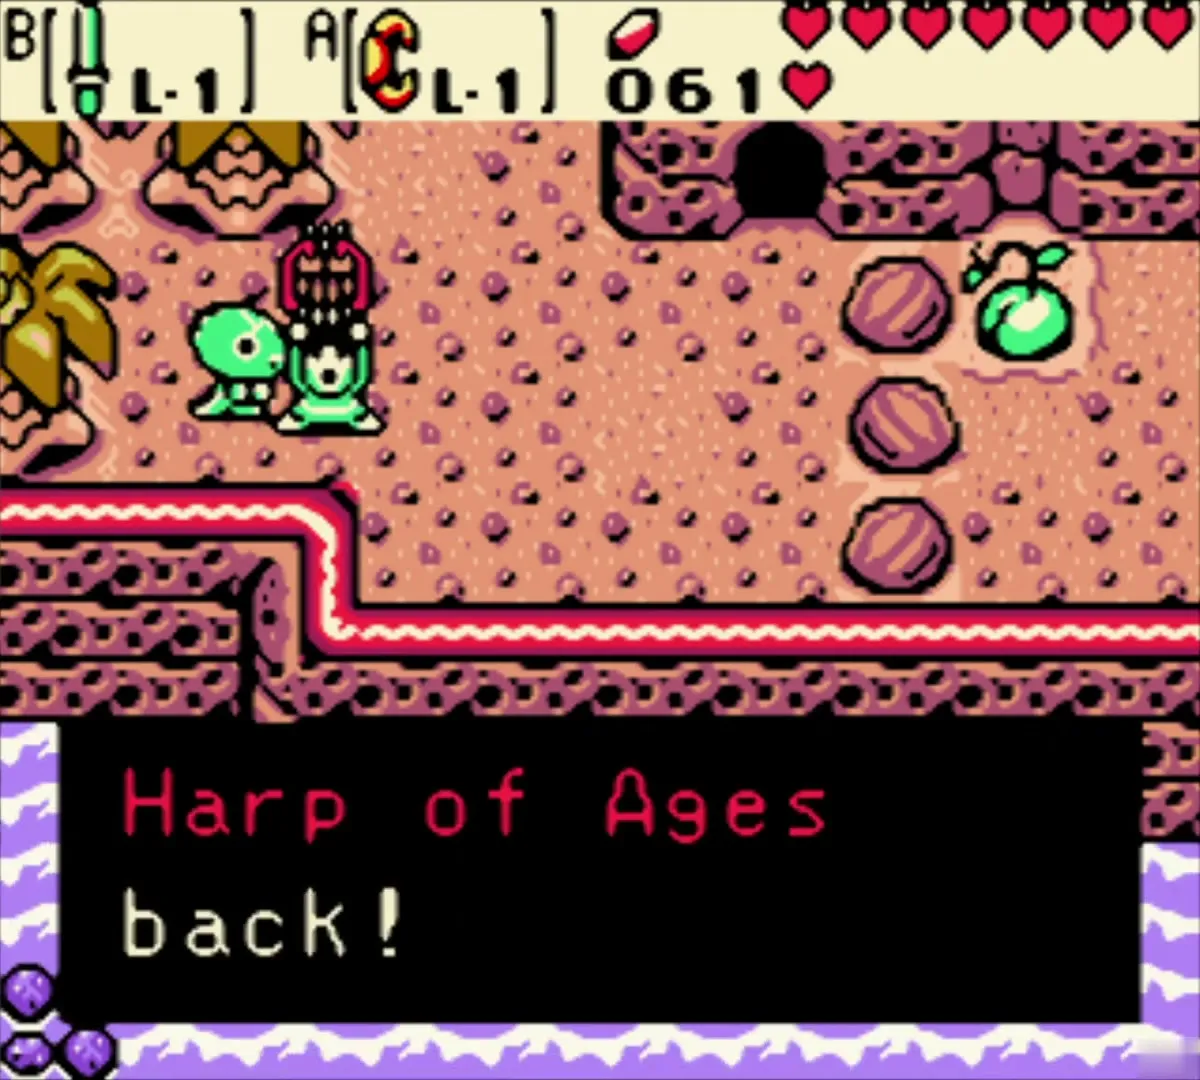
Harp of Ages
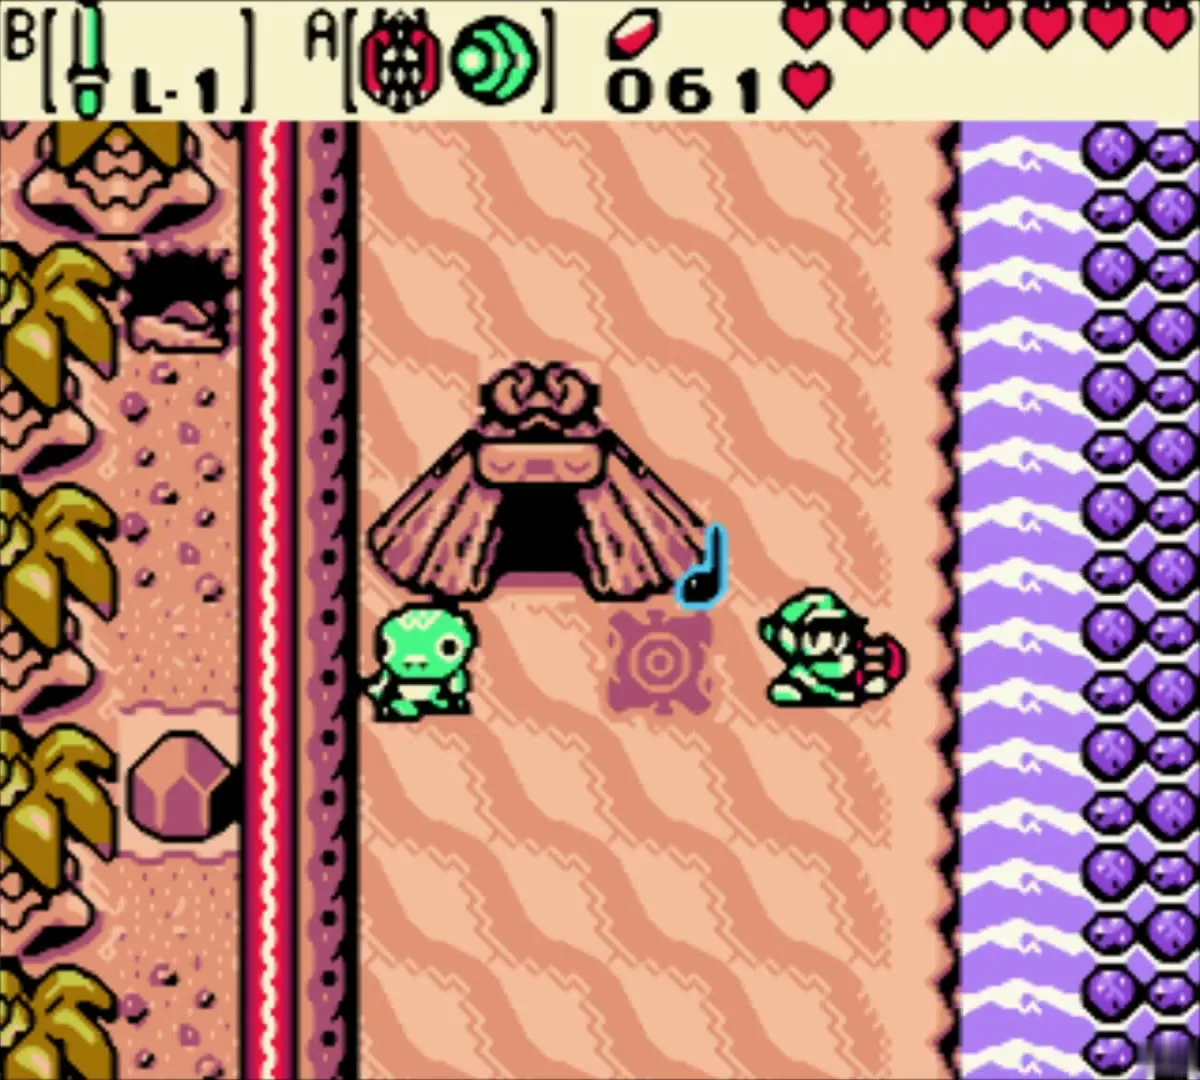
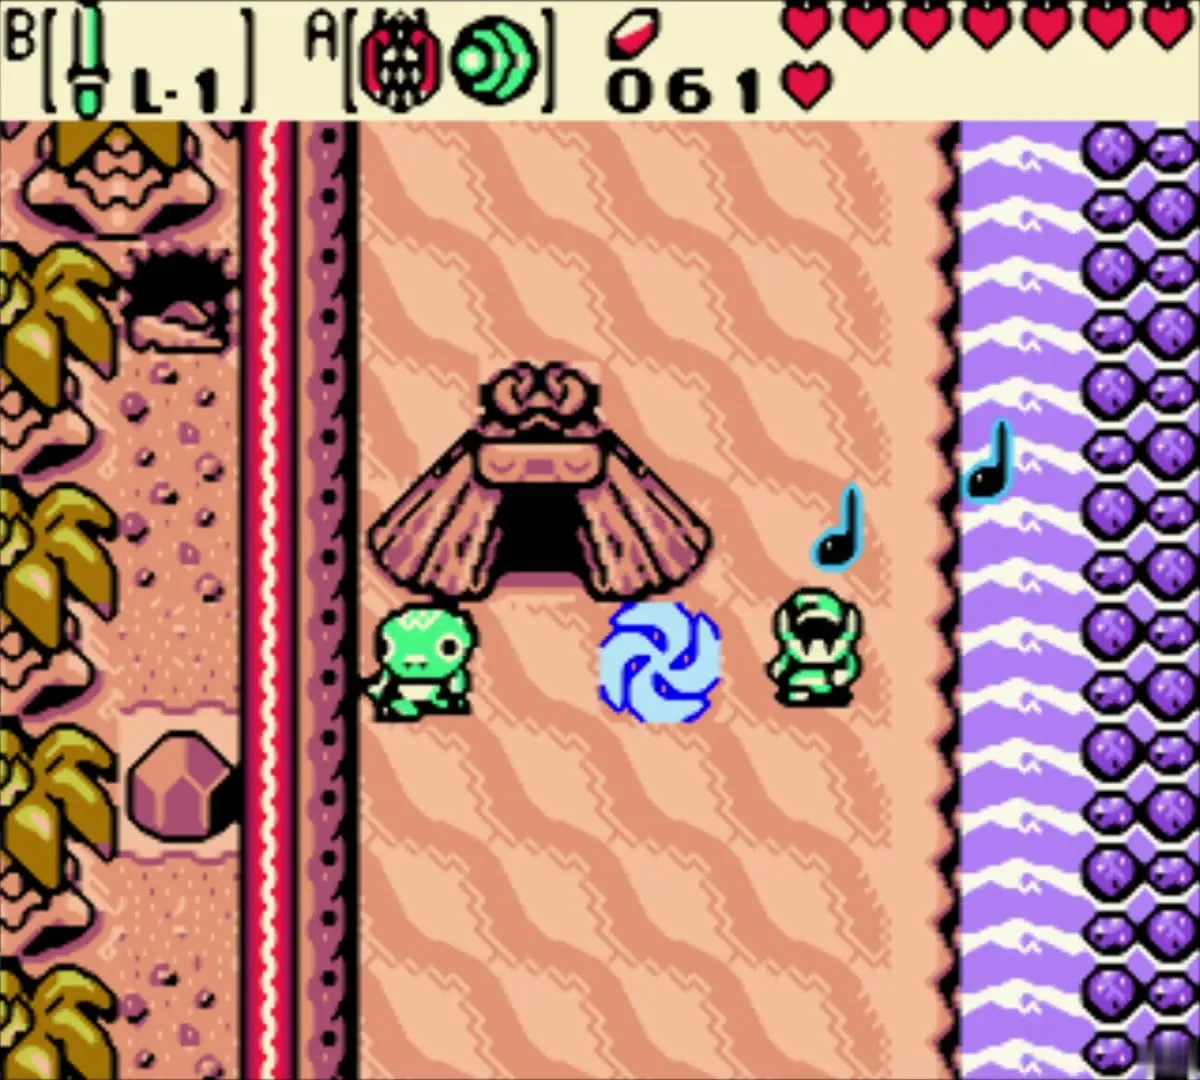
Take the south cave path to a Tokay in a red cap, who gives back the Harp of Ages. Walk to the Cucco Hut and play the Tune of Echoes on the portal glyph beside it to travel forward to the present.
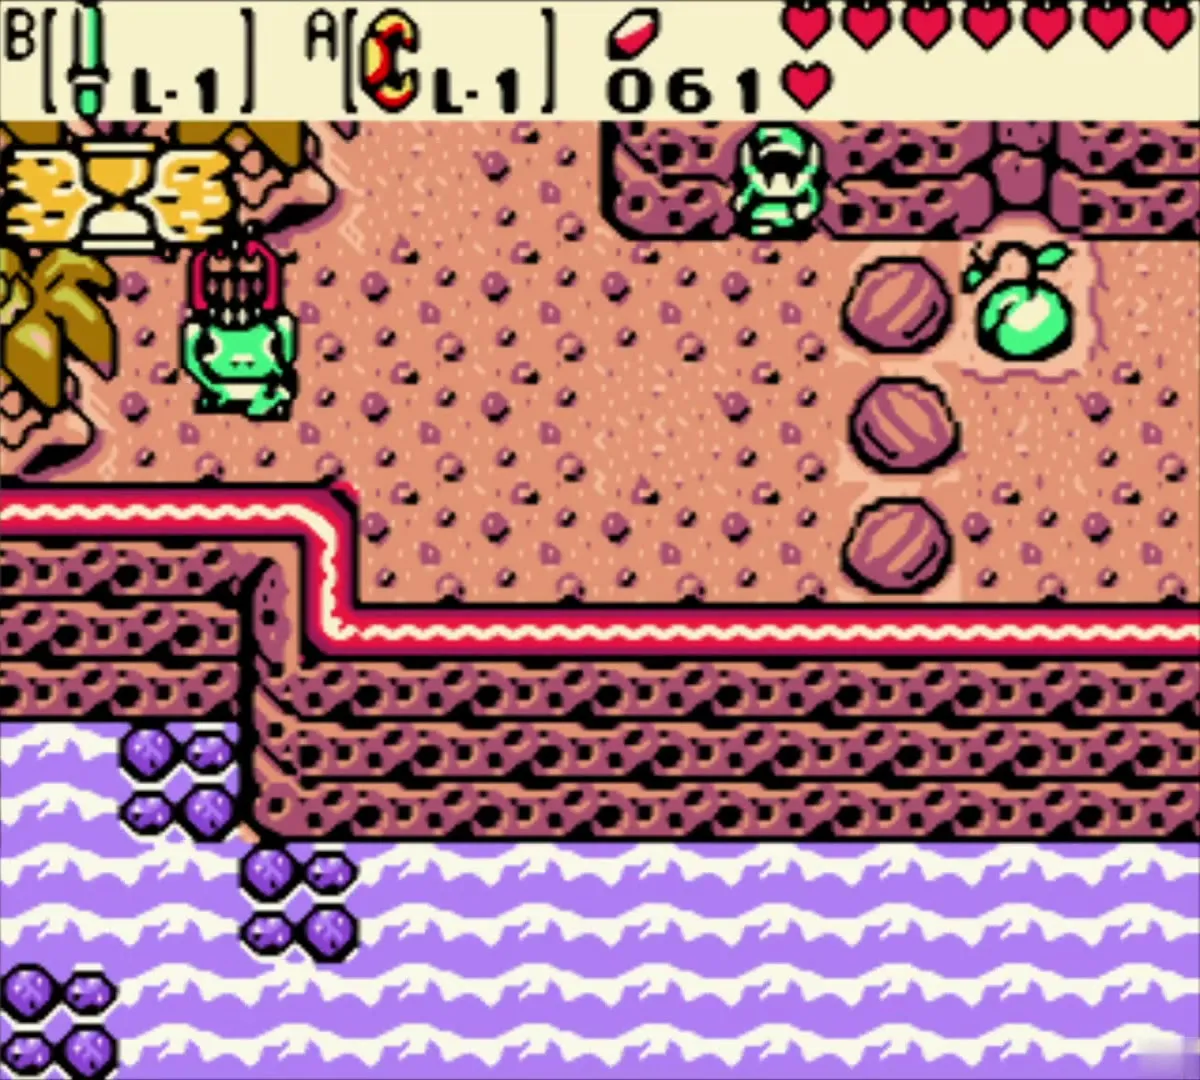
Crescent Island in the present: Tasty Meat and Scent Seeds

Chef’s hut: Stink Bag for Tasty Meat
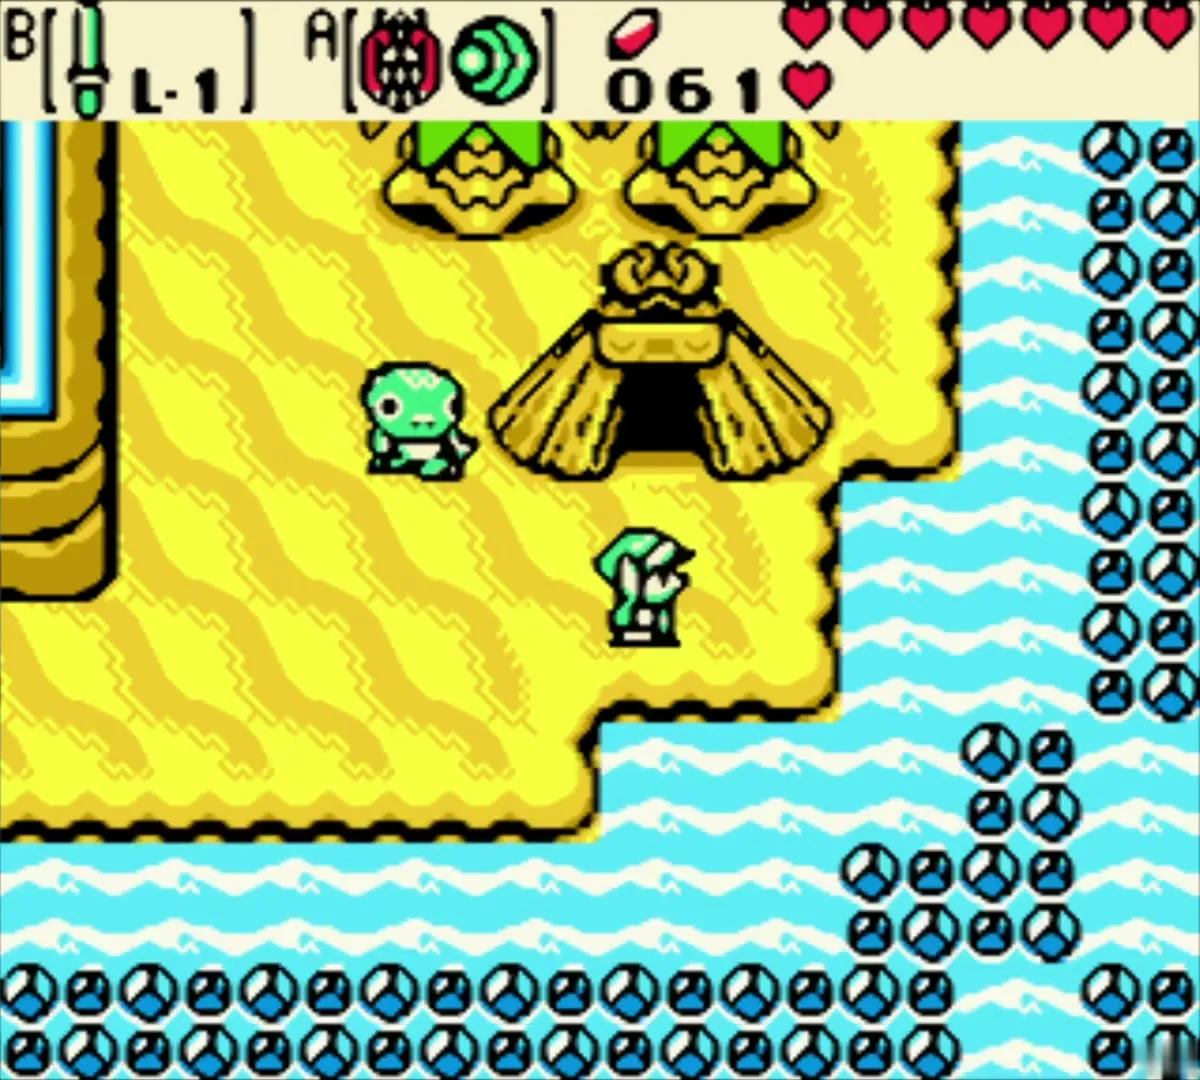
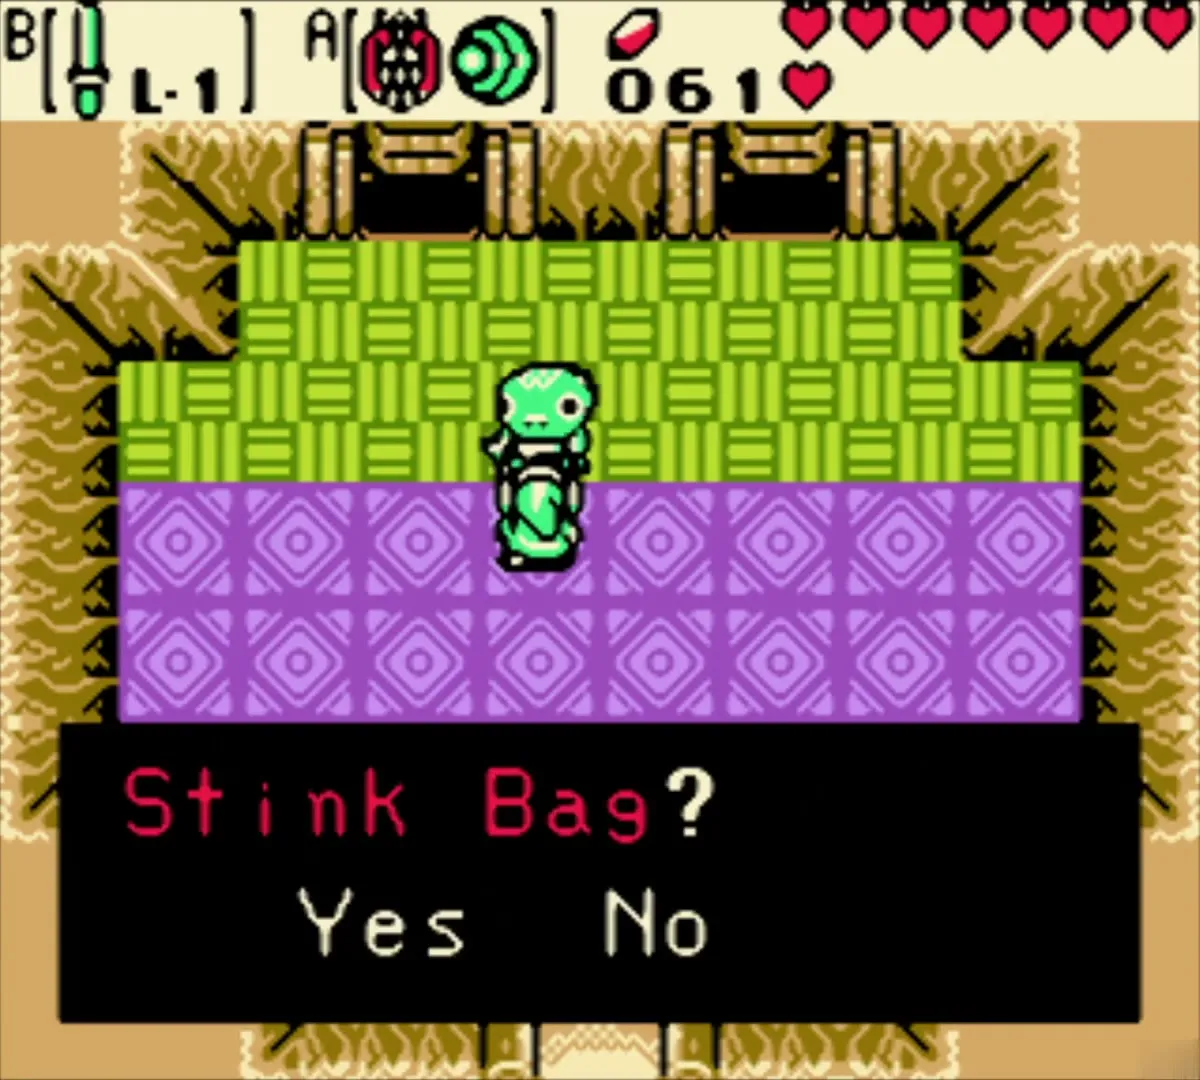
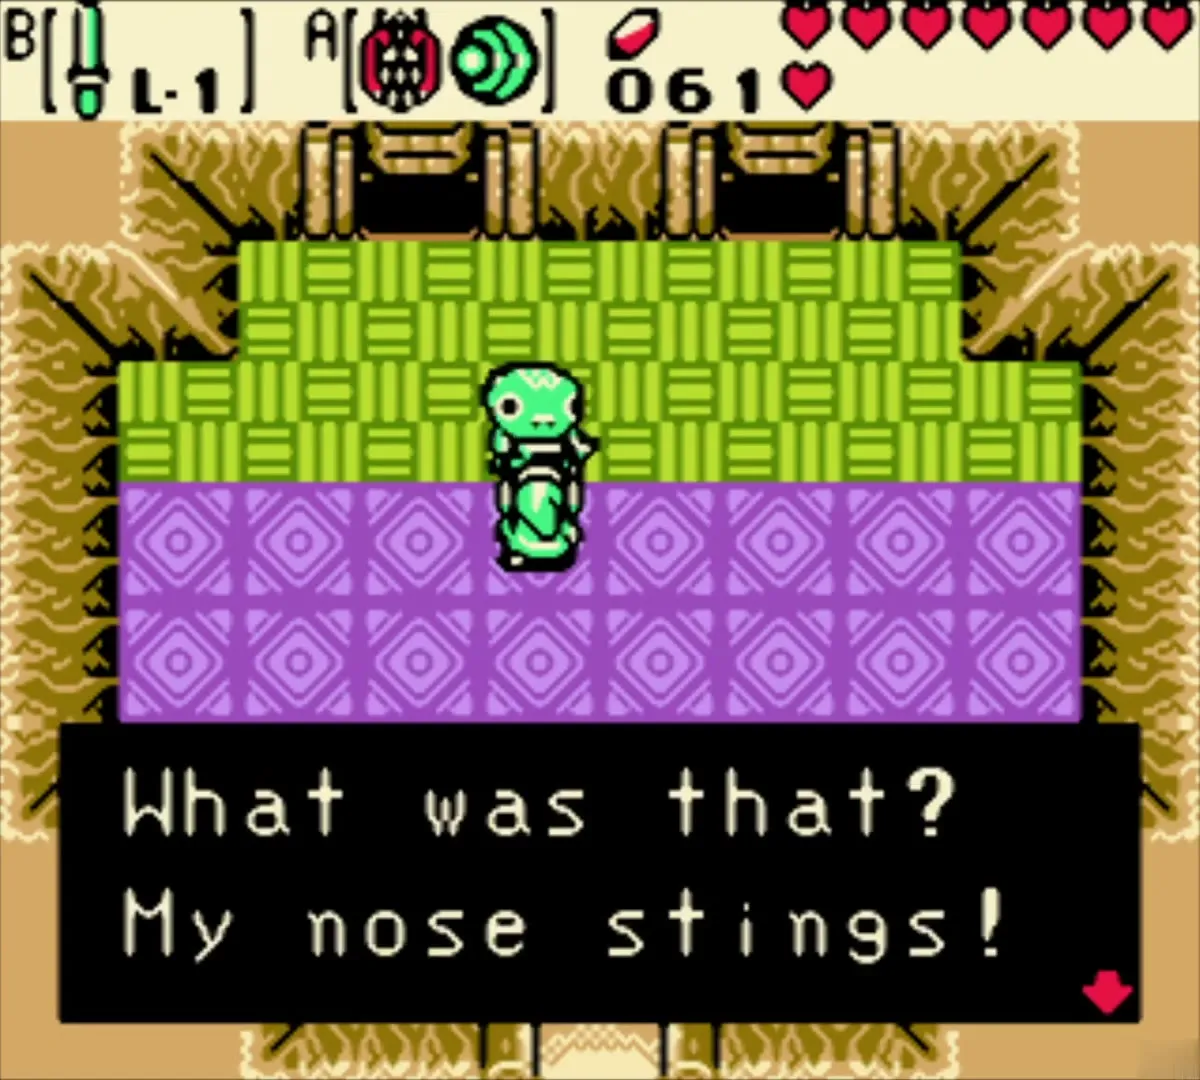
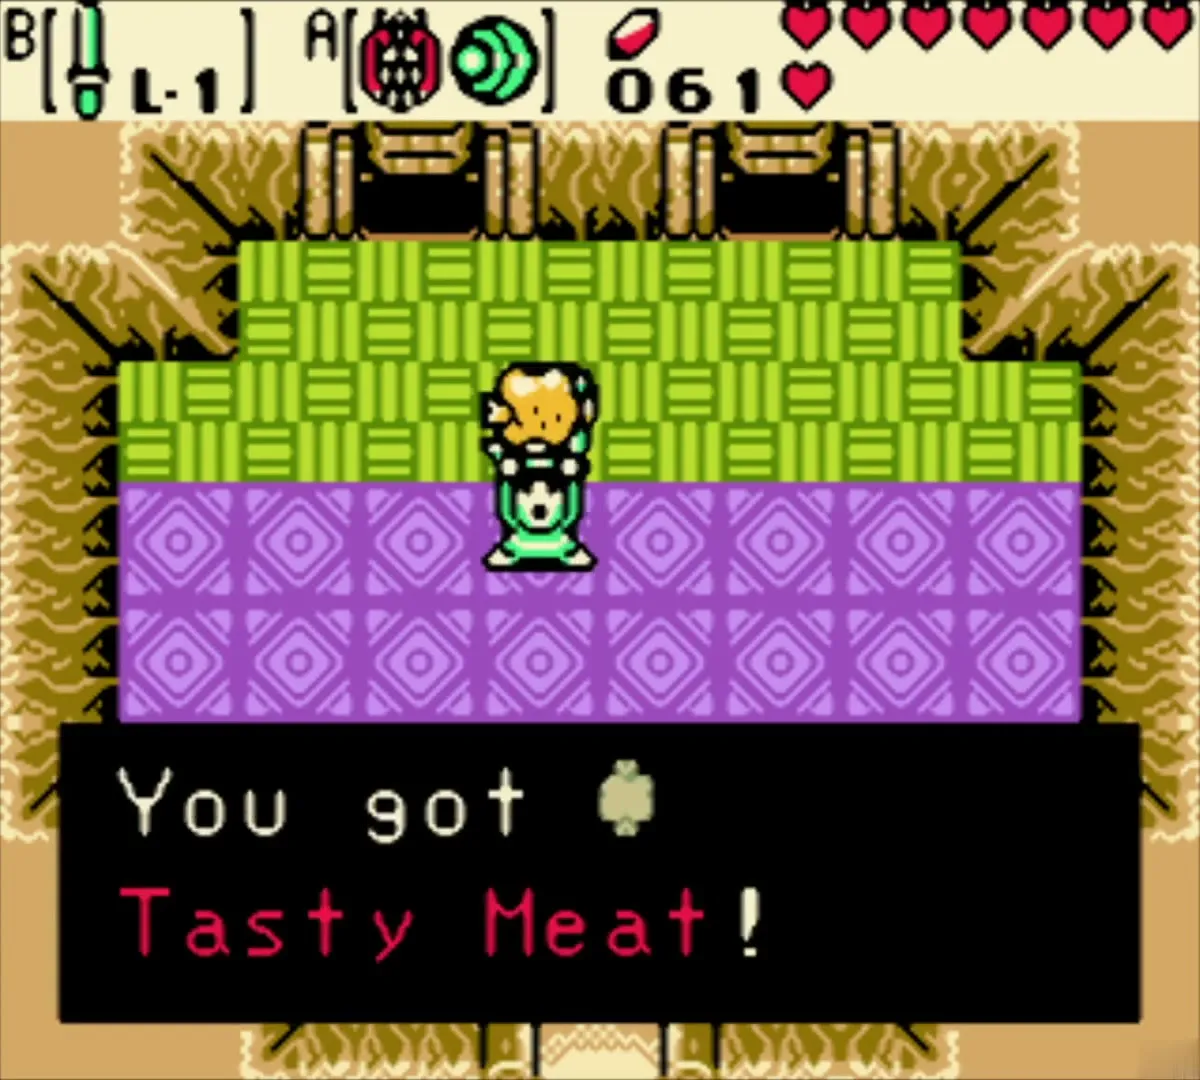
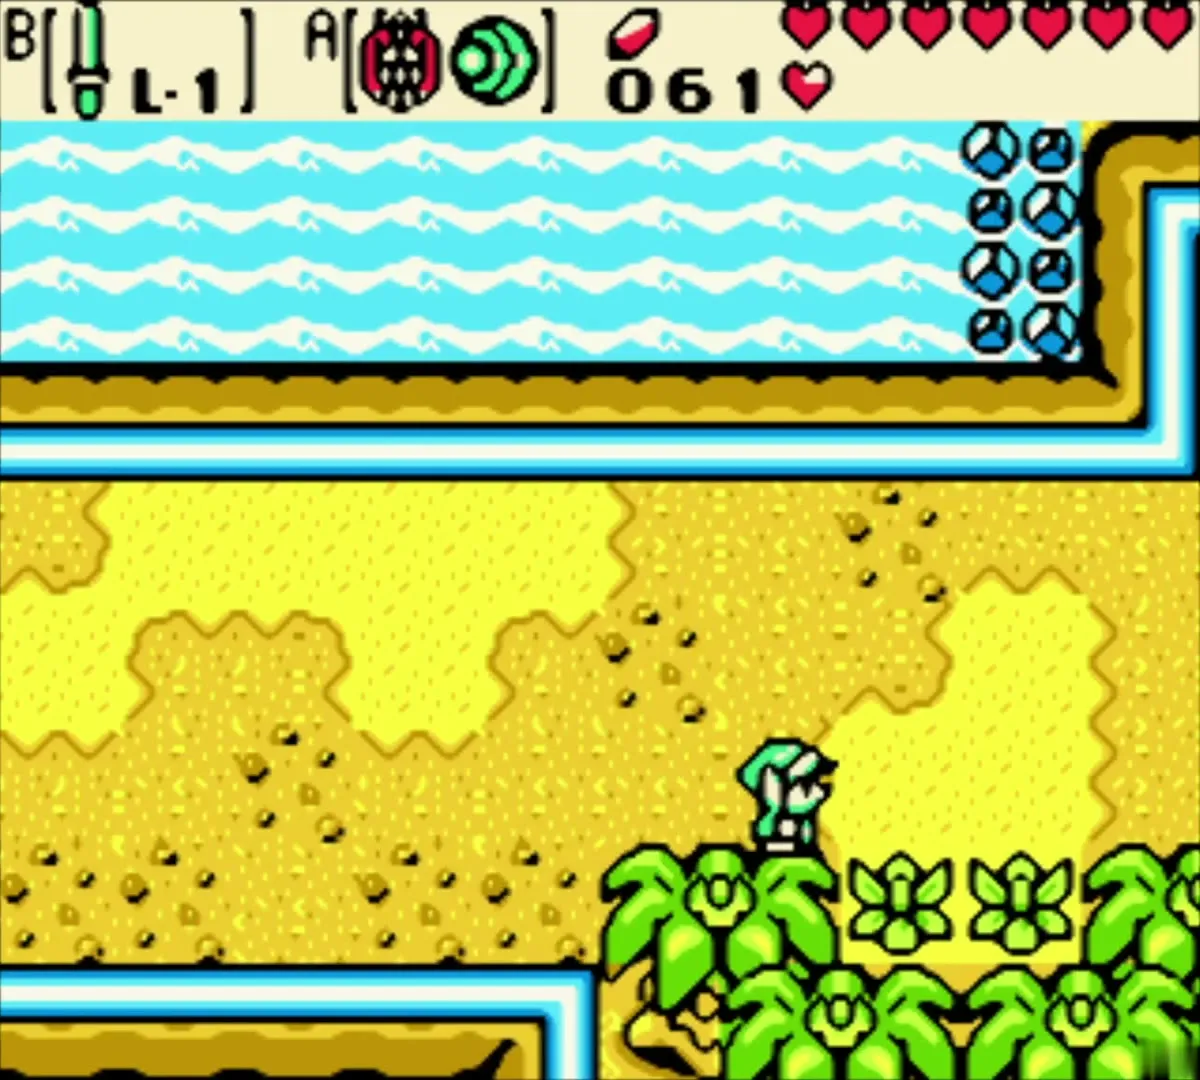
You arrive on yellow sand beside a bright blue sea. Walk to the Tokay chef’s hut nearby: he is too stuffed up to cook. Give him the Stink Bag you collected in an earlier chapter. The smell clears his nose and he gives you Tasty Meat in thanks, the fourth item in the Trading Sequence.

Scent Seeds tree
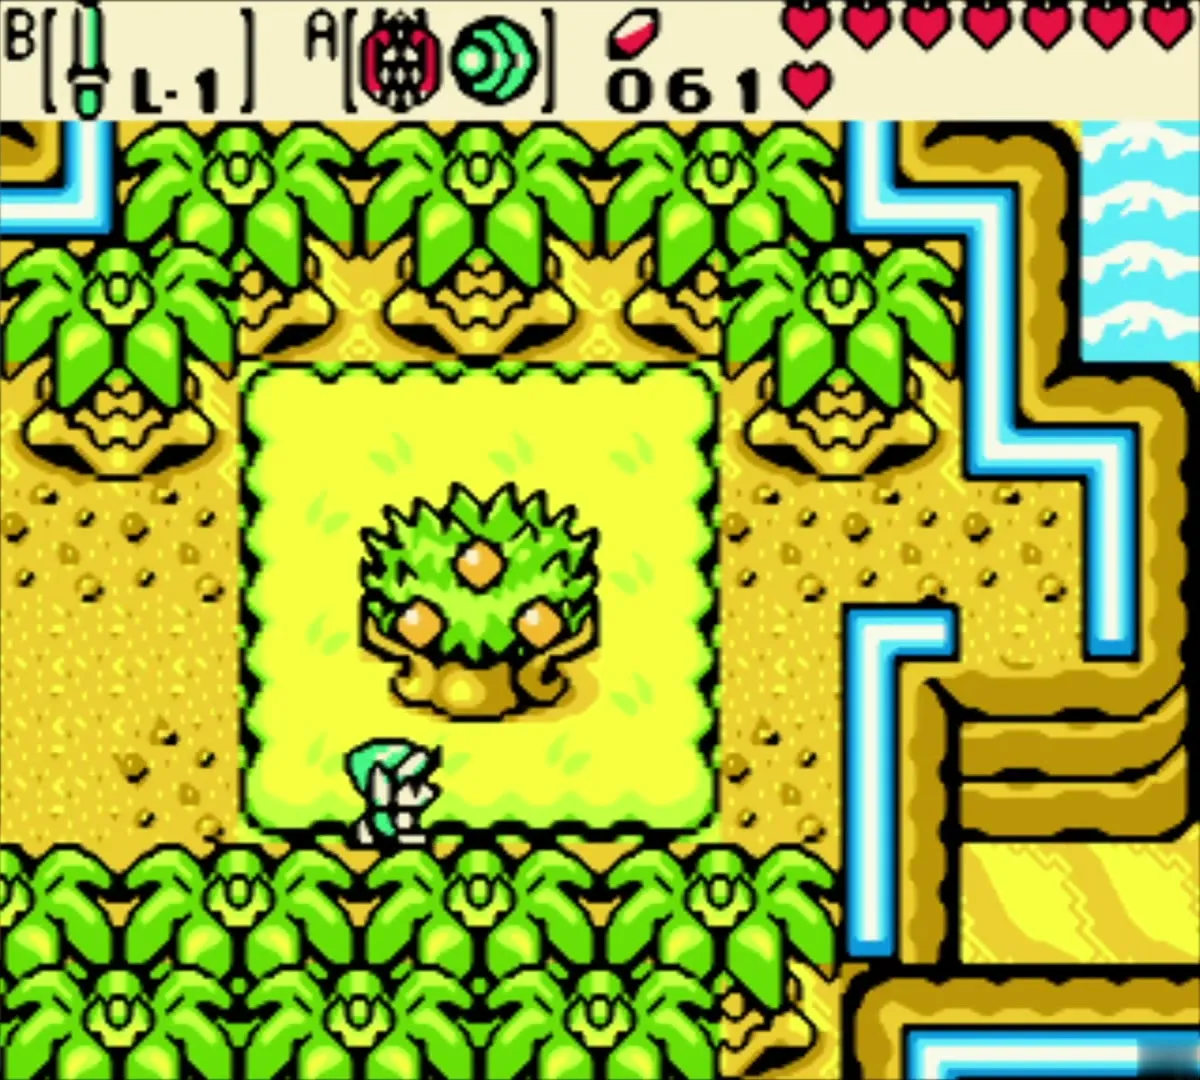
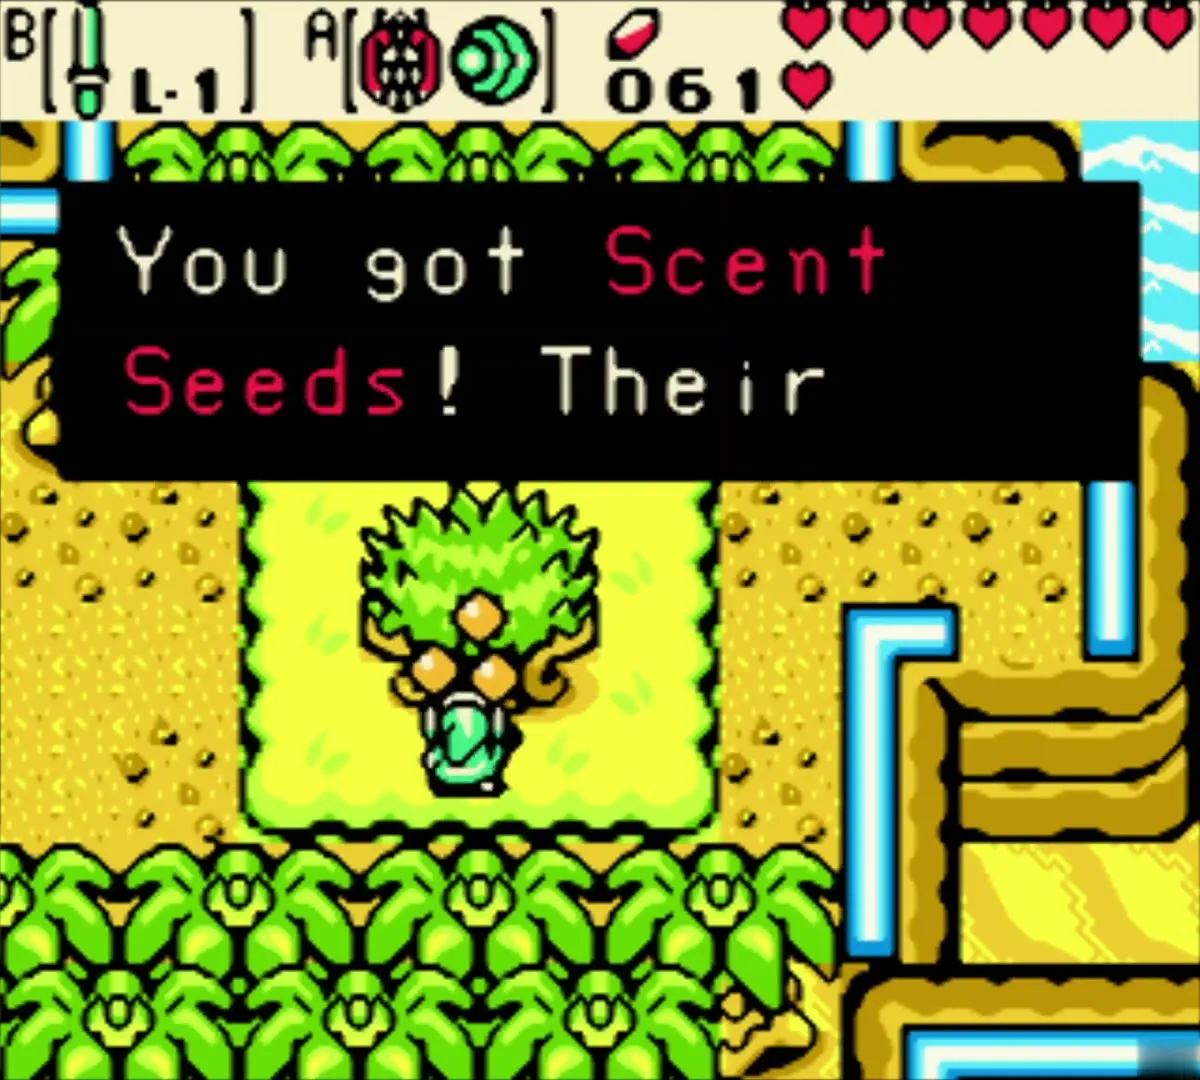
Follow the paths through the jungle and sand to a grassy square. The tree you planted as a seedling is now fully grown. Hit it and 18 Scent Seeds drop. Scent Seeds draw monsters toward them when you throw them from the Seed Satchel.
Soft soil on the ledge (soil 2)
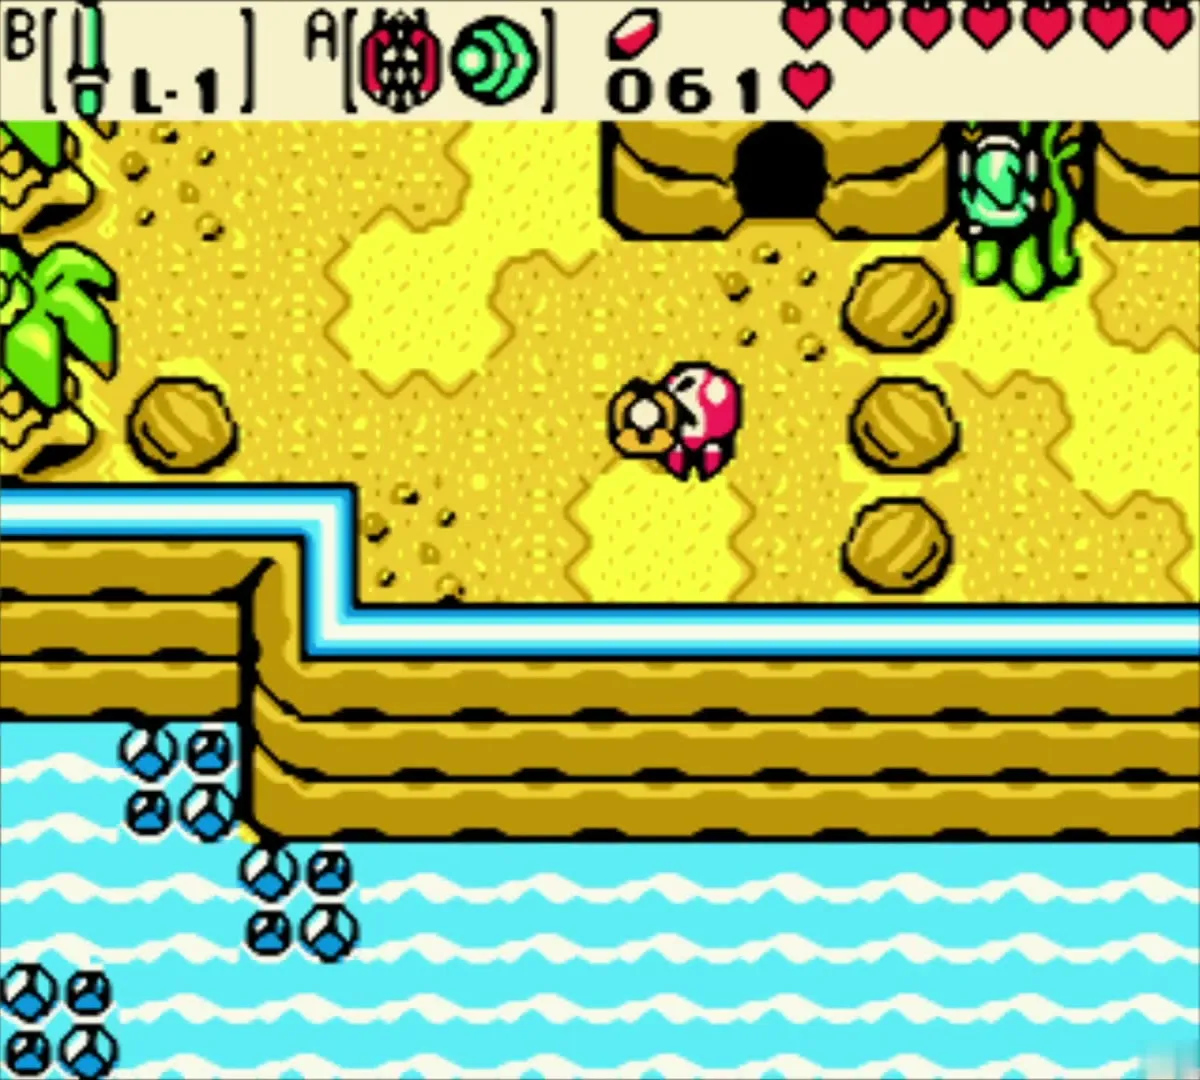
Climb the vine on the south side of the island up to a high ledge. Lift the rocks with the Power Bracelet and dig with the Shovel to find a second soft soil patch, a middling spot. Plant the Gasha Seed you took from the chest.
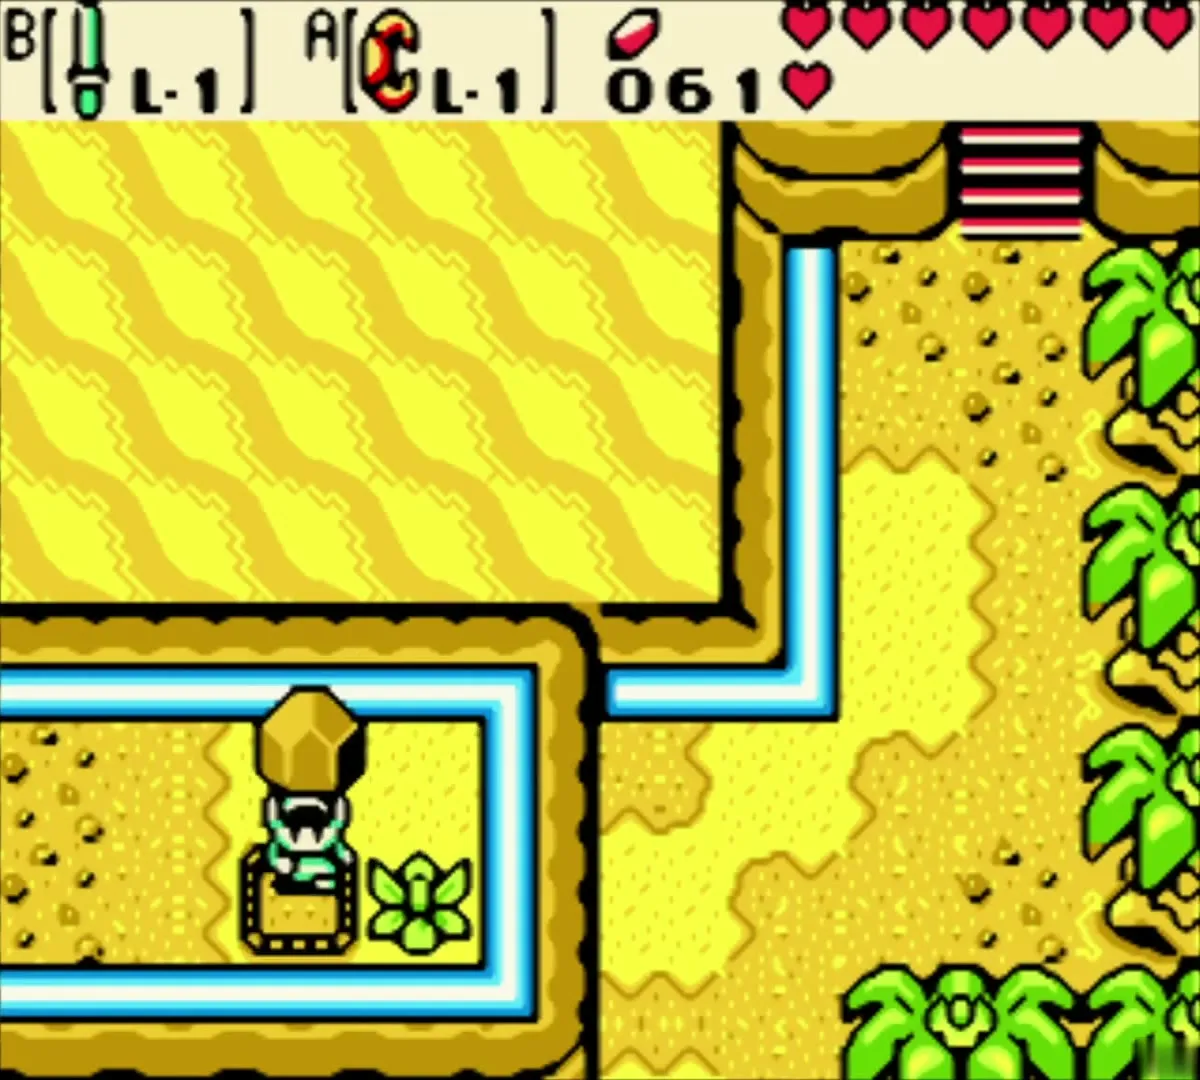
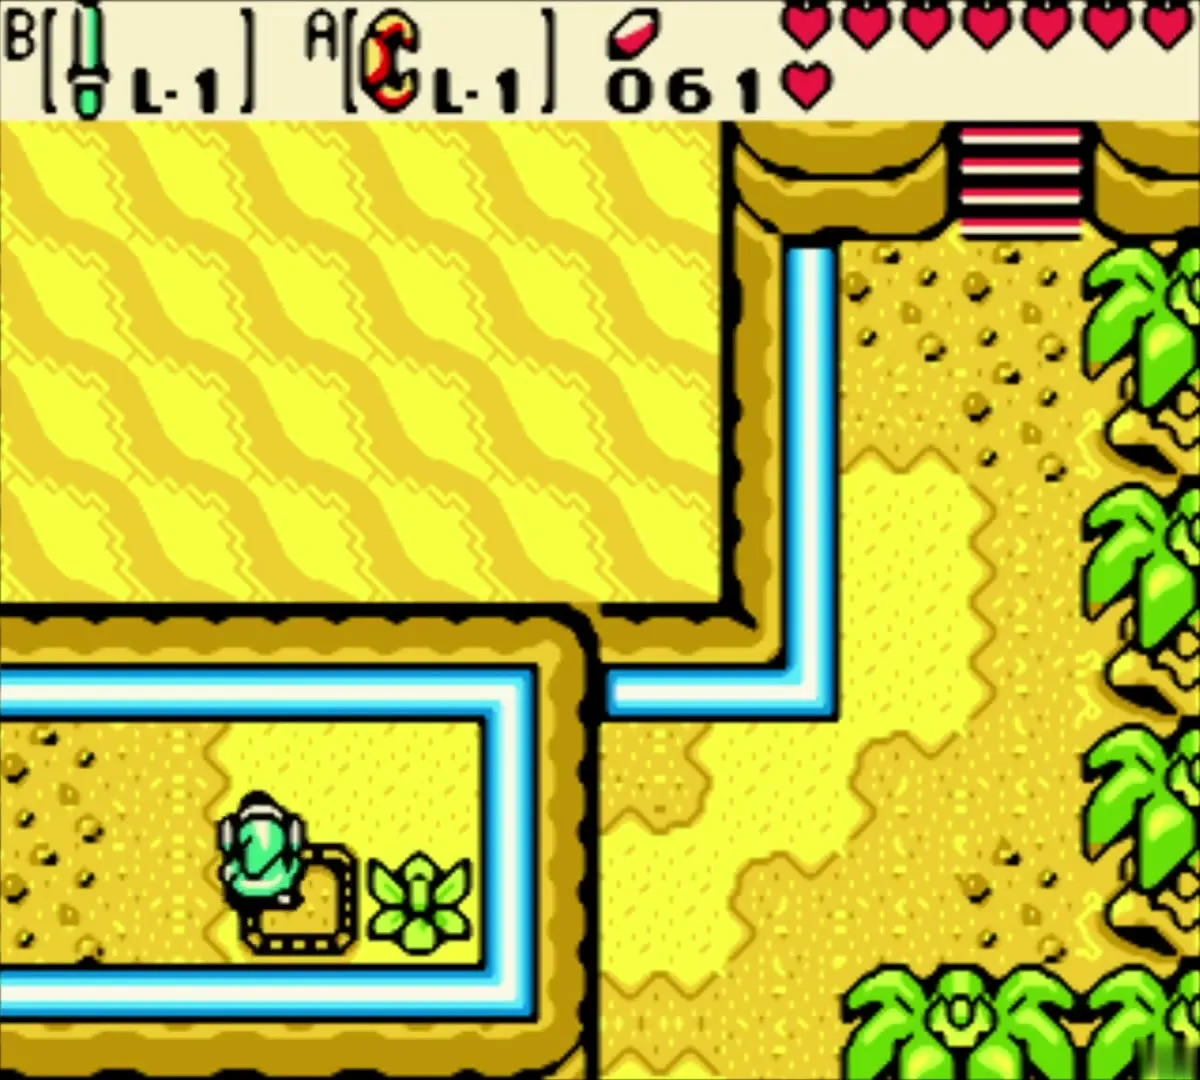
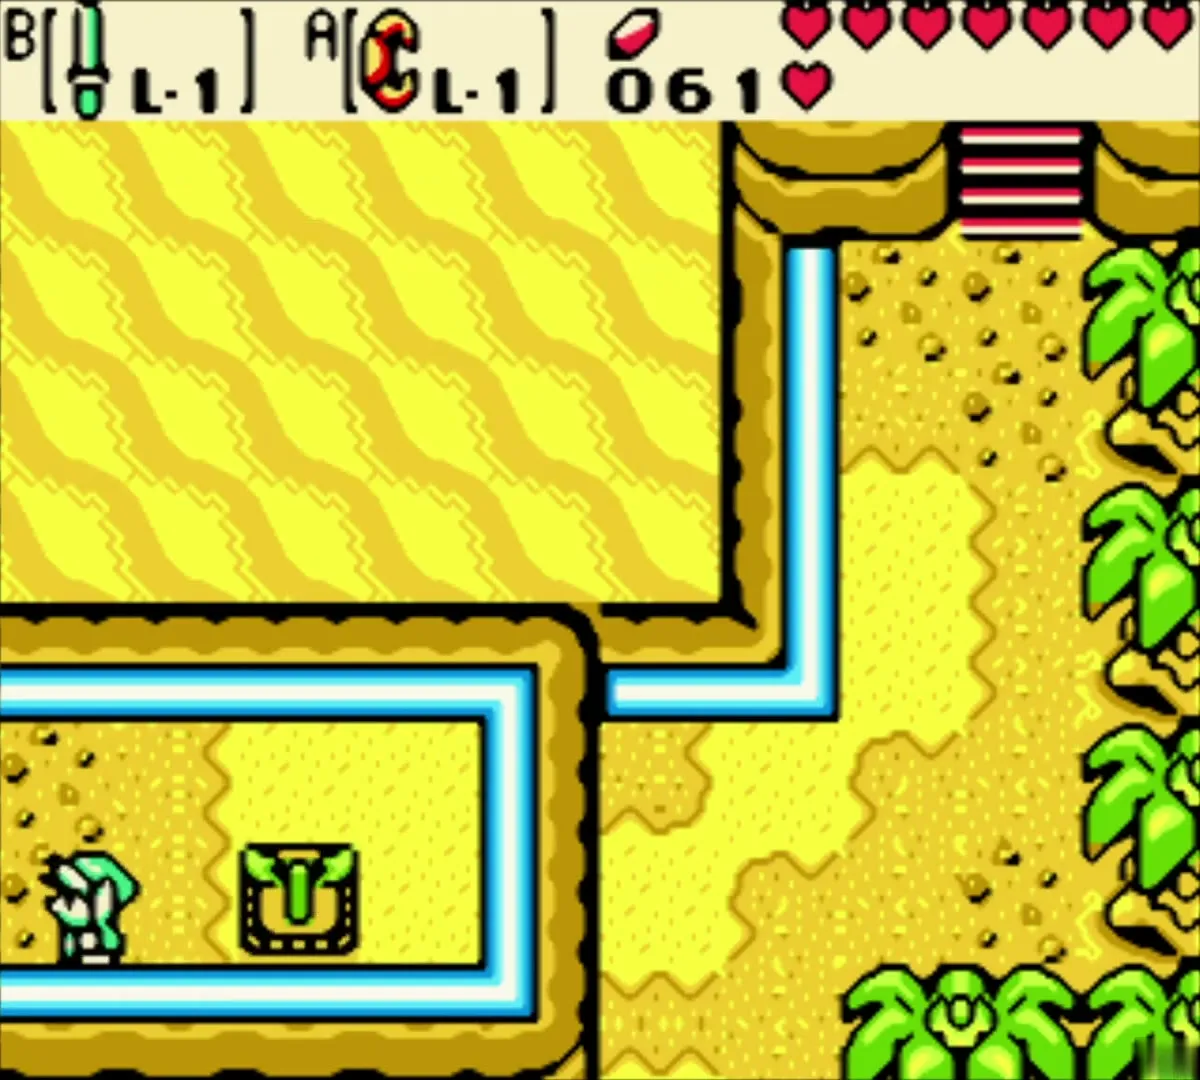
Wild Tokay Museum
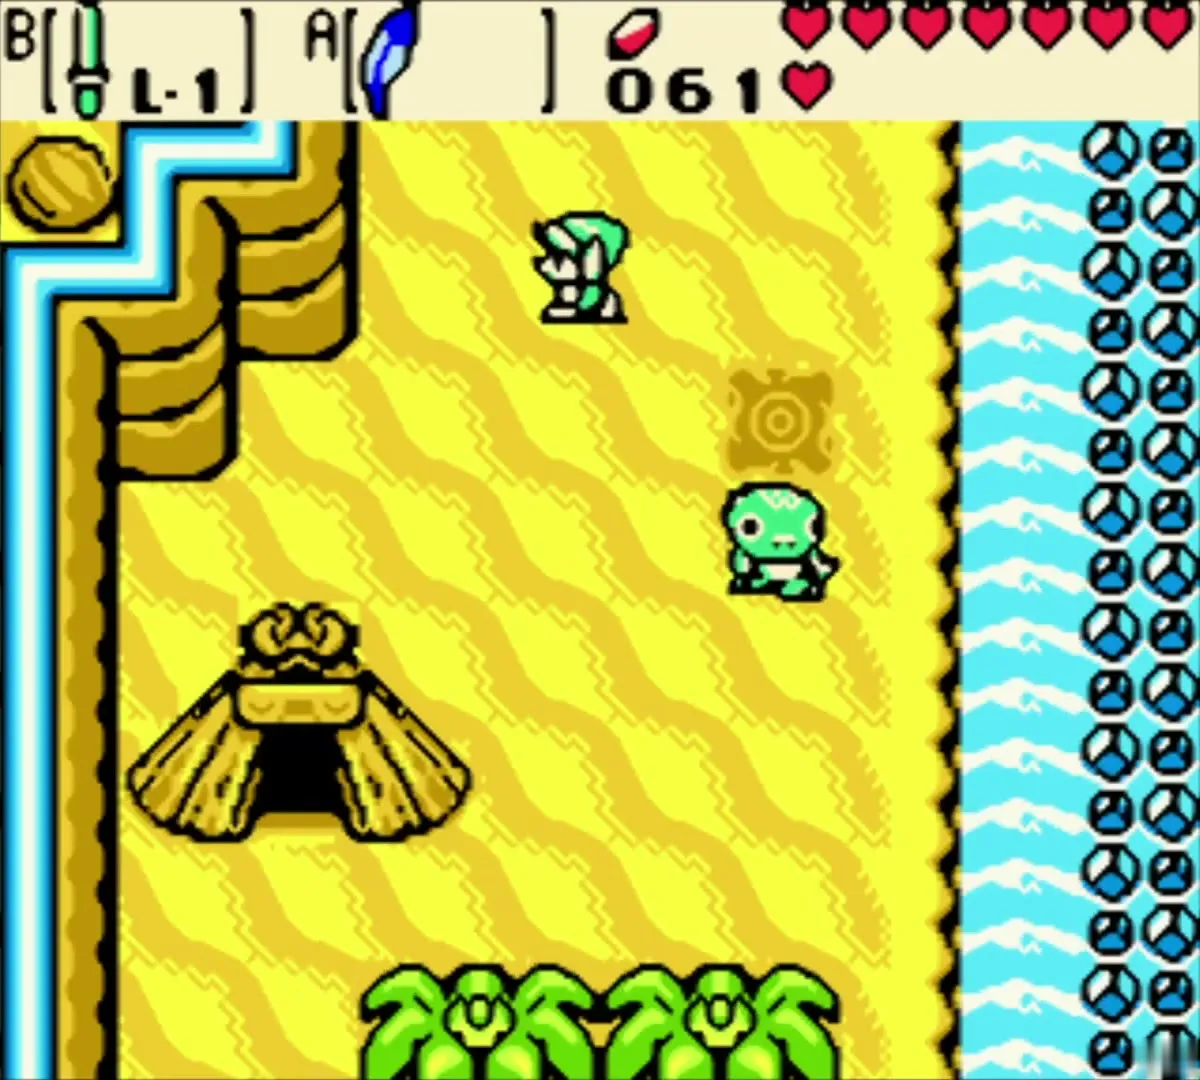
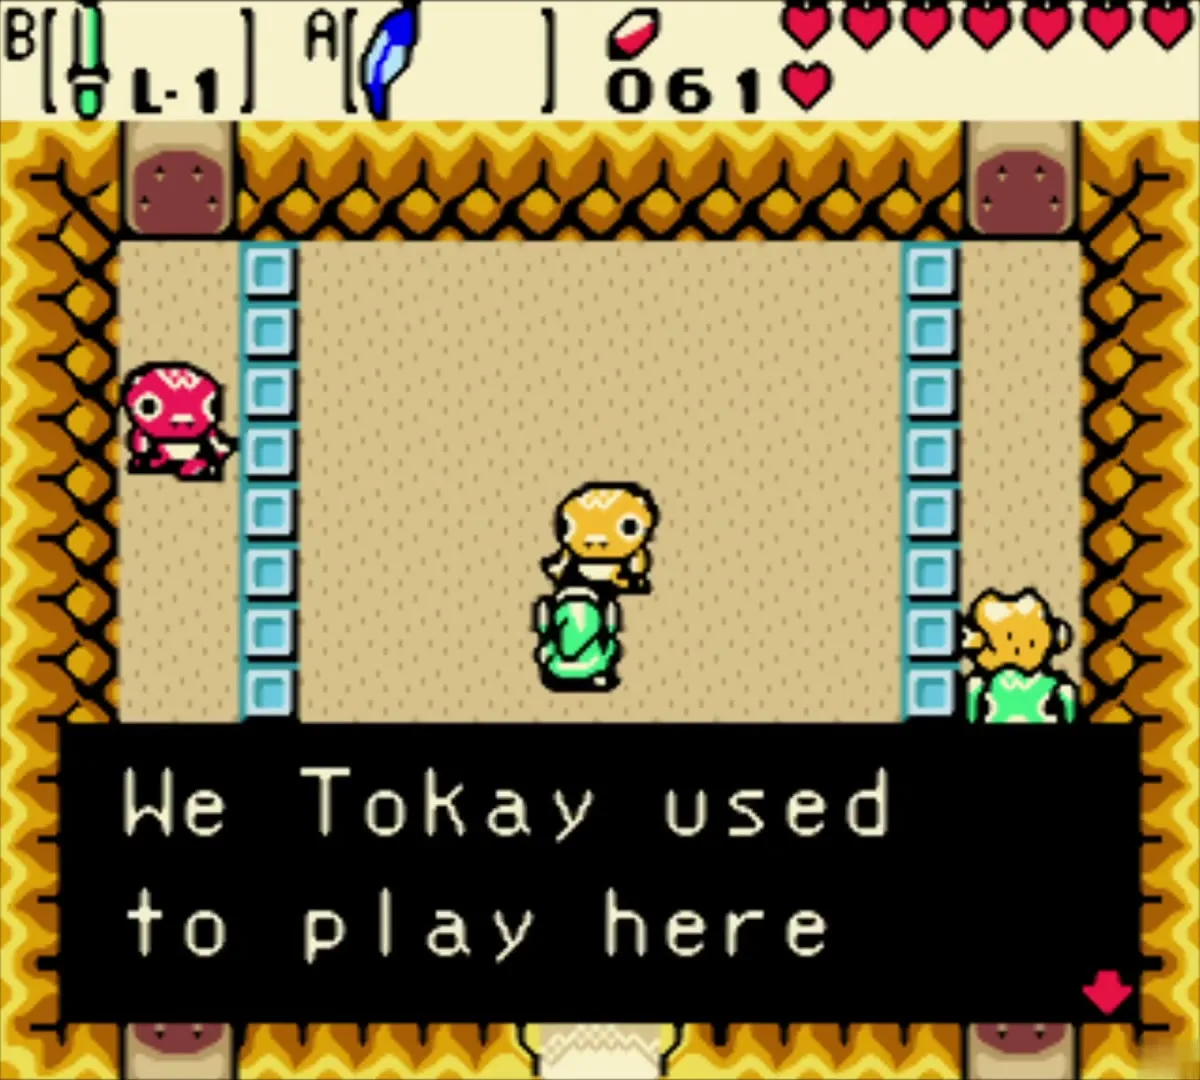
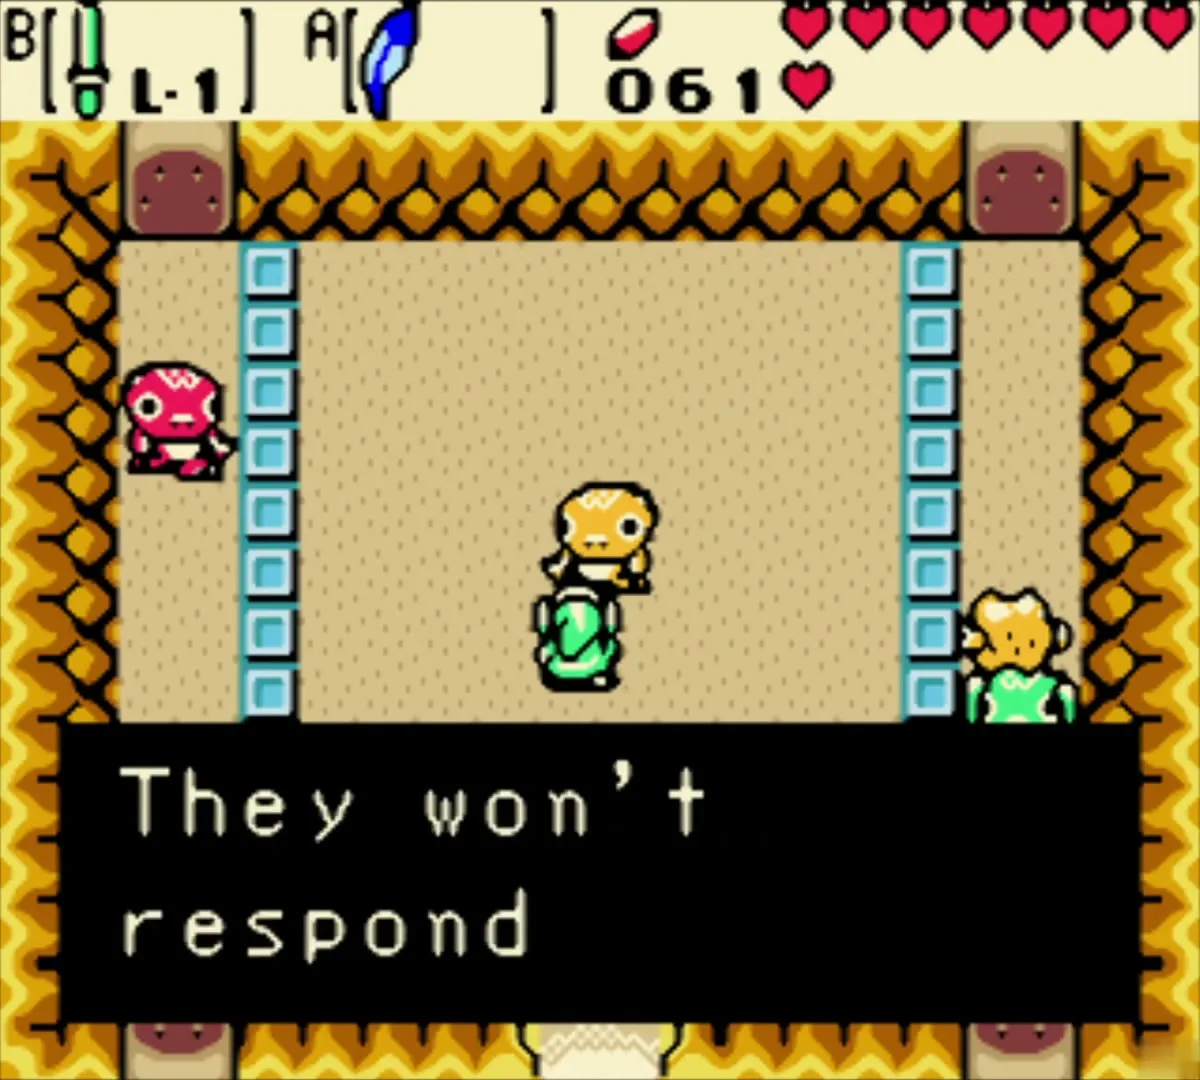
Walk east to the Wild Tokay Museum. The attendant explains that the Tokay in the hall are lifelike statues that will not answer. In a Linked Game this is the place to tell the Tokay Secret (see Linked Game Secrets), but this chapter does not use it.
Buying back the Power Bracelet and the road to the Grotto

Pay in Scent Seeds
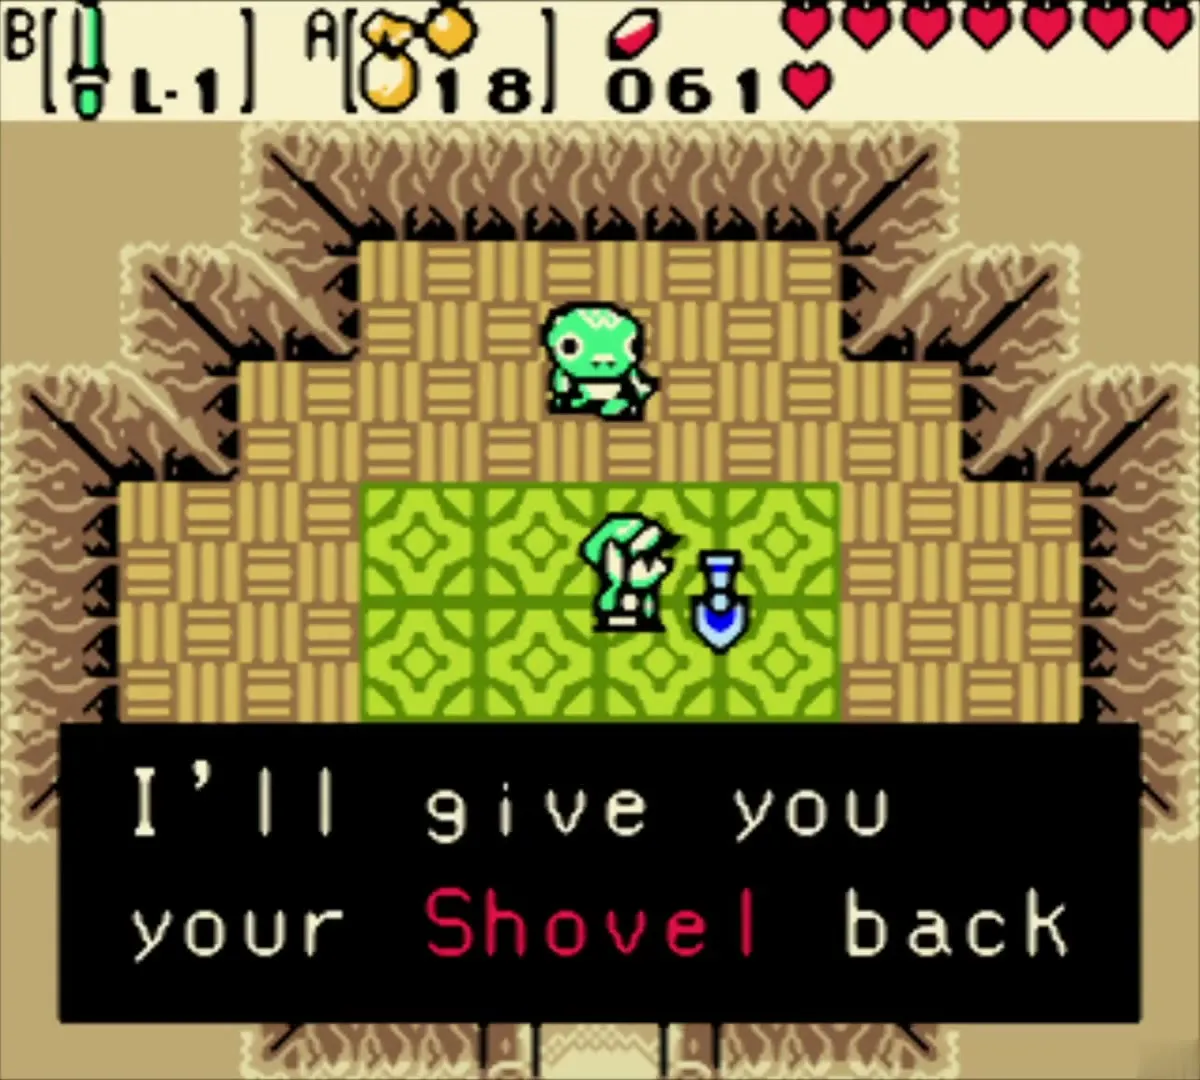
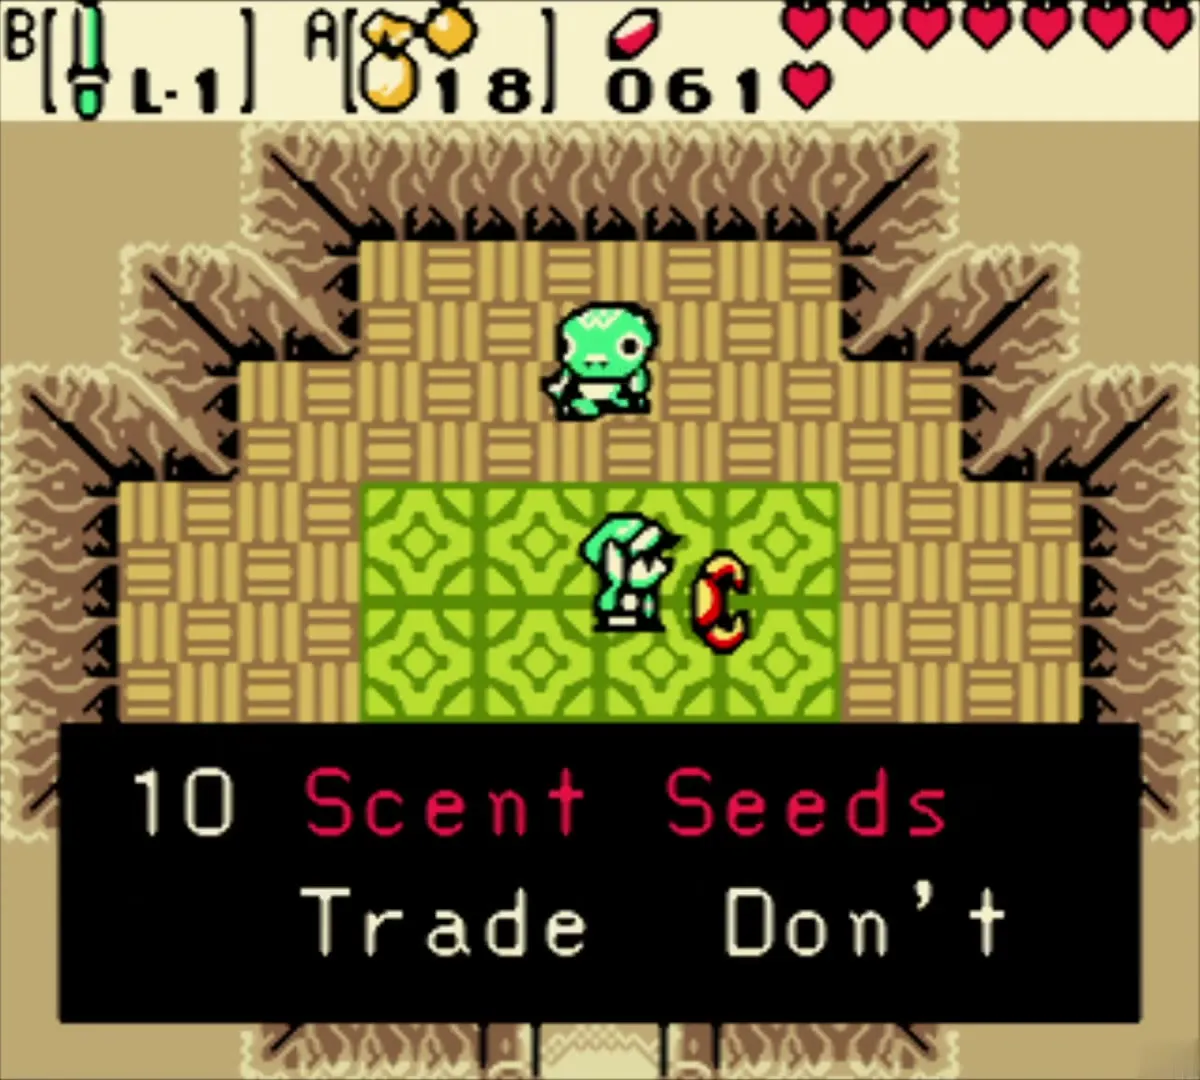
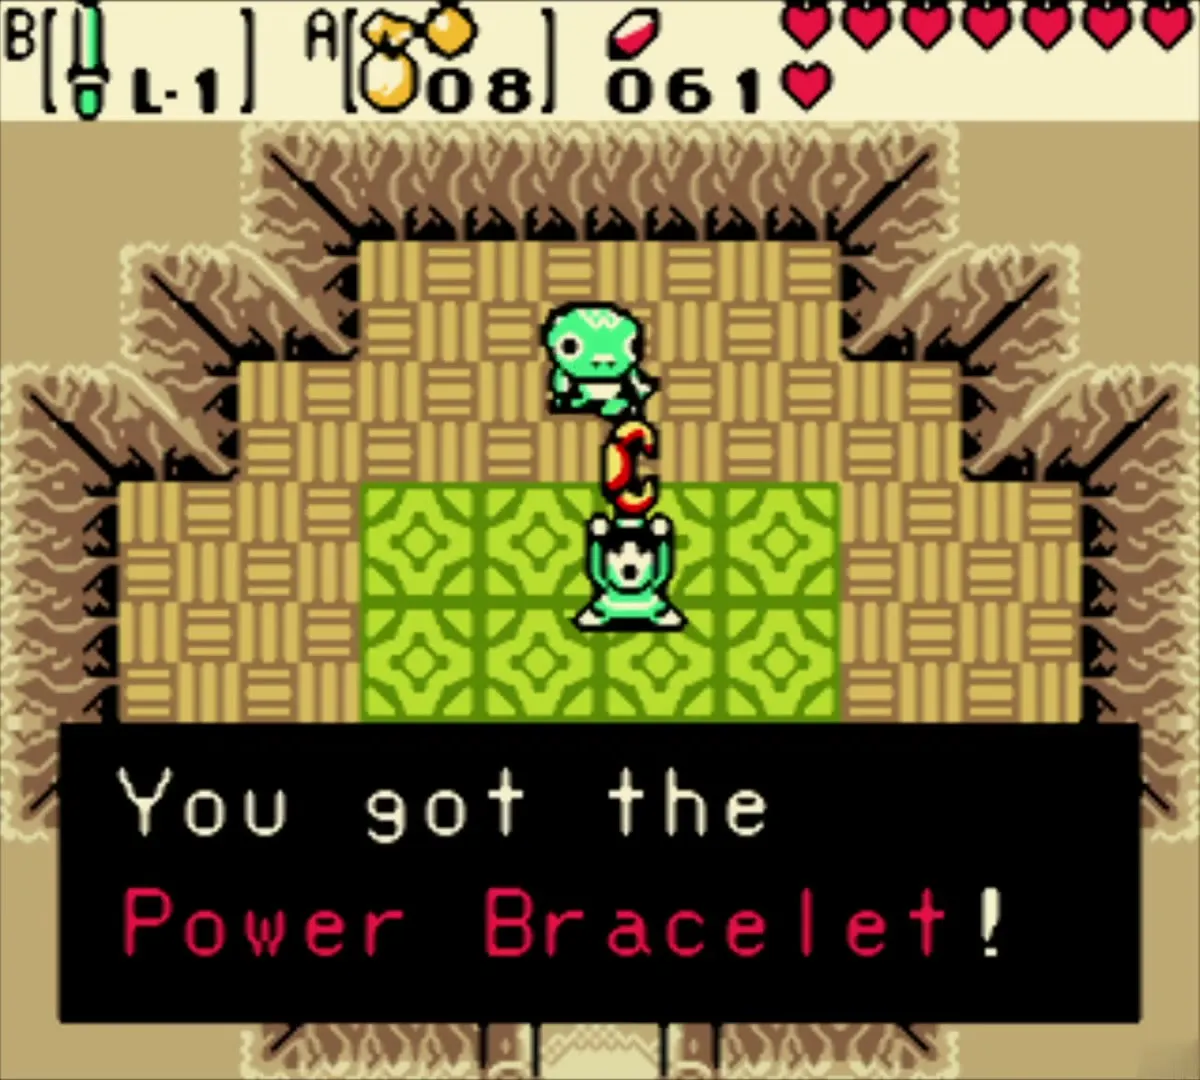
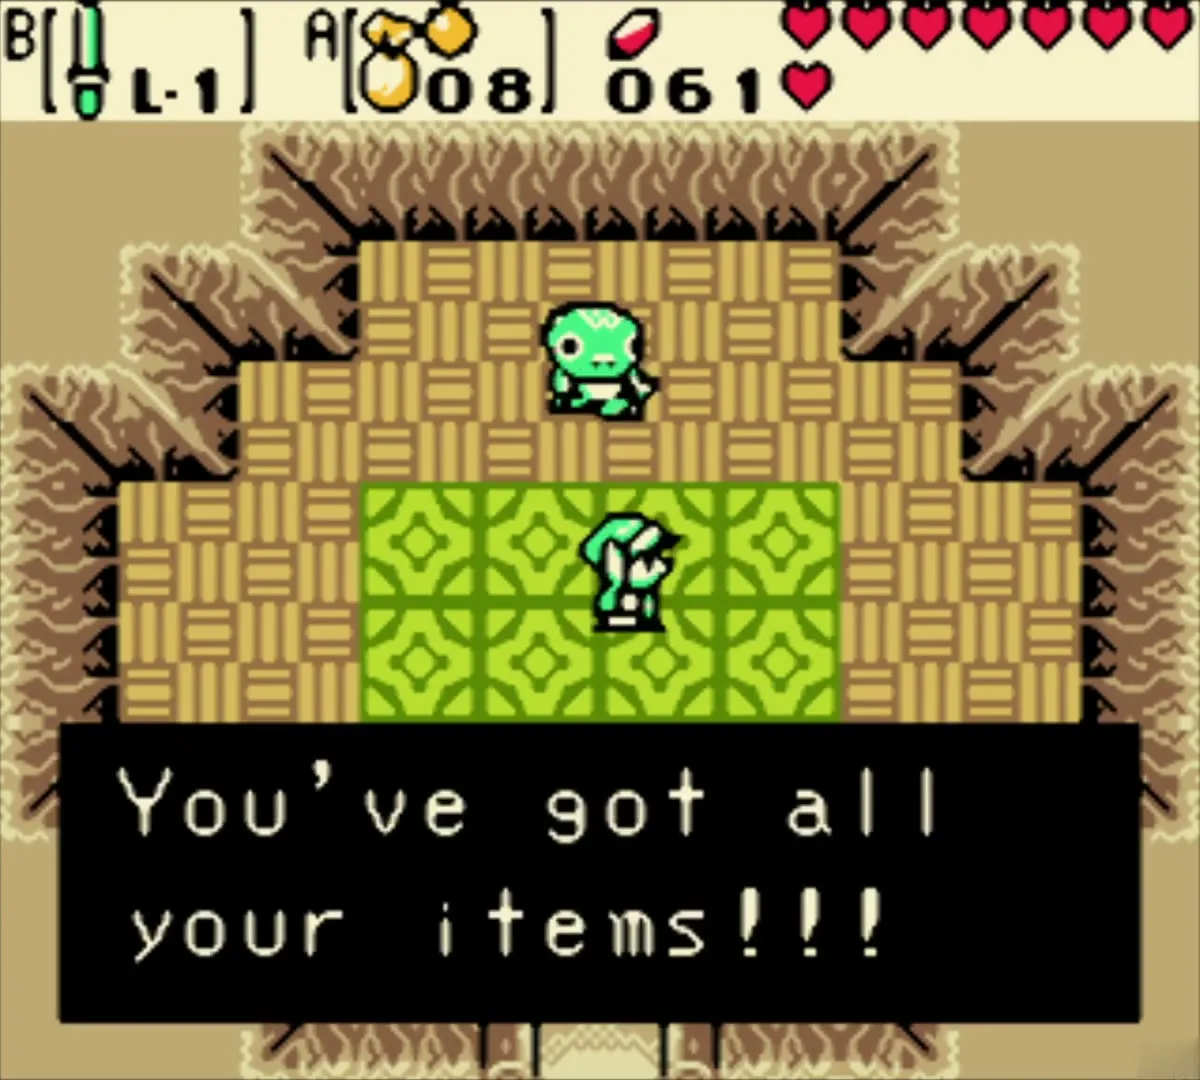
Play the Tune of Echoes at the portal to return to the past. In the trading hut, give the Bracelet back for the Shovel and then pay 10 Scent Seeds to buy the Power Bracelet outright. You end up holding the Shovel, Roc’s Feather and Power Bracelet, and the trader announces that you have all your items. If you also want the Wooden Shield, you can buy it from the same Tokay for 10 more Scent Seeds, but you can leave it for later.

Great Fairy fountain
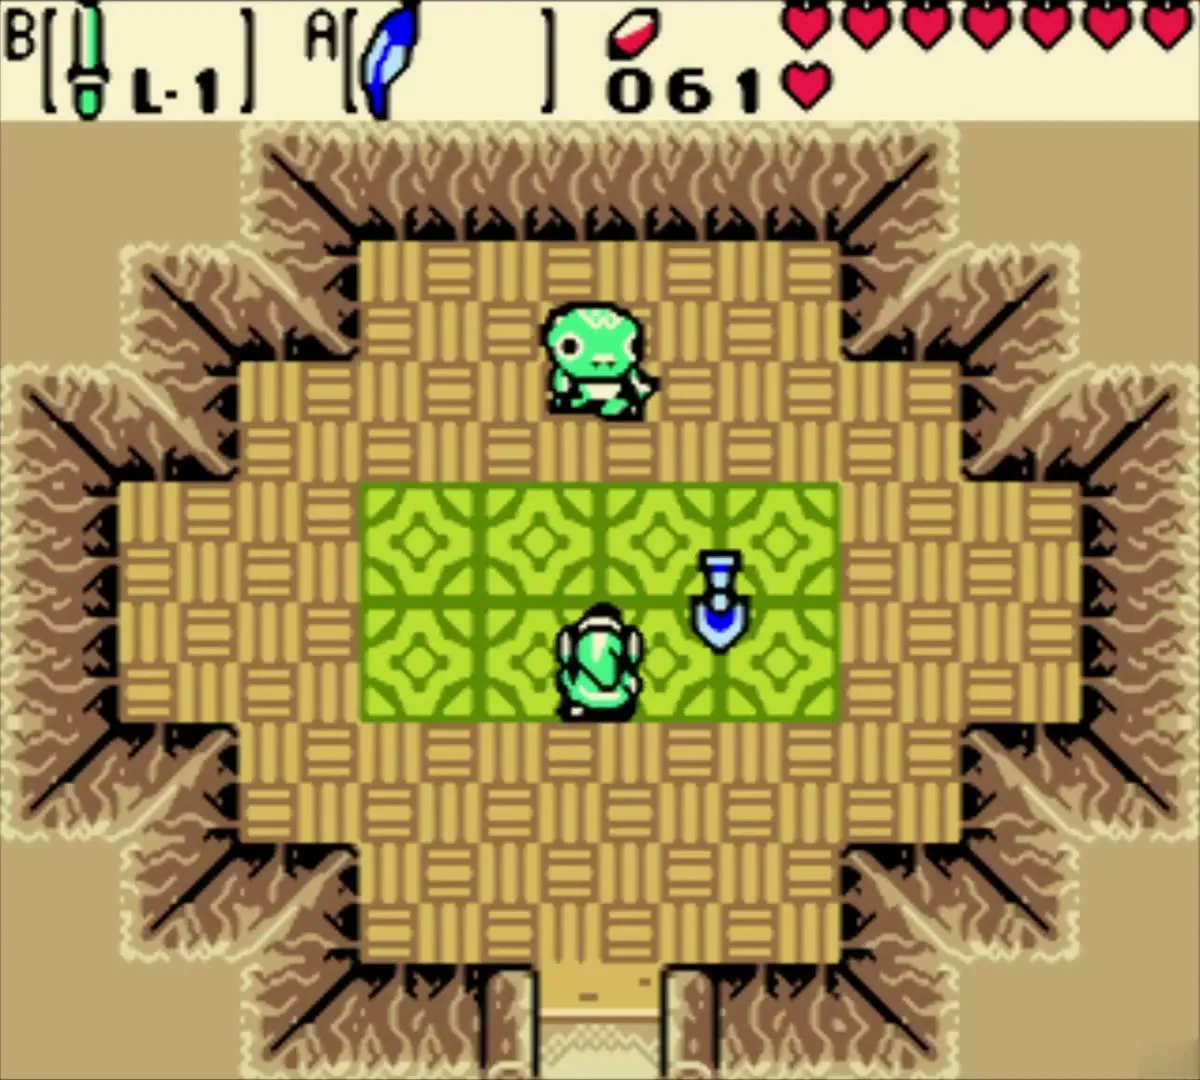
Go back to the Cucco Hut and play the Tune of Echoes on the portal glyph to return to the present. On the beach, walk to the crossing where one path heads north and the other east. Take the east path to the Great Fairy’s fountain, where she heals you fully whenever you are weary.
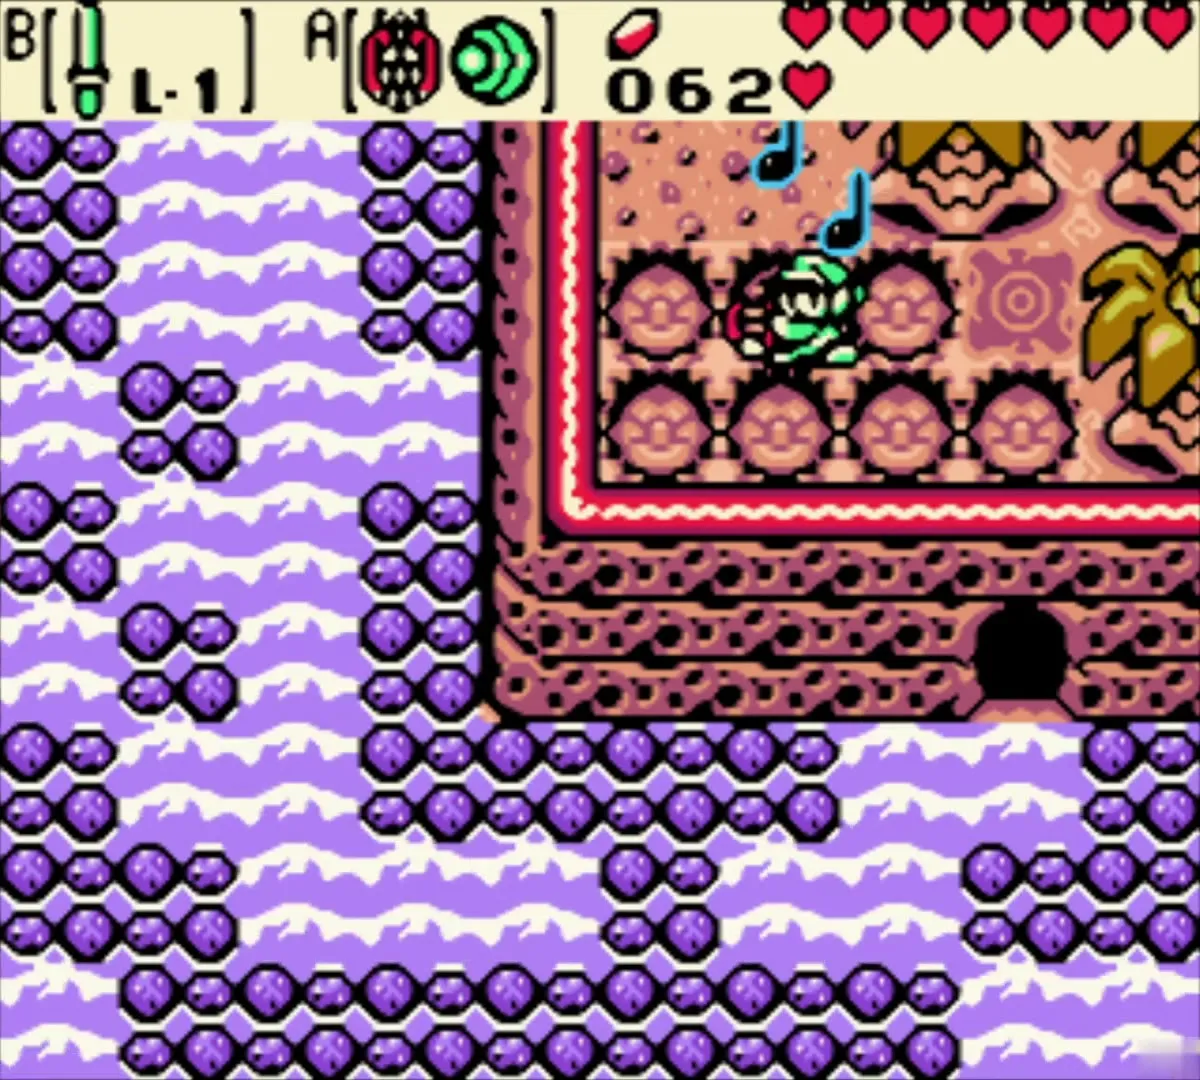
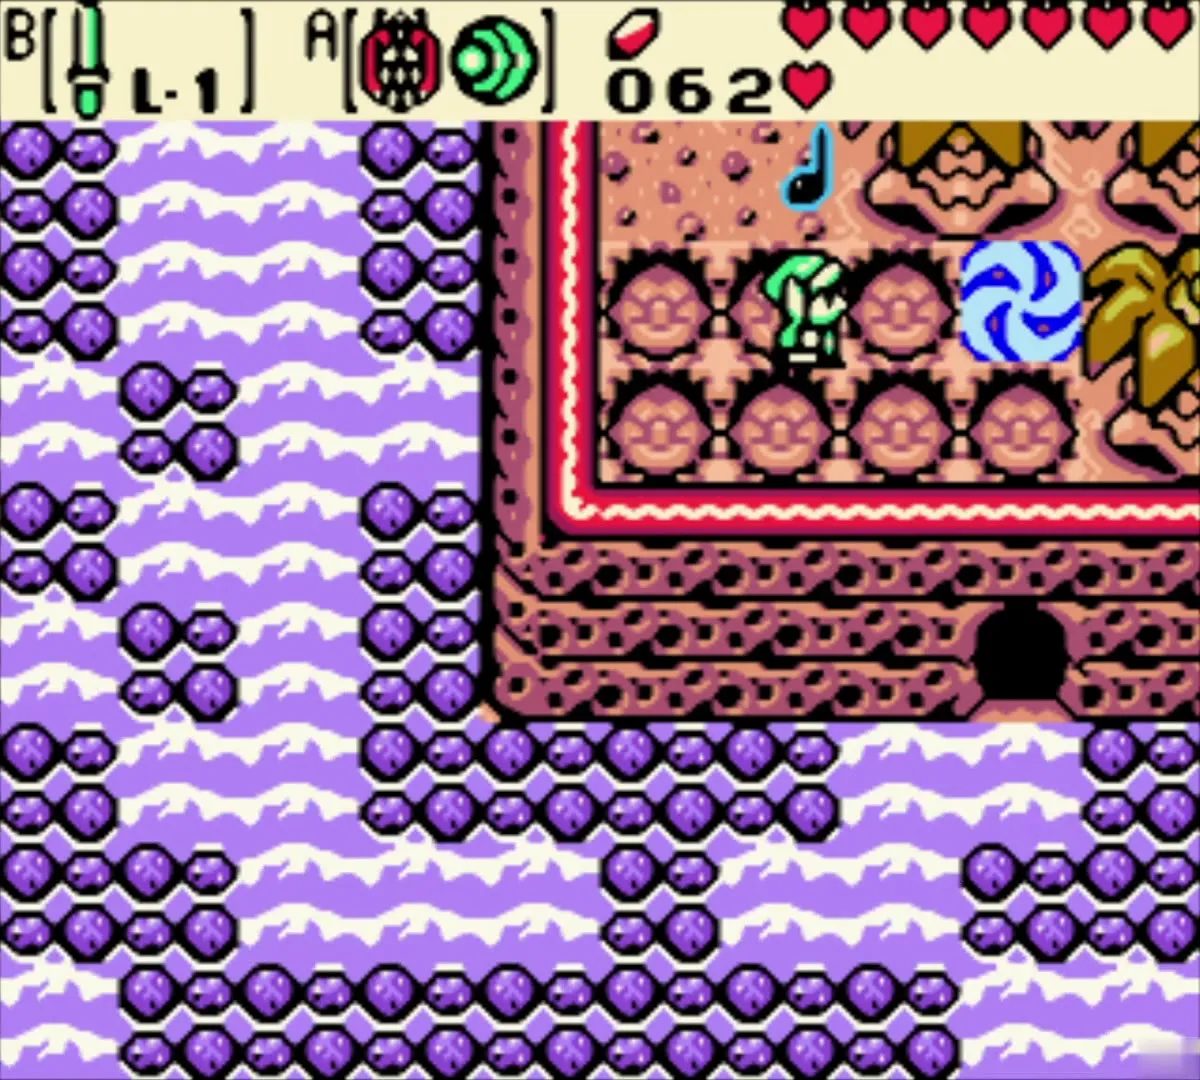
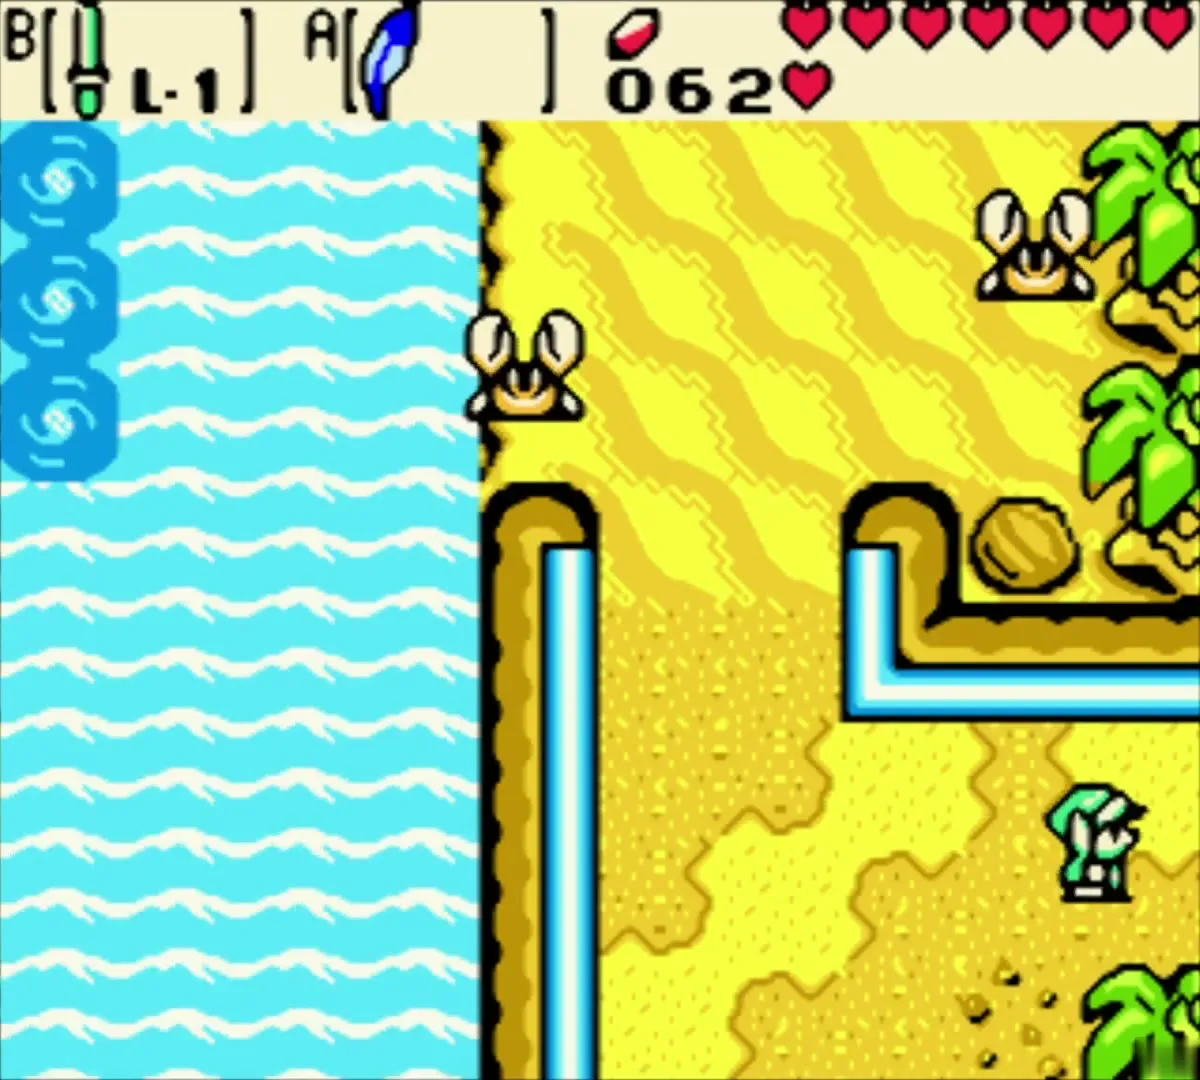
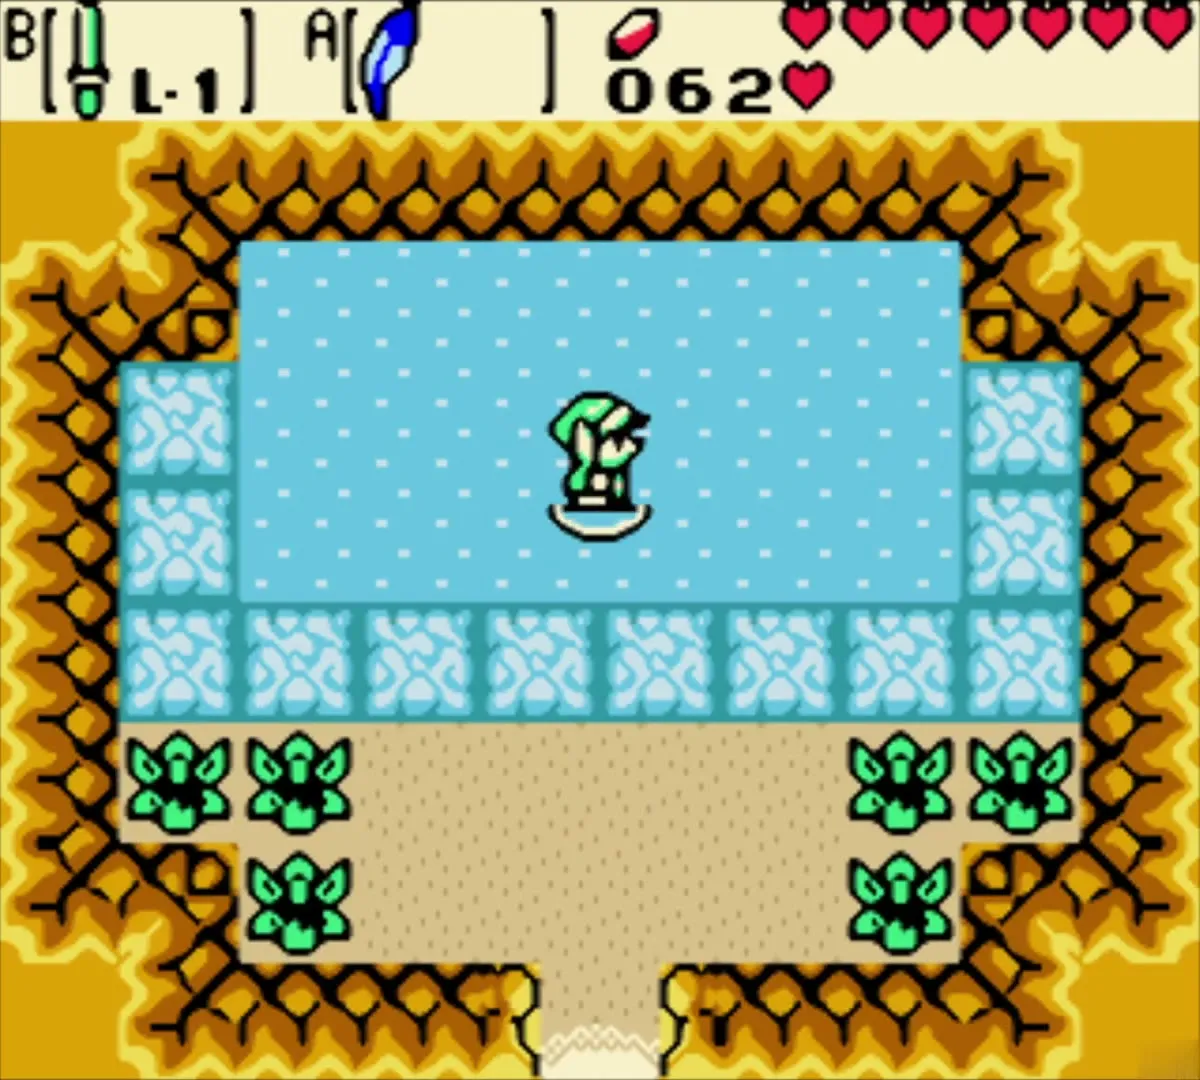
Moonlit Grotto entrance
Go back to the crossing and take the northern path, where Sand Crabs and Octoroks patrol the beach. Cut through them and walk around the stone face covered in palm trees to the Moonlit Grotto, the entrance to Level 3. Keep your Sword, Bombs and Power Bracelet ready.
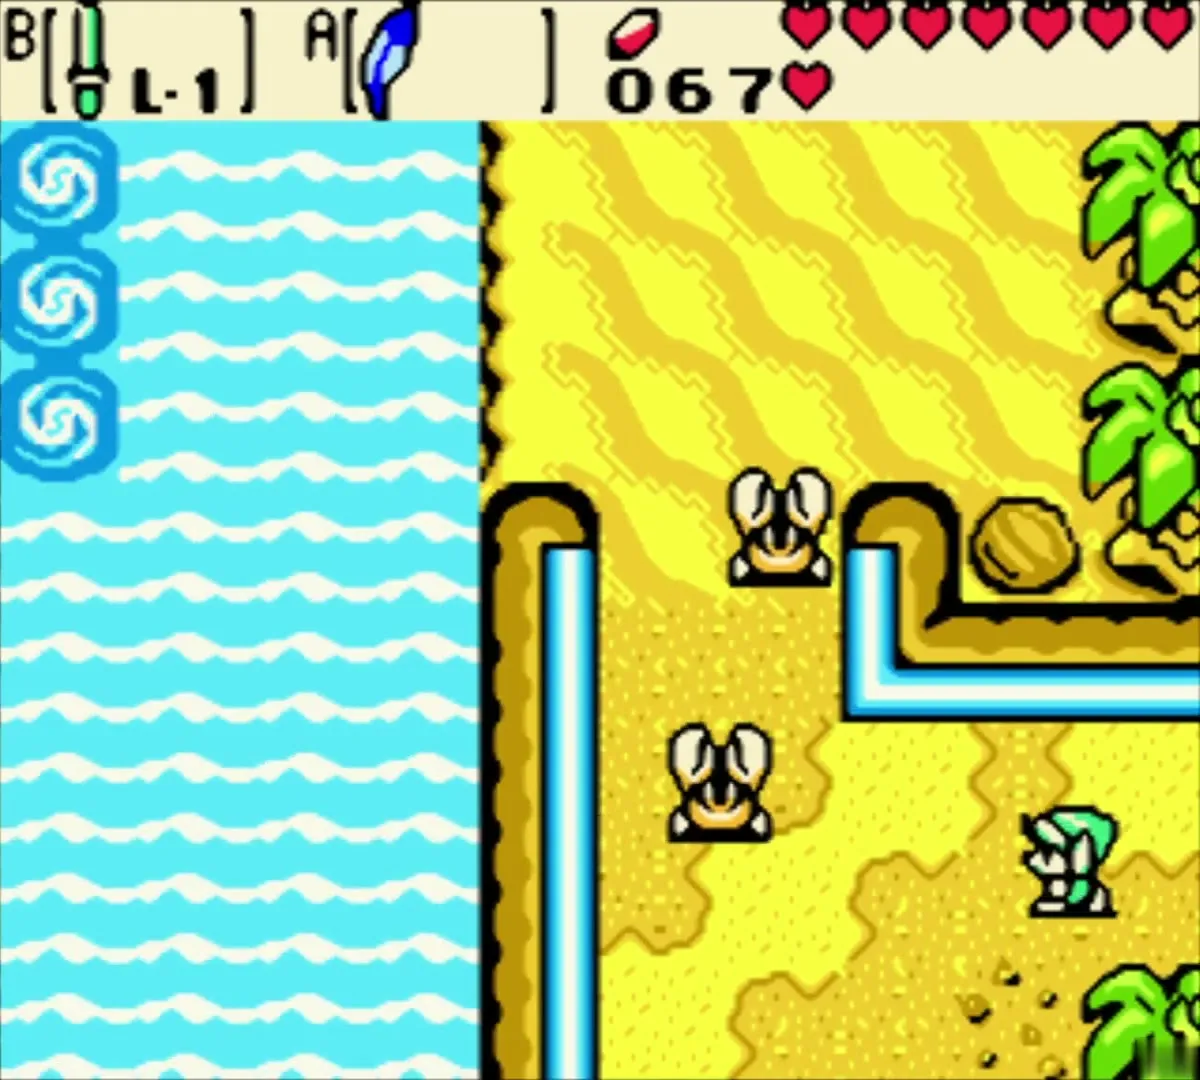
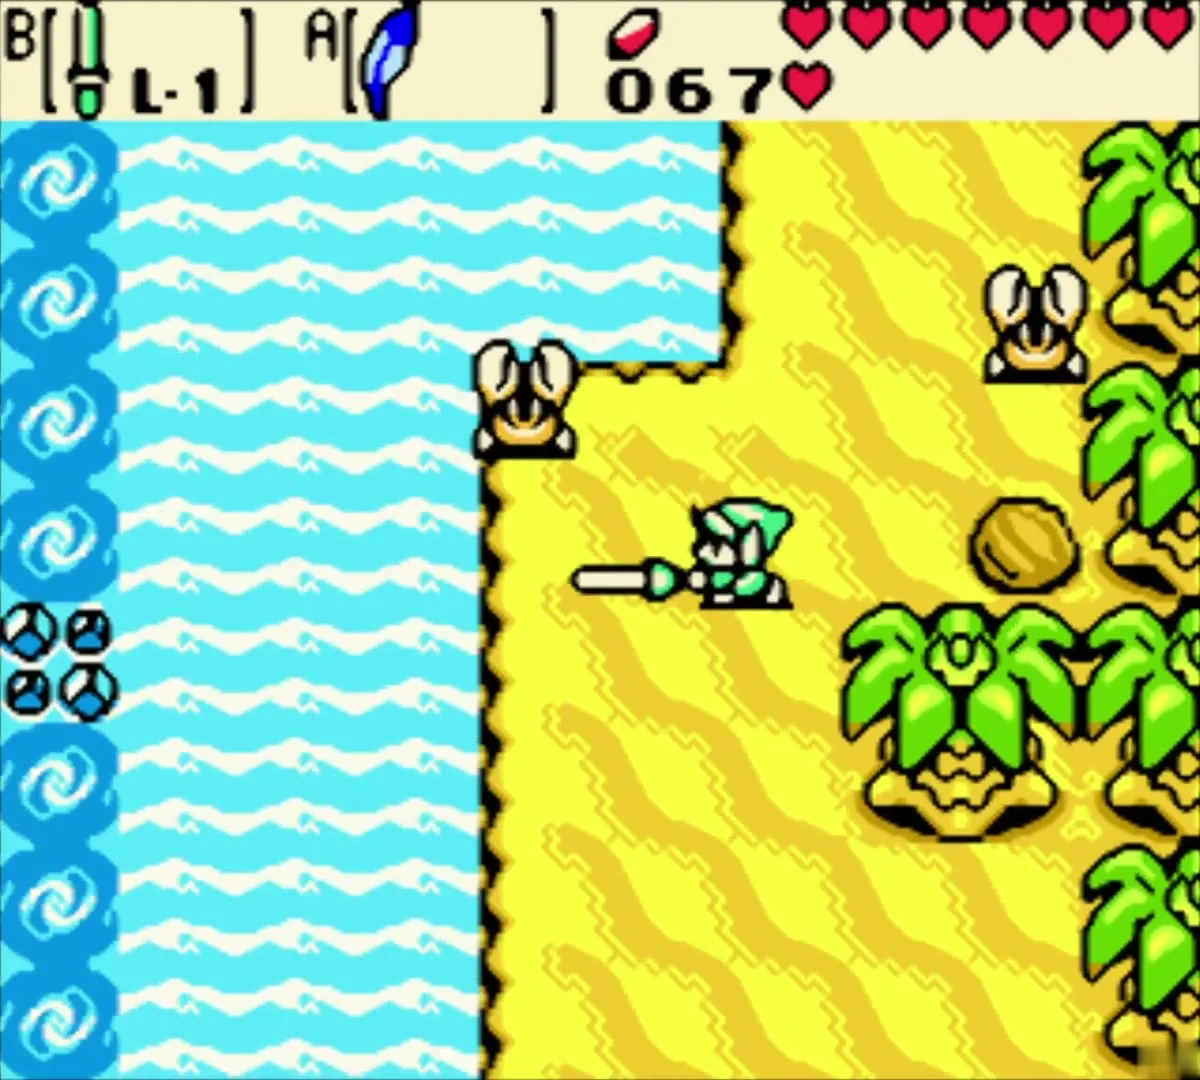
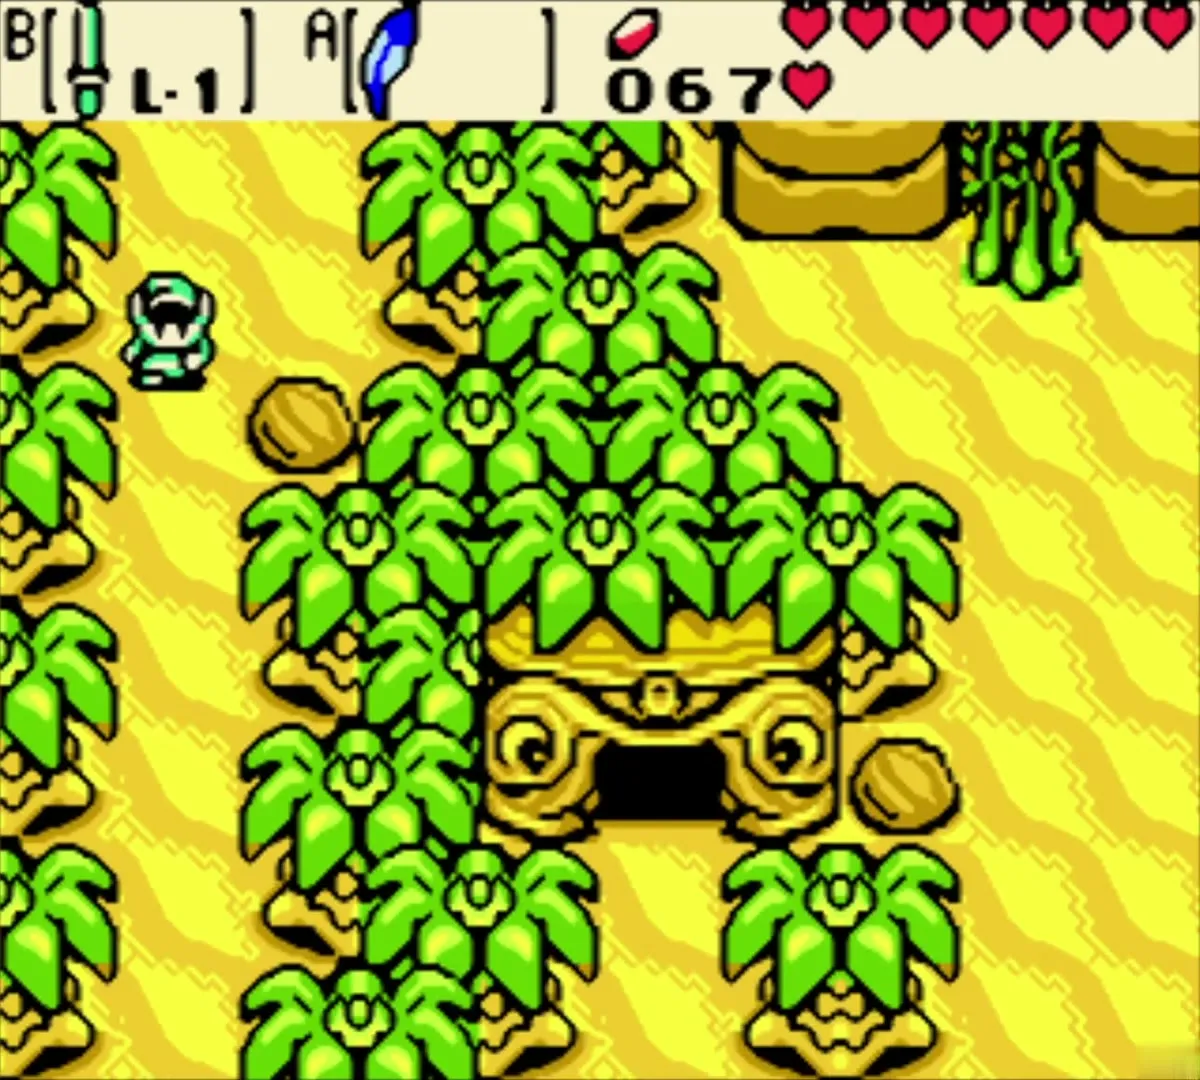

First rooms and the Dungeon Map
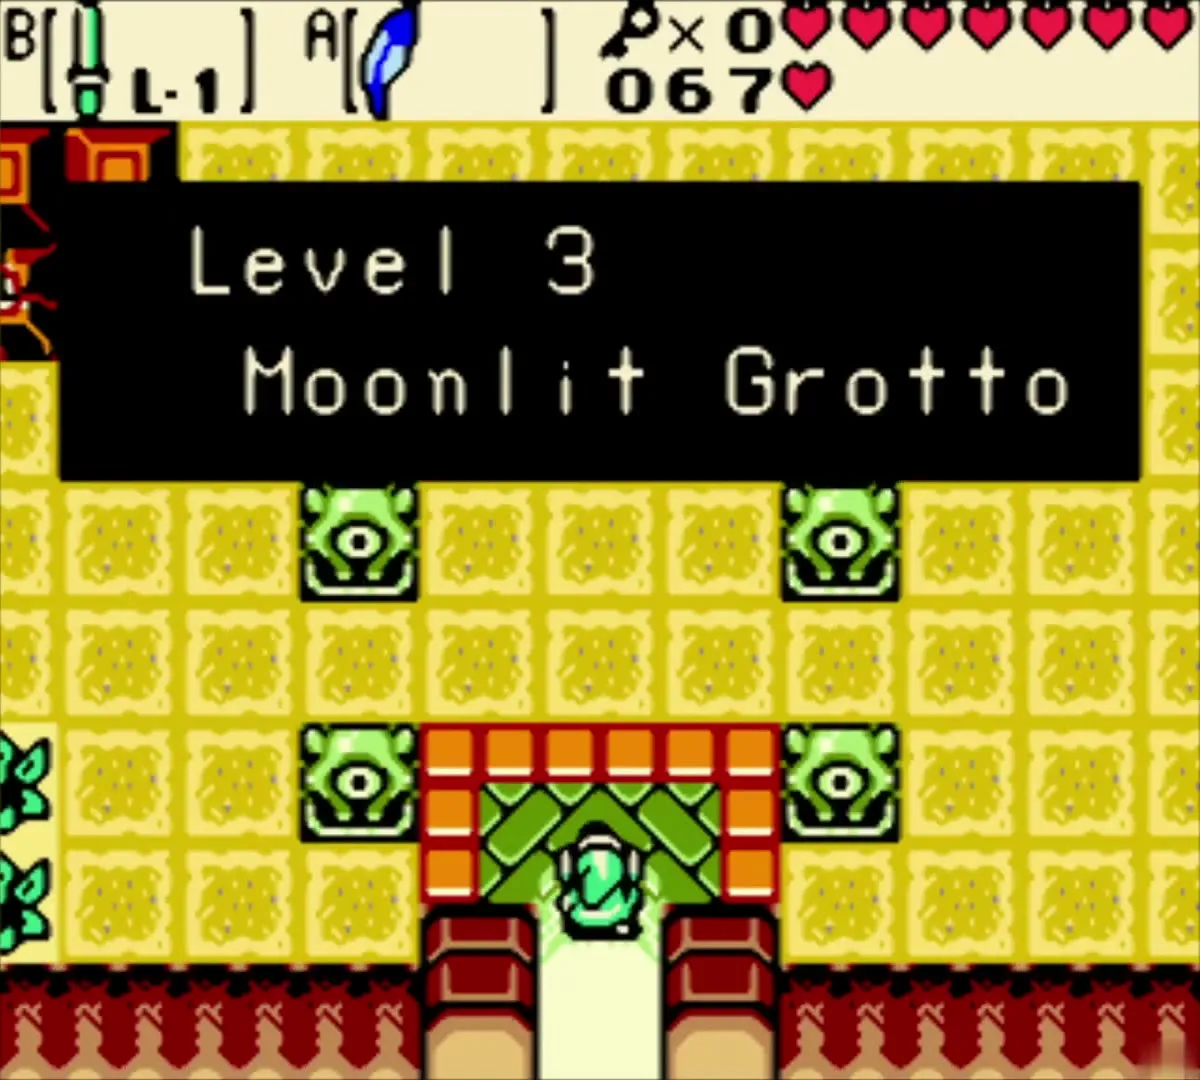
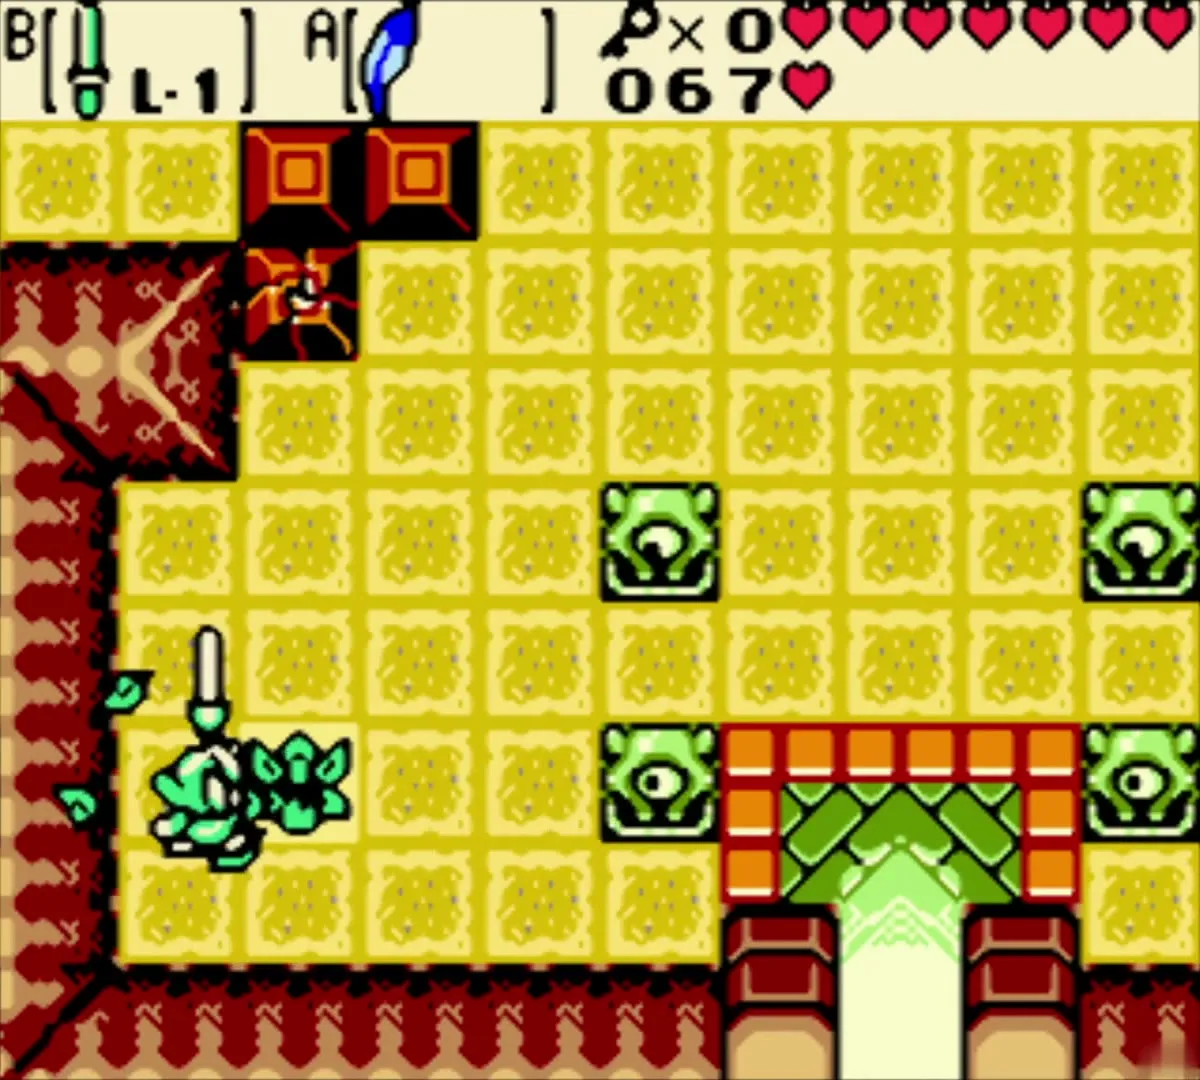
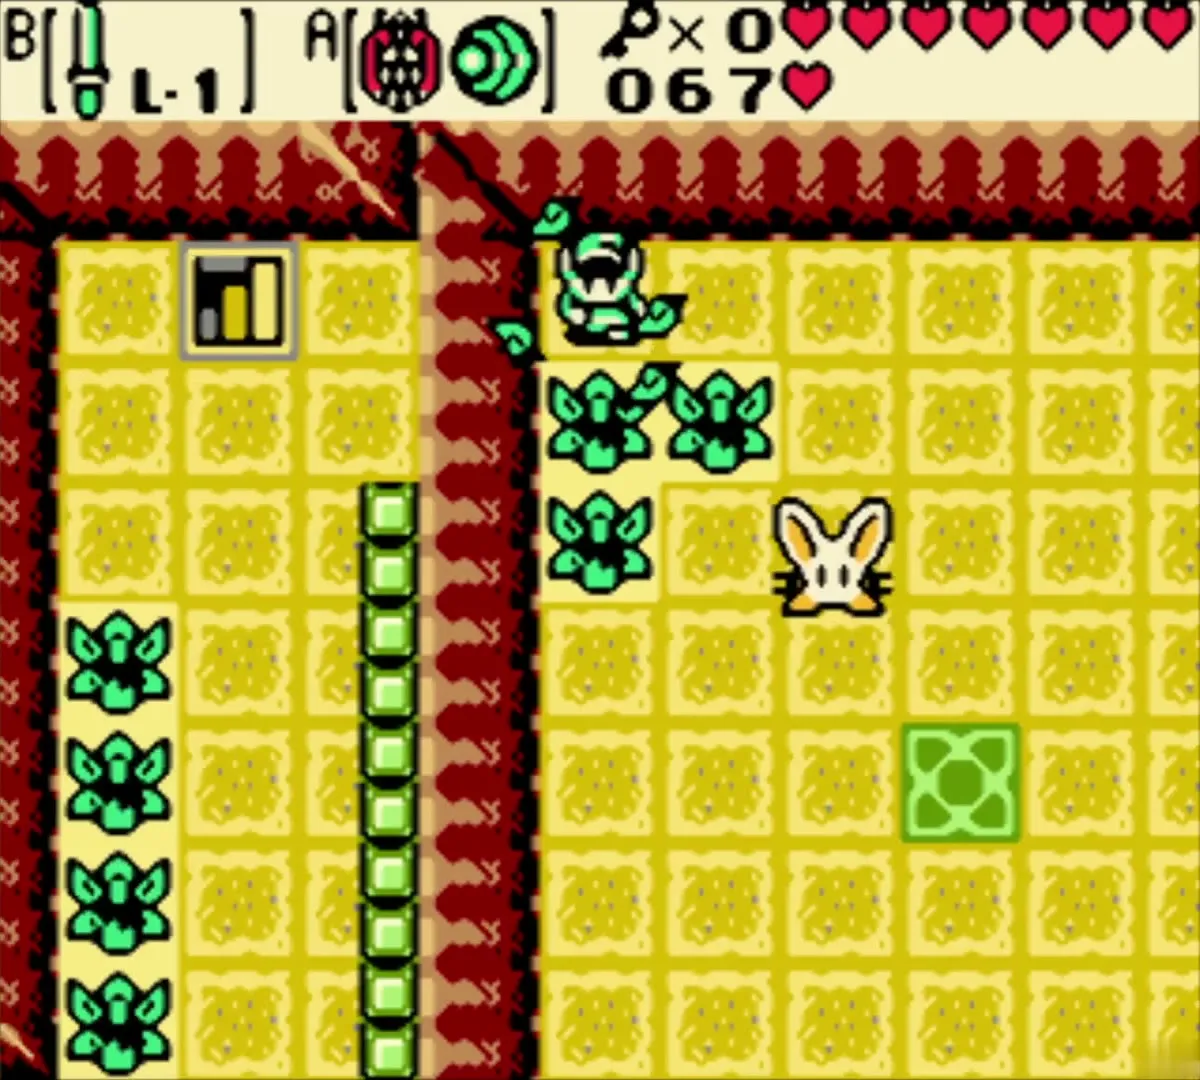
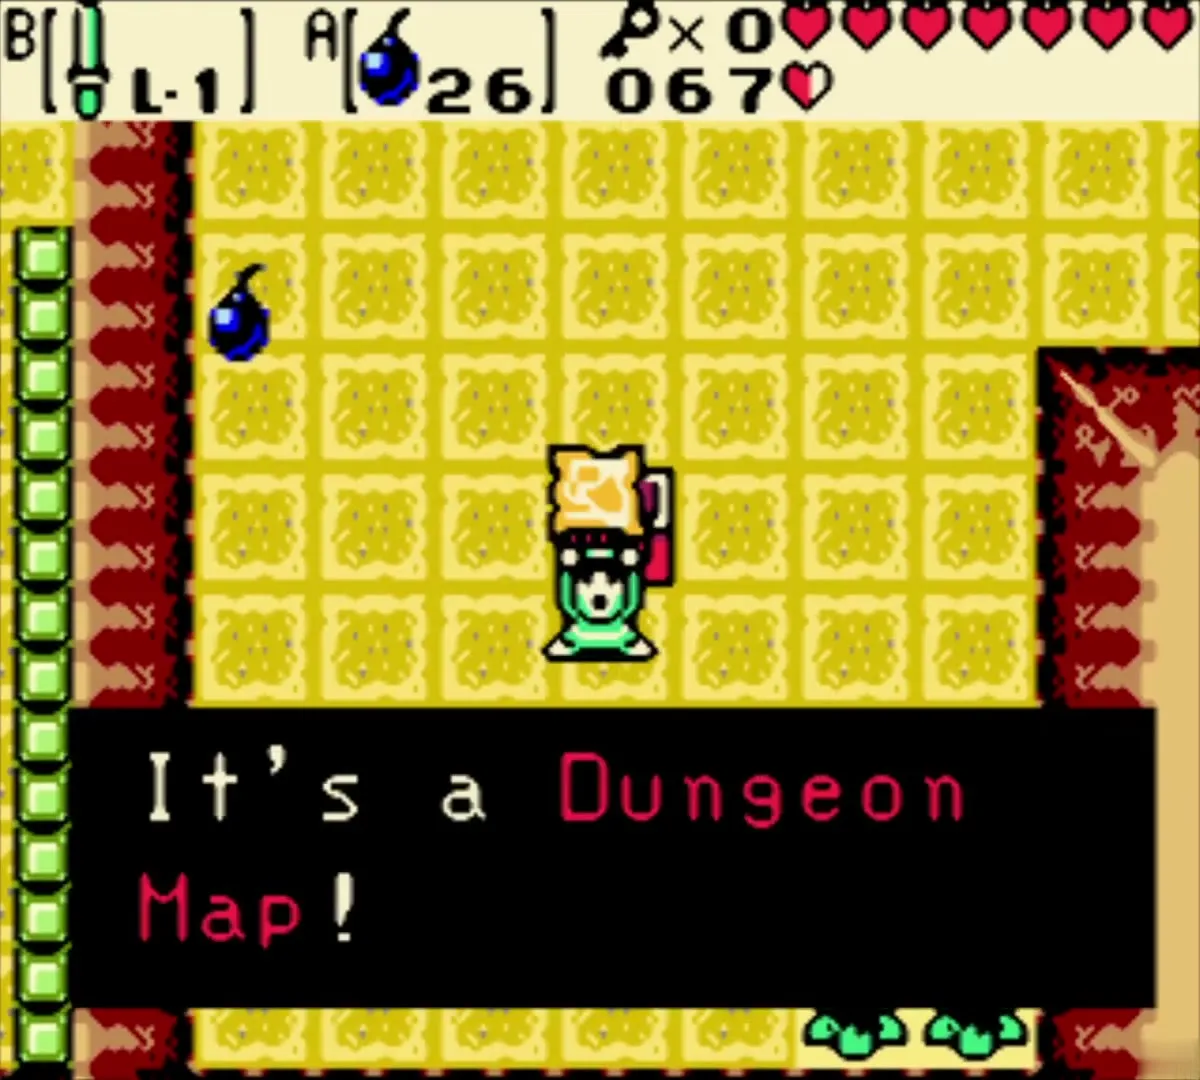
In the first rooms, cut the bushes, push the red blocks out of your way, and use a Bomb on the cracked block to open the west door. Bombs kill the hopping Pols Voice here, and so does a tune from the Harp of Ages. When it dies, a chest appears holding the Dungeon Map. The rest of the dungeon follows in the next chapter, Moonlit Grotto (Level 3).
Chapter checklist
| Type | Name | Where (era) |
|---|---|---|
| Key item |  Island Chart | Tingle, cliff ledge south-west of the fields (present) |
| Key item | Ricky‘s Gloves | Dug up on a sandy ledge beside a pond (present) |
| Companion | Ricky joins you | Grass field by the signpost (present) |
| Key item | Scent Seedling | Wild Tokay game, first prize (past) |
| Seeds | 18 Scent Seeds (new seed type) | Scent tree on Crescent Island (present) |
| Trade item | Tasty Meat, for the Stink Bag | Tokay chef, Crescent Island (present) |
| Gasha Seed | 1 from a chest | Cave beside the Cucco Hut, Crescent Island (past) |
| Soft soil | Planted | River ledge by the waterfall, Lynna Village (past) |
| Soft soil | Planted | High ledge on Crescent Island (present) |
| Minigame prize | 20 Rupees and 50 Rupees | Wild Tokay game, Crescent Island (past) |
| Recovered item | Shovel, Wooden Sword, Bombs, Zora’s Flippers, Roc’s Feather, Power Bracelet, Seed Satchel, Harp of Ages | Tokay of Crescent Island (past) |
| Fountain | Great Fairy | East of the beach crossing, Crescent Island (present) |
| Dungeon item | Dungeon Map (Moonlit Grotto) | Chest in the first rooms (present) |
