
























Twilight Princess 100% Completion Walkthrough23 chapters
- Hyrule Castle and the Ganondorf BattleEvery key and chest, then how to beat Puppet Zelda, Dark Beast Ganon, the horse chase and the final duel.
- Snowpeak Ruins (Dungeon 5)Every key, chest, Heart Piece and Poe Soul, the Ball and Chain, Darkhammer and the Blizzeta boss fight.
- Temple of Time (Dungeon 6)All keys and chests, the Dominion Rod, statue puzzles, Big Key, two Heart Pieces and Armogohma.
- City in the Sky (Dungeon 7)Every chest, Heart Piece and Poe, the Double Clawshots, Aeralfos, the Big Key and how to beat Argorok.
- Ordon VillageGoat herding, fishing rod, Sera’s bottle, slingshot, Wooden Sword, Faron Woods cave Heart Piece, Lantern.
- Enter the Twilight RealmEscape the cell as Wolf Link, meet Midna and Zelda, get the Ordon Sword and Shield, meet Ordona.
- Faron WoodsAll 12 Tears of Light, Faron Spring, Coro’s key and lantern oil bottle, and the Golden Wolf’s Ending Blow.
- Forest Temple (Dungeon 1)All 8 monkeys, 4 small keys, Map, Compass, Big Key, 2 Heart Pieces, Ook, Gale Boomerang and Diababa.
- Hyrule Field, Kakariko Gorge and Twilight Kakariko12 Tears of Light, Epona, Pill Bugs, Heart Pieces.
- Iron Boots, King Bulblin and Death MountainIron Boots from Mayor Bo, the King Bulblin bridge fight, Golden Bugs and Gor Coron’s sumo match.
- Goron Mines (Dungeon 2)Every chest, both Heart Pieces, the Hero’s Bow, three Key Shards, Dangoro and Fyrus boss tactics.
- Lanayru Province, Castle Town and Zora’s DomainKakariko extras, Bridge of Eldin bugs, Castle Town, Lake Hylia, thawing Zora’s Domain and all 12 Tears of Light.
- Telma Escort, Castle Town and Lake Hylia Side QuestsTelma escort, Zora Armor, Water Bombs, 9 Golden Bugs, Agitha, Charlo, fishing, Rapid Ride and the Lakebed entrance.
- Lakebed Temple (Dungeon 3)Small keys, map, compass, Big Key, two Heart Pieces, Clawshot, Deku Toad and Morpheel boss tactics.
- Midna, Zelda and the Master SwordTelma’s Bar to Zelda, the Sacred Grove, Skull Kid, the guardian puzzle, plus its Heart Piece, Poe and Golden Bug.
- Poe Soul Collection, Malo Mart and Heart PiecesThe first 29 Poe Souls, Jovani’s rewards, Malo Mart donations and Magic Armor, Miiverse stamps and five Heart Pieces.
- Gerudo Desert and the Bulblin CampOasis Flight, eight Poe Souls, both Dayflies, Mortal Draw, Bulblin Camp and King Bulblin.
- Arbiter’s Grounds (Dungeon 4)Four Poe Souls, Dungeon Map, Compass, Spinner, Big Key, two Heart Pieces and the Stallord boss fight.
- Mirror Chamber, Reekfish and Snowpeak MountainMirror Chamber, Spinner Heart Pieces, Reekfish bait, Jump Strike, Poe Souls and the climb to Yeto.
- Heart Pieces Hunt and Return to the Sacred GroveTwo Heart Pieces, Rusl, the Skull Kid rematch, the last Golden Bug and the Temple of Time door.
- Ilia’s Memory, Hidden Village and the SkyIlia’s memory, 20 Bulblins, 20 cats, six Sky characters, Great Spin and the Sky Cannon repair.
- Palace of Twilight (Dungeon 8)Both Sols, all seven small keys, map, compass, Big Key, 2 Heart Pieces and how to beat Zant.
- Cave of OrdealsAll 50 floors, the 3 Poe Souls, every Great Fairy, buried items, the Tears and Jovani.
| Covers | Hyrule Field (Faron side), Kakariko Gorge in the Twilight, Kakariko Village, the Death Mountain trail, Kakariko Gorge in daylight |
|---|---|
| Dungeon | None. The Light Spirit Eldin and the Vessel of Light take the dungeon’s place. |
| Rewards | Vessel of Light filled with 12 Tears of Light, Epona back, Youth’s Scent, 2 Heart Pieces (#6 and #7 on the Heart Piece list), 4 Golden Bugs (Male and Female Beetle, Male and Female Pill Bug), a Howling Stone and the Shield Attack hidden skill |
This chapter takes you from the Forest Temple warp out across Hyrule Field, into the Twilight over Kakariko Gorge, through the Eldin Twilight in Kakariko and up the Death Mountain trail, and ends with Epona at your side and a trip home to the Golden Wolf. The shortest route is: cross the field to the wall of Twilight, follow the Youth’s Scent, restore the bridge, collect 12 Tears of Light, then ride Epona back. Everything else here is optional but easy to collect while you are in the area.
Table of Contents
Hyrule Field (Faron side)
Leave Faron Woods and enter Hyrule Field
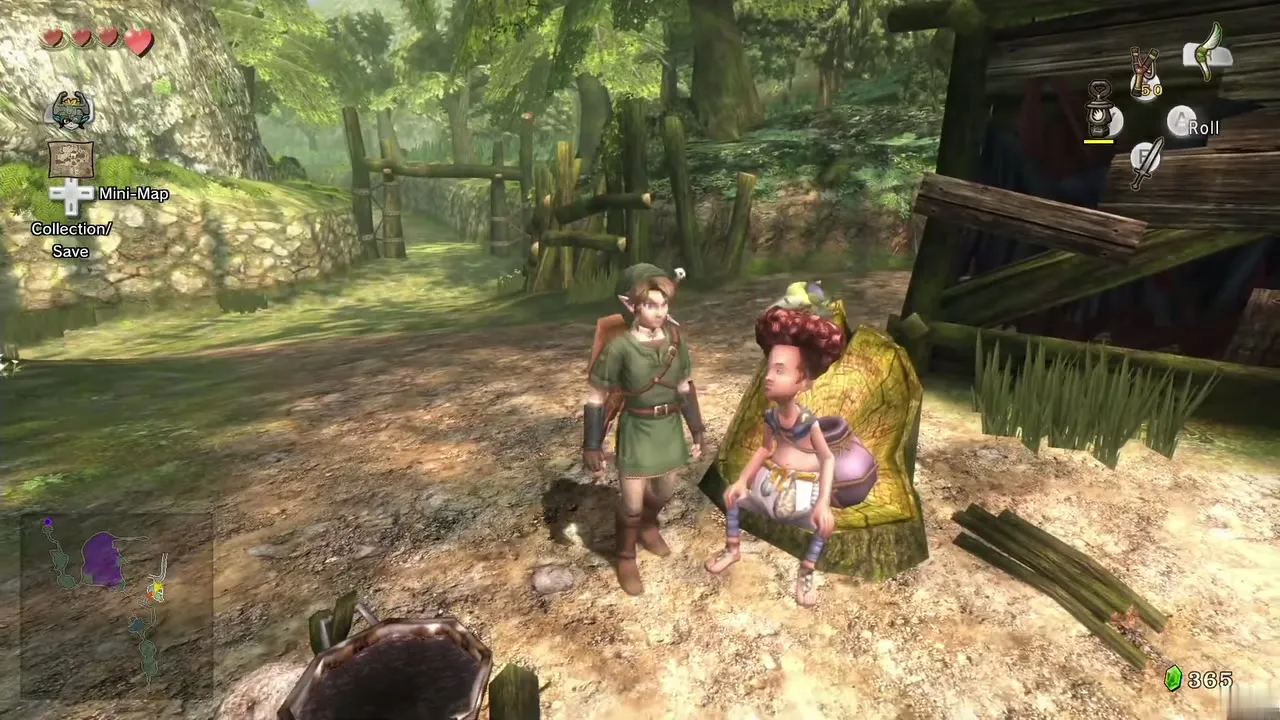
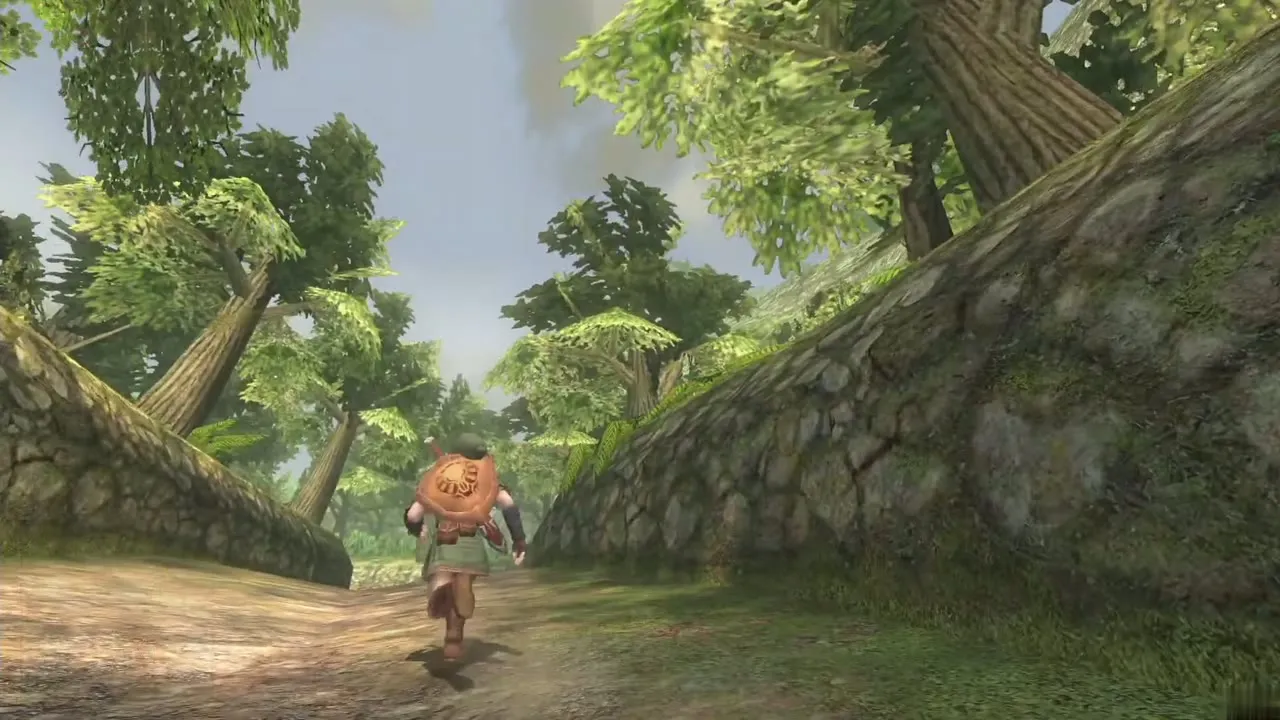
After the Forest Temple you reappear in the woods right outside Trill’s shop. Top up your lantern oil there (20 Rupees) or at Coro’s if you need it. Faron tells you to head for the lands of the spirit Eldin, so walk back past Coro’s house and out through the gate that used to be shut. A couple of Bokoblins wait at the entrance, so deal with them before you walk into the open field.
Heart Piece #6 near the first bridge
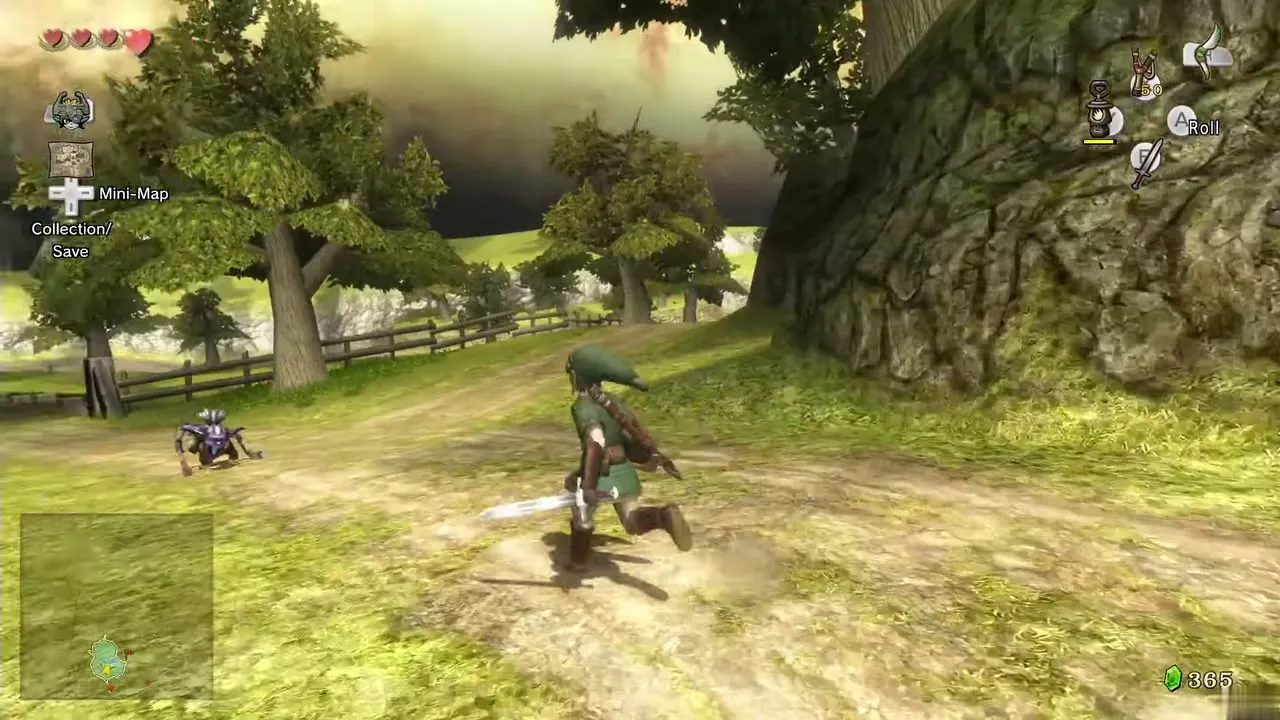
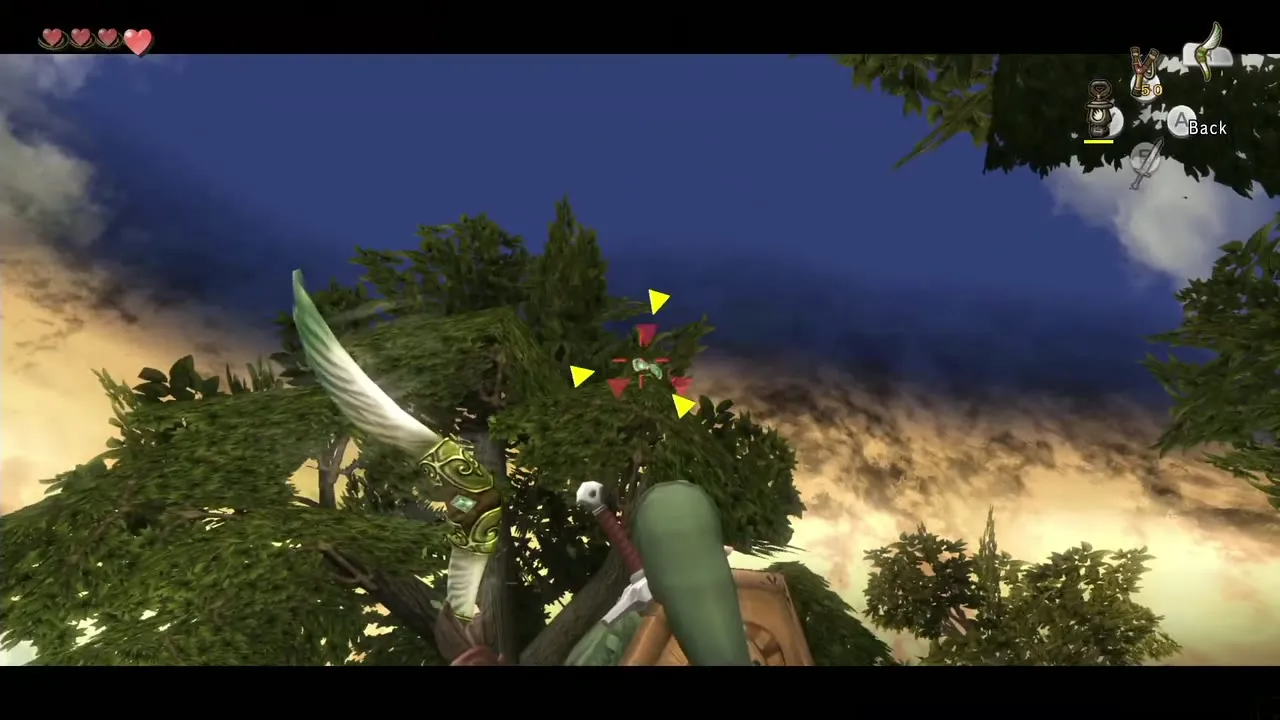
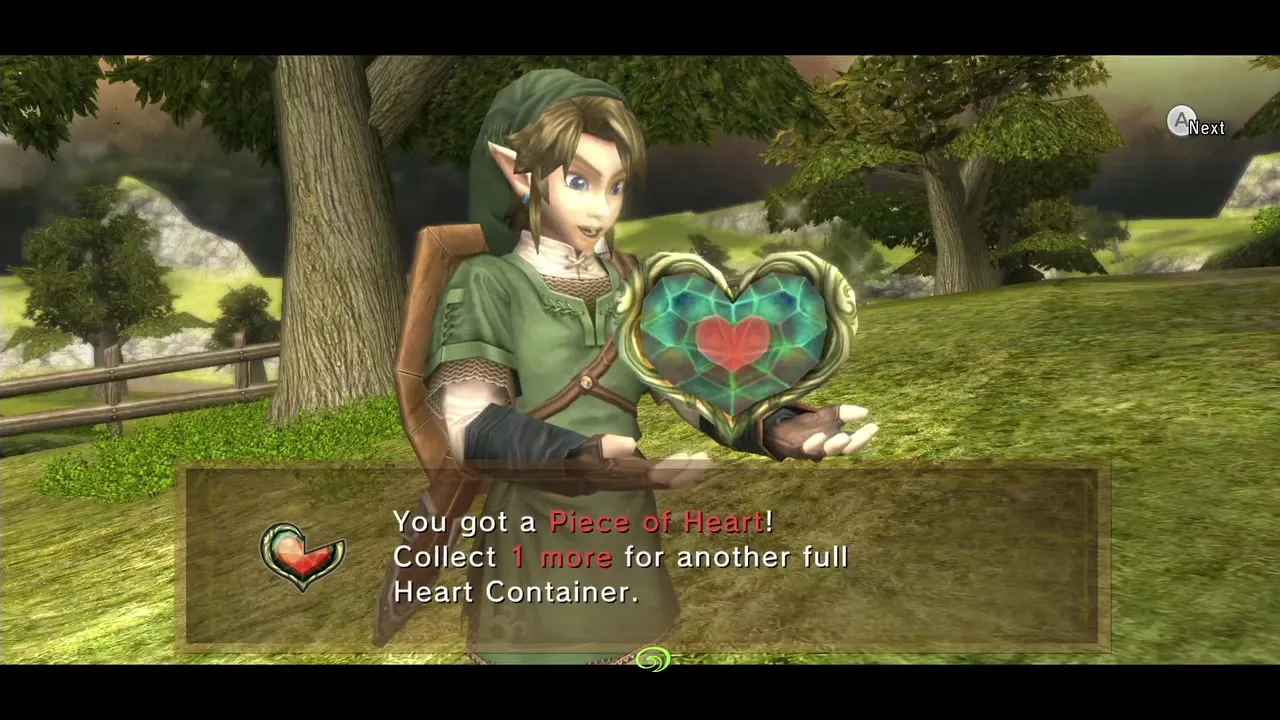
Follow the dirt path north until the road splits, one branch bending left and the other crossing a stone bridge. At the split a tree stands beside the road with a Piece of Heart floating in its branches. Aim the Gale Boomerang at it to pull it down. It is #6 on the Heart Piece locations list, which numbers all 45.
Male and Female Beetle (Golden Bugs)
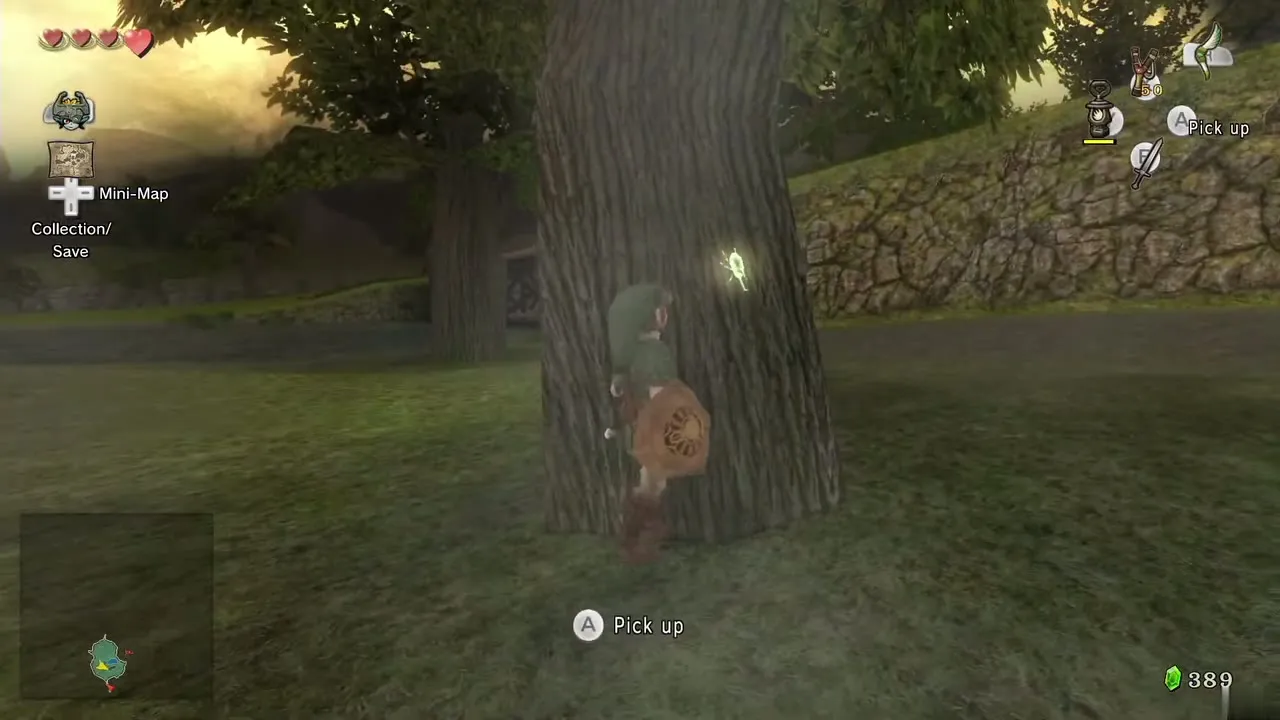
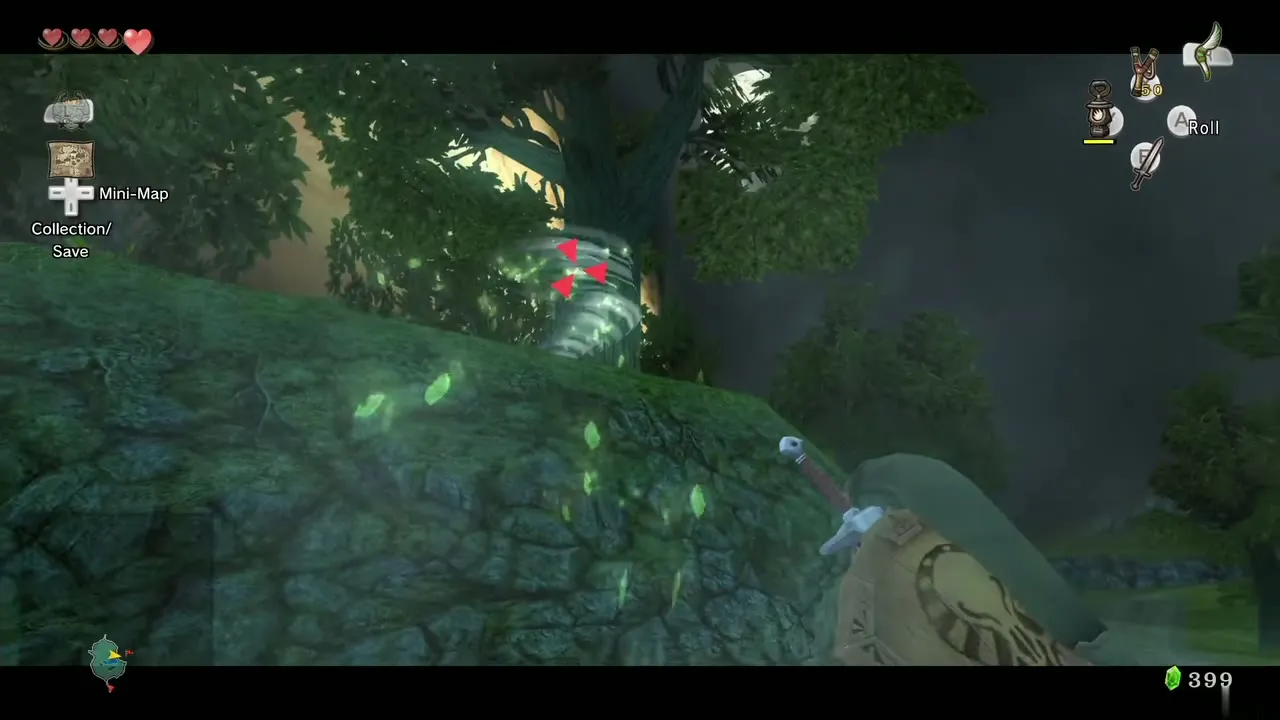
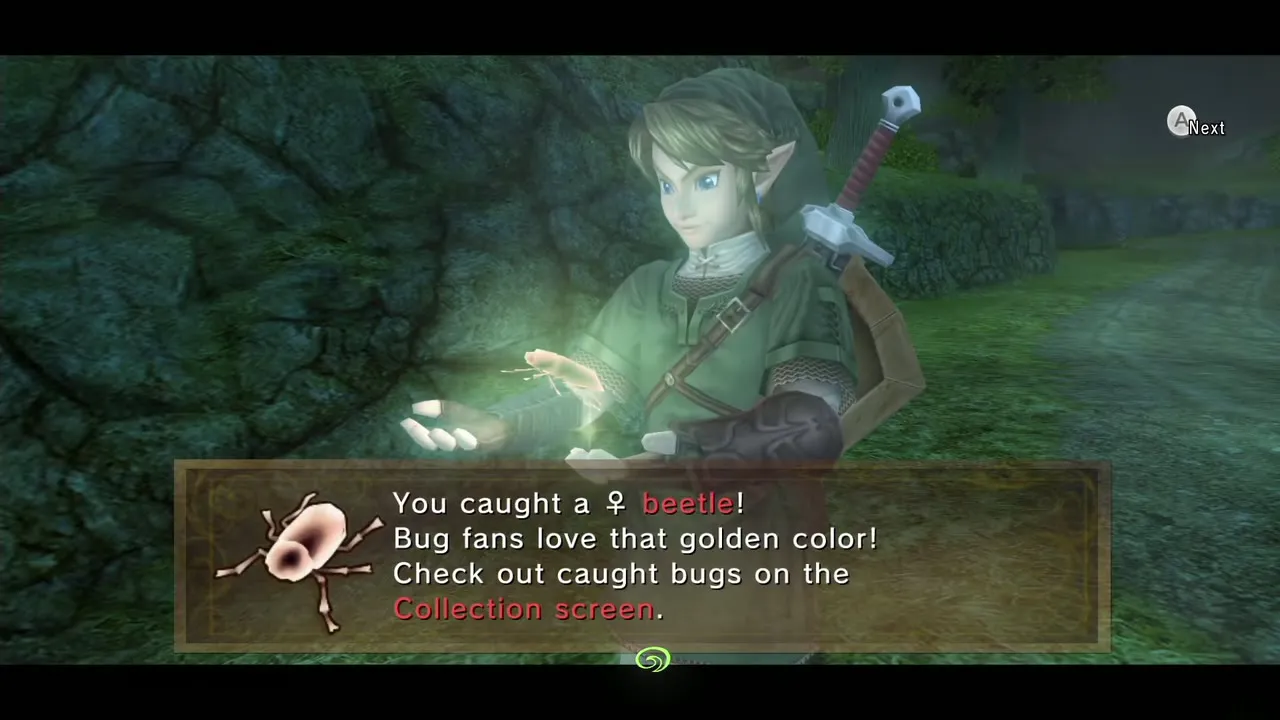
Return to the road near the field entrance and walk north, then veer slightly off the path to where the ground changes height. A lone tree on the right of the path has a golden glint at the base of its trunk. Roll into the tree a few times to shake the Male Beetle loose, then chase it and press A when you are close. Golden Bugs glow brightly at night, but they can be found by day too.
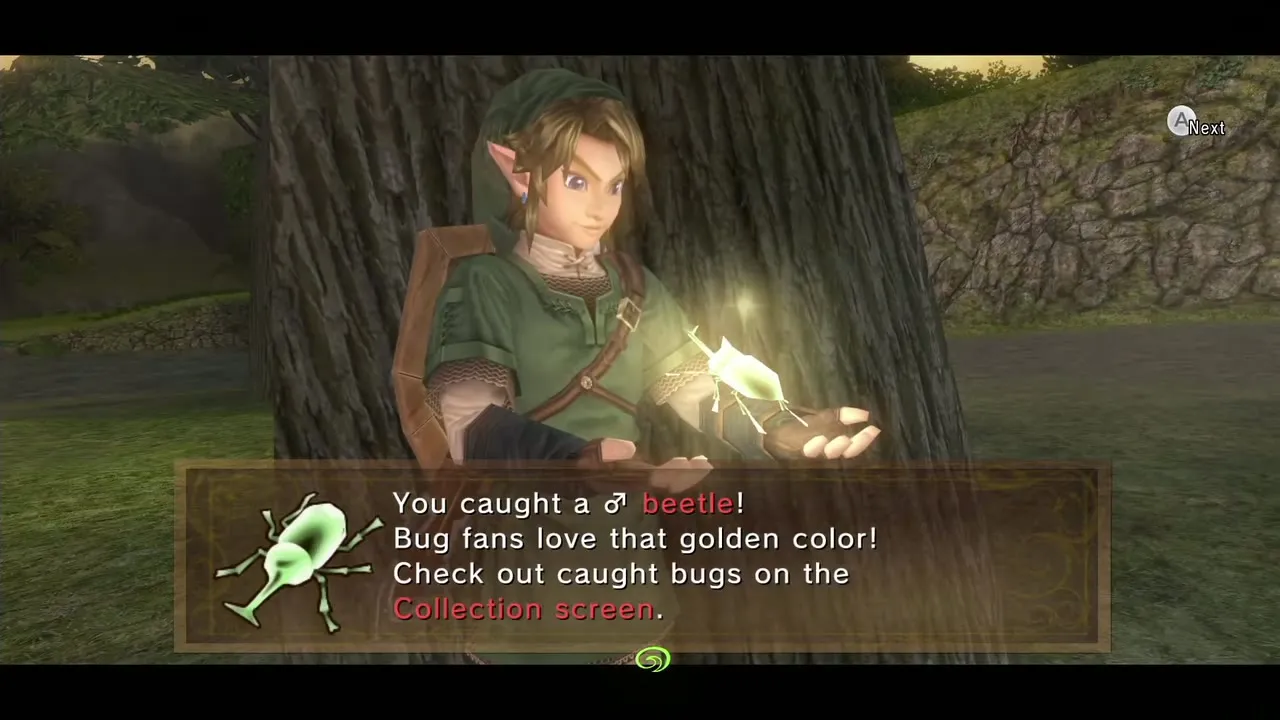
The Female Beetle sits on a tree trunk on a raised ledge in the northeast part of the field. You cannot climb to it, and she is on the trunk’s north side, so approach along the path walking from north to south until she is visible. Target her with the Gale Boomerang and she is pulled to you. You will hand all bugs to Agitha later; see Golden Bug locations.
Field enemies and the Postman
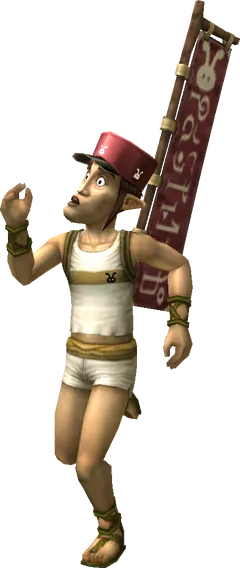
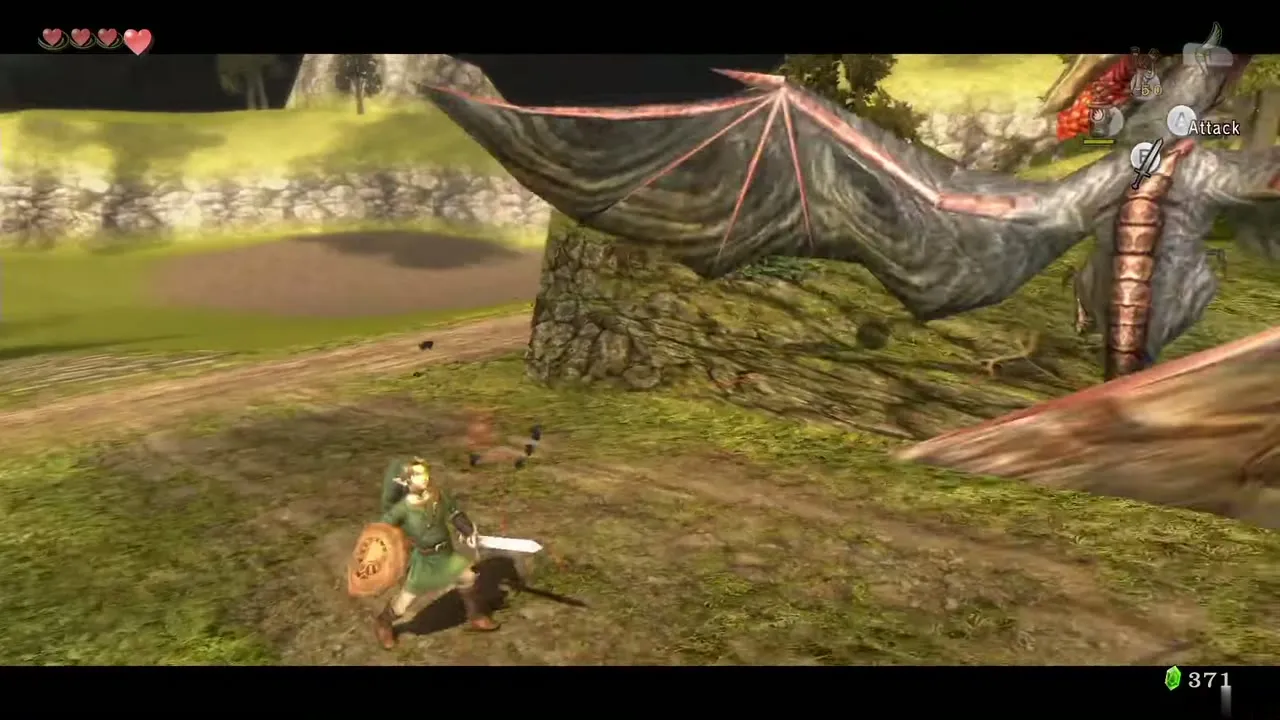
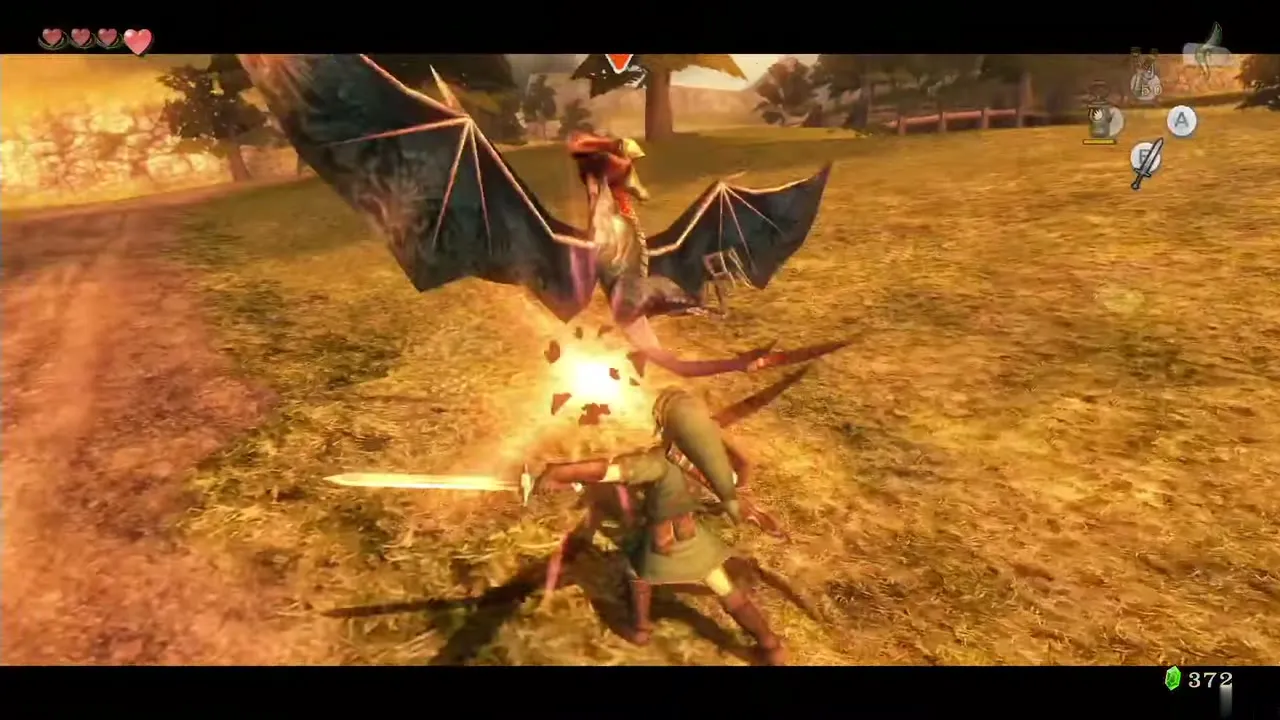
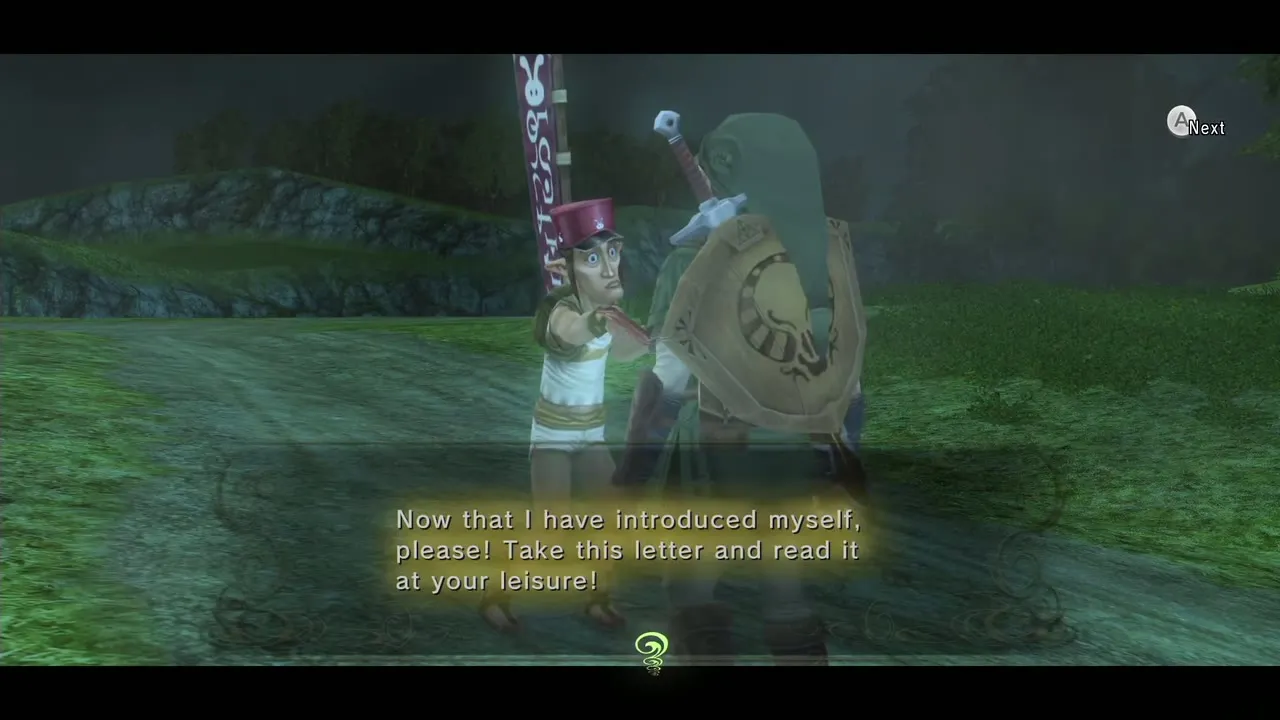
On the way you meet Kargaroks overhead, Bokoblins, and Bomskits, which run about and drop small explosive eggs when you get close. A defeated Bomskit leaves worms on the ground; scoop them into an empty bottle for fishing bait. After dark a Stalhound can appear and falls to a few sword strikes. Head east and the Postman stops you to hand over his introductory letter.
Into the Twilight
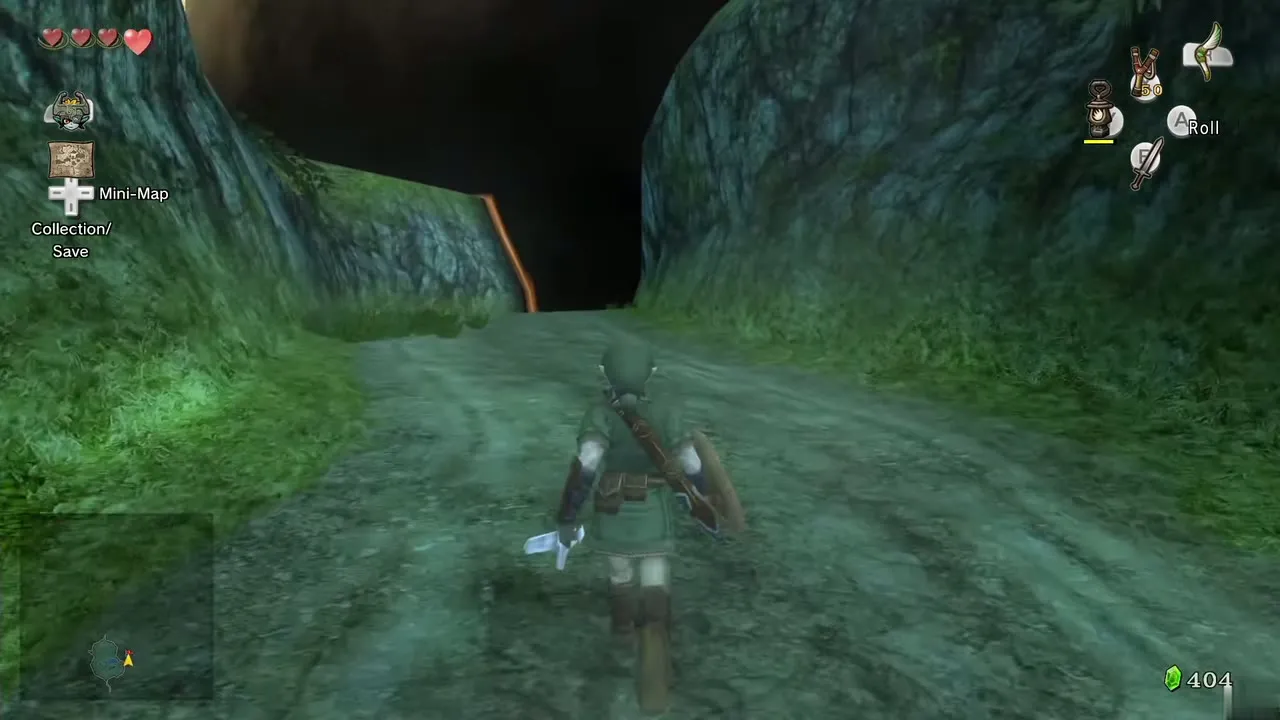
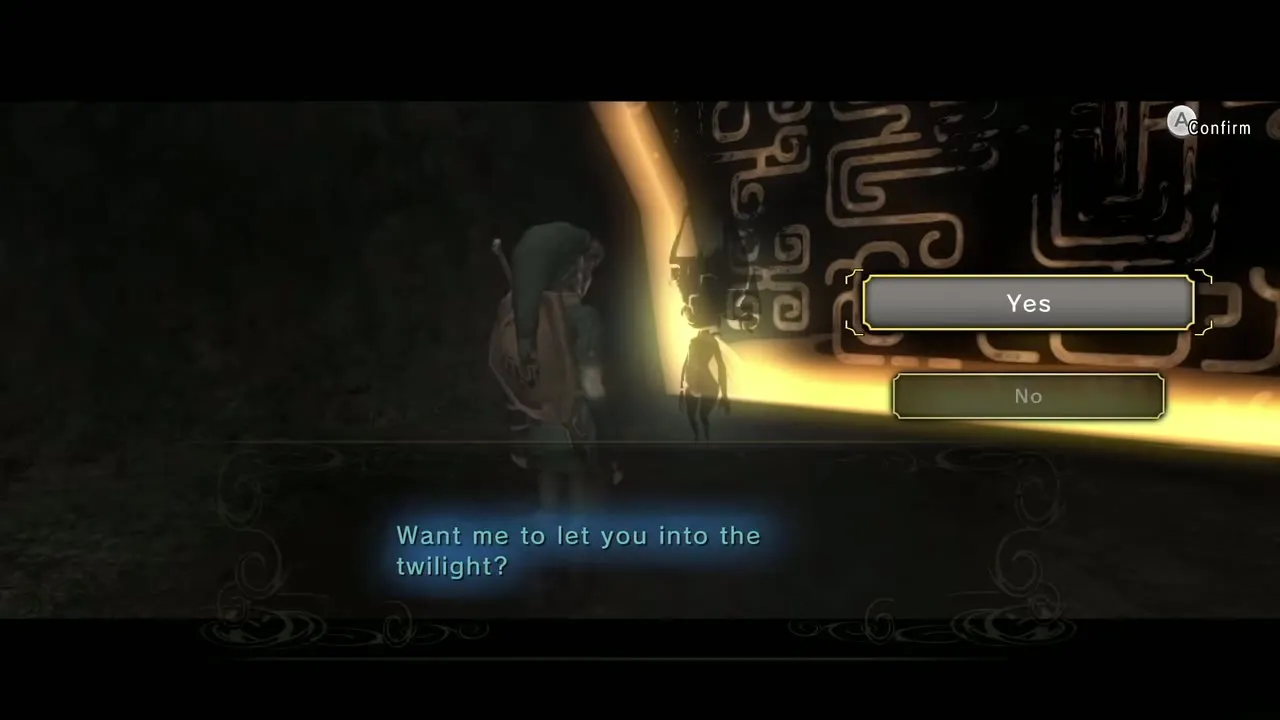
Keep going until you reach the wall of Twilight over Kakariko Gorge. Midna asks if you are ready; step forward and she pulls you in. Link becomes a wolf, so the sword and shield are gone until the light returns.
Kakariko Gorge in the Twilight

Follow the Youth’s Scent
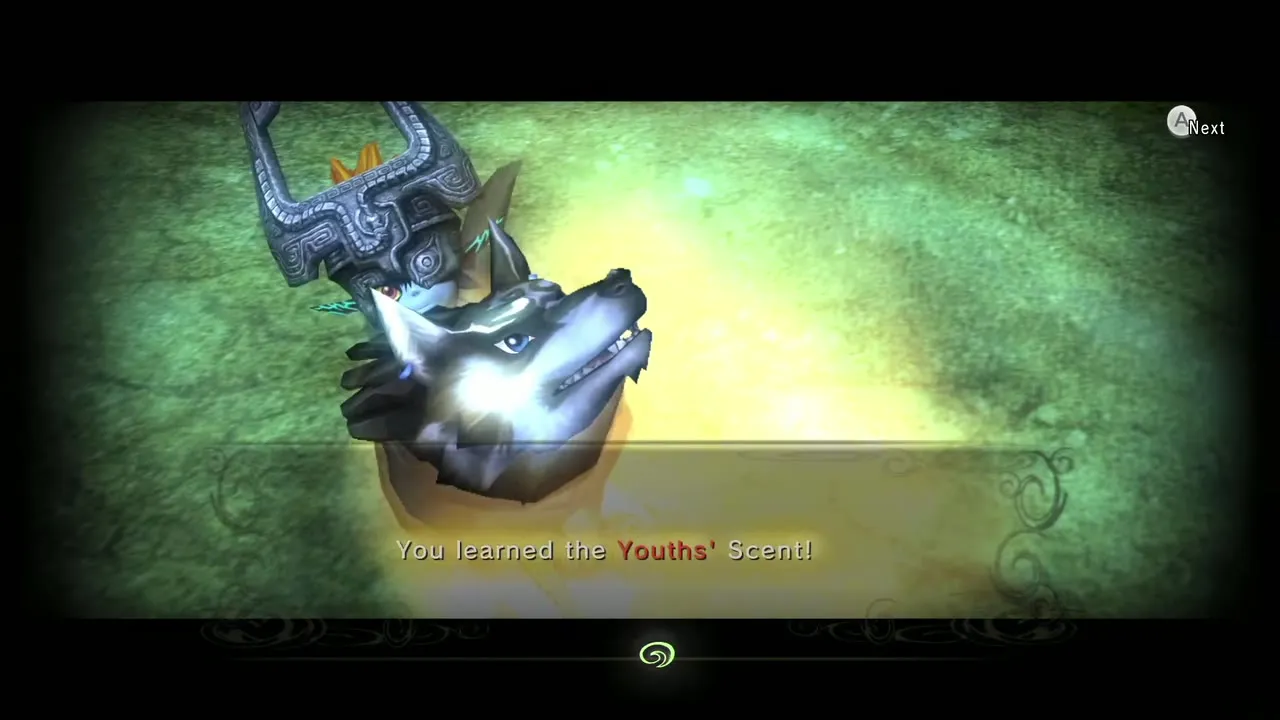
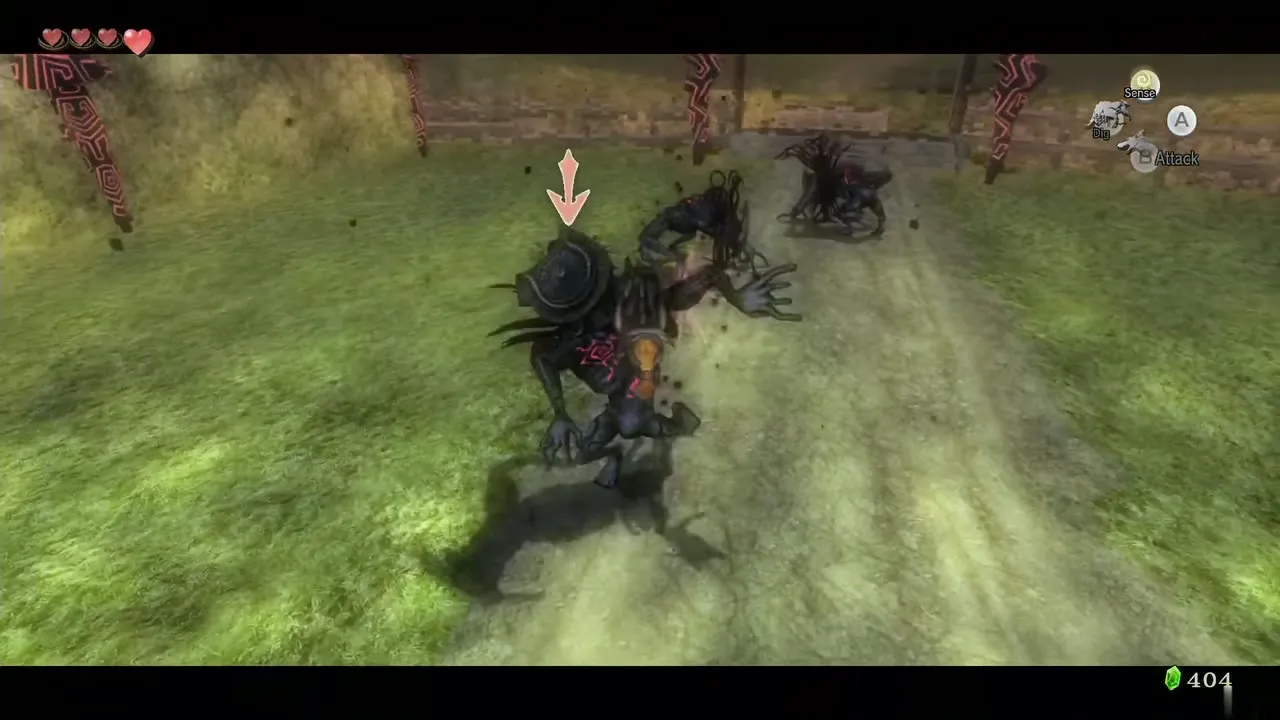
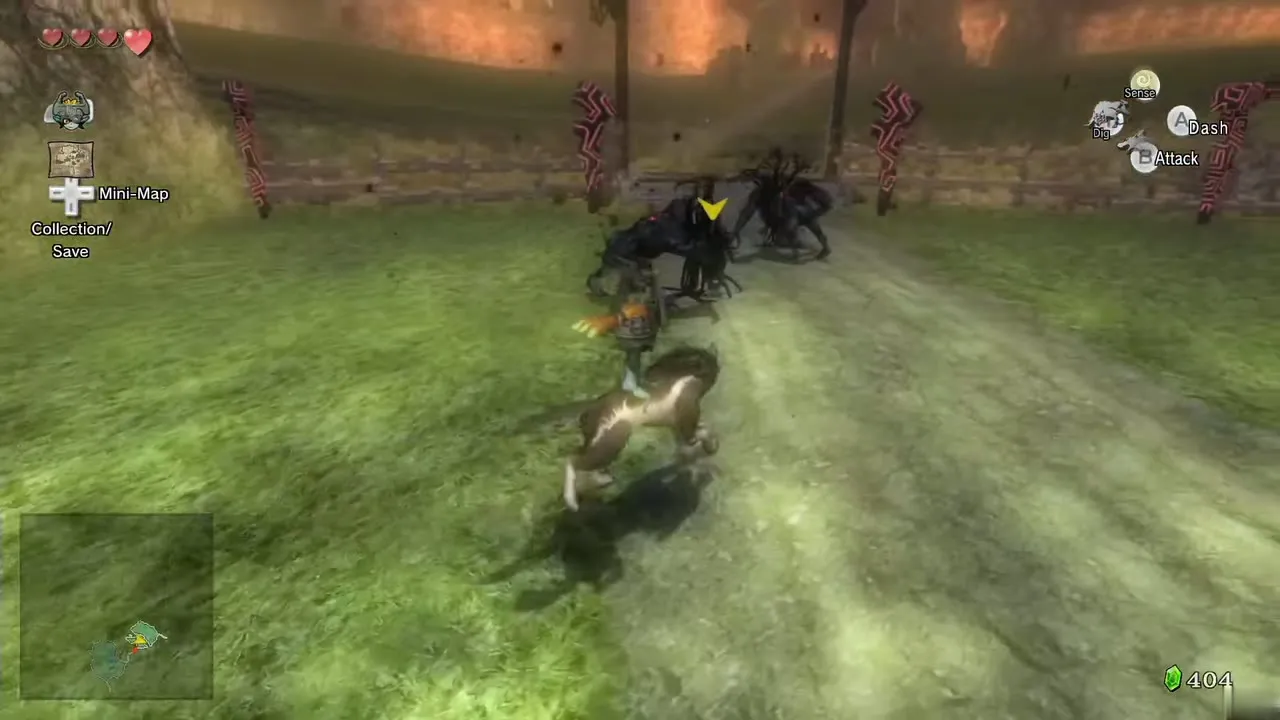
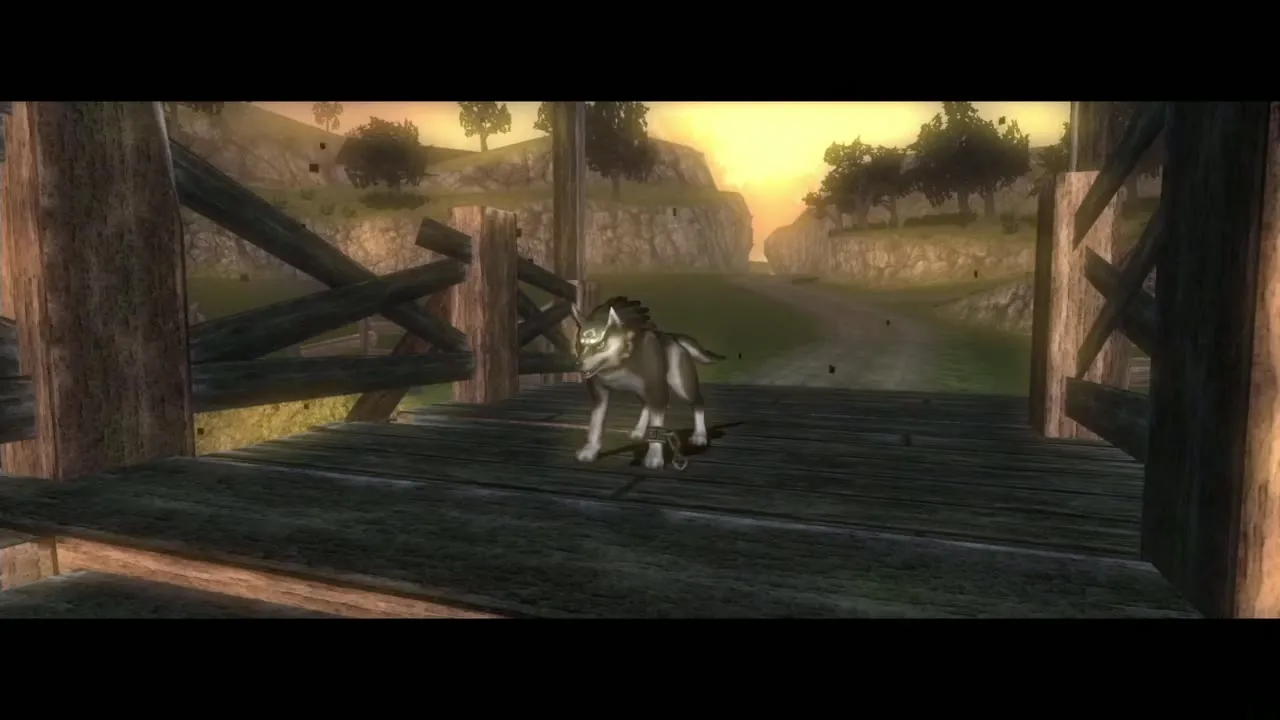
Run ahead to find the wooden sword you gave Talo lying on the ground. Sniff it with your wolf senses to gain the Youth’s Scent; the trail of the Ordon children now shows up whenever your senses are on. Follow it down the gorge and defeat the three Shadow Beasts that block the road. Leave none alive, or they will not vanish.
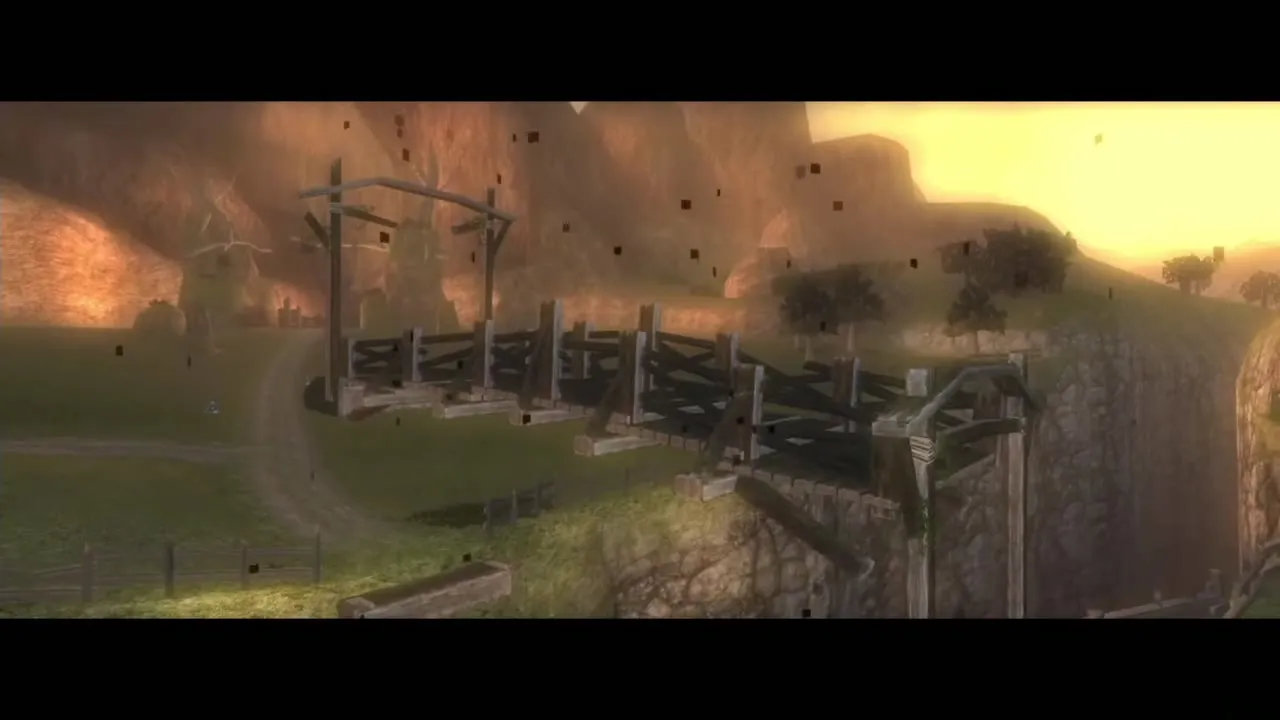
Find the missing bridge piece
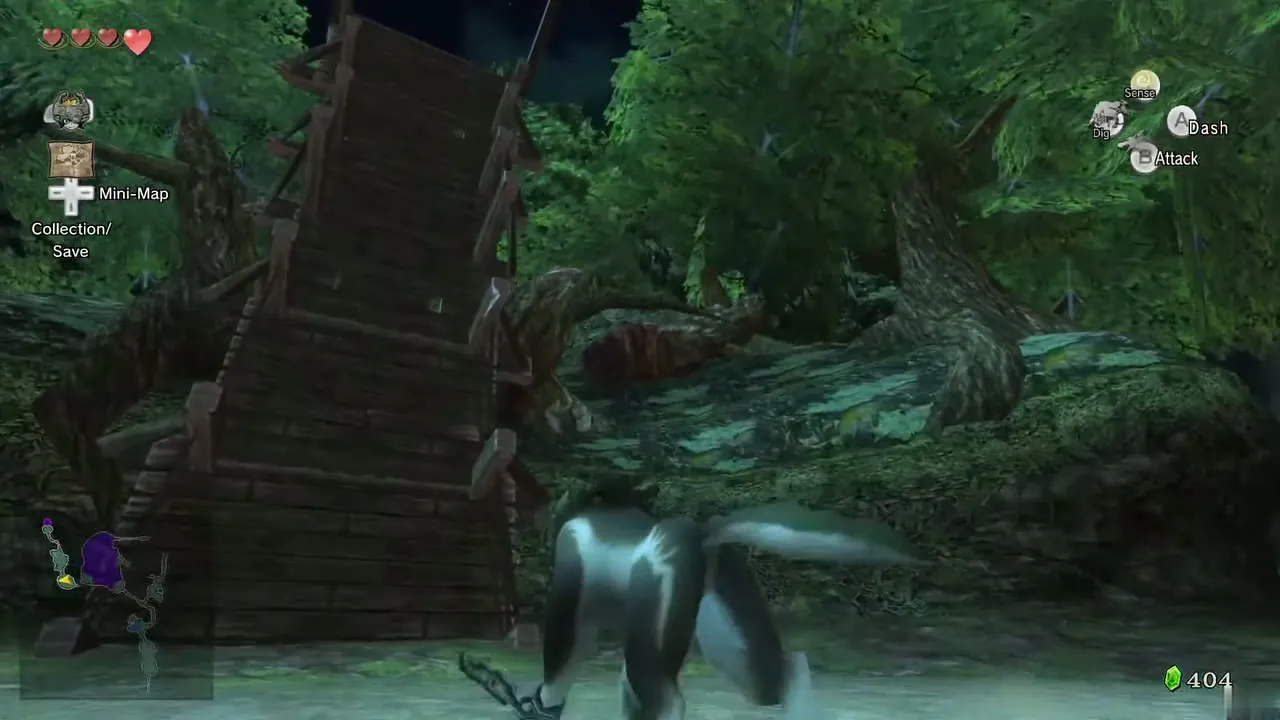
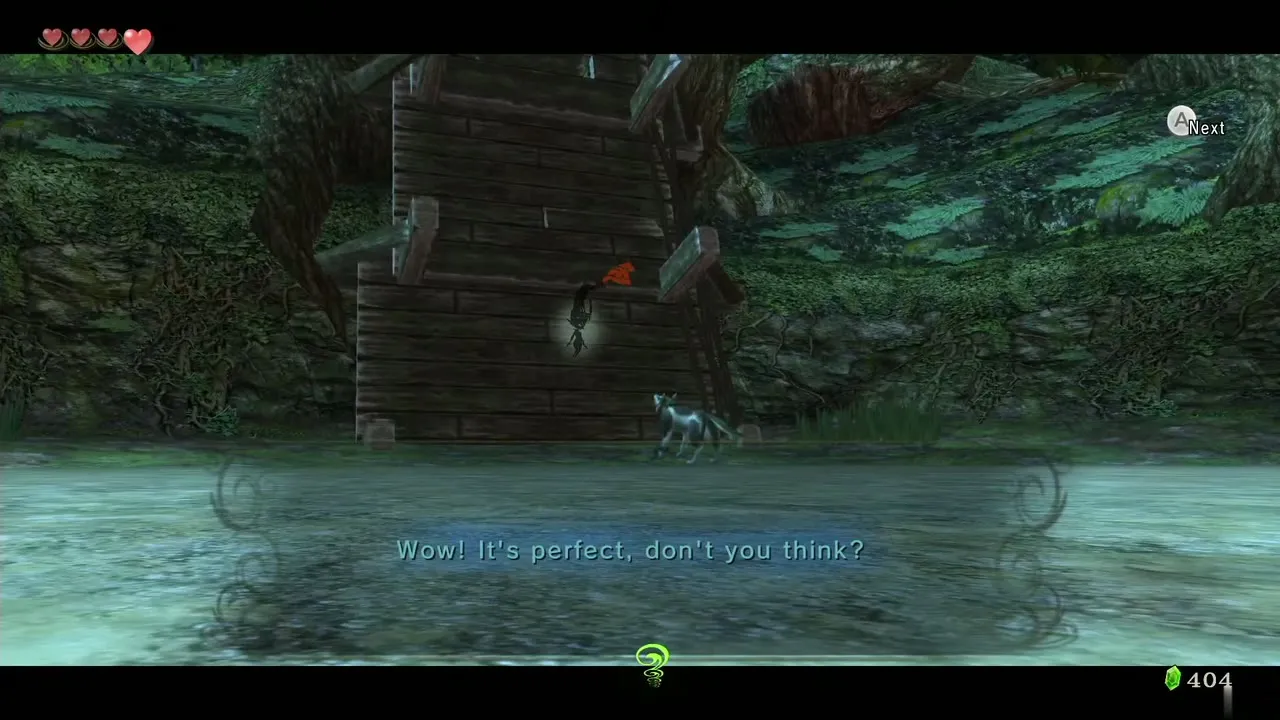
The bridge ahead is broken. Midna explains that the portals left by defeated Shadow Beasts work as warp points for Wolf Link. Open the map and warp to the portal in North Faron Woods, where the Kakariko Gorge bridge piece lies right beside you. Talk to Midna, then warp back to the gorge and she sets the piece in place.
Dig under the gate
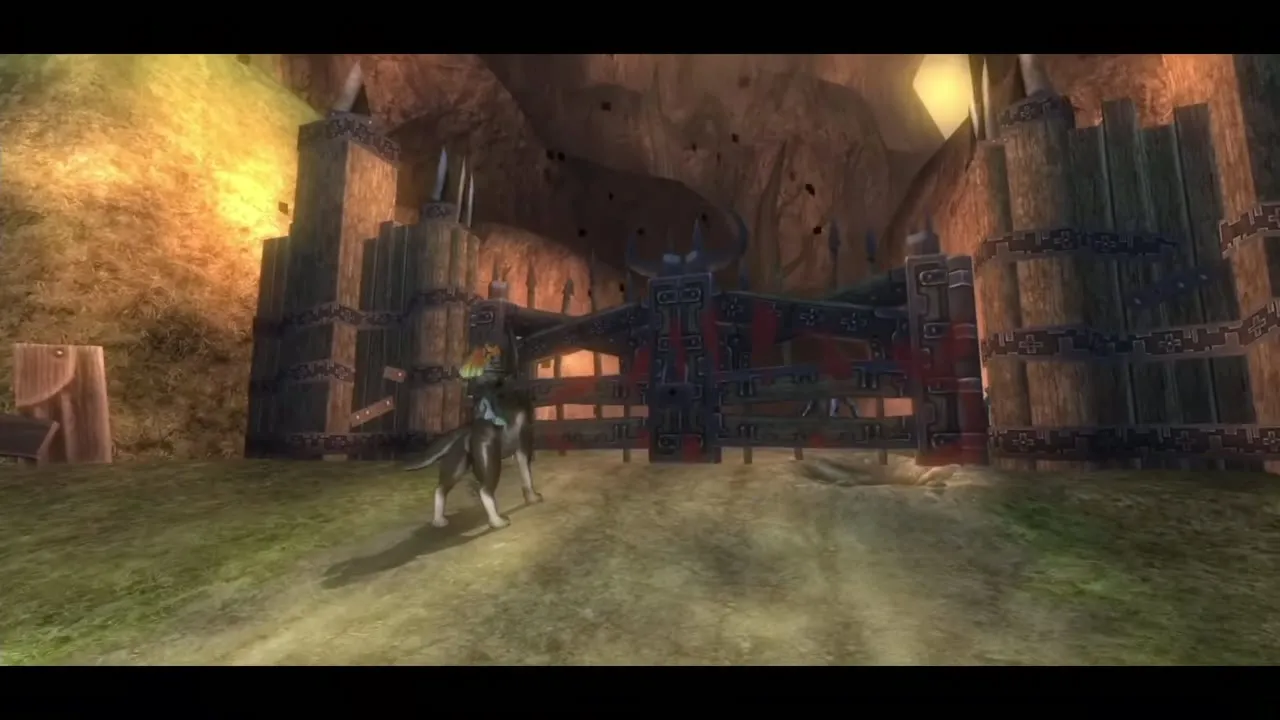
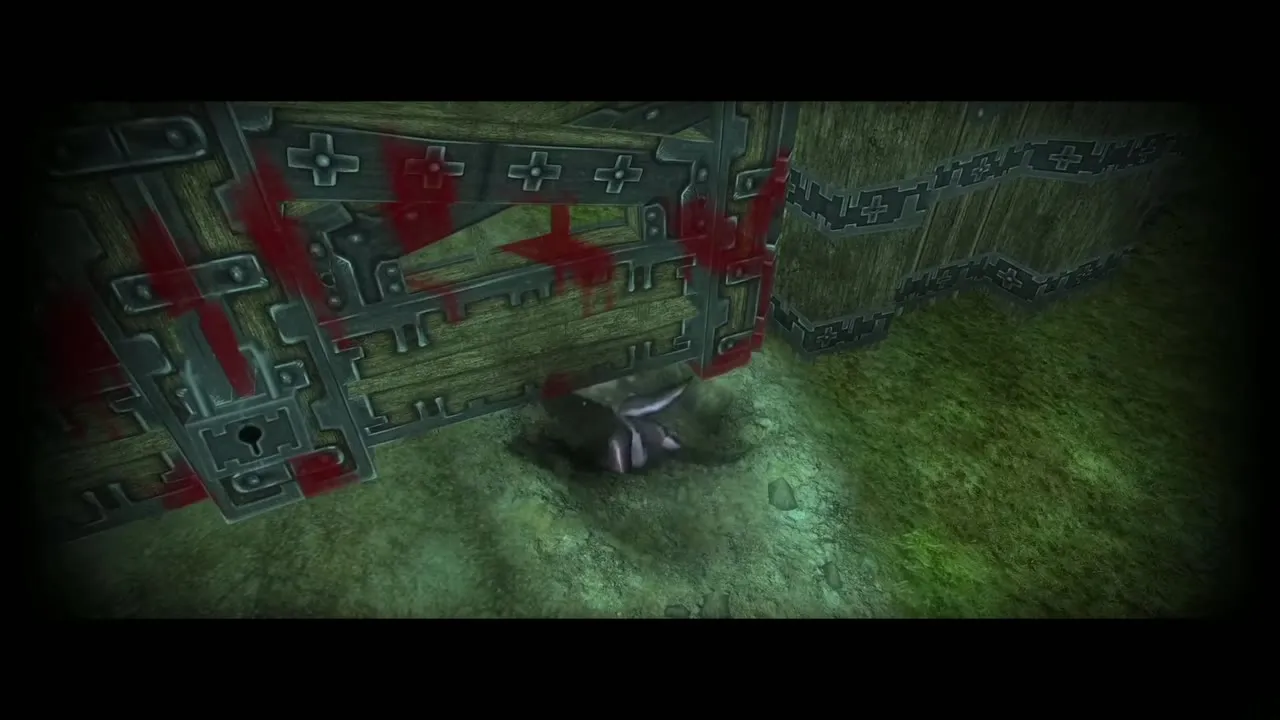
Keep tracking the scent across the bridge to the gate at the end of the gorge. Dig into the soft ground beside it to tunnel underneath, then walk on into Kakariko Village.
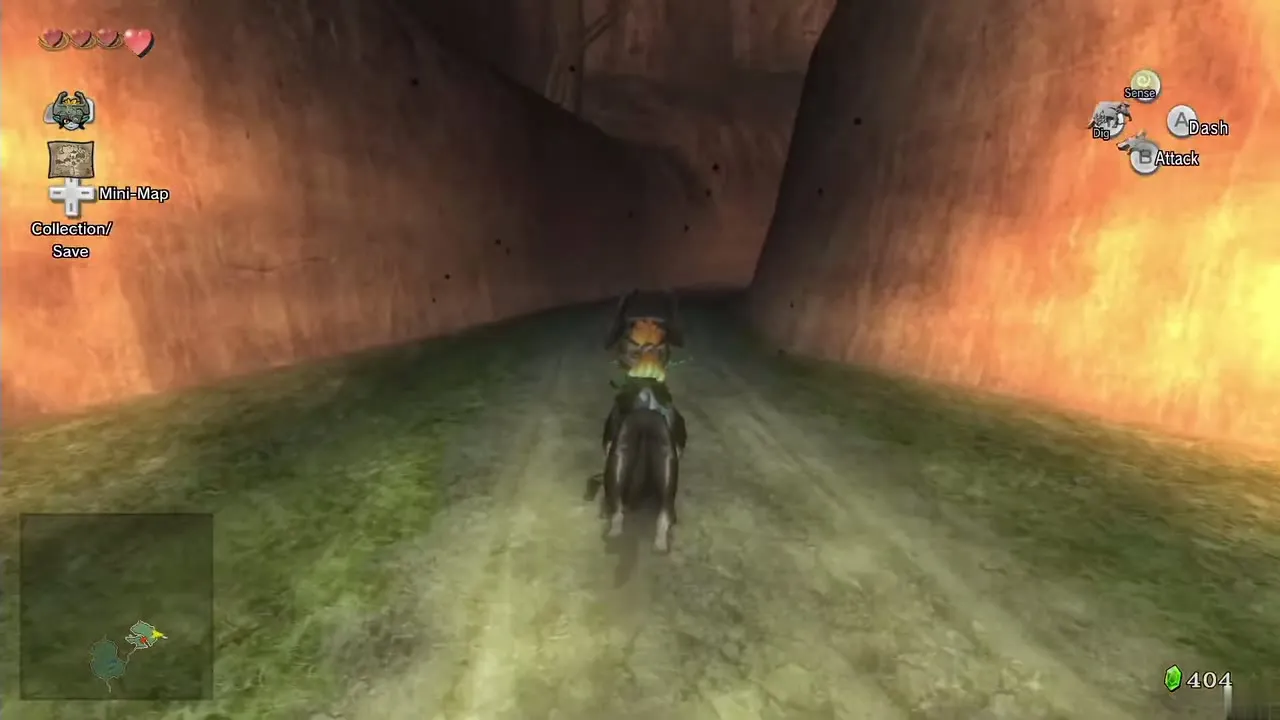
Twilight Kakariko Village and the Tears of Light
Awaken the Eldin Spring
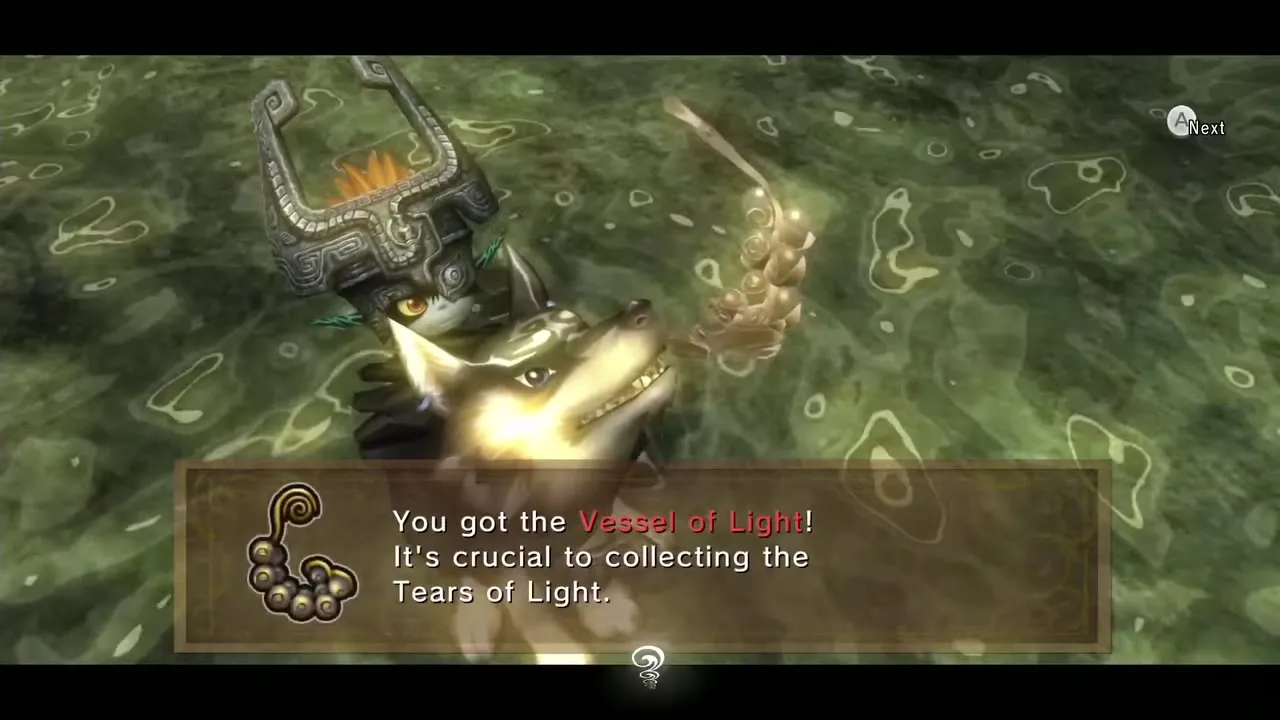
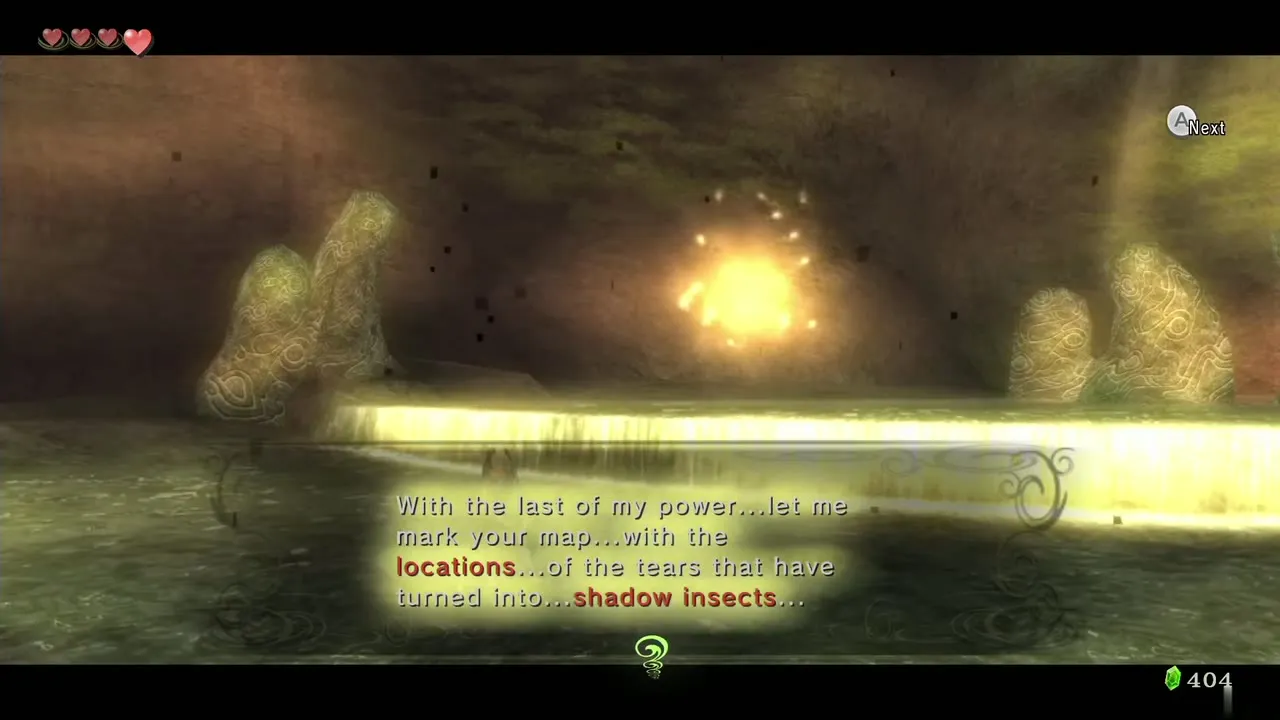
Three more Shadow Beasts attack as you enter the village. Defeat them to open another warp portal, then go to the spring where the Light Spirit Eldin appears and gives you the Vessel of Light. Twilight Princess HD has 12 Tears of Light here, down from 16 in the original, and your map marks each Shadow Insect. The Tears of Light page has the overview.
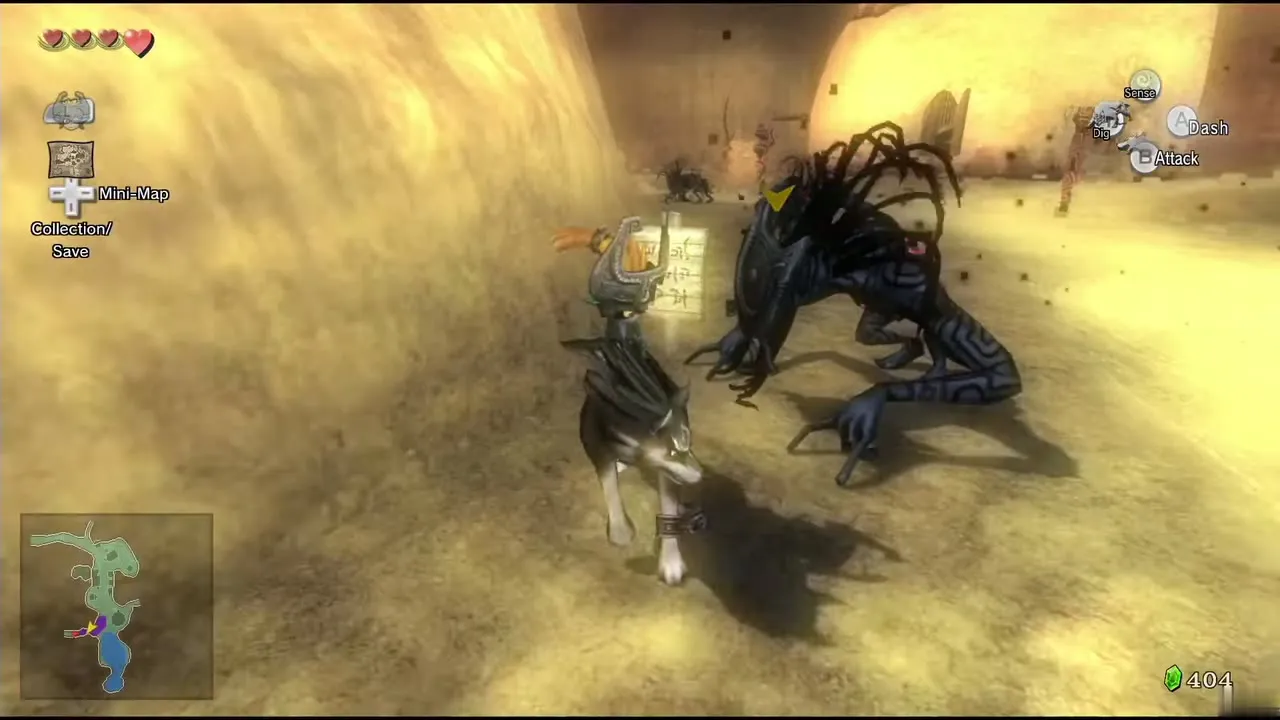
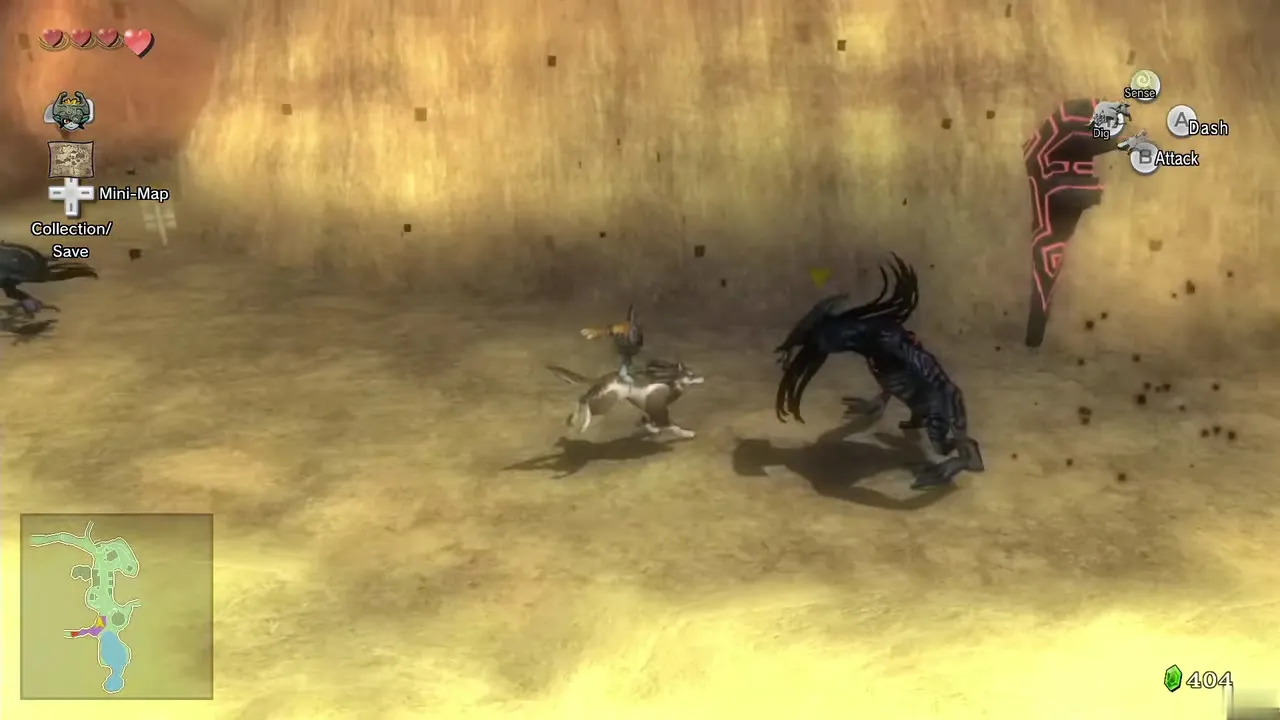
Renado’s house and the cellar (Tears 1 to 3)
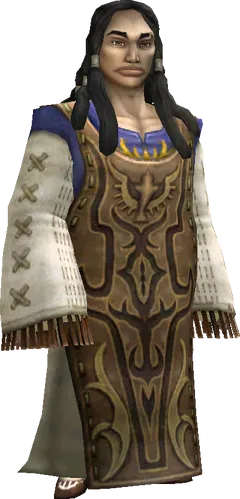
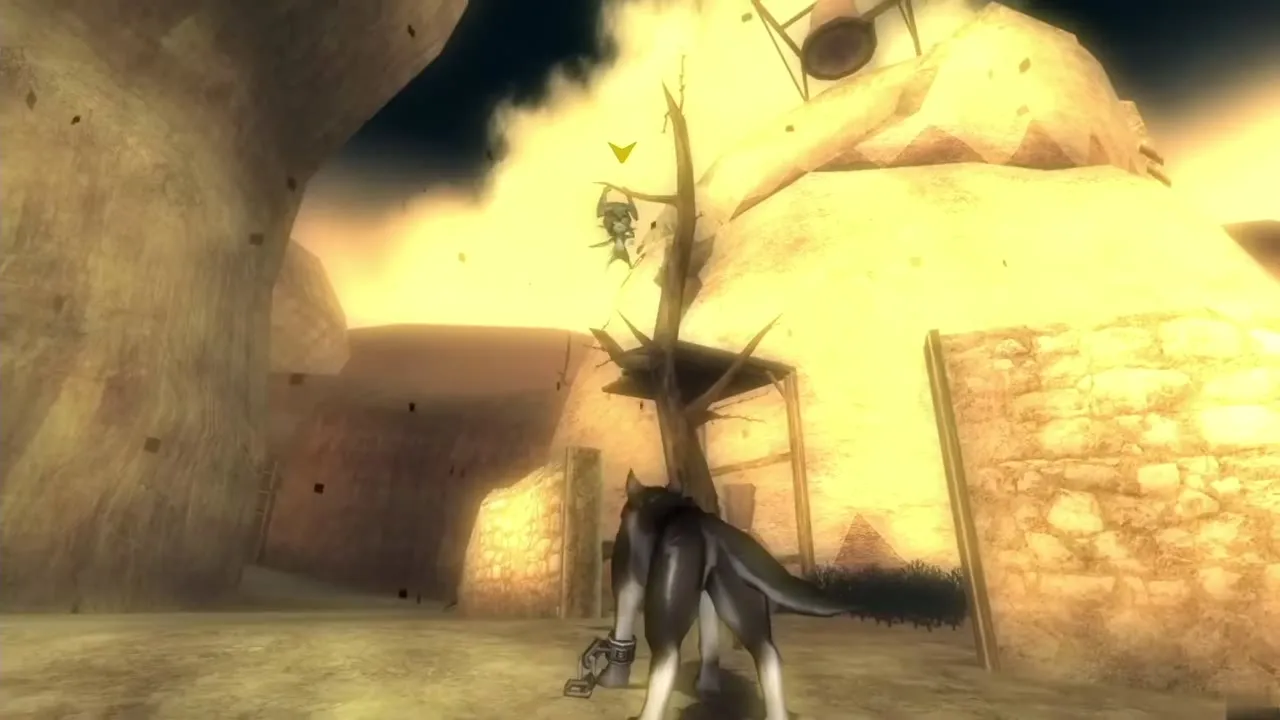
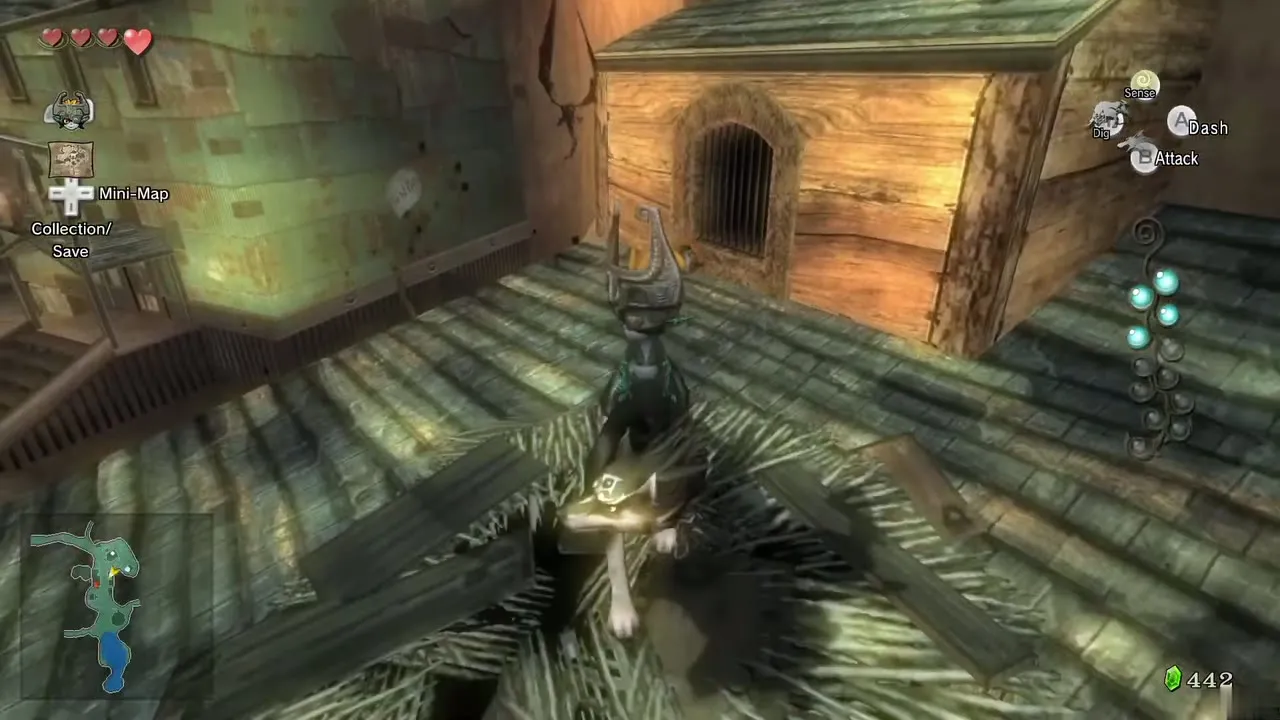
Stand at the north side of the large house beside the spring (Renado’s sanctuary) and target Midna to leap onto the roof. Walk onto the circle of hay in the middle and you drop through into the room below. Use your senses to watch the survivors: the Ordon children are sheltering with Renado, Barnes and Luda, and Renado mentions a hidden cellar.
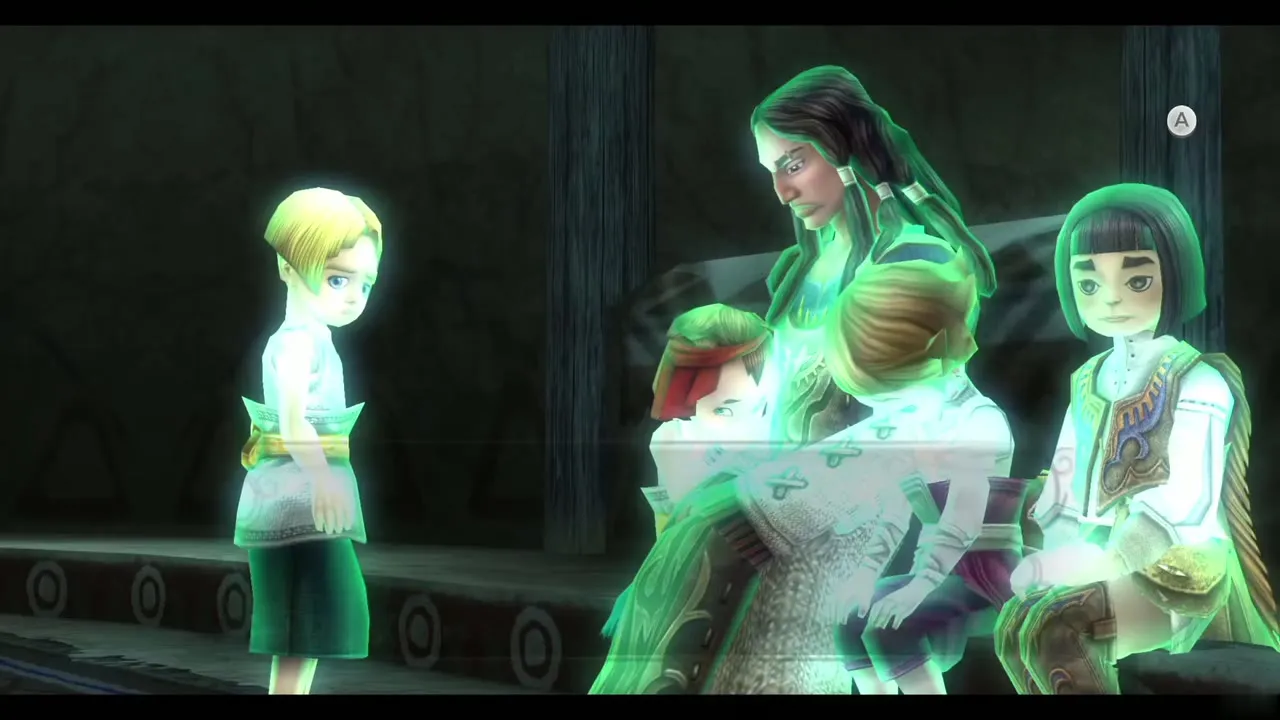
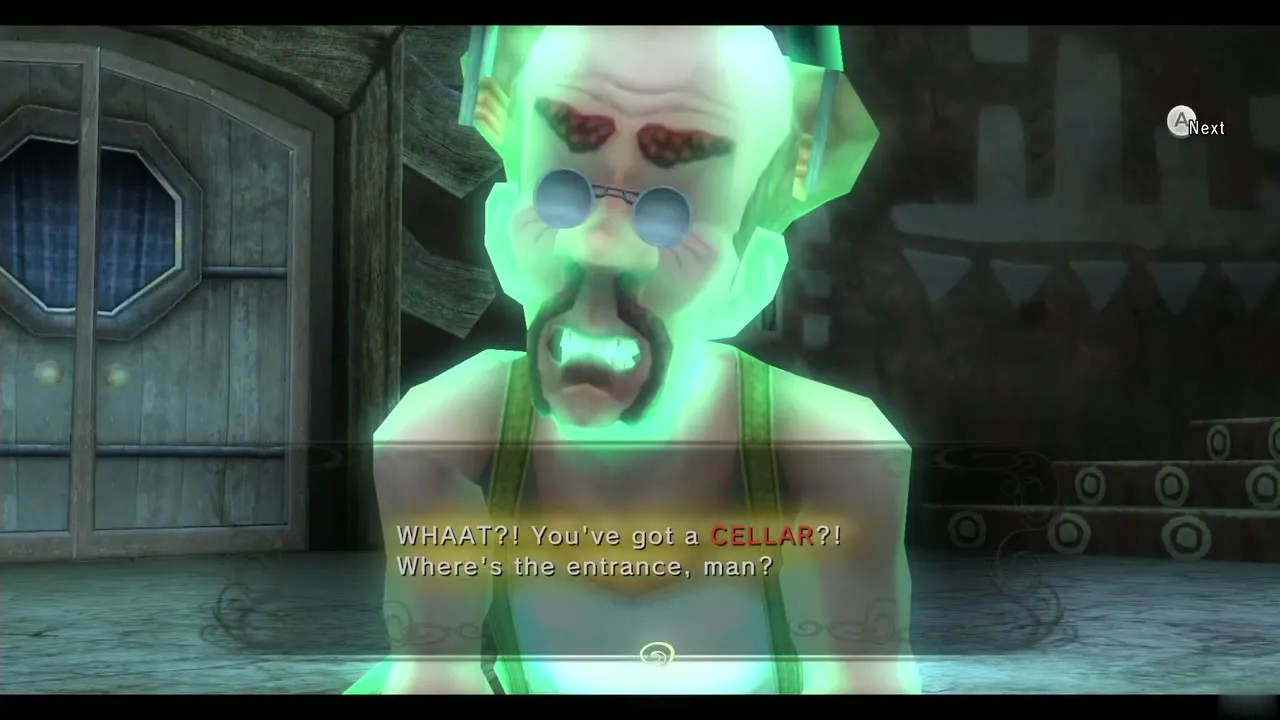
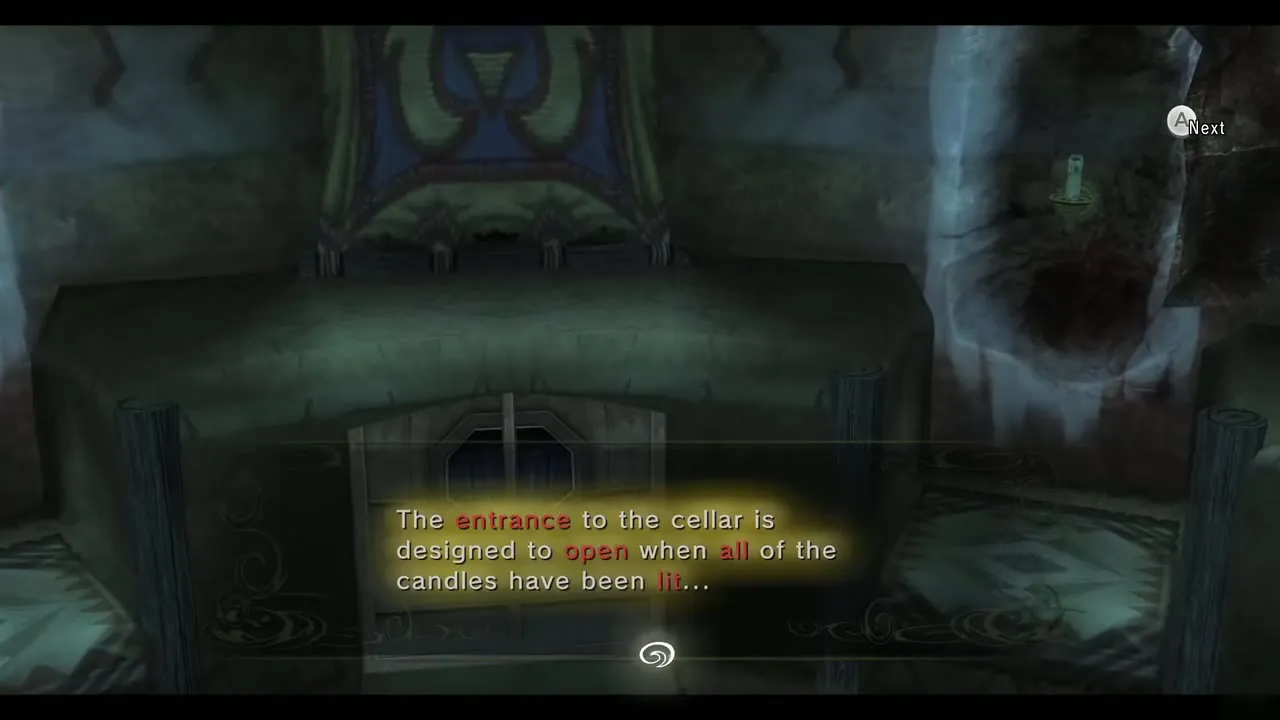
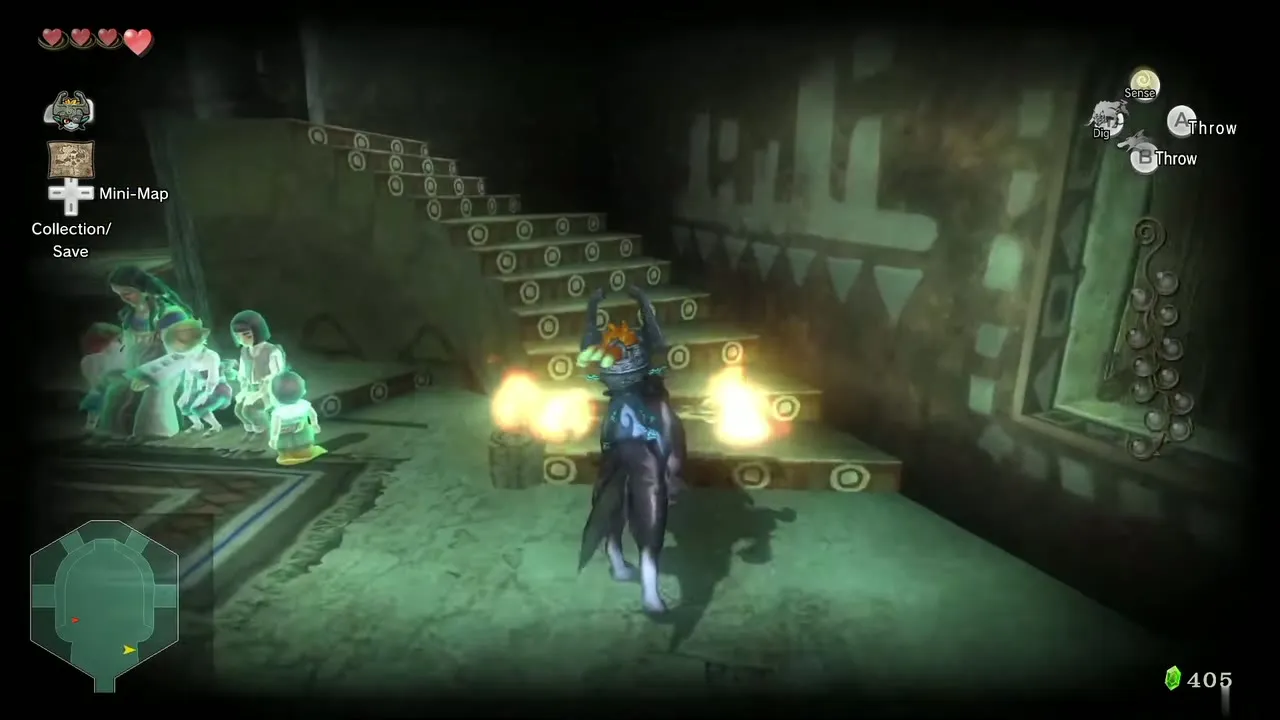
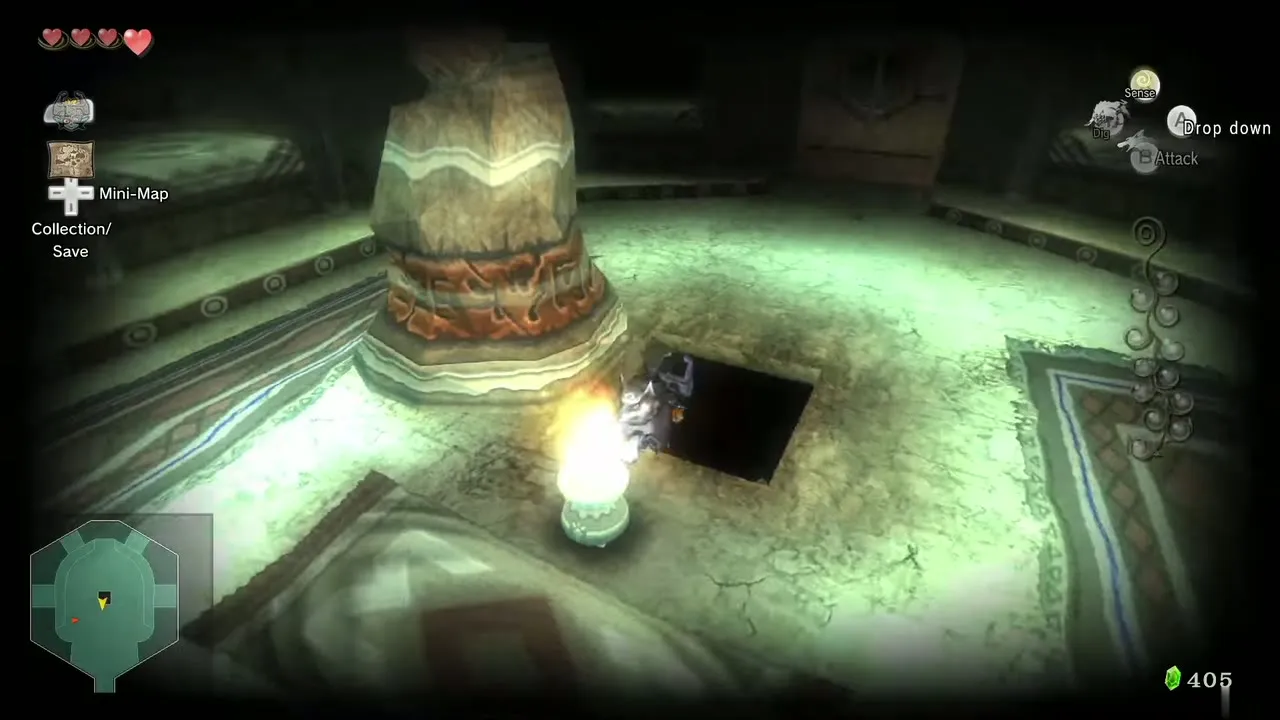
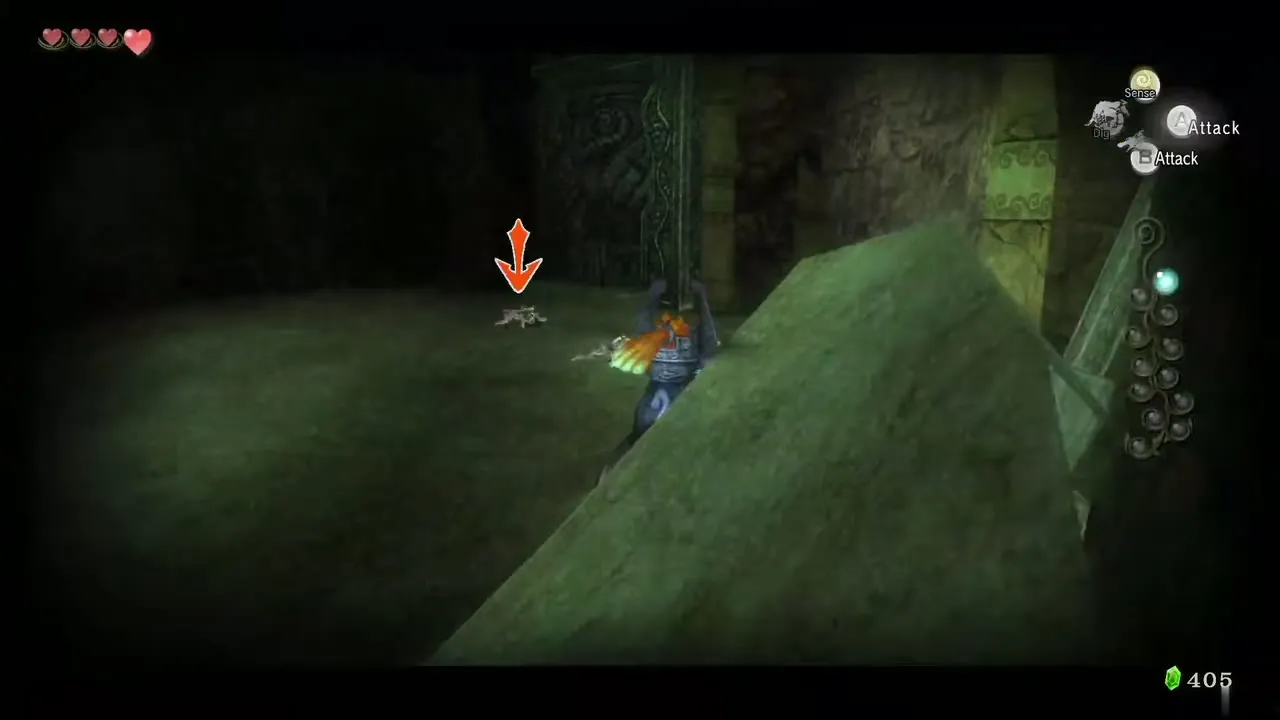
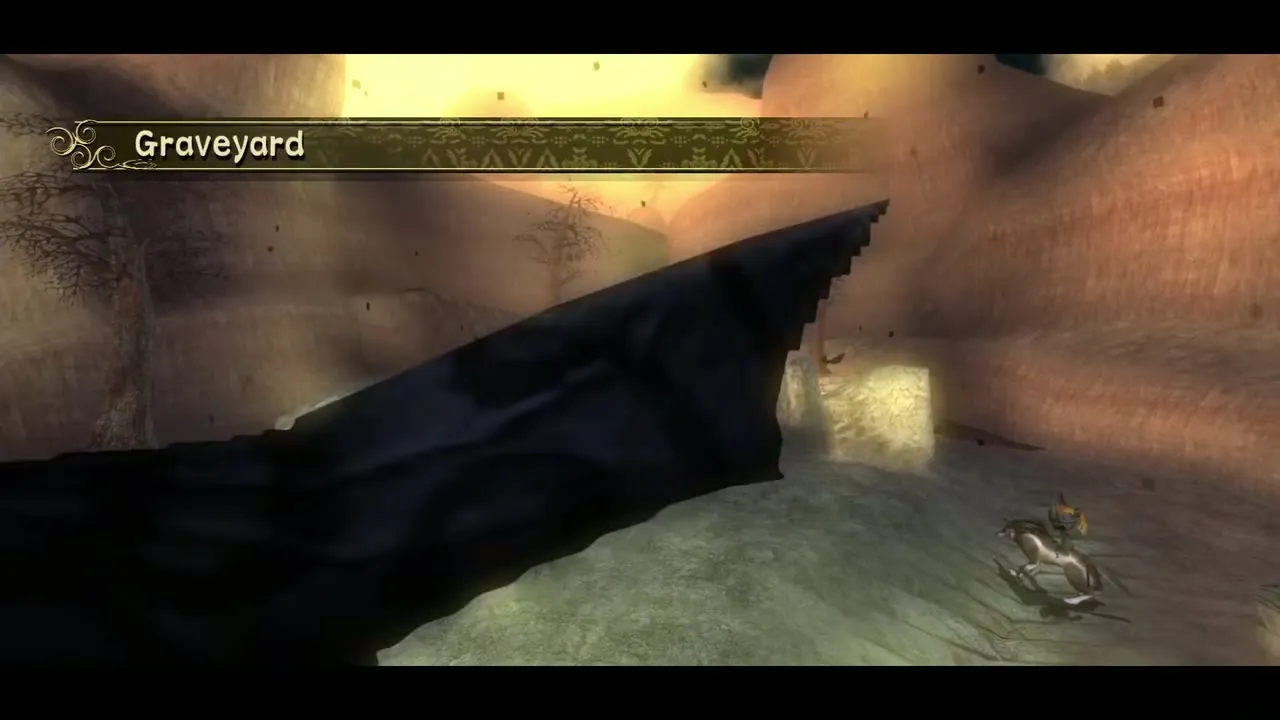
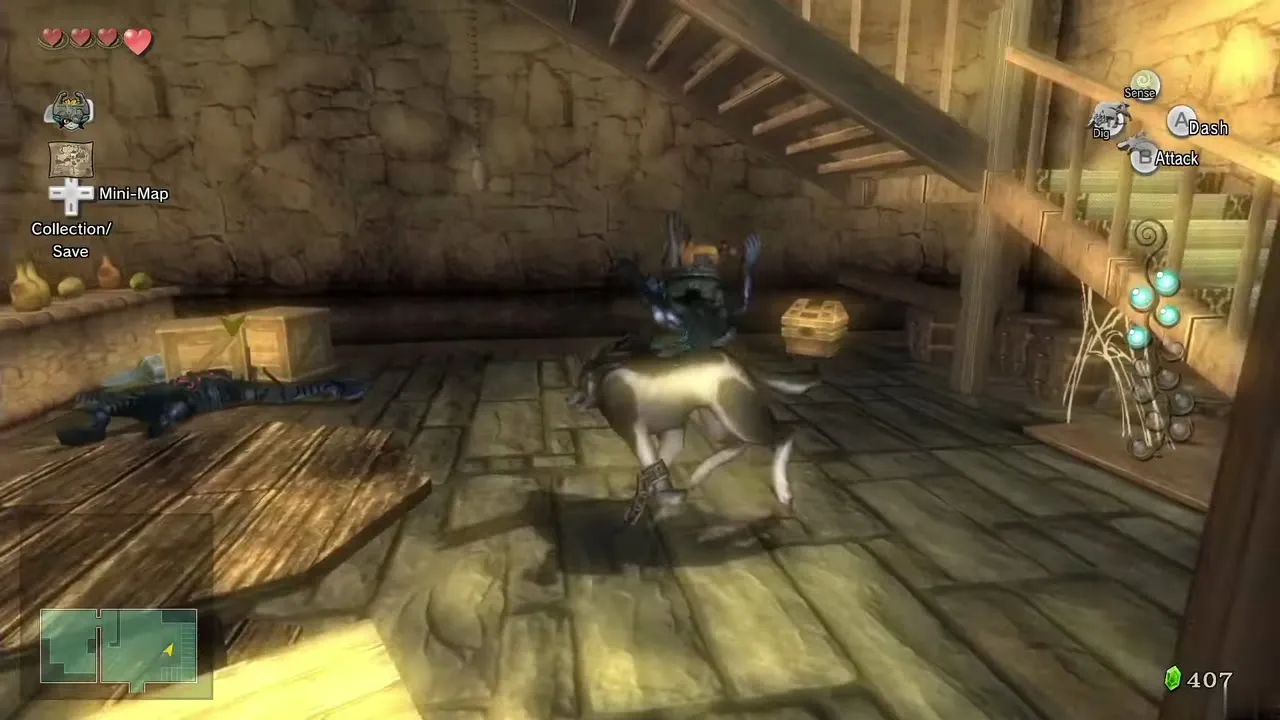
Pick up the unlit stick lying in the room, light it at the fire Barnes has going, then run in a circle around the staircase so the burning stick lights all four candles. The statue in the middle slides aside and you can drop into the cellar. Use your senses to kill the three Shadow Insects there for Tears 1 to 3. At the end of the cellar, target Midna by the scaffolding to jump out into the graveyard.

The fireplace house (Tear 4)
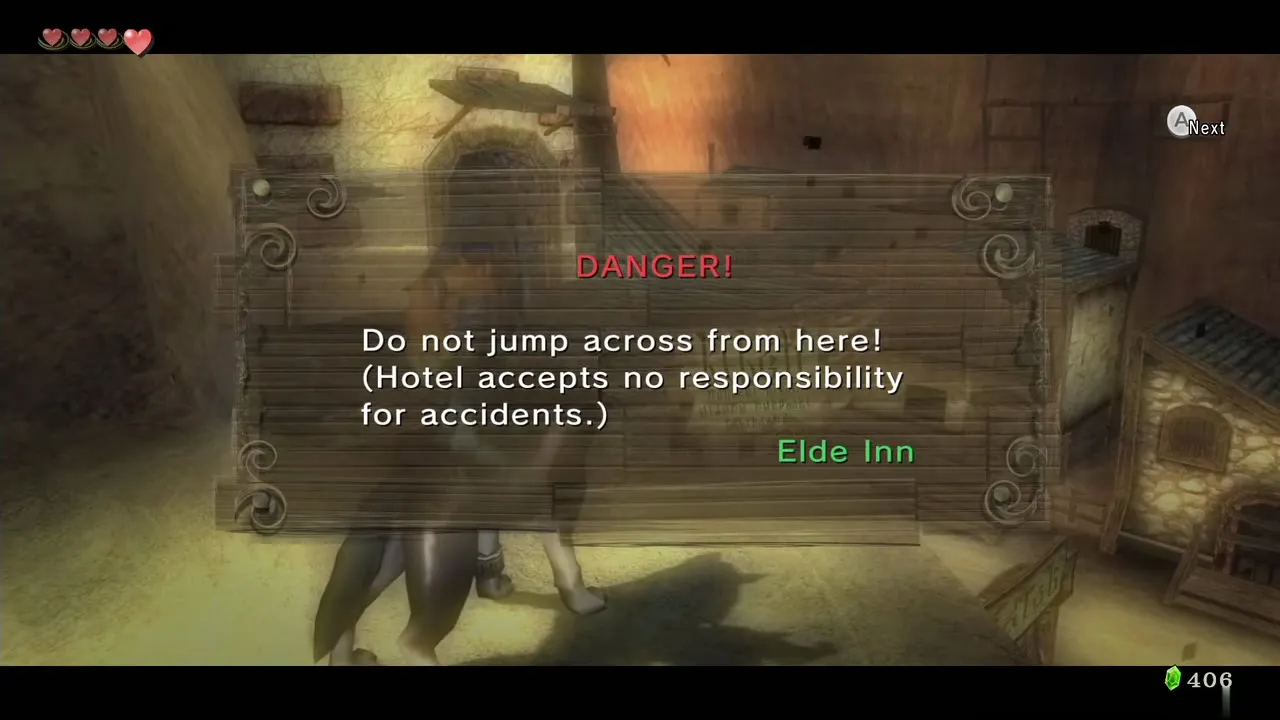
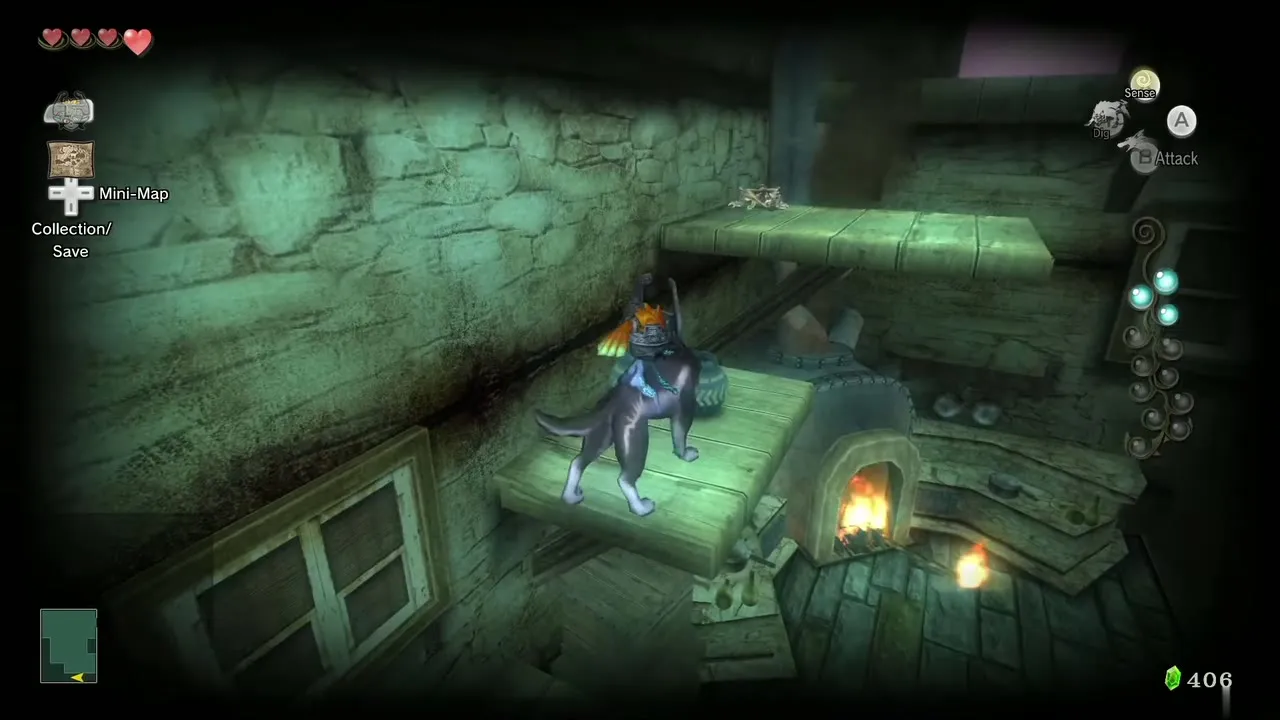
Head for the Elde Inn: past the Dead End sign south of the shop, climb the hill and jump the gap to the corner of the inn roof, then enter. A Shadow Insect hides in the furnace pipes. Carry a stick to a torch, light it and start the furnace; the smoke drives the insect out, and you can kill it for Tear 4. Leave when you are done.
The soft-roof house (Tear 5)
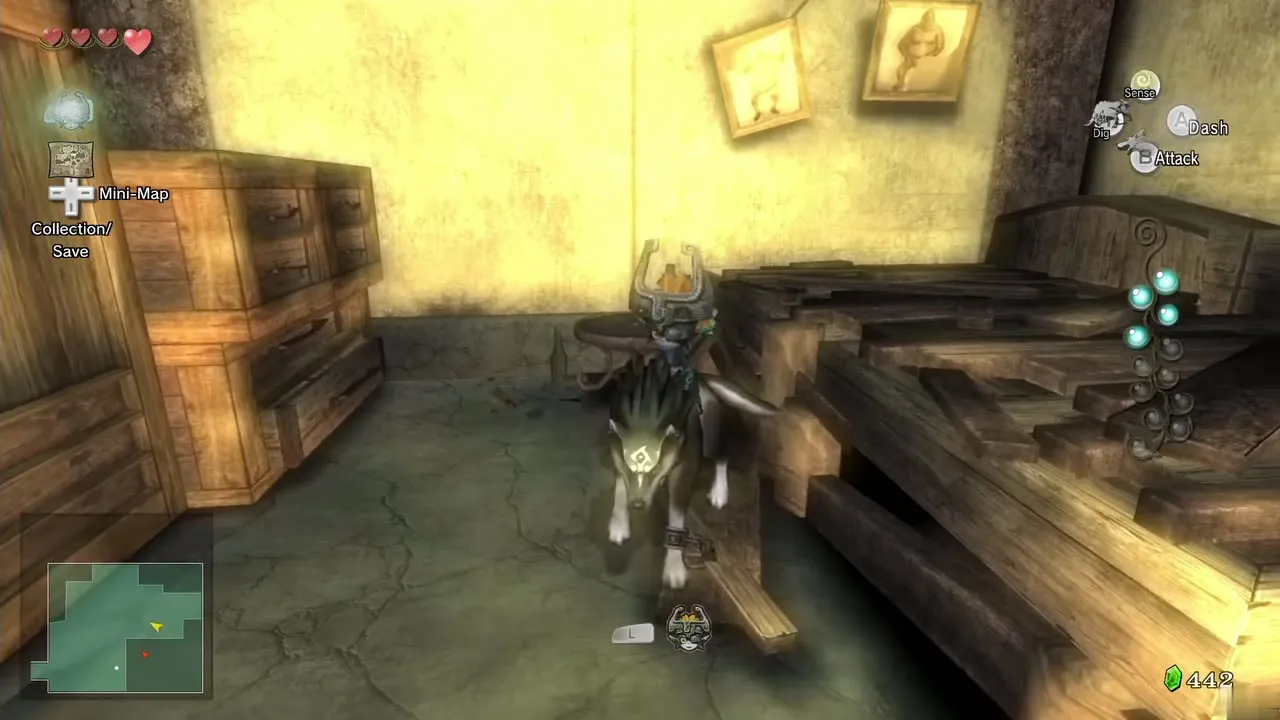
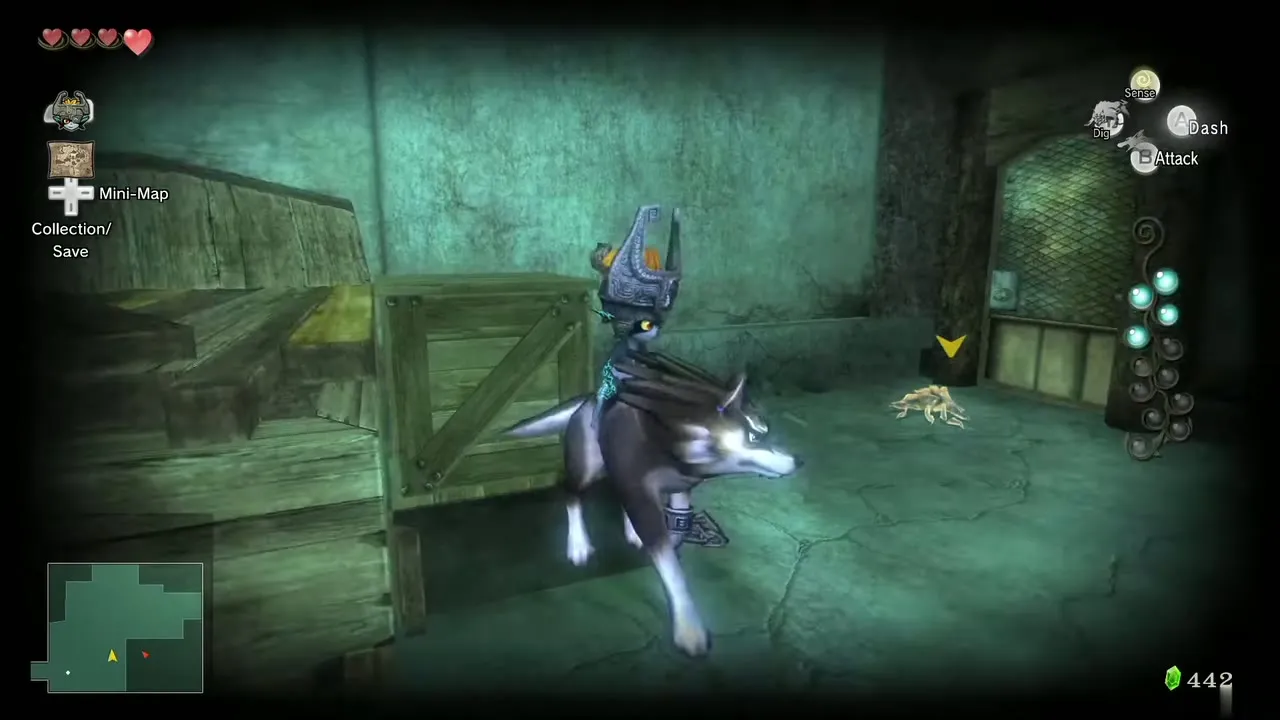
On the southeast side of the village, a row of buildings can be climbed from the southernmost one. Hop along the rooftops to the third, whose patched roof is soft; stand on the patch and you drop through. Push the small crate aside to uncover the insect for Tear 5, then target Midna by the cupboard to jump back out.
Barnes’ Bomb Shop (Tear 6)
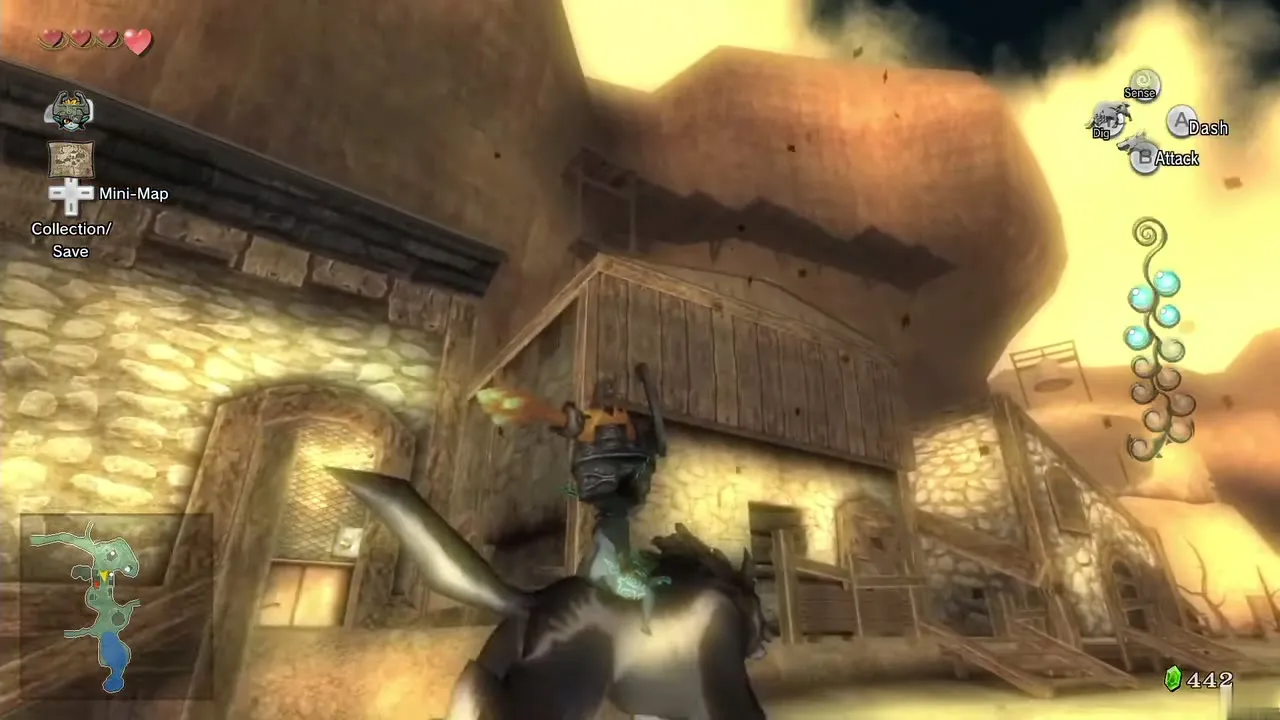
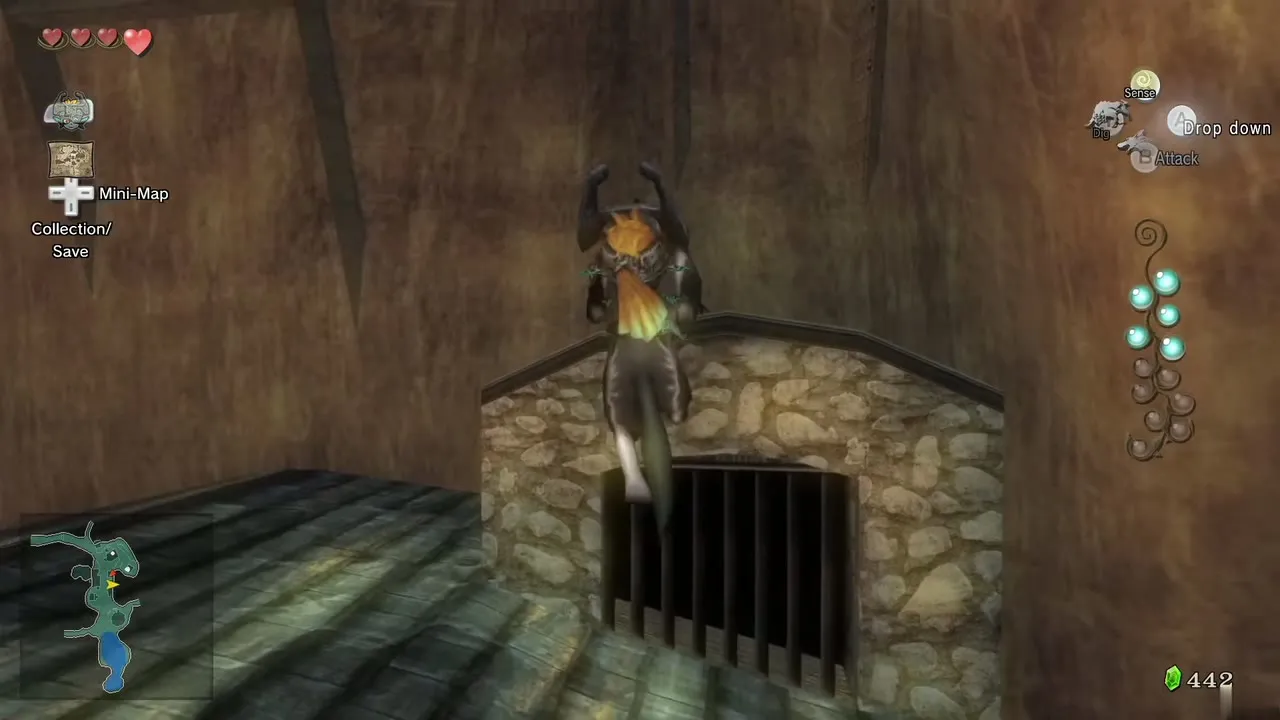
In the north of the village, a small shed stands just beyond Barnes’ Bomb Shop. Climb onto it and dash into the shop window to break it. Inside, go up the steps and dash into the cupboard to tip it over, exposing the insect: Tear 6. Climb the table and leave through the second-floor exit.
The bomb storage house (Tears 7 to 9)
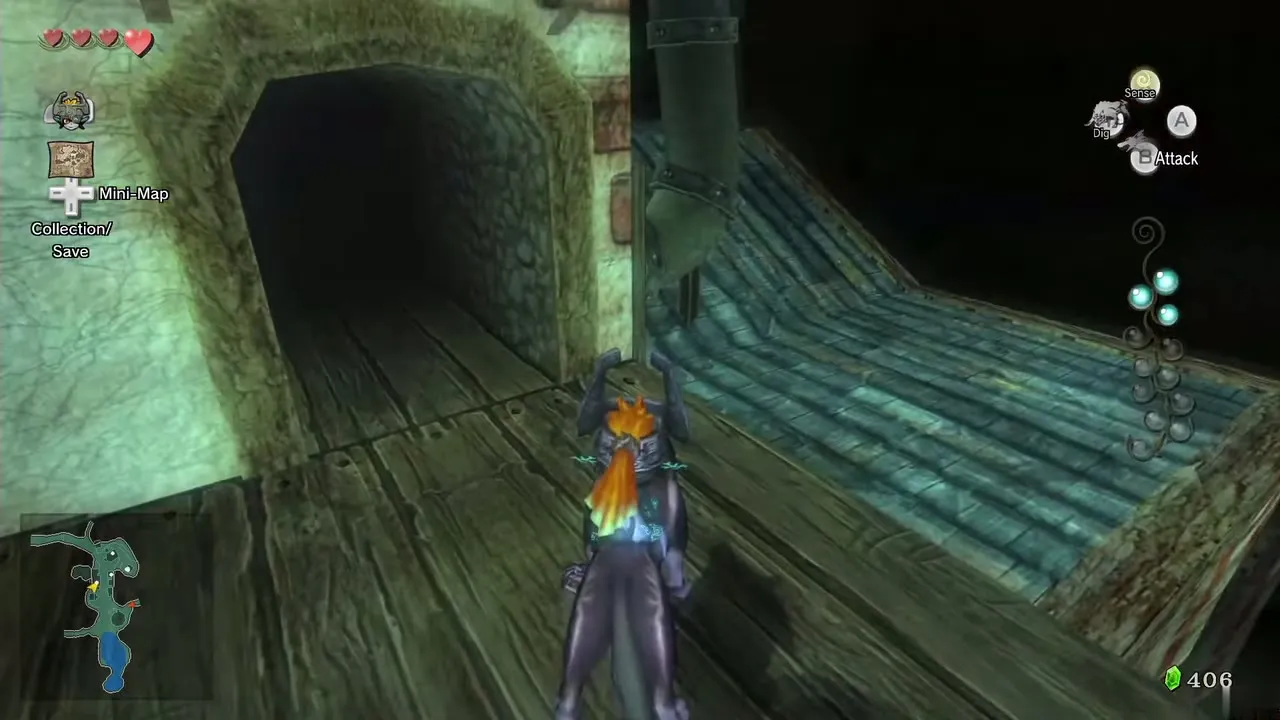
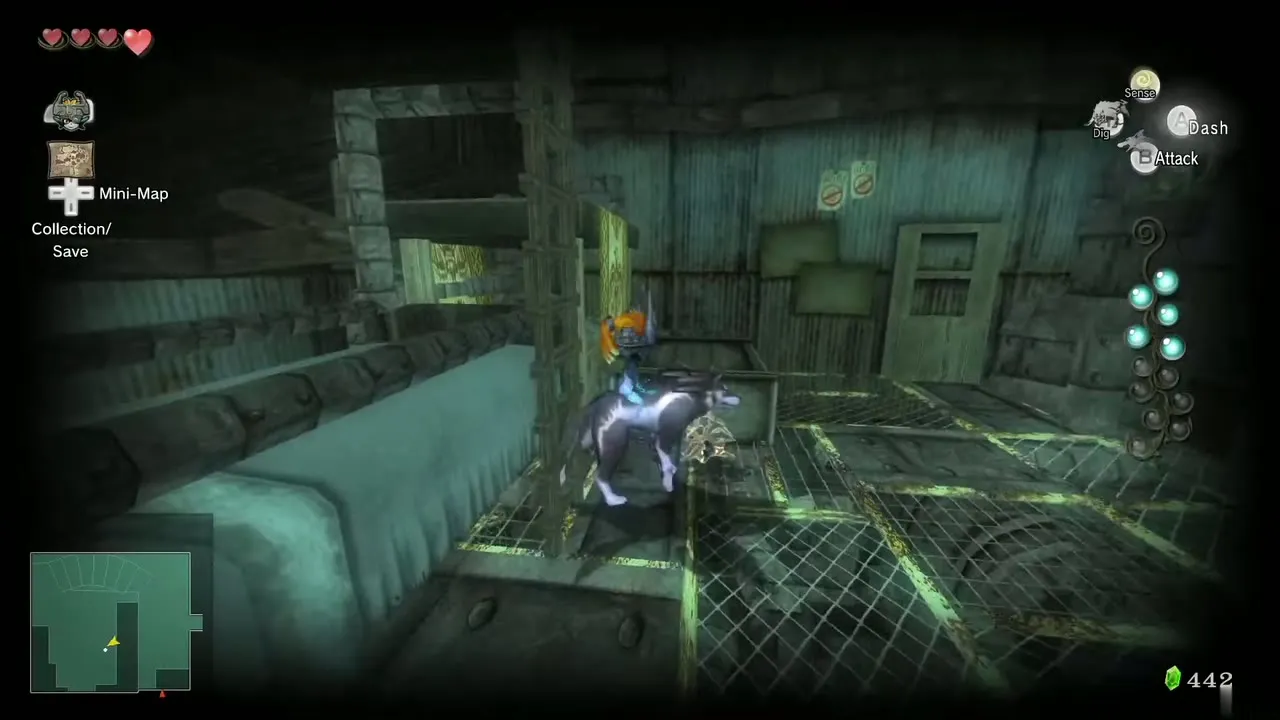
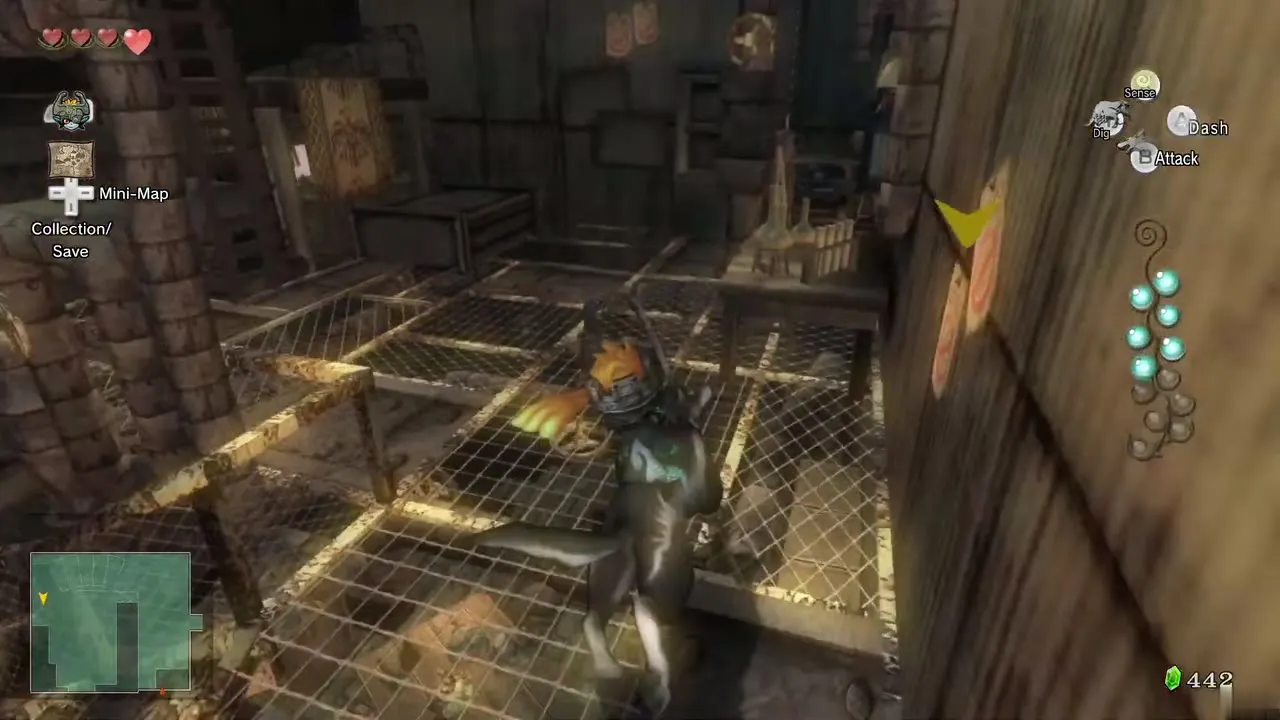
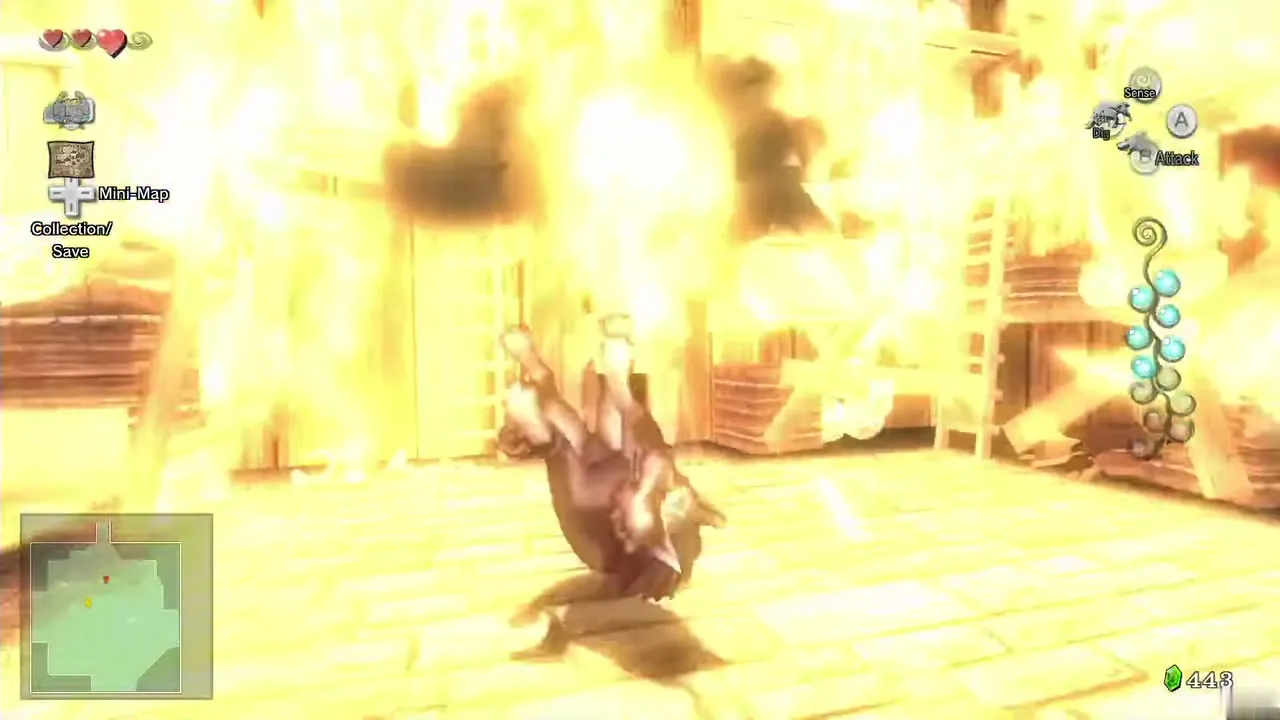
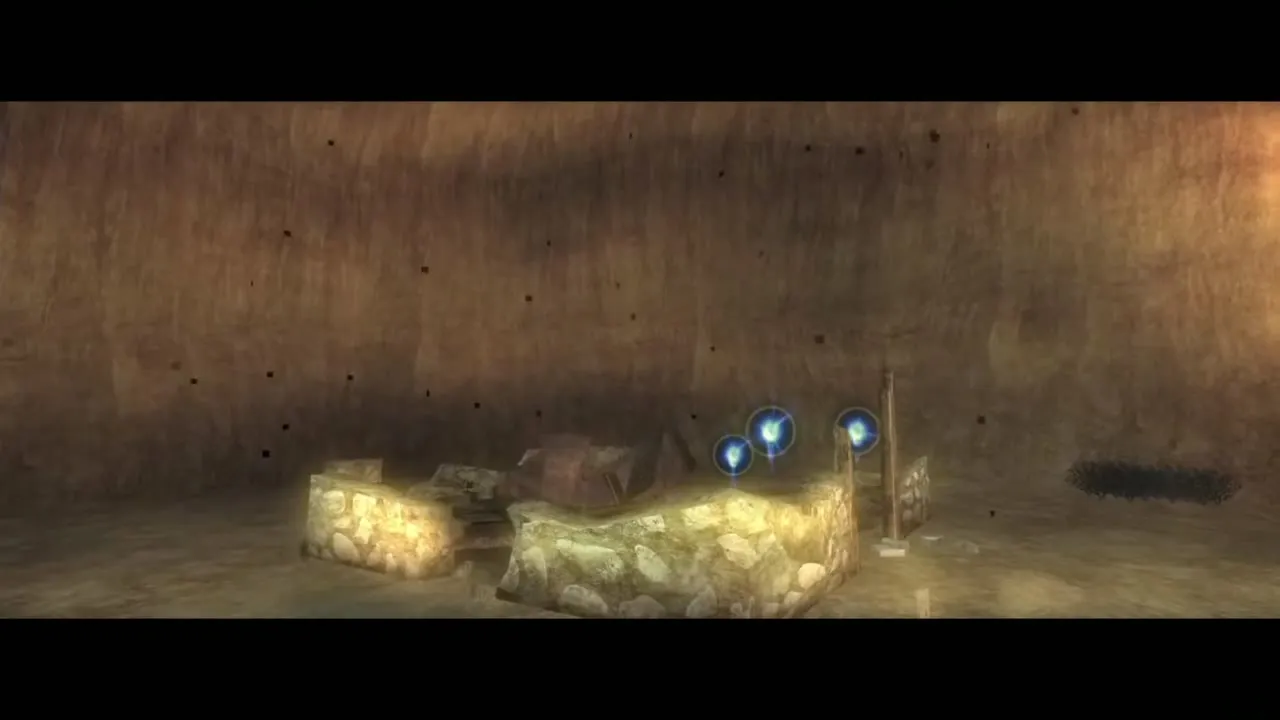
Keep climbing to the storage building and squeeze through the small hole. Another insect sits in a fireplace. Light a stick and burn the fireplace as before, but this time the whole building catches fire. Ignore the insects and leave at once through the hole. When the building collapses, three Tears of Light, numbers 7 to 9, are lying in the rubble.
Death Mountain trail and the Howling Stone (Tears 10 to 12)
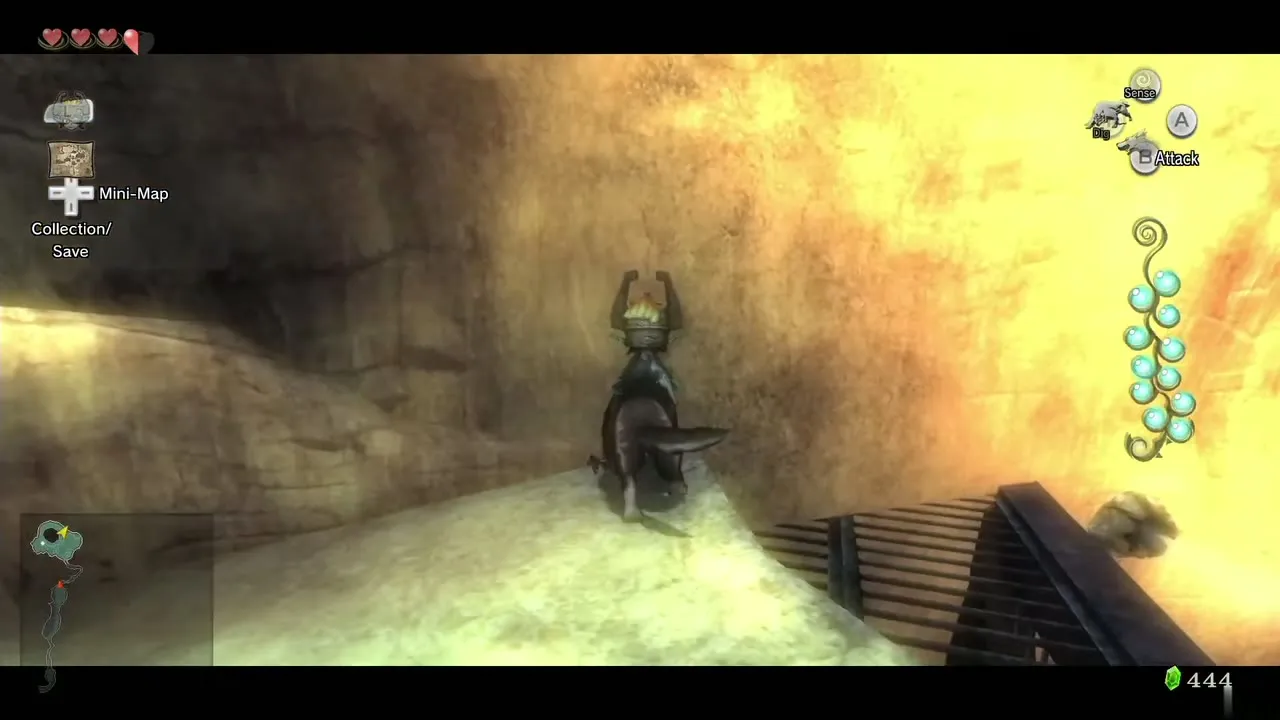
The last three Tears are up Death Mountain. Leave the village by the north gap, climb the ledge and let Midna lift you to the higher one. A Goron stands here; sense him if you want to hear him speak. Follow the trail until you reach the field of steam geysers; they only knock you over and do no damage. Use your senses to find the Shadow Insect burrowed in the ground, dig it up and kill it for Tear 10.
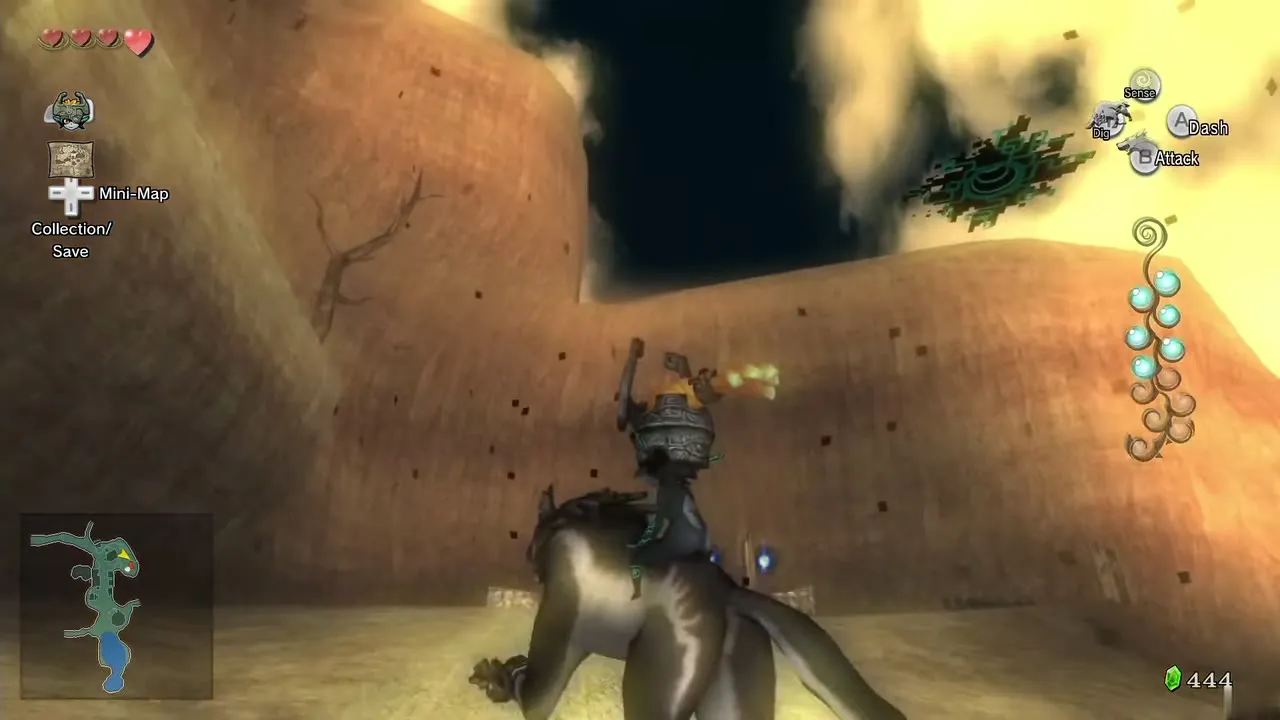
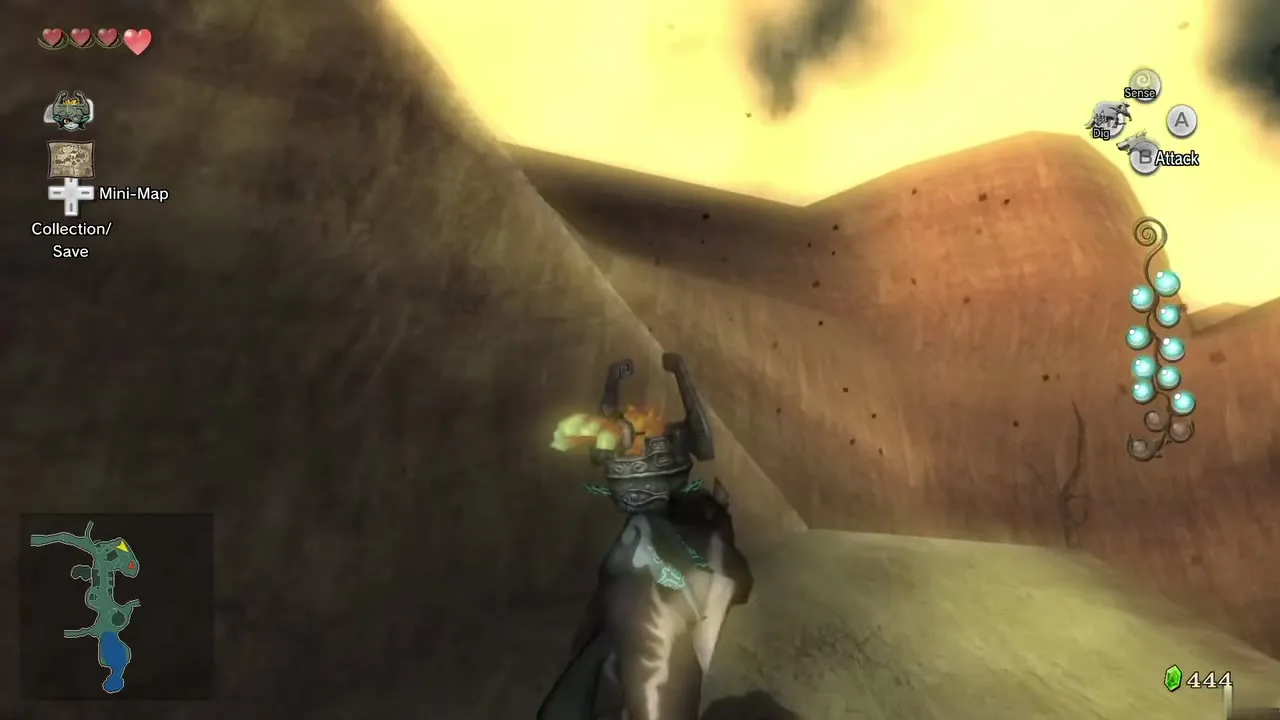
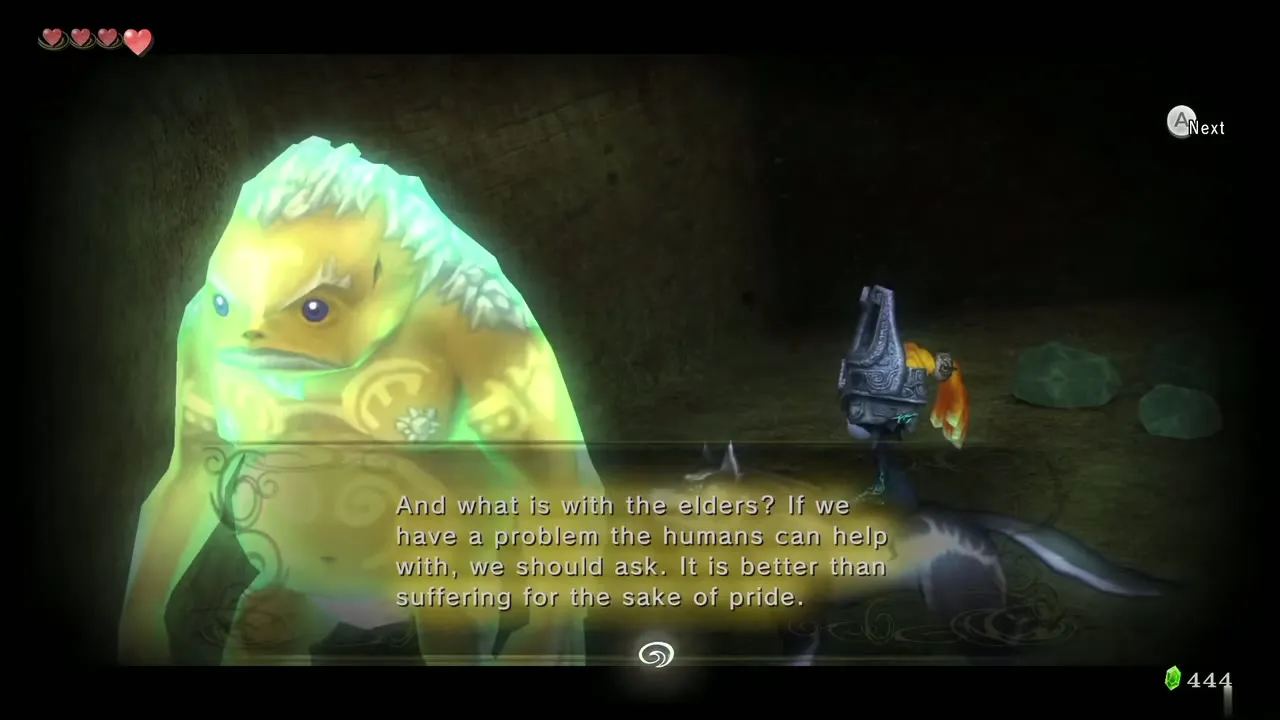
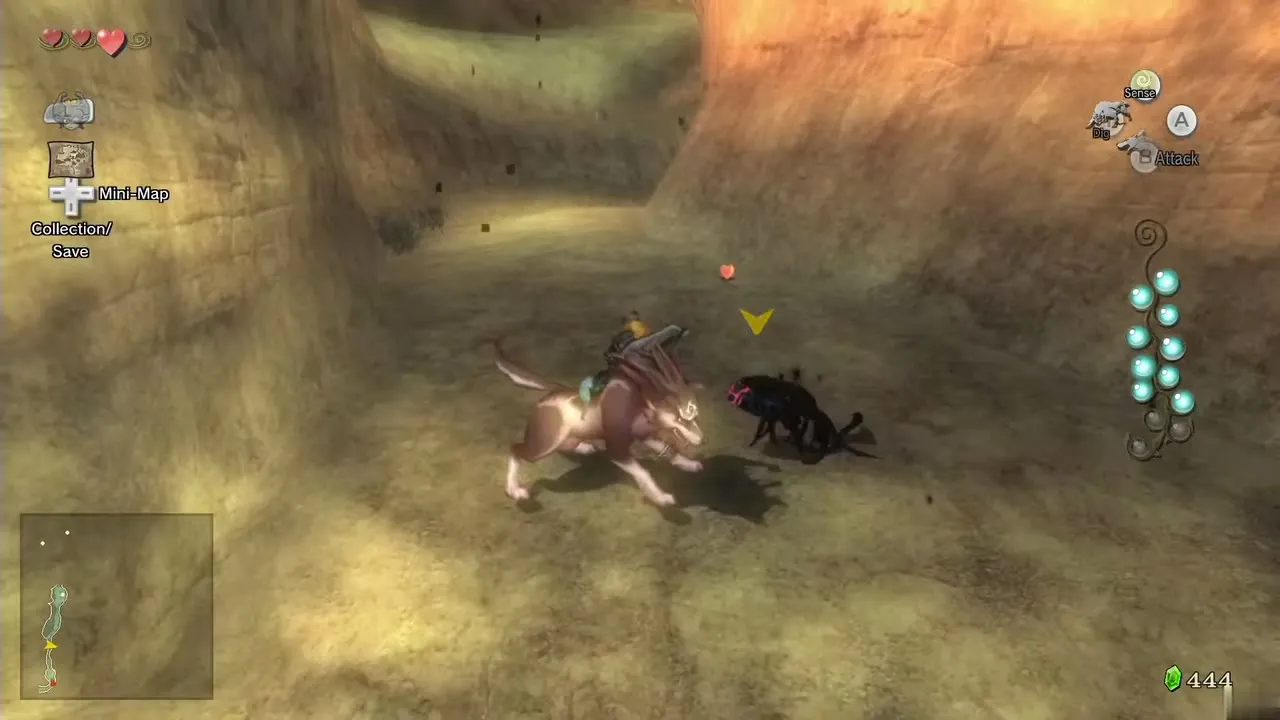
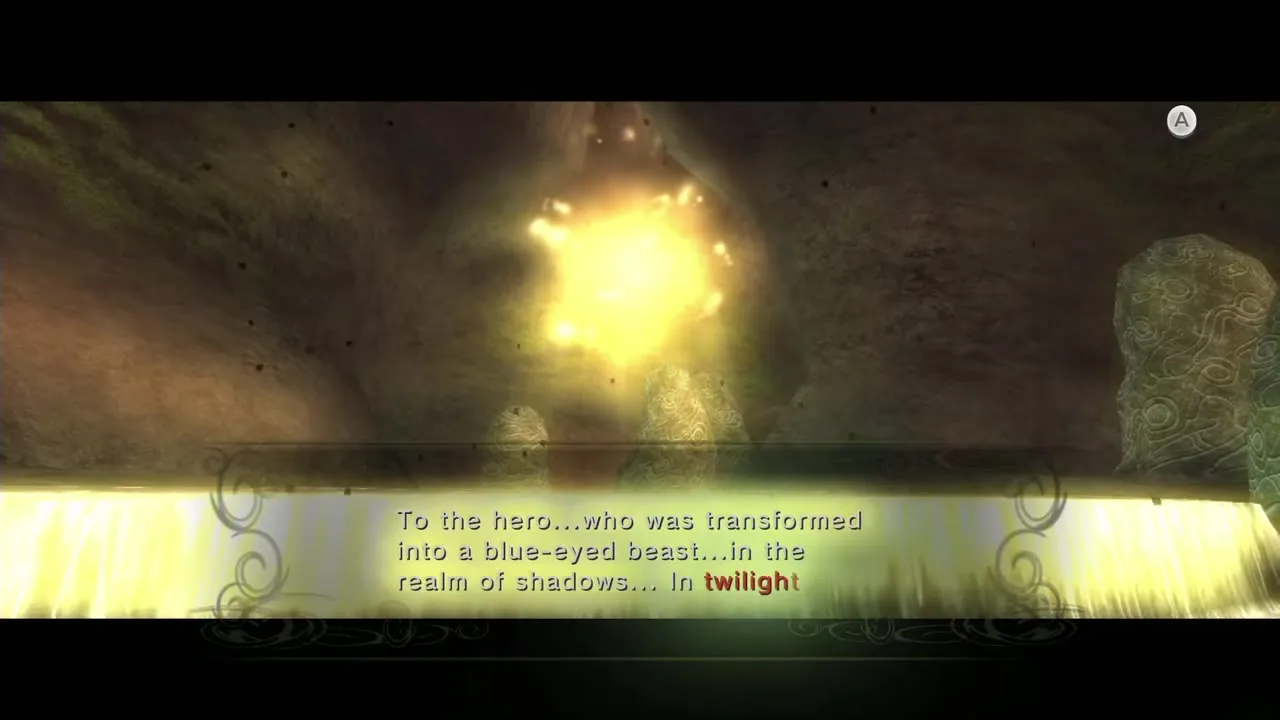
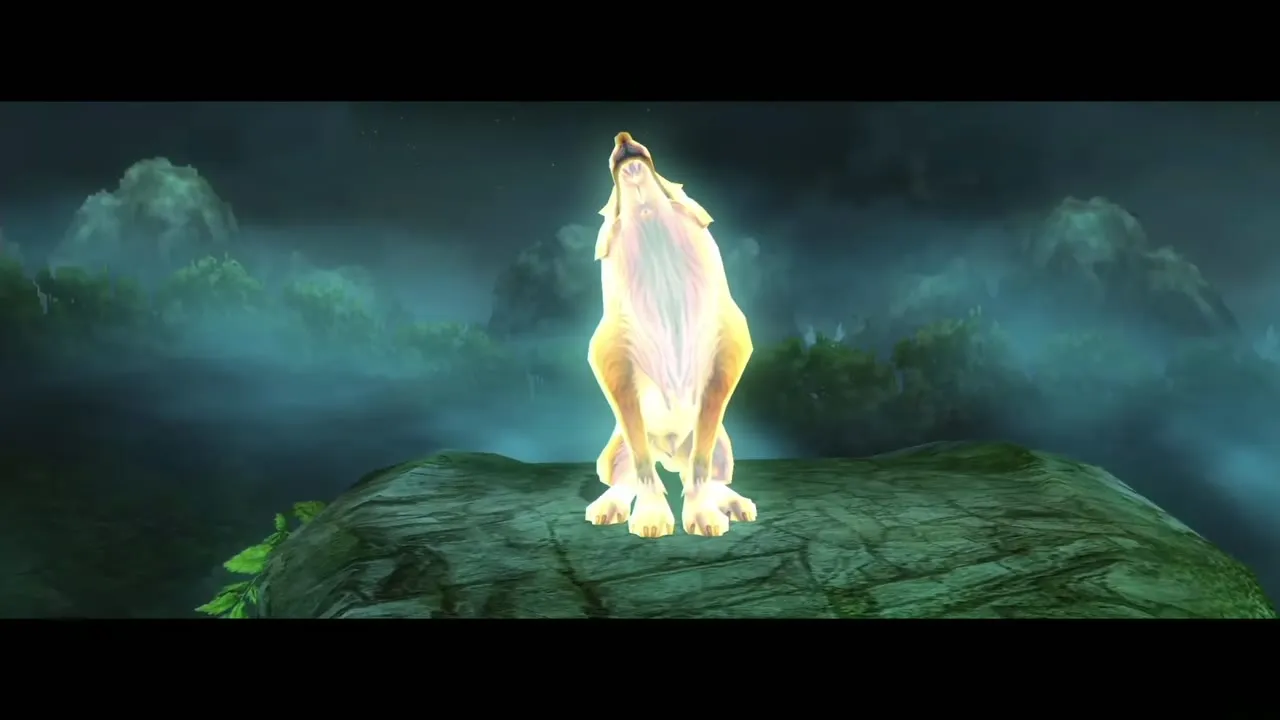
Near that insect, on a cliff, is a Howling Stone (the tune is called the Song of Healing). Listen to the song, then howl it back: hold A, push the stick up for the high note, down for the low note and release it for the middle note. B replays the melody. After one correct pass, Link is taken to the golden wolf’s plateau, where you howl it a second time with the whole tune highlighted. This calls the Golden Wolf to Ordon Spring, who teaches the Shield Attack. The Howling Stone guide covers all seven.

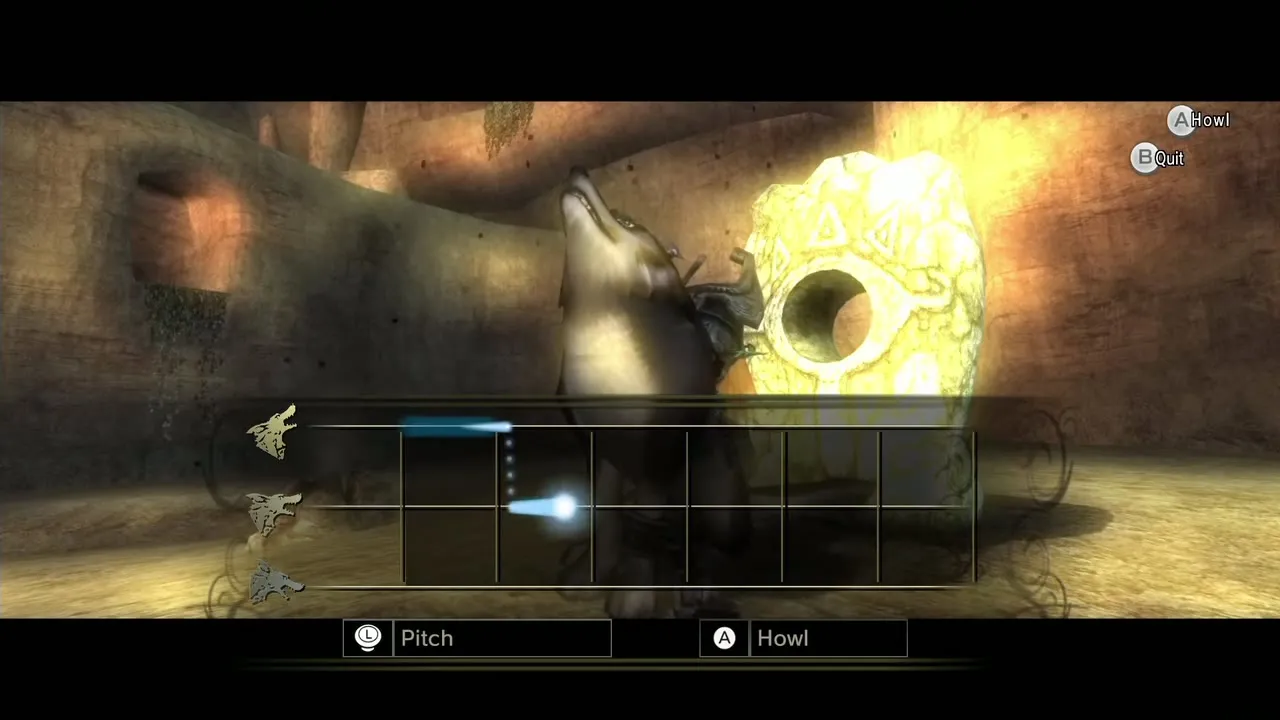
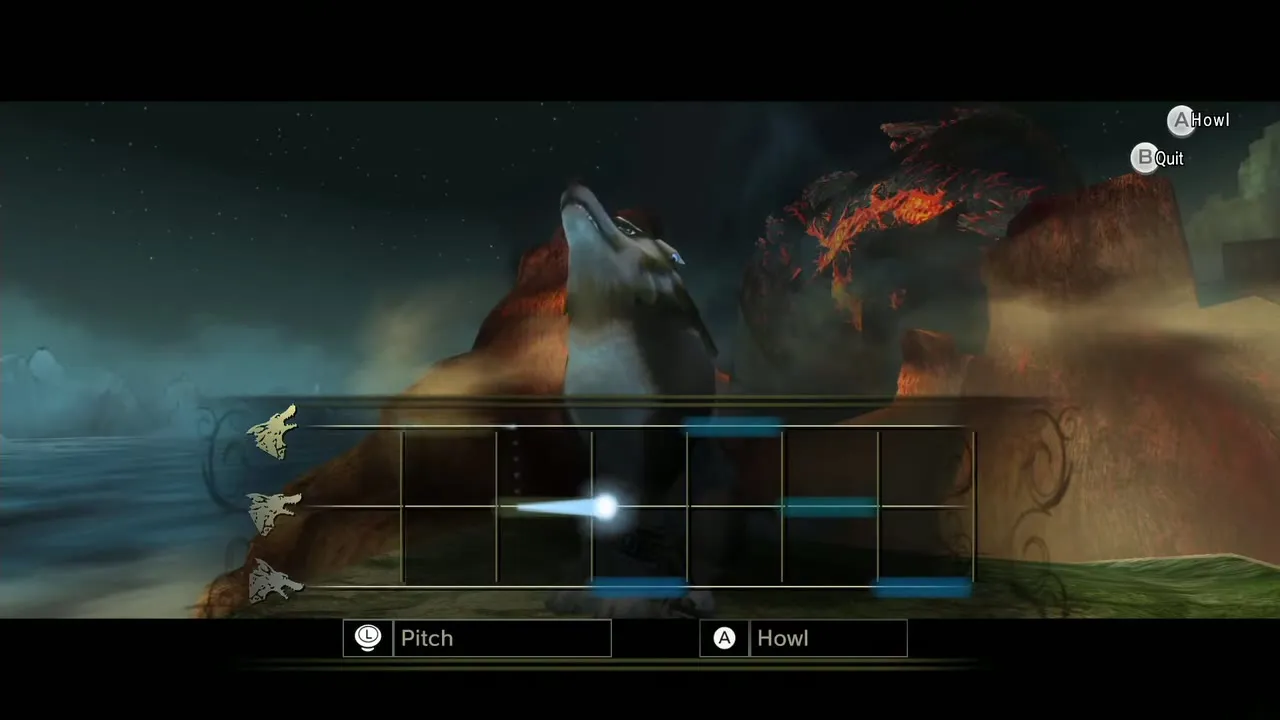
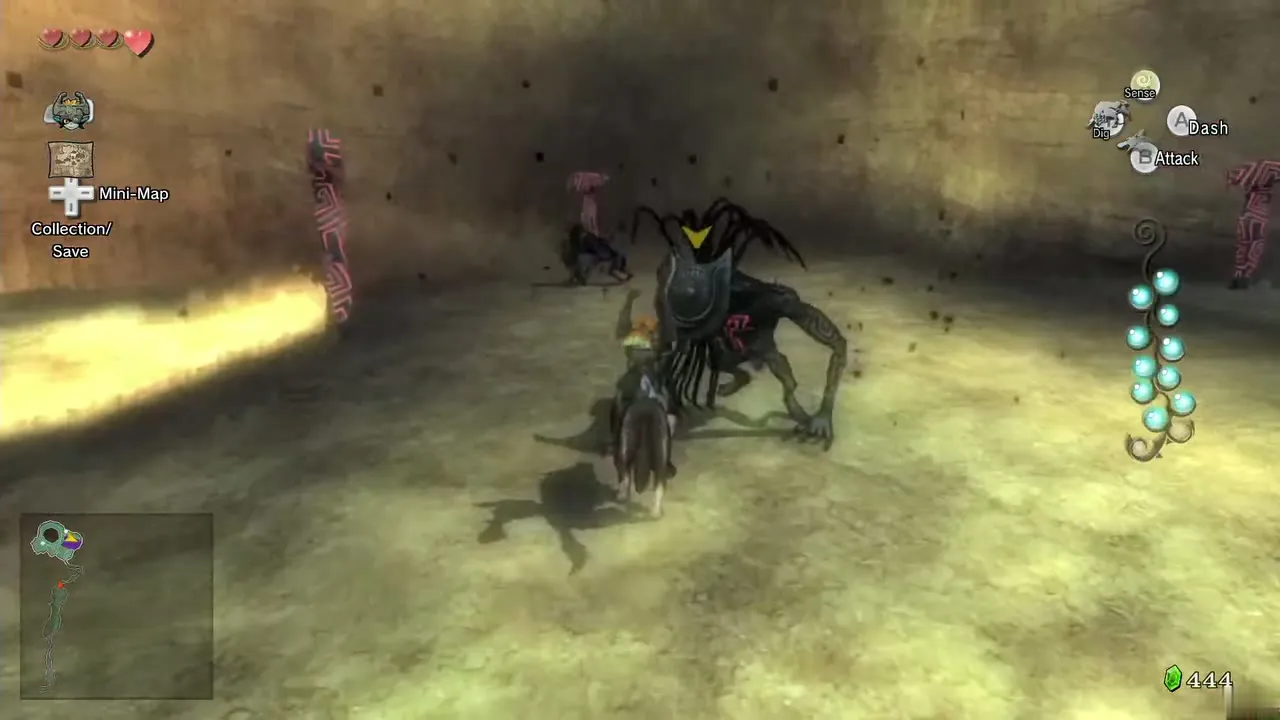
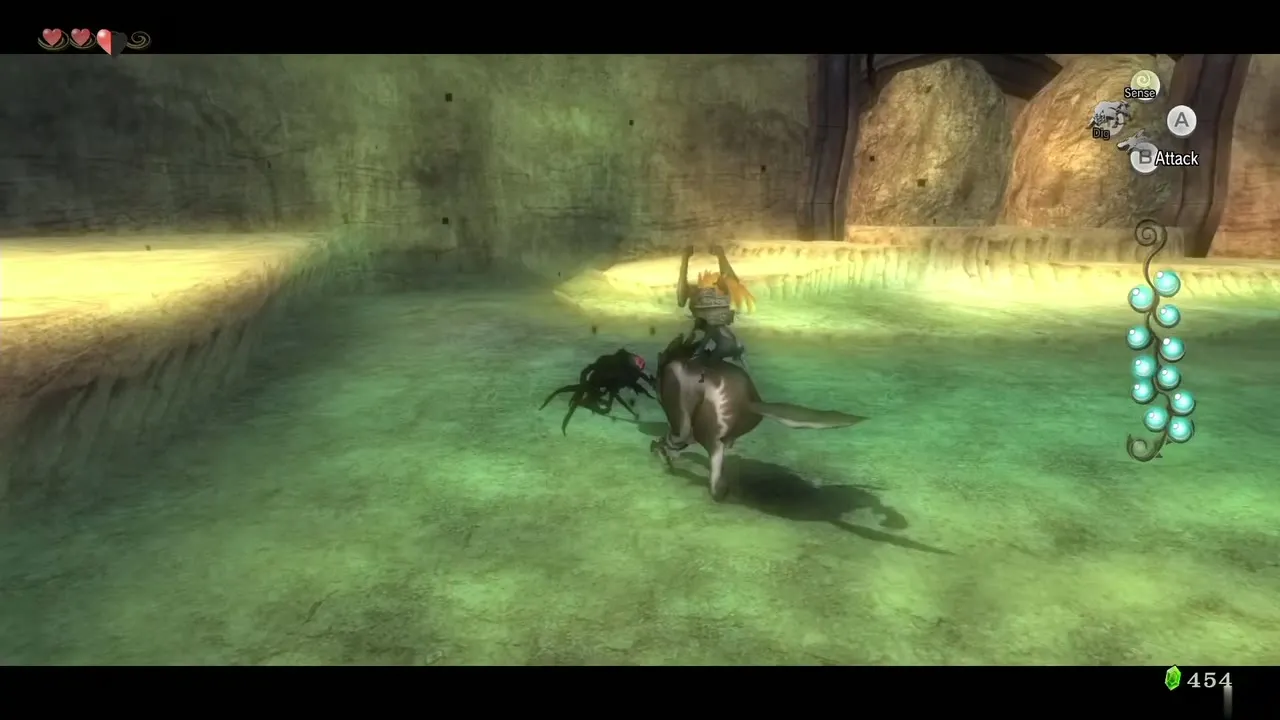
Continue to the open ground with four Shadow Beasts. One stands alone, so kill that one first, then take the other three at roughly the same moment to open a warp portal. One of the four beasts waits behind a maze of force fields; that is the loner. Use your senses to find the Shadow Insect in this arena (if it clings to a fence, dash into the fence to knock it loose) for Tear 11.
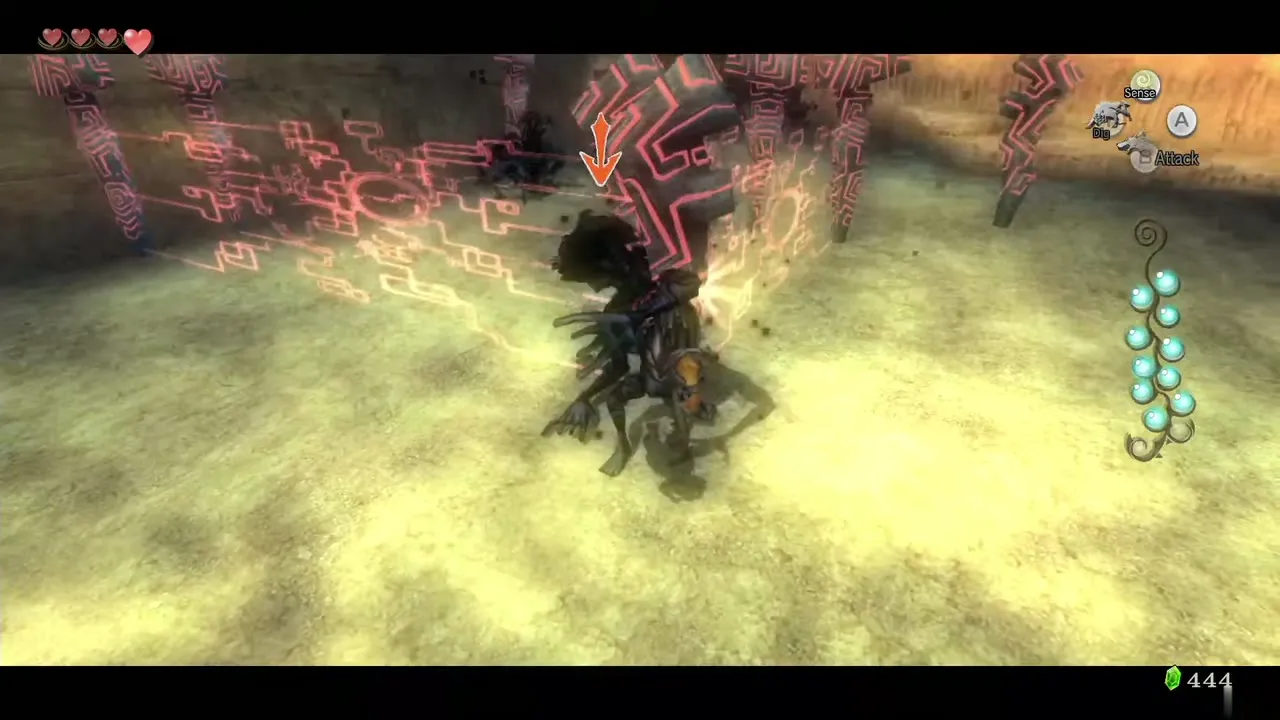
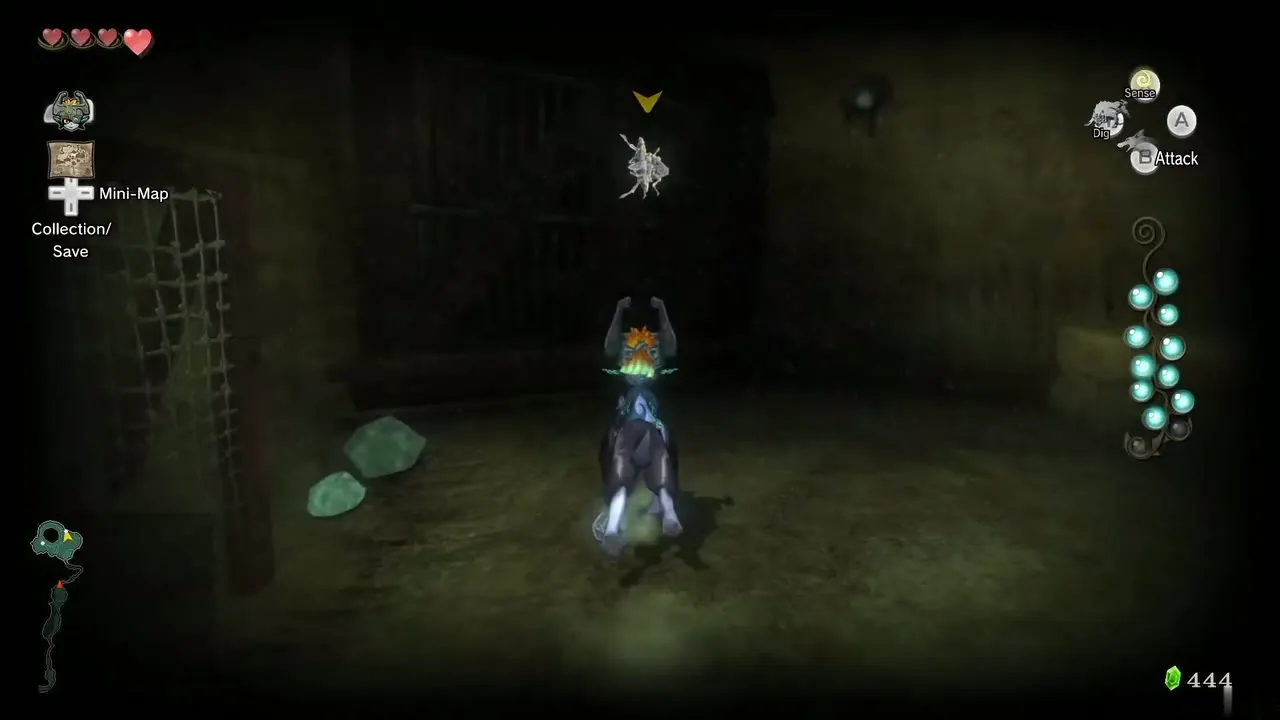
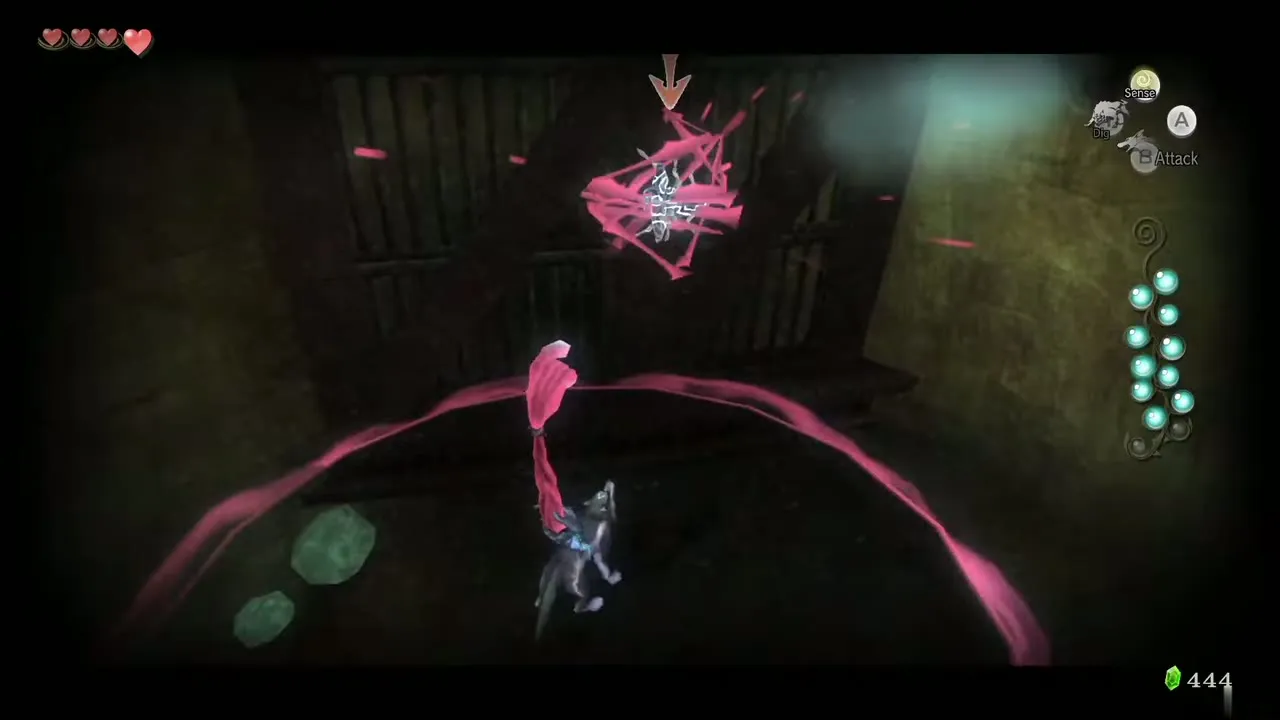
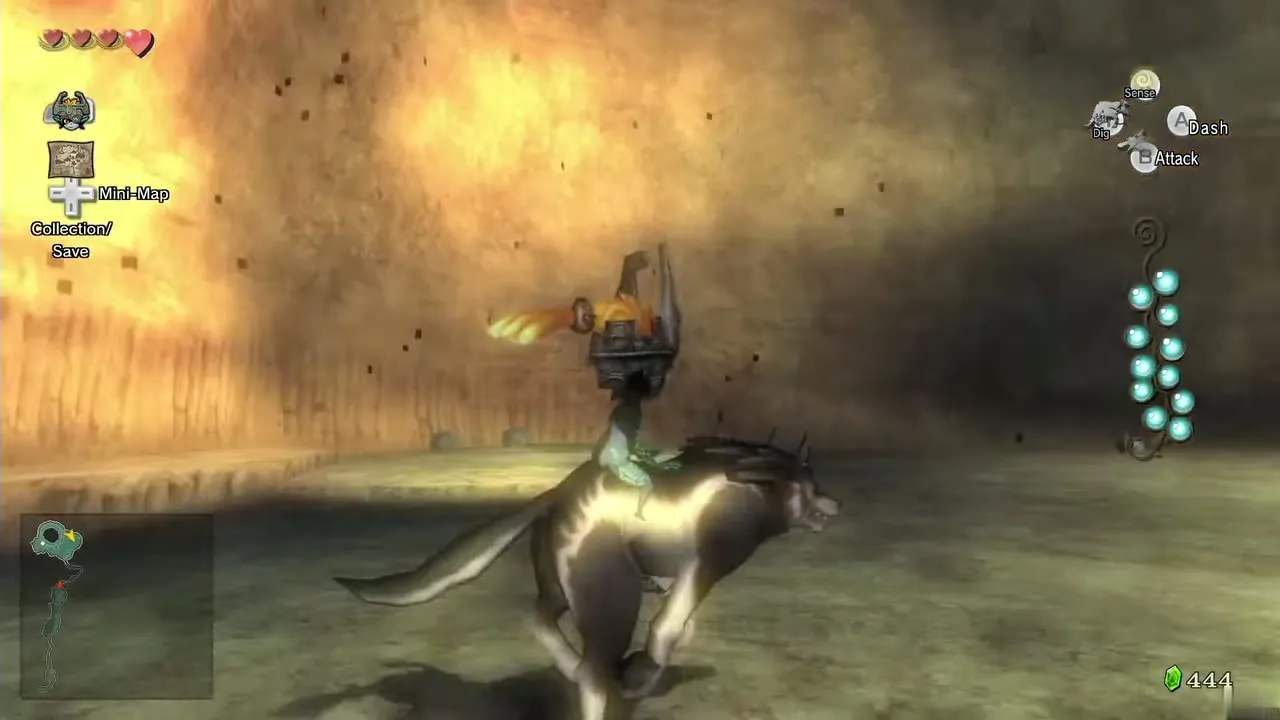
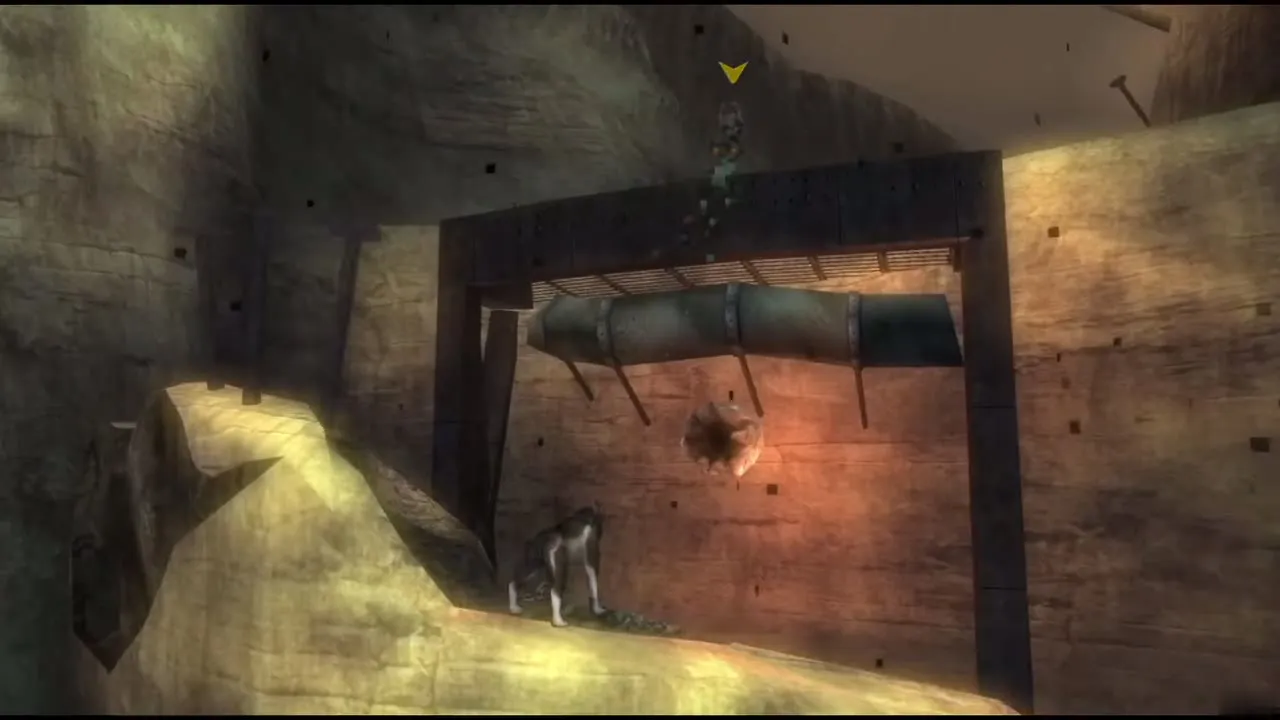
Next to that tear, jump from the small ledge with Midna onto the higher platform. Watch the steam geysers: they knock you back, so move when they die down. Climb the narrow ramp, use Midna to jump again, and drop down the far side to find the last insect. Kill it for Tear 12. The Vessel is full and you are warped back to the Eldin Spring.
Eldin returns the light and Epona
Meet Renado and try the mountain
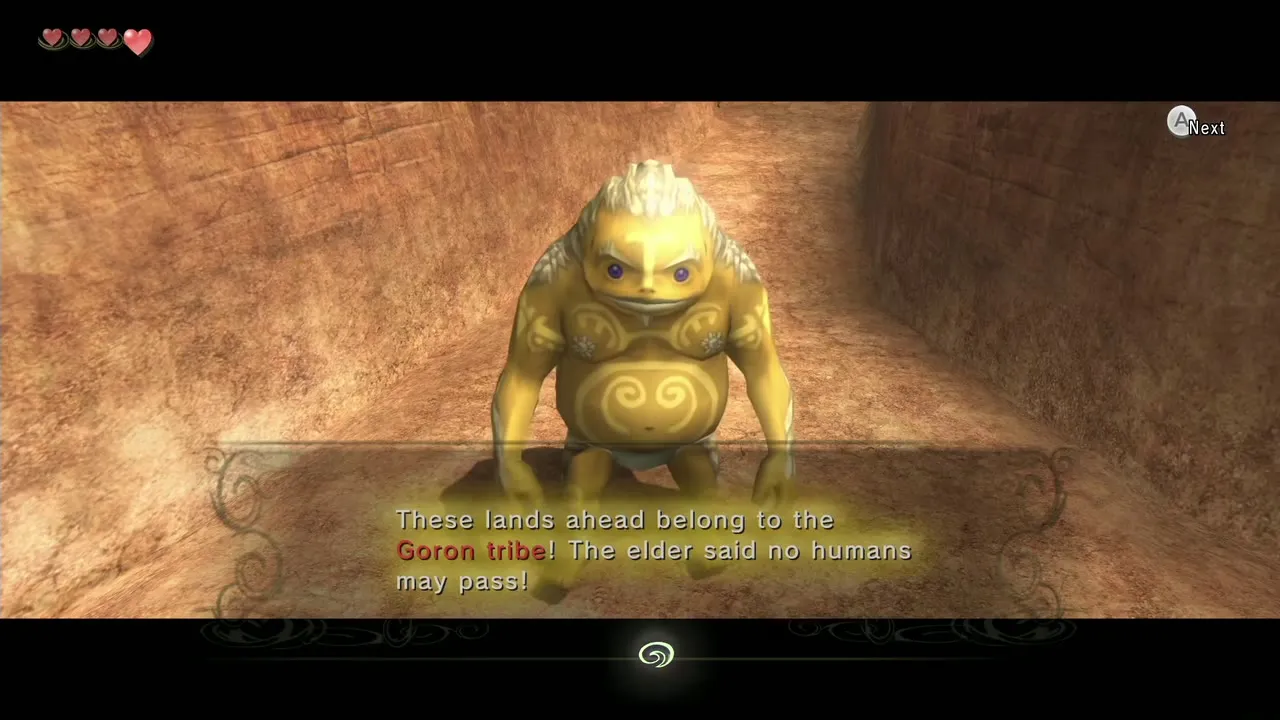
Eldin restores Kakariko and Link is human again. The Light Spirit tells you the second Fused Shadow lies with the Gorons, and the Ordon children and Renado greet you in the village. Go back to the mountain path and climb the fence: a Goron rushes you, shouts that the land is forbidden to humans, and bounces you off the ledge. You cannot pass yet.
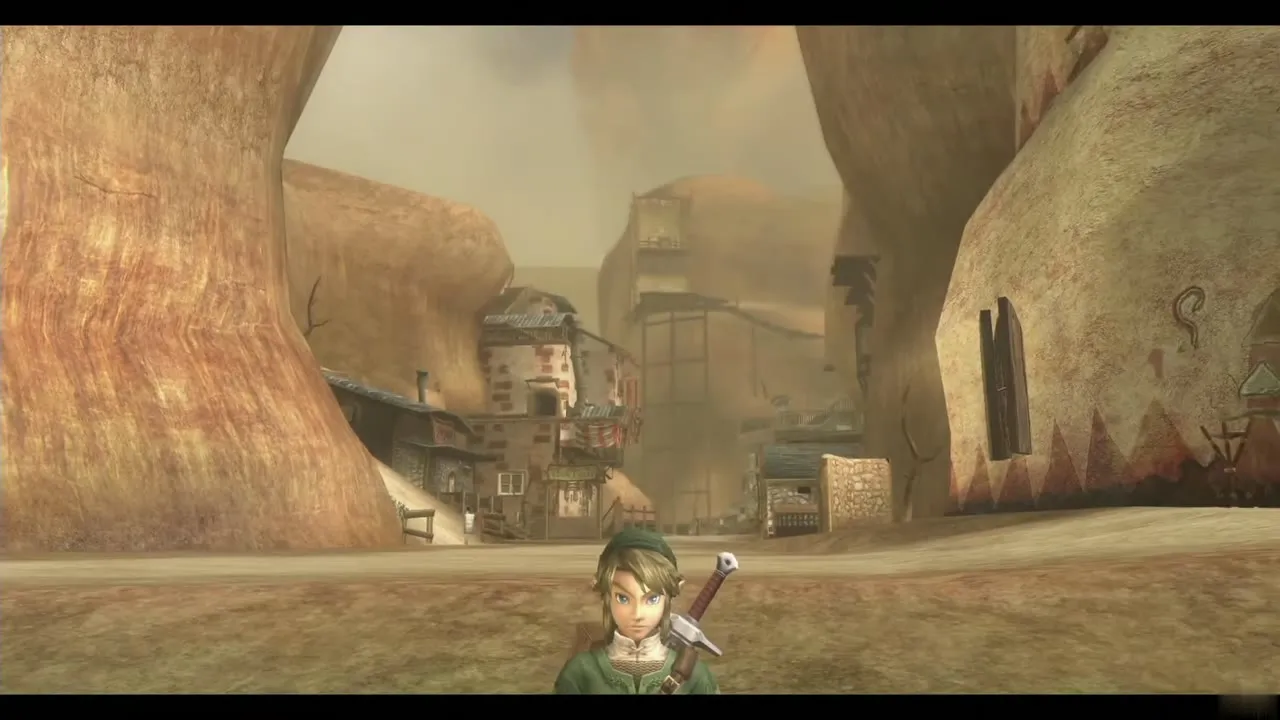
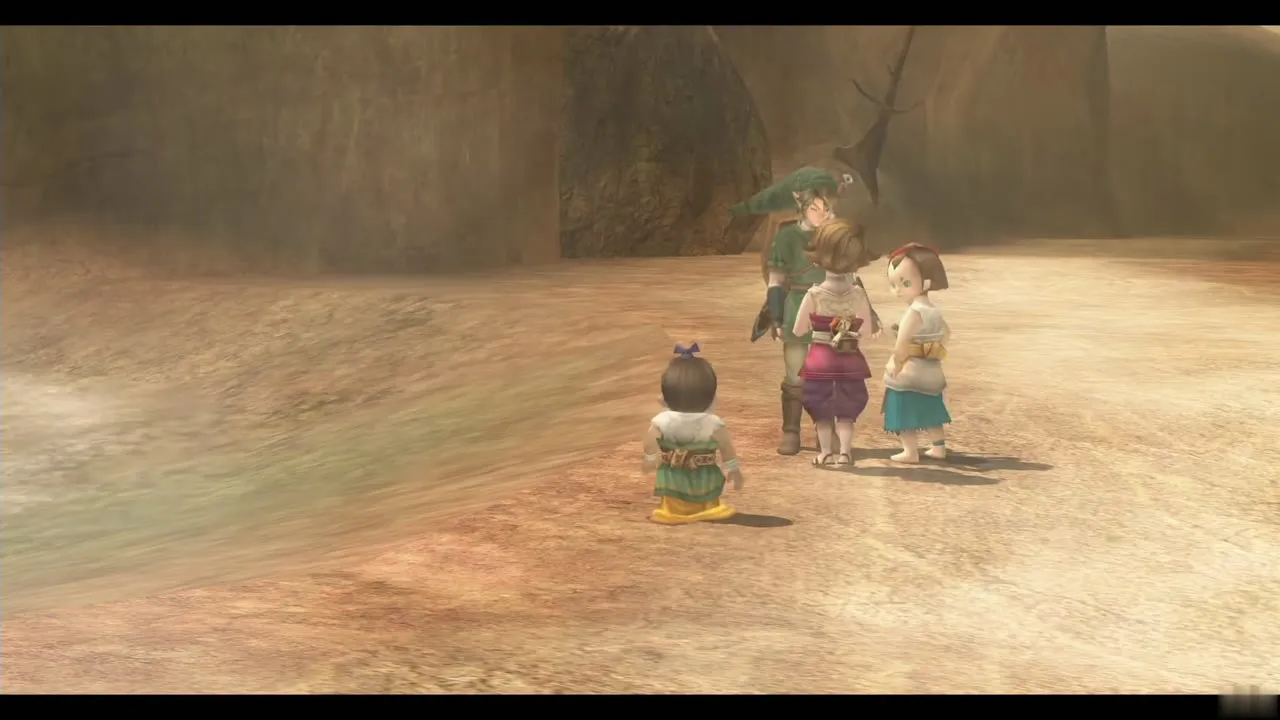
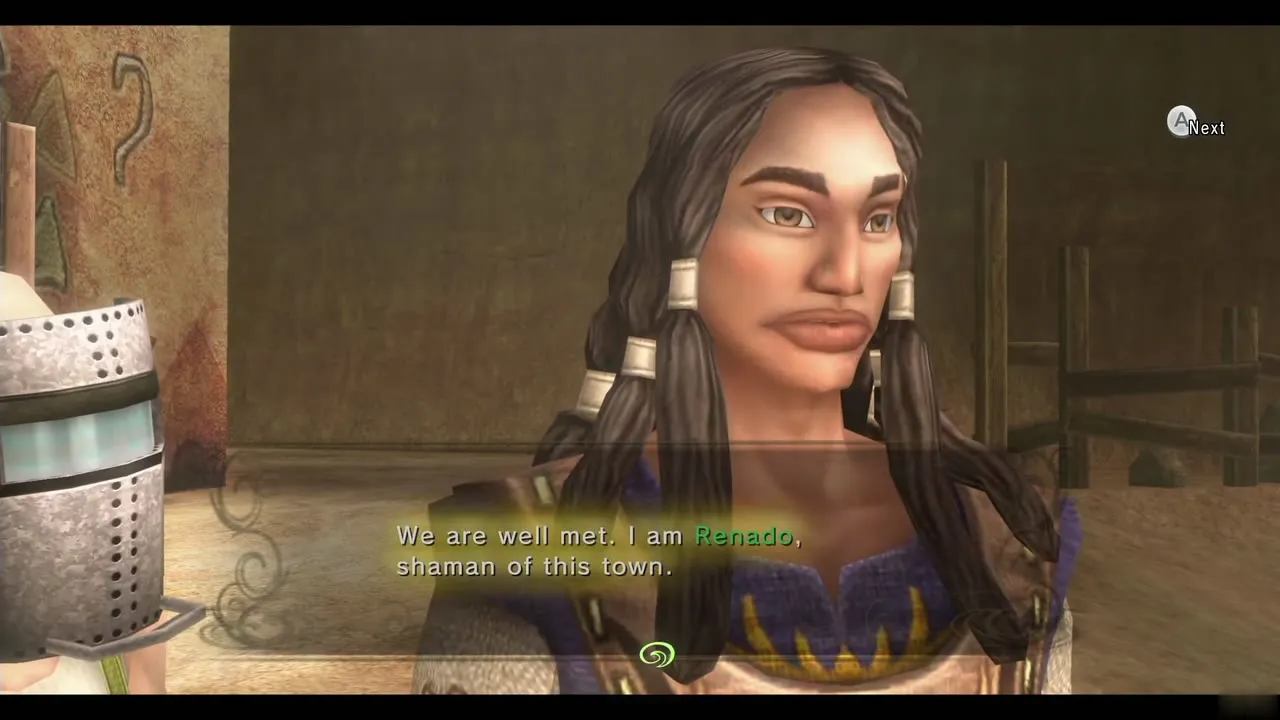
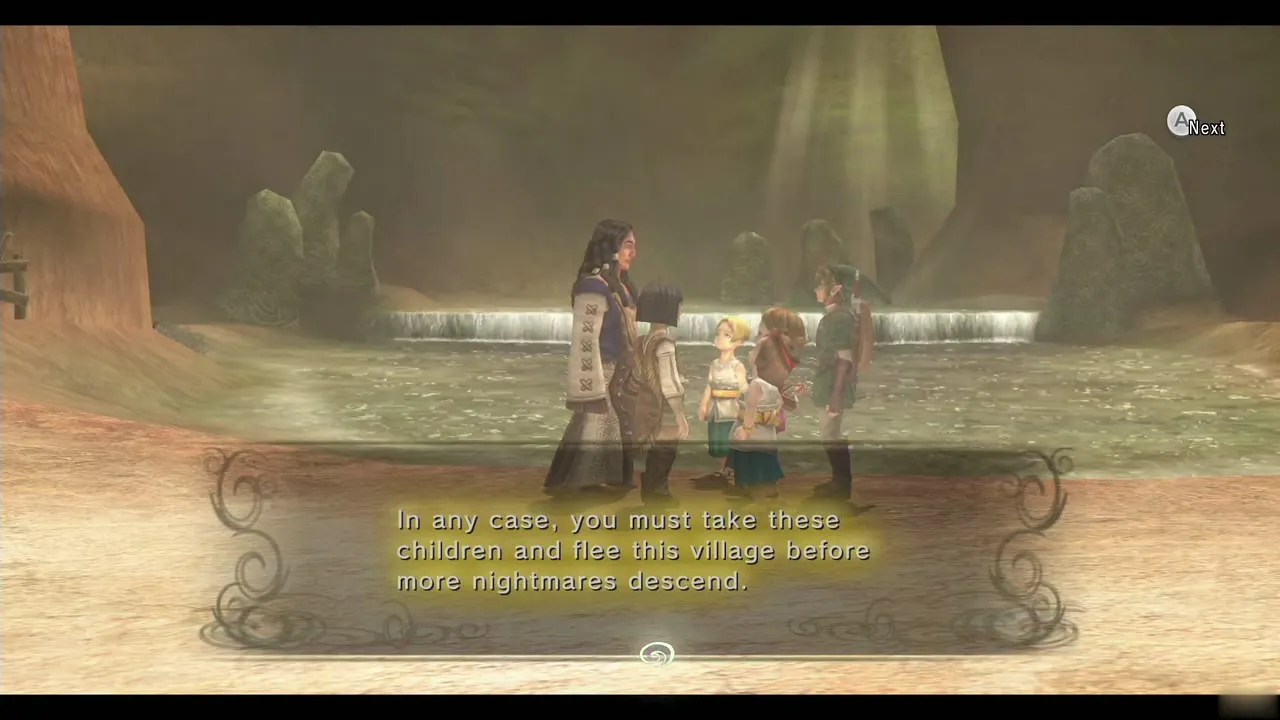
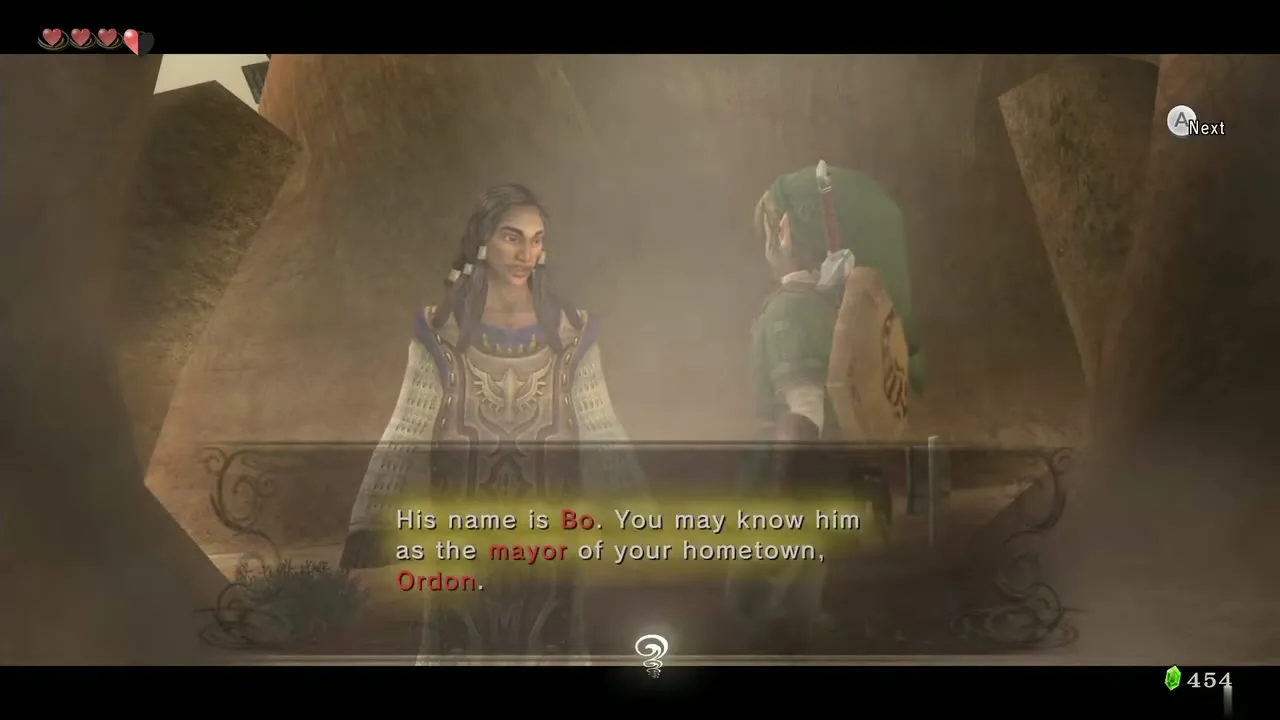
Return to the village and speak with Renado again. He suggests that Bo, the mayor of Ordon, may be able to help, and he says the children will stay in Kakariko for now. Walk to the middle of town and a cutscene shows Epona racing in with two Bulblins behind her.
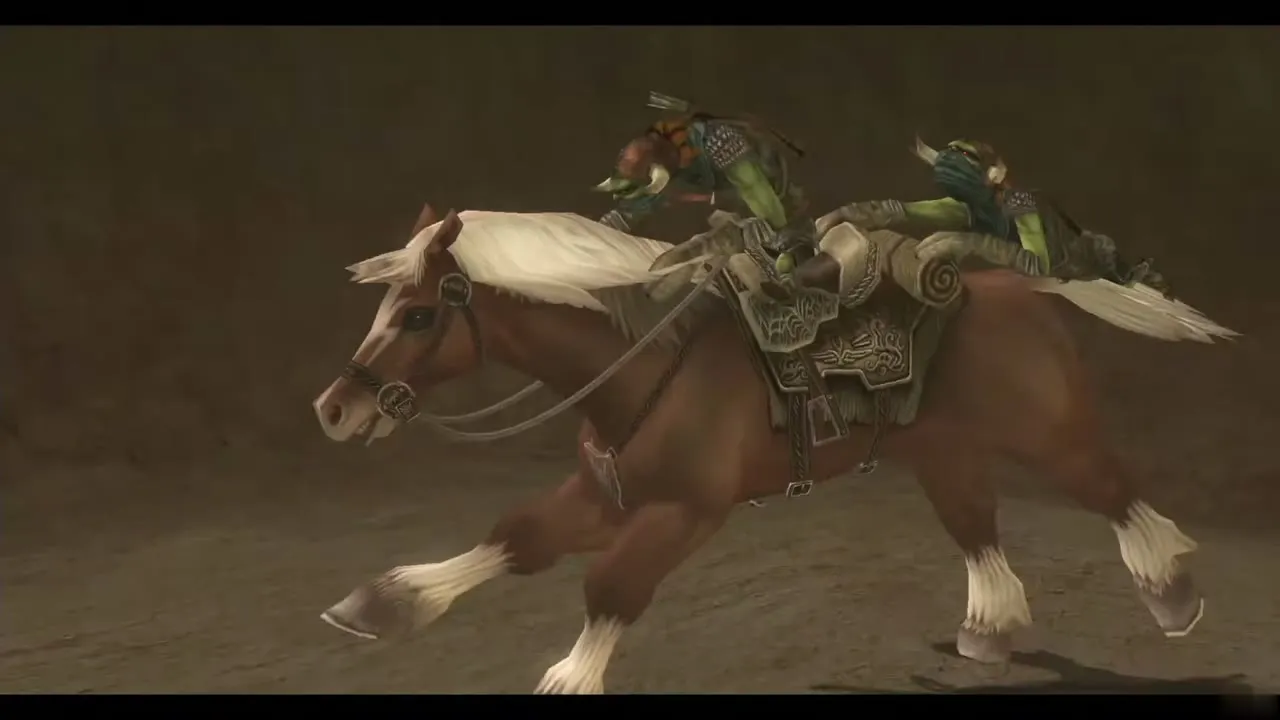

Calm Epona
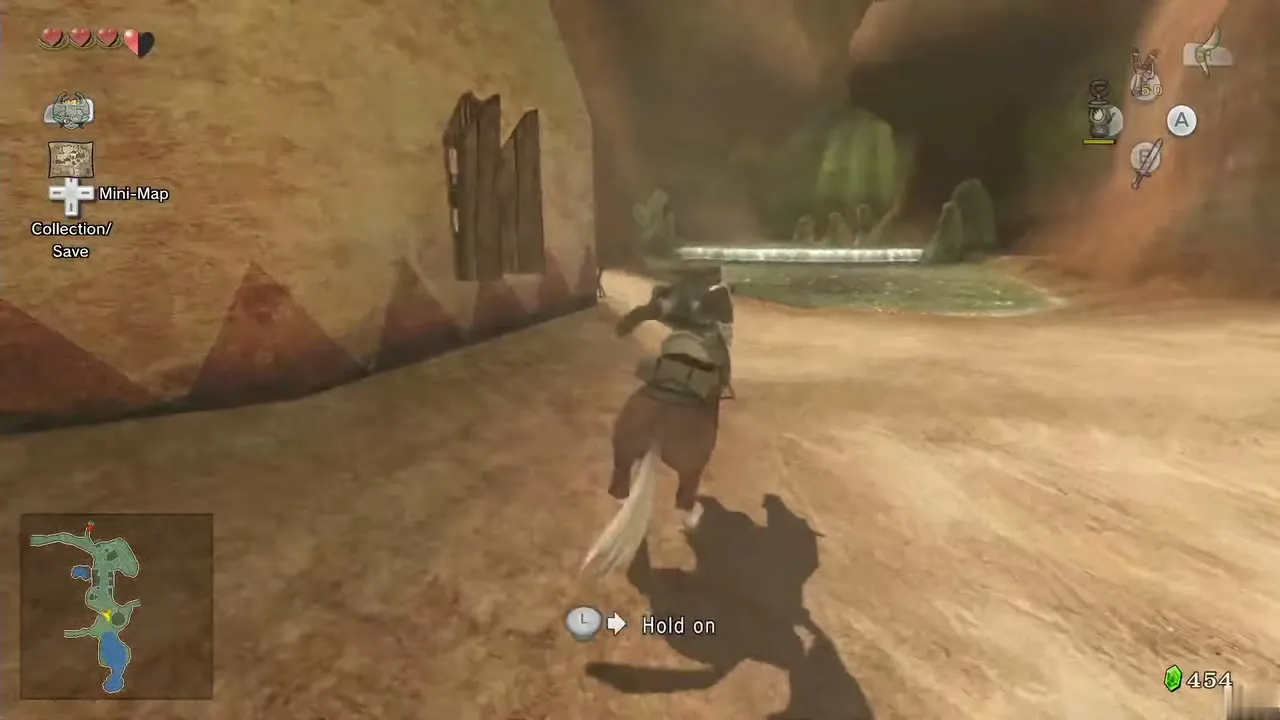
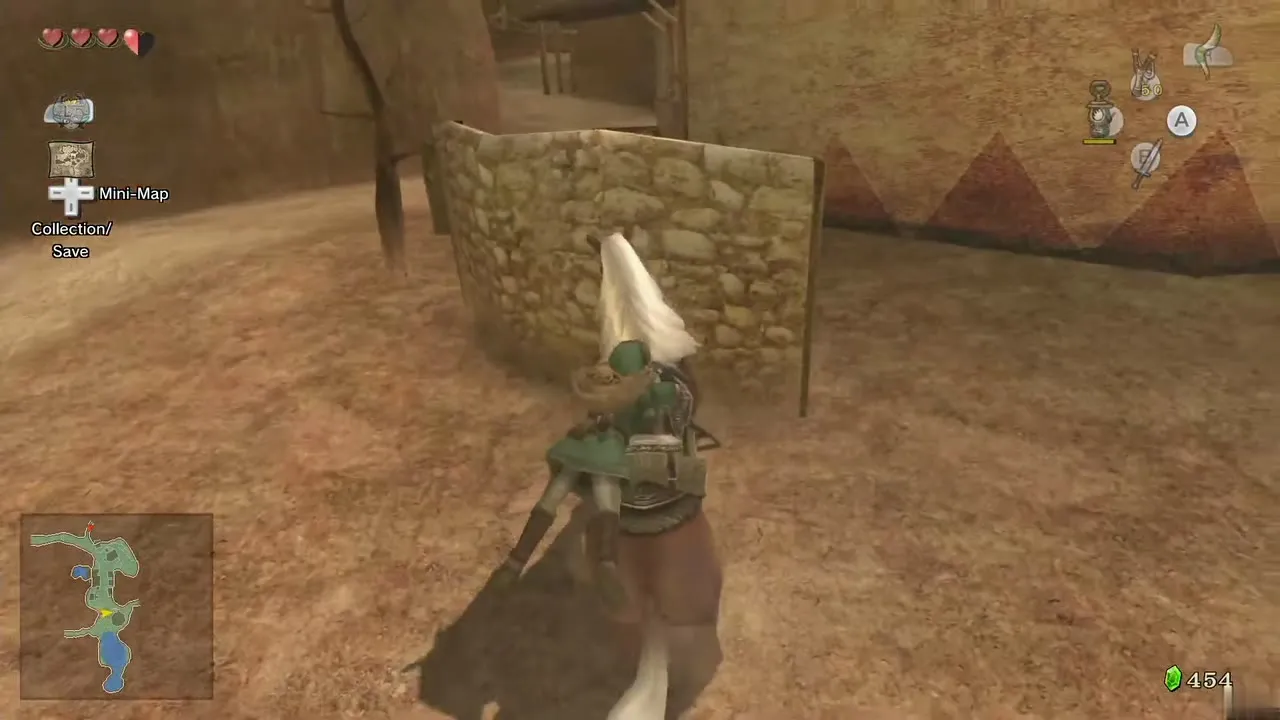
Link jumps onto Epona’s back and has to settle her. Follow the on-screen prompts: right, left, right, left, then A to grab the reins. Epona is yours again.
Kakariko Gorge bonus items in daylight
Jump the gate and find the Pill Bugs
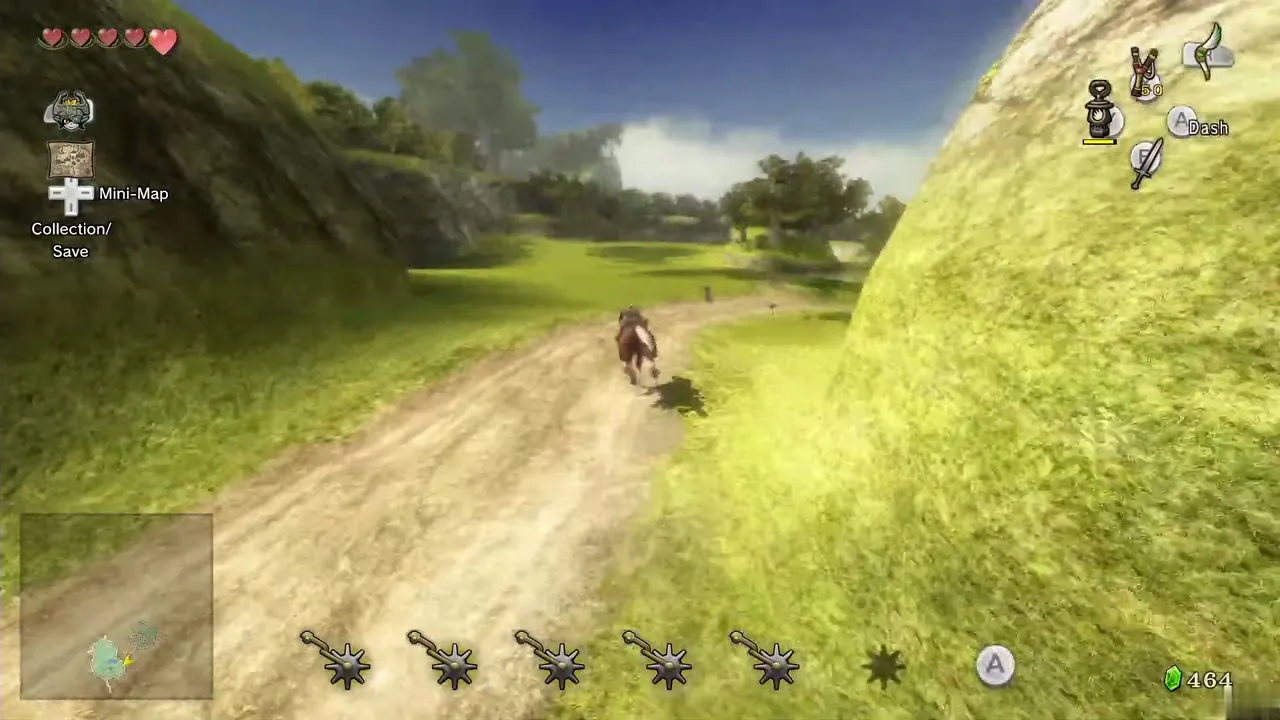
Ride Epona out of the village and dash at the gate to jump it. In daylight the gorge holds two Golden Bugs and a Heart Piece. Time is locked to day here for now, so the bugs are harder to spot, but you can return at night later. If you met Ooccoo in the Forest Temple, the Postman delivers her letter as you ride.
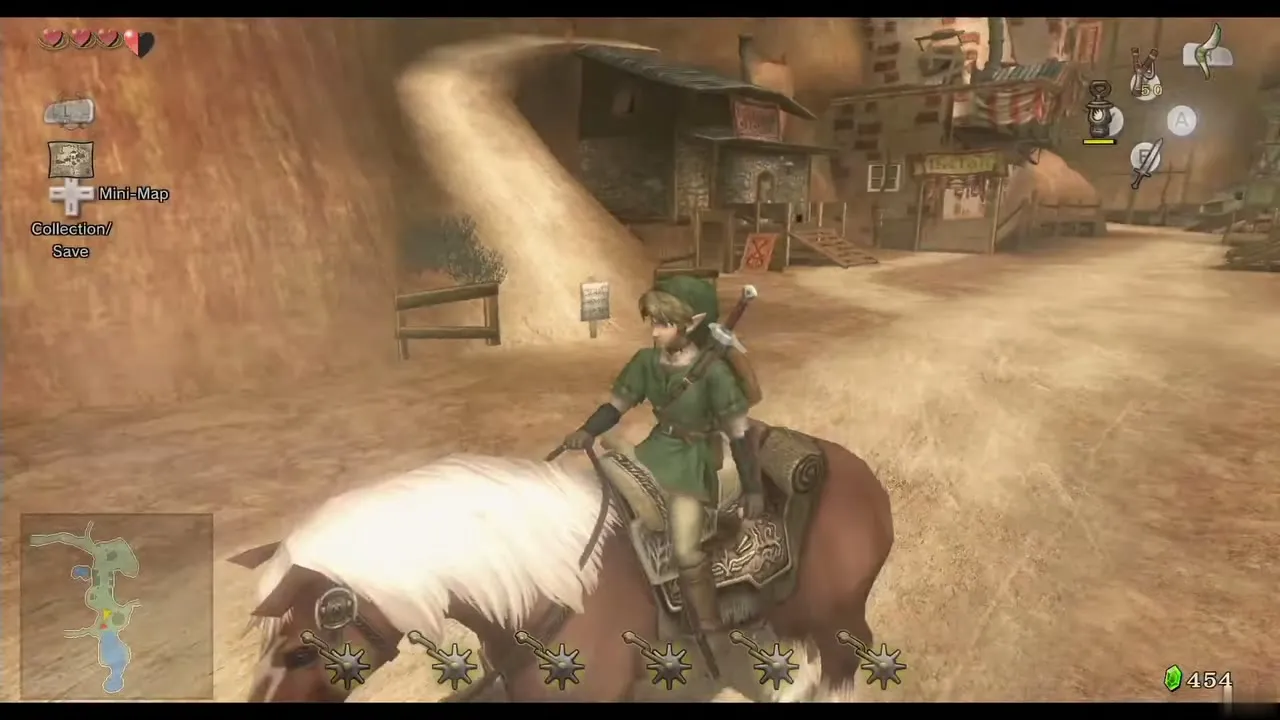
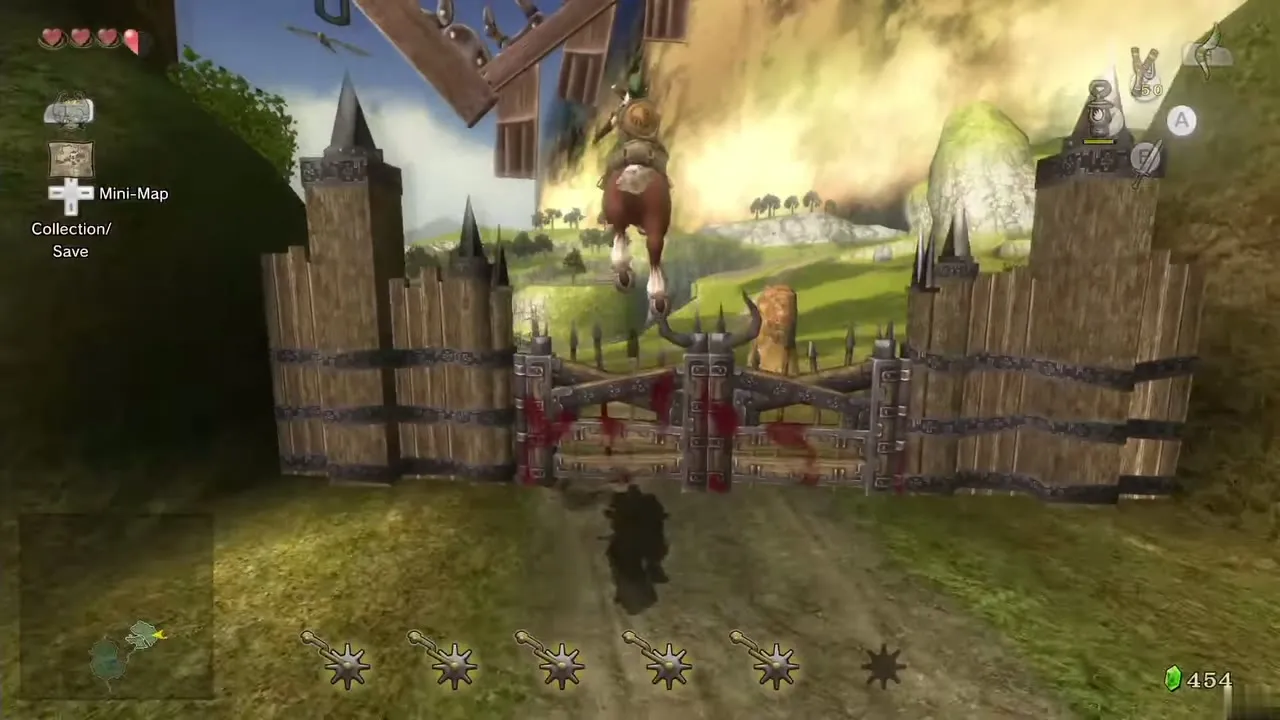
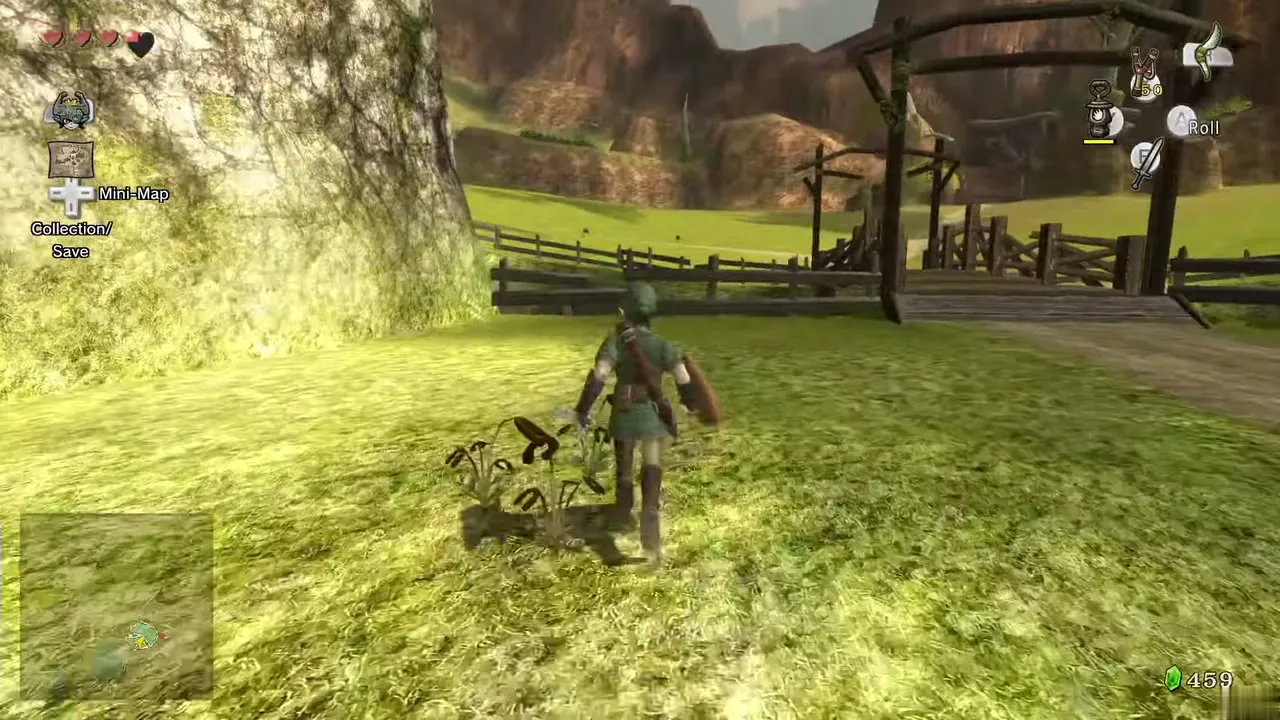
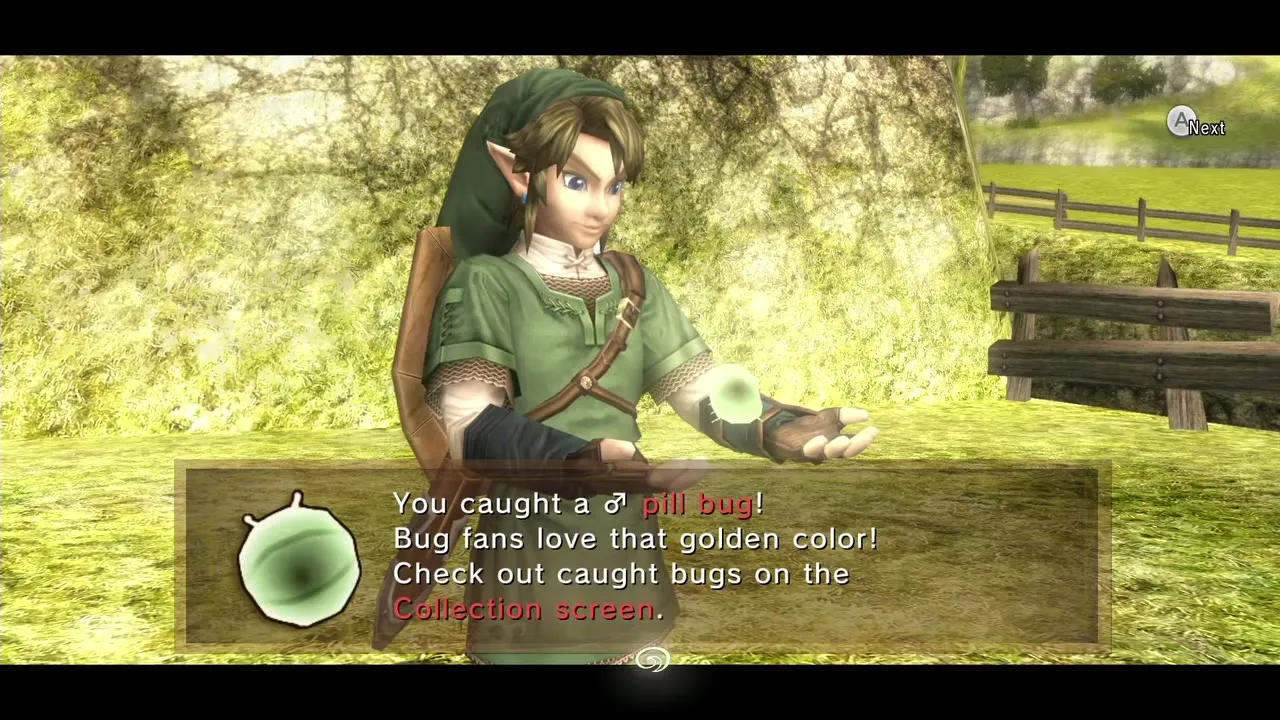
Dismount at the bridge, cross it and turn right: the Male Pill Bug crawls in the open beside the path. The Female Pill Bug hides in tall grass and flowers among a triangle of three trees in the southwestern part of the gorge. Cut the grass and press A when she appears.
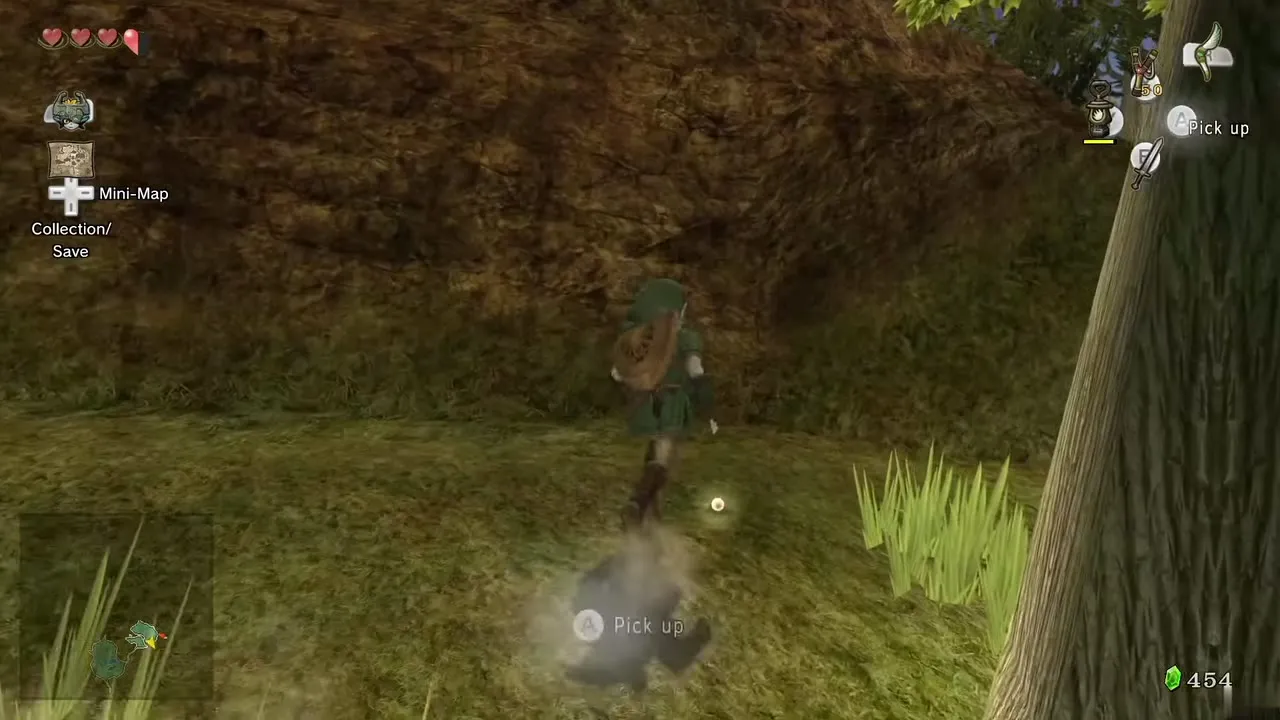
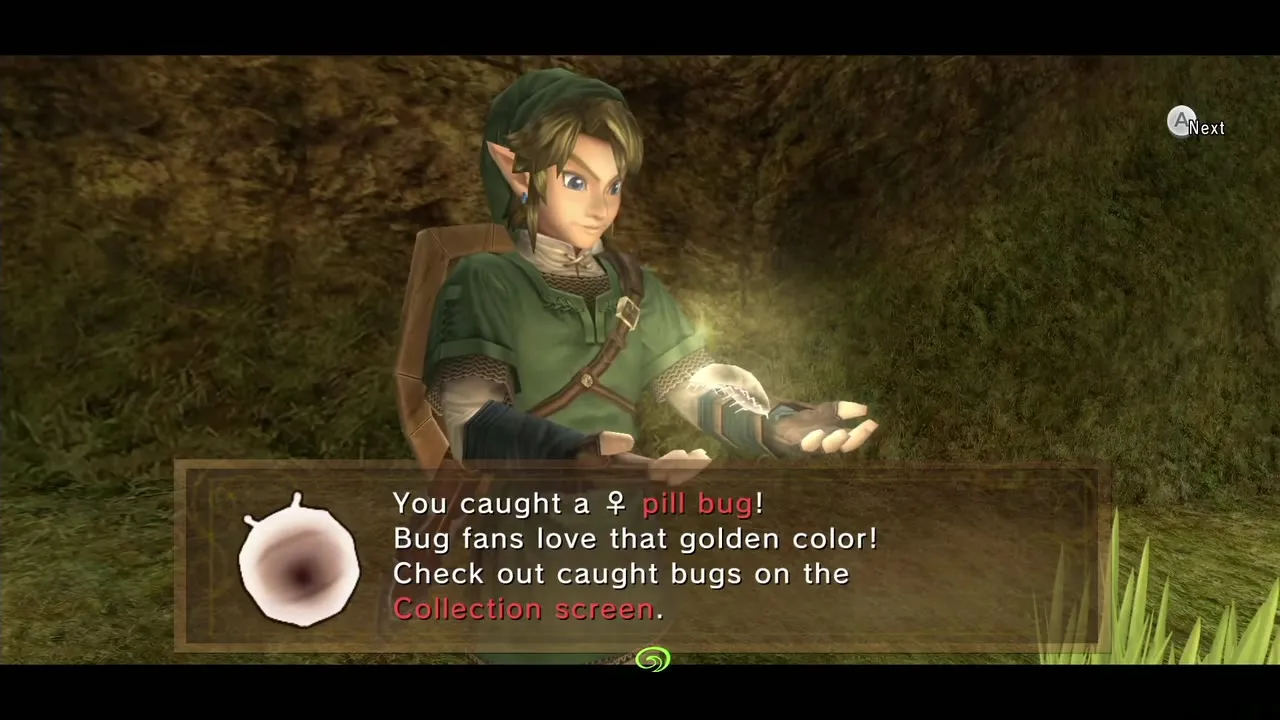

Heart Piece #7
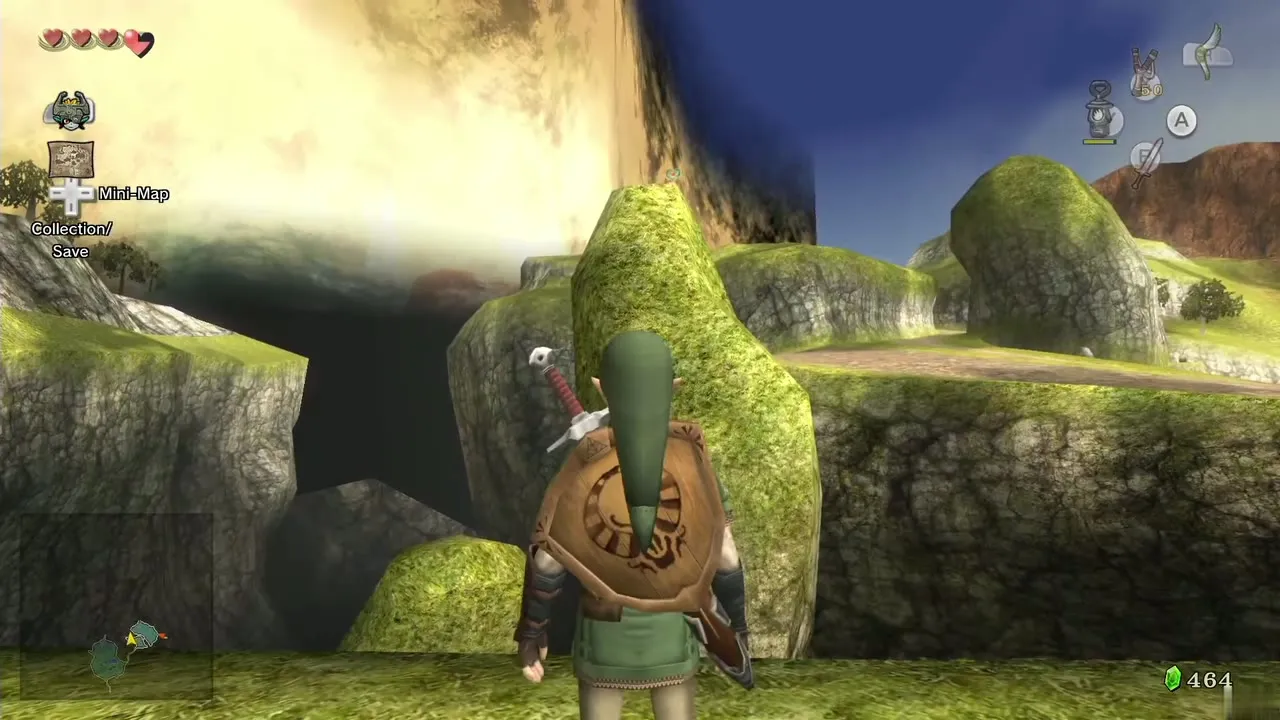
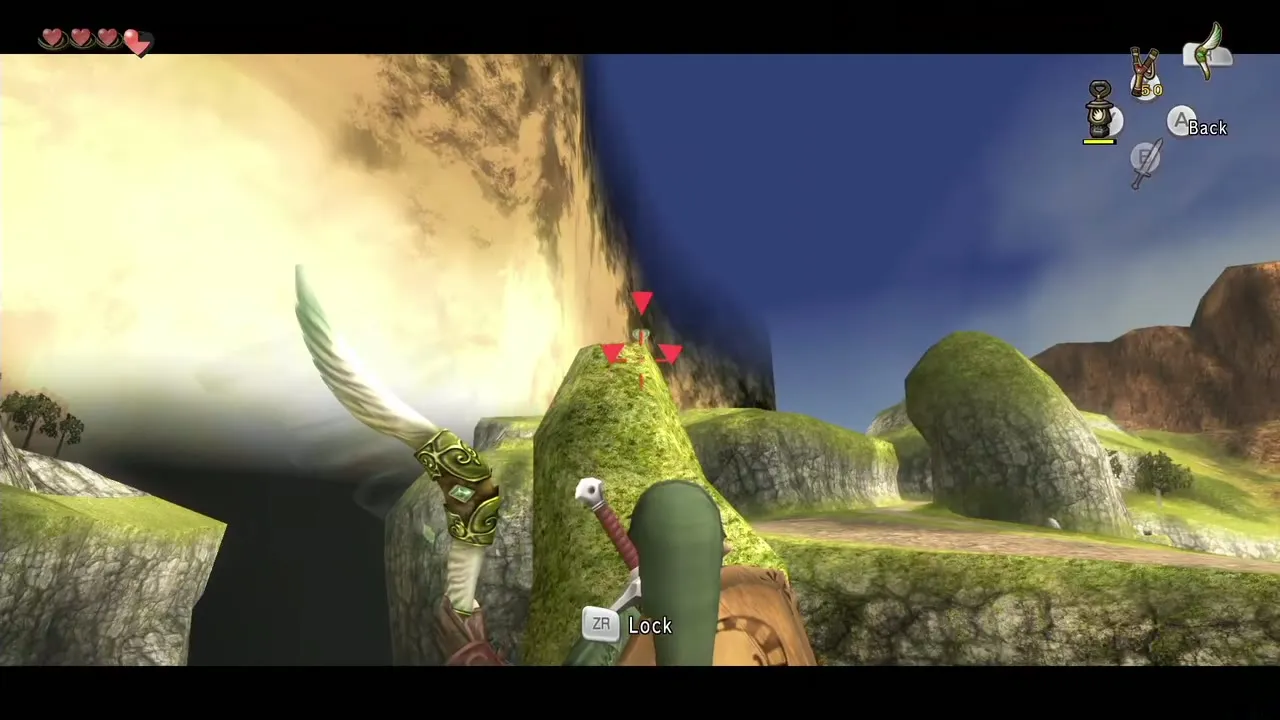
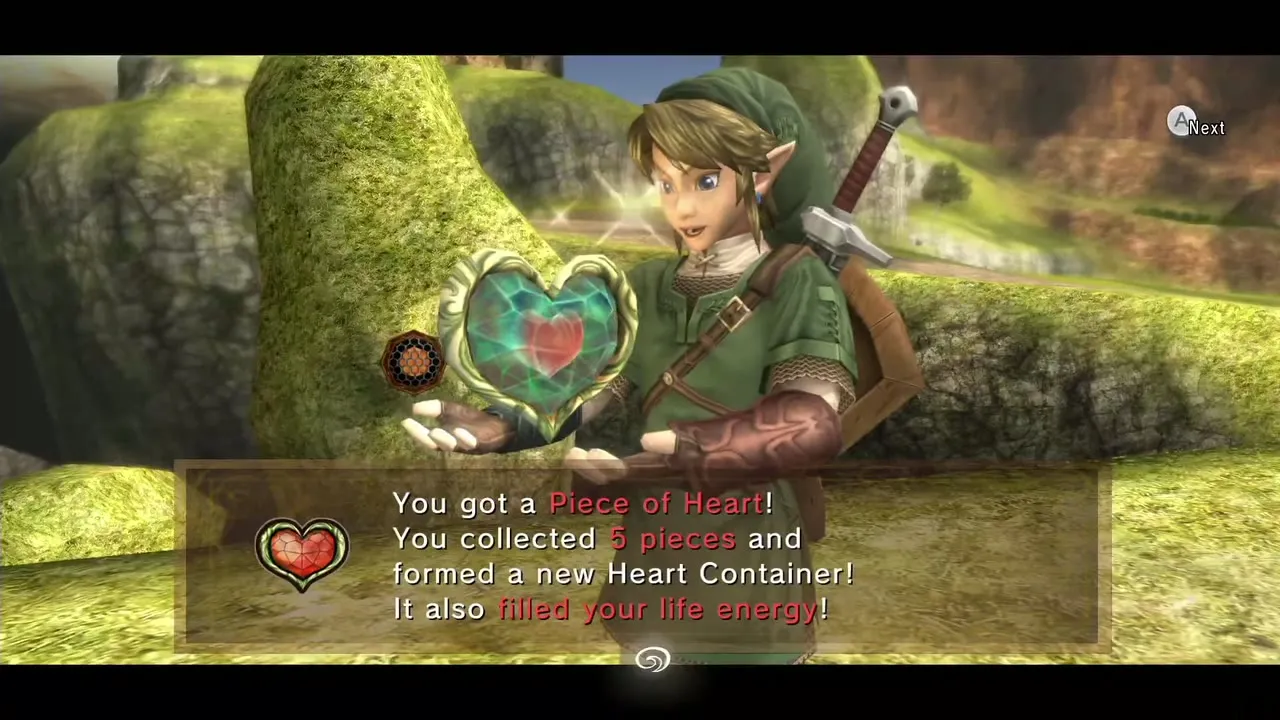
Ride toward the east end of the gorge, where two tall rock pillars stand; a Piece of Heart floats above the taller one. Target it with the Gale Boomerang. It is #7 on the master list. If you have also taken the Faron cave piece (#2), both Forest Temple pieces (#4 and #5) and #6, this is your fifth piece and it completes a new Heart Container.
Ordon Spring and the Shield Attack
Return to the Golden Wolf
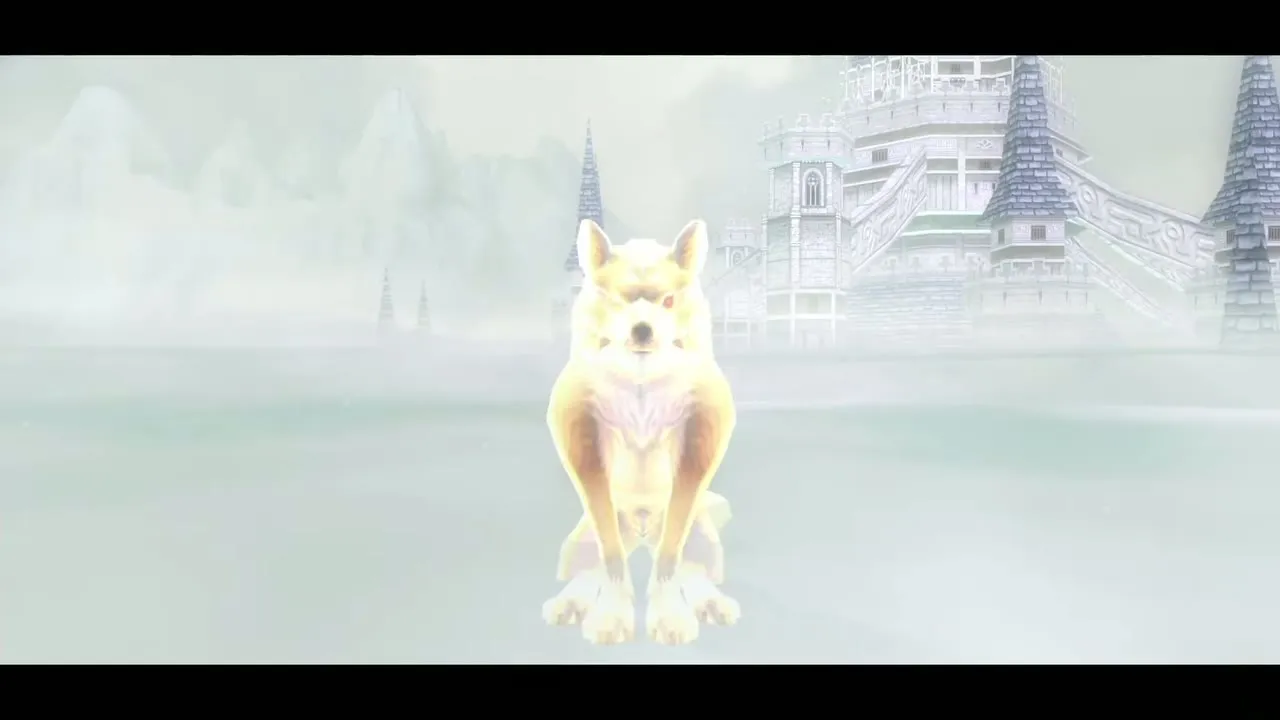
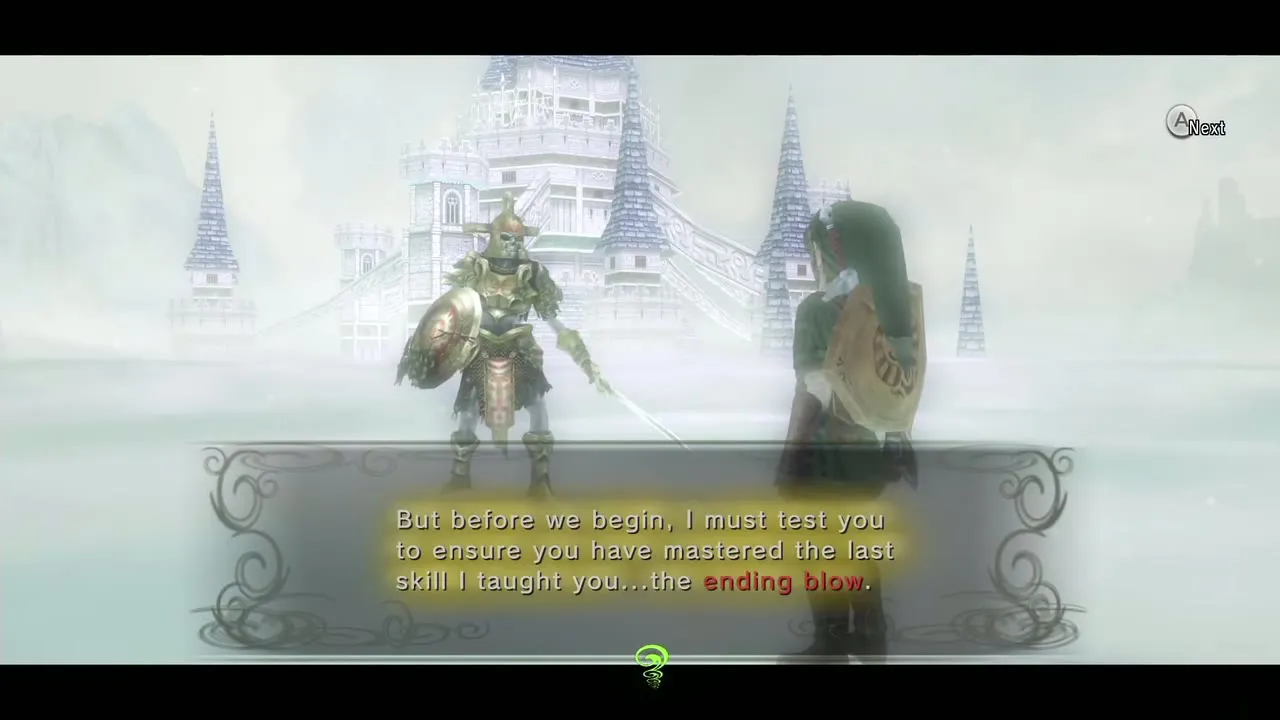
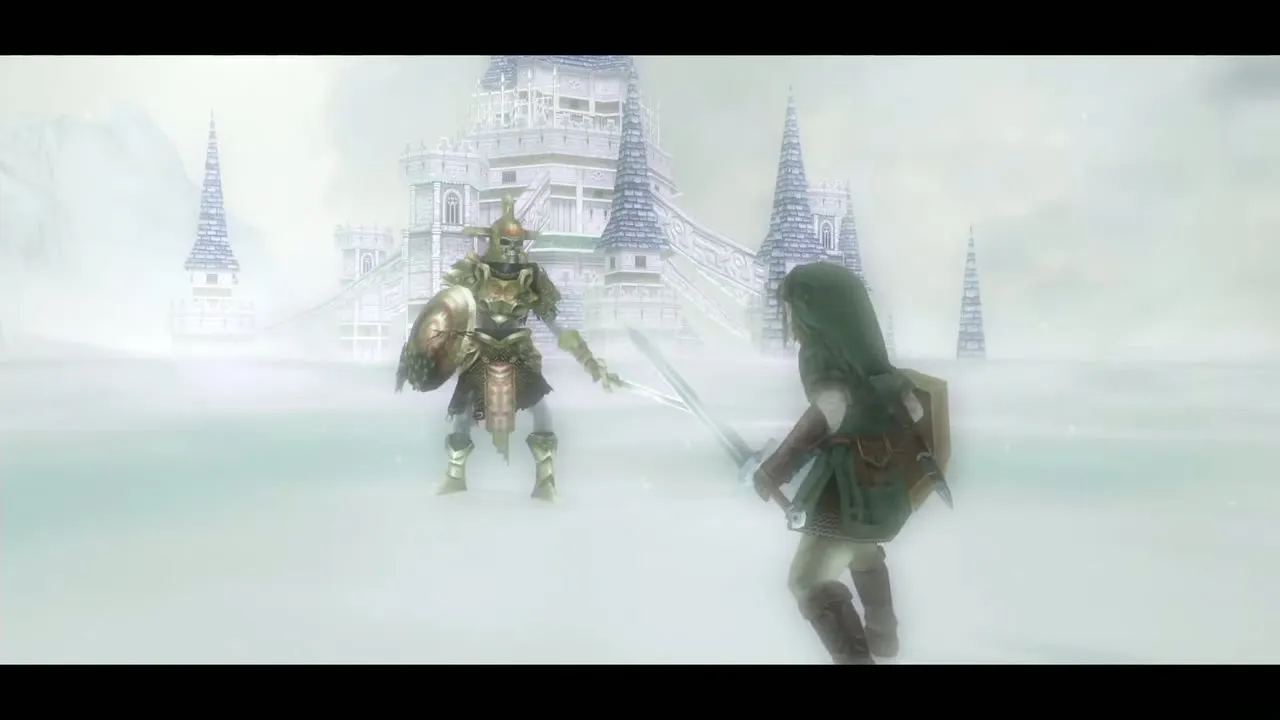
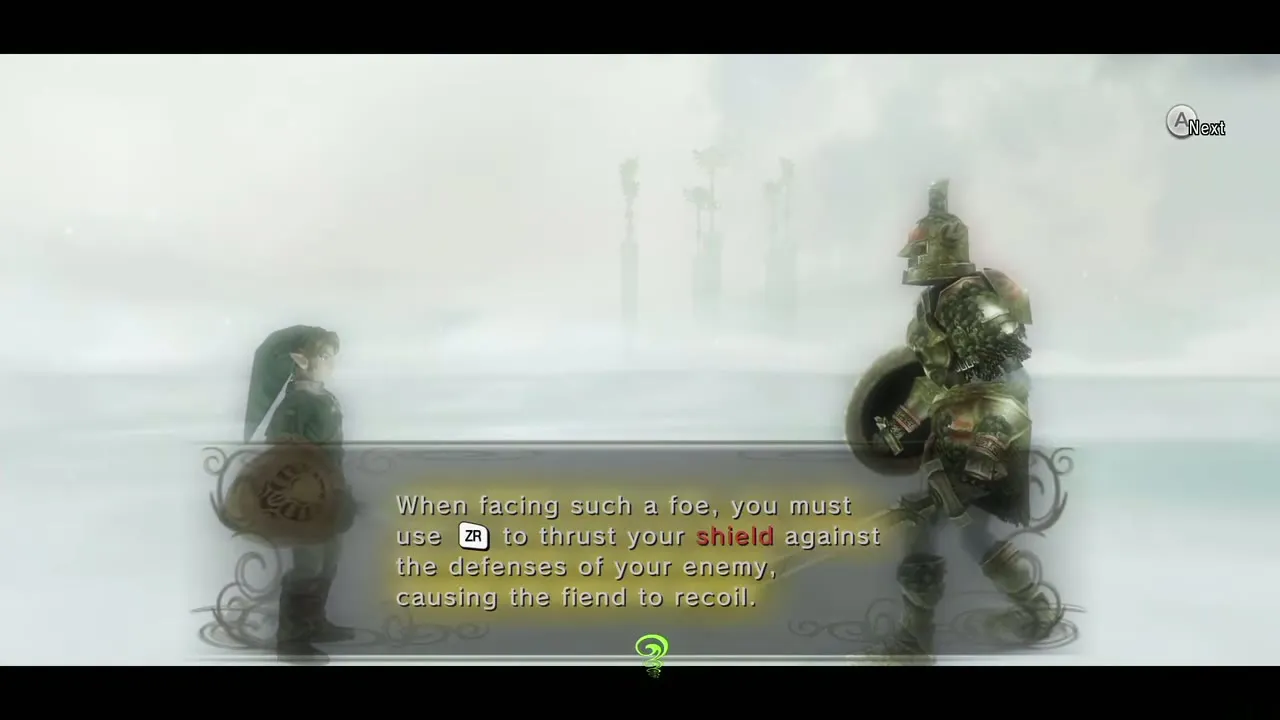
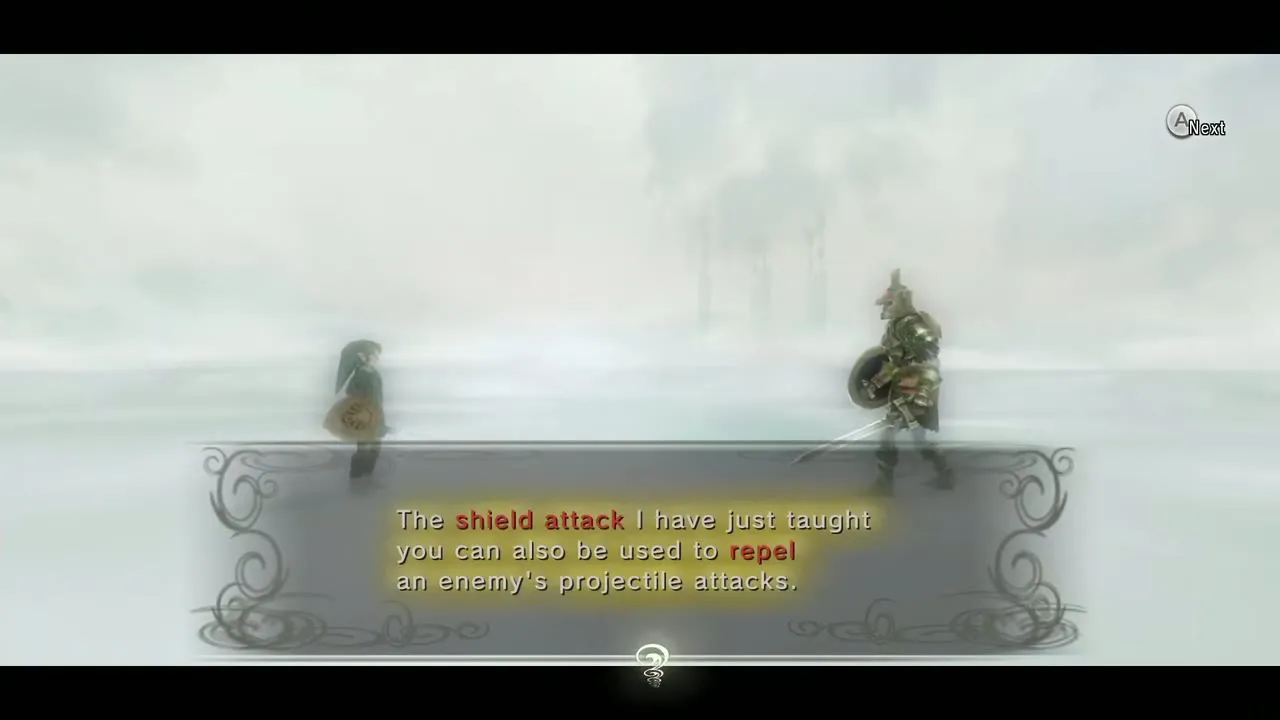
Ride back through Hyrule Field to Faron Woods and on toward Ordon. Before the village, stop at Ordon Spring. If you used the Death Mountain Howling Stone, the Golden Wolf waits there; approach him as human Link with your sword and he takes you to the Hero’s Shade, who tests your Ending Blow and then teaches the Shield Attack. After you target an enemy, press ZR to bash it with the shield, which stuns it and deflects projectiles. Skills always come in a fixed order, so nothing is lost if you skip this now and return later.
Chapter checklist
| Type | Name | Where |
|---|---|---|
| Heart Piece | #6 | Tree near the first bridge in Hyrule Field (Gale Boomerang) |
| Golden Bug |  Male Beetle | Tree off the path north of the Faron entrance |
| Golden Bug |  Female Beetle | Tree trunk on a ledge in the northeast field (Gale Boomerang) |
| Item | Youth’s Scent | Talo’s wooden sword, Kakariko Gorge |
| Key item |  Vessel of Light (12 Tears) | Eldin Spring, Kakariko |
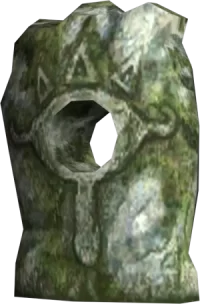 Howling Stone | Death Mountain trail | Next to Tear 10 |
| Golden Bug |  Male Pill Bug | Just across the Kakariko Gorge bridge |
| Golden Bug |  Female Pill Bug | Tall grass among trees in the gorge |
| Heart Piece | #7 | Above the rock pillar in Kakariko Gorge (Gale Boomerang) |
 Hidden skill | Shield Attack | Golden Wolf and Hero’s Shade at Ordon Spring |
Next, continue with Iron Boots, King Bulblin and Death Mountain.
