
























Twilight Princess 100% Completion Walkthrough23 chapters
- Hyrule Castle and the Ganondorf BattleEvery key and chest, then how to beat Puppet Zelda, Dark Beast Ganon, the horse chase and the final duel.
- Snowpeak Ruins (Dungeon 5)Every key, chest, Heart Piece and Poe Soul, the Ball and Chain, Darkhammer and the Blizzeta boss fight.
- Temple of Time (Dungeon 6)All keys and chests, the Dominion Rod, statue puzzles, Big Key, two Heart Pieces and Armogohma.
- City in the Sky (Dungeon 7)Every chest, Heart Piece and Poe, the Double Clawshots, Aeralfos, the Big Key and how to beat Argorok.
- Ordon VillageGoat herding, fishing rod, Sera’s bottle, slingshot, Wooden Sword, Faron Woods cave Heart Piece, Lantern.
- Enter the Twilight RealmEscape the cell as Wolf Link, meet Midna and Zelda, get the Ordon Sword and Shield, meet Ordona.
- Faron WoodsAll 12 Tears of Light, Faron Spring, Coro’s key and lantern oil bottle, and the Golden Wolf’s Ending Blow.
- Forest Temple (Dungeon 1)All 8 monkeys, 4 small keys, Map, Compass, Big Key, 2 Heart Pieces, Ook, Gale Boomerang and Diababa.
- Hyrule Field, Kakariko Gorge and Twilight Kakariko12 Tears of Light, Epona, Pill Bugs, Heart Pieces.
- Iron Boots, King Bulblin and Death MountainIron Boots from Mayor Bo, the King Bulblin bridge fight, Golden Bugs and Gor Coron’s sumo match.
- Goron Mines (Dungeon 2)Every chest, both Heart Pieces, the Hero’s Bow, three Key Shards, Dangoro and Fyrus boss tactics.
- Lanayru Province, Castle Town and Zora’s DomainKakariko extras, Bridge of Eldin bugs, Castle Town, Lake Hylia, thawing Zora’s Domain and all 12 Tears of Light.
- Telma Escort, Castle Town and Lake Hylia Side QuestsTelma escort, Zora Armor, Water Bombs, 9 Golden Bugs, Agitha, Charlo, fishing, Rapid Ride and the Lakebed entrance.
- Lakebed Temple (Dungeon 3)Small keys, map, compass, Big Key, two Heart Pieces, Clawshot, Deku Toad and Morpheel boss tactics.
- Midna, Zelda and the Master SwordTelma’s Bar to Zelda, the Sacred Grove, Skull Kid, the guardian puzzle, plus its Heart Piece, Poe and Golden Bug.
- Poe Soul Collection, Malo Mart and Heart PiecesThe first 29 Poe Souls, Jovani’s rewards, Malo Mart donations and Magic Armor, Miiverse stamps and five Heart Pieces.
- Gerudo Desert and the Bulblin CampOasis Flight, eight Poe Souls, both Dayflies, Mortal Draw, Bulblin Camp and King Bulblin.
- Arbiter’s Grounds (Dungeon 4)Four Poe Souls, Dungeon Map, Compass, Spinner, Big Key, two Heart Pieces and the Stallord boss fight.
- Mirror Chamber, Reekfish and Snowpeak MountainMirror Chamber, Spinner Heart Pieces, Reekfish bait, Jump Strike, Poe Souls and the climb to Yeto.
- Heart Pieces Hunt and Return to the Sacred GroveTwo Heart Pieces, Rusl, the Skull Kid rematch, the last Golden Bug and the Temple of Time door.
- Ilia’s Memory, Hidden Village and the SkyIlia’s memory, 20 Bulblins, 20 cats, six Sky characters, Great Spin and the Sky Cannon repair.
- Palace of Twilight (Dungeon 8)Both Sols, all seven small keys, map, compass, Big Key, 2 Heart Pieces and how to beat Zant.
- Cave of OrdealsAll 50 floors, the 3 Poe Souls, every Great Fairy, buried items, the Tears and Jovani.
| Covers | Mirror Chamber (Gerudo Desert), Hyrule Field spinner rails, Castle Town, Zora’s Domain, Kakariko Graveyard, Peak Province up to the Snowpeak Ruins door |
|---|---|
| You need | Spinner, Bombs, Clawshot, Gale Boomerang, Fishing Rod, an empty Bottle (optional), 598 Rupees for Magic Armor (optional) |
| Rewards | Broken Mirror of Twilight found, 2 Heart Pieces, Coral Earring, Reekfish Scent, Jump Strike, Surprised Zelda Miiverse Stamp, 4 Poe Souls, 2 new warp portals |
| Next | Snowpeak Ruins (Dungeon 5) |
After Stallord, this chapter finishes the Mirror Chamber, then collects two Heart Pieces in Hyrule Field with the new Spinner, lets you catch a Reekfish for its scent, and sends Wolf Link up the frozen mountain to Yeto. Only the Mirror Chamber, the Reekfish and the climb are required; everything else is a cheap detour you can do right now. Directions use the Normal Mode layout. Hero Mode mirrors the world, so swap left and right and east and west.
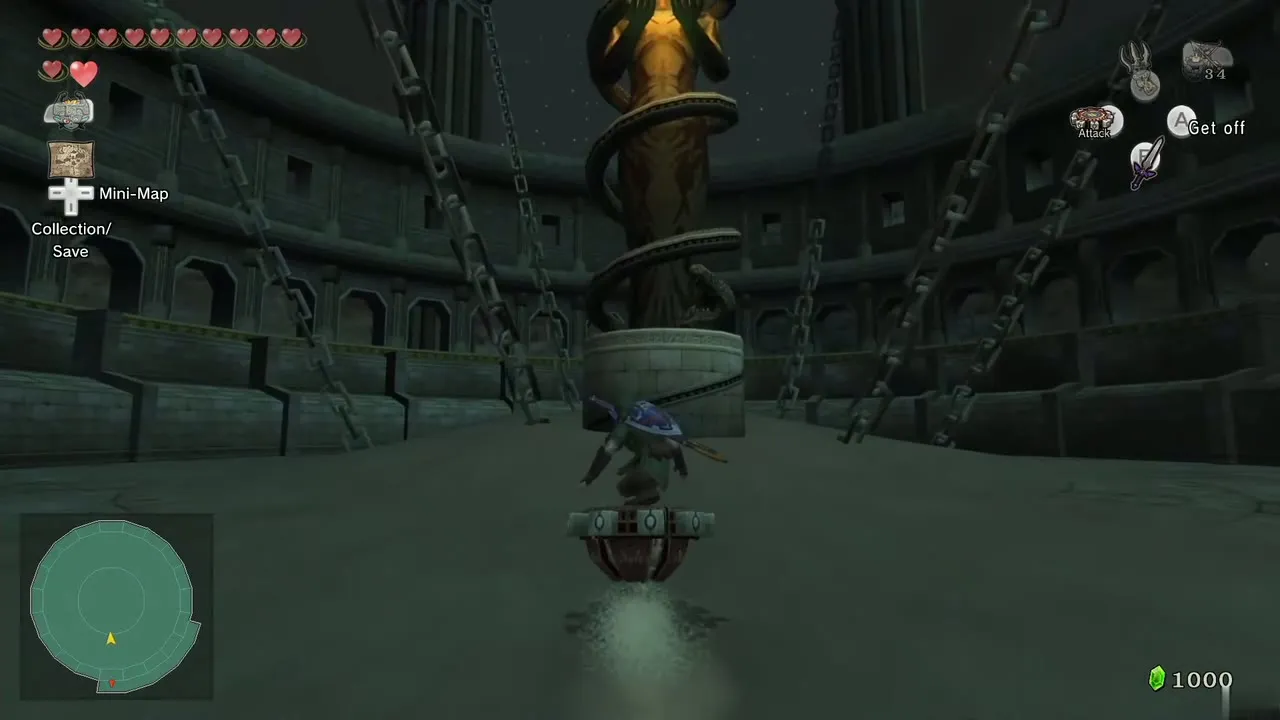
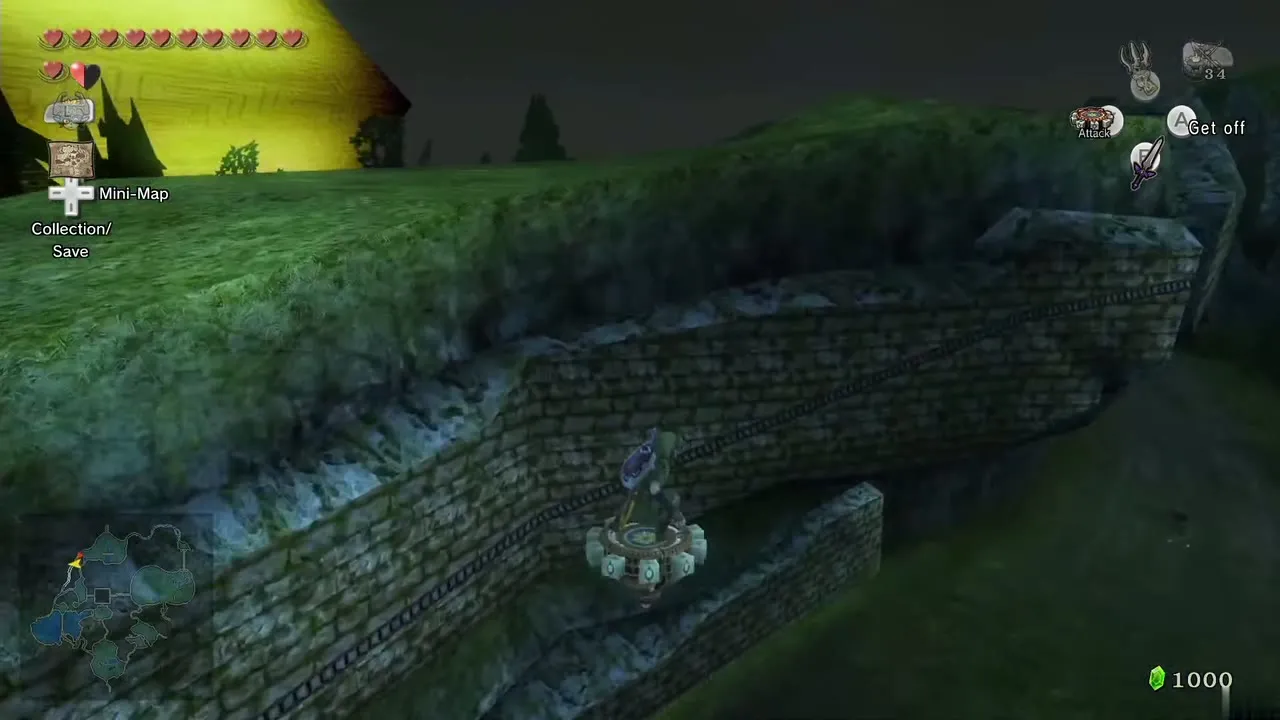
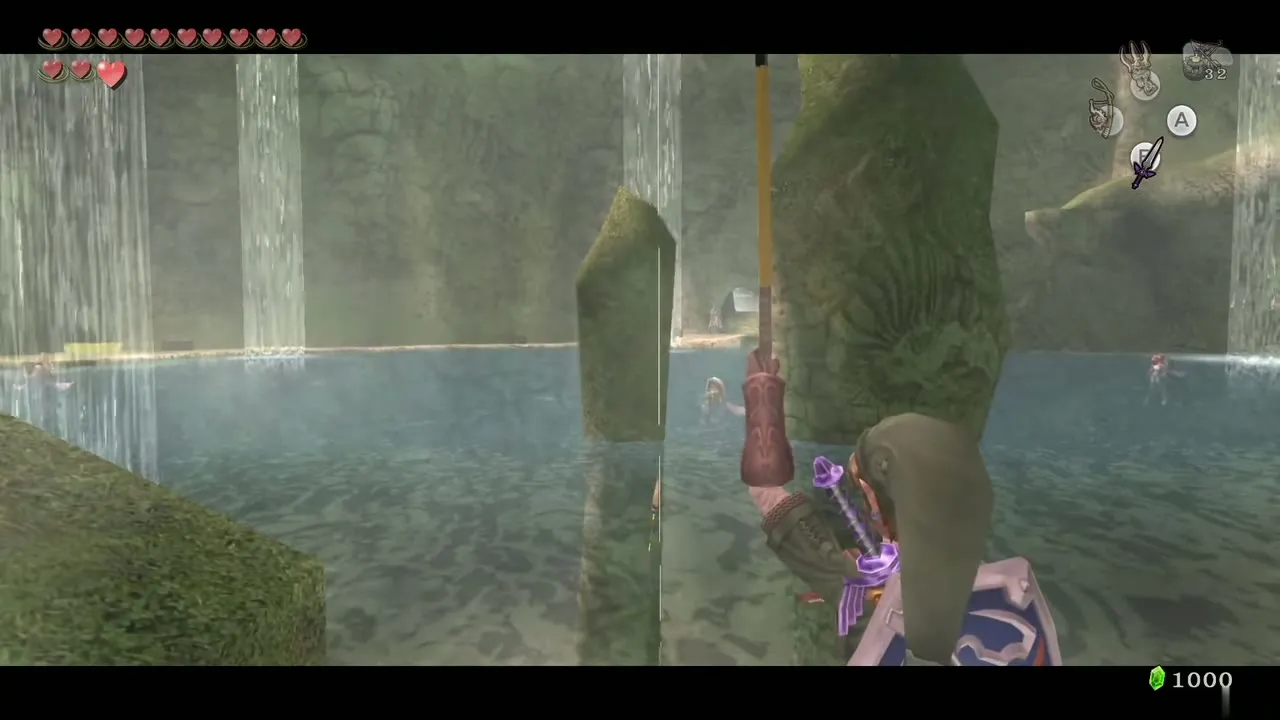
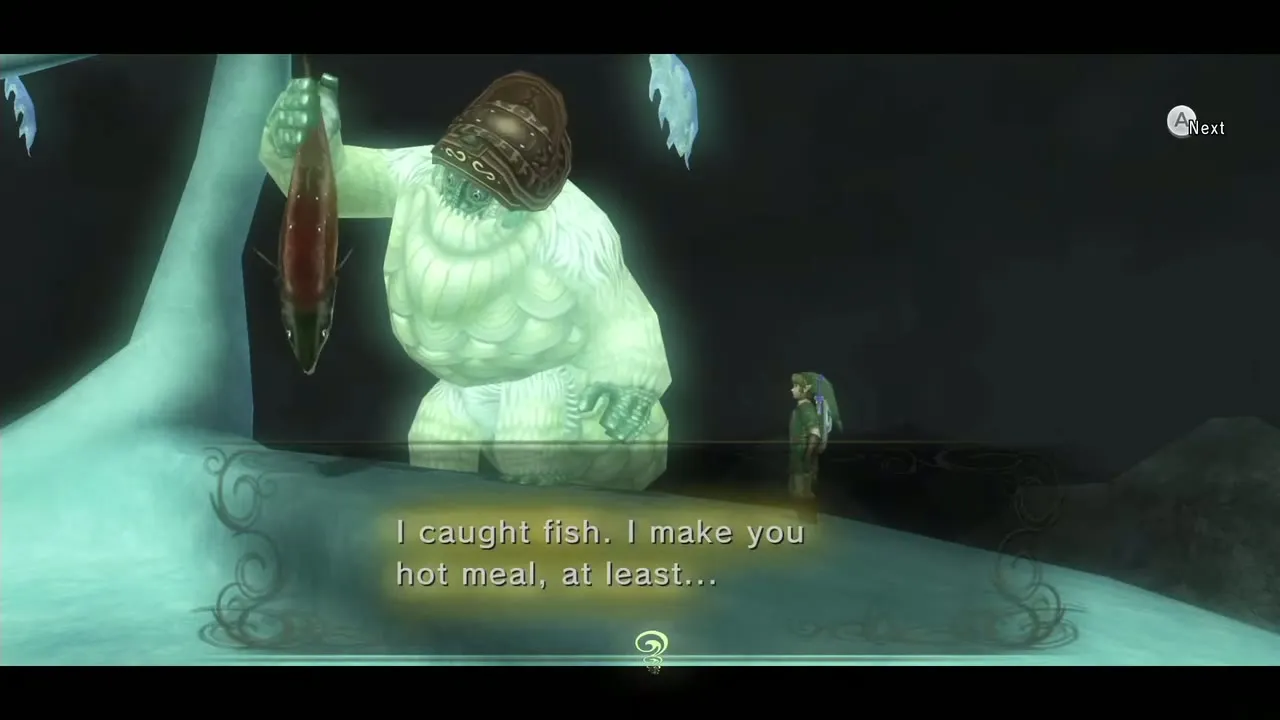
Table of Contents
Mirror Chamber (after Arbiter’s Grounds)
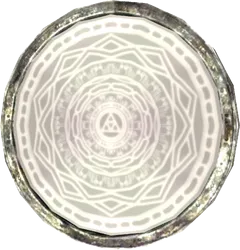
Raise the broken Mirror of Twilight
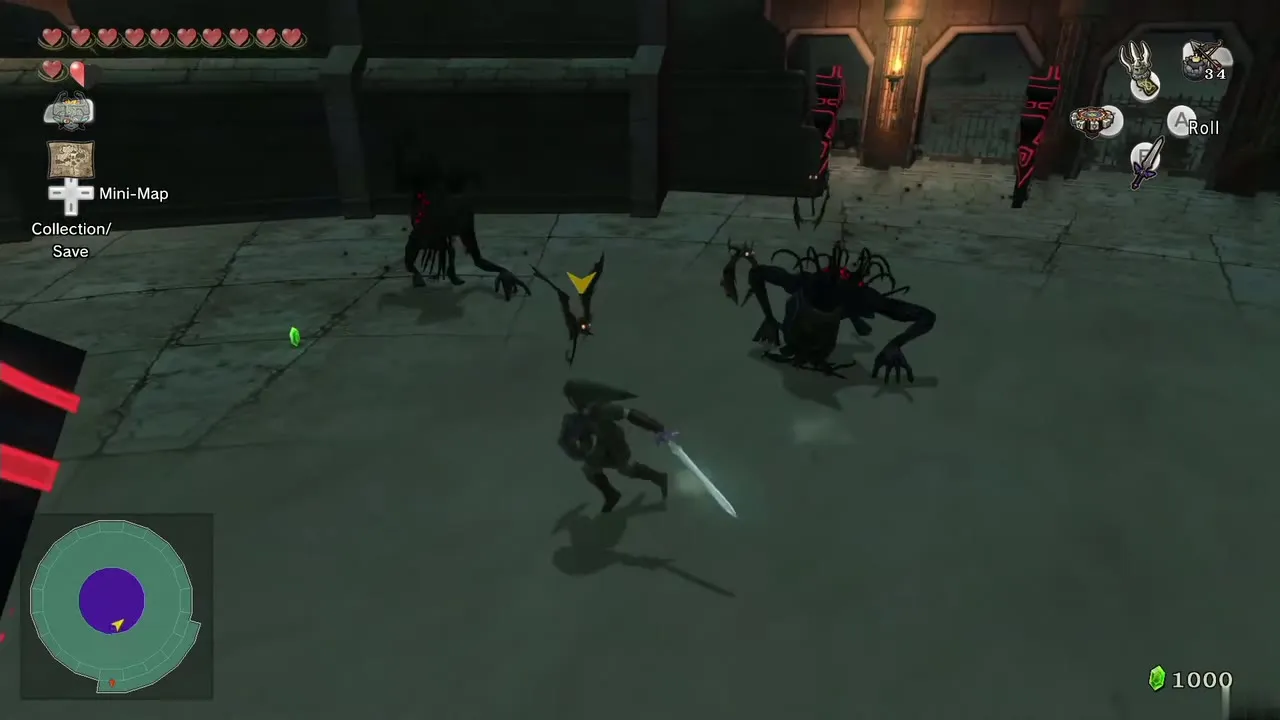
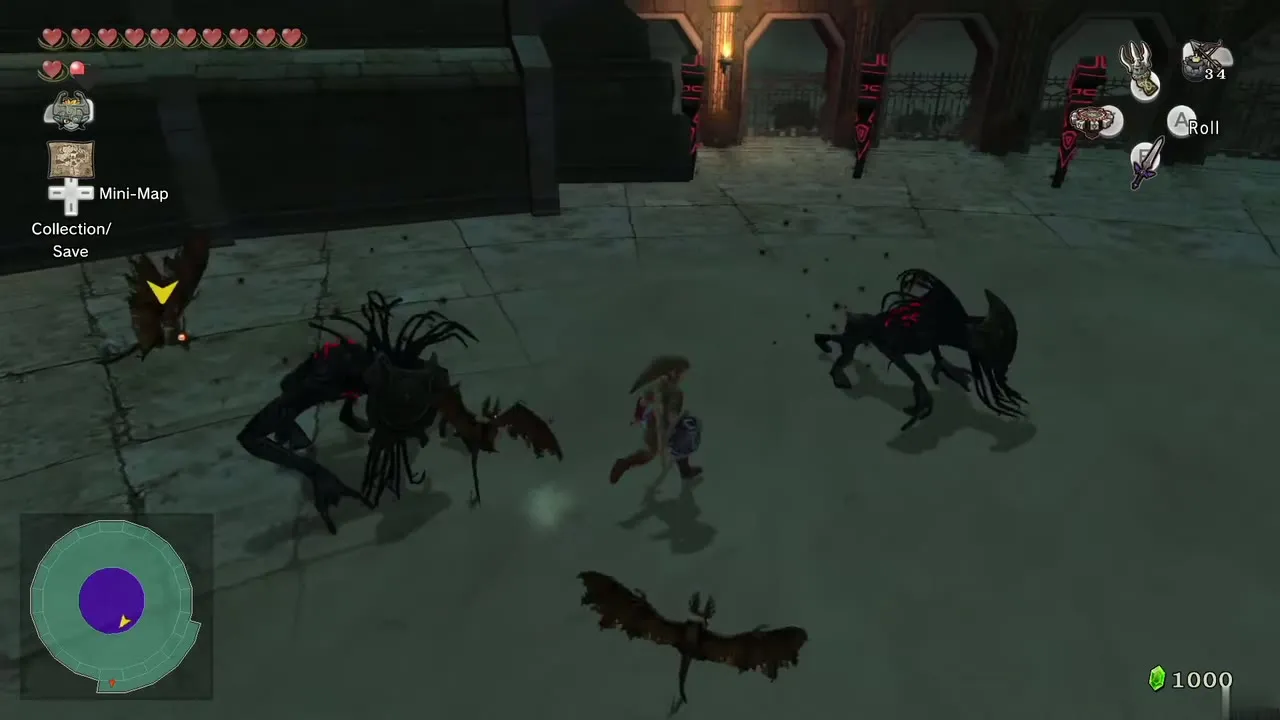
You leave Arbiter’s Grounds outside in the desert. Scale the slope ahead toward the Mirror Chamber; a twilight portal opens on the way and drops five Shadow Beasts. Defeat all five as in earlier twilight fights and the spot becomes a warp point for Midna.
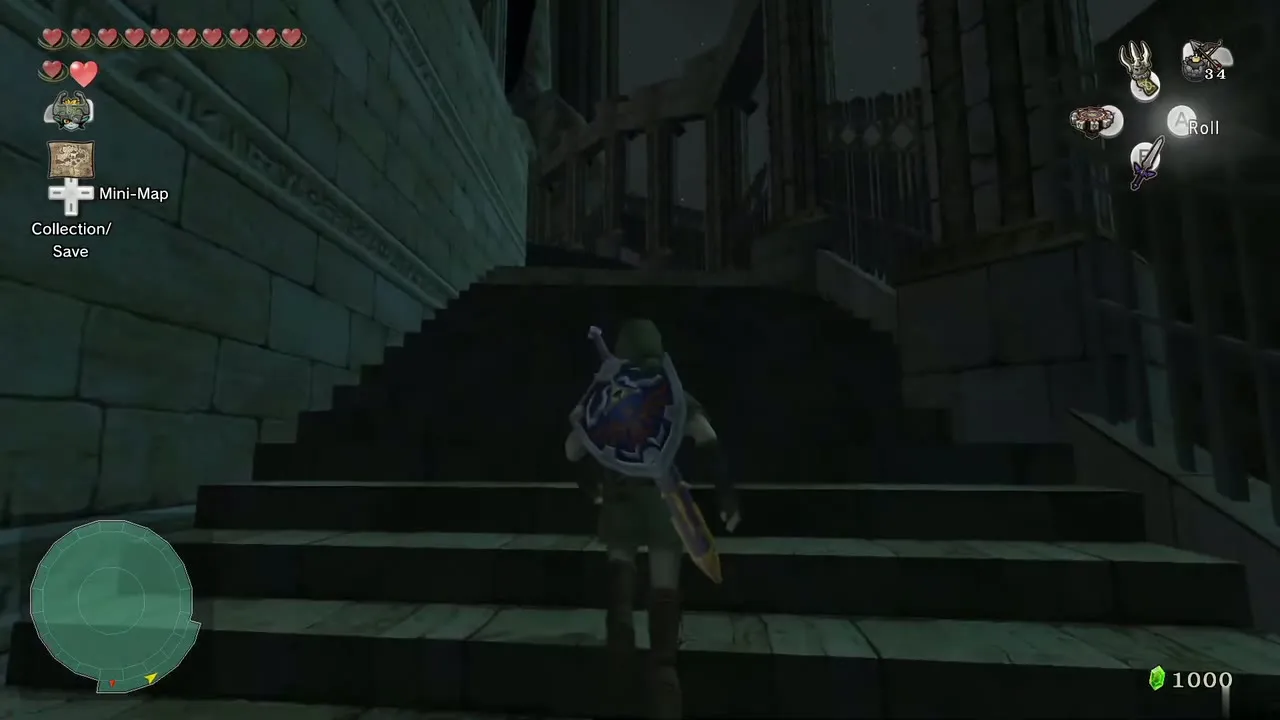
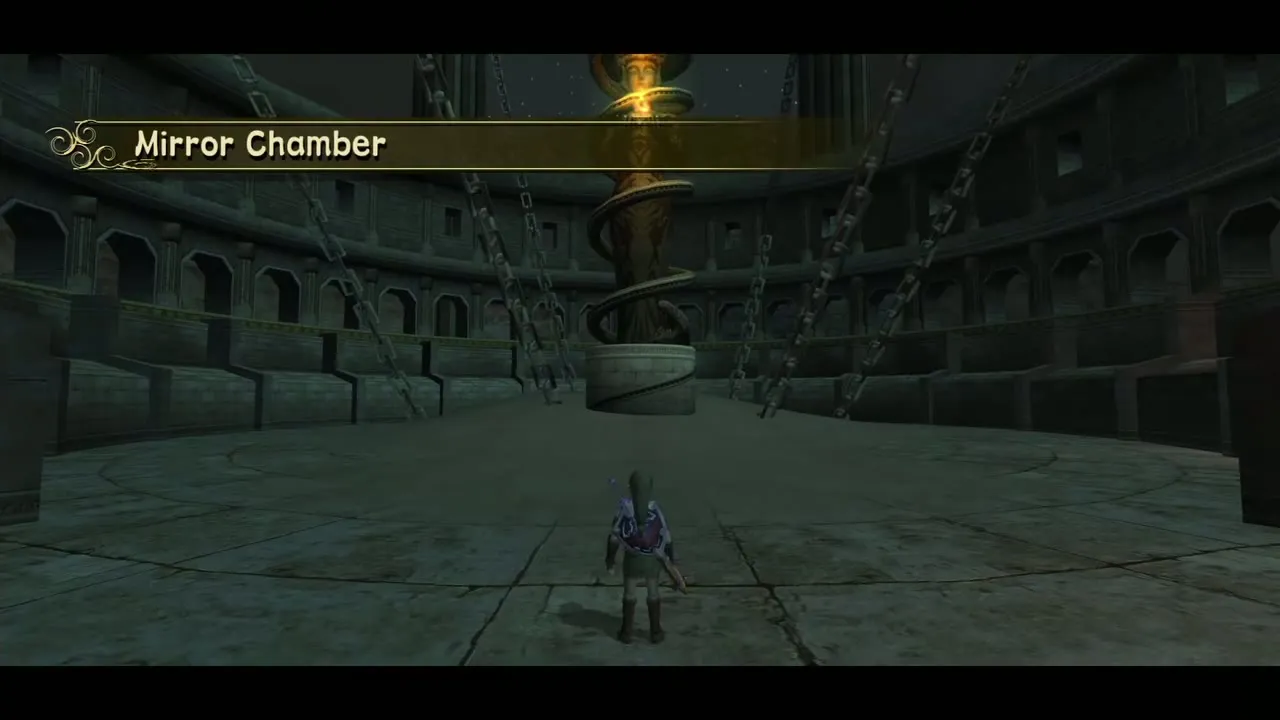
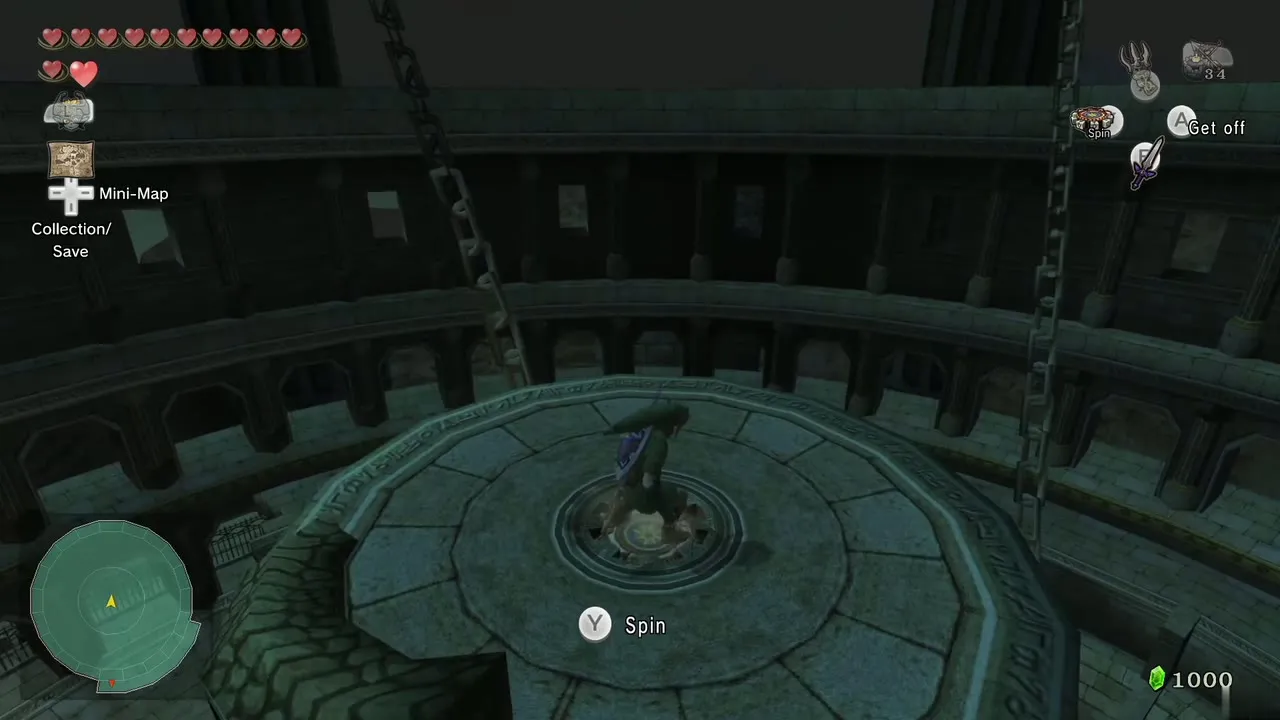
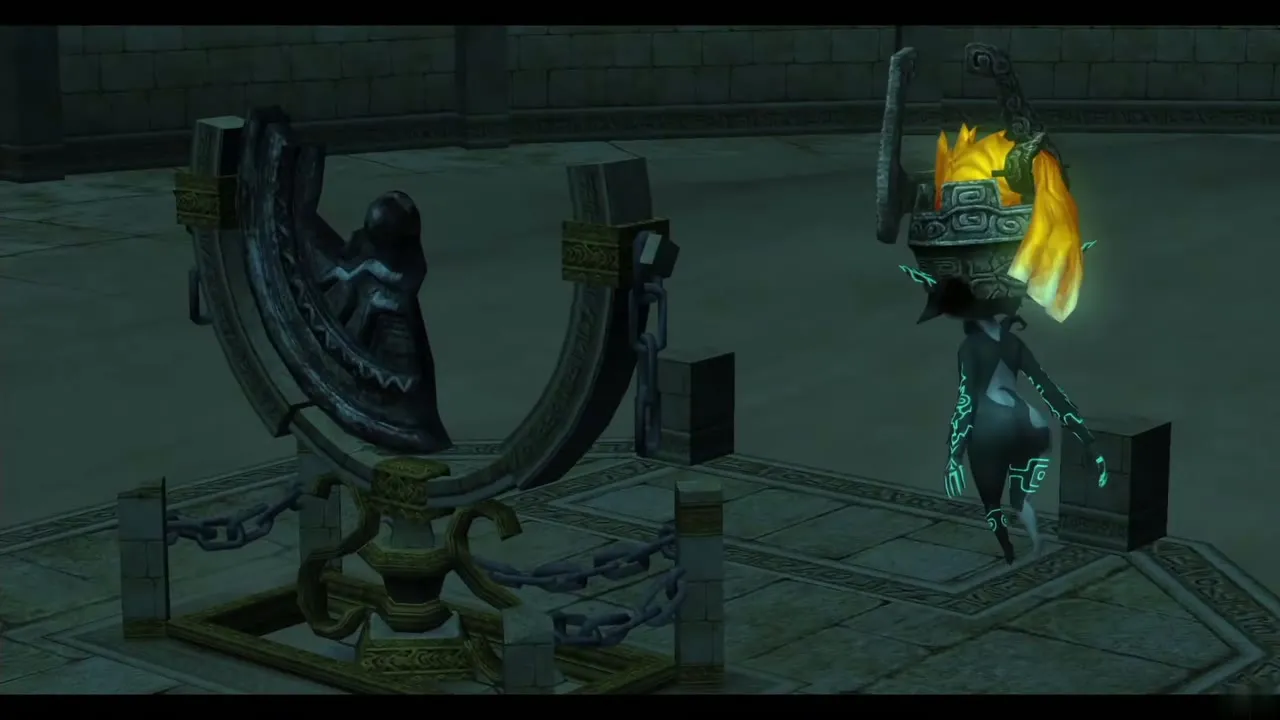
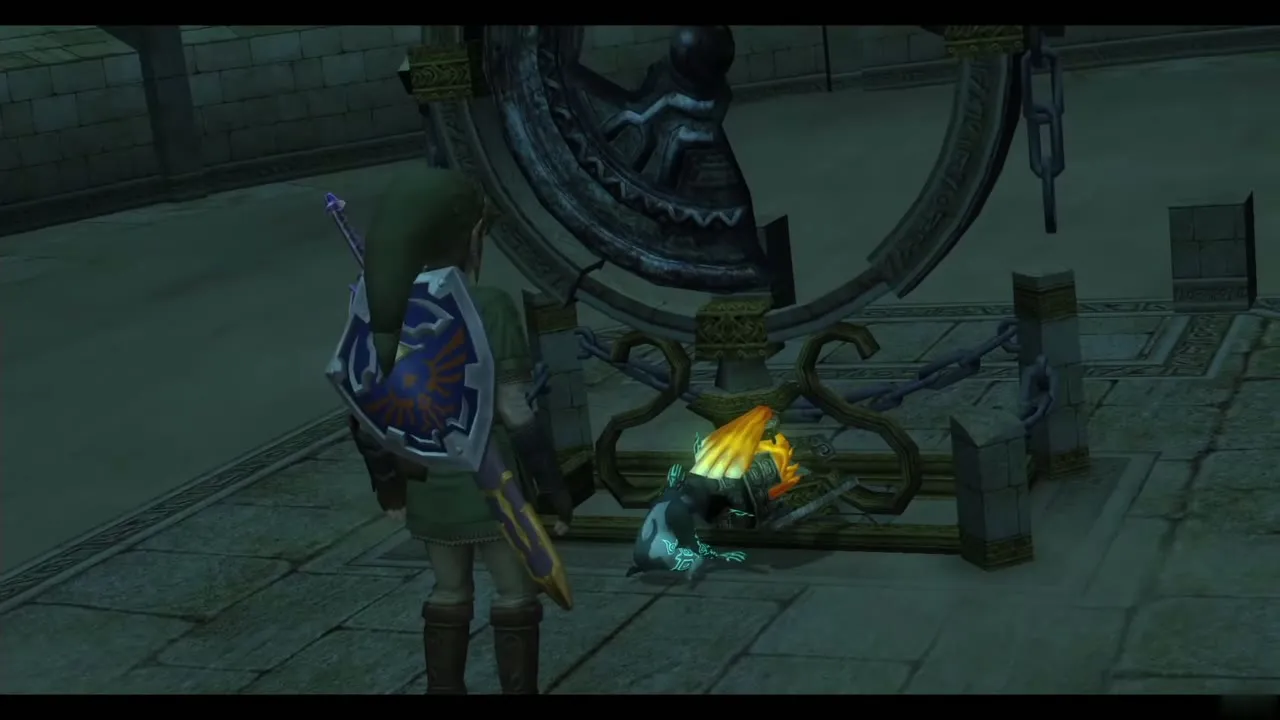
Inside the chamber, use the Spinner on the groove of the statue’s pedestal, climb to the top of the statue and spin rapidly. The platform lowers and the broken Mirror of Twilight rises. A long scene follows about the Mirror, Ganondorf and the Sages who banished him, and it ends with Midna telling you the mirror was shattered and the remaining fragments must be found. Everything below is optional except the Reekfish and the climb, but the Heart Pieces are quick now that you own the Spinner.
Spinner Heart Pieces in Hyrule Field

Heart Piece on the rails west of Castle Town
Warp to Castle Town and leave through the west gate toward Lake Hylia. At the fork in the road, turn north onto the short strip that links the Great Bridge of Hylia to North Hyrule Field. If boulders block the path, blow them up with Bombs.
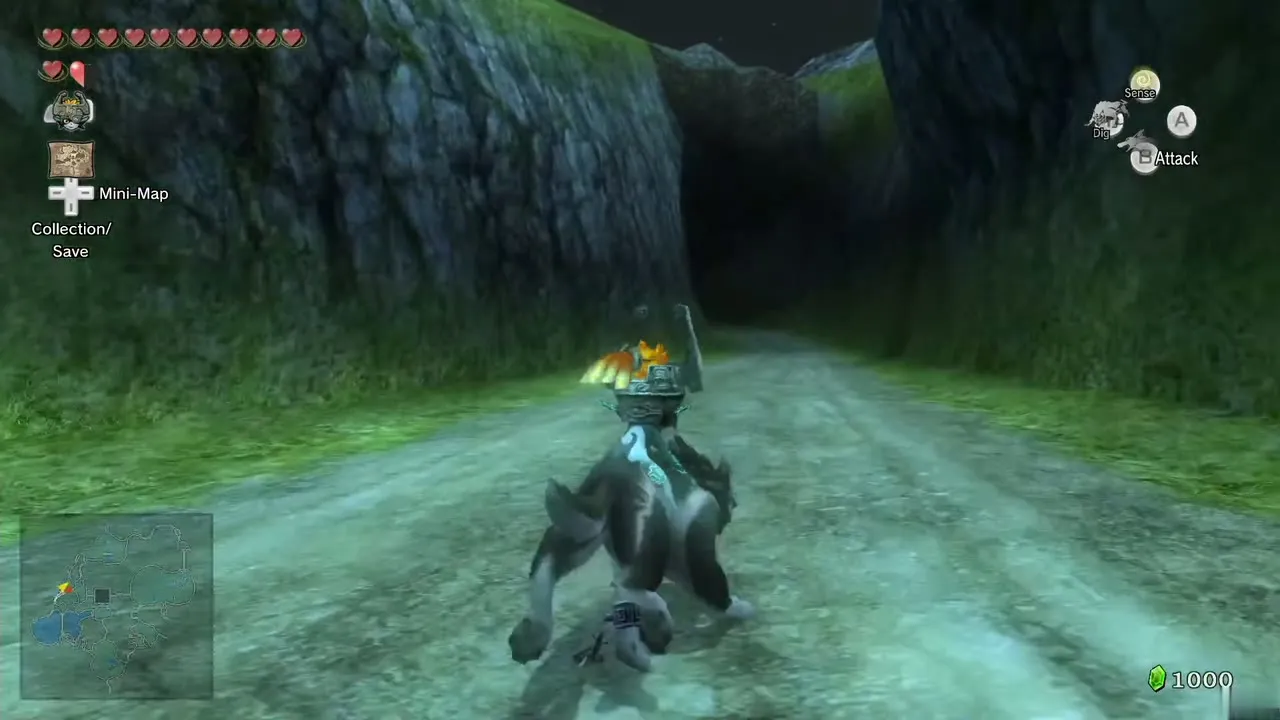
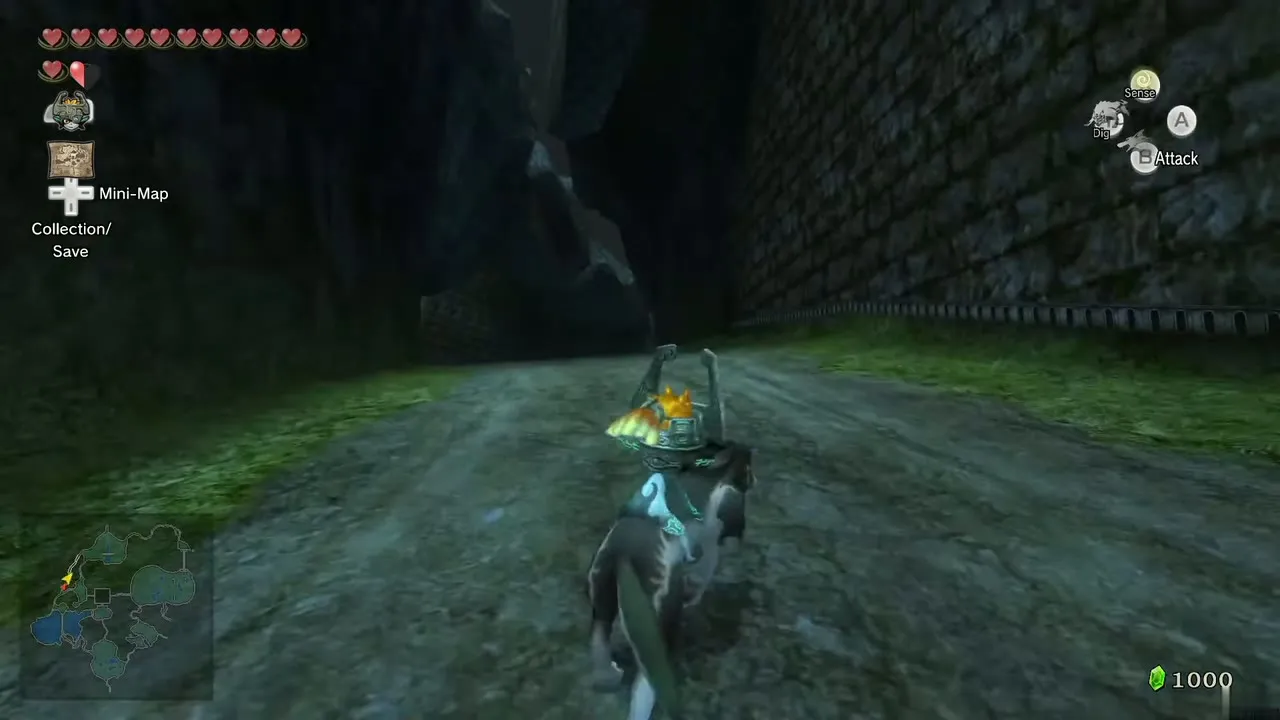
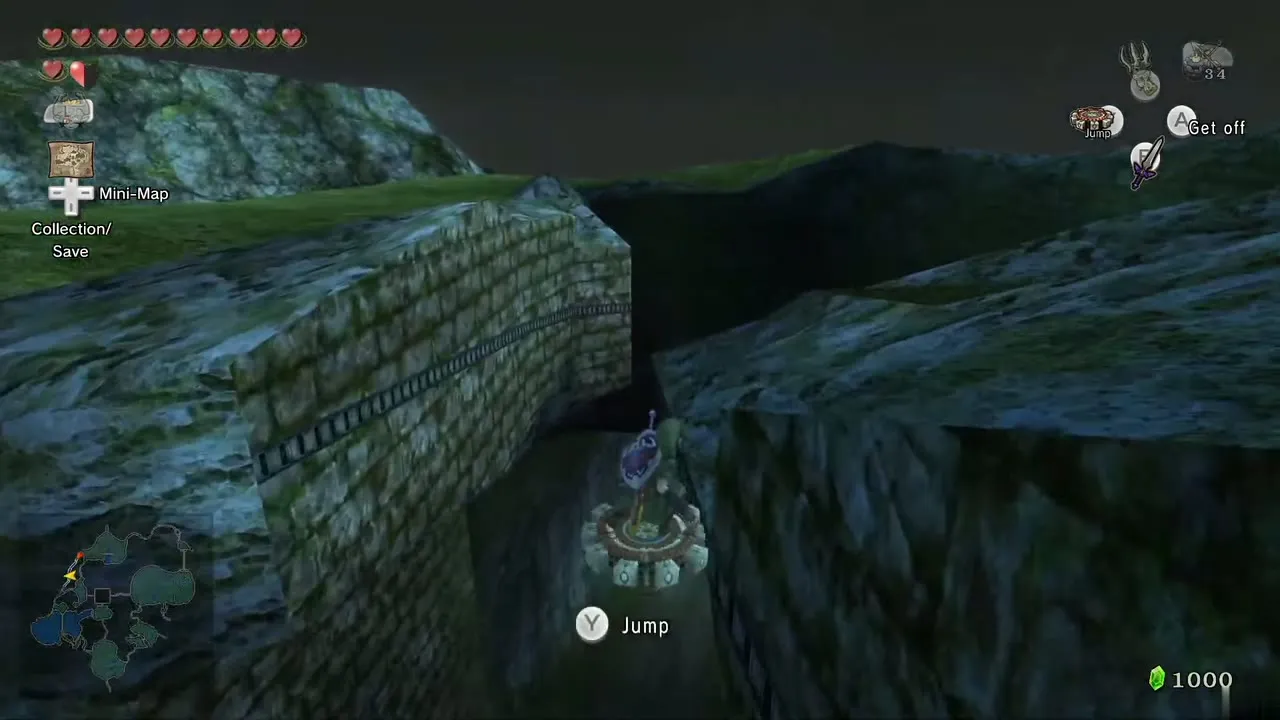
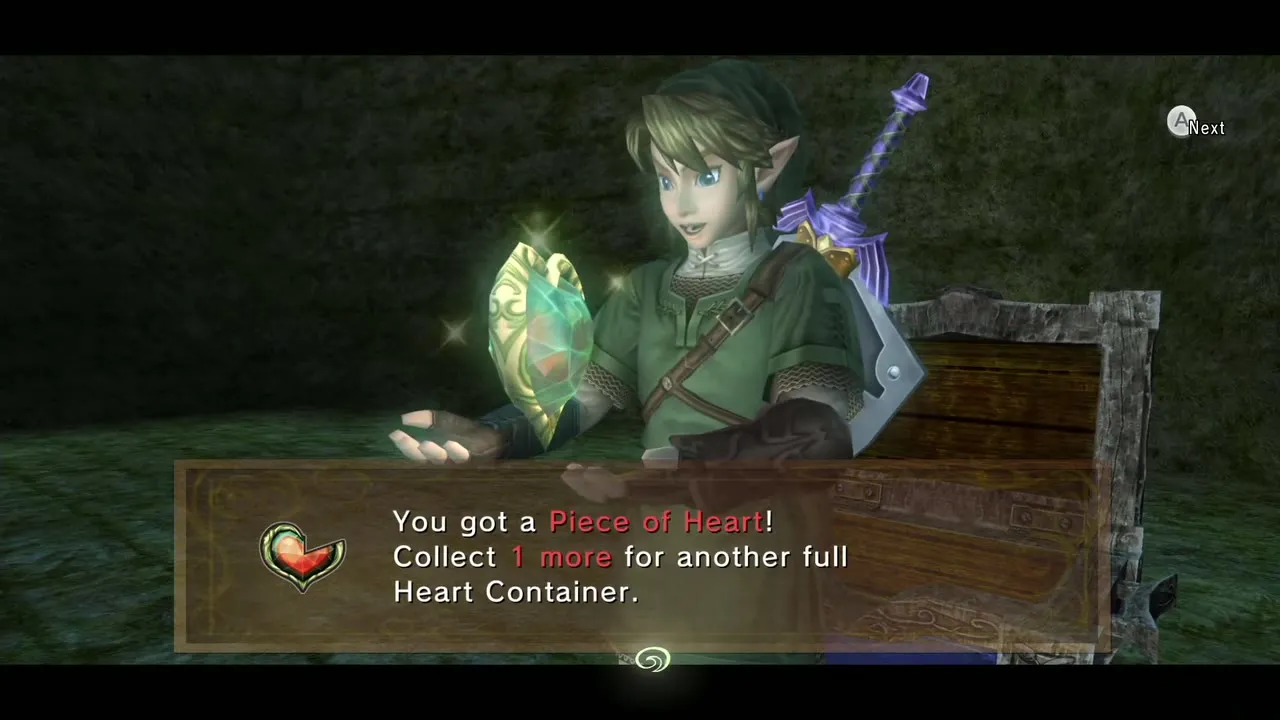
At the north end of the strip, look along the cliff wall for Spinner rails. Attach to them and ride south; where a rail ends, jump across the gap to catch the next. At the end of the track a chest waits: open it for Piece of Heart #14 (see Heart Pieces).
Heart Piece in the Eldin Bridge grotto
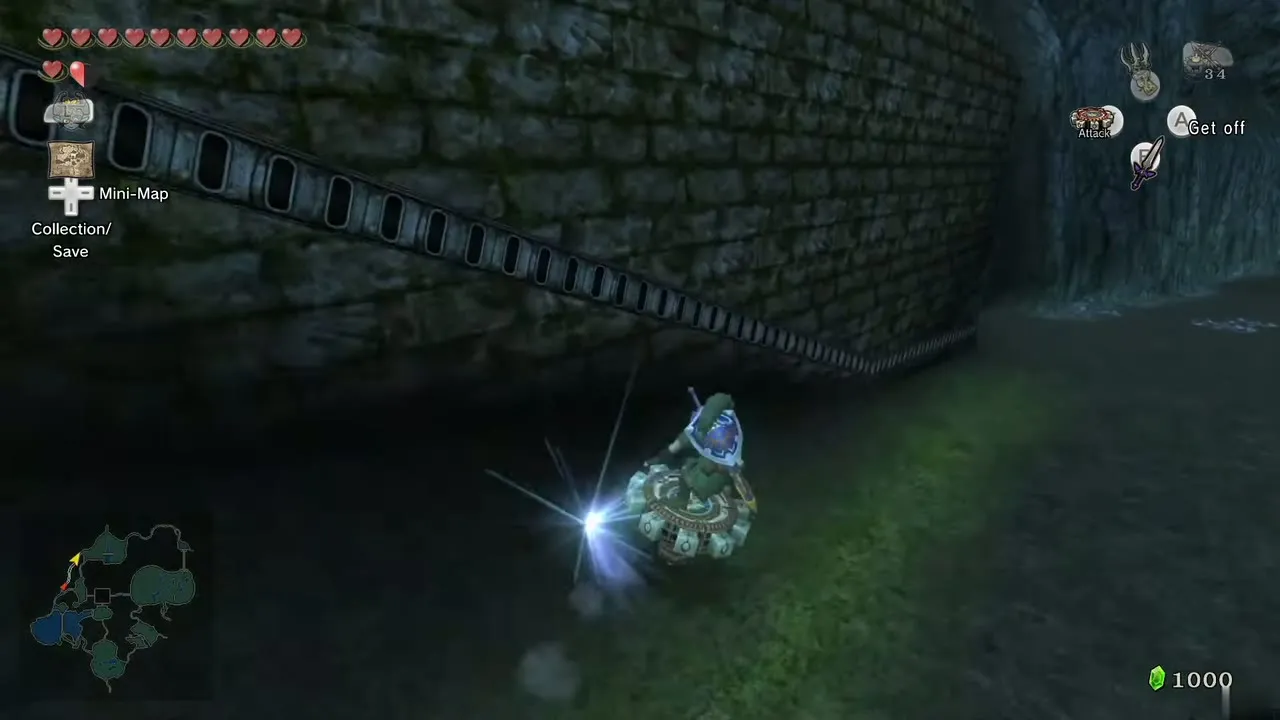
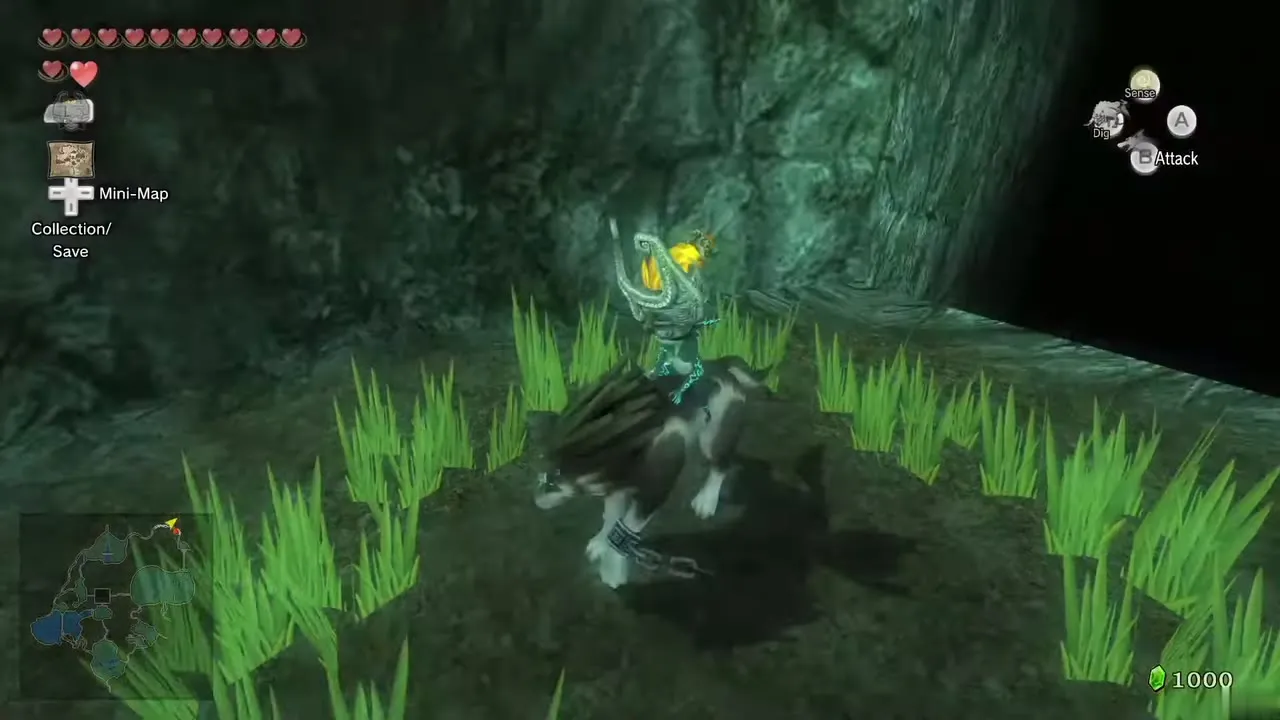
Warp to the Bridge of Eldin and head north toward North Hyrule Field. Just past the small wooden bridge, get off Epona and look north for Spinner rails. Ride them down to a small circle of grass, then switch to Wolf Link and dig to open a hidden grotto.
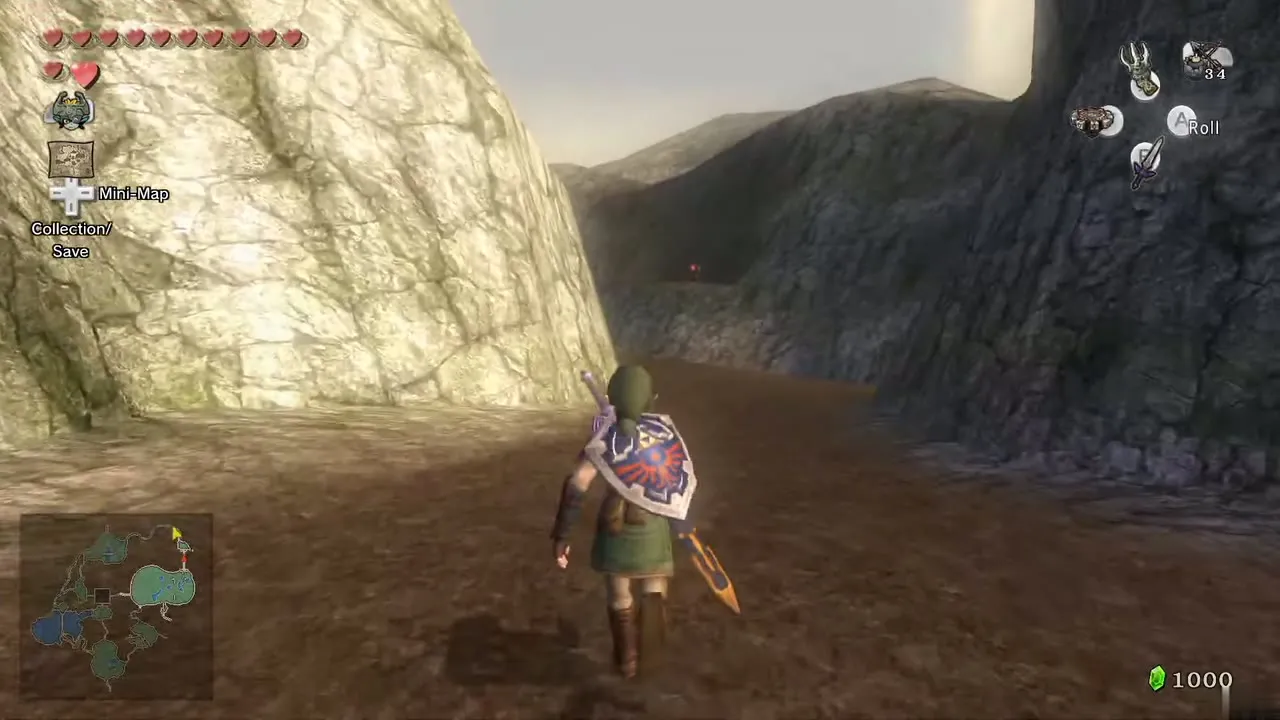
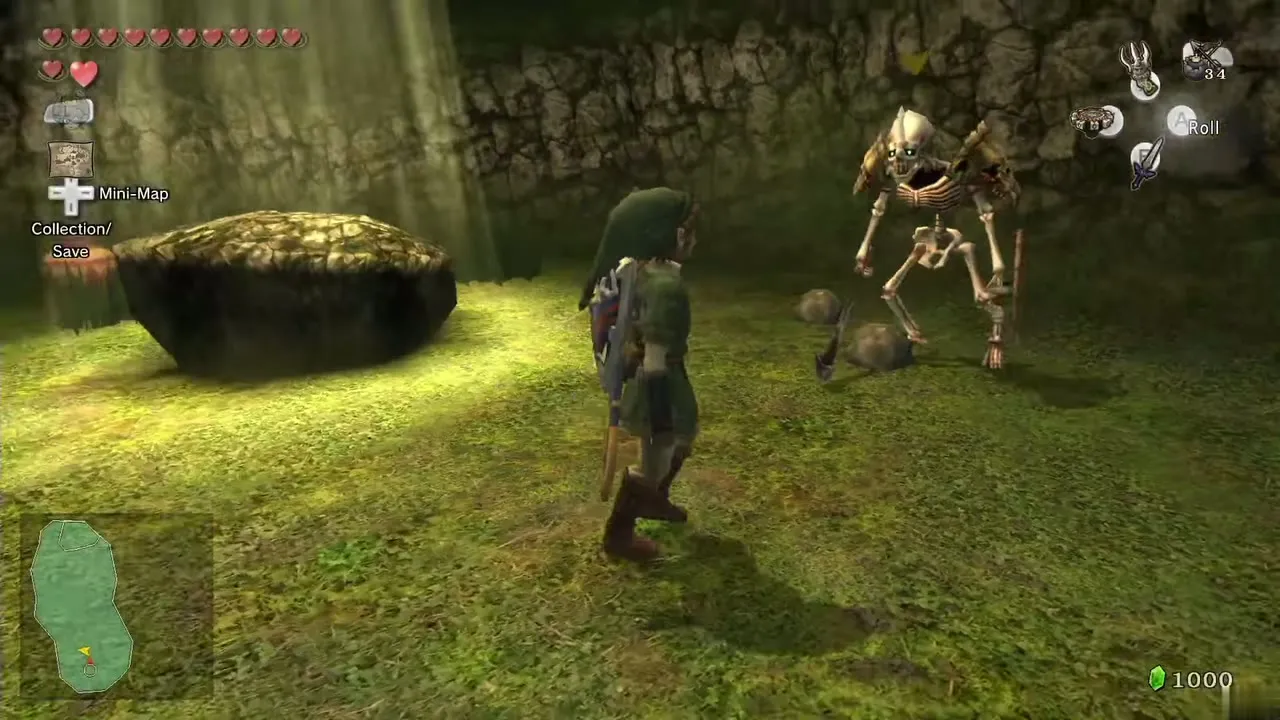
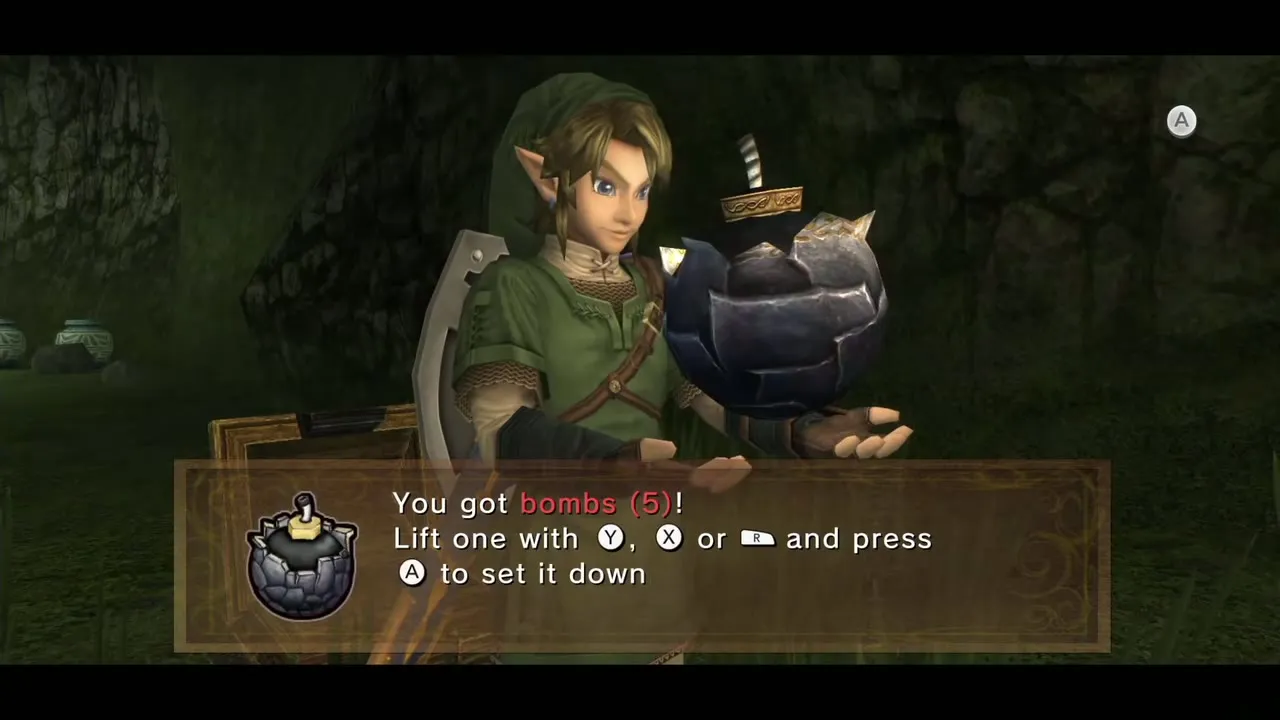
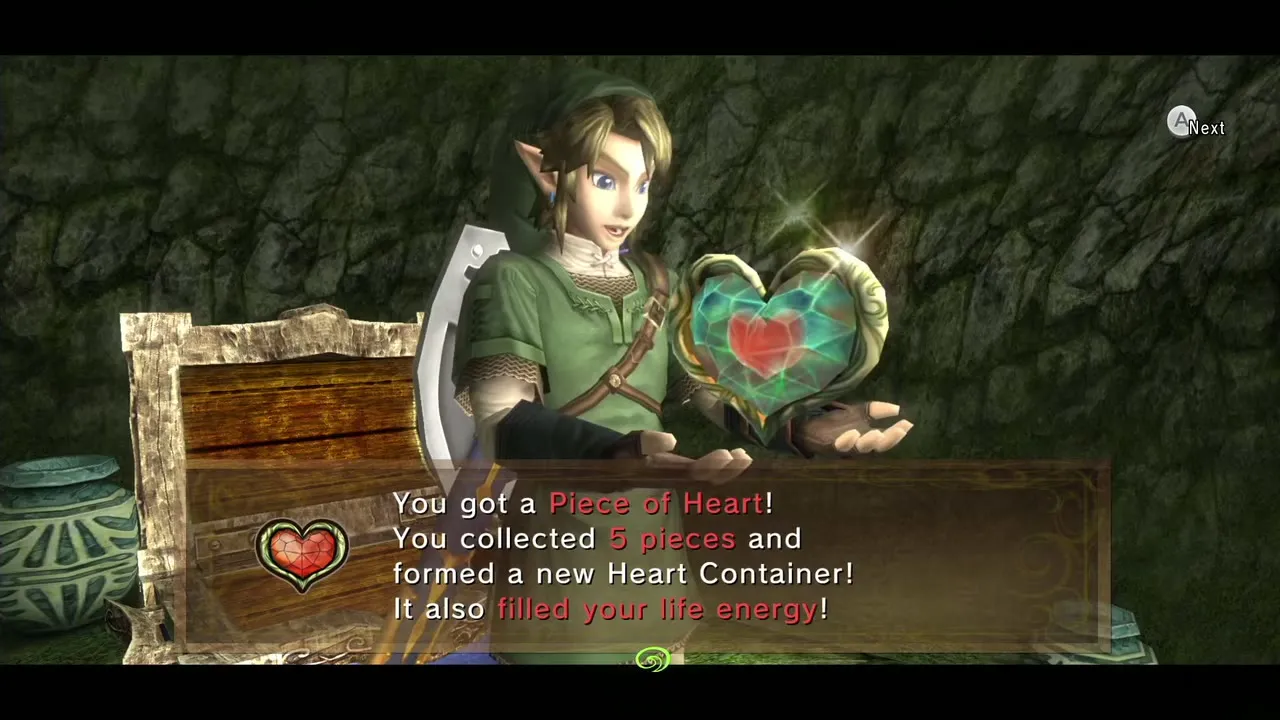
Inside, three Stalfos wait. Turn back into Link, knock each down and finish it with a Bomb; a chest in the grotto holds spare Bombs if you run short. Once all three are gone a second chest appears, and it holds Piece of Heart #13.
Castle Town stop
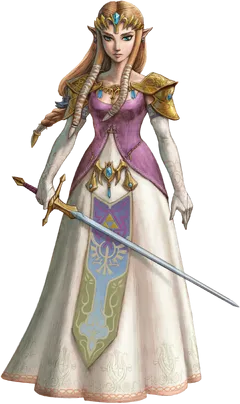
Surprised Zelda Miiverse Stamp
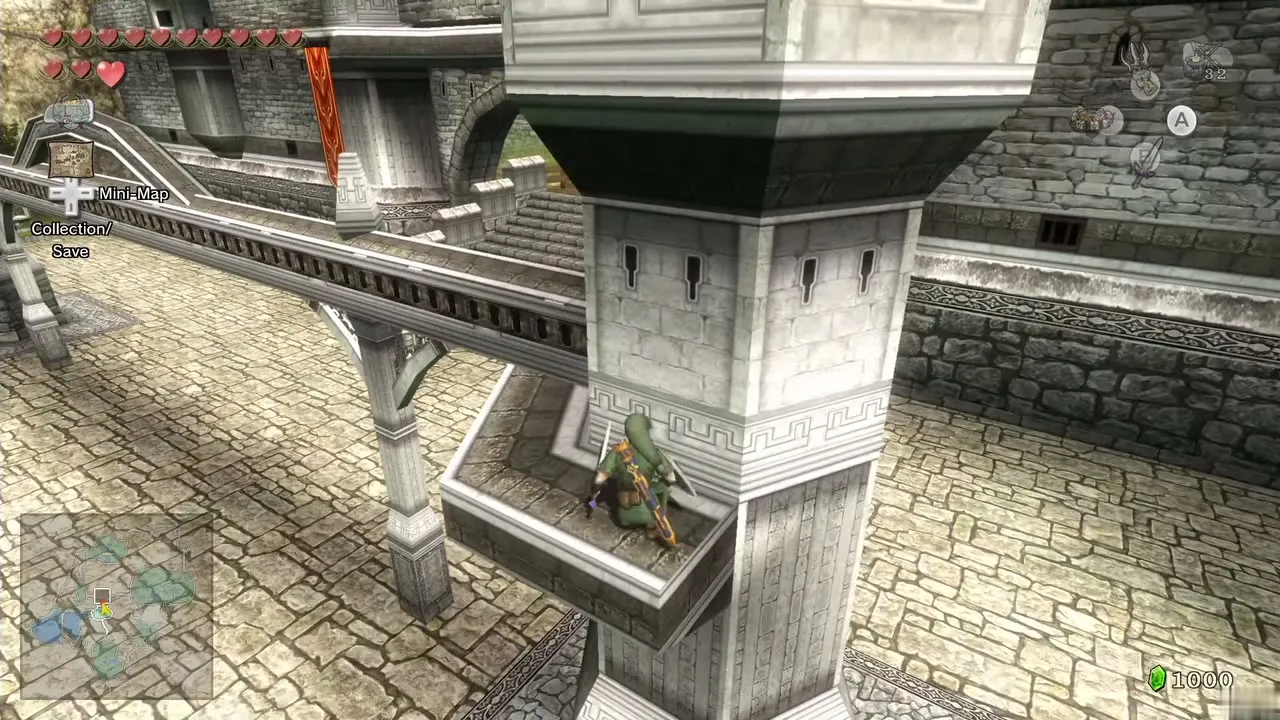
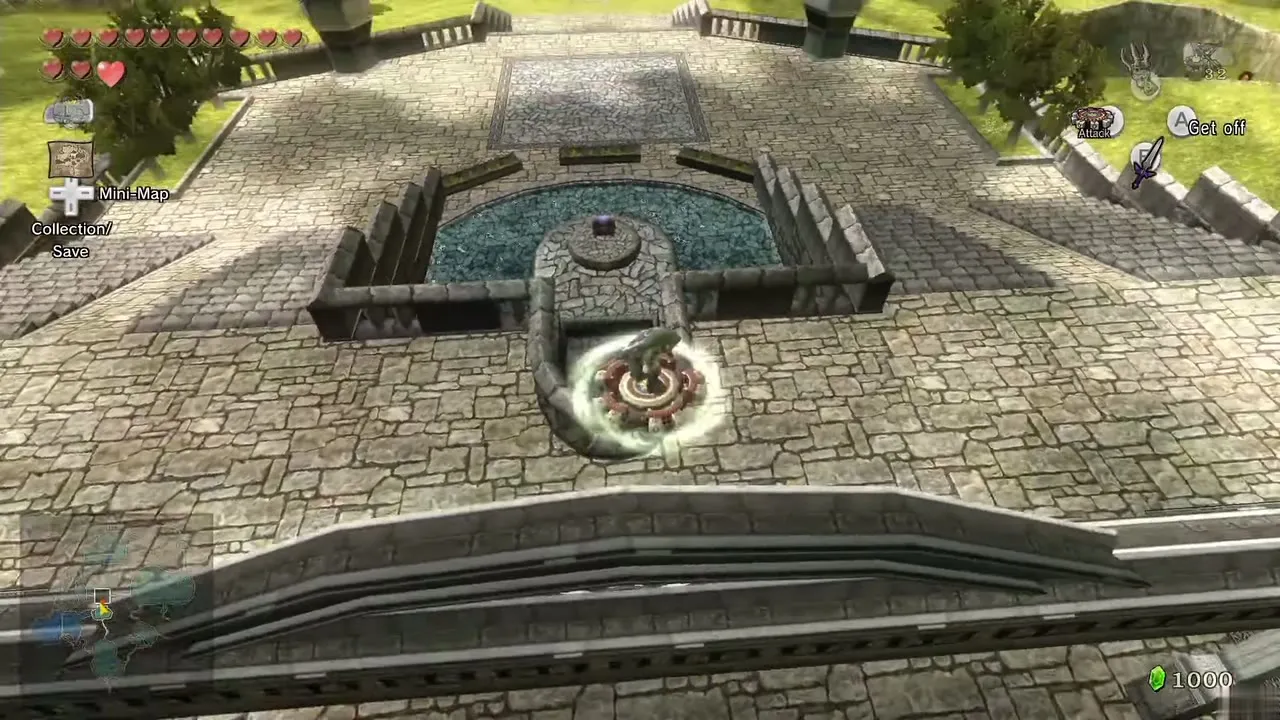
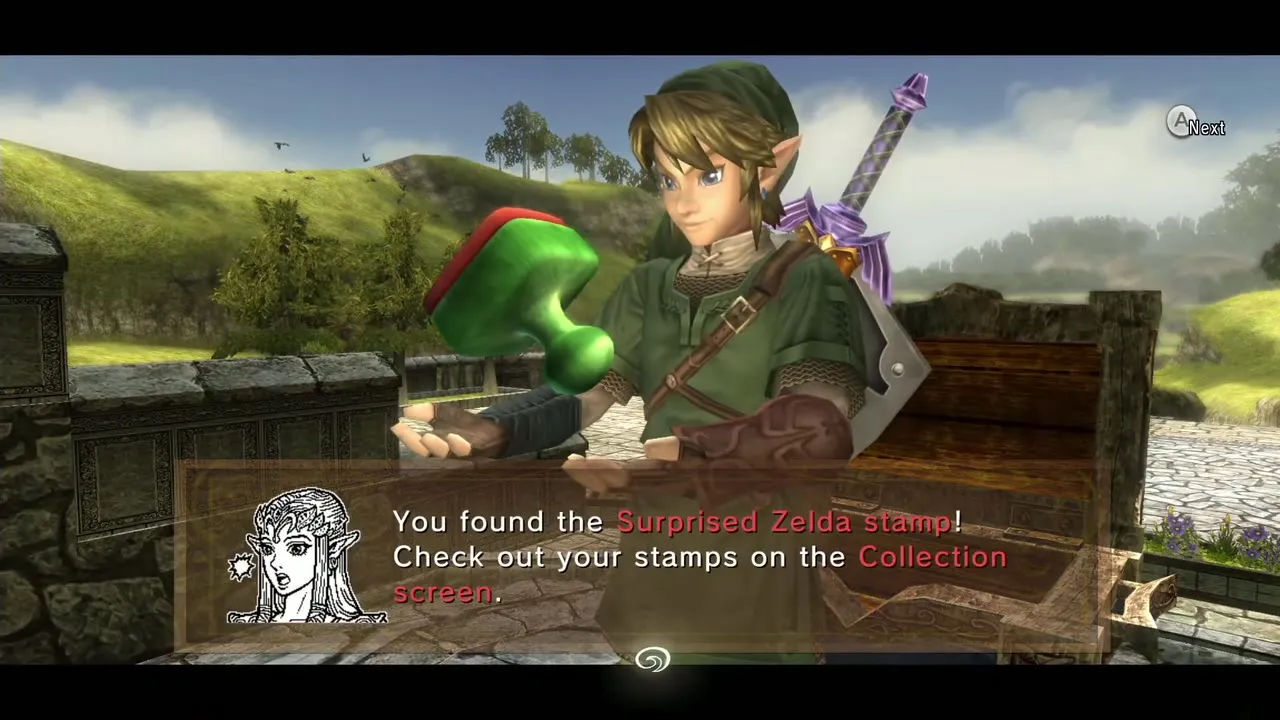
Walk through Castle Town and out the South Gate, cross the bridge and take the first set of steps down, not the second set by the fountain. Two pillars with a thin arch stand here; Clawshot the target on the far side of the pillar on your left as you arrive, then drop down instead of climbing and grab the spinner rails below. Ride halfway, jump off beside the fountain chest and open it for the Surprised Zelda stamp (see Miiverse Stamps).
Optional: Magic Armor and Telma’s news
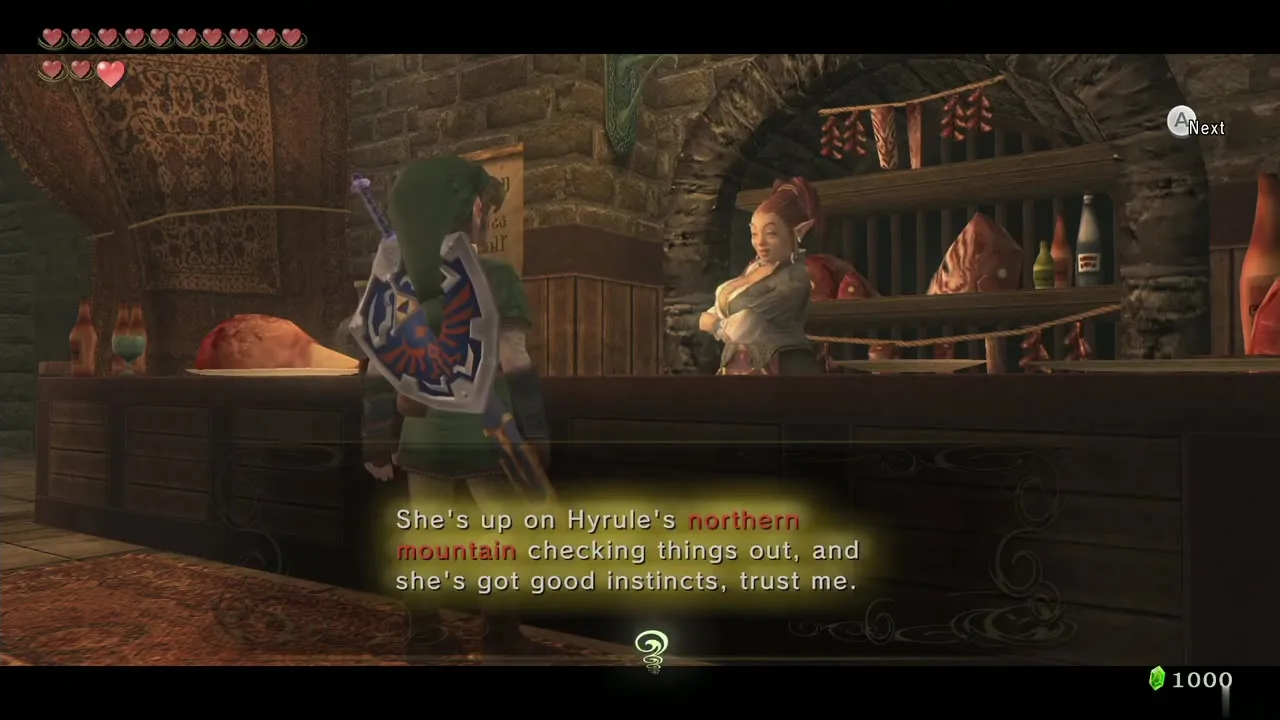
If you have Rupees saved, Malo Mart now sells the Magic Armor for 598 Rupees (see Malo Mart and Magic Armor). It is not needed for the story. Then enter Telma’s Bar and talk to Telma and the Resistance; a look at the map shows that Ashei has gone up to Snowpeak, and the spot is marked for you.
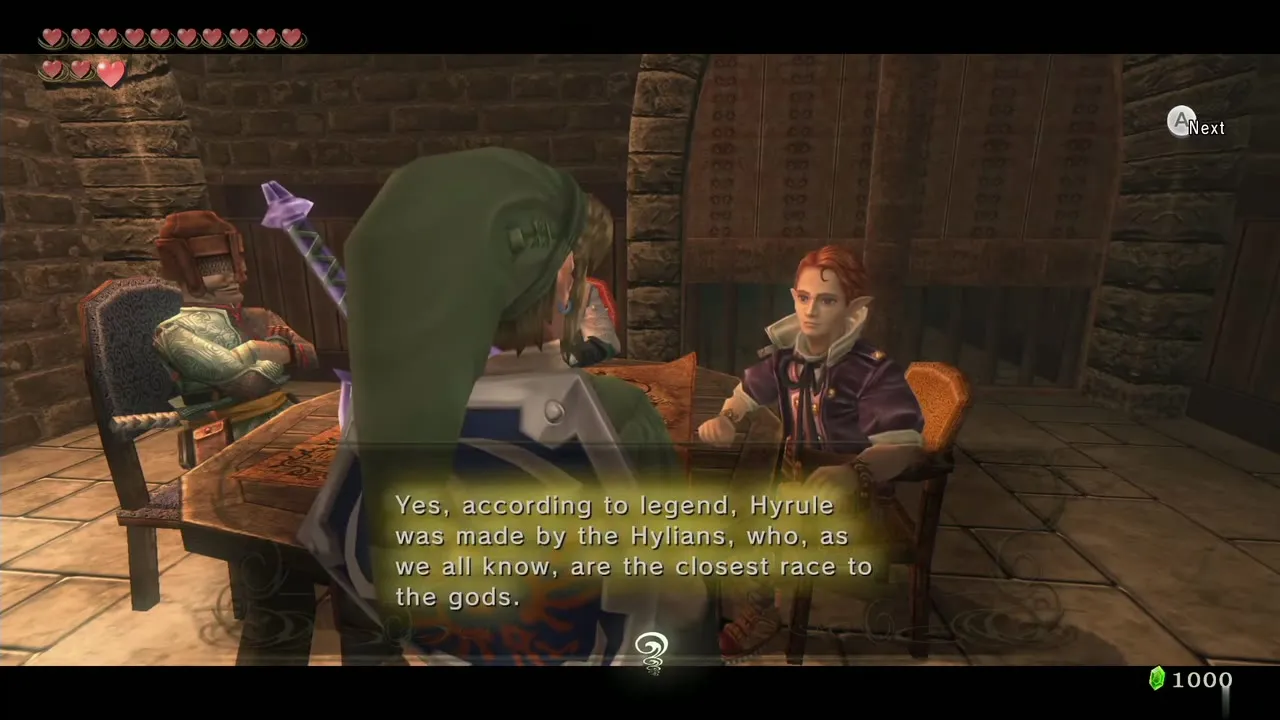
Ashei, the sketch and the Reekfish
Meet Ashei in the Peak Province
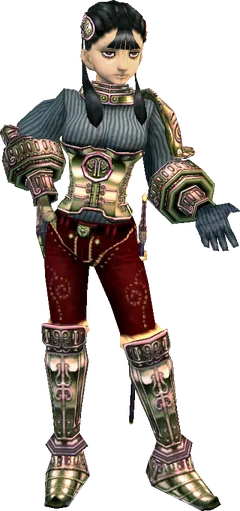
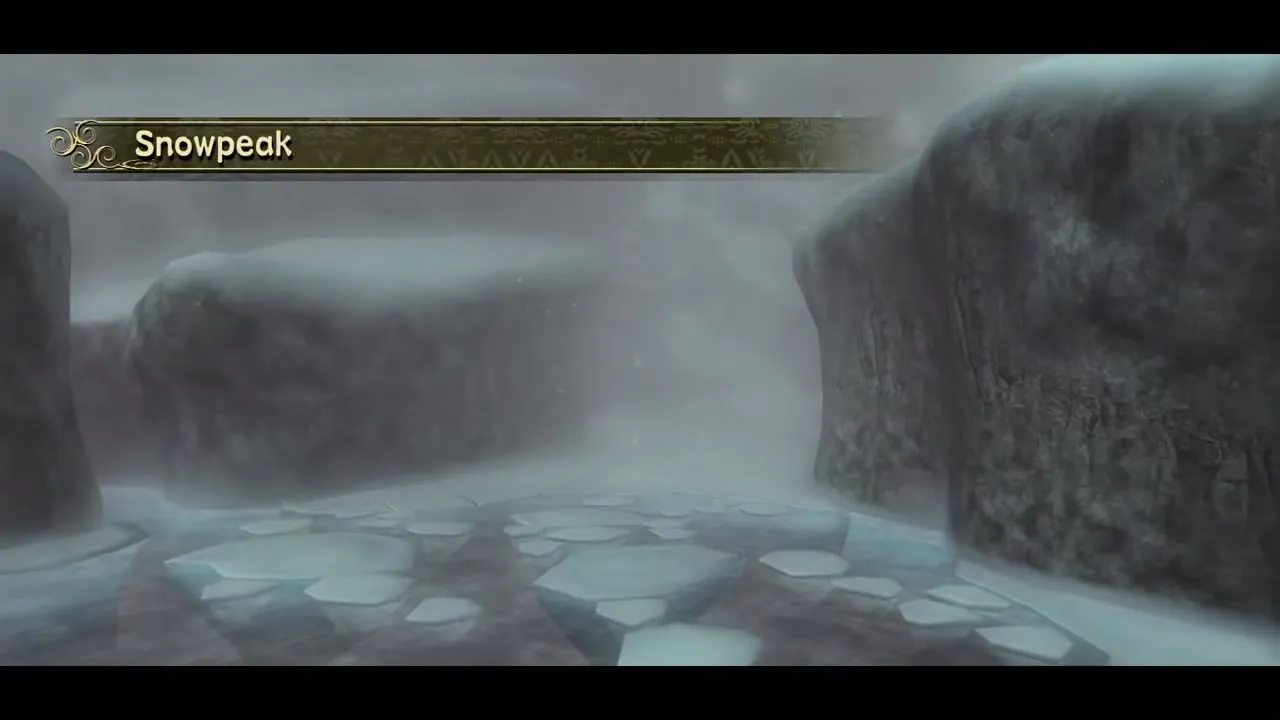
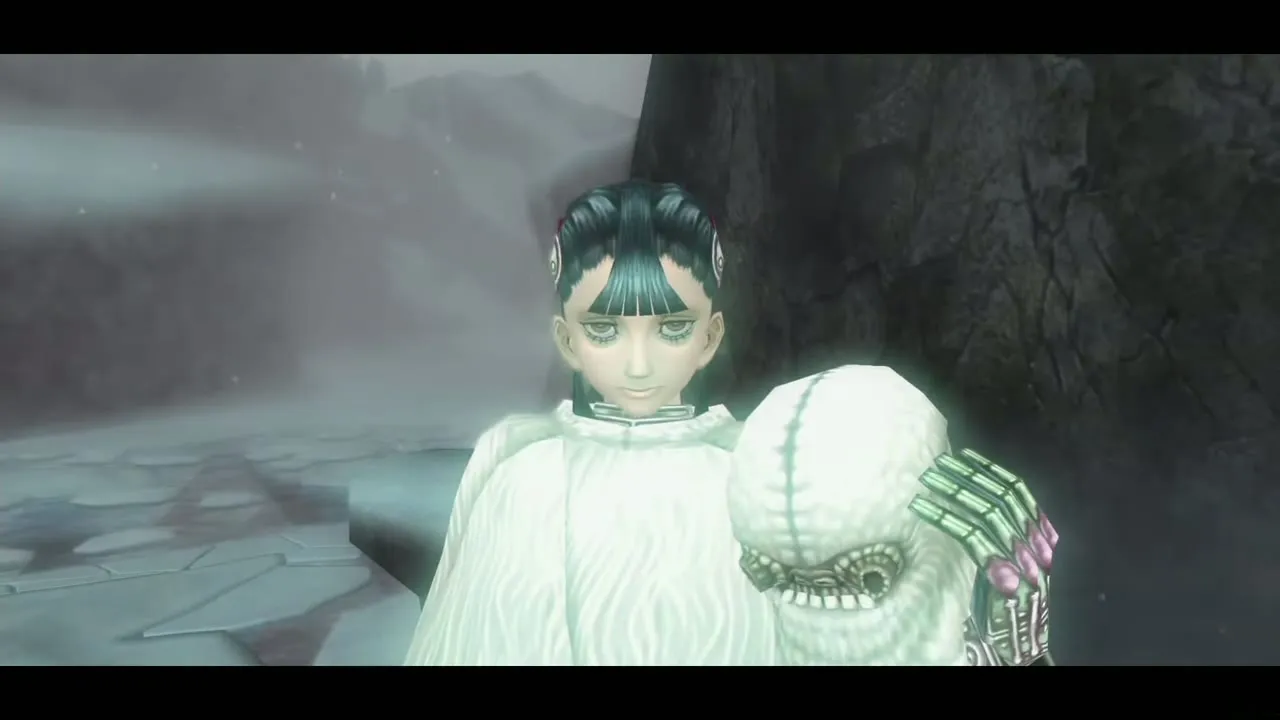
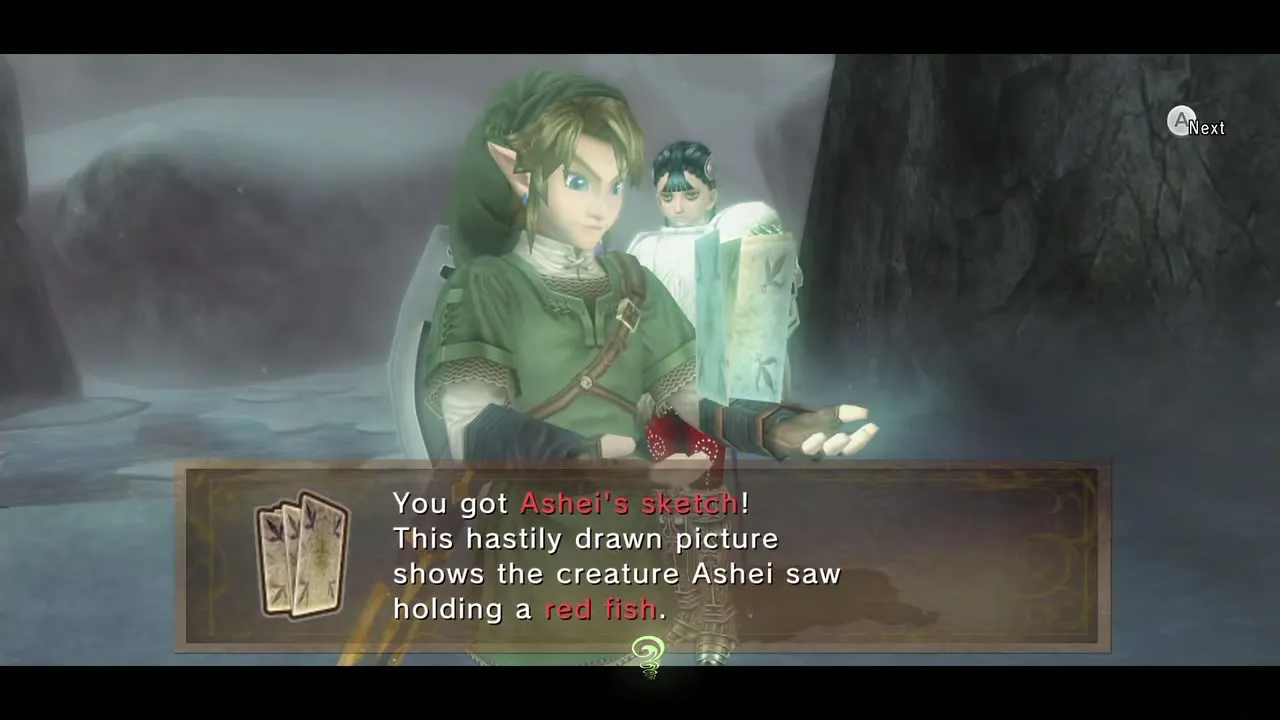
Warp to Zora’s Domain, walk out of the throne room, jump down the waterfall and swim to the west side of the basin. Follow the corridor west into the Peak Province. A short scene names the area Snowpeak. Talk to Ashei; she tells you about a beast that came down to the Zoras and hands over Ashei’s Sketch, which shows it carrying a red fish. The blizzard blocks the way for now, so turn around.
Show the sketch to the Zoras and Prince Ralis
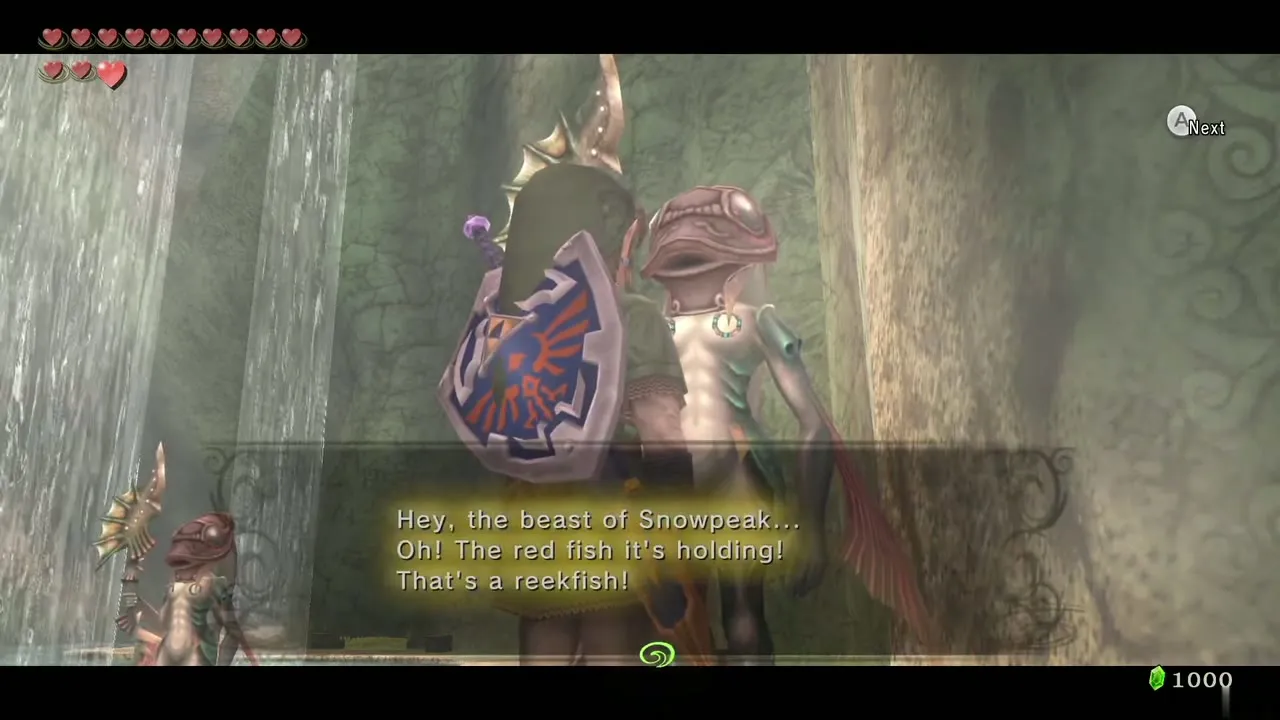
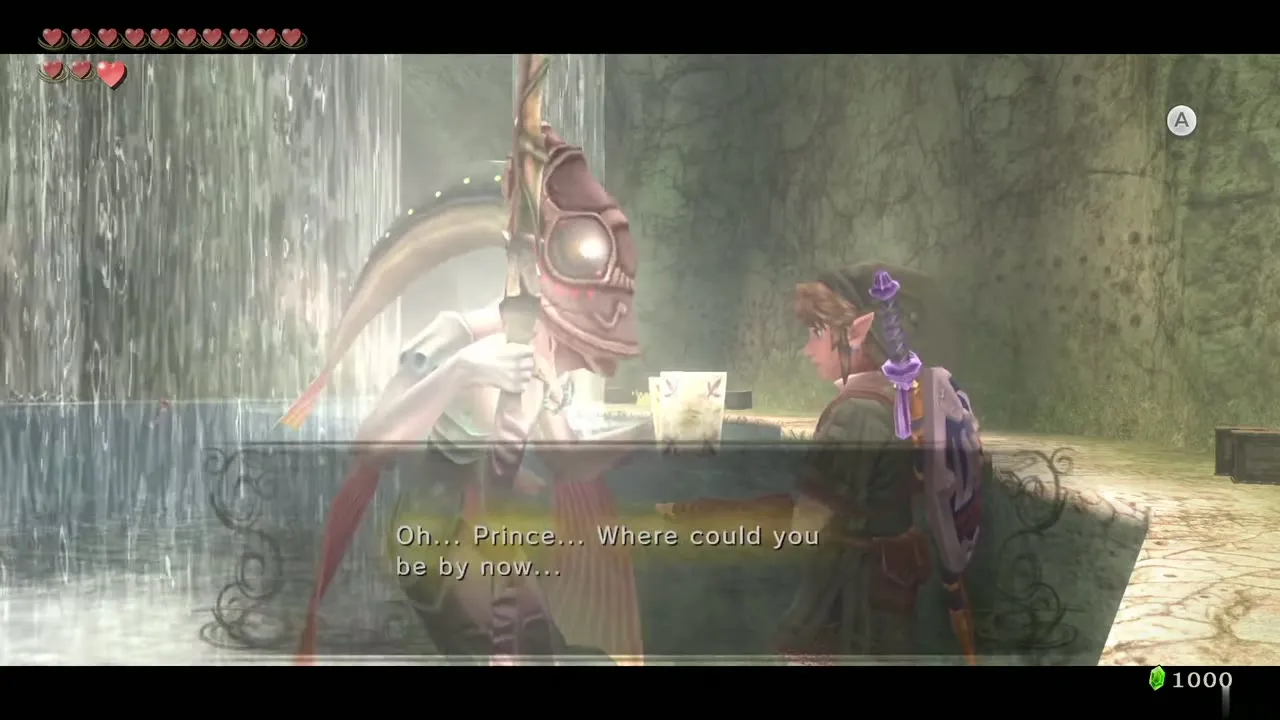
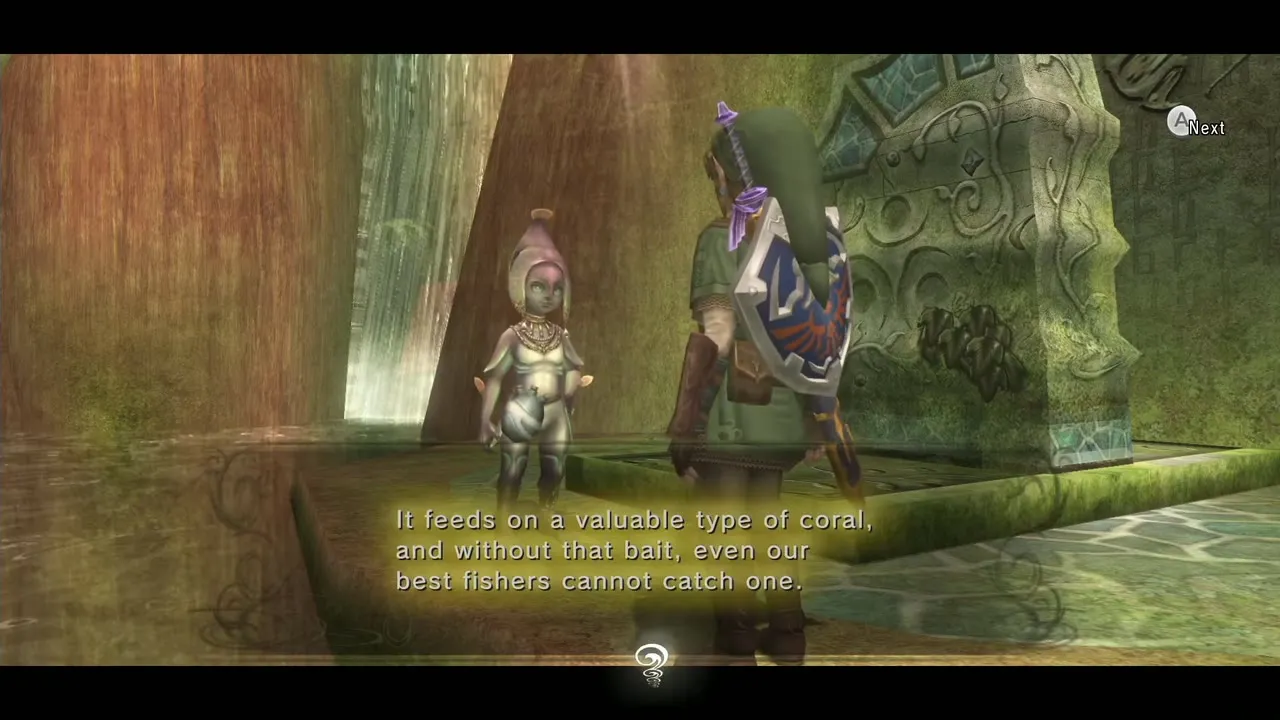
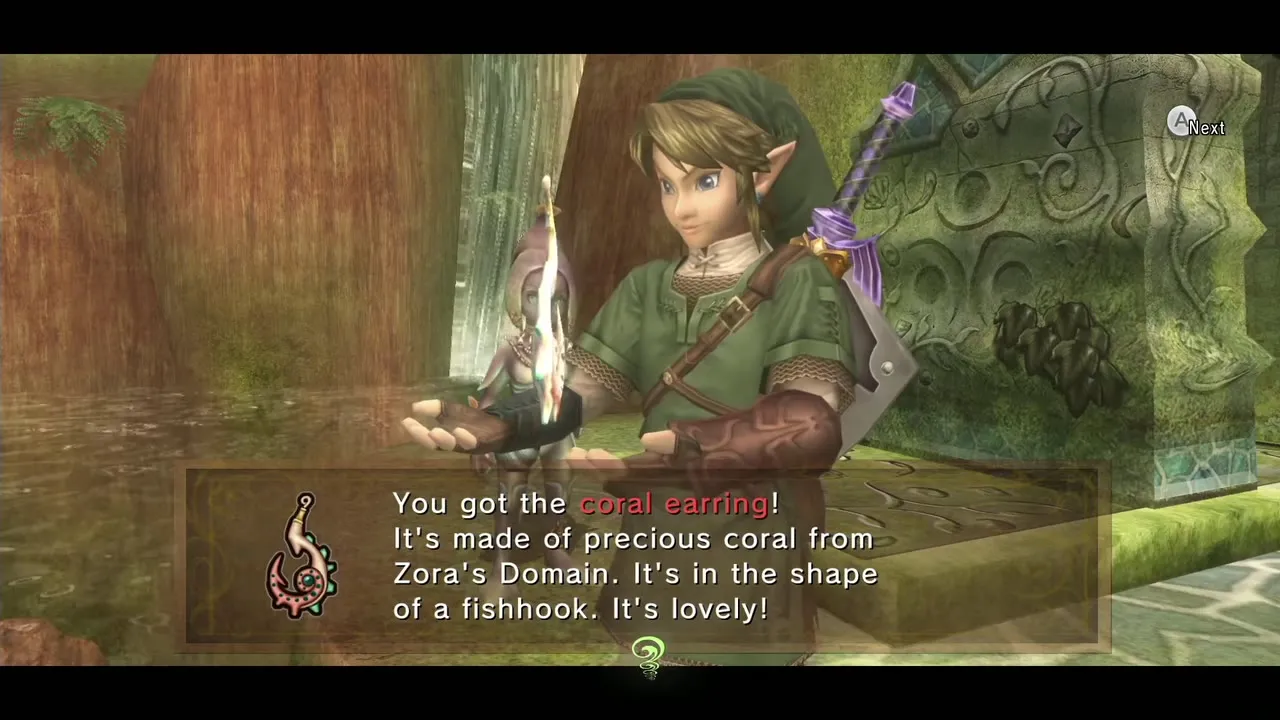
Show the sketch to the Zoras in Zora’s Domain. They recognise the red fish as a Reekfish and keep saying it reminds them of Prince Ralis. Warp to Kakariko Village and walk to the back of the graveyard, where Ralis kneels at the gravestone. Show him the sketch and he explains that Reekfish live in Zora’s Domain but can only be caught with the right bait; he gives you the Coral Earring, which attaches to your Fishing Rod.
Catch a Reekfish at the Mother-and-Child Rocks
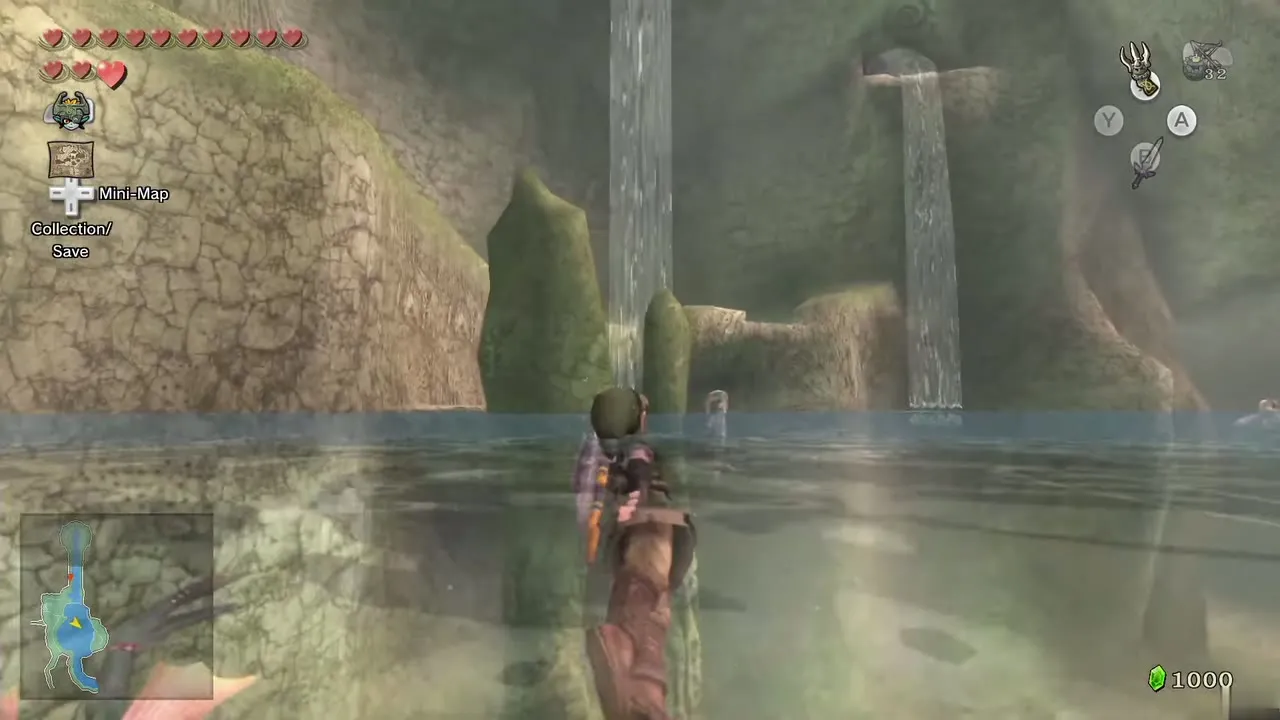
Warp back to Zora’s Domain, jump down the waterfall again and surface on the east side of the river. Two rocks stand in the water: these are the Mother-and-Child Rocks, where Ralis said Reekfish gather. Equip the Fishing Rod, cast beside them, let the lure sink and reel in a Reekfish. For other catches, see Fishing Guide.
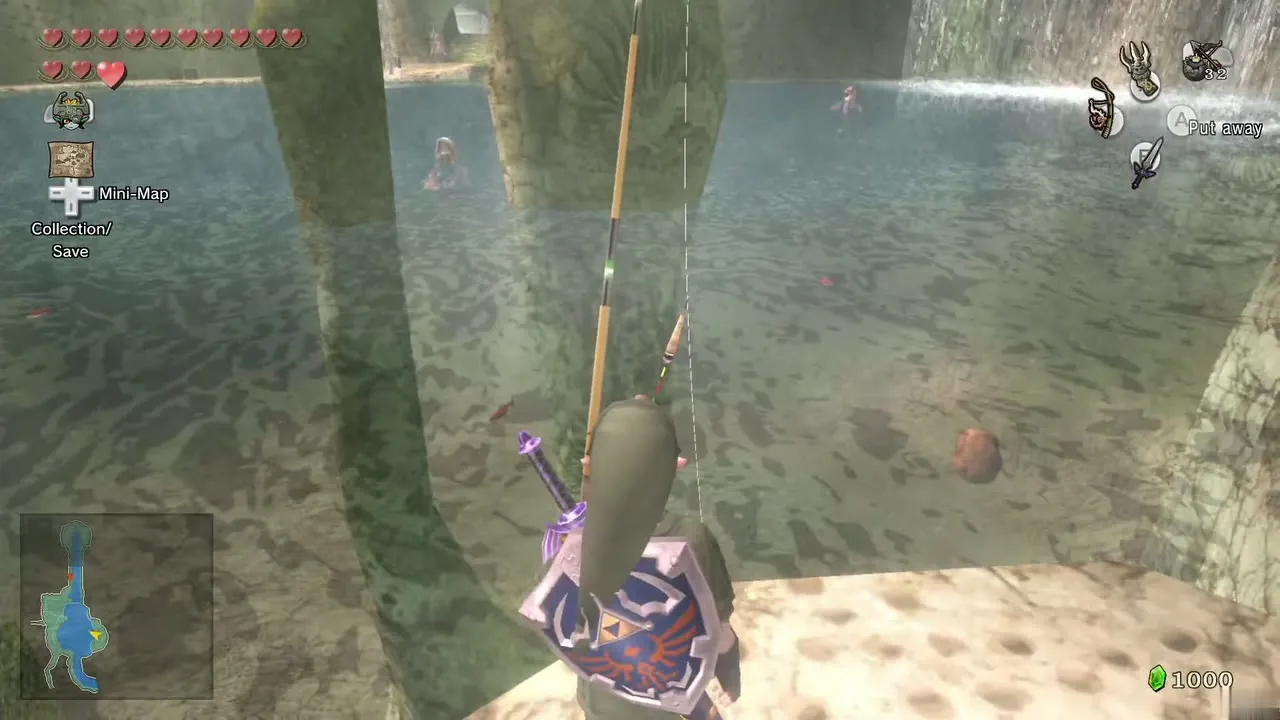
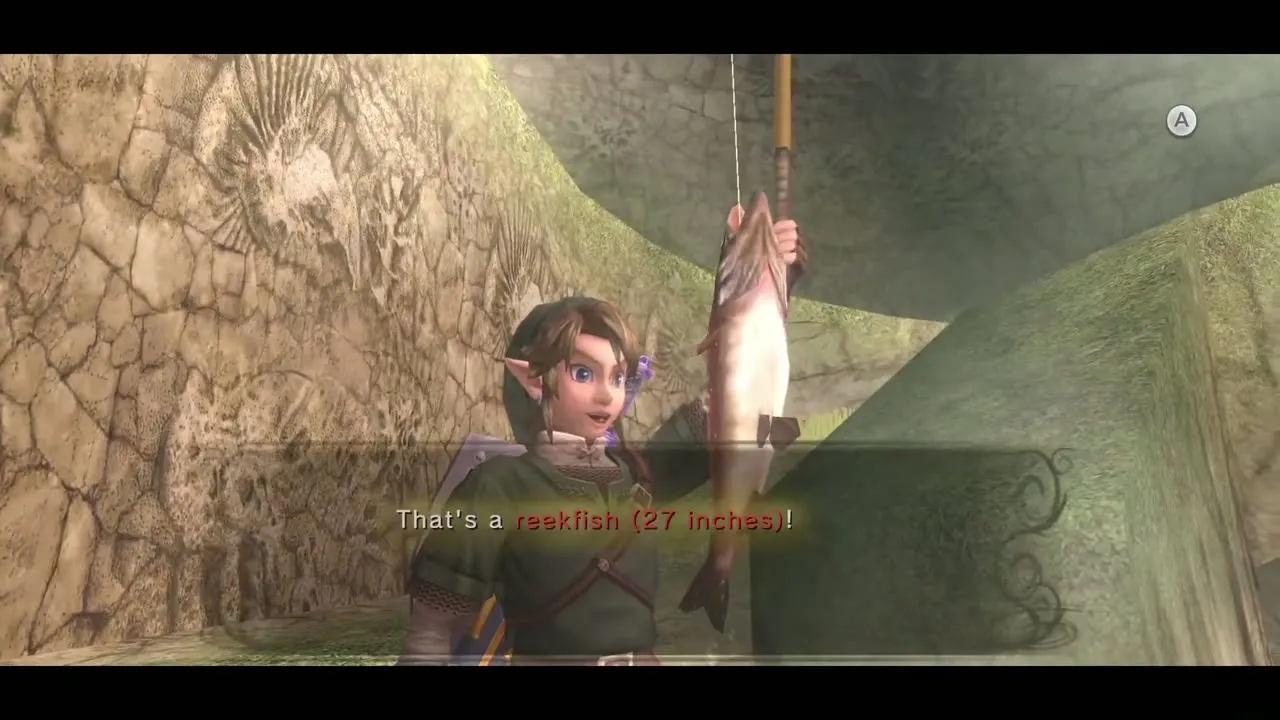
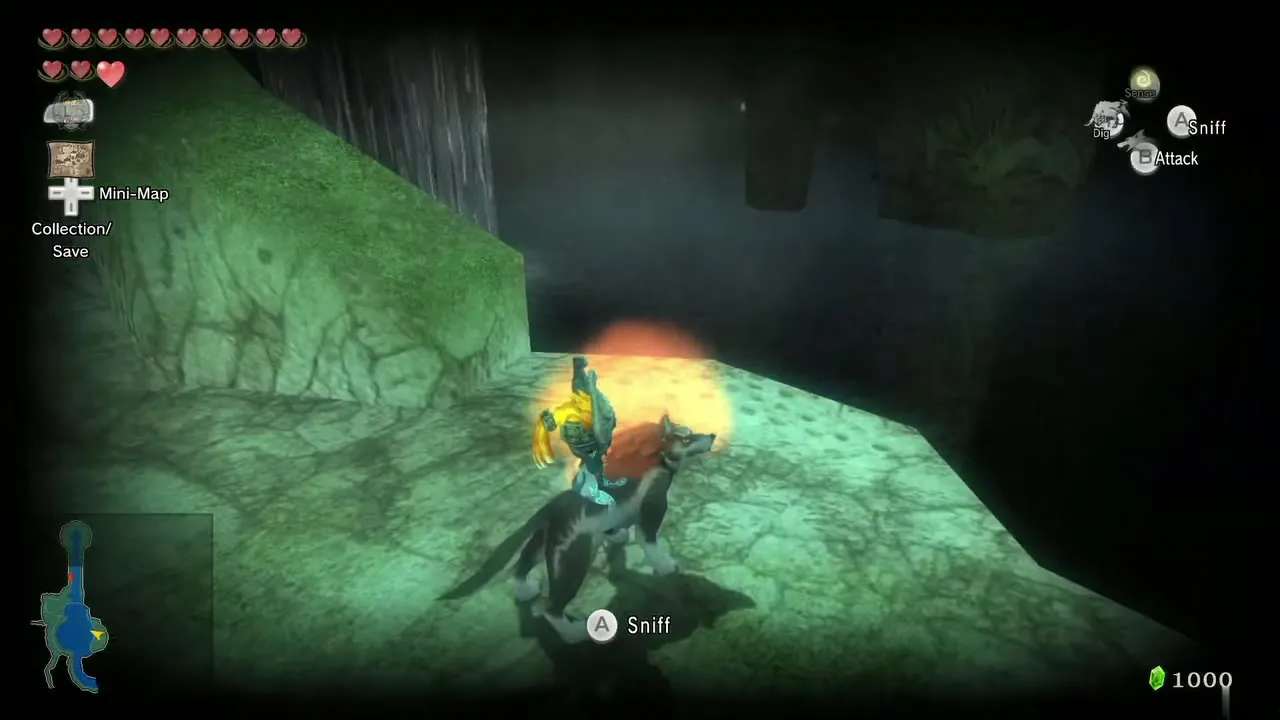
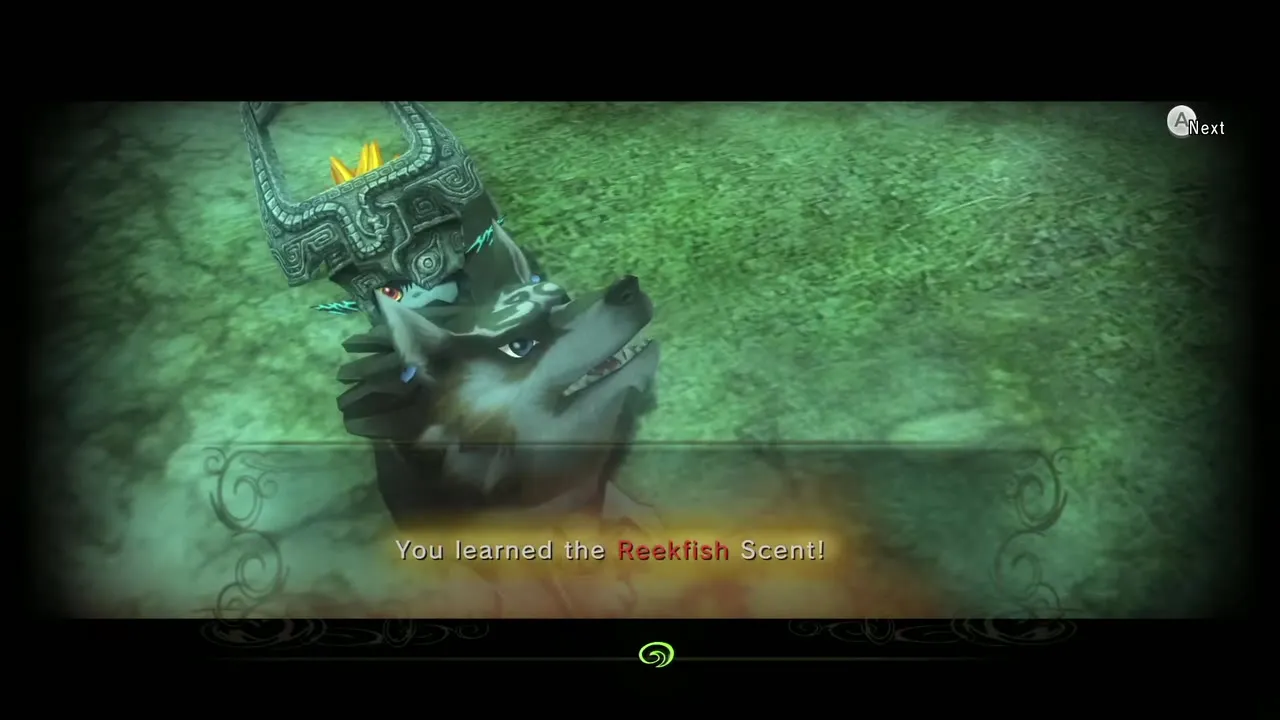
The fish flops on the ground. Turn into Wolf Link right away and use Senses to learn the Reekfish Scent, which replaces the scent you were tracking before. Head back west through the corridor to the Peak Province.
Climbing Snowpeak as Wolf Link
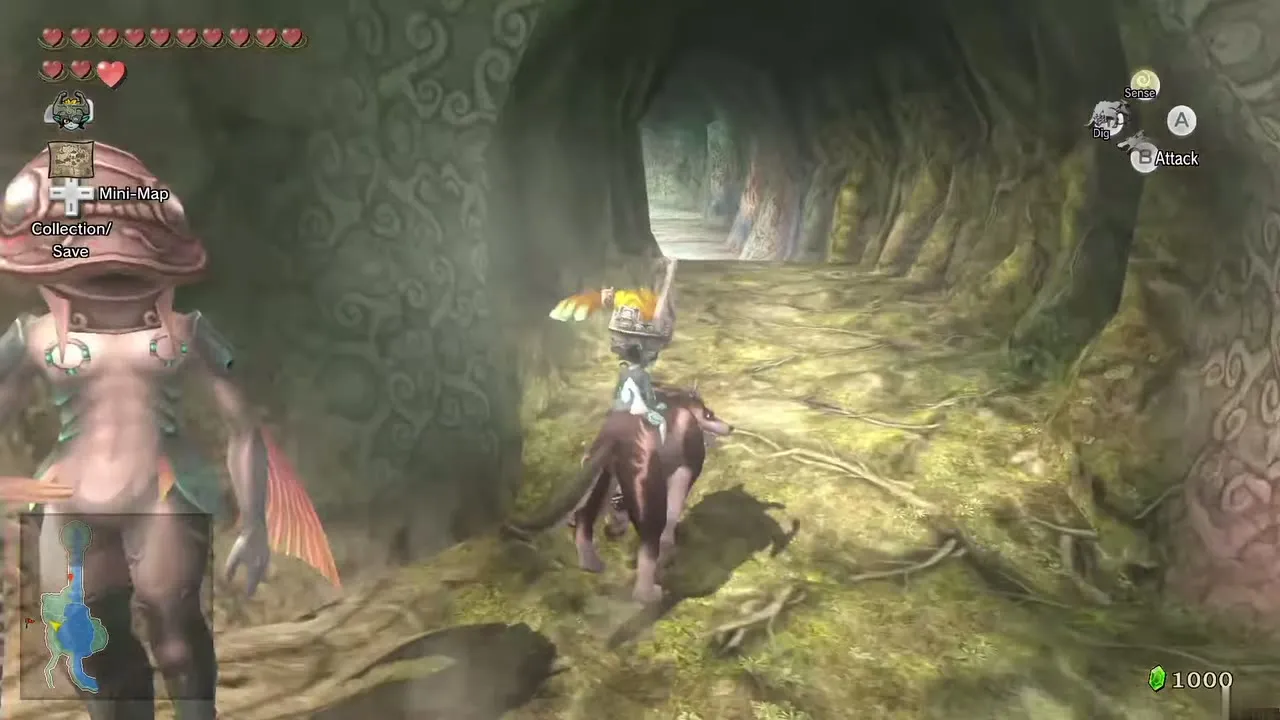
Cross the ice floes and reach the first Poe
Use Senses to pick up the scent trail and follow it across the snow and ice. Falling into the icy water freezes you, hurts, and sends you back, so jump the floes carefully. White Wolfos burst out of the snow on the far side; you can simply run past them.
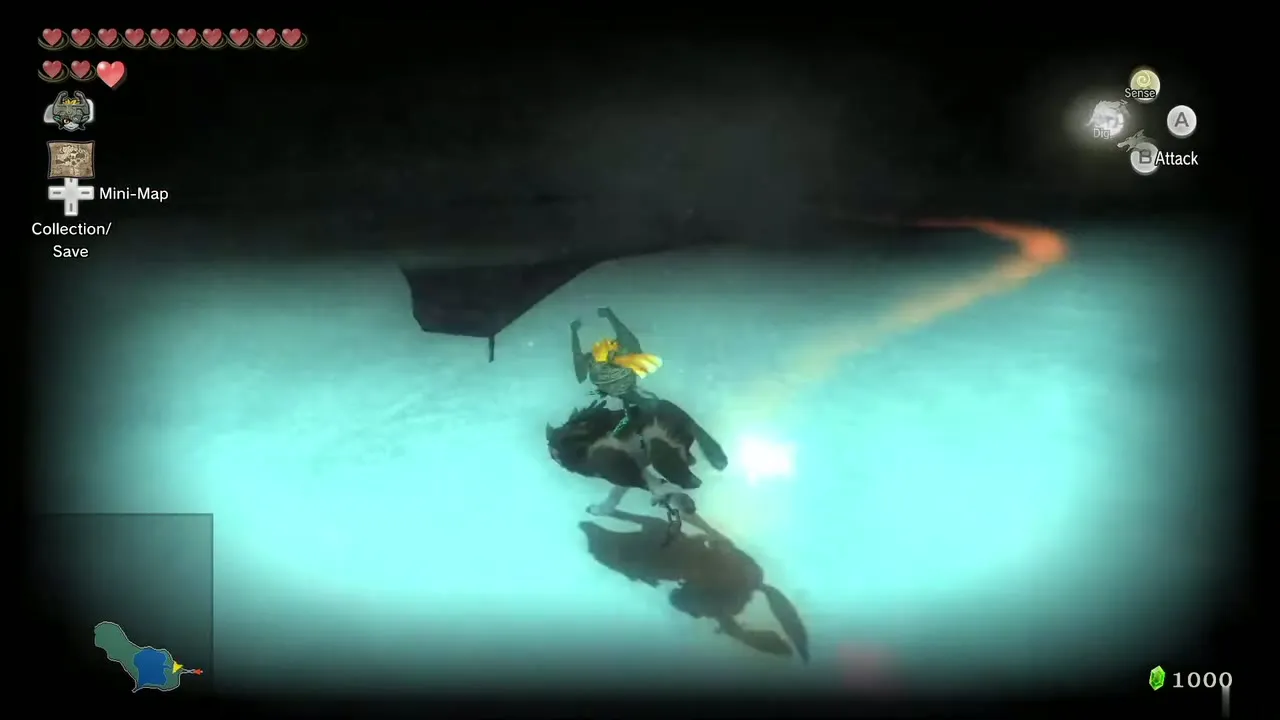
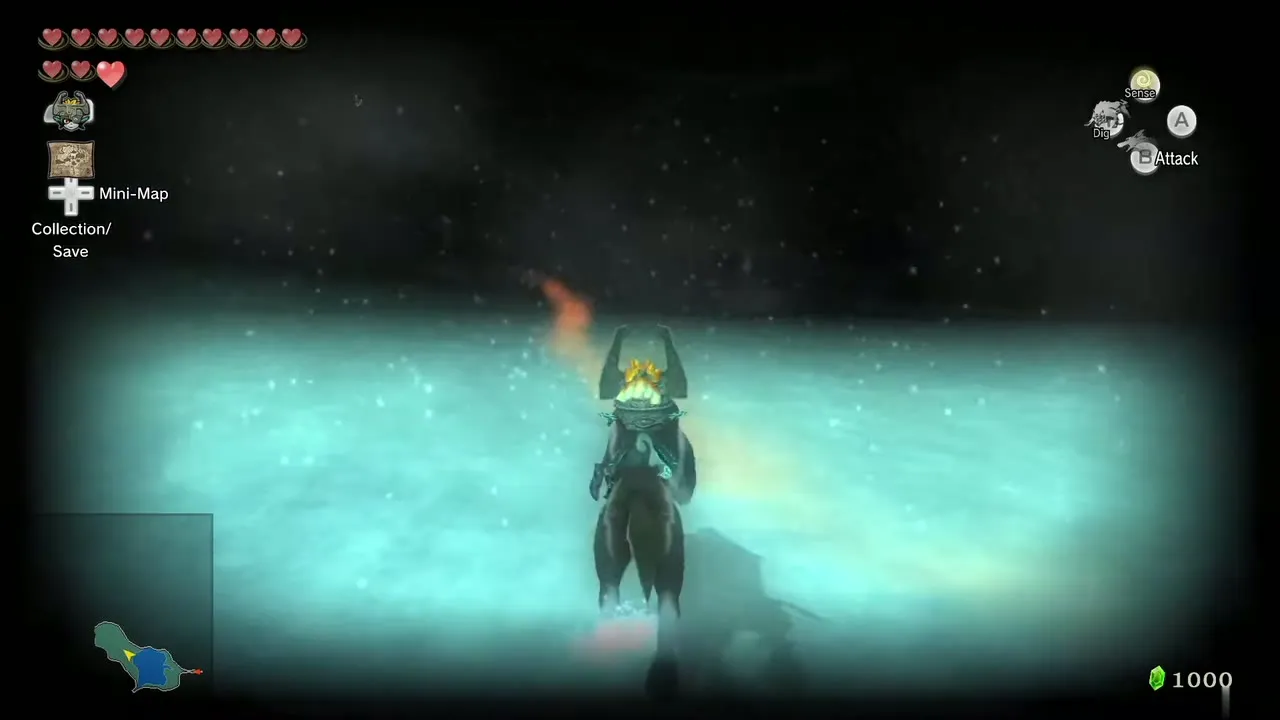
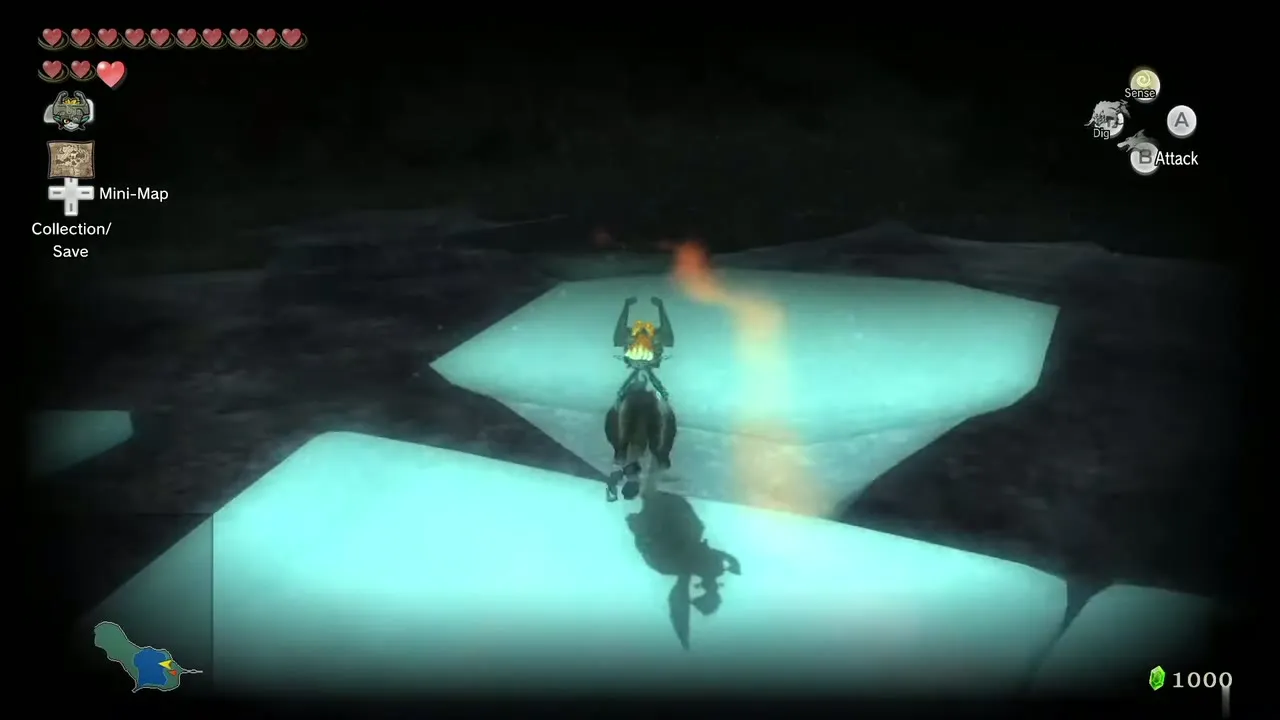
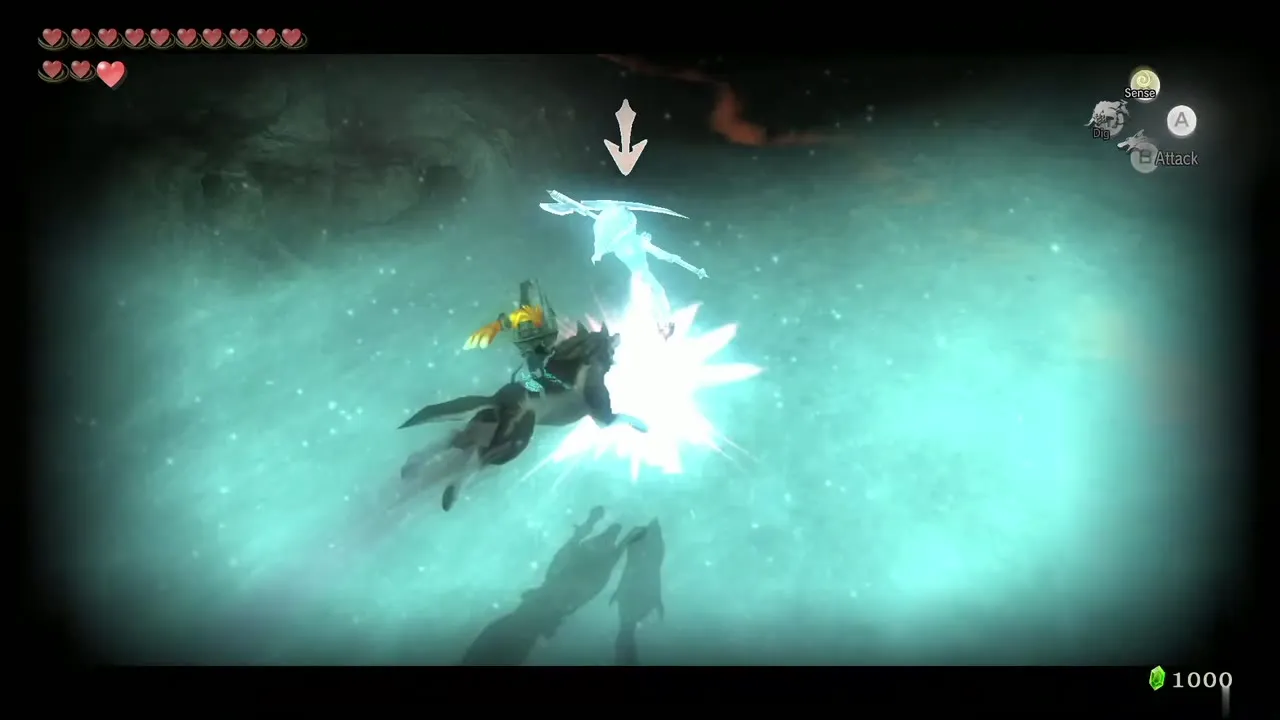
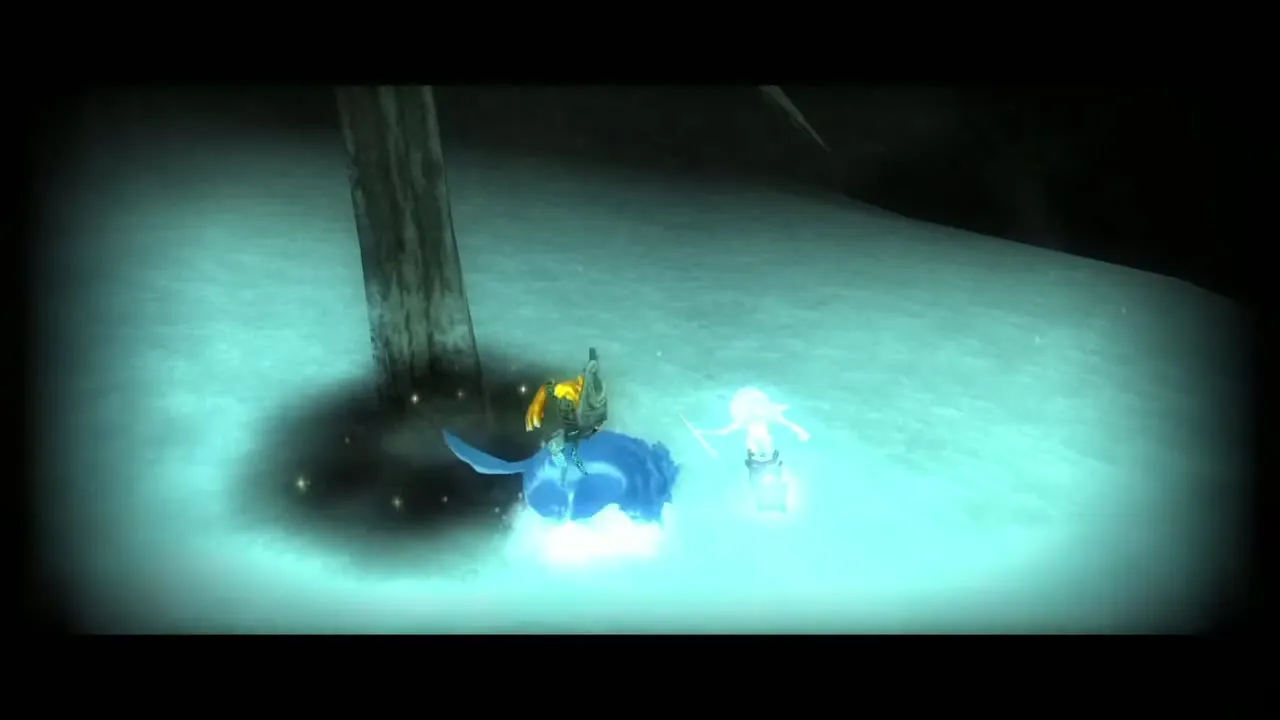
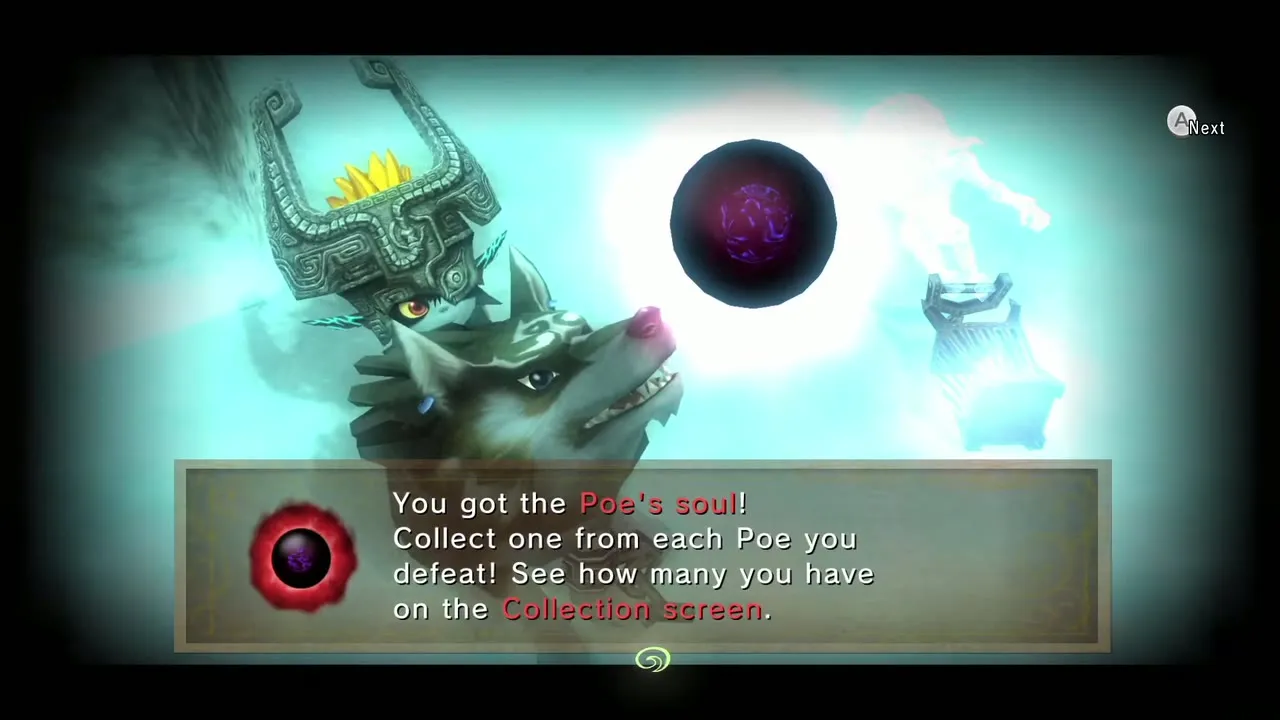
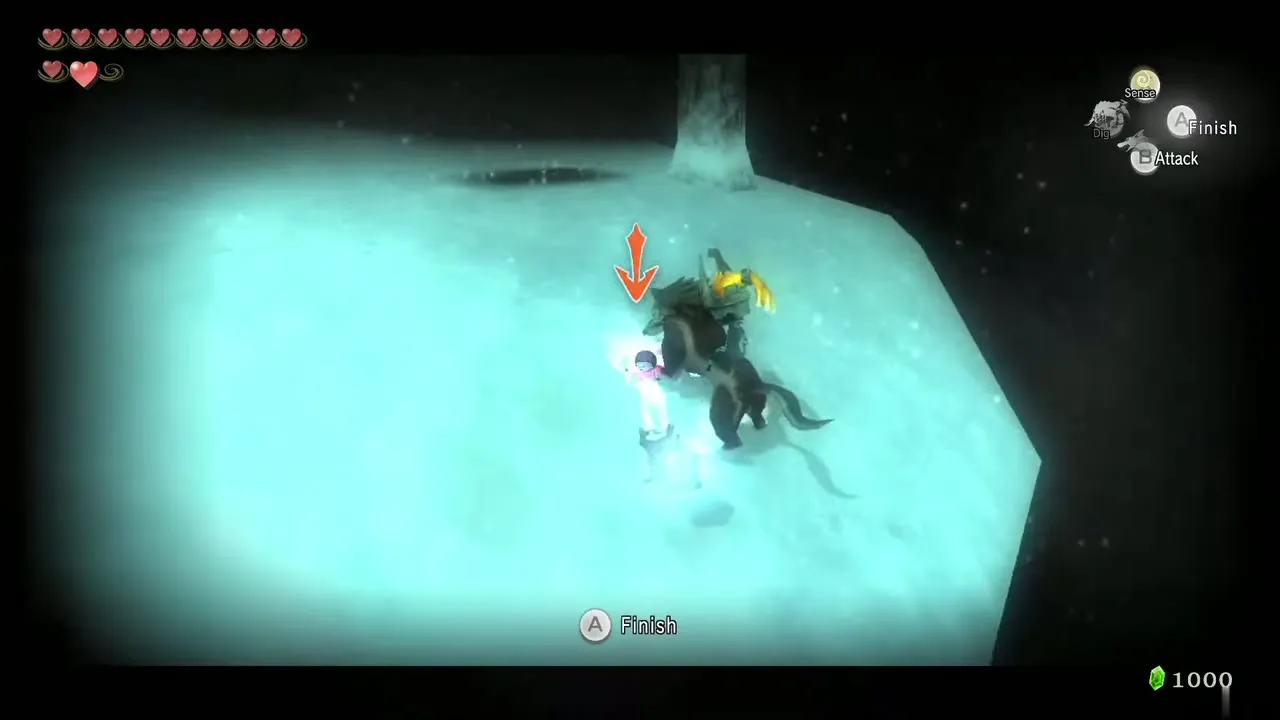
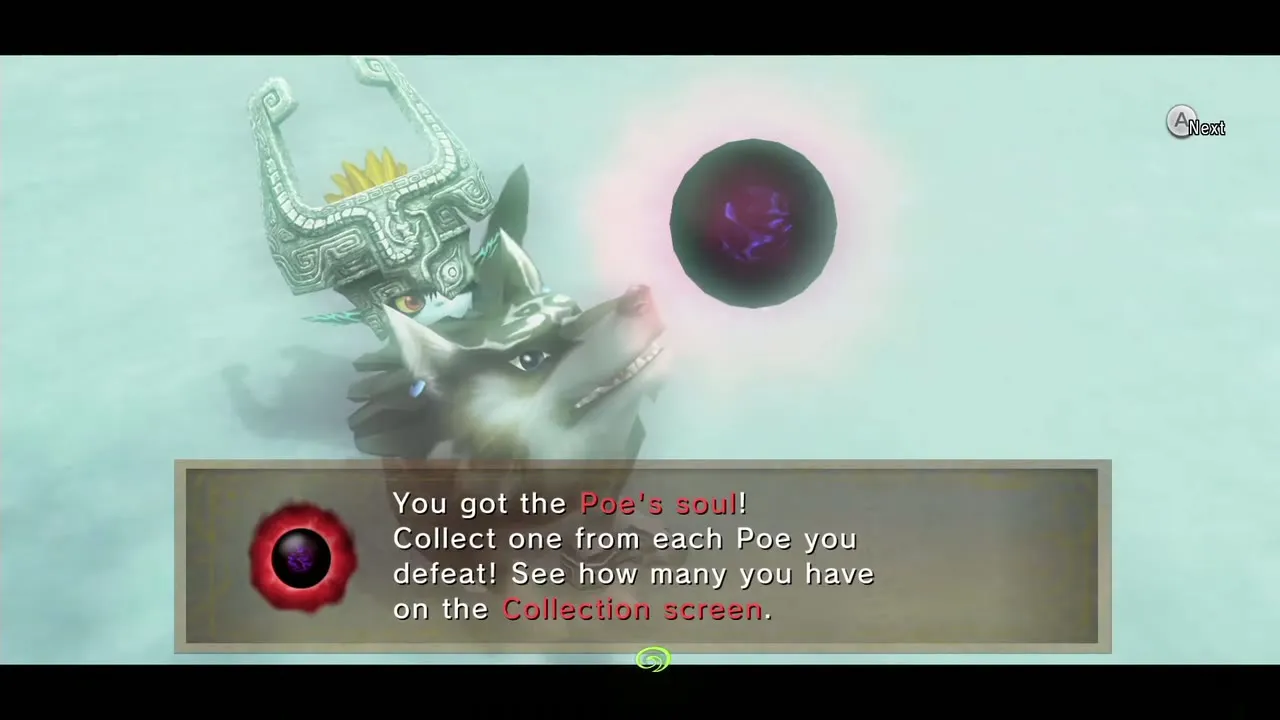
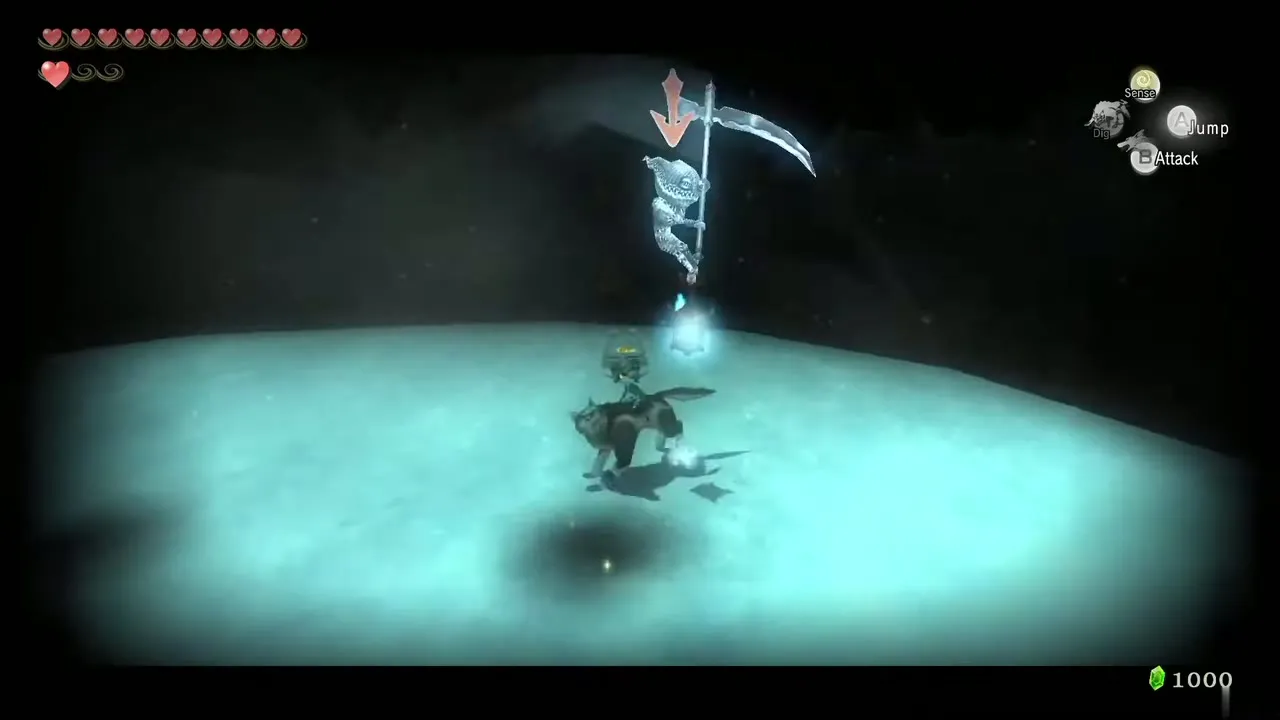
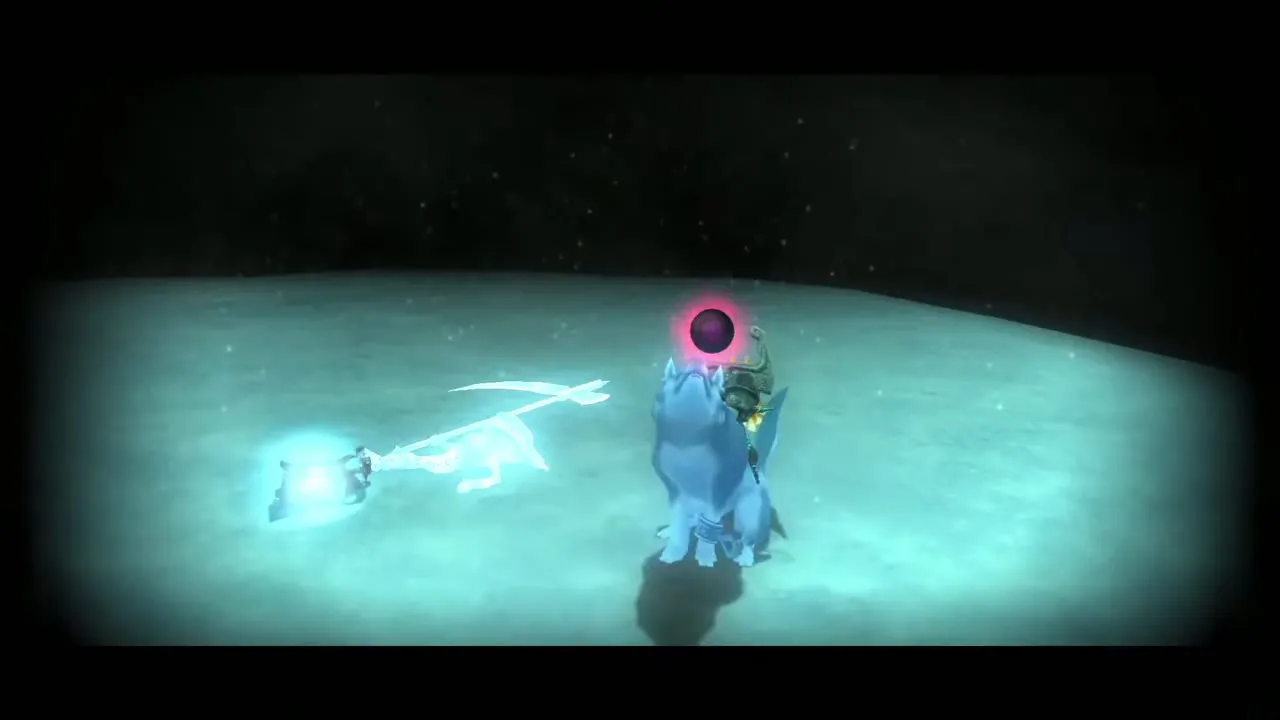
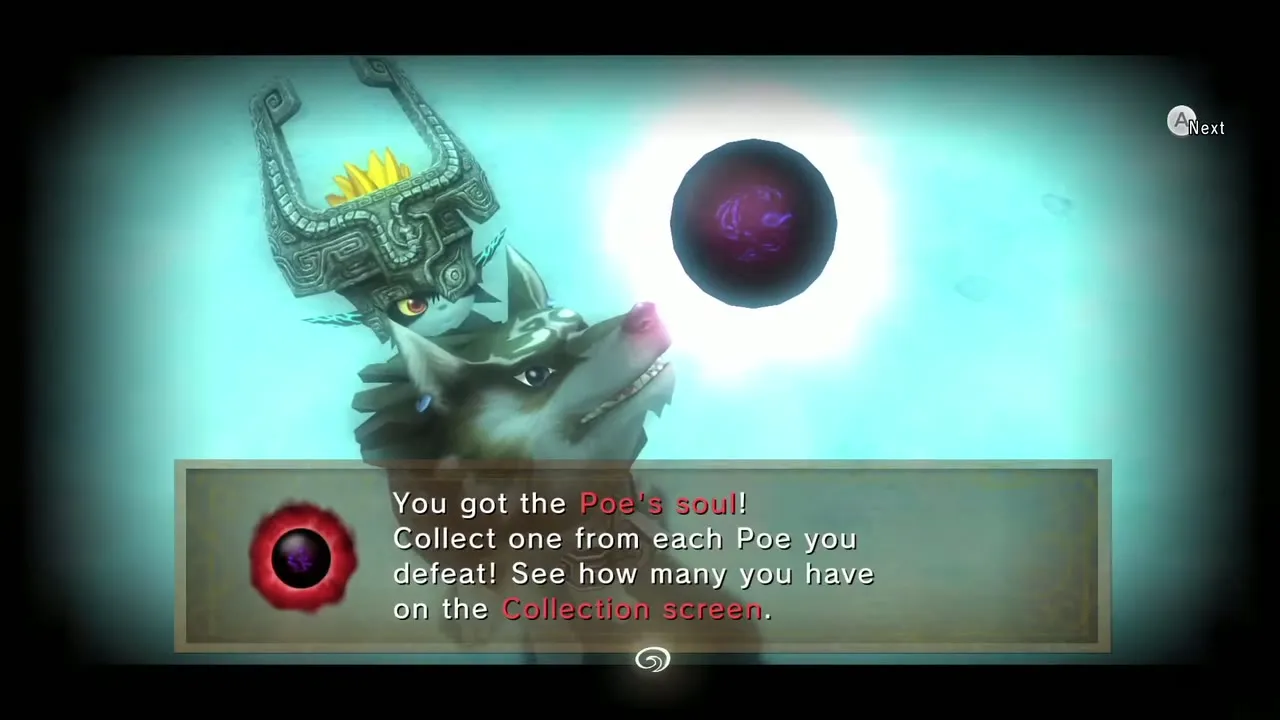
Follow the trail north-west. Just before the scent climbs a wall and you must work round and up some small ledges, a Poe floats nearby. This one is visible at any hour: switch on Senses and defeat it for a Poe Soul (see Poe Souls).
Second Poe by the lone tree
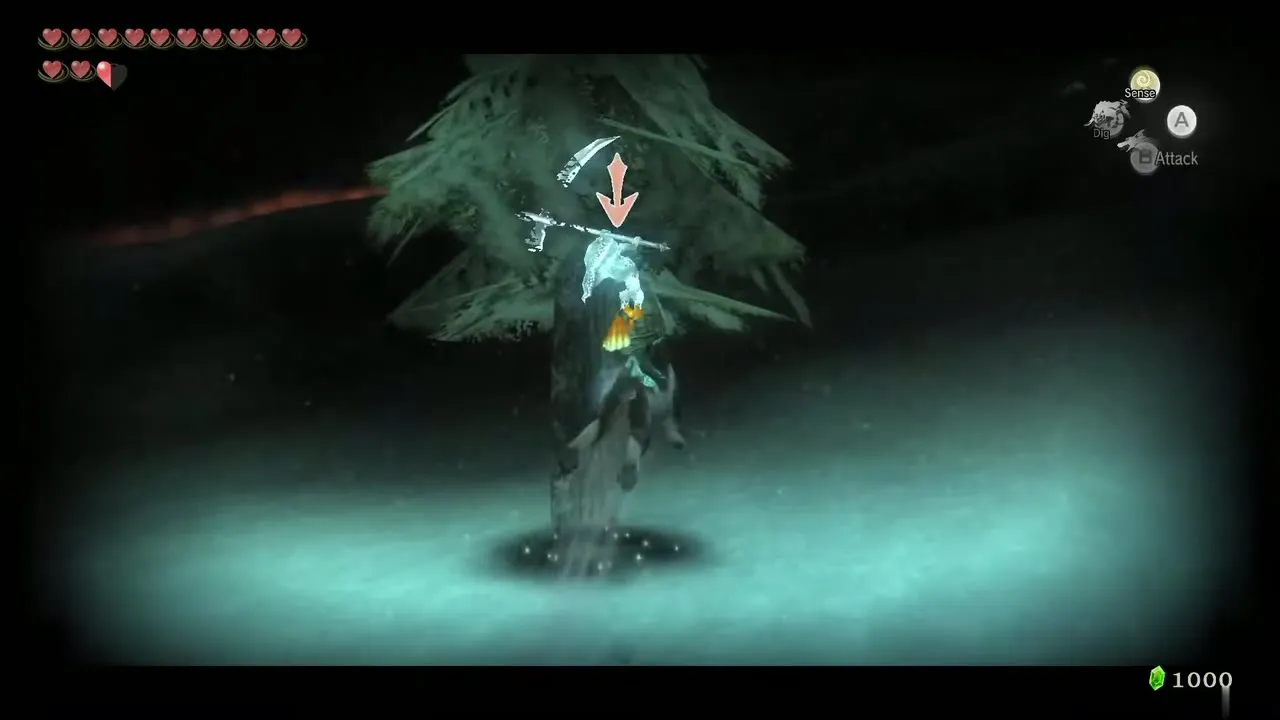
Before climbing the ledges, head east and look for a lone tree on a cliff overlooking the ice floes you crossed. A Poe floats beside it, also at any hour. Defeat it for a second Poe Soul. A cave entrance beside it cannot be used yet.
Climb out of the blizzard to the third Poe
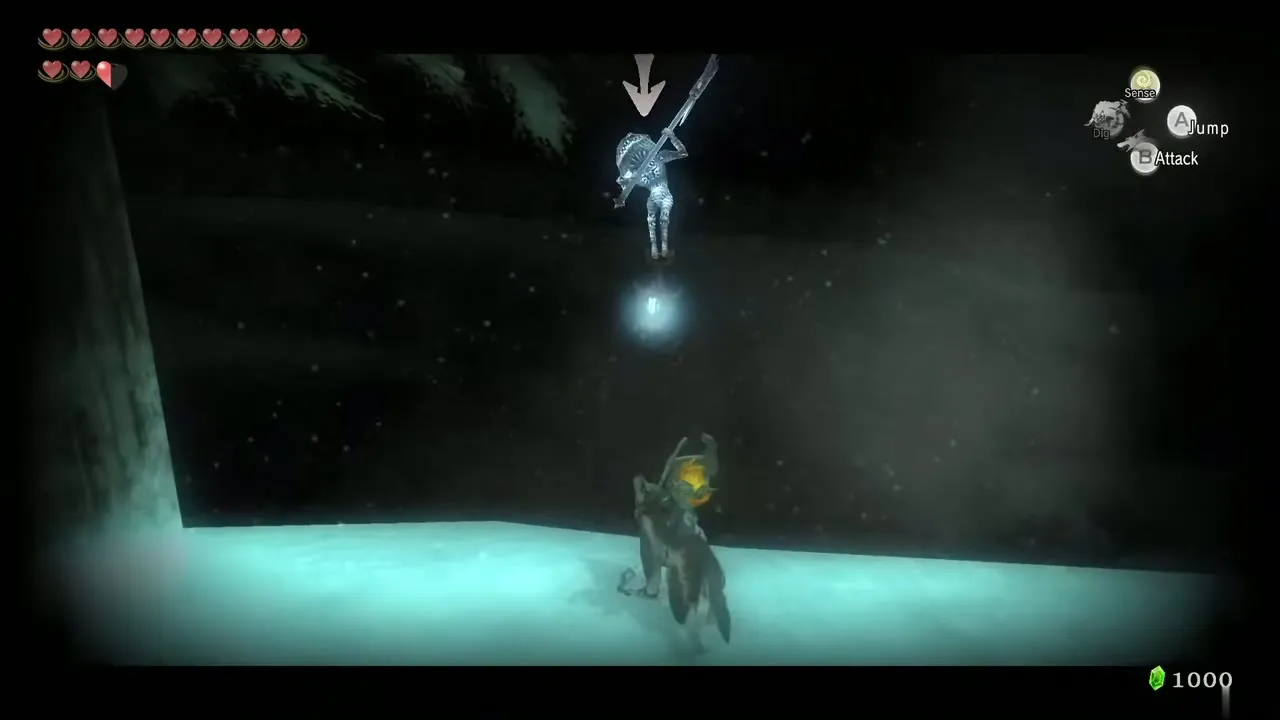
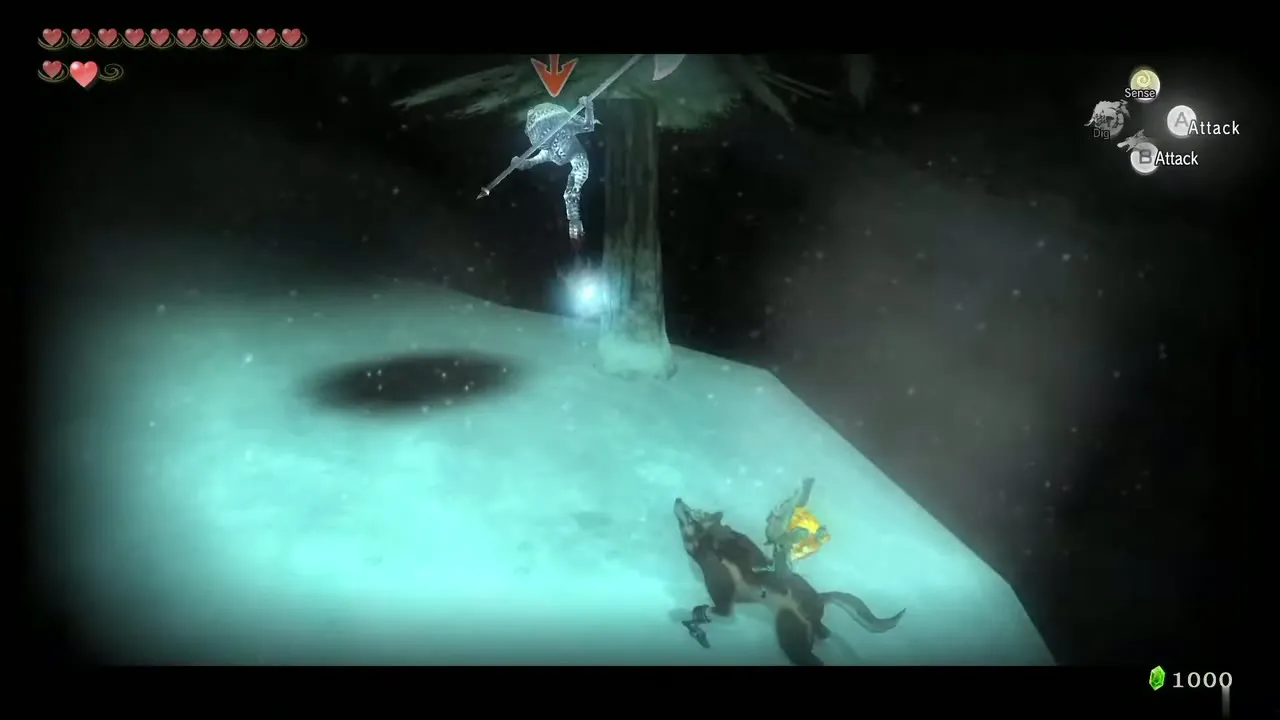
Return to the trail and climb the ledges in the south-west until you leave the blizzard and can see clearly. Two trees stand here, and the day and night cycle matters again. A dig spot around the nearer tree leads to a small cave with Ice Keese and a Chu behind bombable boulders; there is nothing you need inside. A Poe appears beside that tree at night only, so wait for dark or return later and kill it for another Poe Soul.
Snowbank shortcut and the Howling Stone
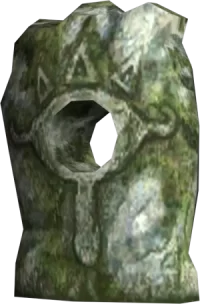
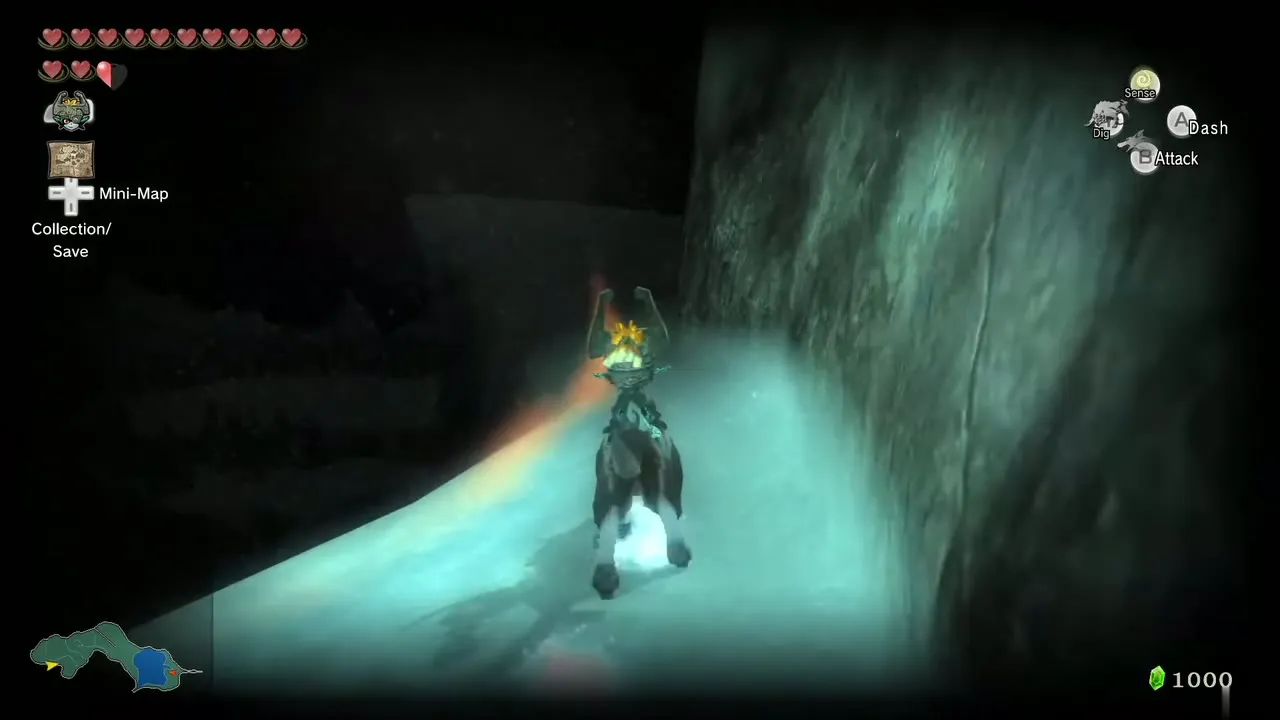
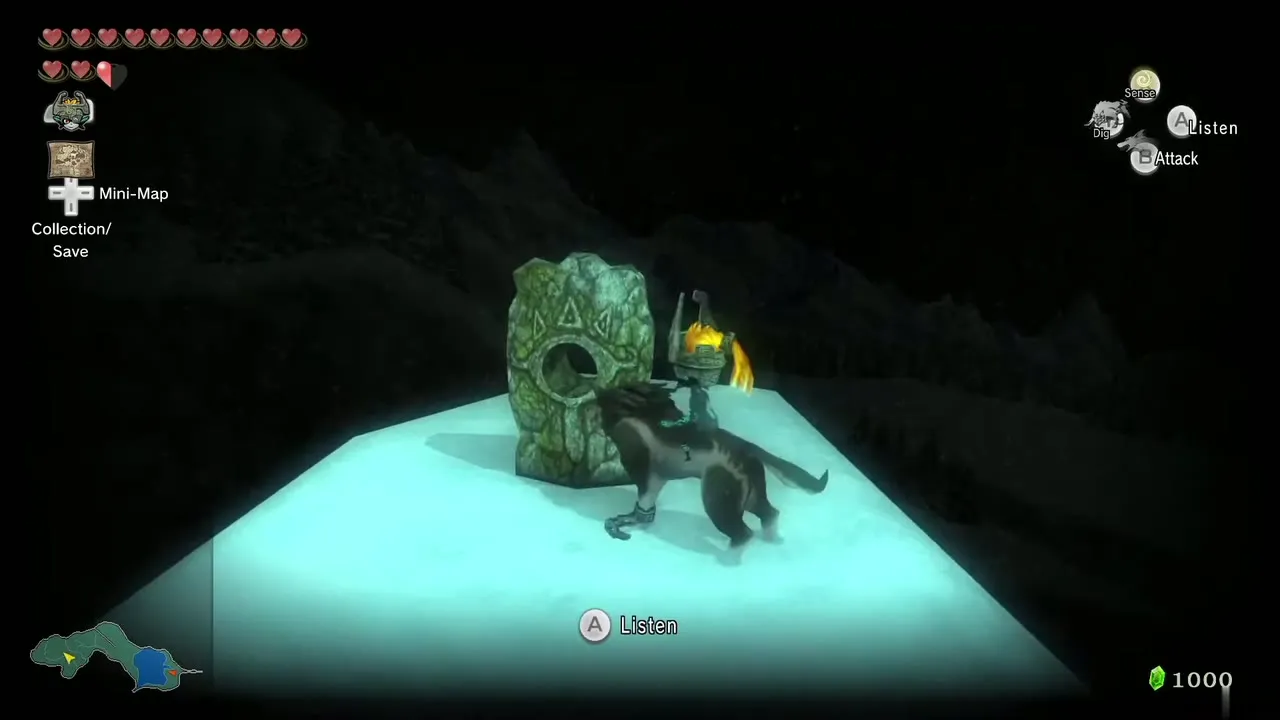
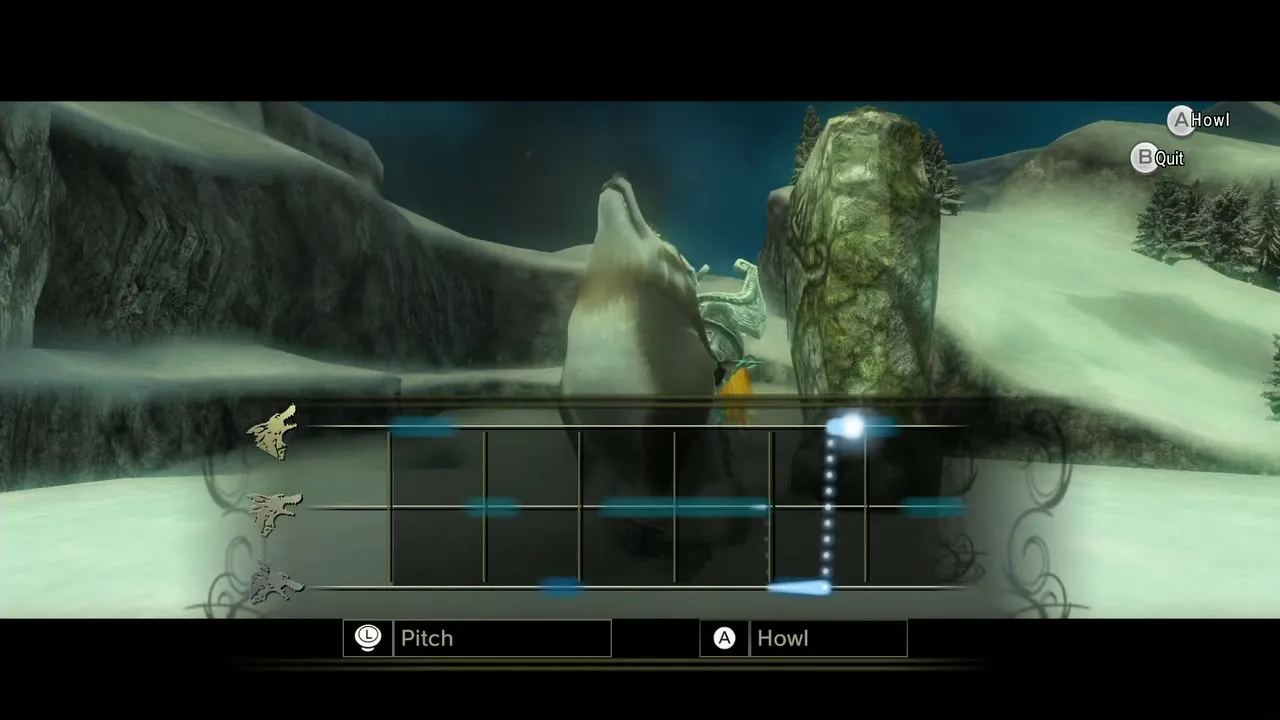
Follow the scent to a wall of snow where the trail seems to end. Charge into the wall as Wolf Link; the snow slides down into a ramp. Climb it and keep following the scent as it bends left to a Howling Stone (turn Senses off to see it more easily). Howl the tune back to the stone; the Golden Wolf will now wait in Kakariko Graveyard (see Howling Stones).
Cavern, shadow beasts and the new warp portal
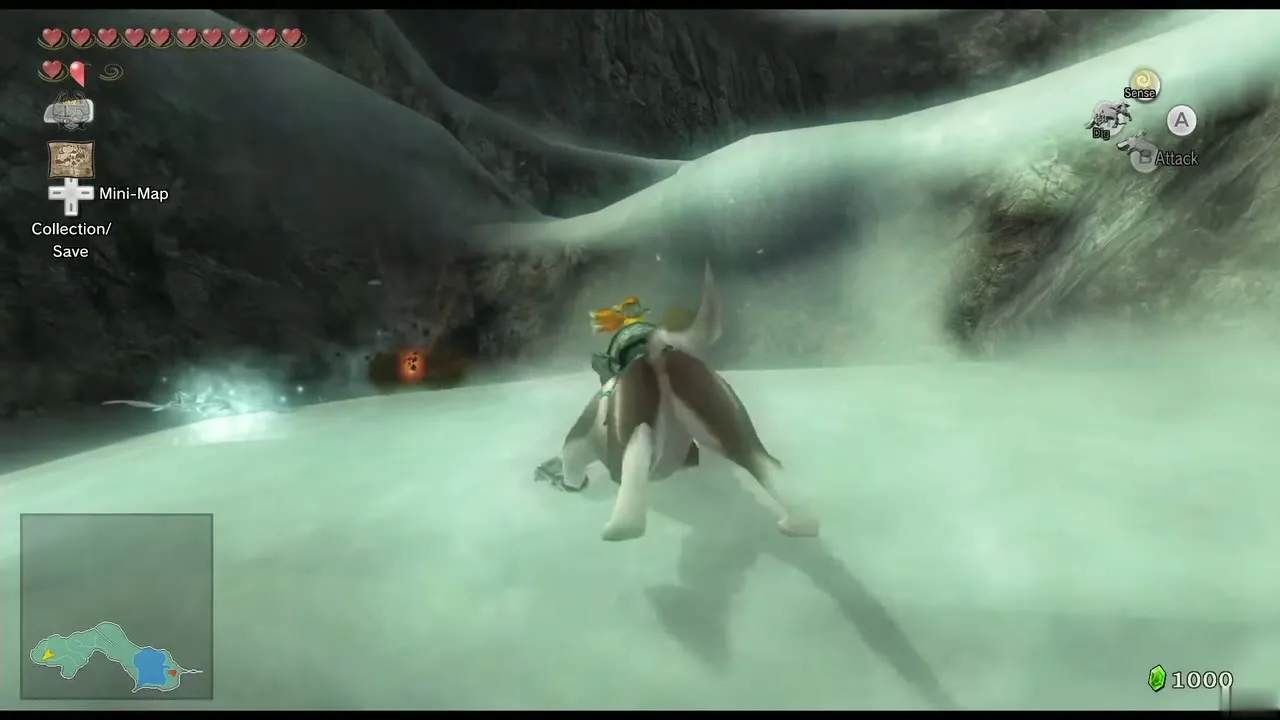
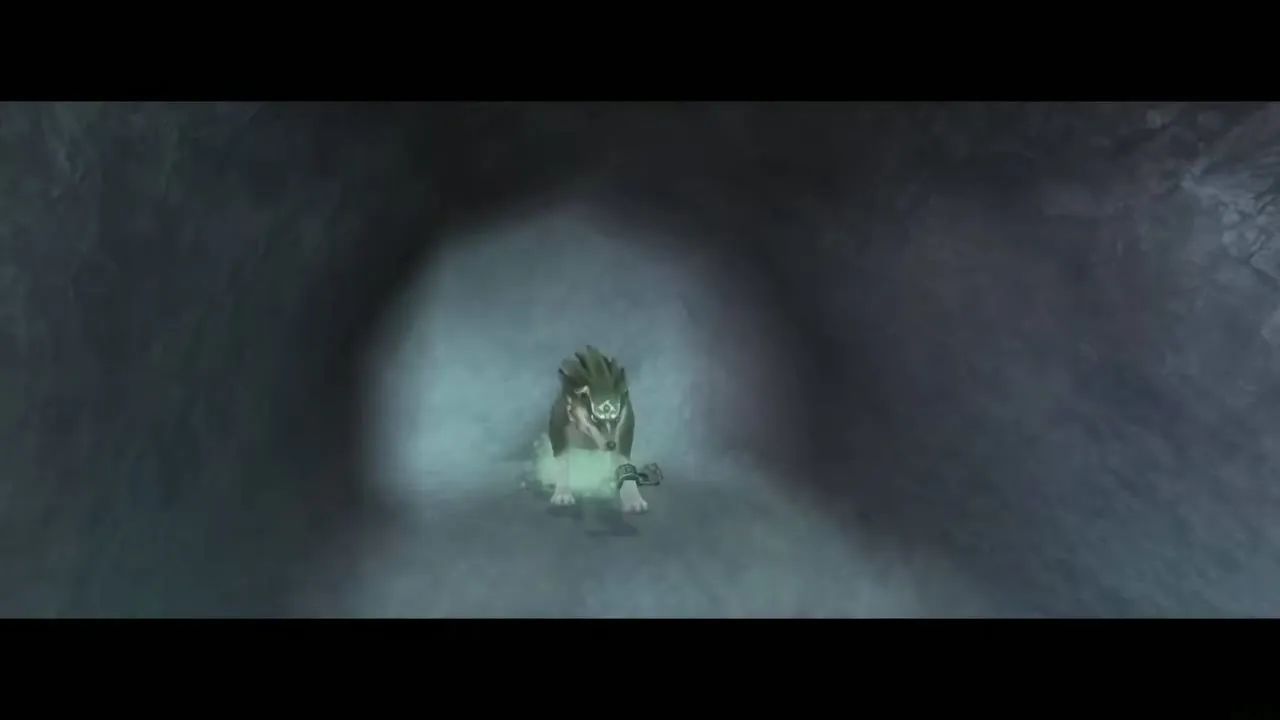
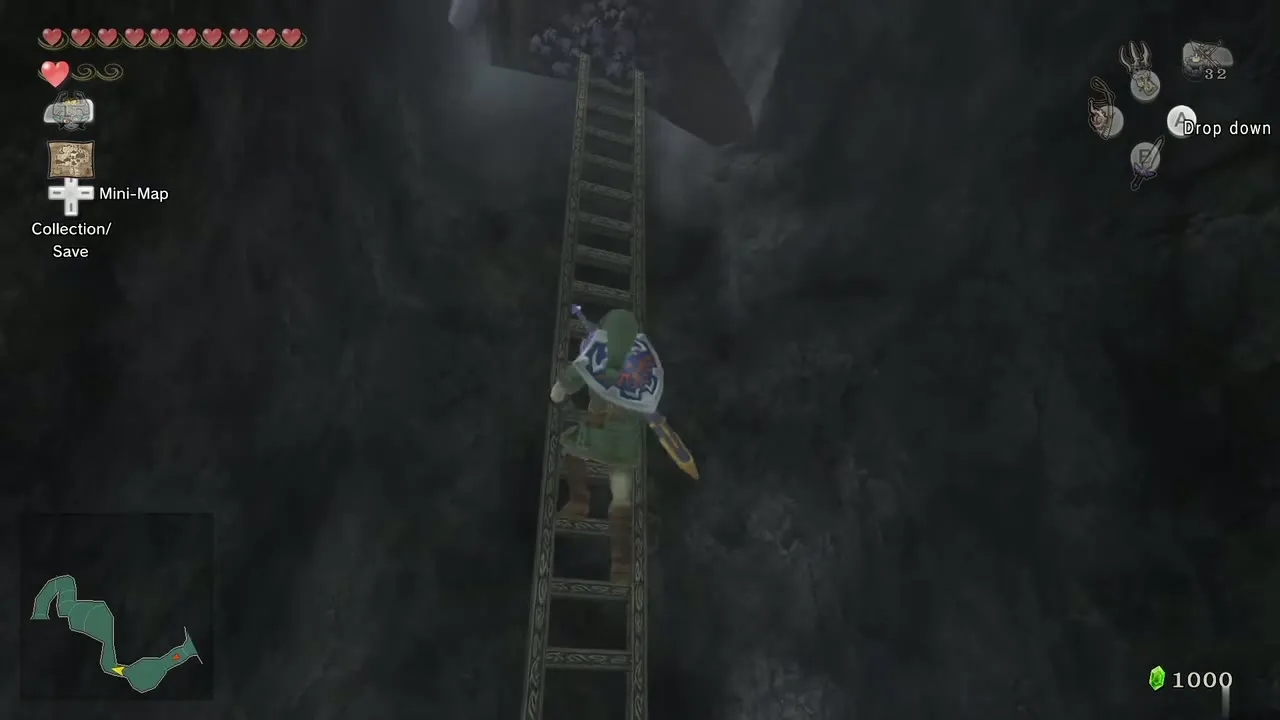
The scent then curls around the mountain to a wall. Dig under it as Wolf Link to enter a snow-filled cavern. Change back to Link, climb the ladder and fight through the Ice Keese (the Gale Boomerang handles them well), then climb the vines out of the cavern.
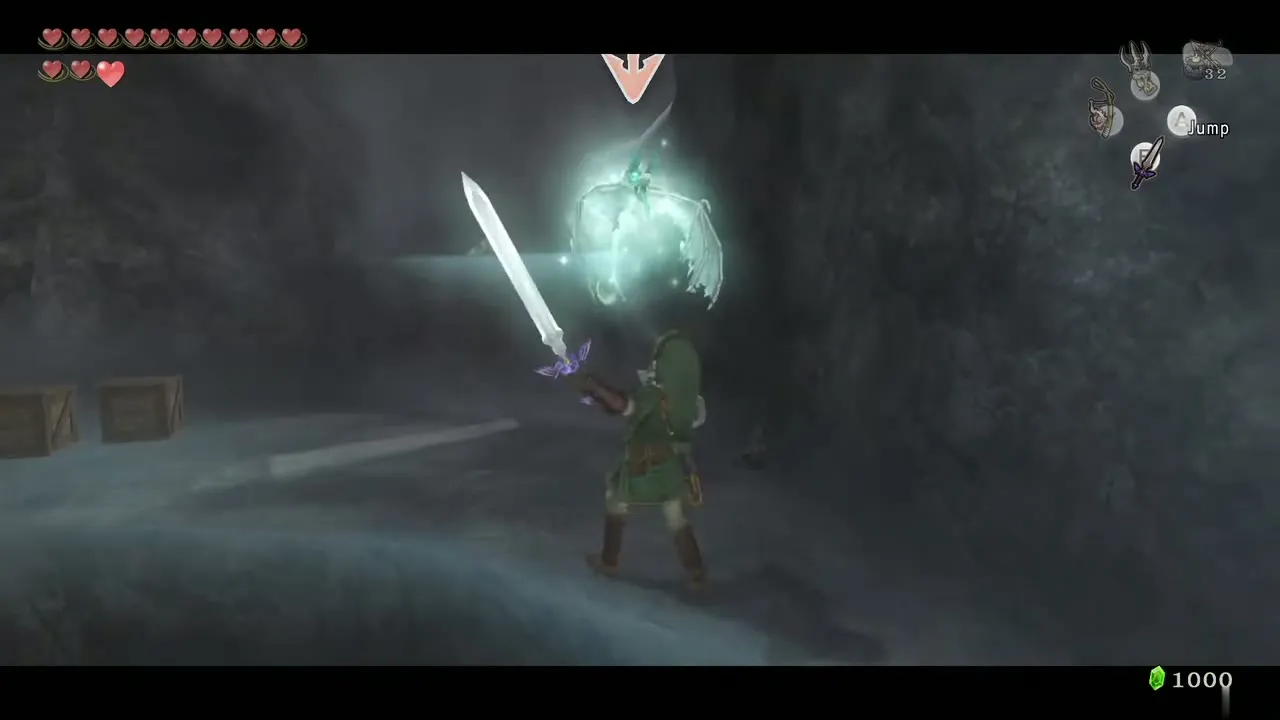
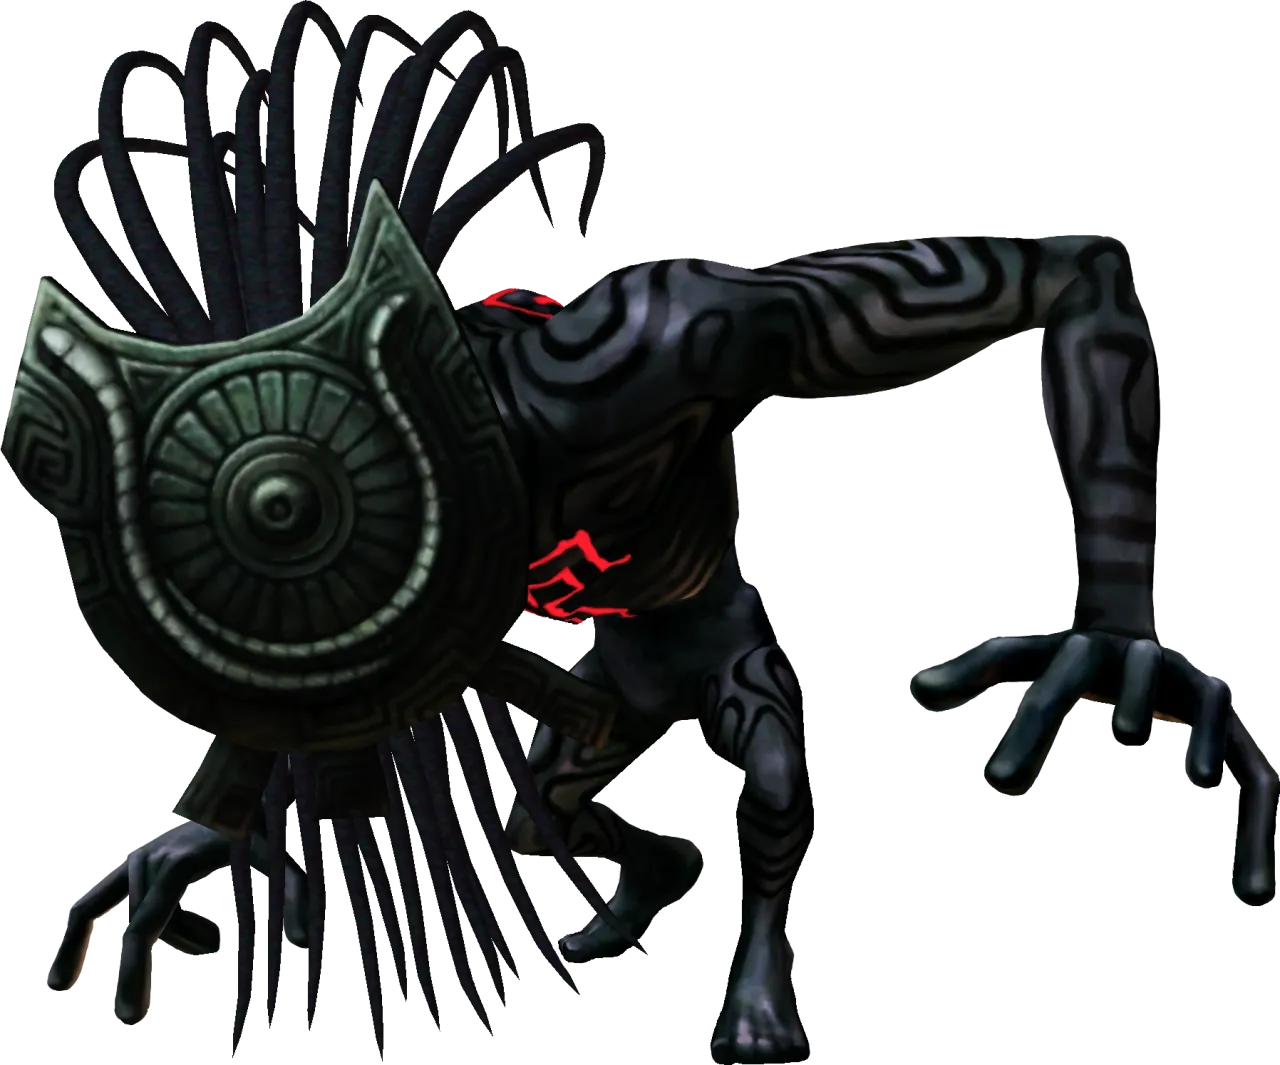
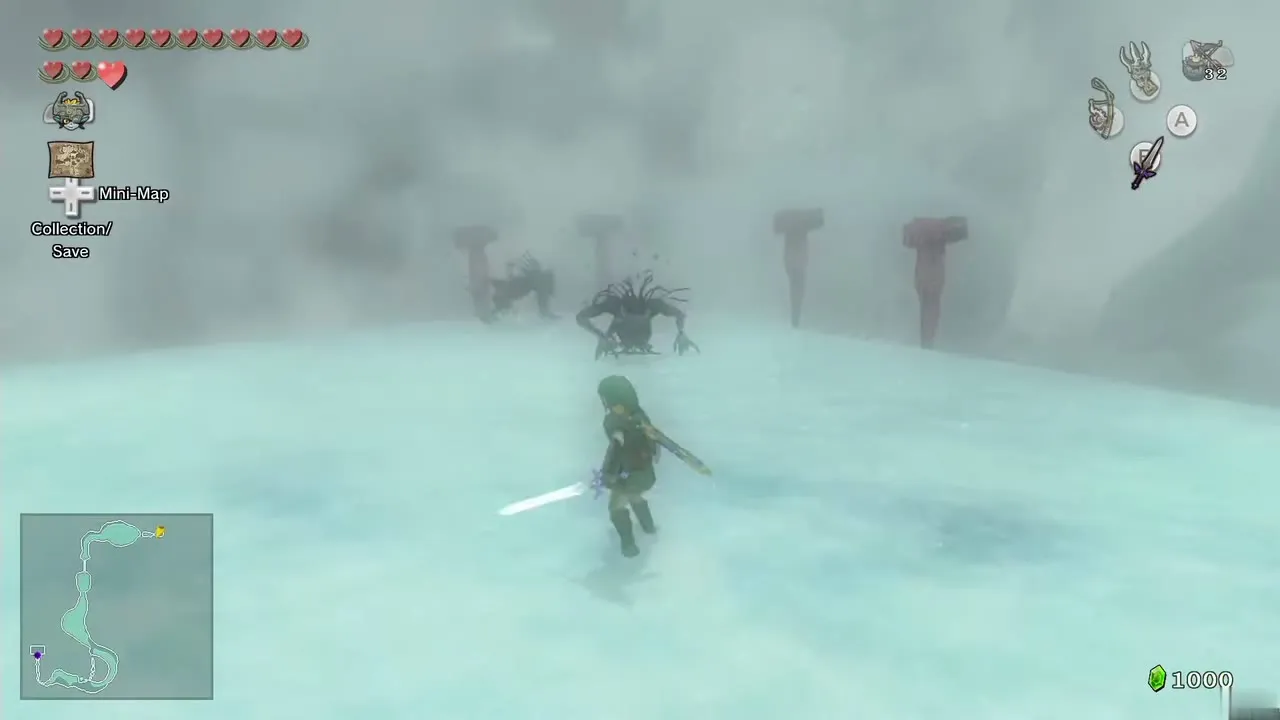
Outside, shadow beasts drop from a twilight portal. Defeat all three to create a warp portal at Snowpeak Top. From now on Midna can bring you straight here.
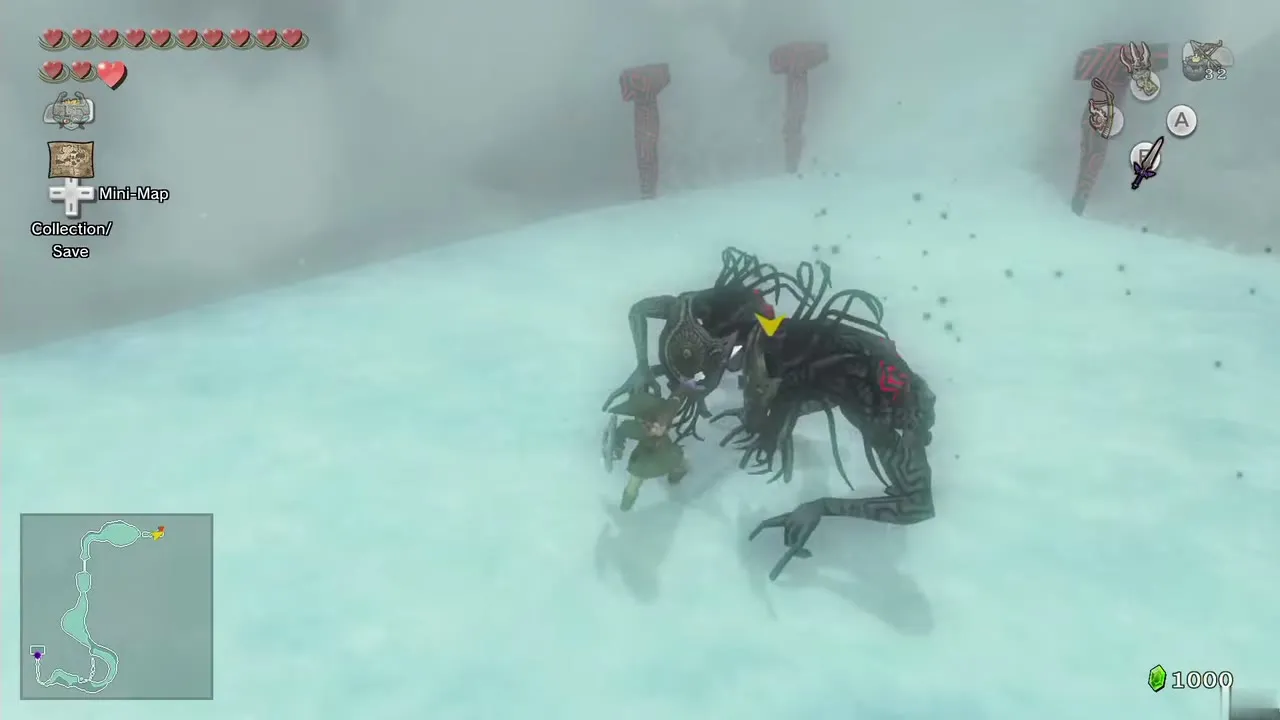
Hidden skill: Jump Strike

Learn it from the Golden Wolf in Kakariko Graveyard
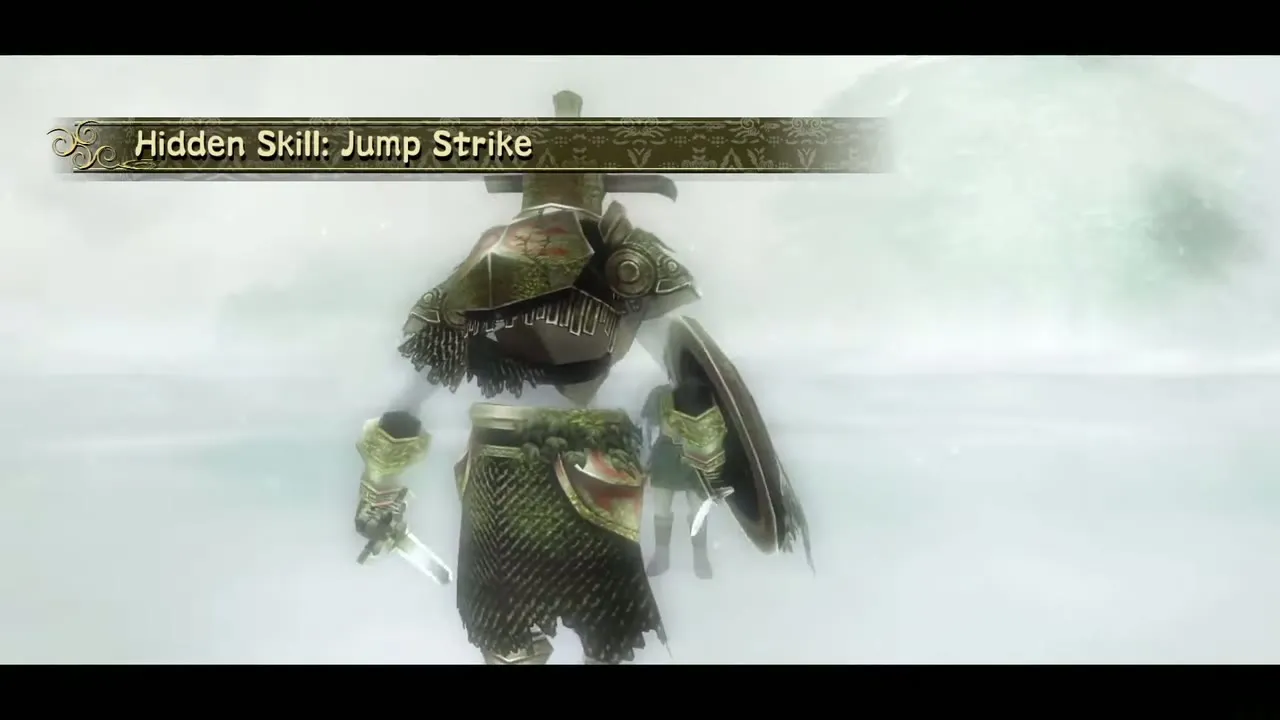
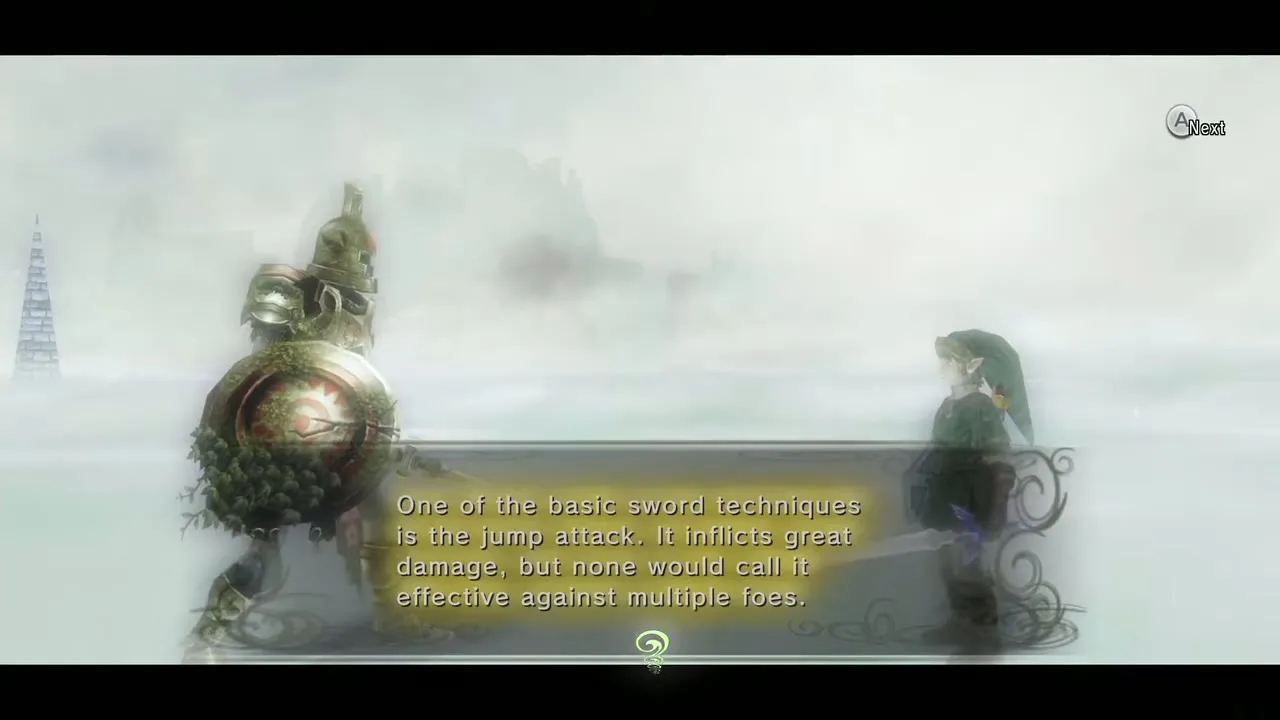
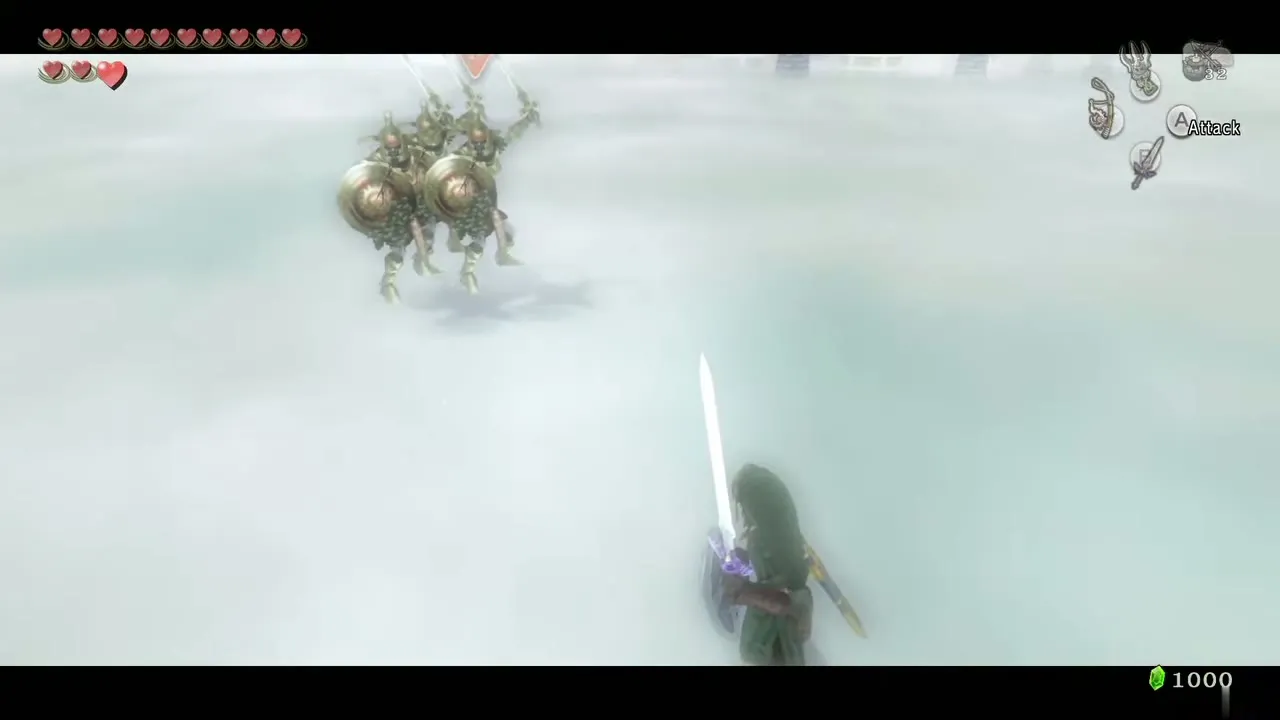
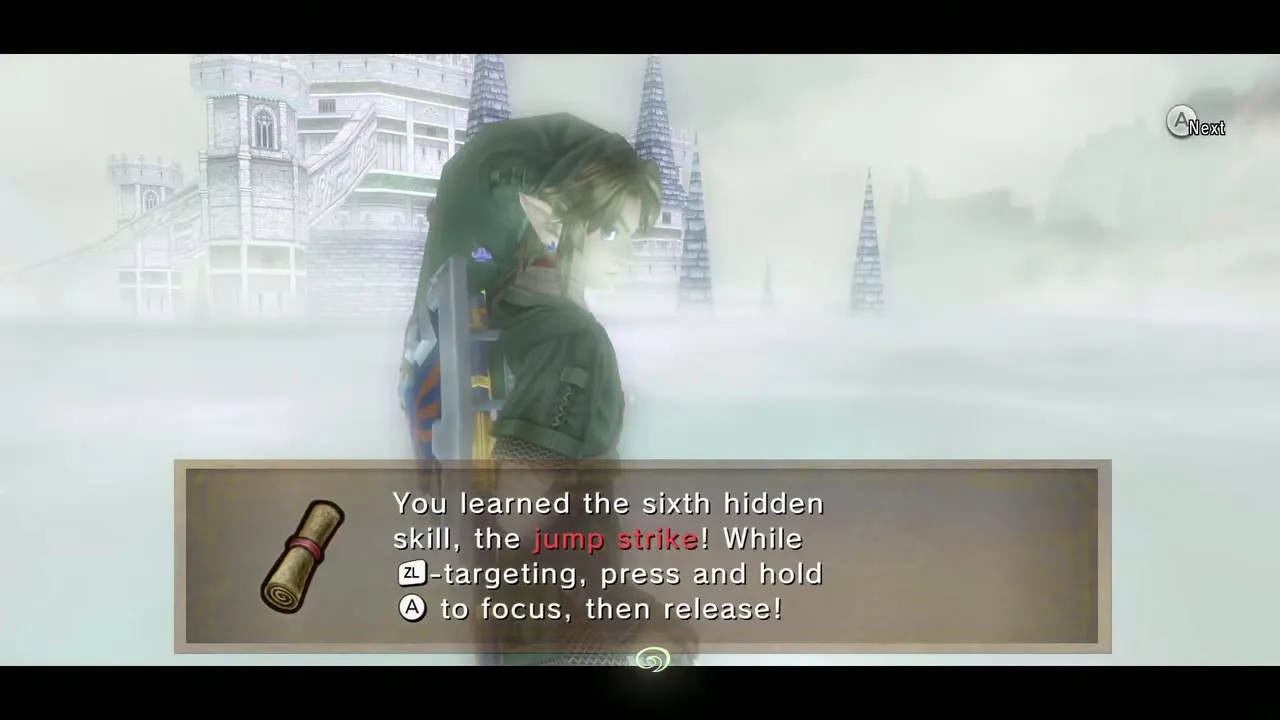
Warp to Kakariko Village, go to the graveyard and approach the Golden Wolf. The Hero’s Shade first tests your Mortal Draw: sheathe your sword, stand close, release the lock-on and press A to strike. Then he teaches the Jump Strike. Target an enemy, hold A until the sword rings, then release to leap. Warp back to Snowpeak Top with Midna. Remaining skills: see Howling Stones.
Meet Yeto and slide to the Snowpeak Ruins
Talk to Yeto
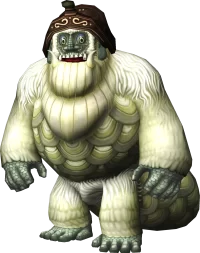
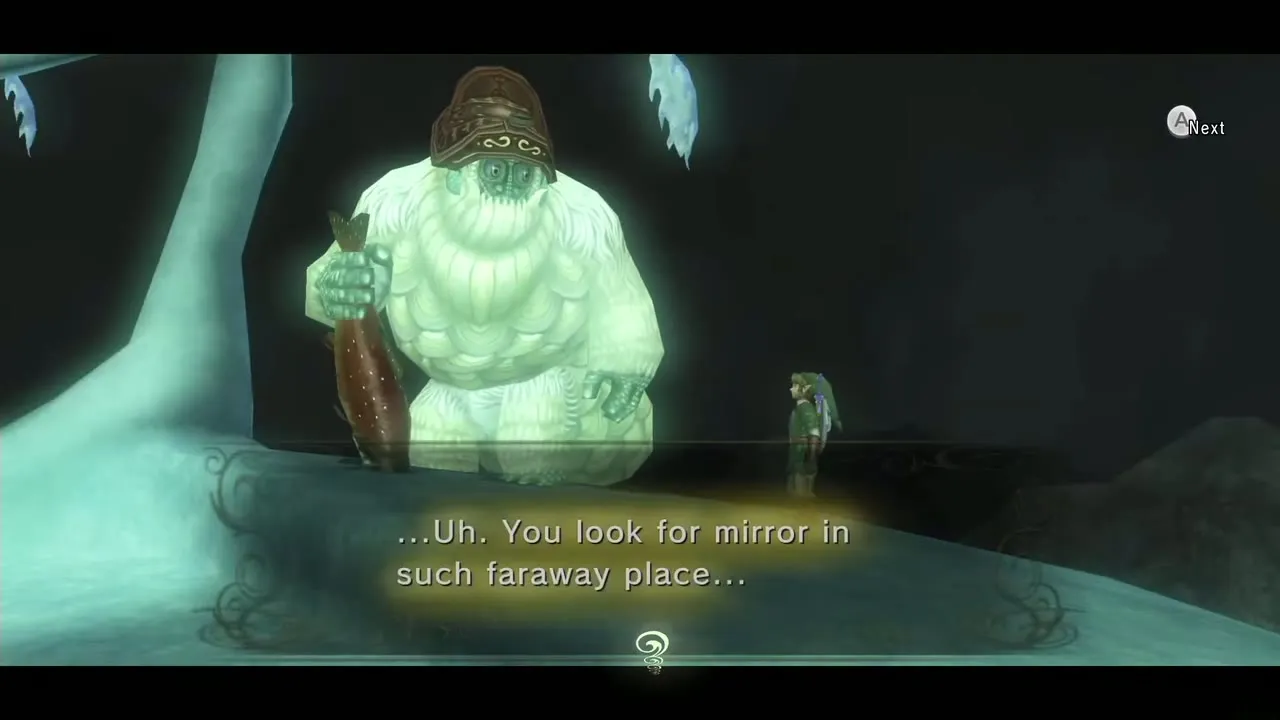
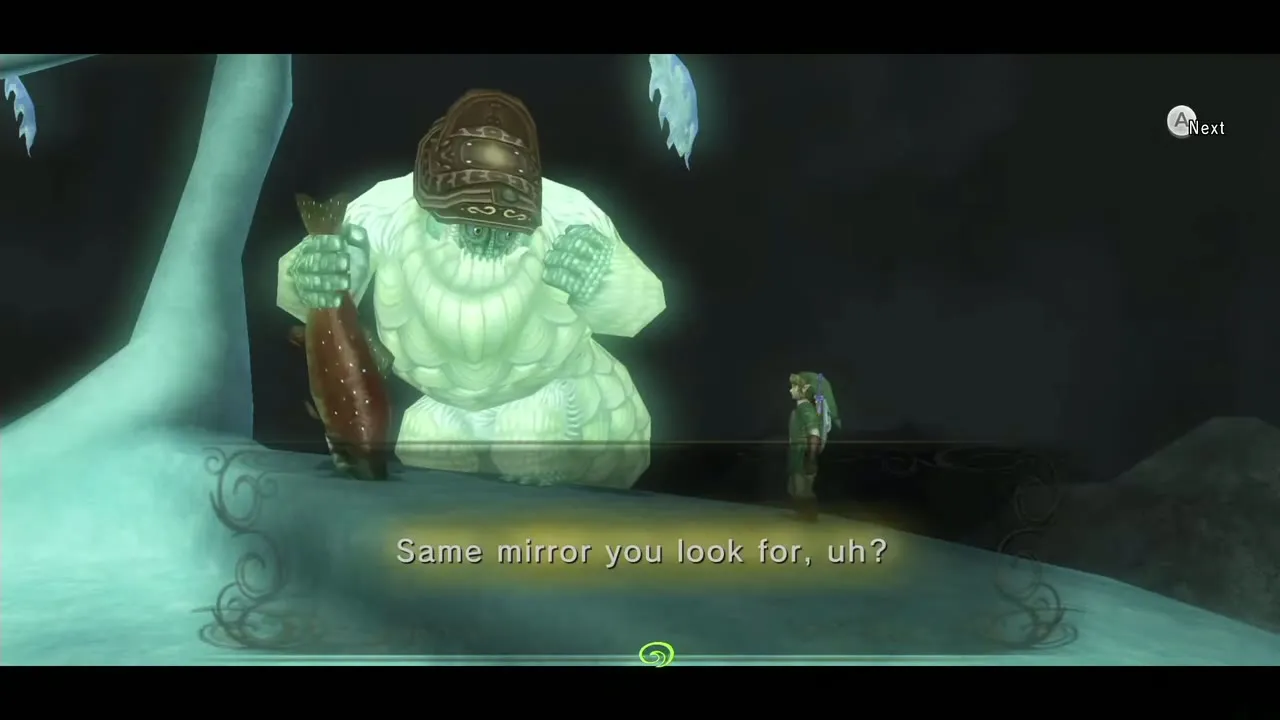
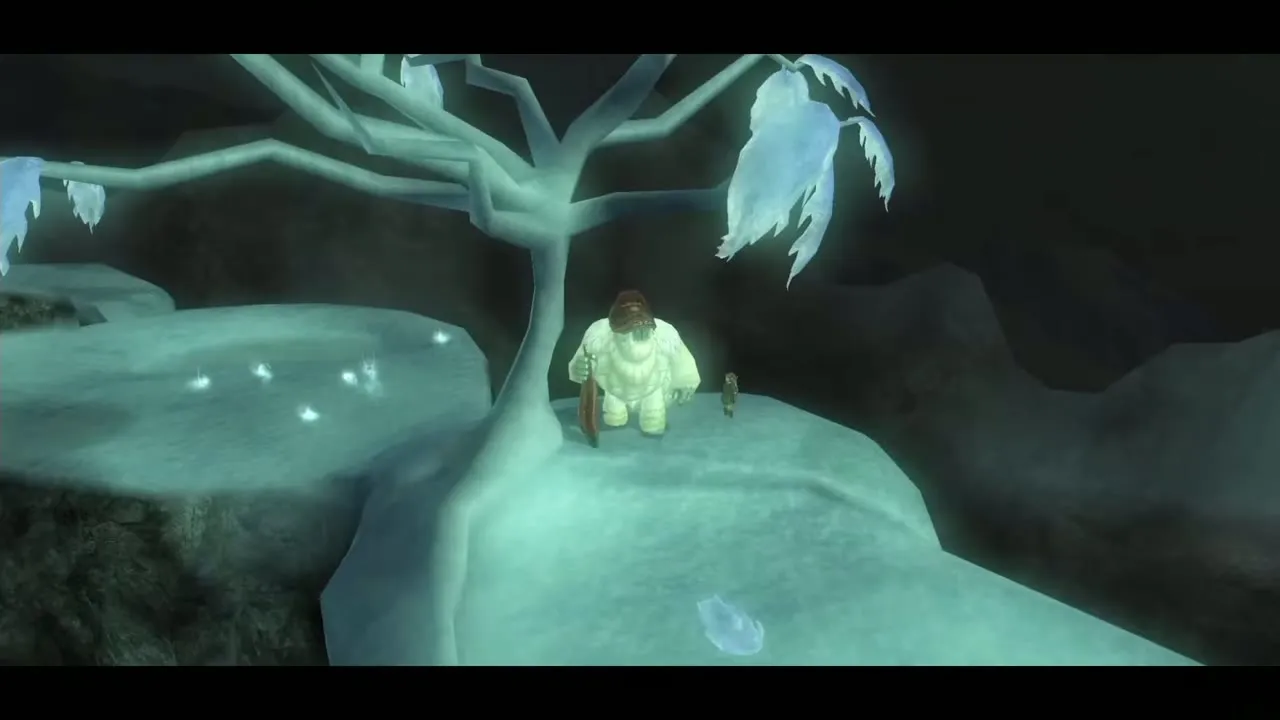
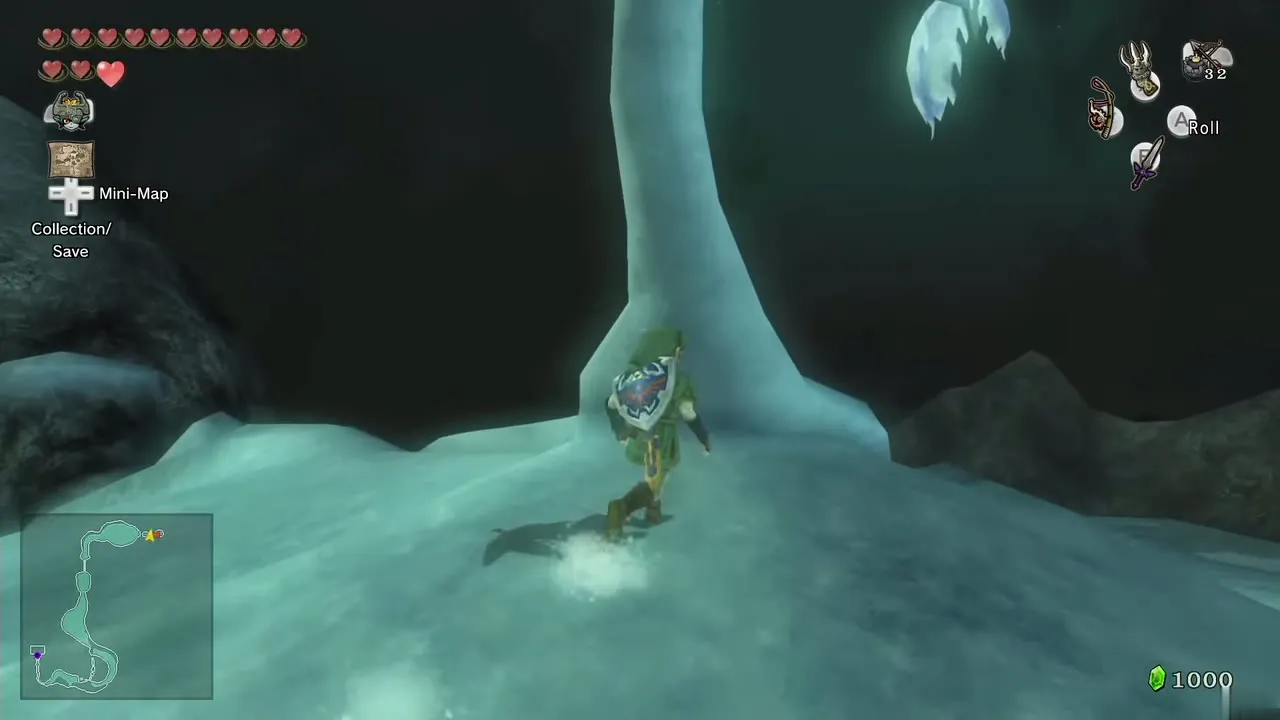
At the top of the mountain, walk up to the huge yeti, Yeto. Tell him you are looking for something and he works out that you want a Mirror Shard. He says he found one and asks you to follow him home. Roll into the nearby tree and a slab of ice drops onto the snow.
Slide down the gorge
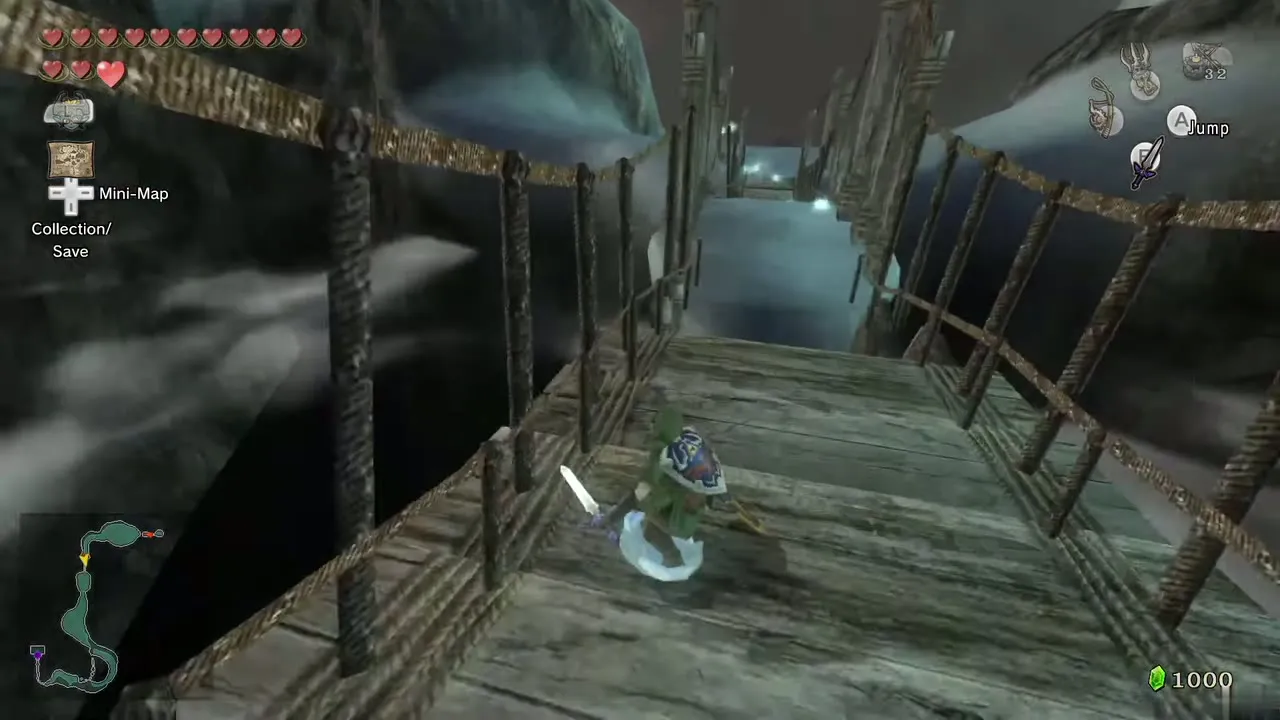
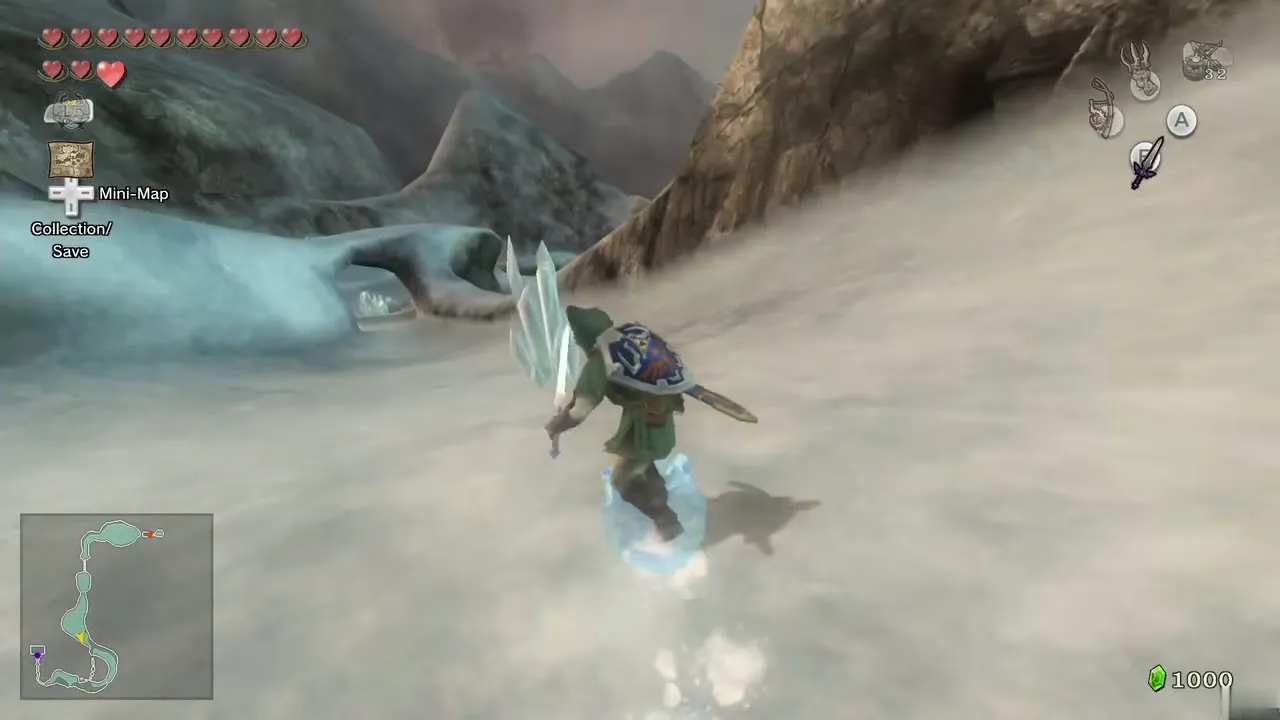
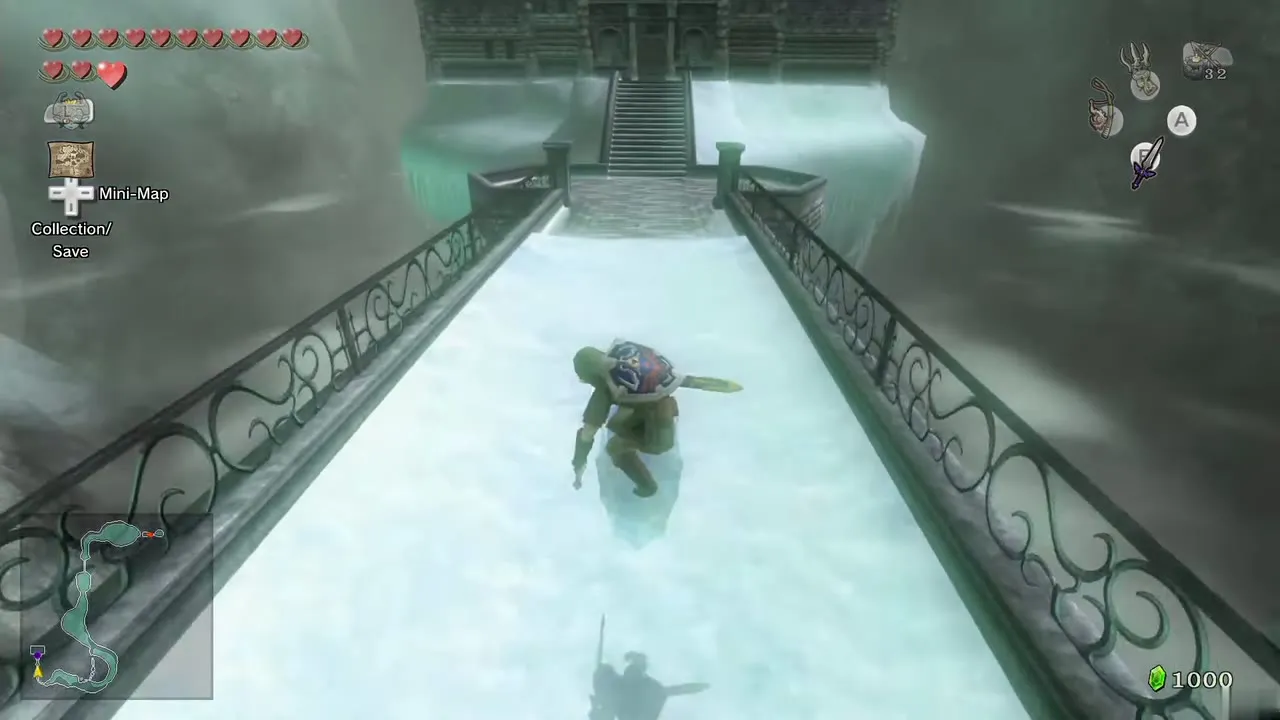
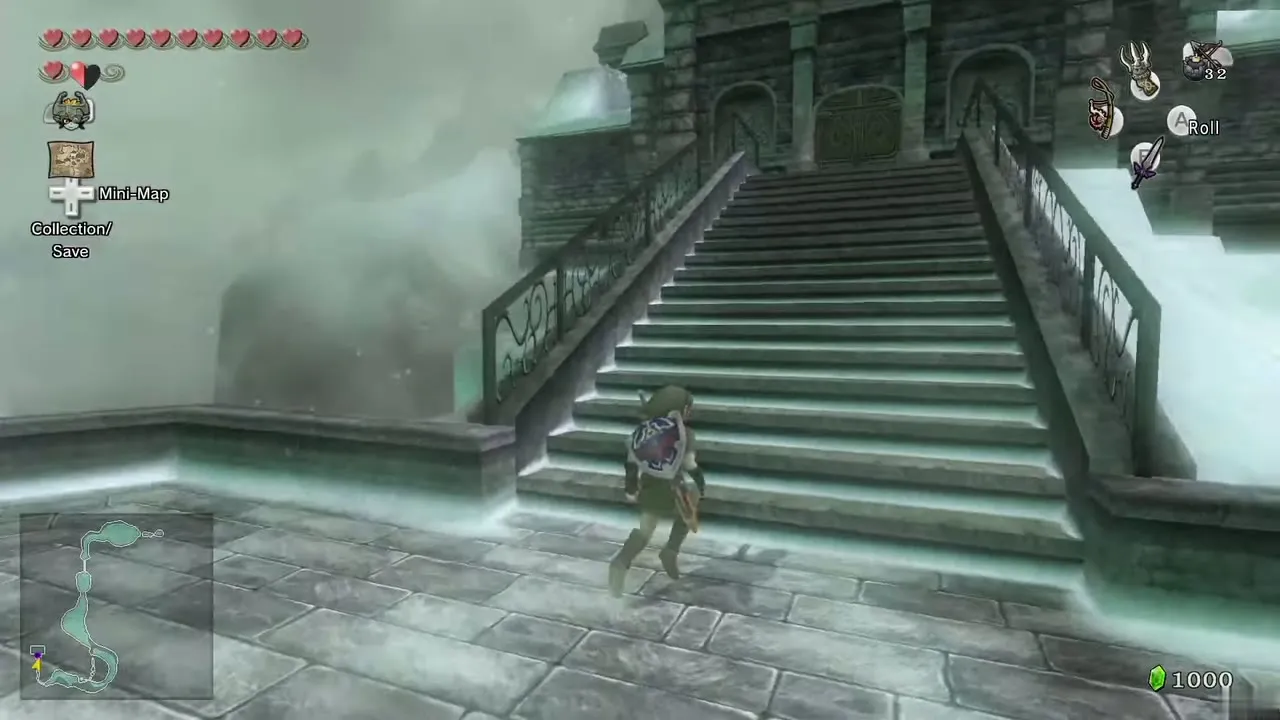
Jump on the slab and ride it down the mountain. The path is linear, so a few bumps do no harm; just do not slide off a ledge near the end. You hop off in front of the mansion, which is the Snowpeak Ruins.
Poe on the spiral hill
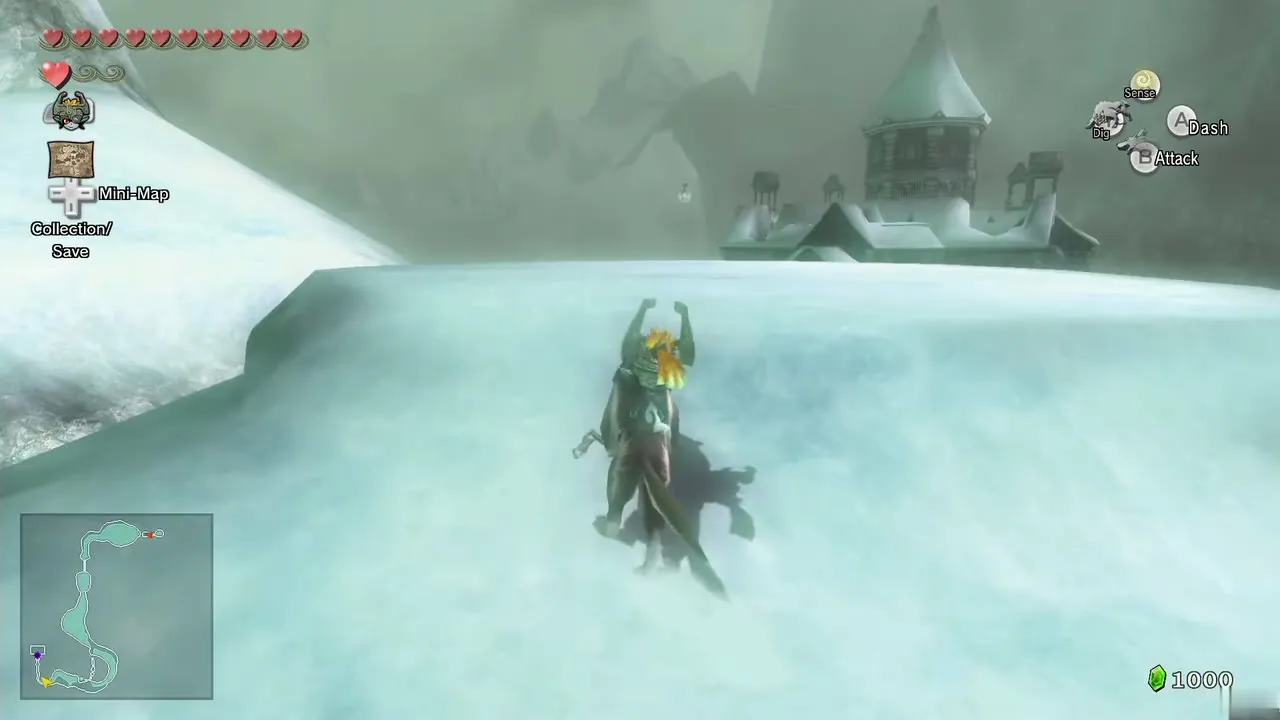
Before going in, turn around and cross the bridge. To the left a snowy mound spirals up; climb it as Wolf Link. A Poe floats at the top, at night only, so wait for darkness if needed, switch on Senses and defeat it for the fourth Poe Soul of this chapter. Go back over the bridge, climb the steps and enter the Snowpeak Ruins.
Chapter checklist
| Type | Item | Where |
|---|---|---|
| Heart Piece | Spinner rail chest | Hyrule Field strip north of the west road out of Castle Town |
| Heart Piece | Eldin Bridge grotto | Dig site at the bottom of the spinner track north of the wooden bridge |
| Miiverse Stamp | Surprised Zelda | Chest by the fountain south of Castle Town |
| Item |  Ashei’s Sketch | Ashei, Peak Province |
| Item |  Coral Earring | Prince Ralis, Kakariko Graveyard |
 Poe Soul | Blizzard Poe | North-west, before the scent climbs the cliff (any time) |
| Poe Soul | Lone tree Poe | Cliff east of the ice floes (any time) |
| Poe Soul | Higher tree Poe | Beside the tree with the dig-spot cave (night only) |
| Poe Soul | Spiral hill Poe | Hill beside the Ruins entrance bridge (night only) |
| Howling Stone | Golden Wolf, Jump Strike | Stone past the snow ramp; skill in Kakariko Graveyard |
| Warp | Mirror Chamber, Snowpeak Top | Shadow beast fights |
