
























Twilight Princess 100% Completion Walkthrough23 chapters
- Hyrule Castle and the Ganondorf BattleEvery key and chest, then how to beat Puppet Zelda, Dark Beast Ganon, the horse chase and the final duel.
- Snowpeak Ruins (Dungeon 5)Every key, chest, Heart Piece and Poe Soul, the Ball and Chain, Darkhammer and the Blizzeta boss fight.
- Temple of Time (Dungeon 6)All keys and chests, the Dominion Rod, statue puzzles, Big Key, two Heart Pieces and Armogohma.
- City in the Sky (Dungeon 7)Every chest, Heart Piece and Poe, the Double Clawshots, Aeralfos, the Big Key and how to beat Argorok.
- Ordon VillageGoat herding, fishing rod, Sera’s bottle, slingshot, Wooden Sword, Faron Woods cave Heart Piece, Lantern.
- Enter the Twilight RealmEscape the cell as Wolf Link, meet Midna and Zelda, get the Ordon Sword and Shield, meet Ordona.
- Faron WoodsAll 12 Tears of Light, Faron Spring, Coro’s key and lantern oil bottle, and the Golden Wolf’s Ending Blow.
- Forest Temple (Dungeon 1)All 8 monkeys, 4 small keys, Map, Compass, Big Key, 2 Heart Pieces, Ook, Gale Boomerang and Diababa.
- Hyrule Field, Kakariko Gorge and Twilight Kakariko12 Tears of Light, Epona, Pill Bugs, Heart Pieces.
- Iron Boots, King Bulblin and Death MountainIron Boots from Mayor Bo, the King Bulblin bridge fight, Golden Bugs and Gor Coron’s sumo match.
- Goron Mines (Dungeon 2)Every chest, both Heart Pieces, the Hero’s Bow, three Key Shards, Dangoro and Fyrus boss tactics.
- Lanayru Province, Castle Town and Zora’s DomainKakariko extras, Bridge of Eldin bugs, Castle Town, Lake Hylia, thawing Zora’s Domain and all 12 Tears of Light.
- Telma Escort, Castle Town and Lake Hylia Side QuestsTelma escort, Zora Armor, Water Bombs, 9 Golden Bugs, Agitha, Charlo, fishing, Rapid Ride and the Lakebed entrance.
- Lakebed Temple (Dungeon 3)Small keys, map, compass, Big Key, two Heart Pieces, Clawshot, Deku Toad and Morpheel boss tactics.
- Midna, Zelda and the Master SwordTelma’s Bar to Zelda, the Sacred Grove, Skull Kid, the guardian puzzle, plus its Heart Piece, Poe and Golden Bug.
- Poe Soul Collection, Malo Mart and Heart PiecesThe first 29 Poe Souls, Jovani’s rewards, Malo Mart donations and Magic Armor, Miiverse stamps and five Heart Pieces.
- Gerudo Desert and the Bulblin CampOasis Flight, eight Poe Souls, both Dayflies, Mortal Draw, Bulblin Camp and King Bulblin.
- Arbiter’s Grounds (Dungeon 4)Four Poe Souls, Dungeon Map, Compass, Spinner, Big Key, two Heart Pieces and the Stallord boss fight.
- Mirror Chamber, Reekfish and Snowpeak MountainMirror Chamber, Spinner Heart Pieces, Reekfish bait, Jump Strike, Poe Souls and the climb to Yeto.
- Heart Pieces Hunt and Return to the Sacred GroveTwo Heart Pieces, Rusl, the Skull Kid rematch, the last Golden Bug and the Temple of Time door.
- Ilia’s Memory, Hidden Village and the SkyIlia’s memory, 20 Bulblins, 20 cats, six Sky characters, Great Spin and the Sky Cannon repair.
- Palace of Twilight (Dungeon 8)Both Sols, all seven small keys, map, compass, Big Key, 2 Heart Pieces and how to beat Zant.
- Cave of OrdealsAll 50 floors, the 3 Poe Souls, every Great Fairy, buried items, the Tears and Jovani.
| Covers | Twilight Faron Woods (South Faron Woods, Coro’s house, the cave to North Faron Woods, the fog swamp), Faron Spring, the road to the Forest Temple entrance |
|---|---|
| Dungeon | None here. The chapter ends at the web-covered door of the Forest Temple, the next chapter |
| Rewards | Vessel of Light filled with 12 Tears of Light, Hero’s Clothes, Ordon Sword and Ordon Shield back in your hands, a small key, Bottle 2 filled with lantern oil (100 Rupees), a 50-Rupee chest in Link’s basement, and the Ending Blow (Hidden Skill 1 of 7) |
Faron Woods is the first province Midna asks you to cleanse: as Wolf Link you hunt down Shadow Insects, return their Tears of Light to the Vessel of Light, and Faron restores the woods and turns you back into a human. Afterward you pick up the gate key and a bottle from Coro, follow a monkey through the poison fog, and meet the Golden Wolf, which teaches you the Ending Blow right before the temple door.
The Wii U version asks for 12 Tears of Light here, where the GameCube and Wii versions ask for 16, so the route below is shorter than in the originals. Directions use the Normal Mode layout. Hero Mode mirrors the world, so swap left and right and east and west.
Table of Contents
Twilight Faron Woods: the first Shadow Beasts
Walk into the woods as Wolf Link
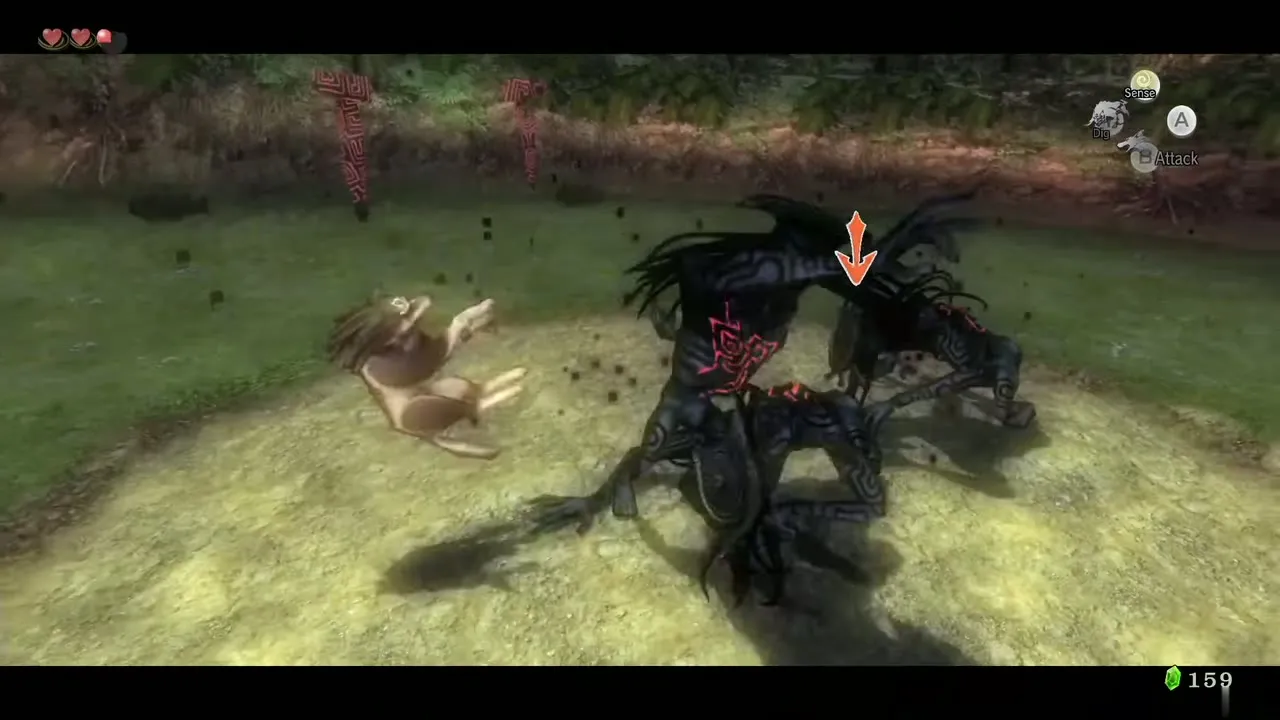
Midna keeps your sword and shield stored away for now, so Wolf Link fights with his fangs. The only way forward is north into the woods. A wall of twilight closes around you as you enter and three Shadow Beasts drop in.
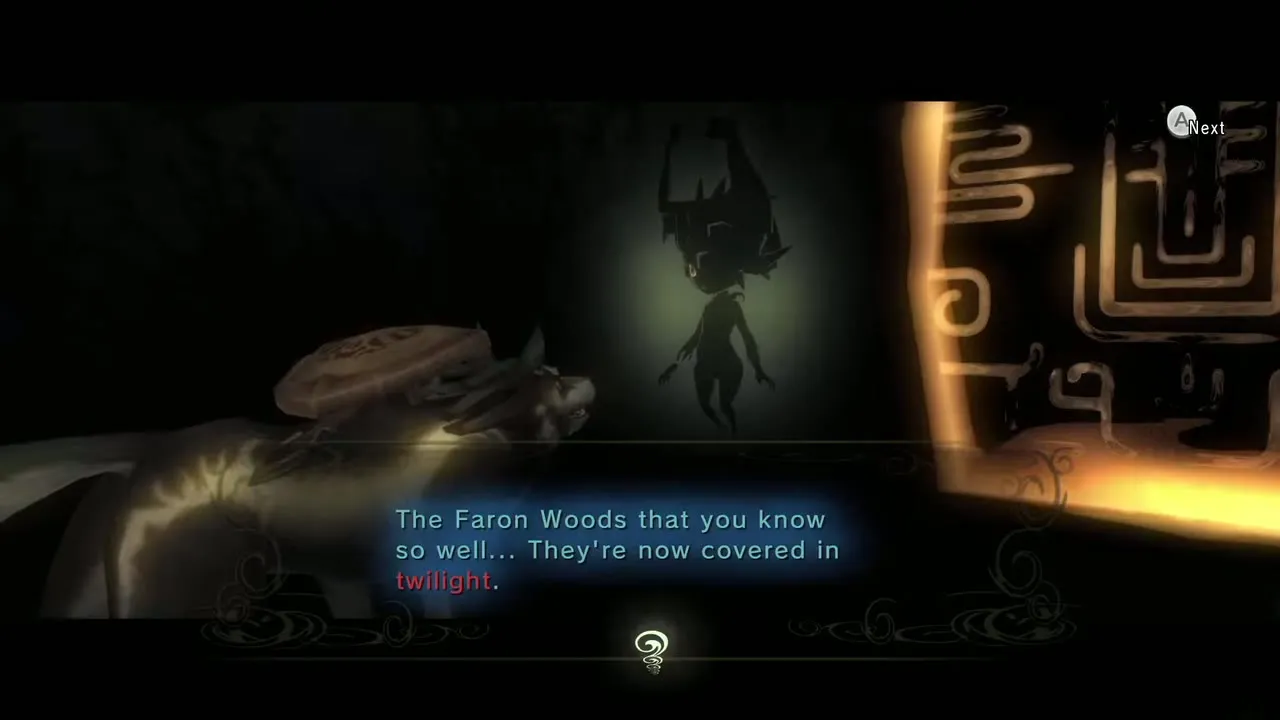
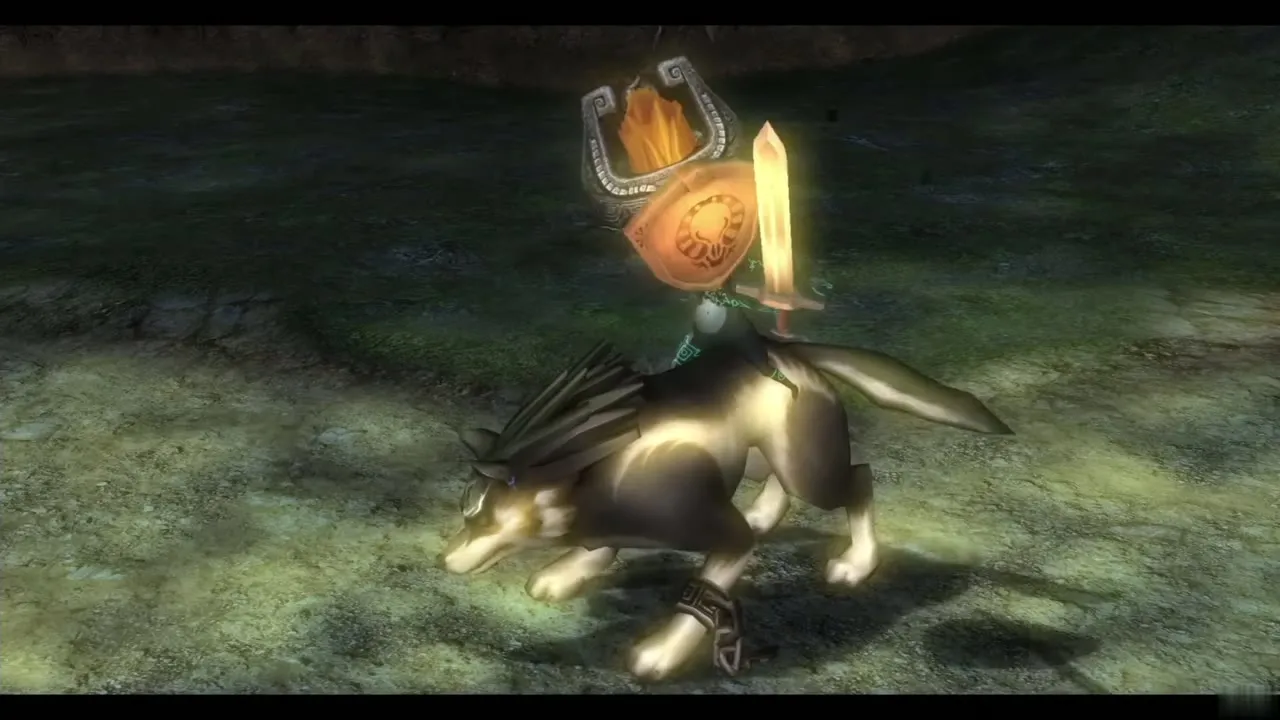
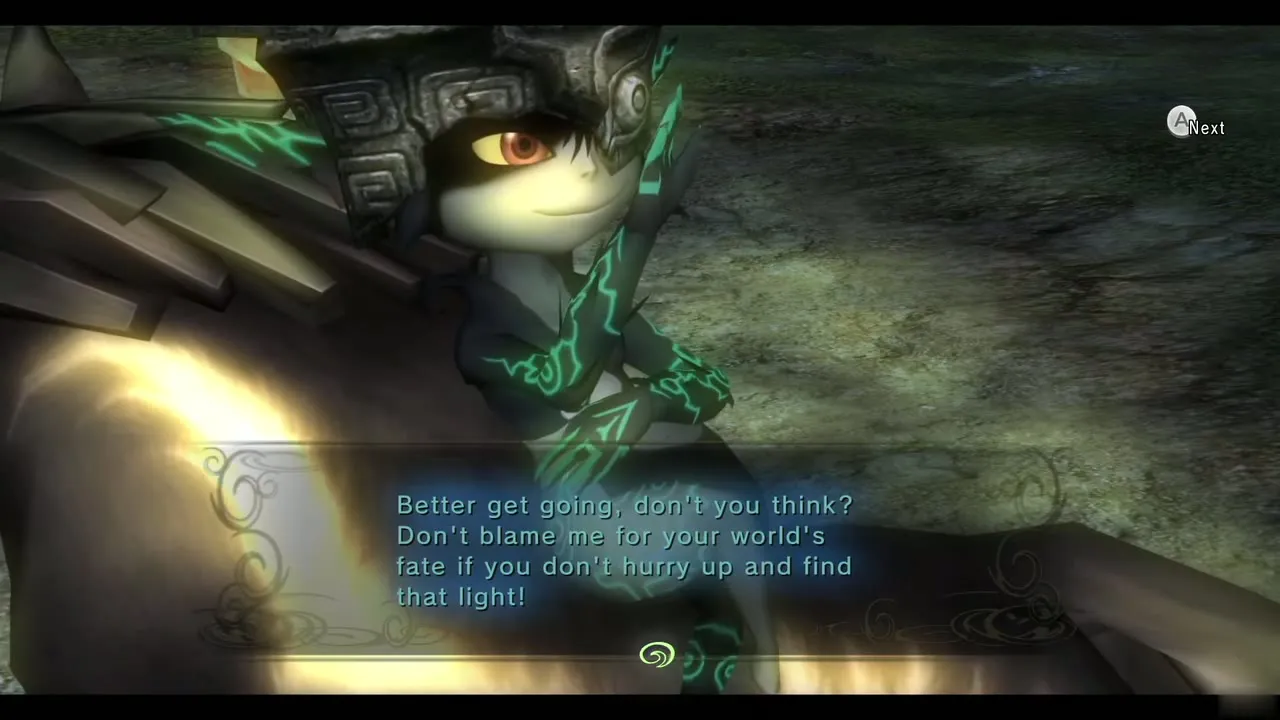
How to beat three Shadow Beasts at once
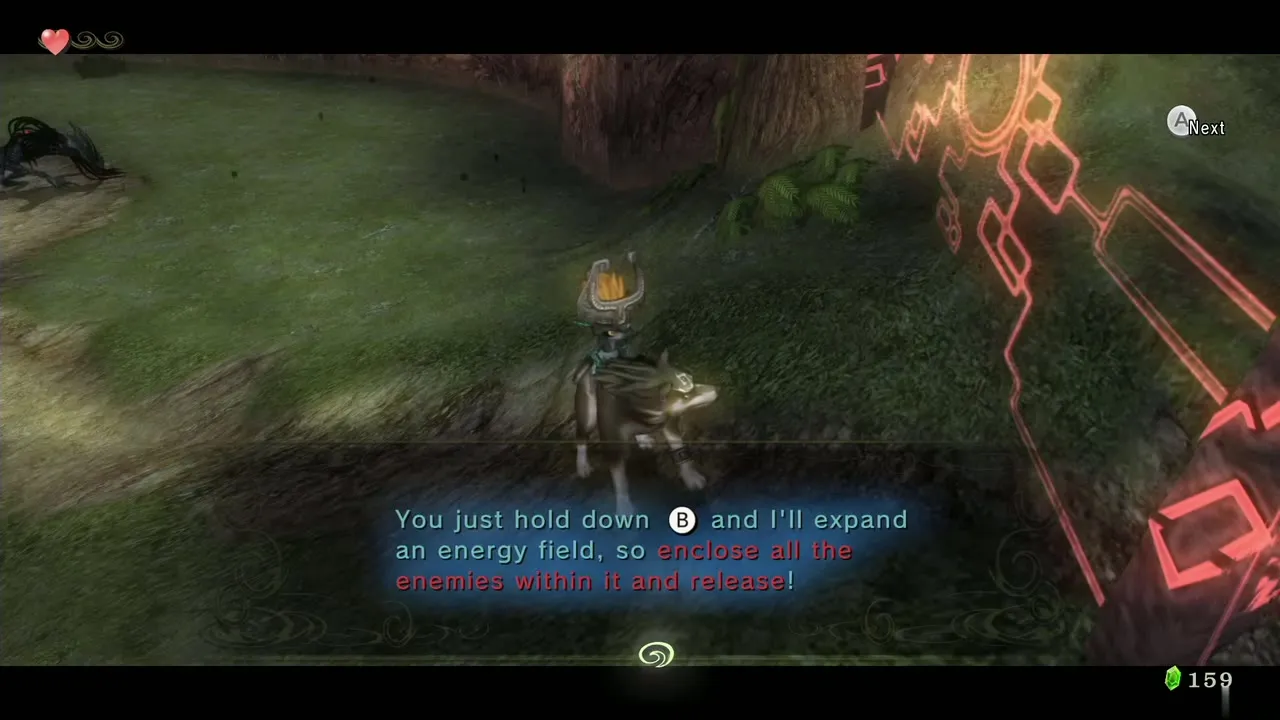
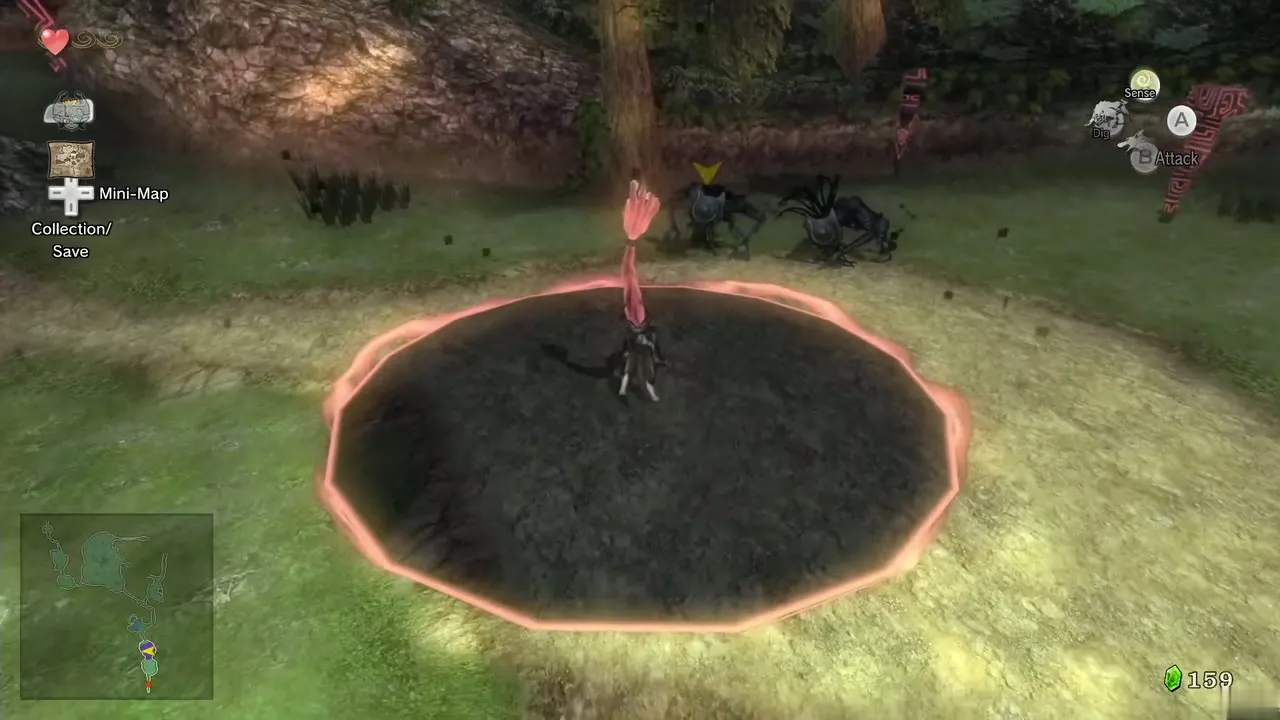
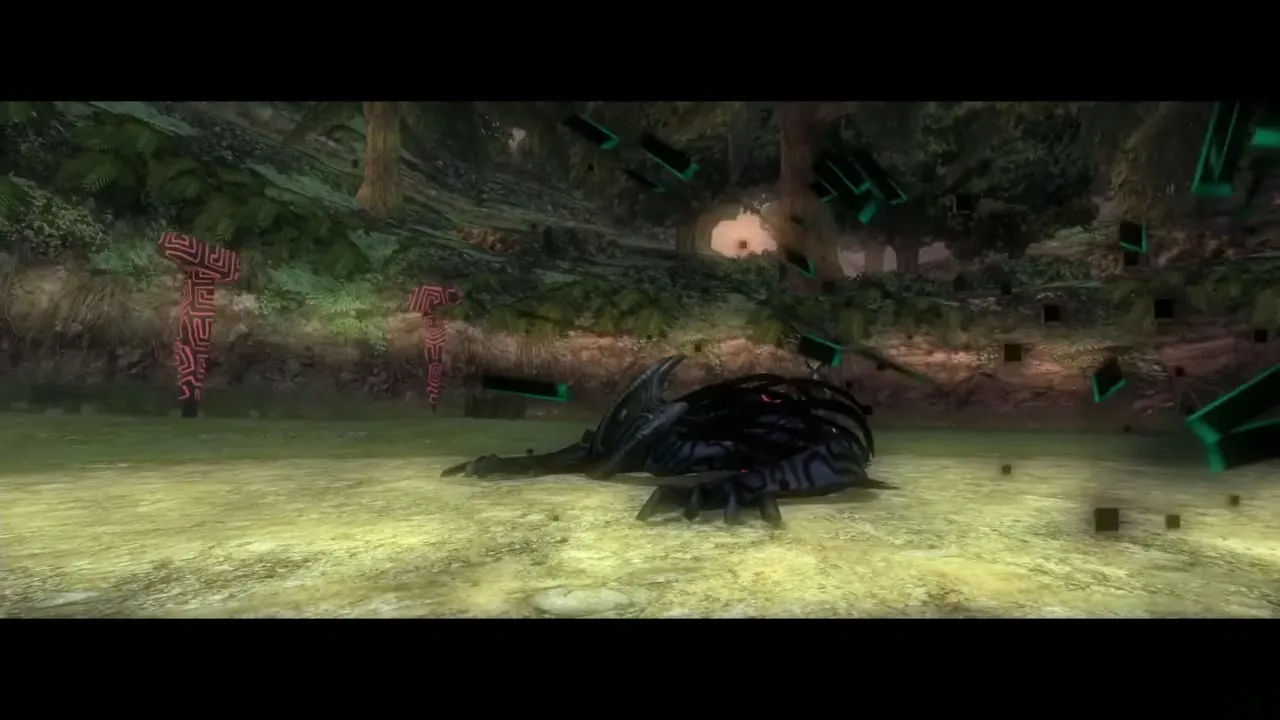
The first one can be bitten down on its own, but when only two remain, killing just one makes the survivor revive it, so you must finish them together. When Midna offers advice, hold B to grow a dark circle around Link, steer until all of the beasts stand inside the ring, then release B. The blast hits everything inside at once and the wall of twilight drops. Every group of Shadow Beasts in the Twilight Realm works this way, and each cleared group leaves a warp portal that Midna can use later. The enemies page has more on Shadow Beasts.
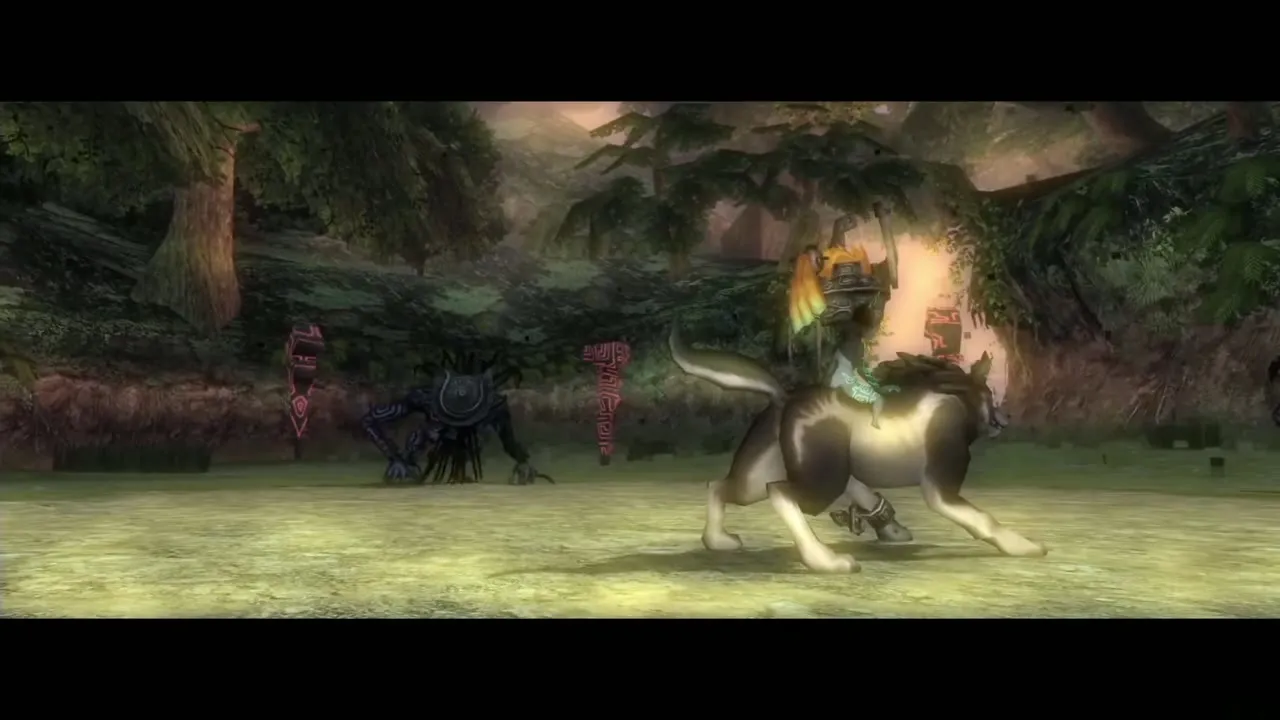
Faron Spring and the Vessel of Light
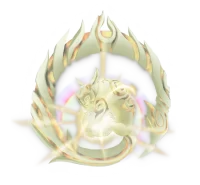
Meet Faron
Keep running north to the waterfall at Faron Spring. A glowing shape in the water is Faron, the Light Spirit of the province. Faron explains that the Twilight Realm has swallowed the light, gives you the Vessel of Light and asks you to fill it with Tears of Light.
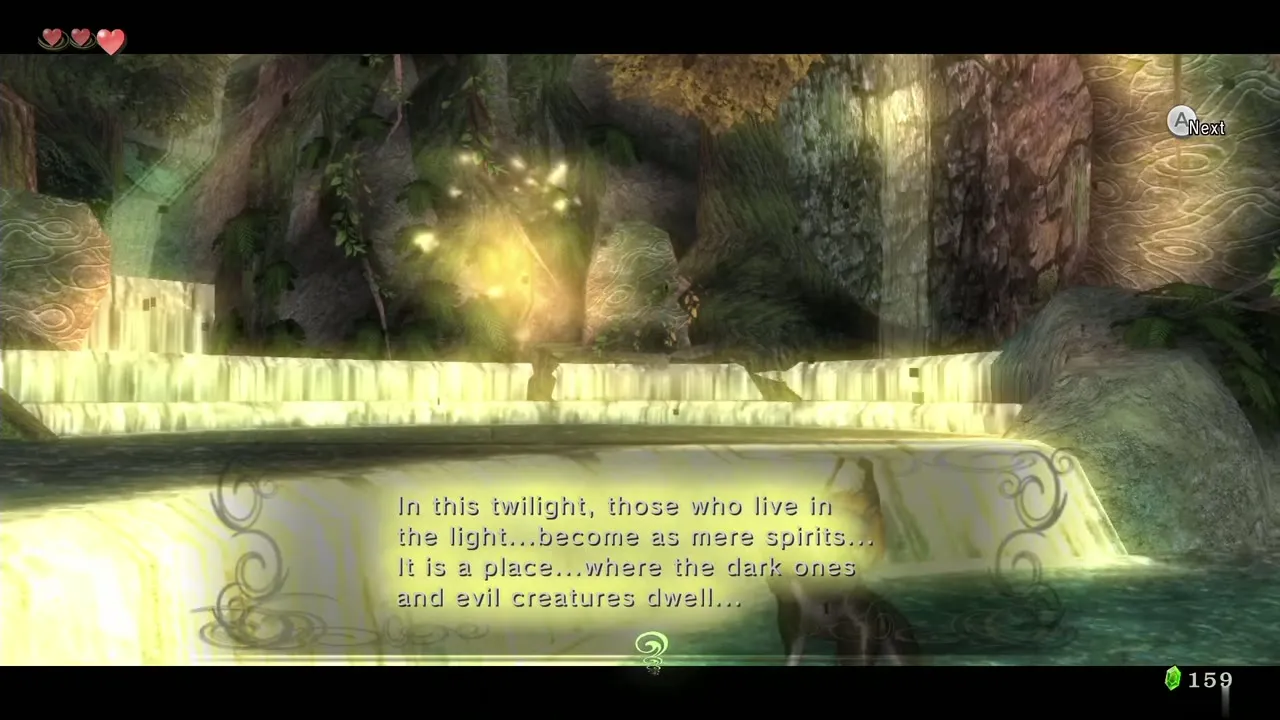
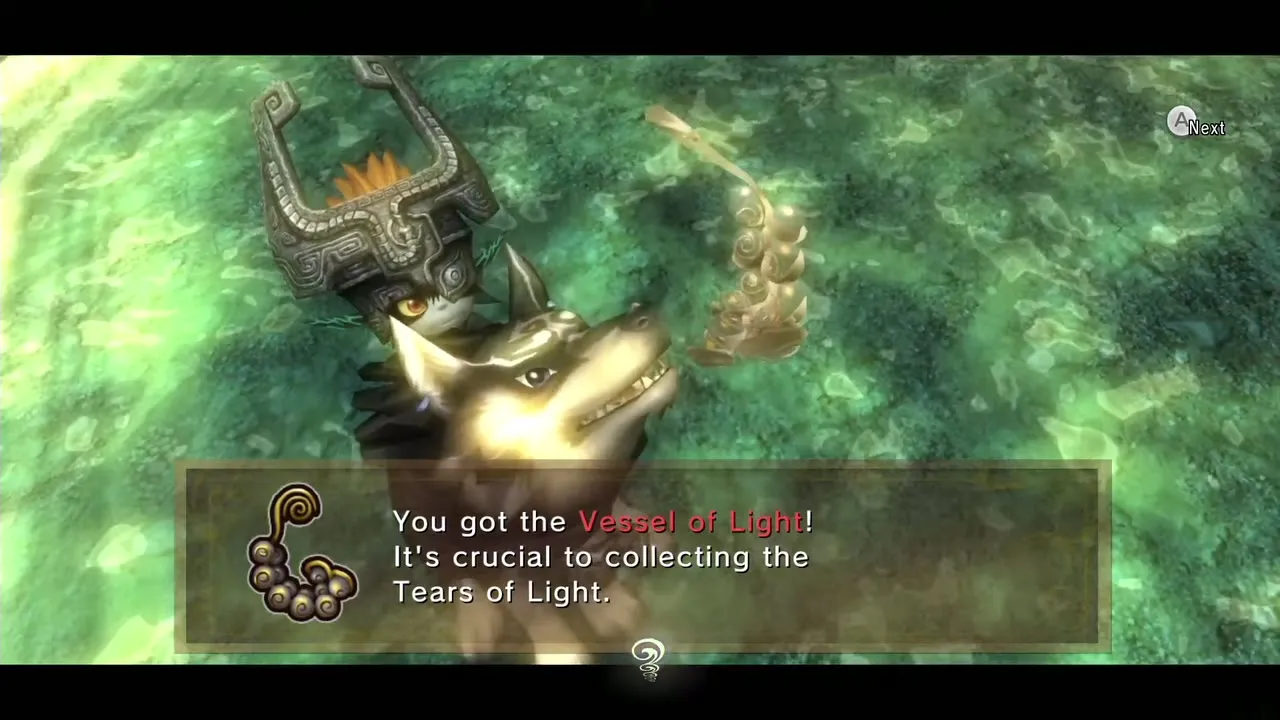
The Tears are carried by Shadow Insects, black bugs you can see only with Wolf Link’s senses. Press X to switch on your senses and the insects show up on the map as white dots. Defeat an insect and its Tear drops out, then walk over the Tear to pour it into the Vessel. The older versions of the game asked for 16 Tears; the HD map marks only the 12 you need, so treat the white dots on your map as the final authority. Wait until the insect stops crackling with electricity before you bite it. If you cannot find the last few, check the white dots on the map; the Tears of Light page lists every insect in every province.
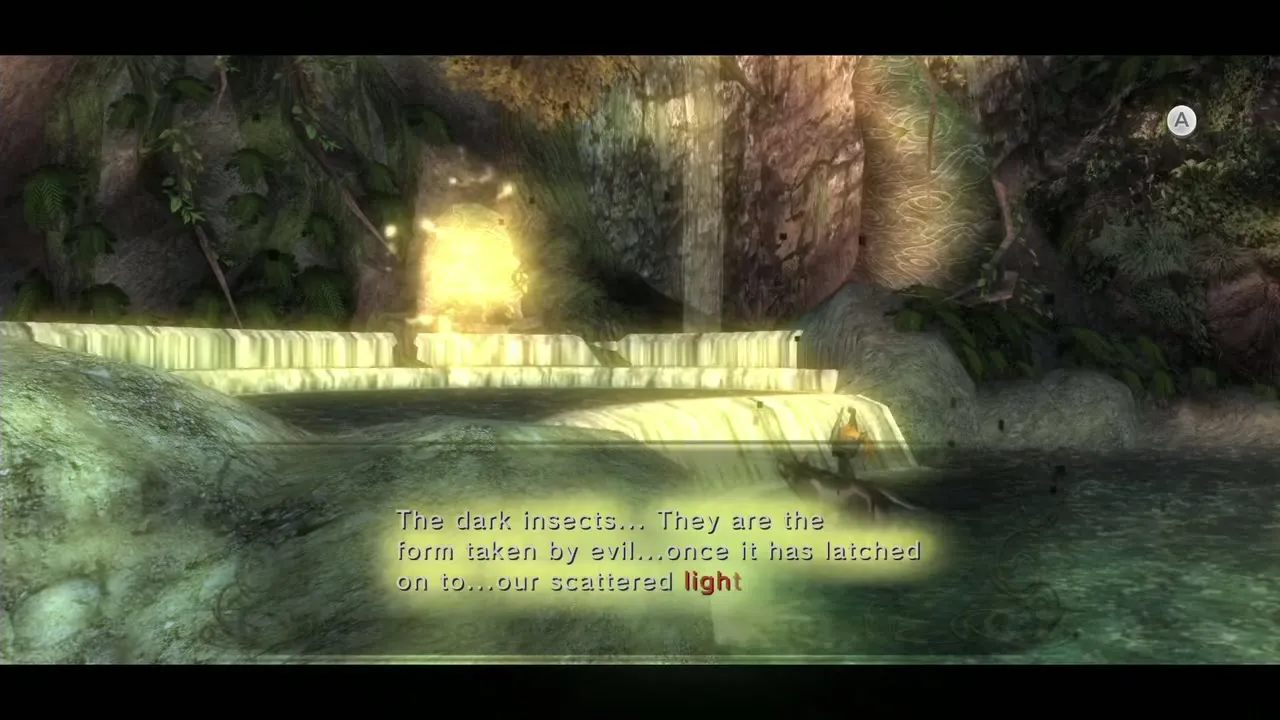
Faron Tears of Light: all 12

Tears 1 and 2: the first path north of the spring
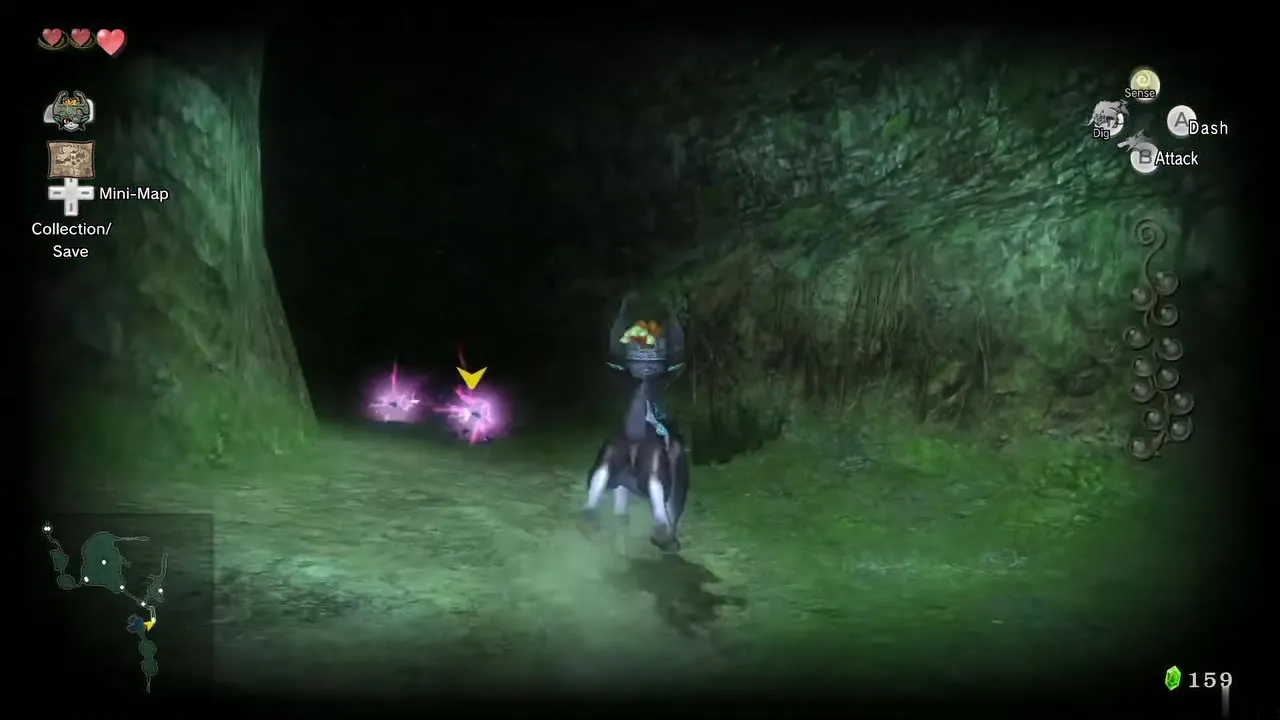
Follow the path north of the spring and press X to reveal the first two Shadow Insects close together. Take care not to step near the Twilit Deku Baba beside them. Defeat both insects to bank Tears 1 and 2.
Tears 3 and 4: inside Coro’s house
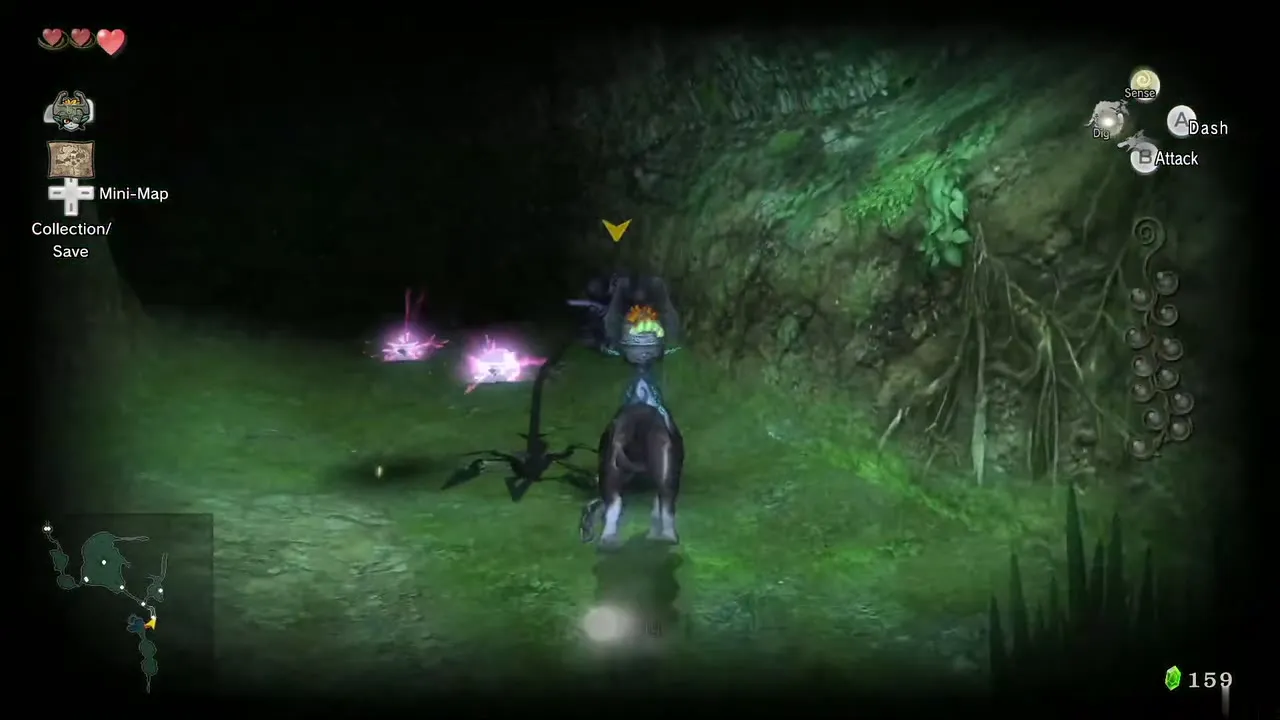
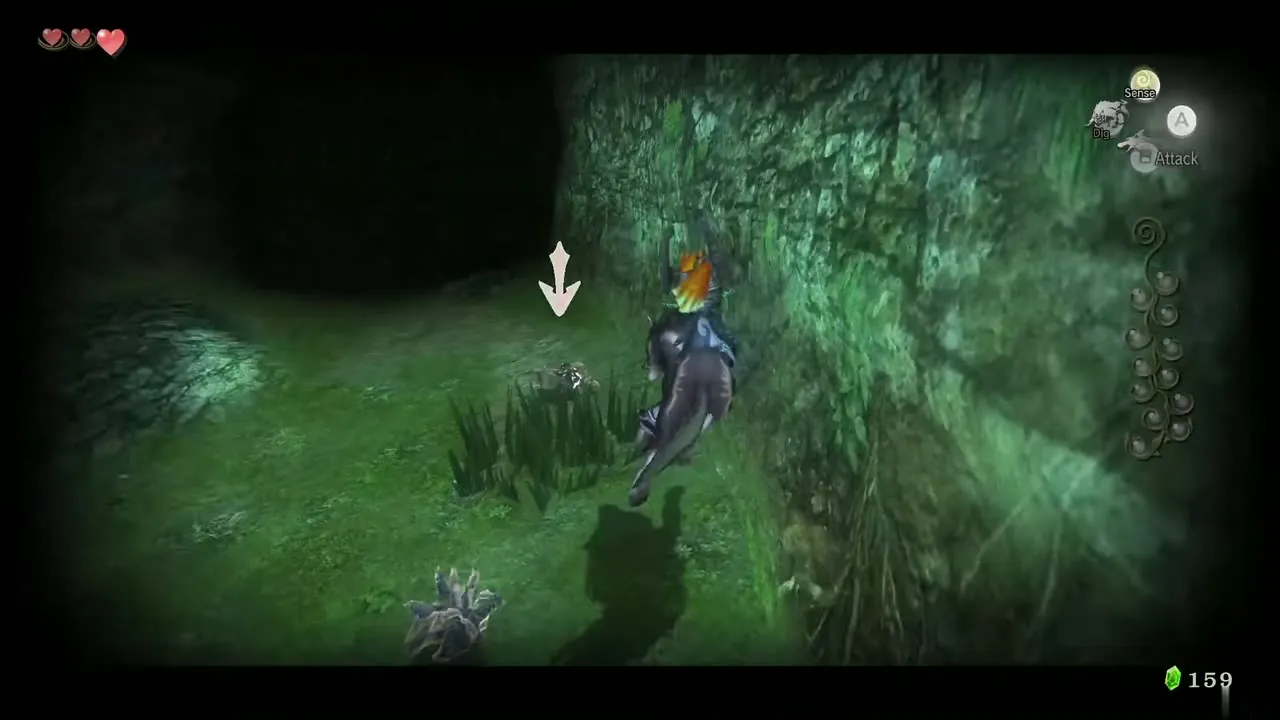
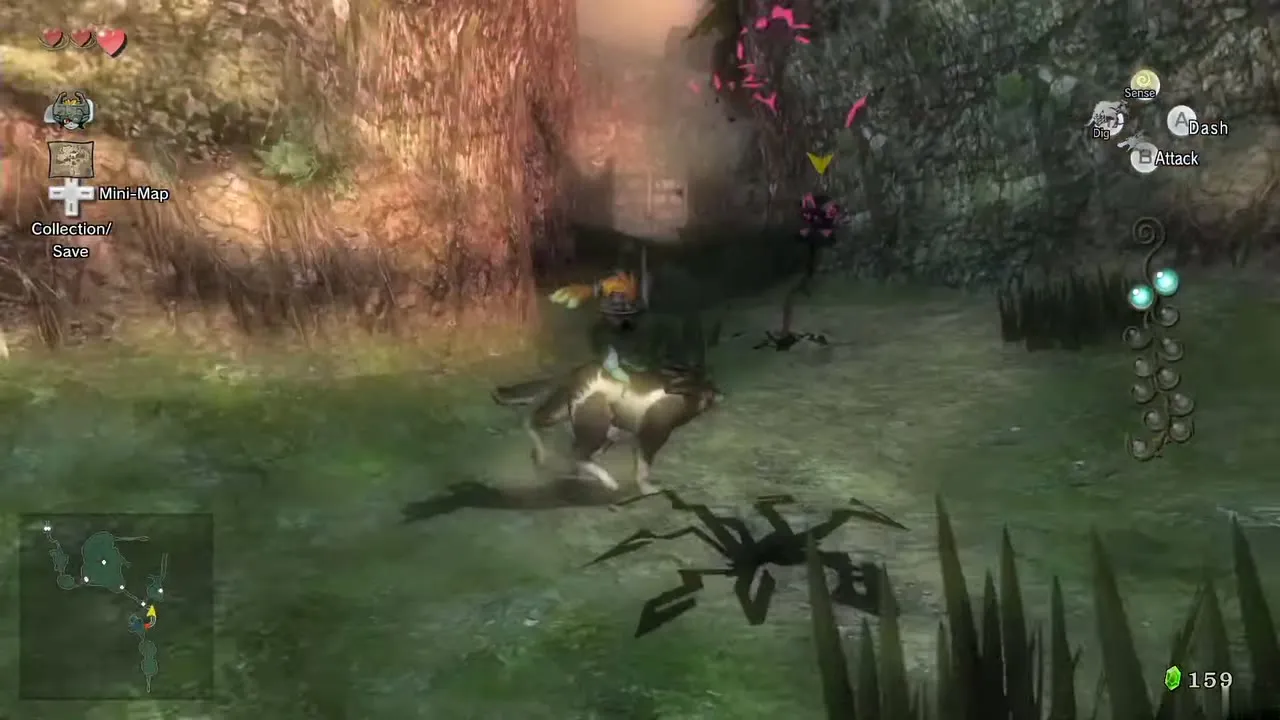
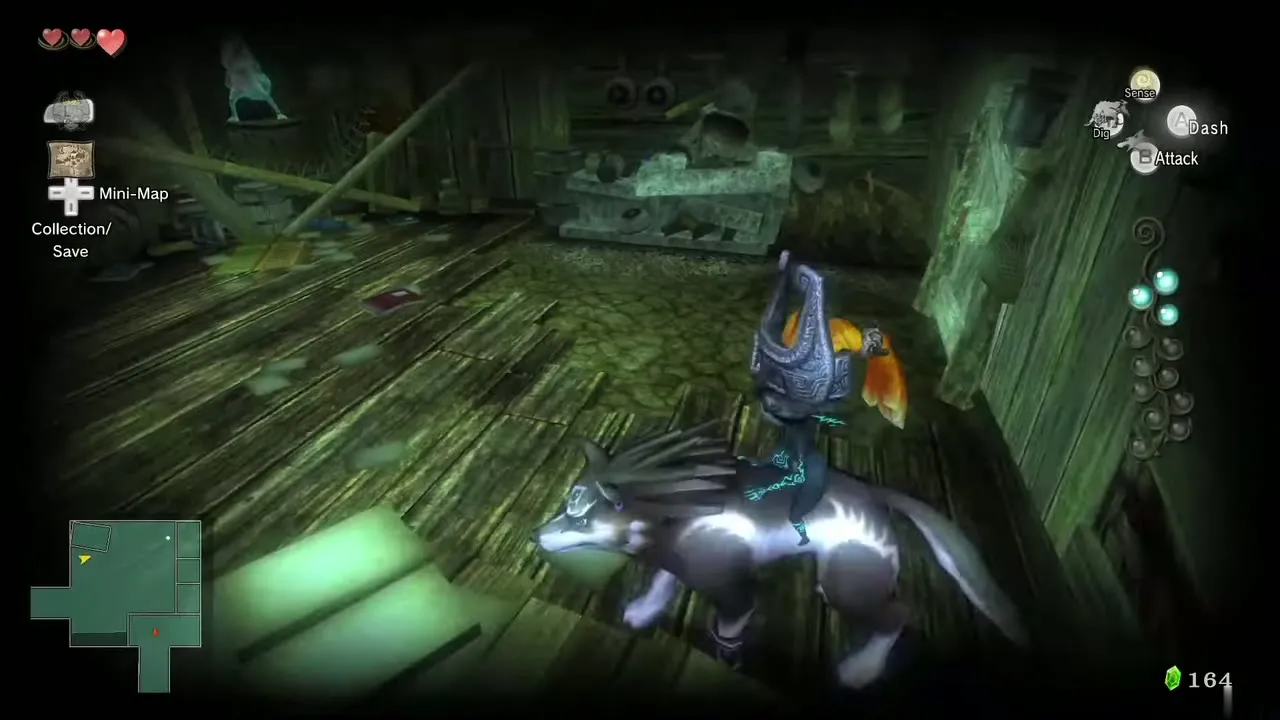
Keep following the path to Coro’s house, where the road forks. Just south of the house there is a higher ledge. Stand at its edge looking at the house and press the Midna call, then jump the gap to the open second-floor window and drop inside. Press X again to listen to Coro’s spirit near him; two Shadow Insects scurry out. Defeat them for Tears 3 and 4, then leave through the same window.
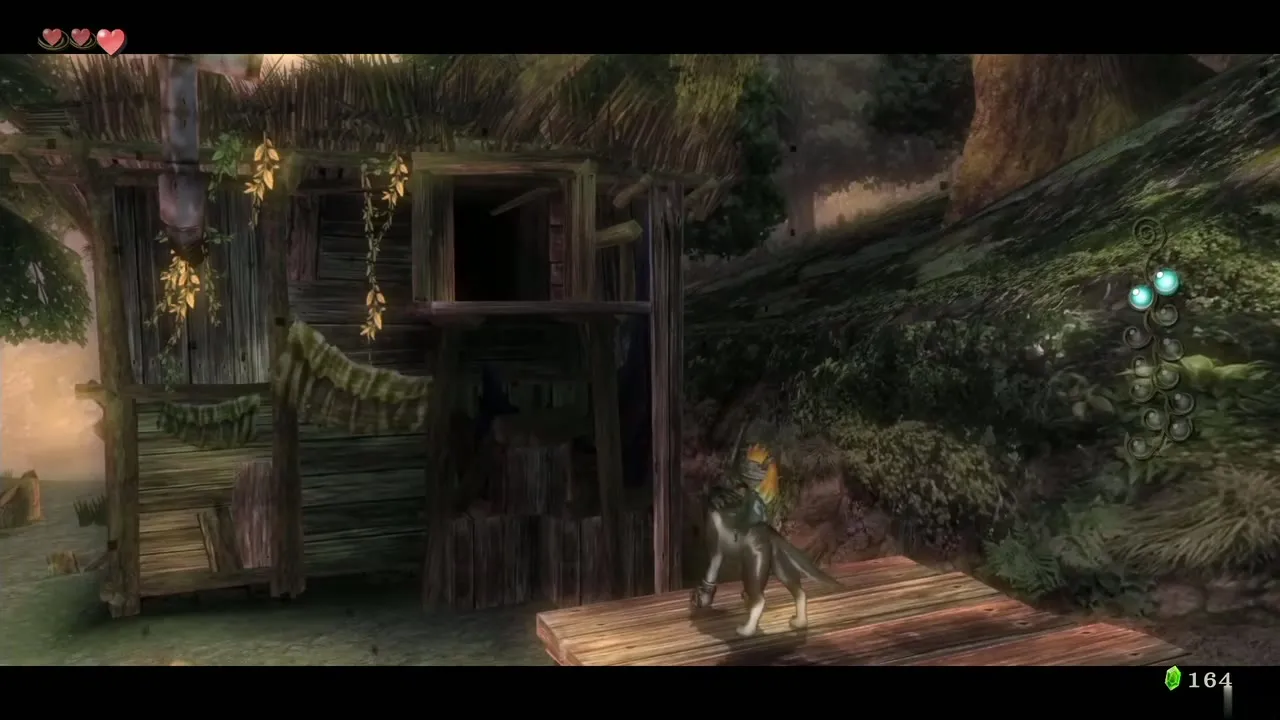
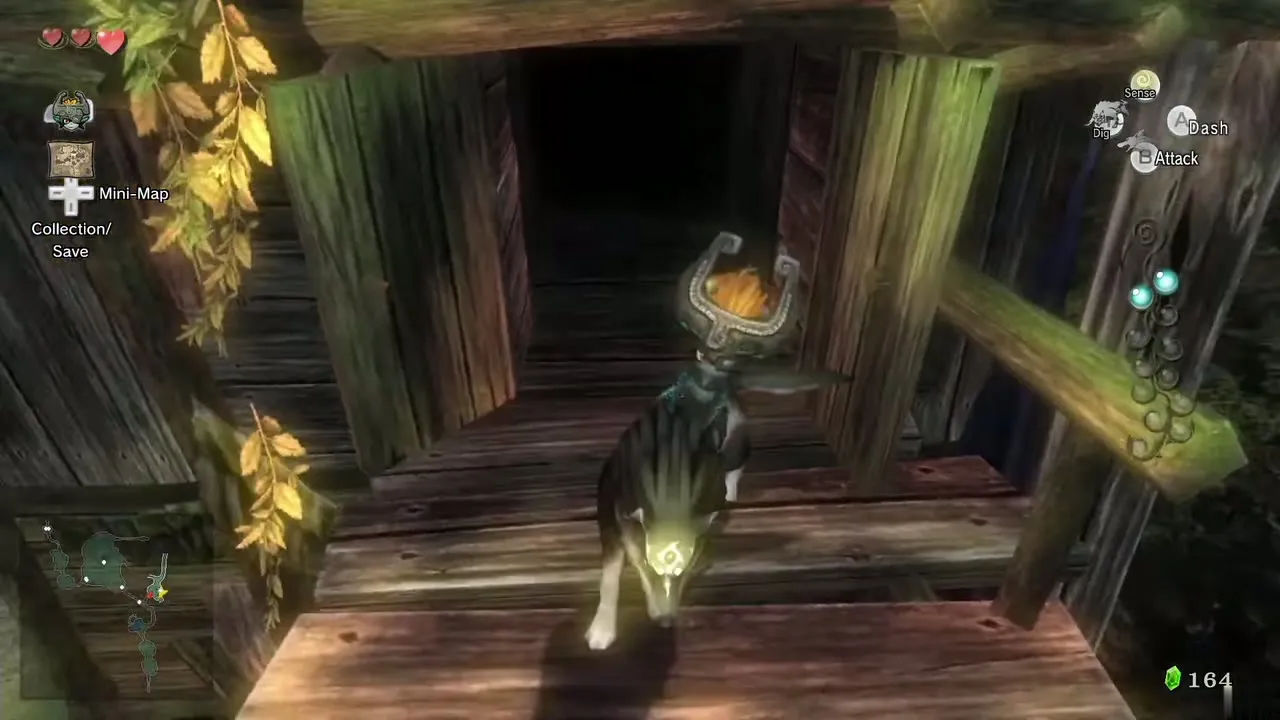
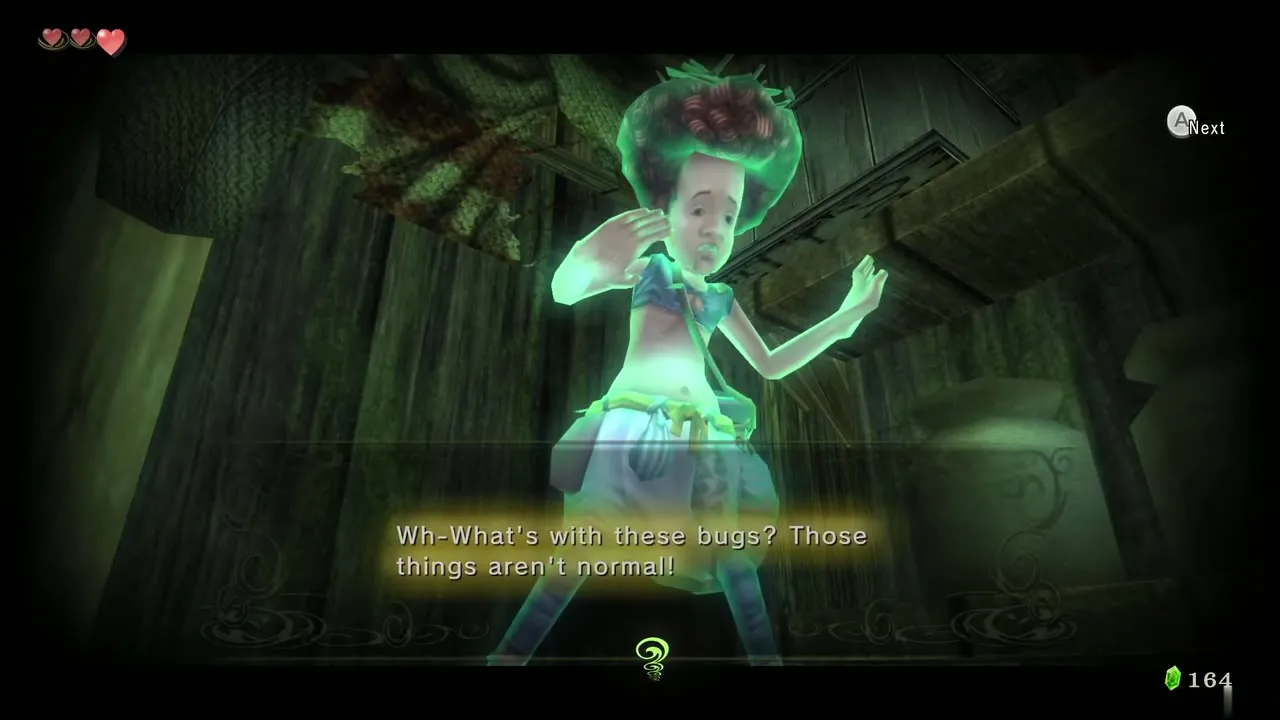
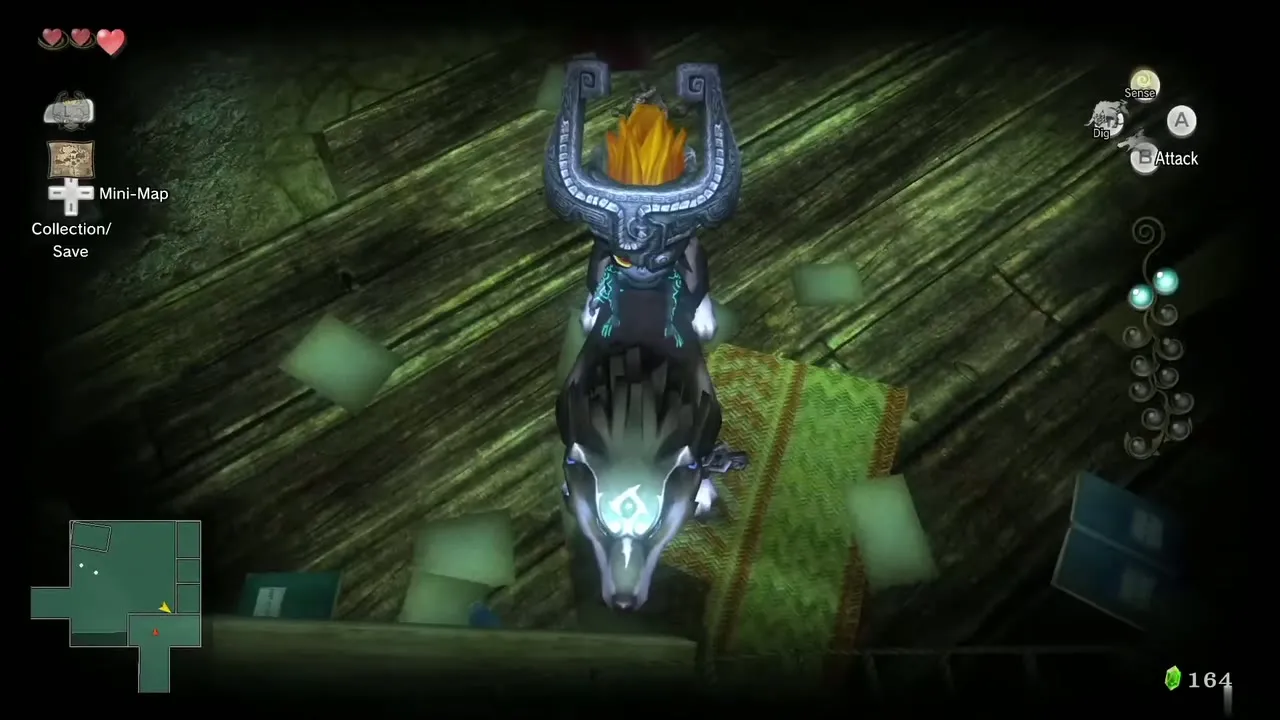
Tear 5: dig under the locked gate
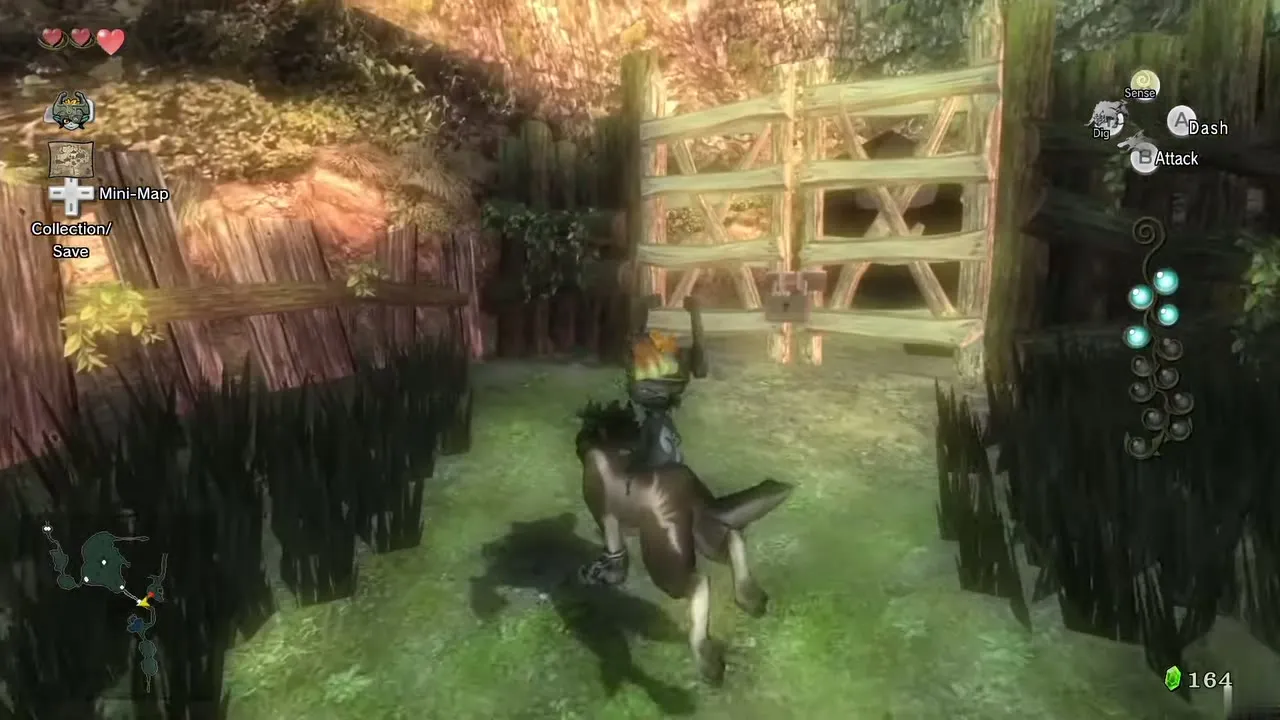
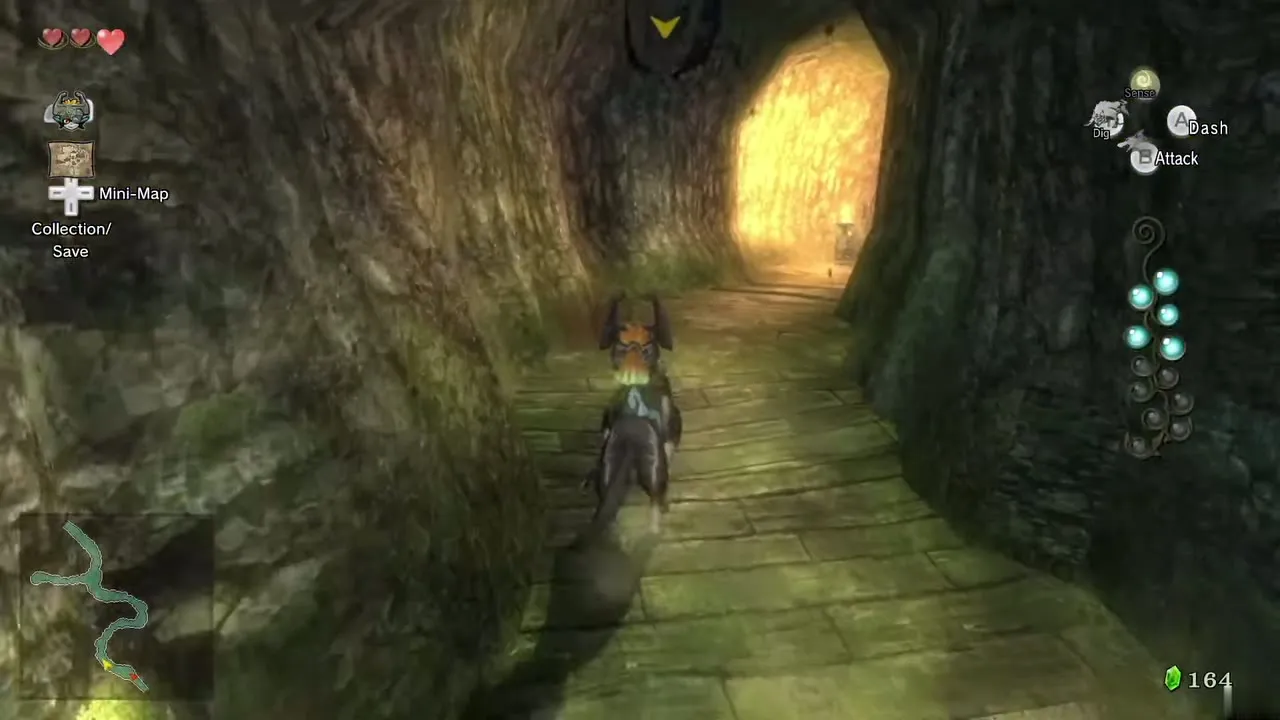
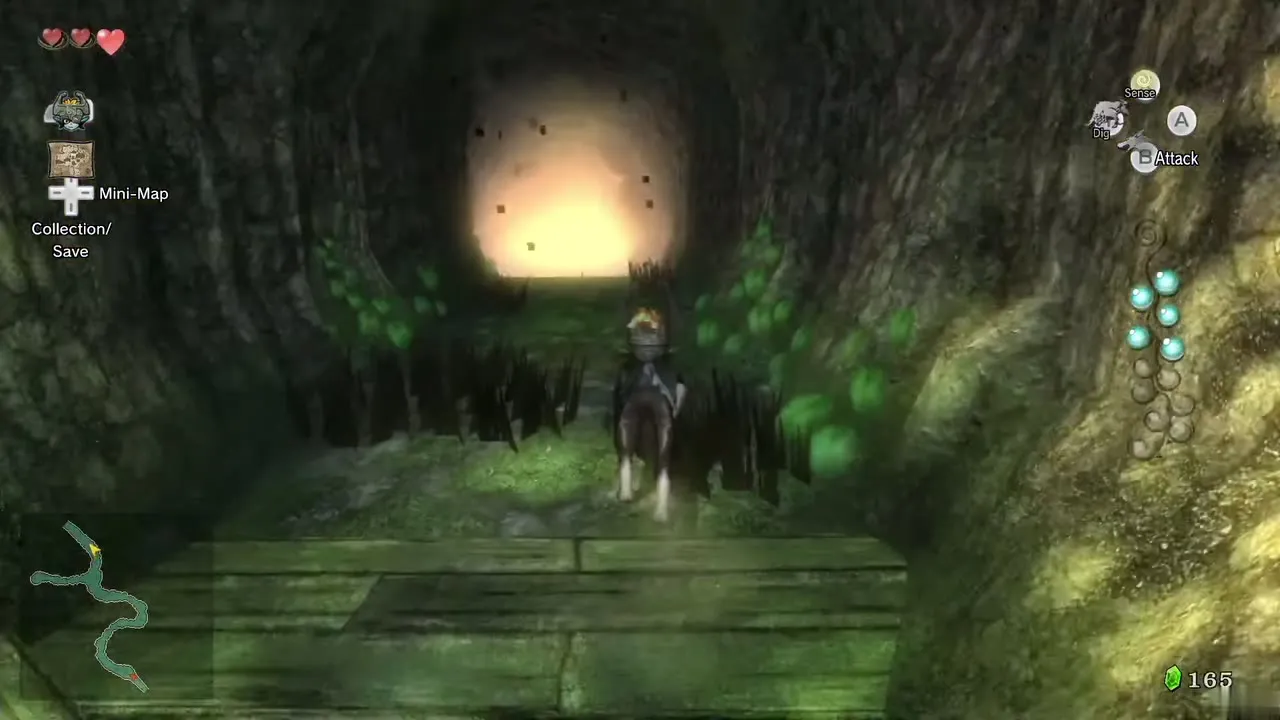
Return to the fork. The path to the temple is closed by a locked gate and you do not have a key as a wolf. Switch on your senses and a dig spot appears right beside the gate. Dig with Y to tunnel under it. On the other side one Shadow Insect waits; defeat it for Tear 5. Then run through the cave to reach North Faron Woods.
Tear 6: the wall insect in North Faron Woods
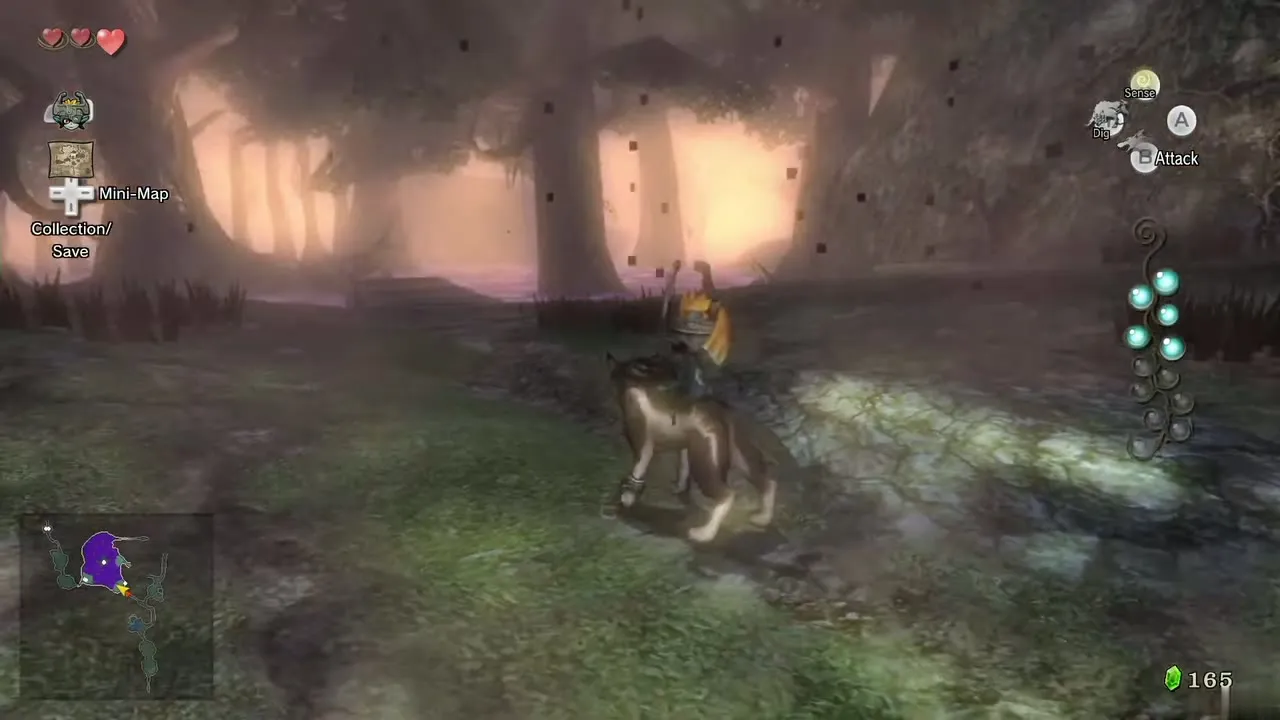
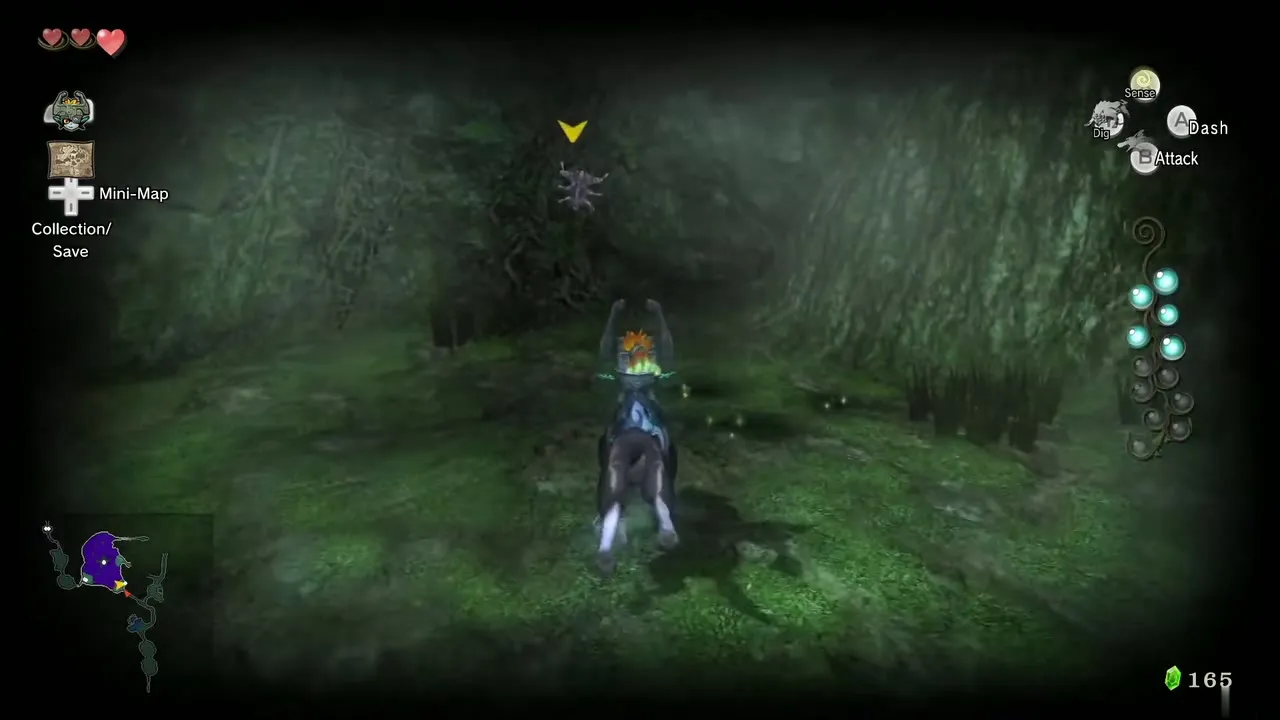
As you come out of the cave, turn right and scan with X. A Shadow Insect clings to the rock wall. Charge into the wall with a dash and the insect shakes loose and floats away; chase it down and defeat it for Tear 6.
Tears 7 and 8: cross the fog with Midna
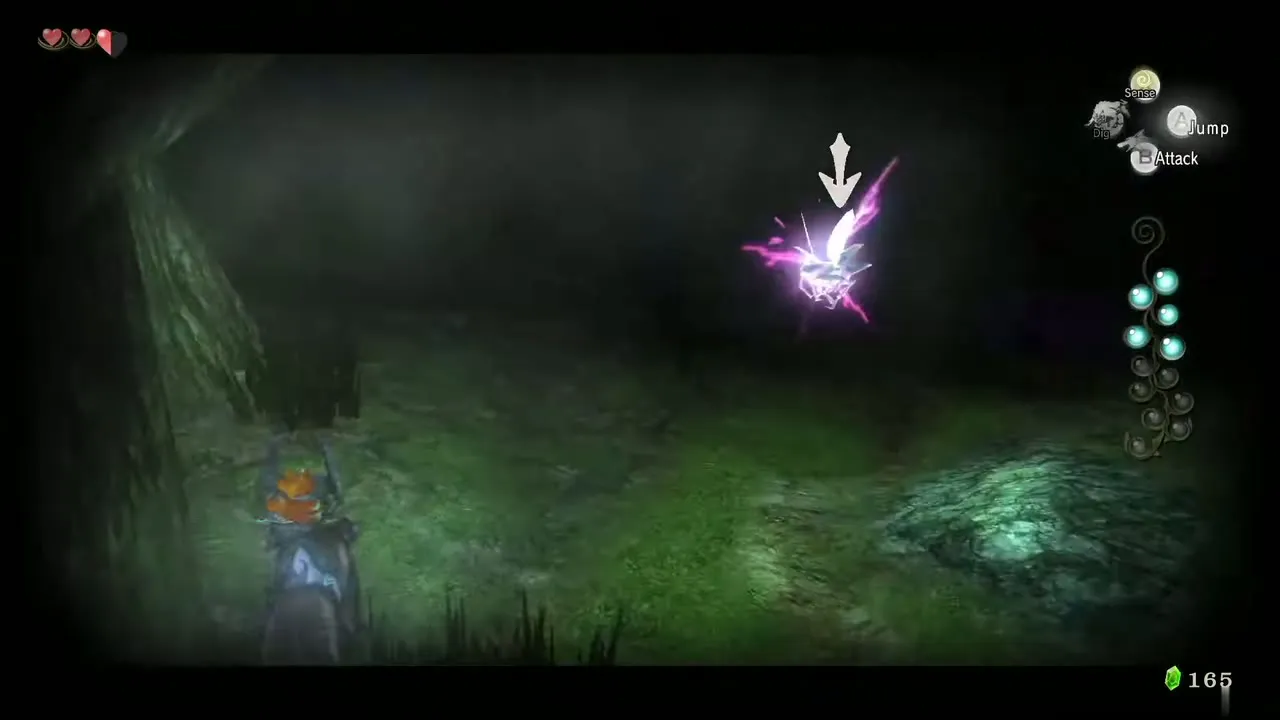
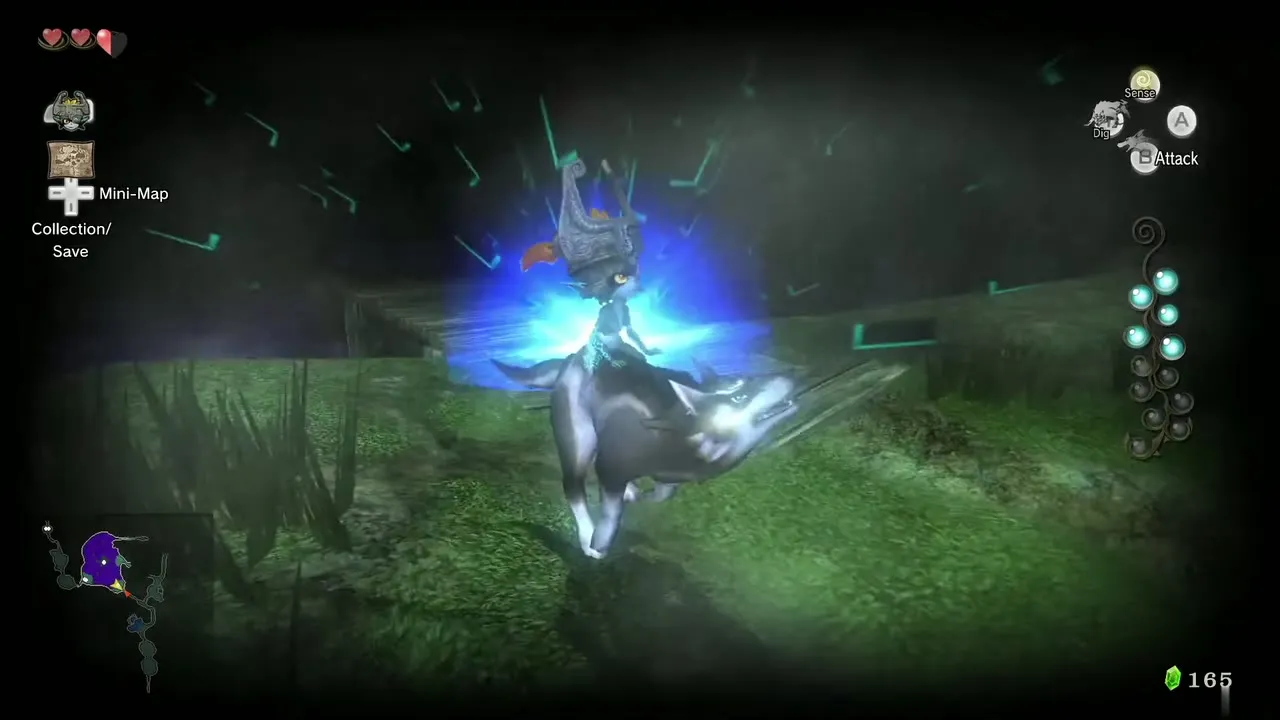
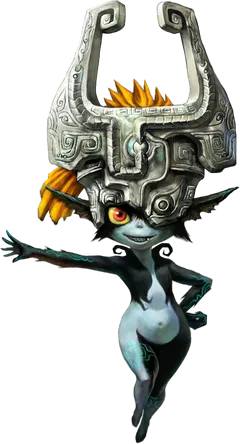
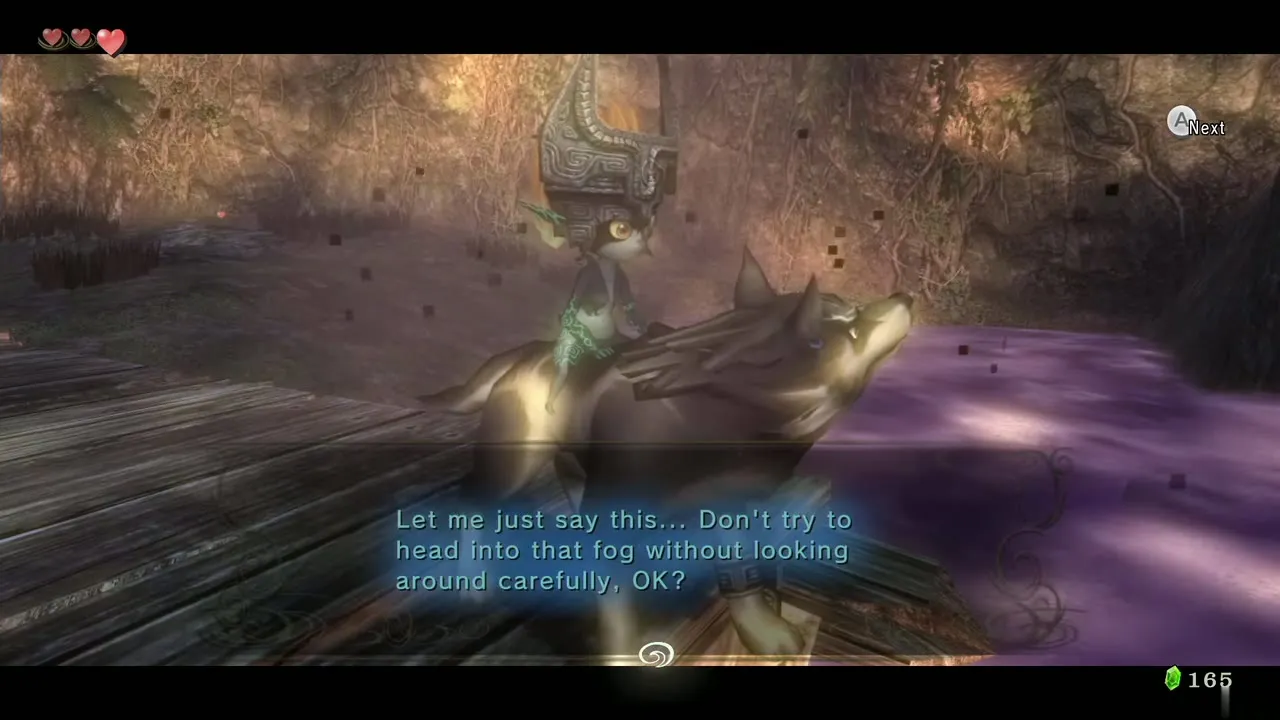
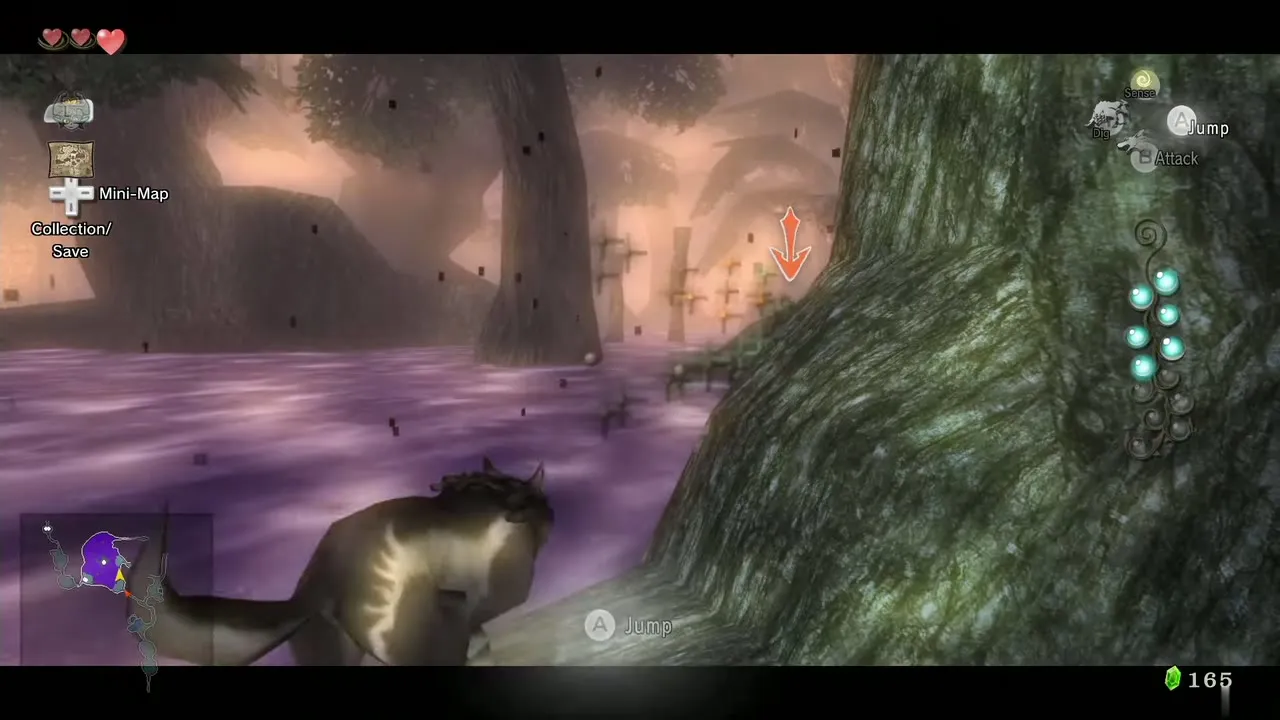
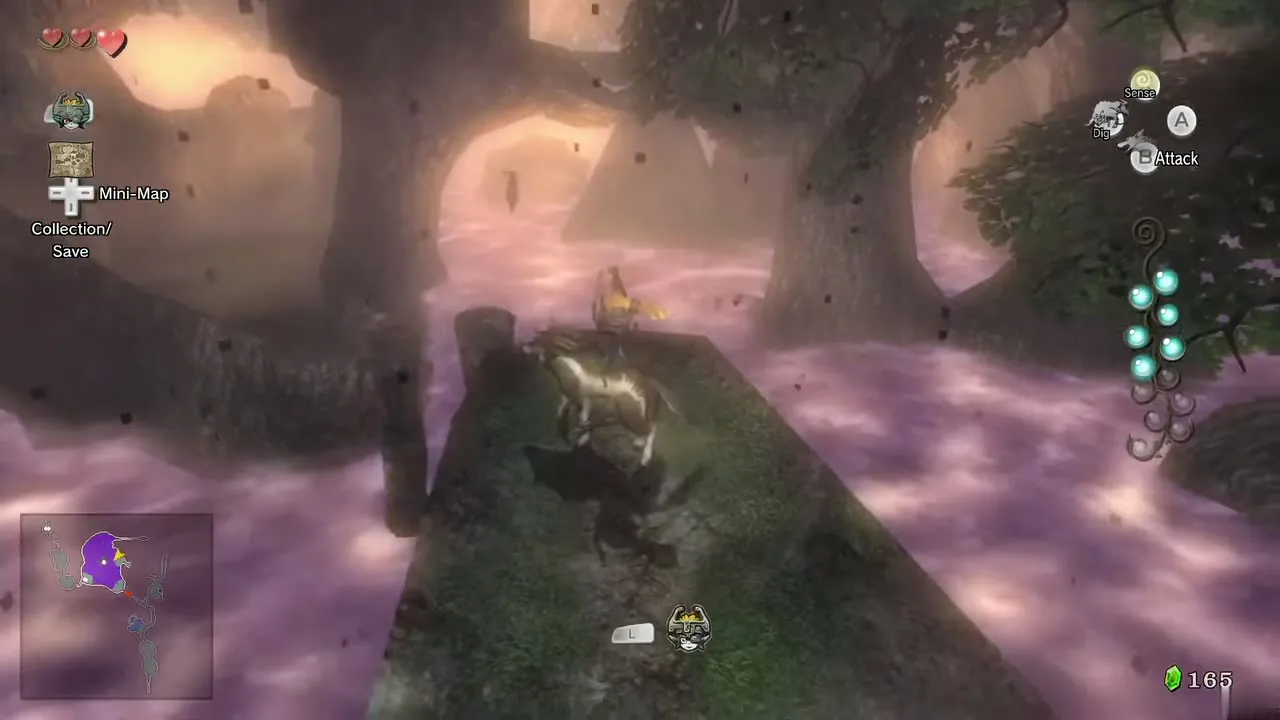
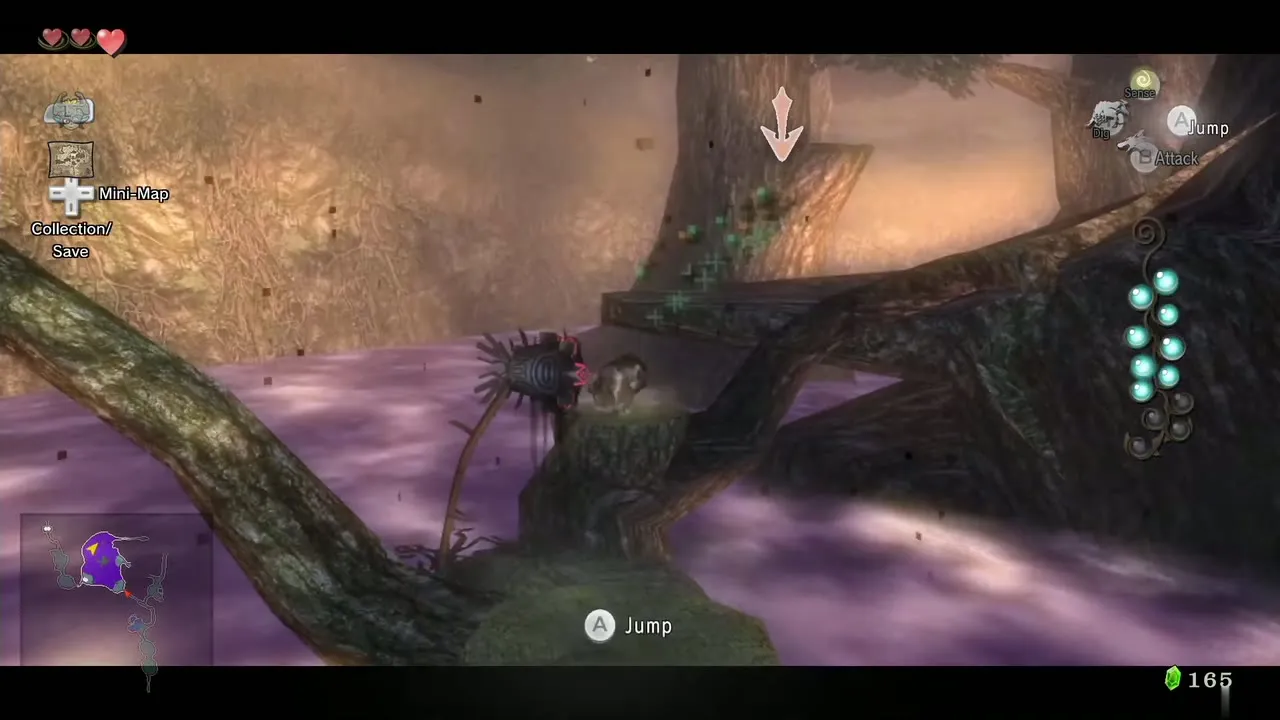
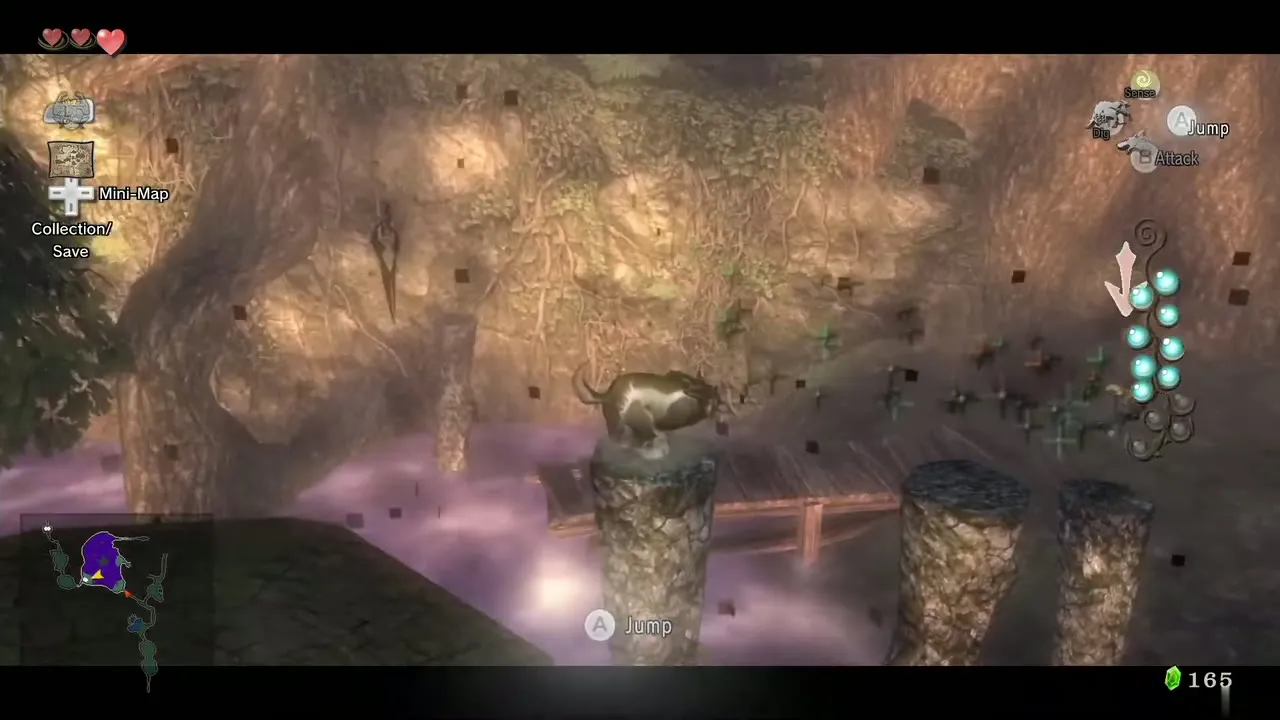
A poisonous purple fog now covers the swamp floor and hurts Link on contact. Near the east side of the area, close to where you took Tear 6, a branch sticks out from the ground. Walk up to it and Midna floats over. Target her and press the jump button to follow her up to the next safe spot; repeat to climb to the high ground. From there Midna leads you into the middle of the swamp with a few more leaps. Use your senses at the centre to find two Shadow Insects, defeat them, and take Tears 7 and 8.
Tears 9 and 10: buried insects at the end of the path
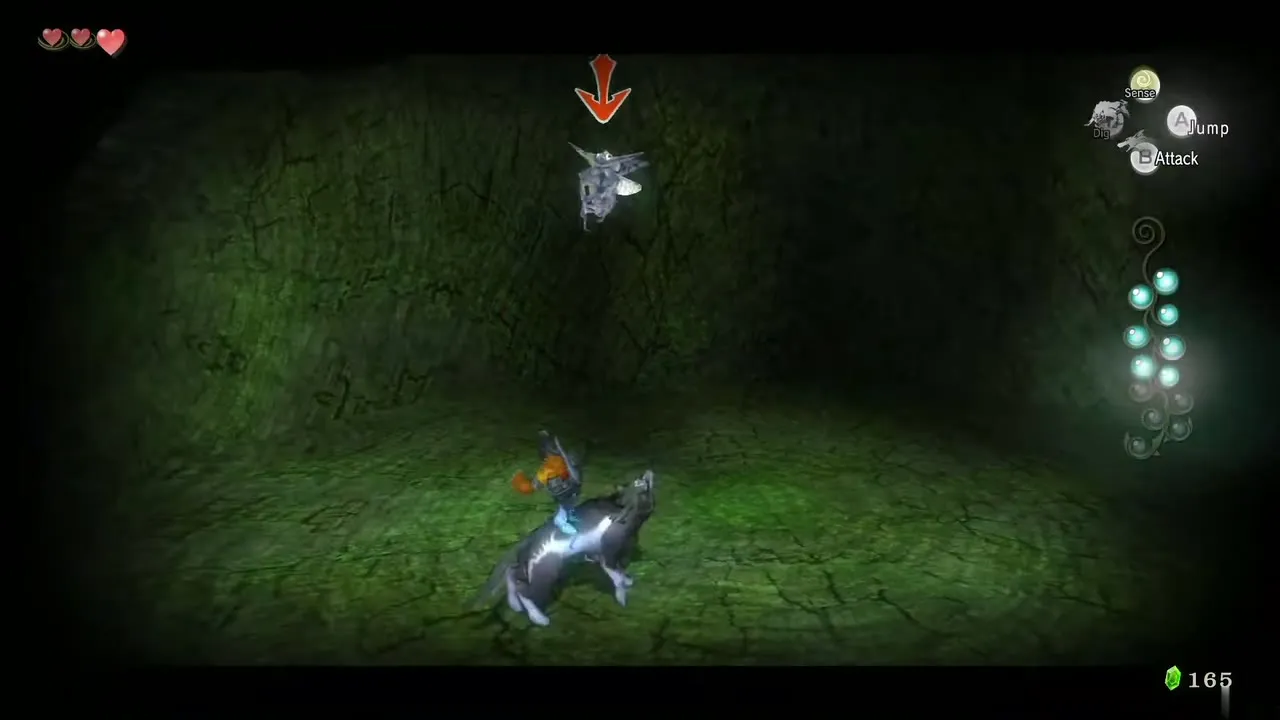
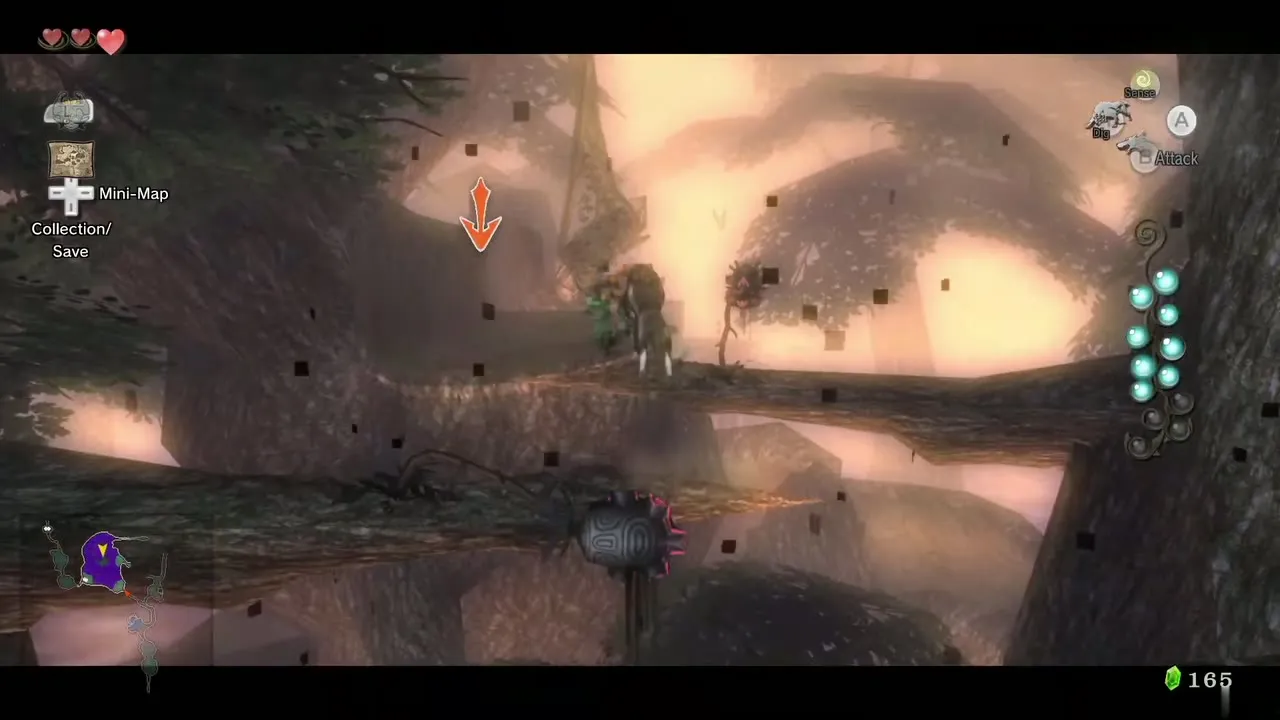
Keep following the linear path of Midna jumps. A few Twilit Deku Babas stand in the way, but fast jumping gets you past them. A swinging log crosses the path, so time your leap around it. At the end of the route two Shadow Insects have burrowed into the ground. Switch on your senses, dig each one up and defeat them for Tears 9 and 10.
Second group of Shadow Beasts
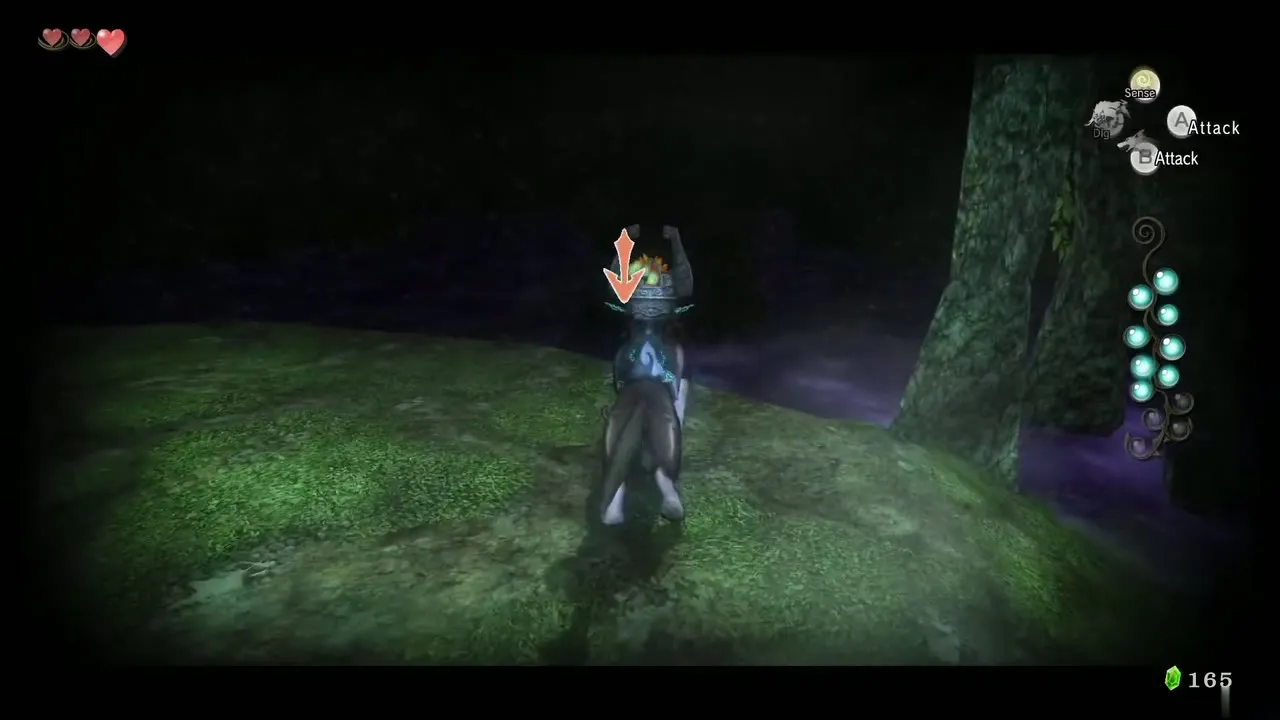
Head through the open gate east of the dig spot to the next area, where three more Shadow Beasts attack. Use the B-circle trick again to kill them all at once. A bridge stands upright against a wall in this area; remember it, because Midna sends you back here later to move it to the broken span in Kakariko Gorge.
Tears 11 and 12: the monkey at the temple stairs
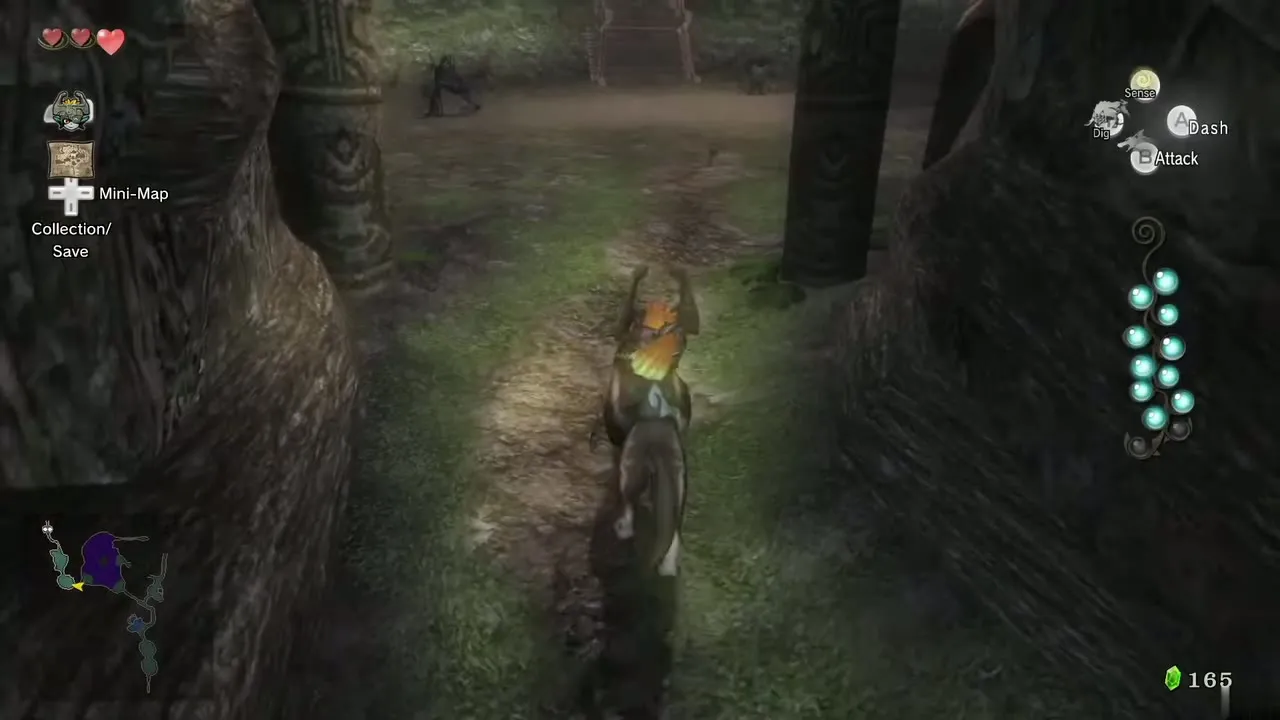
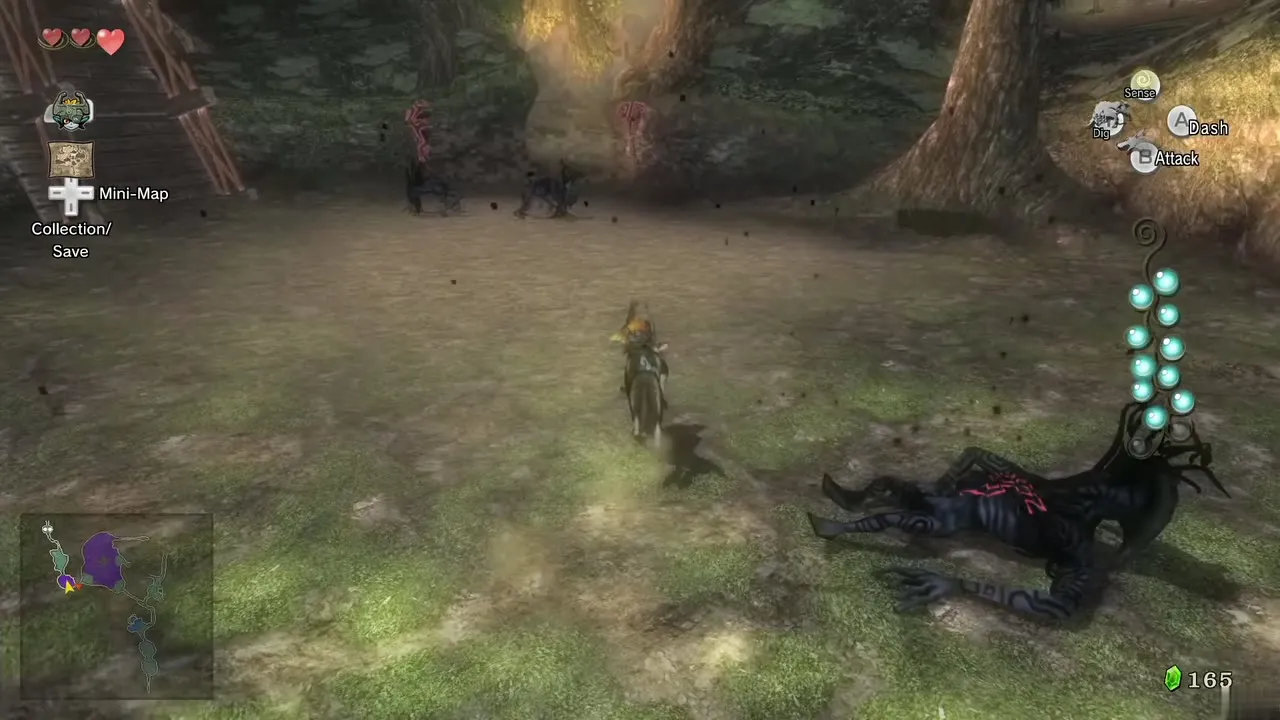
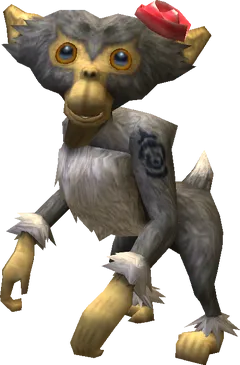
Follow the path north to the steps below the Forest Temple, the place where you freed Talo’s monkey earlier. Use X to spot the same scared monkey and the last two Shadow Insects tormenting it. Defeat them for Tears 11 and 12. The Vessel is full and Faron pulls you back to Faron Spring.
Light returns: human form, Hero’s Clothes and the small key
Faron’s blessing
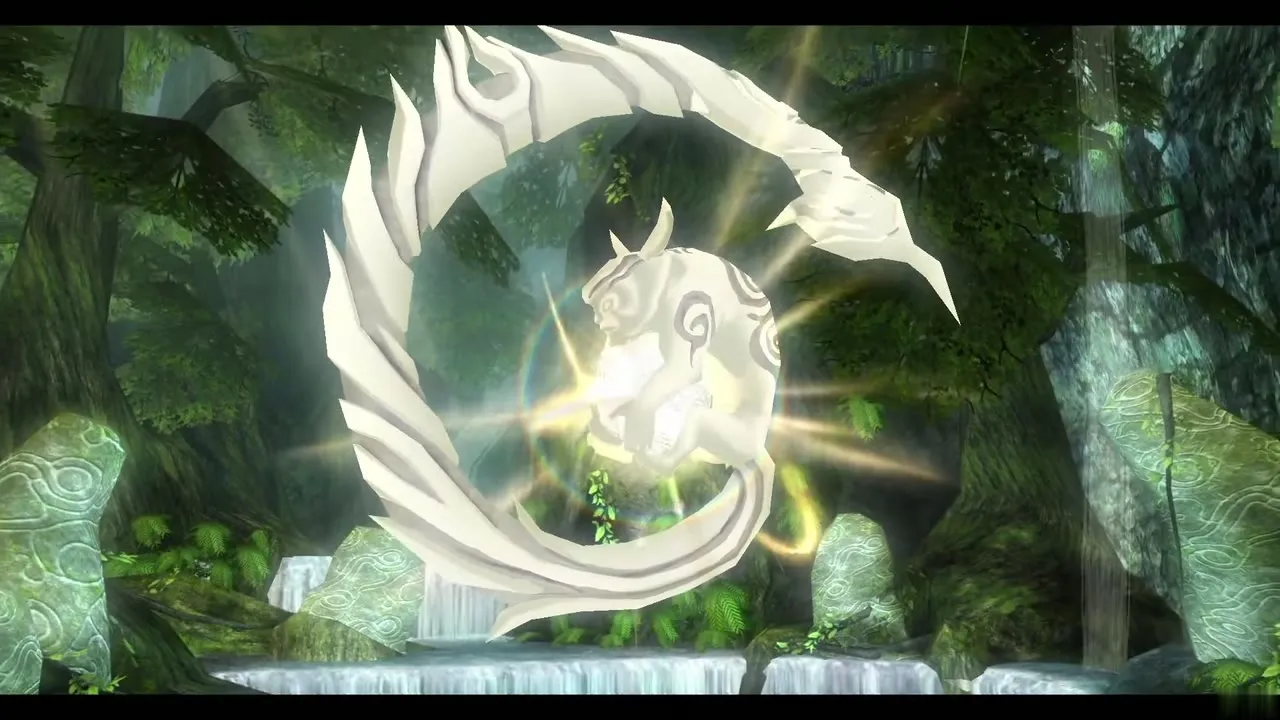
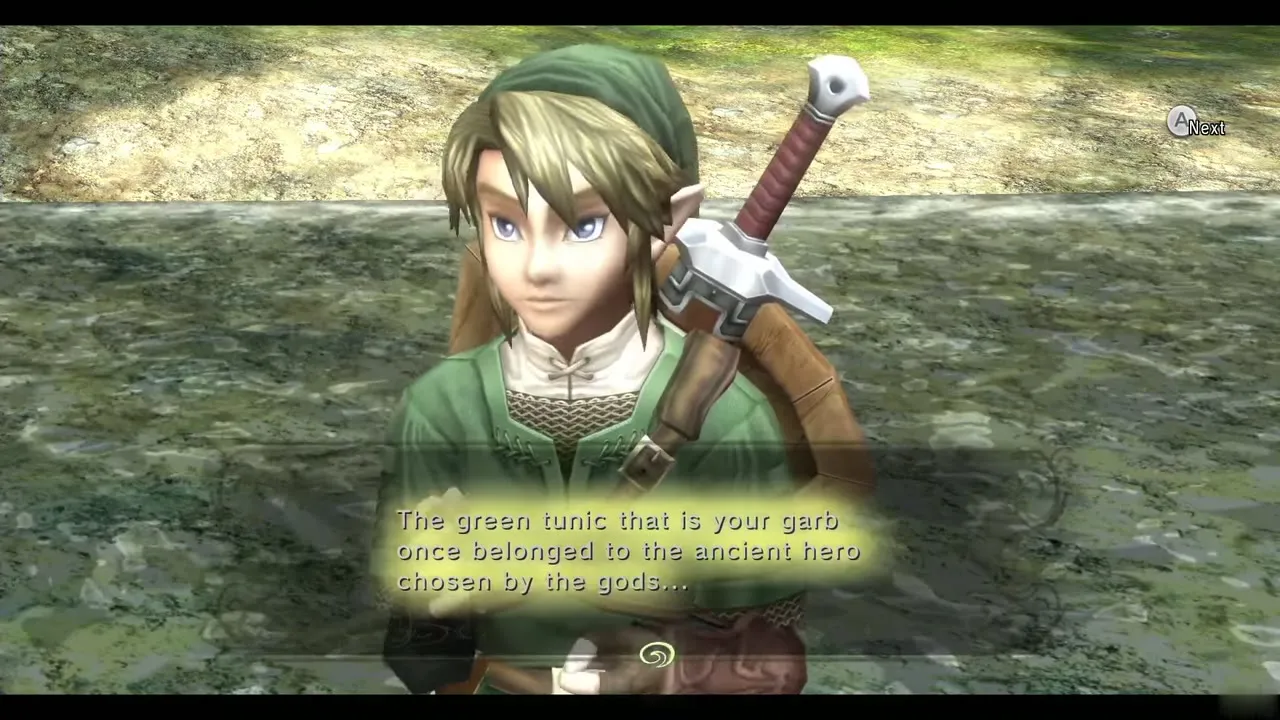
Faron reveals her true form, turns Link back into a human in the green tunic of the Hero (the Hero’s Clothes) and tells you about the great evil sleeping in the Forest Temple. Your Ordon Sword and Ordon Shield are equipped again.
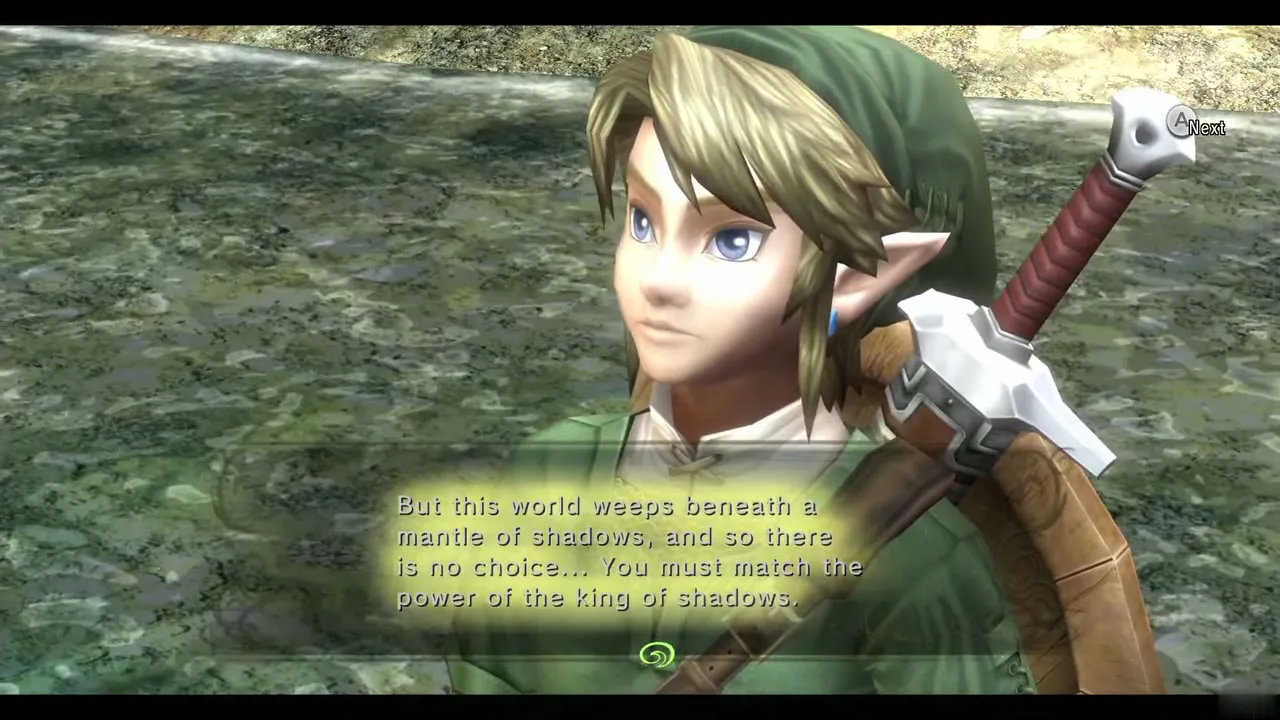
Optional: 50 Rupees in your basement
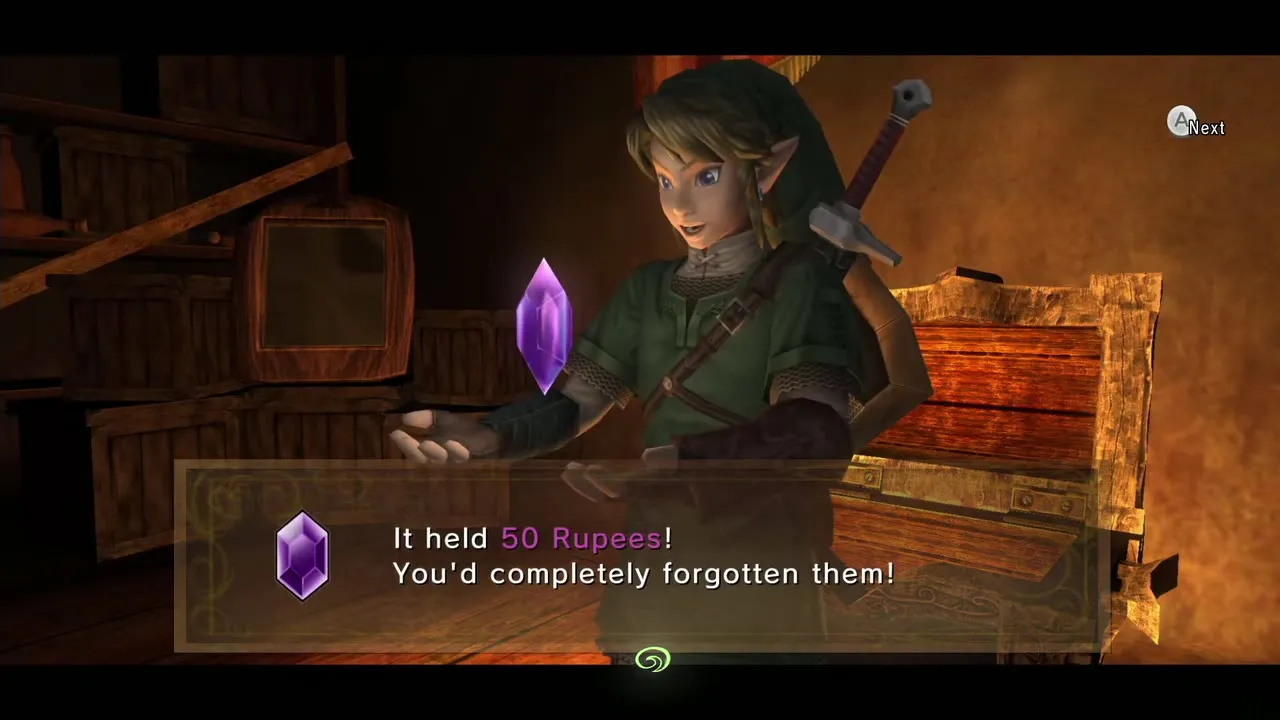
You need at least 100 Rupees for the bottle in a moment. If you are short, run back across the bridge to Ordon, enter Link’s house and climb down into the dark basement. With the Lantern lit you can see a chest; open it for a purple Rupee worth 50. Cutting the grass around Coro’s house also pays out small Rupees. You may also talk to the villagers: the children are still missing and Rusl is resting at home.
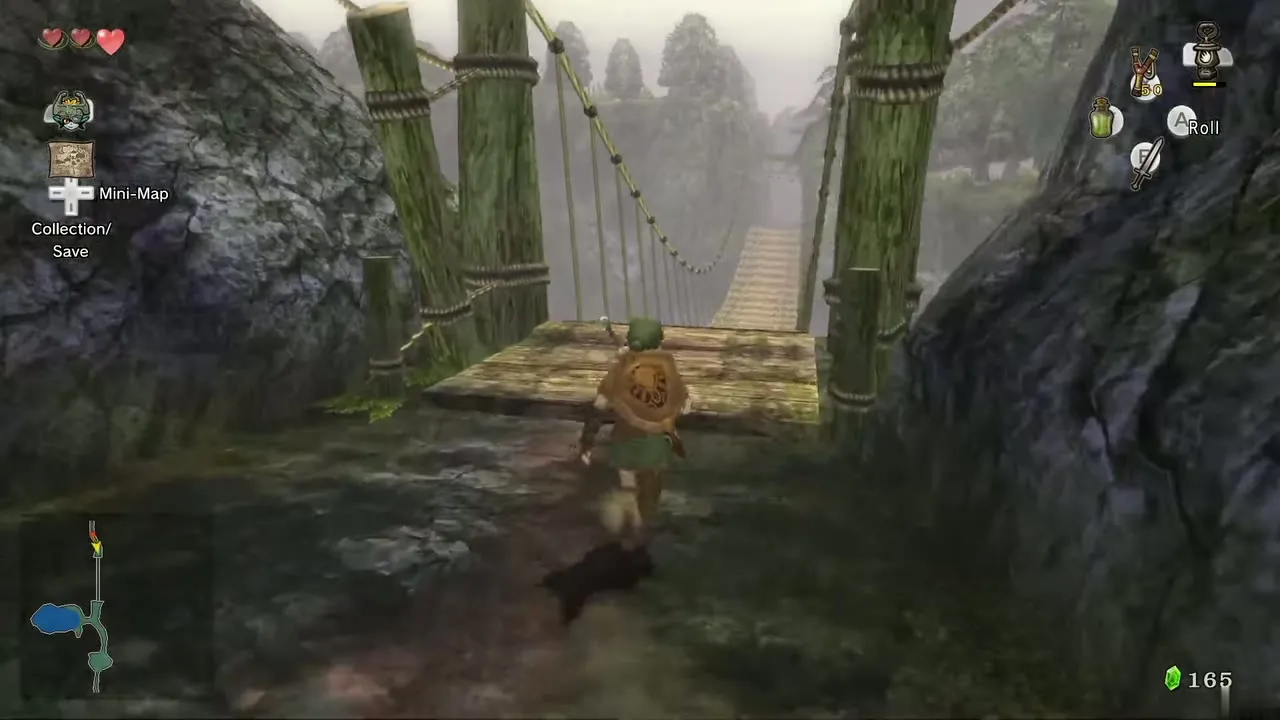
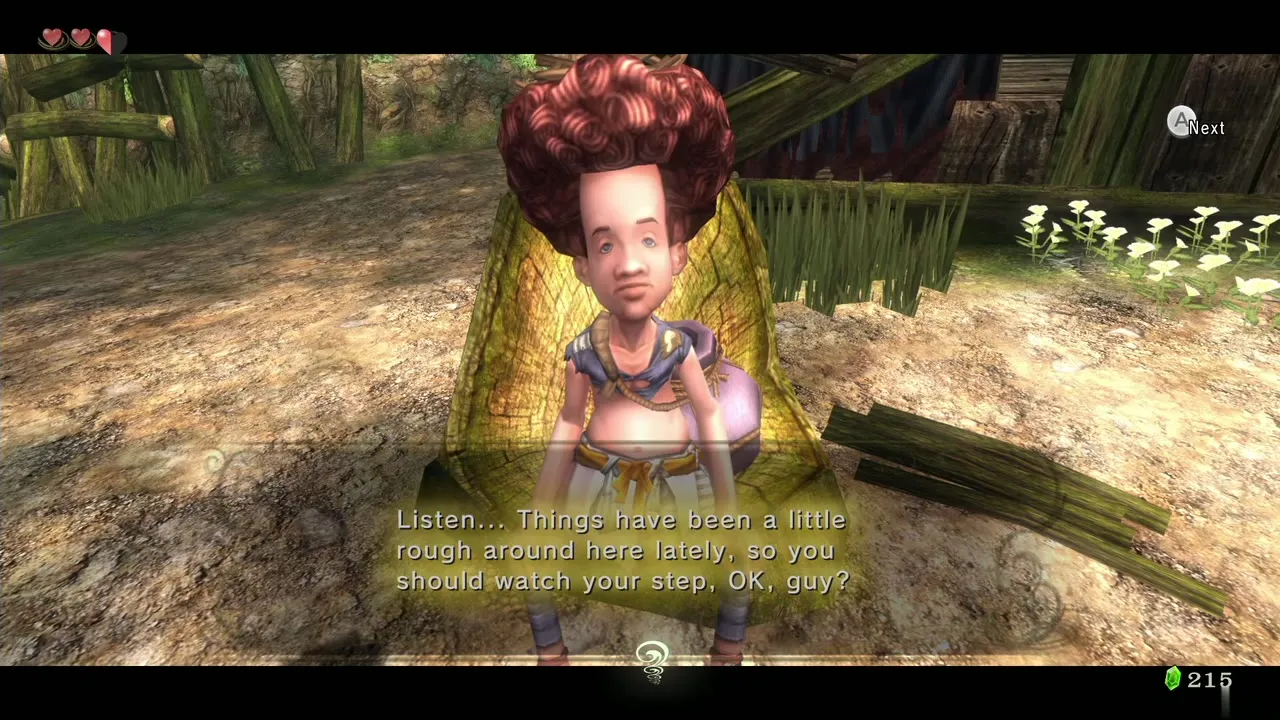
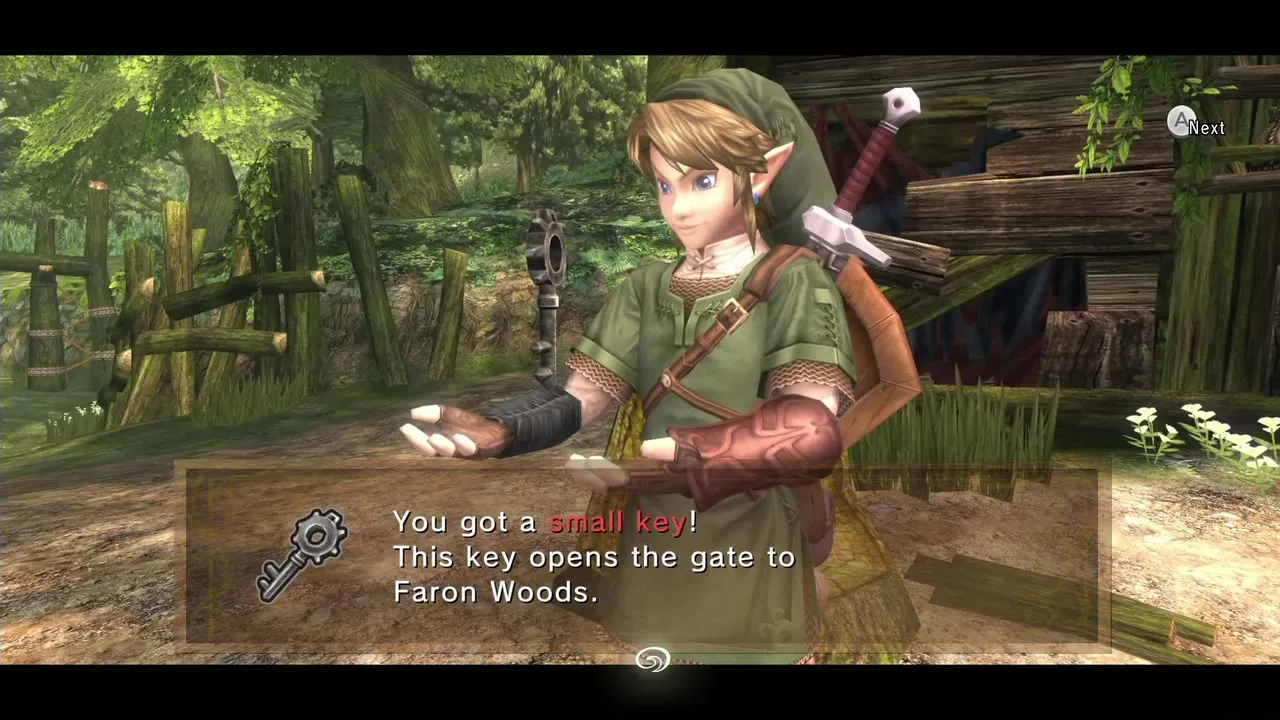
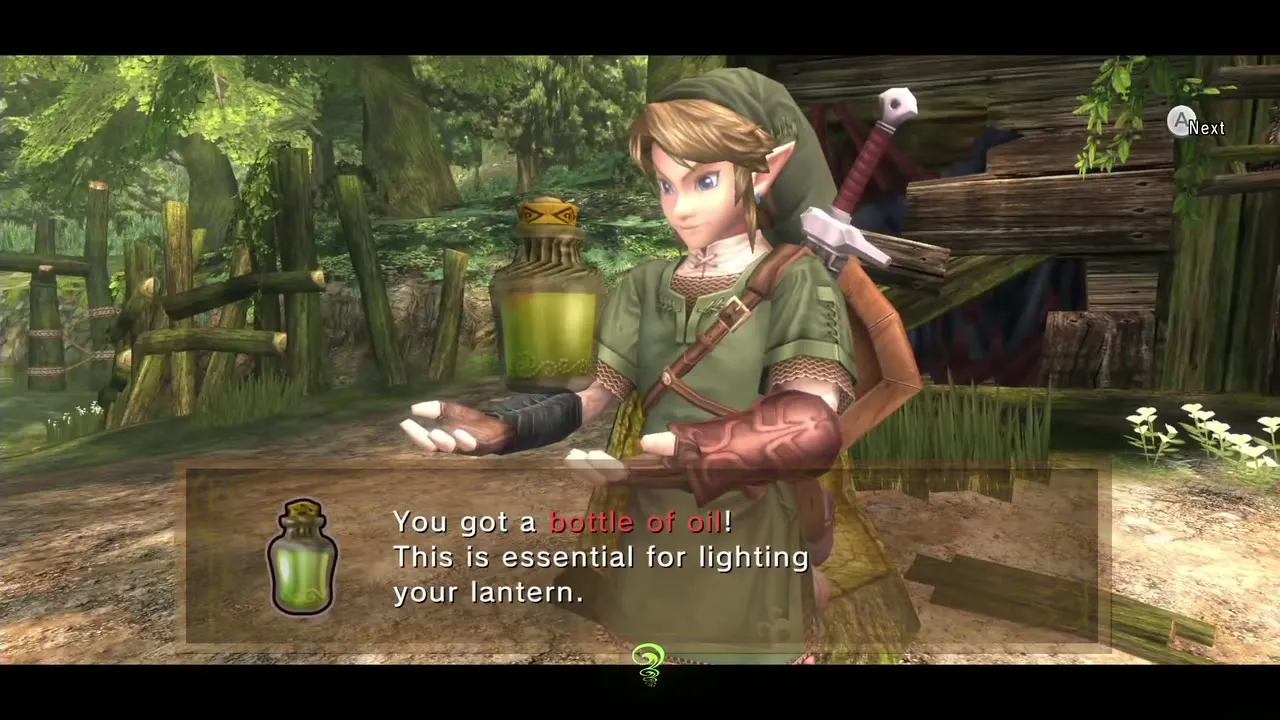
Coro: small key and Bottle 2
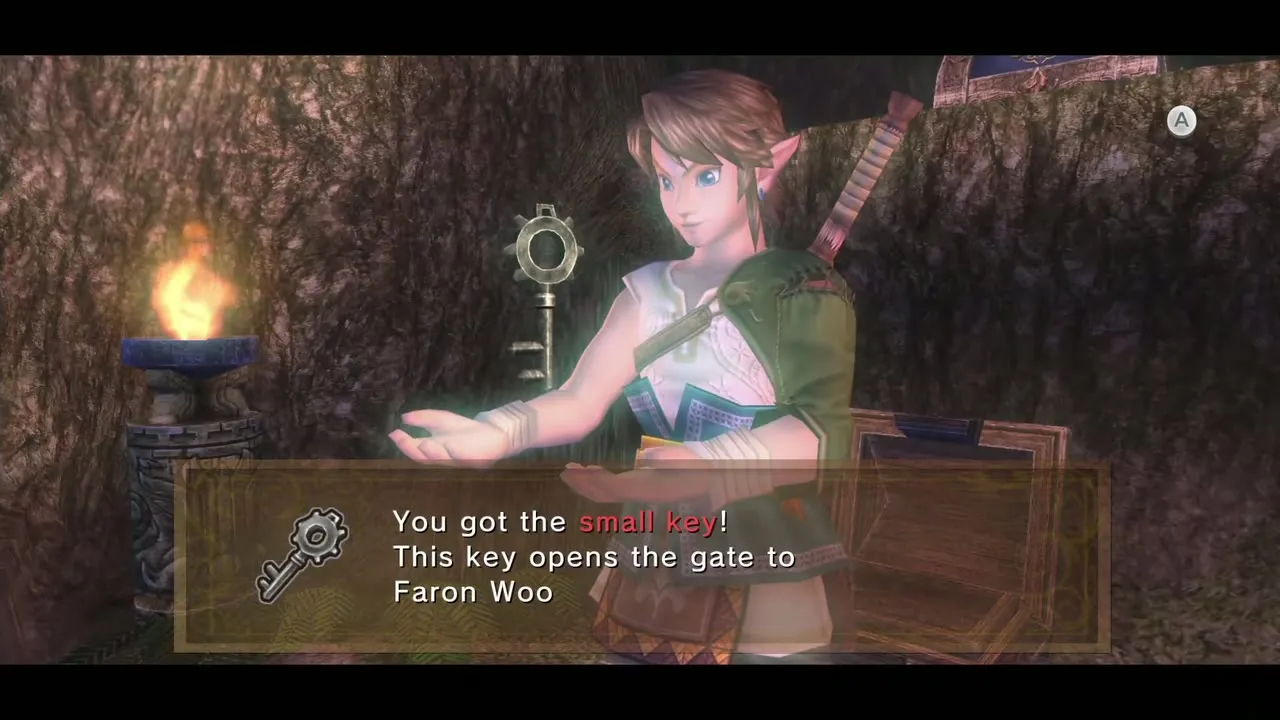
Walk back to Coro’s house in Faron Woods and talk to him. He hands over the small key for the temple gate, and he offers a bottle of lantern oil for 100 Rupees. Buy it: the bottle is yours to keep once the oil is gone, so it becomes your second empty bottle. If you do not take the offer now you can buy it from him later. The bottle locations page lists all four bottles.
The road to the Forest Temple
Through the gate and the cave
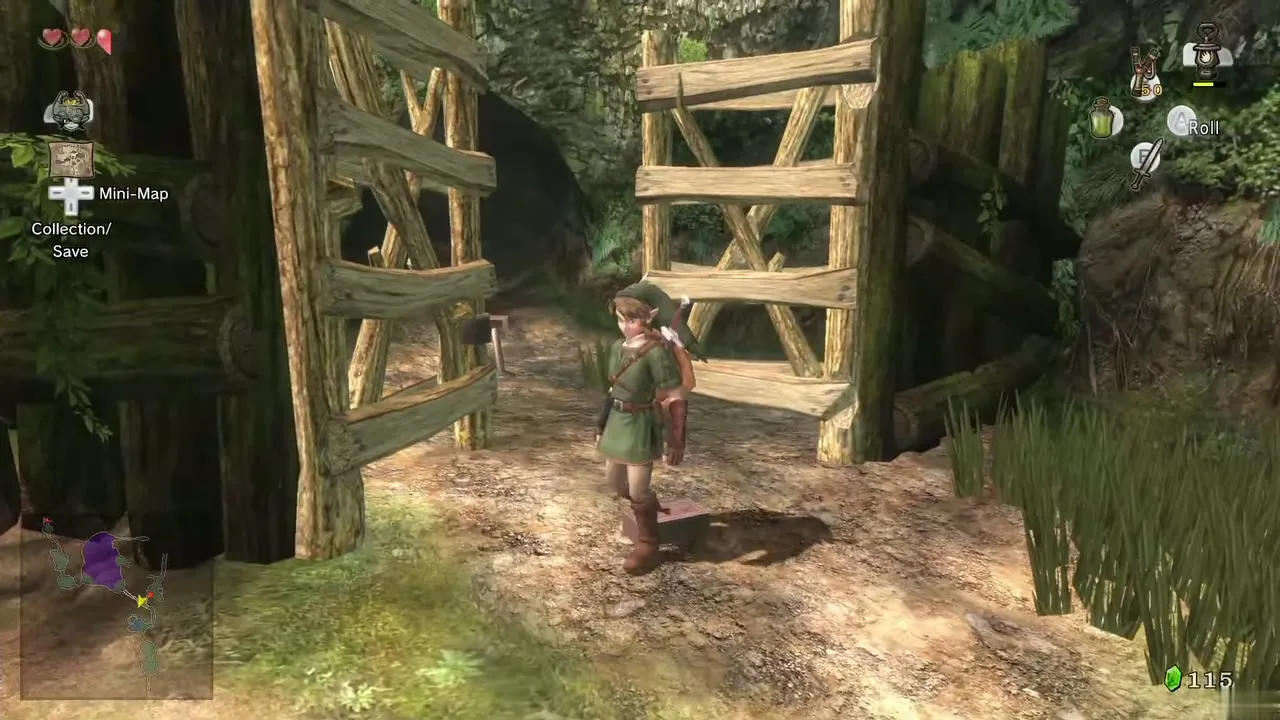
Go back to the fork and unlock the gate with the small key. Walk through the cave once more to North Faron Woods. Nothing new waits inside, so keep running.
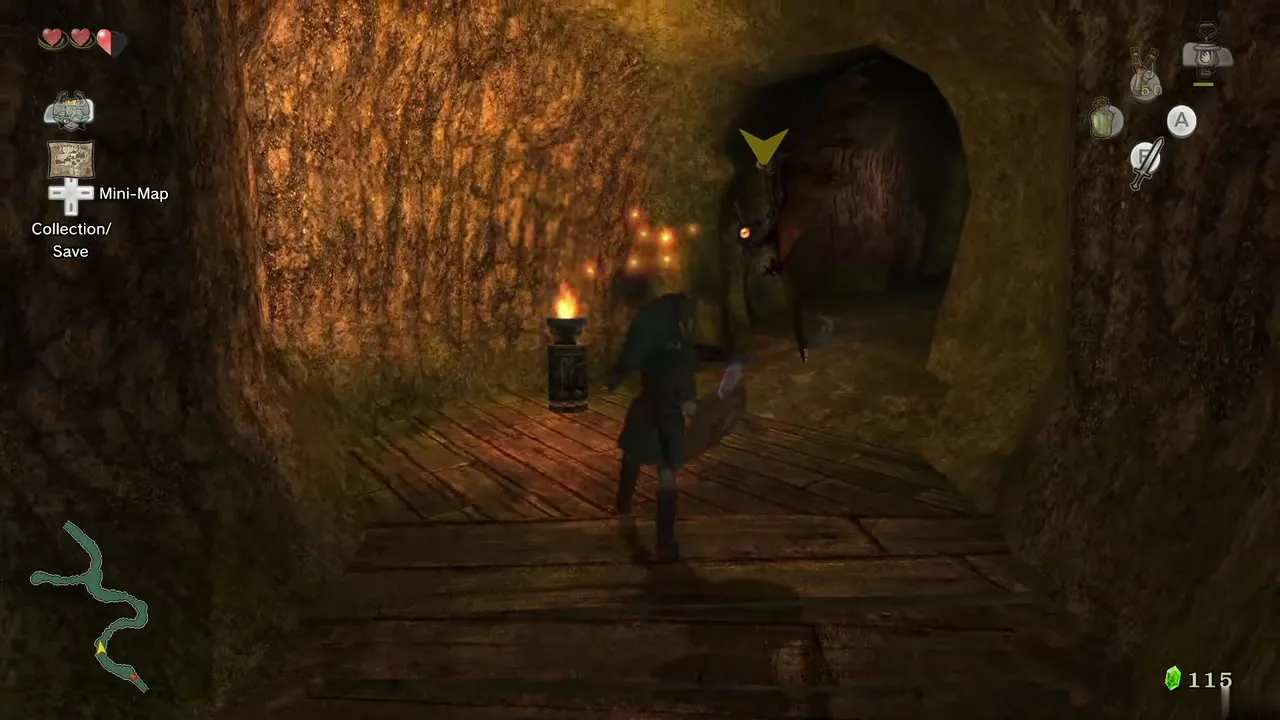
Follow the monkey through the poison fog
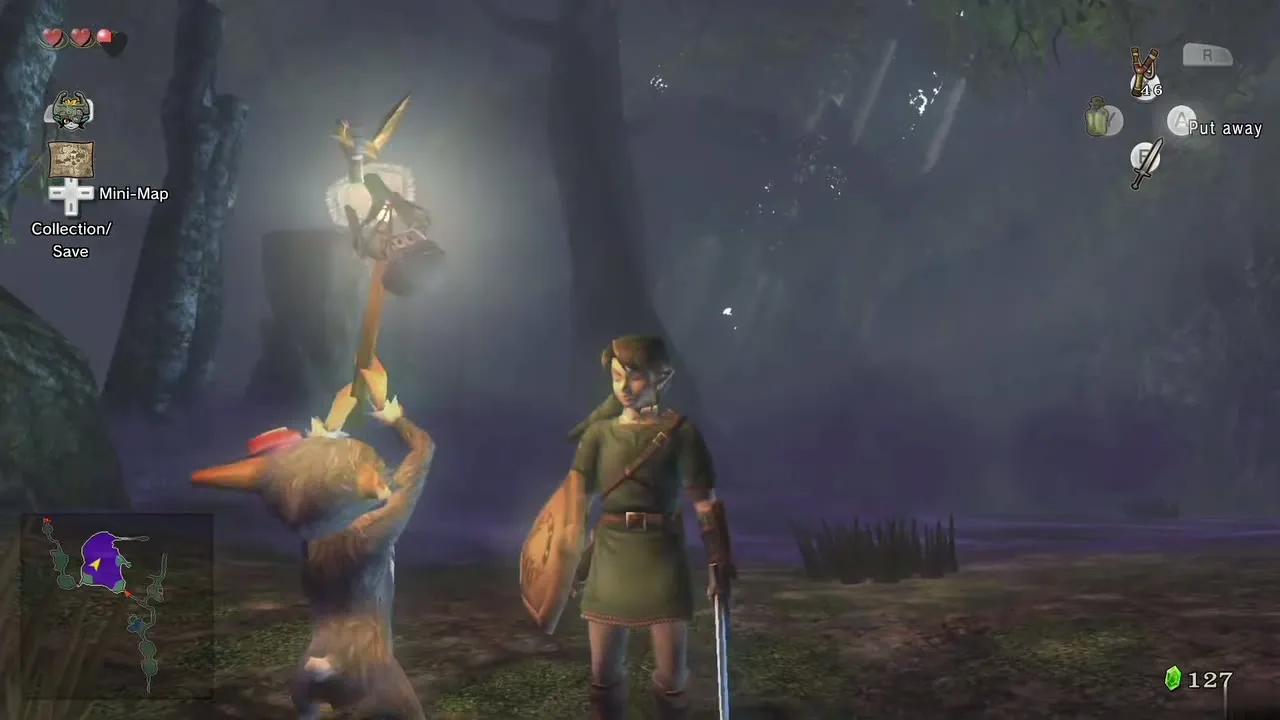
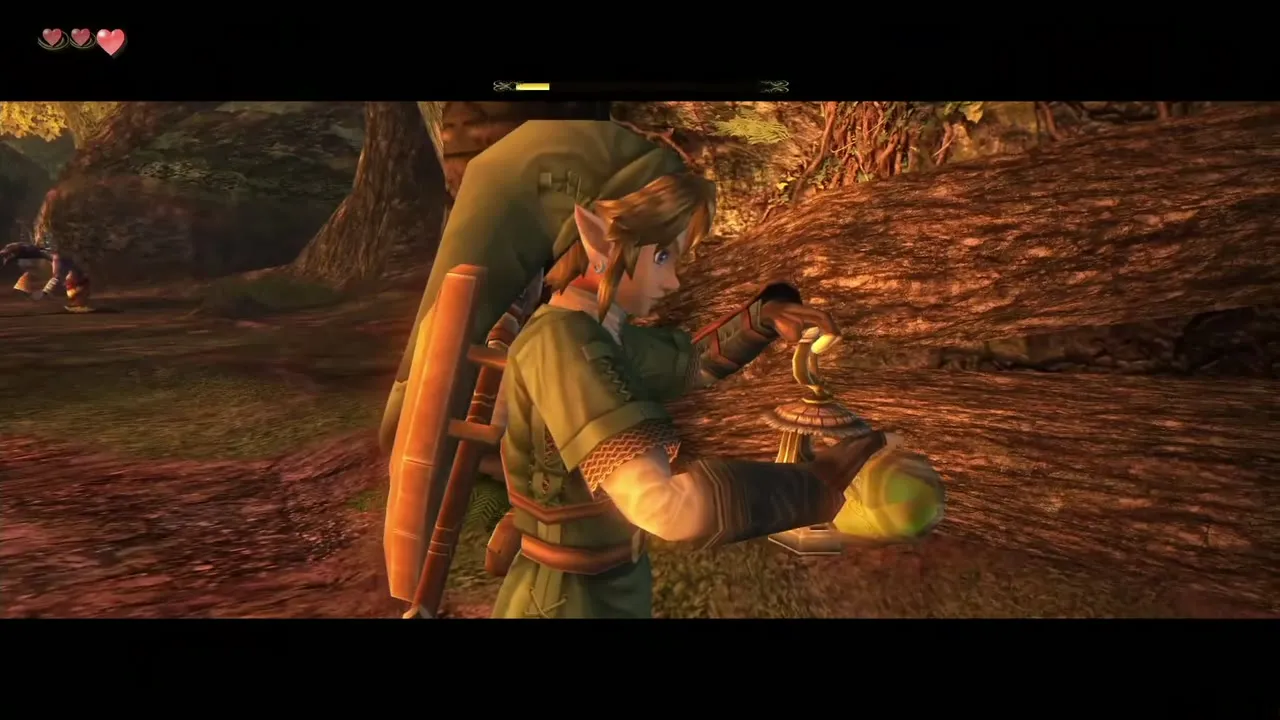
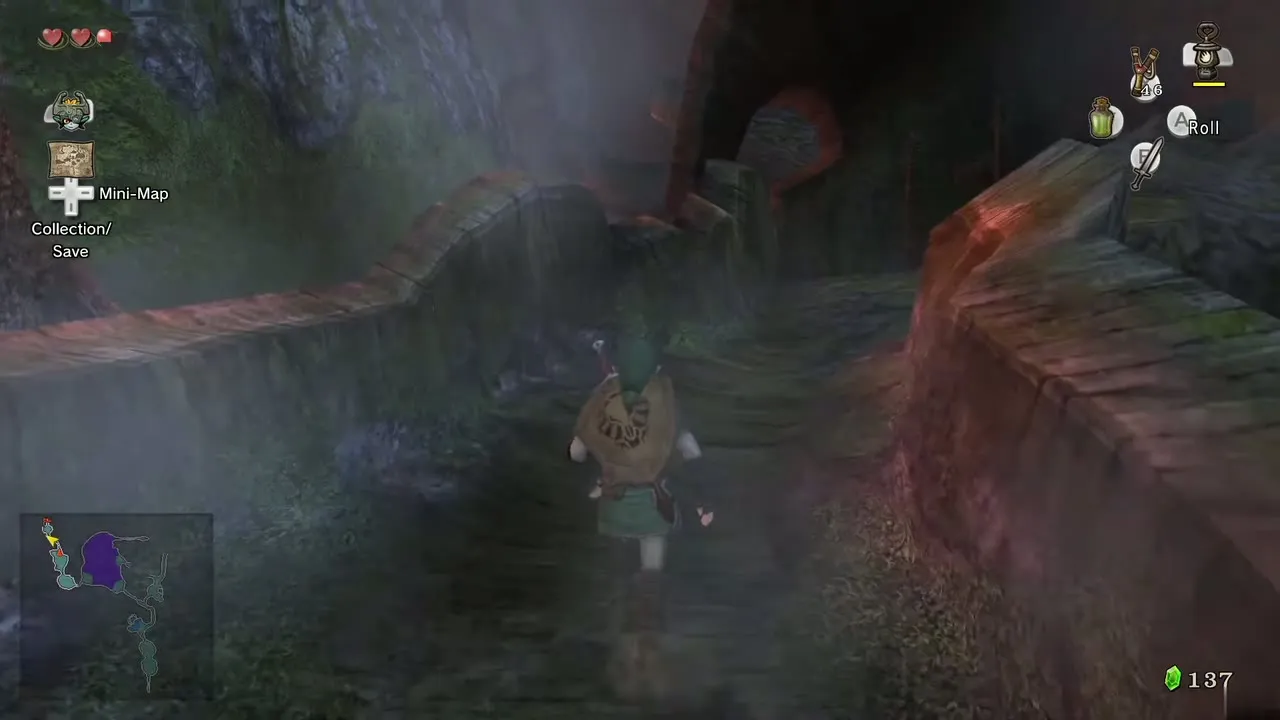
The fog still covers the swamp, and the monkey you saved appears, takes your Lantern on a stick and begins to walk. Wherever she swings the Lantern the fog clears in a circle around her. Stay beside her; if you fall behind the fog closes in and hurts you. Defeat any enemies that appear so they do not scare her. When you reach the gate at the west end she drops the Lantern, now empty, and leaves through the gate. Pick the Lantern up and walk through.
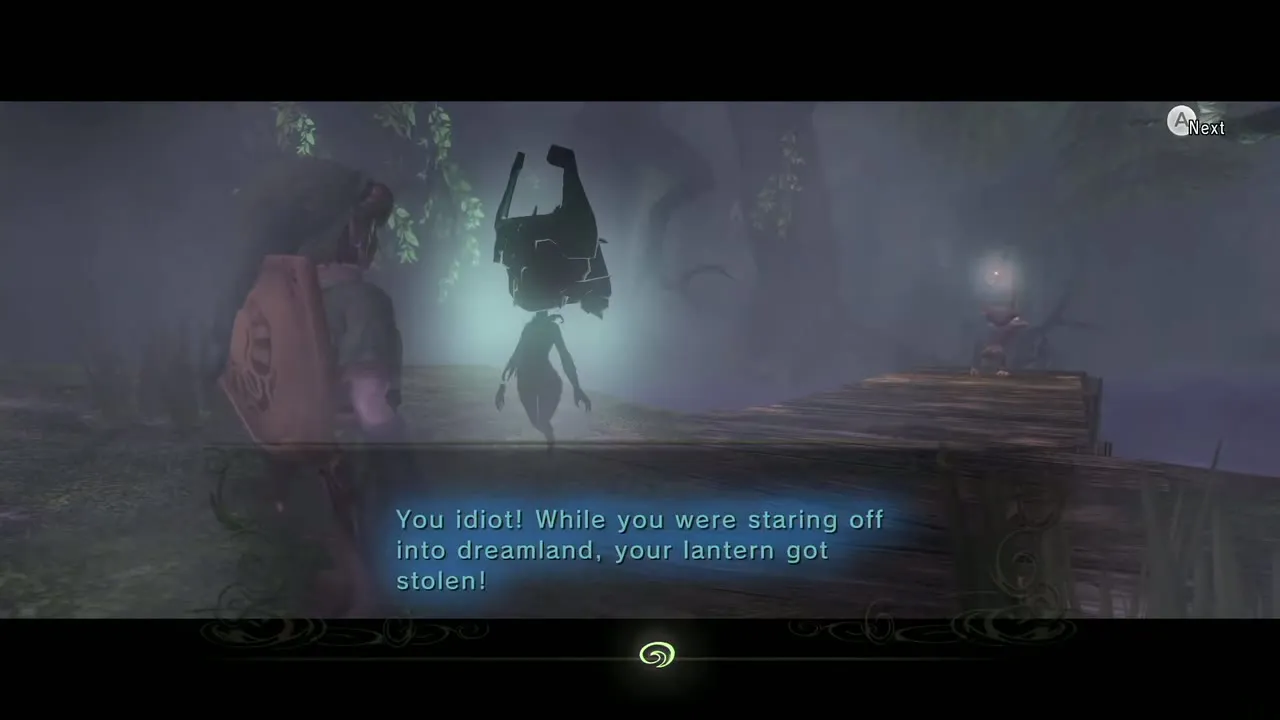
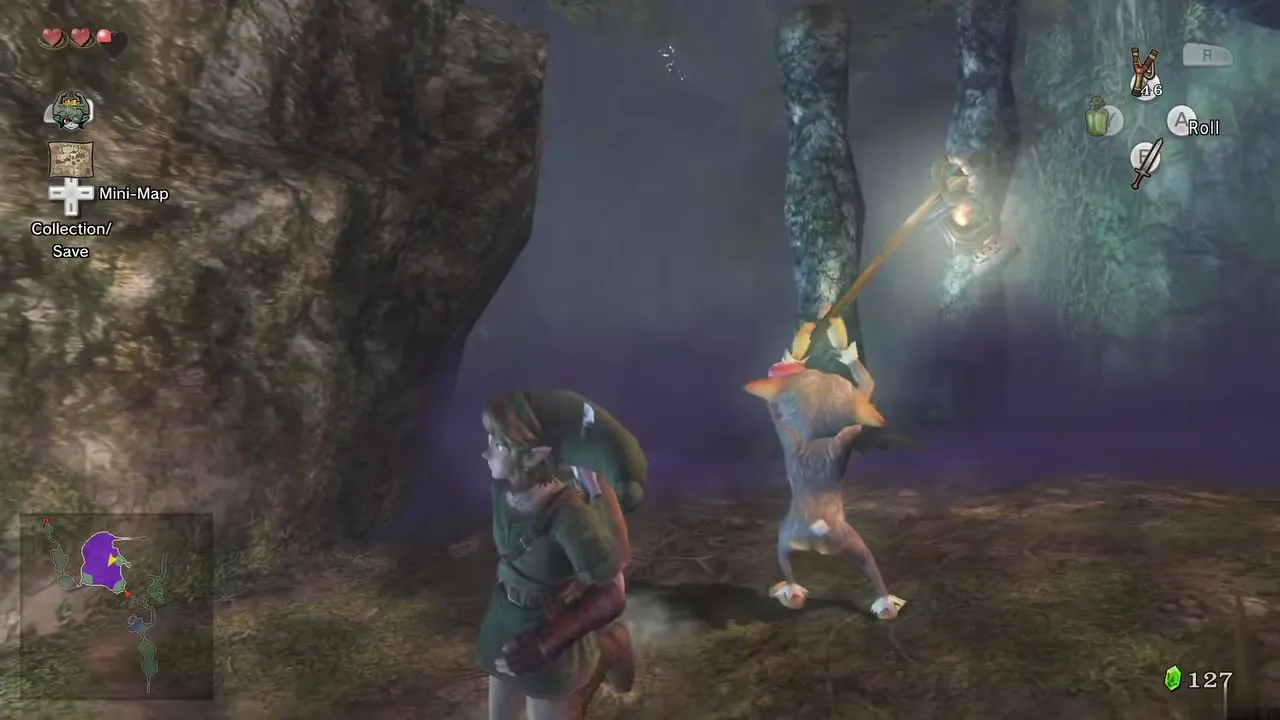
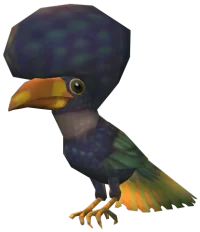
Trill’s shop and refilling the Lantern
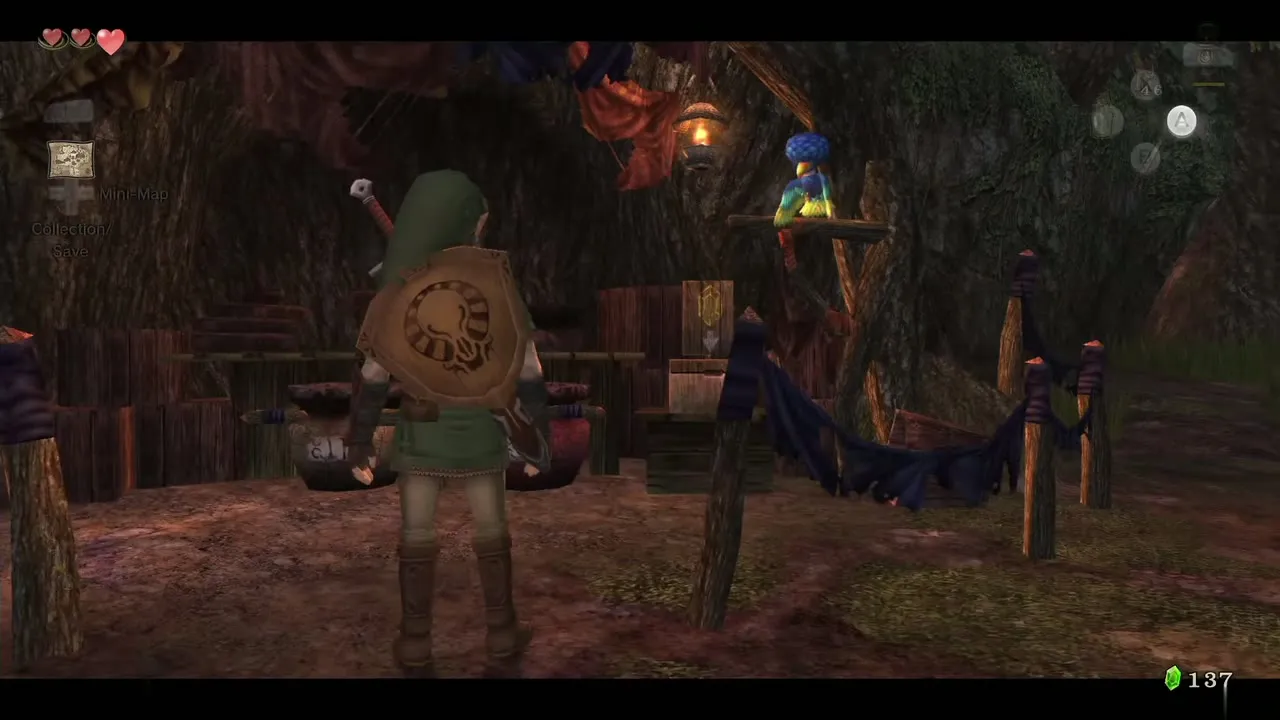
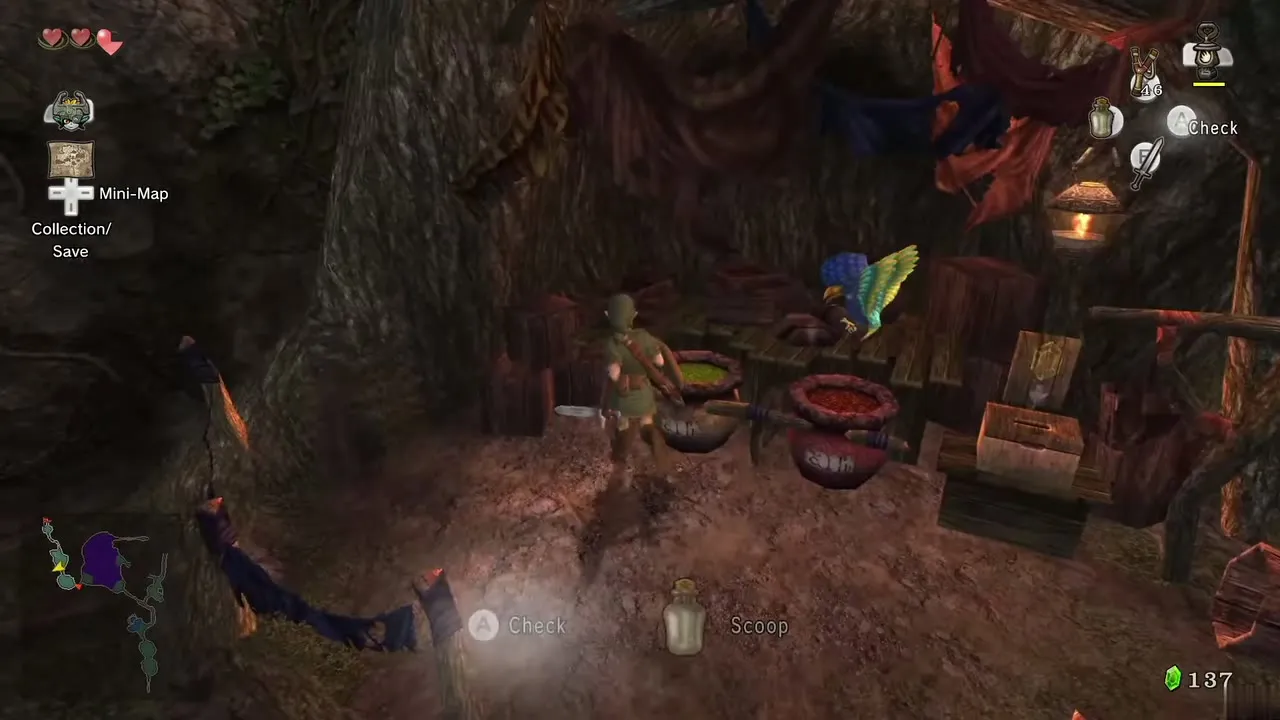
Trill’s shop sits on the left just inside; Red Potion refills cost 30 Rupees and Lantern Oil refills 20. The Lantern is empty after the monkey scene. Refill it from your bottle of oil by assigning both the Lantern and the bottle to item buttons, or scoop oil from Trill’s pot with a bottle or the empty Lantern and drop your payment in the box beside him. Coro also refills the Lantern or a bottle for 20 Rupees. Trill pecks at you until you pay, so leave at least one Rupee.
The Golden Wolf: Ending Blow
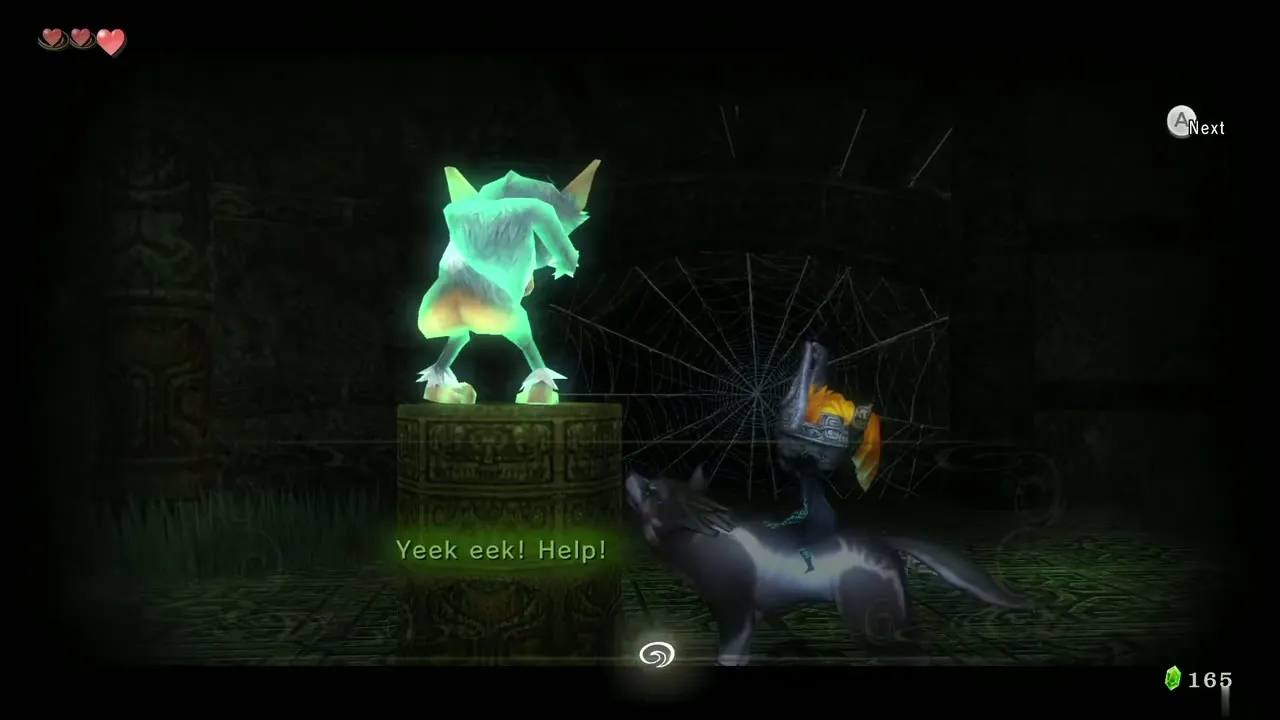
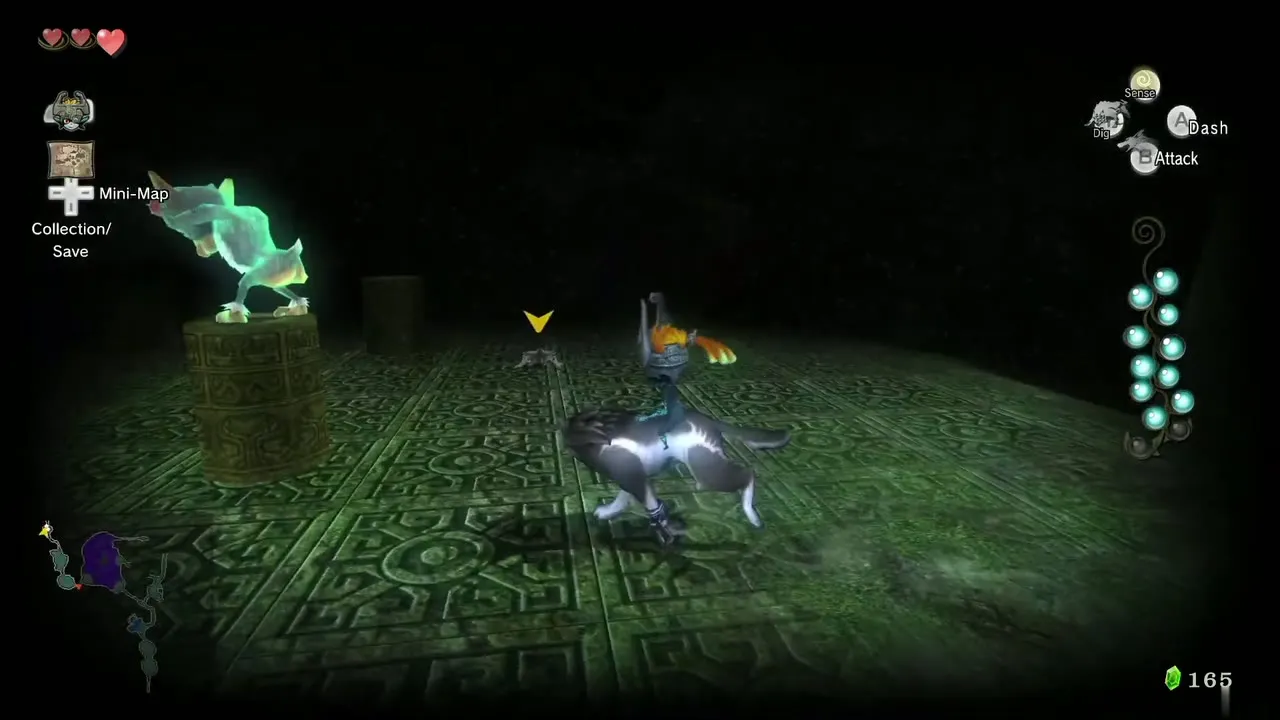
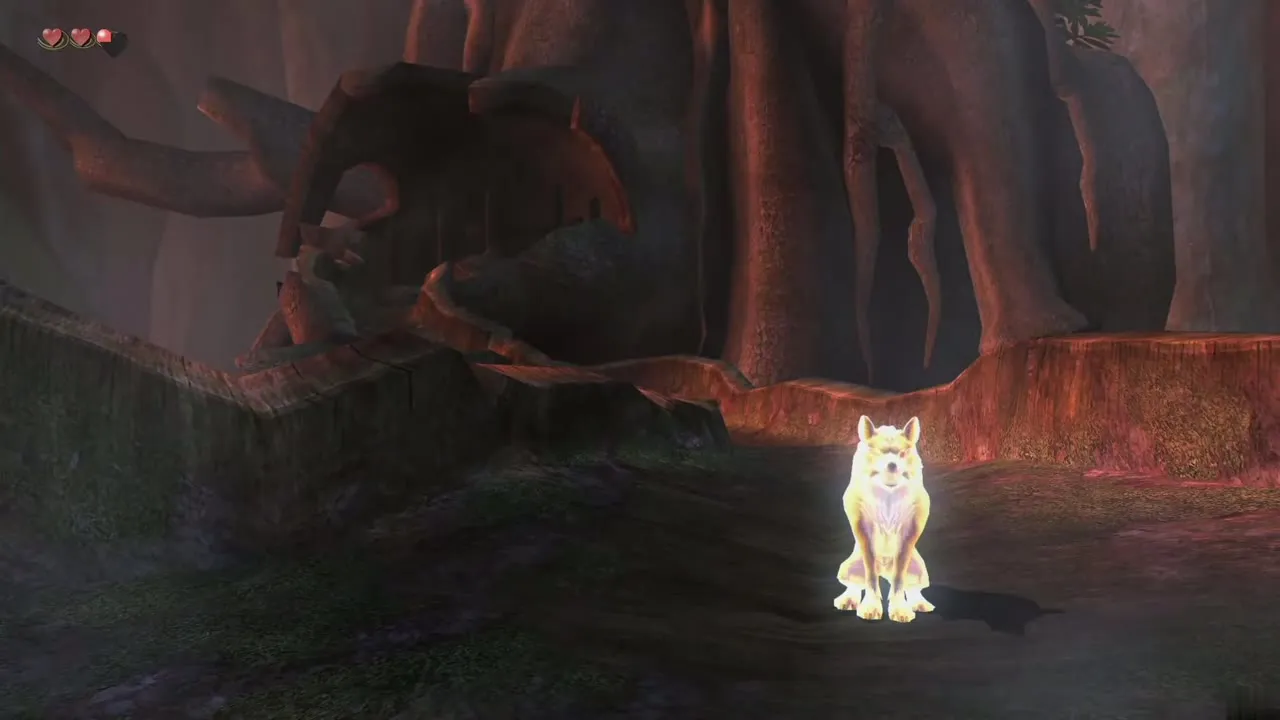
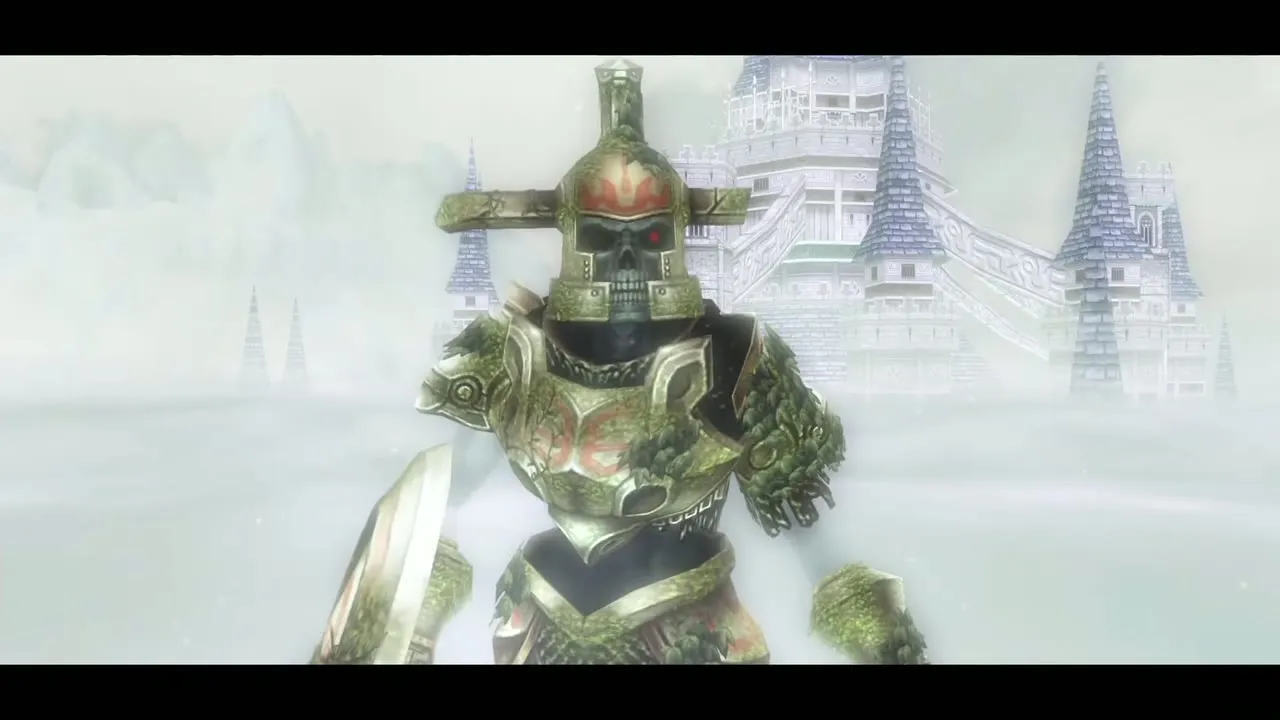
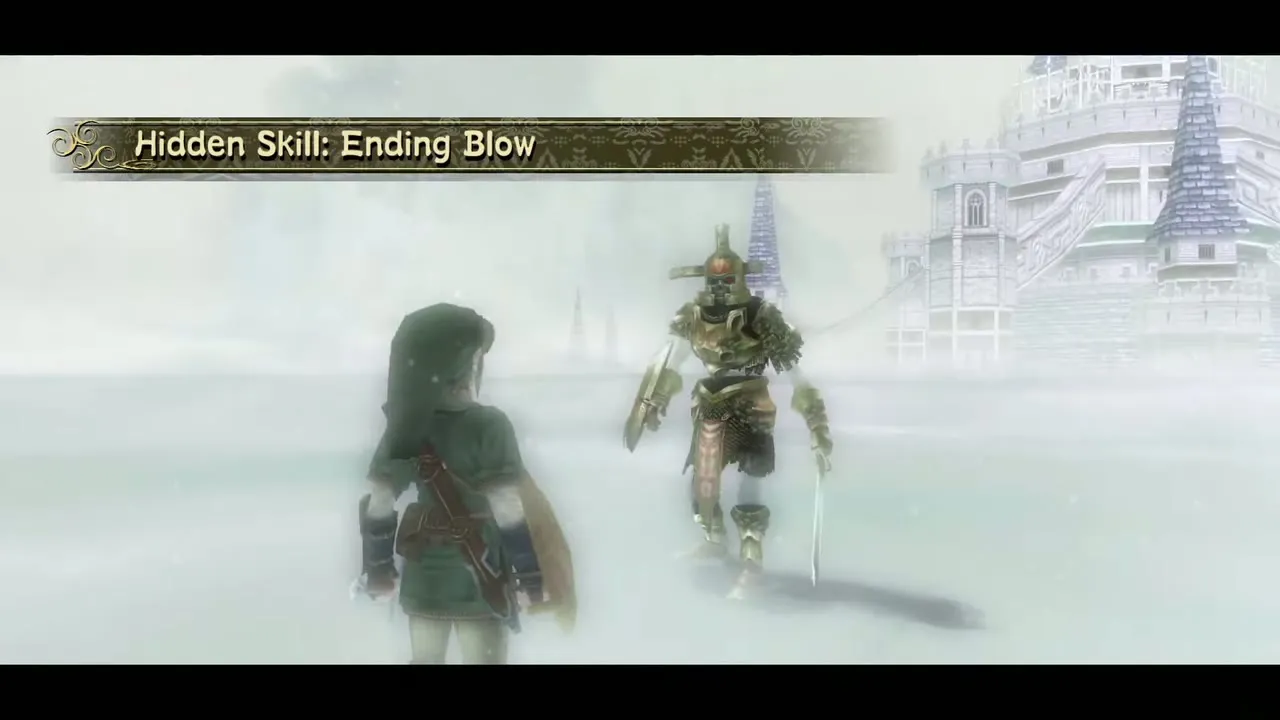
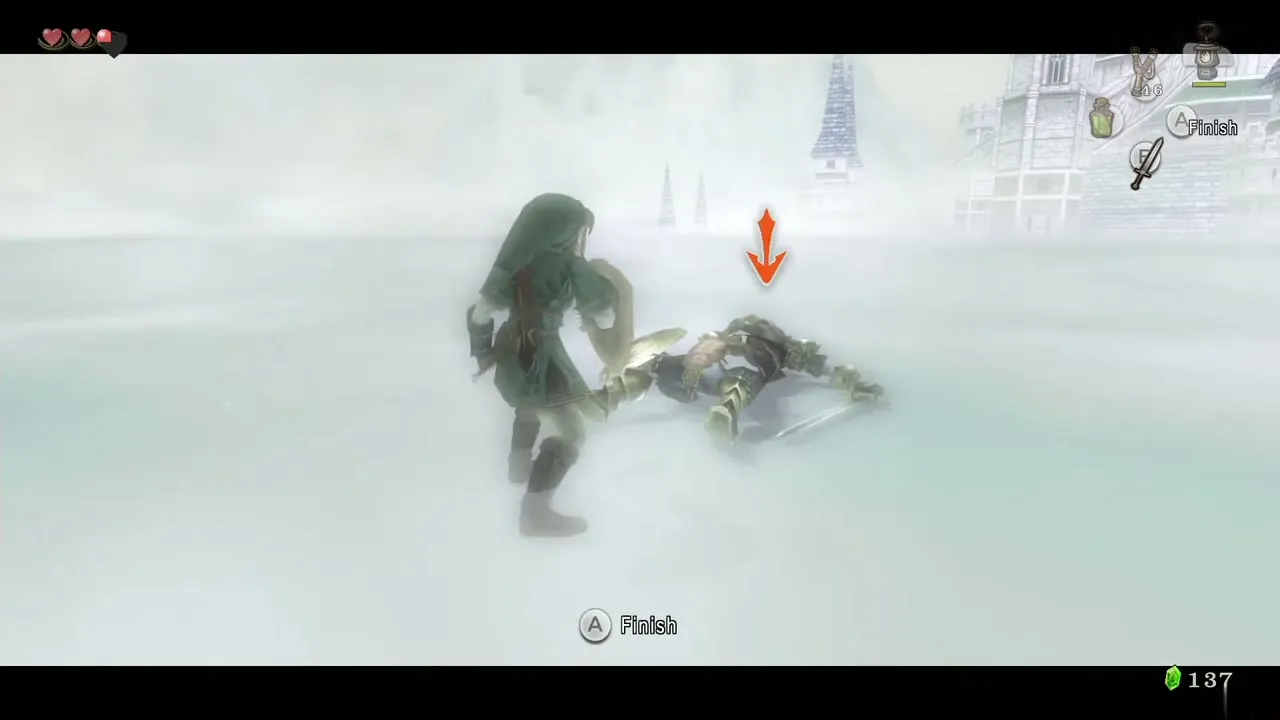
Run up the path to a golden wolf standing in your way. It leaps at you and warps you to a white arena outside Hyrule Castle, where it takes the shape of the Hero’s Shade. This encounter is required and cannot be skipped. Hit the practice enemy until it falls, then Z-target it and press A while it is on the ground to perform the Ending Blow, a leaping finisher. This is the first of the seven Hidden Skills; the Hidden Skills page lists the other six and the Howling Stones that call the wolves.
Burn the web and enter the temple
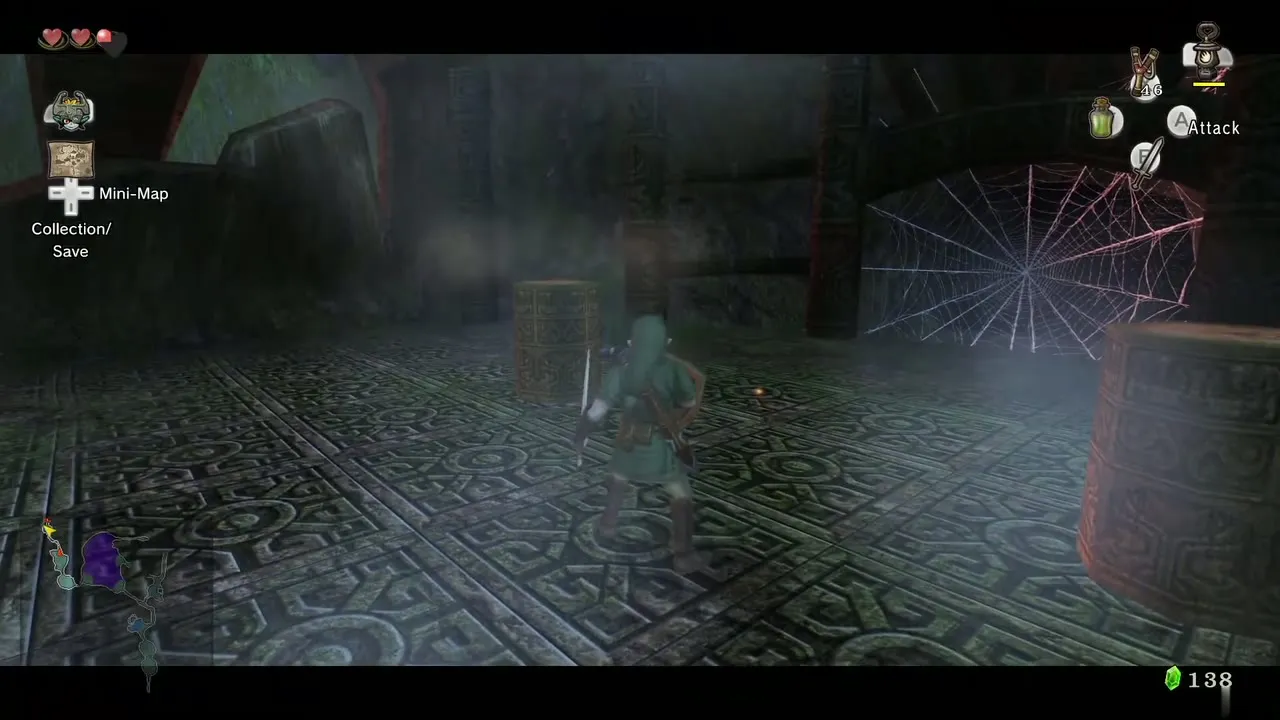
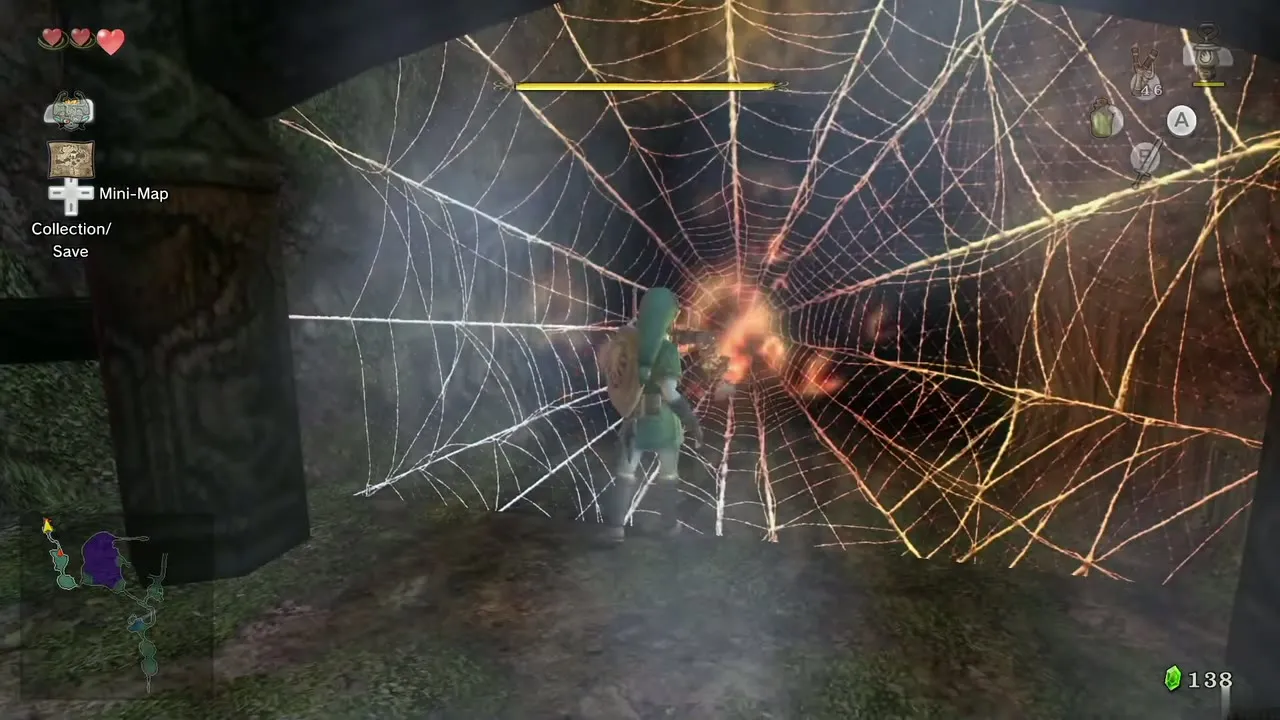
You return to the path. Continue north, past the two Bokoblins, to the web-covered door of the Forest Temple. Equip the Lantern, burn the web and step inside; put the Lantern away afterward to save oil. The Forest Temple walkthrough starts here.
Faron Woods collectibles to come back for
Heart Piece in the swamp cave (if you missed it)
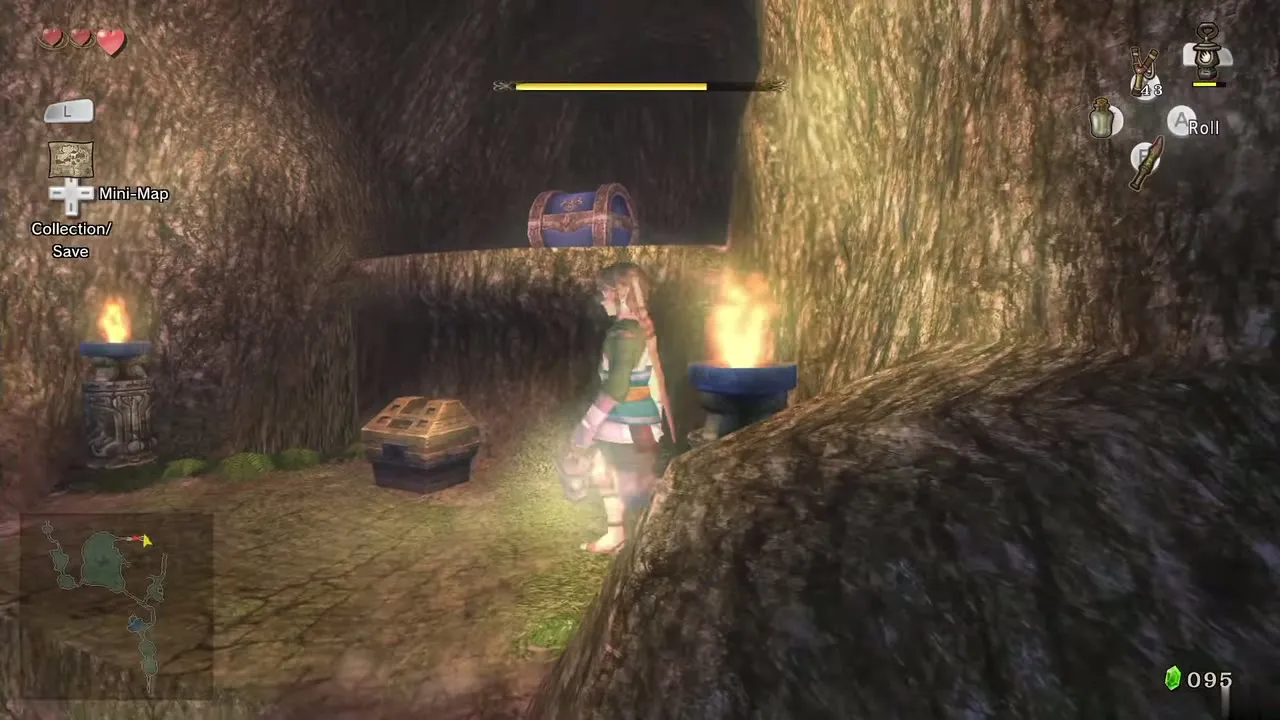
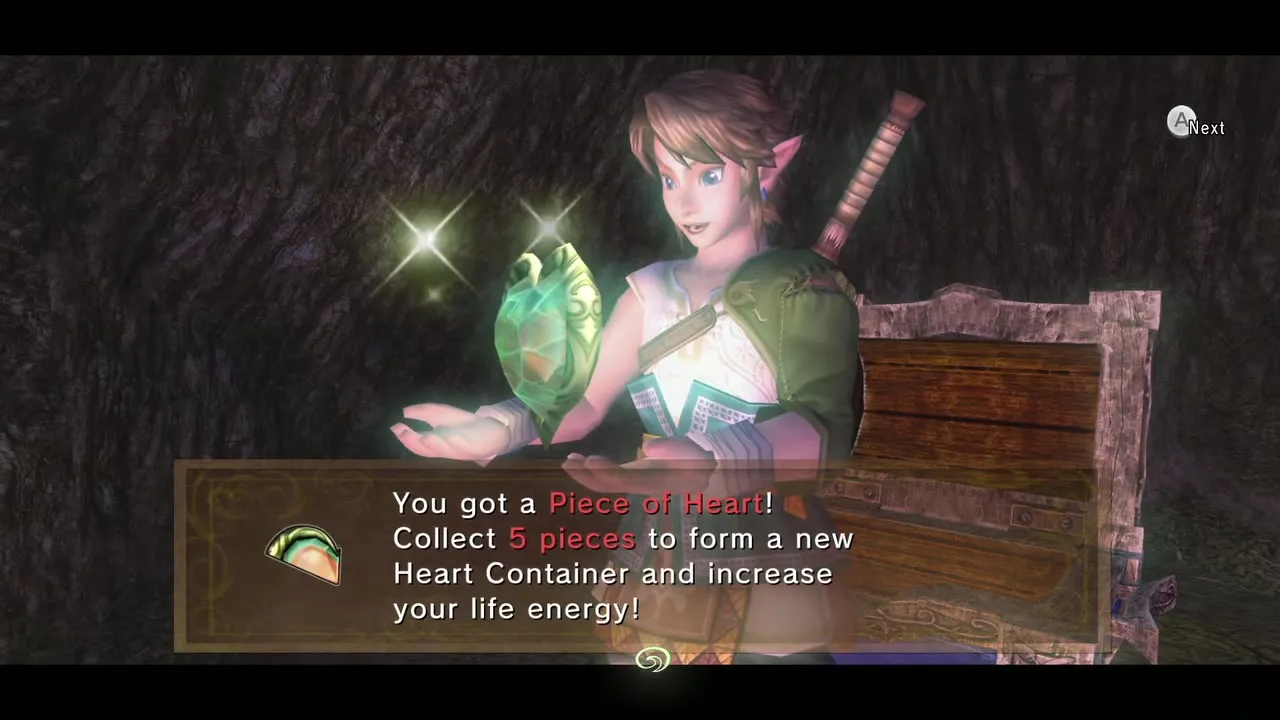
The first Heart Piece in Faron Woods (#2) is in the cave on the north-east side of the swamp, the same cave that held the small key on your first pass, beside the gate you unlocked. At the back are two unlit torches. Light both with the Lantern and a larger chest appears on the ledge above the small one. It holds a Piece of Heart. If you missed it, return with the Lantern and clear the fog as the monkey did; the Heart Pieces page tracks all 45.
Later returns
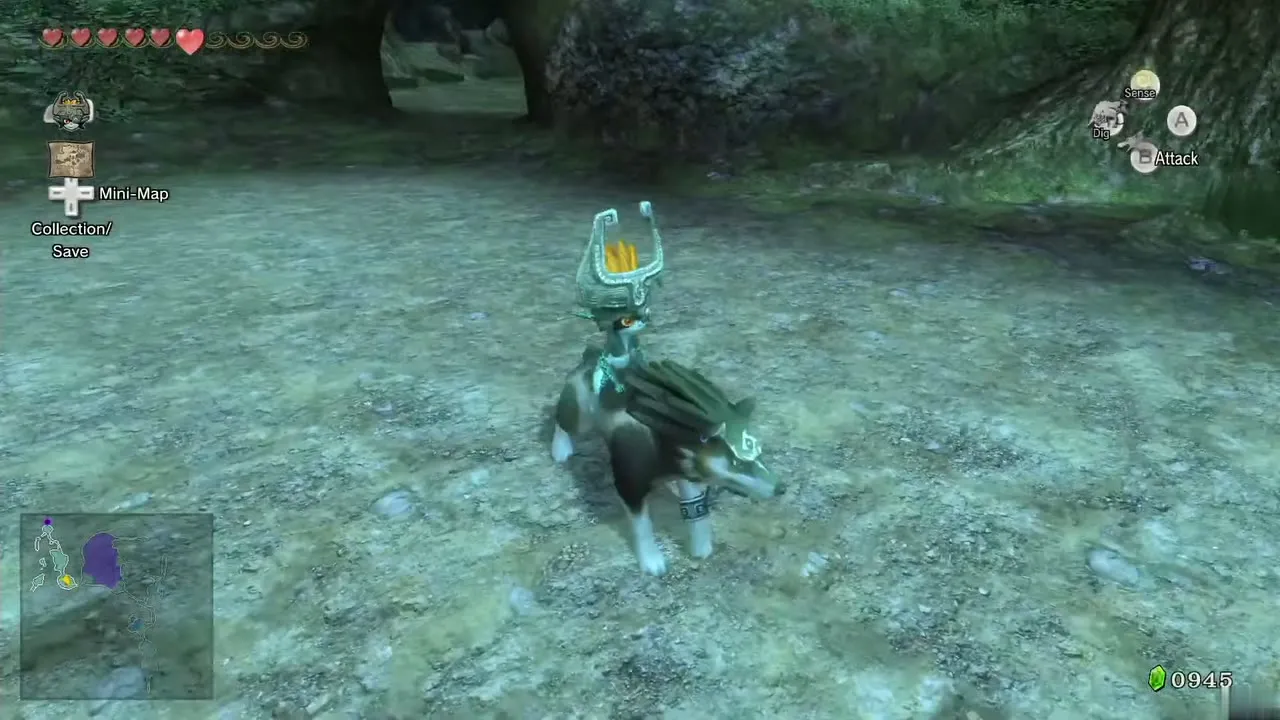
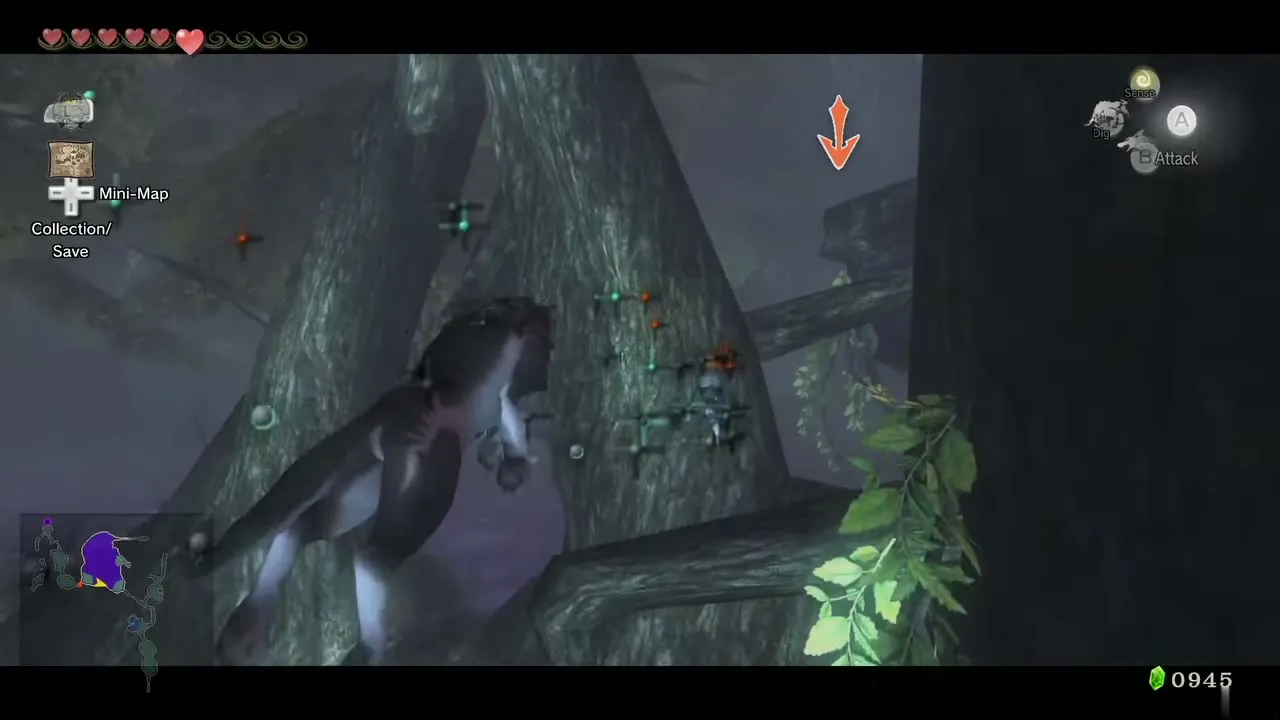
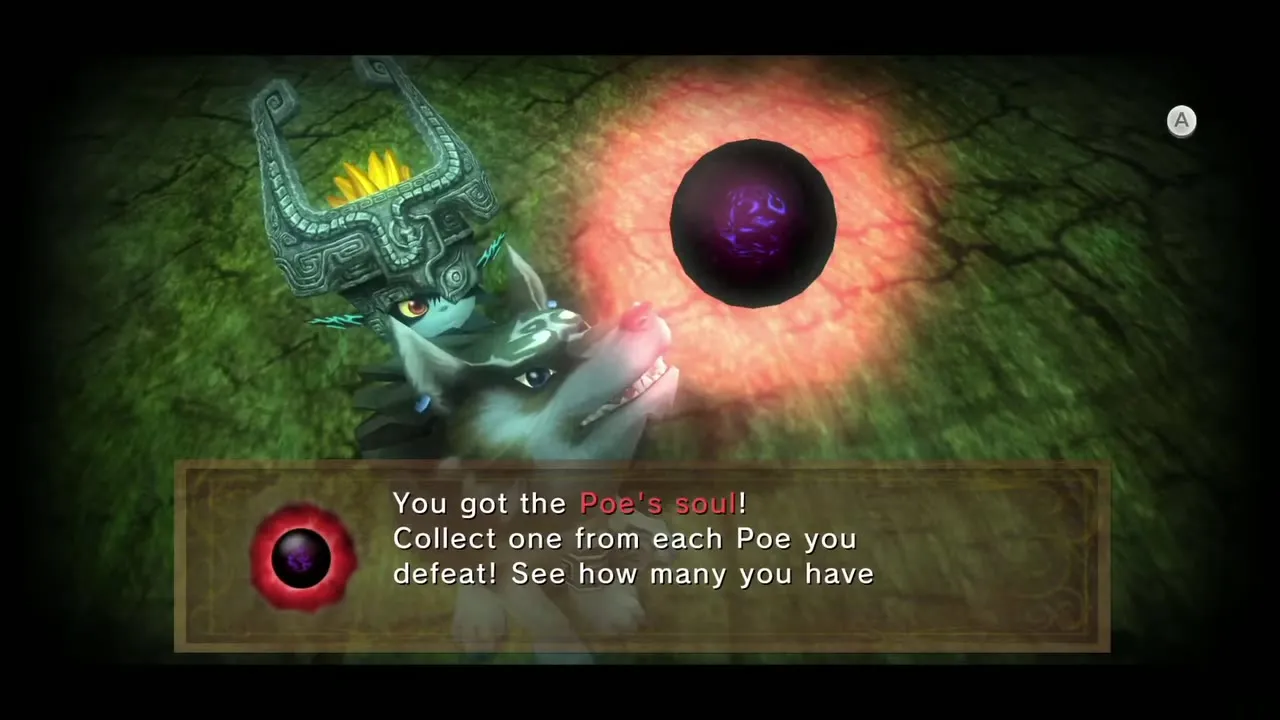
Three more rewards here need items you do not have yet. Poe Soul (#26): at night, as Wolf Link with the Master Sword, follow Midna’s jump markers across the fog to the round clearing where the Poe hovers (see the Poe Souls page). Heart Piece (#3) and a Sky Character: north-west of Coro’s house a boulder blocks the path; blow it up with a bomb (or the Ball and Chain) and lift the Owl Statue behind it with the Dominion Rod, which is described on the Owl Statues page. The Helm Splitter Howling Stone, at the north end of these woods, is also a later errand.
Chapter checklist
| Type | Name | Where |
|---|---|---|
| Tear of Light | Tears 1 and 2 | Path north of Faron Spring, near the first Twilit Deku Baba |
| Tear of Light | Tears 3 and 4 | Inside Coro’s house, via the second-floor window |
| Tear of Light | Tear 5 | Dig under the locked gate at the fork |
| Tear of Light | Tear 6 | Wall insect in North Faron Woods |
| Tear of Light | Tears 7 and 8 | Centre of the swamp, after the Midna jumps |
| Tear of Light | Tears 9 and 10 | Buried insects at the end of the jump path |
| Tear of Light | Tears 11 and 12 | Steps below the Forest Temple, with the monkey |
| Upgrade | Hero’s Clothes, Ordon Sword, Ordon Shield | Given by Faron when the Vessel is full |
| Chest |  Purple Rupee (50) | Link’s basement, Ordon, needs the Lantern |
| Key item |  Small key (temple gate) | Coro, Faron Woods |
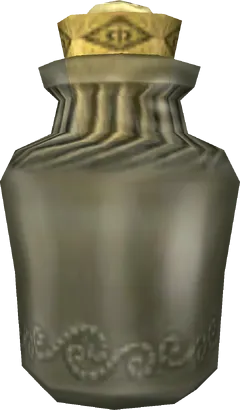 Bottle | Bottle 2 with lantern oil (100 Rupees) | Coro’s house, Faron Woods |
 Hidden Skill | Ending Blow | Golden Wolf on the path to the Forest Temple |
| Heart Piece | Swamp cave chest | Cave in the north-east of the North Faron swamp, light two torches (if missed earlier) |
| Later | Poe Soul, South Faron Heart Piece, Sky Character | Return at night and with the Dominion Rod |
