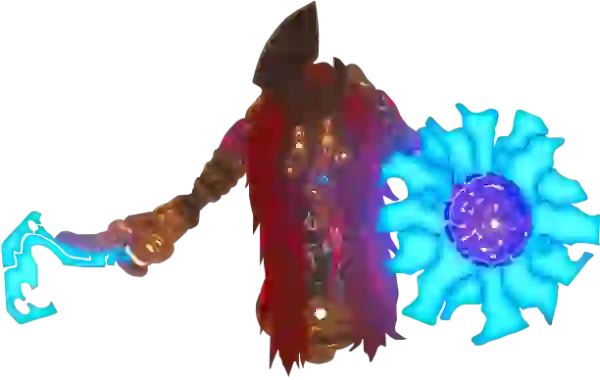
Understanding your enemy is crucial for survival. Learn about their appearances, typical behaviors, variations, and most importantly, effective combat strategies to overcome them. Master parrying, flurry rushes, elemental weaknesses, and Rune abilities to conquer the challenges that await!
| Enemies listed | 85 |
|---|---|
| Health and attack | Base values from the game data; a range covers the different versions of the same enemy |
| Weak points, places and drops | From each enemy’s own page |
Quick Reference: Every Enemy
Every enemy and boss in alphabetical order with its base health and attack. Click a name for its full page, or the section for its strategy.
Common Monsters
These creatures form the backbone of Ganon‘s forces and are frequently encountered throughout Hyrule’s fields, forests, and ruins.
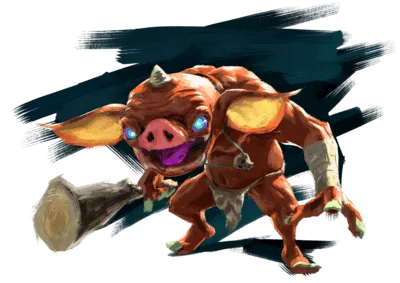
Bokoblin
Pig-like humanoid monsters commonly found in camps across Hyrule, often armed with rudimentary clubs, spears, or bows. They attack in groups and sometimes ride horses.
Variations: Red (weakest), Blue, Black, Silver (strongest), Stal- (undead), and Golden in Master Mode.
Combat strategy: Relatively weak and easily staggered. Aim for headshots with arrows for critical hits. Disarm them with electricity or perfect parries. Watch out for thrown rocks or explosive barrels in camps. Use bombs effectively against groups. Stal-variants crumble easily but their heads must be destroyed to prevent reassembly.
| Enemy | Health | Attack | Weak point | Where | Drops | |
|---|---|---|---|---|---|---|
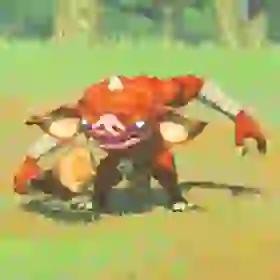 | Bokoblin | 13 | 4 | — | Camps, roads and fields throughout Hyrule | Bokoblin Horn, Bokoblin Fang |
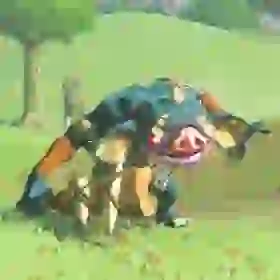 | Blue Bokoblin | 72 | 4 | — | Gerudo Desert and Gerudo Highlands | Bokoblin Horn, Bokoblin Fang, Bokoblin Guts |
 | Black Bokoblin | 240 | 8 | — | Gerudo Highlands and other outlying regions such as Hebra and Akkala | Bokoblin Horn, Bokoblin Fang, Bokoblin Guts |
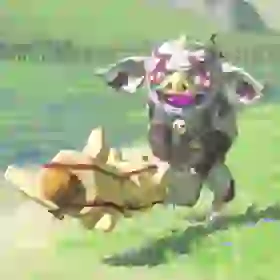 | Silver Bokoblin | 720 | 8 | — | Bokoblin camps | Bokoblin Horn, Bokoblin Fang, Bokoblin Guts, Amber, Opal, Topaz, Ruby, Sapphire, Diamond |
 | Golden Bokoblin | 1,080 | 48 | — | Master Mode only (The Master Trials DLC) | — |
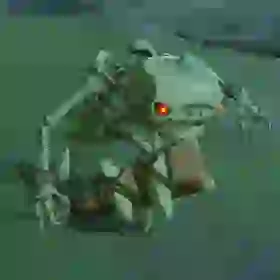 | Stalkoblin | 1 | 4–10 | — | Hyrule Field and Great Hyrule Forest, after dark | Bokoblin Horn, Bokoblin Fang |
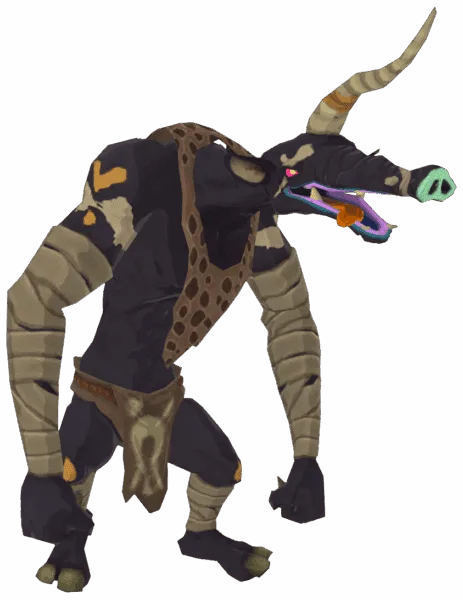
Moblin
Larger, lankier, and more powerful than Bokoblins, Moblins wield heavier weapons like clubs, spears, and large swords. They possess greater strength and resilience.
Variations: Red, Blue, Black, Silver, Stal-, and Golden in Master Mode.
Combat strategy: Slower than Bokoblins but hit much harder. Their long reach requires careful dodging or parrying. Headshots can stun them. Stasis+ is effective for creating attack openings. They can pick up and throw Bokoblins or environmental objects. Stal-variants are dealt with similarly to Stalkoblins.
| Enemy | Health | Attack | Weak point | Where | Drops | |
|---|---|---|---|---|---|---|
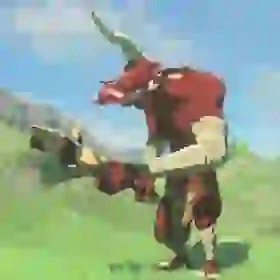 | Moblin | 56 | 2 | — | Throughout Hyrule | Moblin Horn, Moblin Fang |
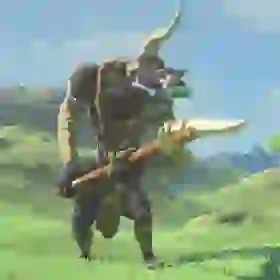 | Blue Moblin | 144 | 10 | — | Akkala (especially Deep Akkala) and scattered across Hyrule | Moblin Horn, Moblin Fang, Moblin Guts |
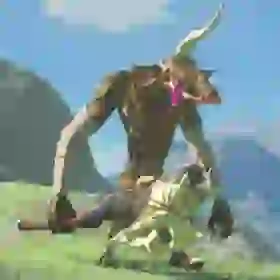 | Black Moblin | 360 | 20 | — | Eldin Canyon and other outlying regions such as Hebra and the Gerudo Highlands | Moblin Horn, Moblin Fang, Moblin Guts |
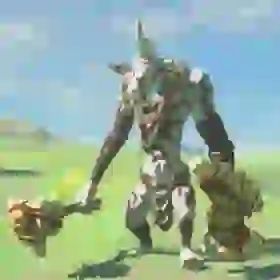 | Silver Moblin | 1,080 | 24 | — | Moblin camps | Moblin Horn, Moblin Fang, Moblin Guts, and gems |
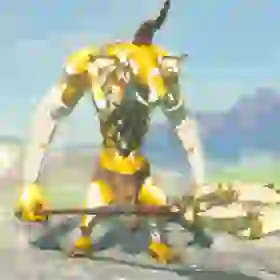 | Golden Moblin | 1,620 | 48 | — | Master Mode only (The Master Trials DLC) | — |
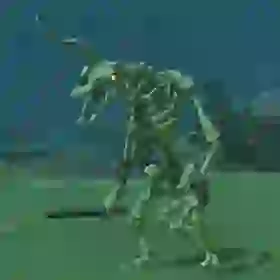 | Stalmoblin | 1–2 | 10 | Skull must be destroyed | Appears at night the Great Hyrule Forest and Gerudo Highlands as common spots | Moblin Horn, Moblin Fang |
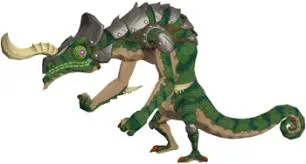
Lizalfos
Agile, lizard-like enemies capable of swift movements, camouflage, and ranged spit attacks. Often found near water or in environments matching their elemental type.
Variations: Green, Blue, Black, Silver, Stal-, Fire-Breath, Ice-Breath, Electric, and Golden in Master Mode.
Combat strategy: Their erratic movements make them hard to hit; use target-lock (ZL). Parry their jump attacks or flurry rush their melee strikes. Shield block their spit projectiles. Exploit elemental weaknesses: Fire-Breath Lizalfos are vulnerable to ice, Ice-Breath Lizalfos to fire. Electric Lizalfos discharge electricity upon death and are dangerous near water – use non-metallic gear or ranged attacks. Stal-variants shatter easily but require head destruction.
| Enemy | Health | Attack | Weak point | Where | Drops | |
|---|---|---|---|---|---|---|
 | Lizalfos | 50 | 4 | — | Lanayru Great Spring and Gerudo Desert; also found across Hyrule | Lizalfos Horn, Lizalfos Talon |
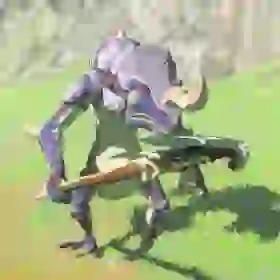 | Blue Lizalfos | 120 | 8 | — | Tabantha Frontier and Gerudo Desert | Lizalfos Horn, Lizalfos Talon, Lizalfos Tail |
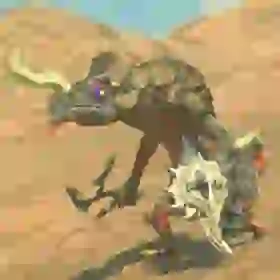 | Black Lizalfos | 288 | 16 | — | Hyrule Field and the Hebra Mountains | Lizalfos Horn, Lizalfos Talon, Lizalfos Tail |
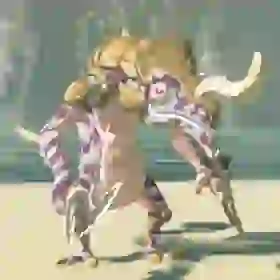 | Silver Lizalfos | 864 | 20 | Headshots with arrows, perfect parries and flurry rushes | Lizalfos camps and patrols once enemies reach their top tier; in Master Mode it takes the Black Lizalfos spots | Lizalfos Horn, Lizalfos Talon, Lizalfos Tail, Amber, Opal, Topaz, Ruby, Sapphire, Diamond |
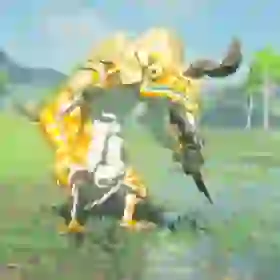 | Golden Lizalfos | 1,296 | 40 | — | Master Mode only (The Master Trials DLC) | — |
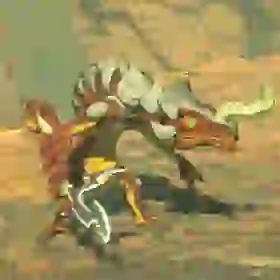 | Fire-Breath Lizalfos | 160 | 16 | Cold; ice kills it instantly | Eldin Canyon and Gerudo Desert; also seen in Akkala | Lizalfos Horn, Lizalfos Talon, Red Lizalfos Tail |
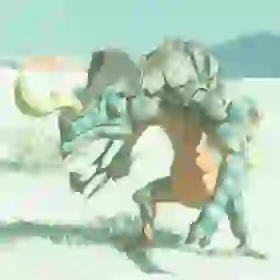 | Ice-Breath Lizalfos | 288 | 16 | Fire; fire kills it instantly | Gerudo Highlands and Hebra Mountains | Lizalfos Horn, Lizalfos Talon, Icy Lizalfos Tail |
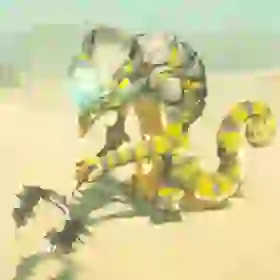 | Electric Lizalfos | 288 | 16 | No elemental weakness; arrows to the horns trigger a discharge | Gerudo Desert and Hyrule Ridge | Lizalfos Horn, Lizalfos Talon, Yellow Lizalfos Tail |
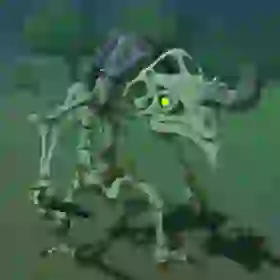 | Stalizalfos | 1 | 10 | Skull must be destroyed | Appears at night; Gerudo Desert and Hyrule Ridge | Lizalfos Horn, Lizalfos Talon |
Octorok
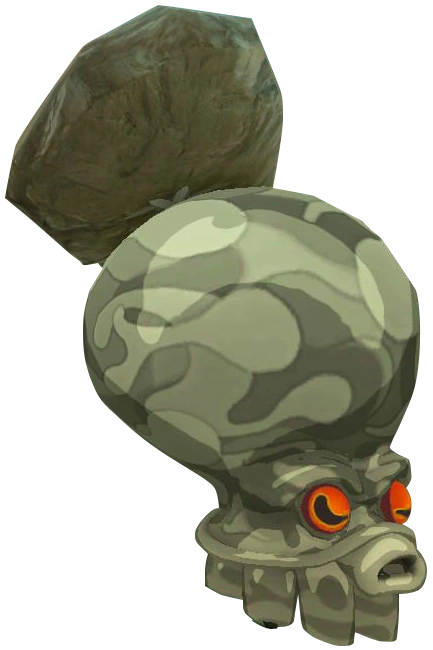
Octopus-like creatures that hide before emerging to shoot rock projectiles at Link.
Variations: Water (water), Forest, Rock, Snow and Treasure (land), and Sky (flying).
Combat strategy: The easiest way to defeat most Octoroks is to shield parry their rock projectile back at them. Ground-based ones can also be defeated with bombs placed near their hiding spot. Water and Sky Octoroks usually require arrows. Treasure Octoroks bury themselves in the sand or snow of the Gerudo region with only a fake treasure chest showing; Magnesis does not react to the chest, which gives them away, and they drop Rupees.
| Enemy | Health | Attack | Weak point | Where | Drops | |
|---|---|---|---|---|---|---|
 | Water Octorok | 8 | 10 | — | West Necluda and Hyrule Field, in lakes and rivers | Octorok Tentacle, Octo Balloon, Octorok Eyeball |
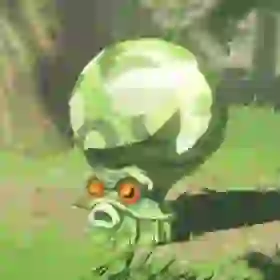 | Forest Octorok | 8 | 10 | Any weapon; a parried shot flies straight back at it | Hyrule Ridge and Deep Akkala | Octorok Tentacle, Octo Balloon, Octorok Eyeball |
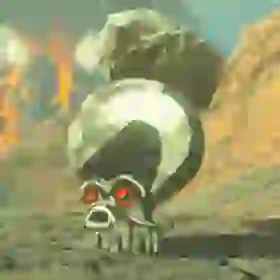 | Rock Octorok | 8 | 10 | Any weapon; a parried shot flies straight back at it | Eldin Canyon and Gerudo Highlands | Octorok Tentacle, Octo Balloon, Octorok Eyeball |
 | Snow Octorok | 8 | 10 | Any weapon; a parried shot flies straight back at it | Gerudo Highlands and Tabantha Frontier | Octorok Tentacle, Octo Balloon, Octorok Eyeball |
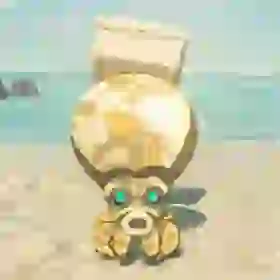 | Treasure Octorok | 8 | 10 | Any weapon; keep your distance until it surfaces | Gerudo Highlands and Gerudo Desert | Octorok Tentacle, Octo Balloon, Octorok Eyeball and Rupees |
 | Sky Octorok | 8 | — | — | — | — |
Aerocuda
Aerocudas, the large flying reptiles that circle the skies and carry Bokoblins, are not in Breath of the Wild: the game has no Aerocuda among its enemies and no Aerocuda materials. They appear in Tears of the Kingdom. The flying threats you do meet in Hyrule are Keese swarms, Sky Octoroks, Guardian Skywatchers and the Wizzrobes that hover over their camps.
Combat strategy: Shoot flying enemies with arrows; headshots are most effective, and slowing time with a bow while gliding or jumping makes aiming at them much easier.

Pebblit
Diminutive versions of Stone Taluses, often found disguised as small rocks in mountainous or rocky areas. They animate and charge at Link when approached. Stone Pebblits live in rocky areas everywhere, Igneo Pebblits in the Eldin region and Frost Pebblits in the Hebra Mountains and Gerudo Highlands.
Combat strategy: Very weak with low health. A single hit from a Remote Bomb, an Iron Sledgehammer, or even picking them up and throwing them will destroy them. They drop Flint, Amber and Opal; Igneo Pebblits can also drop Ruby and Frost Pebblits Sapphire.
| Enemy | Health | Attack | Weak point | Where | Drops | |
|---|---|---|---|---|---|---|
 | Stone Pebblit | 20 | 10 | Bomb blasts, thrown or heavy hits | Rocky areas across Hyrule | Flint, Amber, Opal |
 | Igneo Pebblit | 20 | 10 | Bomb blasts and any solid hit; its body is covered in fire, so keep clear of contact | Eldin Canyon, Eldin Mountains | Flint, Amber, Ruby |
 | Frost Pebblit | 20 | 10 | Bomb blasts and any solid hit; its body is frosted rock, so cold clothing helps in the snow | Hebra Mountains, Gerudo Highlands | Flint, Amber, Sapphire |
Guardians
Ancient Sheikah automatons, once protectors, now corrupted by Calamity Ganon‘s malice. They are among the most dangerous foes in Hyrule, recognizable by their powerful laser beams.
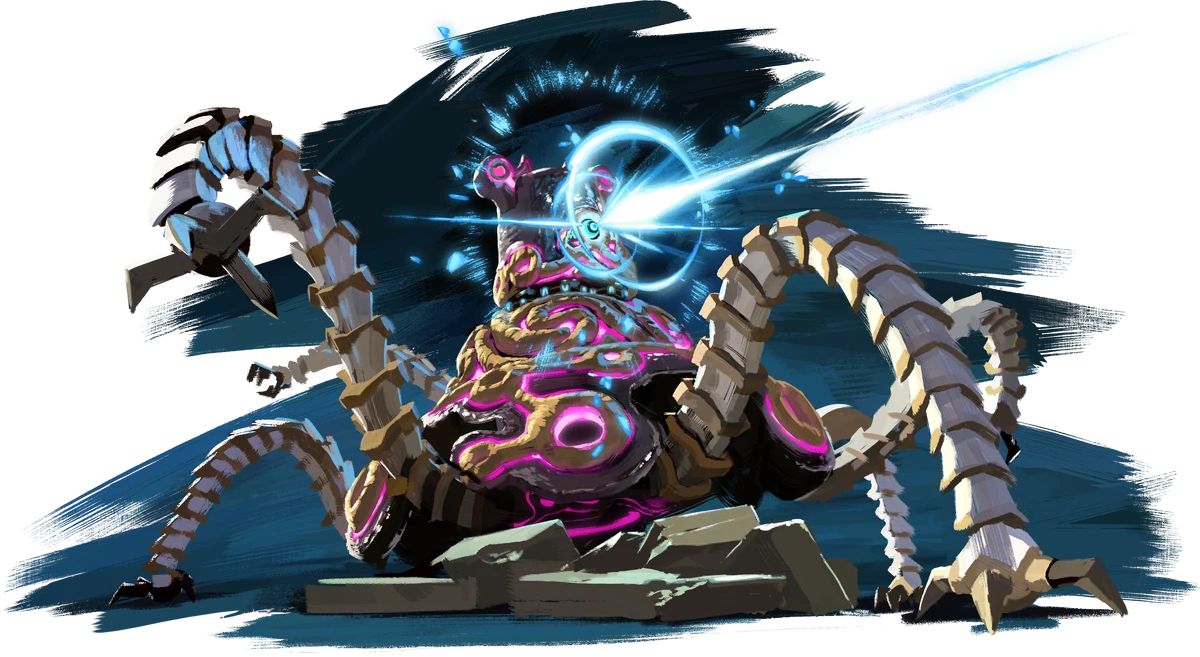
Guardian Stalker
The iconic, highly mobile, multi-legged Guardian that patrols large areas, most notably Hyrule Field. Locks onto targets with a laser before firing a devastating beam.
Combat strategy: Mastering the shield parry timing to reflect their laser beam back at them is highly effective (usually takes 1-3 parries depending on shield). Alternatively, shoot an Ancient Arrow into their central eye for an instant kill. Severing their legs with ancient or powerful melee weapons immobilizes them temporarily. The Master Sword deals bonus damage against all Guardians.
| Enemy | Health | Attack | Weak point | Where | Drops | |
|---|---|---|---|---|---|---|
 | Guardian Stalker | 1,500 | — | Its eye; also its legs, parried beams and Ancient weapons | Hyrule Field, plus mossy, snowy and sandy areas where weathered variants stand | Ancient Screw, Ancient Spring, Ancient Gear, Ancient Shaft, Ancient Core, Giant Ancient Core |
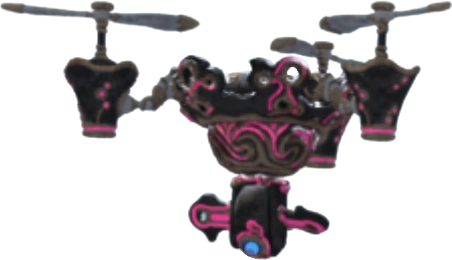
Guardian Skywatcher
Flying Guardian variants equipped with propellers that patrol specific areas from above, often scanning the ground with a spotlight. Fires a laser beam when alerted.
Combat strategy: An Ancient Arrow to the central eye is the quickest method. Alternatively, destroy their propellers one by one with regular or bomb arrows to make them crash (each propeller has 180 health, so it takes several hits). Parrying their beam is possible but challenging due to distance and angle.
| Enemy | Health | Attack | Weak point | Where | Drops | |
|---|---|---|---|---|---|---|
 | Guardian Skywatcher | 1,500 | — | Its propellers and its eye | Hyrule Field and Akkala Highlands | Ancient Screw, Ancient Spring, Ancient Gear, Ancient Shaft |
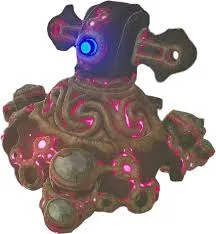
Guardian Turret
Stationary Guardian cannons often found atop structures, particularly within Hyrule Castle. Possess a large health pool and fire powerful laser beams.
Combat strategy: Shield parrying their beams is very effective. Ancient Arrows to the eye work instantly. Can also be destroyed with multiple hits from powerful weapons or bomb arrows, often requiring use of cover.
| Enemy | Health | Attack | Weak point | Where | Drops | |
|---|---|---|---|---|---|---|
 | Guardian Turret | 1,500 | — | Its eye; parried beams | Hyrule Castle | Ancient Screw, Ancient Spring, Ancient Gear, Ancient Shaft, Ancient Core, Giant Ancient Core |
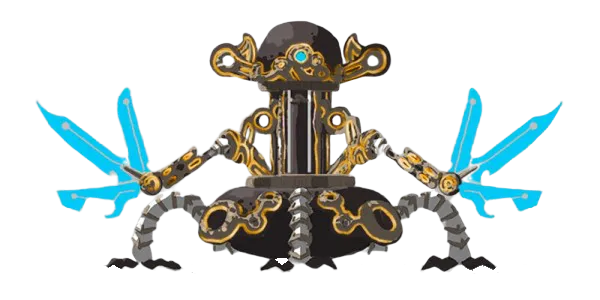
Guardian Scout (I-IV)
Smaller, more agile Guardians found primarily within Ancient Shrines (Test of Strength trials). Come in increasing levels of difficulty (I to IV).
Combat strategy: Utilize flurry rushes and parries against their melee weapon attacks (swords, spears, axes). Use pillars for cover when they charge their powerful spinning laser beam. They can sometimes be disarmed with electricity or parries. Higher levels (III & IV) have significantly more health and deal more damage. Ancient weapons are effective.
| Enemy | Health | Attack | Weak point | Where | Drops | |
|---|---|---|---|---|---|---|
 | Guardian Scout I | 13 | 12 | Eye | Shrines | Ancient Screw, Ancient Spring |
 | Guardian Scout II | 100–375 | — | — | A Minor Test of Strength shrines: Katah Chuki, Dah Hesho, Dah Kaso, Soh Kofi, Noya Neha and Pumaag Nitae | Ancient Screw, Ancient Spring, Ancient Gear, Ancient Shaft |
 | Guardian Scout III | 300–1,500 | 12 | — | A Modest Test of Strength shrines: Muwo Jeem, Sasa Kai, Namika Ozz, Mijah Rokee, Ke’nai Shakah and Shoqa Tatone | Ancient Screw, Ancient Spring, Ancient Gear, Ancient Shaft, Ancient Core |
 | Guardian Scout IV | 600–3,000 | 12 | — | A Major Test of Strength shrines: Goma Asaagh, Tena Ko’sah, Saas Ko’sah, Kema Kosassa, Hia Miu, Tutsuwa Nima, Chaas Qeta and Mozo Shenno, and A Major Test of Strength+ at Ruvo Korbah | Ancient Screw, Ancient Spring, Ancient Gear, Ancient Shaft, Ancient Core |

Decayed Guardian
Immobile, broken-down remnants of Guardian Stalkers found scattered across Hyrule. Most are inactive, but some can still target Link and fire a weaker laser beam.
Combat strategy: Much weaker than Stalkers. Their laser beam timing is easier to parry (usually one parry destroys them). Can also be quickly destroyed with melee weapons (Master Sword recommended) or an Ancient Arrow to the eye.
| Enemy | Health | Attack | Weak point | Where | Drops | |
|---|---|---|---|---|---|---|
 | Decayed Guardian | 500 | — | Its eye; any strong weapon | Great Plateau, Hyrule Field and Hyrule Castle | Ancient Screw, Ancient Spring, Ancient Gear, Ancient Shaft |
Mini-Bosses / World Bosses
Powerful, large enemies found in specific locations throughout Hyrule’s overworld. Defeating them often yields valuable materials, weapons, or completion credit for certain quests (like Kilton‘s Medals of Honor).
Stone Talus
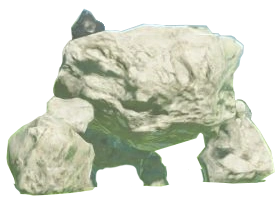
Giant monsters disguised as large boulders or rock formations that animate when Link approaches. They attack by throwing their rock arms or slamming their bodies.
Variations: Stone Talus (normal), Luminous Talus (drops Luminous Stones), Rare Talus (gem-rich), Igneo Talus (volcanic, requires fire resistance/Ice Arrows), Frost Talus (icy, requires cold resistance/Fire Arrows).
Combat strategy: Their weak point is an ore deposit usually located on their back or shoulder. Climb onto the Talus after it slams down and strike the deposit repeatedly with a strong mining weapon (like an Iron Sledgehammer or Cobble Crusher). Alternatively, shoot the deposit with arrows (especially Bomb Arrows). Use Remote Bombs to destroy their arms temporarily. For Igneo Talus, cool it with Ice Arrows before climbing; for Frost Talus, melt its ice with Fire Arrows.
| Enemy | Health | Attack | Weak point | Where | Drops | |
|---|---|---|---|---|---|---|
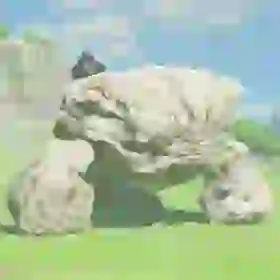 | Stone Talus | 300 | 10 | The ore deposit growing from its body | Great Plateau, Necluda, Faron and Tabantha (twelve in all) | Flint, Amber, Opal, Ruby |
 | Stone Talus (Luminous) | 600 | 10 | The ore deposit on its back | Scattered across Hyrule, from Central Hyrule and Hateno to the Gerudo region, Hebra and Lanayru (twelve in all) | Flint, Amber, Opal, Luminous Stone, Topaz, Diamond |
 | Stone Talus (Rare) | 900 | 10 | The ore deposit on its back | Hyrule Field, Tabantha Frontier and the Gerudo Highlands (six in all) | Flint, Amber, Opal, Topaz, Ruby, Sapphire, Diamond |
 | Igneo Talus | 800 | 10 | The ore deposit on its body, reachable once it is cooled | Eldin region, five in all | Flint, Opal, Ruby, Diamond |
 | Igneo Talus Titan | 1,600 | 10 | — | Death Mountain, during The Champions’ Ballad | — |
 | Frost Talus | 800 | 10 | The ore deposit on its body, reachable once it is thawed | Hebra Mountains and Gerudo Highlands, five in all | Flint, Opal, Sapphire, Diamond |
 | Ore Deposit | 100 | — | This is the weak point itself | On the back or shoulder of every Talus | — |
Hinox
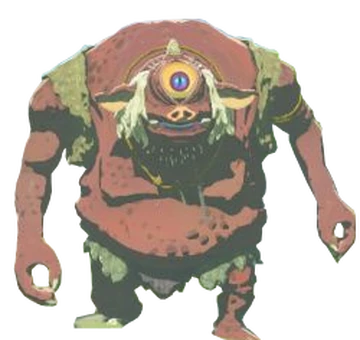
Enormous, cyclopean giants often found sleeping in fields or forests, typically wearing a necklace of valuable weapons that you can steal while they sleep.
Variations: Red (youngest), Blue, Black (strongest), Stalnox (undead).
Combat strategy: Their primary weak point is their single large eye. Shoot it with an arrow to stun them, providing a large opening for attack. Use powerful two-handed weapons or rapid one-handed strikes while they are down. Be wary of their ground pounds, charges, and ability to uproot trees to use as clubs. Some Hinox wear leg guards: wooden ones can be burned away, and the metal greaves of a Black Hinox conduct electricity. Stalnoxes are fought similarly at night, but their eye must be attacked separately after falling out to destroy them completely before sunrise.
| Enemy | Health | Attack | Weak point | Where | Drops | |
|---|---|---|---|---|---|---|
 | Hinox | 600 | 24 | Eye | East and West Necluda, including Kincean Island, Phalian Highlands, Purifier Lake, West Loshlo Harbor, Mount Taran, Tibio’s Hollow and Kamah Plateau | Hinox Toenail, Hinox Tooth, Hinox Guts and fruit |
 | Blue Hinox | 800 | 48 | Eye; wooden leg armor can be burned away | Hyrule Field, Seres Scablands, West Hyrule Plains, Talus Plateau, Ralis Pond, Eventide Island, Herin Lake, Mount Taran and others | Hinox Toenail, Hinox Tooth, Hinox Guts and cooked food |
 | Black Hinox | 1,000 | 72 | Eye; metal greaves conduct electricity | Lake Totori South, Hebra West Summit, Giant’s Forest, East Gut Check Rock, Tempest Gulch, Tabahl Woods, Mount Taran | Hinox Toenail, Hinox Tooth, Hinox Guts and cooked meat |
 | Stalnox | 1,000 | 16–60 | The eye; it keeps rebuilding until the eye is destroyed | Hyrule Field and West Necluda, including Icefall Foothills, Satori Mountain, Rowan Plain, East Akkala Plains, Hickaly Woods, Harfin Valley and Eastern Daval Peak | Hinox Tooth |
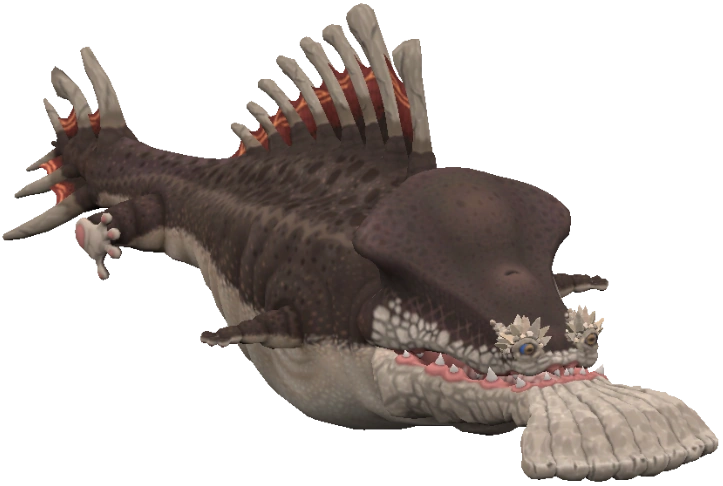
Molduga
Colossal whale-like monsters that “swim” beneath the sands of the Gerudo Desert, sensing vibrations on the surface.
Combat strategy: Moldugas are blind but highly sensitive to sound/vibrations. Throw a Remote Bomb onto the sand to lure one; when it leaps up to swallow the bomb, detonate it mid-air to stun the Molduga, causing it to crash onto the sand. While it’s stunned and vulnerable, attack its belly weak point with powerful weapons. Urbosa‘s Fury is also highly effective when it’s stunned. Repeat the process. Bomb Arrows are also effective against its body when exposed. The larger Molduking is fought the same way in The Champions’ Ballad.
| Enemy | Health | Attack | Weak point | Where | Drops | |
|---|---|---|---|---|---|---|
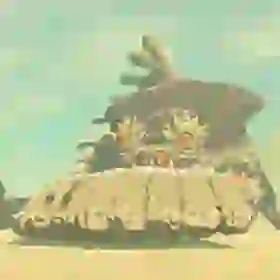 | Molduga | 1,500 | 60 | Stunned and open to attack when a bomb detonates as it leaps | Gerudo Desert | Molduga Fin, Molduga Guts |
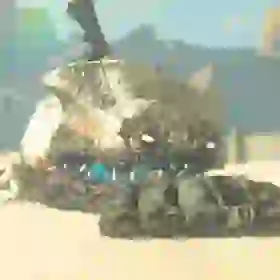 | Molduking | 1,600 | 100 | — | Gerudo Desert, during The Champions’ Ballad | — |

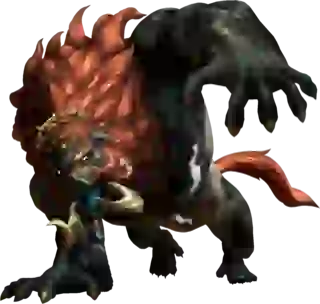
Lynel
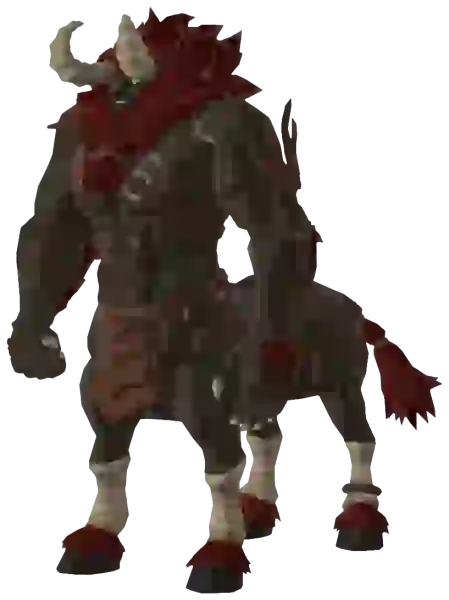
Fierce, centaur-like beasts considered among the toughest non-boss enemies in Hyrule. They wield powerful swords, spears, or crushers, along with strong bows capable of firing elemental or multiple arrows.
Variations: Red-Maned, Blue-Maned, White-Maned, Silver, Golden (Master Mode DLC).
Combat strategy: Lynels require mastery of combat mechanics. Learn the timing to flurry rush their various melee attacks (weapon swings, charges) and parry their charges or projectile attacks. Headshots with a bow can stun them, providing an opportunity to mount their back and land several weapon strikes without using durability. Stasis+ offers a brief window for attack or landing a headshot. Urbosa’s Fury is useful for stunning. High-level food/elixirs for attack/defense buffs are recommended. Each weapon type (sword/shield, spear, crusher) has different attack patterns to learn. They also have a powerful fire breath attack and an explosive area-of-effect roar at higher levels. Be prepared for a challenging fight; they drop powerful weapons and materials.
| Enemy | Health | Attack | Weak point | Where | Drops | |
|---|---|---|---|---|---|---|
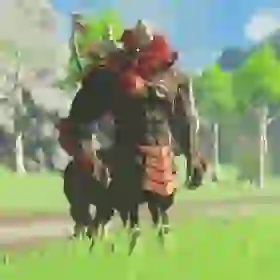 | Lynel | 2,000 | 15 | — | Lanayru Great Spring and Hyrule Field | Lynel Horn, Lynel Hoof, Lynel Guts, weapons |
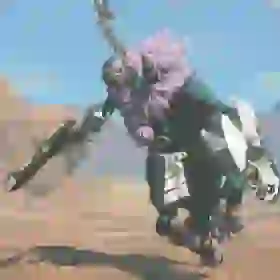 | Blue-Maned Lynel | 3,000 | 20 | — | Hyrule Field and Deep Akkala | Lynel Horn, Lynel Hoof, Lynel Guts, weapons |
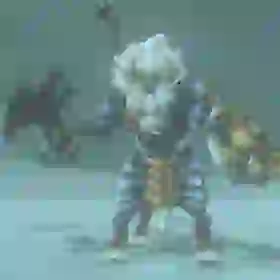 | White-Maned Lynel | 4,000 | 26 | — | Hyrule Field and the Hebra Mountains | Lynel Horn, Lynel Hoof, Lynel Guts, weapons |
 | Silver Lynel | 5,000 | 30 | — | — | Lynel Horn, Lynel Hoof, Lynel Guts, Topaz, Ruby, Sapphire, Diamond, Star Fragment |
 | Golden Lynel | 7,500 | 60 | — | Master Mode only (The Master Trials DLC) | — |
Yiga Clan
A treacherous faction of Sheikah who serve Calamity Ganon, actively hunting Link throughout Hyrule using stealth and subterfuge.
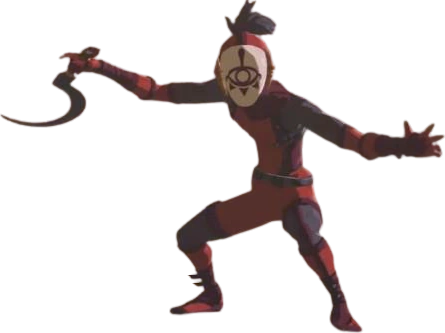
Yiga Footsoldier
The most common members of the Yiga Clan, often appearing disguised as ordinary travelers before revealing their allegiance and attacking. They are agile and utilize teleportation.
Combat strategy: They attack quickly with Vicious Sickles or fire multiple shots with Duplex Bows. Parry their lunging attacks or flurry rush their combos. Headshots can briefly stun them. They drop Rupees and Mighty Bananas upon defeat.
| Enemy | Health | Attack | Weak point | Where | Drops | |
|---|---|---|---|---|---|---|
 | Yiga Footsoldier | 64–72 | — | Headshots, parries and flurry rushes | Ambushes across Hyrule and inside the Yiga Clan Hideout | Green, Blue, Red and Purple Rupees; Mighty Bananas |
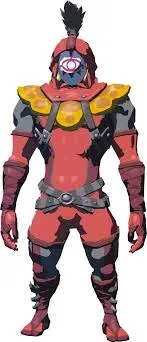
Yiga Blademaster
Larger, tougher members of the Yiga Clan who wield powerful Windcleavers capable of creating vacuum slice projectiles. They also utilize teleportation and a powerful ground stab attack.
Combat strategy: More health and damage than Footsoldiers. Bait their ground stab attack, dodge, and counter. Parry their Windcleaver swings or flurry rush. Stasis+ can provide an opening. They drop gemstones (Amber, Opal, Topaz, Ruby, Sapphire), Mighty Bananas, and sometimes their Windcleaver.
| Enemy | Health | Attack | Weak point | Where | Drops | |
|---|---|---|---|---|---|---|
 | Yiga Blademaster | 400–600 | 10 | — | Yiga Clan Hideout (Gerudo Highlands), the Bridge of Hylia and near the Akkala Ancient Tech Lab | Amber, Opal, Topaz, Ruby, Sapphire, Mighty Bananas, Windcleaver |
Master Kohga
The leader of the Yiga Clan waits at the end of the Yiga Clan Hideout in Karusa Valley, where Link goes to recover the Thunder Helm during the Vah Naboris quest. He has 300 health. Shoot him with an arrow while he readies a boulder or spins his spheres so they fall on him, then take his large metal sphere with Magnesis and drop it on him.
| Enemy | Health | Attack | Weak point | Where | Drops | |
|---|---|---|---|---|---|---|
 | Master Kohga | 300 | 10 | Arrows while he holds a boulder; his metal sphere, with Magnesis | Yiga Clan Hideout, Karusa Valley | Thunder Helm (chest after the fight) |
Elemental & Magical Foes
Creatures imbued with elemental powers – Fire, Ice, or Electricity – posing unique threats and requiring specific counters.
Keese
Small, bat-like creatures that often attack in swarms, especially at night or in caves.
Variations: Normal, Fire, Ice, Electric.
Combat strategy: Easily defeated with arrows, bombs, or wide-swinging melee weapons. Elemental Keese inflict corresponding status effects (burning, freezing, shocking) on contact or if their element hits Link. Use appropriate elemental counters (ice on fire, fire on ice) or simply avoid direct contact. They drop Keese Wings and Eyeballs; elemental variants drop the matching elemental wing instead.
| Enemy | Health | Attack | Weak point | Where | Drops | |
|---|---|---|---|---|---|---|
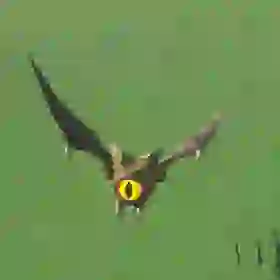 | Keese | 1 | 4–6 | — | Hyrule Field and East Necluda, and often in caves and at night | Keese Wing and Keese Eyeball |
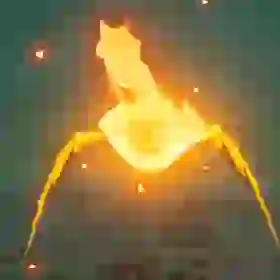 | Fire Keese | 1 | 4 | — | Eldin and Akkala | Fire Keese Wing and Keese Eyeball |
 | Ice Keese | 1 | 4 | — | the Hebra Mountains, Gerudo Highlands and the Great Plateau | Ice Keese Wing and Keese Eyeball |
 | Electric Keese | 1 | 4 | — | Lanayru Great Spring, East Necluda and Faron | Electric Keese Wing and Keese Eyeball |

ChuChu
Gelatinous, blob-like enemies that hop towards Link.
Variations: Small/Medium/Large, Normal (Blue), Fire, Ice, Electric.
Combat strategy: Very weak and easily defeated with any weapon. Upon death, elemental Chuchus explode, dealing area damage and inflicting their status effect. Shoot elemental Chuchus with an opposing element (fire arrow at ice, ice arrow at fire, normal arrow at electric) to trigger their explosion safely from a distance, potentially damaging other nearby enemies. They drop Chuchu Jelly, which takes on the element they were killed by.
| Enemy | Health | Attack | Weak point | Where | Drops | |
|---|---|---|---|---|---|---|
 | Chuchu | 3–48 | 2 | — | Hyrule Field, Necluda, Akkala and the Great Plateau | Chuchu Jelly (or Red, White or Yellow Chuchu Jelly if killed by an element) |
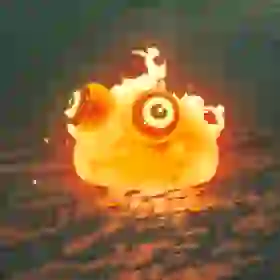 | Fire Chuchu | 12–48 | 2 | — | Eldin Canyon and the Eldin Mountains | Red Chuchu Jelly |
 | Ice Chuchu | 12–48 | 2 | — | Gerudo Highlands and Hebra Mountains | White Chuchu Jelly |
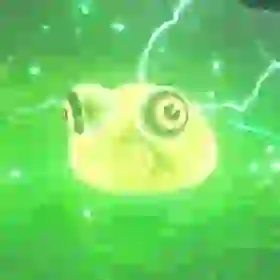 | Electric Chuchu | 12–48 | 2 | — | Gerudo Highlands and East Necluda | Yellow Chuchu Jelly |

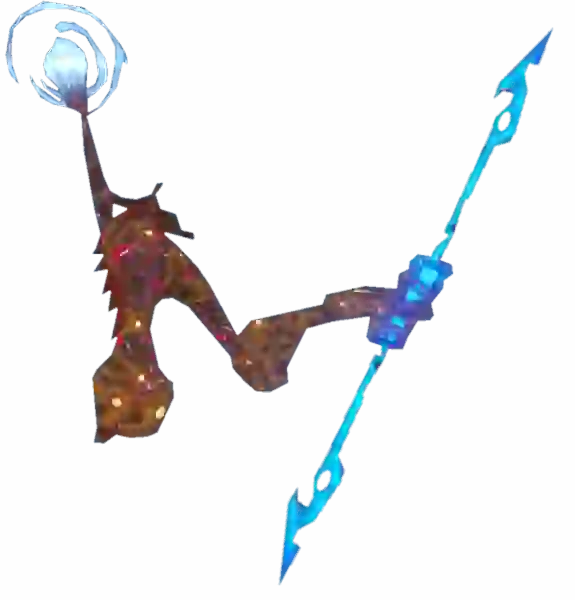
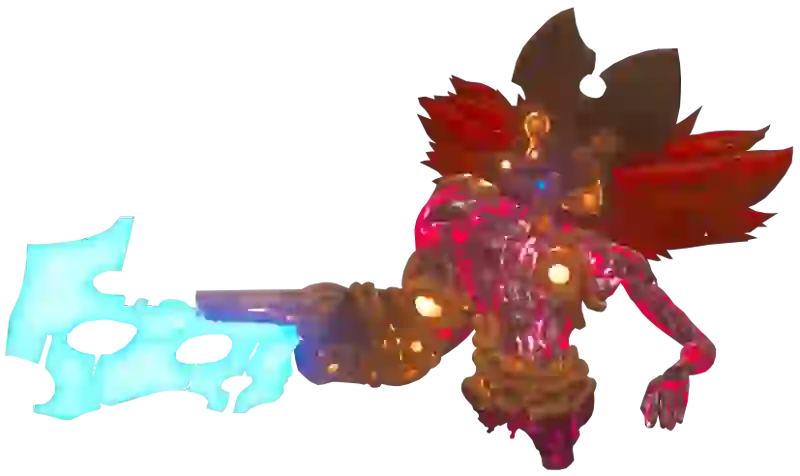
Wizzrobe
Annoying, dancing mages that teleport around the battlefield, casting powerful elemental spells and changing the local weather.
Variations: Fire, Ice, Electric (basic); Meteo, Blizz, Thunder (advanced).
Combat strategy: Their primary weakness is the opposing element: hit Fire/Meteo Wizzrobes with ice attacks/arrows, Ice/Blizzrobes with fire attacks/arrows. Electric/Thunder Wizzrobes are vulnerable to bombs or arrows (especially headshots). A single hit with the opposing element usually kills them instantly. Headshots with regular arrows can also stun them briefly. Ancient Arrows are also a one-hit kill. They drop elemental magic rods.
| Enemy | Health | Attack | Weak point | Where | Drops | |
|---|---|---|---|---|---|---|
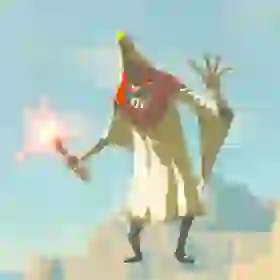 | Fire Wizzrobe | 150 | 5 | Ice attacks: any ice-based hit destroys it instantly | Hyrule Field and Great Hyrule Forest; southwest of Rota Ooh Shrine near the big tree; the middle of Deya Lake; the ruins west of Lake Tower (two) | Fire Rod |
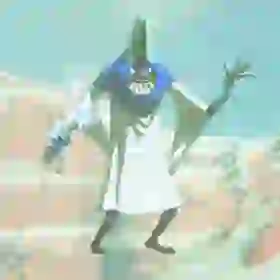 | Ice Wizzrobe | 150 | 5 | Fire attacks: any fire-based hit destroys it instantly | Gerudo Highlands and Hyrule Field; southeast of Foothill Stable; on the road northeast of Lanayru Tower and Soh Kofi Shrine | Ice Rod |
 | Electric Wizzrobe | 150 | 5 | No instant-kill element; bring it down with arrows and strong hits | Hyrule Ridge and West Necluda; northwest of Millennio Sandbar in the Lanayru Wetlands; south of Dueling Peaks on the south bank of the unnamed lake northwest of Faron Tower | Lightning Rod |
 | Meteo Wizzrobe | 300 | 5 | Ice attacks: any ice-based hit destroys it instantly | Hyrule Field and Eldin Canyon; just west of Namika Ozz Shrine; the Shadow Hamlet Ruins north of Ze Kasho Shrine and South Akkala Stable | Meteor Rod |
 | Blizzrobe | 300 | 5 | Fire attacks: any fire-based hit destroys it instantly | Hyrule Field and the Hebra Mountains; northeast of Lake Illumeni, south-southeast of Tabantha Tower | Blizzard Rod |
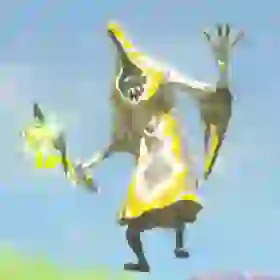 | Thunder Wizzrobe | 300 | 5 | — | Hyrule Field and Tabantha Frontier | Thunderstorm Rod |
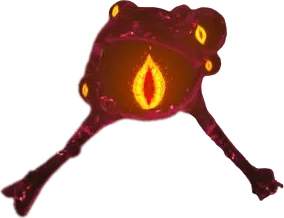
Malice (Eyes, Mouths, Puddles)
Sentient concentrations of Ganon‘s corrupting influence found coating areas within Divine Beasts, Hyrule Castle, and other blighted locations. Contact with Malice puddles rapidly drains Link’s health. Malice often generates monstrous mouths that spawn Cursed Heads or features glowing orange eyes that act as weak points.
Combat strategy: Malice puddles cannot be defeated directly, only avoided or sometimes cleared by destroying nearby Malice Eyes. Locate the glowing orange eye(s) embedded within or near the Malice infestation. Shooting an eye with an arrow (any type) will usually destroy it, causing the associated Malice substance to temporarily recede or disappear, often clearing paths or activating mechanisms. Malice Mouths continuously spawn Cursed Heads until their corresponding eye is destroyed.
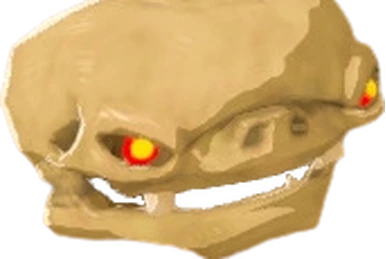
Cursed Heads (Bokoblin, Moblin, Lizalfos)
Floating, disembodied skulls engulfed in Malice, resembling skeletal versions of common monsters. They are typically spawned continuously from Malice Mouths within Divine Beasts and Hyrule Castle, slowly drifting towards Link.
Combat strategy: These enemies have very low health and are primarily a nuisance. They can be destroyed easily with arrows, melee strikes, or even Remote Bombs. They respawn infinitely as long as their source Malice Mouth (and its corresponding Eye) remains active. Dealing with the source Malice Eye is the only way to stop them permanently.
| Enemy | Health | Attack | Weak point | Where | Drops | |
|---|---|---|---|---|---|---|
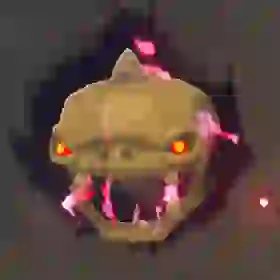 | Cursed Bokoblin | 1 | — | Any weapon; arrows and bombs also work | Hyrule Castle (also the four Divine Beasts) | None |
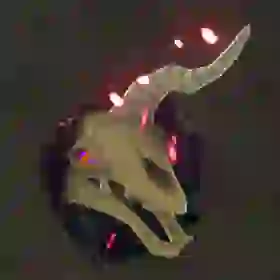 | Cursed Moblin | 30 | — | Any weapon; arrows and bombs also work | Hyrule Castle (also the four Divine Beasts) | None |
 | Cursed Lizalfos | 1 | — | Any weapon; arrows and bombs also work | Hyrule Castle (also the four Divine Beasts) | None |
Stal Enemies (Stalkoblin, Stalmoblin, Stalizalfos)
The reanimated skeletal remains of common monsters that typically emerge from the ground only during nighttime hours across Hyrule. They possess very low health but can reassemble if their detached head is not destroyed. The giant Stalnox also rises at night.
Combat strategy: Any initial hit will usually cause their bodies to collapse into a pile of bones, leaving the skull separate. The key to defeating them permanently is to destroy the detached skull quickly before the body reforms around it. A single strike on the head is usually sufficient. Bombs are effective against groups. They crumble and disappear automatically at sunrise (5:00 AM game time).
| Enemy | Health | Attack | Weak point | Where | Drops | |
|---|---|---|---|---|---|---|
| Stalkoblin | 1 | 4–10 | — | Hyrule Field and Great Hyrule Forest, after dark | Bokoblin Horn, Bokoblin Fang |
| Stalmoblin | 1–2 | 10 | Skull must be destroyed | Appears at night the Great Hyrule Forest and Gerudo Highlands as common spots | Moblin Horn, Moblin Fang |
| Stalizalfos | 1 | 10 | Skull must be destroyed | Appears at night; Gerudo Desert and Hyrule Ridge | Lizalfos Horn, Lizalfos Talon |
| Stalnox | 1,000 | 16–60 | The eye; it keeps rebuilding until the eye is destroyed | Hyrule Field and West Necluda, including Icefall Foothills, Satori Mountain, Rowan Plain, East Akkala Plains, Hickaly Woods, Harfin Valley and Eastern Daval Peak | Hinox Tooth |
Dungeon Bosses (Blight Ganons)
Powerful manifestations of Ganon‘s malice that serve as the primary bosses within each of the four Divine Beasts. Each Blight’s health depends on how many Blights you have already defeated: 800 for the first, 1,200 for the second, 1,600 for the third and 2,000 for the fourth. The Blights in Hyrule Castle always have 2,000, and the ones in the Master Trials’ Illusory Realm always have 1,500.
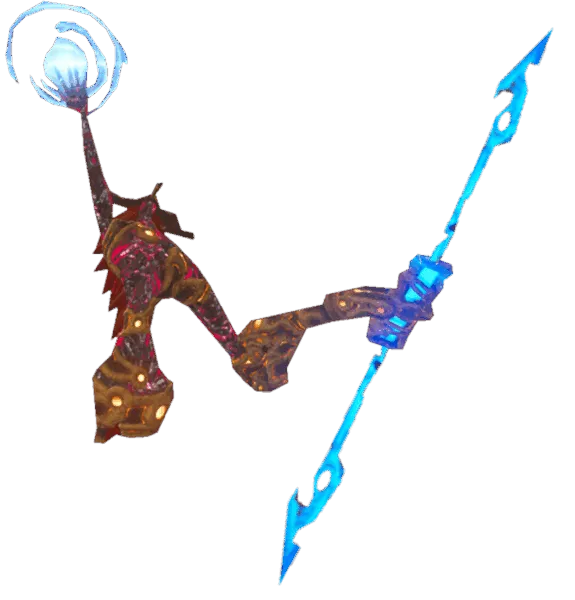
Waterblight Ganon (Vah Ruta)
Wields a long spear and utilizes ice attacks. Fought within Divine Beast Vah Ruta.
Combat strategy: Phase 1: Raise Cryonis pillars to block its spear: a spear that hits one shatters, leaving it open. Shoot its eye with arrows to stun it and attack with melee weapons (spears are effective due to range) or arrows when it’s vulnerable. Phase 2 (arena floods): Use Cryonis to break the ice blocks it throws. Use Stasis on an ice block and knock it back, then shoot its eye with arrows. Swim close and attack with melee weapons (Master Sword deals extra damage) when it falls.
| Enemy | Health | Attack | Weak point | Where | Drops | |
|---|---|---|---|---|---|---|
 | Waterblight Ganon | 800–2,000 | — | Its eye | Inside Vah Ruta | Heart Container (first defeat) |
Fireblight Ganon (Vah Rudania)
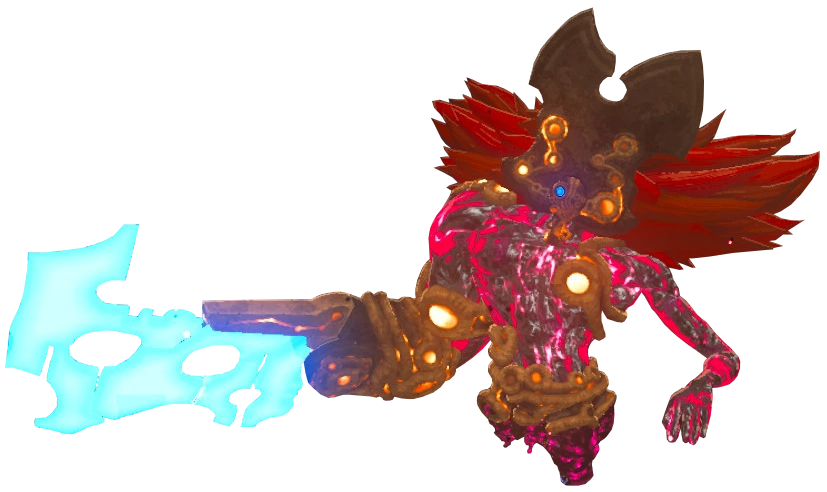
Uses a massive flaming sword and fire-based attacks. Fought within Divine Beast Vah Rudania.
Combat strategy: Phase 1: Keep distance, shoot its eye with arrows (ice arrows are effective). Attack with melee weapons when it falls. Phase 2: When it creates a flaming shield and prepares a massive fireball, throw a Remote Bomb towards it as it inhales; detonate the bomb to stun it. Attack vigorously while it’s down.
| Enemy | Health | Attack | Weak point | Where | Drops | |
|---|---|---|---|---|---|---|
 | Fireblight Ganon | 800–2,000 | — | Its eye | Inside Vah Rudania | Heart Container (first defeat) |
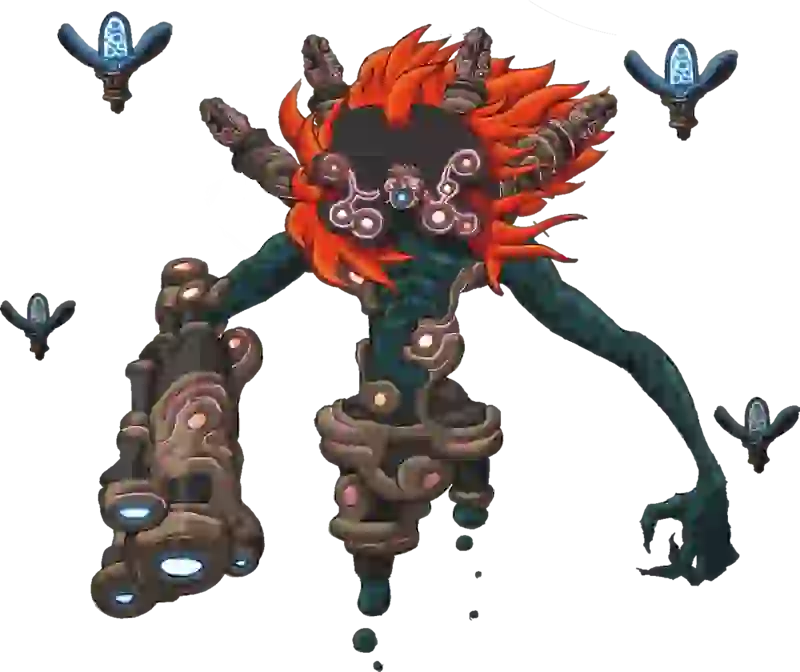
Windblight Ganon (Vah Medoh)
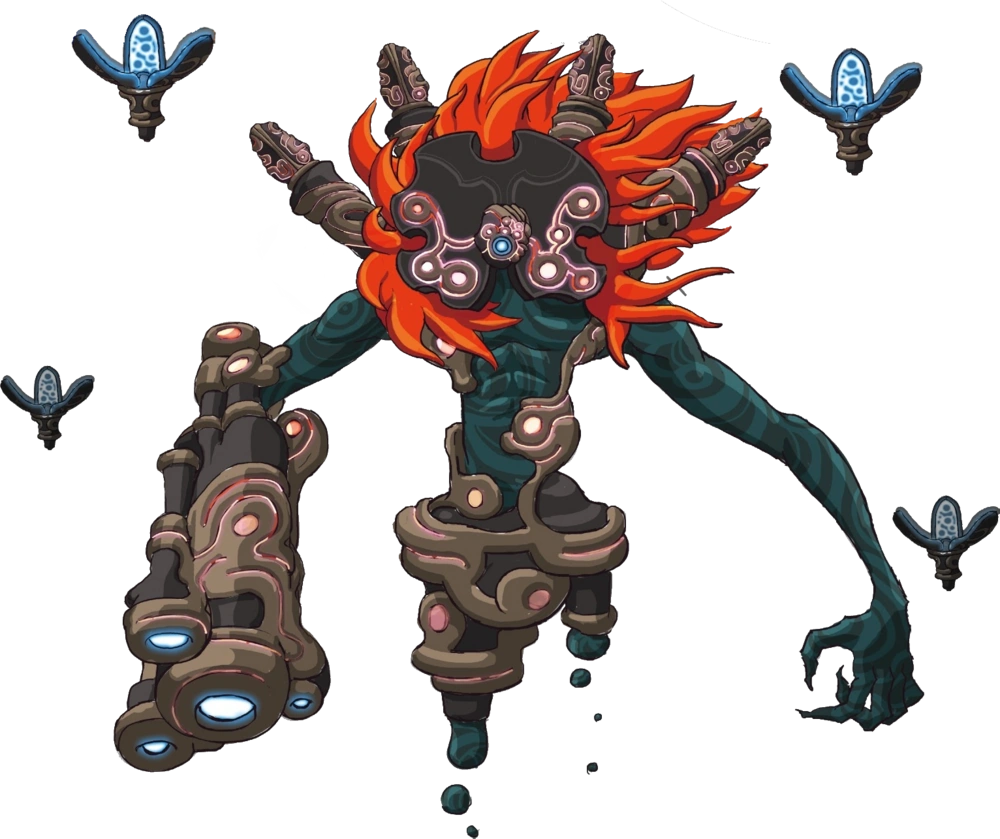
Attacks with a cannon arm and summons tornadoes. Fought within Divine Beast Vah Medoh.
Combat strategy: Utilize updrafts within the arena for slow-motion archery. Aim for its eye with arrows (Bomb Arrows are effective). When it falls to the ground, attack with strong melee weapons. Dodge its tornado attacks and laser shots. At half health it summons floating turrets; shoot them down from the updrafts. Repeat eye shots and melee attacks. Stasis+ can briefly halt its movement.
| Enemy | Health | Attack | Weak point | Where | Drops | |
|---|---|---|---|---|---|---|
 | Windblight Ganon | 800–2,000 | — | Its eye | Inside Vah Medoh | Heart Container (first defeat) |

Thunderblight Ganon (Vah Naboris)
Moves with blinding speed, uses electric attacks, and wields a sword and shield. Fought within Divine Beast Vah Naboris. Often considered the most challenging Blight.
Combat strategy: Phase 1: Requires precise timing for flurry rushes or perfect parries against its incredibly fast zig-zag attacks. Breaking its shield creates an opening. Rubber Armor or electric resistance elixirs help mitigate damage. Phase 2: It plants metal spikes around the arena. Use Magnesis to lift one of these spikes near Thunderblight as it charges its lightning, causing the lightning to strike itself and stun it. Attack furiously while it’s down.
| Enemy | Health | Attack | Weak point | Where | Drops | |
|---|---|---|---|---|---|---|
 | Thunderblight Ganon | 800–2,000 | — | Its eye | Inside Vah Naboris | Heart Container (first defeat) |
Final Boss
The ultimate embodiment of evil threatening Hyrule, faced within the corrupted Hyrule Castle and upon Hyrule Field.
Calamity Ganon
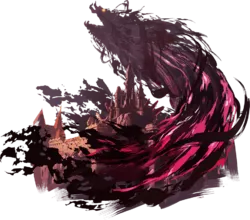
Ganon‘s monstrous, incomplete form encountered within Hyrule Castle’s Sanctum. A chaotic amalgamation of Malice and corrupted Sheikah technology, resembling a giant spider. Every Divine Beast you have freed fires on it before the fight and cuts its health.
Combat strategy: Phase 1: Utilizes attacks mimicking the Blight Ganons. Use perfect parries against its Guardian laser, flurry rushes against its melee attacks (if you get close), and arrows against its body or when climbing walls. The Champion abilities (especially Daruk‘s Protection and Urbosa‘s Fury) are extremely helpful. Phase 2 (orange shield): Its shield becomes nearly impenetrable. Reflect its laser beam with a perfect parry or land a perfect flurry rush to break the shield temporarily, then attack its main body. The Master Sword deals significant bonus damage.
| Enemy | Health | Attack | Weak point | Where | Drops | |
|---|---|---|---|---|---|---|
 | Calamity Ganon | 8,000 | 60 | Parried beams, flurry rushes, the Master Sword | Sanctum, Hyrule Castle | — |
Dark Beast Ganon
Ganon’s final form, a colossal beast of pure Malice resembling a giant boar, faced on horseback across Hyrule Field.
Combat strategy: This battle is largely cinematic. Ride your horse around Dark Beast Ganon, avoiding its massive laser beam. Princess Zelda will use her power to create glowing weak points on Ganon’s body. Shoot these weak points using the Bow of Light she provides (which has infinite arrows). After hitting several weak points, a final large weak point appears on its forehead. Land the final arrow there to defeat Ganon once and for all.
| Enemy | Health | Attack | Weak point | Where | Drops | |
|---|---|---|---|---|---|---|
 | Dark Beast Ganon | 8 | 72 | Glowing weak points, hit with the Bow of Light | Hyrule Field | — |
More Enemies
A few foes the sections above do not cover.
Dragons
Dinraal, Naydra and Farosh are spirits rather than enemies: you never fight them, but shooting one body part with an arrow as a dragon flies past knocks off a valuable material. Naydra must first be freed from Malice by shooting its glowing eyes.
| Enemy | Health | Attack | Weak point | Where | Drops | |
|---|---|---|---|---|---|---|
 | Dinraal | 100 | — | — | Eldin (its route runs the length of Tanagar Canyon) | Dinraal’s Scale, Dinraal’s Claw, Shard of Dinraal’s Fang, Shard of Dinraal’s Horn |
 | Naydra | 100 | — | — | Lanayru (its route runs near Lanayru Bay) | Naydra’s Scale, Naydra’s Claw, Shard of Naydra’s Fang, Shard of Naydra’s Horn |
 | Farosh | 100 | — | — | Faron and Lake Hylia (it ranges between the Gerudo Highlands and the lakes) | Farosh’s Scale, Farosh’s Claw, Shard of Farosh’s Fang, Shard of Farosh’s Horn |
Sentry
The searchlight drones that circle Death Mountain while Vah Rudania is active. They do not attack directly; if their light catches you, Rudania answers with Magma Bombs, so stay out of the beam or shoot them down from range.
| Enemy | Health | Attack | Weak point | Where | Drops | |
|---|---|---|---|---|---|---|
 | Sentry | 1,000 | 2 | Avoid its light or shoot it from range | Death Mountain, during the Vah Rudania quest | Ancient Screw, Ancient Spring, Ancient Gear, Ancient Shaft, Ancient Core |
Difficulty scaling
Breath of the Wild quietly gets harder as you play. A hidden counter rises every time you defeat an enemy, and as it climbs the game swaps enemies and weapons for stronger versions: Bokoblins turn Blue, Black and then Silver, Soldier’s gear gives way to Knight’s and Royal gear, and weapons start to carry bonus modifiers. It is not tied to story progress, shrines or hearts; only combat feeds it.
| What scales | How it works |
|---|---|
| What counts | Each defeat adds to a kill count for that enemy type, but only the first 10 kills of a type count. Bosses count too, so you cannot avoid it during the main quest. Dark Beast Ganon counts only the first time; each Blight Ganon counts only the first time you beat it in its Divine Beast. |
| Enemies | Once your total passes a threshold, the weaker version of an enemy is replaced by the next tier (for example Bokoblin to Blue Bokoblin). Some enemies, such as the elemental Lizalfos, never change, but the weapons they carry still can. |
| Weapons | Weapons dropped by enemies, found lying around or taken from chests can be replaced by a stronger weapon (a Soldier’s Bow becomes a Royal Bow) and gain a bonus: first white or blue modifiers, later stronger yellow ones. Weapons bought in shops never gain modifiers. |
| Chests | Weapons in treasure chests follow the same rules, so the Knight’s or Royal version you see in this guide is what a mid-game player finds; early on you may get a Soldier’s or Traveler’s version of the same weapon, and later a Royal one. |
| Hinox necklaces | The weapons hanging from a Hinox’s necklace are tracked separately for each Hinox. |
| Blight Ganons | 800 health for the first one you defeat, then 1,200, 1,600 and 2,000. In Hyrule Castle they always have 2,000, and in the Illusory Realm 1,500. |
| Where it is off | The Trial of the Sword and Eventide Island. |
| Master Mode | The Master Mode setting from the Expansion Pass raises enemies one extra tier after scaling. |
The practical effect: the health, attack and drop numbers in this guide are for the base version of each enemy, and the weapons listed in chests and rewards are the ones you will see around the middle of the game. Fight a lot early and you will meet Silver Bokoblins and Royal weapons sooner; if you want an easier game, defeat as few optional enemies as you can.
Enemy gallery